Blog by Steve Laug
 The next pipe on the work table is one that I picked up from a fellow in Alberta with several other Bari pipes. It has been here for a while and I am just now getting to it. I try to eventually work the pipes we find into the restoration queue so that I can keep them moving. This one is a Bari Special Handcut Dublin. It has a really mix of flame and straight grain around the bowl and shank. It was stamped on the sides of the shank. On the left side it reads Bari [over] Special [over] Handcut. On the right side it reads Handmade [over] in Denmark. On the underside of the shank it is stamped with the letter “B”. The pipe was dirty with grime ground into the finish. There was a thick cake in the bowl and lava overflow on the rim top. The inner edge of the rim was covered so thickly in lava it was hard to know what was underneath. The vulcanite stem was oxidized and had tooth marks and chatter ahead of the button on both sides. BARI was stamped on the left side of the fancy saddle stem but the B had been buffed out.
Before I started working on it I did a bit of research on the brand to remind myself of the maker. I have worked on quite a few Bari’s in the past so rather than rework all of that I am including the information I found while working on a Bari De Luxe Freehand. I quoted a section from Pipedia on Bari pipes (https://pipedia.org/wiki/Bari). It is good to be reminded of the fact that Viggo Nielsen was the pipe maker.
Pipedia states that Bari Piber was founded by Viggo Nielsen in Kolding, Denmark around the turn of 1950/51. His sons Kai and Jørgen both grew into their father’s business from a very young age and worked there till 1975. Both have become successful pipe makers.
Bari successfully adapted the new Danish design that had been started mainly by Stanwell for its own models. Bari was sold in 1978 to Van Eicken Tobaccos in Hamburg, Germany though the pipes were still made in Denmark. From 1978 to 1993 Åge Bogelund and Helmer Thomsen headed Bari’s pipe production.
Helmer Thomson bought the company in 1993 re-naming it to “Bari Piber Helmer Thomsen”. The workshop moved to more convenient buildings in Vejen. Bogelund, who created very respectable freehands of his own during the time at Bari got lost somehow after 1993. Bari’s basic conception fundamentally stayed the same for decades: series pipes pre-worked by machines and carefully finished by hand – thus no spectacular highgrades but solid, reliable every day’s companions were what they turned out. The most famous series are the smooth “Classic Diamond” and the blasted “Wiking”.
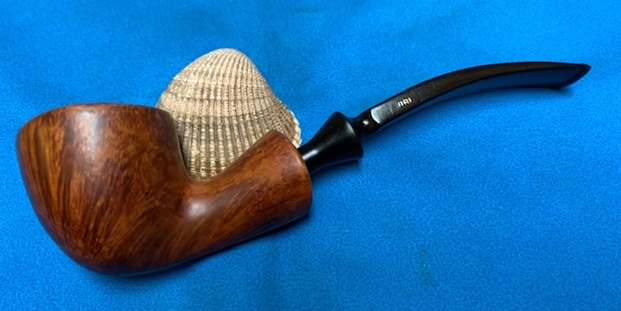
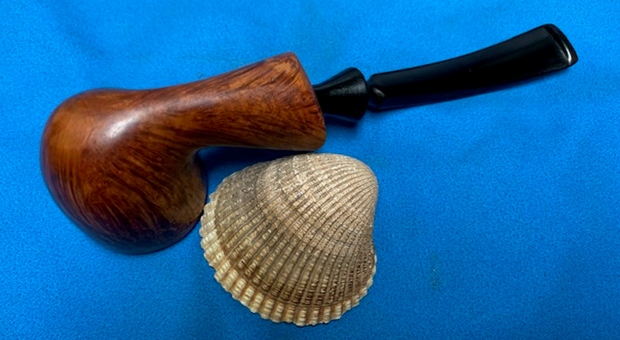
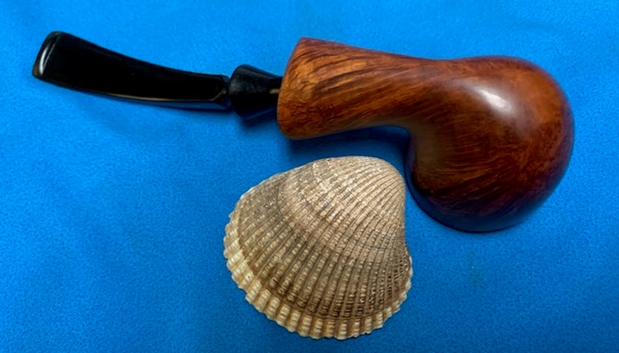
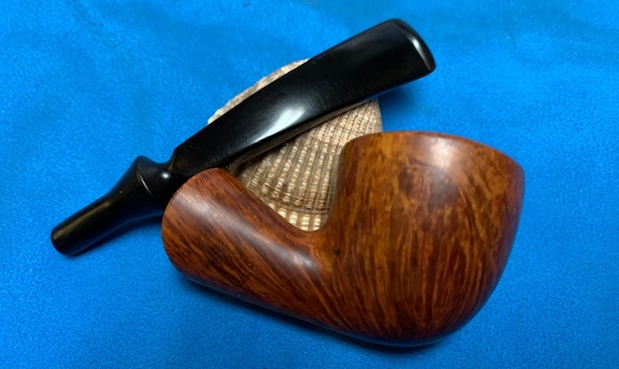
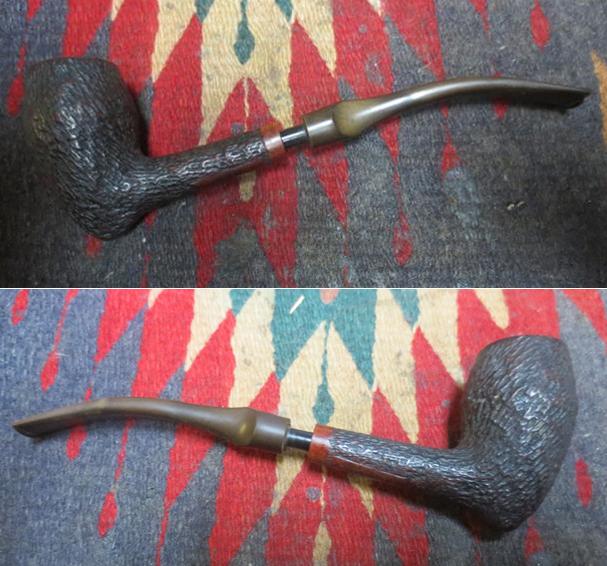
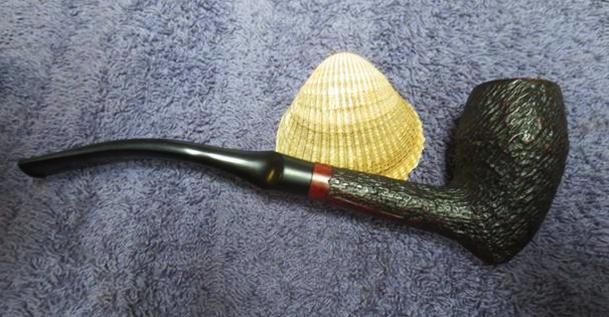
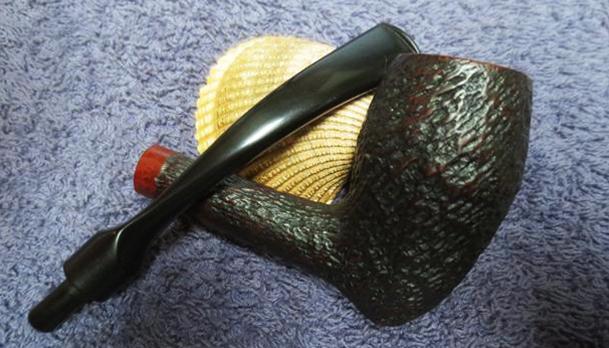
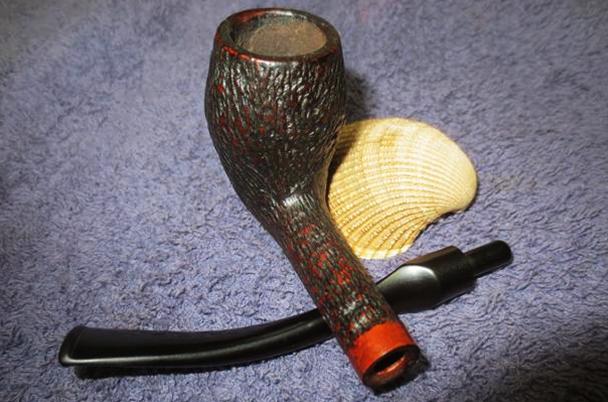
I did a quick look at Pipephil’s site (http://www.pipephil.eu/logos/en/logo-b1.html) and did a screen capture of the section on Bari pipes. Now that I was reminded about the Viggo Nielsen connection it was time to work on the pipe on my end. The pipe was a mess when I took it out of my box here so I was curious to see how well it would cleanup. I took some photos of the pipe before I started my work on it. You can see that it is filthy but has some great grain around the sides of the bowl.
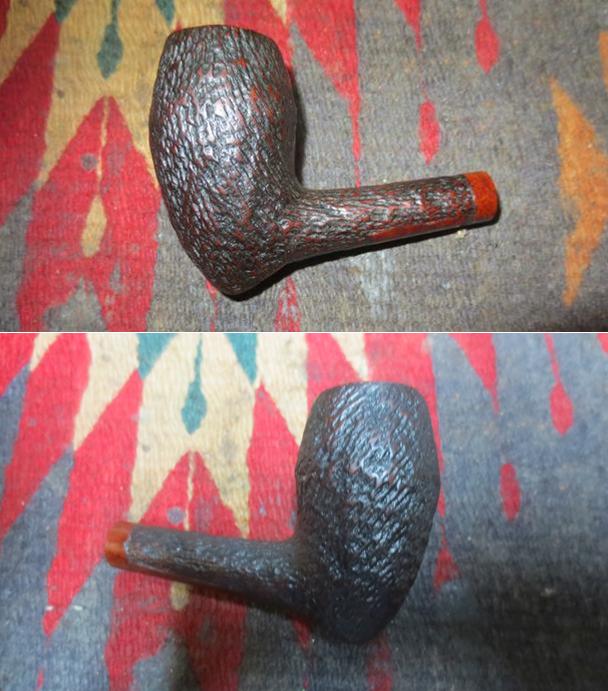
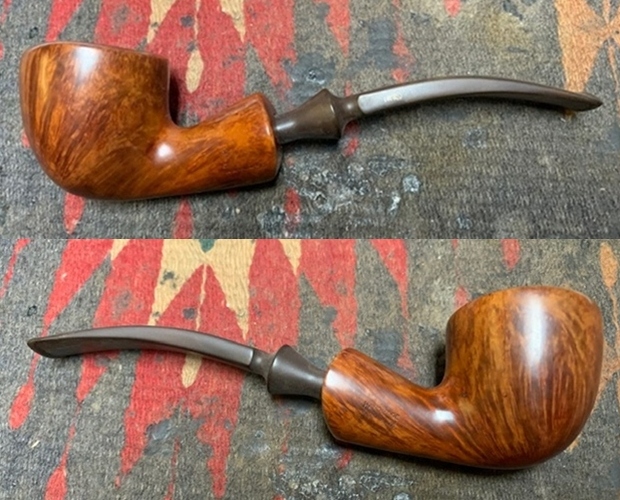
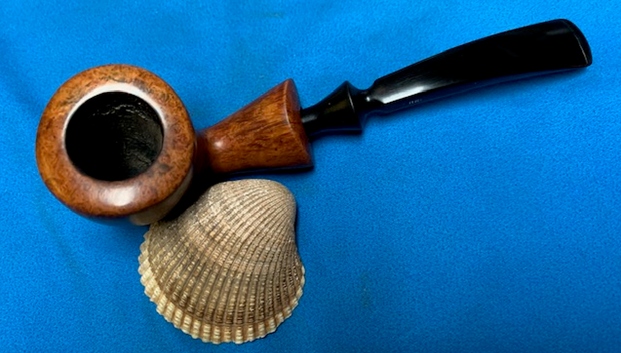
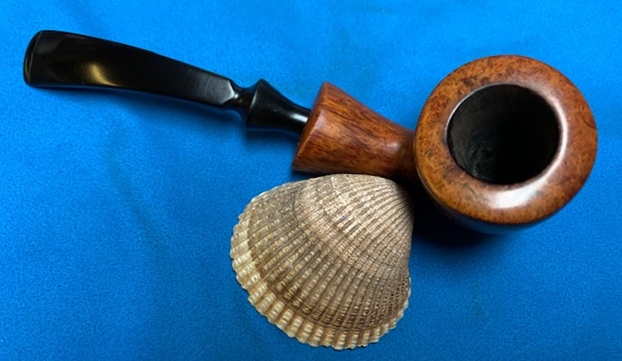
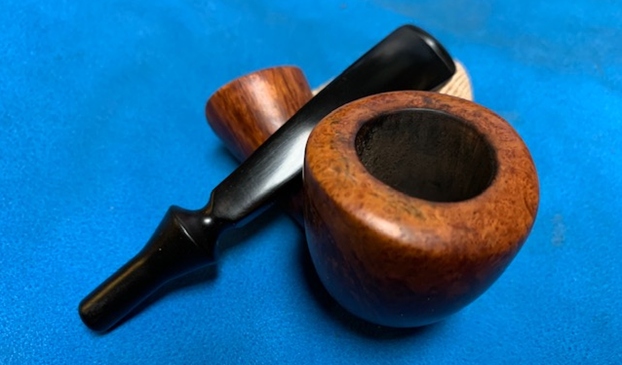
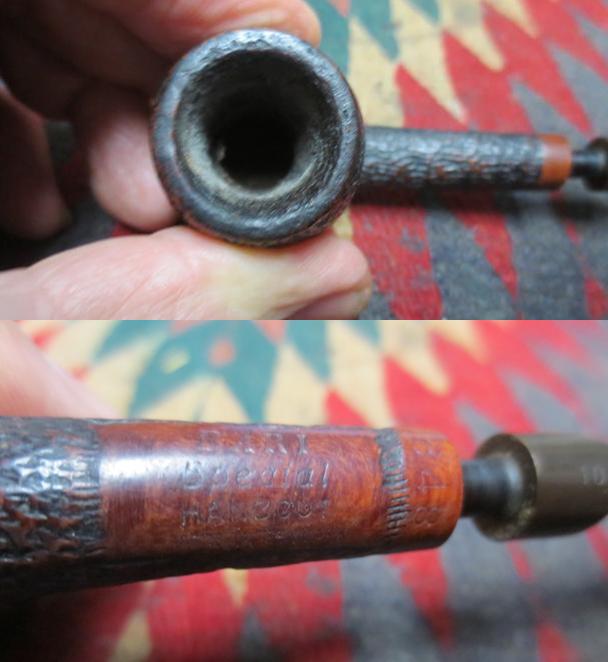
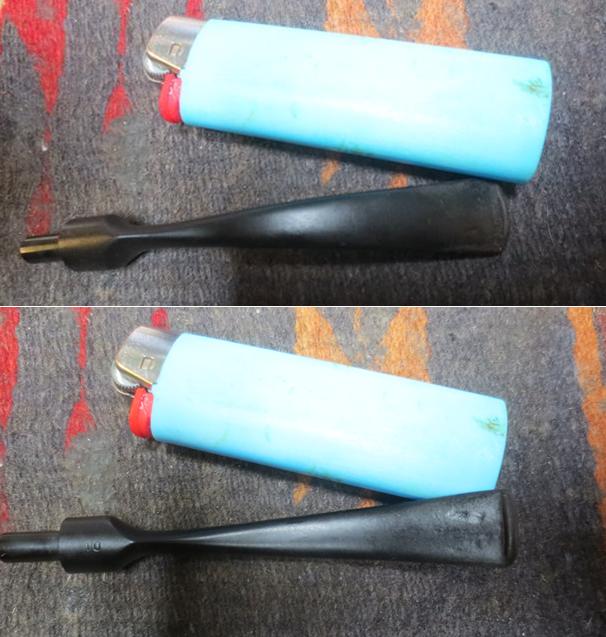
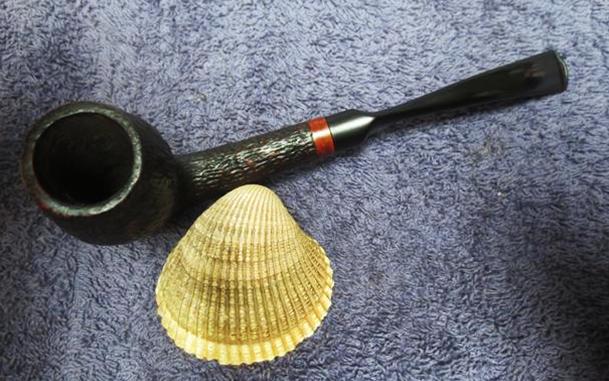
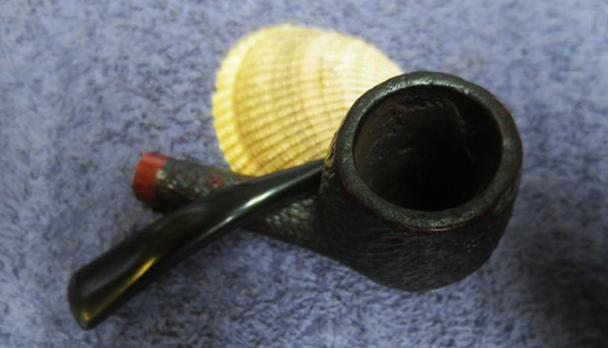
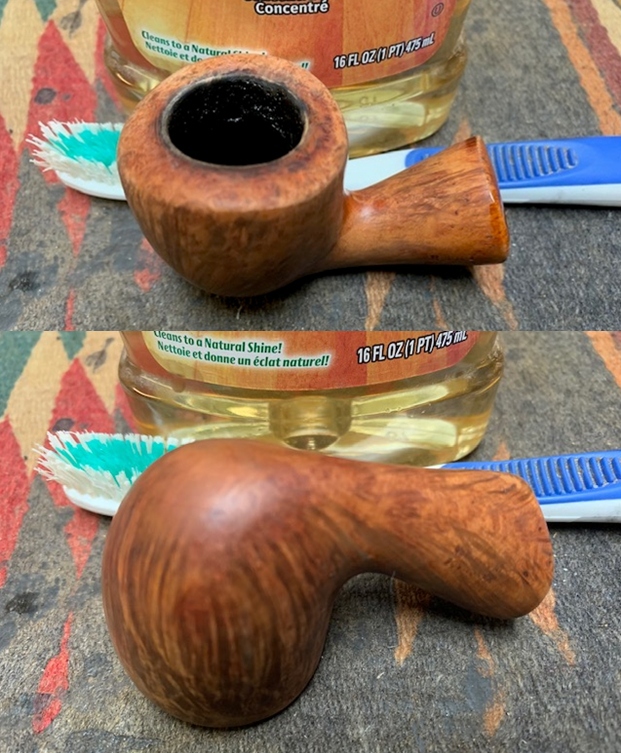
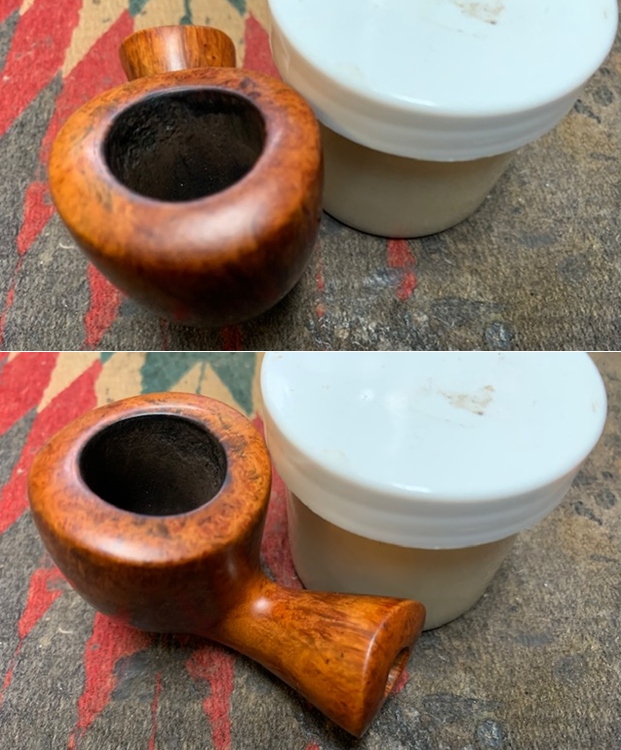
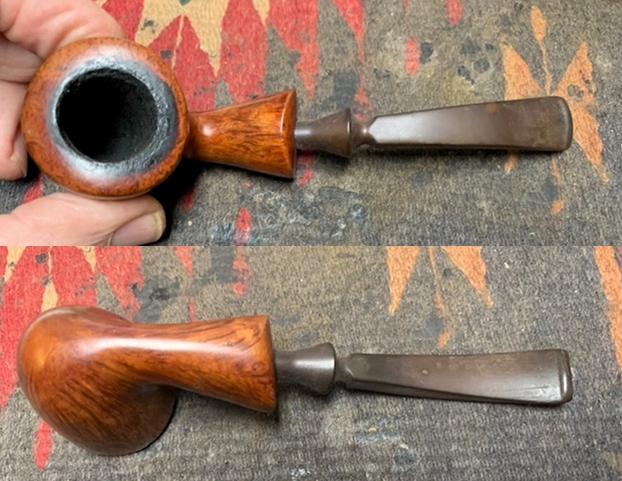 I took some close up photos of the rim top and the stem surface. I wanted to show the condition of the cake in the bowl and look of the rim top and lava overflow. I also took close up photos of the stem to show the tooth marks and the calcification, oxidation and generally condition of the stem surface.
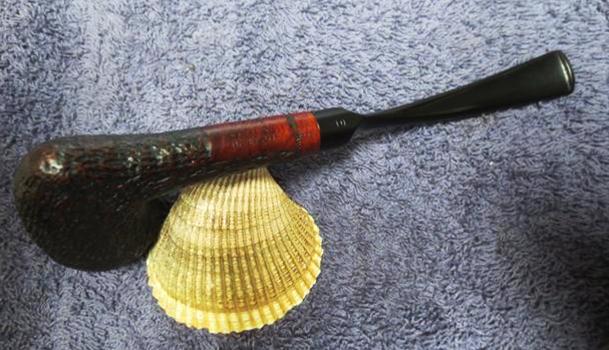
  I took photos of the stampings around the sides of the shank are faint but readable under the grime. It is stamped as noted above.
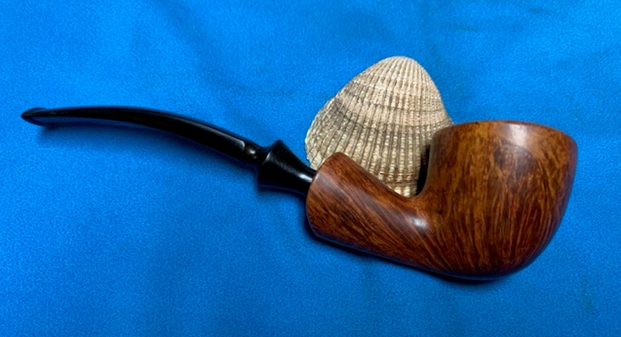
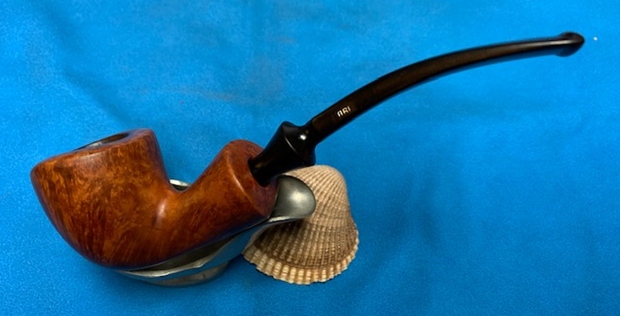
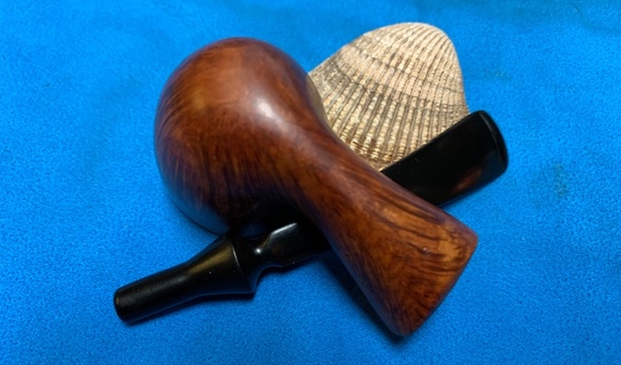
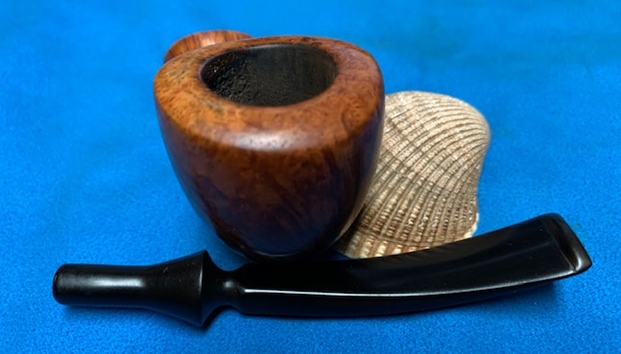
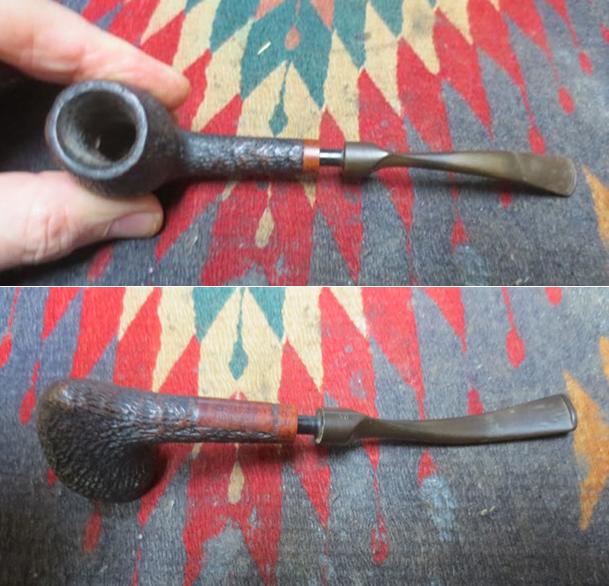
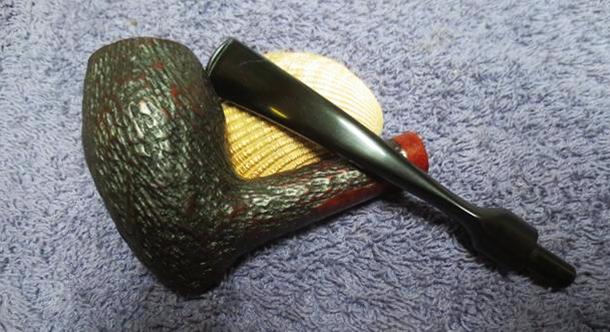
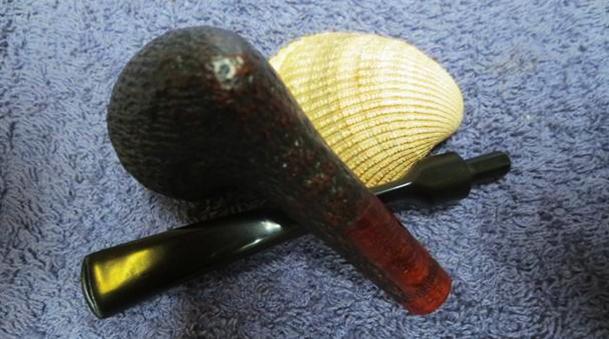
 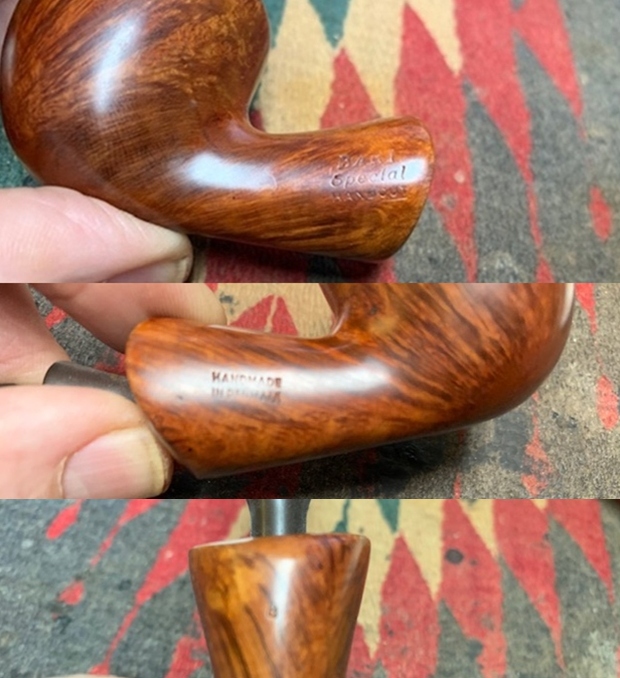 I removed the stem for the shank and took a photo of the bowl and stem to give a picture of what it looked like. It is a great looking pipe under the grime.
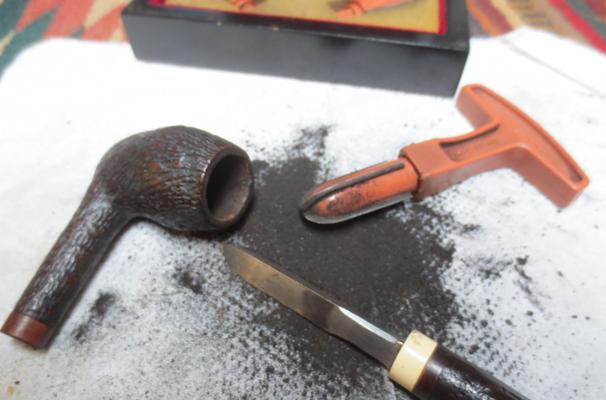
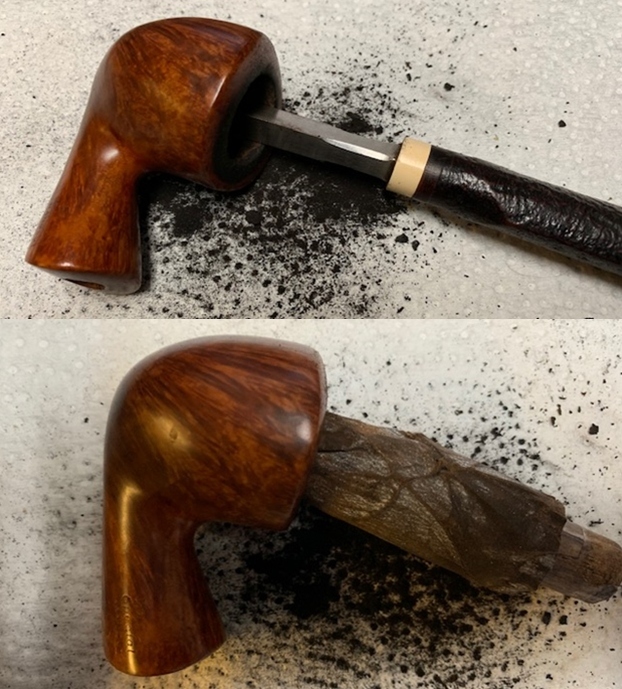
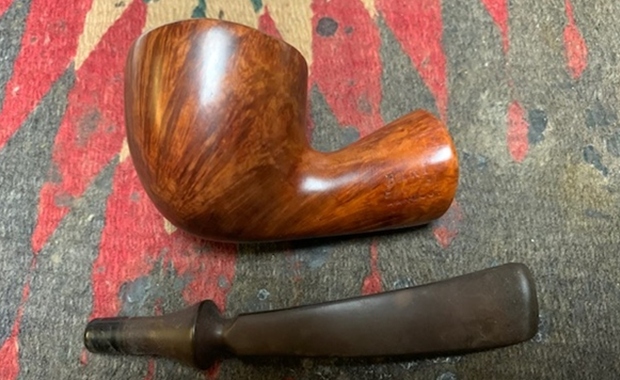 I decided to start my restoration by getting rid of the cake in the bowl and cleaning up the rim top. I reamed it with a PipNet pipe reamer and cleaned up the reaming with a Savinelli Fitsall Pipe Knife. I sanded the inside of the bowl with 220 grit sandpaper wrapped around a piece of dowel. Once I finished the bowl was smooth and clean. I was glad to see that there was no internal damage.
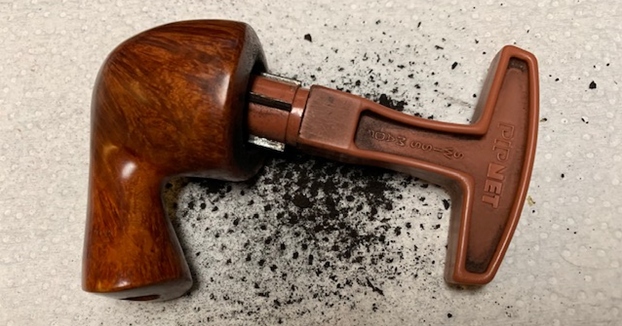
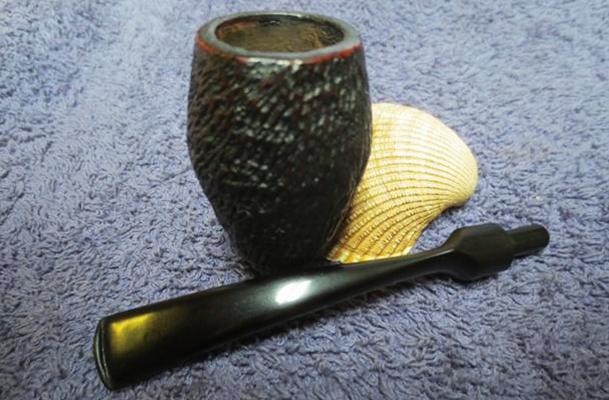
 I scrubbed the exterior of the bowl with Murphy’s Oil Soap and a tooth brush to remove the grime and grit on the briar and the lava on the rim top. The finish looks very good with good looking grain around the bowl and shank. Once it is polished it will come to life.
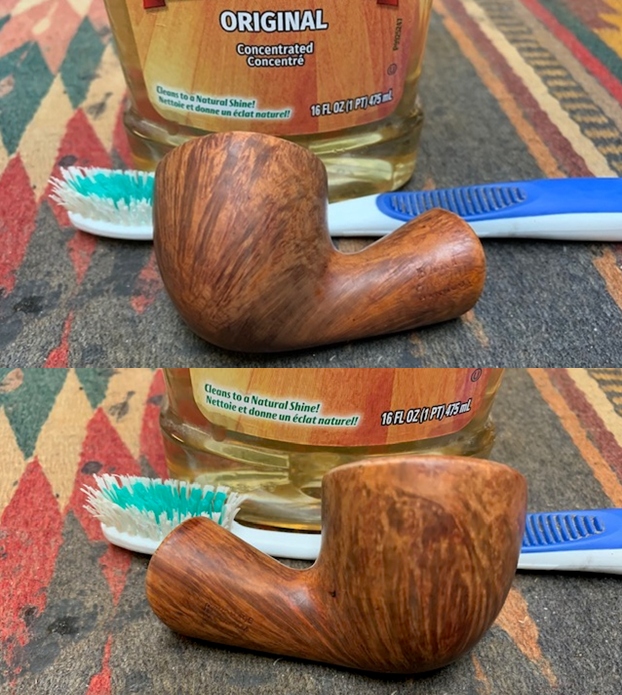
 I scrubbed out the internals of the shank and the airway in the stem with alcohol, pipe cleaners and cotton swabs until the pipe was clean.
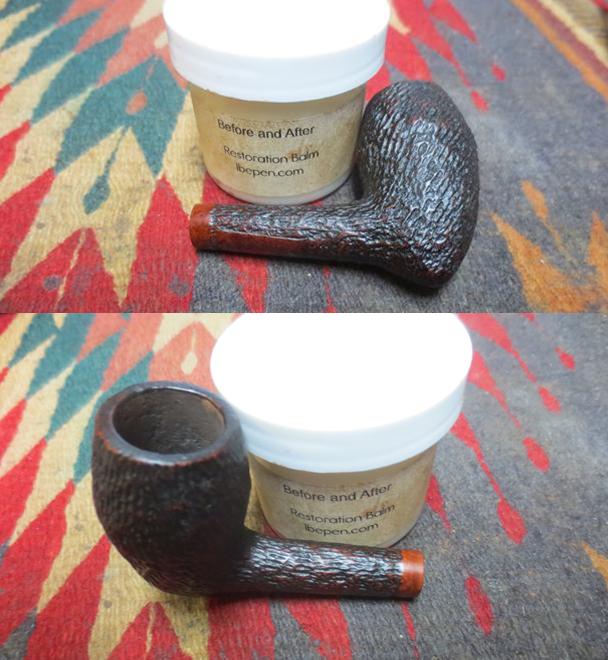
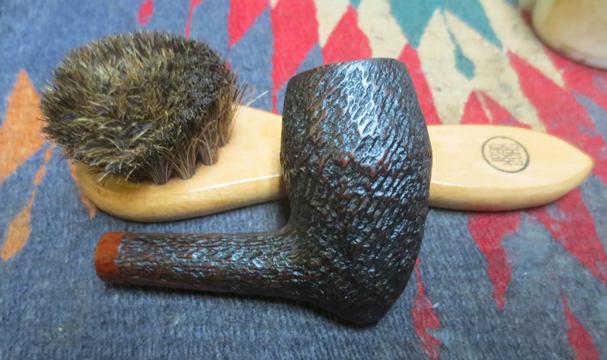
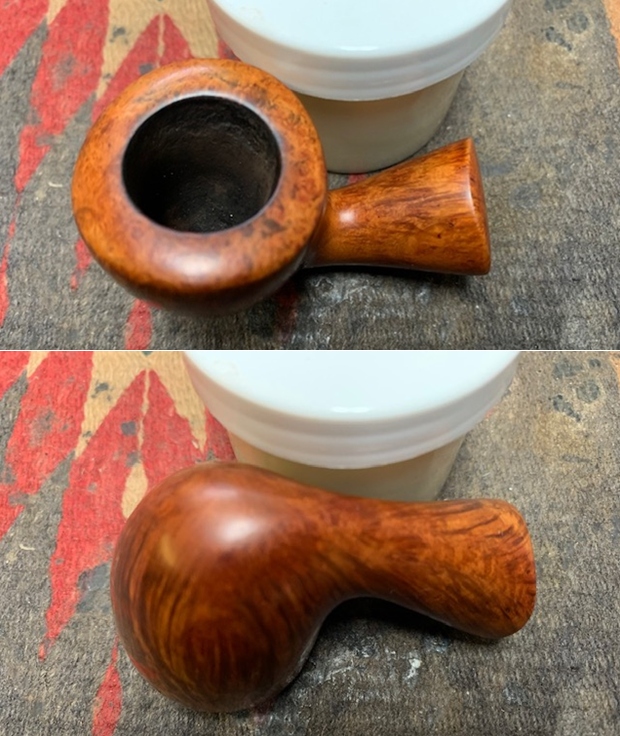
 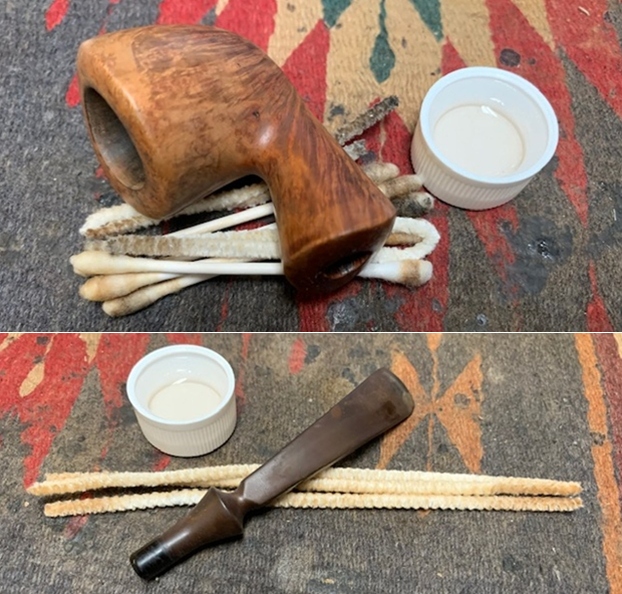 I rubbed the bowl down with Before & After Restoration Balm. I worked it into the surface of the briar with my fingertips and a horsehair shoe brush to clean, enliven and protect it. I let the balm sit for a little while and then buffed with a cotton cloth and shoe brush to raise the shine.
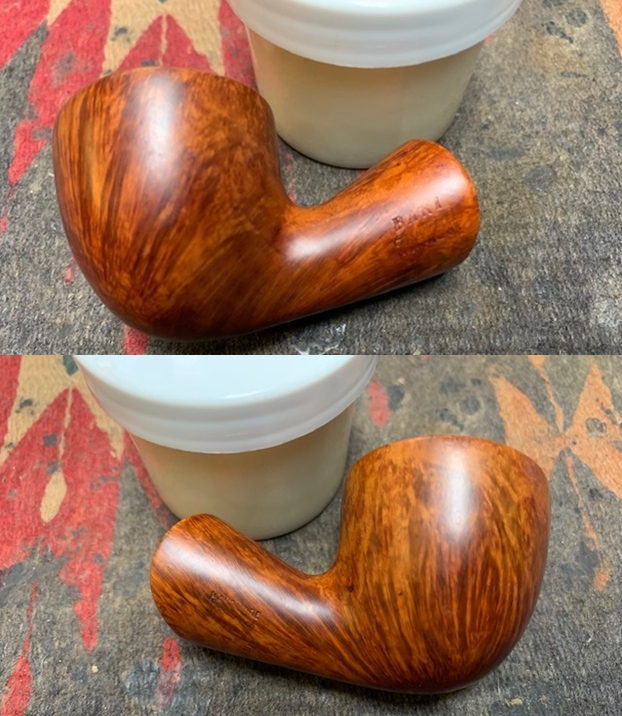
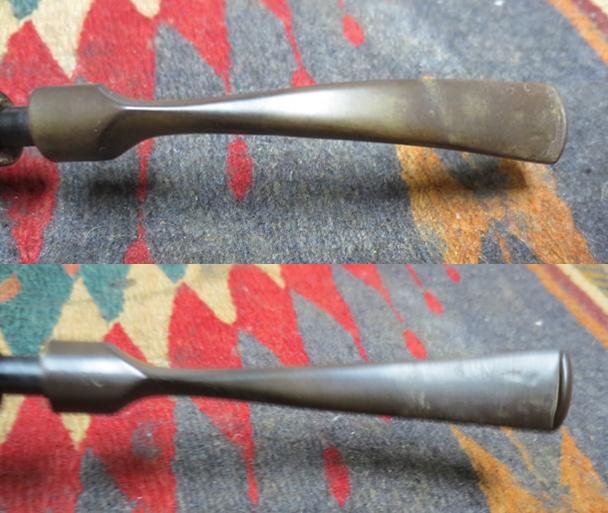
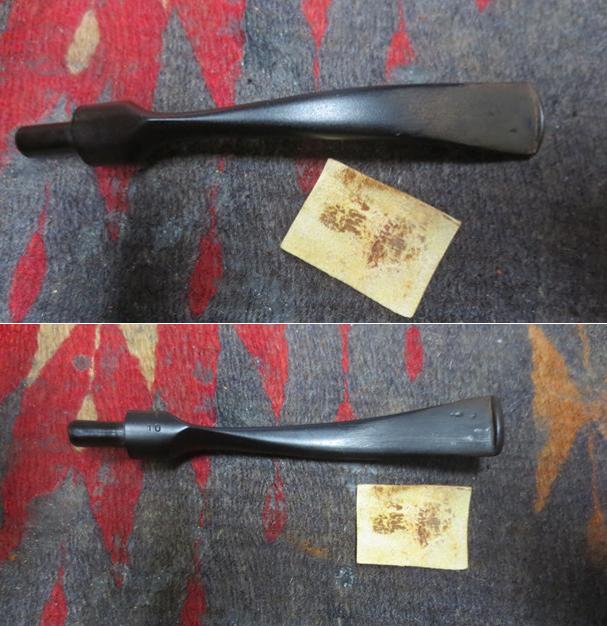
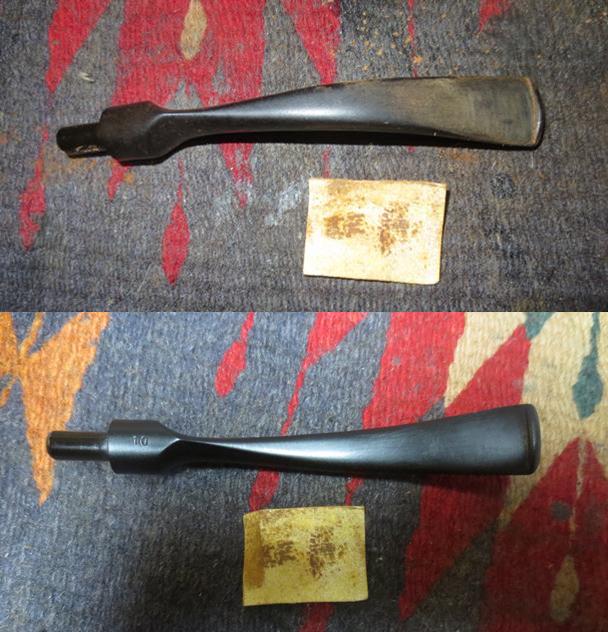
 I set the bowl aside and turned my attention to the stem. I sanded to loosen the oxidation on the vulcanite. I used a needle file to sharpen the edges of the button and redefine the shape.
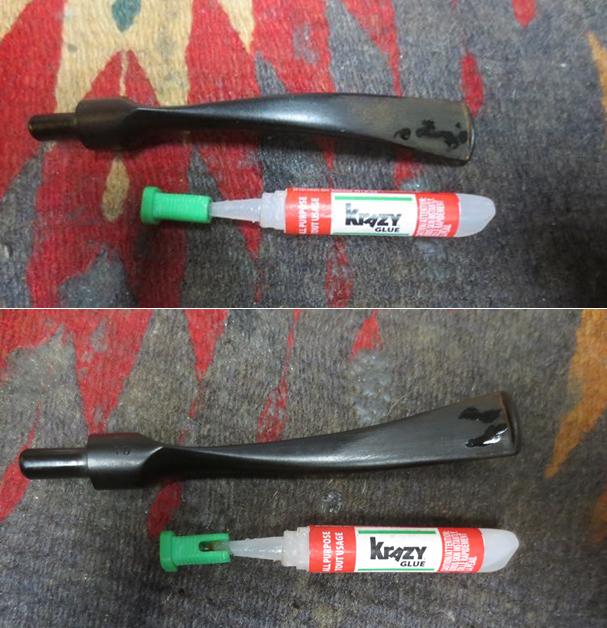
 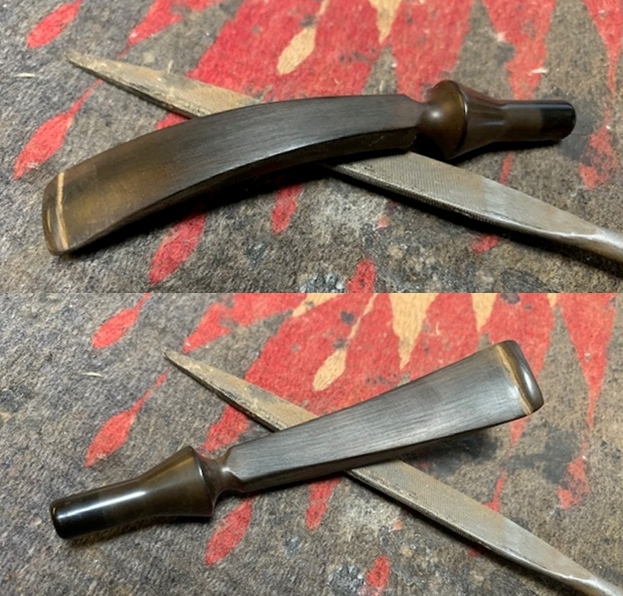 I scrubbed the stem with Soft Scrub polish to remove the oxidation. While it did not take it all out it removed much of. What was left I would minimize more with 220 grit and 400 grit sandpaper and then would polish out with micromesh sanding pads.
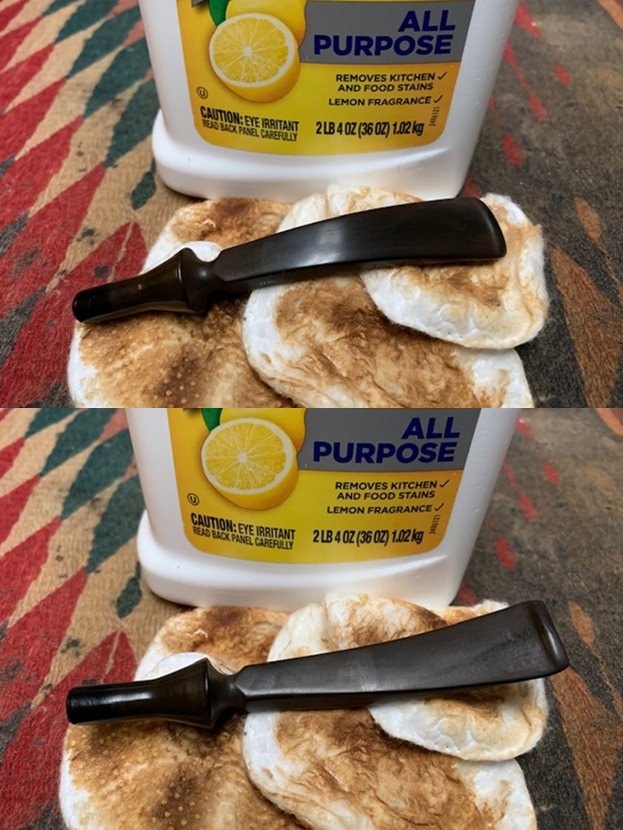 I sanded out the scratching and the tooth dents with 220 grit sandpaper and starting the polishing process with 400 grit wet dry sandpaper.
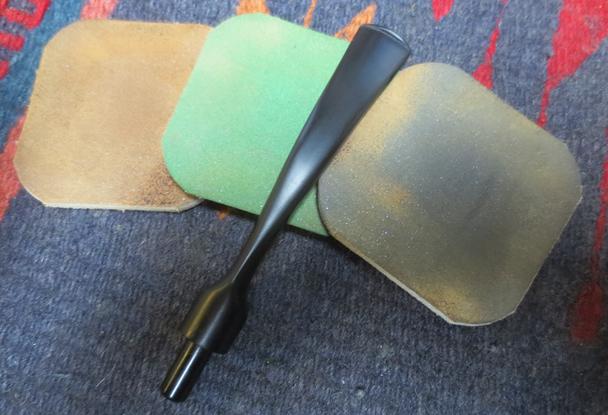
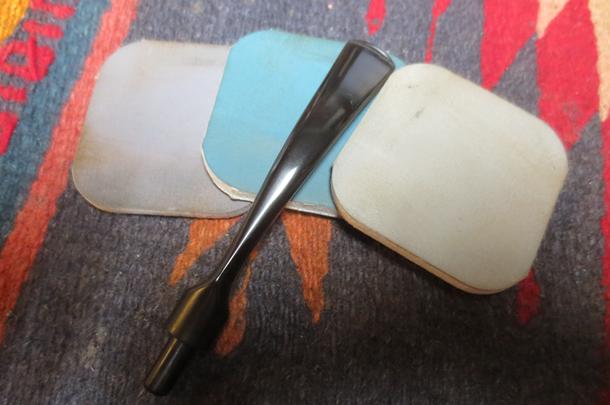
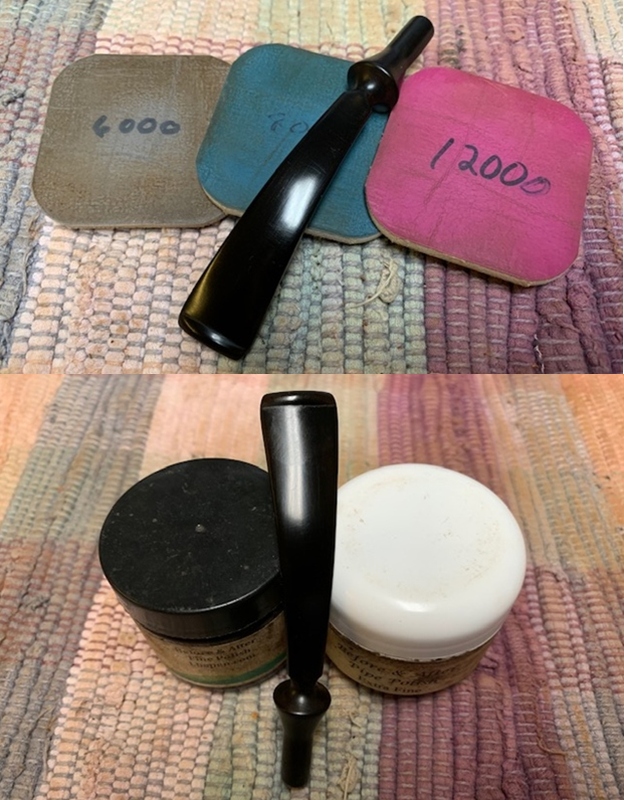
 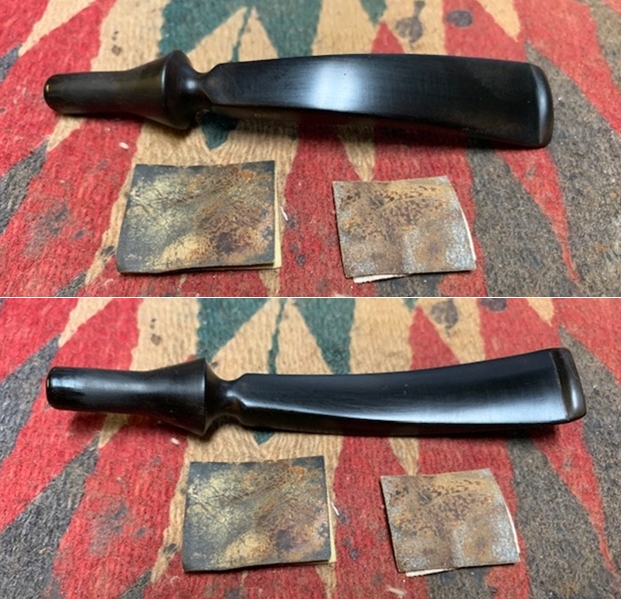 I polished the vulcanite with micromesh sanding pads – 1500-12000 grit pads. I wiped it down with a damp cloth after each sanding pad. I used Before & After Pipe Polish – both Fine and Extra Fine to further polish the stem. I left a little oxidation around the stamp so as not to damage it more.
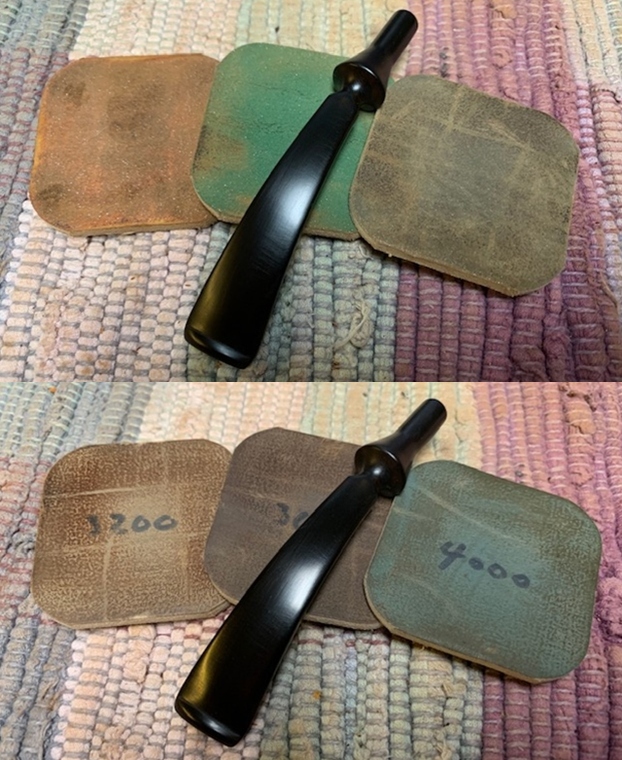
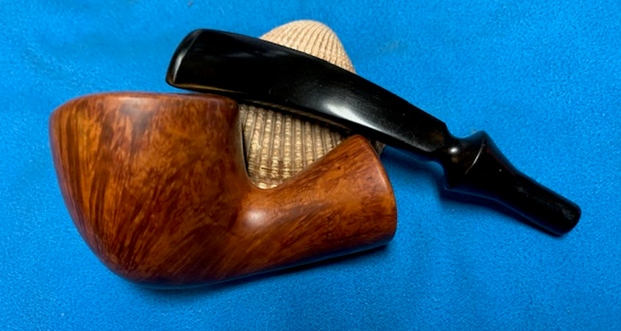
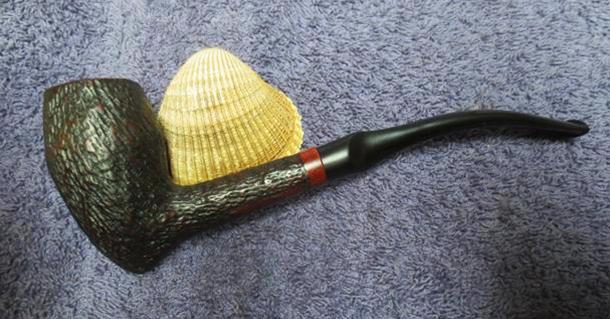
 This restored Bari Danish Made Special Handcut Dublin is a nice looking pipe. The contrasting brown stains on the pipe worked really well with the polished vulcanite fancy stem. I put the stem back on the bowl and carefully buffed the pipe with Blue Diamond on the buffing wheel. I gave the bowl and stem multiple coats of carnauba wax on the buffing wheel keeping a light touch on the buffing wheel for the bowl. I followed that by buffing the entire pipe with a clean buffing pad. I hand buffed the pipe with a microfiber cloth to deepen the shine. The finished Bari Special Dublin fits nicely in the hand and feels great. Give the finished pipe a look in the photos below. The dimensions of the pipe are Length: 6 inches, Height: 1 ¾ inches, Outside diameter of the bowl: 1 ½ inches, Chamber diameter: ¾ of an inch. If you are interested in carrying on the previous pipe man’s legacy with this pipe send me a message or an email. I have more to work on of various brands. Perhaps one of those will catch your attention. Thanks for reading this blog and my reflections on the pipe while I worked on it.