Tag Archives: Bananabox-Ninja articles

Walt Disney pipe –AJ Verstraten (aka Bananabox-Ninja)


I am happy to see AJ back at his refurbishing work and writing about what he is working on. This pipe is particularly interesting in that it is a Disney Pipe. I have not seen much about these pipes and have enjoyed AJ’s work and write up. Thanks AJ for doing this and allowing us the pleasure of seeing the Disney pipe.

Greetings. When I first joined the PRF, a little over 18 months ago, there was a subject on the forum in which members could share with the other members what they thought was their dream pipe.

I was still rather green behind the ears when it came to brands, shapes and sizes so I didn’t reply in it at first. However, after a few months I found this article on Pipesmagazine.com:
http://pipesmagazine.com/blog/pipe-smokers-of-the-past/walt-disney-american-icon-inventor-of-pop-culture-pipe-smoker/ It was an interview with Brian Levine who explained about the fact that the Walt Disney Company sold pipes and pipe tobacco in the parks up until 1991/93.
This tickled me; the fact that the ‘wholesome WD Company’ sold tobacco and especially pipes with their logo on it was too good to be true. It was then that I decided a Walt Disney pipe would be my dream pipe.

So I shared this with my fellow Dutch pipe smokers on the PRF and explained that since I live in the Netherlands it would be an interesting challenge to try to acquire on for a reasonable price.

Thus my quest started and ended a mere three weeks later when I was not out bid on this eBay lot:
000

A tobacco pot with two pipes, the one on the left being a Disney pipe. The closing bid was $19.53 for the whole lot though my mood was a bit adjusted when I found out the shipping cost would be $42,-. Still, corrected to Euros it was a nice price for something so rare for a European.

When the pipe came it was very well packed and had survived the transit wonderfully. The other pipe was a Kaywoodie which I will write about in the future.

The first thing that struck me was that the pipe seemed to be only smoked a few times. The mouthpiece was oxidized through time and air but on the whole it was in good condition.
001
The inside of the bowl was lined with meerschaum, wetting a finger with spit and pressing it against the meerschaum I concluded it to be pressed – meerschaum instead of block meerschaum.
002
A rule of thumb (no pun intended :-)) is that when your wet finger sticks to the meerschaum it has a higher absorption rate and is thus most likely to be block-meerschaum. The pipe also confirmed the story from Levine that most of these pipes were basket-pipes stamped with the WD logo, though this one was of better quality than I expected.
003
First I cleaned the inside with 96% alcohol and pipe cleaners. They came out rather clean on the first go.
004
The soot and coal on the rim were rubbed off easily with a little spit and an old sock. And with 1500 grit sandpaper I smoothed the bowl a little, I decided to leave the brown spots on the meerschaum as I didn’t want to ruin the look of the pipe should the spots run deeper than I anticipated.
005
Then using the motor and abrasive wheels I removed the oxidation on the mouthpiece.
And with a needle file the hard to get oxidation near the tip. The picture is made just after the abrasive wheels.
006

The pipe before buffing

The pipe before buffing


The buffing was done with brown paste, followed by white, carnauba wax and a buffing on the fluffy wheel.
008

Getting back in the saddle – AJ Verstraten


It is a pleasure to post another article by AJ Verstraten aka Bananabox-Ninja. It has been a while since he has been able to do any refurbs do to some health issues he had to deal with. It is great to know he is back and feeling much better. Glad to hear from you AJ and glad to hear you are healing. Thank you for taking the time to record your work for us to read and enjoy.

Greetings, it’s been a while since I was able to get behind my workstation and get some work done on the huge lot of pipes that are patiently waiting for a fix.
Some of you might remember my earlier piece in which I explained that I was home bound due to a motorcycle accident. Turns out I needed an operation to fix my cruciate ligament in my knee, this left me with a long recovery time but last week I was able to sit down and do four pipes that only needed some minor work to ‘flex my muscles’ so to speak.

A note about the pictures, as I did it outside in the nice spring weather there were still a lot of clouds and this makes some of the pictures quite dark.

These are the pipes I chose for cleaning:

Winsløw Grade E bought on ‘Marktplaats’ the Dutch version of Ebay
001 Winslow E group a
Chacom Silhouette a gift from a family friend who quit smoking years ago.
002 Chacom Silhouette a
Vibro Woodart acquired from a fellow forum-goer at the PRF.
003 Vibro Woodart a
Georg Jensen straight grain from the same friend as the Chacom.
004 Georg Jensen a
The procedure for all was the same.
Firstly I used hard bristled pipe cleaners dipped in 96%-proof alcohol. Afterwards the kettle would be inspected and cleared if necessary. After this I would set them aside and buff them one after the other.

The Winsløw is remarkable as it has only one dot on its mouthpiece instead of the two, I reached out to the Winsløw company about this but they didn’t reply. The pipe rather dull to clean as it was very well kept. I only cleaned the inside with the alcohol and that was it, the rest was nice and clean so I set it aside.
005 Winslow
The Chacom Silhouette was heavily used as was evident from the mouthpiece. It is made from swirling acrylic and you can see through it as they used clear acrylic in it. The black tar buildup took a lot of cleaners and the use of a new tool I acquired at a flea market.
006 Cleaning
The brown of the tar build up sits in the small cracks on the inside of the acrylic. These were formed by the precious owner who bit rather hard on his mouthpieces. I tried the ultrasonic cleaner but it wouldn’t budge. So I decided to keep it as is. (If anyone has a tip for me on that one I would be much obliged.)
007 Mouthpiece
Then it was time for the bowl, it had seen better days but there was no damage on the wood itself. So with the help of spit, a sock and the tool as shown earlier the coal layer was removed and the bowl was reamed with the reamer tool.
008 CS bowl
The Vibro Woodart pipe was the first one with an ebonite mouthpiece, so I set up the motor and abrasive wheel and let loose. It came out nice and black in the end.
009 Mouthpiece and motor
I noticed the mark in the mouthpiece was still visible so I used a correction fluid pen to fill it up and used the abrasive pads (8000 grit) to remove it gently.
010 colouring the letter
(The end result will follow)

I don’t have any pictures of the Jensen pipe as the pictures were all too dark. But I did the same as the Vibro pipe. Using the abrasive wheel and the correction fluid pen to get the logo back out again.

Then it was time for the buffing. Buffing with brown (1), white (2) and then with carnauba wax (3).
011 Buffing
Here are the final results, you can see the W on the Vibro pipe quite clearly and on the group shot the result on the Jensen.
012

013

014

015

016
In the end it was good to sit in the sun and once again get my hands into cleaning a nice pipe.
I always feel quite happy when a dull pipe with a heavily caked bowl turns into a nice shiny one that can be once again hopefully be used for many years to come.

An Ultrasonic Stem Cleaning Experiment – AJ Verstraten (aka Bananabox-Ninja)


What follows is another article by AJ on his use of the ultrasonic cleaning machine. He has written it in response to the many who asked to hear more about it after his first article here on rebornpipes. I wish to thank AJ for his contributions to the blog and to encourage him to continue to write for us. It is a pleasure to post his next contribution. Thank you AJ.

Greetings, when using a new technique I can’t help but experiment like a mad scientist. So when I heard of the ultra sonic cleaning from my fellow cleaner on the PRF (The Dutch Flemish pipe smoking forum) named ‘Meindert’ I dove into it, because science! One of the first try-outs was posted in my first article and I was carefully optimistic about the end result. During the course of this clean-up I learned why I was not completely happy about it.

When I read the comments on my first article, Mark Domingues mentioned the Oxyclean method. To be honest I never heard of Oxyclean but it triggered a mention done by another fellow PRF-er named ‘annie69’. Who once told me he used hand warm water and Oxi-Action to remove the heavy oxidation on a stem. I tried this method a few months ago, but was not very happy with the end results as it left the stems slippery and gooey, which in my eyes prevented the rest of the oxy-water reaching the stem.

As an ultrasonic vibrates the water I thought: “What if the water is in motion, would it remove the goo from the stem during the soak and so give a deeper penetration?” followed by: “What if I combine the oxy-method with the ultrasonic?” So I set up a test with two almost similar oxidized stems which are from my ‘bit-box’ of pipe heads and stems that are missing their counterpart.

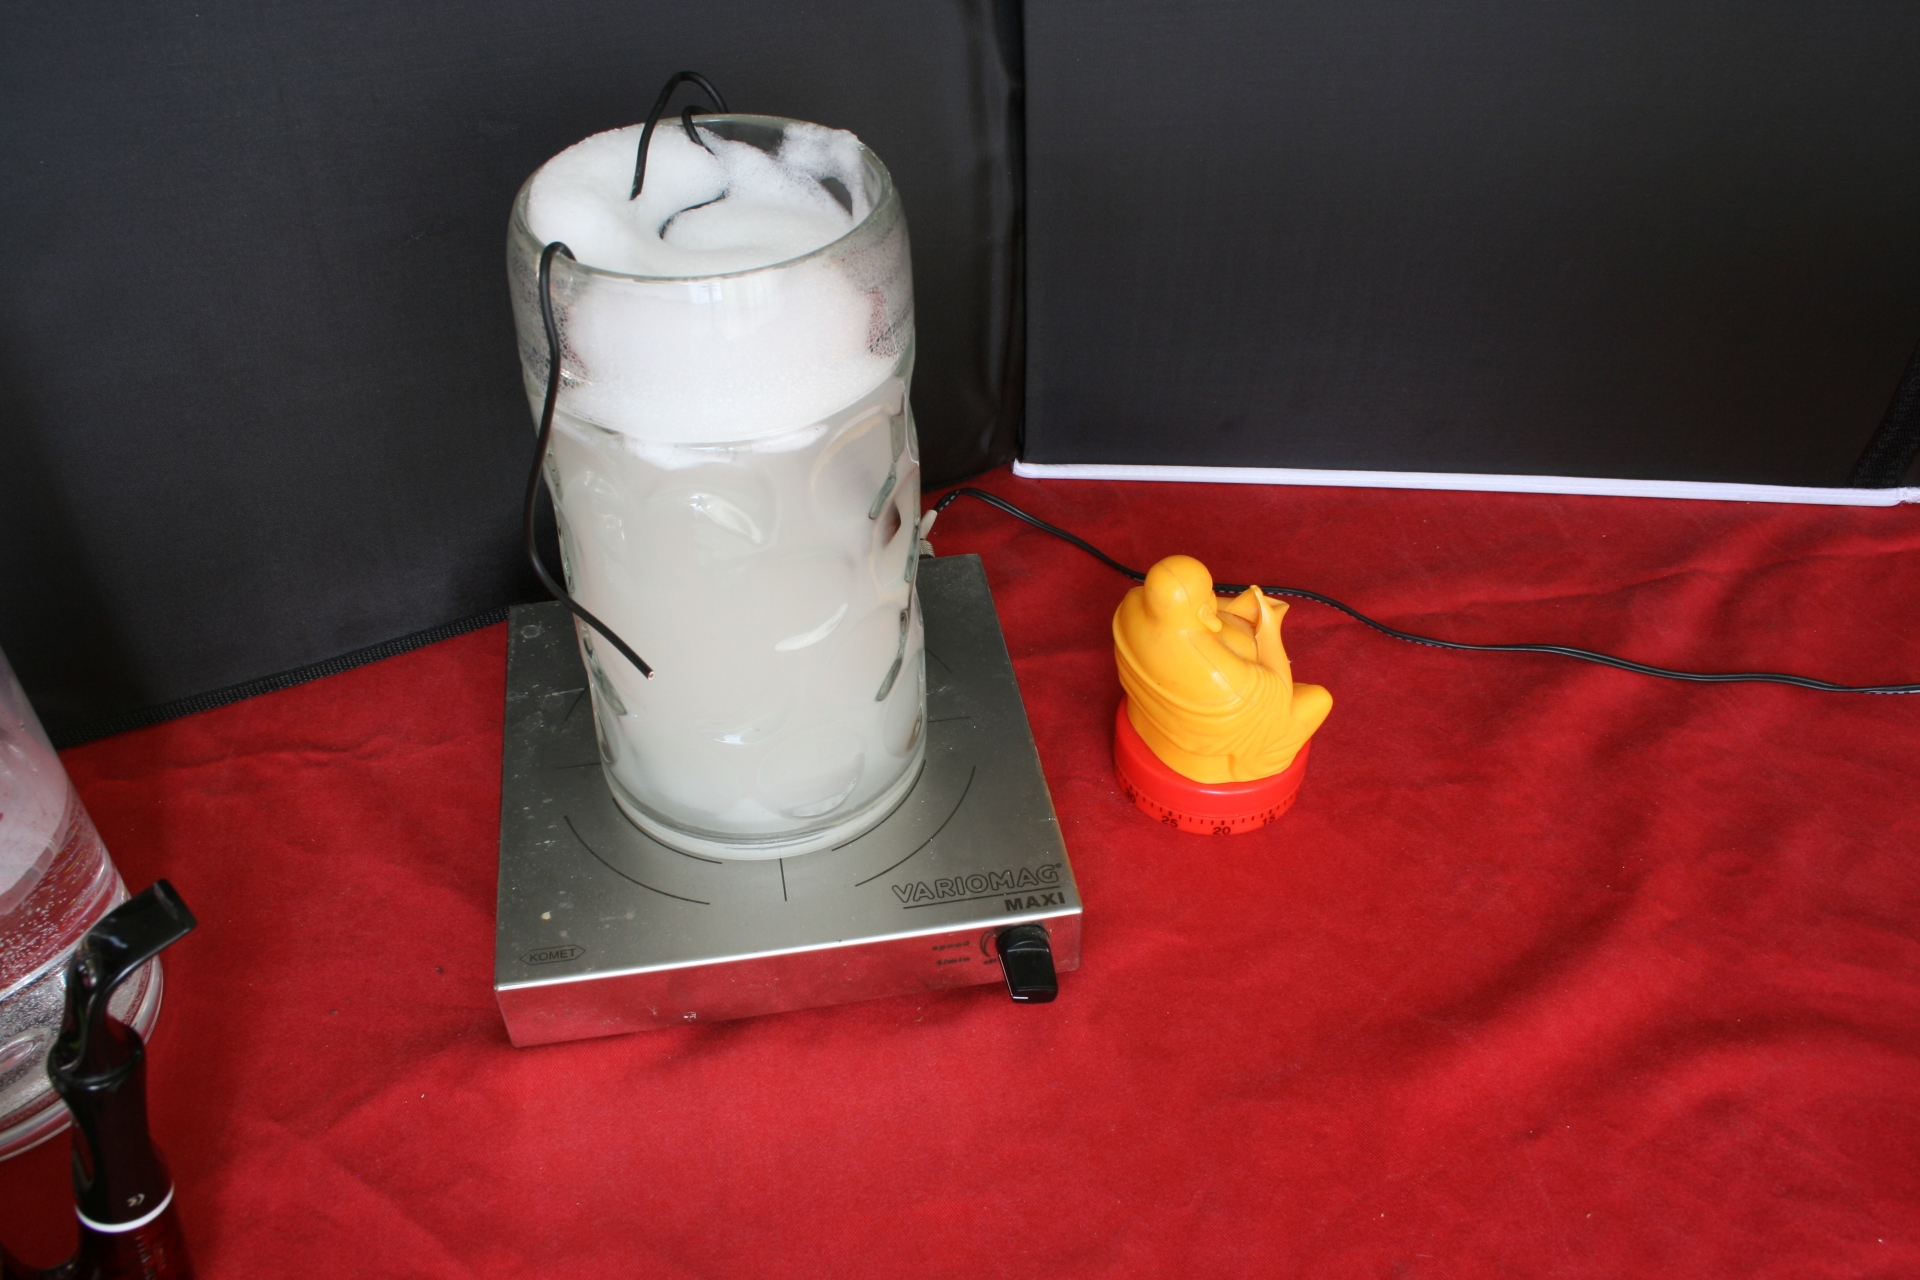
Oh, I should mention I work for a company that supplies laboratory equipment and some of the tools are old stock that was distributed to personnel, hence the use of a magnetic stirrer.

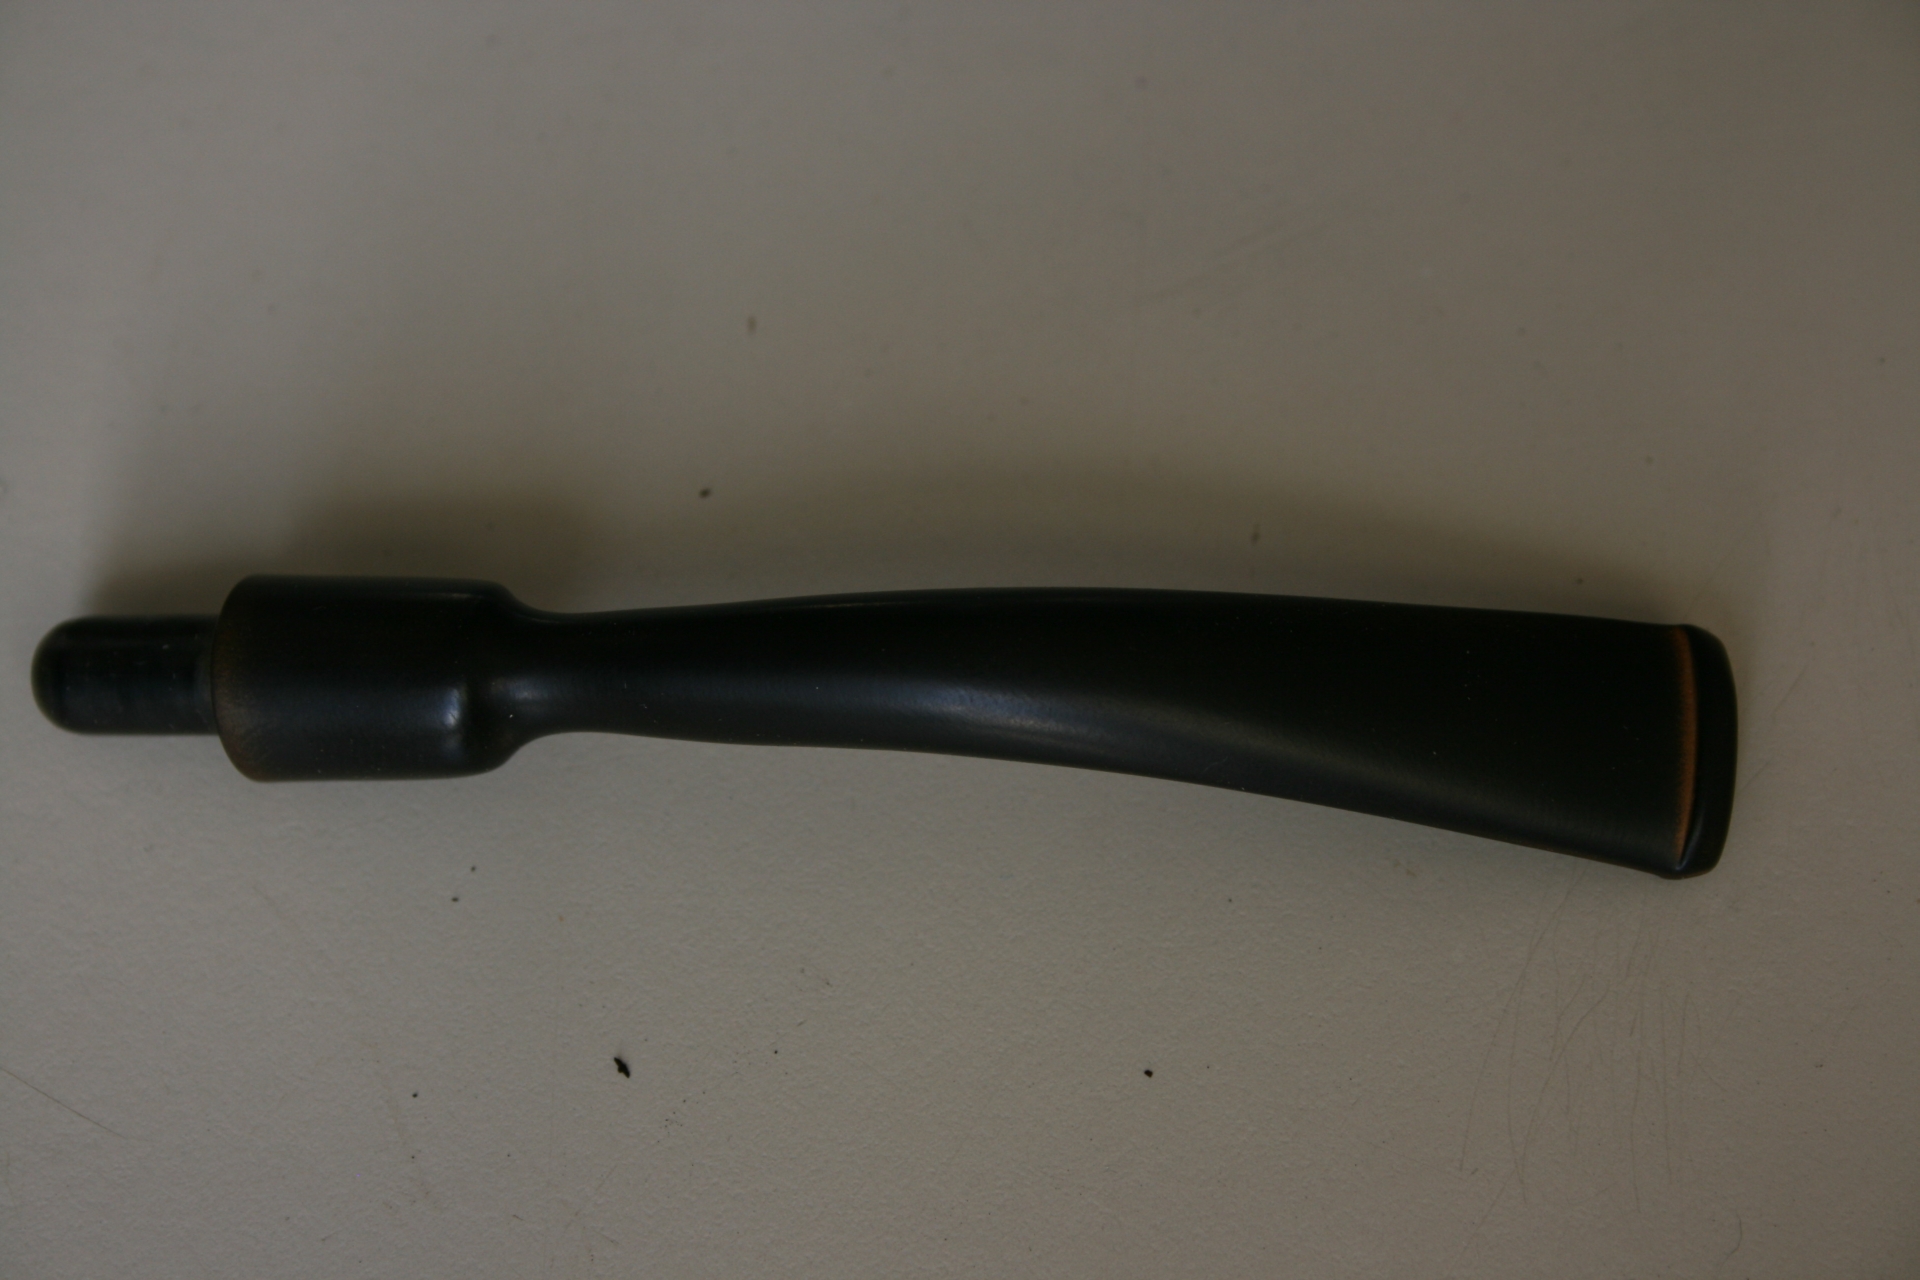
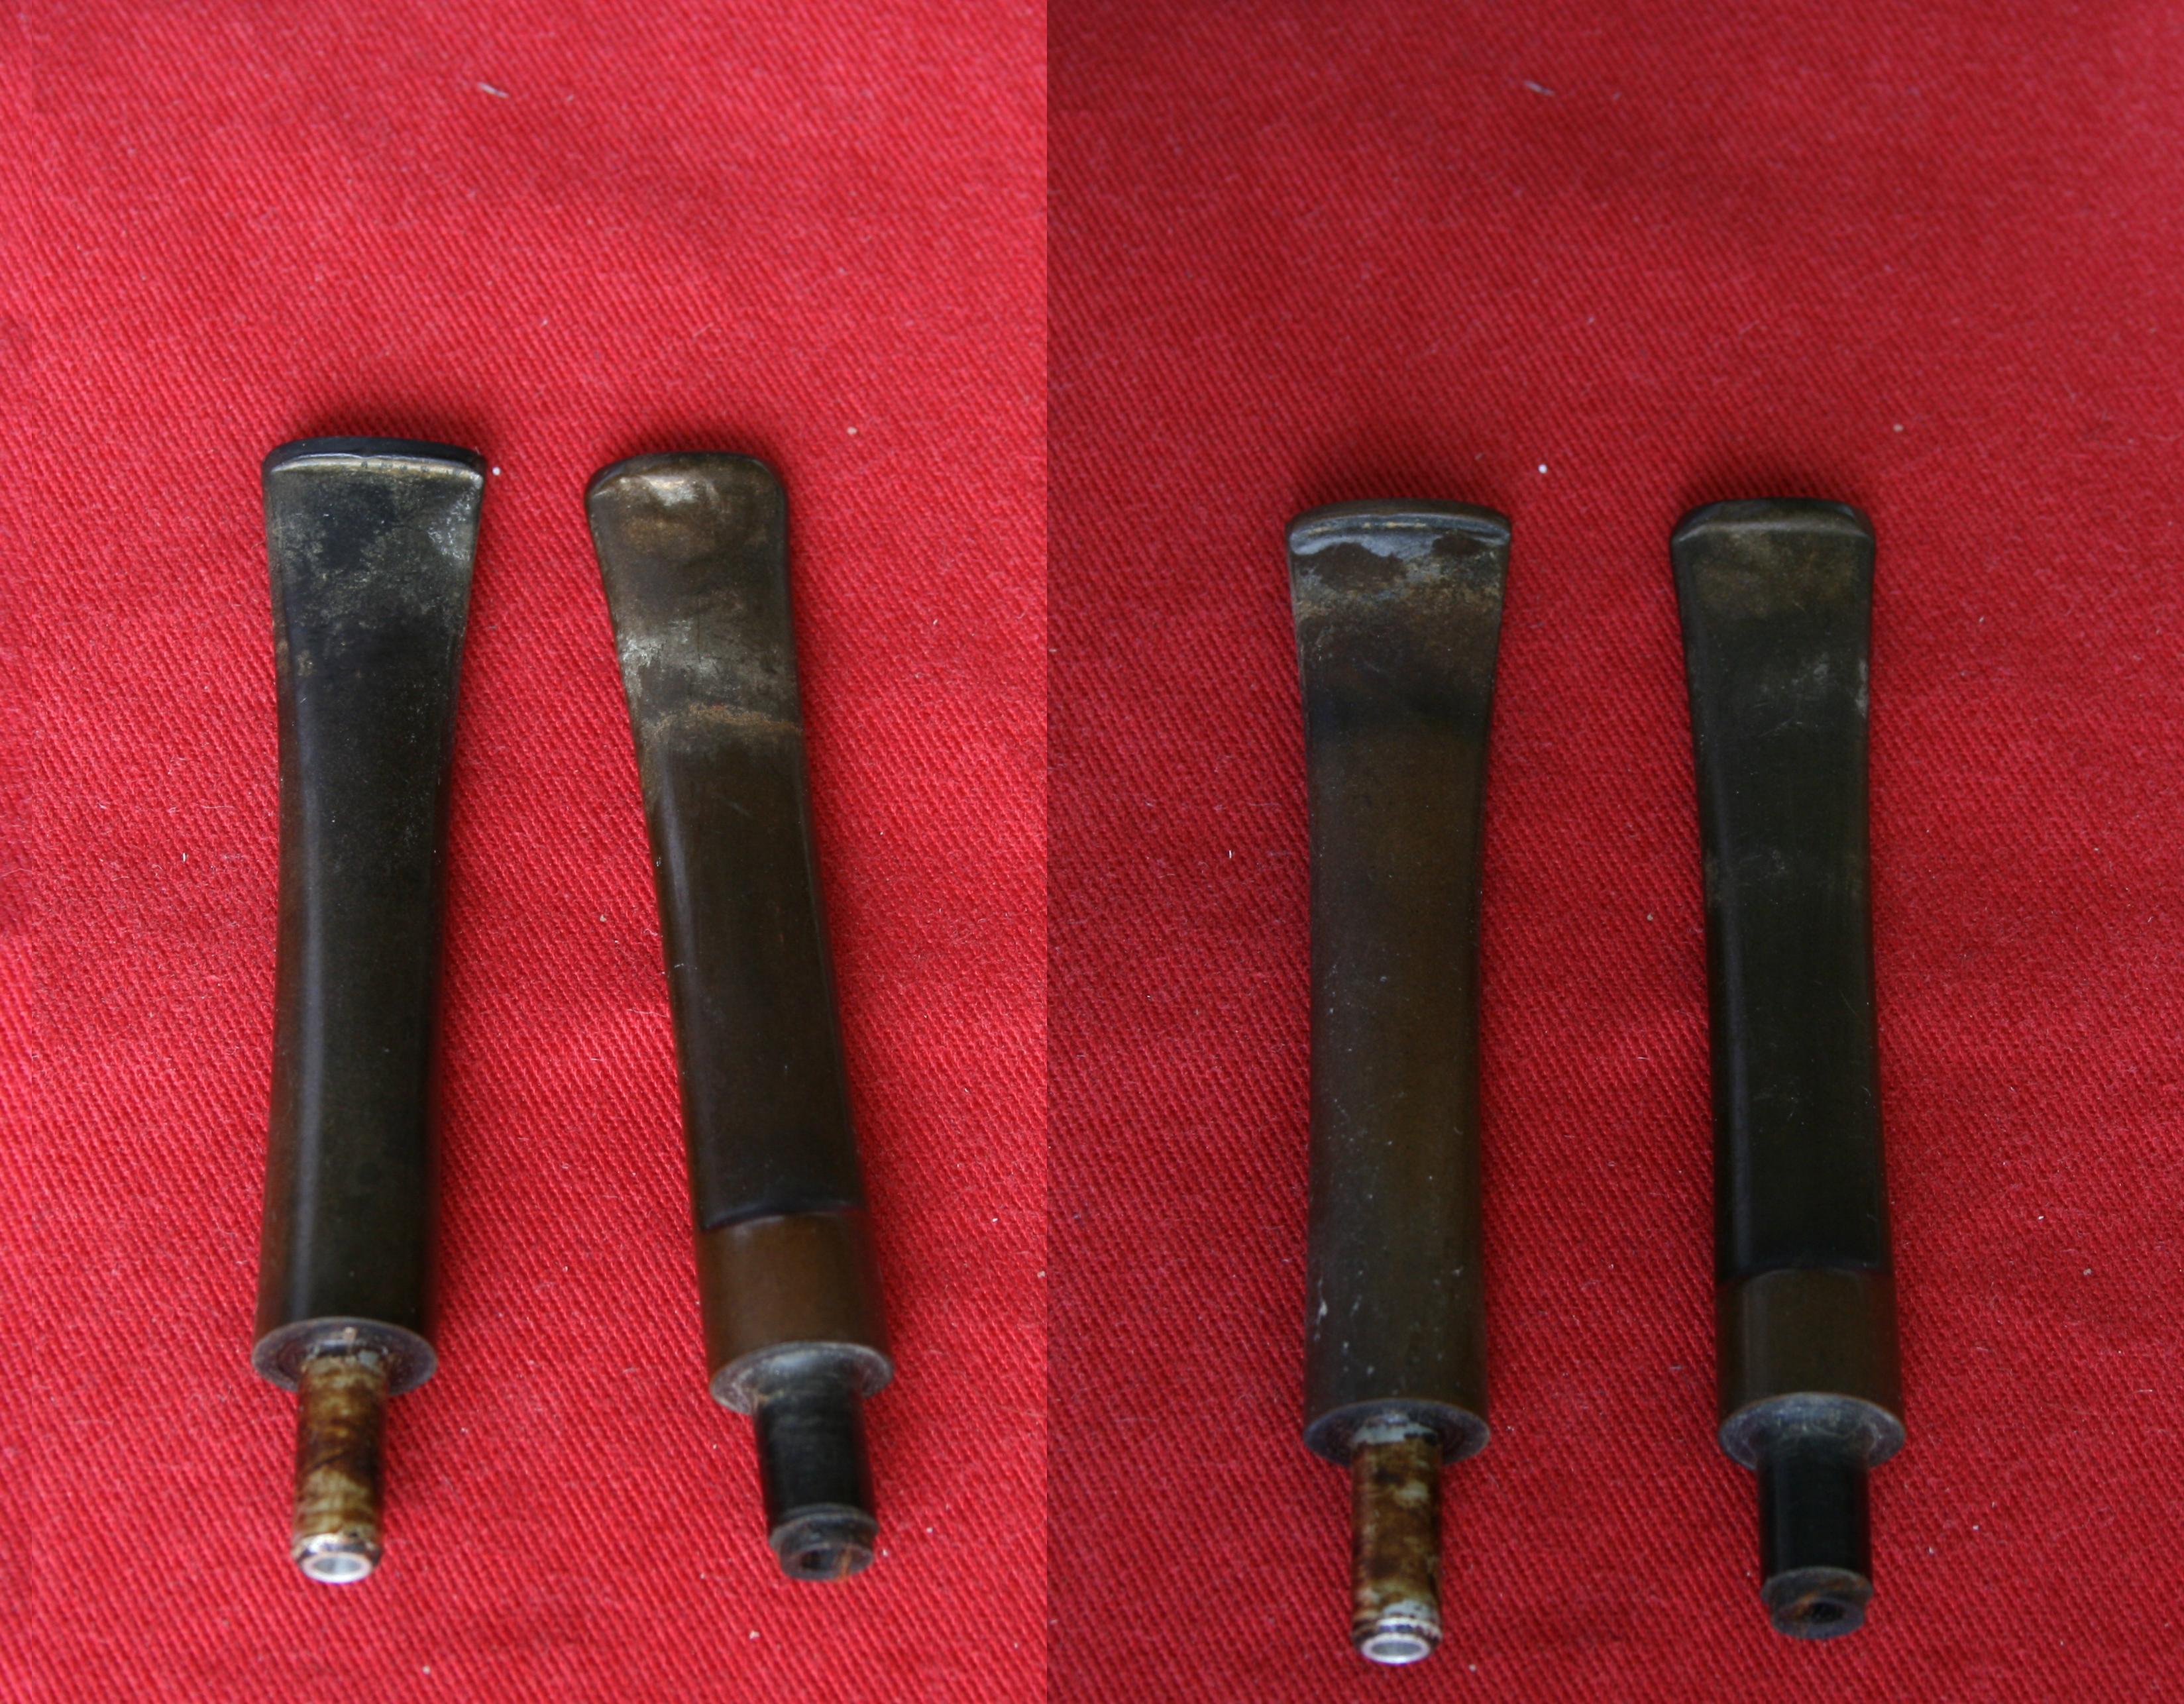
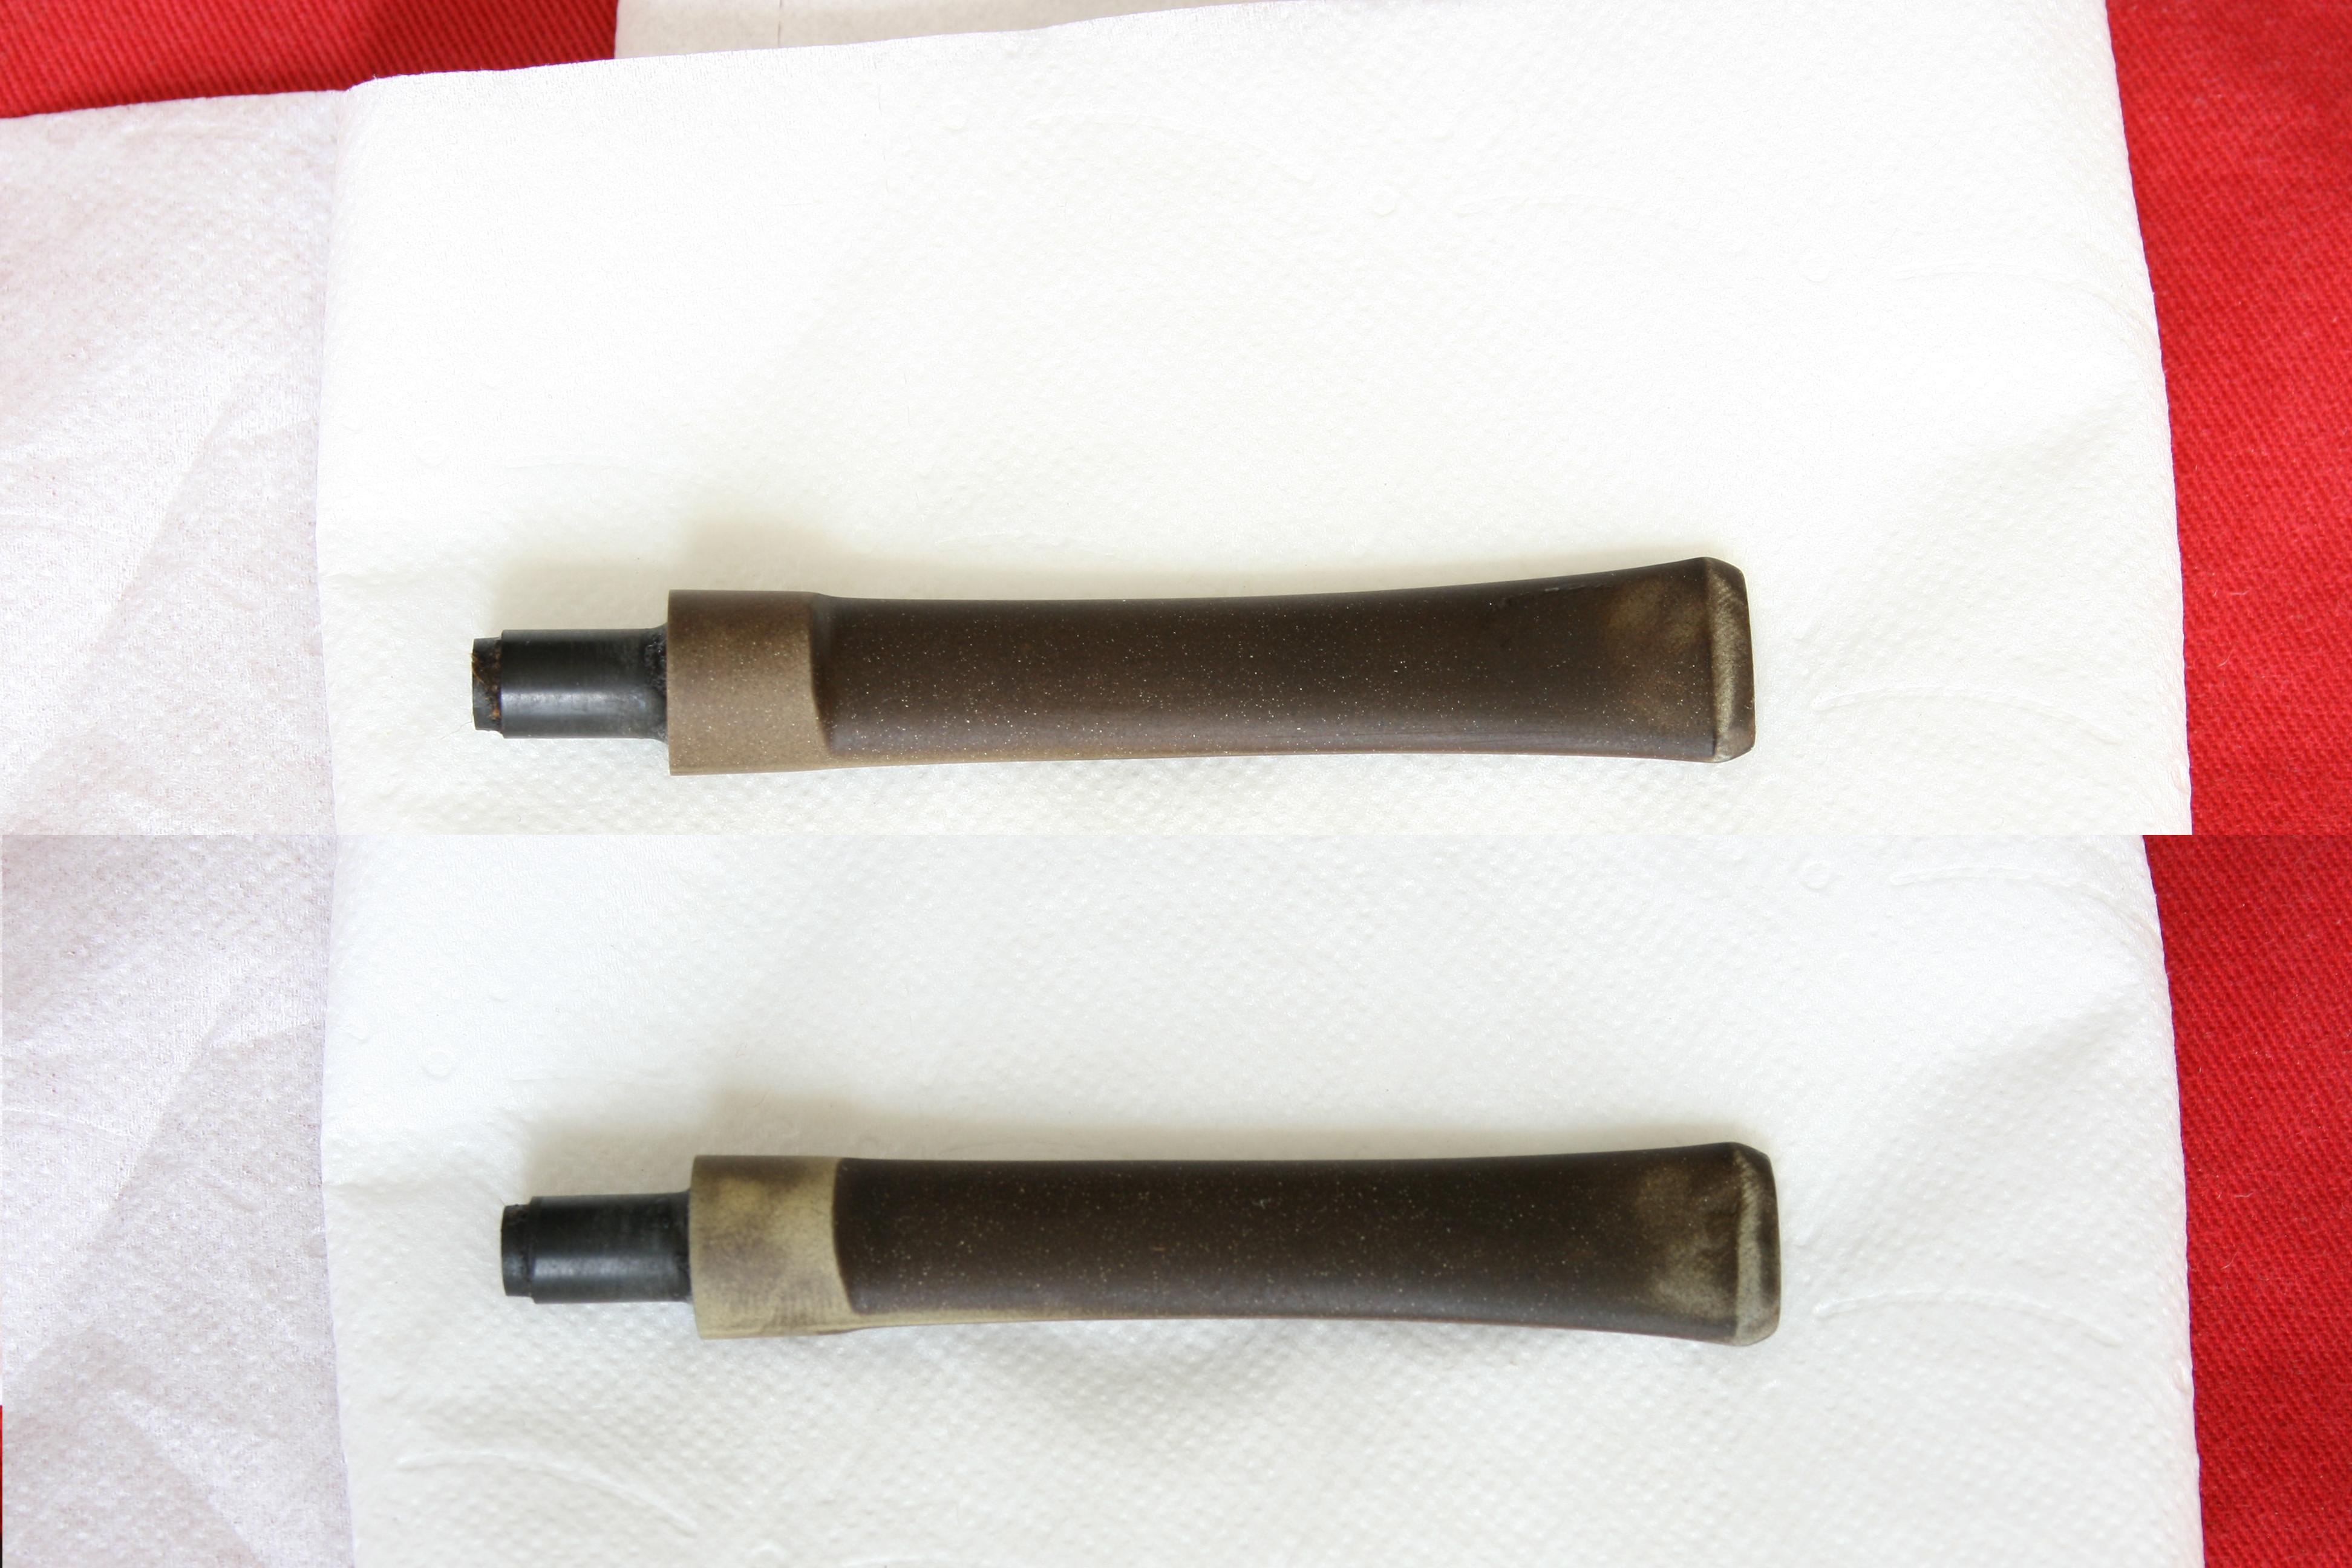
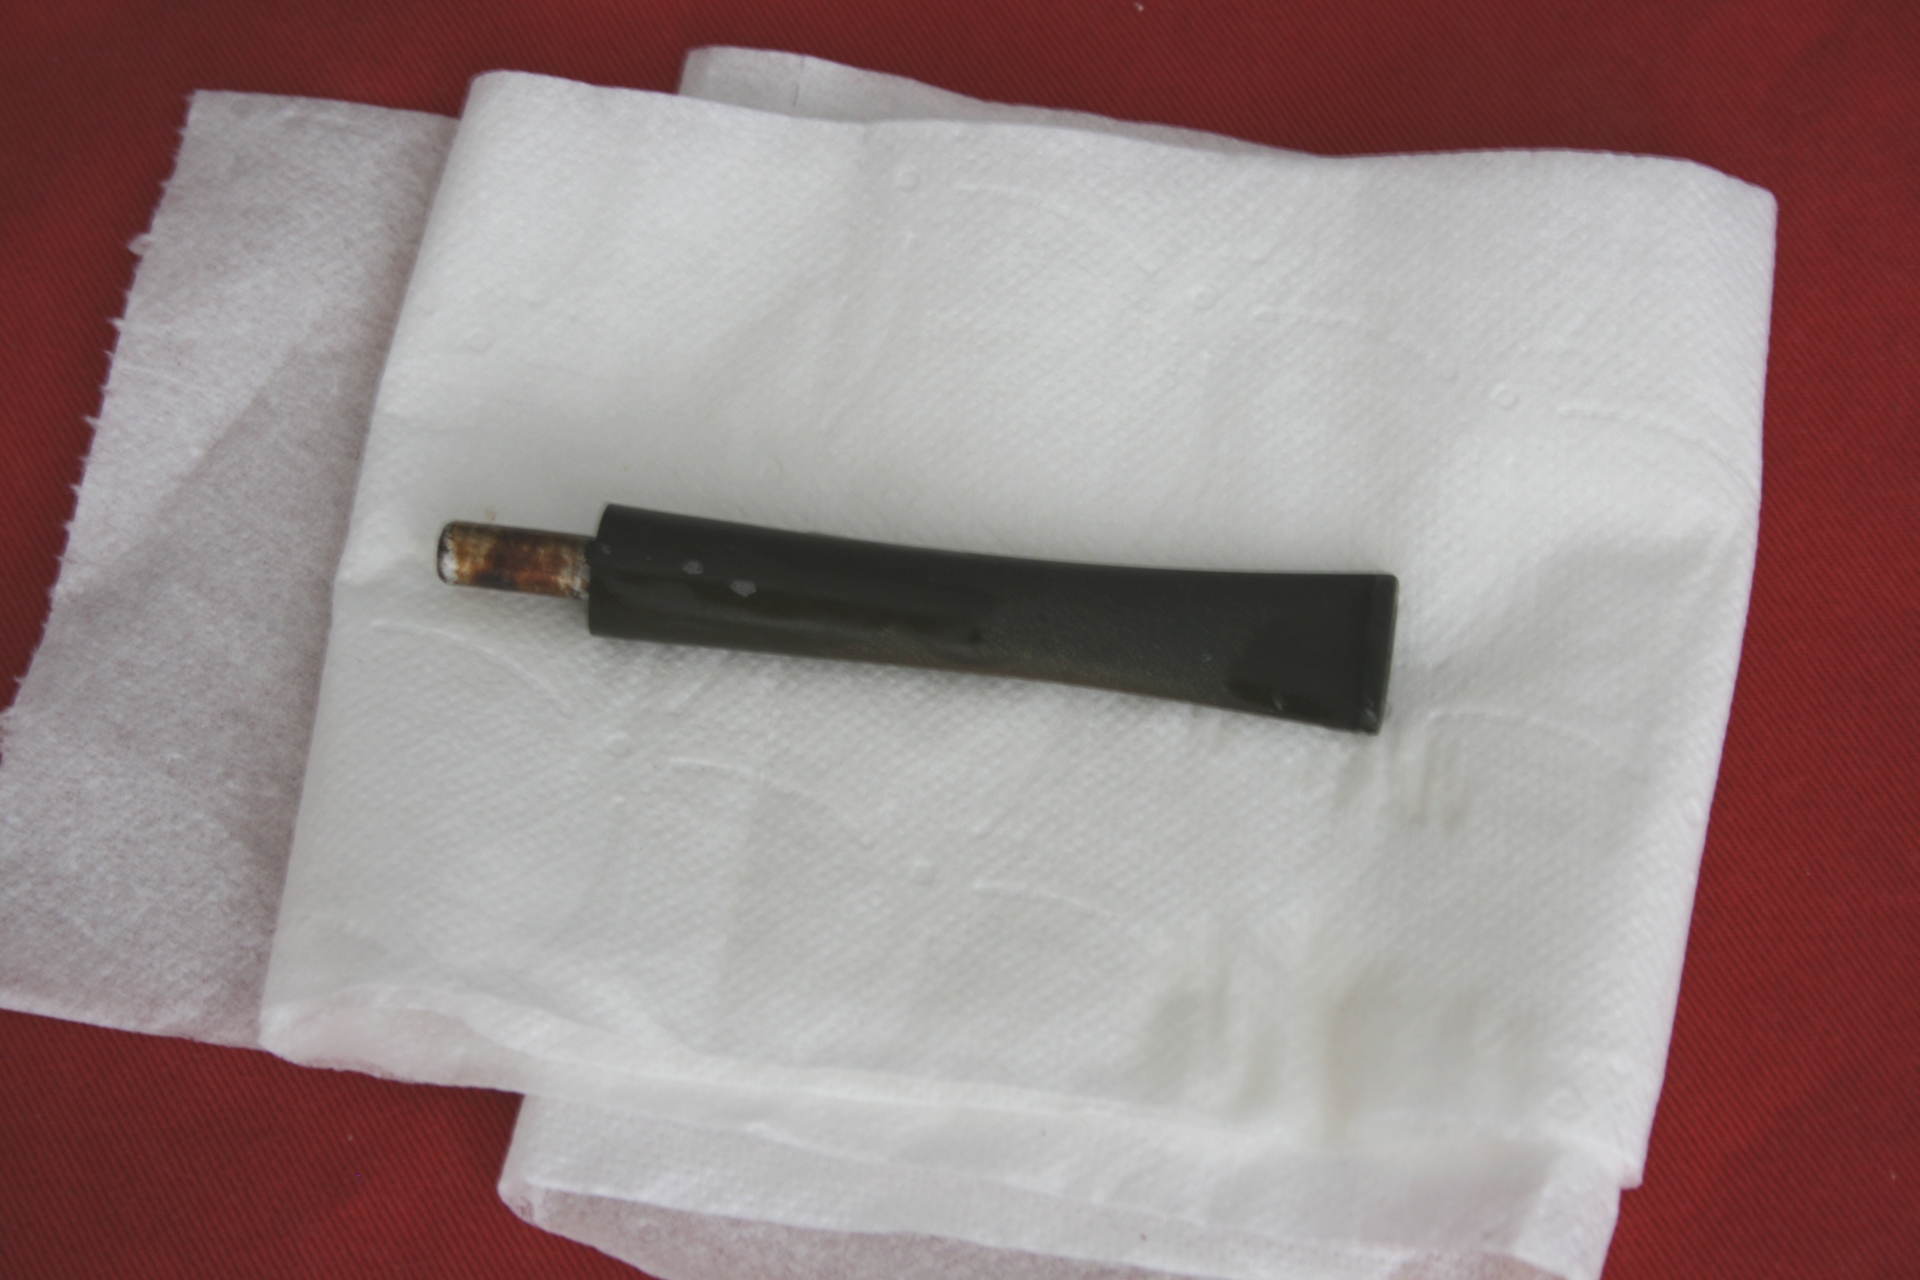
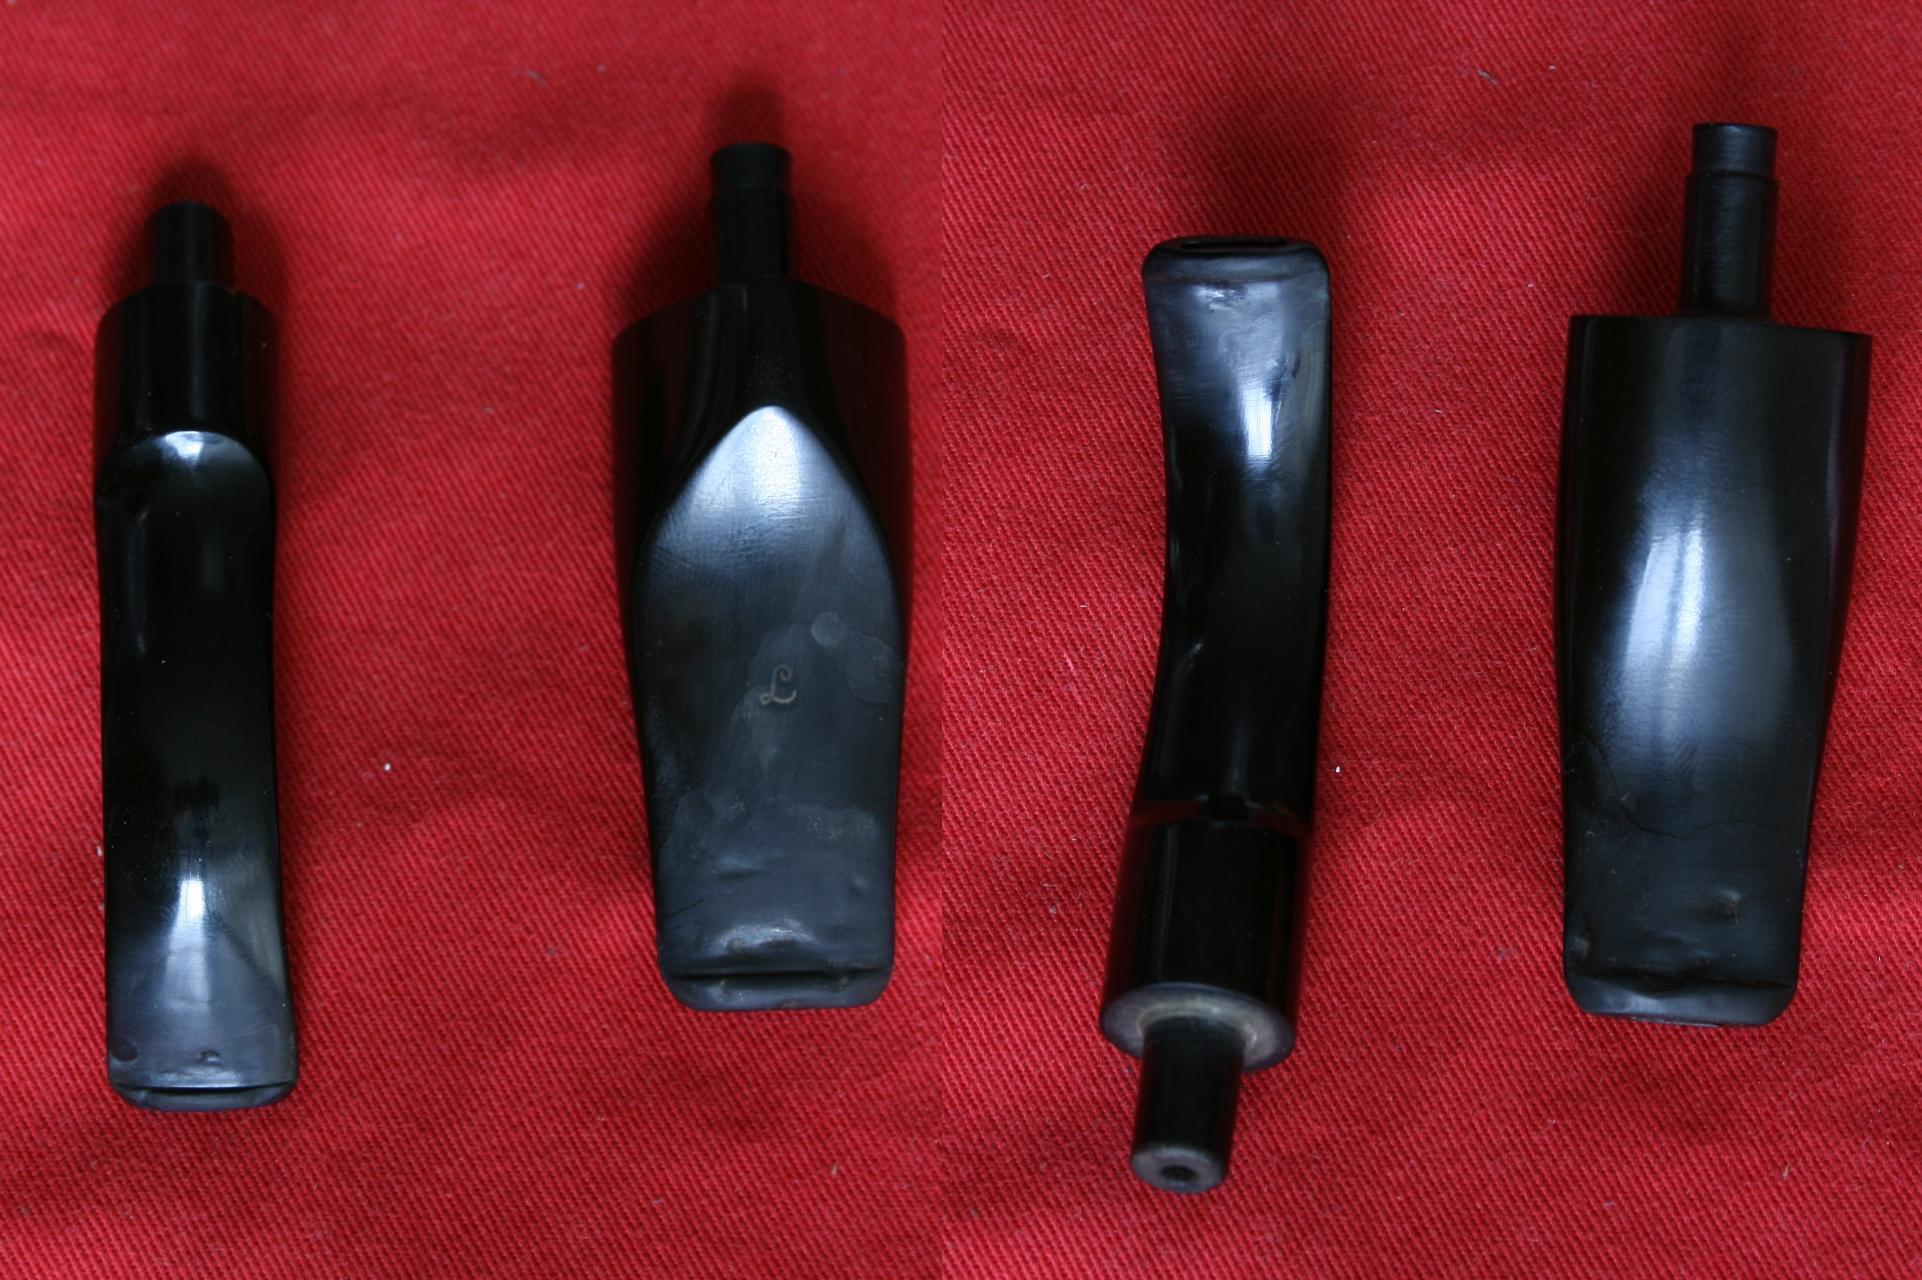
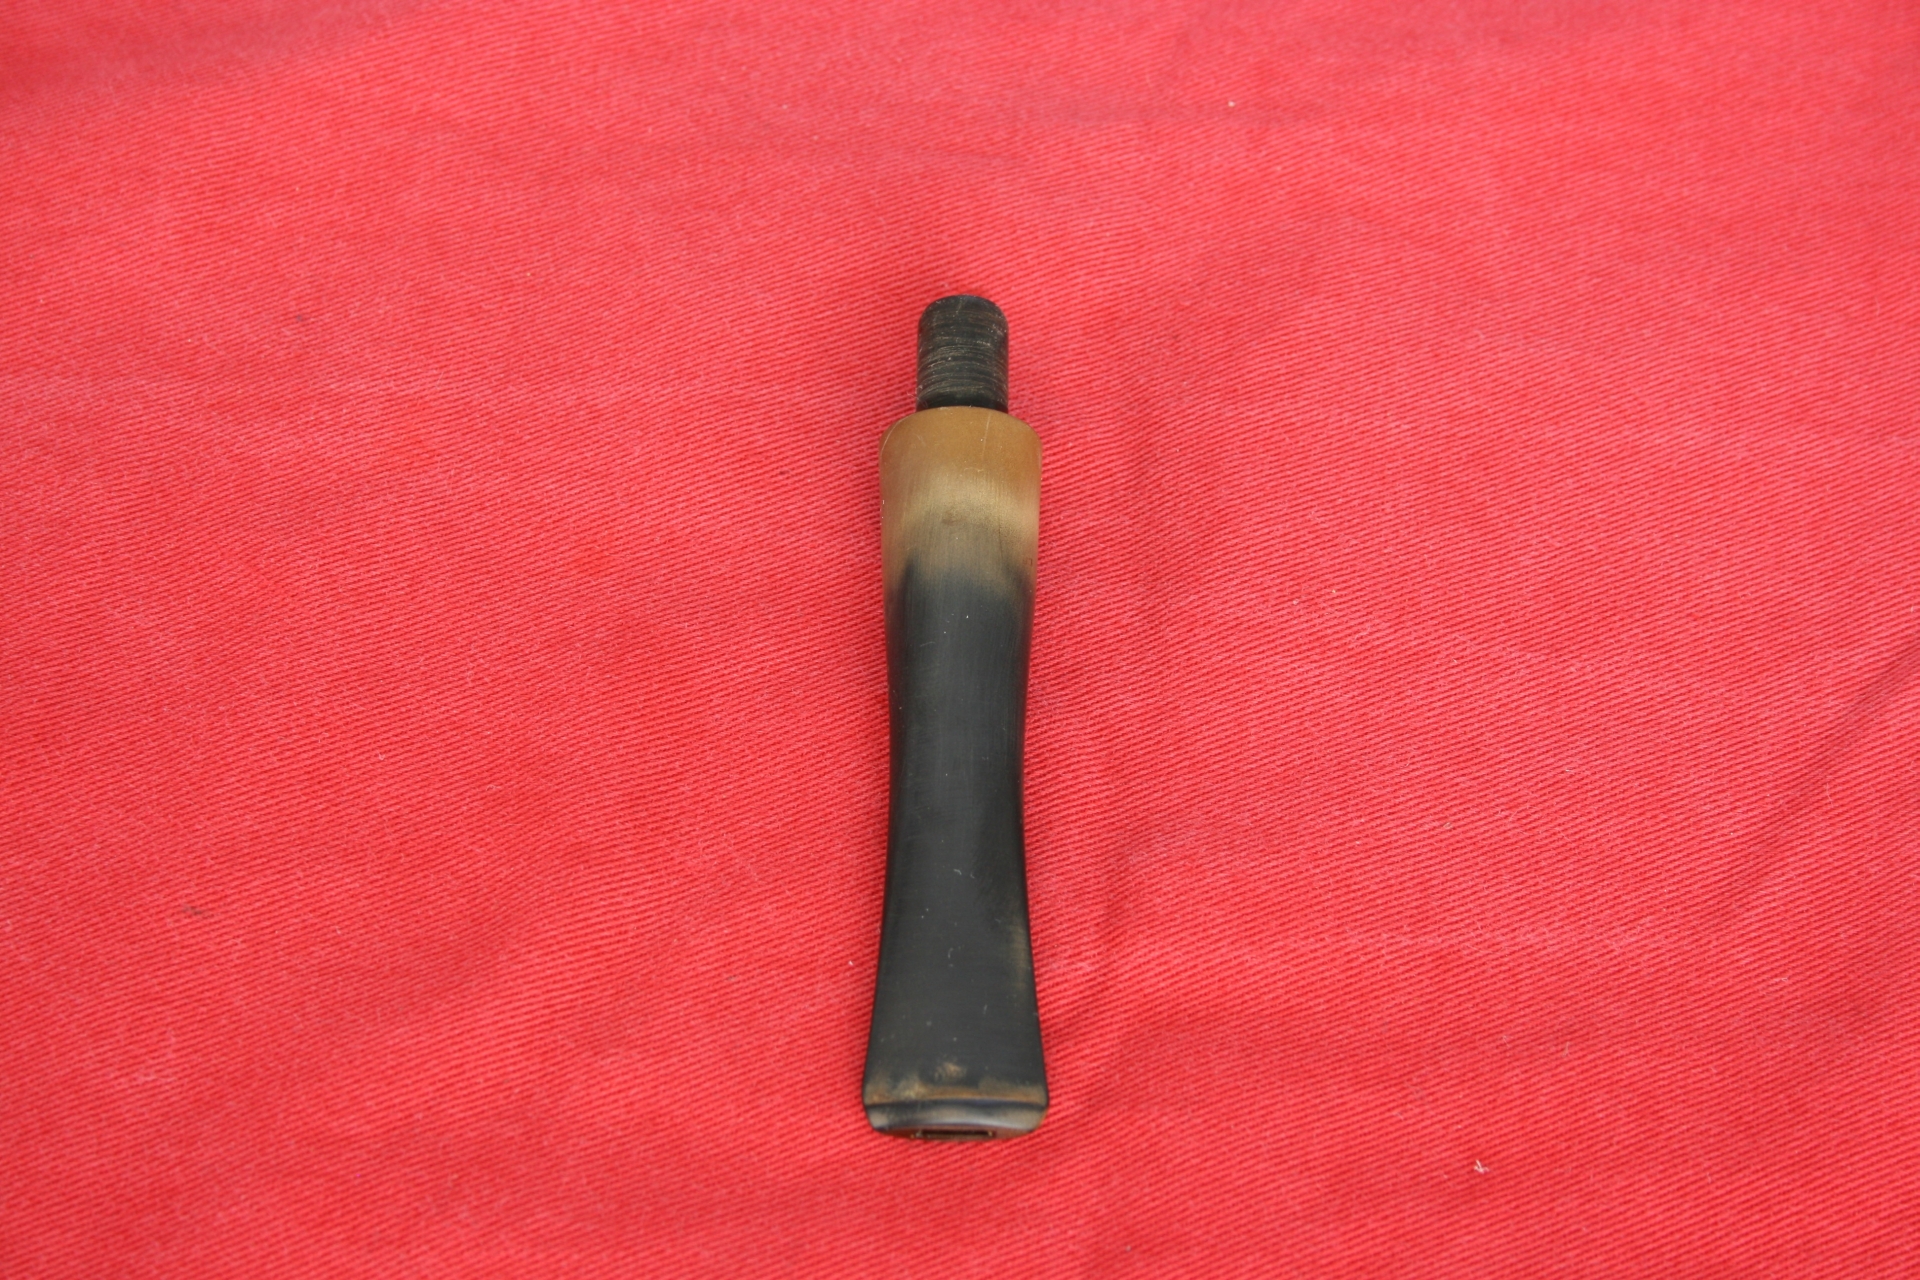
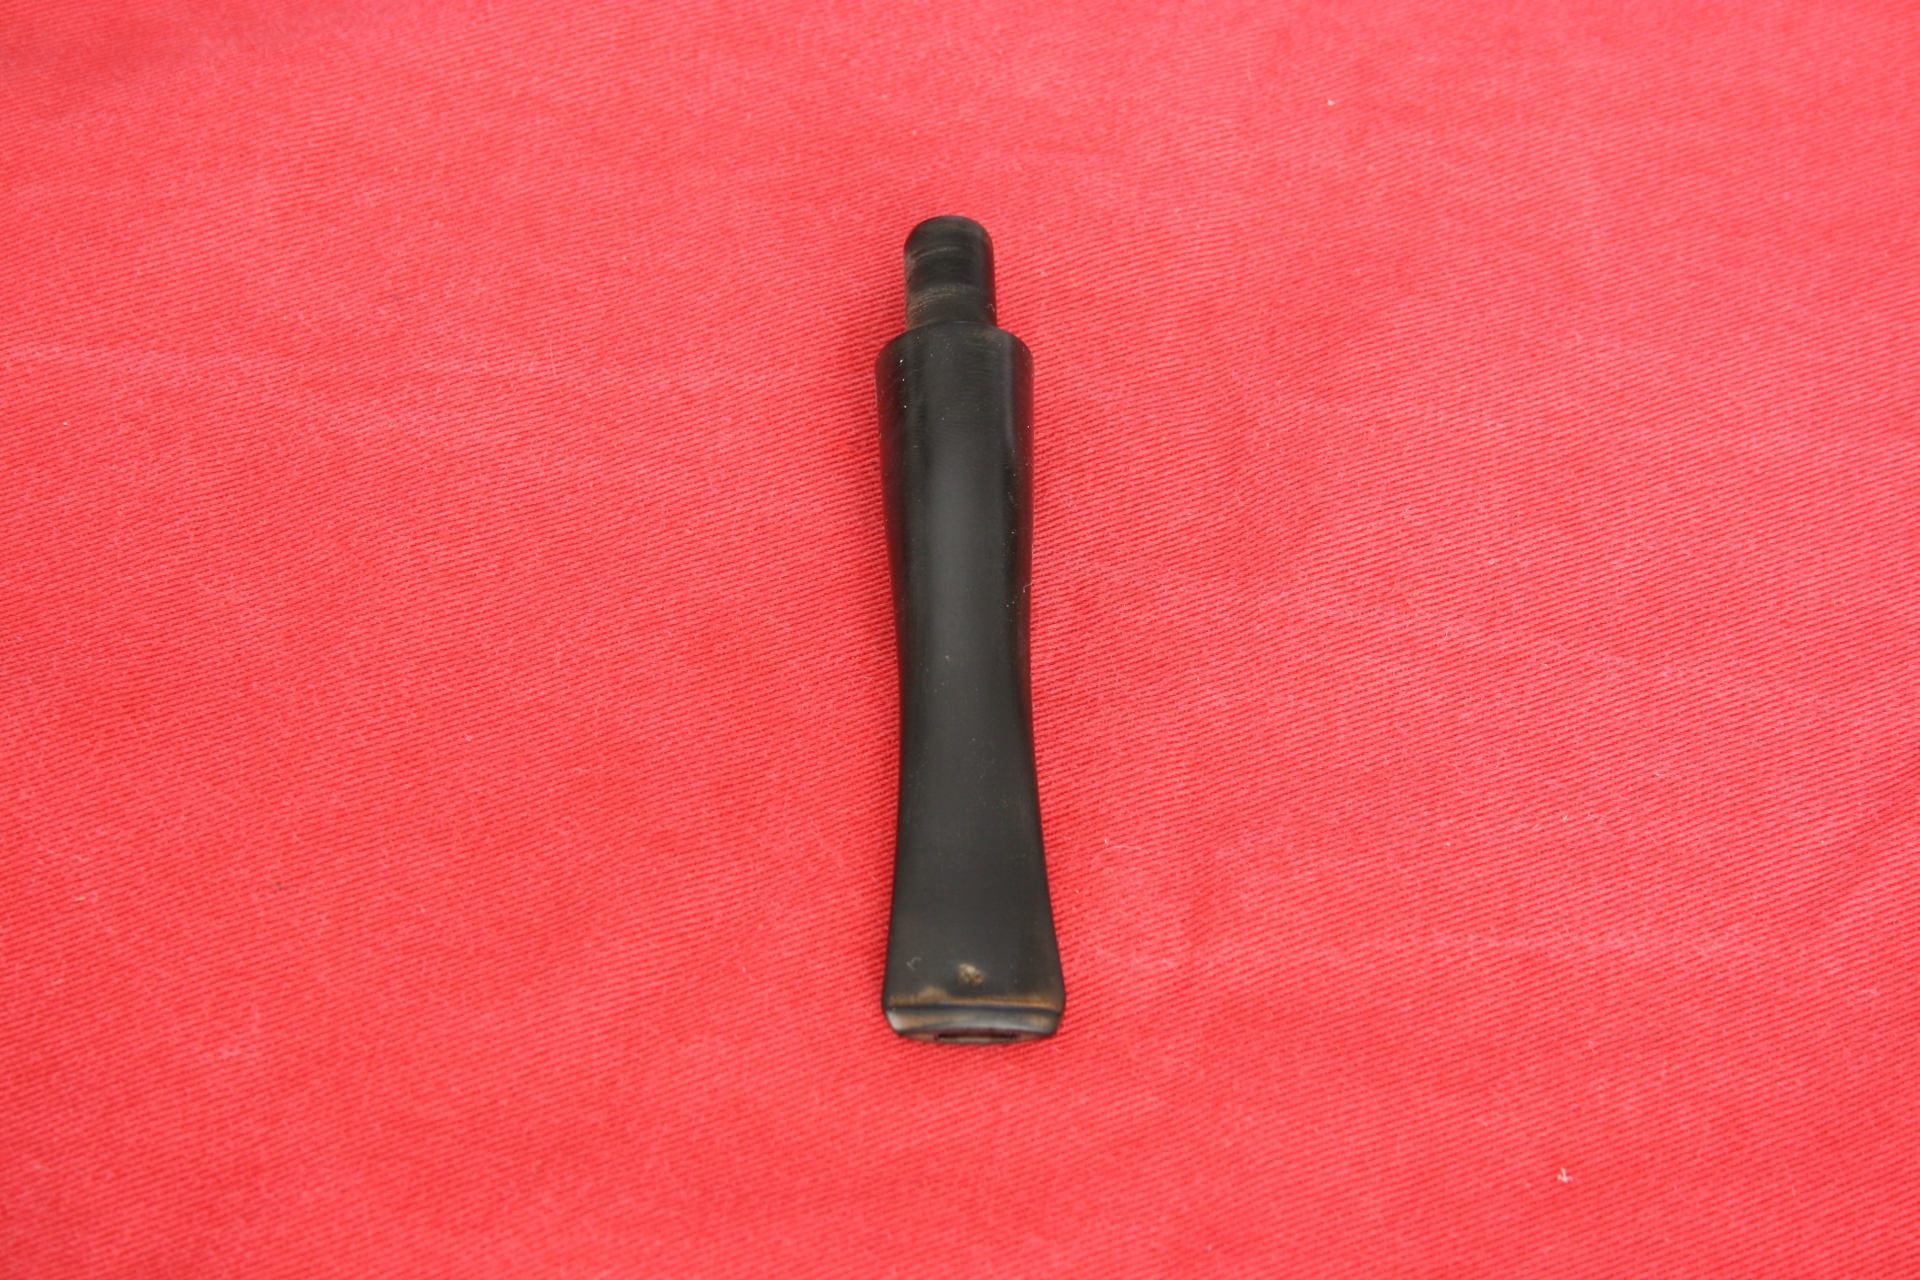
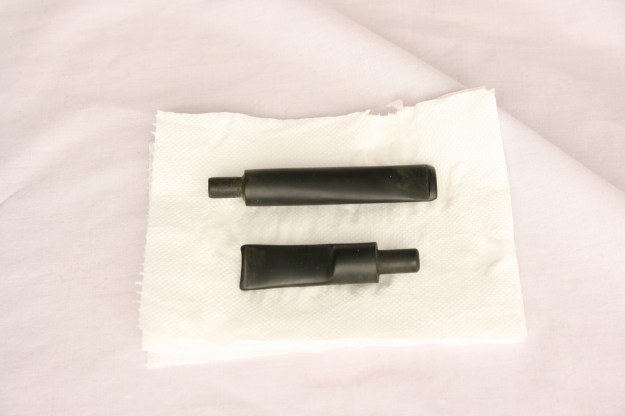
First the stems: The one on the left for the ultrasonic, the one on the right for the stirrer.
001 The stems

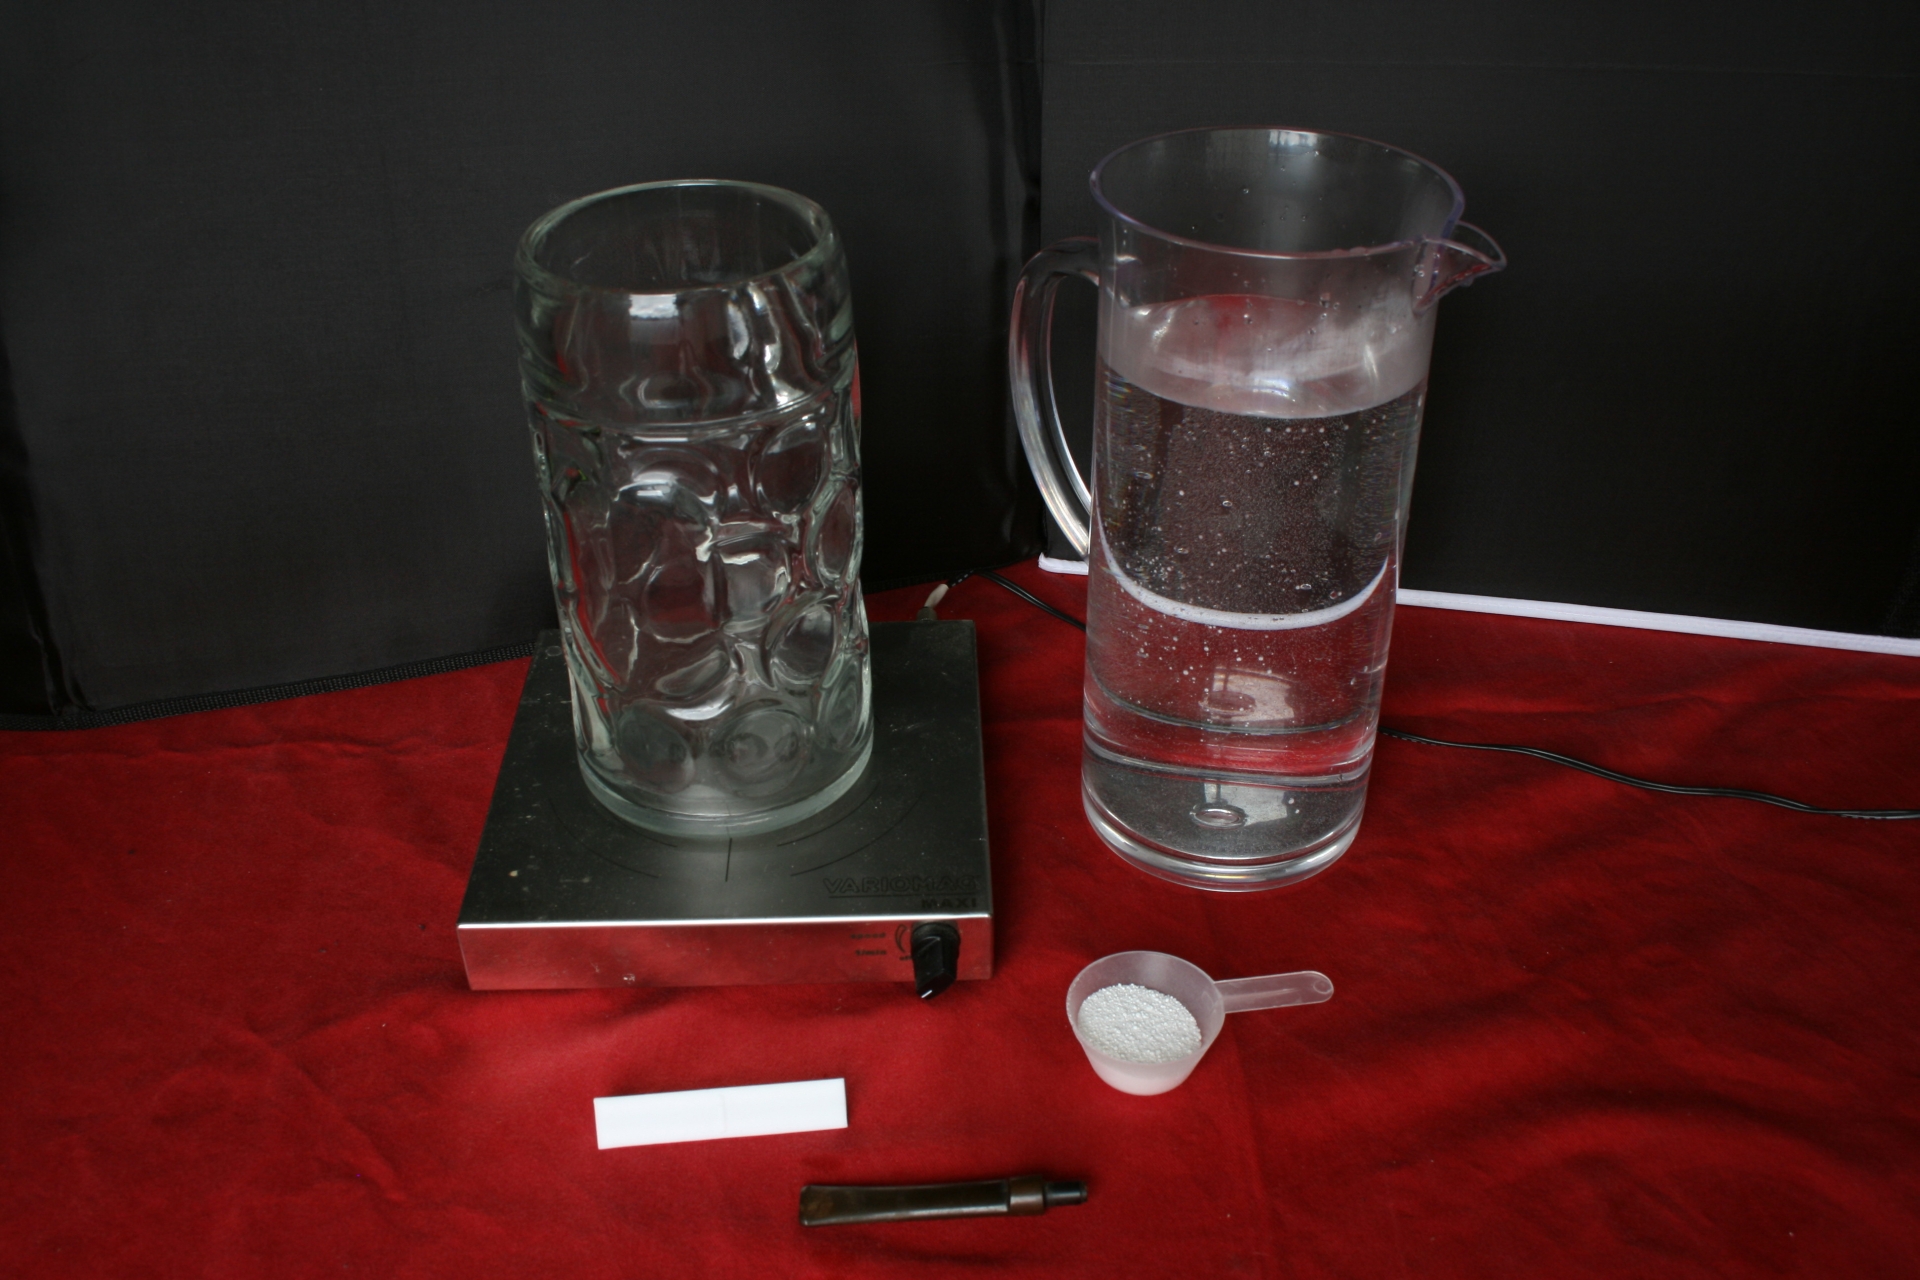
The stirrer setup: A glass on a magnetic stirrer, hand warm water, stirrer, amount of Oxi-Action and the stem.
002 Stirrer set up

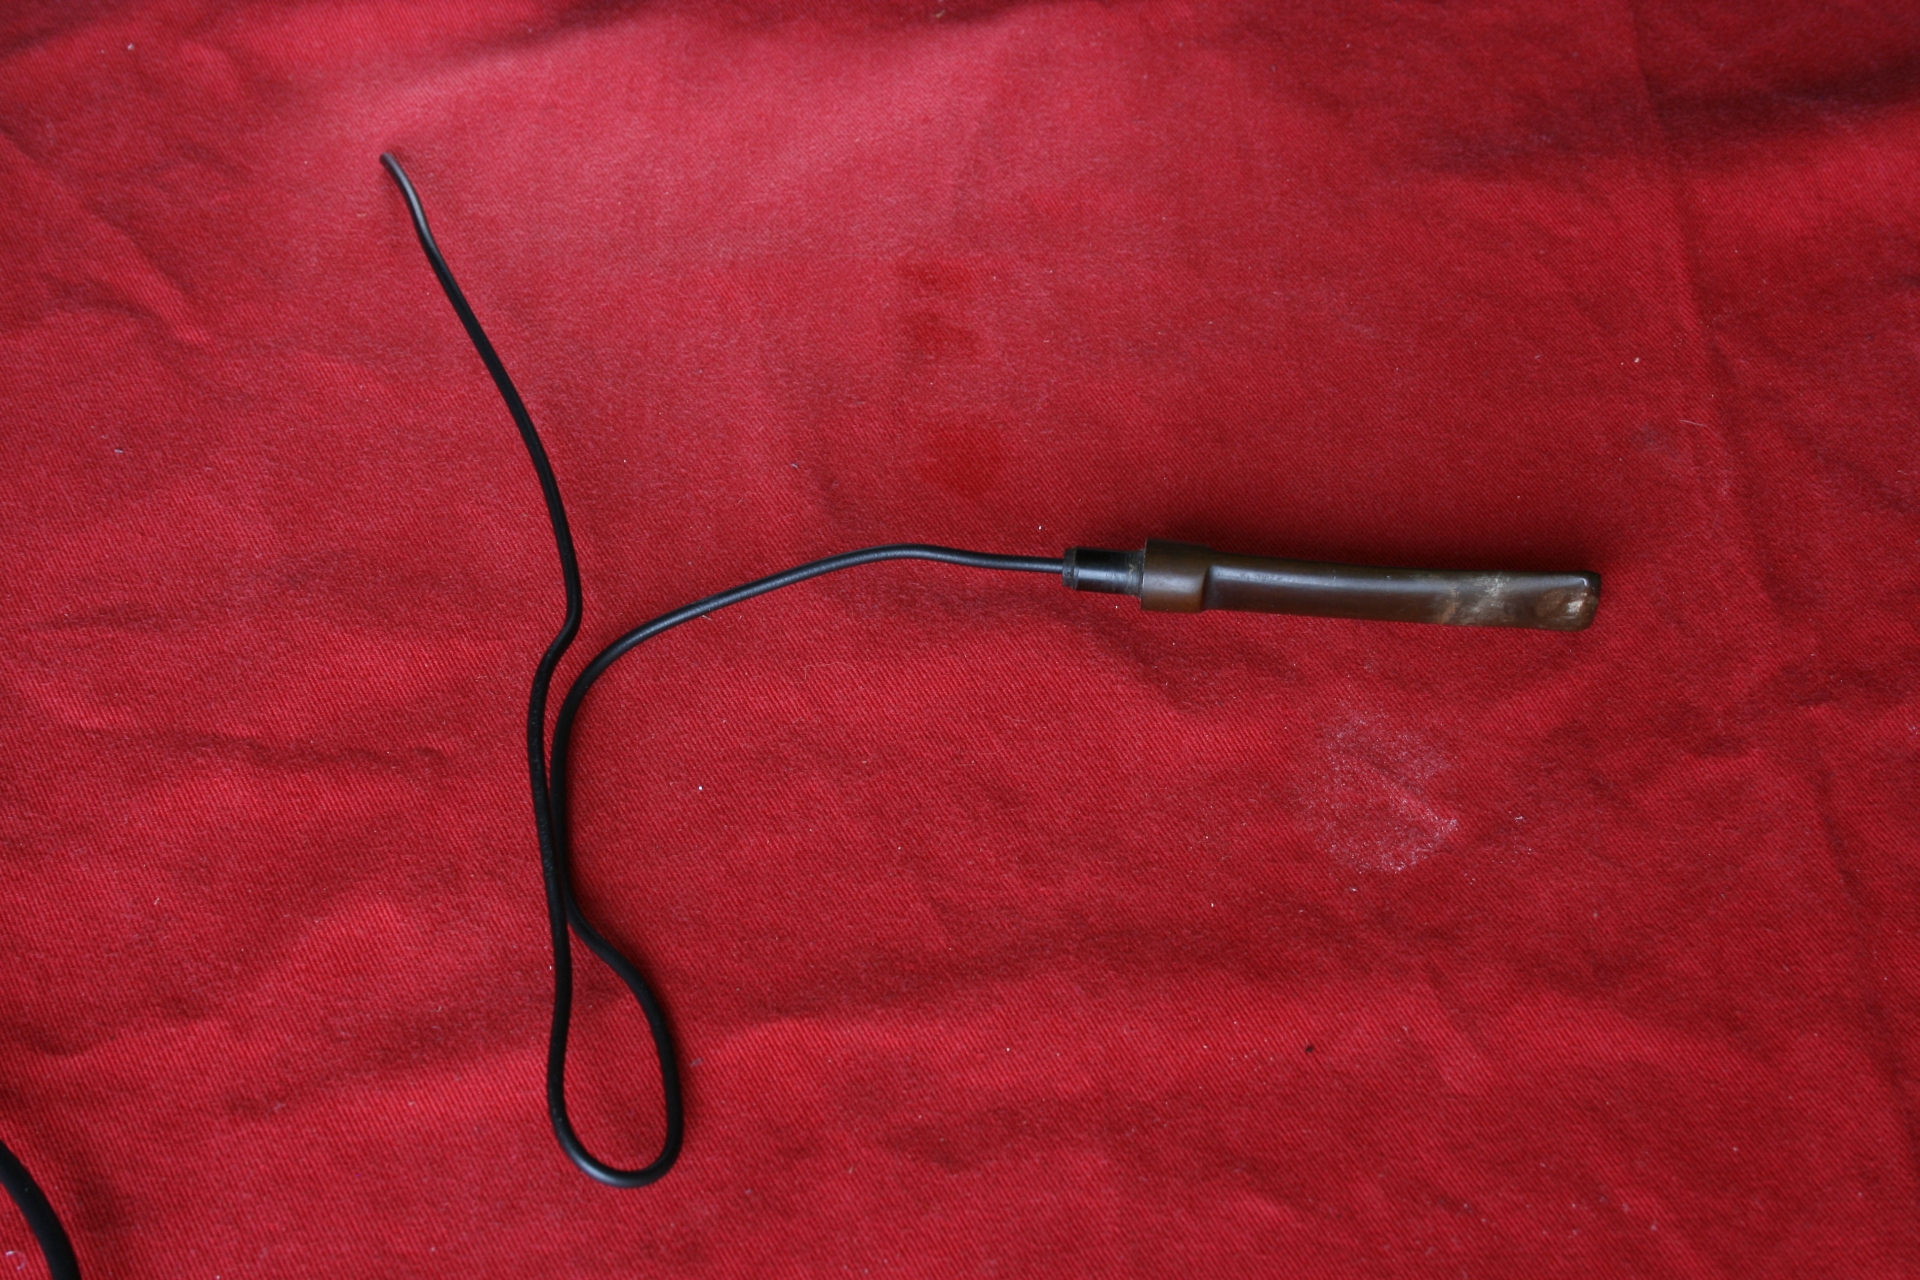
To keep the stem in the liquid I used a bent electric wire and hung it in the glass.
003 Stem holder

So I poured the hand warm water, the Oxi-Action, and the stirrer in the glass, hung the stem in the mixture and set the timer for 20 minutes.
004 Here we go

005 20Minutes later

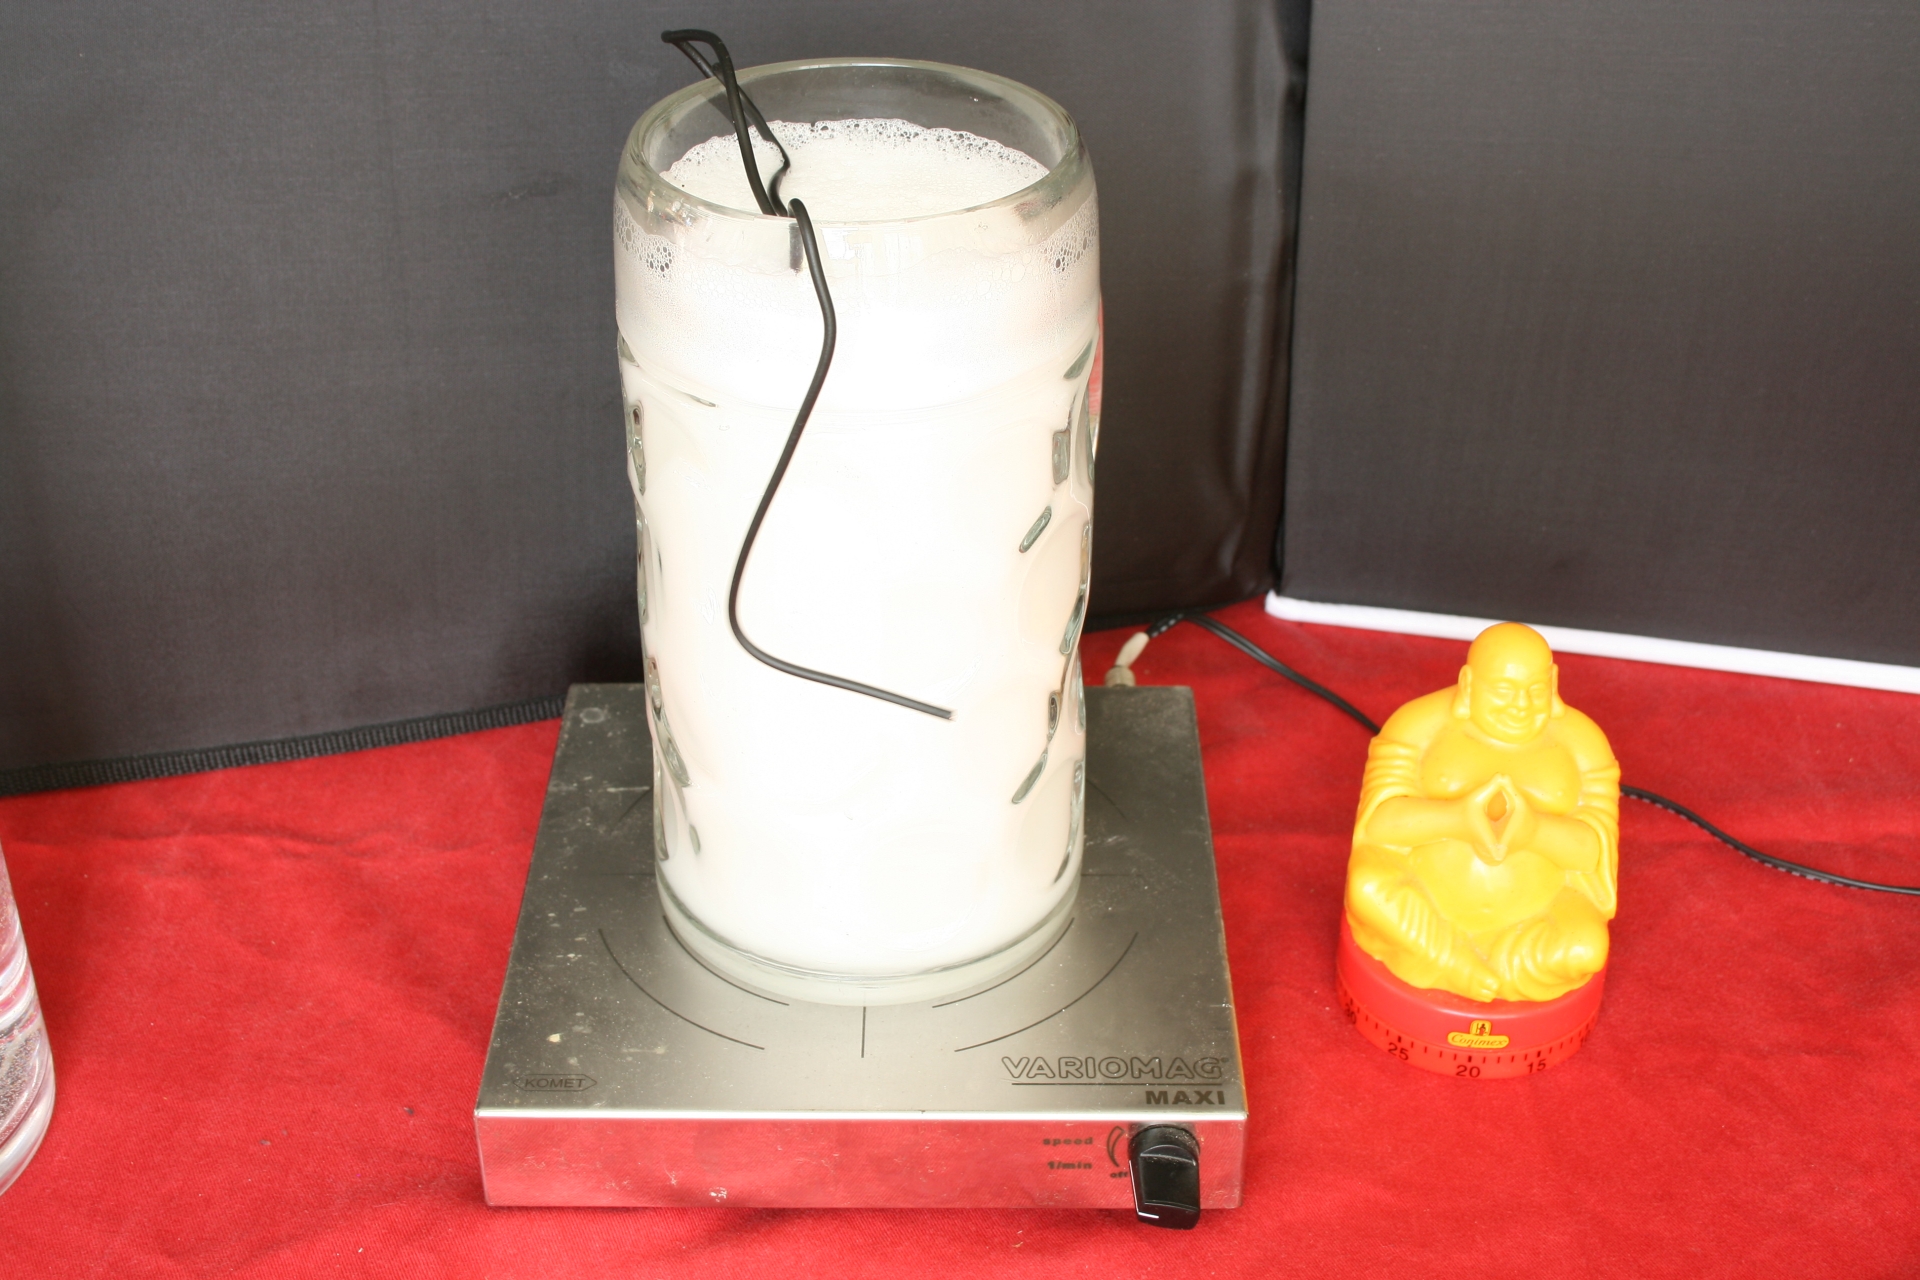
What happens is that a rotating magnetic field lets the stir bar rotate in the liquid, creating a whirlpool inside the glass. Thus the water is in motion and hopefully rinses off the goo that is formed on the stem by the Oxi-Action.

When I retrieved the stem and it was as I expected, greenish brown from the Oxi-Action. But not as gooey as before, so it worked to some degree.
006 Dried

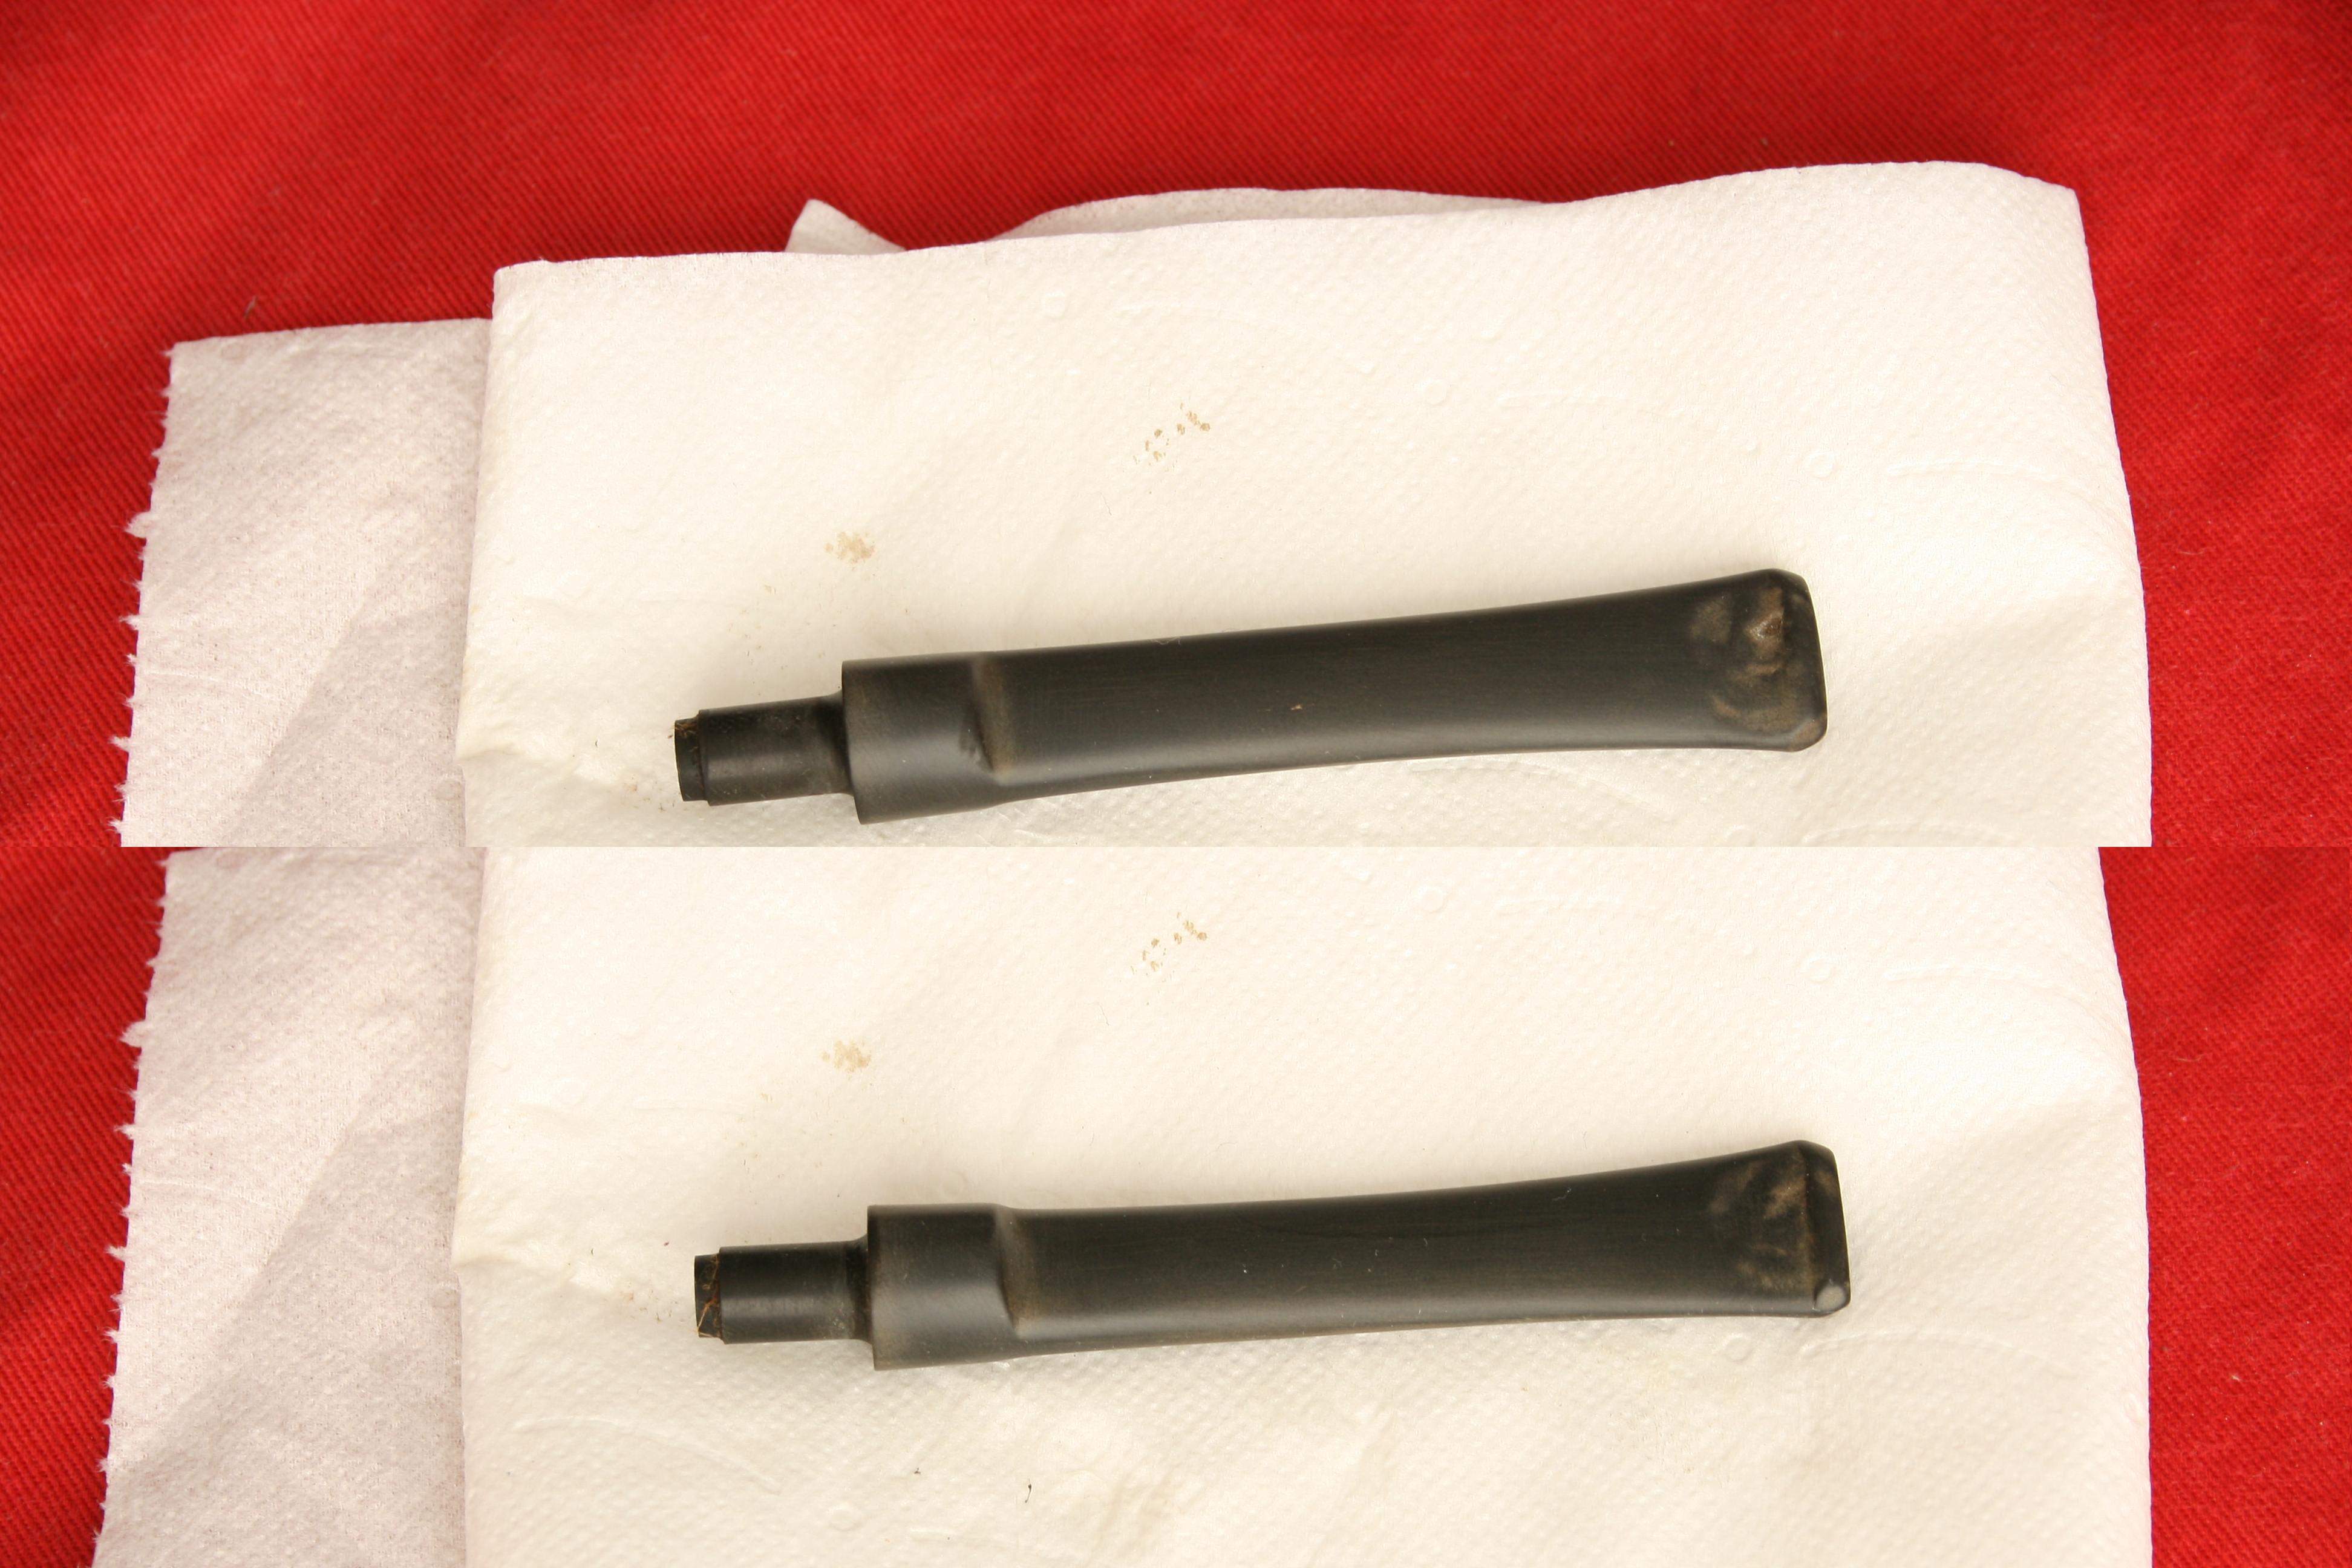
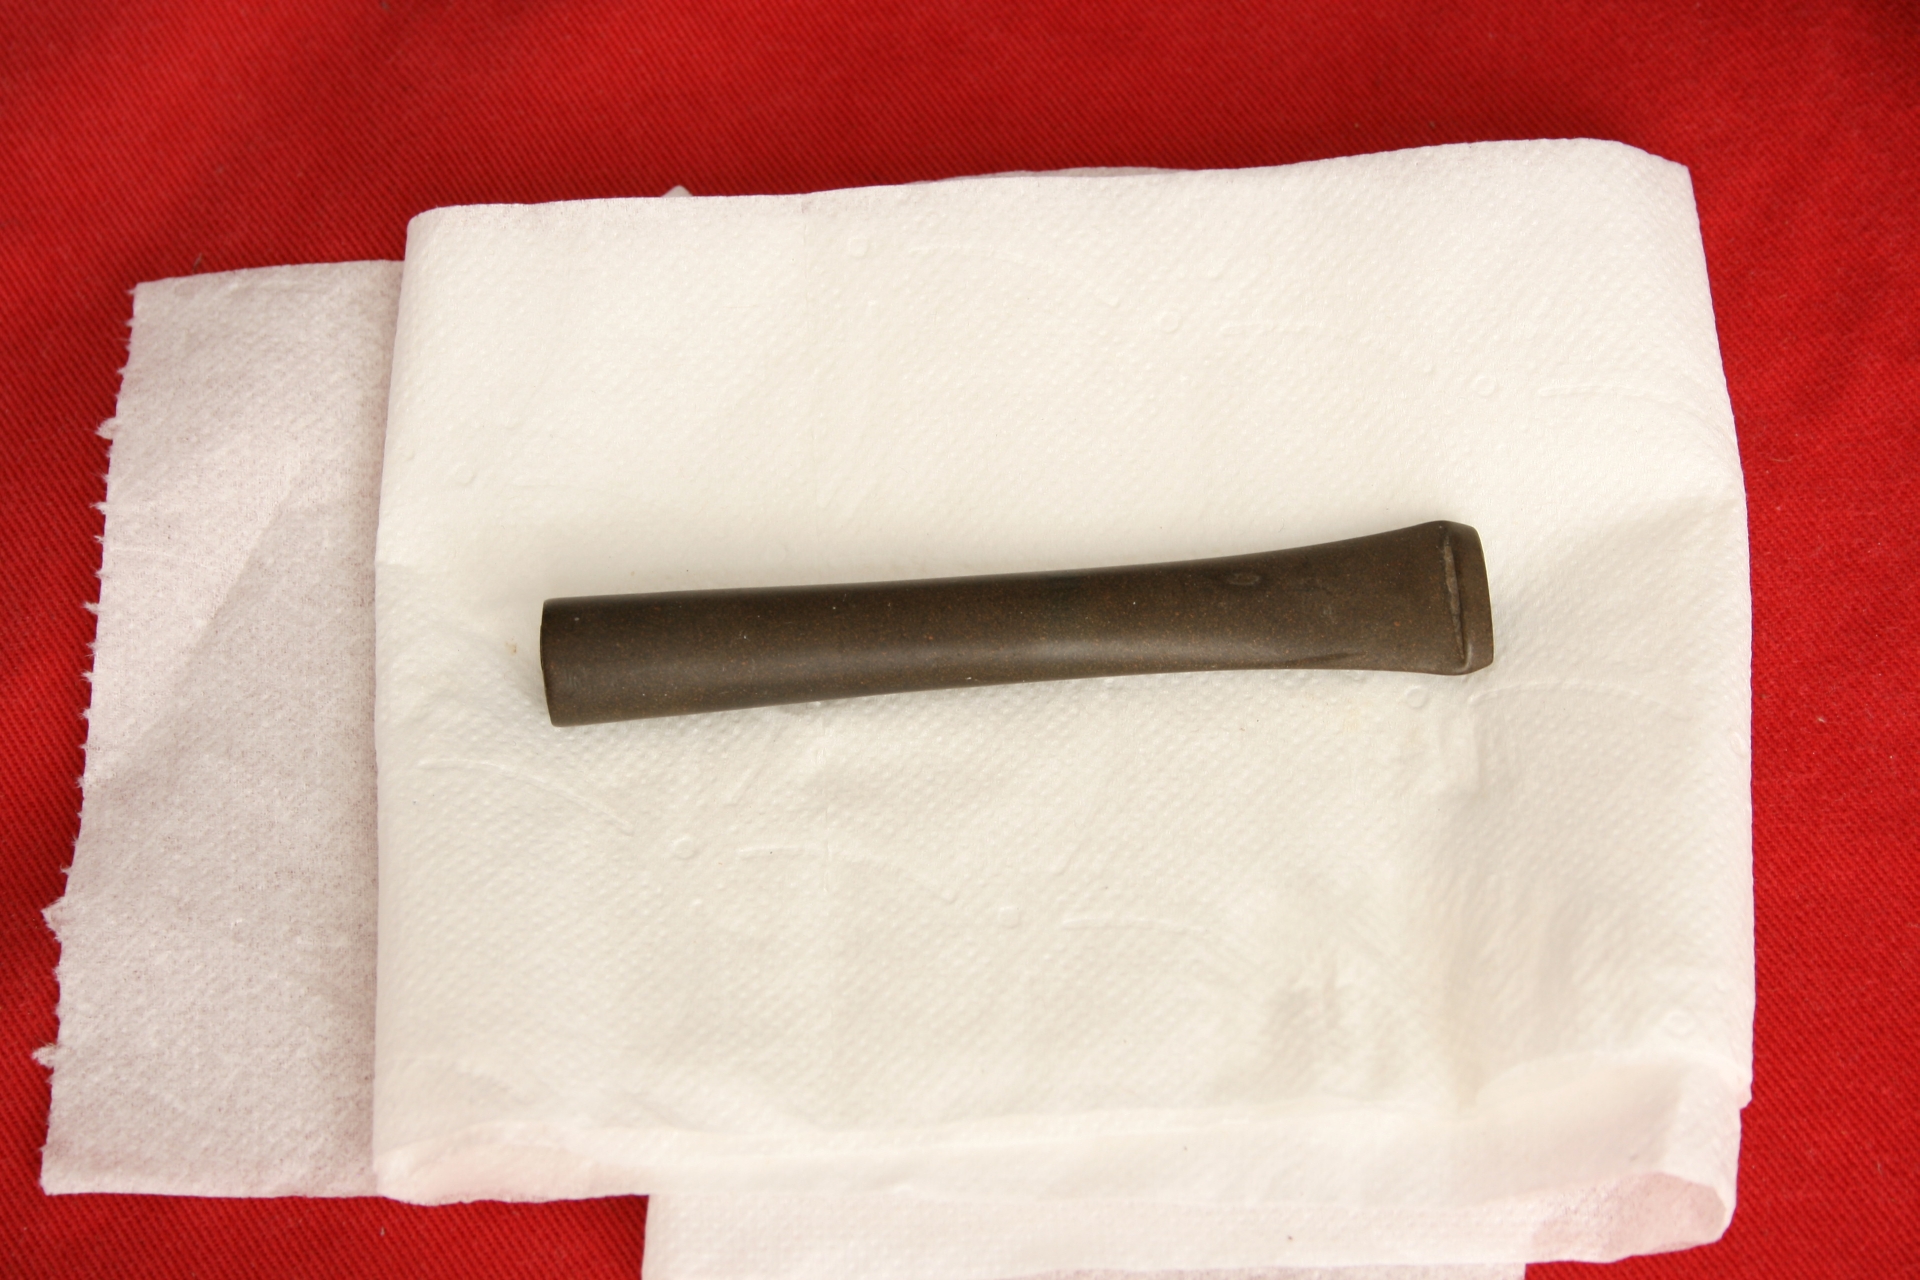
Then I put the stem to the grind wheel and it came out as normal.
007 after the grind

The light brown patches are hard to reach for the wheel and I normally do those by hand.
To be honest, I was not really happy with the end result and did not finish all the way through with polishing and buffing the stem. In all it only saved me a little time and was a headache to set up right.

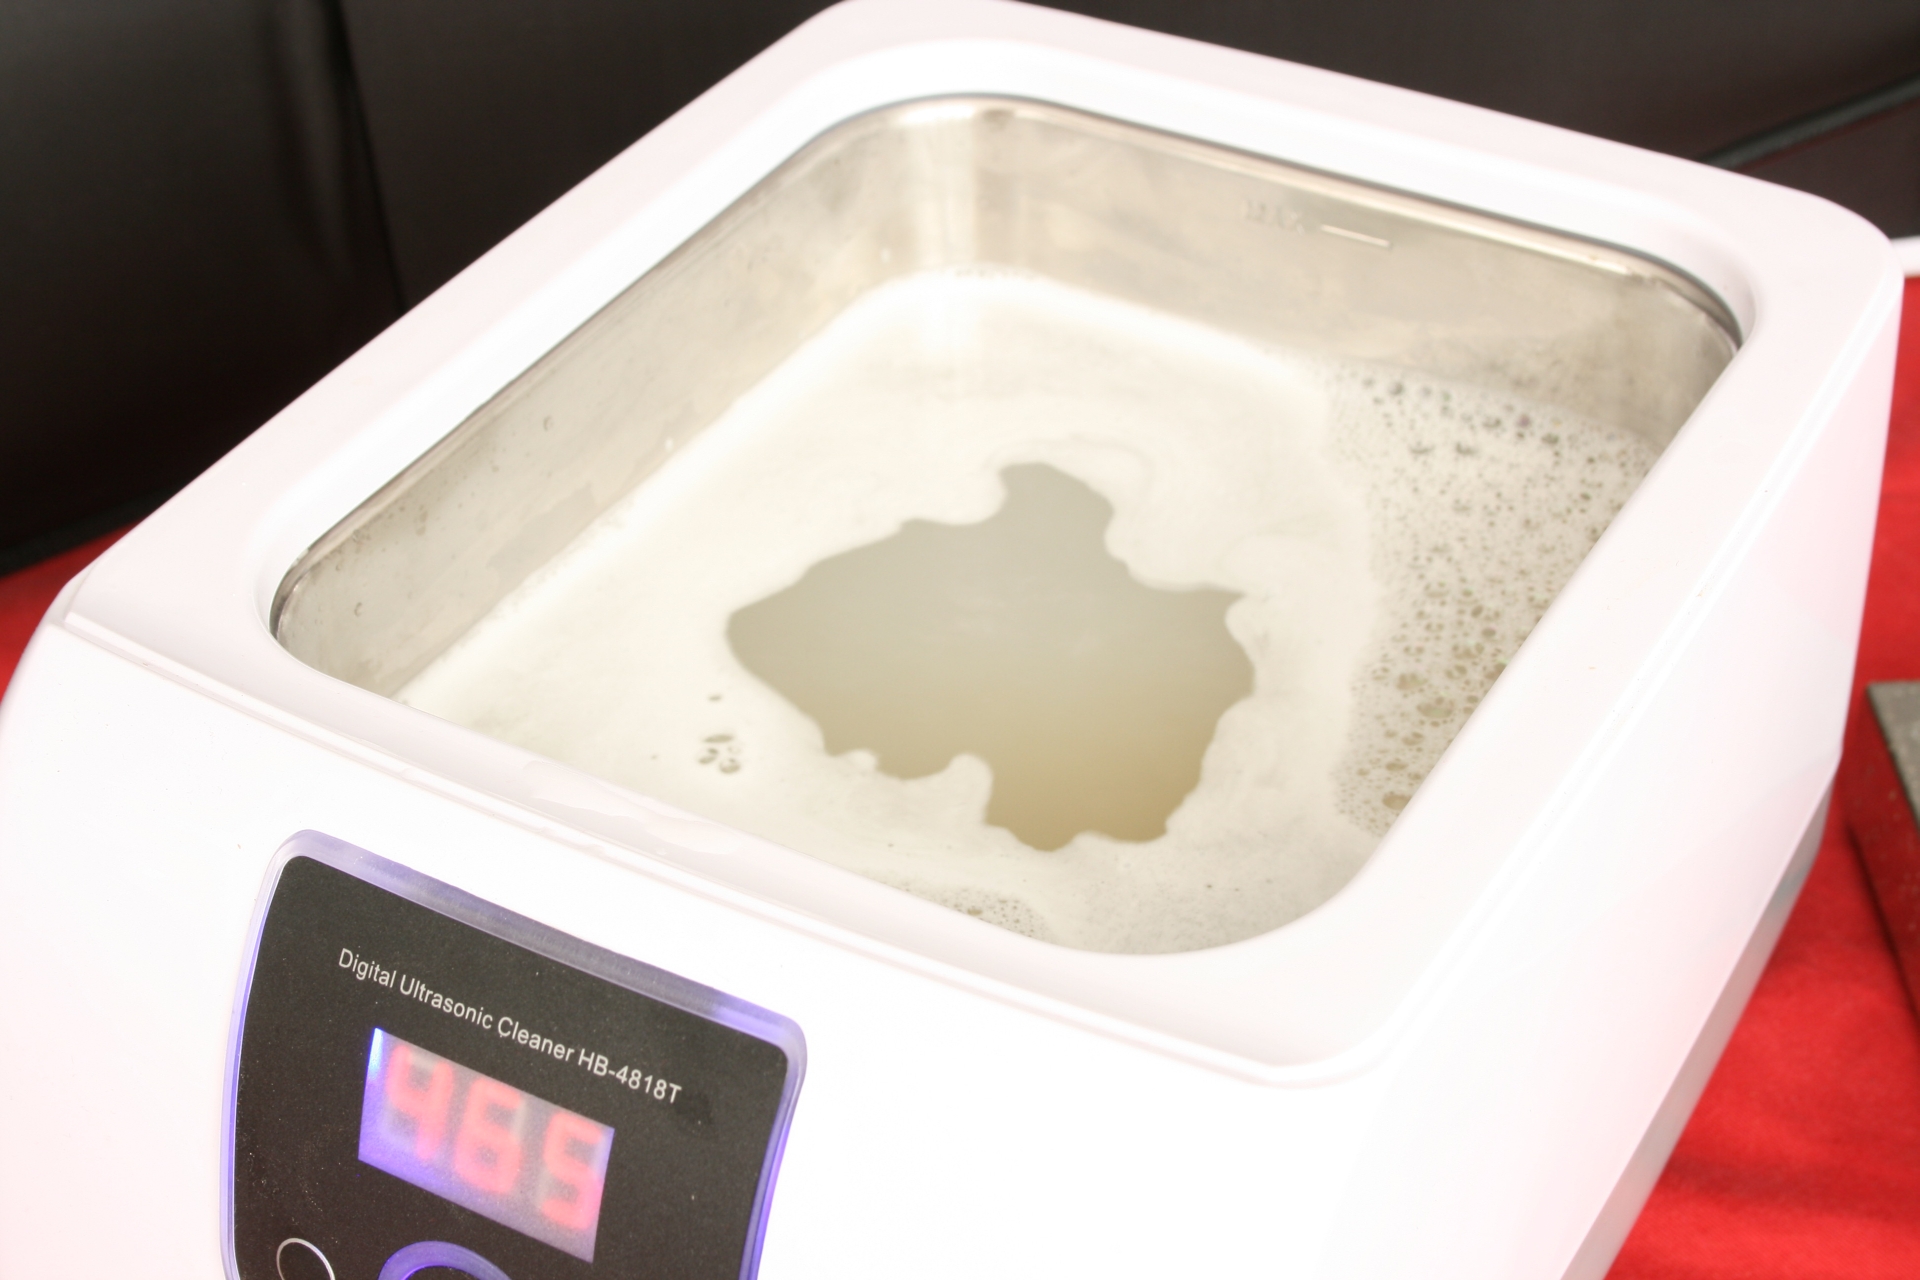
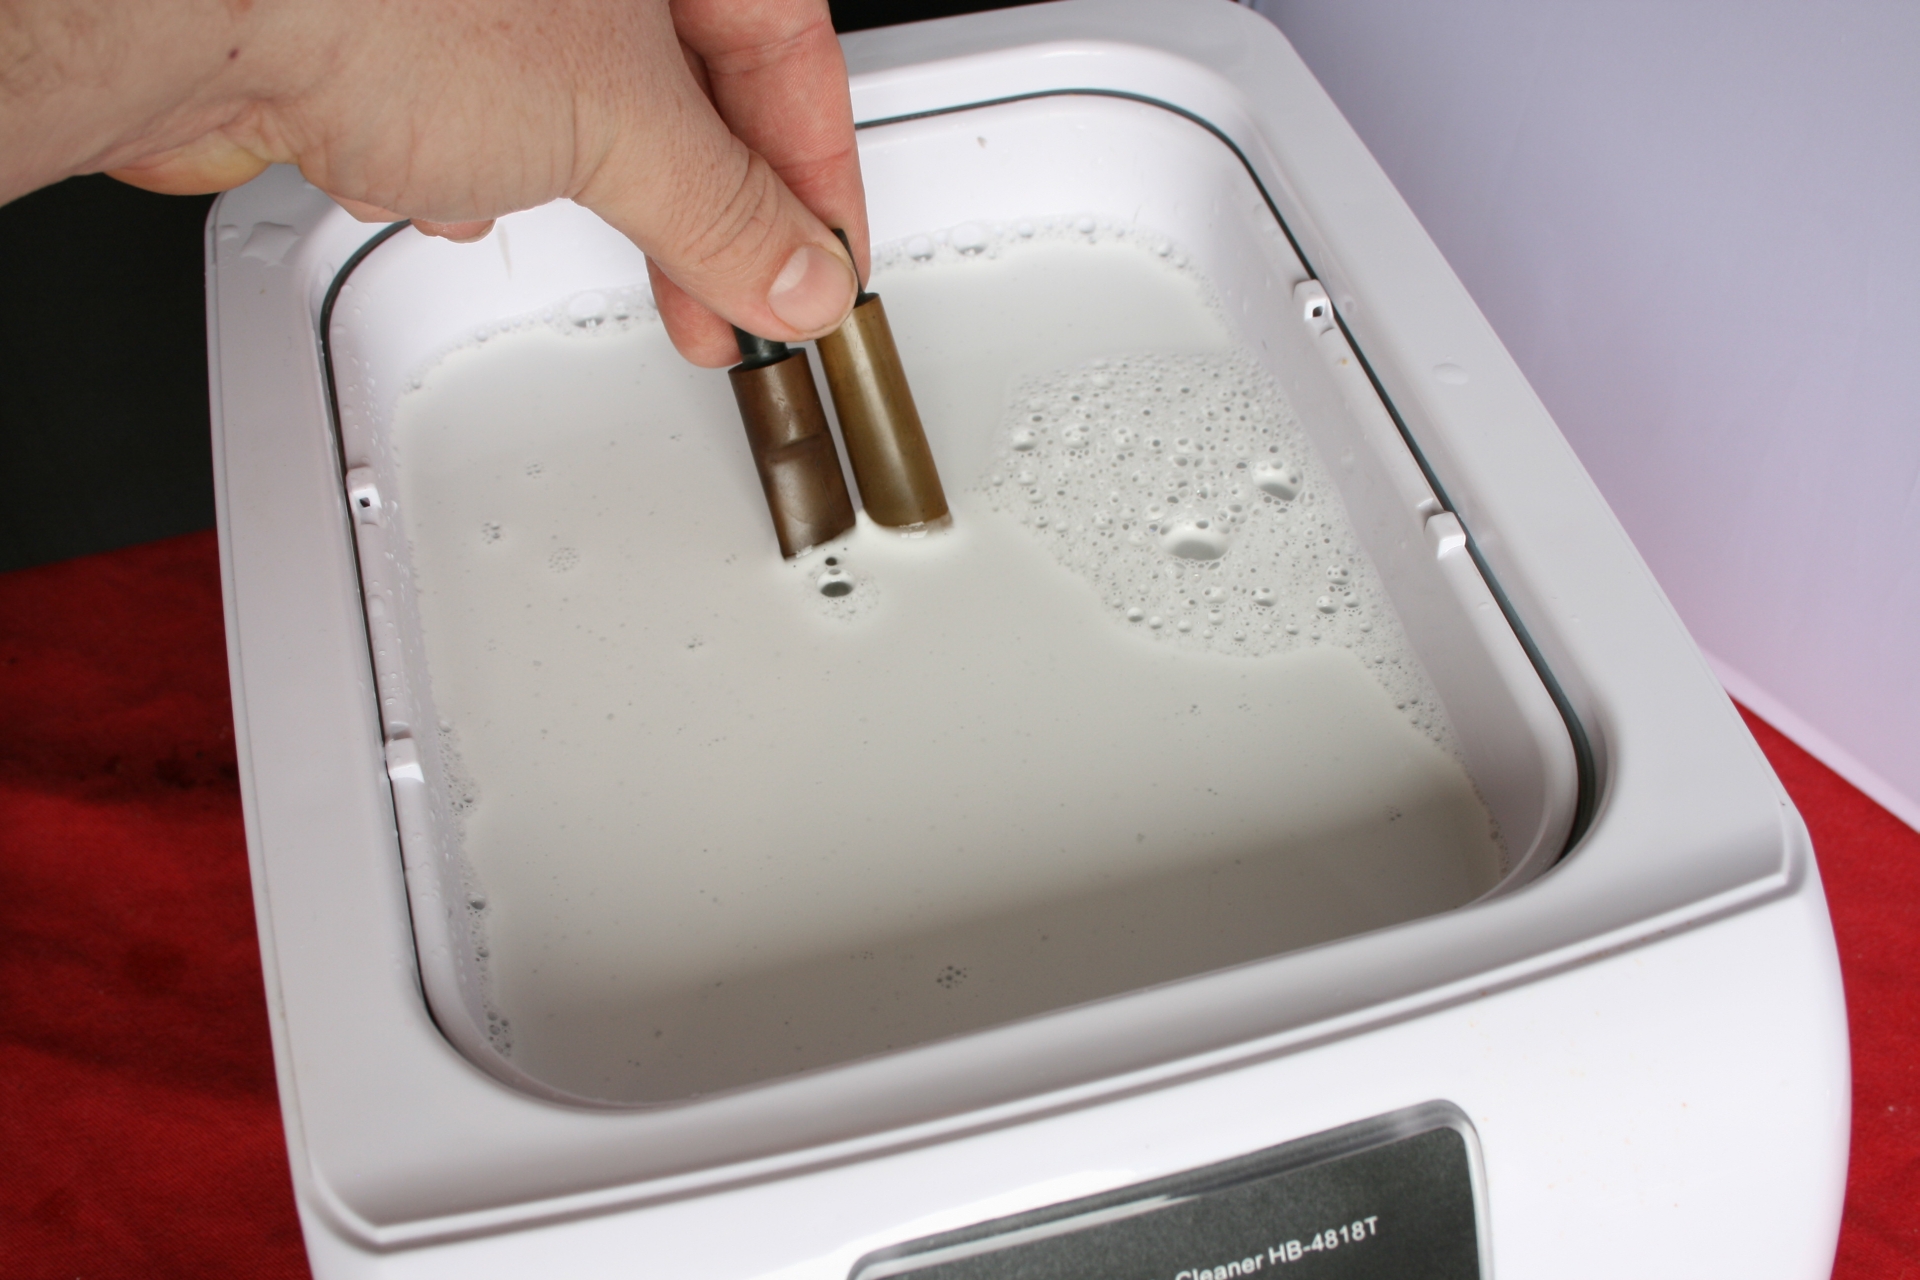
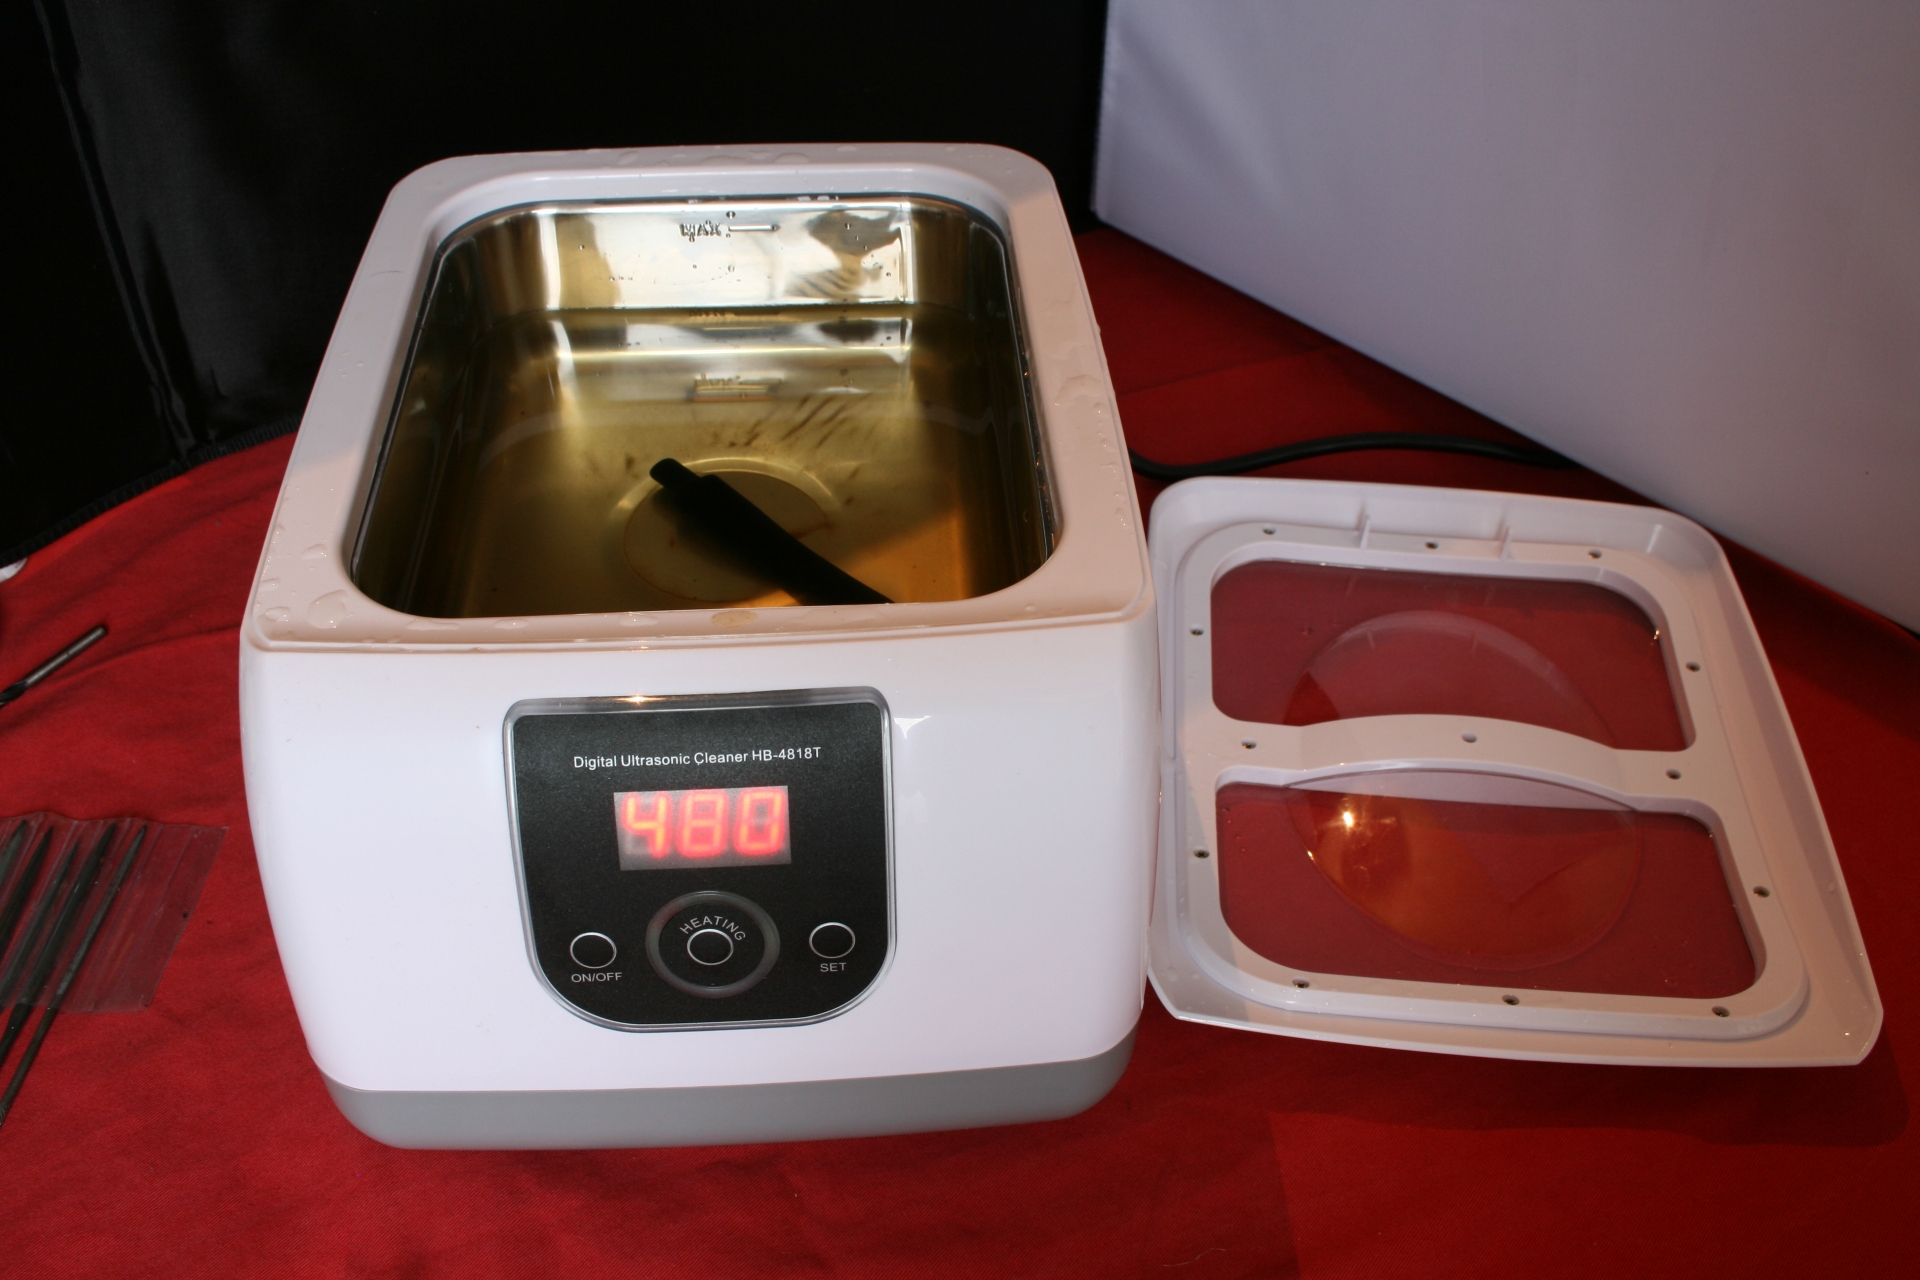
While I worked the previous stem on the grind wheel I let the ultrasonic do its thing. Again the setup: Warm water, ultrasonic with Oxi-Action and the stem.
008 Ultrasnic setup

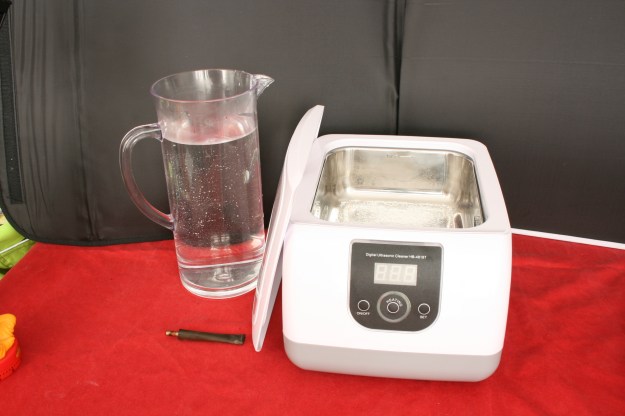
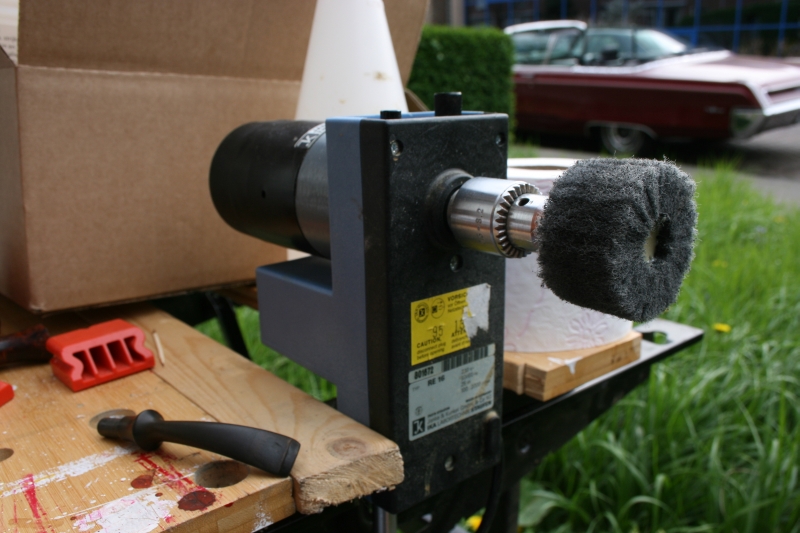
The ultrasonic in action.
009 Look at her go

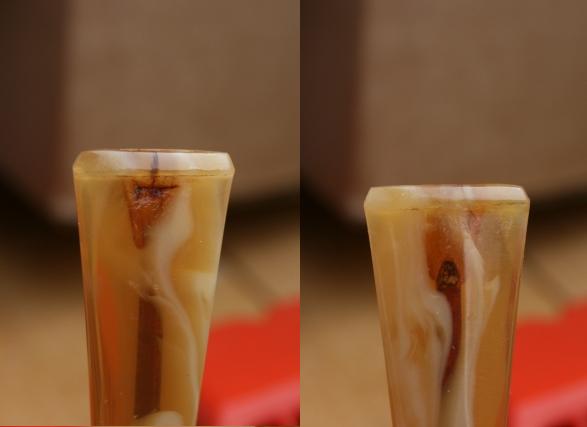
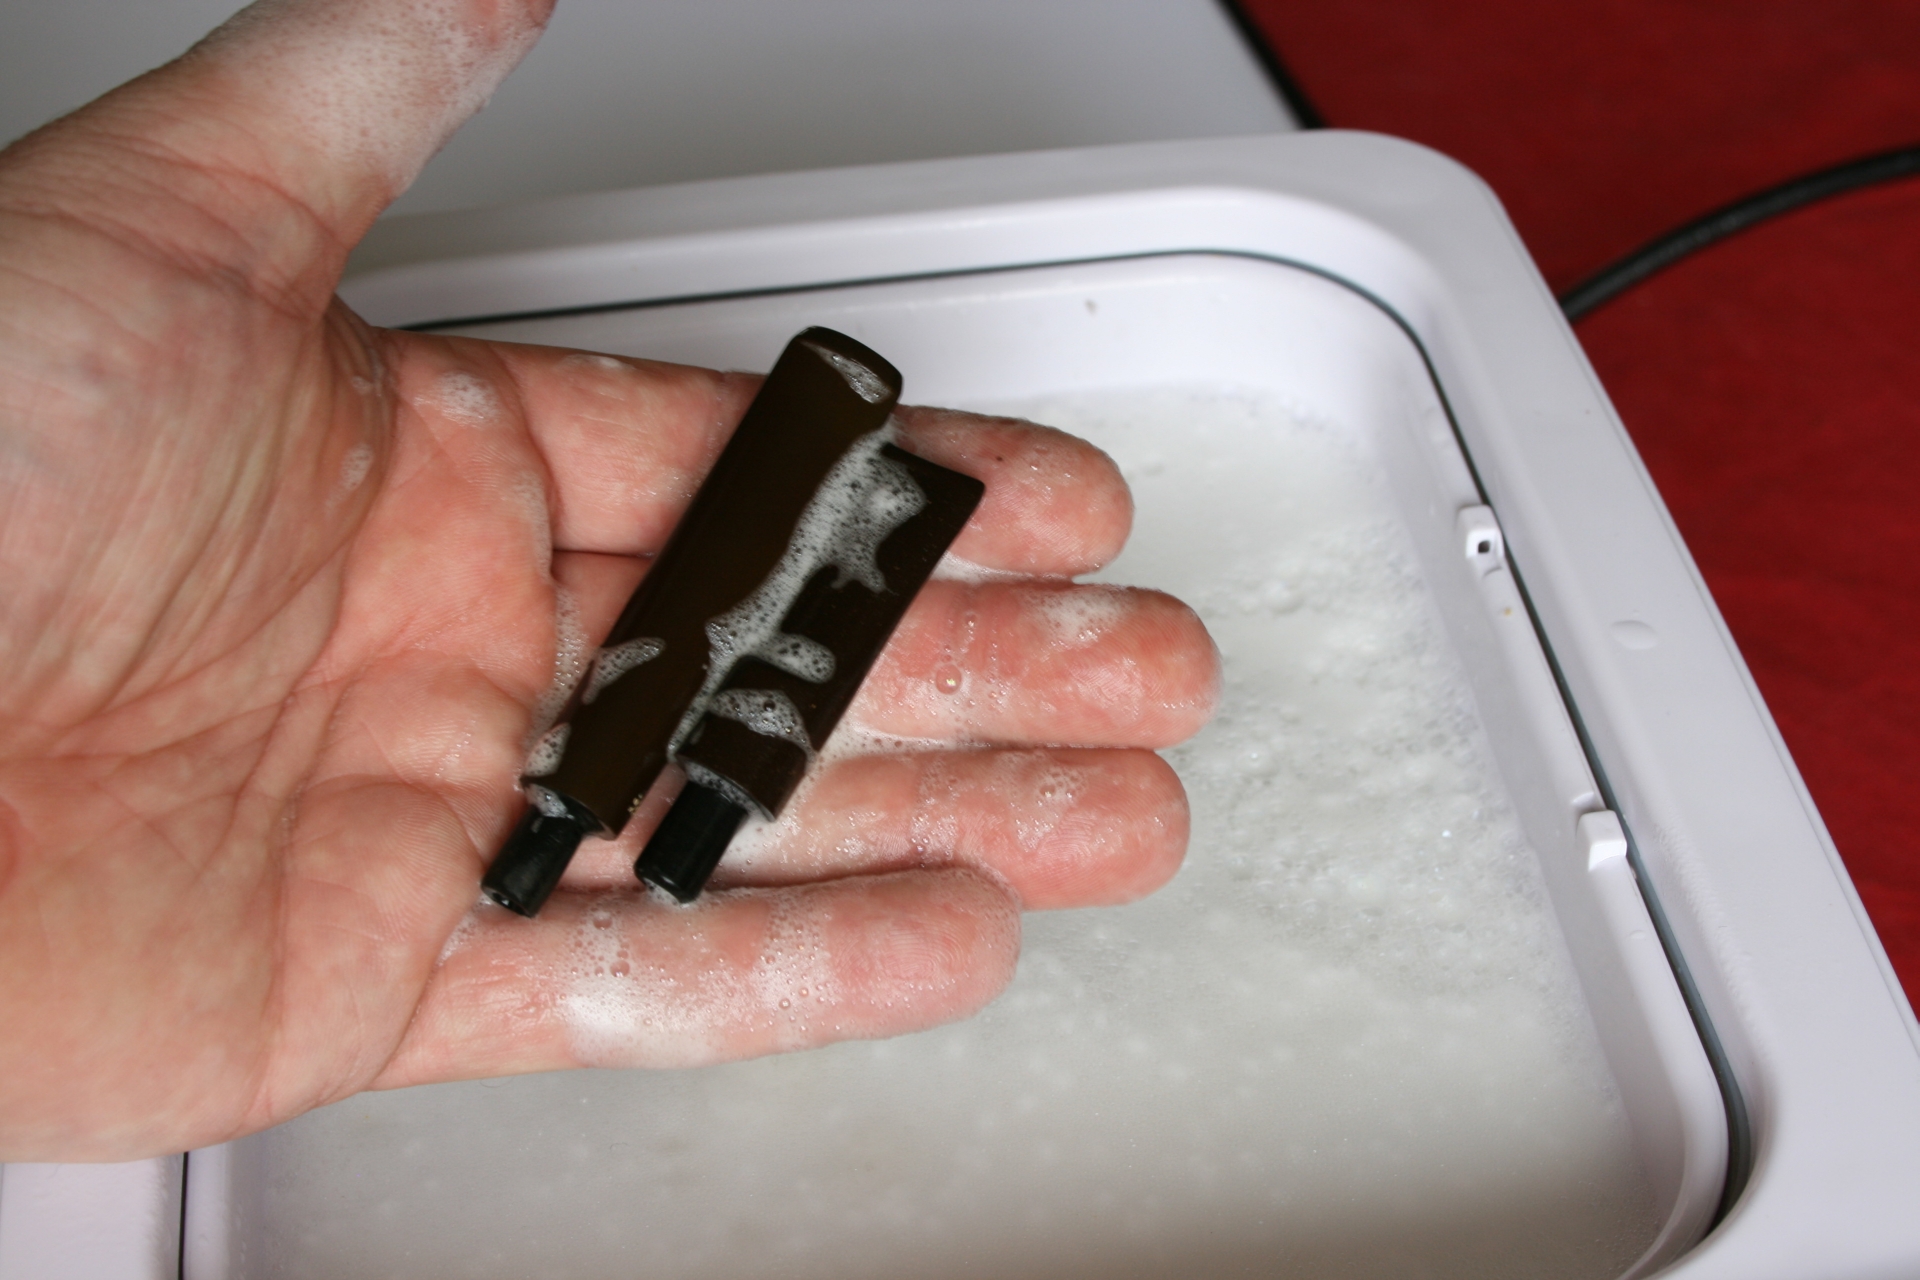
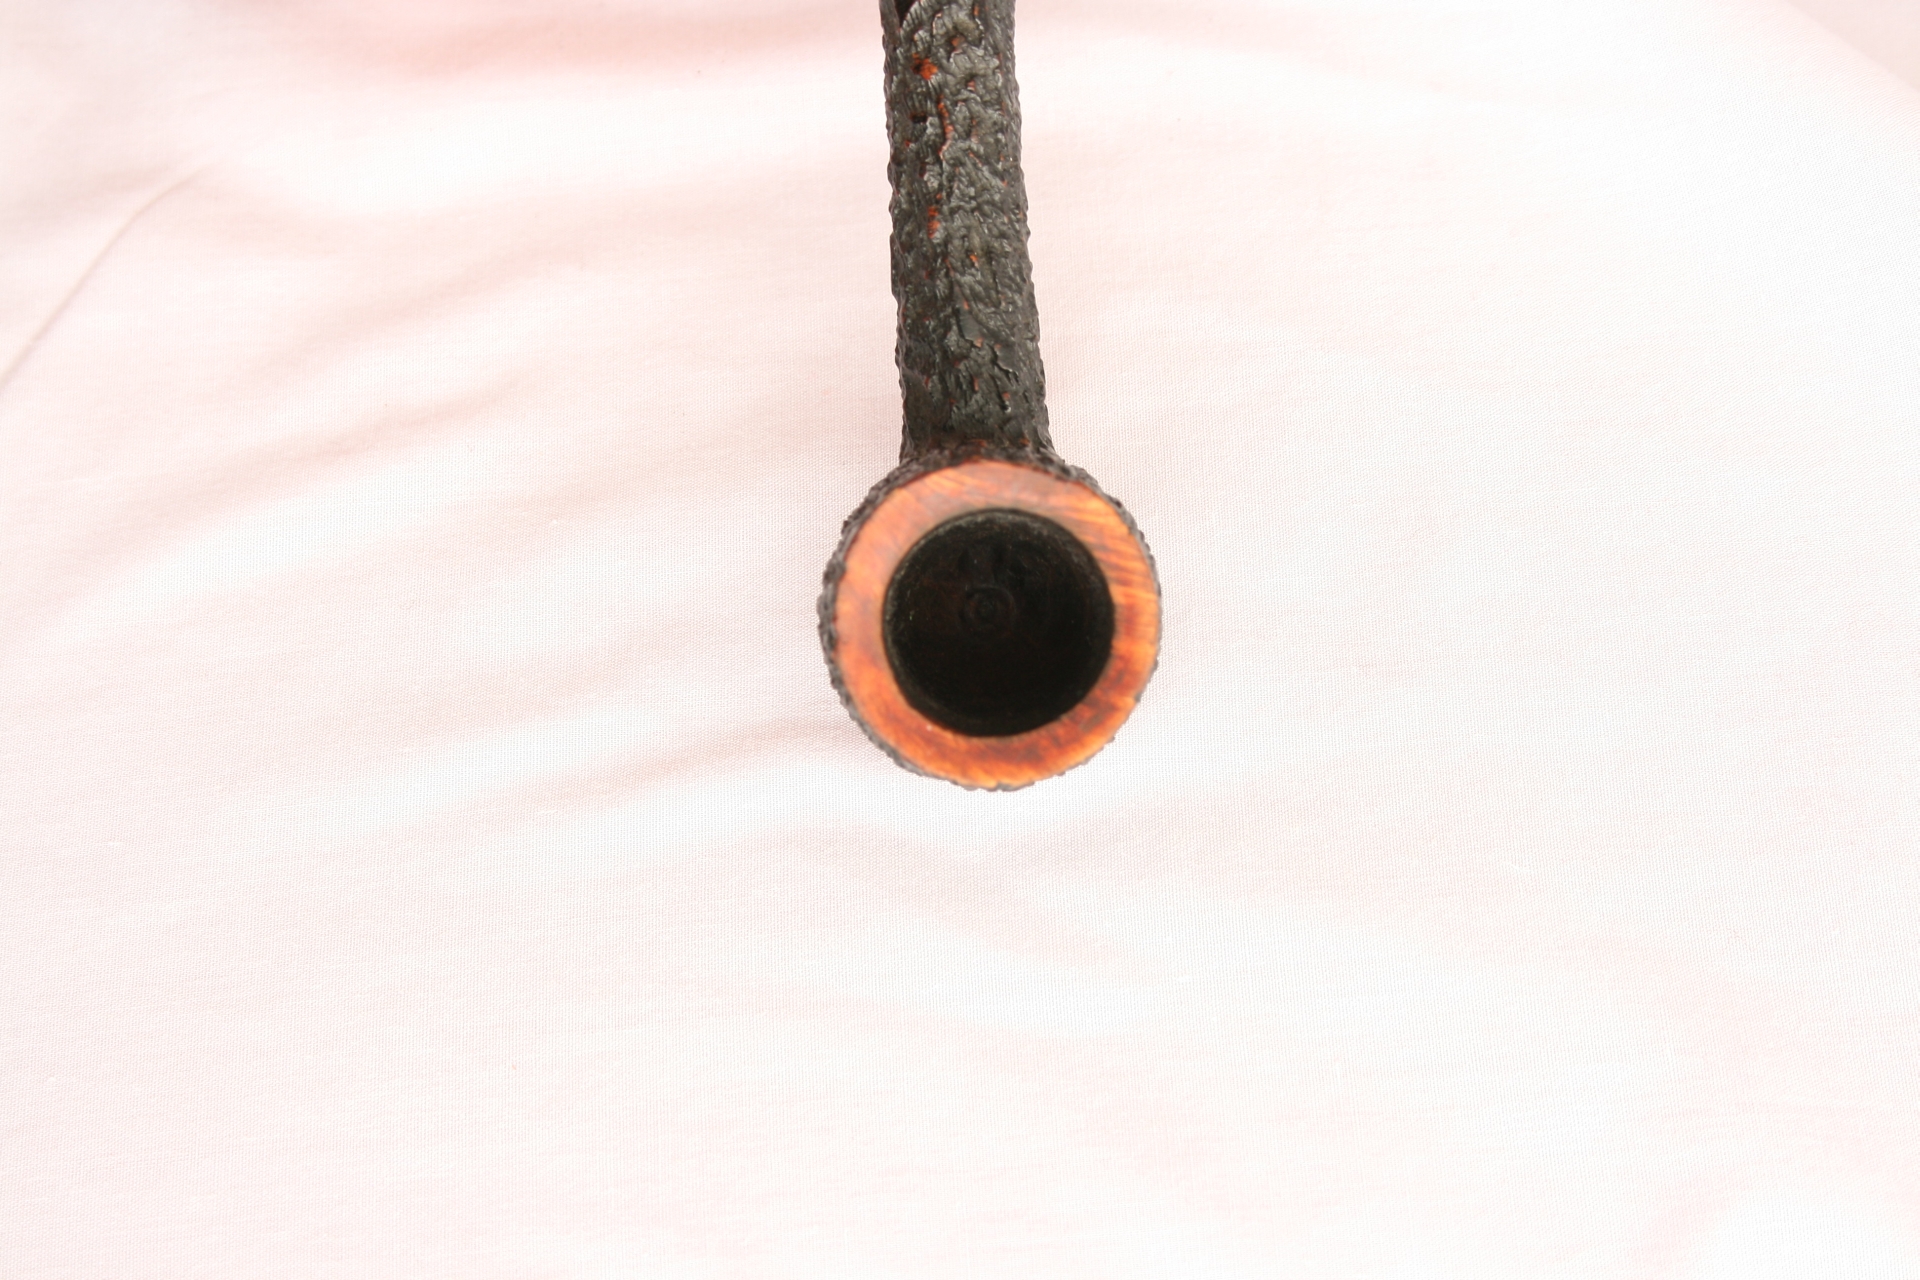
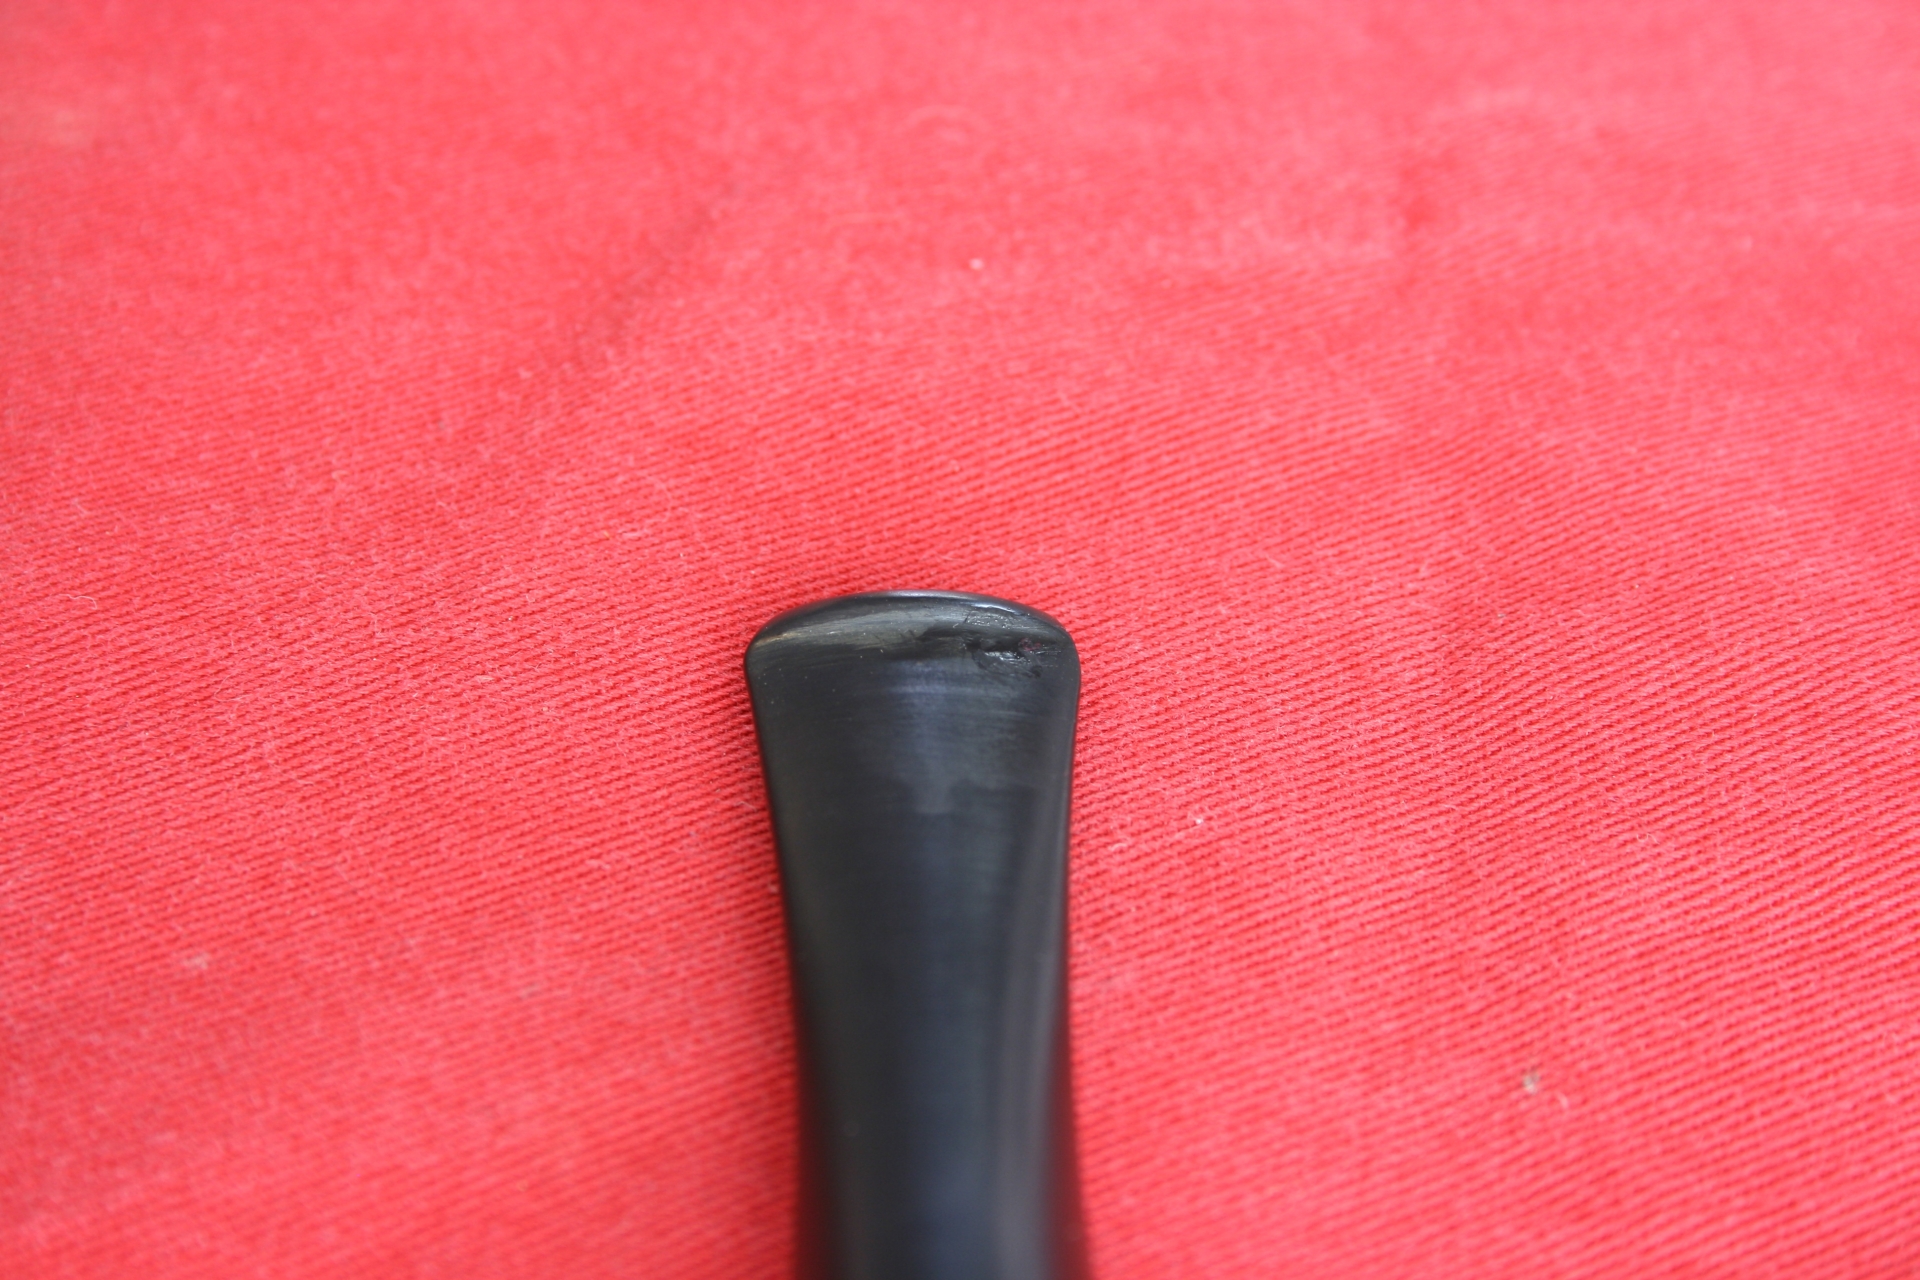
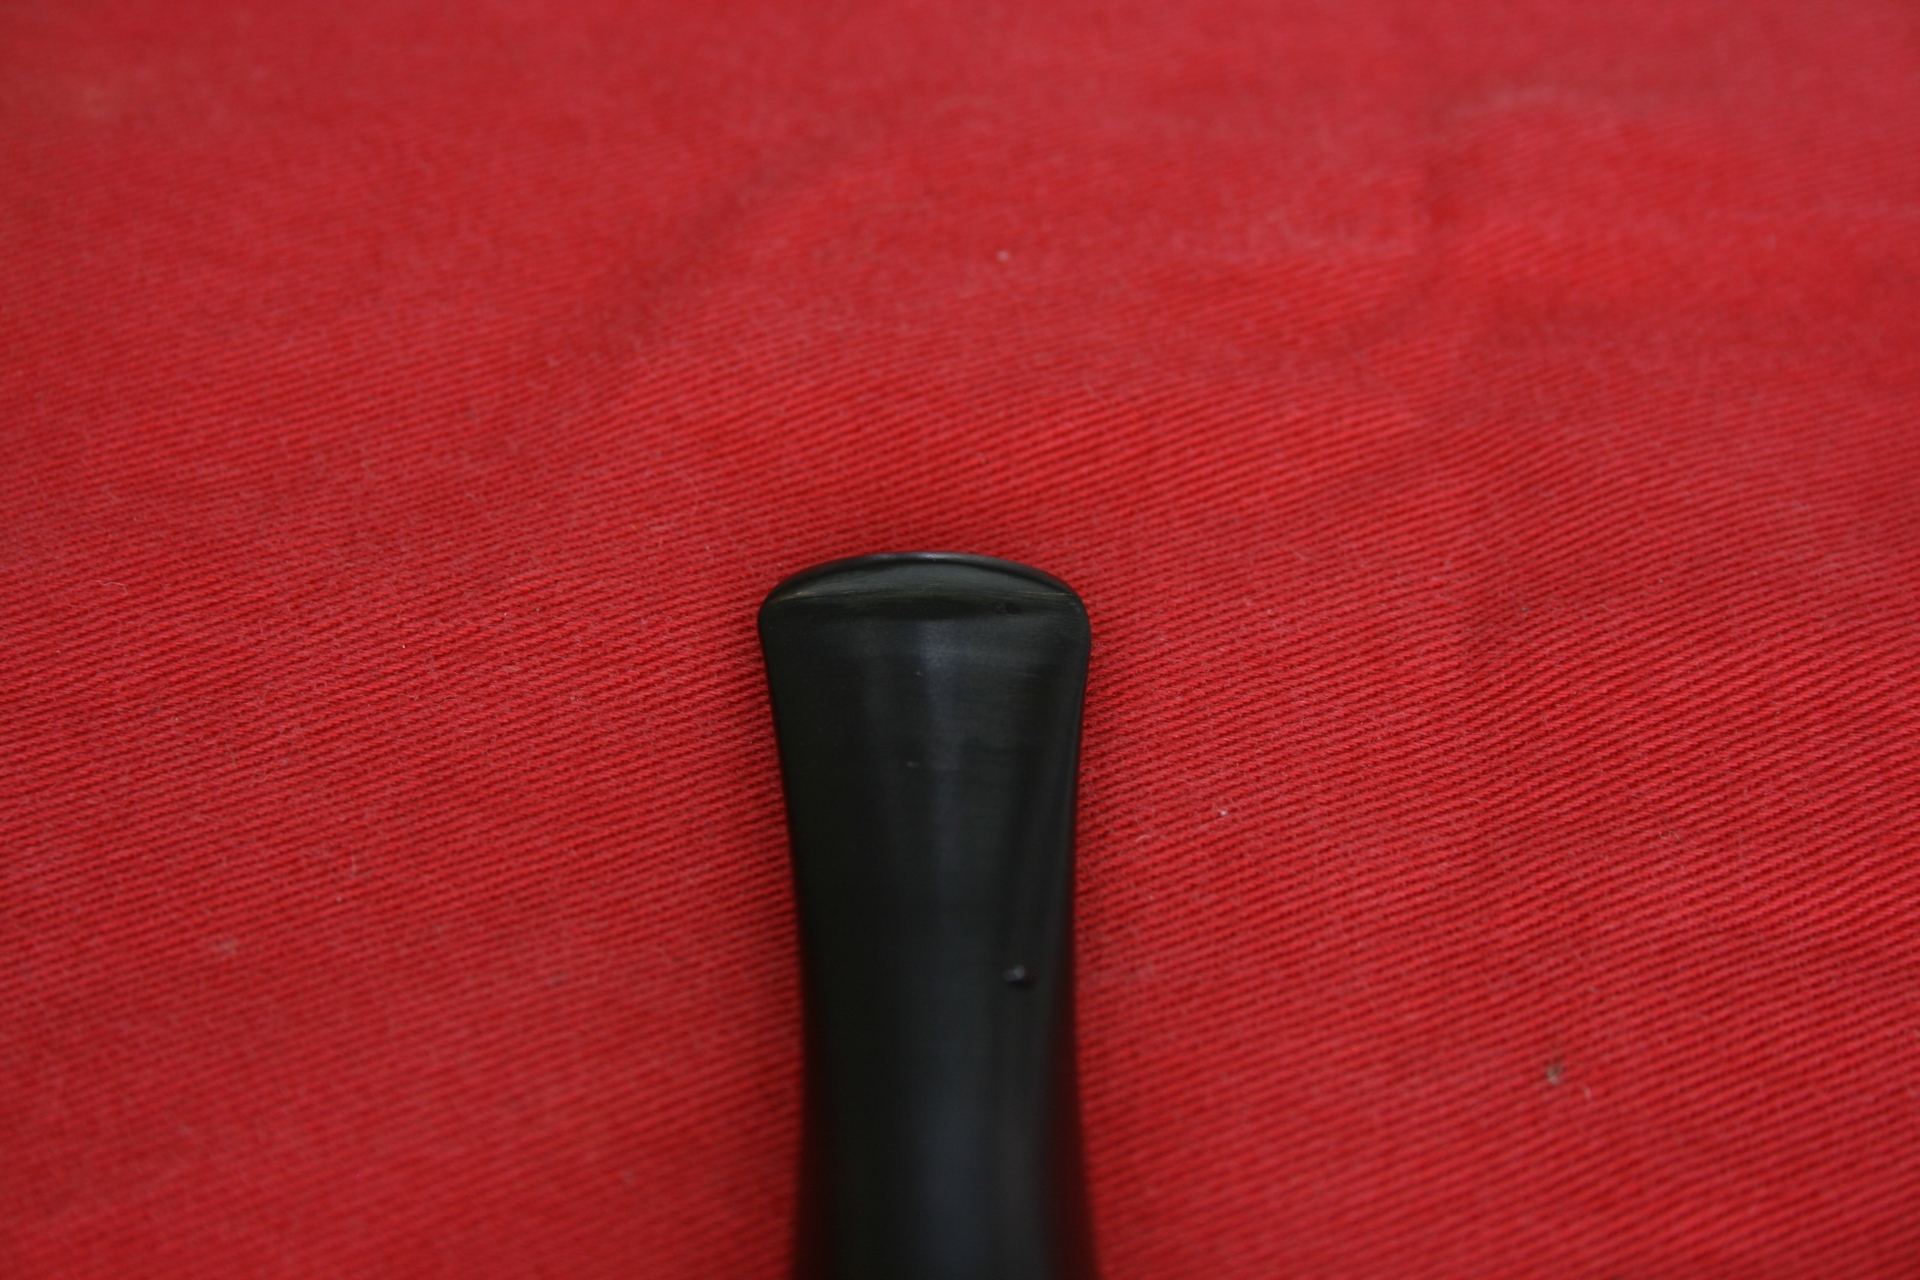
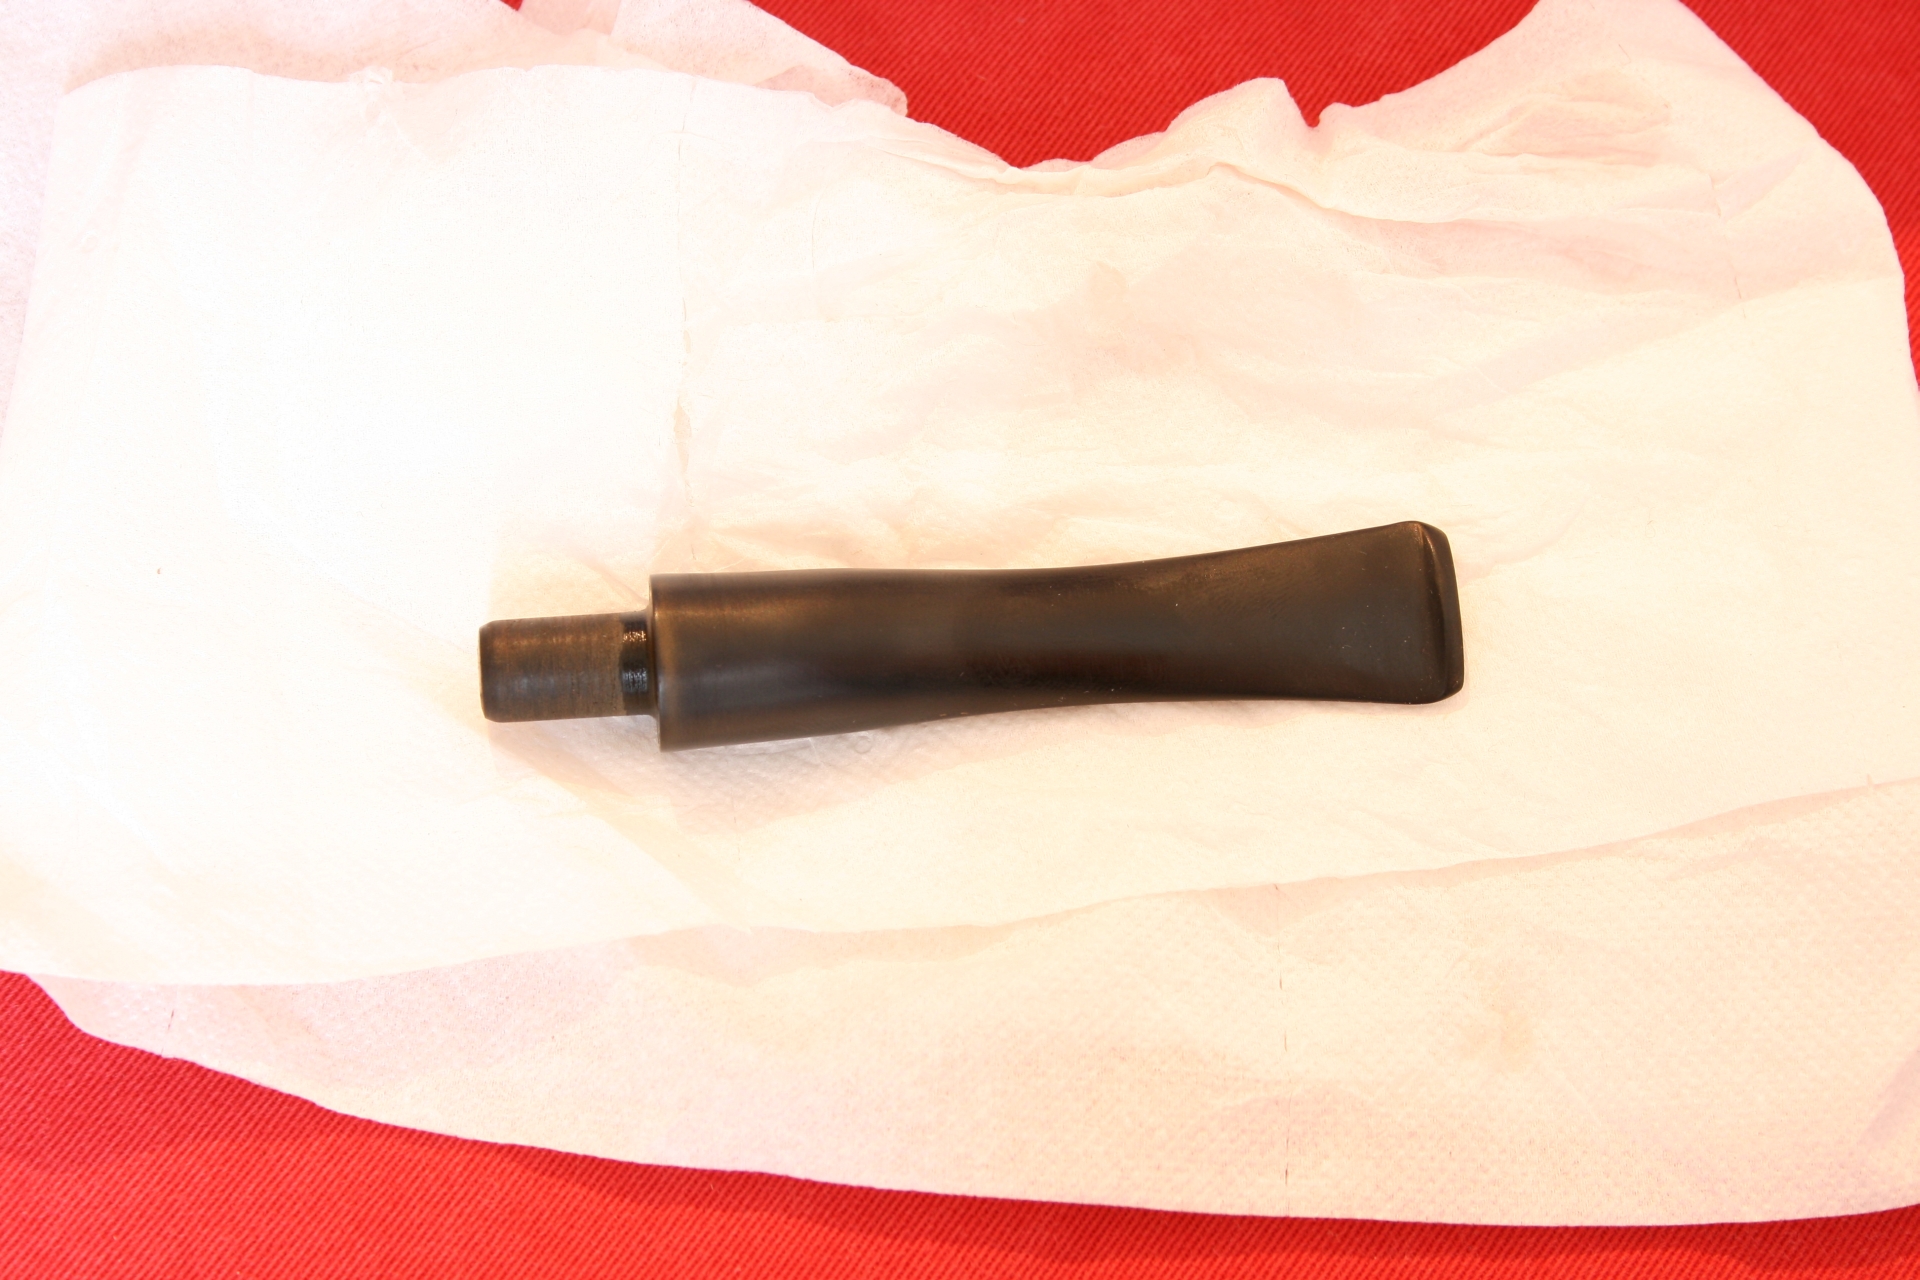
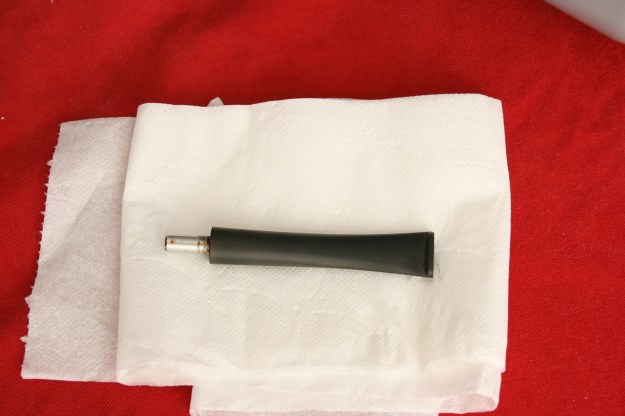
The stem just removed from the bath.
010 On to something

When I retrieved the stem I was blown away by the result, the stem came out cleaner than with the normal soak method and less gooey as with the stirring method. (However the photo did not show this, so I had to lighten it to make it clearer.) Also when I put the stem to the grind wheel I found that the liquid was a deeper brown colour instead of the golden light-brown colour I usually get when grinding.

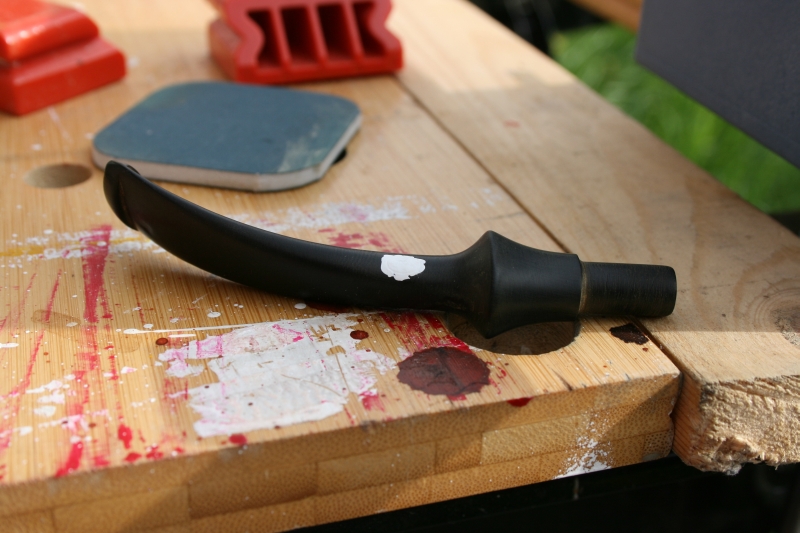
The result after grinding.
011 After the grind

Was I on to something or was it a fluke with this particular stem? I decided to leave the stems as is, find another stem in my ‘bit-box’ and try the ultrasonic again to see if I could duplicate the result. I found a stem without its tenon and dunked it in the ultrasonic.
012 Before

While this was going on I Googled about ultrasonic cleaning and I stumbled on a very well written site: http://www.tmasc.com/qa%20process.htm by an unknown author. In it I found a certain line that made me stop the ultrasonic and reconfigure it, namely this:

‘Parts should be racked in a basket or work holder designed to handle your specific part. This is very important in high-end cleaning systems where you want the cleanest part possible. You should always use a stainless steel basket, as softer materials will absorb the ultrasonic energy. Never use plastic or other soft materials. If your part is easily damaged or scratched, stainless steel racks with Nylobond or Teflon coatings are available.’

Now if you look in the previous pictures you will notice I left the basket out of the cleaner thinking it was not needed for my purposes. Boy was I wrong. Having the stems in contact with the bottom meant that the sonic vibrations were interrupted and as such the cleaning was not optimum. Whoops. So I put the basket that came with the cleaner, put the stem in and let it go for 8 minutes. The end result really surprised me.

013 After

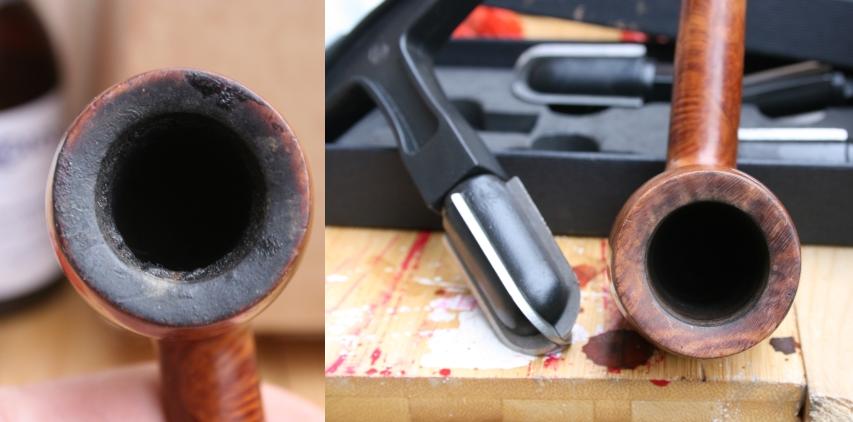
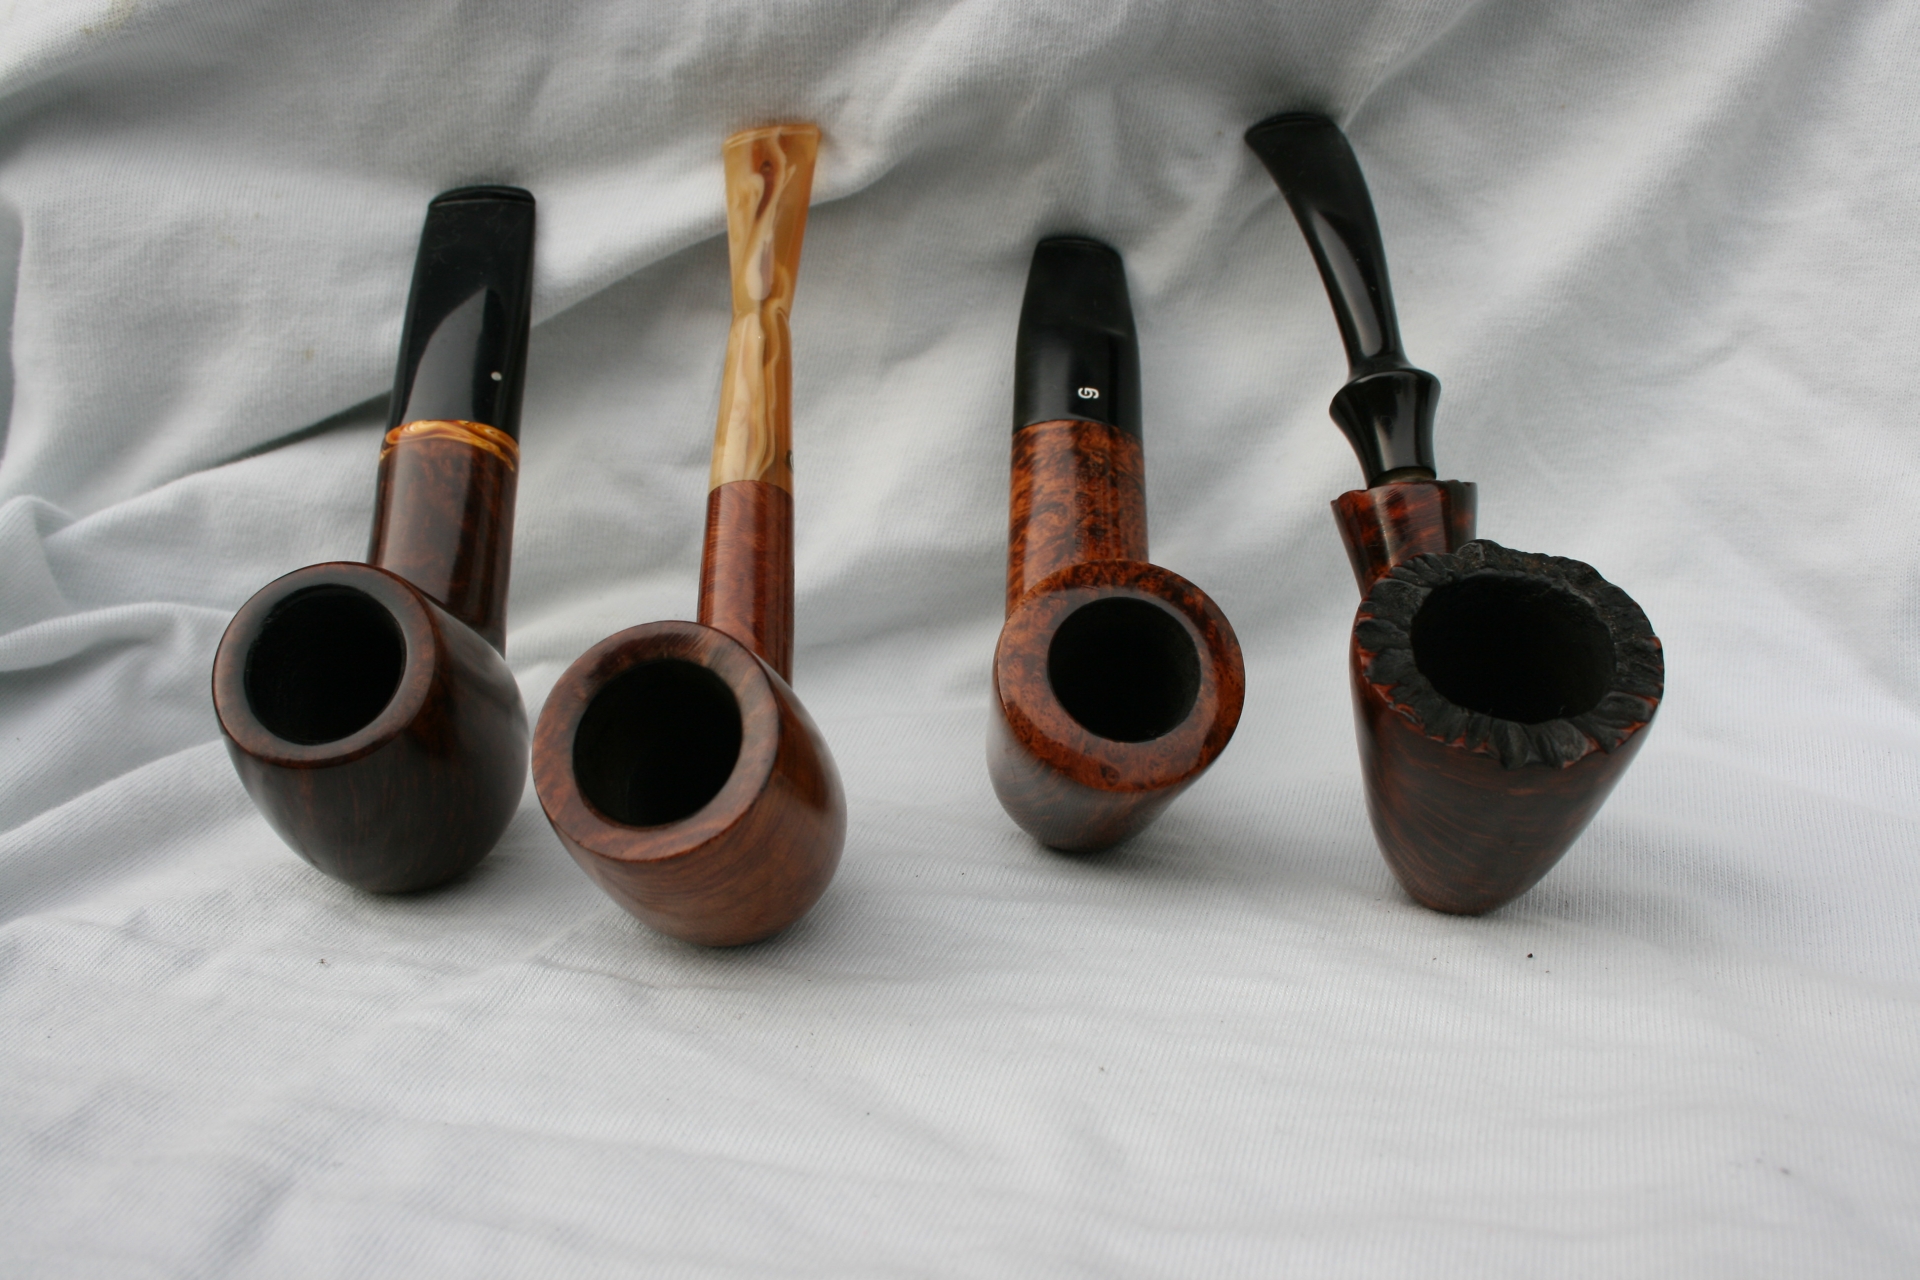
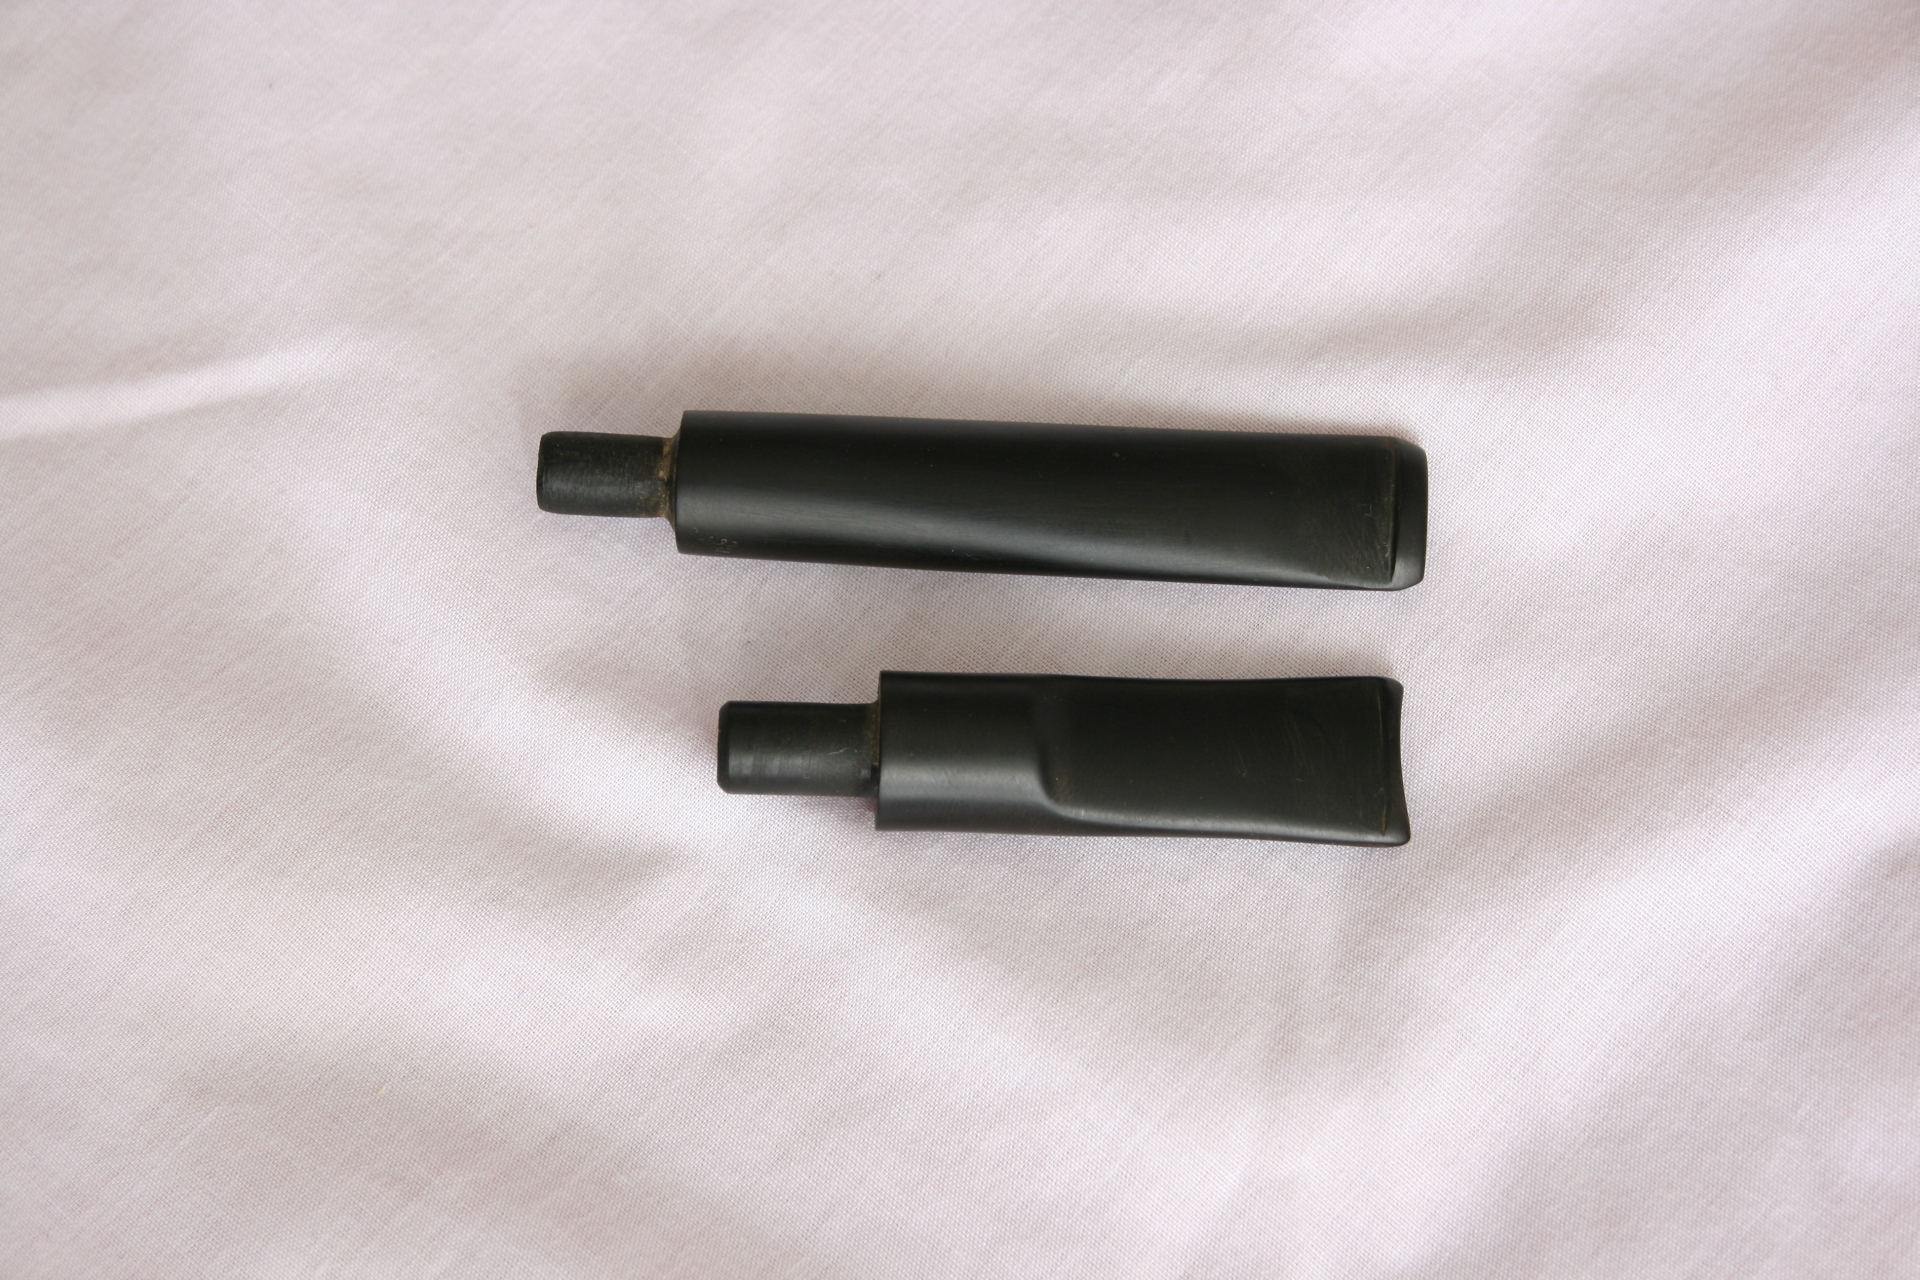
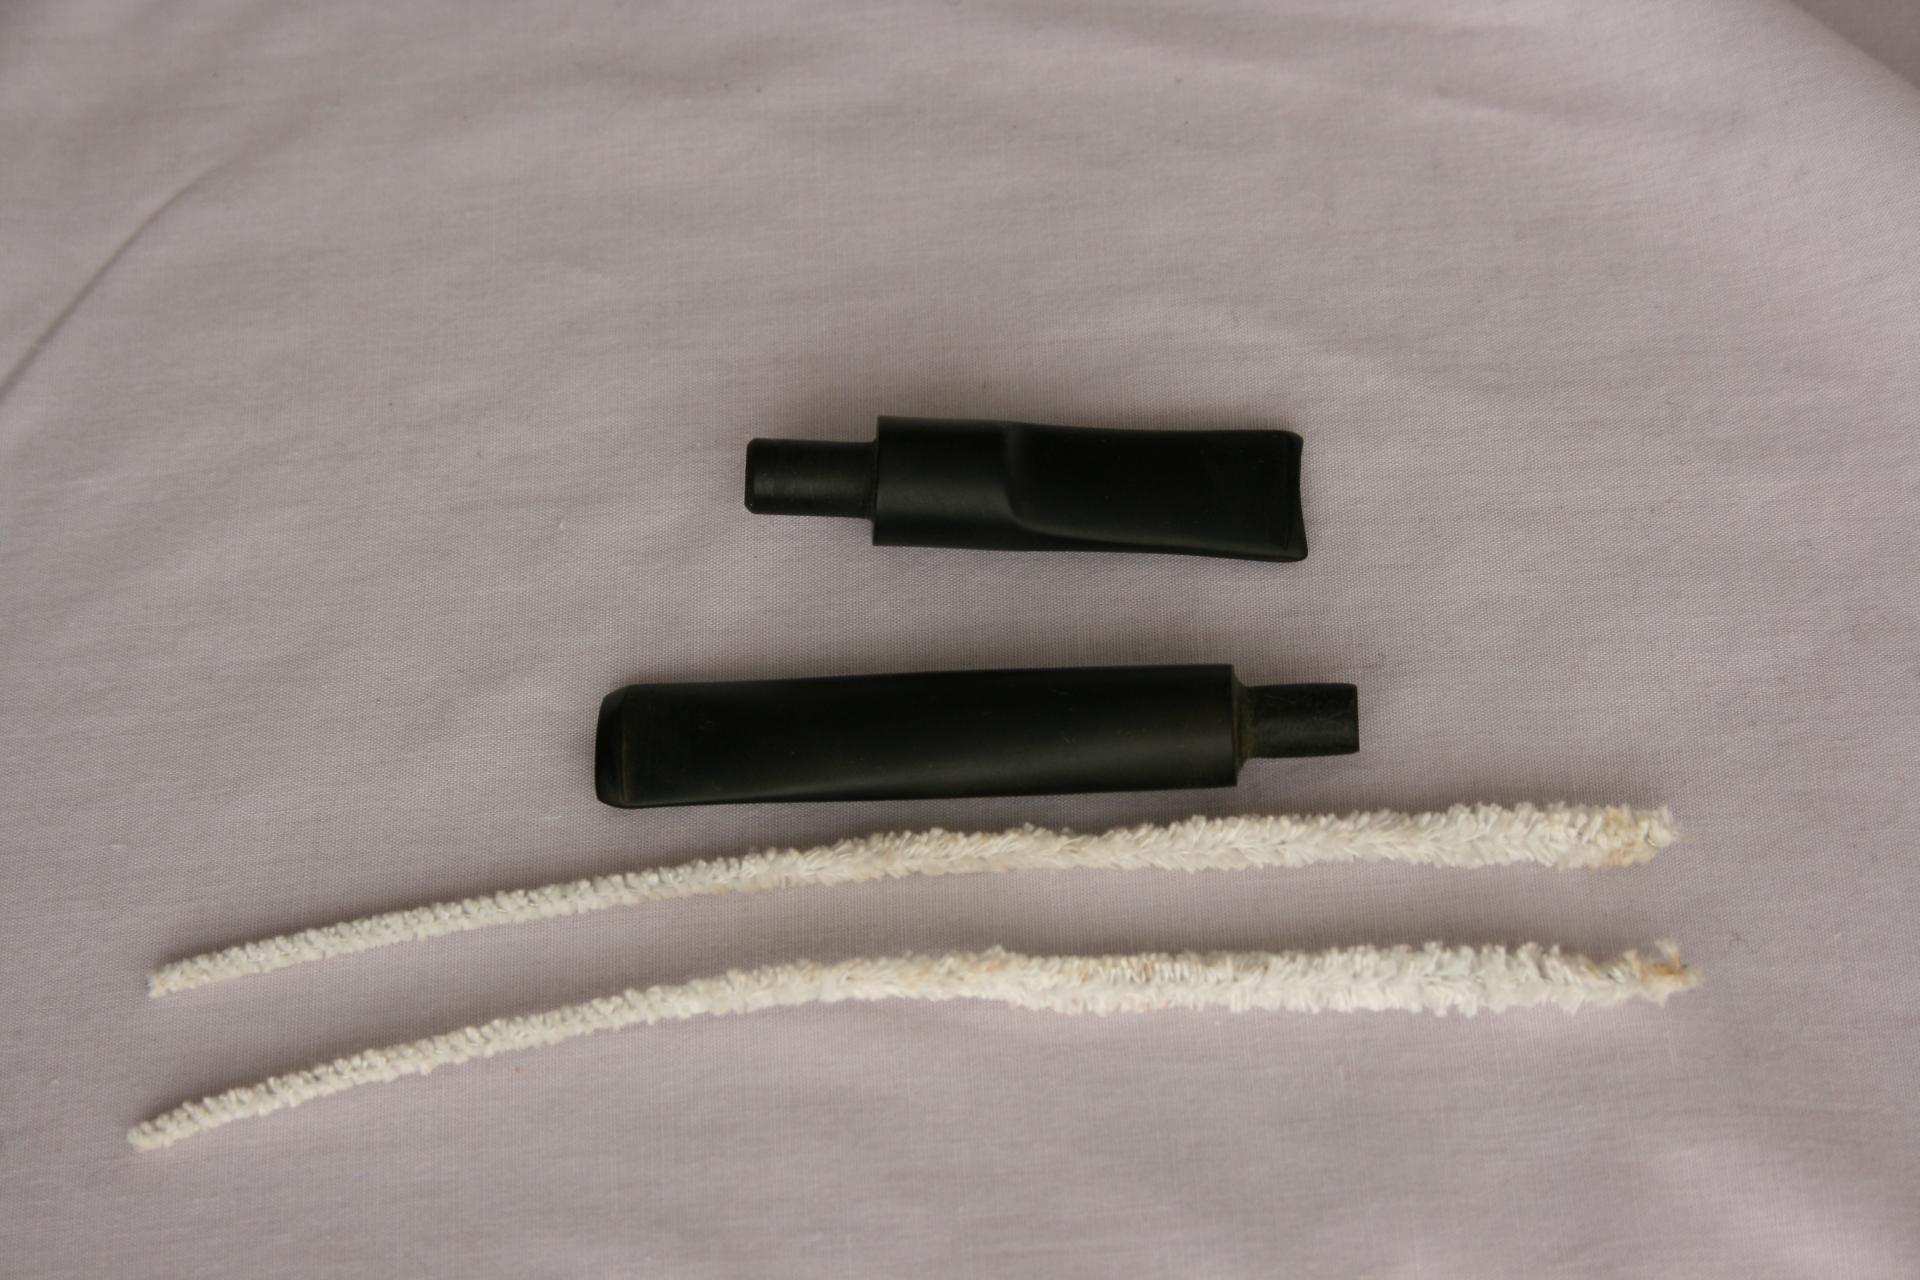
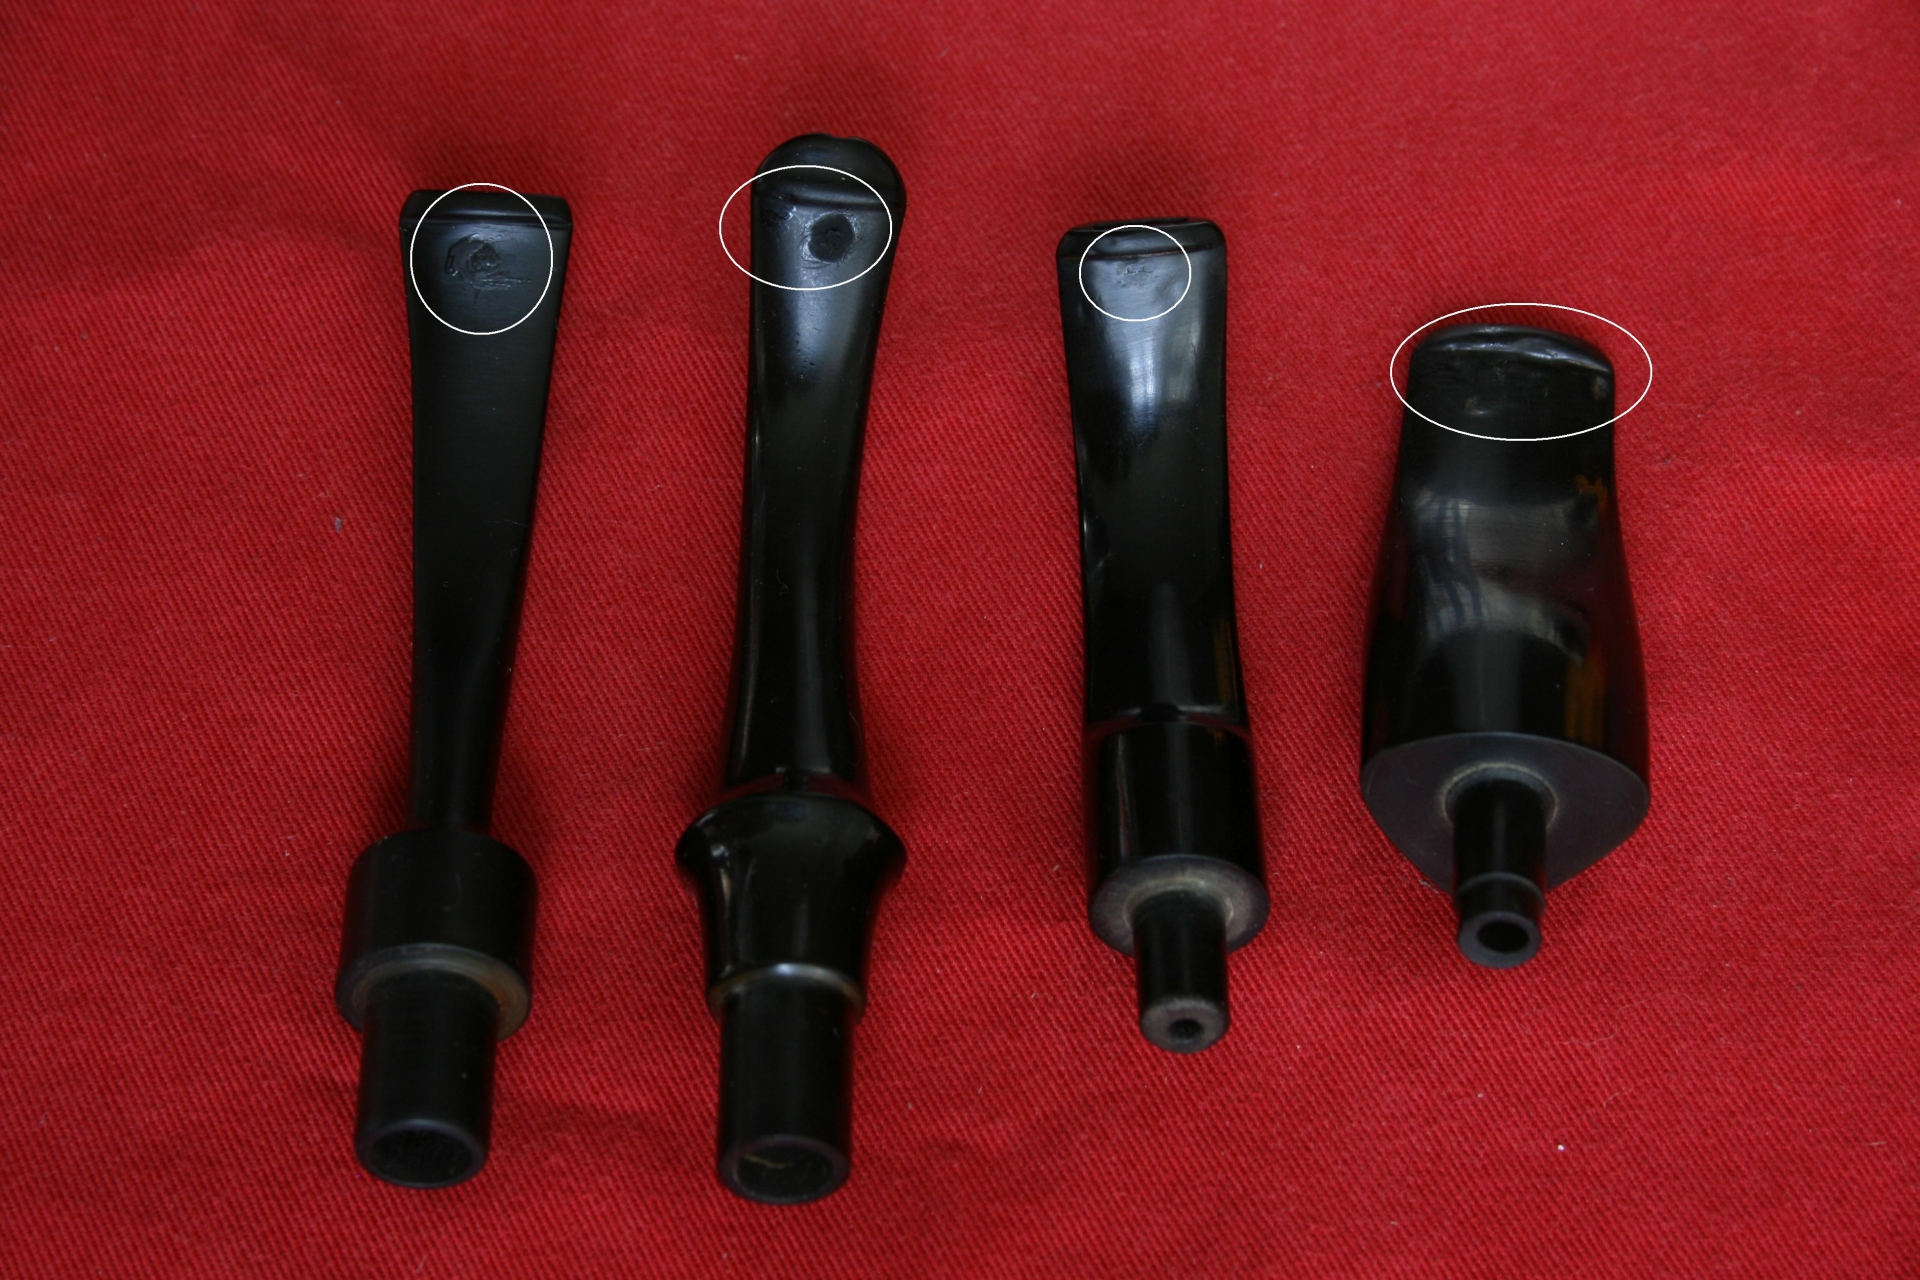
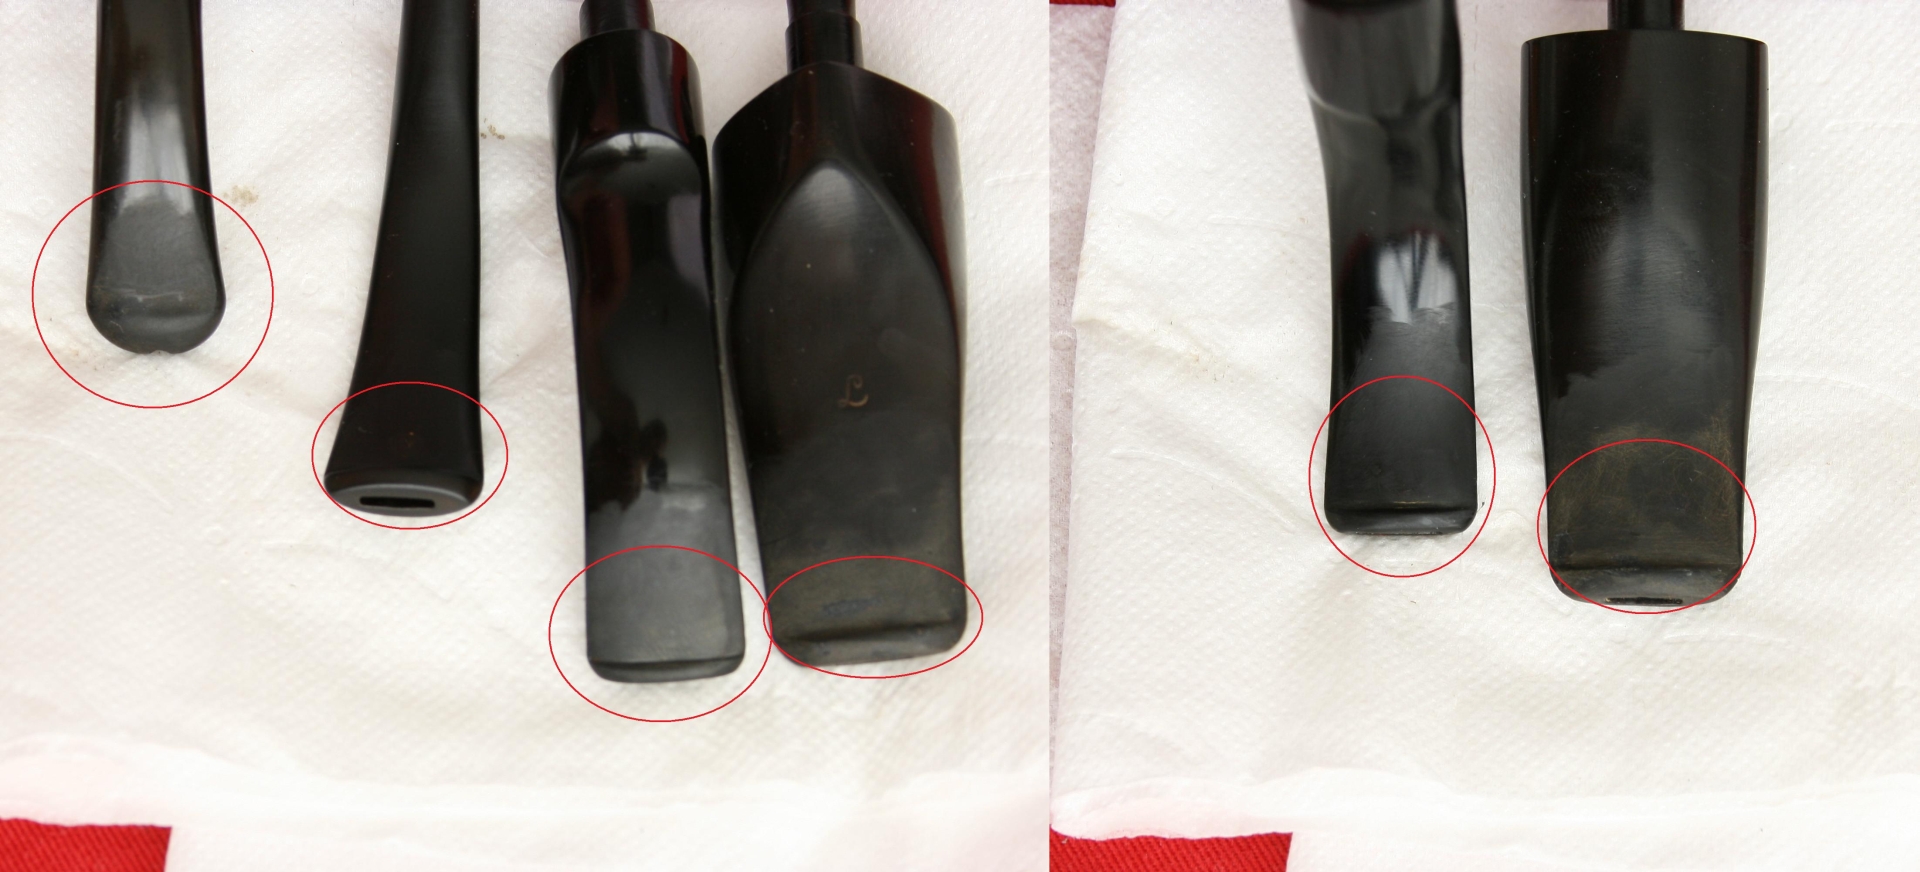
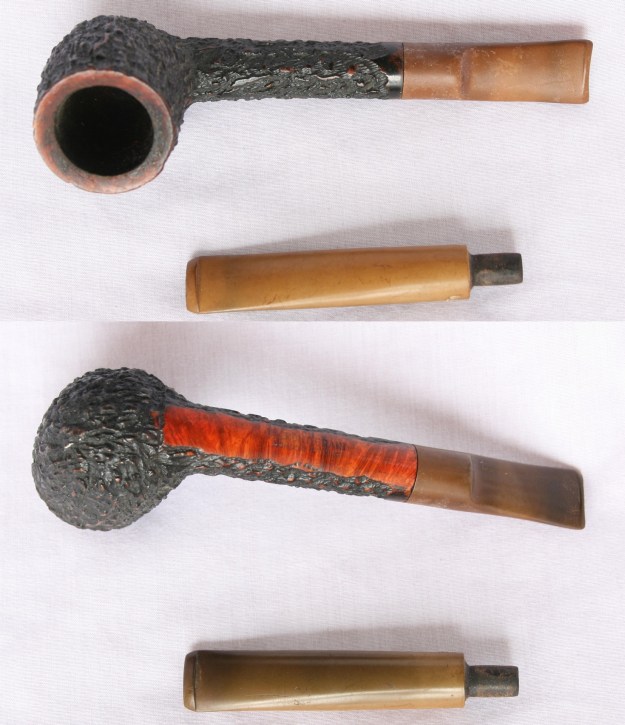
When I used the grind wheel on it the liquid was almost black. Here are the stems next to each other.
014 All three stems

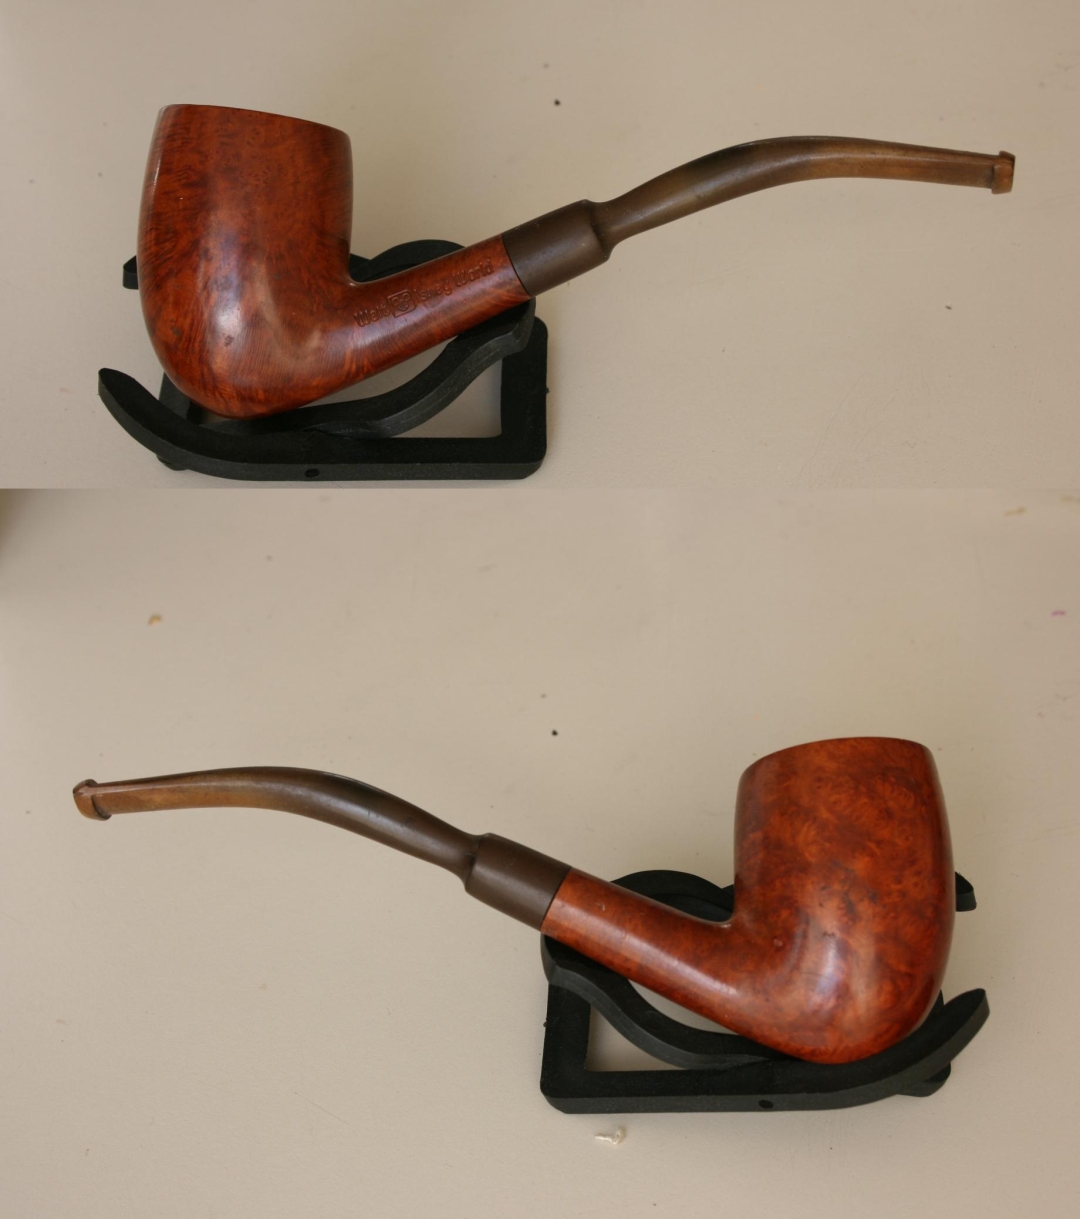
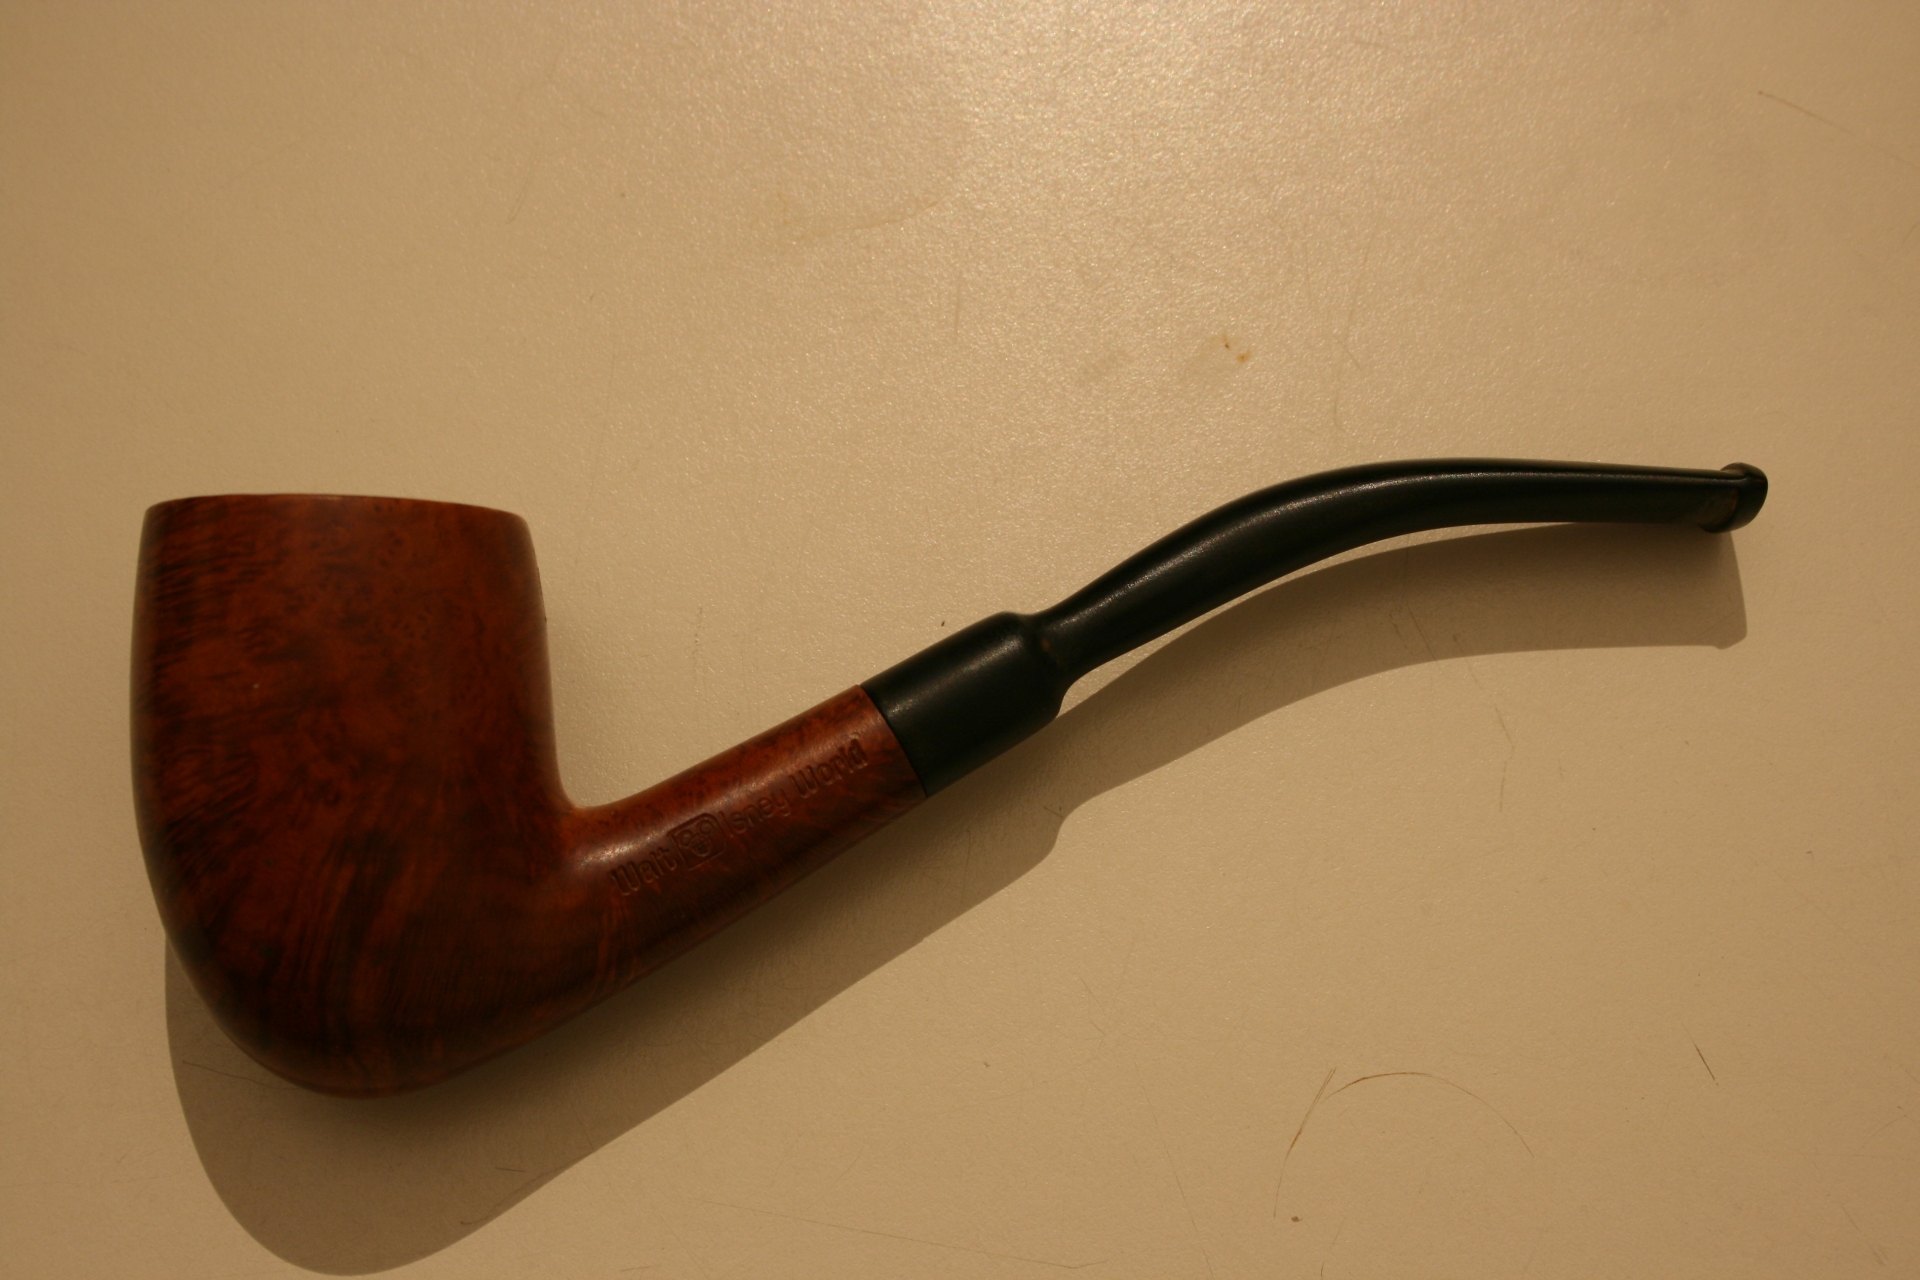
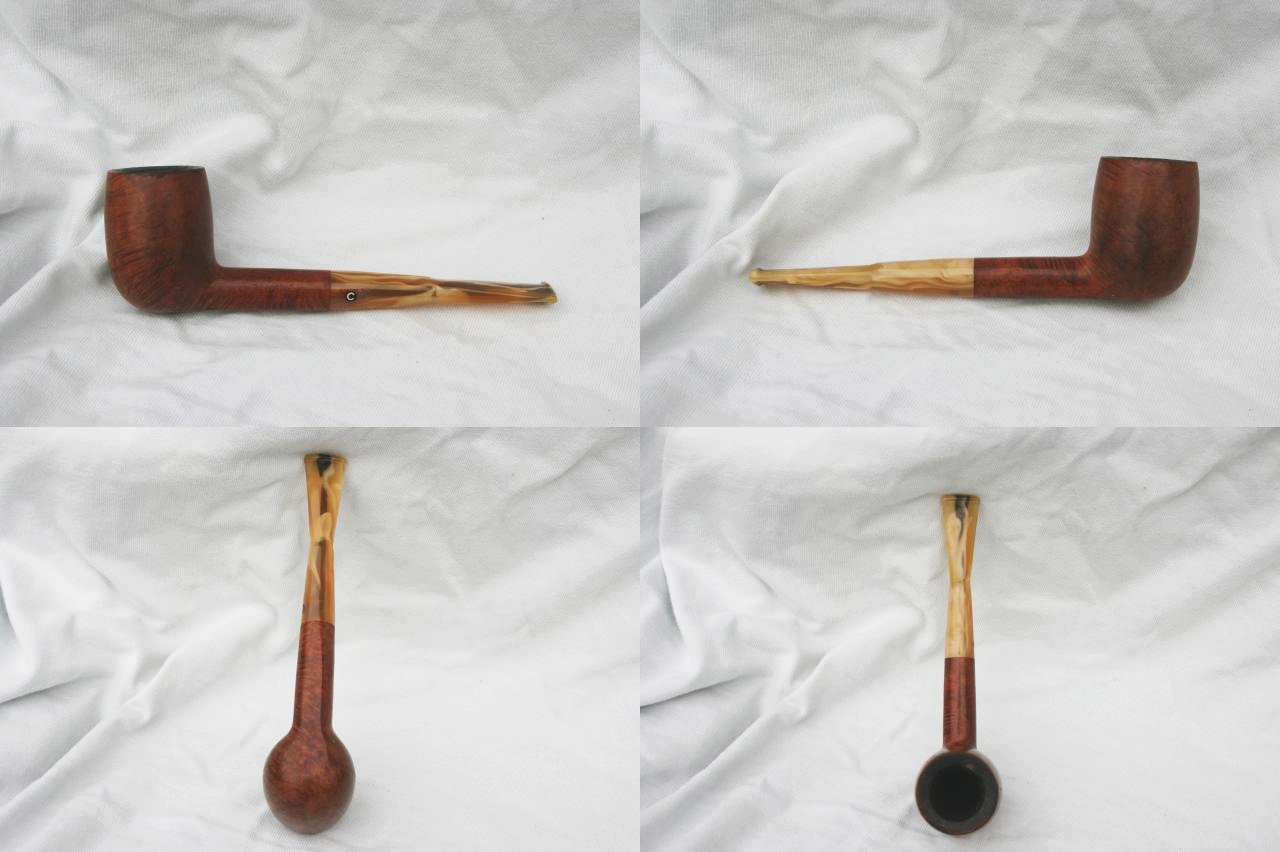
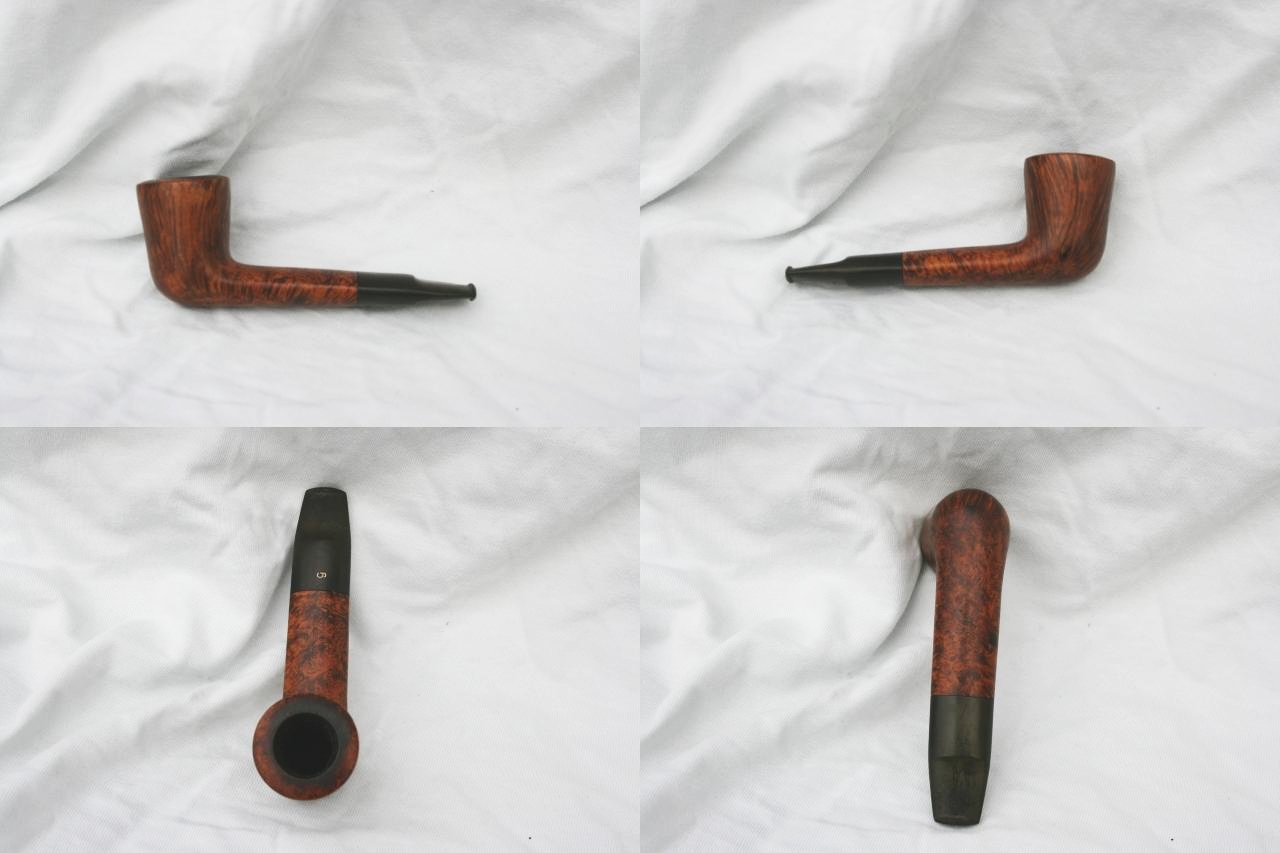
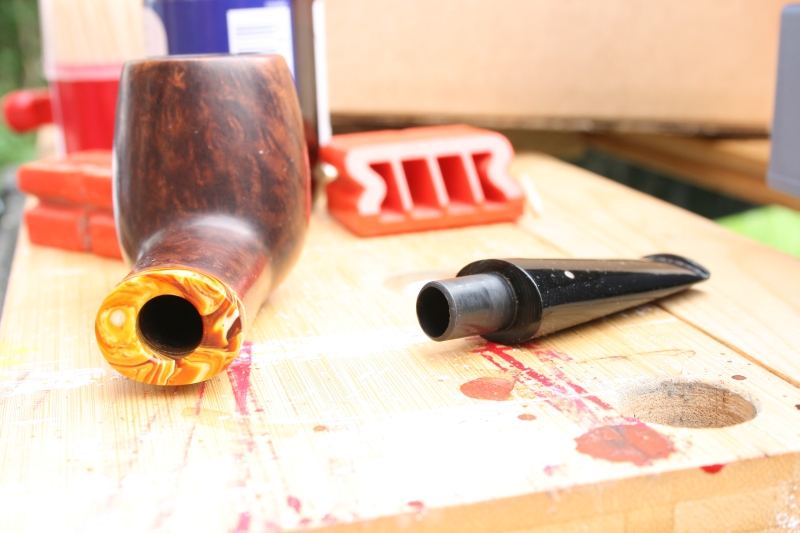
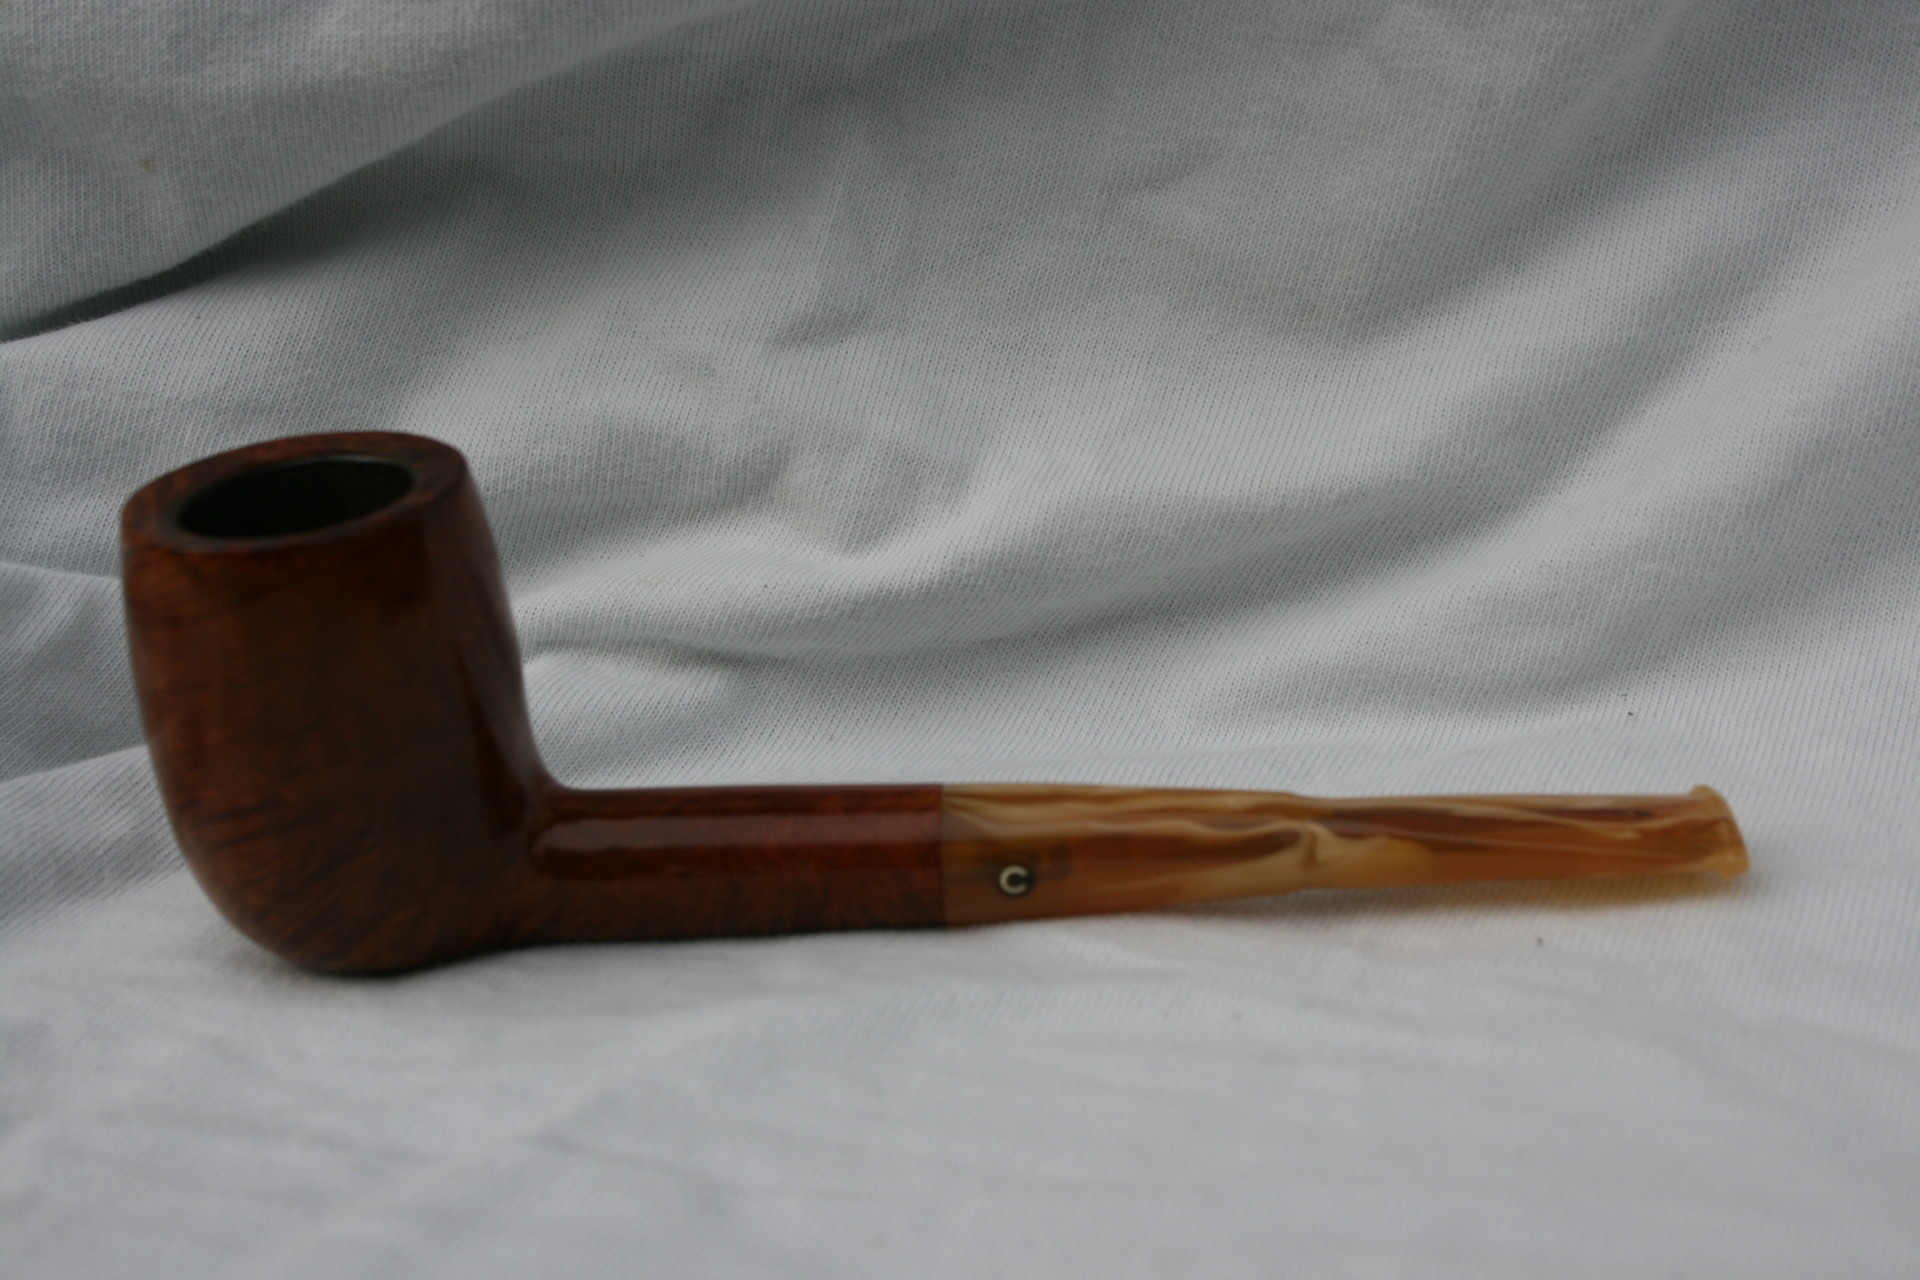
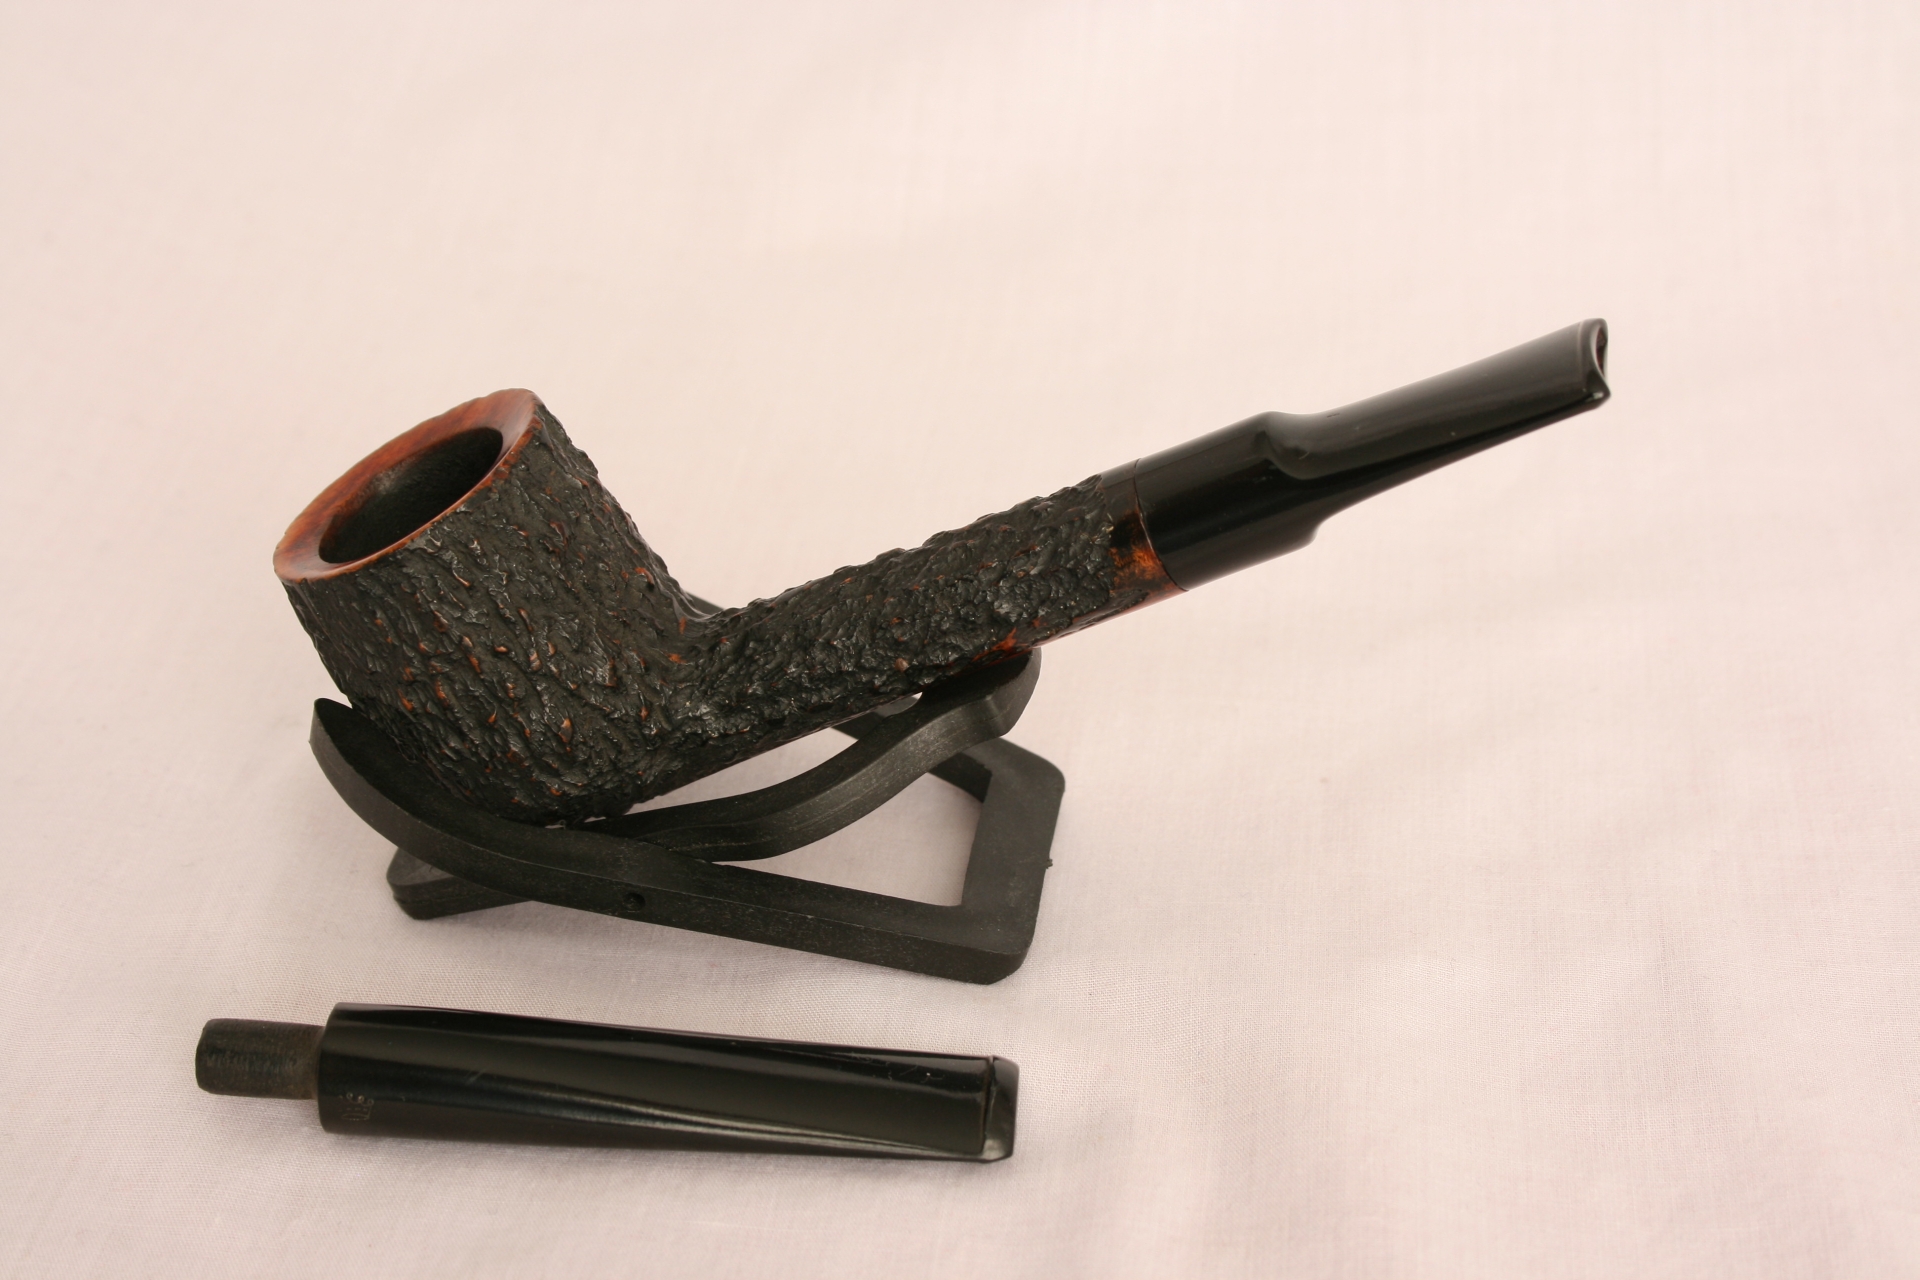
You can clearly see that the middle one has had more oxidation removed than the other two and in the case of the upper stem I blame my inexperience with the ultrasonic. Still the end result for me was quite exciting and I wanted to try it in a complete cleaning process. So I rummaged through my pipe- and bit-boxes to find almost equally oxidized stems. I found a ‘Belmont Grain London Style’ pipe and a loose stem.
015 Pipe and stem

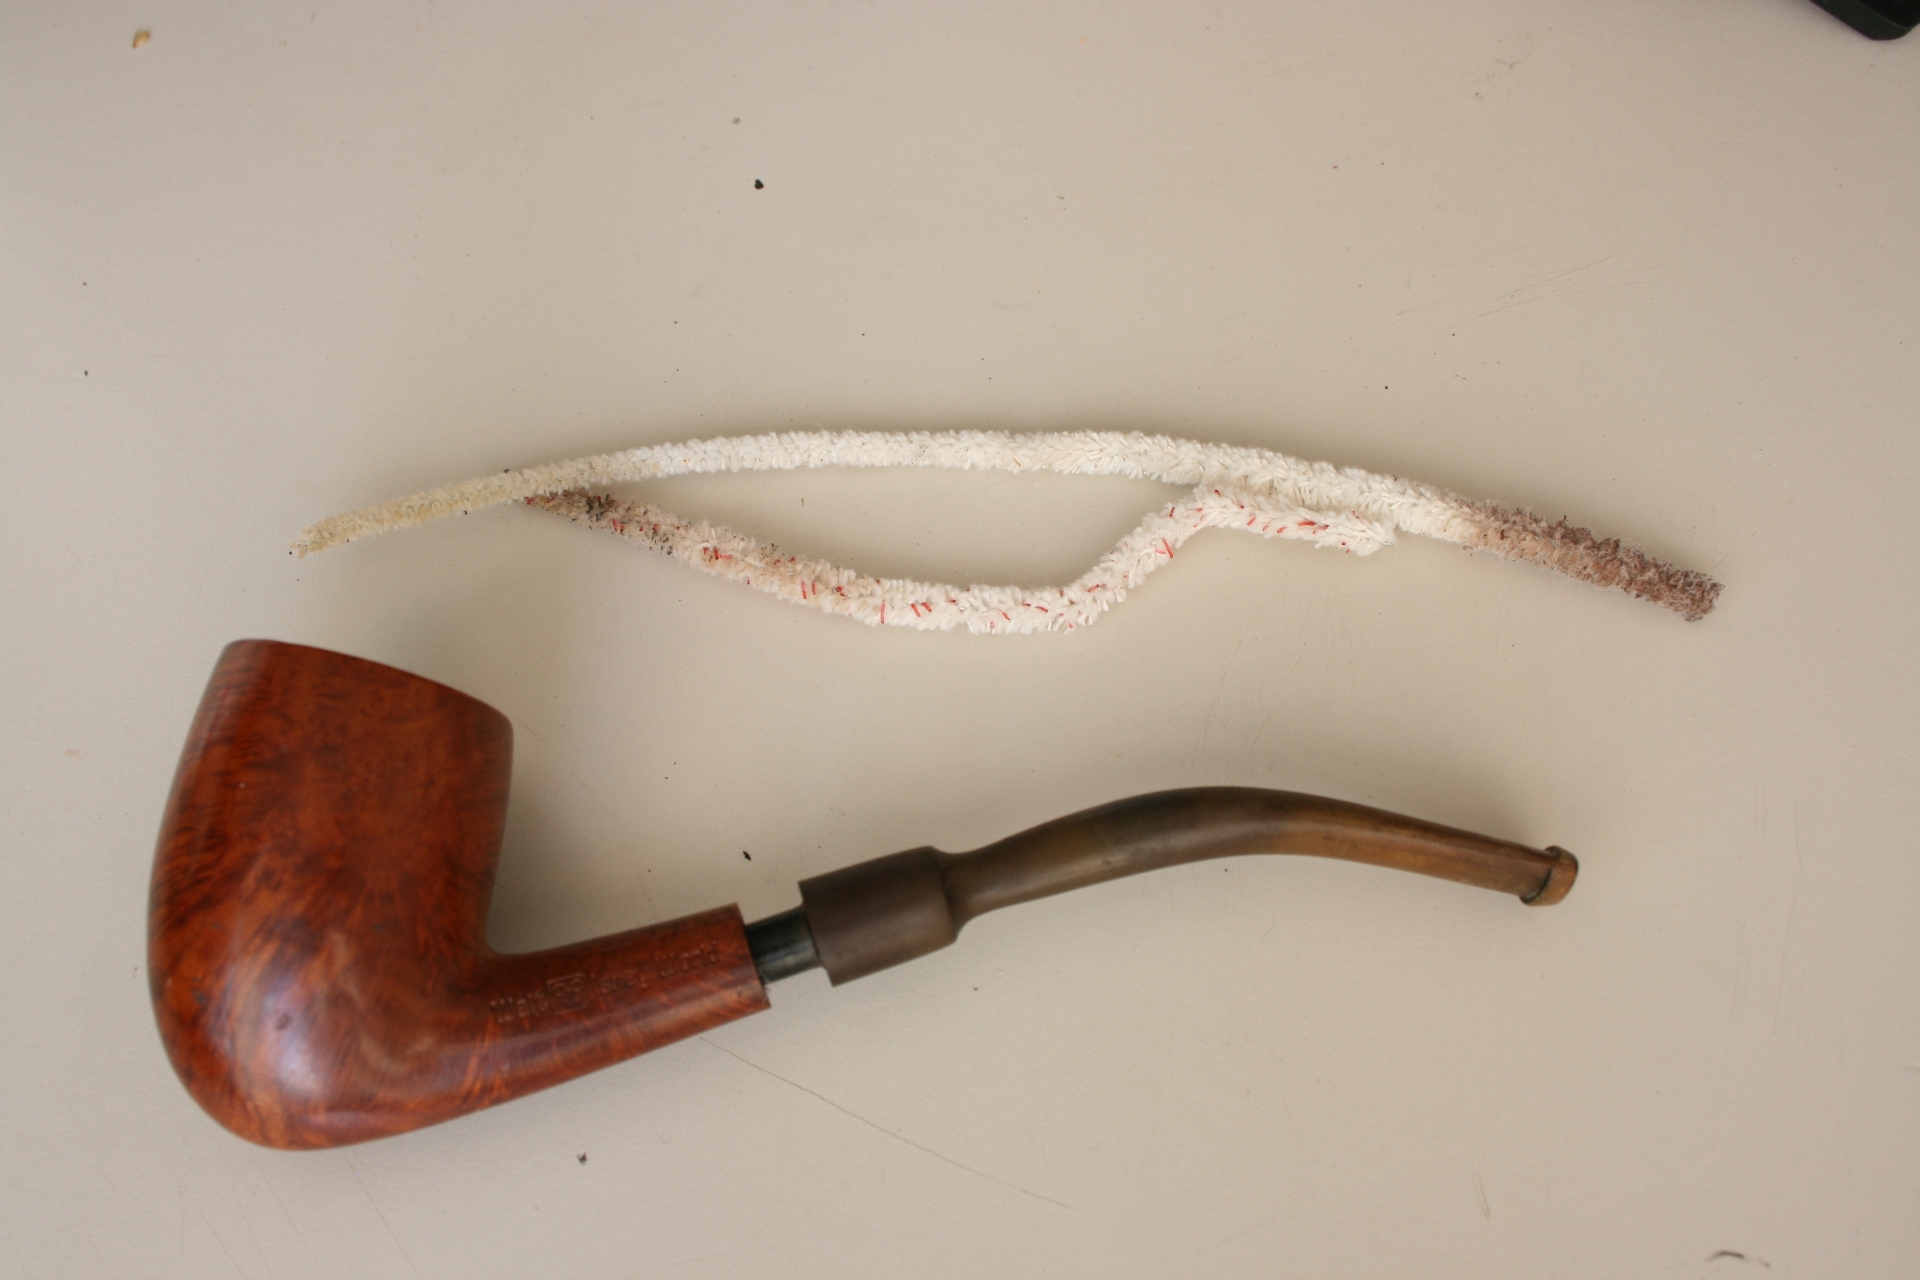
First I cleaned the inside using 96% alcohol and pipe cleaners, they came out pretty clean indicating that the stems were not heavily used.
016 Cleaning inside

Then I set up the ultrasonic again with the Oxi-Action solution, warm water and the basket in place. The stems were placed in the basket and I let her go for 8 minutes.
017 Setup

018 In they go

019 Retrieved

When I retrieved the stems, the first thing I noticed was that they were not as gooey as I was used to and the water smelled rather…..well….like oxidation but more moist. There is no good way to describe it.

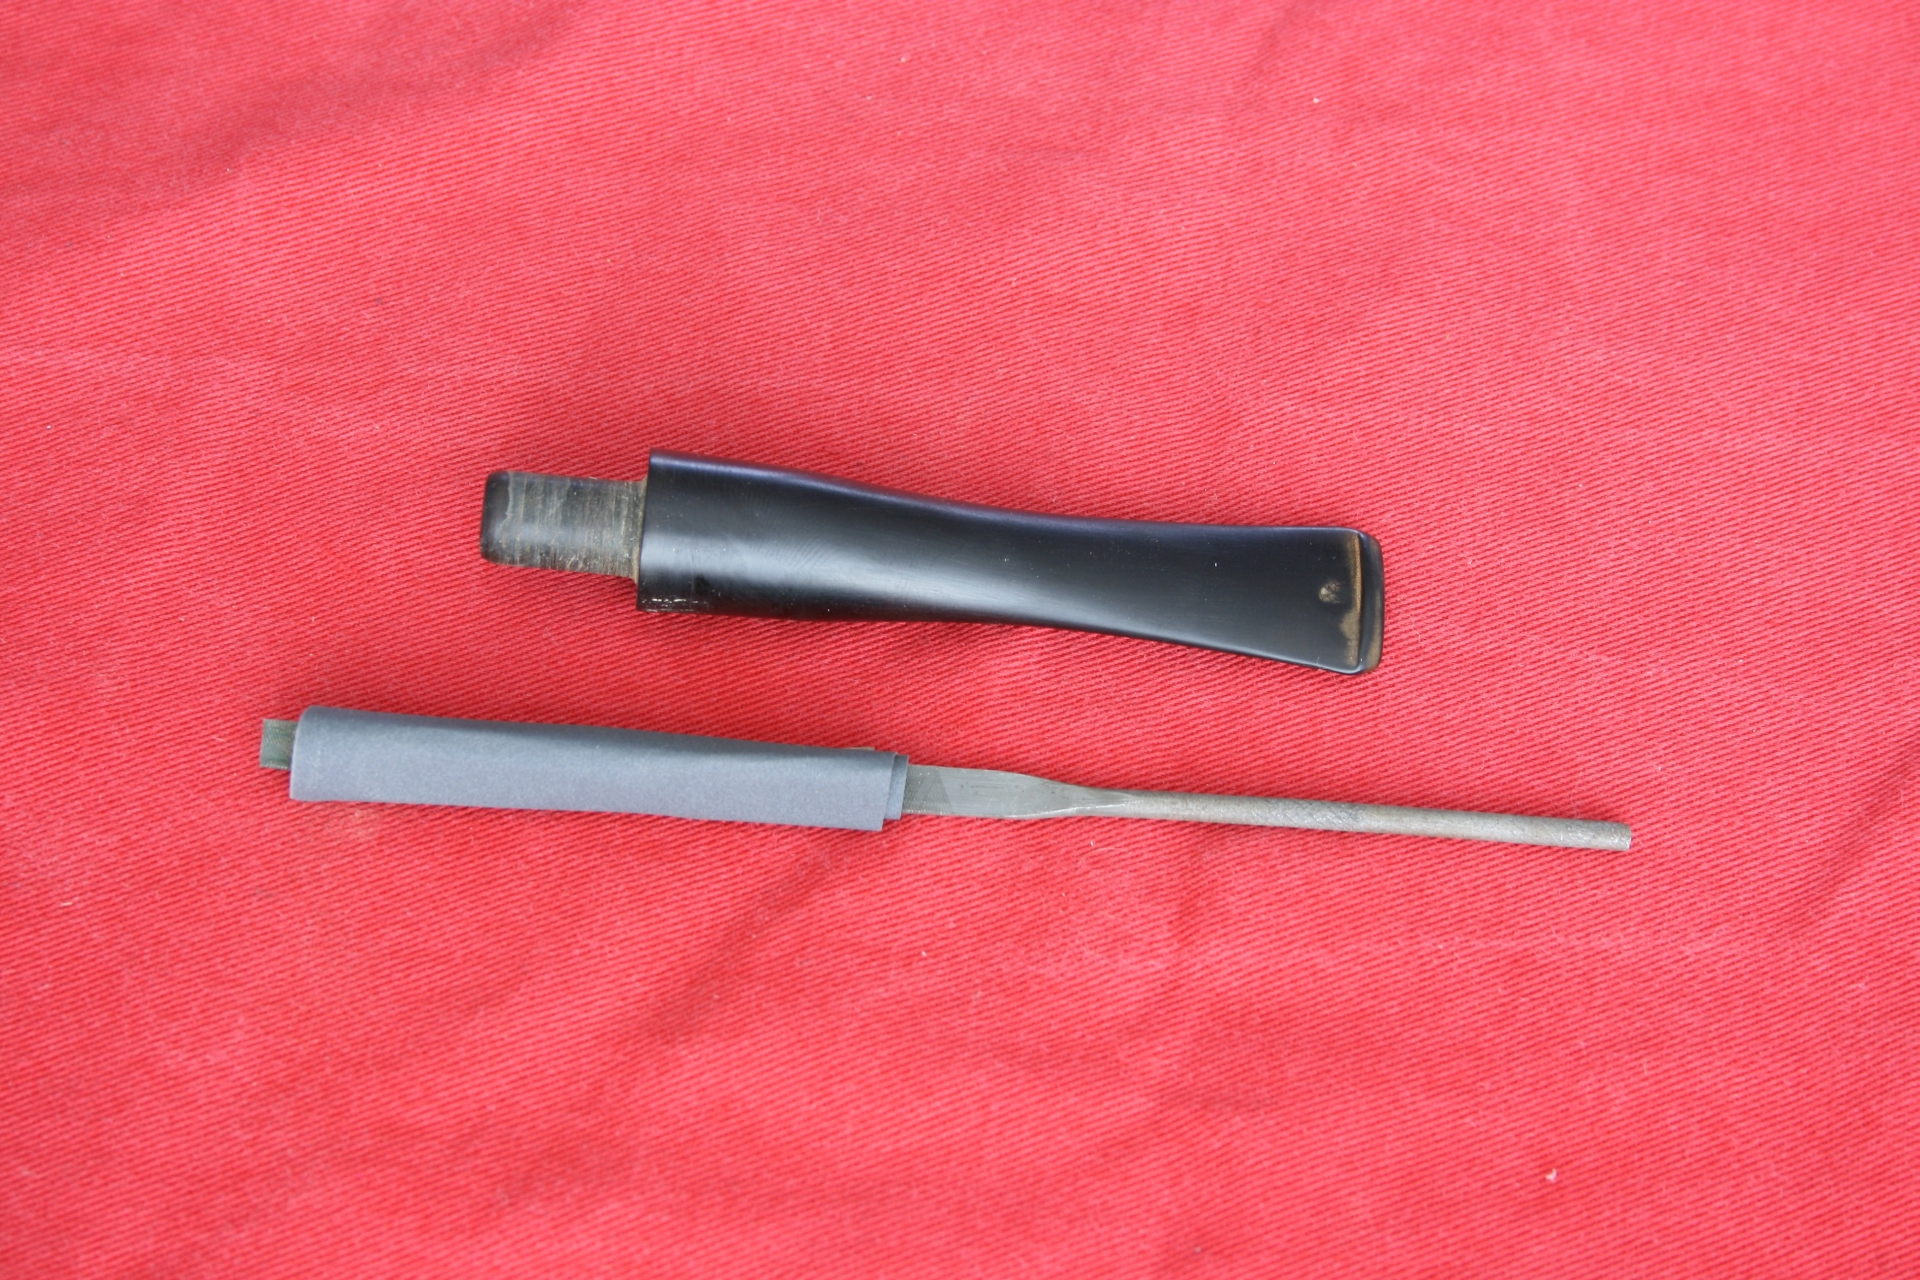
I put the stems to the grind wheel and the oxidation came off way faster than if I would not have soaked them. Also the liquid that came off the wheel and stems was way darker as I mentioned before. At this time I also sanded the hard to get edges with 600 grit paper wrapped around a modelling file.
020 After the grind

021 After sanding

Then I proceeded to empty the ultrasonic and put in the 50-50 alcohol and water mixture with a dash of disinfectant.
022 Ultra cleaning

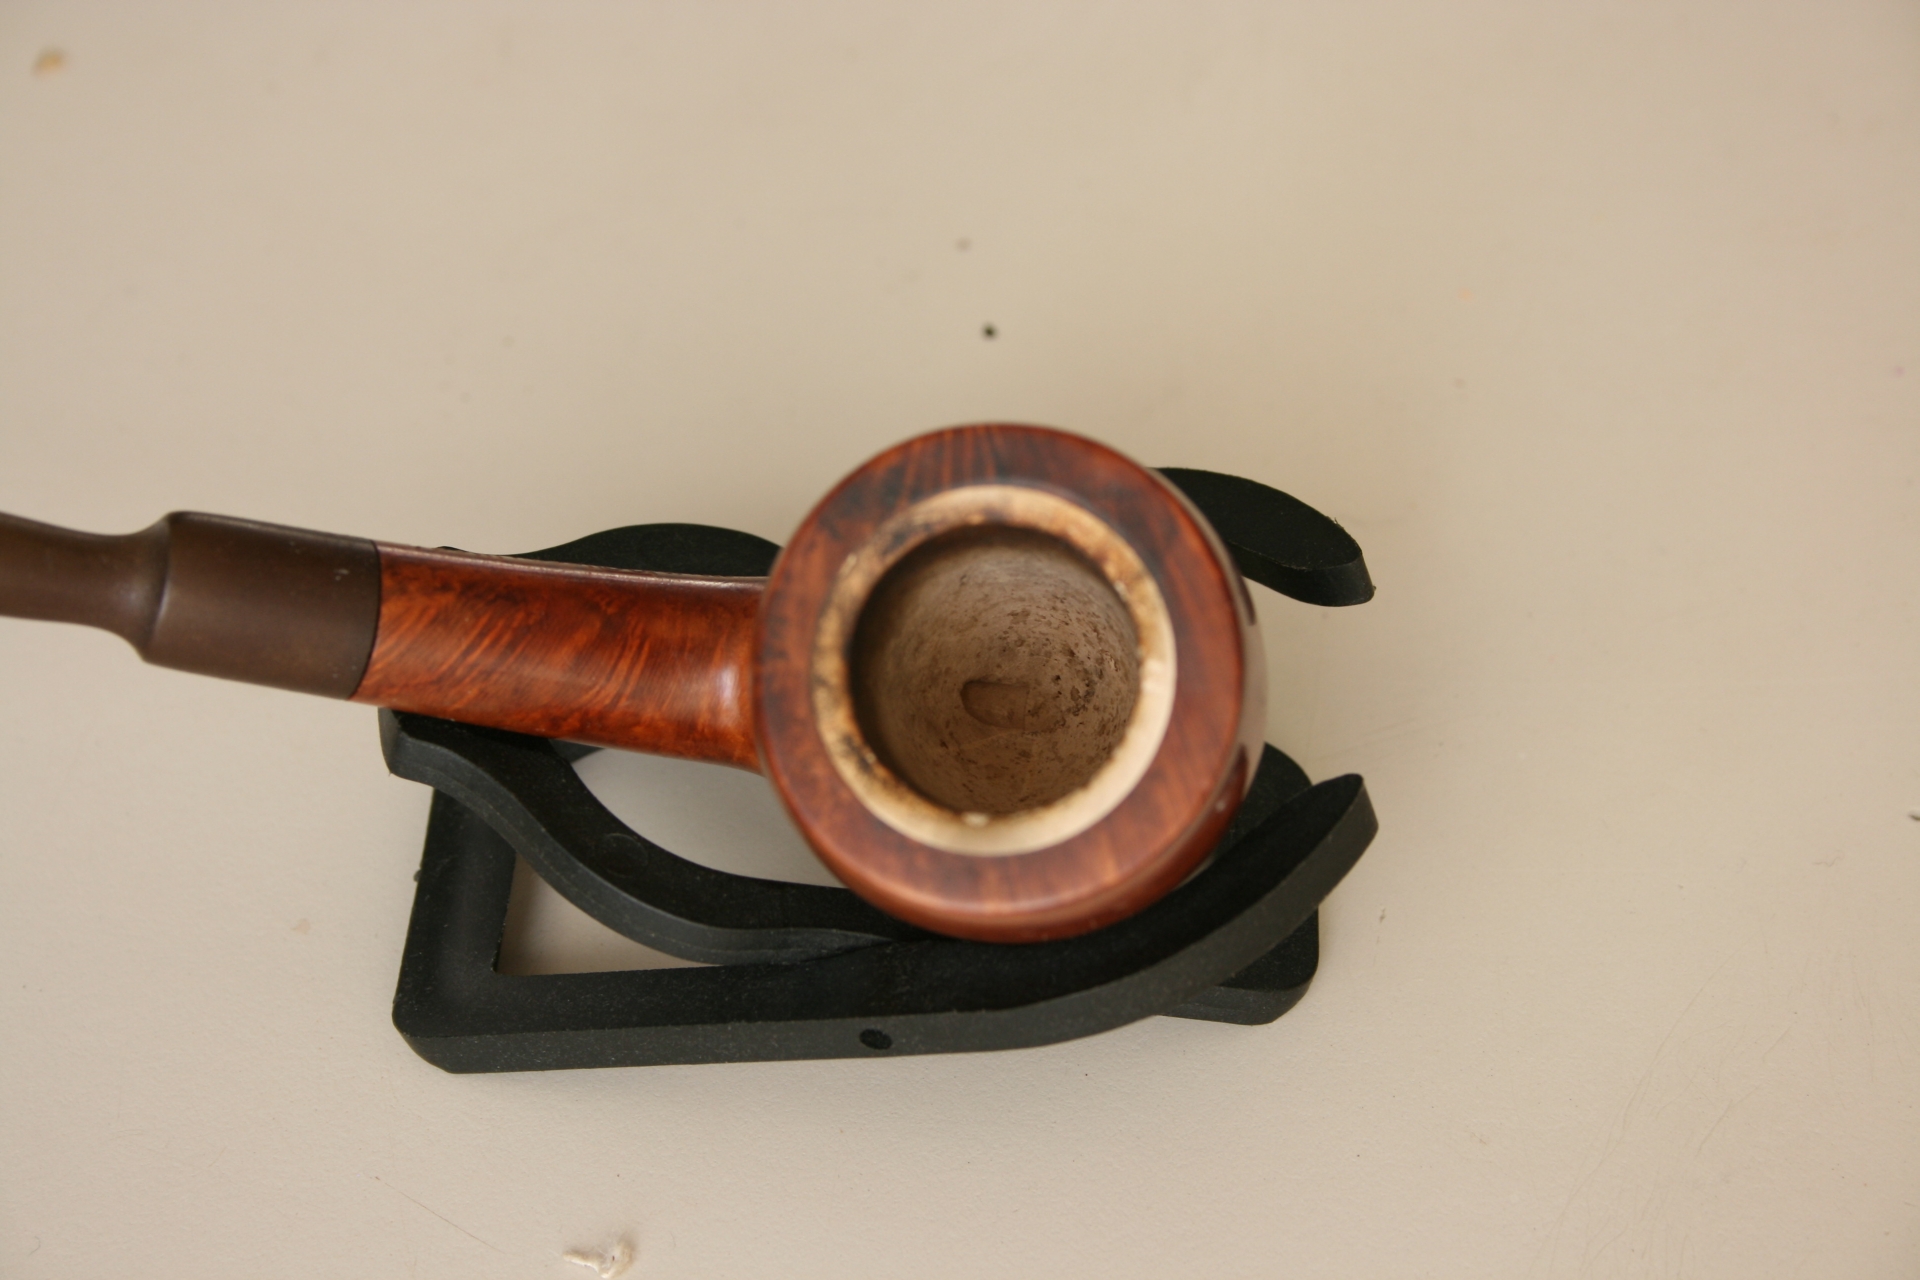
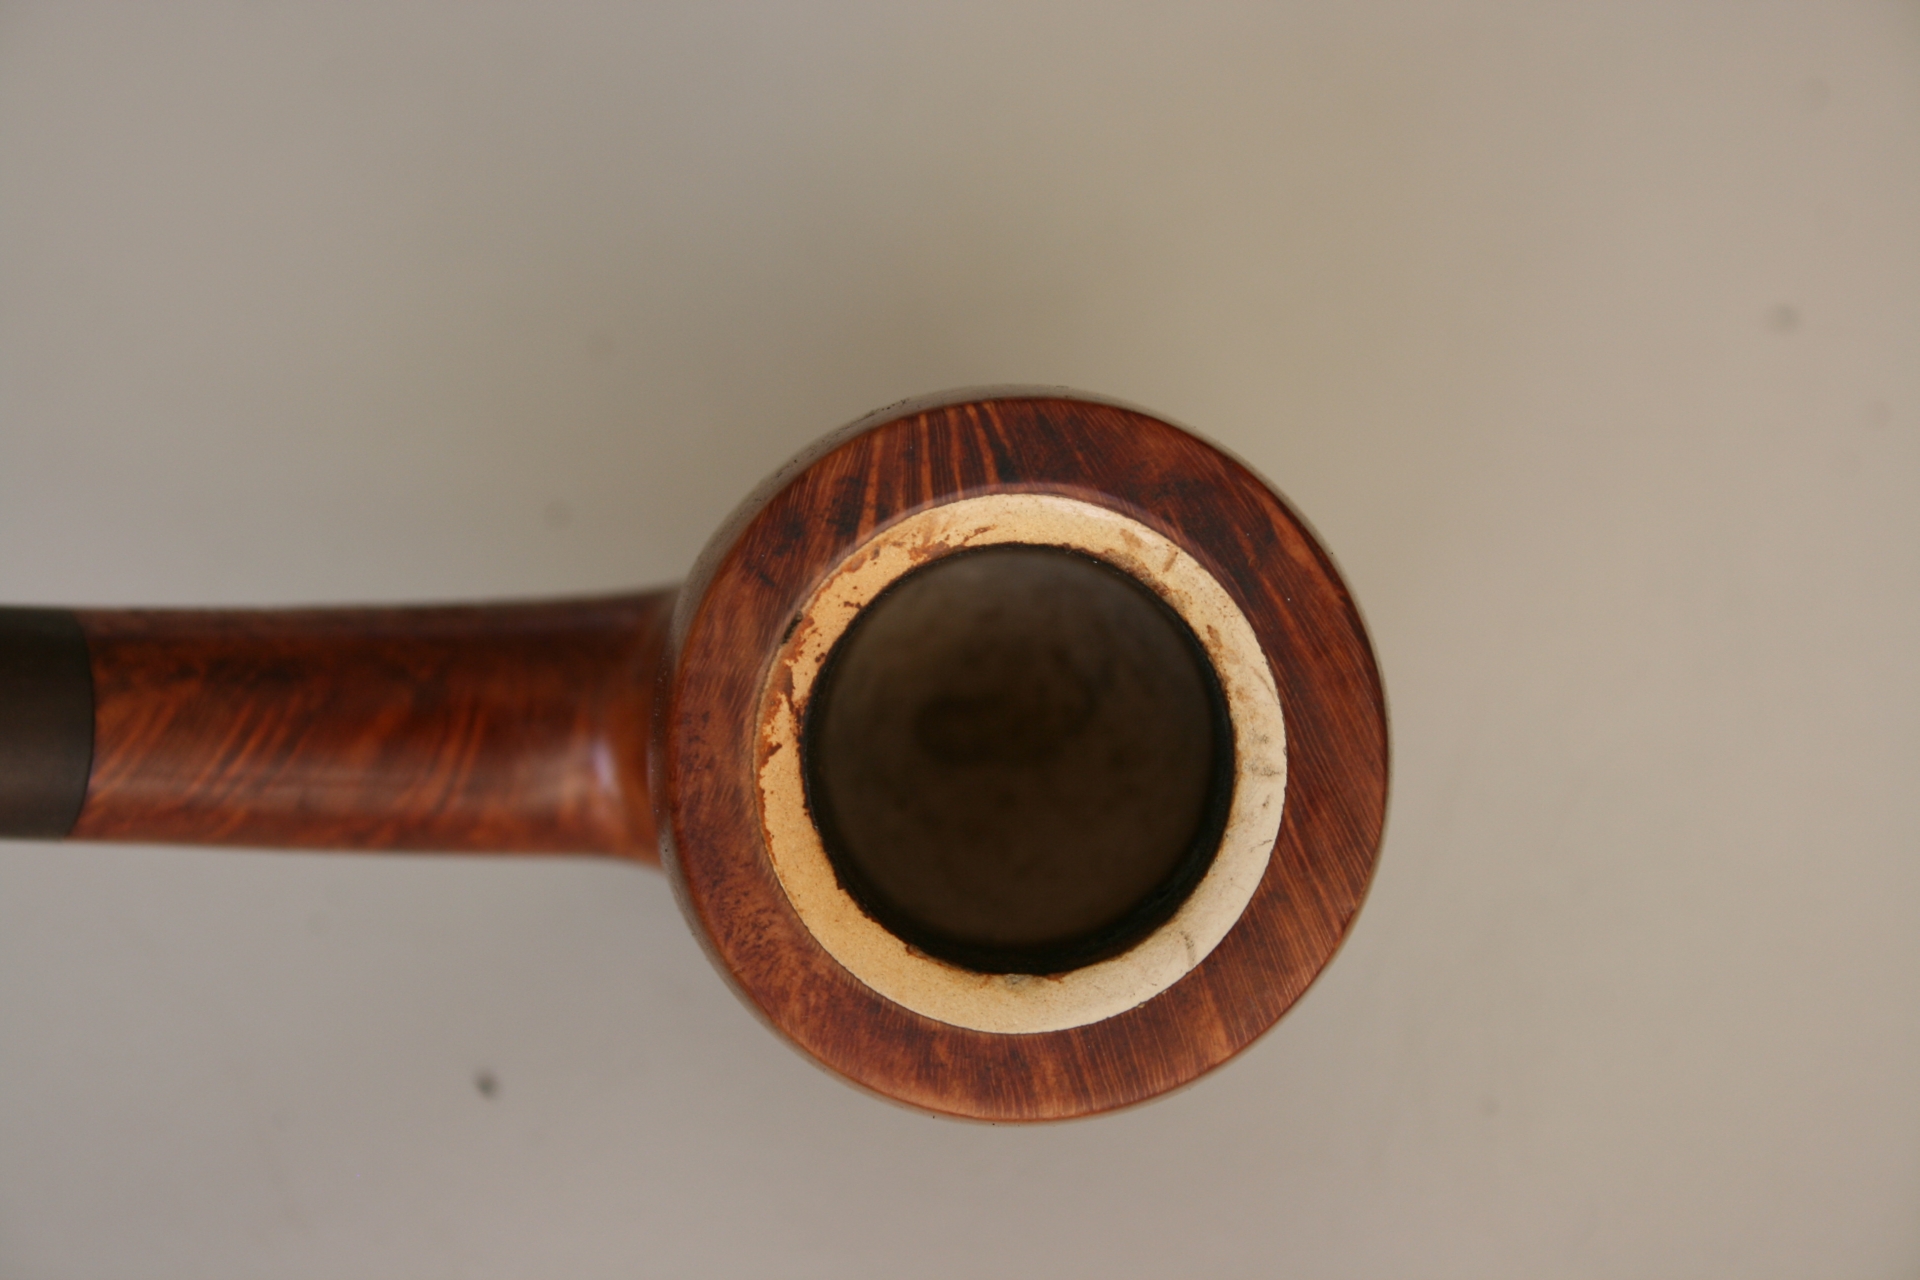
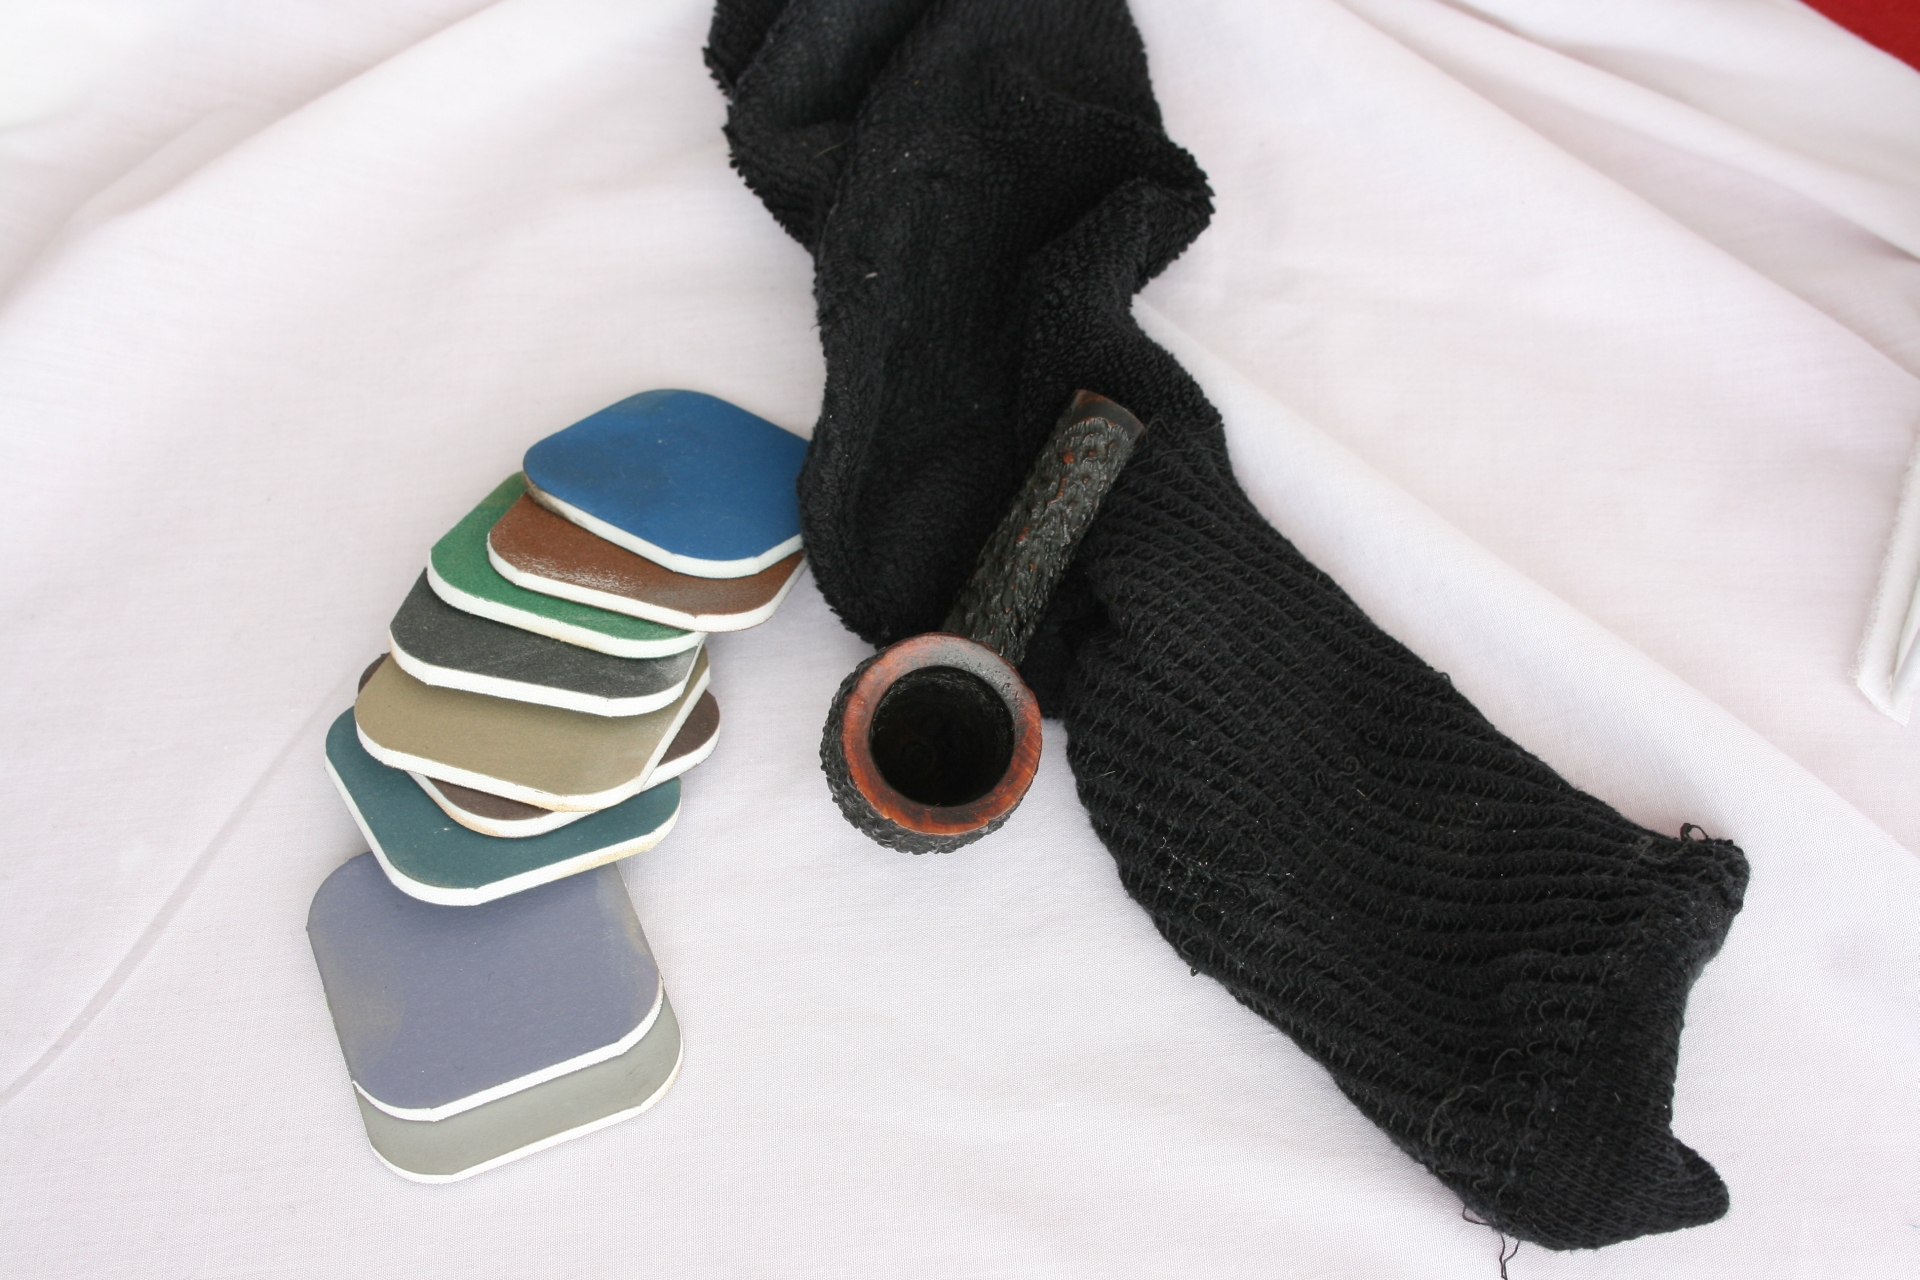
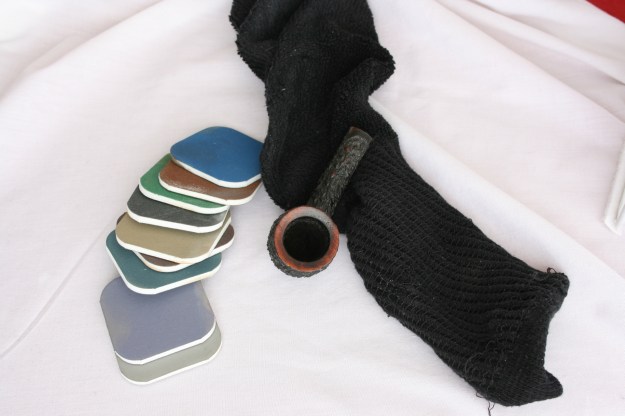
One of the positive things of the ultrasonic is that it goes on a timer and you have your hand free to do another thing until it is done, so I proceeded to clear the top of the bowl of its soot using a sock, salvia and the abrasive pads. Using the sock I got most of the soot build-up off the bowl and used the 1800 grit to get the thicker and harder pieces off.
023 Bowl before

024 Bowl after

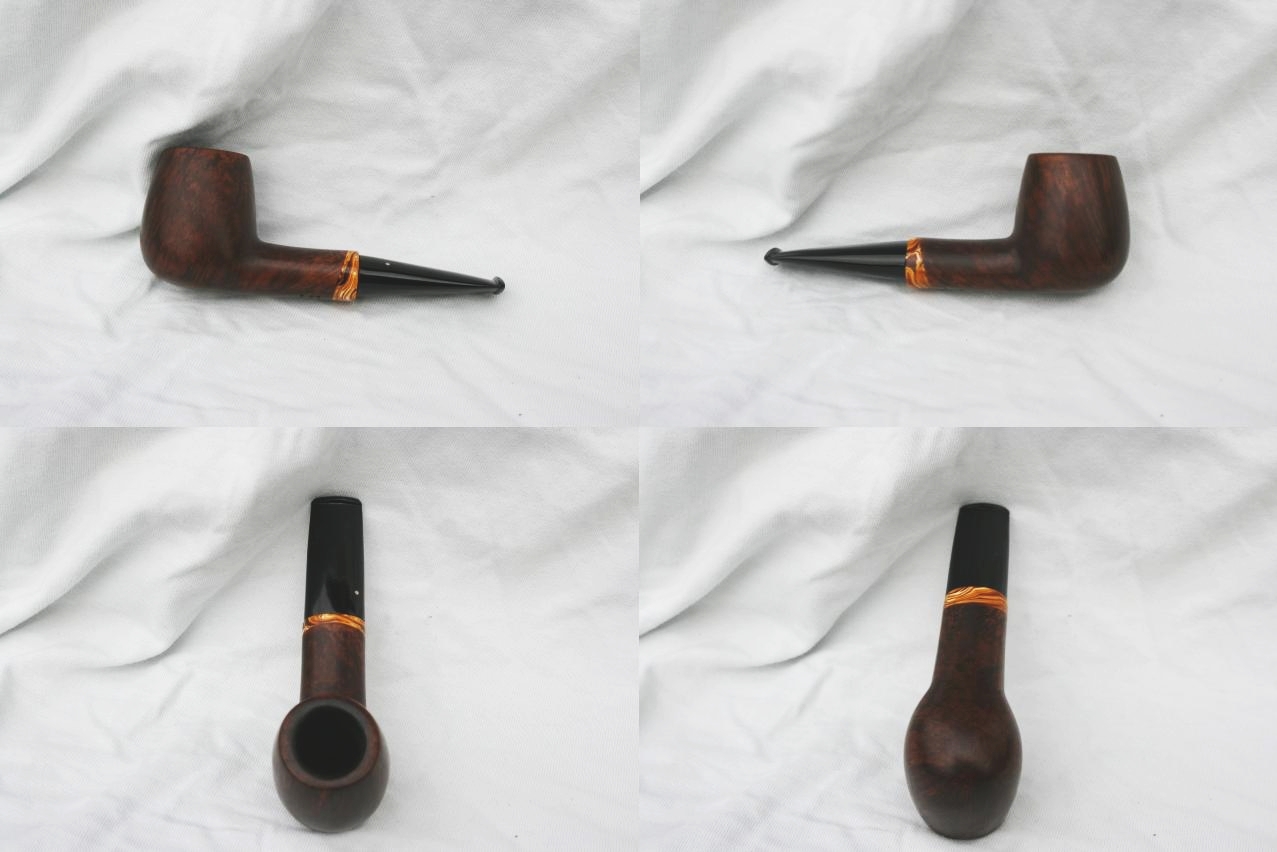
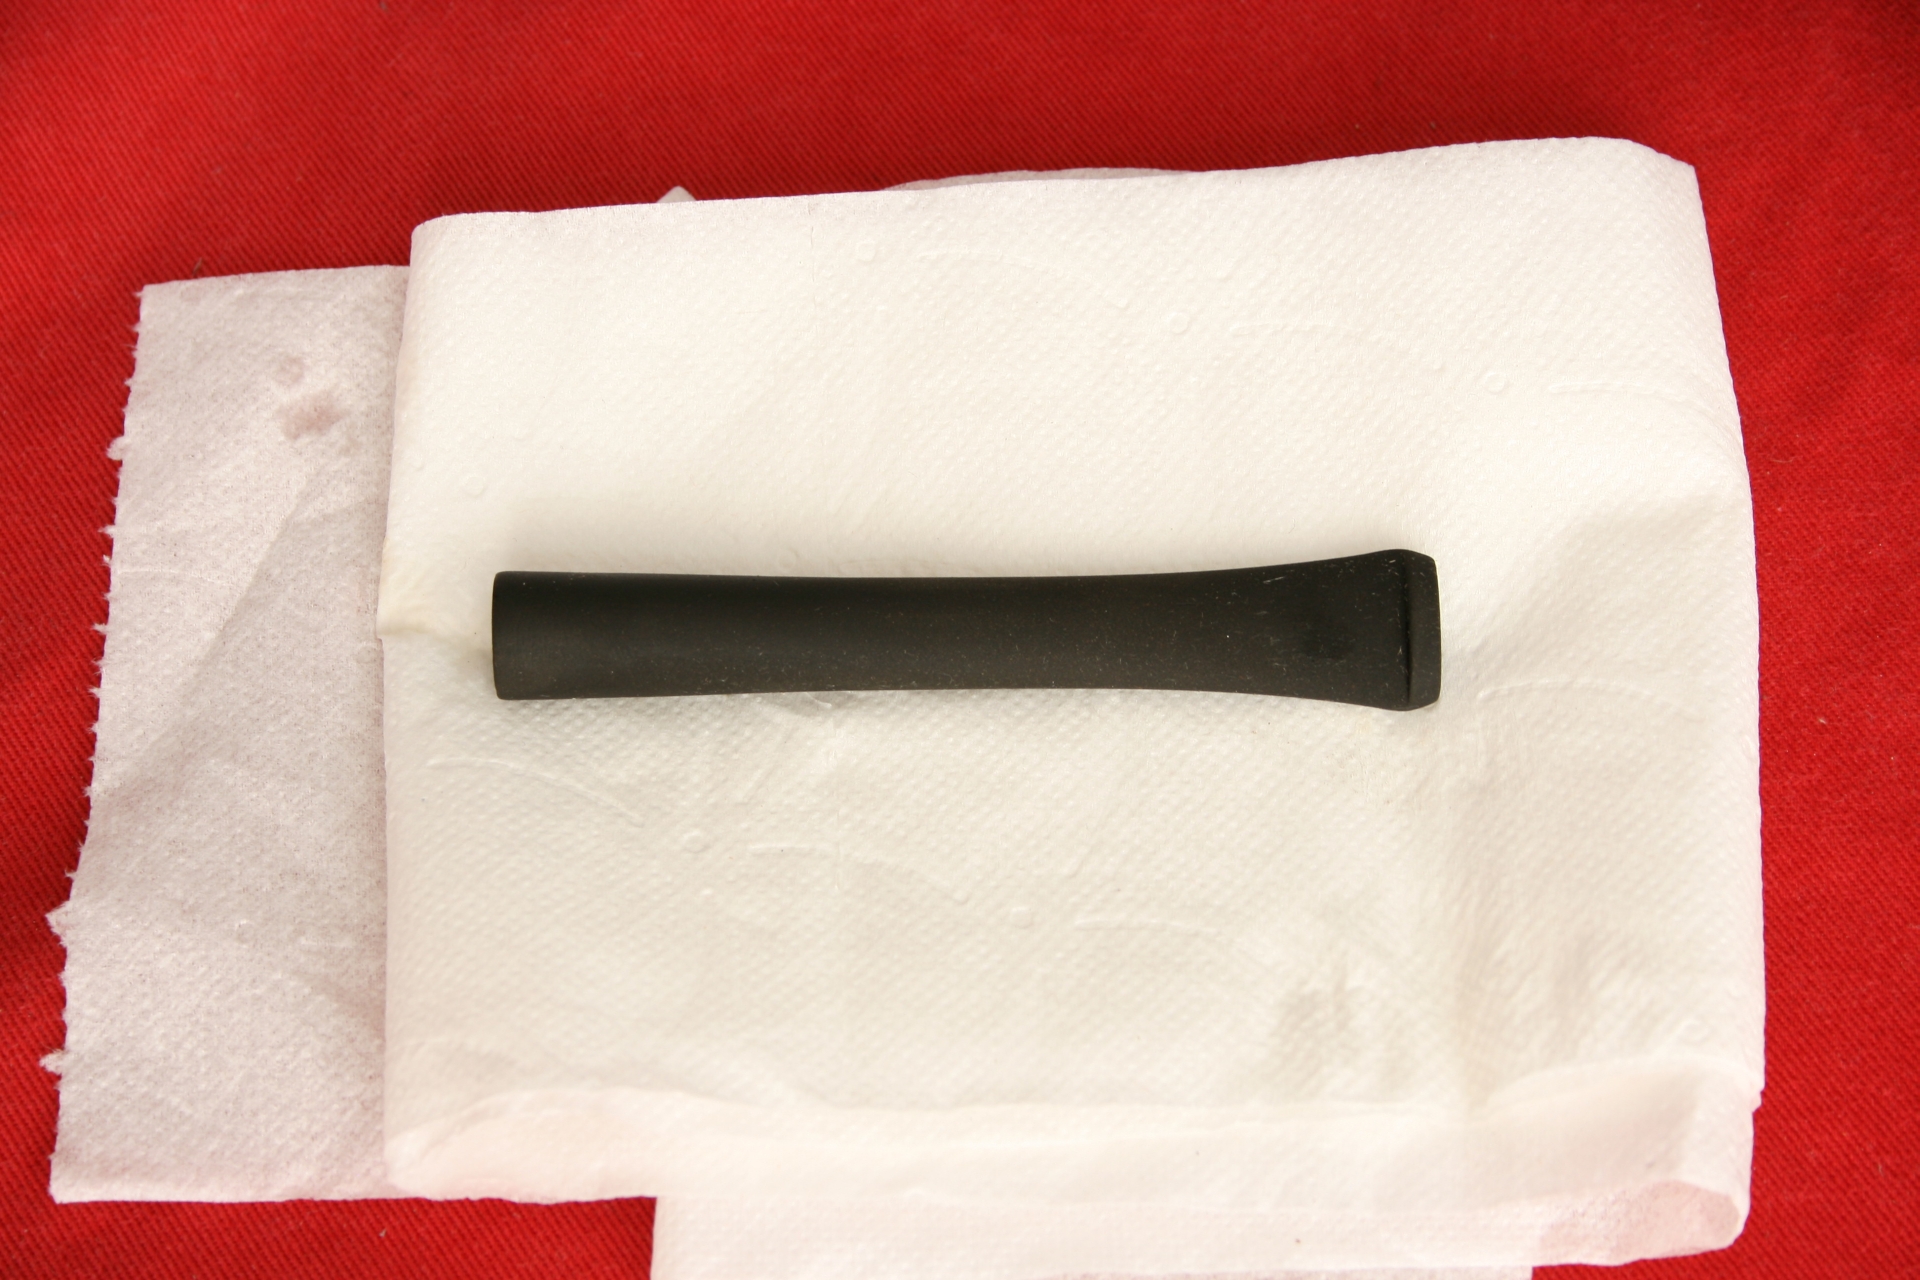
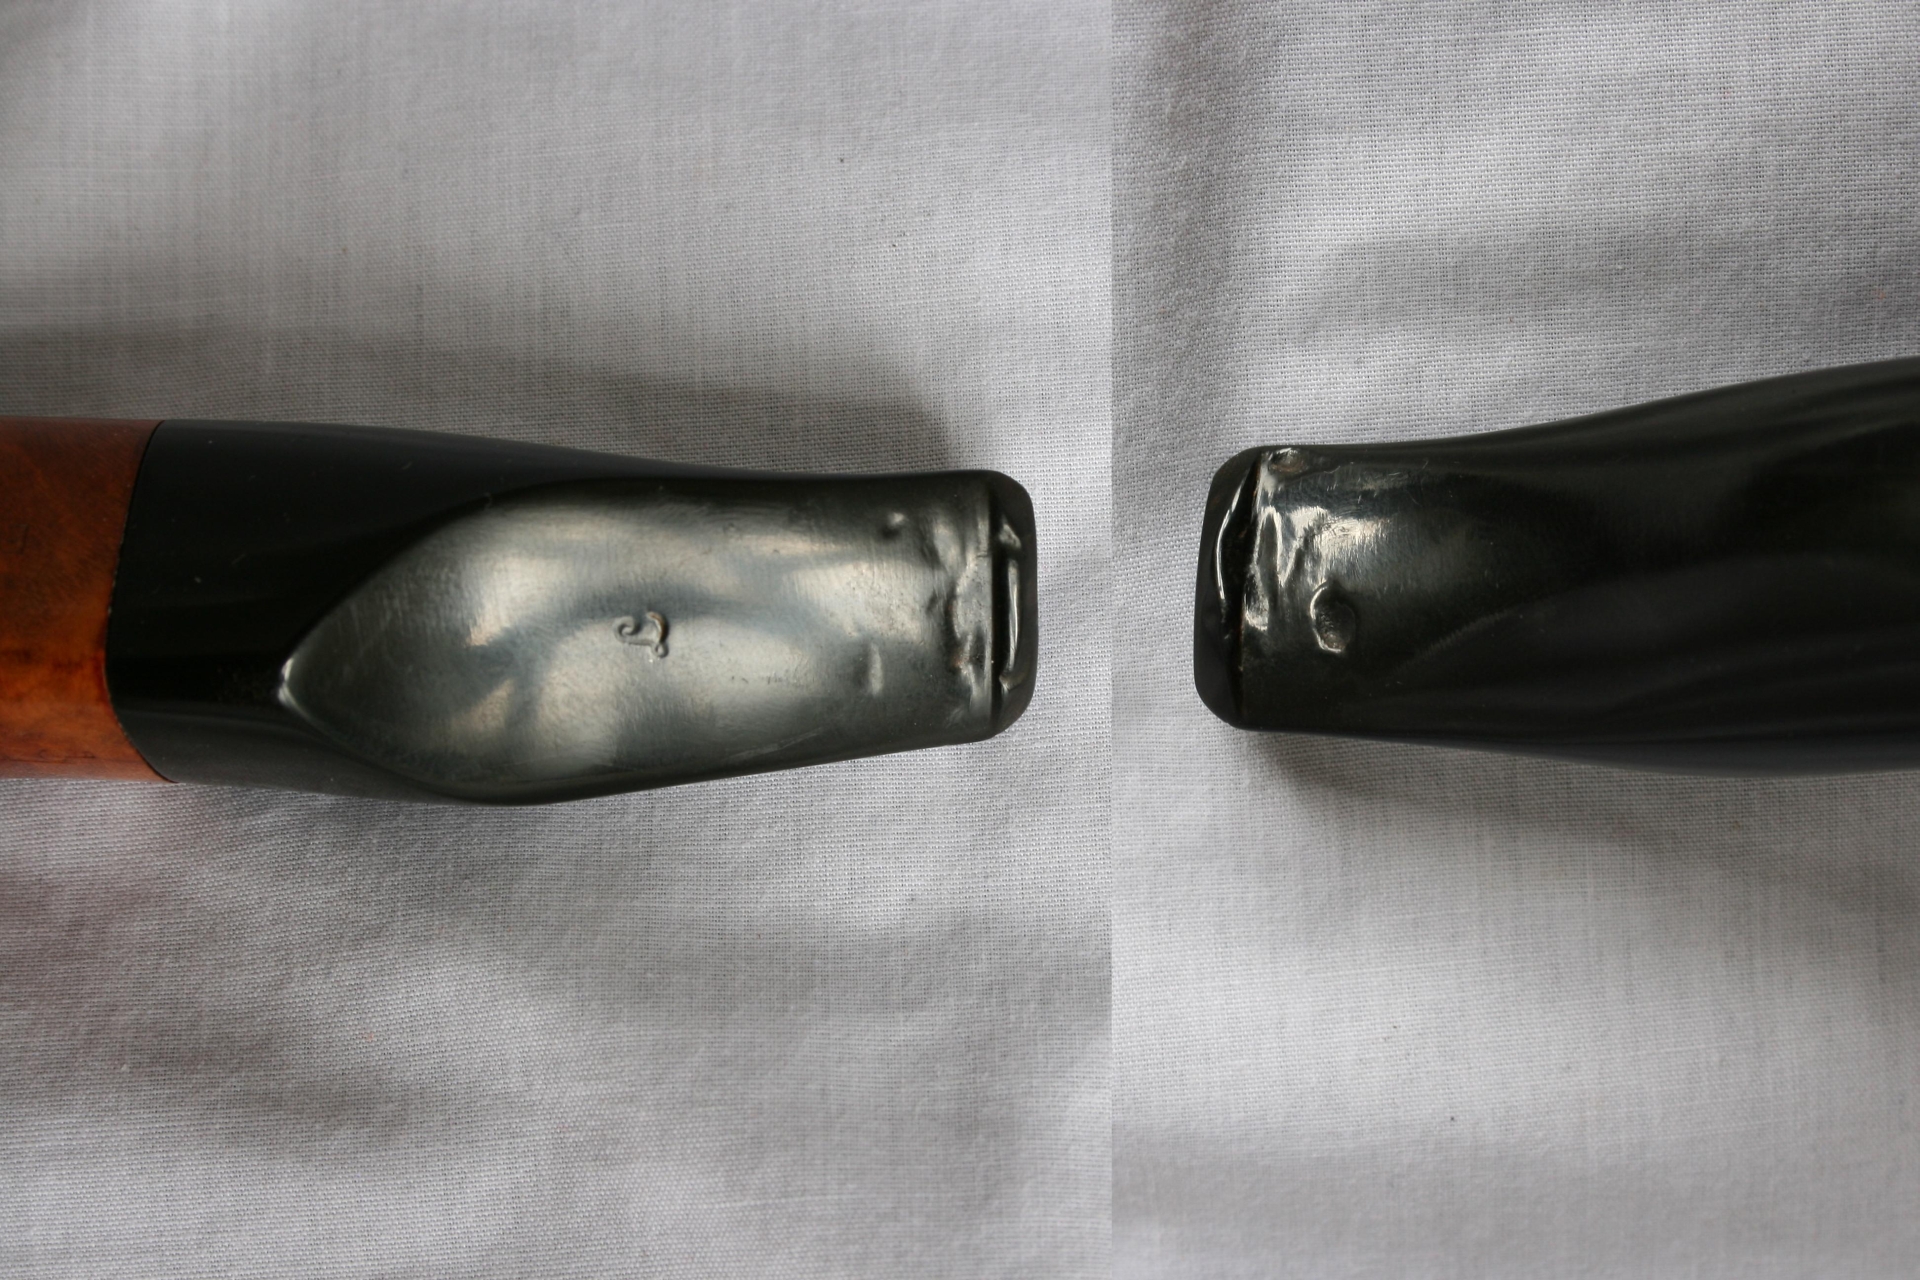
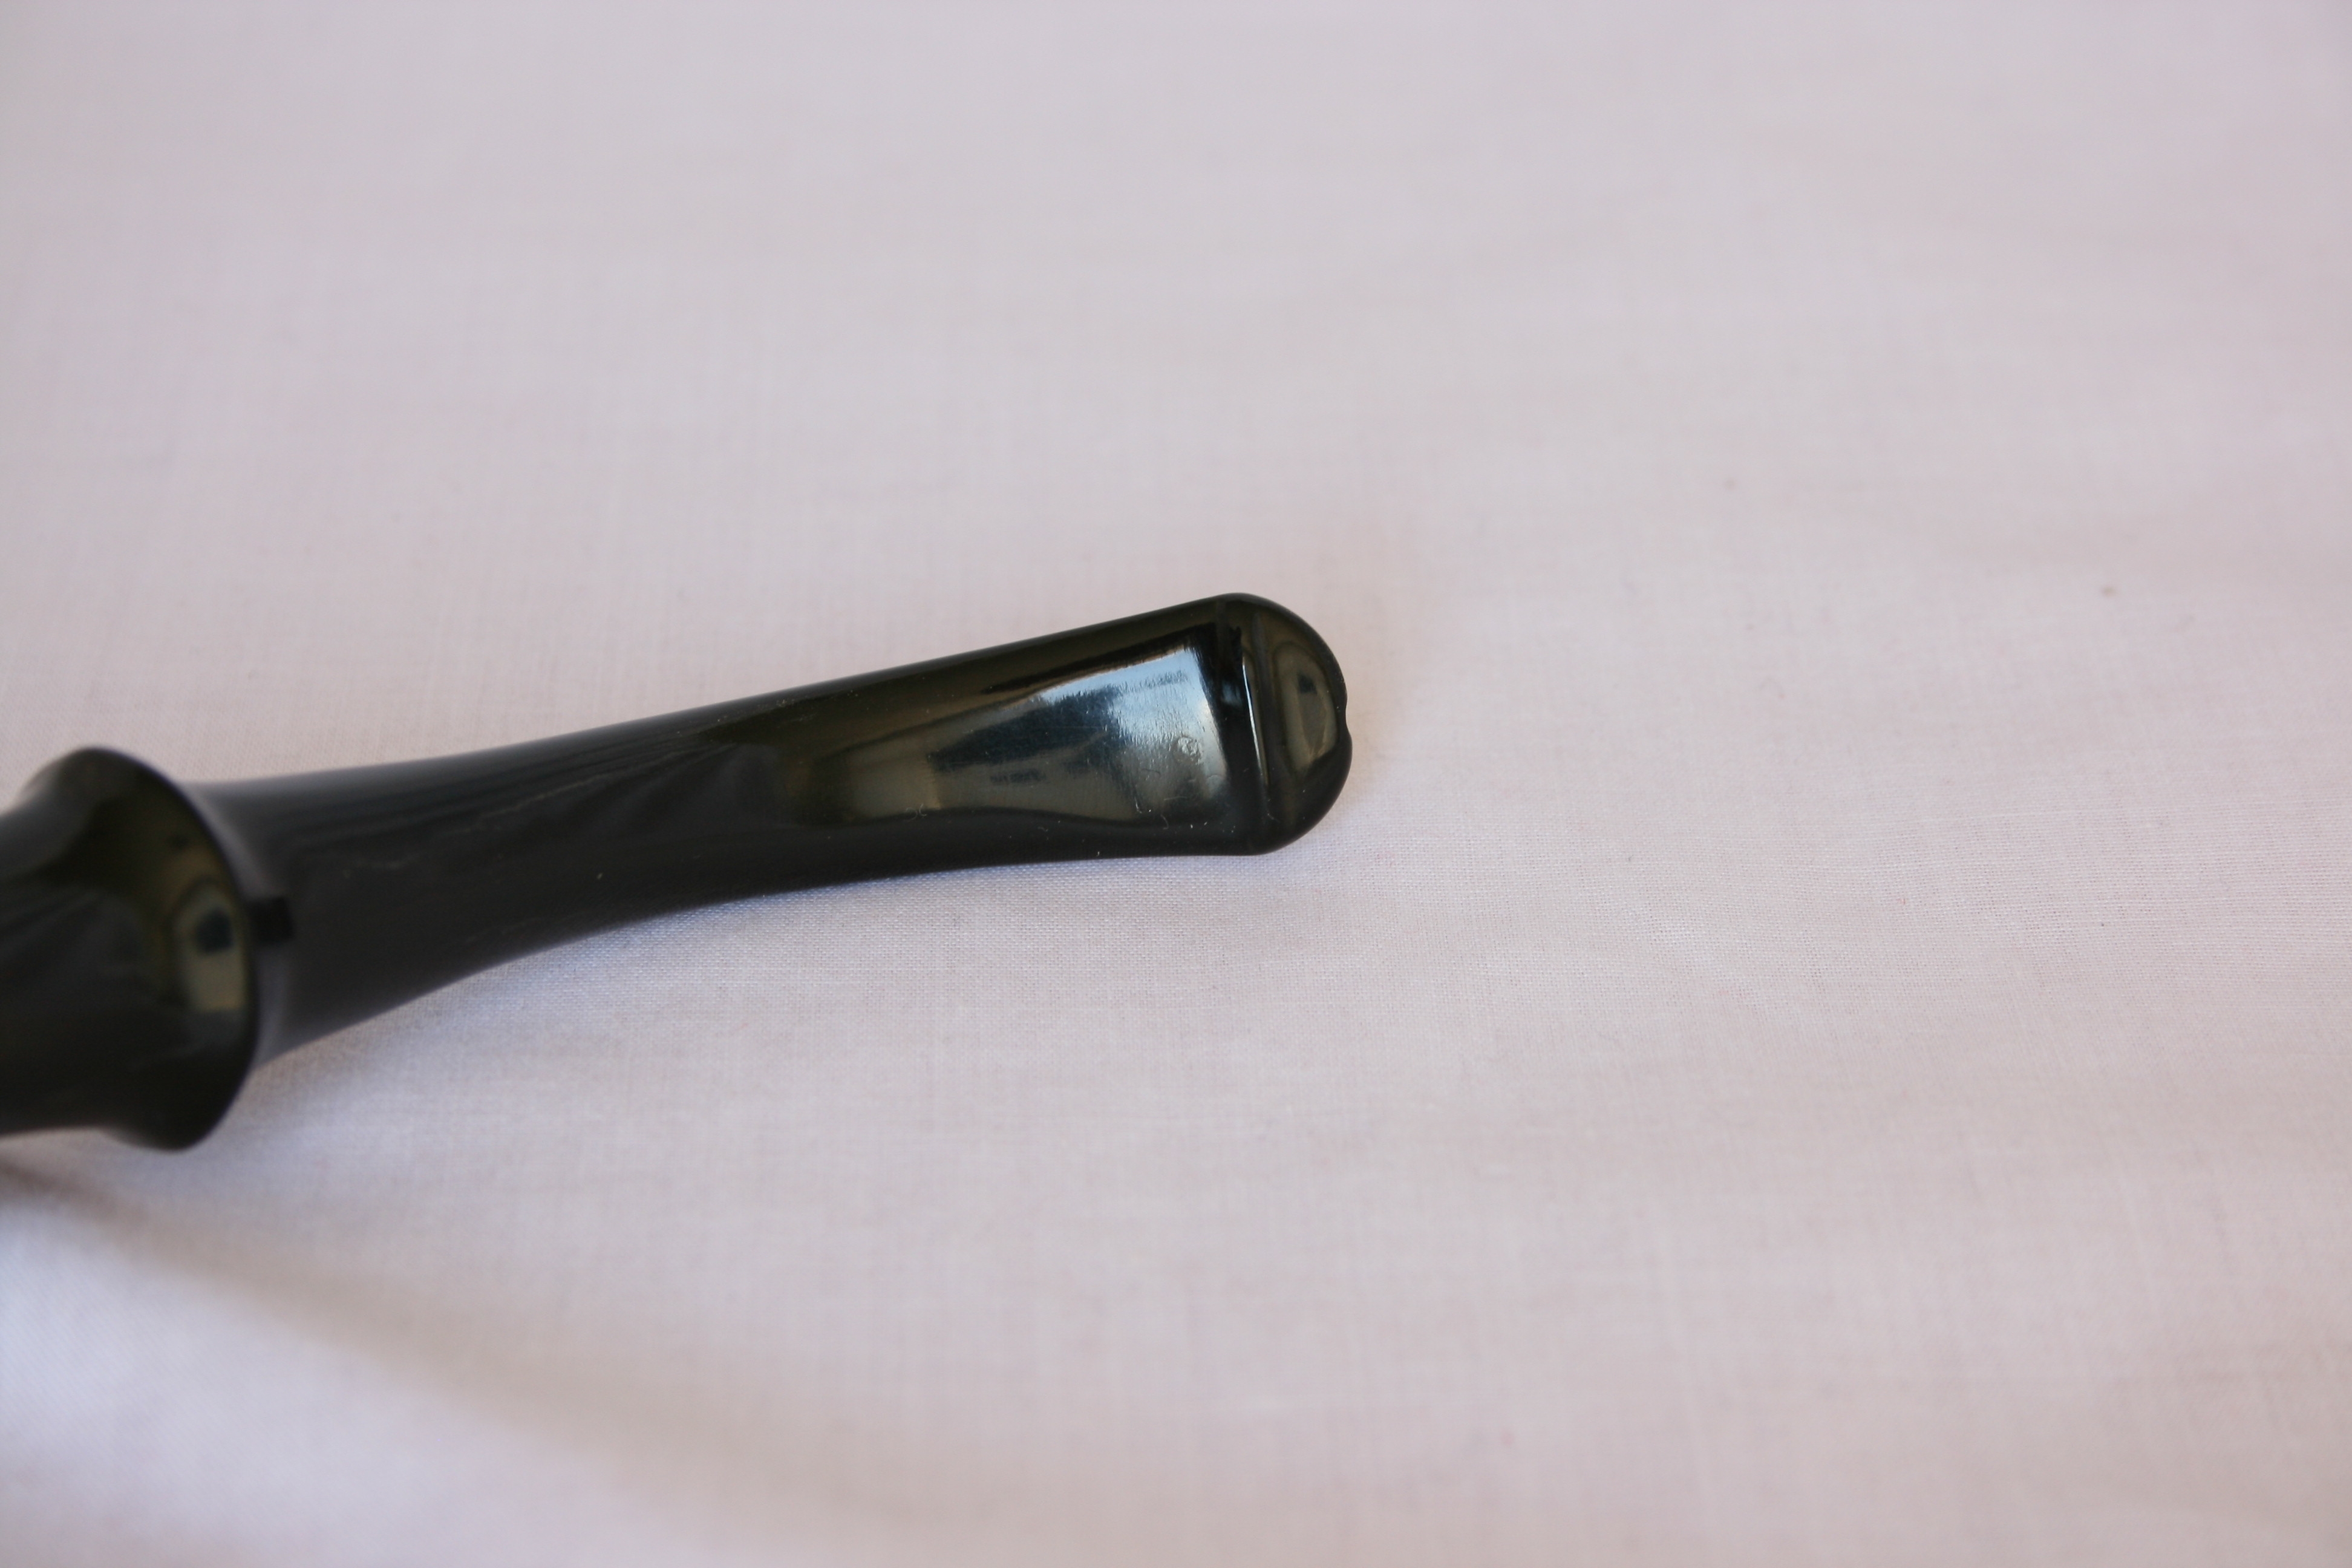
Then it was time to retrieve the stems. They came out nice and clean and when dried were a little dull. I pulled pipe cleaners through them and as you can see they were only a little brown at the beginning (right side).
025 Pipe cleaners

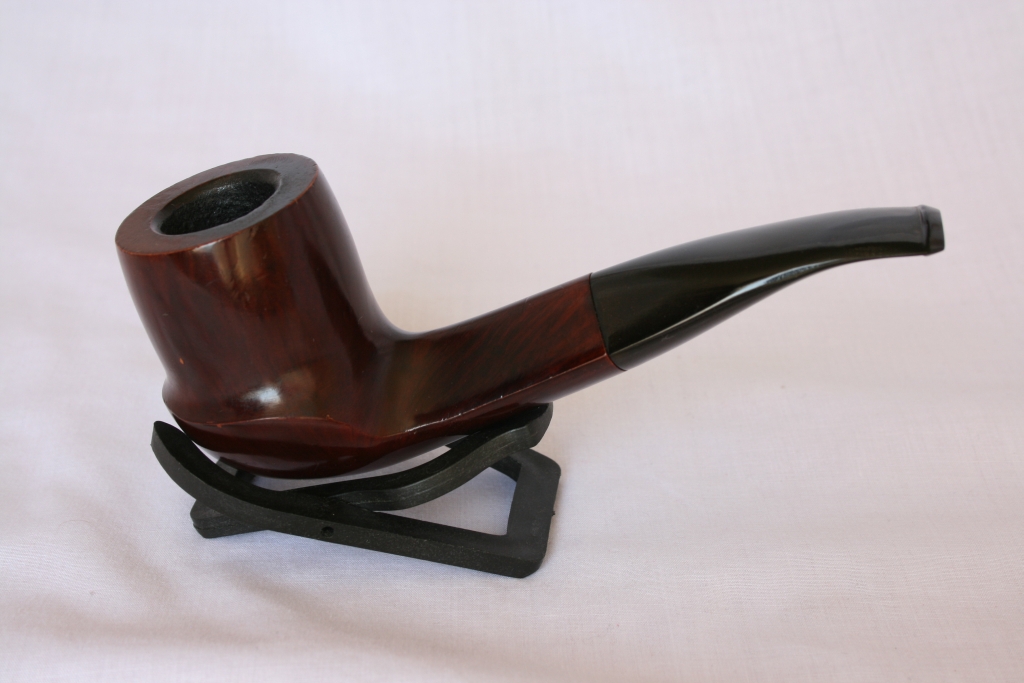
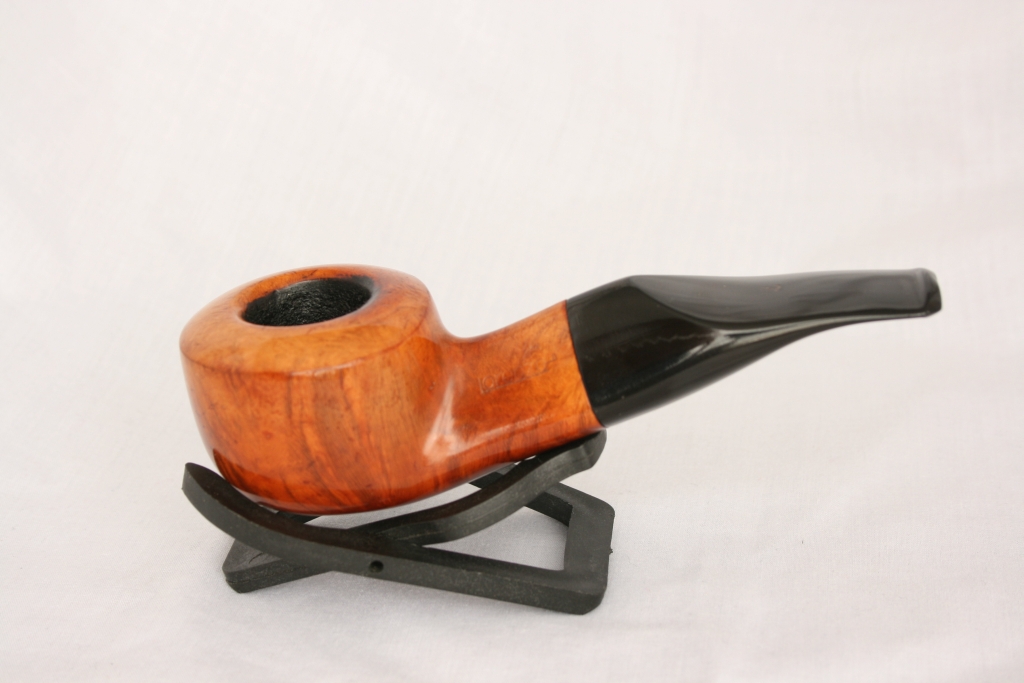
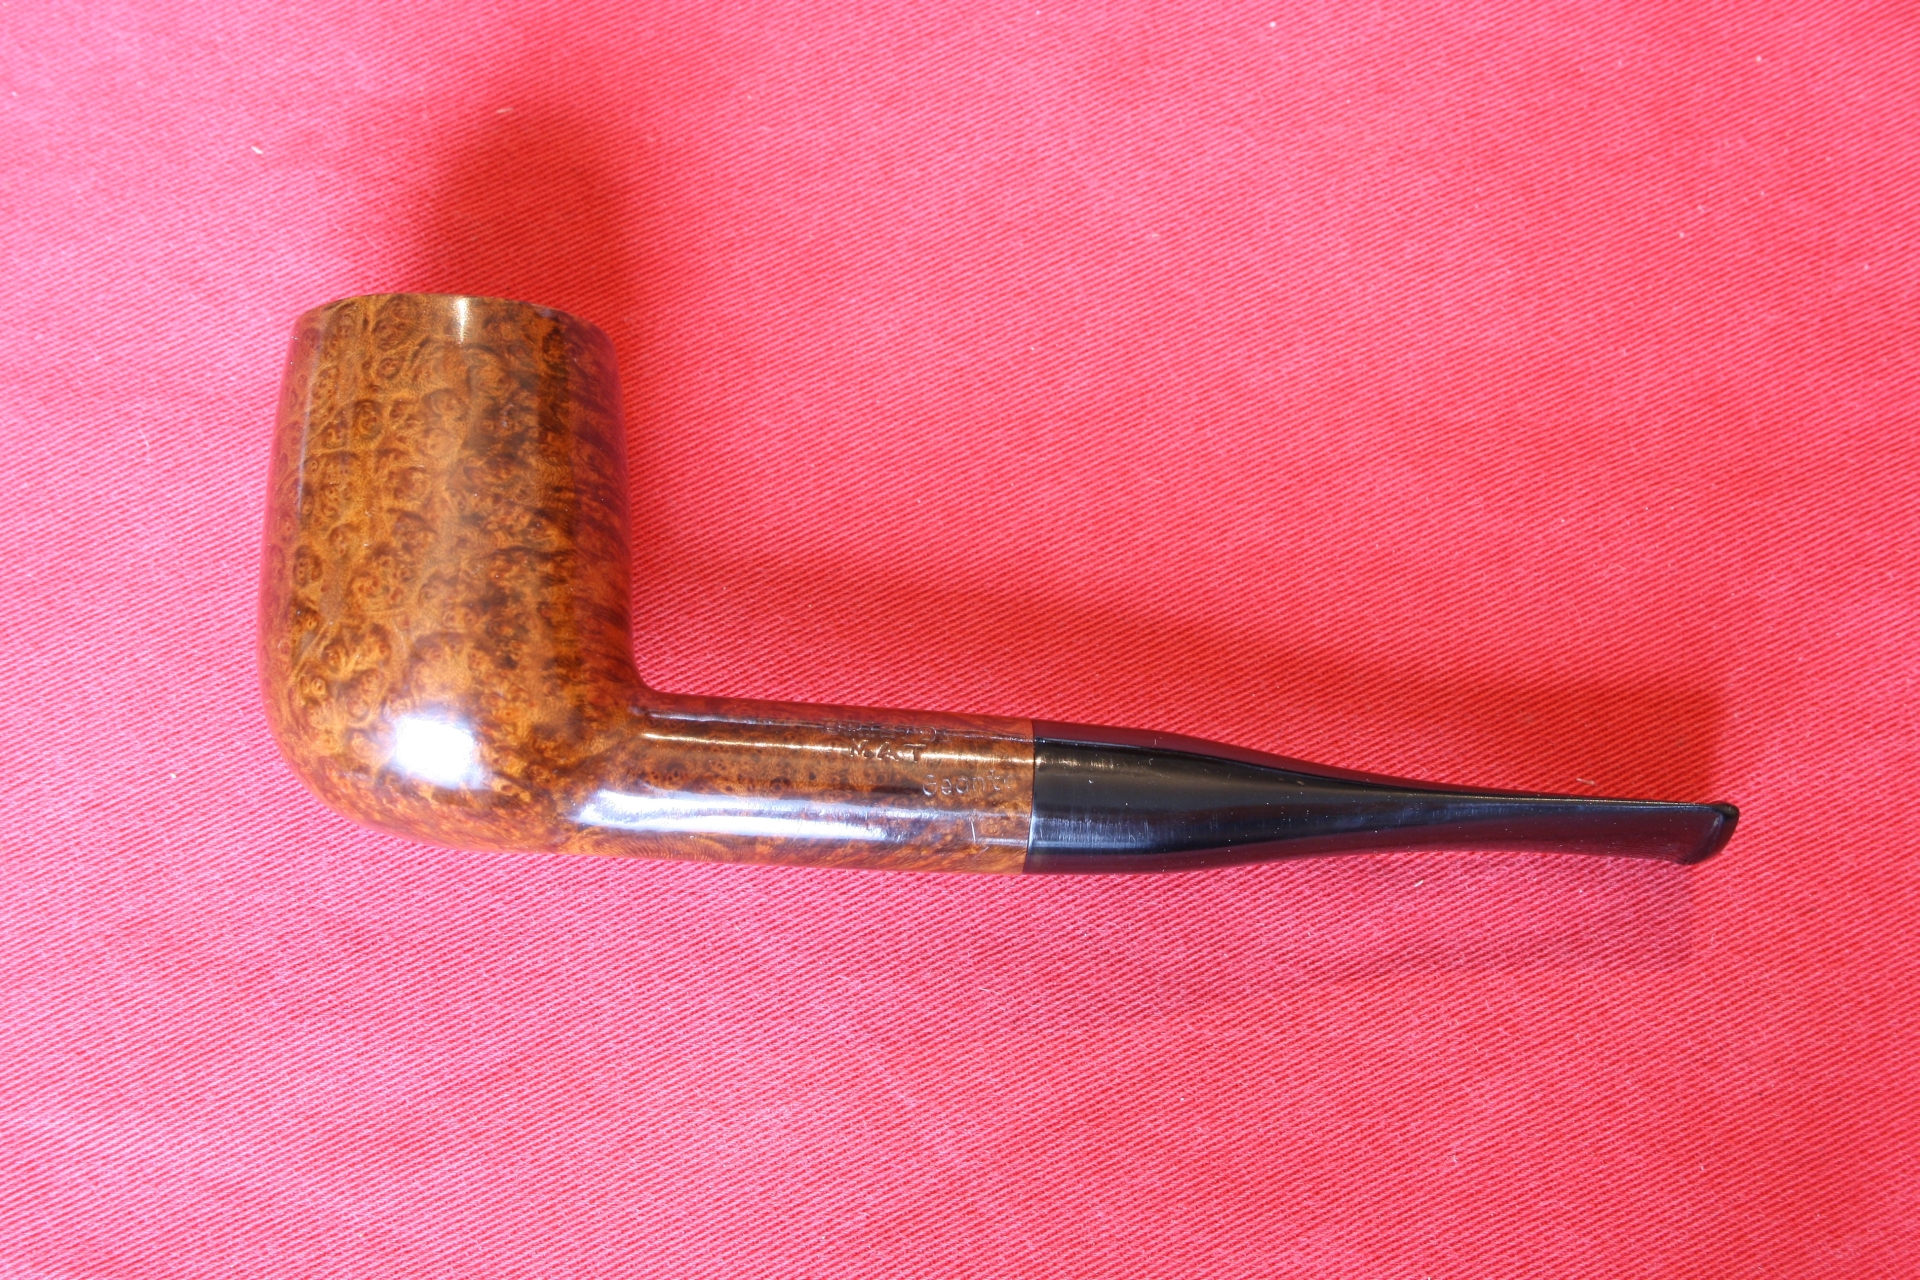
Replacing the stem on the pipe I used the muslin buff wheels and polishing wheels to buff the stems to get a nice shine on them.
026 Attached

027 Done

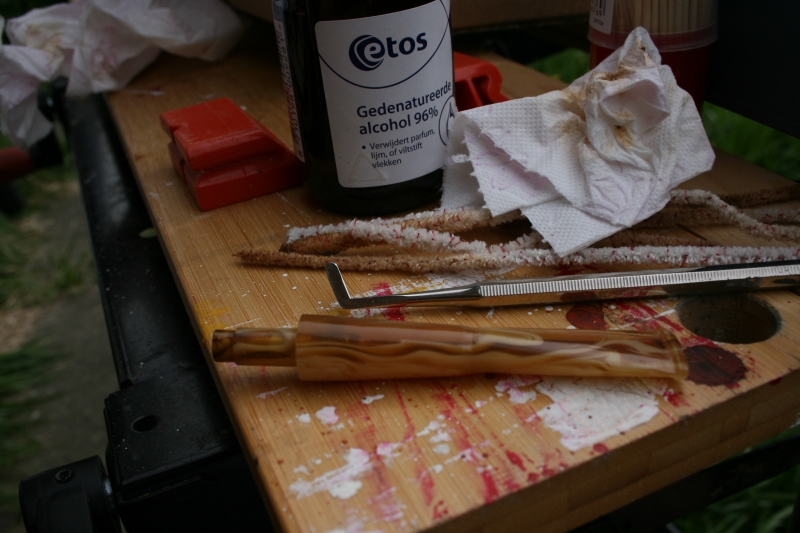
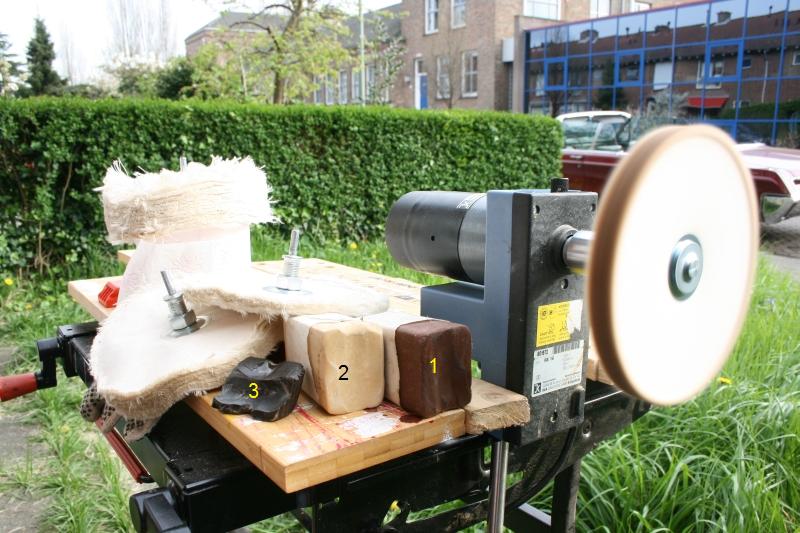
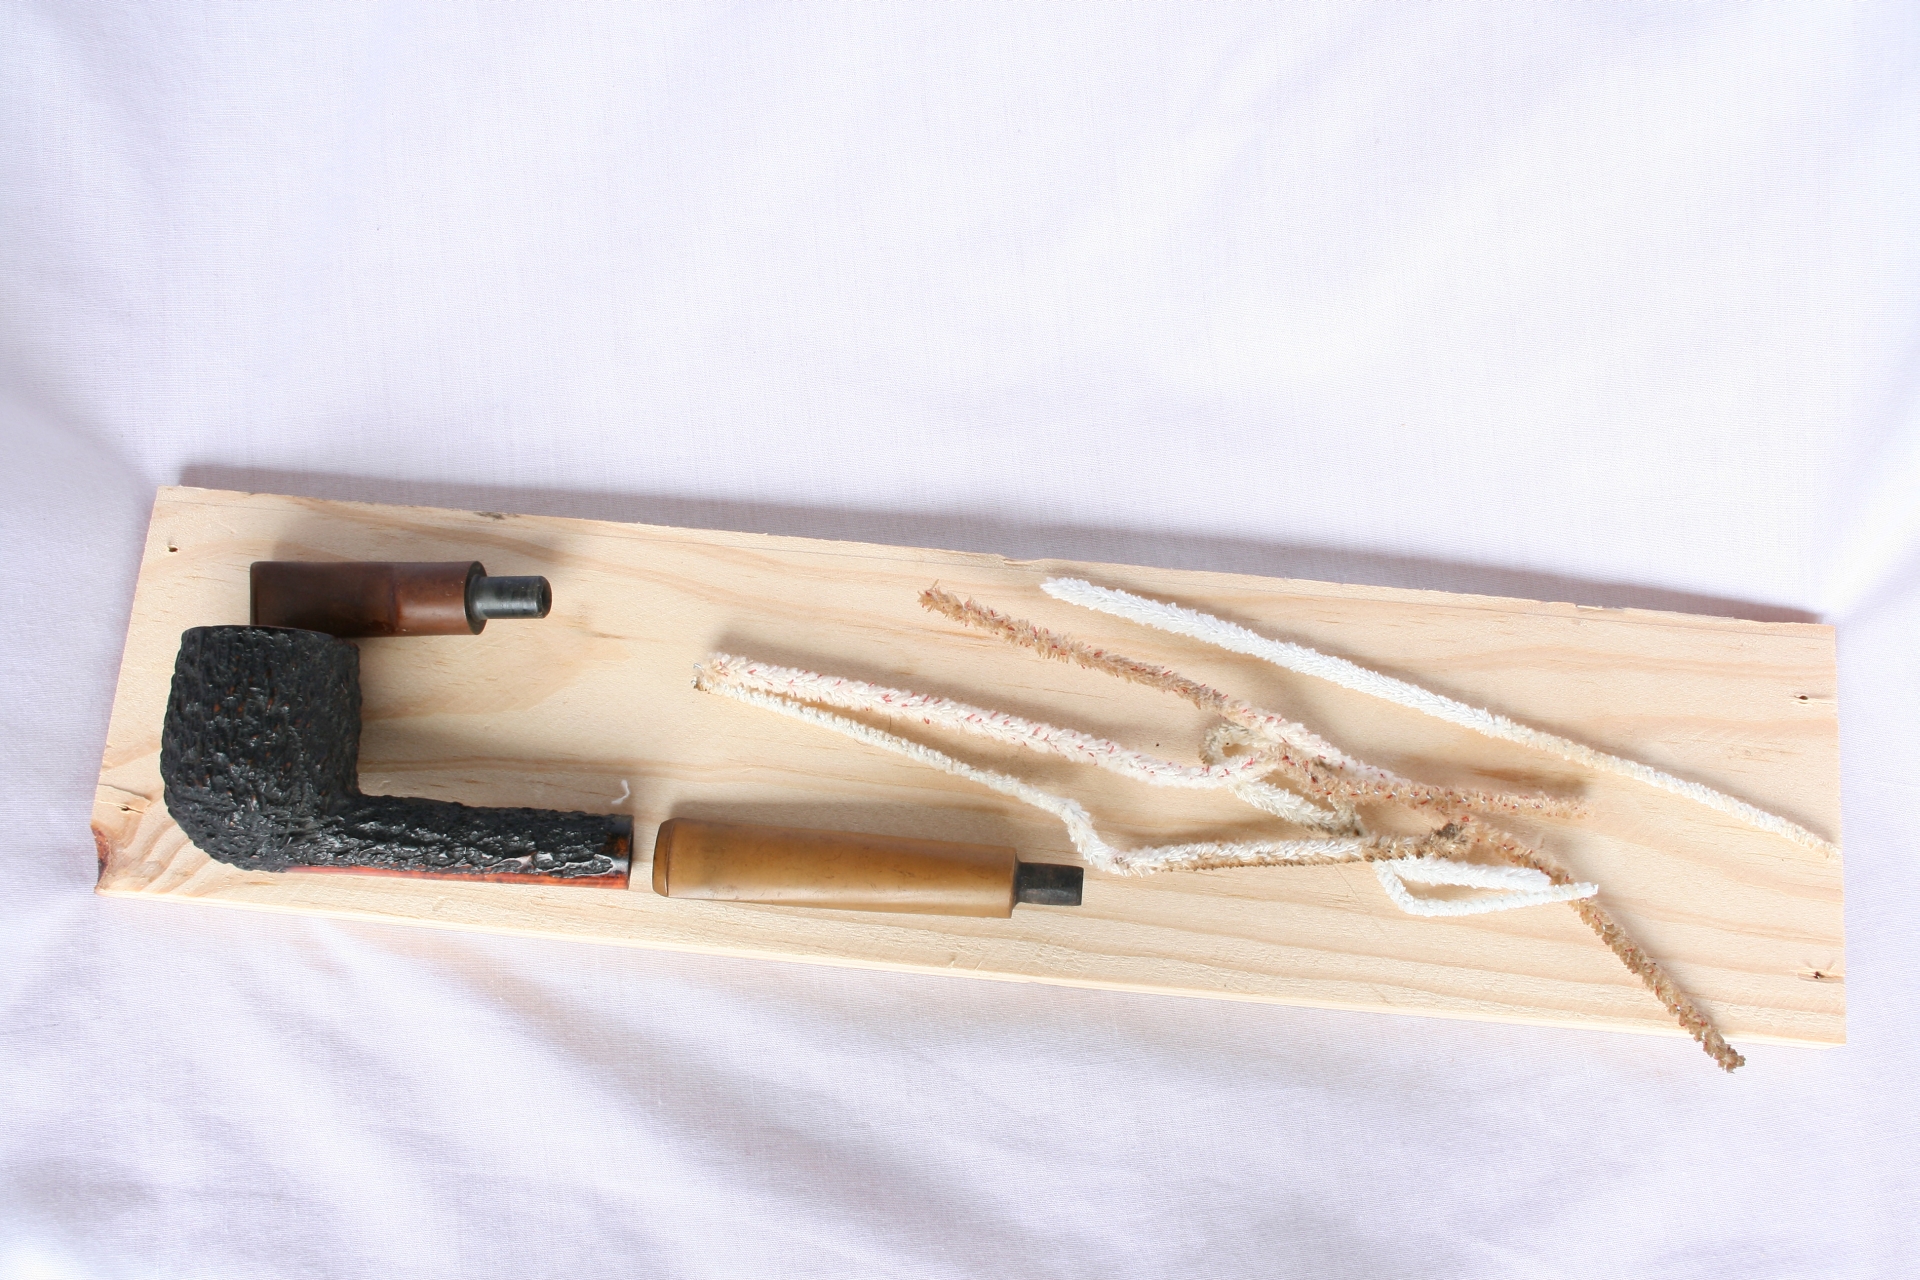
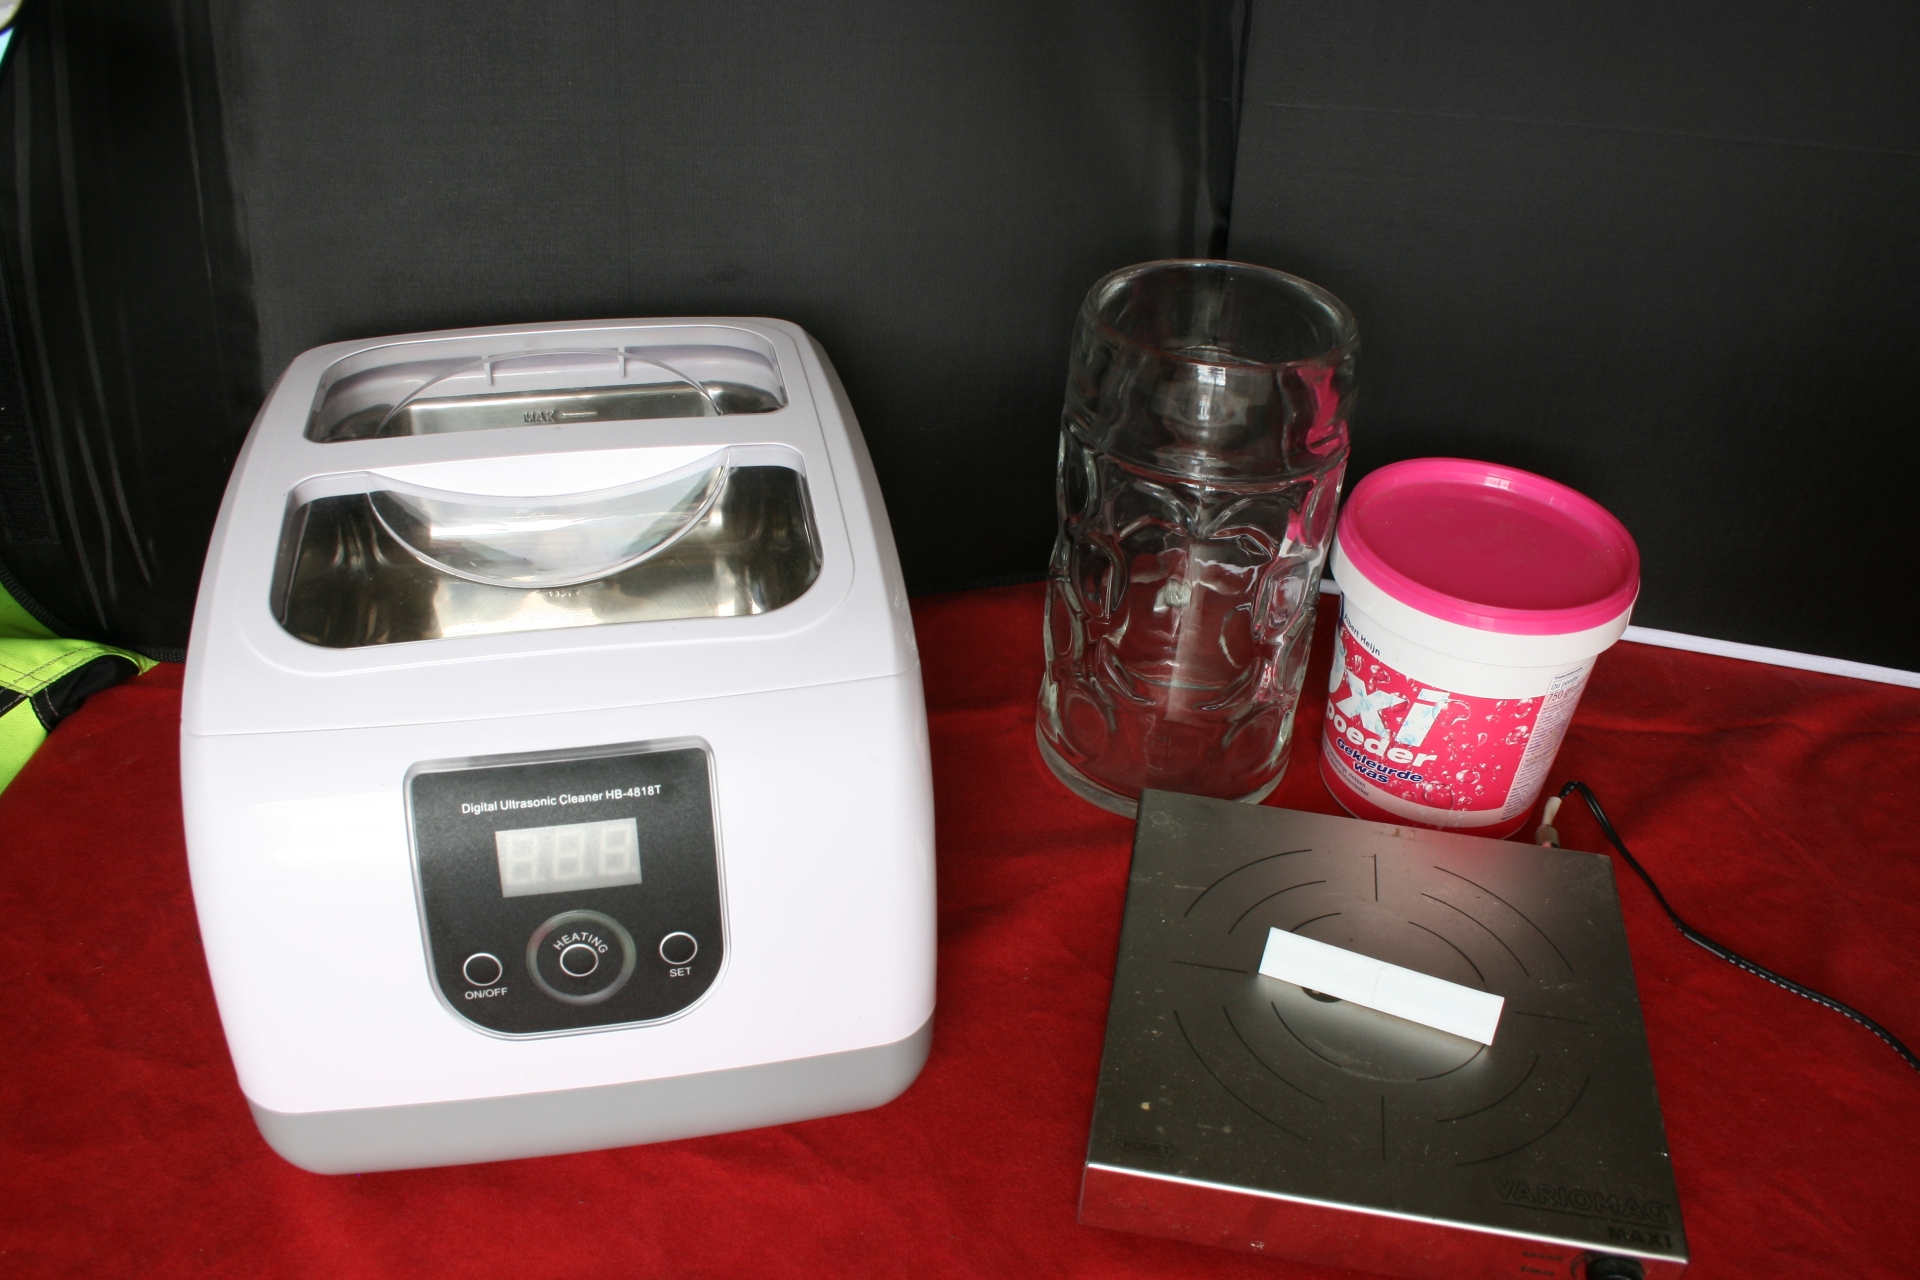
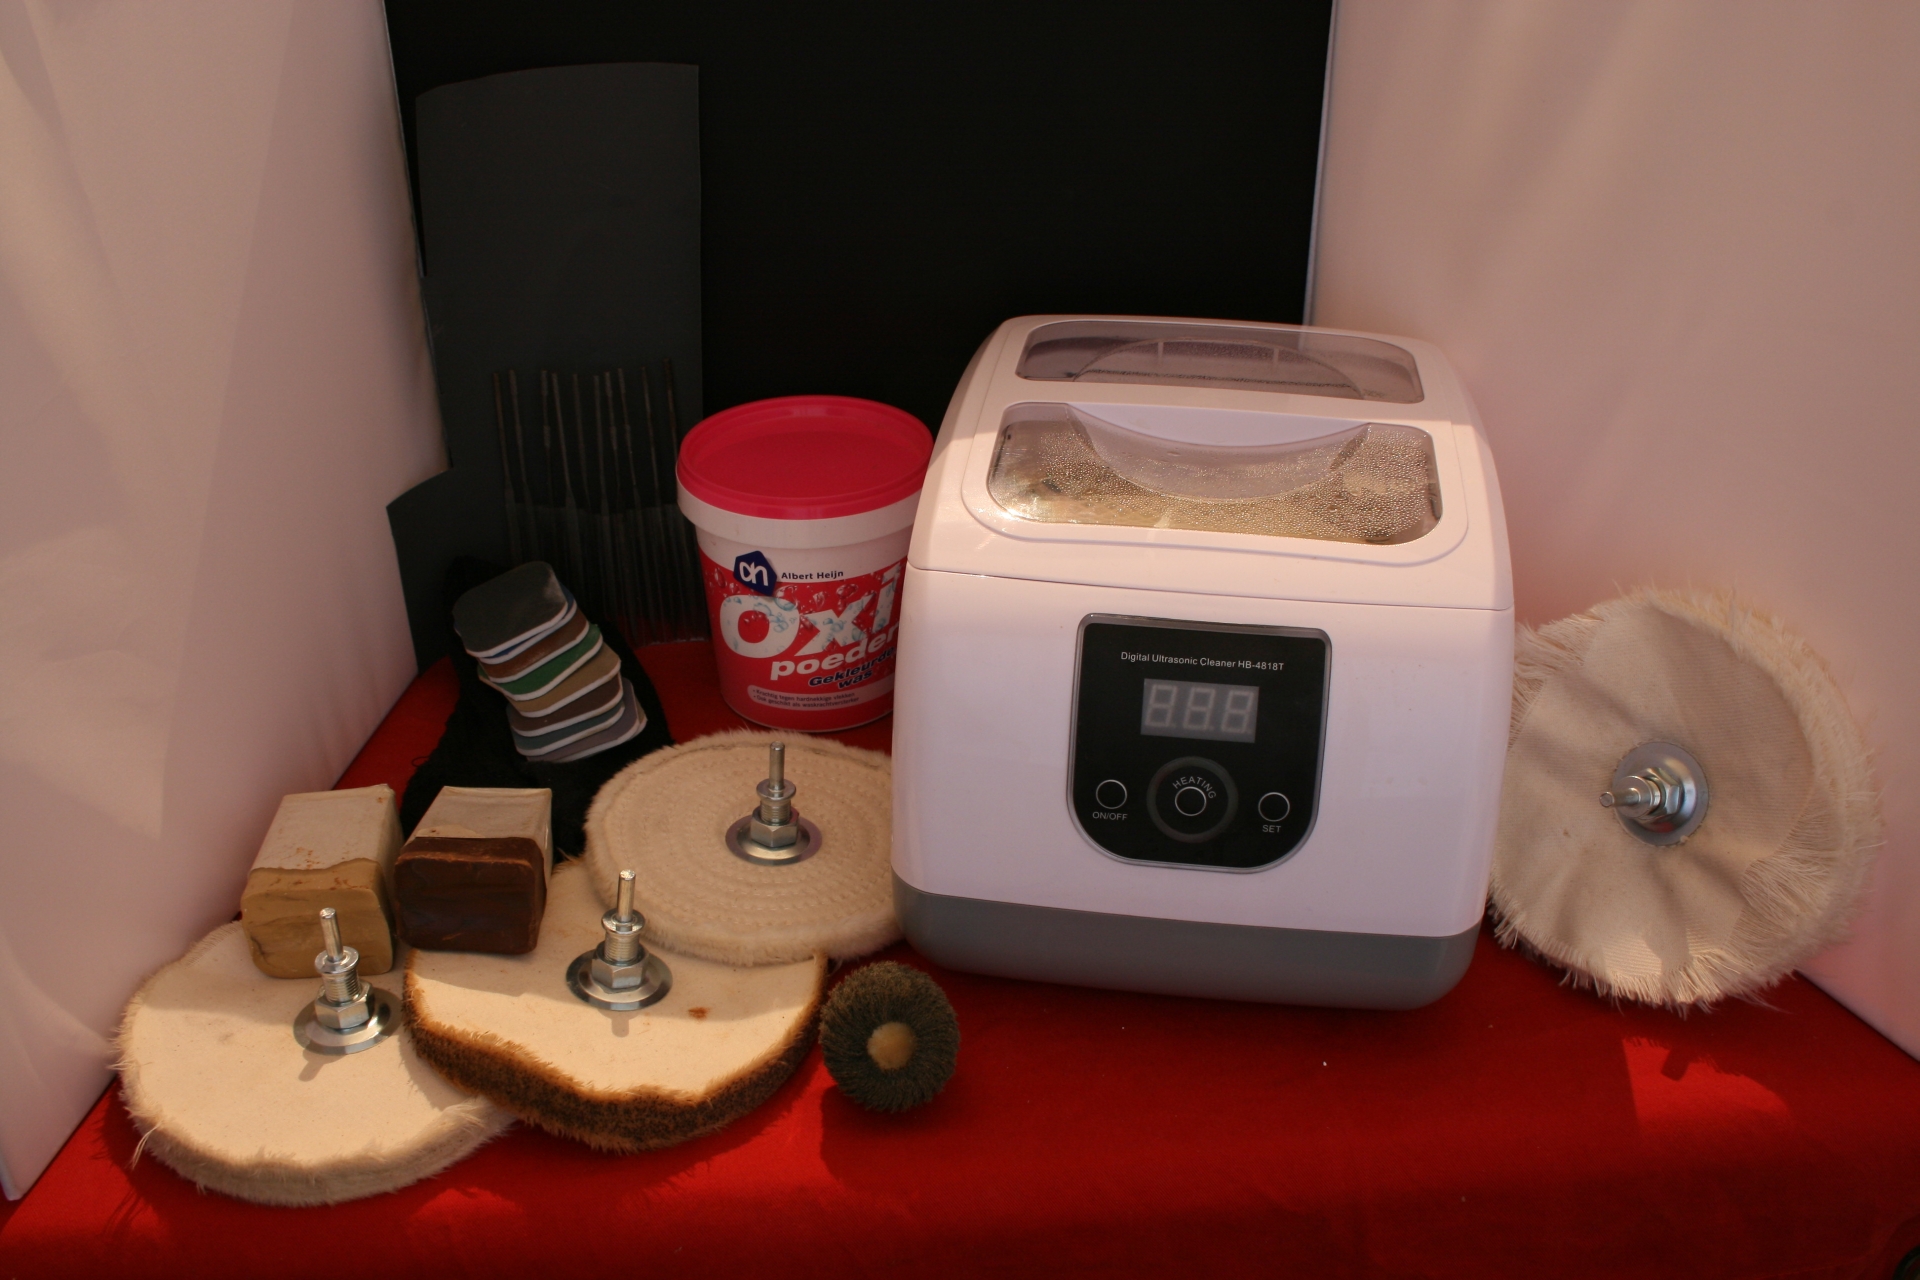
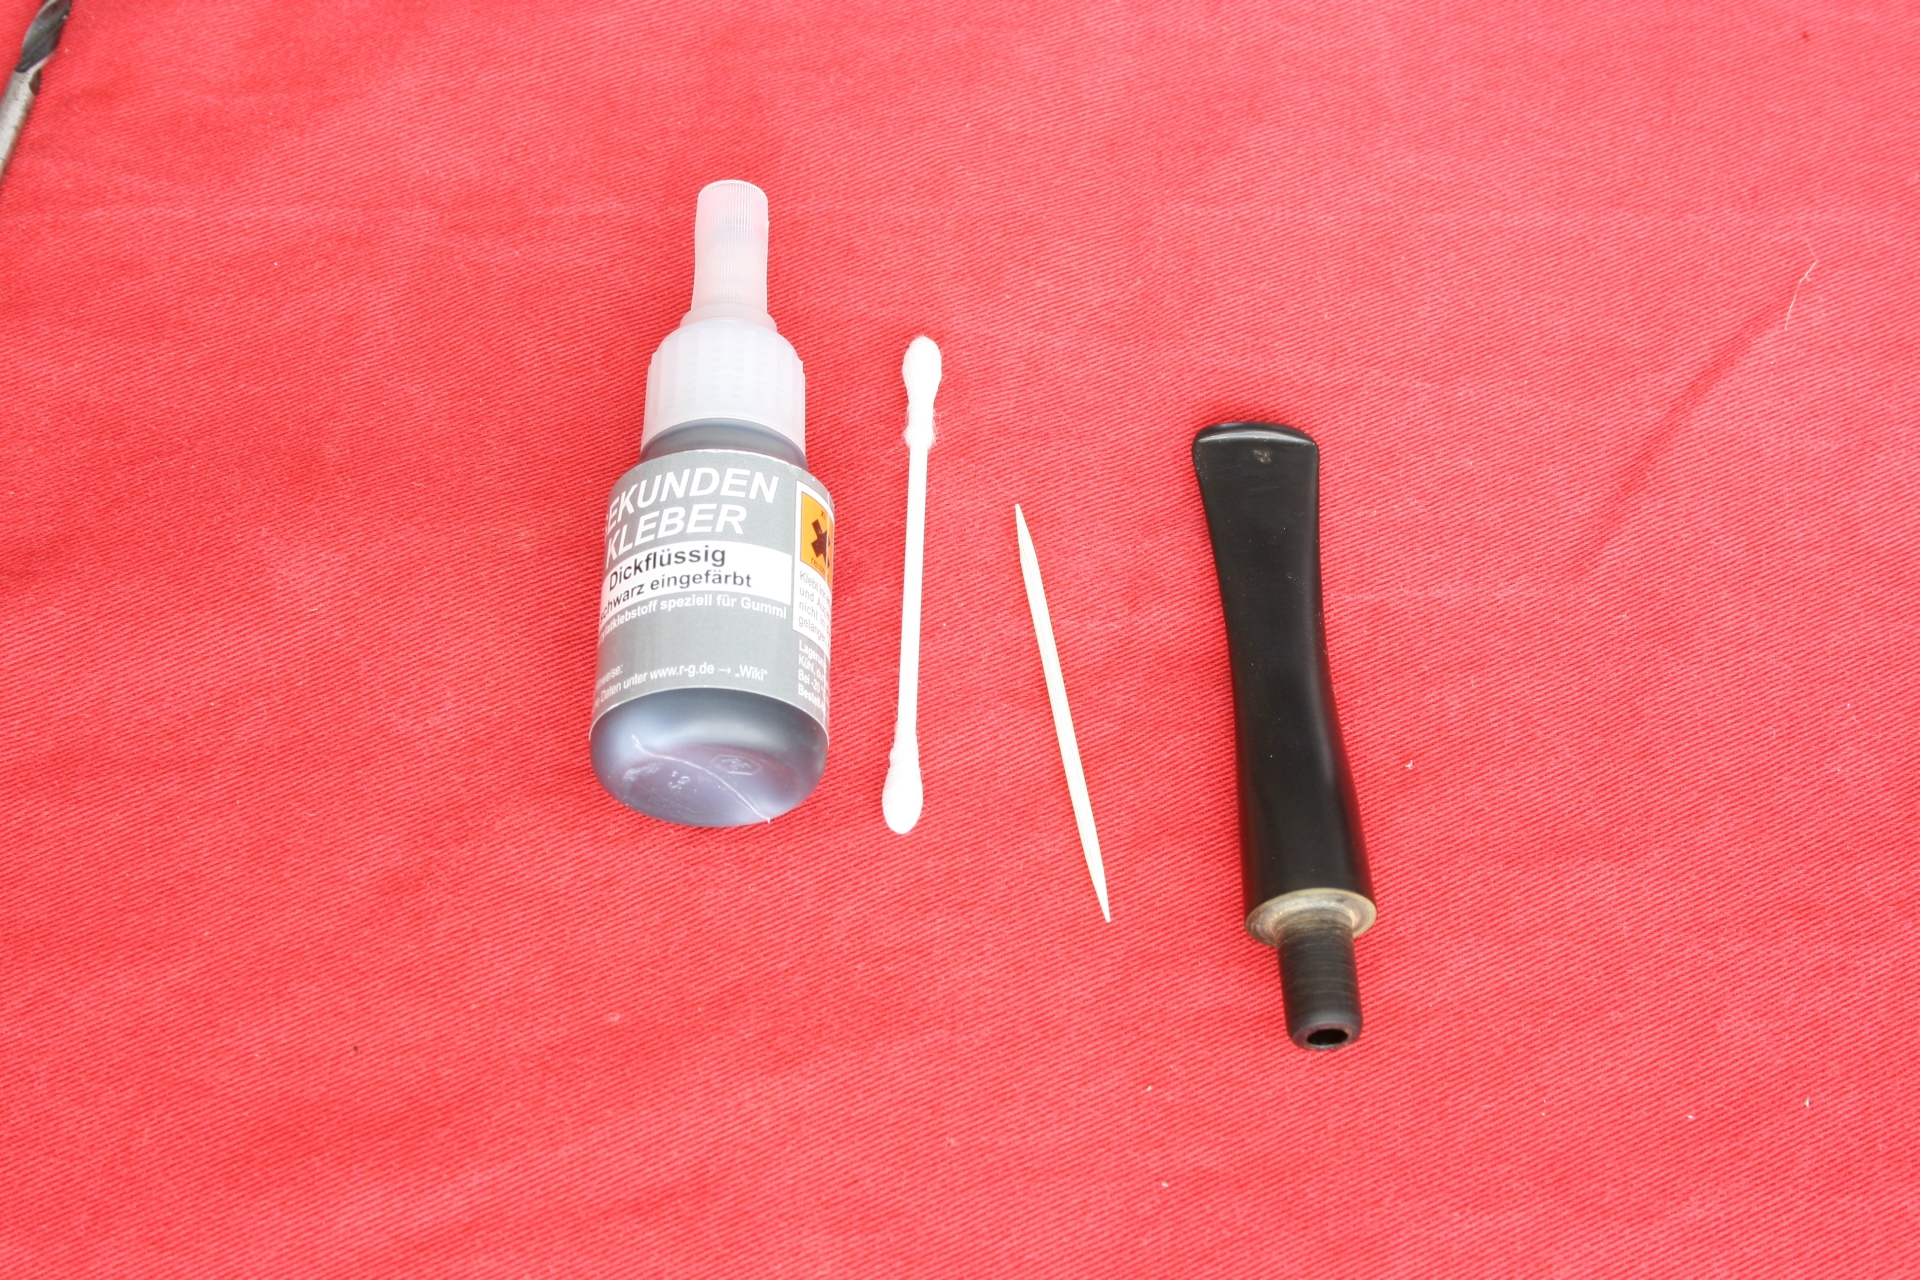
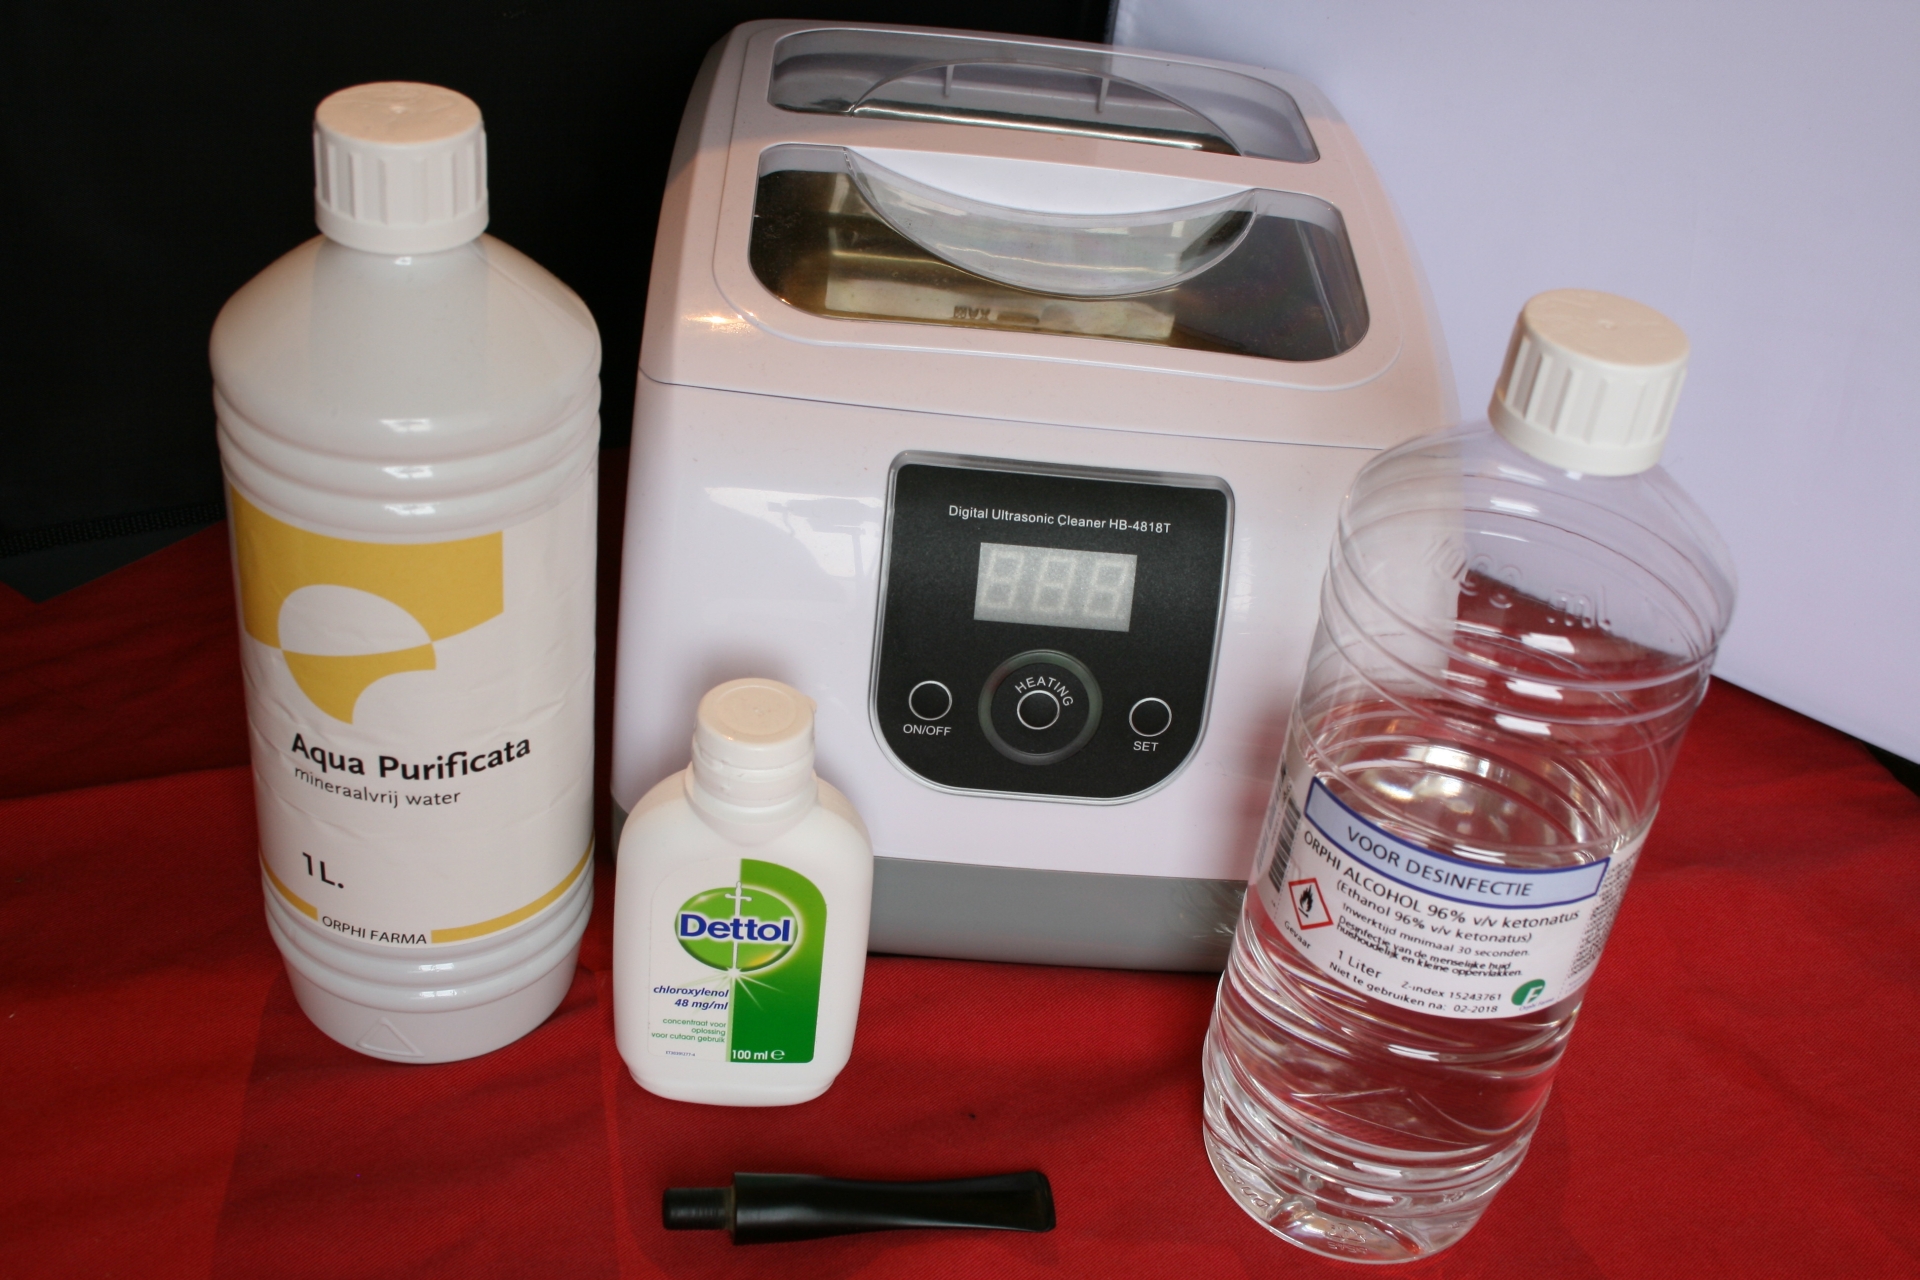
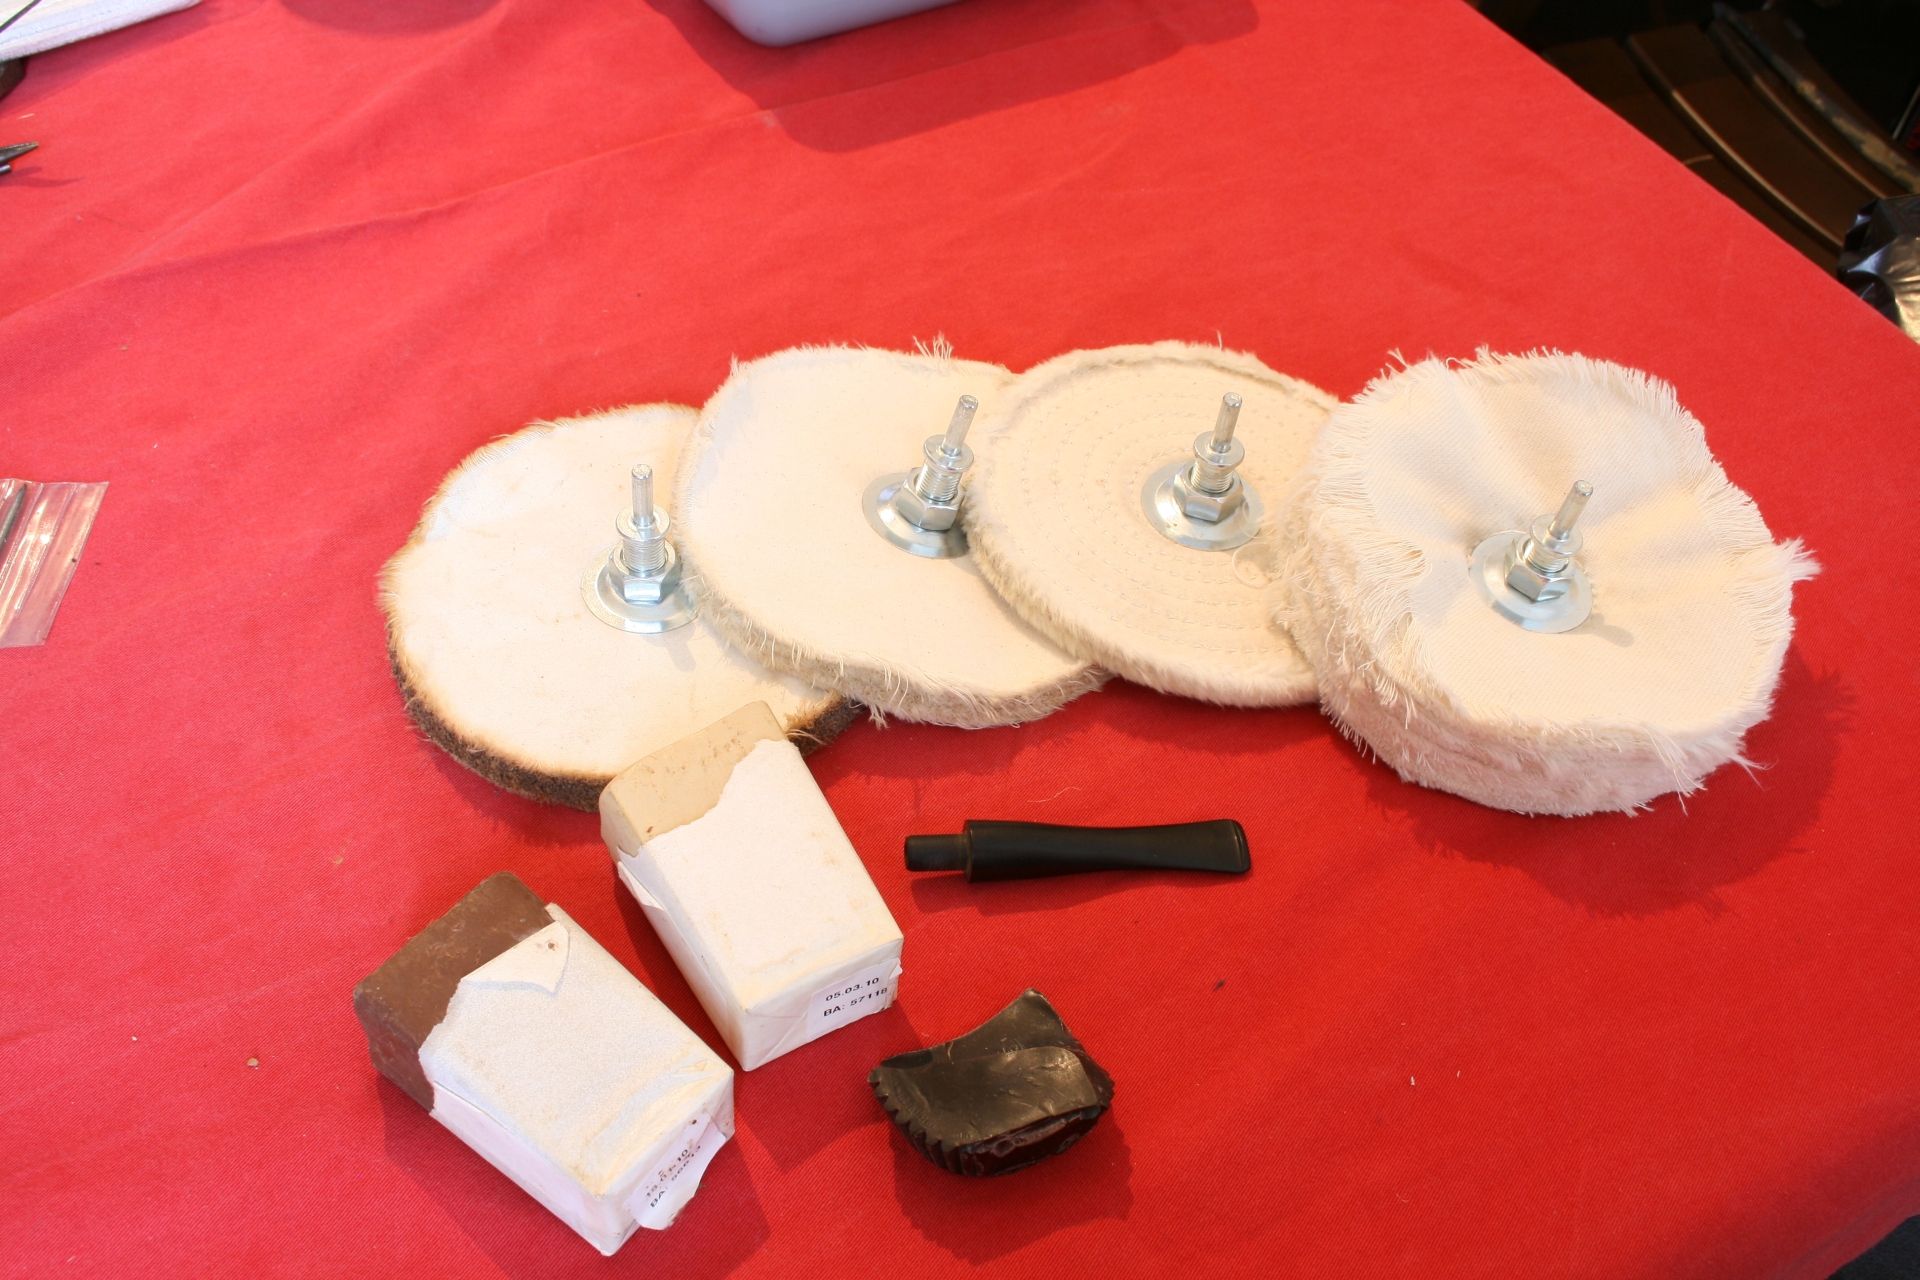
And the final pictures of the tools used in the experiment and the cleaning.
028 Tools used in experiment

029 Tools used

So far I am optimistic and happy with the end results using the ultrasonic cleaner with the Oxi-Action cleaning solution. The oxidation gets off rather well using the grinding wheel and it saves me roughly 30 minutes of work. This means a relief for my tennis elbow I have in both arms. So for me it is quite a pleasant addition in the cleaning process.

The negative aspect so far encountered was that this particular model ultrasonic bath is not very drain friendly, in this I mean that getting the liquid out is rather a messy business. Also I have no idea what will happen in the long run with the stem if you use it for a prolonged time. As I read that some items can turn brittle when used too much in an ultrasonic cleaner. But so far I have not found any evidence this is happening with the stems. And there is of course the fact that Vulcanite tends to bend back to its original form when heated too hot, so far this has not happened but I can imagine that if using water that is too hot in combination with the ultrasonic vibrations that add extra heat it can happen.

All-in-all an experiment that opened my eyes to two cleaning methods and I hope it was as informative for you to read as it was for me to do.

Repairing Deep Tooth Marks and Bite Throughs on Vulcanite Stems – AJ Verstraten


Blog by AJ Verstraten

It is with pleasure that I post AJ’s second post on rebornpipes. AJ is known to the online community as Bananabox-Ninja.

Greetings, today a small post about the use of black super glue on a few pipes I had previously cleaned and refurbished; before I found Rebornpipes. This did give me a small problem as I did not extensively take pictures of the process as I had no reason to share the process at that moment and as such I am missing a few ‘before’ pictures.

The pipes I revisited for this project were:
– 11 Wahl Filtro
– Lorenzo Elba
– Machiavelli Como
– BBB Medina
– Spitfire by Lorenzo Riviera
All of them had bite marks on the mouthpiece and the Riviera had even been bitten clean through.

Lorenzo is a good Italian brand that is quite popular in Germany. The BBB Medina is an old English made pipe that has a good reputation here in the Dutchlands. The Wahl and the Machiavelli pipes are a mystery to me. I can find some eBay listings for them but I cannot pinpoint their true origin.

First up the pictures I did have of the before process.

BBB Medina
001 BBB Before

Lorenzo Elba
002 Lorenzo before

11 Wahl
003 11 Wahl Filtro before

As these pipes had already been waxed I first removed the wax layer using my motor, water and grinding wheel. This only took a few moments, after which I used a cotton swab and some alcohol to really clean the surface of the mouthpiece.
004 Wax removed

The following steps I repeated a few times as I found I was a little impatient in the drying process, I advise to let the glue set for a night just to be sure it is dry to the core.

Using a piece of cardboard dipped in Vaseline (sorry no pictures) I closed the hole in the Riviera mouthpiece and with cotton swabs and toothpicks applied the glue to the bite marks on all the other mouthpieces.
005 Glue applied

When the glue had dried I used 600 and 1000 grit sanding paper wrapped around a model file to sand off the excess glue and smooth the mouthpiece.
006 Top and bottom after sanding

I checked the smoothness using my mouth and tongue and although in all cases it felt smooth I noticed that in taking the pictures of the finished product the glue spots are visible. This bothered me, like when I sand a round shoulder or edge on the stem. A casual observer will not notice this, but I know it is there and it will bother me. However I decided against re-sanding them in the hopes of getting them perfect. Because in the end it is my lips and tongue that are handling the mouthpiece the most, not my eyes 

To finalize this short post here are the finished mouthpieces, pipes and the tools I used for this project.

11 Wahl Filtro
007 11 Wahl Filtro

008 11 Wahl Filtro

Lorenzo Elba
009 Elba mouthpice finished

010 Lorenzo Elba

Machiavelli Como
011 MAchiavelli Como finished mouthpiece

012 Machiavelli Como

BBB Medina
013 BBB Mouthpiece finished

014 BBB Medina

Spitfire by Lorenzo Riviera
015 Spitfire by Lorenzo Riviera Mouthpiece

016 Spitfire by Lorenzo Riviera

Tools used during this project
017 Tools used

Cleaning a Bristol Mat Geante – by AJ Verstraten (AKA Bananabox-Ninja)


This post has been written by a Dutch reader of the blog, AJ Verstraten who contacted me a few weeks ago. Several emails later and we had exchanged a lot of ideas and tips. I thought it would be of interest for others here to read about AJ’s ultrasonic cleaner addition to the process. It was one I had not heard of before so I asked him to write up a piece on it with pictures of a pipe that he put through his process. AJ was graciously willing to write it up and submit it for posting here. Thanks AJ for your willingness to do this. It is great to hear from others about the methods they are using and how they work. The photos are well done and the words well written. Without further ado here is AJ’s article.

Greetings, my name is AJ and I hail from the Dutch city of Dordrecht. I go by the internet name of ‘Bananabox-Ninja’ and I am more easily found under that name then under AJ.

A few weeks ago I broke my knee in a motorcycle accident and it was put in a plaster cast with the instruction to let it rest and heal up. In this time I stumbled upon Steve’s website through ‘Het Pijprokersforum’ a forum of Dutch and Belgium pipe smokers.

As I like to refurbish pipes myself and I had time to kill I went through his whole website and learned many, many new things. In the weeks that followed I tried to get a hold of the things Steve used and tried them myself, like the black superglue and the grinding pads for example. Blown away by how well some things worked out I sent an email thanking Steve for all the tips and asking if he had ever used an ultrasonic cleaner. He replied that he had not but that he was interested to know in the workings and would I like to write about it?

So this weekend I cleaned a pipe from my ‘project-box’ and snapped pictures from beginning to end including the ultrasonic cleaning method I currently use. (The numerical key below the photo identifies the tools in the photo.)

These are the tools I tend to use in the cleaning/refurbishing of a pipe, currently I have some tools on order and they have not come in yet.
001 Tools LR

1 – Polishing wheels and waxes
2 – Sanding paper (600 & 1000), sanding pads (1500 to 12000) and modeling files.
3 – Ultrasonic cleaner
4 – Old socks (but clean)
5 – Vaseline and 96% alcohol
6 – Hard and soft bristled pipe cleaners
7 – Q-tips (cotton swabs)
8 – Pliers
9 – Assortment of drills
10 – Senior pipe reamer
11 – Games Workshop paint
12 – Electric motor (0-2000 RPM) with grinding wheel (1500)
13 – Toothpicks

The pipe I chose to work on and record is a nice straight, big chambered Bristol Mat Geante, I presume the Geante is for its size as the chamber is rather big or as we say in Dutch a ‘Speciekuip’ (mortar trough). As far as I can tell Bristol a B-brand from France but I am unable to pinpoint exactly. I personally like the bird’s-eyes all over the left and right side of the bowl.
002 The Pipe LR

As you can see the stem has oxidation all over and the bowl itself is rather dull. Not visible on this photo are the 2 bite marks on the stem.

First I cleaned the pipe on the inside with alcohol and pipe cleaners until they came out almost white. If there is a thick layer of tar in the air canal I use the drills to scrape the inside out lightly using drills of various diameters. Tar will give way far more easily than the ebonite or acrylic it is in.

In this case it was not needed as the pipe’s previous owner was very tidy or had not smoked it much.

Then with just water and the grinding wheel I removed the heavy oxidation from the stem, careful not to create a round shoulder or to grind off too much for it to create a ridge.

003 Set up LR

004 Half way LR

005 Full LR

Using the sanding paper wrapped around a file I removed the hard to reach oxidation on the mouth bit.
006 Filing and sanding LR

007 Sanding wrap LR

008 Sanding result LR

And afterwards to fill the bite marks using the superglue, q-tips and toothpick.
009 Superglue LR

010 Filled SG LR

011 Sanded SG LR

Now the stem was ready for the ultrasonic bath. This is a new method I have only recently started using and so far I am positive on the results. Using a mixture of 50-50 water and alcohol with a teaspoon of disinfection agent, place the stem in the liquid and let the bath go at it for 8 minutes.

This bath can also heat up to 40 degrees but seeing as ebonite tends to bend back to it’s original shape if heated too much I leave that feature off.

You’ll notice in the last picture that the stem looks almost the same as it went in, however when you pull a pipe cleaner through it, there will be some mild discoloration coming out of the stem.

This method of cleaning is a good way to get the last remaining specks of dirt out of those hard to reach places, I myself was skeptical at first but I was swayed when I pulled the pipe cleaner through it after the bath I found that it did do its job.

It does not however remove oxidation completely, I tried with an unprepared stem and it came out browner than going in.

So as an extra step I find it a great addition to my cleaning process.
012 Sonic cleaning fluids LR

013 Turn on LR

014 Waiting LR

015 Sonic done LR

In the mean time I cleaned some of the soot from the top of the bowl with some spit and the old sock. Especially the part of the sock that fits over your ankle is rather coarse and excellent for this process. The chamber had a nice smooth coal layer in it so I left it in there.

After the bath I gave the inside of the stem few more scrubs with the pipe cleaner and the outside another run with the grinding wheel.

Then I started polishing with the wheels and the waxes.
016 Polishing LR

First a pre-polish with brown, followed by white, a coat of carnauba wax and a final buff.

The end result as you can see below:
017 Pipe done LR