Blog by Paresh Deshpande
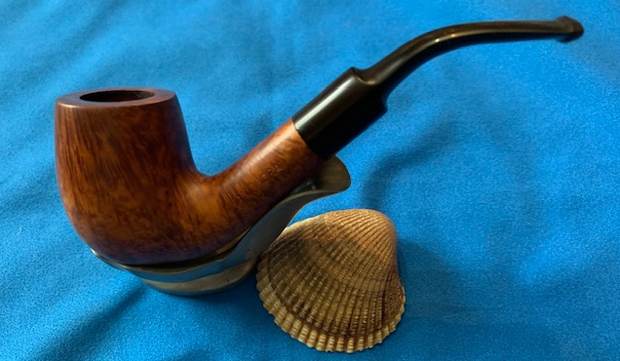
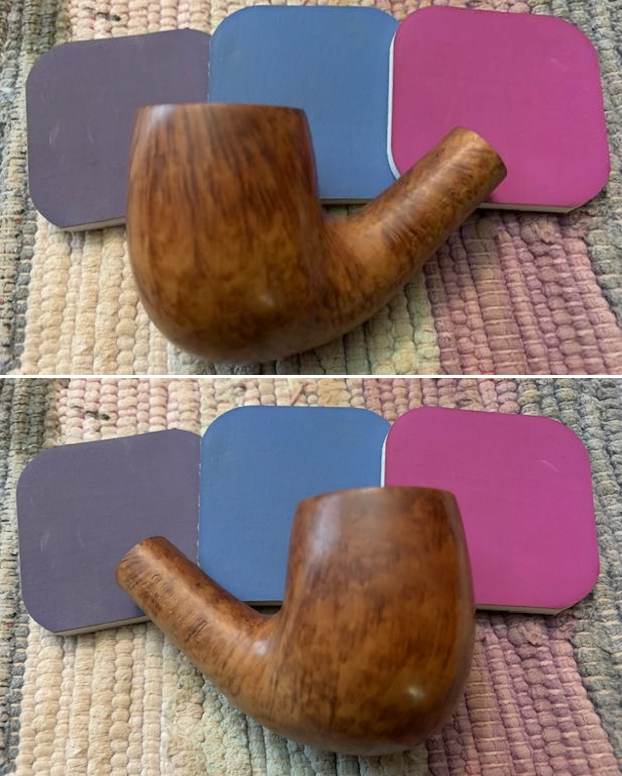
The pipe currently on my work table came to me in the year 2018 from eBay. It’s a beautiful pipe with shallow sandblast, tall pickaxe shaped and very light in weight. I had worked on other Amphora billiards from my Mumbai Bonanza (https://rebornpipes.com/2019/10/11/restoring-16th-pipe-from-the-mumbai-bonanza-lot-an-amphora-x-tra-726/) but it was selected by a very dear friend of mine and I couldn’t refuse him. The moment I selected this pipe to work on, I had decided to add it to my personal collection given the beautiful shape, ultra-light weight and the fact that I had no Amphora in my collection.
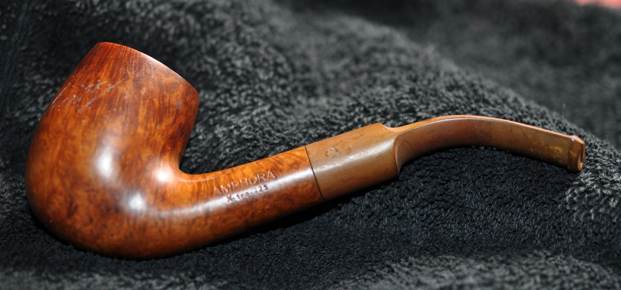
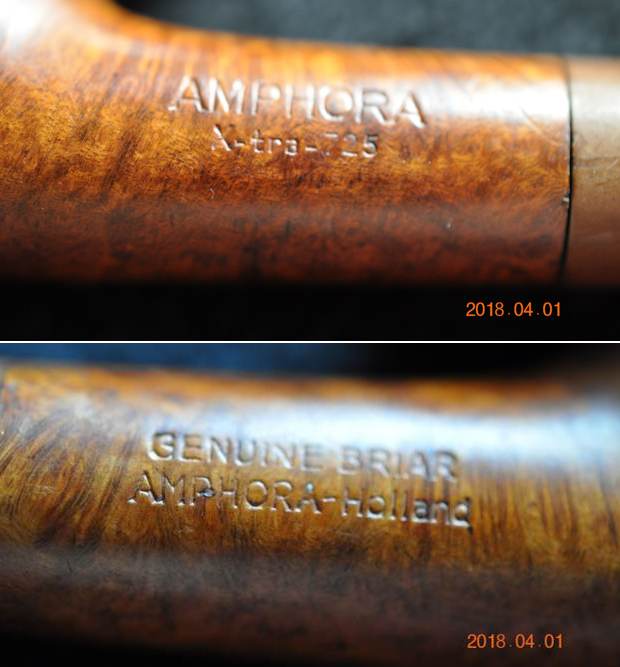
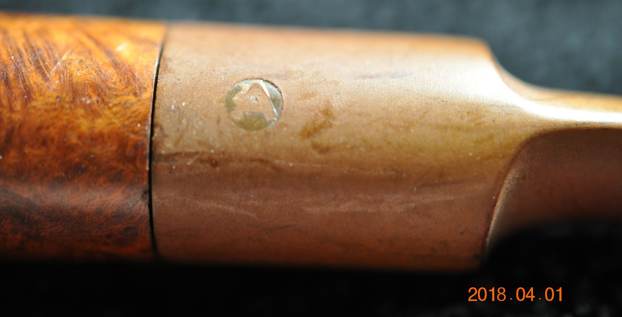
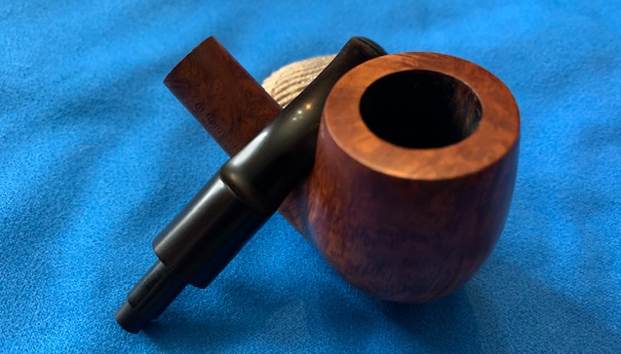
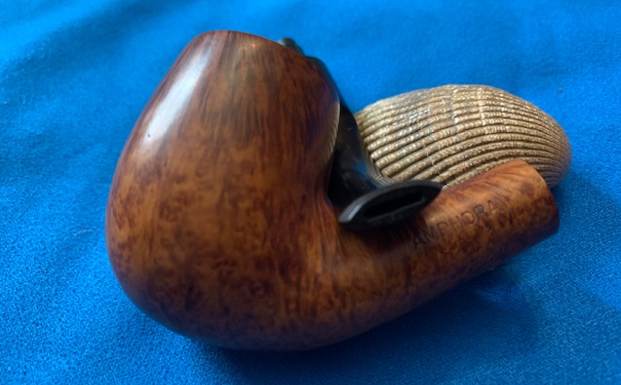
The pipe is stamped as “Genuine Briar” over “Amphora Holland” towards the bowl followed by “Amphora” over “X-tra – 728” towards the shank end. The stem bears the trademark stem logo “A” in a circle on the left side on the saddle portion of the vulcanite saddle stem. The stampings are clear and easily readable. Having worked on and researched Amphora brand earlier, I refreshed my memory by revisiting the write up, the link to which has been provided above. I re-read the addendum by Robert M. Boughton which points to a connection of amphora pipes to Dr. Grabow!!!! This does make for a very interesting read and is highly recommended. Here is the link to the write up:
With my memory refreshed, let’s move ahead with the initial visual inspection of this pipe.
Initial visual inspection
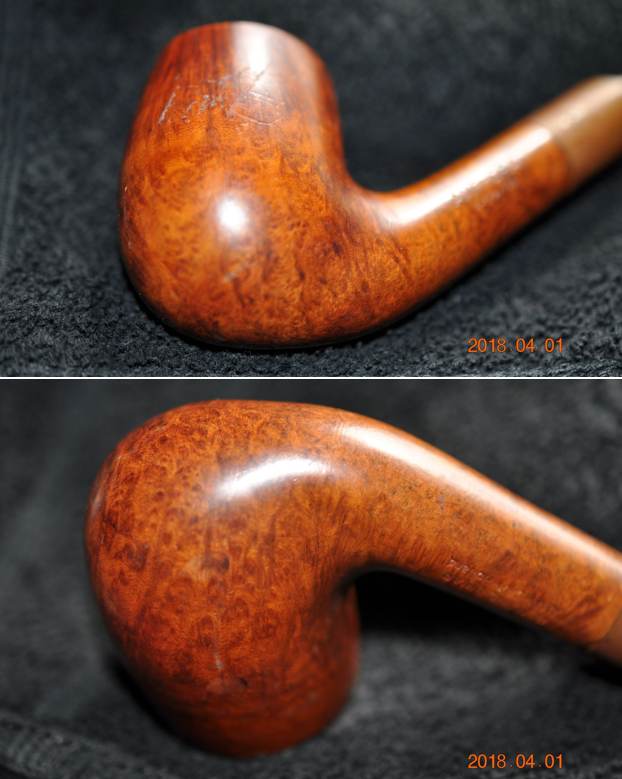
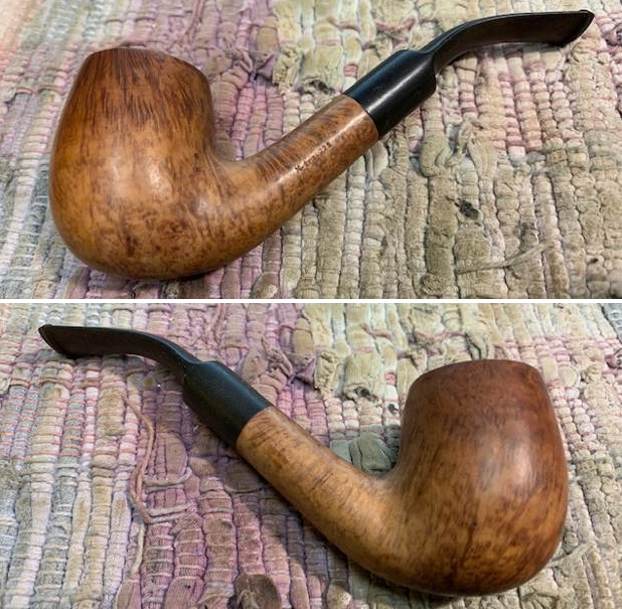
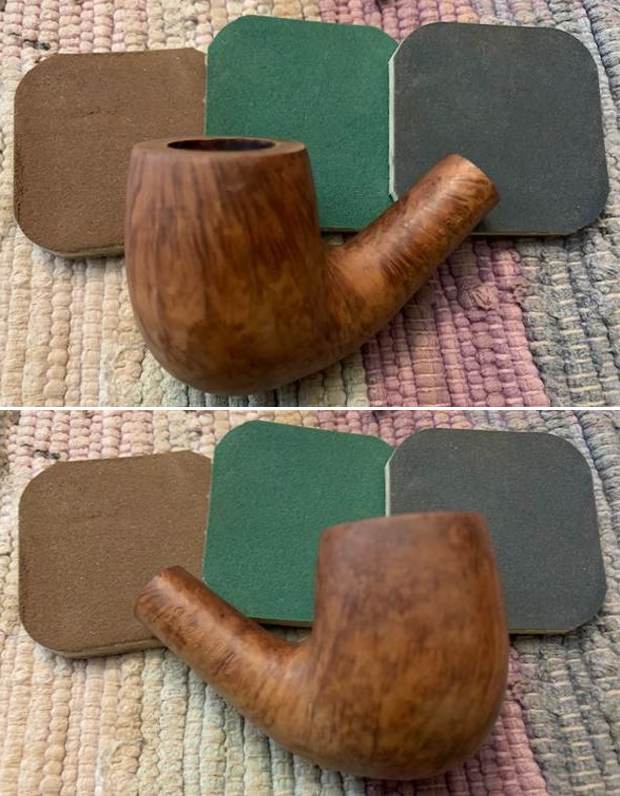
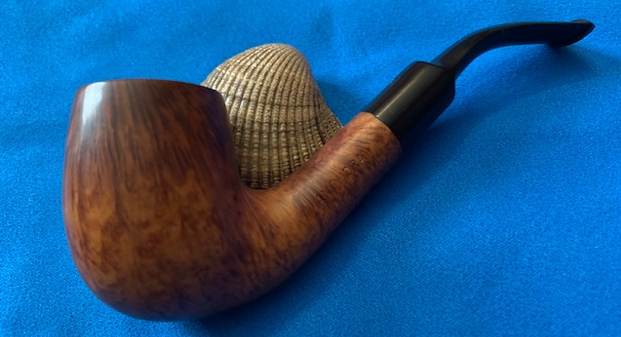
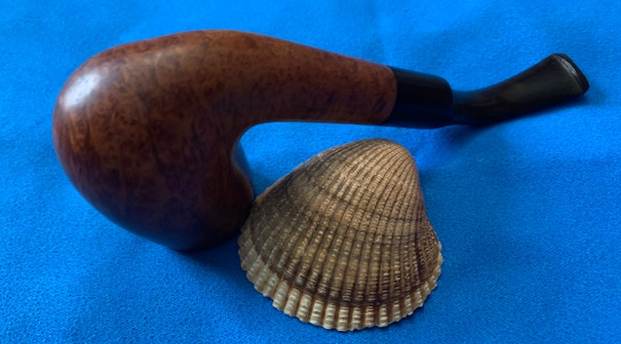
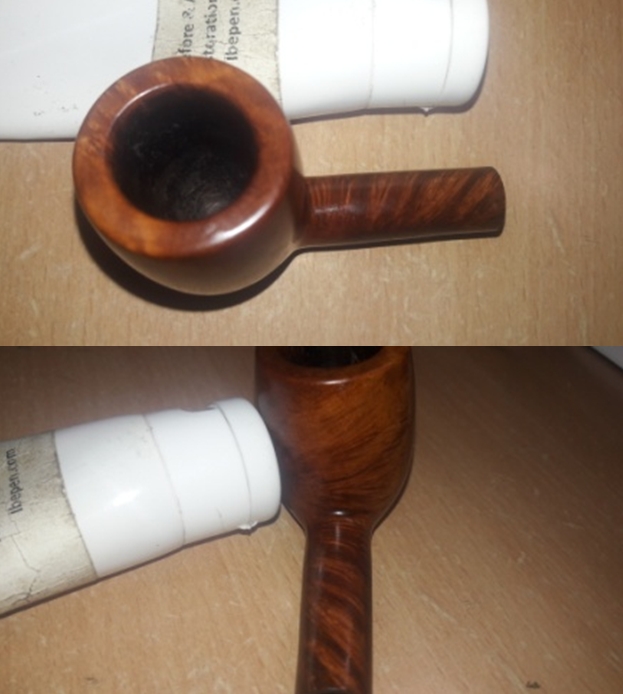
The pipe has some beautiful shallow sandblast with the bird’s eye grains showing as pits over the sides of the stummel while the horizontal sandblasts showing cross grains to the front and back of the bowl. There is a decent layer of cake in the chamber with overflowing lava on the rim top surface. The stummel tapers down to a very narrow point at the foot of the stummel. The mortise shows accumulation of dried oils, tars and gunk. The stem shows tooth chatter and indentation over the lower surface in the bite zone. The virgin finish of the stummel gives it a nice clean look and has darkened as it was smoked over the years. The light weight and the thin stem make it perfect for clenching. This should be a nice and easy project.

 Detailed visual inspection
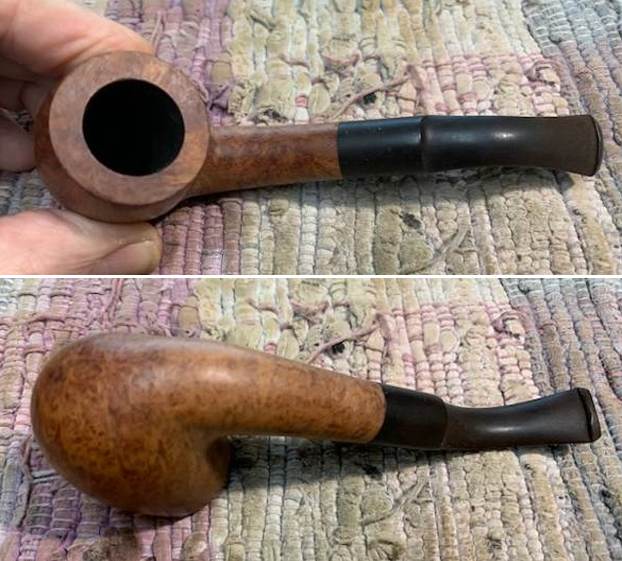
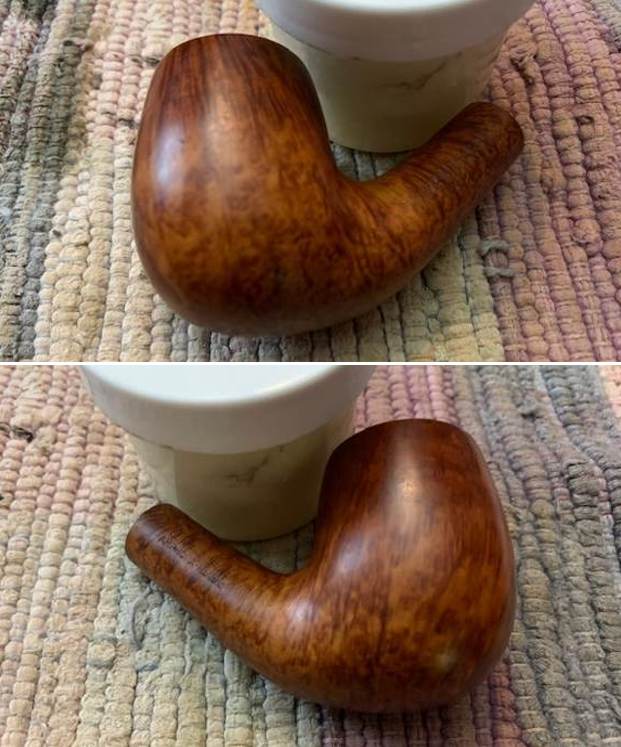
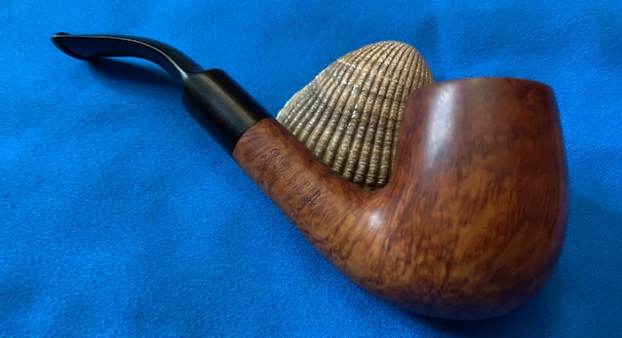
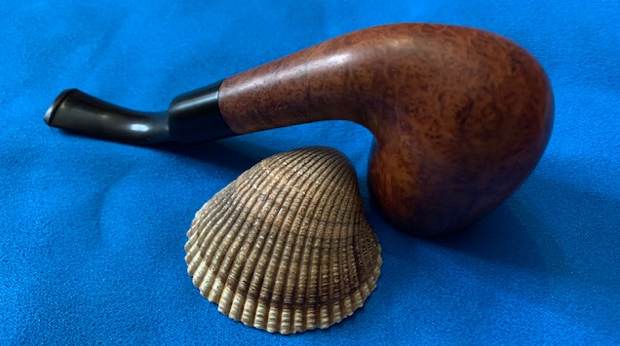
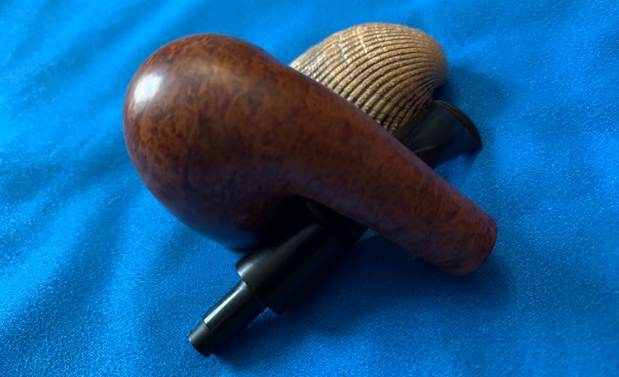
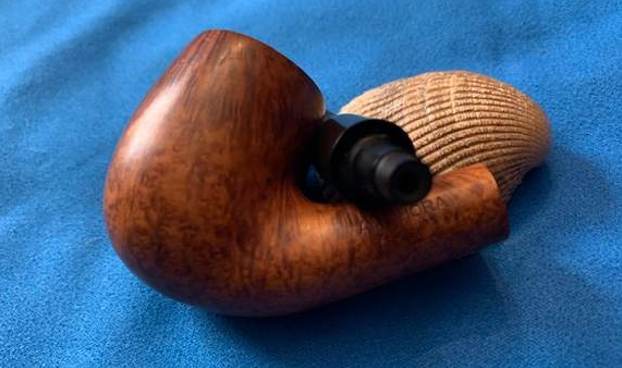
The tall pickaxe shaped stummel has some beautiful shallow sandblast which highlights the bird’s eye grains over the sides of the stummel and shank surface while the straight cross grains adorn the front and back of the bowl and also over the top of the shank surface. The surface is covered in dirt, dust and grime from usage giving it a dull, dark and lifeless appearance. The stummel tapers towards the foot making for a prominent chin which than extends upwards to the shank. The bottom surface of the shank is smooth and bears all the stampings described above. The bowl is solid to the touch and i don’t foresee any major damage to the chamber walls. The mortise shows remnants of dried oils, tars and gunk.
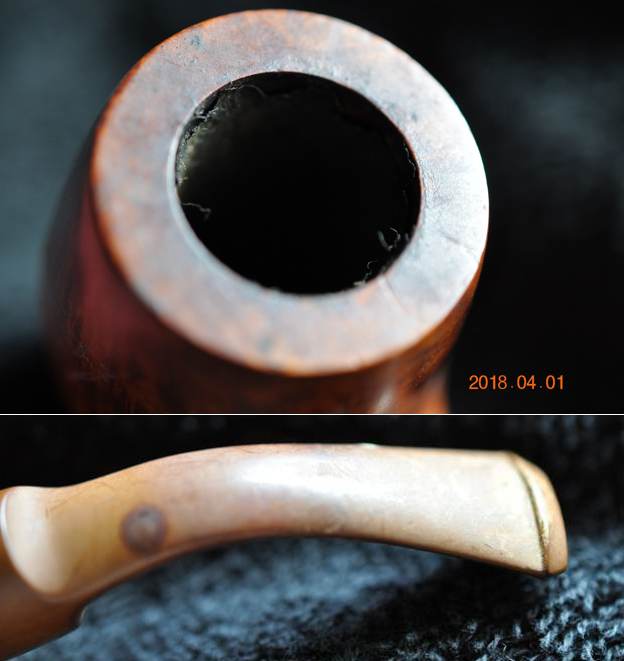
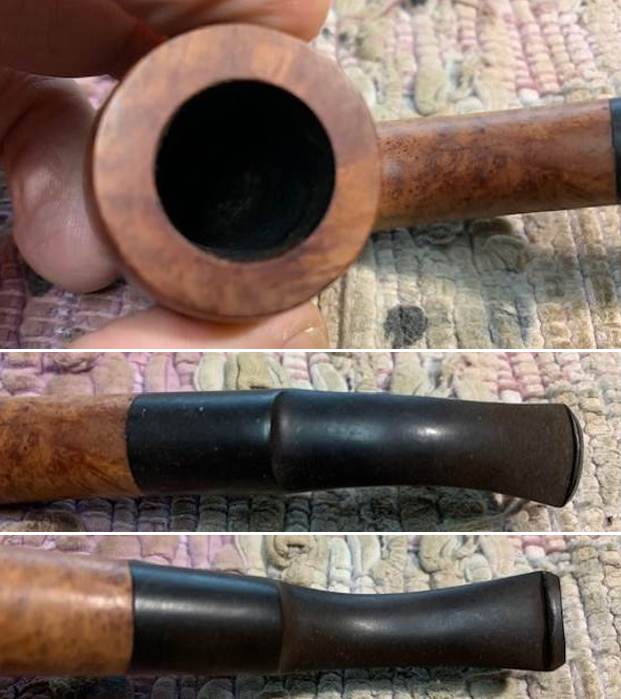
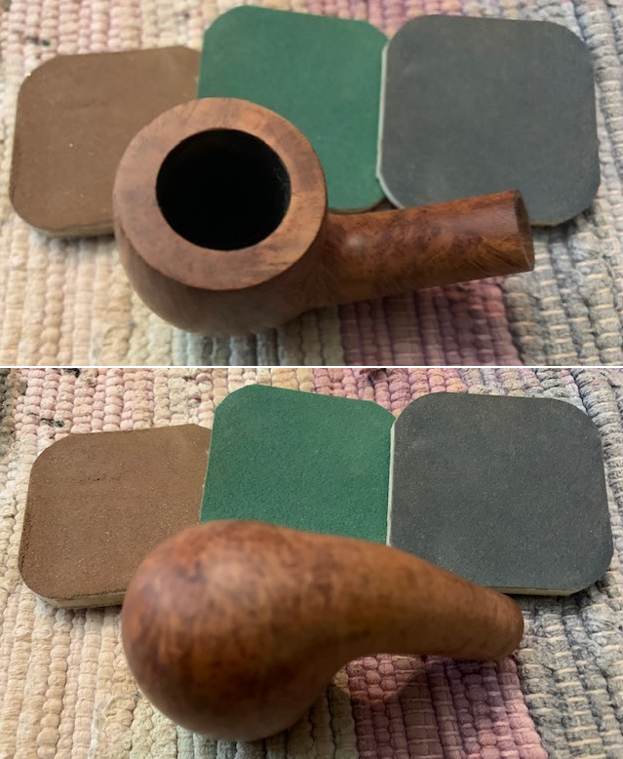
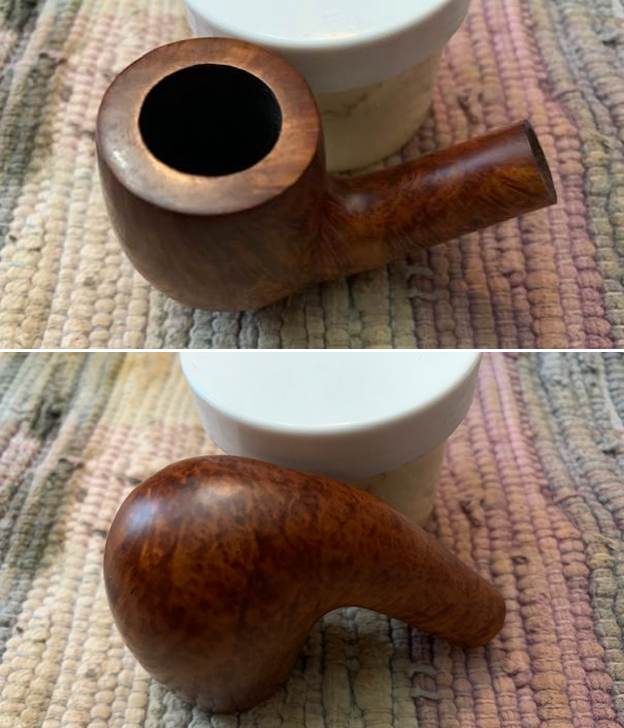
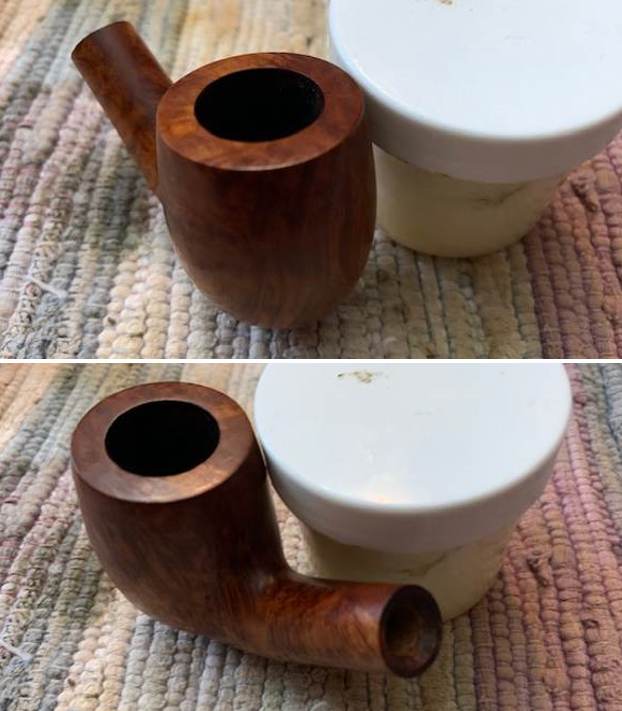
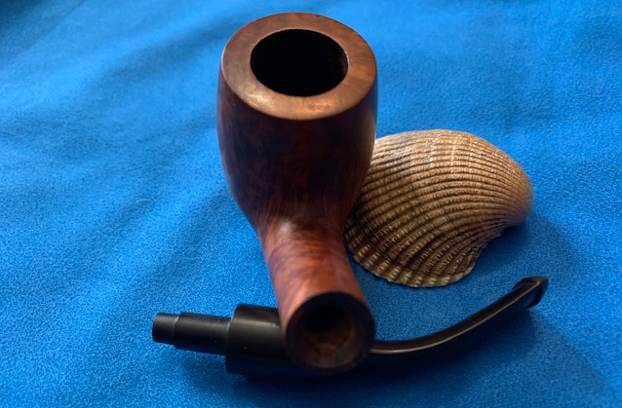
 The chamber shows a thick layer of dry and hard cake. The rim top surface has darkened by overflowing lava. The steeply narrowing of the chamber towards the heel will pose a challenge while taking the cake down to the bare briar. The inner and outer rim edges are in pristine condition with no visible damage or discoloration. The condition of the chamber walls will be ascertained only once the cake has been removed.
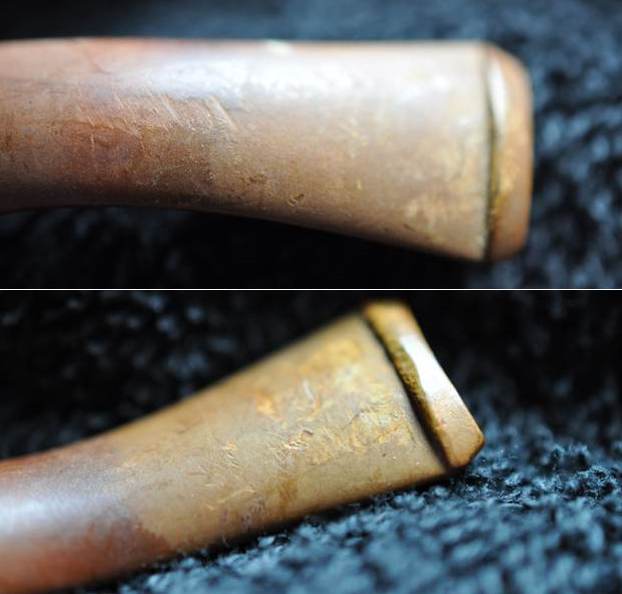
 The step tenon saddle vulcanite stem has light oxidation over the surface. The bottom of the saddle portion is flat and sits flush with the flat bottom of the shank. There is some tooth chatter and bite mark in the bite zone over the lower surface with some bite marks over the button edge. The tenon end and the horizontal slot are relatively clean.
 The process
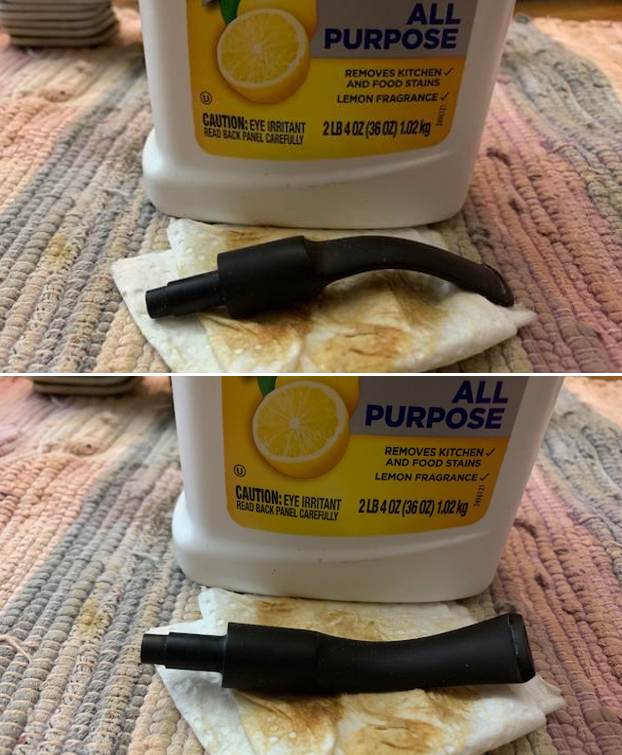
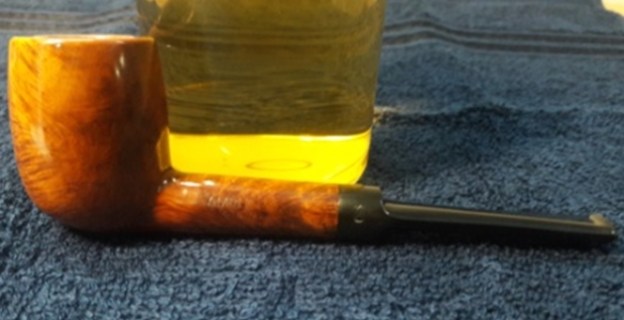
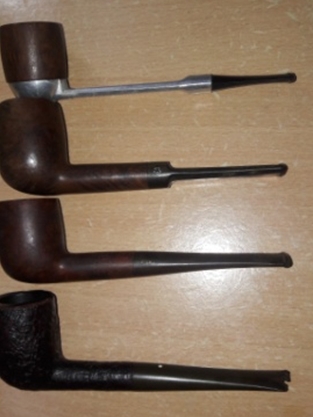
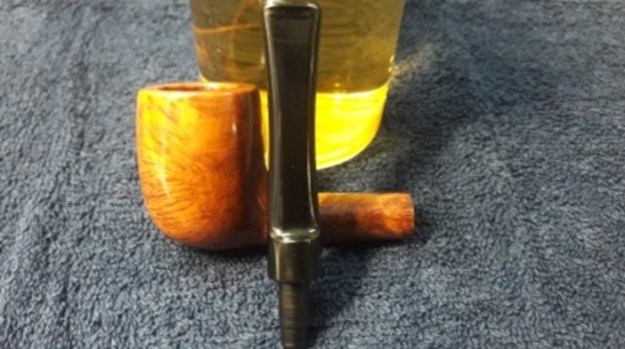
The process of refurbishing this pipe started with the cleaning of the stem. I cleaned the stem air way with regular and bristled pipe cleaners dipped in 99.9% pure alcohol followed by further cleaning of the stem internals with thin shank brushes and dish soap to remove the any stubborn residual gunk from within the airway. Once the stem internals had been cleaned, i gently sand the stem surface with a used piece of 220 grit sand paper and immersed it in “before and after deoxidizer” solution along with the stem of other pipes in line for restoration. The amphora is indicated with a green arrow.
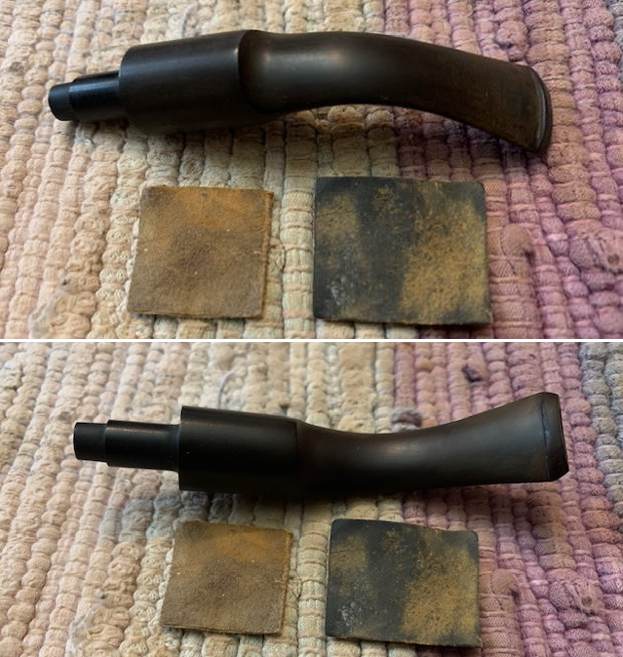
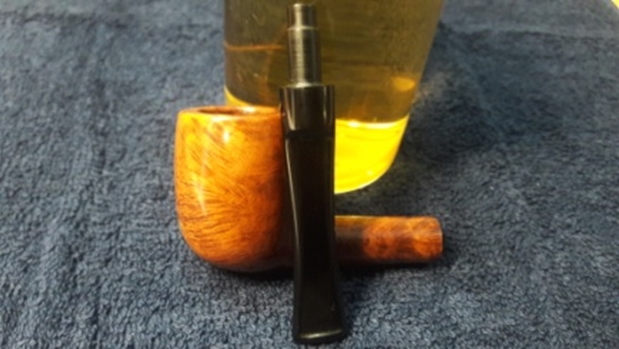
 The next evening, I removed the stems that had been soaking in the deoxidizer solution overnight. I cleaned the stem and the stem airway under running warm water and scrubbed the raised oxidation from the stem surface using a Scotch Brite pad and the airway with thin shank brush. I further removed the oxidation by scrubbing the stem with 0000 grade steel wool and applied a little olive oil to rehydrate the stem.
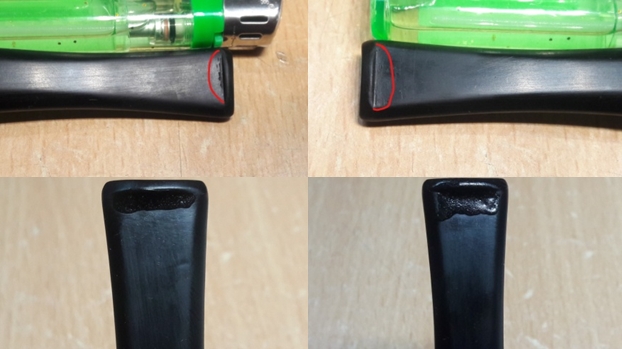
 The deep tooth indentations are now clearly visible. I used a lighter to heat and raise these indentations to the surface. These tooth indentations were raised to the surface to some extent due to the heating; however, it would require a fill to complete the repairs. I prepared a mix of ca superglue and activated charcoal and carefully applied it over the damaged bite zone on the lower surface and lip and set it aside for curing overnight. I had applied this mix in sufficient thickness which would help during the filing and sanding to match the fills with the stem surface.
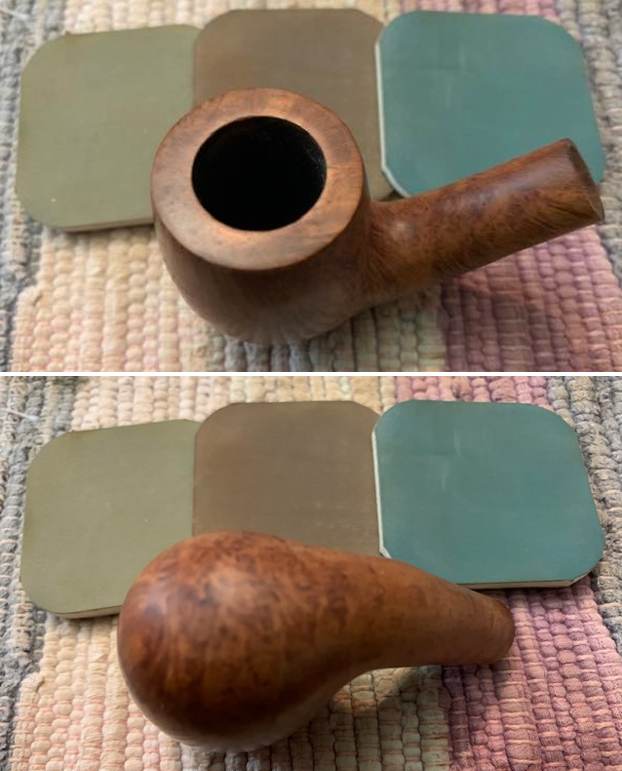
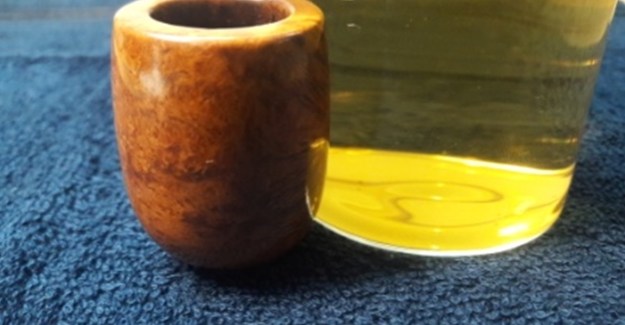
 With the stem repairs set aside to cure, i reamed the bowl with my Pipnet pipe reamer using the first head size. Using my fabricated knife, i cleaned the cake from areas which could not be reached by the reamer heads. I used a 220 grit sand paper, pinched between my thumb and forefinger, to sand the inner walls of the chamber. Once i had reached the bare walls, i wiped the chamber with a cotton pad dipped in isopropyl alcohol. This removed all the residual carbon dust and also allowed a clear inspection of the walls. The walls of the chamber are nice and solid with no signs of heat fissures or cracks. The beveled inner rim edge shows no charring or chipping.
 I cleaned the mortise and shank walls using q-tips, shank brush, regular and hard bristled pipe cleaners dipped in alcohol. I scraped the walls with a dental tool and removed the entire accumulated gunk. I shall further clean it with a shank brush and liquid dish soap once i clean the stummel surface.
  With the bowl internals clean, i move to clean the exterior of the stummel. I cleaned the surface using Murphy’s Oil Soap and used a hard-bristled tooth brush to scrub the stummel and rim top with the solution. After the scrub with briar cleaner solution, I washed the stummel under running warm water with anti-oil dish washing detergent till clean and dried it using paper towels and soft cotton cloth. I deliberately cleaned the rim top with a brass wire brush and Scotch Brite pad and set the stummel aside to dry out naturally. The stummel surface has cleaned up nicely with the intricate sandblast patterns on full display.
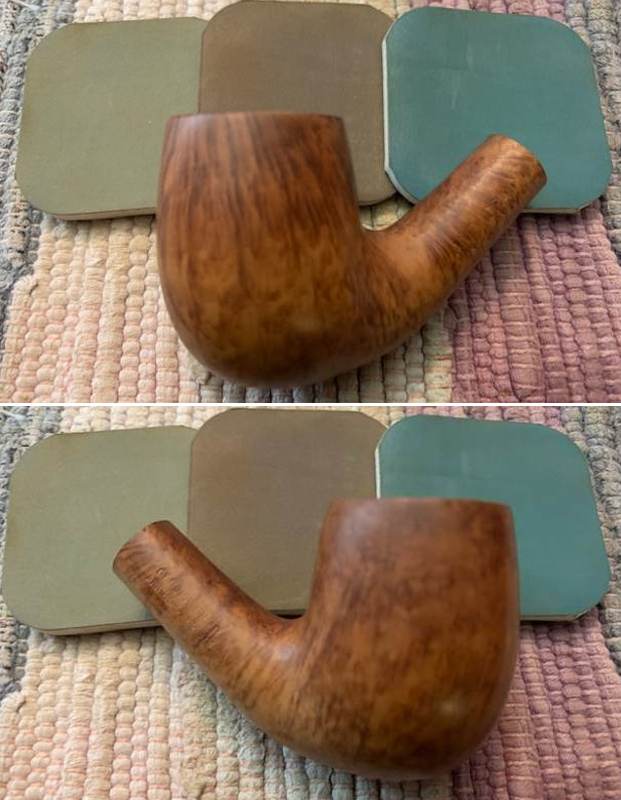

 I simultaneously cleaned the shank internals with the detergent and hard bristled shank brush. The pipe is now clean and fresh with no ghosting.
 Next, I rubbed a small quantity of “before and after restoration balm” in to the briar with my fingertips, working it deep in to the sandblasts and let it rest for a few minutes. The balm almost immediately works it’s magic and the briar now has a nice vibrant appearance with the beautiful sandblast patterns displayed in their complete splendour. I further buffed it with a horse hair brush.
 I set the stummel aside and worked on the stem. The stem fills had cured nicely and using a flat head needle file, i sanded the fill to achieve a rough match with the surrounding stem surface. I further sanded the stem surface with a folded piece of 220 grit sand paper to further blend in the repairs.
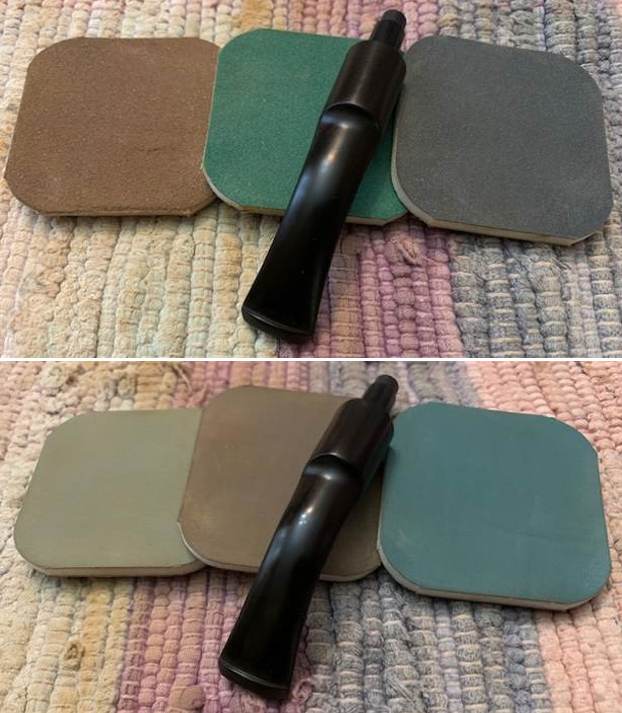
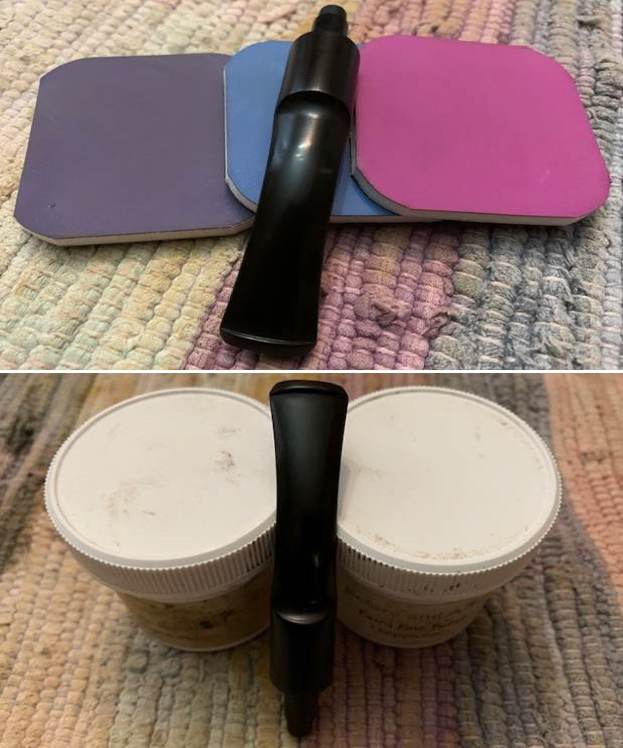
 I followed it with wet sanding the entire stem with 400, 600 and 800 grit sandpapers and further with 1000, 1500 and 2000 grit sandpapers. I wiped the stem with a moist cloth to remove the dust and monitored the progress being made after every three grit papers. Here there is something that i tried new. Instead of resorting to polishing with micromesh pads, i polished the stem with white compound followed by red Tripoli and blue diamond compound. The stem polished up nicely and had a rich deep black shine to it. I applied a little extra virgin olive oil to rehydrate the vulcanite and set the stem aside.
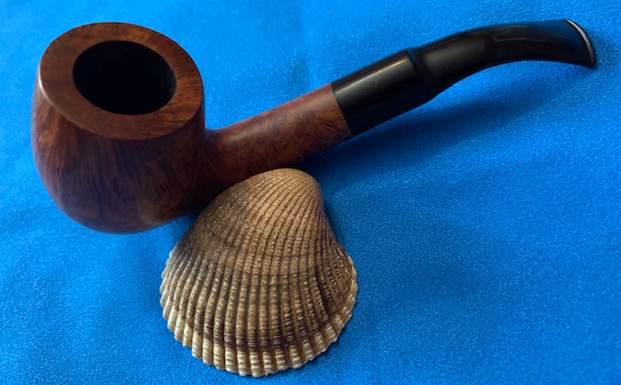
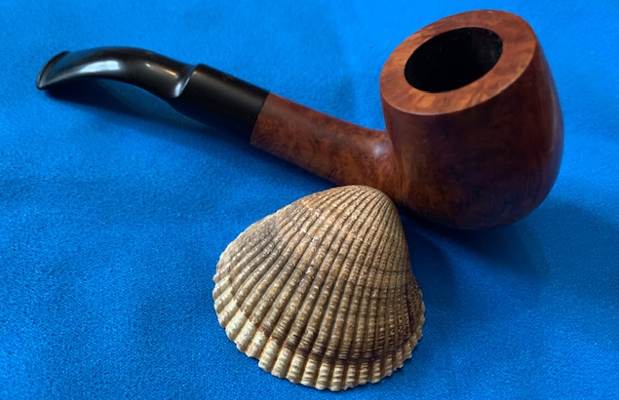
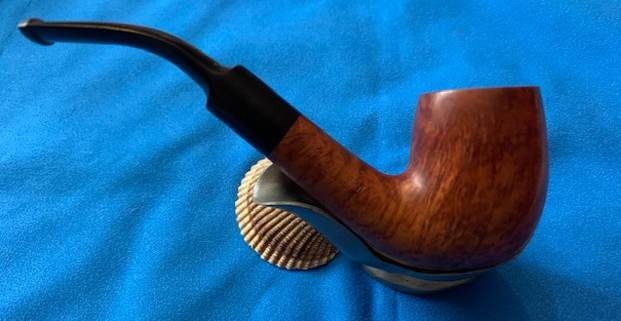
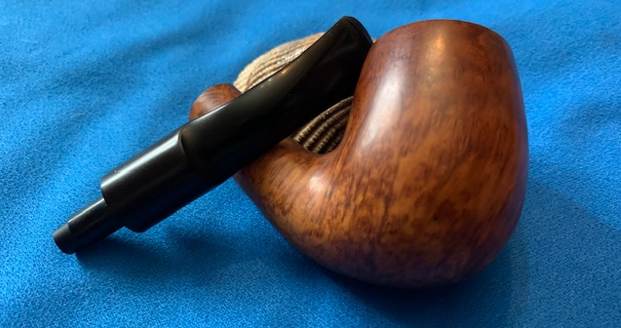
 To complete the restoration, I mounted a cotton cloth buffing wheel on to my hand held rotary tool and applied several coats of carnauba wax. I finished the restoration by giving the entire pipe a rigorous hand buffing using a microfiber cloth to raise the shine further and remove any residual wax from in between the sandblasts. The finished pipe looks amazingly beautiful and is now ready for its long second innings with me. If only this pipe could share with me its life story of the past years!