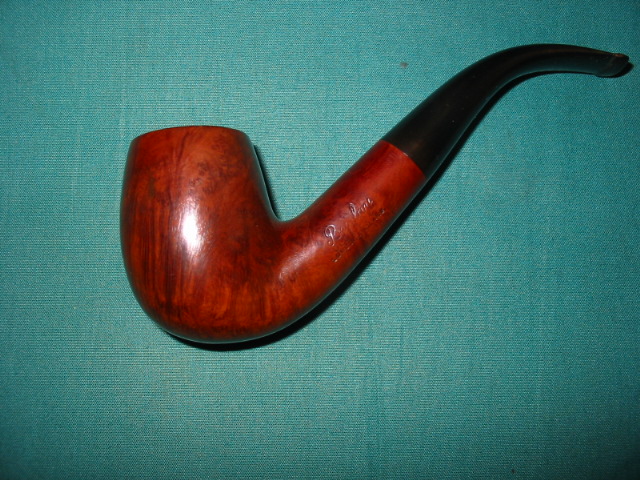
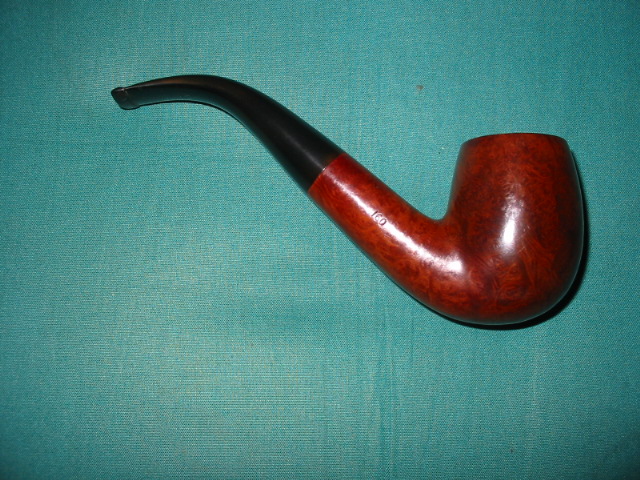
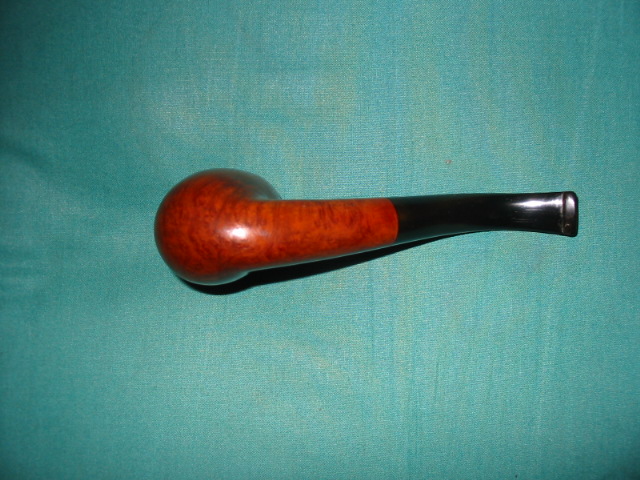
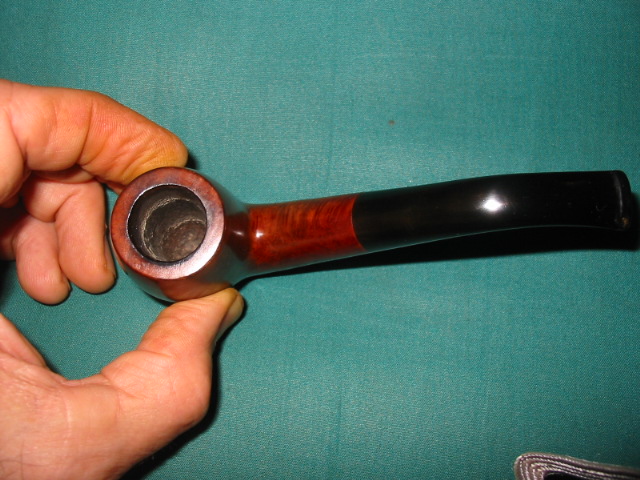
Category Archives: Pipe Refurbishing Essays

Essays and pictorial essays on the art of refurbishing

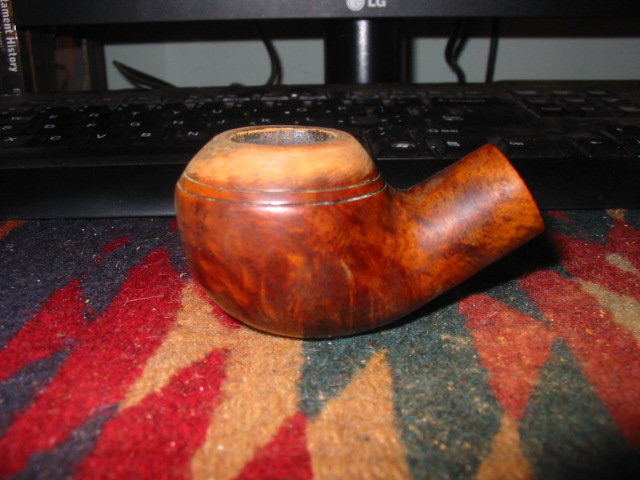
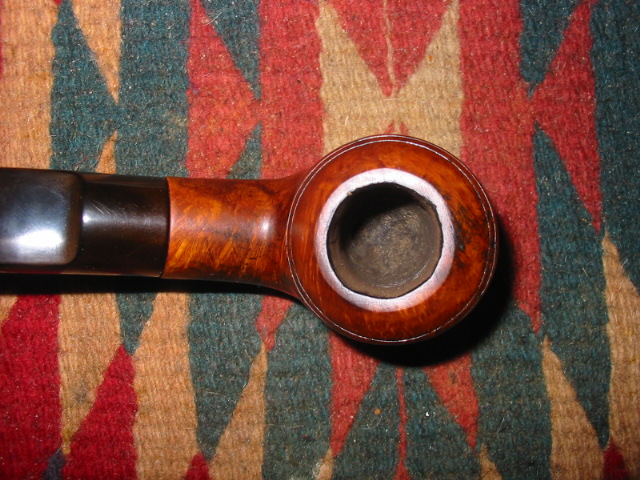
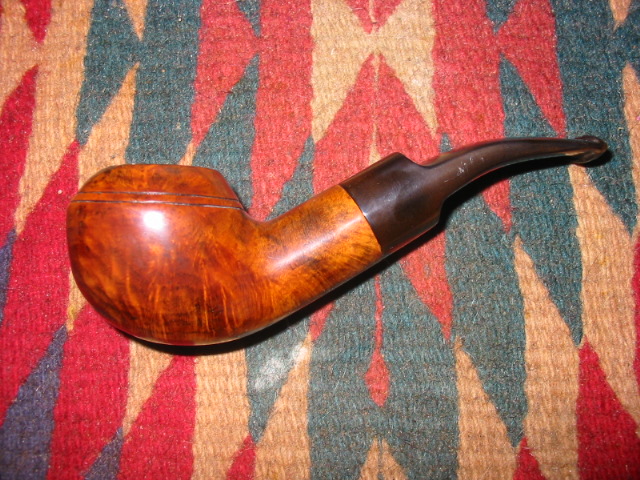
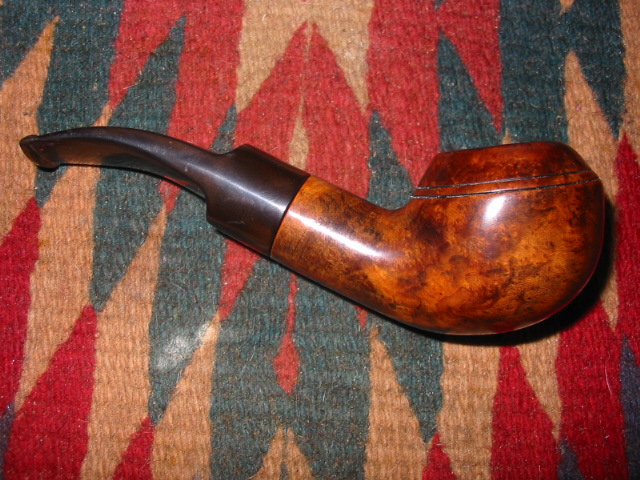
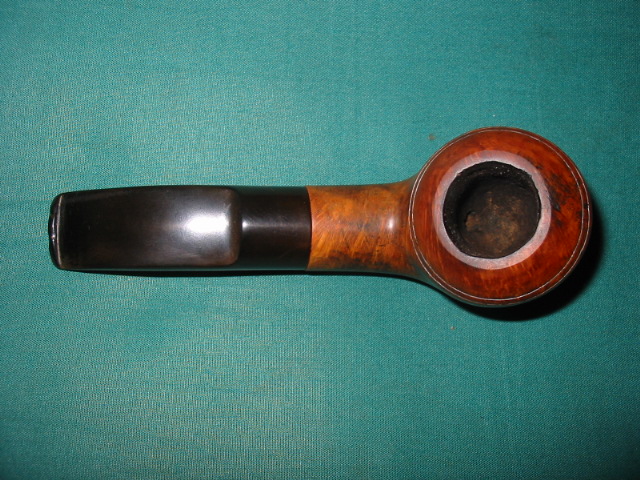
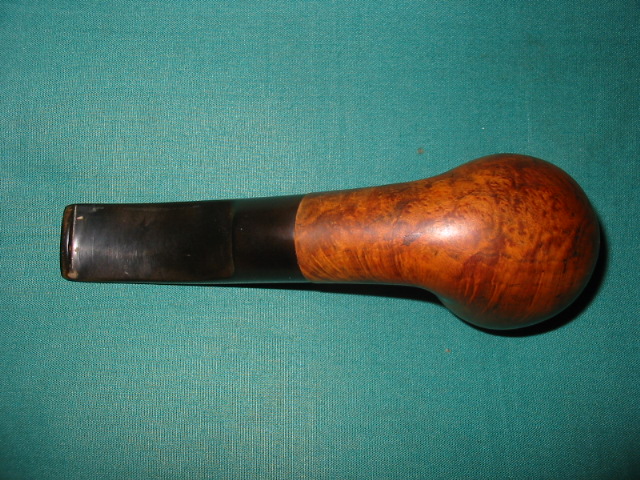
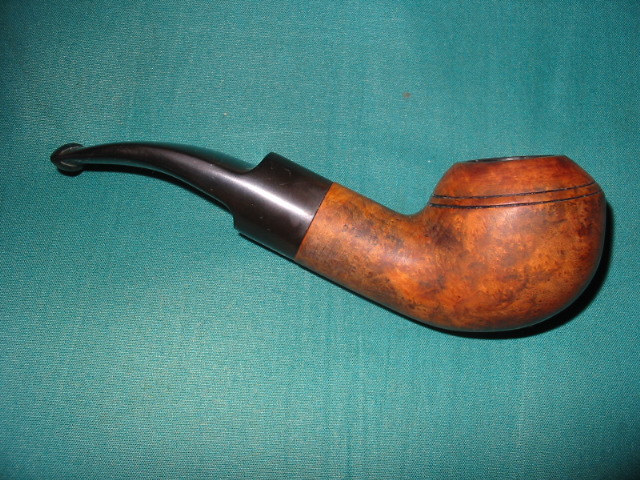
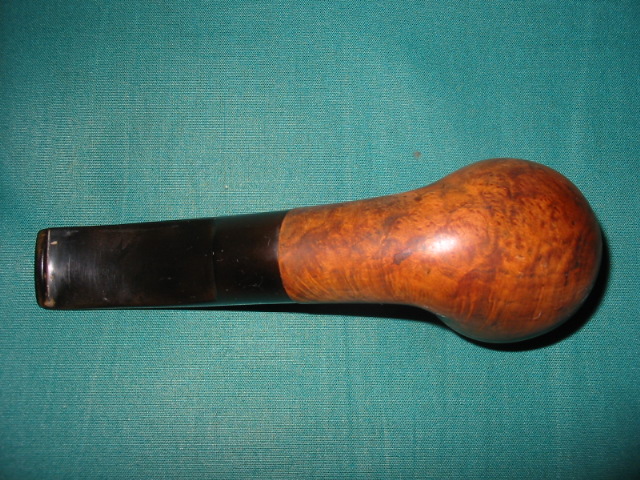
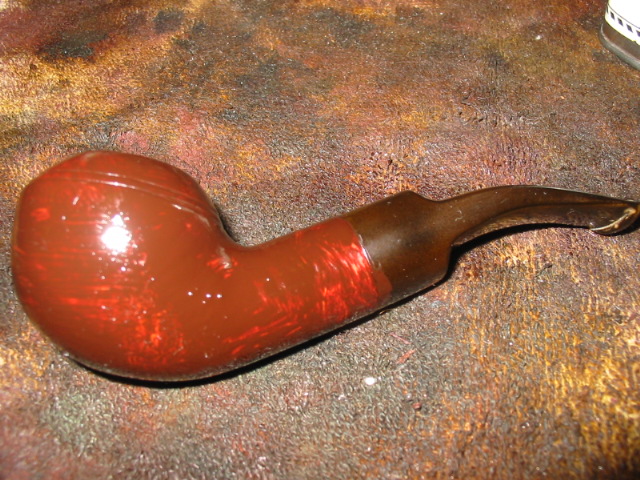
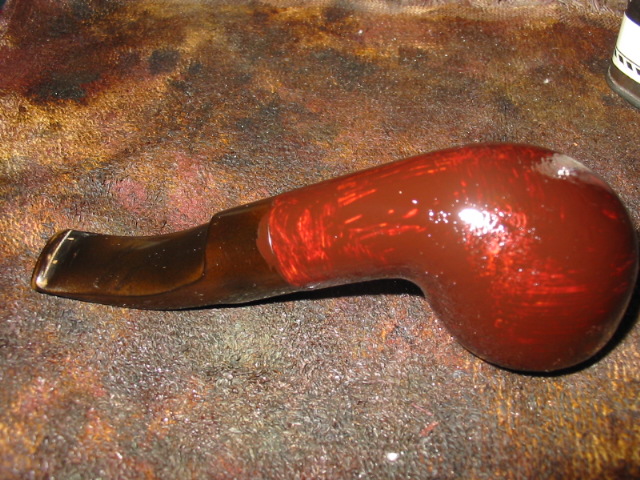
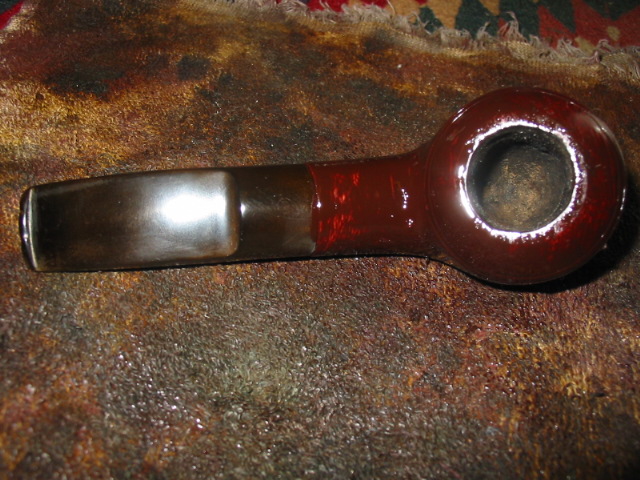
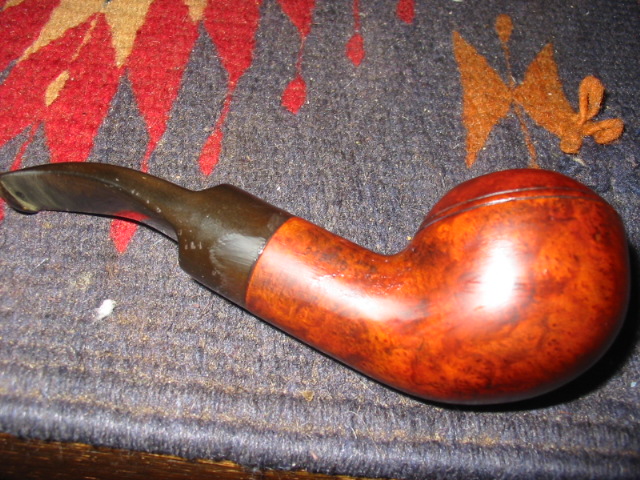
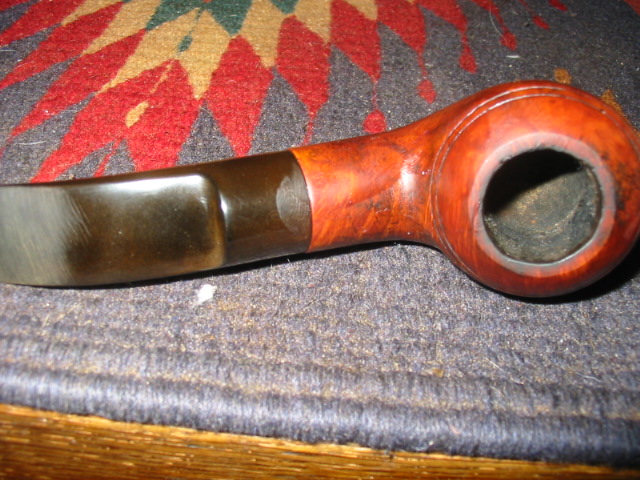
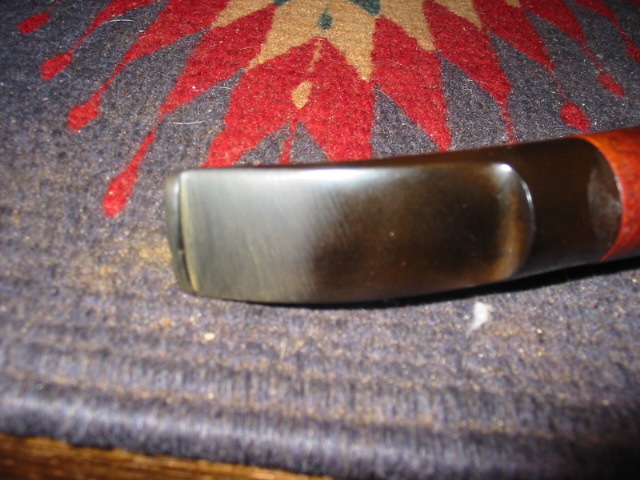
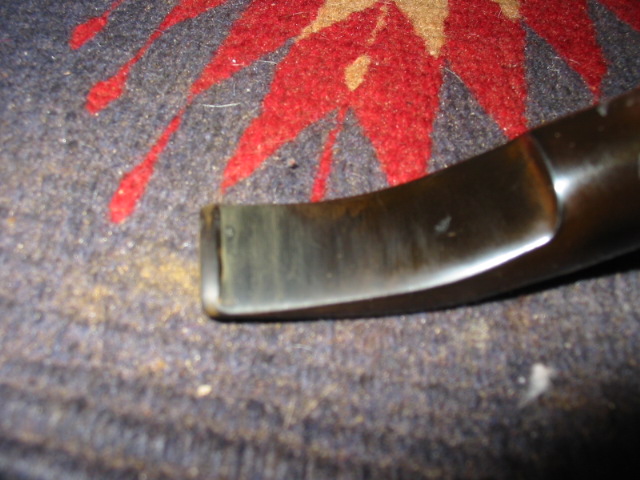
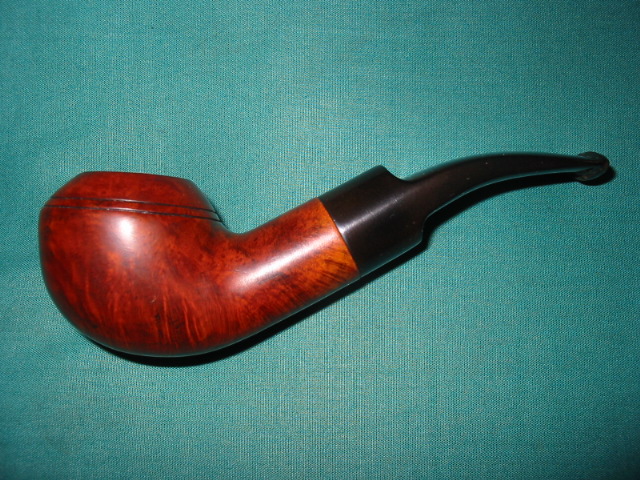
A Frustrating Brigham 1 Dot Rehabilitation


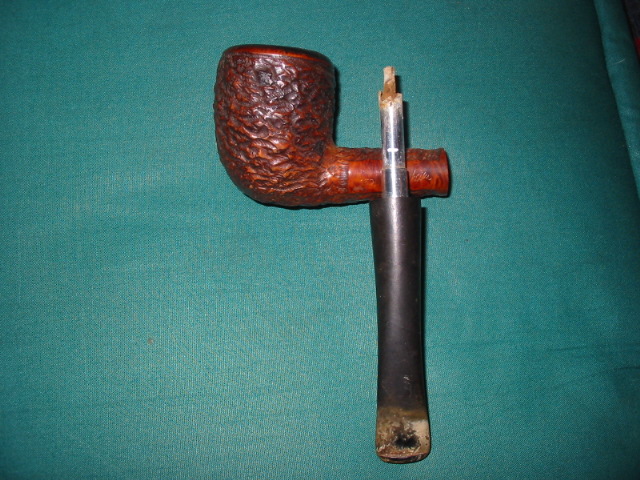
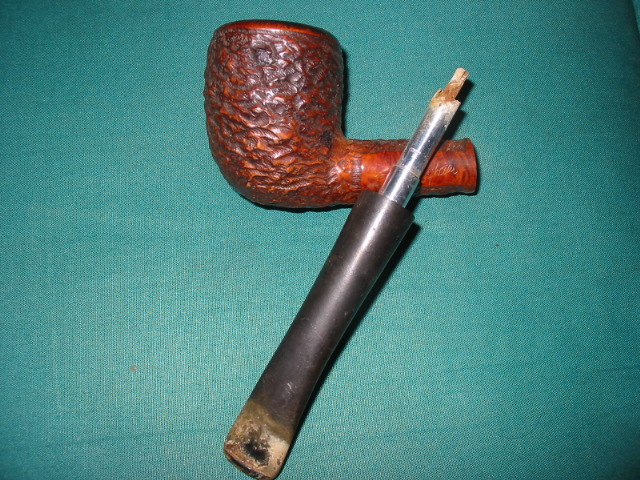
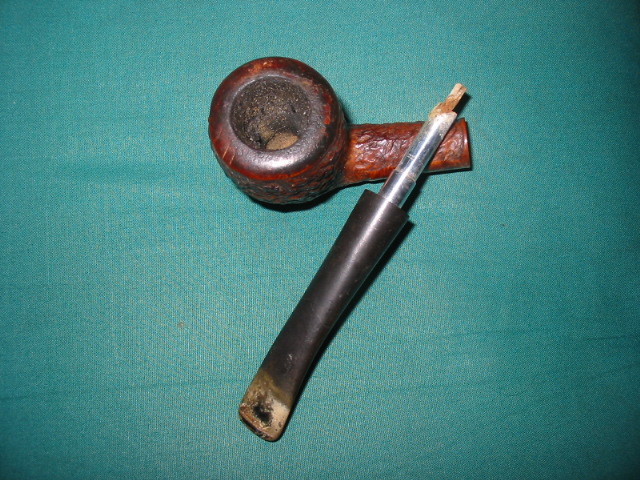
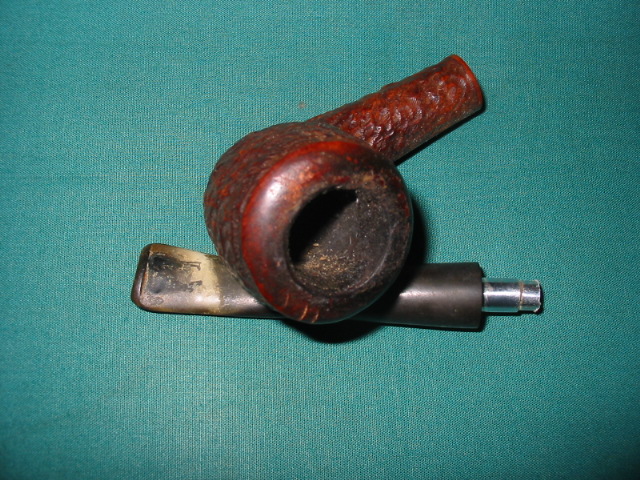
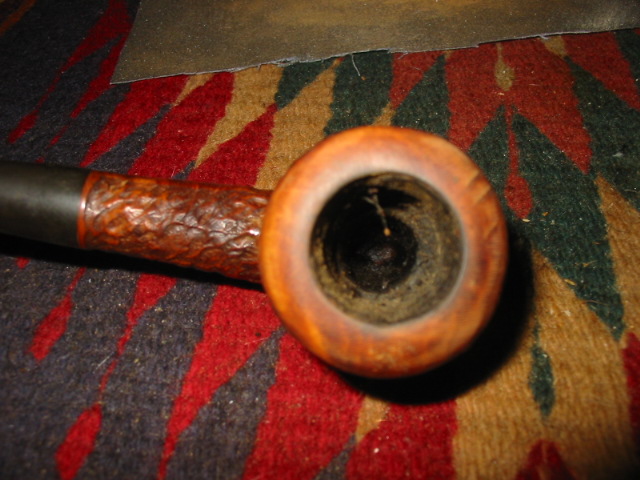
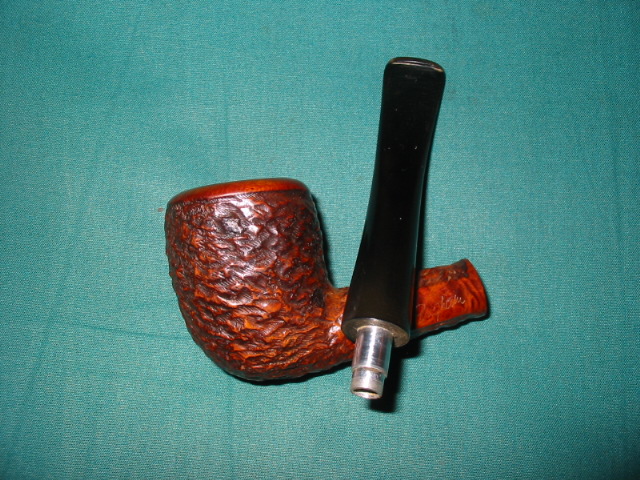
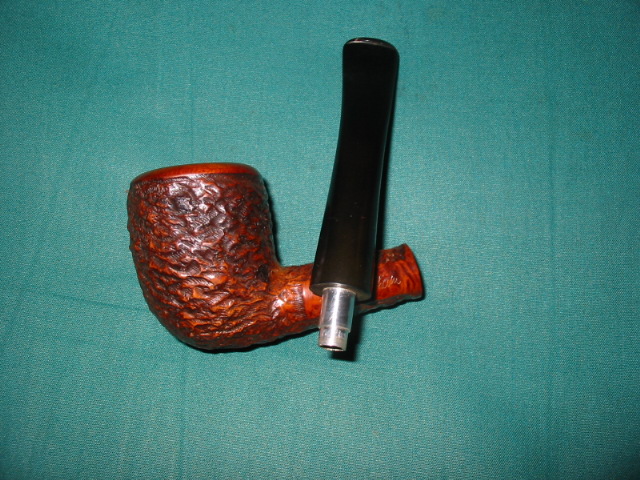
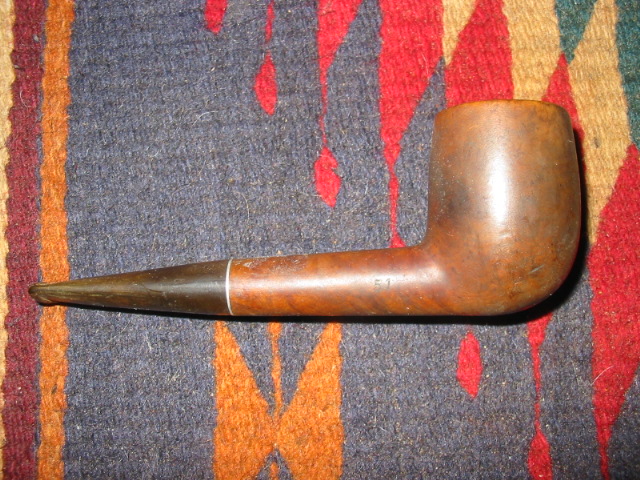
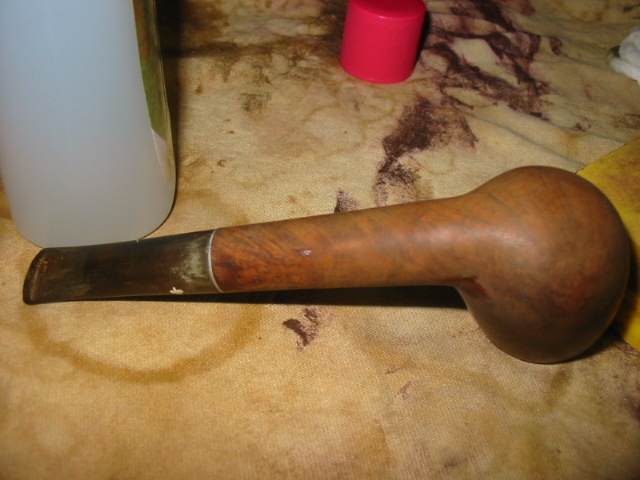
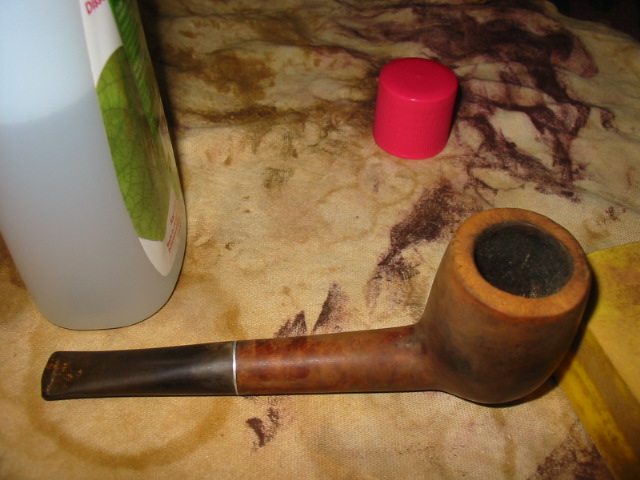
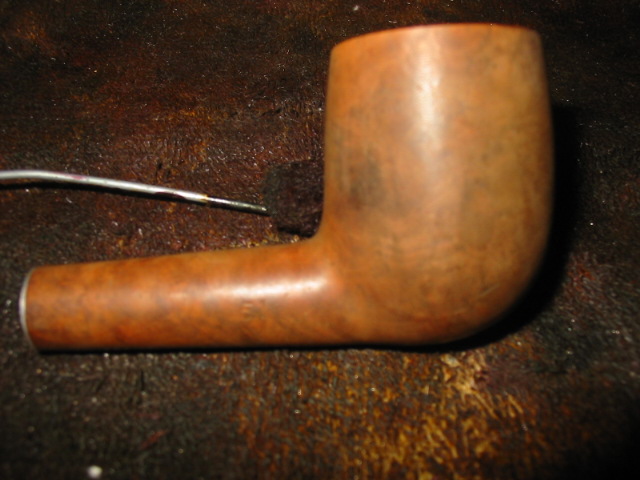
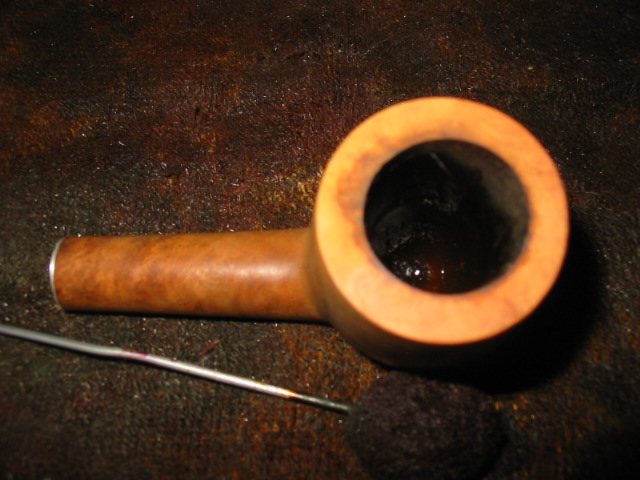
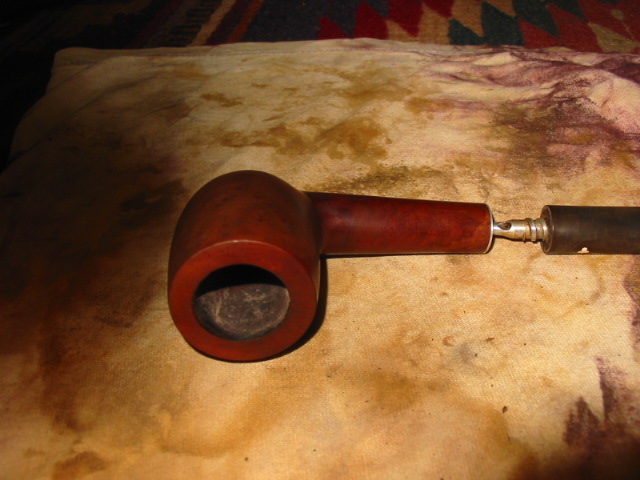
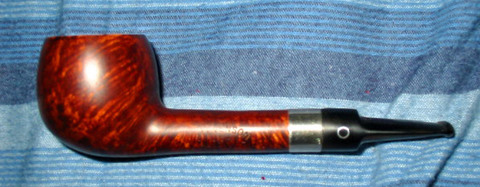
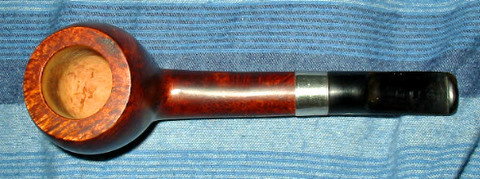
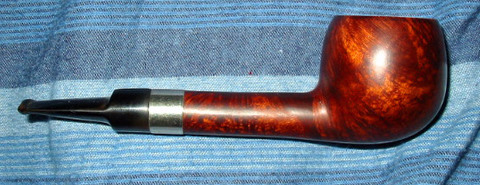
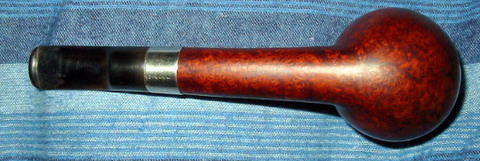
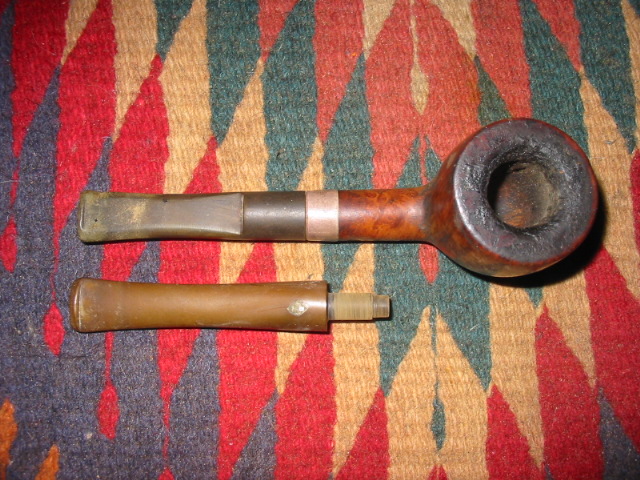
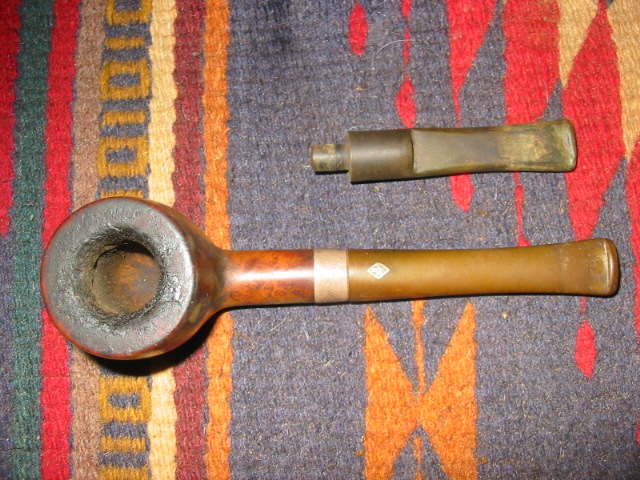
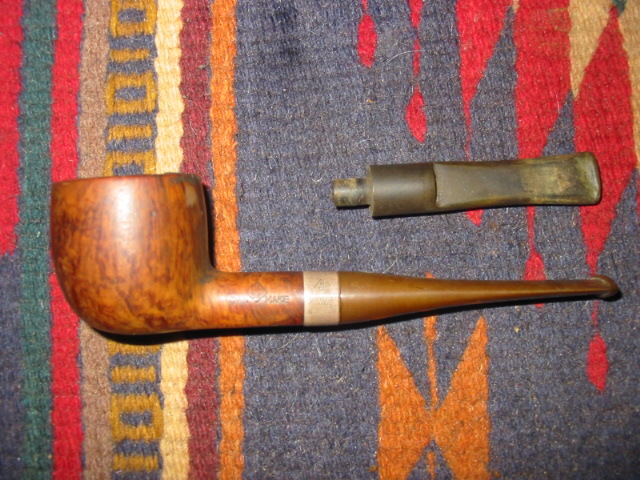
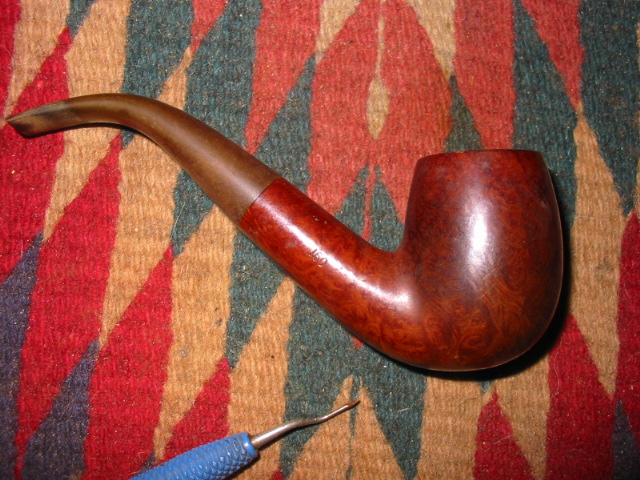
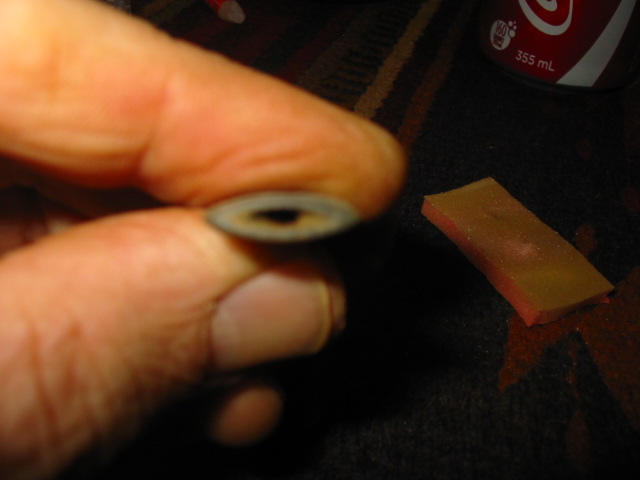
This old Brigham came to me in a box pass here in Canada. Brigham pipes were made in Canada in the old days and had an aluminum tenon/filter holder. When I took it out of the pass I thought it would be an easy clean up and I could put it back in the box on the next pass through. The other day I took it out to clean it up and this is what I found when I took the stem out. The aluminum tenon/filter holder had literally been eaten away. The hard rock maple filter must have been the original and it too had been eaten away. It was stuck in the corroded and rough tenon and I could not get it off. I used a light to shine down the mortise and the aluminum end of the filter was stuck in the airway. It was perfectly situated to not block the airway at all but it was there. The stem also had some thick white build up all around the button end. The only good part of the mess was that there were just a few small tooth dents on the stem. The bowl exterior was in good shape. The inside of the bowl was caked with a very tarry and oily aromatic smelling stuff. The rim was thick with the same tars as the bowl.

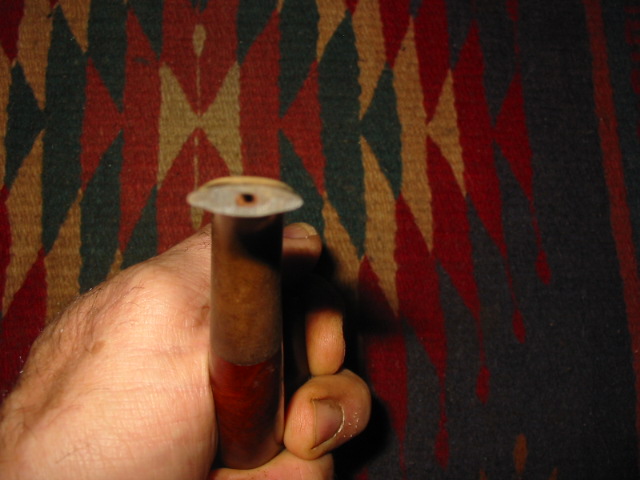
I used a hack saw to cut off the aluminum filter holder/tenon. I cut it off the same length as a regular tenon and used a file sandpaper to clean up the rough edges after the cut. Once that was done the maple filter had to be coaxed out with a dental pick until it broke free and came out. I do not believe it was ever removed since the day it was purchased from Brigham. It was unbelievably tarred and oily. The end of the filter that was stuck in the airway was more of a problem. The aluminum seems to have bonded to the walls of the mortise. I tried the freezer method to see if it would break free – no luck. I went on to clean and restain the bowl as described below before filling the bowl with cotton bolls and alcohol to see if the tars will break free from around the aluminum. I am going to let it sit over night with the soak and see what happens. The soaking did not work. So I tried to drill it out I started with a bit the same size as the metal end of the filter. I worked my way up to larger bit to open it and see if I could back it out. The trouble is the situation of the insert is right against the opening into the bowl so I opened it as wide as I could without damaging the airway. So now there is a small metal tube in the end of the airway that is open to the bowl. It is probably ¼ inch deep so it will act like a sleeve in the airway. It looks to me that it will stay there!

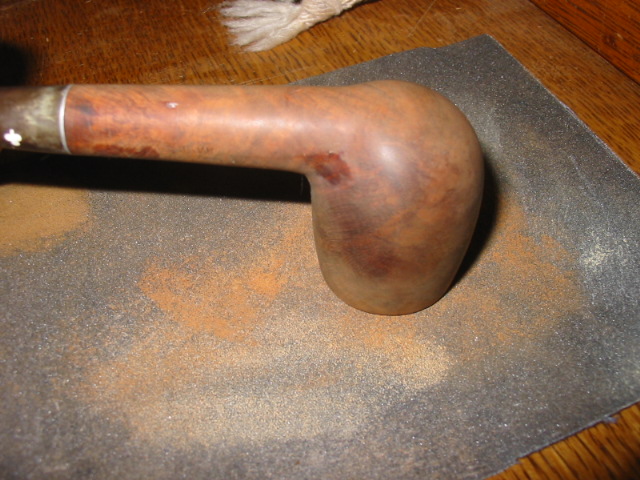
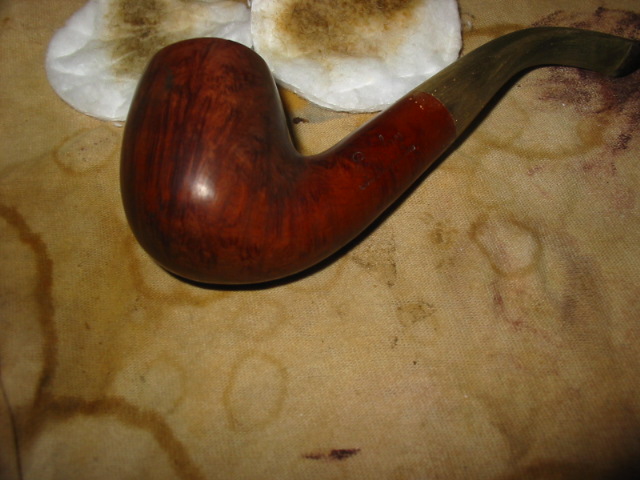
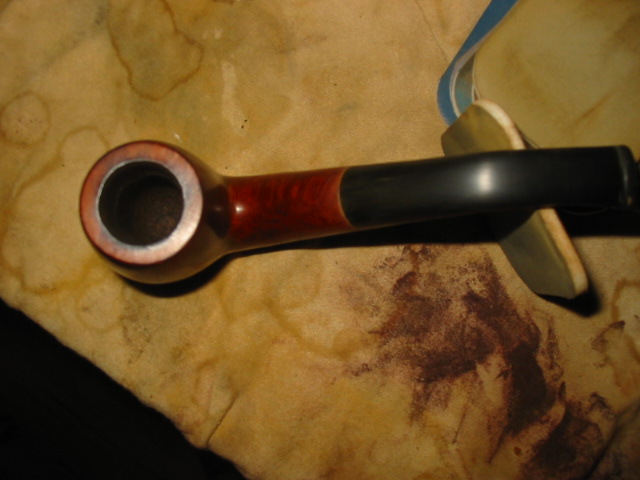
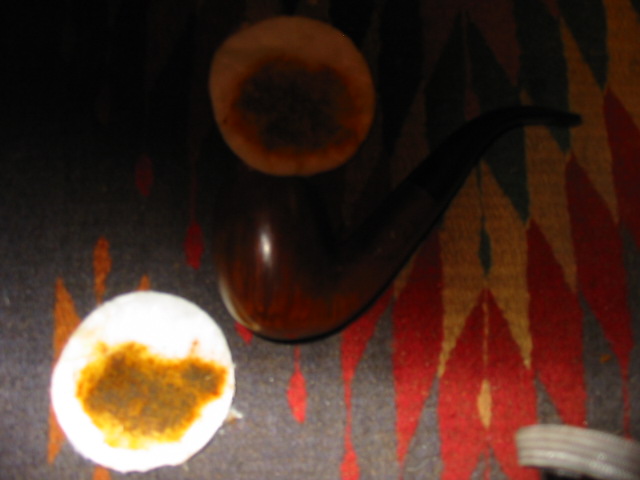
I cleaned off the rim with acetone on a cotton pad while carefully keeping the acetone off the sides of the bowl. I also followed that with micromesh pads – sanding it with 1500-6000 grit pads. There were three dent marks at between one and two o’clock on the photo above. I steamed them out with a hot knife and wet cloth. These dents easily came out of the rim and the surface was smooth and after sanding they virtually disappeared. I reamed the bowl back to bare wood and sanded the remaining surface of the bowl.

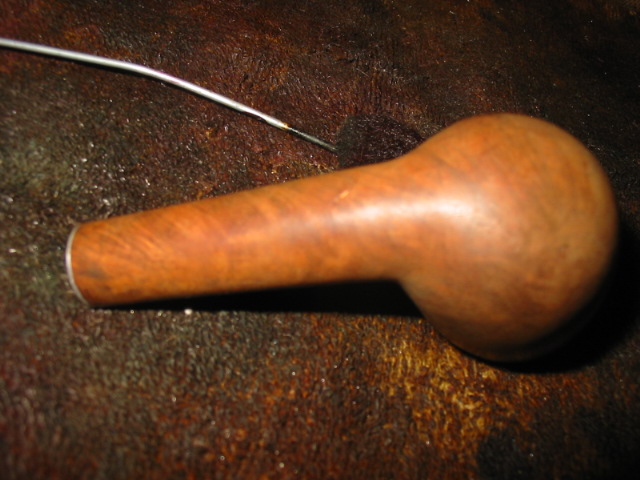
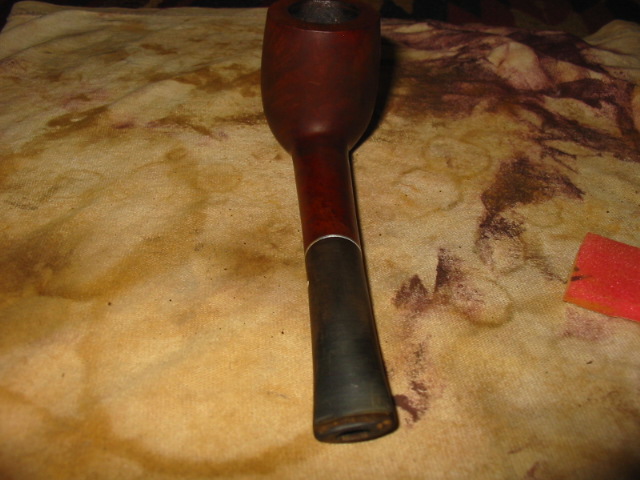
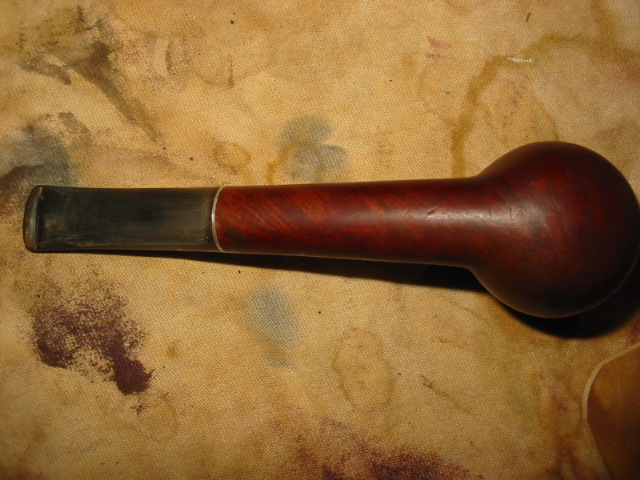
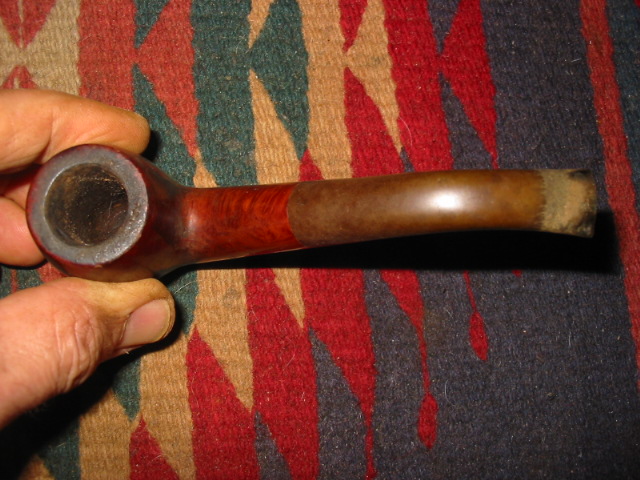
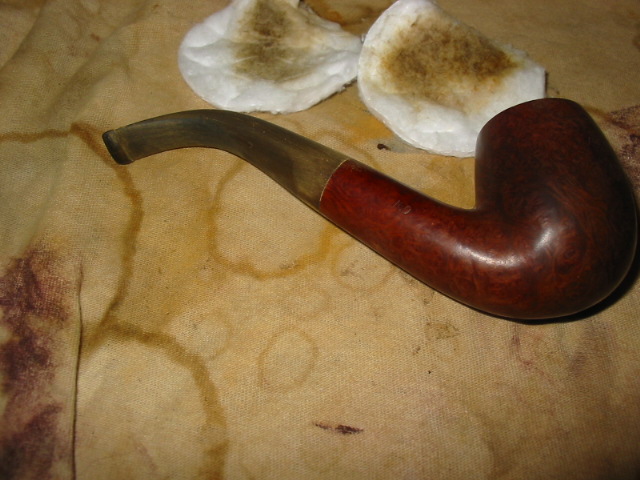
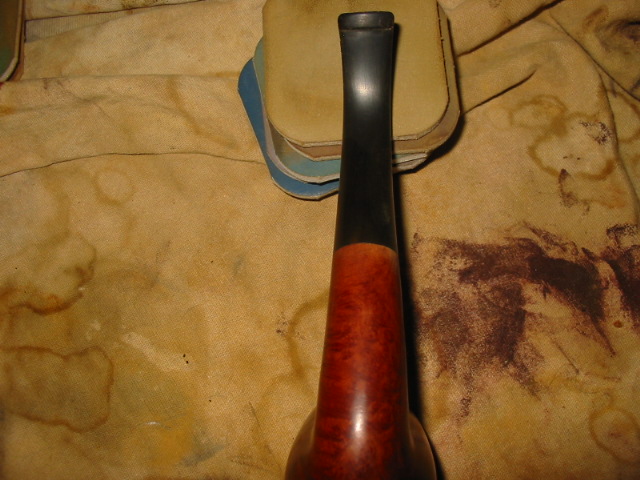
I worked on the stem quite awhile. I used emery cloth, medium grit to remove the white build up and the tooth marks on the stem. They were not too deep but would not lift with heat. Once I had them removed I worked on the stem with 240 grit sandpaper and 400 and 600 grit wet dry sandpaper to remove the scratches. Then I worked over the stem with 1500-12,000 grit micromesh pads. When the stem was shiny I took it to the buffer and buffed it with White Diamond. I gave it several coats of Obsidian Oil to bring the vulcanite some life. Then I gave the stem multiple coats of carnauba wax to protect it. The first picture below is of the underside of the stem and the second one is the topside of the stem. The tooth marks and scratches are gone.

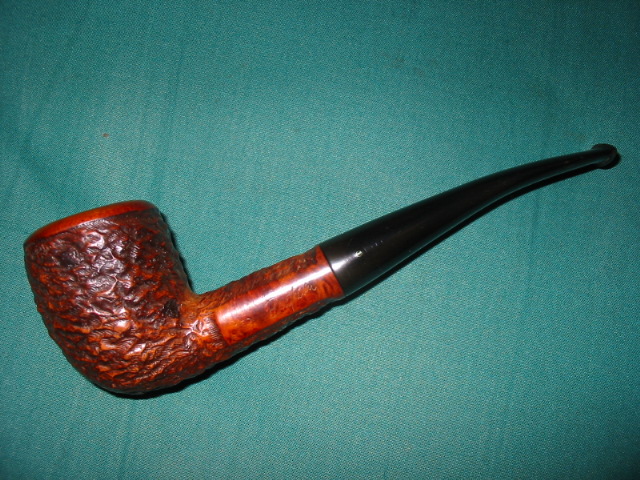
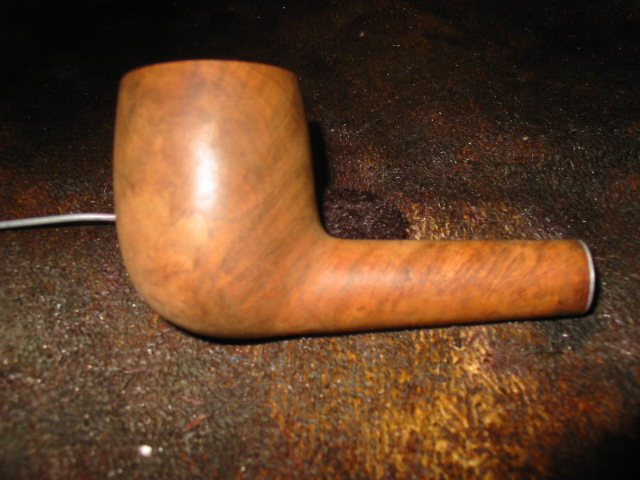
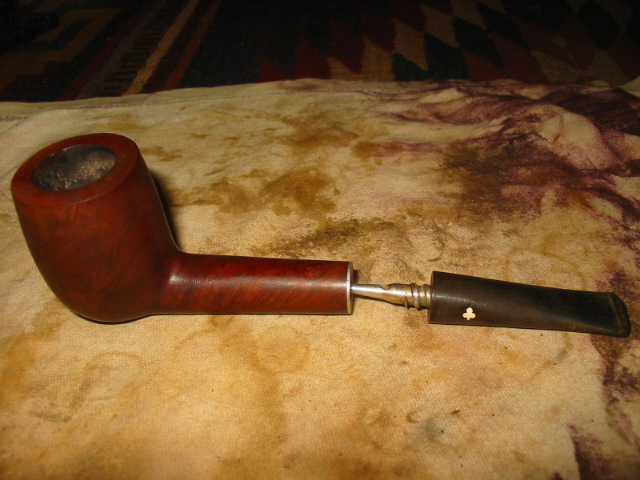
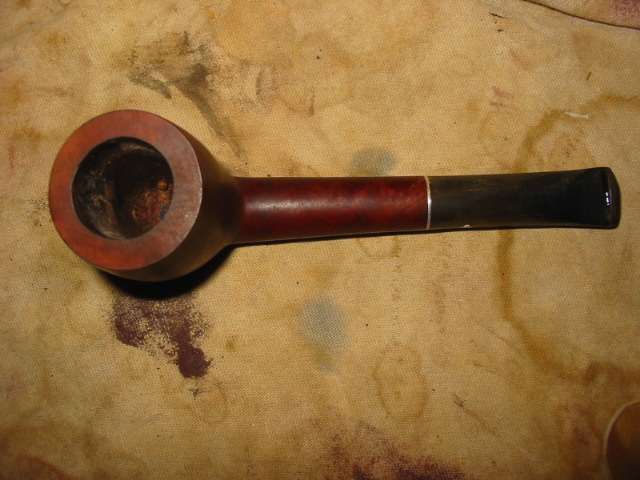
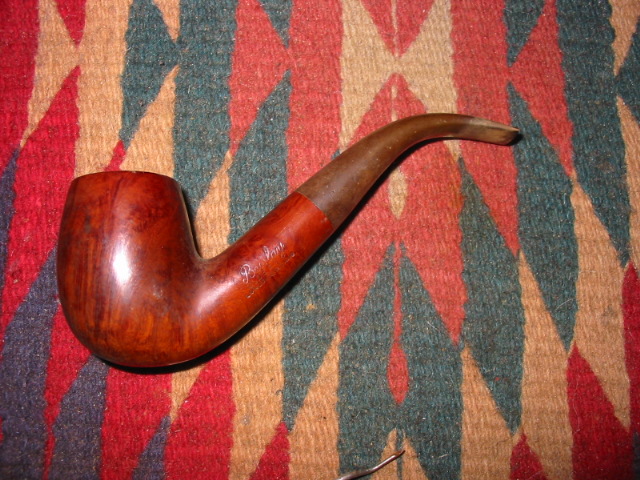
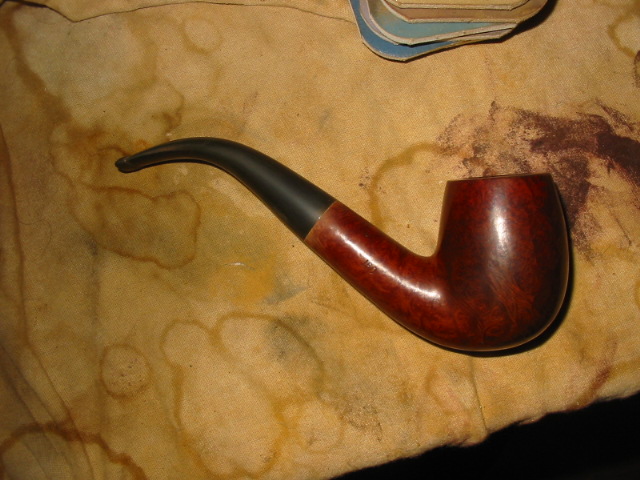
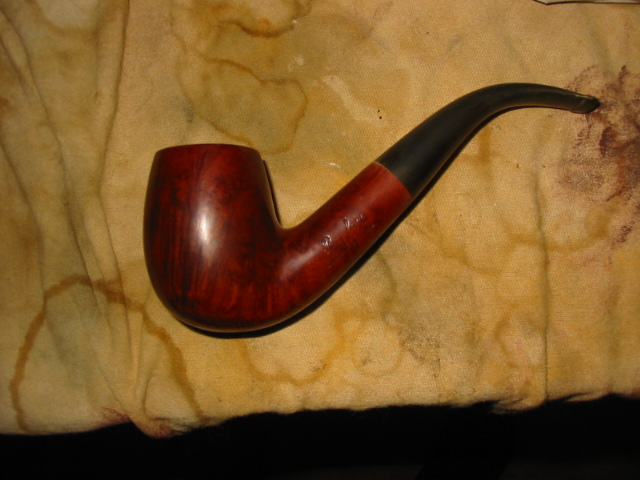
I restained the rim of the bowl with medium brown aniline stain and wipe it on and off with a cotton pad. I was trying to match the smooth portions on the side of the shank. The finished stain was a perfect match to the rest of the bowl. I buffed the rim with White Diamond as well and waxed it with Halcyon II wax to give the bowl a shine. I buffed it with a clean flannel buff. The finished pipe is pictured in the last series of photos.

A Mystery Dragon Pipe and Its Journey


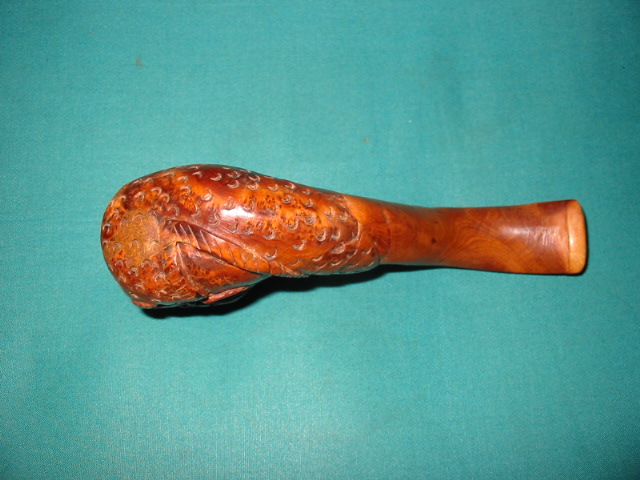
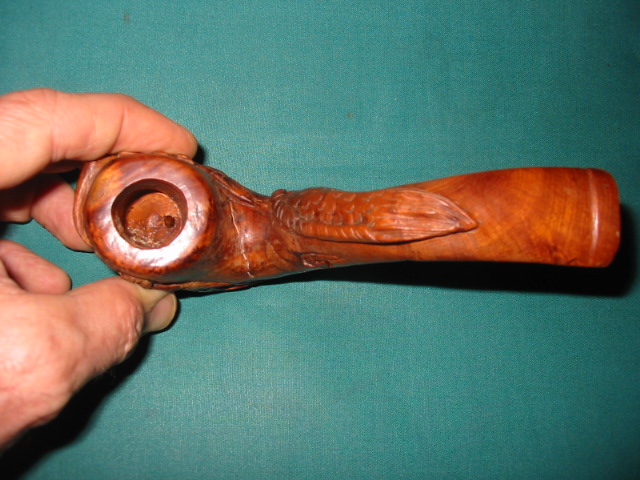
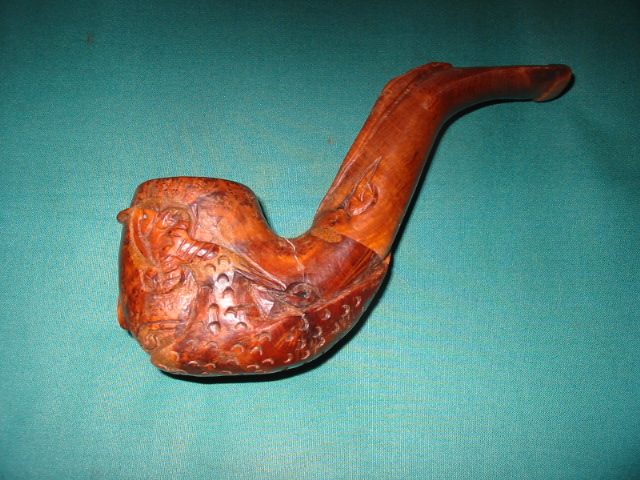
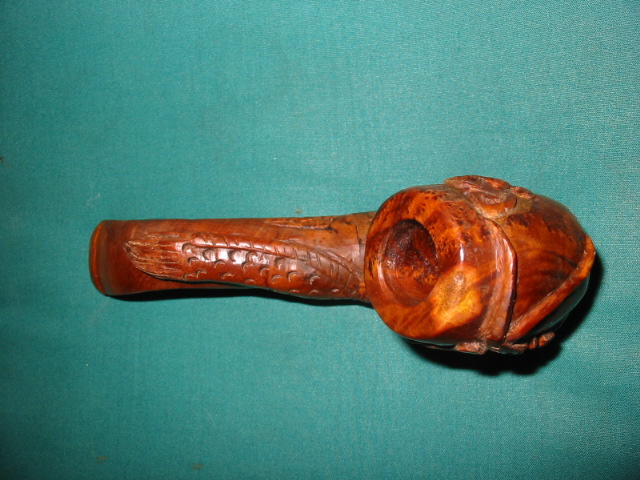
I had this old Dragon pipe sitting around in my box of pipes to be refurbished for a long time. I had no idea where it had come from but it seemed like a folk art pipe to me. It was solid wood and for a long time I thought it might be Manzanita wood or the like. I cleaned up the outside but never smoked it. The drilling on the bowl was not completed and the airway was blocked as well. So it sat forever. The shank had a crack in it that seemed to have developed as the pipe was made and I figure that the original maker just stopped working on it at that point. The tenon was metal and screwed into the mortise and the stem. The stem was also wood and was very comfortable in the mouth – thin, large, flat blade with an open flared slot in the button.

I cleaned out the dust and grit that had built up in the dragon’s scales and wings and also filled the crack in the shank with briar dust and super glue. Once it had dried I sanded the joint down to remove the excess glue and dust and then waxed the pipe with carnauba to give it back its shine.

ImageImageImageImageImage

I was chatting with T-bear (Ted Haviland) one day and decided to send it his way. Like me he is a collector and lover of the unusual. Unlike me he is a pipe maker with a lot of talent and the tools to give this pipe a work over. I sent it to him and he drilled out the shank to open it up. When he did he found that the shank had been plugged with rubber and once it was out he could blow through the airway. He used his lathe and drilled the bowl out the rest of the way to meet the airway in the bottom. Once he had done that he set it aside as a keepsake I guess. I called him and encourage him to give it a smoke. He did and wrote back to me to tell me what a great smoker it is. But he wanted to know what kind of wood it was. I had no idea and told him so but it continued to bug me. Image

One evening I was chatting with Chuck Richards about the pipe and mentioned that I thought it was Manzanita wood and he wondered if it might be Rhamnus Wood from China. I sent him pictures of it and he quickly fired back this reply:

Steve, there is no doubt that your pipe is an example of the Northern Chinese Tribal Rhamnus Wood Pipe.  If I get a chance to get some photos of mine, you will see immediately…..the shape of the bit, the scallops overlapping the junction of the bit and shank, the flow of the dragon’s mane and the shape of his nose.  Now for the fun news.  There are currently none available on the Chinese Ebay, and while the smaller plain pipes sell inexpensively, the Dragon pipes are a hefty $350.00 now. Do and advanced search for Rhamnus completed listings, and you will get a good look at the range of color in this wood.

With that news digested I sent Ted an email to finally answer his question. He was as excited as I was and sent me an immediate reply.

Steve
How interesting! Like you, I would never have guessed that this rascal had such a fascinating provenance. A Chinese Tribal pipe…wow!

The piece’s value to me is not a monetary one, but lies in the thoughtfulness of a friend who cared enough to notice my penchant for the unusual, and the generosity to gift this lovely pipe to such a grumpy old curmudgeon. It is even more special for all of that, and will remain always in my collection….when it’s not in my rotation!

Thank you for a fine smoking pipe, a great collector’s piece, and a wonderful tale to tell my friends!

T-
PS…this will be great fun to smoke at next year’s Pipe Show!

Well, it just goes to show you, you never know what you might find in a box of estate pipes. I really wish that pipe could talk so it could tell of its travels from tree to carver to whoever sold it, to the east coast of the US and then to Canada where it sat in my collection for awhile and now it is in Missouri. What tales that pipe could tell. Smoke it in health Ted. It is a beauty and to me one of a kind.

Reborn Kaywoodie Super Grain Long Shank Billiard


I have grown in my love of the older Kaywoodies. The ones I have worked on are made of some great briar and have classic English shapes. The stems are comfortable and well engineered. The finishes are usually above average and they smoke great – even with the four-hole stingers! I picked this one up on a recent trip to the US. My wife and I were on our 37th Anniversary trip and we always visit antique shops and malls as well travel. This one was one of about 8 that I picked up on that trip. The briar under the grime was quite nice and the pipe showed some promise.

The bowl was in good condition and still round. No one had gone made with a knife or a reamer and ruined the bowl shape. The finish was shot and there were dark places on the wood from ground in dirt and grime. The stem was oxidized and there was some rippling along the stem for the first inch back from the button. I am still wondering if the stem had been trimmed and a new button cut on it. There are some conflicting signs regarding that. The slot is the typical KW slot in the button and the stem is meaty around the button. The taper looks right so I am not sure. The bowl had some caking but oilier tar rather than carbon cake – it reeked of cherry tobacco! The rim was damaged on the front from tapping out the dottle. This one would need some TLC and work to bring it back. ImageImageImageImage

I reamed the bowl and cleaned out the tars and oils that were in it. I also put it in the alcohol bath to soak for a half an hour while I worked on the stem. When I took it out of the bath I dried it off and then wiped down the bowl with acetone to remove the remaining stain and finish that the bath did not remove. I really like the way the acetone removes the finish and leaves the pipe clean and ready to stain. You can see in the four pictures below the shiny spots and dark spots on the briar where I needed to concentrate the work to remove the finish and grime with the acetone. ImageImageImageImage

The damage to the front of the bowl and rim required that the bowl be topped. I removed about 7mm from the height of the bowl to remedy the damage to the front. If I had not done that the bowl looked out of round. The damage made the front rim seem thin. It was not as the curve of the damage accounted for the apparent thinness. I topped it as pictured below using medium grit emery cloth to remove the damage and then following that up with 240 grit sandpaper and finally sanding with a fine grit sanding pad to remove the scratches left behind. ImageImage

When I finished the work on the rim I wiped the bowl down one last time with the acetone to clean off the dust and grime of the sanding and prepped the bowl for staining. In the photos below you can see the state of the bowl as it stood ready for staining. The grain is very nice. The grime was removed and the dark spots lightened. The rim was back to a clean and sharp state and ready to stain. The darkened spots on the right side of the bowl influenced the choice of stain used on the bowl.

ImageImageImage

I chose to use a medium brown aniline stain to give some coverage to the dark spots but still allow the grain to come through. I applied the stain with the dauber and then flamed it to set the stain in the briar. Then I repeated the staining and flaming a second time. Once it was done I wanted to remove a bit of the opacity of the stain so I used some acetone on a cotton pad and wiped the pipe down until it had the saturation that I was looking for. In the next series of four photos below you can see the colour and the saturation levels. At this point I had not buffed the pipe or polished it on the buffer. In the third photo you will note that the stem was under turned and would not line up straight with the shank. ImageImageImageImage

To correct the under turned stem I heated the stinger apparatus with my heat gun – avoiding heating the vulcanite. I wanted to soften the glue in the stem holding the stinger in place so that I could readjust the turn on the stem. Once the glue is heated and softened I screw the stem back in place and twist the stem in the shank until it aligns. I have to repeat it often to check on the softening of the glue. Once it is aligned I cool the stem and shank with running water and then dry quickly so as not to cause oxidation or damage to the finish. ImageImageImage

I continued to sand the stem to remove the oxidation and waves in the surface near the button using various grits of sandpaper. I started the process with medium grit emery cloth to level out the waves and remove tooth marks. Then I used 240 grit sandpaper to smooth out the scratches left by the emery cloth and level the stem. I followed that up with 400 and 600 grit wet dry sandpaper to smooth it more and remove more of the scratches. I finished the stem with micromesh sanding pads – 1500-12,000 grit to bring the stem to a shine. I coated it with Obsidian Oil and let it sit, repeated the application and wiped it down. I then gave the whole pipe a buff with White Diamond and then several coats of carnauba wax for protection and shine. ImageImageImageImage

Piet Binsbergen “Hot Rods” – Piet Binsbergen


Well I am known as the visual artist, the mad man, the cowboy with a drill bit! This story is about my custom pipes offering you some history and the reasons why I do what I do.

I enjoy pushing boundaries at times and do so due to my training in the arts up to masters’ level. I do pipe repair and still hold firm that pipes need to brought back to life as close to their original state as possible. I would never dream of doing a custom job on a Dunnie shell for instance, or a pipe that remains in a repairable state.

My “Hot Rods” are custom renditions which I keep in my own collection. These are pipes lying in ICU close to flat line. They are in a poor state, often with busted shanks or missing or broken stems. You name it, these pipes have a terminal diagnosis.  From here on I have fun. I tend to push myself a little further each time with the challenge being to save the pipe at all costs. Some I have won and others lost but no matter how bad they are, I give them my best shot.

Now a bit of Pipe lore history from the dark continent, South Africa. Smokers here are few and far between. As RSA is no bigger than the state of Texas our smokers per capita will never service the demand for good pipes and tobacco. We have but a few collectors. The majority are smokers who pride themselves in workhorses such as the famous Keyser pipe smoking OTC heavily doused aro’s in them. Now, we were a British colony until the mid-1960’s so it is not uncommon to find older GBD’s, Pete’s and even antique Dunnies floating around here. As a matter of fact most British pipe makes are here in their dozens with the American and European pipe manufacturers taking a back seat.

During the apartheid years most countries in the world imposed sanction on South Africa reducing the inflow of pipes to a trickle. Being a commonwealth country we were still able to obtain Brit pipes. America and the most of Europe would have nothing to do with us. Most imported tobacco ground to a halt with South African tobacco farmers inventing the most hideous blends the world has ever seen. During the late 80’s and 90’s the South African rand lost plenty of value and after the new ANC Government took charge in 1994 we have been experiencing a slippery slope with the current exchange rate. An example of this is the pound stirling sitting at 12 to 1  and the US dollar close to 9 to 1.

The abolishment of Apartheid and the emergence of the New Democratic South Africa meant that the world re opened trade relations with South Africa. This meant that the tobacco shops locally were now again stocking Italians, Danish and American pipes. Great you may say. Think again! With the current exchange rate, expect to pay an average of $250-00 for a mid-range Savinelli which has established itself well here during the post-apartheid years. So what do we do? The solution is simple. Hunt ebay, import good tobacco and say your prayers that your orders and purchases arrive in one piece and that Mr Import Duty Officer does not sniff you out.

My journey into pipe restoration was born from a need to survive. I needed to learn the trade with speed if I was going to dabble in this pass time. It took years of experimentation and thank the Pope for the internet indeed. I found pipes in barns, begged friends and ex pipe smokers and family members for their boxed pipes to experiment on. I made headway and met some great people along the way. Mike Mitchely “Muddler”, David Peterson from the Virtual Smoking Lounge, Steve Laug, Jan Pietenpauw, Alan Philips from Sturks tobacconist in Cape town, Charl Goussard, Dean Swanepoel and the list goes on. I made friends not only locally but worldwide. We traded, gifted and swopped pipes and tobacco. My friends sent me pipes as gifts with the result being that I have to date Lee von Erck, Rad Davis, Mark Tinsky, Chris Askwith pipes in my collection to name just a few. For this I am eternally grateful.

As soon as my skills were honed I put up a website (www.binsbergenpipes.co.za) in the hope that I may meet fellow smokers and collectors around the world. I was surprised! I met people who wanted pipes cleaned, repaired, restored etc. My client base now reaches the far corner of the globe. What seems to be happening is that most of my friends locally and abroad, shop on ebay and send the pips to me for restoration.  The result is that I am paid for my services with pipes, tobacco, etc. as I simply cannot accept money from friends.  The regular Jo Soap down the road however, is billed for my services which to date keeps this pass time self-sufficient. I am not making any profit and I am happy with this arrangement as this life style now pays for itself.

A big pipe enthusiasm injection for South Africa came with the inception of the Brotherhood of International Pipe Smokers forum in December 2010. In conversation with a fellow pipe smoker from Cape Town, Dean  Swanepoel who is a web designer, we bounced around the idea of the first South African based Pipe Forum. The first question was who would join this forum? After all we are up against the big guns, Pipe Chat, Tamp and Puff, Brothers of Briar, Smokers Forum and many more. We took the leap of faith and soon friends made on other forums came to the BIPS campfire. It was decided to keep BIPS a closed forum holding membership low in order to keep a sound brotherhood medium. Members are recruited on an “invite in” basis only, not that we are snobs but in order to keep a tight nit community of brothers who care for one another. It has become a cyber-home for all the members, a place to kick up feet and enjoy the pleasures of wood and leaf.

In returning to my “hot Rod” pipes, it was important to offer the background history in order for the reader to understand the viewpoint of a South African repairman. Now, where do I find the pipes? Well, I scout antique markets over weekends and public holidays. South African’s seem to be patriotic buggers at heart and such markets are well attended with buyers seeking out Afrikana memorabilia of years past. This is where I find the gems at give-away prices. Make no mistake, they are near dead and price says it all. I pay on average for the pipes you will see here a mere average of R 30-00 ($ 5.00 to $8.00). It was here I noticed the inflow of many Brit pipes, especially GBD’s. These are entry level pipes from the 50’s and 60’s, nothing special at all.  GBD Populars and New Standards seem to be in overflow. Also Sasieni seconds destined for international markets stick their heads out once in a while. I have found some big scores too, a 1959 Dunnie Shell in mint condition in its box with booklet and sock, some Peterson’s,  BBB’s and Comoy’s either carrying the original names or their second lines. Either way, this makes little difference as we are after old wood which become reborn.

What you are about to see are the finished pipes. Some have made their way into my smoking rotation; others are yet to get there. Either way, welcome a part of my crazy world. In conclusion, most of the pipes were found at markets, others come from friends as far north as Michigan and down south in Mexico City. Unfortunately I do not have before pictures but you may get the idea.

Most of the pipes come to me looking like this, and trust me, this is a good one with a solid heart beat!Image
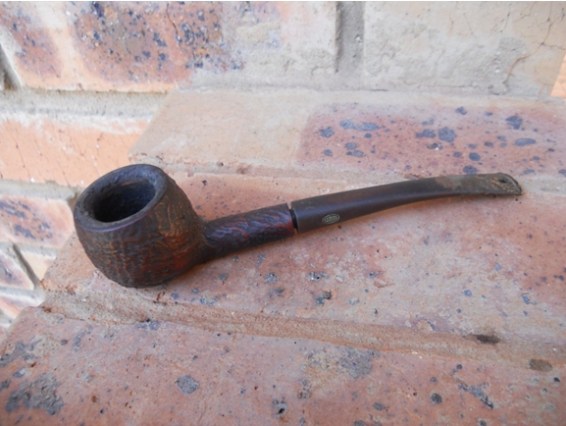
The Green Mamba

Pipe: GBD Canadian (Cadogan era, 1980’s) Shape 262

Location: Mexico City

Price: Gift from Eric Hyland (Mr. E)

Diagnosis: Broken Clear Lucite Stem

Sandblasted the stummel. Stained the pipe green. Fabricated a green Lucite stem. Image
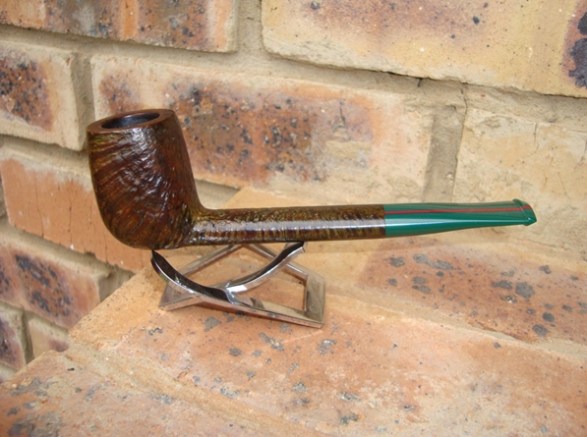
The Fire Starter (Blitzkrieg)

Pipe: GBD Popular, Shape 3781

Location: Cape Town, South Africa

Price: Gift from Alan Philips (Sturks Tobacconist)

Dignosis: Ugly chubby Lovat, a perfect candidate

Sandblasted the stummel as it was full of putty fills. Replaced the stem adding an olive wood shank ring. Sanded the shank and shaded the stem to go from yellow through red to black using leather dye hence the name fire starter. The process is time consuming as the stains go on and sanded with 1200 grit paper, restained and so on in order to obtain the shading in colour. Image
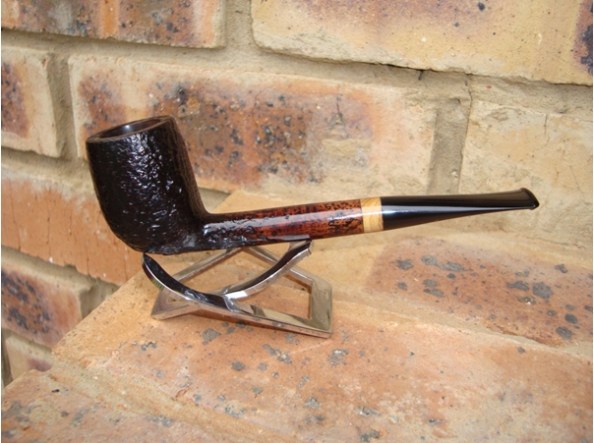
The Hippo

Pipe: Carey Magic inch Pipe

Location: Michigan, USA

Price: Gift from Chuck Rewalt (Velveteagle)

Diagnosis: Smooth bowl full of fills and dents. Chewed mouth piece. Heavily smoked and caked.

Sandblasted the stummel. Stained it black. As this is a “magic inch” pipe the stem needed to be salvaged. I sanded the teeth marks out and reshaped the bit. This was difficult as the stems are plastic castings. I added a hippo bone shank ring stained green that I got from the pipe maker Jan Pietenpauw. Image

The Black Beauty

Pipe: GBD Popular, shape unknown

Location: Johannesburg, South Africa (antique market)

Price: R 20-00 (ZAR)

Diagnosis: Snapped stem, heavily smoked, Burn mark on bowl from leaving the pipe in an ashtray next to a burning ember or cigarette. This was a major eyesore.

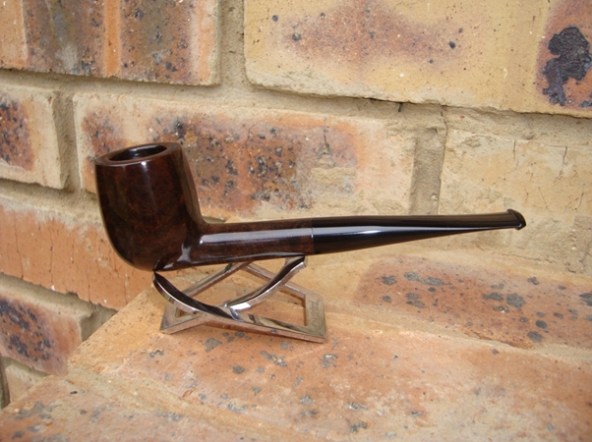
Replaced the stem. Did not opt for any shank adornments here. Sanded the bowl and stained it black to hide the burn mark in the wood. Image
The Red Head

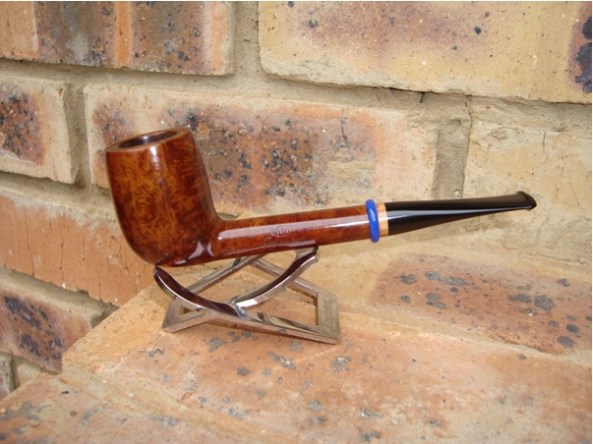
Pipe: GBD Popular, shape 3781

Location: Pretoria, South Africa (antique market)

Price: R20-00 (ZAR)

Diagnosis: Broken stem. Heavily smoked, dings on rim from knocking pipe on hard surface.

Under all the dirt, grime and dents the wood on this one was good. I lost 0.5 mm on the rim to remove dents. Sanded the bowl and restained it. Replaced the stem adding an olive wood flush shank ring and contrasting it with a blue raised Lucite ring. Image
The Reject

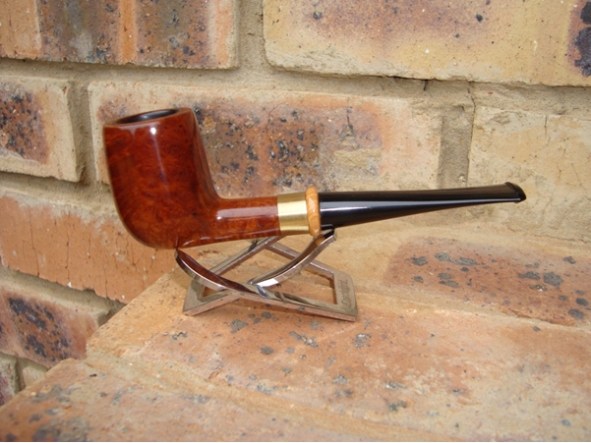
Pipe: GBD, Cadogen era Billiard, shape unknown, stamped RJ (I take it that GBD stamped the pipe reject as it carries no marking on the stummel but has GBD printed on the stem)

Location: Pretoria, South Africa (antique market)

Price: R 50.00 (ZAR)

Diagnosis: Cracked shank. Stem was intact but it was a yellow Lucite saddle with restricted draw.

Heavily smoked. Dings on bowl.

A tough call. Repaired cracked shank by spinning brass sleeve to fit flush on the shank. Added olive raised shank ring. Sanded and restained the bowl. Image
The Half & Half Virgin

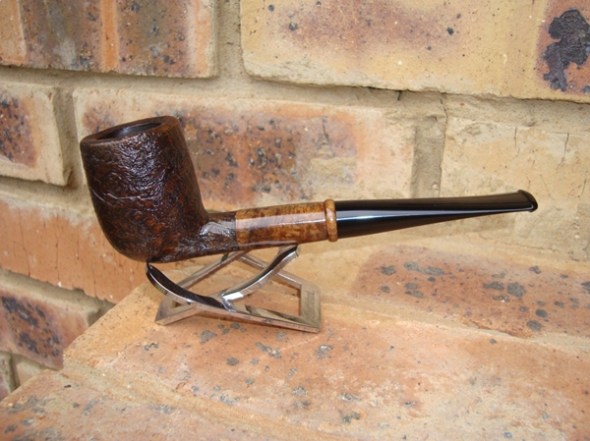
Pipe: GBD Virgin, Shape Unknown

Location: Ghana, Africa.

Price: Gift, Duncan Nebbe (Rhodesian). Scored in a lot of GBD pipes on Ebay. Most were cleaned, this one flat lined.

Diagnosis: The lot of pipes were in a barn or some place exposed to the elements for many years (we suspect). Fine cracks appeared on the outside of the bowl. Stem broken. In a shocking state. It lay around the in the trash box for some weeks before it called to me.

We all know GBD Virgin are not blasted pipes due to the quality of the wood. This one needed to be blasted to remove the surface cracks in the wood. I masked the shank in order to retain some faint nomenclature and the word ‘Virgin’.  Bowl restained and a new stem fitted. Tambotie shank ring added. Image
The MOERSE Billiard

Pipe: Byford/Orlik, shape unknown

Location: Pretoria, South Africa (Hospice charity shop)

Price: R15.00 (ZAR)

Diagnosis: Heavily smoked. Dings on rim from knocking pipe on hard surface. Dings and fills on the bowl. Stem clogged and chewed.

The Byford was a system pipe in its heyday.  The stem consisted of 3 tubes running back and forth in the stem in order to cool and purify the smoke. If it is not cleaned regularly the system gets clogged and there is nothing one can do to save it. I replaced the stem. The alu butt on the shank comes standard with the pipe. It was cleaned and polished. Buckeye Burl shank ring added. Bowl sanded and stained. Image
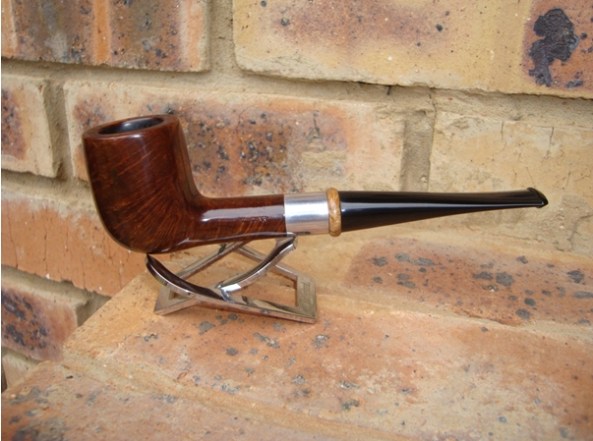
LOJ se Vlieg Masjien (Lord Oom Jan’s Flying Machine)

Pipe: Keyser Hygienic patent, shape Unknown.

Location: Pretoria, South Africa (Antique market)

Price: R10-00 (ZAR)

Diagnosis: Cracked shank. Broken Stem. Heavily smoked.

For those of you who are familiar with the Keyser pipe, this looks nothing like it. I may get shot for tampering with tradition South African pipe lore but this is how it came out. Named after the South African carver Jan Pietenpauw (LOJ) as parts for the pipe were salvaged from his reject box in order to fix the pipe. Brass shank ring added to repair the crack in the shank. Buckeye burl extension added to seat the shank extension. Stem was replaced by spinning down a pre mould to create a military mount fit. Image
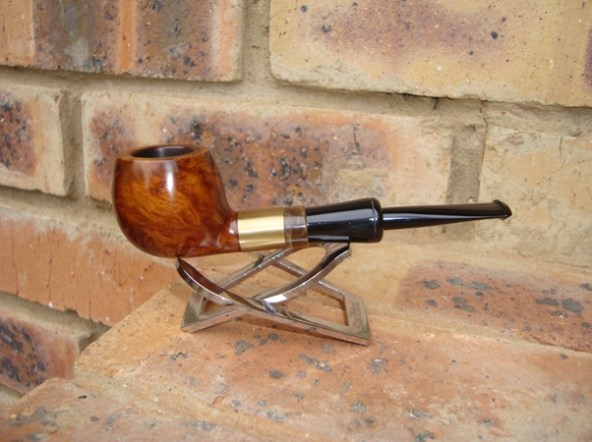
A Beatup GBD 9438 Given a New Look


I bid on this one knowing full well that it was going to take a lot of work to get it back to some semblance of beauty and functionality. When I found it on EBay I thought it might be worth the effort but let it sit for awhile and then before the bidding ended I put in my bid. I honestly think I was the only bidder so I got it for a pittance.

When it arrived it was more rough than the EBay pictures intimated. The front edge of the bowl and rim looked like it had been used as a hammer. Not only were there dents and holes on the front of the bowl but the rim was chewed up like it had been hammered out on a piece of concrete. The finish was absolutely gone. The surface of the bowl was permeated with oils and grease from dirty hands and from looked like having been laid on its side in a full ashtray! At least the bowl was still semi-round and there were no burn marks. The other remarkable thing to me was that the stem was virtually unchewed. That surprised me actually given the overall state of the pipe. It was very oxidized and a deep brown colour. ImageImageImageImage

I reamed and cleaned the bowl and shank to remove the grime and tars. It took a lot of pipe cleaners and isopropyl alcohol to clean things up. I dropped the bowl in the alcohol bath and the stem in a bath of Oxyclean for a while and went about other work that I had going. I believe it soaked overnight before I got back to it. When I did I removed it from the bath, dried it off and went to work on the damaged rim and bowl. I used some medium grit emery cloth to reshape the rim. The tricky part here was to keep the angles even on all sides of the bowl. The front edge was heavily damaged and the rim itself was also badly chewed up. After the emery cloth I used 240 grit sandpaper to smooth the scratches out and then 400 and 600 grit wet dry sandpaper to finish the shaping. The series of three photos below show the progression of the shaping. ImageImageImage

Once the top was smooth and the shape retained I wiped the bowl down with an alcohol soaked cloth to remove any dust from the sanding. I also used a dental pick to clean out the rings around the bowl to prepare them for staining. I find that those collect a lot of grit and grime and can almost be smooth due to the buildup. I then stained the bowl with a medium brown aniline stain and flamed it to set the stain. I took it to the buffer and gave it a light buff with Tripoli to remove the excess stain and also give it a slight polish. Then took it back to the work table to work on the stem and to sand the bowl with micromesh to smooth the surface and bring the grain to the front. The pictures below show the stem after the soak in Oxyclean and then light sanding with 400 grit wet dry sand paper to remove the oxidation that was softened. The stem still needed more work to get out some of the stubborn places but it was getting close. ImageImageImage

I used micromesh pads 1500-6000 grit on the bowl and the stem to finish the smoothing and restoration. Once it was done and shining I gave the whole pipe a buff with White Diamond to polish it and then gave it multiple coats of carnauba wax and buffed it with a clean soft flannel buff to polish. ImageImageImageImage

Stemming an Alan Stevenson Long Shanked Apple


I was gifted this stummel by a friend who passed on one of Alan`s rejects or cast off pipes that just did not make the grade for him. This one came to me unfinished and without a stem. I worked on it quite a while trying to fit a stem. That seems like it should have been an easy task but it was not. There was a twist in the drilling of the airway that made all stems fit at an angle rather than facing straight on the shank.

I stained the pipe with a black under stain and then buffed it off to highlight the grain and then gave it a top stain of medium brown. I opened the airway a bit large to straighten it as much as possible. I faced the shank with sandpaper to even things out as much as possible. The problem with the twist in the airway did not allow a stem to face correctly so I banded the shank with a pressure fit nickel band. I fit a stem from my stem can so that the tenon fit well and then did minor adjustments to the outer diameter of the saddle to make a proper fit into the band. With the band I left it extended beyond the edge of the shank by a 1/8th of an inch. The stem fit well into that area for a good tight fit. I polished the stem and the bowl with White Diamond and then gave it several coats of carnauba wax to finish. ImageImageImageImage

Irwin 943810 by GBD – A Makeover.


I have had this older Irwin 943810 made by GBD for some time now. It is described on the GBD Models website http://www.perardua.net/pipes/GBDlines.html as follows: “The warm dual-tone brown finish deepens with repeated smoking. Finest rum is used in the special process of maturing these fine pipes. Its smooth flavour compliments the natural taste fine tobacco. Catalogue (1976)” With that description my old pipe looked pretty faded and worn.  The warm dual-tone brown finish was pretty much washed out and no longer “warm”. The dark undercoat on the pipe was clearly visible, highlighting the grain but it seemed that previous owners had buffed the pipe hard and the top stain of brown was gone. The bowl was dirty. The stamping is really light and I can just make out the Irwin stamp and the numbers on the side. The stem had some tooth damage in terms of scratching and tooth chatter but at least there were no deep dents. The edge of the button on the top had some minor denting to it. Tonight I decided it was time to give it a makeover.

As an aside, I have never seen the 6 digit stamping on the GBD lines so this one was interesting to me. I have sent out several emails to search out the stamping details but so far no luck. Anyone have any clue as to the meaning of the stamping? Thanks.

I started the makeover by wiping down the bowl with acetone and cleaning off the remnants of the stain and the finish that was pretty well gone. I also wanted to see if wetting the stamping would make it a bit more visible to my eye. It did and afterwards I was able to read the stamping. You can see the scratches and marks on the stem in the last two photos below. Right next to the button and on top of it there are some white spots that show the marks and scratches.

I decided to work on the stem with a medium grit sanding pad to remove the tooth marks and scratches. It also brought up the oxidation that was present but not visible in the photos above. Once I had the rough sanding done I stained the pipe with some oxblood stain. I daubed it on with the cotton/wool dauber that comes with the stain and then flamed it to dry it. In the photos below you can see the stain just after I applied it. I put it on good and heavy as I was wanting a rich coat to this old timer.

I hand buffed the bowl with a soft cotton cloth to remove the excess stain and to give it a quick polish. I decided not to use my buffer as I did not want to further damage the stamping that is already faint on this one. My goal was to enhance the pipe and try to raise the stamping a bit to make it more legible. I was able to do it enough to read it but it is still very faint. The hand buffing takes more work but I find that it does not harm the stamping at all.

The next series of four photos show both the new stain and the work that I was doing on the stem. You can see in the first and the third photos how the whole stem looked at this point in the process. The major scratches have been removed but there are still small scratches and oxidation that needed to be dealt with. In the second and the fourth photos you can see close up shots of the stem and button area. I continued to sand the stem at this point moving on to a fine grit sanding block to remove more of the scratches and the marks in the stem and the button.

I sanded the stem with micromesh pads from 1500 to 12,000 grit and the stem began to take on a shine. I gave it a coating of Obsidian Oil, rubbed it in and let it dry. I finished by giving the pipe several coats of carnauba wax.


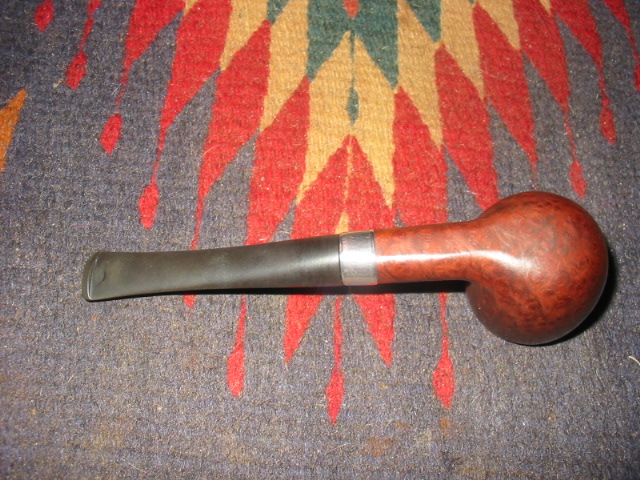
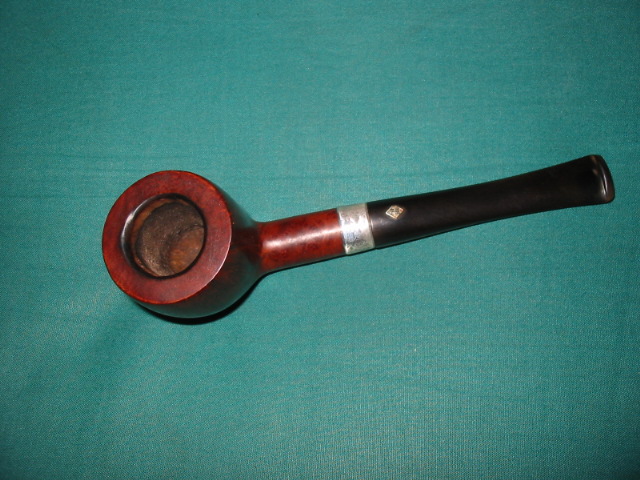
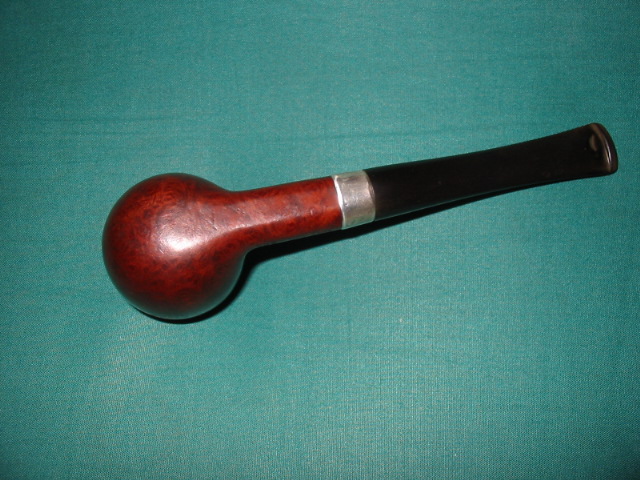
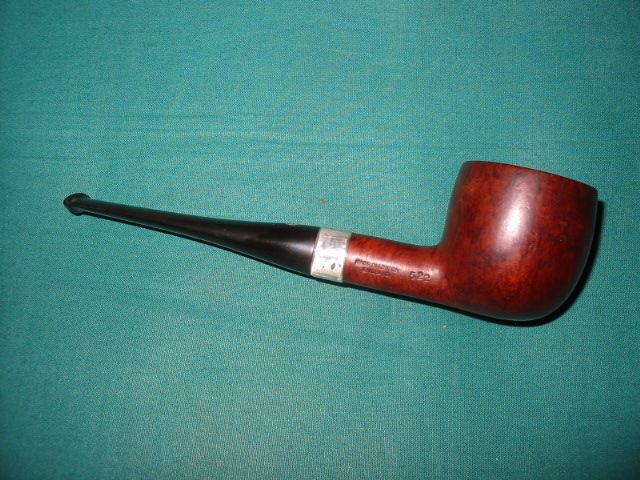
Restoration of an old BBB Own Make 622


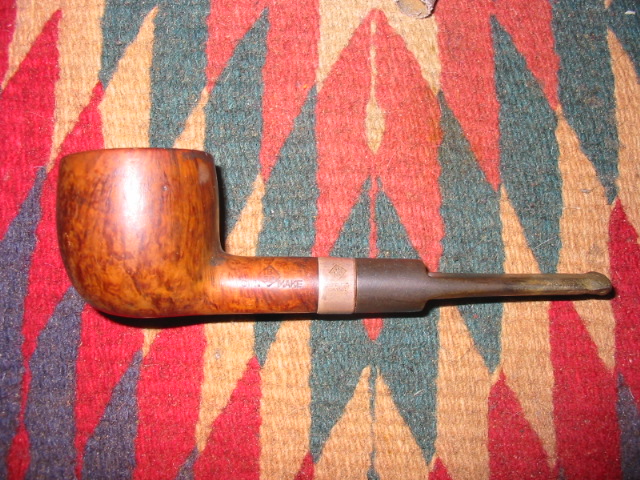
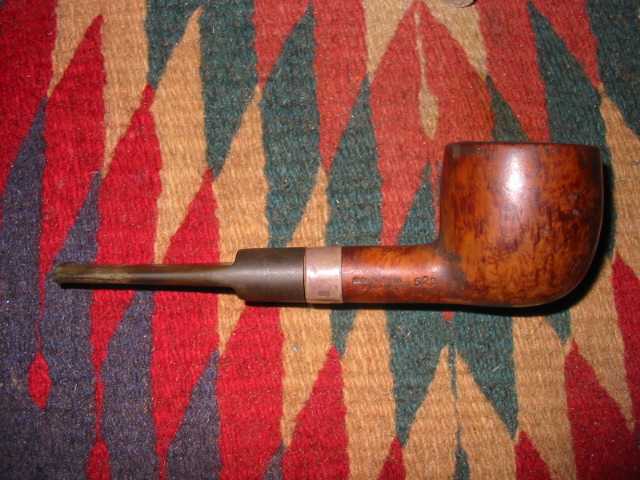
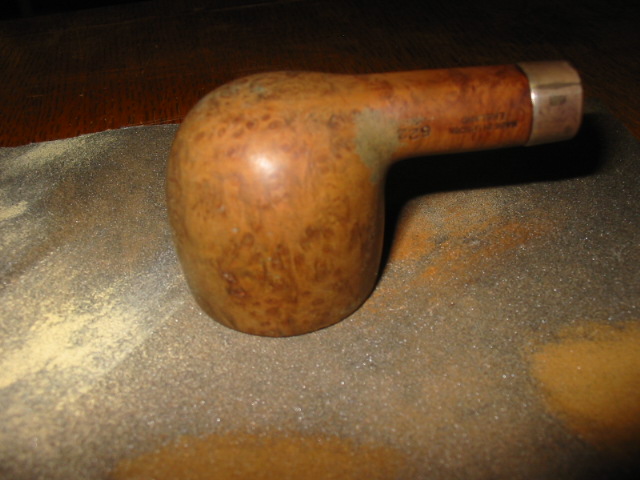
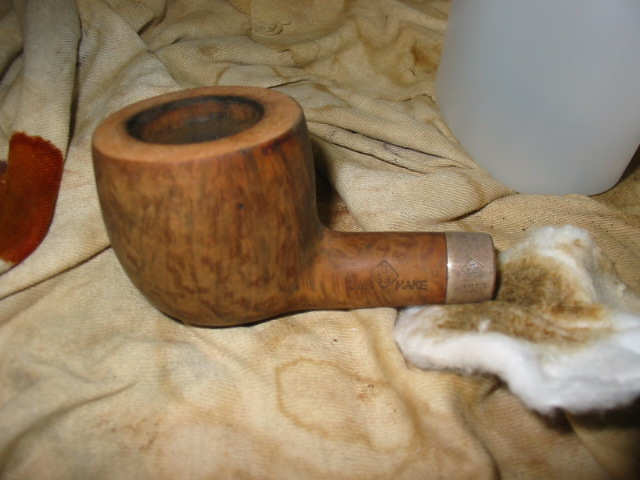
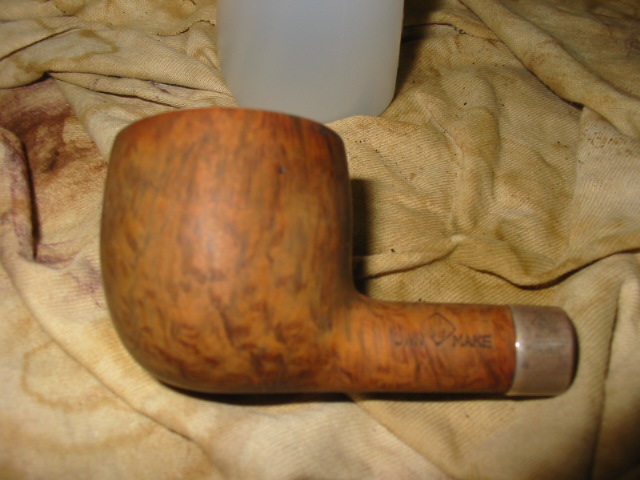
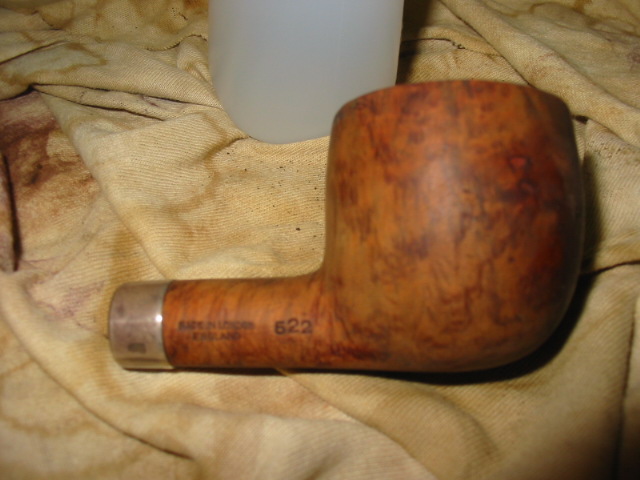
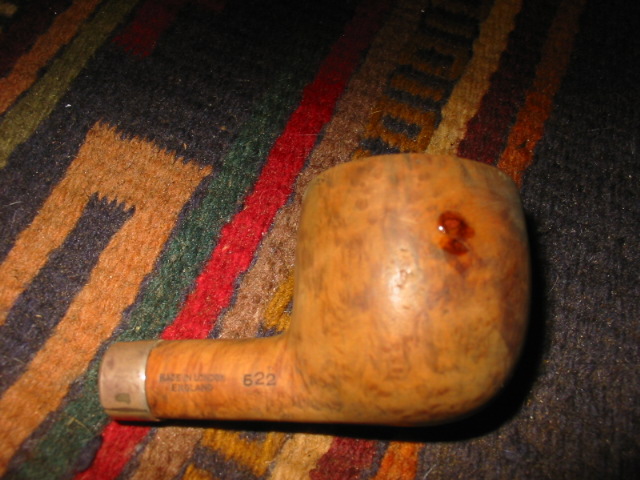
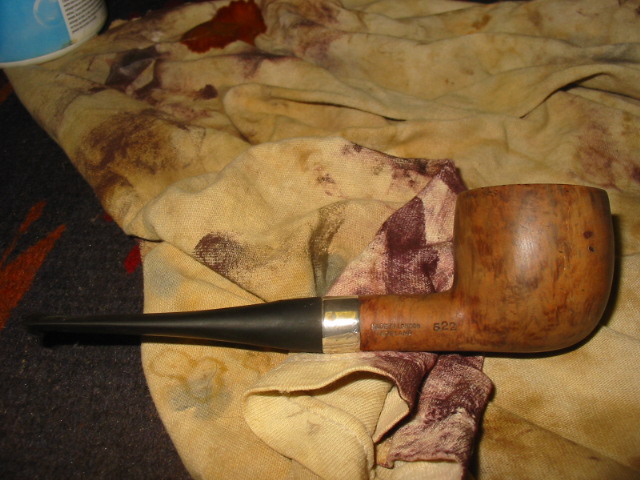
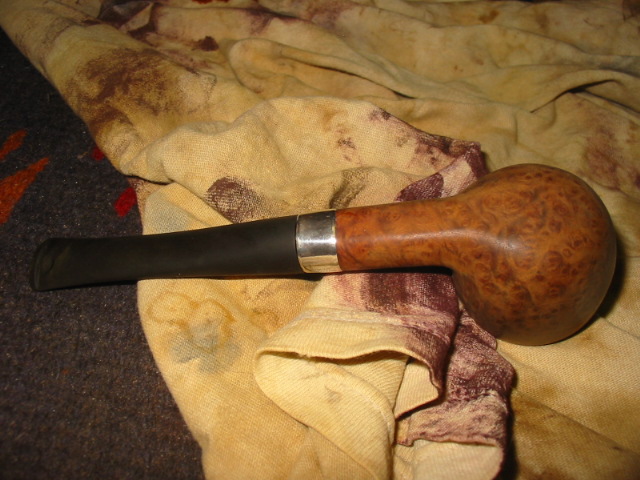
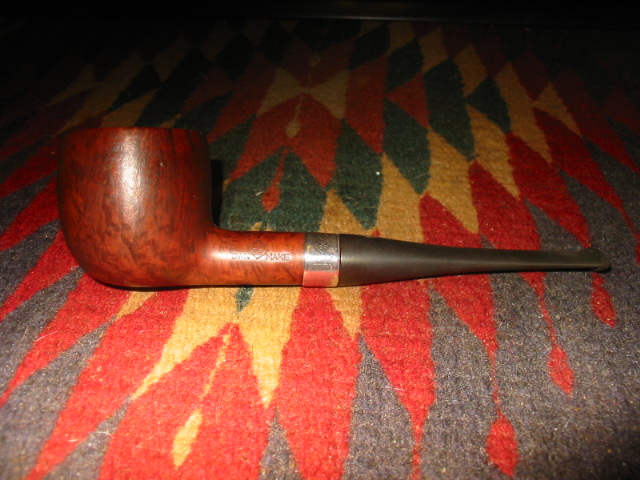
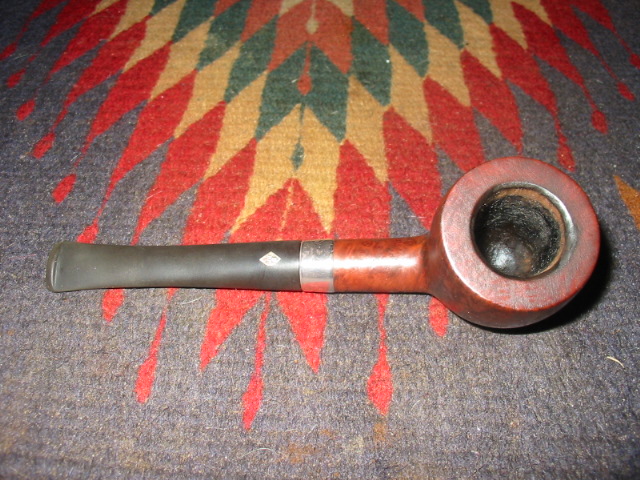
When I saw this one on EBay it grabbed my attention. I have always loved BBB pipes and found that they are great smokers and often fly under the radar. This one is stamped BBB Own Make on the left side of the shank and Made in London England 622 on the right side of the shank. The stem was an obvious replacement stem from the pictures. The band is a factory original stamped BBB and Sterling Silver. The grain showed promise and the bowl looked to be in good shape under the grime. I would know more once it arrived.


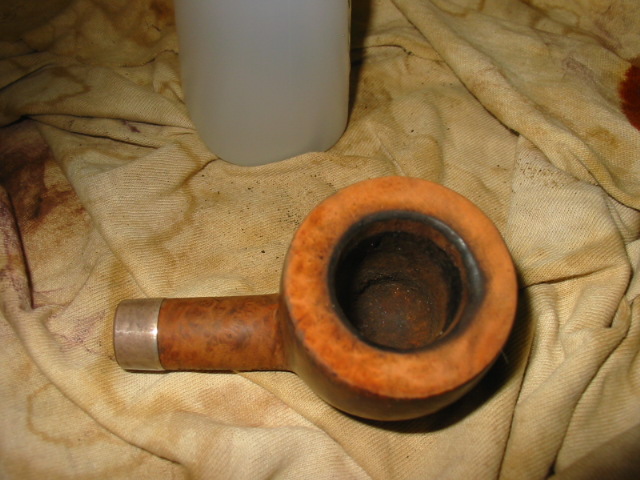
Once it arrived I took time to look it over. The bowl indeed had some great looking grain under the grime. The rim was covered with a thick coat of tar and carbon. The bowl looked to be unmarked by reaming and was still round. The cake on the inside was crumbly and sticky. The entire shank was caked with the sticky grime as was the stem. Definitely a goopy aromatic had been smoked in this old timer. The sterling silver BBB band had dents in it but was unbroken and uncracked. It was definitely an original band as when the stem was removed the shank was not cracked or damaged. The stem was indeed a replacement. It was a standard blank that still had some of the edge marks from the casting on it. It also short in terms of the length of the original pipe as I have found it on pictures on the web and in the catalogues. I was unable to find the 622 with a saddle stem like this one. It did not have the BBB diamond logo or a stamping of BBB on the stem either.

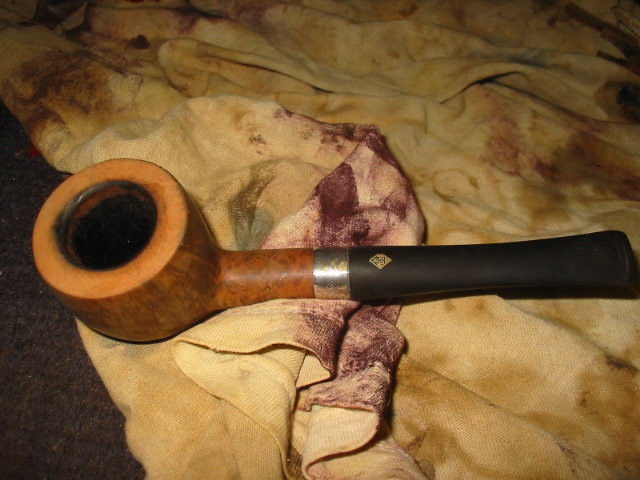
One of the reasons I bid on the pipe was that I had a BBB taper stem in my can of stems that looked like it would be a perfect fit for the pipe. Once I had it out of the box and on my work table I took out the old stem and sanded the tenon a little to make it fit correctly and slid it into place. The diameter of the stem was a perfect match to the shank and the tapered stem fit well with the pot shape. The two looked like they belonged together. Once the fit was smooth and well seated I put the replacement saddle stem into my can of stems to be used one day on a pipe that needed to be restemmed.

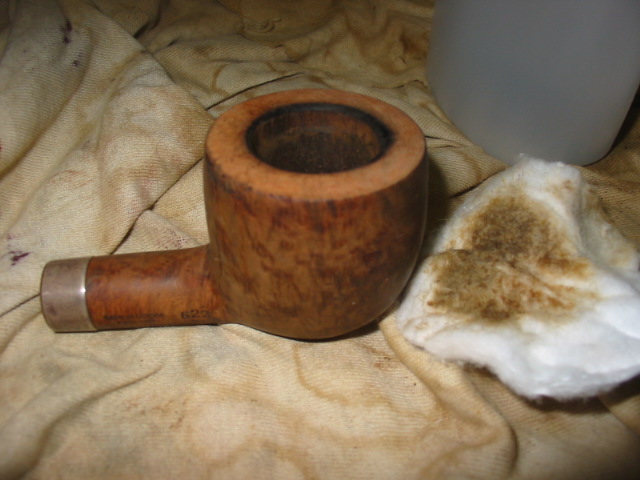
I put the bowl into the alcohol bath for about a half hour while I worked on removing the oxidation from the stem. I placed the stem in a bath of Oxyclean and hot water to soak when I took the bowl out of the alcohol bath. The Oxyclean softens the oxidation and makes it easier to work with than the hard unsoftened oxidation. The bowl was a real mess and I wanted to get the grime and remnants of the old finish removed so I could start fresh with the bowl and restain it. When I took the bowl out of the bath it looked like is shown in next three pictures. The finish was gone but for a few grey spots at the bowl shank junction and around the rim. The top of the bowl was seriously covered with goopy tars and black sludge that would take some work to remove. You notice in the first picture that on the right side of the bowl near the front were two fills that needed to be addressed as the putty had shrunken and they were divots.

I reamed the bowl to remove the internal grime and get back to the wood. I find that a soak in the alcohol bath softens the cake making removal much easier. It does not chip or break around the rim. I also cleaned the shank with pipe cleaners, a shank brush and alcohol to clear out the tars. I also used a drill bit that I had turned into the shank to clean out the hardened tars. Once I had it clean I used some emery cloth and turned the bowl top into the cloth to remove the chunks of tar and carbon build up. The next series of three pictures show the pipe during and after using the emery cloth. The last picture shows clearly the extent of the grime and tar build up even after sanding the top of the bowl.

Once the bowl was at the point in the photo above I then reamed the bowl a second time to clean up the remaining build up and then wiped the bowl down with acetone on cotton pads. The next series of five pictures show the pipe after the repeated wipe down with acetone. The briar is clean and ready for some work on the fills and some work to remove some of the damage to the inner side of the rim – you will notice in the last photo in the series.

I picked out the putty fills and wiped the bowl down one last time with acetone before dripping super glue and briar dust into the sandpits. The briar dust and superglue makes a far nicer looking fill in my opinion than the pink putty ever will. Once the glue had dried I sanded it with 240 grit sandpaper to see if there were any dents or dimples in the patch and refilled until the surface was smooth. I sanded repeatedly with the 240 grit until the patch blended into the surface and the glue was off of the surround clean briar.

I then used a piece of sandpaper to bevel the inner edge of the rim into the bowl to lessen the effect of the burned area. I aim for an even bevel all the way around the bowl rim and thus the effect of the burn will disappear with the stain coat. I took the stem out of the Oxyclean bath and wiped it down with a cotton cloth to remove the softened oxidation. I then reinserted it into the pipe to check for a good fit. You can see in the first picture below the beveled rim and the fit of the stem. The stem is almost back to a clean black finish. The oxidation is virtually gone and only needs to be polished and sanded with micromesh pads to bring back the shine. This particular stem also had two deep tooth marks on the top and bottom of the stem near the button. I decided to deal with them after I had finished cleaning and polishing the stem and staining and polishing the bowl.

I gave the pipe a first coat of oxblood stain, flamed it and buffed it off with Tripoli. You can see that it gave a fairly good coverage but was a bit too opaque to my liking. I wanted the grain to be more visible so I washed the pipe down with acetone to remove some of the depth of colour and highlight the grain. In the photos below you can see the pipe after I wiped it down with the acetone and buffed it with White Diamond. It still was not the finish I was looking for so I sanded the bowl with 1500 and 1800 grit micromesh to smooth the surface and then heated the bowl with my heat gun to open the grain of the wood before giving it a second coat of oxblood stain.

The next series of four pictures show the finish that I was looking for. The grain shows through clearly and the bevel and stain on the rim minimize the effect of the burn marks. The stem is also cleaned and polished but the bite marks still remain in the pictures below. After staining and flaming the pipe I buffed it with White Diamond and then waxed it with several coats of carnauba before buffing with a soft clean flannel buff.

At that point last evening I set the pipe aside to be finished today. When I came home from work this evening I used the heat gun to raise the dents in the stem on the top and underside. The first two photos show the effect of the heat gun in raising the dents. Once I have the dents raised as far as I can lift them I used 240 grit sandpaper to level the surface of the stem and I have found that the combination of the heat and the sanding takes care of most dents in the surface of the stem as long as they are just dents and not cut marks. I finished sanding those areas of the stem with micromesh pads from 1500-12,000 grit until the stem had its own inner shine. When I was finished I coated the stem with Obsidian Oil and once dry, buffed it with carnauba wax and a soft flannel buff. To finish off the pipe I gave it several more coats of wax and buffed it by hand with a soft cotton cloth.

“Made In England” Billiard


This is the third of the four pipes I recently refurbished for a friend in Ohio.  This is another very large pipe and a  bit of a mystery.  The pipe is just under 7″ long and weighs approximately 95 grams.  Another hefty hunk of briar from this four pipe estate.  It is stamped simply, “Made In London England”.  The rest of the polished nomenclature area is left blank.  It sure does have a Charatan feel and I wonder if it was a reject or a second?  The detail of the stem tip is almost identical to the Charatan.  Someone on the SmokersForums.uk once told me to “read the pipe, not the stamping”, but this is just a hunch.

The bowl top was pretty beat up and had a heavy tar buildup.


The tenon has the same features as the Charatan Select pipe from the four pipe estate.

When I removed the heavy layer of tar, it lightened the stain a bit.   So it became necessary to restain the bowl.  I soaked it for several hours in an alcohol bath and using a brass bristle brush to get stain out of the blast.  With  the stain removed, the bowl top was so rough, I decided to sand it smooth.  I’m glad that I did and think it looks smashing with a smooth, polished top.  I used a series of 800-1500-2000 than the last two Micromesh grades for sanding with the paper on a flat workbench surface.

I used a very light mixture Fieberlings “Medium Brown” stain, thinned with alcohol.  I put on two coats of stain, with each one set with a flame (I’ve perfected this process, so it no longer frightens me).  I use a 6″ socket extension to hold the bowl during application of the stain and the flame setting.  This shows the bowl stripped of finish and ready for the first coat of stain.

The bowl then was buffed lightly with white diamond and finally several applications of carnuba wax.

The stem was soaked in oxyclean during the briar work and was polished with 1500>2000 grit wet paper, than the last three grades of micromesh (up to 12,000).  I then buffed the stem with White Diamond and a final buff with automotive plastic polish.

Thanks for reading, smoke safe!
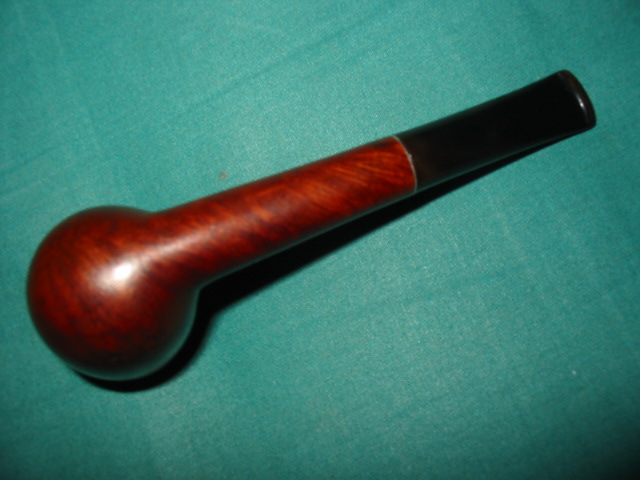
Al Jones

A Second Bewlay Olde 49 Bent Billiard Repaired and Rejuvenated.


Here is the mate of the other Bewlay Olde 49 bent billiard that I posted about recently. They had both been sitting in my box of pipes to repair and refurbish for several years now. Yesterday I worked on the first one and restemmed it. This afternoon I decided to work on second one. The finish was exactly like the other one – grime ground into the surface and the wax and shine were gone. The top of the bowl was tarred and caked. The stem had been chewed through. The button was gone and the previous owner had made it into some kind of dental bit but cutting a groove in the stem along the end of the chewed off portion. It was a mess. I decided to cut off the chewed portion of the stem and then rework a button into the smooth surface of this one rather than restem it. I find that often this takes far more time to do this than it would just to cut a new stem for it. Such was the case with this one.

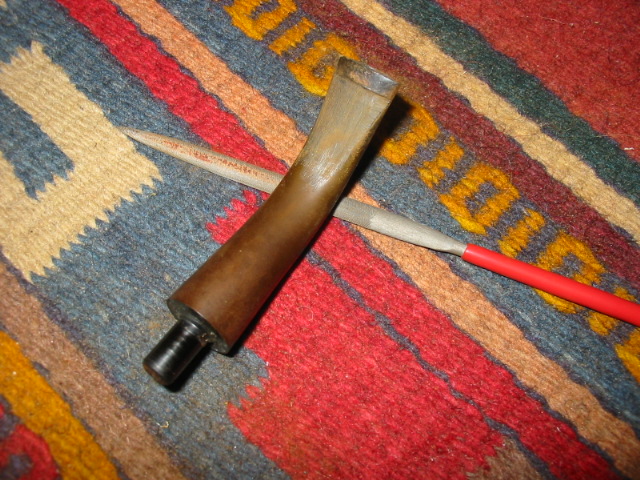
I used my Dremel with the sanding drum on it to cut back the damaged stem. I removed just under ½ inch of the stem. I cut it back until there was plenty of vulcanite over the airway on the top and bottom so that I could work in the new button and open the airway into a nice slot. The next series of pictures show the cut off stem. You can see that there is plenty of stem left for the work of shaping a new button.

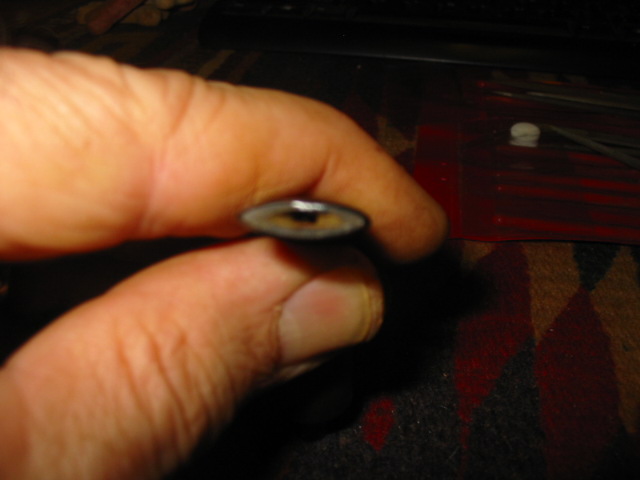
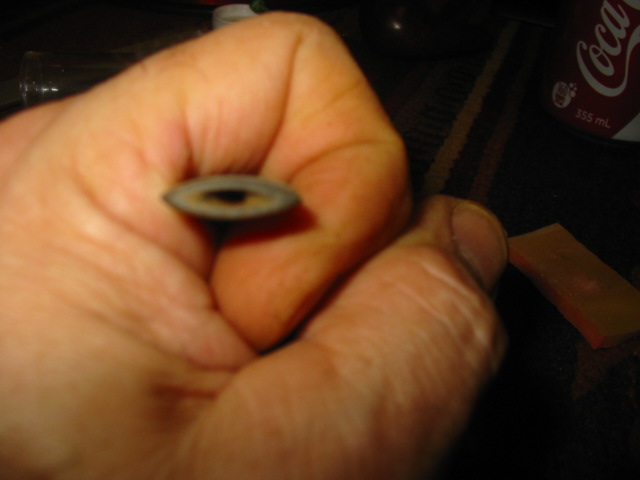
The next four pictures show the stem from the end and then from the top and the bottom to give a good idea of what the stem looked like once I had removed the damaged material. I worked on the end of the stem to keep it a straight cut. I would eventually curve the ends of the new button but at this point I wanted to keep a straight edge to work with. You can see from the airway pictured in the first picture that there is plenty of vulcanite above and below the airway for the new button to be cut.

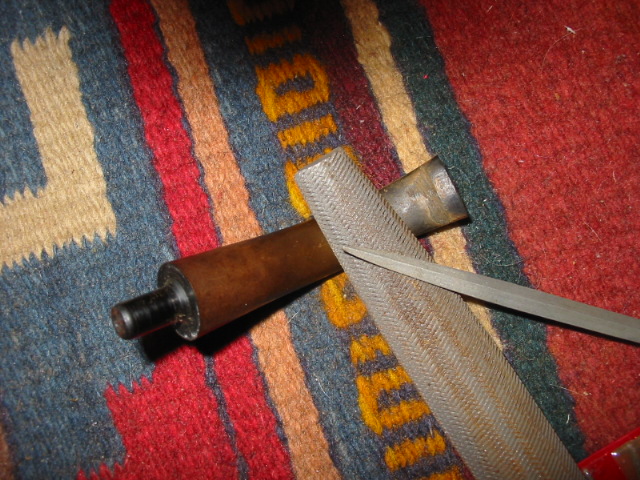
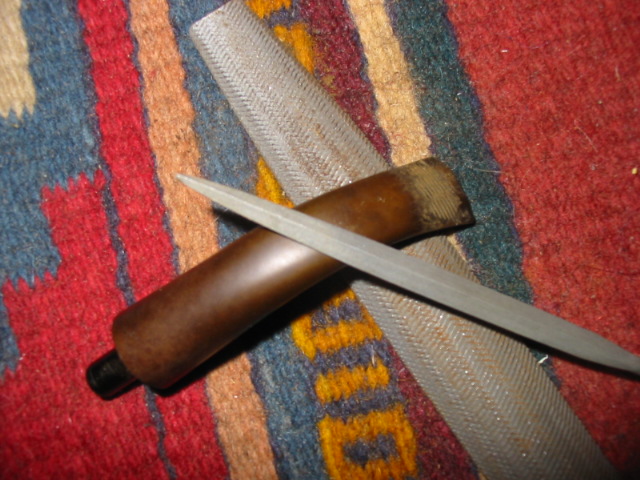
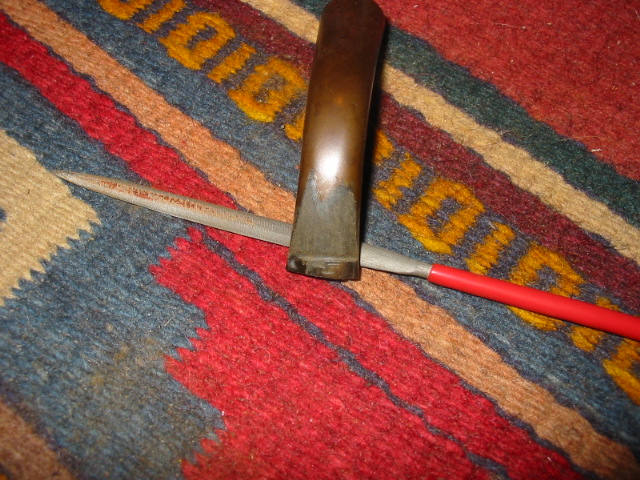
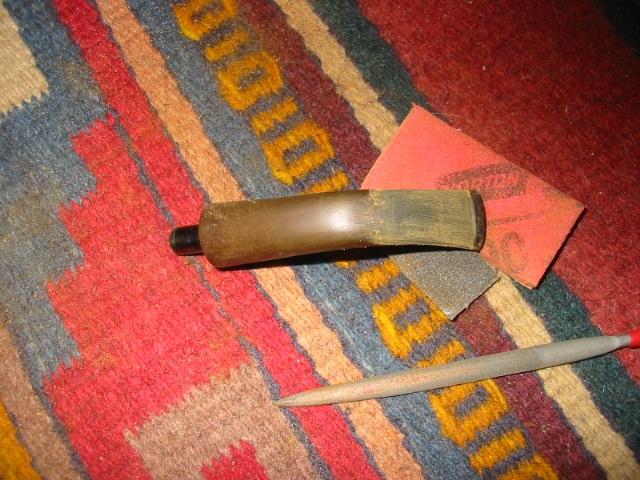
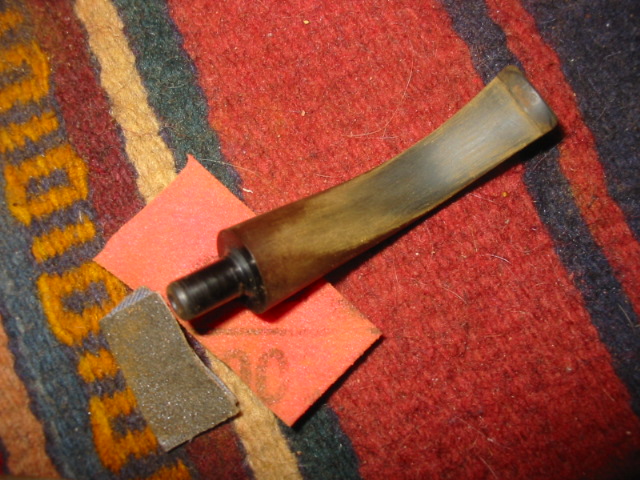
I used a rasp with a flat straight edge to do the initial cutting work on the button. I followed up with the flat needle file to clean up the work after the rasp did the initial work. The first two photos below show the freshly cut button. The first photo is of the underside of the stem. The button is cut to match an existing Bewlay stem that I have here. I also wanted it wide enough that I could taper it on the ends and the front edge after I had cut the slot. The second photo shows the topside of the stem after the initial cut of the new button. You can see from that photo that the left edge of the button has a slight indentation in it that will need to be worked on to make the button have a smooth and flowing shape.

The next series of four pictures show the stem after I have smoothed out the initial cut of the rasp with the needle file in the picture. The edge of the button is becoming distinct and clear. The first picture shows the underside of the stem and the clean flow of the button. The second picture shows the topside of the stem. Notice that the line is at a slight angle in the photo. That will be corrected once the left side of the button has been built up with some super glue. Pictures 3 and 4 show the shape of the button and how it is beginning to take the final shape – the oval or “football” shape that was on the old Bewlay pipes. At this point I had not begun to work on the airway to open it up and make a smooth slot into the stem.

I continued to work on the button and the surface of the stem to smooth out the transition and shape and to give some definition to the edge of the button. I used a variety of sandpapers and emery cloths to do the work. For emery cloth I used medium and fine grit and for sandpaper I used 240 and 280 grit. The next two photos show the look of the stem at this point. The line of the button on the top is now straightened out. The spot on the bottom edge of the button in the first photo is the cleaned up divot or dent in the button.

In the next two photos I wanted show the developing profile of the stem and button. The button is actually beginning to show quite clearly and is distinguishable from the surface of the stem.

Quite a bit more sanding needed to be done to clarify the edges and the cut of the button. In the next two photos you can see the new button very clearly. I also had used some clear super glue to build up the top of the button and fill in the divot. I sanded it smooth once it was dry. In the first picture below you can see that the divot is gone and a black spot is in its place. The second photo shows the ongoing development of the underside of the stem and button.

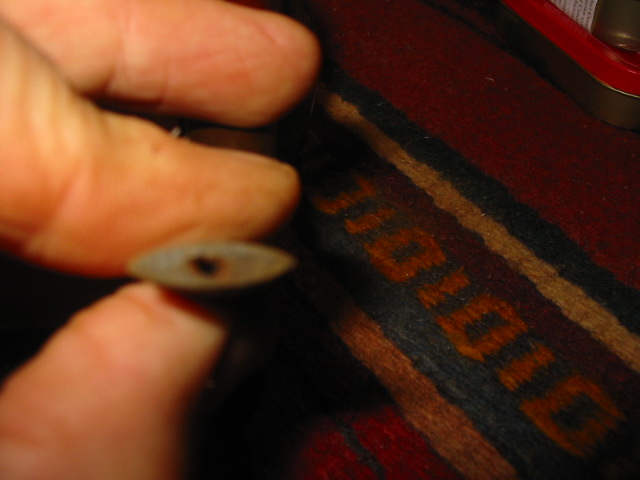
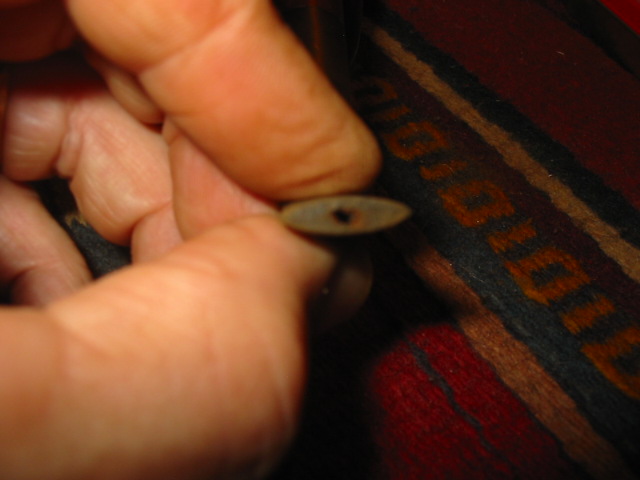
I then used my needle files to work on the slot and open up the airway from the button end. I used an oval needle file to begin to cut the ends of the slot open. The four pictures below show the development of the slot from the start to the finished shape that I was aiming for. It is a nice open draw and should deliver a good smoke. In the fourth picture you can also see that I have tapered the button back toward the slow so that it is a good smooth transition and is comfortable in the mouth. I used a folded strip of emery cloth and 240 grit sandpaper to sand the inside of the slot and smooth the internals.

At that point I decided to take a break from the stem and work on the bowl finish. I wiped down the bowl and rim with acetone to clean off the existing finish and give me a clear surface to work with. This one also has some interesting grain patterns under the old finish. It is a bit more mixed cross grain and birdseye with no real pattern to the grain like the other Olde 49. But it cleaned up nicely.

I sanded the stem some more with micromesh sanding pads – 1500-12,000 grit to get rid of the file marks and sandpaper marks that were left behind. I wet the stem and sanded them through the various grits. The photos below show the rich blackness of the stem that has come back with all the sanding.

At this point I decided to restain the pipe. I did so with a Dark Brown aniline stain. I flamed it to set the stain and stained it a second time. I took pictures but the batteries on the camera gave out at this point and I was left with no photos of the stained pipe. It was dark like the other Bewlay pipe so I wiped it down with acetone on cotton pads to lighten the colour. The picture below gives a bit of a look at the pads and the dark stain that came off with the wash. The pipe is a little dark. This was the last of my batteries and the only picture that came out at this point in the process.

The next four pictures are of the finished pipe. The stain came out very nicely with the grain coming through very well. I buffed it with White Diamond once I had wiped it down with the acetone. The shine came up well on this one. I also buffed the stem with White Diamond and then gave the pipe several coats of carnauba wax and buffed it with a soft flannel buff.

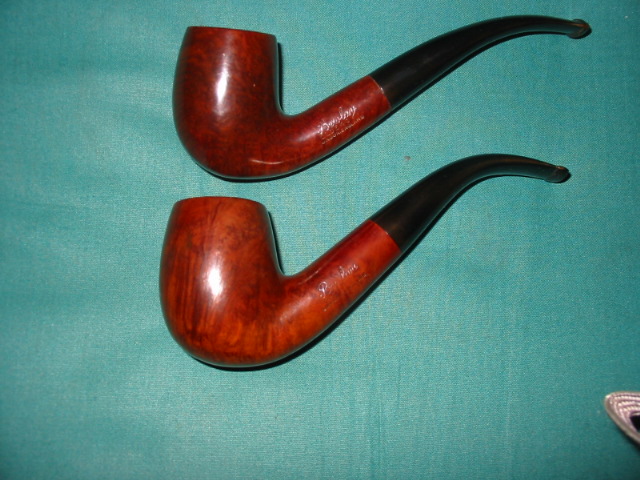
The last picture is of the two Bewlay Olde 49 pipes together and ready to smoke. In person they are not quite as red as they come out in these photos. The rich older brown stain really matches these two well.