Category Archives: Pipe Refurbishing Essays

Essays and pictorial essays on the art of refurbishing

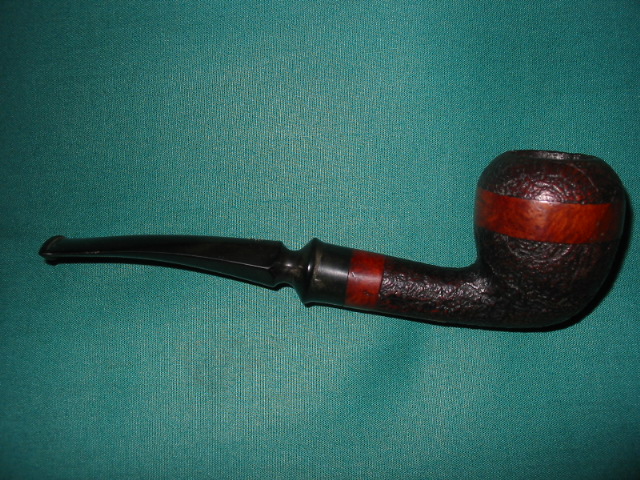
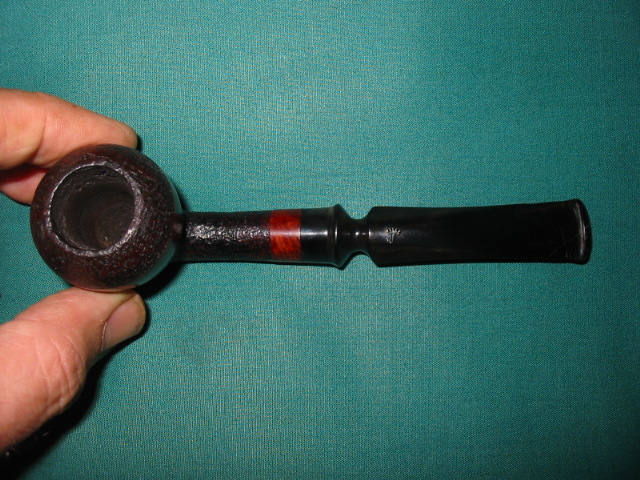
Italian Made Pot Refurbished and Reborn with a New Look


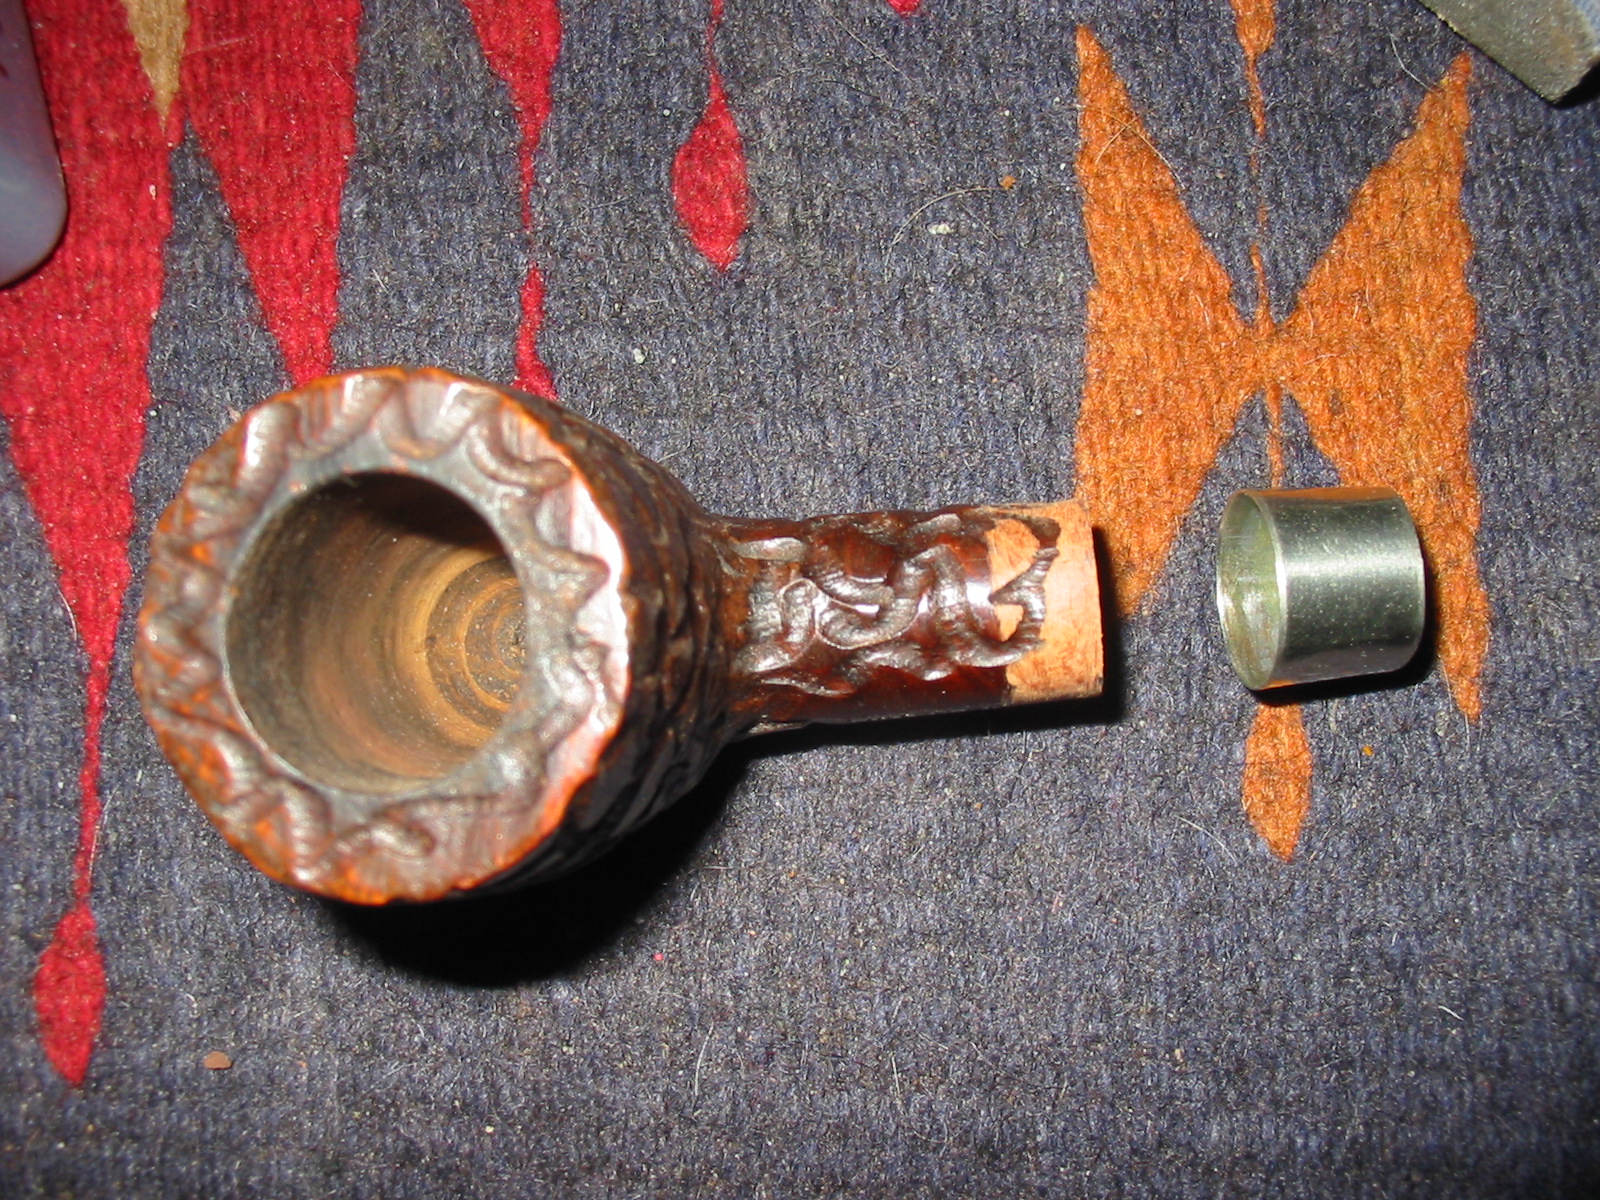
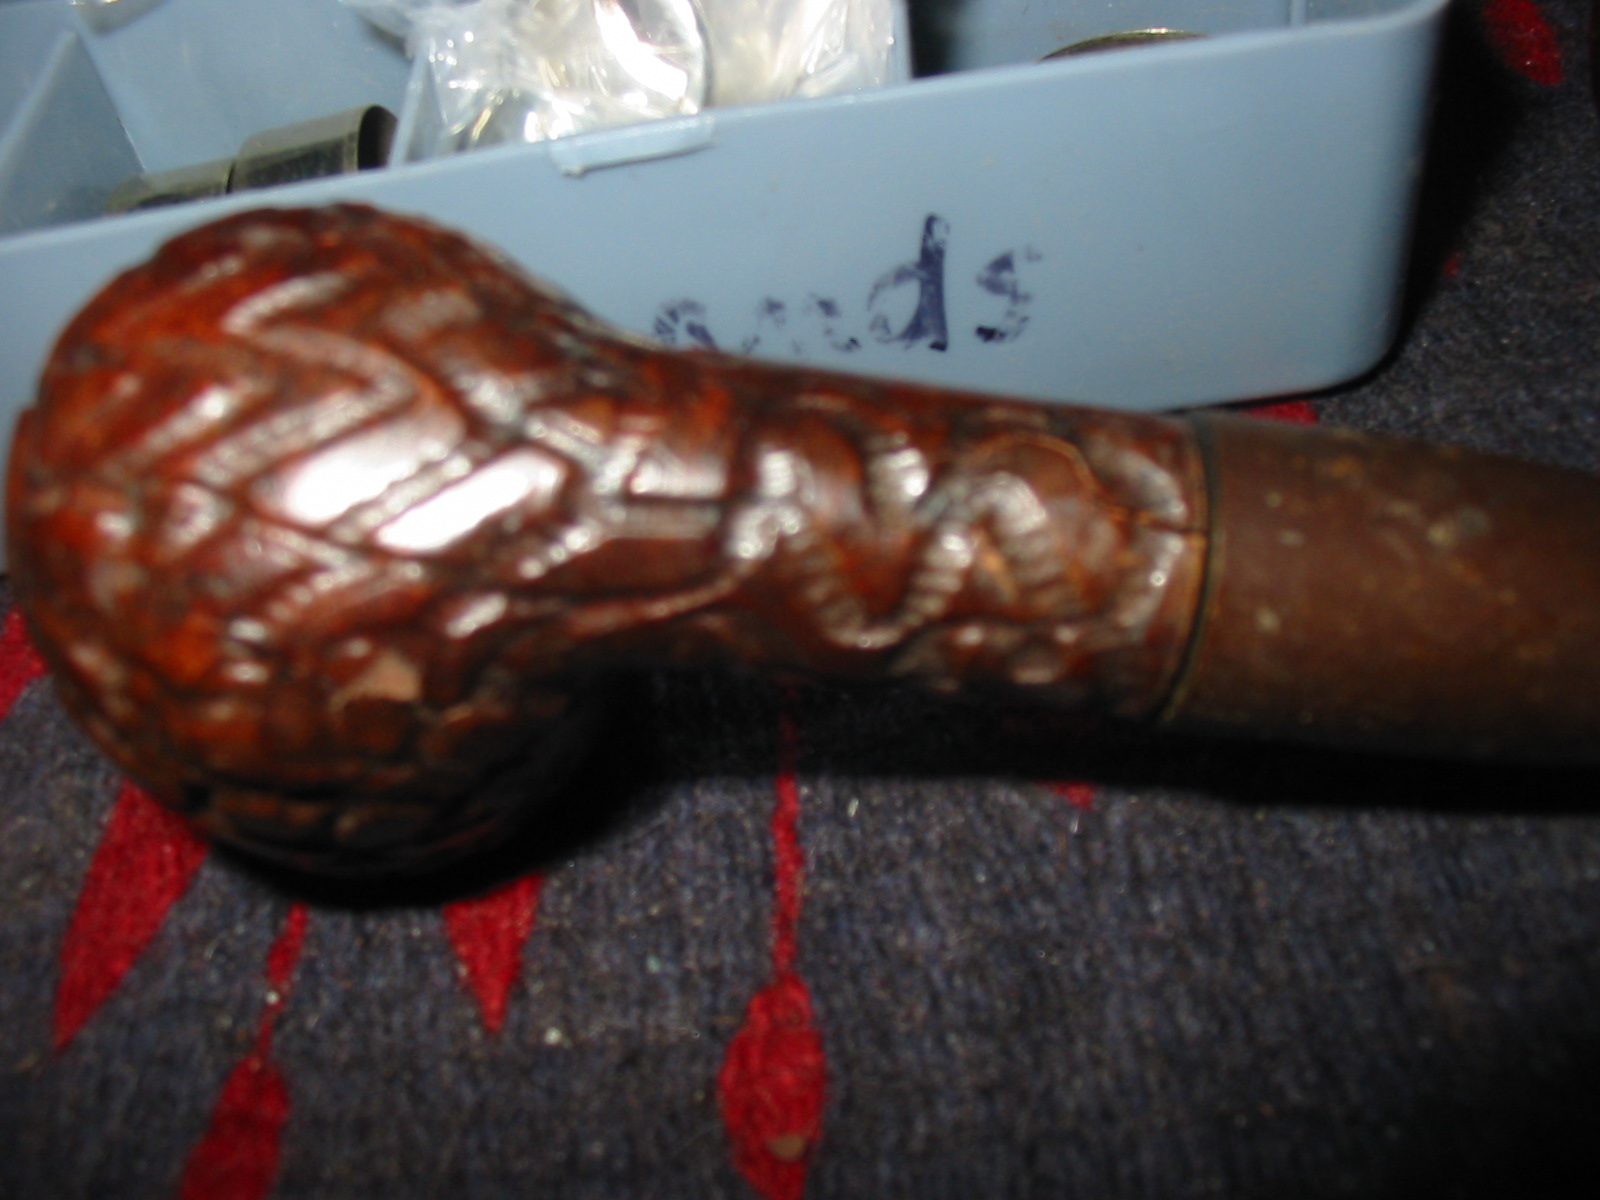
This was one of the stummels from a box of pipes without stems that are all that are left of a big lot of pipes I was gifted by a friend. There are about 30 left, I have restemmed many of them over the past year and given away many more. This one is a no name Italian Made that is stamped Real Briar in italics and stamped on the left side of the shank. It is a rusticated bowl and as can be seen in the picture below had a cracked shank. The stem that is in the pipe is one that I recycled from my can of stems. It needed to be cut down to make the diameter of the shank match the diameter of the stem. I also needed to band the shank to do a repair to the crack.
Image

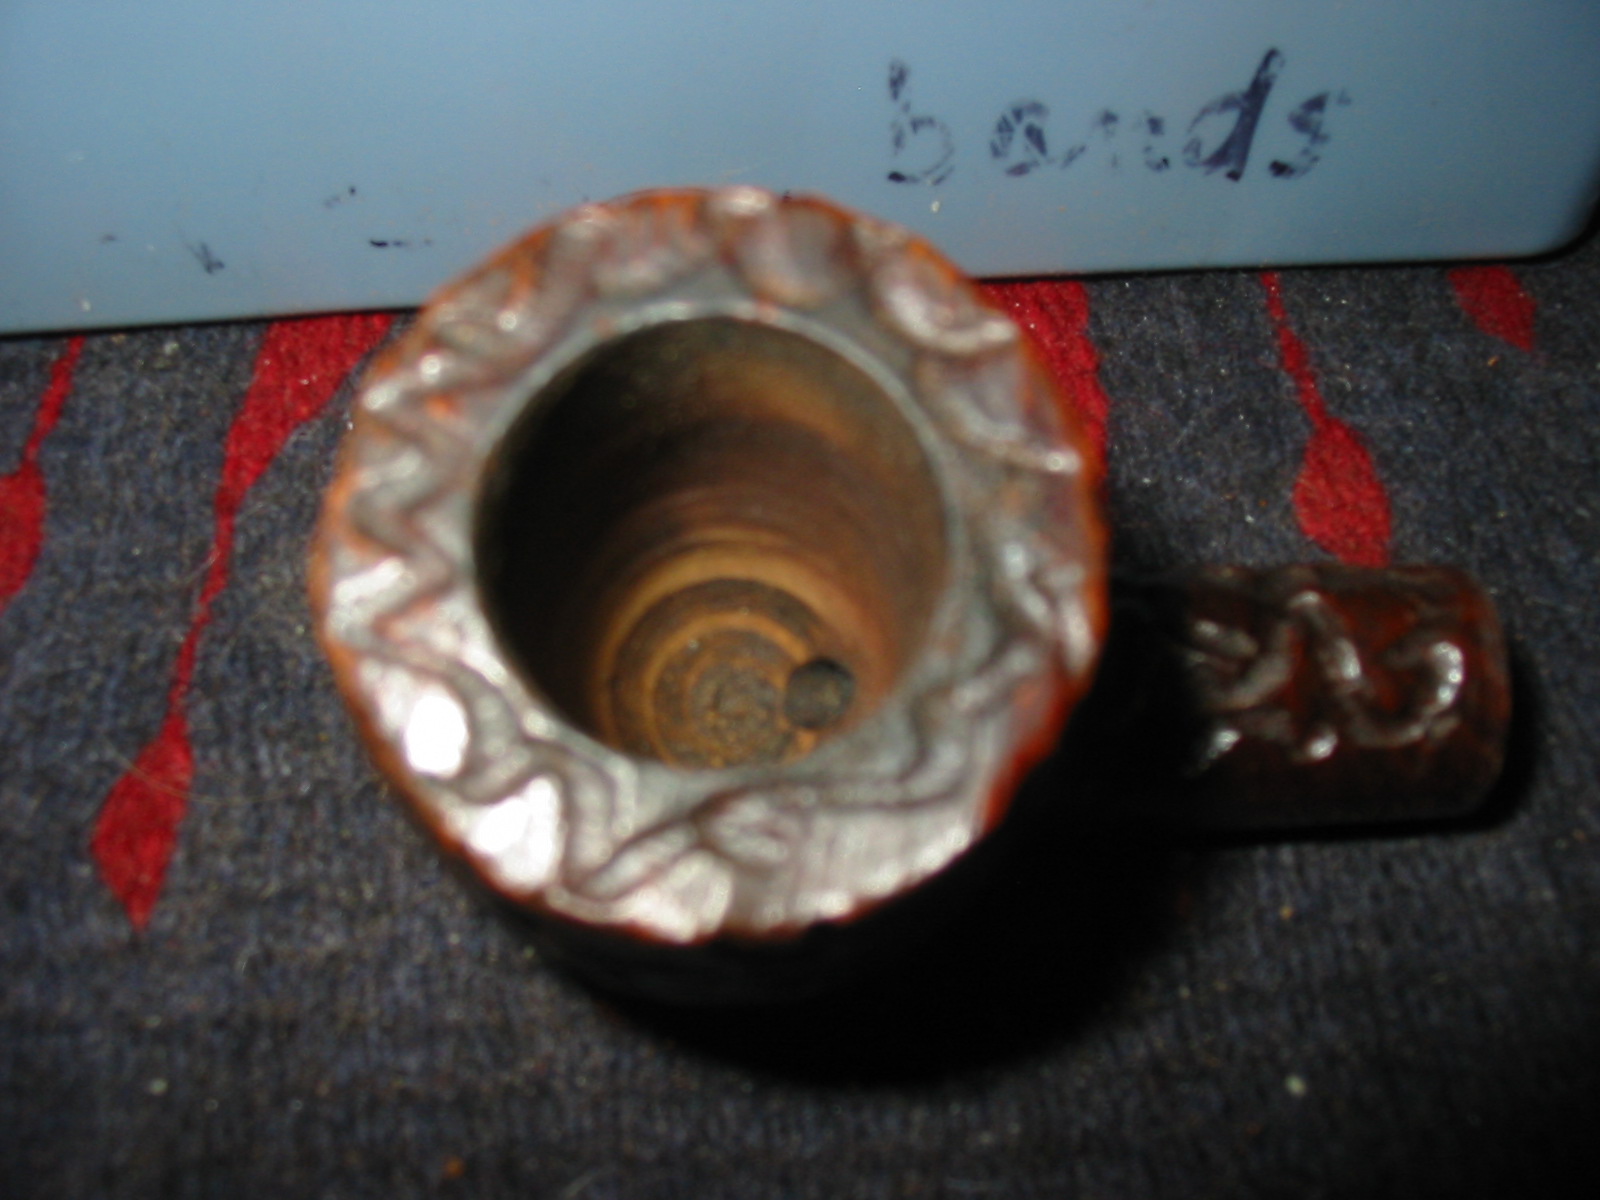
The picture below show the bowl as it came to me. It had been reamed with something that scored the bottom of the bowl and left marks. It was however very clean. The rim had slight darkening but was otherwise clean as well. The inside of the shank was clean and fresh. The pipe took very little prep other than repairing the cracked shank to ready it for the new stem.
Image

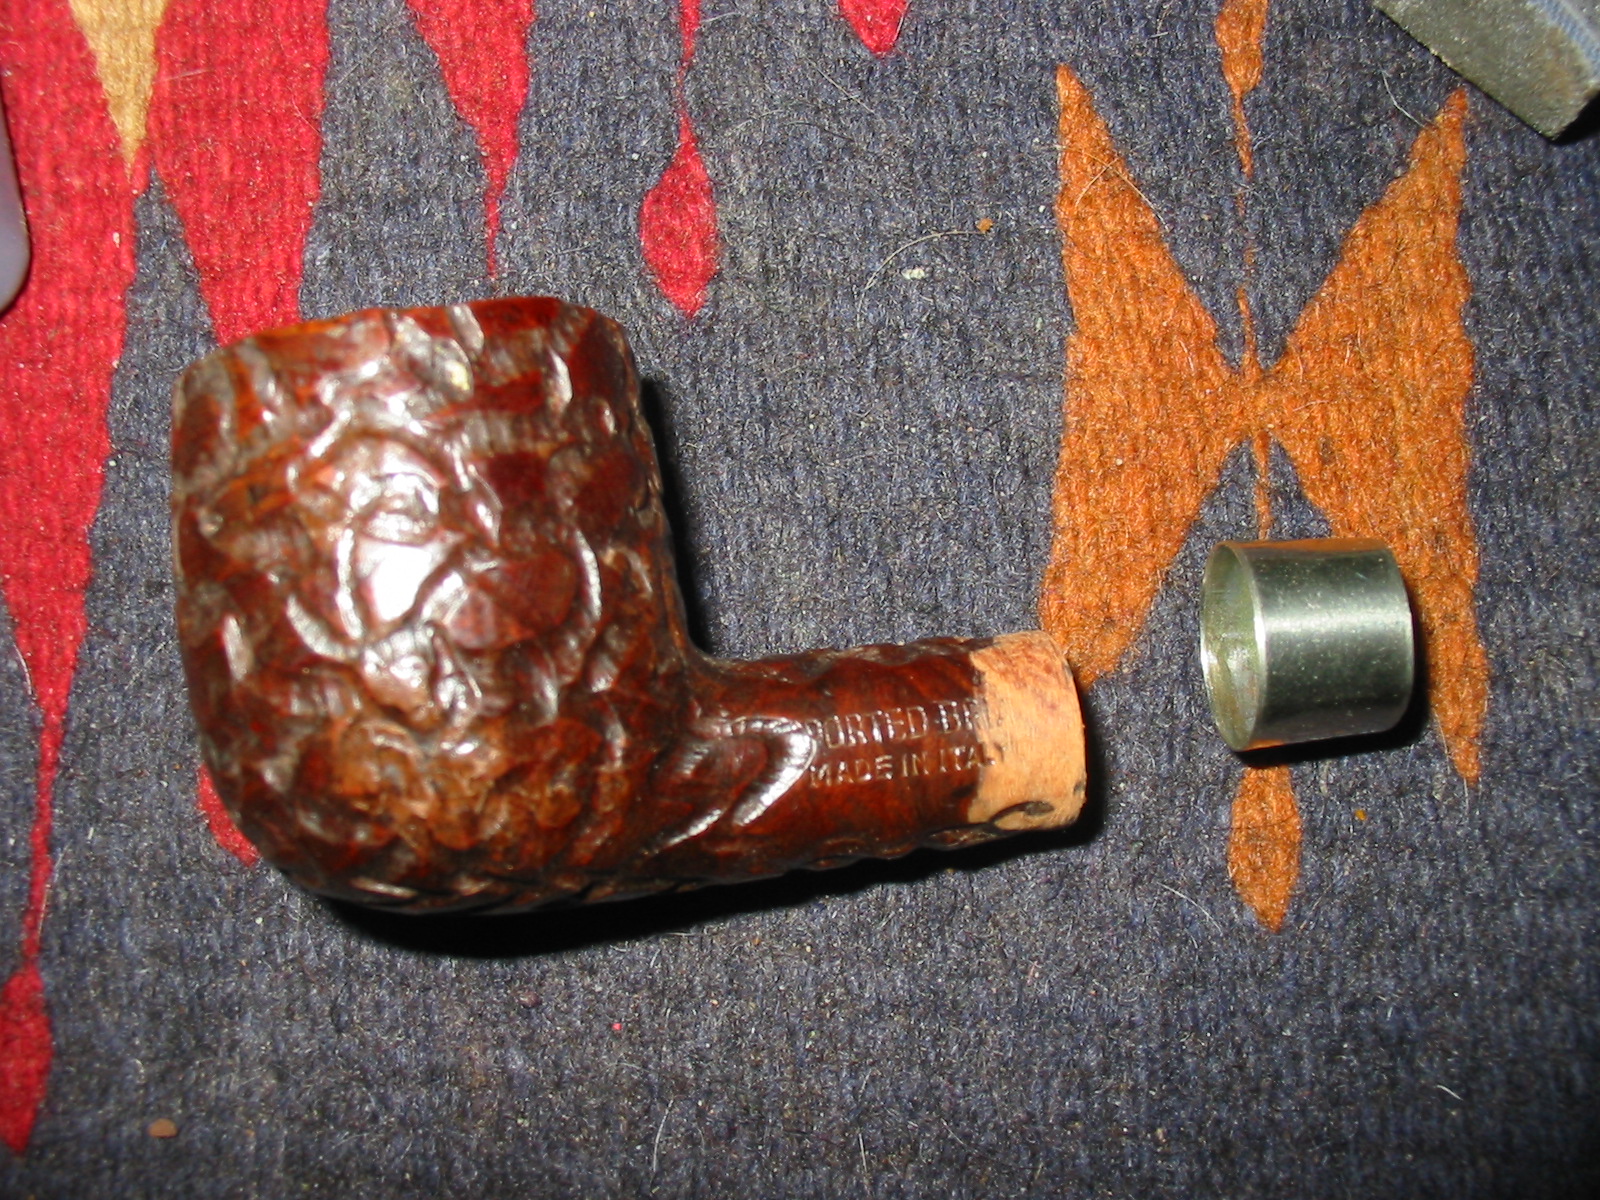
To prepare it for banding I checked through my box of bands to find one that would give a good tight fit when pressure fit to the shank. I found one that would work but also found that the carved grooves in the finish of the pipe made a tight fit to the shank virtually impossible to obtain. I used my dremel to remove some of the grooves to the depth of the band width. I checked the band fit several times and took off enough of the briar to obtain a tight fit. I was able to step down one size in bands and got a perfect fit. The next two photos show the shank prepared for the fitting of the band. I also used some superglue to repair the crack in the shank. I pried it open with a dental pick inserted in the shank and applied pressure to open the crack enough for the superglue. I dripped the glue into the crack and squeezed it shut until it dried. IMG_9869
Image

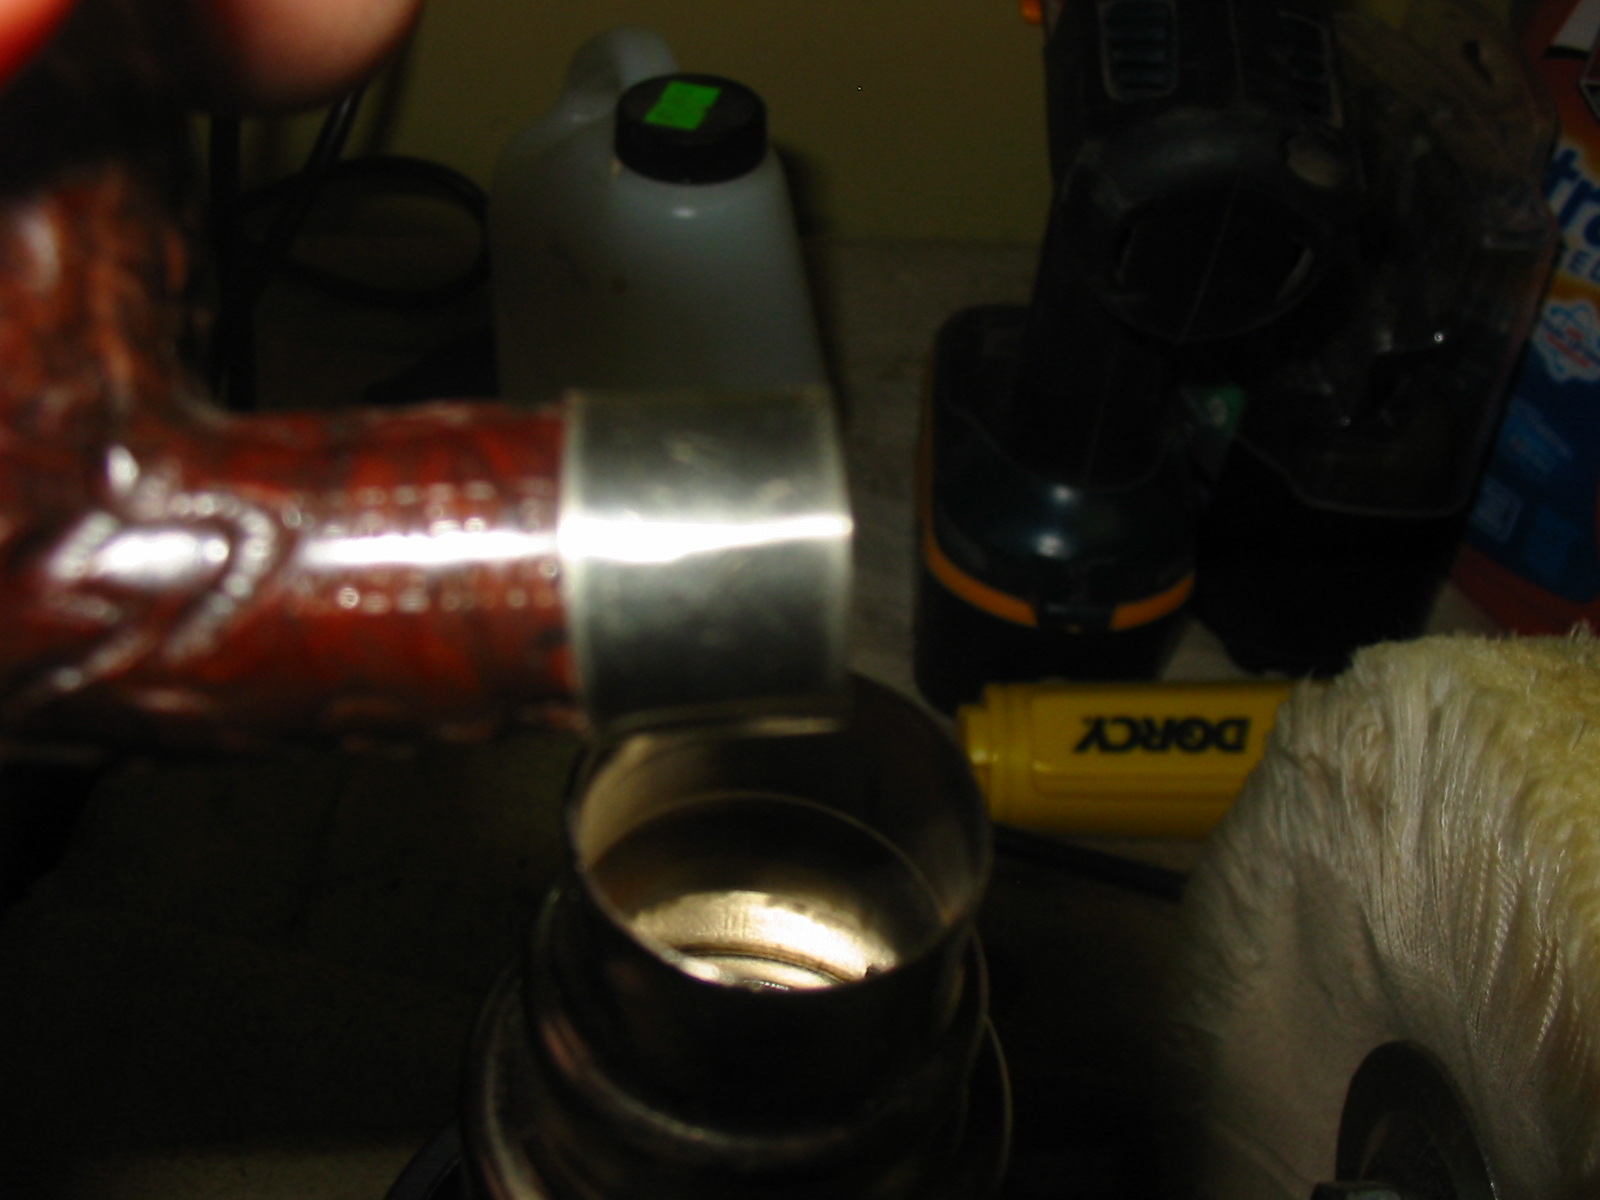
I slid the band on to start the fitting and then took it to my heat gun. I heated the band on the shank and then pressed it into place. I repeated the process until the band was properly placed on the shank. The next two photos show that process – I heat the band and then press it on using the piece of carpet on my work table.
ImageImage

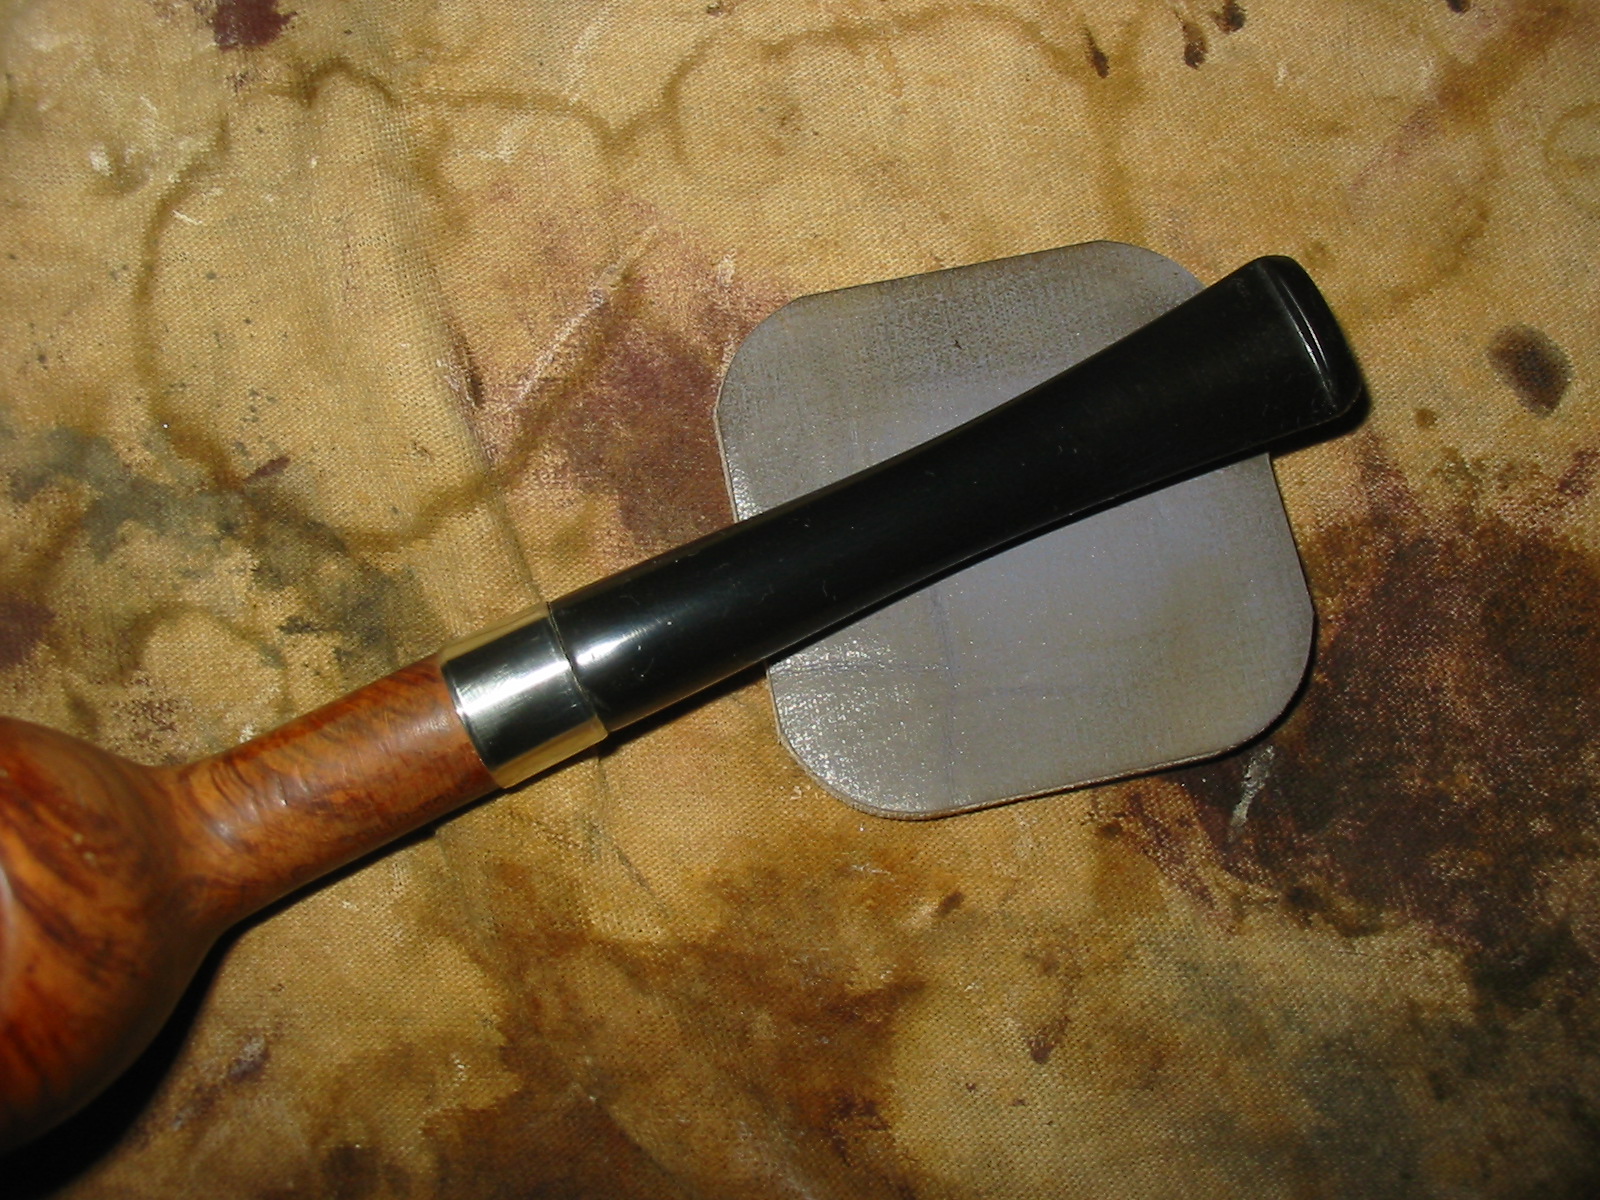
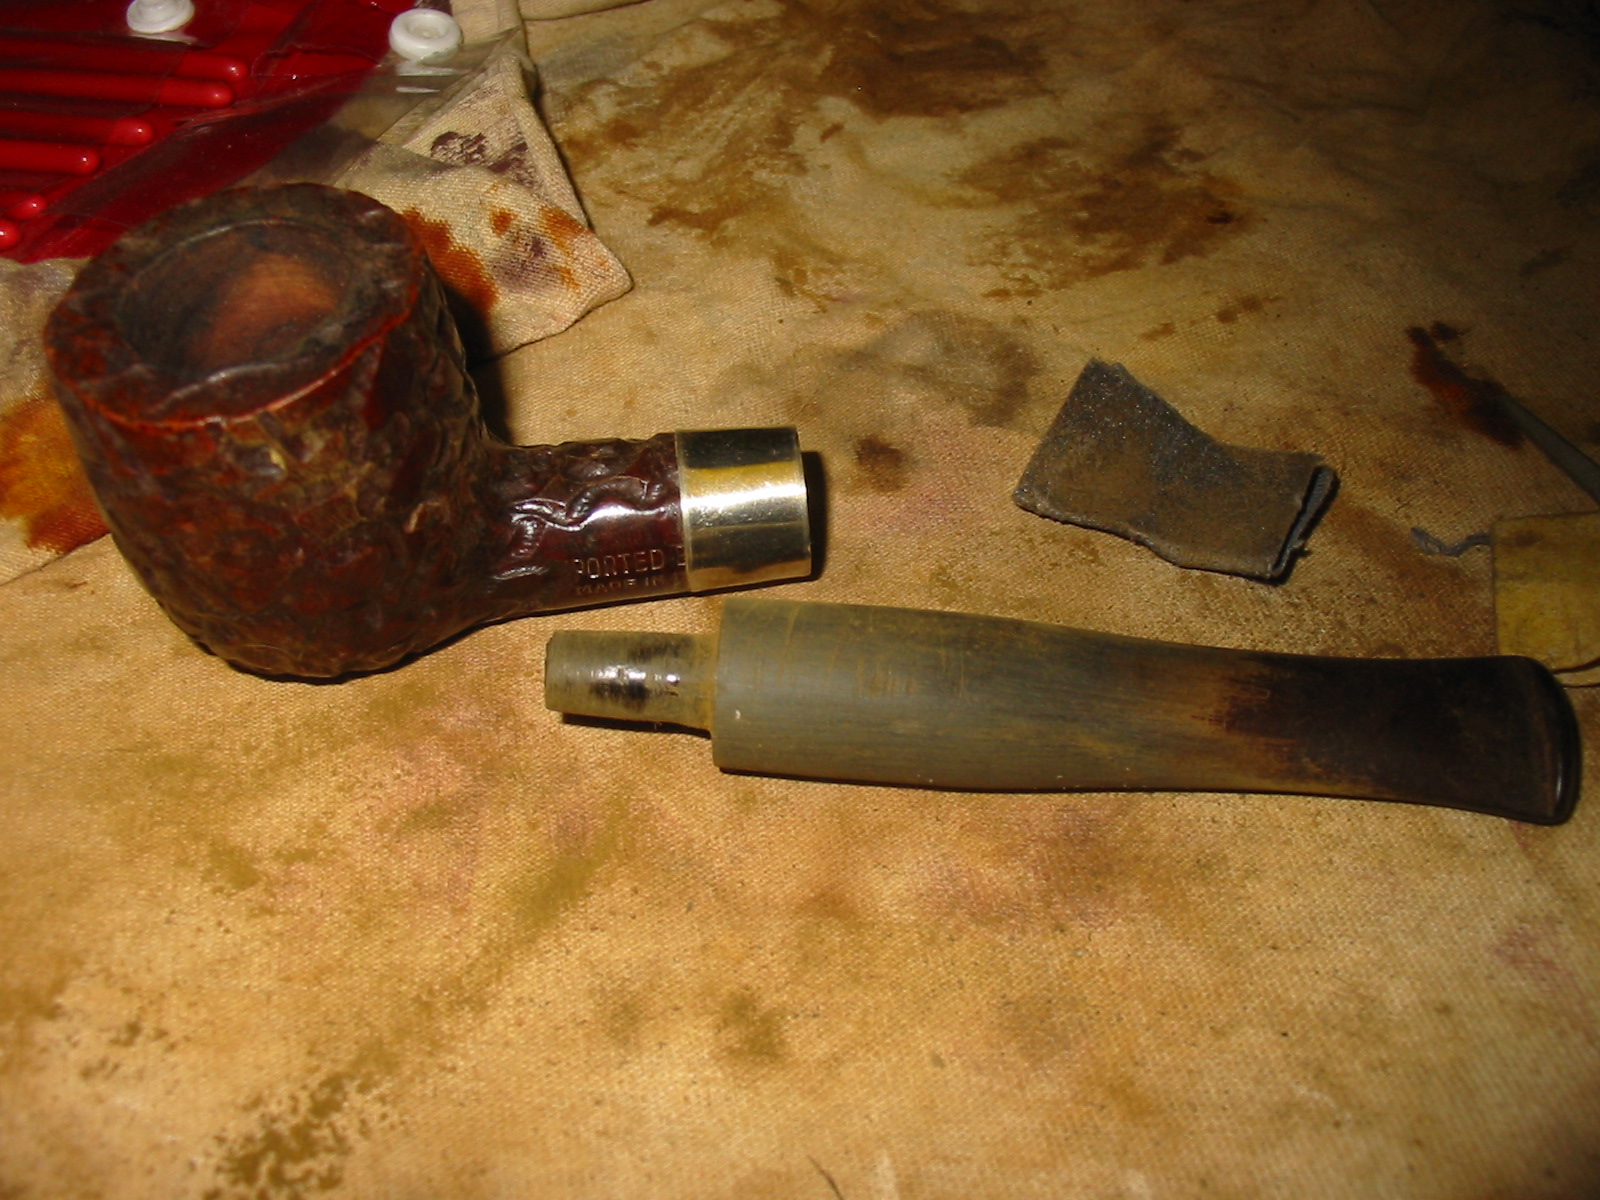
Once the band was in place I used my Dremel on the stem to remove the excess material on the diameter of the stem. I have found that if I run it at a medium speed I can control the sanding drum and not cut gouges in the vulcanite. It requires a steady hand and patience to get the work done without cutting too deeply into the stem and causing gouging that takes a lot of sanding to remove. After I cut away the necessary excess I also sanded the tenon for a proper fit in the shank. Once I had banded the pipe it no longer fit as easily. I wanted a smooth and snug fit but not one that would damage the shank. The picture below shows the stem after I have started sanding the stem with medium grit emery cloth to sand out the scratches and fine tune the fit against the band.
Image

I continued sanding with the emery cloth until the fit was what I wanted. The next two photos show the pipe with its new look. The band is in place and the stem fits. It is a nice chunky stem that I think matches the shape and flow of the bowl and shank nicely. I still had a lot of sanding to go. I continued with the emery cloth to remove the build up and oxidation around the button area. I decided to rework the entire stem and then polish it to a shine.
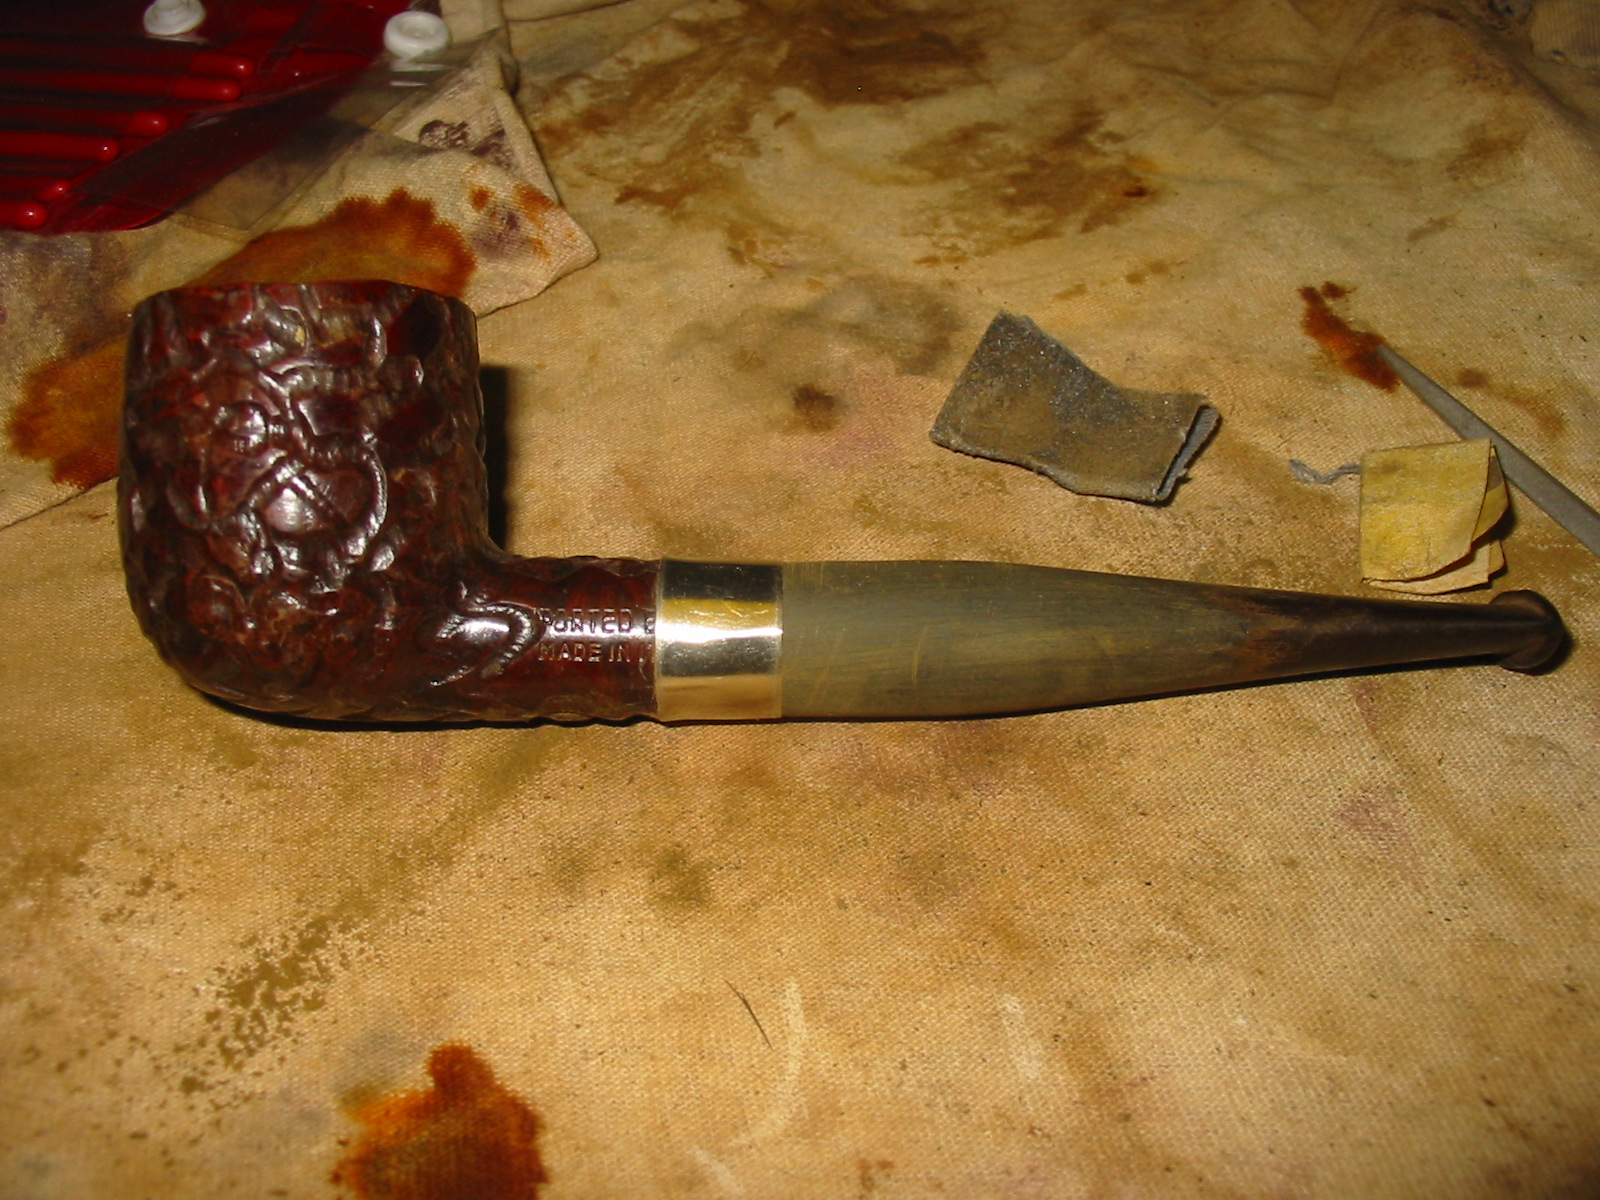
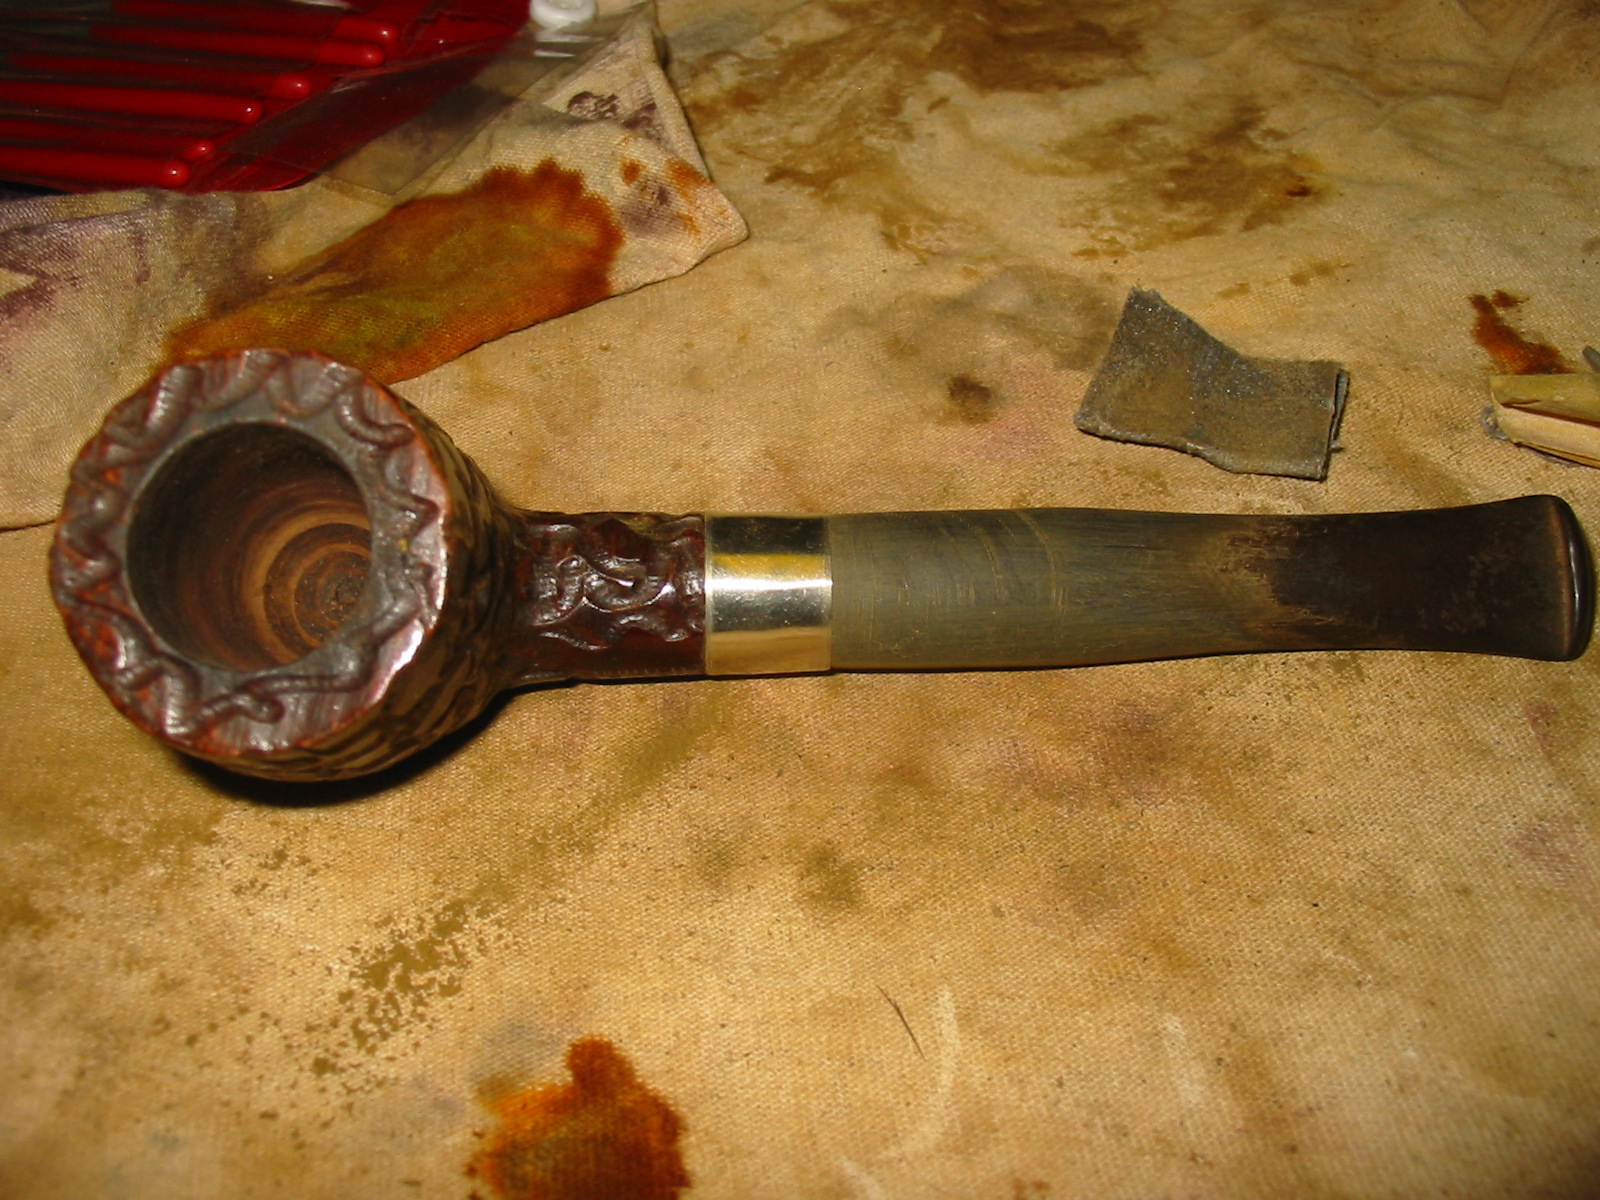
ImageImage

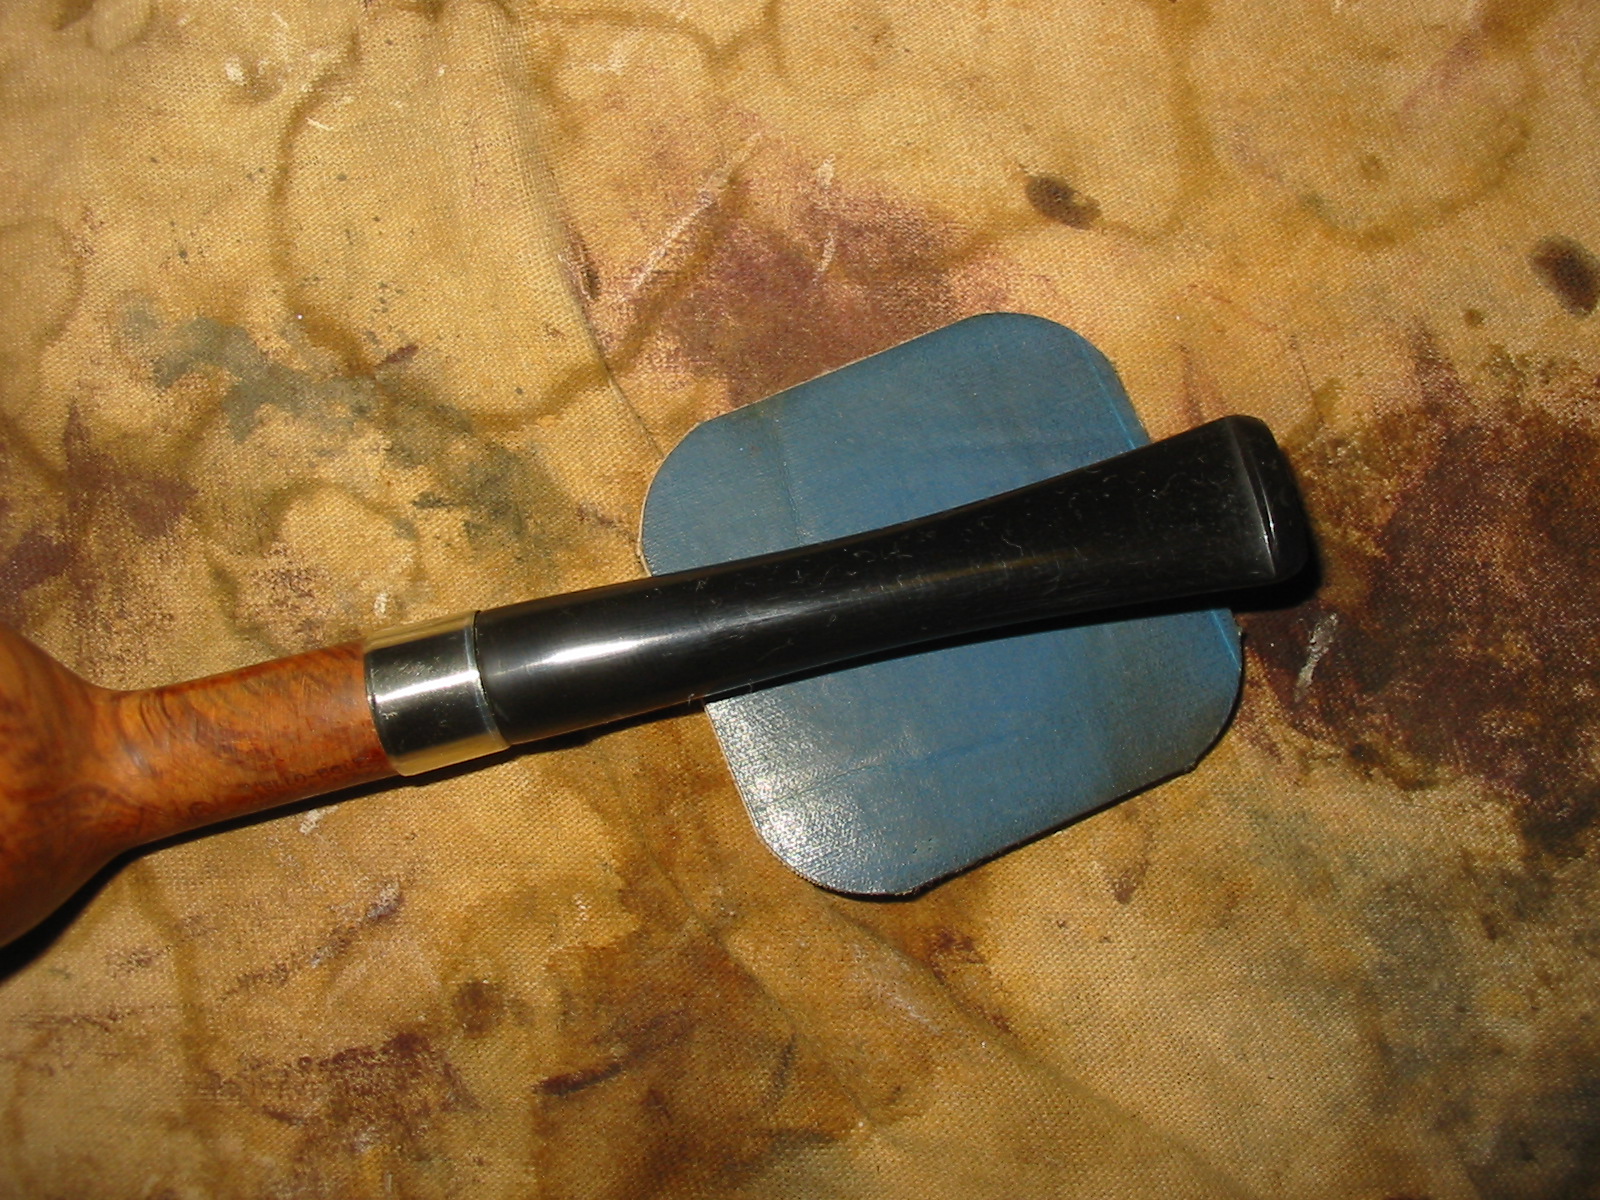
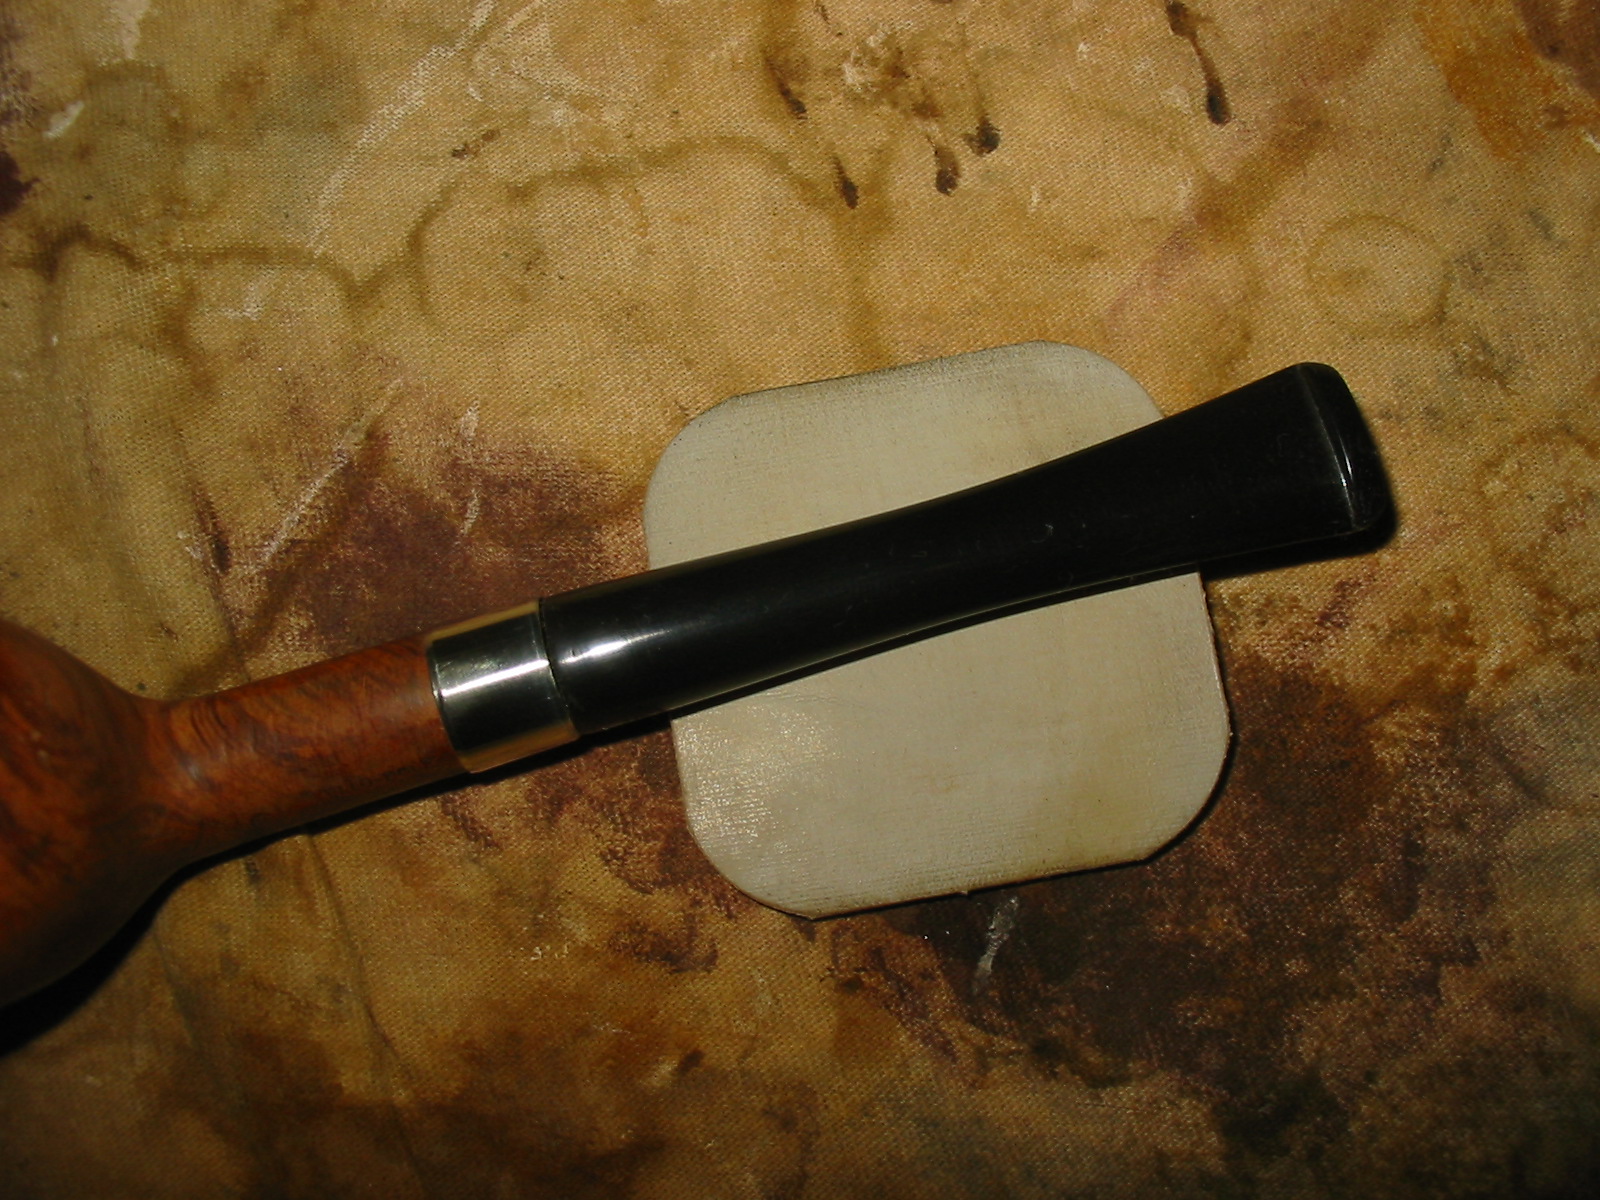
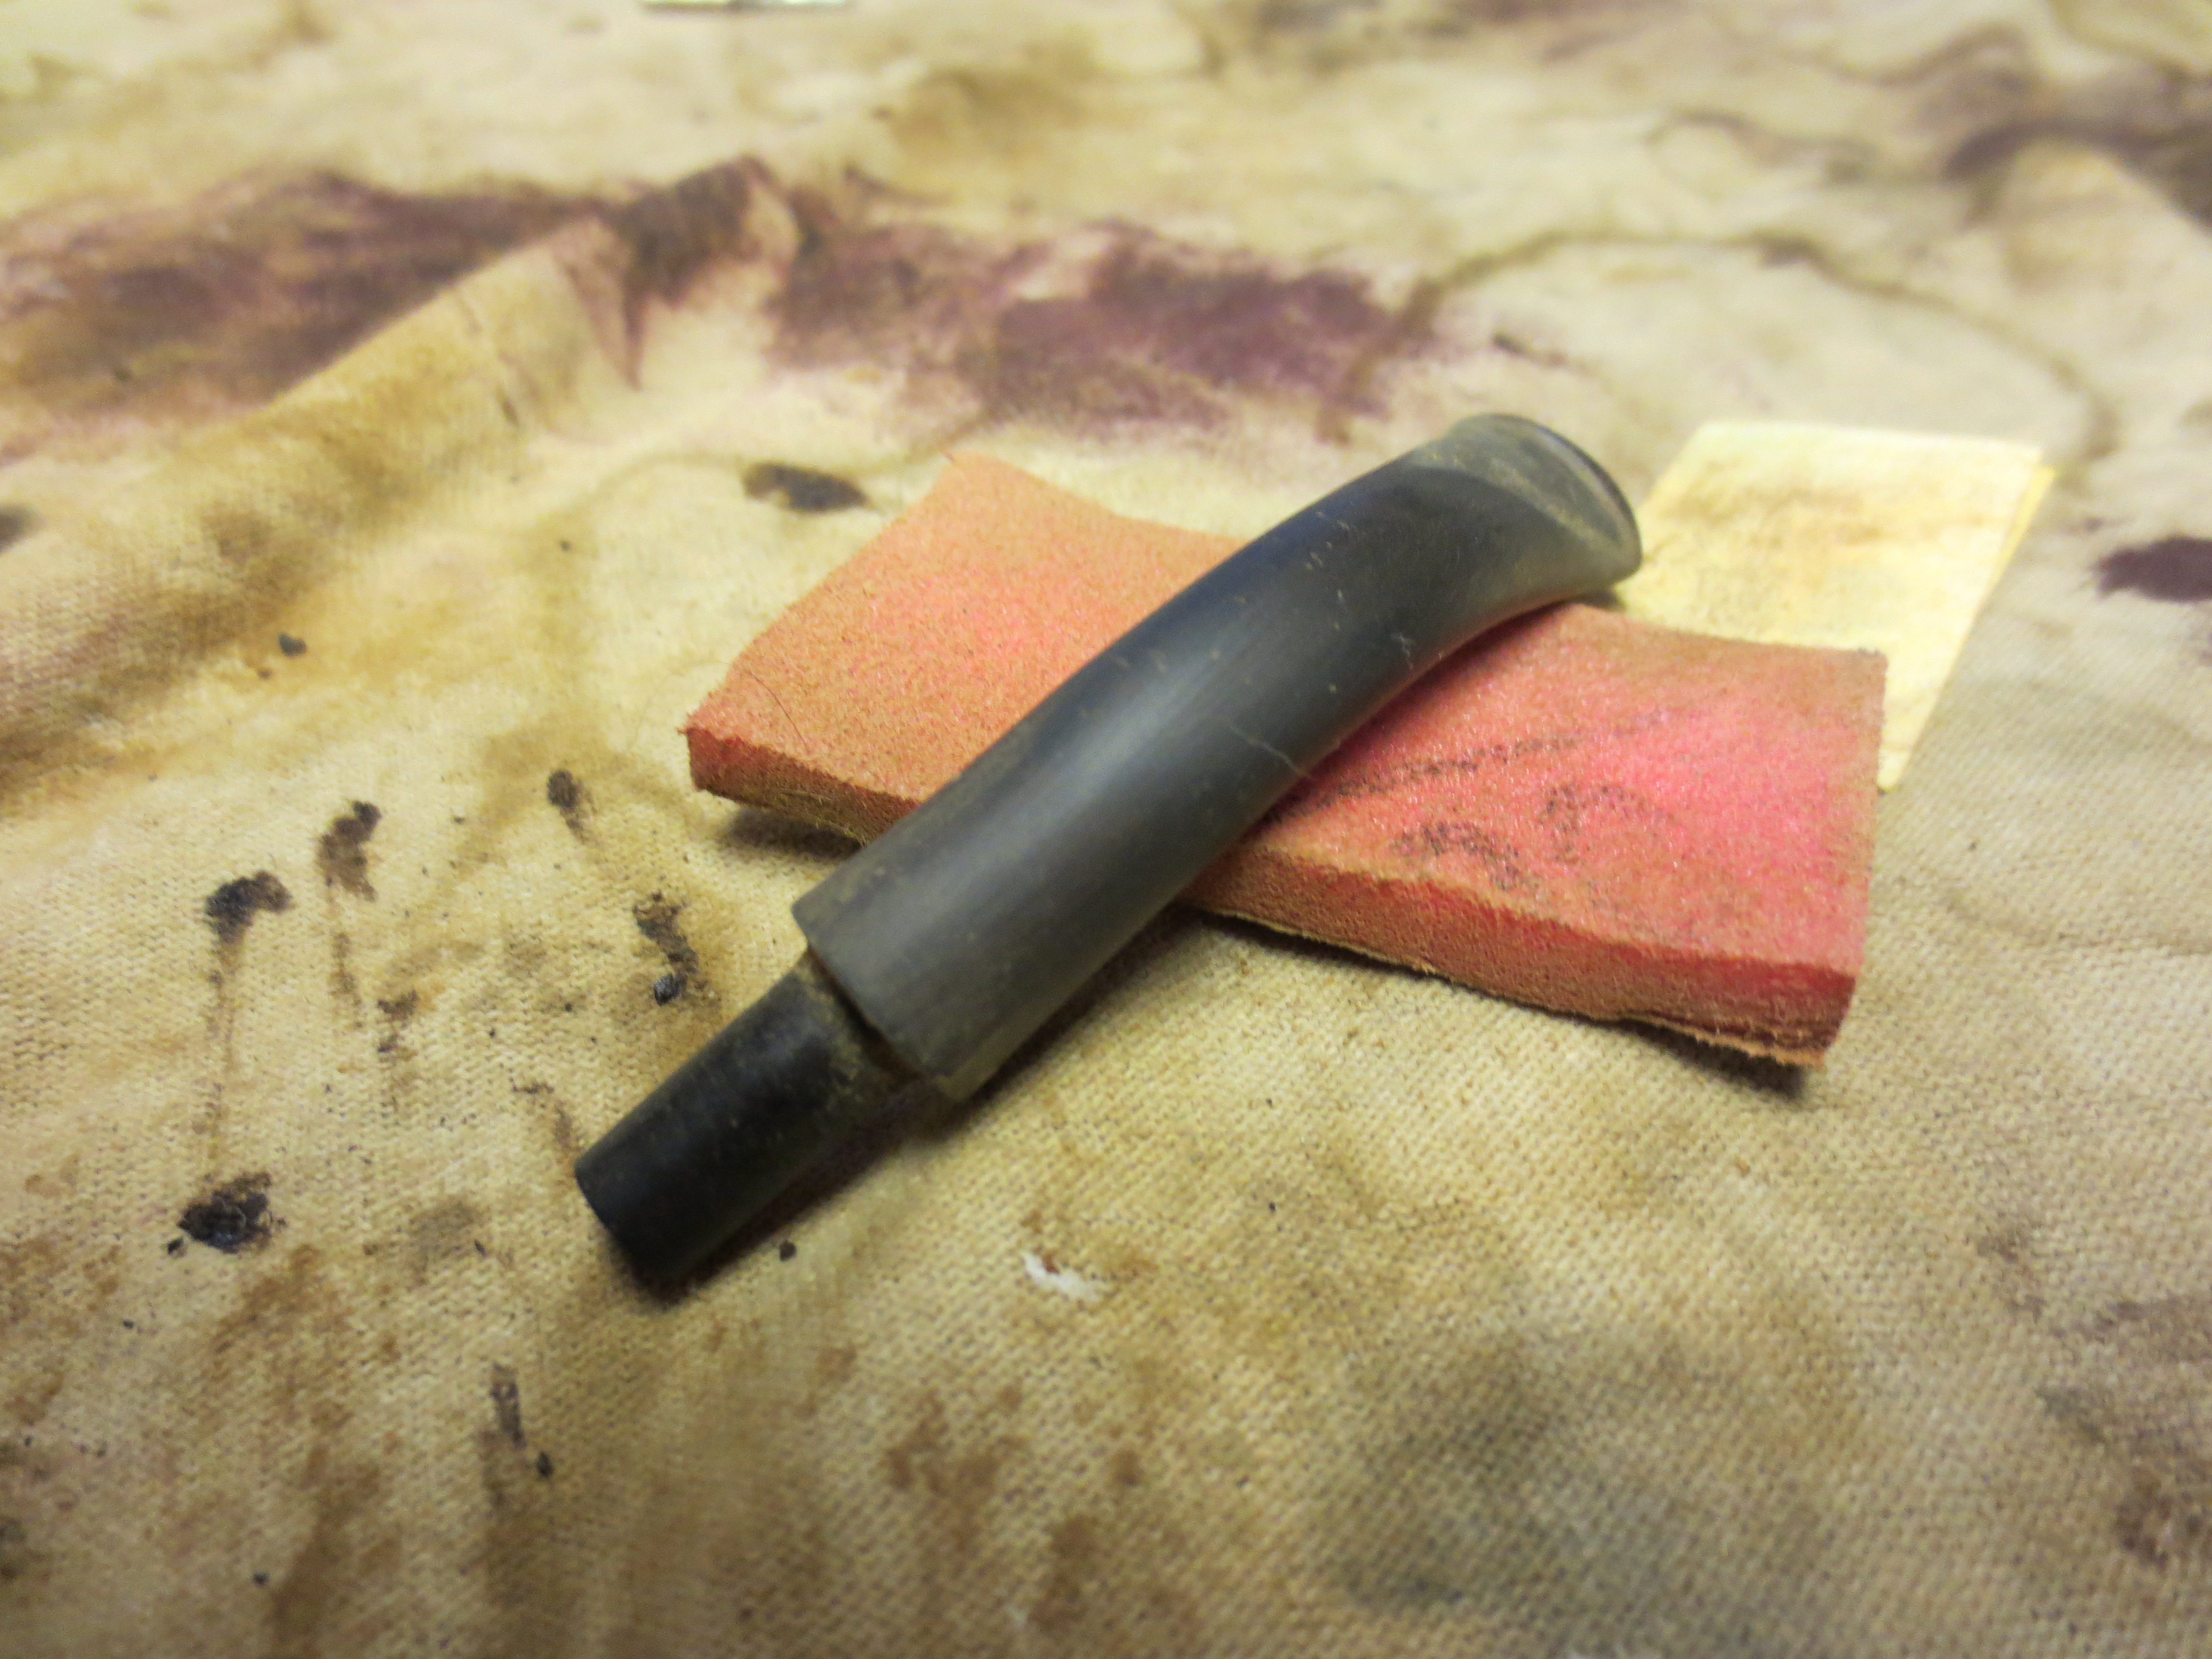
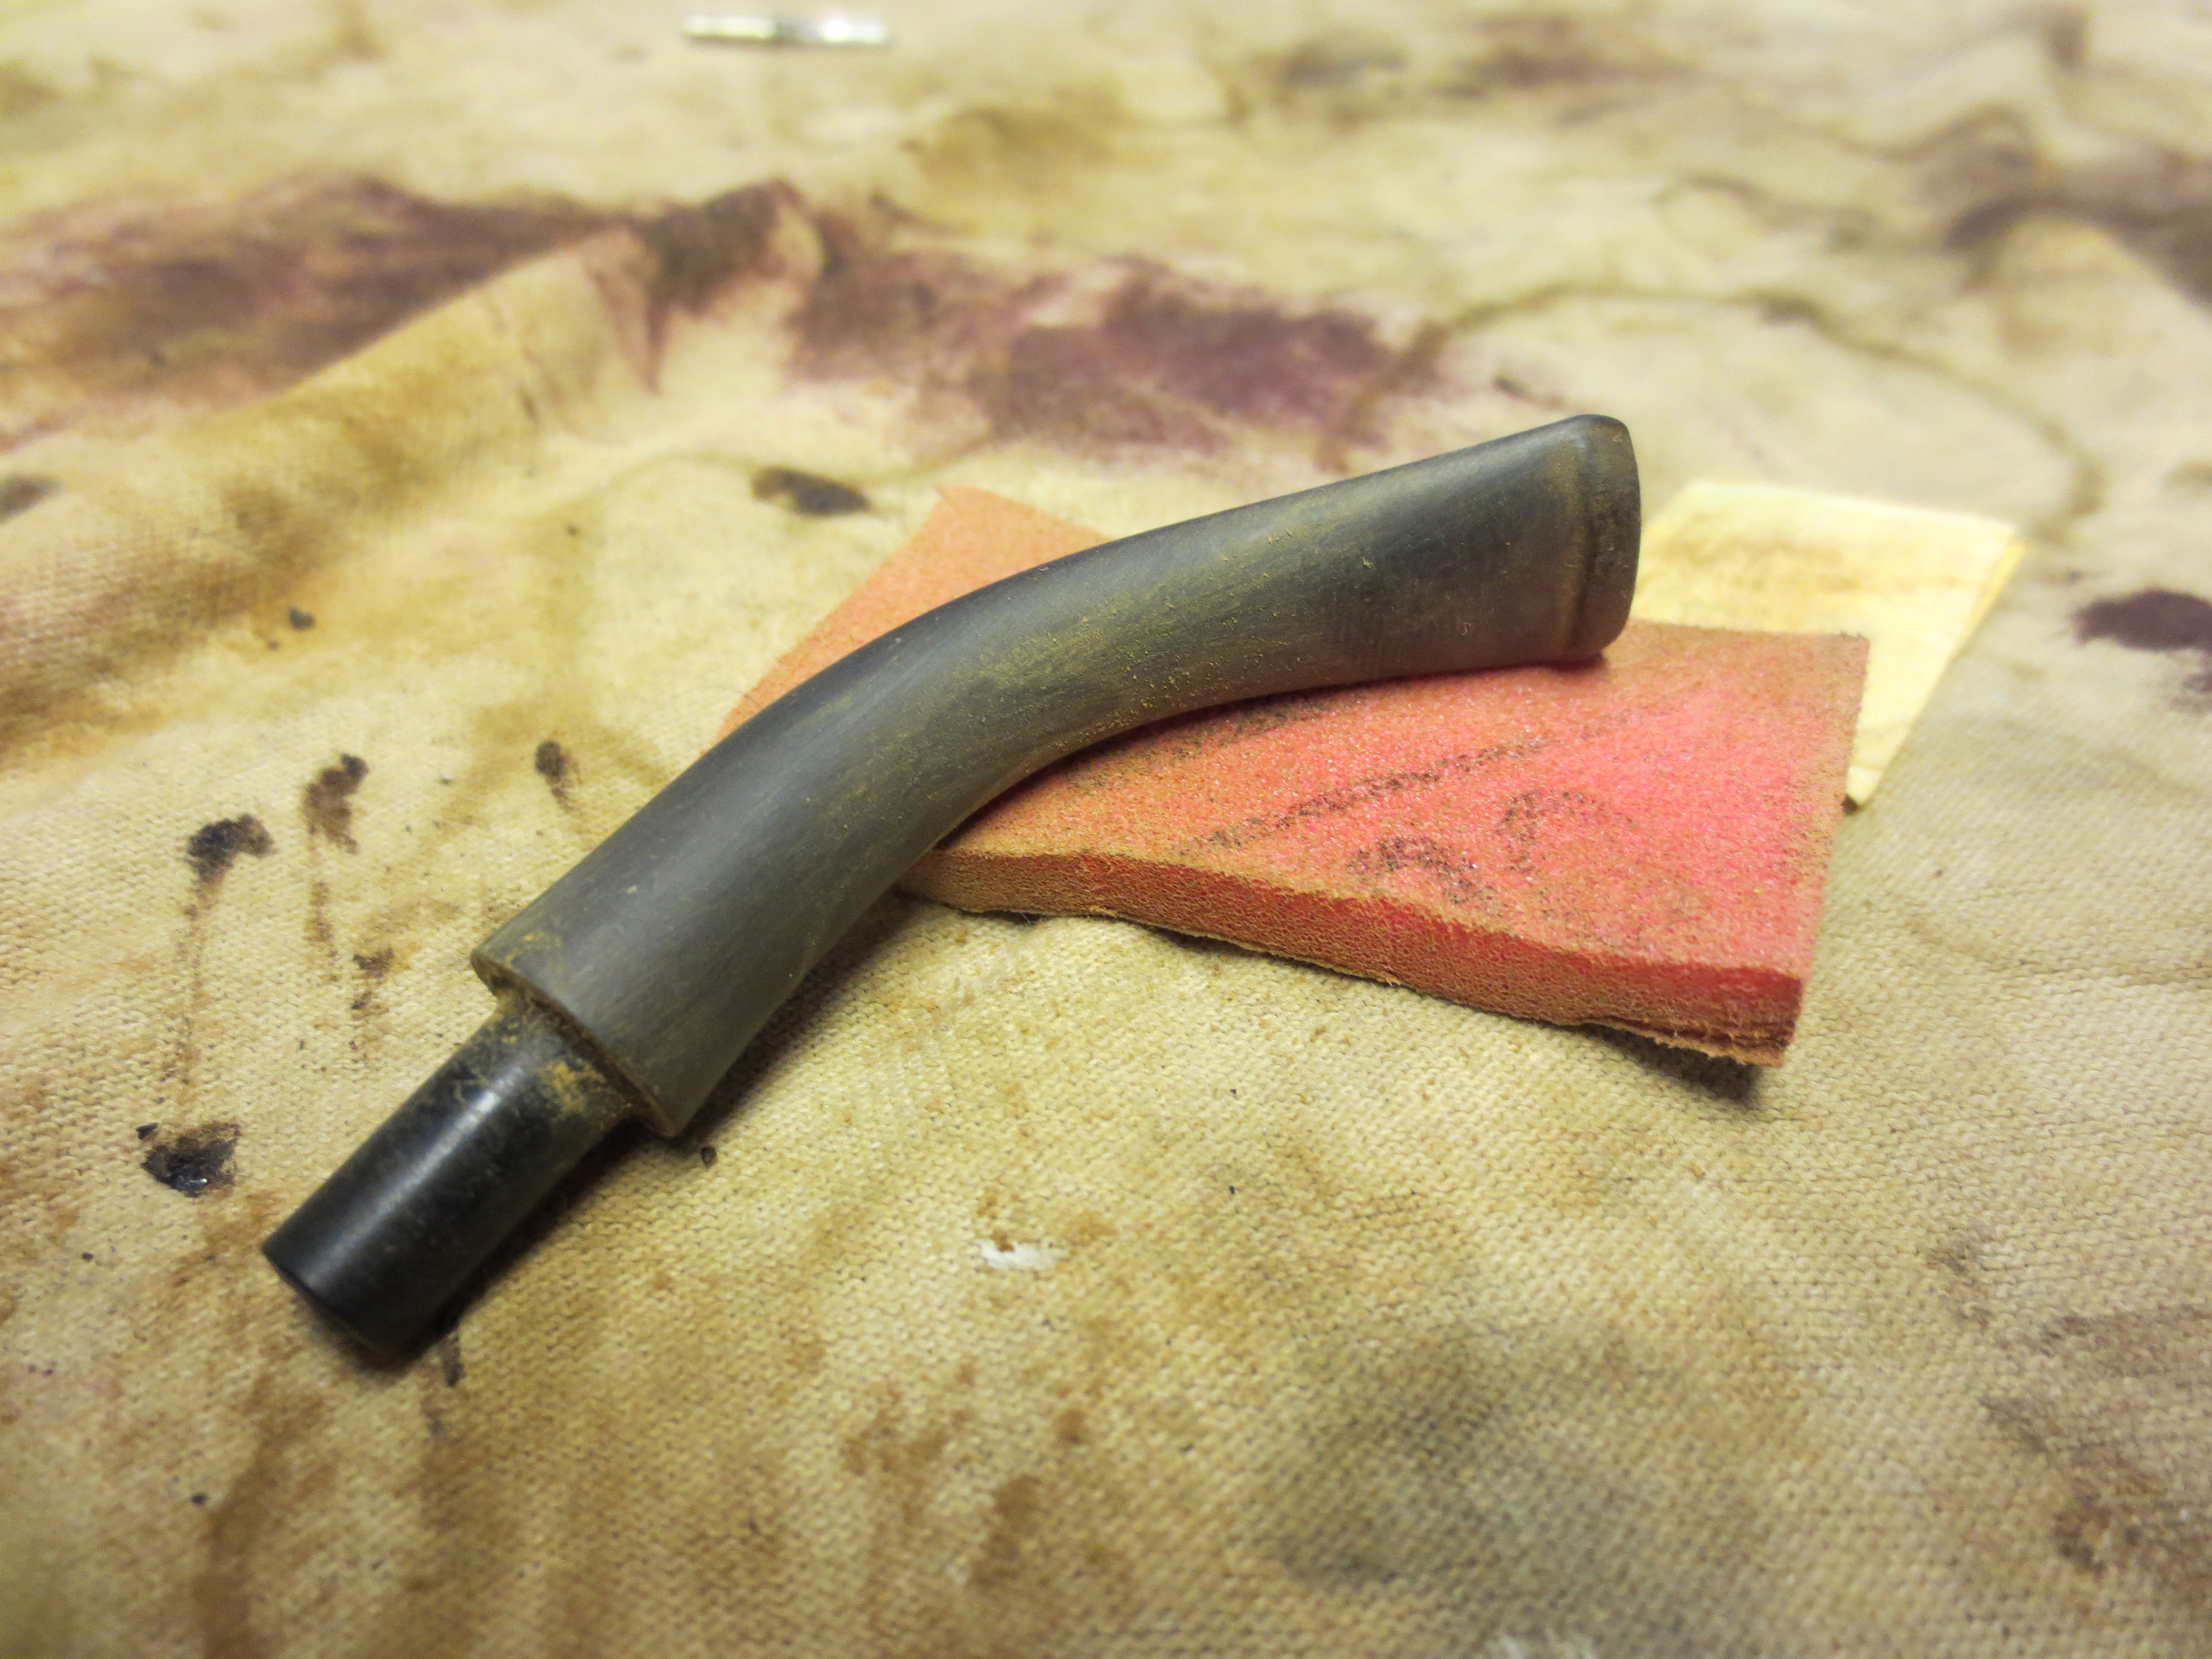
The next series of two photos show the progressive work on the stem. In the background of the pictures are some of the tools that I used in the work – a flat file, emery cloth and some 280 grit sandpaper. When I had finished the stem to this point all that remained was to work on it with some 320 grit and some 400 and 600 grit wet dry sandpaper before moving on to sanding it with the micromesh sanding pads.

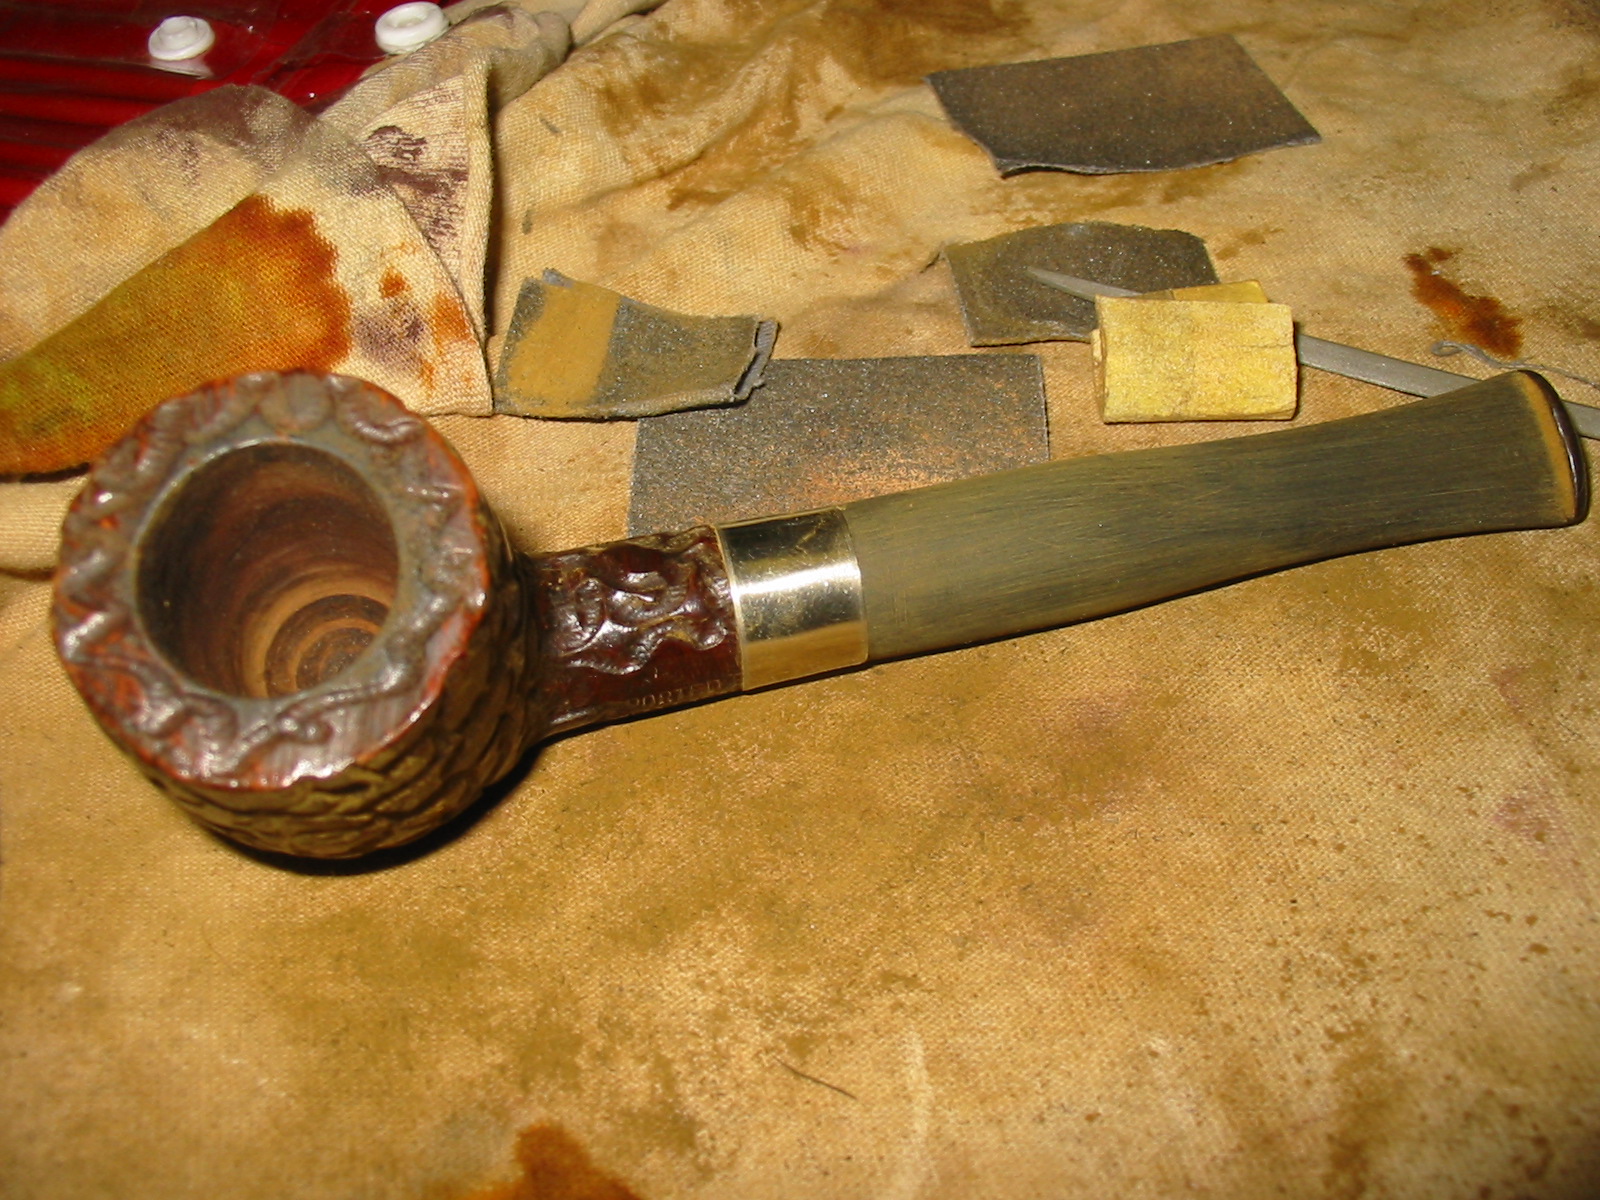
ImageImage

At this point I decided to take a break from sanding – the old fingers were getting a bit sore. I used a brass tire brush to clean off the remnant of tars on the rim and then restained the pipe with a dark brown aniline stain thinned 2:1 with isopropyl alcohol. I applied it with a dauber and then flamed it and restained a second time and flamed it again. I then took it to the buffer and buffed it with Tripoli and White Diamond to give it a shine and remove the excess stain from the high spots on the briar and lend a little contrast to the darkened grooves. The next two photos show the restained bowl.
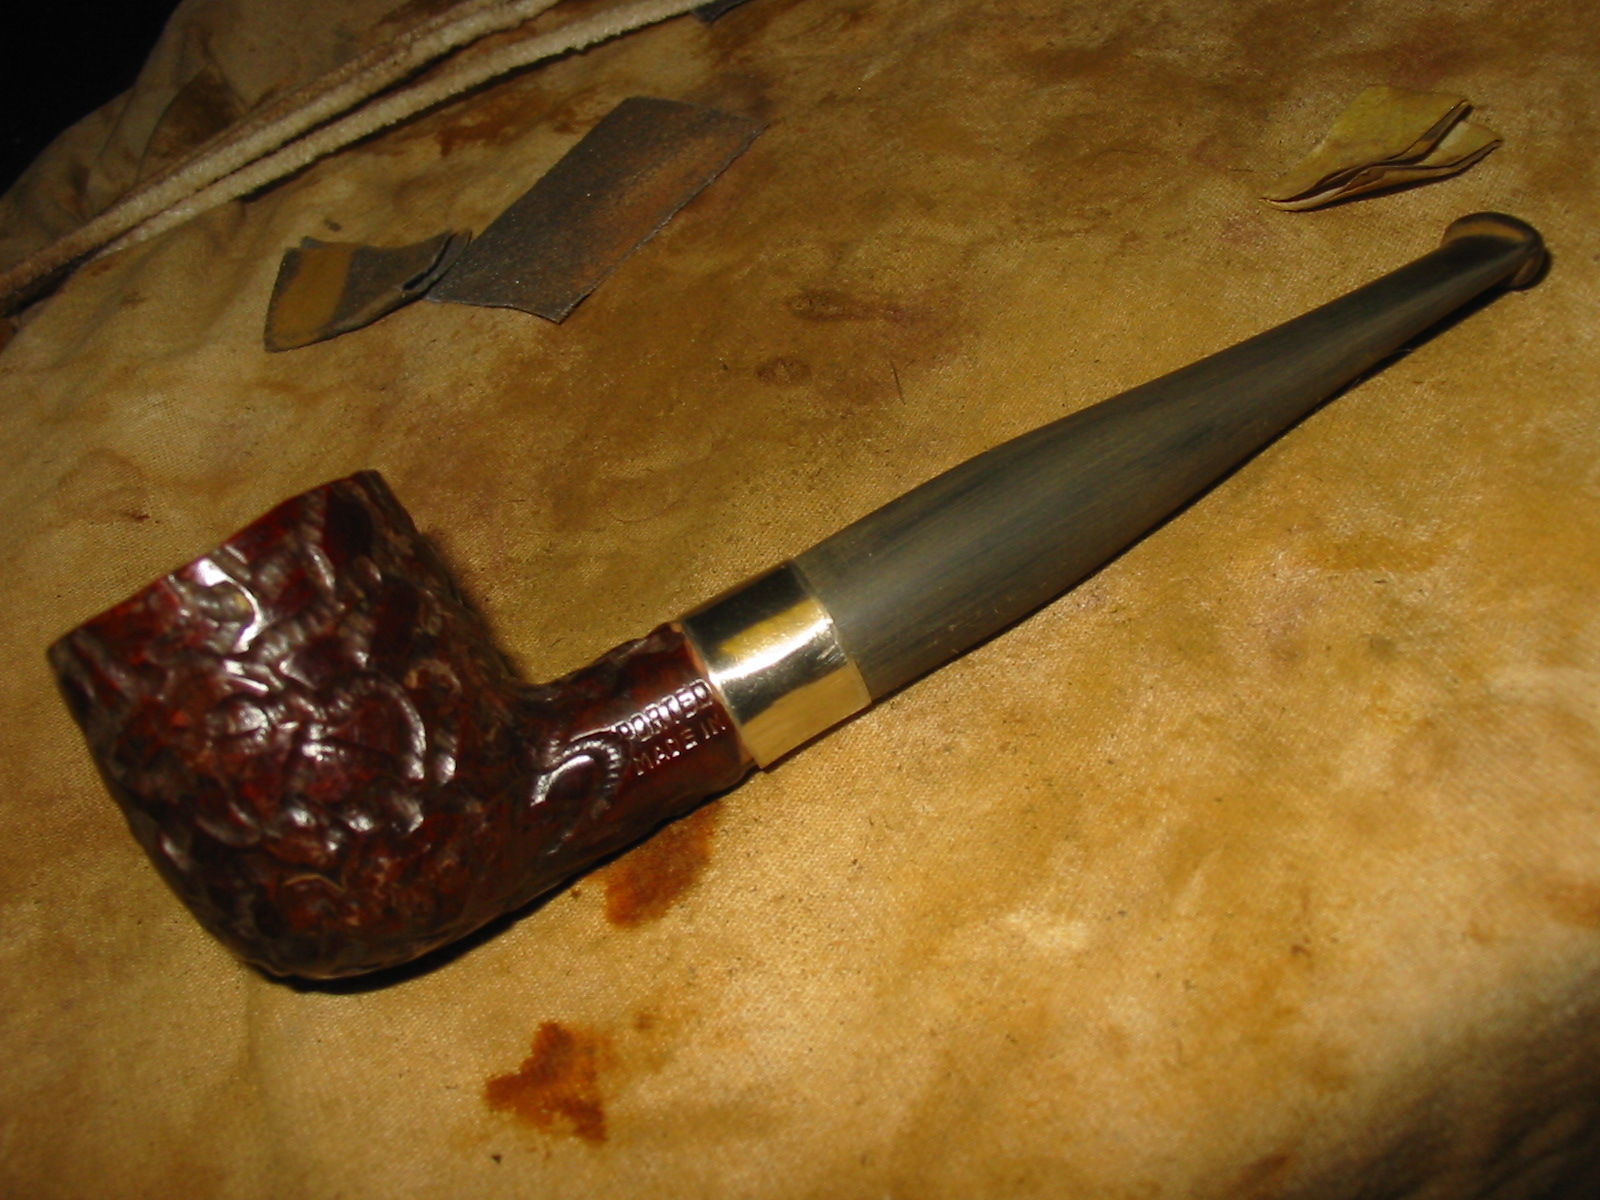
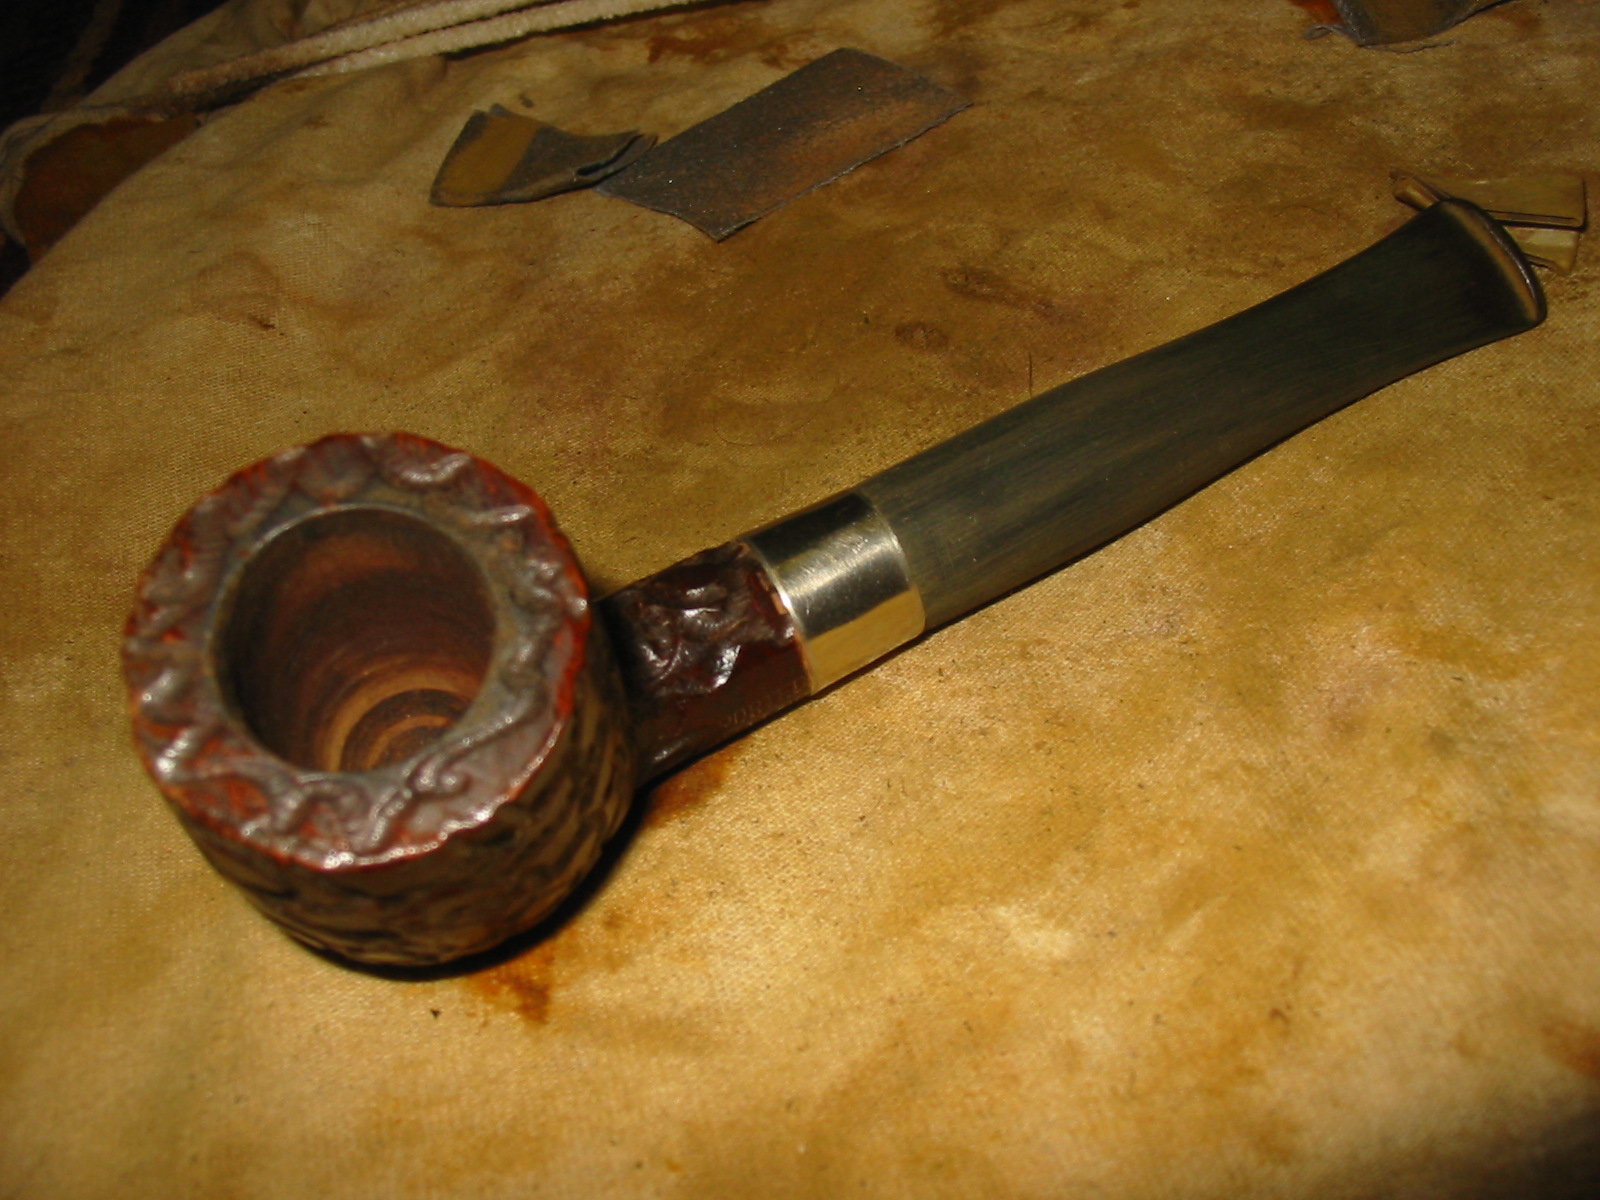
ImageImage

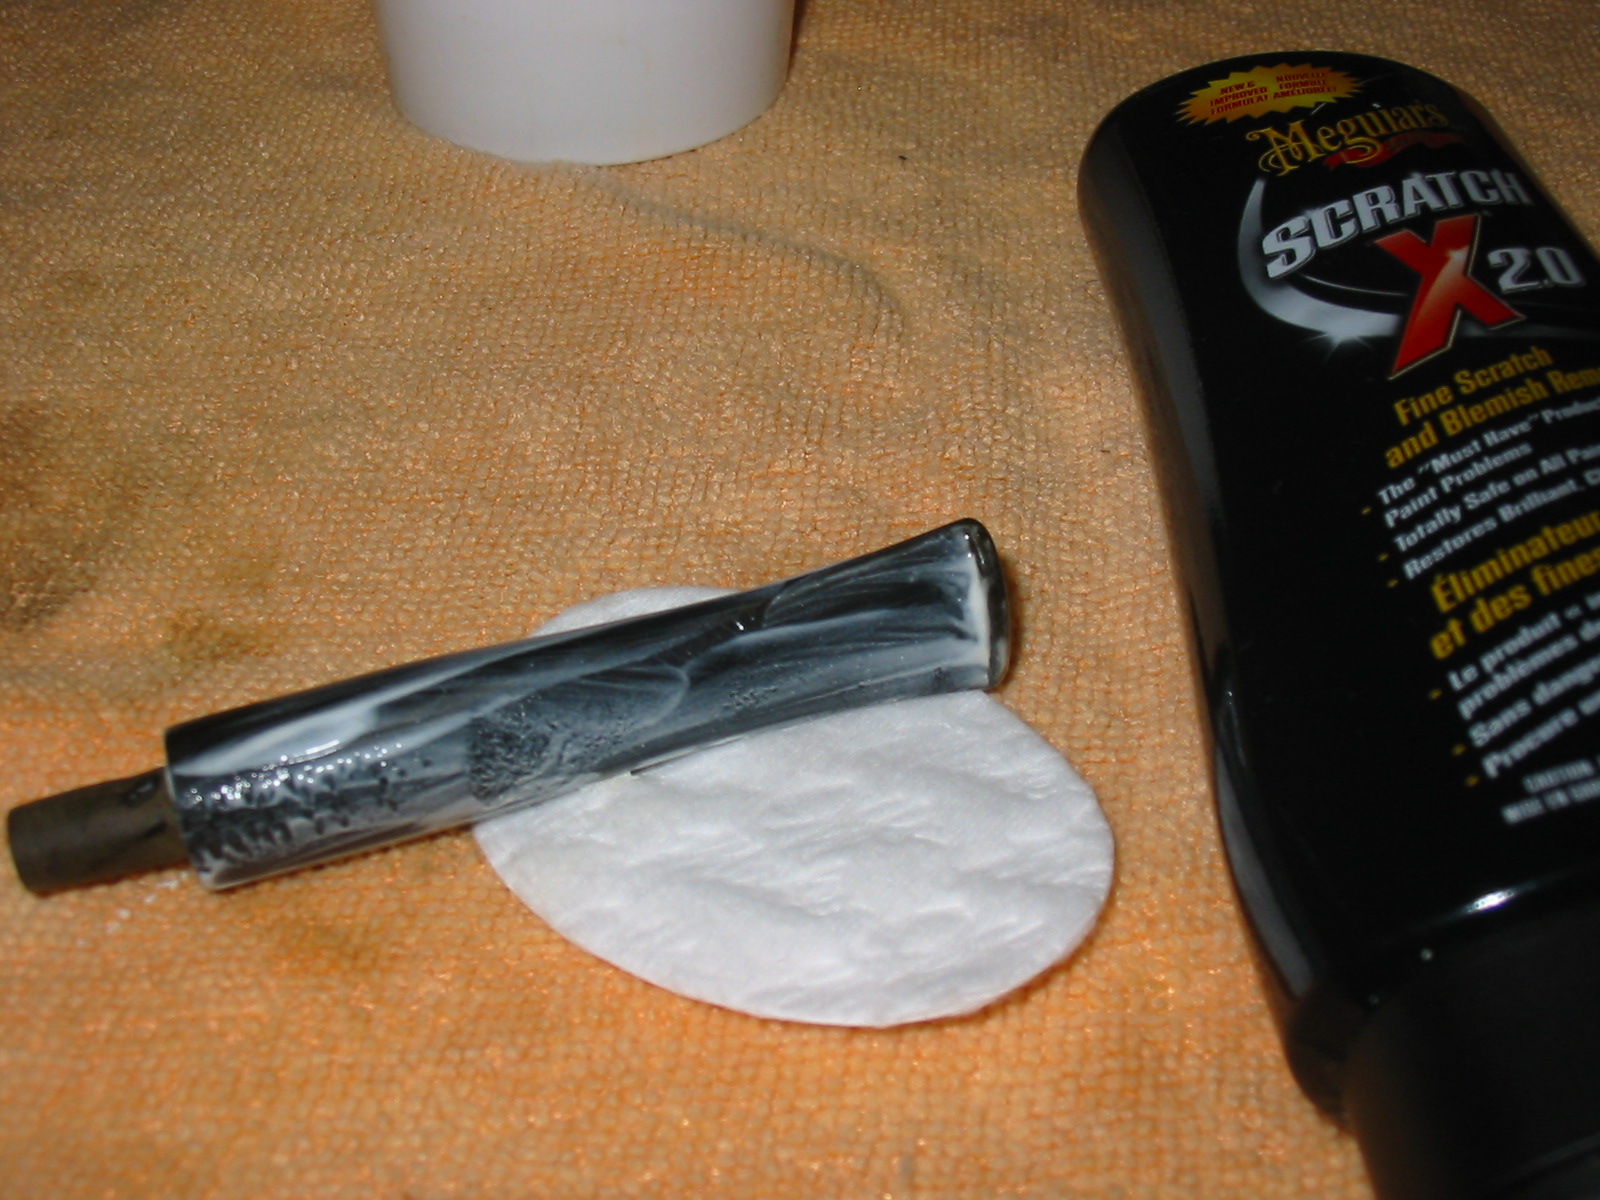
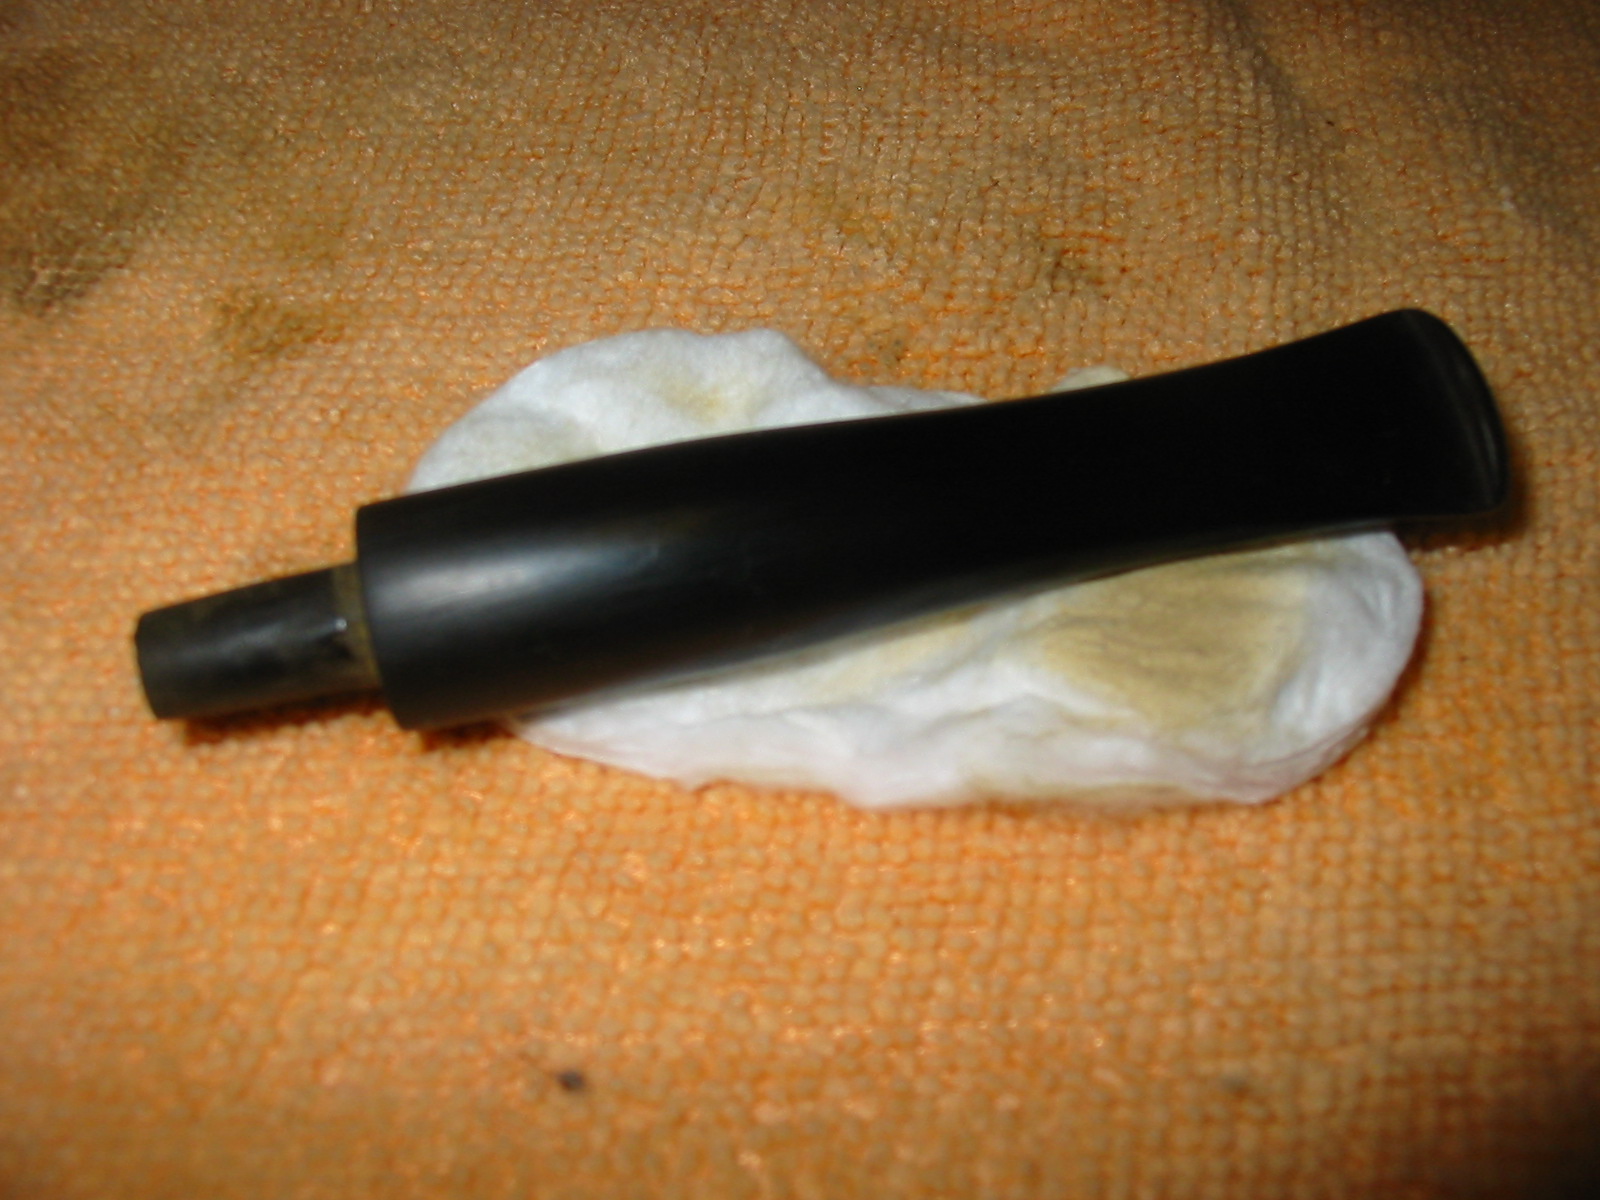
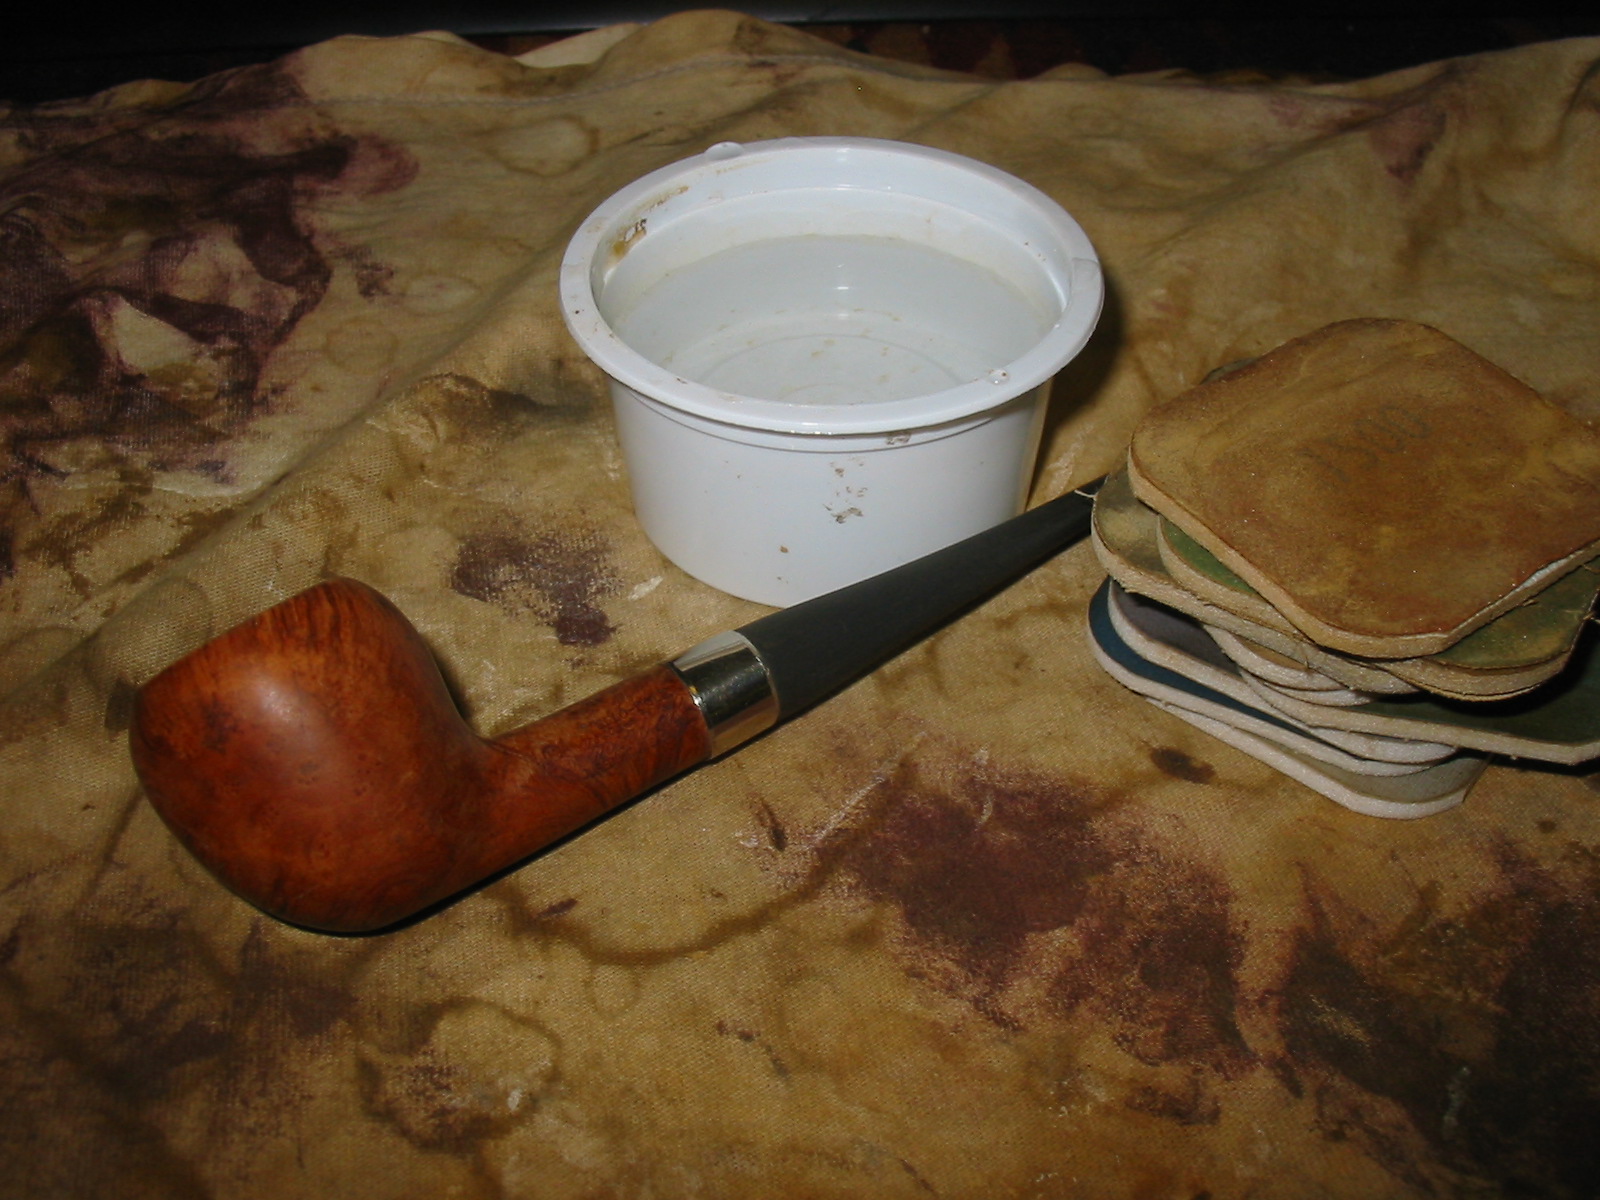
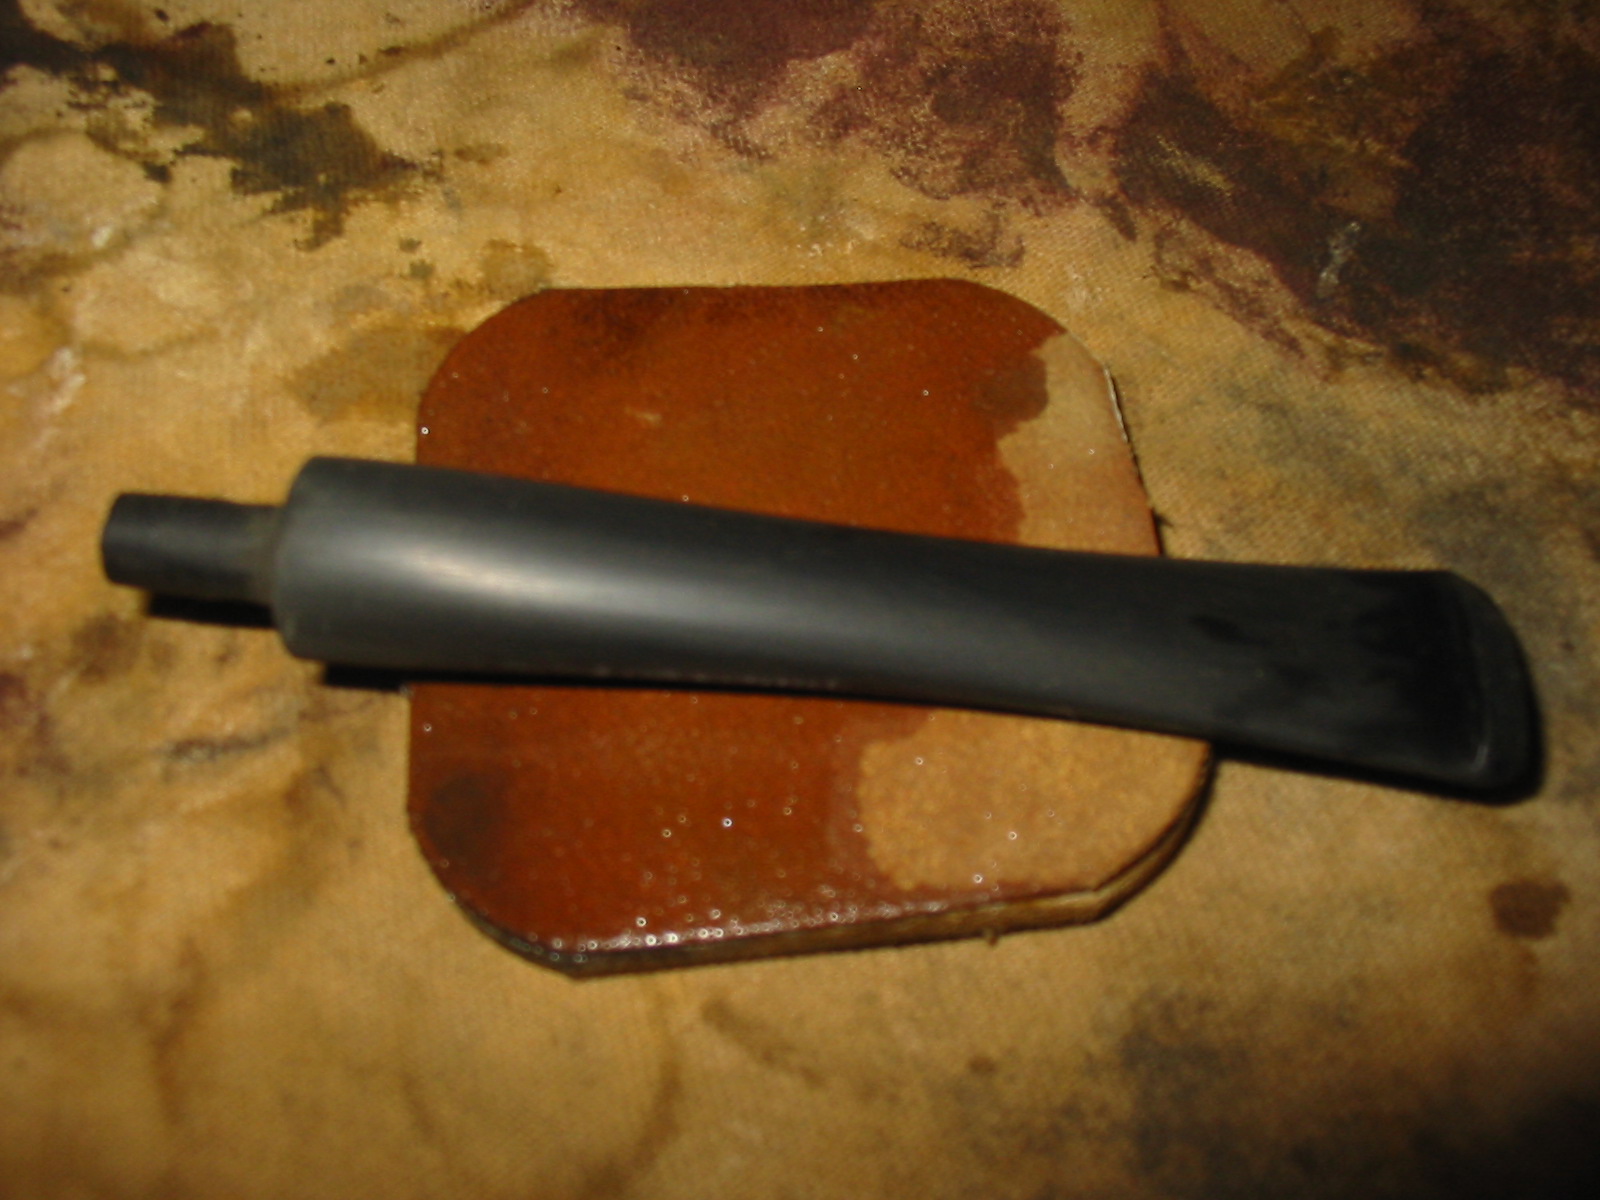
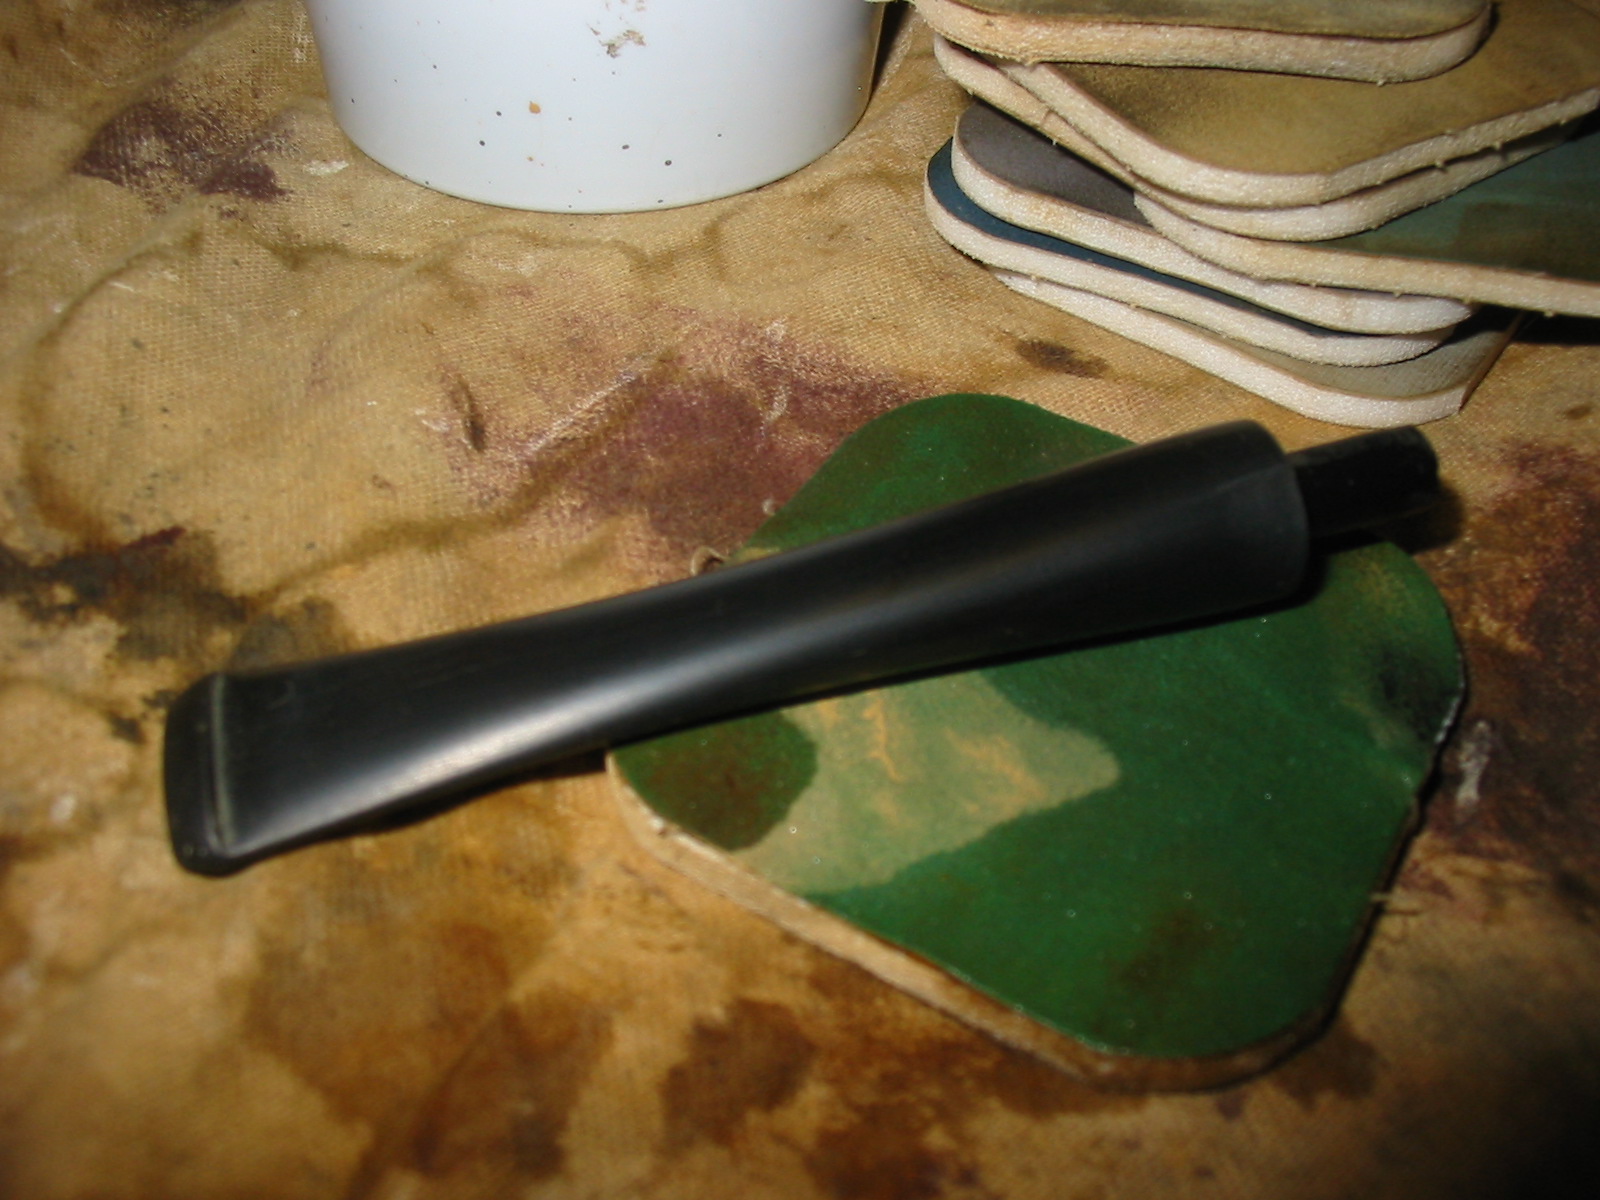
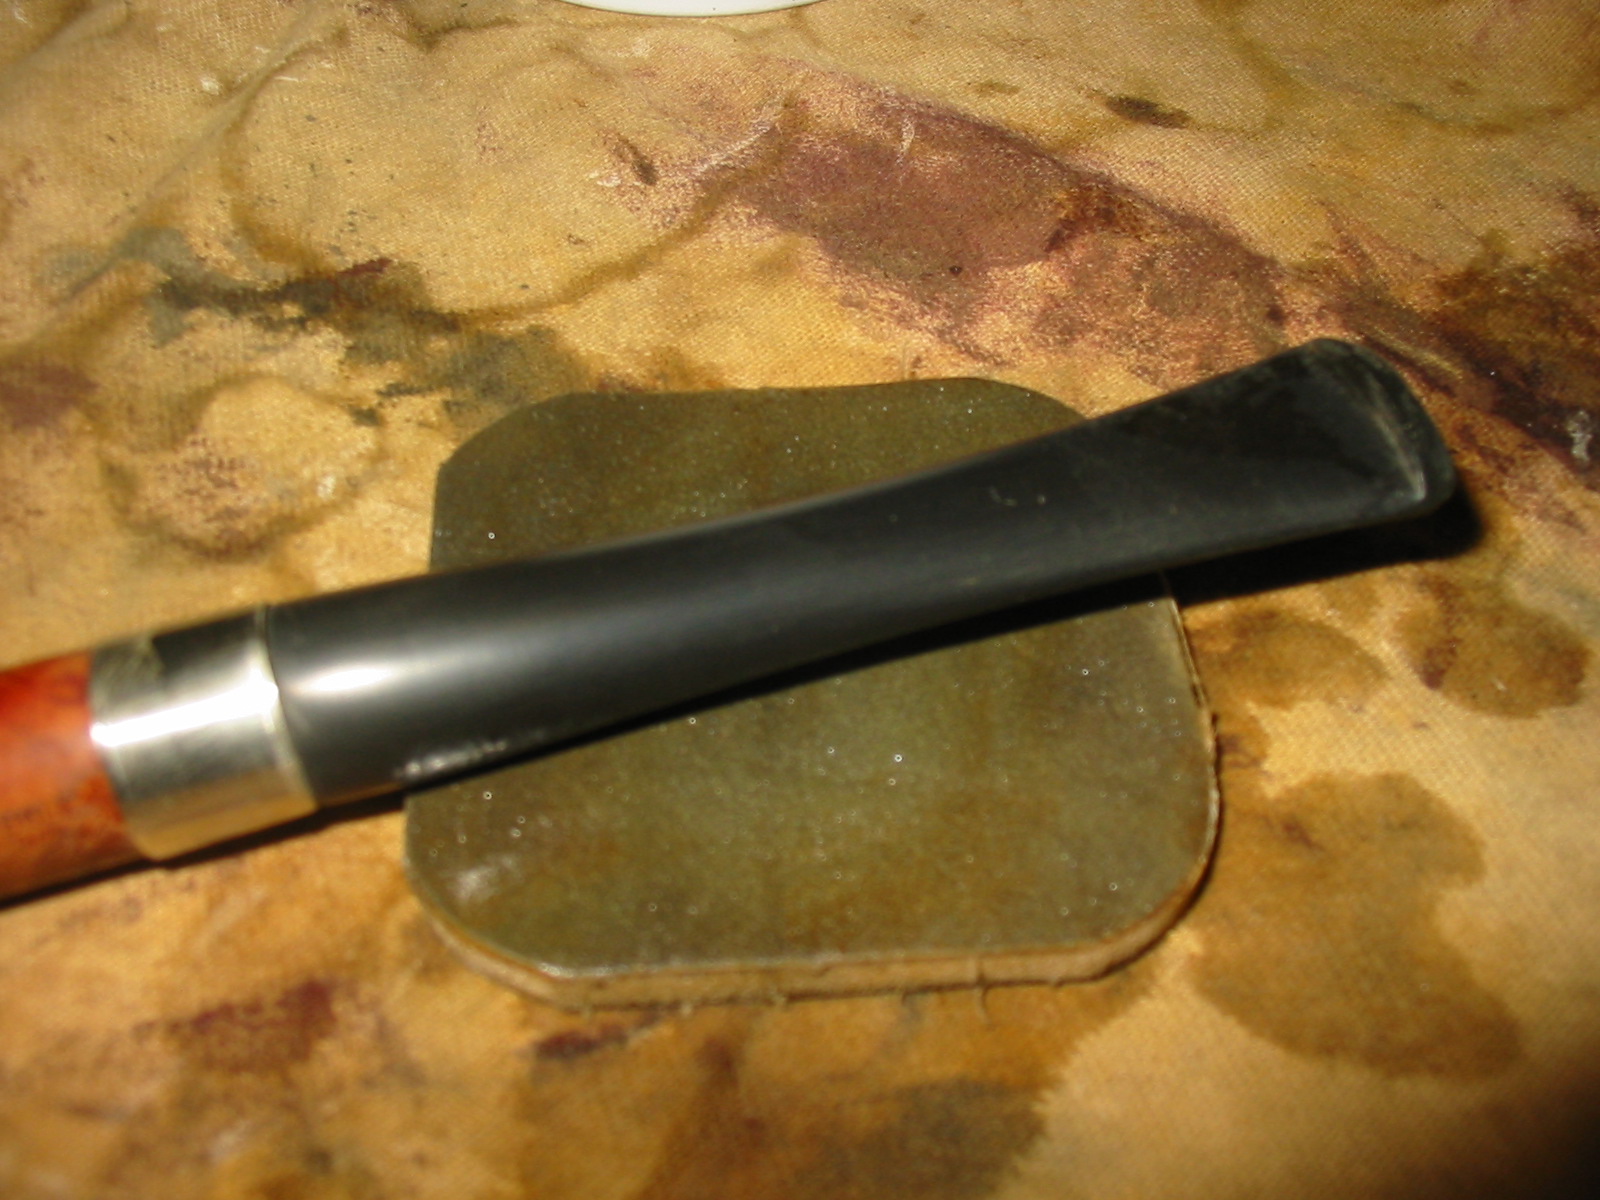
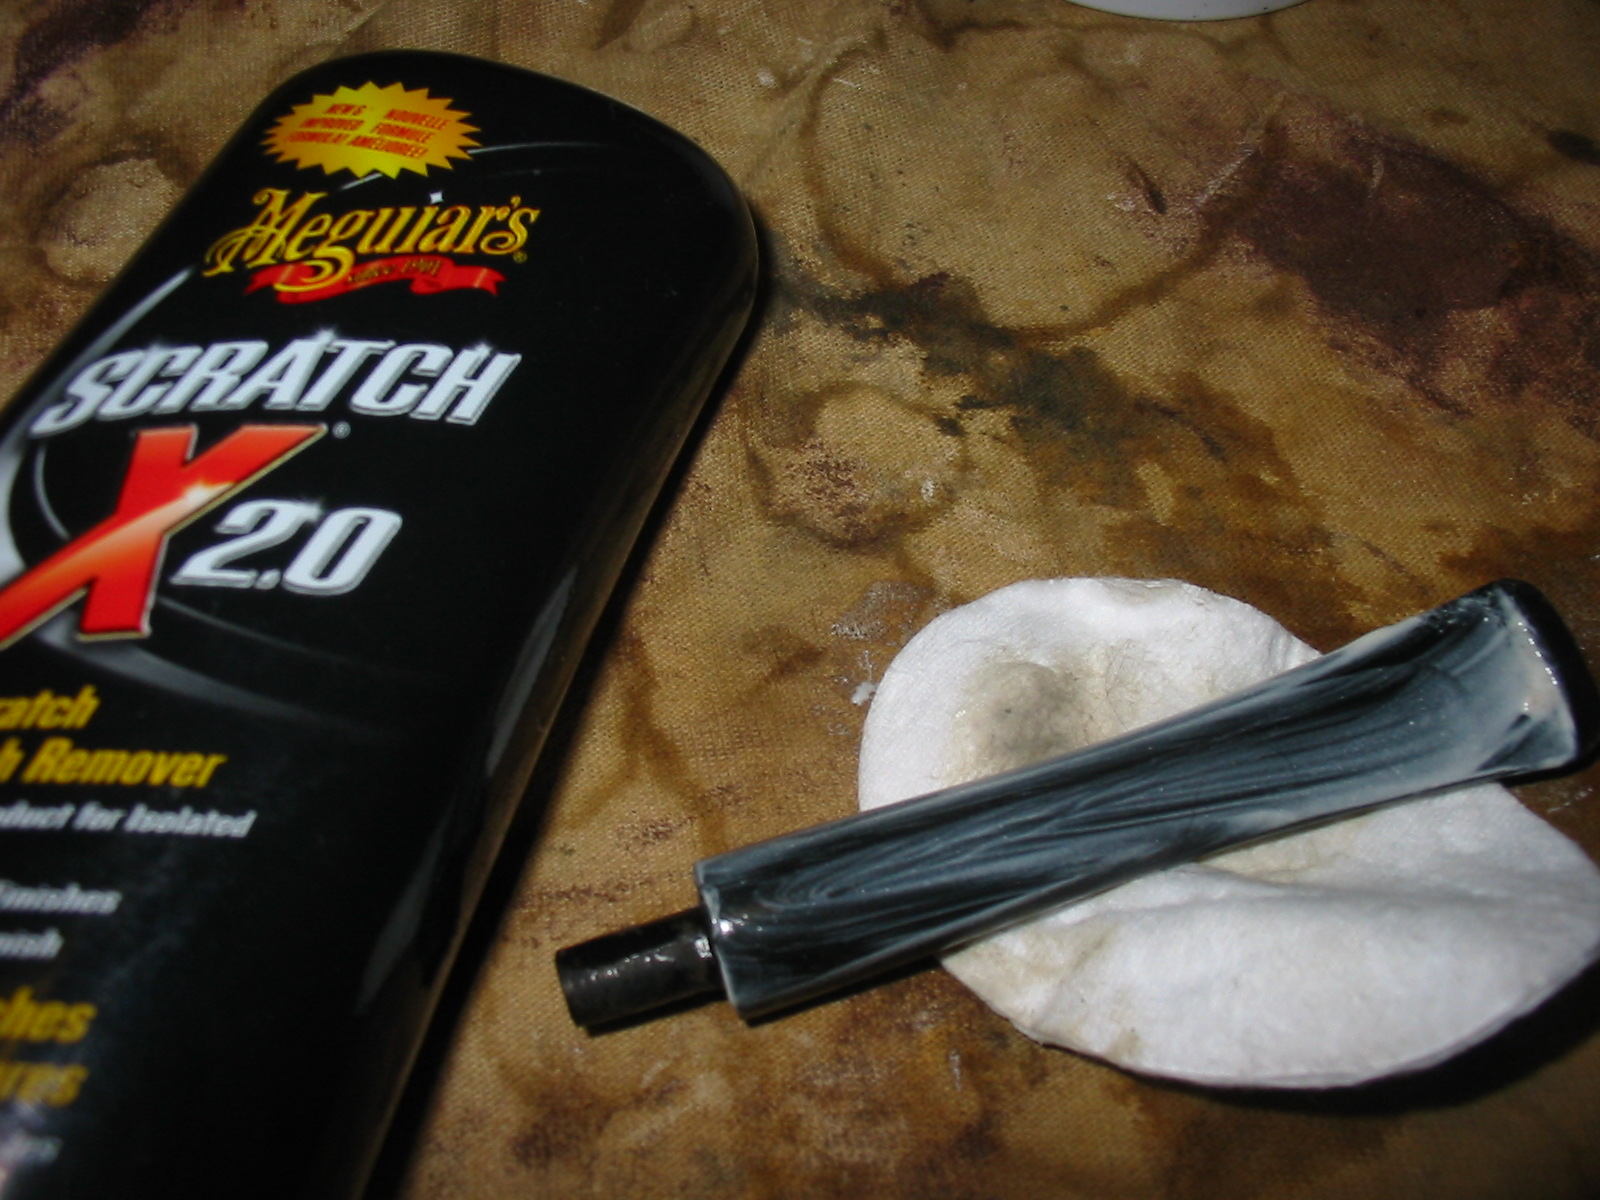
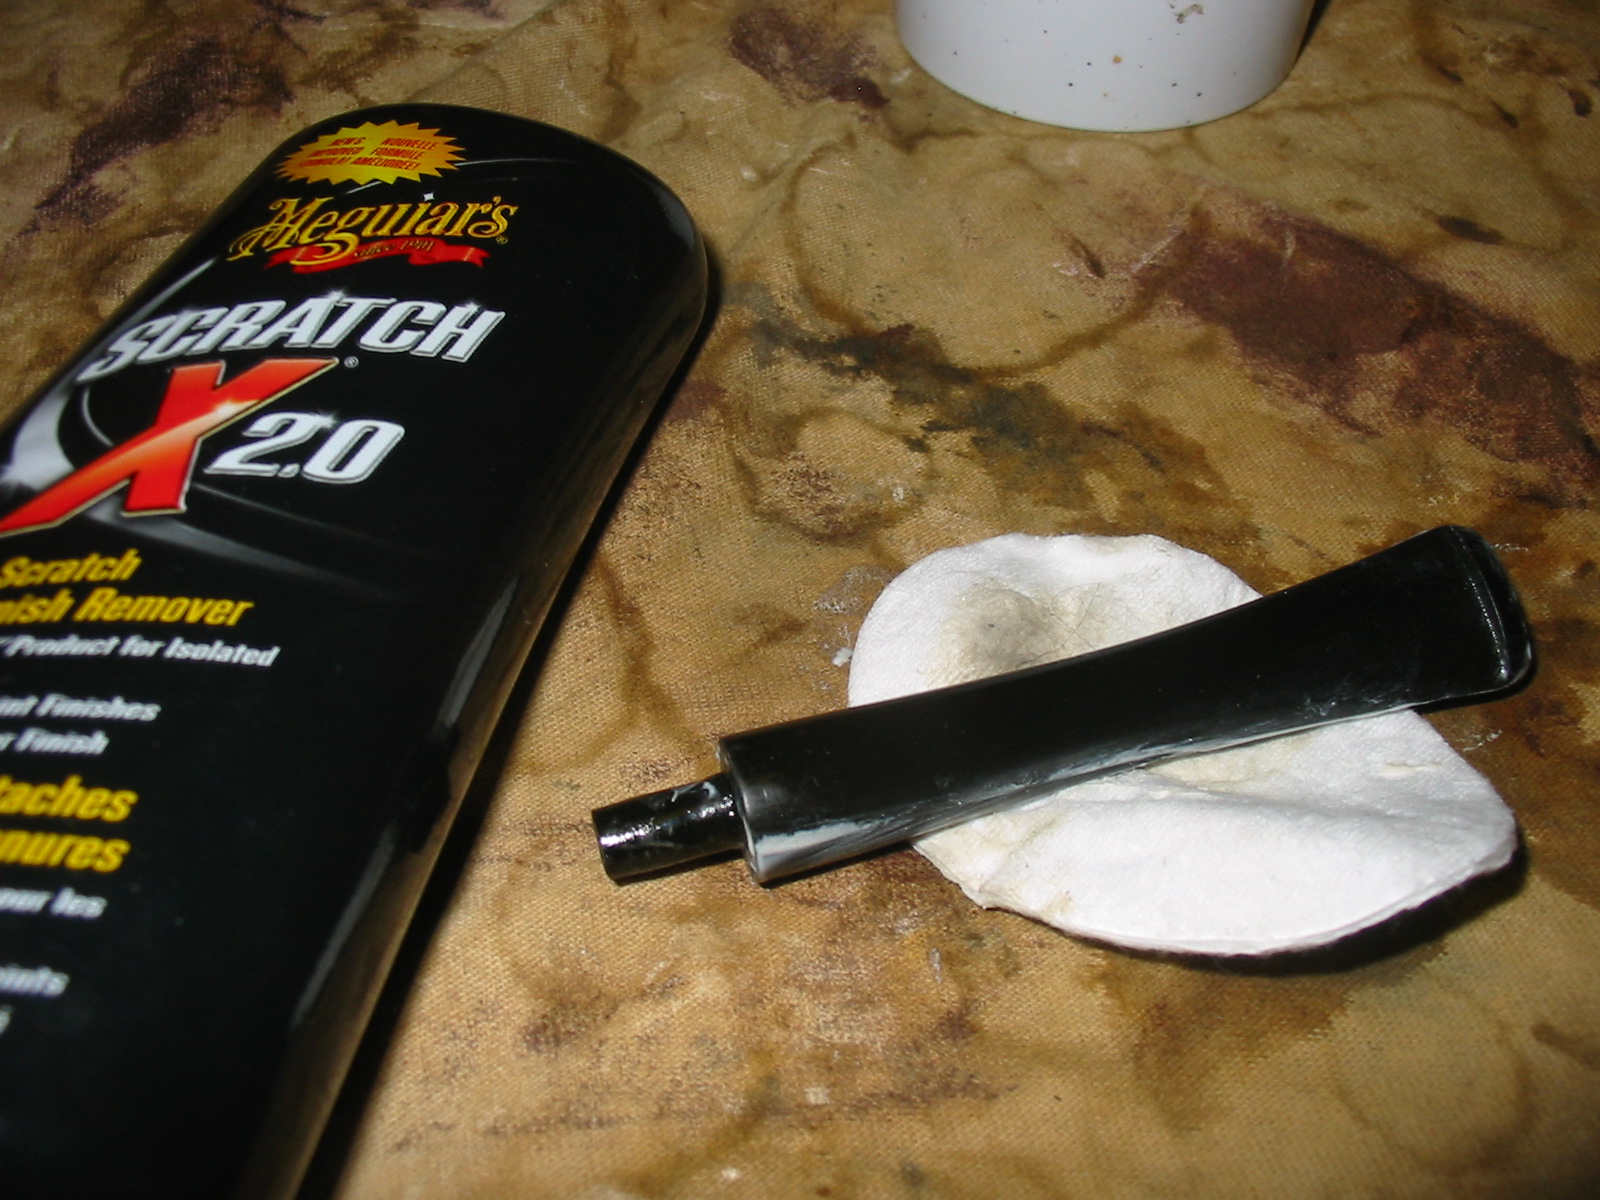
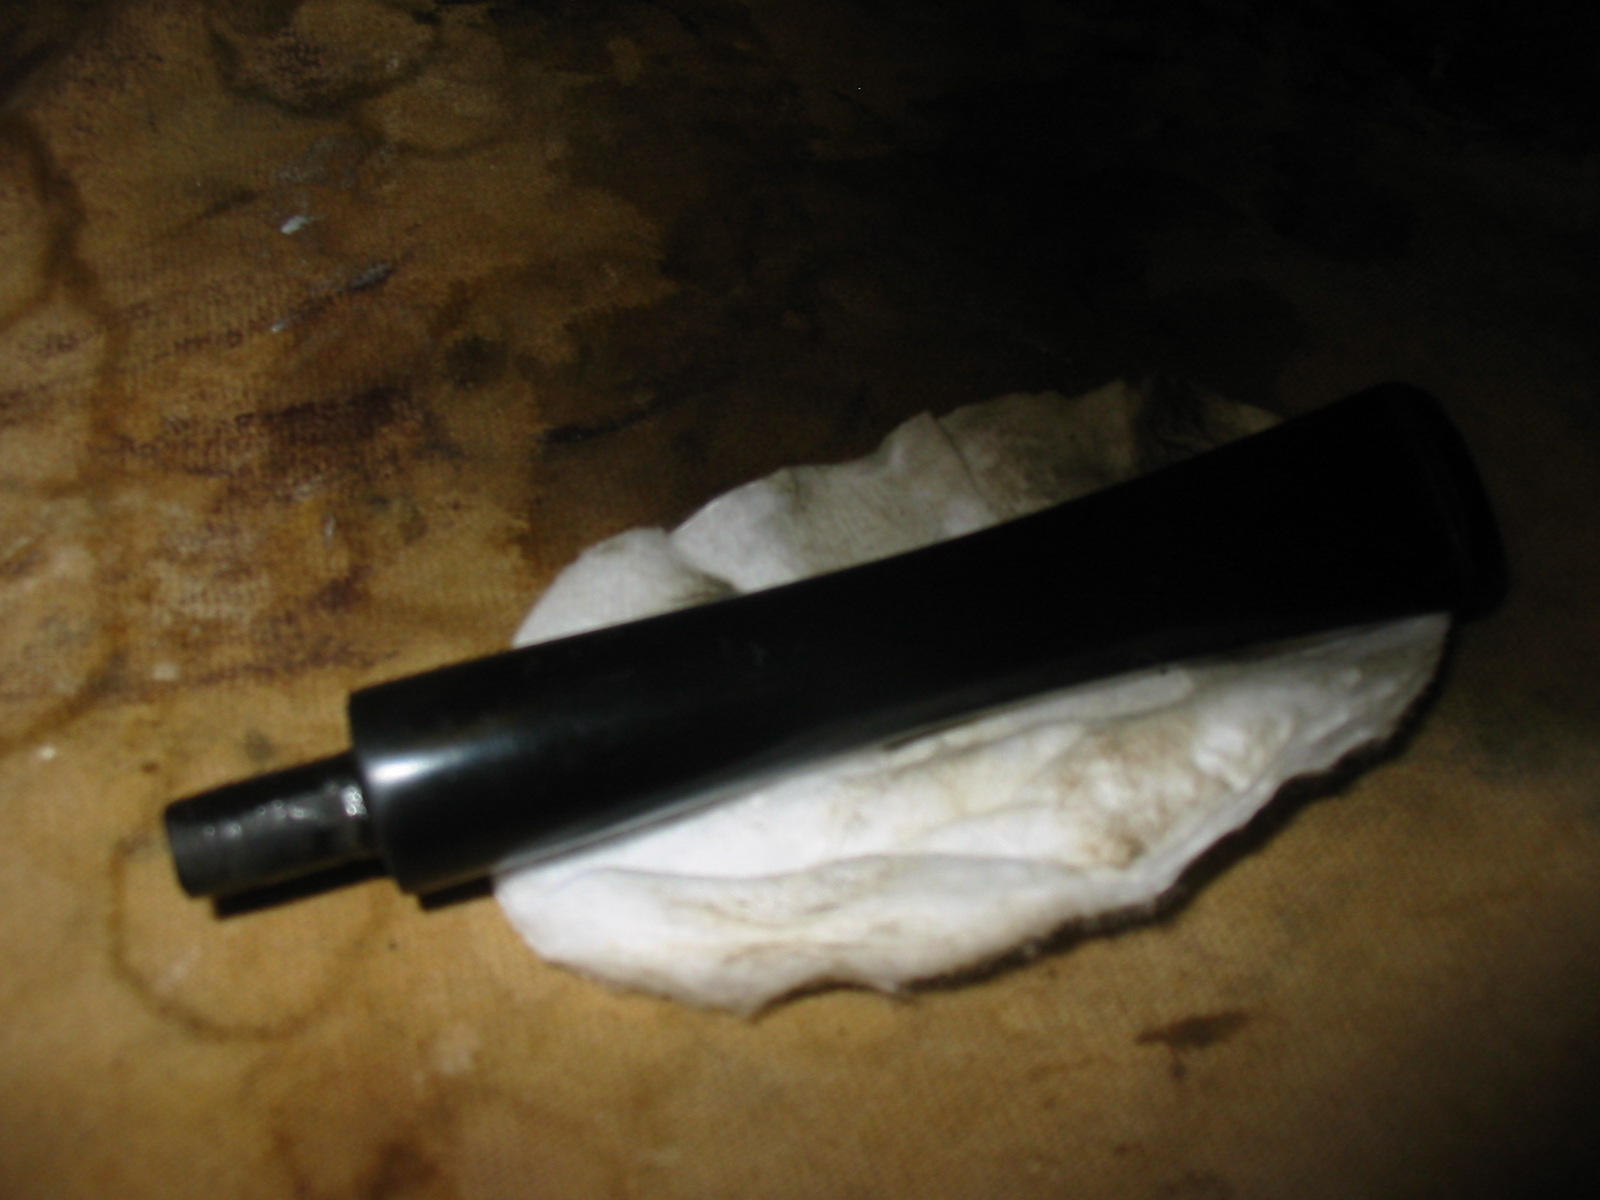
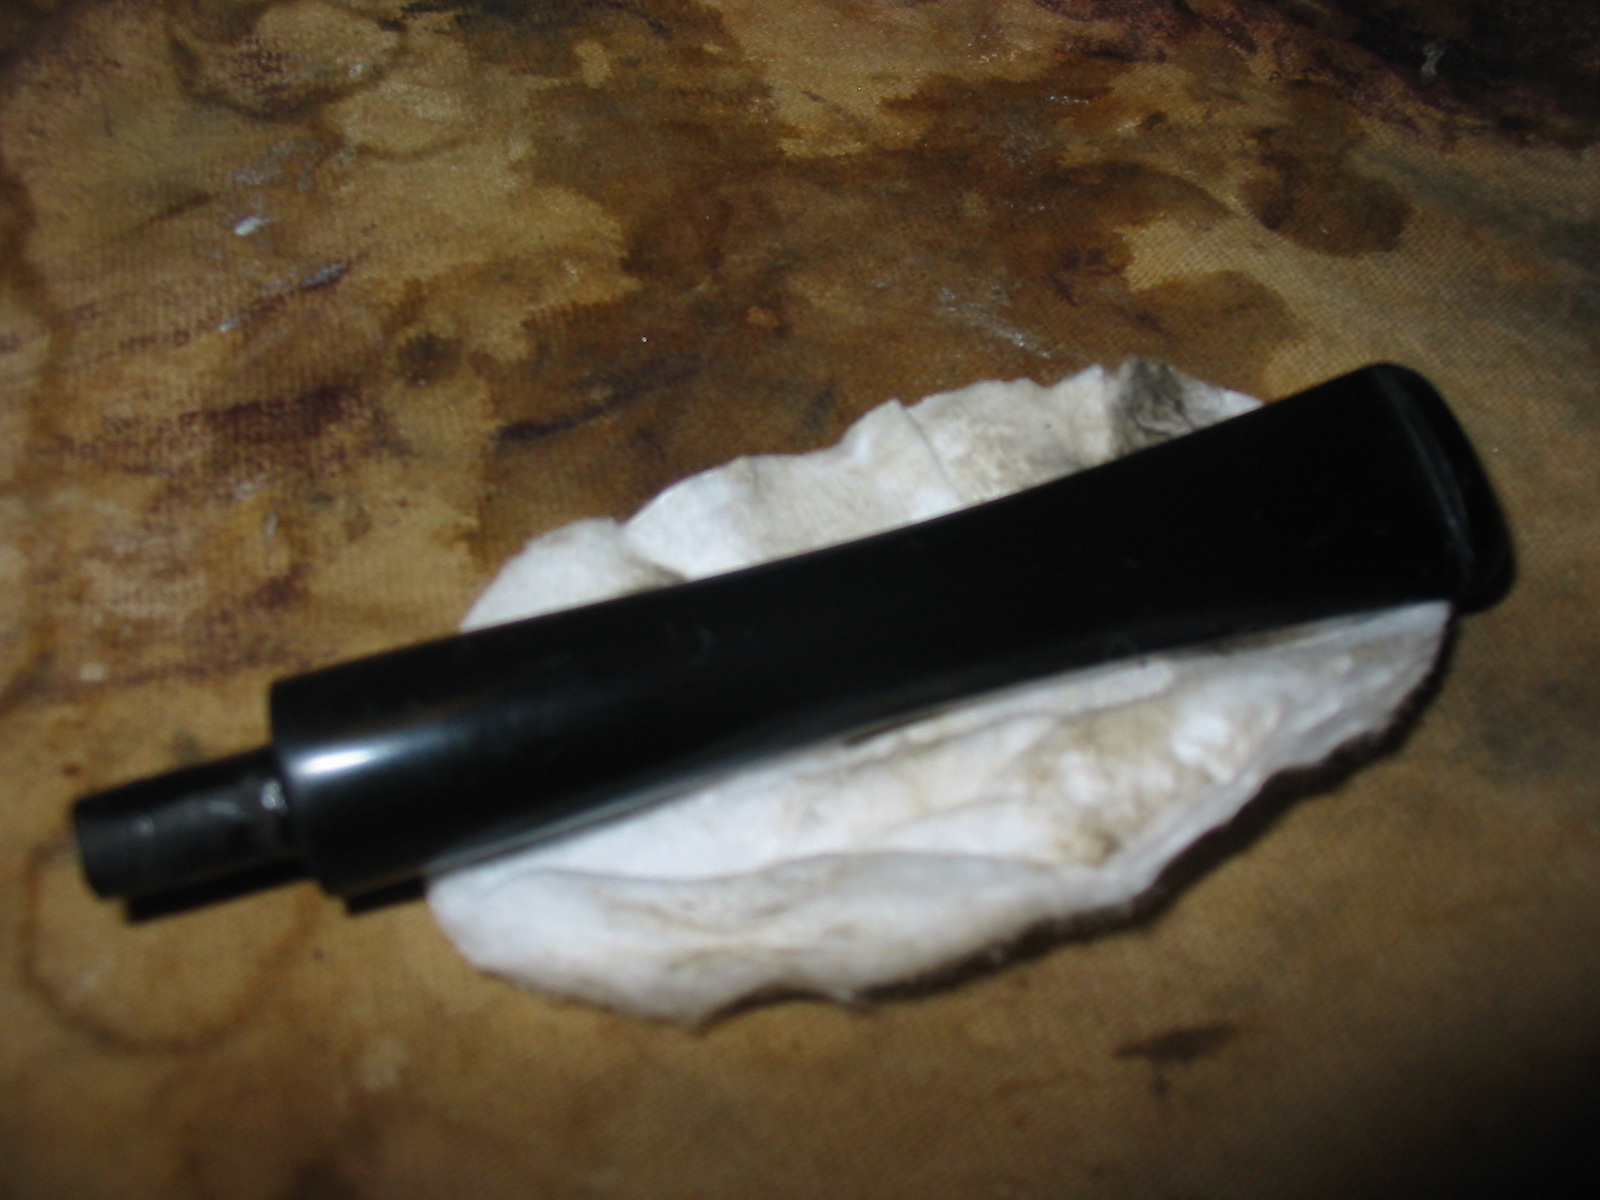
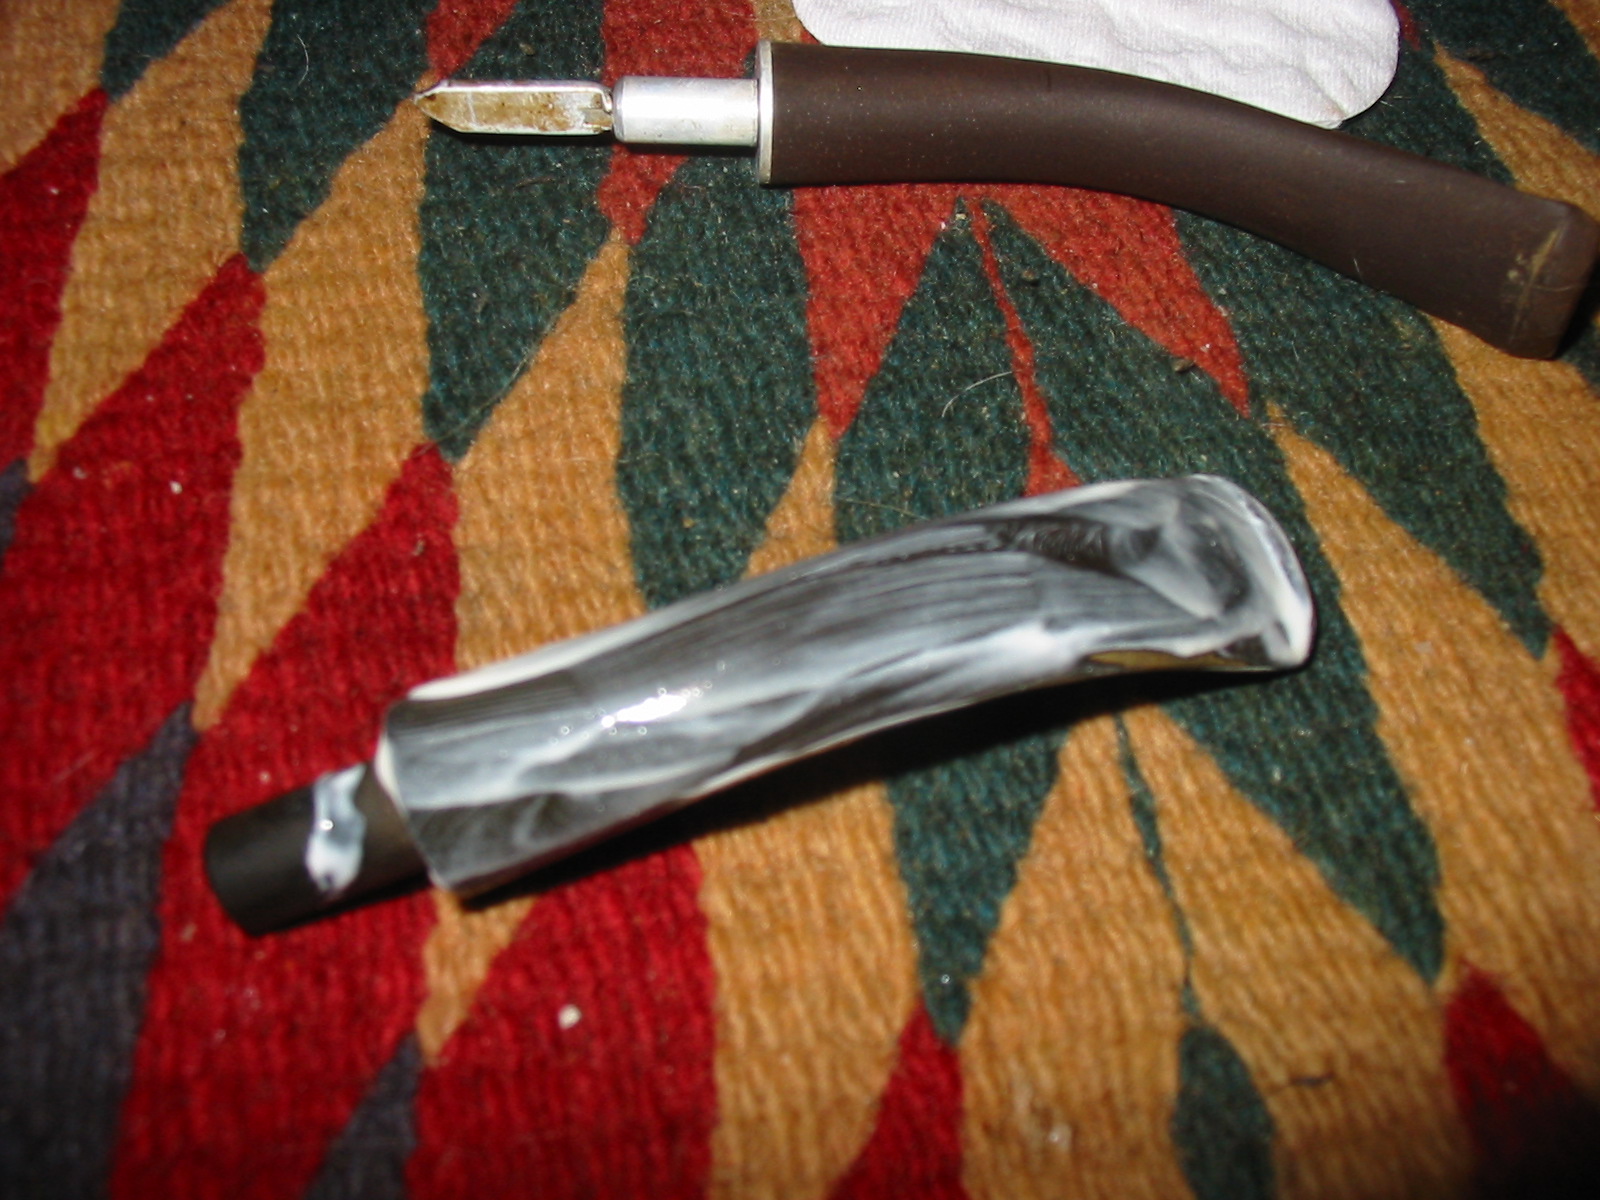
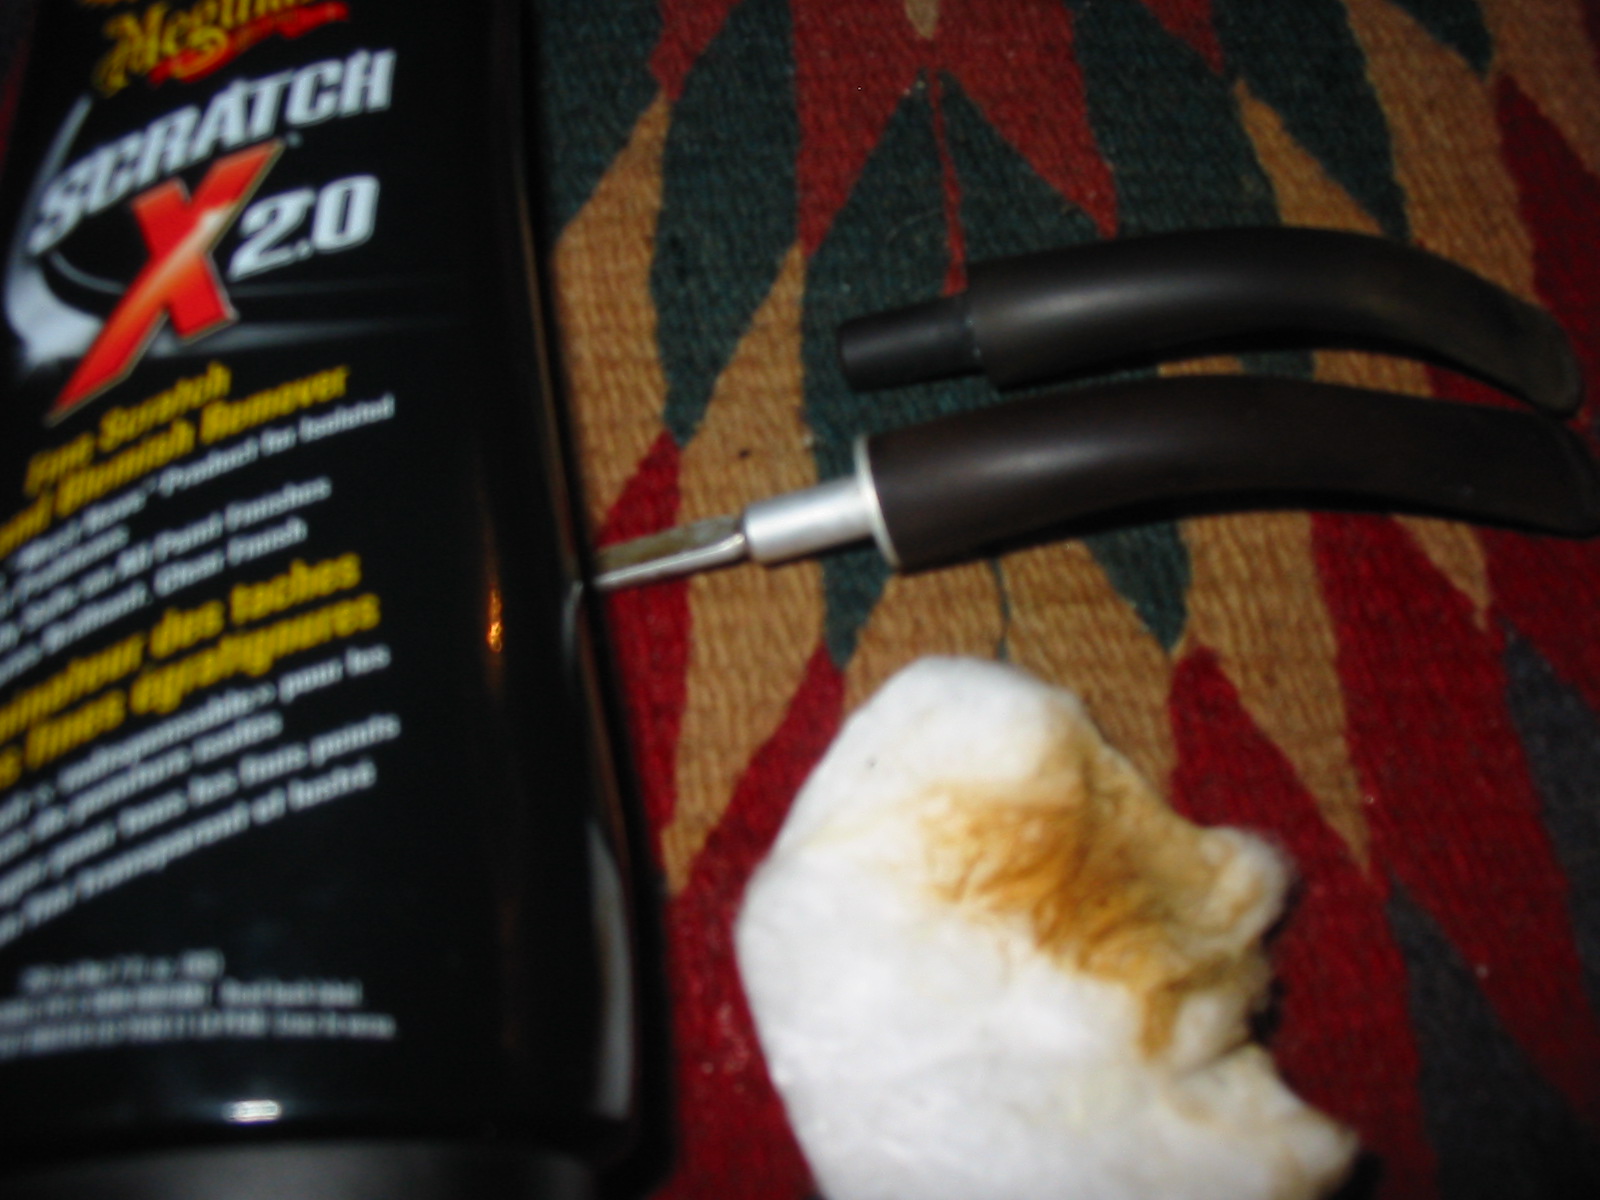
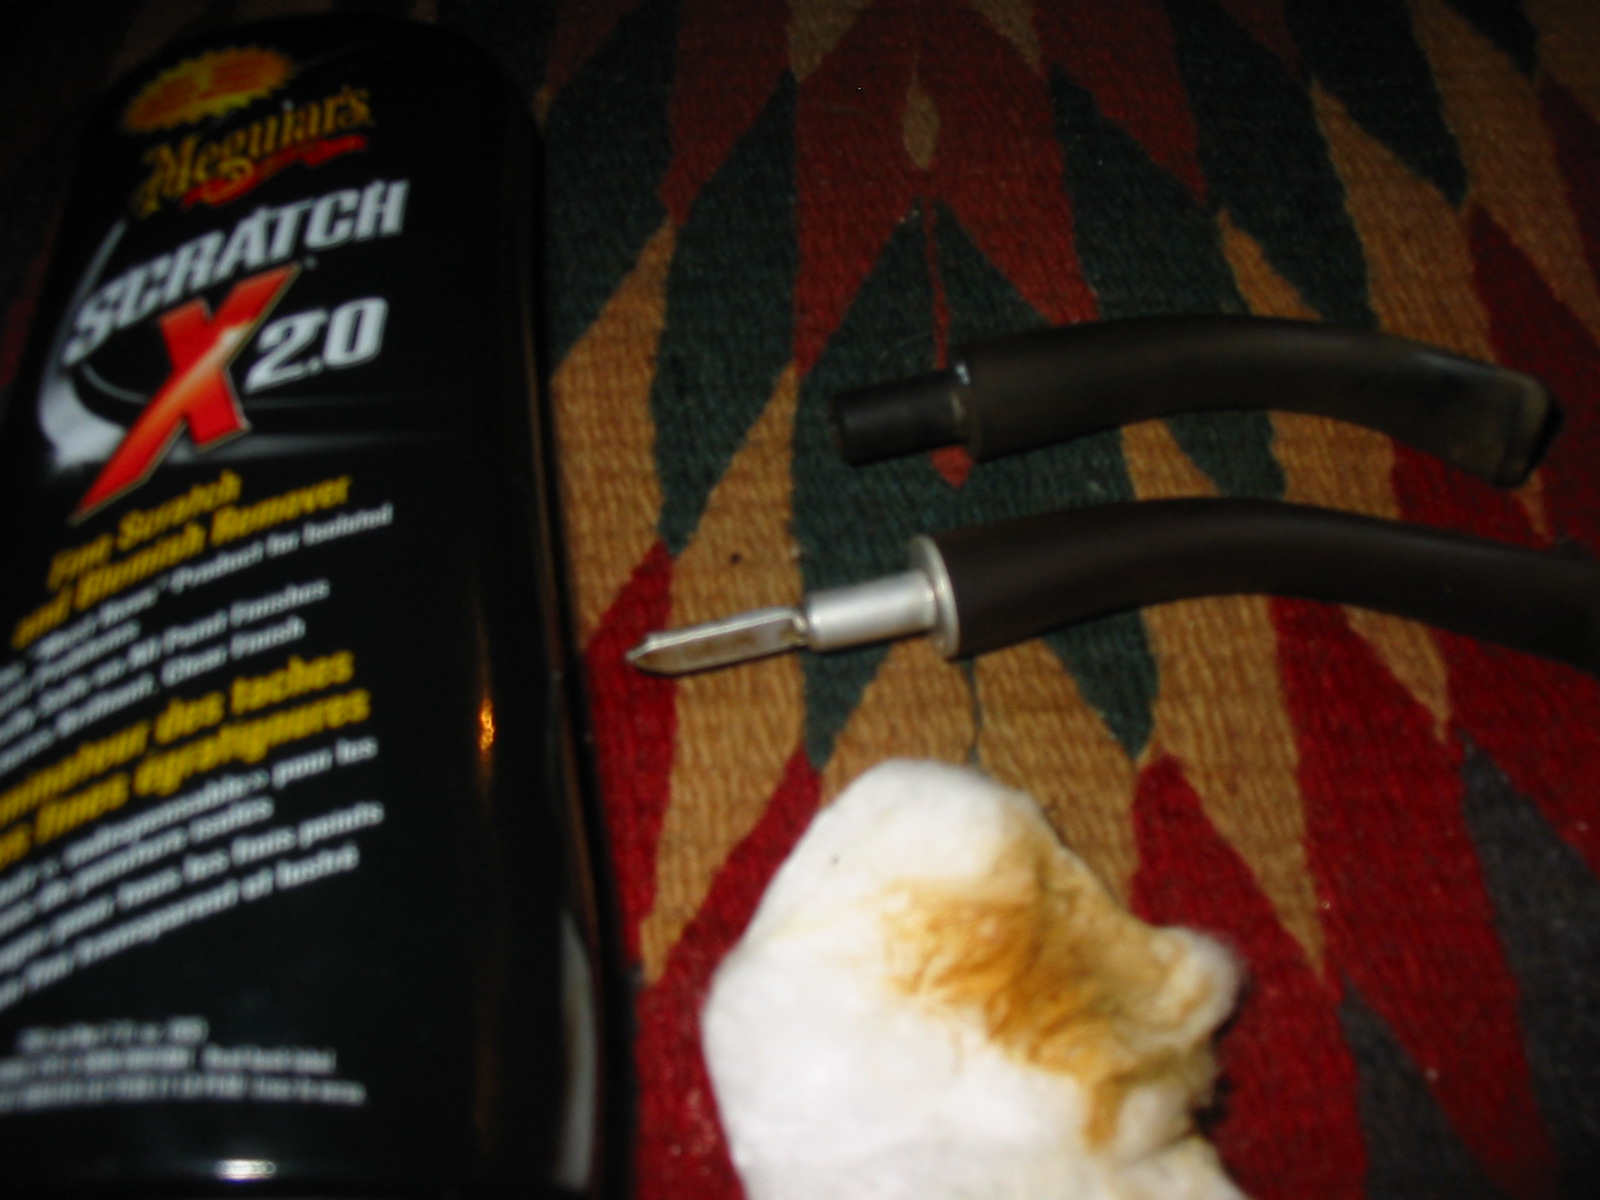
I filled my water bowl with warm water and took out the micromesh pads and began to sand the stem. I began by wet sanding with 1500, 1800 and 2400 grit micromesh pads that I wet with water and then sanded the stem. Between each pass on the stem I would wipe it dry to see how the scratch removal was progressing. The next three photos show the stem after sanding with the 1500 grit micromesh. The scratches are beginning to disappear. Before moving on to sanding with the 1800 grit I decided to polish the stem with Maguiars Scratch X2.0 I applied it by hand and the scrubbed it off with a cotton pad. The next four photos show that process with the applied polish and then the stem after wiping it off.
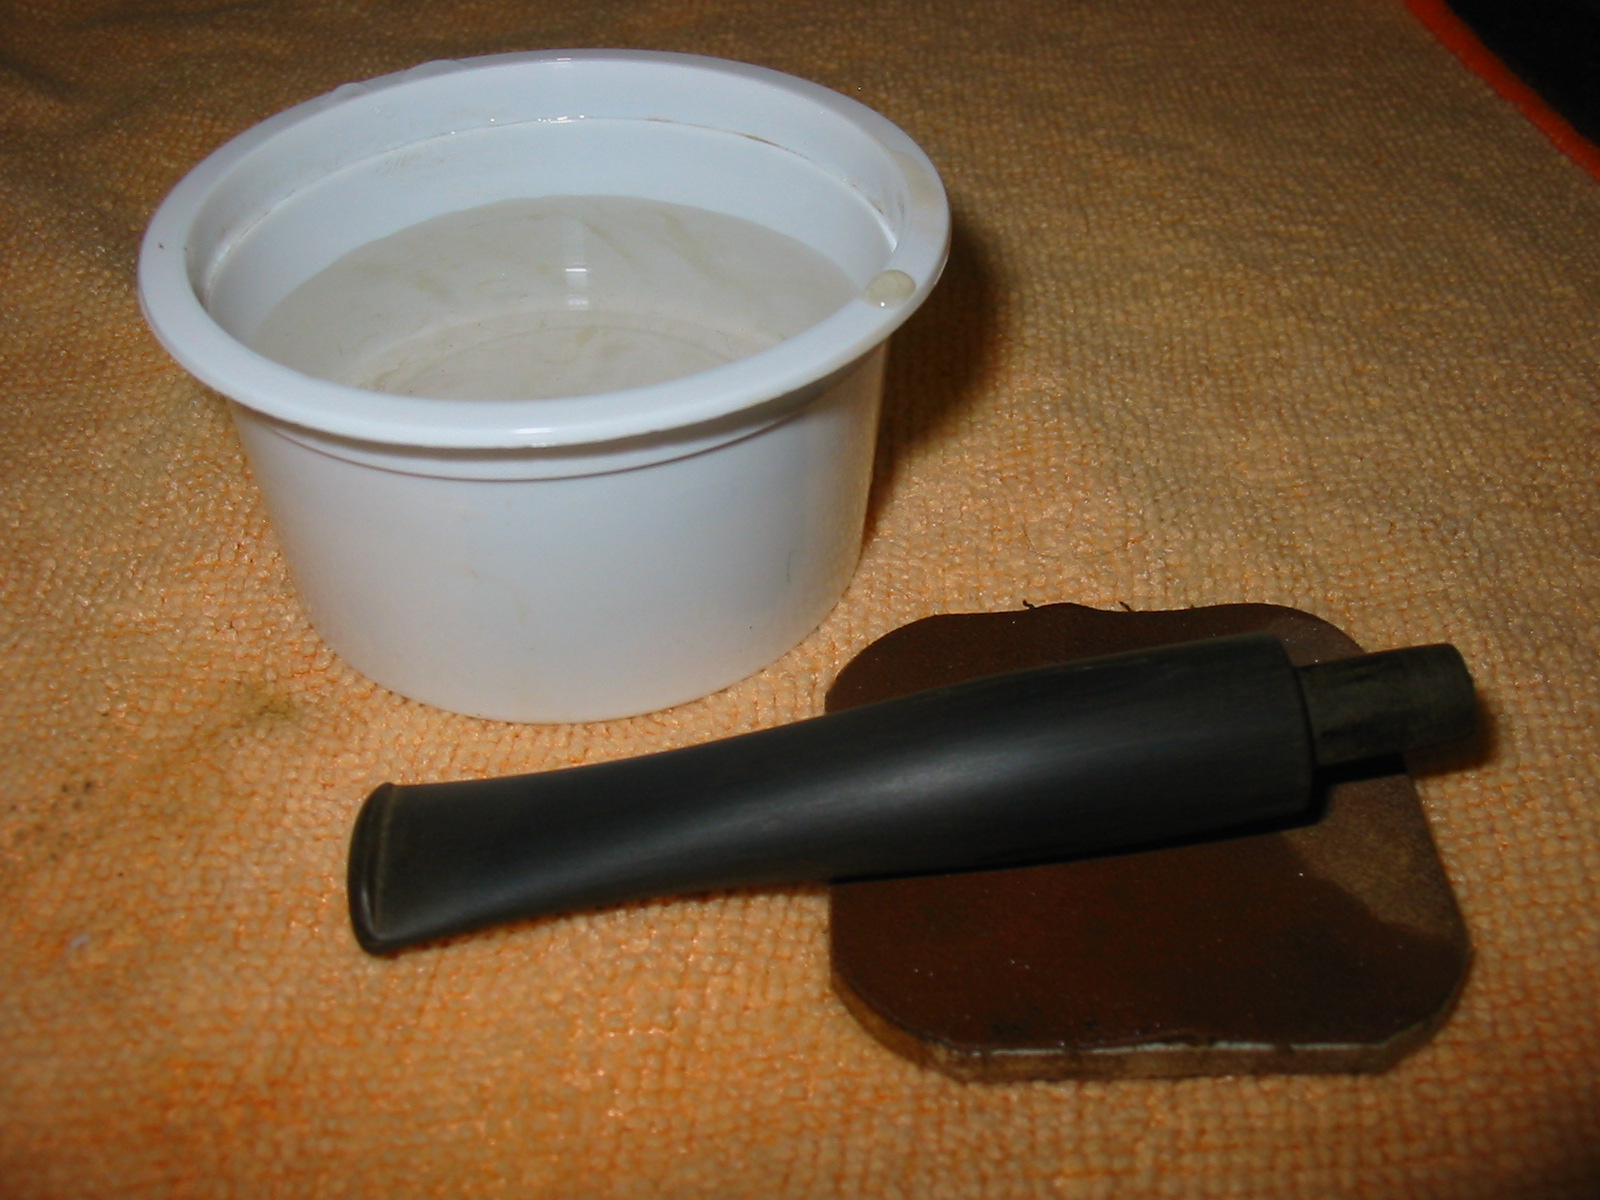
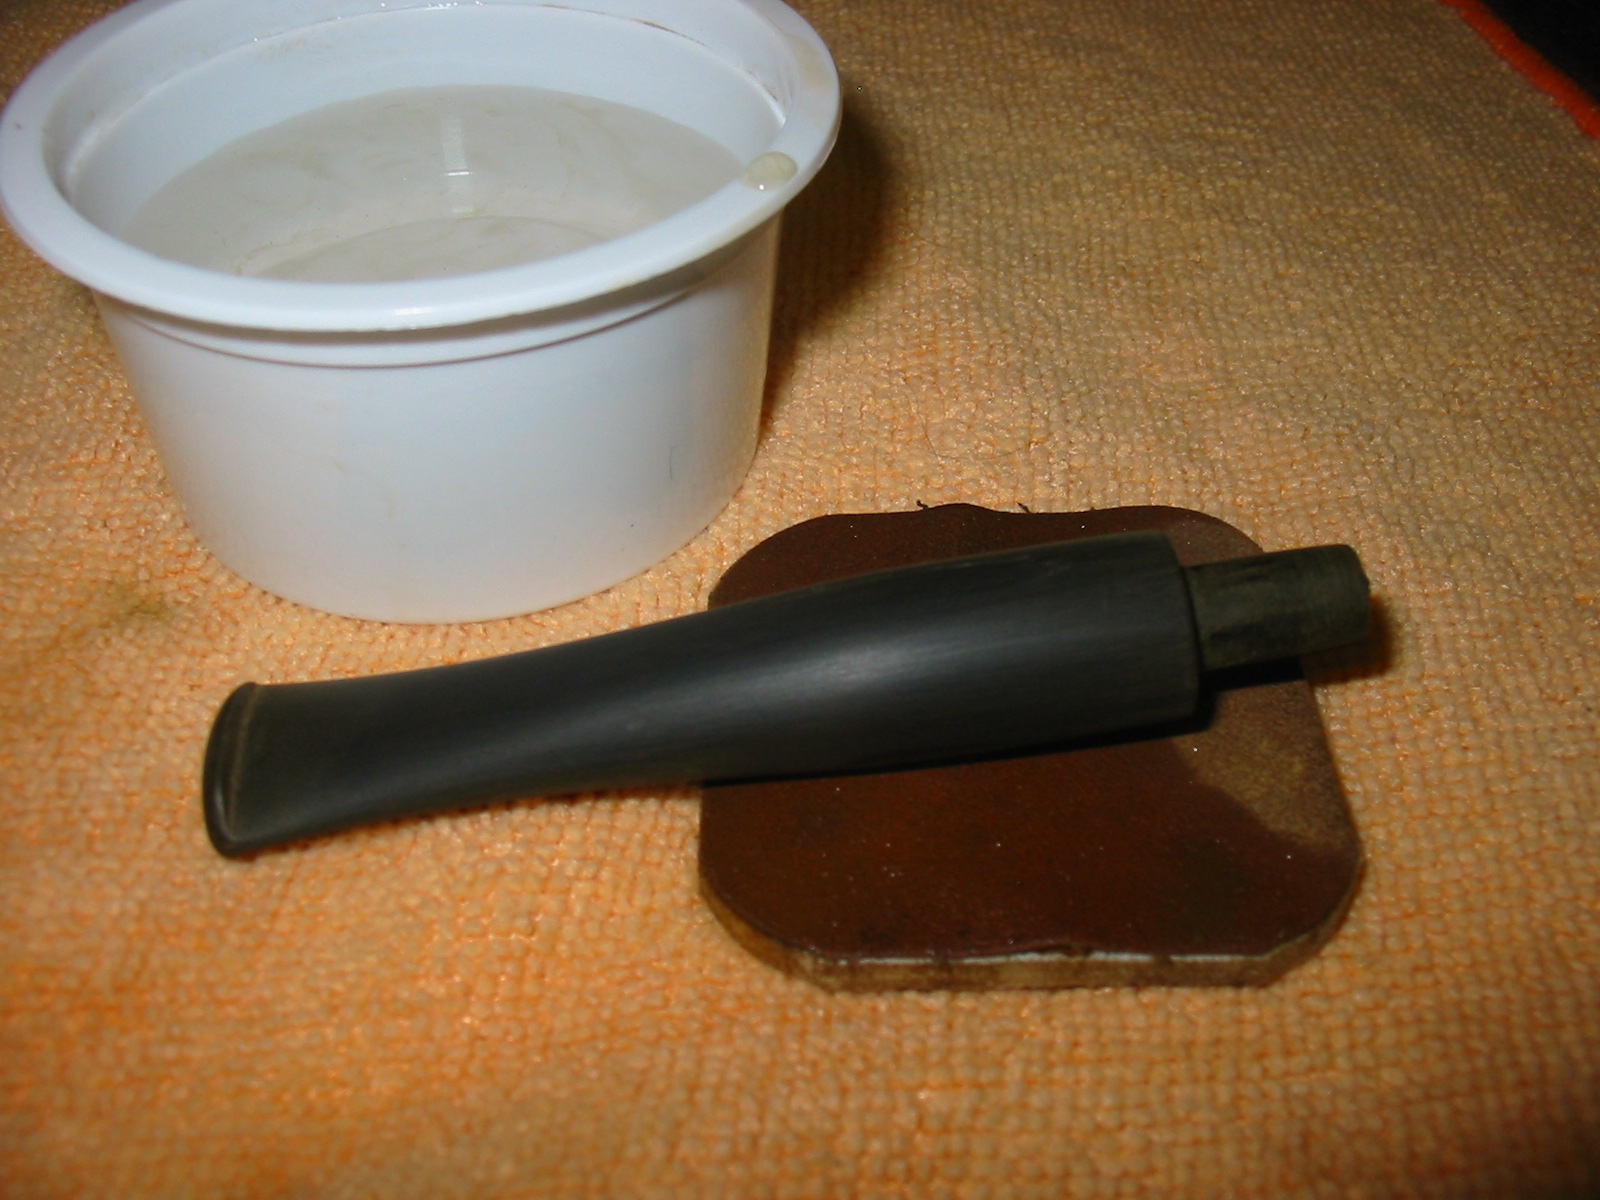
ImageImageImageImageImageImageImage

After wiping the stem down a final time I wet sanded it with 2400 grit micromesh sanding pads. I wanted to continue to remove the surface scratches from the vulcanite and begin to move toward a polish.
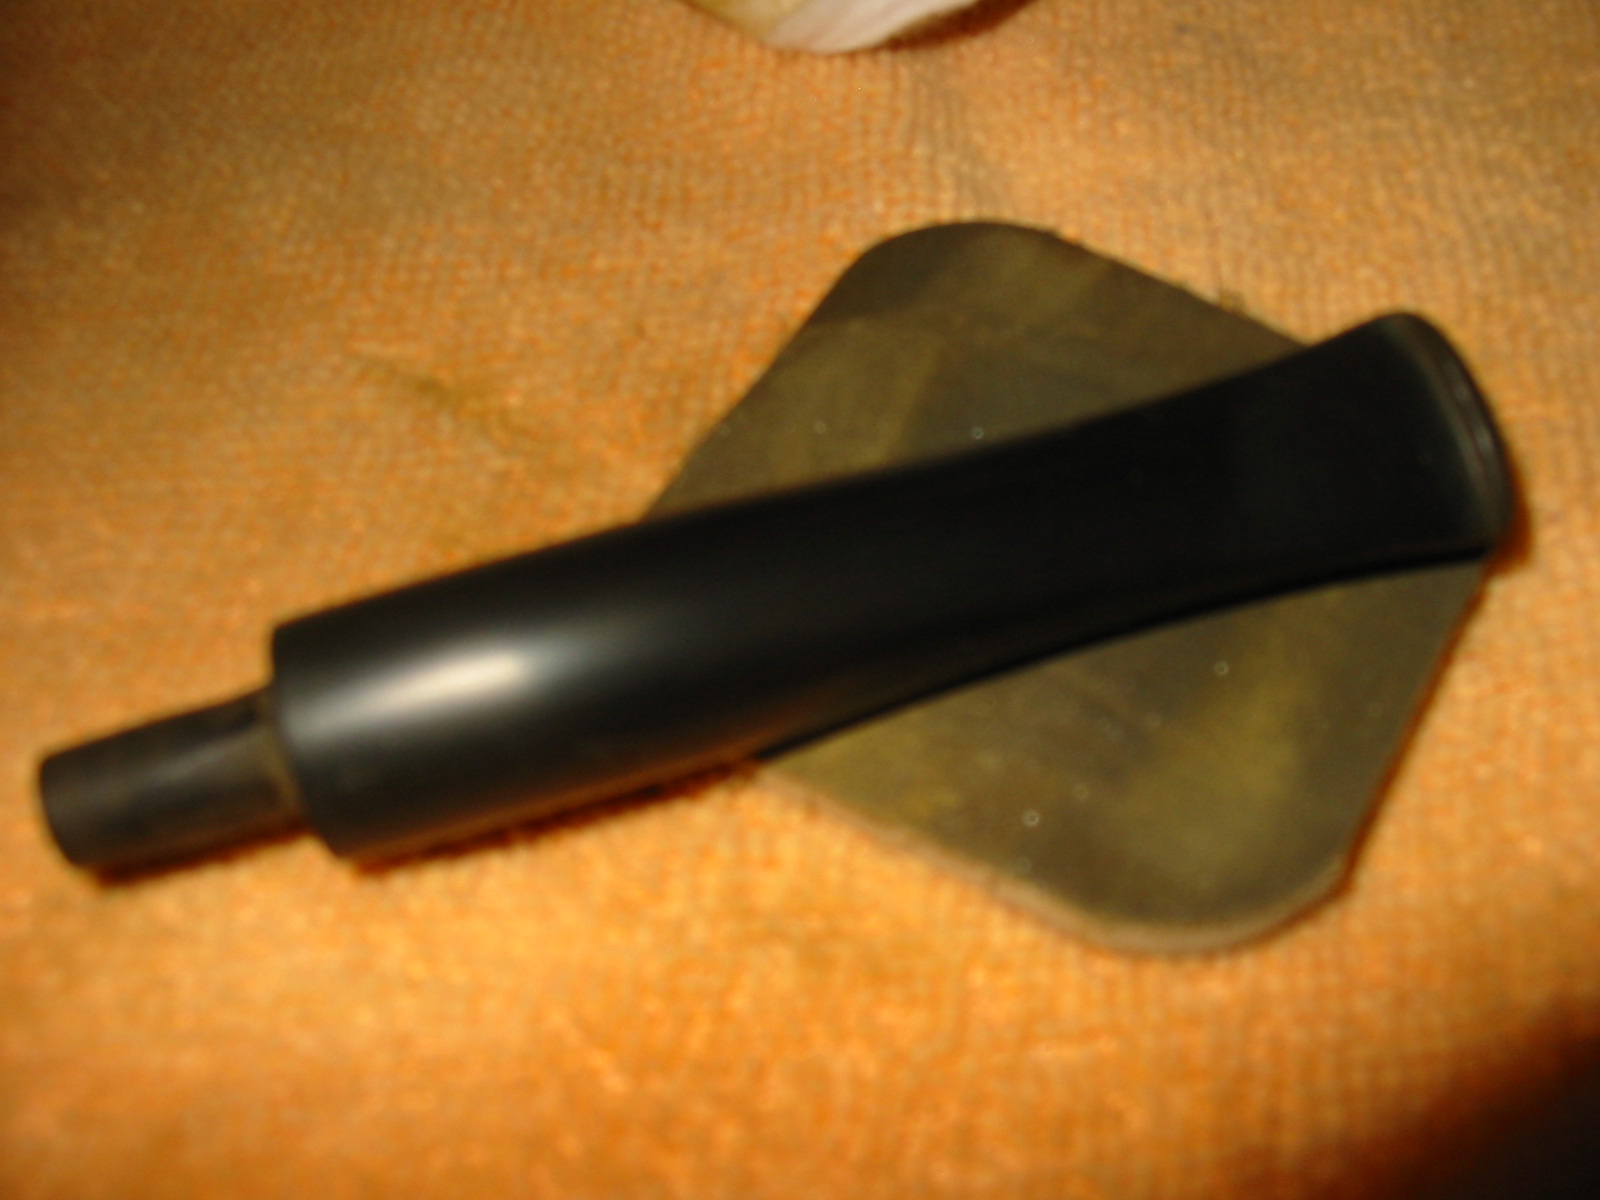
Image

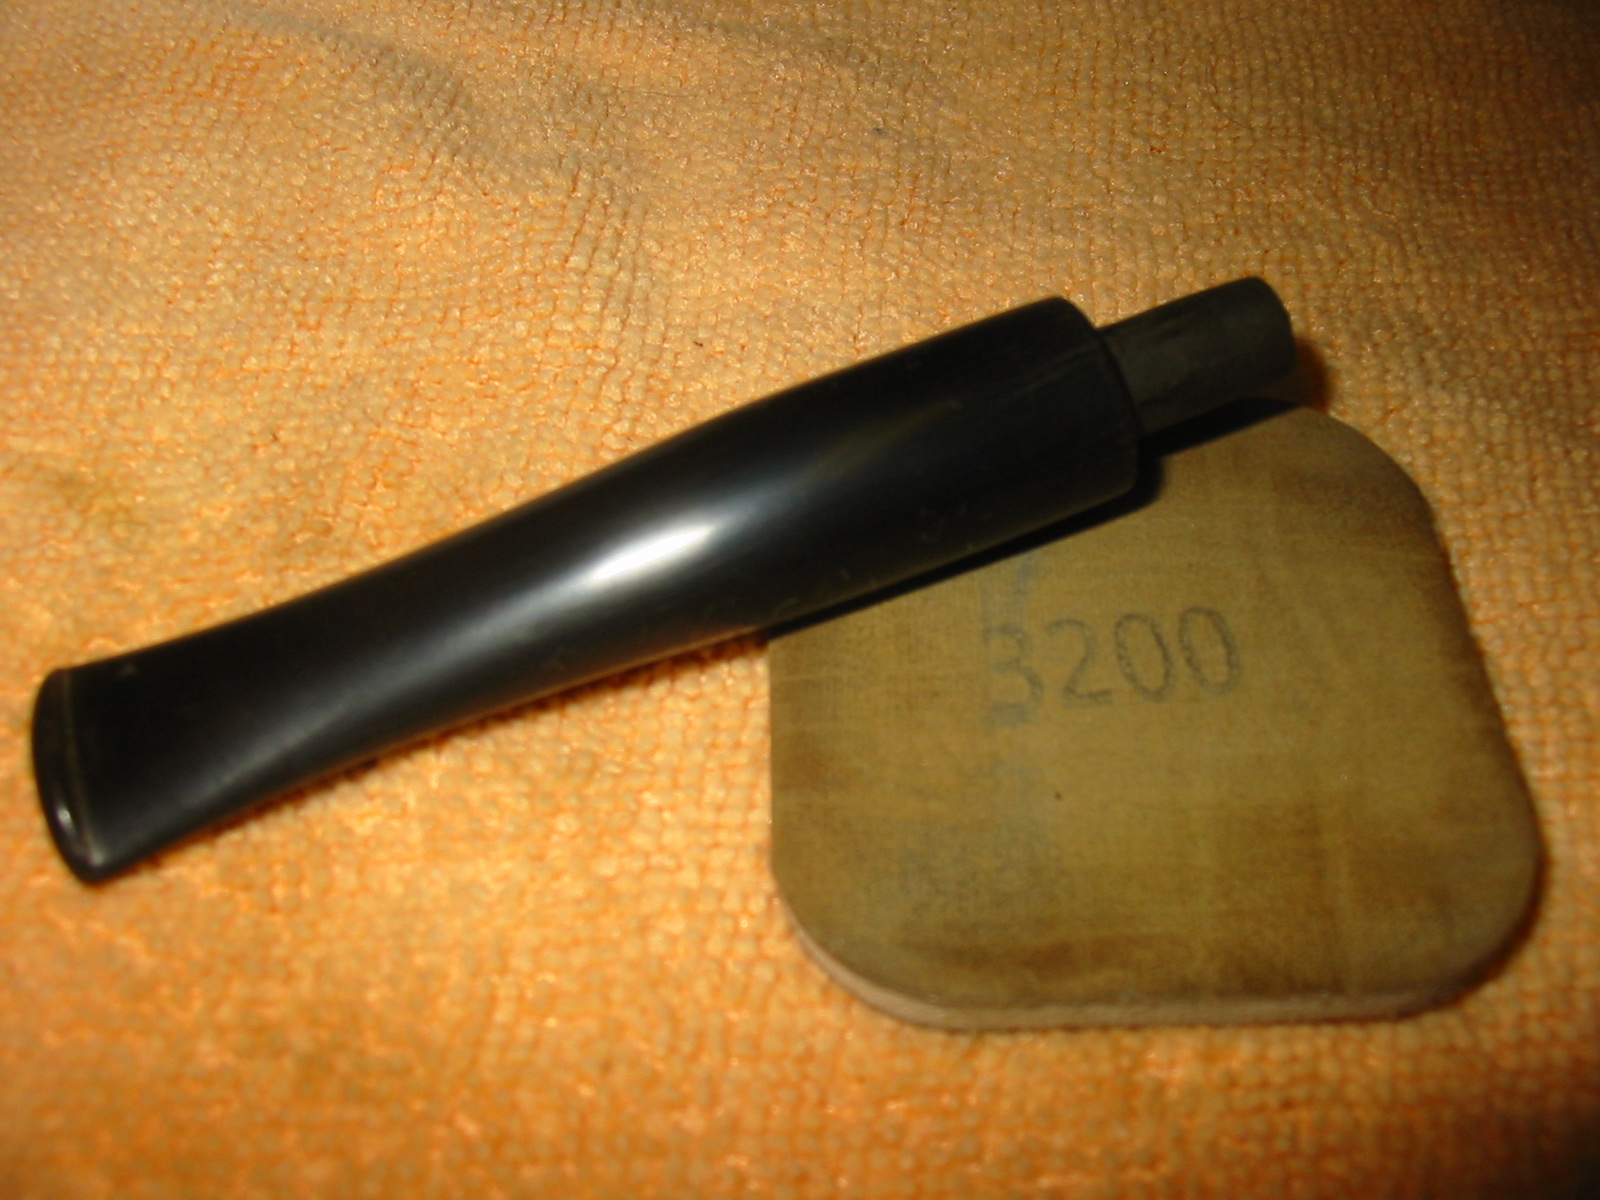
The next photo shows the stem after dry sanding with 3200 grit micromesh. The shine is deepening in the finish of the stem.
Image

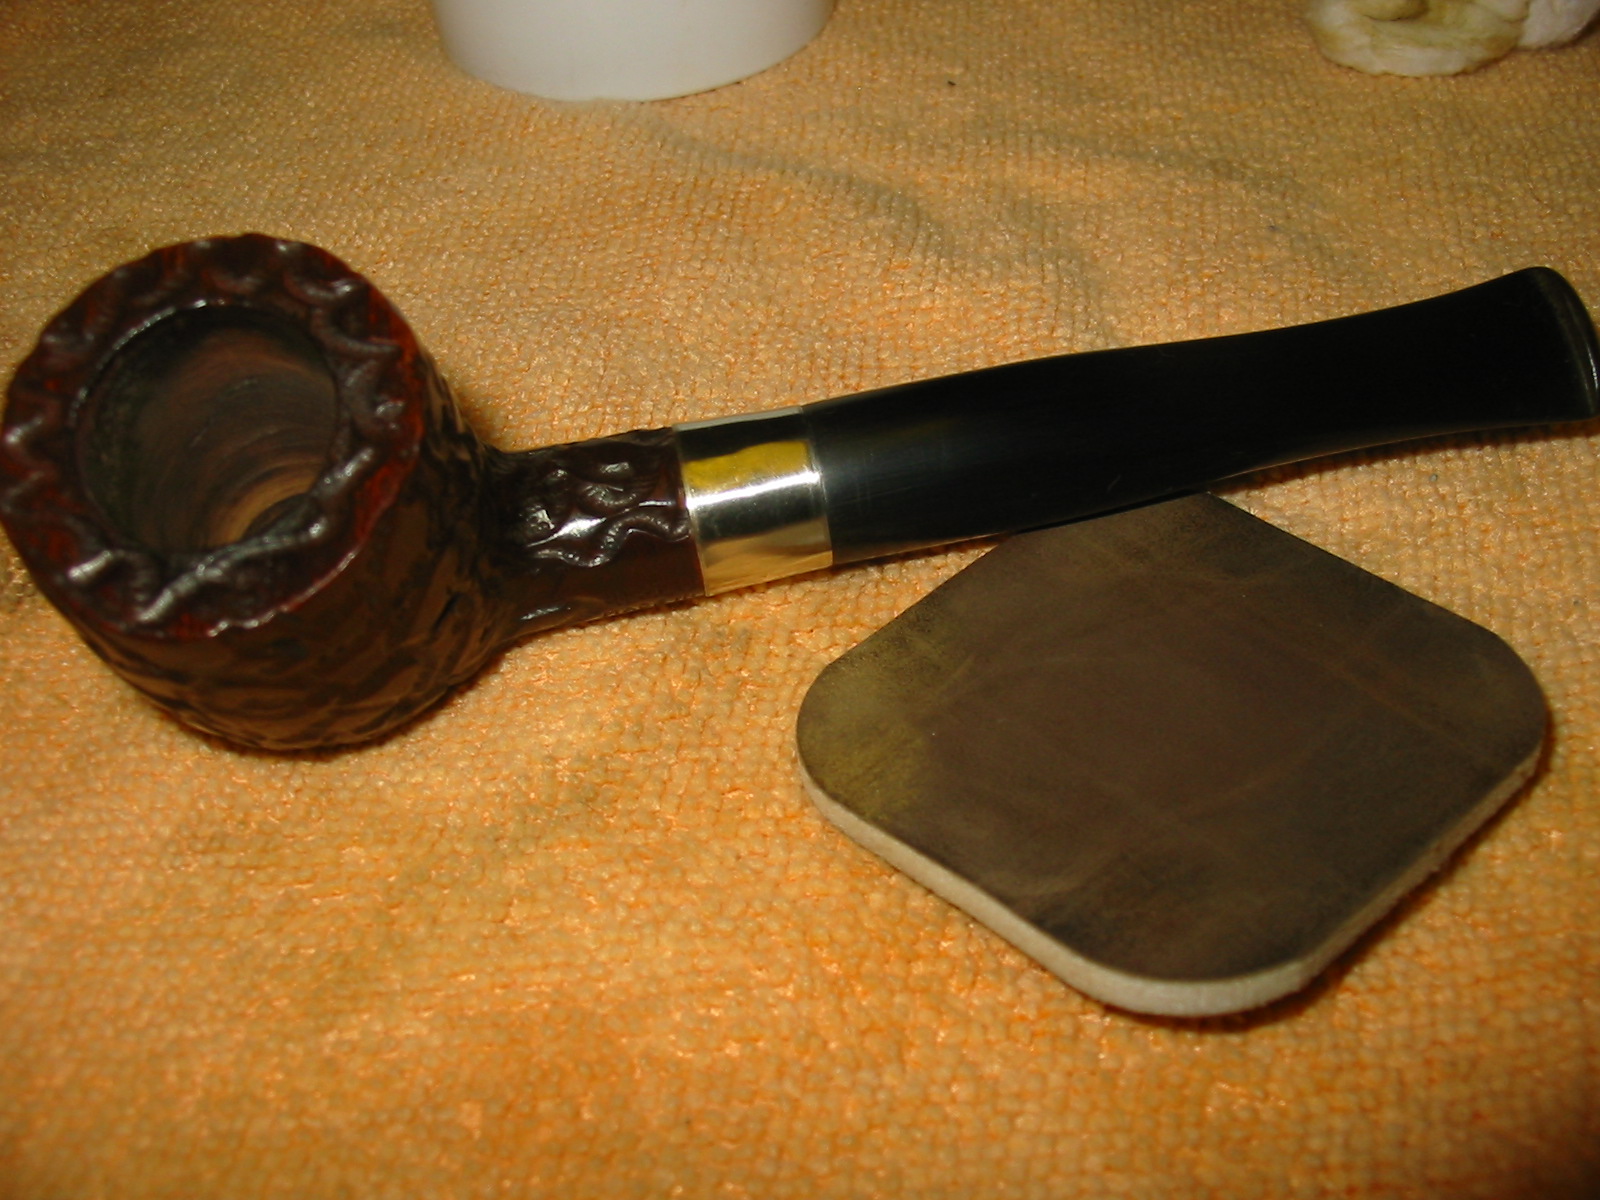
I then shifted to dry sanding with 3600, 4000 and 6000, 8000 and 12,000 grit micromesh sanding pads. I sanded and wiped them down between each grit change. By the time I got to the 6000 the shine was visible and the finish was very smooth. The difference after sanding with the 8000 and 12,000 is remarkable.

ImageImage

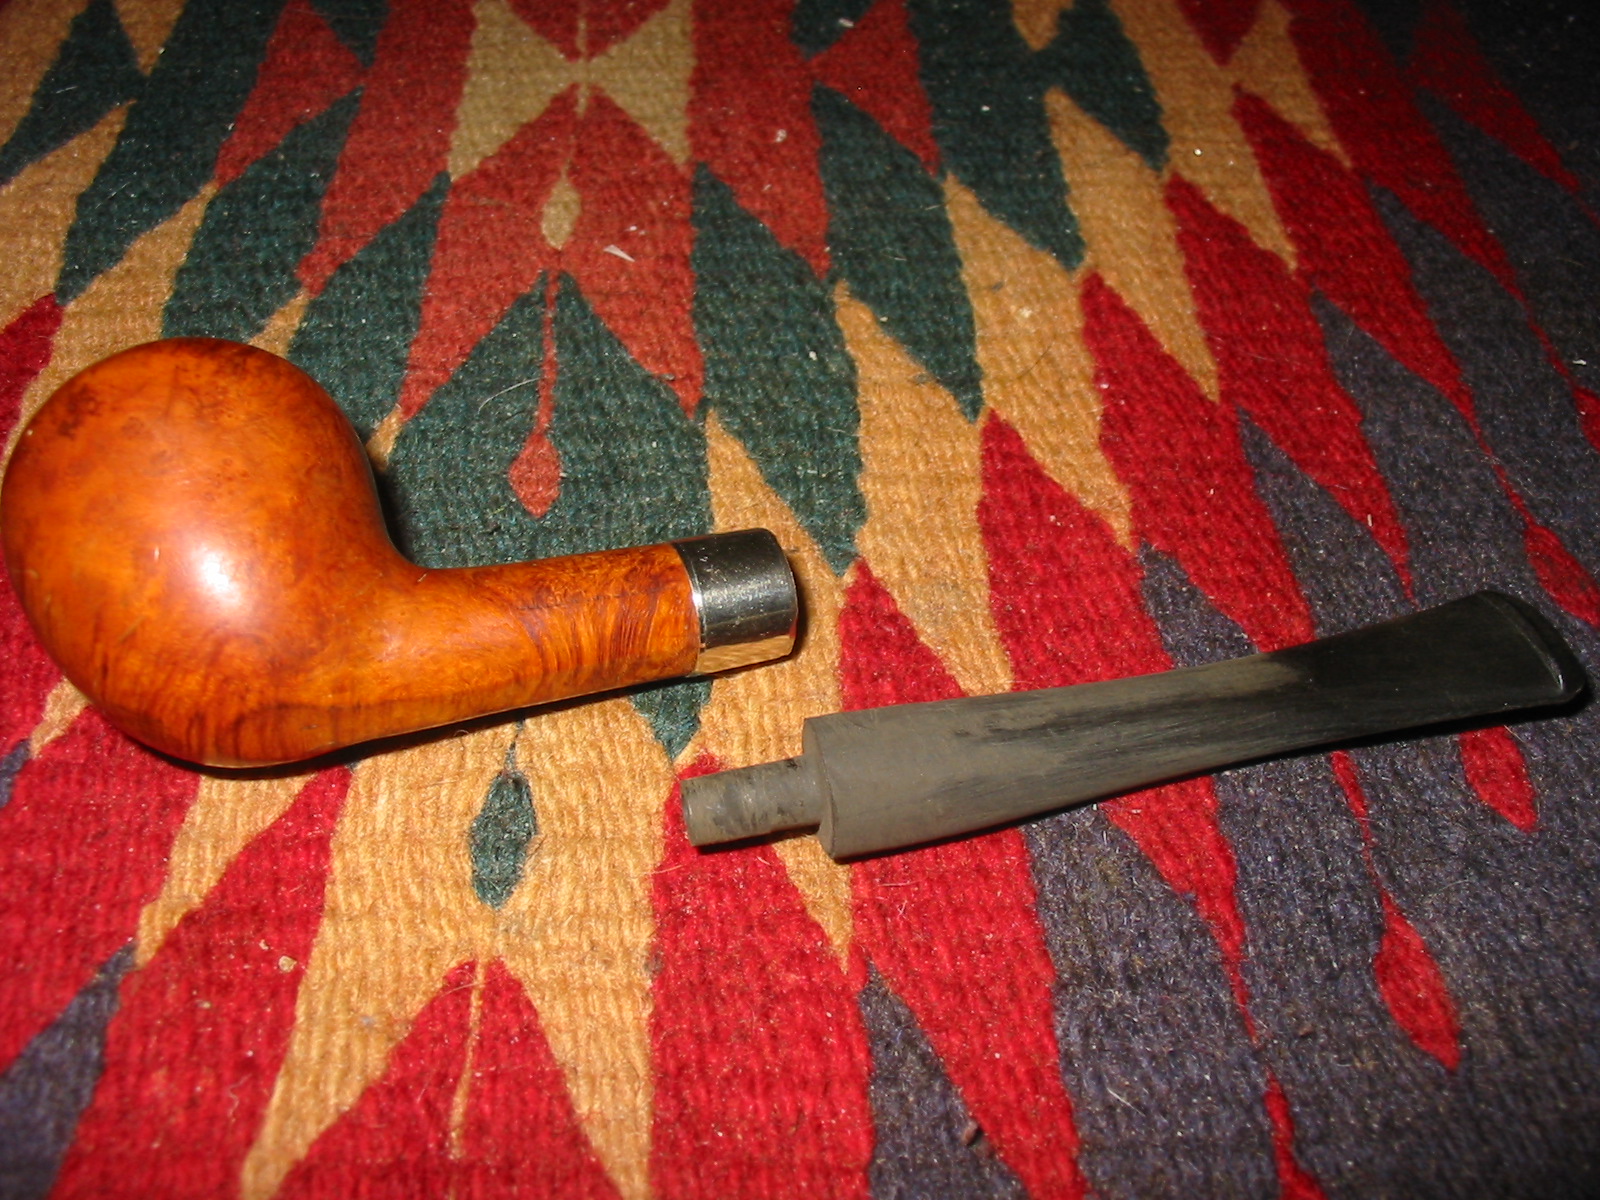
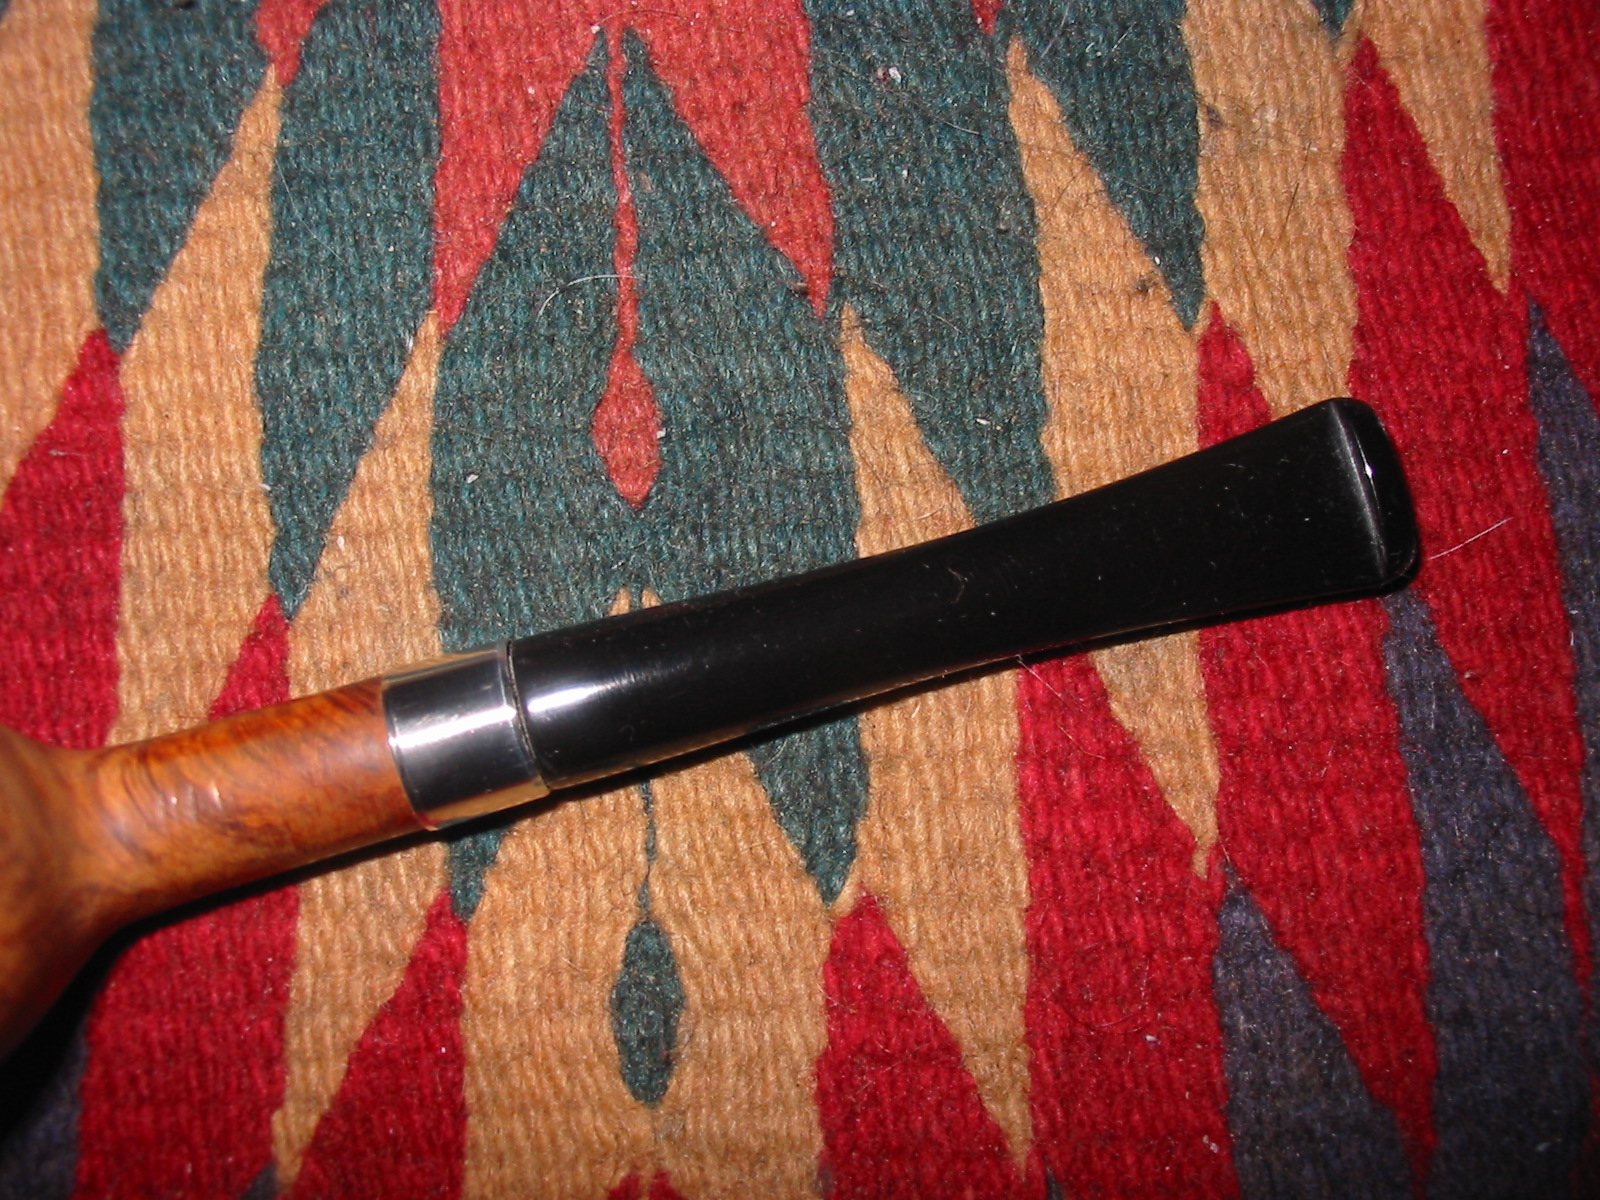
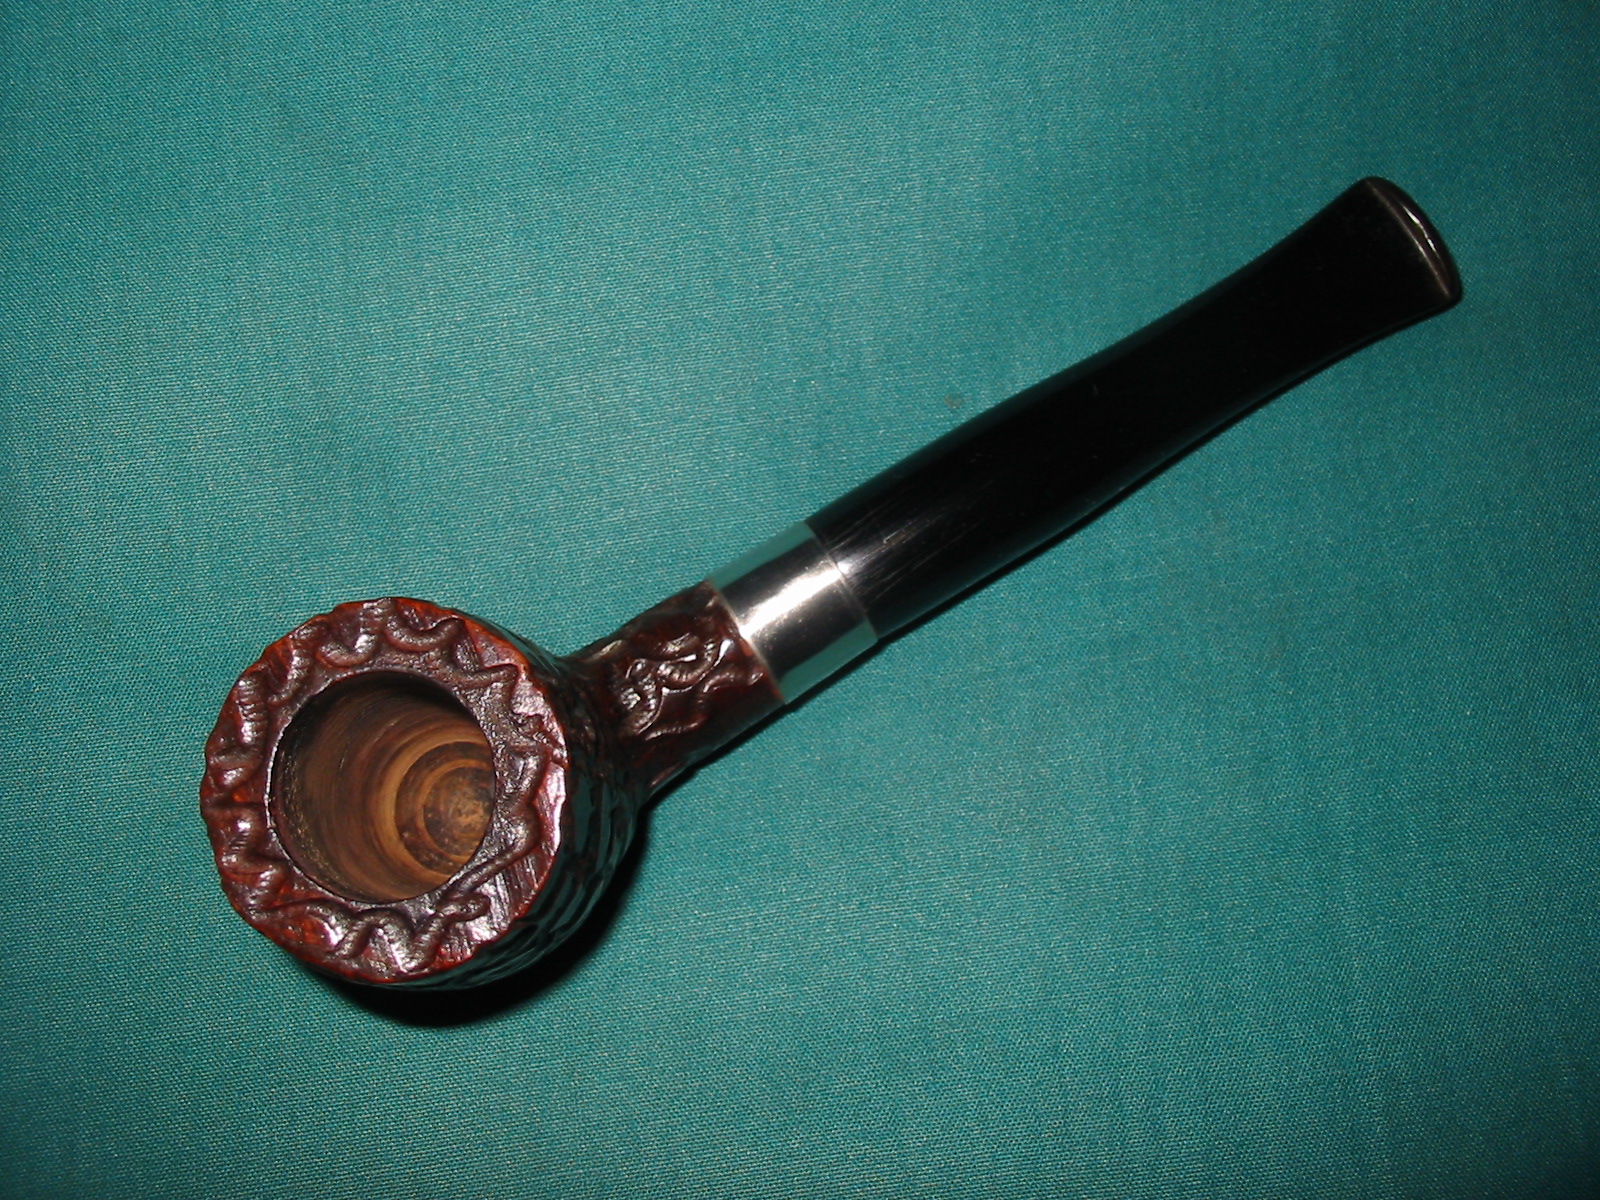
The final four photos below show the finished pipe. Once I had finished sanding it I gave it a final polish with the Maguiars and then took it to the buffer for a buff with White Diamond. I then rubbed it down with Obsidian Oil and finally gave it several coats of carnauba wax and a buff with a soft flannel buffing pad. The newly born Italian pot is ready to smoke and has a new streamlined look that I really like.

ImageImageImageImage

Replacing a Tenon on a Brigham System Pipe


Blog by Steve Laug

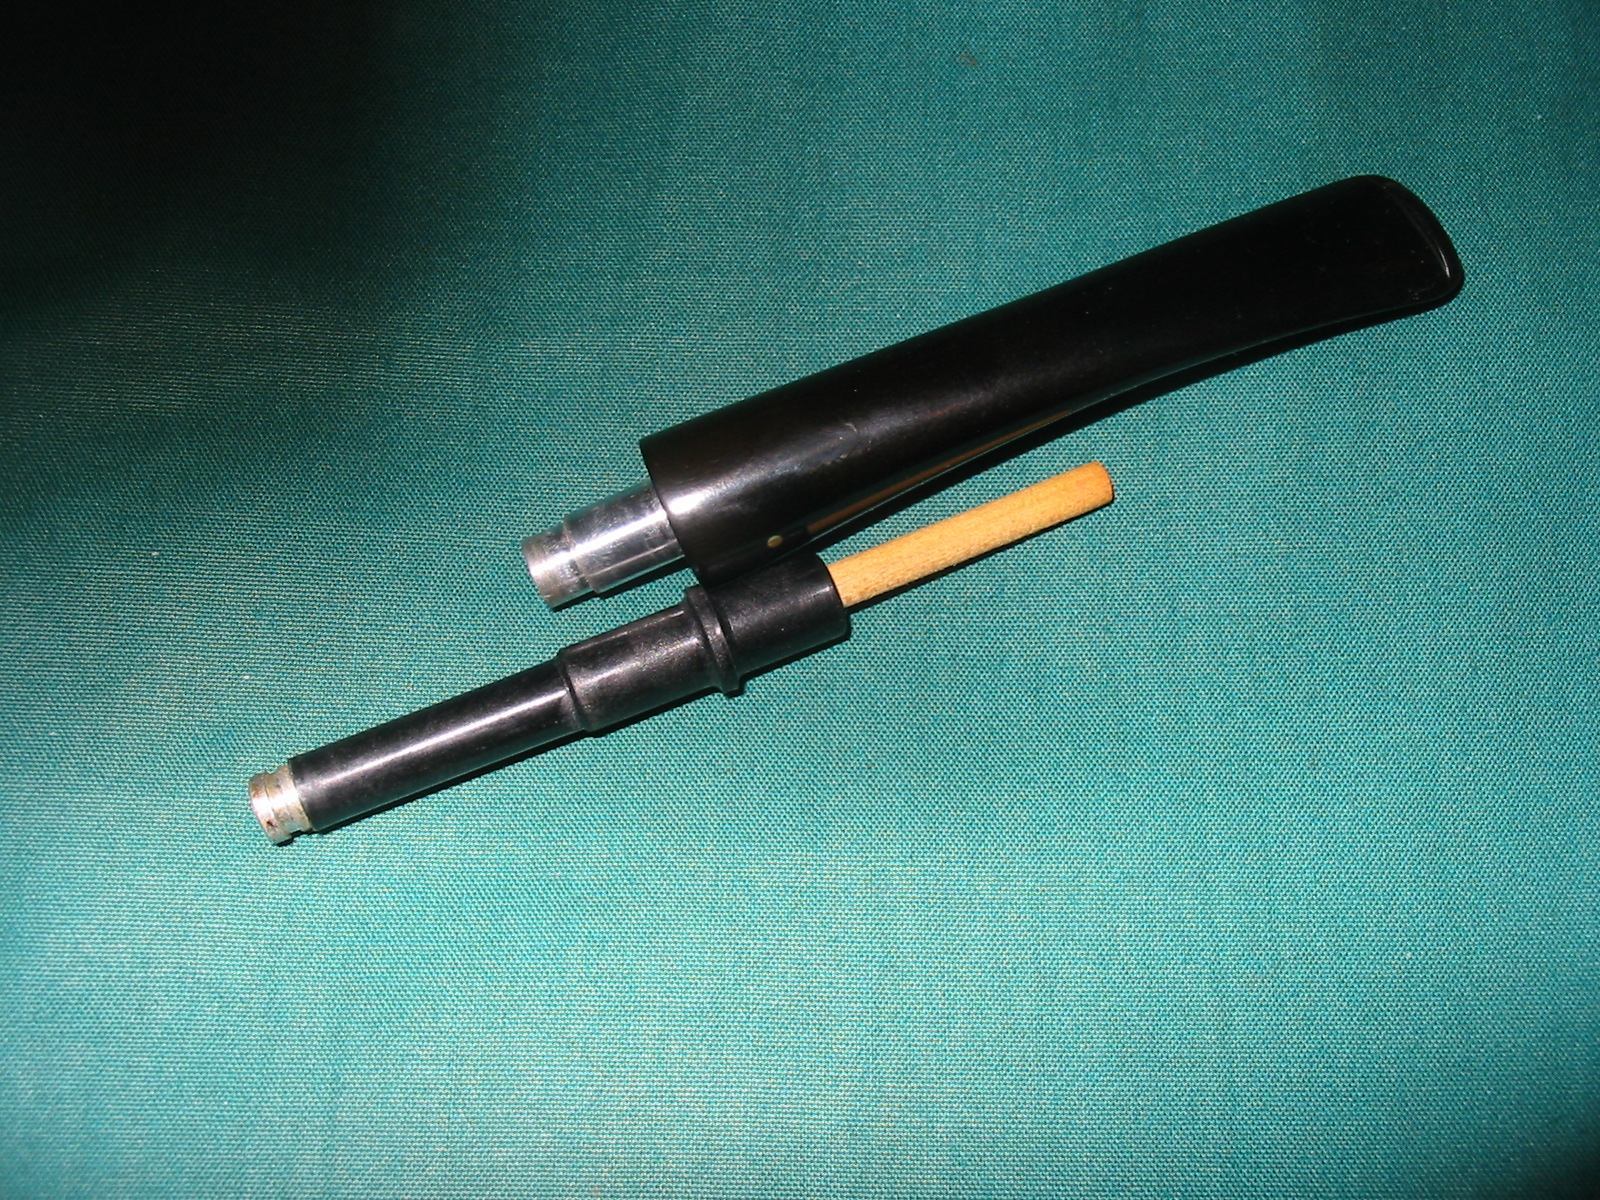
I have written about the restoration of this old Brigham one dot pipe in an earlier blog post. https://rebornpipes.wordpress.com/2012/09/17/a-frustrating-brigham-1-dot-rehabilitation/ I was contacted by Brigham in a comment to the post with the following: “Great work! It is nice to see someone put in the extra effort. If you would like a free nylon tenon to replace the aluminum just send us an email at sales@brigham1906.com”  I wrote to them after reading this and they sent me the nylon tenon pictured below to replace the metal one that I had remedied earlier by cutting off. You can read the previous post and see why that was necessary. But needless to say it took me until this morning to rise to the challenge of replacing the tenon. There were multiple reasons for this. The first being that I was uncertain as to how the metal tenon was inserted and how it could be removed. Second, the metal end of the maple filter had broken off and was stuck in the bottom of the shank right against the airway which did not allow me to insert the tenon to the full length with the new filter in place. This morning I had a day off so I decided to tackle the replacement. In the photo below you can see the dismantled pipe. The metal tenon is cut back, the maple filter is below that and the new nylon tenon is at the bottom of the picture.

Image

I lined the two tenons up to an idea about the length. I wanted to know how deeply the metal tenon was inserted into the stem. From the look of the new nylon one I was not dealing with a lot of depth to the tenon insert. I still did not know how it was inserted and what held it in place but my guess was glue, similar to what I use to hold Delrin tenons that I have inserted. The next two photos below show the tenon depth. The third photo below shows the maple filter inserted. I was concerned how I would get that length into the shank of the pipe with the metal end cap firmly stuck in the shank.

ImageImageImage

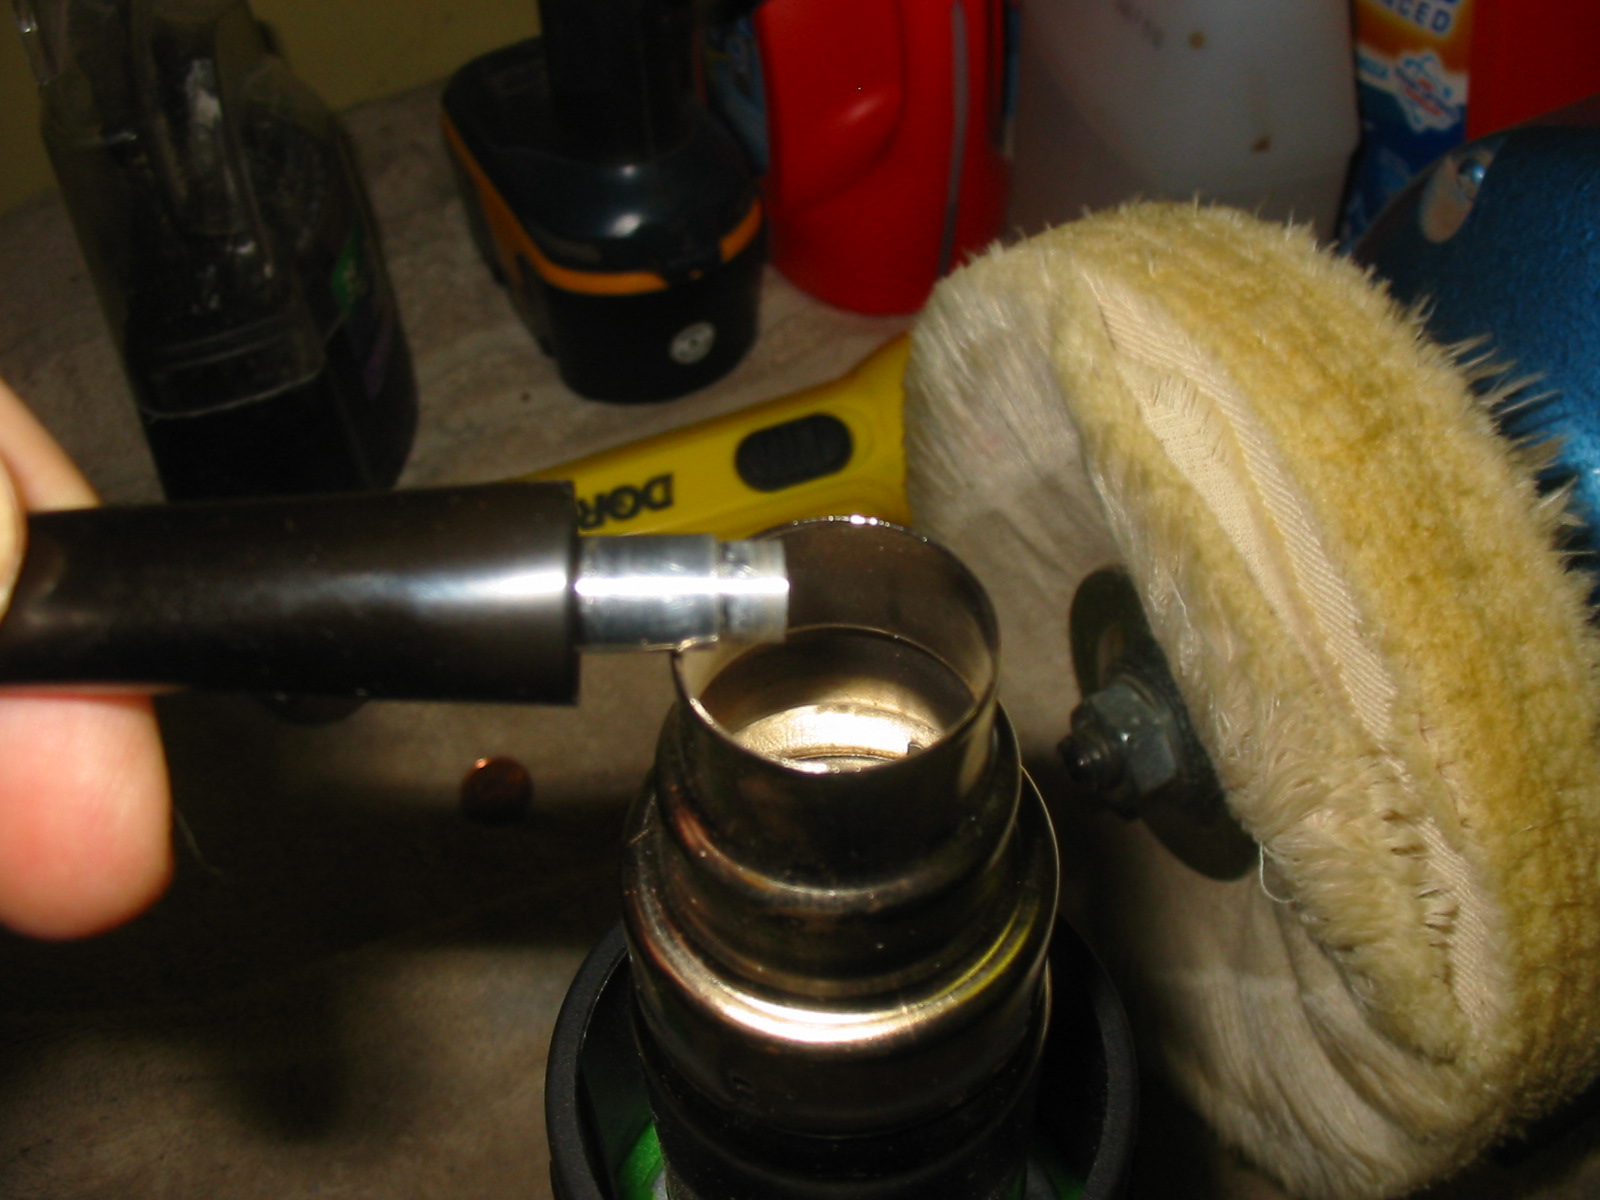
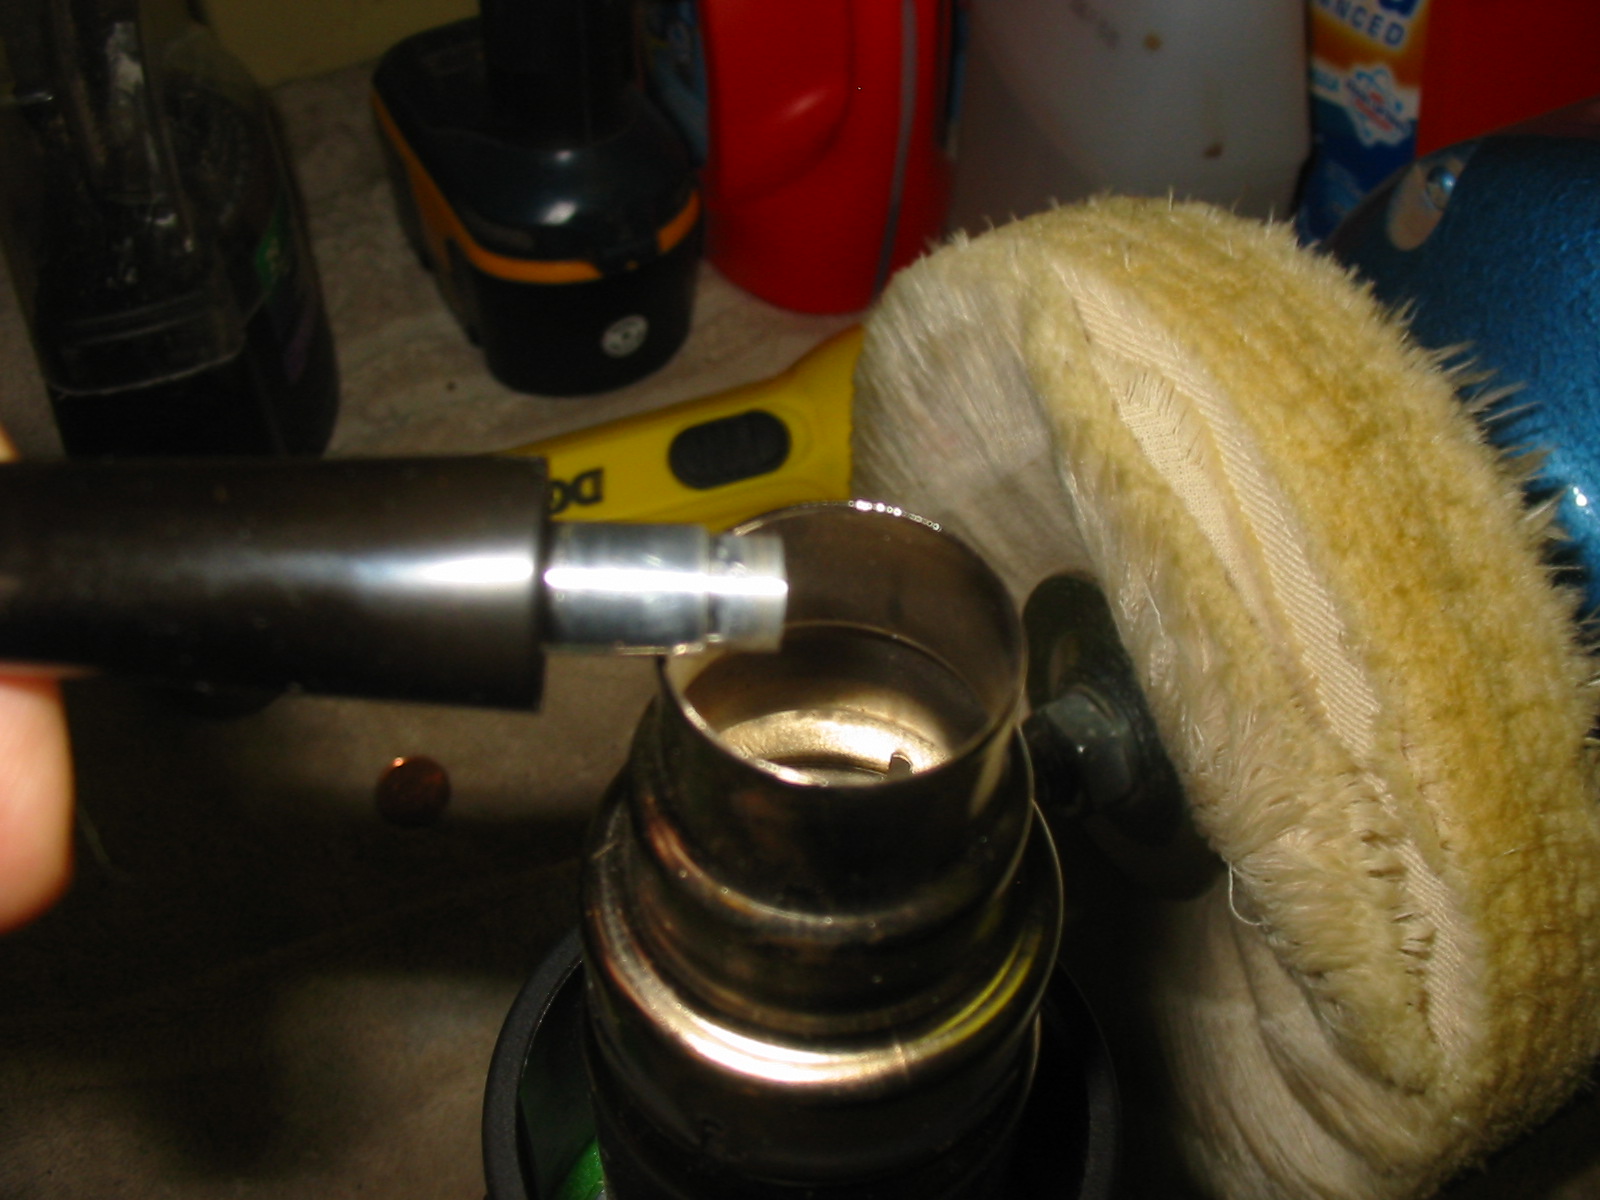
I set up my heat gun on its stand on the top of the washing machine in the laundry room. Pardon the cleaning supplies pictured below around the heat gun. I heated the metal tenon and not the stem. I have found that to heat the stem can damage the vulcanite and it seems to take a long time to heat the glue in the tenon insert. I heat the tenon instead and the heat on the metal carries back into the stem and loosens the glue. The two pictures below show the heating process. It does not take more than 2 or 3 minutes to heat the glue and soften it.

ImageImage

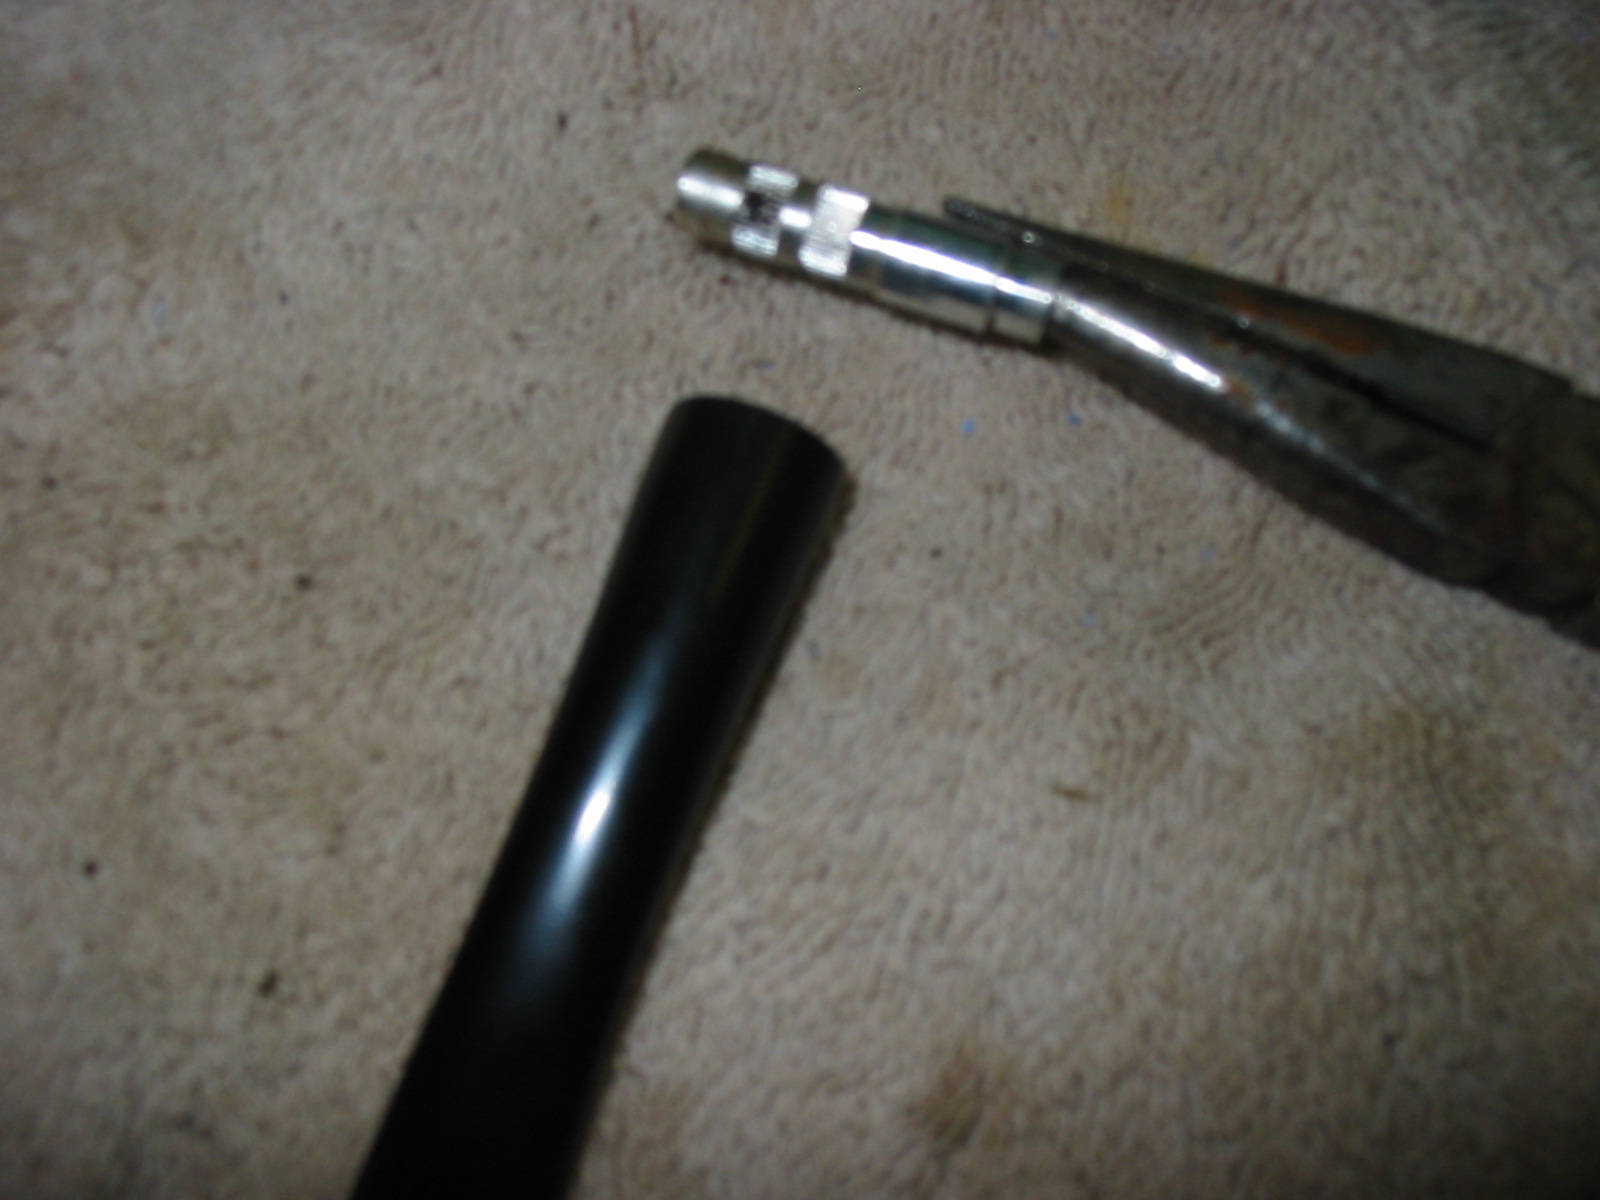
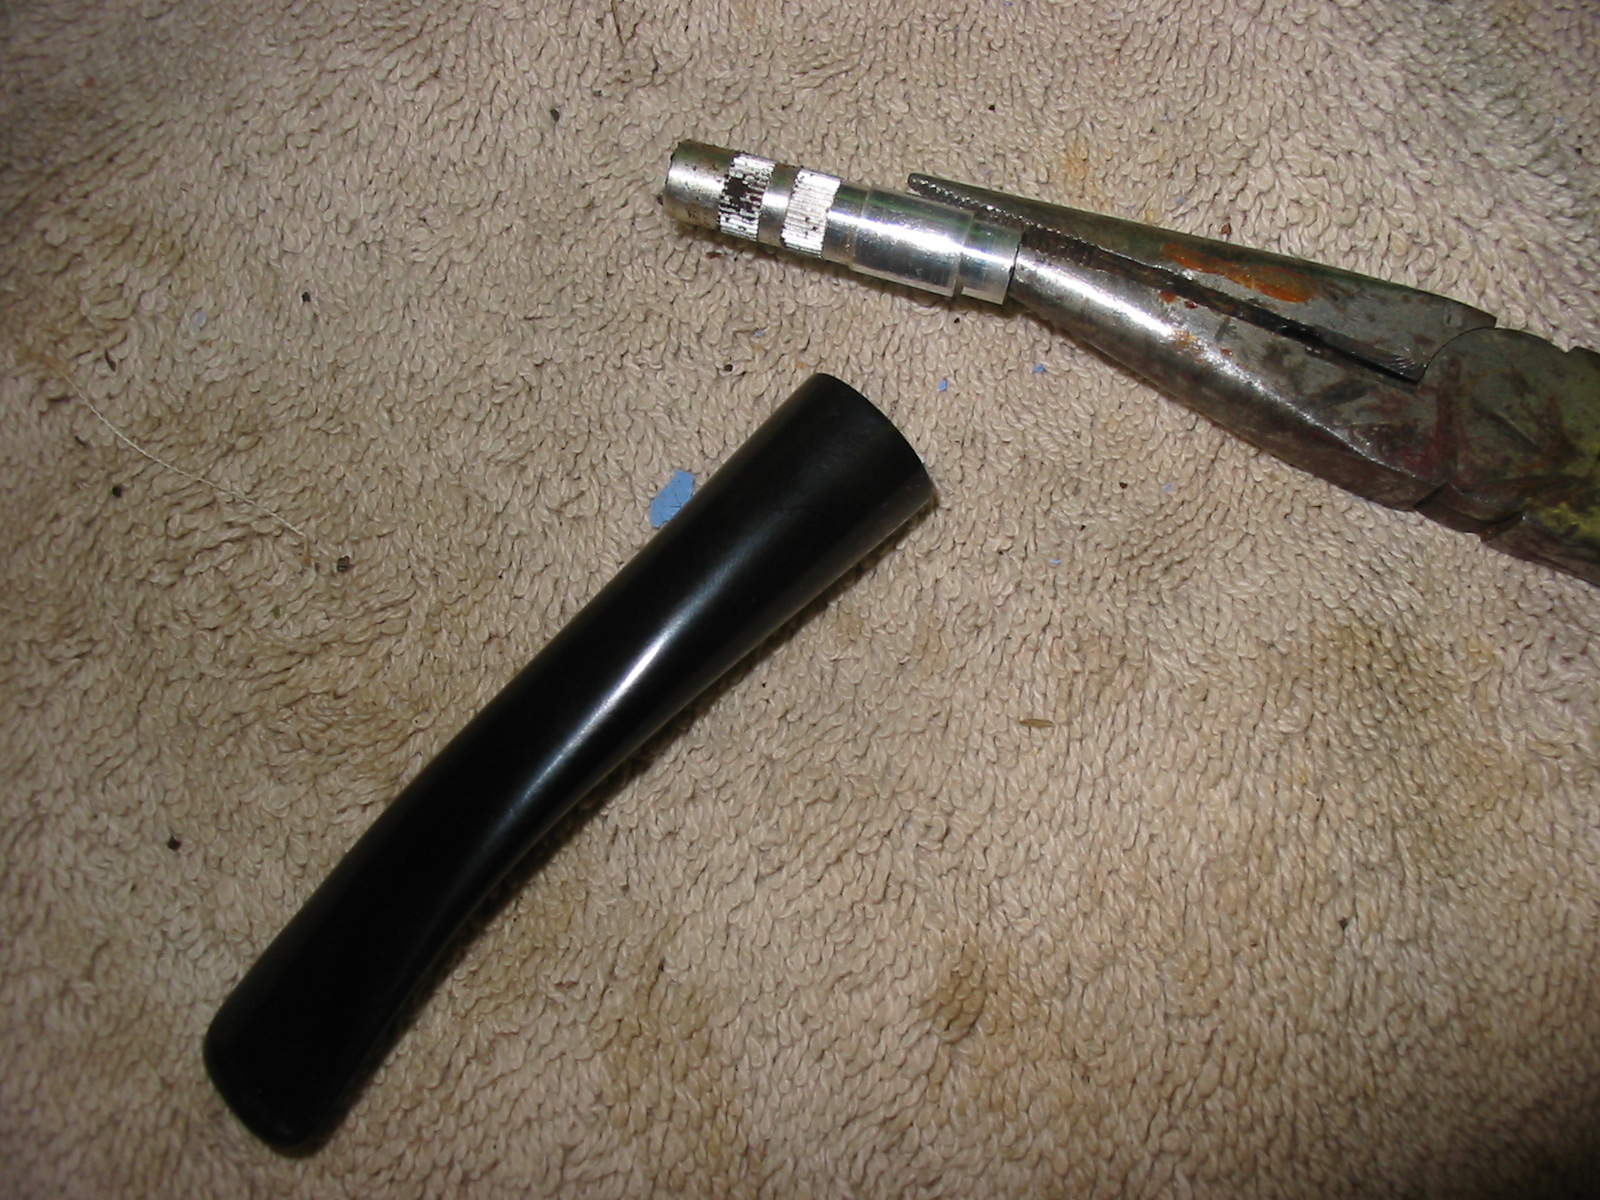
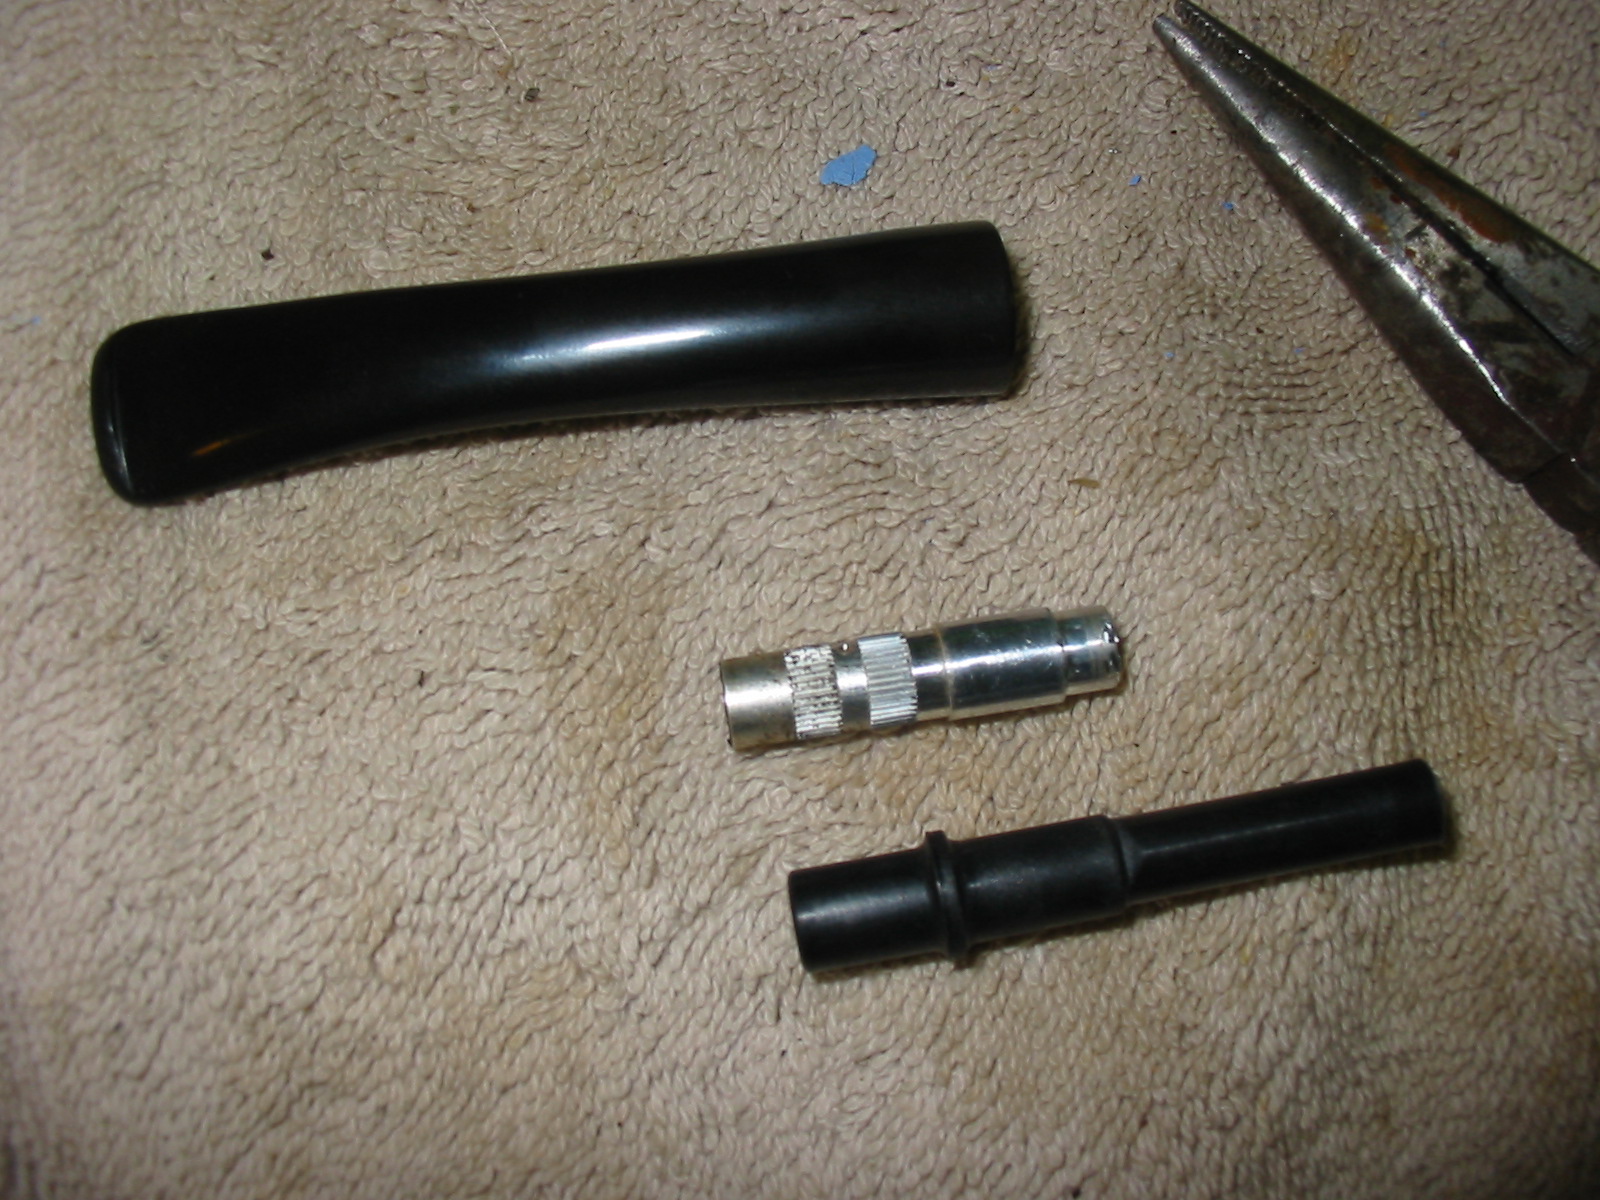
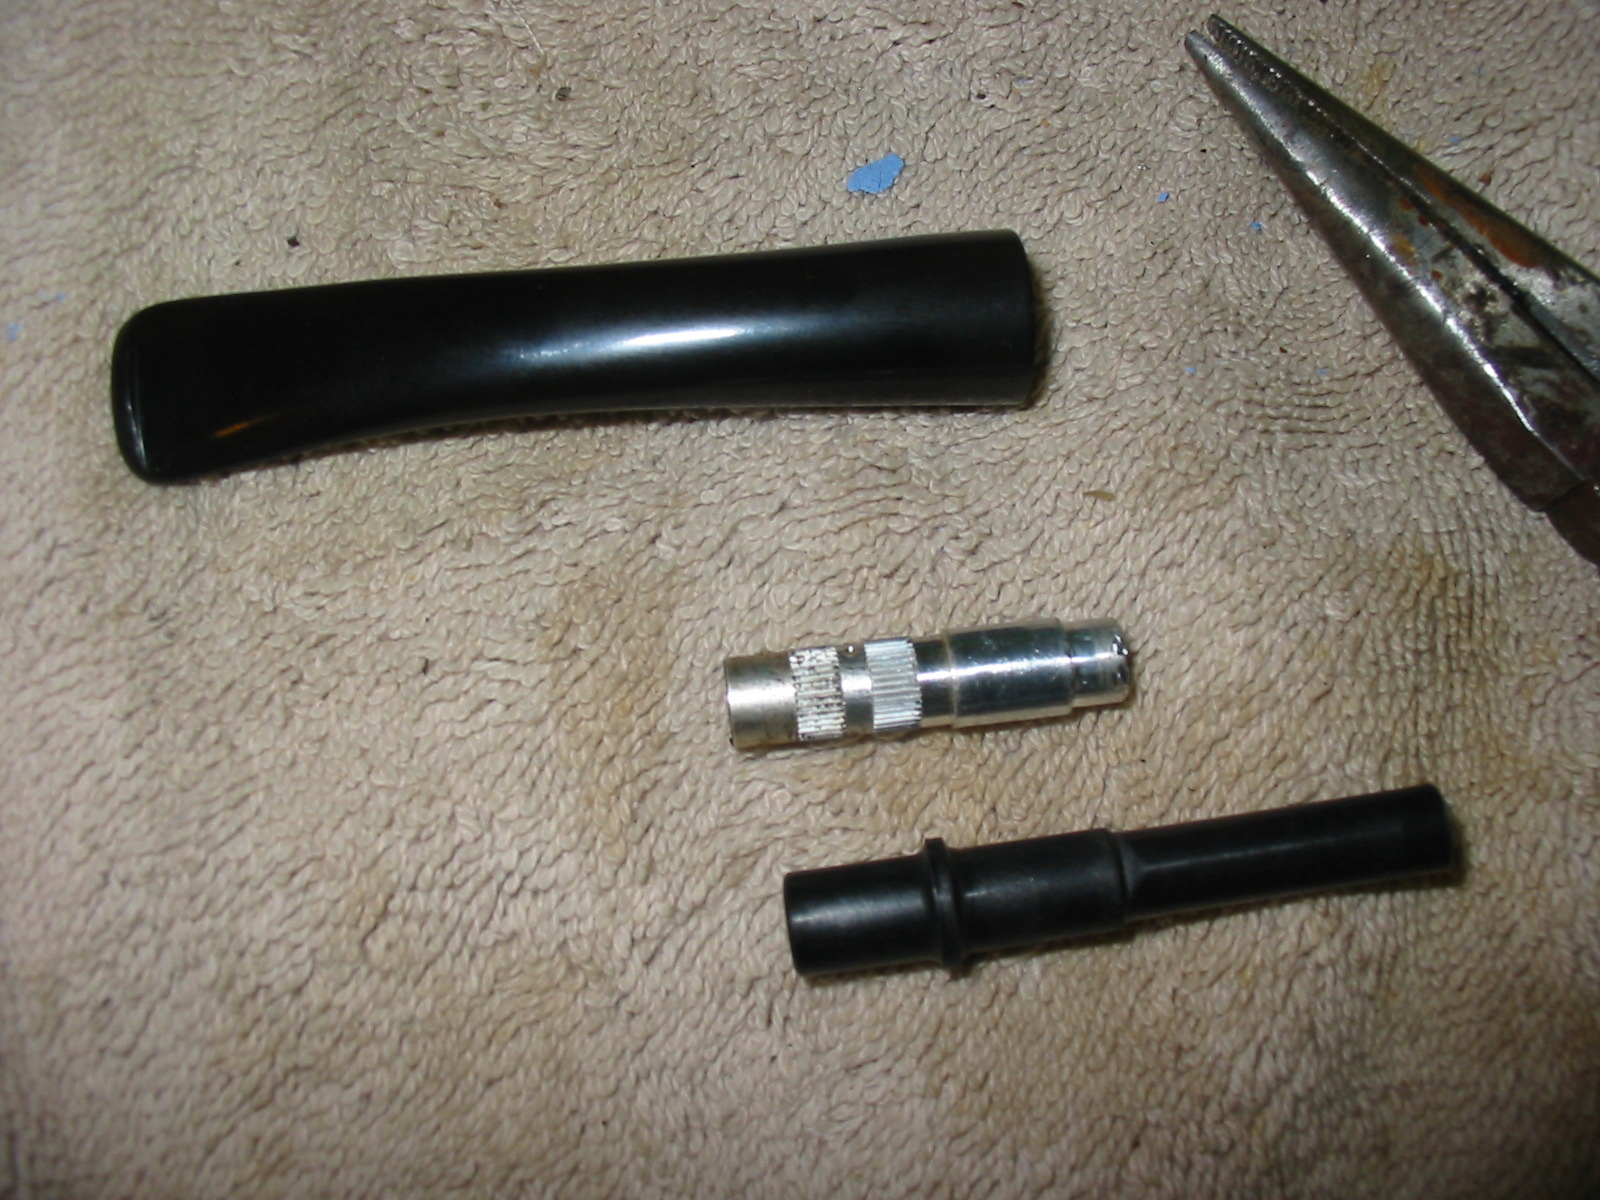
I use a pair of needle nose pliars to gently pull on the tenon. I do not want to damage the tenon because I may want to use it again (you never know when you might use it again so you don’t want to ruin it). I pulled gently and it came out pretty easily. You can see from the next pictures below that the metal was scored in two bands around the insert to provide a grip with the glue and the vulcanite.

ImageImage

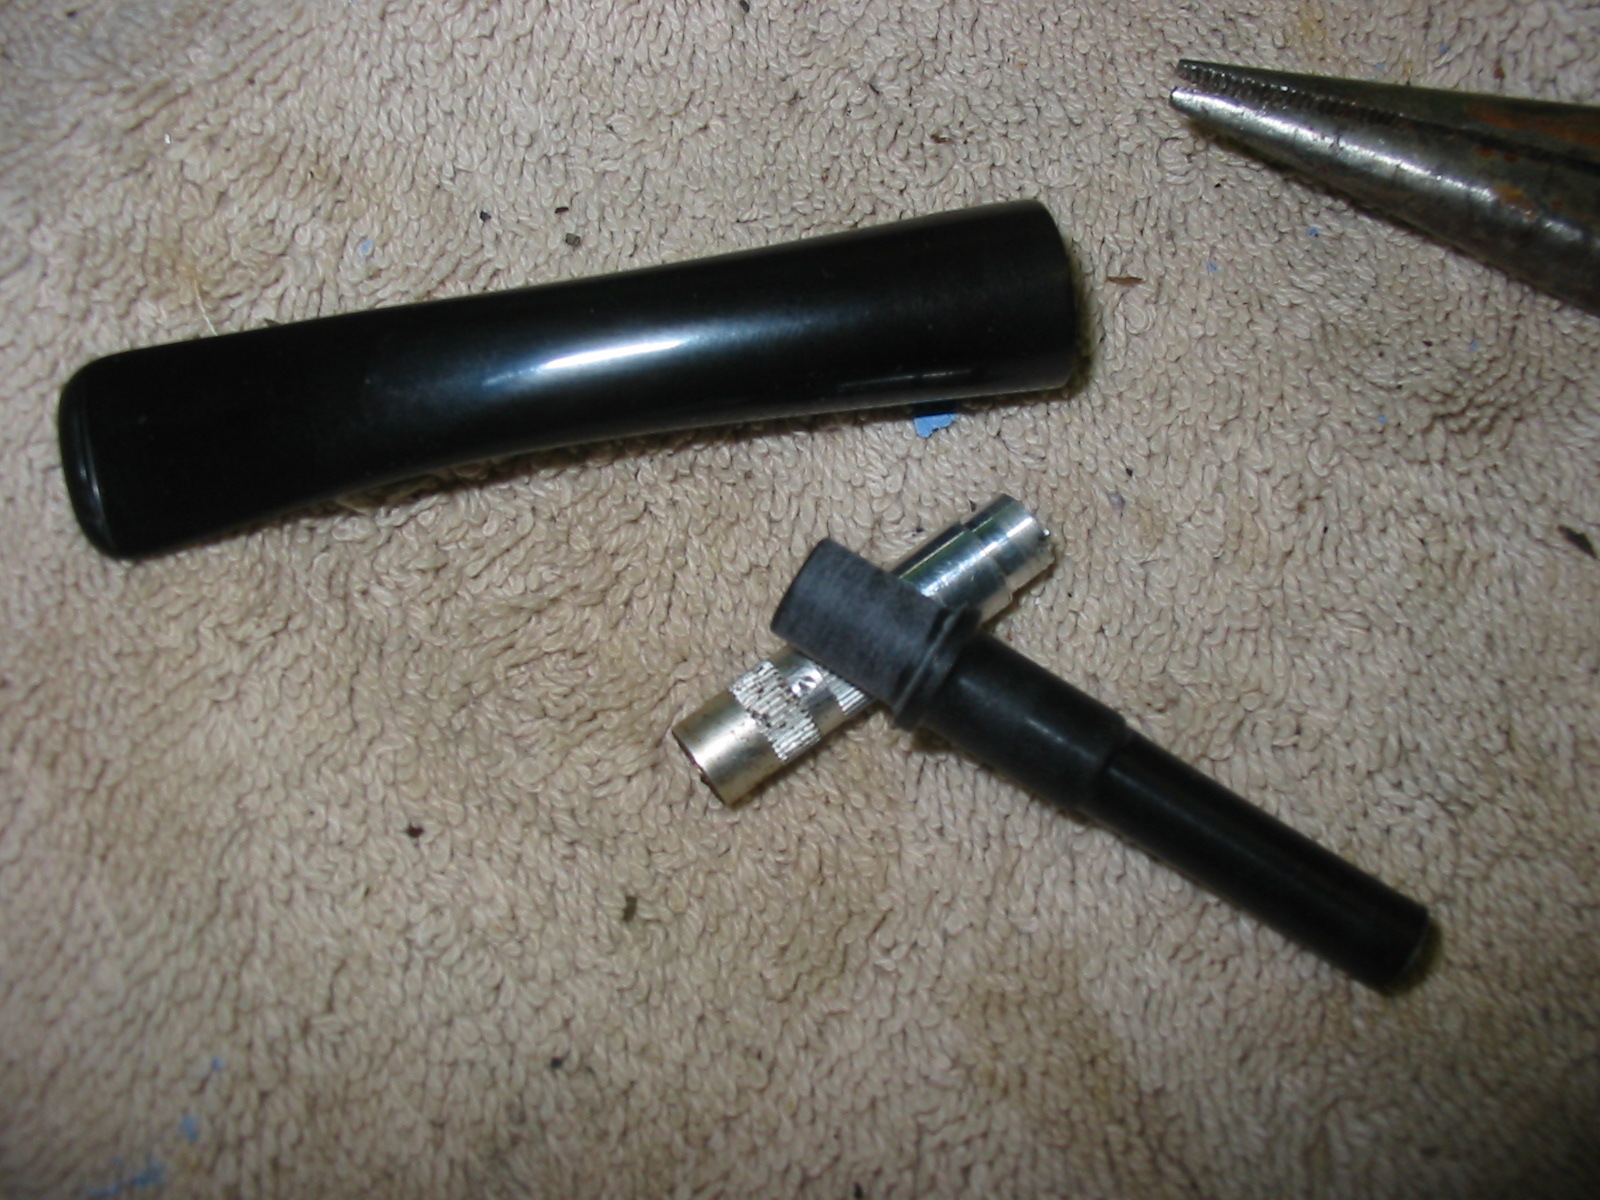
Once it was removed I put the old tenon insert next to the new one to measure length and also diameter. I wanted to know how deeply it would sit in the stem and also whether I would need to drill the hole a bit large to fit it correctly in the stem. You can see in the next two photos that the older insert (metal) is a bit longer than the new one. You can also see that the new one has a ridge around the diameter that would sit against the flush edge of the stem. I decided to remove that ridge and to split the difference in the length and insert the tenon end more deeply than the ridge would allow. Once I had removed it I still had some work to do as the hole in the stem was too small in diameter to take the new insert. I started by sanding a bit off of the insert to see if that would help it fit. I quickly saw that in order to fit I would have to remove more material than was wise in the diameter of the tenon end. So I would have to enlarge the hole. The third photo below shows the tenon end after I had sanded it. I still had not removed the ridge at this point as I was more concerned with diameter at the moment.

ImageImageImage

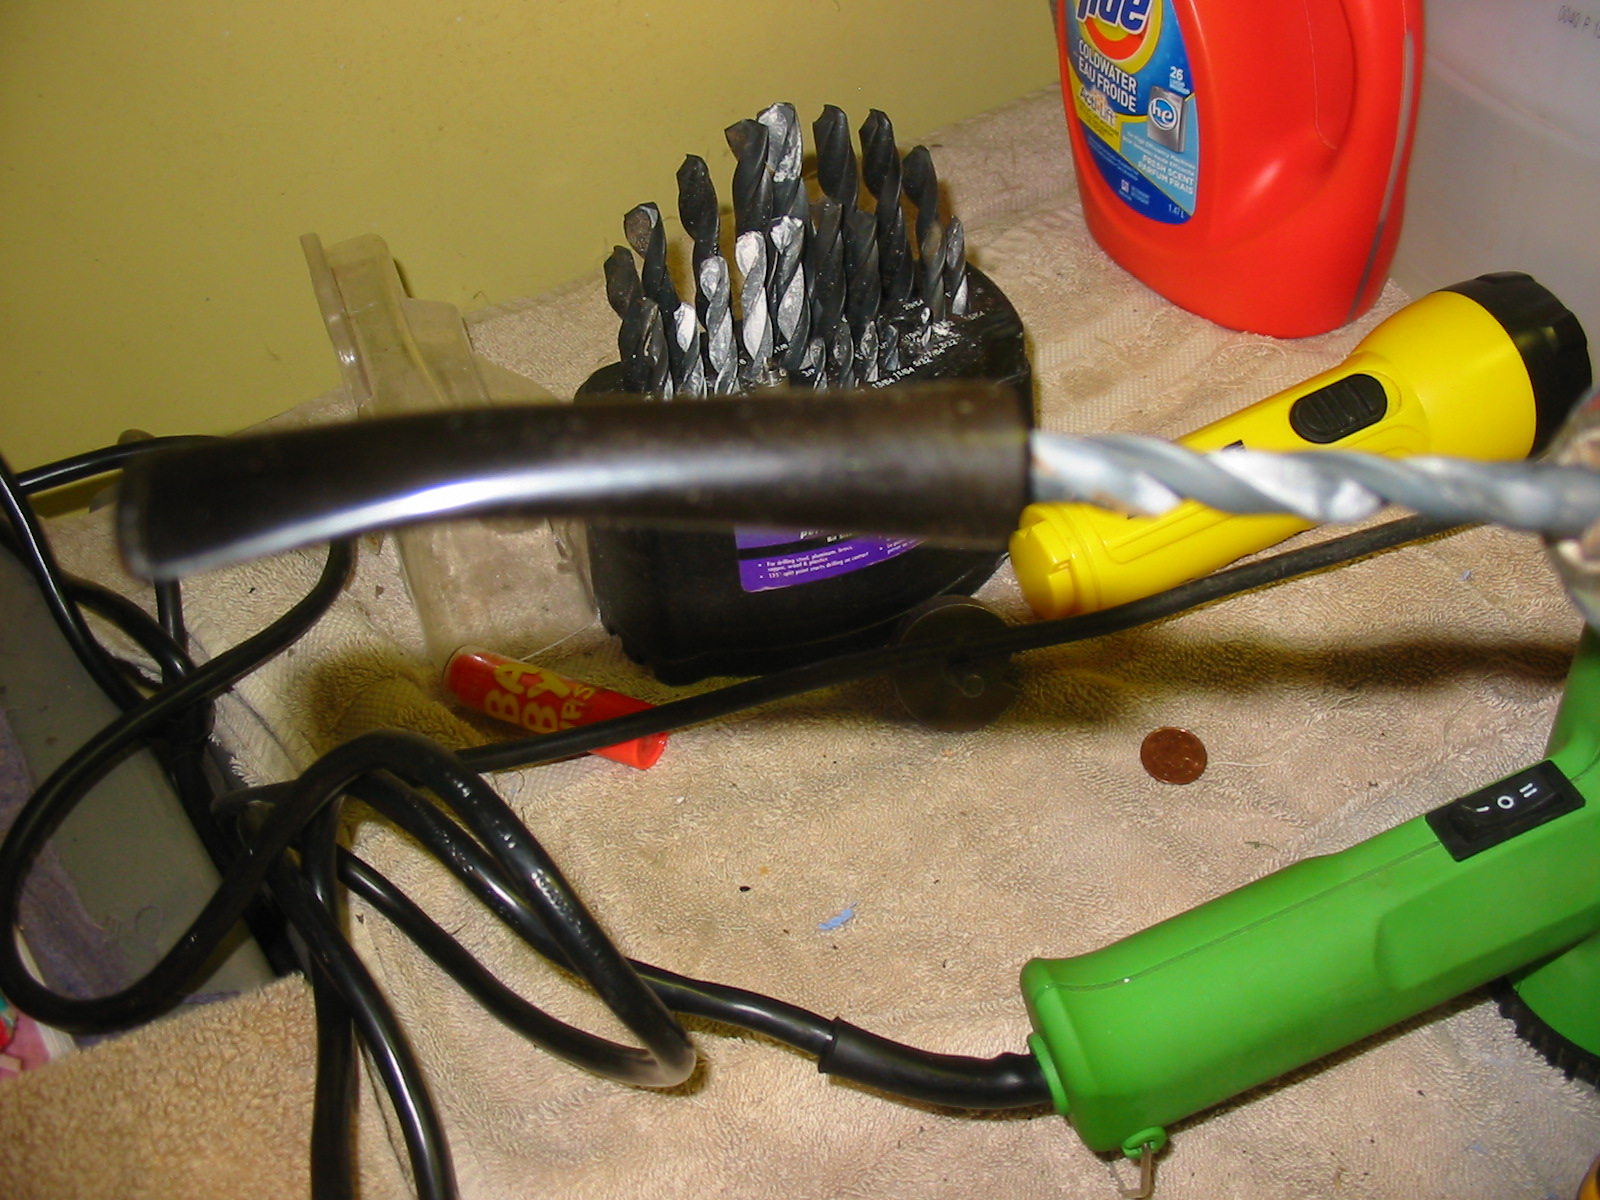
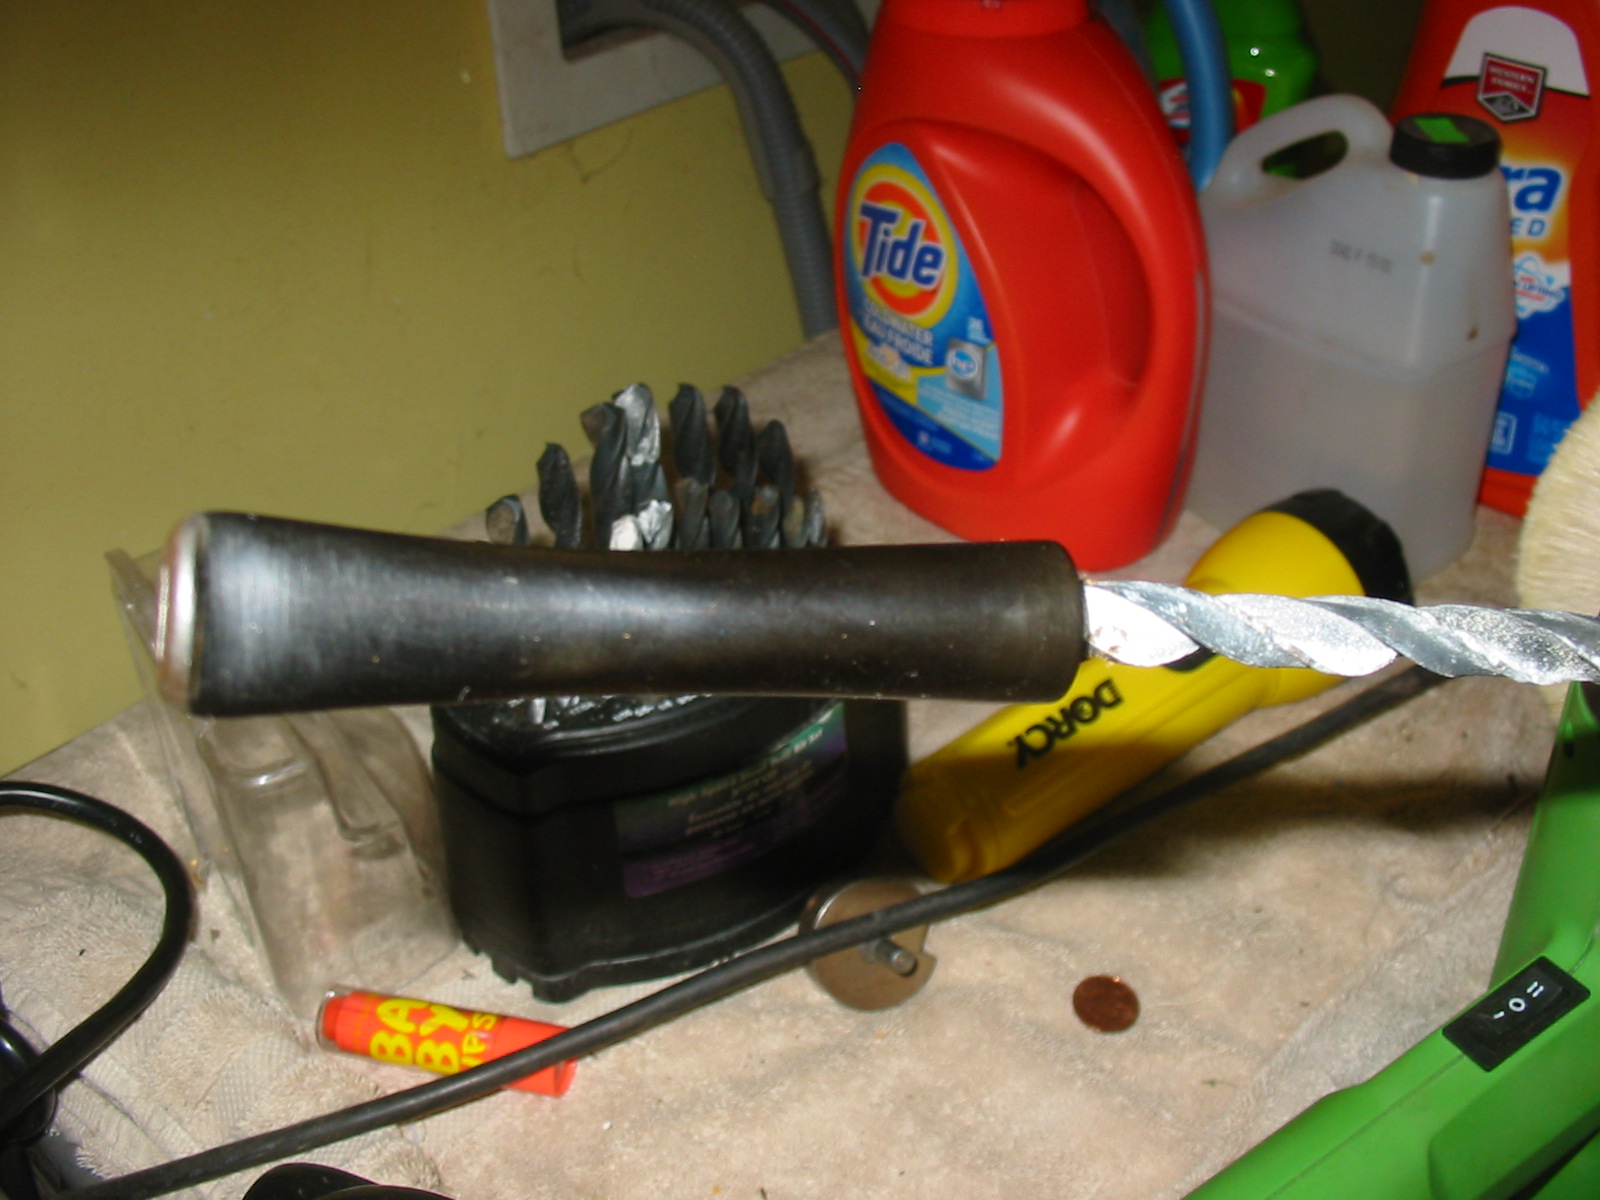
I began with a drill bit the same size as the hole and turned it in by hand to smooth out the walls of the hole. Then I moved up once size of drill bit and used my cordless drill. The trick here is not to hold the bit at an angle and to slowly turn the bit into the stem. I generally start doing this by hand without power. I make the drill stationary and then slowly turn the stem onto the bit. Once I have it started I slowly use the electric drill to take it deeper into the stem. The first photo below shows that process and set up.

Image

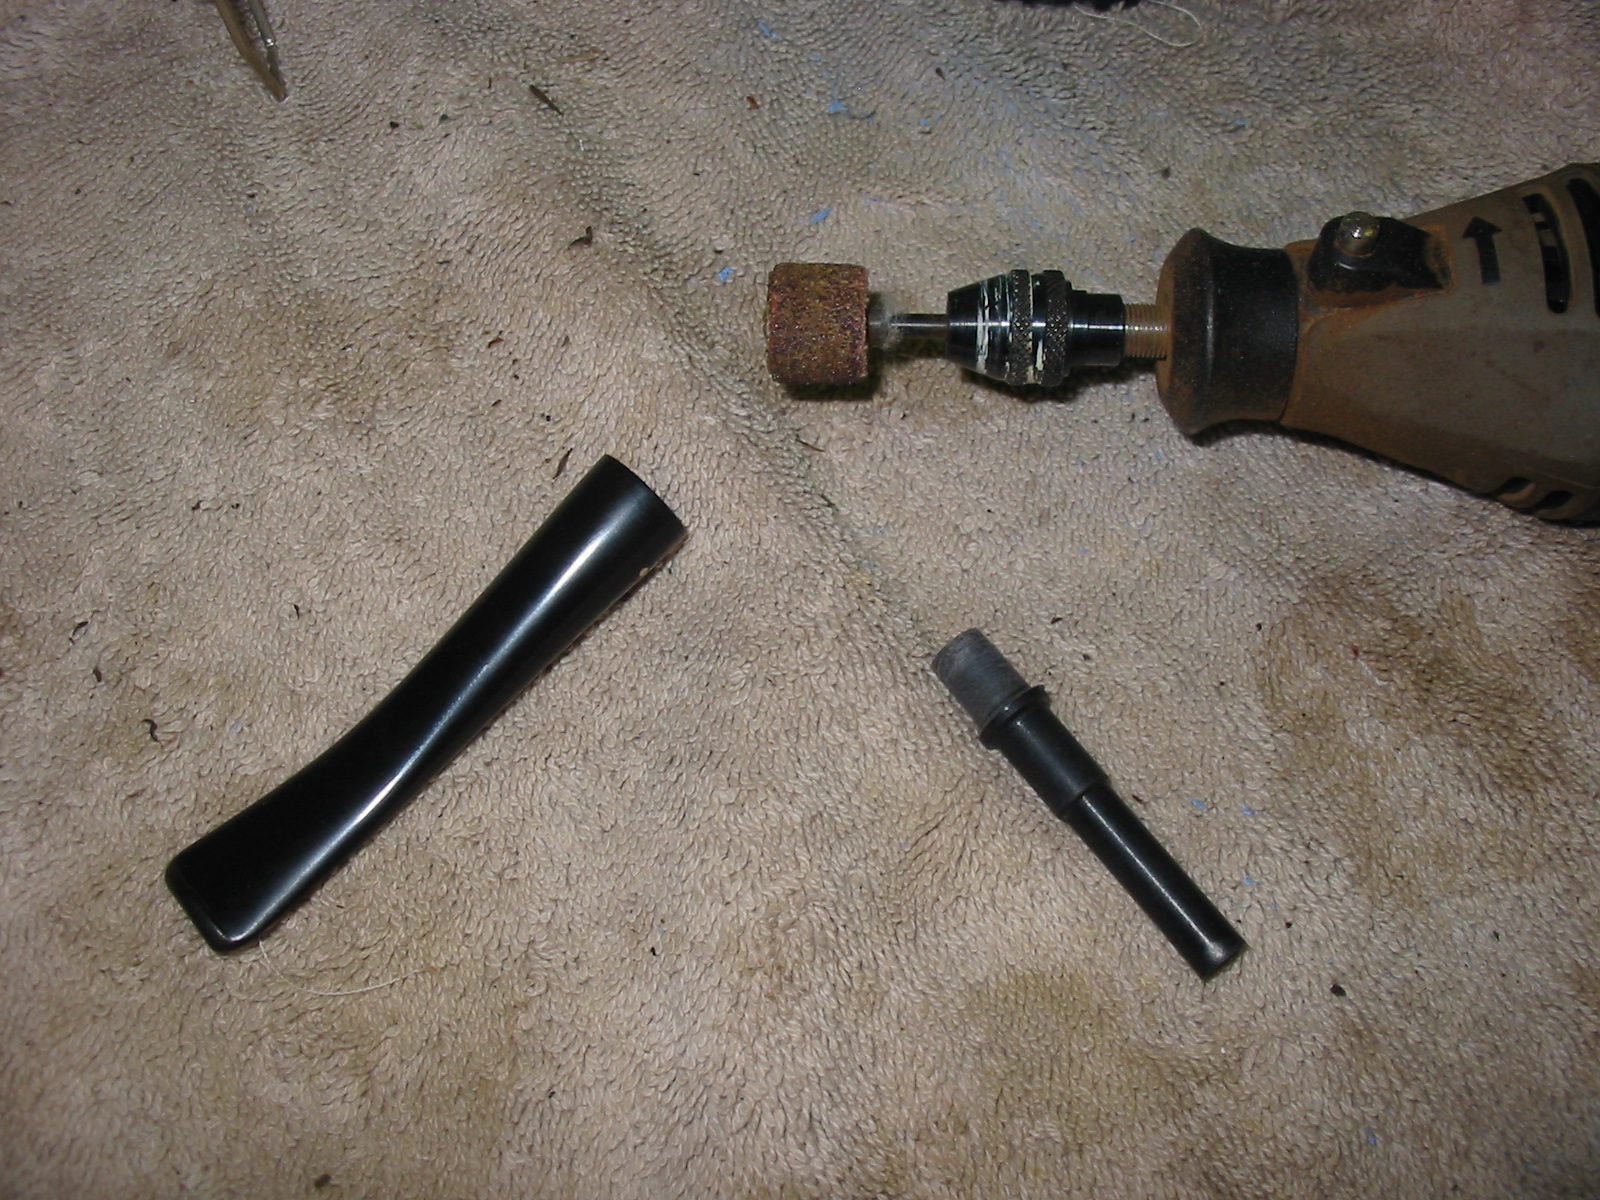
The next photo shows the next sized drill bit that I used. I followed the same procedure turning it on by hand first and then finishing with low power on the drill. After this drilling the insert fit tightly and I was ready to remove the ridge on the new tenon. I used my Dremel with the sanding drum to remove the ridge. I used it at a slow speed as I only wanted to remove the ridge and not change the diameter of the end. It did not take long. In the second photo below you can see the Dremel and the tenon before I sanded it.

ImageImage

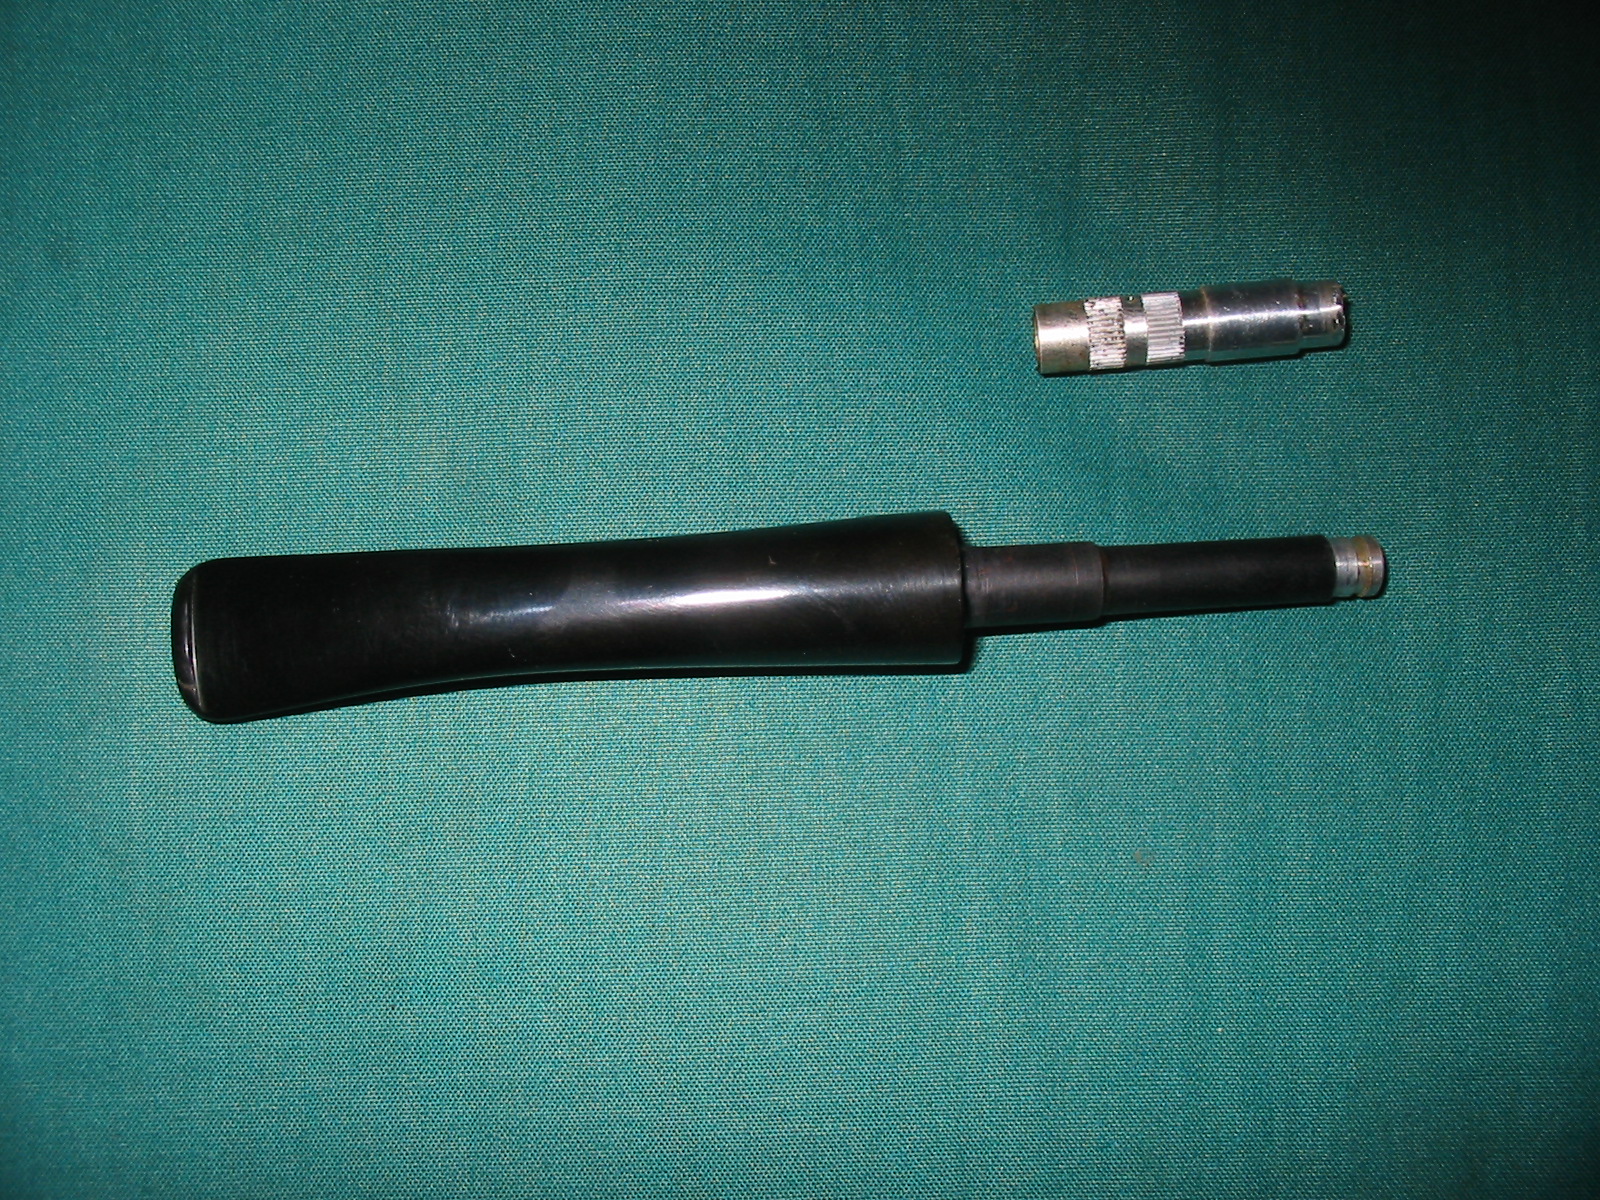
After sanding the ridge I put several drops of superglue on the tenon surface and inserted it in the stem. The fit was perfect and the joint tight and strong. You have to work quickly once the glue is on the tenon insert as it dries very quickly. To facilitate the pressure fit I inserted the tenon in the shank to give me something to push against. I pushed the tenon into place and in the photo below you can see the fit. Above the newly inserted tenon I also included the old insert in the picture.

Image

Once I had a good fit on the tenon insert it was time to try and remove the stuck metal end cap in the shank. This had given me problems as mentioned in the earlier blog post. This time I decided to use a larger drill bit and see if I could drill it carefully until the metal locked onto the bit and I could then extract it. The first drill bit pulled a major piece of the metal cap out but there still was a piece remaining. I used a larger sized bit and carefully inserted it in the shank and drill at low speed until I felt the metal lock on. Then I extracted the end cap – a ¼ inch piece of metal – from the shank. I finally had gotten it all out of the shank. I then pushed the next filter into the new tenon and inserted the stem into the shank. It was a perfect fit… well almost. I removed it and did a counter sink on the shank with my Buck knife and then the stem fit tightly in place. The three photos below show the finished pipe.

ImageImageImage

Sweetening a Pipe – An Alternative to the Salt and Alcohol Treatment


Blog by Steve Laug

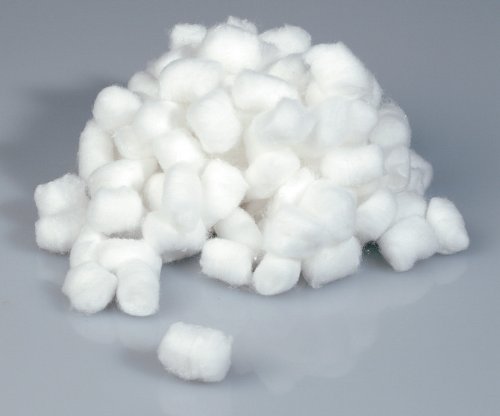
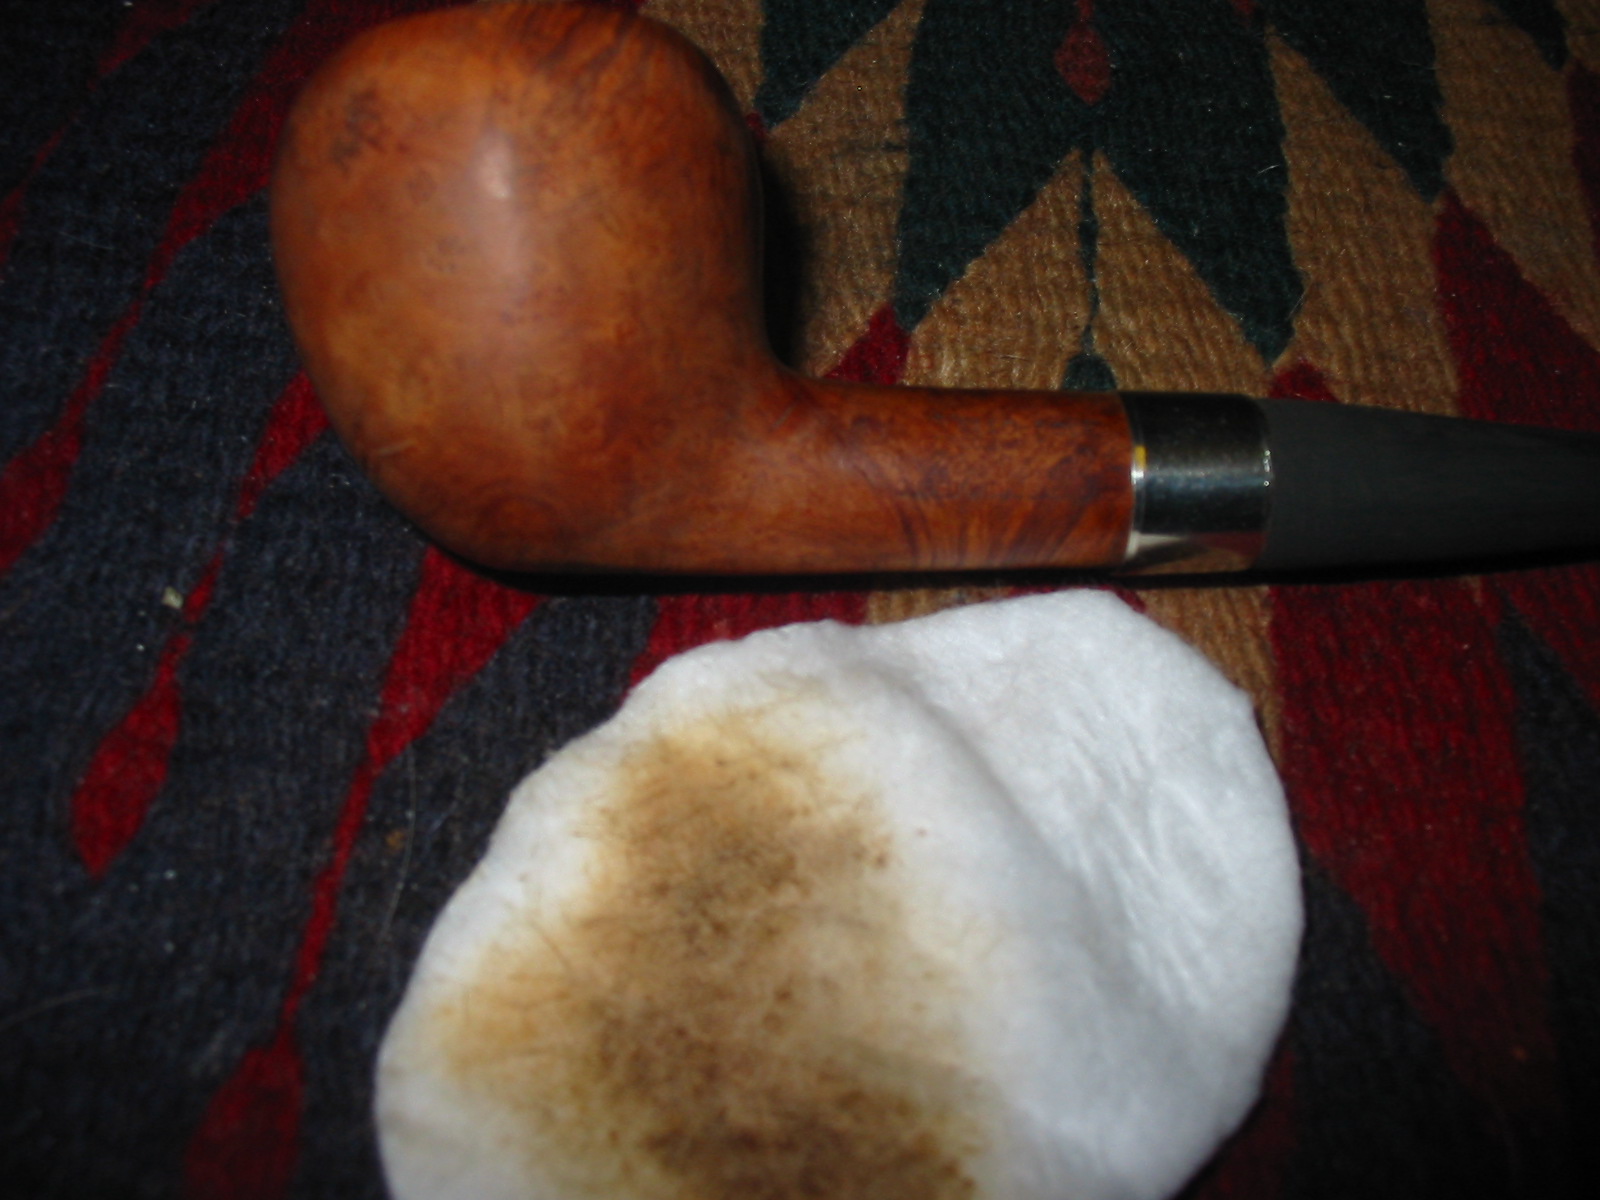
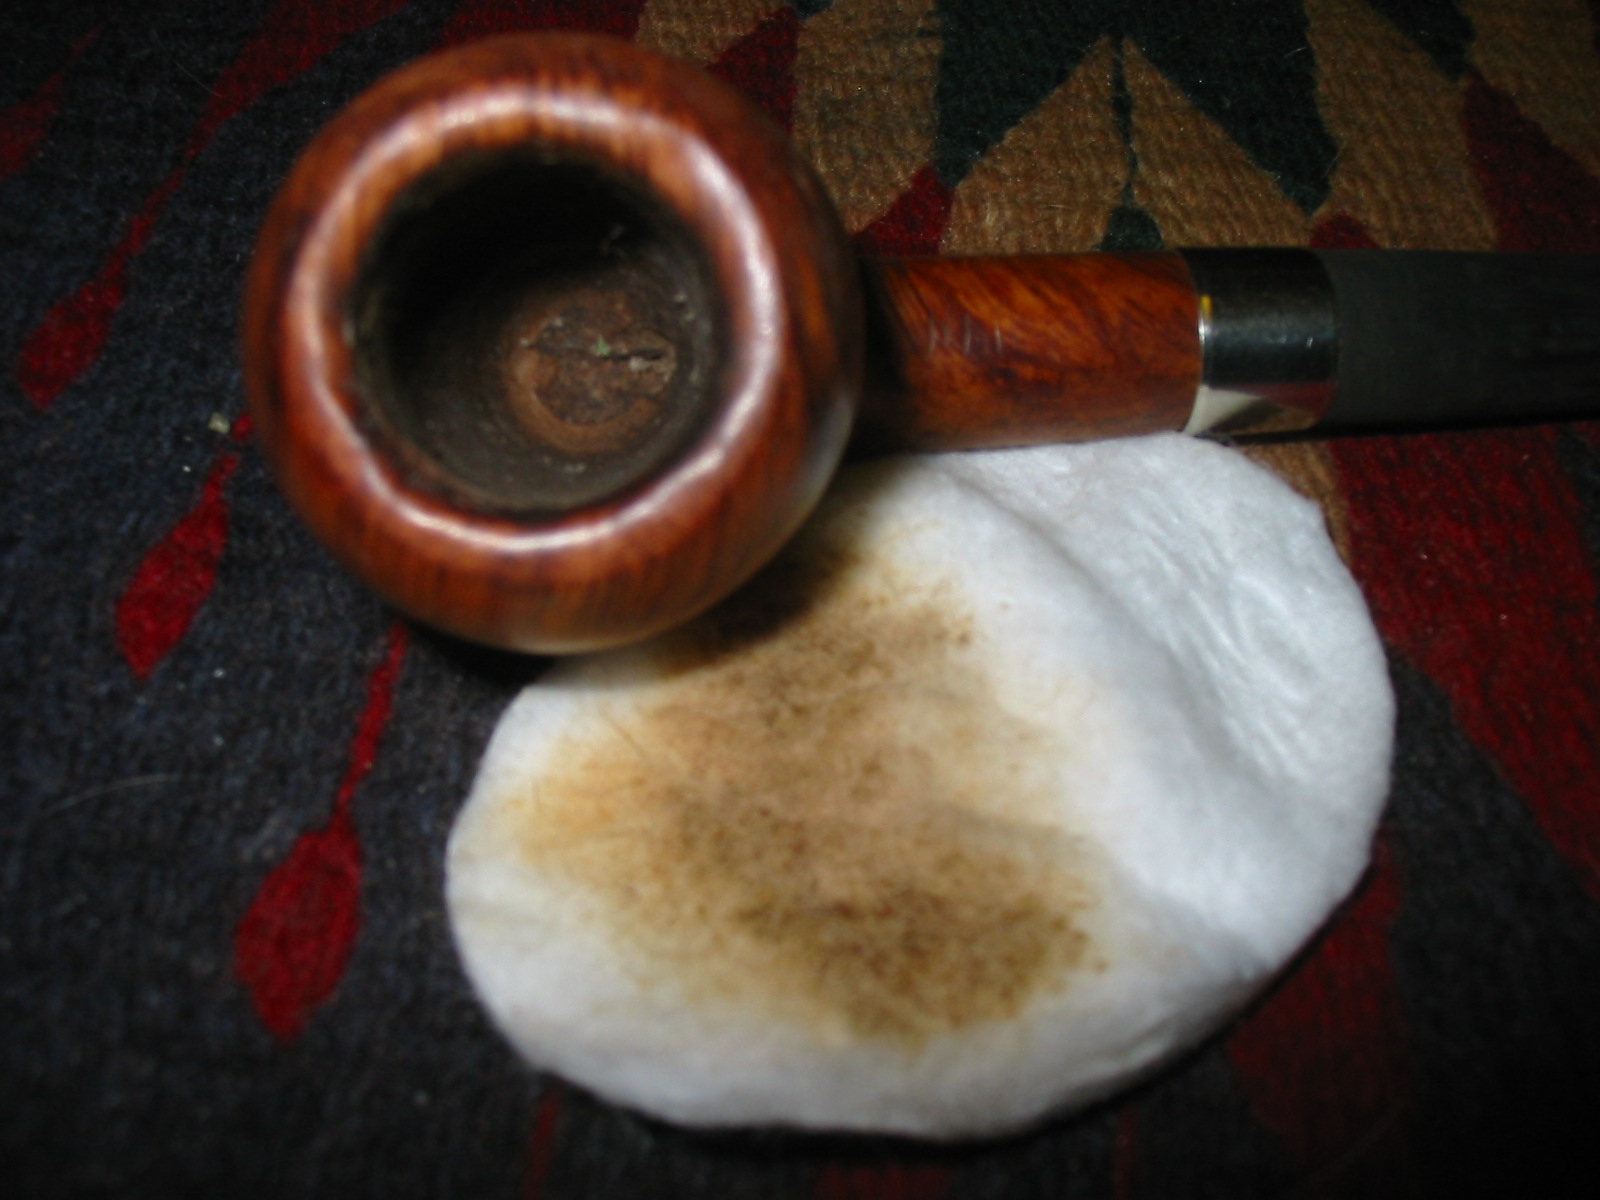
After writing the post about using the salt and alcohol treatment to sweeten sour pipes or estate pipes I decided I would also write about an alternative method that I have used and still continue to use at times. The process is much the same as the salt and alcohol treatment and the effect is much the same. In some sense the cotton bolls are easier to work with and there is certainly no leaching of salts or such into the briar of the bowl. The cotton bolls are neutral and work quite well. They are easy to remove. The only difference I find is that the alcohol does not dissipate into the air as well with the cotton and they are still damp when I remove them from the bowl the next morning.

The tools

Image

Cotton bolls

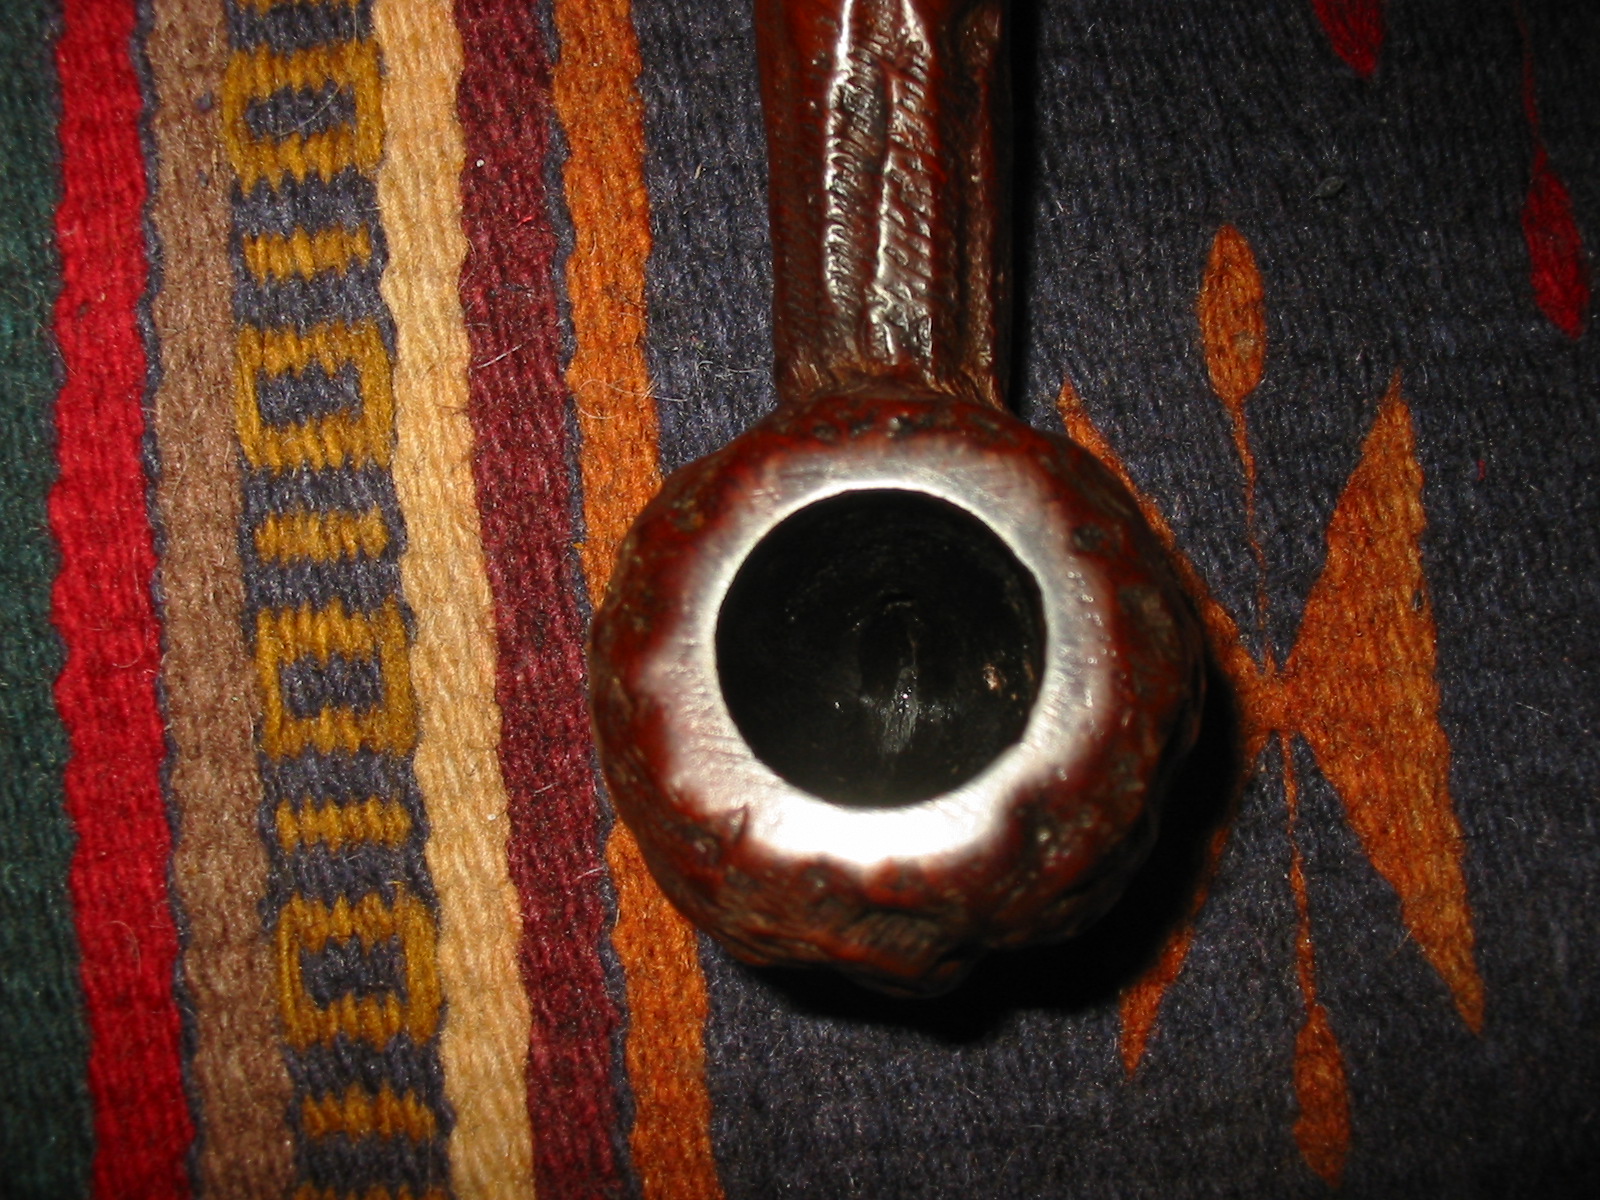
COTTON BOLLS– I buy cotton bolls in bulk at pharmacies, variety stores or the local dollar store down the street from my house. I find that the cheaper ones work as well as the more expensive. The difference is in the number of bolls that it takes to fill the pipe bowl. There are several features of the cotton boll method that endear it for me. The first feature is that it is easy to stuff in the bowl of the pipe and is readily available. The second, like the salt method, is that it provides multiple surfaces onto which the leached out oils and tars can migrate. Like the salt treatment, I have used the cotton boll method for many years. And over the years I have never had a problem with it. I have never had a shank or a bowl crack or split after it has been cleaned using this method. So ultimately the choice is yours to make. Experiment with both and see which one you favour and continue to use it to your advantage.
Image

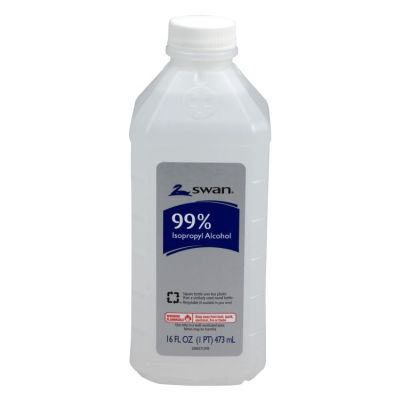
Isopropyl Alcohol 99%

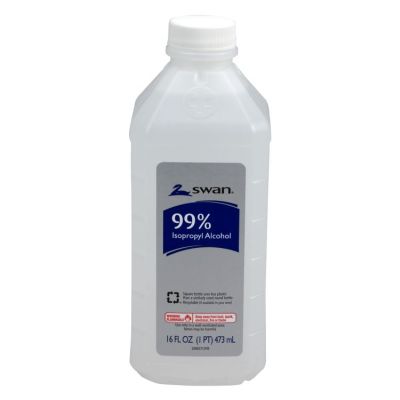
ALCOHOL – As before with the description of the salt and alcohol treatment, I use the highest percentage isopropyl alcohol that I can get through my local pharmacy. Most of the time I am able to purchase 99% Isopropyl alcohol or Rubbing Alcohol but have also used 91% Isopropyl with no ill effects. I just purchased a bottle of Everclear while traveling and will be trying it out as well. The water content in the 99% Isopropyl is 1% and I find that it evaporates quite quickly and does not saturate the briar. Much has been written about using an alcohol that is not a human consumable form. Many have spoken of the danger of using it in the pipe bowl or in cleaning the stem of a pipe that is going to be put in the mouth. However, I have found that once the cotton bolls and alcohol have been removed from the bowl and the pipe air dries there is no remaining alcohol in the bowl. With the removal of the cotton bolls I have found that there is always some residual alcohol in the bowl after I take out the cotton. It seems to keep the alcohol longer than the salt did. To remove the last of it I use a match and light the inside of the bowl to burn off any remaining alcohol. It quickly burns the alcohol and does not harm the pipe bowl. Once that is done the bowl is dry to the touch. From my experience the alcohol burns off and any remaining in the briar dries out quickly over the next few hours that the pipe sits.

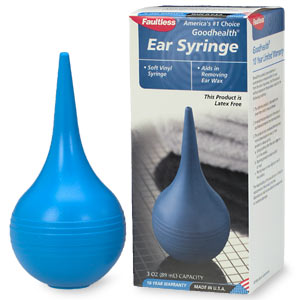
ImageEAR SYRINGE – I use the same ear syringe to fill the bowl with alcohol as I explained in the previous post. It truly is an indispensable tool for my refurbishing kit. I use it in this process and also in the process of removing excess water from the bowl when I am making a pipe mud patch. It is rubber and works incredibly well at keeping the alcohol off the outer finish of the pipe. By squeezing the bulb you can draw alcohol into the syringe and then be squeezing it again over the bowl of the pipe the alcohol is poured into the bowl quickly and without a mess. The syringe is resilient and durable. I have had mine for a long time.

The method

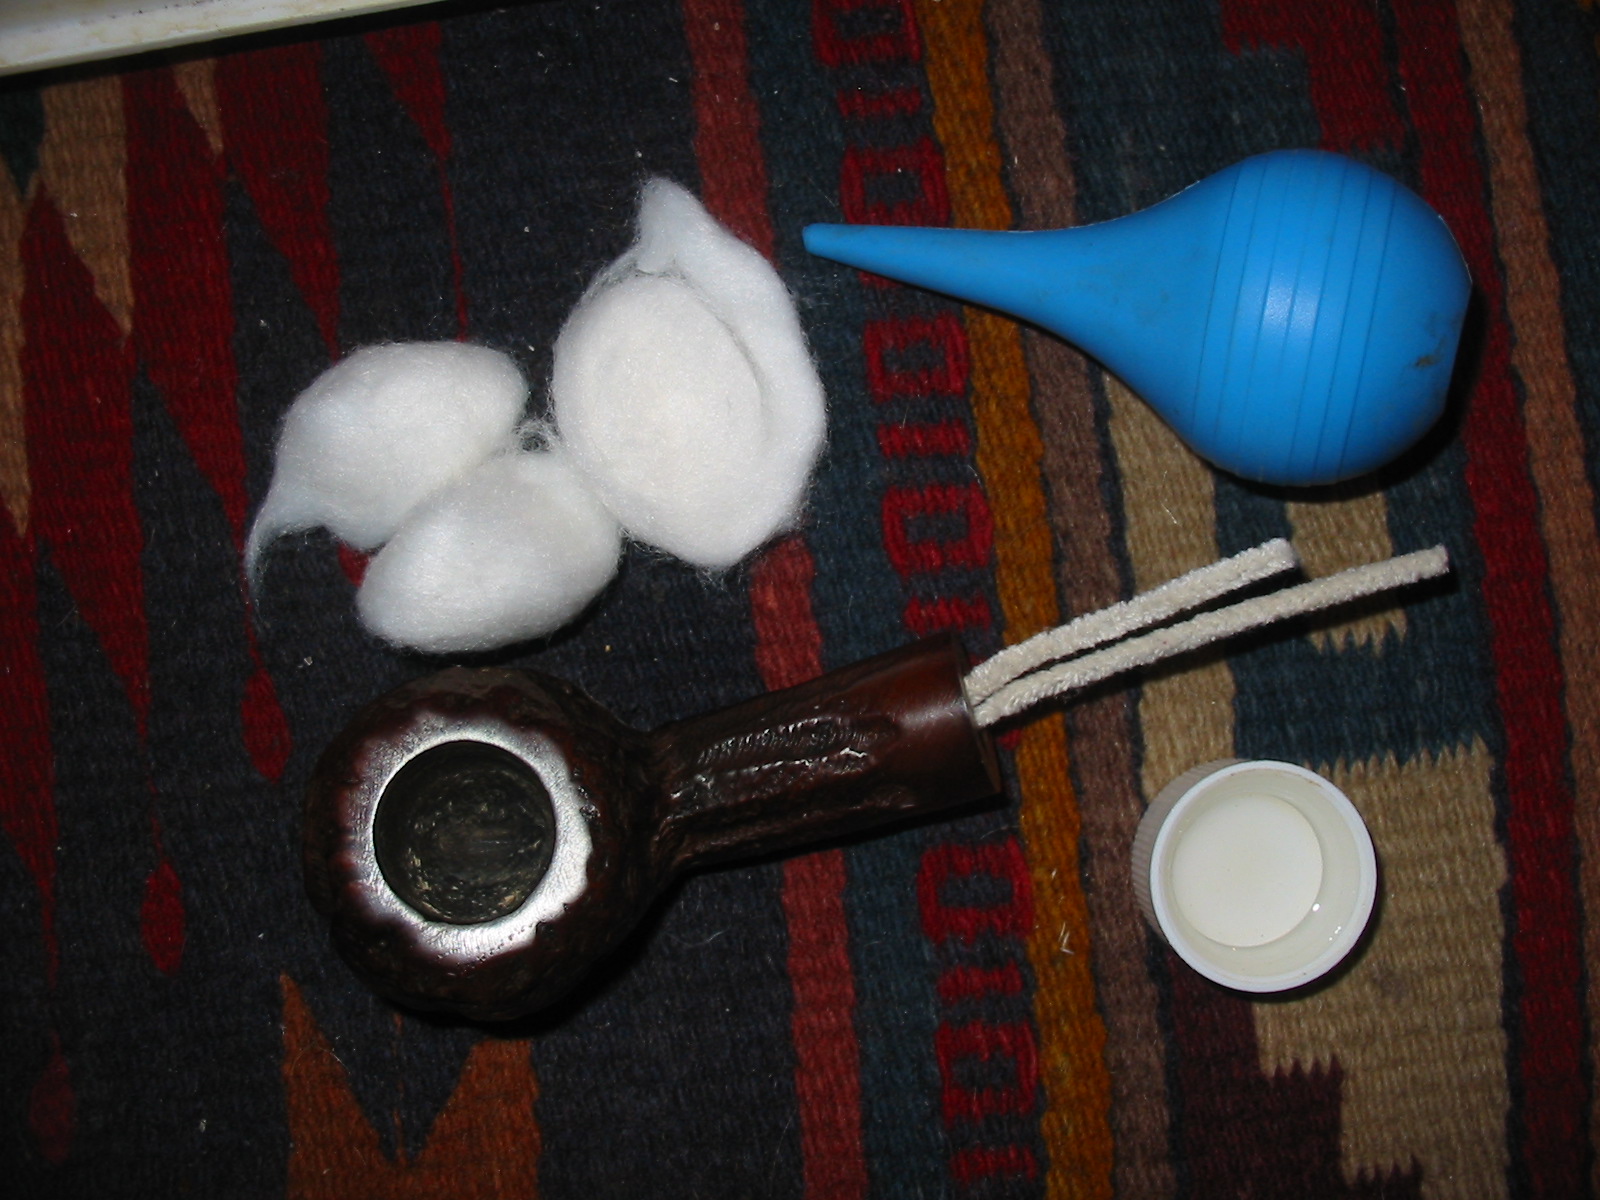
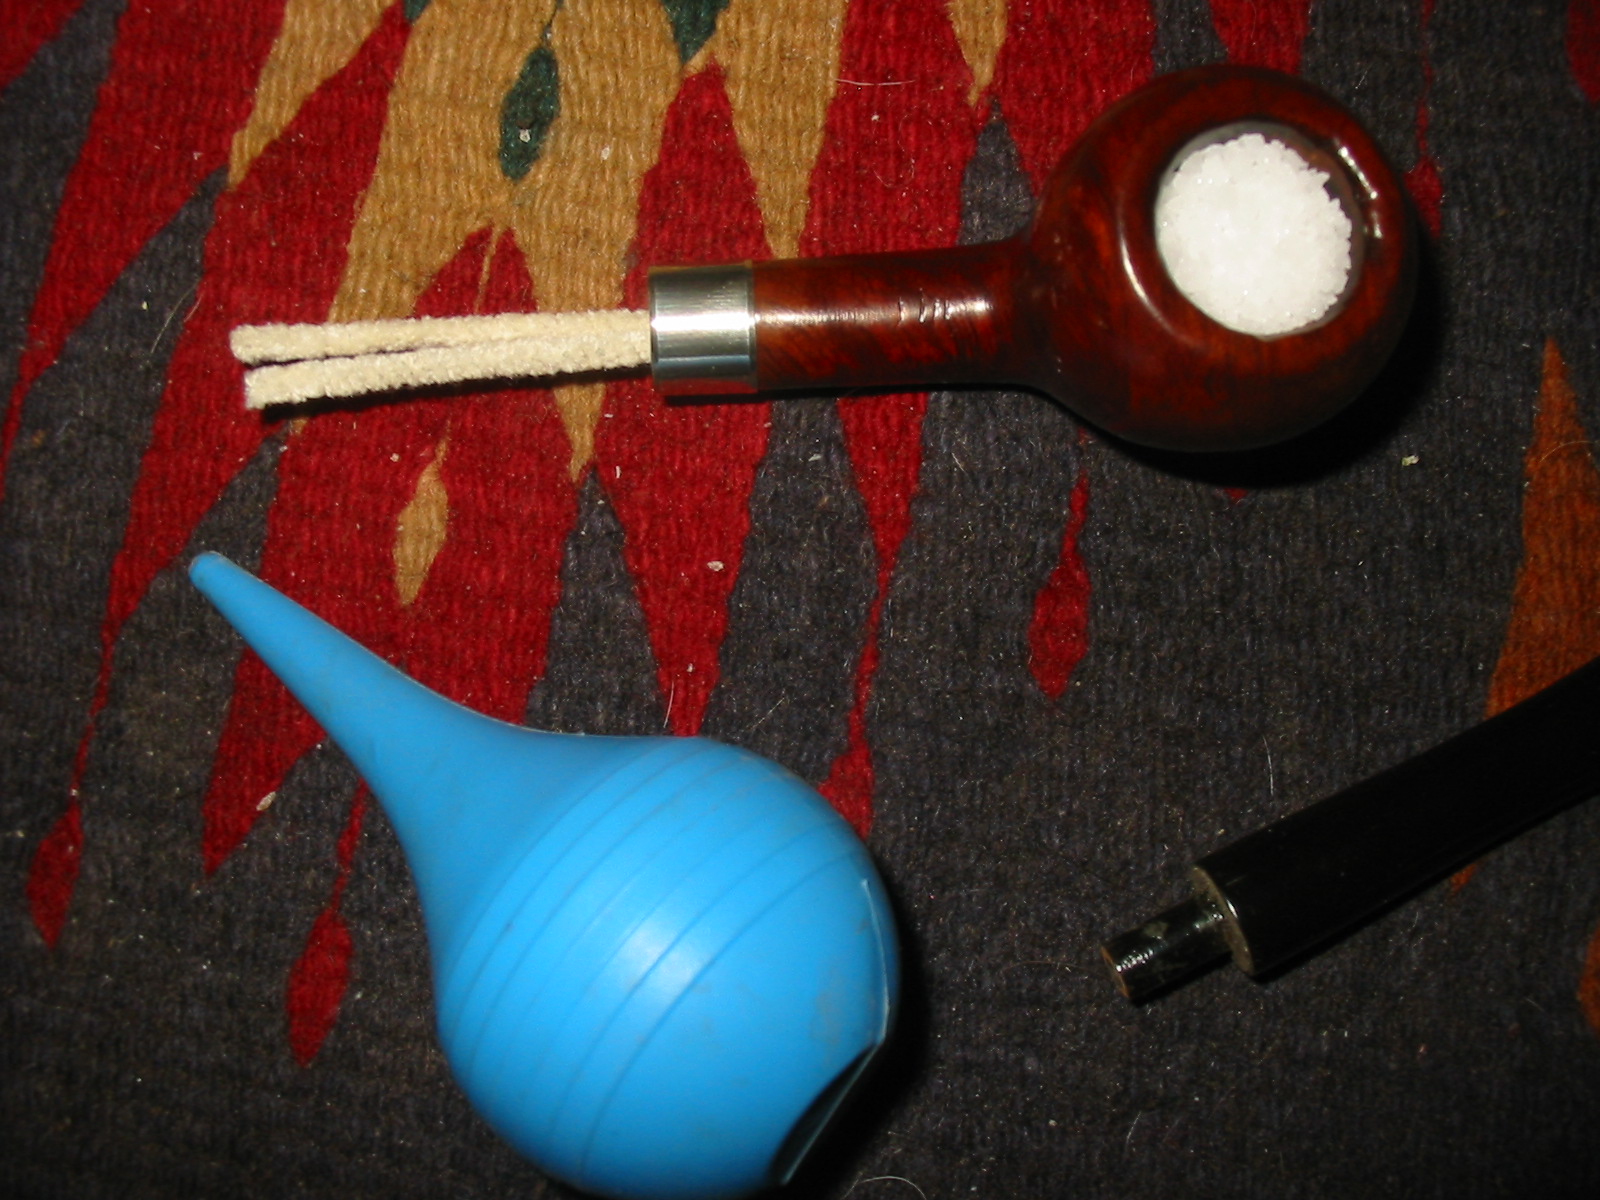
I remove the stem from the bowl and then stuff several cotton bolls into the bowl. An average sized bowl will take two or three cotton bolls pressed down tightly into the pipe. I press them tightly as I do not want them to spring up when I fill the bowl with the alcohol. I want them inside the bowl and not overlapping and touching the rim of the pipe. The photo below shows the bowl ready to be filled. The second photo below shows the bowl stuffed with the cotton bolls and the alcohol ready to be loaded into the syringe and then put in the bowl. When I pack the bowl with cotton bolls I try to leave it a bit below the edge of the bowl. I also insert a folded pipe cleaner in the shank and airway to close off the airway and provide a bit of a plug for the alcohol. It also acts as a wick and draws the tars and oils from the airway.

Image

Tools needed for the cotton boll alcohol treatment – Photo 1

Image

Tools needed for the cotton boll alcohol treatment – Photo 2

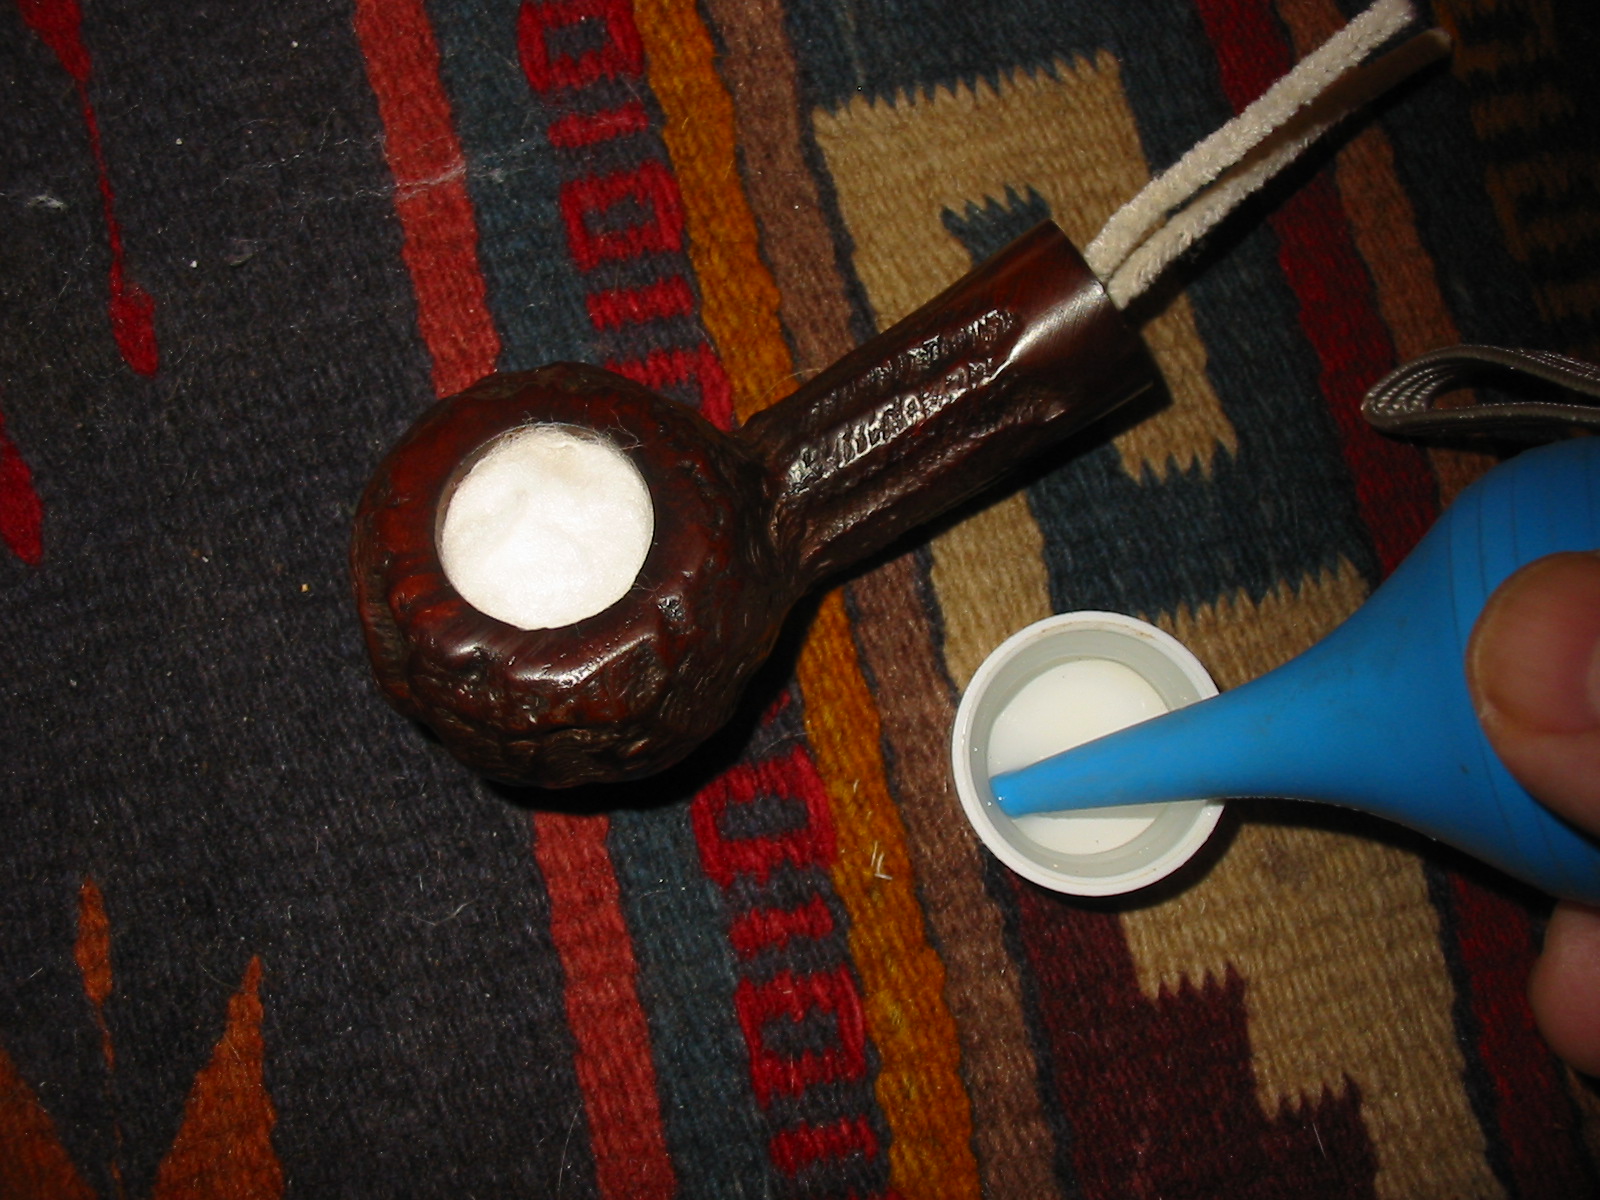
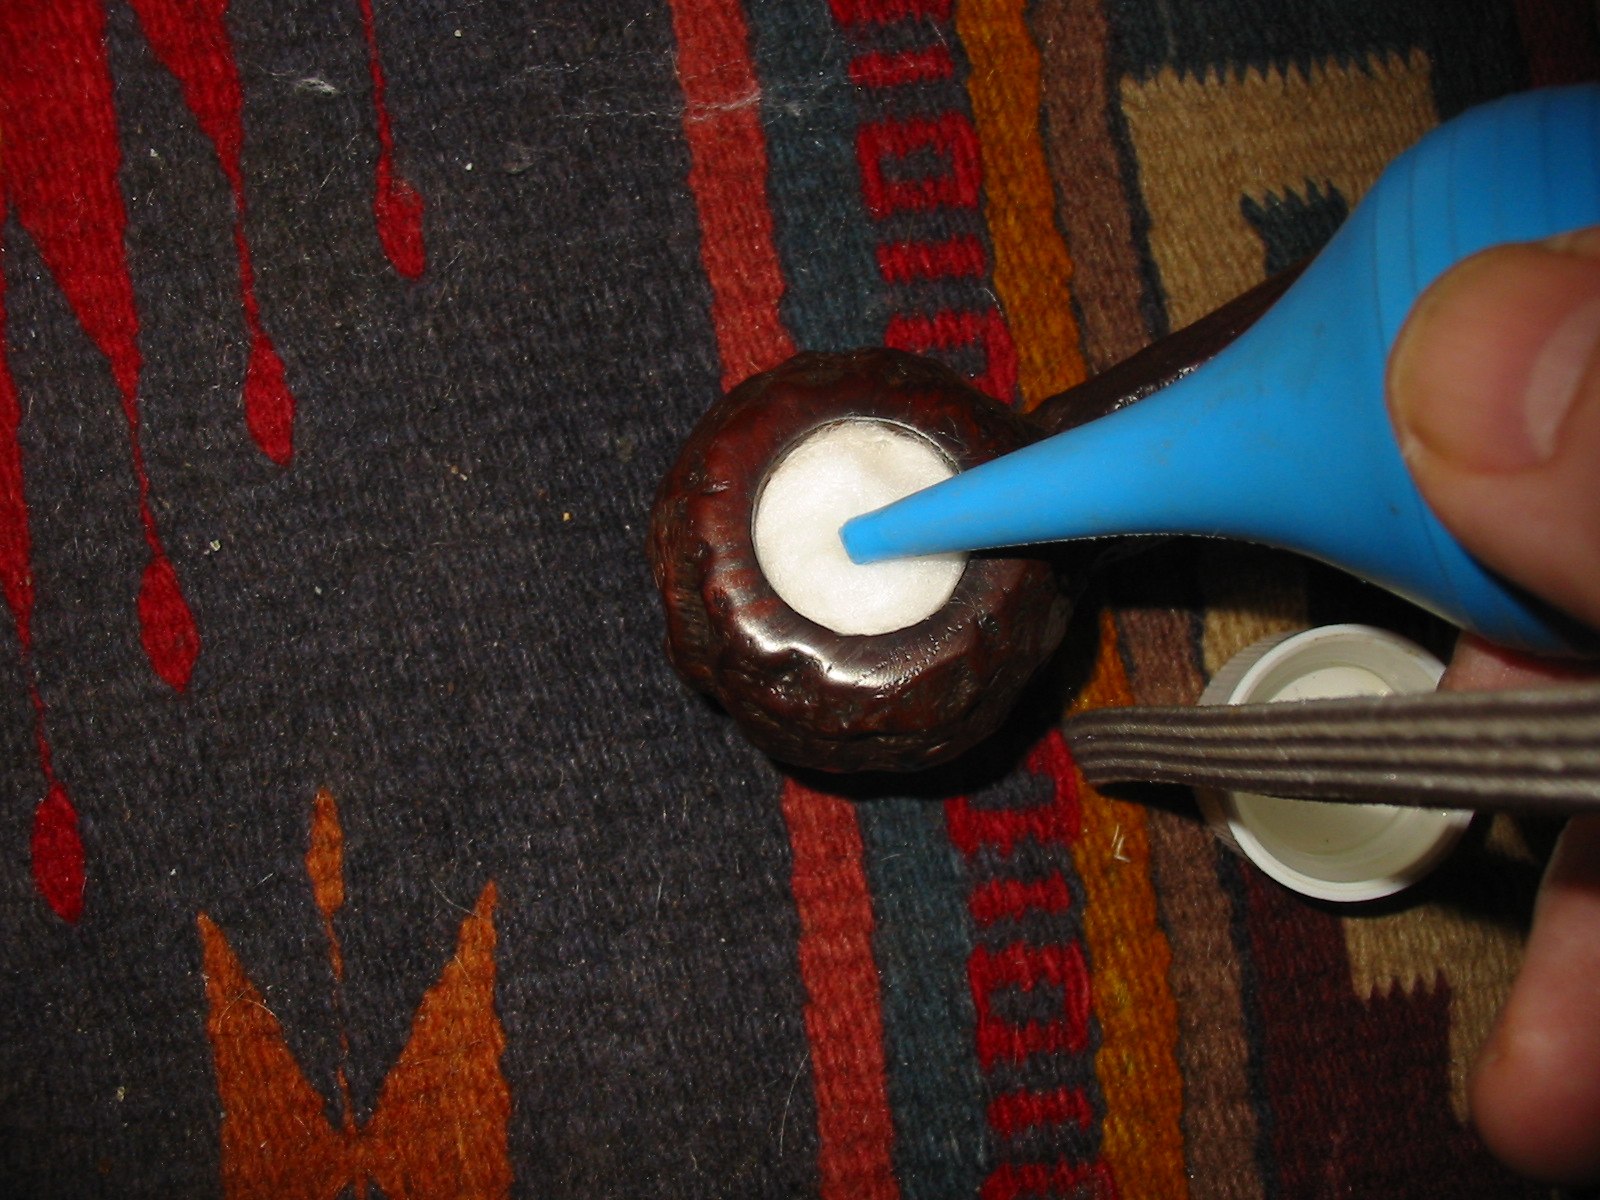
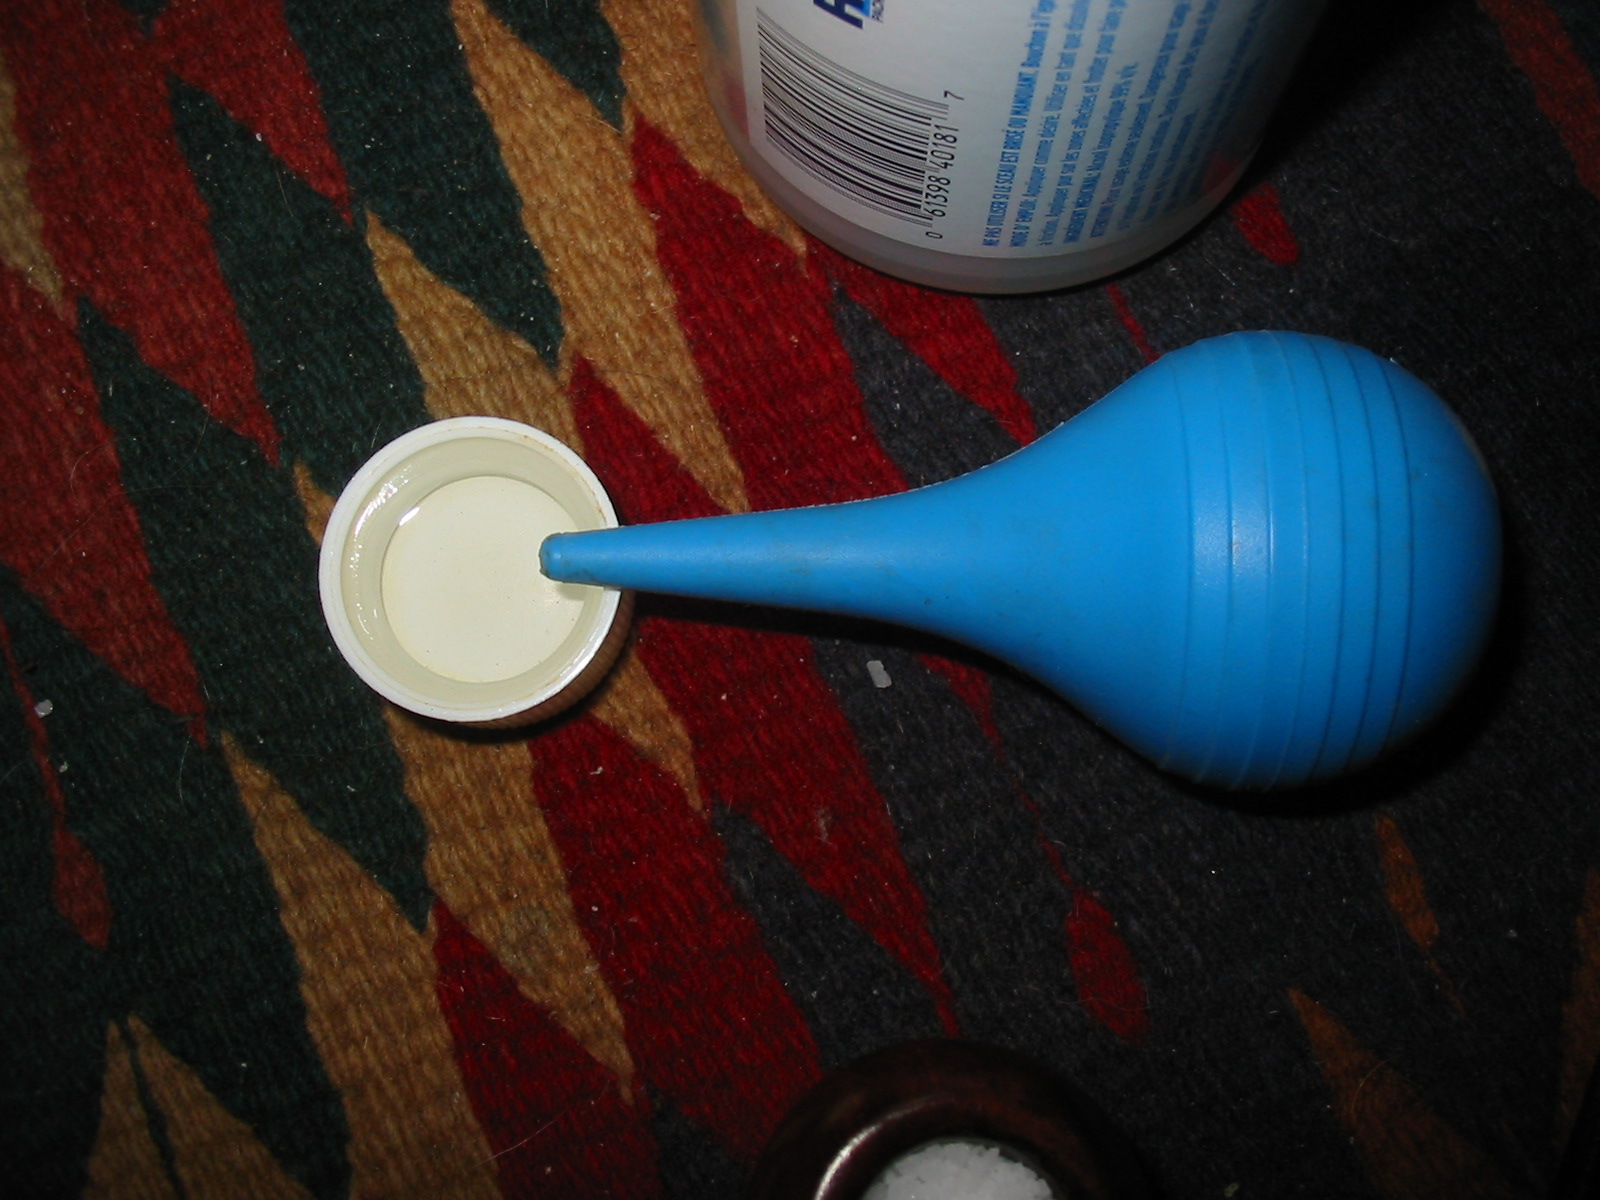
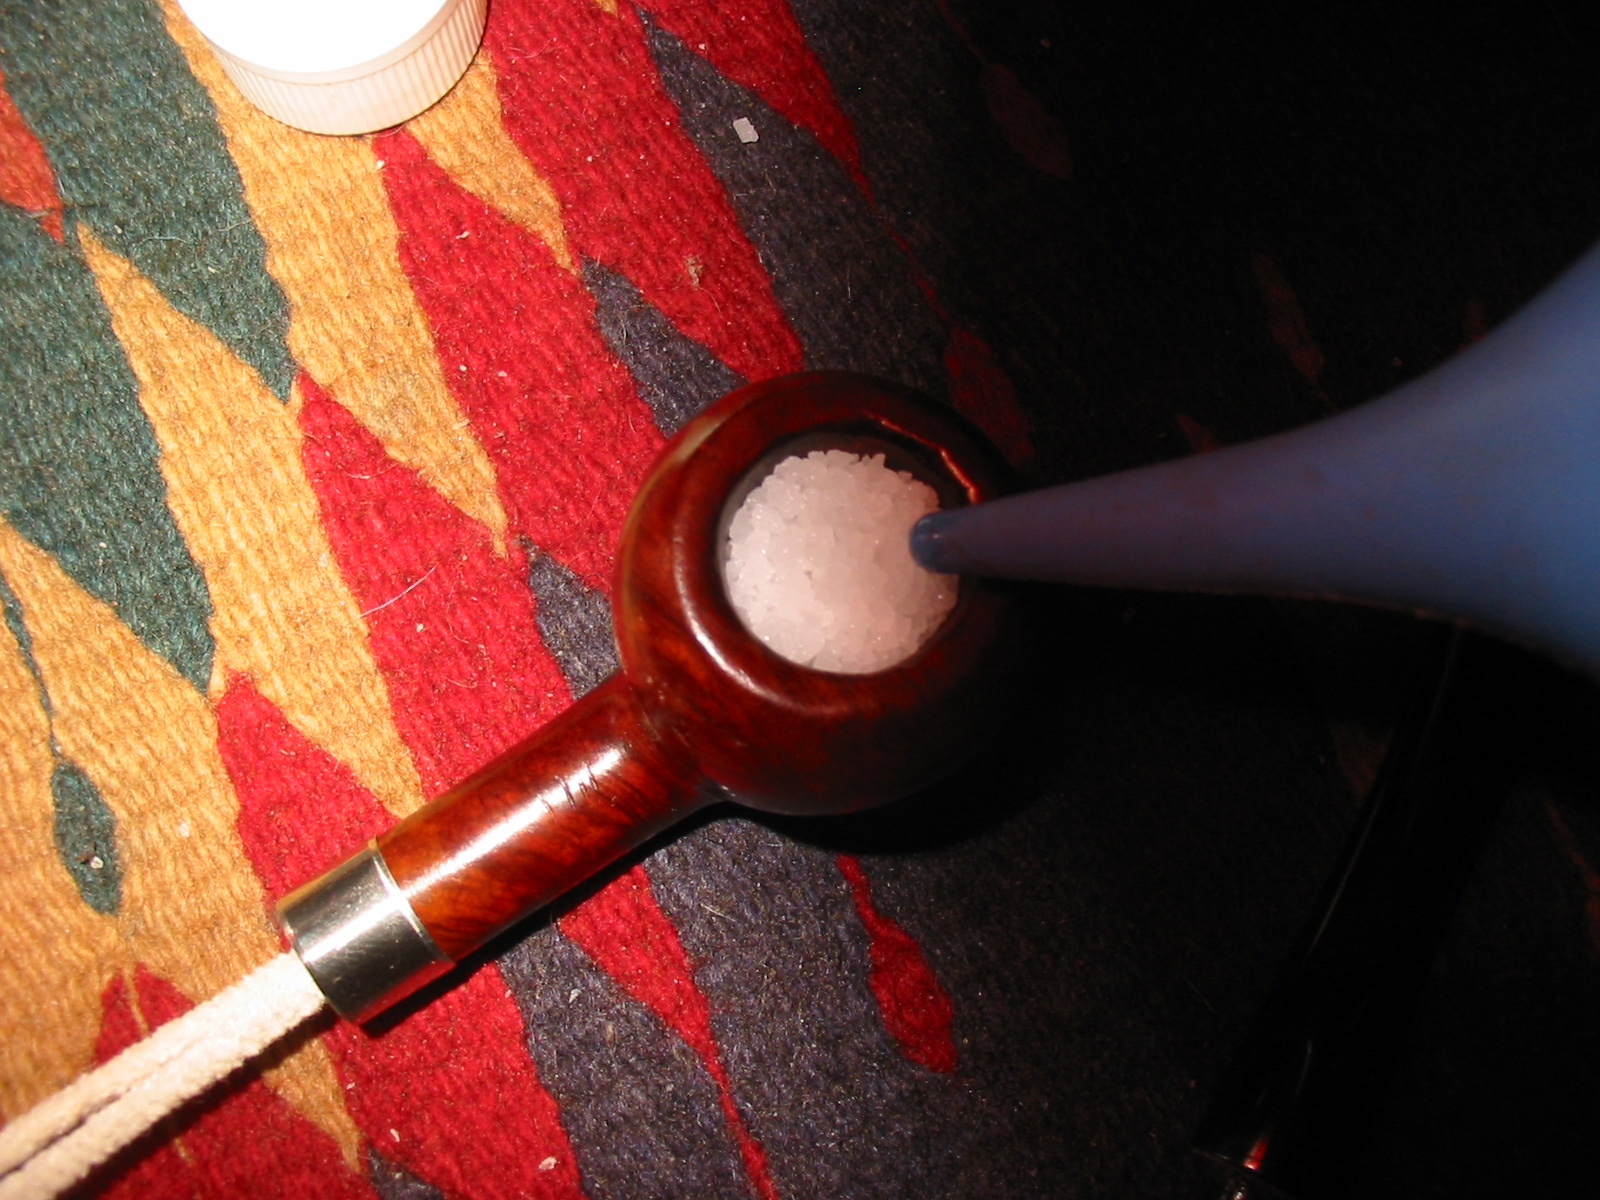
The next photos below show how I fill the bowl with alcohol. I have found that the cotton absorbs more of the alcohol than the salt does and it takes several syringe loads to fill the bowl. I pour Isopropyl alcohol into the cap of the alcohol bottle and get the ear syringe and the bowl ready for work. The first photo shows the loading of the syringe. The second photo shows the filling of the bowl from the syringe. I do this by putting the tip of the syringe in the top of the bowl and squeezing it until the bowl is filled with the alcohol.

Image

Loading the ear syringe with alcohol

Image

Putting the alcohol in the bowl of the pipe

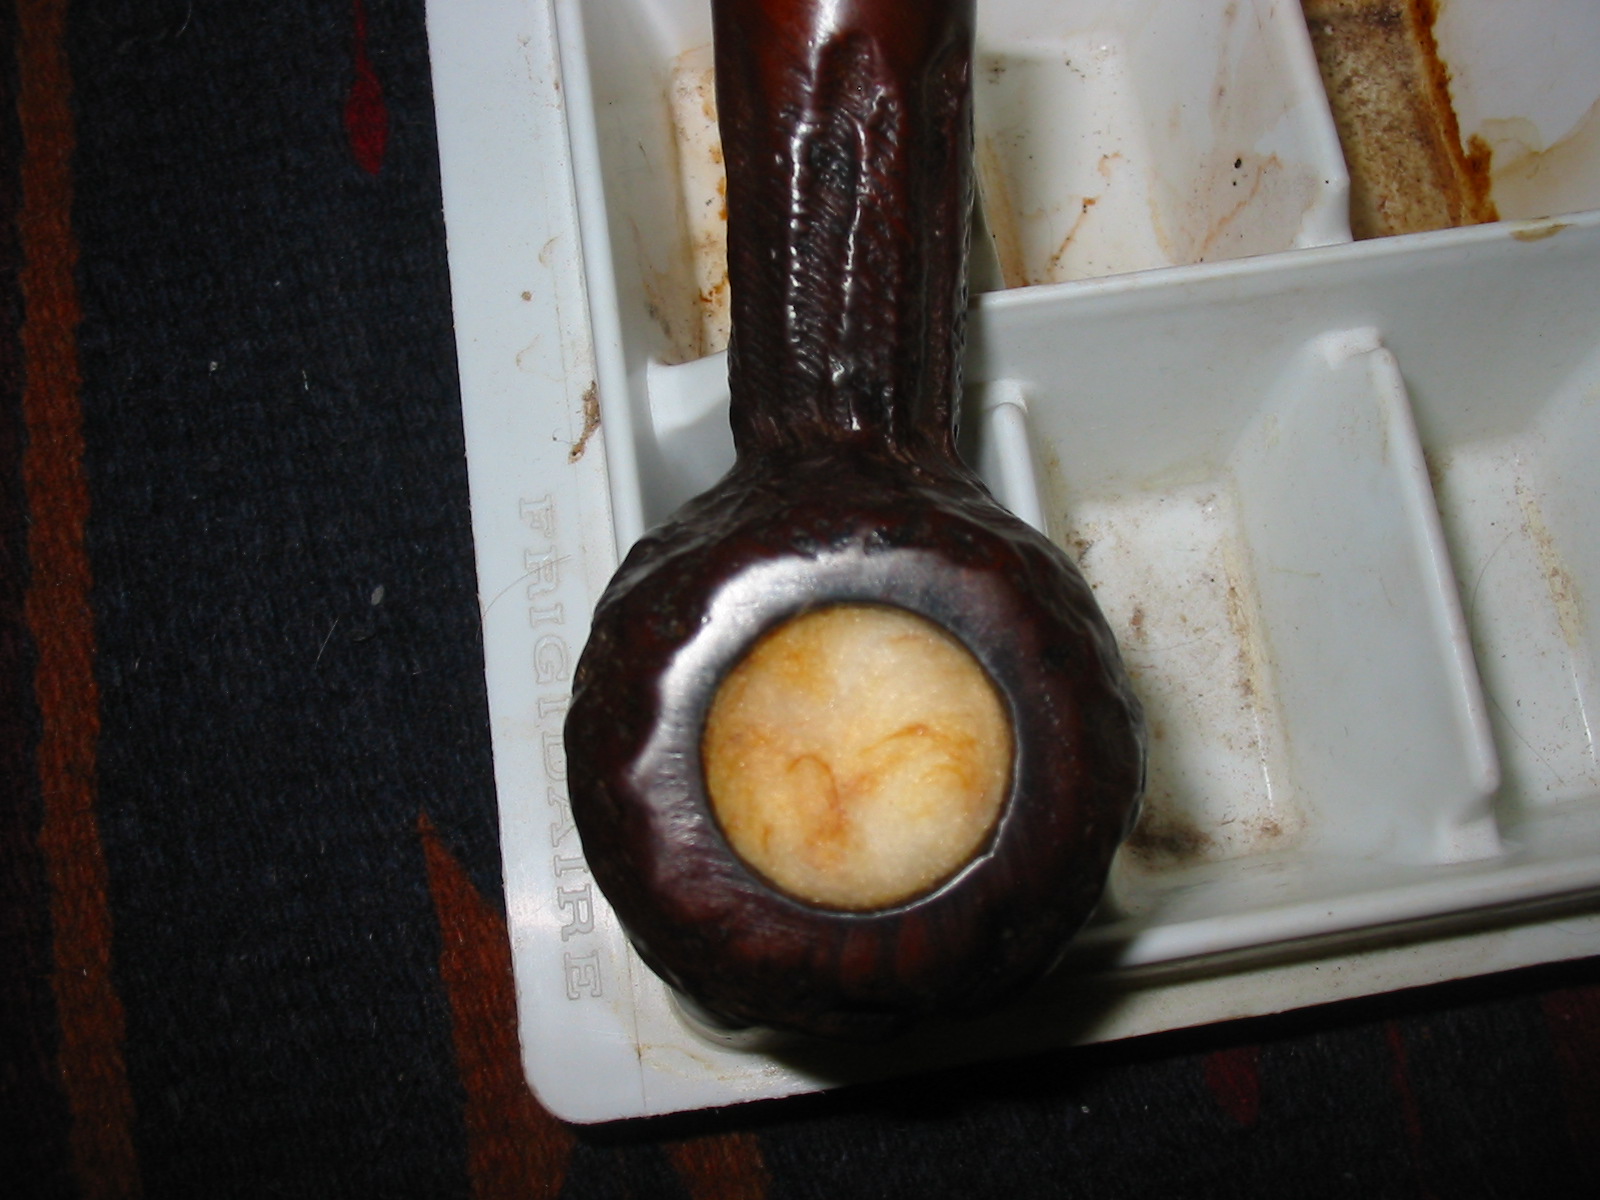
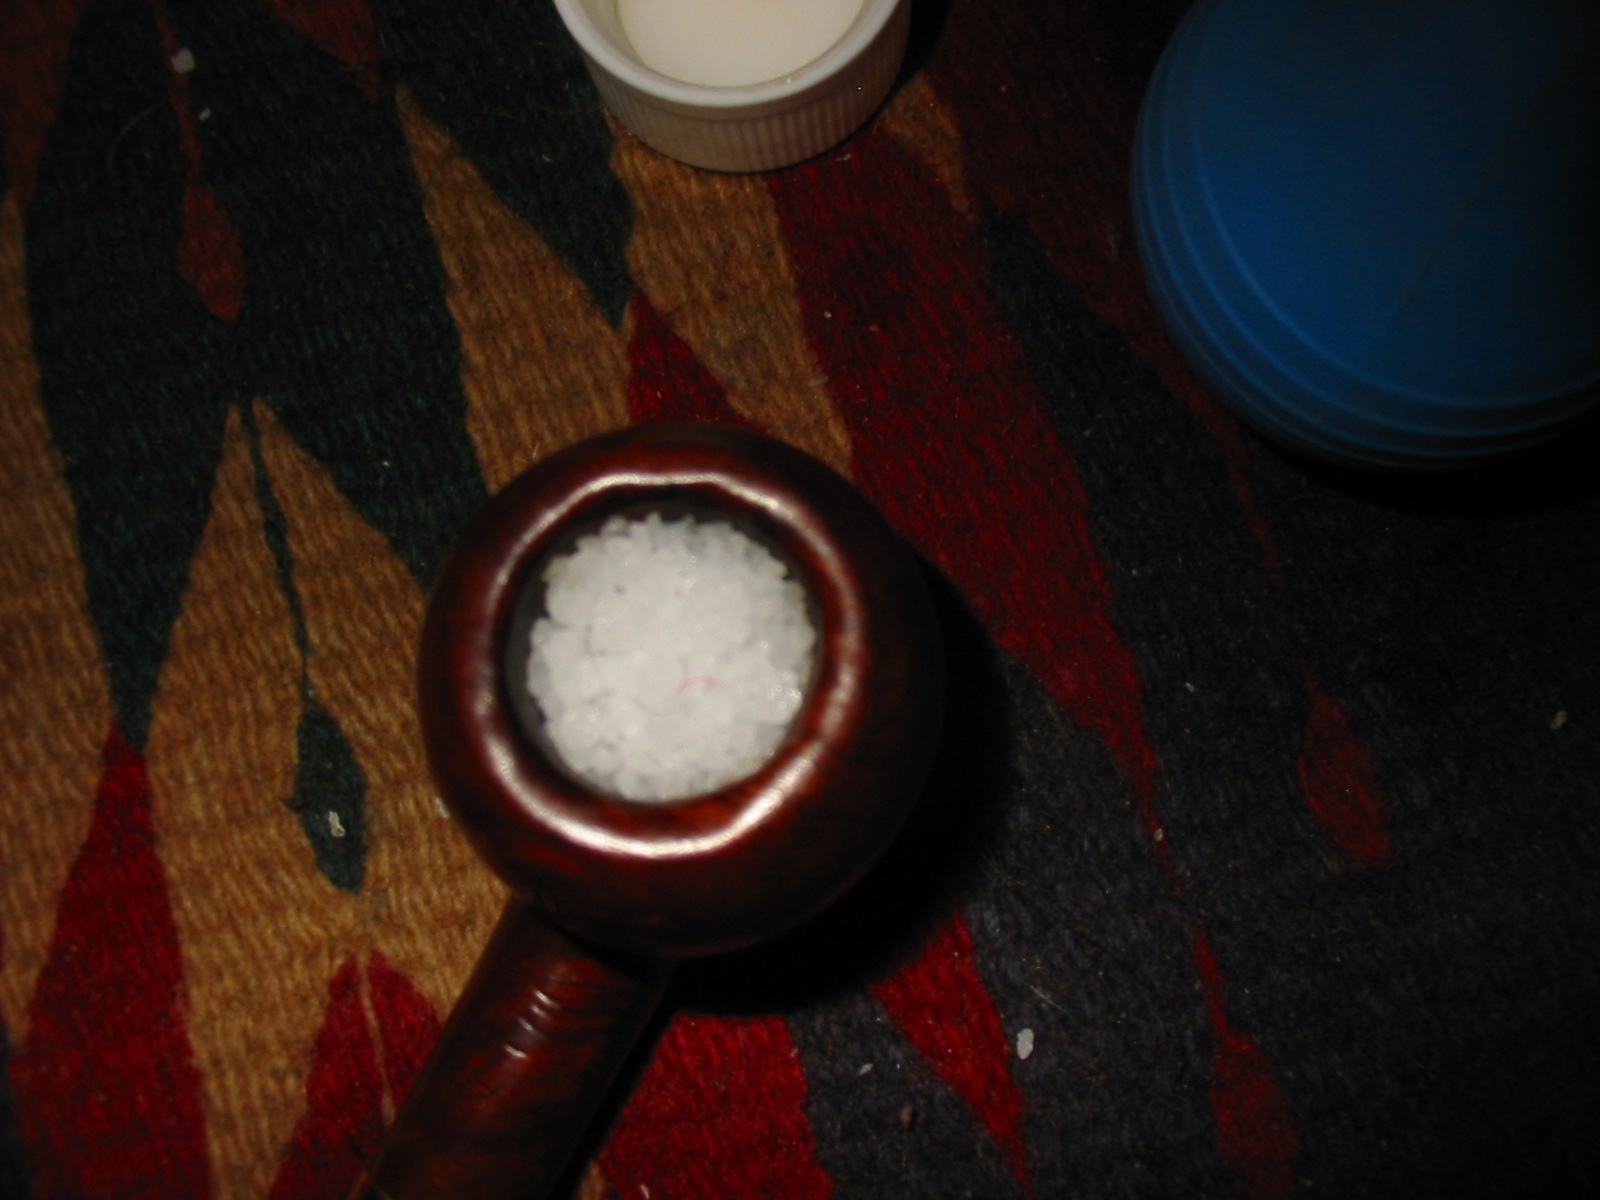
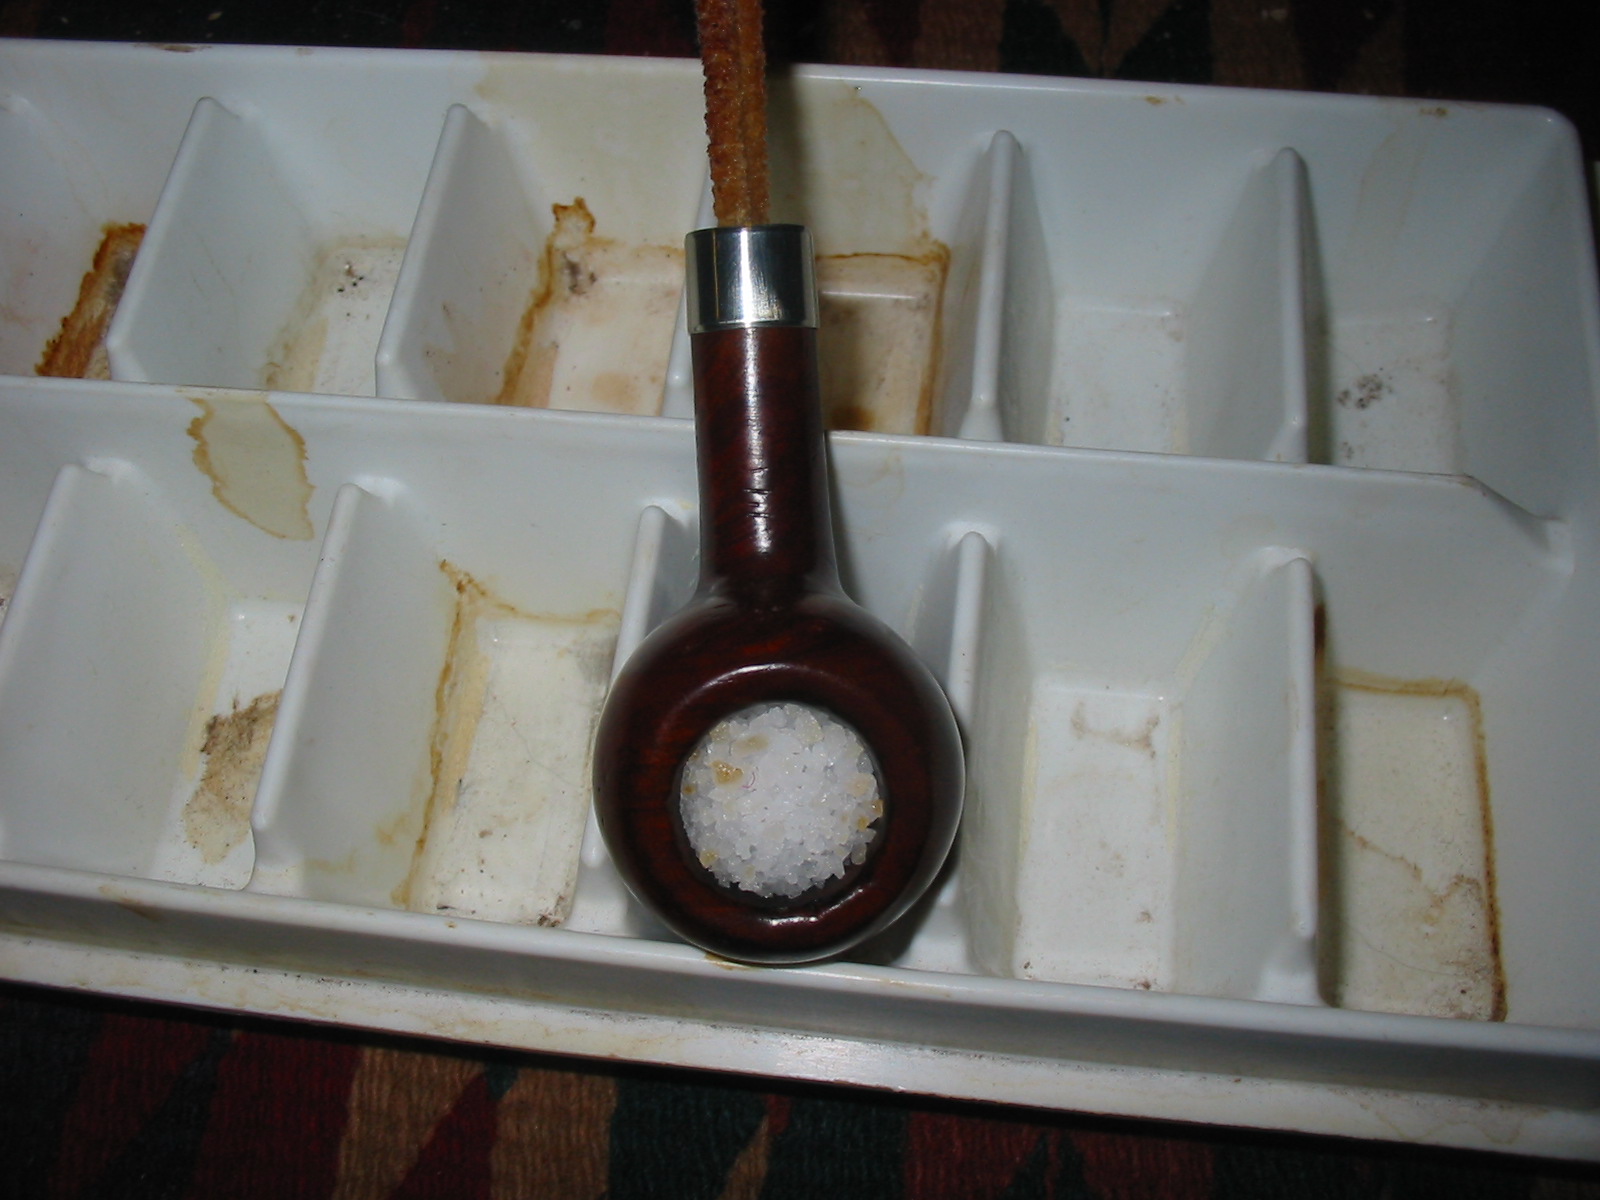
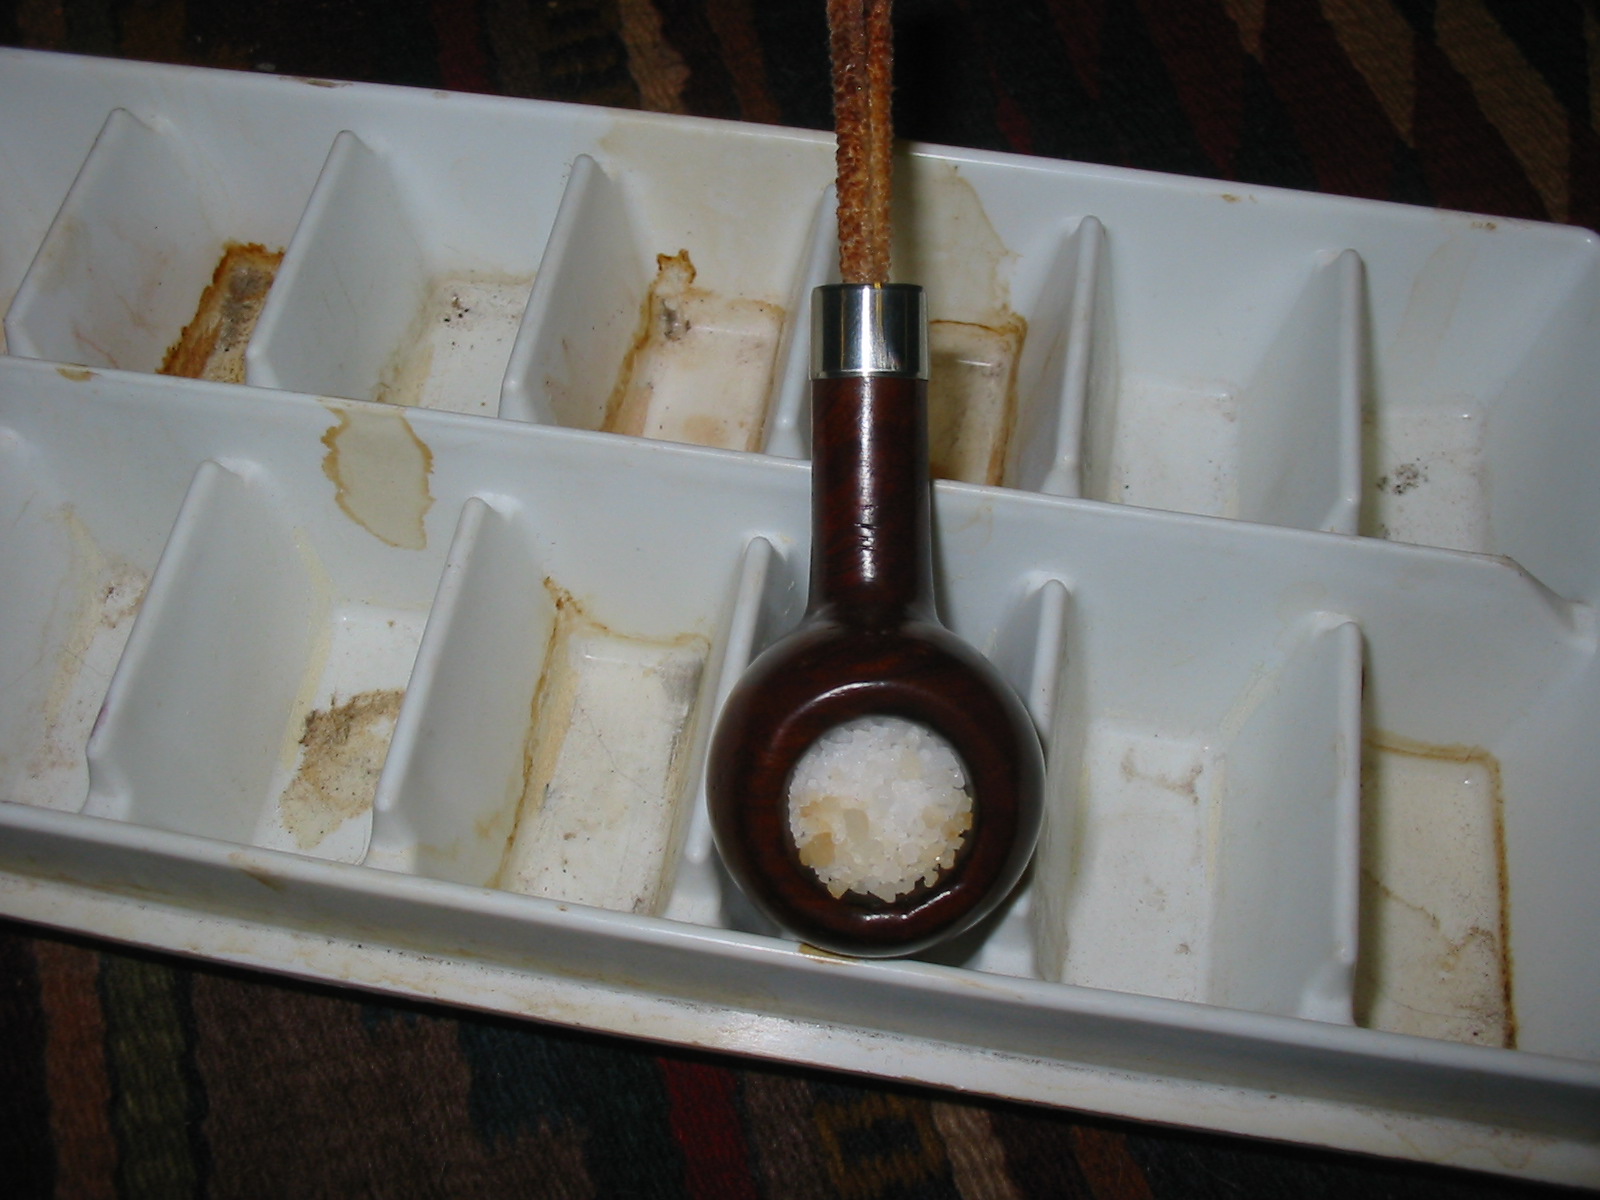
Once the bowl is filled I place the loaded bowl in the ice tray that I use to keep the pipe upright while the alcohol and cotton do their work drawing out the tars and oils. The process works quite quickly and the salt begins to darken with the oils and tars within a few moments. The photo below shows the newly filled bowl as it sits on the ice cube tray.

Image

The treatment has begun

The next series of photos shows the cotton turning brown beginning with the edges and working toward the centre of the bowl. The first photo below is taken after the bowl had been sitting for 2-3 minutes. At this point the cotton is beginning to darken at the edges but it is barely visible in the photos.

Image

After sitting 2-3 minutes

The photo below was taken after the pipe bowl had been sitting 15 minutes in the tray. The brown colouration is moving around the edges and in toward the centre of the bowl.

Image

After 15 minutes

After the bowl sat for a half hour, I took the picture below to show the movement of the brown tars and oils toward the centre. On this pipe I had cleaned the shank with many pipe cleaners before getting to this point so there is very little leaching of tars and oils into the pipe cleaner.

Image

After 30 minutes

Forty five minutes later I took the photo below and then tamped the cotton bolls down with my thumb. Then I set the pipe aside for the night to let the treatment do its work.

Image

After 1 hour and 15 minutes

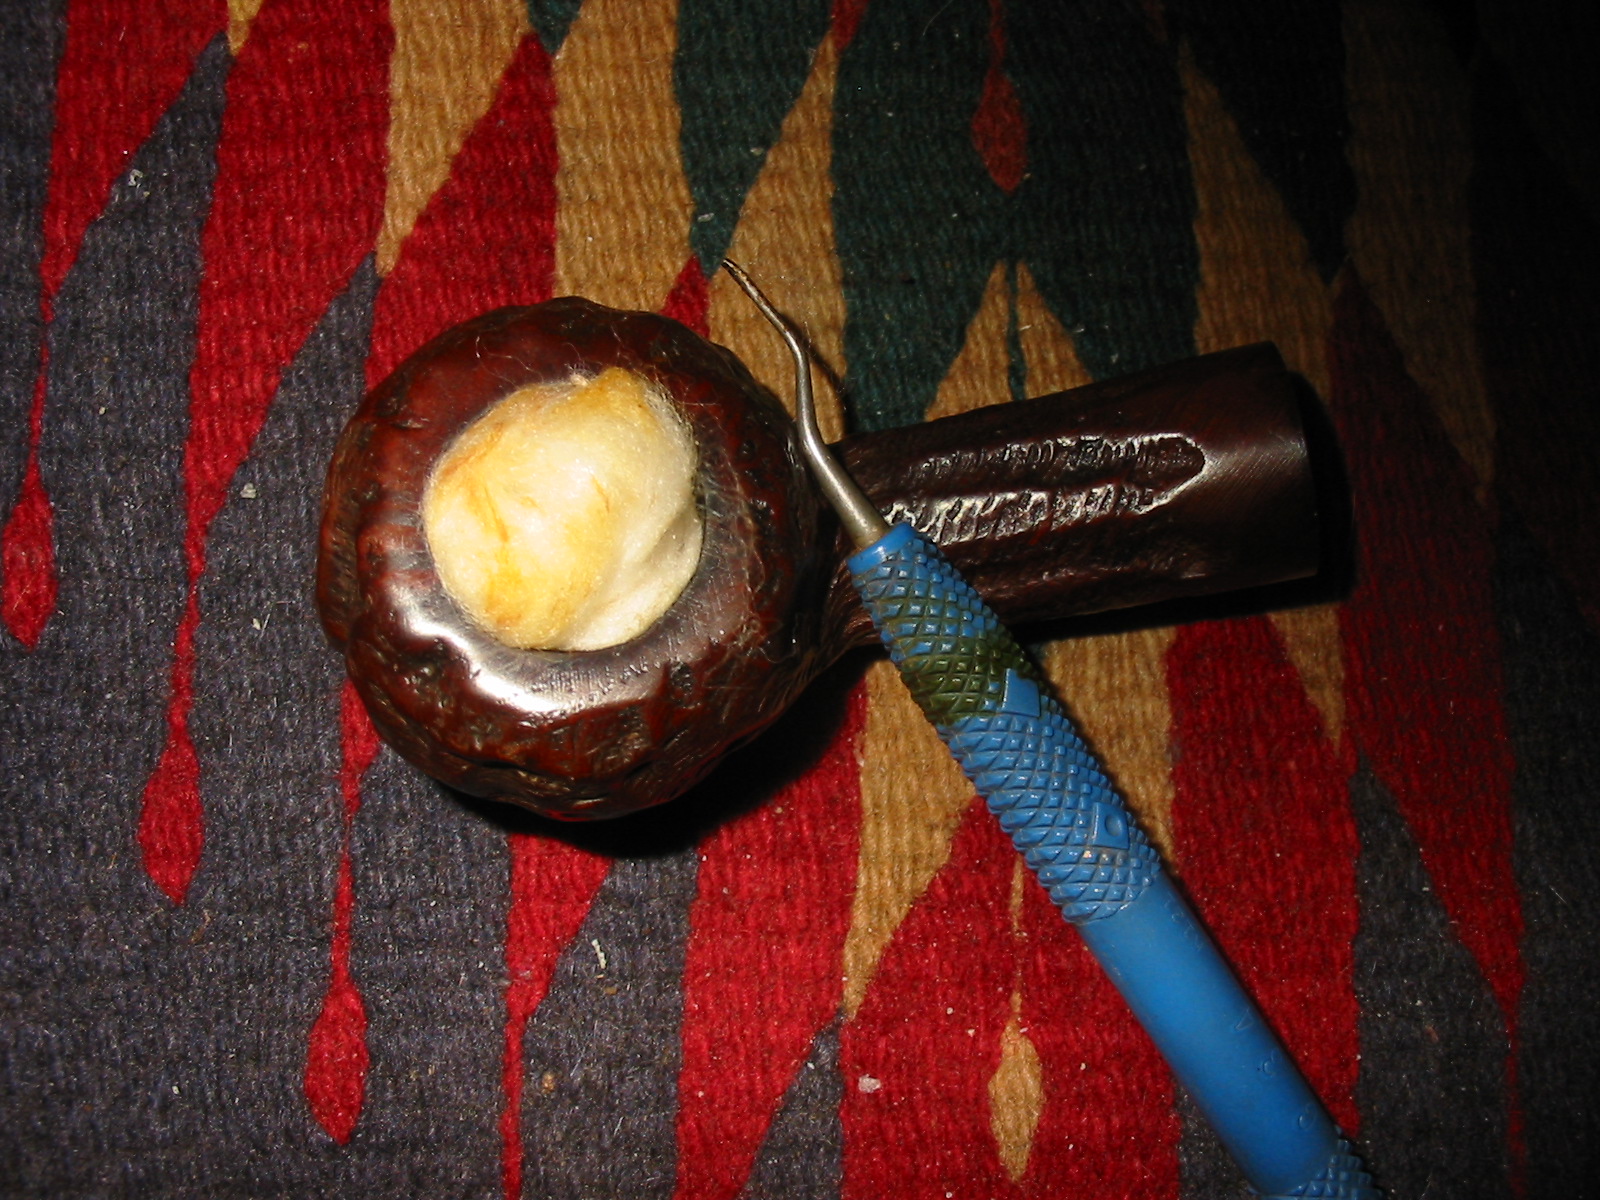
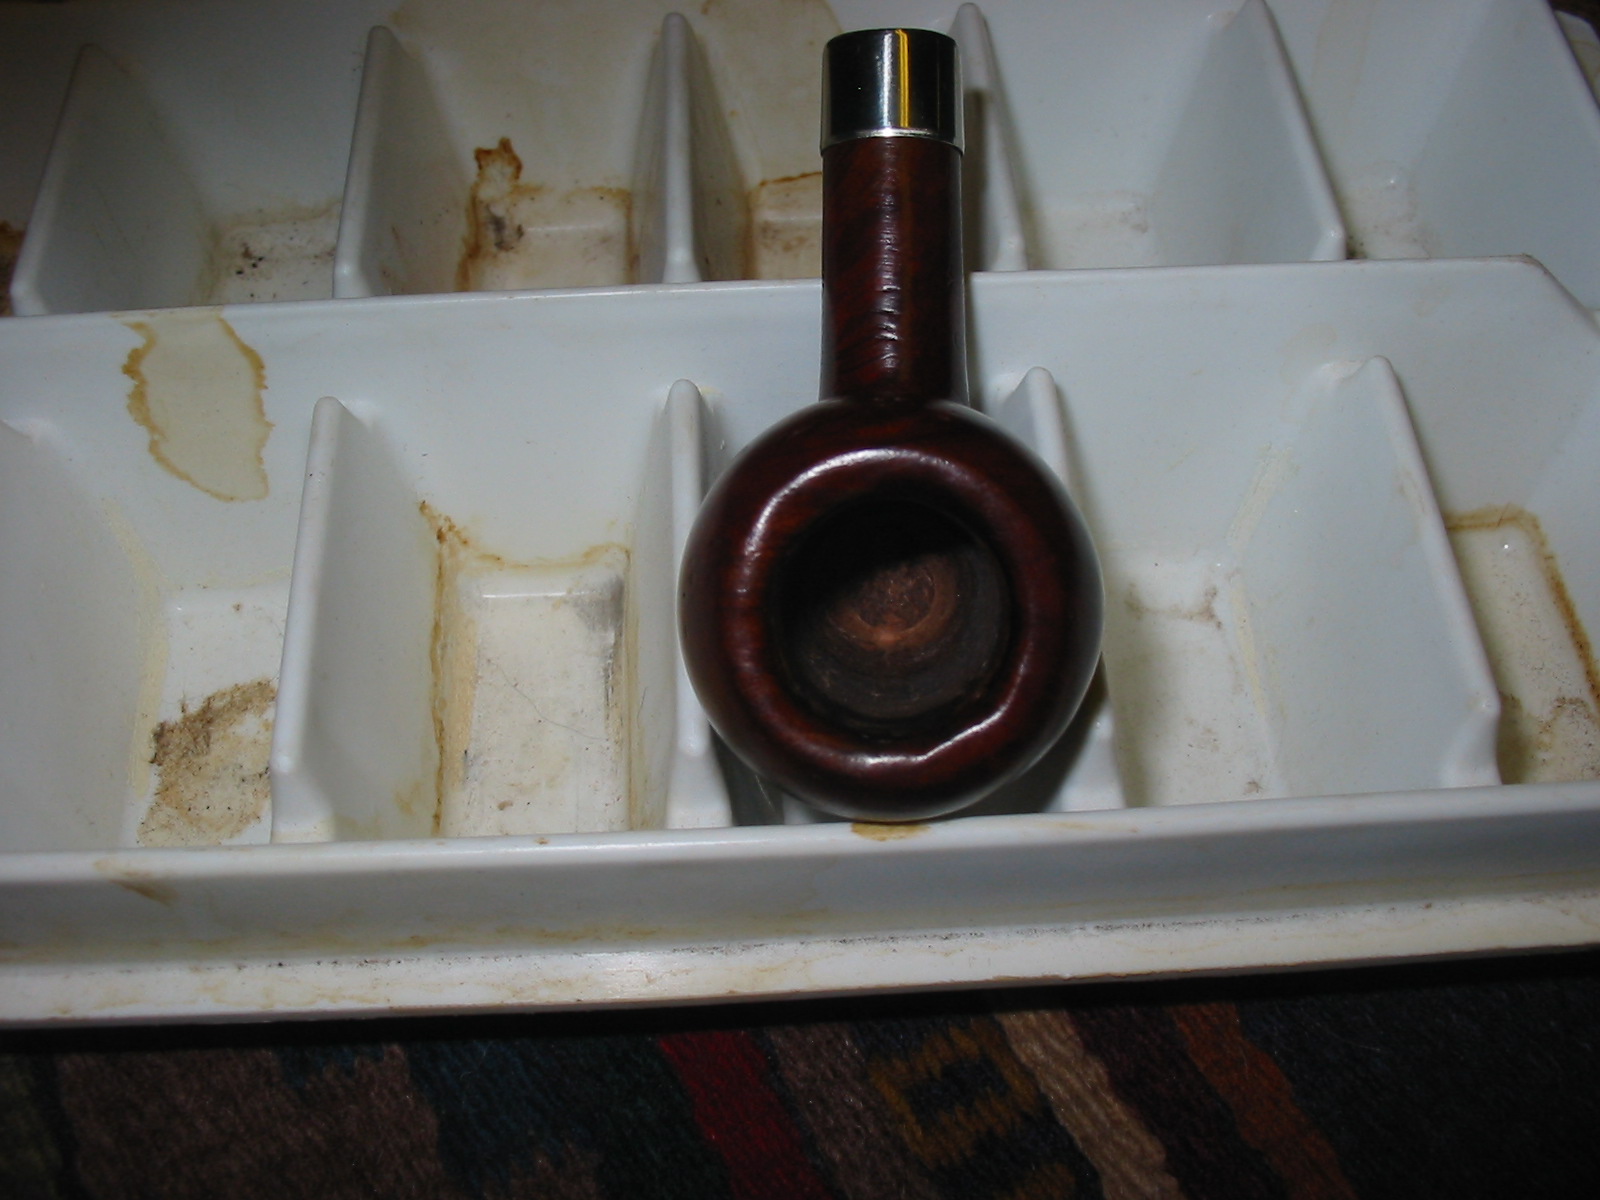
This morning the cotton was darkened and the alcohol was evaporated. I used my dental pick to remove the cotton bolls from the pipe and threw them away. I removed the pipe cleaner from the shank as well. I used several pipe cleaners to wipe out the inside of the shank and several folded pipe cleaners to wipe out the inside of the bowl. The bowl was still wet from the remaining alcohol so flamed it with a lighter to quickly burn out the alcohol. The four photos below show the extent of the tars and oils removed in the brown cotton bolls and the dental pick I use to remove the cotton bolls. The final photos show the clean bowl. The pipe smells clean and fresh. When I have finished cleaning the pipe I set the bowl aside and let it dry for several days before smoking it.

Image

The next morning

Image

Removing the cotton bolls with a dental pick

Image

An empty and clean bowl – still wet with alcohol

Image

After flaming


Making an Alcohol Bath


Blog by Steve Laug

I use an alcohol bath for a lot of my pipe refurbishing work, particularly if I plan on restaining the pipe. The alcohol bath allows the pipe to soak submerged in isopropyl alcohol. This soak loosens the grit and grime in the finish and also removes the topcoat of wax and the stain. I have found it indispensable in loosening old finishes and allowing me fairly easy access to the briar beneath the finish. I have also found that it softens the old putty fills on pipes I plan on removing the fills from and reworking them with briar dust and superglue. I have referred to it often in the pages of the rebornpipes blog so I figured it was time to write about how I go about making the bath.

Equipment

Image

Screw top plastic storage container

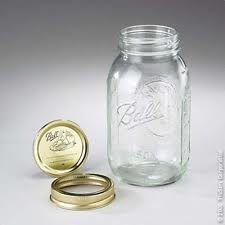
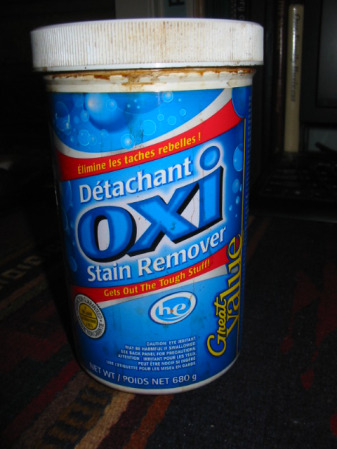
CONTAINER – You will need a container with a lid that seals tightly. I fill my alcohol bath and reuse it over and over again. You can use any container that has a screw top lid such as a Mason jar, jam jar, plastic container with a screw top, or any other lid that seals tightly. I have found that a one quart jar or container works best as I often have more than one pipe in the soak at the same time. I use a recycled Oxyclean plastic jar. The screw top lid keeps the liquid from evaporating as well as splashing when you shake it a bit in the process of cleaning the bowl. I have included pictures of several types of jars that I have used. I think the strengths and drawbacks of each are readily clear. I generally use the plastic jars as I have dropped the glass ones in the past or knocked them off the work bench and found a mess that needed to be cleaned up.

Image

Mason Jar with a screw top. I have used wide mouth Mason jars as they give more room for me to get my hand in the jar to add or remove pipe bowls

Image

Wide mouthed plastic storage container

ALCOHOL – For the alcohol I fill the bath with I use the highest percentage isopropyl alcohol that I can get through my local pharmacy. Most of the time I am able to purchase 99% Isopropyl alcohol or Rubbing Alcohol but have also used 91% Isopropyl with no ill effects. I just purchased a bottle of Everclear while traveling and will be trying it out as well. The water content in the 99% Isopropyl is 1% and I find that it evaporates quite quickly once I remove the pipe from the bath and does not saturate the briar. Much has been written about using an alcohol that is not a human consumable form. Many have spoken of the danger of using it in the pipe bowl or in cleaning the stem of a pipe that is going to be put in the mouth. However, I have found that once the pipe has been removed from the alcohol it air dries very quickly. Once I am done working on it there is no remaining alcohol in the bowl.

Image

CLOTH – I use a piece of cotton cloth (a piece of an old tee shirt) to filter the alcohol when I clean the bath monthly or bimonthly. I pour the alcohol through the cloth into an old bowl I have here and then clean out the jar and return the filtered alcohol to the jar.

Setting up the alcohol bath

I wash the new jar or container with hot soapy water and rinse it well. I am not sure that is necessary but it is a habit that I have with any new jars or containers. Once it is dried off I fill the bowl with the isopropyl alcohol up to one inch from the rim. I leave room for displacement as the level rises when I place the bowls in the bath. From experience I have learned that this amount of space leaves room in my container for two or three pipe bowls. Once the alcohol is in the container the bath is ready to go. I put the lid on tightly and set it aside until I need to use it.

Using the alcohol bath

When I have a pipe bowl that I want to soak in the alcohol bath I clean it well before putting it into the bath. I set aside the stem and then ream the bowl and clean out the bowl and shank until the pipe cleaners are clean. There is no need in dropping dirty pipes into the soak. The exception to the cleaning is that I will often leave a caked and tarred rim as found because the alcohol bath will loosen and soften the residue and make removal much easier. Once the pipe is clean I drop it in the bath to soak. It is always fascinating to me to see whether the briar floats or sinks. I have seen both and it is fairly unpredictable. I used to think that lightweight briar floated and by and large it does but there are exceptions. I leave the bowls to soak for a minimum of two hours and a maximum of 8 hours (overnight). Once the soak is over I remove the bowl from the bath, dry it off with a soft cloth and set it aside. The alcohol evaporates quite quickly. If the finish is still spotty or the rustication or sandblast surface still dirty I will scrub it quickly over the bath with a brass bristle tire brush or a tooth brush – dipping it into the alcohol of the bath and scrubbing the surface until it is clean. Once it is clean and the way I want it I dry it off and set it aside. Bowls that have been soaked and cleaned are ready to be sanded or stained within minutes of drying off. I have had no residual effects from soaking the bowls. Once they dry and the pipe sits for a couple of days before smoking there has been no ill effects.

Life expectancy of the alcohol in the bath

I have often been asked how often I change the alcohol in the bath and have to say that I probably don’t do it as much as most people think. I will filter the alcohol either monthly or bi-monthly by pouring it through the cloth that I mentioned above in the equipment portion of this post. I tighten the lid and shake the alcohol bath for several minutes to loosen any sediment in the bottom of the bowl and then pour it. I find that the filtering removes the sediments and floating particles in the alcohol. I then wash the container with warm soapy water to remove grime on the inside of the container and then dry it off and pour the alcohol back in the container. Over time the alcohol changes colour and takes on a rich dark brown patina. It still works very well and I find that the bath will also work well to give the pipe a nice even under patina to whatever stain I want to use on the finished pipe. I suppose that if I wanted to soak a virgin or light coloured bowl I would start with clean, clear alcohol but I have not done that to this point.

Here is a picture of my current alcohol bath and you will note the rich brown colour of the alcohol.

ImageImage

To Use or Not to Use – the Salt and Alcohol Treatment


Blog by Steve Laug

I have been weighing the pros and cons of writing about the salt and alcohol treatment for a while now. It is a topic that is fraught with a lot of emotion from both sides of the table – those who swear by the method (proponents) and those who are vehemently against it (opponents). Much contradictory material has been posted and written on the use of salt and alcoholto sweeten a sour pipe bowl or to remove ghosting. Some swear by the method and have had no ill experience to speak of in their use of the method for what adds up to many years in many places. Others have untold numbers of horror stories of split shanks, cracked bowls and ruined pipes. The whole drama has taken on urban myth proportions. I decided to enter the fracas with my own experience – testing and proving or disproving the myth with my own stories of success. Here is a post that describes the tools and the process I have used for over 15 years with no problems of split shanks or other bad experiences of that kind.

The tools

Image

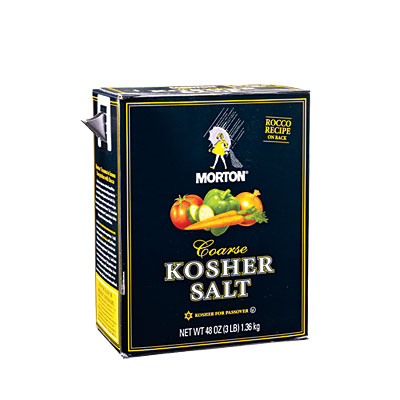
Coarse Kosher Salt

SALT – I always use a Kosher Coarse ground salt. I never use iodized salt as I do not want the iodine to leach out into the briar. I have found that coarse ground salt has several features that keep me coming back to it. The first feature is that it does not dissolve in the bowl when the alcohol is poured over it and left to sit. The second is that it provides multiple surfaces onto which the oils and tars that are leached out migrate. Over the years I have never had a problem with this form of salt. I have never had a shank or a bowl crack or split after it has been cleaned with the salt and alcohol treatment.

Image

Isopropyl Alcohol

ALCOHOL – I use the highest percentage isopropyl alcohol that I can get through my local pharmacy. Most of the time I am able to purchase 99% Isopropyl alcohol or Rubbing Alcohol but have also used 91% Isopropyl with no ill effects. I just purchased a bottle of Everclear while traveling and will be trying it out as well. The water content in the 99% Isopropyl is 1% and I find that it evaporates quite quickly and does not saturate the briar. Much has been written about using an alcohol that is not a human consumable form. Many have spoken of the danger of using it in the pipe bowl or in cleaning the stem of a pipe that is going to be put in the mouth. However, I have found that once the salt and alcohol medium has been removed from the bowl and the pipe air dries there is no remaining alcohol in the bowl. I have even used a match to light the inside of the bowl to burn off any remaining alcohol but had no success in getting the alcohol to flame. This and the fact that the bowl is dry to the touch cause me to believe that the alcohol that was used in the bowl is no longer present. I am sure others will say that the chemical components of the isopropyl are somehow compromising the integrity of the briar but I cannot find proof from that in my experience. All I know is that is some inexplicable way the combination of the alcohol and salt seems to provide a medium that causes the oils to leach out of the briar and come to rest on the salt crystals.

Image

Ear Syringe

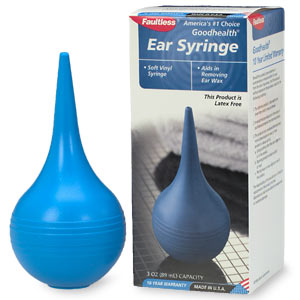
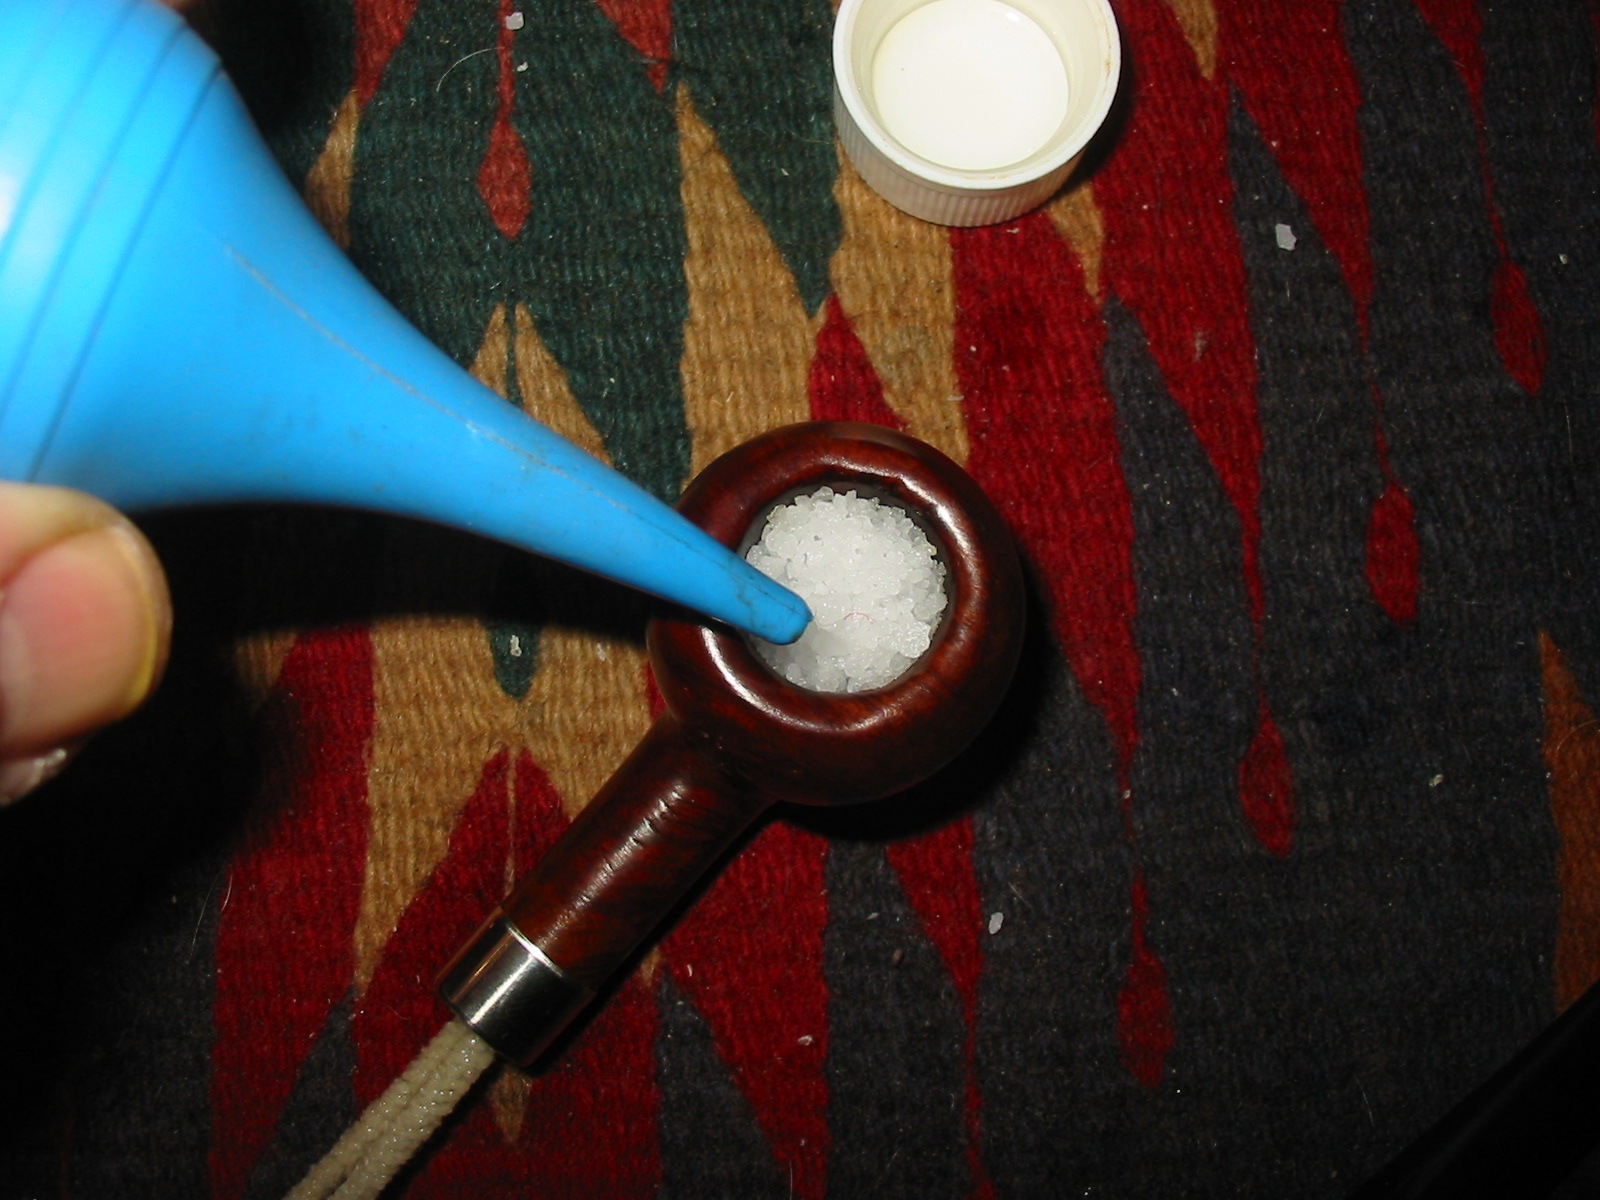
EAR SYRINGE – I stumbled on this tool that has become my go to tool for putting the alcohol in the bowl of the pipe. It is the humble bulbous ear syringe that is readily available at pharmacies for use with infants and adults. It is rubber and works incredibly well at keeping the alcohol off the outer finish of the pipe. By squeezing the bulb you can draw alcohol into the syringe and then be squeezing it again over the bowl of the pipe the alcohol is poured into the bowl quickly and without a mess. I have used the same syringe for over 12 years without little wear and tear on the bulb. I rinse it out with warm water after each use to keep it clean and fresh.

The method

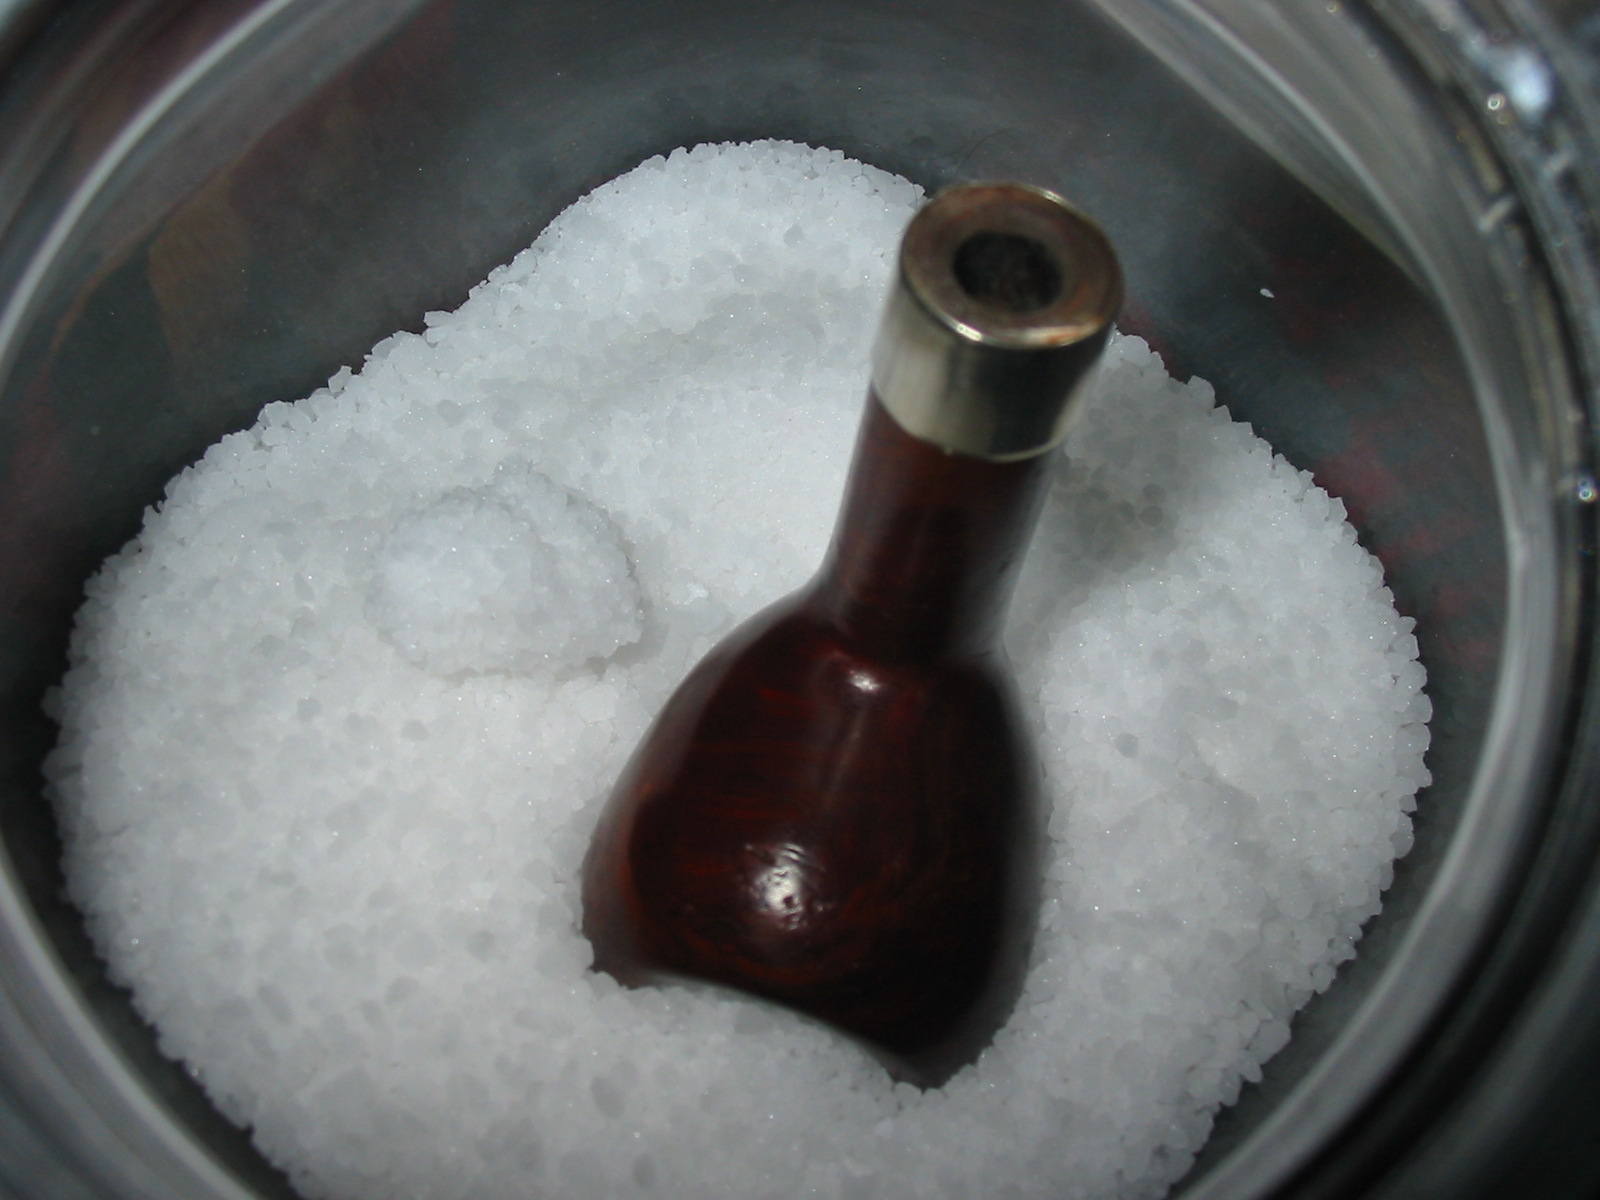
I remove the stem from the bowl and then dip the bowl into my jar of kosher coarse salt. I usually lay the bowl on top of the salt and with a finger load the bowl with salt in much the same manner I load a bowl with tobacco. The photo below shows the bowl being filled. The second photo below shows the filled bowl. I fill the bowl leaving it a bit below the edge of the bowl. I don’t want the salt to be above the rim so that when I put the alcohol in the bowl it does not spill out onto the rim and spoil the finish.

Image

Coarse Kosher Salt

Image

Bowl filled and ready for the Isopropyl

Once I have the bowl filled I lay it in an old ice cube tray. I have found this is a great rest for a lot of the work I do in refurbishing pipe bowls. I then fold a pipe cleaner in half and insert it into the shank as far as the airway. I do this to keep the salt from coming up the shank. It also keeps the airway free of pieces of the coarse salt. The alcohol does wick up the pipe cleaners and I find that as the alcohol works in the bowl and evaporates it also works in the shank and leaches out the oils and tars. The next photo below shows the bowl with the pipe cleaner inserted and the bowl ready to receive the isopropyl alcohol.

Image

Pipe Cleaner Inserted

I pour Isopropyl alcohol into the cap of the alcohol bottle and get the ear syringe and the bowl ready for work. The first photo shows the tools ready to use. The next two photos show the filling of the ear syringe with Isopropyl alcohol. Once it is filled I put the tip of the syringe in the top of the bowl and fill it with the alcohol. The next three photos show the filling of the bowl.

Image

Tools of the Treatment

Image

Filling the Ear Syringe

Image

Filing the Ear Syringe 2

Image

Adding the alcohol to the bowl

Image

The alcohol filled bowl

Image

Adding a bit more alcohol

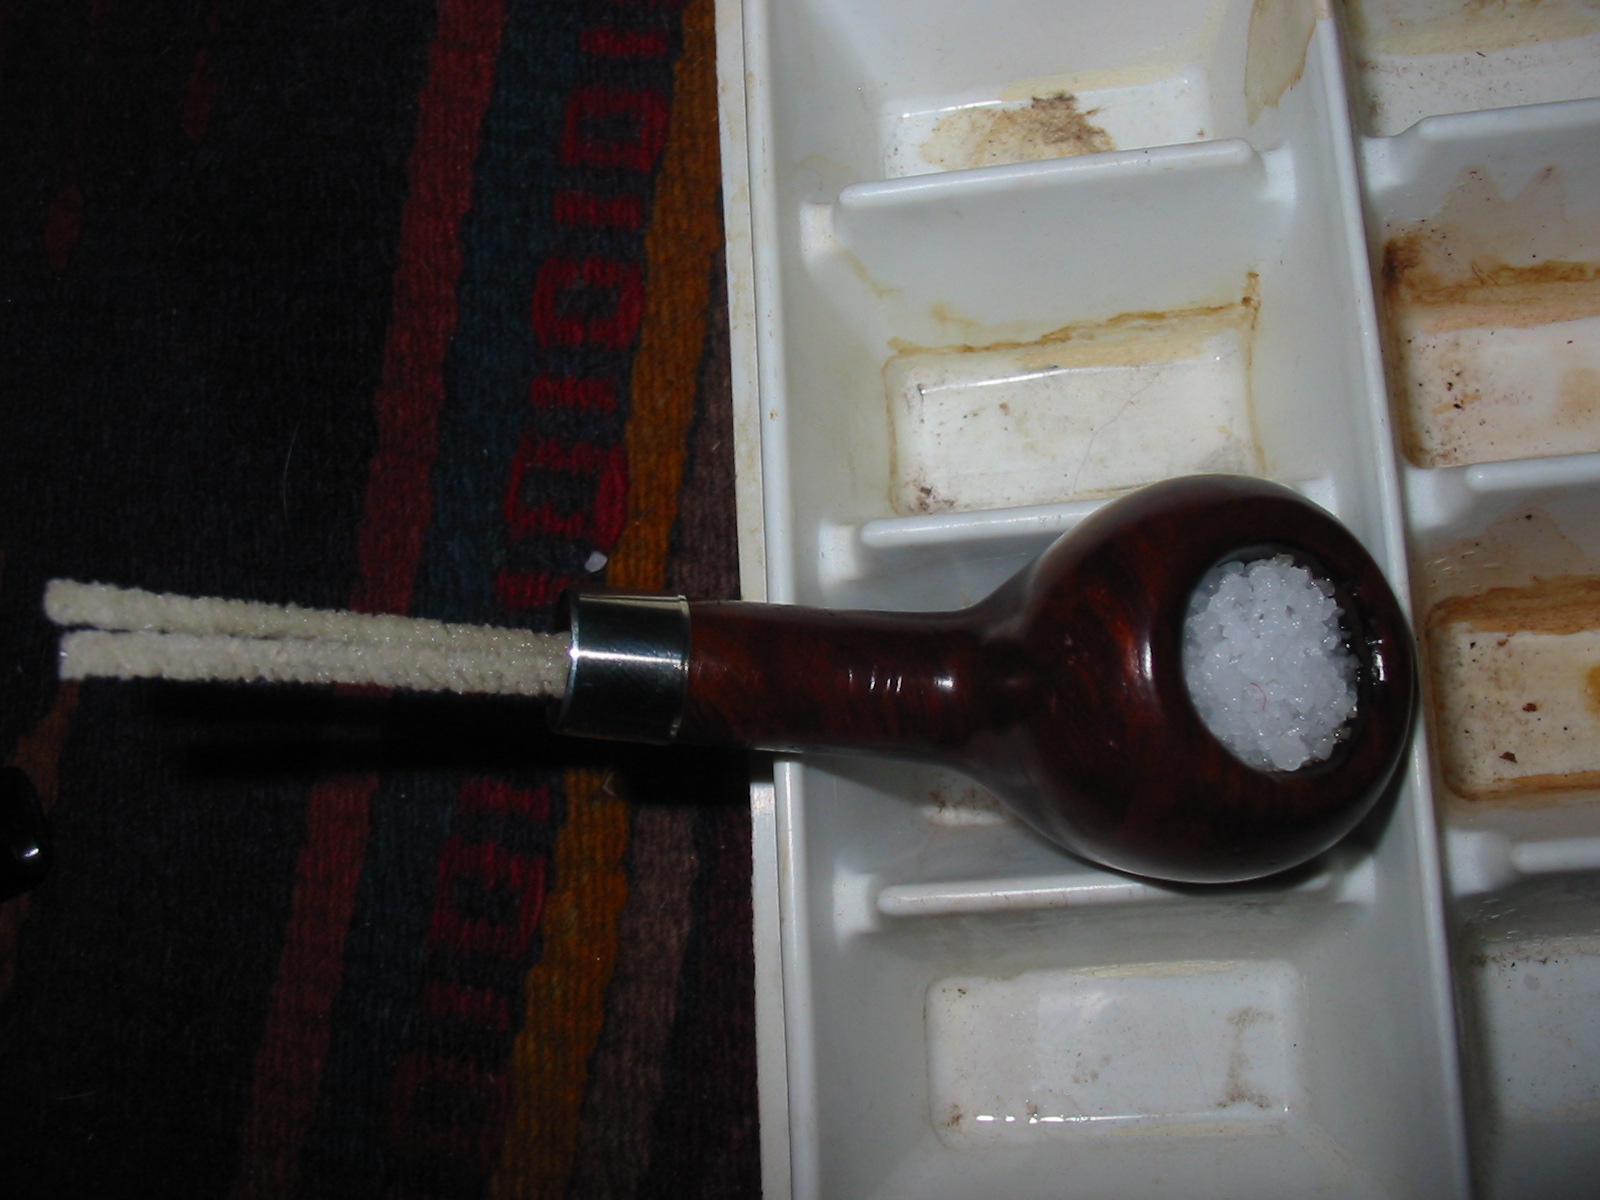
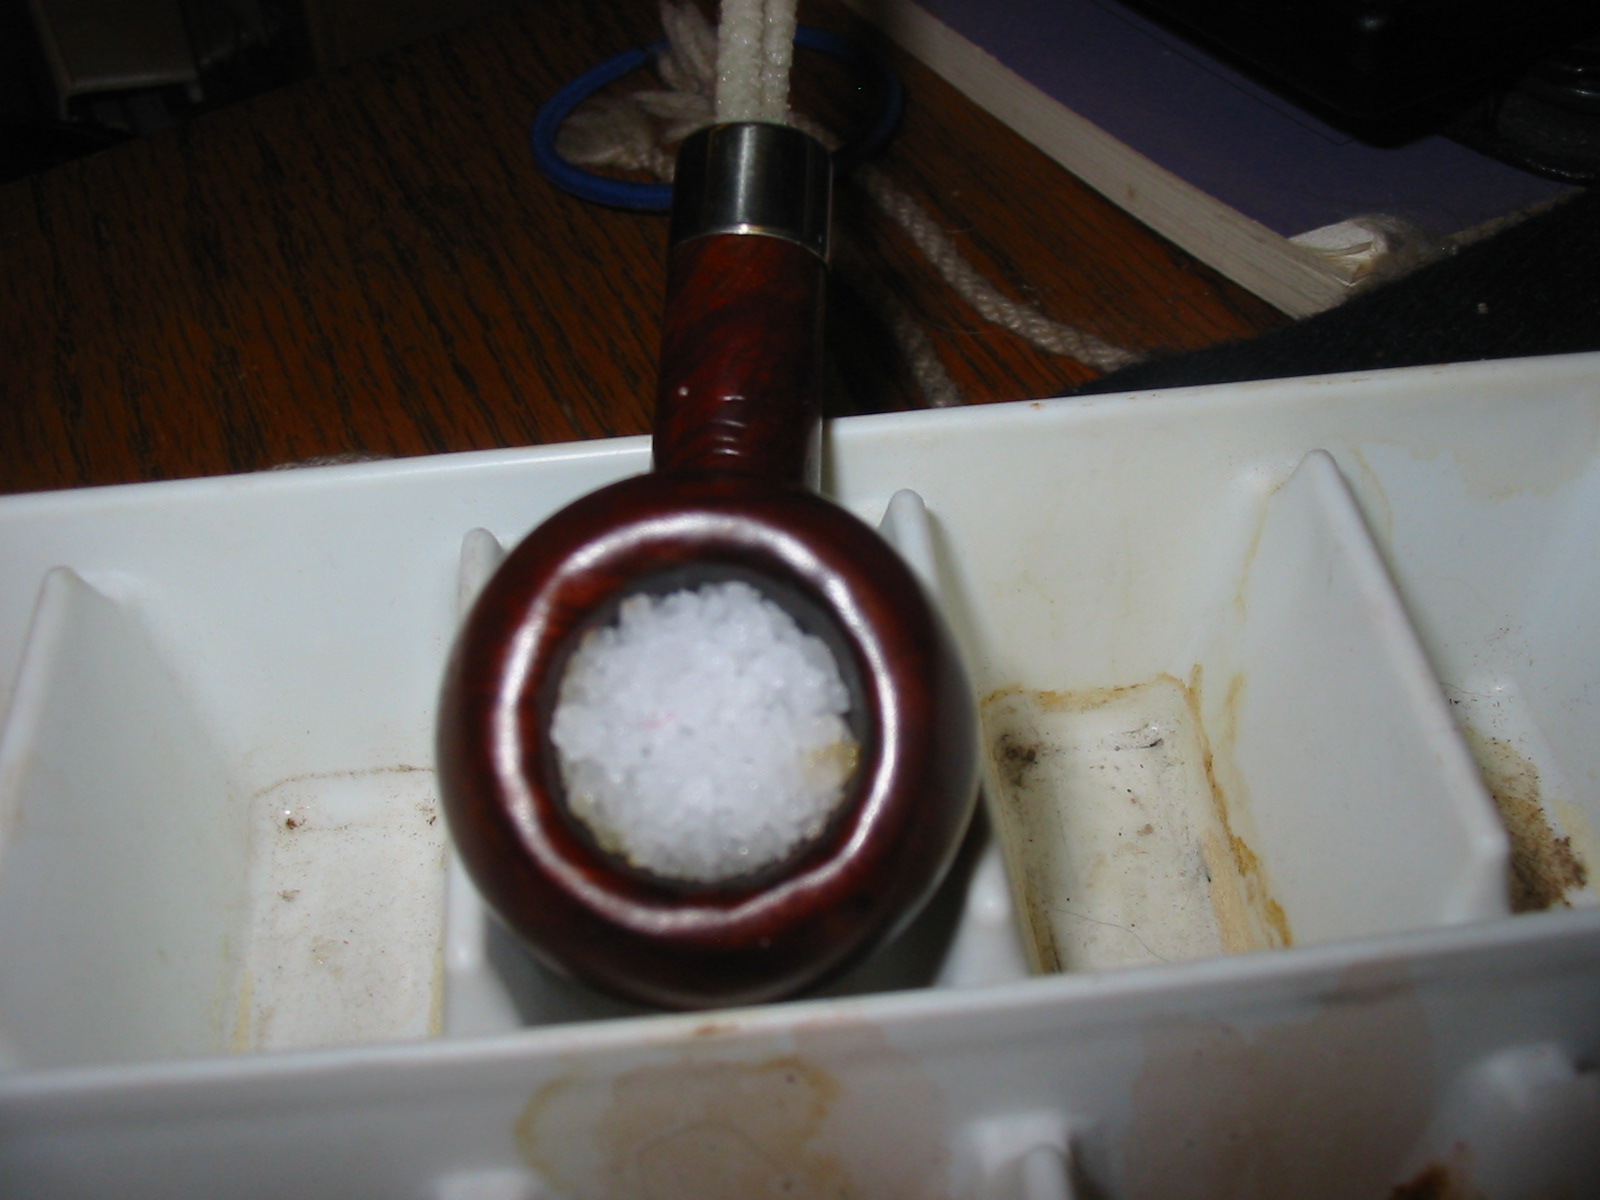
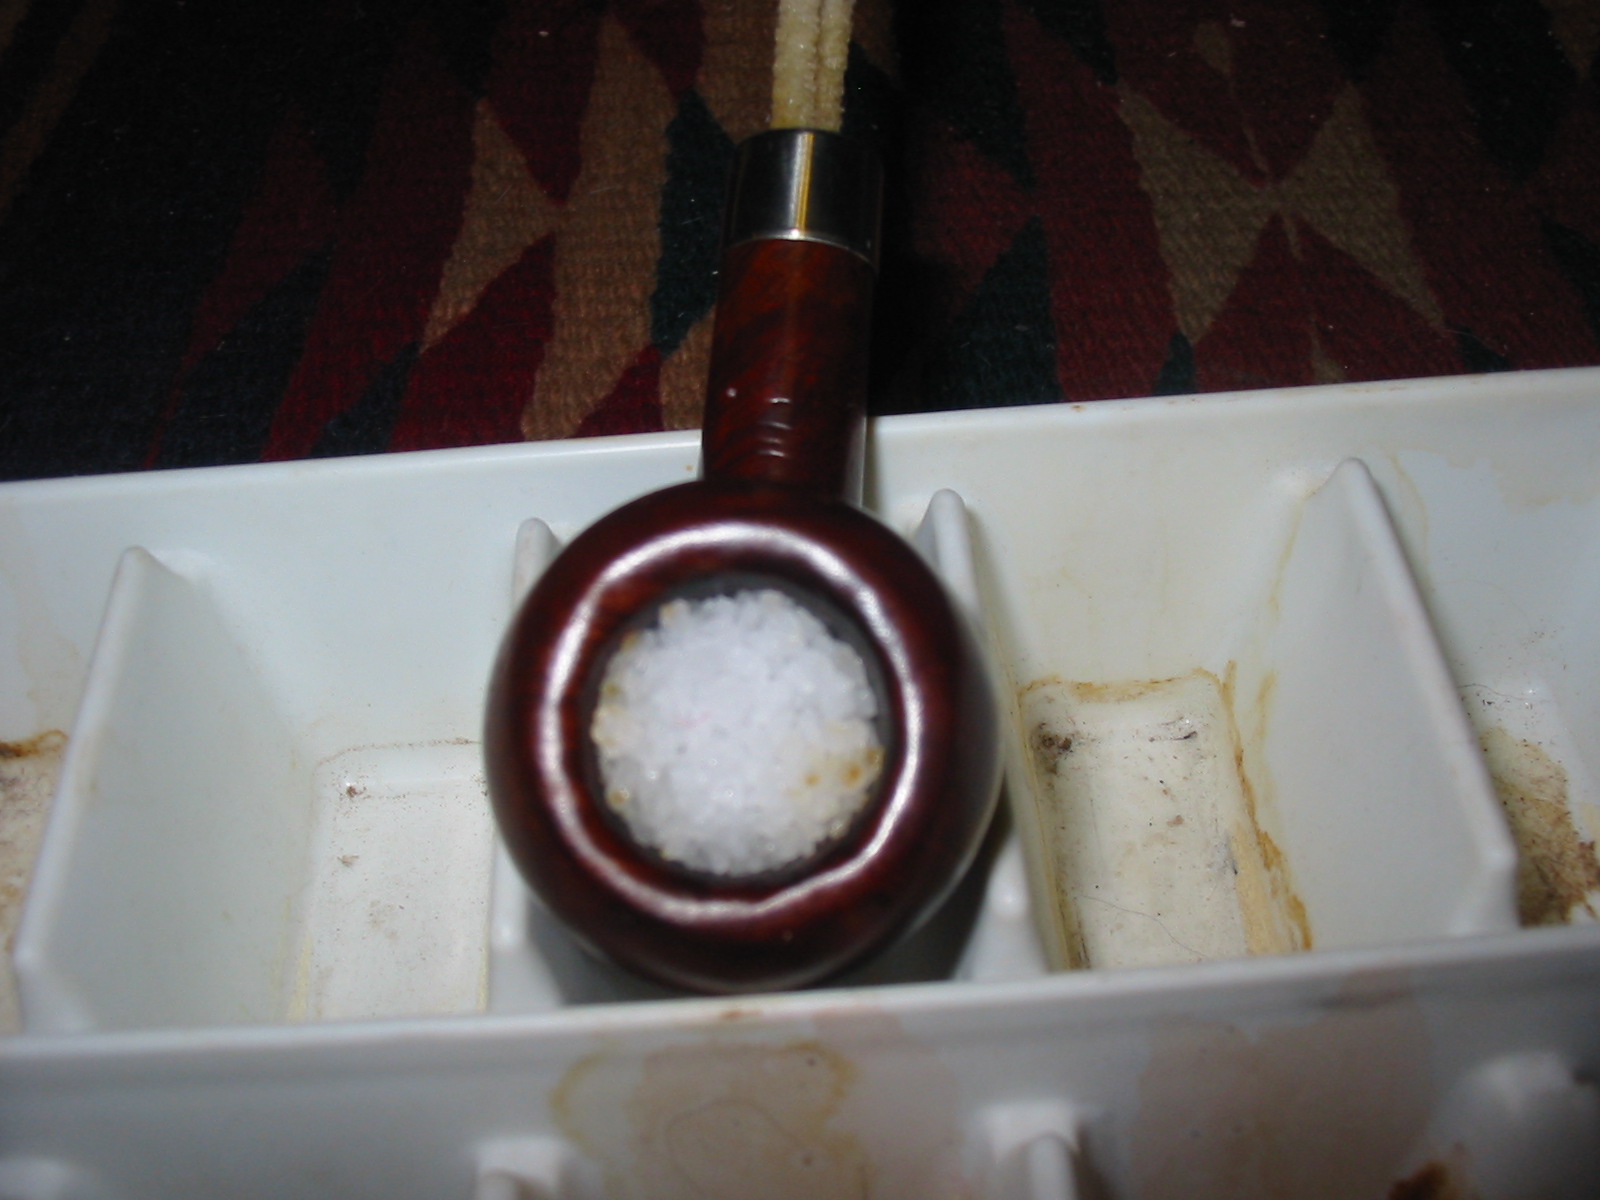
Once the bowl is filled with isopropyl I place the filled bowl in the ice cube tray and let it sit while the alcohol and salt draw out the tars and oils. The process works quite quickly and the salt begins to darken with the oils and tars within a few moments. The next series of photos shows the salt turning brown beginning with the edges and working toward the centre of the bowl.

Image

Setting the bowl in the ice cube tray

Image

After sitting for 2-3 minutes

Image

After sitting for 15 minutes

Image

After sitting an hour

Image

A final photo before I left it for the night. The pipe cleaner is rich brown from the oils and tars leached from the shank

Image

What awaited me in the morning

This morning the salt was darkened and the alcohol was evaporated. I dumped out the salt and pulled out the pipe cleaner. The shank and the bowl were dry and the salt fell out easily. I wiped out the remaining crystals from the bowl and cleaned the shank with a folded pipe cleaner. If the bowl had still been wet I would have flamed it with a lighter or a match to quickly burn out the remaining alcohol. This time that was not necessary. The photo below shows the clean bowl. The pipe smells clean and fresh. When I have finished cleaning the pipe I set the bowl aside and let it dry for several days before smoking it.

Image

A fresh and dry bowl

Restemmed and Reworked an Old Yello Bole Acorn


I have cleaned out my box of pipes for refurbishing and all I have left are bowls that need to have stems made and fit. This little Yello Bole Acorn pipe attracted my attention and I decided it would be the first one I worked on. The pipe is stamped on the left side of the shank: KBB in a cloverleaf and next to that it is stamped Yello Bole over REGDUSPATOFF over Imperial in script. Underneath that it is stamped “Cured with Real Honey”. On the right side is stamped 3296B. I reamed the bowl and cleaned the airway and mortise area so that I could get a good clean fit with the new stem. I picked a stem blank from my can of stems and used my Pimo Tenon turning tool to turn the tenon to fit the shank. The stem was too large so I removed the excess material with a sanding drum on my Dremel. In the photo below you can see the stem after I had sanded the excess away with the Dremel. The shank on the pipe also had a small crack in it so I glued it with superglue and pressure fit a nickel band on the shank.

Image

I sanded the stem with medium grit emery cloth to remove the scratches and marks left by the sanding drum. I find that the emery cloth does a great job removing the deep scratches and marks around the diameter of the stem as well as fine tune the fit to the shank. The band had some small dents that needed to be taken out so I used a small round headed pick to bring the shape back into round. The next three photos show the stem after sanding with the emery cloth.

ImageImageImage

At this point in the process I used the tool to round out the band a bit more and then fit the stem on the pipe. The next series of four photos shows the stem on the pipe. I also noted at this point that the band needed to be flattened on the bottom to accommodate the flattened bottom of the shank on the pipe. I would also have to flatten the edge of the stem to also accommodate that flattening.

ImageImageImageImage

I took a break from the stem and worked a bit on the bowl of the pipe. I wiped it down with acetone on a cotton pad to remove the finish. I then sanded the bowl to remove some of the dents and marks in the finish. The deep gouges needed to be steamed and I was able to raise them slightly. They are still visible on the finished pipe but lend it some character. The next series of three photos show the bowl cleaned and ready for staining.

ImageImageImage

I then changed to sanding the stem with 240 and 320 grit sandpaper. The next series of six photos shows show the progression of the stem as I sanded it.  The shape was pretty close to finished by the time I was done. The fit was excellent and the look of the new stem gave the pipe a great look in my opinion. All that remained was to do a lot more sanding! The fourth through the sixth photos below show the stem after I had wiped it down with some Maguiar’s Scratch X2.0 applied by hand and rubbed down with cotton pads. The finish of the stem is getting smoother.

ImageImageImageImageImageImage

I then filled a small cup with water and moved on to wet sand the stem with the micromesh sanding pads. I used 1500, 1800 and 2400 to wet sand the stem. I wet the pad and sanded the stem. Then rinsed the pad and kept sanding until that particular grit had down its work and the stem was ready for the next one. Between pads I wiped the stem down with a wet cotton pad to clean off the grit. The first photo below shows the setup of my sanding area. I use an old rag for the work space so that it can pick up the dust and water from the sanded stem. The next series of three photos shows each of the three micromesh sanding pads from 1500-2400 and the stem after sanding with that particular pad.

ImageImageImageImage

Once I finished wet sanding the stems up through the 2400 grit micromesh pads I then used the Maguiar’s again to polish the stem to see what remained of the deep scratches. I rubbed it into the stem with my finger and then polished it off with the cotton pads. The next series of five photos shows the application and the progressive polishing of the stem. The final pictures in the series show the stem polish to this point. I decided after this was done to move on to dry sanding with the remaining micromesh sanding pads.

ImageImageImageImageImage

The next series of six photos show the sanding progress through the remaining grits of micromesh sanding pads – 3200, 3600, 4000, 6000, 8000 and 12,000 grits. Each picture shows the stem on top of the sanding pad that I used to sand it. I dry sand with these higher grit micromesh pads.ImageImageImageImageImageImage

The next series of four photos show the stem after finishing the sanding and polishing it with Maguiar’s polish. There is a nice deep black shine to the stem at this point.

ImageImageImageImage

Now it was time to stain the bowl of the pipe. I used a Dark Brown aniline stain that I had thinned with isopropyl 2:1 to stain the bowl. I wanted a consistency in the colour and also have the grain on the bowl show through the stain. I applied the stain with the wool dauber that came with the stain and then flamed it with a match to set the stain. I restained it and reflamed it a second and third time. The next two photos show the stained bowl.

ImageImage

Once the stain was dry I used some silver polish on the nickel band to shine it up and remove the stain that had spilled on it. I also used some sandpaper in the bowl to remove stain that ran into the bowl edges from the beveled rim. I then took it to the buffer and buffed it with Tripoli and White Diamond before giving the whole pipe multiple coats of carnauba wax and a final buff with a clean flannel buffing wheel. The final four photos show the finished pipe.

ImageImageImageImage


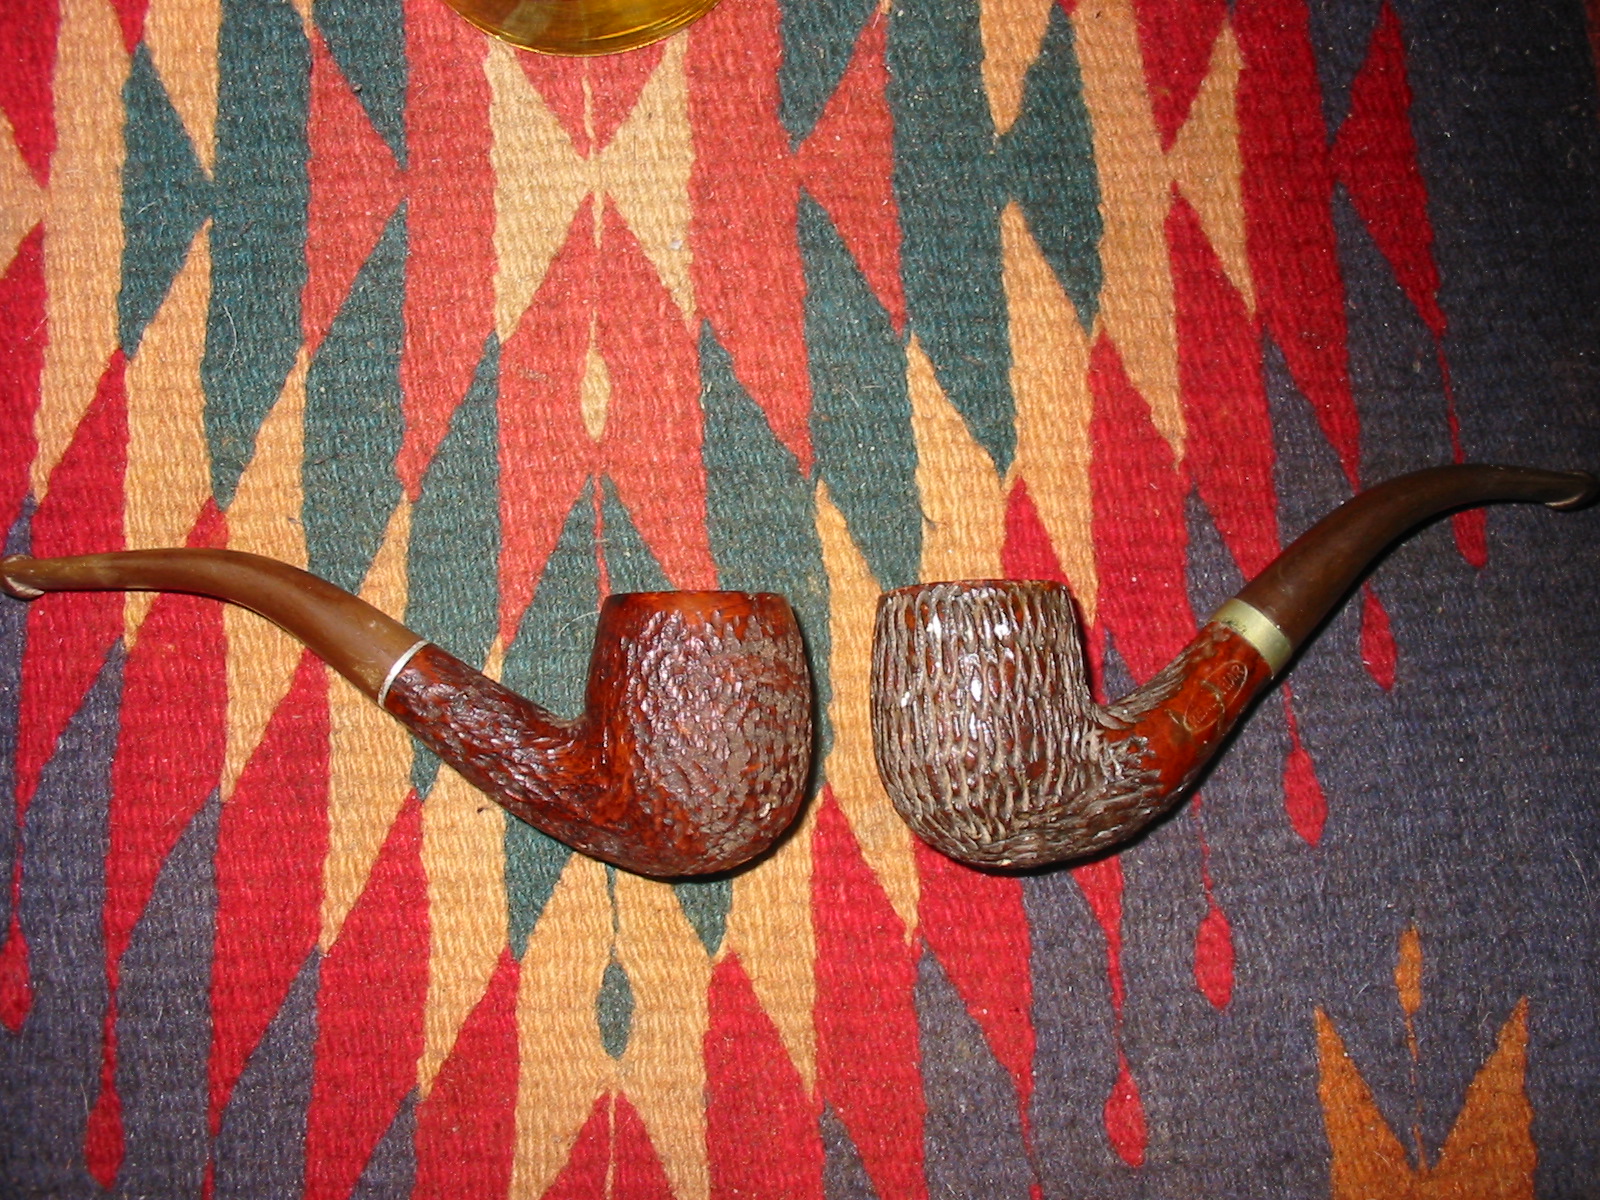
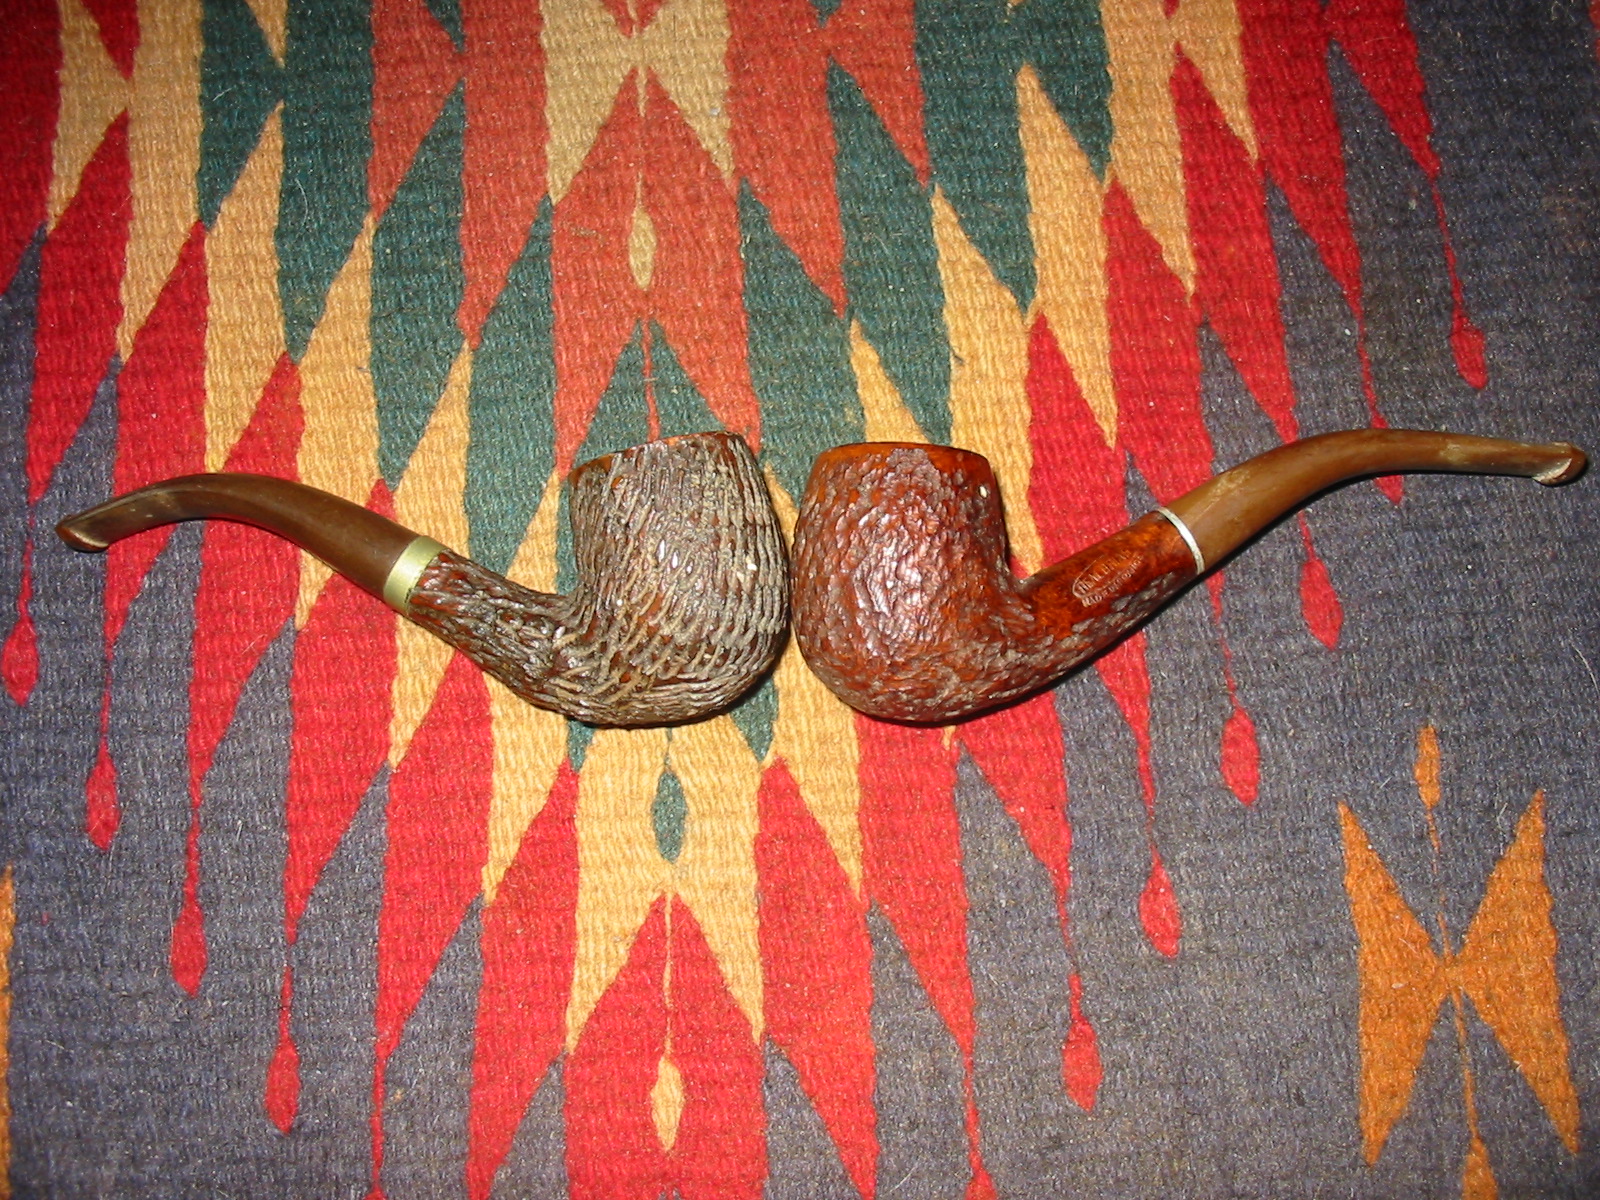
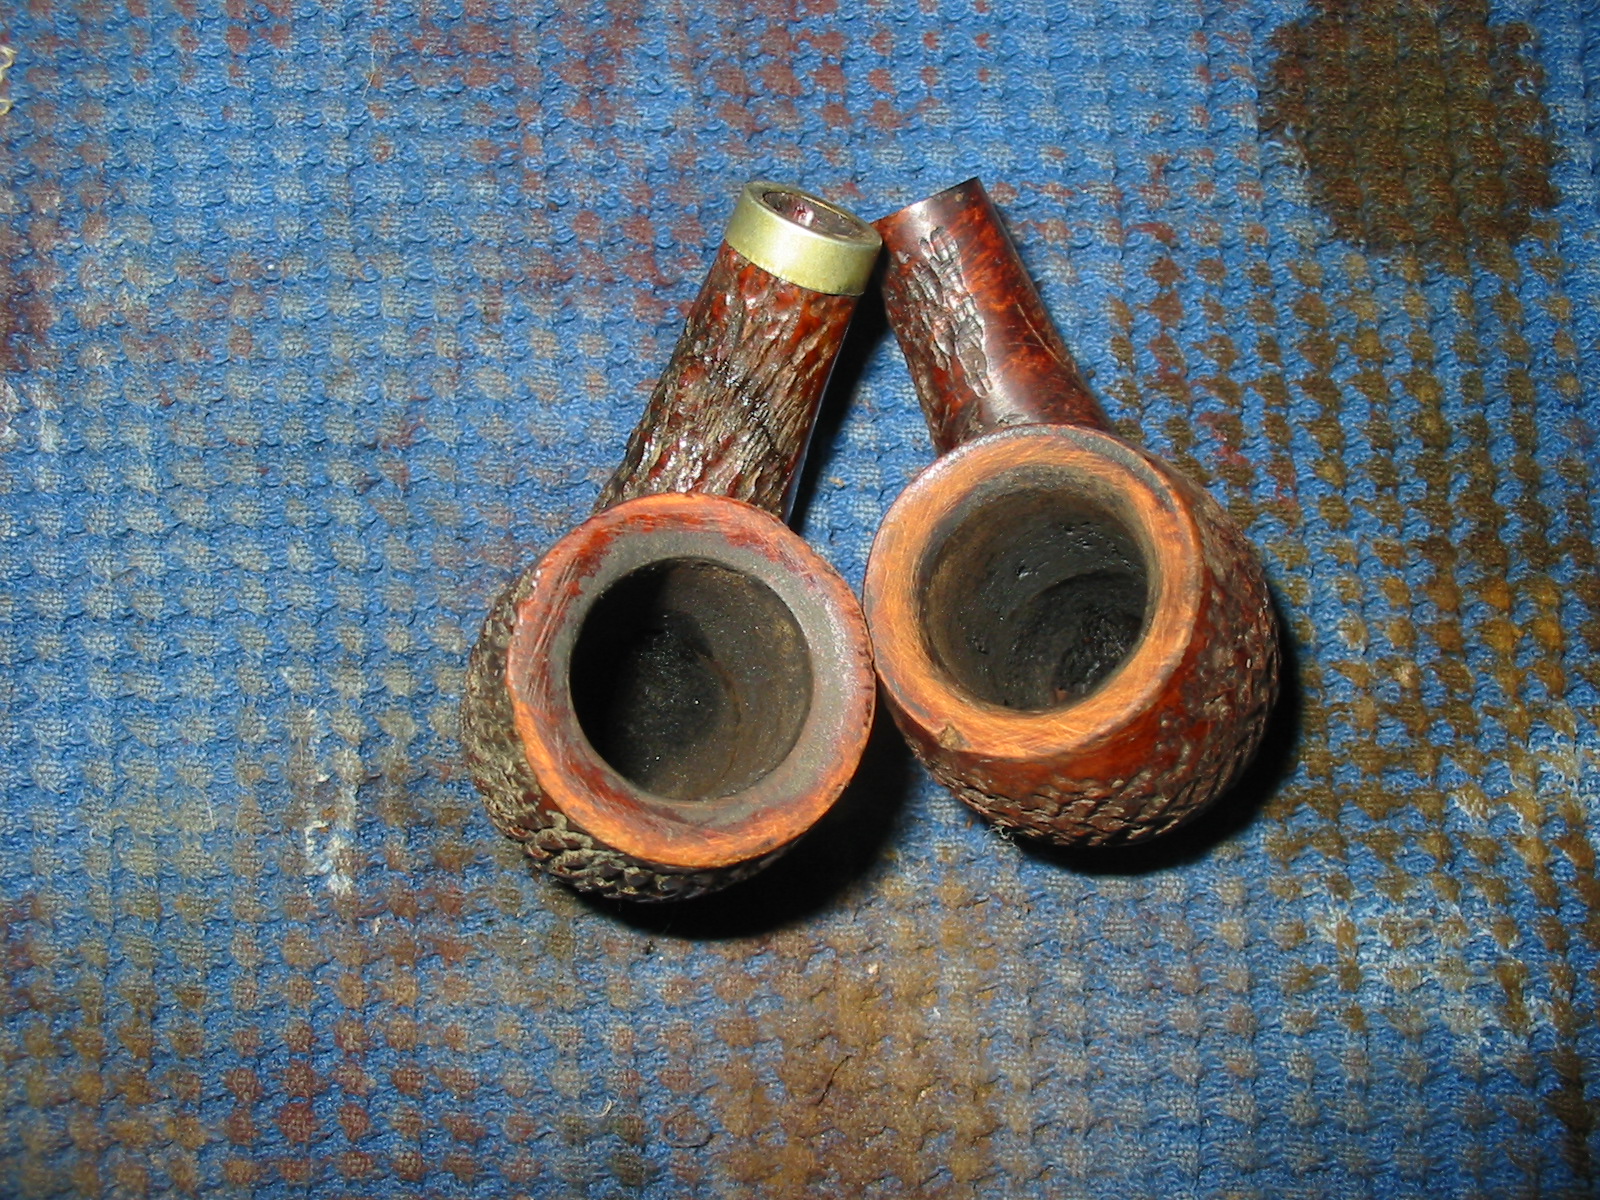
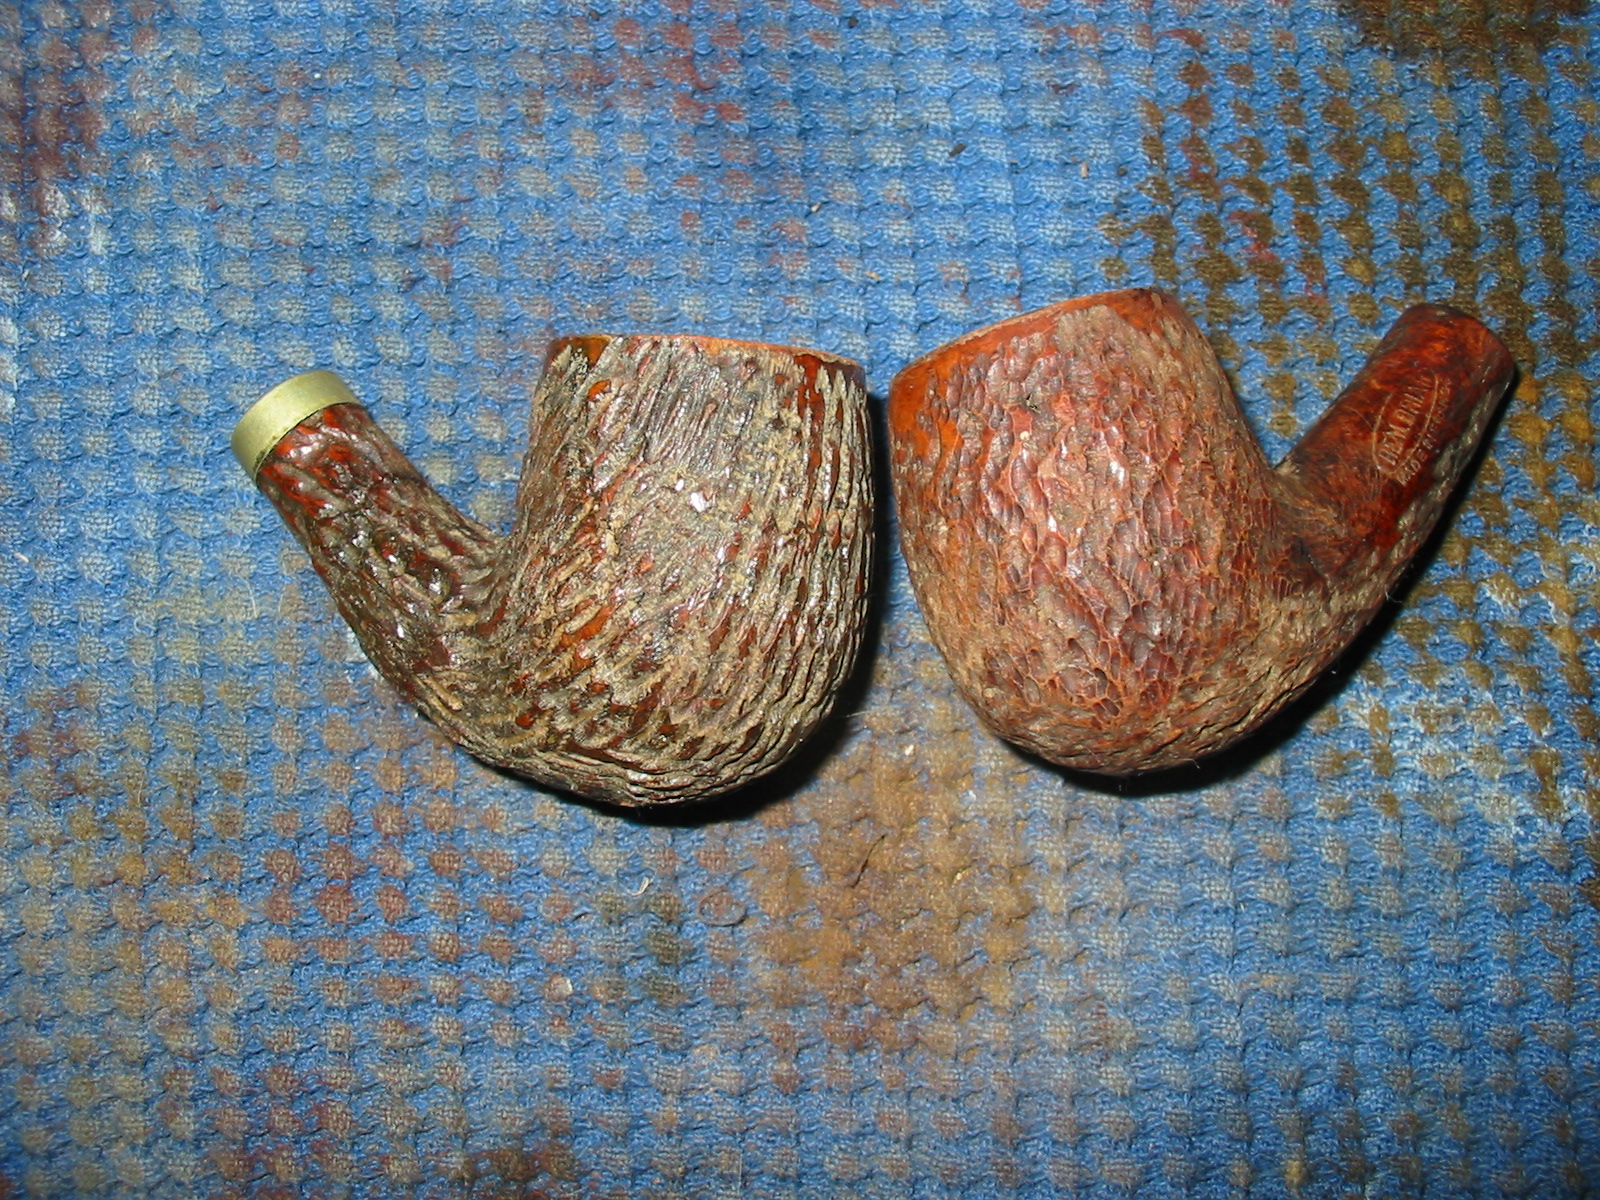
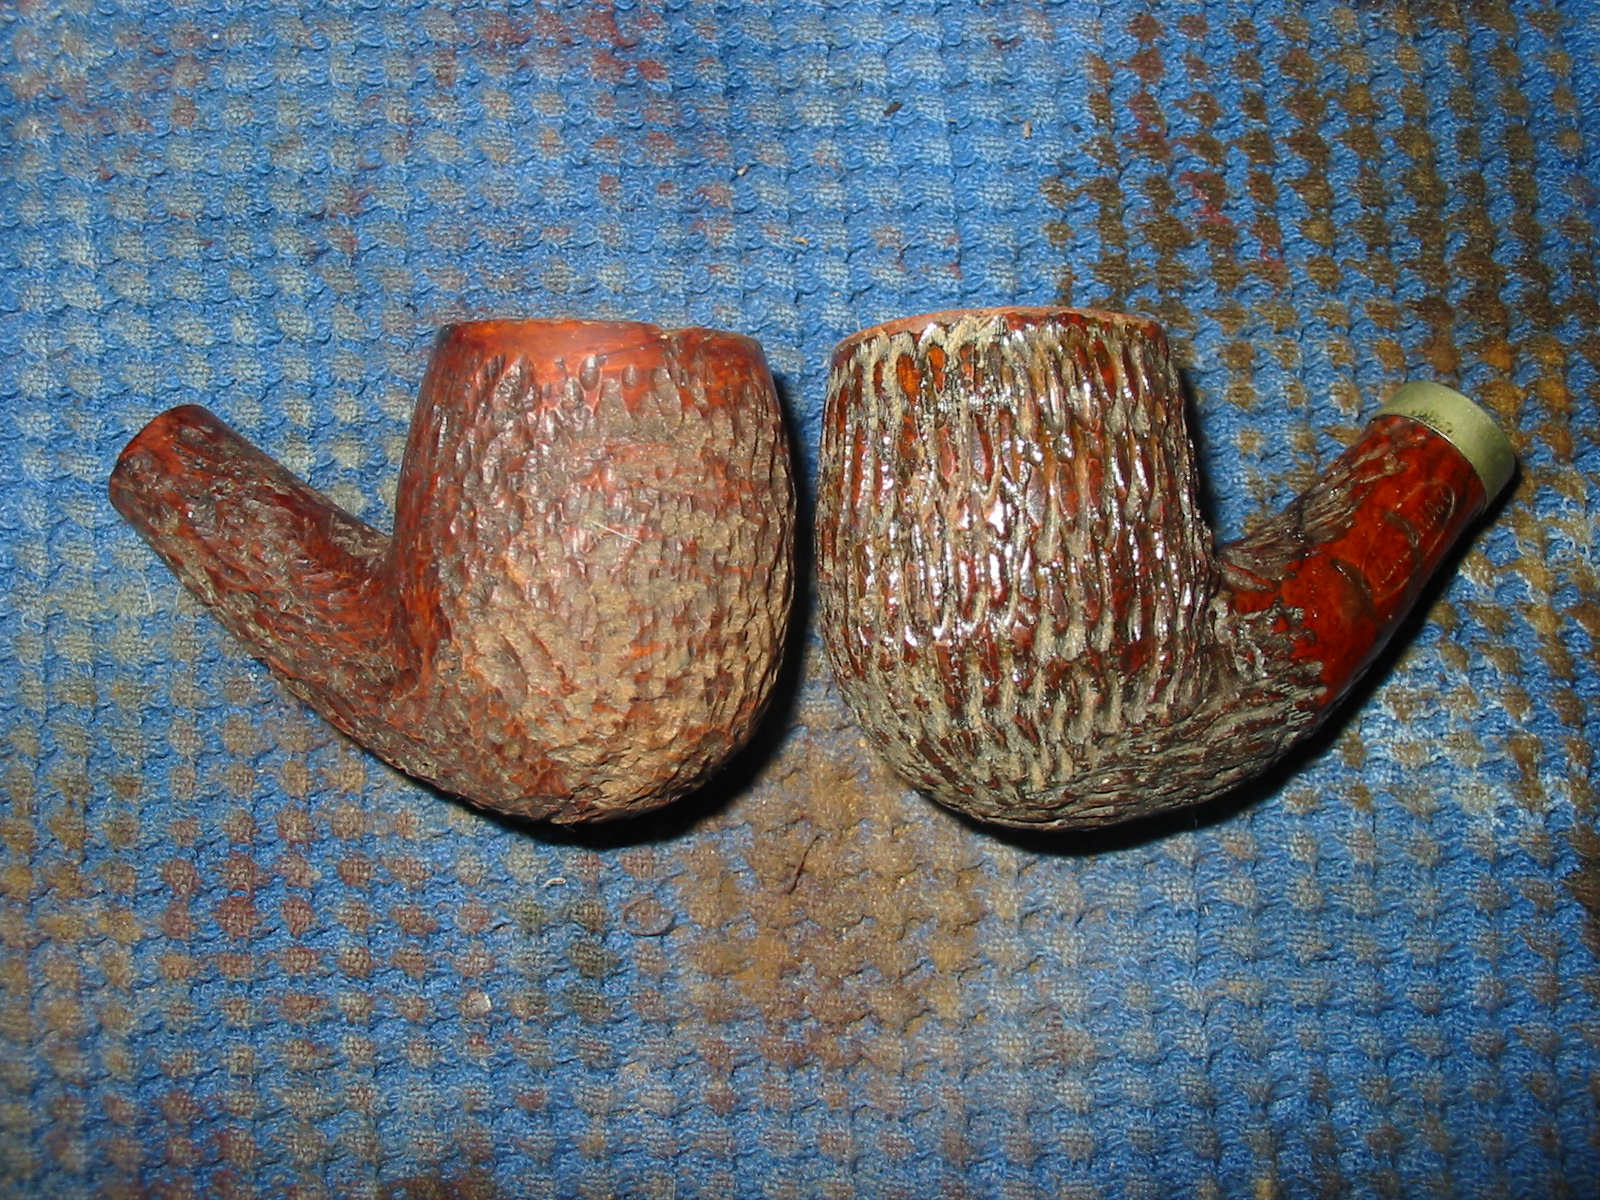
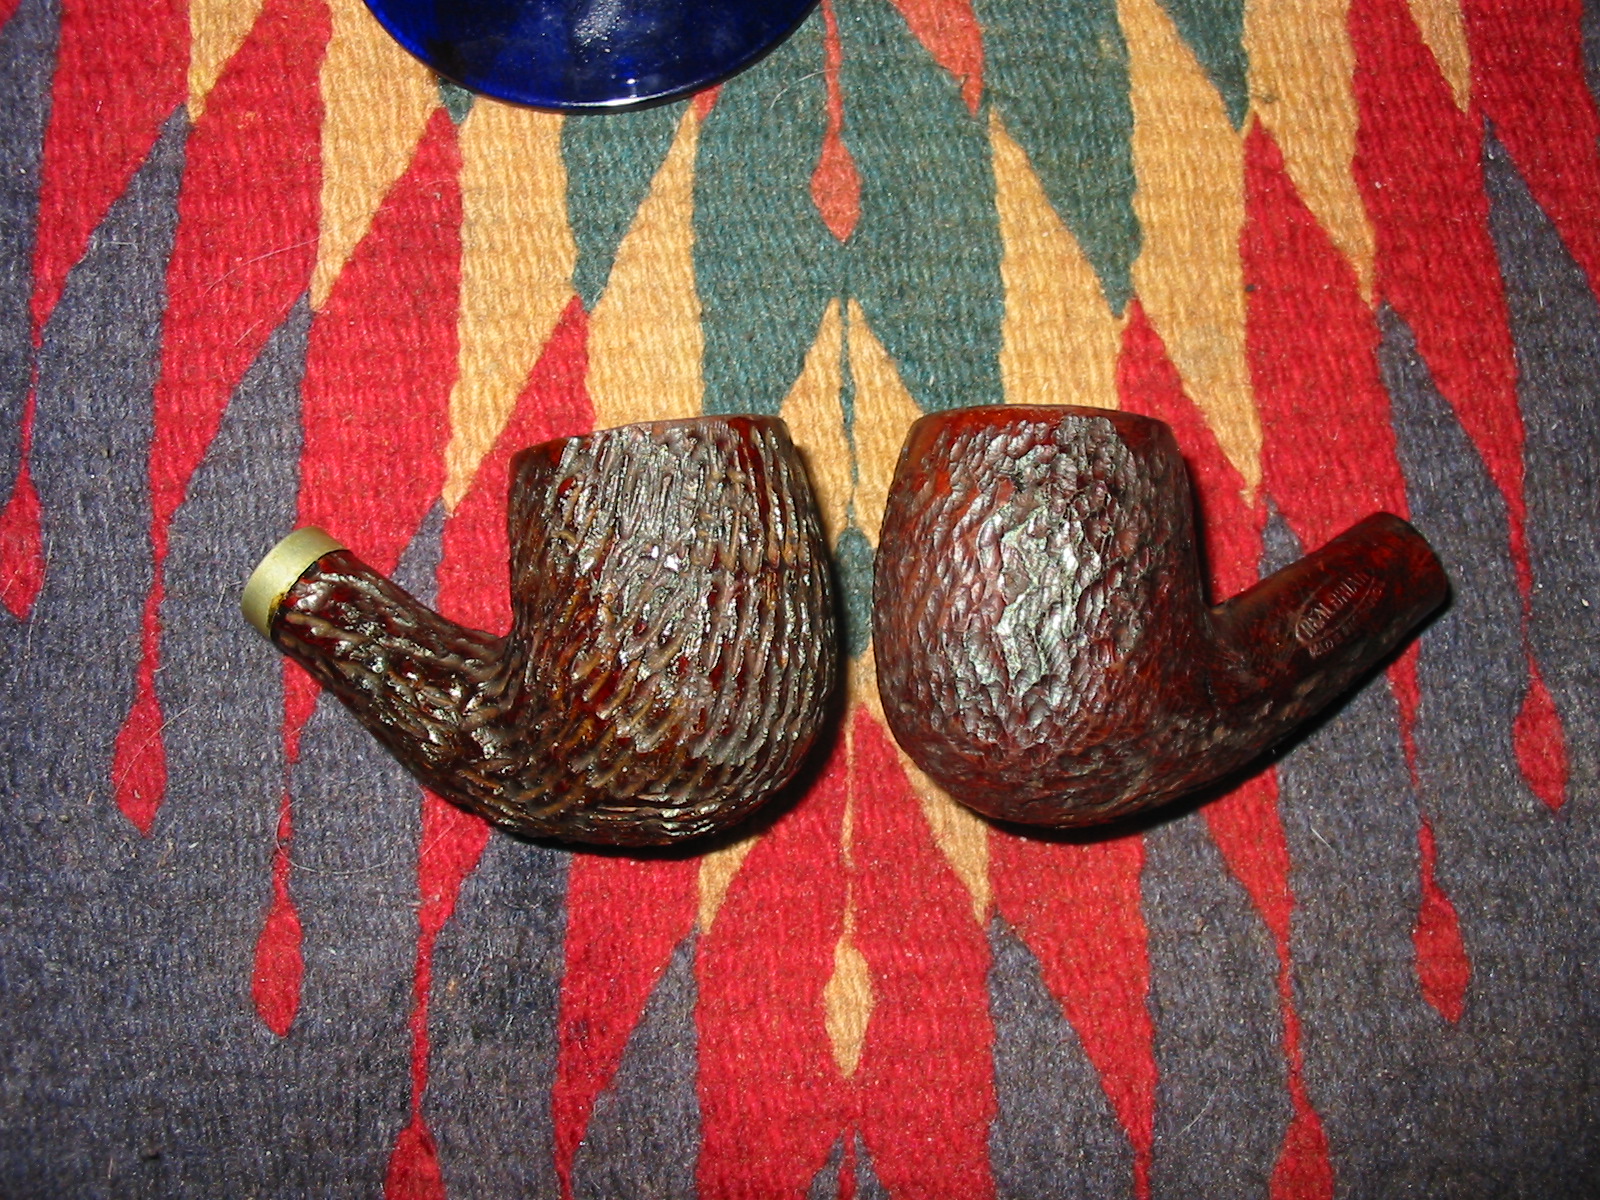
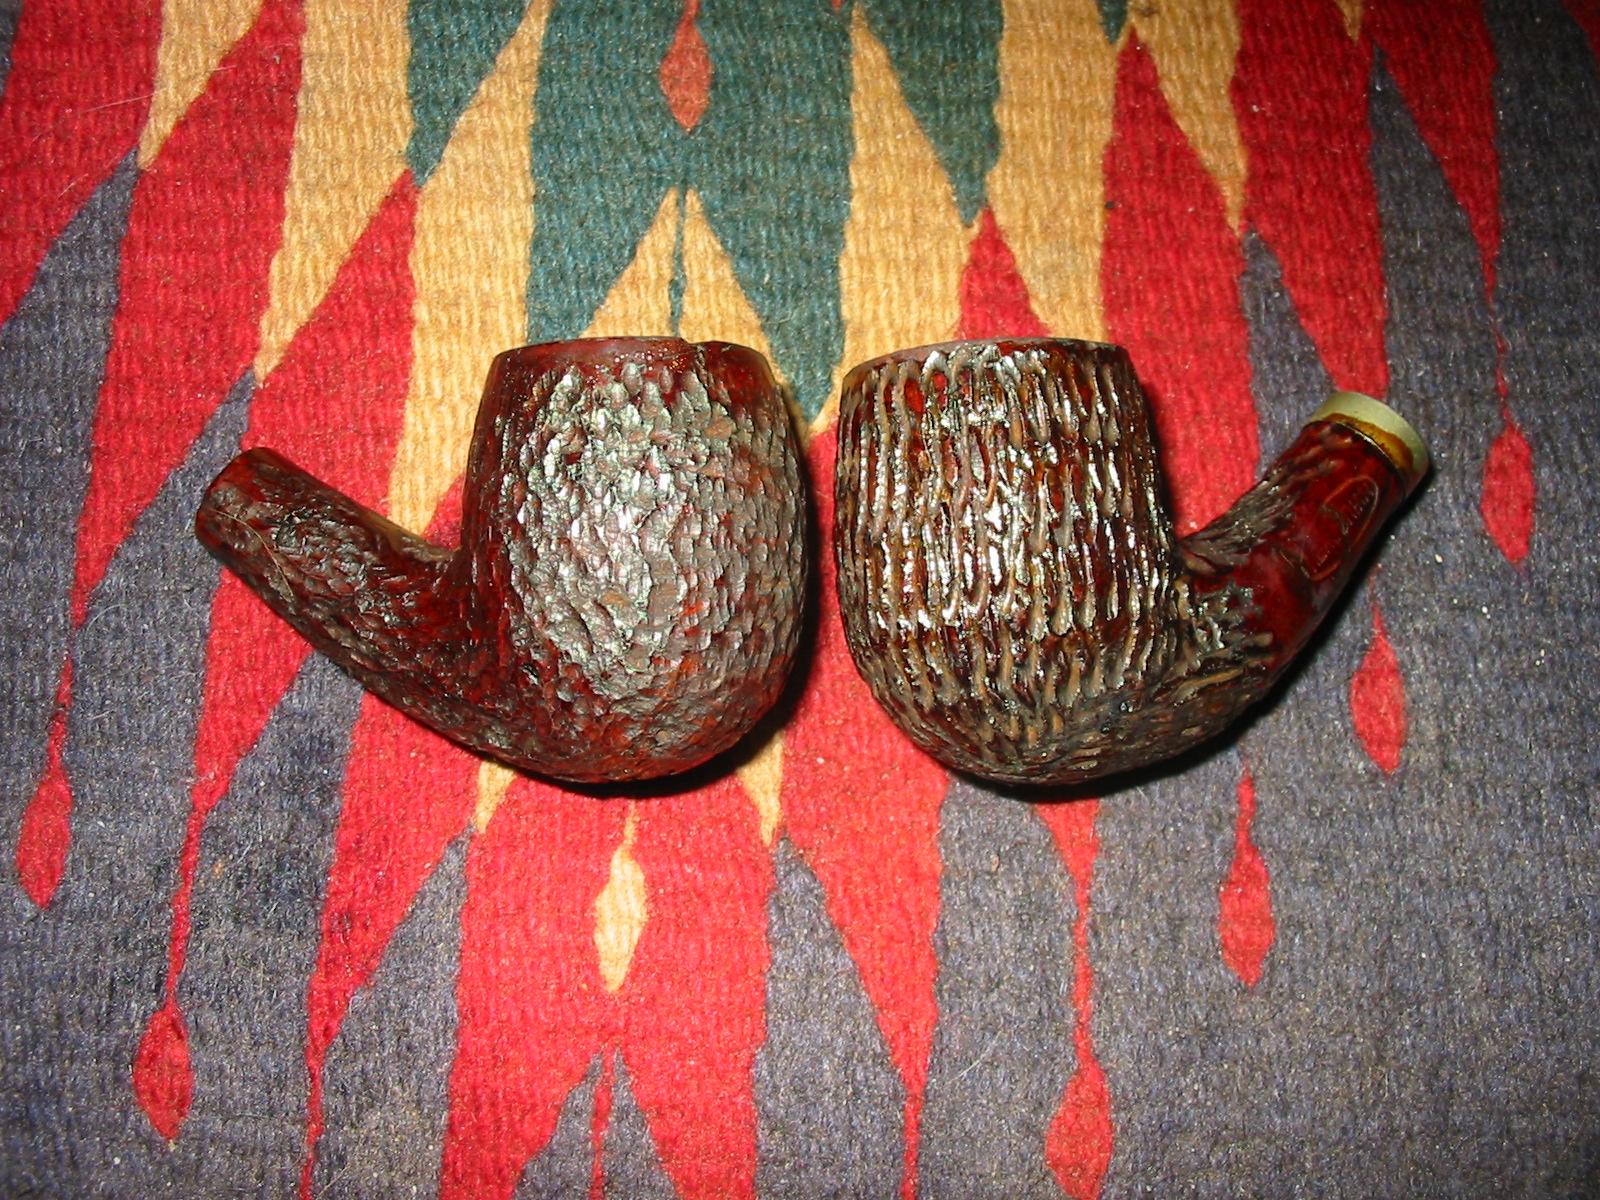
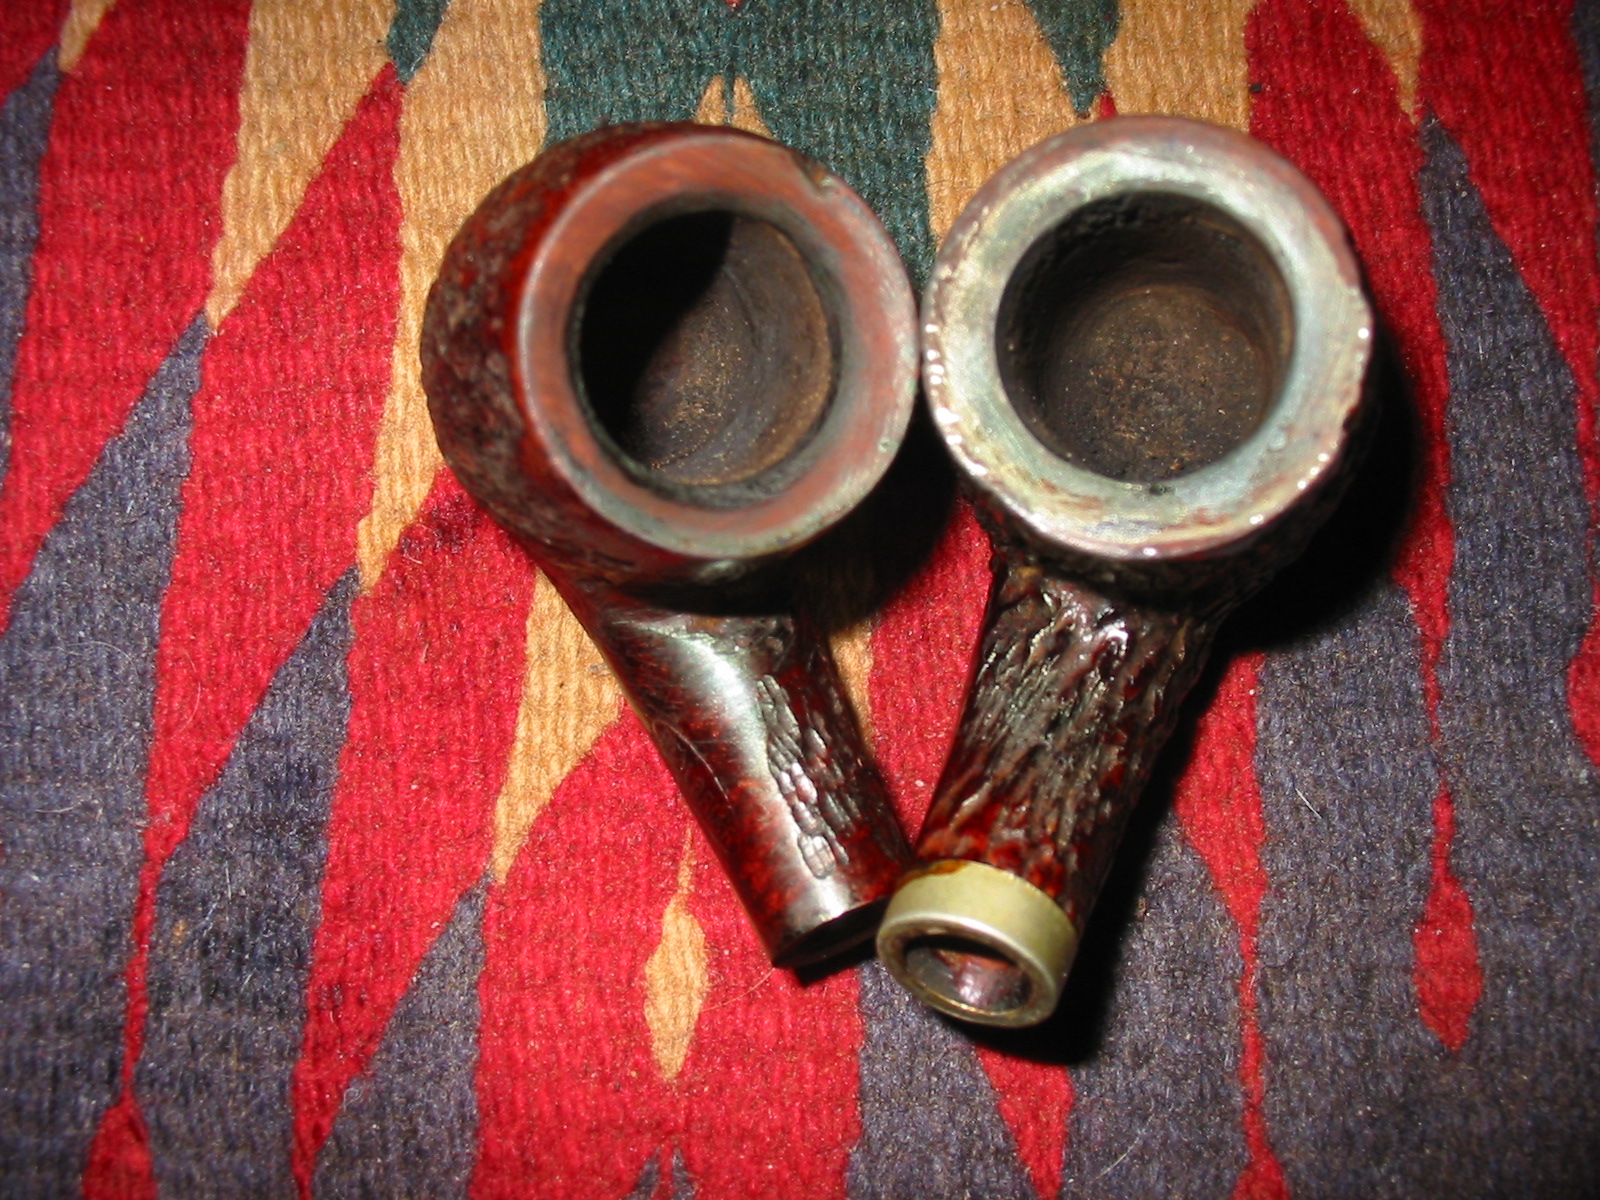
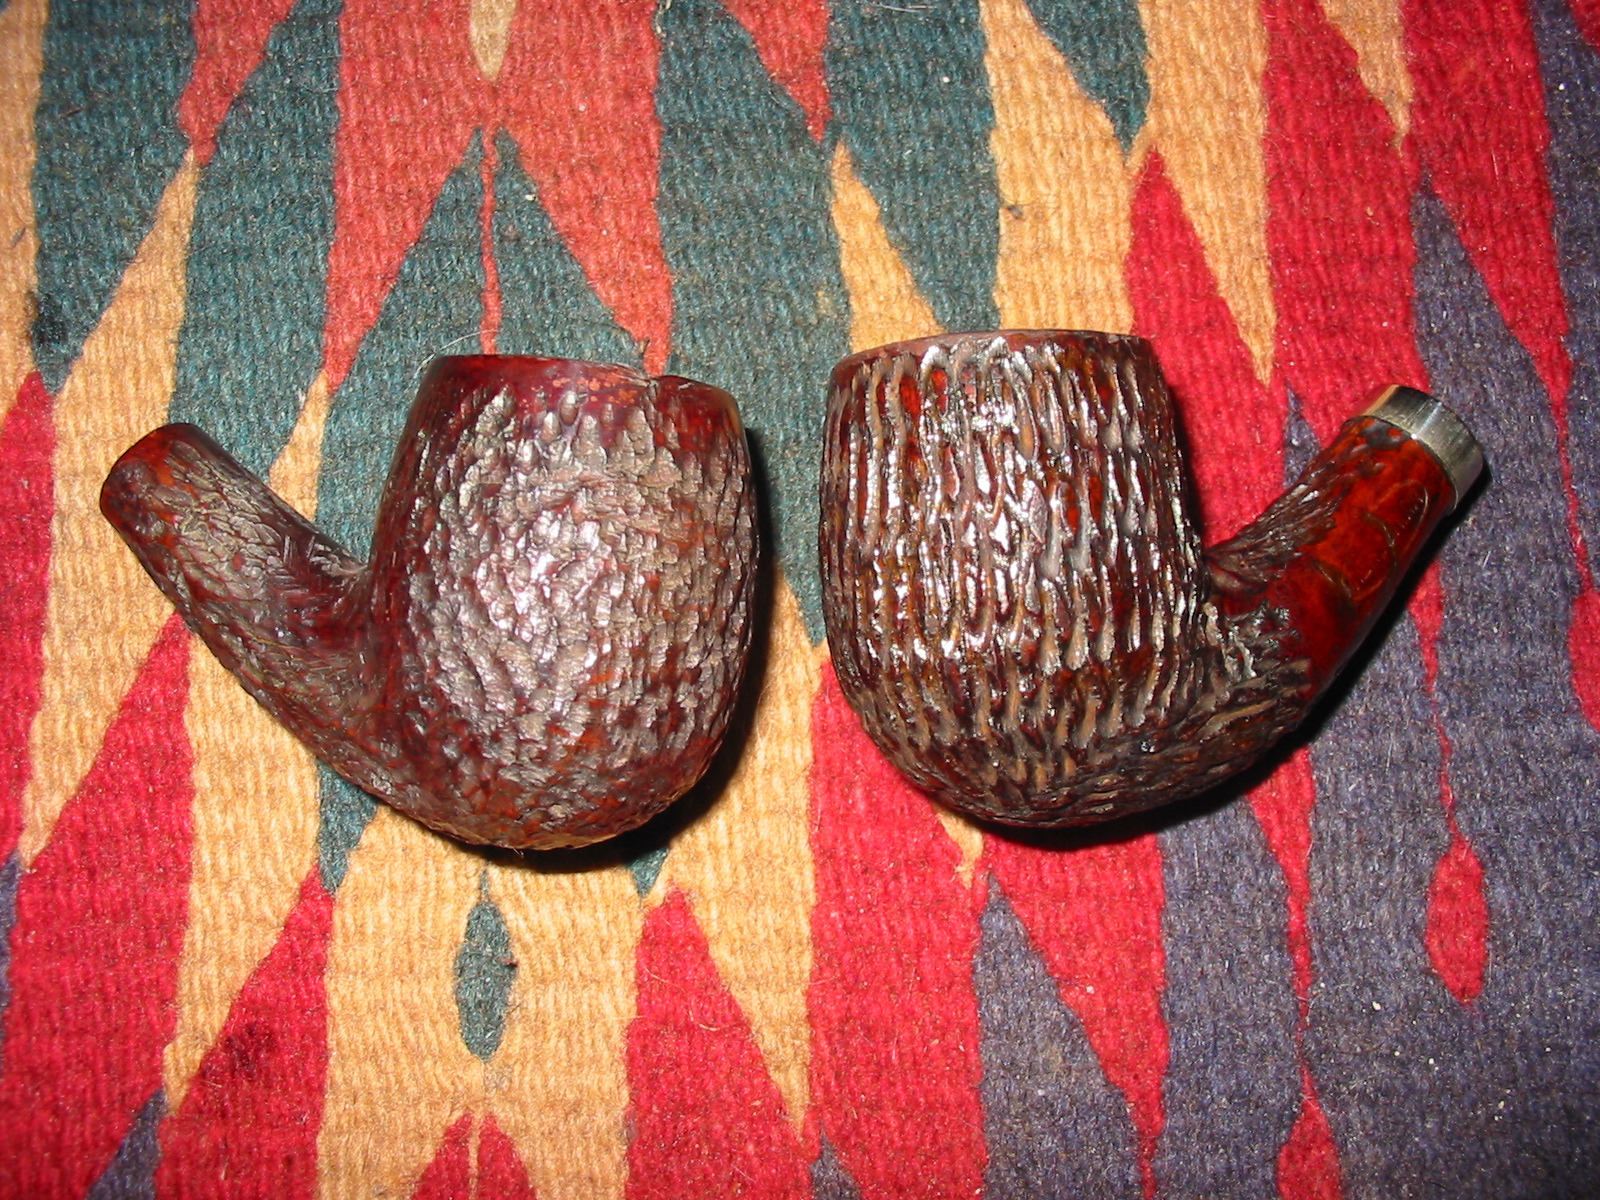
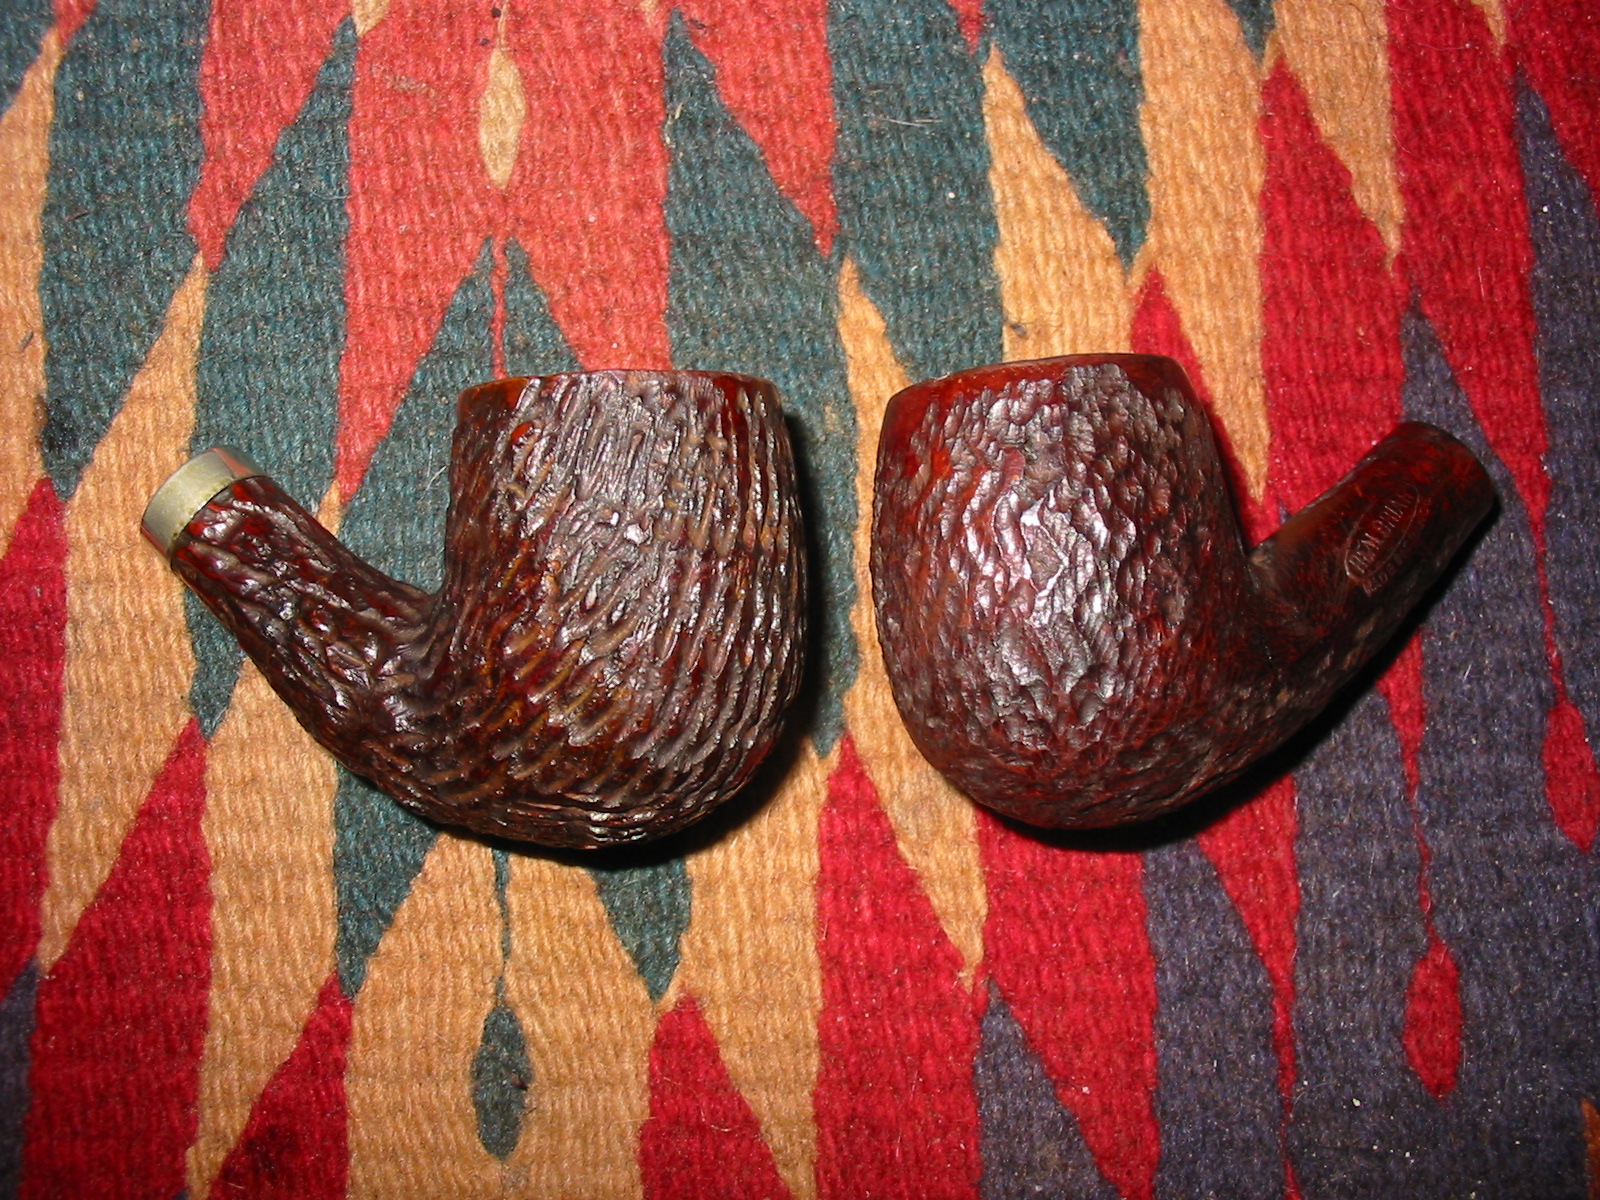
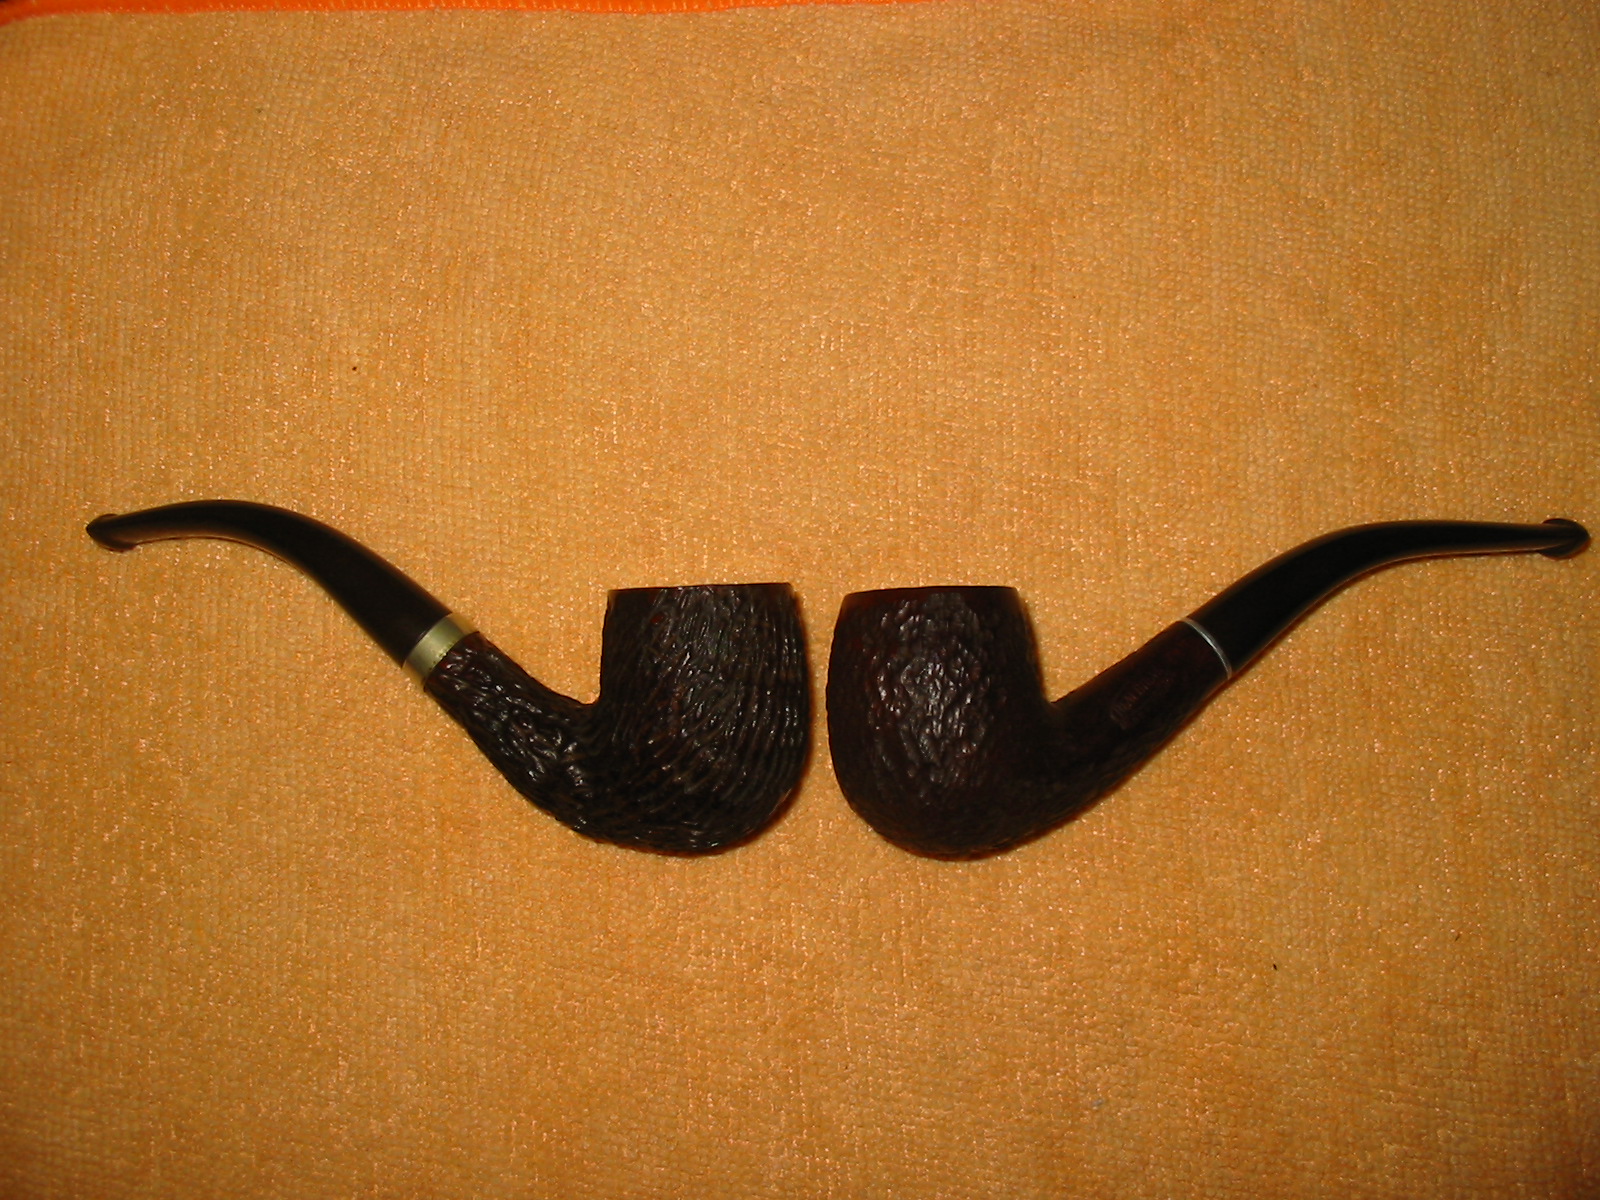
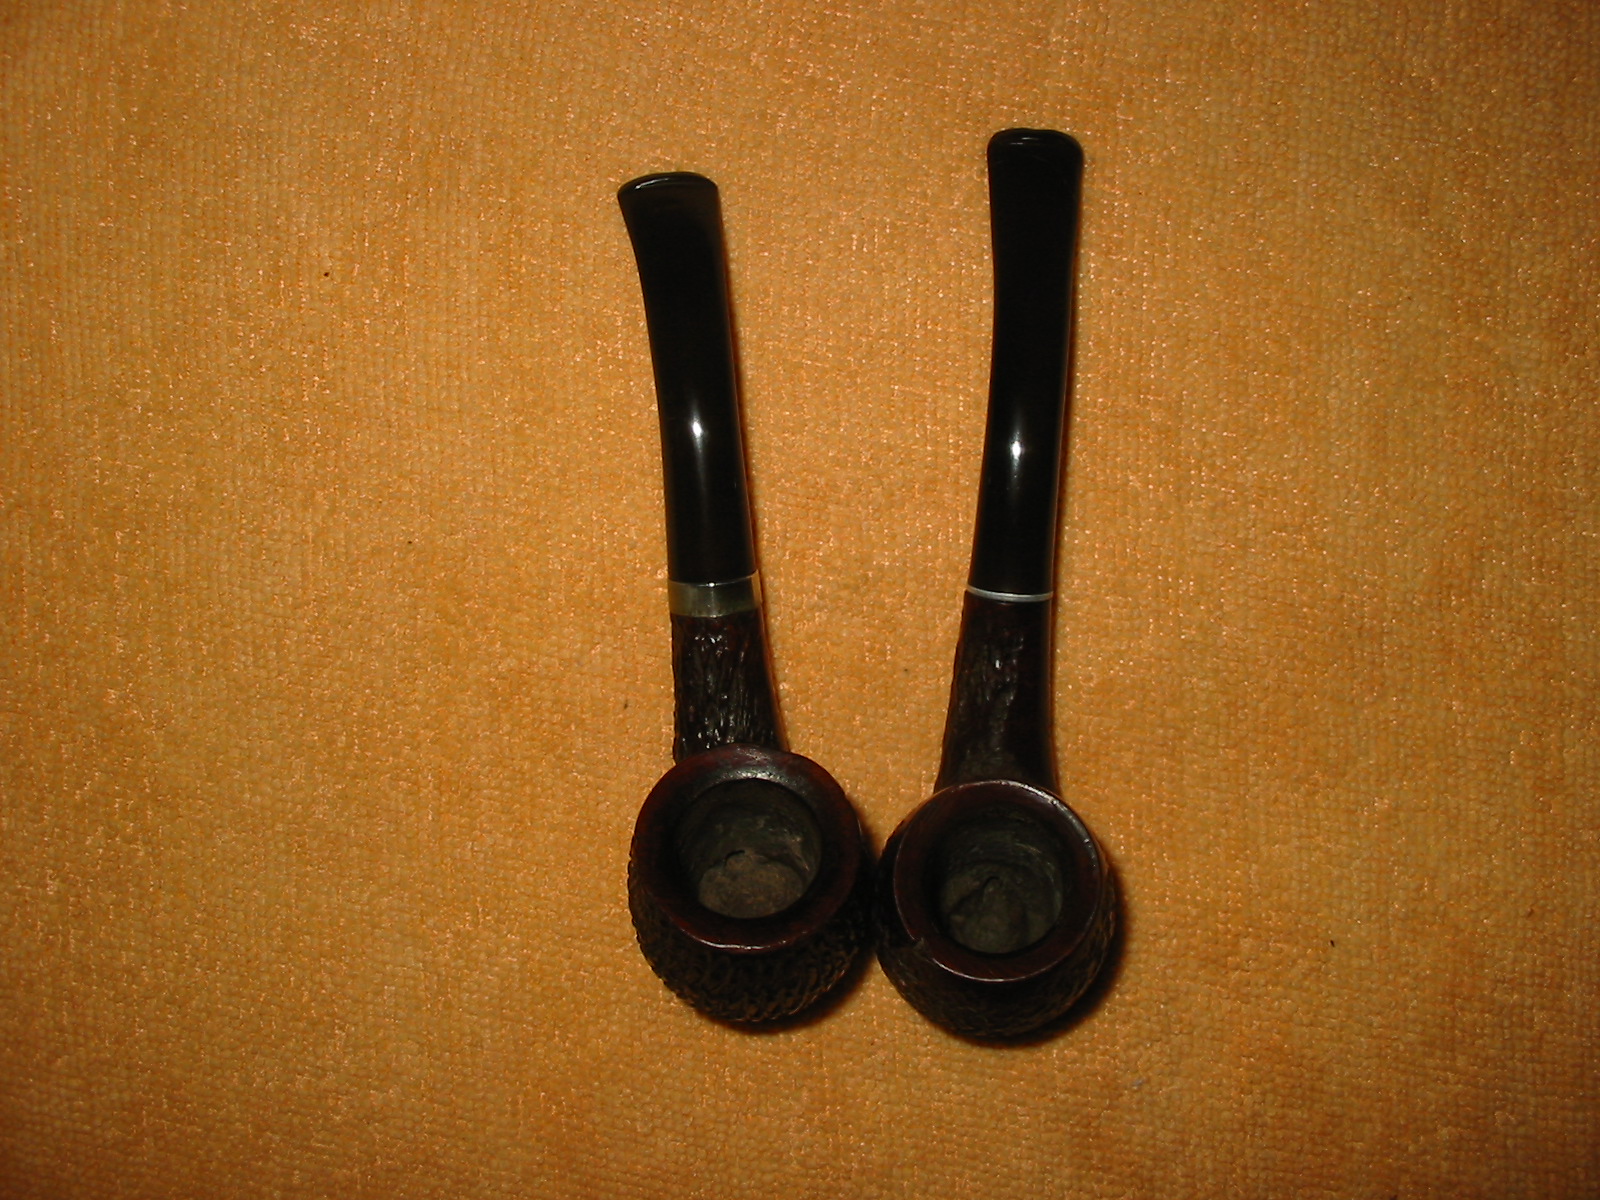
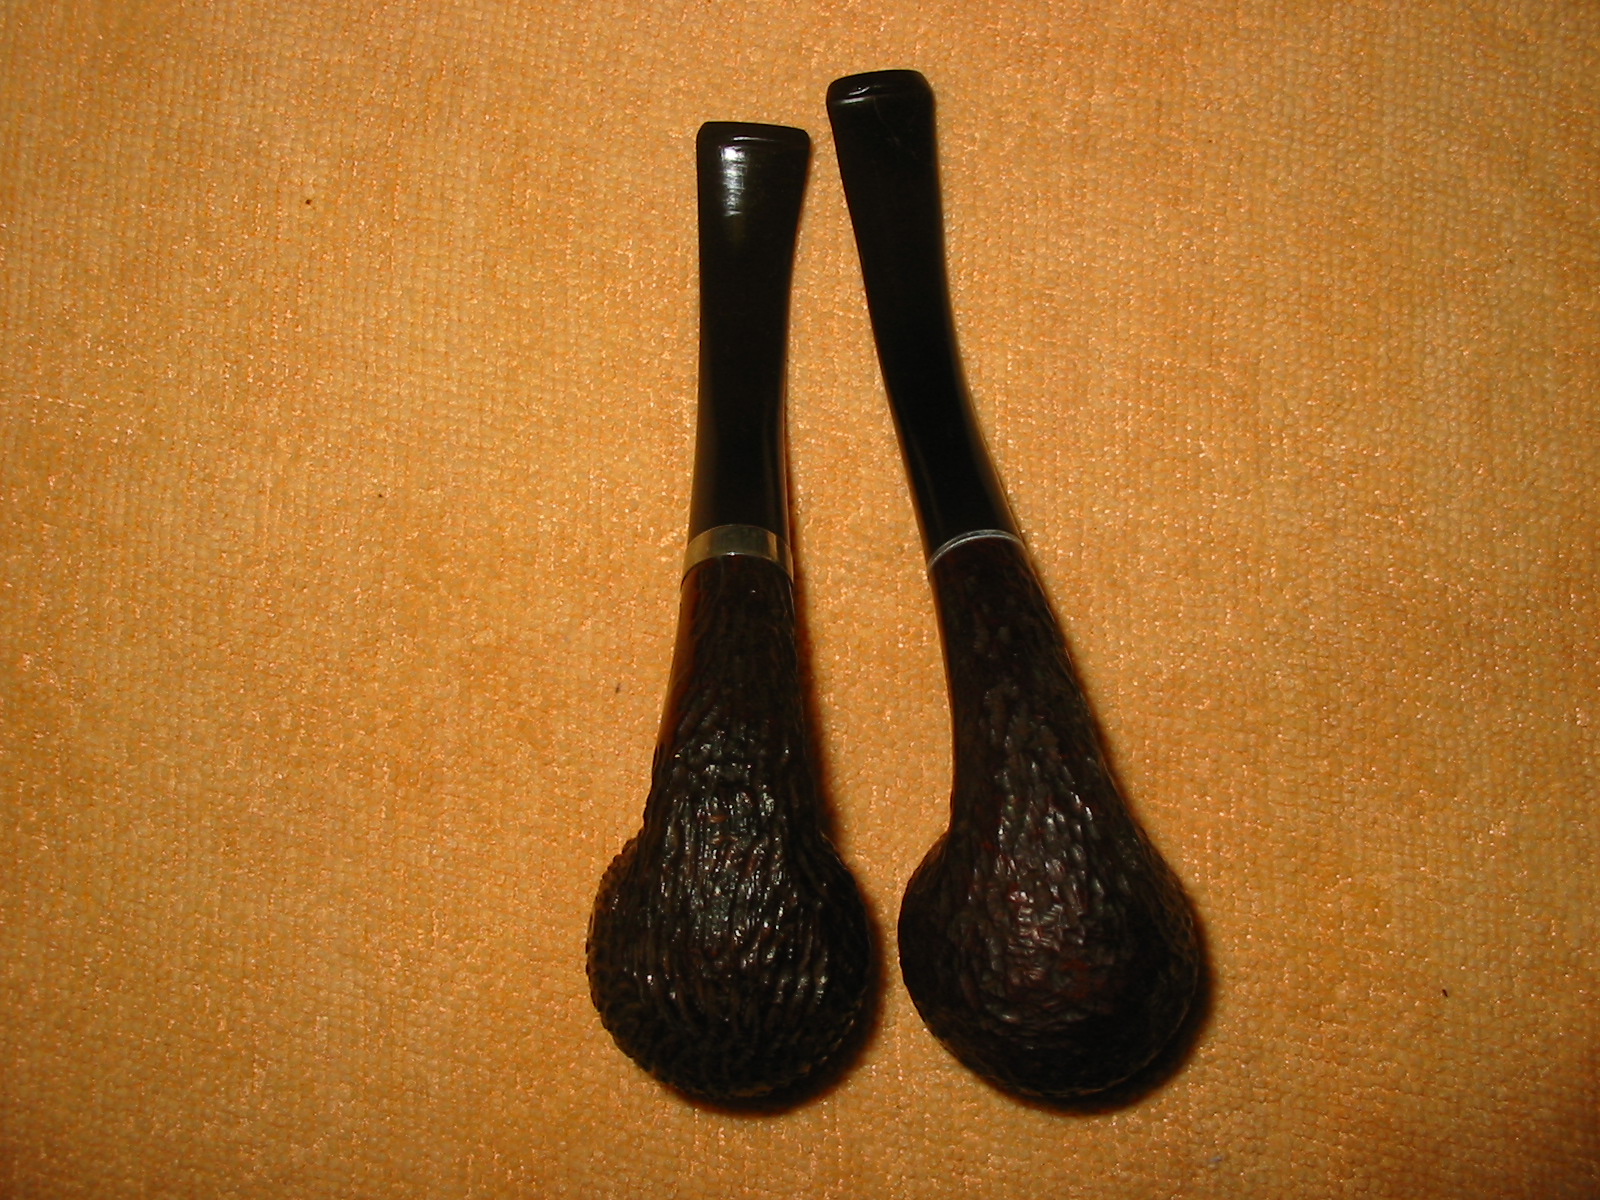
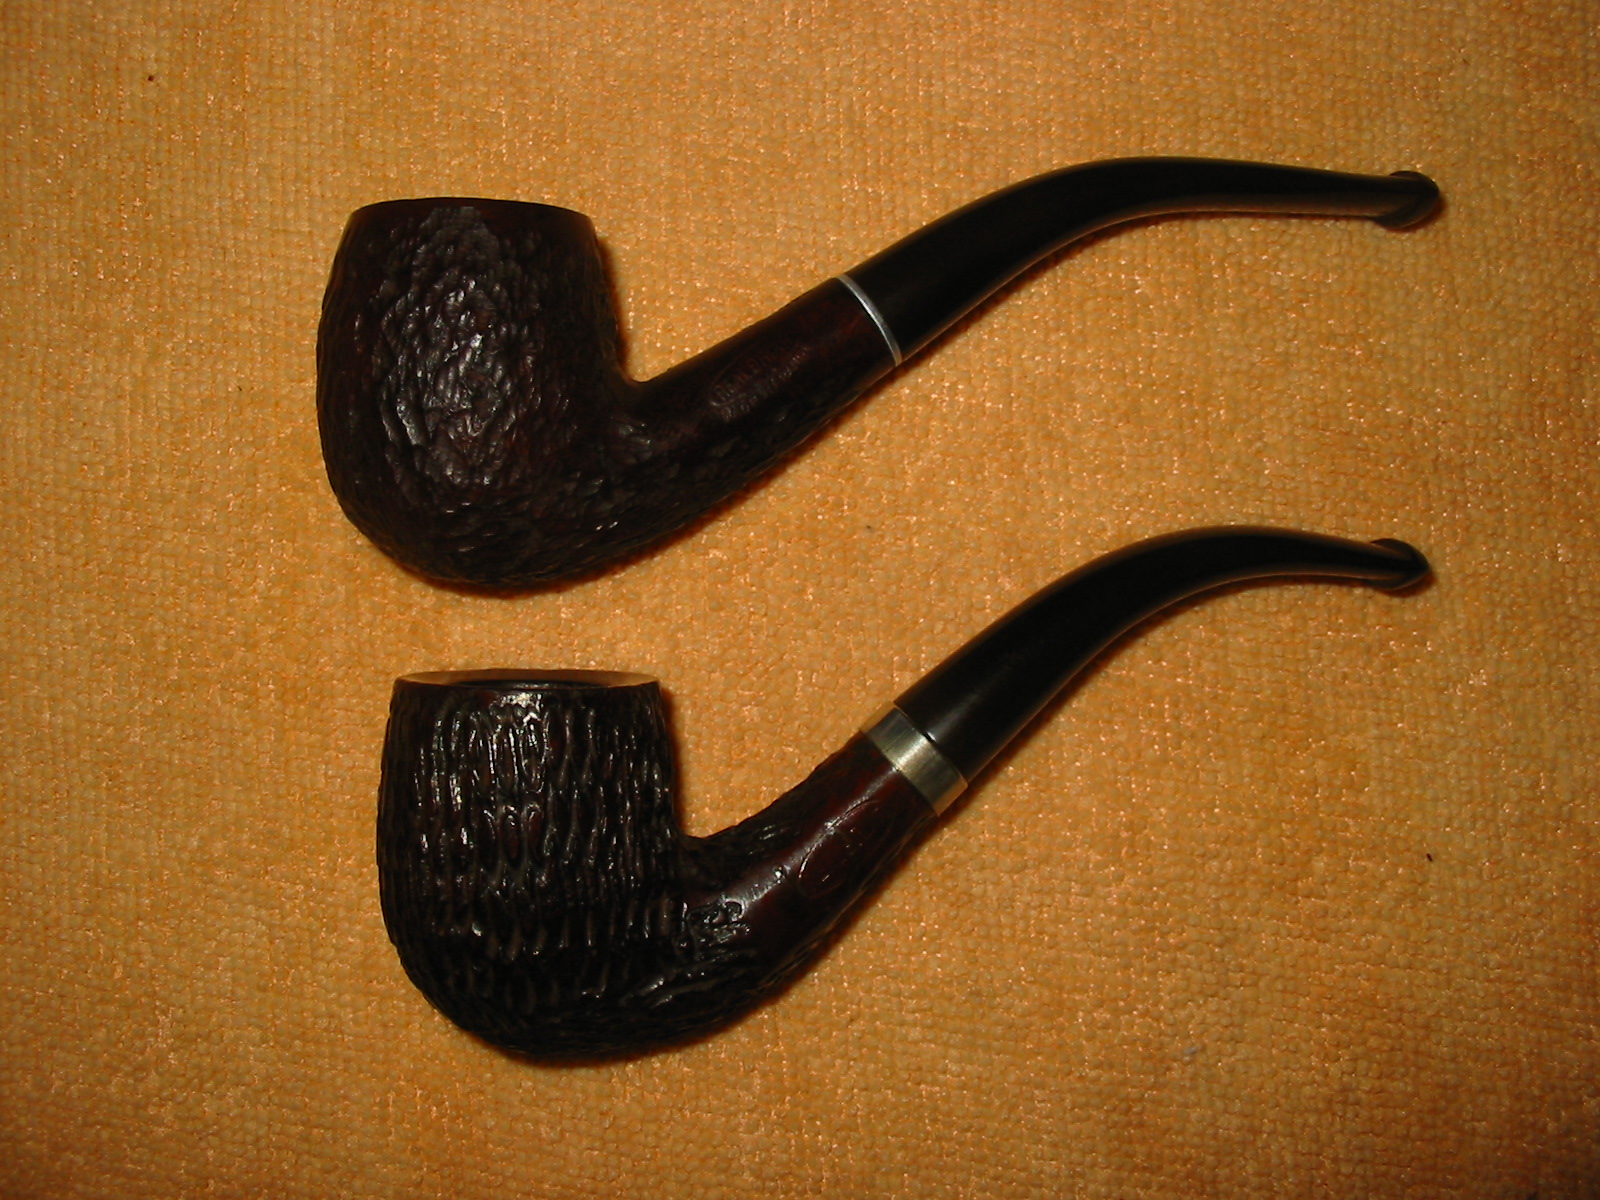
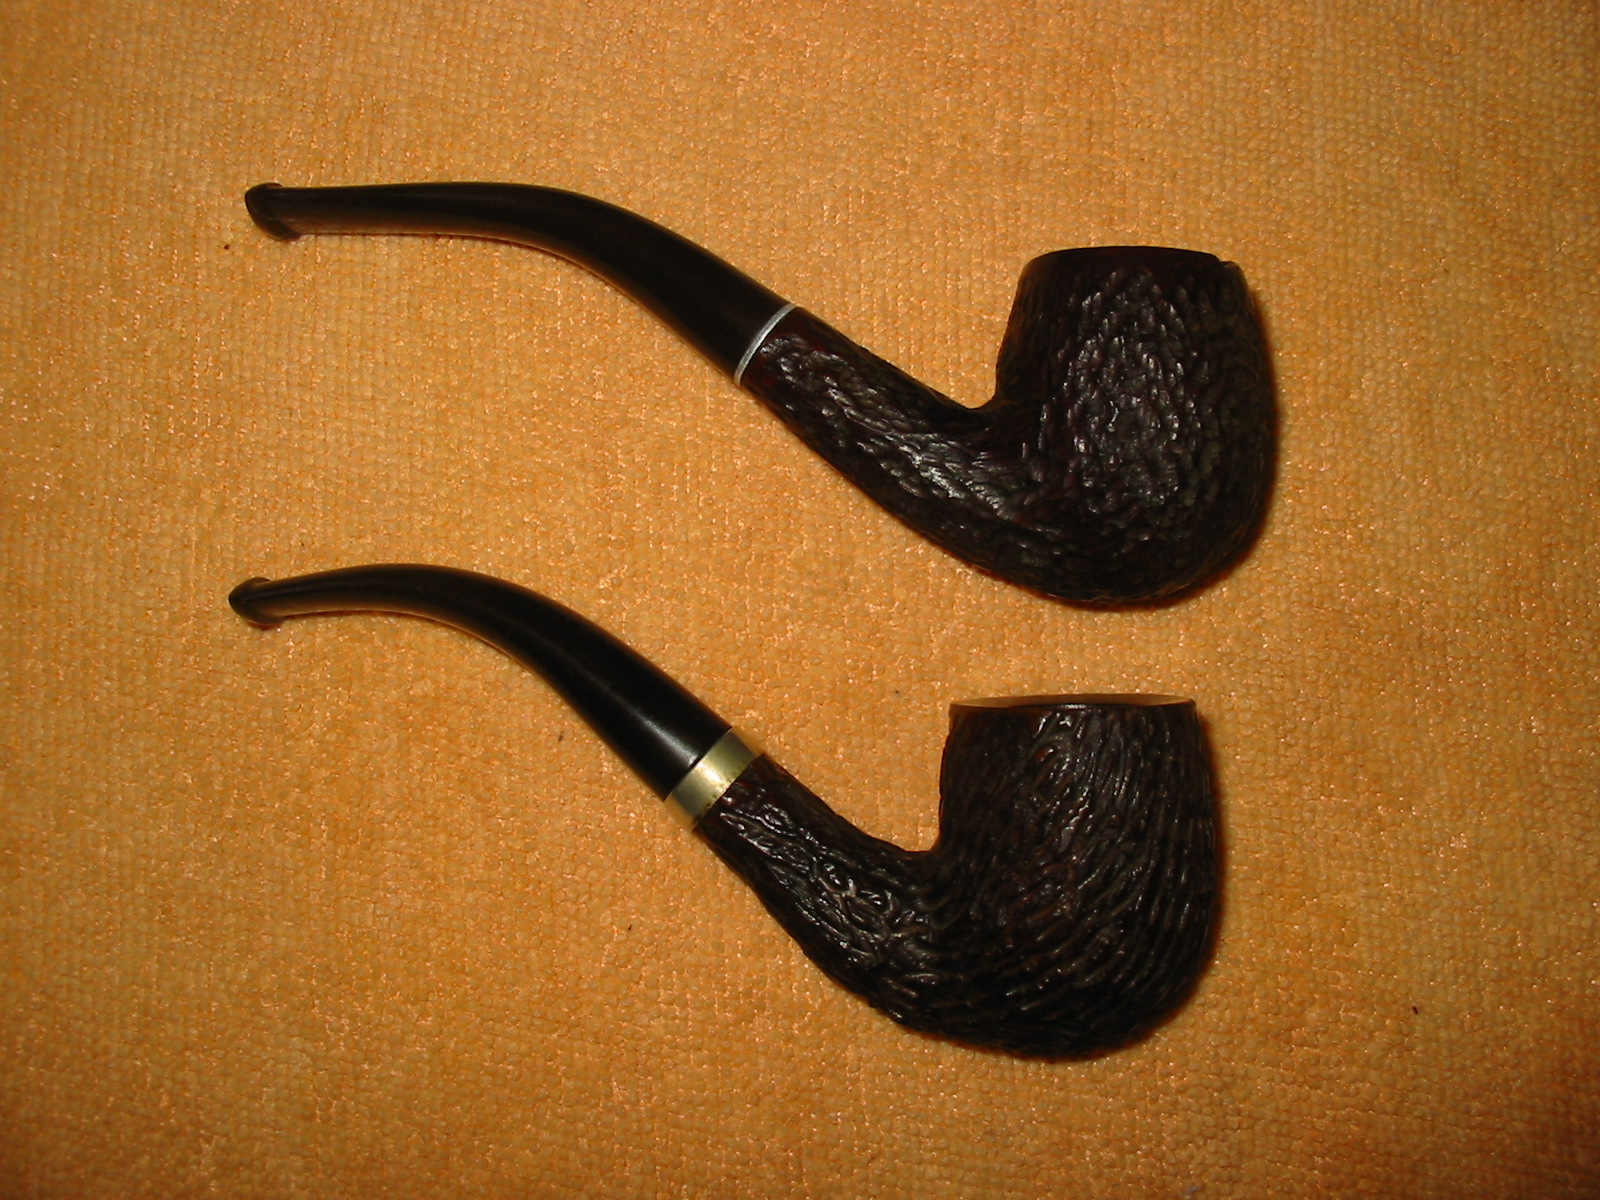
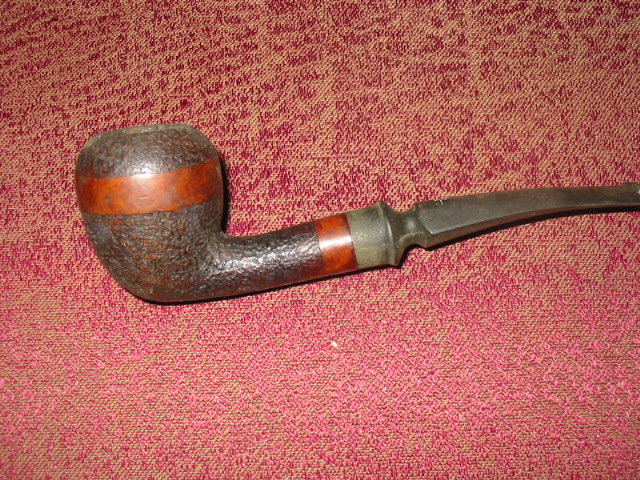
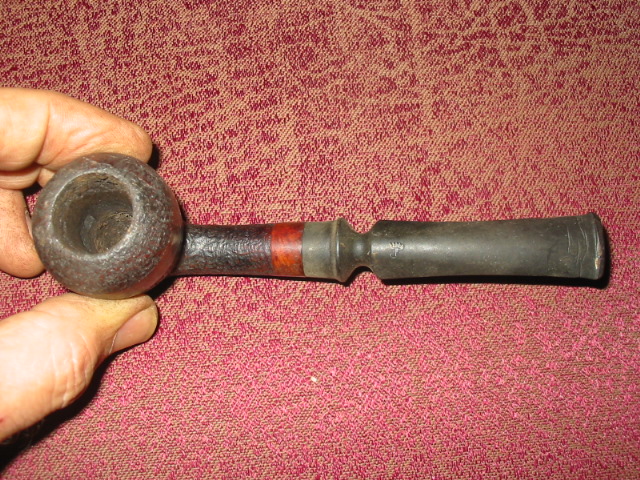
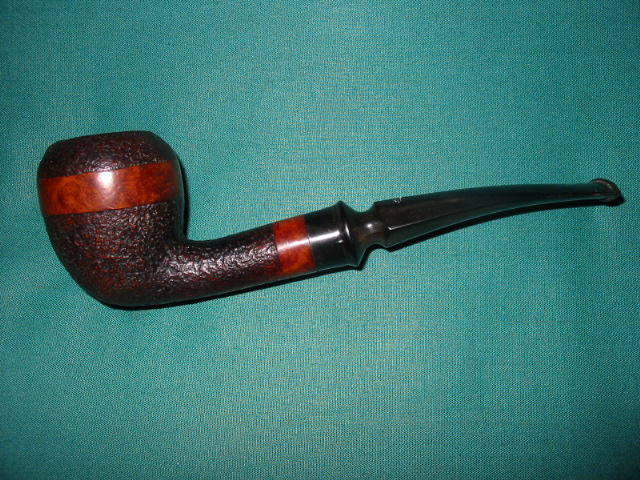
Restored a Pair of Older Real Briar Bent Billiards


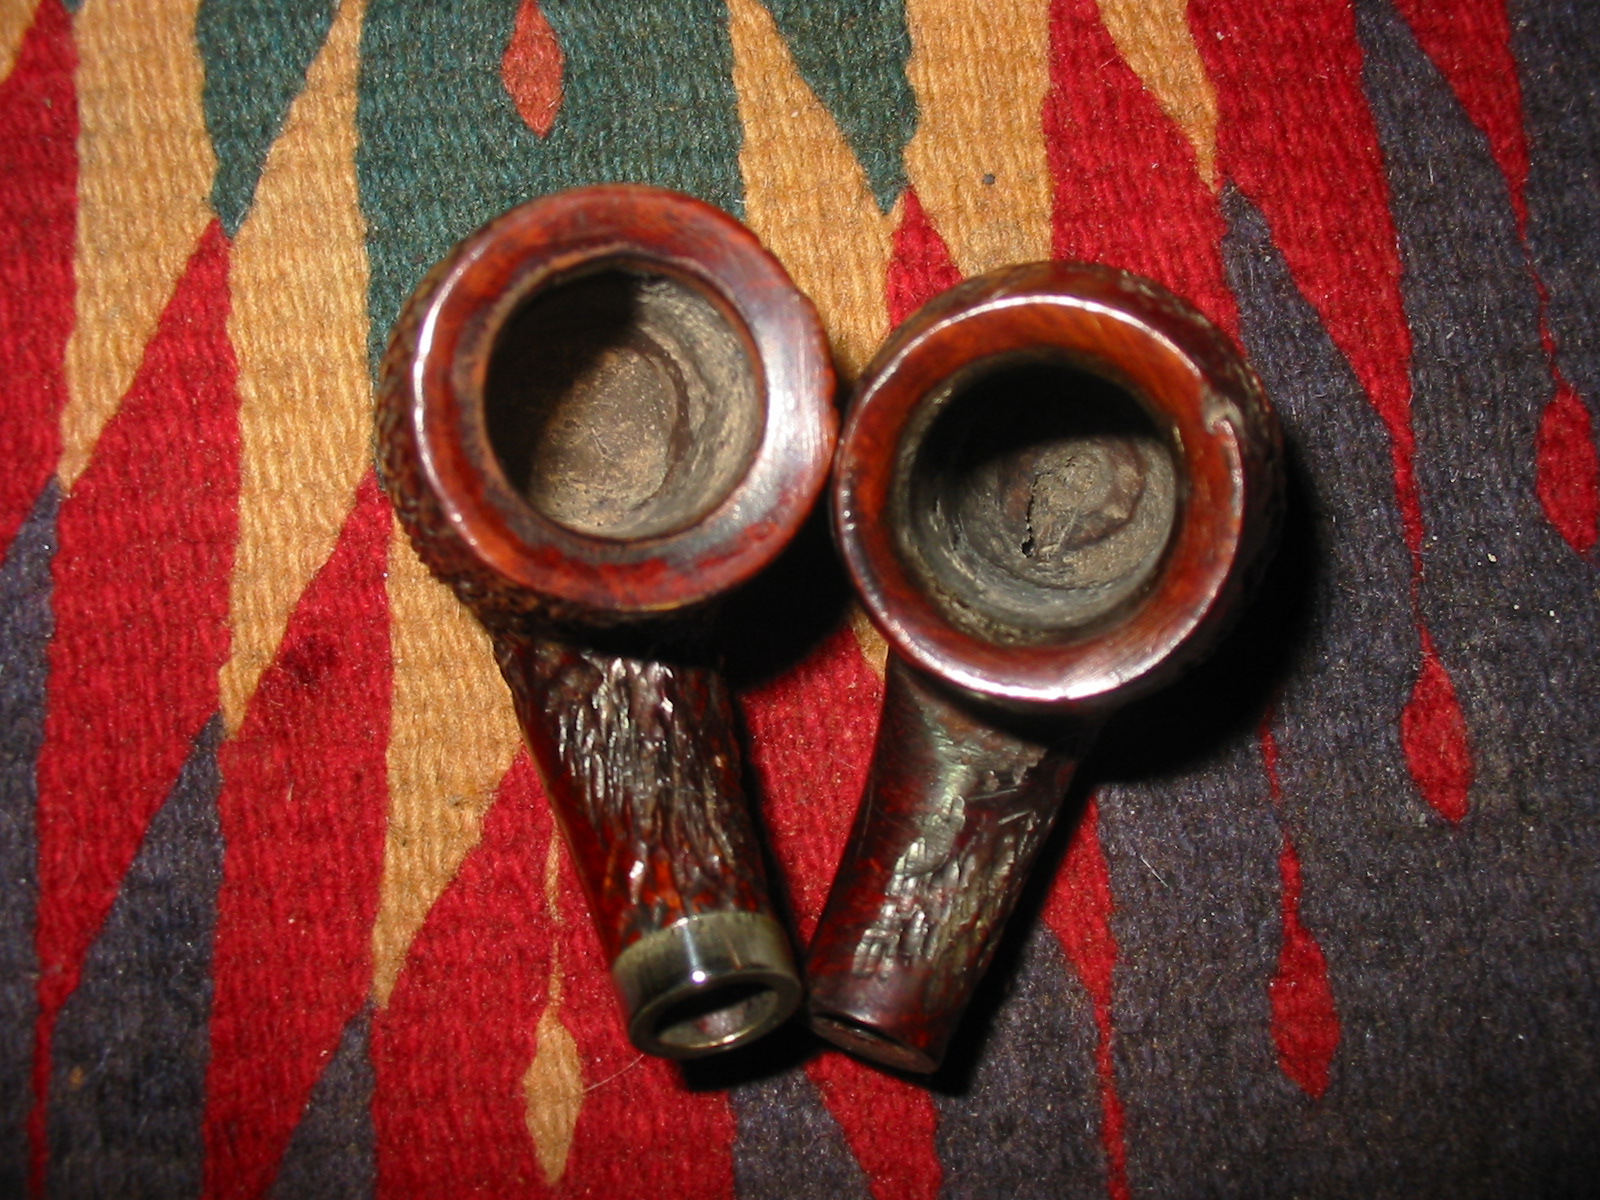
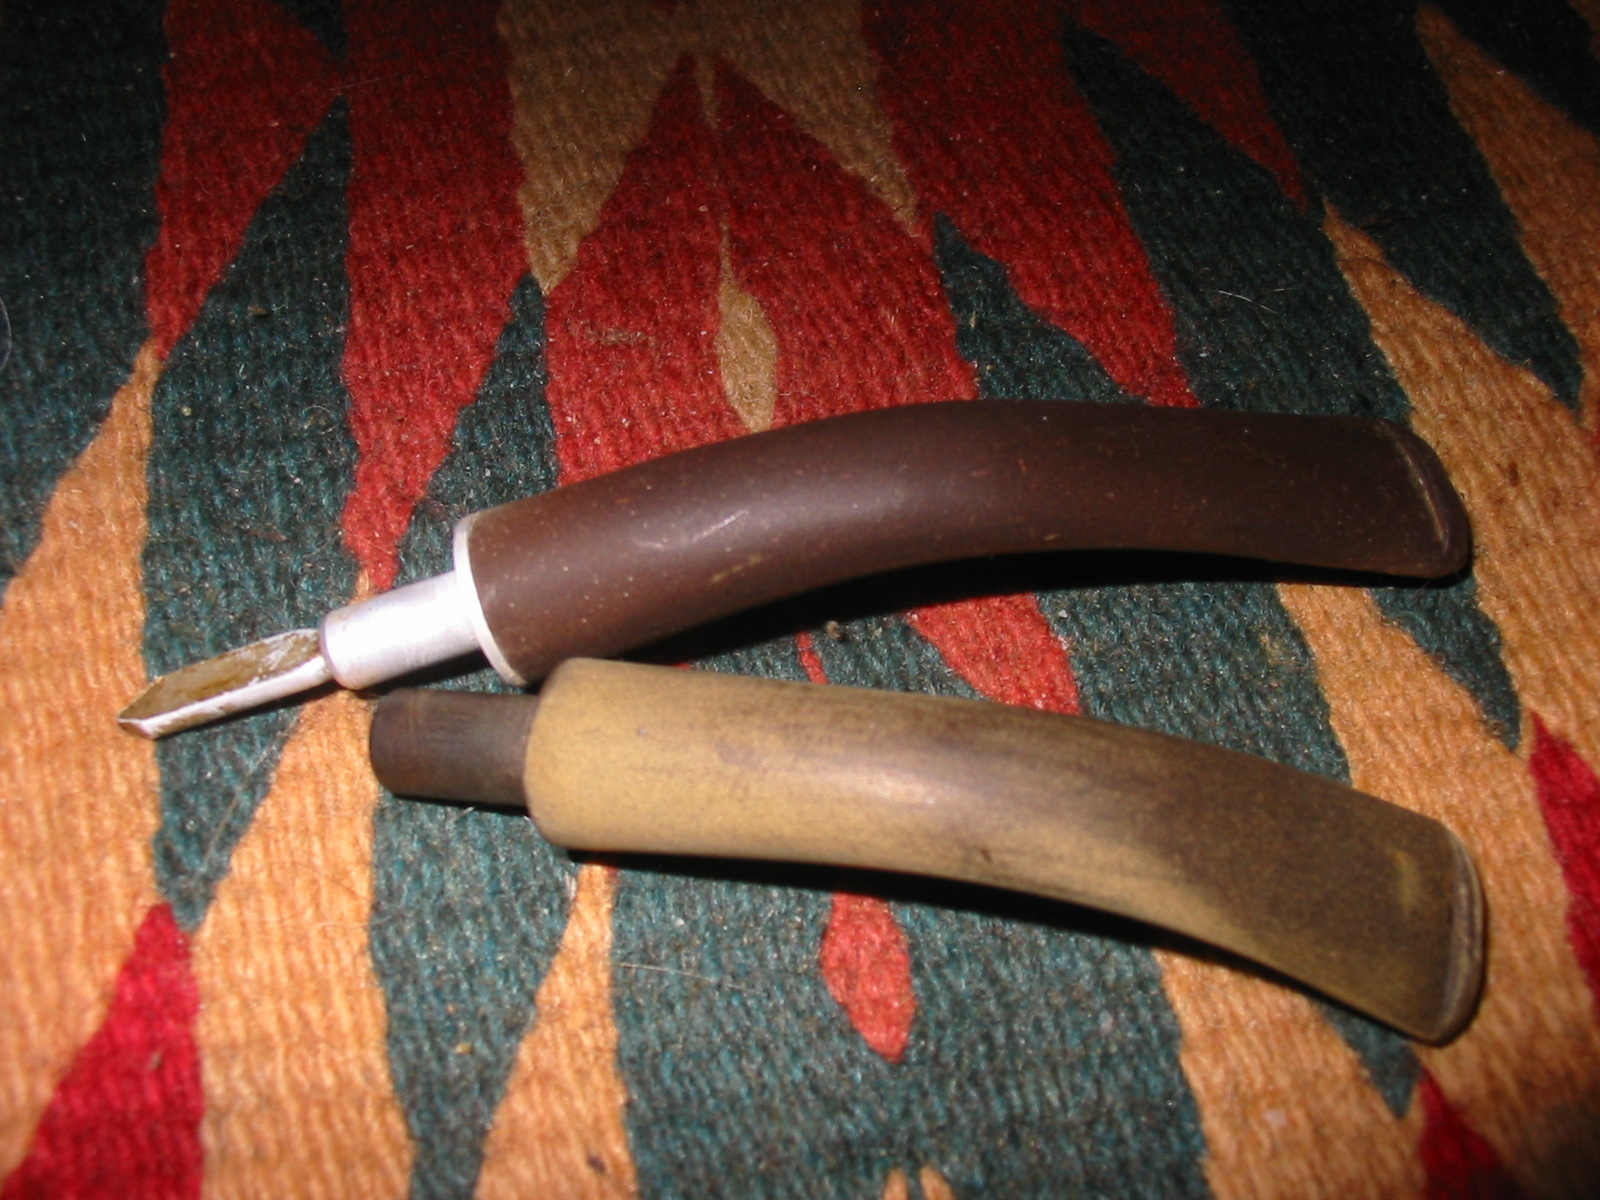
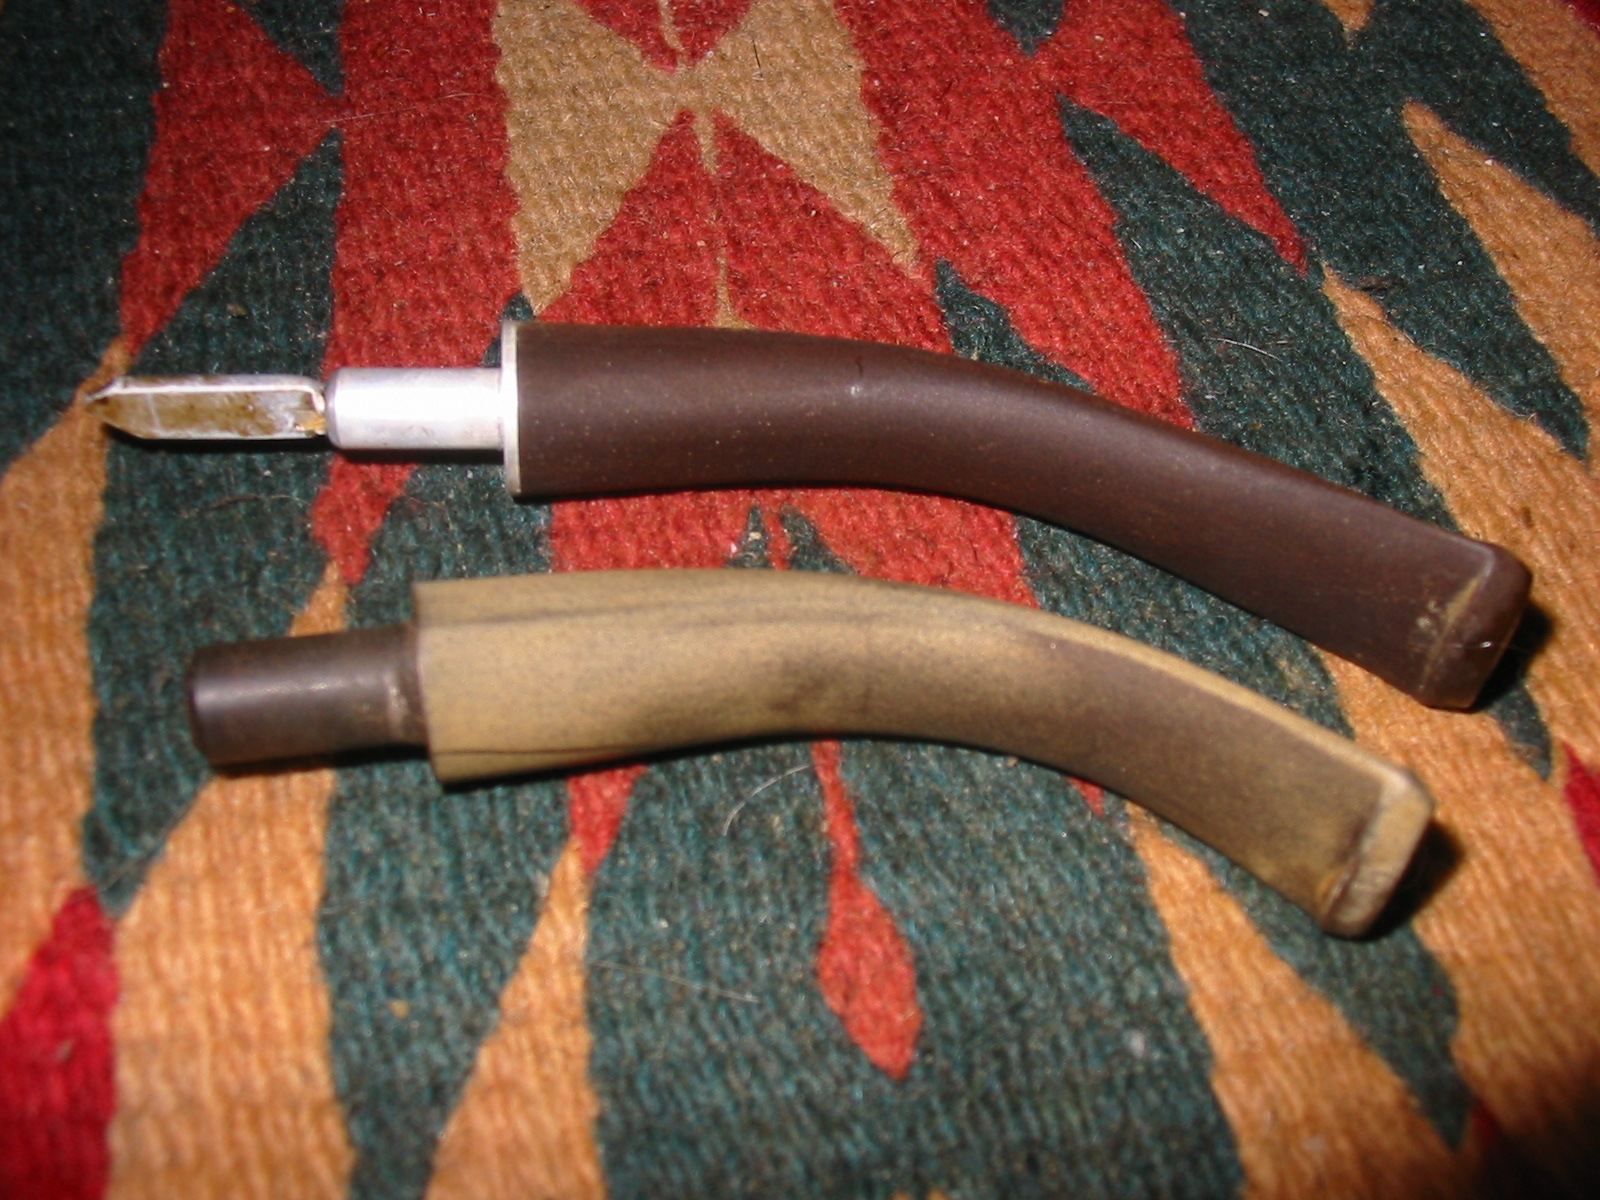
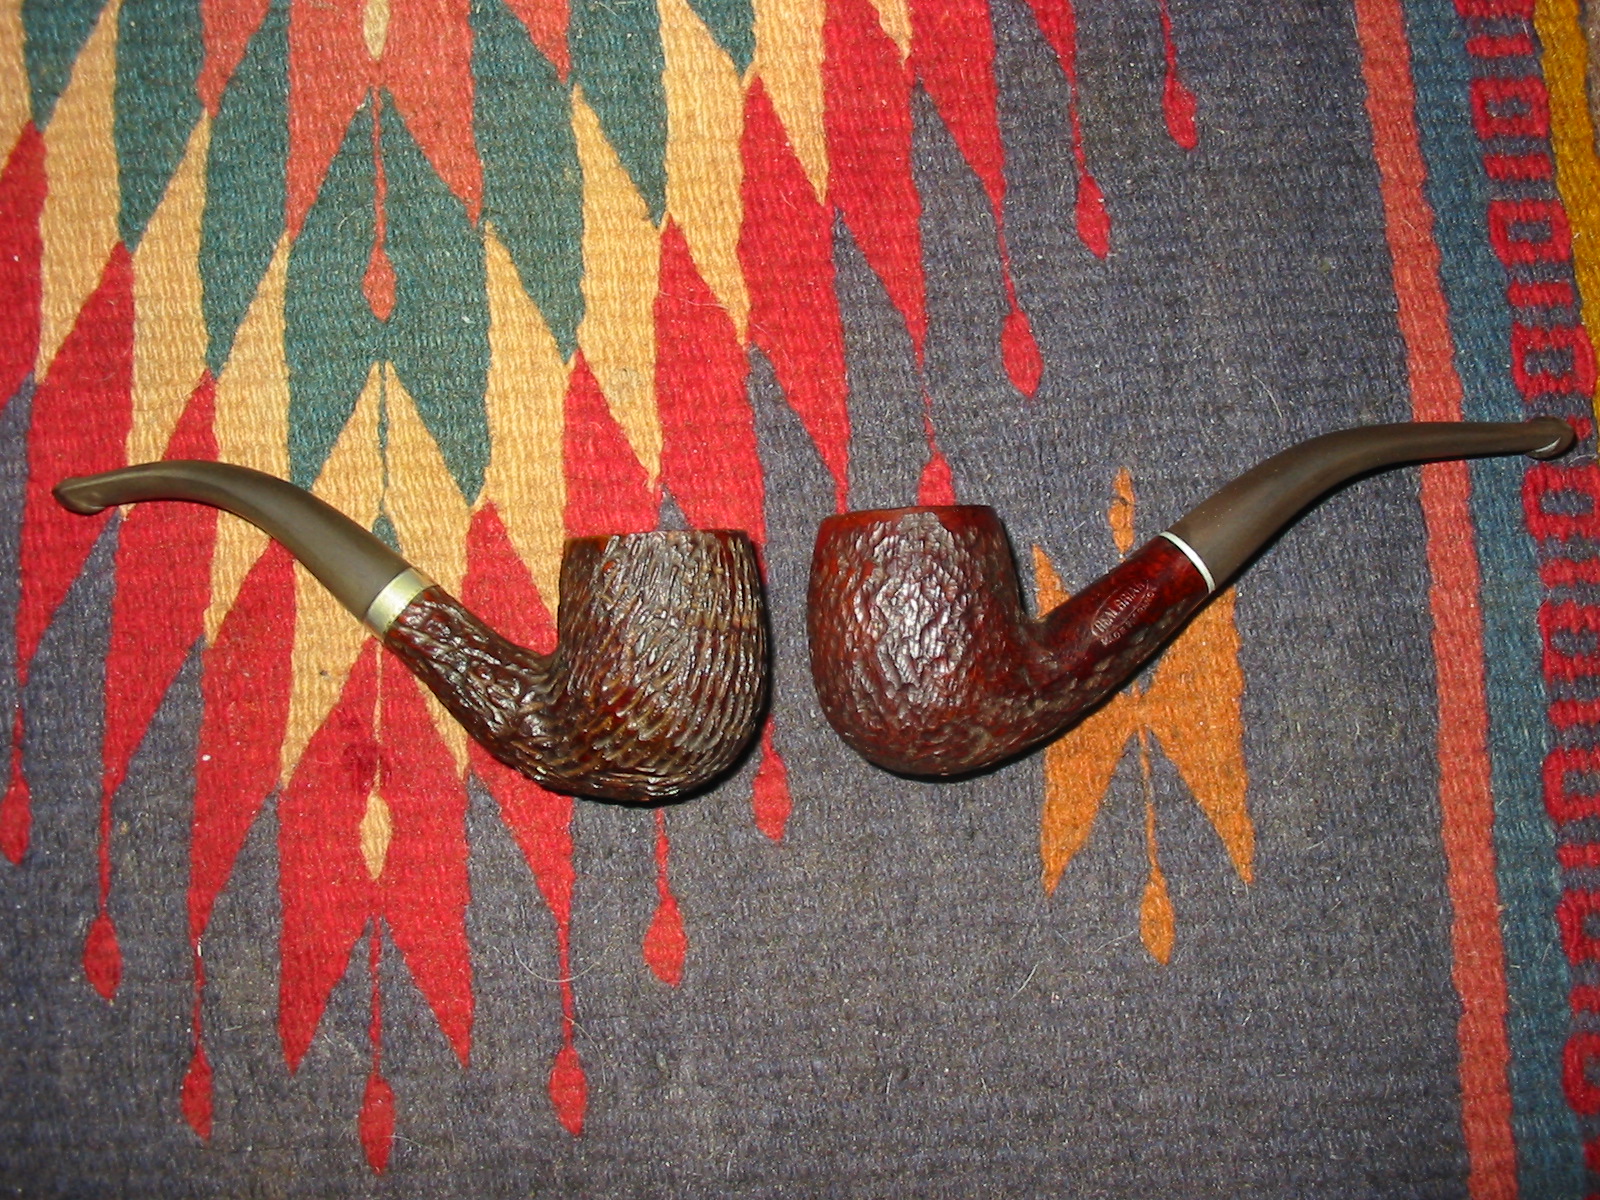
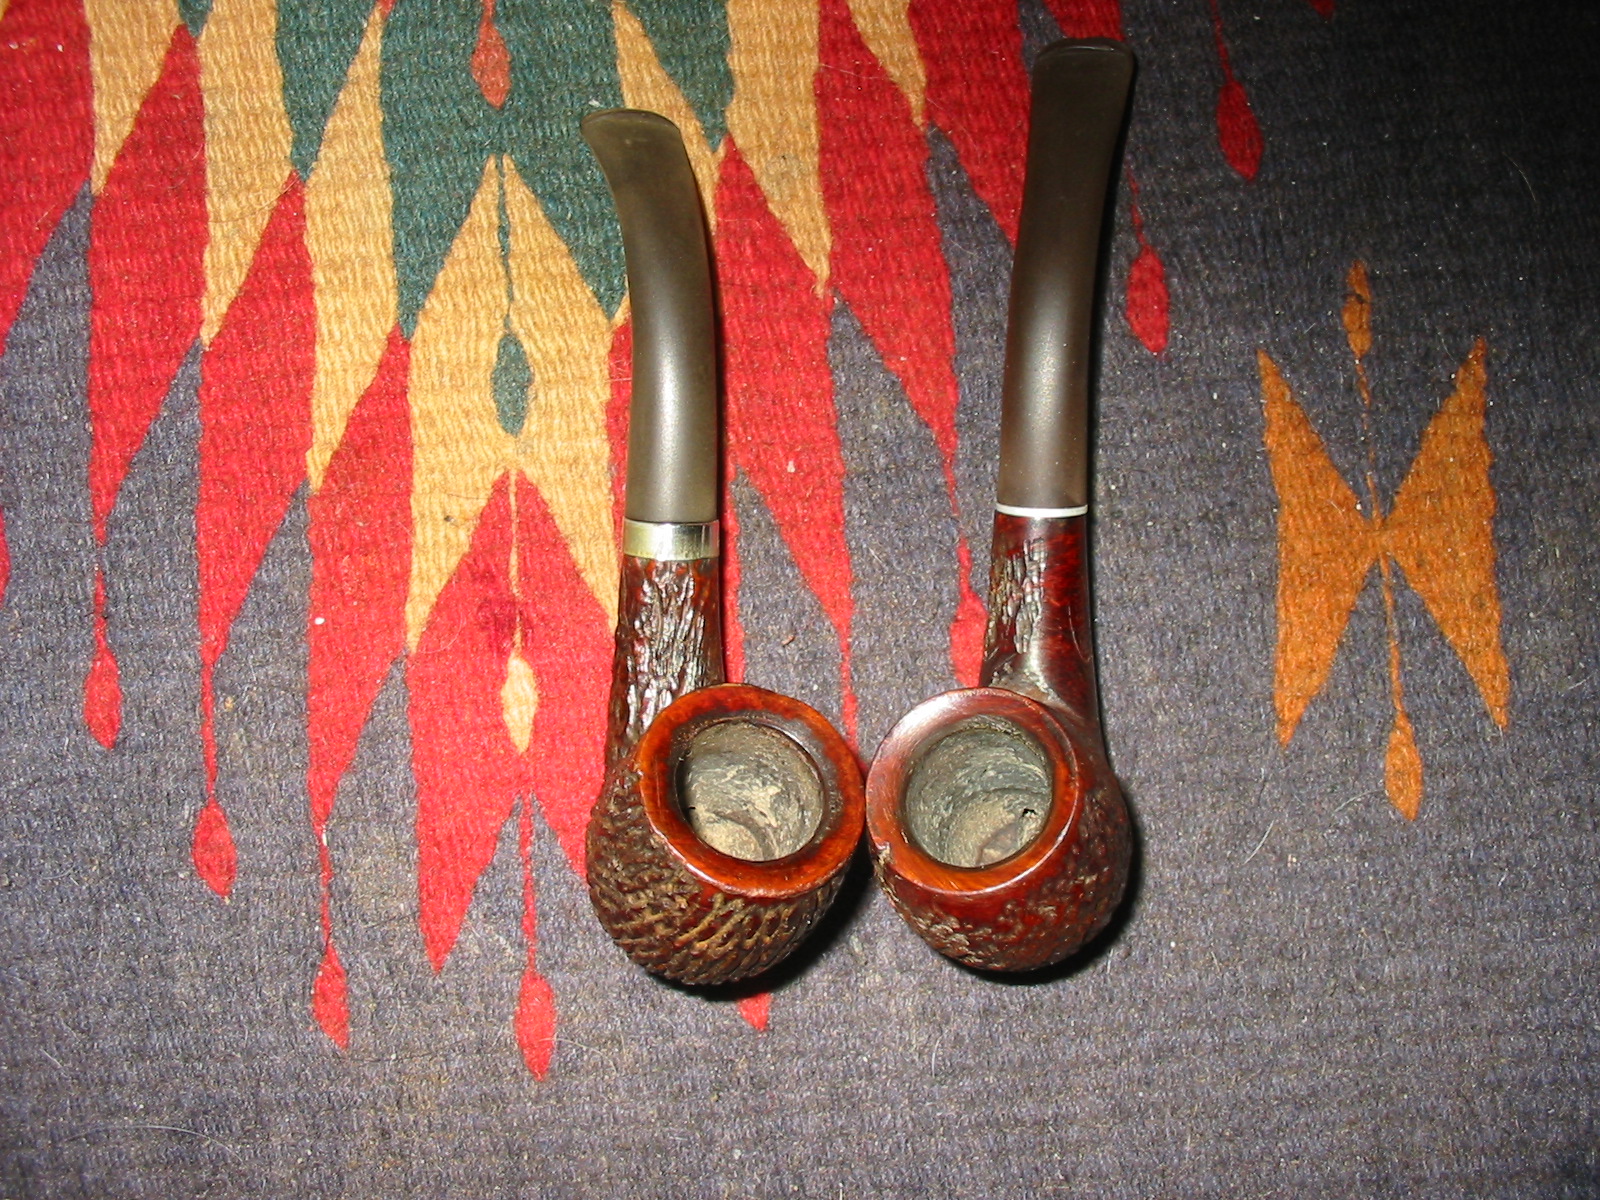
The last two pipes I received in the gift package from a friend on Smokers Forums were these two older rusticated bent billiards. The pipes are both stamped Real Briar in an Oval on the shank. There is no other stamping to help identify country of origin or maker. The rustication on the pipe on the left is more refined and almost like a sandblasted look and feel. The rustication on the other one is rustic and less refined. The pipe on the left has an aluminum tenon with a thin aluminum wafer built into the stem itself and has a blade like stinger attachment. The pipe on the right has a push stem with a sterling silver band. The rims on both were chamfered into the bowl and both were heavily caked with tars and resins. The bowls were in need of a ream. The shanks were dirty and tarry. The finish on both was dirty with dust and grime set into the rustication on the bowl. The aluminum and the silver band were tarnished. The stems were both oxidized and both had matching tooth dents on the top and bottom of the stem about a quarter inch from the button. The first series of four photos shows the state of the pipes when they arrived to my work table.

ImageImageImageImage

I removed the stems and placed them in an Oxyclean bath and placed the bowls in an alcohol bath (99% isopropyl alcohol). I scrubbed the bowls in the bath with a soft bristle brass tire brush as seen in the pictures below. The bowls and stem soaked overnight to let the bath do its work. When I took them out the next morning I scrubbed the bowls some more with the brass brush and dried the bowls off. I also sanded the rims with 320 grit sandpaper to remove the tars and the damage to the surface of the rim. The rims were chamfered so this was done by hand with a small folded piece of sandpaper held at the angle of the chamfer. The next series of five photos show the bowls after the scrubbing and rim work.

ImageImageImageImageImage

I finished my work in cleaning the bowls by wiping down the bowl surfaces with acetone on a soft cotton pad. With that work they were ready to be stained. I chose a dark brown aniline stain thinned with alcohol 2:1. I applied it with the dauber and then flamed it to set the stain. Stained it a second time and flamed it. Then I took it to my buffer to buff with a light touch on a White Diamond wheel. The next six photos show the developing shine that the bowls and the rims took on with the buffing. I still needed to clean the sterling silver band on the one bowl.

ImageImageImageImageImageImage

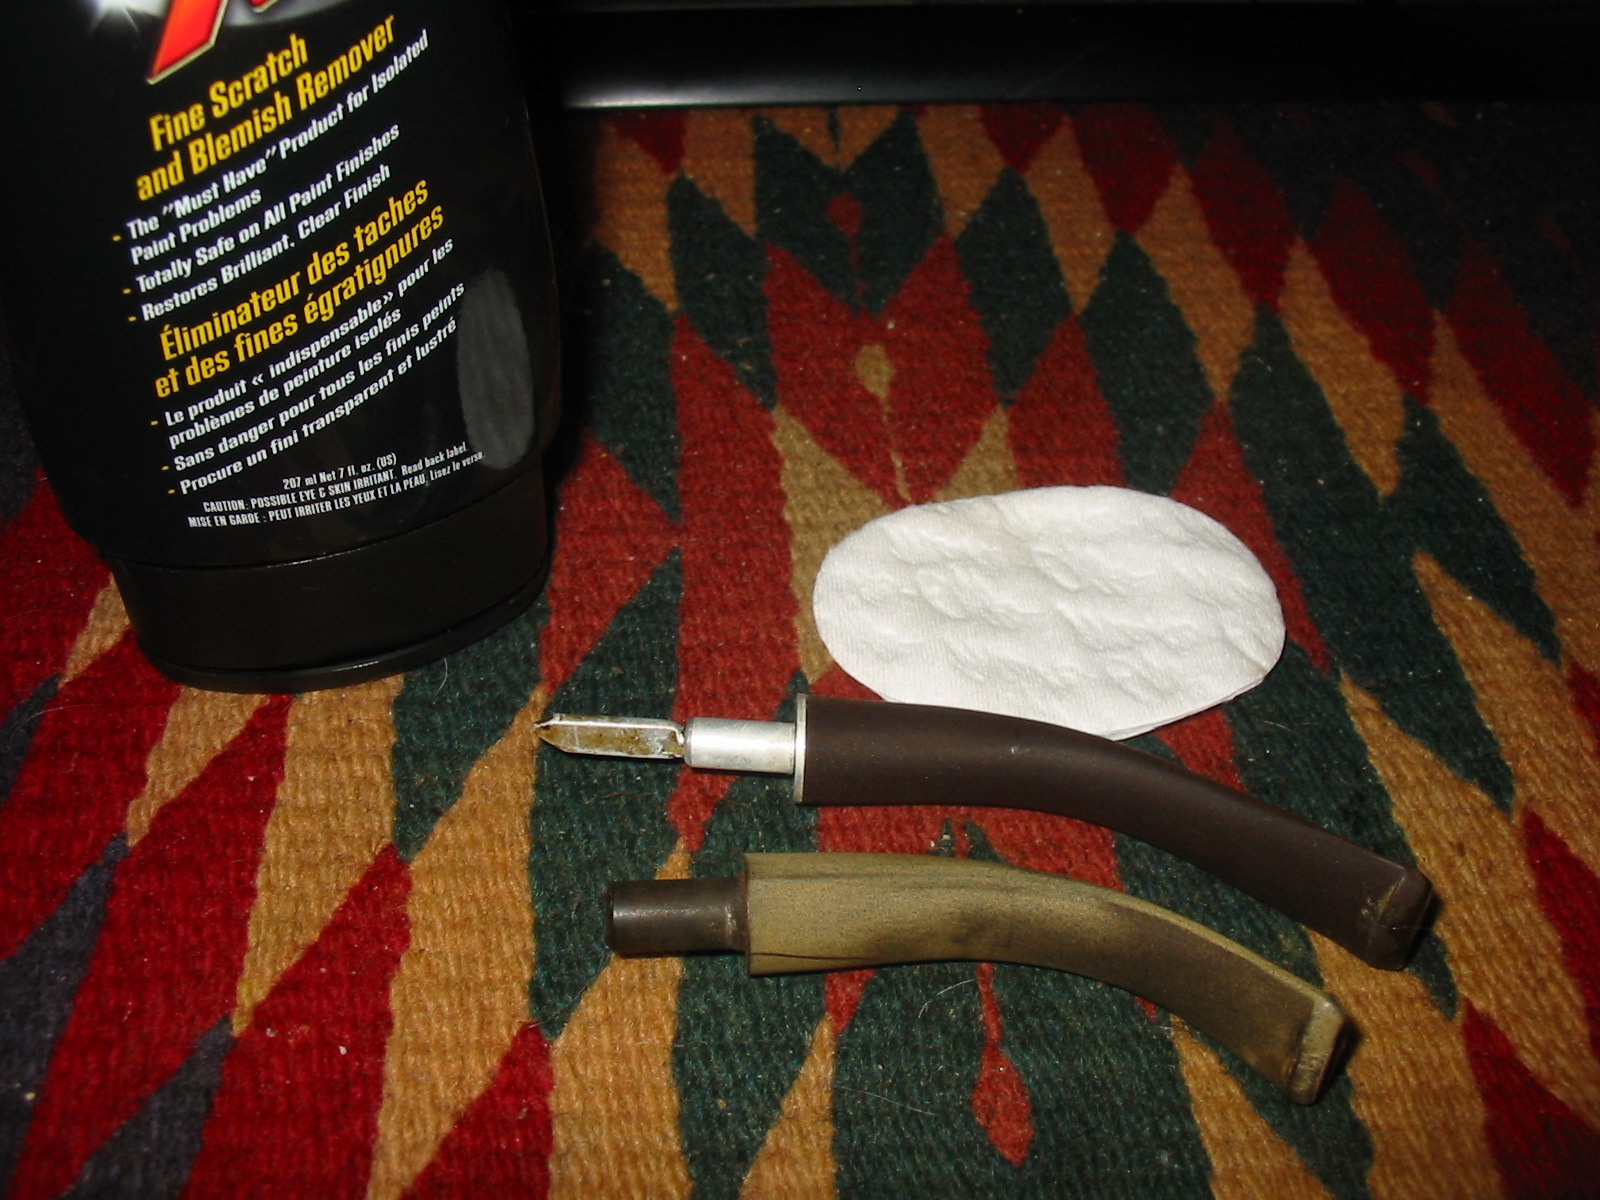
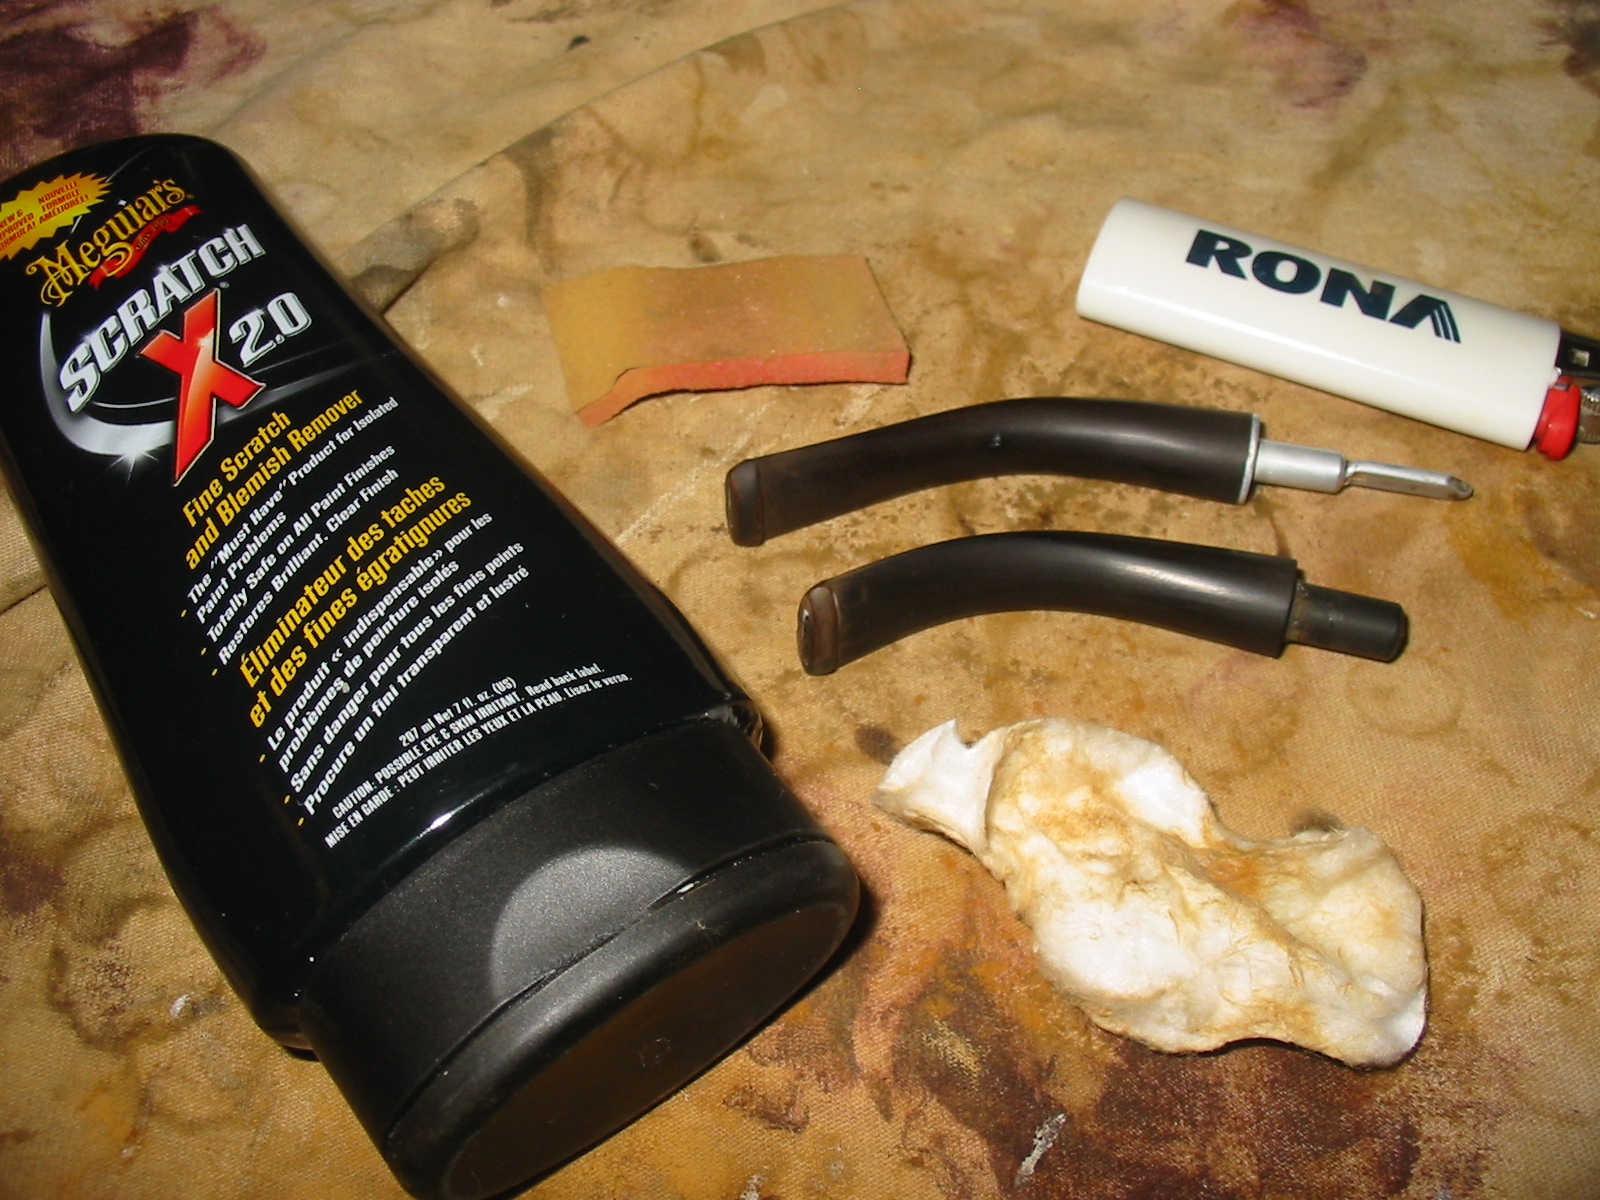
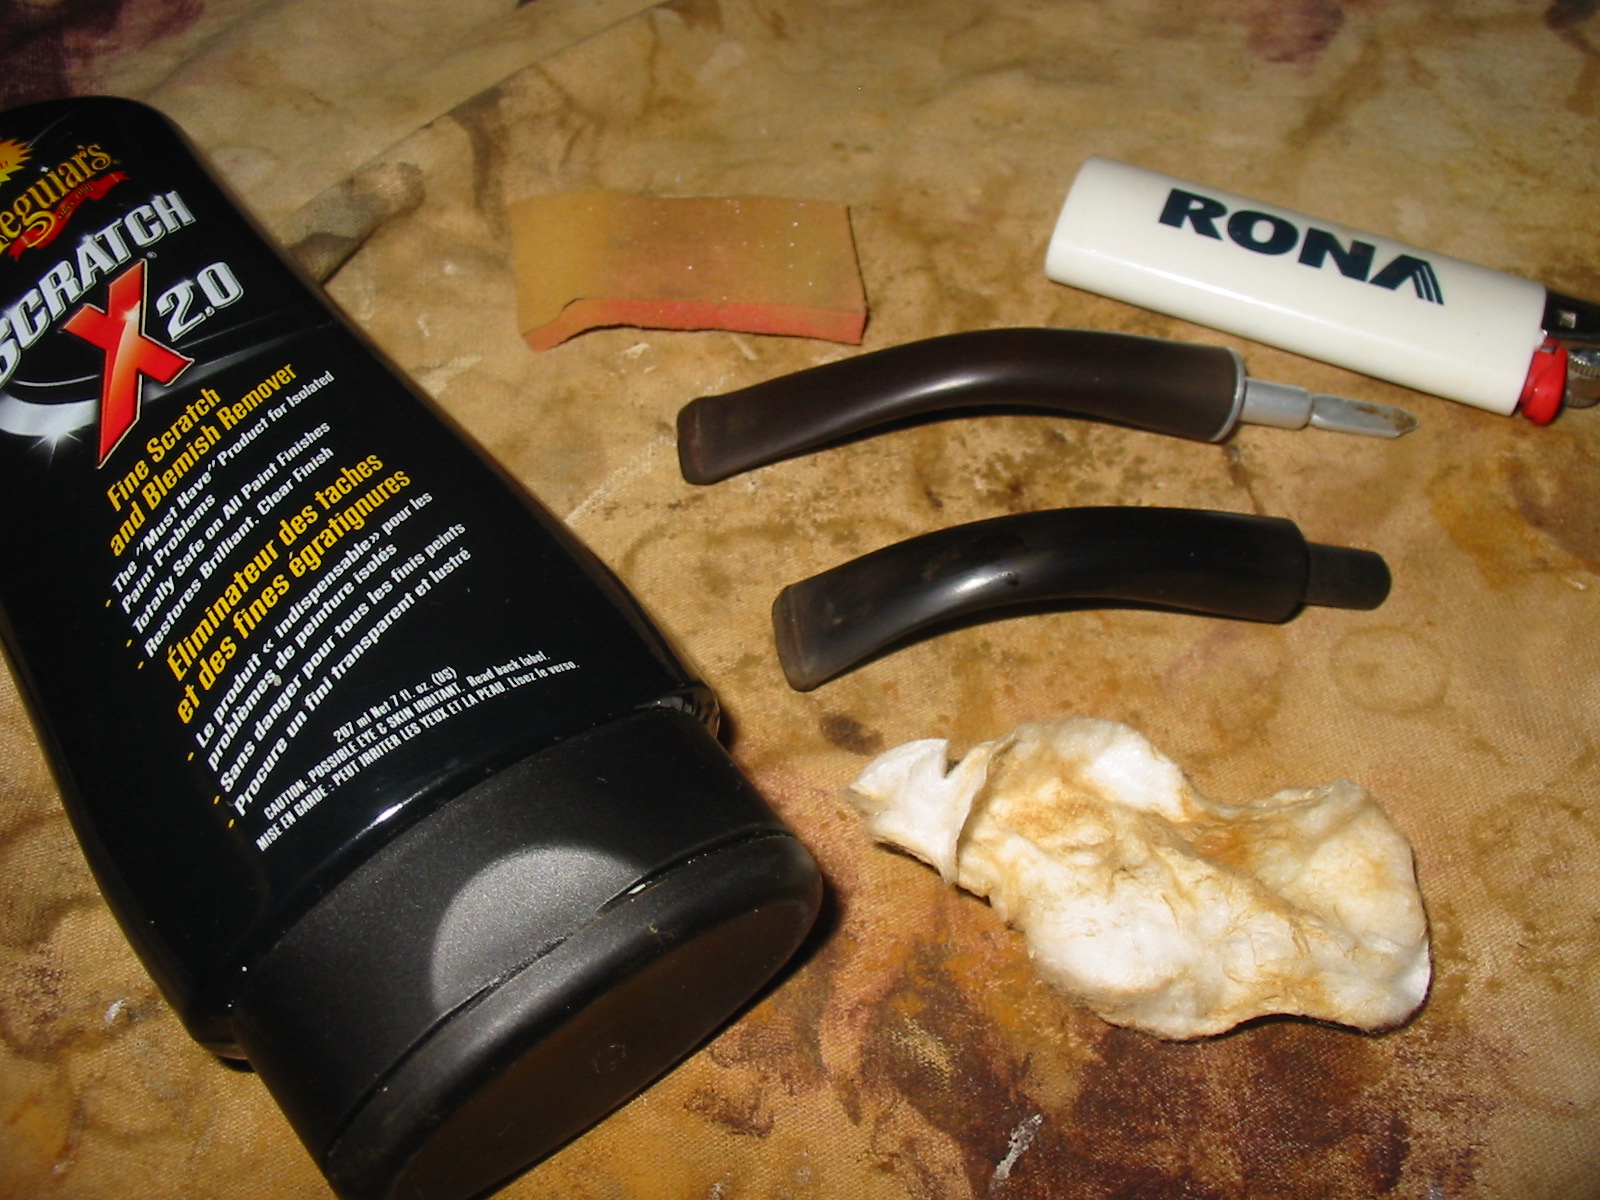
At this point in my process I set the bowls aside and worked on the stems. The first two photos below show what they looked like when I took them out of the Oxyclean bath and dried them off. The oxidation was by no means gone but it had softened considerably and was easier to remove. The four photos that follow show the stem in the process of polishing it with Maguiar’s Scratch X2.0. I applied the scrub by hand and rub it into the stem surface and then wipe it and polish it with a cotton pad. I find on this kind of oxidation it works to remove the surface material that the Oxyclean raised and gives me a clean surface to work on with the micromesh sanding pads. The last two of the four photos show the stems after the polish with the cotton pads.

ImageImageImageImageImageImage

At this point I reinserted the stems in the bowls and worked on the stems in the bowl with fine grit sanding sponges to remove the remaining oxidation. I then removed them from the bowl and continued sanding them.

ImageImage

The next two photos show the stem after sanding with the sanding sponge and then reapplying the Maguiar’s polish. The remaining oxidation is very clear around the button and at the end of the stem near the tenon. I used the Bic lighter method and ran flame along the surface of the stem from front to back while really working over the button area and the tenon end of the stem with the flame. The idea is to move the flame fairly quickly along the surface of the stem while be careful not to burn or heat the stem too much. It burns off the oxidation and is easier to work with using the micromesh sanding pads afterwards.

ImageImage

After all the preliminary cleaning of the stems and removing the oxidation I worked on the stems with micromesh sanding pads. I wet sanded with 1500-3200 grit micromesh pads. I found that the water gives the pads a bit of bite in the sanding process. I have a small cup of water that I dip the edge of the pad in when sanding. I then finished by dry sanding with 4000-12,000 grit micromesh pads. I then polished it a last time with Maguiar’s Scratch X2.0 and then coated the stem with Obsidian Oil and finally multiple coats of carnauba wax.

ImageImage

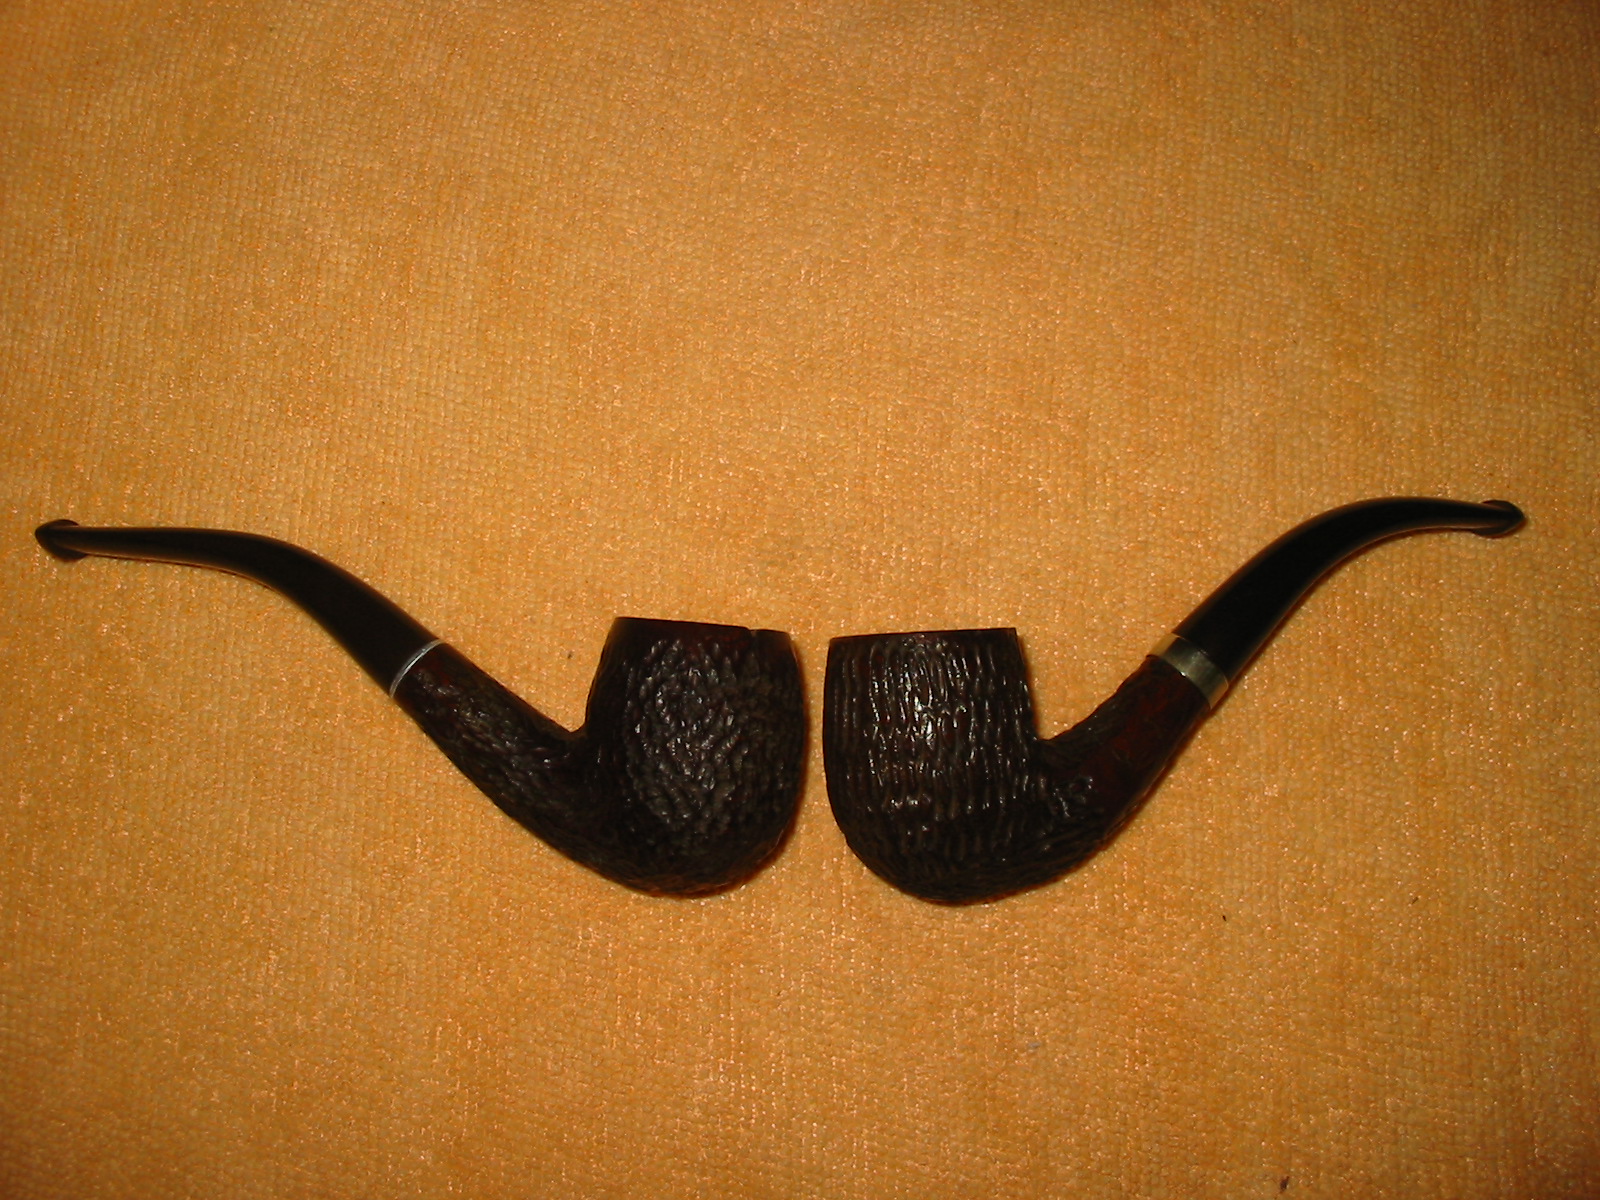
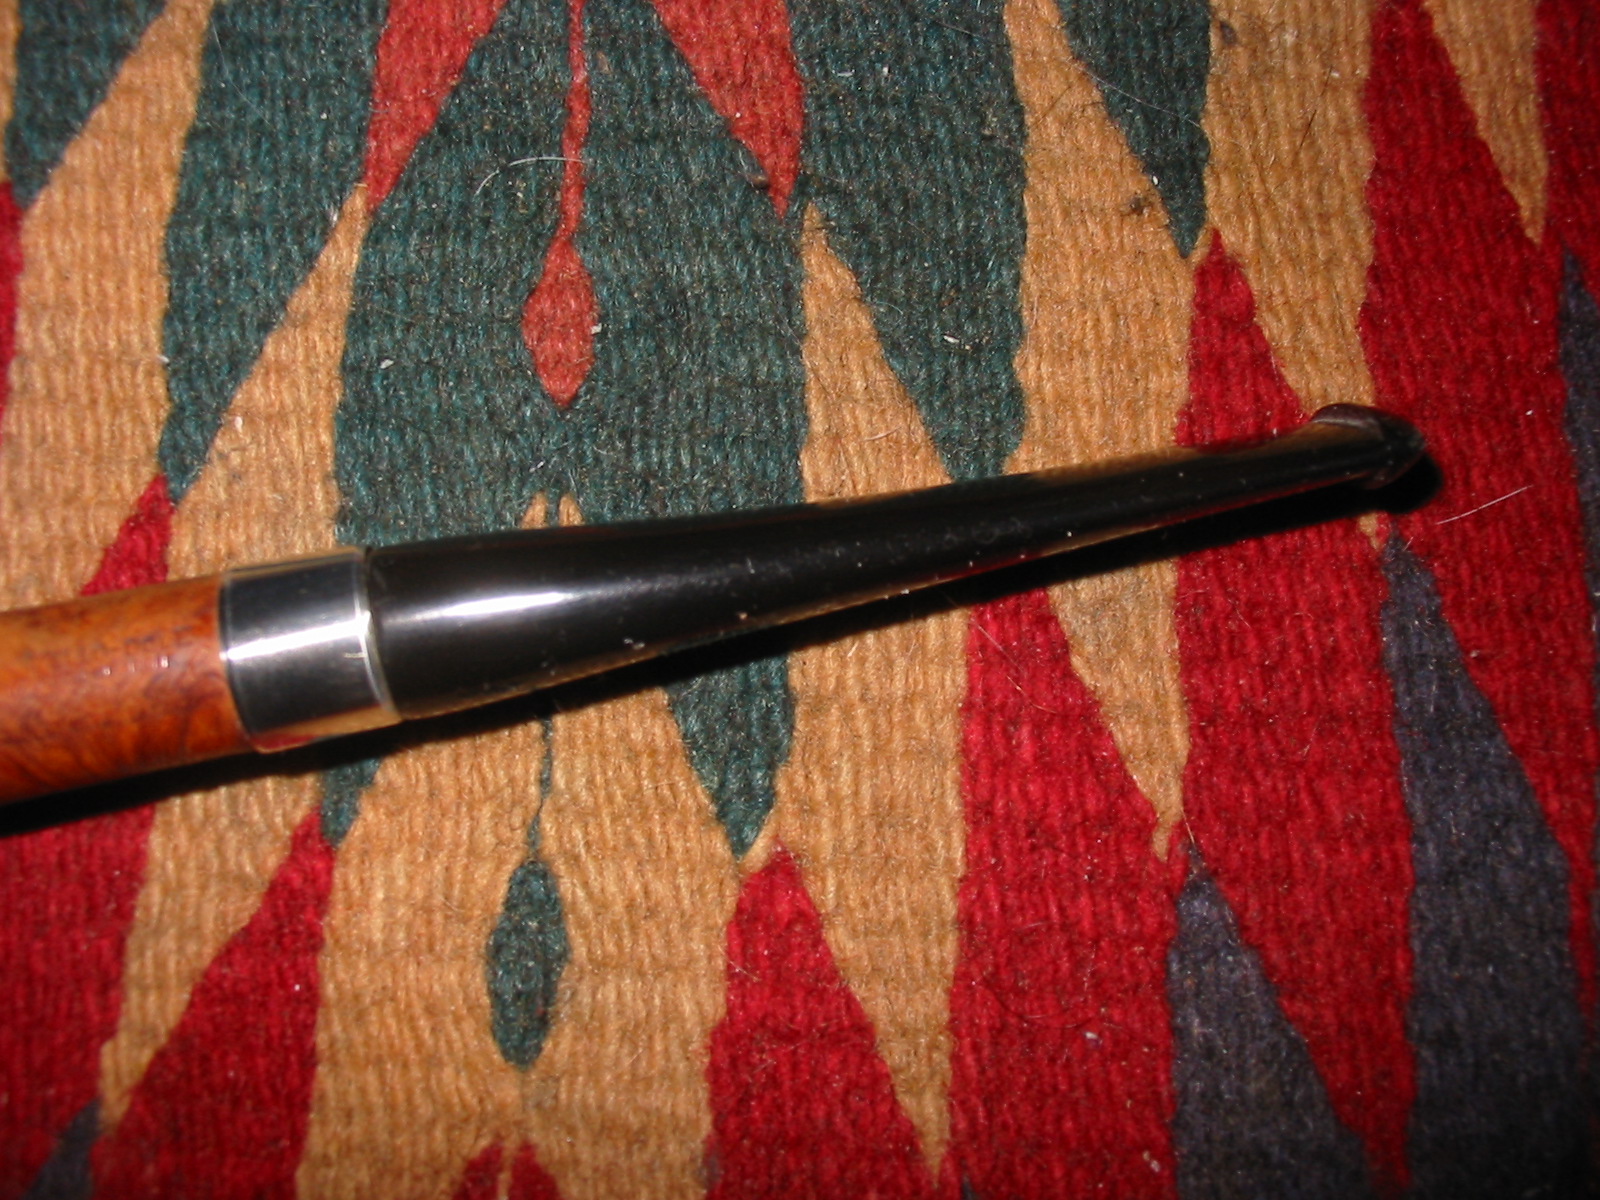
The final series of six photos shows the finished pair of Real Briar Pipes. I polished the silver band with some silver polish before giving them all a quick buff with carnauba wax and a soft flannel buff for polishing. Both pipes are cleaned, polished and ready to smoke.
ImageImageImageImageImageImage

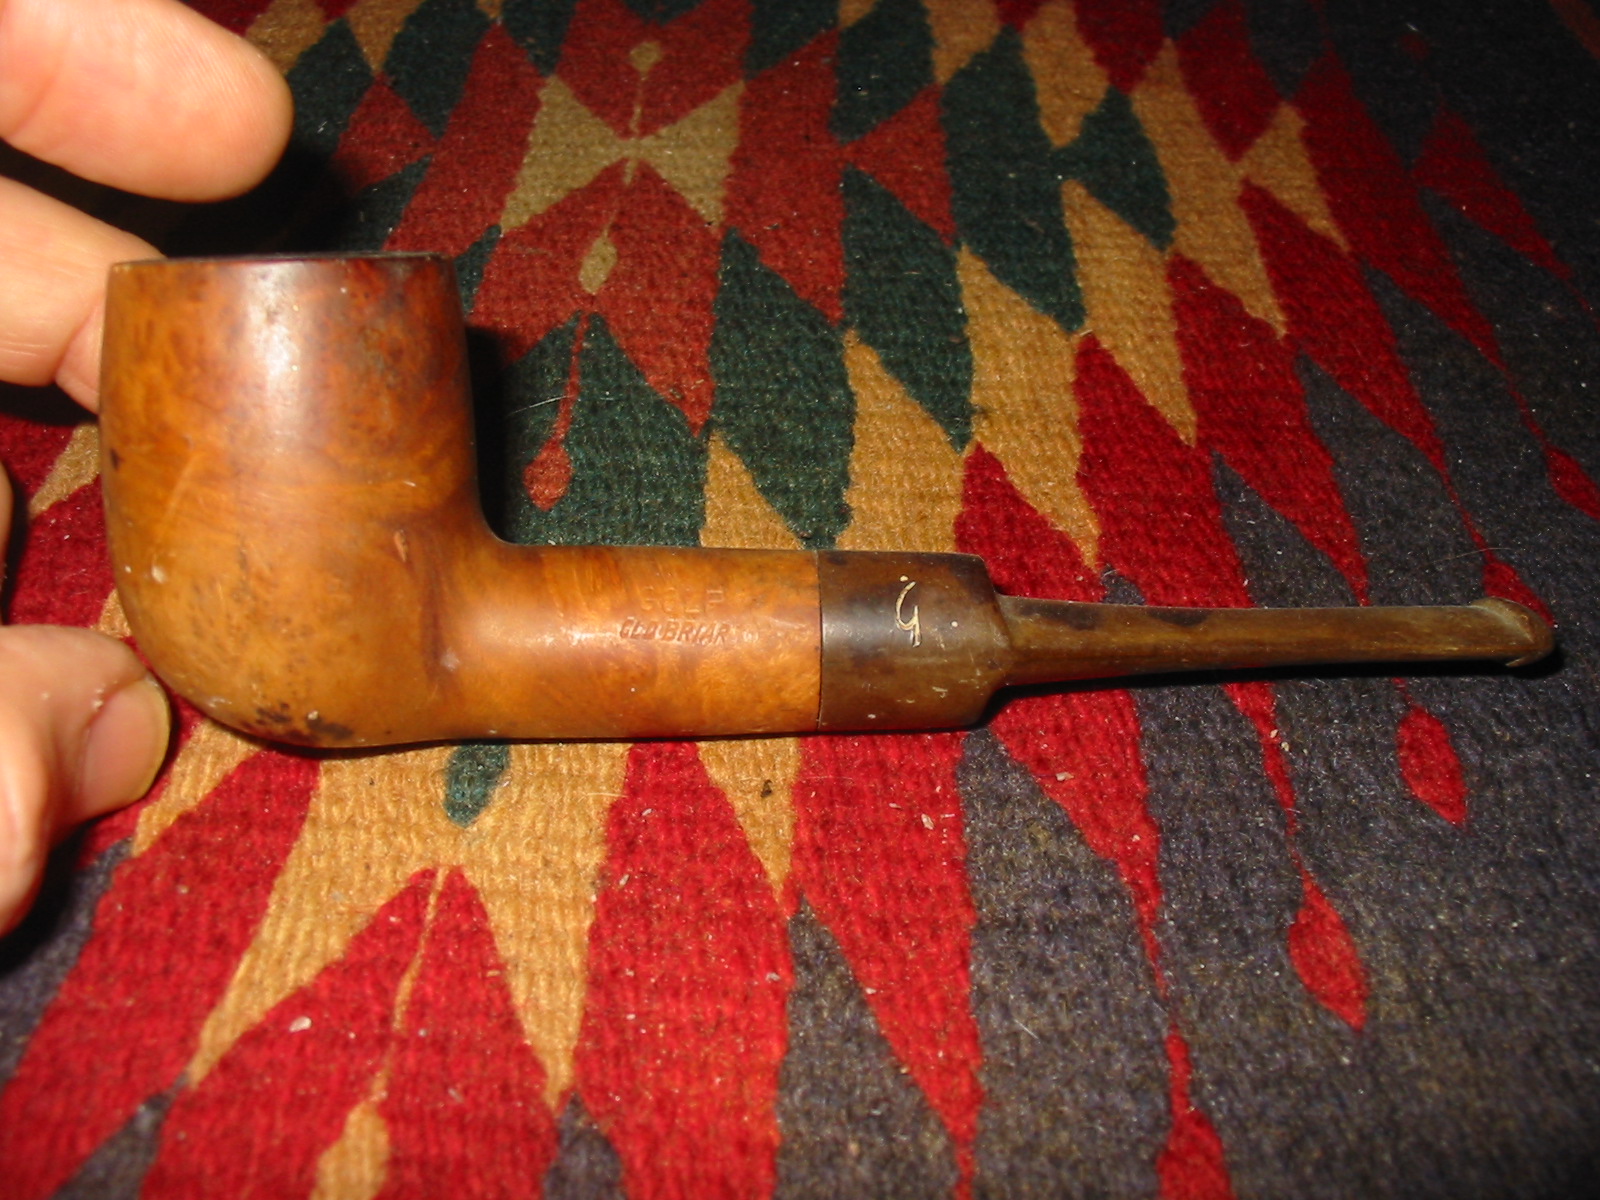
Restored Golf Old Briar Billiard


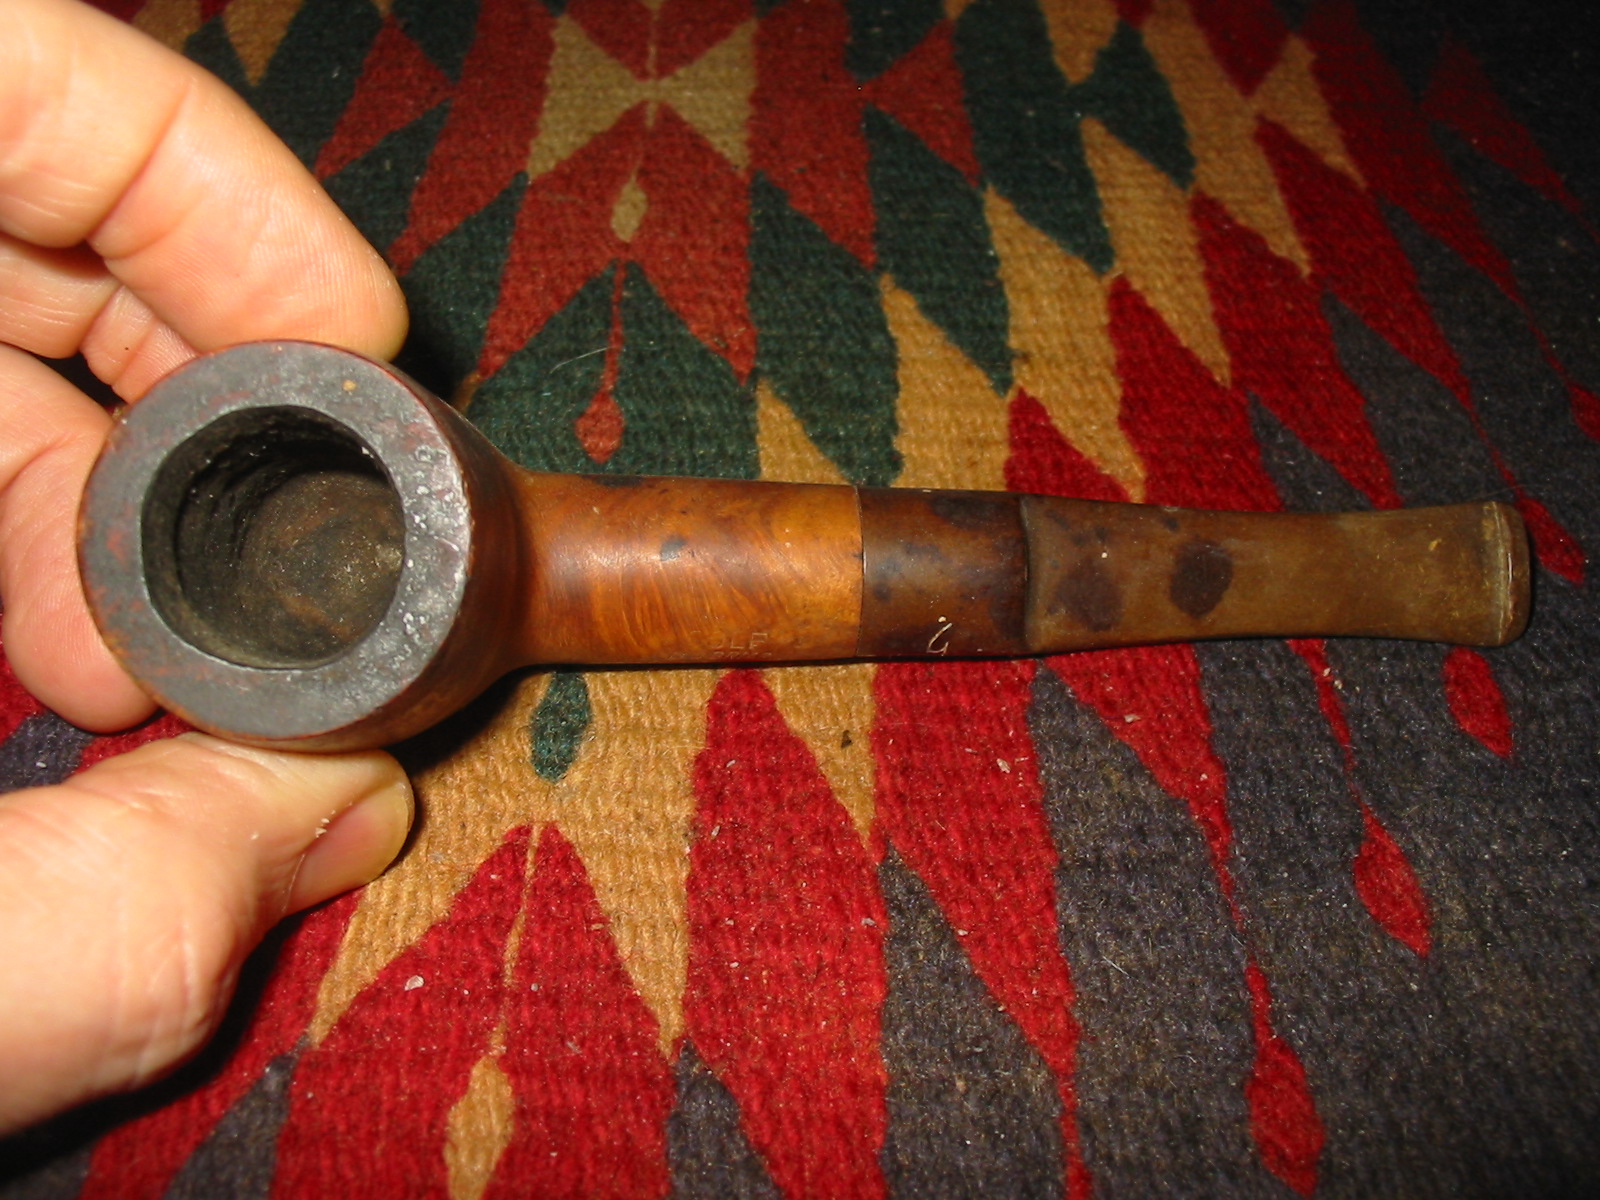
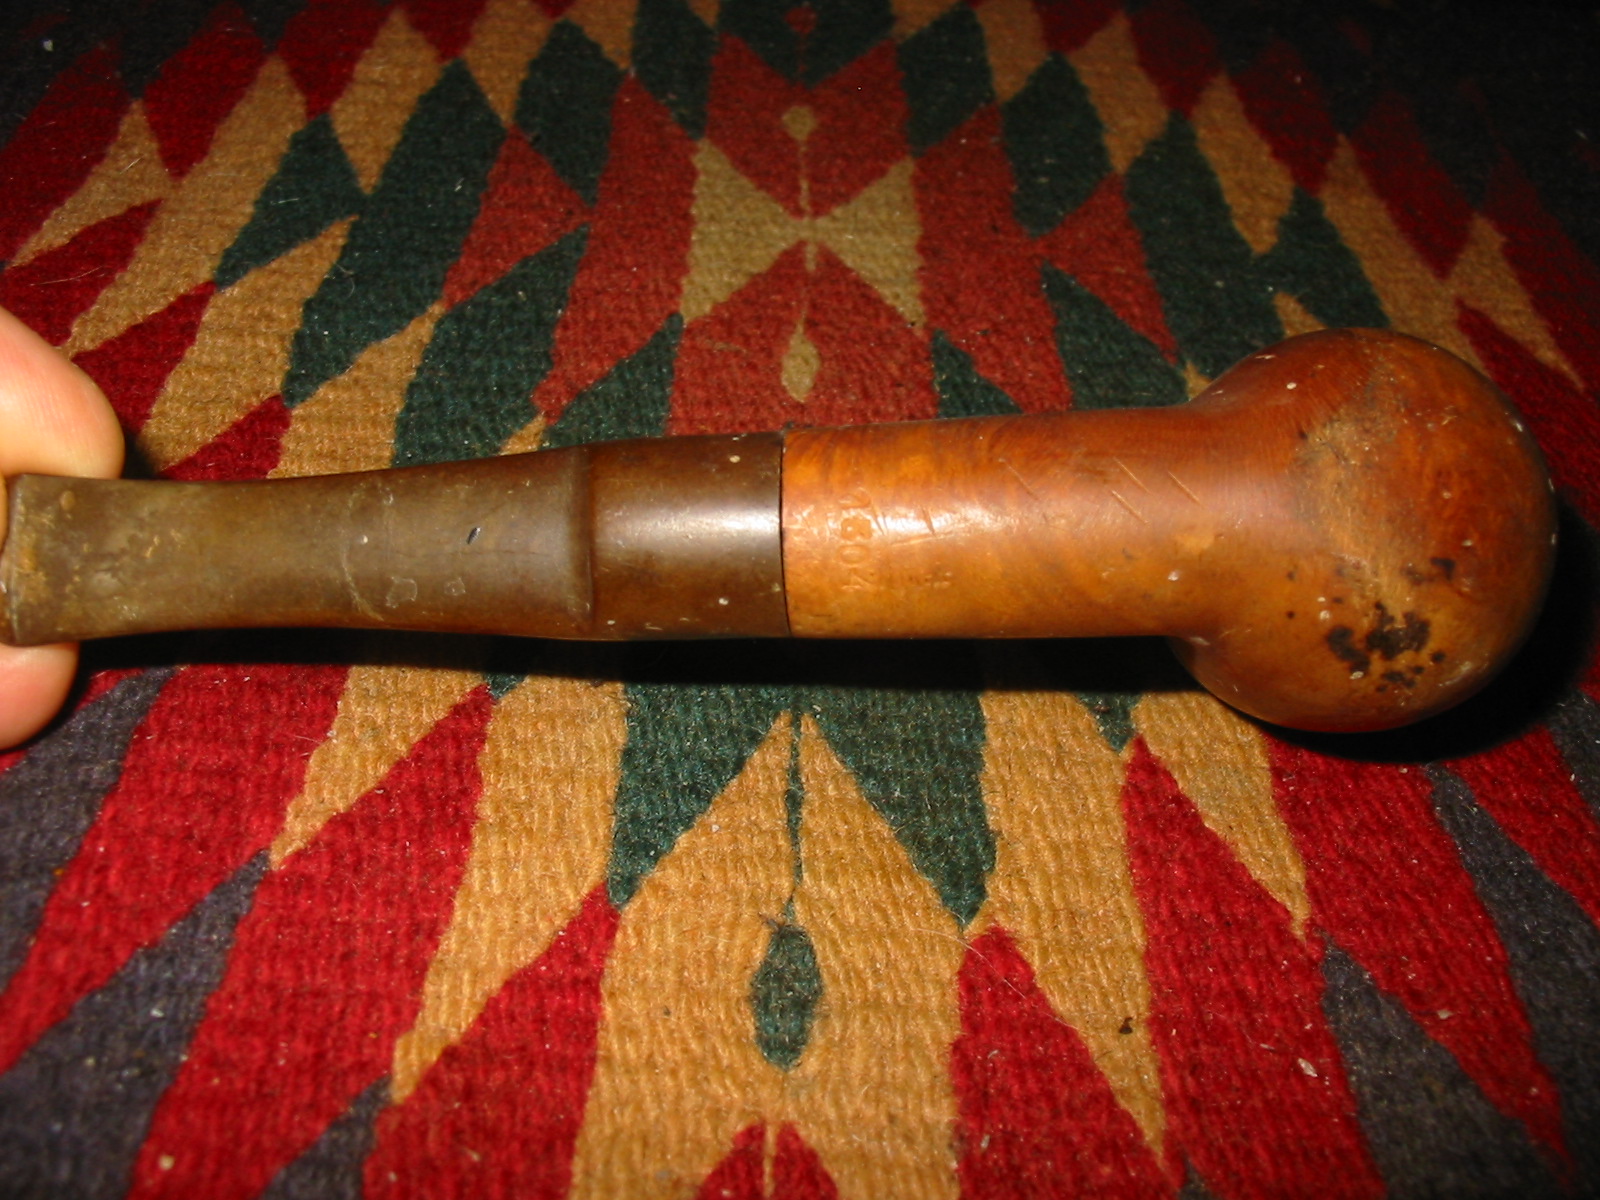
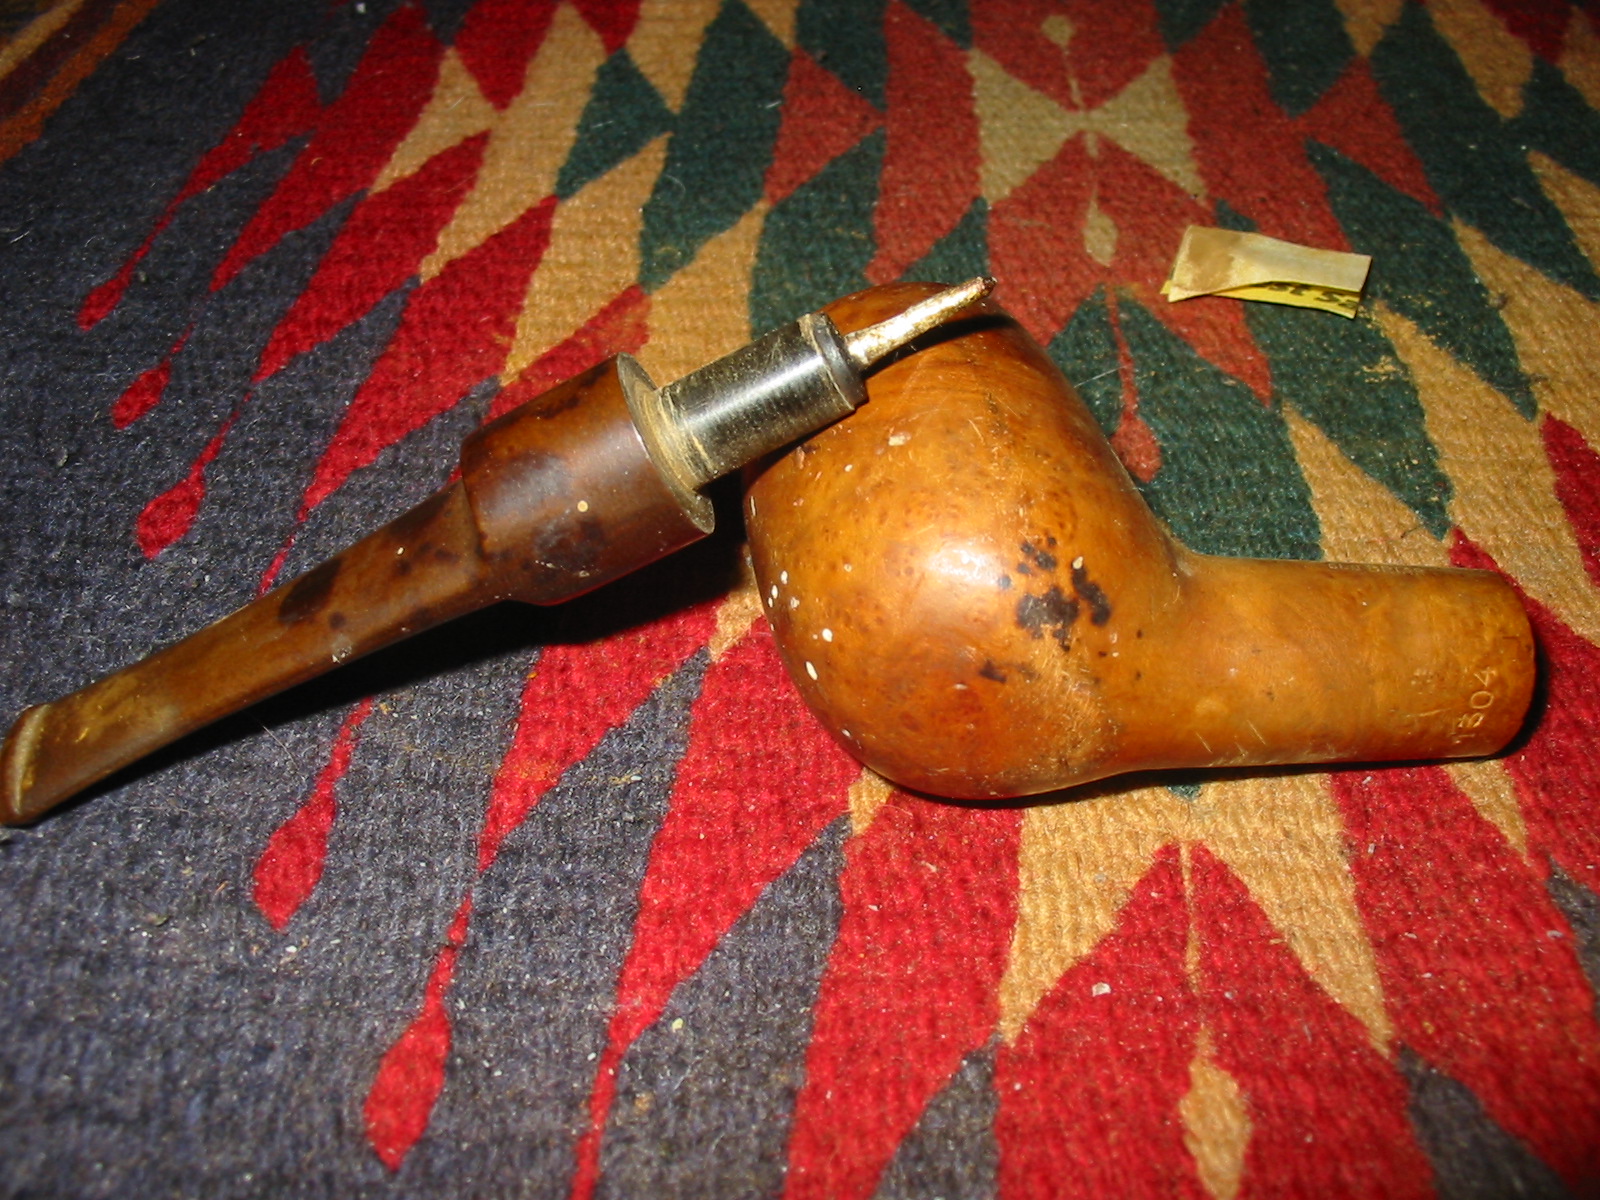
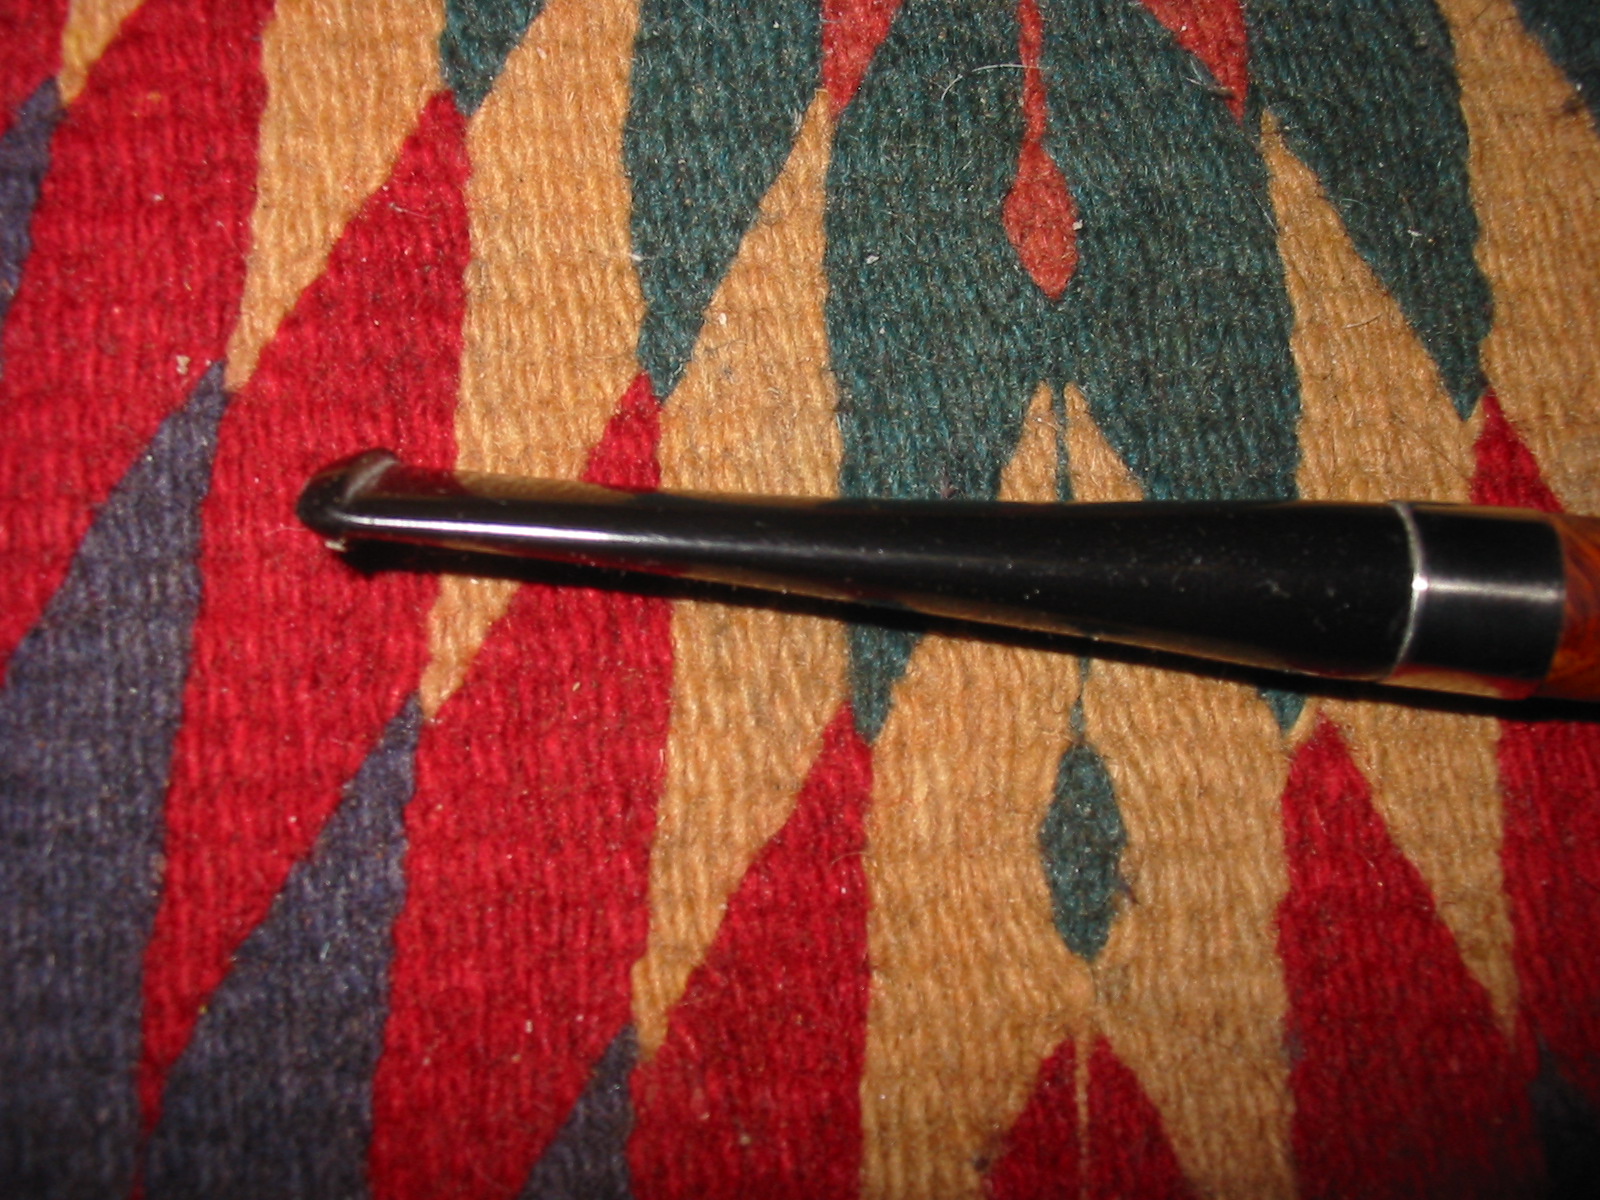
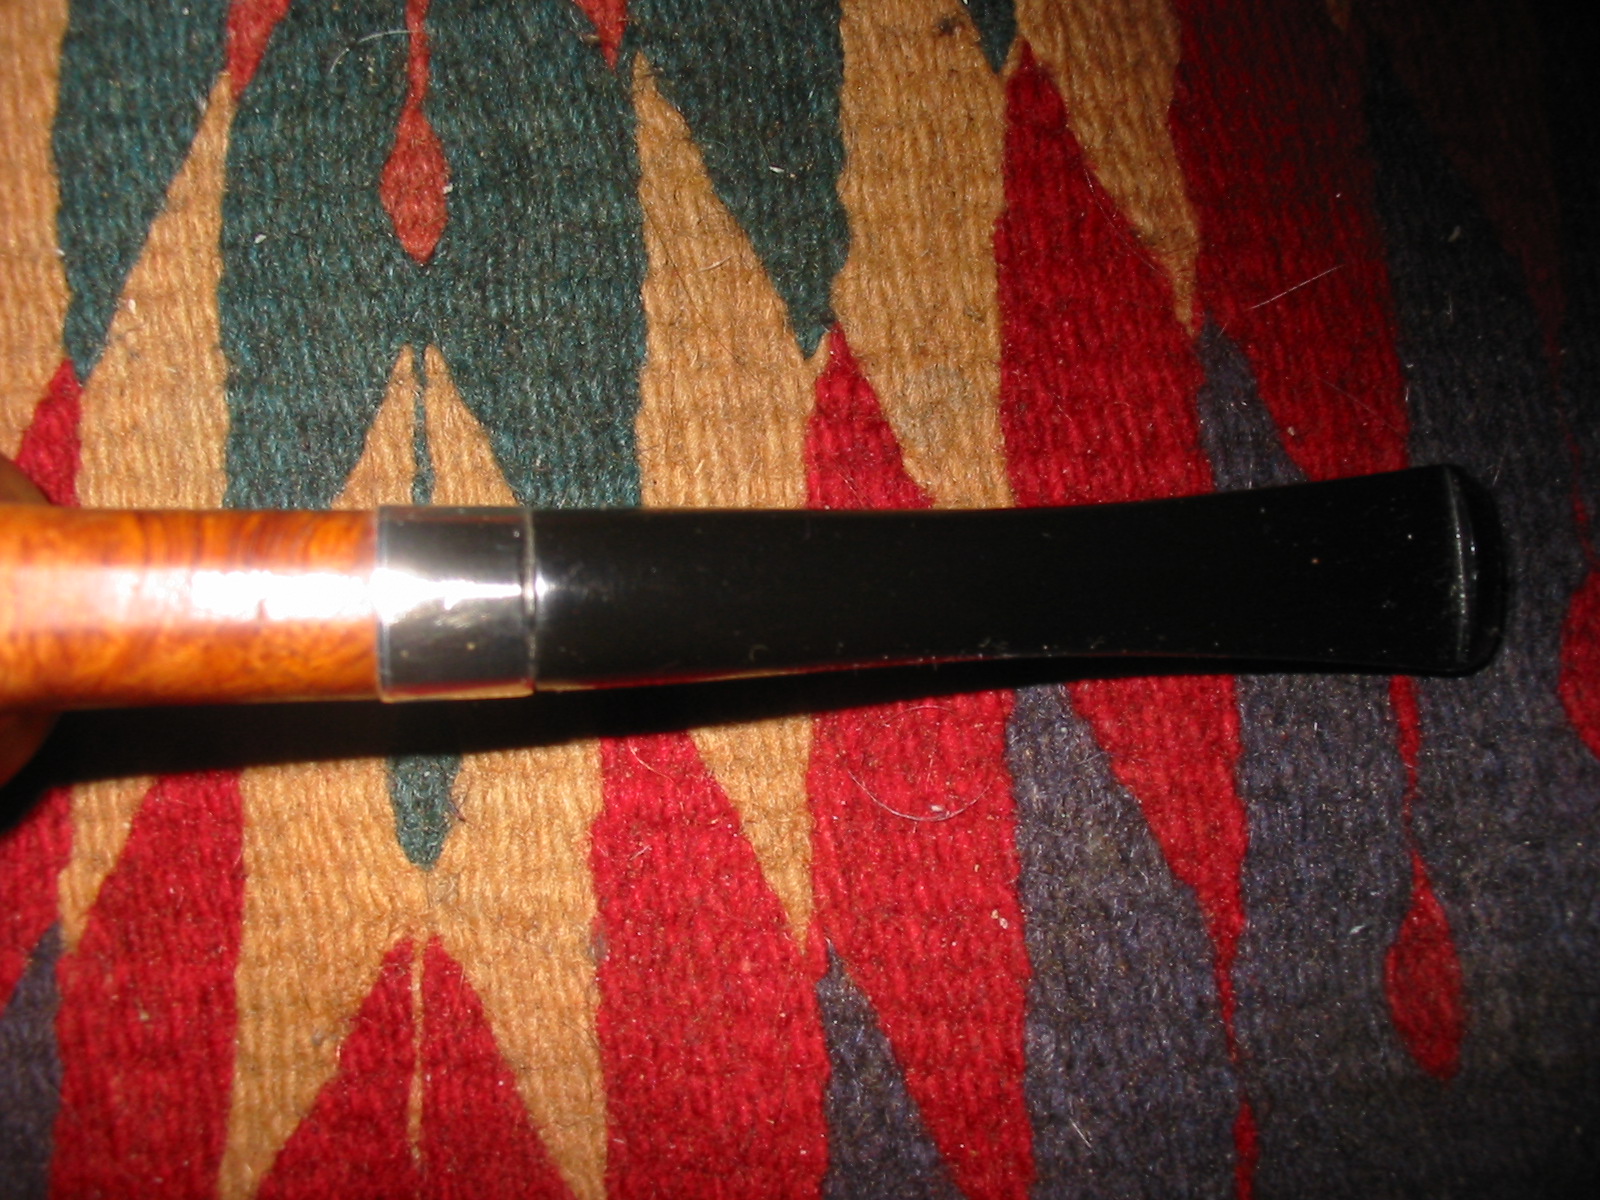
This Golf Old Briar Billiard is the fourth pipe of the six that a friend from Smokers Forums sent my way. This one was the kind of challenge I enjoy. The briar was in pretty good shape under all the dirt and paint and black tarry deposits on the rim and the sides of the bowl. The pipe is stamped Golf in script over Old Briar in block type. On the underside of the shank near the stem it is also stamped with the shape number 1304. I am not sure who made the Golf brand of pipes but I saw several on Pipephil’s site with the name and different logos. It is an interesting piece and quite hefty. It is not large in terms of length or height but in terms of bulk. The finish was shot as you can see and would take some work to remove all the stains and paint flecks on the bowl. There were also some very visible fills on the bowl sides. The stem was very oxidized and had some odd oil like patterns on it that remain a mystery to me as to the cause. There was also a script G on the stem but it was merely applied to the surface rather than stamped into the stem material.
ImageImageImageImage

In the photo below I wanted to show the unique stinger apparatus in the stem. It was removable but seems very tiny in proportion to the size of the pipe. It is a needle point with a slot in the top surface that the smoke is drawn through. There is not much surface area to collect the moisture so I am not altogether sure of the effectiveness of the stinger. The stem was stuck so I had to put it in the freezer for several hours before I could remove it from the shank without breaking things. Once I took it out of the freezer it was fairly easy to remove.

Image

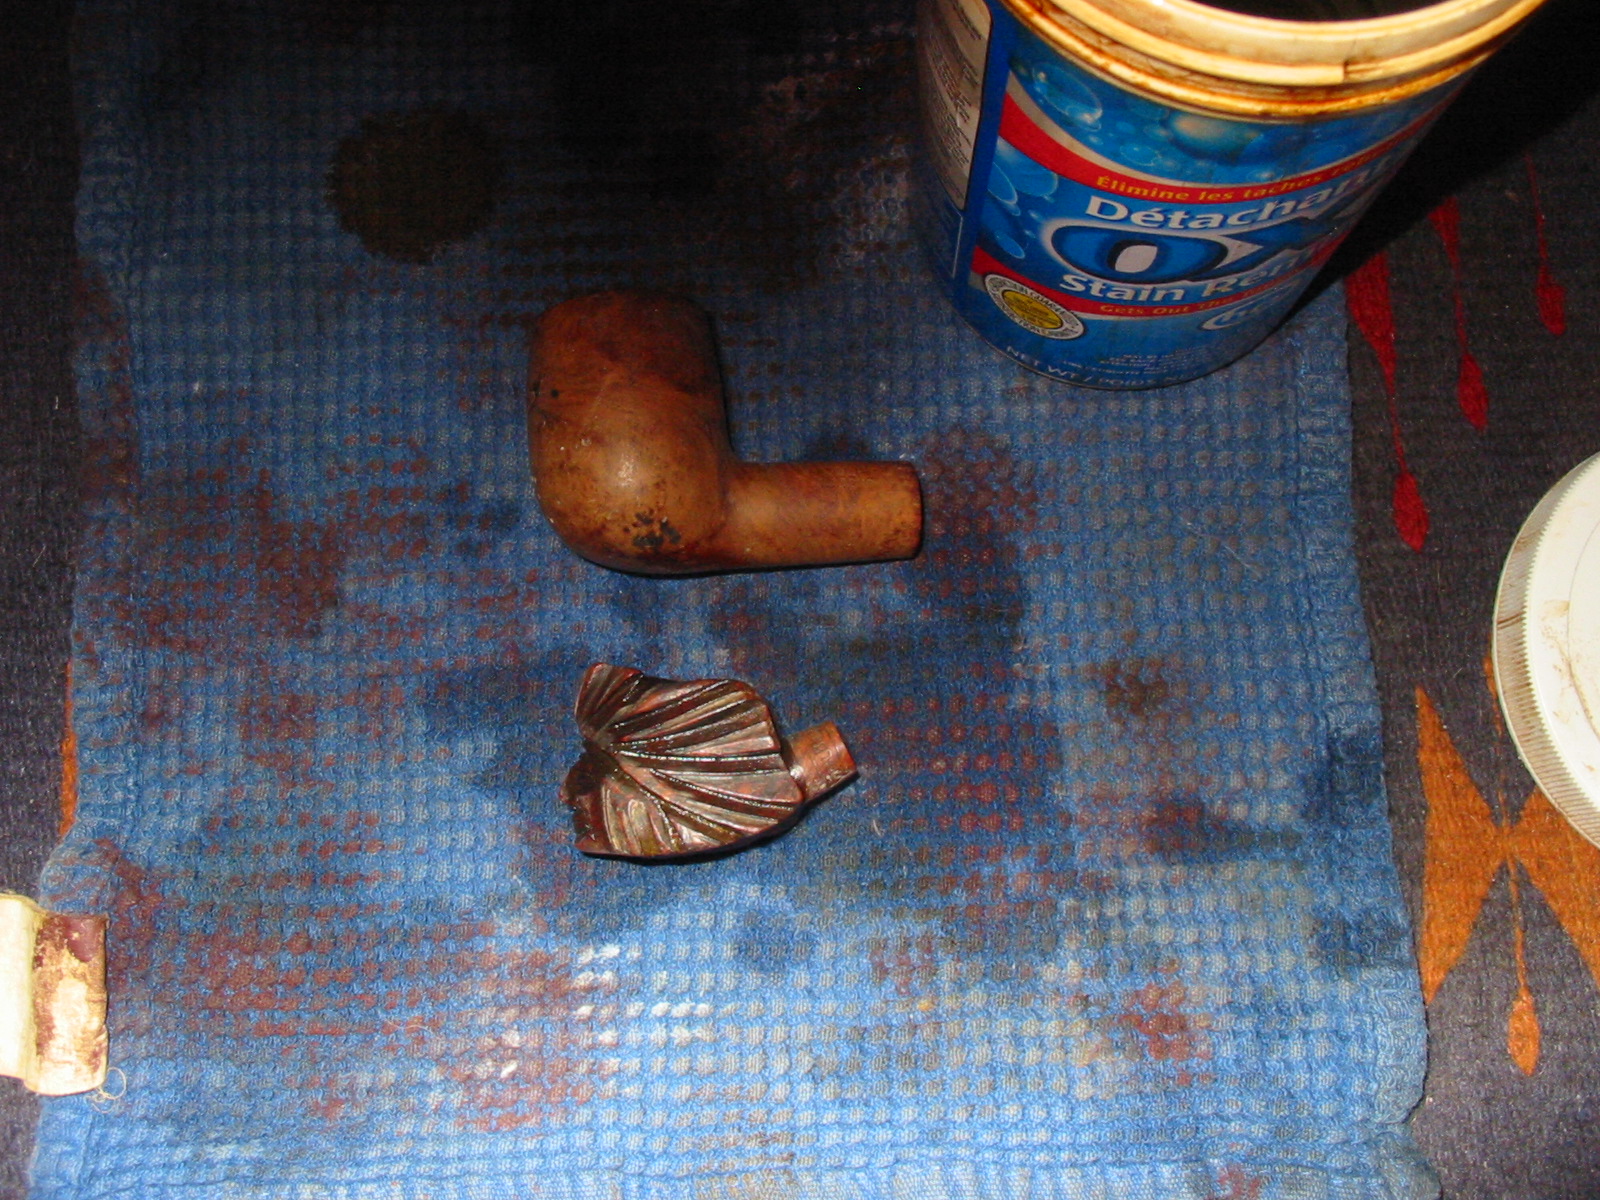
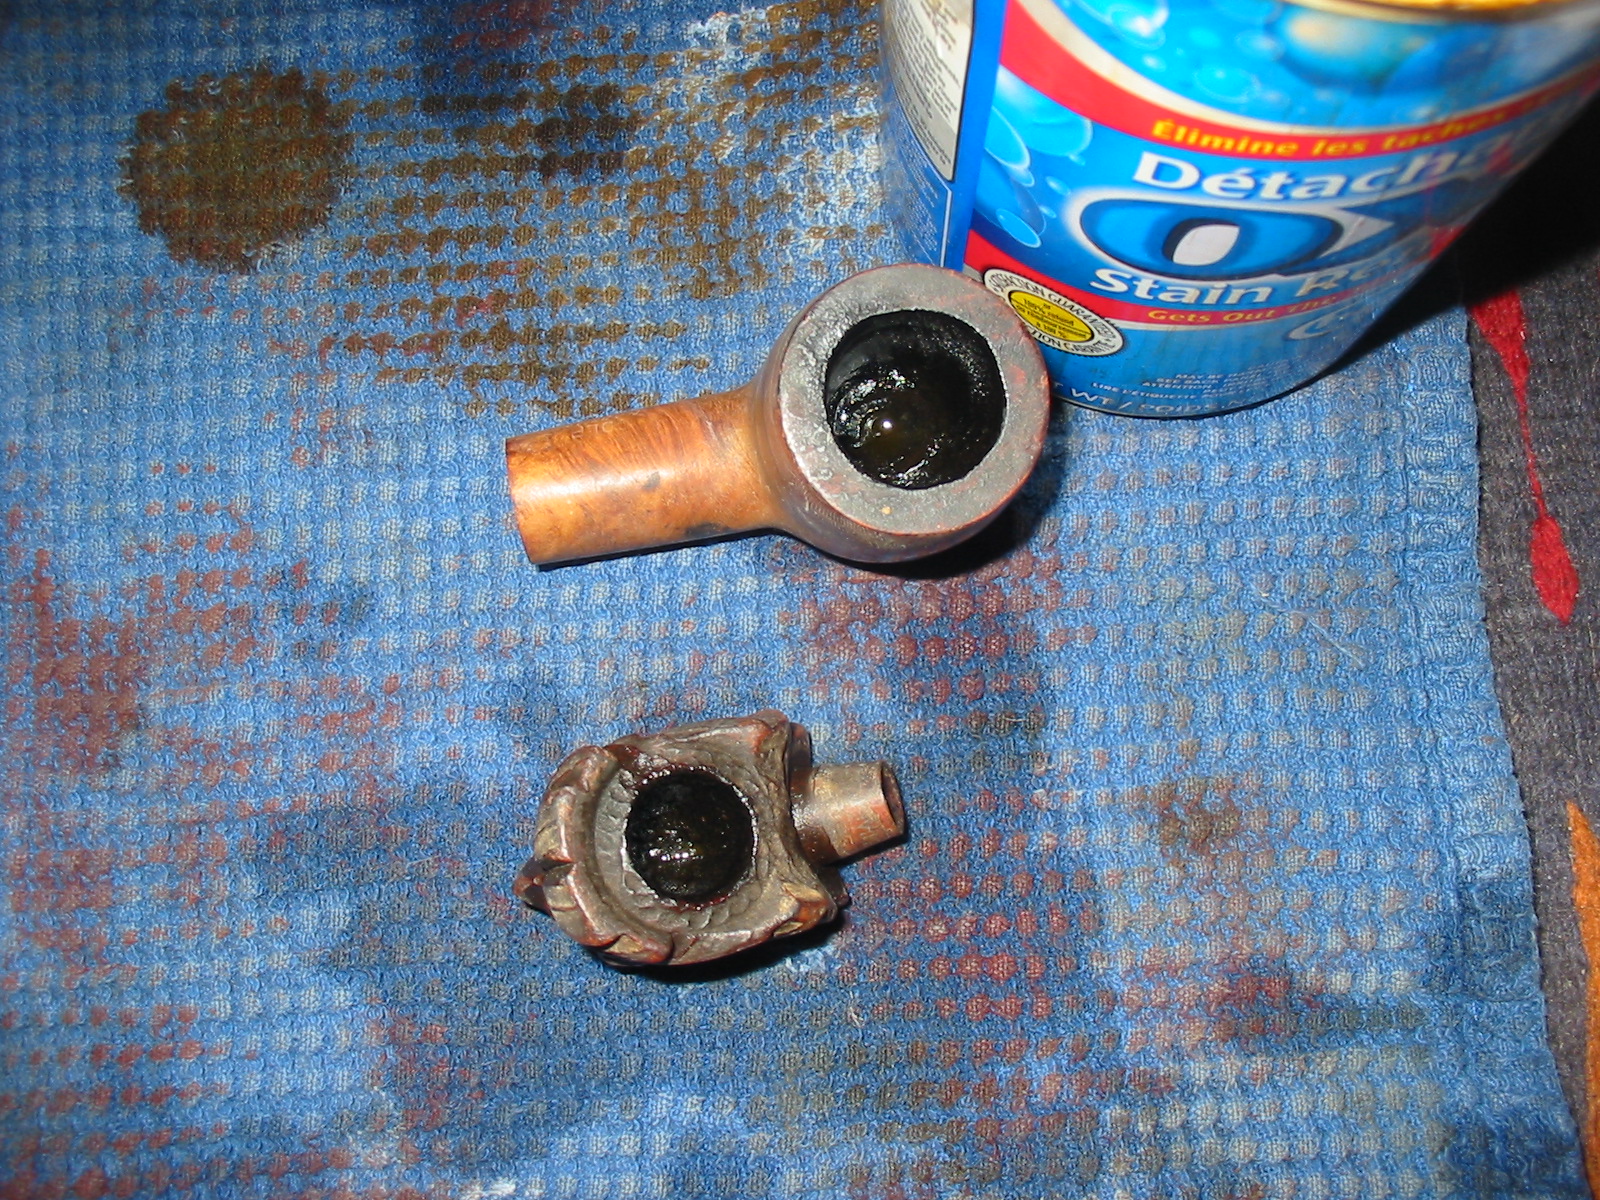
I put the stem in the Oxyclean bath with the one from the figural pipe. I also put the two bowls in the alcohol bath overnight before giving them a once over. The two photos below show the pipe after I took it out of the bath to begin working on it. You can see that some of the grime was removed but the paint flecks remained as did the black stains on the bowl. These would take more work.

ImageImage

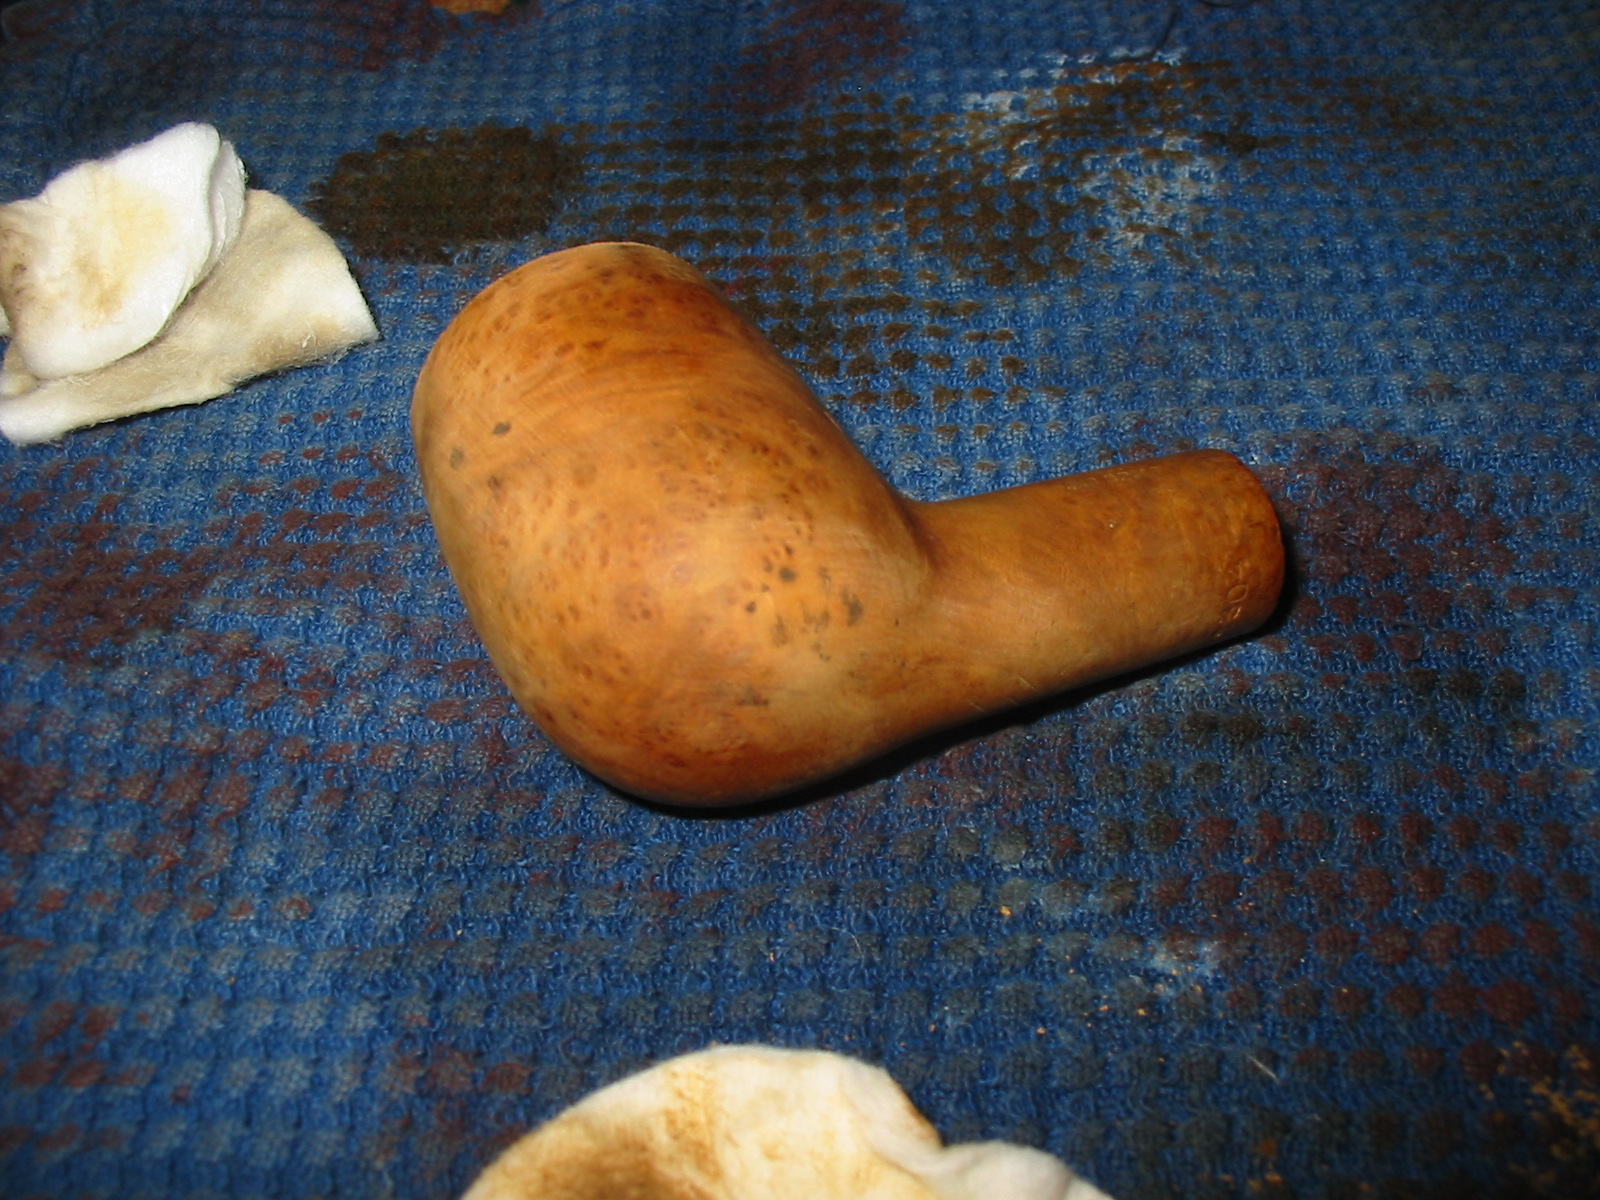
I used some acetone on a cotton pad to scrub down the bowl. The next series of two photos show how well the acetone removed the finish. It made short work of the paint and dark stains on the briar. I scrubbed it until the surface was clean. You can also see the presence of the fills that I spoke of earlier.

ImageImage

The rim of the bowl was rough so I decided to top it a slight amount to remove the damage and to clean up the surface. Since I was staining the pipe anyway there would be no problem in trying to match bowl and rim. I used my normal sandpaper on a board system and sanded the bowl in a clockwise motion to smooth out the surface. I first used a fine grit emery cloth and then followed that with 320 grit sandpaper. The first two photos below show that process and the effectiveness of it.

ImageImage

The next series of four photos show the bowl after I wiped it down with acetone again after the topping of the rim. The cotton pads show the sanding dust and surface grit that still remained on the surface of the bowl. I wanted to give it a final wash before staining it. I decided to not remove the fills on this bowl. I wanted to see if I could blend them in with the stain coat rather than replace them with the superglue briar dust patches that I generally use.

ImageImageImageImage

I chose to restain this pipe with a dark brown aniline stain thinned 2:1 with isopropyl alcohol. It is the same stain I used on the figural pipe that I posted about earlier. The next series of four photos show the process of the staining. I had my daughter help me with the photos and she was able to capture the flaming process in the last photo in this series. The flame burns quickly and blue. It burns off the alcohol and sets the stain in the grain of the briar. I love the way that flame dances on the surface of the pipe.

ImageImageImageImage

I set the bowl aside once the flame had died and worked on the stem. The next series of photos show the stem as it appeared after I removed it from the Oxyclean bath. It needed a lot of work. I had to sacrifice the painted G script as it would not survive the clean up. I used my Bic lighter technique to burn the oxidation. The process is very simple as I just move the flame over the surface of the stem never letting it stay in one place too long. I repeat the process until the surface is clean and black. I then polished the stem with the Maguiar’s Scratch X2.0 scrubbed on by hand then polished off with cotton pads. I repeated that process twice and then sanded the stem with the micromesh sanding pads 1500-12,000 grit. I finished by once again applying the Maguiar’s before putting the stem back on the pipe and taking it to my buffer to buff with White Diamond.

ImageImageImage

The next four photos show the finished pipe. It has several coats of carnauba wax applied by my buffer and buffed out to a shine with soft flannel buffing pads. The stain is a bit lighter than it appears in the photos and you can see the grain through the finish. The fills are all but invisible at a quick glance. Before I stained the fills I drew over them with a black permanent marker and then stained them. They covered very well with the marker and the dark stain.

ImageImageImageImage

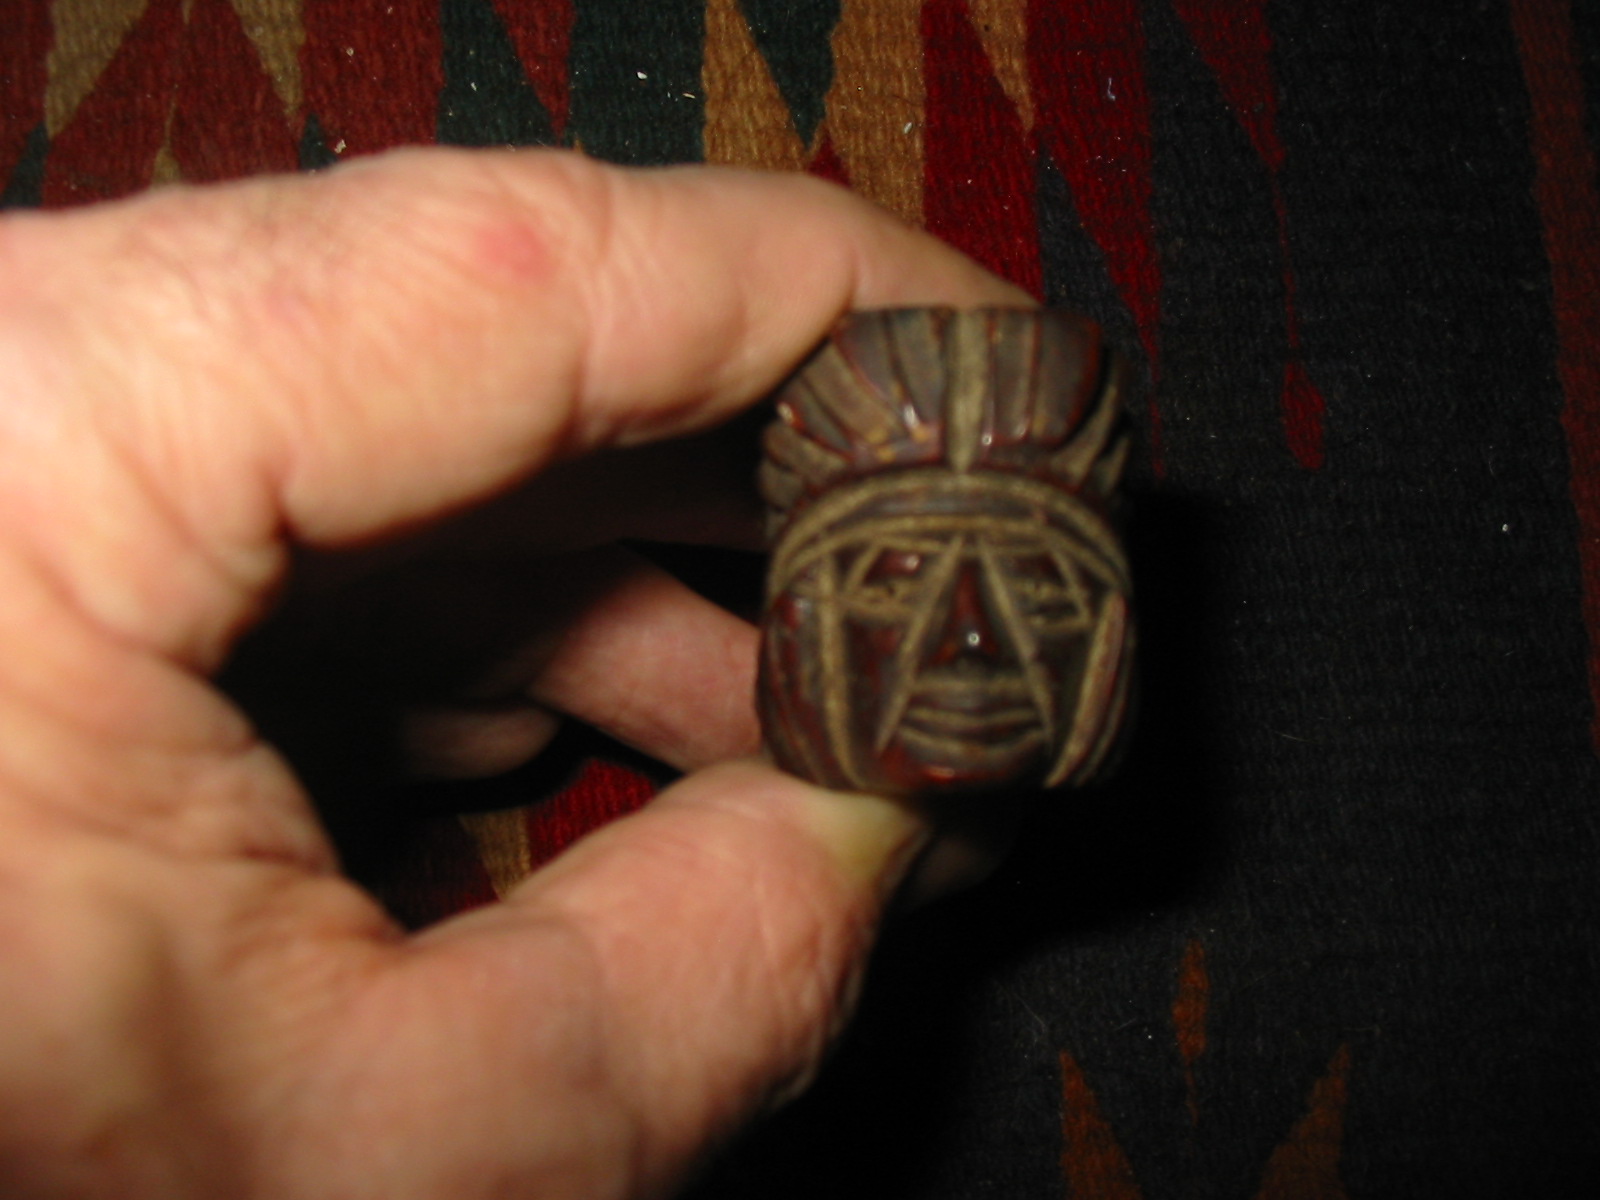
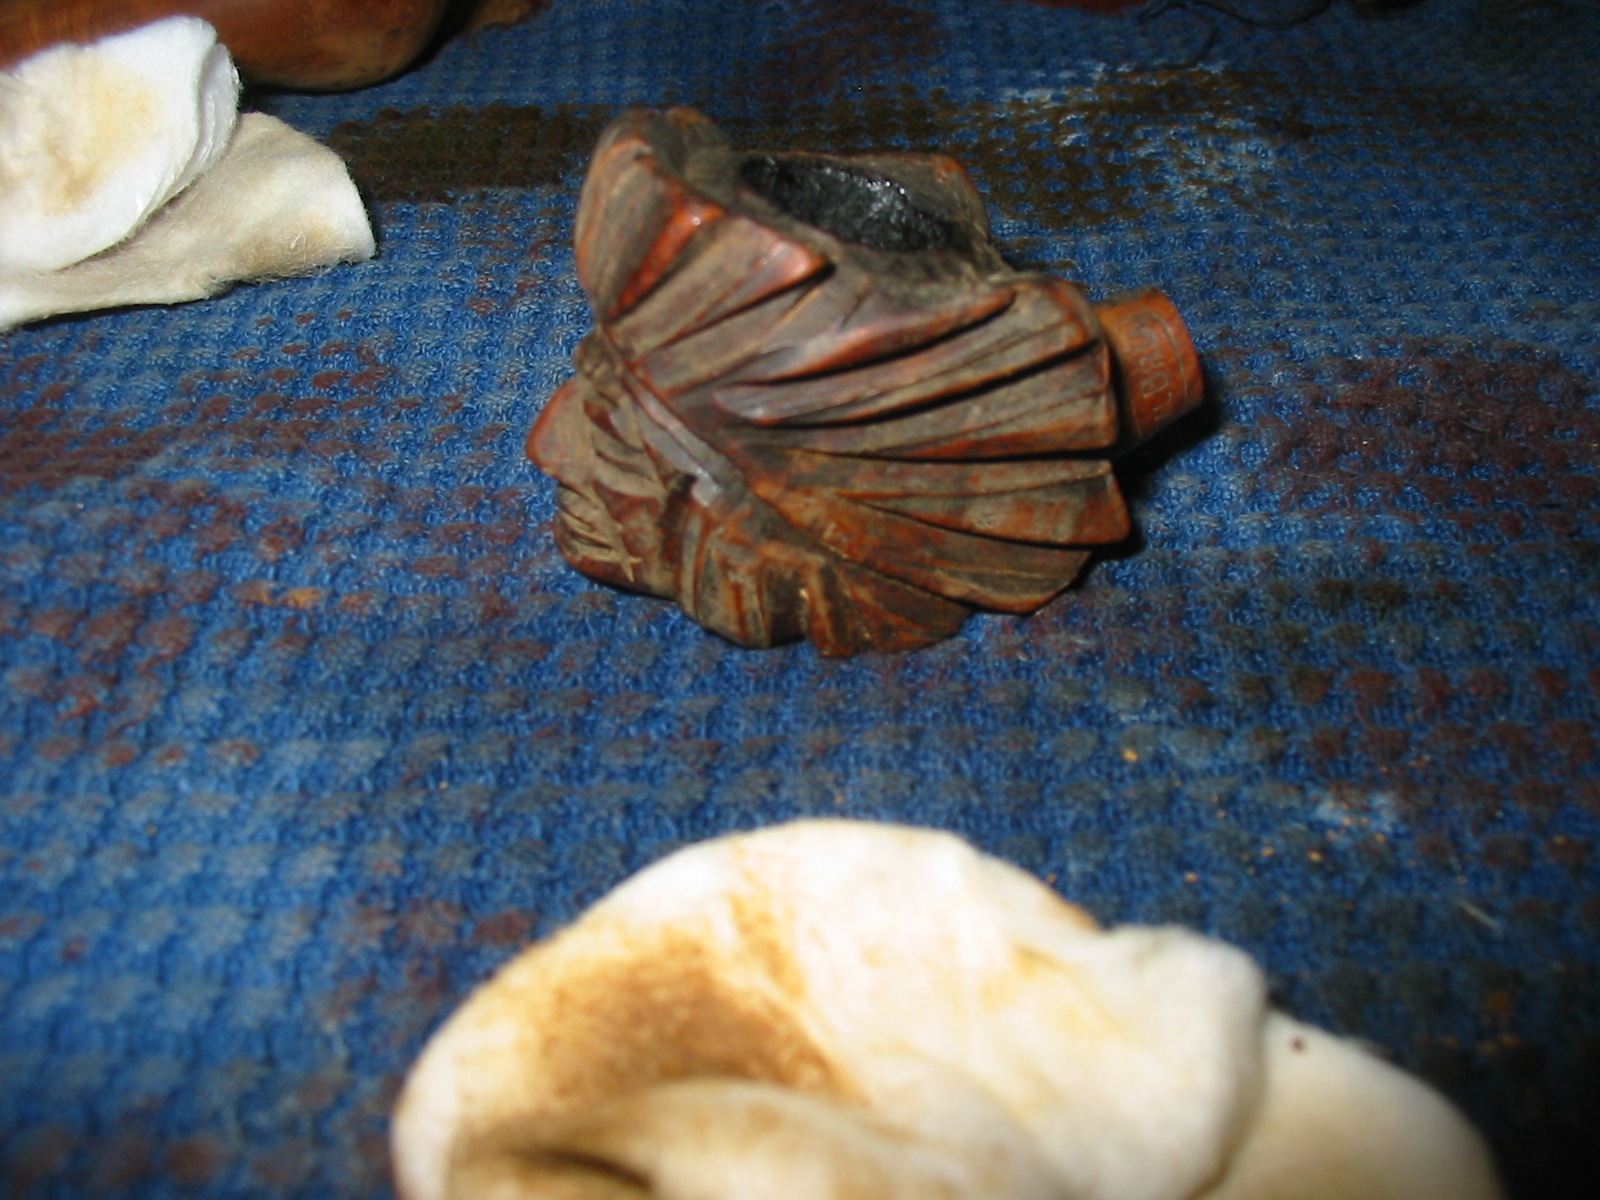
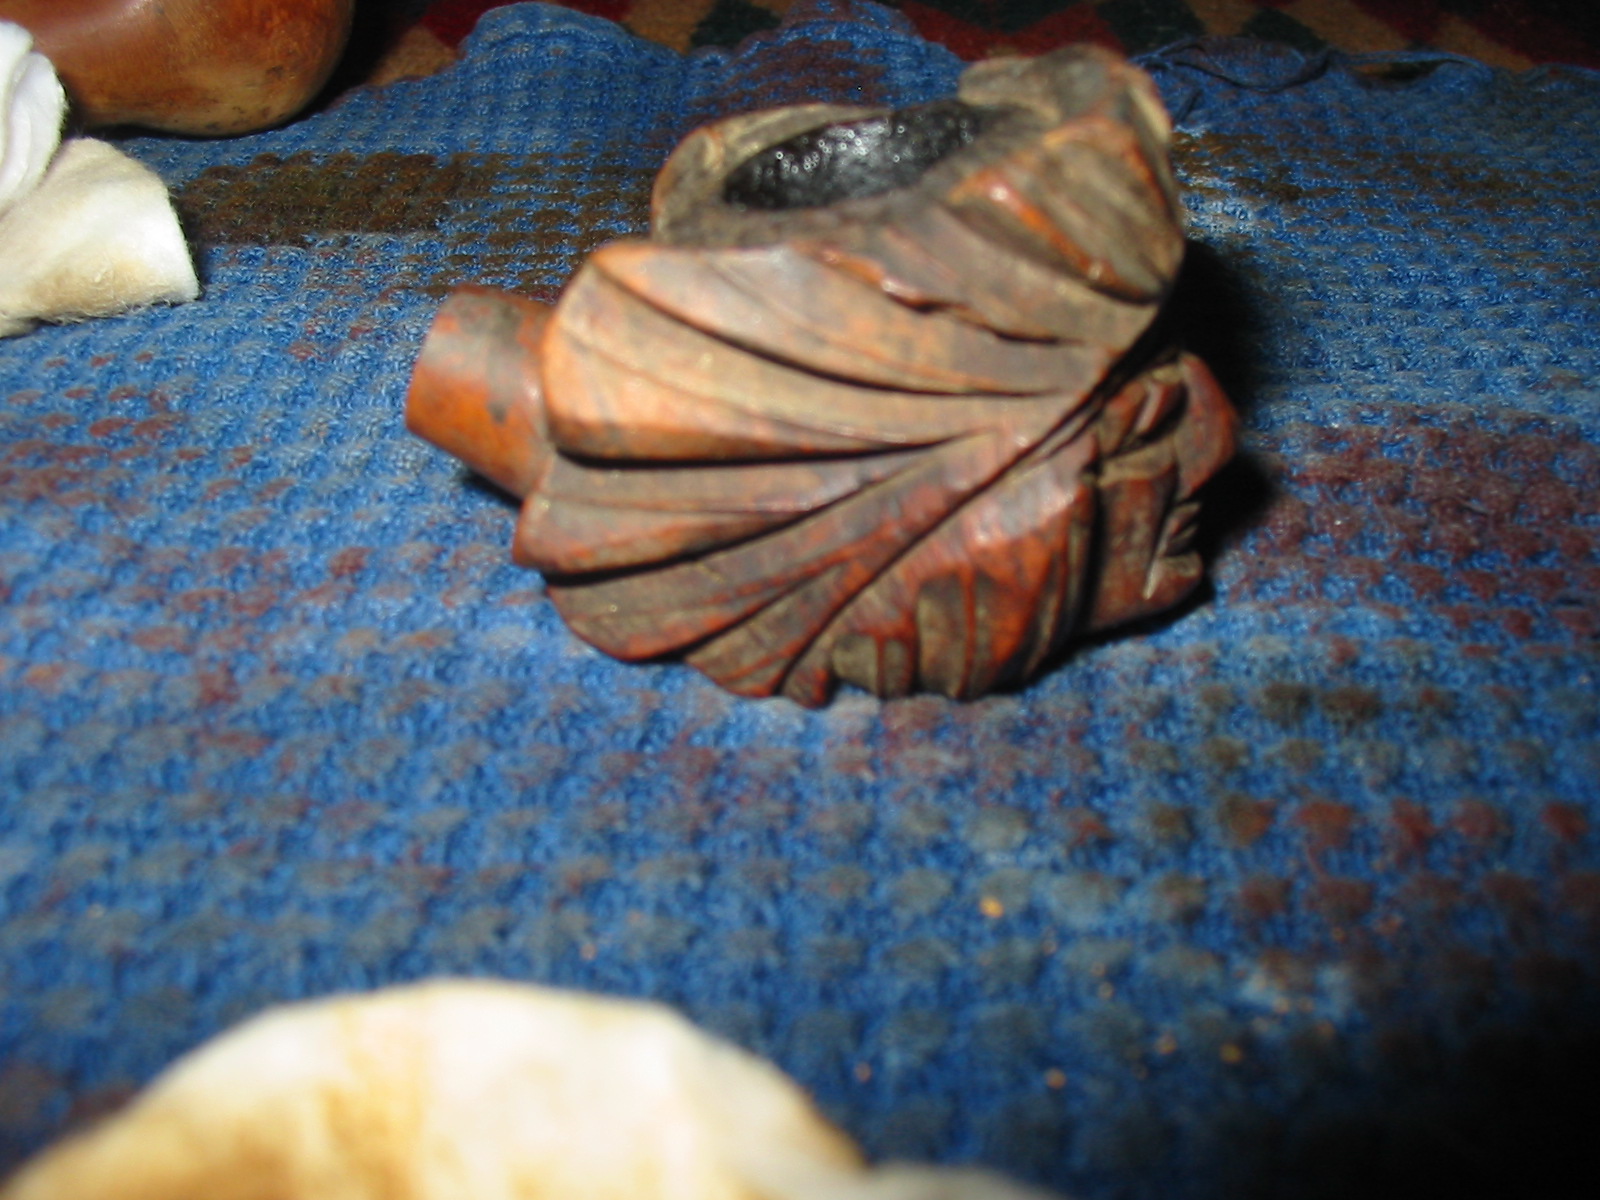
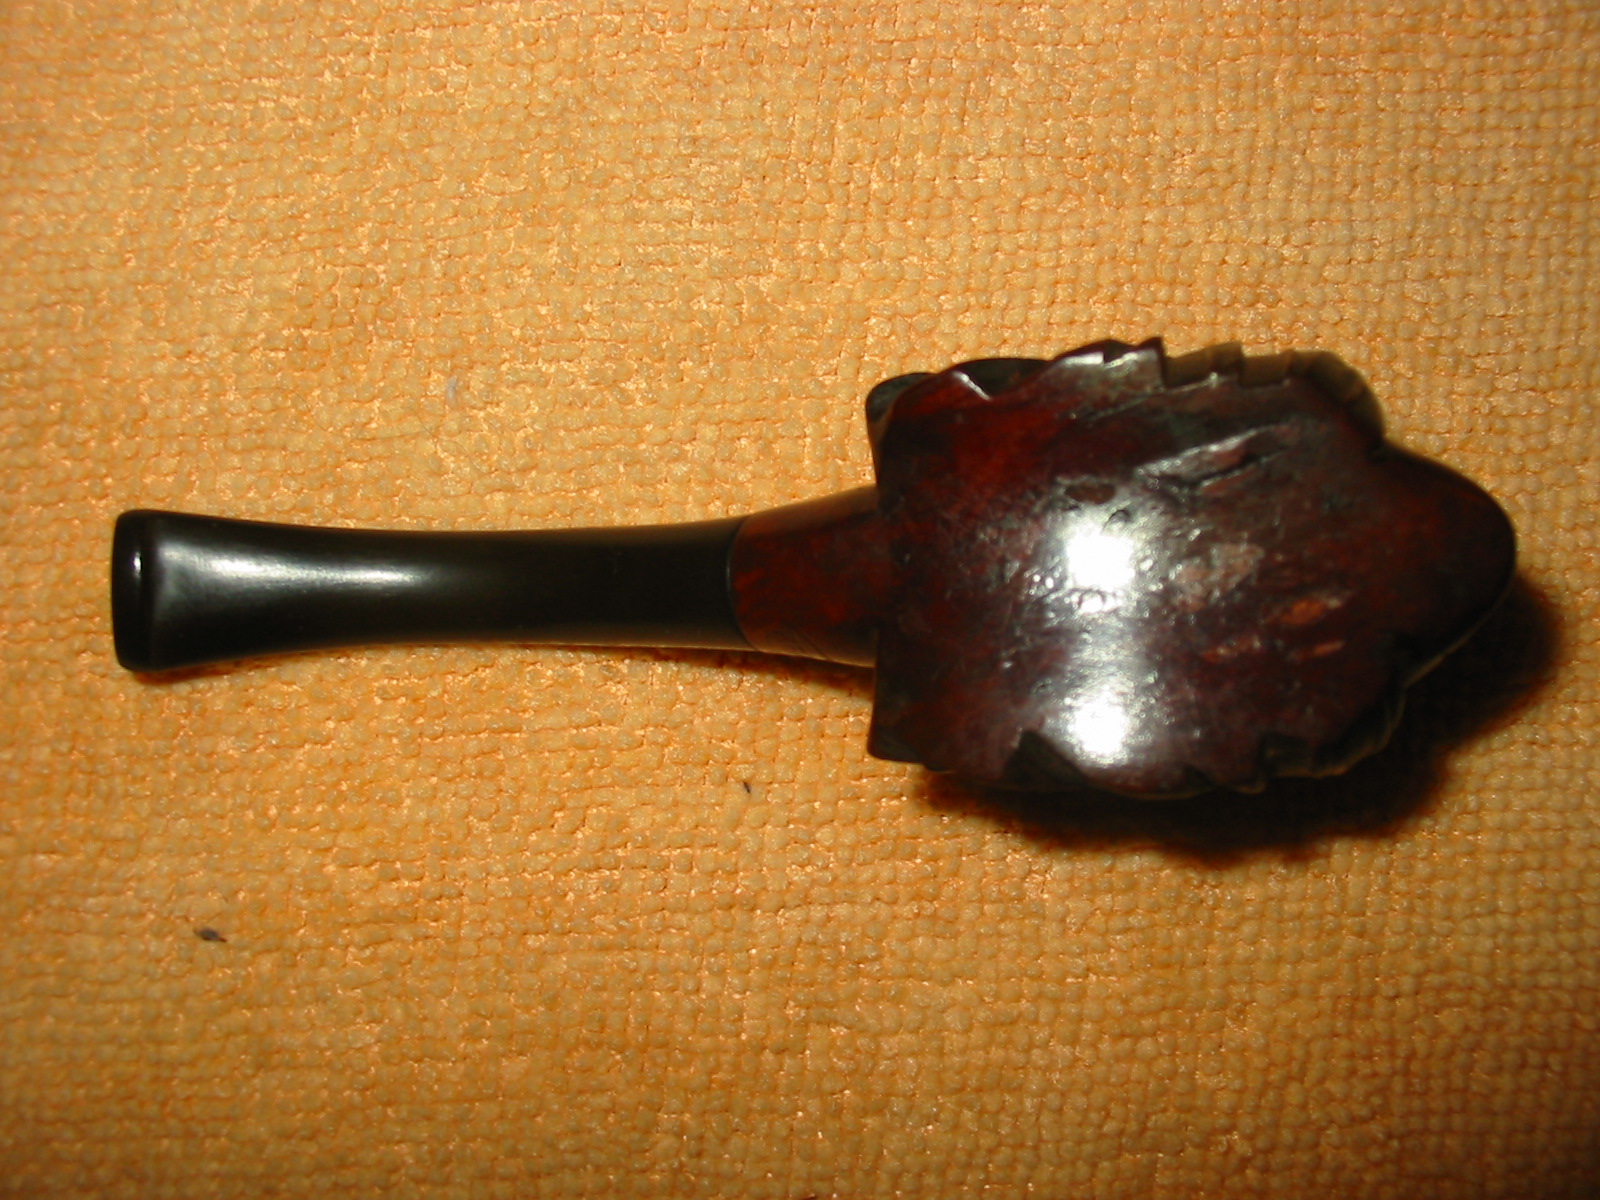
Restored a Carved Figural


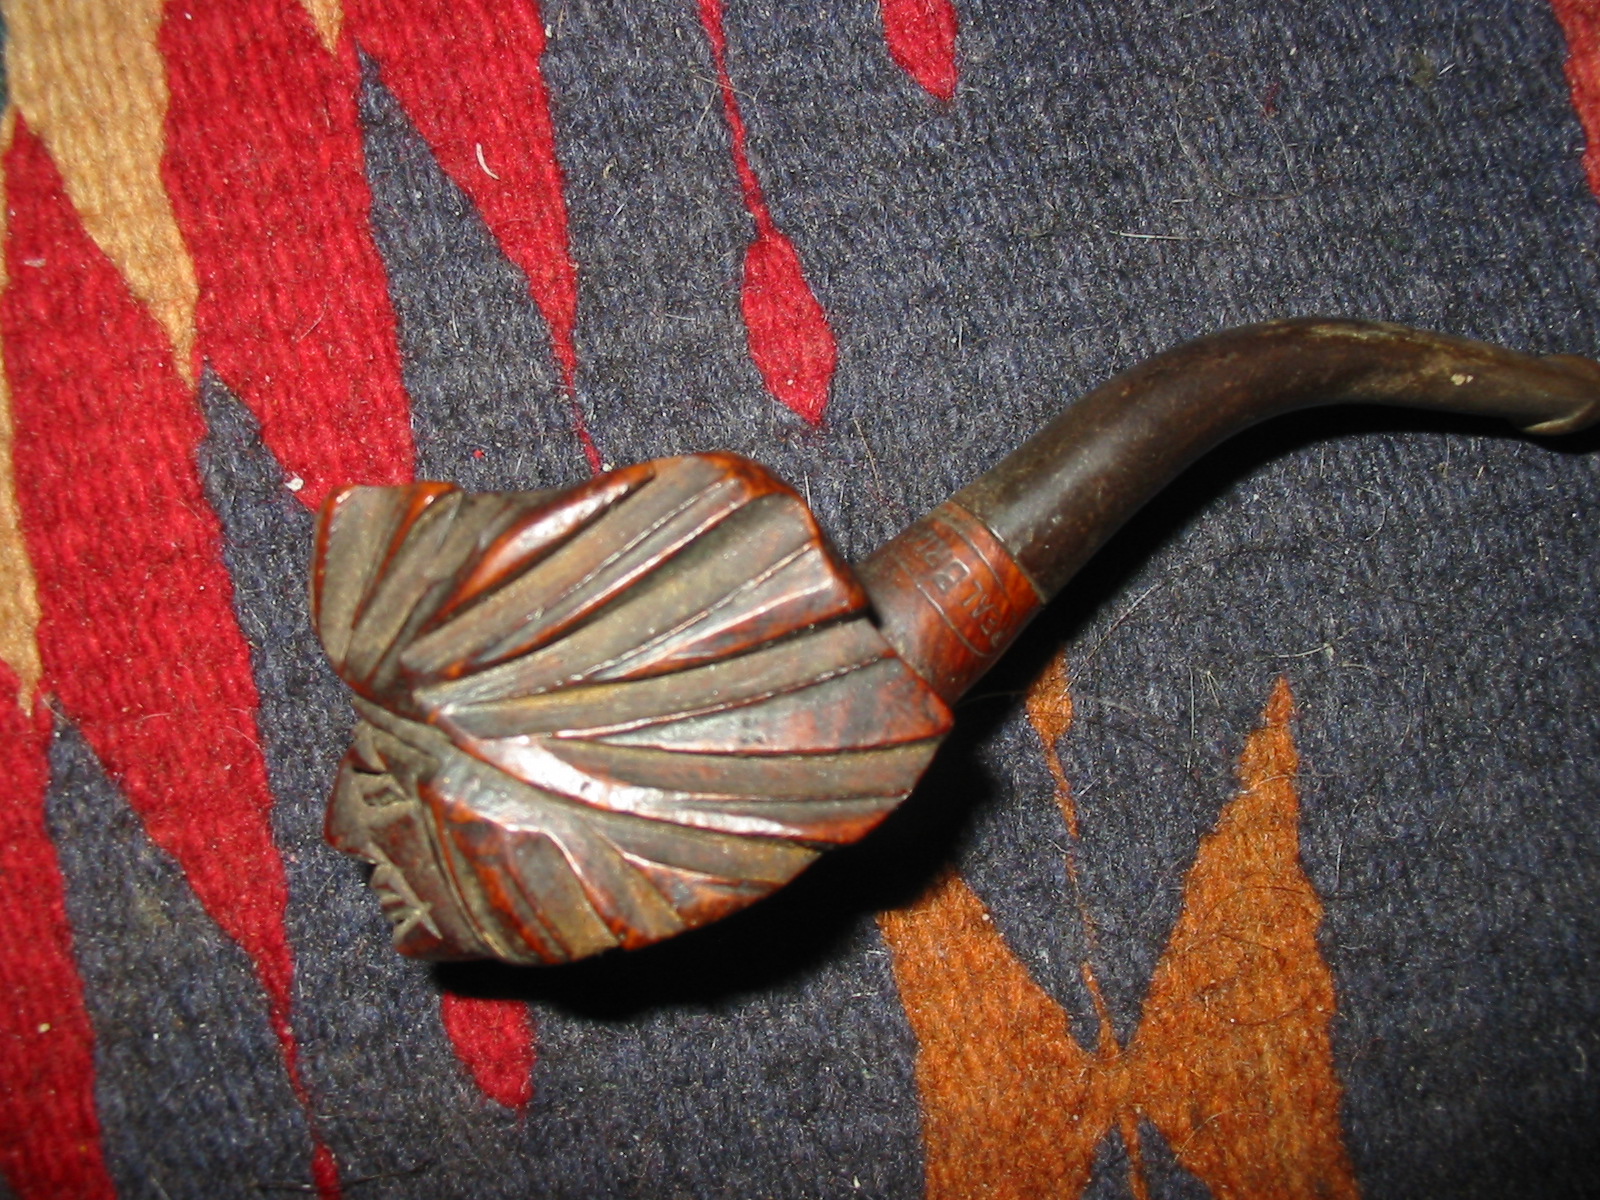
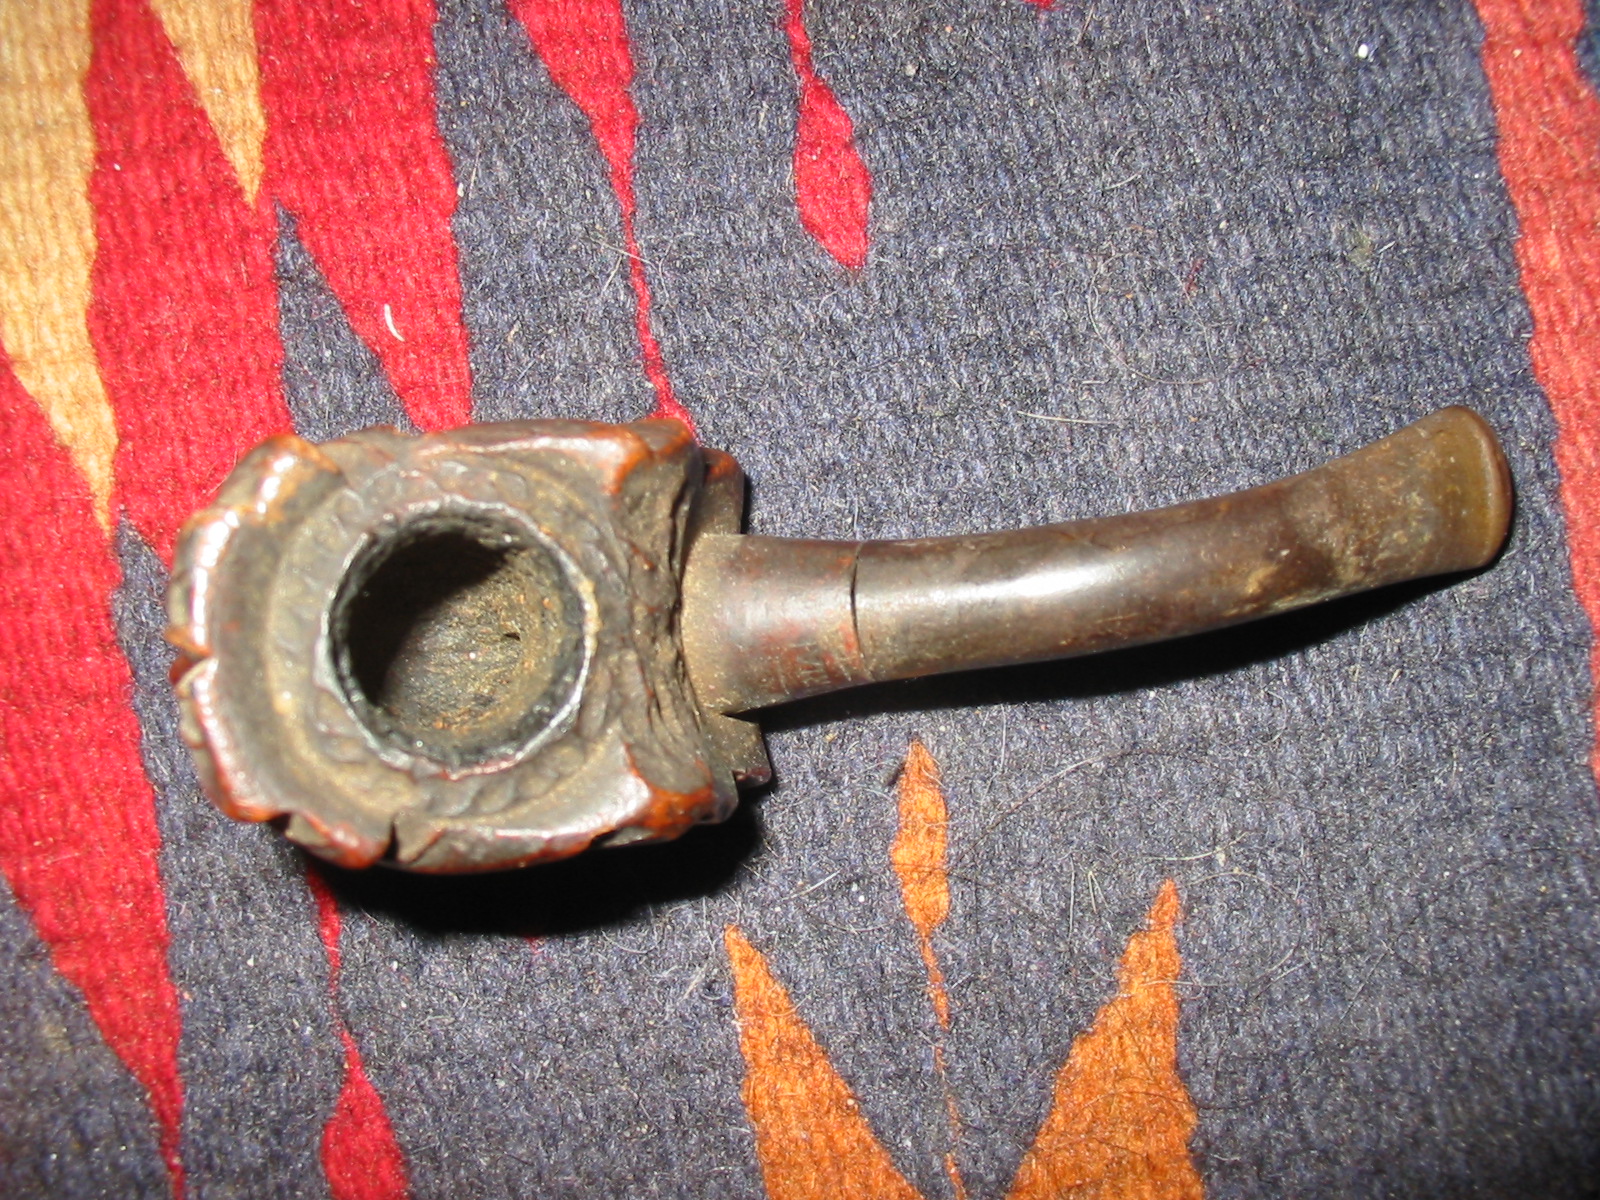
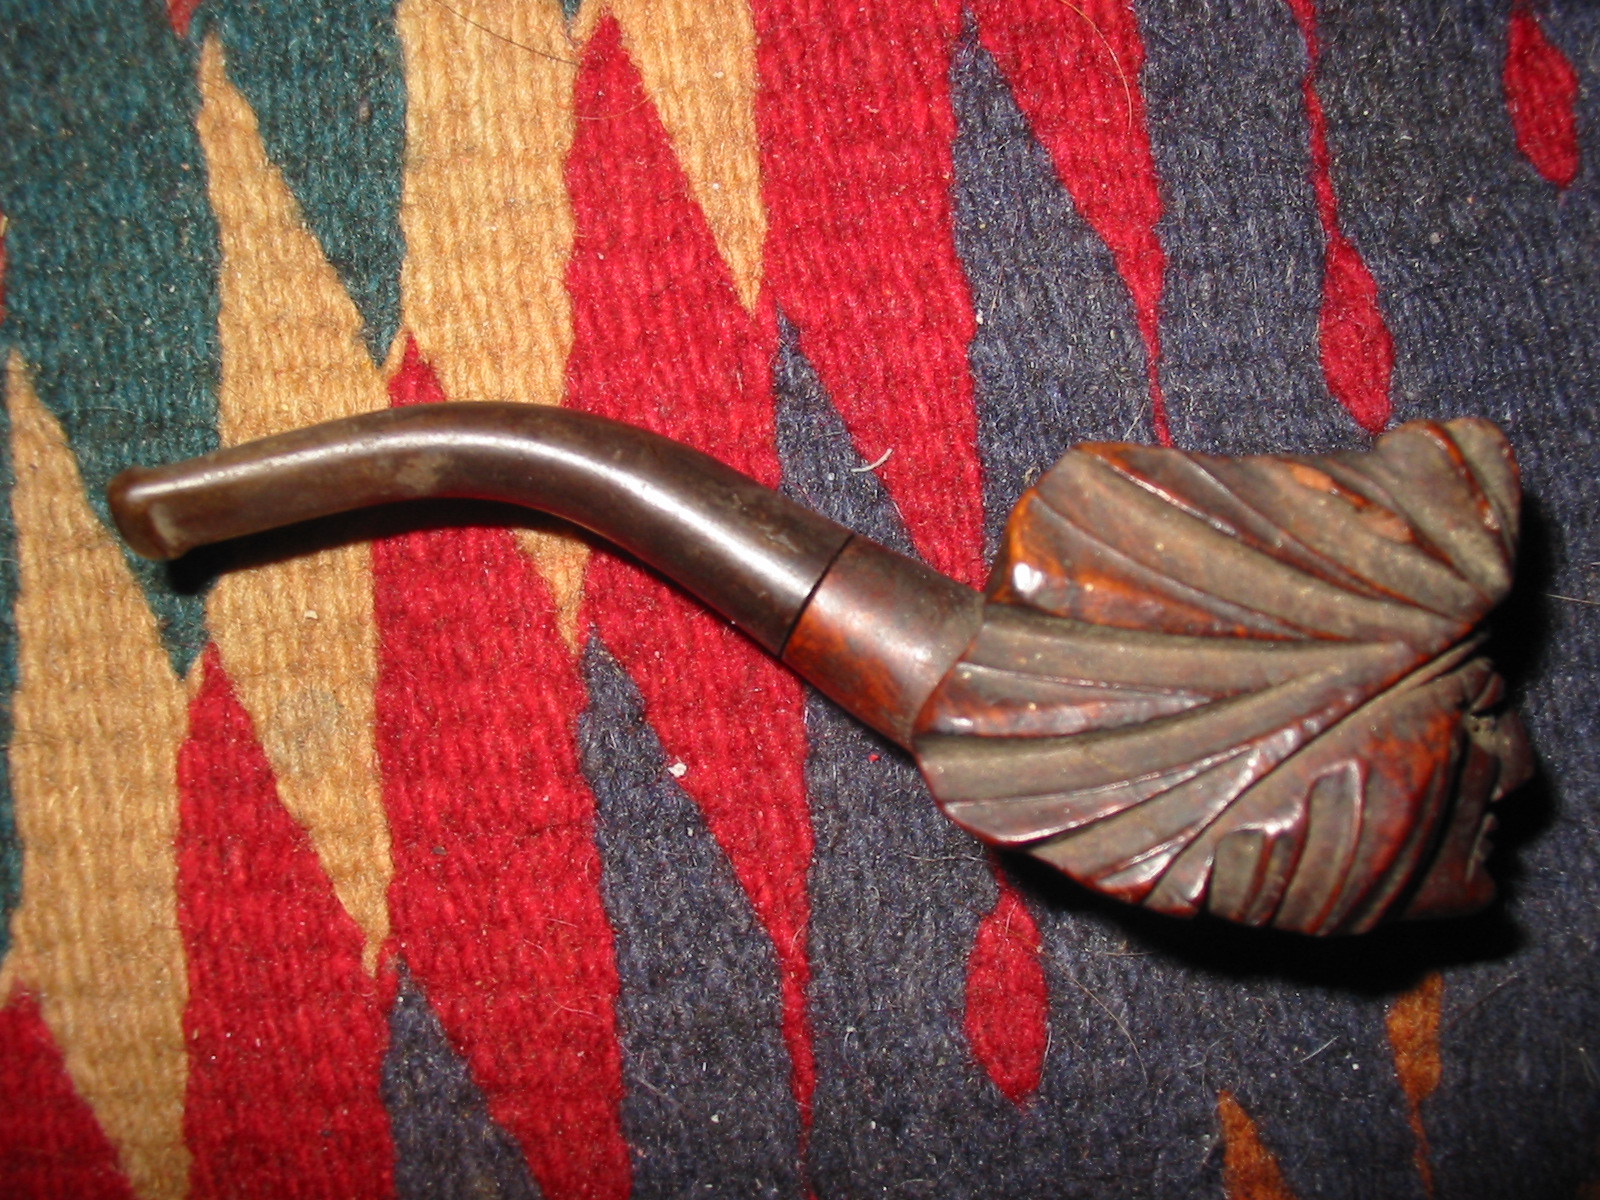
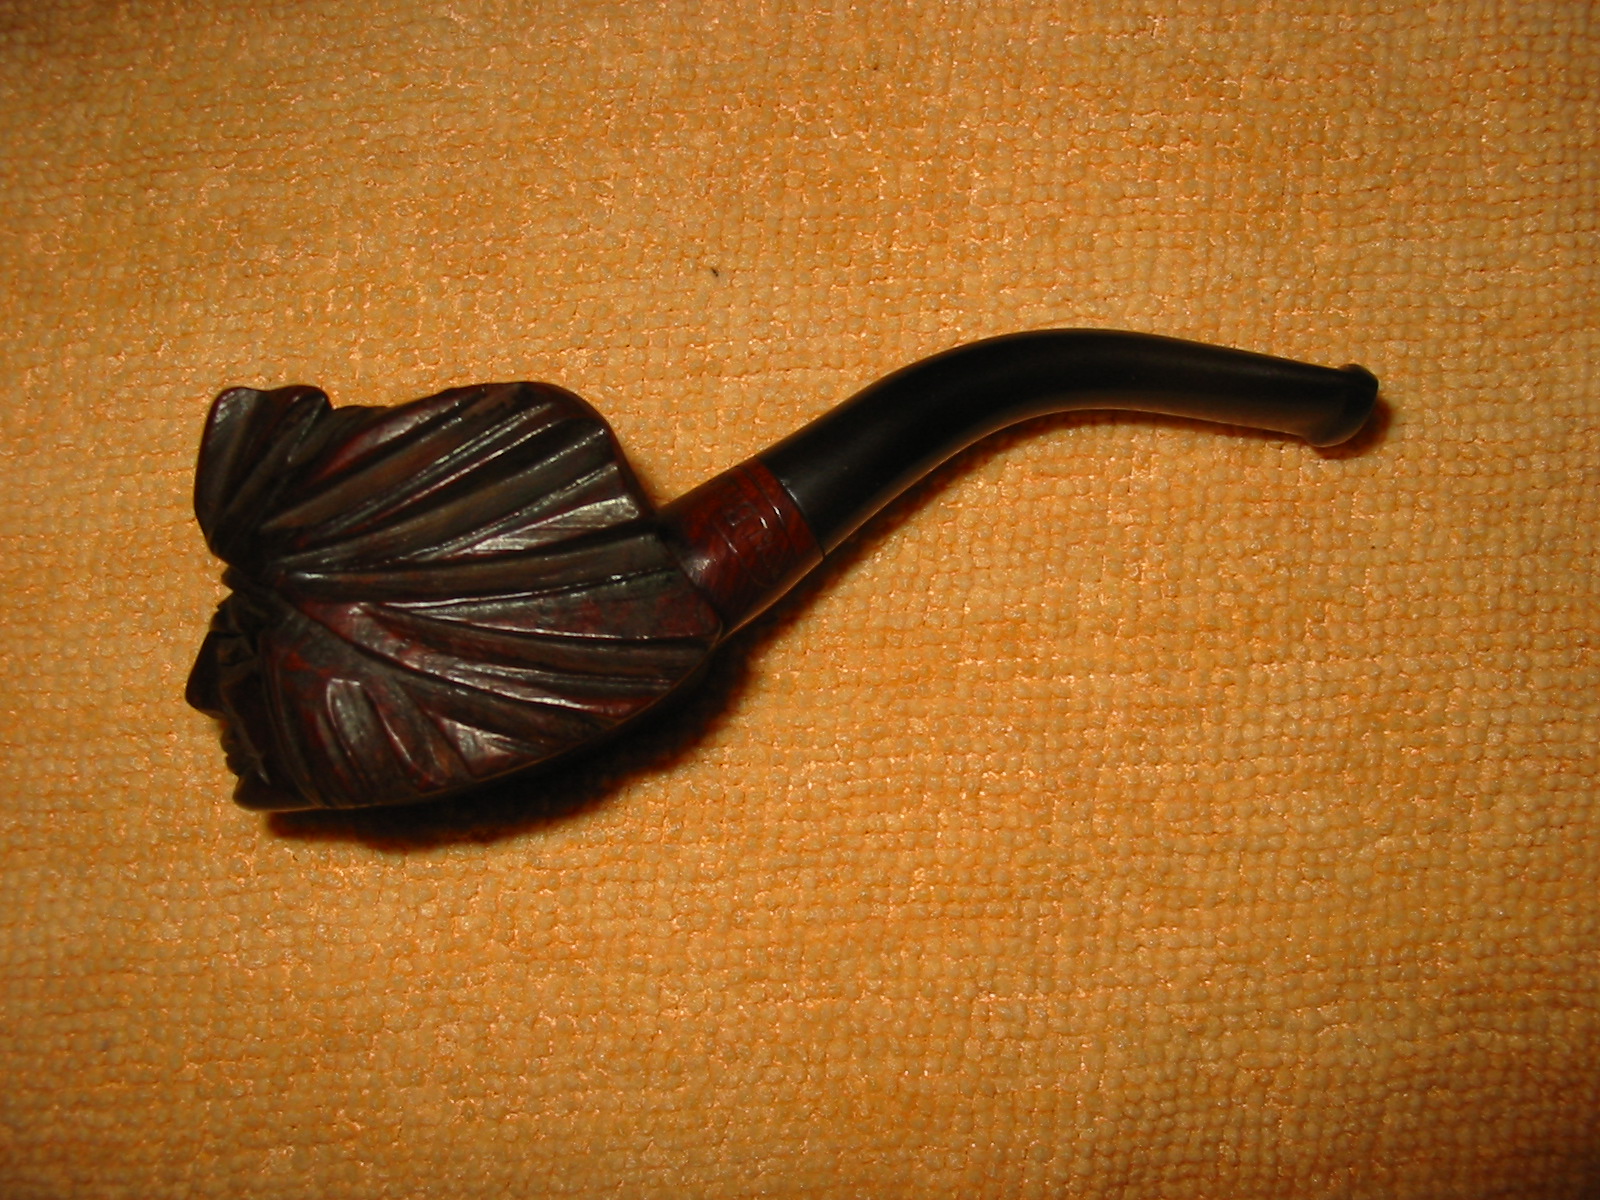
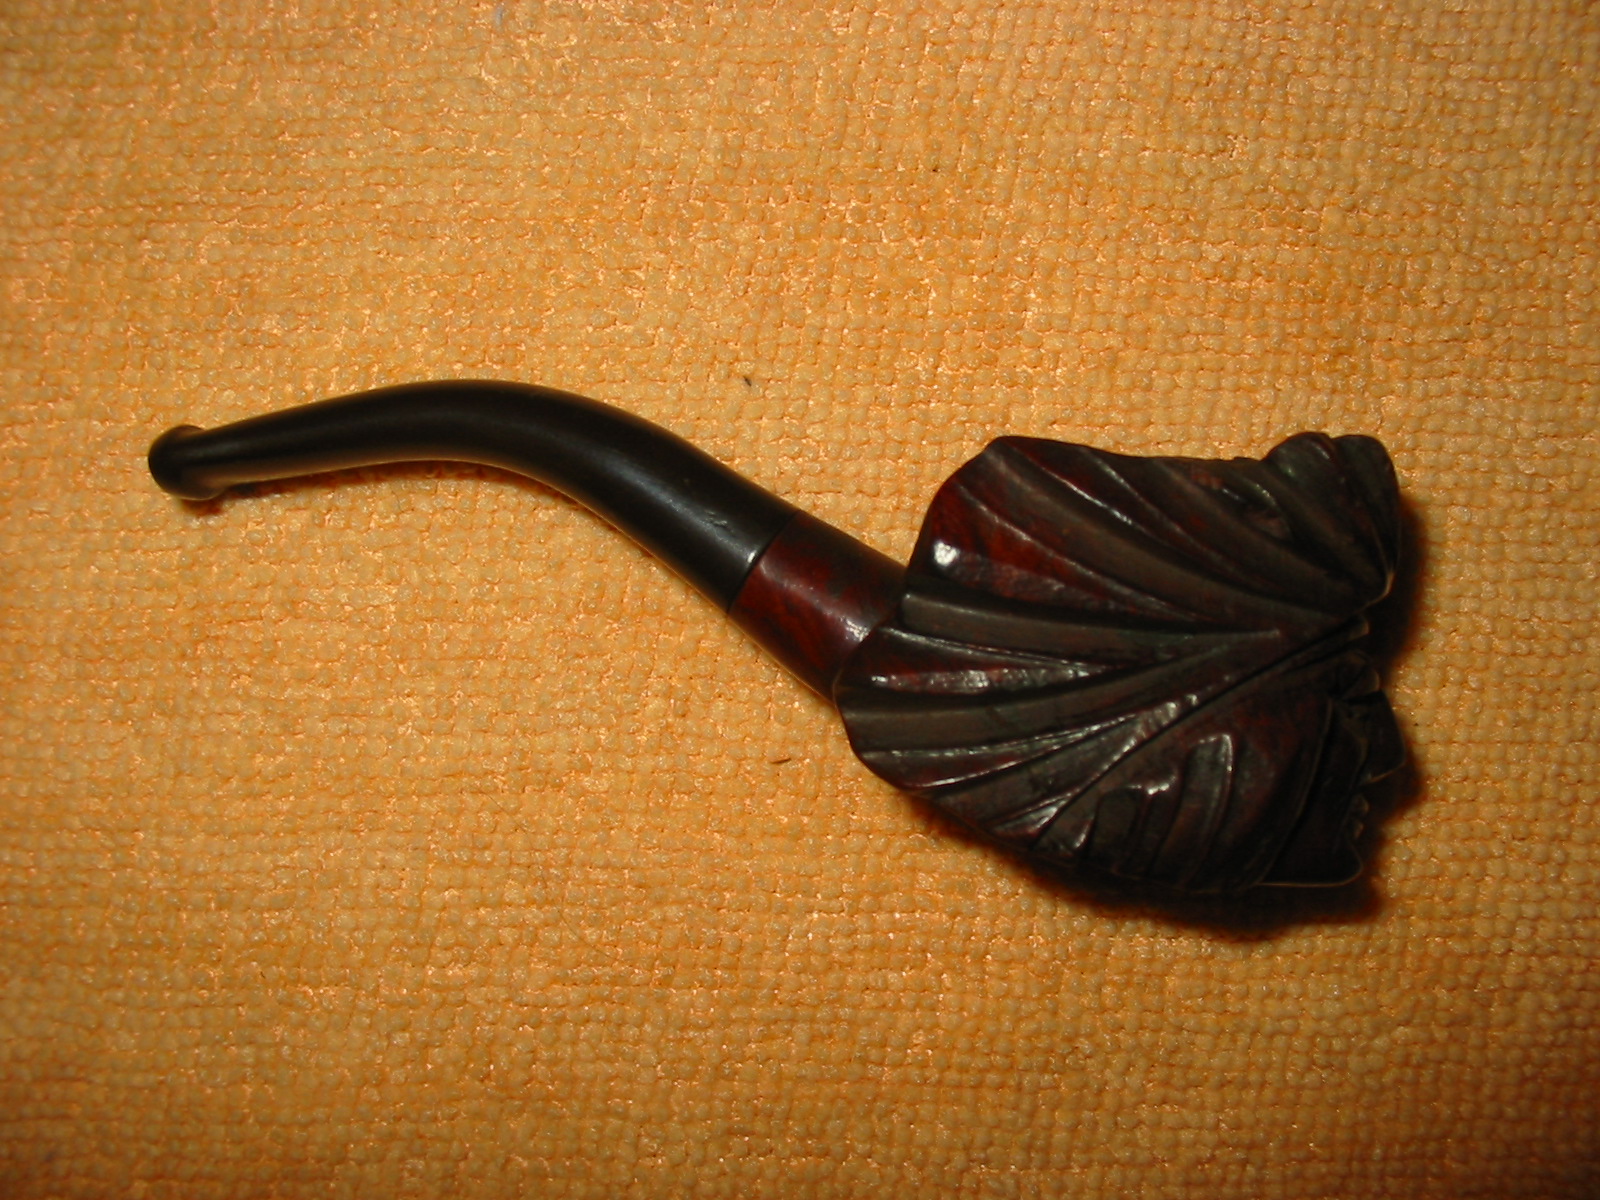
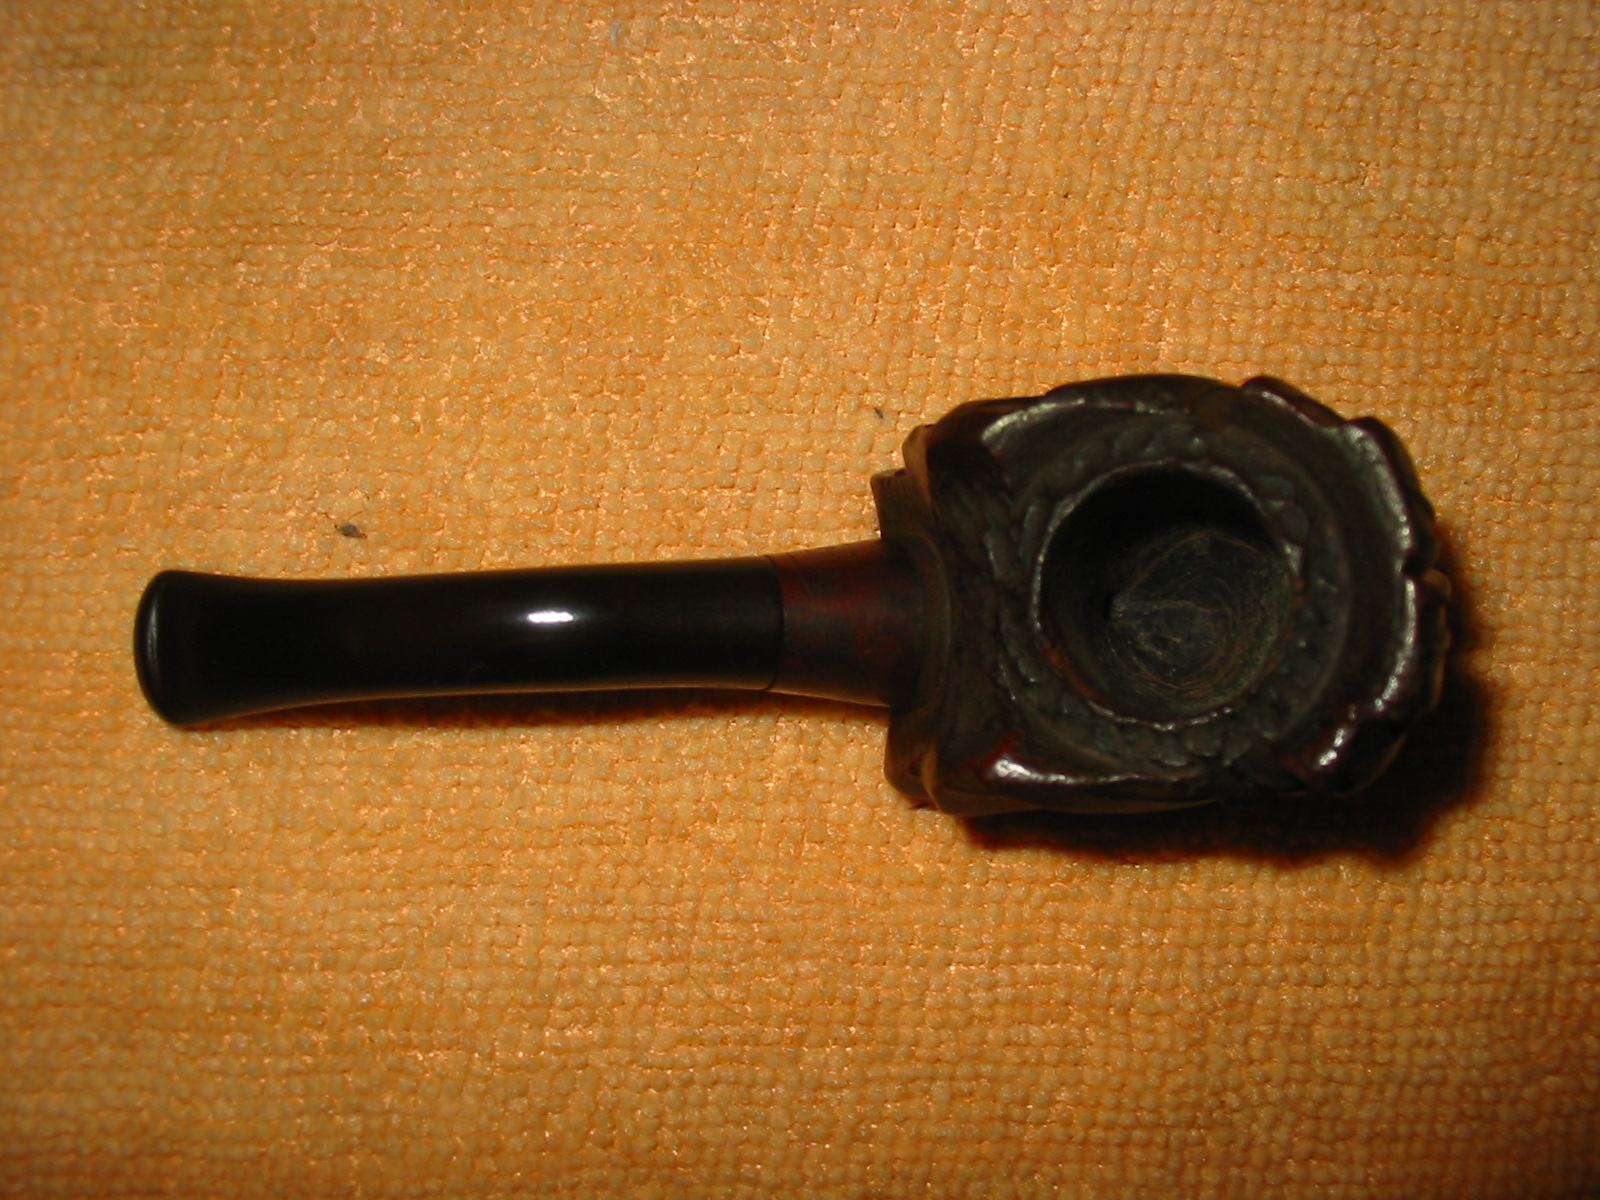
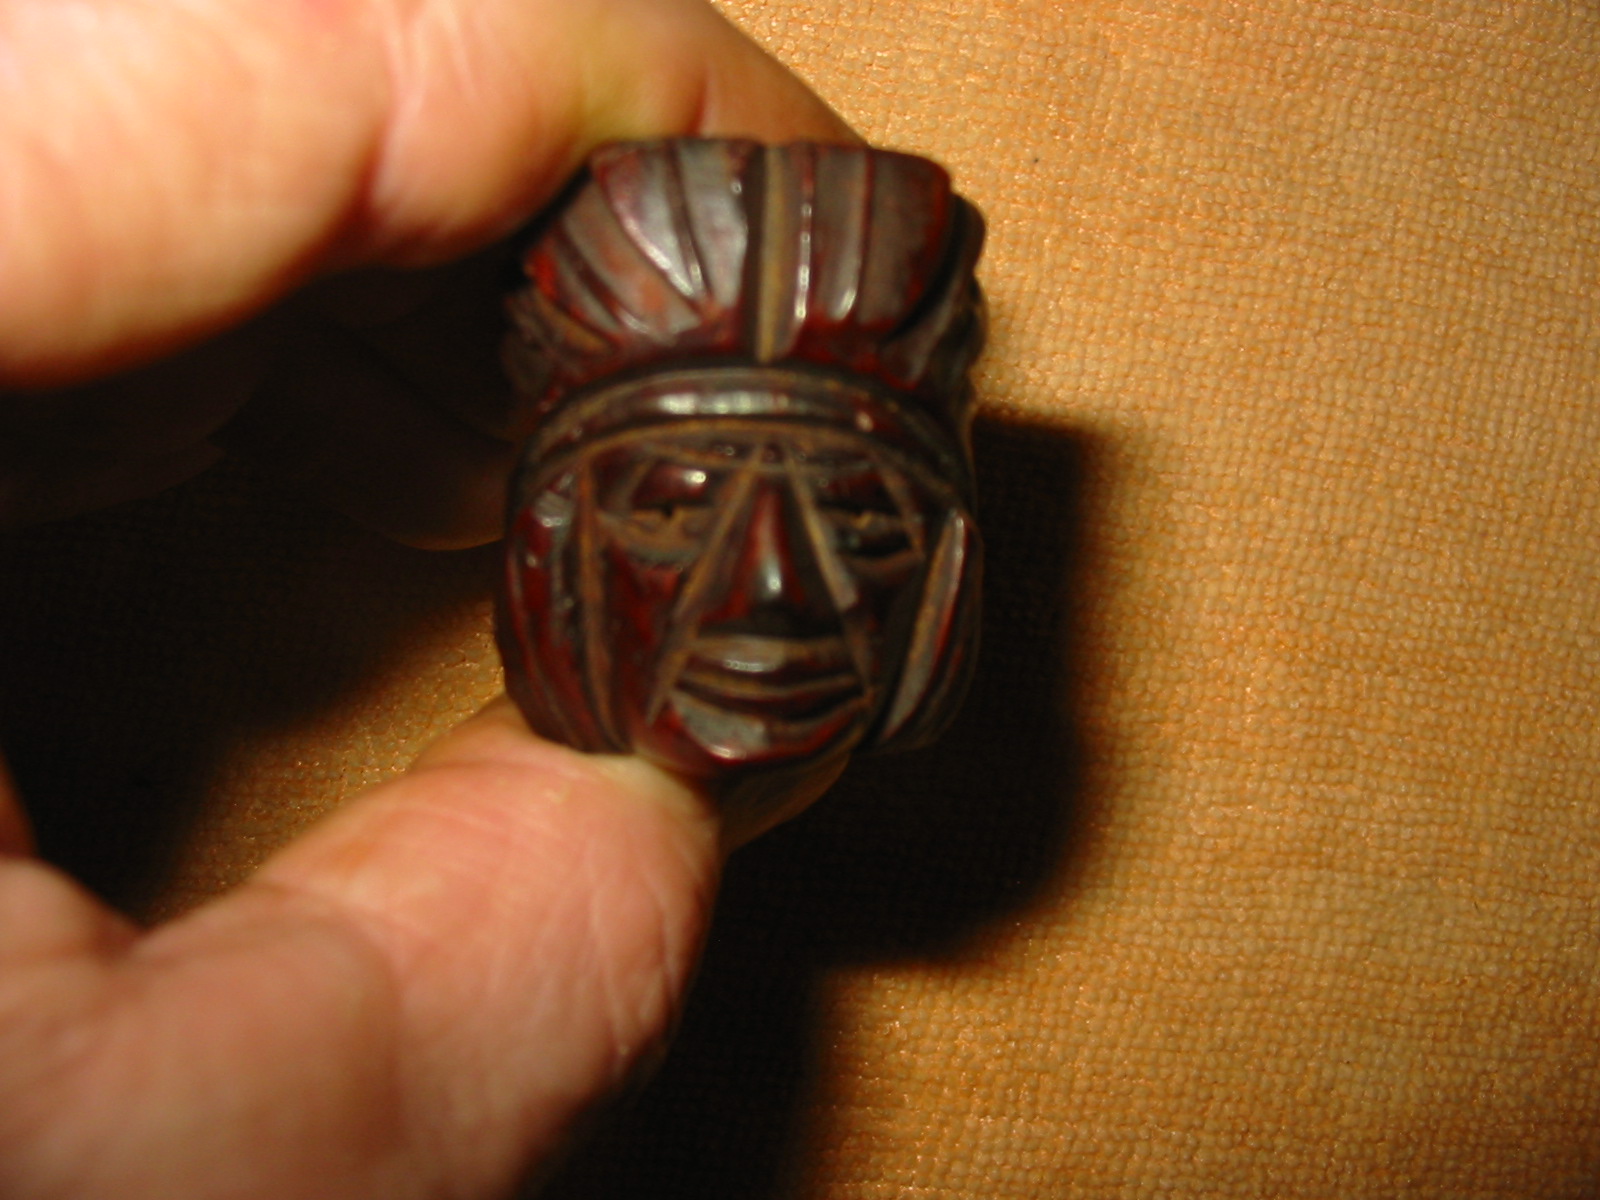
I received this figural pipe in the lot of six that came to me from a friend on Smokers Forums. It is a tiny pipe – measuring just over 3 ½ inches in length. It is stamped only Real Briar in a band around the shank. The carving of a First Nations Leader (as we call them here in Canada) or Native American (US) is nicely done. The bowl was cake with a rough layer of cake. The finish was dirty and some of the top coat was damaged. The rustication around the bowl rim inside the head dress was almost smooth with tars. The grooves in the feathers and facial features were dirty as well. The stem was rough and badly oxidized. There were no tooth marks or chatter on the stem. The button was very tight and I could not put a pipe cleaner through it to clean it out. Pushing a cleaner in from the tenon end only let me get about ¾ of the way up the stem. The first series of four pictures show the pipe as it arrived to my work table.

ImageImageImageImage

I removed the stem and put the bowl in an alcohol bath overnight and the stem in a bath of Oxyclean for the same duration. When I took the bowl out the next morning it was definitely cleaner however I needed to scrub it with a soft bristle toothbrush to remove the grime from deep in the grooves in the face and feathers. I also wiped the bowl down with acetone on a cotton pad to remove the remaining finish on the bowl. I reamed the bowl with my T handle PipNet reamer to get the bowl cleaned out. I also cleaned the shank with cotton swabs and Everclear and then pipe cleaners as well. I used the drill bit on the handle of my KleenReem reamer to remove the build up from the airway between the mortise and the bowl. Once the pipe was cleaned inside and out it was ready to be stained. The next series of three photos show the pipe ready to be restained.

ImageImageImage

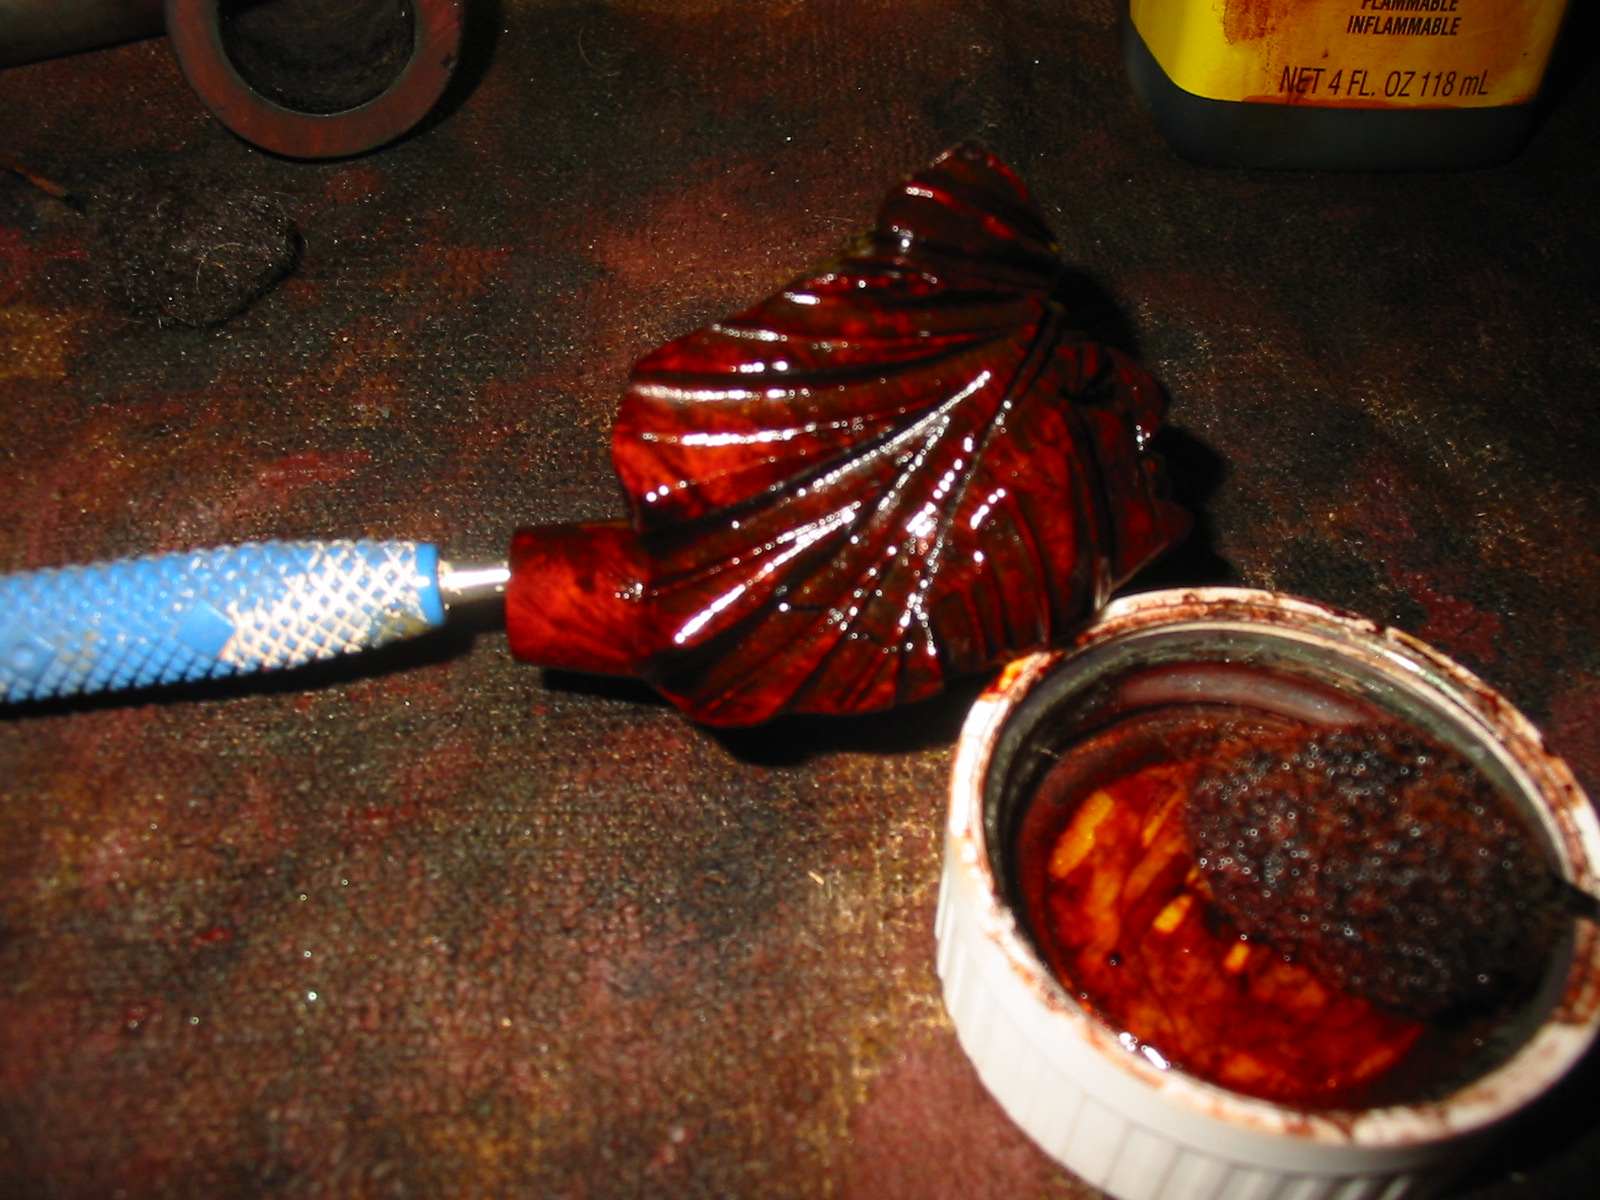
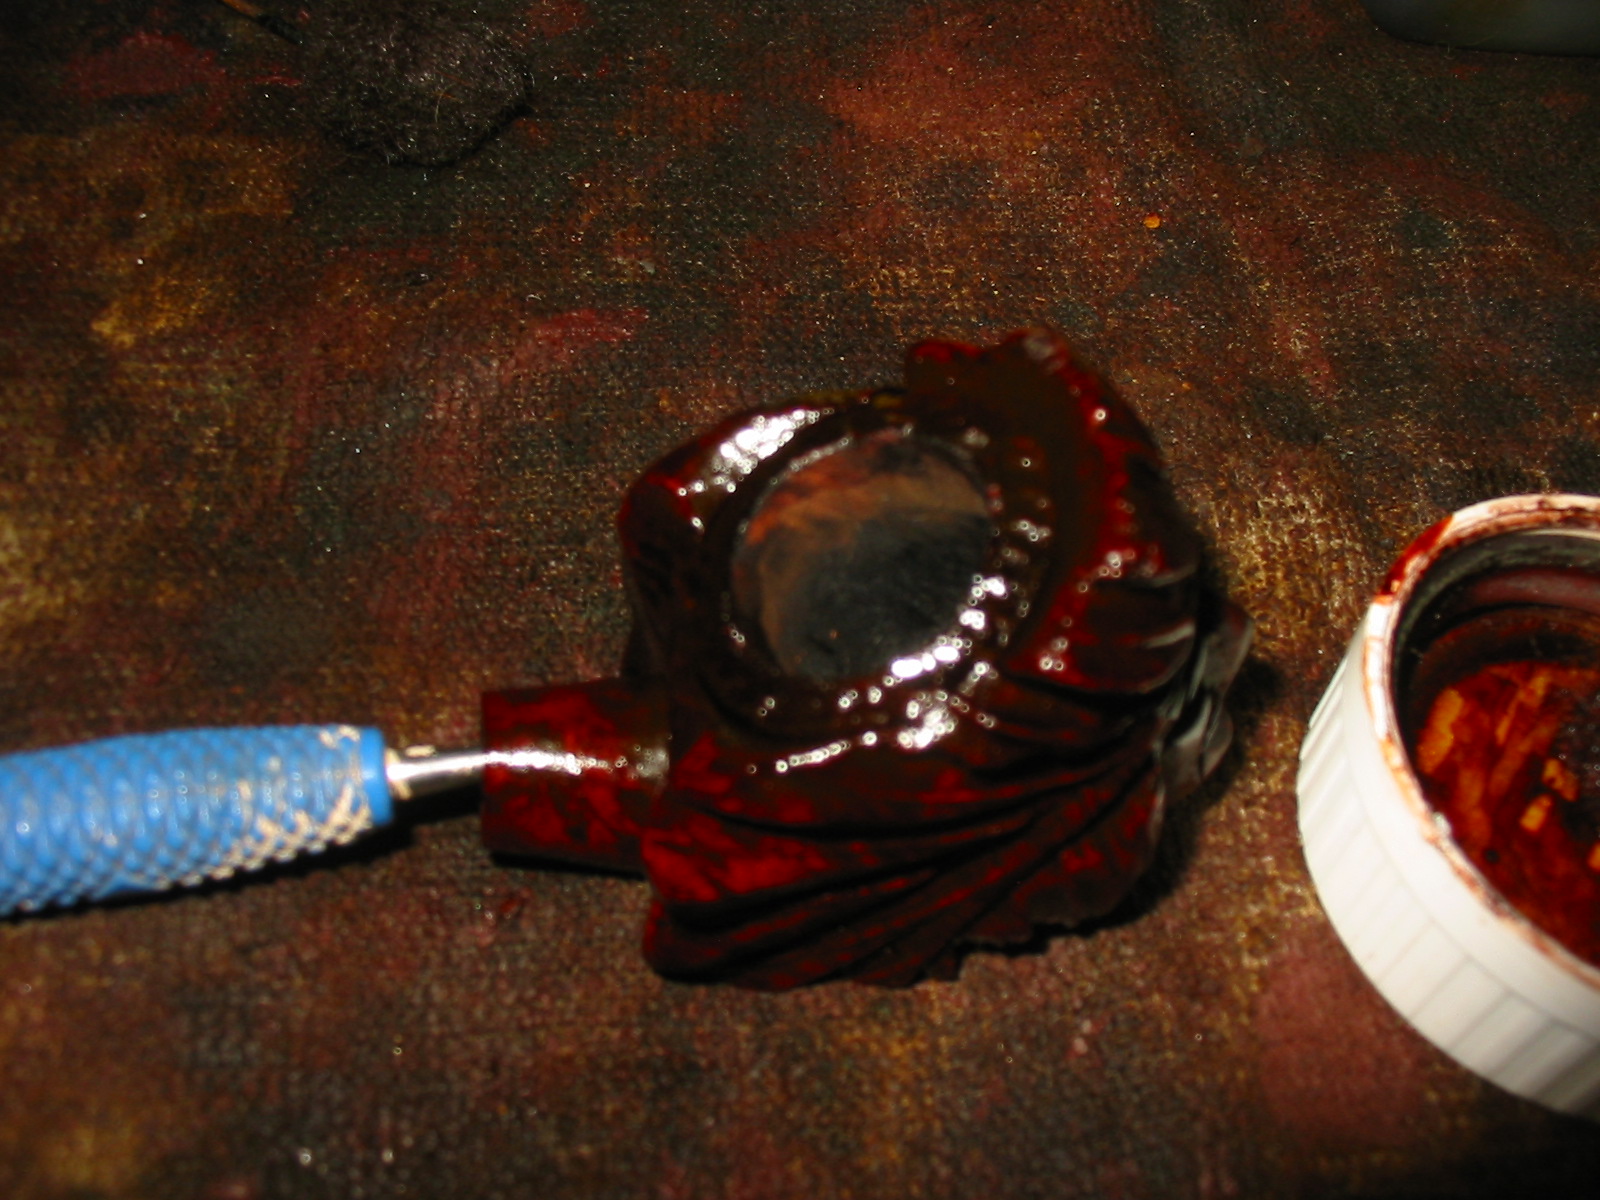
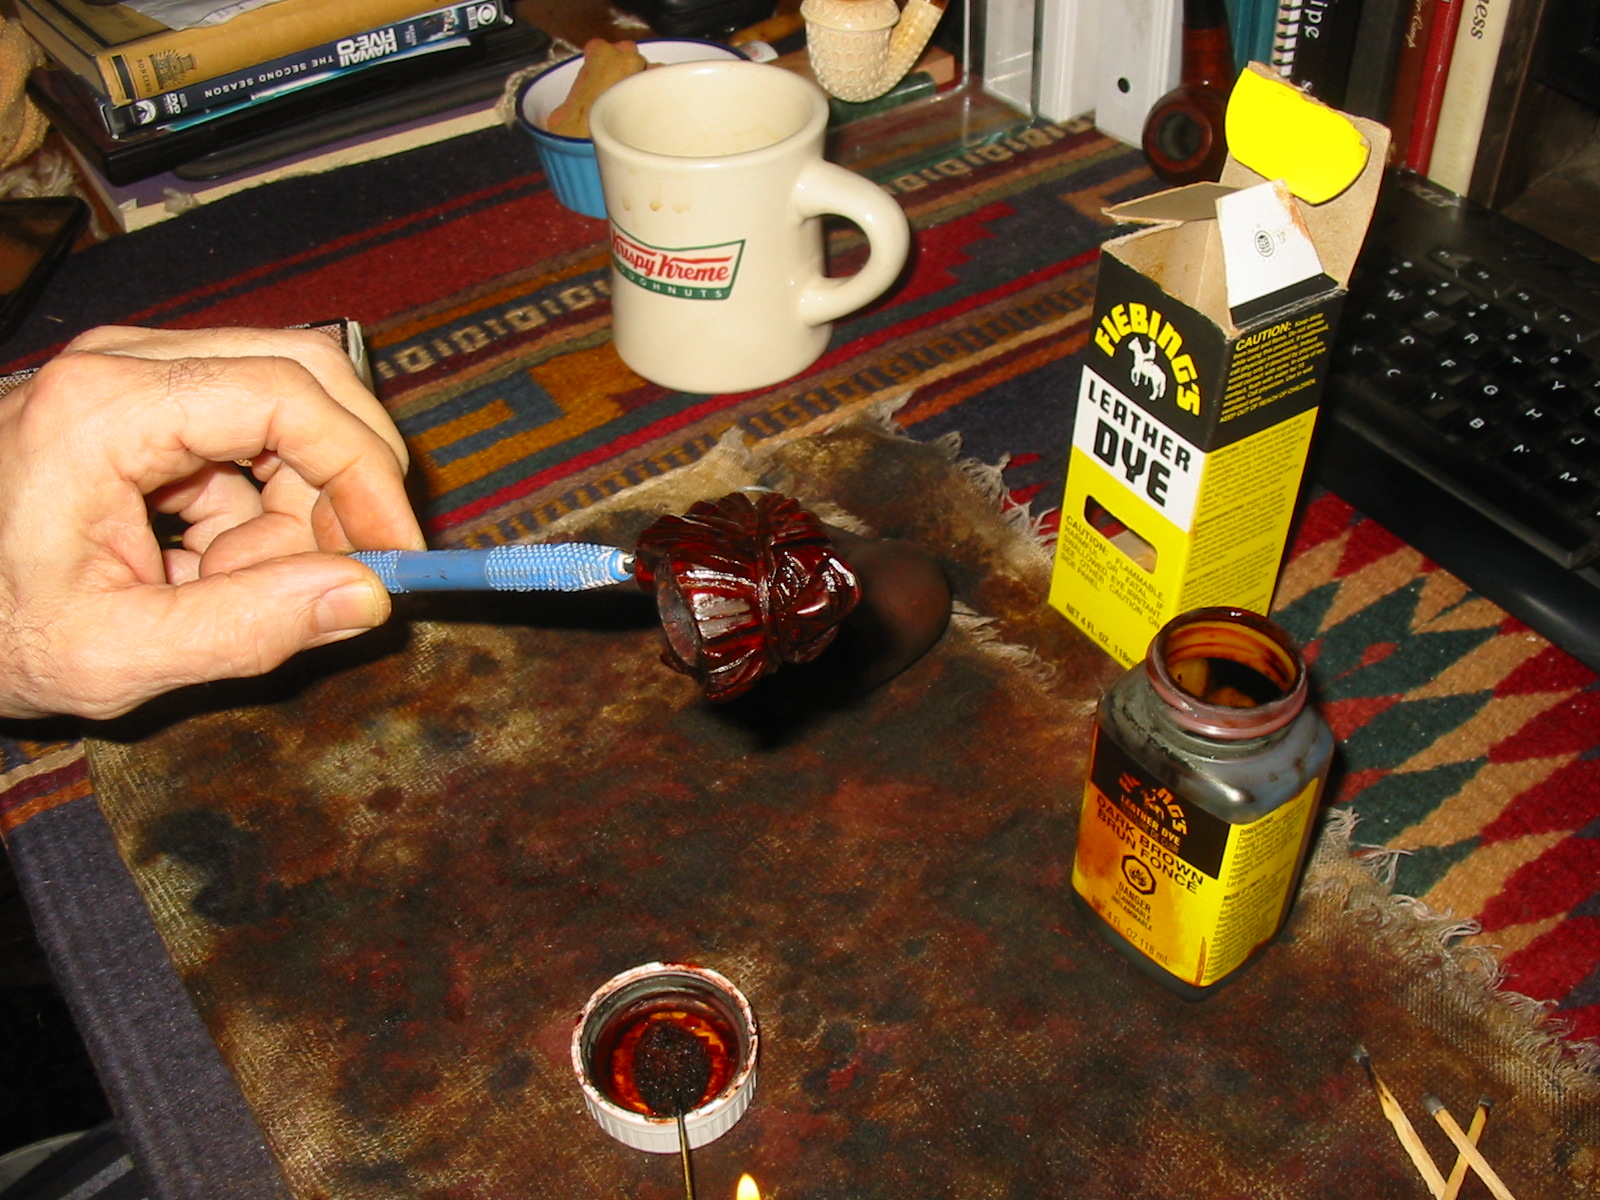
I restained the bowl with a dark brown aniline stain that I thinned down 2:1 with isopropyl alcohol. I used the dauber that comes with the stain. I applied it heavily, flamed it and then restained it until the coverage was the way I wanted it. The next three photos show the bowl during the staining process.

ImageImageImage

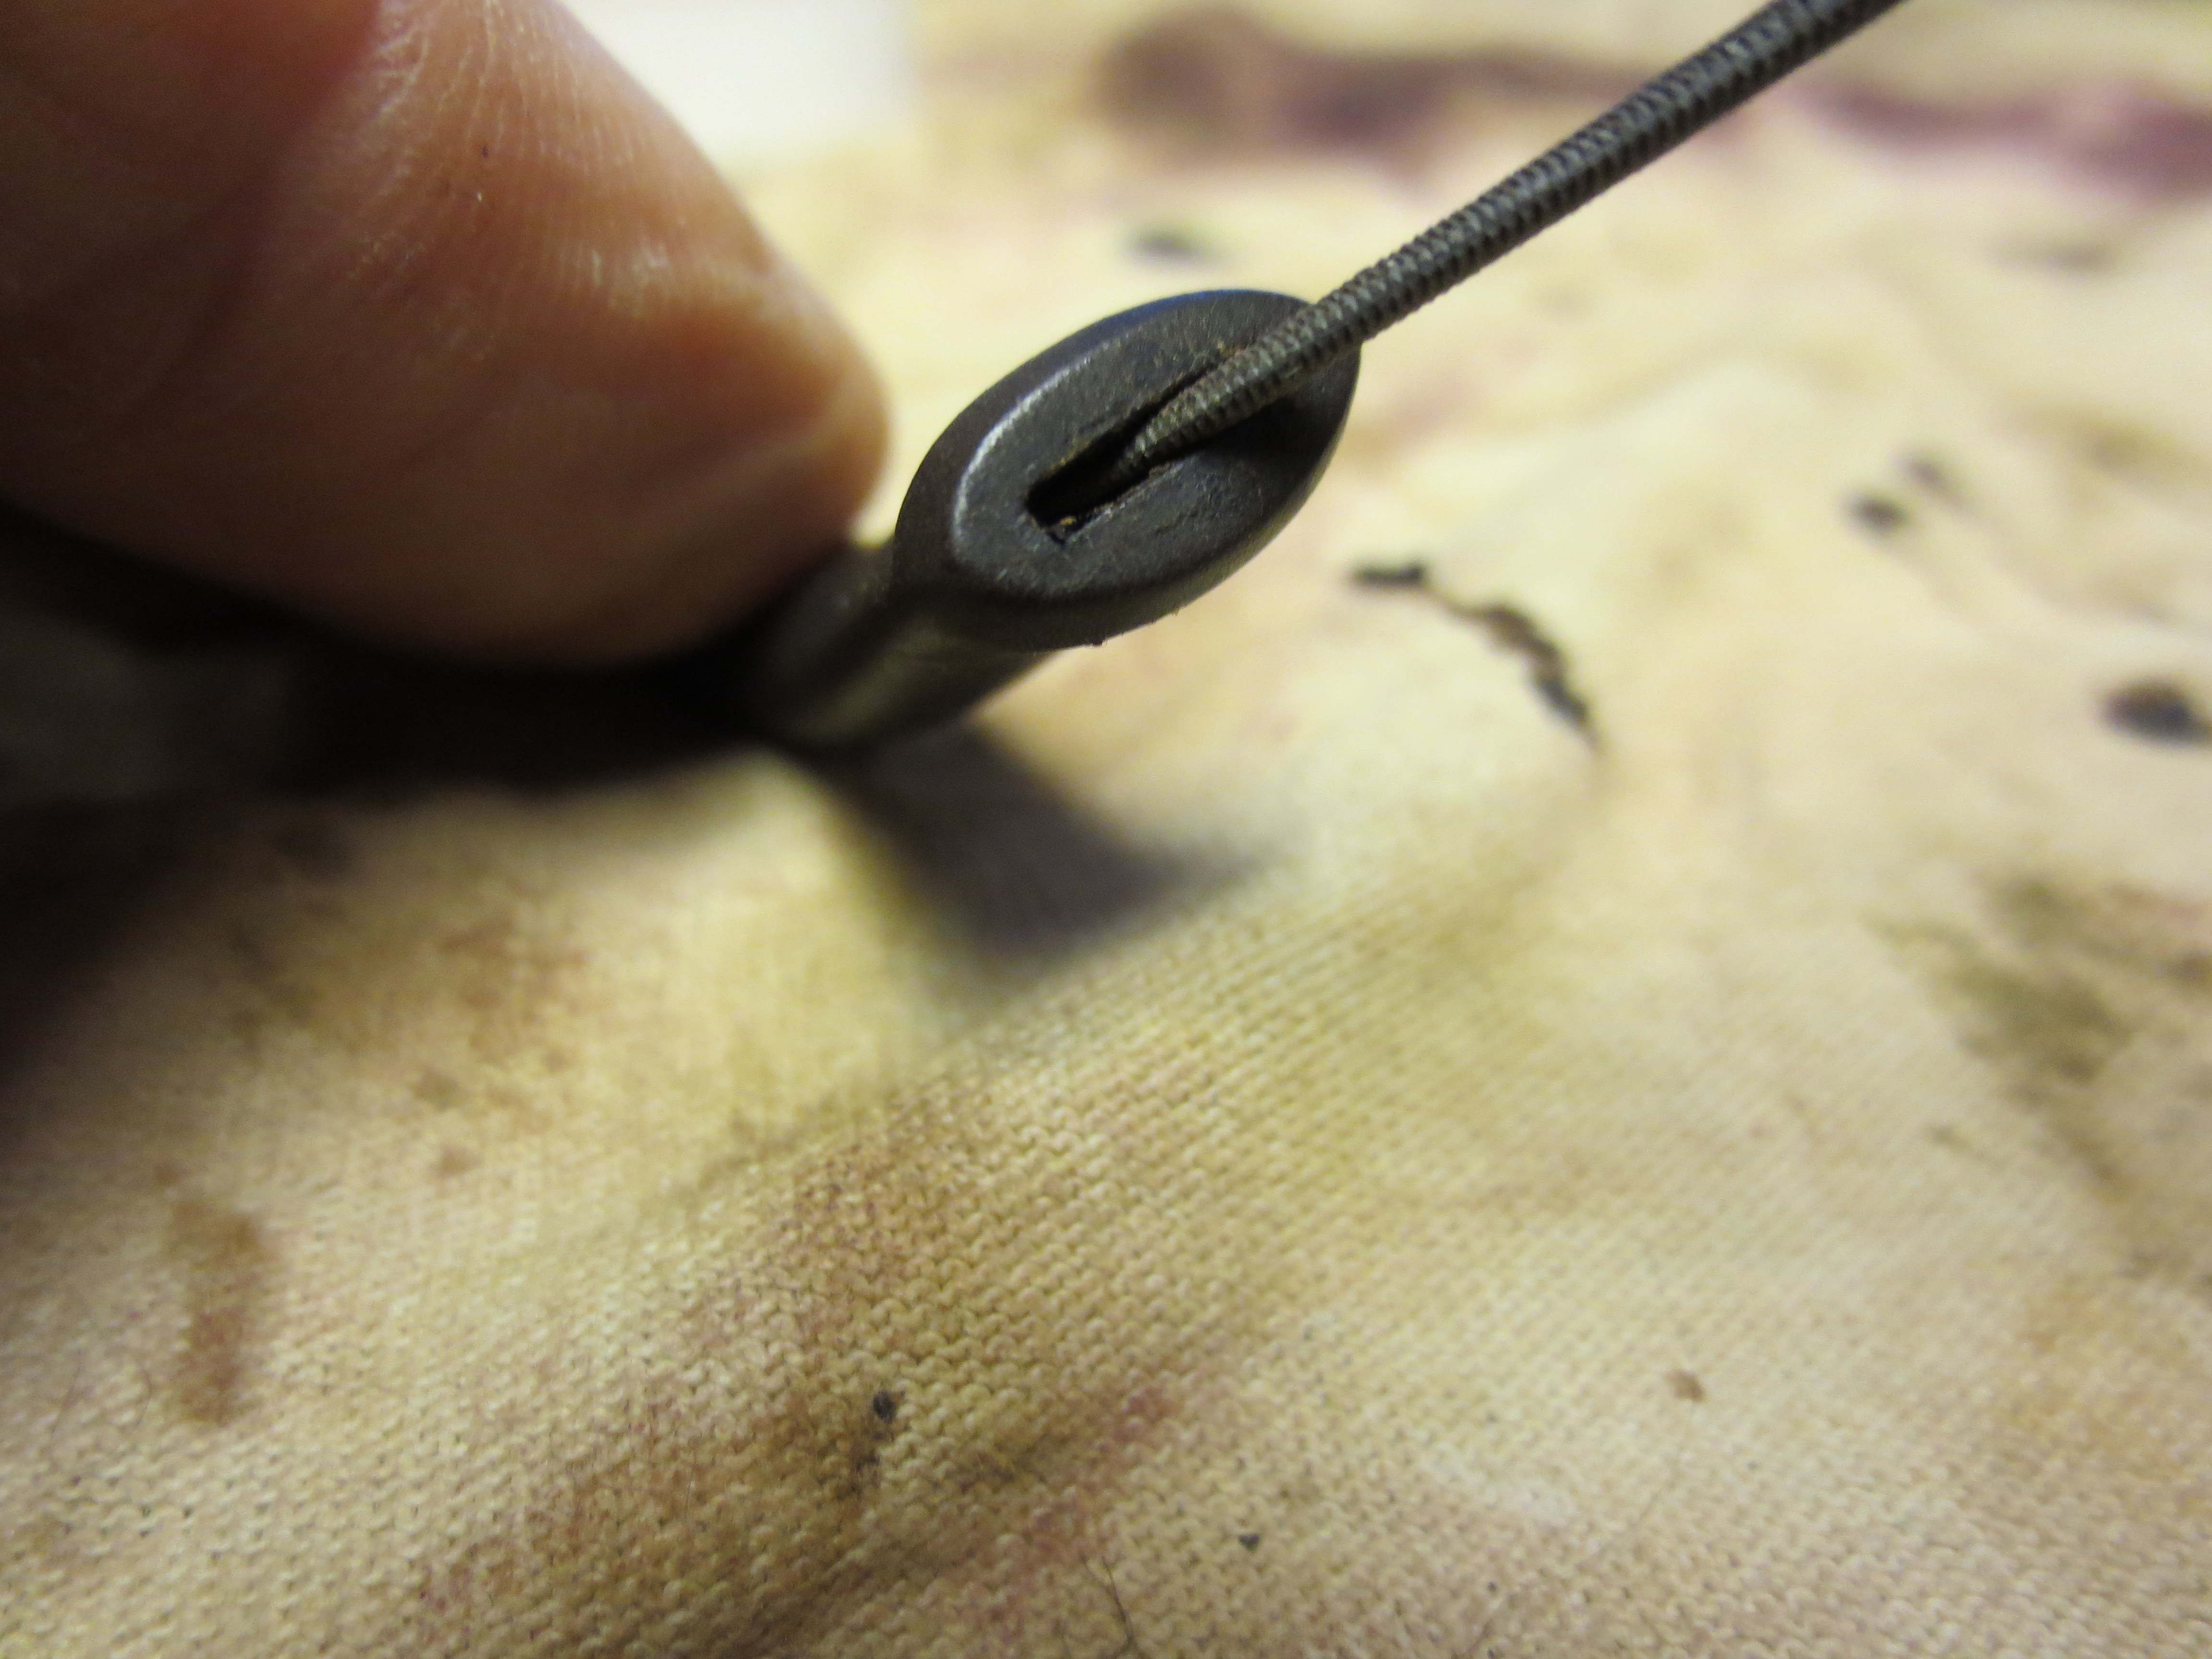
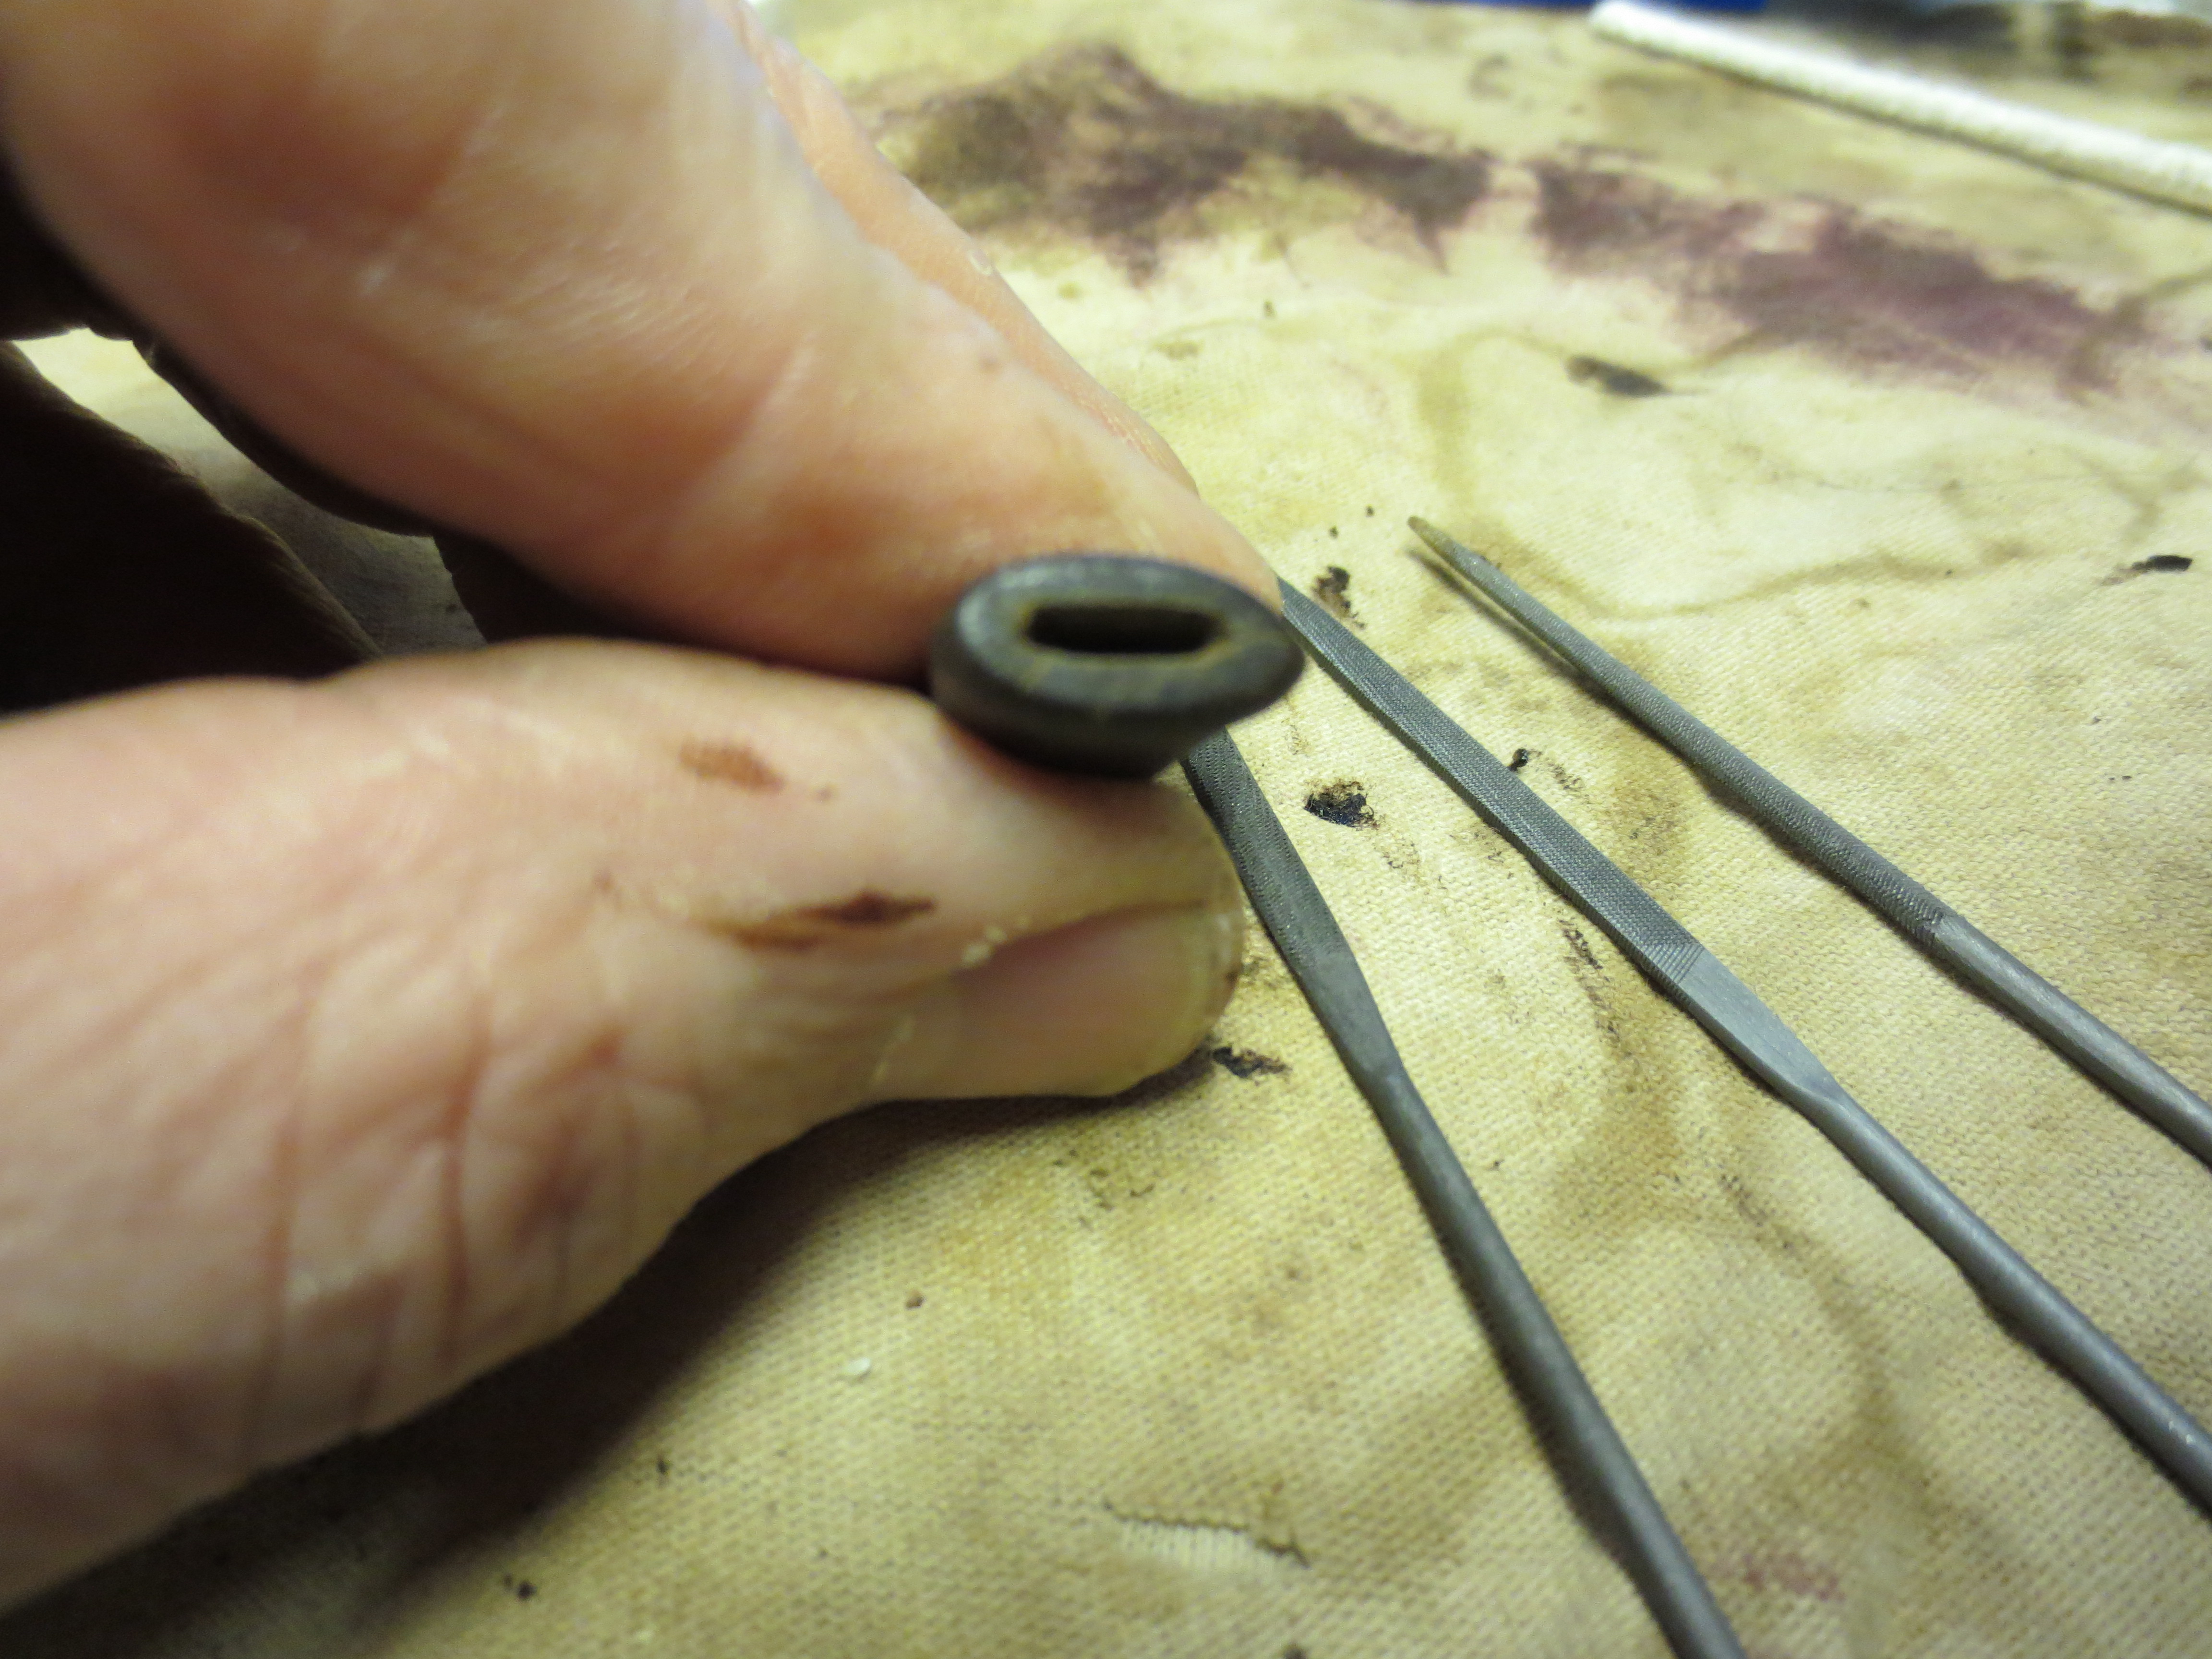
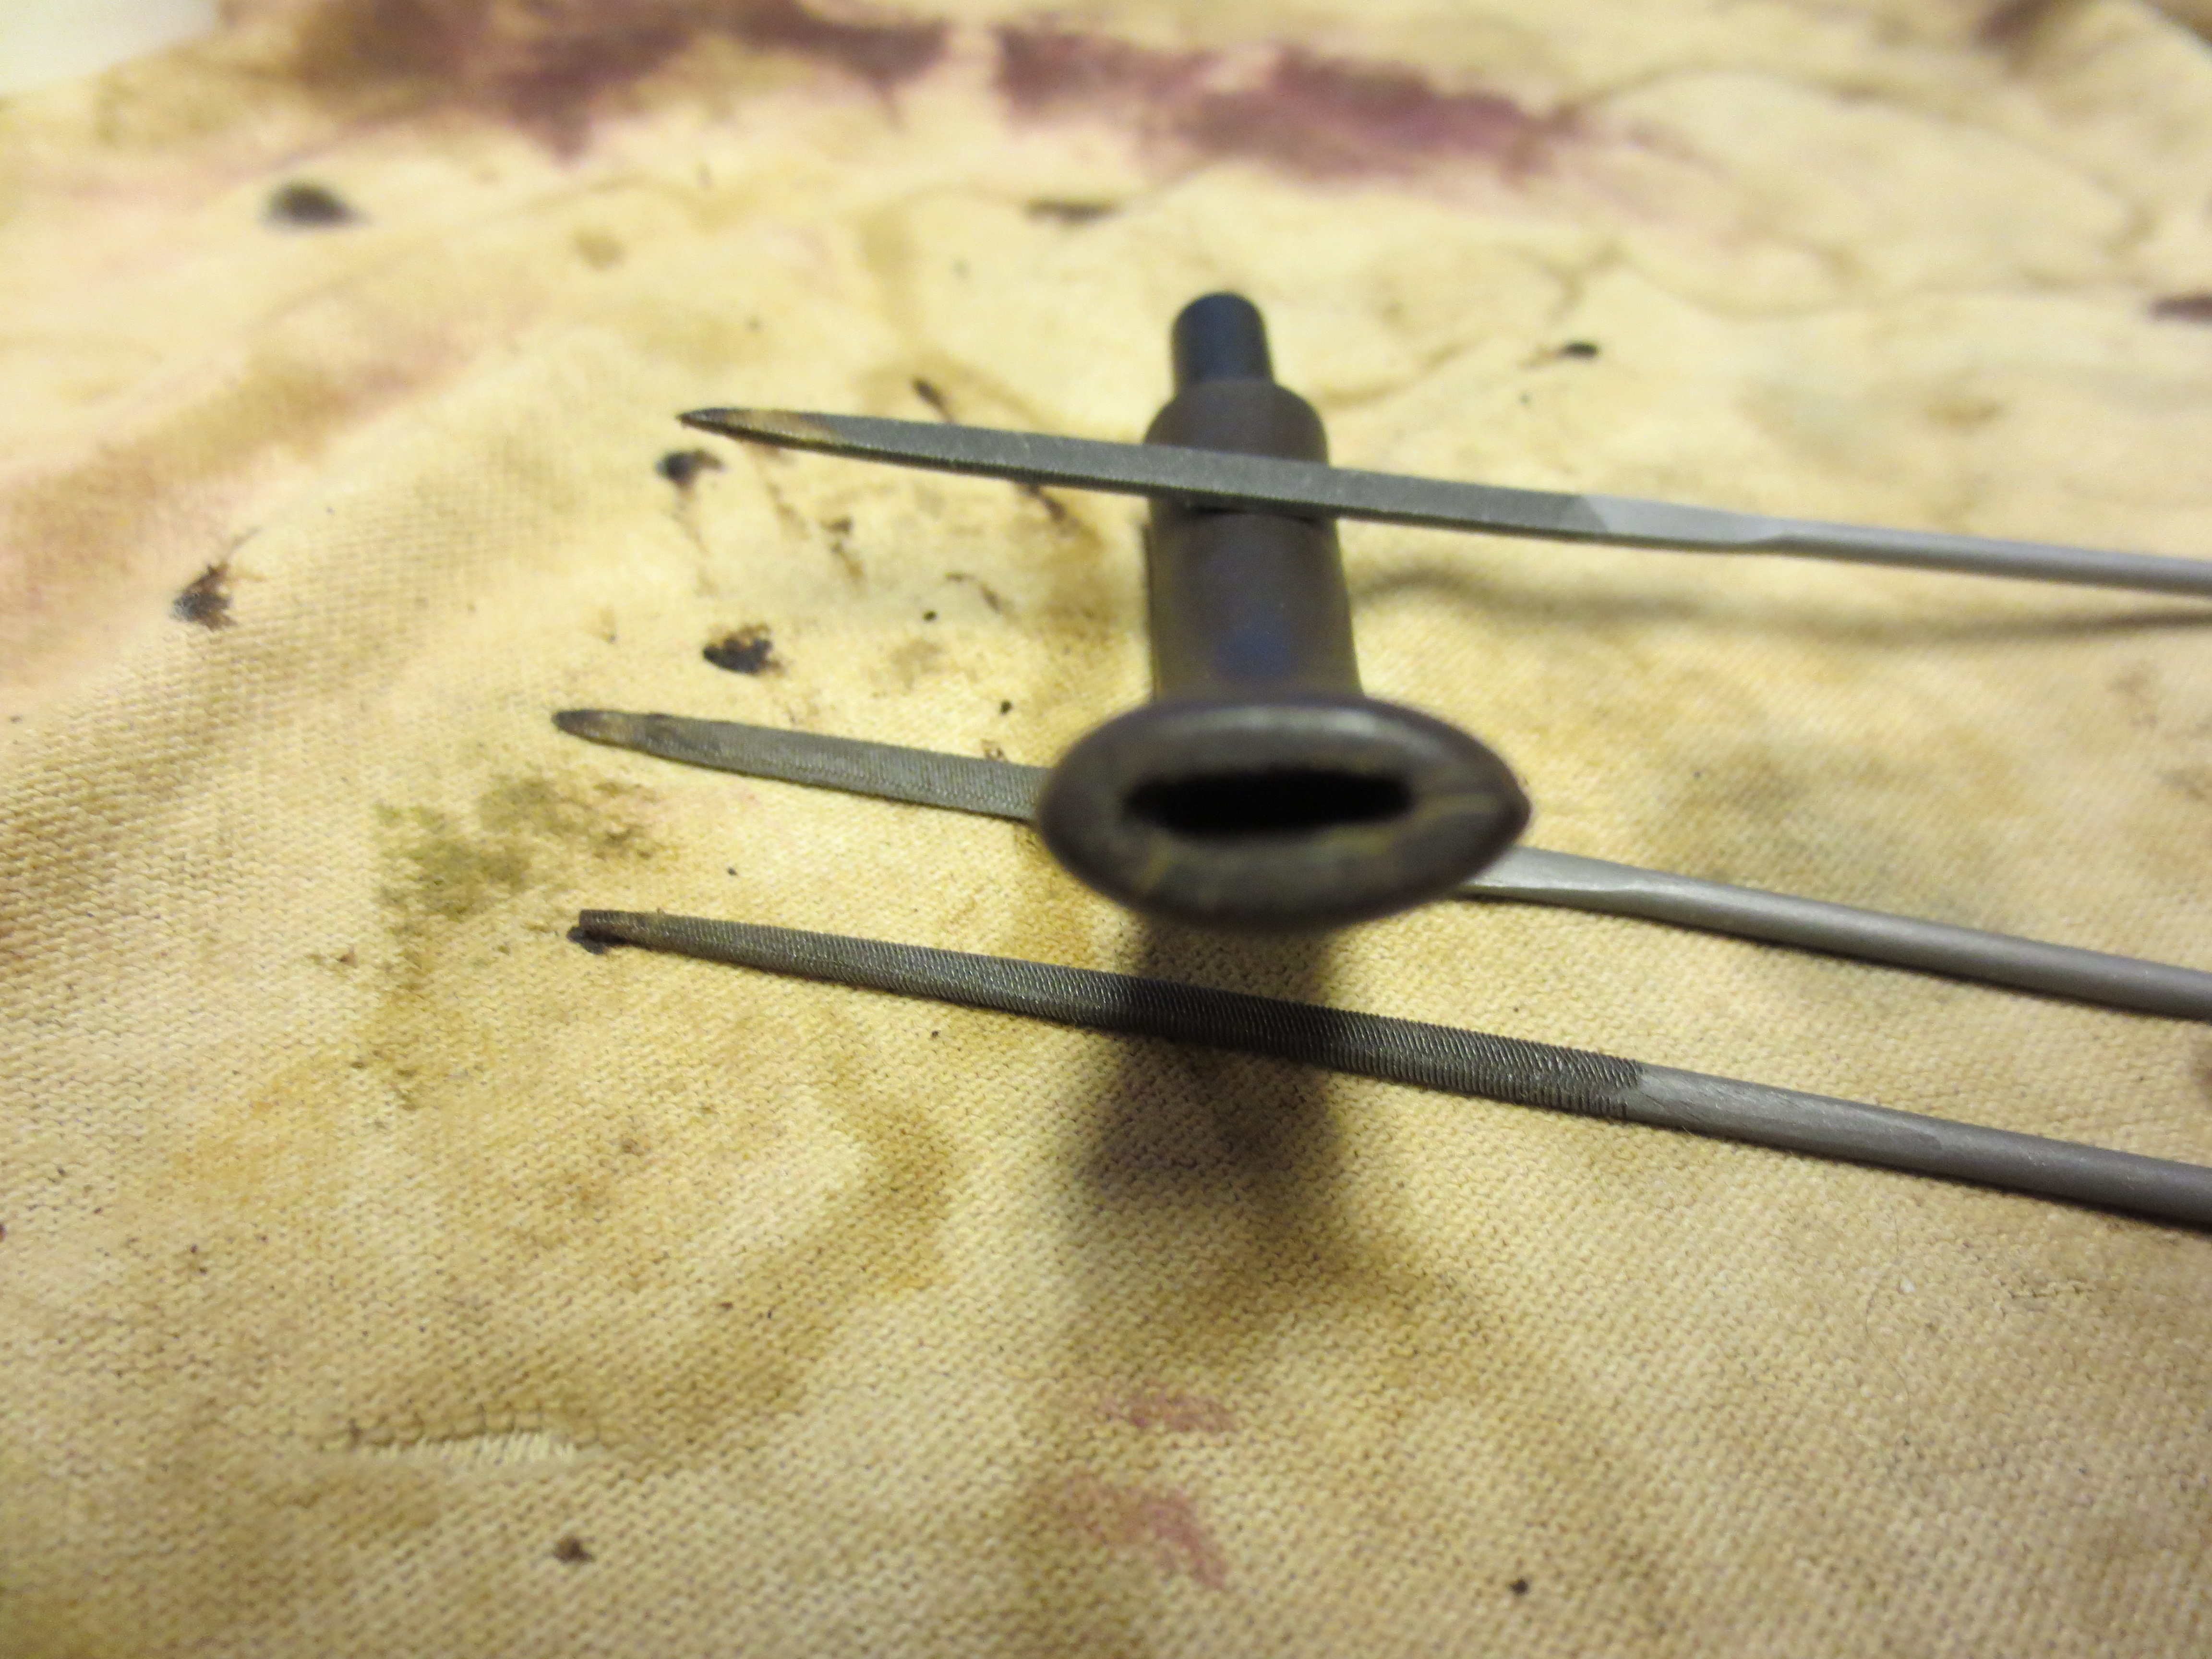
The stem needed a lot of work to get the roughened surface smooth again and the oxidation off of it. I began by working on the slot in the button. I could not get a pipe cleaner through it so it would need to be opened with my needle files before I could really clean the inside of the airway. The next four photos show the progress of the slot reshaping and opening from start to finish. Once the slot was the right openness and took a pipe cleaner easily I sanded it out inside with a folded piece of 320 grit sandpaper to smooth out the file marks.

ImageImageImageImage

Once the slot was open I cleaned out the inside of the stem with Everclear and pipe cleaners and a shank brush. It took a lot of pipe cleaners as I don’t think the stem had ever been cleaned since it was first smoked. I then sanded the surface of the stem with 220 grit sandpaper to loosen the remaining oxidation and smooth out the rough surface. I then used a medium grit sponge backed sandpaper to remove the scratches left behind by the sandpaper. I used the Bic lighter technique on the stem and then sanded it with micromesh sanding pads 1500-2400 grit and then polished it with Maguiar’s Scratch X2.0 applied and rubbed off with a cotton pad. I finished sanding the stem with the remaining micromesh pads from 3200-12,000 grit, buffed it with White Diamond on my buffer and then coated it with Obsidian Oil and then multiple coats of carnauba. I also gave the bowl a buff with carnauba.

ImageImage

The finished pipe is pictured in its new finish in the next five photos. It is a proud figural that has interesting carving and a great feel in the hand. I am not much for figural pipes but this one has some endearing features for me. Thanks Bill for the gift and the opportunity to try my hand on this one.

ImageImageImageImageImage

Refurb – Jarl Ribbon Acorn


Blog by Steve Laug

This little pipe caught my eye when I was going through my box of pipes to be refurbished. It is stamped Jarl and is in what they call their Ribbon finish. It an acorn shape with what for all intents and purposes looks like a Celius style stem on it. It is light and clean.

The bowl needed a good reaming – a bit of a trick as it is a conical bowl. I used several of the PipNet bits on the T handle to ream the bowl. The finish was faded and dirty. The inside of the shank was tarry and dirty and the inside of the stem was the same. The stem was oxidized and the original owner had modified it by carving some horizontal lines (3x) on the top and bottom of the stem to make kind of a homemade dental bit. He had also used some Elmers Glue to repair the button where he cracked it trying to put a pipe cleaner through it. The glue was all over the top of the stem.

ImageImage

I scrubbed the bowl with some Murphy’s Oil Soap and a soft bristle tooth brush to clean out the grime and dirt from the sand blasted portions of the bowl and shank. I scrubbed the ribbon or smooth portions with a cotton pad and Oil Soap. It took a bit of scrubbing to remove the tars from the rim edge and restore the finish there to a clean colour. I ran it under a clear stream of warm water to wash away the soap and then dried it off with a microfibre cloth. Once it was dry I decided to restain it with an oxblood and black stain on the blast portion and a nice oxblood/cherry on the smooth parts. Before staining I cleaned out the shank and airway with cotton swabs/qtips and bristle pipe cleaners to remove the grime. I finished with fluffy pipe cleaners. Once clean it was ready to be stained. I first used a black aniline stain and then flamed it. I took it to the buffer and buffed it with Tripoli and White Diamond to remove the black stain from the smooth surfaces and from the high spots on the blasted portion. Then I restained it with a top coat of oxblood/cherry stain, flamed it and then buffed it with White Diamond to get a good contrast colour to the bowl.

The stem took some work. I was able to sand out the homemade cuts without compromising the thickness to much as they were fortunately not too deep. The cracked button was a challenge. I cleaned off the Elmers Glue and then scrubbed the crack clean with alcohol and a soft brush. I picked out the bits of glue that were in the crack with a dental pick. I dried the area and then repaired it with Super Glue. It came out looking like new. The stem was buffed with Tripoli and White Diamond after sanding. The entirety was given a coat of Halcyon II wax and buffed with a shoe brush.

ImageImageImage

Some sad news came back to me regarding this beautiful little acorn pipe. When I finished working on it I gave it away to Desertpipe as a gift. He loved the look and feel of it and appreciated it for what it is. Then one day after using it the cracked portion of the button broke off entirely. He sent the pipe out to be restemmed. I am looking forward to the day it is finished and he sends me some pictures.