By Al Jones

This wonderful Comoy’s Old Bruyere belongs to a West Coast friend I know from the PIpesMagazine.com forum. We have similar tastes in British pipes, with the exception that he prefers straight pipes. When I received this one, and opened the package, I was a little disappointed. At first glance, I thought that the stem could not be original and it didn’t appear to match up to the nomenclature. In fact, I emailed him and hoped he didn’t over pay for the pipe. However, on closer examination and a little research, I started to second guess my early conclusion.
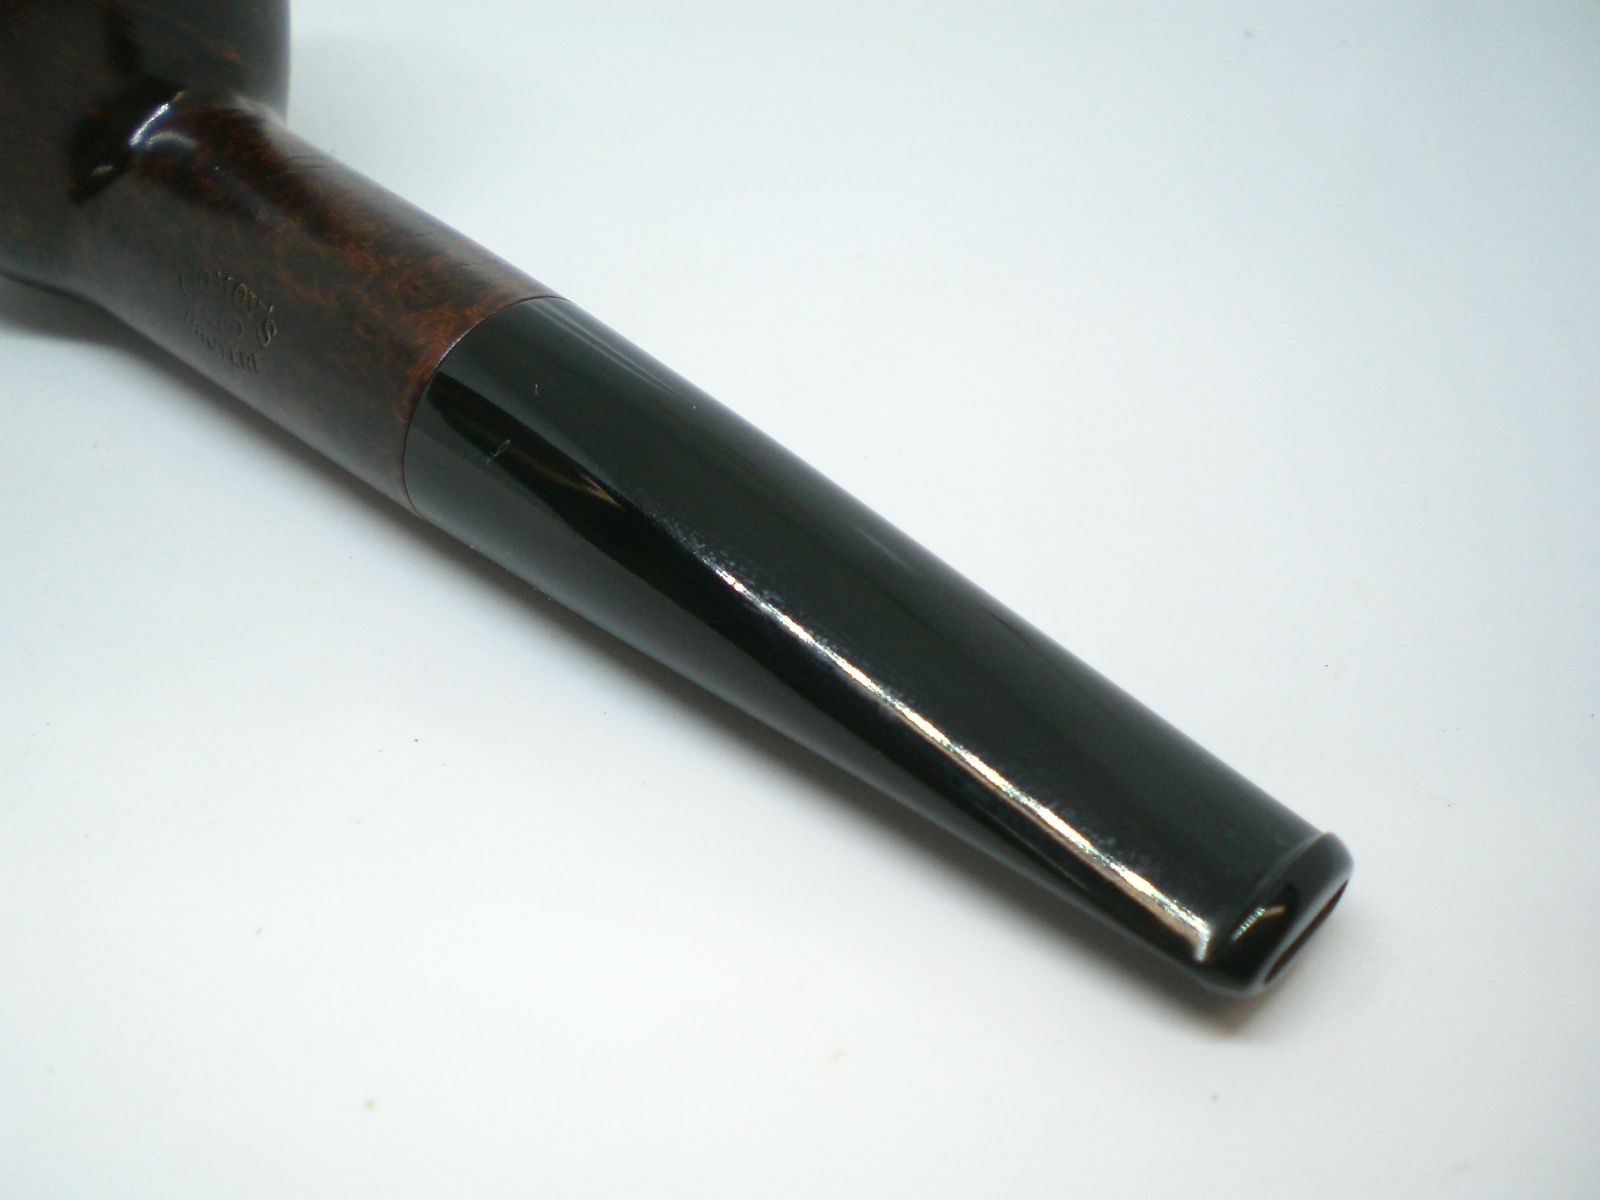
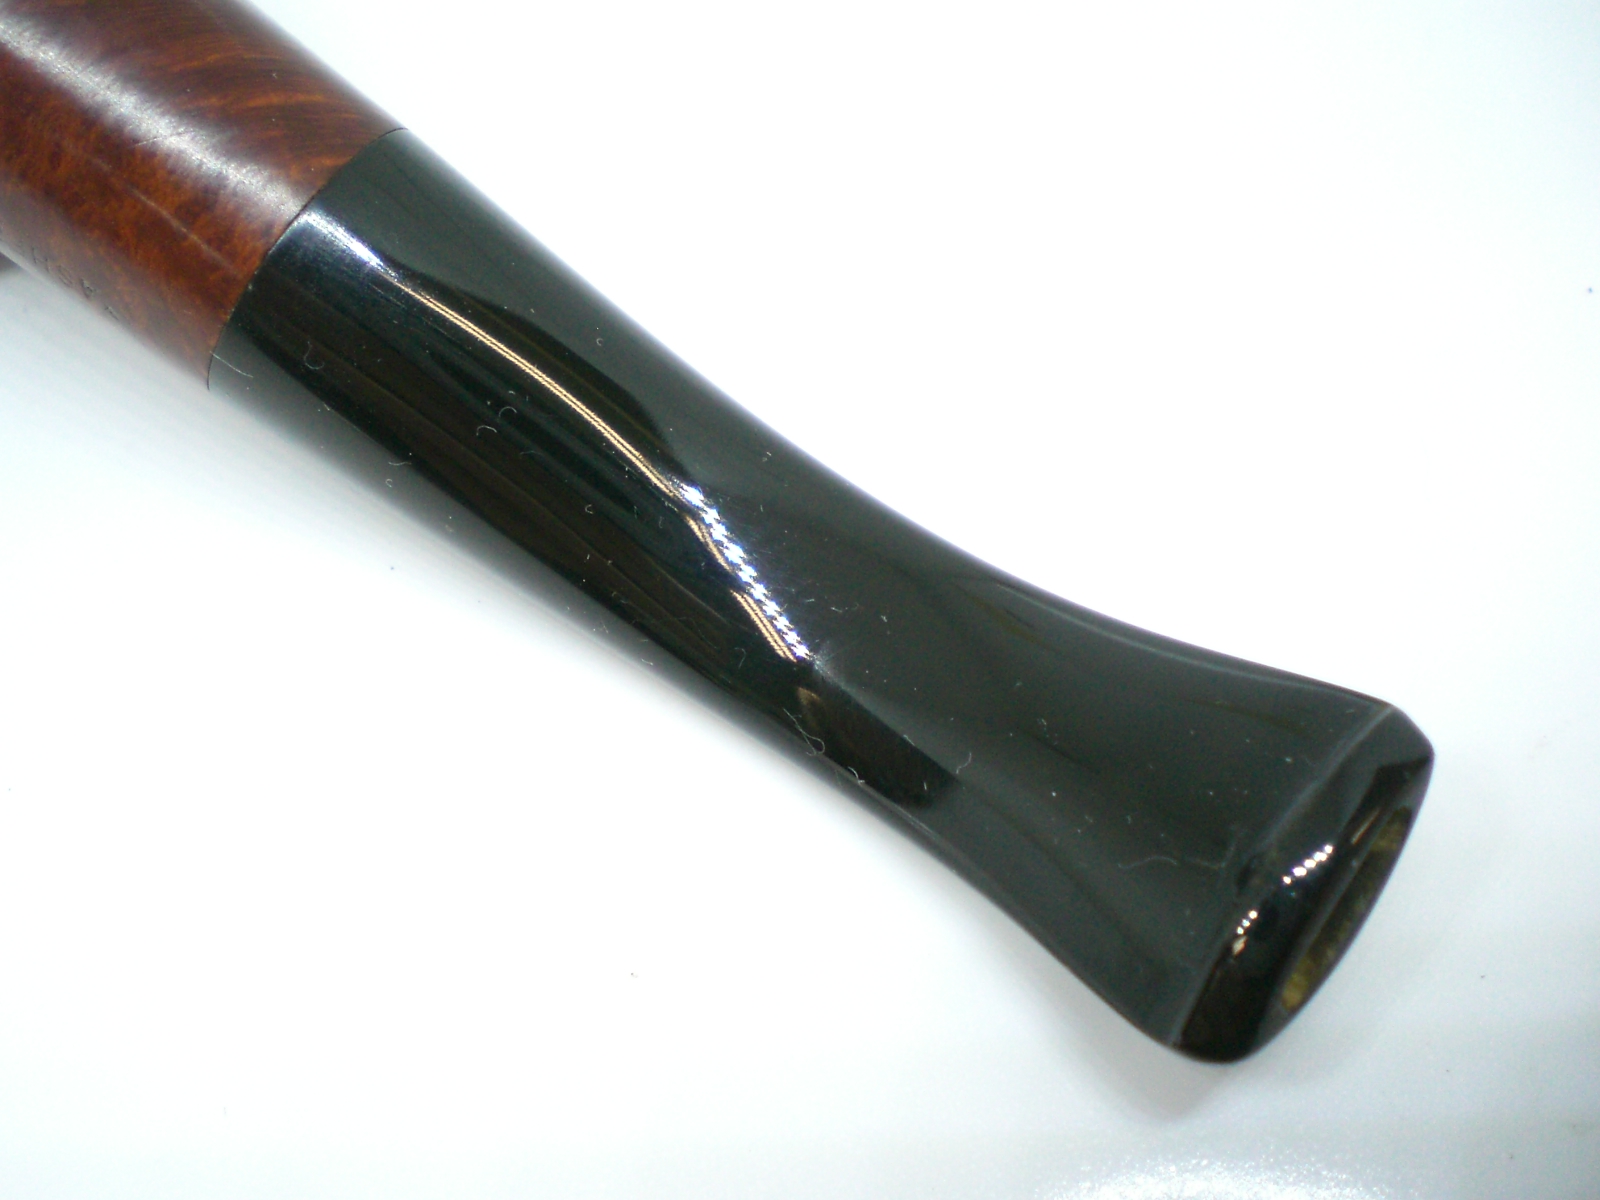
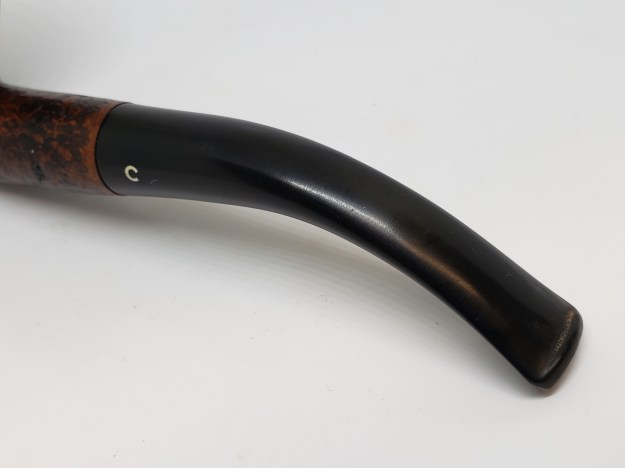
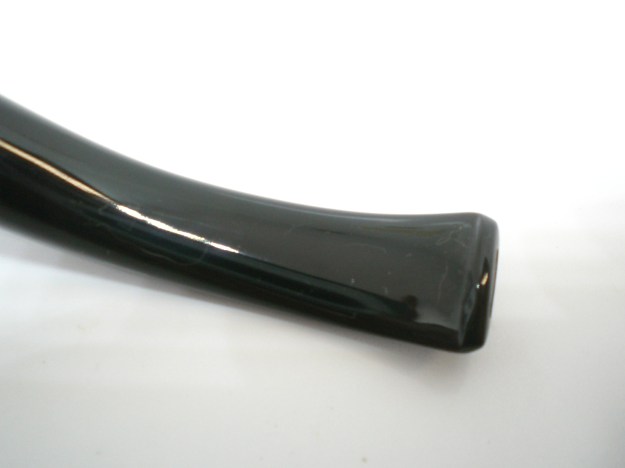
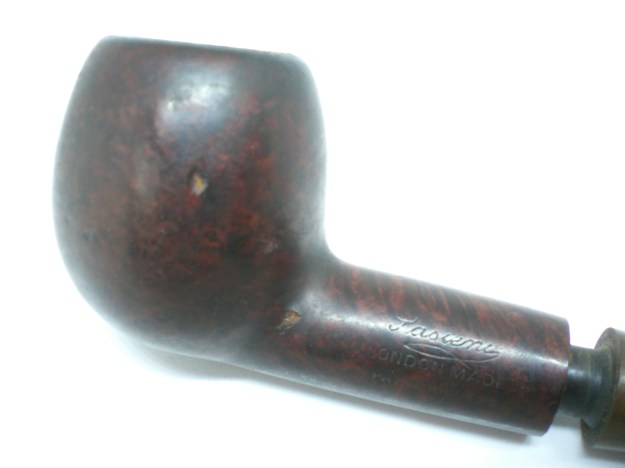
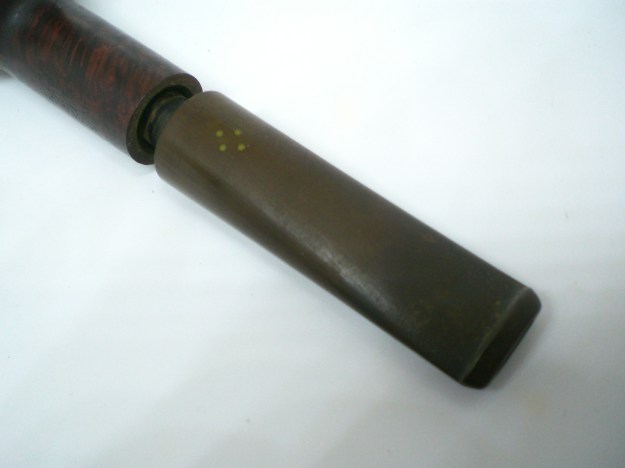
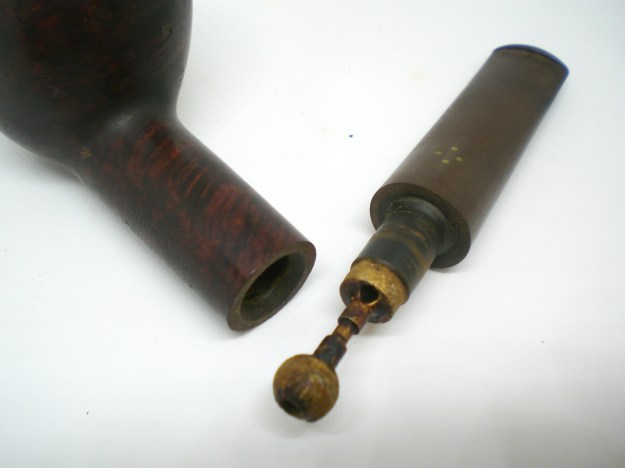
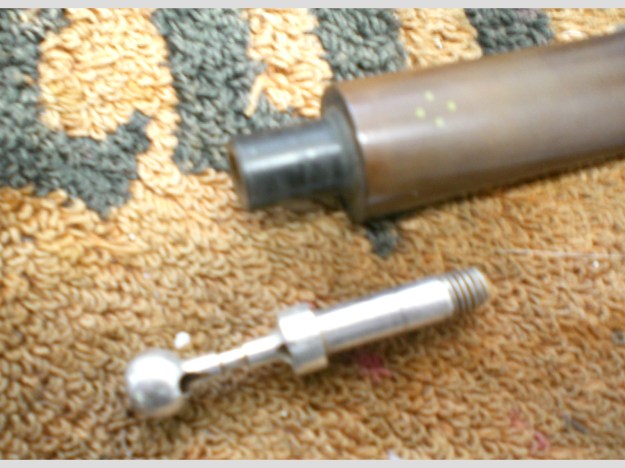
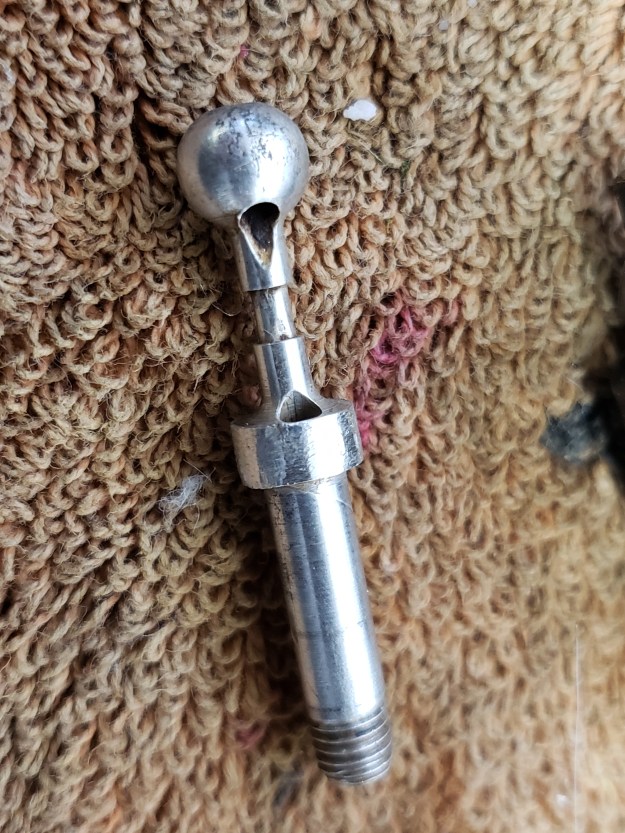
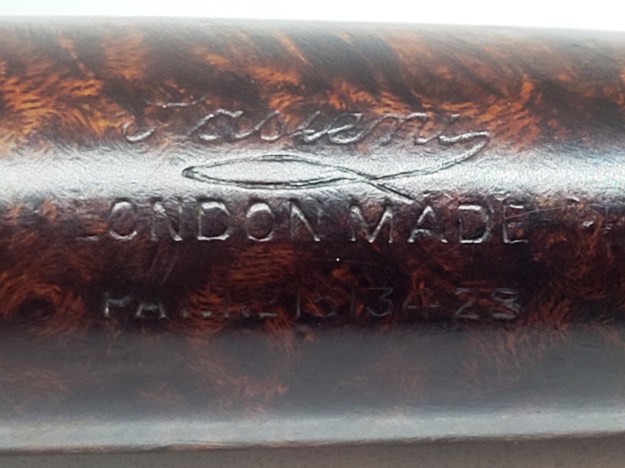
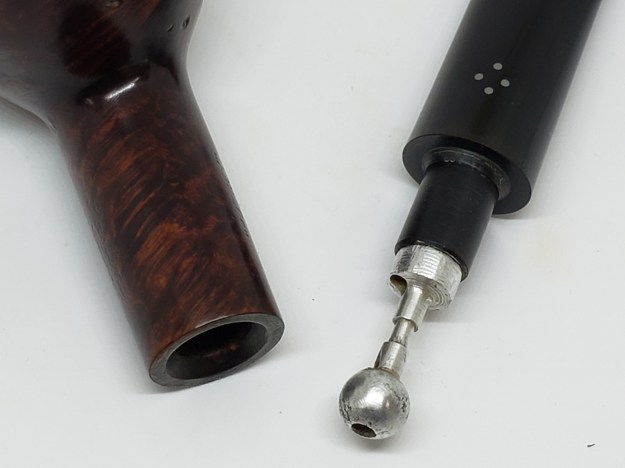
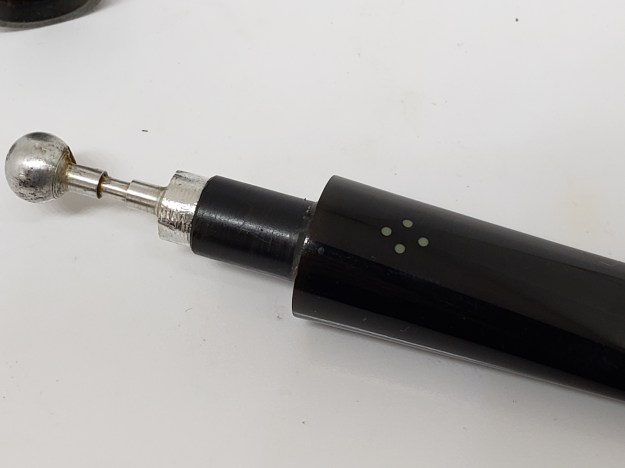
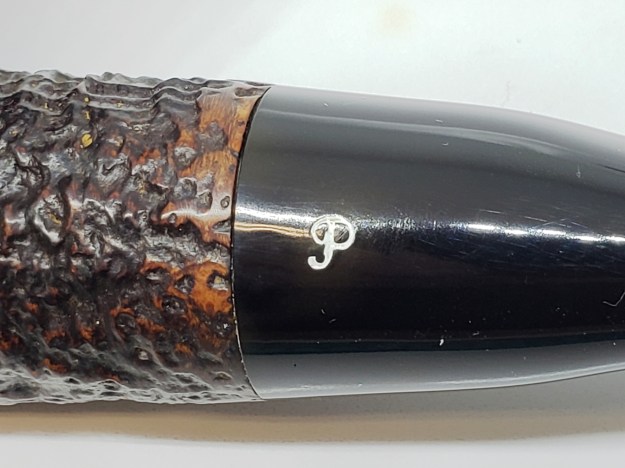
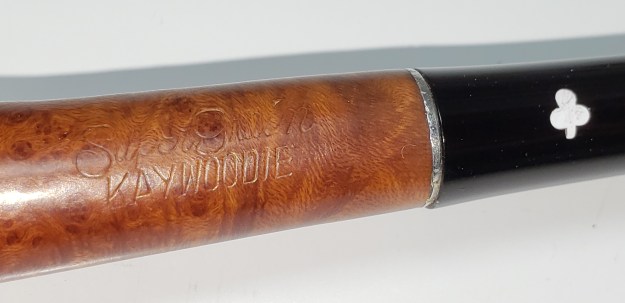
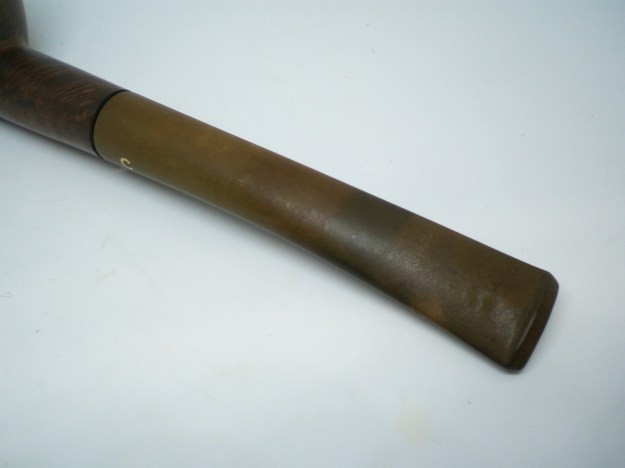
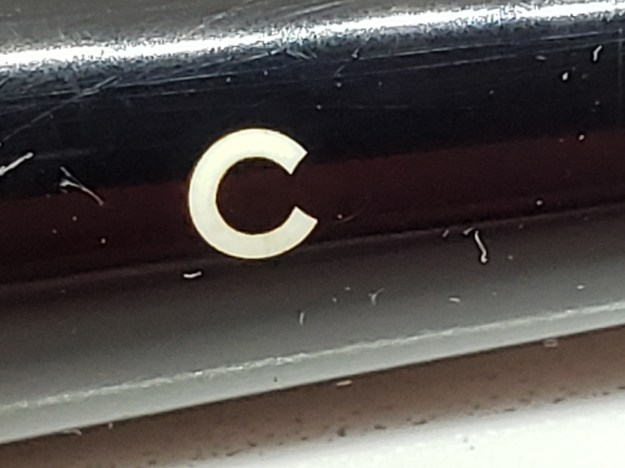
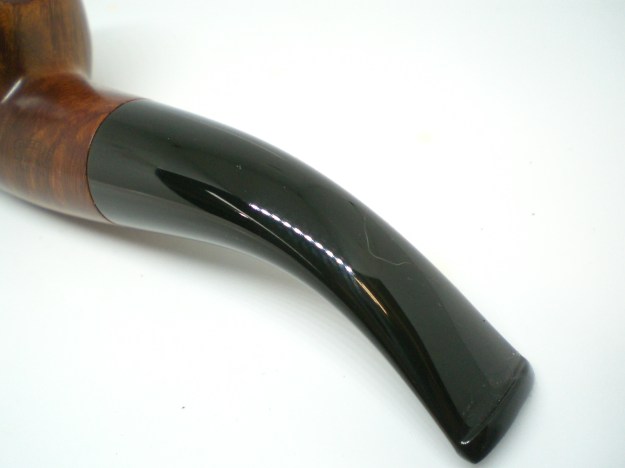
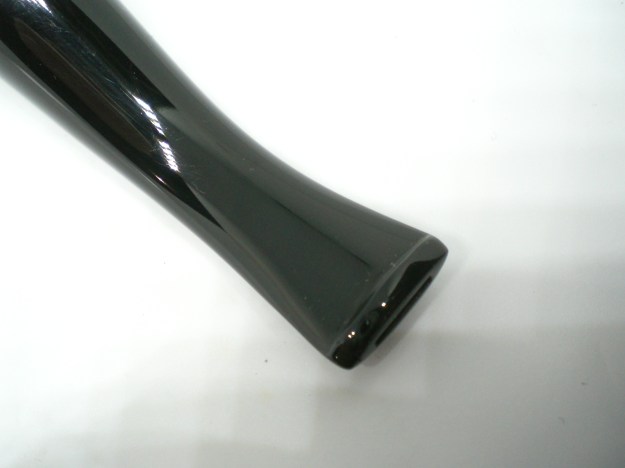
The stem had several visual cues that I thought made it authentic. First, the tenon detail was strictly Comoy’s. The slightly “orific” button didn’t seem to match, what I thought was later nomenclature. A quick check on the Pipepedia site showed that i was way off the mark on my early assumption. Derek Green writes in his “A History Of Comoy’s and A Guide Toward Dating the Pipes:
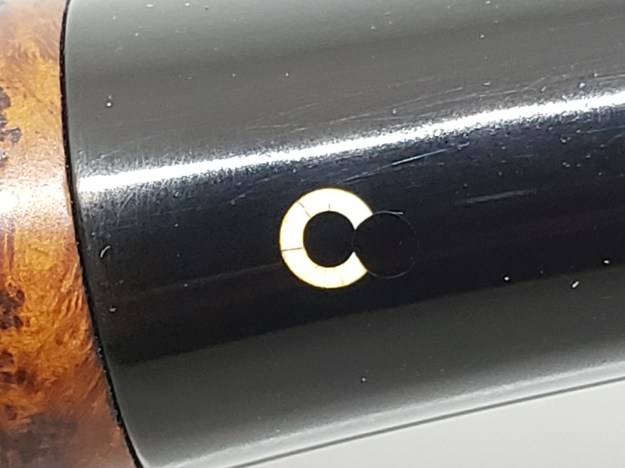
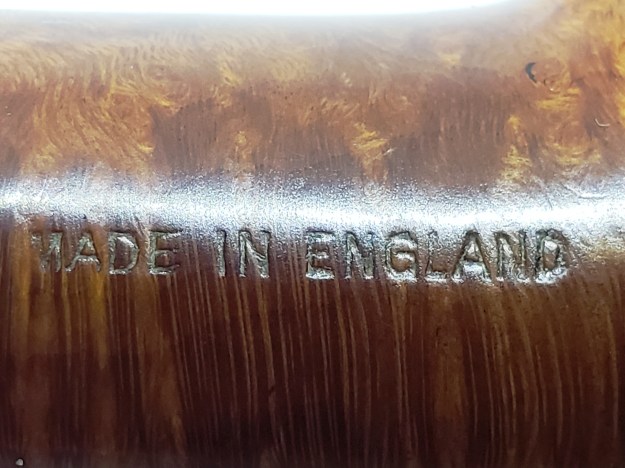
1921 Old Bruyere with hallmarked gold band. “Comoy’s” arched with “in” below and “Bruyere” arched the other way. On the other side, “Made” arched, “in” below, and “London” arched the other way. These stamps are an oval rugby-ball shape rather than a round football. There is no C on the mouthpiece
Regarding the Old Bruyere finish, he adds:
1921 Old Bruyere with hallmarked gold band. “Comoy’s” arched with “in” below and “Bruyere” arched the other way. On the other side, “Made” arched, “in” below, and “London” arched the other way. These stamps are an oval rugby-ball shape rather than a round football. There is no C on the mouthpiece
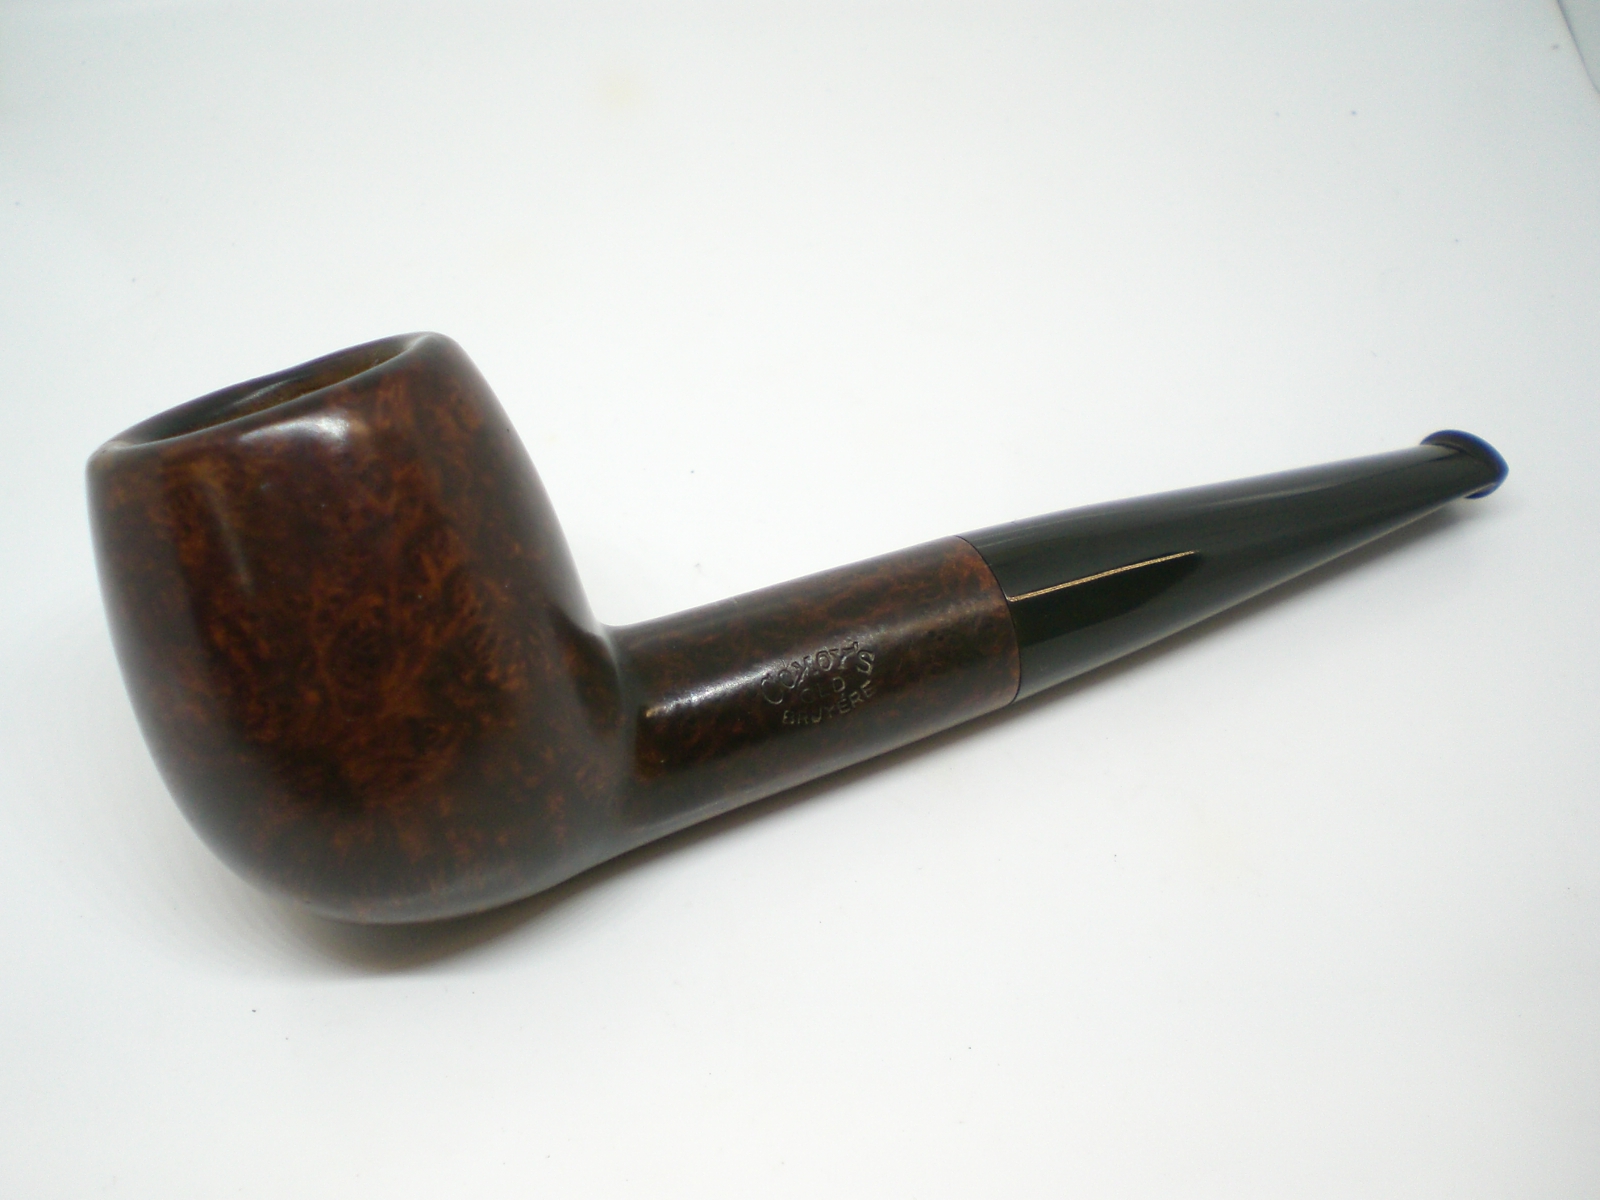
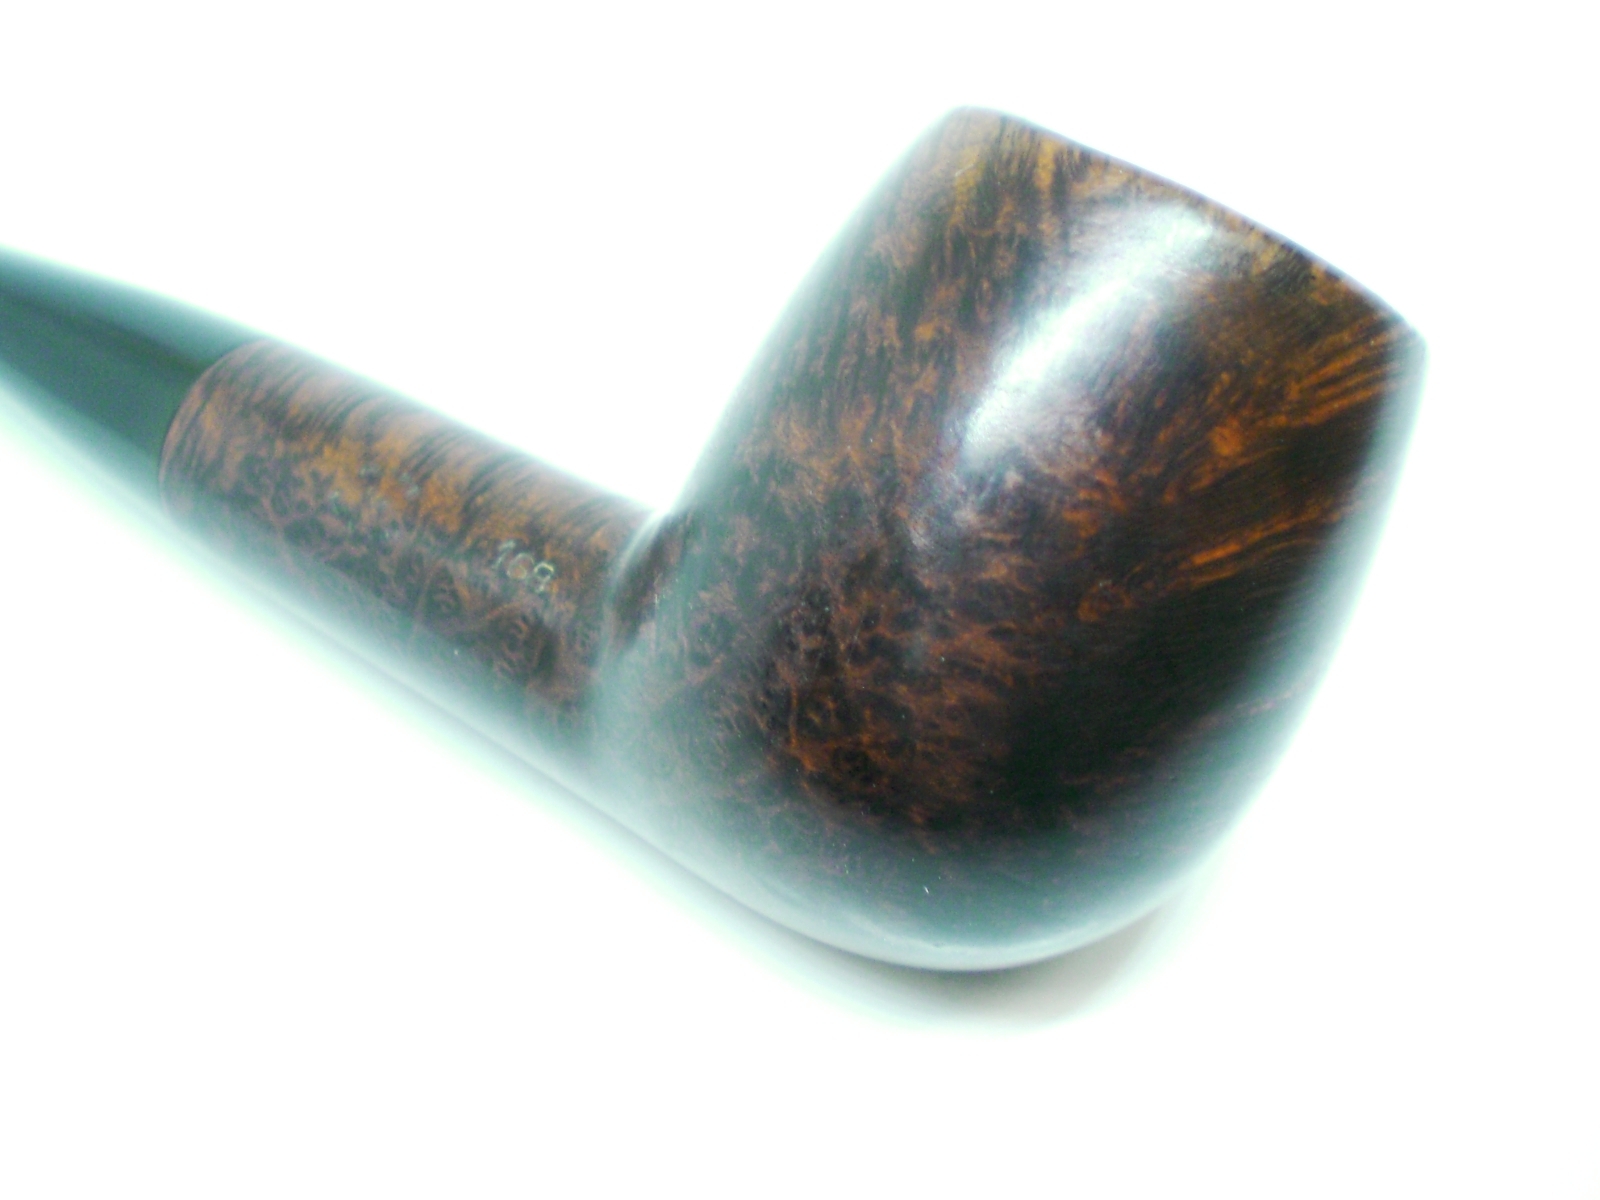
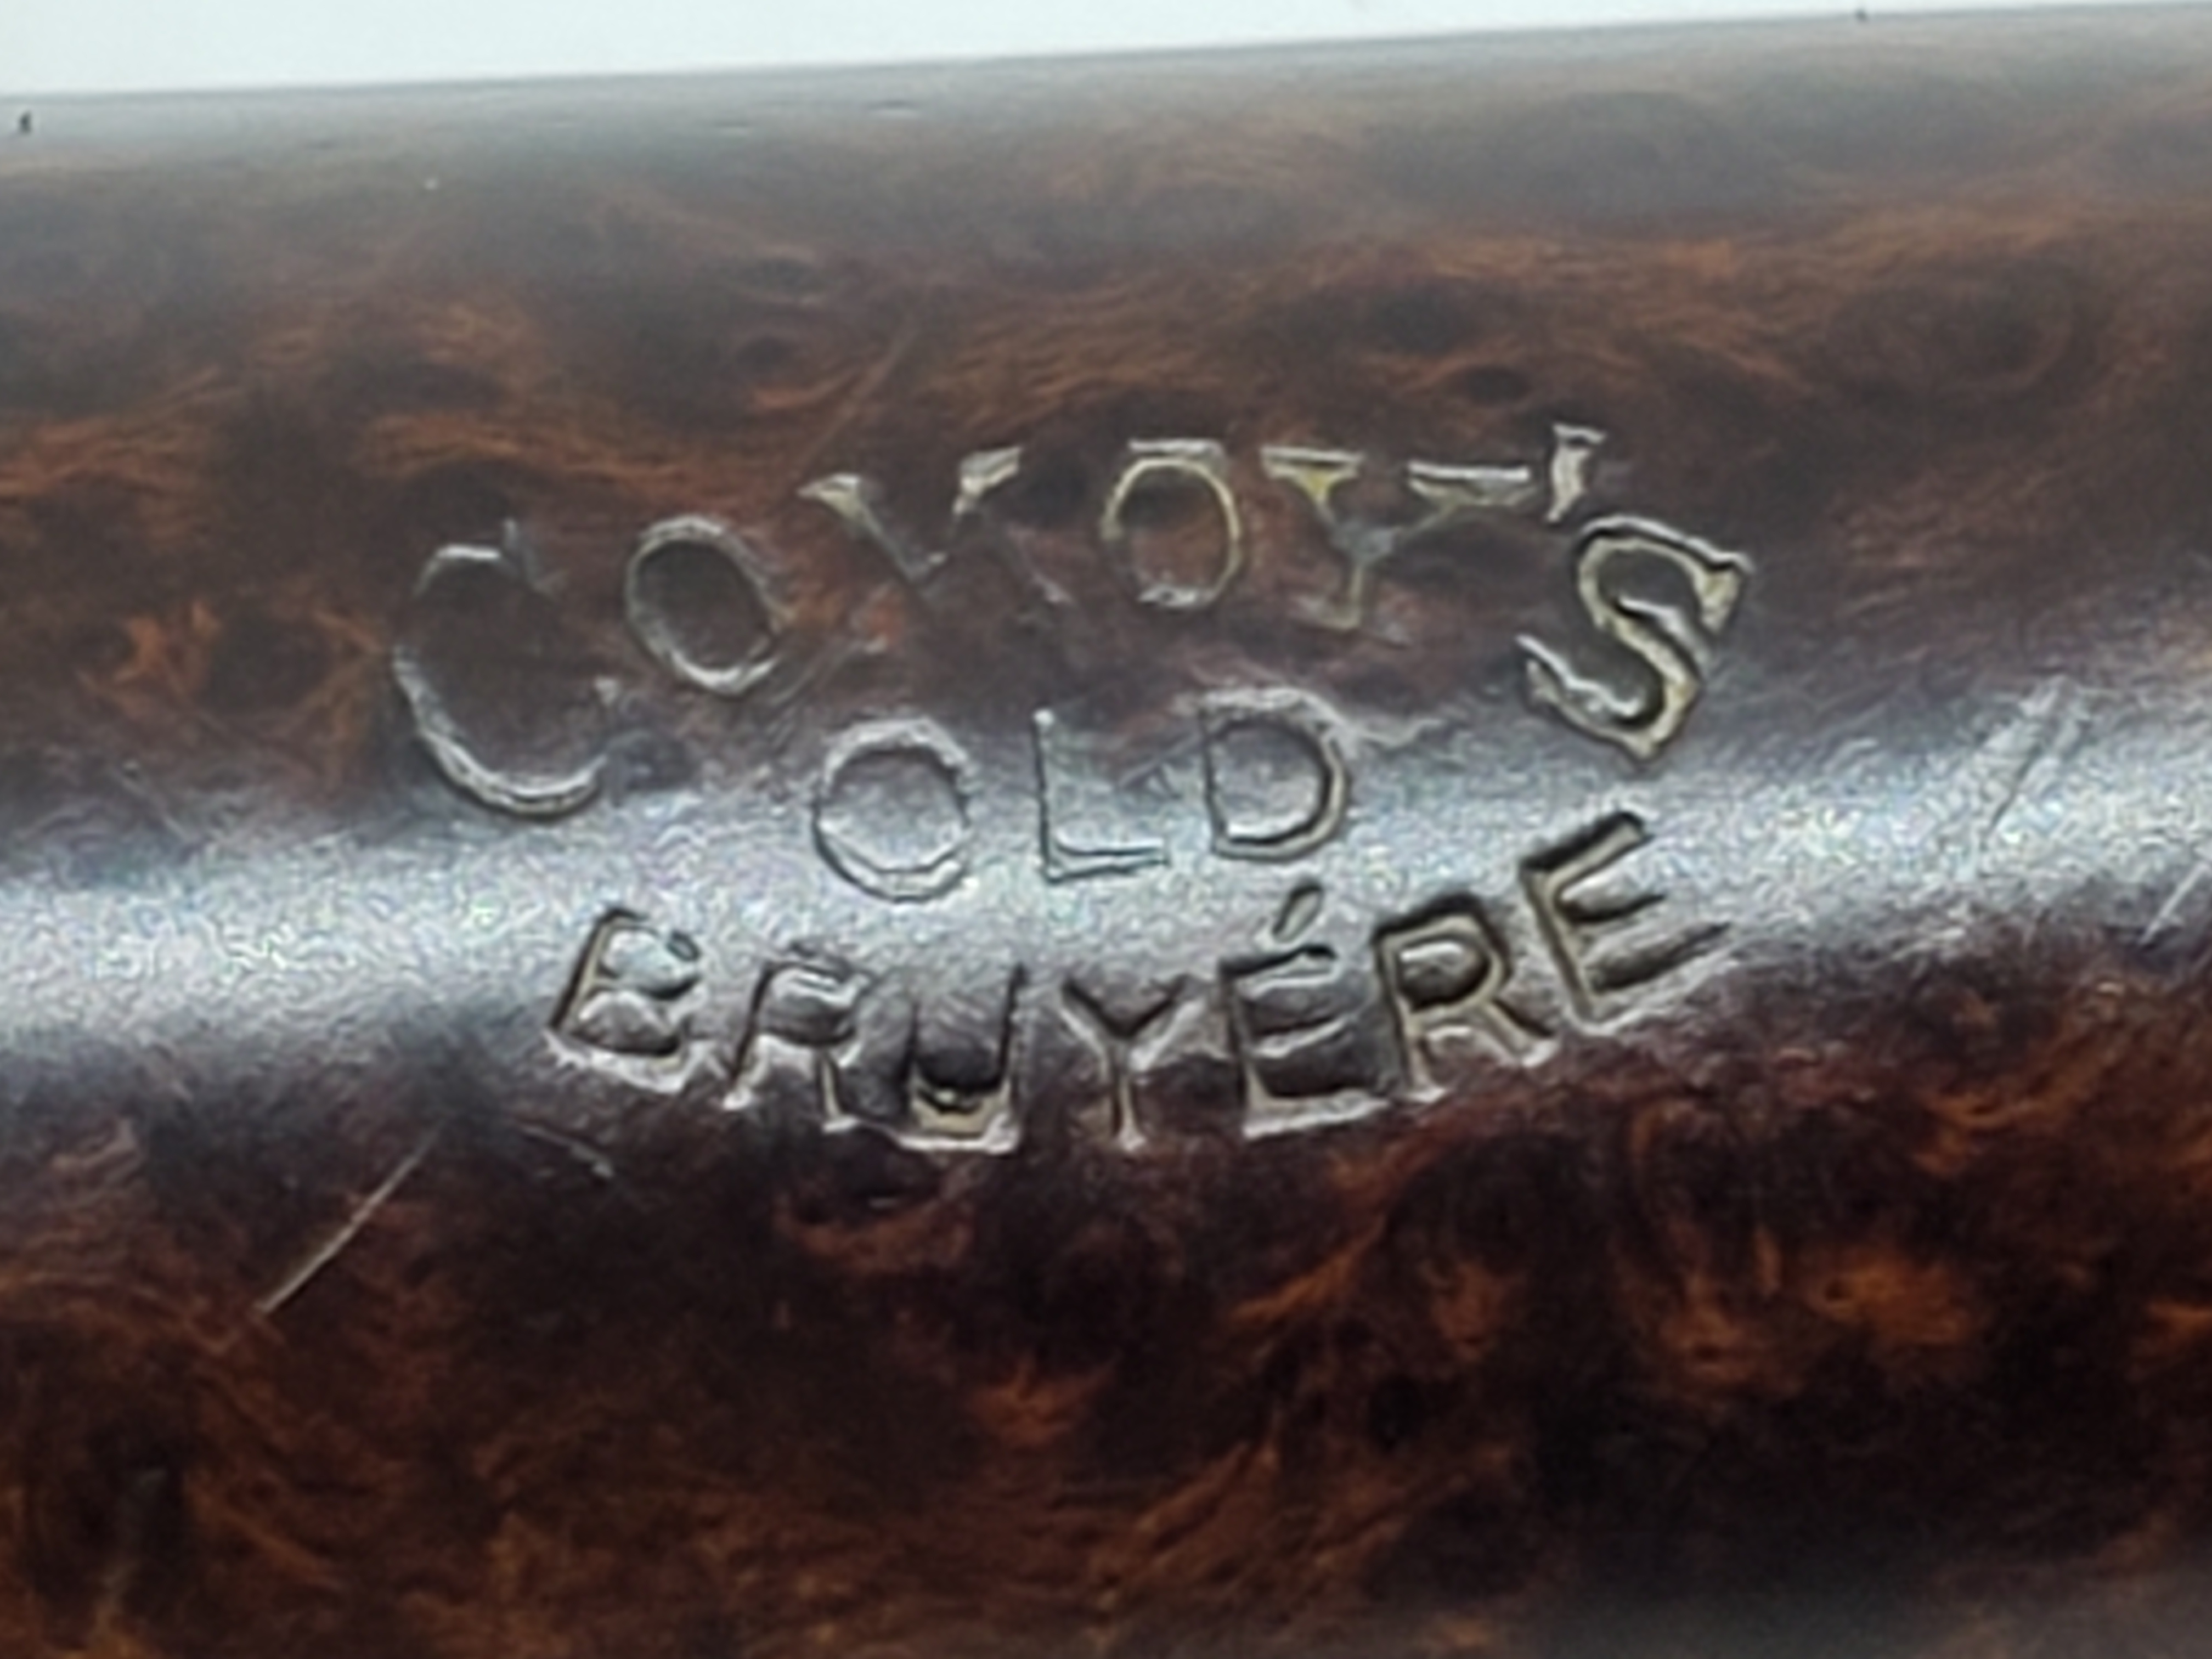
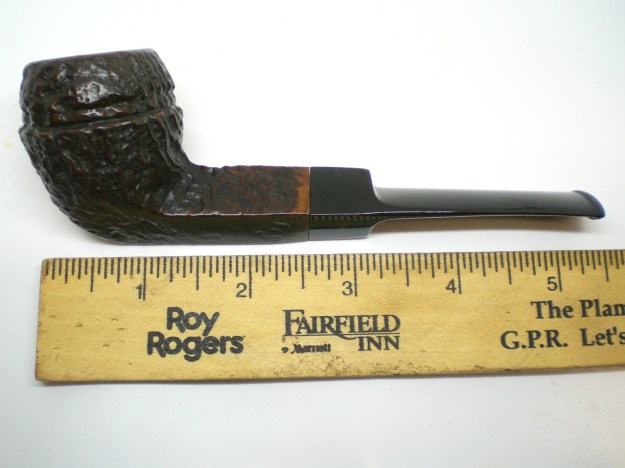
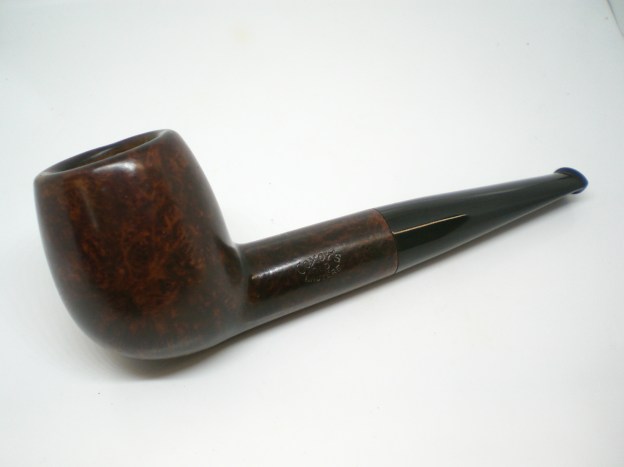
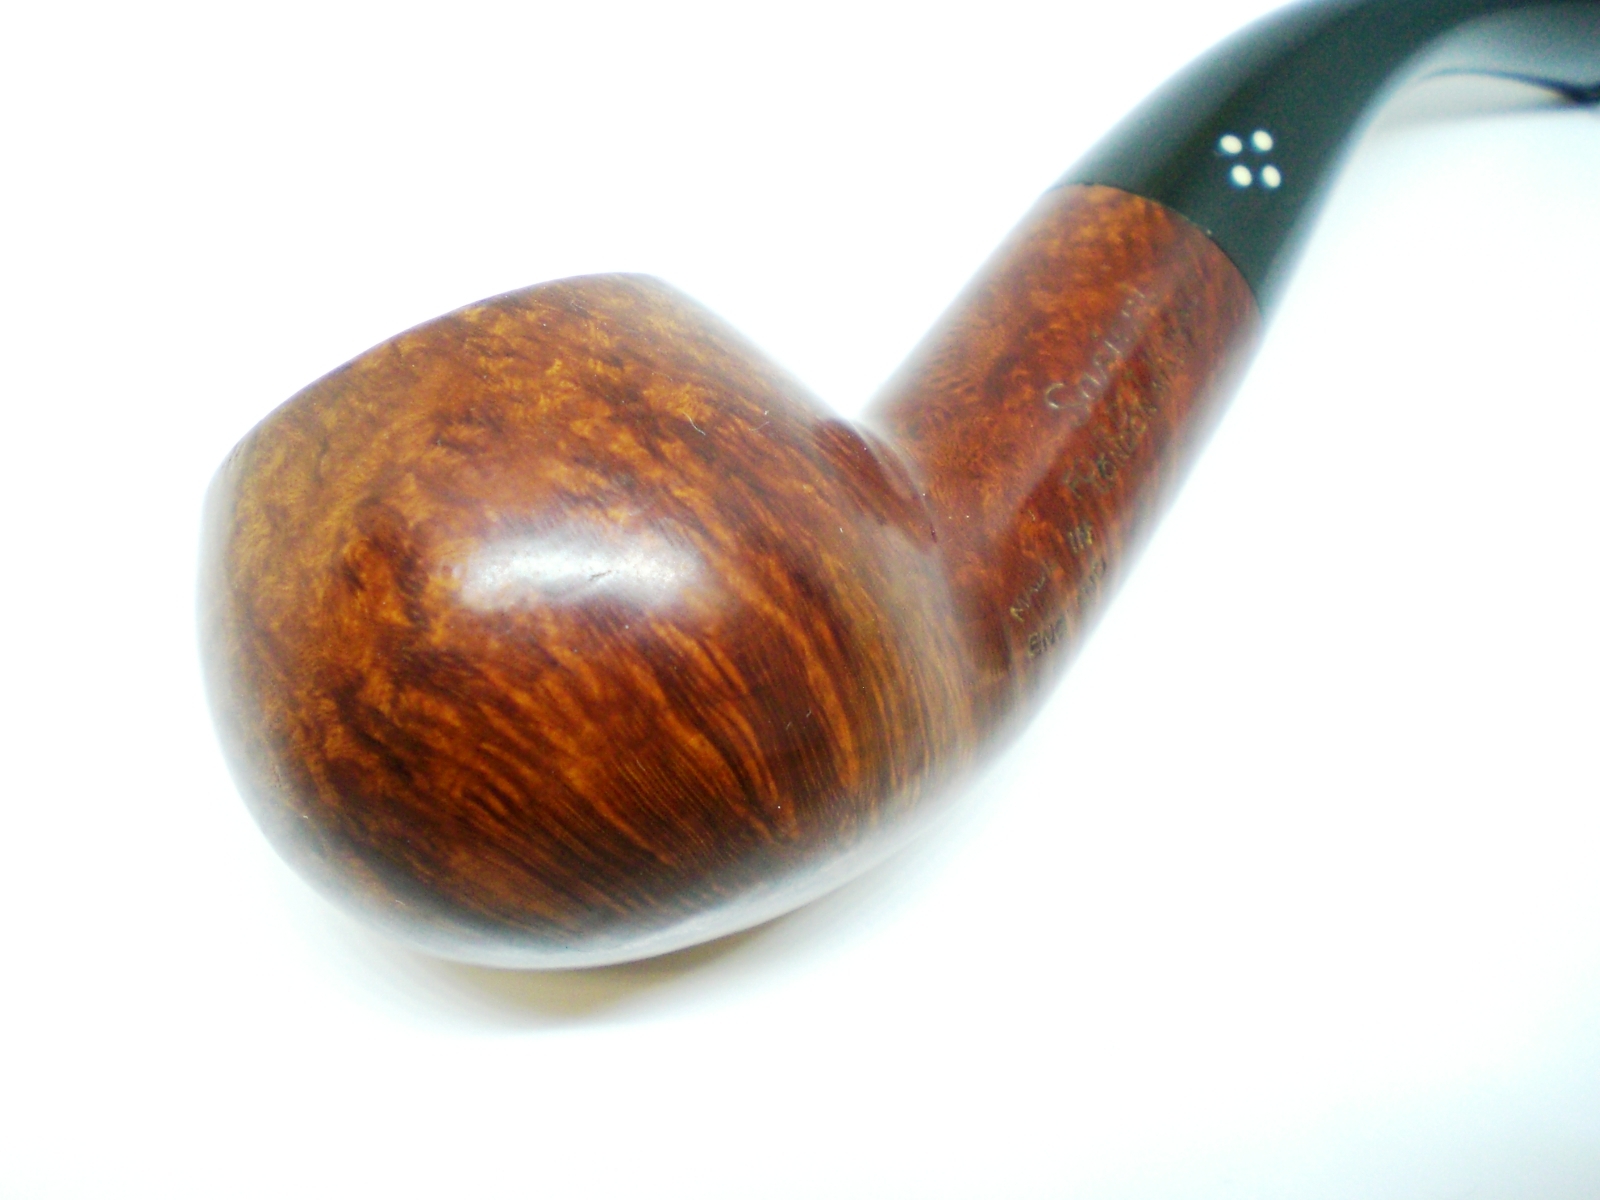
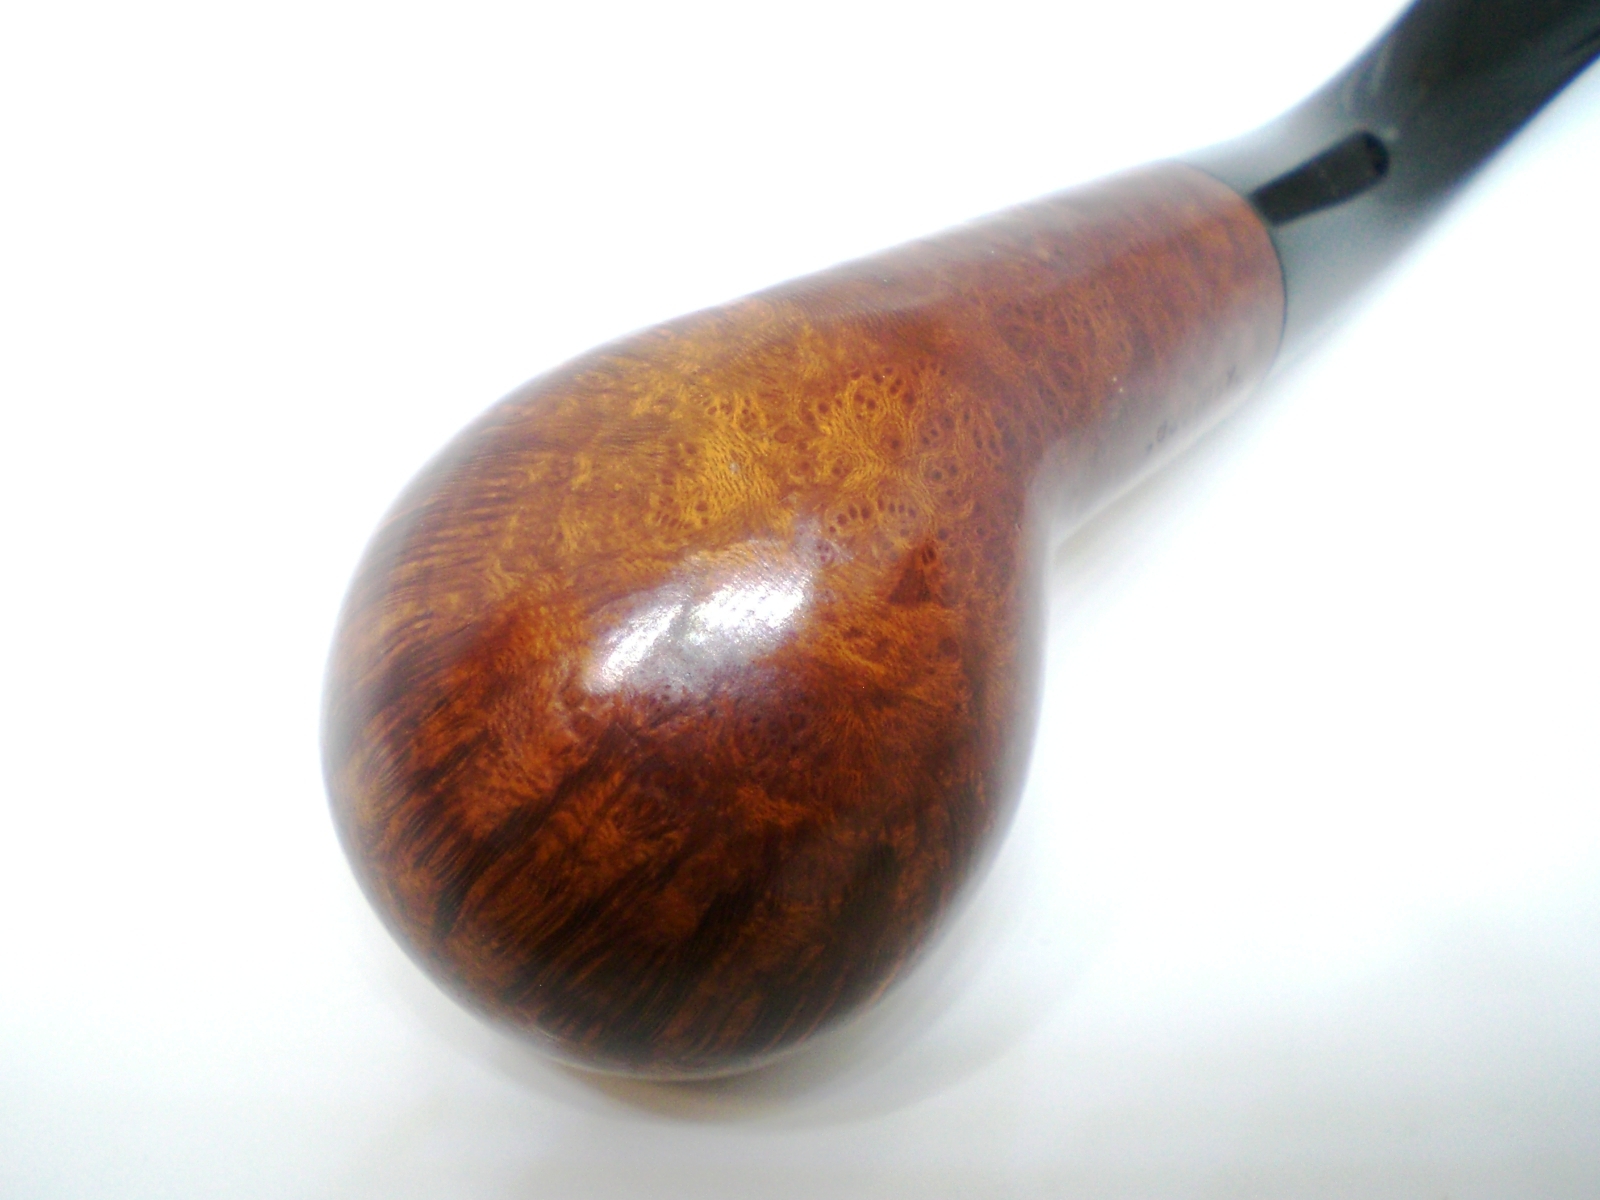
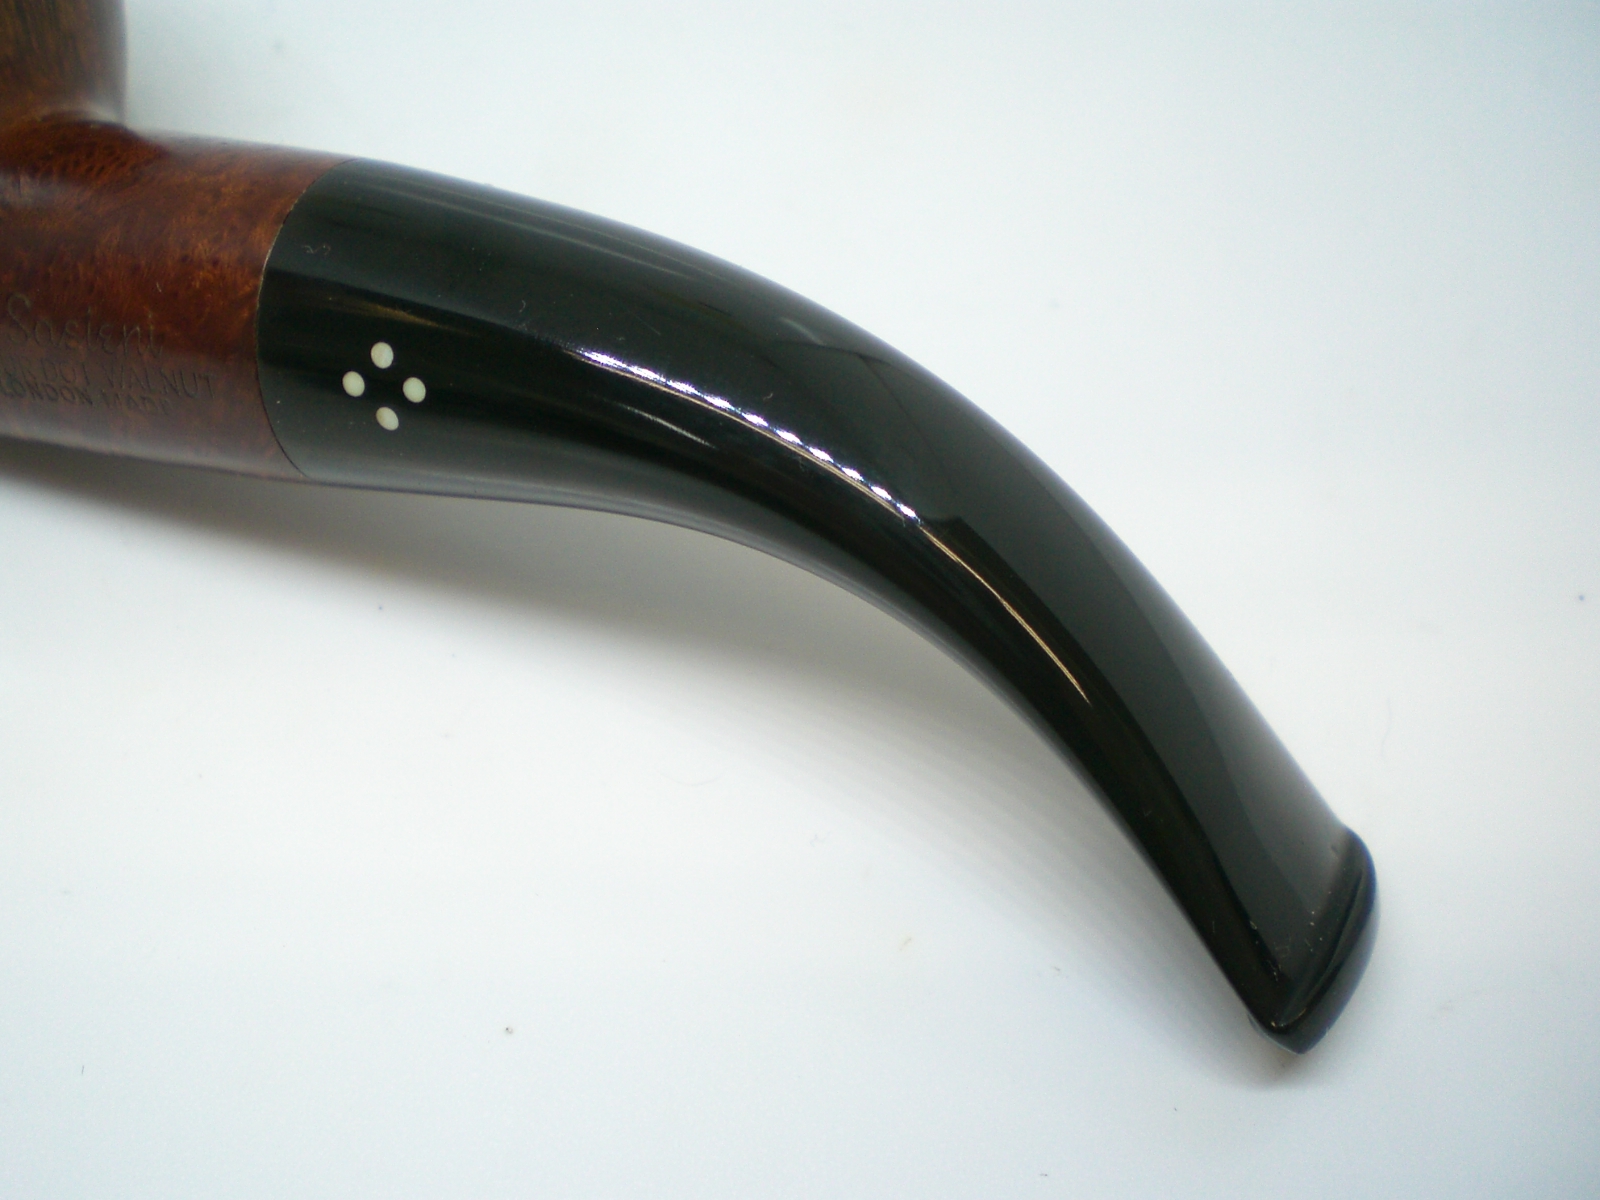
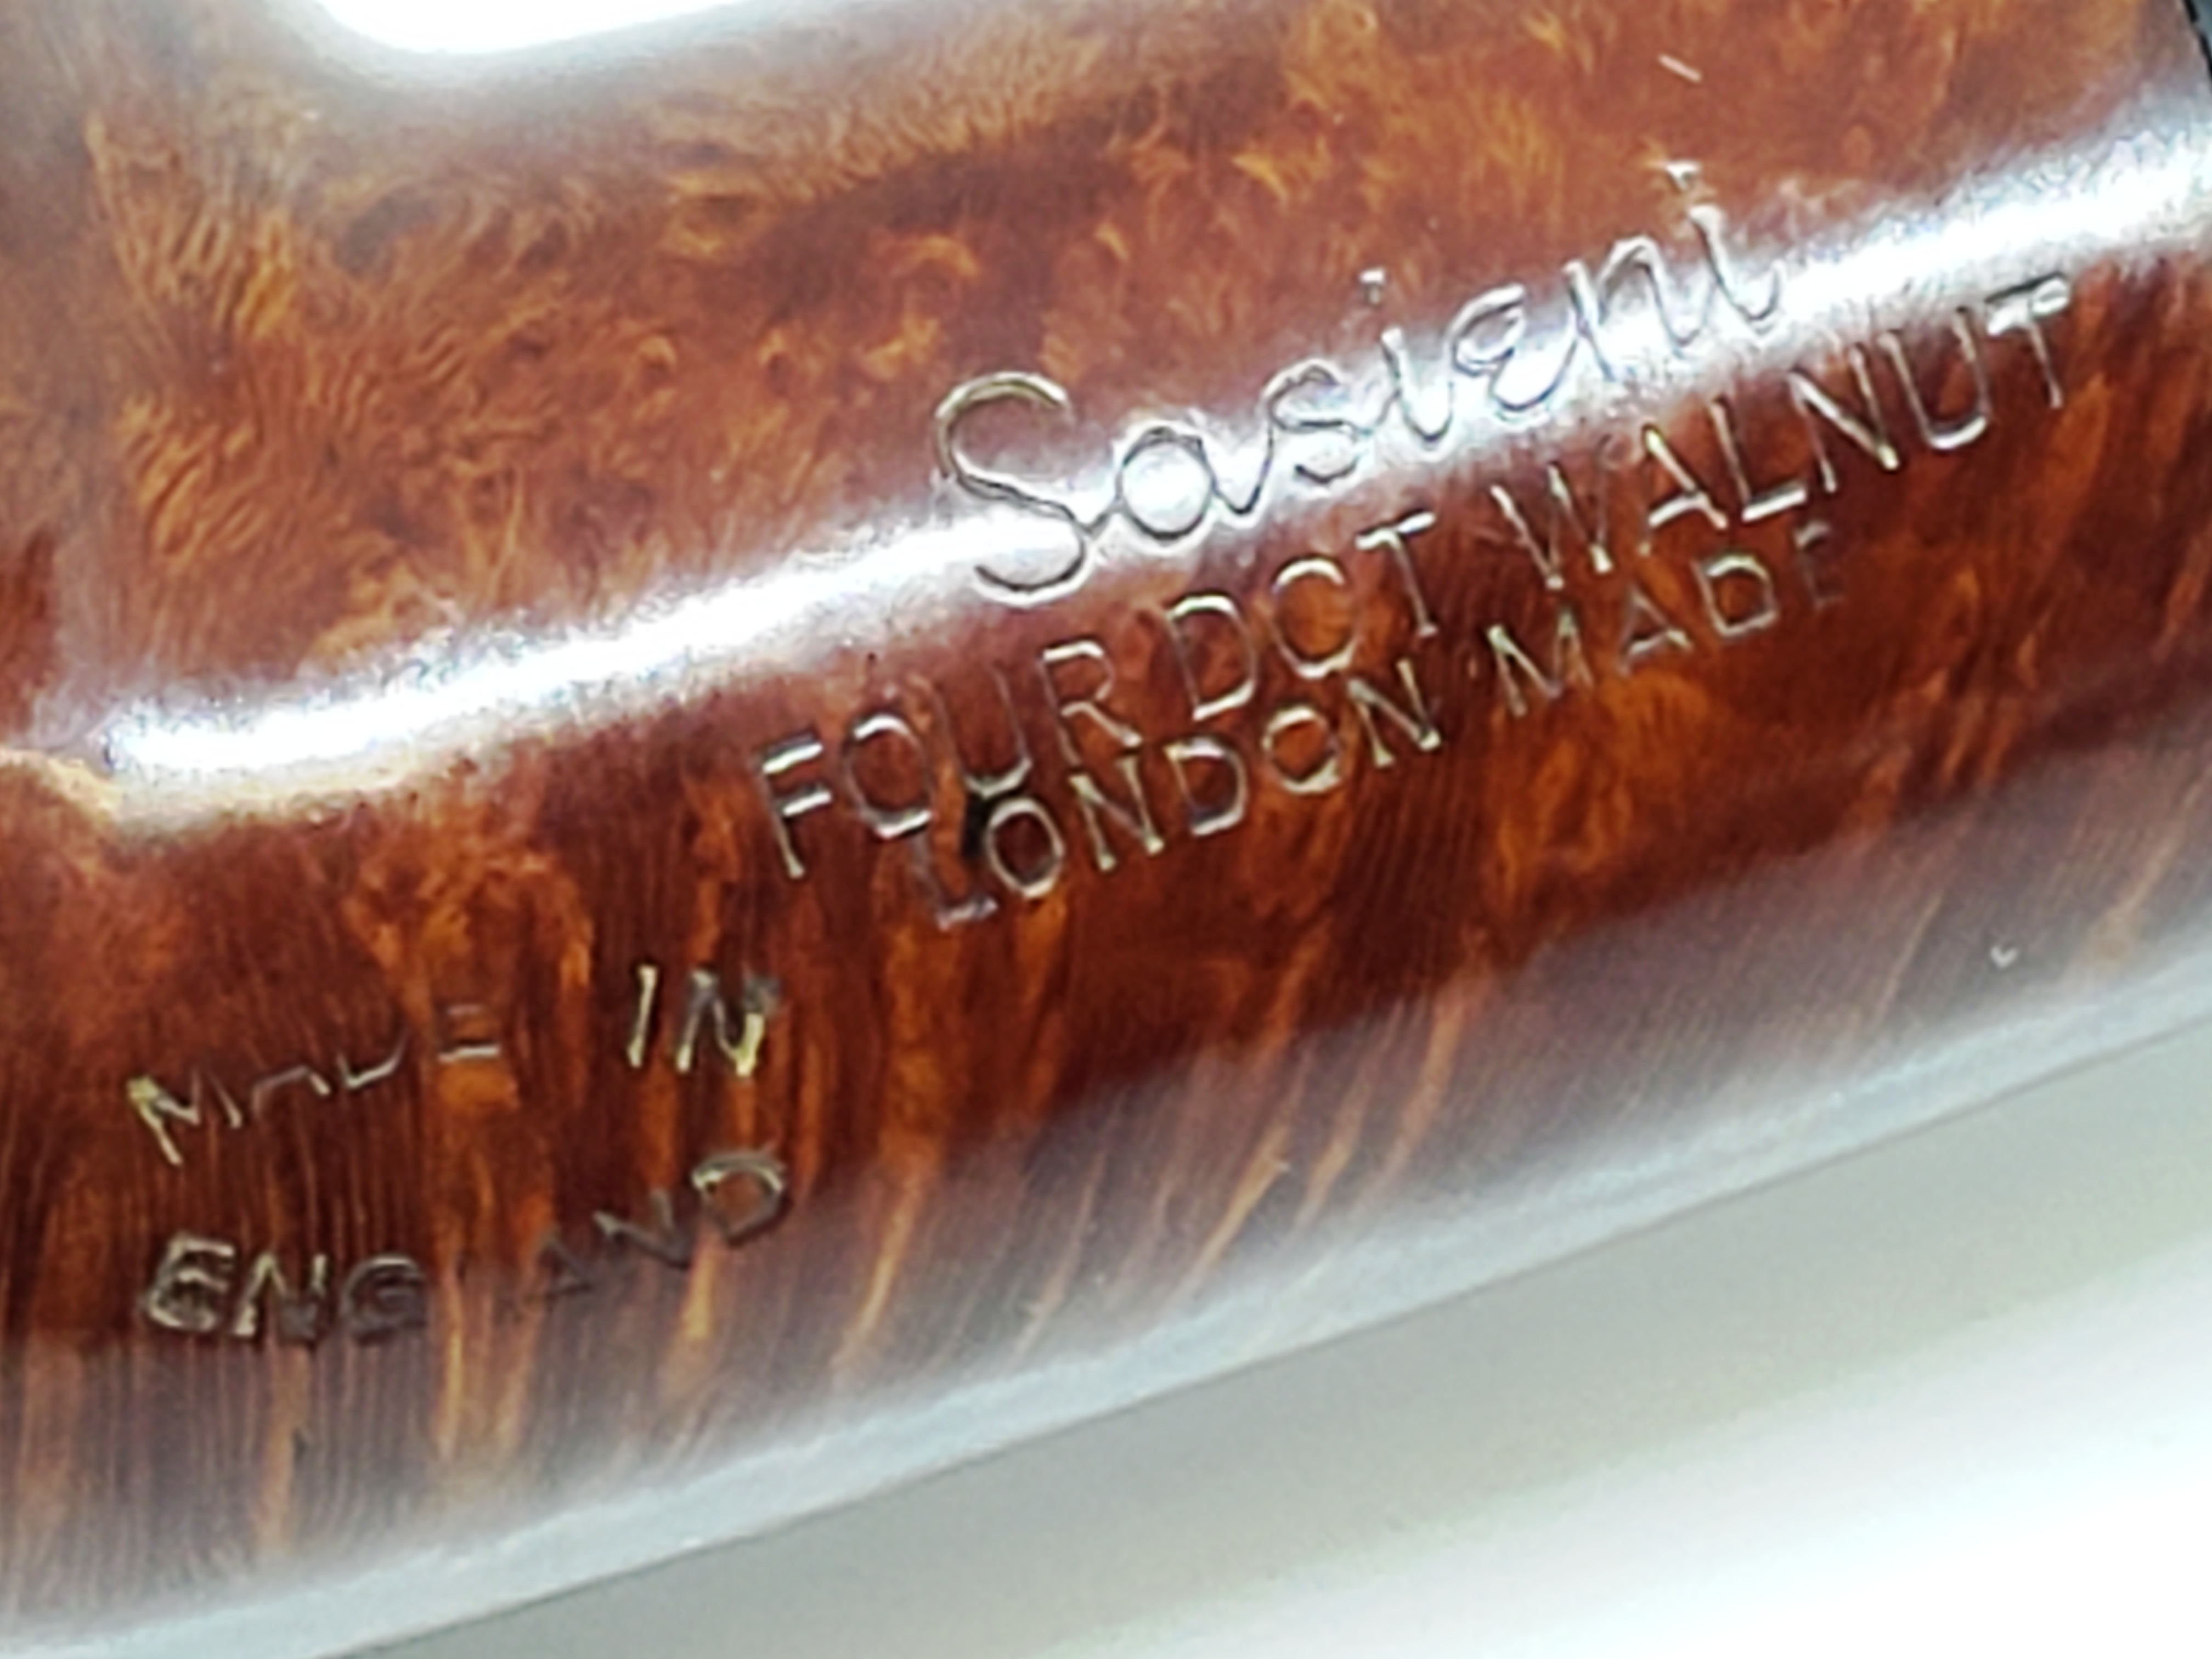
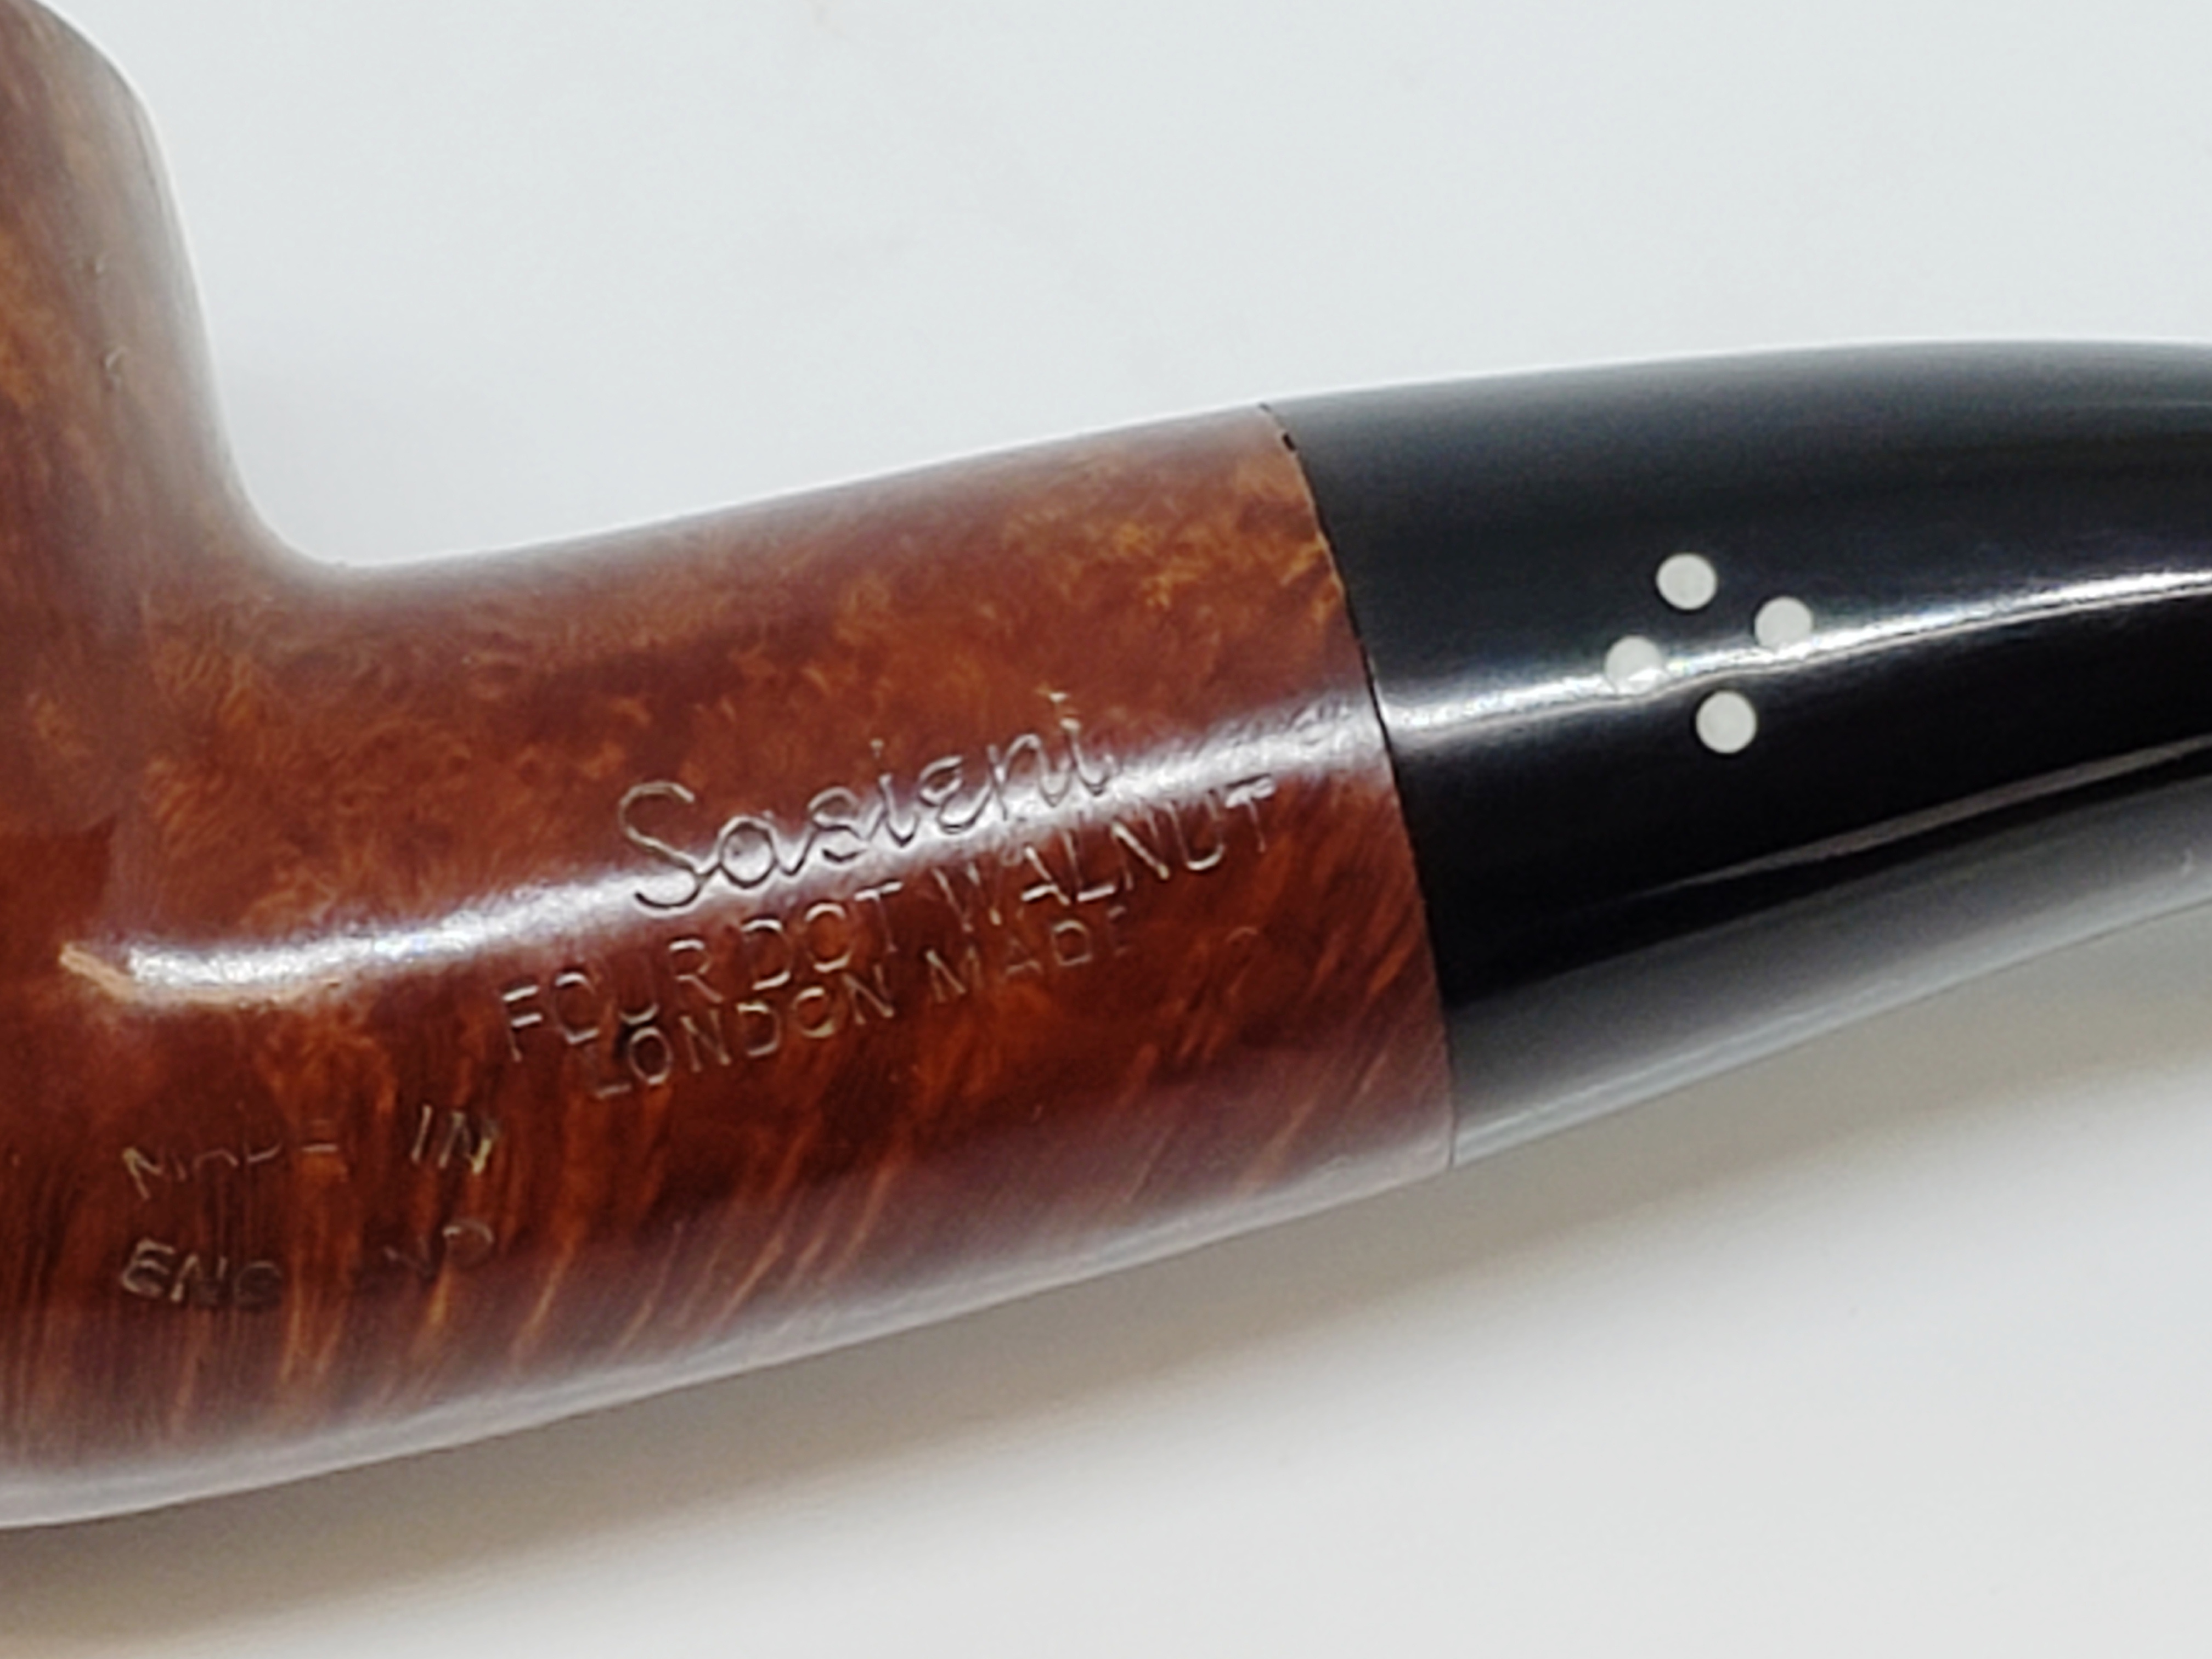
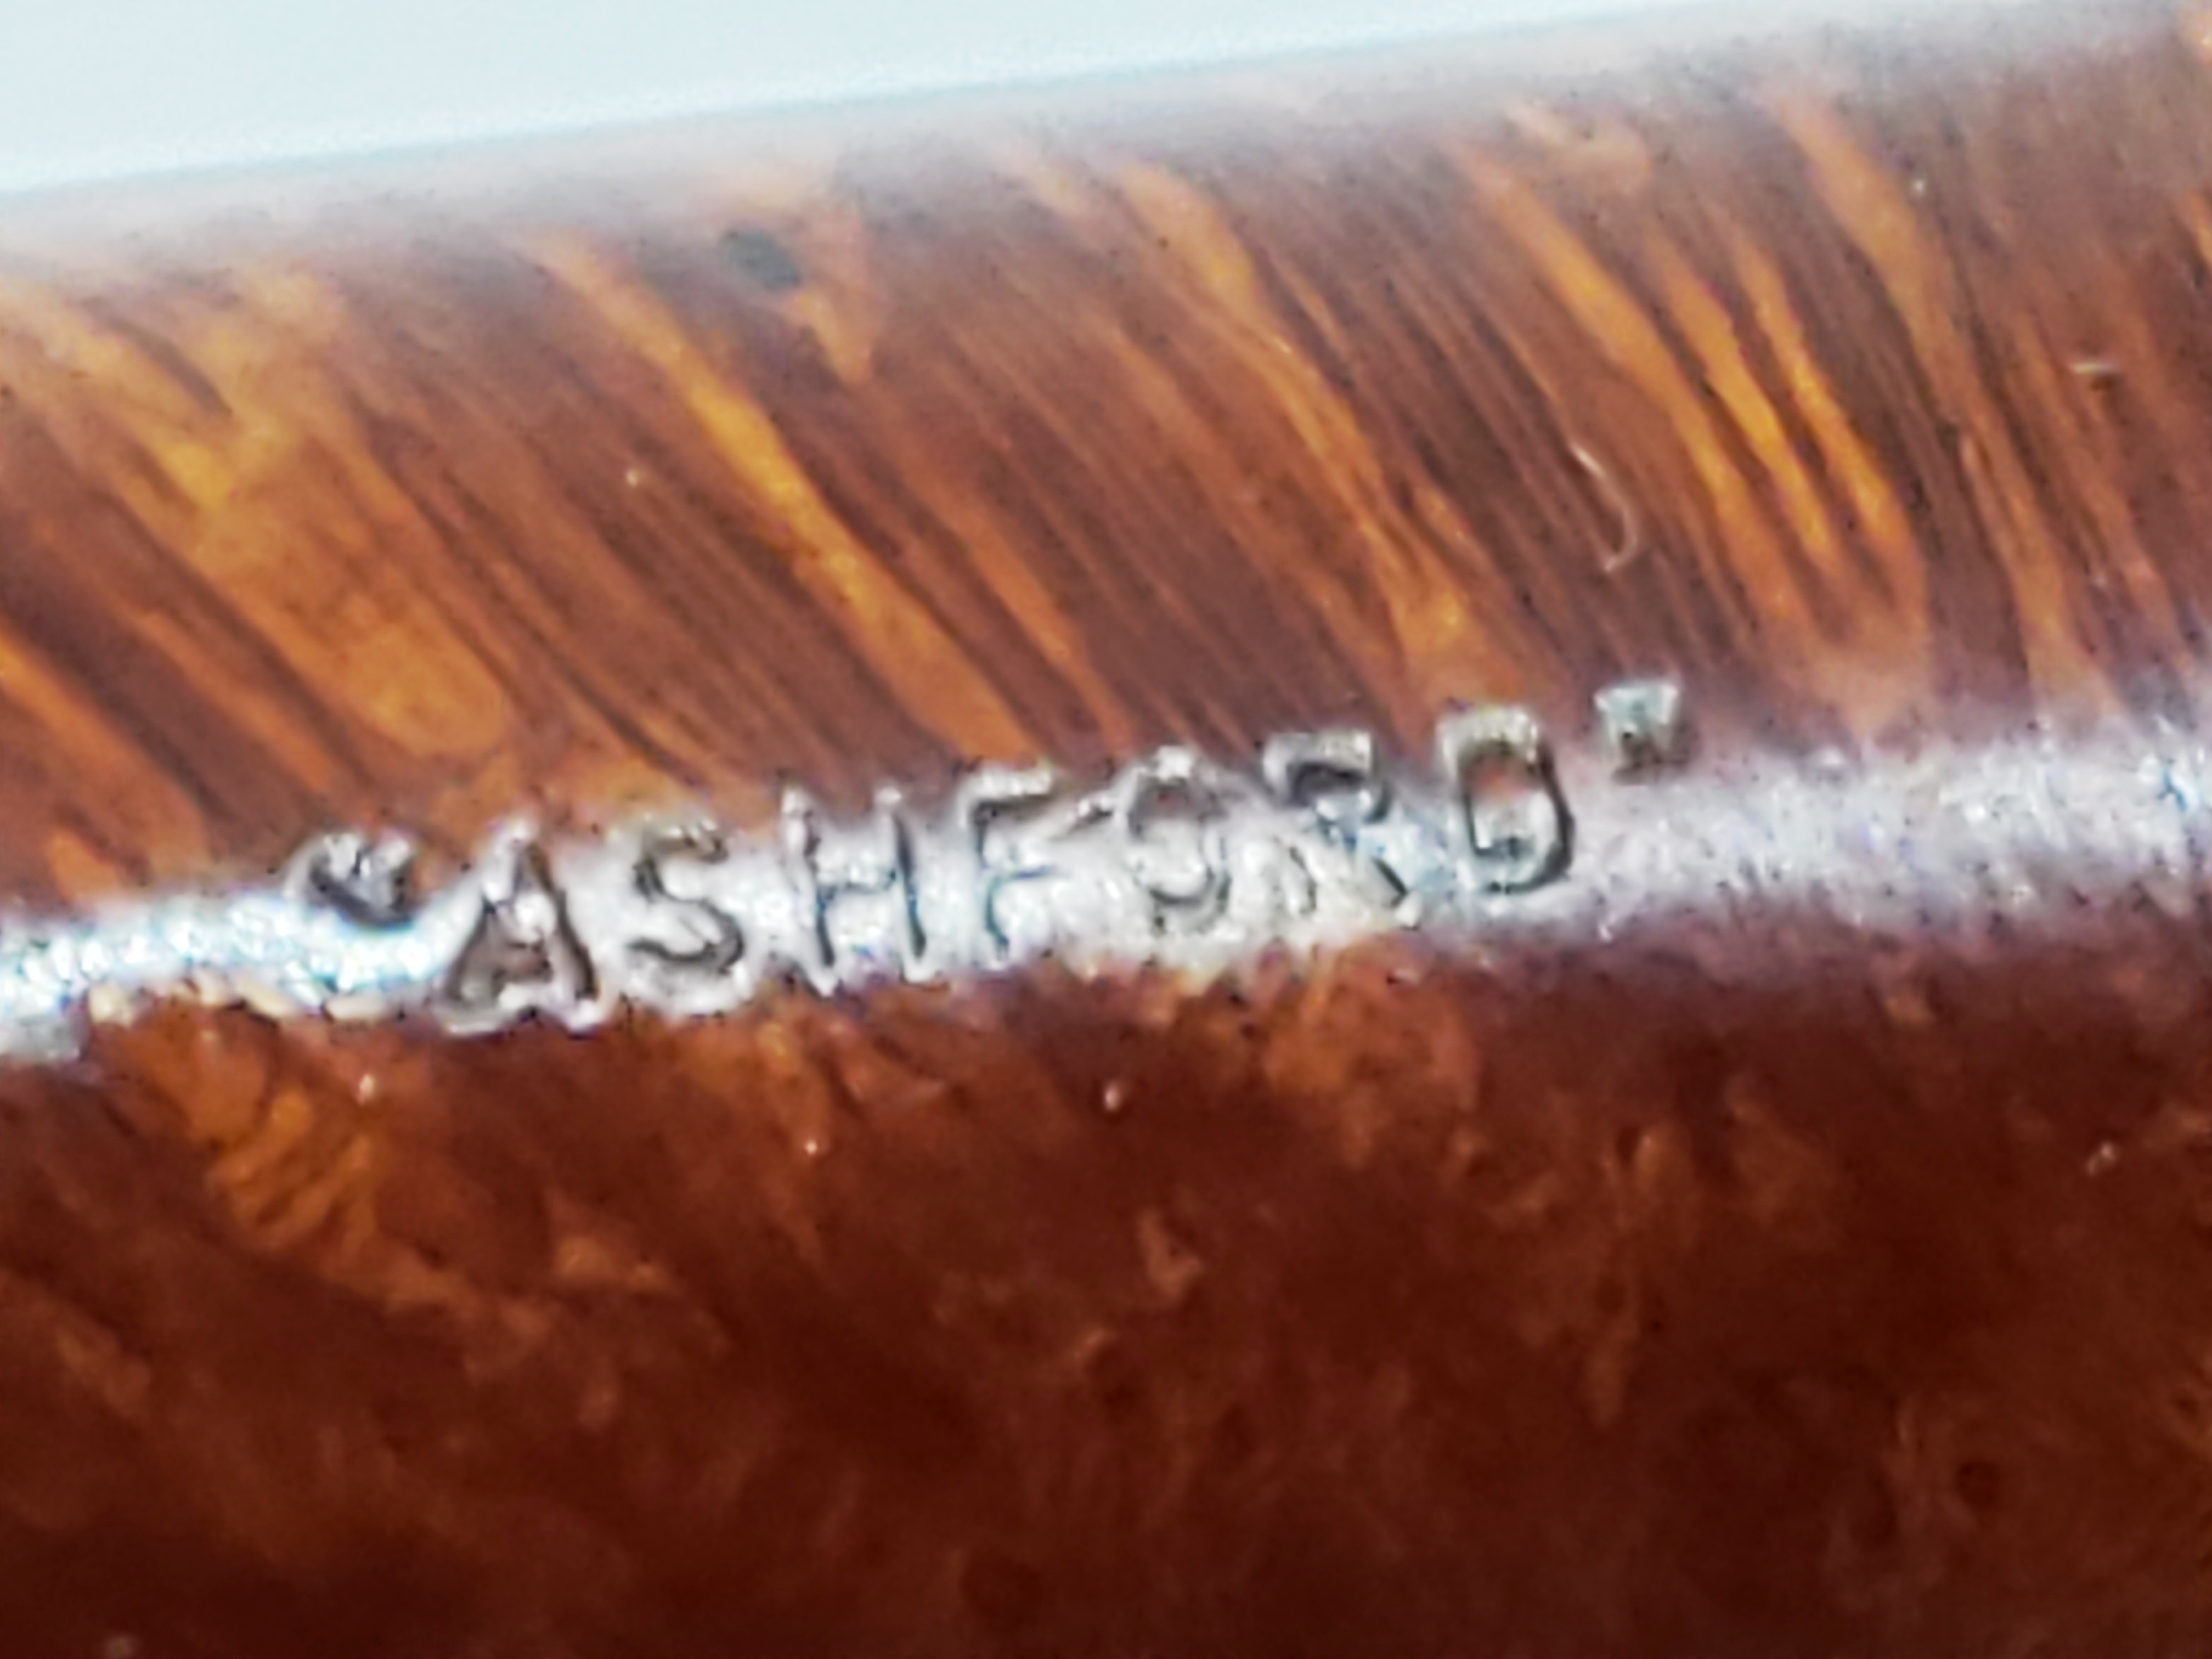
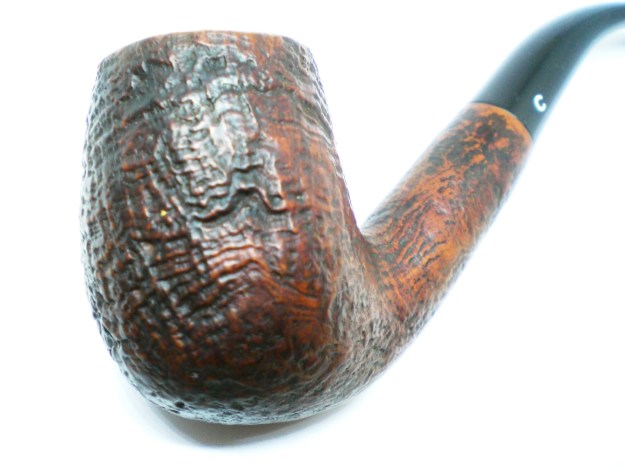
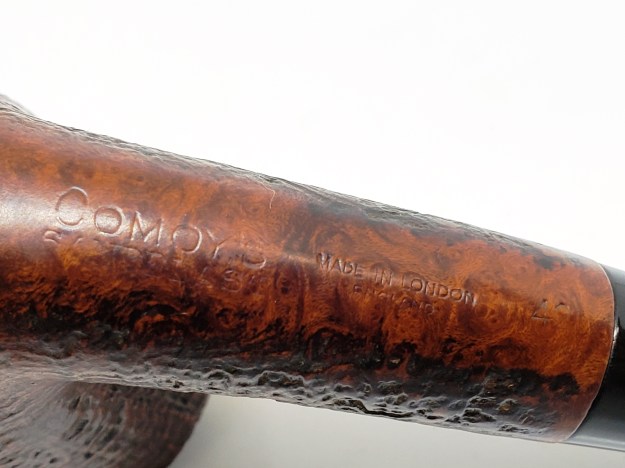
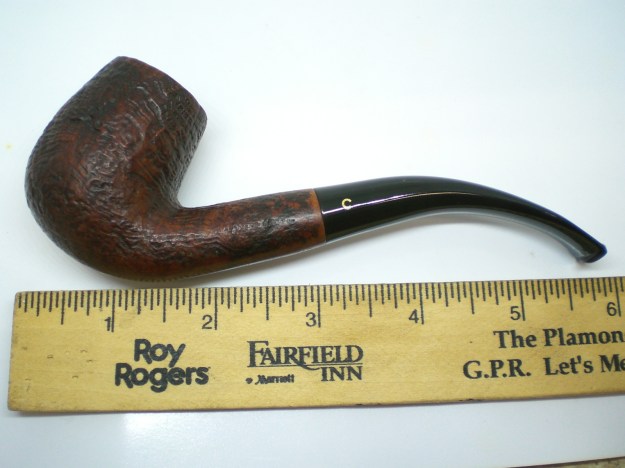
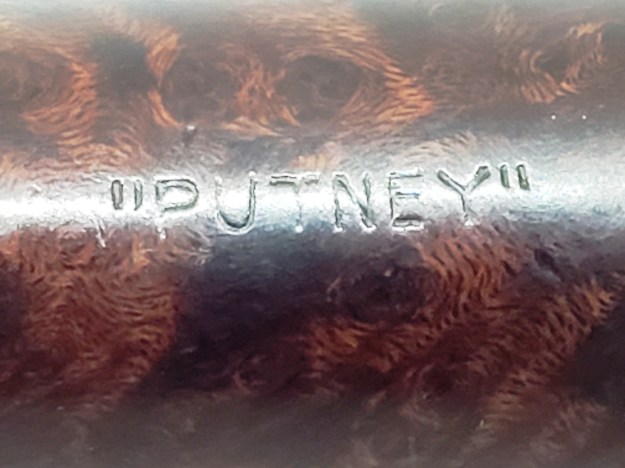
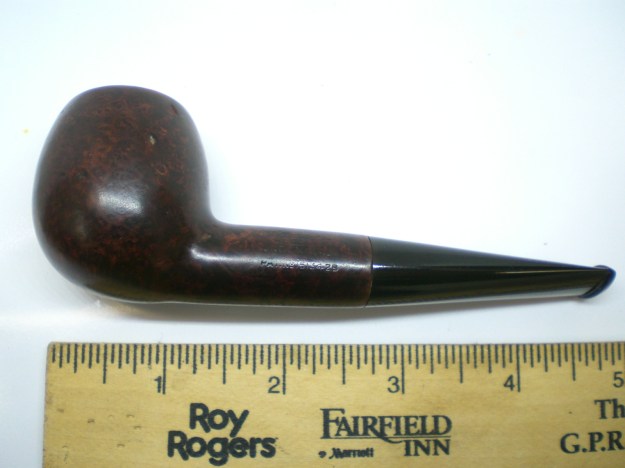
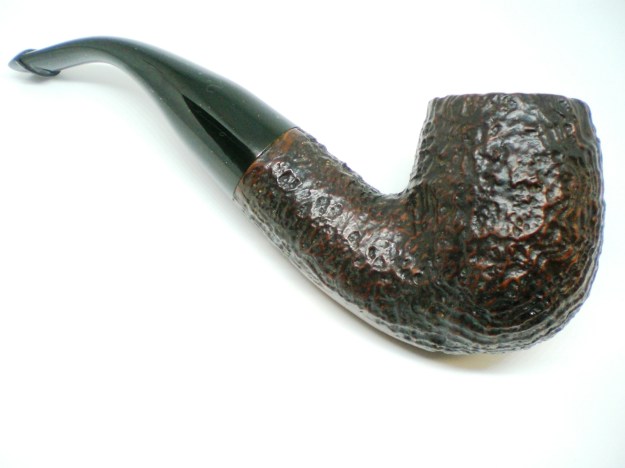
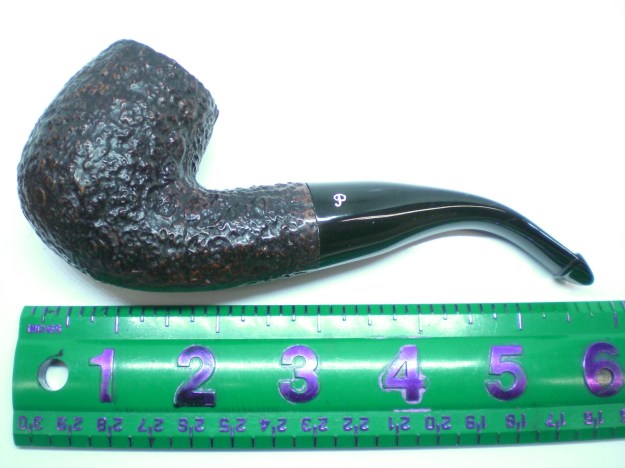
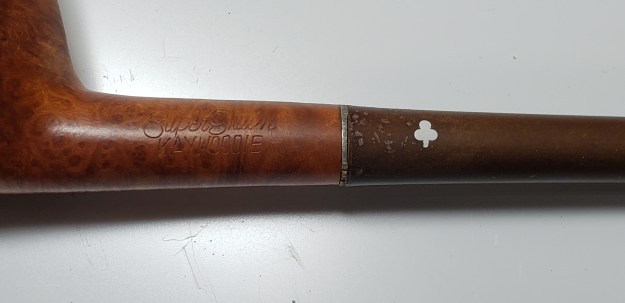
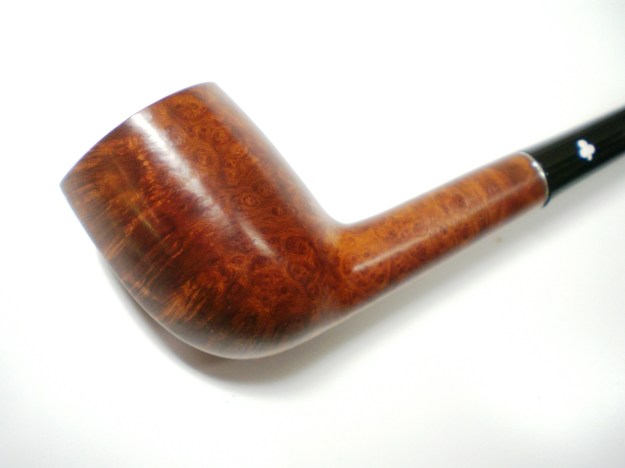
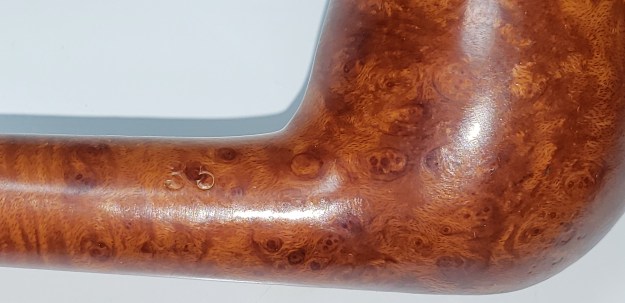
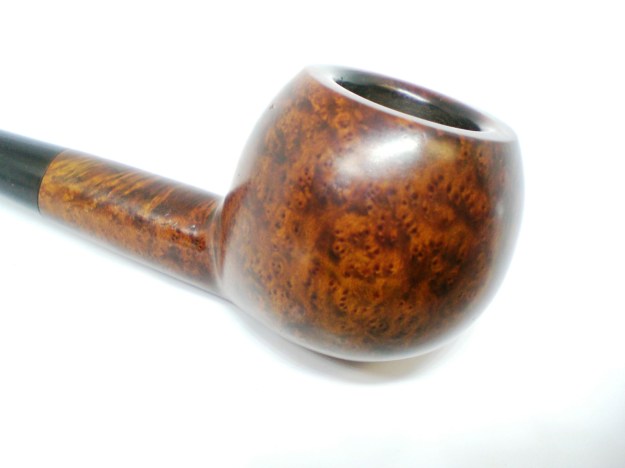
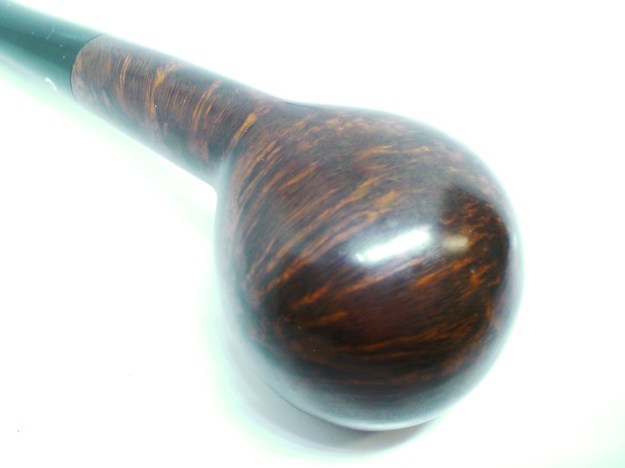
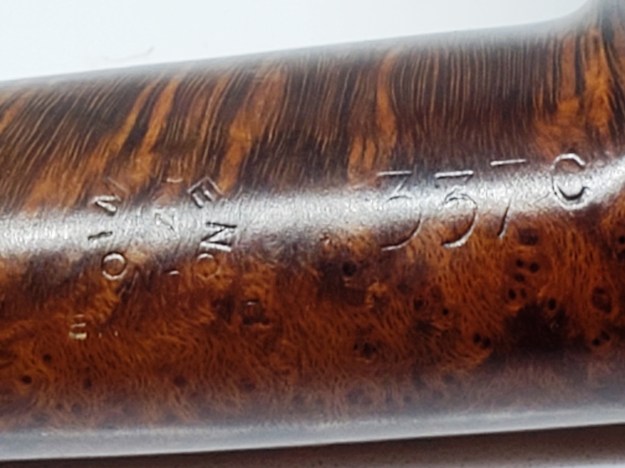
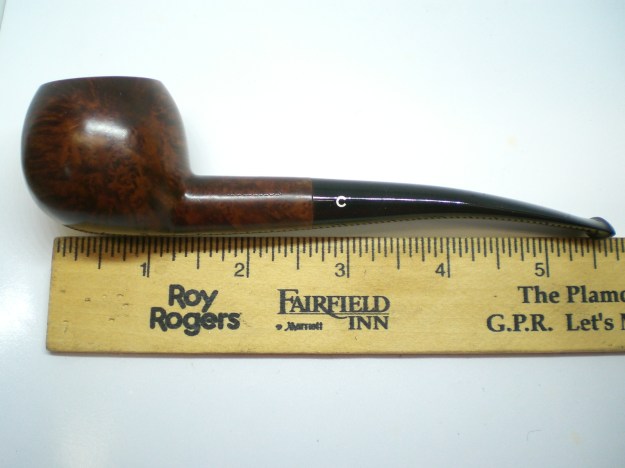
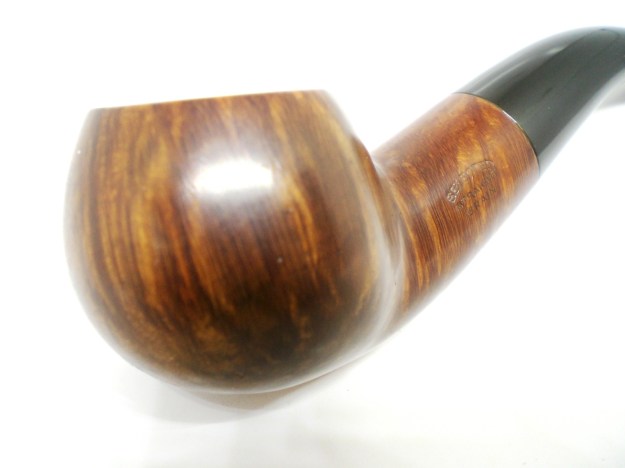
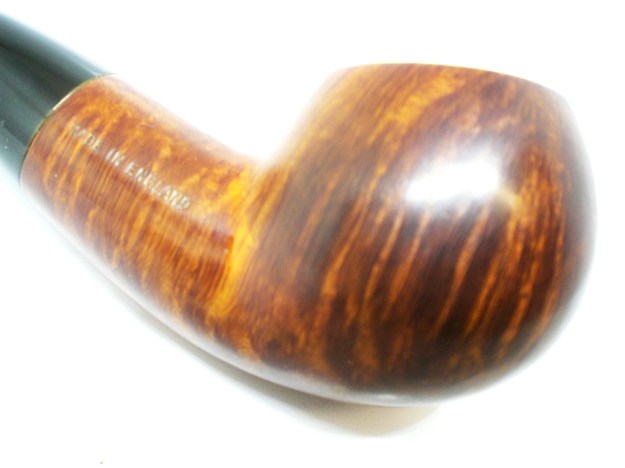
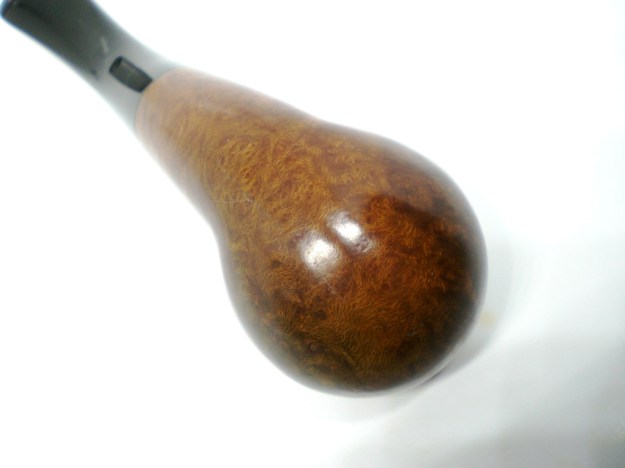
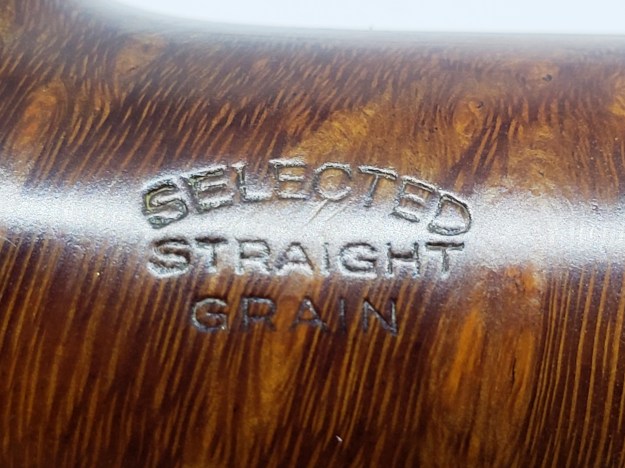
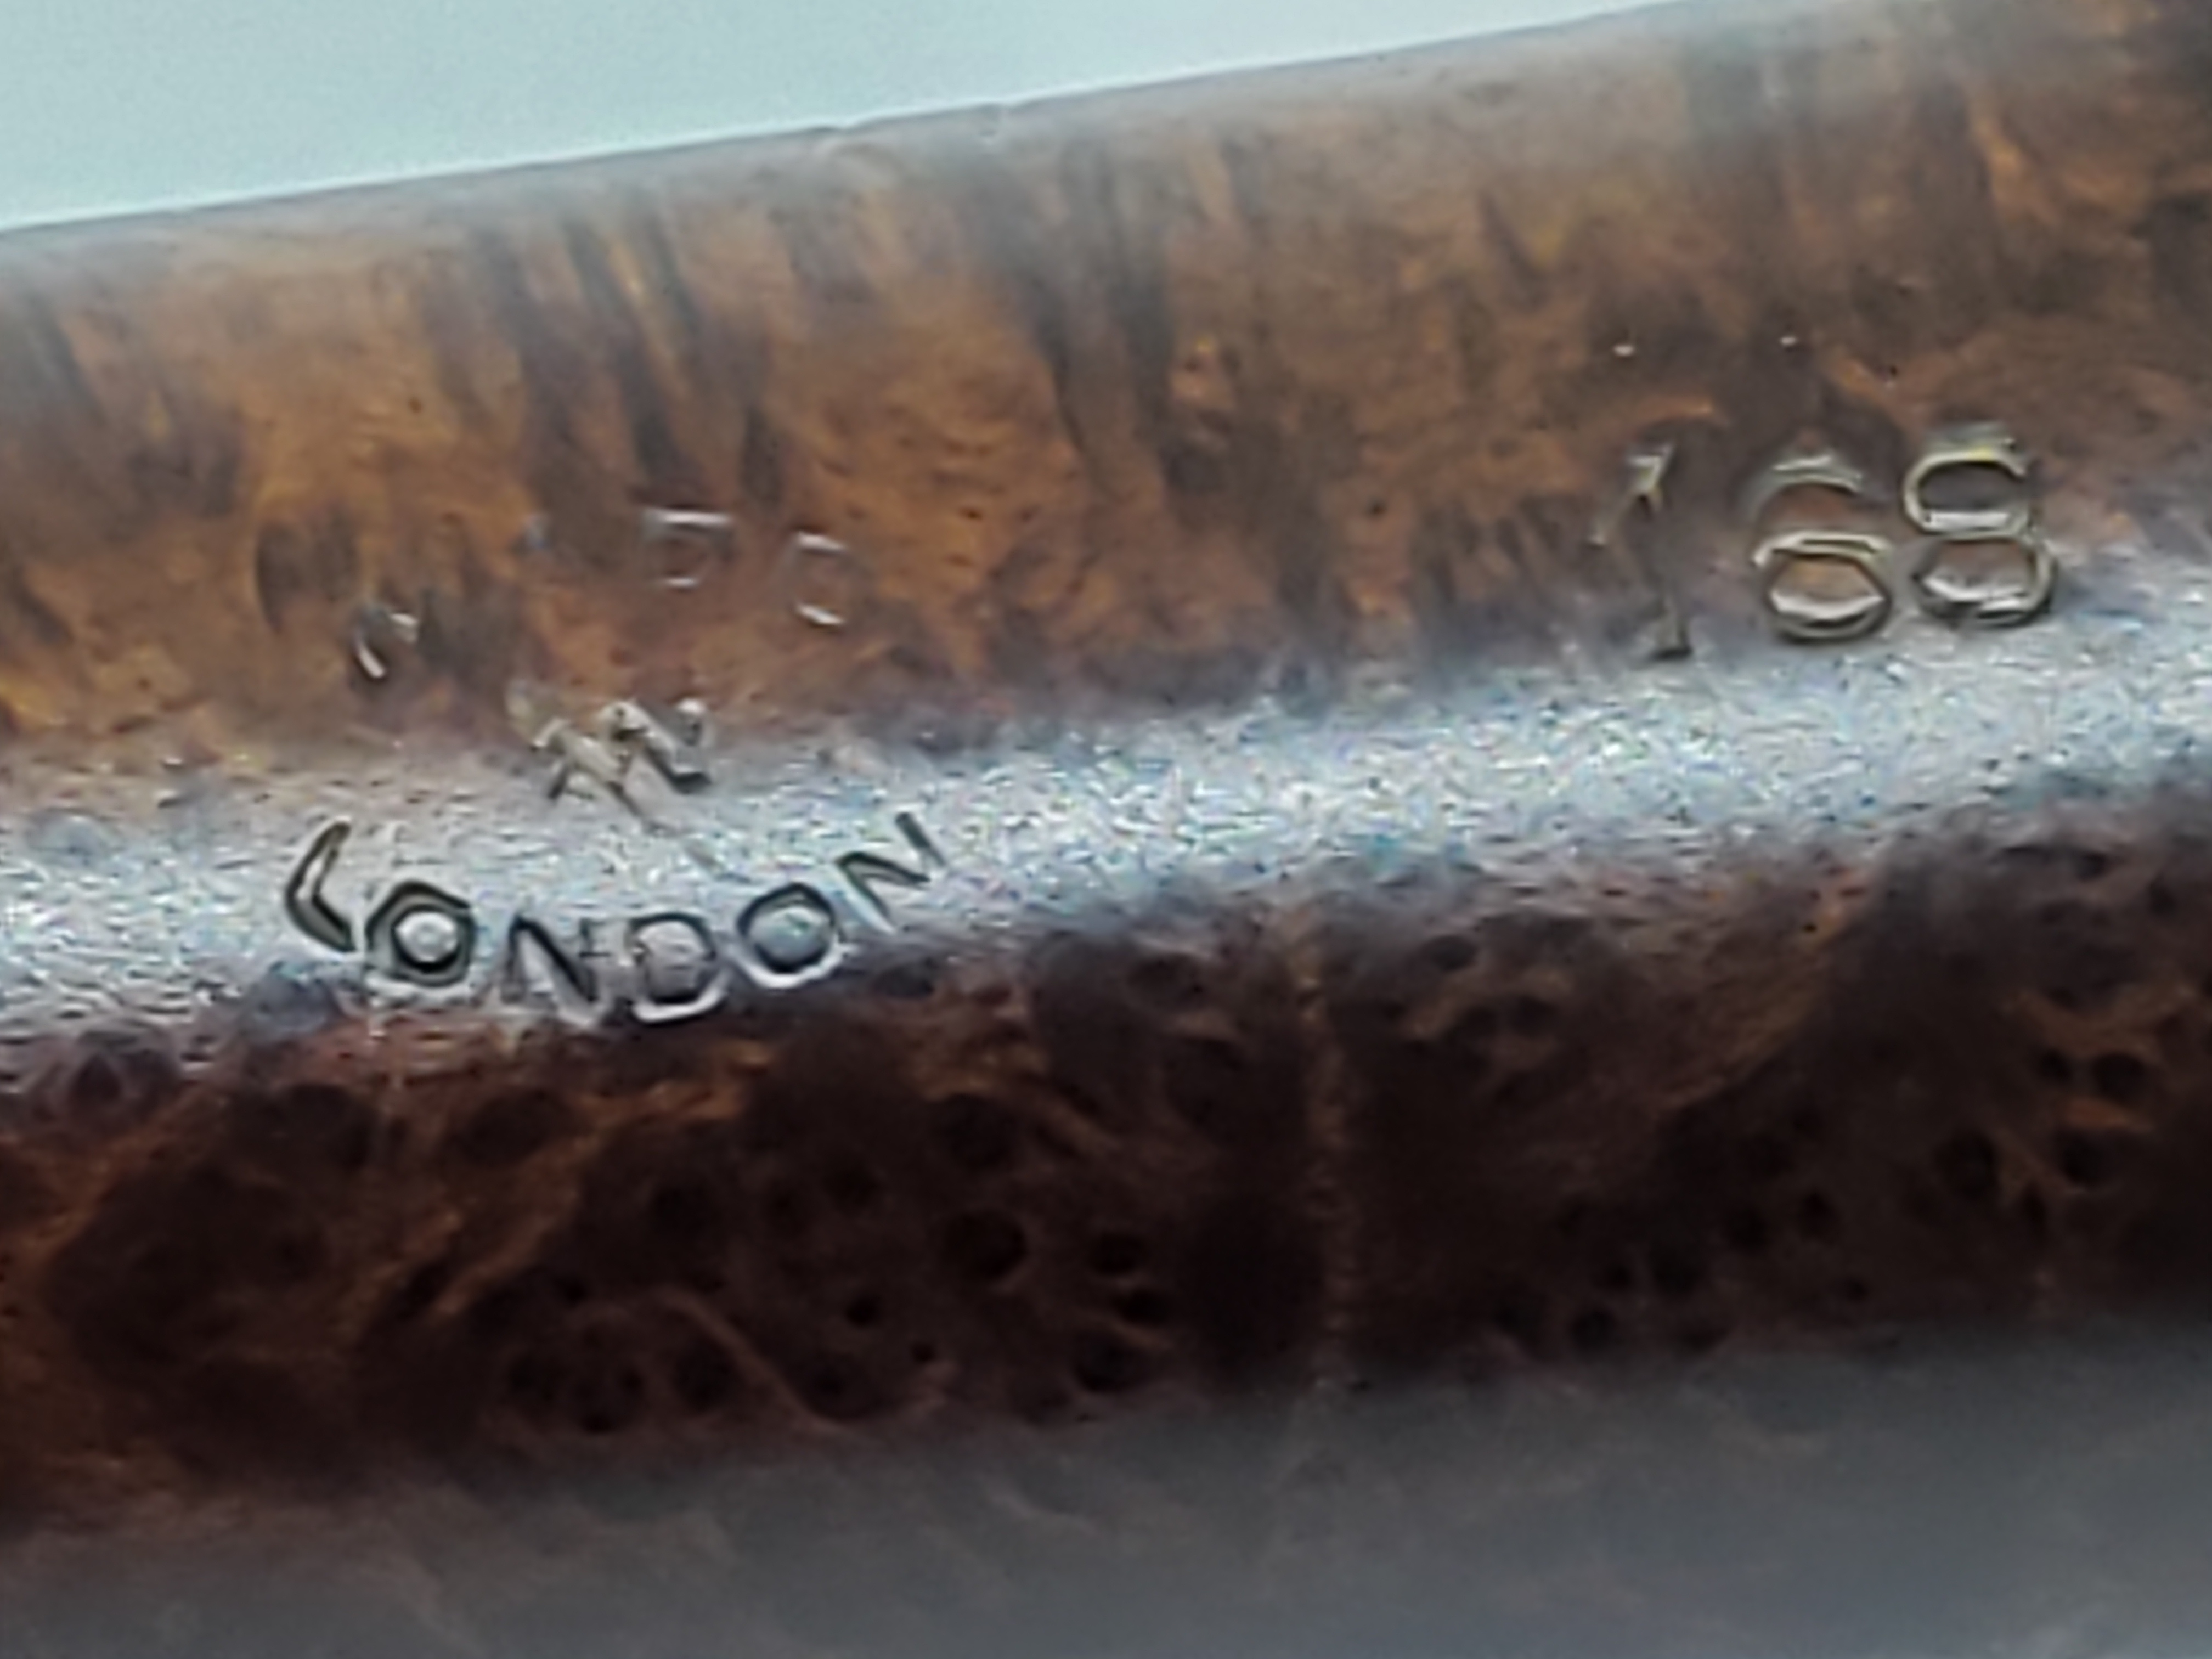
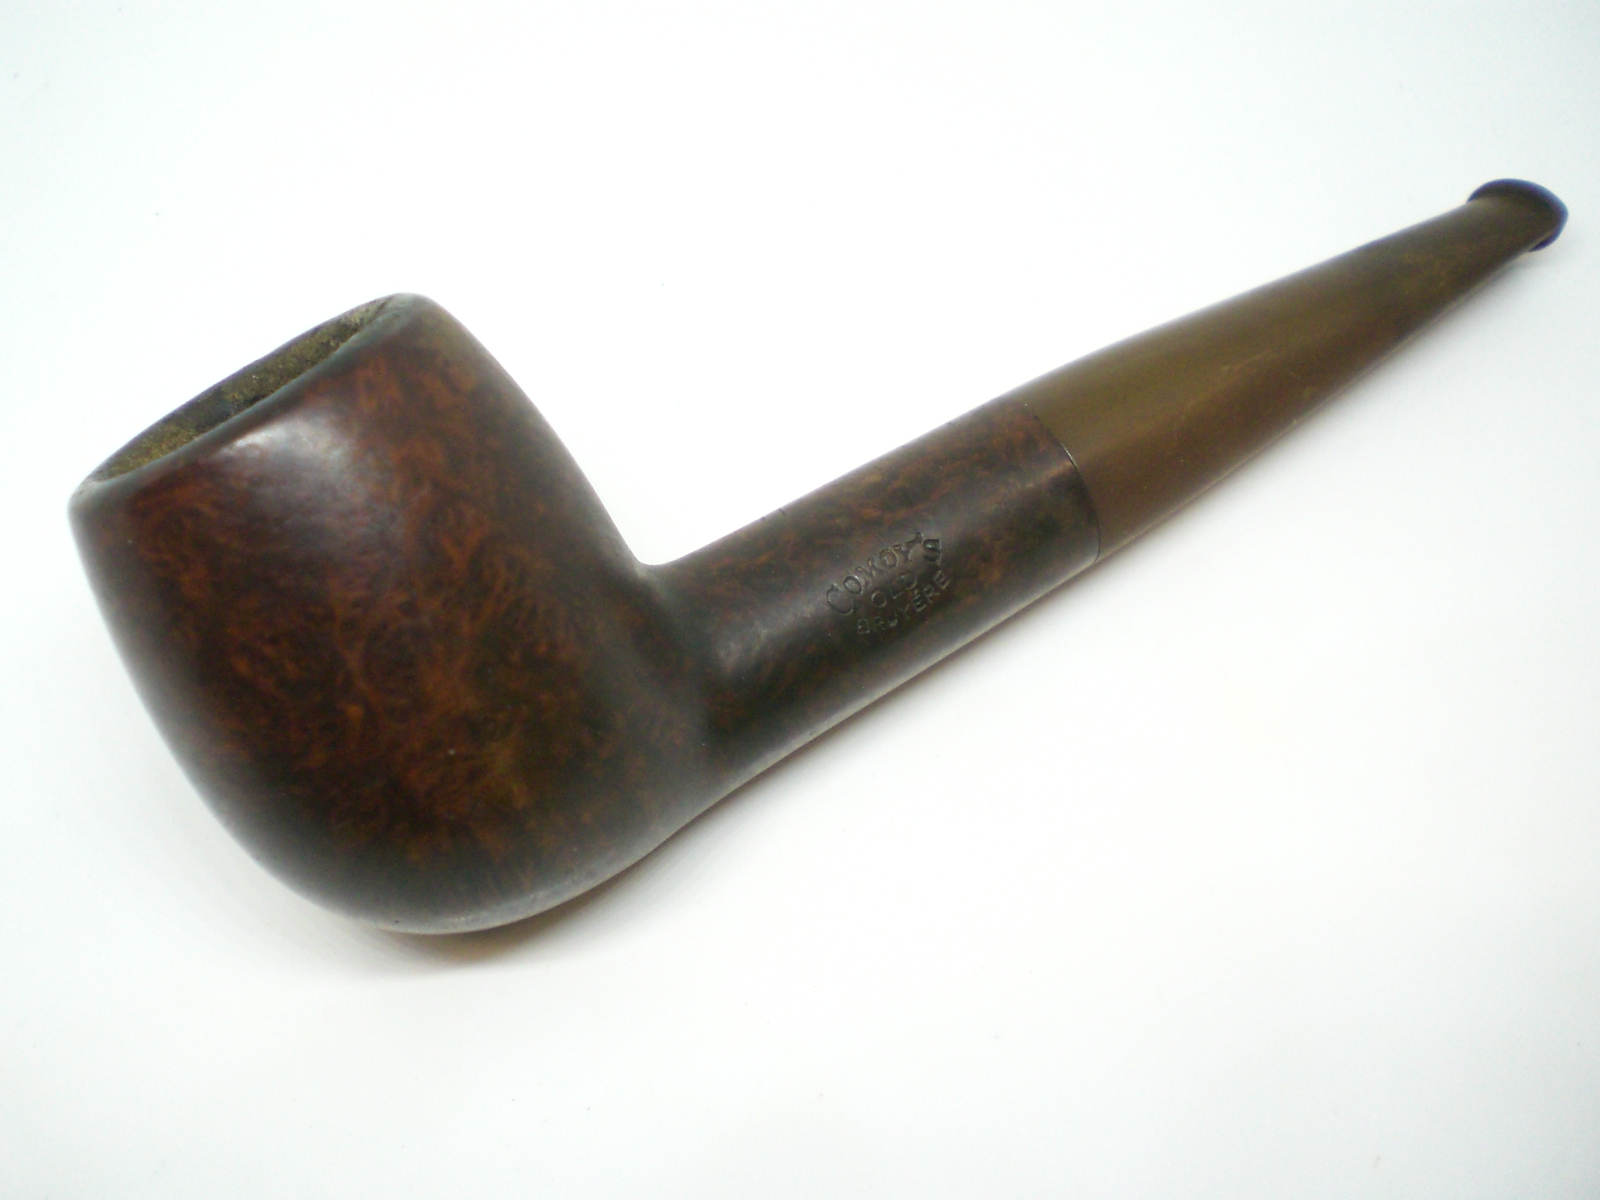
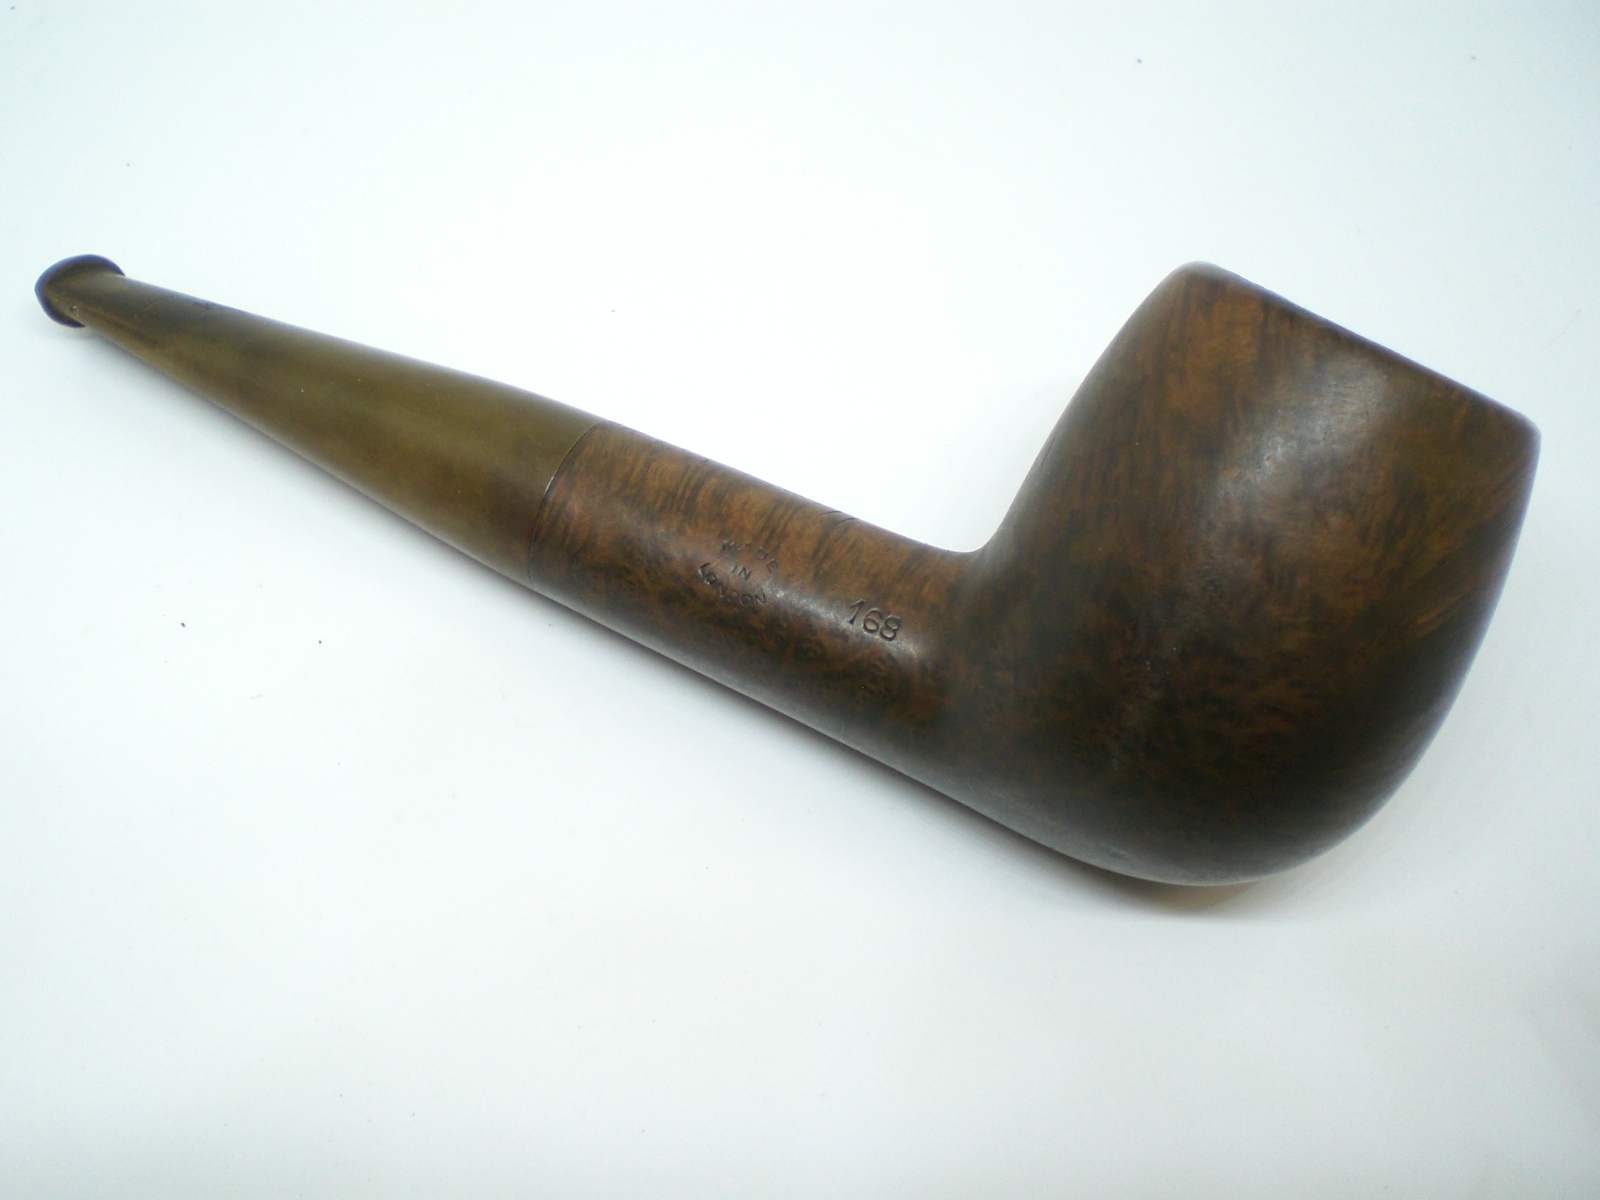
See the nomenclature below. This one only lacks the hallmarked band. I believe that this pipe was made in the 1920’s and it is nearly a century old! Another identifying feature is that I cannot find the 168 shape number in any of my Comoy’s catalog pages. I believe this would be the Apple shape, similar to the Shape 150, but perhaps a tad more stout. As you can see, the nomenclature was in excellent condition, a real bonus.

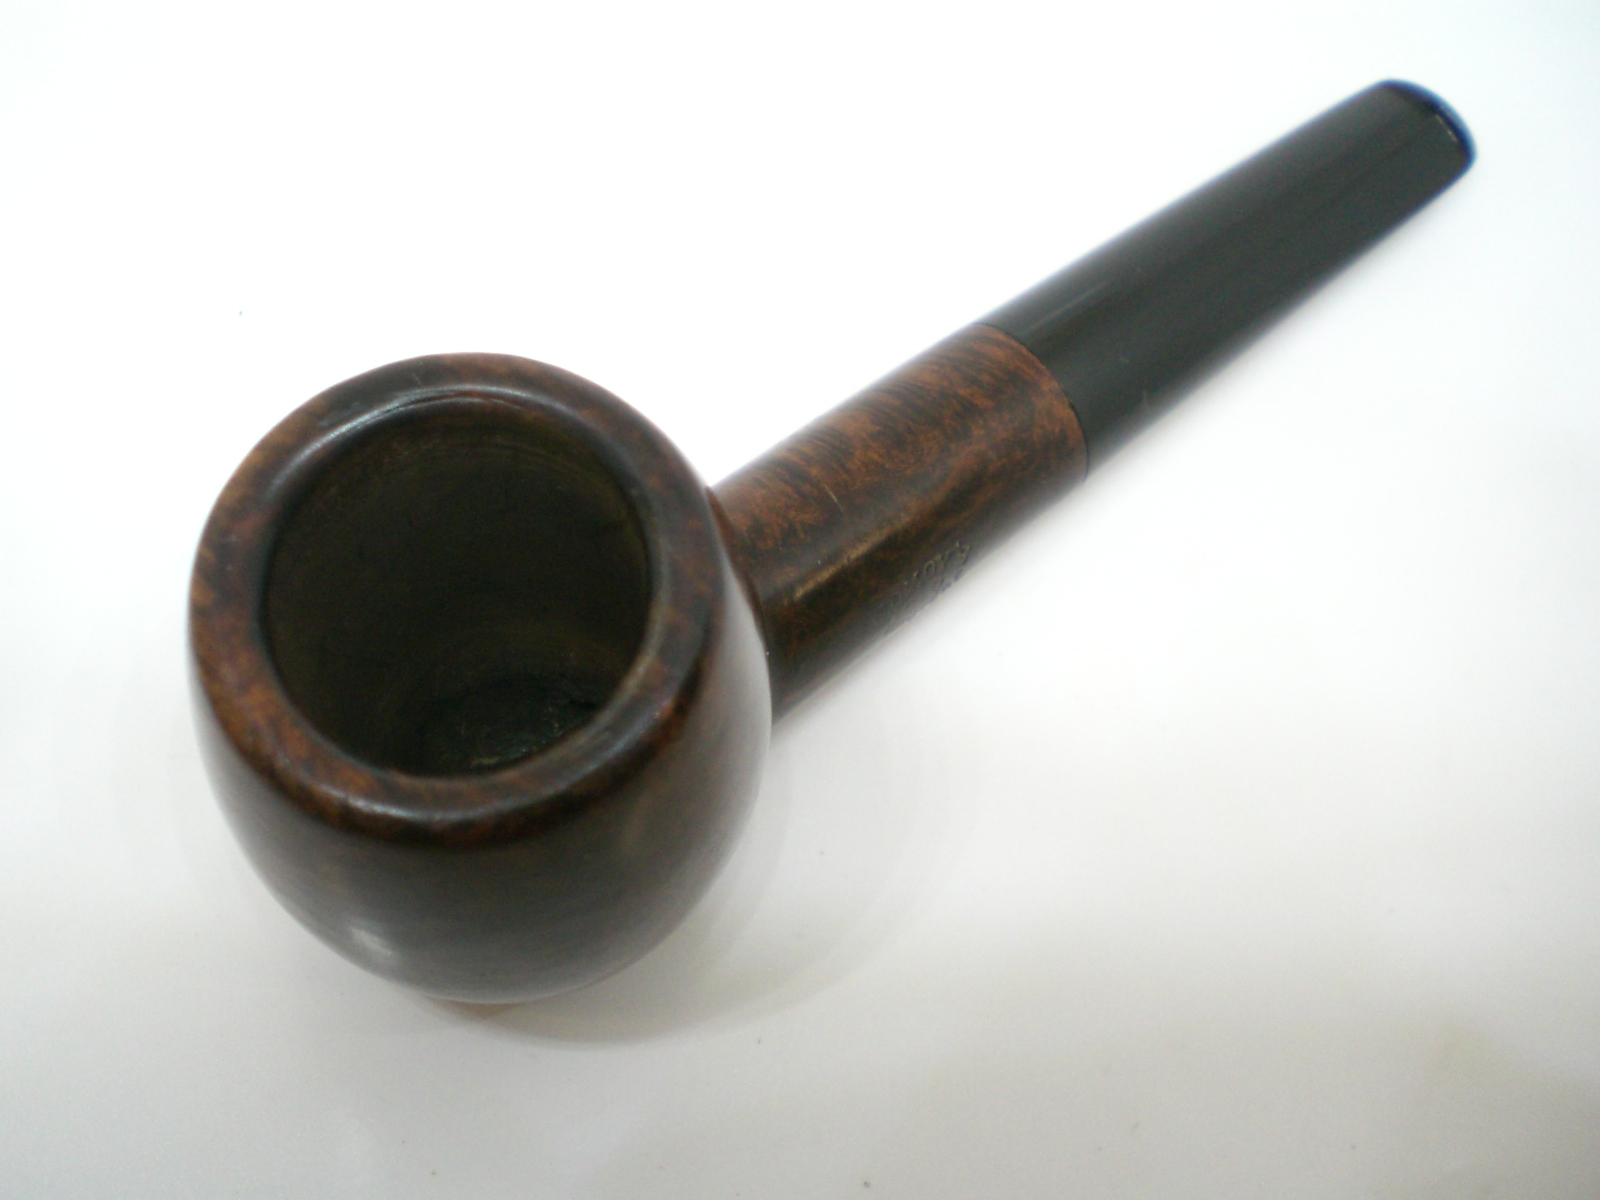
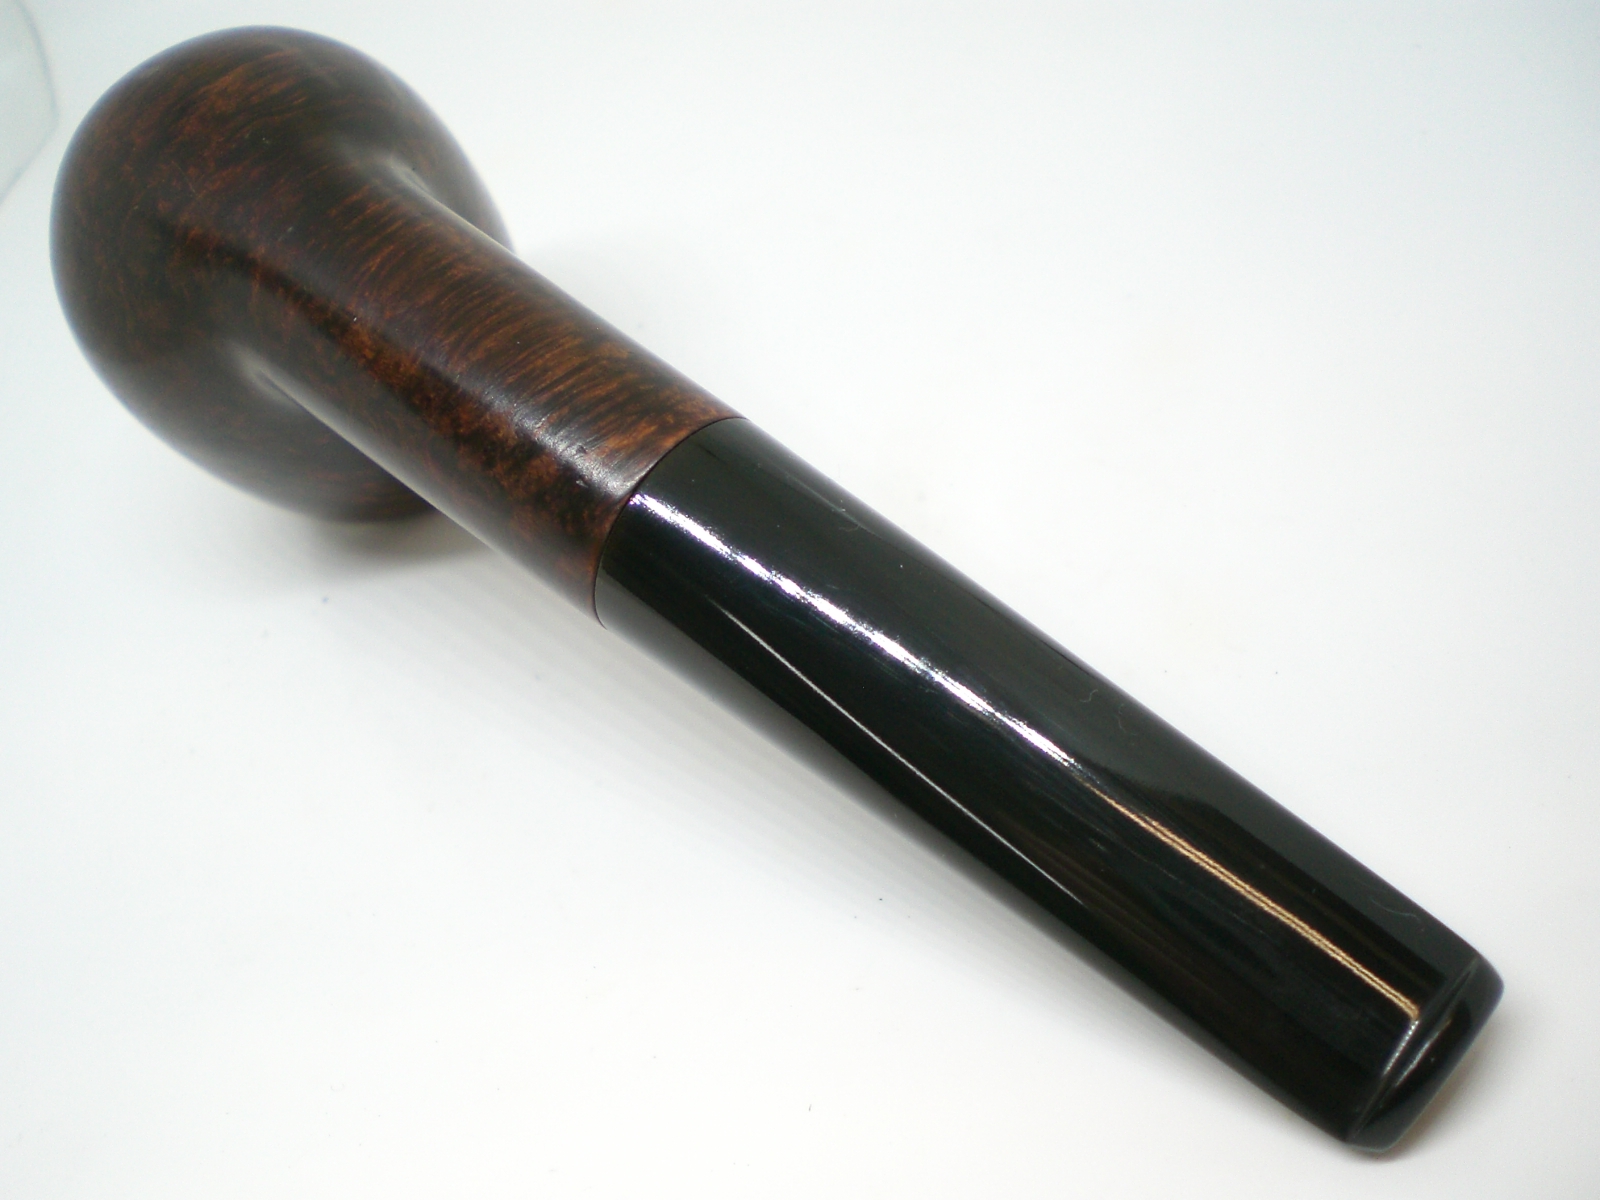
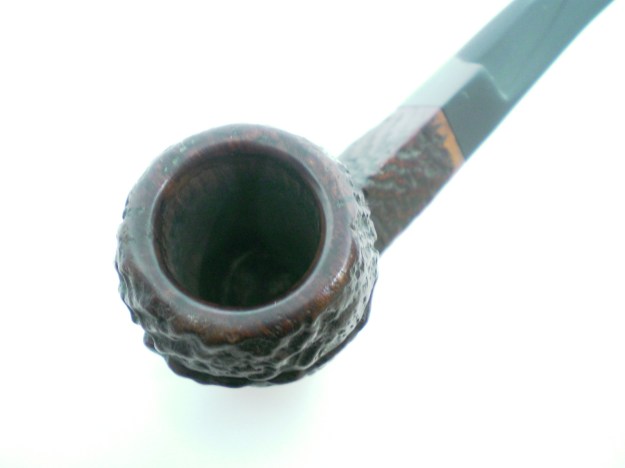
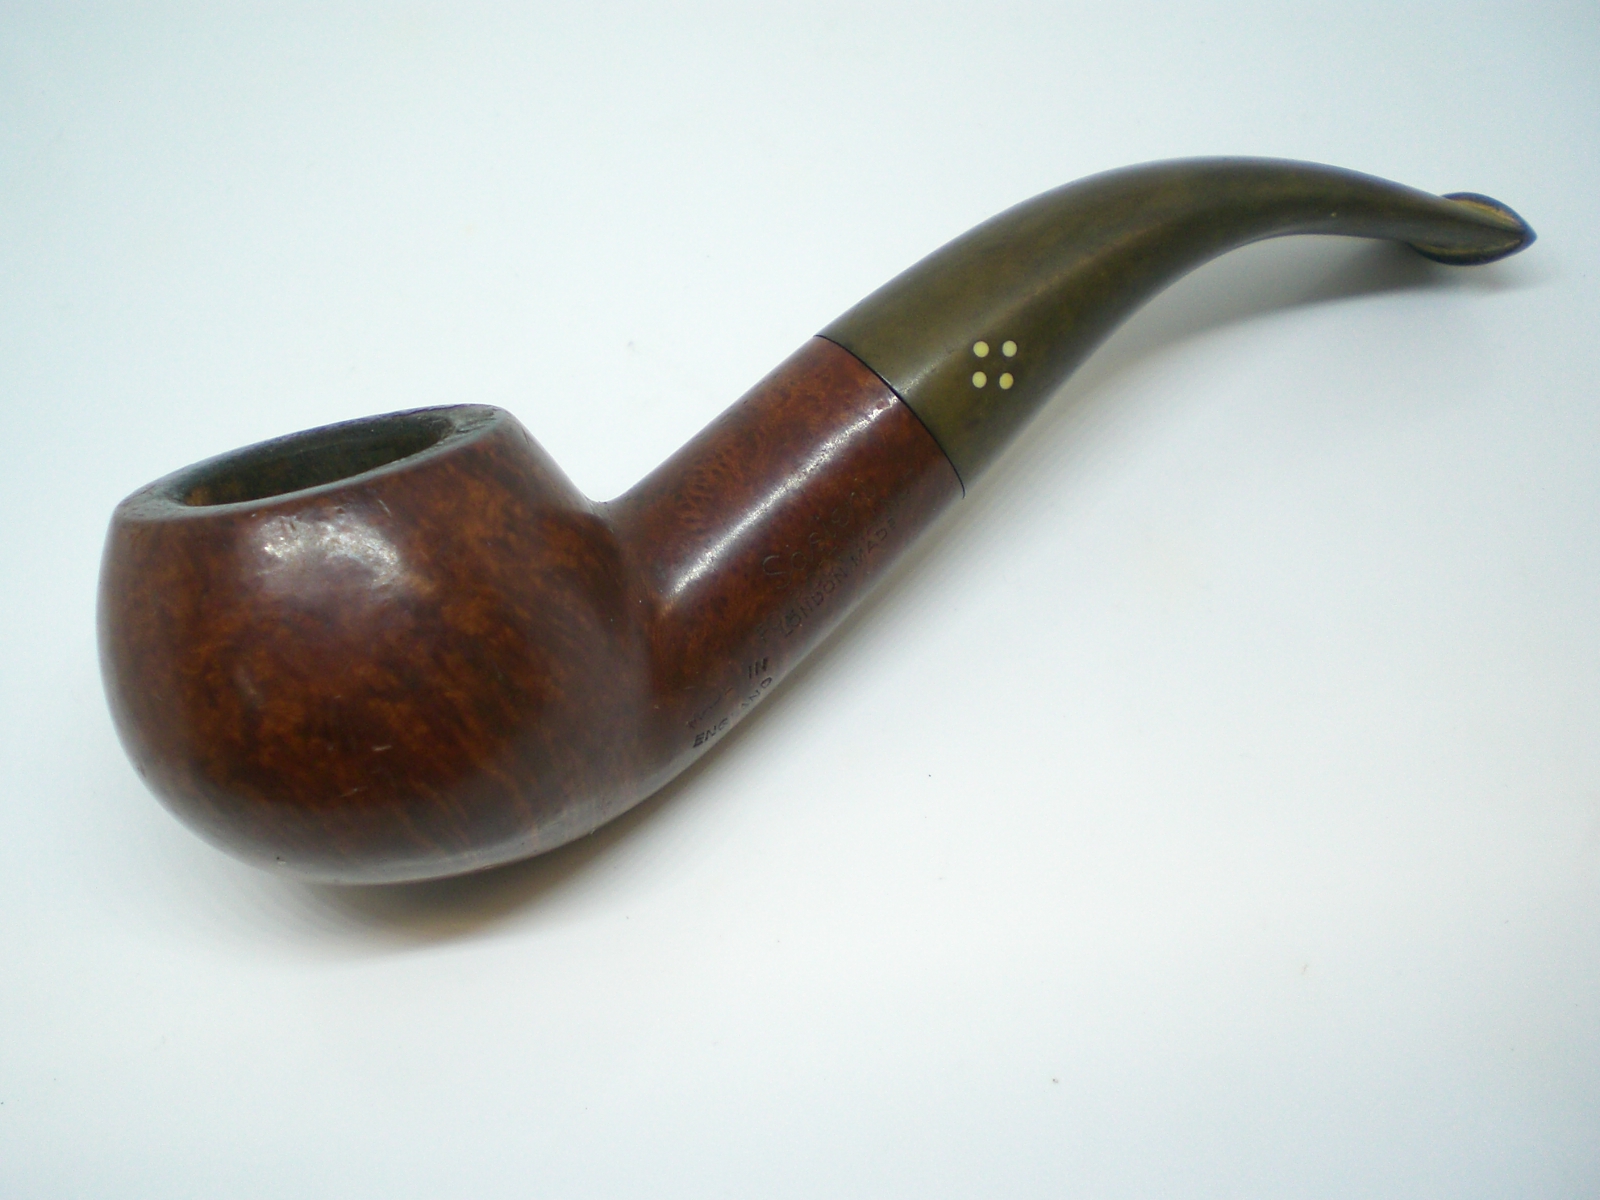
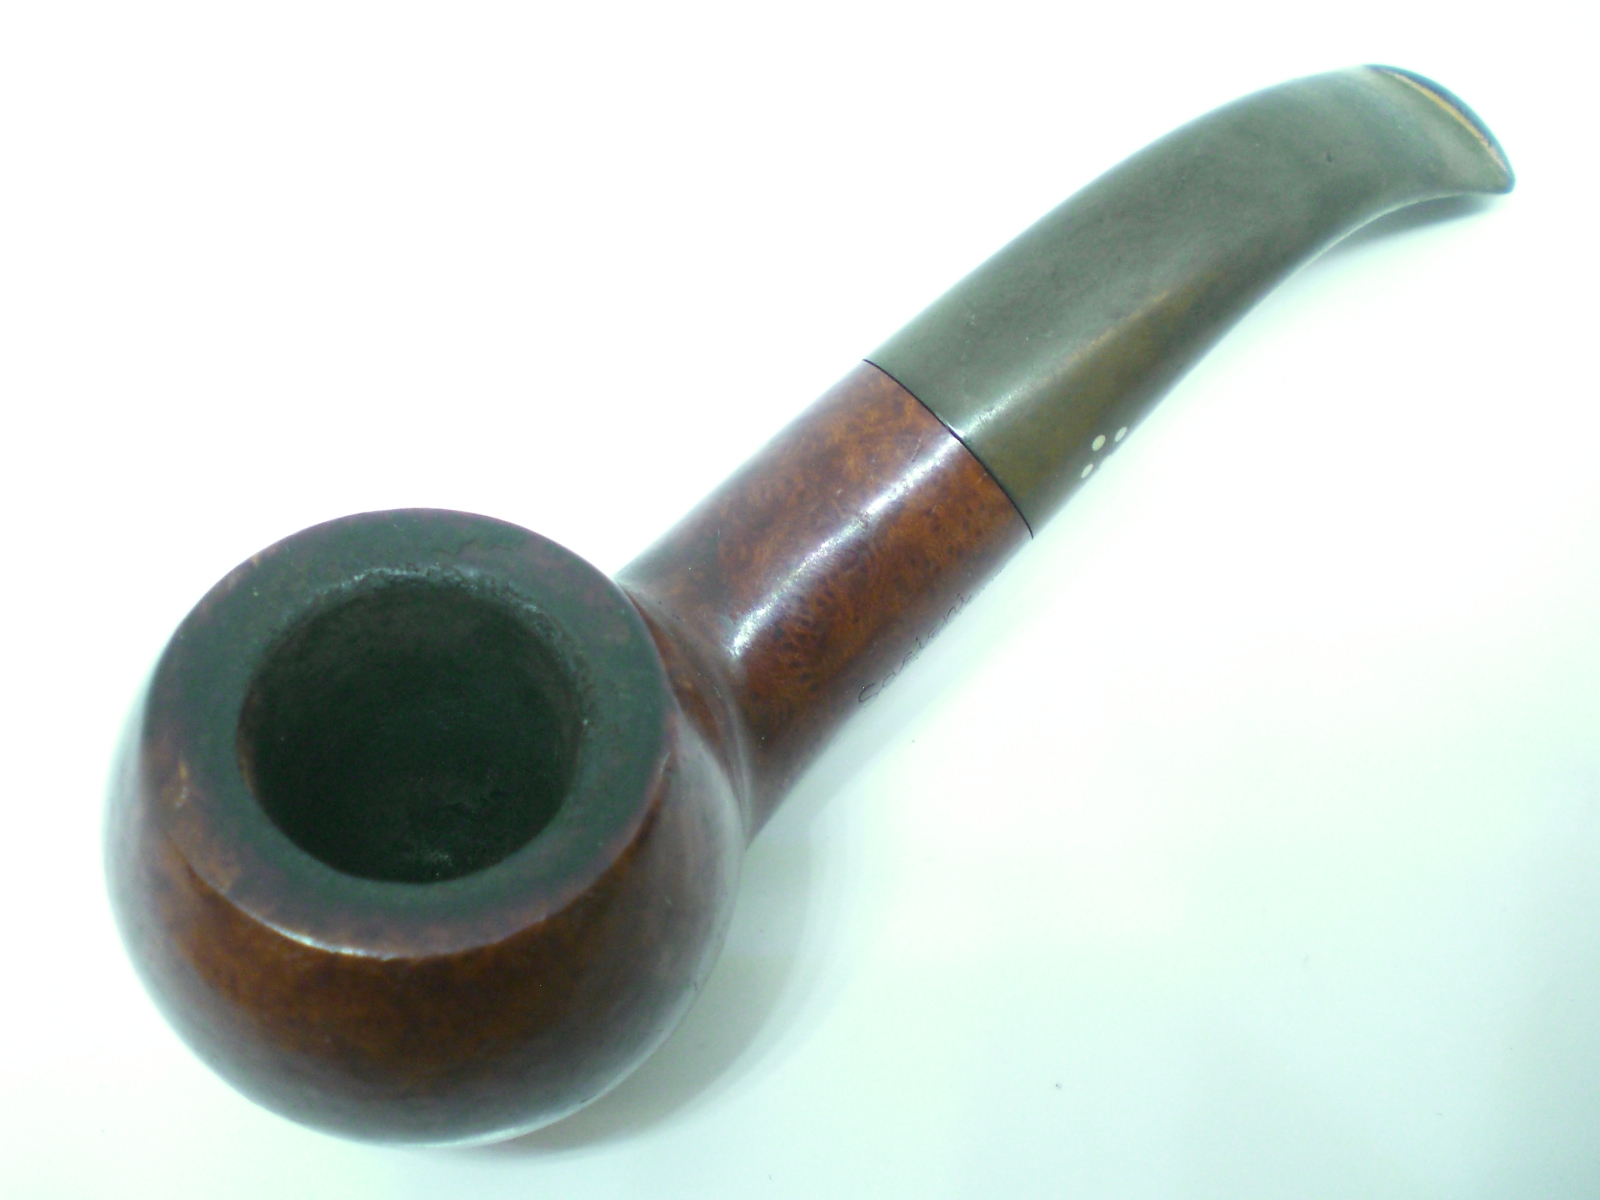
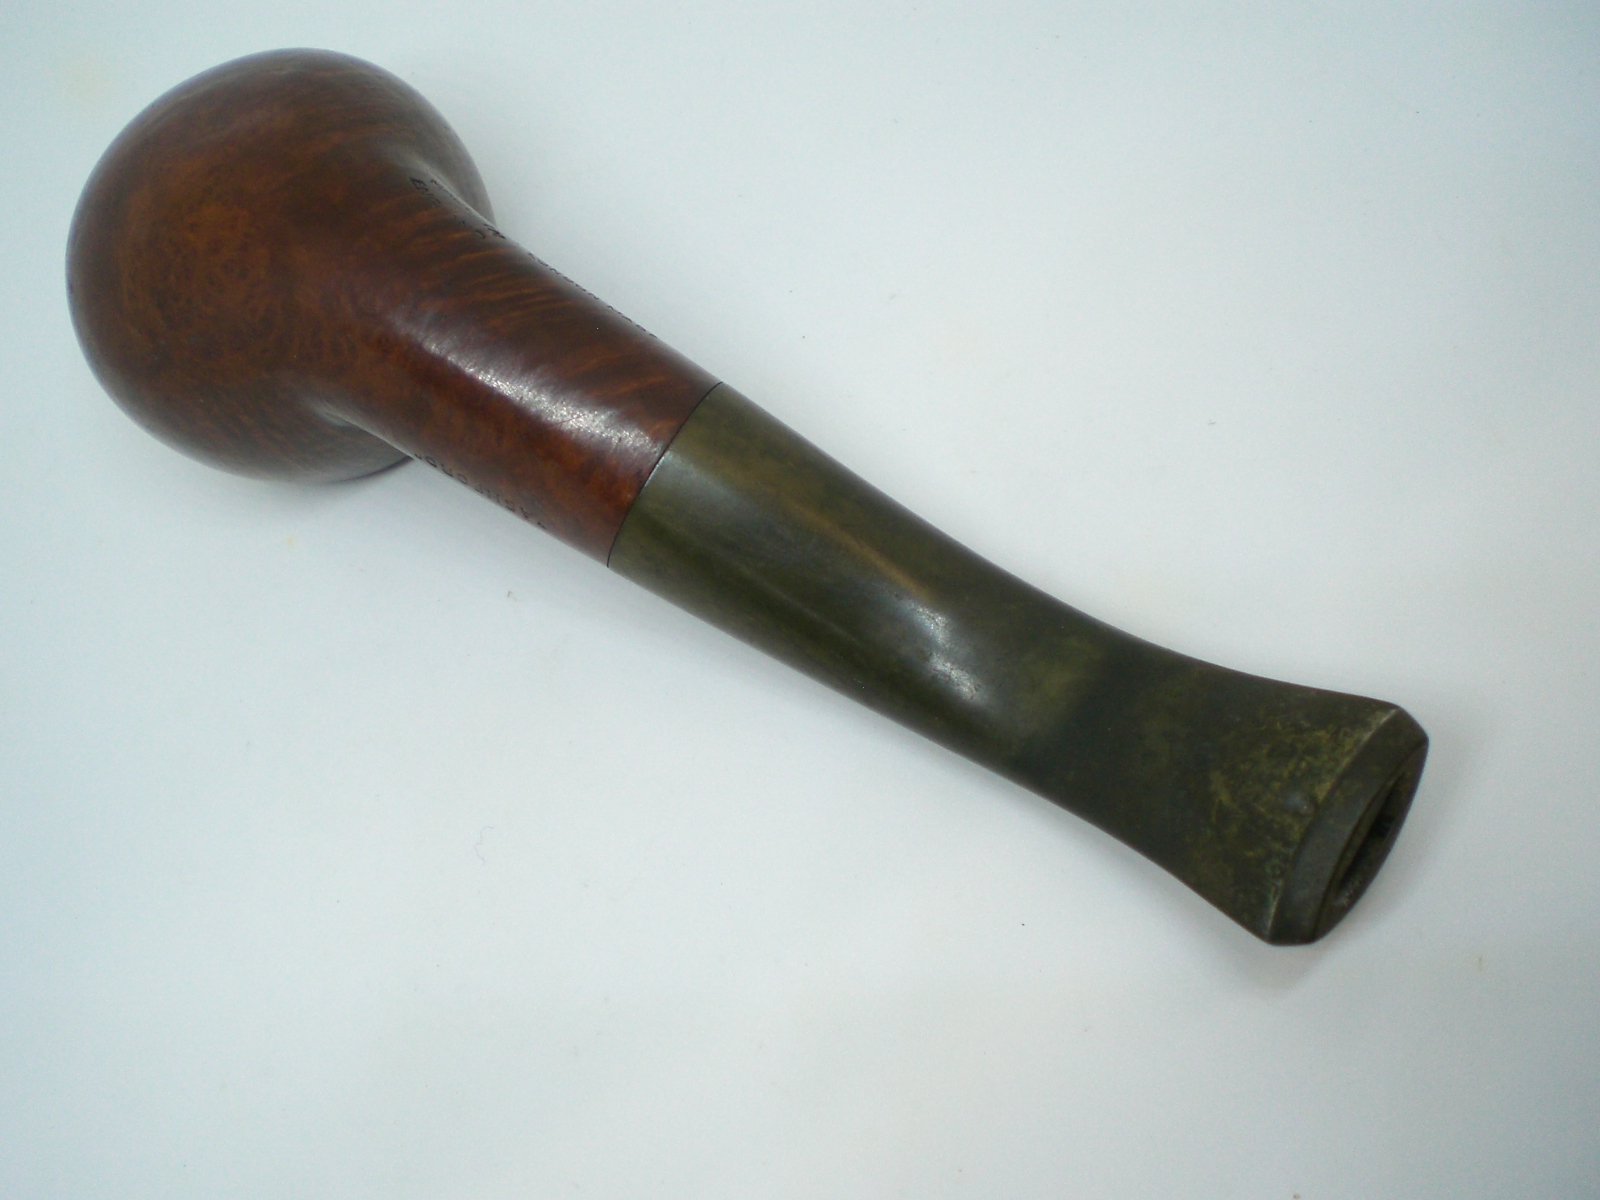
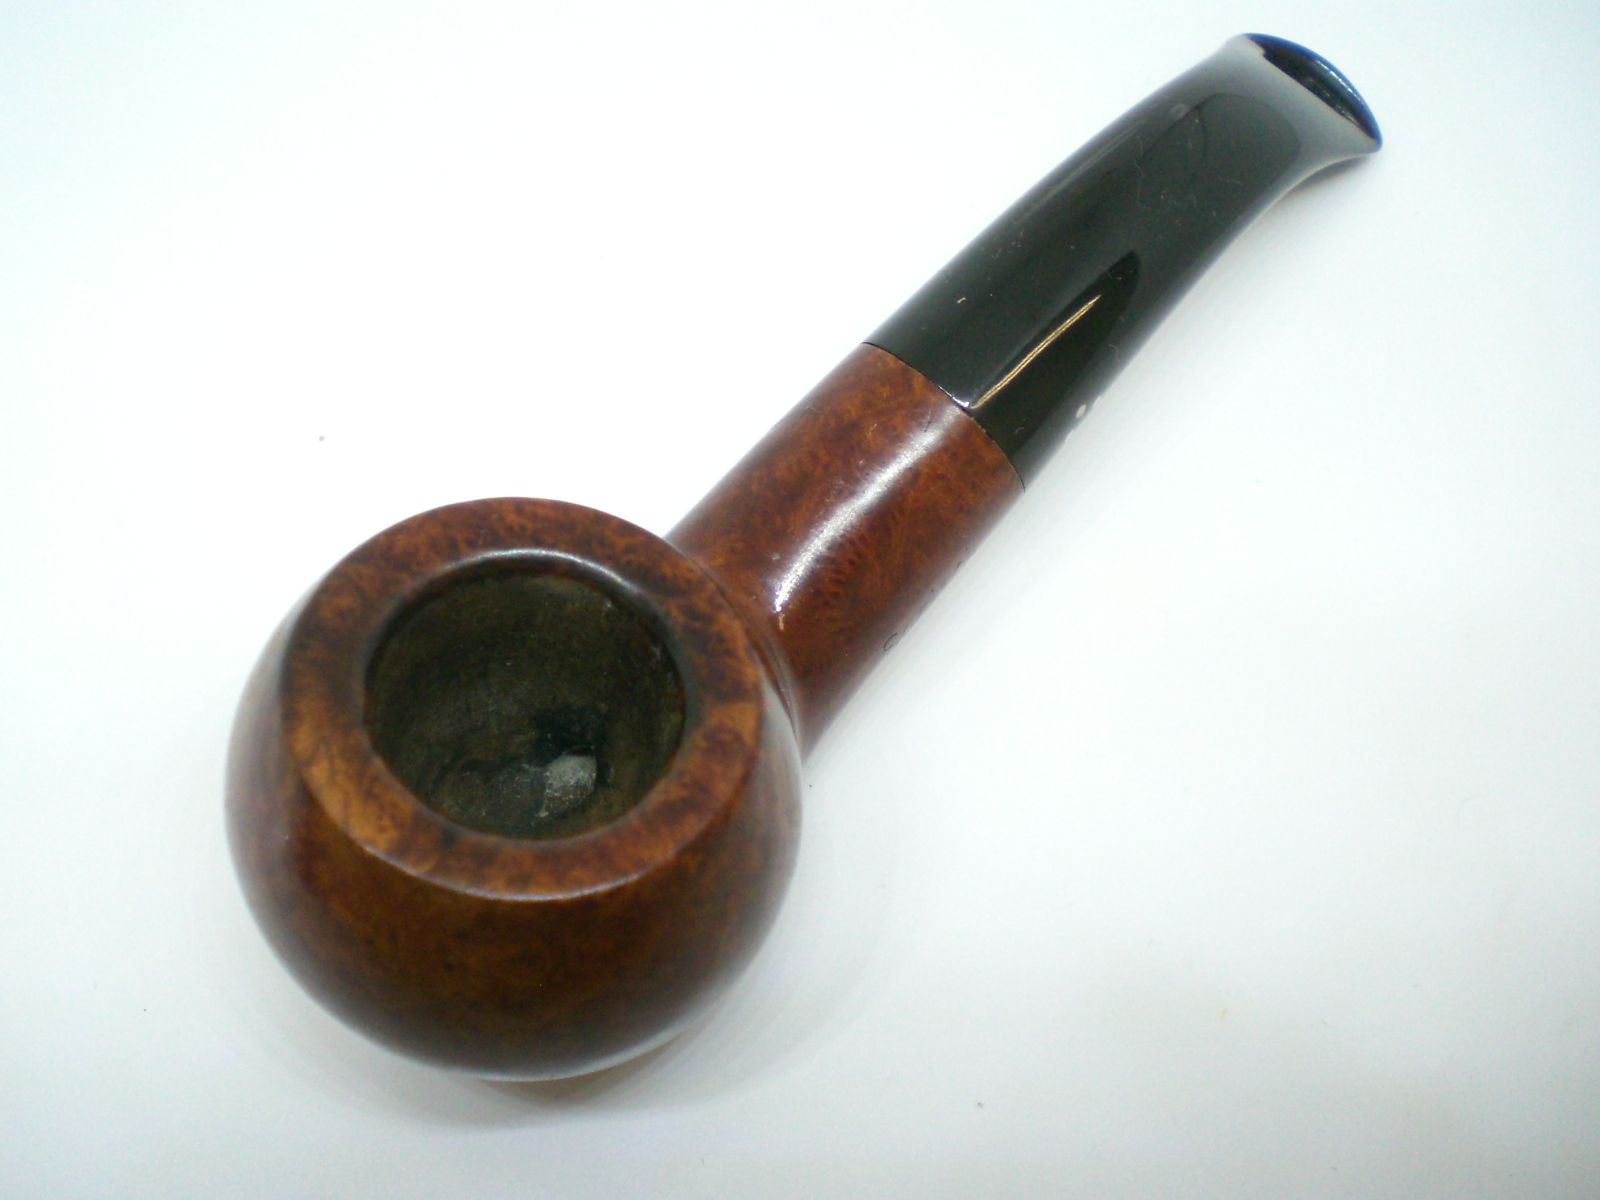
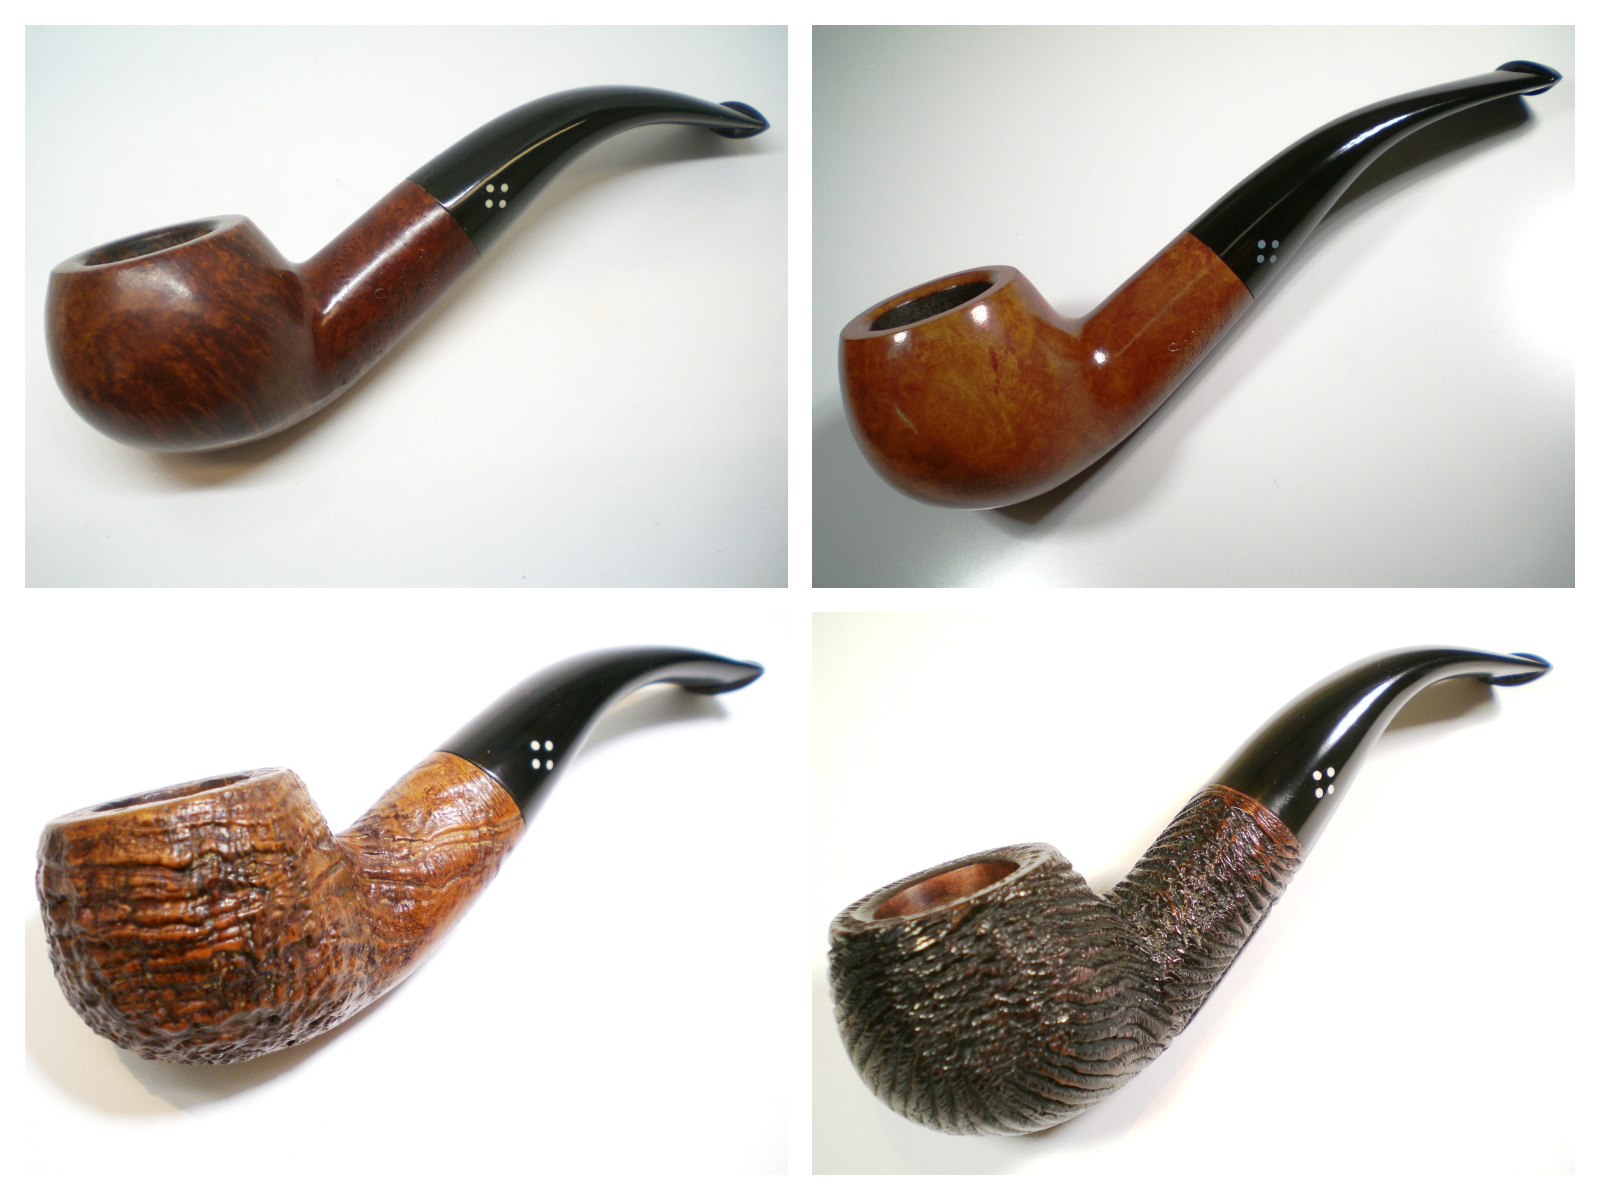
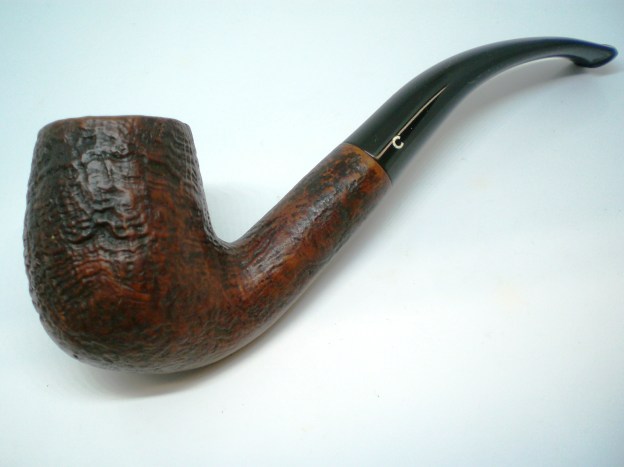
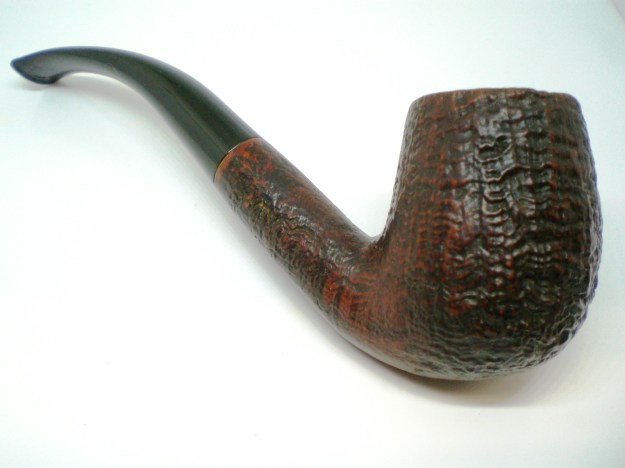
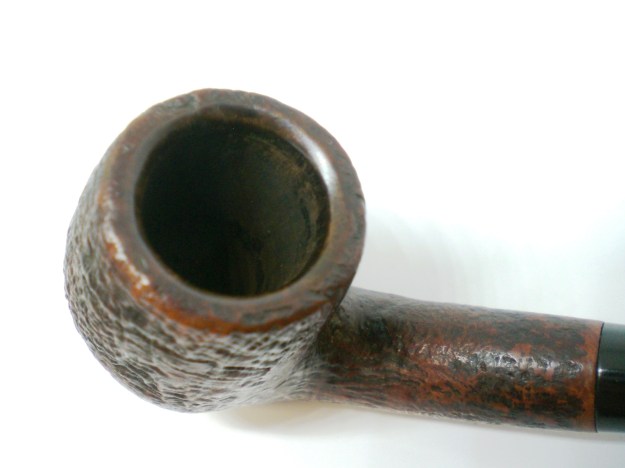
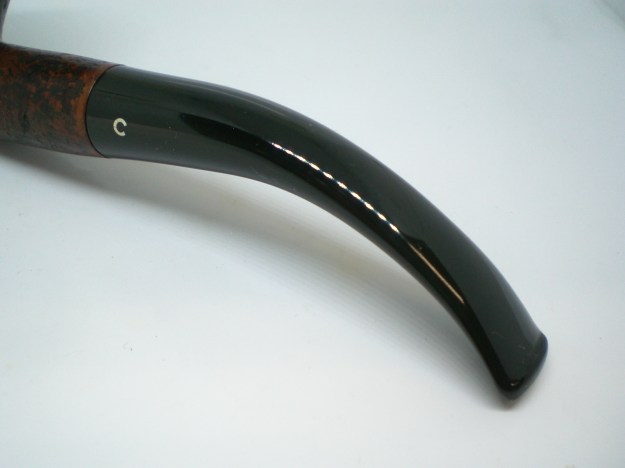
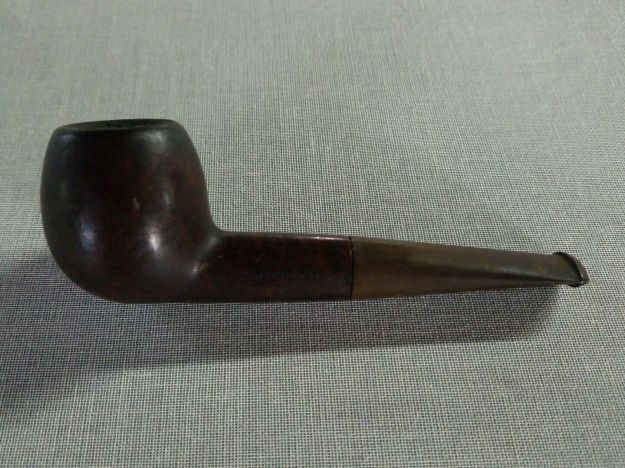
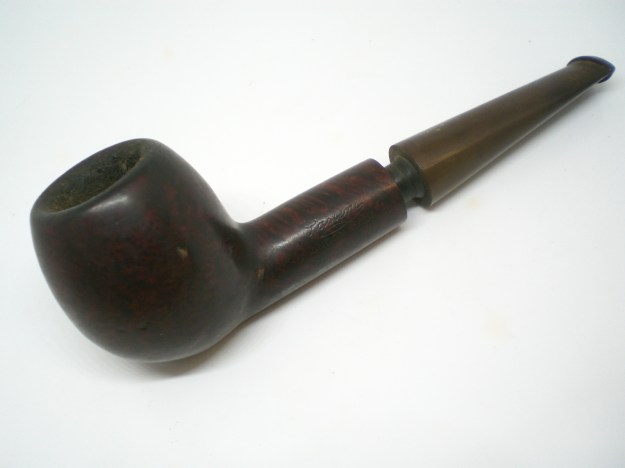
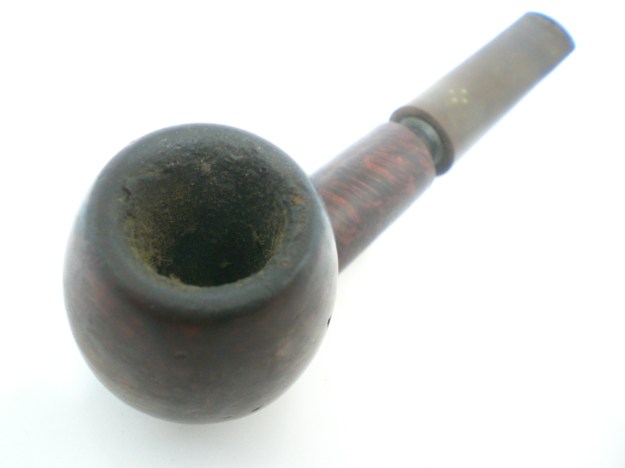
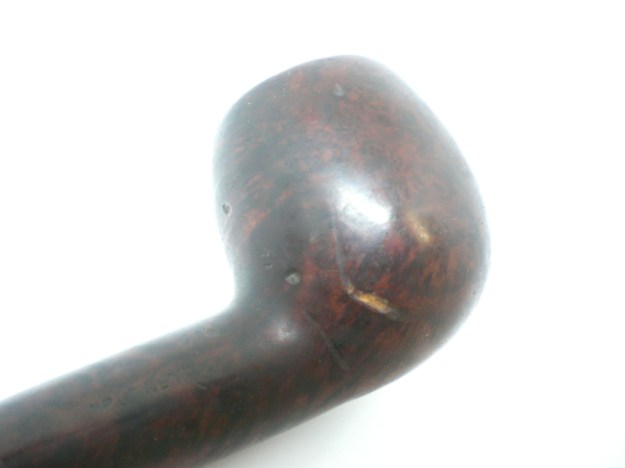
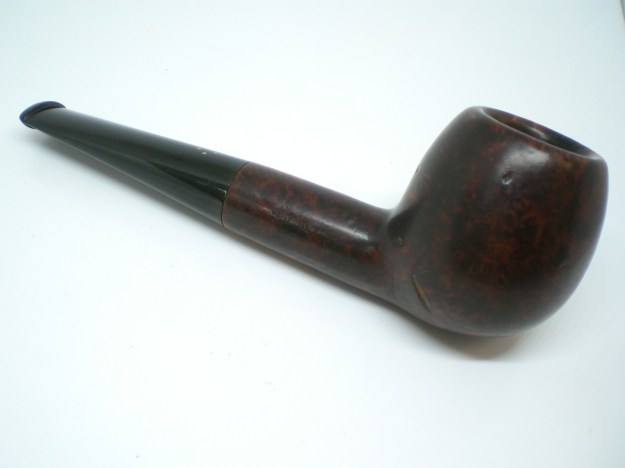
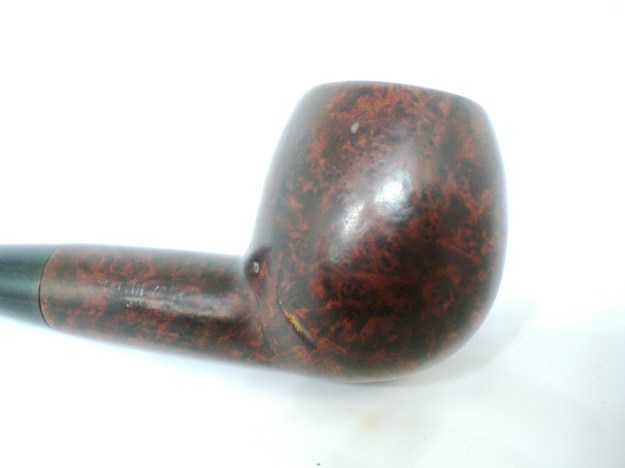
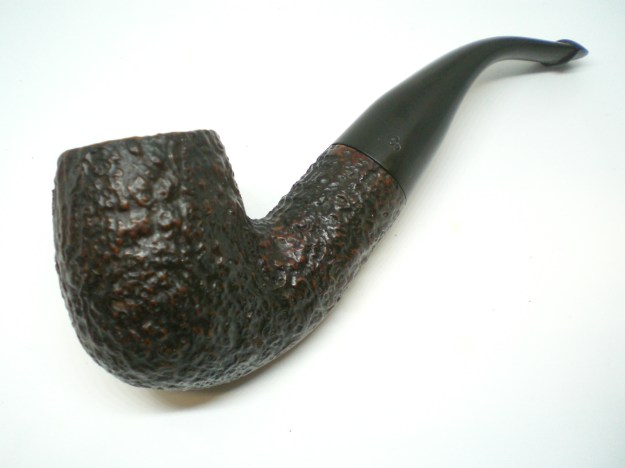
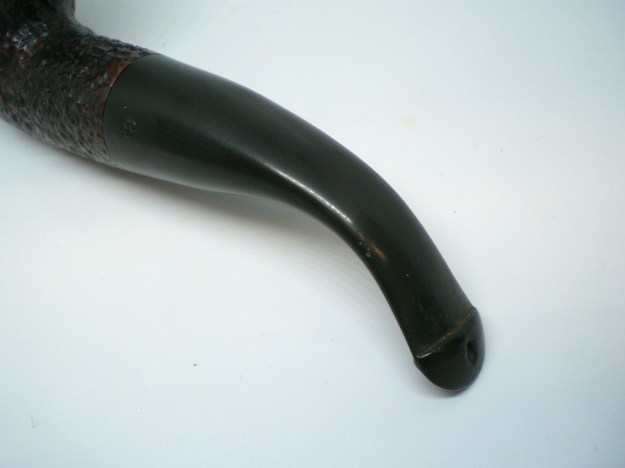
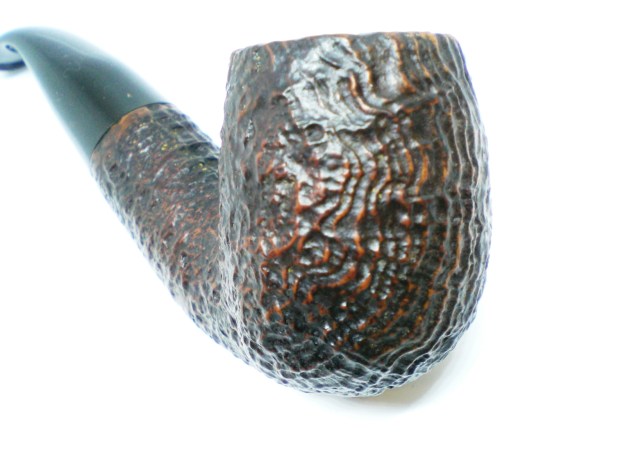
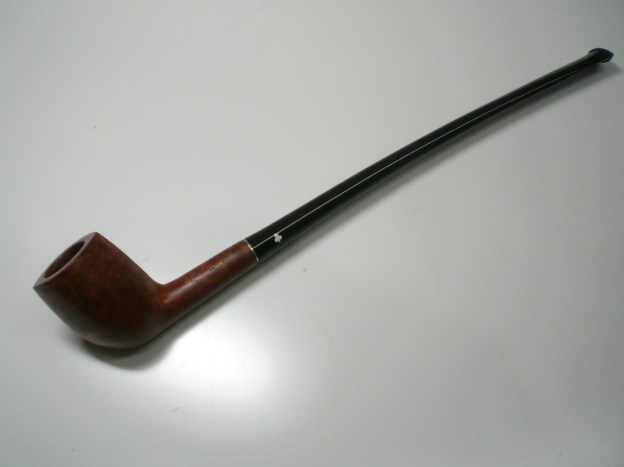
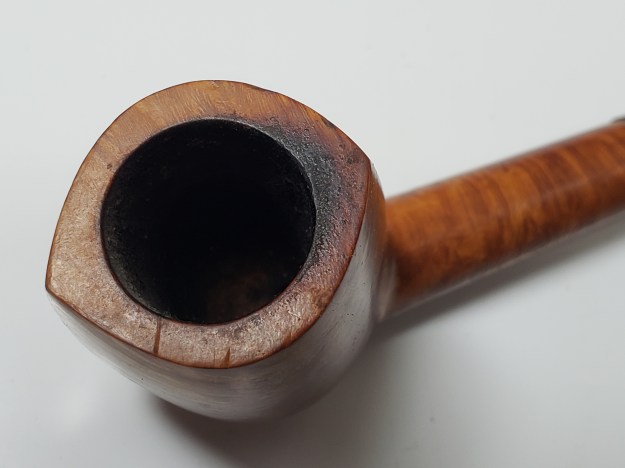
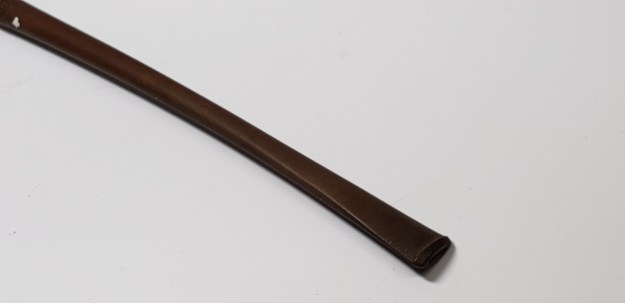
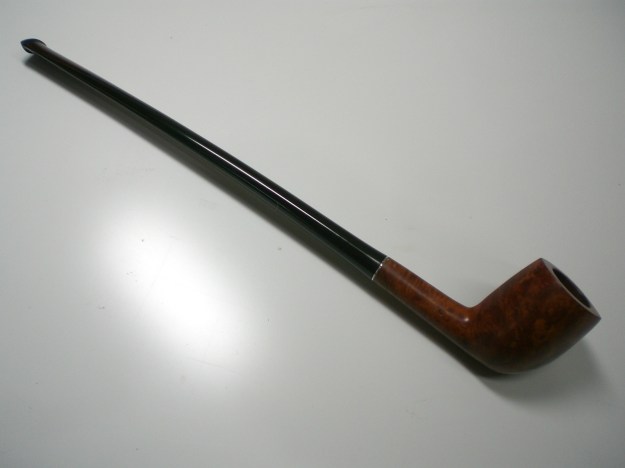
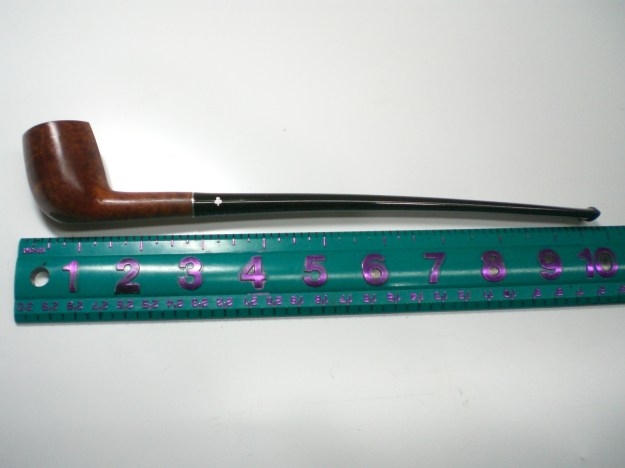
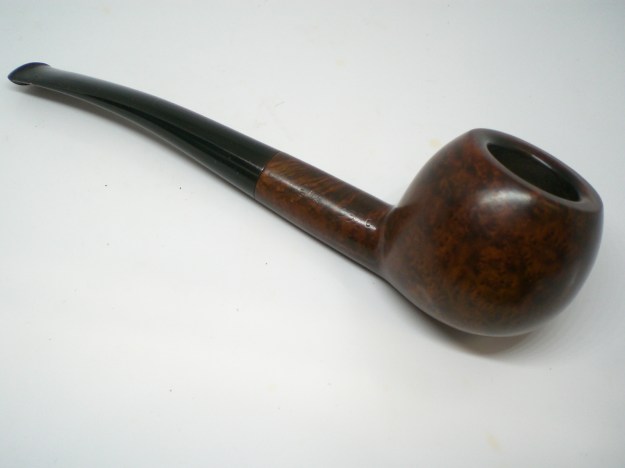
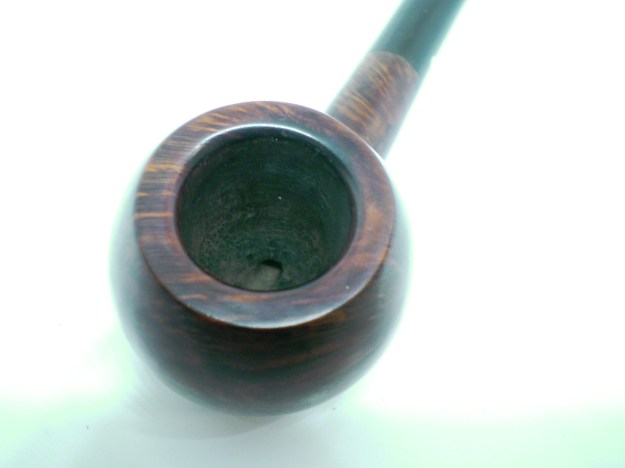
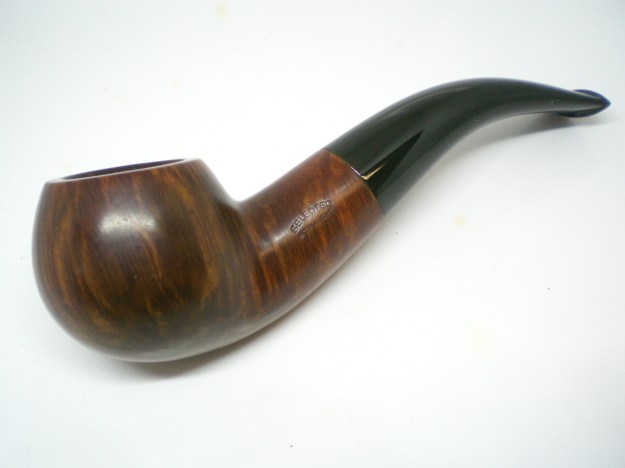
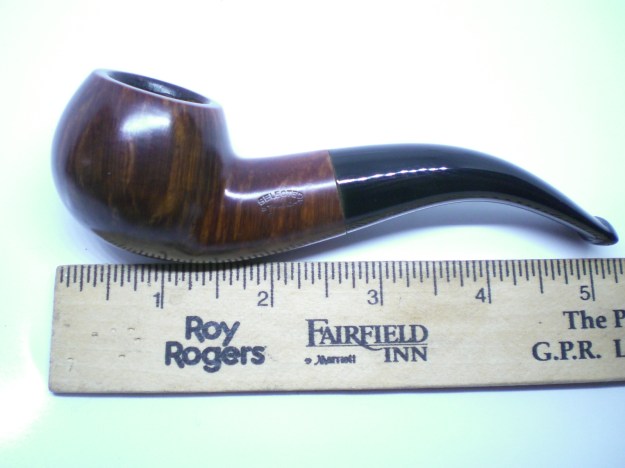
The pipe was definitely well loved. There was some scorching on the bowl top, a very heavy cake and the stem was heavily oxidized. The stem was also very loose. I was pleased to find that the stem had virtually no teeth marks. The briar also had several handling dings that would need to be addressed. Below is the pipe as it was received.
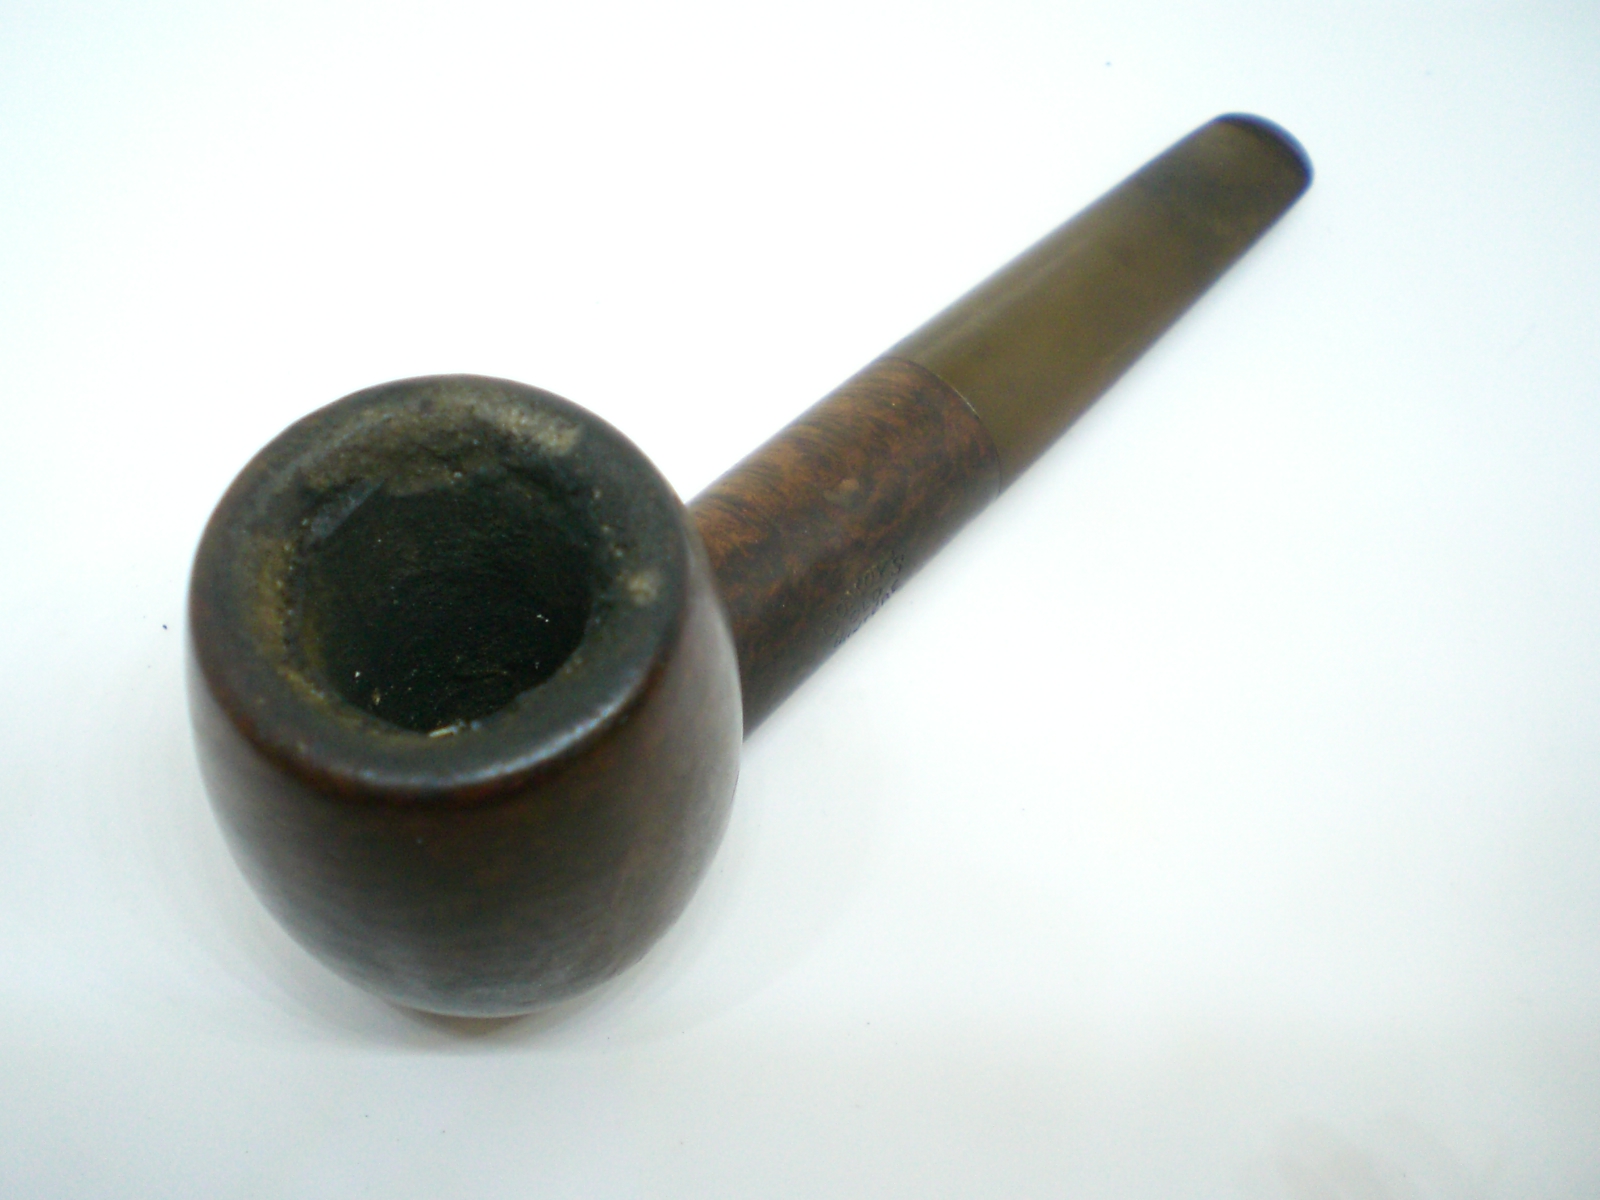
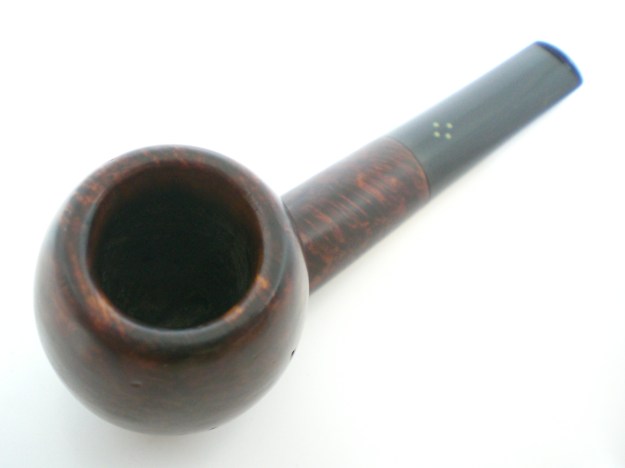
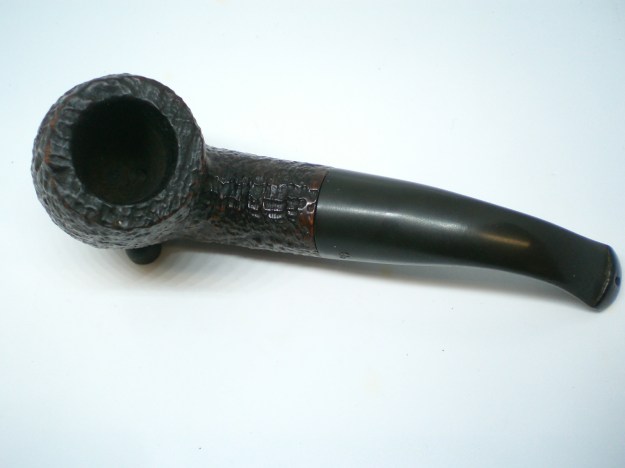
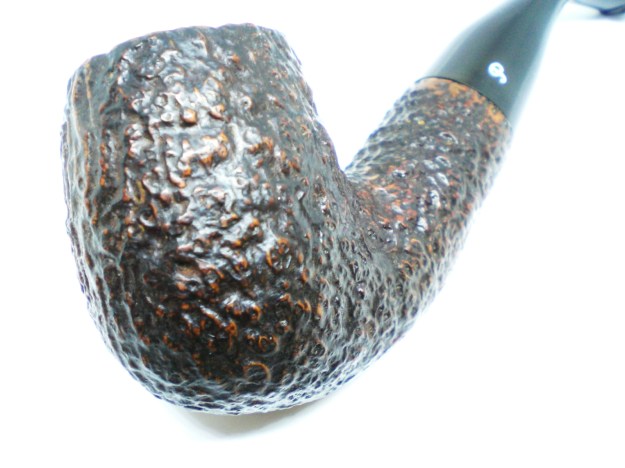
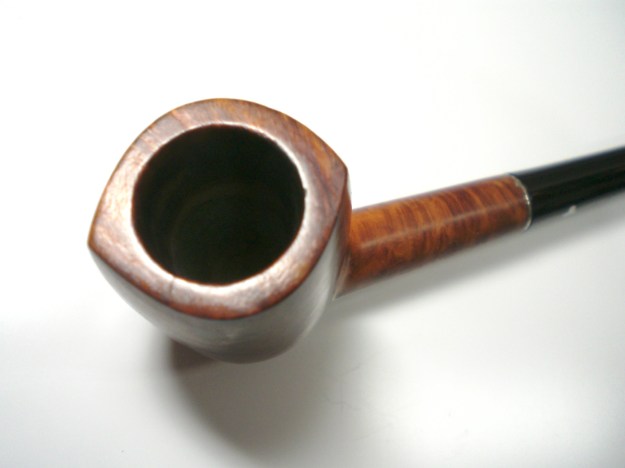
I used a worn piece of Scotchbrite to remove the bowl top build-up, finished with micromesh. The bowl was reamed and I found the interior to be in excellent condition. The draft hole was nearly completely plugged, but the bit on my Senor reamer cleared that obstruction. I decided against my usual practice of soaking the briar with alcohol and sea salt, as to not make the stem any looser. I did clean the shank with a brush dipped in alcohol, until the brush was clean.
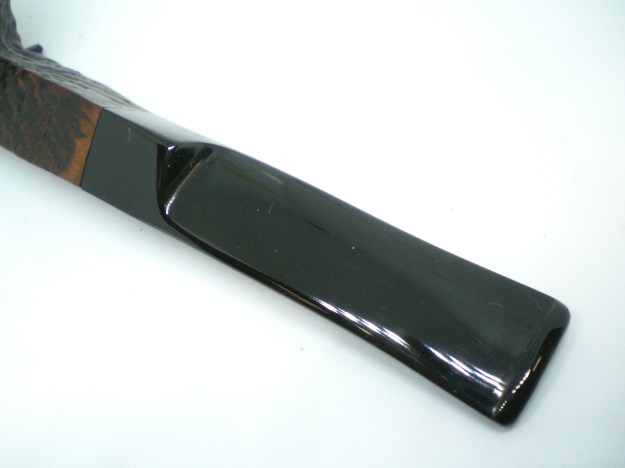
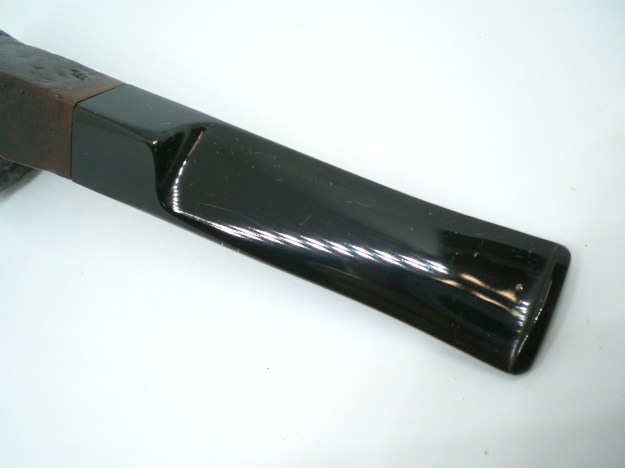
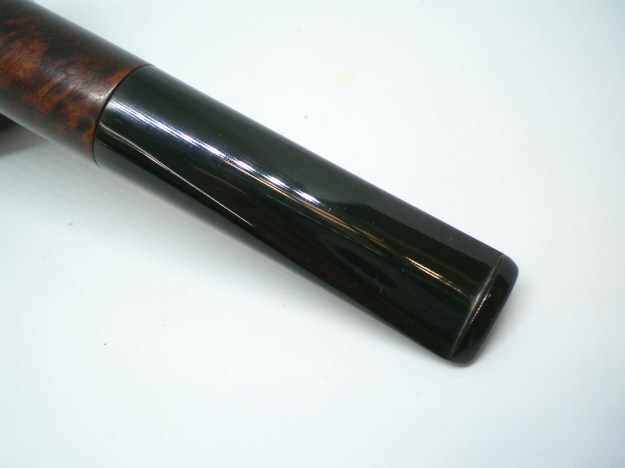
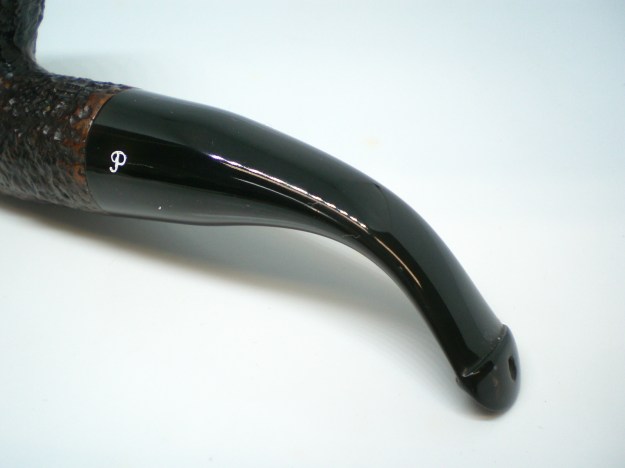
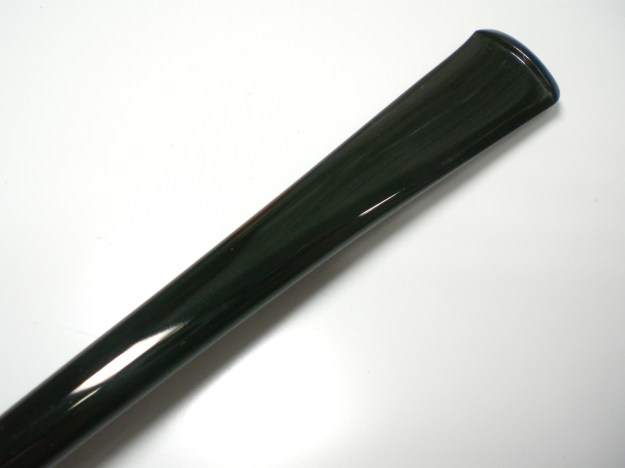
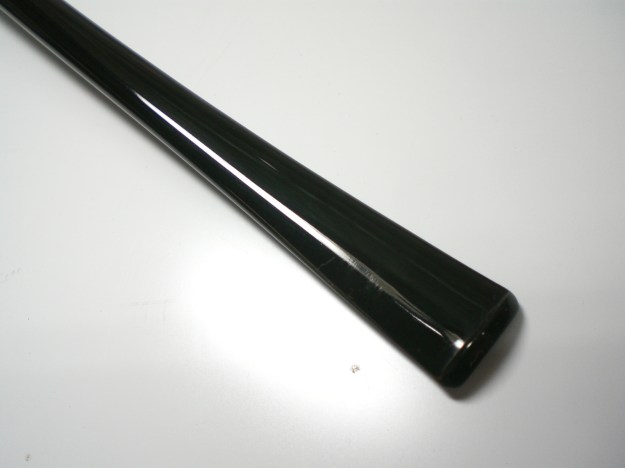
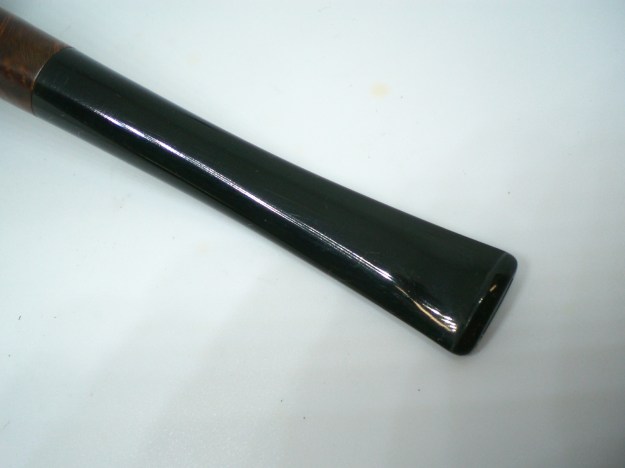
The oxidation on the stem was removed with 600, 800, 1000, 1500 and 2000 grade wet paper. This was followed by 8,000 and 12,000 grade micromesh sheets (wet). I used a wet cloth and an electric iron to stem out most of the handling marks. A few remain, but they were well earned after nearly 100 years.
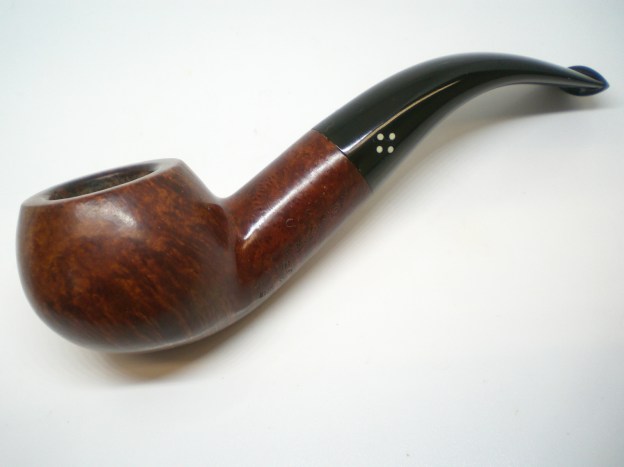
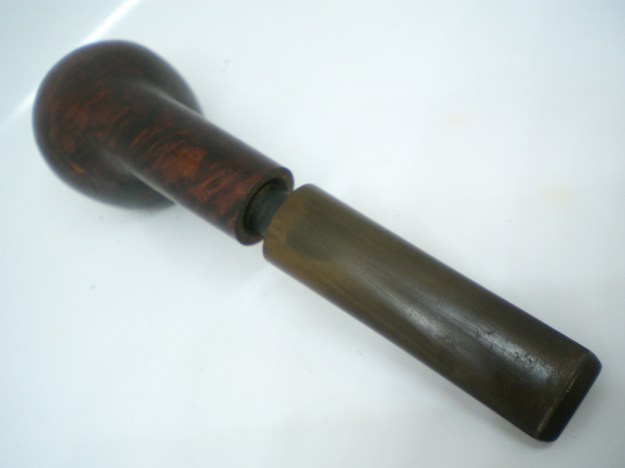
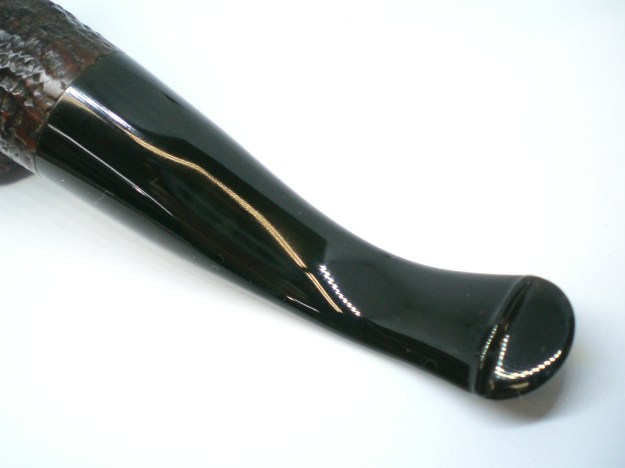
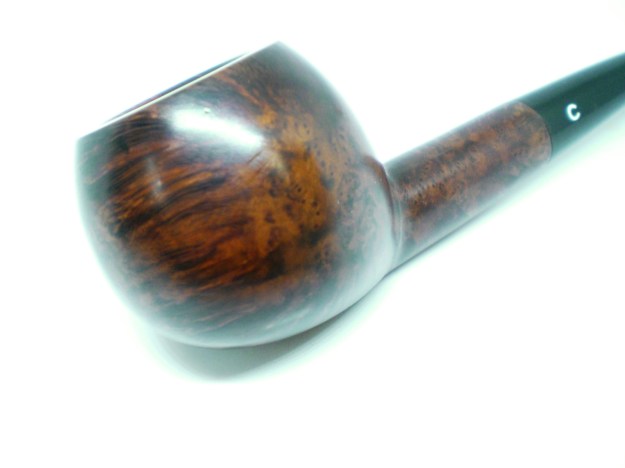
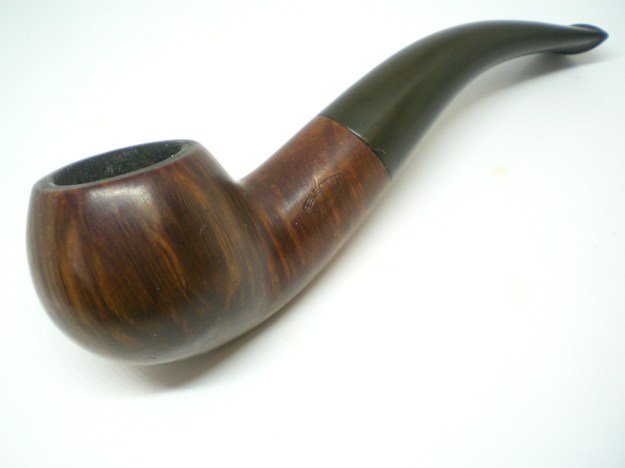
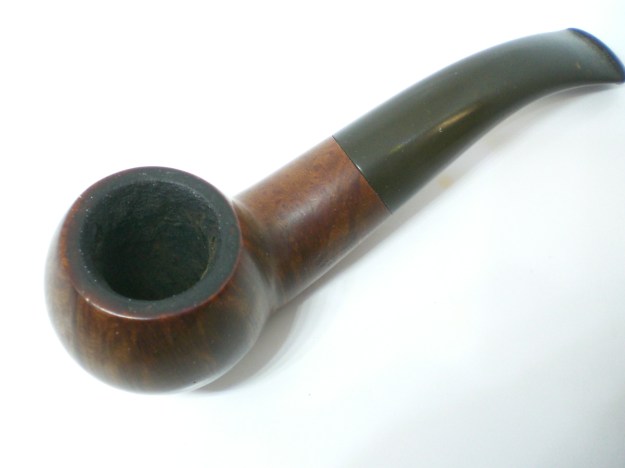
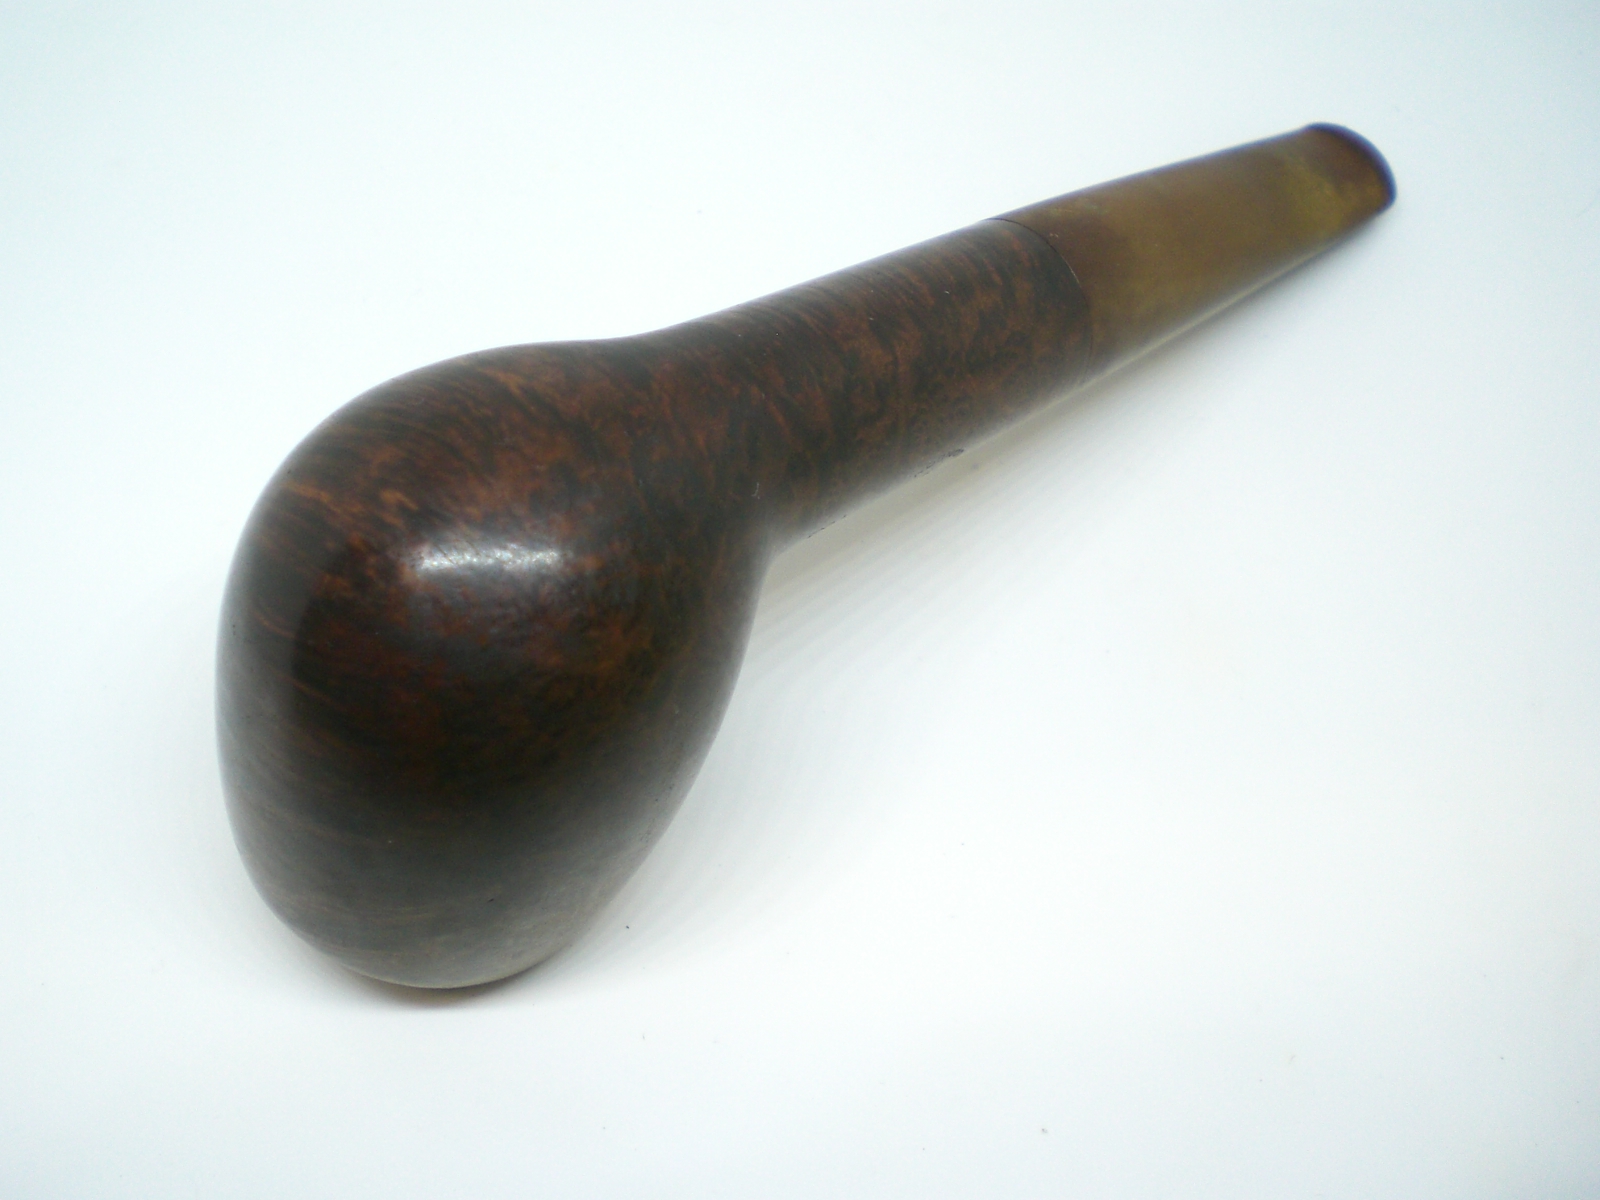
The stem was mounted and after a day of drying, a bit more snug (from the wet sanding). I’m confident it will snug nicely after a few careful initial uses. I buffed the stem with White Diamond and Meguiars Plastic Polish. The bowl was lightly buffed with White Diamond and several coats of Carnuba wax.
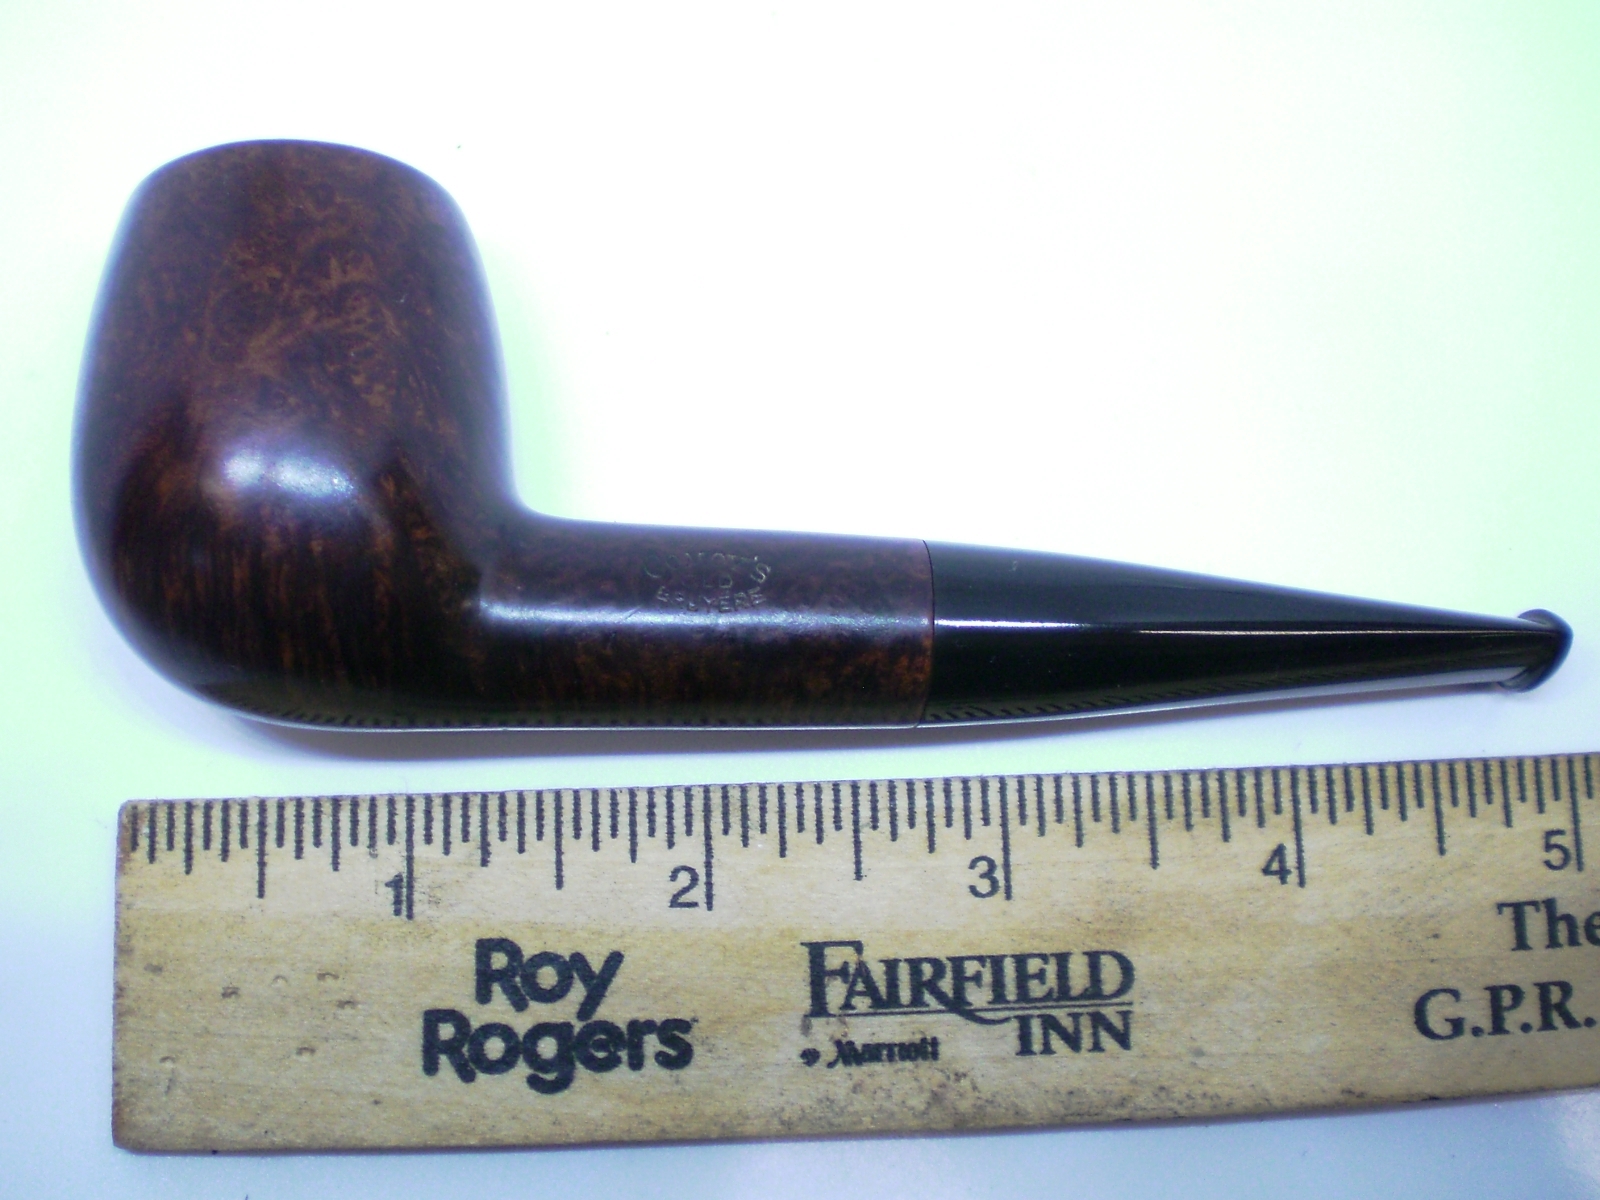
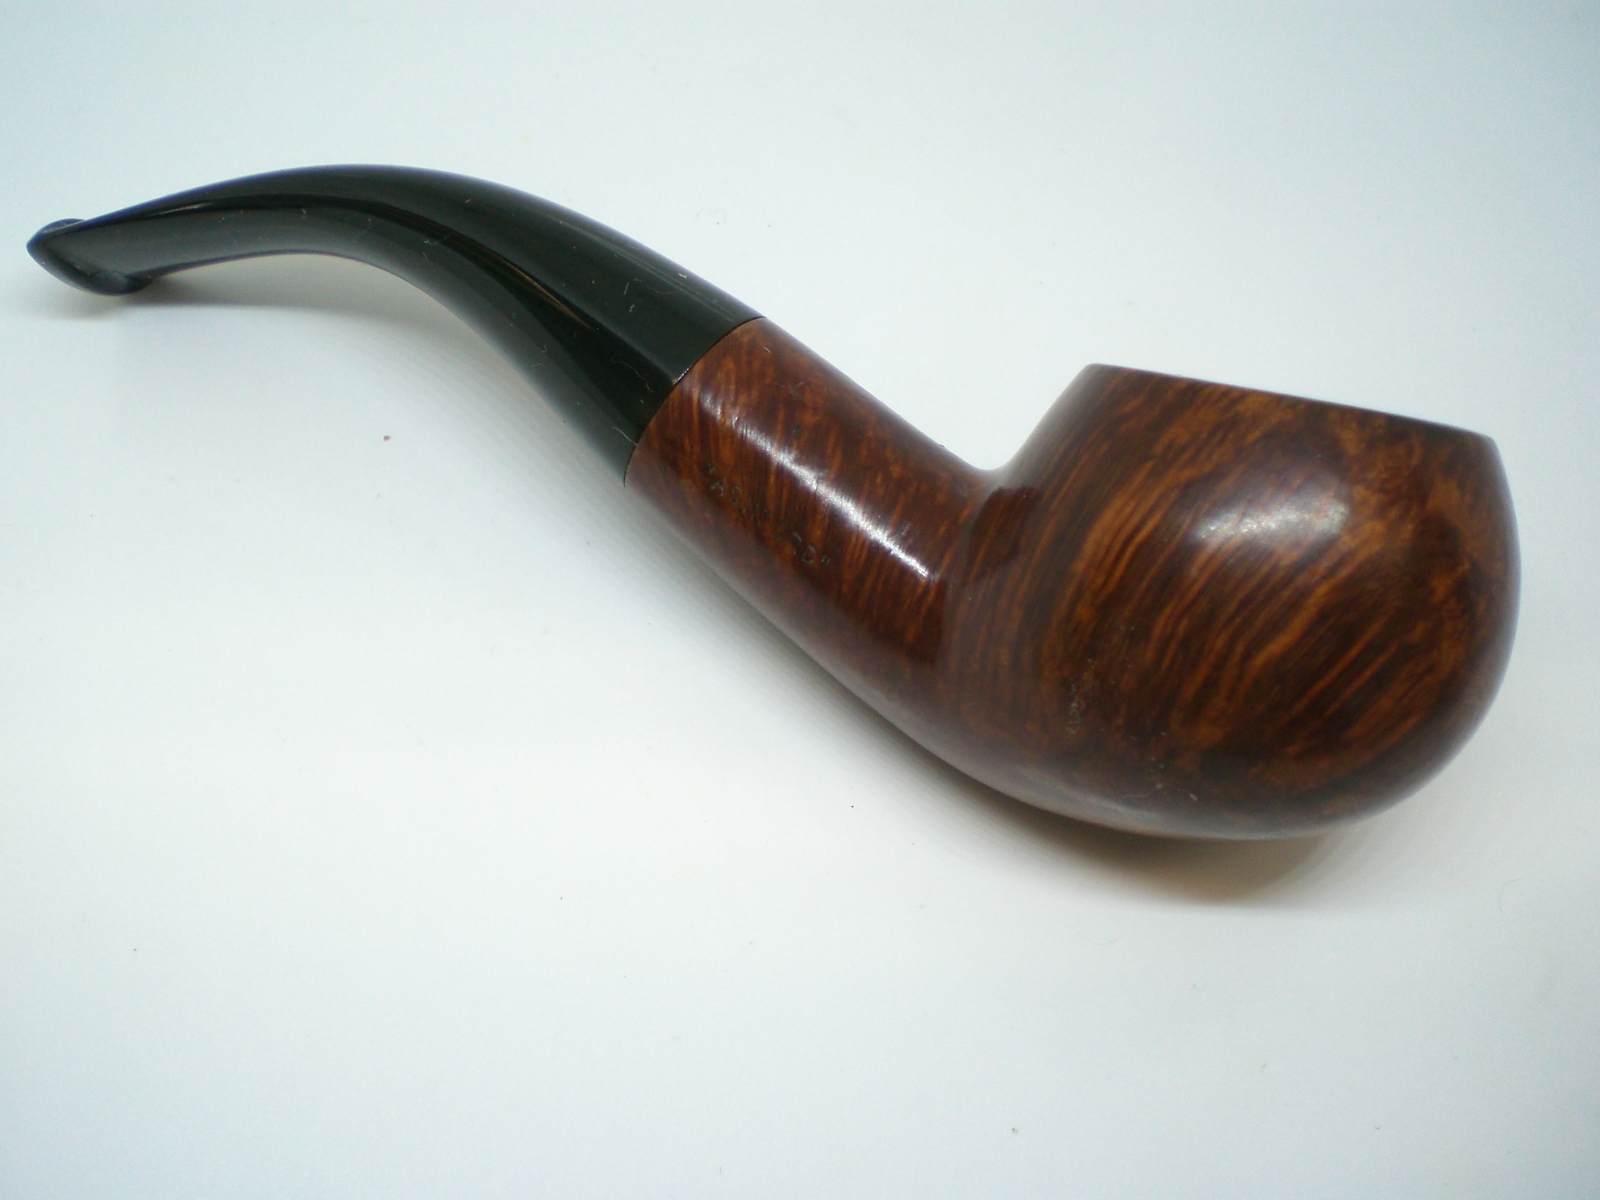
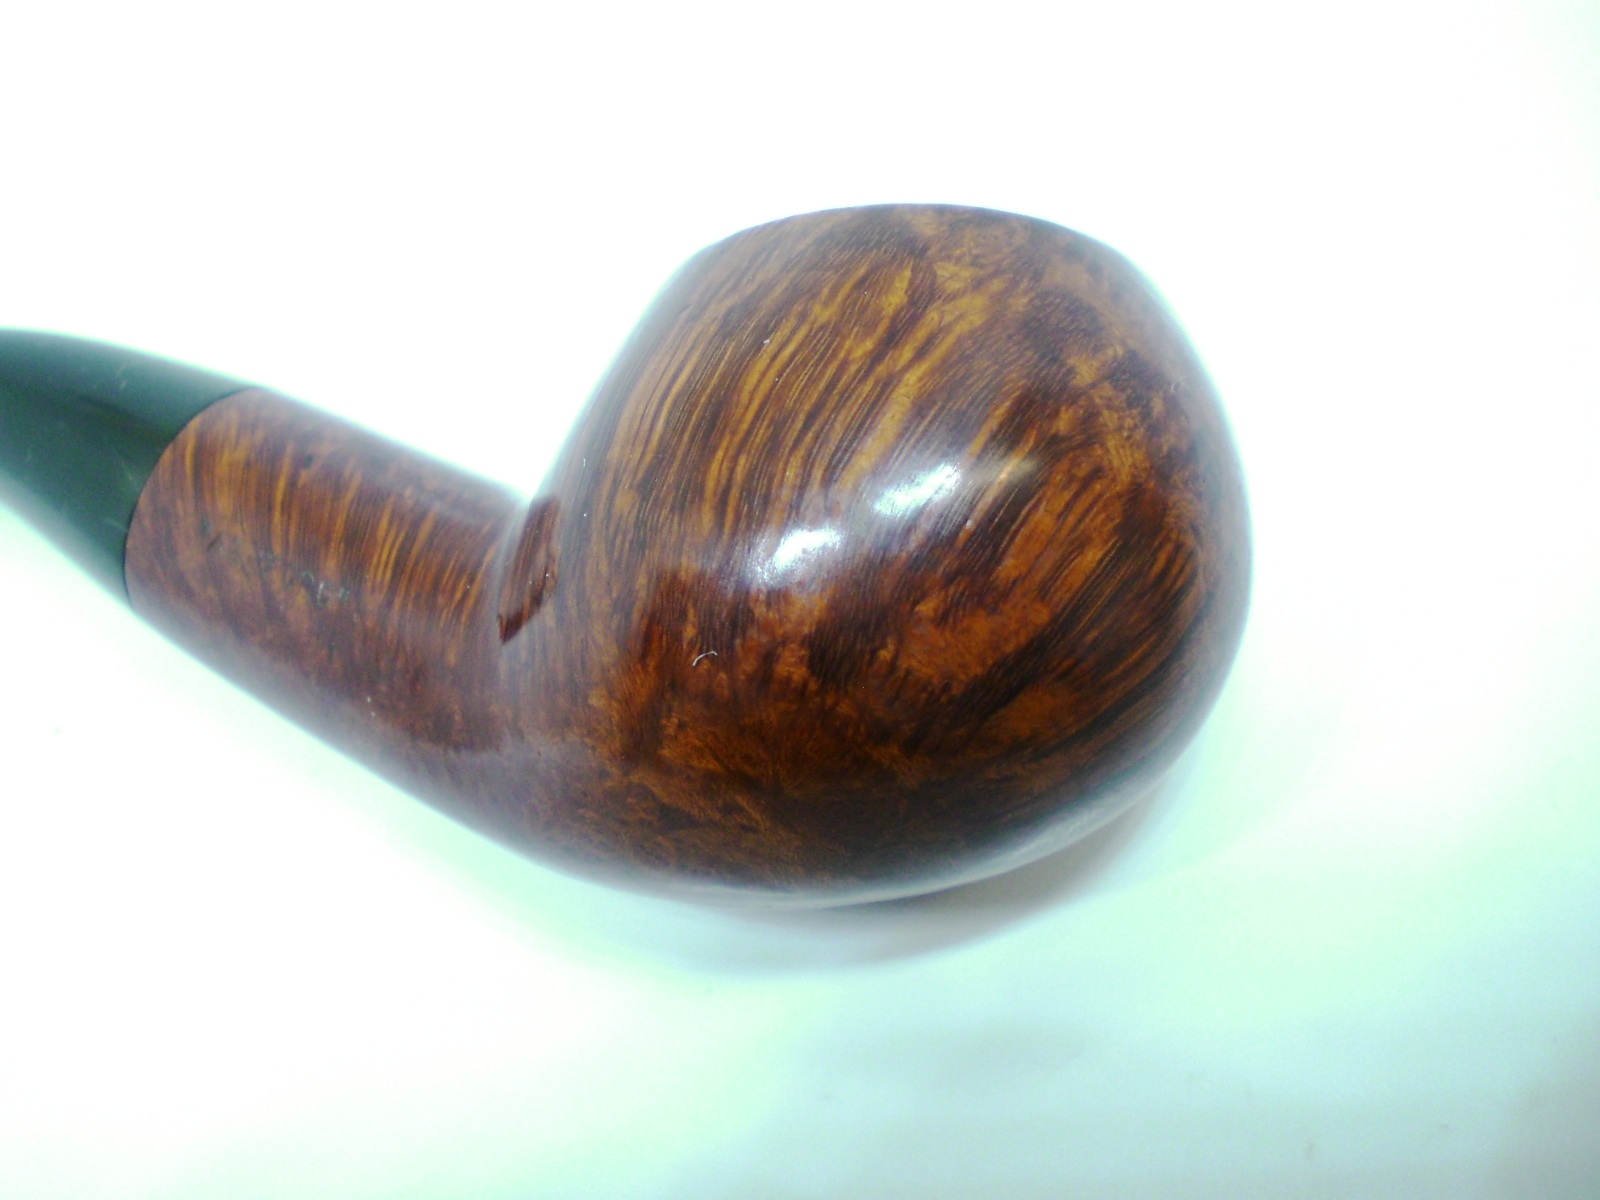
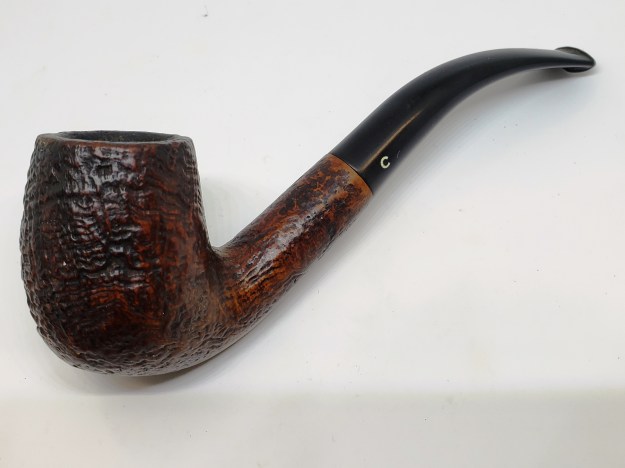
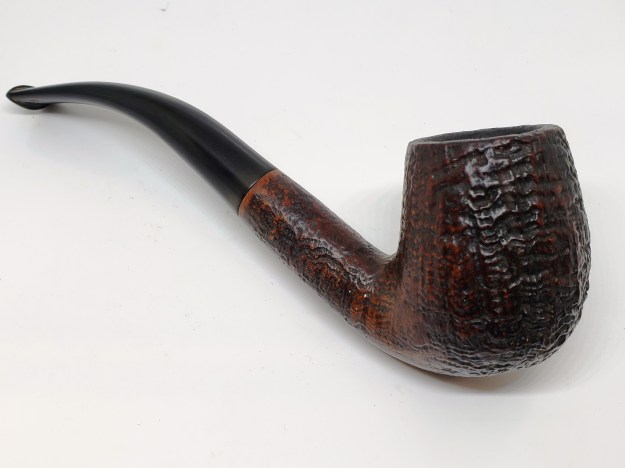
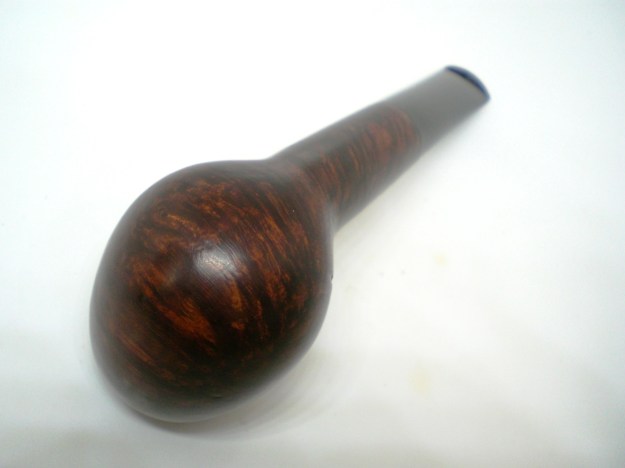
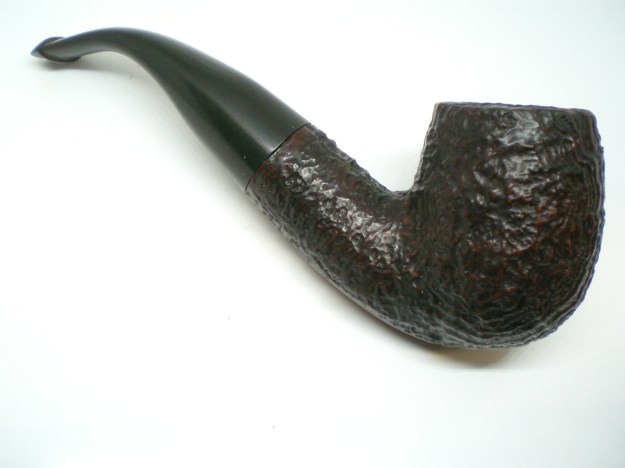
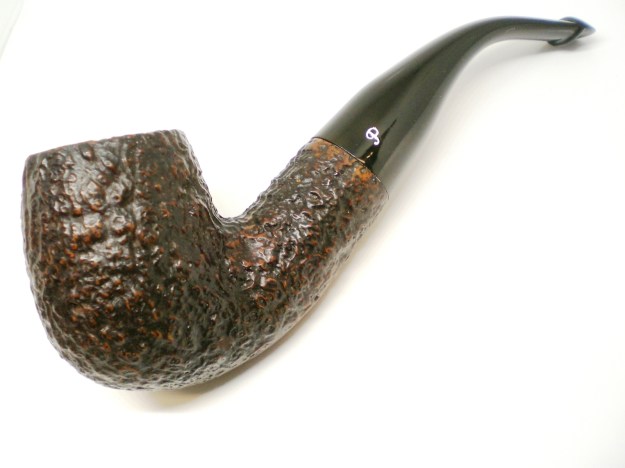
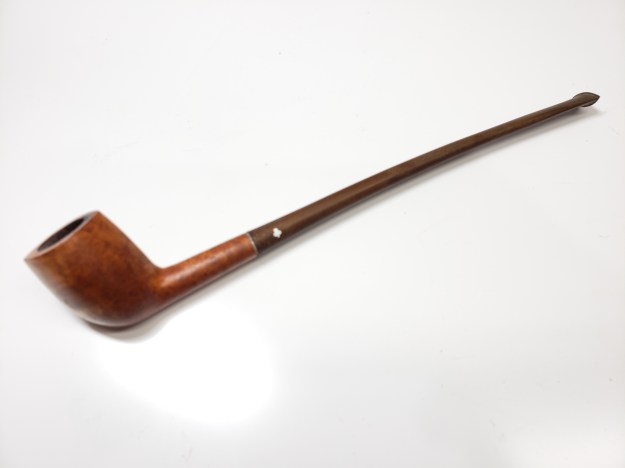
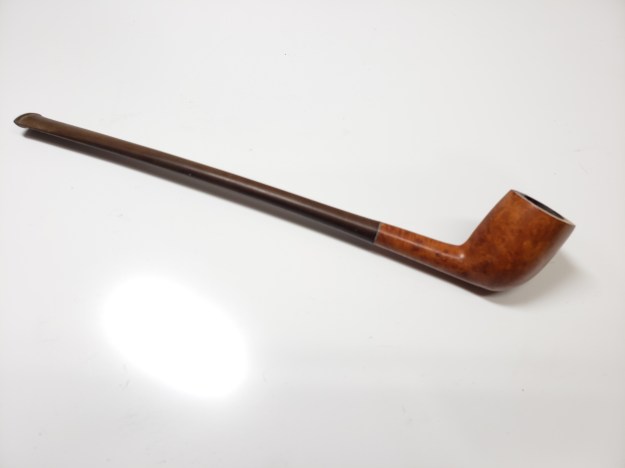
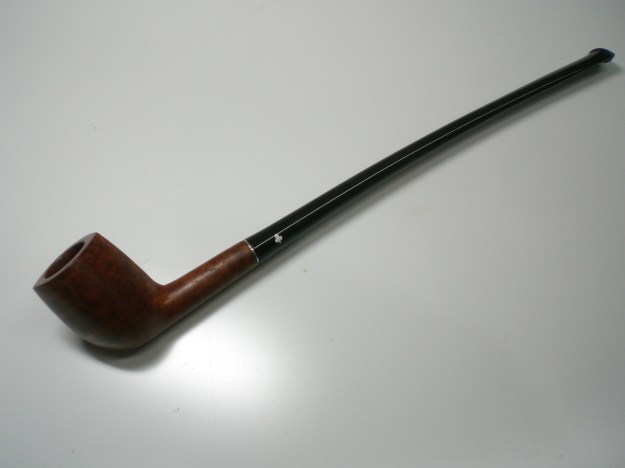
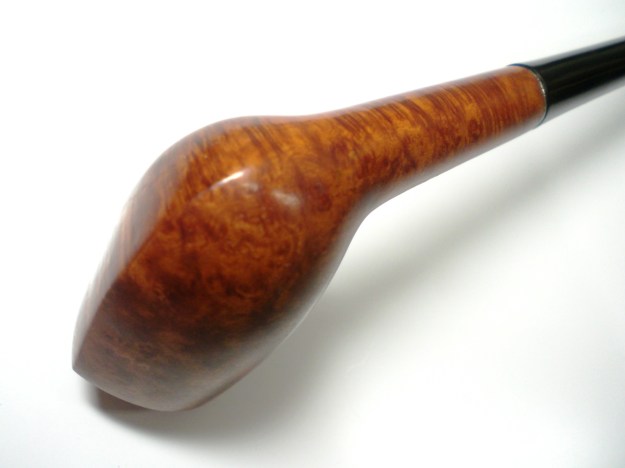
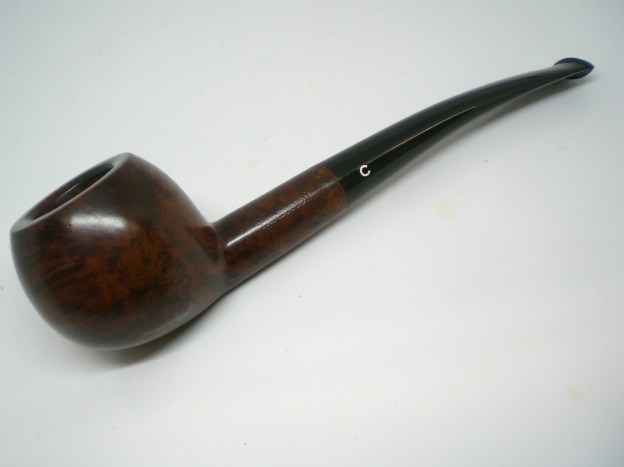
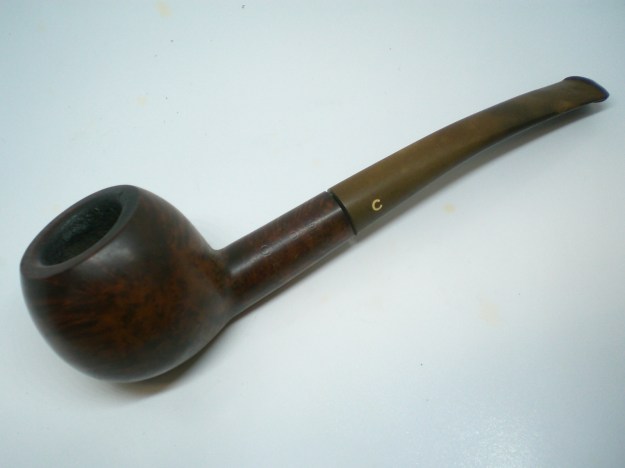
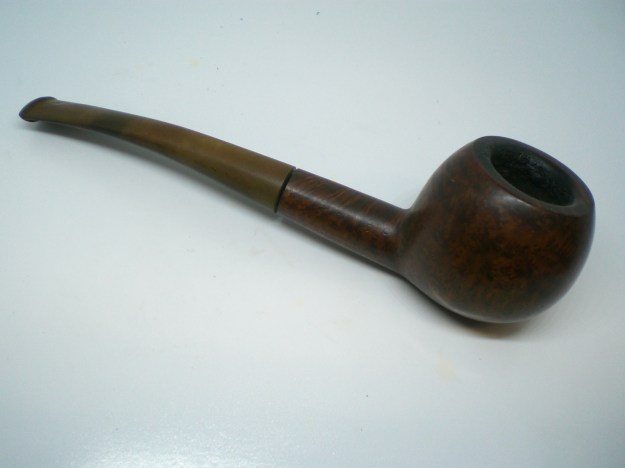
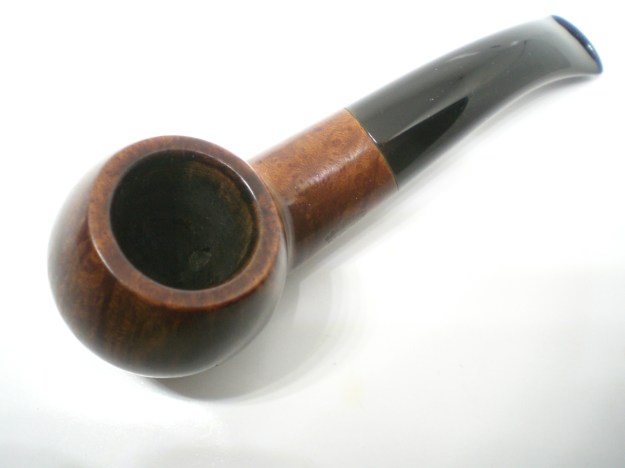
Below is the finished pipe. I sure wish we could know the story on this pipes journey – who owned it, where was it purchased? Where has it rested after the last smoke? All that lost to time, but it’s ready for another century of use.