by Steve Laug
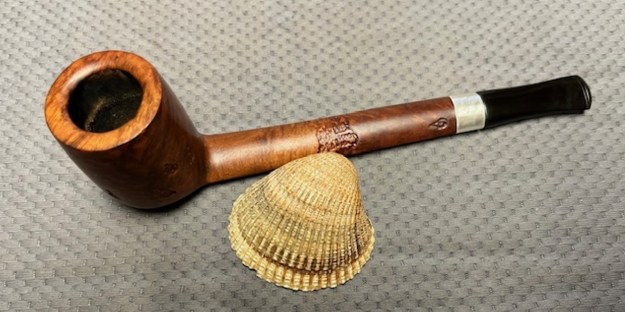
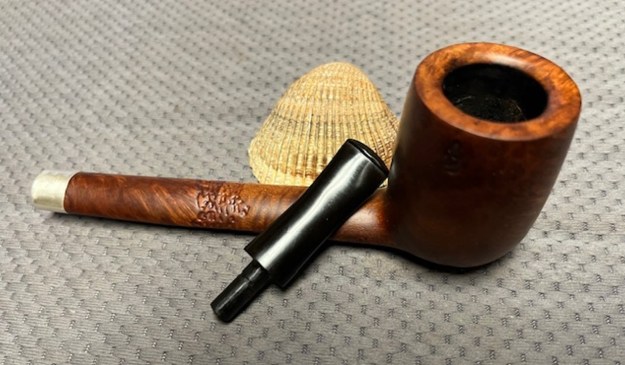
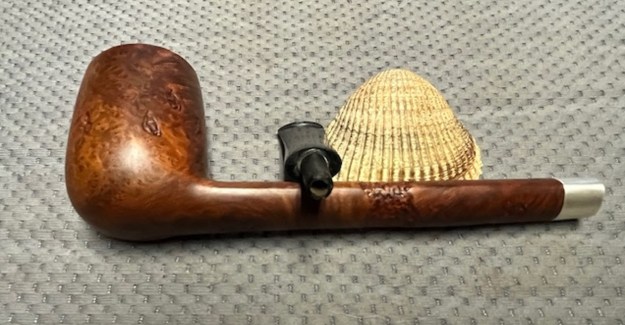
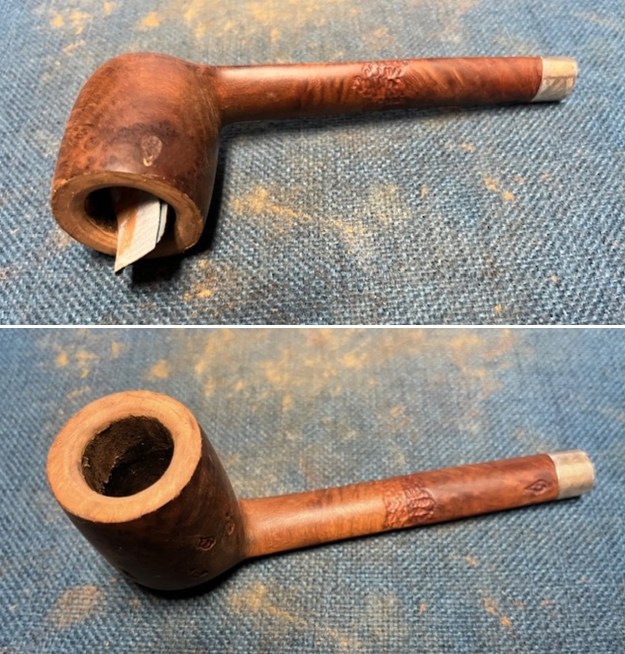
My brother and I have picked up a lot of bowl without stems over the years and boxed them for potential restemming at a later date. Unfortunately, we did not record where we picked them up. This one was a long shanked Canadian. Jeff had reamed and cleaned the pipe before we boxed it so it was clean, just needing finishing and restemming. It spots of rustication around the bowl sides and the shank. There was also a joint mid shank that was “hidden” under the rustication. The pipe was stamped on the underside of the bowl and shank and read Savinelli [over] Extra on the bowl heel [followed by] LUMBERMAN [followed by] Italy. The briar was clean and the rustications were also clean. The rim top had damage on the bevelled inner edge and some darkening on both. The joint of the two parts was well done and the rustication did a great job hiding it. There is a silver band on the shank is a repair band I believe that was added after carving. It is stamped with an arched Sterling Silver on the topside. I took some photos of the bowl before I started working on it.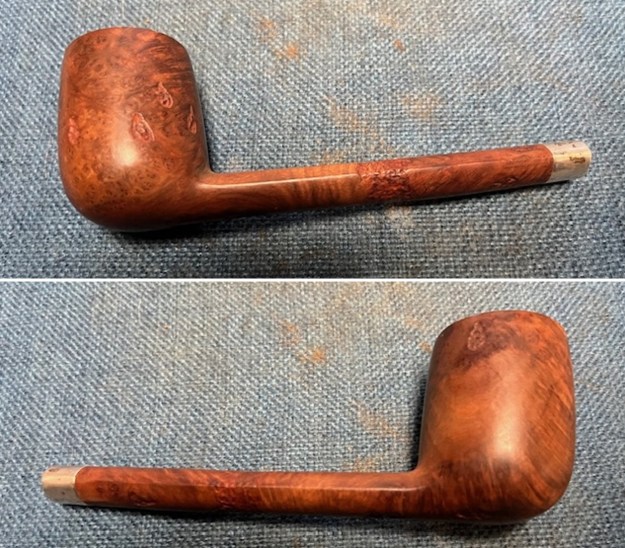
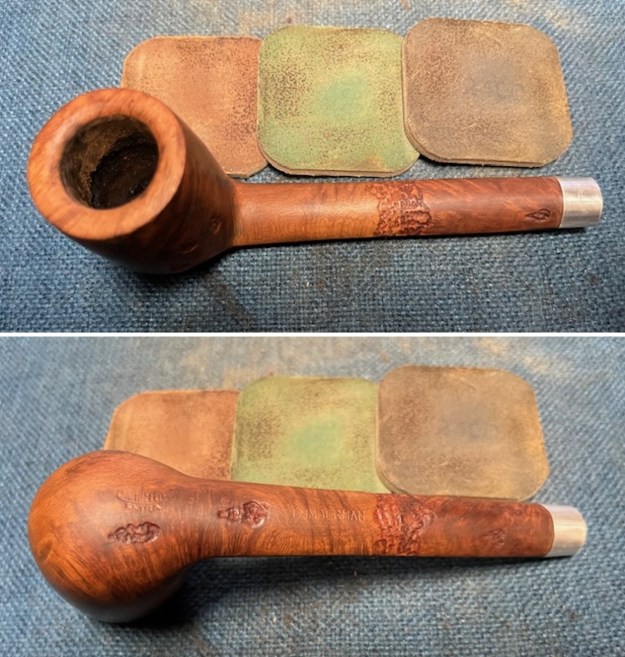
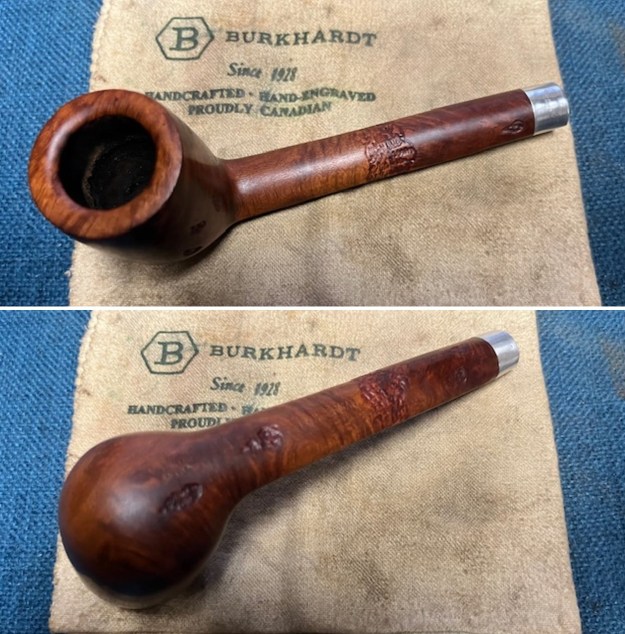
 I took photos of the rim top and inner edge to show the condition of the bowl and rim. I also took photos of the junction of the two parts of the shank. Note the condition of the union of the two parts of the long shank. It is very well done and the connection is clean and undamaged.
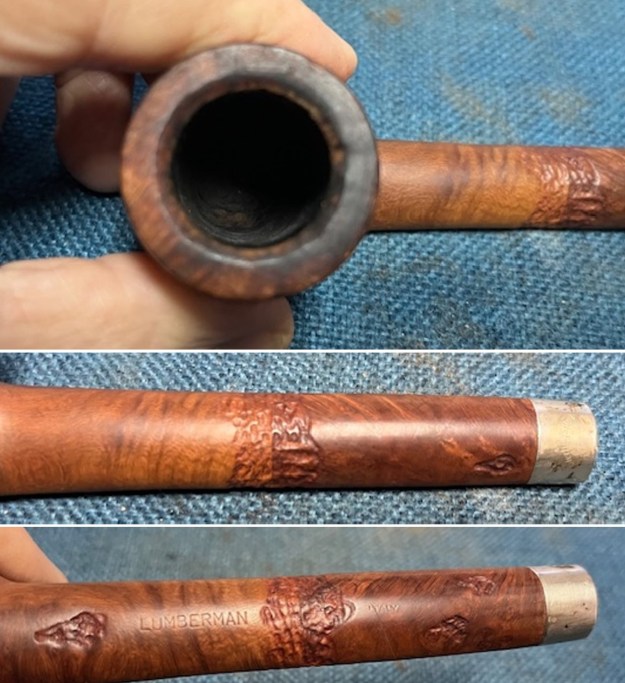 I took a photo of the stamping on the underside of the shank. It was clear and readable as noted above.
 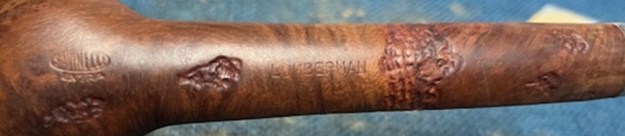 I did a google search on a Savinelli Extra Lumberman and found one on MBSD’s Instagram account (https://www.instagram.com/p/DBu1kPTPCFF/). I captured one of the photos from the site and also the pertinent descriptive information that was in the side bar for the pipe.…
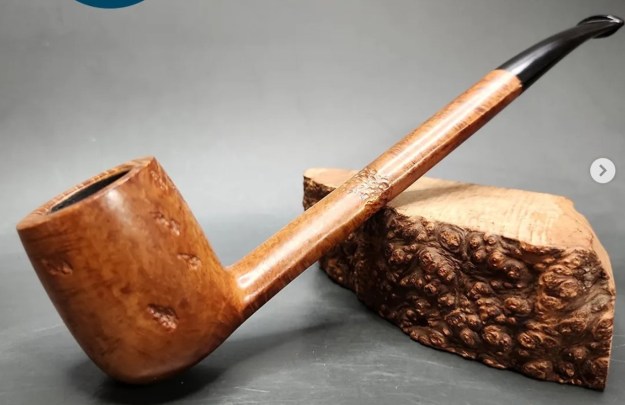 .…This is an interesting Savinelli. Though technically a Canadian, this extra long Lumberman model is not one you’ll find on Savinelli’s contemporary shape chart. In fact, I think this is a shape from before 1970 and the advent of the chart that Savinelli uses as standard today. It also features something that Savinelli has not done for a long time: spot carving. I.e., partial rustication, which lends the pipe a slightly rugged look, juxtaposed nicely with its virgin blonde stain. Finally, the pipe has vulcanite stem, which is also not very common on Savinellis anymore.
Now it was time to restem the pipe. I went through my can of stems to find a stem that would fit this pipe both in terms of the airway and the shank fit. I found a nice taper stem that would work well with this long shank Canadian. With a bit of work it would fit very well. 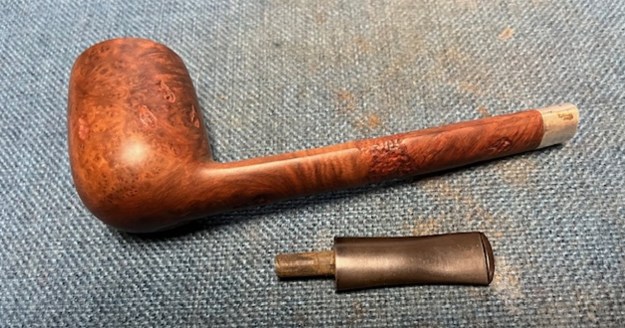 It was close to a fit so I used a Dremel and sanding drum to reduce the diameter of the tenon for a shank fit. I adjusted it further with some small flat files.
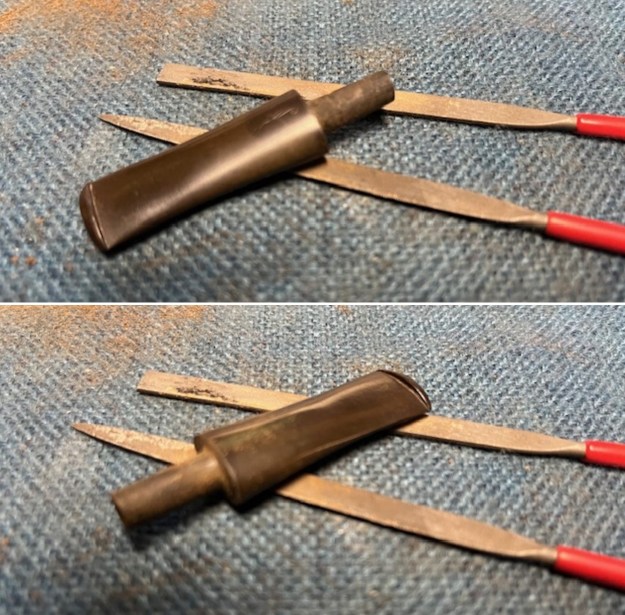
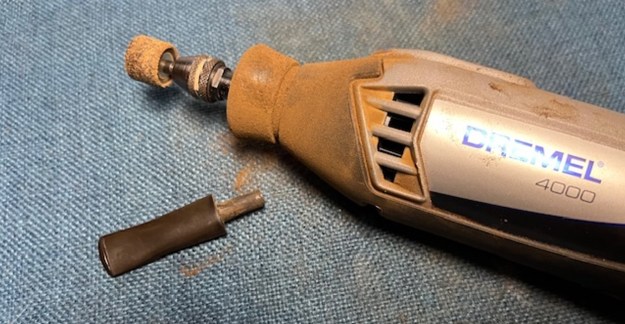
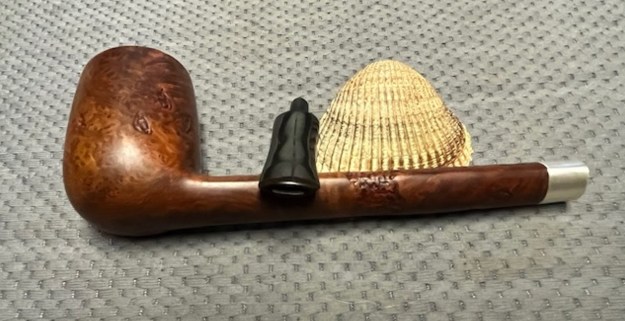
 Once I completed the clean up of the tenon I fit it in the shank on the pipe and took photos of the pipe at this point in the process. I still needed to adjust the width of the stem at the shank as well as the overall shape to match the shank end.
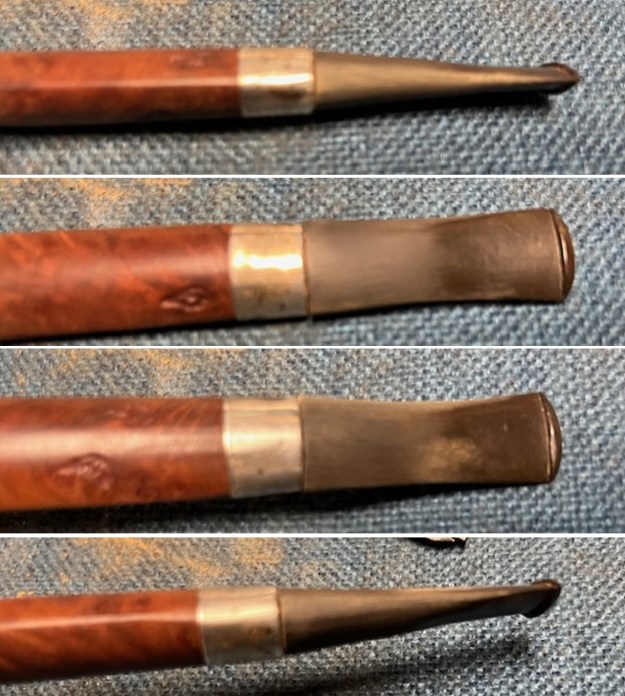 I used 220 grit sandpaper to shape and adjust the stem to match the shank end. It took a lot of sanding and shaping but it began to look very good.
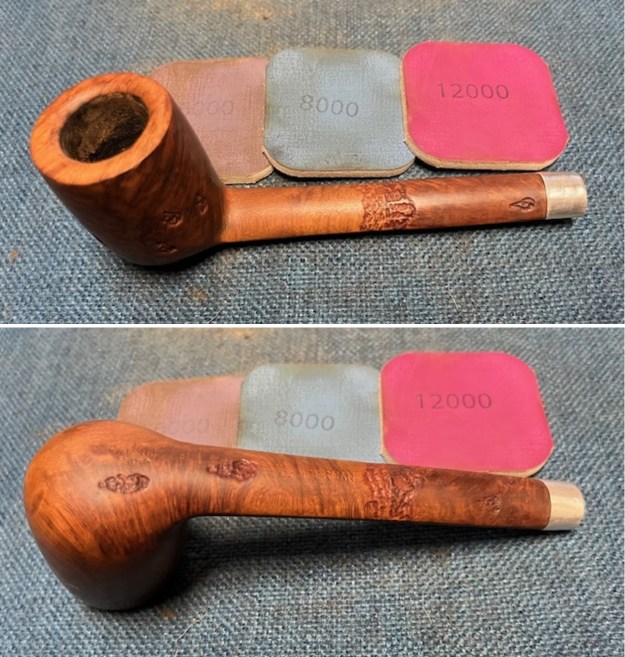
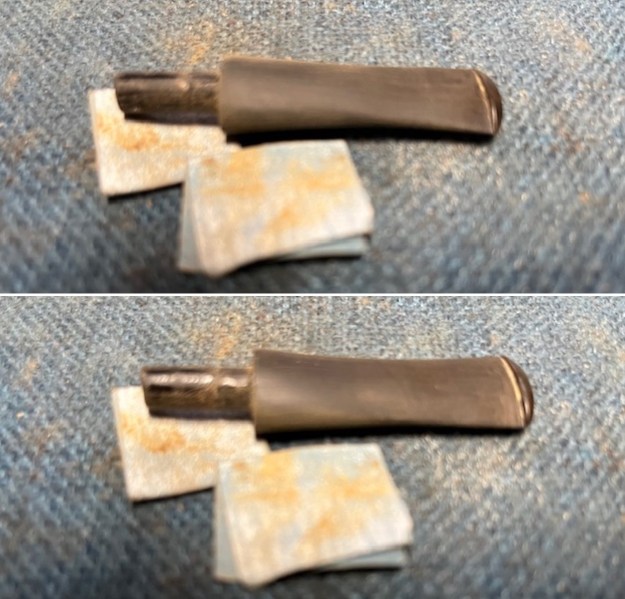 I sanded the stem with 320-3500 grit 2×2 inch sanding pads. I wiped the stem down after each pad to check the progress of the fit to the shank. It began to look very good.
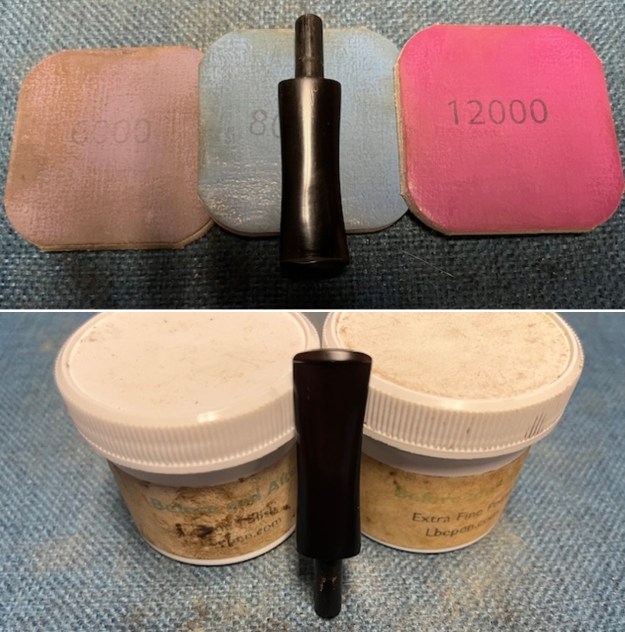
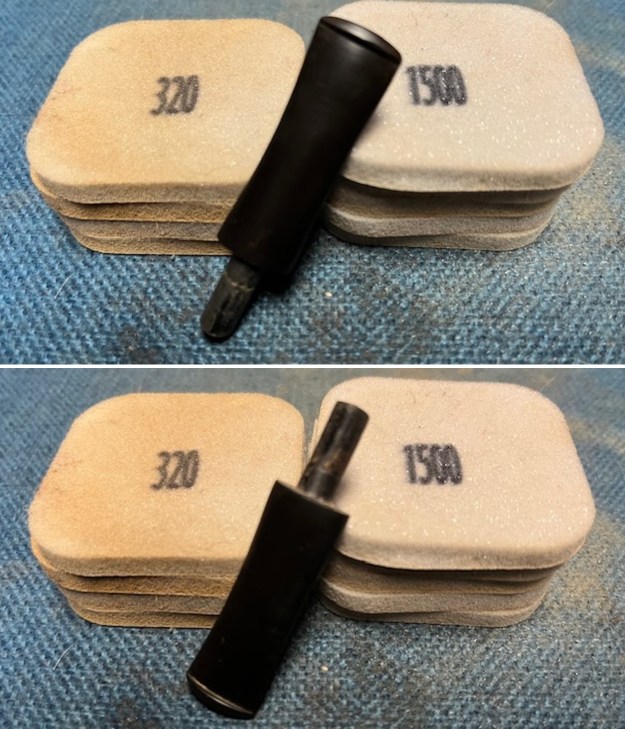 I polished the stem with micromesh sanding pads – dry sanding with 1500-12000 grit sanding pads. I wiped it down after each sanding pad with Obsidian Oil. I polished it with Before & After Pipe Stem Polish – both Fine and Extra Fine.
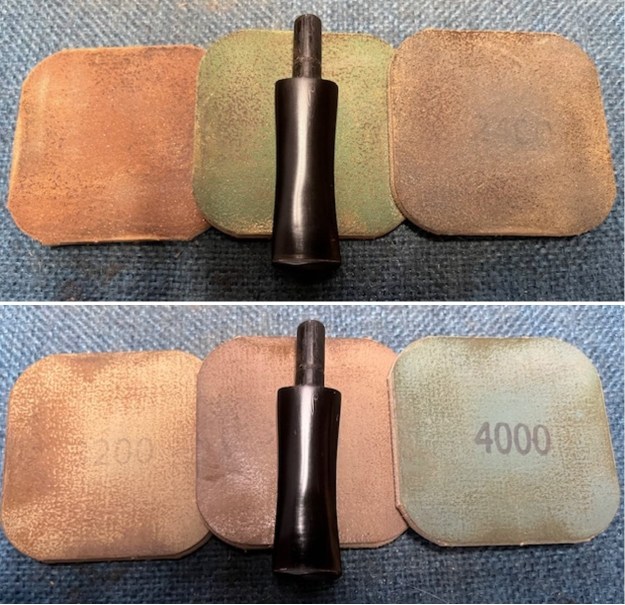
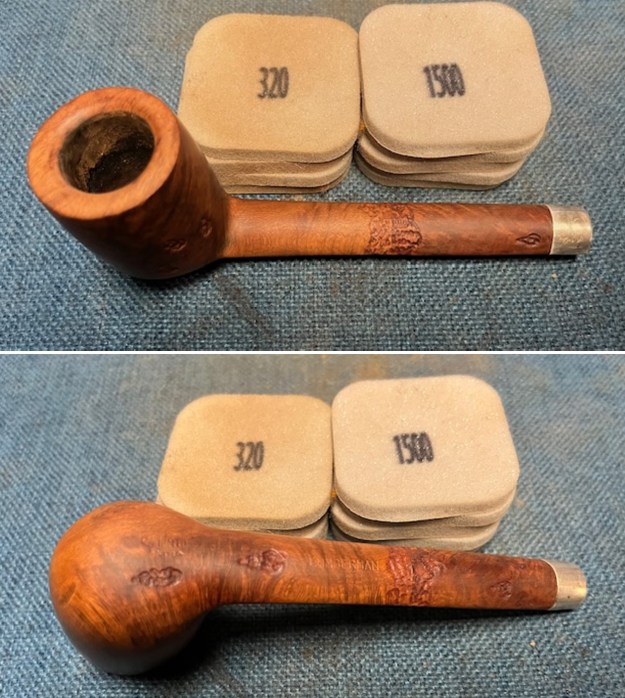
 I set the stem aside and turned my attention to the bowl. I used a piece of 220 grit sandpaper and a half sphere to work over the inner bevelled edge on the bowl. Then I used a folded piece of 220 grit sandpaper to smooth out the inner edge some more. It started to look very good at this point.
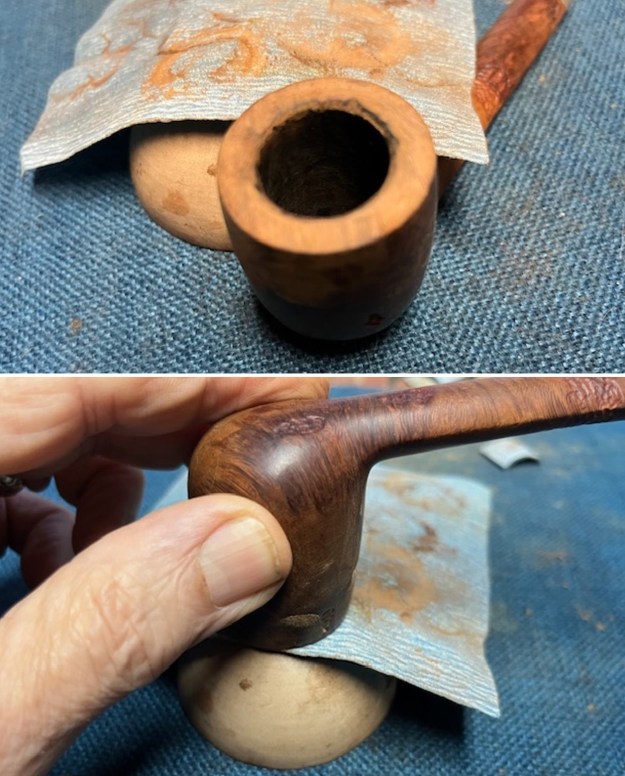
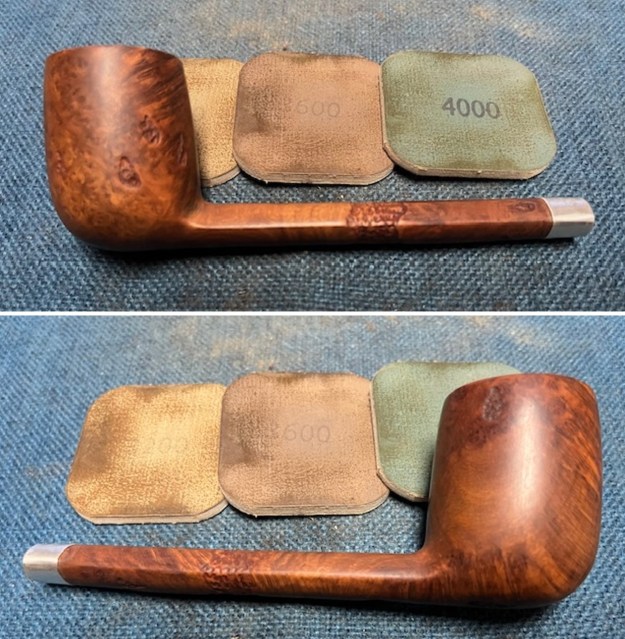
 I sanded the briar with 320-3500 grit 2×2 inch sanding pads to smooth out the scratching in the surface. I wiped the briar down after each pad with a damp cloth to remove the dust and debris.
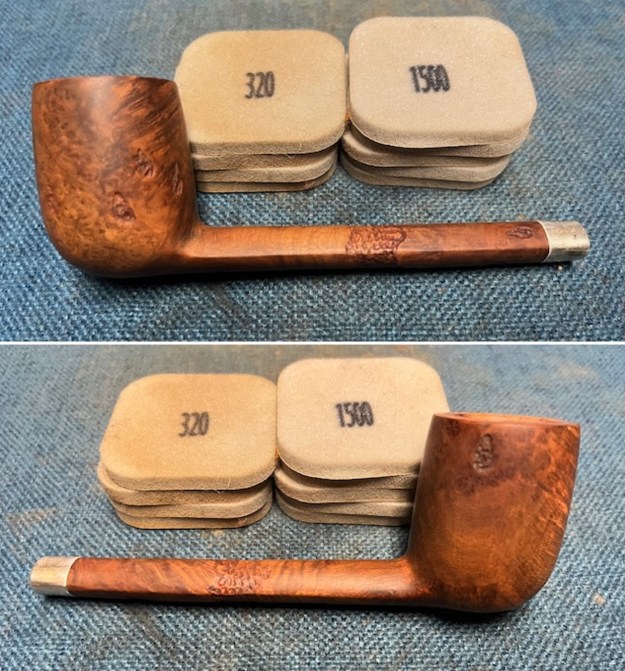
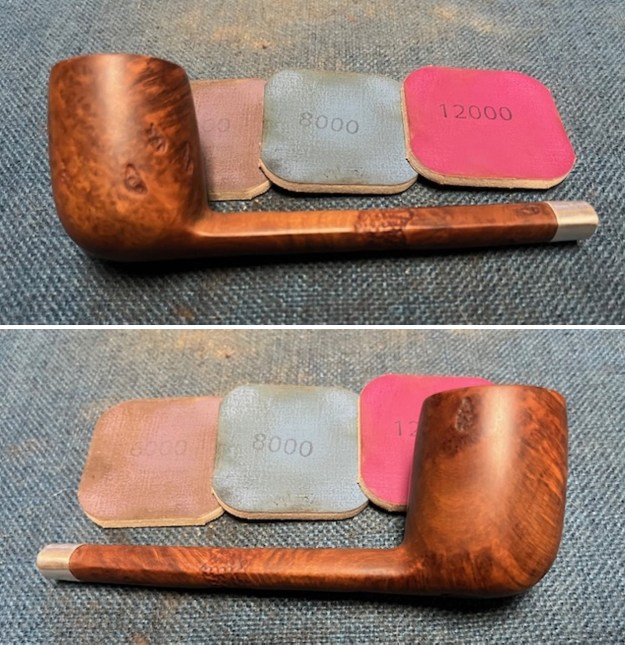
 I polished the briar with micromesh sanding pads – dry sanding with 1500-12000 grit pads. I worked over the inner and outer edge of the rim as well. After each pad I wiped the bowl down with a damp cloth to remove the sanding debris. It really took on a shine by the last three sanding pads.
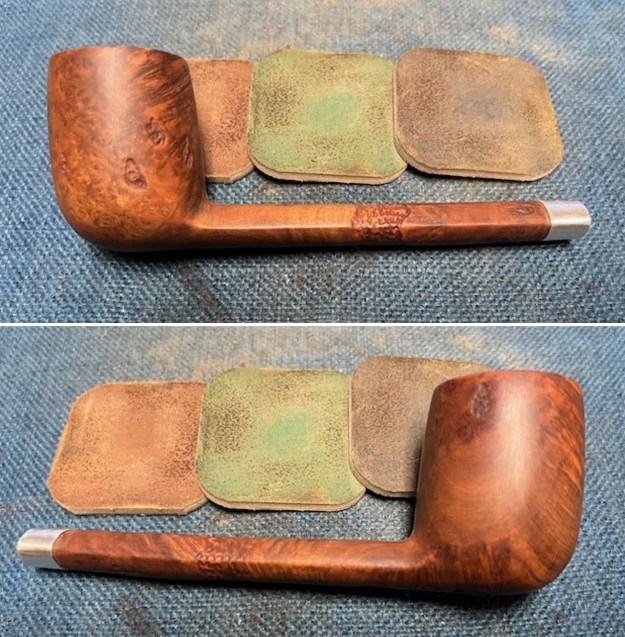
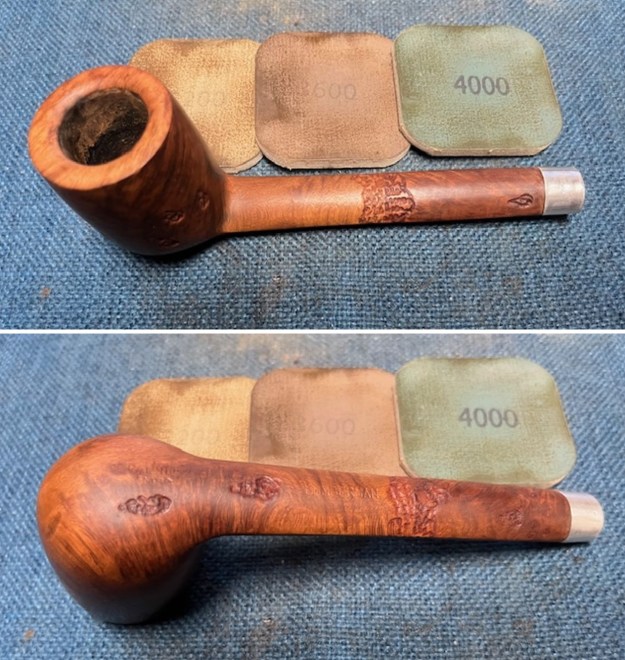
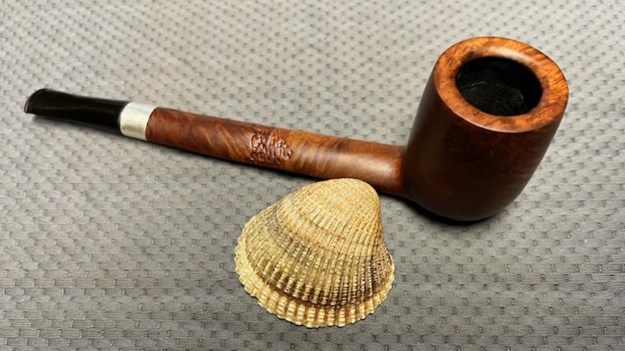
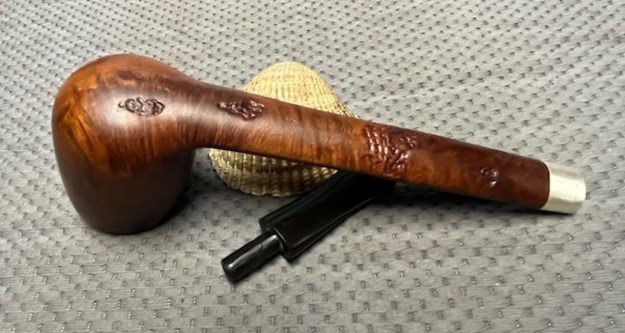
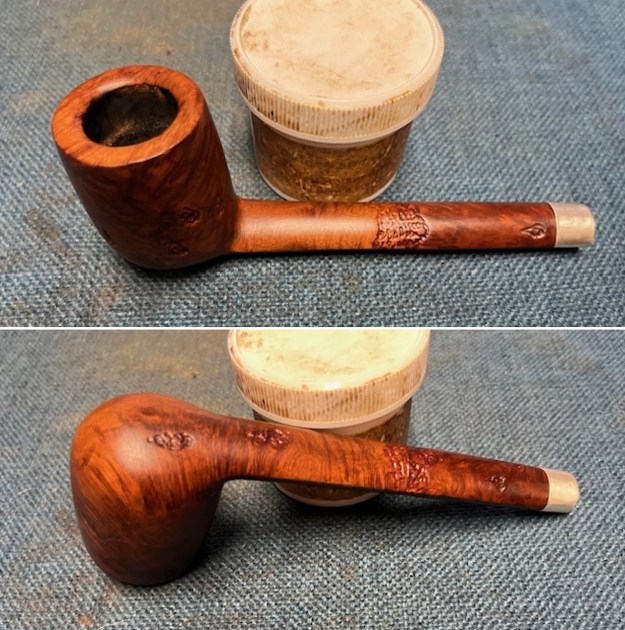
 I worked some Before & After Restoration Balm into the surface of the briar with my finger tips and a shoe brush to get into the carving on the bowl and shank. The product works to clean, enliven and protect the briar. I let the balm sit for 15 minutes and then buffed with a cotton cloth to raise the shine. The photos show the bowl at this point in the restoration process.
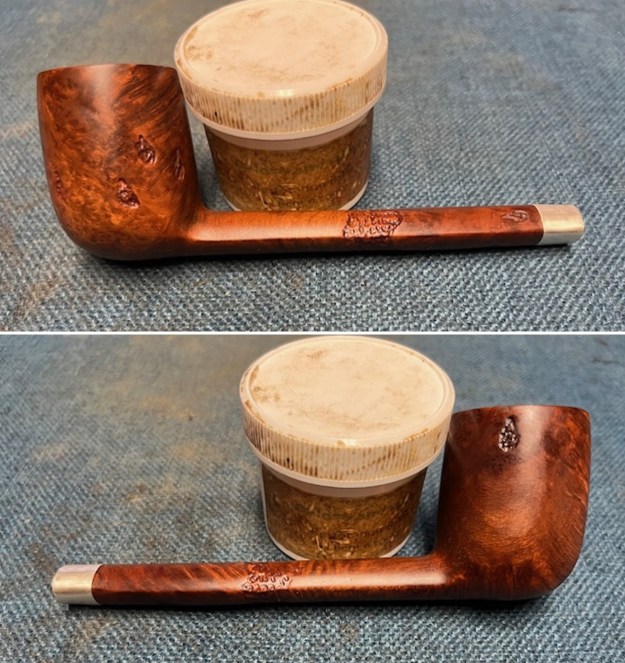
 I polished the silver band on the shank with micromesh sanding pads – dry sanding with 1500-12000 grit pads. I wiped it down after each sanding pad with a jeweller’s cloth to remove the debris and to polish the silver and remove the oxidation and prevent more from developing.
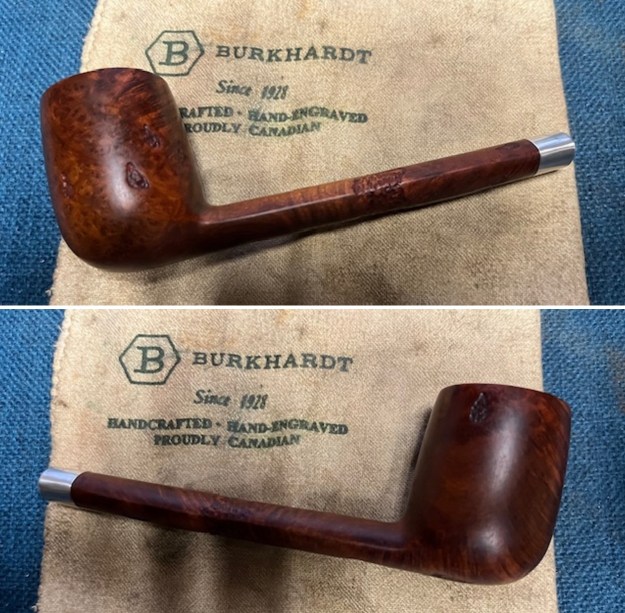
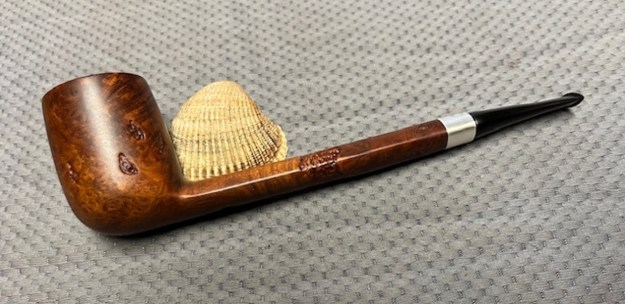
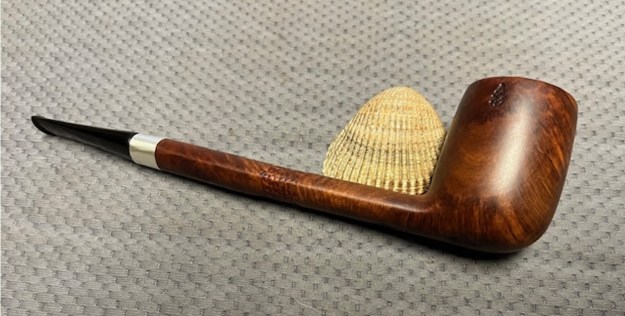
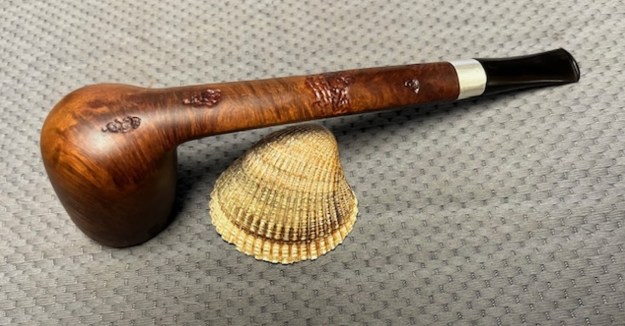
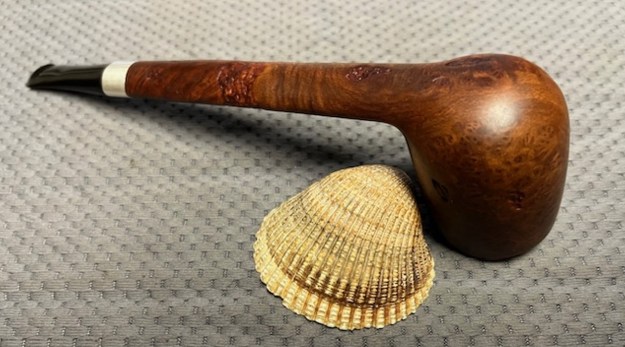
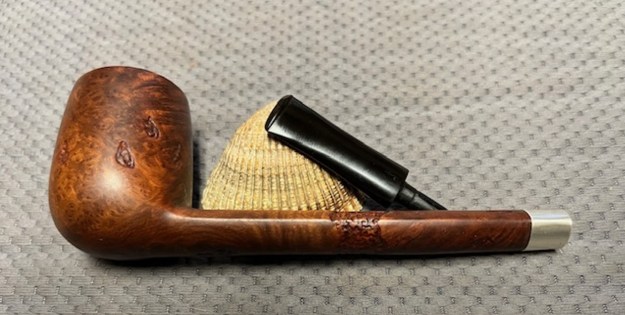
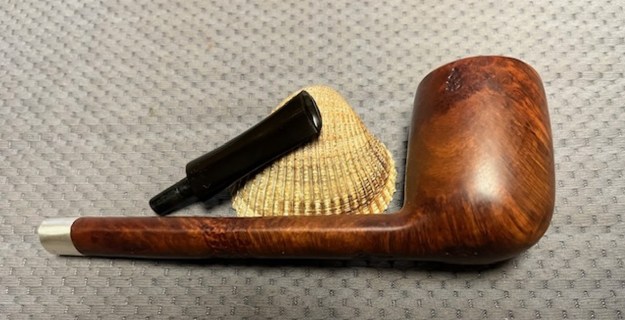
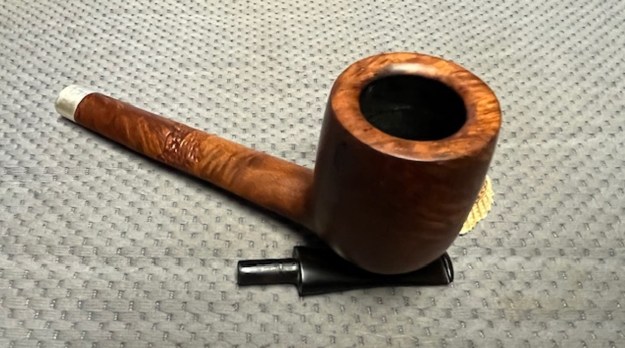
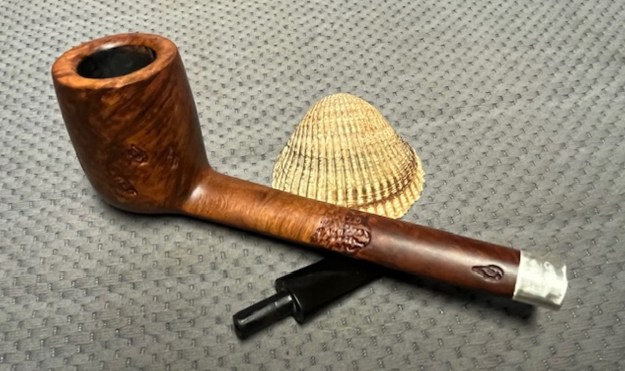
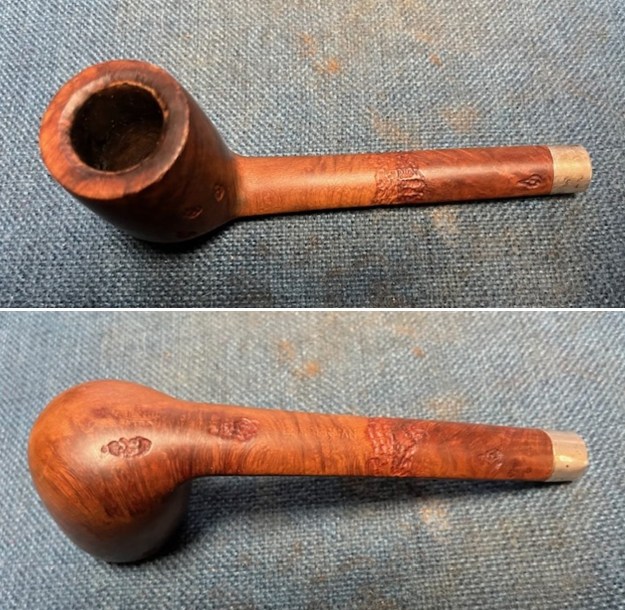
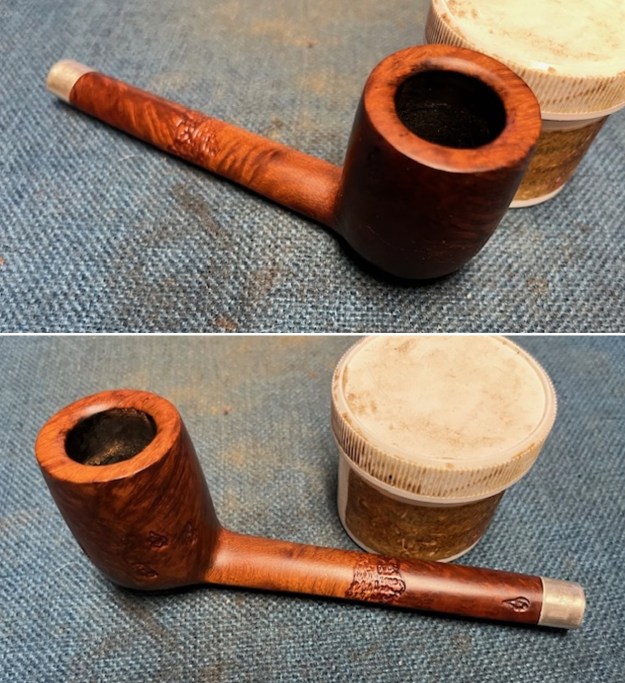
 I am excited to finish restemming and restoring this Savinellil Extra Lumberman. I put the pipe back together and buffed it with Blue Diamond on the buffing wheel. I gave the bowl and the stem multiple coats of carnauba wax. I hand buffed the pipe with a clean buffing pad to raise the shine. It is fun to see what the polished bowl looks like with beautiful mixed grain all around it with just a few small flaws in the briar. The polished grain on the pipe looks great with the black vulcanite stem. This smooth Savinelli Extra Lumberman with spot rustications is great looking and the pipe feels great in my hand. It is light and well balanced. Have a look at it with the photos below. The dimensions are Length: 7 inches, Height: 2 inches, Outside diameter of the bowl: 1 ¼ inches, Chamber diameter: ¾ of an inch. The weight of the pipe is 45 grams/1.55 ounces. It turned out to be a beautiful pipe. I will soon be putting it on the rebornpipes store in the Pipes by Italian Pipe Making Companies Section. If you are interested in adding it to your collection let me know.
Remember we are the next in a long line of pipe men and women who will carry on the trust of our pipes until we pass them on to the next trustee. Thanks for your time reading this blog.