by Steve Laug
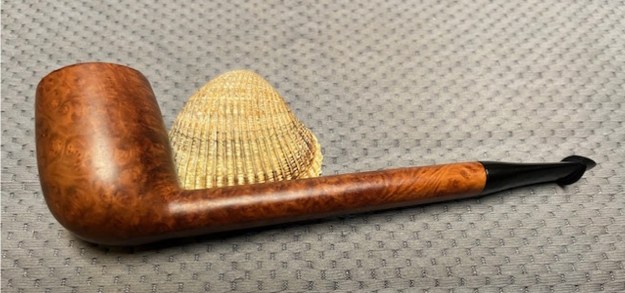
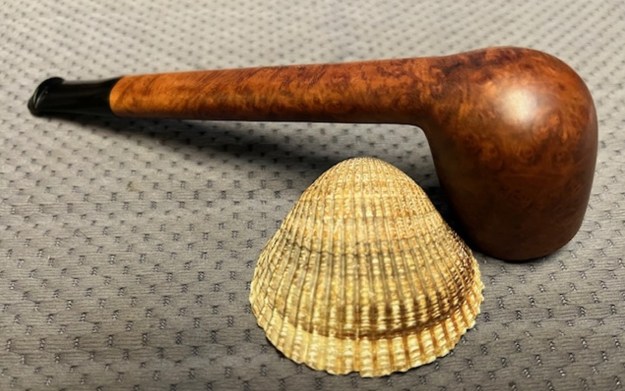
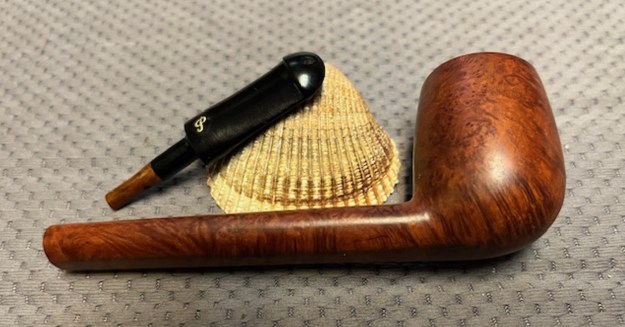
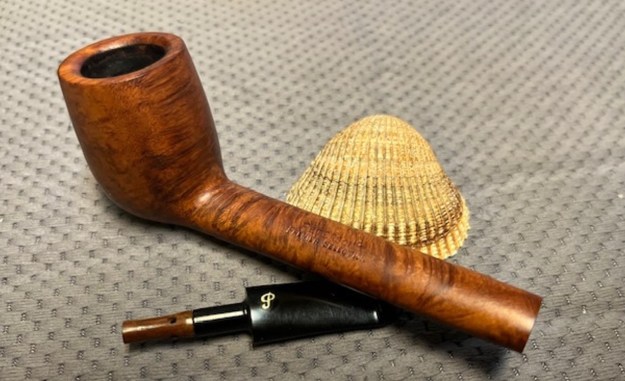
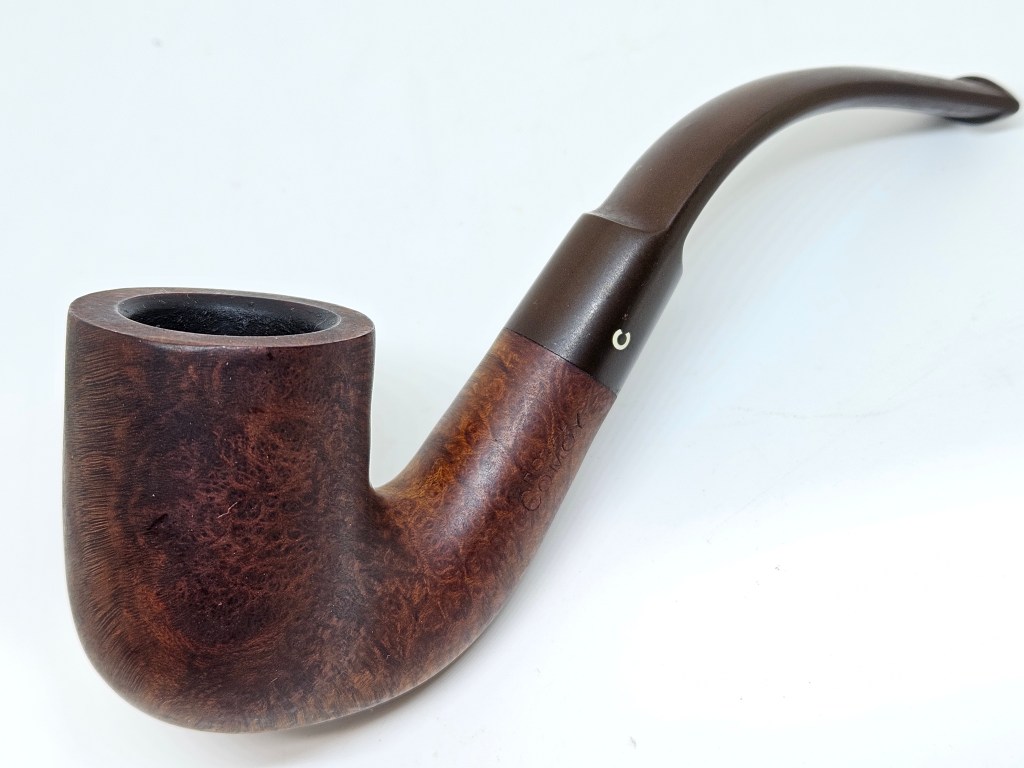
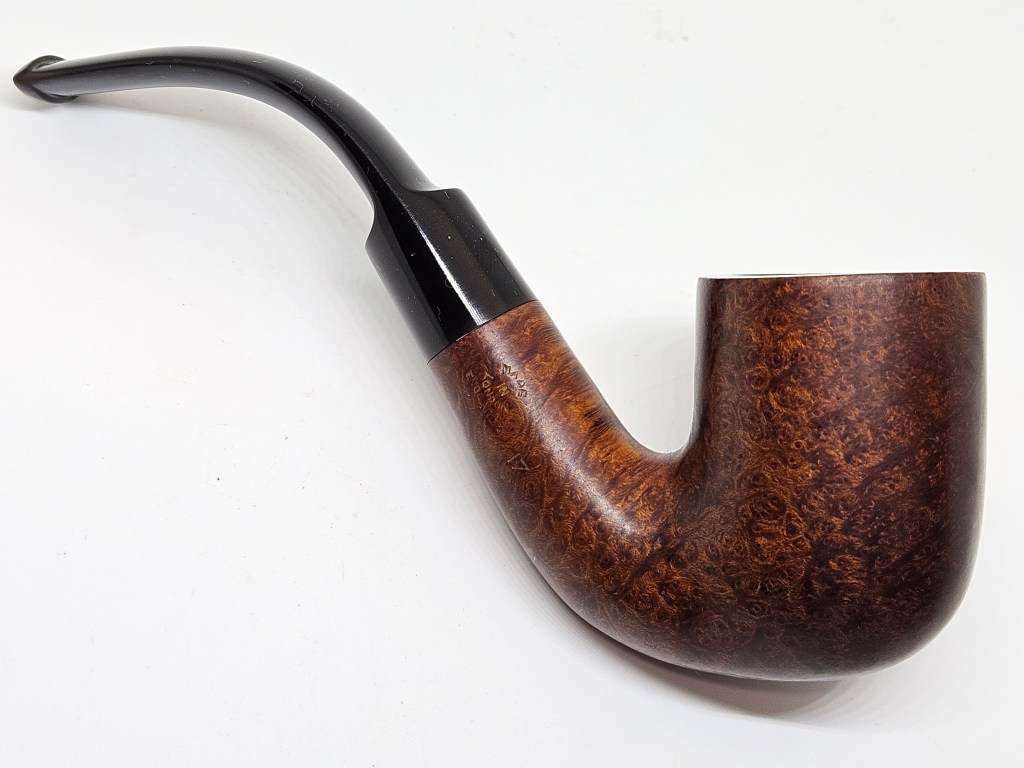
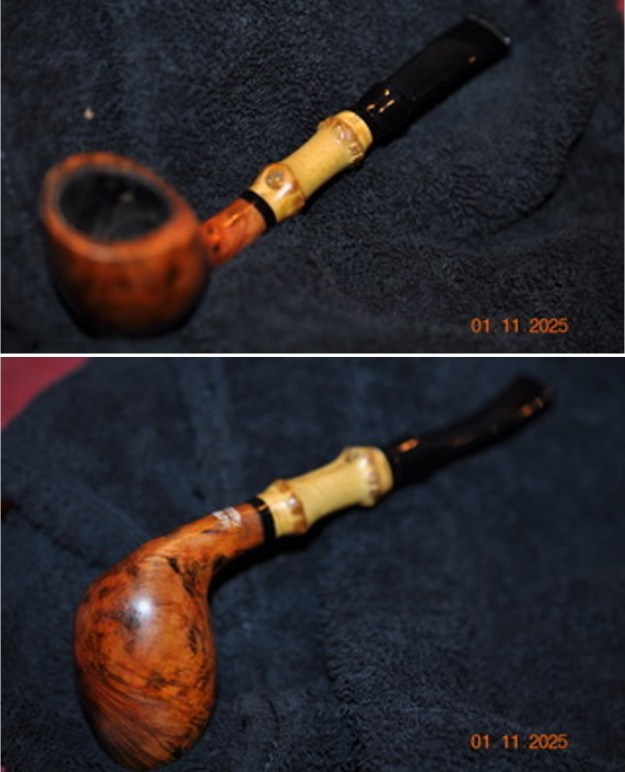
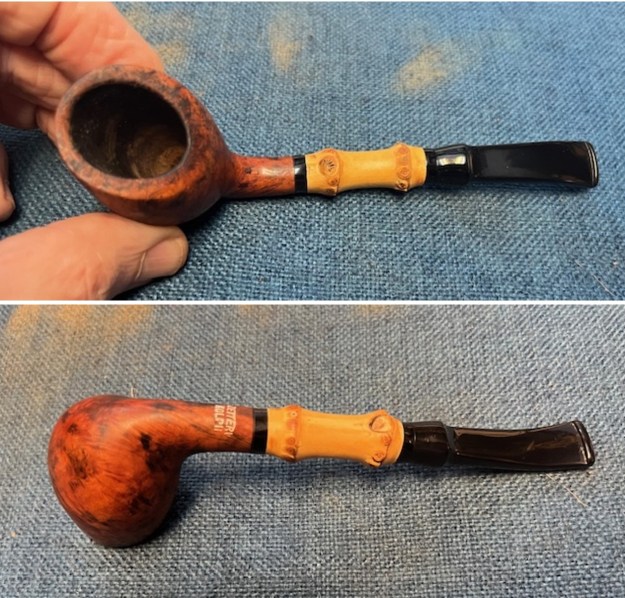
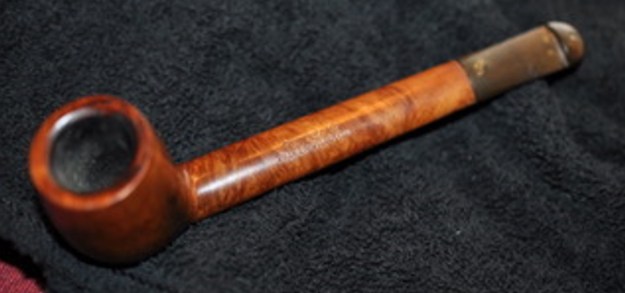
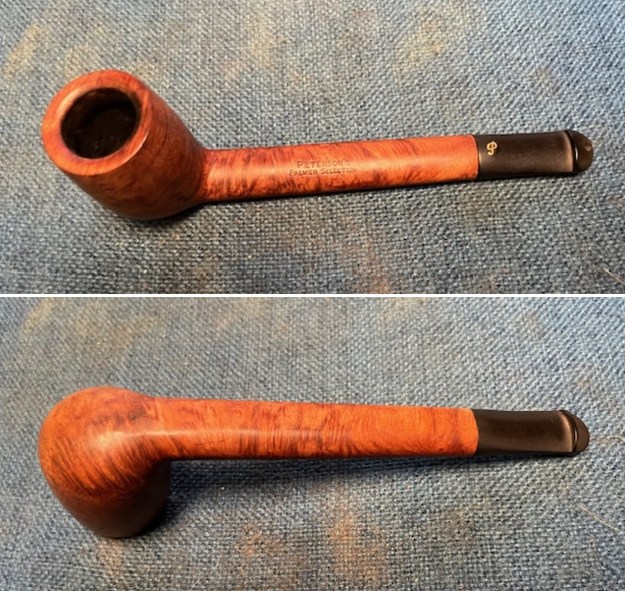
The next pipe on the table is one that we picked up in the lot from a fellow in Odgen, Utah, USA on 12/12/2024. The Peterson’s stamping caught our eye. It is stamped on the topside of the shank and reads Peterson’s [over] Premier Selection. On the underside it is stamped Made in [over] Ireland. On the right side of the shank it is stamped with the shape number 263 near the bowl/shank junction. The shape is a Canadian with a short taper P-lip stem with a bone chimney in the tenon end. The stem also bears a gold coloured brass P logo on the topside. The bowl and shank have a smooth finish that is stained brown that highlights the beautiful grain around the sides. Both go well with the short P-lip taper stem. The bowl is moderately caked and the inner edge and the top show some lava overflow and darkening. The vulcanite stem is dirty, oxidized and there are light tooth marks and chatter on the top and underside ahead of the button. Jeff took some photos of the pipe to show the general condition of the pipe before he started his clean up.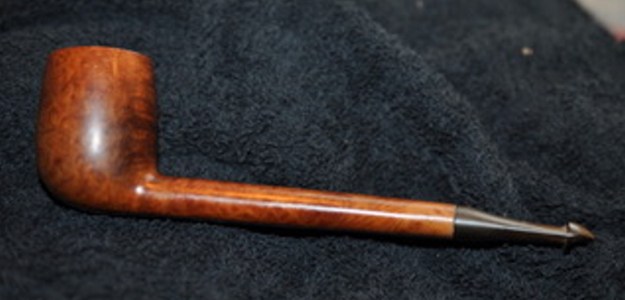
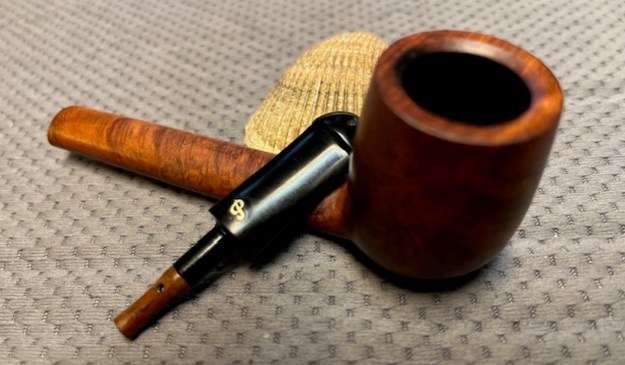
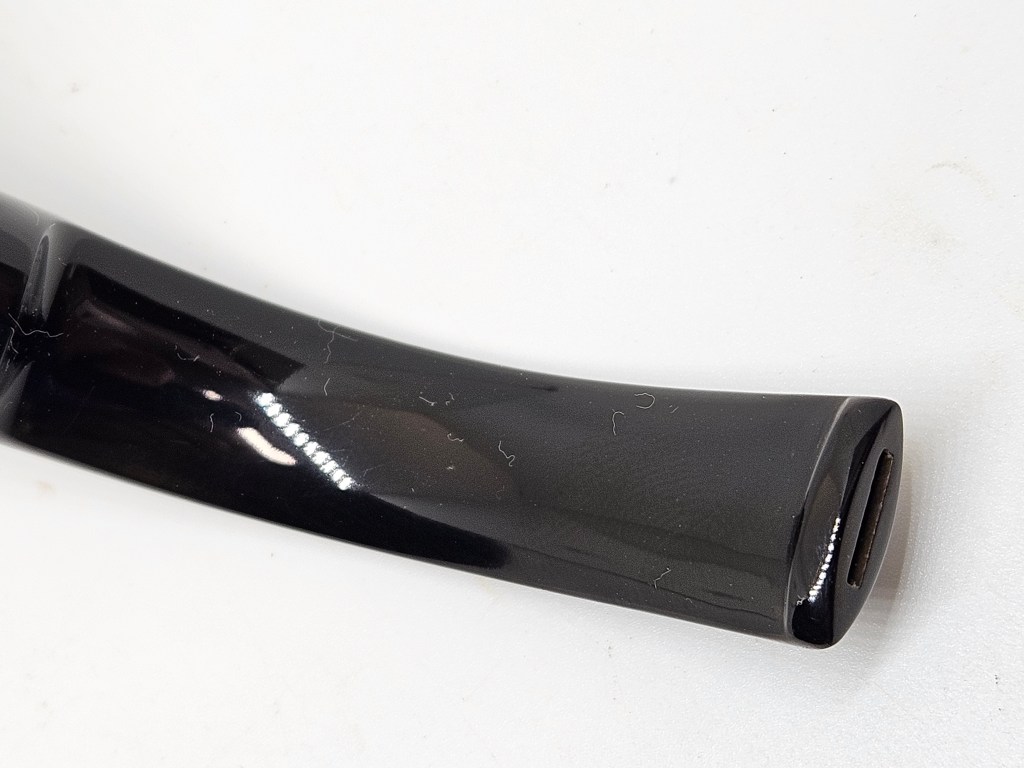
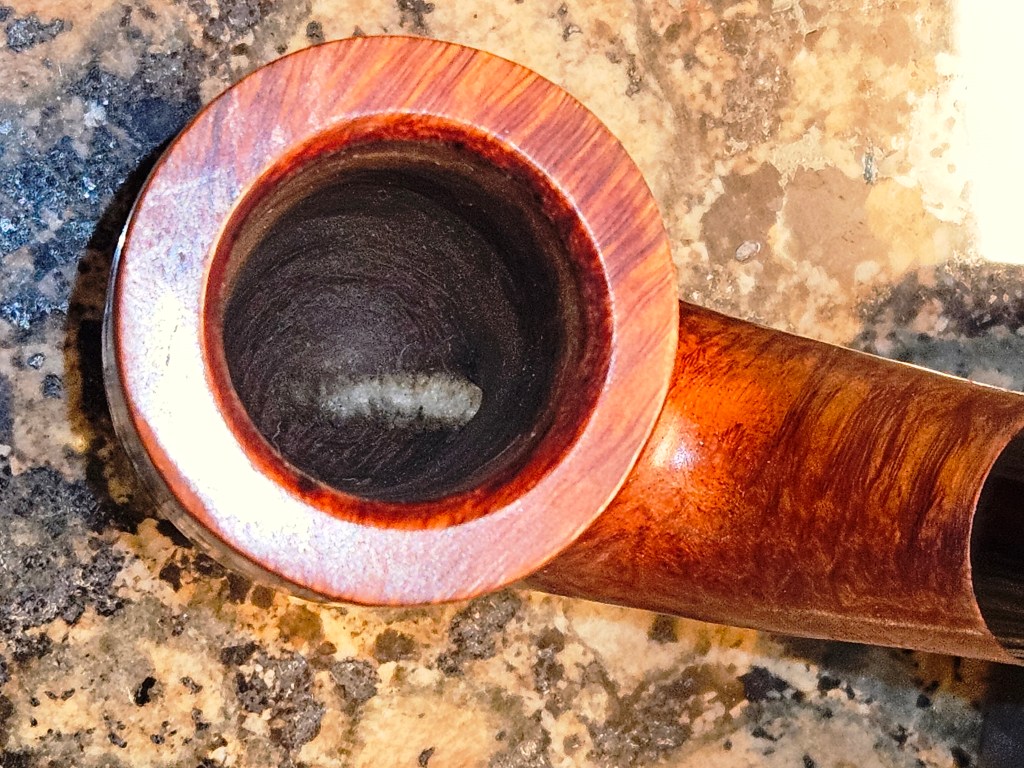
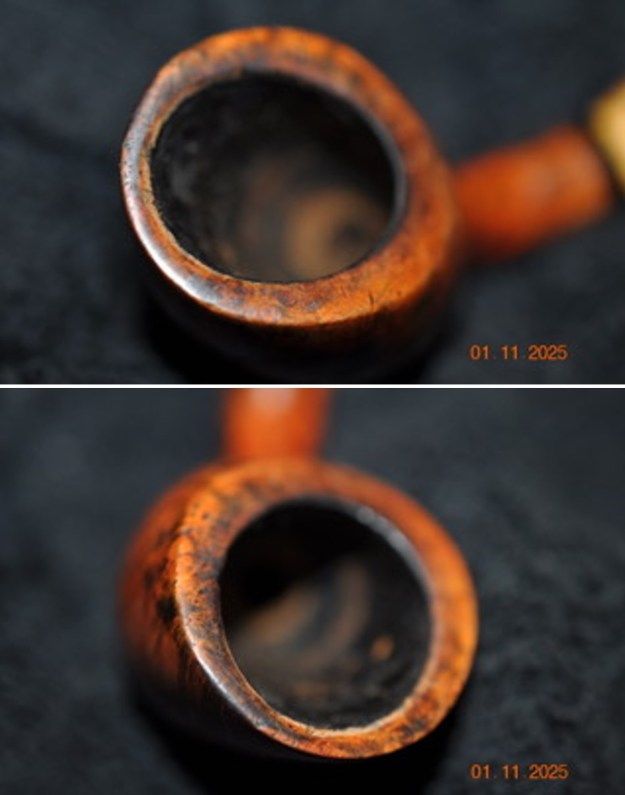
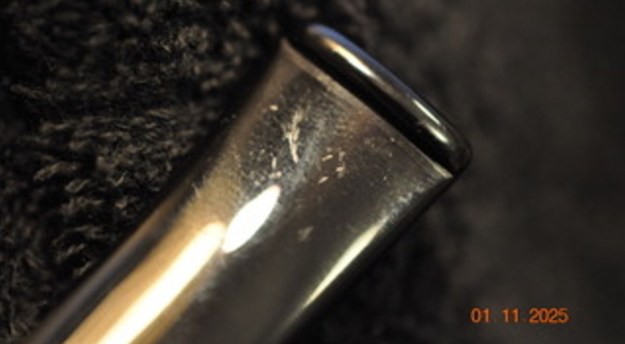
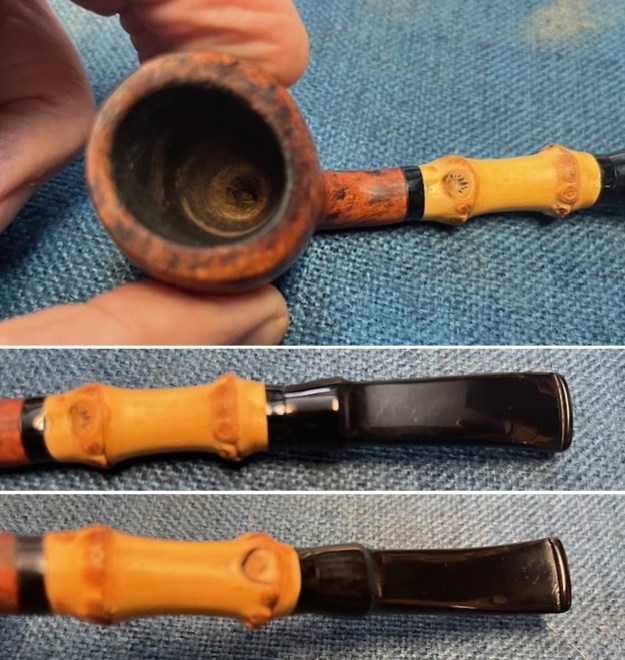
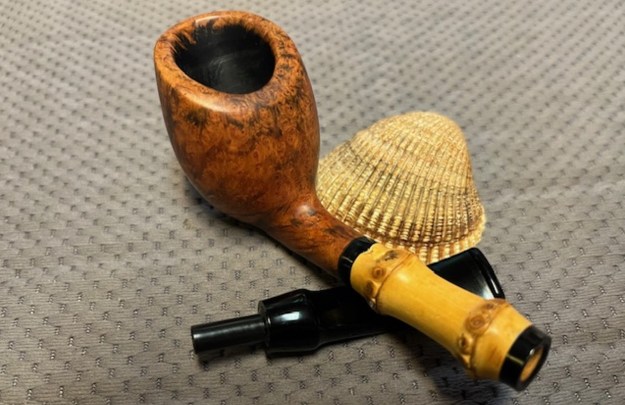
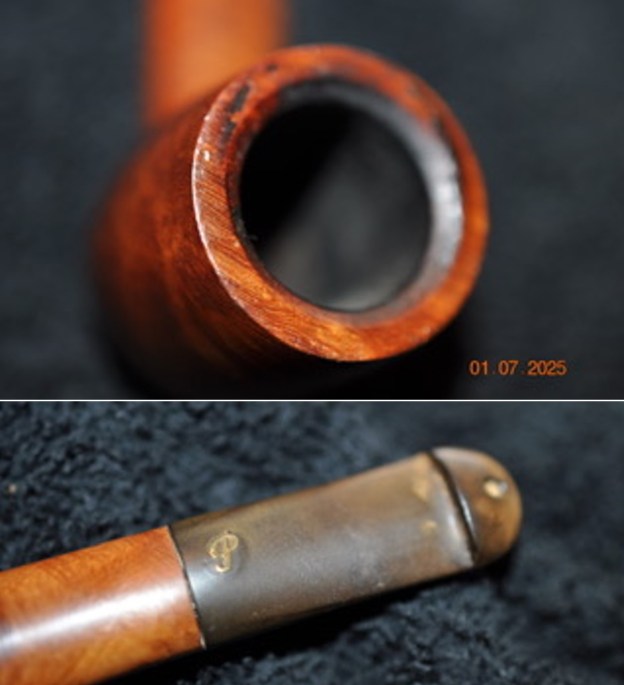
 Jeff took photos of the rim top and stem to show the general condition of the pipe. The bowl is moderately caked and there was a lava overflow on the rim top and the inner bevelled edge. The stem is oxidized, calcified and grimy with light tooth chatter and marks on both sides ahead of the button.
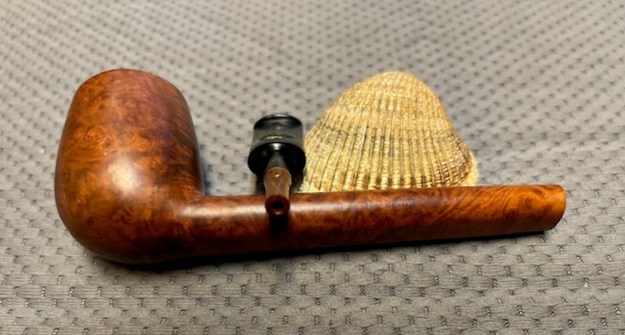
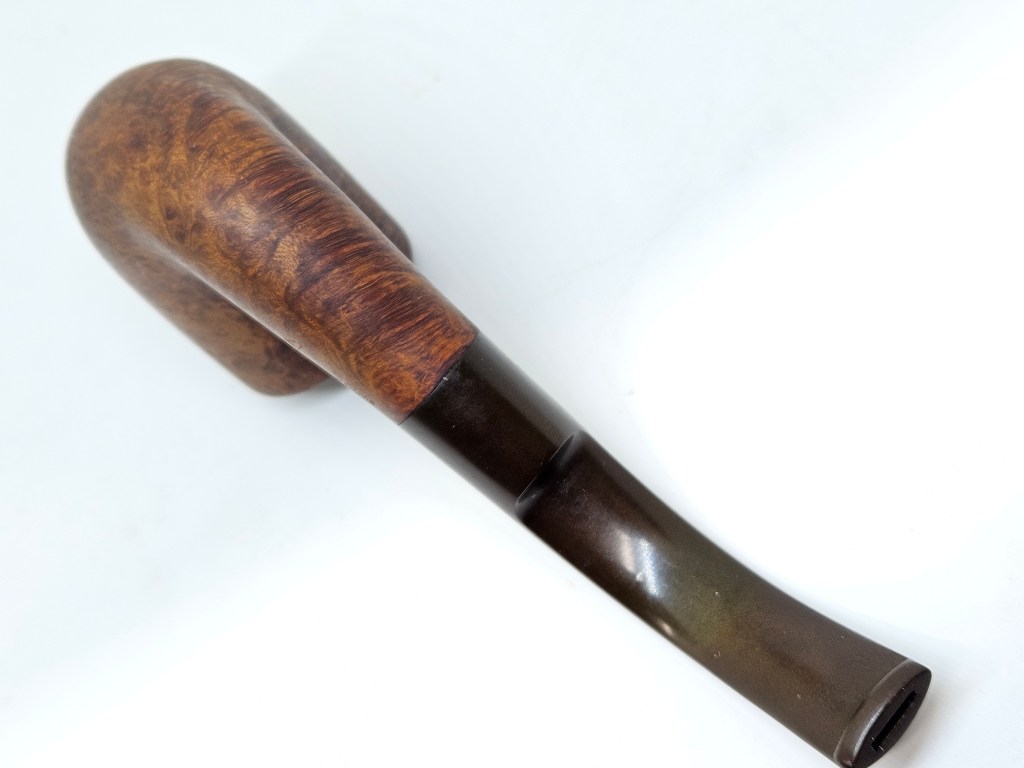
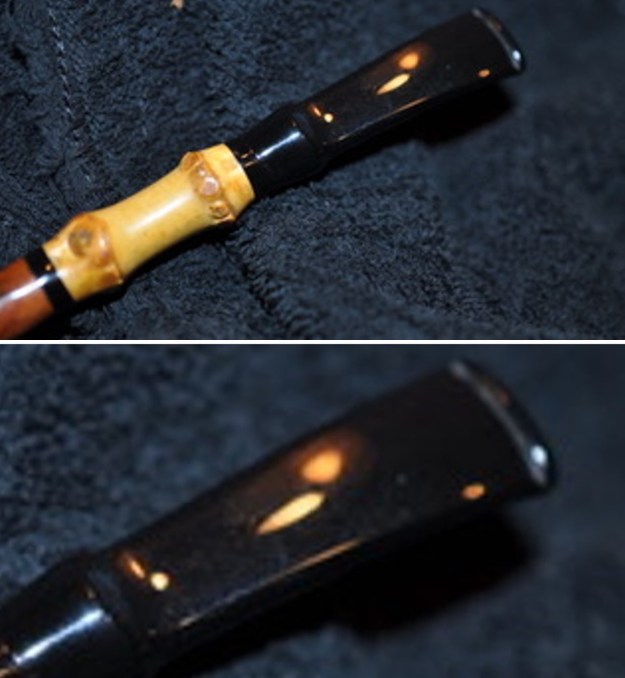
 Jeff took a photo of the bone chimney in the end of the tenon. It slightly darkened but is undamaged and should clean up well.
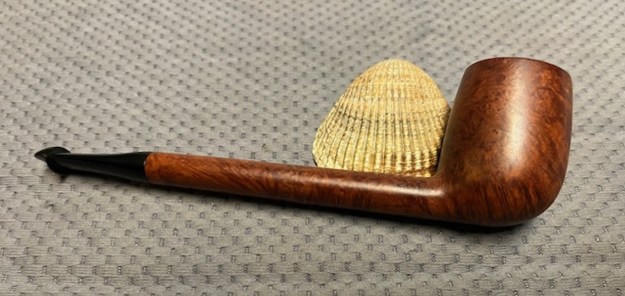
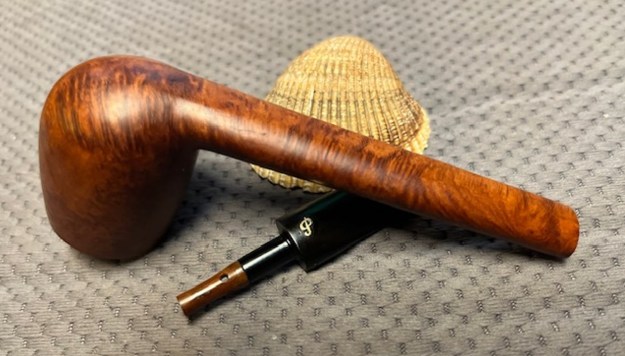
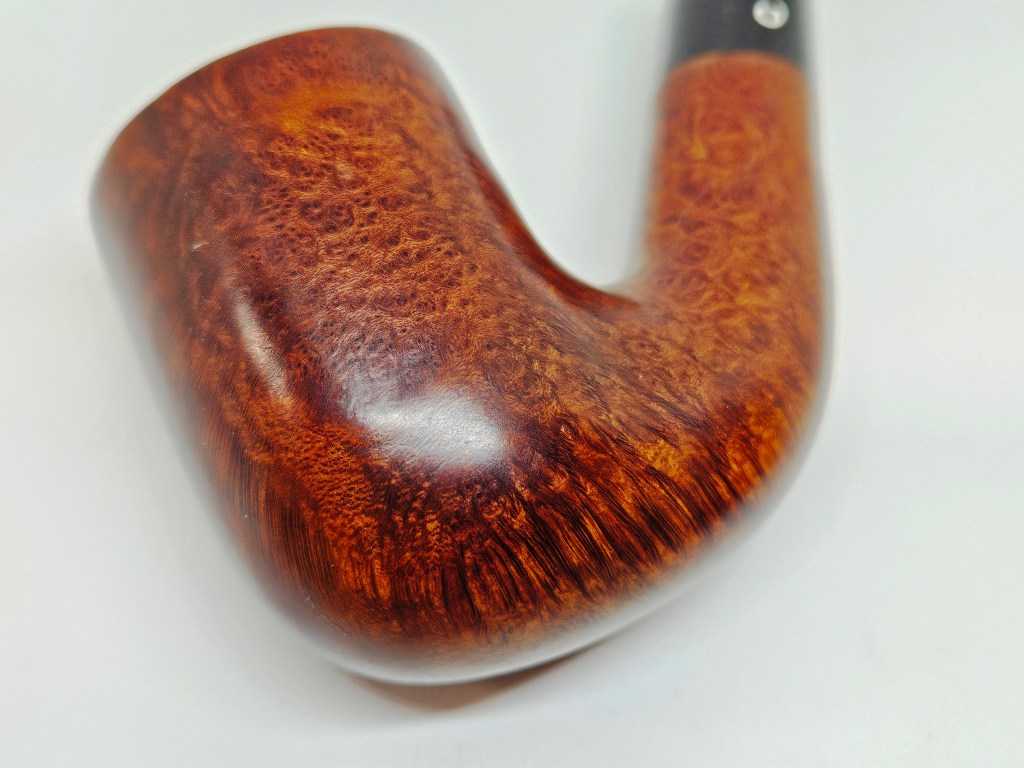
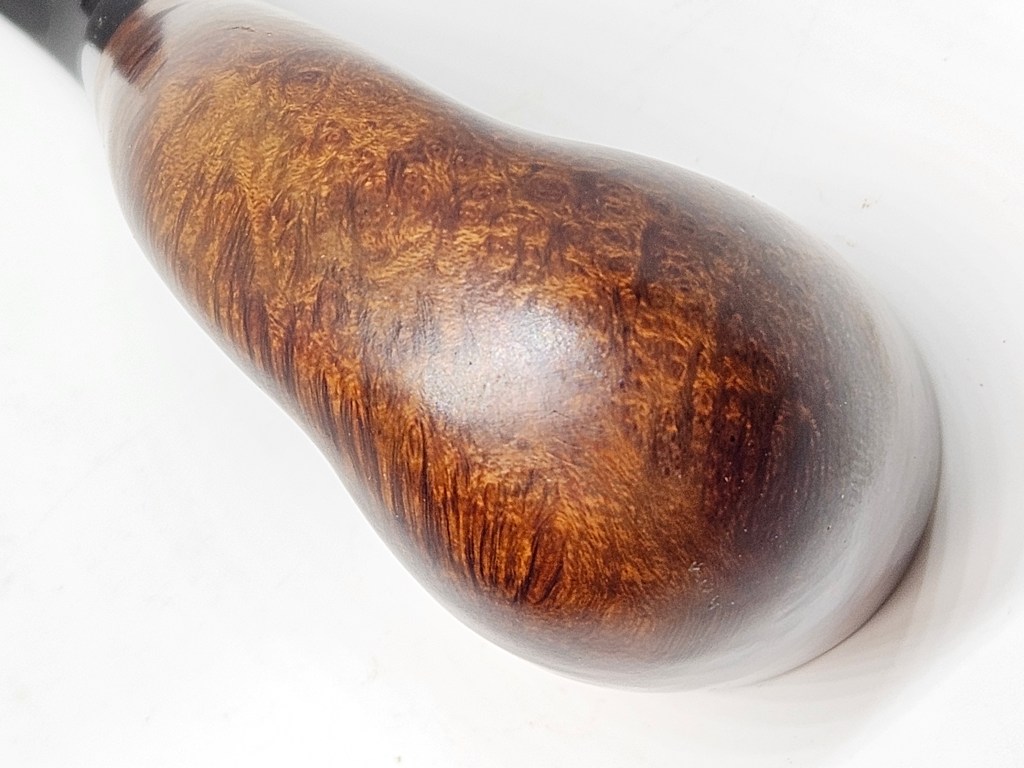
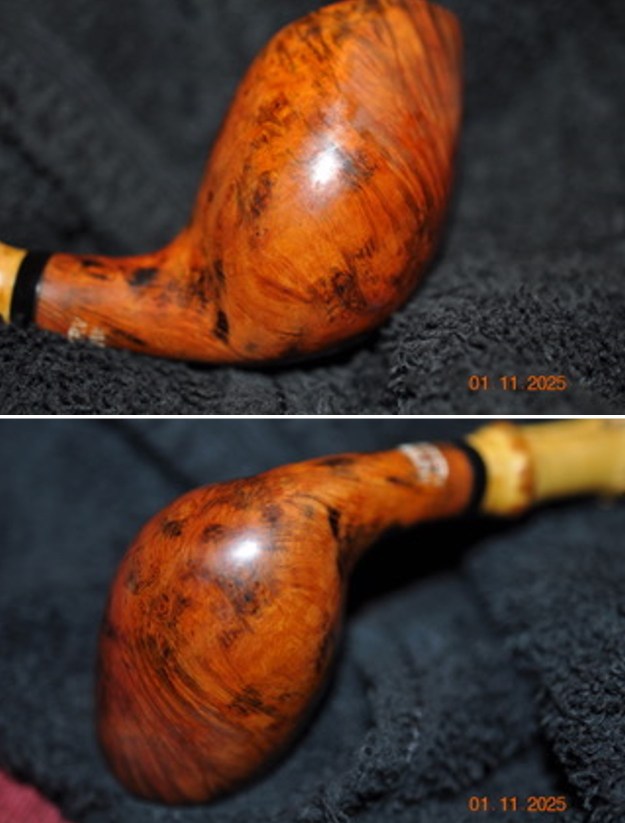
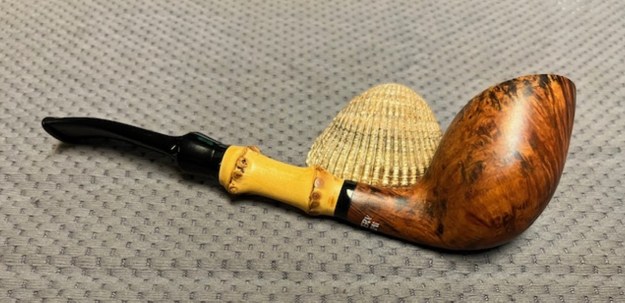
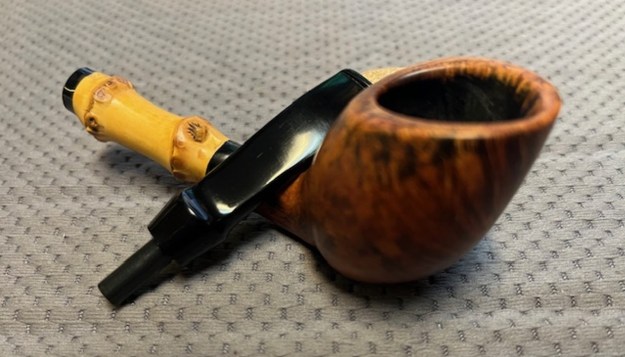
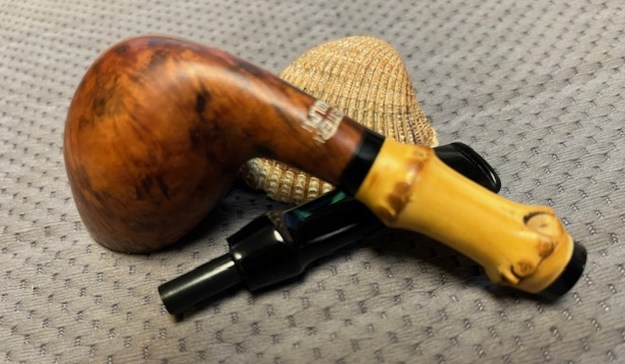
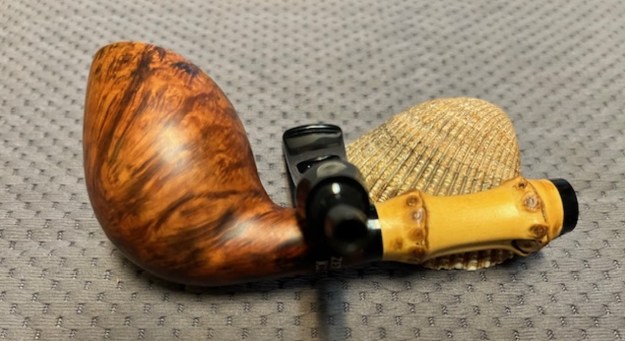
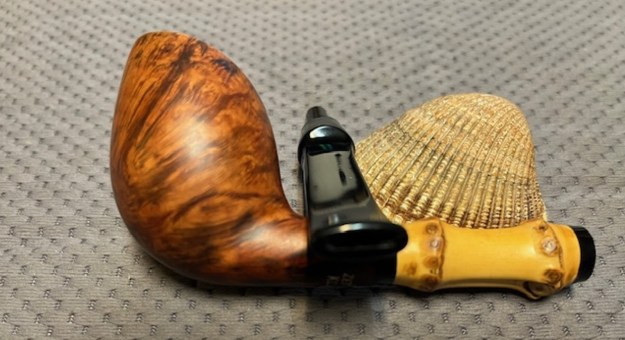
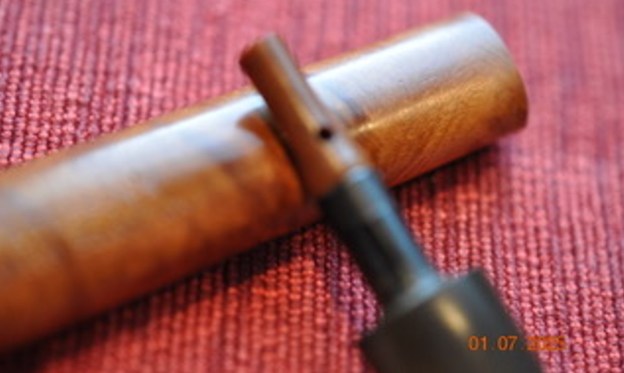 Jeff took photos of the bowl sides and heel to show the grain that was around this bowl. The grain is quite beautiful around the sides of the bowl and shank. It is a nice looking pipe.
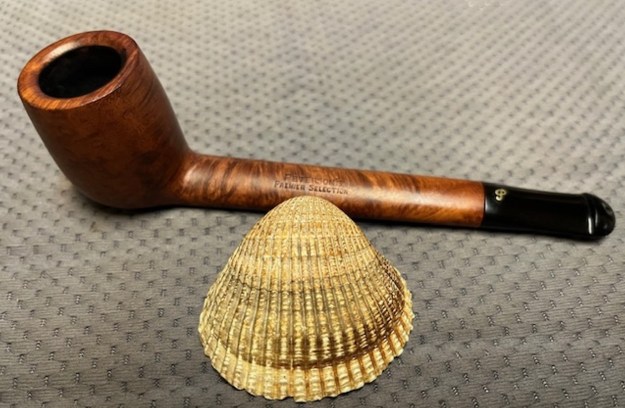
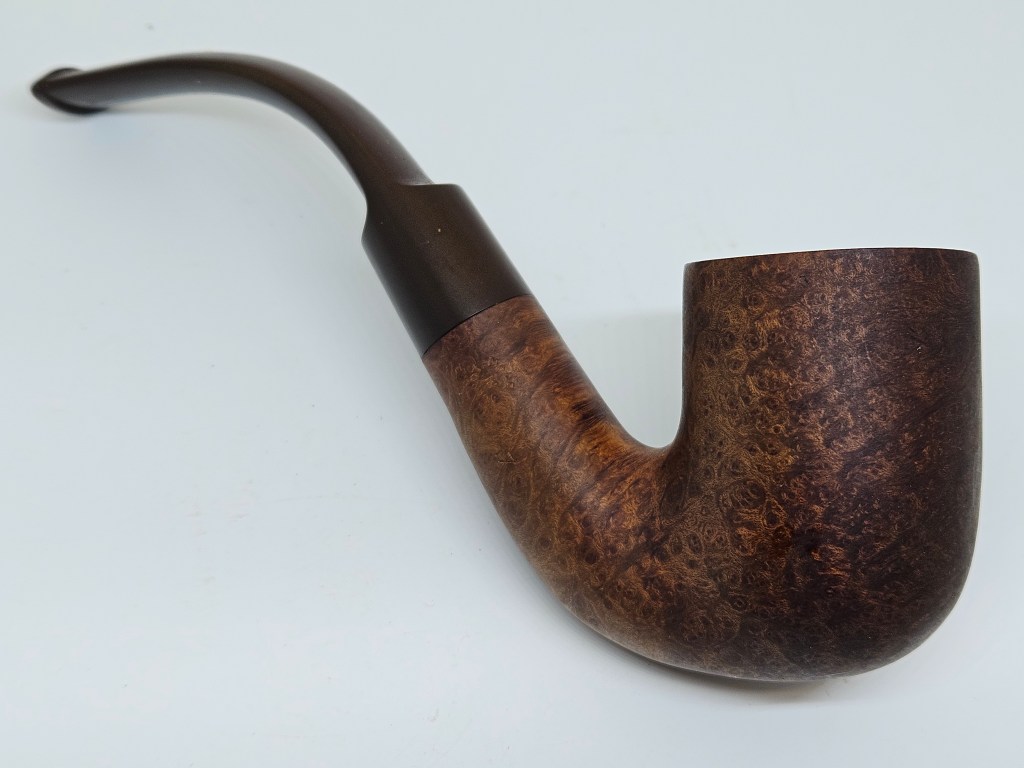
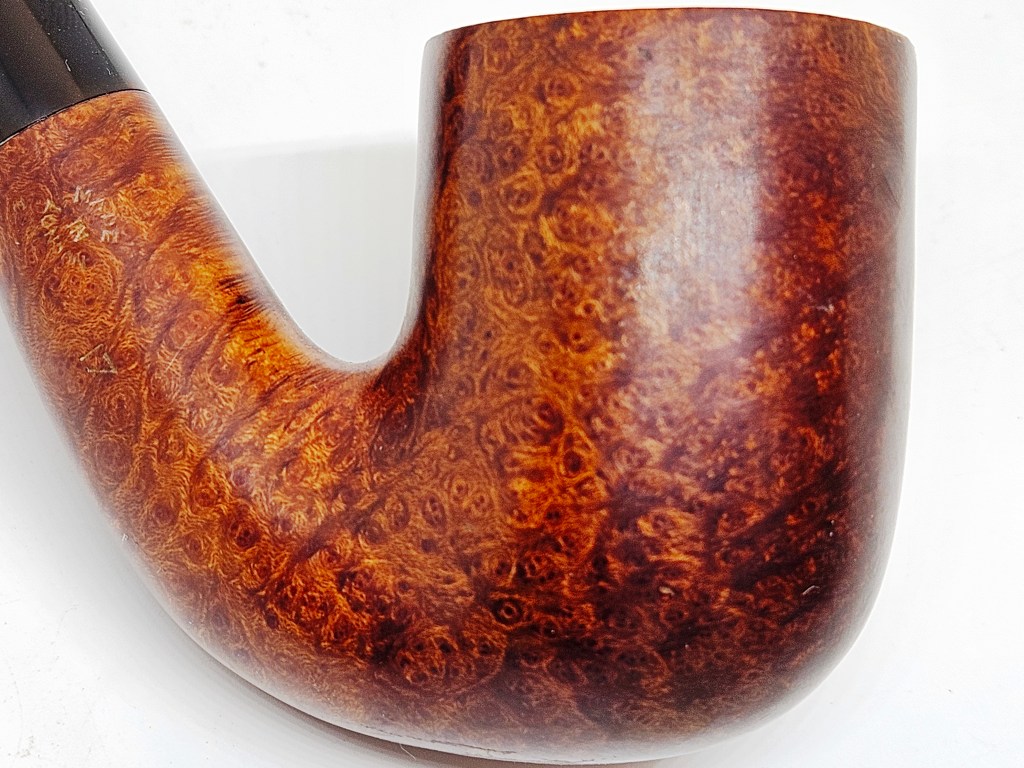
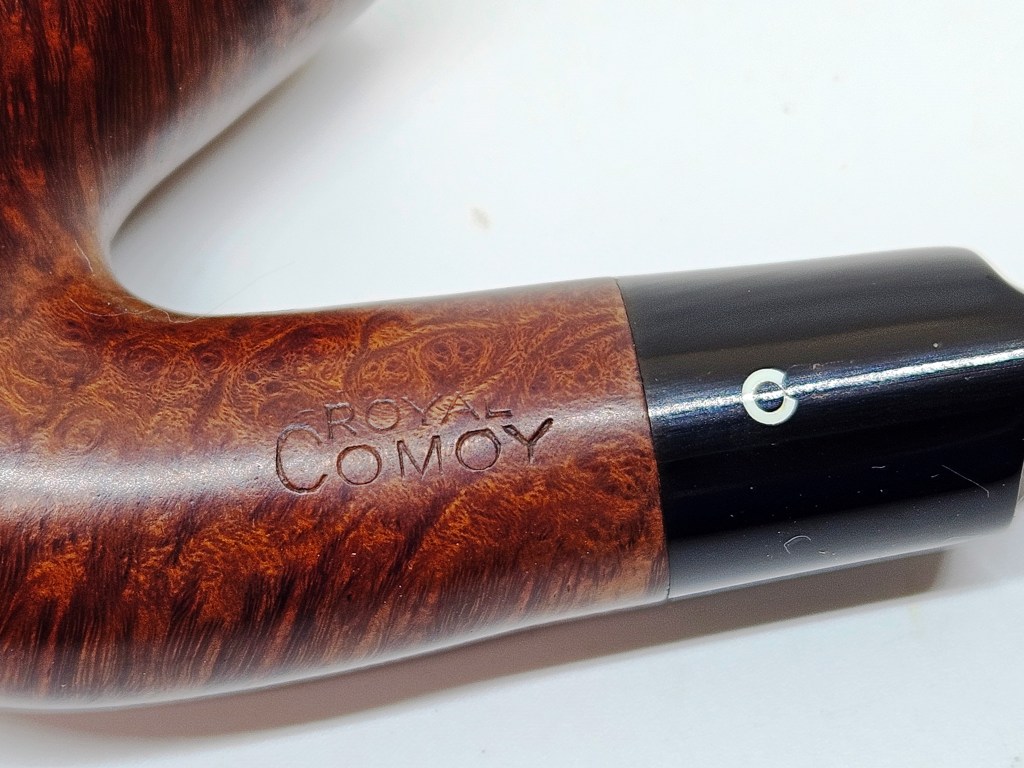
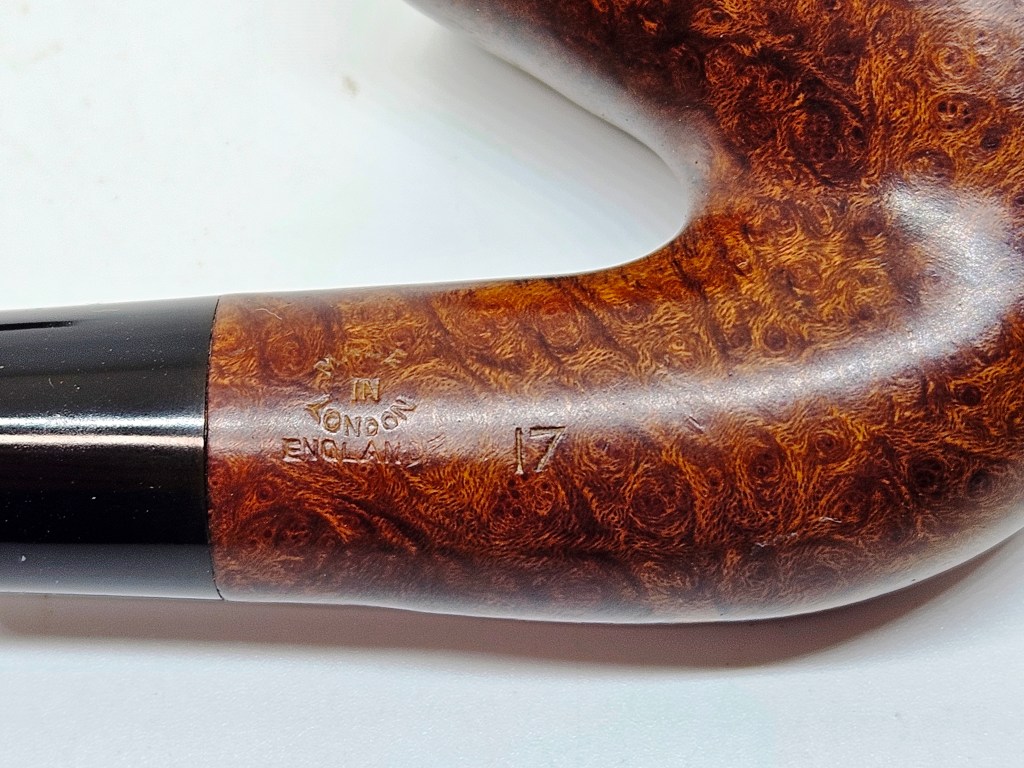
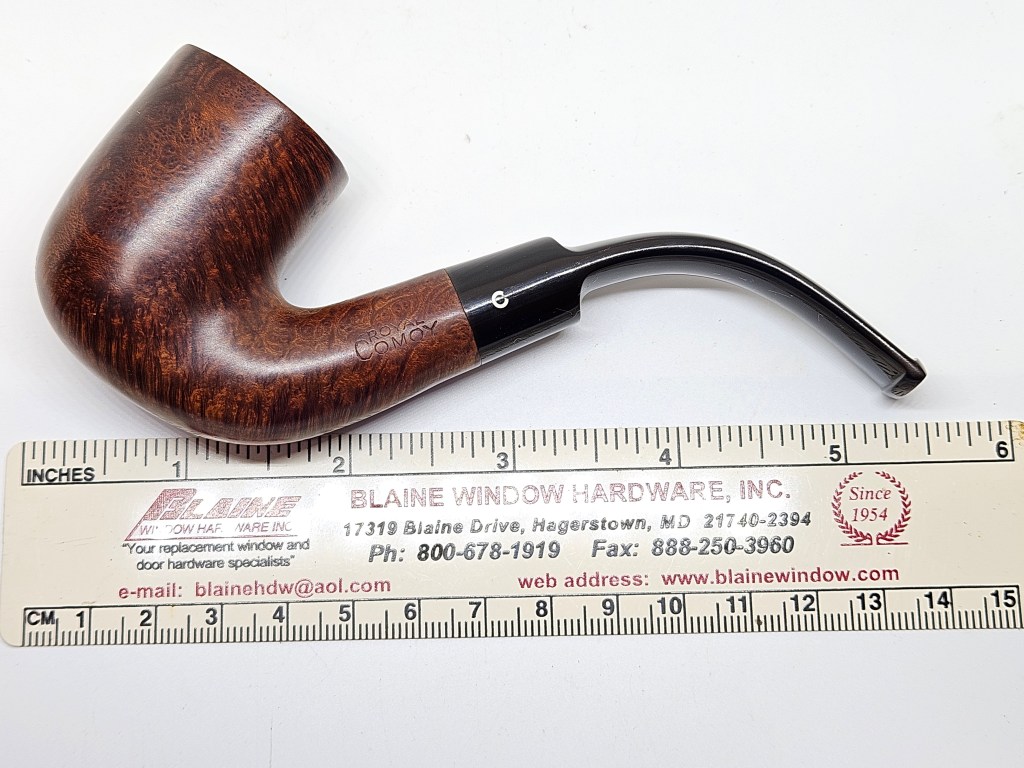
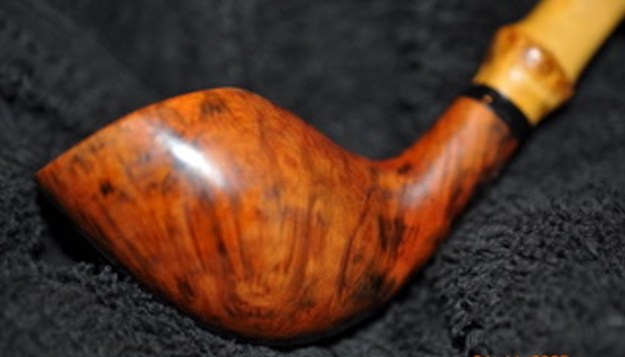
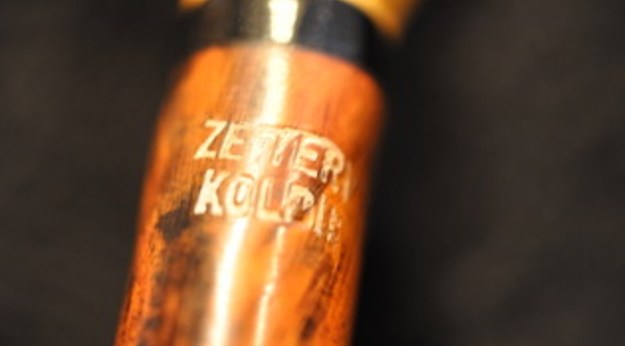
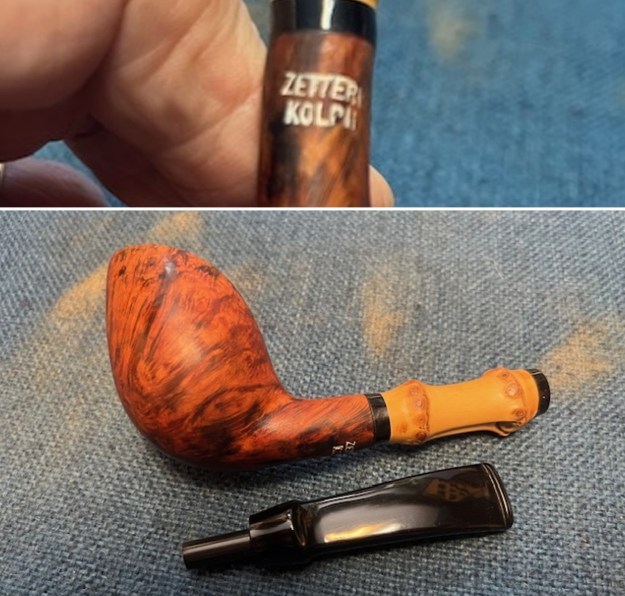
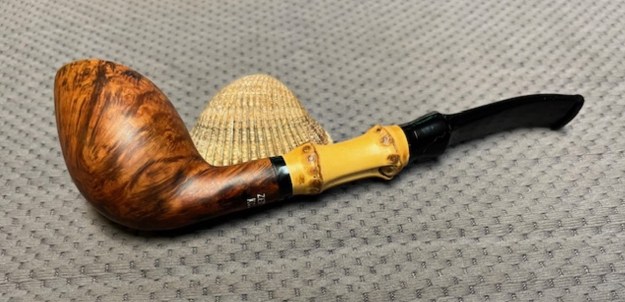
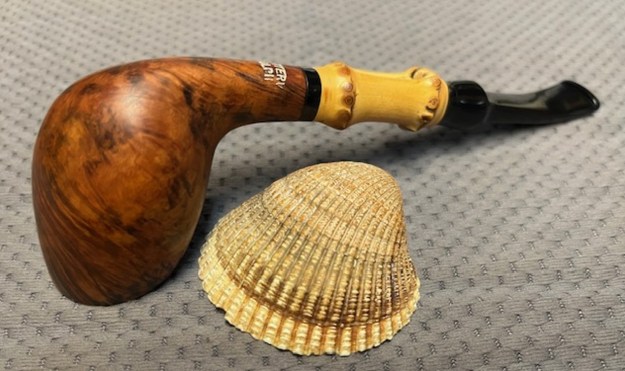
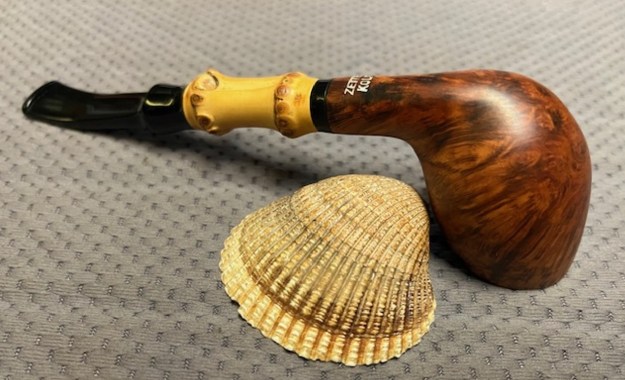
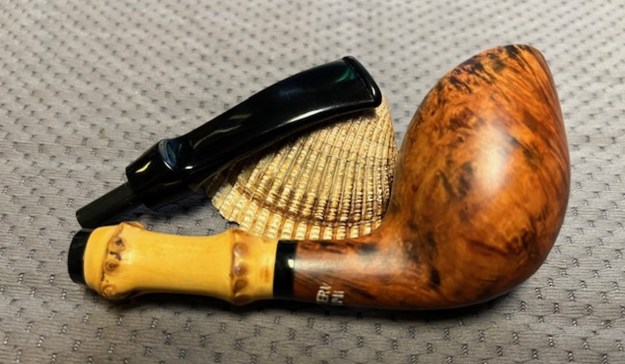
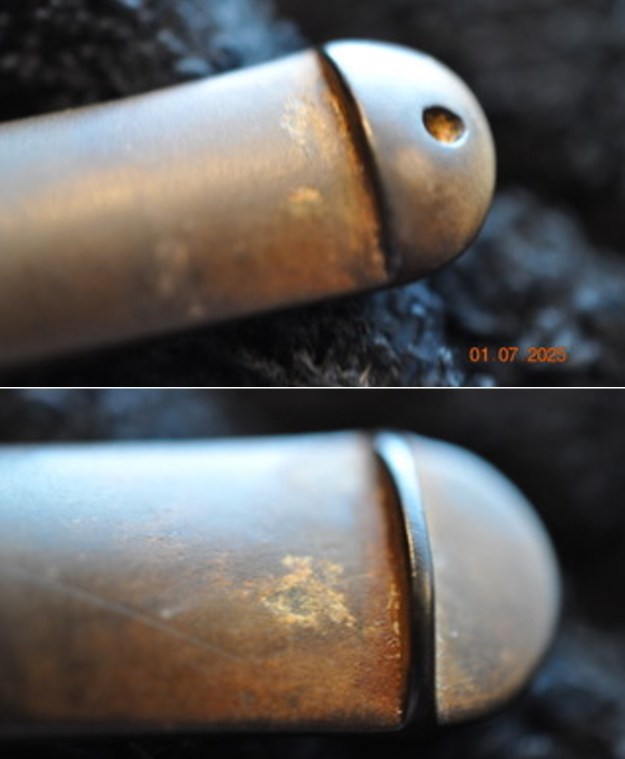
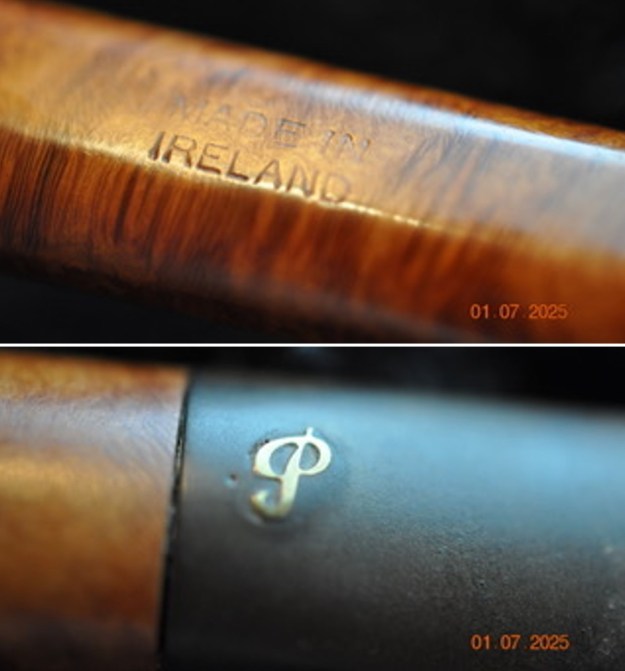
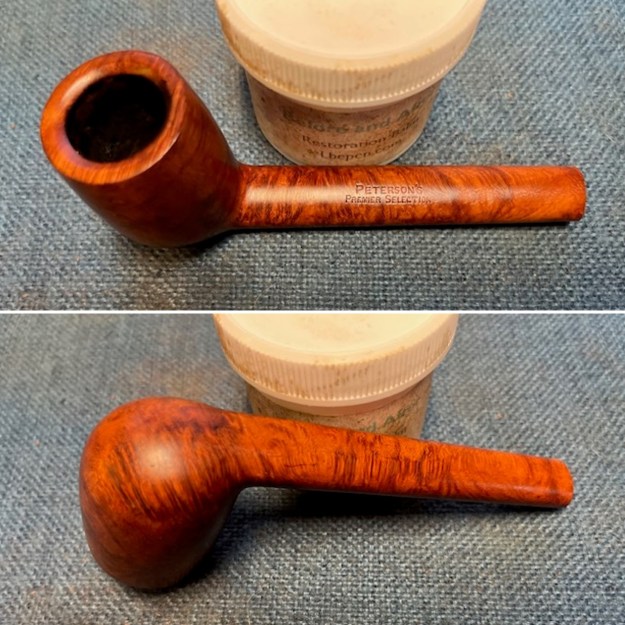
 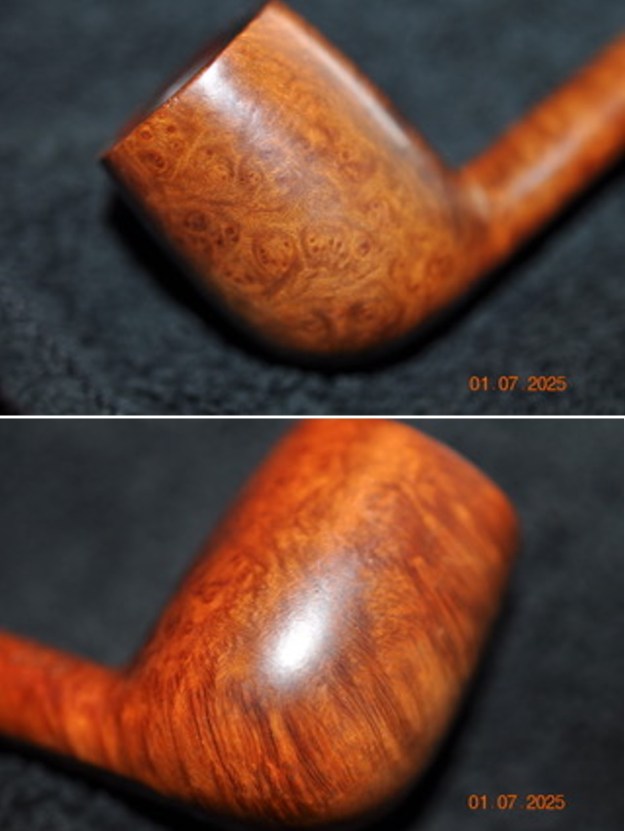 He took photos of the sides of the shank to show the stamping. The stamping is readable in the photos below and is as noted above. He did not photo the shank side showing the shape number but it is very clear. The brass/gold P logo on the top of the stem is tarnished but in good condition.
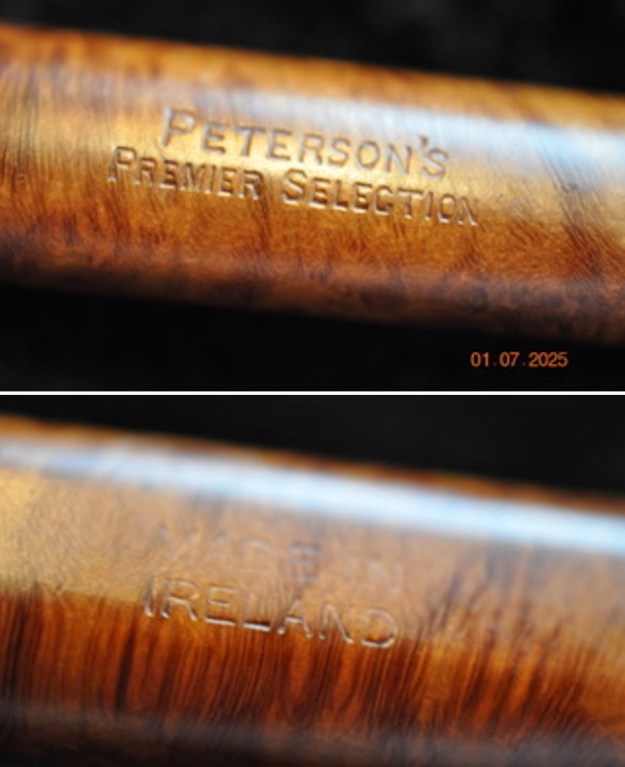
 I am including the link to the Pipedia’s article on Peterson pipes. It is a great read in terms of the history of the brand (https://pipedia.org/wiki/Peterson). There was a short note toward the bottom of the page about the series. I quote:
Pipedia (https://pipedia.org/wiki/Peterson) helped me pin down a date that the pipe was made. I knew that the Made in Ireland stamp would give me that. I quote:
As usual when trying to get accurate facts in regard to Peterson history, something will jump up and get in the way. They are missing many of their records. The following is the best that we can do for a guide to the myriad markings during the period 1922 –1949. Prior to 1920 it was rare for a country of origin to be stamped on the pipe, just Peterson’s Dublin on the band. After 1921/22, if it is stamped “MADE IN IRELAND” and the “Made in” is stacked over “Ireland” or “MADE IN EIRE” or several other forms, it was made between 1922 and 1938. A considerable number of Peterson pipes were stamped “Irish Free State”. From about 1930 to 1949, most of the pipes (those which were stamped) were stamped “Made in Ireland”.” If the stamp reads “MADE IN IRELAND” in a circle, the pipe was made between 1939 and 1948. These are all “pre-Republic” pipes. I can tell you that the mark “Irish Free State” was adopted in 1922; and replaced by “Eire” in 1937 and then by “Republic of Ireland” in 1949.
That gave me a potential date for the pipe – it was made between 1922 and 1938 as can be proved by the Made in Ireland stamp on the underside of the shank.
To tune it in even further I turned to “The Peterson Pipe” by Mark Irwin and Gary Malmberg to get some background on the Peterson’s Premier Selection Pipe. On page 310 it had the following information.
Premier on the shank (c. 1953- c. 1981) A high grade line of Classic Range shapes for the US market introduced by Rogers Imports in their 1953 catalog. Offered in smooth or sandblast finish, a P-lip mouthpiece with an aluminum P. The first occurrence of this logo in the ephemera. The Tan Bark Premier appeared in the ’69 Iwan Ries catalog. COM of Made in over Ireland, a PREMIER stamp also appears over SELECTION and will be distinguished by an inset brass P on the mouthpiece. See system for SYSTEM over PREMIER stamp.
** Judging from the Made in Ireland stamp, the pipe I am working on is probably made between 1922-38. The contrary piece of the puzzle is that the second red highlight above dates it to between 1953 and 1981. It has the original stem and is distinguished by the inset brass P on the topside. So once more we enter the realm of Peterson’s mysteries. Anyone have any ideas on this one.
I was utterly surprised when I took this pipe out of the box and compared it to the before photos. Jeff had done a great job cleaning up the pipe as usual. He reamed the pipe with a PipNet reamer and cut back the cake back to the bare briar. He cleaned up the walls with a Savinelli Fitsall Pipe Knife. Surprisingly the walls looked unscathed from the cake. He scrubbed the interior of the bowl and shank with pipe cleaners, shank brushes, cotton swabs and alcohol to remove the tars and oils. He scrubbed the exterior of the pipe with undiluted Murphy’s Oil Soap and a tooth brush to remove the grime from the finish. He worked on the rim top lava and darkening with the soap and tooth brush. He cleaned the inside and outside of the stem and soaked it in Briarville’s Pipe Stem Deoxidizer. He rinsed of the residue and buffed it up with a towel. I took photos of the pipe when it arrived.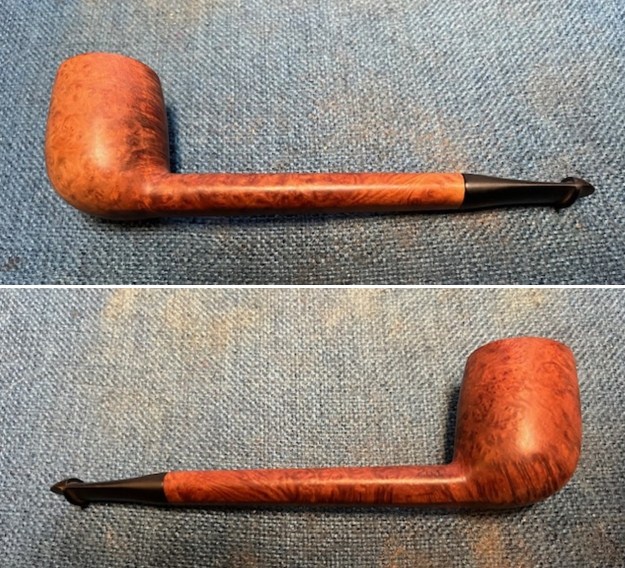
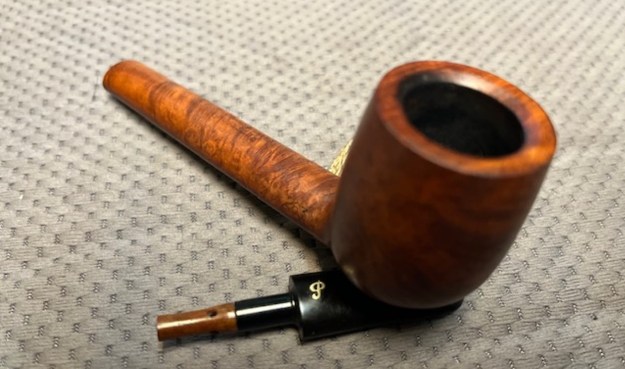
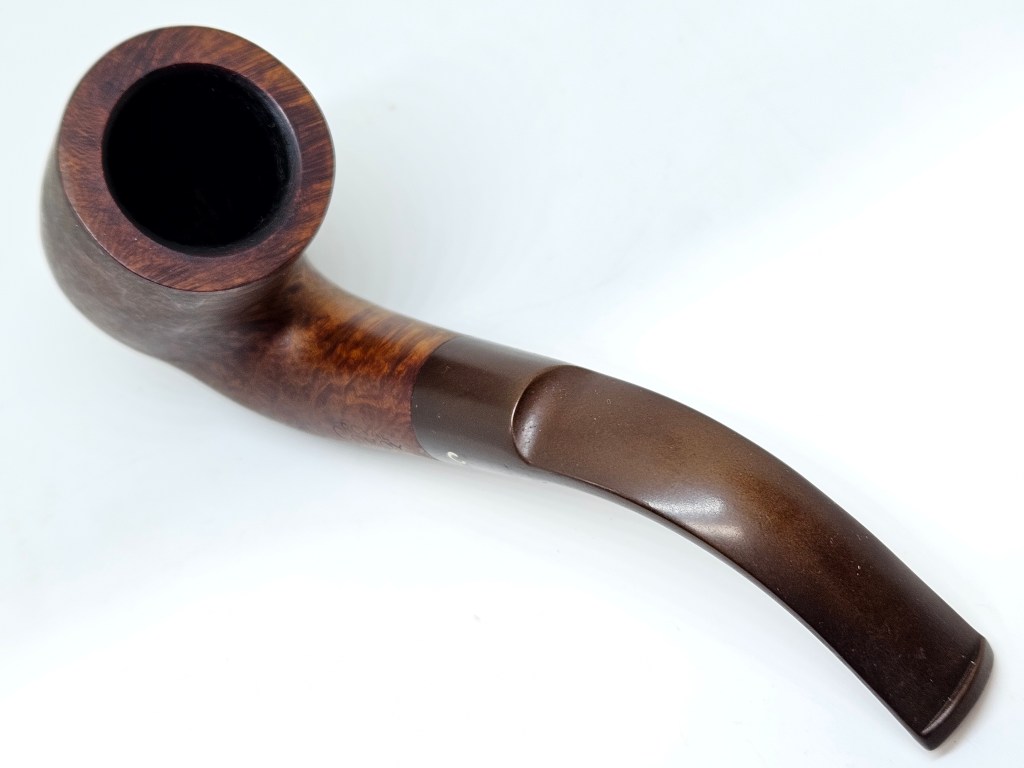
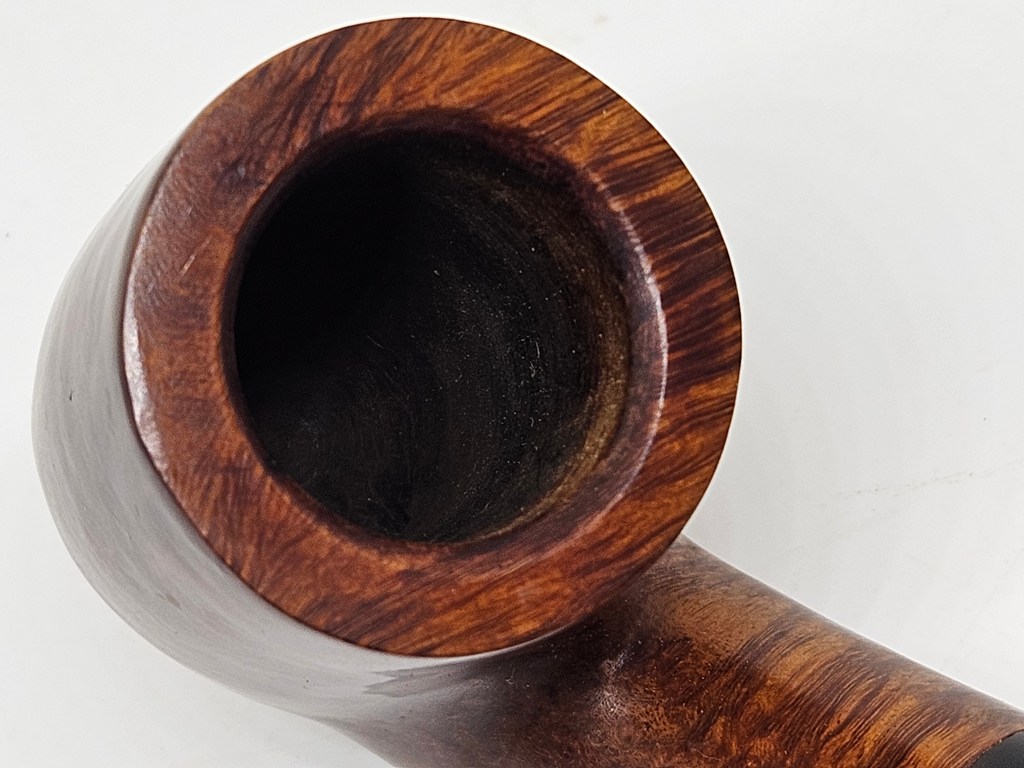
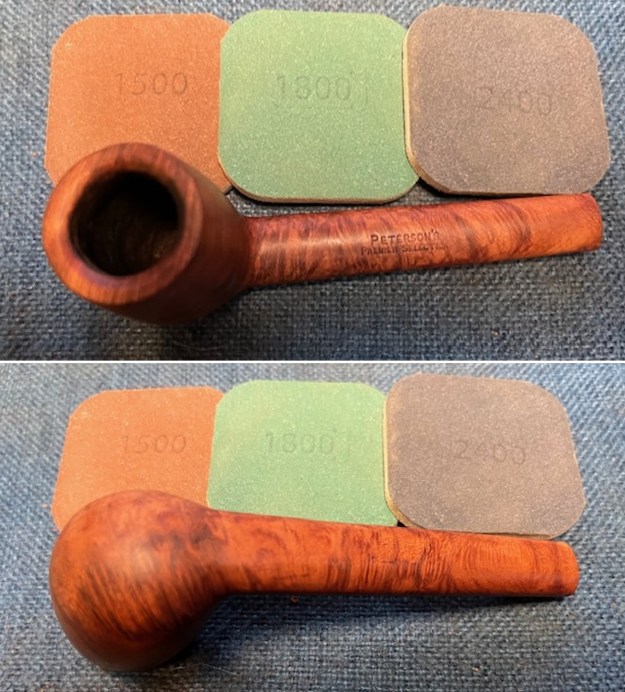
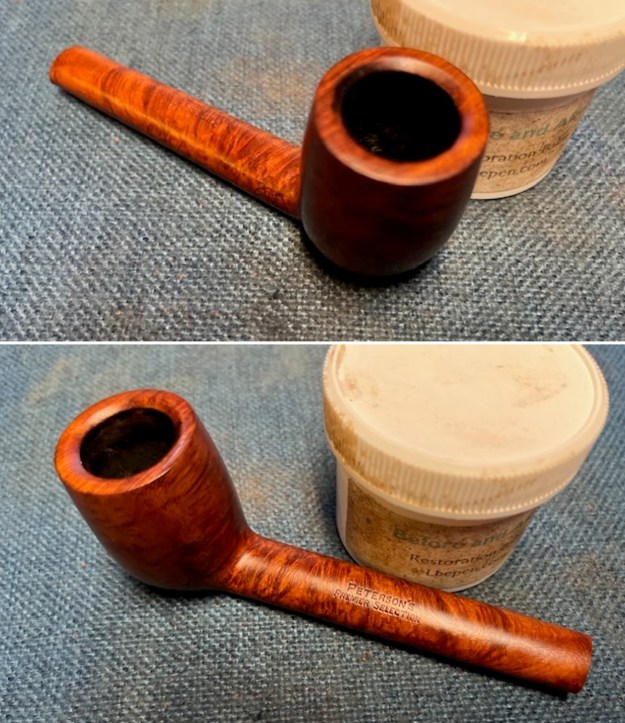
 I took a close-up photo of the rim top to show the condition of the bowl and inner edge of the bowl and the stem. The bowl is clean and the lava on the rim top and edges cleaned up very well. The stem photos show that it also cleaned up very well. The light tooth marks and chatter are very minor.
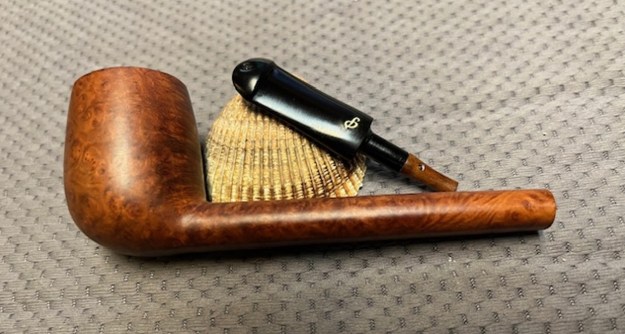
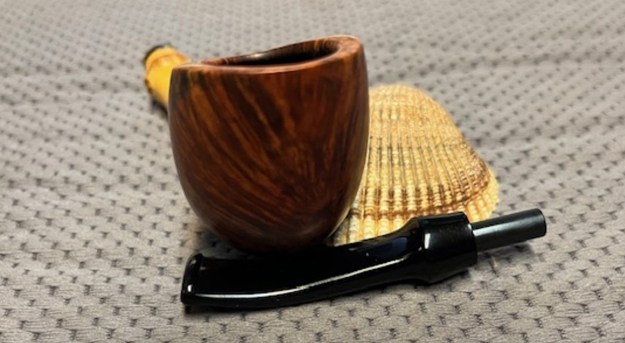
 I took a photo of the stamping on the sides of the shank. It is clear and readable as noted above. I removed the stem and took a photo of the parts of the pipe. It is a pretty little pipe.
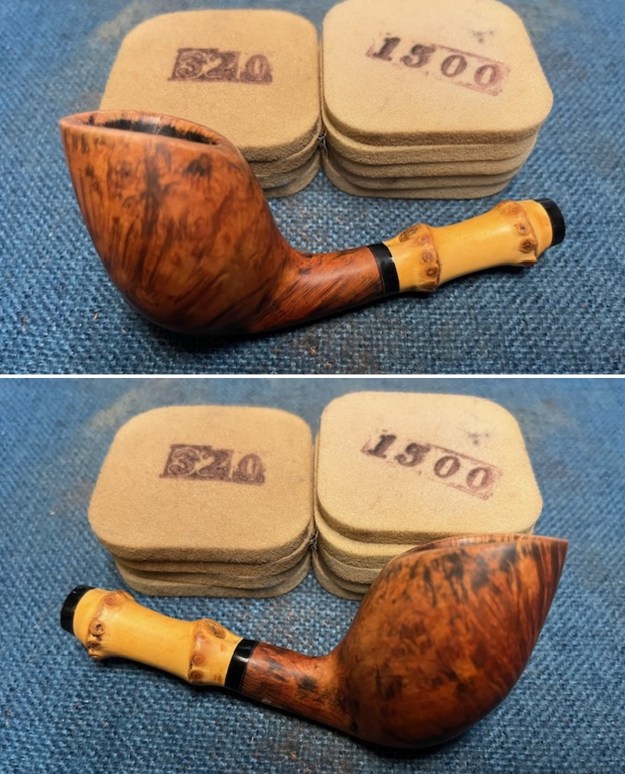
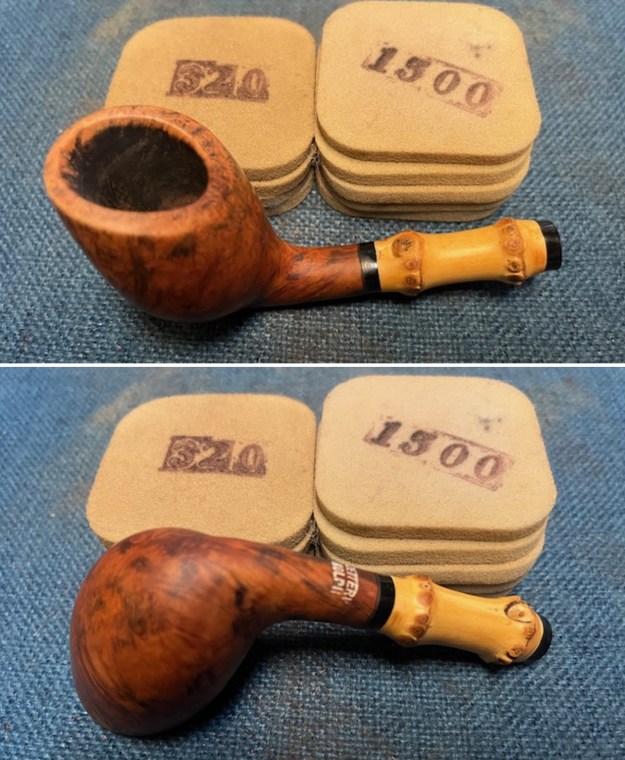
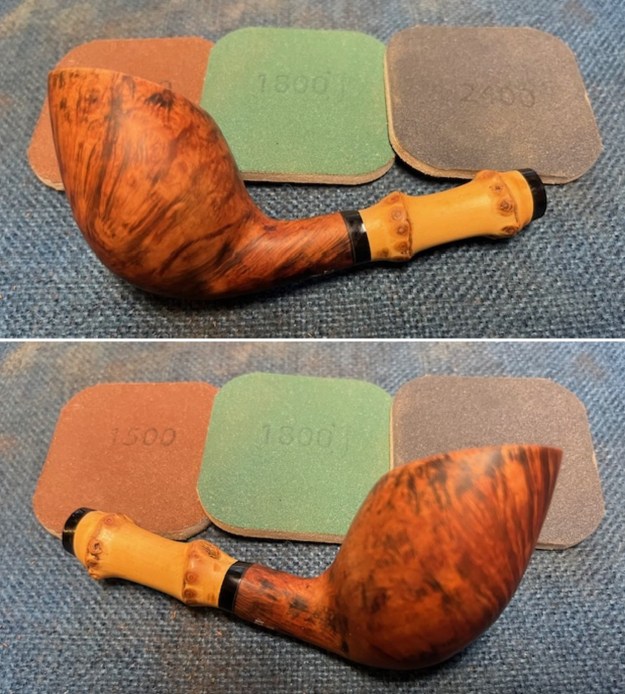
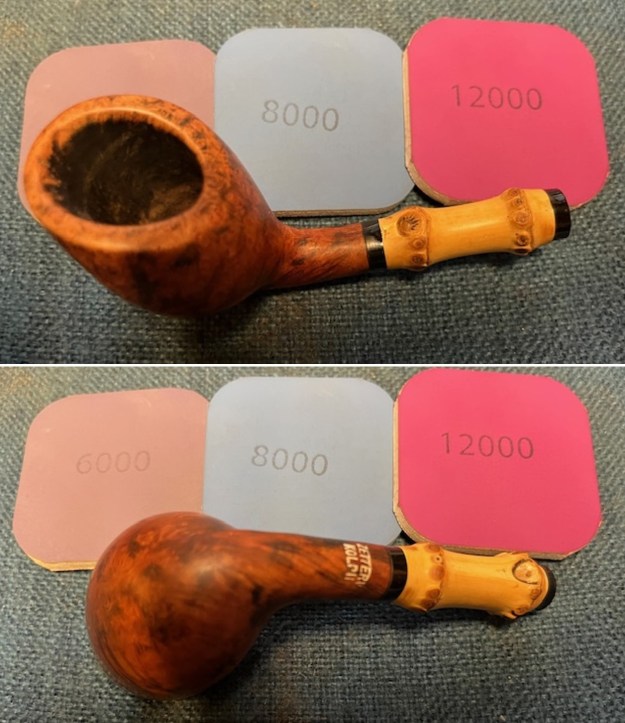
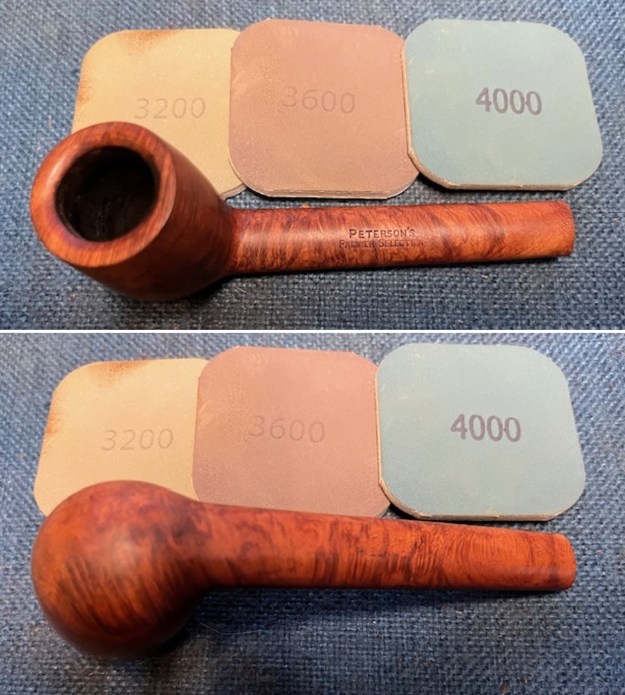
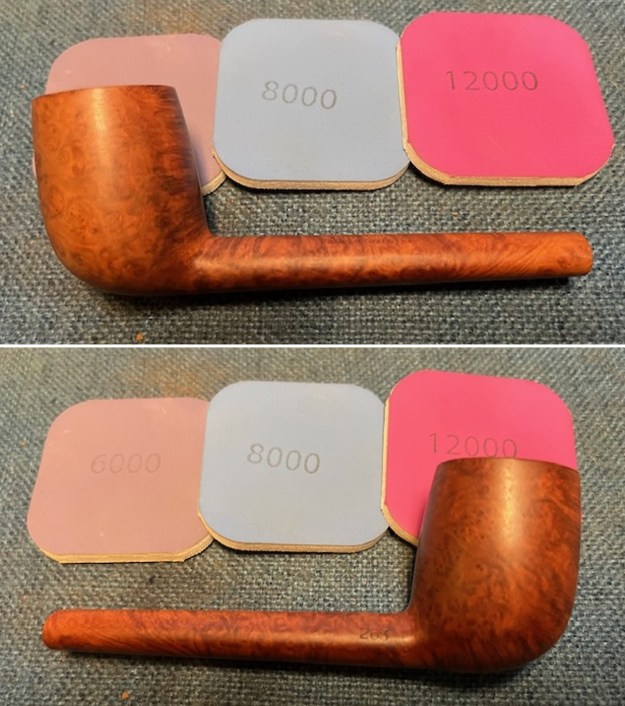
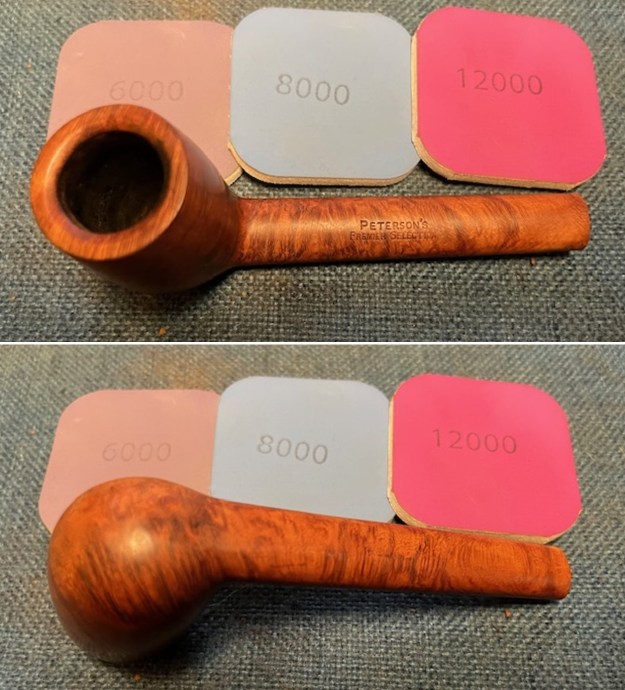
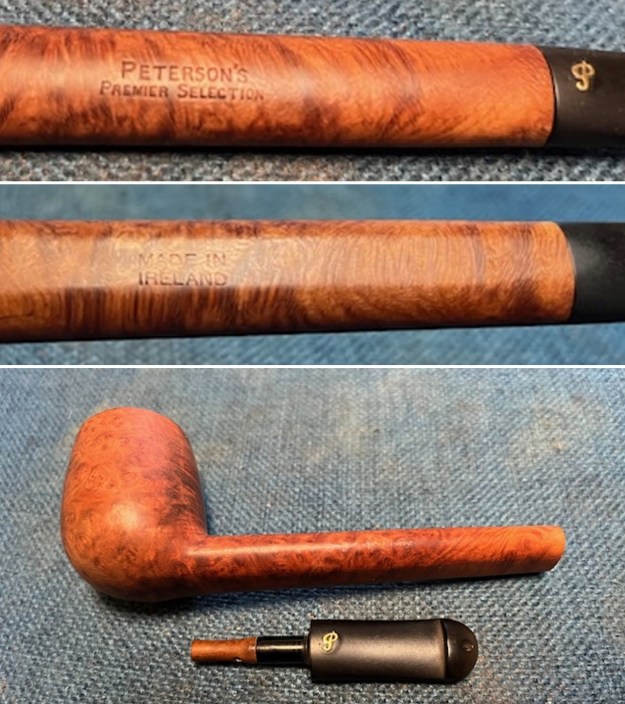 I polished the bowl with micromesh sanding pads – dry sanding with 1500-12000 grit sanding pads. I wiped it down between pads with a damp cloth. It really began to take on a deep shine.
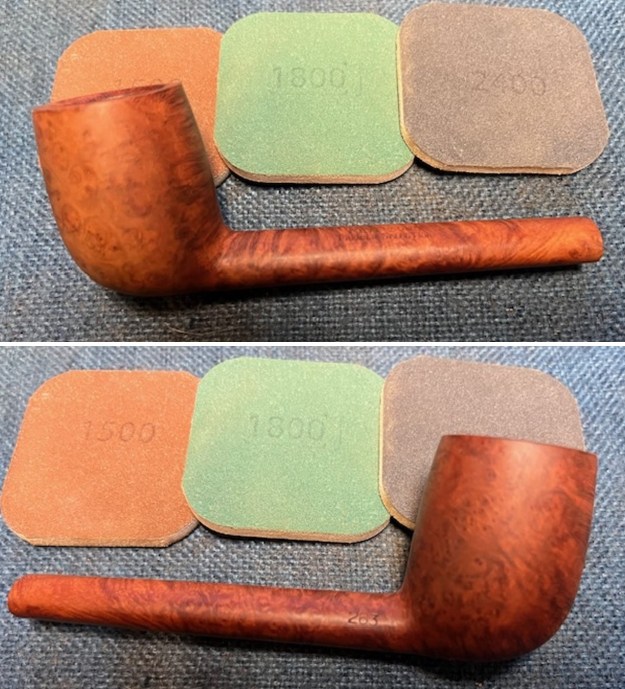

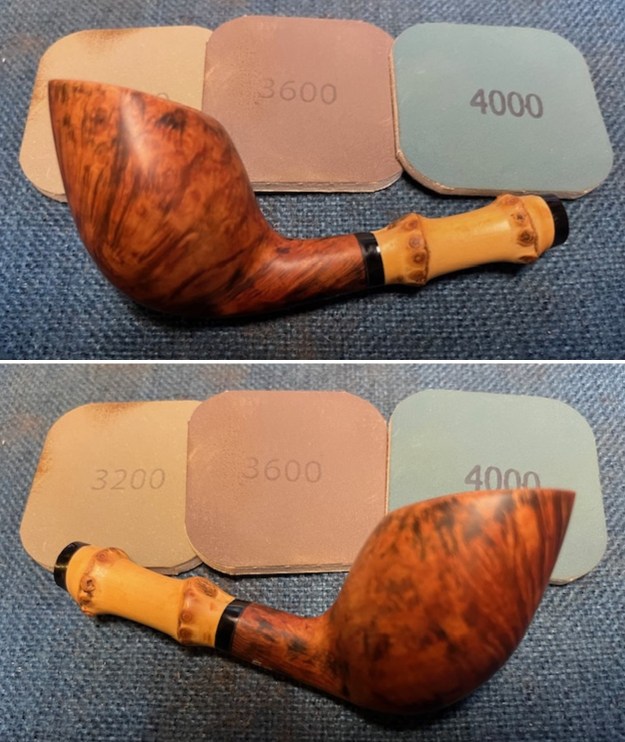
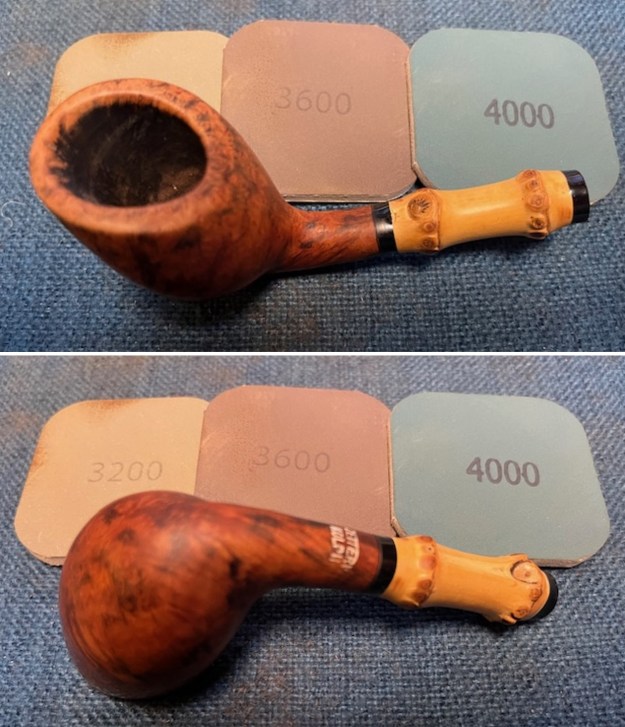
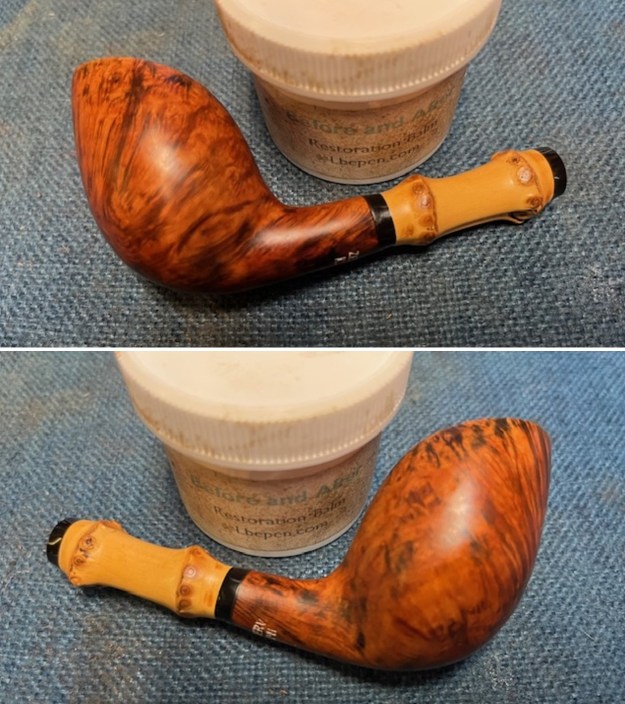
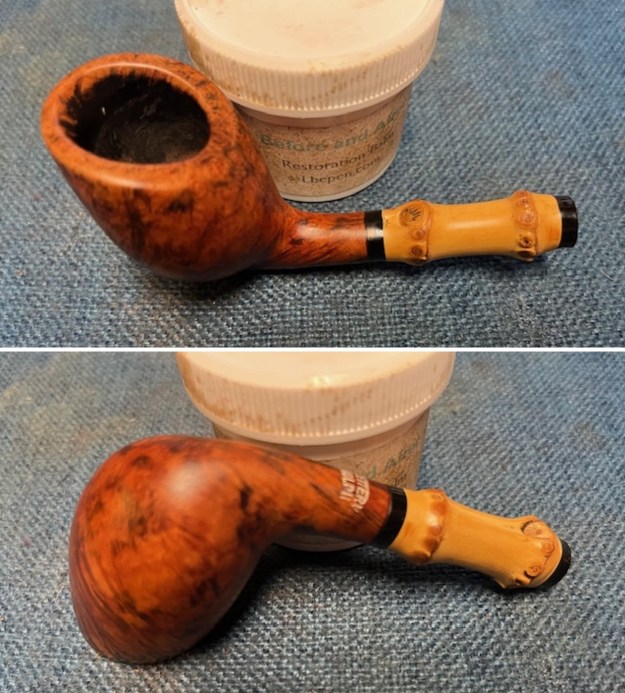
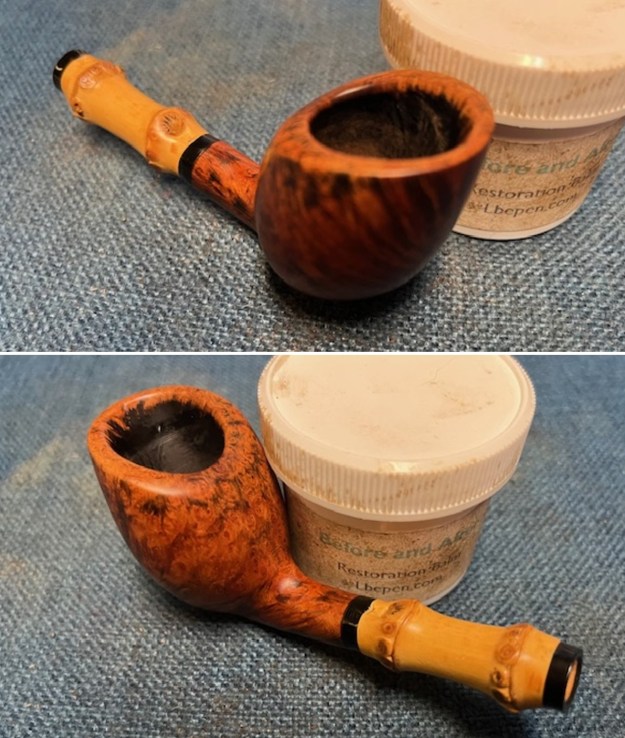
 The exterior of the bowl looks better after polishing. I worked some Before & After Restoration Balm into the briar with my finger tips. I let it sit on the bowl for 10 minutes and then buffed it off with a paper towel and soft cloth. The product is a great addition to the restoration work. It enlivens, enriches and protects the briar while giving it a deep glow. It is a product I use on every pipe I restore.
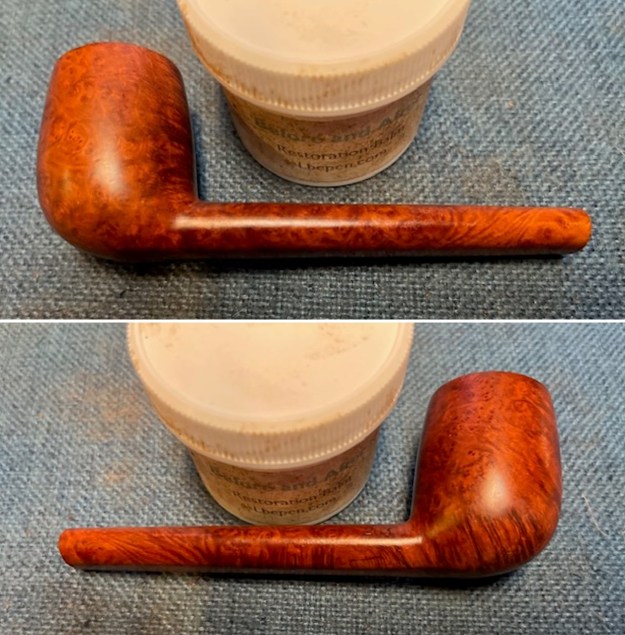
 I polished the stem with micromesh sanding pads – dry sanding with 1500-12000 grit pads. I wiped the stem down after each sanding pad with Obsidian Oil to further protect the vulcanite surface. I finished the polishing with Before & After Pipe Stem Polish – Fine and Extra Fine. I wiped the stem down a final time with Obsidian Oil and a cloth. It really looks very good.
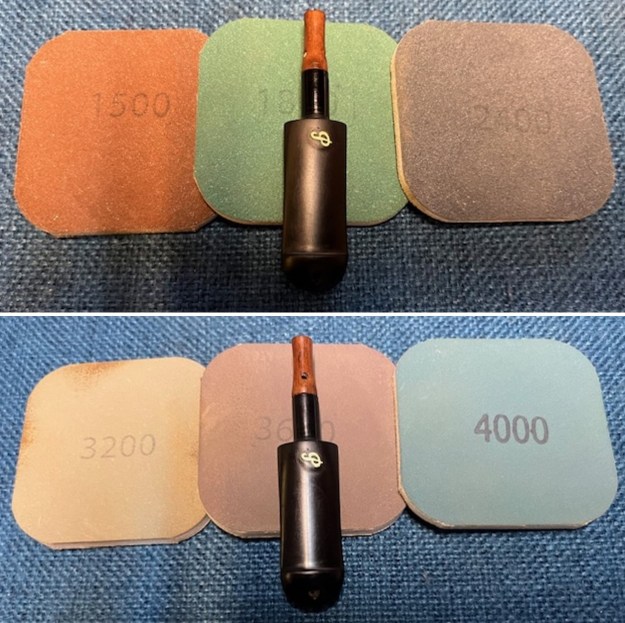
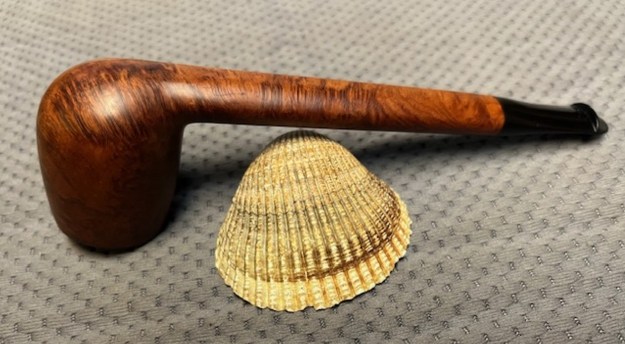
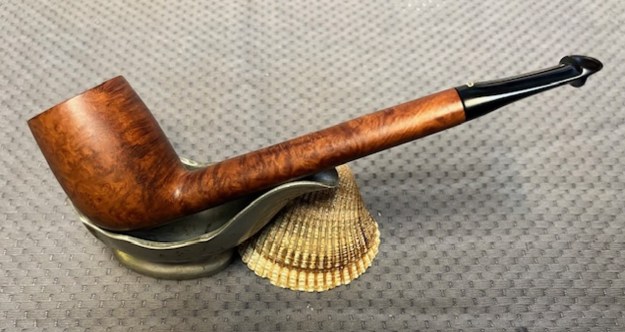
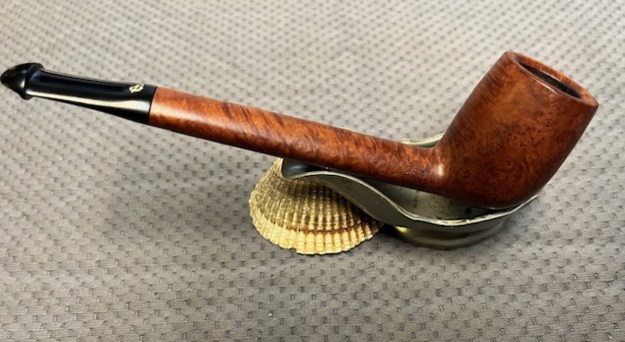
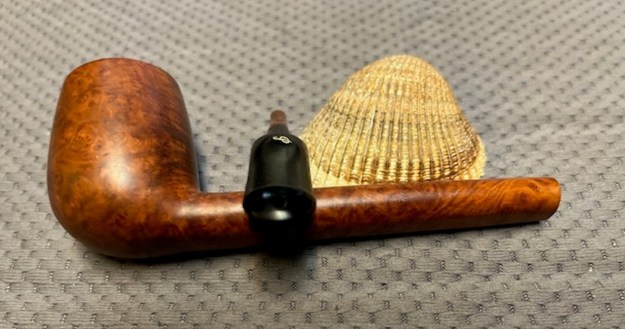
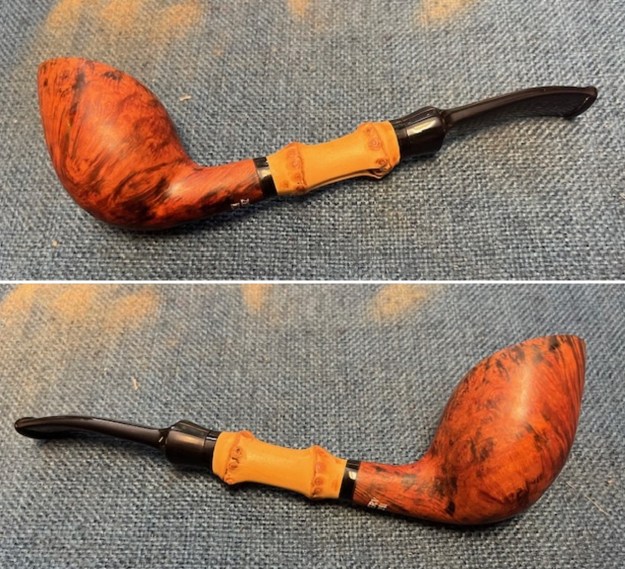
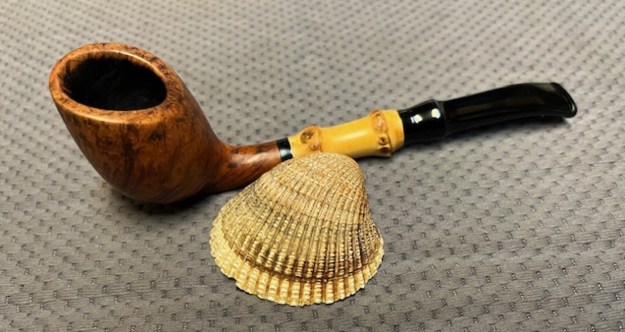
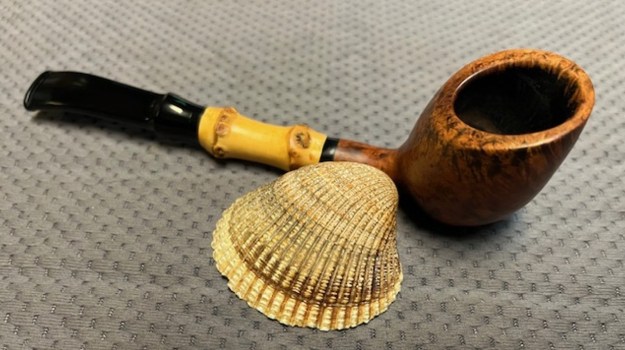
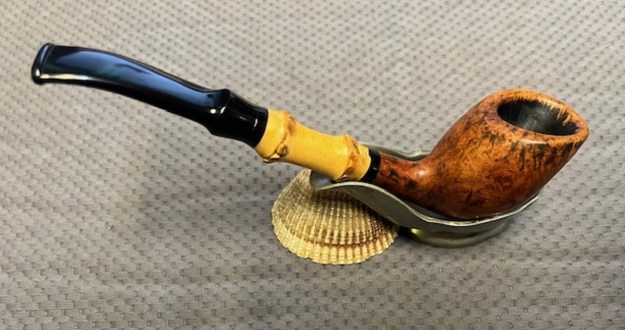
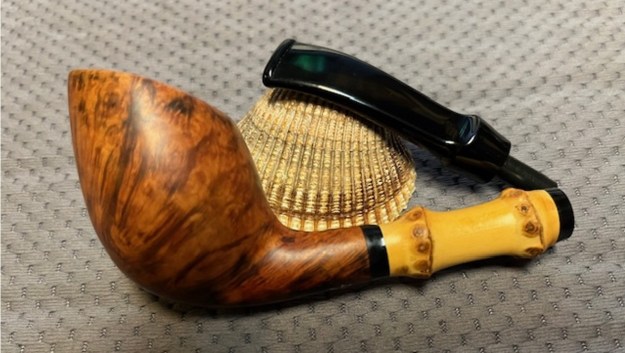
 I am excited to finish this beautifully grained, Peterson’s Premier Selection Made in Ireland 263 Canadian. I put the pipe back together and buffed it with Blue Diamond on the buffing wheel. I gave the bowl and the stem multiple coats of carnauba wax. I hand buffed the pipe with a clean buffing pad to raise the shine. It is fun to see what the polished bowl looks like with beautiful mixed grain all around it. The Canadian looks great with the black vulcanite stem. This smooth Classic Peterson’s Premier Selection Canadian is great looking and the pipe feels great in my hand. It is light and well balanced. Have a look at it with the photos below. The dimensions are Length: 5 ¾ inches, Height: 1 ½ inches, Outside diameter of the bowl: 1 ¼ inches, Chamber diameter: ¾ of an inch. The weight of the pipe is 38 grams/1.34 ounces. It turned out to be a beautiful pipe. I will be putting it on the rebornpipes store shortly in the Irish Pipe Makers Section if you are interested in it. Thanks for walking through the restoration with me as I worked over this pipe. Thanks to each of you who are reading this blog.