by Steve Laug
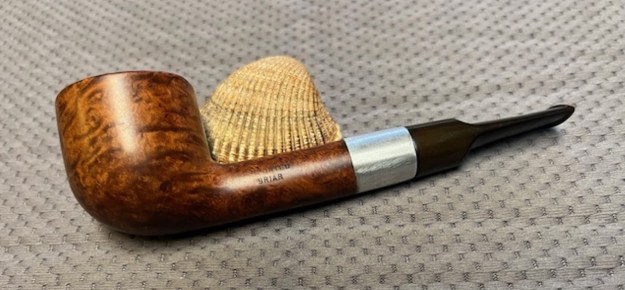
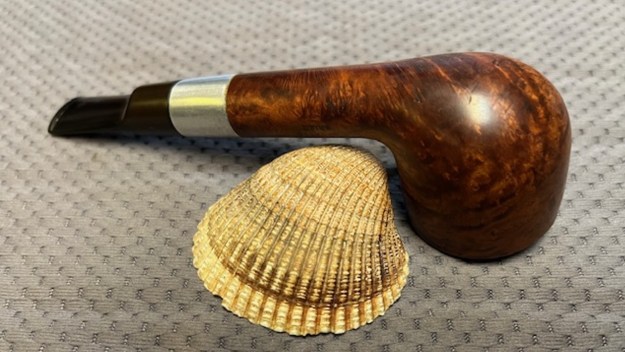
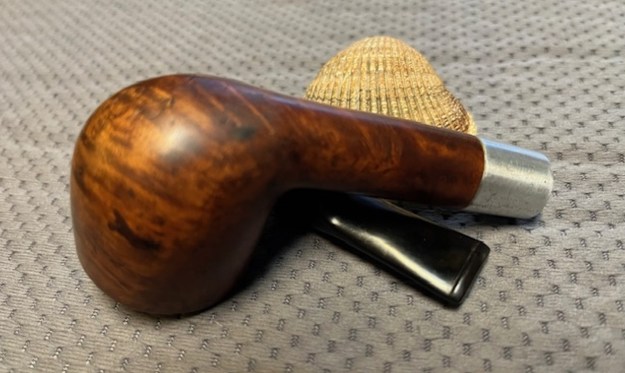
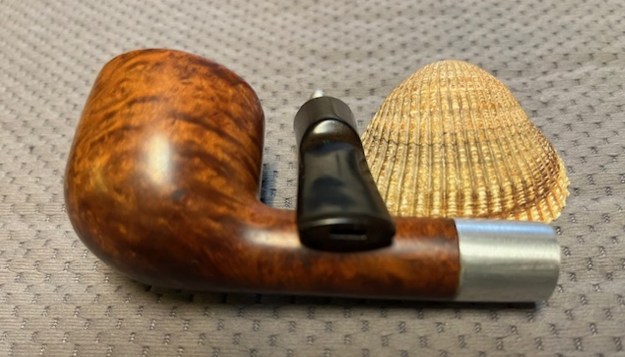
This is another of the pipes I received from Robert with a group 12 pipes that needed to be restored in various ways from cleanup to restemming. I have just a few left now so I chose to work on this Kaywoodie like Lovat Style Pot with a short saddle stem. The bowl and shank were very dirty with oils and tars on the surface of the smooth finish. The bowl had been reamed recently so the bowl was free of cake. There was an overflow of thick lava on the rim top. The lava was thick and there as darkening on the inner edge. The pipe was faintly stamped on the left side of the shank and read Imported Briar. There was no other stamping on the shank sides though there may well have been some originally. This one came with the original stem in place on the shank. The shank end had an aluminum fitting that provided a mortise of the threaded metal stinger/tenon on the pipe. The stem did not fit tightly against the shank for some reason that clean up would reveal. It was oxidized and calcified on the button end. There were light tooth marks on the top and underside of the stem near the button. The surface of the button is also tooth marked. There were no logos on the stem sides. I took some photos of the pipe to show its condition before I started my work on it.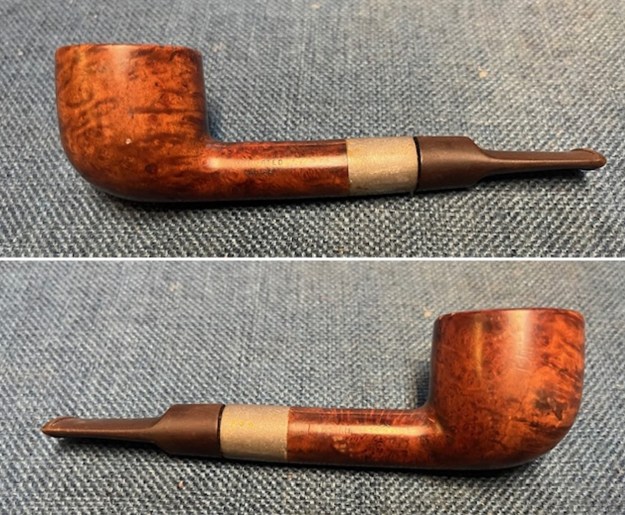
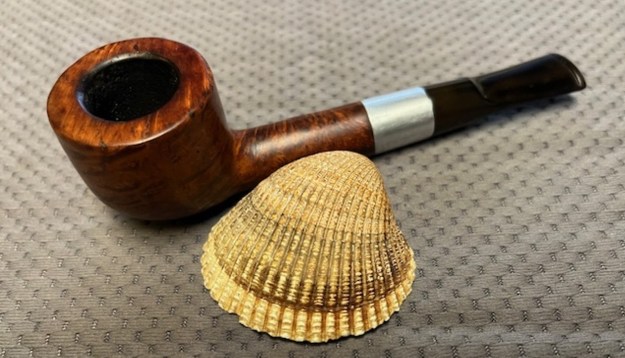
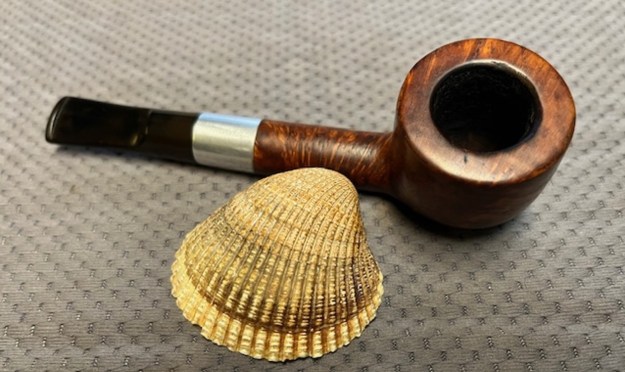
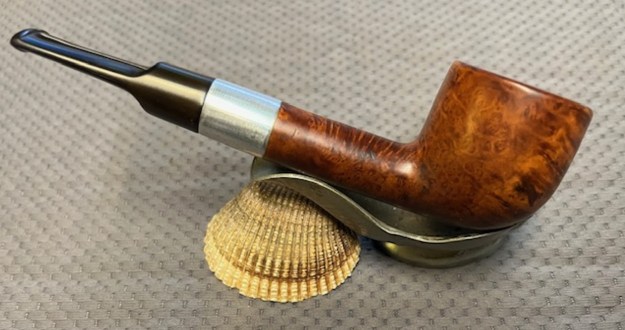
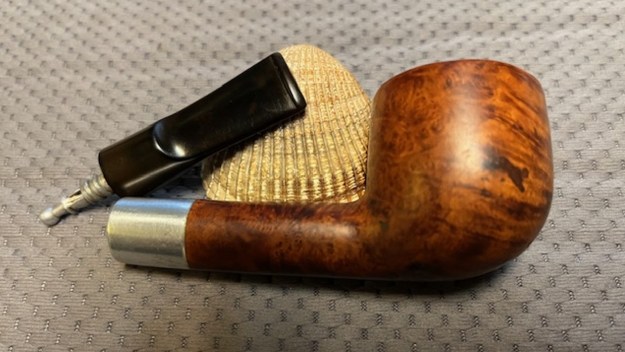
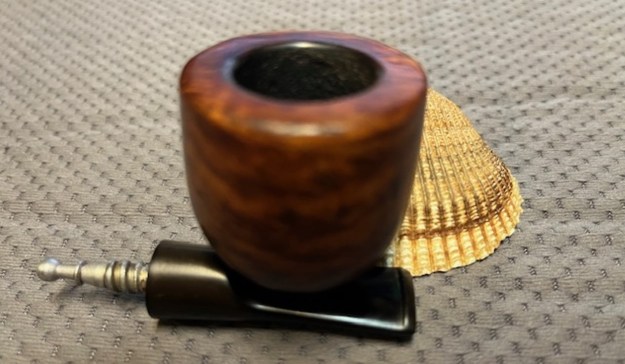
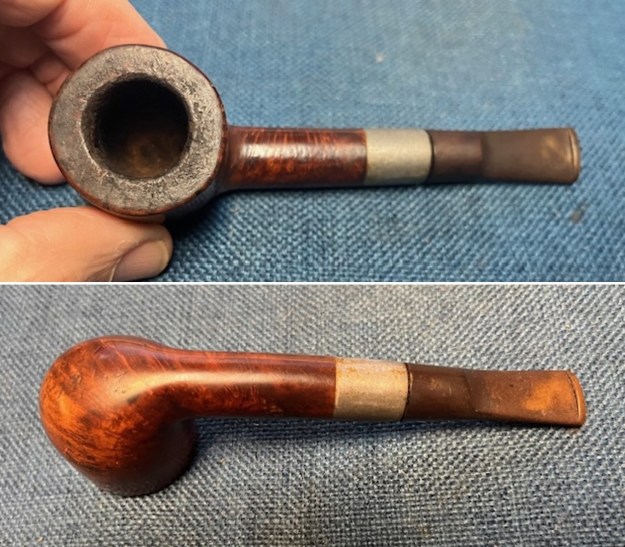 I took some closer photos of the bowl and rim top to show its condition before I started my work on the pipe. You can see the relatively clean bowl with no cake and the thick lava coat on the rim top. The stem photos also show the general condition of the stem as noted above.
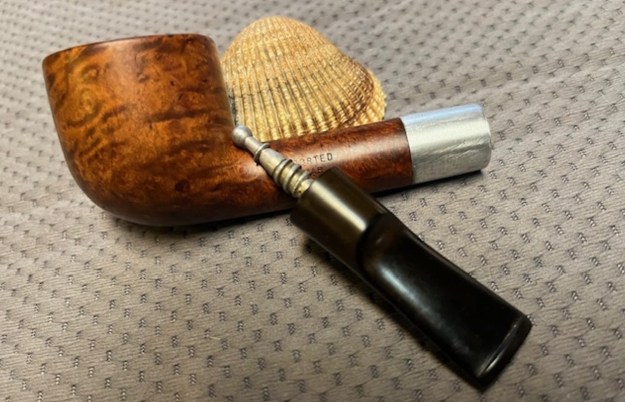
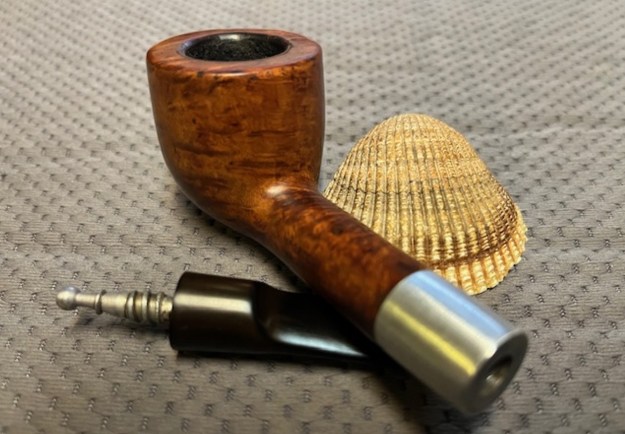
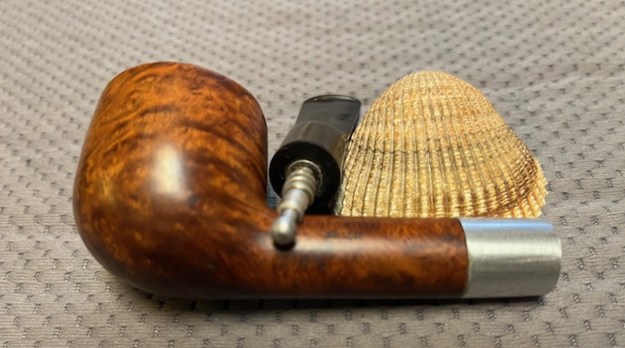
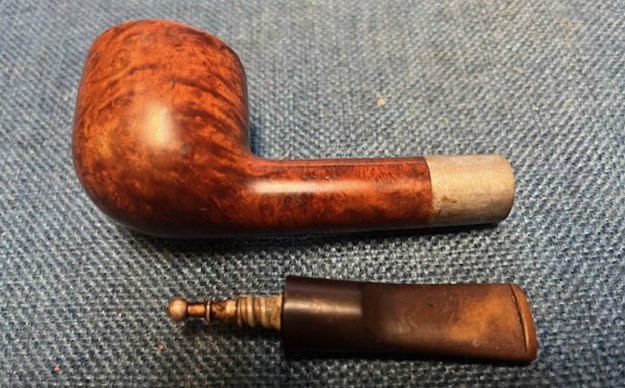
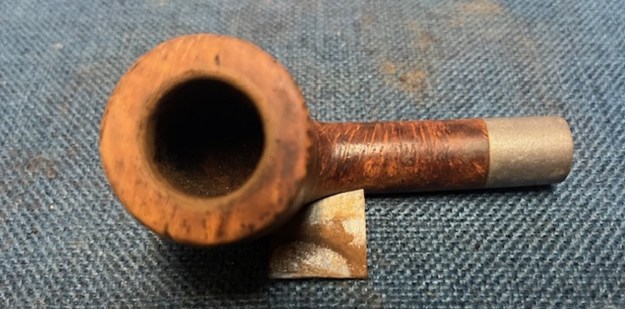
 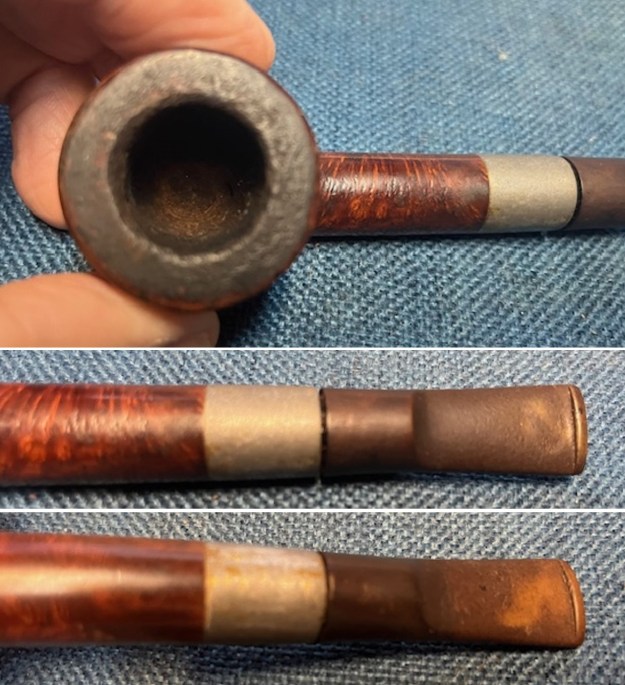 I tried to capture the faint stamping on the left side of the shank but it is not clear. I also took a photo of the right side to look for stamping. There was nothing visible in the photos. The left side had a faint stamp that read as noted above. I also unscrewed the stem to give a sense of what the pipe looked like with two parts shown side by side. It definitely is a pot but the long shank and the saddle stem give it the look of a Lovat.
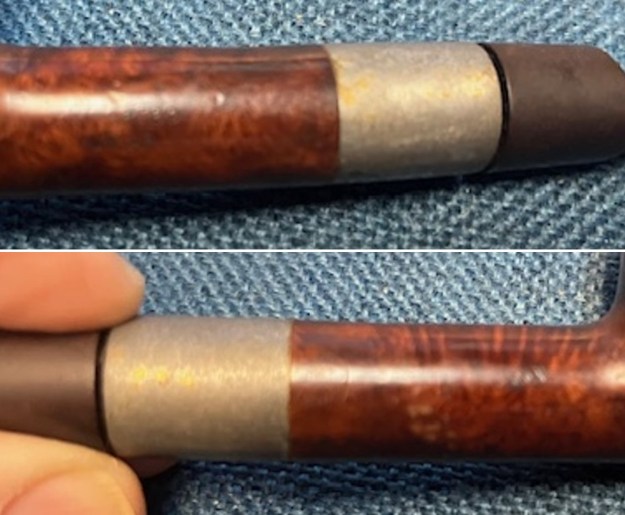
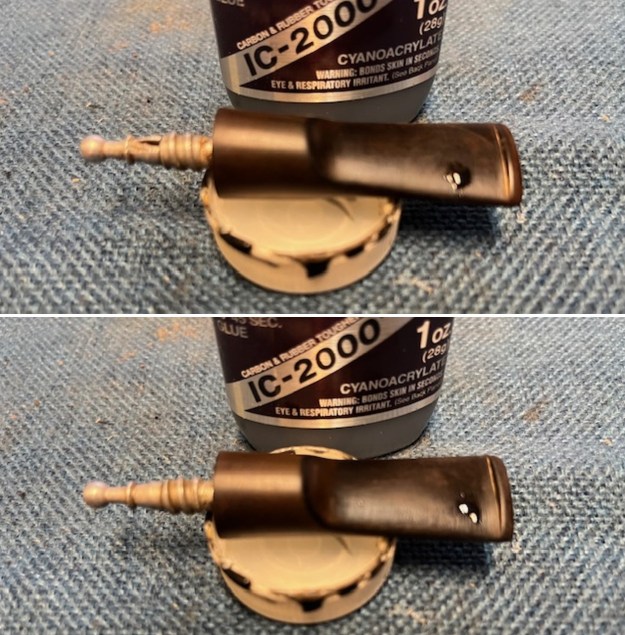
 Since there was no stamping on the pipe there was really nothing to be learned about its history. It is kind of a mystery pipe. It could be a Kaywoodie I suppose but again there is no proof of that. I decided to begin my work by addressing the fit of the stem to the shank. There was a thick rubberized glue around the stem end of the threaded tenon. It filled in the last thread and also on the top of the stem face. This accounted for the fit to the shank at this point. I used a small pen knife to cut away the rubberized glue and cleaned up the tenon a bit. I turned it into the stem and found the answer to my question of why the rubber! The stem fit against the shank perfectly but was over clocked by about ¼ turn. I would need to deal with that.
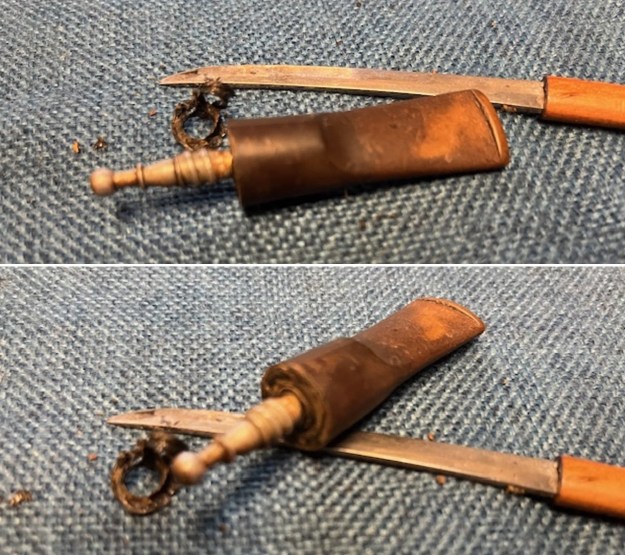 I used an old trick I learned from one of the old timers on ASP. I heated the metal stinger tenon with the flame of a lighter to soften the glue in the stem. I screwed it into the stem and tried to turn it. I repeated the process until the glue softened. I then was able to align the stem properly on the shank. I set it aside to let the glue reharden before I took the stem off. It looked very good at this point in terms of alignment.
 Once the stem cooled and the alignment was set I removed it from the shank and cleaned out the airway in the stem and shank, the mortise and the entry of the airway into the bowl. I used alcohol, cotton swabs and pipe cleaners. It was dirty but cleaned up well.
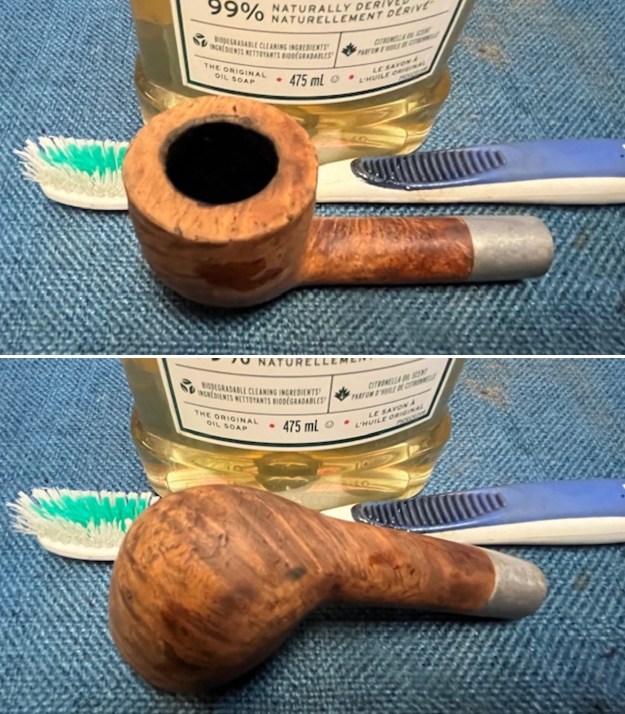
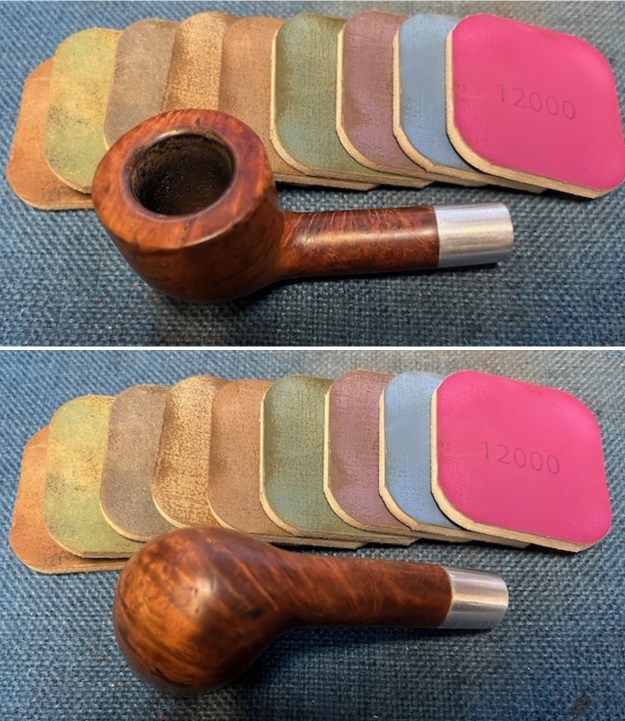
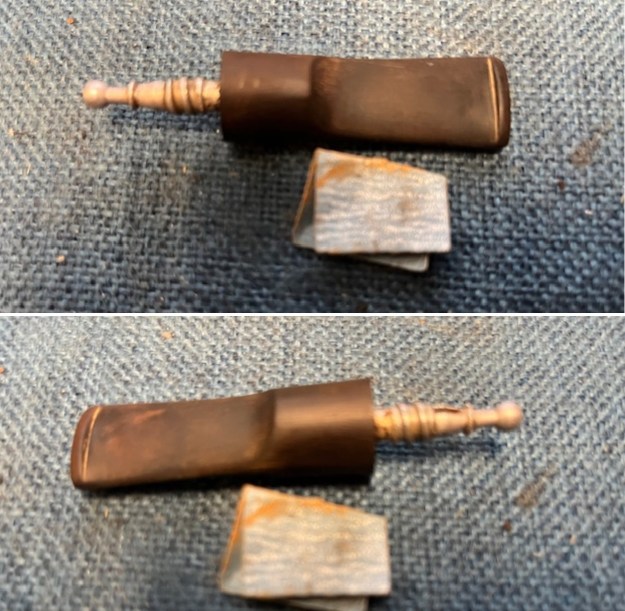
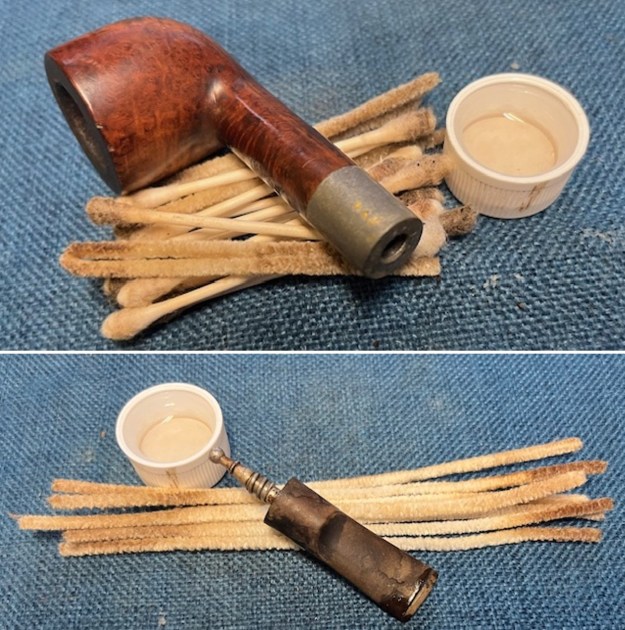 I scraped the lava off the rim top with the edge of the Savinelli Fitsall Pipe Knife. It is better but there is still a lot of work to do on the inner edge and top. I sanded the inner edge of the bowl and rim top with a folded piece of 220 grit sandpaper to clean it up.
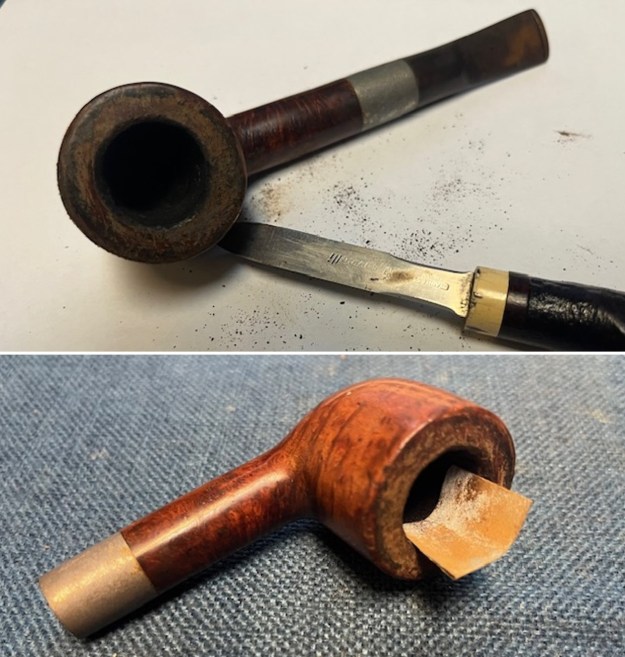
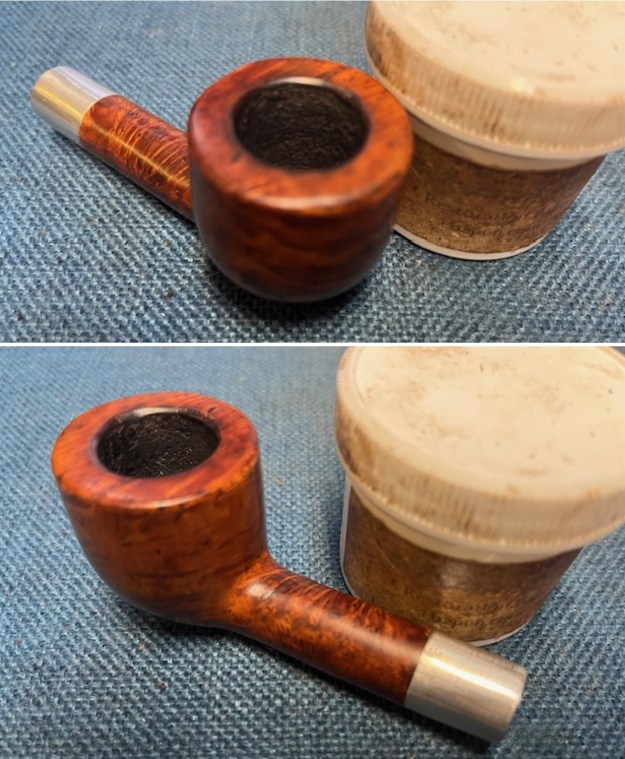
 I wiped the briar down with some acetone on cotton pads to remove the shiny varnish coat and allow me to work on the rest of the bowl. It is finally beginning to look better.
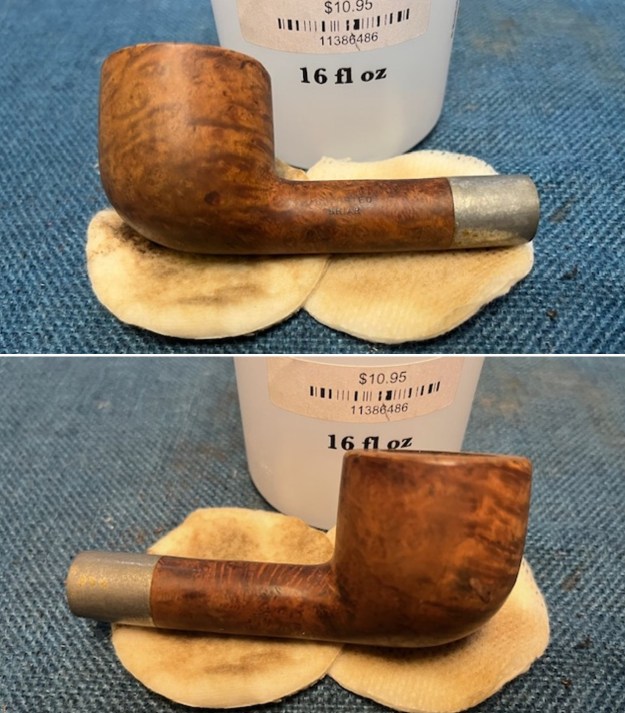
 I scrubbed the exterior of the with undiluted Murphy’s Oil Soap and a tooth brush. I worked on edges of the rim top along with the rest of the bowl and the shank. I rinsed it off with warm running water and dried it off with a cotton towel. It is definitely looking better.
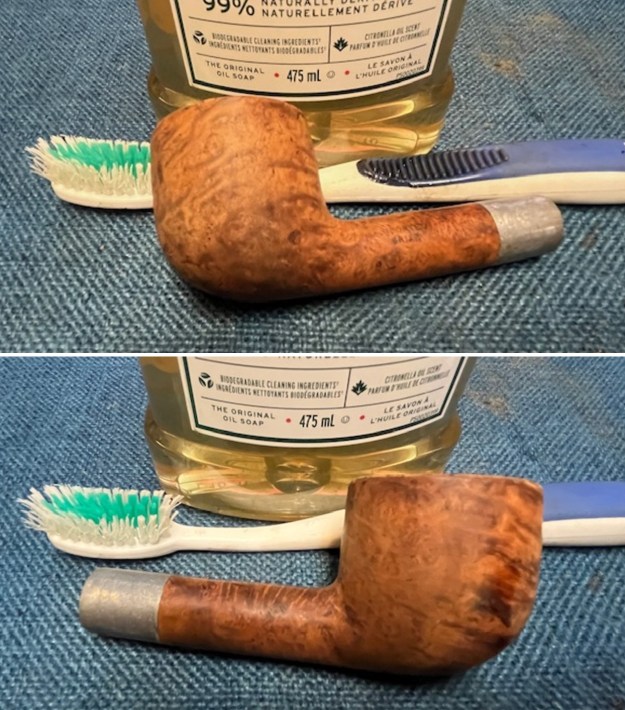
 I worked on the bowl, rim top, edges and shank with 320-3500 grit sanding pads to further remove the darkening on the briar. I also worked over the aluminum shank/mortis piece at the same time. It is improving with each pad. I wiped the top down with a damp cloth to remove the sanding debris.
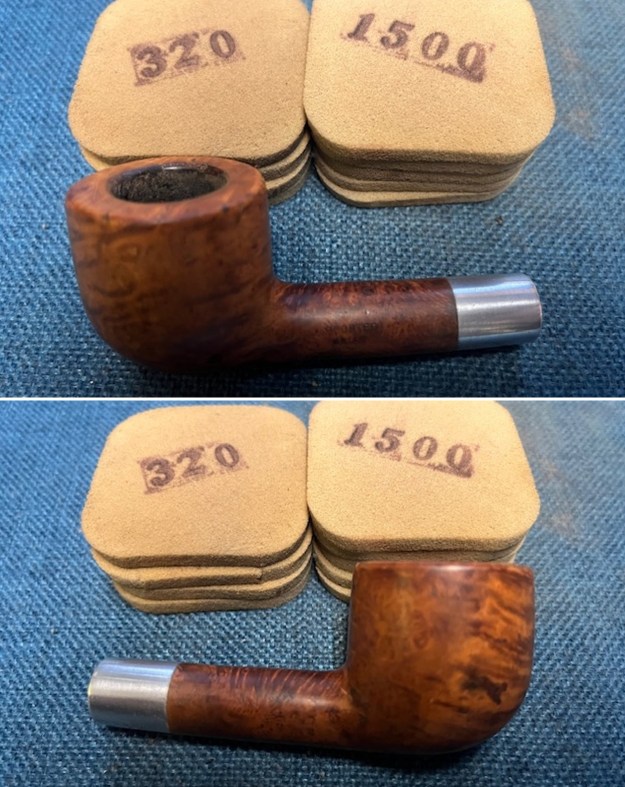
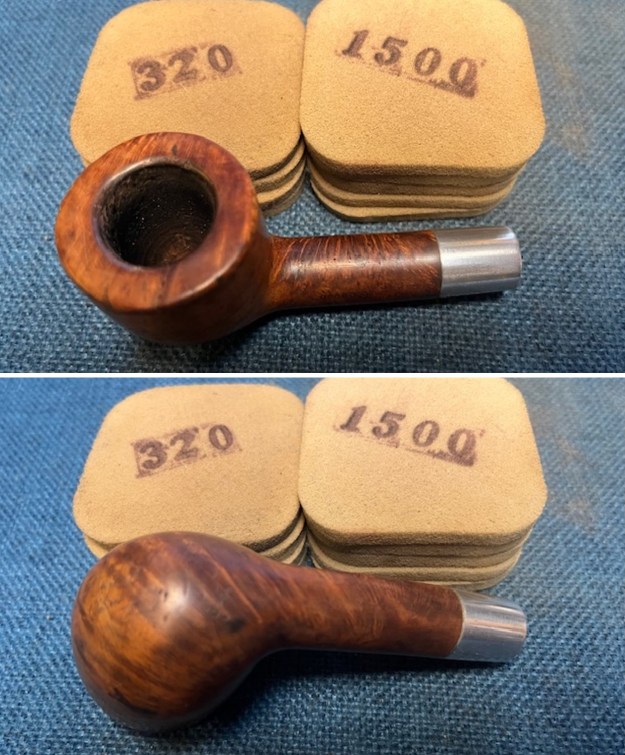 I polished it with 1500-12000 grit sanding pads and wiped it down with a damp cloth after each pad. The pipe looked very good.
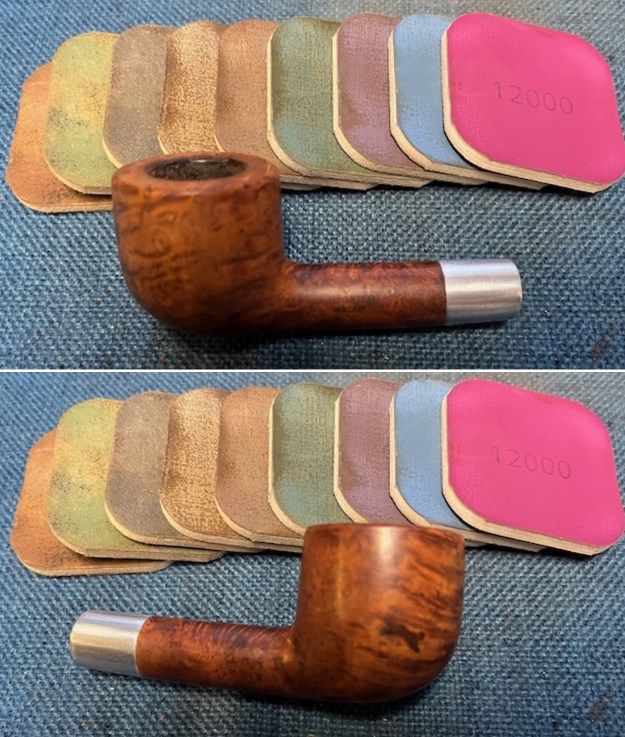
 I rubbed the bowl down with Before & After Restoration Balm. It is a paste/balm that works to deep clean the finish, enliven and protect the briar. I worked it into the briar with my finger tips to make sure that it covered every square inch of the pipe. I set it aside for 10 minutes to let it do its work. I buffed it with a cotton cloth. The briar really began to have a deep shine. The photos I took of the bowl at this point mark the progress in the restoration.
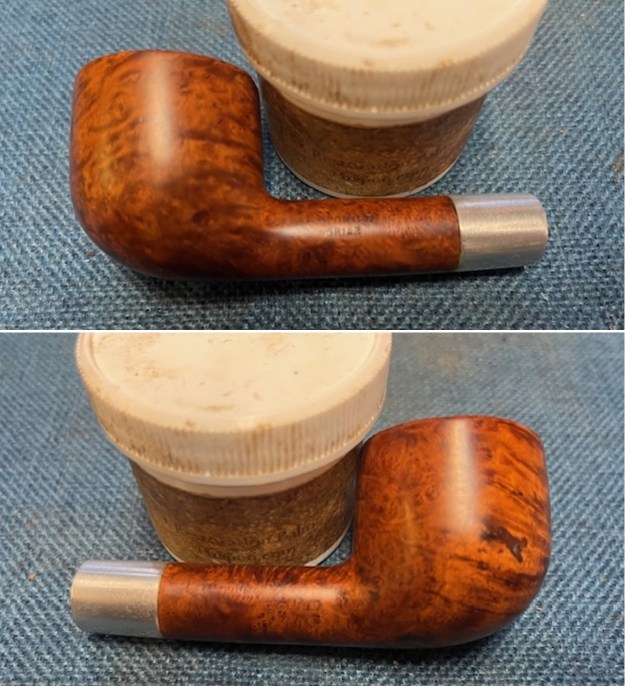

 I “painted’ the surface of the stem with the flame of a lighter to try and lift the bite marks. It worked very well. There were two small marks left on the surface – one on each side. I filled them in with some black rubberized CA glue. Once it cured I sanded out the repairs with 220 grit sandpaper to blend them into the stem surface.
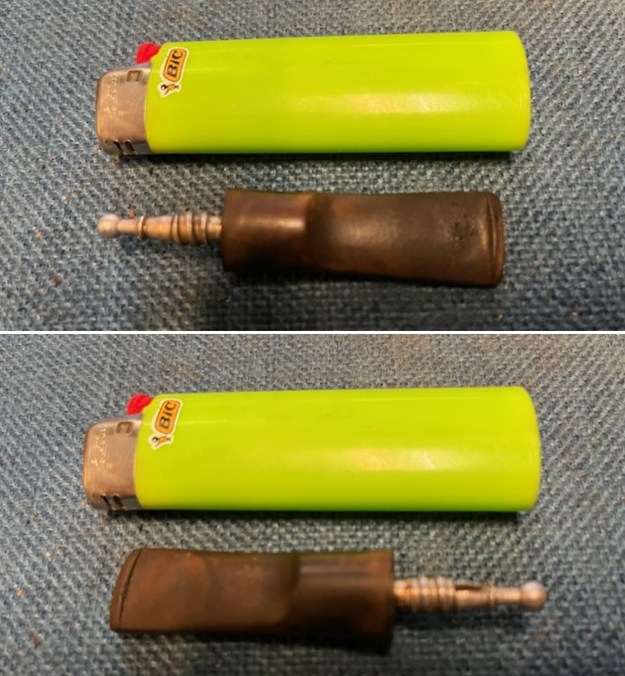
 I sanded the stem with 320-3500 grit sanding pads. I wiped the stem down after each pad with an Obsidian Oil impregnated cloth to remove the sanding debris. It began to take on a shine.
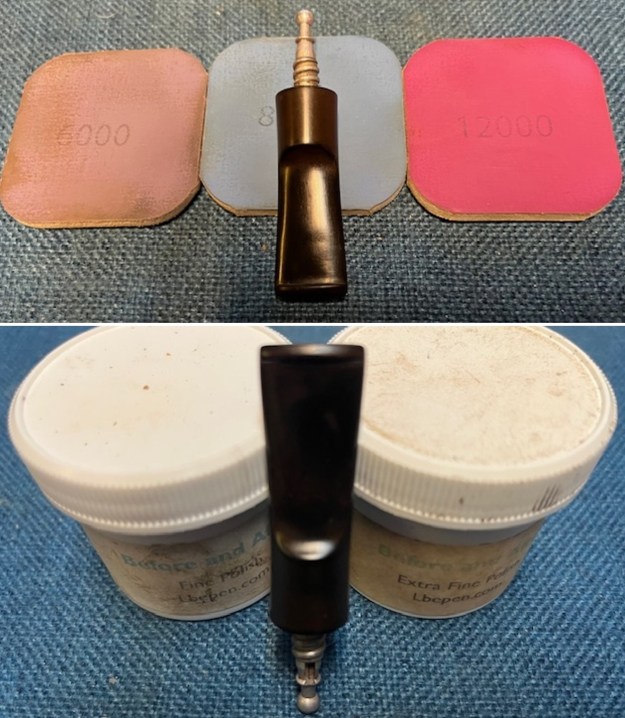
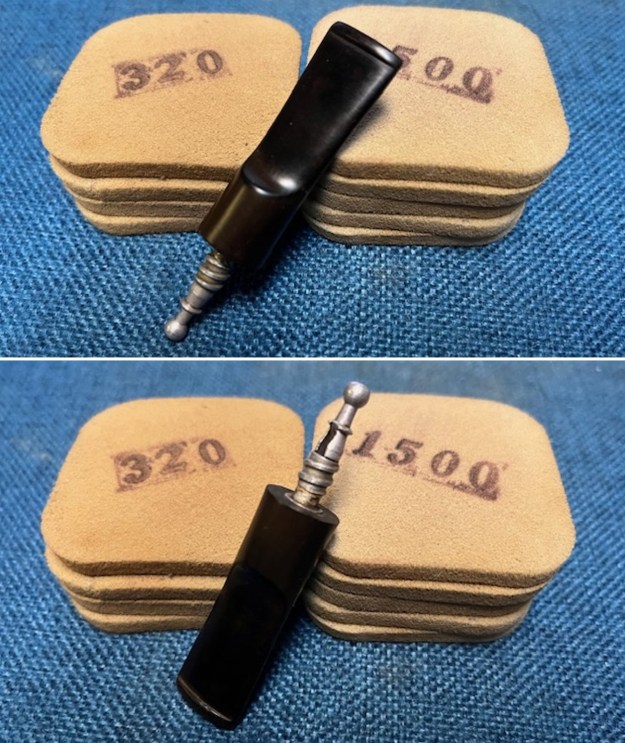 I polished the stem with micromesh sanding pads – dry sanding with 1500-12000 grit pads. I wiped it down with some Obsidian Oil after each sanding pad. I polished it further with Before & After Stem polish – both Fine and Extra Fine and then wiped it down another time with the oil.
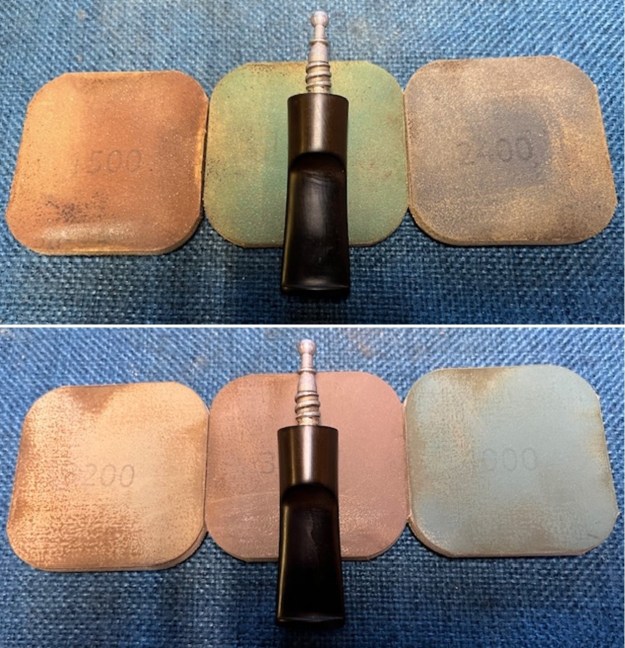
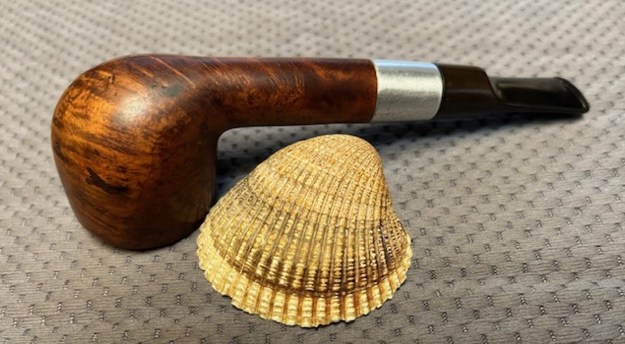
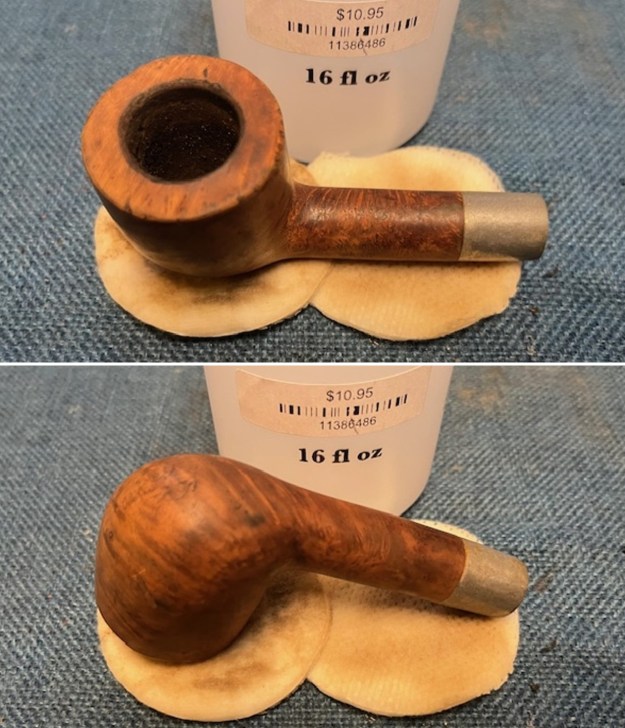
 I put the Imported Briar Lovat Style Pot and the stem back together. I polished the bowl and stem with Blue Diamond to polish the briar and the vulcanite. I gave the bowl and the stem multiple coats of carnauba wax. I buffed the pipe with a clean buffing pad to raise the shine. I hand buffed it with a microfiber cloth to deepen the shine. The pipe polished up pretty nicely. The original brown stains gave depth to the beautiful grain around the bowl and worked amazingly well with the polished vulcanite saddle stem. The grain around the bowl and shank and looks quite remarkable. There are still some nicks for the pipe’s journey that I left as it is part of the story of the pipe. This is truly a beautiful Imported Briar Pot. The finished pipe is shown in the photos below. The dimensions of the pipe are Length: 5 ½ inches, Height: 1 ½ inches, Outside diameter of the bowl: 1 3/8 inches, Chamber diameter: ¾ of an inch. The weight of the pipe is 1.55 ounces/44 grams. This pipe will be put in the box while I work on Rob’s remaining pipes in the 12 pipe lot. Once I finish them I will be mailing the lot back to him. Thanks for walking through the restoration with me. Cheers.
As always, I encourage your questions and comments as you read the blog. Thanks to each of you who are reading this blog. Remember we are not pipe owners; we are pipe men and women who hold our pipes in trust until they pass on into the trust of those who follow us.