by Steve Laug
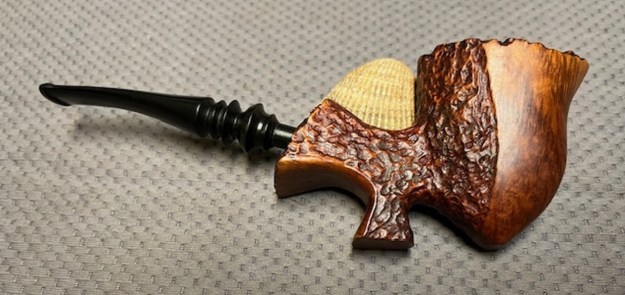
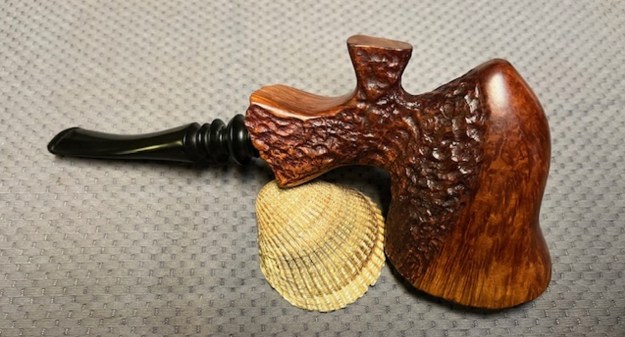
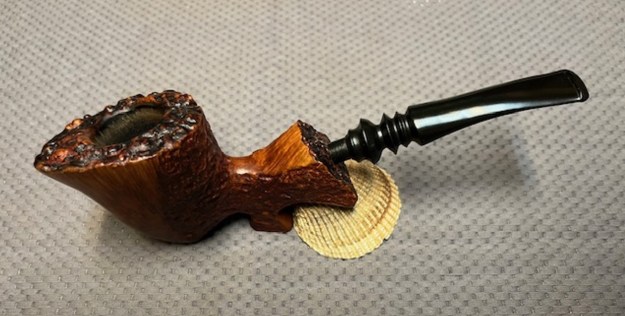
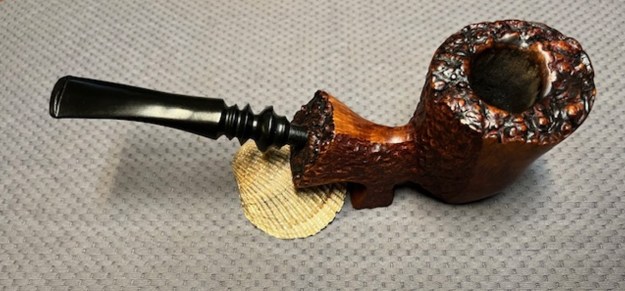
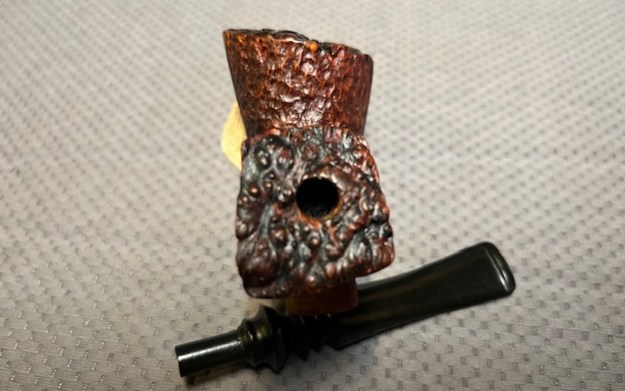
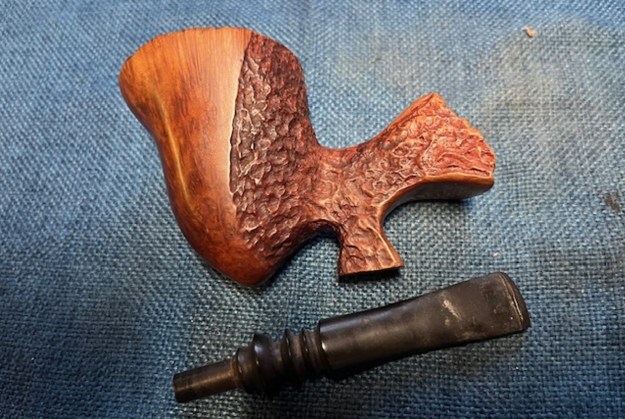
Back in January, I received an email from Robert with a group 12 pipes that needed to be restored in various ways from cleanup to restemming. The first of these I chose to work on was a partially rusticated Freehand sitter. The front and the sides of the bowl were smooth part way back. The back half of the bowl and shank sides were rusticated with a unique looking rustication. The top of the shank and the underside were both smooth. The rim top and the shank end were both plateau finish. The bottom of the foot of the shank is etched with the date 11/17/79. The plateau rim top and shank end were dirty and debris in the plateau. The bowl had been reamed and was smooth on the inside walls of the bowl. There were some tars and oils in the mortise and the airway in the shank and the stem. The fancy turned, vulcanite stem was oxidized and dirty with light tooth marks and chatter in the top and underside of the stem ahead of the button. I took some photos of the pipe to show its condition before I started my work on it.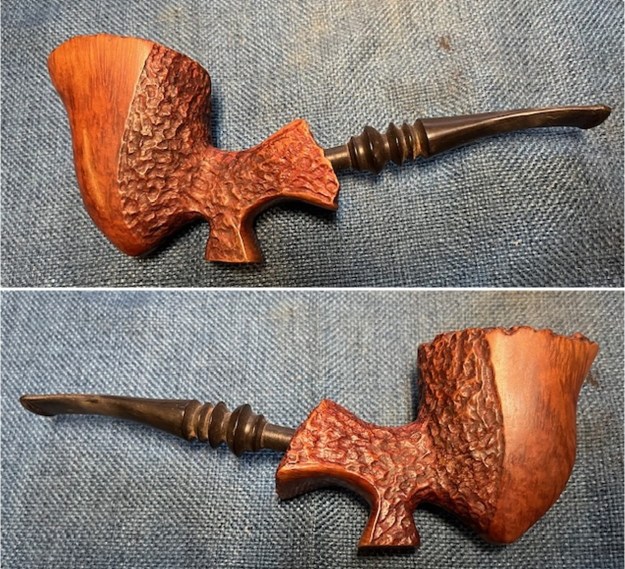
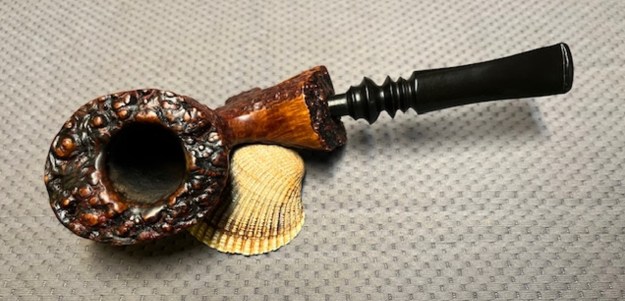
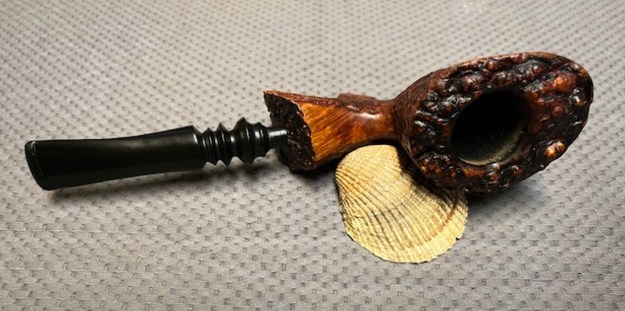
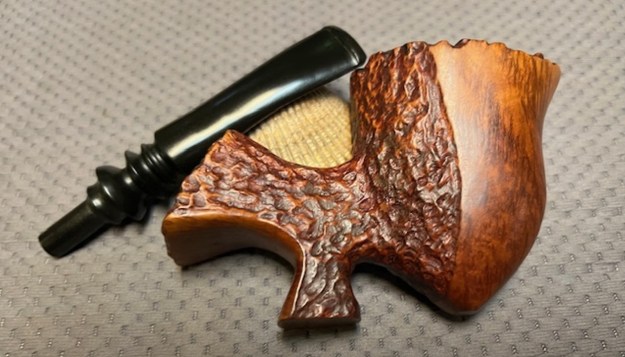
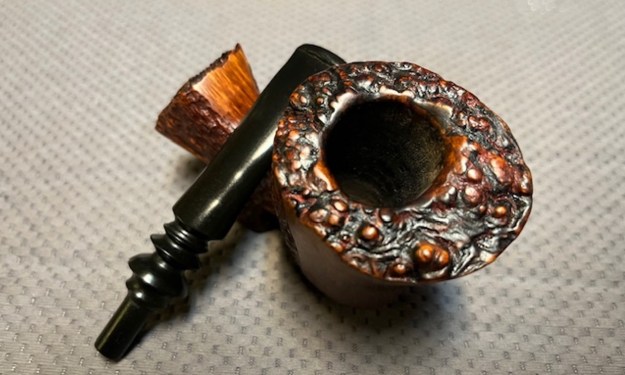
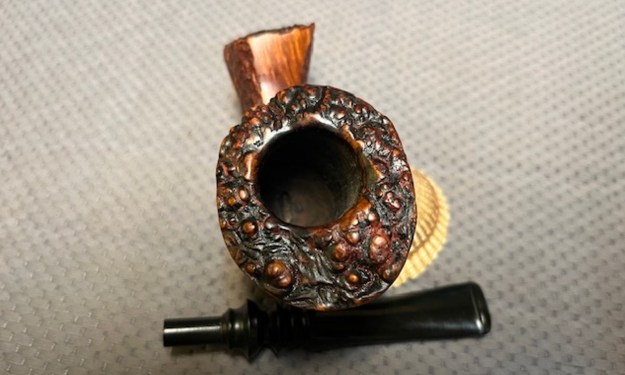
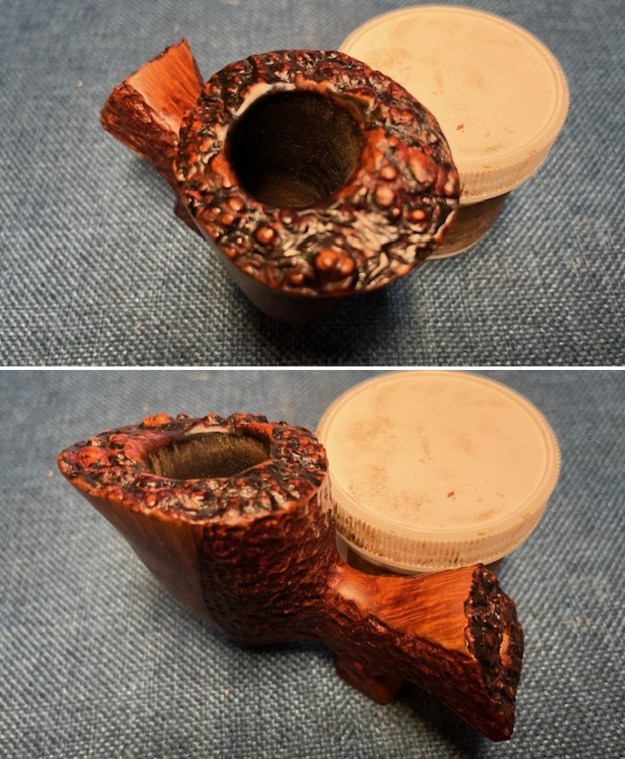
 The relatively clean bowl looks quite good. There was some debris in the plateau rim top and some lava build up on the inner edge and the grooves of the plateau. It looked to be in good condition other than the debris and darkening. The fancy vulcanite saddle stem was dirty, lightly oxidized and has tooth chatter and marks on both sides. I took photos of the bowl, rim top and the stem to show the condition of both.
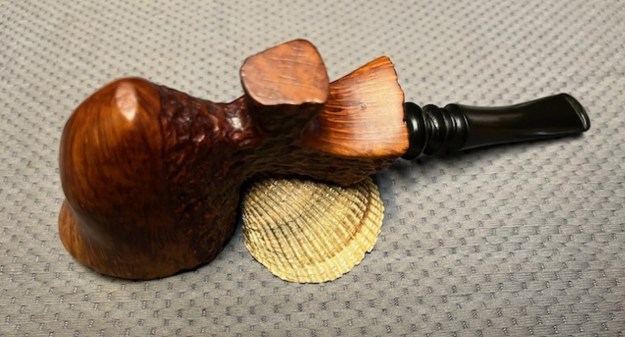
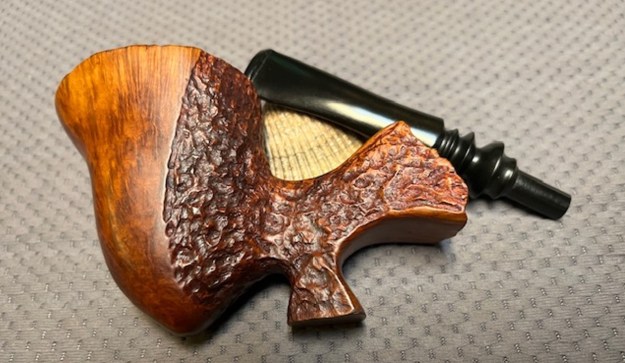
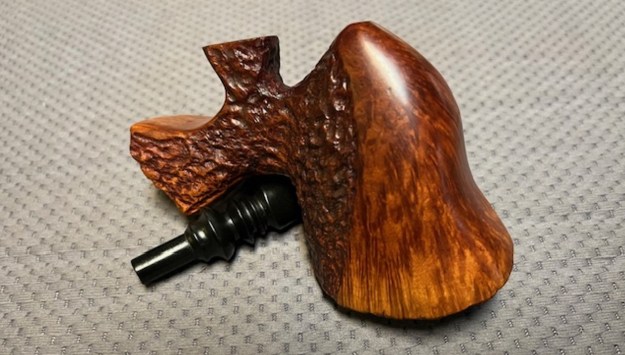
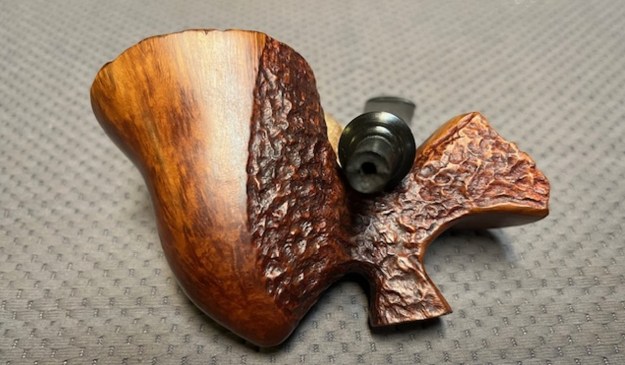
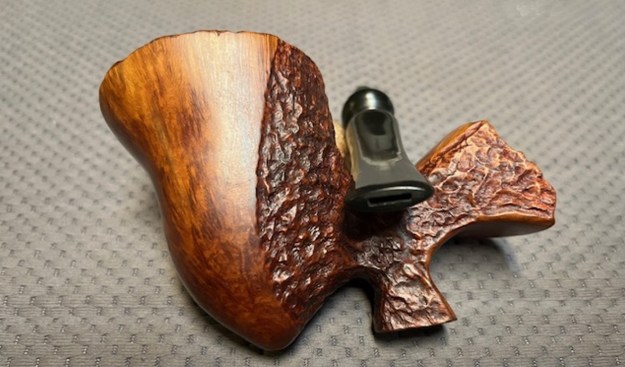
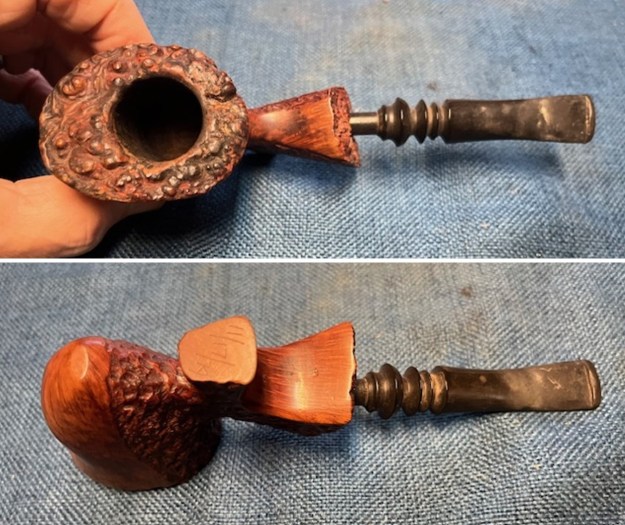
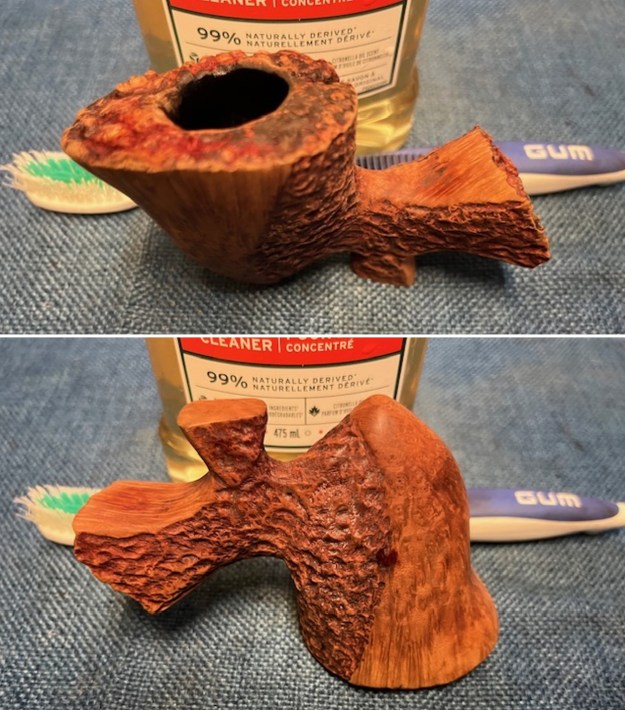
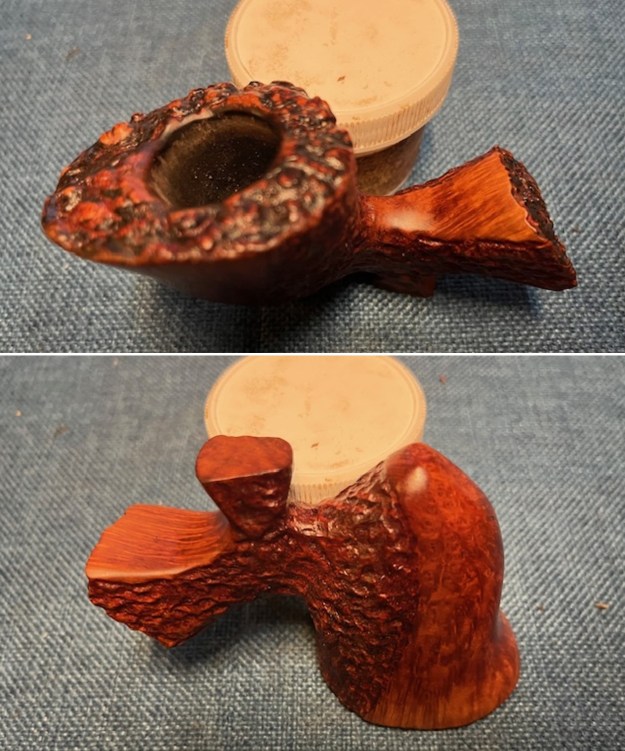
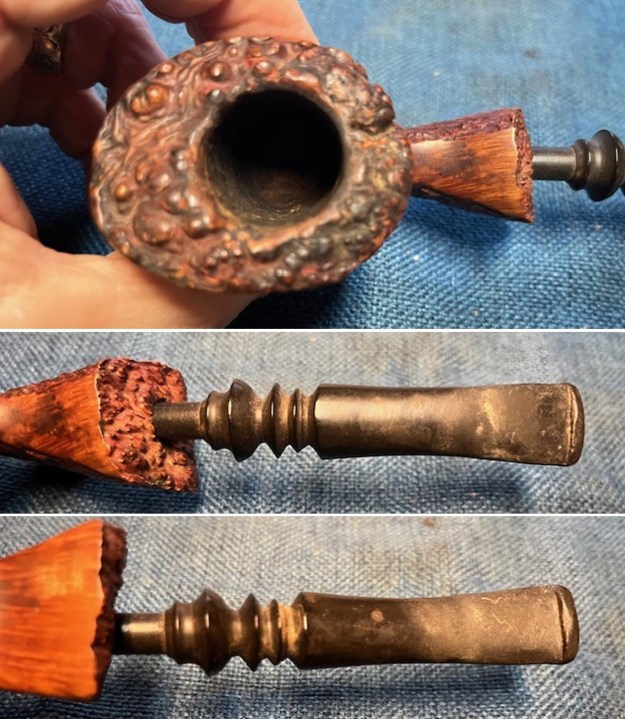 The stamping on the shank are not to be found on the shank. There is however, an etched 11/17/79 on the flat bottom of the foot as shown in the photos below. I tried to capture the detail in the photos below. I also took a photo of the pipe with the stem removed to show the proportion of this pipe. It is really a beauty.
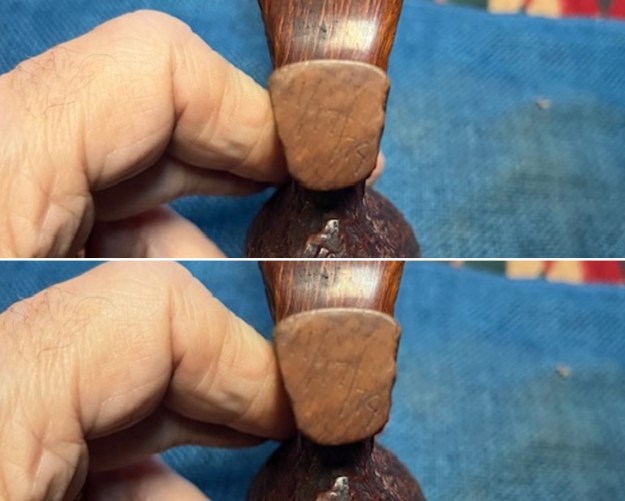
 I turned to work on the pipe itself. I worked over the plateau rim top and shank end with a brass bristle wire brush to knock off the debris. It removed the debris and it looked much better.
 I scrubbed the bowl exterior with a tooth brush and undiluted Murphy’s Oil Soap to clean the debris in the rustication and also remove the oils and tars in the finish. I rinsed it with clean warm water and dried it off with a soft cotton cloth.
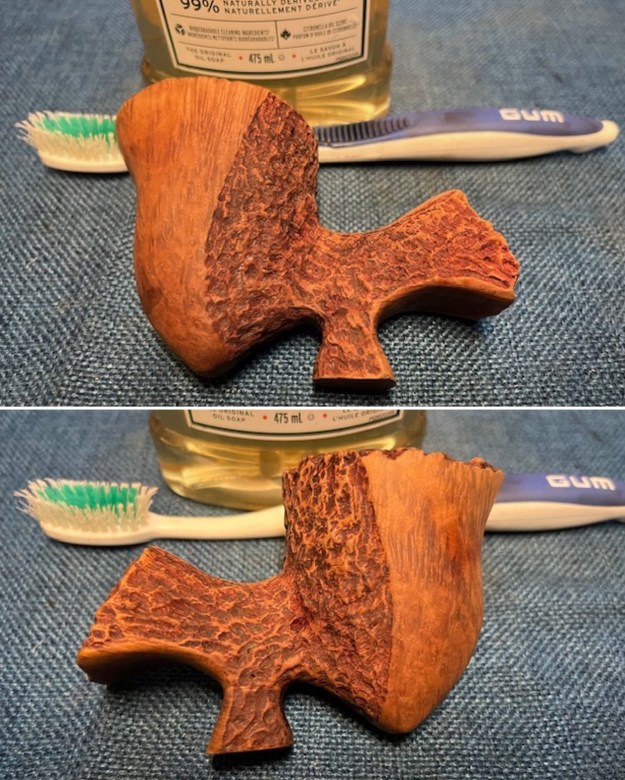
 I used a folded piece of sandpaper to smooth out the damage and darkening on the smooth inner edge of the bowl. It looked much better once the debris was removed.
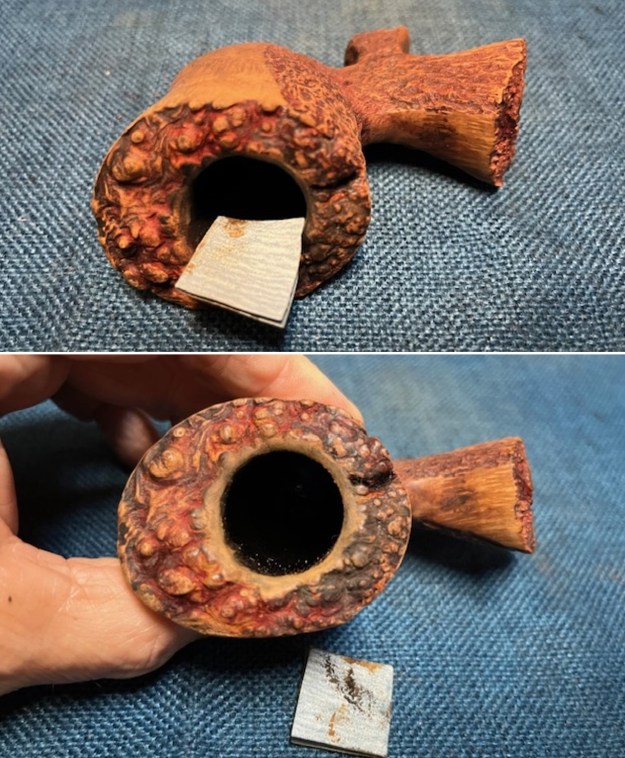 I cleaned out the mortise and airway in the shank and the stem with alcohol, cotton swabs and pipe cleaners. I was able to remove the grime and oils in the shank and the airway in the stem.
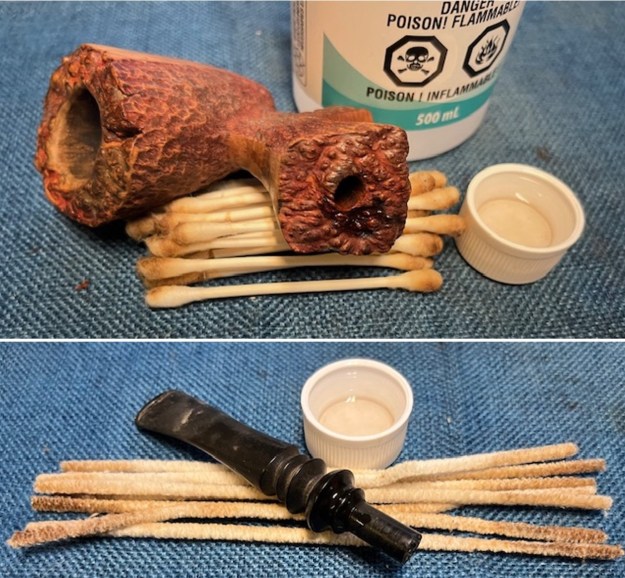 I used a black Sharpie pen to touch up the valleys and deep spots on the plateau rim top and shank end. It looks much better at this point.
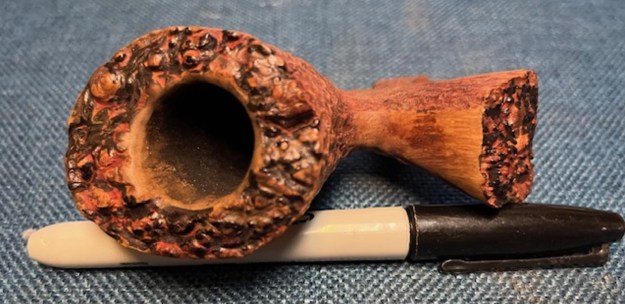 I polished the smooth portions of the bowl and shank along with the high spots on the plateau with 320-3500 grit sanding pads. It smoothed out the finish very well and made the contrast between the ridges and valleys of the finish stand out well.
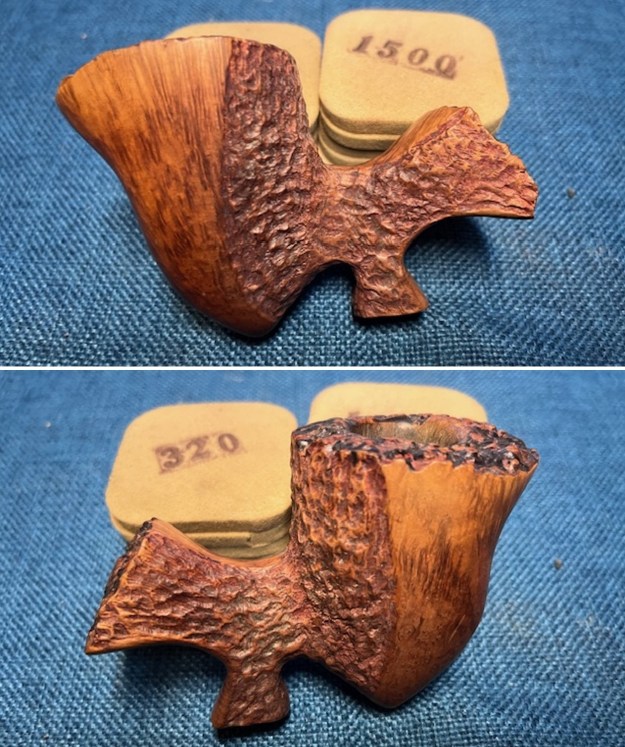
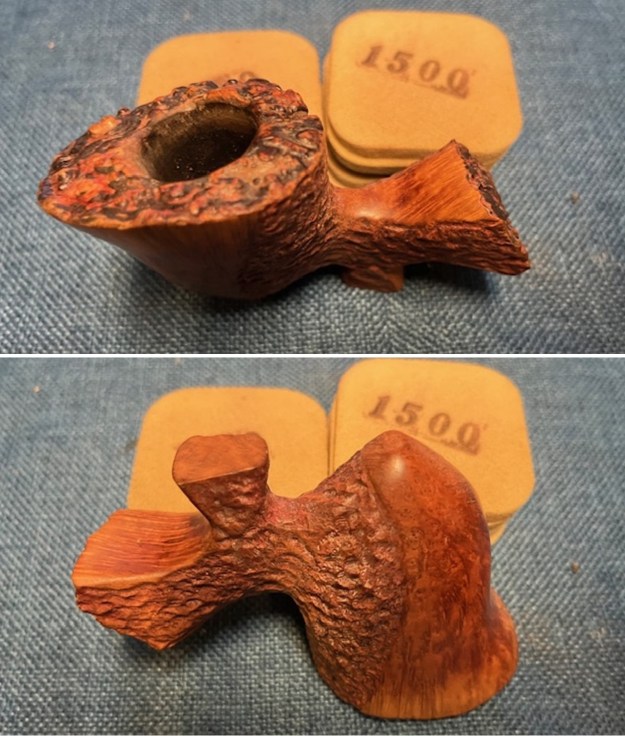 I worked some Before & After Restoration Balm into the surface of the briar with my fingertips and a horsehair shoe brush to clean, enliven and protect the briar. I let the balm sit for 15 minutes and then buffed it off with a cotton cloth to raise the shine. The photos show the bowl at this point in the restoration process.
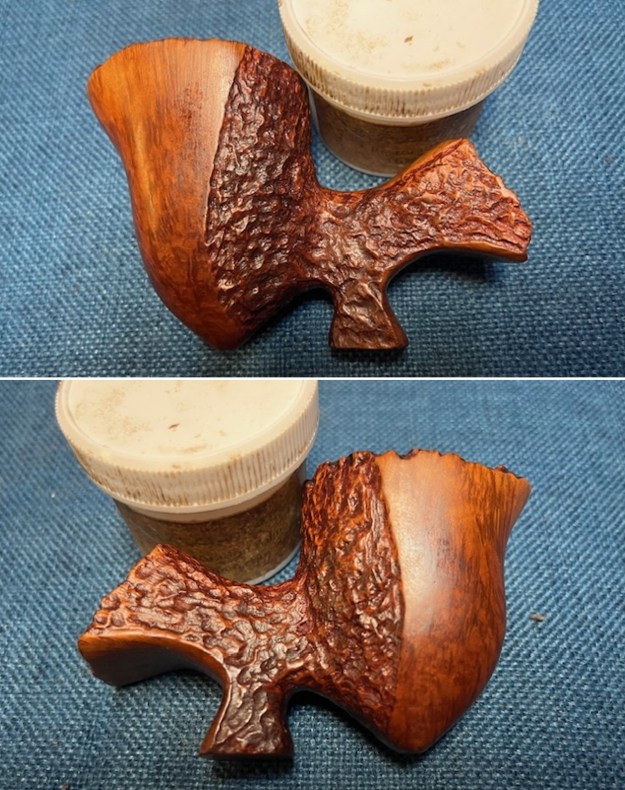
 I set the bowl aside and turned my attention to the stem. I scrubbed the surface of the stem with cotton pads and Soft Scrub. I was able to remove the debris on the stem and the oxidation on the surface. It looked much better.
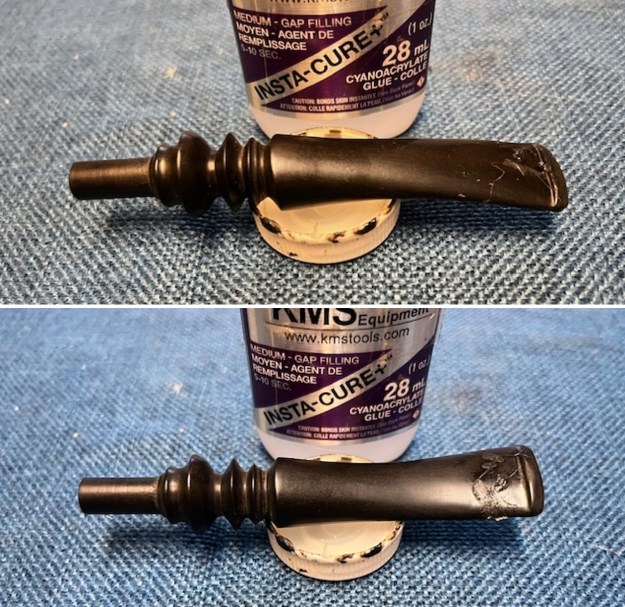
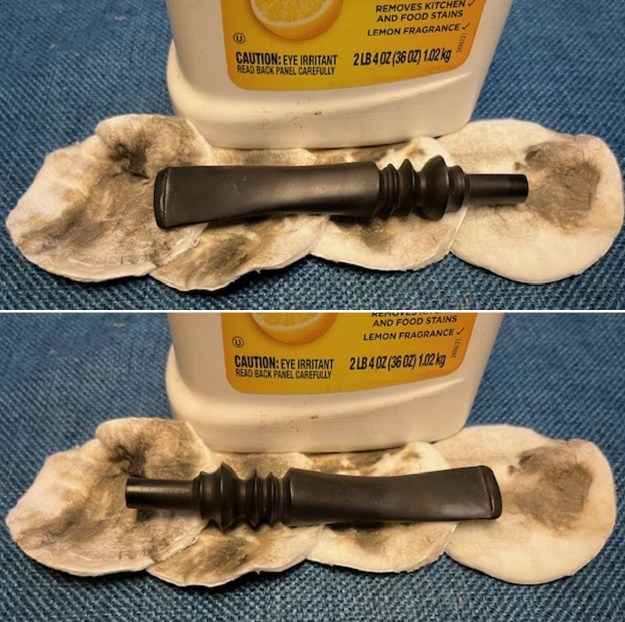 I “painted” the surface of the stem with the flame of a Bic lighter to lift the tooth marks. I was able to lift them all considerably. I filled in the two deep marks – one on each side of the stem just ahead of the button – with black rubberized CA glue. Once it cured, I sanded the repairs with 220 grit sandpaper to blend them into the surface. It looked significantly better at this point.
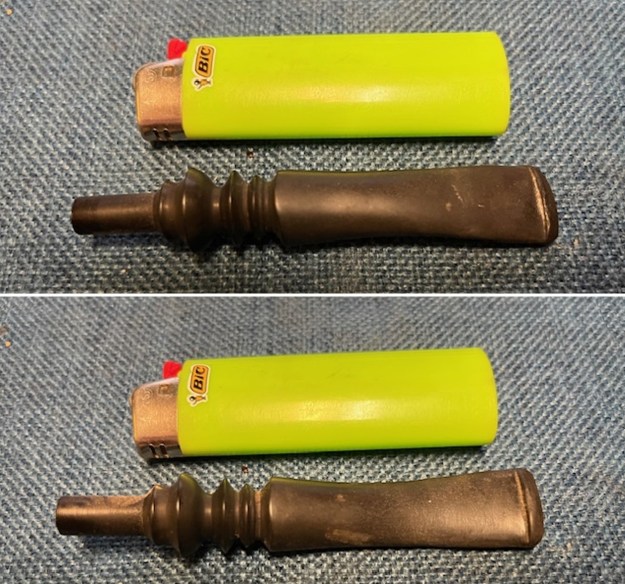
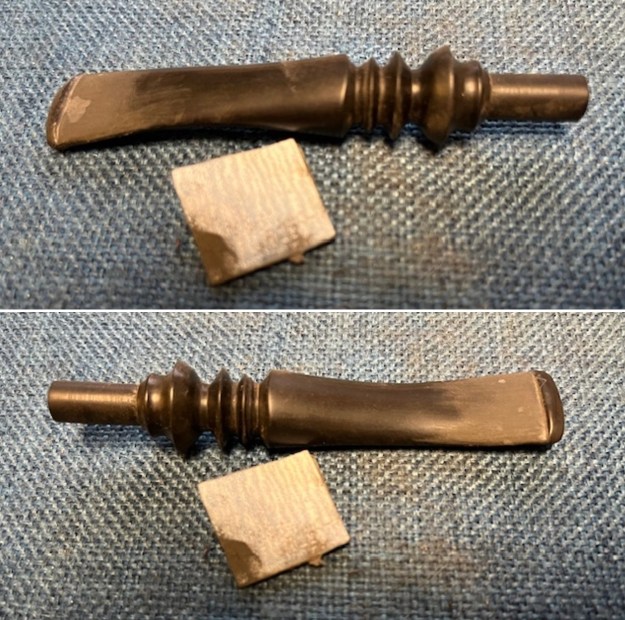 I sanded the stem with 320-3500 grit sanding pads to further blend in the repairs and remove the residual light oxidation on the stem surface. I am happy with the way that it looked at this point.
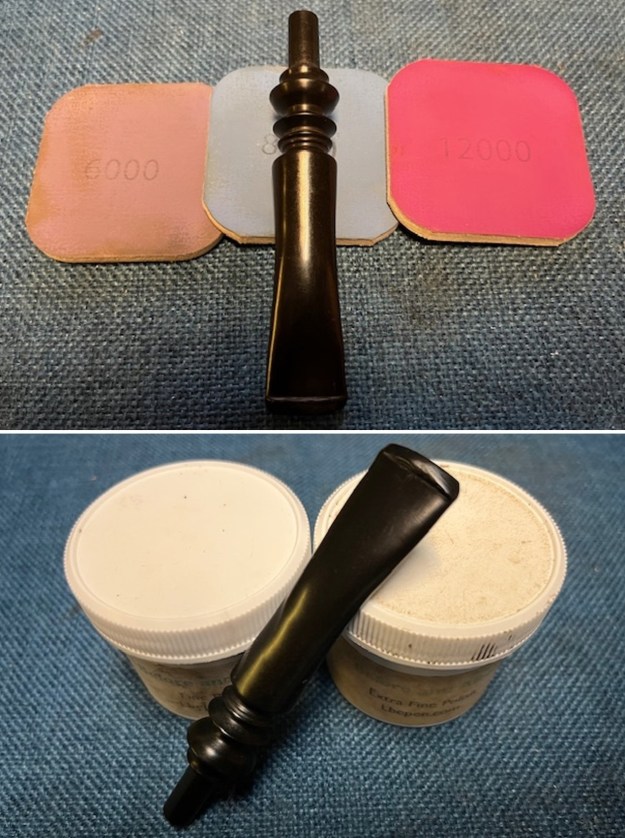
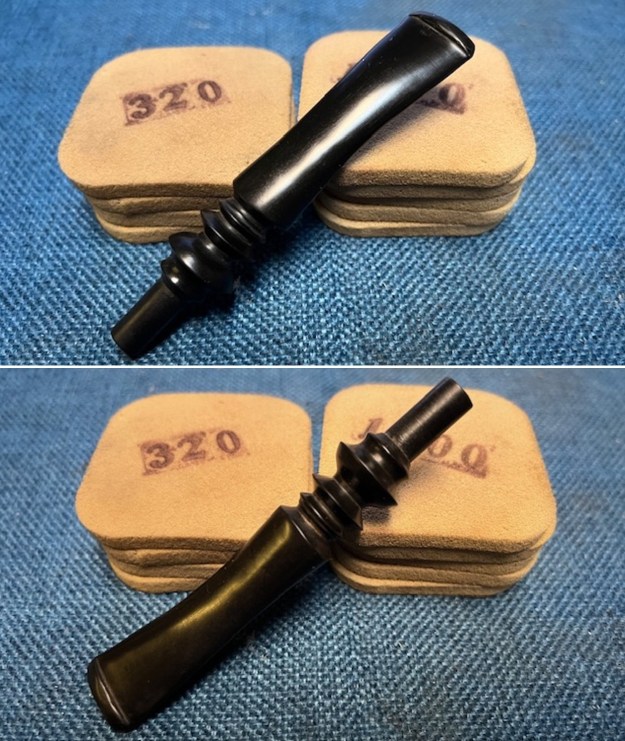 I polished the vulcanite with micromesh sanding pads – 1500-12000 grit pads. I wiped it down with Obsidian Oil after each sanding pad. I used Before & After Pipe Polish – both Fine and Extra Fine to further polish the stem.
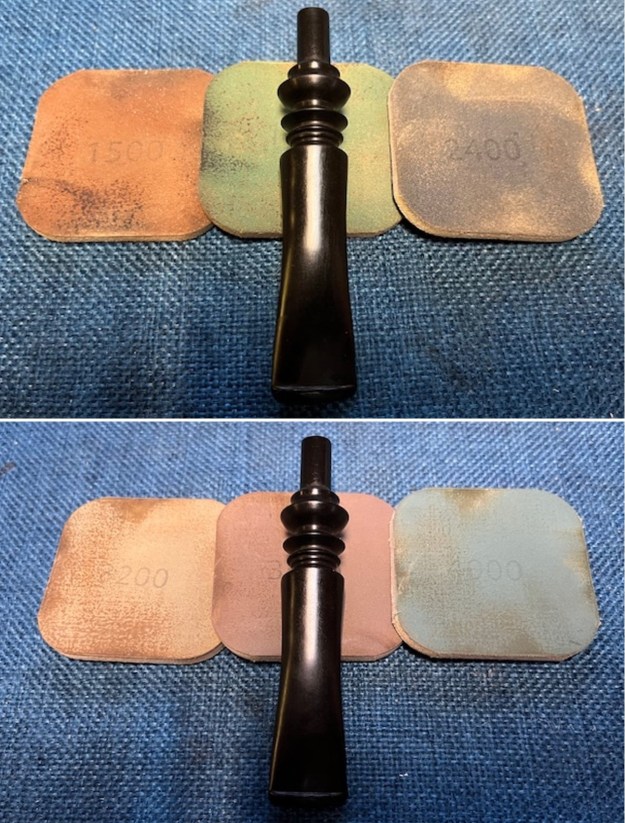
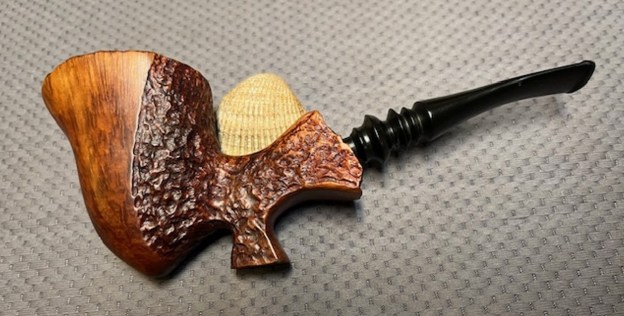
 This No Name Mixed Finish Plateau Freehand etched 11/17/79 with a vulcanite fancy saddle stem has a beautiful, unique finish with great grain on the smooth portions and rustication on the sides and shank. The medium brown finish highlights some great grain around the bowl and shank. It has a unique finish and the polished fancy turned stem adds to the mix. I put the stem back on the bowl and buffed the pipe with Blue Diamond on the buffing wheel being careful to not buff the stamping. I gave the bowl and the stem multiple coats of carnauba wax on the buffing wheel and followed that by buffing it with a clean buffing pad. I hand buffed the pipe with a microfiber cloth to deepen the shine. The finished No Name Freehand is quite nice and feels great in the hand. Give the finished pipe a look in the photos below. The dimensions of the pipe are Length: 7 inches, Height: 2 ¾ inches, Outside diameter of the bowl: 1 ¾ inch x 2 inches long, Chamber diameter: 1 inch. The weight of the pipe is 2.57 ounces/72 grams. Thanks for walking through the restoration with me as I worked over another beautiful pipe. I will be sending it back to Robert once I finish the other 11 pipes he sent me to restore. I look forward to hearing what he thinks of this beauty. Thanks for your time.