by Kenneth Lieblich
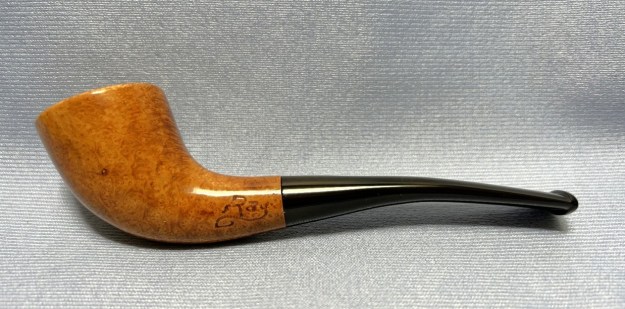
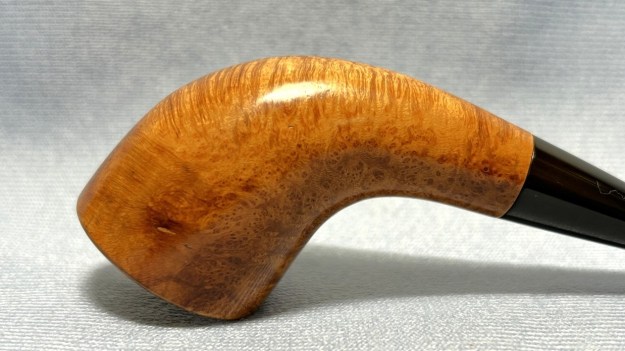
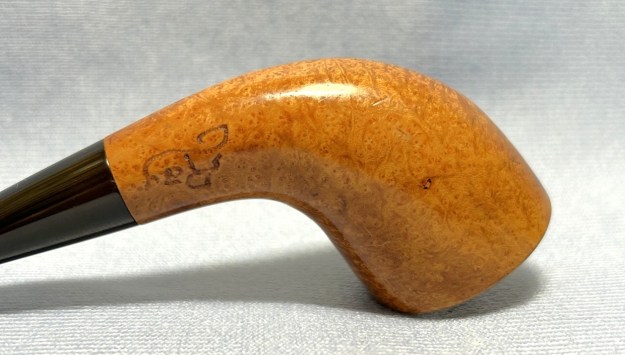
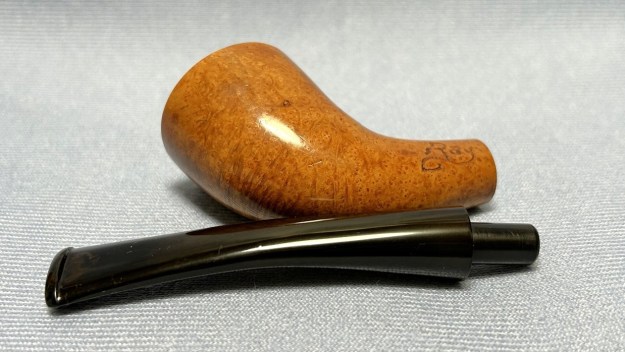
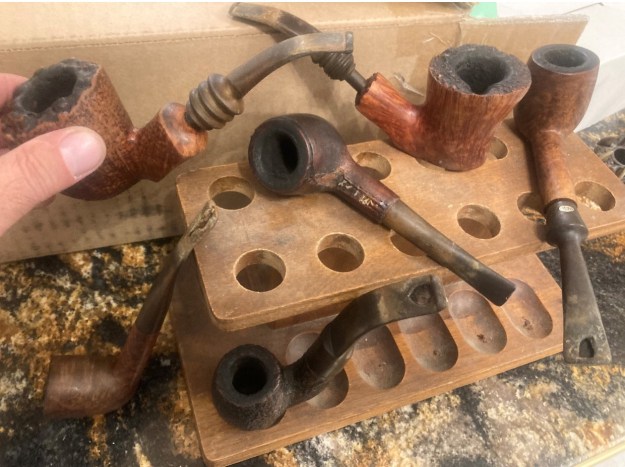
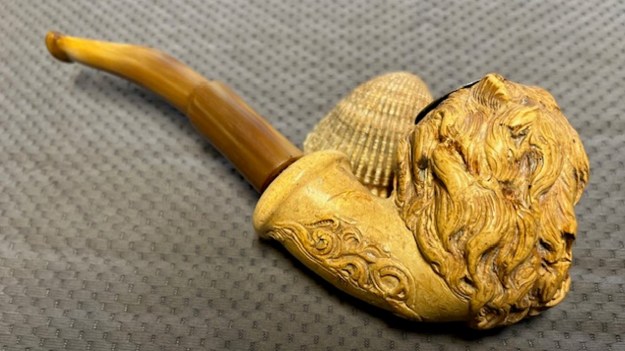
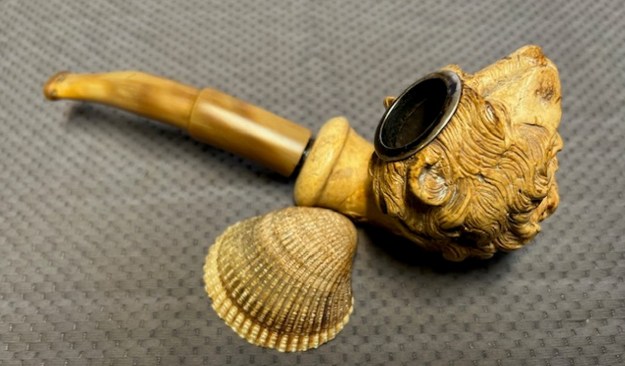
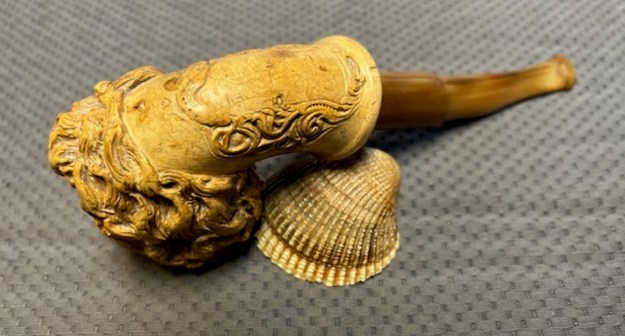
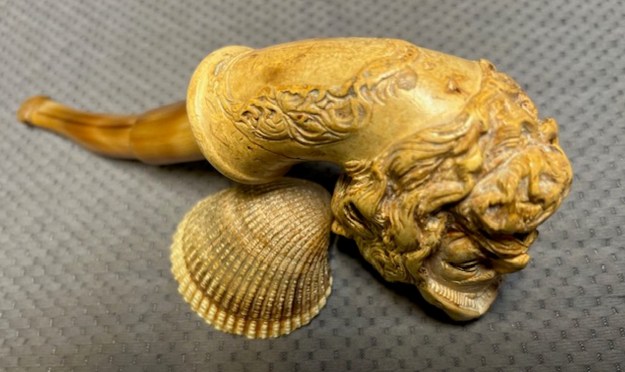
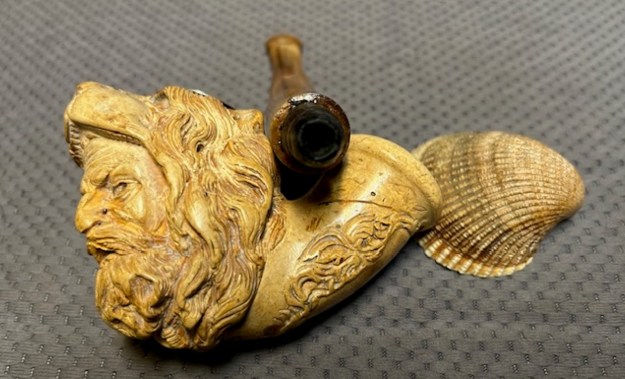
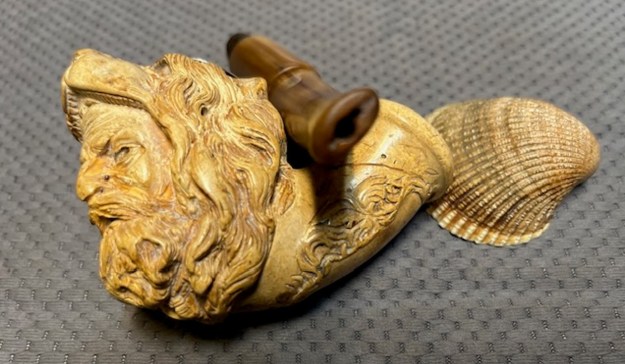
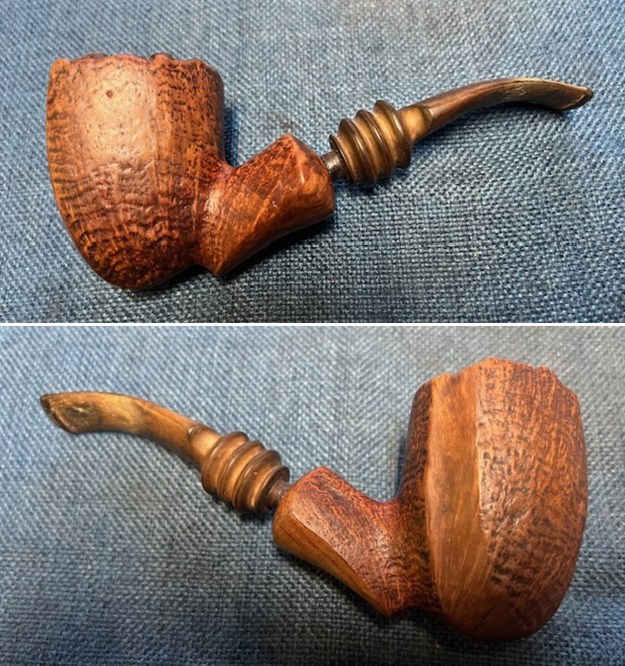
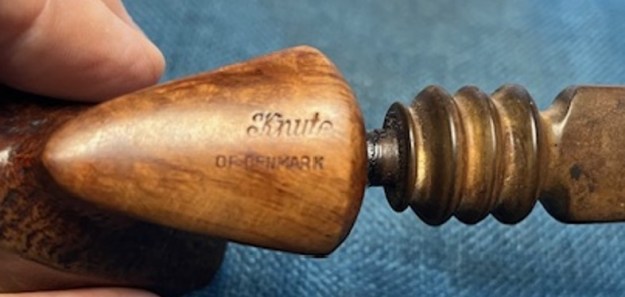
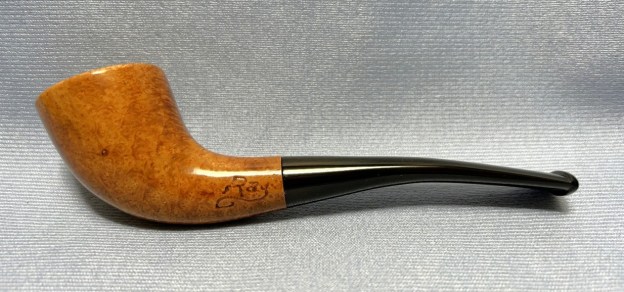
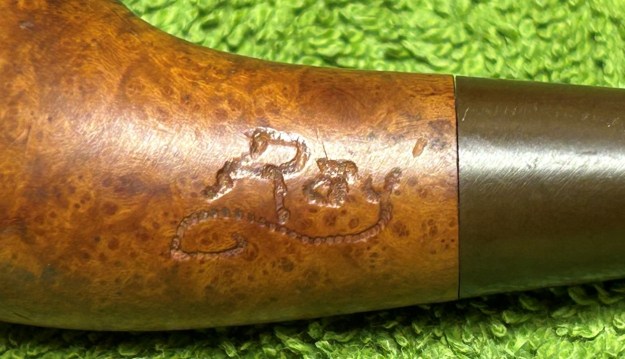
I recently had the pleasure of meeting with a family – and nine of the male family members each wanted a pipe! I was only too happy to help them out. The youngest member of this throng was 18 years old and picked out the pipe you see here. It is a charming and beautifully curved Zulu. I decided to work on it first because I liked it so much. Not only is it handsome, but it is well made too. However, there were no pipemaker’s marks on the pipe at all. No name of any sort – kind of. The only thing to be seen was that the previous owner carved his own name into the shank: Ray. I’m afraid I don’t know who Ray is, but he had a nice pipe. So, the nameless pipe has a name after all. It’s now being passed on to a fine young man with a good head on his shoulders. When I was talking to him about the pipe, I commented that I could investigate sanding off the name if he wished. He said no – it was part of the pipe’s history and he wanted to leave it. Smart kid.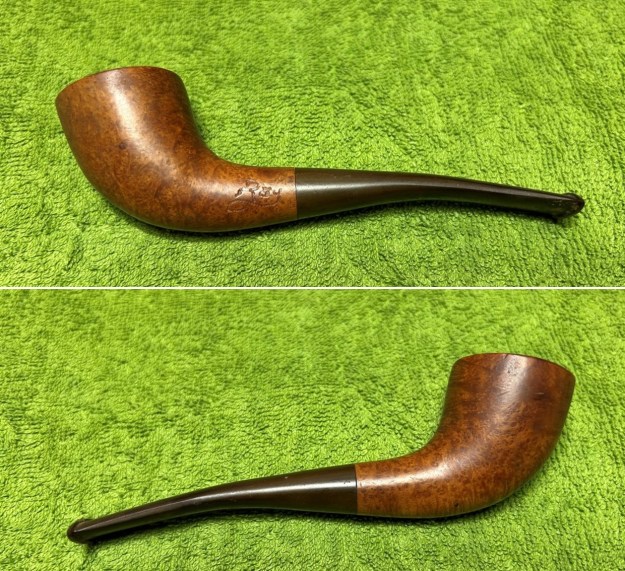
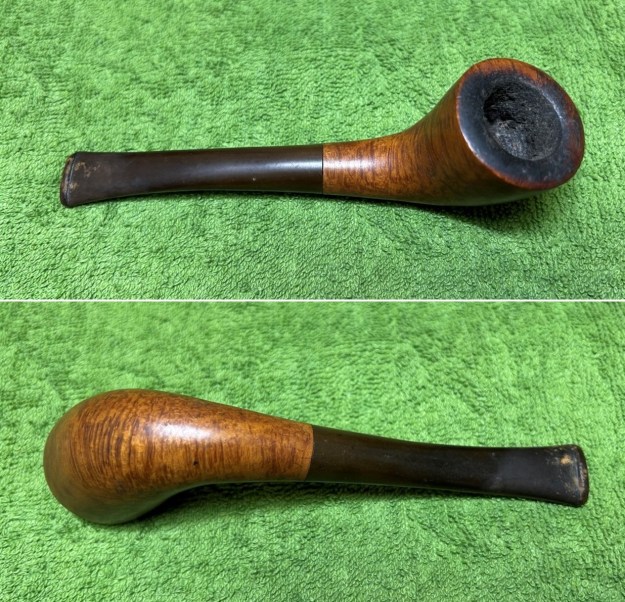
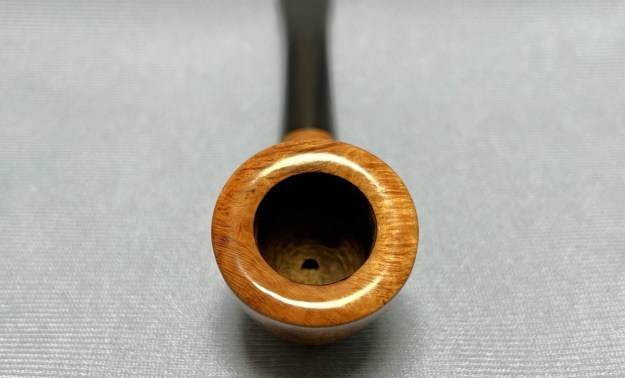
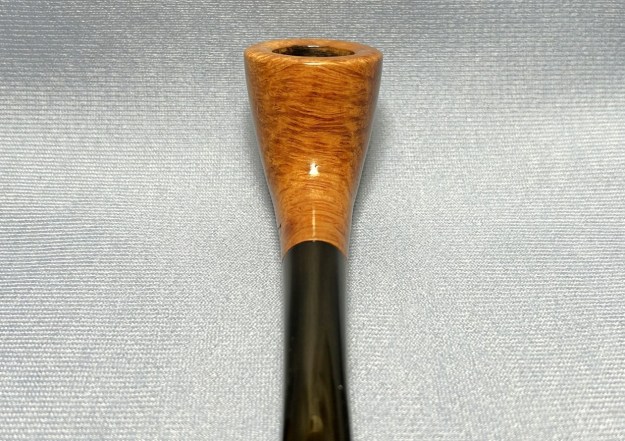
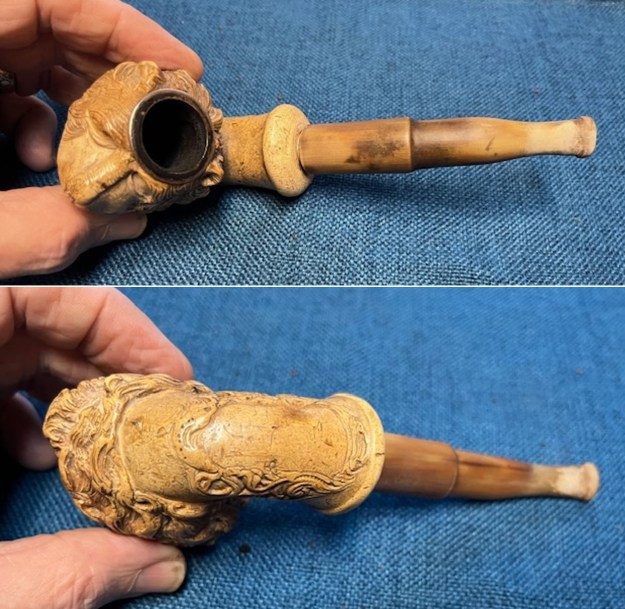
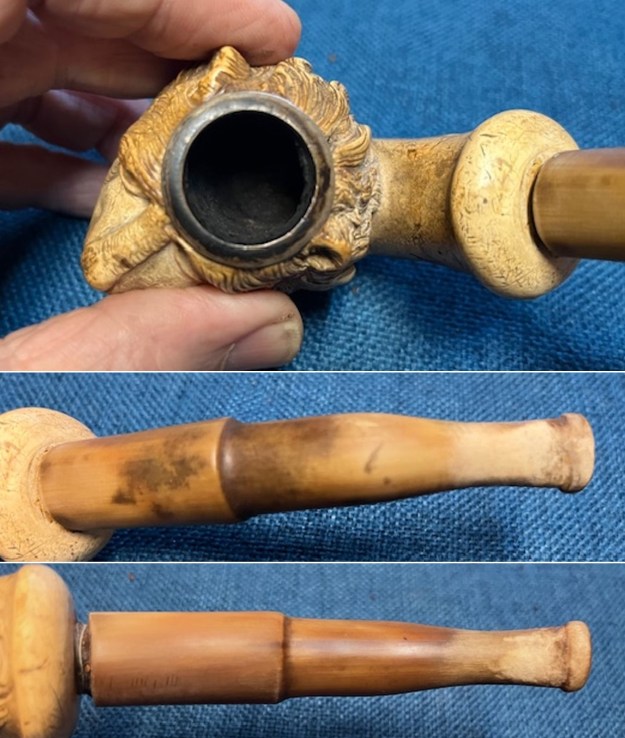
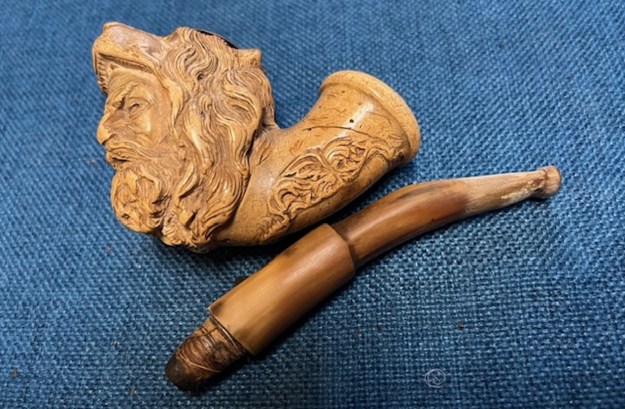
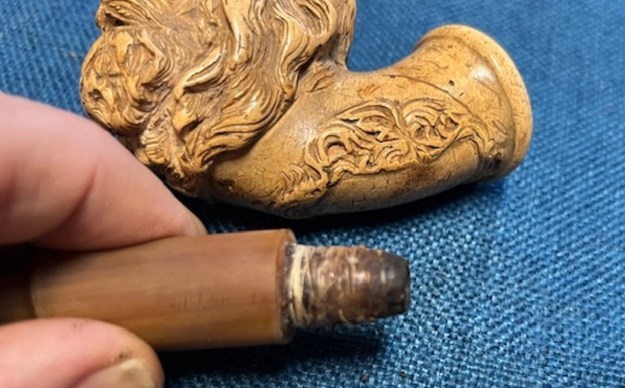
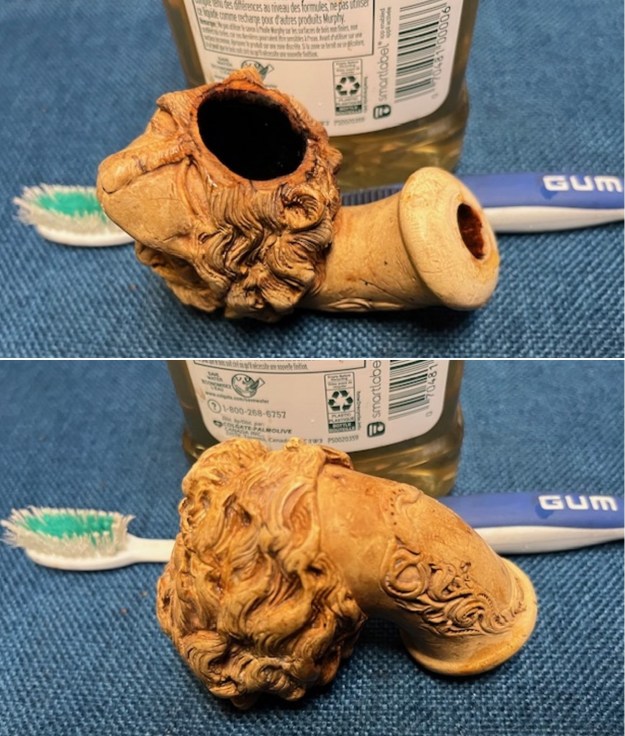
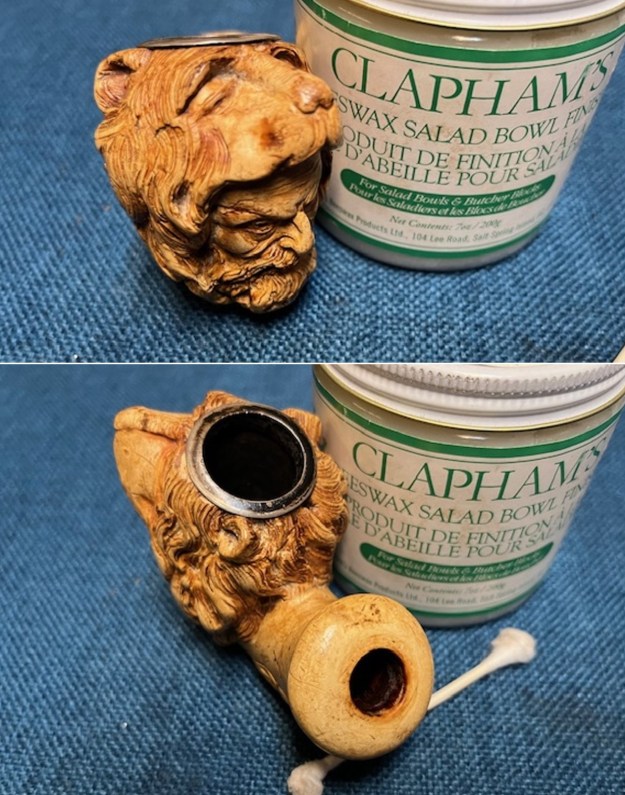
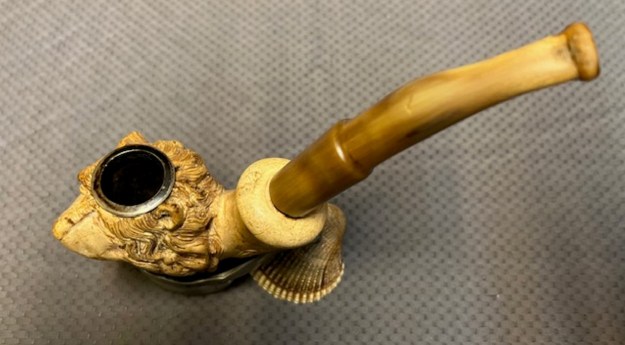
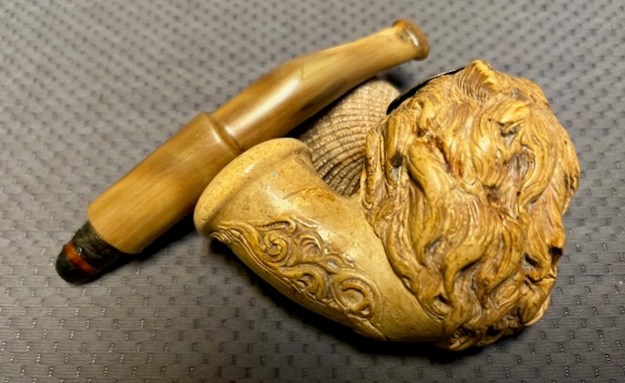
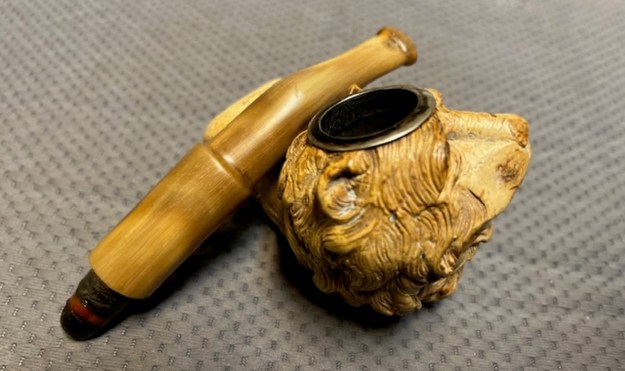
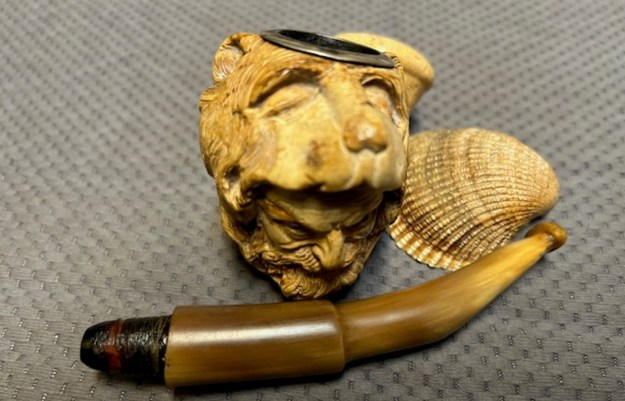
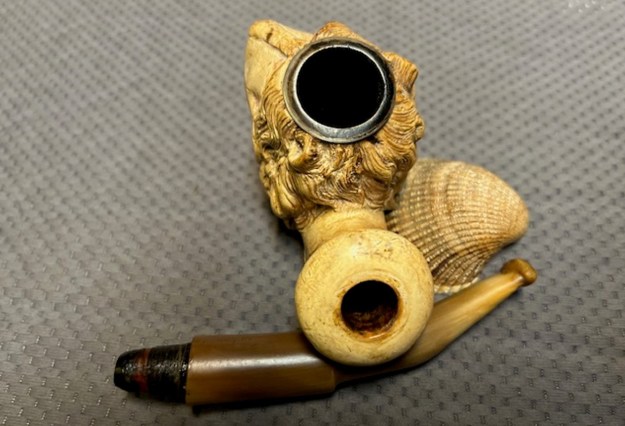
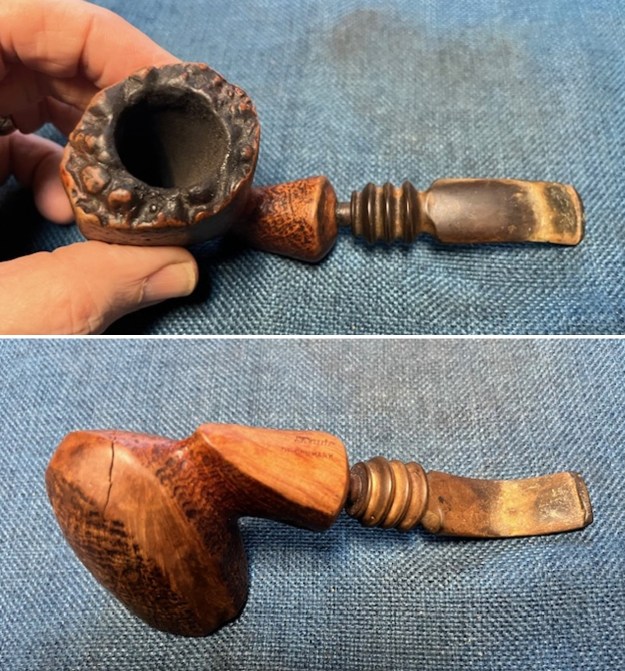
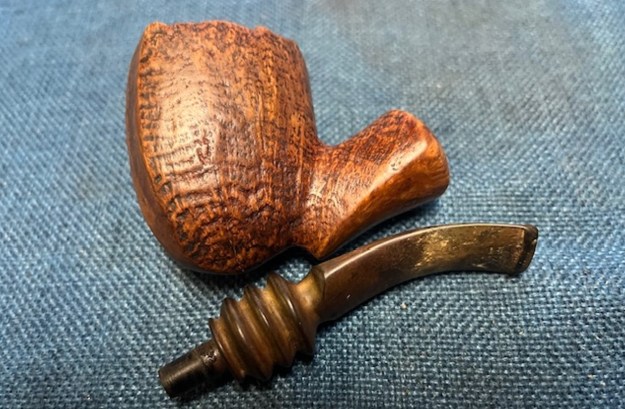
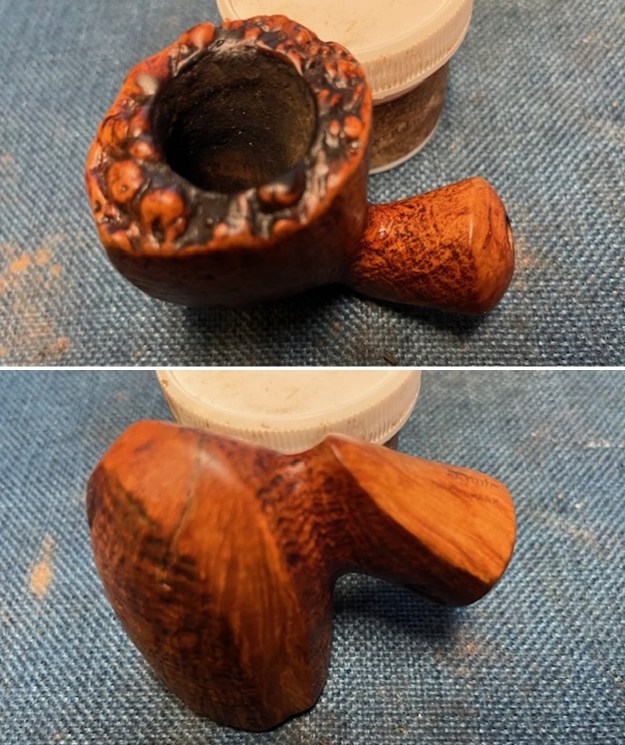
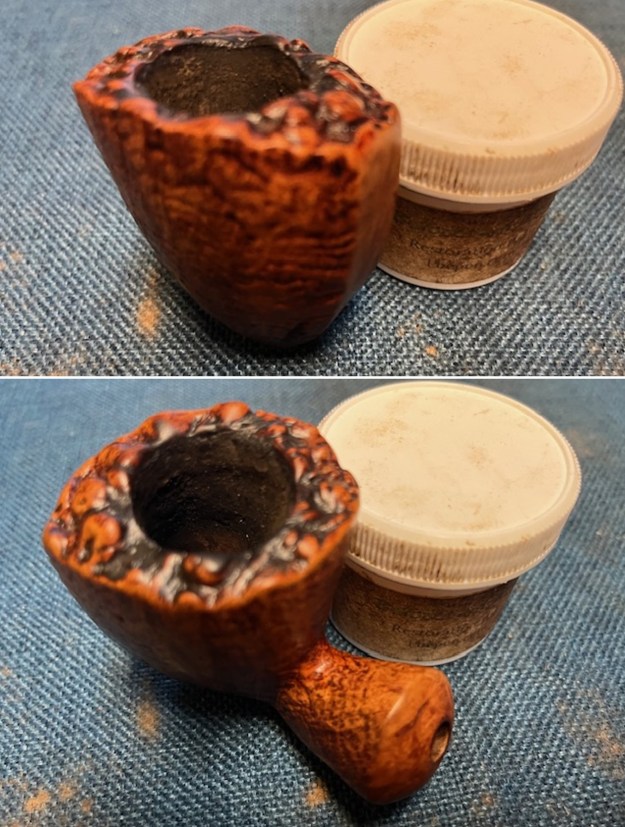
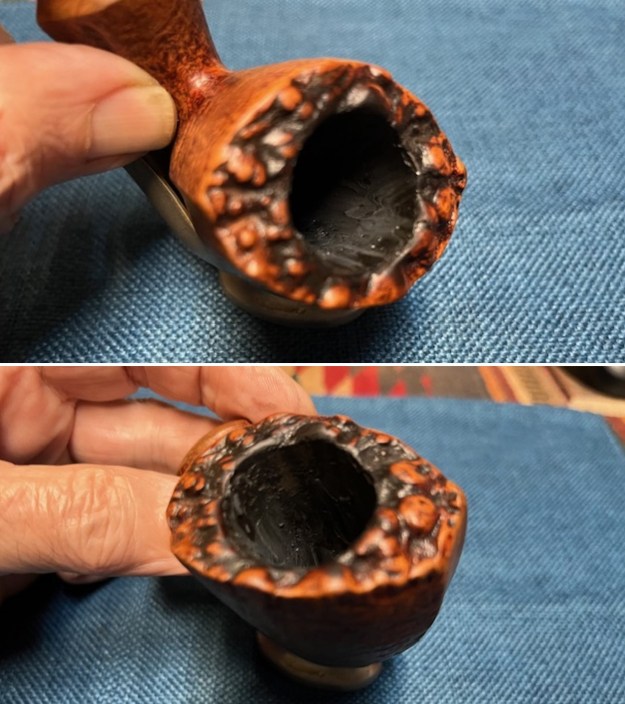
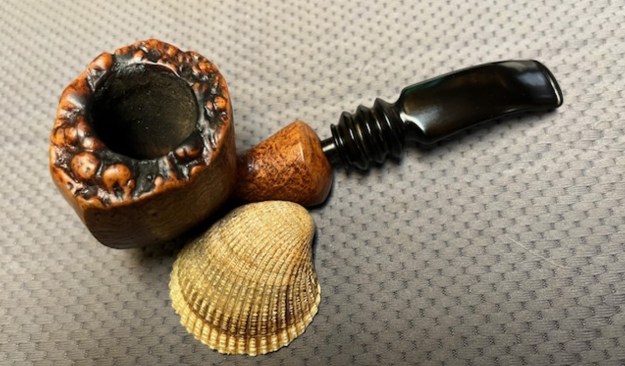
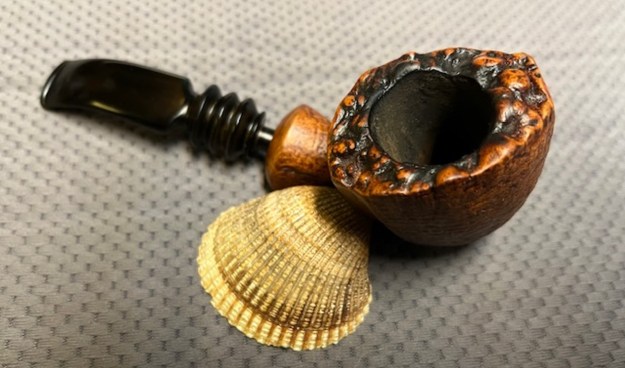
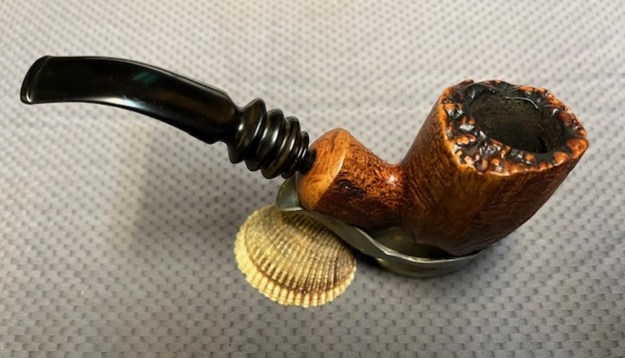
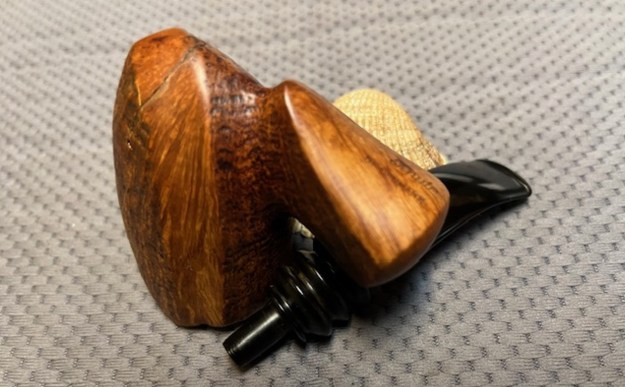
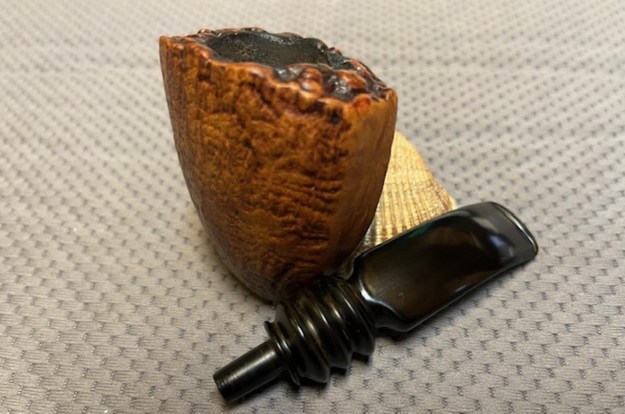
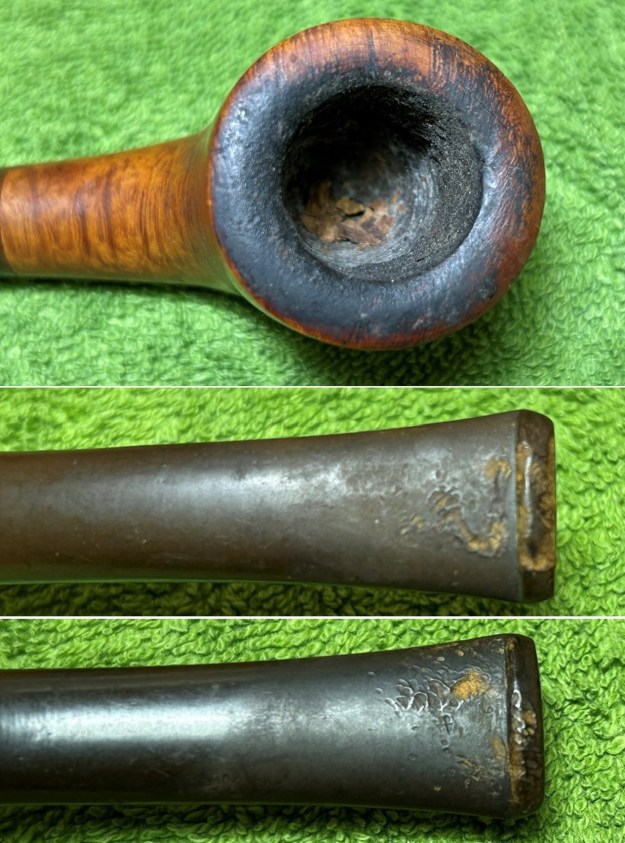
 Alas, no markings mean no history. However, I can report that the pipe was well smoked in its past. The stummel was in good shape, but there was evidence of lots of smoking once upon a time. As you can see, there appears to be some burning on the rim, but I’ll have to take a closer look for damage. The stem was pretty worn – lots of tooth marks and scratches. Also, a bit of calcification and oxidation.
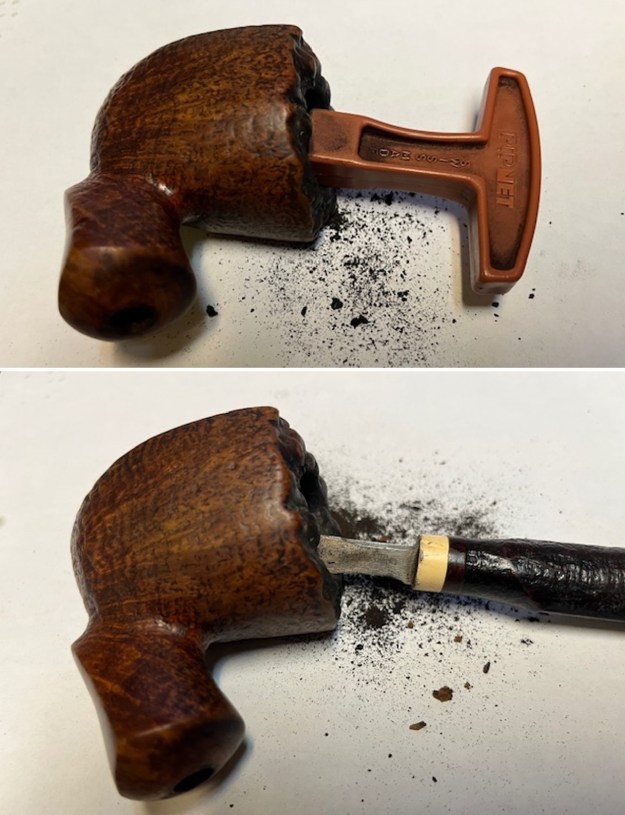
 As a first step, I used oil soap on a few cotton rounds and wiped the stem down to provide an initial cleaning of filth before moving on. I used a disposable lighter and ‘painted’ the stem with its flame. The gentle heat of the flame can cause the dents in the vulcanite of the stem to expand back into shape. In this case, it actually worked fairly well and I got some improvement. The primary cleaning comes next. I cleaned the inside of the stem with both pipe cleaners and cotton swabs dipped in 99% lemon-infused isopropyl alcohol. I scrubbed thoroughly to make sure the interior was really clean.
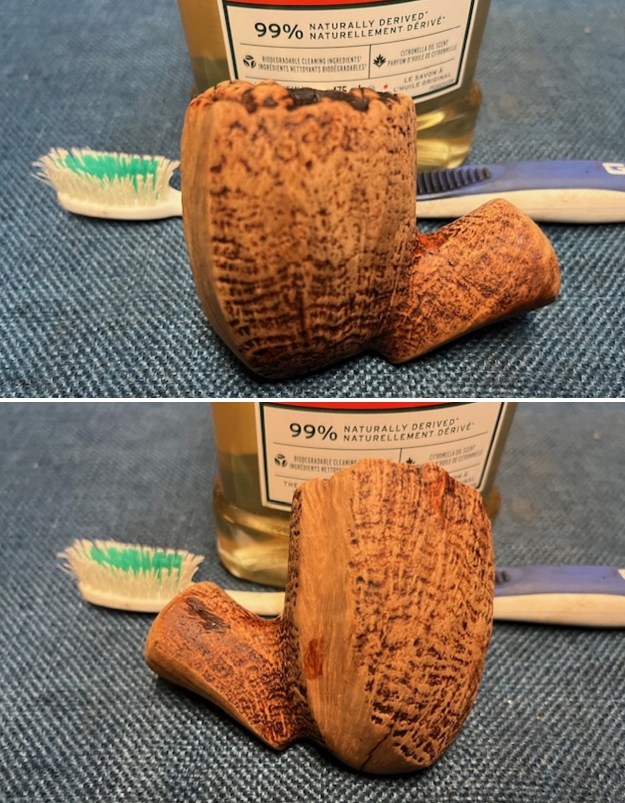
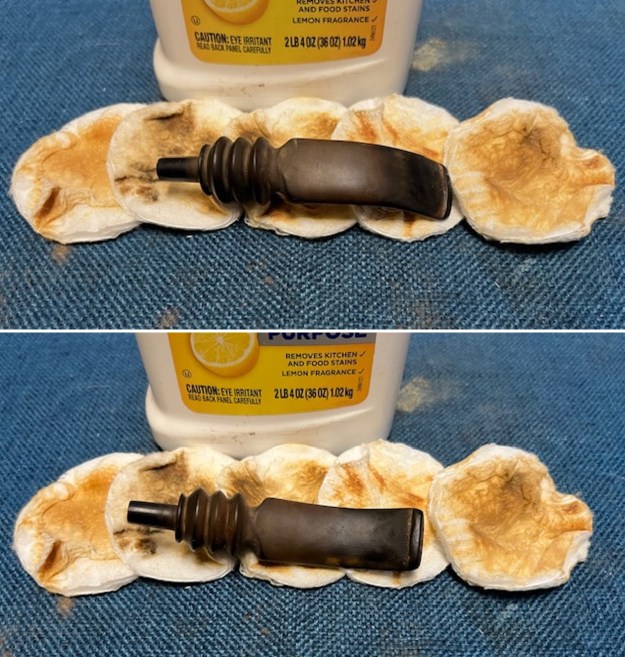
 The goal of the next step is the removal (or minimization) of oxidation. Going to my sink, I used cream cleanser, cotton rounds, and a toothbrush, and scoured the stem to remove as much surface oxidation as possible. As the photos show, the result is a hideous brownish mess – but better off the stem than on it.
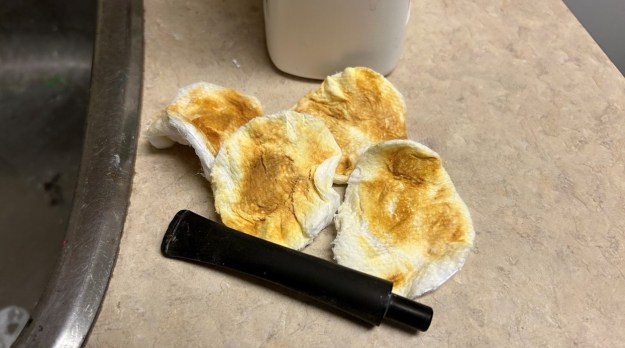 Once the stem was reasonably clean, I soaked it overnight in some de-oxidation fluid. This solution works to draw oxidation in the stem to the surface. This is a major aid and important step in ensuring a clean stem. The following day, I drew the stem out from its bath and scrubbed the lingering fluid with a toothbrush.
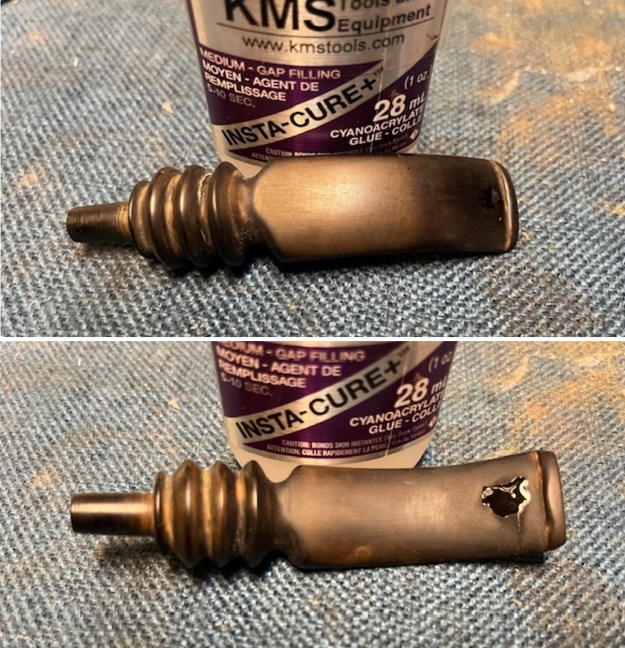
 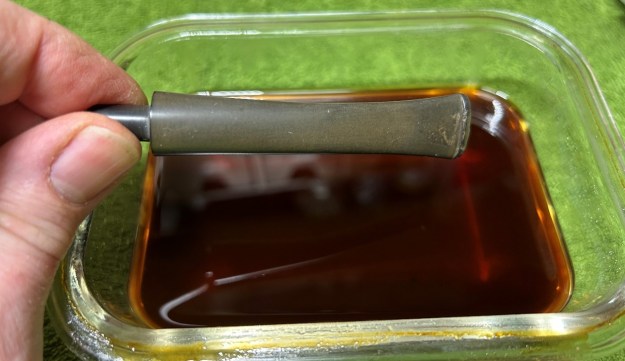 Once clean and dry, I set about fixing the marks and dents in the vulcanite. This is done by filling those divots with black cyanoacrylate adhesive, impregnated with carbon and rubber. I left this to cure and moved on.
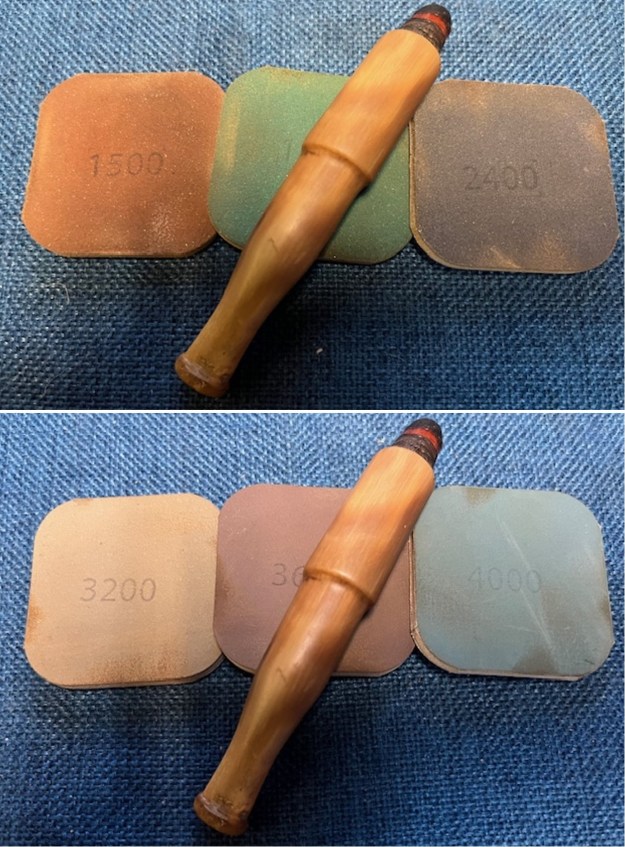
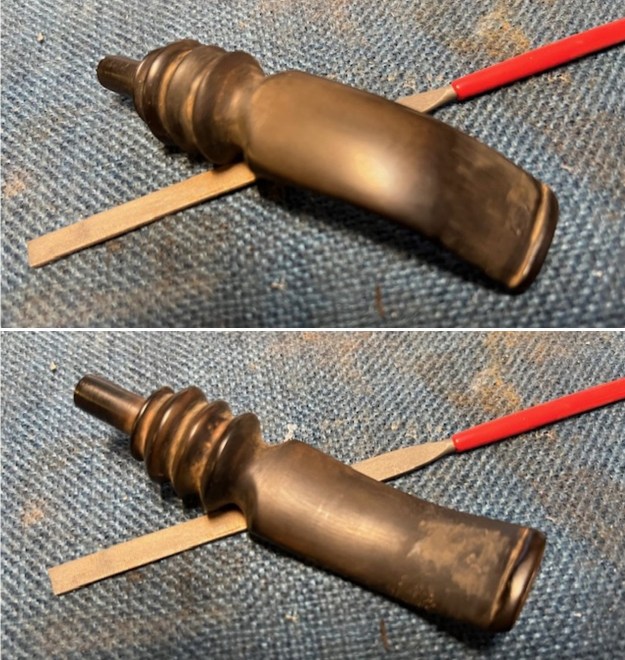
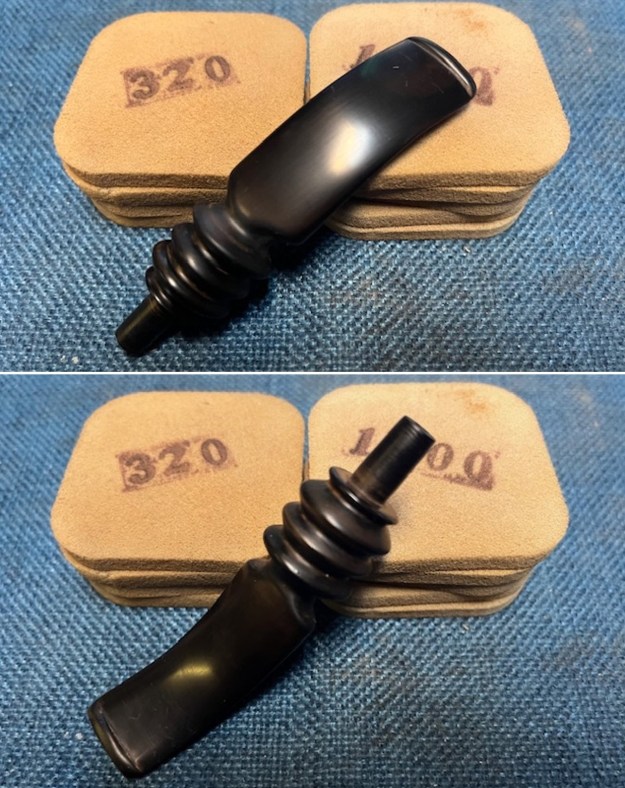
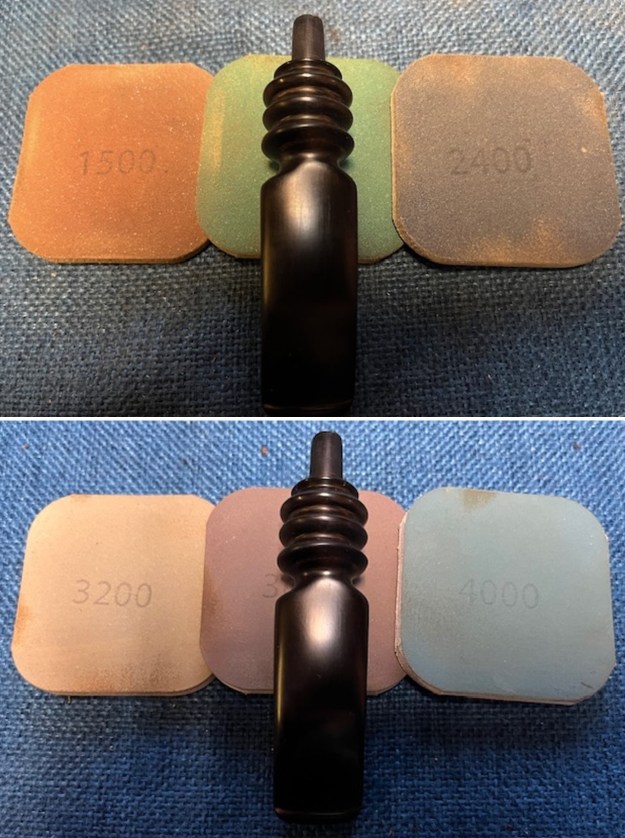
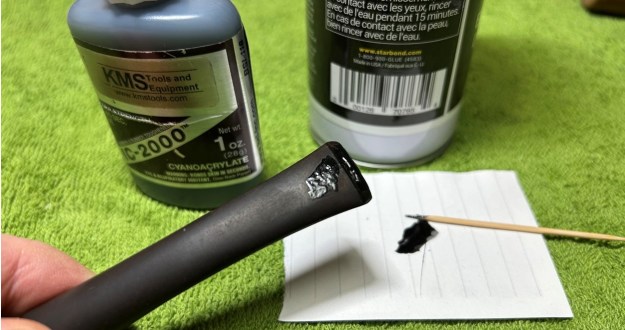 The penultimate step for the stem is sanding. I use all nine of the micromesh sanding pads (1,500 through 12,000 grit) to sand out flaws, even out the vulcanite, and provide gentle polishing of the finished surface. I also apply pipe-stem oil while using the last five micromesh pads. There is a wonderful, deep black shine to the stem when I am done.
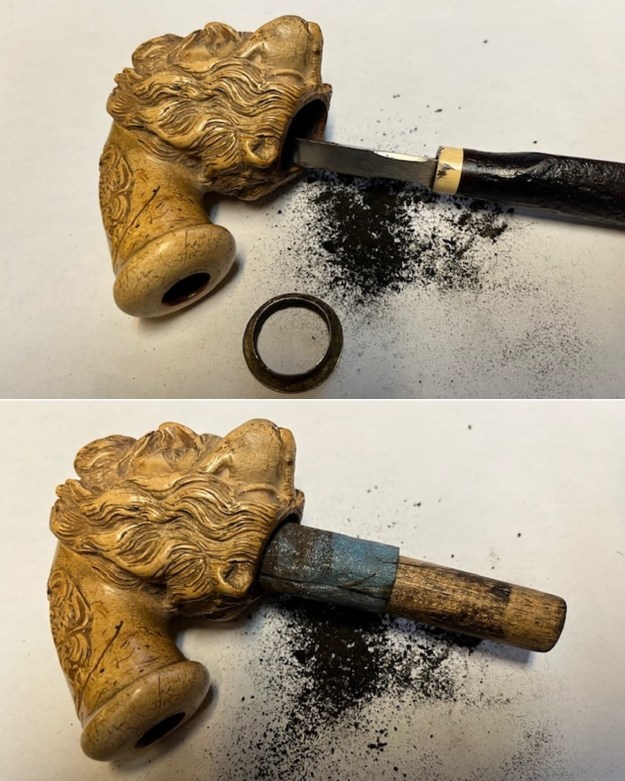
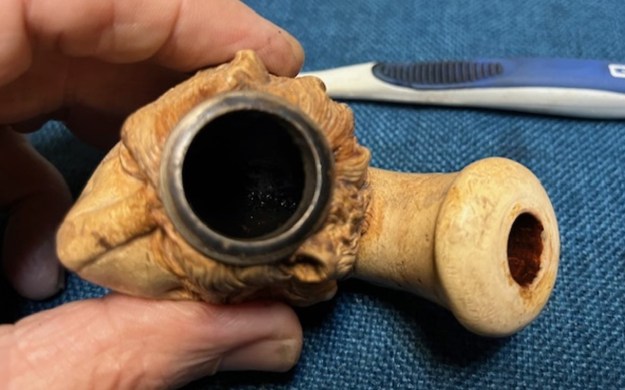
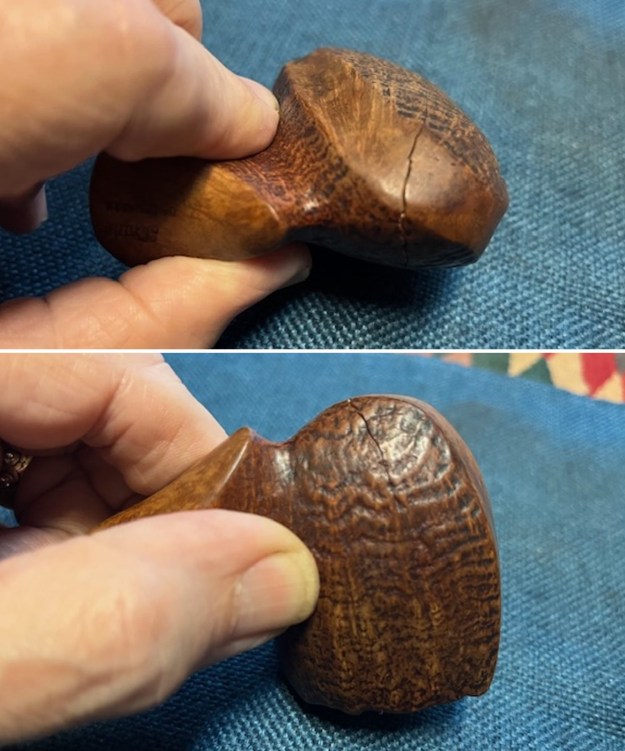
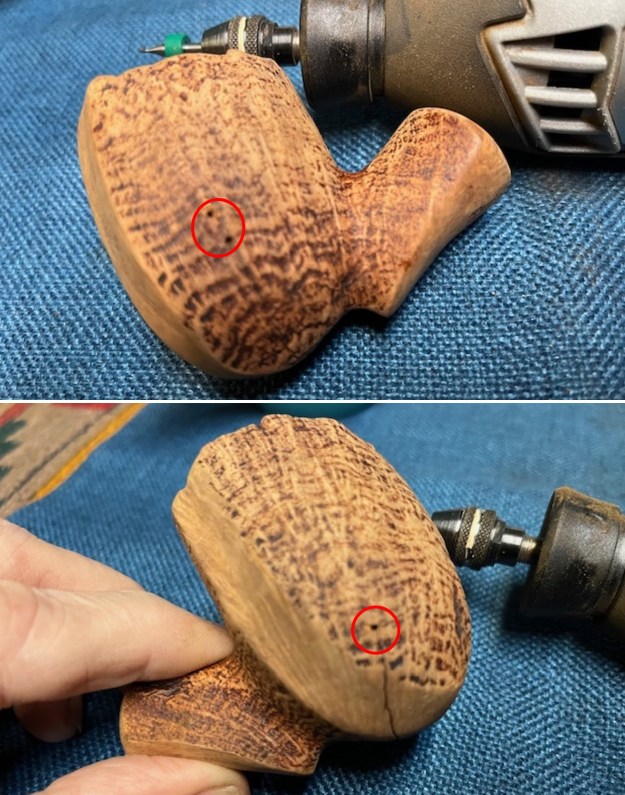
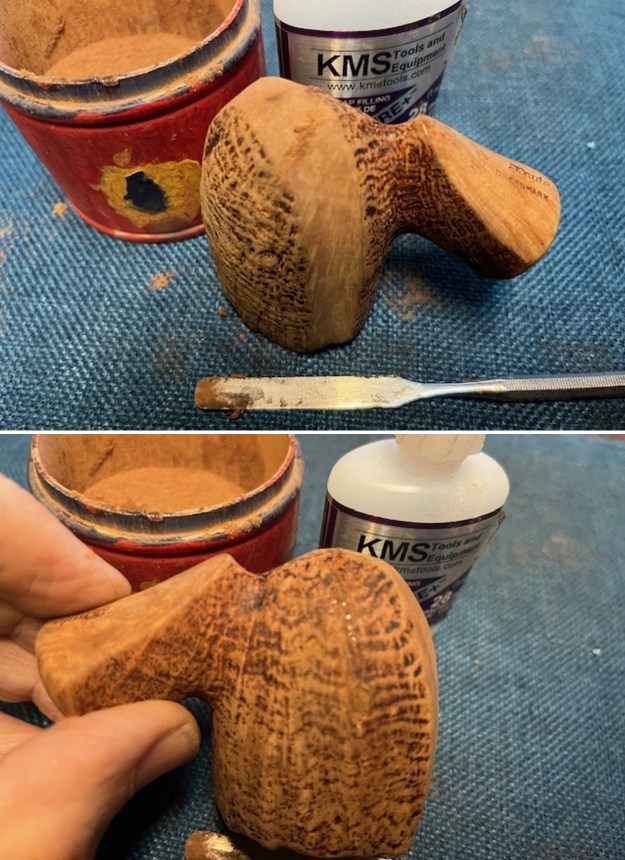
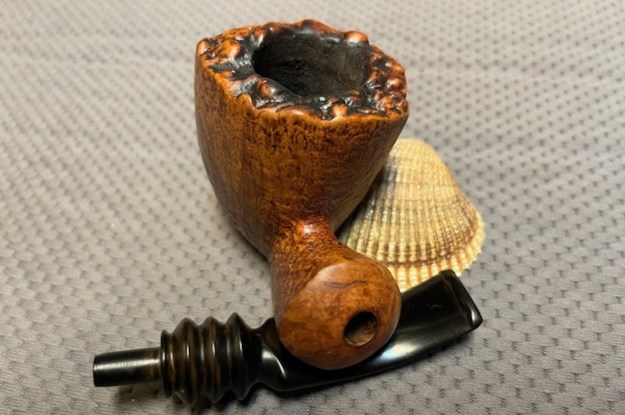
 Now that the stem is (nearly) complete, I can move on to the stummel. The first step for me is to ream out the bowl – that is to say, remove all the cake inside the bowl. This accomplishes a couple of things. First (and most obviously), it cleans the bowl and provides a refurbished chamber for future smoking. Second, when the old cake is removed, I can inspect the interior walls of the bowl and determine if there is damage or not. I used a reamer, a pipe knife, and a piece of sandpaper taped to a wooden dowel. Collectively, these ensure that all the debris is removed. My next step was to remove the lava on the rim. For this, I took a piece of machine steel and gently scraped the lava away. The metal’s edge is sharp enough to remove what I need, but not so sharp that it damages the rim. This work revealed that – Deo gratias – the burning was superficial and the underlying wood was totally intact.
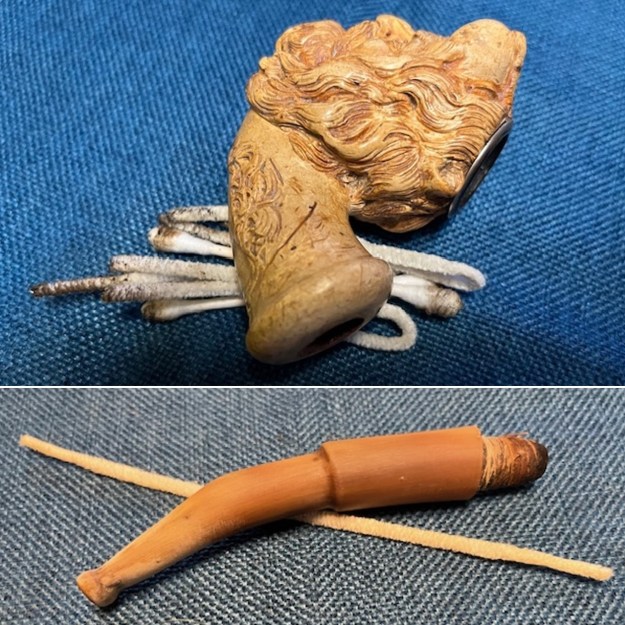
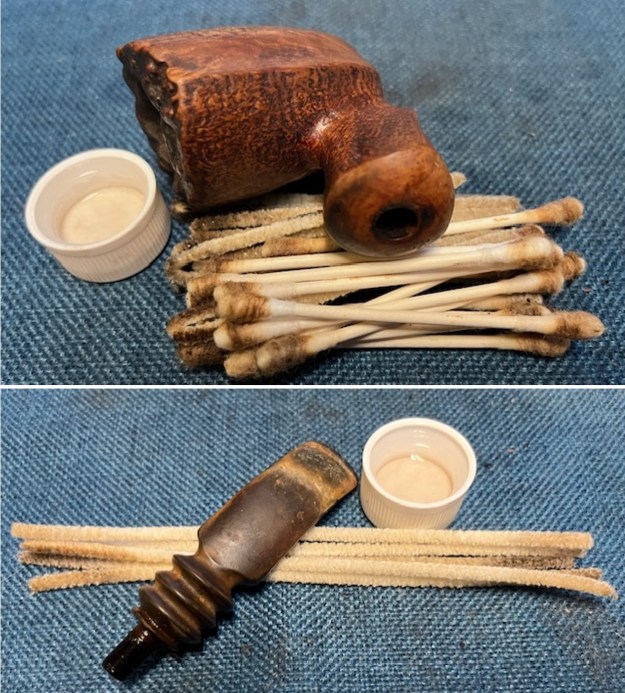
 The inside of the stummel needs to be cleaned thoroughly. Similar to the stem, I then cleaned the stummel with both pipe cleaners and cotton swabs dipped in 99% lemon-infused isopropyl alcohol. With this pipe, it didn’t take too long to get it clean. I then decided to ‘de-ghost’ the pipe – that is to say, exorcize the remaining filth from the briar. I filled the bowl and the shank with cotton balls, then saturated them with 99% isopropyl alcohol. I let the stummel sit overnight. This caused any remaining oils, tars and smells to leach out into the cotton.
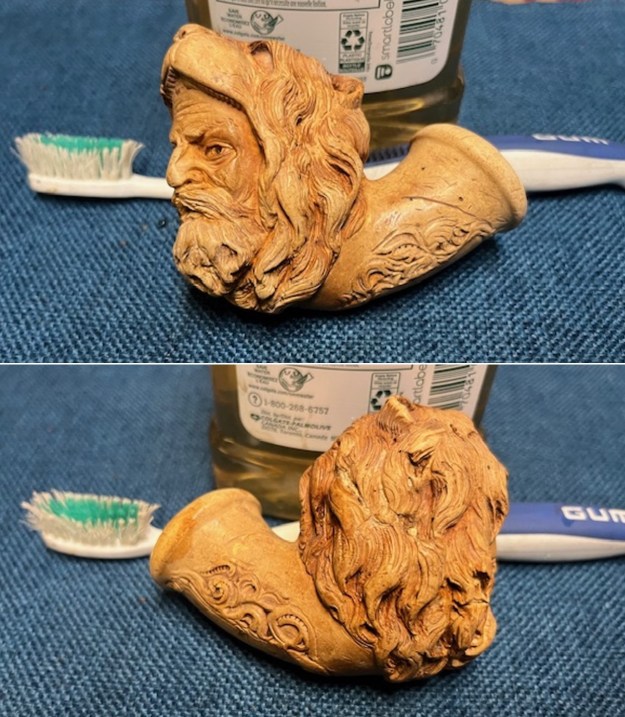
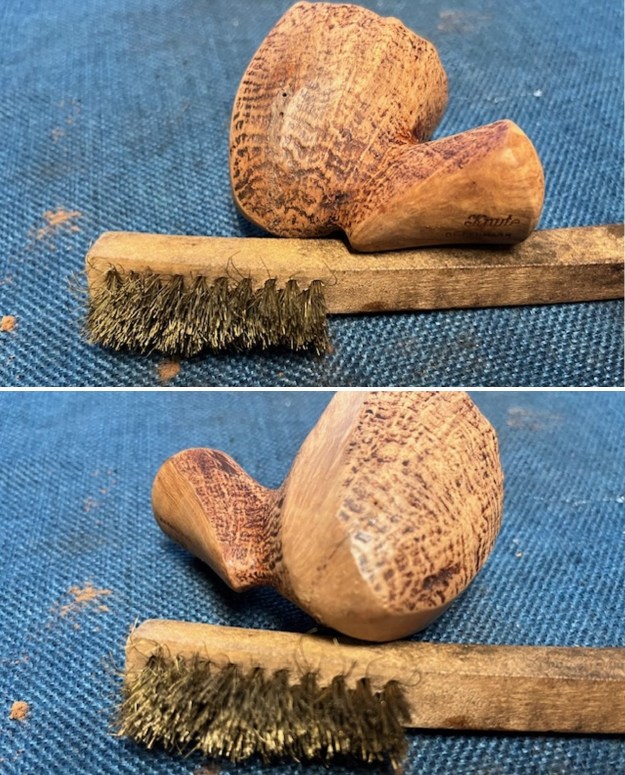
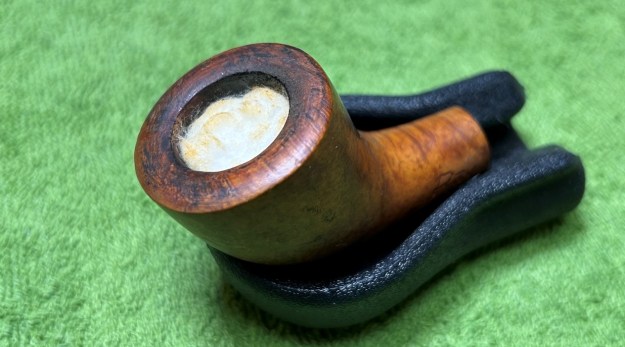 To tidy up the briar, I also wiped down the outside with some oil soap on cotton. This does a good job of cleaning any latent dirt on the surface of the briar. The last step of the cleaning process is to scour the inside of the stummel with some soap and tube brushes. This is the culmination of a lot of work to get the pipe clean.
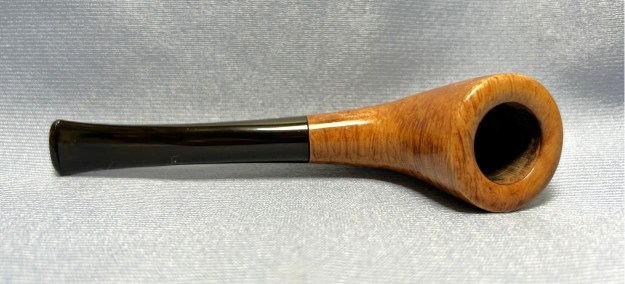
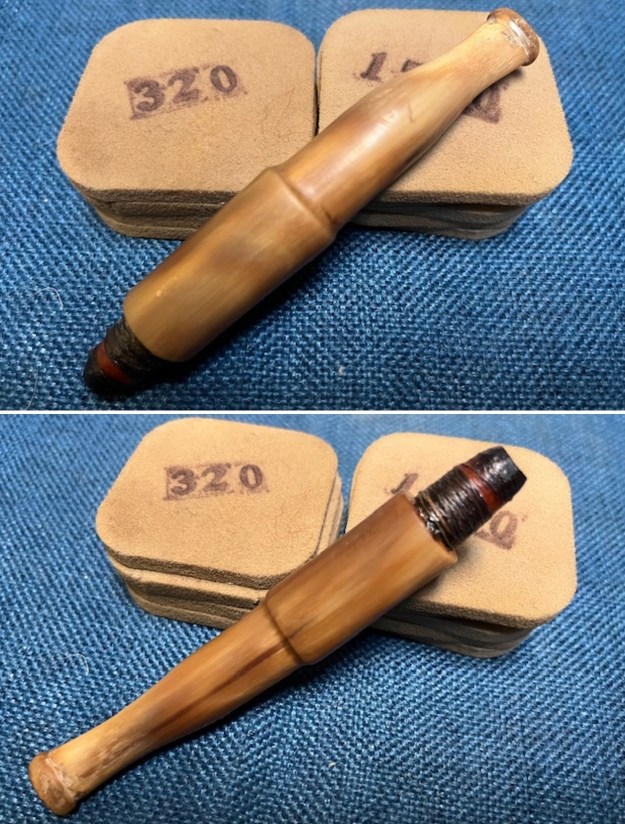
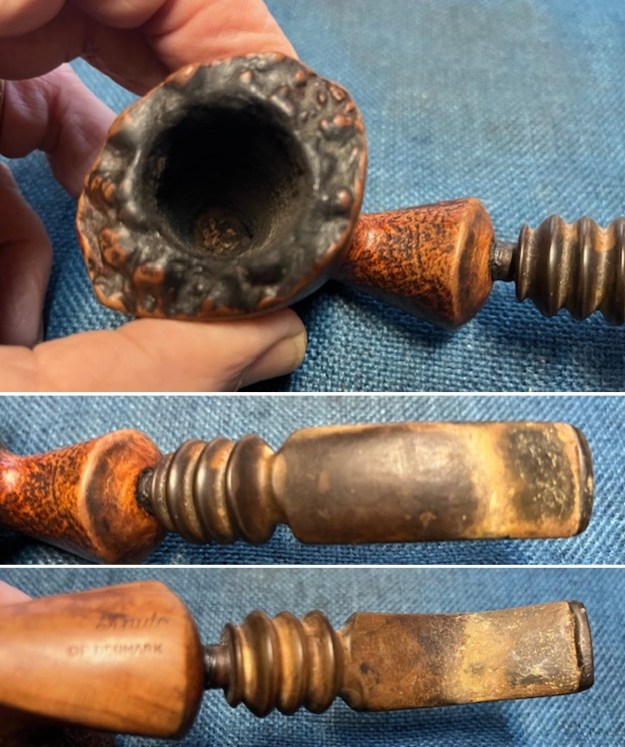
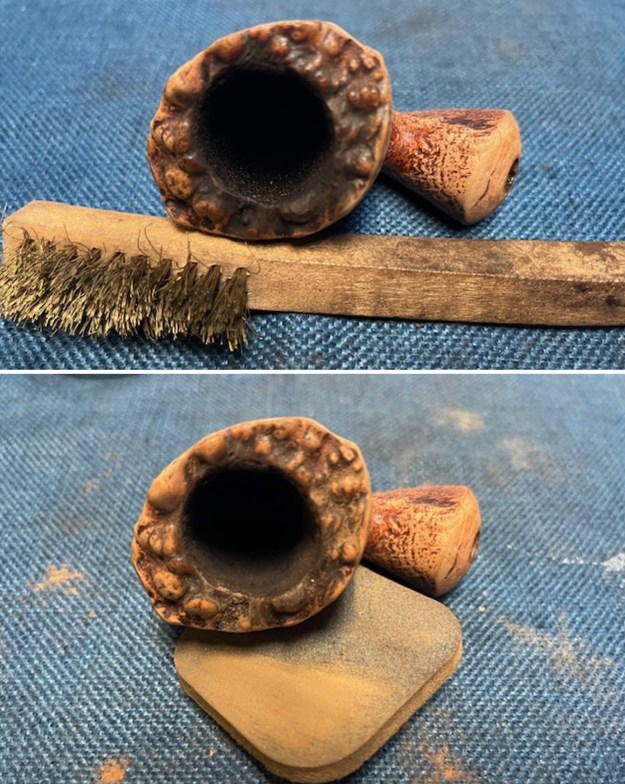
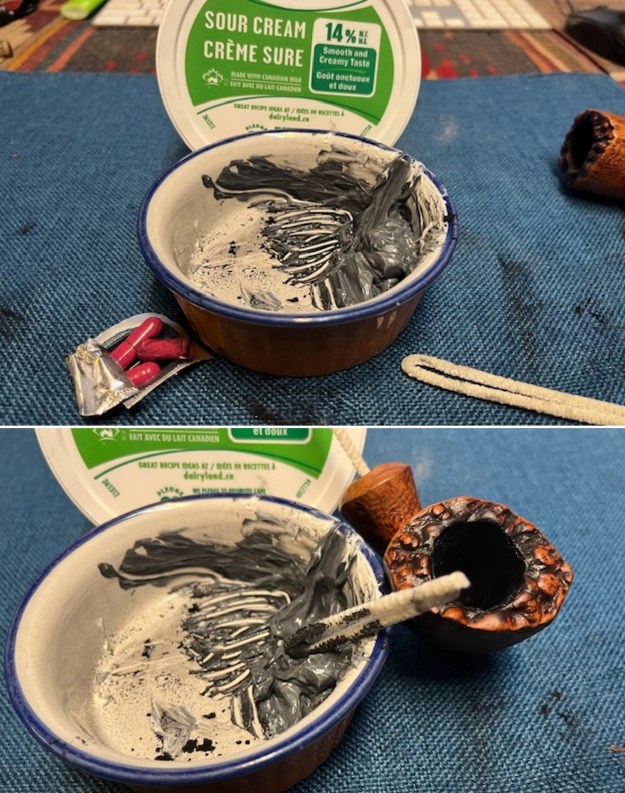
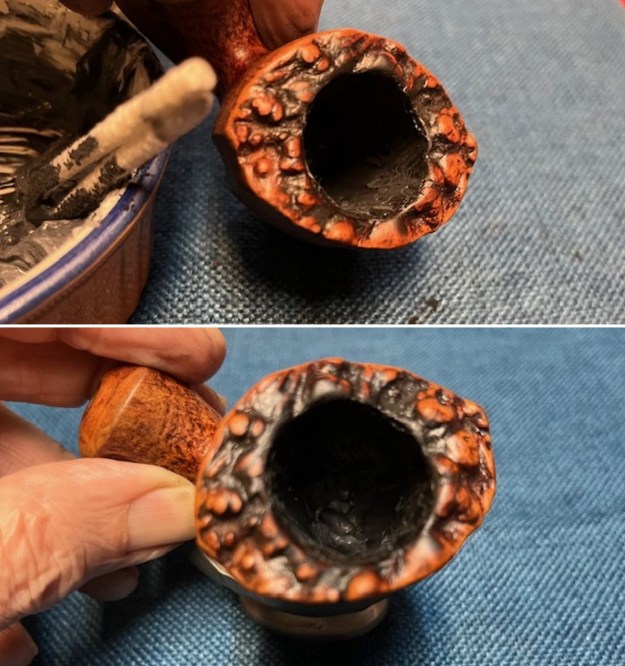
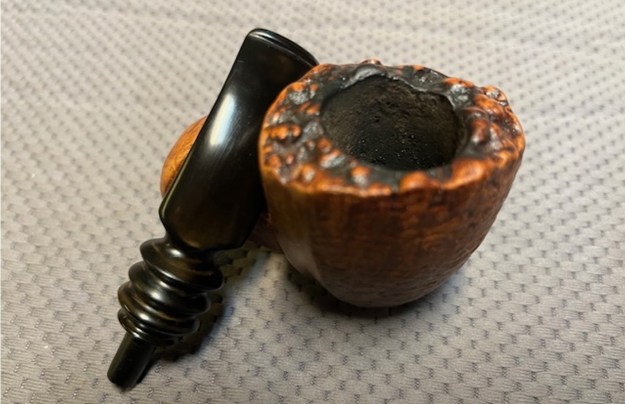
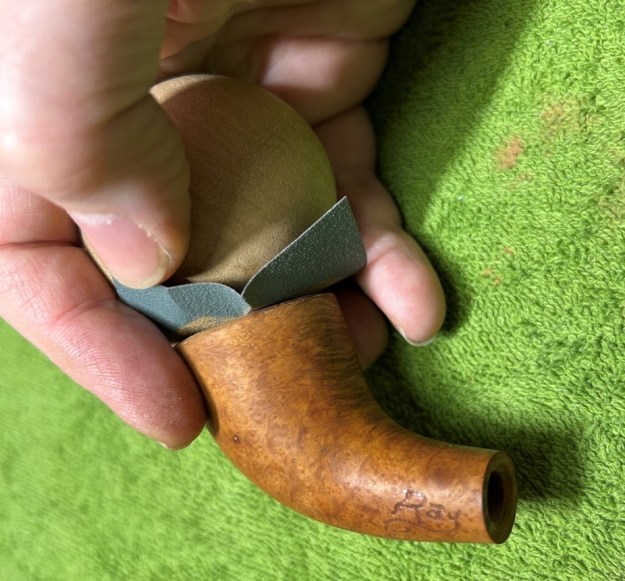
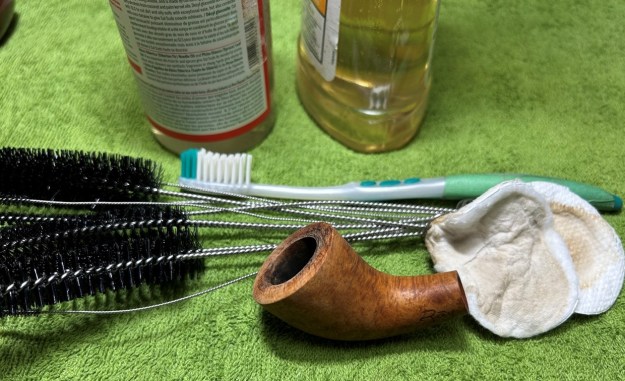 The charring on the rim is notable. I took a solid wooden sphere, wrapped a piece of 220-grit sandpaper around it, and sanded the inner edge of the rim. This achieves two things: first, it removes some of the burn marks; and second (and more importantly), the circular shape and motion of the sphere gradually returns the edge to a perfect circle.
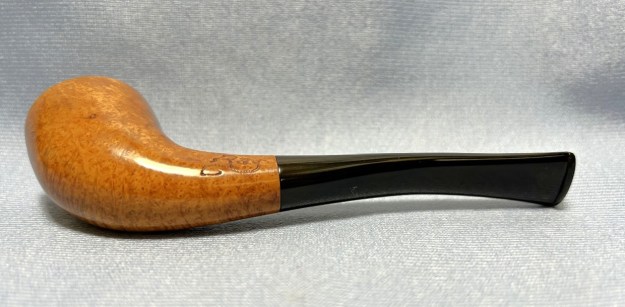
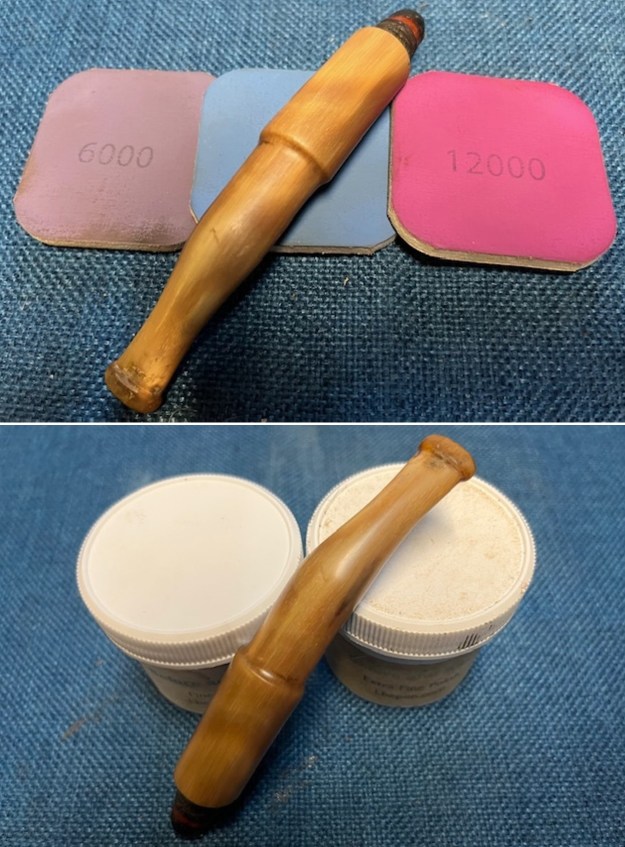
 I used all nine micromesh pads (1,500 through 12,000 grit) on the outside of the stummel to finish it off. This sanding minimizes flaws in the briar and provides a beautiful smoothness to the wood. I rubbed some Before & After Restoration Balm into the briar and let it sit for 20 minutes or so. The balm moisturizes the wood and gives a beautiful depth to the briar. I then buffed it with a microfibre cloth.
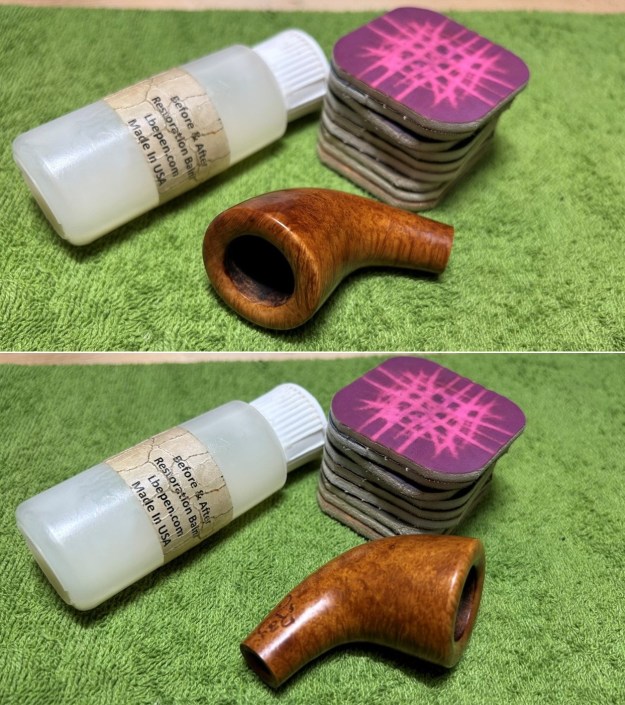
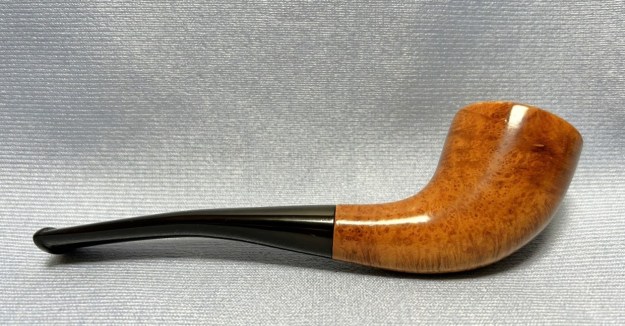
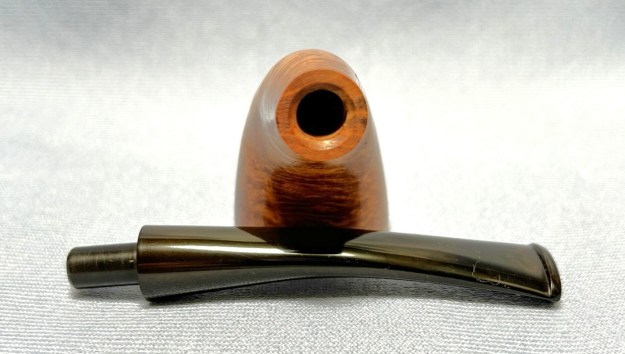
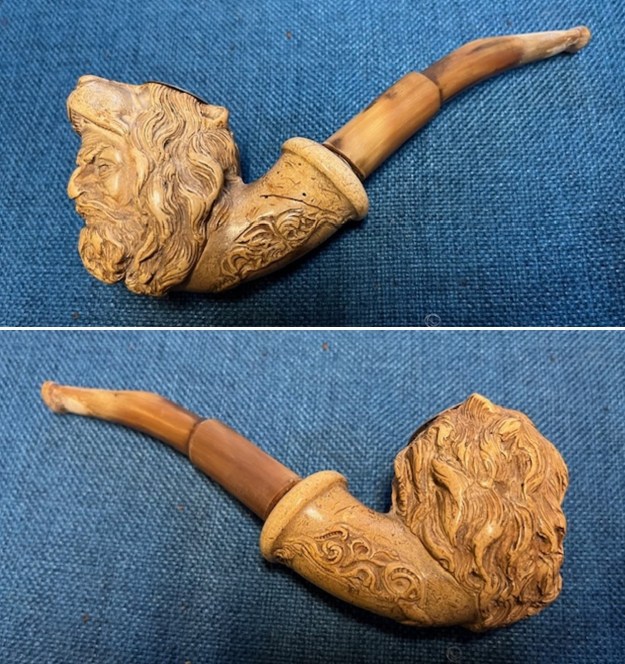
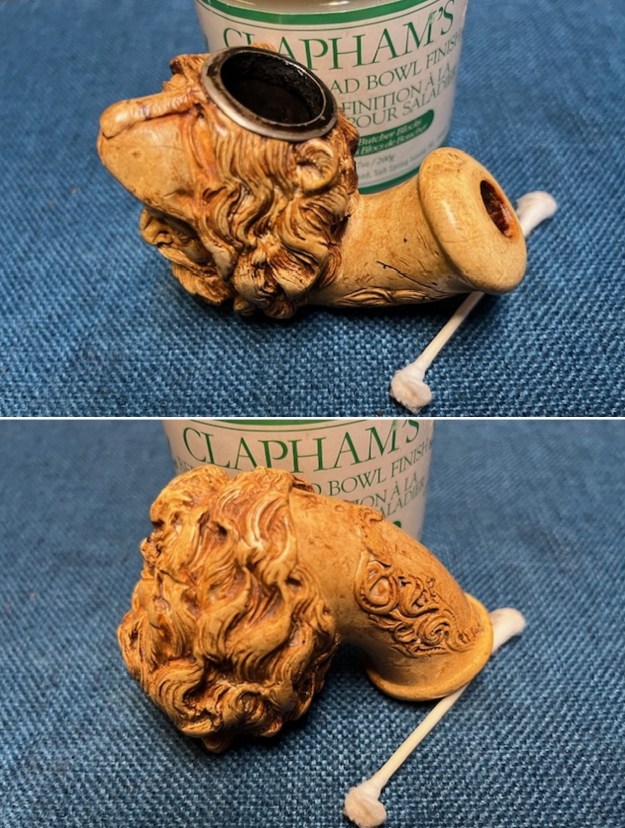
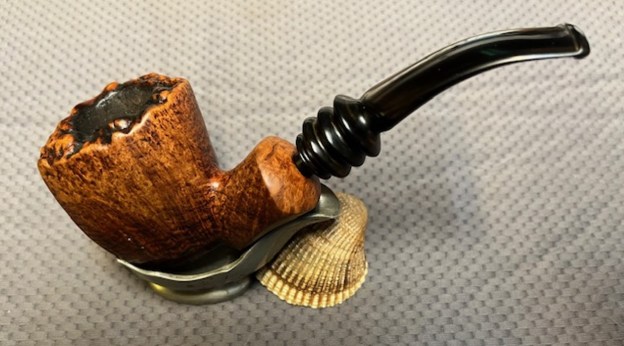
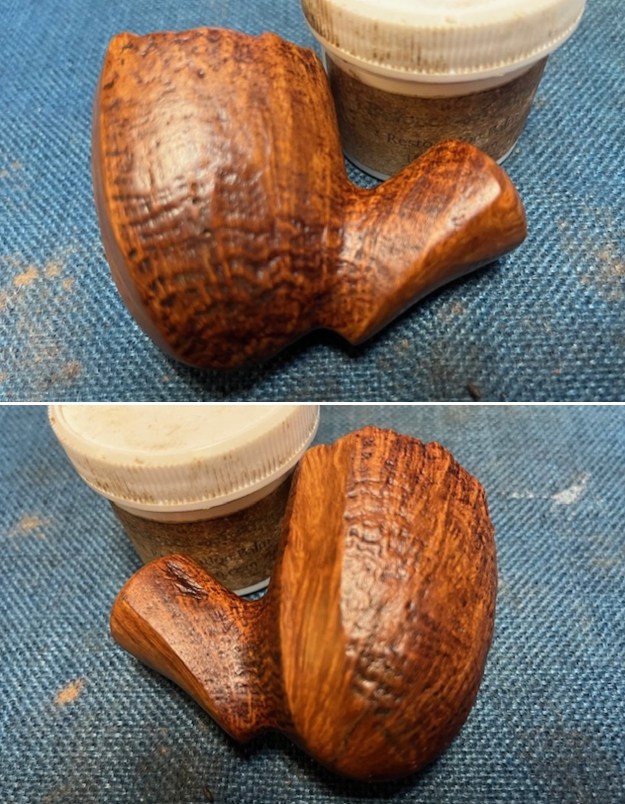
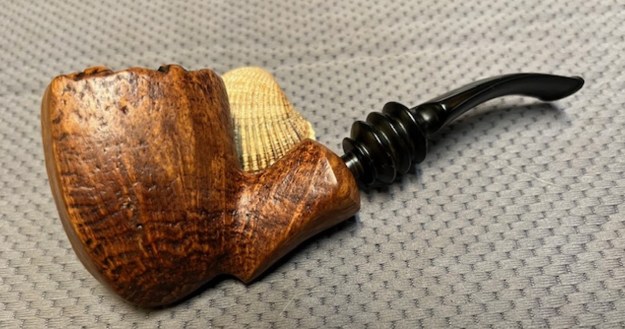
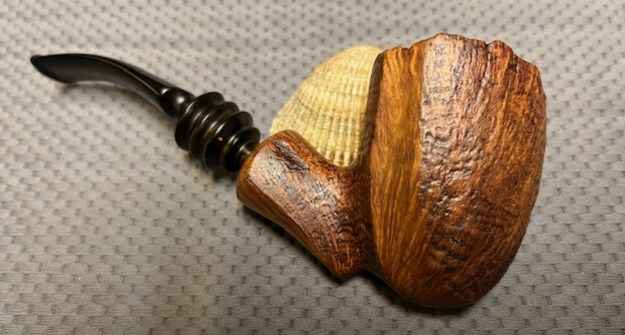
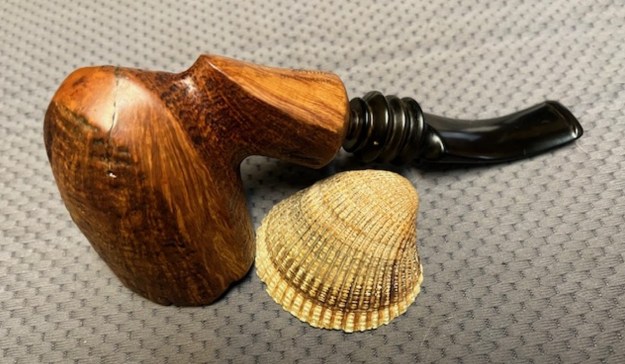
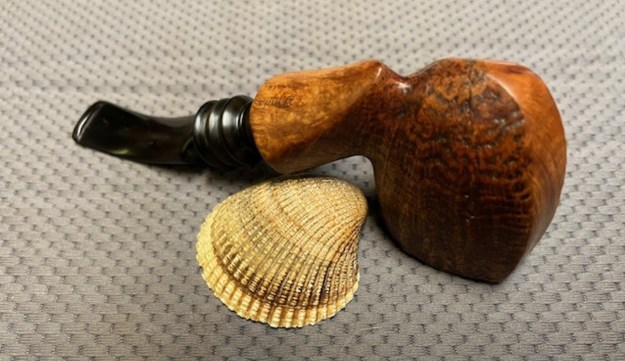
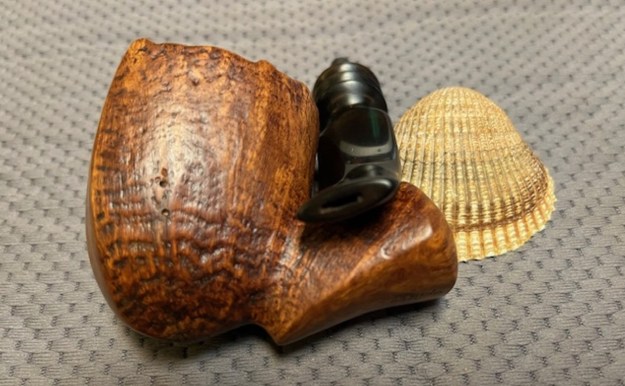
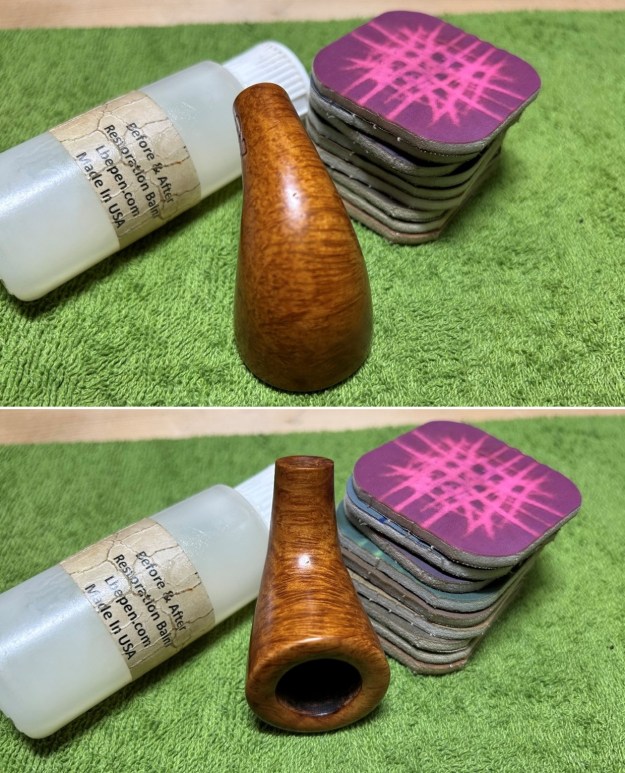 For the final step, I took the pipe to my bench buffer and carefully polished it – first with a white diamond compound, then with three coats of carnauba wax. This procedure makes the pipe look its best – the stummel sings and stem glows.
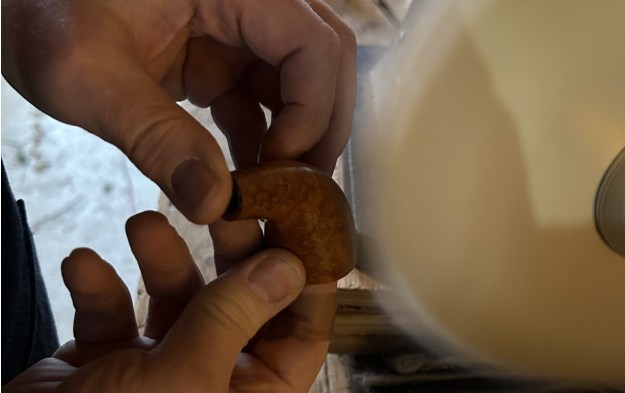 This is a very handsome pipe and will provide many years of smoking pleasure for my friend. I hope you enjoyed reading the story of this pipe as much I as I did restoring it. If you are interested in more of my work, please follow me here on Steve’s website or email me directly at kenneth@knightsofthepipe.com. The approximate dimensions of the pipe are as follows: length 5⅝ in. (142 mm); height 1¾ in. (44 mm); bowl diameter 1⅓ in. (33 mm); chamber diameter ¾ in. (19 mm). The weight of the pipe is 1 oz. (31 g). I hope you enjoyed reading the story of this pipe’s restoration as much as I did restoring it. If you are interested in more of my work, please follow me here on Steve’s website or send me an email. Thank you very much for reading and, as always, I welcome and encourage your comments.