by Kenneth Lieblich
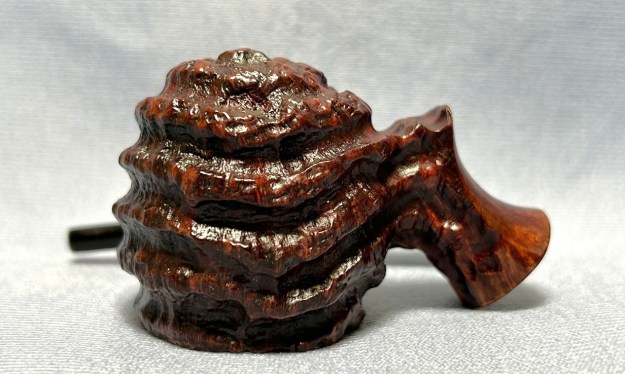
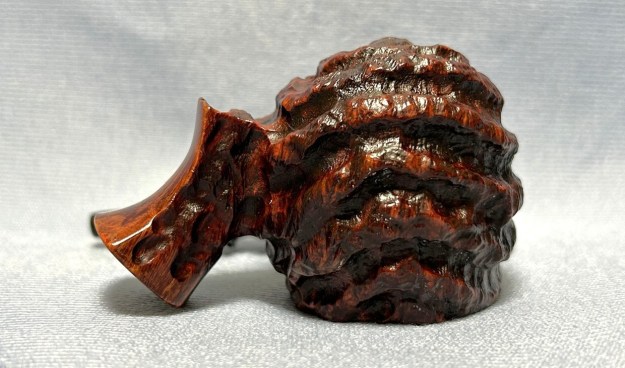
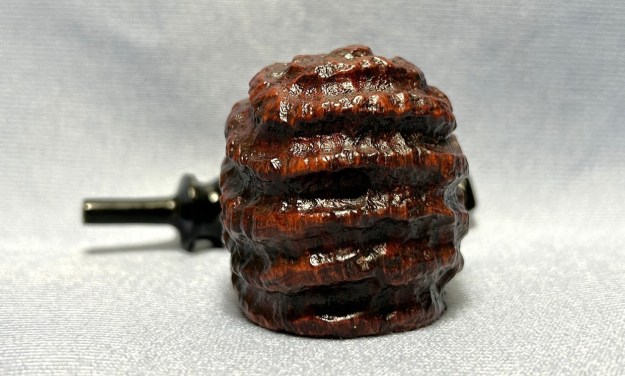
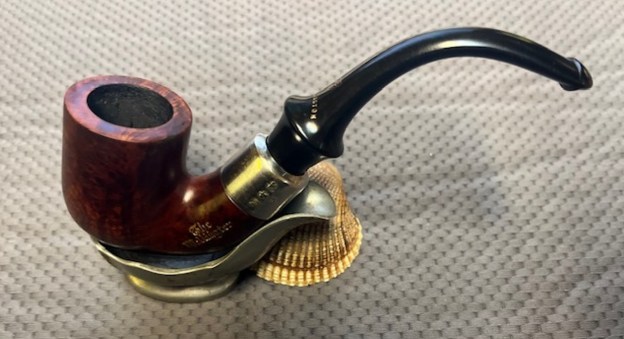
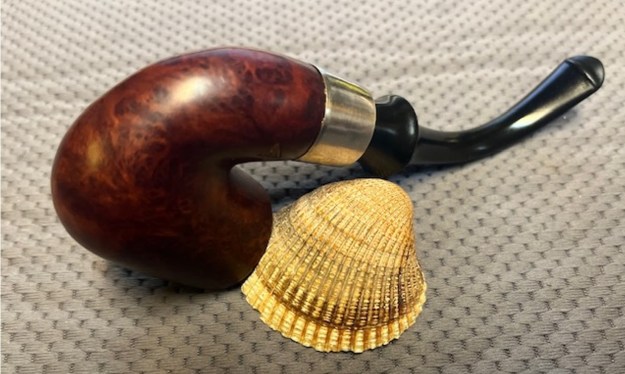
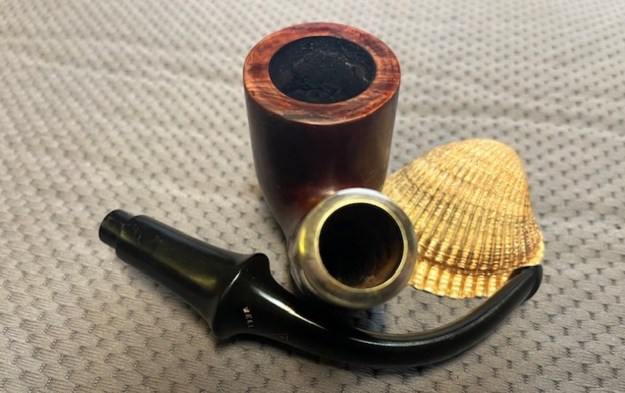
Steve’s recent foray into re-stemming pipes inspired me to try the same. In my box of various-and-sundry pipes, I was drawn to a nifty Danish freehand – but it was missing its stem. The beautifully rugged and chunky stummel has a real charm to it. The grooves and trenches are quite remarkable. This is a pipe that deserves a new stem.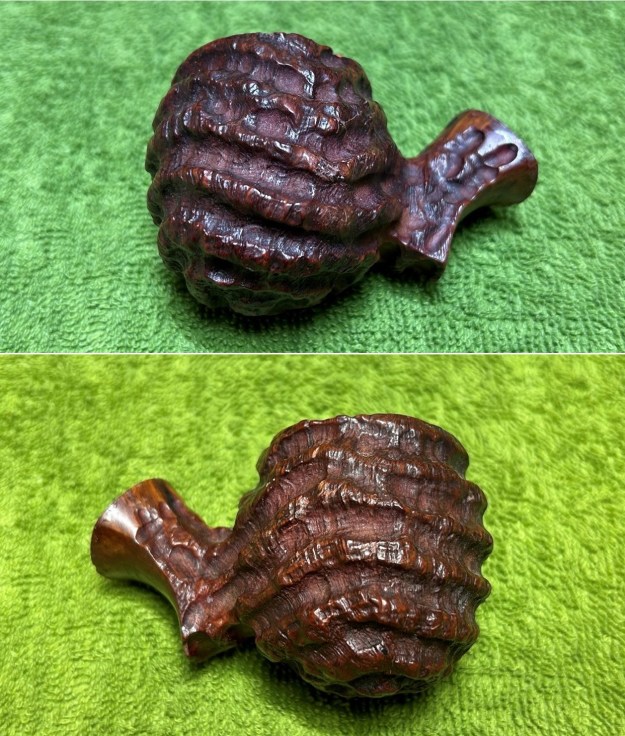
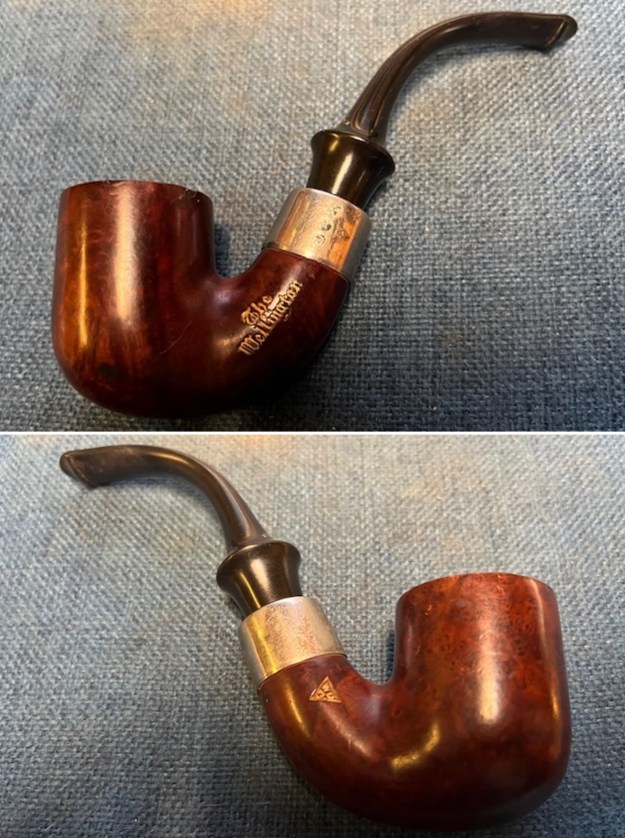
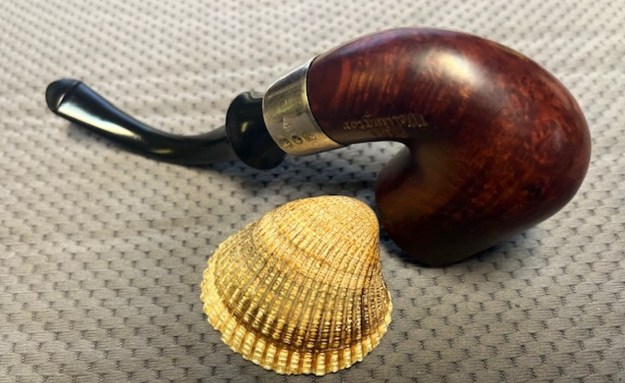
 Let’s take a deeper dive into Thurmann’s pipes. The pipe was made by the esteemed pipemaker, Bjørn Thurmann. Unfortunately, I am not able to date the pipe, as the photo below shows all of the markings to be seen. On the underside of the stummel were some identifying markings. They read Thumann [over] Hand Made [over] Denmark [over] 3.
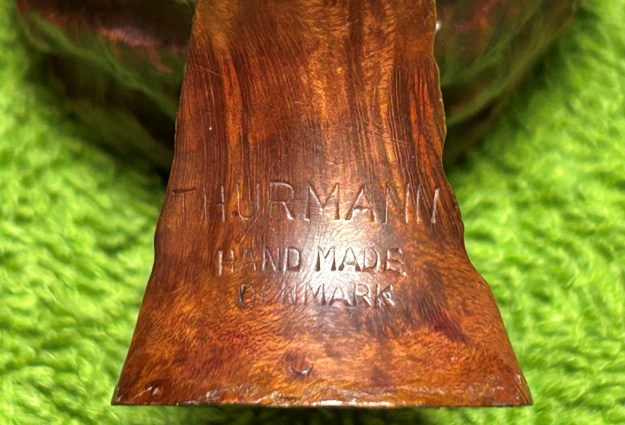 Thurmann passed away a few years ago, but his company, Thurmann Piber, is still well known in Copenhagen for the fine quality of his work. The reference book, Scandinavian Pipemakers by Jan Andersson, provides us with a nice overview of his background and work. I will quote a bit of it here:
Bjørn Thurmann was born in 1946 – some would say, born into the tobacco trade. In 1953, his parents opened a pipe shop in central Copenhagen and Bjørn helped them there from the beginning, mainly by sorting pipes. Initially, the pipes were bought from a firm called Larsen & Stigart, but eventually they decided to start their own production.
Bjørn’s parents thought that their son ought to widen his views and get some international experience, so, in 1968, he was sent to London to work in different tobacconists shops, a period of learning that ended at Dunhill’s famous shop on Duke Street. After returning home, he almost immediately received an offer to work for Iwan Ries & Co. in Chicago, an offer that was hard to resist, so off he went.
In 1976, Bjørn established himself as an independent pipemaker, and since then he has had shops in several places in Copenhagen. Bjørn has also written a book called Pibemagerens Handbog (The Pipemakers Handbook), which tells how to make pipes using simple tools most people have at home.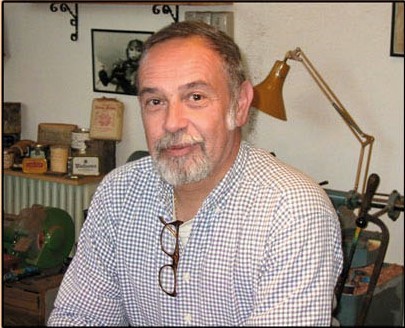 Clearly, Thurmann was a vastly experienced and talented pipe man. One can not only see, but also feel, the quality of the briar. Here is a screenshot from Pipephil:
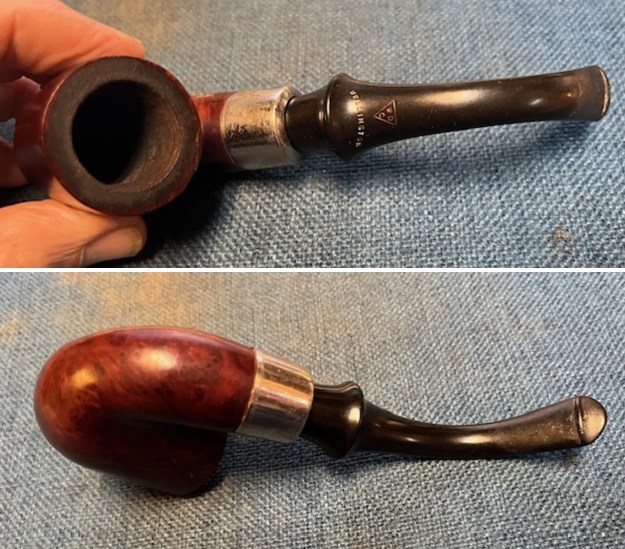
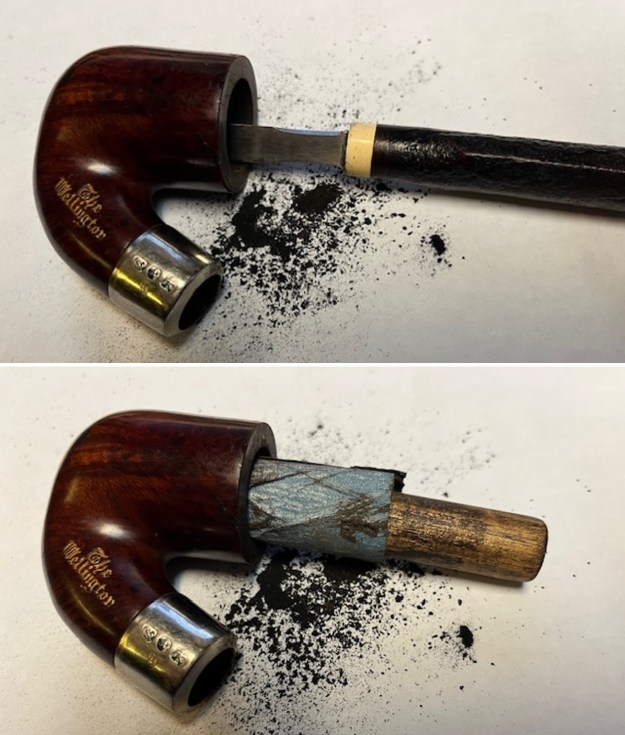
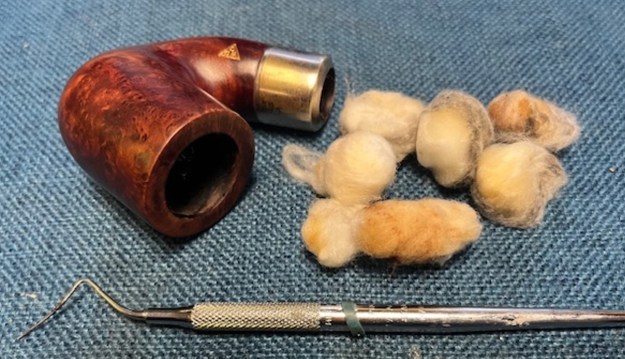
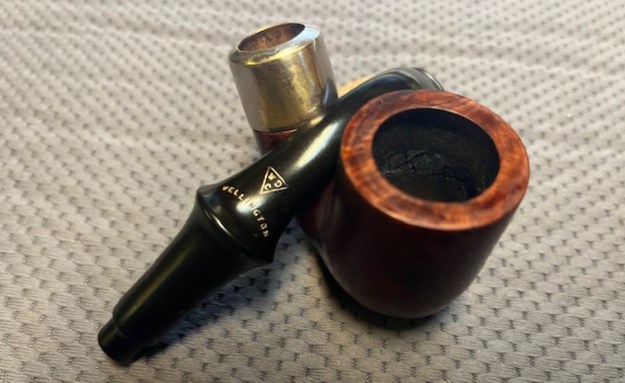
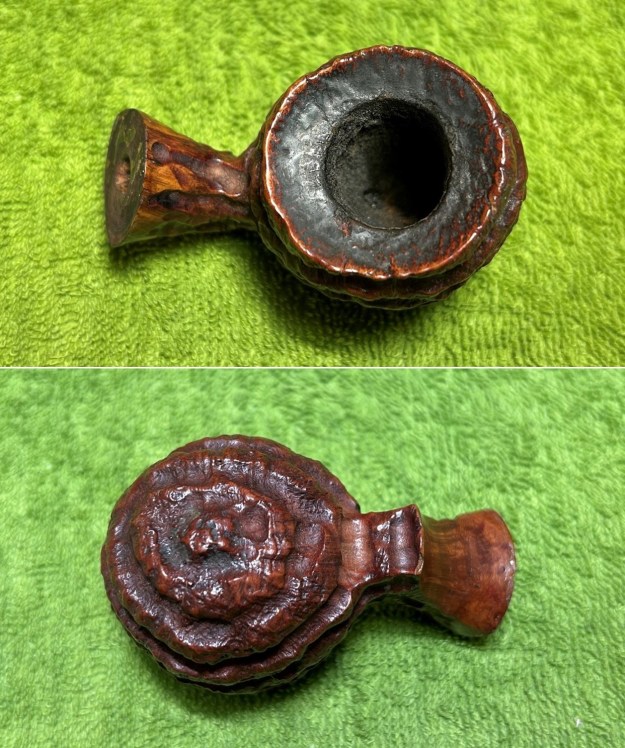
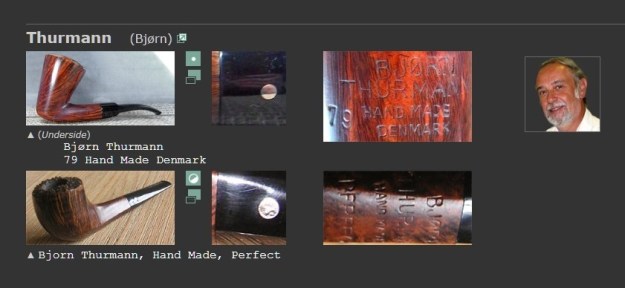 Let’s get working! The first step for me is to ream out the bowl – that is to say, remove all the cake inside the bowl. This accomplishes a couple of things. First (and most obviously), it cleans the bowl and provides a refurbished chamber for future smoking. Second, when the old cake is removed, it allows me to inspect the interior walls of the bowl and determine if there is damage or not. I used a reamer, a pipe knife, and a piece of sandpaper taped to a wooden dowel. Collectively, these ensure that all the debris is removed. I’m pleased to report that the inside of the bowl looks good.
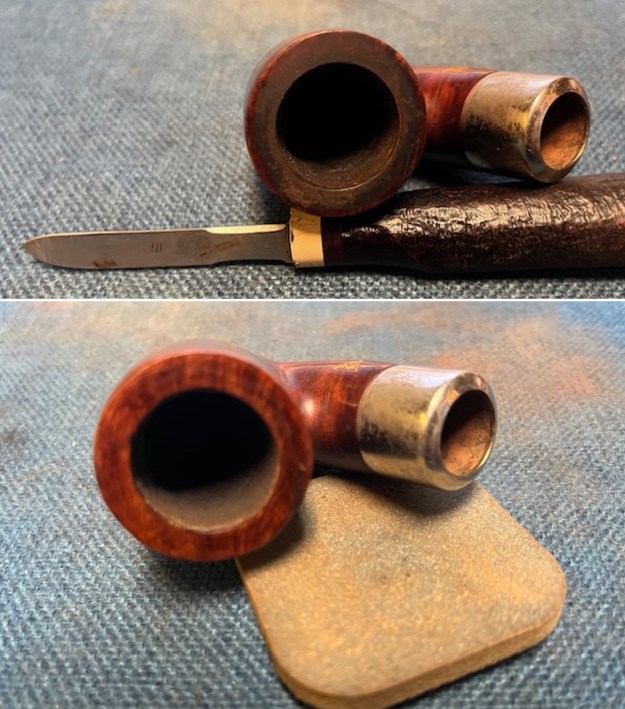
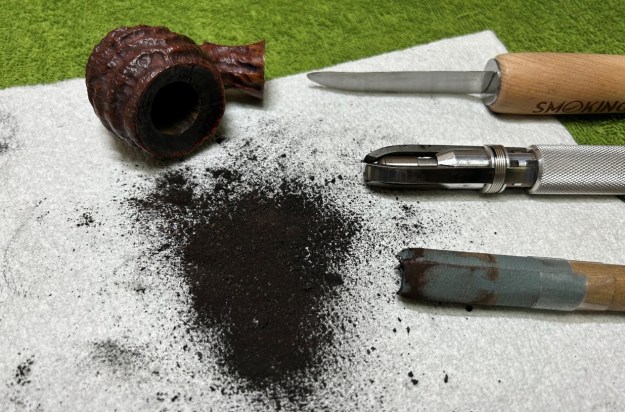 My next step was to remove the lava on the rim. For this, I took an old butter knife and gently scraped the lava away. This provides an edge that is sharp enough to remove what I need, but not so sharp that it damages the rim.
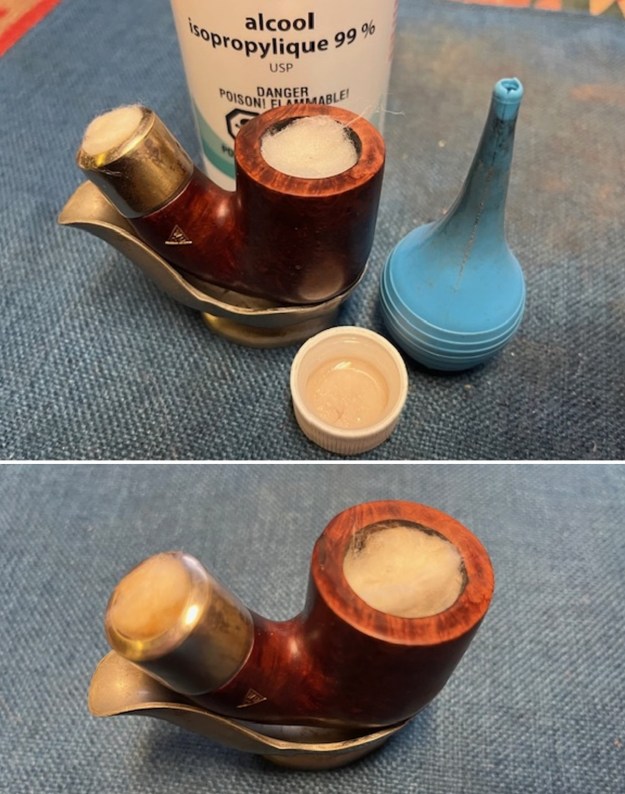
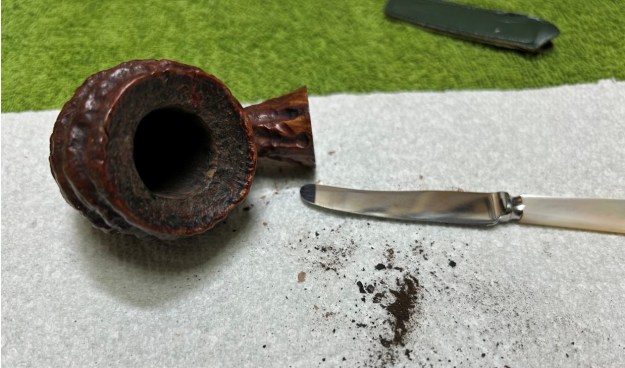 The inside of the stummel needs to be cleaned thoroughly. So I then cleaned it with both pipe cleaners and cotton swabs dipped in 99% lemon-infused isopropyl alcohol. It took some work to get clean!
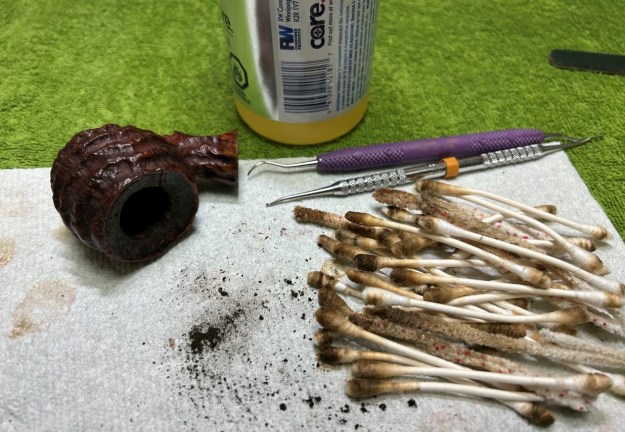 I then decided to ‘de-ghost’ the pipe – that is to say, exorcize the remaining filth from the briar. I filled the bowl and the shank with cotton balls, then saturated them with 99% isopropyl alcohol. I let the stummel sit overnight. This caused any remaining oils, tars and smells to leach out into the cotton.
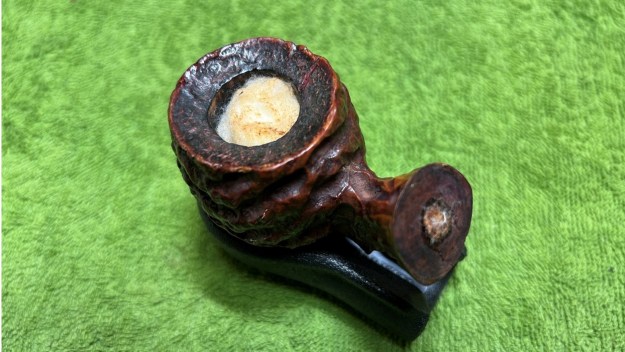 To tidy up the briar, I also wiped down the outside with some oil soap on cotton rounds (and a toothbrush). This does a good job of cleaning any latent dirt on the surface of the briar. The last step of the cleaning process is to scour the inside of the stummel with some all-purpose cleanser and tube brushes. This is the culmination to a lot of hard work in getting the pipe clean.
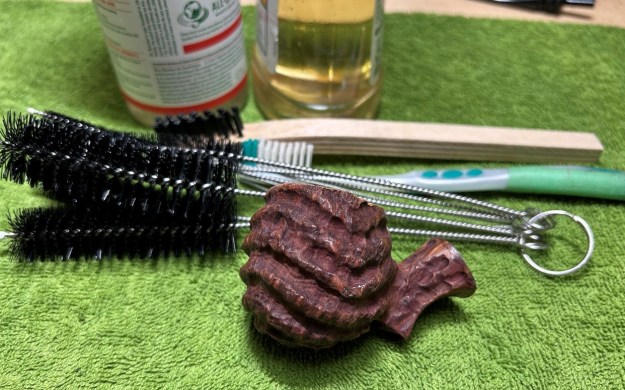 Before picking a stem and slapping it on, there is quite a bit of prep work required. First, the flat face of the shank obviously once had a shank extension. A few years ago, I worked on another Thurmann pipe that also had a shank extension, so this didn’t surprise me. However, there was no shank extension anymore, so I had to improvise.
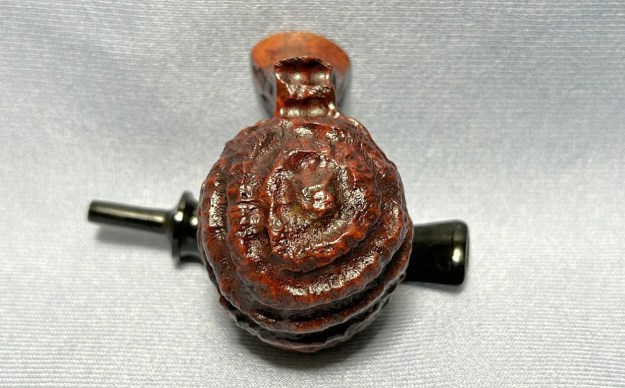
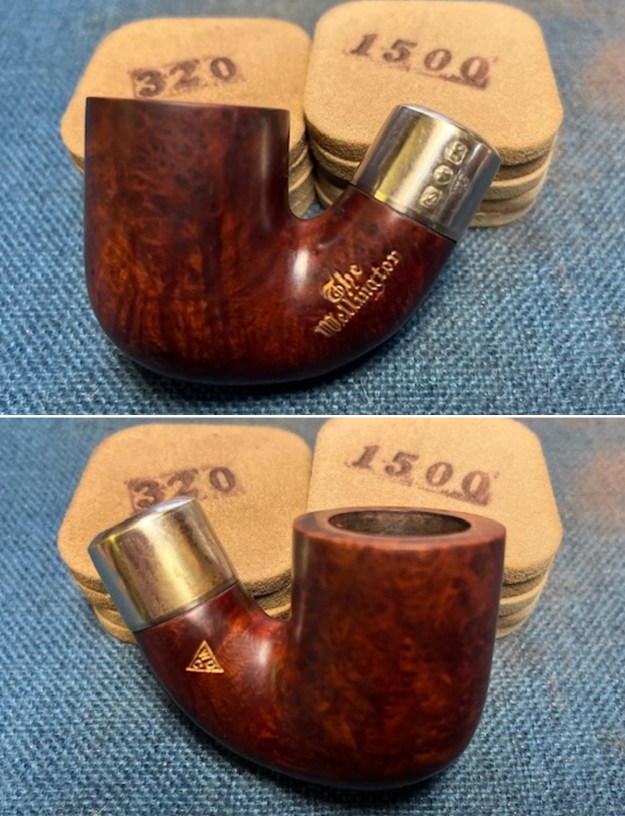
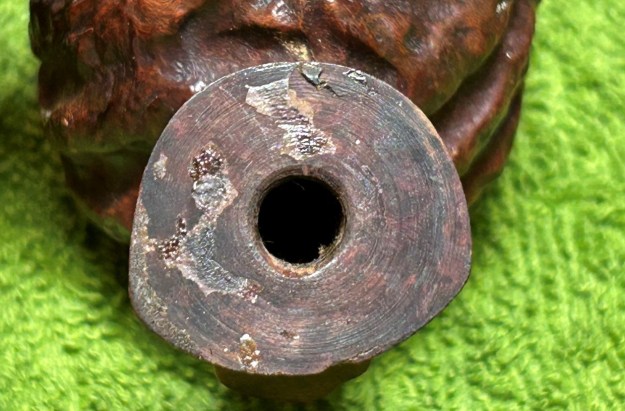 After pondering the situation, I decided to carve the shank face in a style similar to the rest of the pipe. I took my Dremel and a couple of different burrs, and carved a trench that matched those on the bowl. I think it came out really well.
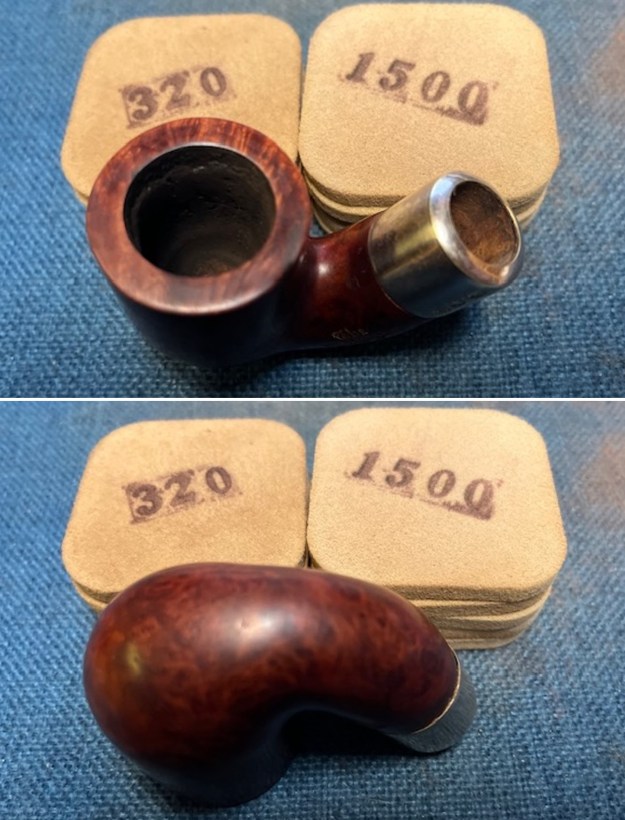
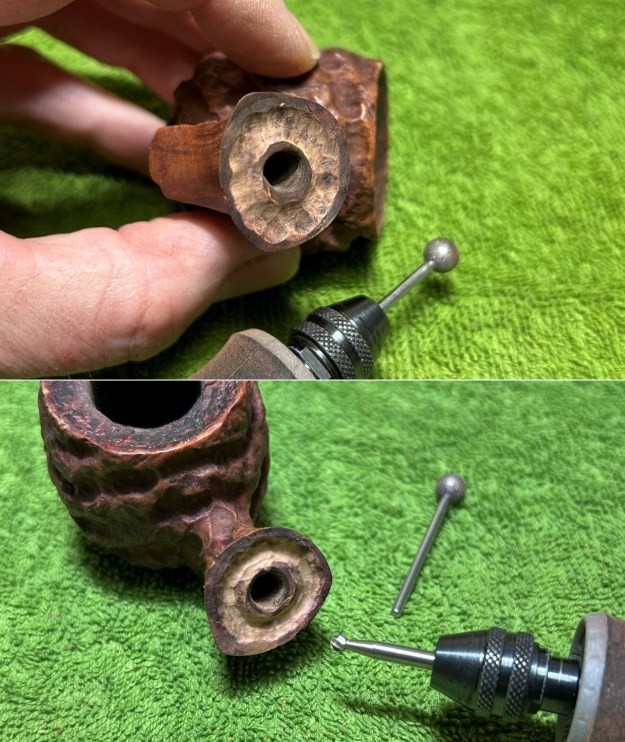 The edge of the shank face was quite sharp. This makes sense when one considers that the extension would have butt up against it. However, it didn’t look right anymore. Instead, I very carefully sanded this sharp edge to match the rim’s edge. After that, I used some of my furniture pens (which is just dye in pen form) and matched the colours. Looks great.
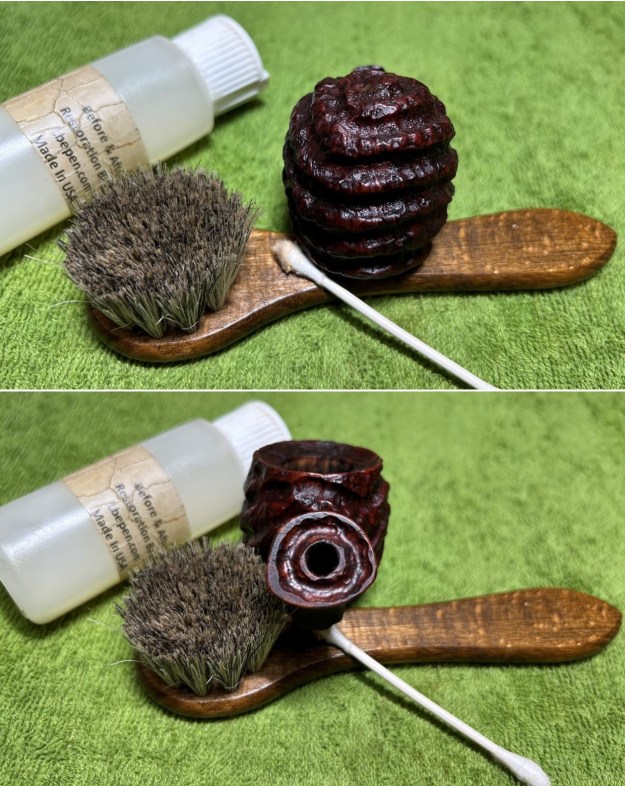
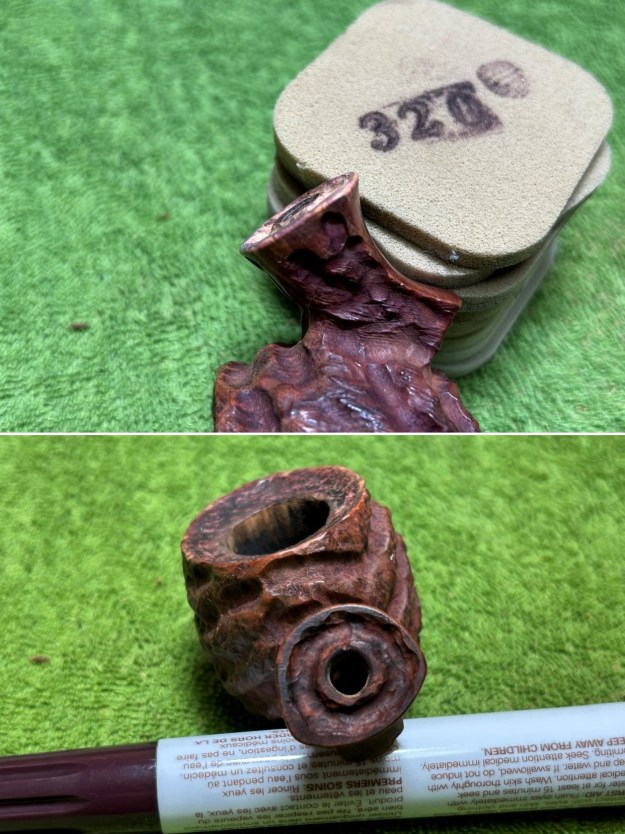 I rubbed some Before & After Restoration Balm into the briar and left it to sit for 20 minutes or so. I also had to use my horsehair brush and a cotton swap to get into the nooks and crannies. The balm moisturizes the wood and gives a beautiful depth to the briar. I then buffed it with a microfibre cloth.
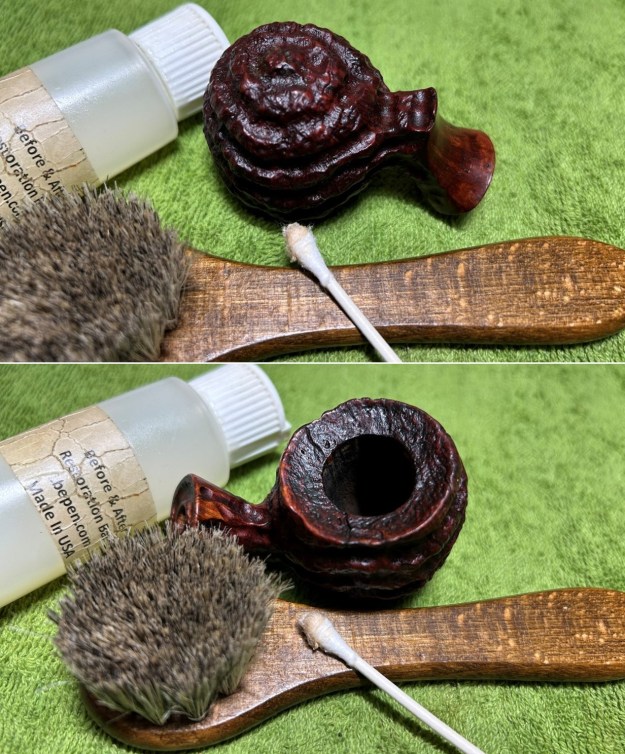
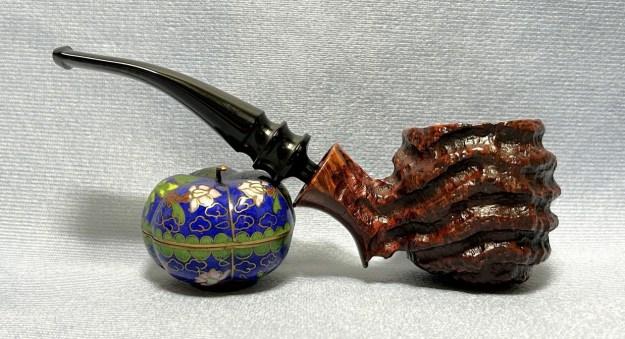
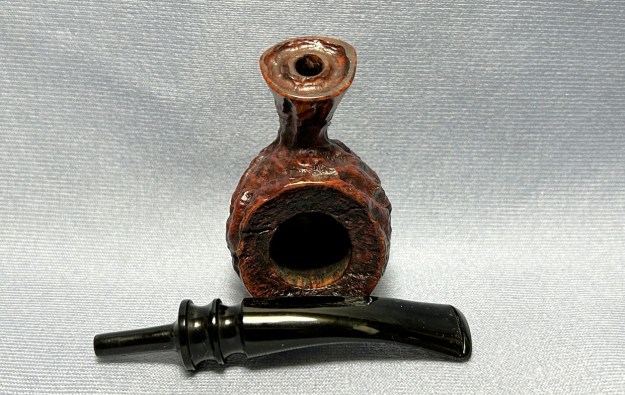
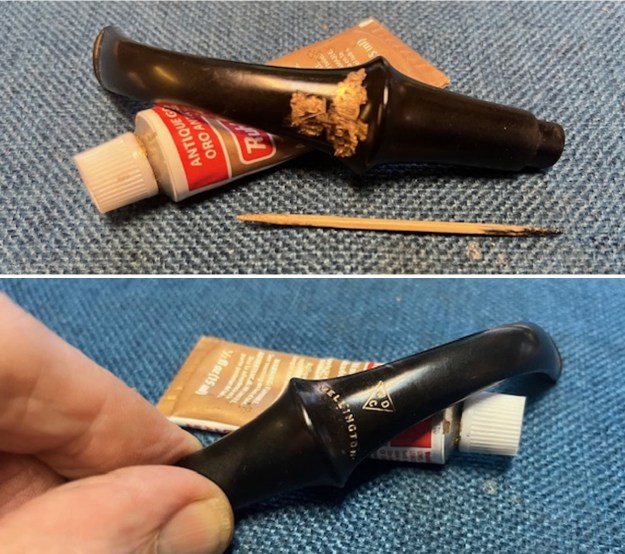
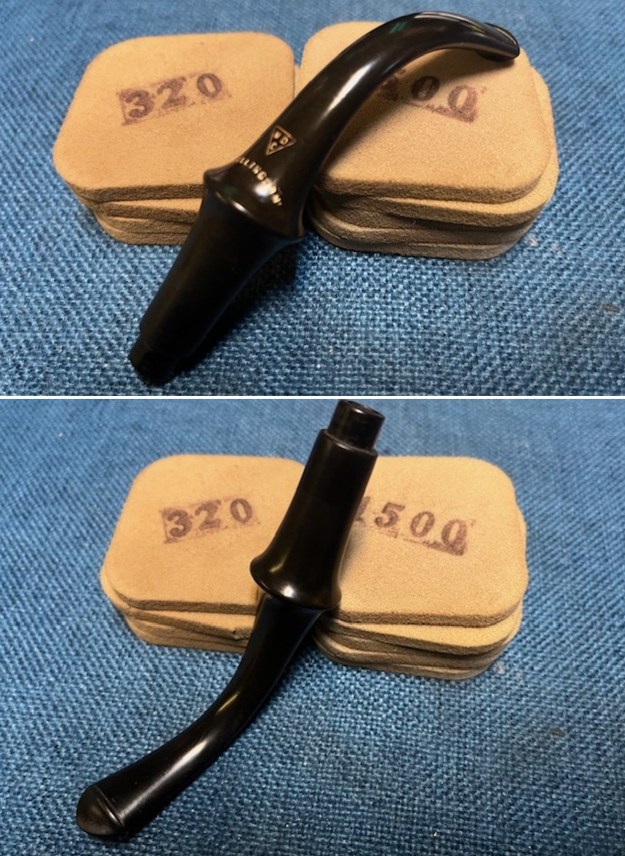
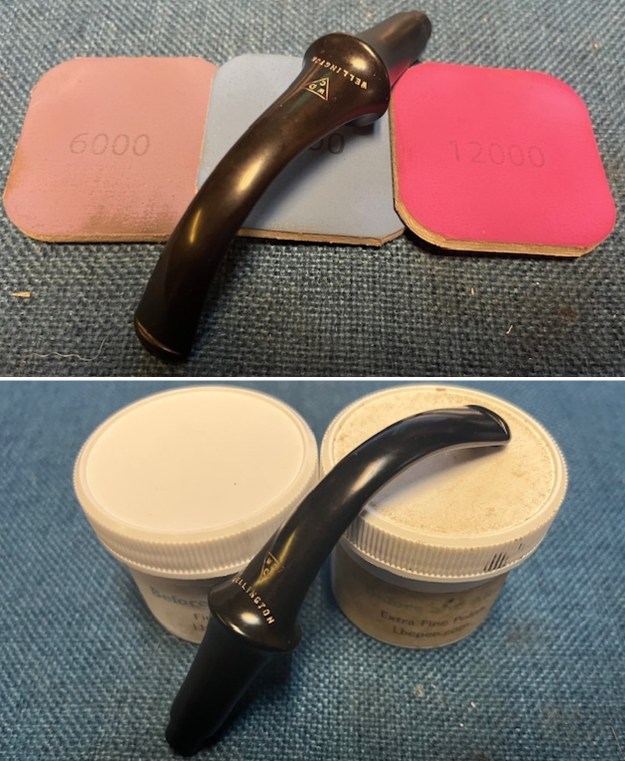
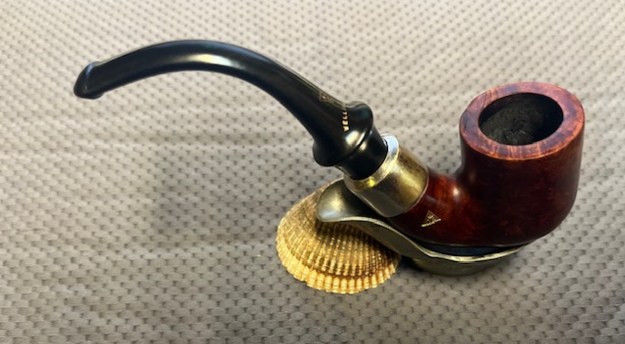
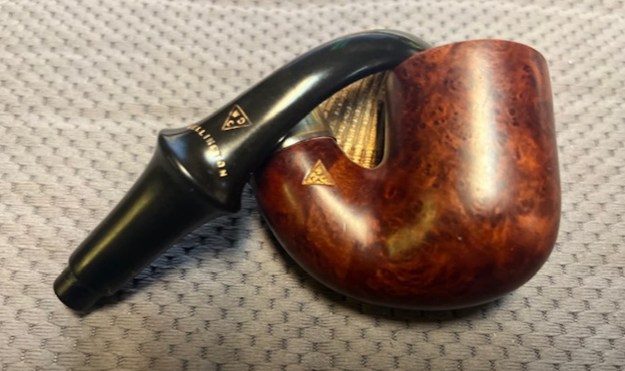
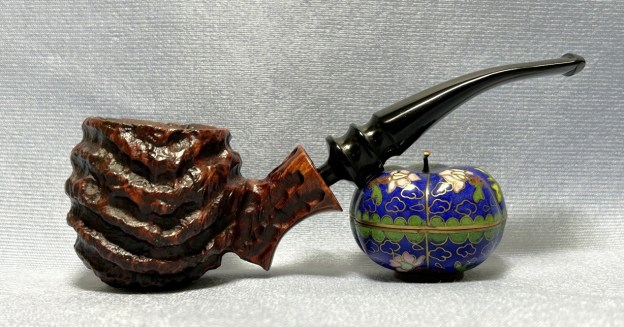
 Now, I had to find a suitable stem and make it work with the stummel. I quickly found a stem in my stores that worked perfectly. It matched the style and shape of the pipe, and I felt that it was a great choice. First, I reduced the thickness of the tenon until it fit snuggly in the stummel’s mortise. I used all nine of the micromesh sanding pads (1,500 through 12,000 grit) to sand out flaws, even everything out, and provide gentle polishing of the finished surface. I also applied pipe-stem oil while using the last five micromesh pads. There was a wonderful, deep black shine to the stem when I was done.
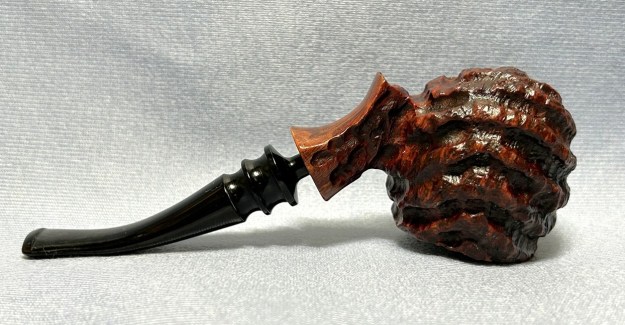
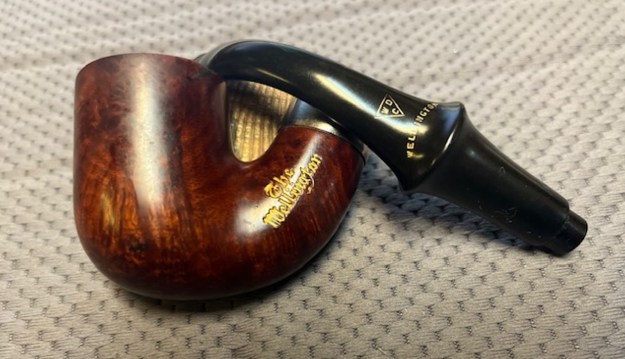
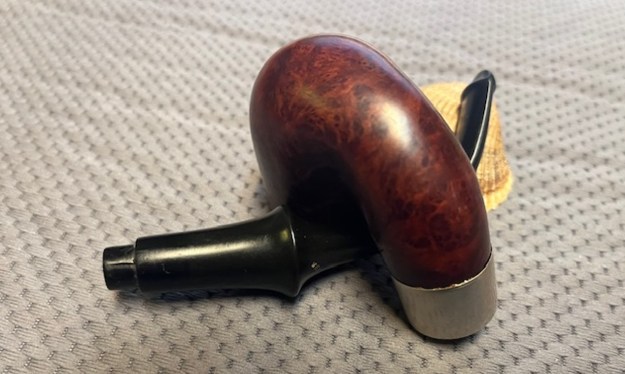
 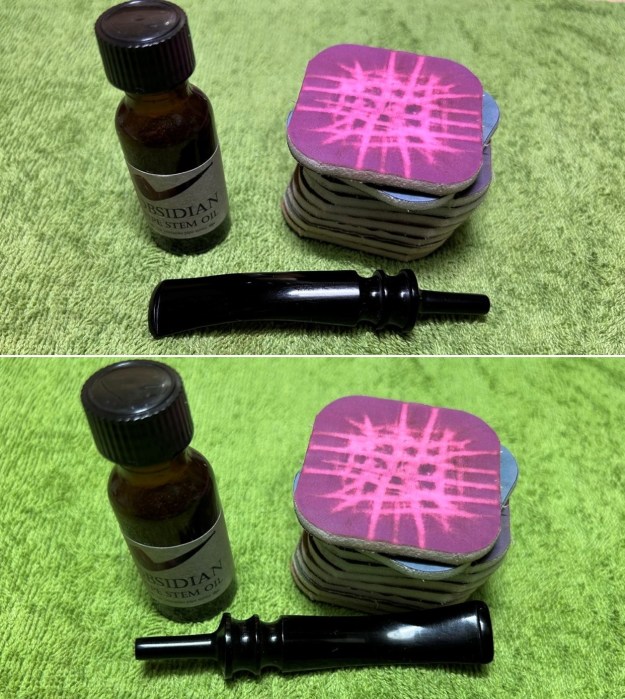 The final step is buffing. I took the pipe to my bench buffer and carefully polished it – first with a white diamond compound for the stem, then with three coats of conservator’s wax for the stummel. Naturally, this procedure makes the pipe look its best – the stummel sings and the stem glows.
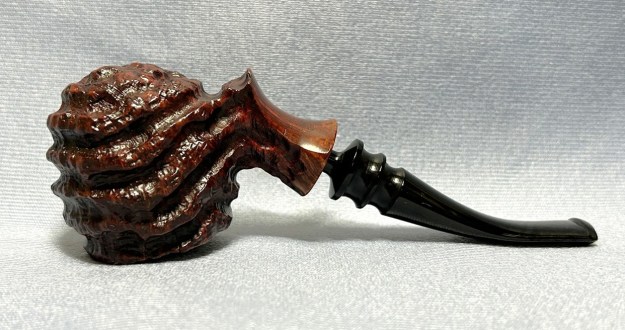
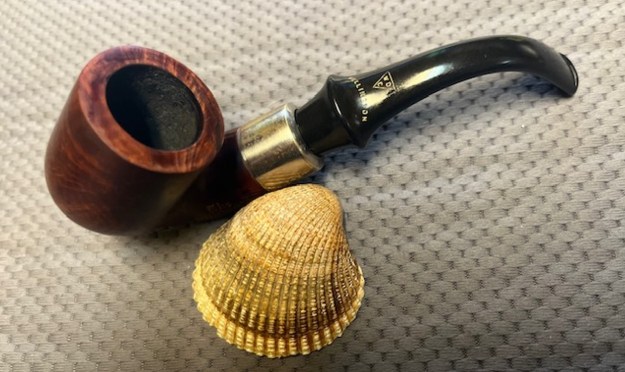
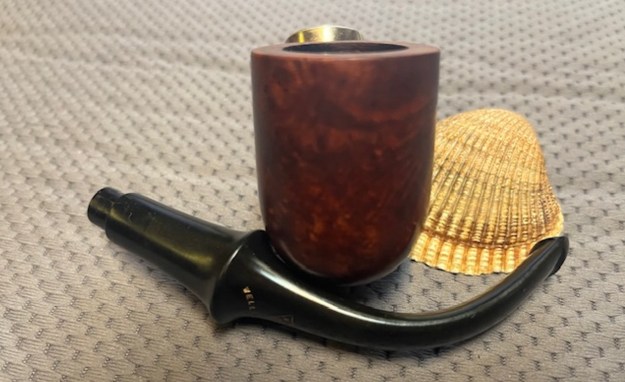
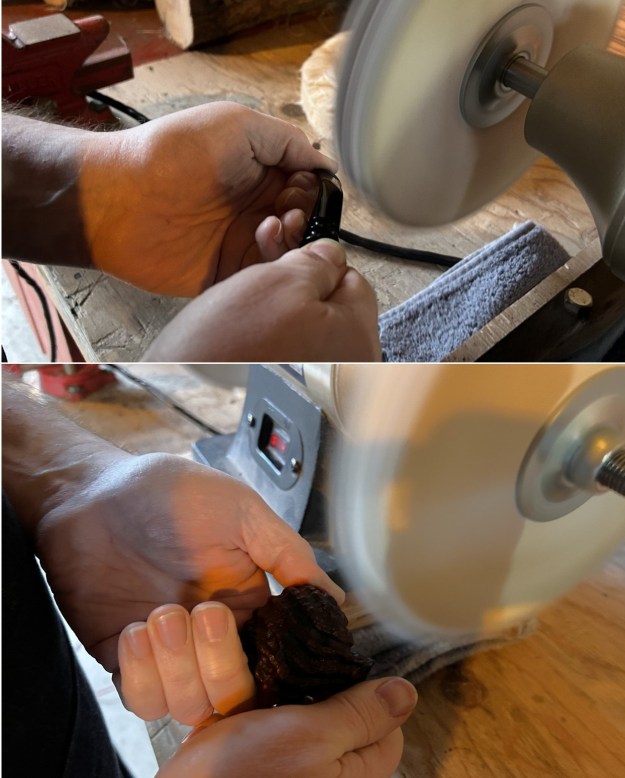 All done! This Bjørn Thurmann Hand Made was a pleasure to work on. It looks fantastic and is ready to be enjoyed again by its next owner. I am pleased to announce that this pipe is for sale! If you are interested in acquiring it for your collection, please have a look in the ‘Danish’ section of the store here on Steve’s website. You can also email me directly at kenneth@knightsofthepipe.com. The approximate dimensions of the pipe are as follows: length 5⅝ in. (12 mm); height 1¾ in. (44 mm); bowl diameter 1⅔ in. (43 mm); chamber diameter ¾ in. (19 mm). The weight of the pipe is 1⅞ oz. (54 g). I hope you enjoyed reading the story of this pipe’s restoration as much as I did restoring it. If you are interested in more of my work, please follow me here on Steve’s website or send me an email. Thank you very much for reading and, as always, I welcome and encourage your comments.