by Steve Laug
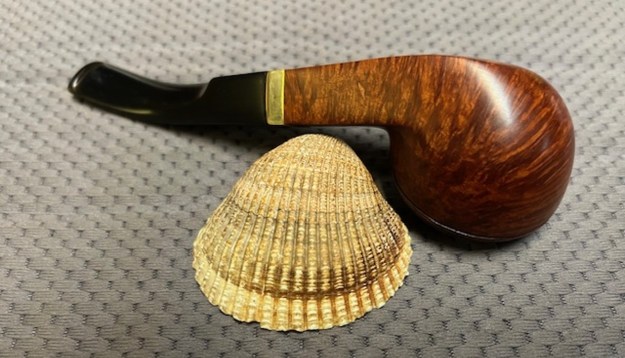
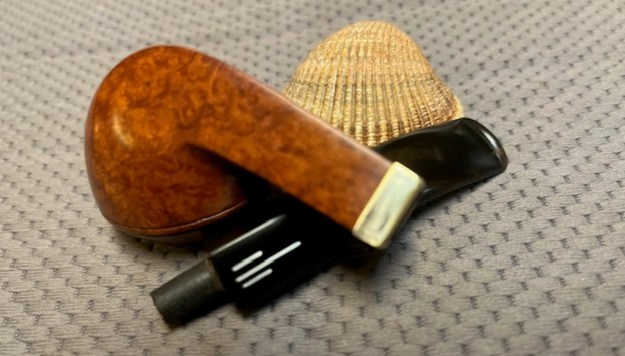
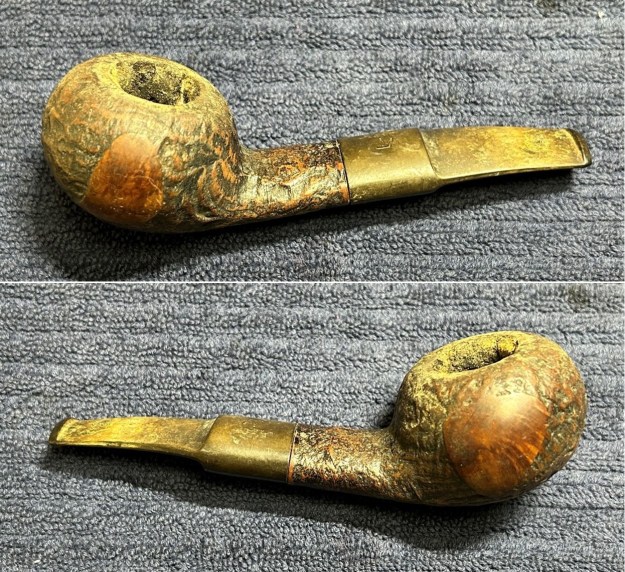
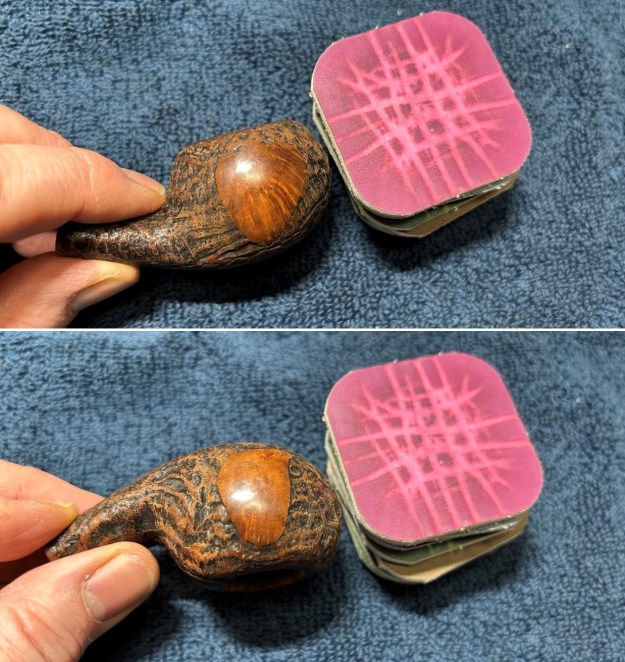
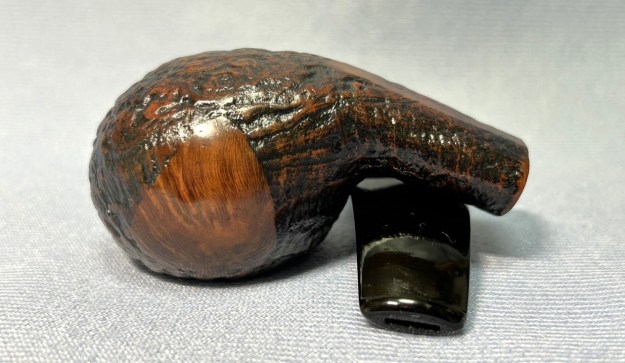
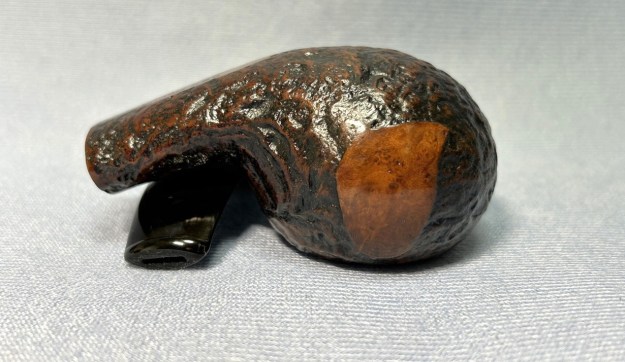
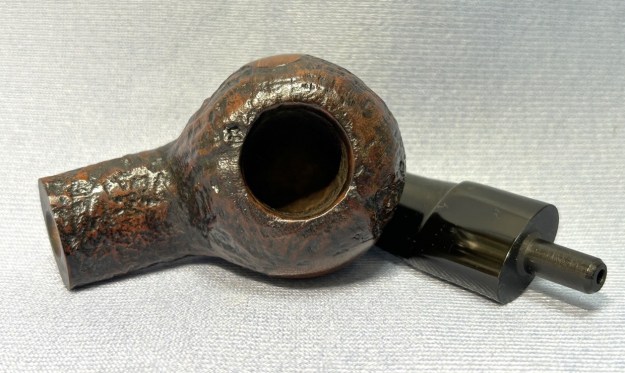
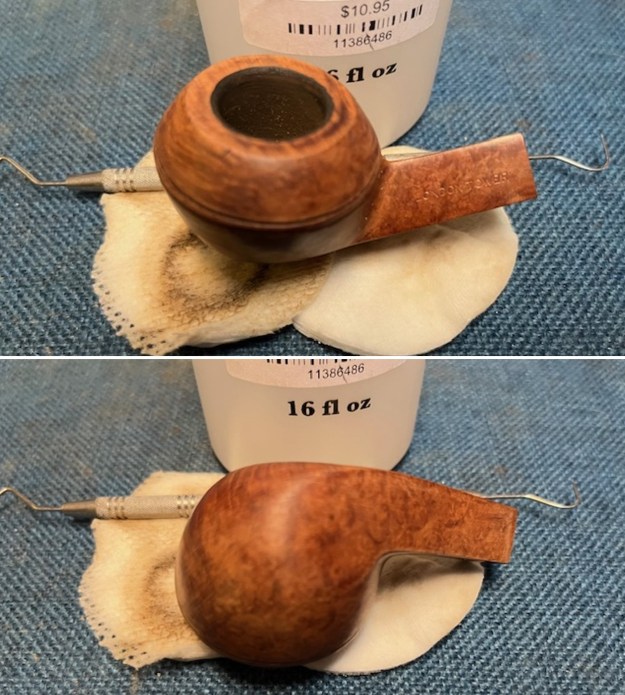
The next bowl on the table is a classic English looking ¼ Bent Bulldog that I decided to restem. I cleaned up the bowl and matched a stem with briar bowl. It is a cleanup and restore and gives me a break from the routine of my other work on pipes. The bowl is dirty and somewhere in its life before it came to us the stem was lost. The finish was a bit dull and lifeless even though there was a shiny varnish coat. It showed promise under the grit and grime of the years. It was stamped on the left side of the shank and read London Tower in block text. On the right side it read Made In London [over] England. The bowl had a thick cake and some lava overflow on the rim top. The bowl also had some dust and oils ground into the finish of the bowl. There were a few small fills in the shank but the bowl seemed to be free of them. It is a pretty pipe with some great grain and I am hoping to match a nice stem to it. I took some photos of the bowl before I started my work on it.
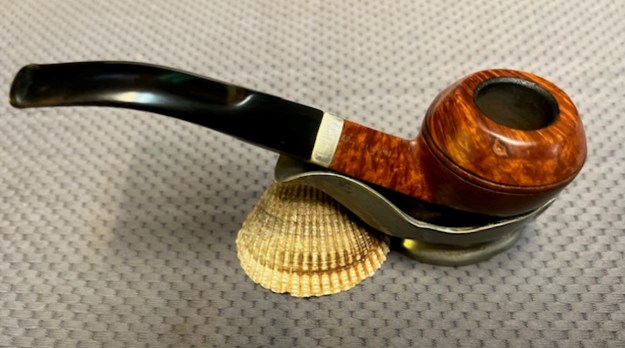
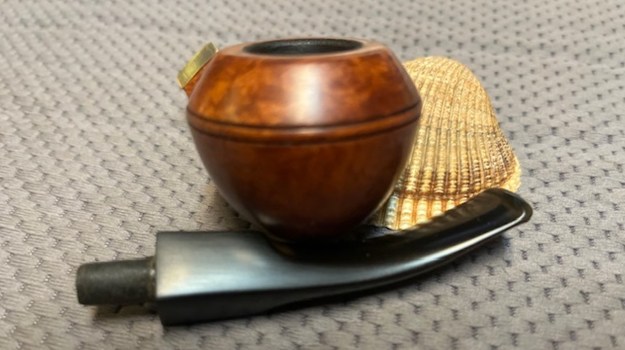
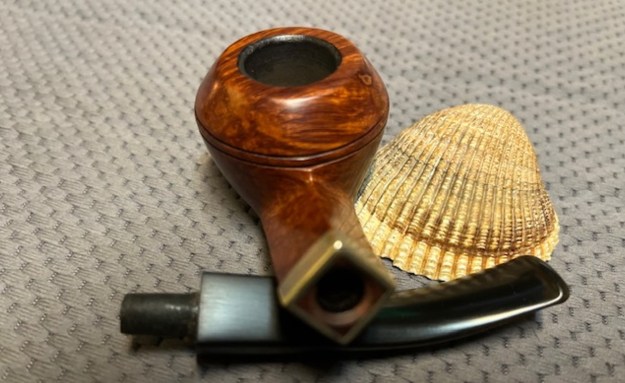
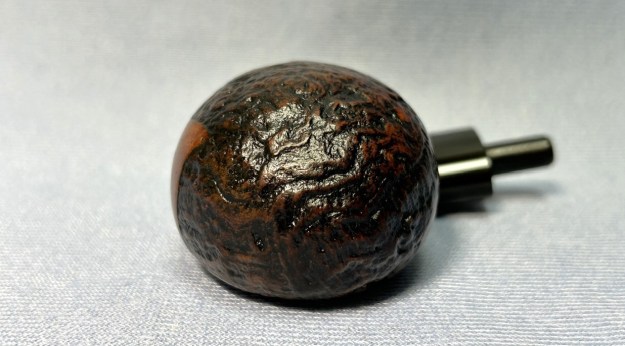
 I took a close up photo of the rim top and bowl to give more of a sense of what I see and noted above. It is a dirty pipe but seems to have no damage on the rim top or edges.
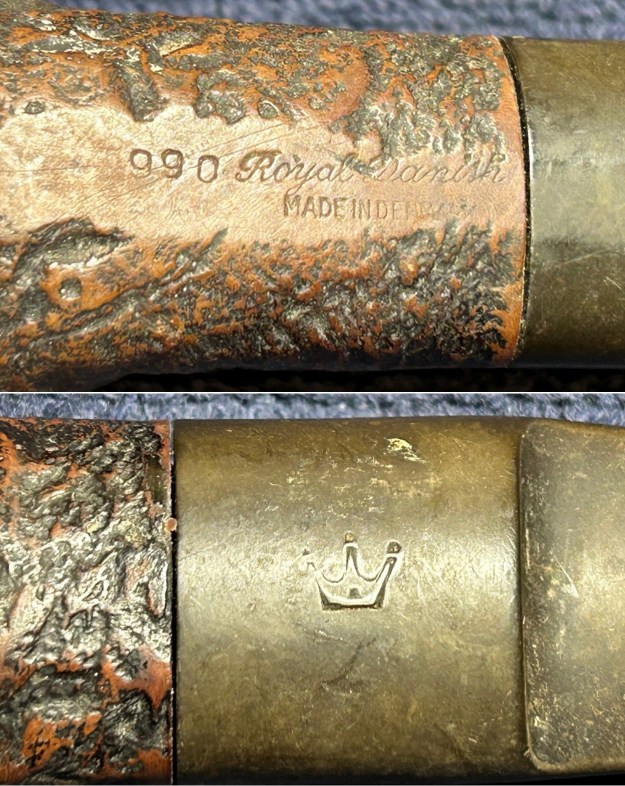
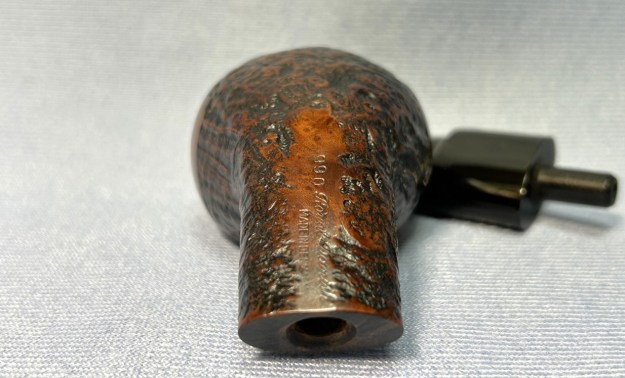
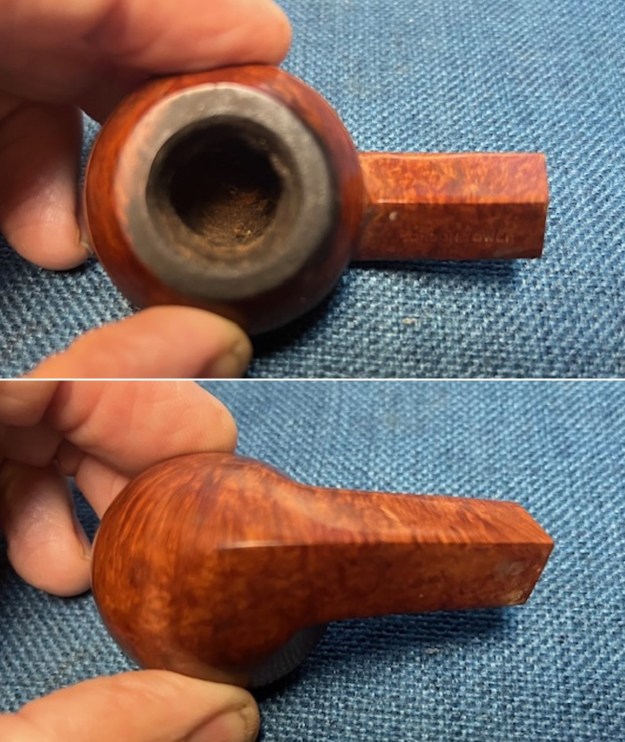
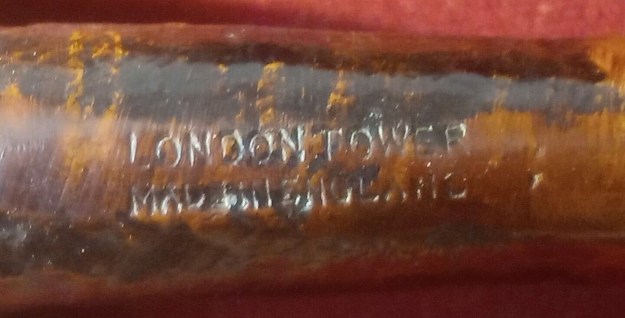
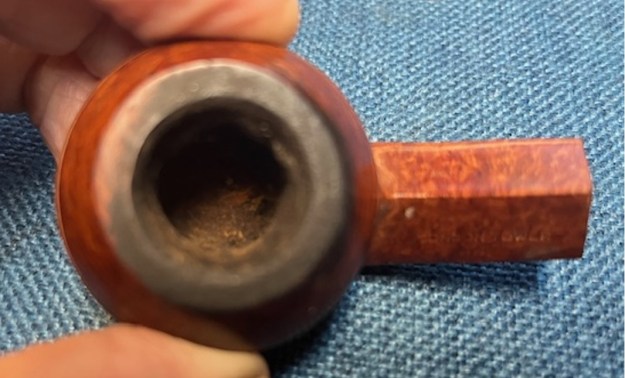 I took photos of the stamping on the left and right side of the shank. You can see that it is quite clear and readable. There were also some interesting water spots on the briar that are visible in the photos. There may well have been a shape number after the England stamp below and near the bowl but it not clear… potentially some remnants of numbers.
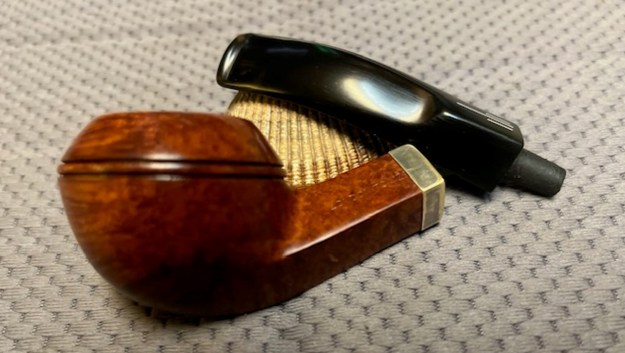
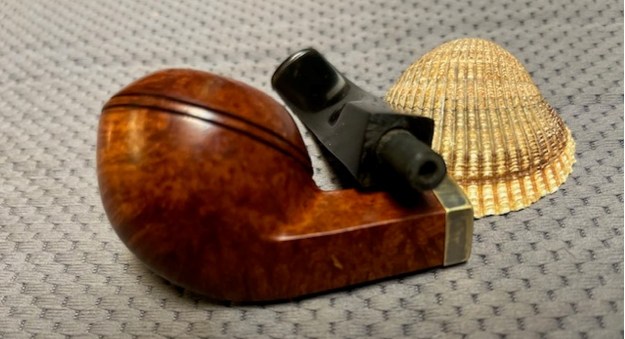
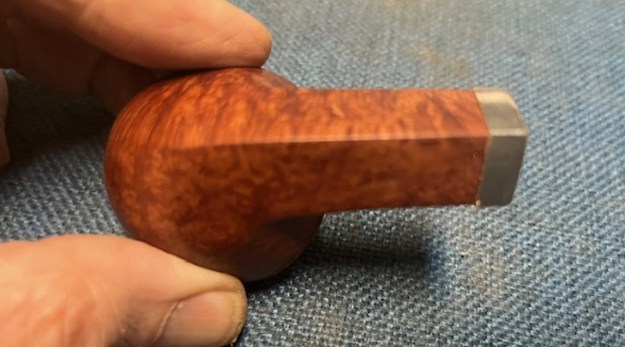
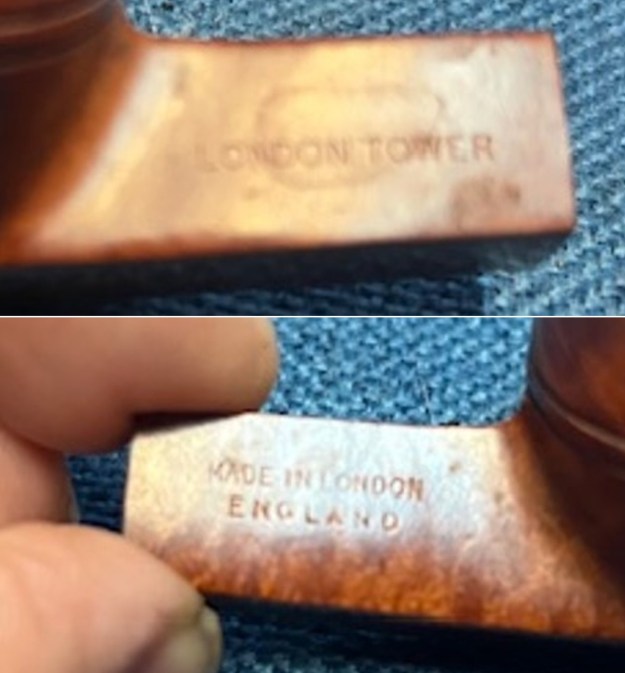 I found a stem in my cans of stems that would work well with the pipe. It is interestingly a worn The Everyman Pipe by Comoy’s three bar logo stem and the shape was right for the pipe. The tenon was a Delrin replacement tenon that had been done before I had it and I would need to clean up the tenon end a bit and smooth it out for a clean fit but I think it would look good!
 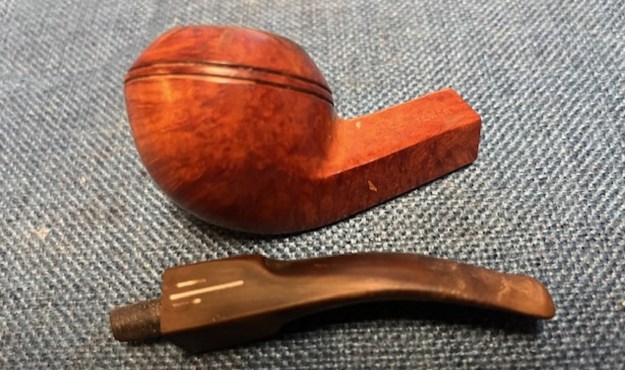 Now it was time to learn about the brand itself. I was unfamiliar with the London Tower Brand but there was something about the shape and the way it looked with the Comoy’s Everyman stem above that made me think there was a Comoy’s Connection. Of course, I found nothing on either PipePhil’s site or on Pipedia. Pipedia had a listing for the brand but showed a few photos and asked for information. In essence it asked for the same thing I was looking for.
So, I turned and just did a general Google search for the London Tower Made in London England pipe. Low and behold I was given a link on Smokingpipes.com and two on eBay that connected the pipe to Comoy’s.
Here is the link to the Smokingpipes link that included a phot of the pipe they were selling. (https://www.smokingpipes.com/pipes/estate/england/moreinfo.cfm?product_id=257202). The description highlighted the stamping and the single photo shows the stamping clearly. I quote below and also have included the photo. The LONDON TOWER stamp is identical to the one I am working on though above it there is a Comoy’s stamp. The little bulldog I am working on does not currently have a Comoy’s stamp and honestly I do not think it did in my case.
A tall-bowled straight Billiard, this Comoy’s may not be amongst those that collectors spend countless waking hours pouring over listings in search of, but it’s still a fine representative of the English school nonetheless. Lightly smoked, but otherwise good condition. – Daniel Bumgardner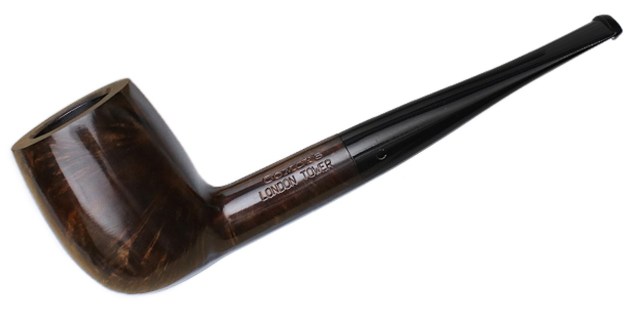 The first eBay item listed next was of a saddle stem, sandblast pot that bore the same stamp as the smokingpipes billiard. Here is the link (https://www.ebay.com/itm/145100770839). I include two photos of the pipe and its stamping. London Tower stamp is the same though this one just says Made in England where the one I am working on says Made in London England.
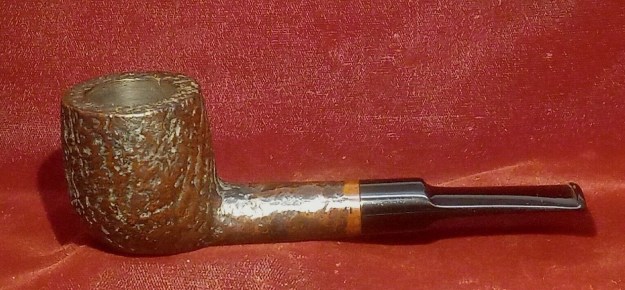
 The second eBay sale was for a different shaped pipe but the stamping was the same as the smokingpipes billiard – Comoy’s [over] London Tower. And like the one I have here it had some obvious fills (https://www.ebay.com/itm/195608835371?mkevt=1&mkcid=1&mkrid=711-53200-19255-0&campid=5338722076&customid=&toolid=10050).
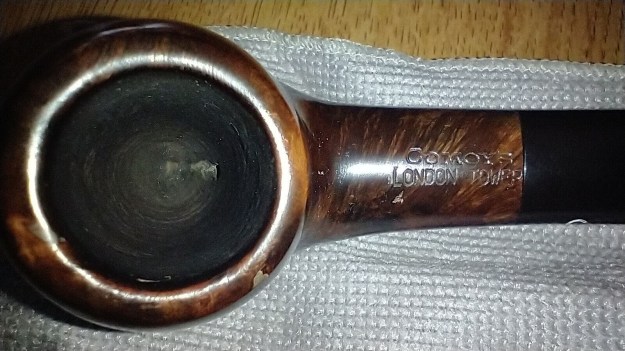 From the information I learned that the London Tower classic shape was in all probability made by Comoy’s and was a seconds line. Now it was time to work on the pipe itself.
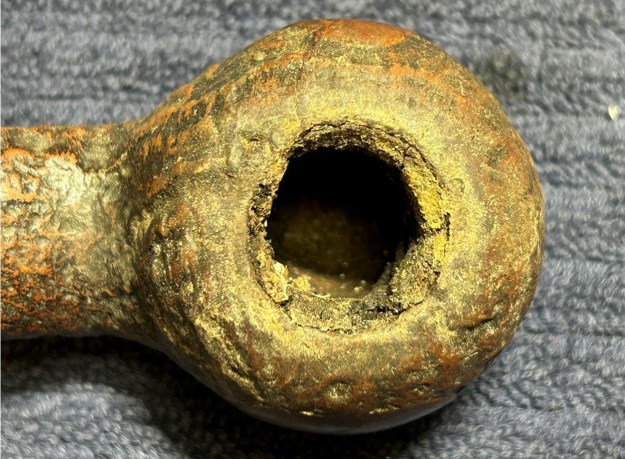
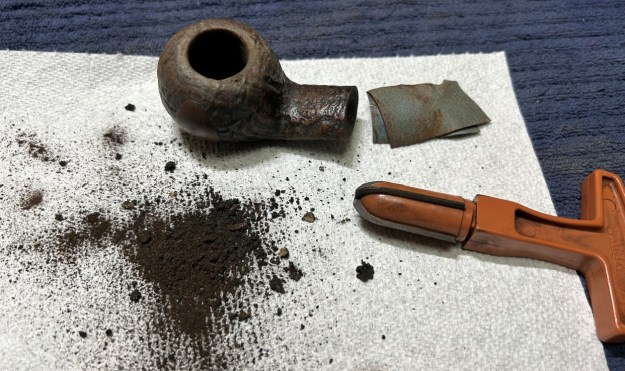
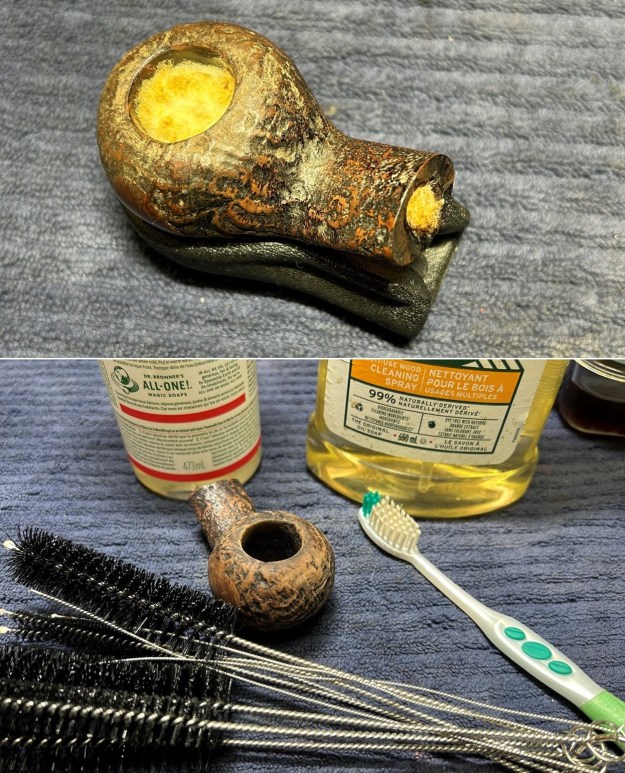
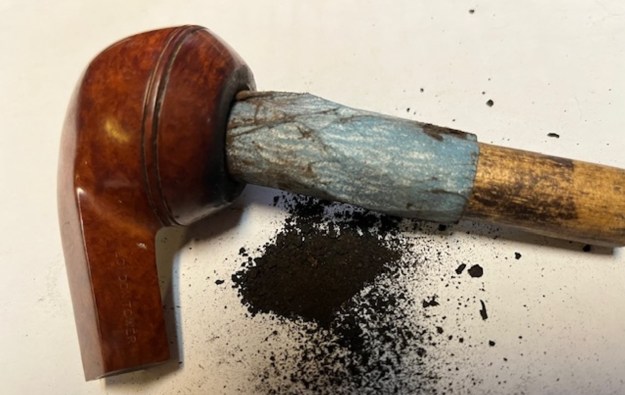
I began by reaming the pipe. I used a PipNet Reamer with the first and second cutting heads to take back the heavy cake to bare briar. I cleaned up the reaming with a Savinelli Fitsall Pipe Knife and finally sanded the bowl walls with 220 grit sandpaper wrapped around a dowel. I like to remove all the cake to examine the walls for damage and checking. Great news is that this one is free of any damage! 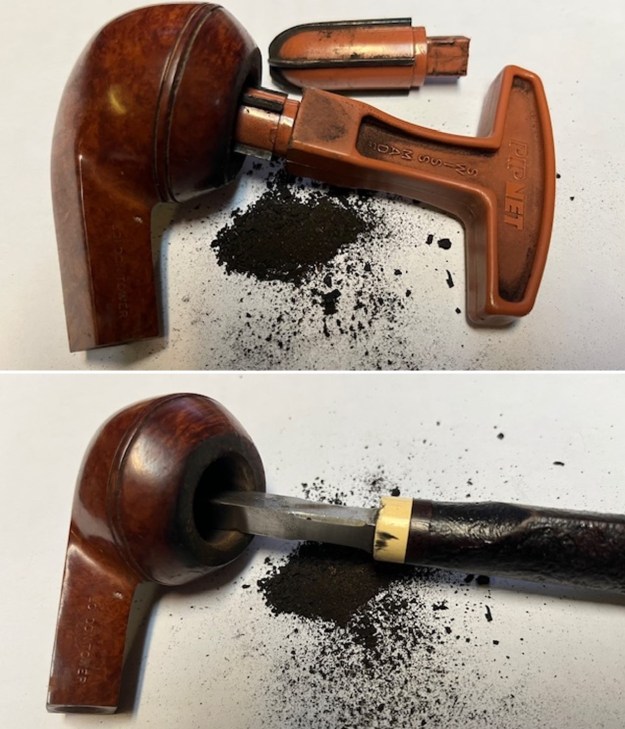
 I scraped off the rim top and edge of the bowl with the Savinelli Fitsall knife. The inner edge and the top looked to be undamaged.
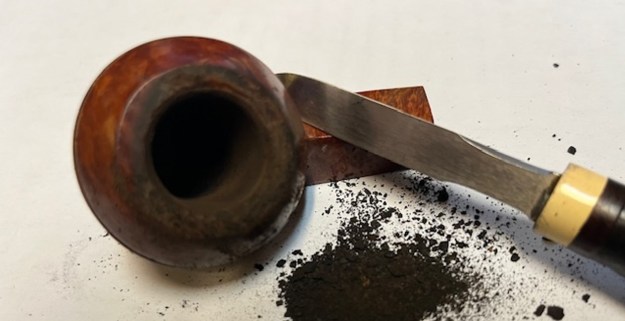 I moved on to using the folded sandpaper to clean up the rim darkening on the pipe as well as further addressing the build up on the rim top. I was definitely looking better when I finished.
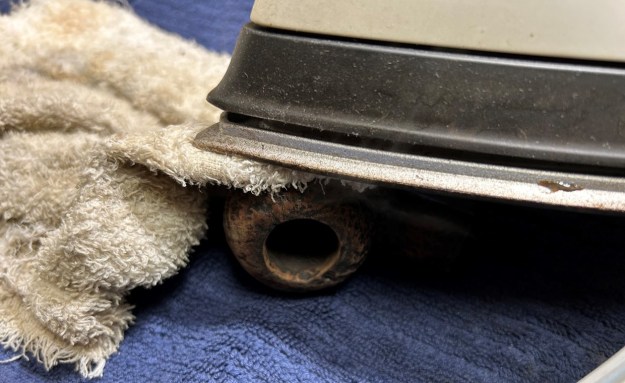
 I cleaned off the shiny coat of varnish on the bowl and shank with a cotton pad and acetone. I also used a dental pick to clean out the twin rings around the cap of the bowl. Once finished it looked better. Surprise, even what I thought was a fill on the top of the shank turned out to be a fleck of paint and it disappeared.
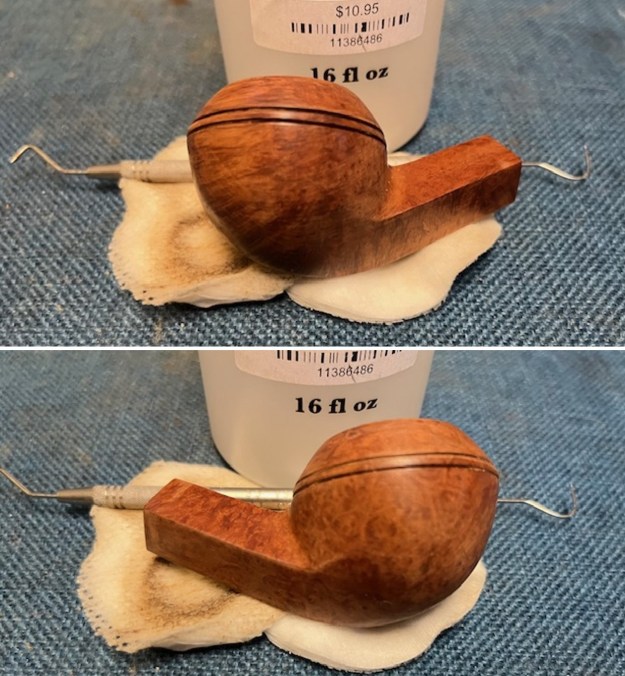
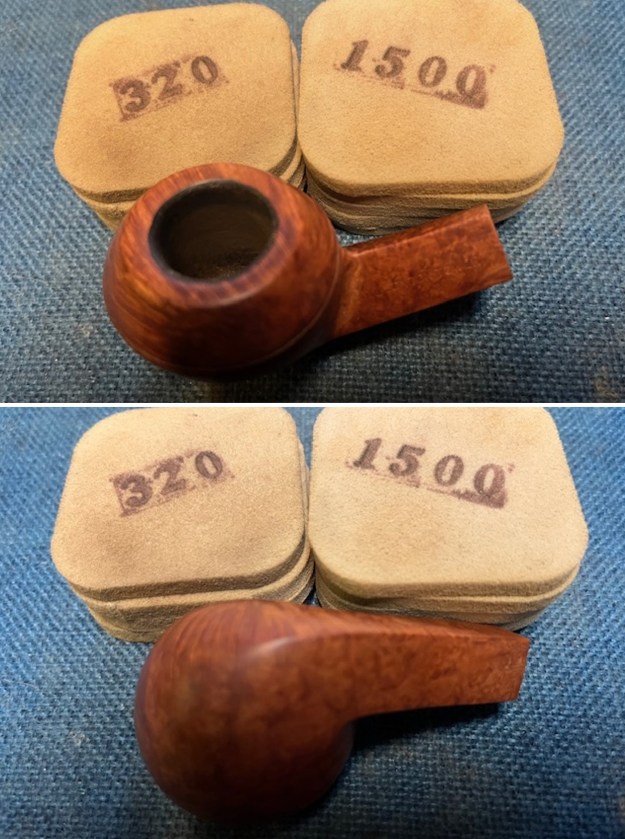
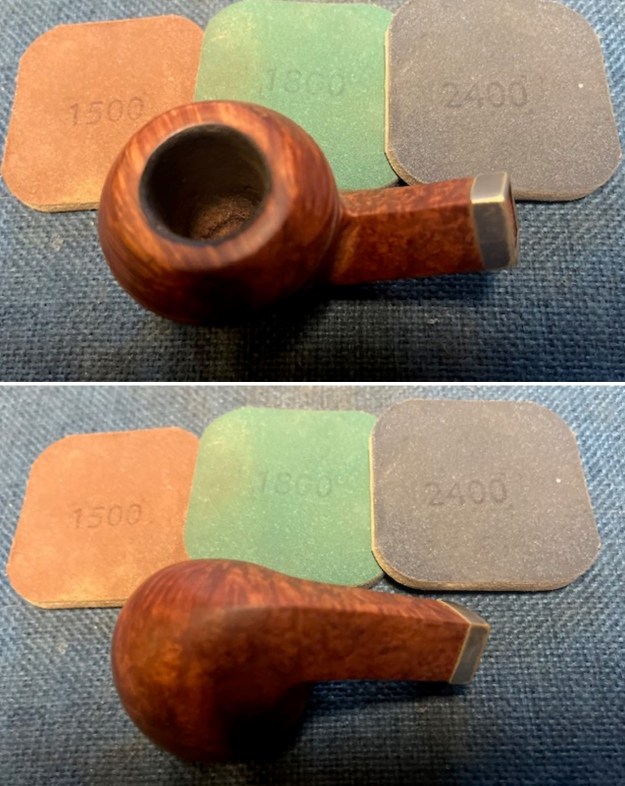
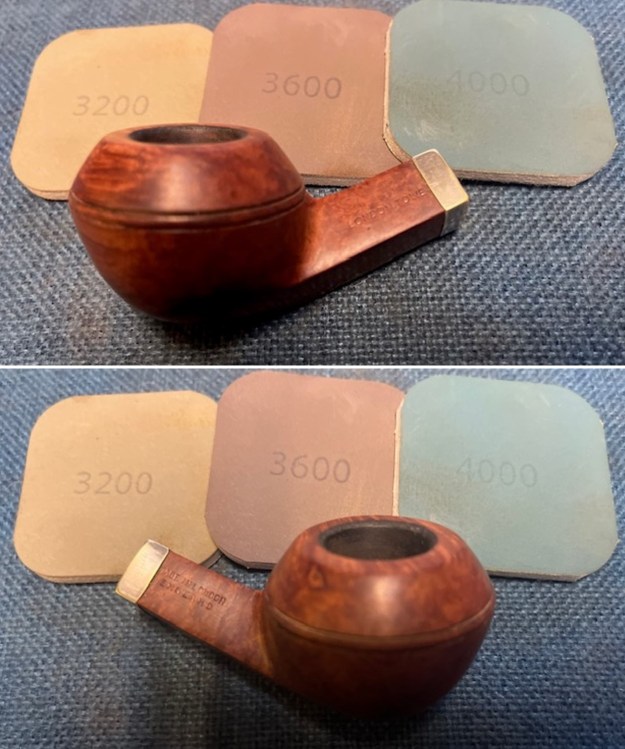
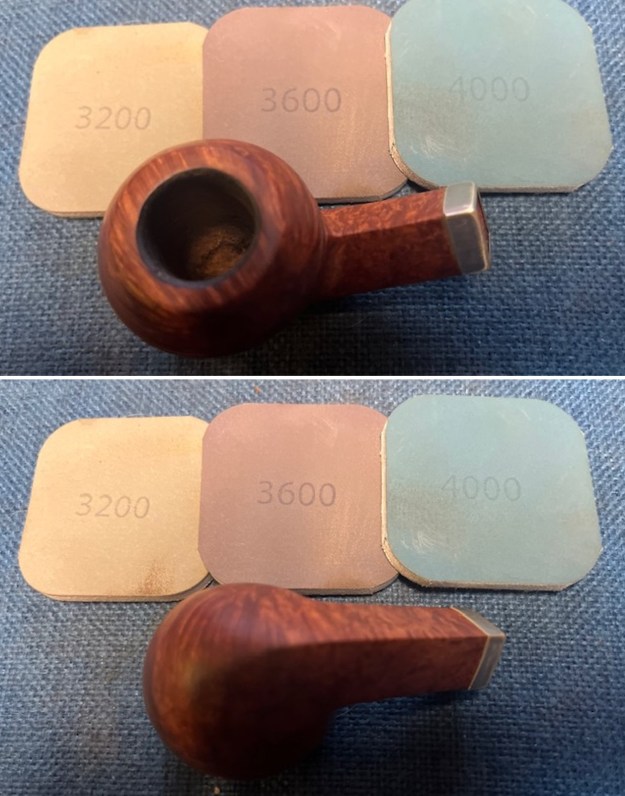
 I sanded the bowl to blend in the remaining fills to the surface of the bowl and to continue to clean up the rim top and remove any remnants of varnish. I used 320-3500 grit sanding pads and wiped the bowl down after each pad with a damp cloth to check on the progress. It came out looking much better.
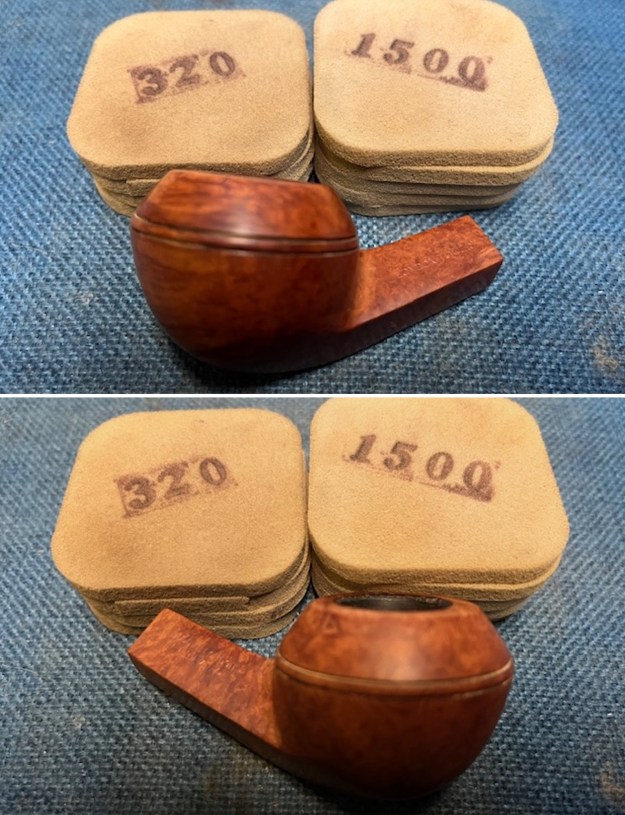
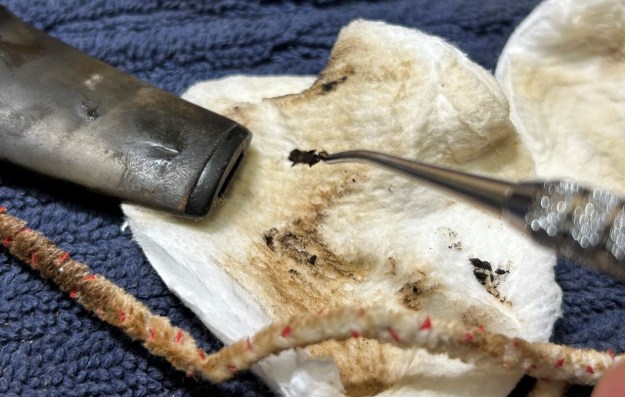
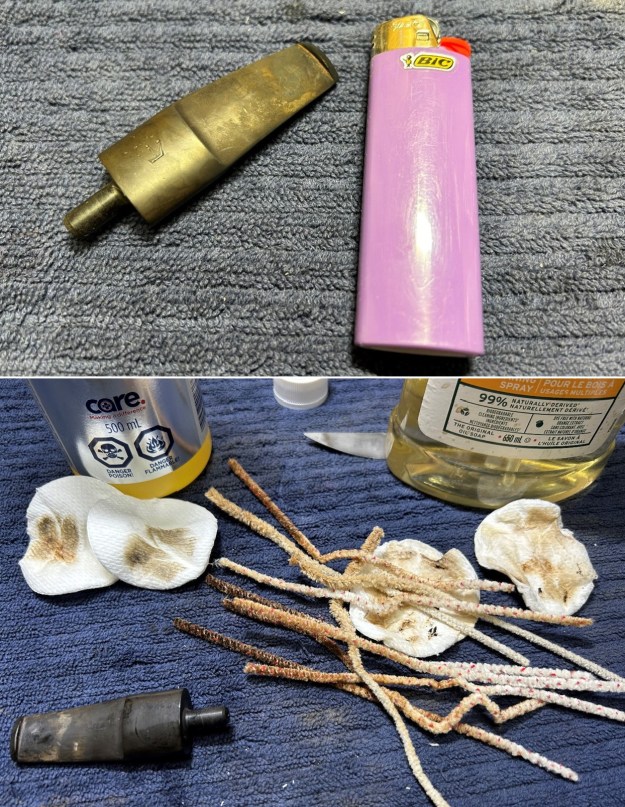
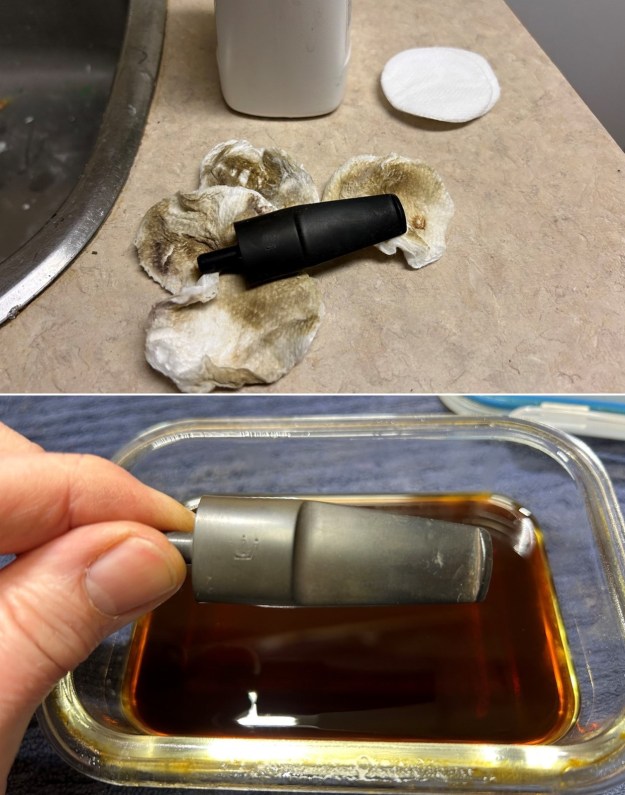
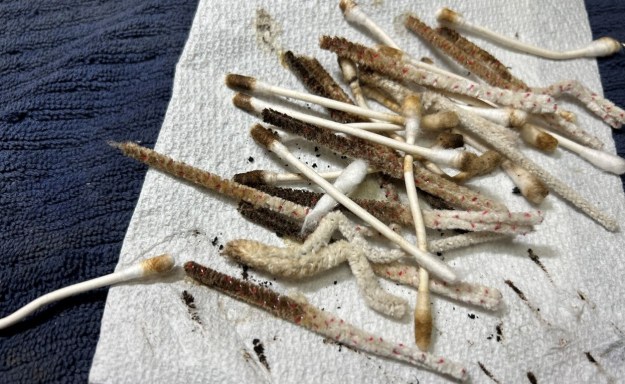
 I used alcohol, cotton swabs and pipe cleaners to clean out the internals of the shank and the new stem. Once finished the pipe smelled as clean as it looked.
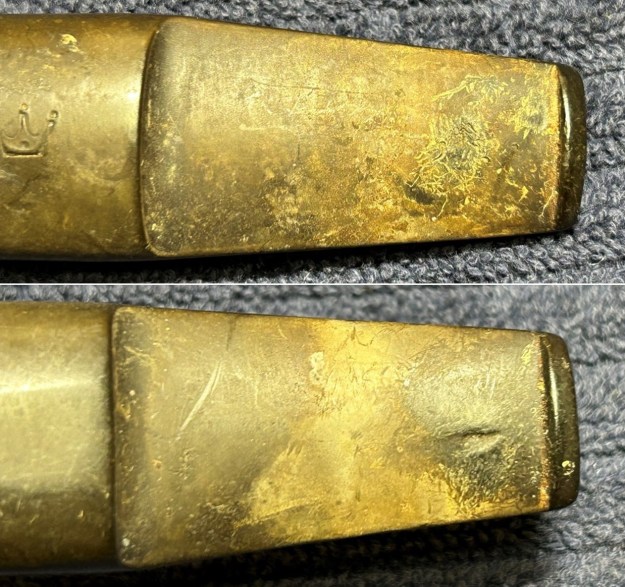
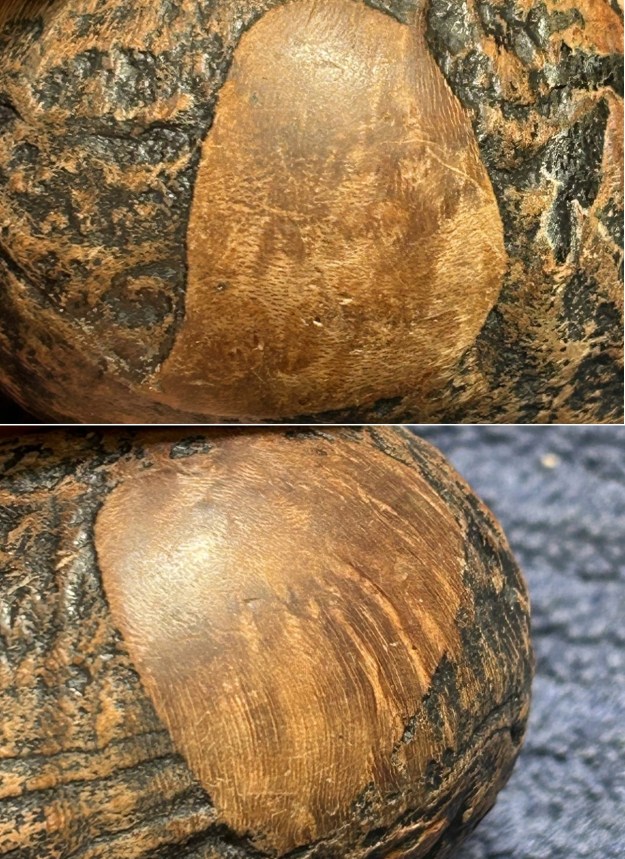
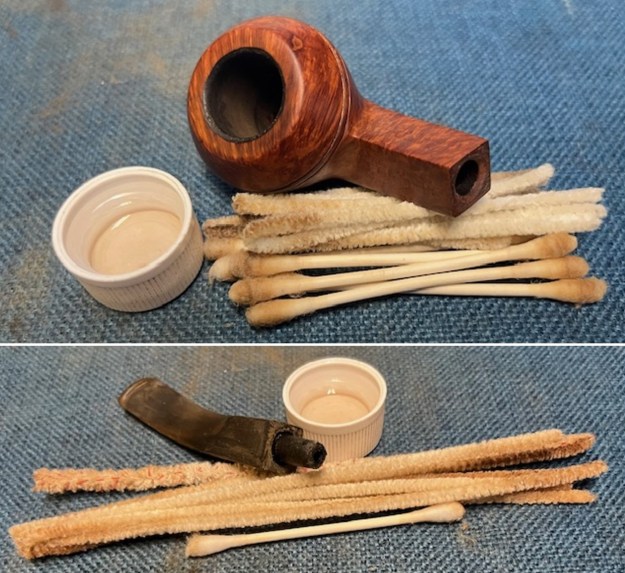 I decided to put a narrow diamond shank band on the pipe. It is polished nickel and would work well with the three bars on the stem side. The band came quite deep and I used a Dremel and sanding drum and a topping board to reduce the depth of the band. The first photo below shows the amount of band that I removed from the original band and the shorter band on the shank. I heated the band and pressed it in place on the shank end. It was short enough in depth to no hide any of the stamping.
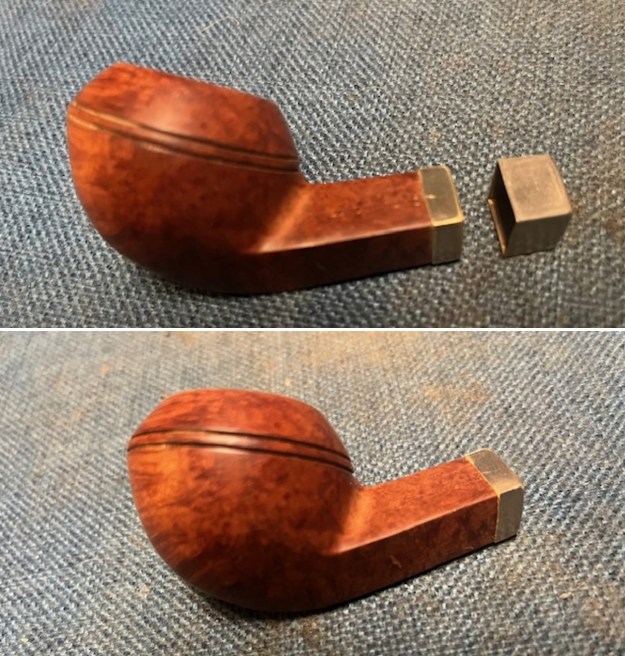

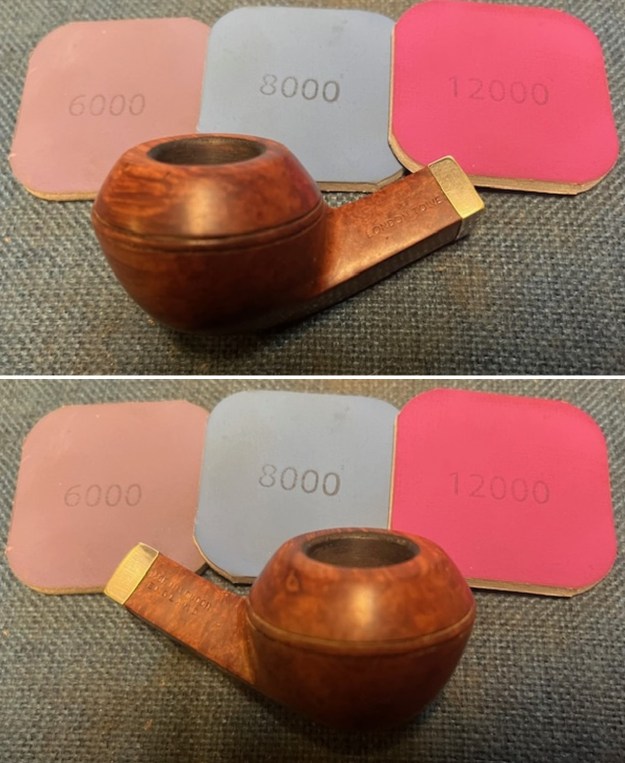
 I polished the briar bowl and nickel band with micromesh sanding pads – dry sanding with 1500-12000 grit sanding pads. I wiped it down with a damp cloth after each pad to remove the debris. The bowl and the band took on a rich glow.
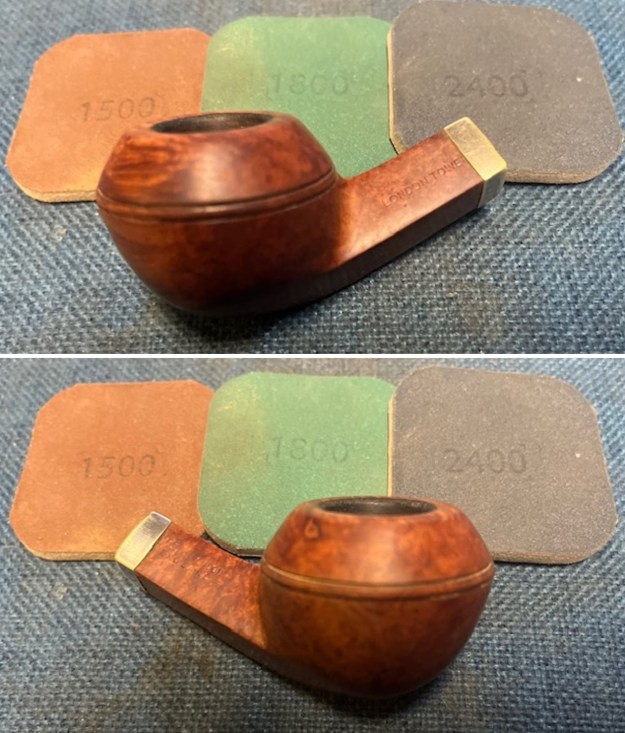
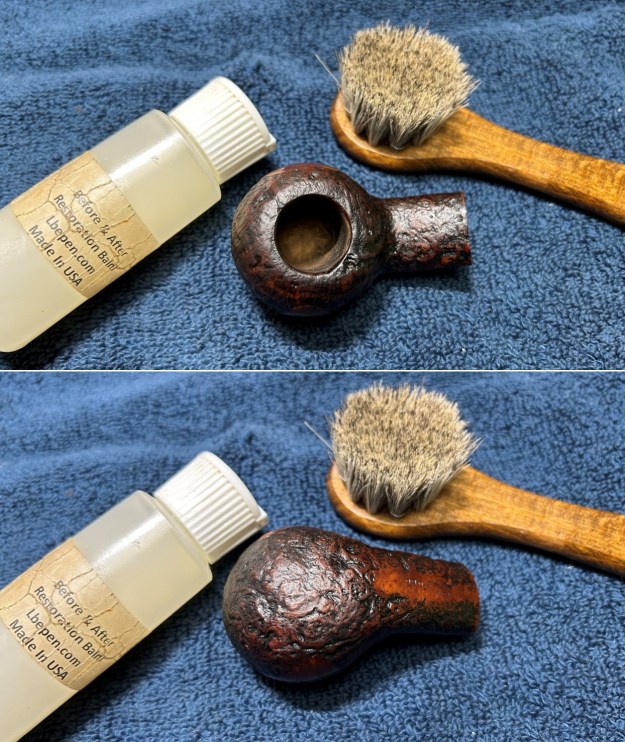
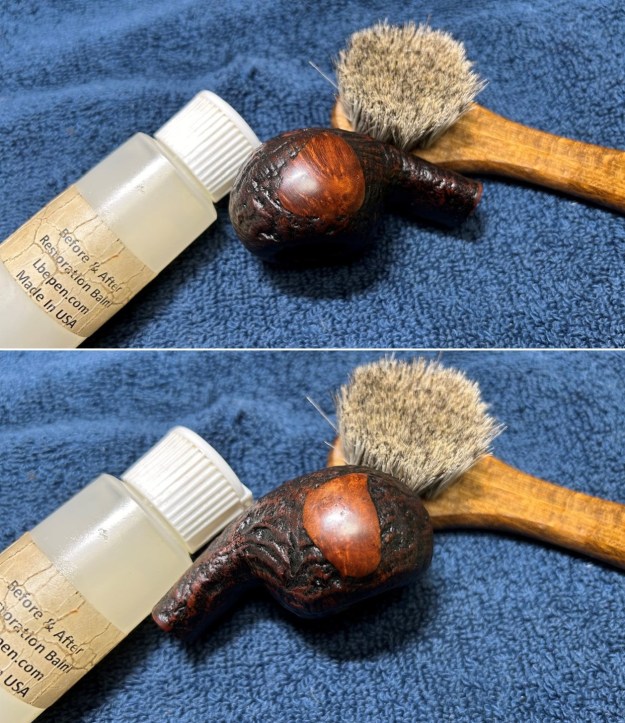
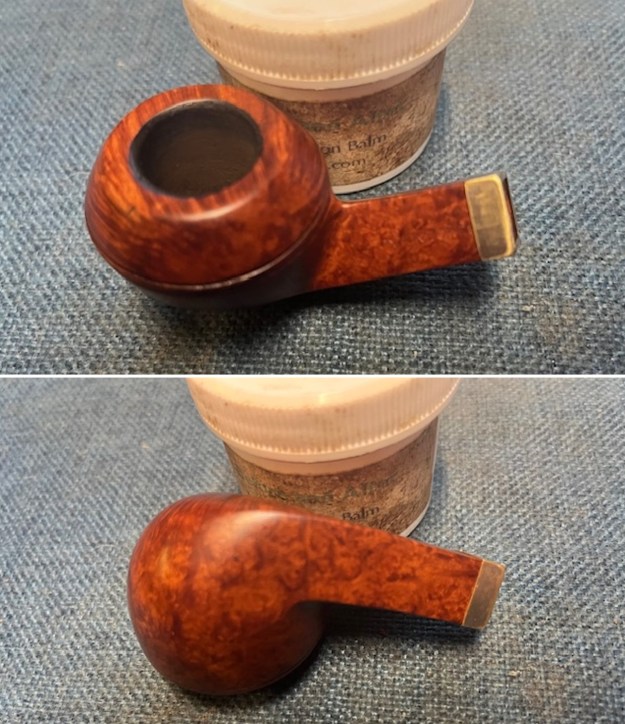
 I rubbed down the briar Before & After Restoration Balm. I worked it into the surface with my fingertips. I used a shoe brush to work the balm into the twin rings around the cap. The product works to clean, enliven and preserve the briar. I let it sit for 15 minutes then I buffed it with a cotton cloth to deepen the shine. The briar really comes alive with the balm.
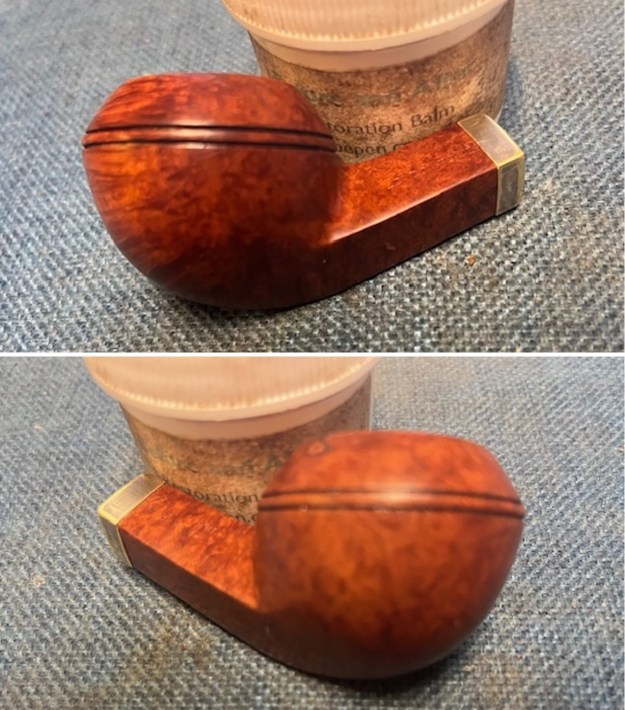
 I set the bowl aside and worked on the fit of the stem against the shank as it was slightly larger than the shank. I also worked on removing the tooth indentations and oxidation on the stem surface. I started with 220 grit sandpaper to do the majority of the work and it began to look much better.
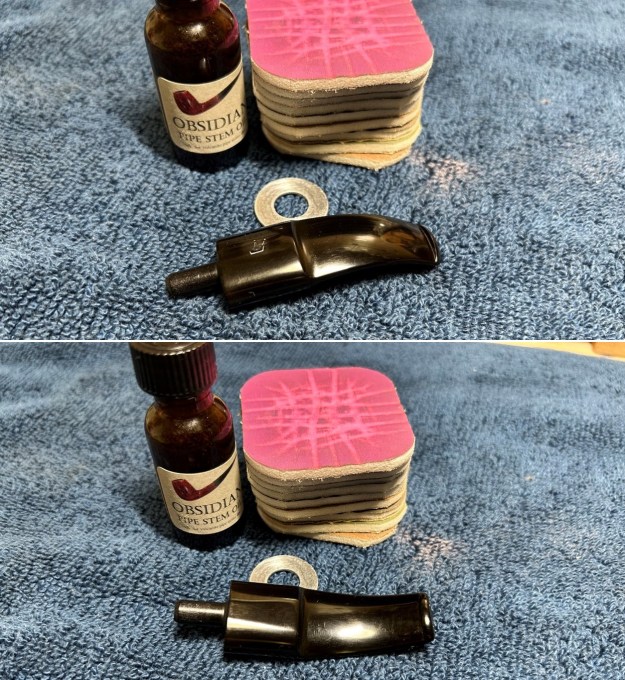
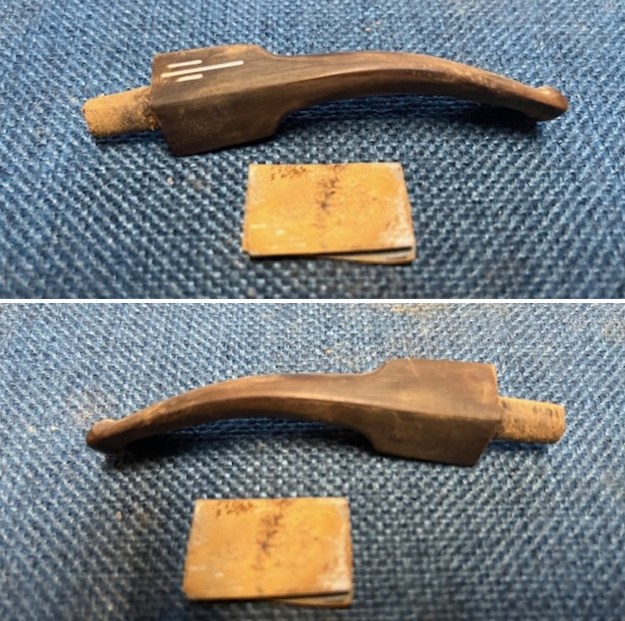 I sanded out the scratches in the vulcanite with 320-3500 grit sanding pads. I wiped the stem down after each sanding pad with a cloth impregnated with Obsidian Oil. It started to take on a deep shine.
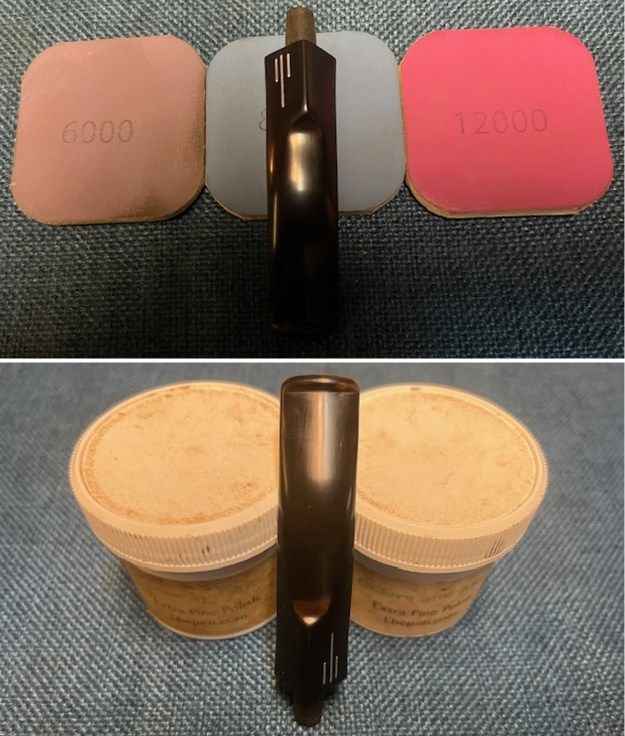
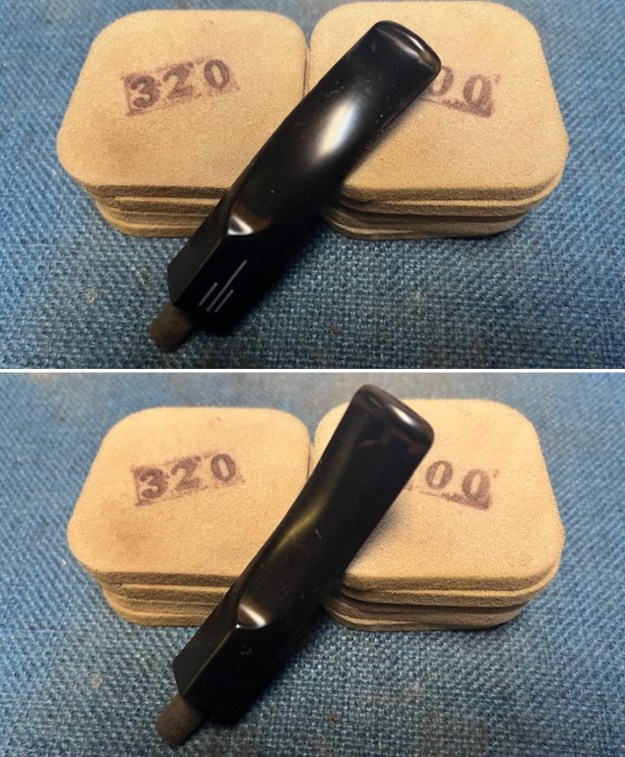 I polished the stem with micromesh sanding pads – 1500-12000 grit pads to remove them. I wiped the stem down with Obsidian Oil after each sanding pad. I used Before & After Pipe Polish – both Fine and Extra Fine to further polish the stem. I rubbed it down with a final coat of Obsidian Oil and let it dry.
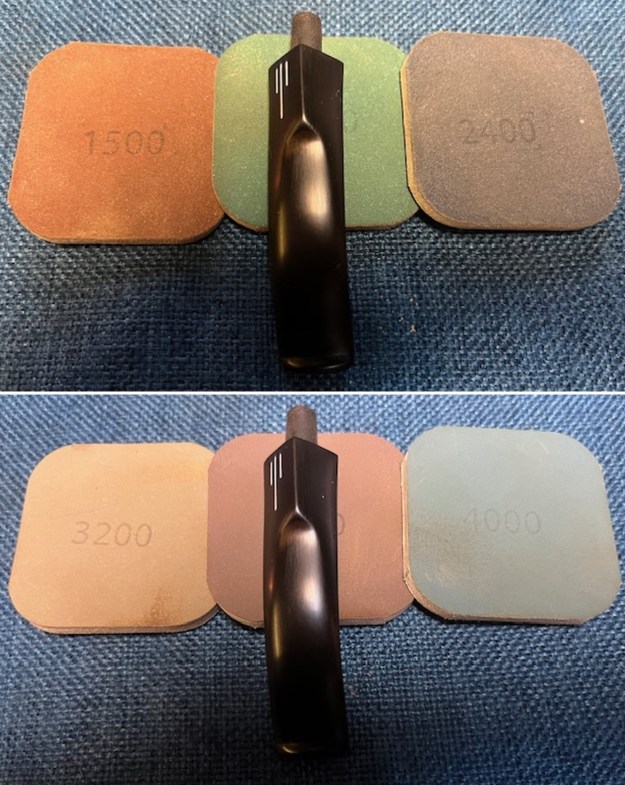
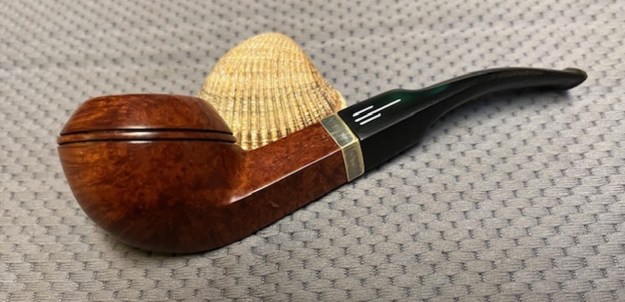
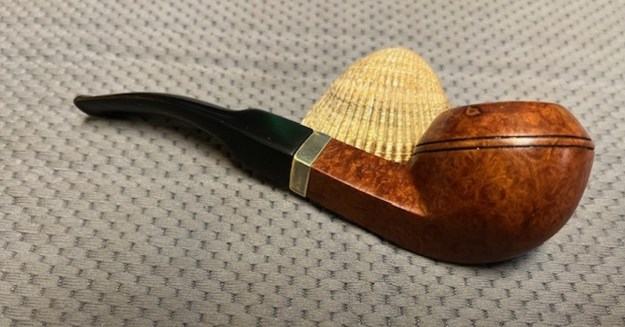
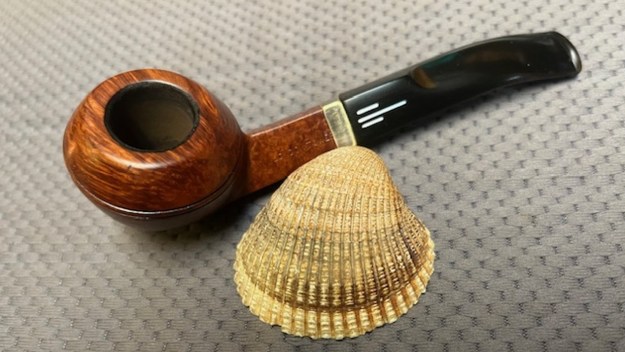
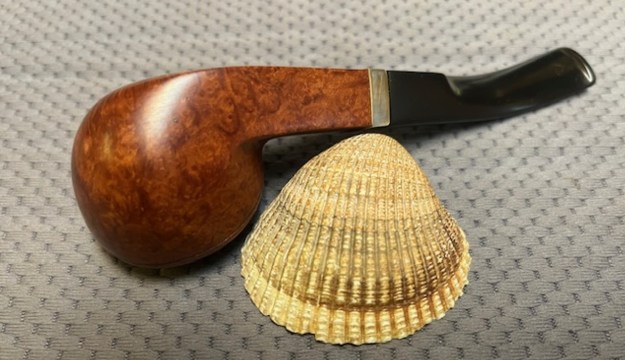
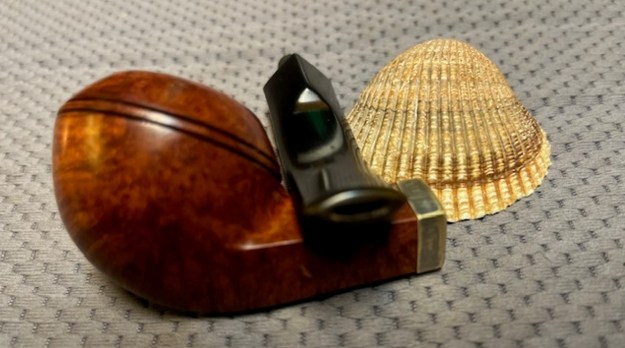
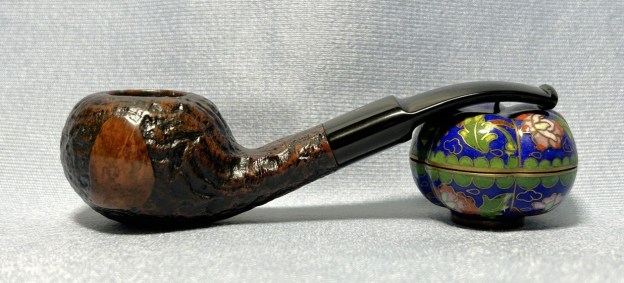
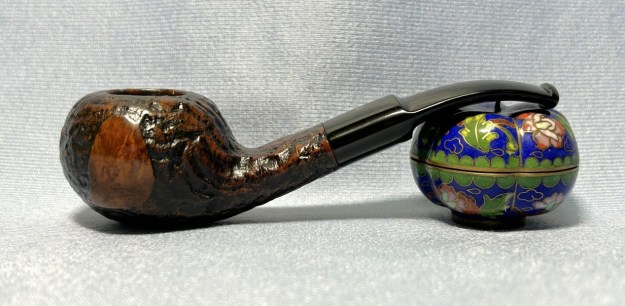
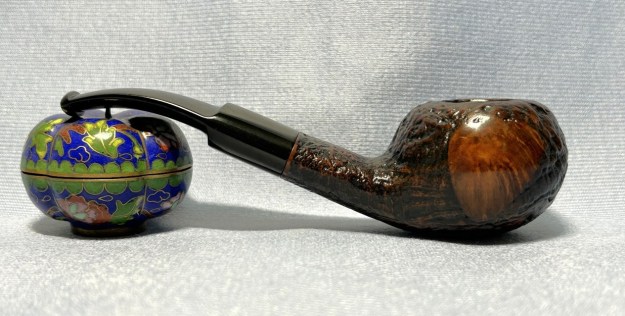
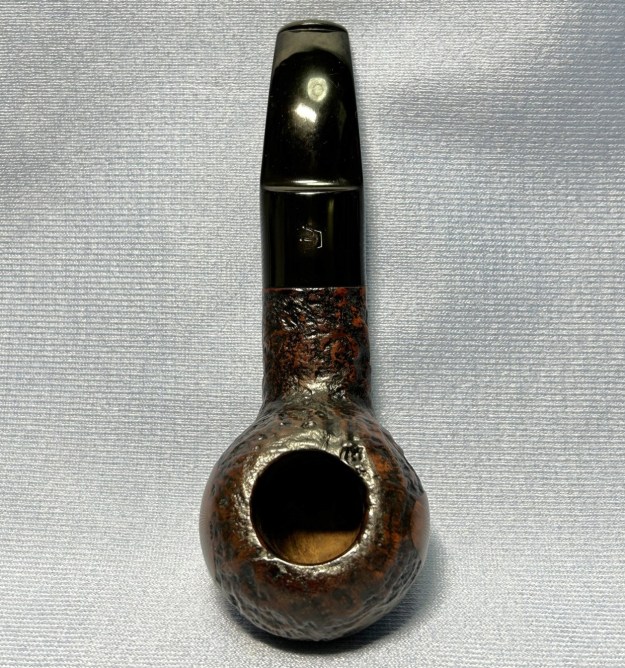
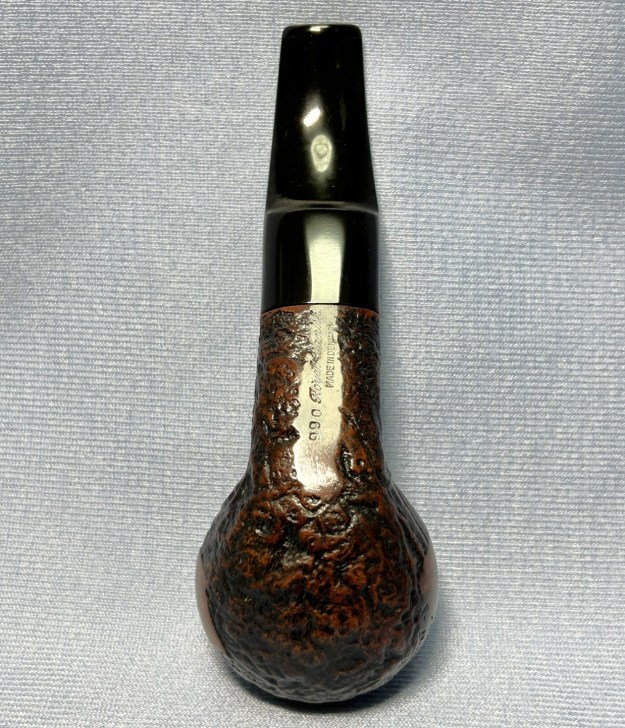
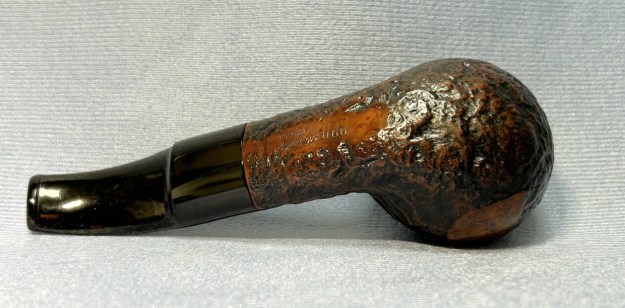
 This is another pipe that I am really happy about the finished restoration. This reborn London Tower Made in London England Bent Bulldog turned out really well. I used a vulcanite stem I had here to fit the pipe with a new stem. After restemming I think that it really is a great looking pipe with a great shape and grain. The bowl is a classic English Bent Bulldog that appears to have been made by Comoy’s and the “new” vulcanite stem is close to the original stem. The polished black of the stem works well with the briar. The briar really came alive with the buffing. The rich brown stains of the finish make the grain really pop with the polishing and waxing. I put the stem back on the bowl and buffed the pipe with Blue Diamond on the buffing wheel. I gave the bowl and the stem multiple coats of carnauba wax on the buffing wheel. I buffed the pipe with a clean buffing pad to raise the shine. I hand buffed the pipe with a microfiber cloth to deepen the shine. The finished London Tower Bulldog really has a unique beauty and feels great in the hand. It looks very good. Give the finished pipe a look in the photos below. The dimensions of the pipe are Length: 5 ½ inches, Height: 1 ½ inches, Outside diameter of the bowl: 1 ½ inches, Chamber diameter: ¾ of an inch. The weight of the pipe is 40 grams/1.41 ounces. The pipe will be going on the rebornpipes store soon. It will be in the British Pipemakers Section if you would like to add it to your collection. Thanks for reading this blog and my reflections on the pipe while I worked on it. It was a fun one to work on!