by Steve Laug
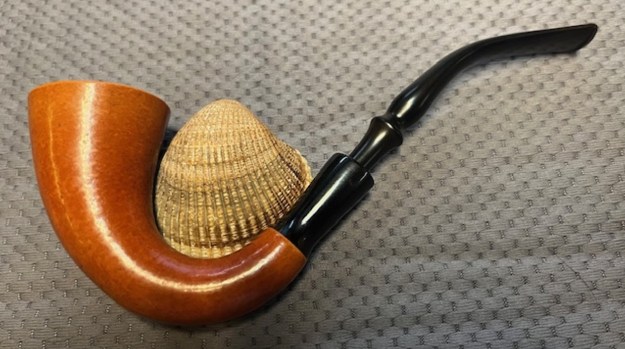
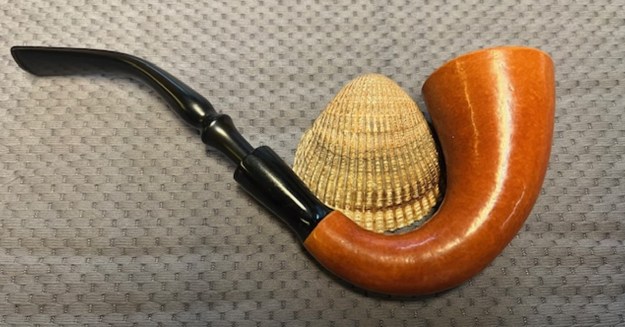
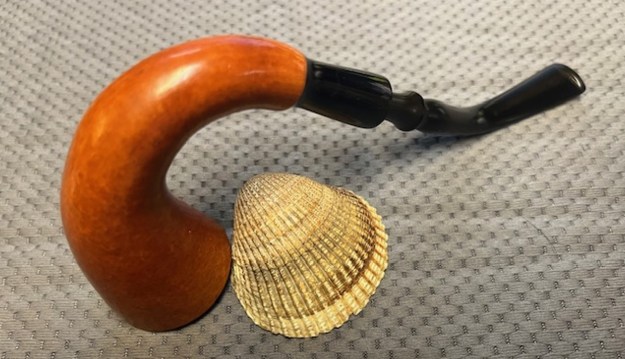
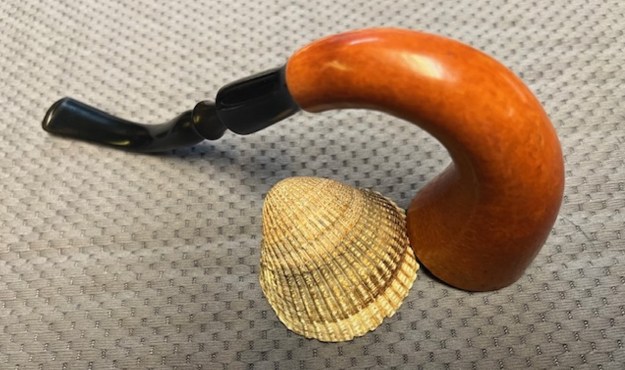
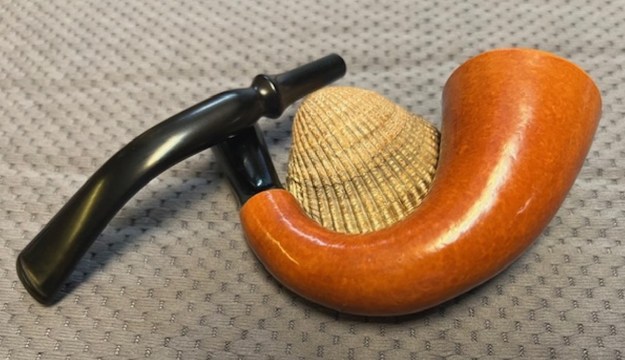
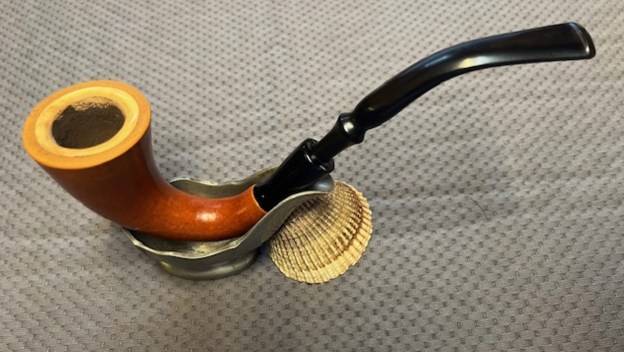
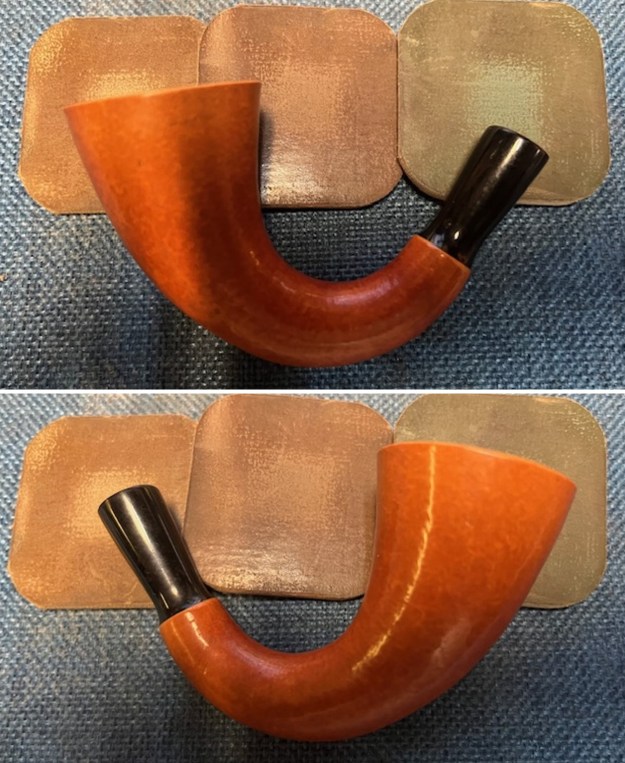
The next pipe on the table is a small older style meerschaum lined Gourd Calabash without the top. It is one we picked up from and estate in Oregon City, Oregon, USA on 03/21/2024. The surface of the gourd is smooth and unadorned. It has an acrylic shank extension. The gourd had obviously been waxed and the surface was smooth and shiny. The meerschaum was unique in that it was almost like a meerschaum lining in a briar pipe than the typical cup liner that I was familiar with in Calabash pipes. The meer bowl had a light cake in it but the rim top looked good and had taken on a nice patina. The inner edge had some slight damage on the right side and was a little rough to the touch. The acrylic shank extension was in excellent condition and fit with a slight waist at the gourd end. The fancy turned stem was quite heavily oxidized and there were light tooth marks on the top and underside ahead of the button. The stem had also straightened out over time and would need to be re-bent to fit the flow of the bowl. I took a few photos of the pipe in the car on the way home and have included them below.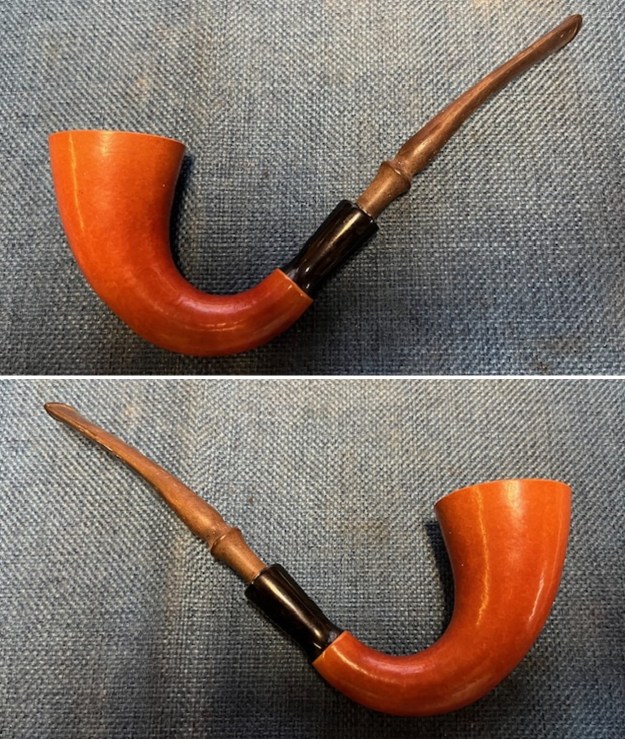
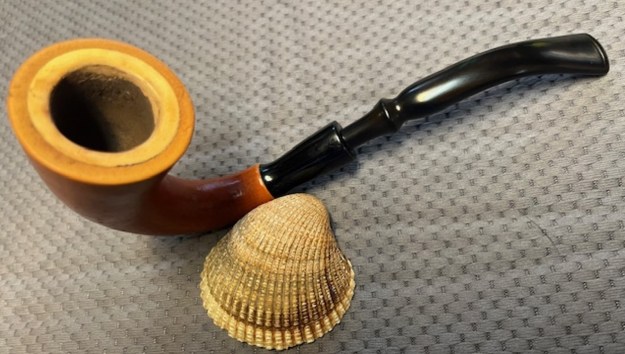
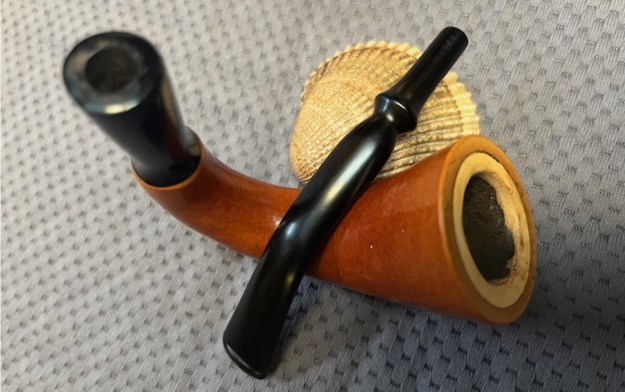
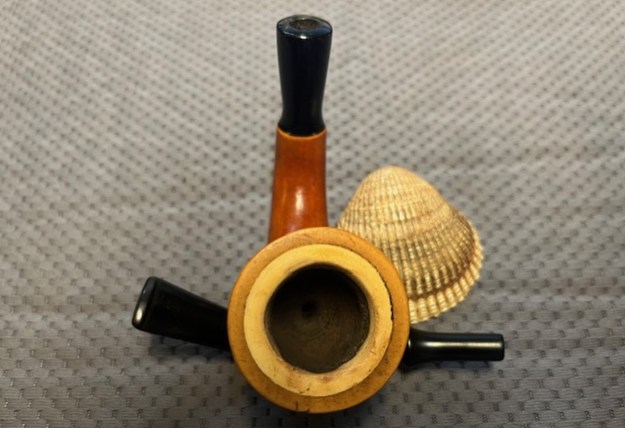
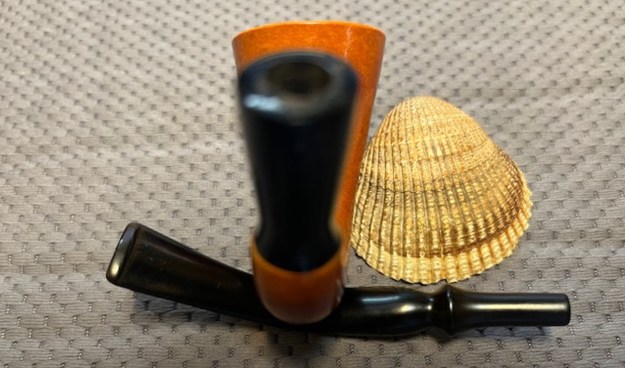
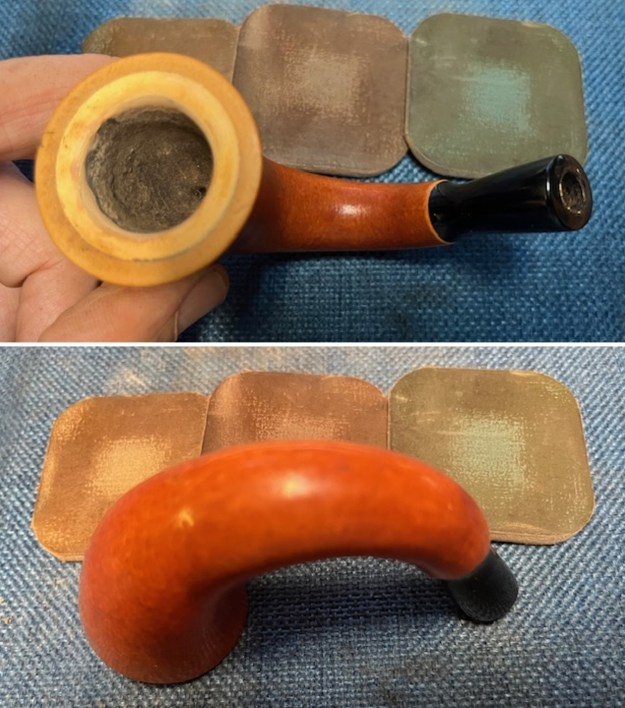
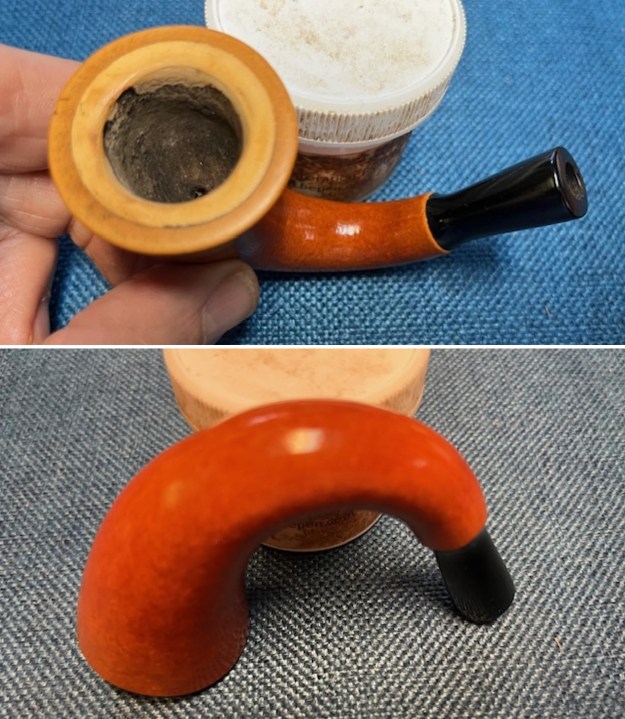
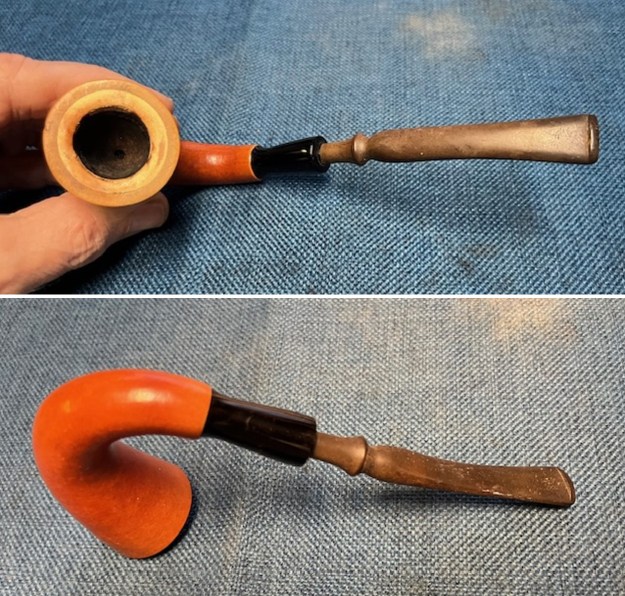 I took a photo of the rim top and bowl to show the condition of both of them. The bowl shows that is clear of caking on the walls. The rim top showed some darkening. The inner edge of the bowl has some damage that will need to be taken care of. The photos of the stem show the heavy oxidation and light tooth marks/chatter on both sides ahead of the button.
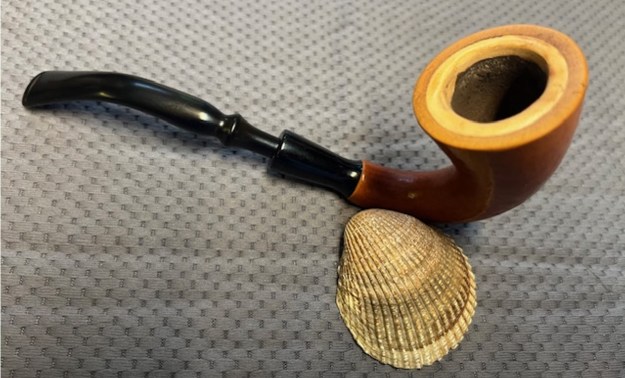
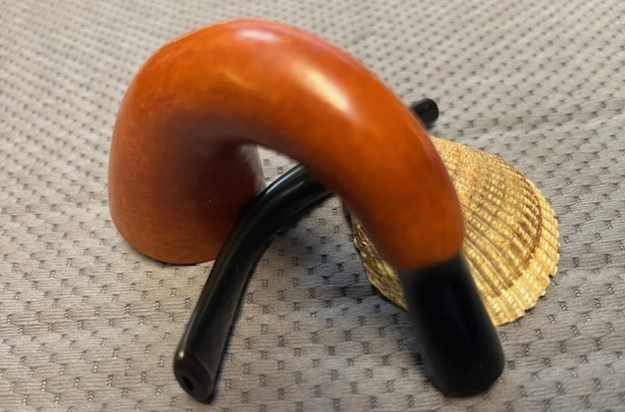
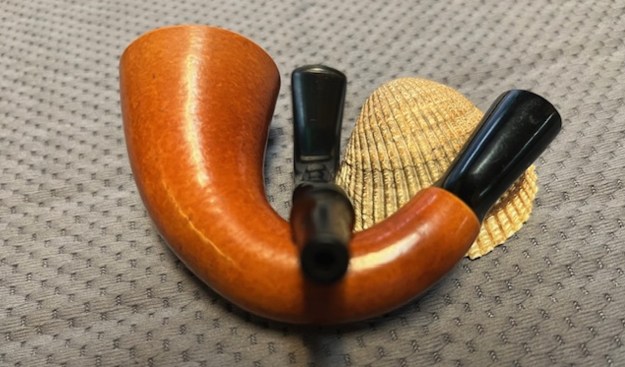
 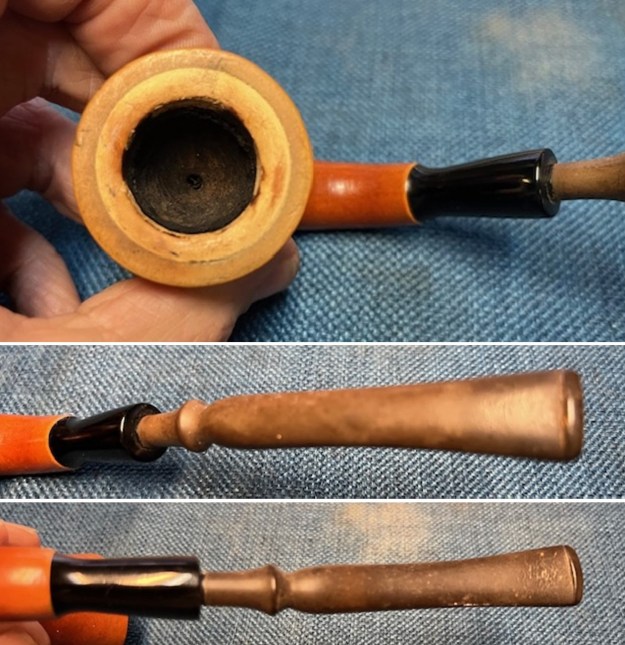 I removed the stem from the shank and took a photo to show the proportions of the pipe. It is a nicely shaped gourd and the meerlining looks great. The stem length works very well with the pipe.
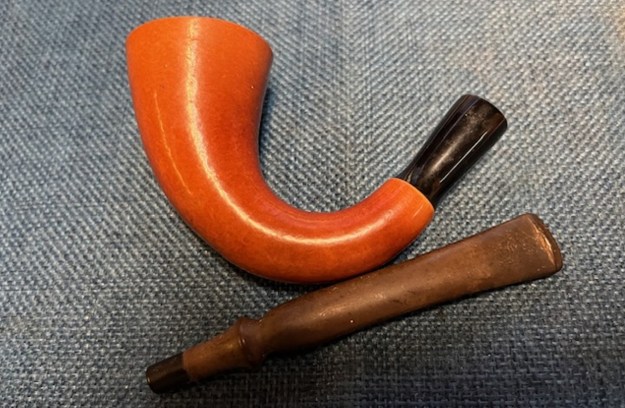 I started my work by cleaning up the inner edge of the meerschaum lining. I gave the inner edge a slight bevel with a folded piece of 220 grit sandpaper.
 I cleaned up the cake in the meerschaum bowl with a Savinelli Fitsall Pipe knife and then sanded the walls with 220 grit sandpaper wrapped around a piece of dowel. The walls were smooth and showed no burn damage.
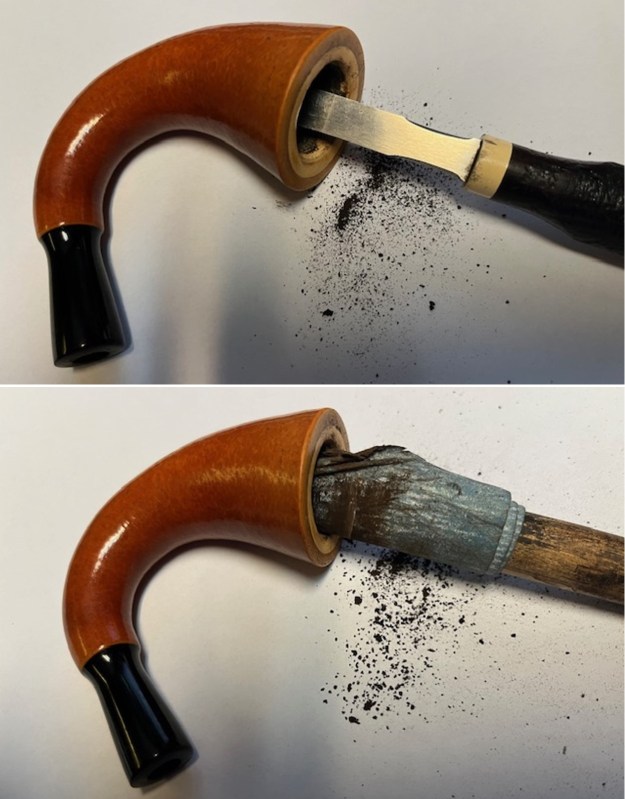 I cleaned out the interior of the shank, mortise and airway in the gourd and in the stem with pipe cleaners, cotton swabs and alcohol. The pipe was surprisingly clean.
 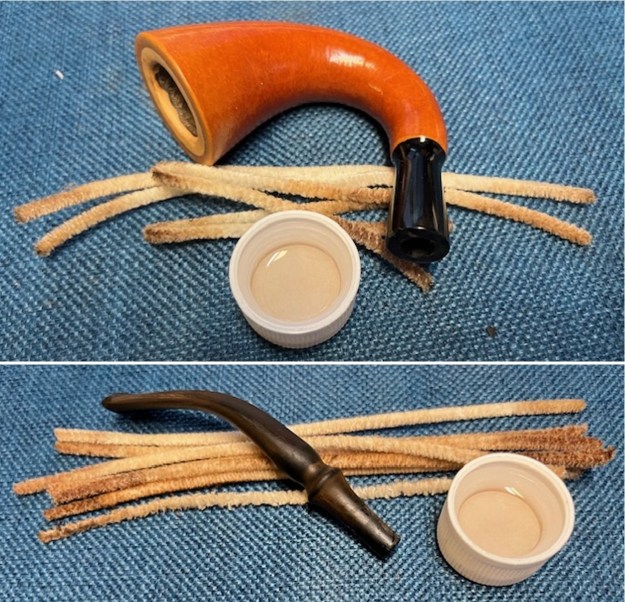 I polished the rim top (meer and gourd) and the gourd body itself with micromesh sanding pads – dry sanding with 1500-12000 grit pads. At the same time I polished the acrylic shank extension. I wiped it down with a cotton pad and a cloth impregnated with Obsidian oil after each sanding pad. The briar really took on a patina that began to look better with the polishing.
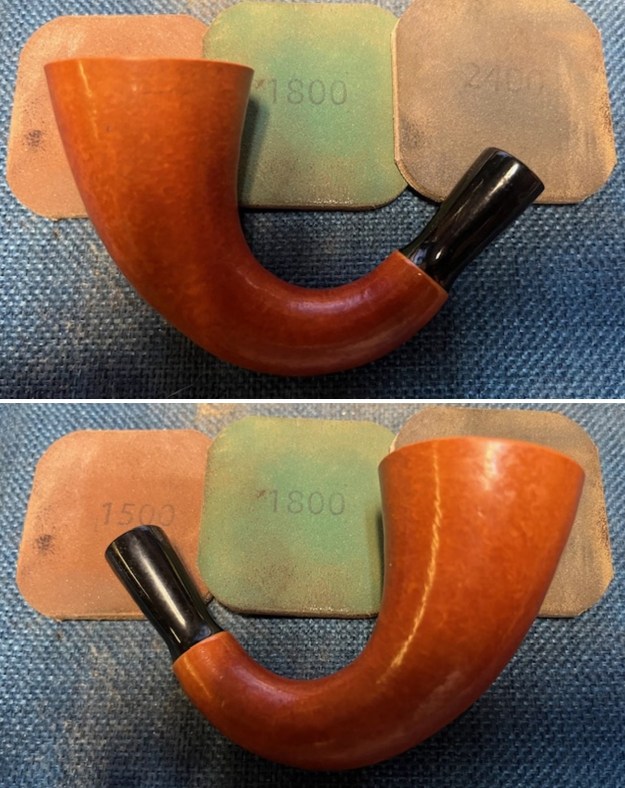
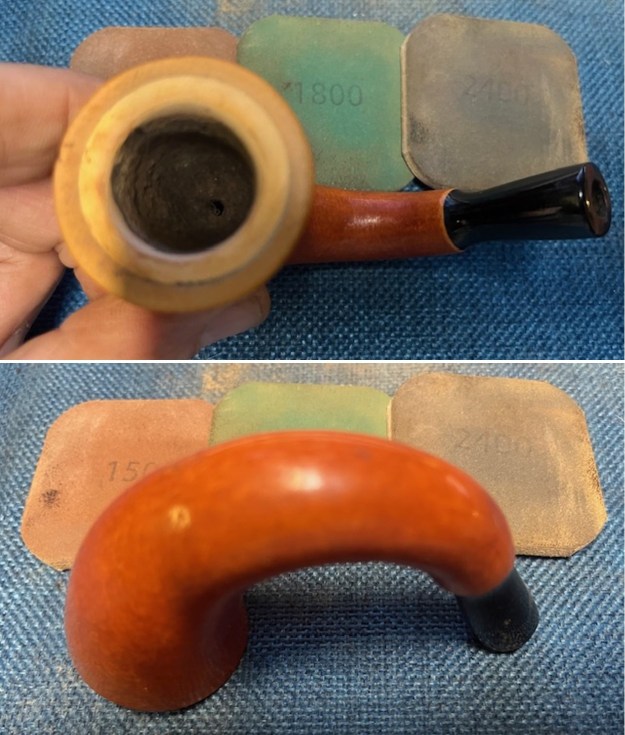
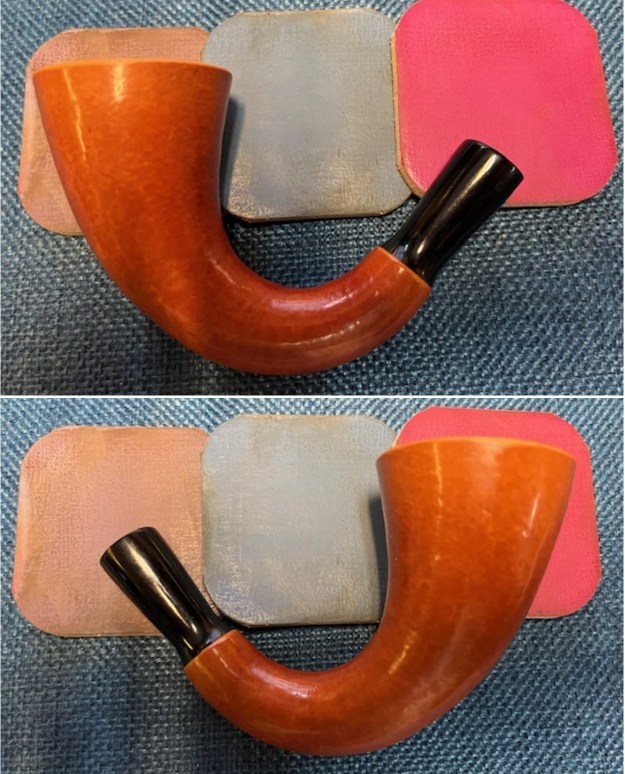
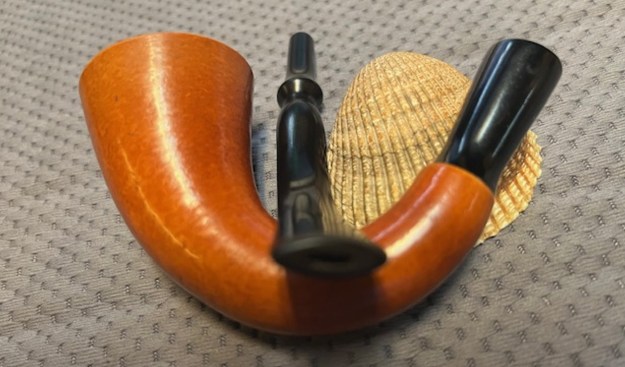
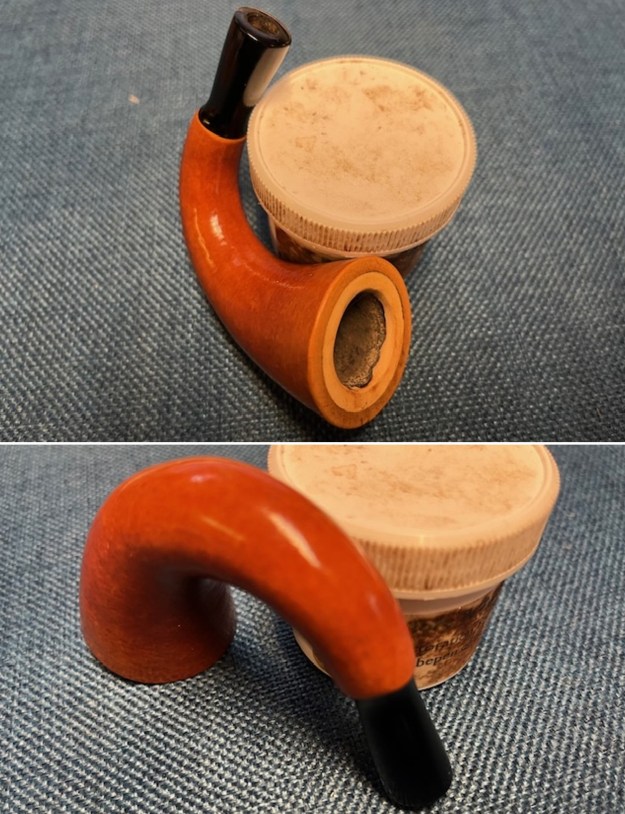
 I rubbed the bowl down with Before & After Restoration Balm. It is a paste/balm that works to deep clean the finish, enliven and protect the gourd. I work it into the gourd with my finger tips to make sure that it covers every square inch of the pipe. I set it aside for 10 minutes to let it do its work. I wiped it off with a soft cloth then buffed it with a cotton cloth. The calabash really began to have a deep shine. The photos I took of the bowl at this point mark the progress in the restoration. You see the shine that the gourd has taken on and the way grain pops on the smooth portions and the rusticated parts have depth.
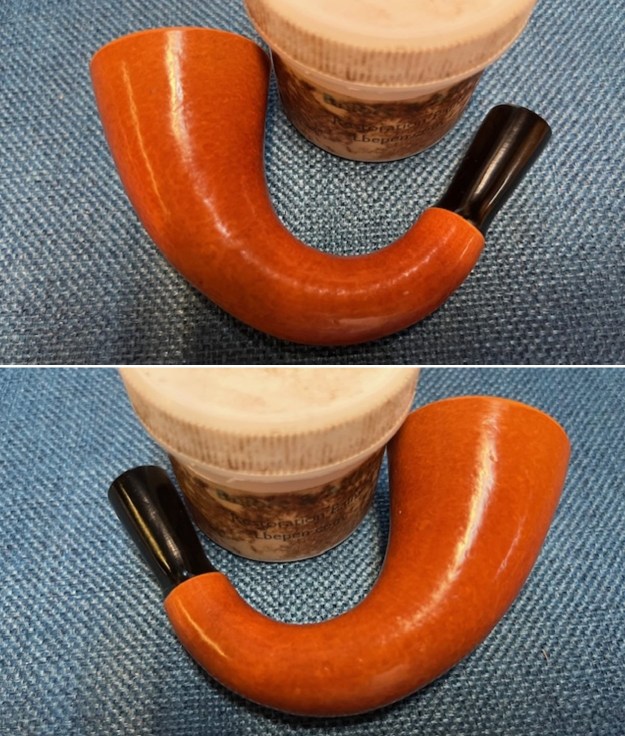
 I set the bowl aside and turned my attention to the stem. I decided to rebend the stem to fit the flow of the bowl. I heated it with a lighter flame and put it in the shank. I bent it so that when it was held in my mouth the bend of the stem was straight and even with the top of the bowl. I sanded the re-bent stem with 220 grit sandpaper to remove the tooth damage and chatter as well as the oxidation. It began to look much better.
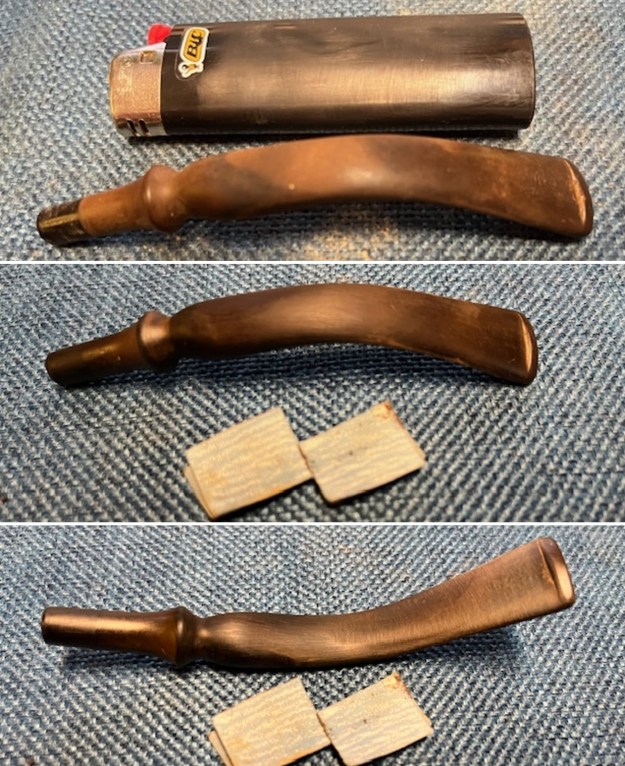 I worked on the oxidation on the stem with Soft Scrub. I worked it into the surface of the vulcanite with cotton pads and was able remove the majority of the oxidation on the stem surface.
 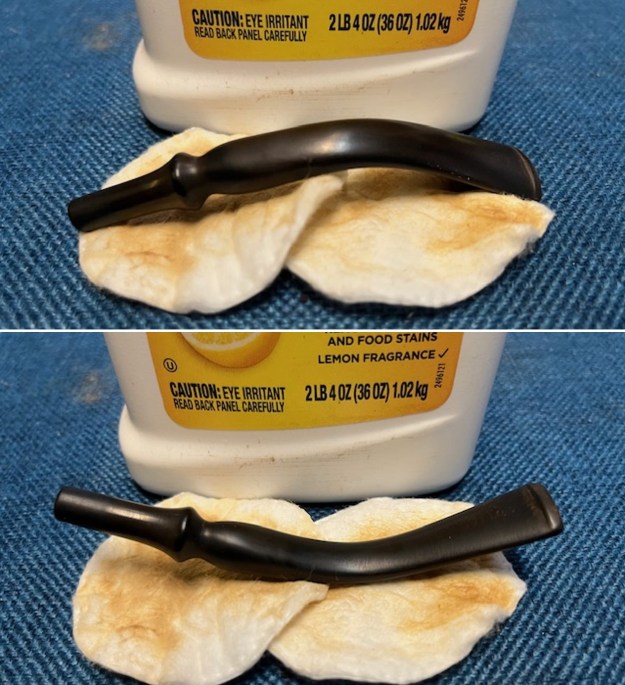 I sanded the stem with 320-3500 grit sanding pads to break up the remaining oxidation. I wiped it down after each sanding pad with an Obsidian Oil impregnated cloth. It began to look good.
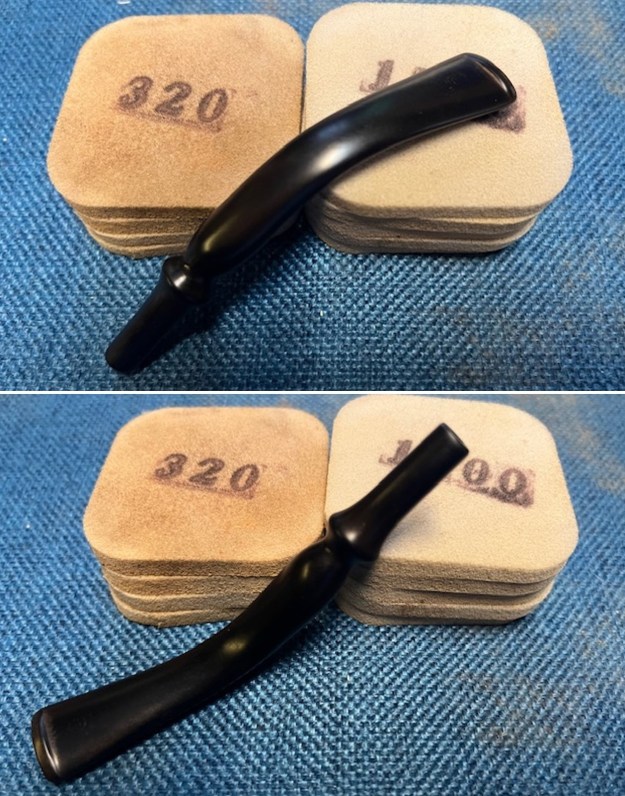 I polished the stem with micromesh sanding pads – dry sanding with 1500-12000 grit pads. I wiped the stem down after each sanding pad with Obsidian Oil. I polished it with Before & After Pipe Stem Polish – both Fine and Extra Fine. Once I had finished the polishing I gave it final coat of Obsidian Oil and set it aside to dry.
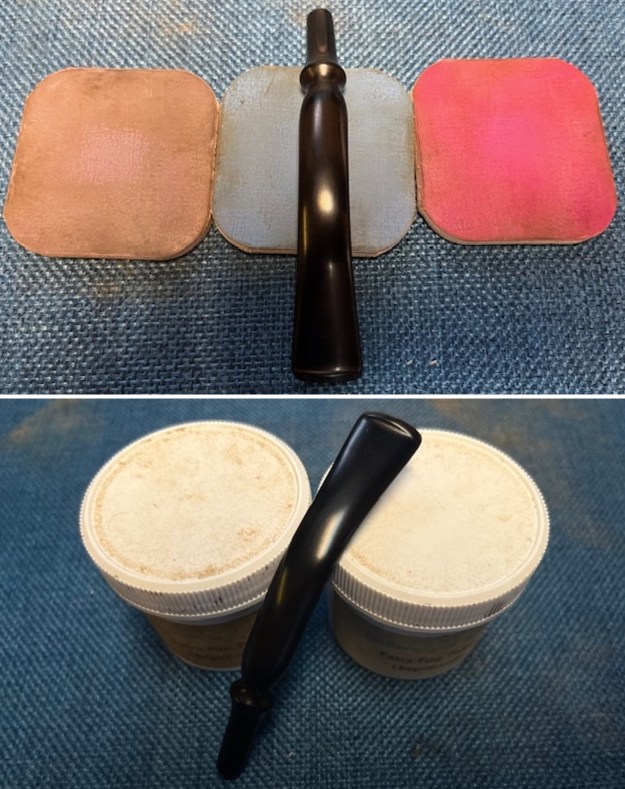
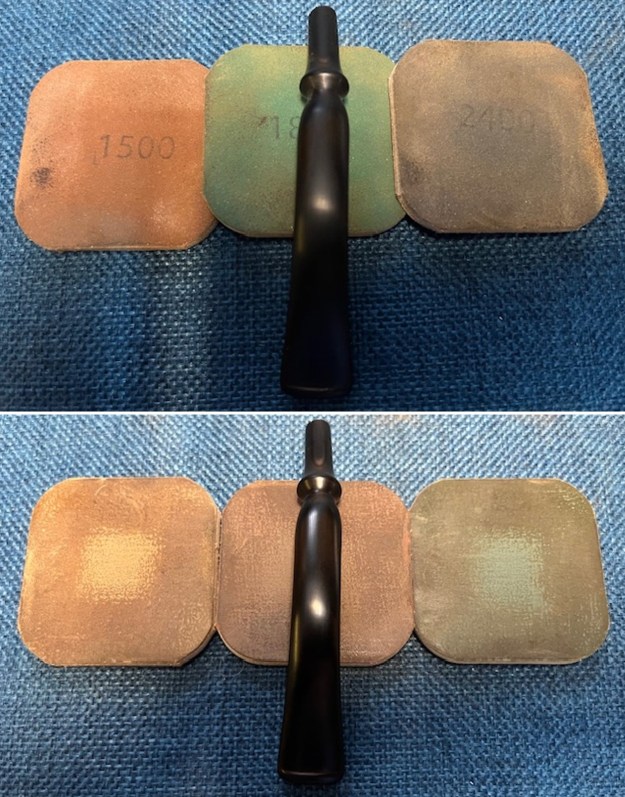
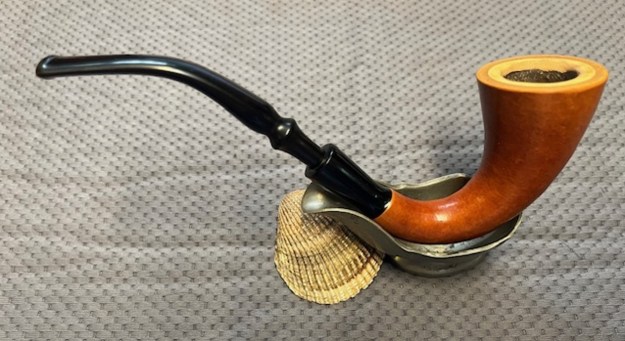
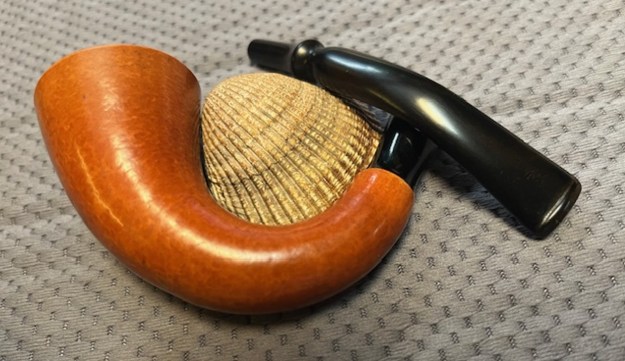
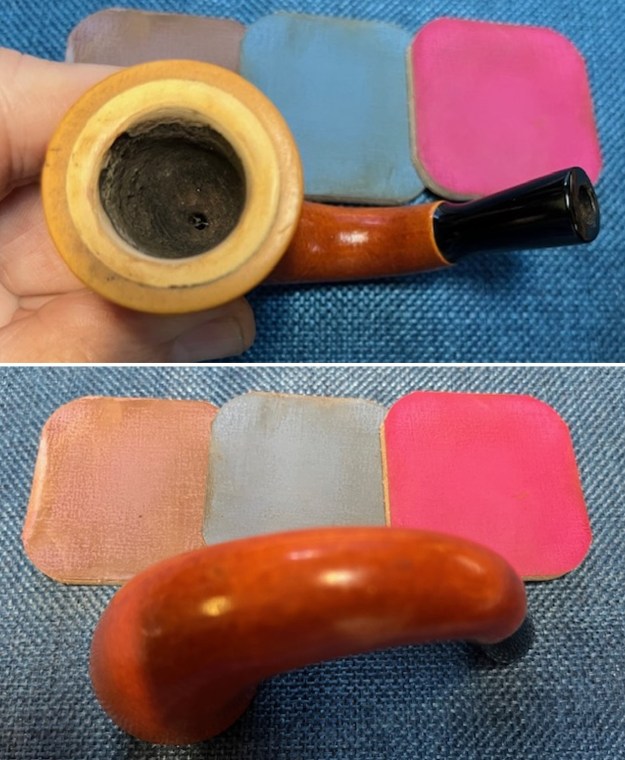
 More than usual at this point in the restoration process I am excited to be on the homestretch. I really am looking forward to the final look when I put a pipe back together, polished and waxed. I polished the bowl and stem with Blue Diamond to polish gourd bowl and the vulcanite. I gave the gourd and the stem multiple coats of carnauba wax. I buffed the pipe with a clean buffing pad to raise the shine. I hand buffed it with a microfiber cloth to deepen the shine. The pipe polished up pretty nicely. The shiny black acrylic shank extension and the vulcanite stem is a beautiful contrast to the browns of the bowl and shank. This Meerschaum Lined Gourd Calabash was another fun pipe to work on. The pipe is comfortable pipe to hold in the hand. The finished pipe is shown in the photos below. The dimensions of the pipe are Length: 6 ¾ inches, Height: 2 ¼ inches, Outside diameter of the bowl: 1 ½ inches, Chamber diameter: 7/8 of an inch. The weight of the pipe is 1.27 ounces/36 grams. I will be adding it the Ceramic and Meerschaum Pipes section of the rebornpipes store. Thanks for reading this blog and my reflections on the pipe while I working on it.
As always, I encourage your questions and comments as you read the blog. Thanks to each of you who are reading this blog. Remember we are not pipe owners; we are pipemen and women who hold our pipes in trust until they pass on into the trust of those who follow us.