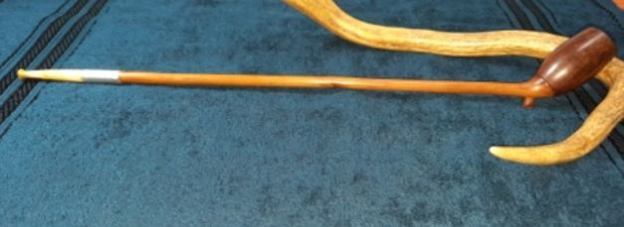
Blog by Paresh Deshpande
The next pipe that I selected to work on is an old, rustic no name Cutty shaped pipe with a long thin Reed shank that ended in a round orifice when I saw it for the first time. Closer examination confirmed that the round orifice was threaded implying that the stem was MIA. This pipe came to us in 2019 while Abha was in Pune and I was away at my place of work, as a part of estate sale by a French gentleman on Etsy which I am yet to chronicle. There are some really good, interesting and collectible pipes in this lot that I am looking forward to work on in coming days.
This no name Cutty shaped pipe has a steep forward cant to the stummel. This forward rake appears more pronounced as the stummel itself tapers upwards towards the rim. The stummel is as delicately and beautifully shaped as a Tulip. Here are a few pictures of the pipe as it sits on my worktable. 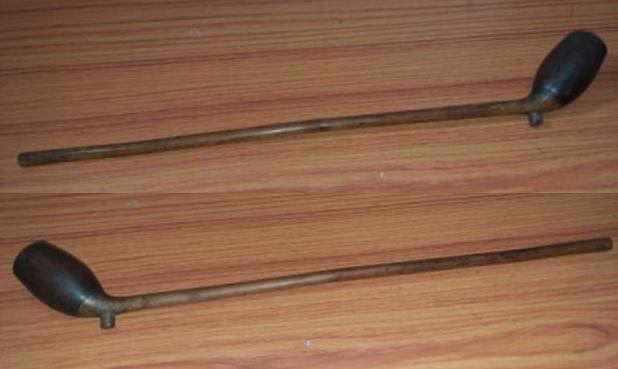
 The complete lack of stampings of any kind on the pipe means that the provenance of the pipe cannot be ascertained with documented evidence. However, given the shape, construction, condition and the materials used in making this pipe makes me believe that this was a locally made pipe from the early 20th century. I may be wrong in my appreciation (primarily dictated by inert desire/wish for this pipe to be an old timer!) as I am vastly inexperienced as compared to many of the esteemed readers of rebornpipes and would be glad to learn more about such pipes from them.
Having placed my request, I now move on to the initial visual inspection.
Initial Visual Inspection
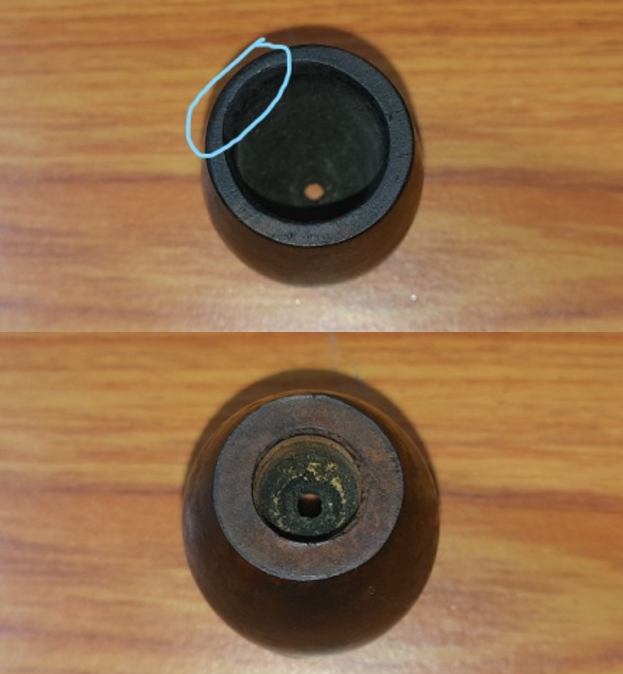
As noted at the start of this write up, this pipe came with a threaded reed shank end that is now missing the stem that would have come with a threaded tenon to seat in to the shank. Given the retro and vintage look of the pipe, I think the stem would have been a bone/ horn or Amber with a bone tenon. So the first step in this restoration would have to be selecting a suitable bone stem with threaded tenon. The shank end face shows two cracks on opposite sides of the shank (encircled in yellow) which would need to be addressed. The stummel end of the reed is upturned, flared and hollowed with threads to seat the stummel and at the bottom of which is the short foot. The threaded surface is covered in dried oils and gunk causing the draught hole to clog. This would have to be cleaned and opened. The entire length of the shank is covered in dirt and grime giving it a dull and dirty appearance.

 The chamber has a decent layer of cake that is even from top to the bottom of the bowl. The rim top is covered in overflow of lava and hides any dents or chips on the smooth surface. The rim is significantly dark and thin on one side and is encircled in pastel blue. This makes the chamber out of round and gives a lopsided appearance to the top view of the stummel. The bottom of the stummel is threaded and seats atop the threaded reed shank. The threaded area shows heavy accumulation of oils, ash and gunk all around and even within the threads. Cleaning this area would ensure a flush and snug seating of the bowl over the shank.
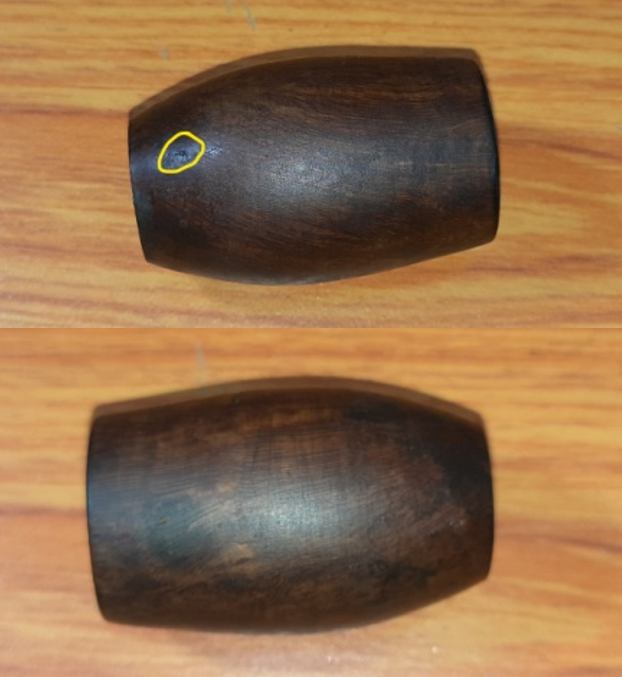
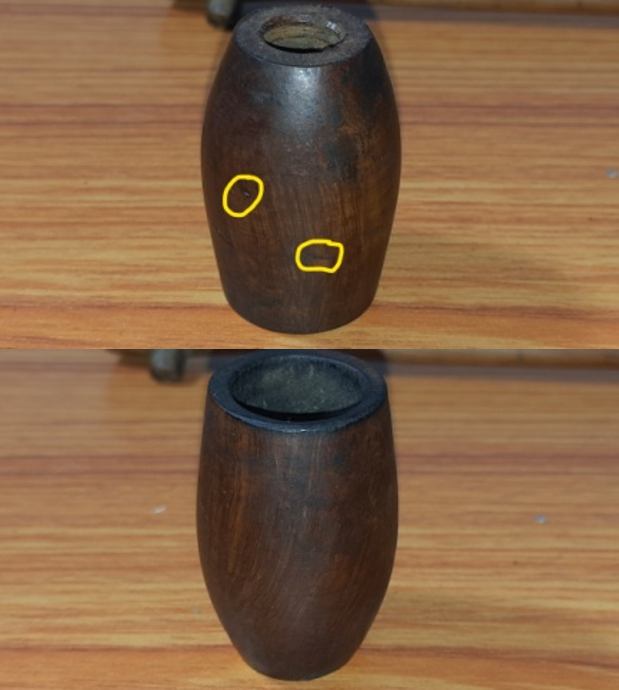
 The briar has taken on a nice dark brown patina over a long period of time and prolonged use which when polished and cleaned, should contrast beautifully with the light hues of the long reed shank. There are a few dents and fills (marked in yellow circle) over the entire stummel surface that is visible through the dirt and grime that covers the surface. Truth be told, the stummel does not boast of complete flamboyant straight or bird’s eye or flame grains over the surface, but a mixed pattern of swirls and flame grains that is attractive enough to hold your attention. Preserving the deep brown aged patina will be the primary concern in this bowl refurbishing.
 The Process
I started the restoration of this pipe with the removal of the carbon cake from the walls of the chamber. Using my fabricated knife, I carefully removed the cake from the chamber to expose the chamber walls. It was heartening to note that there are no heat related issues in the surface of the walls. I smoothed out the surface by sanding the walls with a folded piece of 220 grit sand paper. To remove the last traces of residual carbon dust, I wiped the chamber with a cotton swab wetted with 99.9% pure alcohol. I further cleaned the draught hole at the bottom center of the bowl with a pointed dental tool. The hardened cake had greatly reduced the diameter of the draught hole and ran a pipe cleaner dipped in alcohol to clean it further.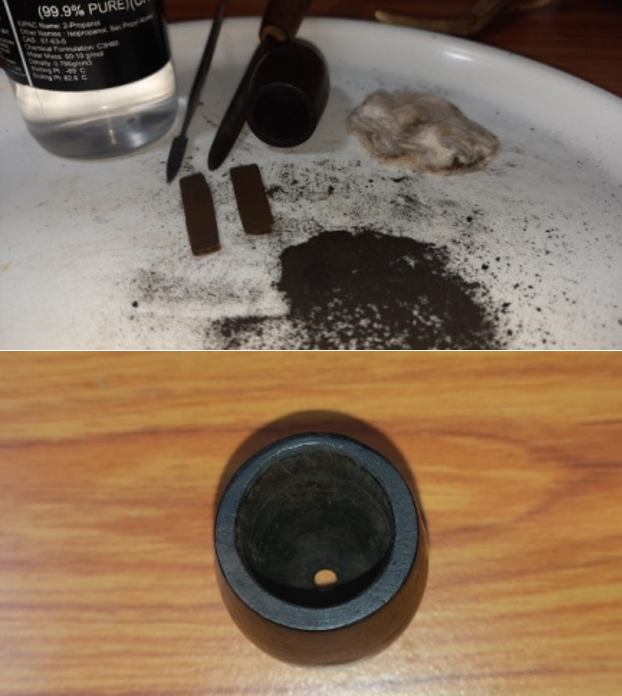 Next, I cleaned the threaded bottom of the stummel that seats atop the long reed shank with a dental tool. I scraped out the entire dried gunk that had accumulated in the hollow space as well as from in between the threads. I further cleaned the bottom of the stummel with q-tips and alcohol.
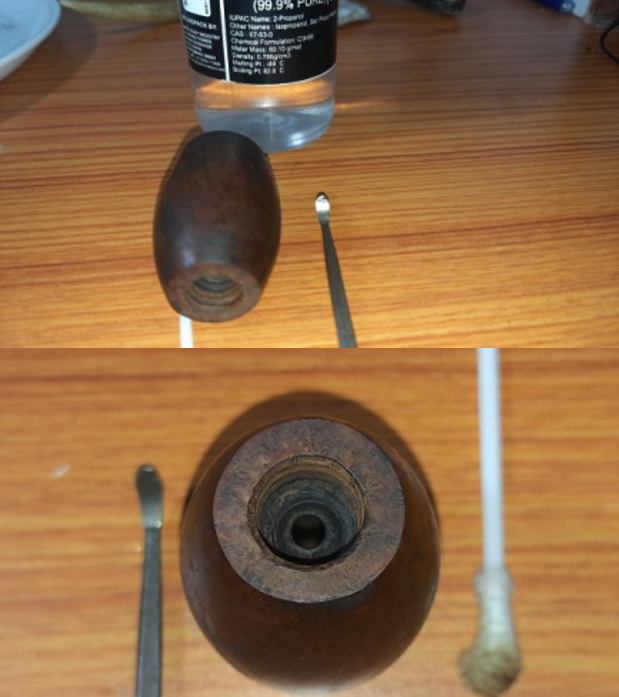 With the preliminary cleaning of the internals of the stummel completed, I turned to cleaning the internals of the long reed shank. With my fabricated pointed tool and round needle file, the dried oils and tars that had formed a block at the neck of the shank and stummel junction was removed and cleaned. I scraped out all the dried debris from the surface of the shank end with a sharp dental tool. I ran a few long pipe cleaners dipped in alcohol through the airway of the stem till the pipe cleaners emerged white.
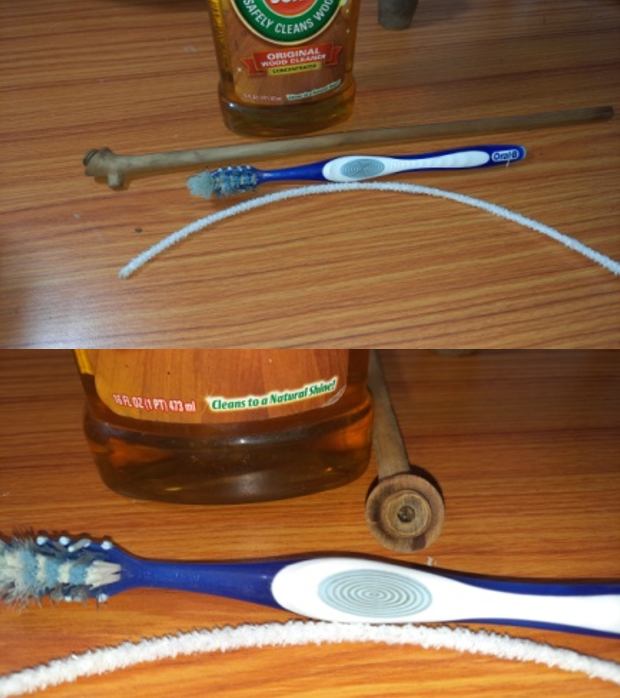
 I cleaned the exteriors of the stummel and the reed shank with Murphy’s Oil soap and a tooth brush. I ensured that all the tars and grime was cleaned from both the surfaces. This cleaning has revealed the exact extent of damage to the rim top surface. The area where the rim has thinned out also shows signs of charring which would need to be addressed. I dried the shank surface with a soft paper towel and ran a fluffy pipe cleaner through the shank airway to dry it out.

 Now that the stem surface is rid of the dirt and grime, the cracks at the shank end are clearly discernible and so is the surprise revelation of a crack at the base of the threaded portion of the shank (encircled in red).
 I marked the end points of the shank end cracks and that at the stummel end with marker pen under magnifying glass. I shall drill counter holes at the marked end of each of the crack to prevent the further spread of these cracks. I used a 1 mm drill bit mounted on my hand held rotary tool to drill the counter holes…
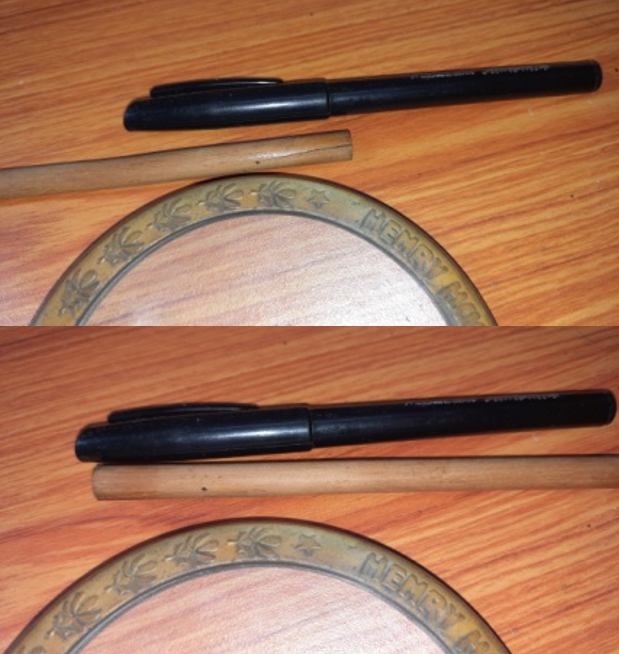

 …and filled these and the cracks with clear CA superglue. I set the reed shank aside for the superglue to cure.
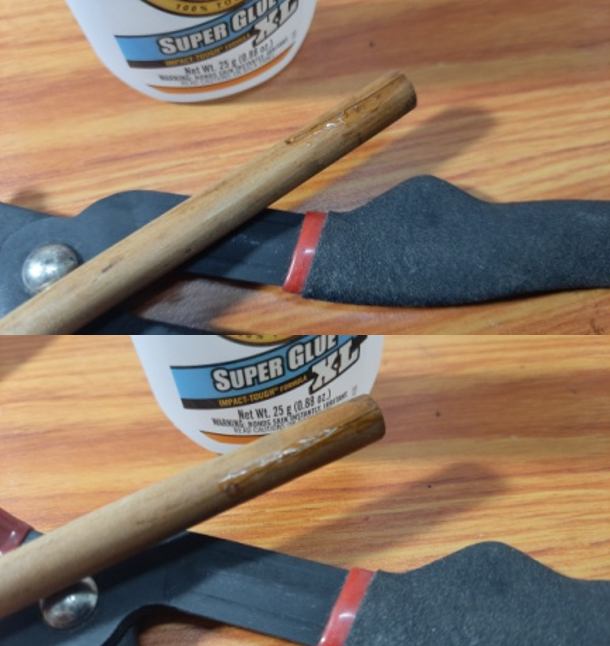
 The external cleaning had not only exposed an additional crack at the stummel end of the shank, it had also exposed all the fills and dings over the stummel surface. With a thin sharp knife, I gouged out all the old fills from the surface and cleaned the area with isopropyl alcohol in preparation of filling these gouged out surfaces with a mix of briar dust and CA superglue. I use the layering method to fill these pits in the briar. After all the fills were repaired, I set the stummel aside for the fills to harden and cure completely.
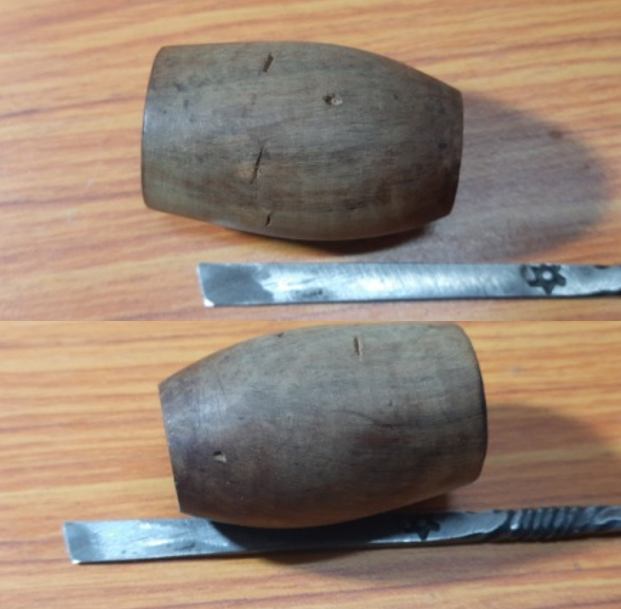
 The shank repairs had cured by the following noon when I got back from work. Using a flat needle file, I evened out the fills to roughly match the rest of the shank surface. I fine tuned the match by sanding the fills with a folded piece of 320 grit sand paper.
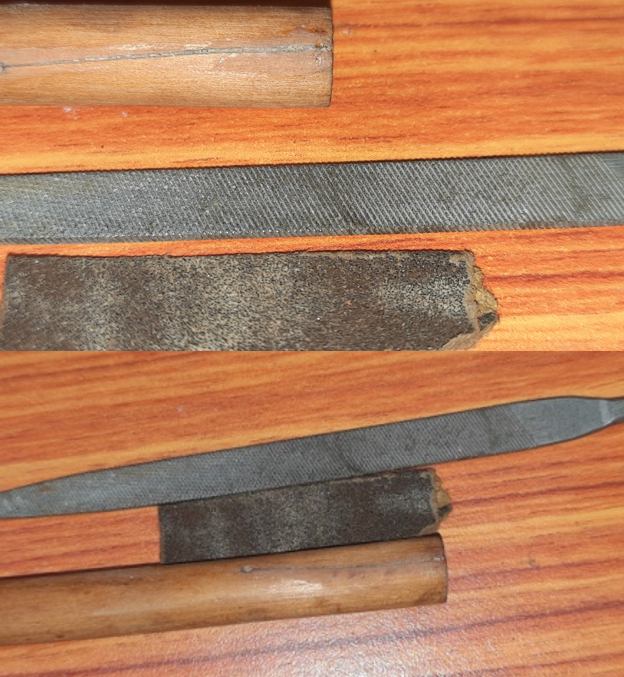
 Did I mention having customized a sterling silver band for providing additional support against the crack’s lateral expansion? I guess not. Here in India, our local Silversmiths are very skilled in turning jewelry and at repairs right in front of their customers at very affordable rates. Steve and Jeff are witnesses to such craftsmanship when they had visited us in India. Long and short of the story is that I got a 1.5 inch long silver band customized for this shank and fixed it over the shank end with superglue. That crack isn’t going any further now.
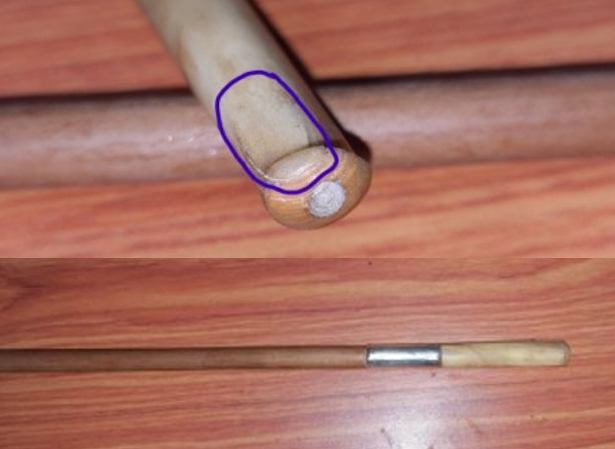
 Now that the cracks have been repaired and stabilized, the next goal was to find the right stem to go with the overall profile of the pipe. I selected a couple of suitable bone stems from my stash of spares and asked for Abha’s opinion. She selected a horn stem that was perfectly matched in size and shape with the shank. However, the stem came with its own set of challenges. First, the tenon was broken with half of it sticking inside the stem and secondly, the top section of the stem surface was partially sliced (encircled in blue), but remained firmly attached. Notwithstanding these issues, the stem matched the profile of the pipe to the T and looks amazing.
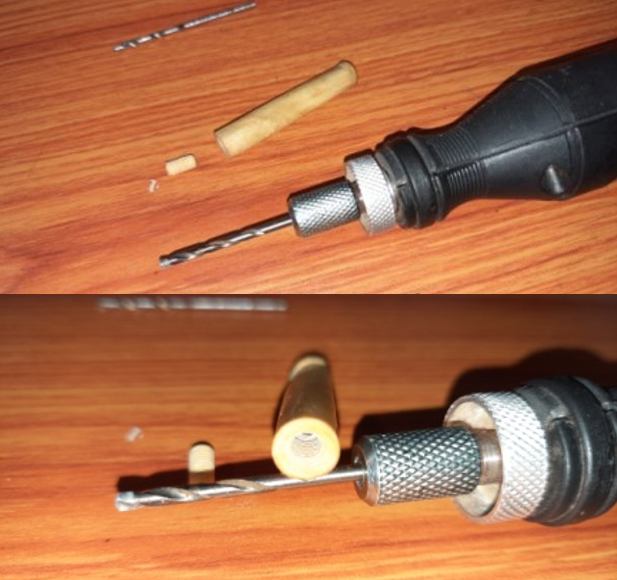
 The first issue with the stem that I dealt with was removal of the broken half of the tenon. I mounted a drill bit slightly larger than the tenon opening on to my hand held rotary tool and carefully drilled it inside the tenon. Once the drill bit had a firm grip on the tenon, I turned the motor counter clockwise and dislodged the tenon remnants from the stem revealing a threaded stem end.
 I would need to identify a threaded bone tenon that would match the shank and stem threads for a perfectly aligned seating. I rummaged through my spare parts box and came up with a bone tenon that was threaded at one end and smooth conical shaped at the other end. The seating of the smooth side of the tenon into the stem was perfect and so was the threaded end into the shank end snug and aligned. The Pipe Gods are especially favoring me it seems. A perfectly matching, period correct horn stem and a perfectly matching bone tenon are nothing short of a miracle.
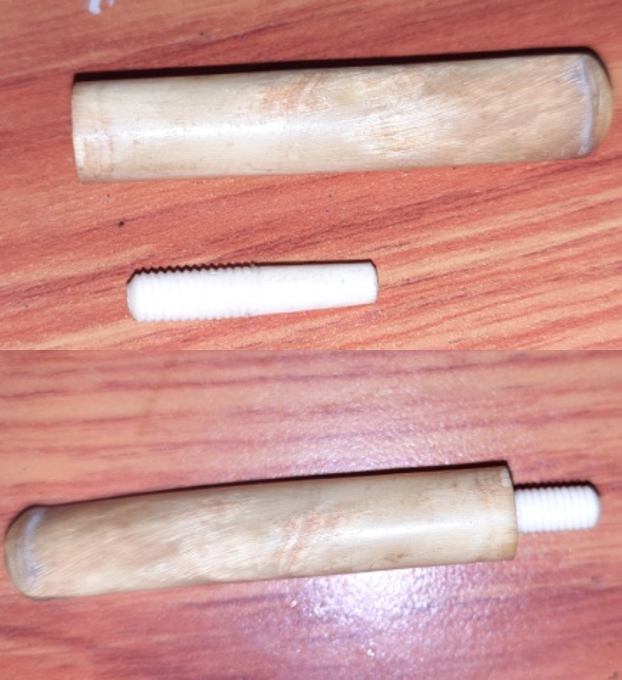 Before fixing the tenon, I cleaned out the stem internals using anti-oil dish washing soap and thin shank brushes. I scrubbed the external surface with soap and Scotch Brite pad. Using paper towels and pipe cleaners, I dried the stem externals and airway respectively. I inserted a petroleum jelly (Vaseline) coated tapered pipe cleaner through the tenon and stem airway and out through the round orifice opening at the slot end. This serves two purposes, firstly, perfect alignment of the tenon and stem airway is ensured and secondly, the petroleum jelly prevents the superglue from seeping into the airway and clogging it shut once the glue has dried. I roughed out the smooth surface of the tenon with a needle file to provide better bonding surface and applied superglue over the smooth surface of the tenon and over the threads in the stem and inserted the tenon into the stem. I wiped the excess glue from the surface and held the two together for the glue to harden a bit and then set it aside for the superglue to harden completely.
  While the stem was set aside for the glue to cure, I sanded the stummel fills with a flat needle file. To further even out the filled areas and address the minor dents and dings over the stummel surface, I sanded it with a worn out piece of 220 grit sand paper till smooth.
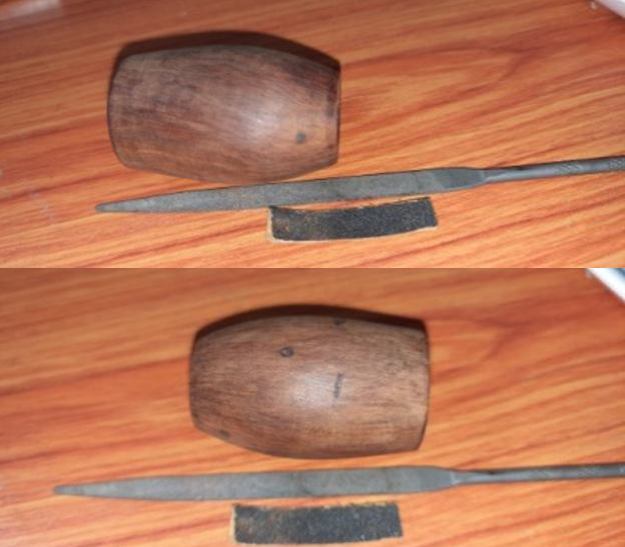 Next I addressed the issue of the charred and out of round chamber. I began with topping the rim over a 220 grit sand paper, frequently checking for the progress being made. I stopped once the charred surface was reduced to an acceptable- to- me level and the thickness of the rim top was close to even all round. To get the chamber back to round, I created a bevel over the inner and outer edge with a folded piece of 180 grit sand paper. I am pretty pleased with the progress being made thus far.
 While I had been working on the stummel, the tenon fix to the stem had set solid. I checked the seating of the tenon in to the shank end and it was snug and perfectly aligned.
 There was this issue of sliced top surface on the stem which I addressed next. I applied clear CA superglue over and under the sliced surface and set the stem aside to cure. I sprayed an accelerator over the superglue to hasten the process of curing. Once the stem repairs were set, with a needle file, I sanded the fill to achieve a rough match with the stem surface. I further fine tuned the match by sanding the entire stem surface with a folded piece of 220 grit sandpaper. I applied a little EVO (Extra Virgin Olive Oil) to the reed shank and stem and set it aside to be absorbed into the surface.
 While the shank and stem were set aside to absorb the EVO, I dry sanded and polished the stummel surface with 1500 to 12000 grit micromesh pads. Dry sanding with micromesh pads helps to preserve the patina of the old briar and is a trick I use when restoring all my vintage pipes. I rubbed a small quantity of “Before and After Restoration” balm which moisturizes and enlivens the briar. I let the stummel absorb the balm for 15- 20 minutes and then gave the stummel a rigorous hand buff with a micromesh cloth. The transformation in the appearance of the stummel is phenomenal and immediate.
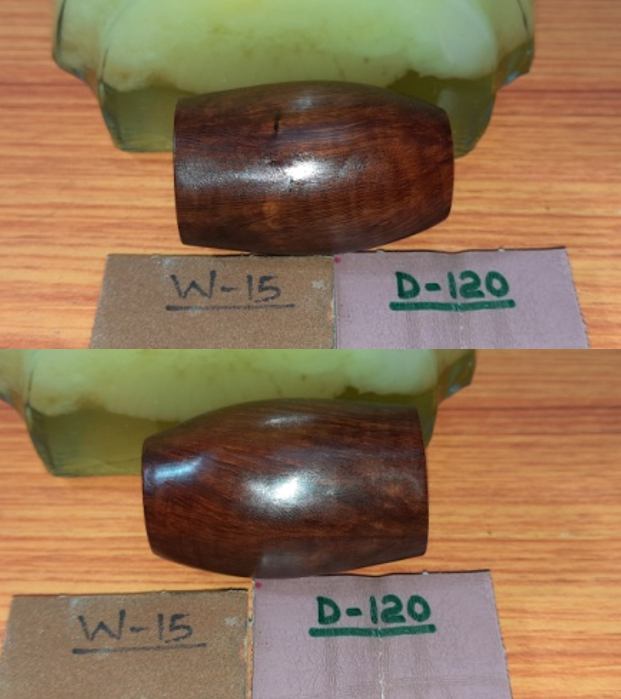
 With the stummel now refurbished and rejuvenated, I turned my attention back to the shank and horn stem. I polished the shank and stem by wet sanding using 1500 to 12000 grit micromesh pads. I rubbed a little “Before and After” balm in to the reed shank and a little EVO in to the stem.
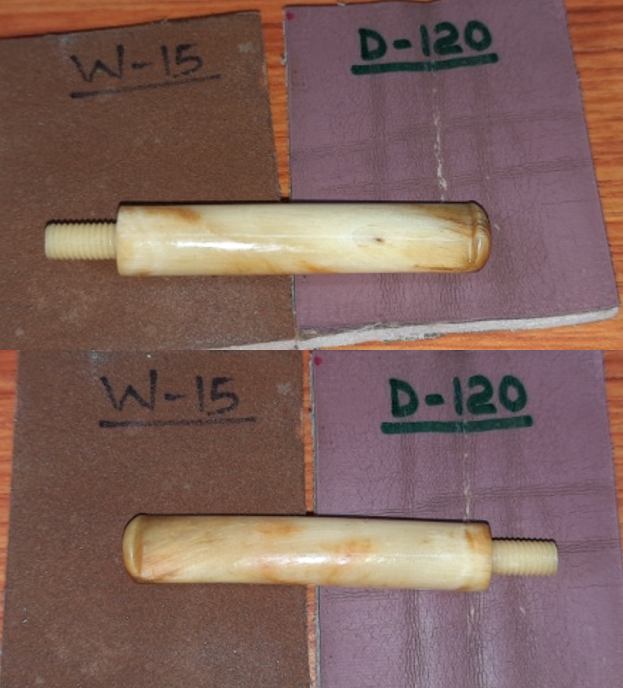
 All that remained was a polish with Blue Diamond compound and final wax coating using Carnauba Wax. I mounted a cotton buffing wheel earmarked for Blue Diamond compound on to my hand held rotary tool and applied a coat of the compound over the stummel surface to polish out the minor scratches. With a cotton buffing wheel that I use for carnauba wax, I applied a coat of carnauba wax to the stummel and stem and continued to work on it till the complete coat of wax had been polished out. I mounted a clean cotton cloth buffing wheel and gave the entire pipe a once over buff. I finished the restoration by giving the entire pipe a rigorous hand buffing using a microfiber cloth to deepen the shine further. The finished pipe is shown below. This pipe shall find its way to my collection based purely on its delicate stunning looks and uniqueness of the shape.


 P.S. The Pipe God was definitely smiling down upon me as I worked this pipe. Rarely does it happen that the replacement stem is a perfect size match and the new tenon is period correct and fits in the shank like a glove.
The most difficult part of this restoration for me was…can you guess? Please let me know your guess in the comments below and a big thank you for your valuable time in reading the write up.
Praying for you and yours… Be safe and stay safe.

