Blog by Steve Laug
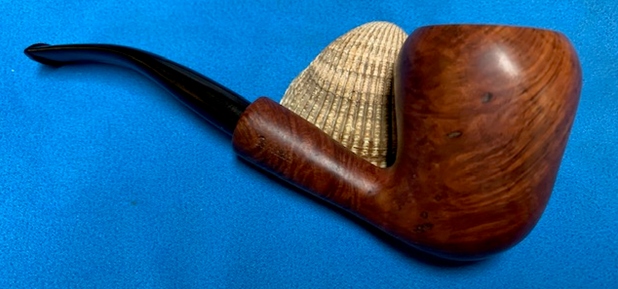
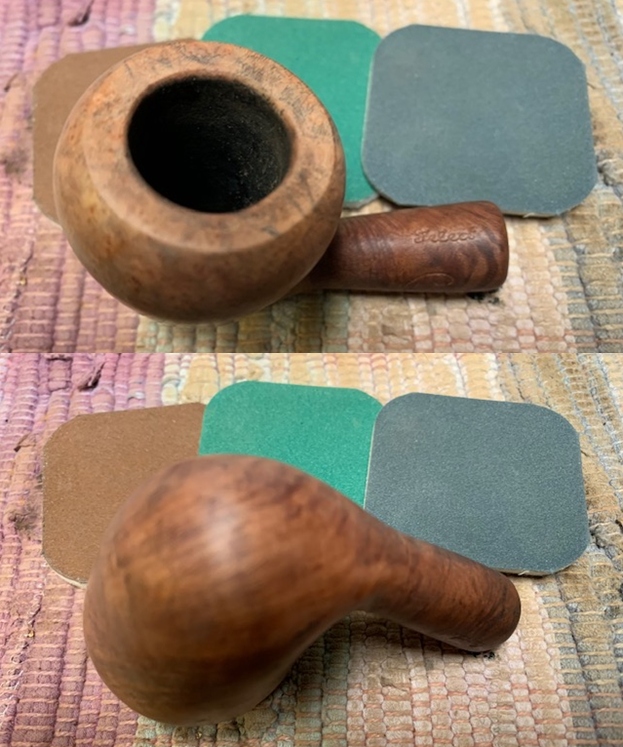
The next pipe on the work table is an interesting piece that came to us from one of our pipe hunts – maybe one of them in Alberta. It is another Leonard Payne pipe that is very interesting. The bowl has a Dublinesque shape and the shank is also flared. The pipe is stamped on the left side of the shank and reads Leonard Payne in an underscored signature style. On the top of the shank it is stamped Select in script. On the right side it is stamped Canada. There is some darkening around the shank bowl junction that when examined appears to be a rejoined shank and bowl. This is a classic Leonard Payne practice that he claimed strengthened the pipe at its weakest point. The aluminum system piece is inserted in the shank and has a tube inside it. The vulcanite stem also has a tube in it. To me it is a lot like Keyser Hygienic pipe in terms of the system structure. The bowl has a thick cake that overflows onto the rim top as lava. There are some nicks and scratches on the top and edges. The exterior was very dirty with grime and debris ground into the finish on the bowl. The inside of the aluminum shank insert is filled with tar and oils the same as the stem is. The vulcanite stem is oxidized, calcified, scratched and has tooth marks and chatter on both sides ahead of the button. I took some photos of the pipe before I did any clean up. 
 I took photos of the rim top and the stem. The photo of the rim top shows the damage and the cake in the bowl and lava on the top. The stem photos show the oxidation, calcification and tooth chatter and light marks.
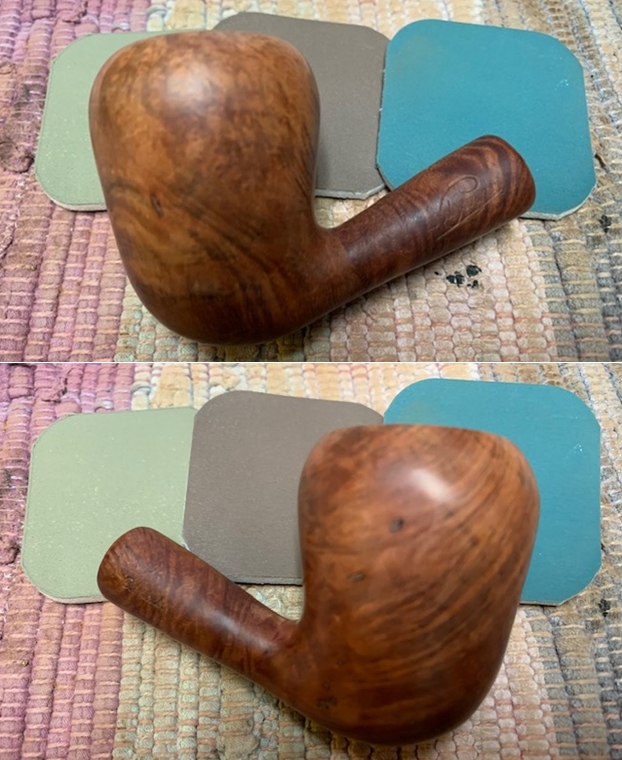
  I took photos of the stamping on the top, right and left side of the shank. The stamping on the left side is the Leonard Payne signature. The stamping on the left side reads CANADA. The stamping on the top of the shank reads Select.
 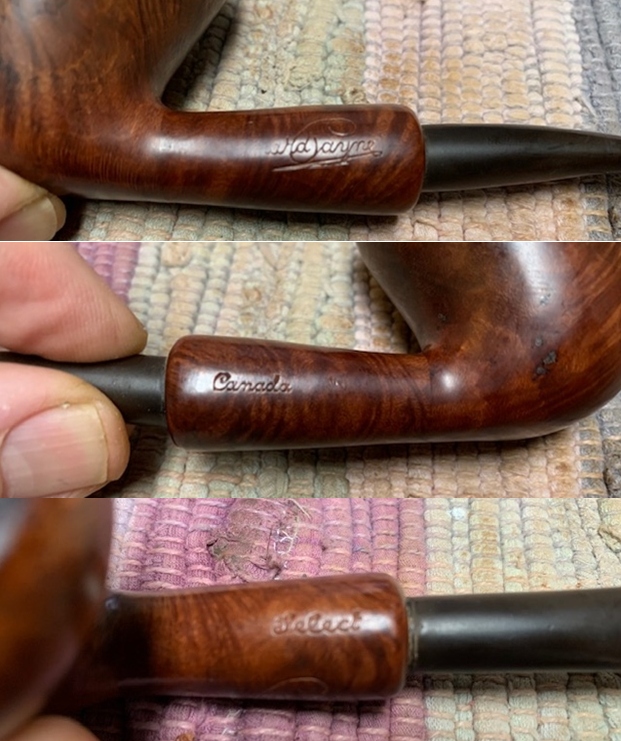 I reread several of the blog I have written on the brand in the past restorations of Payne pipes
 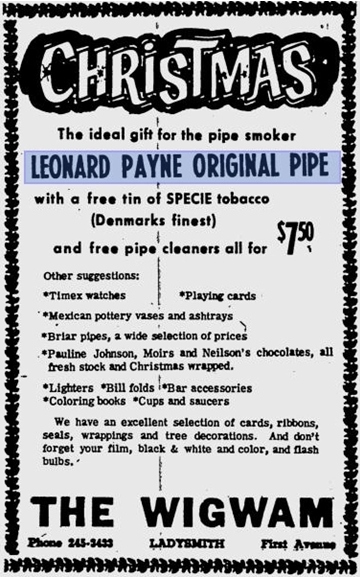 and decided to include the material on the brand before I write about the cleanup of the pipe. I am including advertisement for Leonard Payne’s pipes. Here is the link to the blog (https://rebornpipes.com/2013/11/16/a-pipe-maker-i-had-never-heard-of-leonard-payne-pipes/).
Further digging with Google came up with this short note from alt.smokers.pipes forum. It was written by Mike Glukler of Briar Blues. I quote it below in full. (https://groups.google.com/forum/#!topic/alt.smokers.pipes/RrICLiVgE2o) “Leonard Payne was based in B.C. for many years. He came to Canada from England. He had shops in Surrey, B.C. and Kelowna, B.C. Interesting fellow. Gruff as the day is long. When you bought a pipe it was handed to you in a paper bag. No sock, no box. Most of his pipes carried a “carburetor” system at the shank / stem junction. Another Payne idea was his shanks. Almost all his pipes were two pieces. He’d turn the bowl and shank, then cut off the shank and reattach with glue (not always with the same piece of briar, so many did not match grains). His thinking was that the shank being the weakest link, if cut and glued would never break and thus “correcting” the weakest link. You may find his pipes on E-Bay on occasion listed as a Len Cayne. The P in his stamping looks more like a fancy upper case C.”
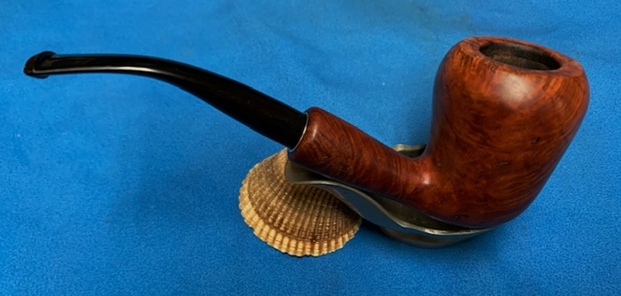
The pipe I am working on fits Mike’s information perfectly. First, there was a carburetor system on this pipe. The aluminum shank extension has a tube in it that matches a tube in the inside of the military bit stem.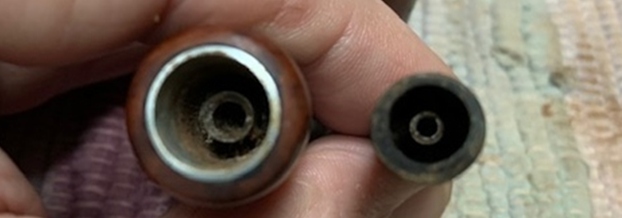 The second part of the information from Mike regards the shank and bowl connection. It was obvious that the shank had been cut off the shank and reattached with glue. It was Payne’s belief that since the shank was the weakest link cutting it off and gluing on would remove the possibility of it breaking in the future. I have marked the joint in the photos below with red arrows. The line is at the center of the two arrows.
  Now it was time to work on the pipe. First I took the pipe apart and took the following photo of the pipe. It was very dirty and needed to be thoroughly cleaned. I reamed the pipe with a PipNet Pipe Reamer and took the cake back to bare briar. I cleaned up the remnants of the cake in the bowl with a Savinelli Fitsall Pipe Knife. I sanded the bowl with a piece of 220 grit sandpaper wrapped around a dowel.
 I scraped off the rim top with a pen knife to remove the lava top coat on the rim. The rim looked quite good with the lava removed.
  I reworked the inner edge of the bowl and the rim top with a folded piece of 220 grit sandpaper. I started polishing it with 400 grit wet dry sandpaper.
 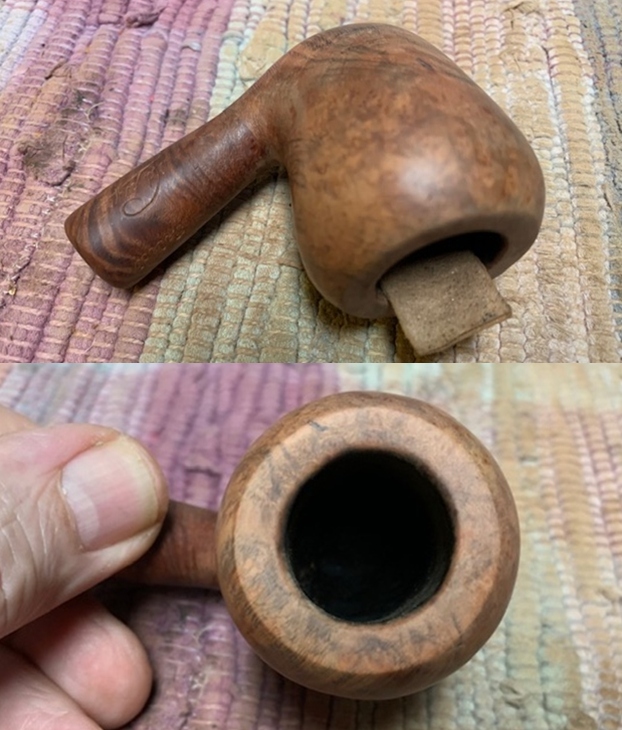 I scrubbed the exterior of the bowl with a tooth brush and undiluted Murphy’s Oil Soap. I rinsed it off with running water to remove the soap and the grime. The pipe looked better and the small fills around the bowl sides were very visible.
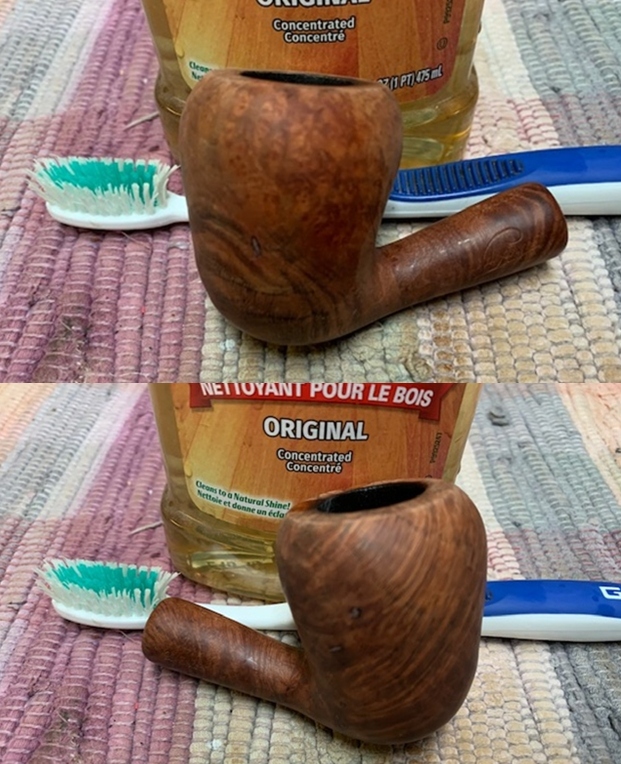
 With the externals cleaned I cleaned the internals on the metal fitment, the vulcanite stem and the shank with pipe cleaners, cotton swabs and alcohol. I worked on them until they were clean.
 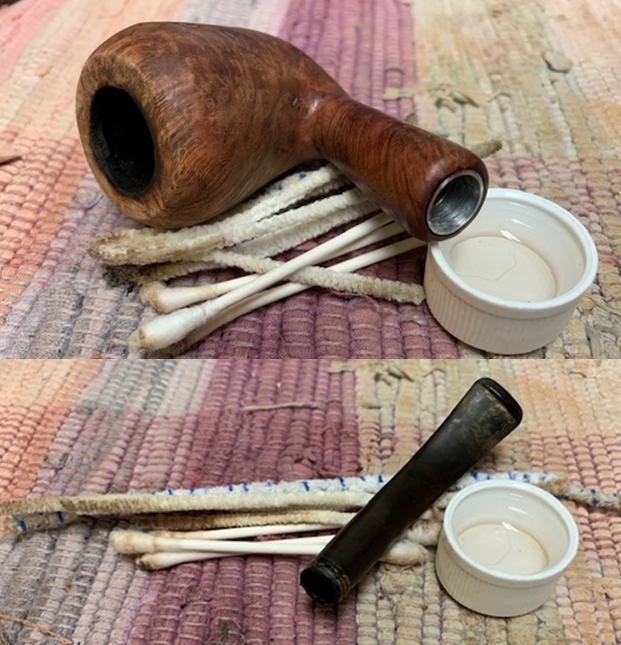 I repaired the fills on the bowl sides with clear super glue and briar dust. Once the repairs cured I sanded them smooth to blend them into the surface with a folded piece of 220 grit sandpaper.
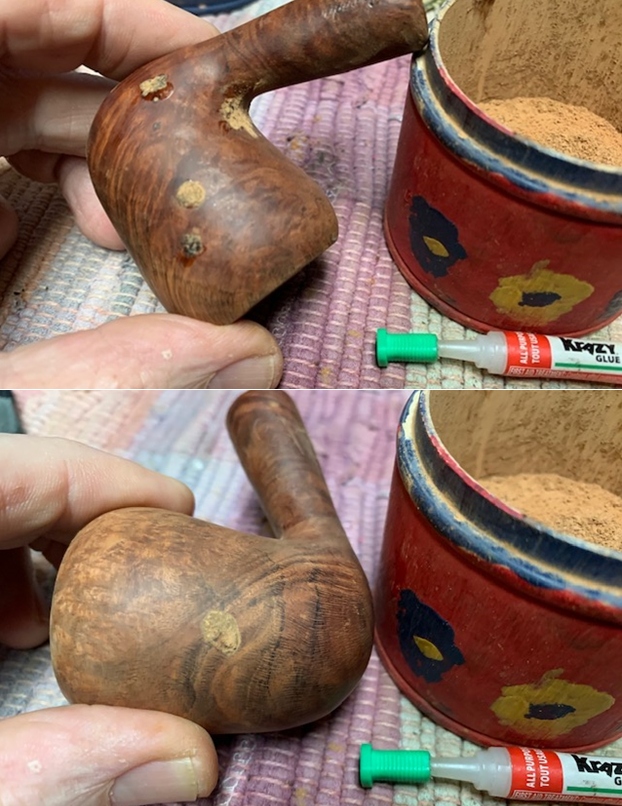
 I polished the bowl and rim top with micromesh sanding pads – wet sanding with 1500-12000 grit pads and wiping the briar down with a damp cloth after each sanding pad.

 I rubbed the bowl down with Before & After Restoration Balm. I worked it into the surface of the bark on the bowl sides and shank with my fingertips to clean, enliven and protect it. I let the balm sit for a little while and then buffed with a cotton cloth to raise the shine.

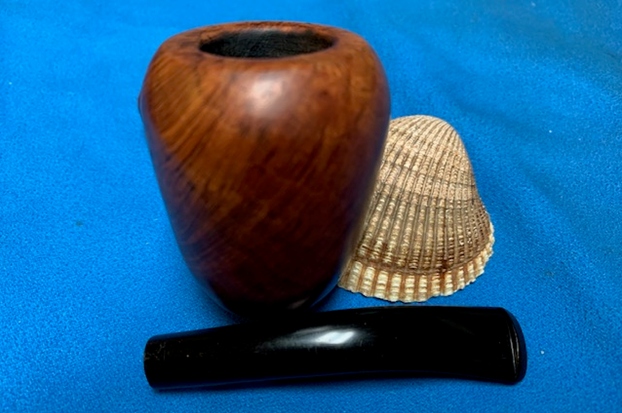
 I set the bowl aside and turned my attention to the stem. Before I turned out the shop lights for the evening I dropped the stem in a bath of Briarville’s Pipe Stem Oxidation Remover. It would soak overnight and in the morning I would see what it did.
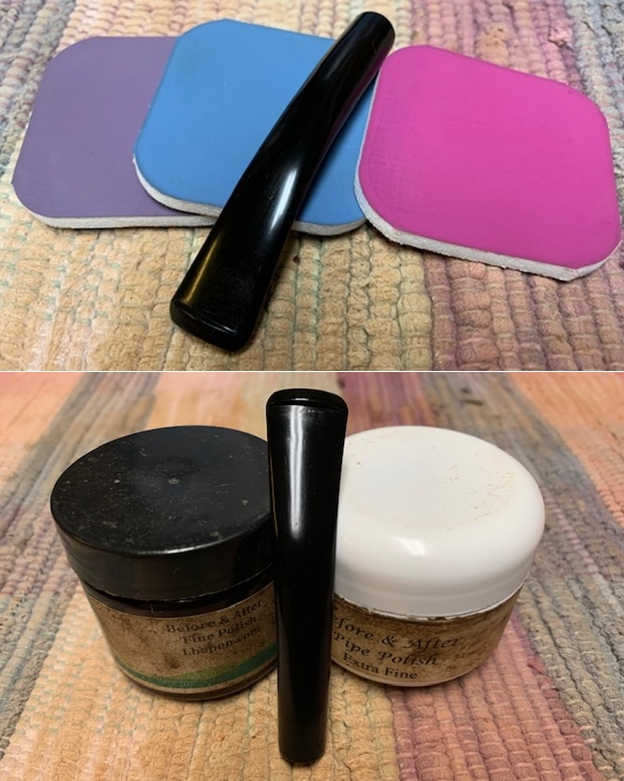
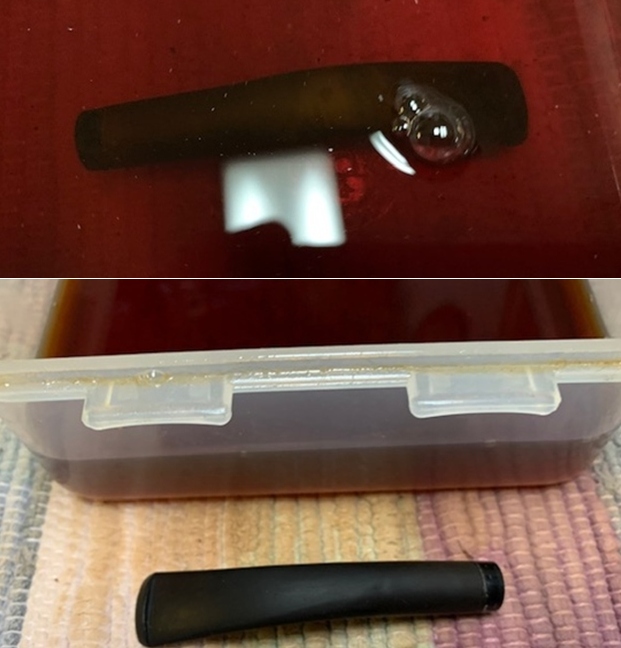 I polished the vulcanite with micromesh sanding pads – 1500-12000 grit pads. I wiped it down with a damp cloth after each sanding pad. I used Before & After Pipe Polish – both Fine and Extra Fine to further polish the stem.
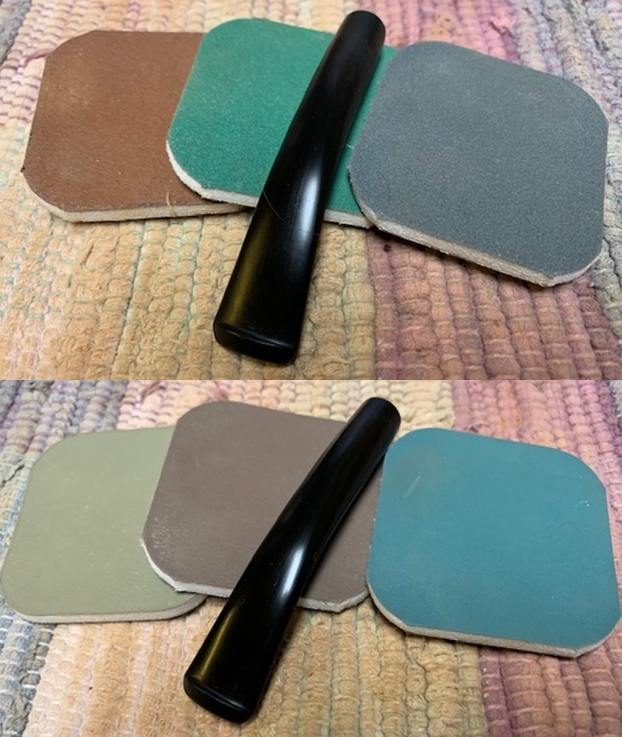
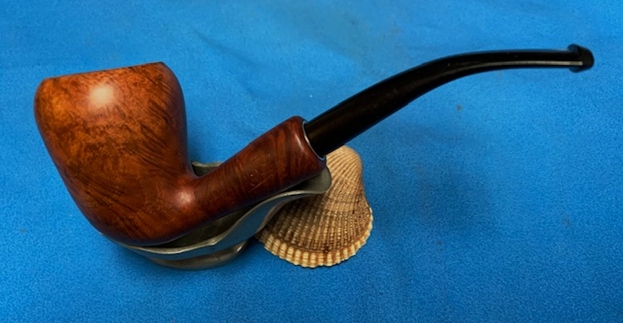
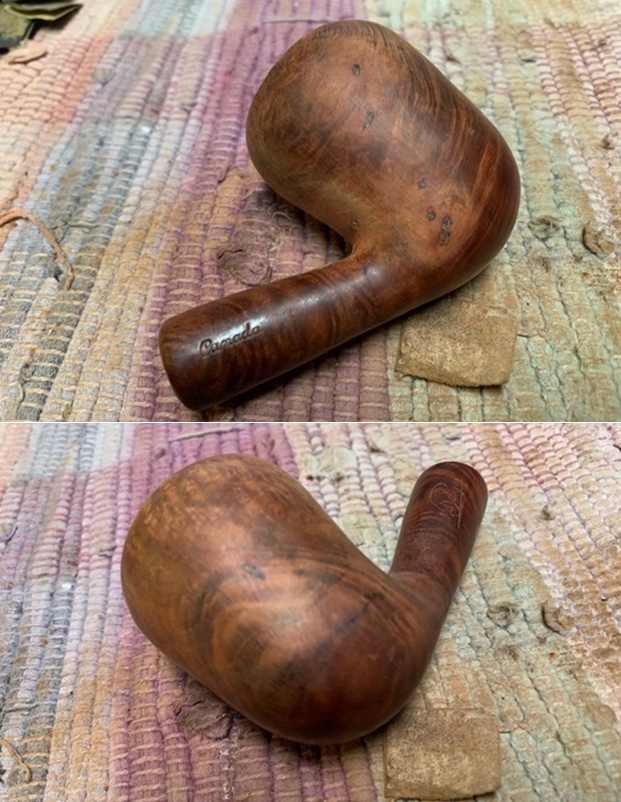
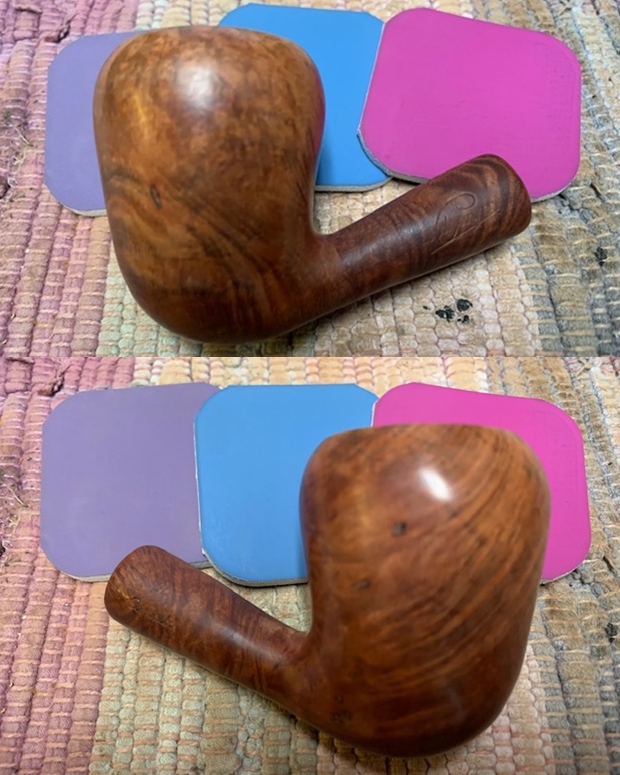
 This Leonard Payne Select Freehand System Pipe is a great looking pipe that has all of the classic Leonard Payne innovations – the carburetor and the cut off and glued on shank to strengthen the connection. The smooth finish on the pipe looks good (even with the small fills) and works well with the polished vulcanite, military style taper stem. I put the stem back on the bowl and carefully buffed the pipe with Blue Diamond on the buffing wheel. I gave the bowl and stem multiple coats of carnauba wax on the buffing wheel and followed that by buffing the entire pipe with a clean buffing pad. I hand buffed the pipe with a microfiber cloth to deepen the shine. The finished Canadian Made Leonard Payne Select is a great looking pipe that looks almost new. The flow of the grain around the bowl and the shape contribute to the beauty of this pipe. It fits nicely in the hand and feels great. Give the finished pipe a look in the photos below. The dimensions of the pipe are Length: 6 inches, Height: 2 ¼ inches, Outside diameter of the bowl: 1 ½ inches, Chamber diameter: ¾ of an inch. The weight of the pipe is 54grams/1.90oz. This one will soon be on the rebornpipes online store. If you are interested in carrying on the legacy of this Canadian Made pipe let me know. Thanks for reading this blog and my reflections on the pipe while I worked on it. This was an interesting pipe to bring back to life.