Blog by Steve Laug
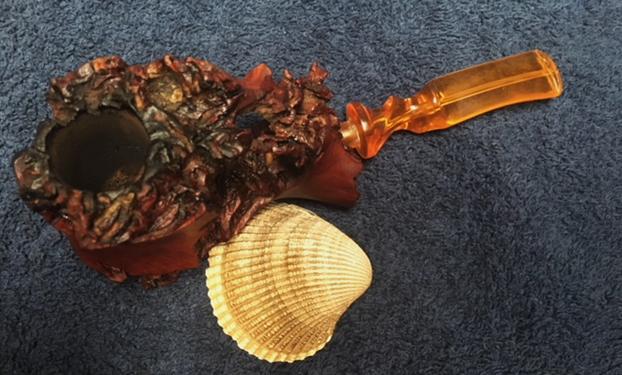
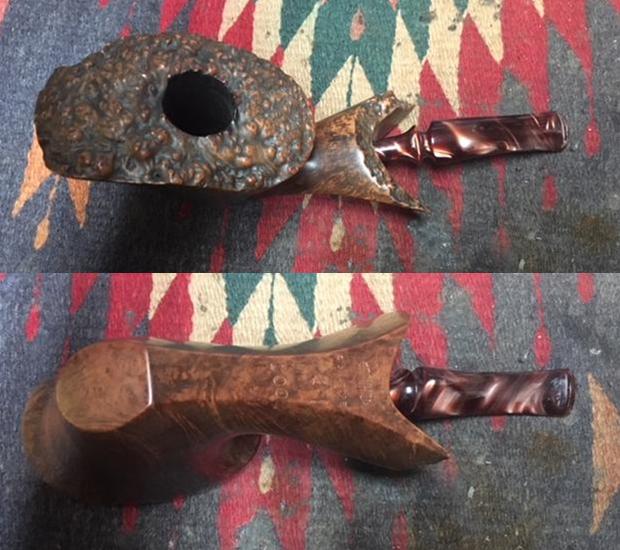
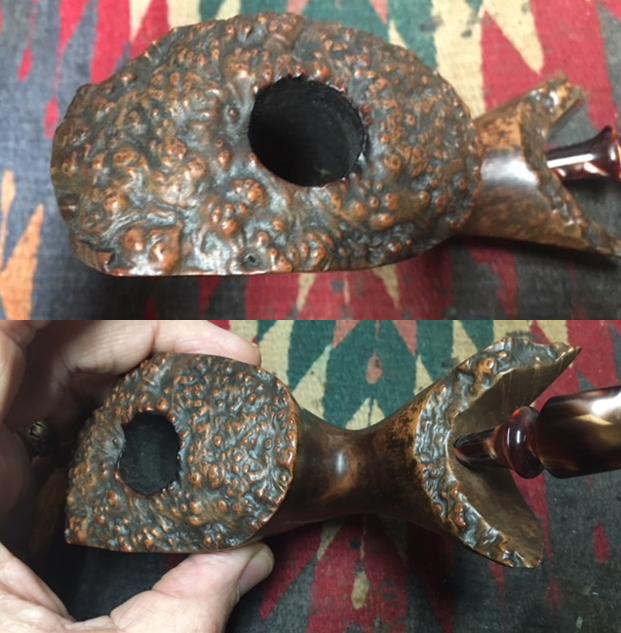
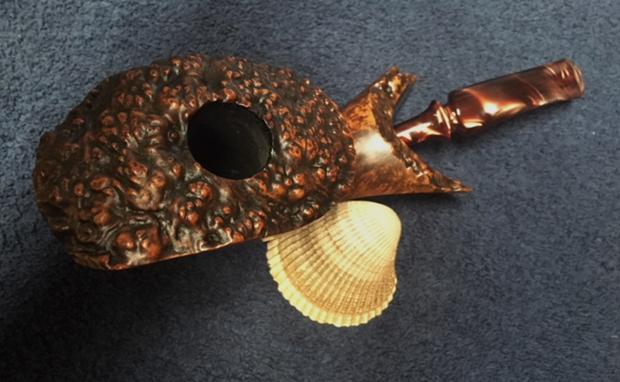
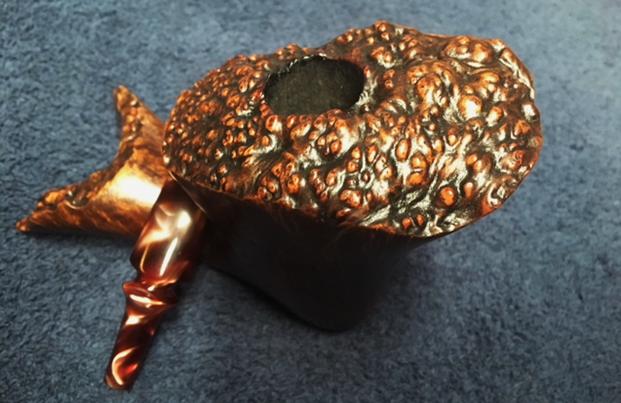
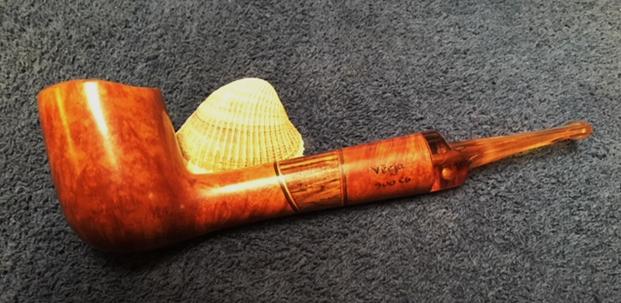
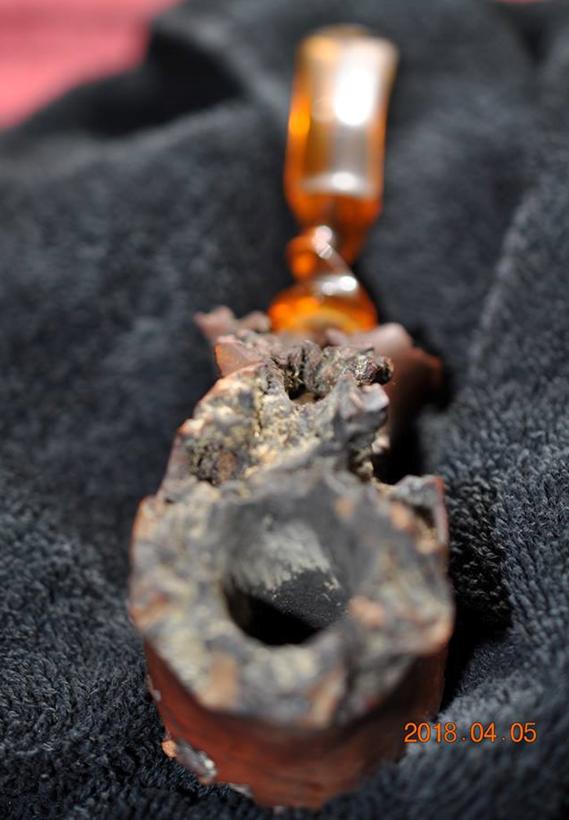
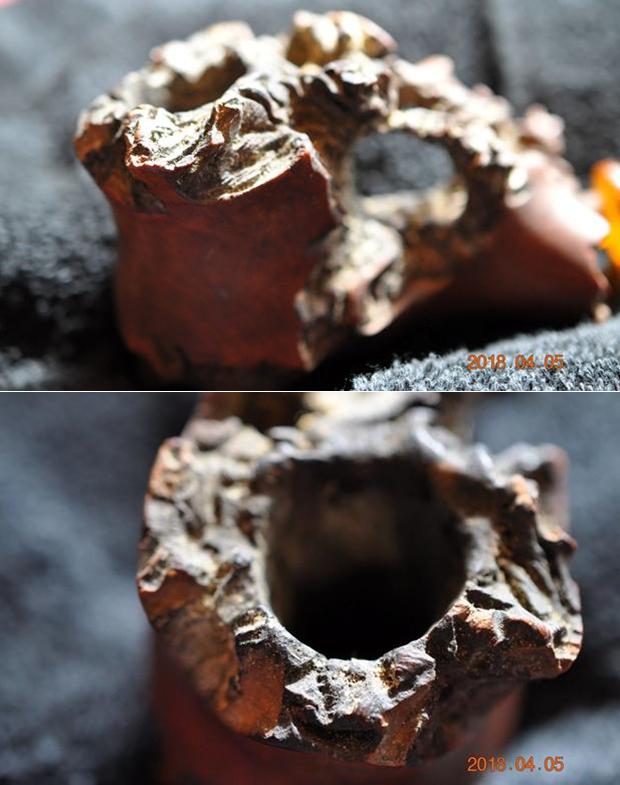
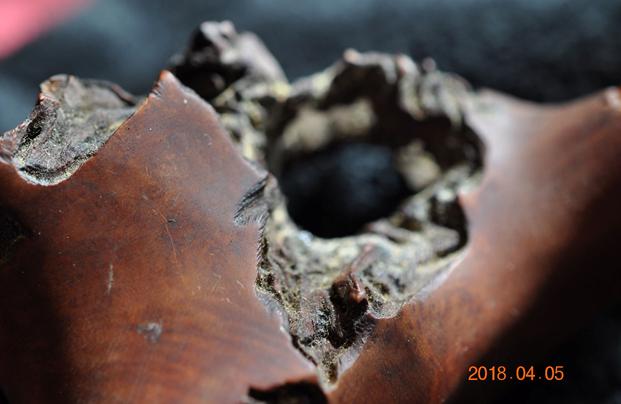
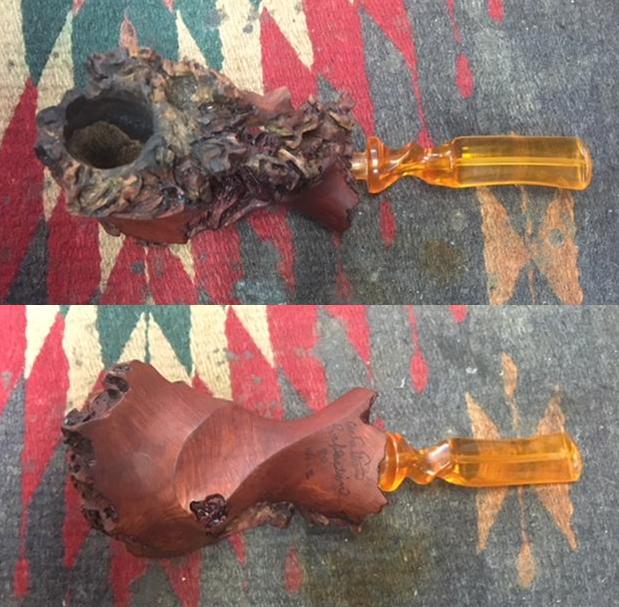
Jeff picked up this beautiful craggy rustic briar freehand pipe guy in Maryland. It was very rusticated and craggy. There were rustications on the rim, around the rim, around various parts of the bowl and on the shank top. There was a rusticated bridge from the rim on the back of the bowl all the way to the end of the rusticated and craggy looking shank. The rustication on the exterior was filthy with lots of dust and debris deep in the crevices. There was a thick cake in the bowl and the airway in the twisted saddle, amber coloured stem was filthy with tars and oils. The inside of the shank must have been very dirty as well. Jeff took photos of the pipe before he cleaned it. I have included them here to give an idea of the rough condition of this pipe when it arrived in Idaho and Jeff started his magic.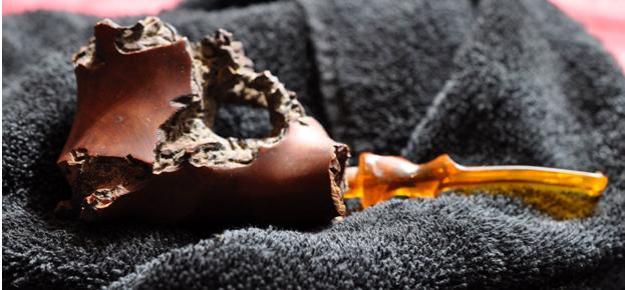
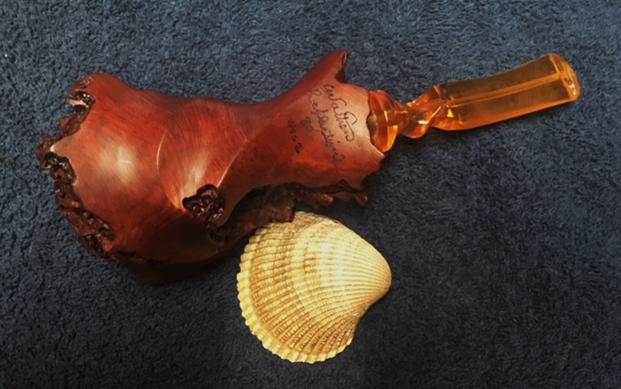
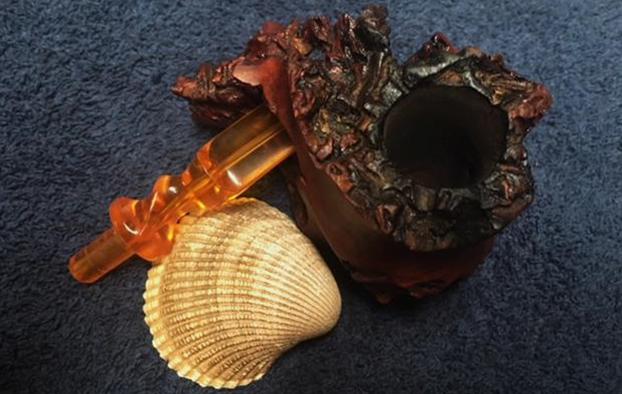
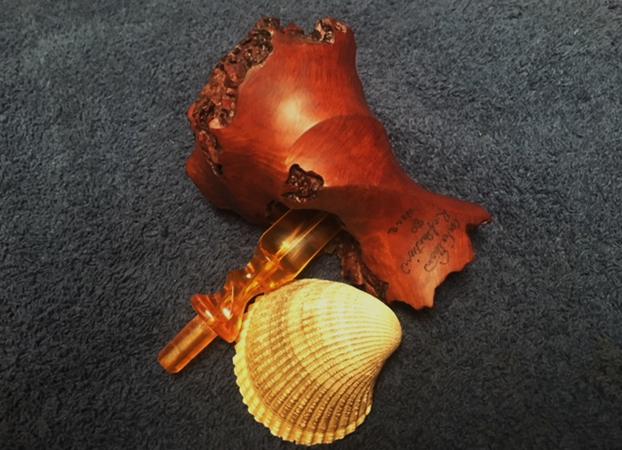
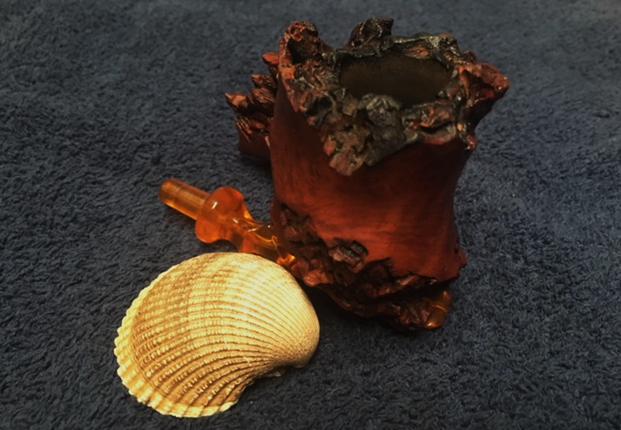
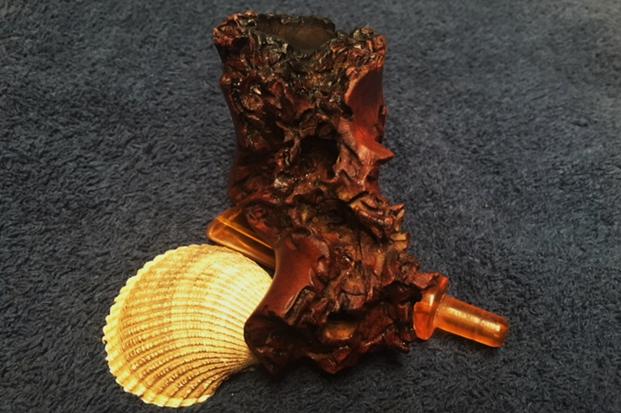
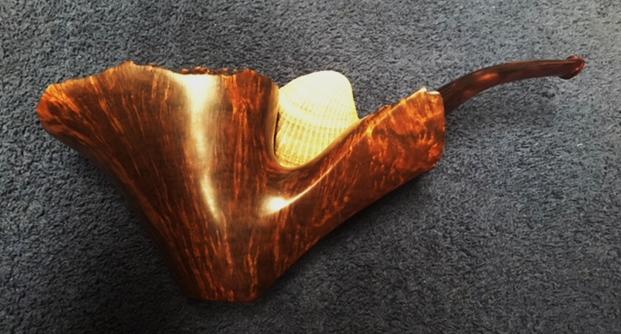
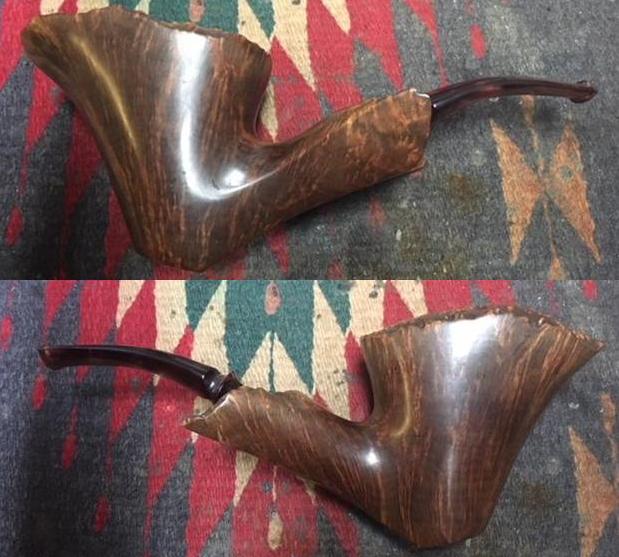
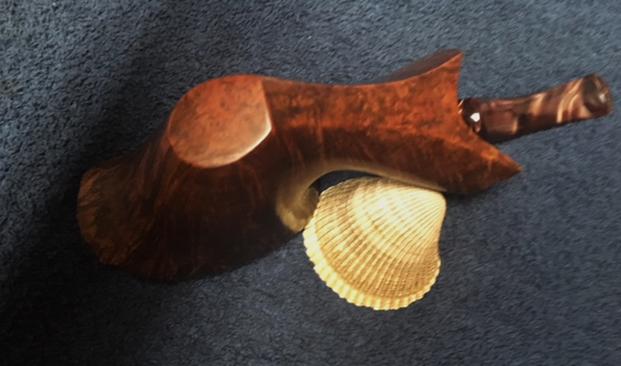
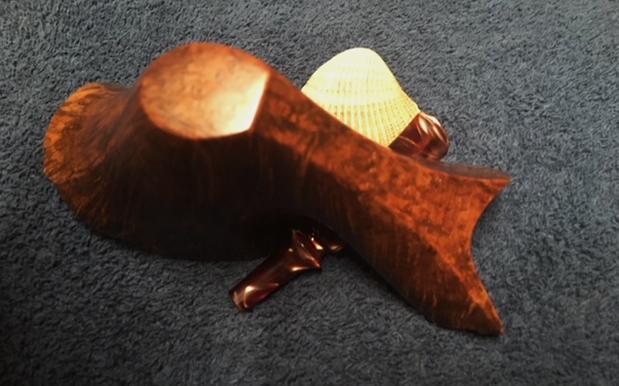
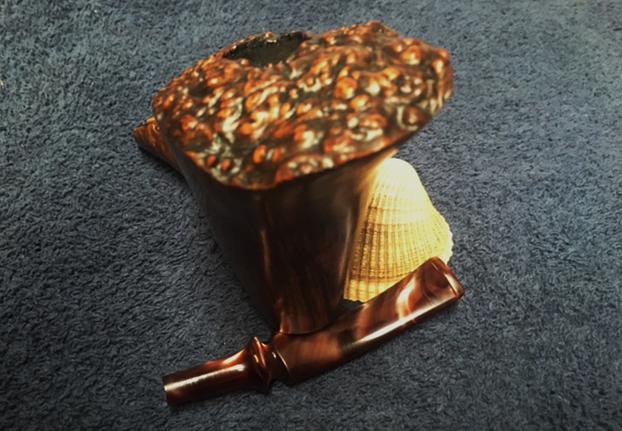
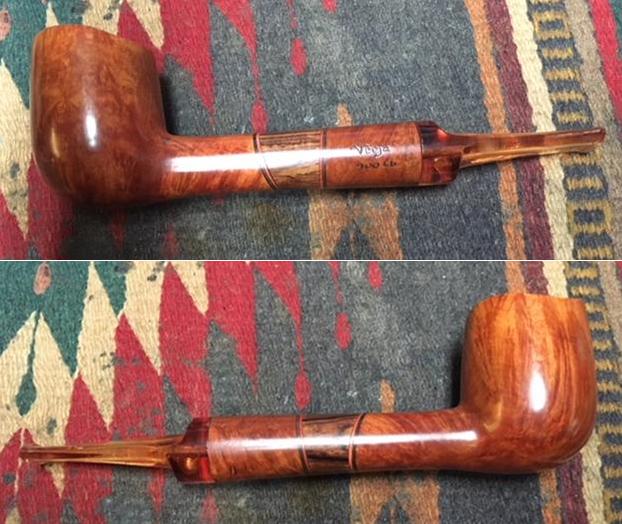
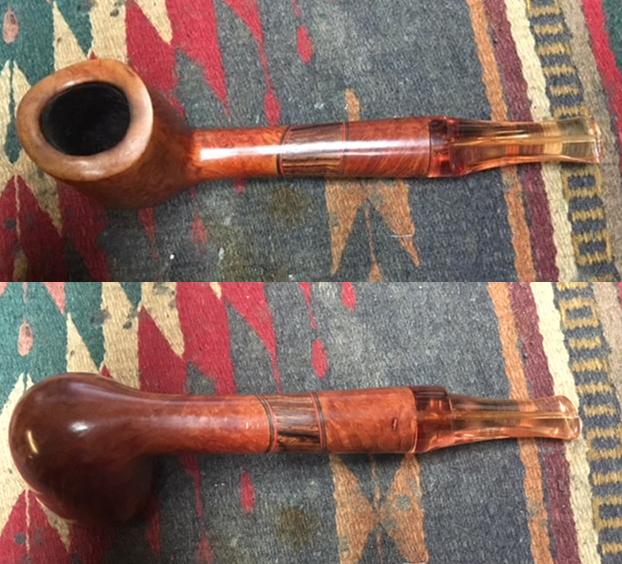
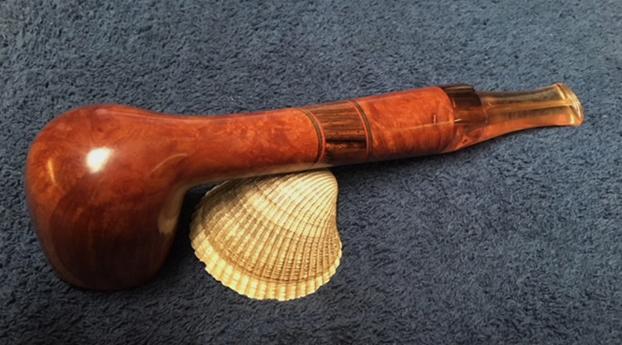
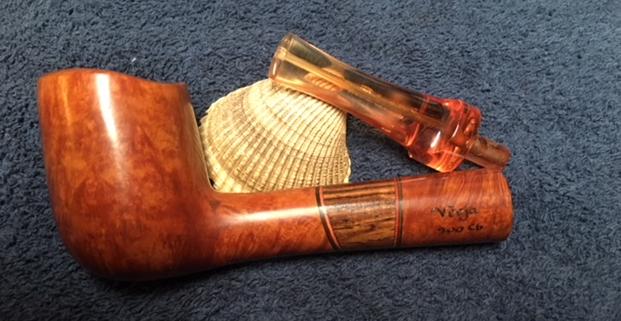
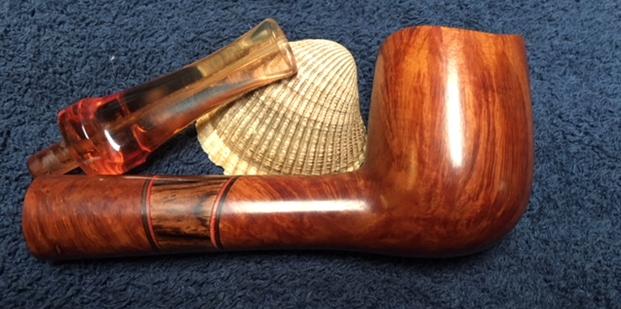
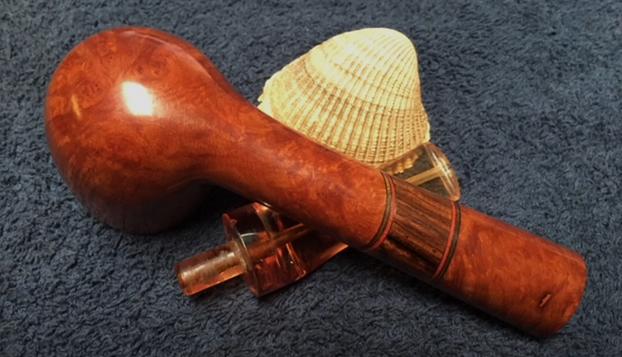
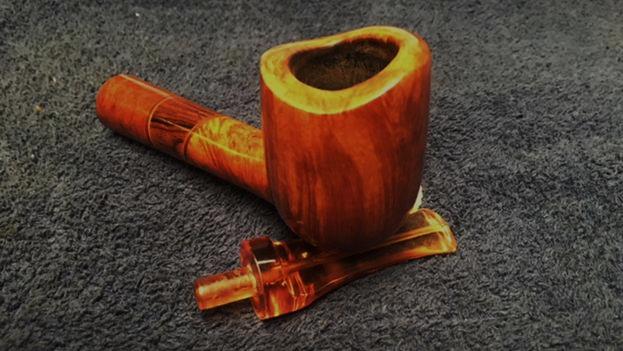
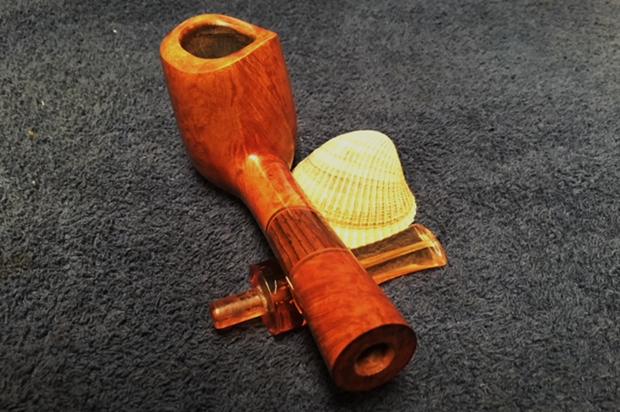
 It is really quite unique with a rustic carving around the rim top and down the bowl part way. It is also rustic around the bottom edge of the bowl. There is a rustic bridge from the bowl to the end of the shank. The back of the bowl and the top of the shank is also rustic. The end of the shank slightly flared and rustic with the mortise drilled in the center. The underside of the shank is stamped Wathen over Reflection over the numbers 80 over #002. I am sure these numbers will help me date the pipe once I figure out who the carver is and where he lived and worked. It is a uniquely carved pipe that has smooth portions on the bowl front, sides and shank. The stem was an amber acrylic saddle with a twist in the saddle. The overall look of the pipe reminds me of a Micoli. Jeff had outdone himself in the cleanup of this worn and weary old pipe. It looked really good when you see where it was when he started. I took some photos to show the condition of the pipe when I brought to the worktable today.
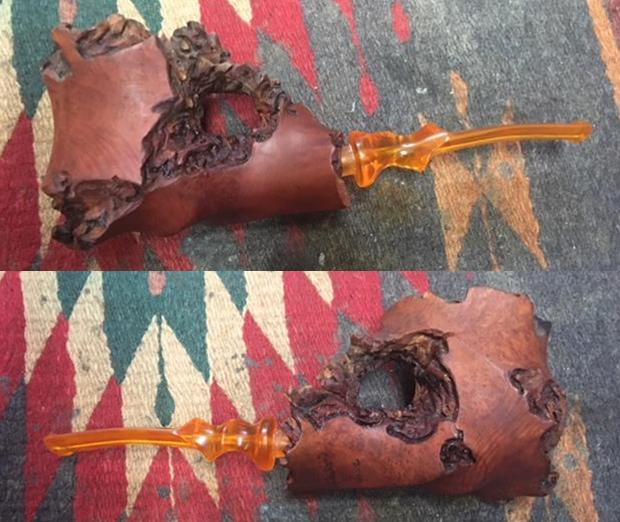
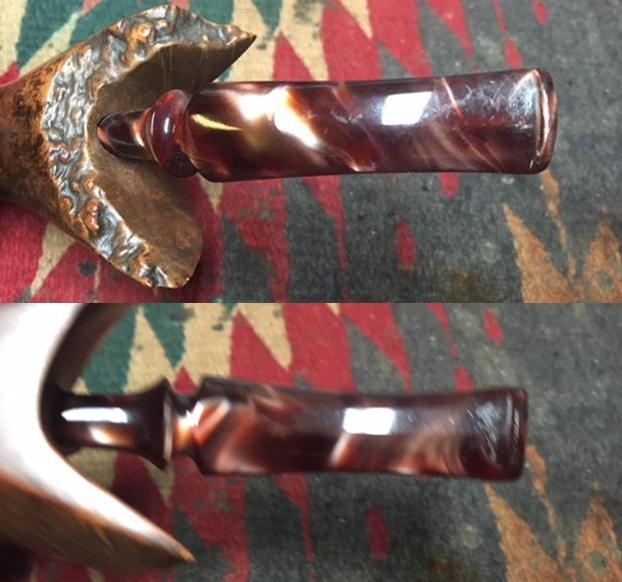
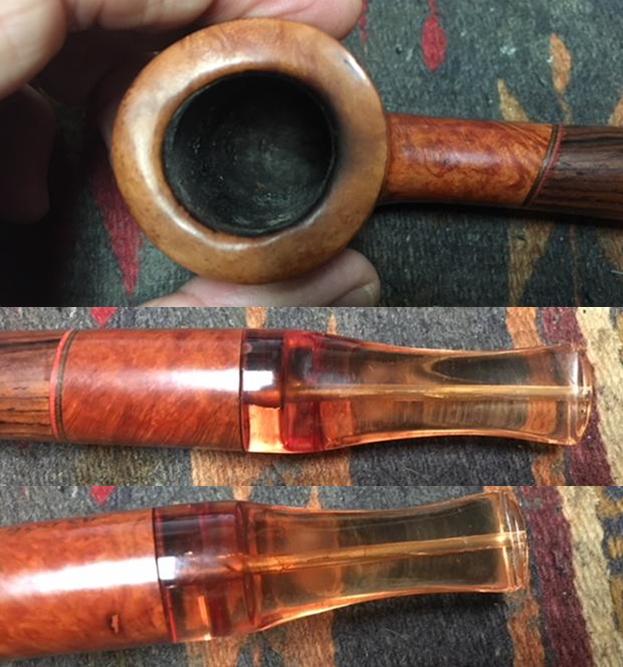
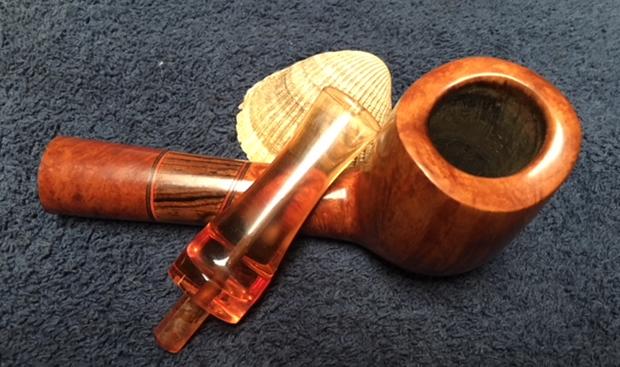
 Jeff scrubbed the exterior with Murphy’s Oil Soap and a tooth brush to clean up the rustication around the bowl and rim. He reamed the bowl with a PipNet pipe reamer and cleaned up the reaming with a Savinelli Fitsall Knife. He cleaned the interior of the mortise and the airway in the shank and the stem with alcohol, cotton swabs and pipe cleaners. The pipe came to me clean and ready to do some light restoration on it. The briar appeared to be very dry. The stem had a twist in the saddle that spiraled around the top and underside the length of the saddle. The surface was clean but had tooth chatter on the top and underside near the button and on the surface of the button itself. I took close up photos of the rim top and the bridge to the shank end to show the condition of the rustication. There was some darkening on the rim top that would need to be addressed but it was clean. I also took photos of the stem to give a clear picture of what I had when I started.
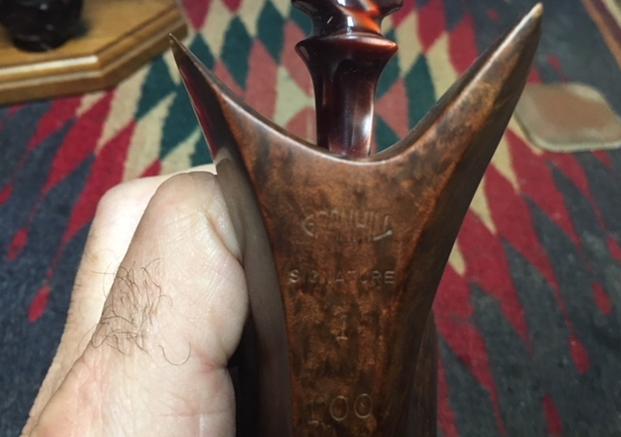
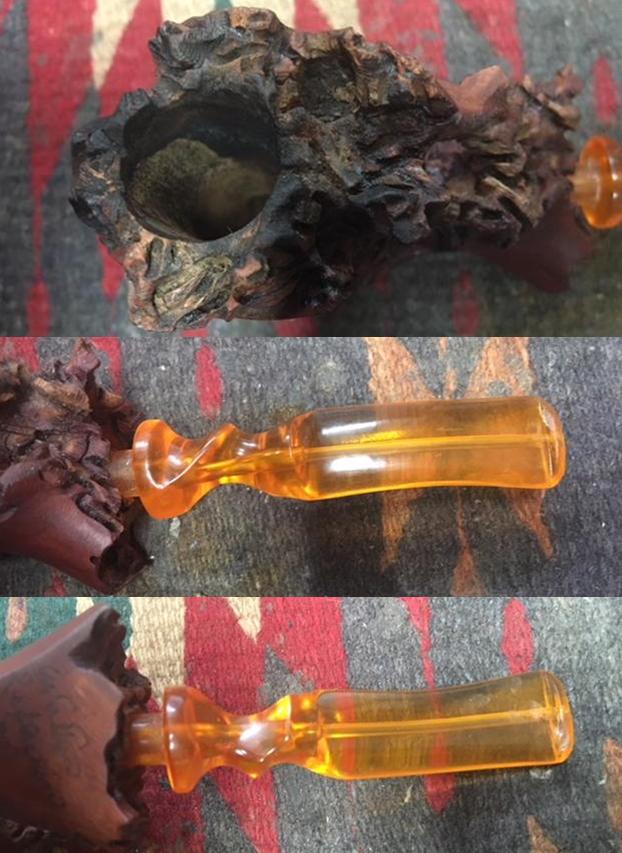 I took a photo of the underside of the shank to show the stamping there. It read Wathen in script over Reflection also in script. Under that was stamped the number 80 over #002. It was etched in script into the briar and had been darkened with a black stain to make it legible. Not sure what the numbering means and the brand is unfamiliar to me.
  I decided to do some research on the brand. It appears that today is my day for digging up information on the freehand pipes that I am restoring. I searched for the brand, Wathen to see if I could figure out any connections. The first link I found took me to Pipedia and the following link, https://pipedia.org/wiki/Wathen. I found a sample of the stamping on the shank similar to the one I am working on and some of the history of the brand. I quote it in full.
 Kerry S. Wathen was a pipemaker who worked for a small pipe shop in south Kansas City called “The Briar Patch” in the 1970’s. Tending to larger sized pipes his centerpiece was a huge briar calabash shape. When the Briar Patch closed he probably moved to Iowa where his pipes were available at David’s Briar Shop in Des Moines (ca. 1977 – 1980/81).
Wathen was having some problems with his hands at that time and was finally forced to give up his talented carving. He usually inscribed his pipes with his name and two digits for the year of production like “Wathen ’75”. The best pieces were named “Reflection”. Kerry S. Wathen, Sr. passed away on April 1, 1985 in his hometown of Topeka, Kansas.
The article on Pipedia gave me some interesting information on the pipe and the maker. The maker appears to have been Kerry S. Wathen. He carved pipes for a shop called The Briar Patch in Kansas City in the 1970s. It also said that he move to Iowa and sold his pipes through David’s Briar Shop from 1977-1981. It also helped me understand the stamping. The number 80 was the year in which the pipe was made. The #002 evidently was the second pipe made in that year. The stamping Reflection was how he marked his best pieces. According to the article he died in 1985.
I found another link for the sale of three Wathen Reflections through Cigar and Tabac shop. Here is the link, https://www.cigarandtabacltd.com/kerry-wathen-reflections-pipes-on-sale/. I quote the information from there that confirms the other information and adds some more. The first part of the quote said that the pipe were on sale for $250 each. Then it pretty much quoted the information from Pipedia. The second part of the article gave the following new information.
Wathen was having some problems with his hands at that time and was finally forced to give up his talented carving. He usually inscribed his pipes with his name and two digits for the year of production like “Wathen ’75”. The best pieces were named “Reflection”.
The last piece I found was from pipes.org and confirmed the Des Moines, Iowa connection that is noted in both of the above articles. Here is the link to the pertinent part of the discussion on the forums, http://pipes.org/forums/messages/23/5570.html?1099700064.
I have ten Wathen pipes that were purchased between 1977 and 1980 from a shop in Des Moines, Iowa. The shop name was David’s Briar Shop and the Wathens were pretty popular there.
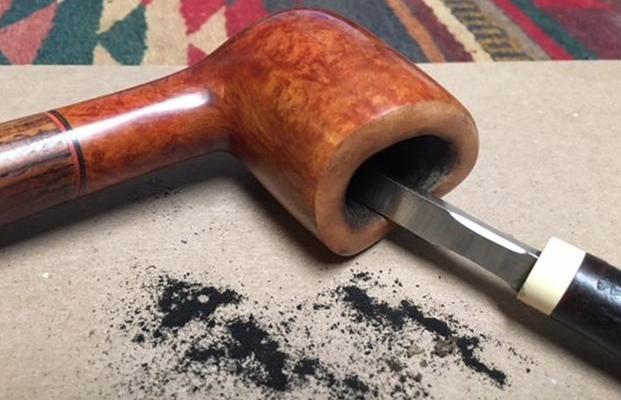
Armed with that information I was pretty certain that the pipe I was working on was made by Kerry Wathen and with the 1980 date stamp it pretty well placed as one of the Des Moines, Iowa pipes made just five years before Kerry Wathen died. I turned my attention to restoring the pipe. I started with cleaning up the remnants of cake on the inside of the bowl with a Savinelli Fitsall pipe knife. I sanded out the inside of the bowl with a rolled piece of 220 grit sandpaper until the inside of the bowl was smooth and clean.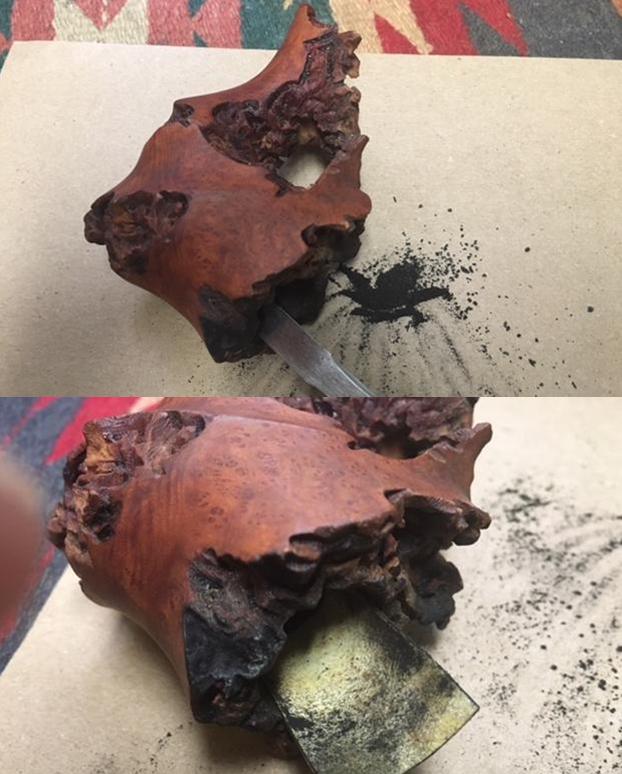
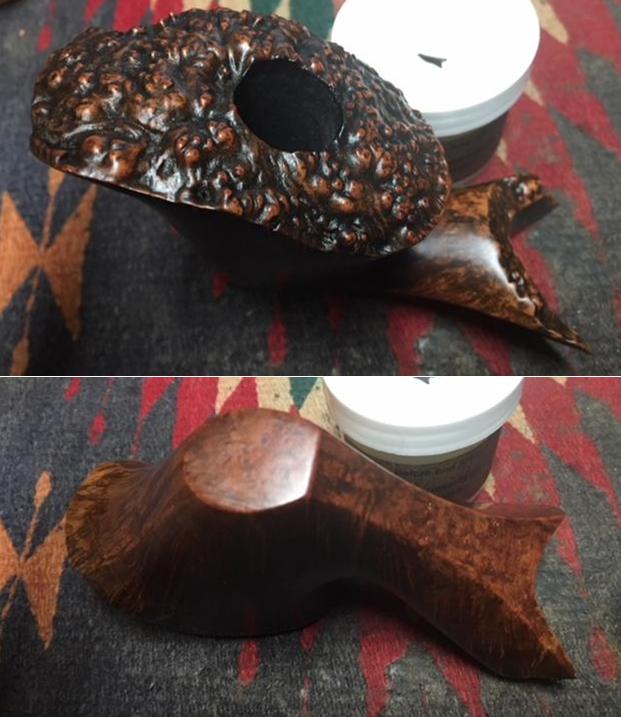
 I scrubbed the rim top rustication with a brass bristle tire brush to remove the carbon and debris in the rustication. I scrubbed it until the surface was clean. The photos below show the progress.
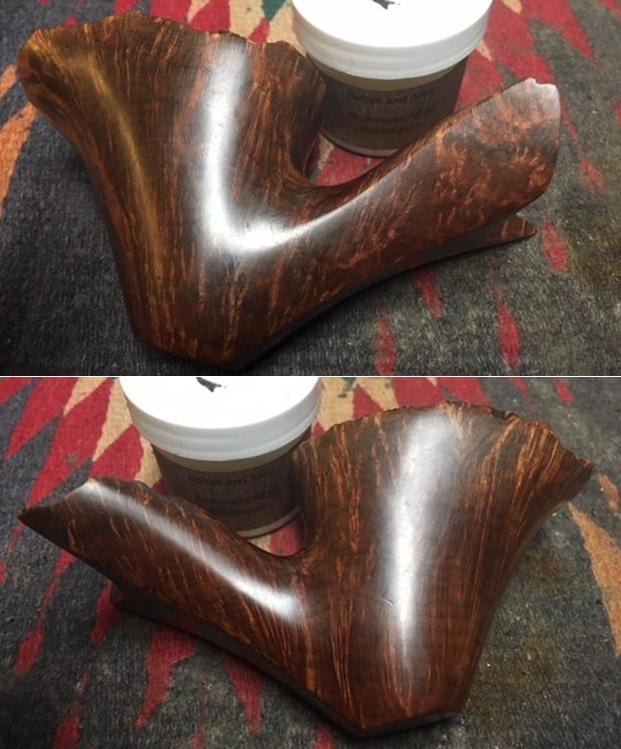
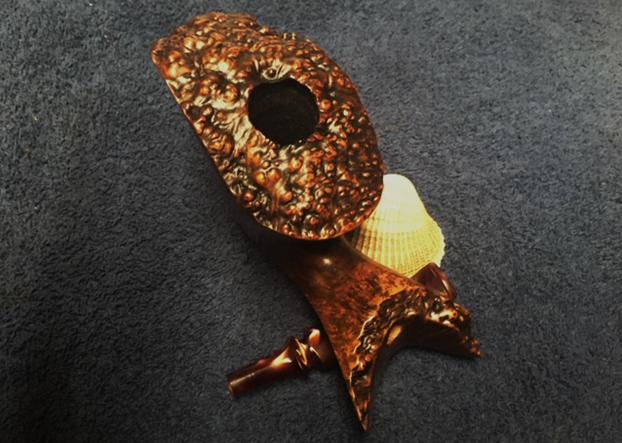
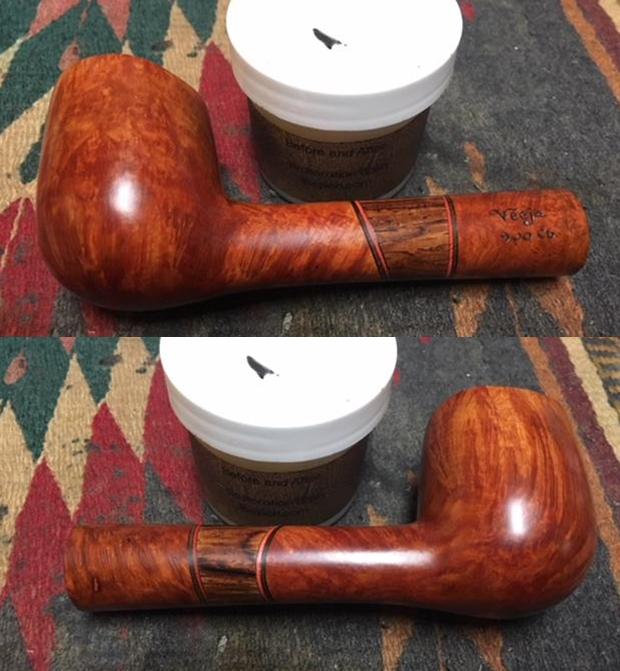
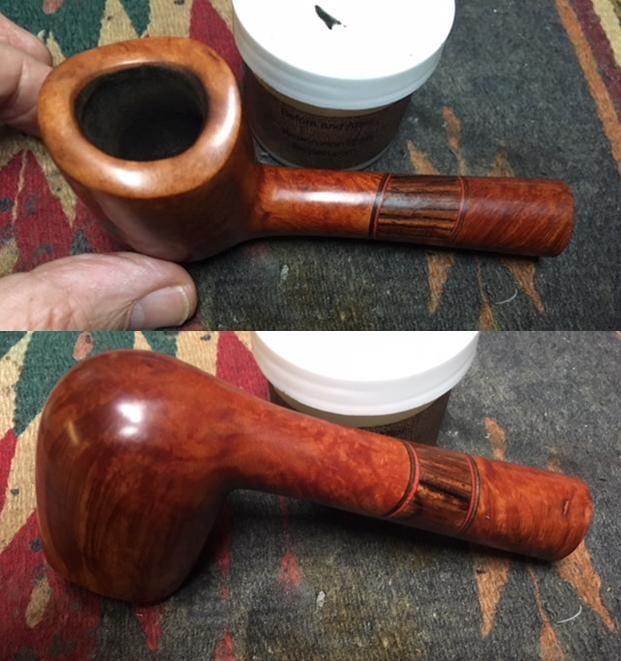
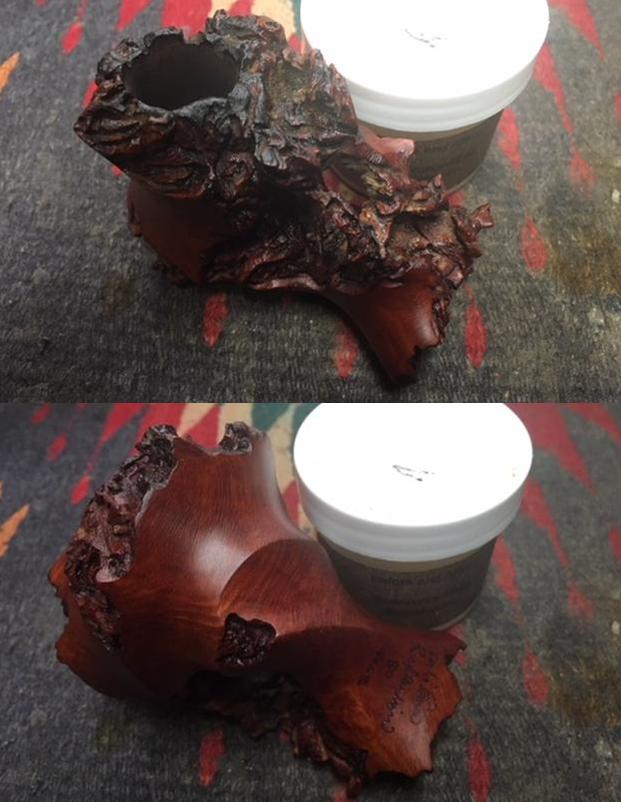
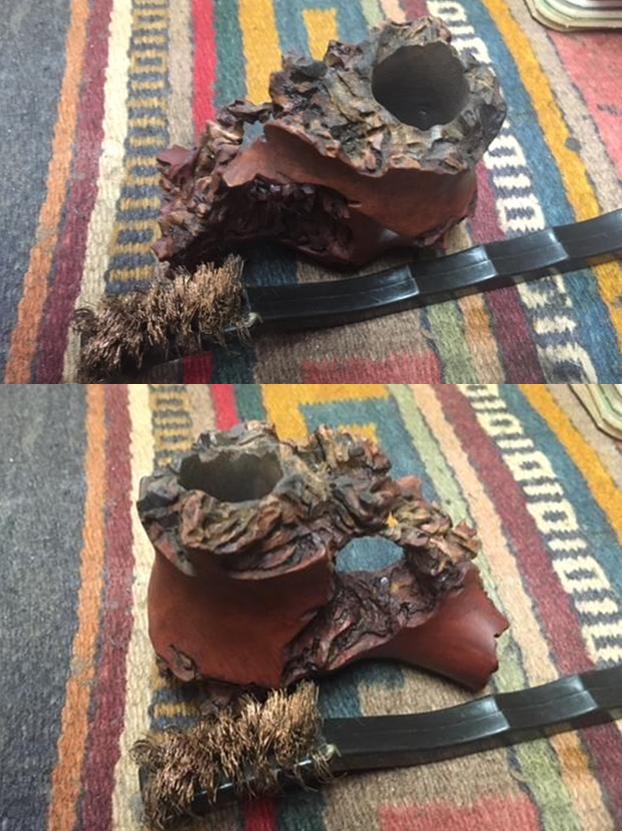 I rubbed the bowl down with Before & After Restoration Balm to deep clean the smooth briar bowl and worked it into the rusticated portions around the bowl, rim and shank including the bridge. The product works to clean, enliven and protect the briar. I hand rubbed it with my fingers, working it into the exterior of the rustication with a horsehair shoe brush. I wiped it off and buffed it with a soft cloth to polish it. The pipe really began to have a rich shine. I took some photos of the bowl at this point to mark the progress in the restoration.
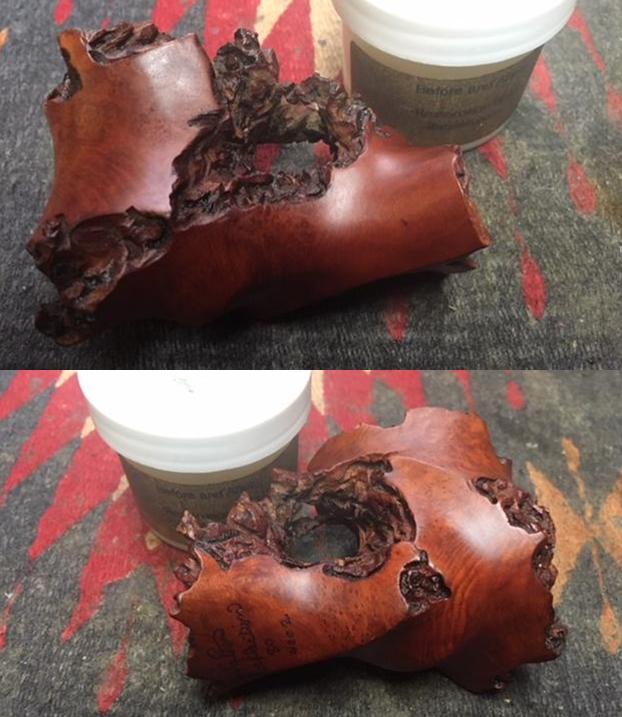
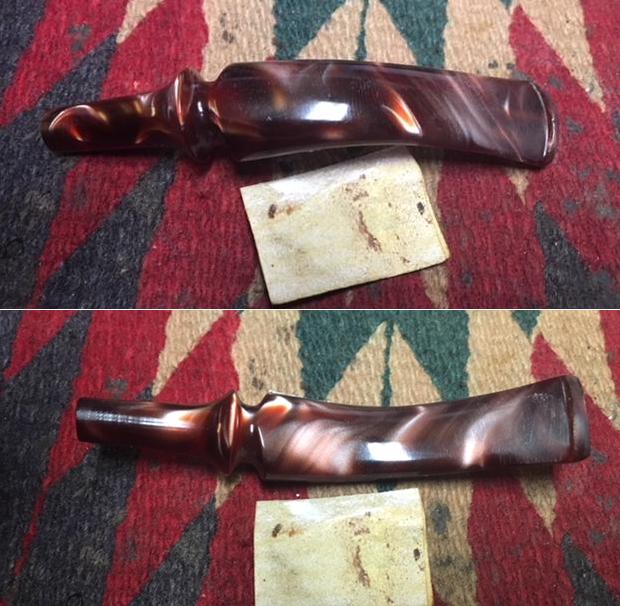
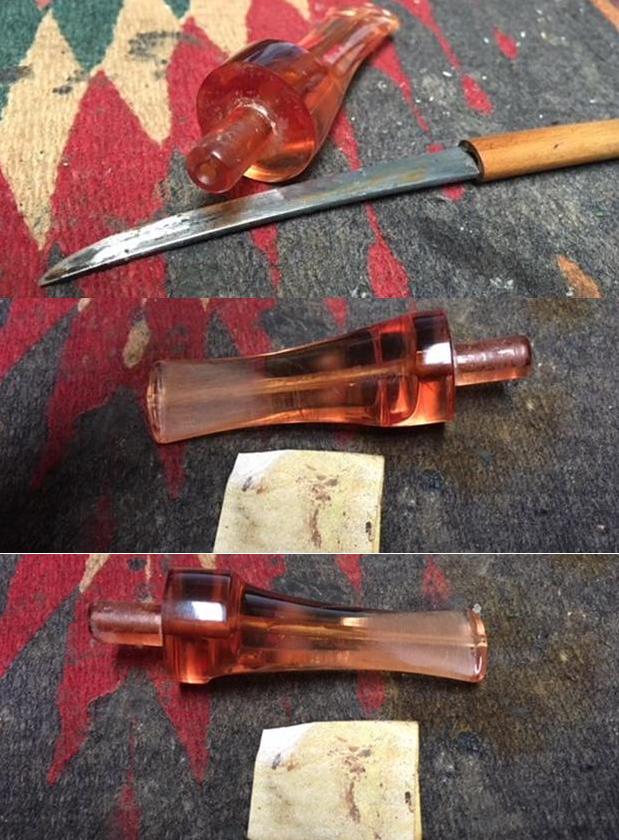
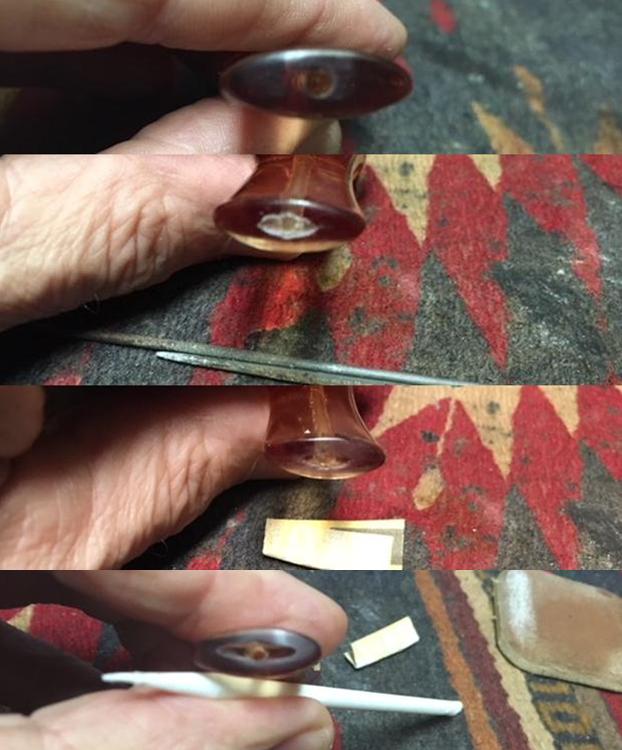
 I set the bowl aside and turned my attention to the stem. I sanded the surface to remove the tooth chatter and filled in the deeper tooth marks on both sides of the stem near the button with clear super glue.
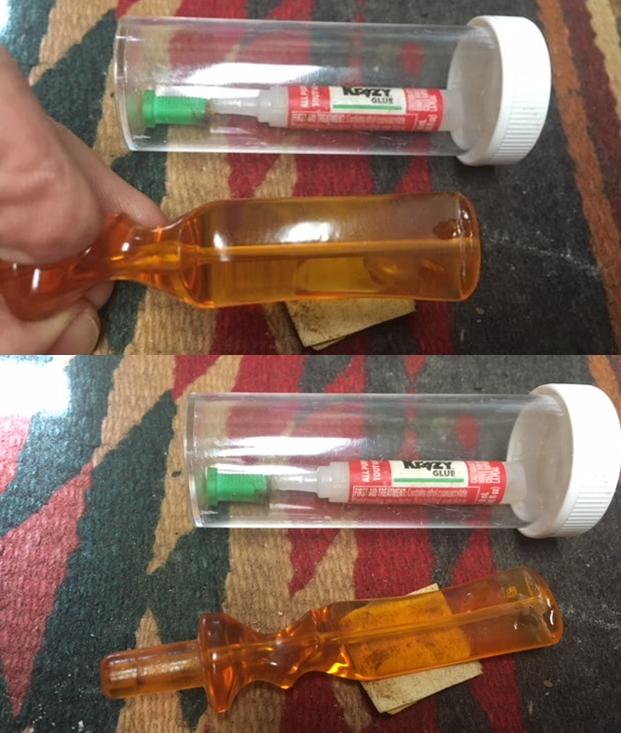 When the repairs had dried I sanded them with 220 grit sandpaper to smooth and blend it into the rest of the acrylic stem. Once it was sanded smooth the stem looked really good.
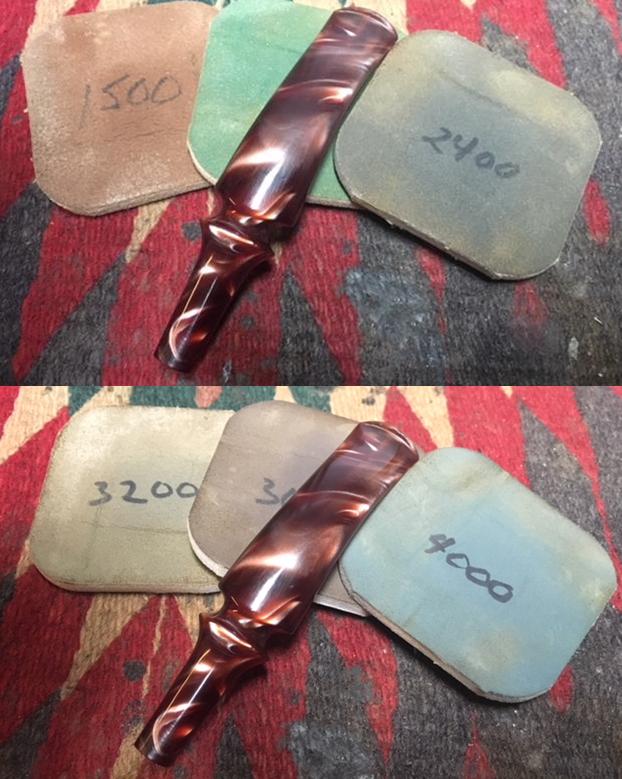
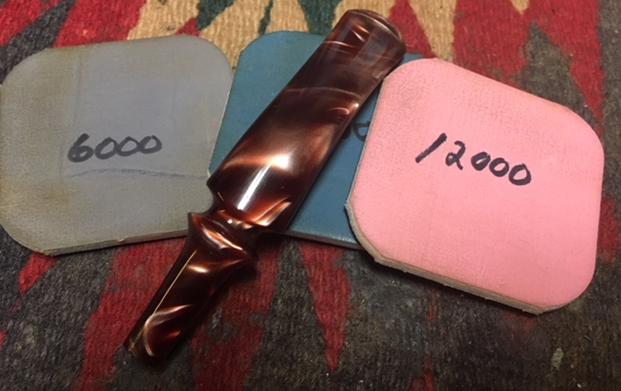
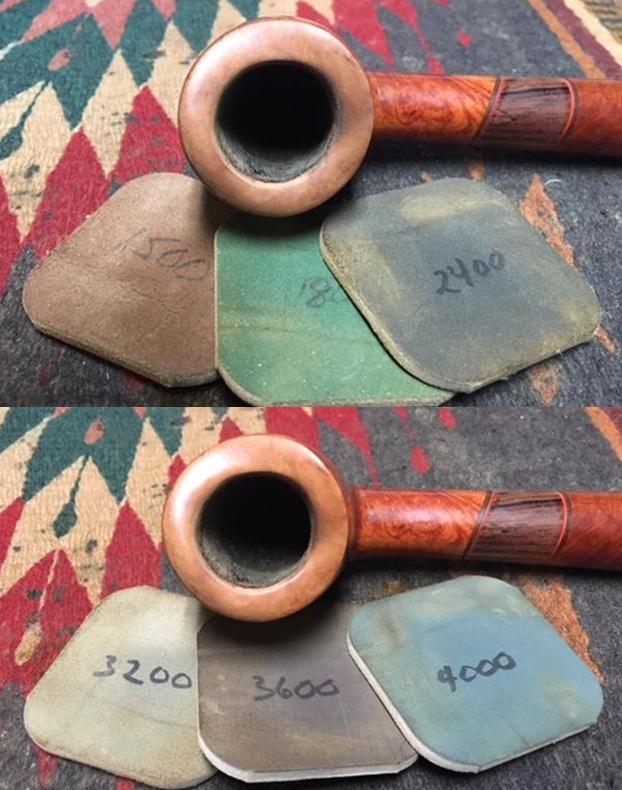
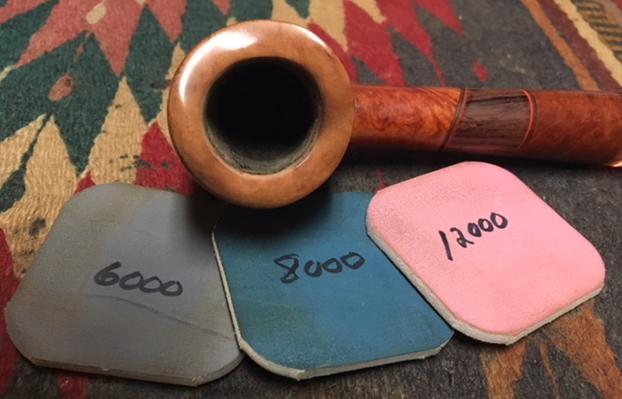
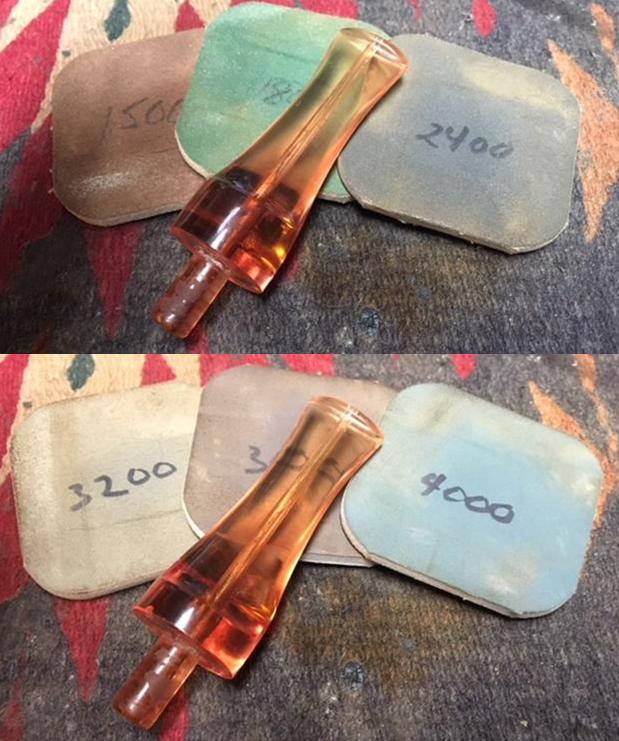
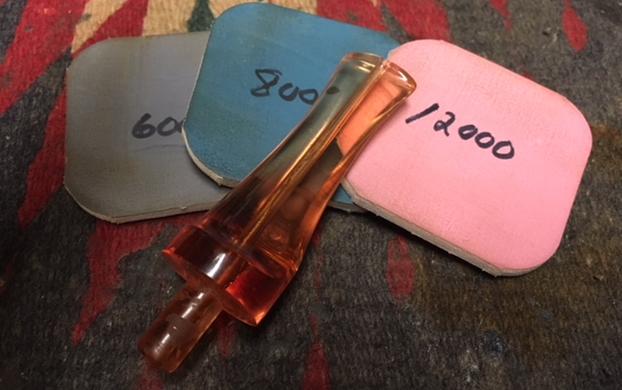
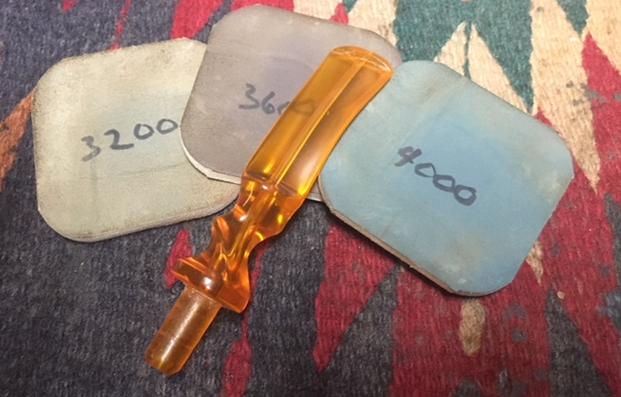
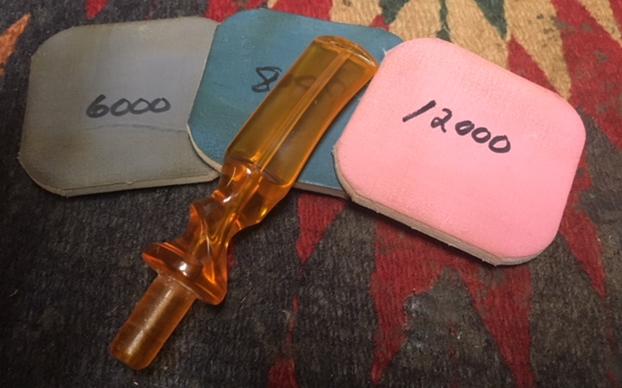
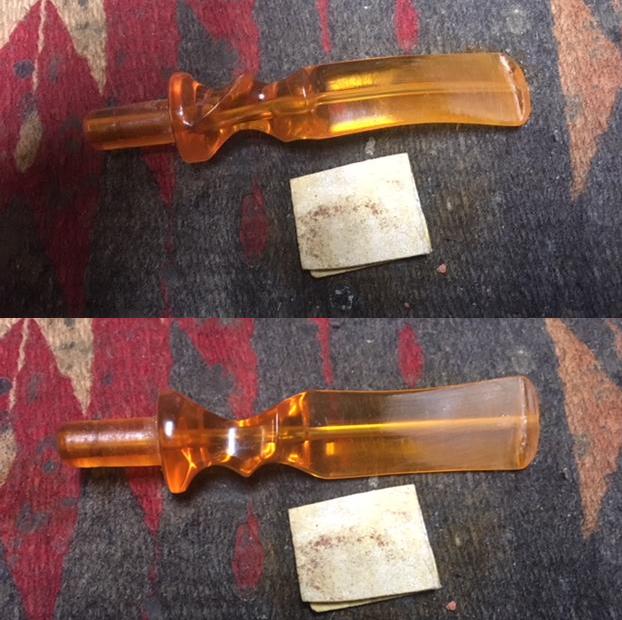 I polished the stem with micromesh sanding pads – wet sanding with 1500-2400 grit pads and dry sanding with 3200-12000 grit pads. I wiped the stem down after each pad with a damp cloth to remove the sanding dust on the acrylic.
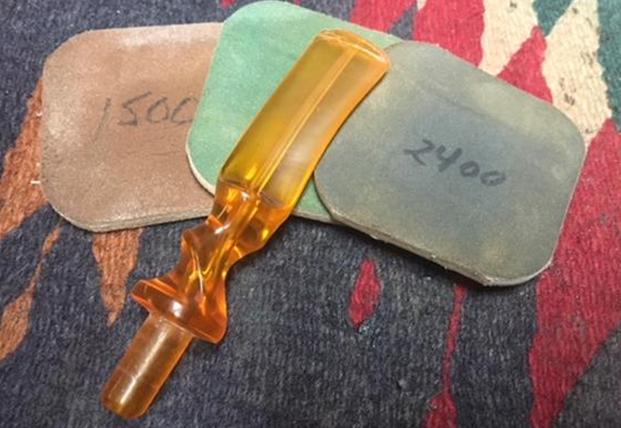
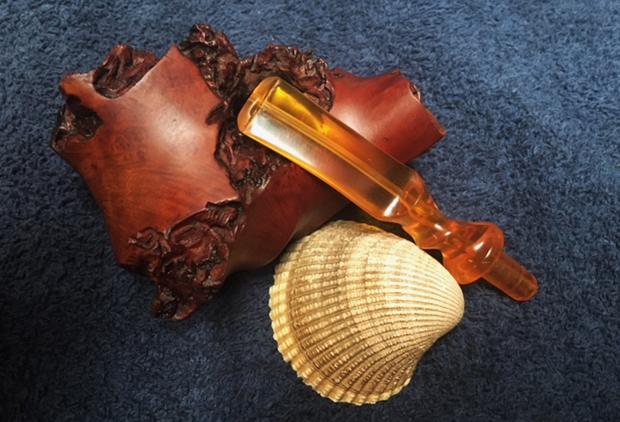
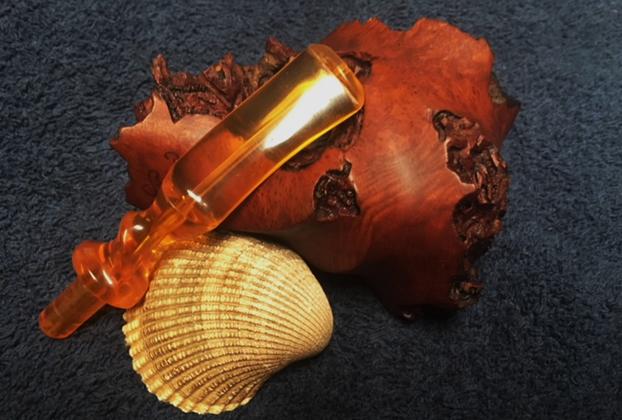
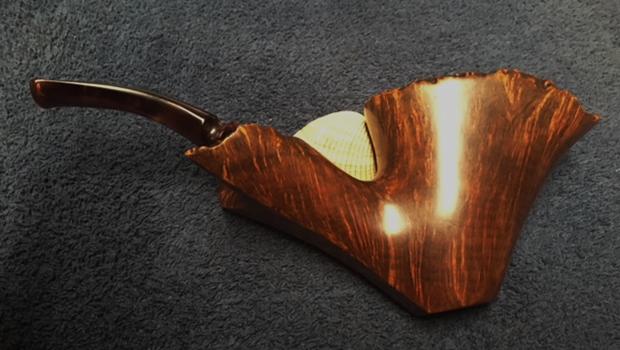
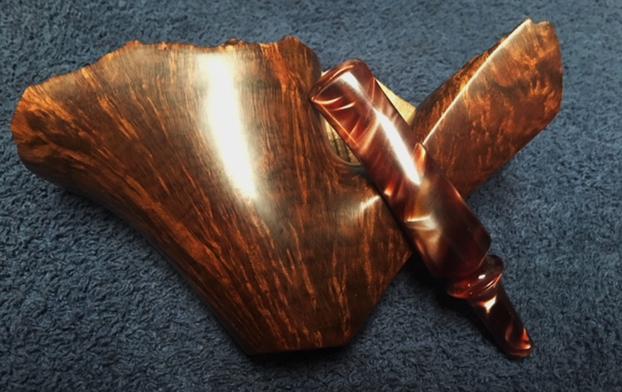
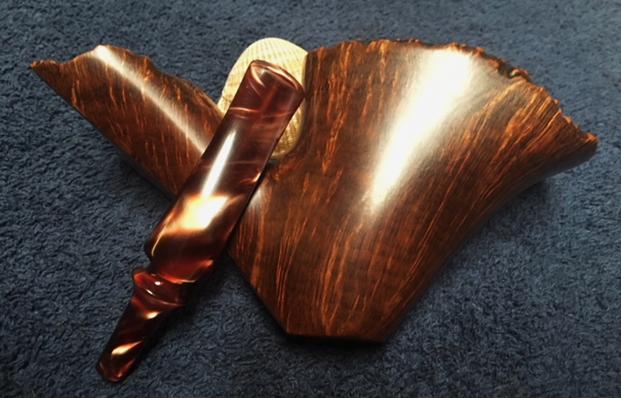
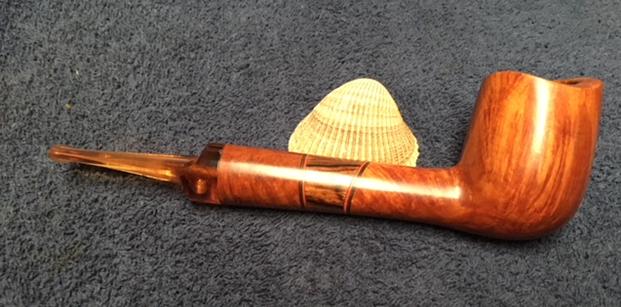
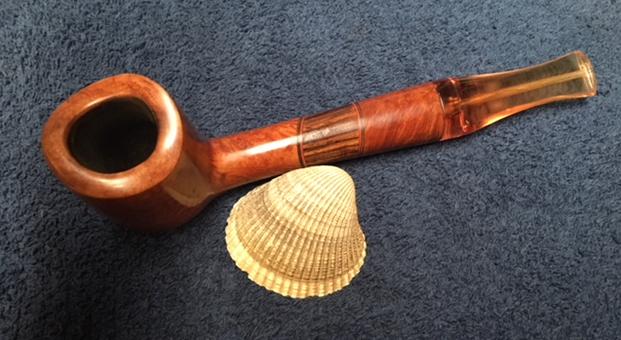
 I polished the stem and the smooth parts of the bowl with Blue Diamond to polish out the remaining small scratches. I gave the bowl multiple coats of Conservator’s Wax and buffed it with a shoe brush. I gave the stem multiple coats of carnauba wax and buffed it with a clean buffing pad to raise the shine. I hand buffed the bowl and the stem with a microfiber cloth to deepen the shine. The pipe polished up pretty nicely. The rustication around the bowl, the rim, the bridge to the shank end, the shank and shank end and the smooth brown finish all work very well with the amber coloured acrylic stem. The finished pipe is shown in the photos below. I have never worked on a Wathen pipe before and the unique shape and rustication pattern made it a challenge that was fun to tackle. The shape, finish and flow of the pipe and stem are very well done. The dimensions are Length: 6 1/2 inches, Height: 2 1/2 inches, Outside diameter of the bowl: 2 inches wide and 2 inches long, Chamber diameter: 3/4 inches. This one will be added to the rebornpipes store soon. If you are interested in adding it to your collection send me an email to slaug@uniserve.com or send me a message on Facebook. Thanks for walking through the restoration with me as I worked over this unique, interesting and challenging Wathen freehand. I still have other freehands that I will be working on in a variety of shapes and sizes in upcoming blogs.