Blog by Steve Laug
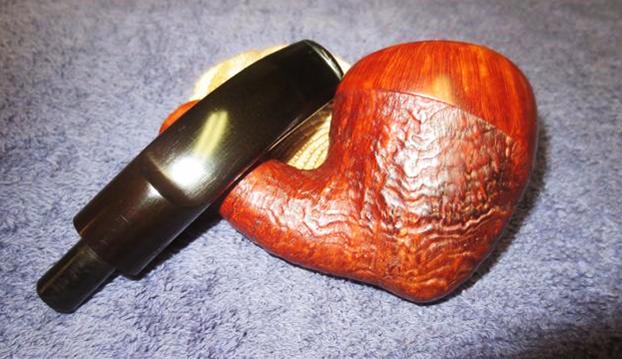
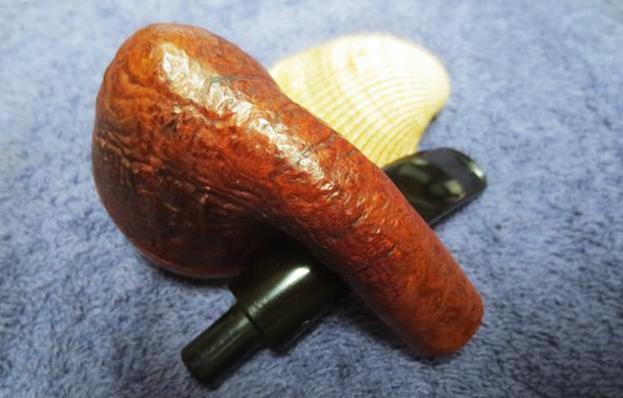
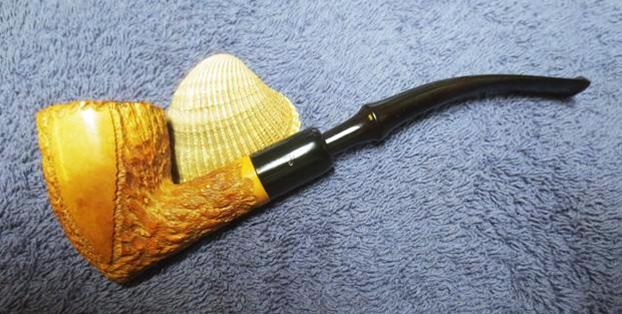
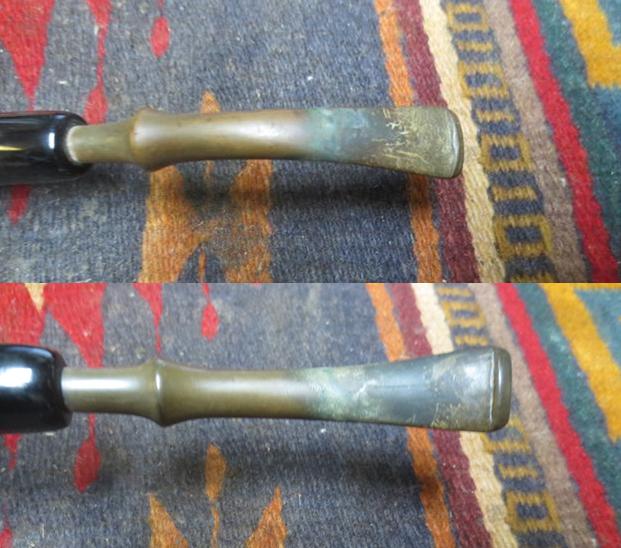
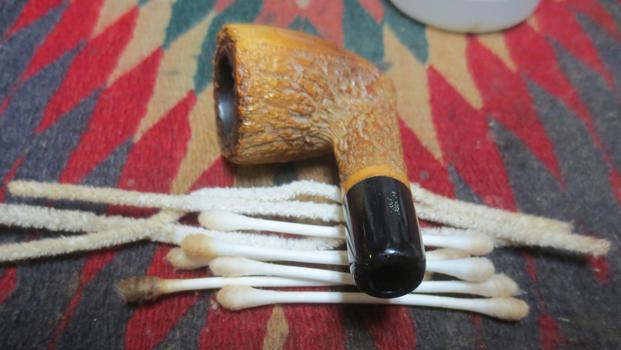
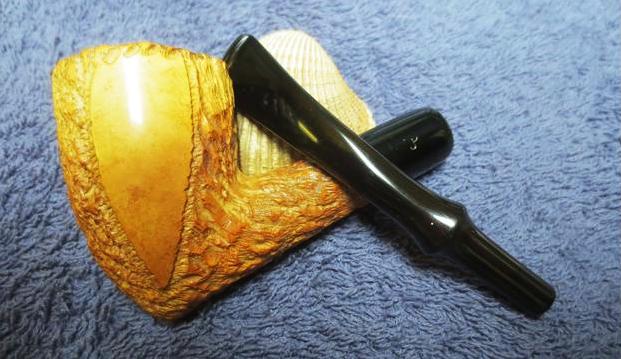
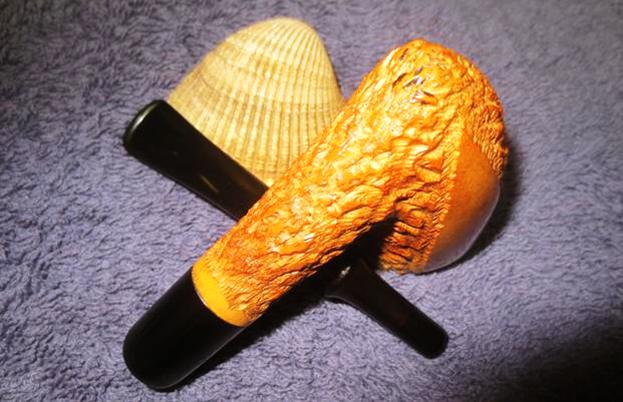
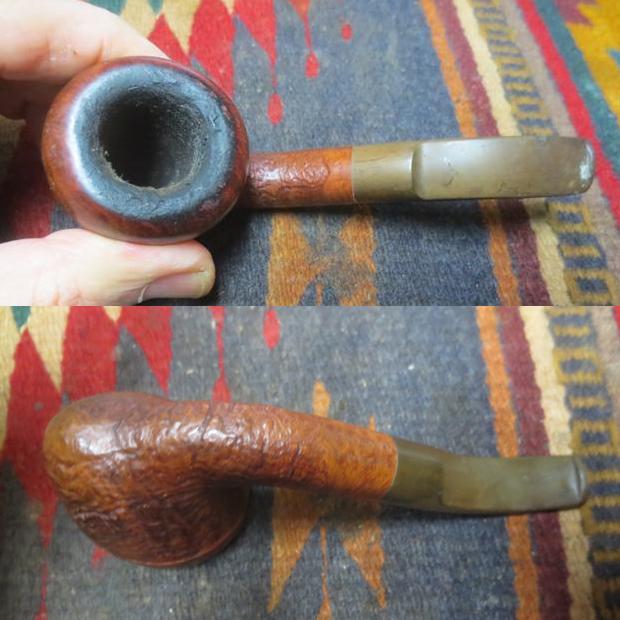
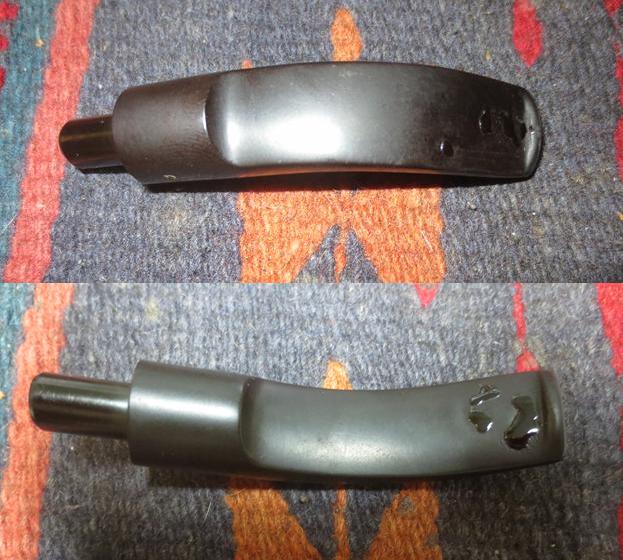
I am on a bit of a roll working on pipes from my friend Steve in Dawson Creek. He sent me a batch of pipes a while back to work on, sort of chip away at when I had some time. This time the pipe on the table is a Stanwell made Royal Guard 523 that combines smooth and sandblast areas into the finish. It is stamped on the underside of the shank in a smooth portion with the words ROYAL GUARD over Made in Denmark. On the left side of the shank it is stamped with the shape number 523. The finish was dirty and worn with the brown top coat worn and faded. There are smooth areas on the bowl top around the rim and almost drips down the sides of the bowl. The bowl was thickly caked and the lava overflow on the top of the bowl was also very thick. I was a bit concerned that underneath the cake I would find burn. You can never tell – sometimes a thick cake protects the rim top and sometimes it hides a lot of rim damage. Once I got into the cleanup I would be able to tell better with this one. The stem was oxidized and there were tooth chatter and bite marks on the top and the bottom sides near the button. The RG stamp on the left side of the stem was still readable. Under the grime I could see really interesting grain peeking through. I took photos of the pipe before I started working on to record its condition.
This is the second RG that I have cleaned up and restored for Steve. If you are interested in reading about it, here is the blog post on the other one. https://rebornpipes.com/tag/royal-guard-pipes/ 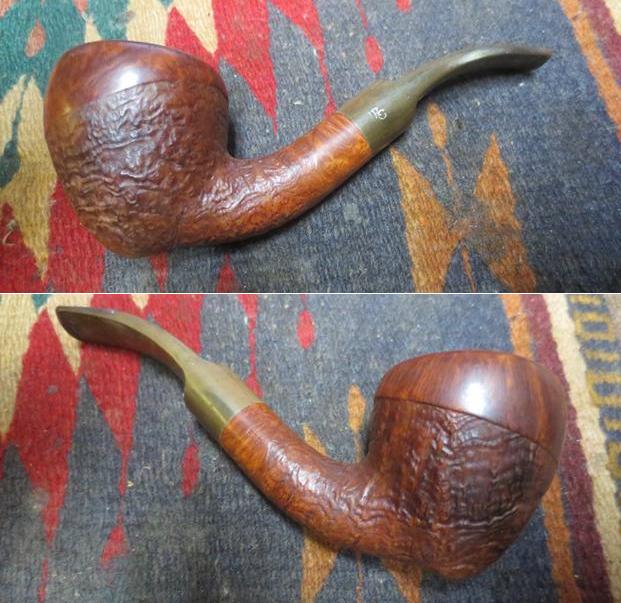
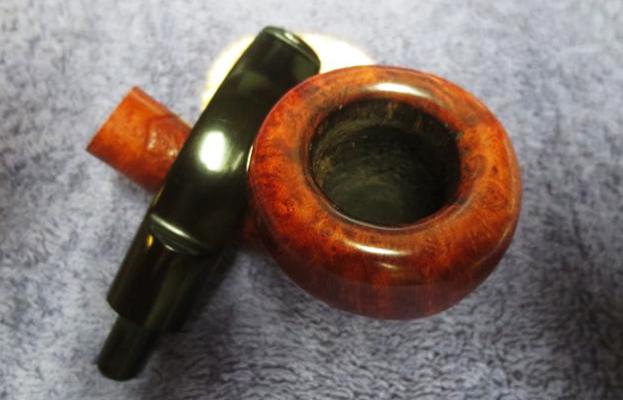
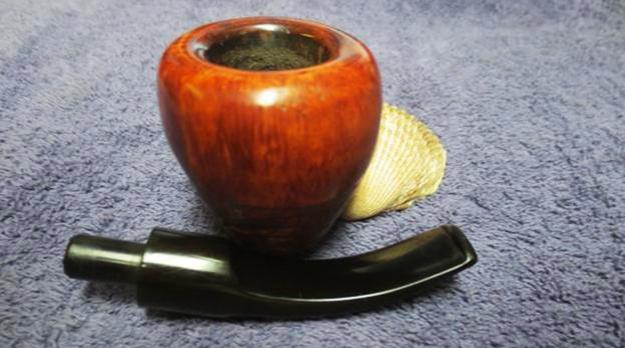
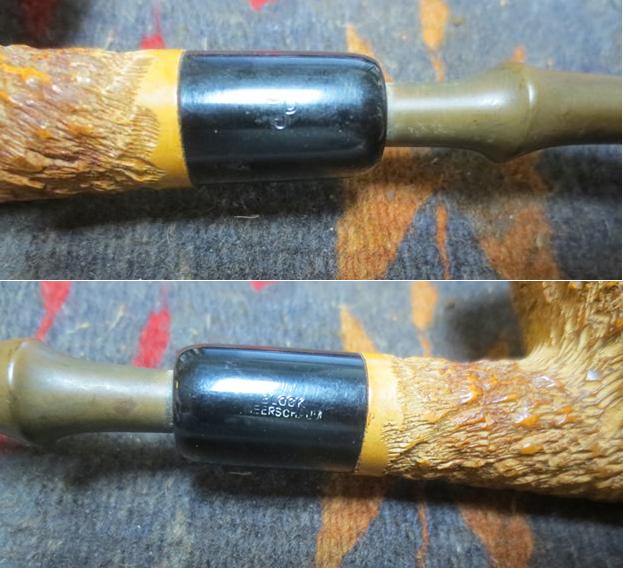
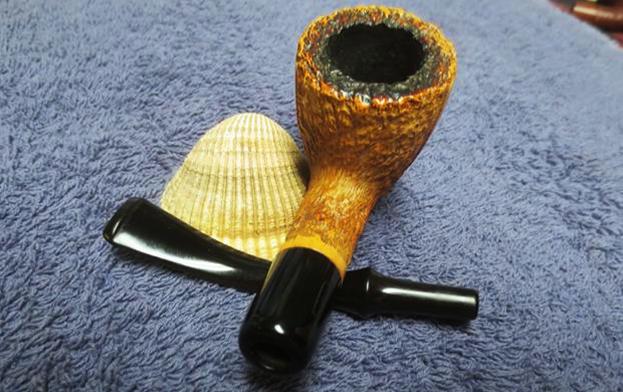
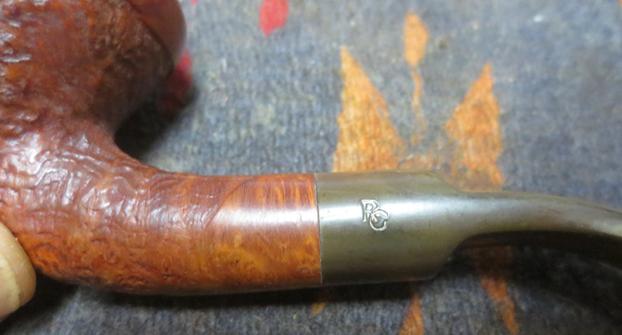
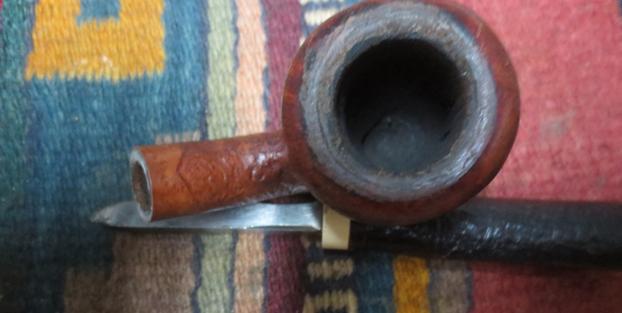
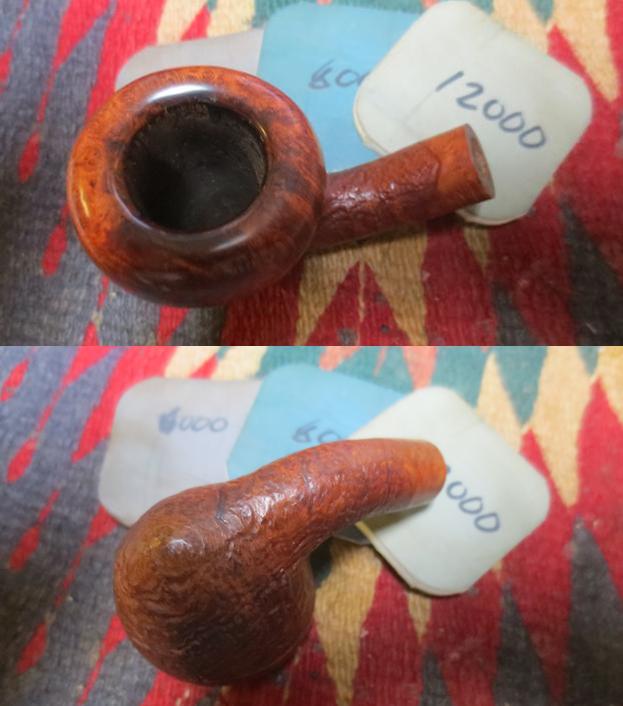
 I took a photo of the top of the bowl to show the thick cake filling the bowl and the heavy outflow of lava on the rim of the bowl. I really like the Stanwell crowned rims. The gentle roll of the rim top over the outer edge into the sides of the pipe and over the inner edge into the bowl is really nicely done. I was hoping that this one would clean up nicely. The second photo below shows the side of the shank and the RG stamp on the side of the stem.
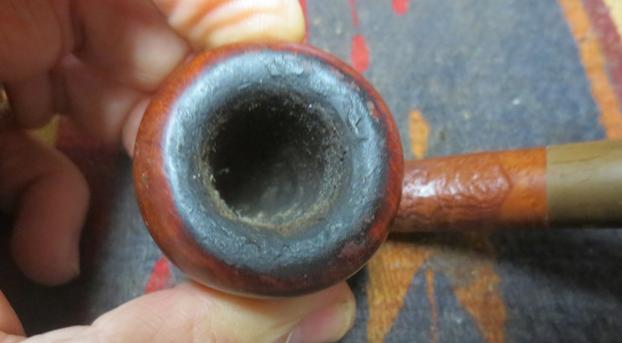
 I removed the stem and put it in the Before & After Pipe Stem Deoxidizer bath with the other stems I was working on for Steve. I would let them do their work while I worked on the bowls of the pipes. By the time I had finished the bowls the stem would be ready.
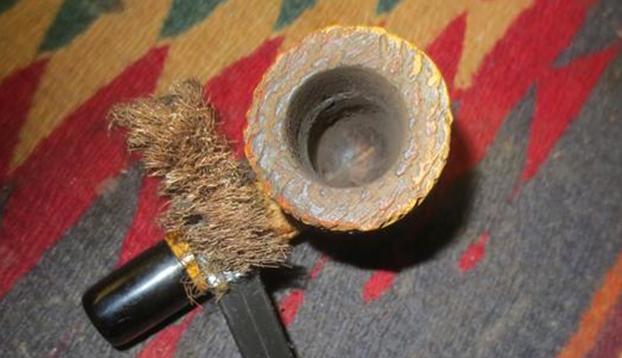
 I reamed the bowl with a PipNet Reamer starting with the smallest cutting head and working my way up to the third head which was the same size as the bowl. I cleaned up the reaming with a Savinelli Fitsall Pipe Knife. I scraped the cake back to bare briar. I used the edge of the Savinelli knife to scrape off the lava on the rim top and edge.
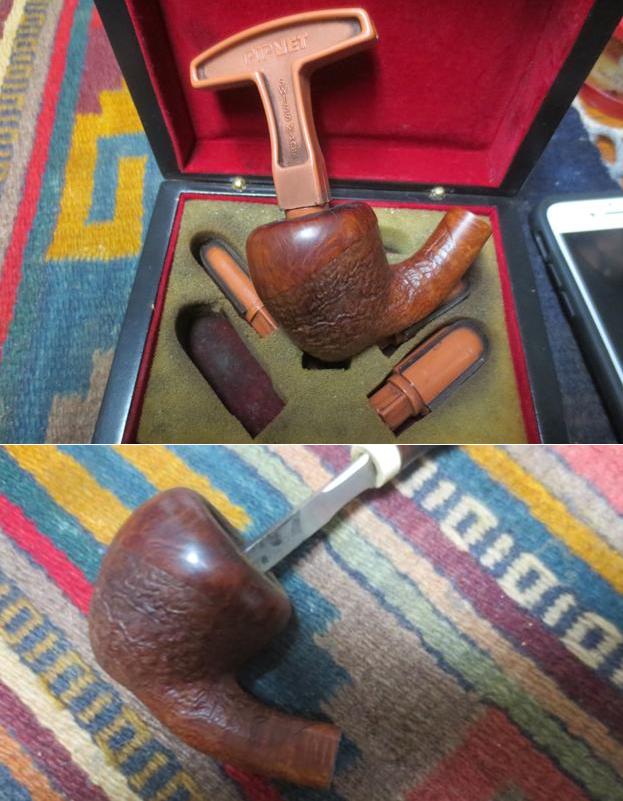
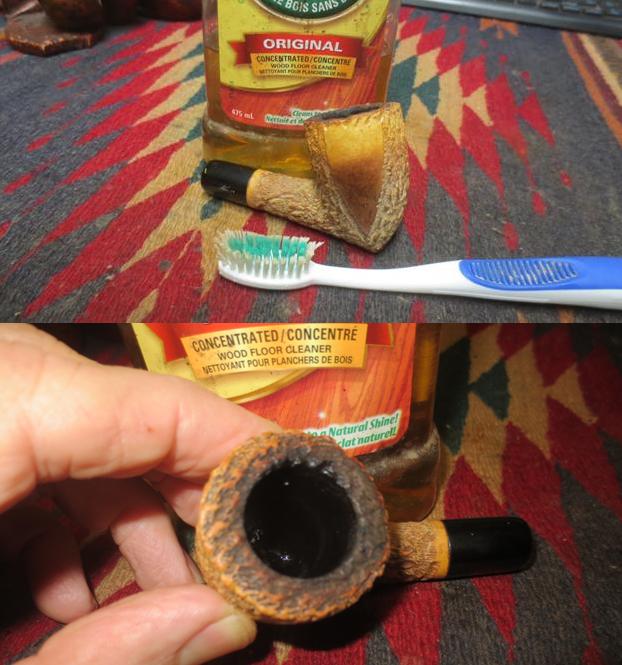
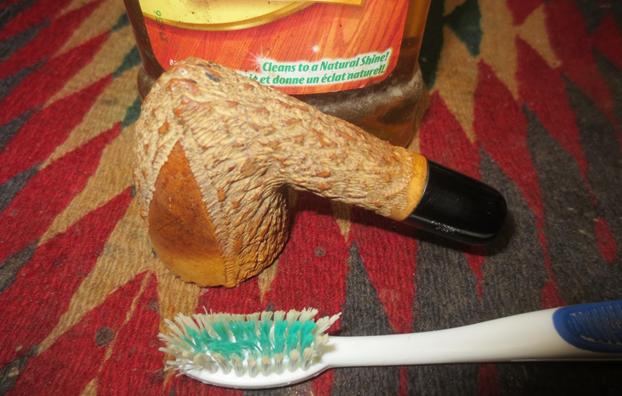
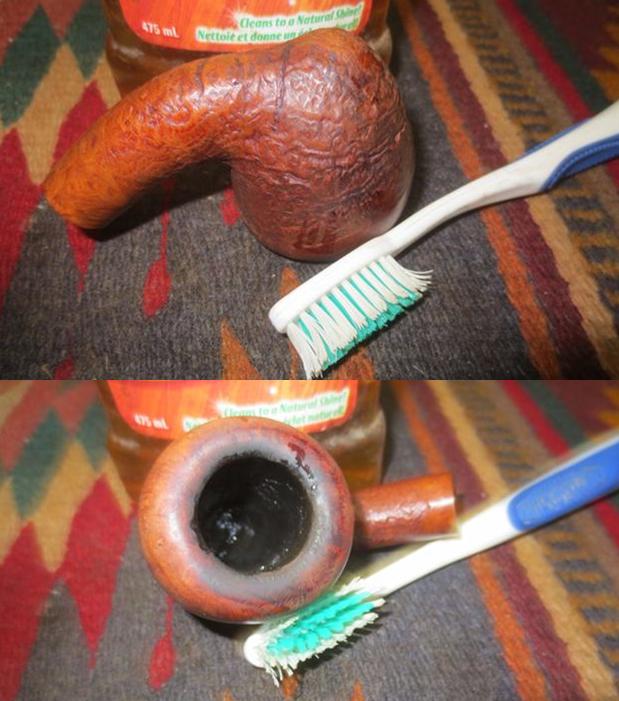
 I scrubbed the exterior of the bowl with a tooth brush and Murphy’s Oil Soap. I scrubbed until I had cleaned out the grime from the sandblast portions of the bowl. I scrubbed the rim top repeatedly until I had removed the remaining buildup there. I rinsed it under running water. I continue to scrub it in the running water until I was happy with the way it looked.
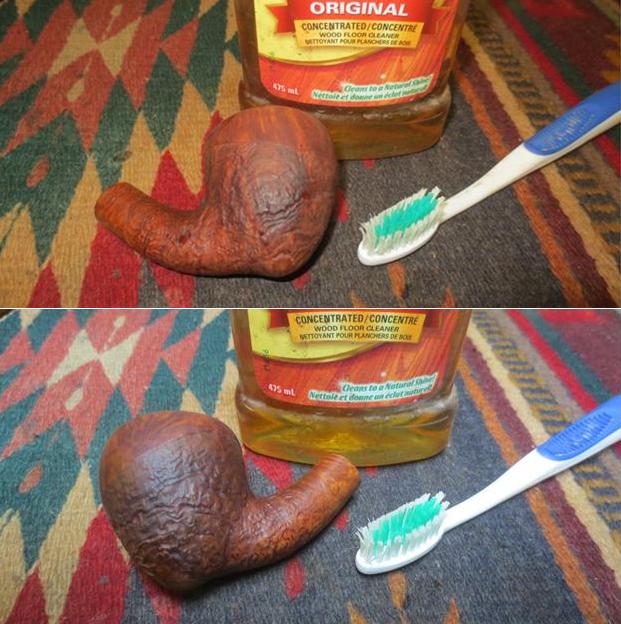
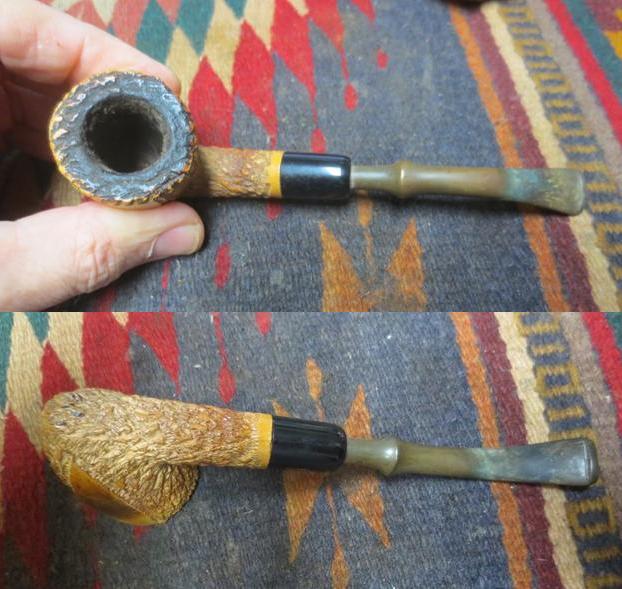
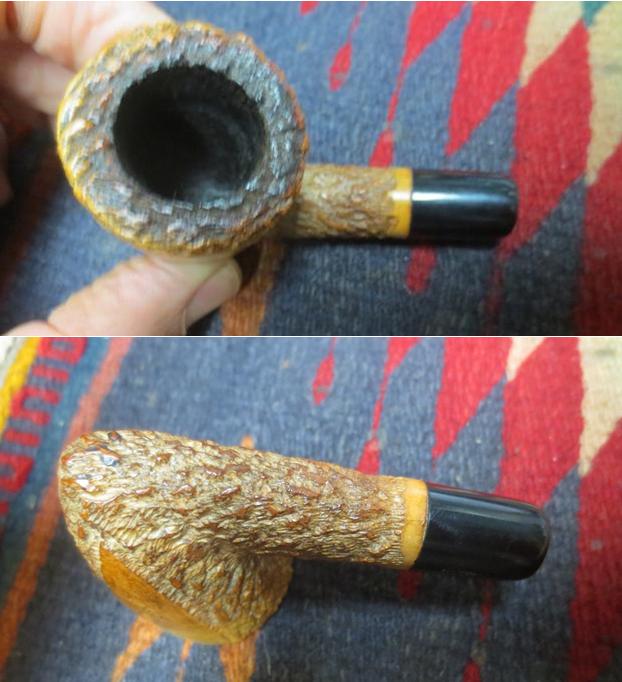
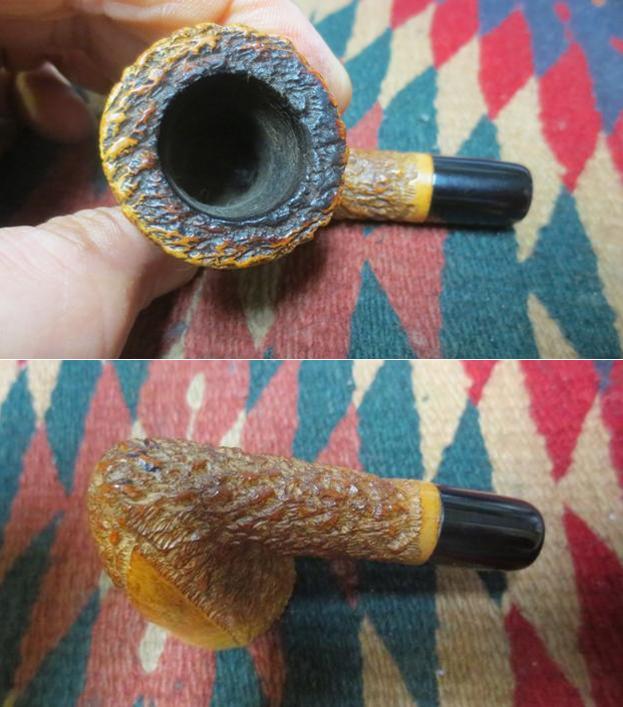
 I wet sanded the rim top with a 1500 grit micromesh sanding pad to further remove the remaining lava on the surface. Sanding it also revealed some damage to the beveled inner rim edge that would need to be taken care of before I was finished. I circled the damaged area in red in the photo below. I sanded the damaged edge and reshaped the bevel with a folded piece of 220 grit sandpaper.
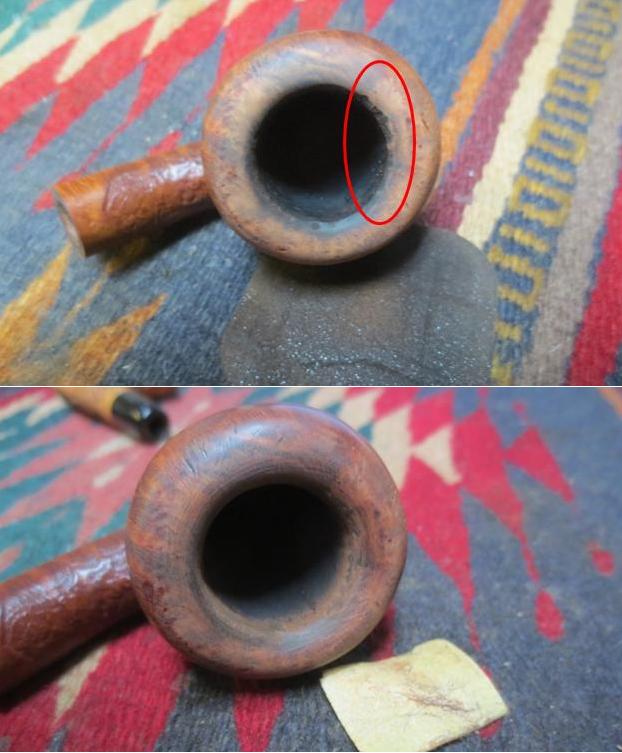 I polished the smooth portions of the briar with micromesh sanding pads. I wet sanded with 1500-2400 grit pads and wiped the bowl down with a damp cloth after each pad. I dry sanded with 3200-4000 grit pads and again wiped it down with a damp pad after each pad. The photos below show the progressive shine that is coming to the surface of the smooth portions of the bowl.
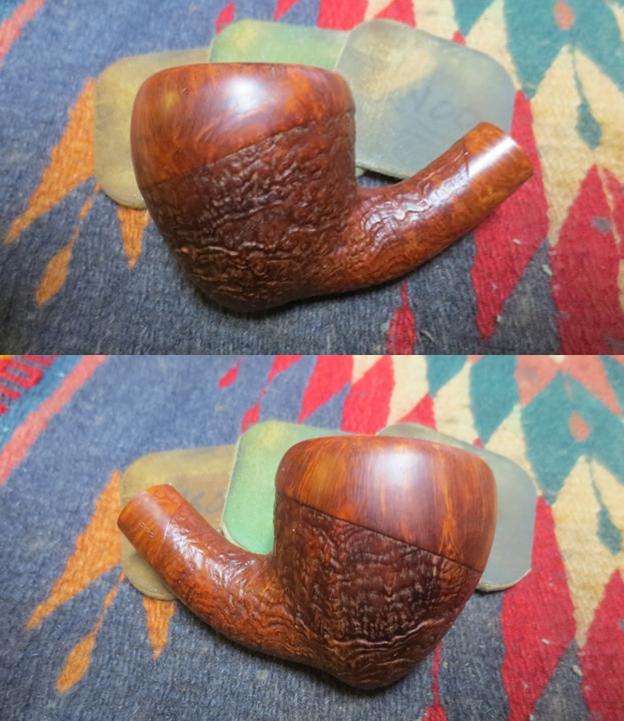
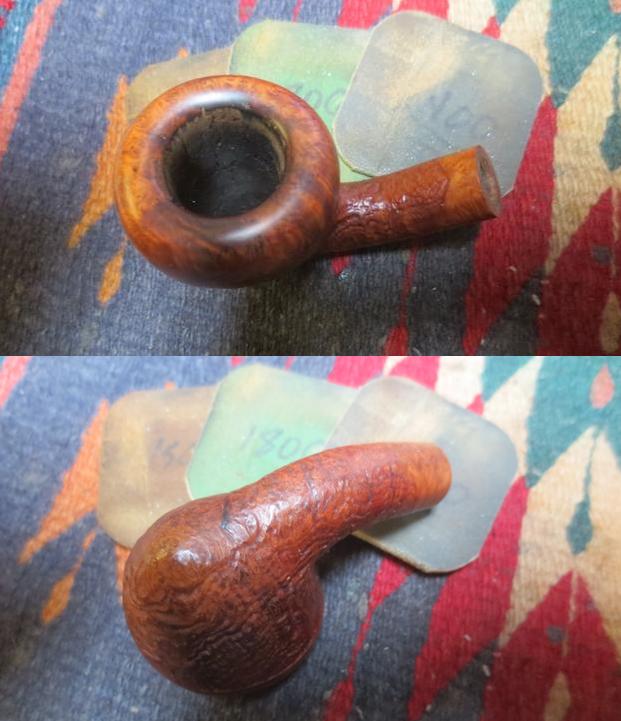
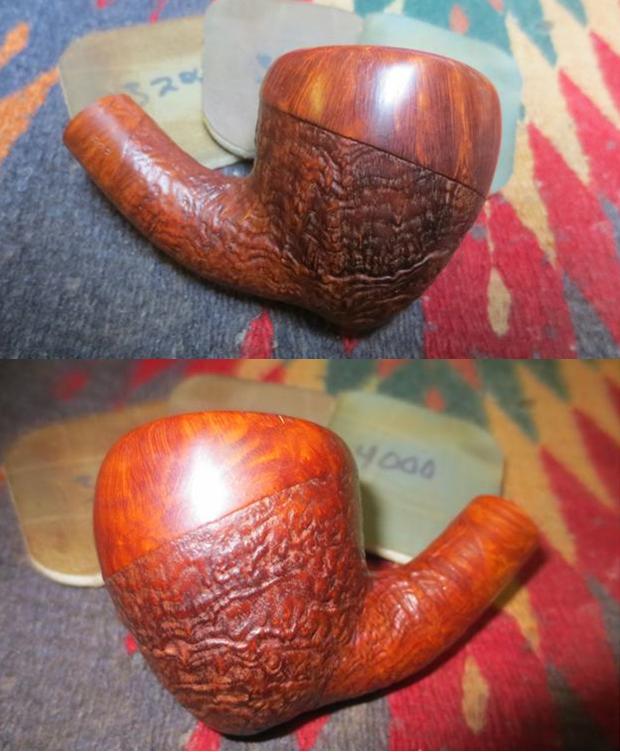
 After polishing it with the 4000 grit micromesh and looking at the picture above I saw some damaged spots on the inner edge of the rim that needed more attention. I sanded the inner bevel some more with 220 grit sandpaper to remove the damaged spots that were revealed. When they were gone I reworked it with the 1500-4000 grit micromesh pads before moving on to the final three (6000-12000) grit pads.
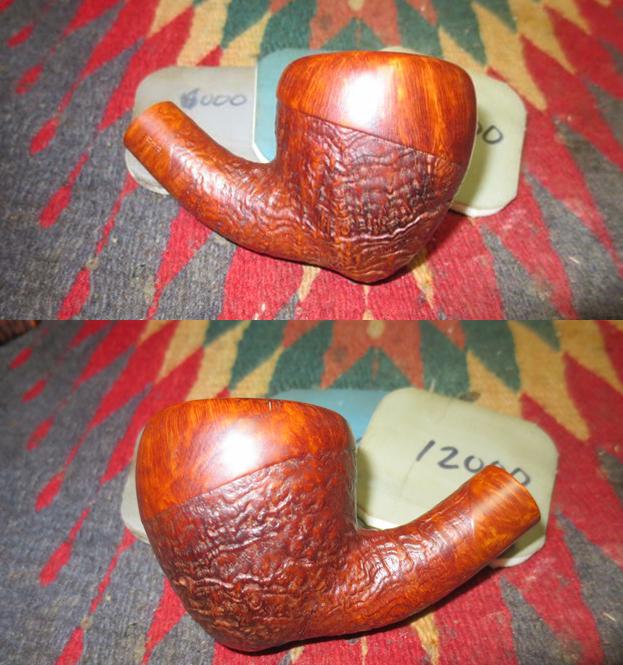
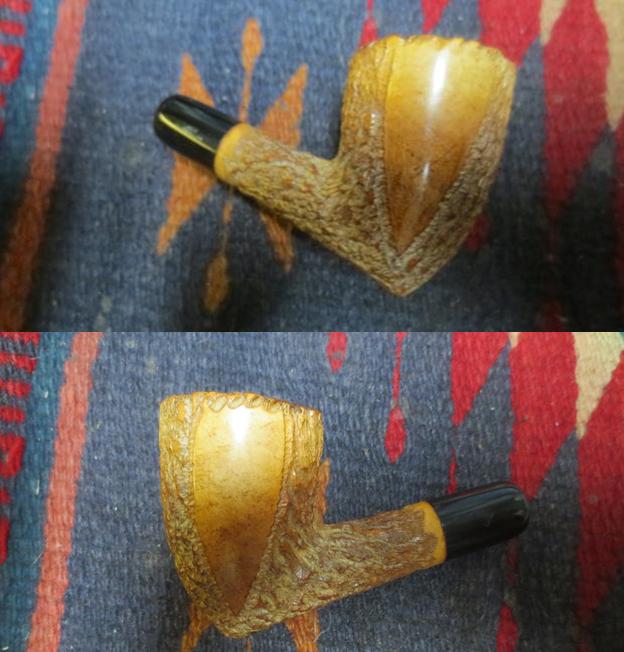
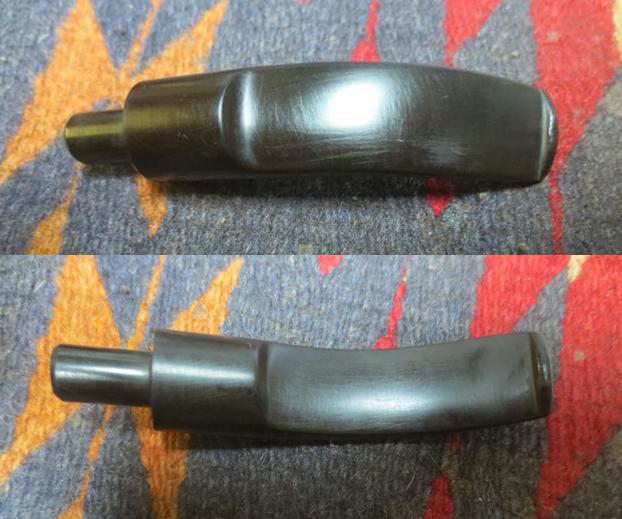
 I lightly buffed the bowl with Blue Diamond on the buffing wheel to raise the shine. I buffed it lightly as I did not want to have the buffing compound build up in the sandblast finish. I gave the pipe several coats of Conservator’s Wax and buffed it with a clean buffing pad on the buffing wheel. I hand buffed it with a microfibre cloth to deepen the shine. The photos below show the bowl at this point in the process.
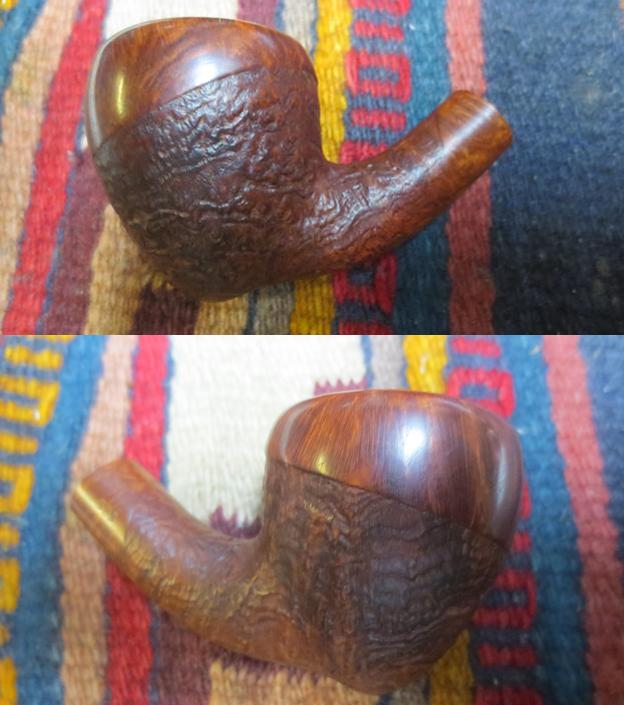
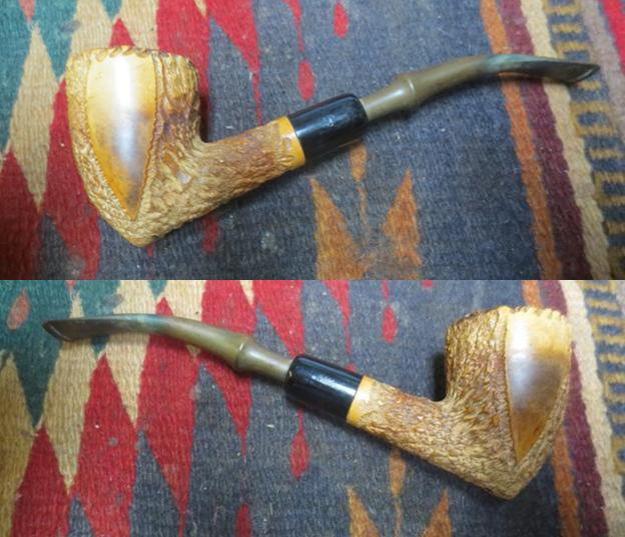
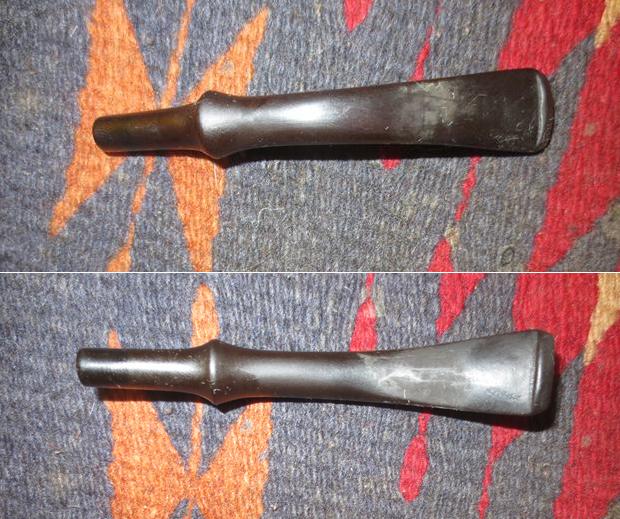
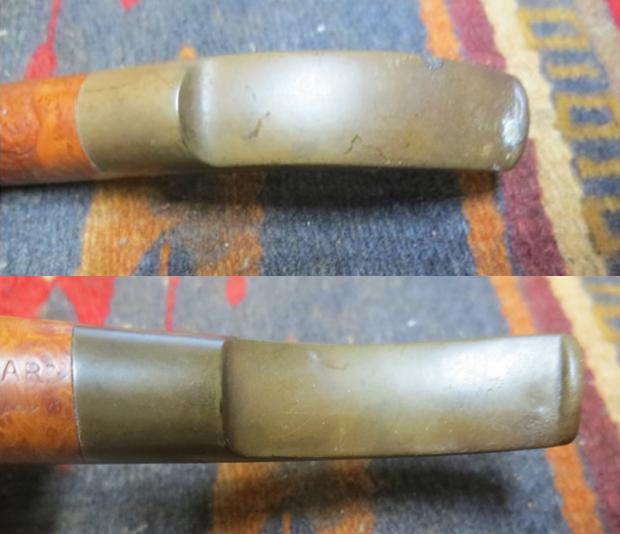
 I took the stem out of the Before & After Pipe Stem Deoxidizer bath and wiped it off with a clean towel. The first three photos below show the stem after the 24 hour soak. The stem was very clean and the RG stamping on the left side of the saddle stem looked very good. The tooth dents and marks are shown in the photos below. These dents were deep enough that I chose to fill them with clear super glue and set the stem aside to let the repairs cure.
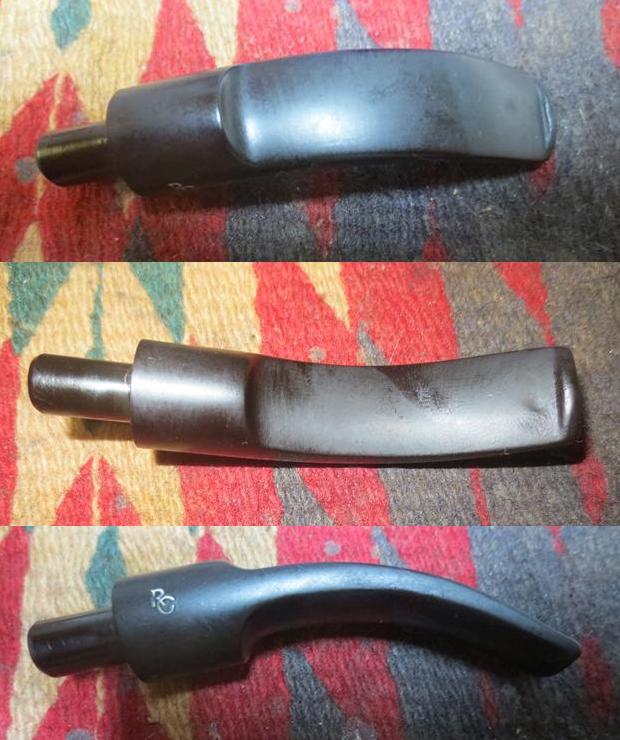
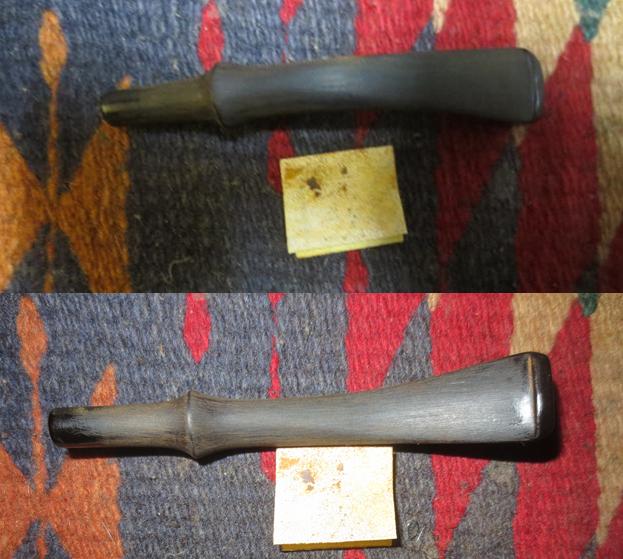
 I used a needle file to sharpen the edges of the button on the stem surface on both sides. I also filed down the repairs until they were close to the surface of the stem. Afterward, I sanded the repaired areas on the stem with 220 grit sandpaper to blend them into the surface of the vulcanite. I also sanded the rest of the stem to remove the remaining oxidation. I wiped the stem down with Obsidian Oil to get a clear picture of where I was at with the stem repairs at this point.
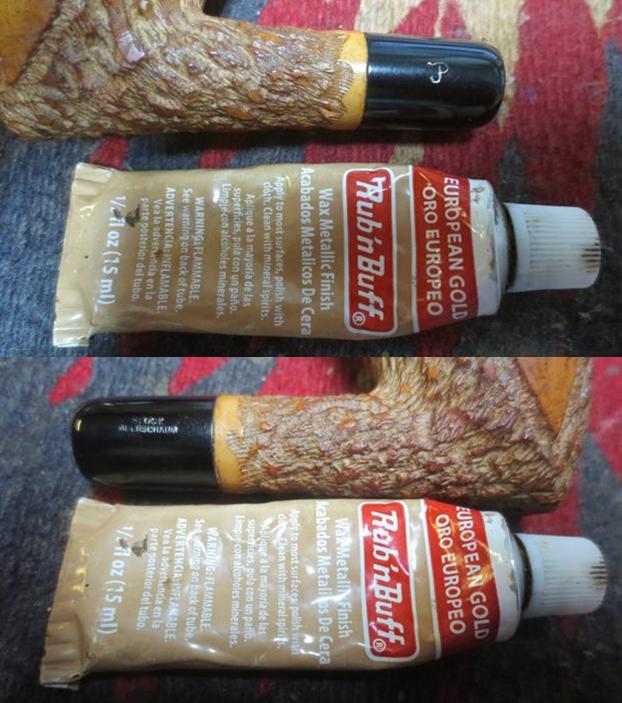
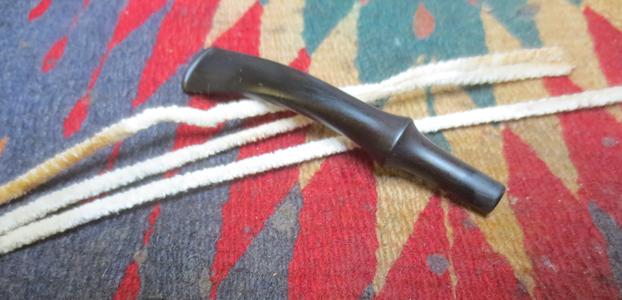
 The stamping on the original stem was gold in colour so I touched up the stamping on the left side of the saddle stem with Rub’n Buff European Gold and a cotton swab. I wiped off the excess material with the end of a cotton swab and a cotton pad.
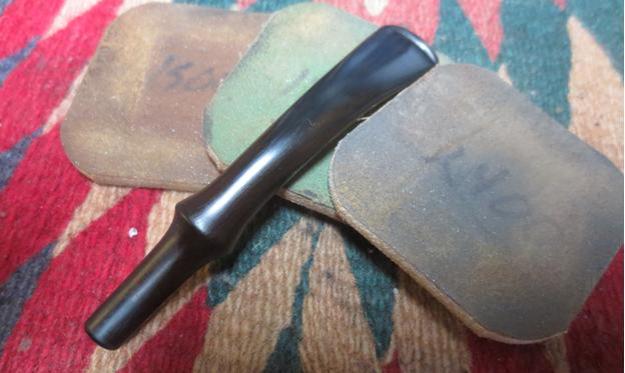
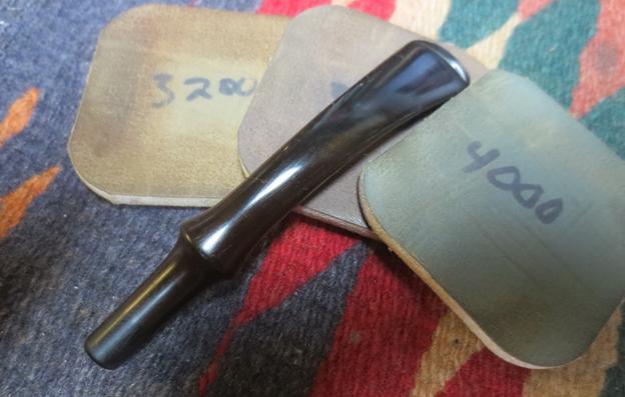
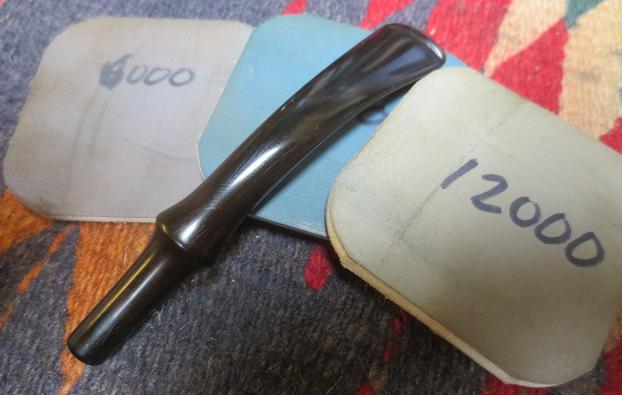
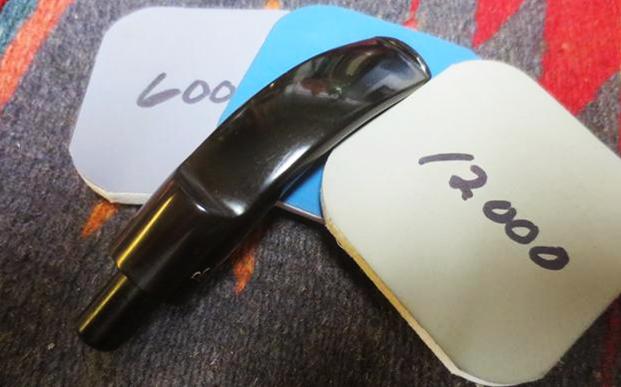
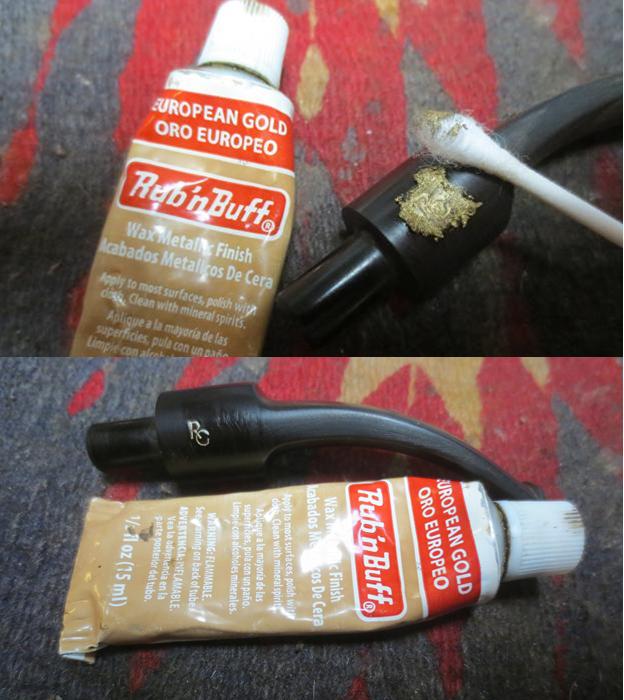 I polished the stem with micromesh sanding pads – wet sanding with 1500-2400 grit pads and dry sanding it with 3200-12000 grit pads. I wiped the stem down after each pad with Obsidian Oil to enliven the rubber and also give some bite to the micromesh pads. After sanding it with the 12000 grit pad I gave it a final coat of oil and set it aside to dry.

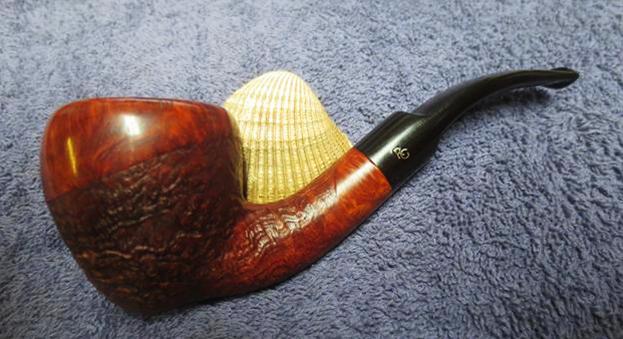
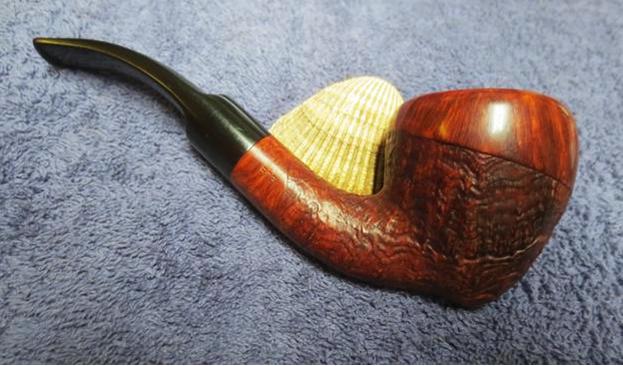
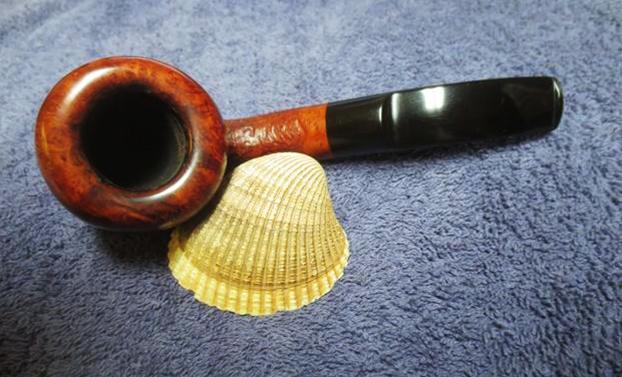
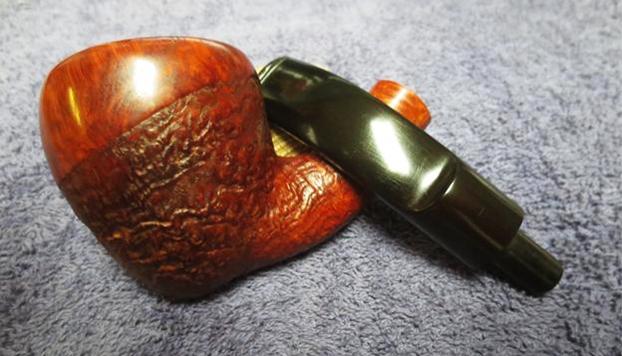
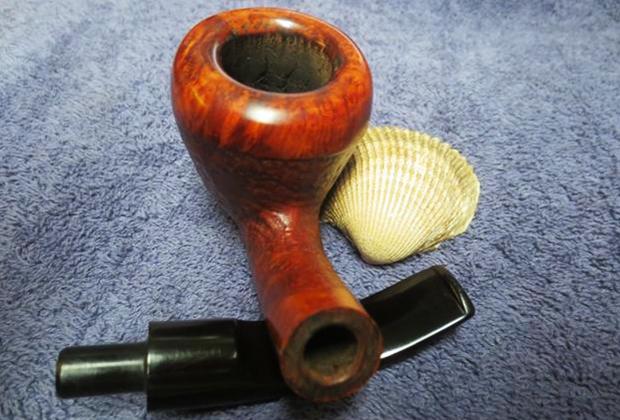
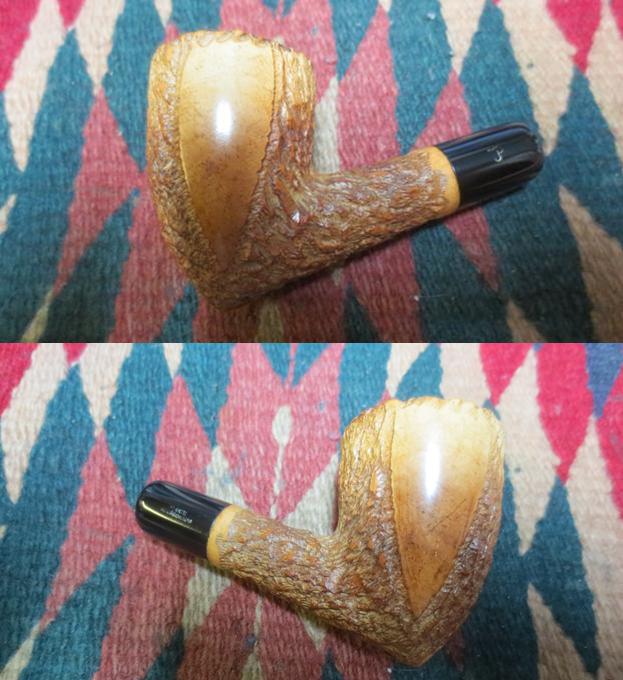
 I put the stem on the bowl and buffed the pipe with Blue Diamond on the buffing wheel. I used a light touch on the sandblast portions of the bowl and a bit heavier on the smooth parts. I gave the bowl several coats of Conservator’s Wax and the stem several coats of carnauba and buffed the pipe with a clean buffing pad to raise the shine. I hand buffed it with a microfibre cloth to deepen the shine. The finished pipe is shown in the photos below. It is the second Stanwell made Royal Guard pipe that I have restored for Steve. It is light weight and comfortable in the hand and the mouth. I think he is going to love this one as much as he does the other one. Steve, if you are reading this I hope you enjoy this beauty. It will be on its way to you very soon. Thanks for looking.