Blog by Steve Laug
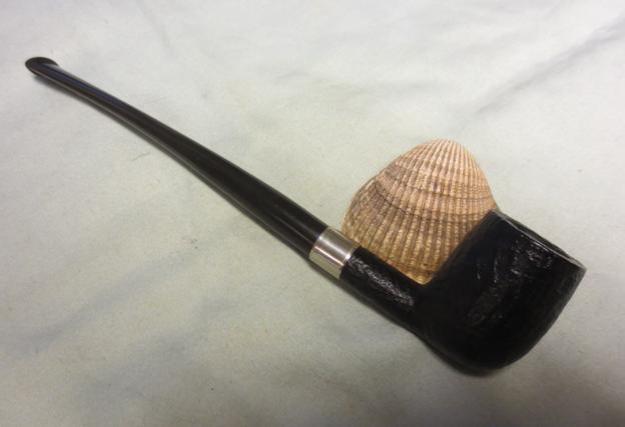
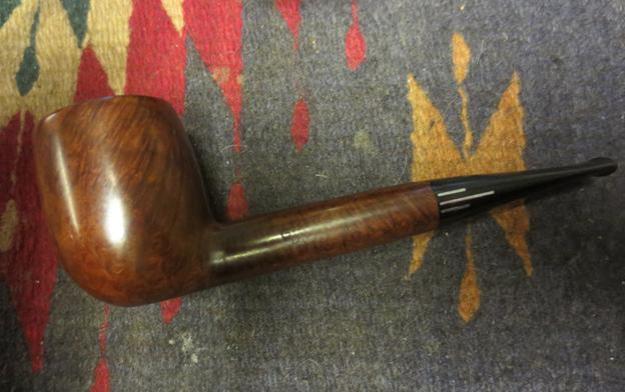
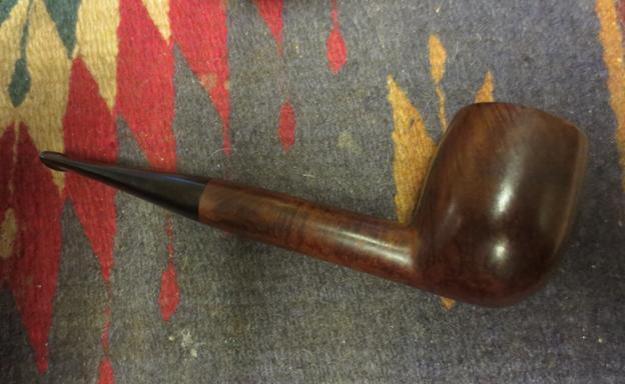
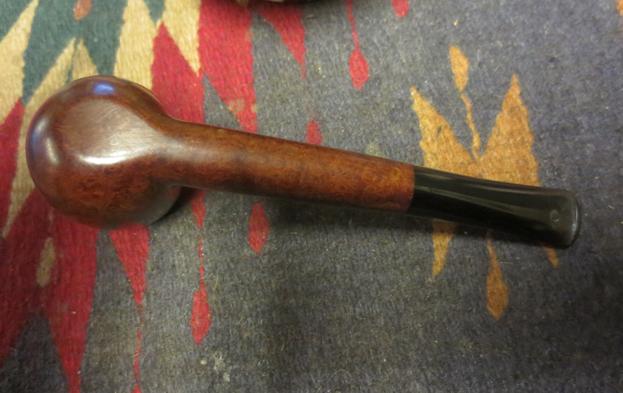
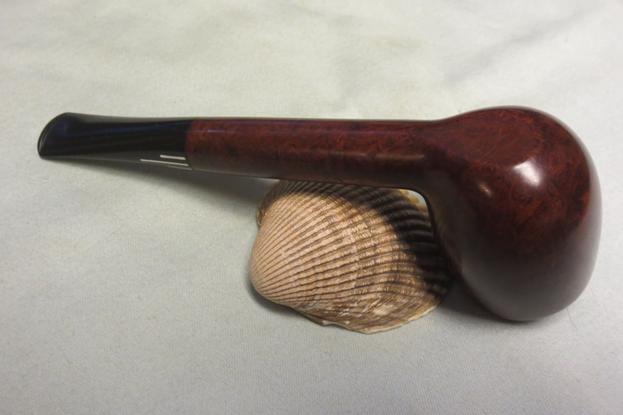
When I picked up the lot of pipes from my brother Jeff there was a small churchwarden, just seven inches in length among the assorted pipes. It was a dark sandblasted bowl with an undertone of dark brown and an overstain of medium brown. The bowl was in excellent shape and the rim was very clean. It was stamped on the underside of the shank with the words SEMI over CHURCHWARDEN over Italy. The shank was thinner on the top than on the bottom side. As I examined it I could see a small hairline crack on the right top side of the shank. The finish was perfect with no tars or build up on the rim and no cake in the bowl. The stem was oxidized to an ugly brown and the one side that looked like it had a ‘–‘ logo on the left side. The problem was that the side of the stem had been flattened in that area and if it was a logo it made the stem out of round. There was some tooth chatter on the top and the bottom of the stem at the button but there were not any deep tooth marks that I had to deal with. The way the pipe was made with the flat bottom made it a sitter.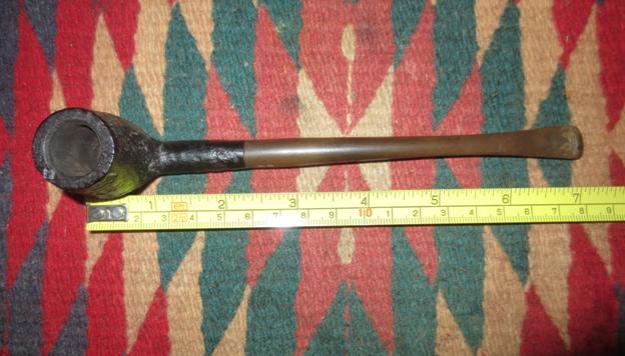 I took some photos of the pipe when I brought it to the work table. These give a pretty clear picture of the condition of the pipe when I started cleaning it up. The shank needed to be repaired and the stem cleaned up and made round on the flat side.
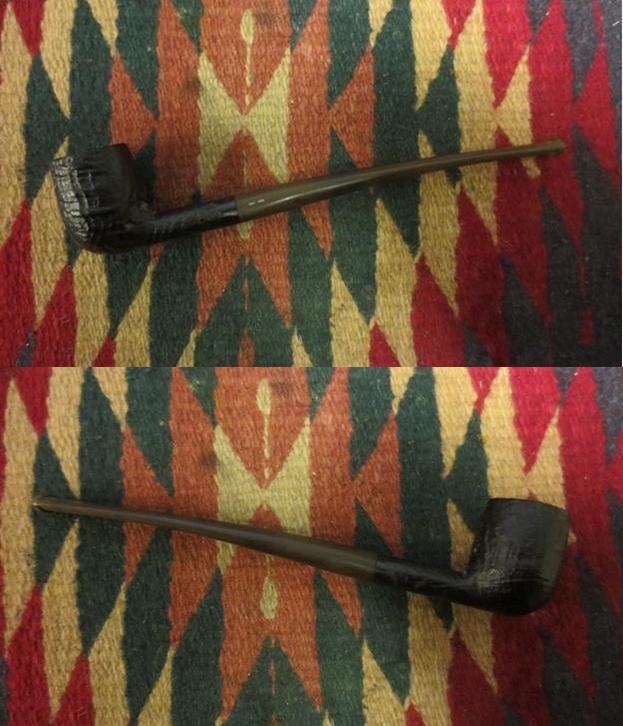
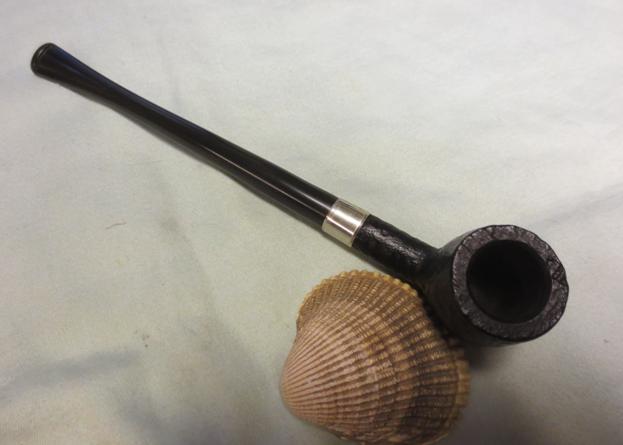
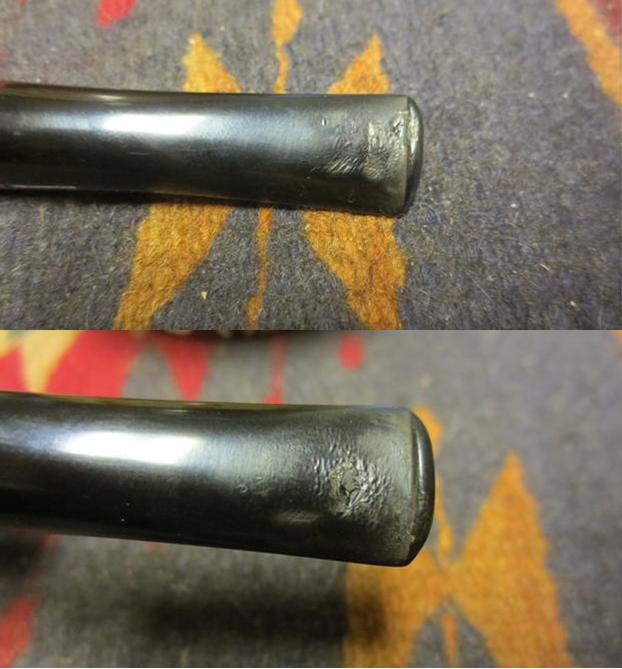
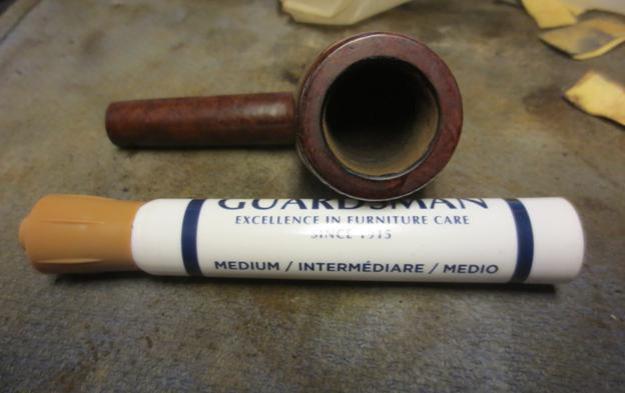
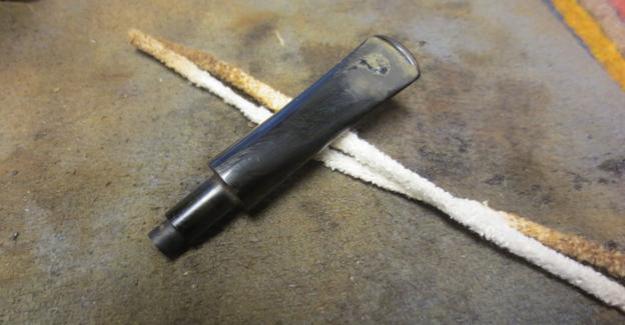
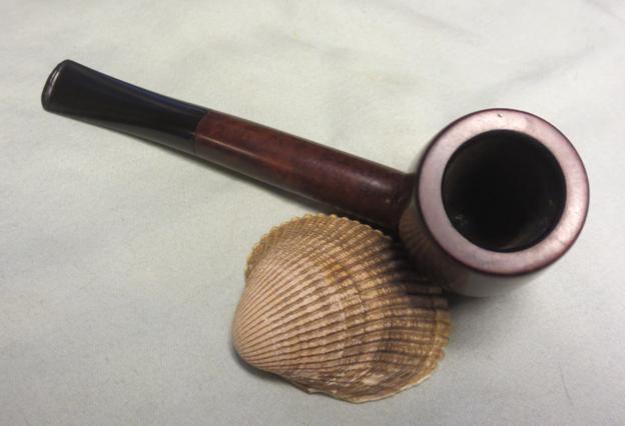
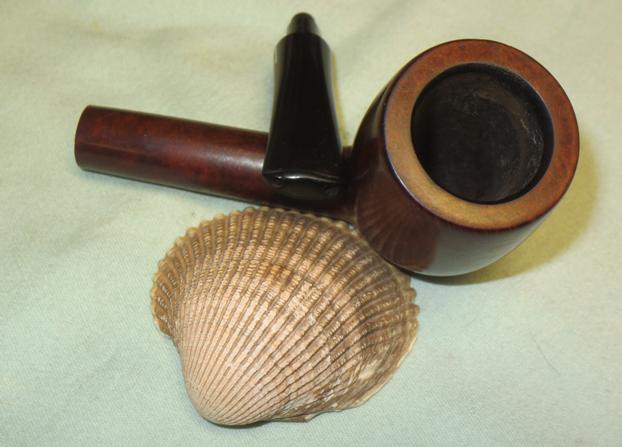
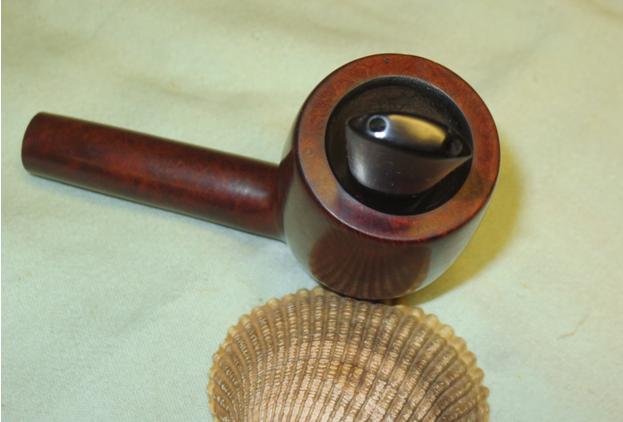
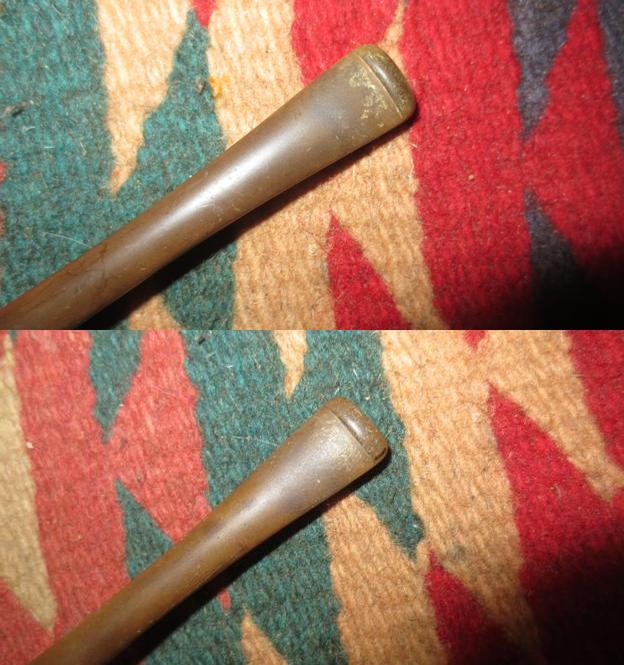
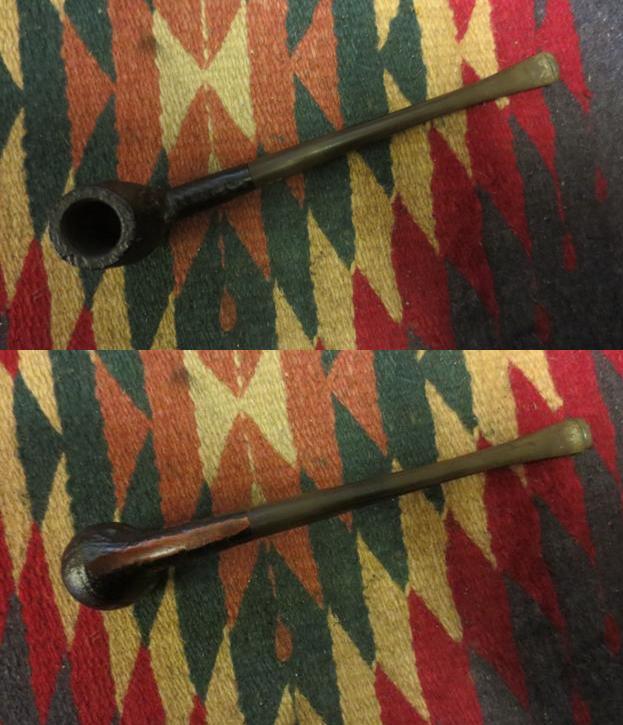 I took a close-up photo of the rim to show the state of the inner and the outer edge of bowl. The sandblast finish was clean and the blast on the rim was well done. I also took some photos of both sides of the stem at the button to show the tooth chatter and the lack of deep dents or tooth marks. The fourth photo shows the stamping on the smooth bottom of the shank.
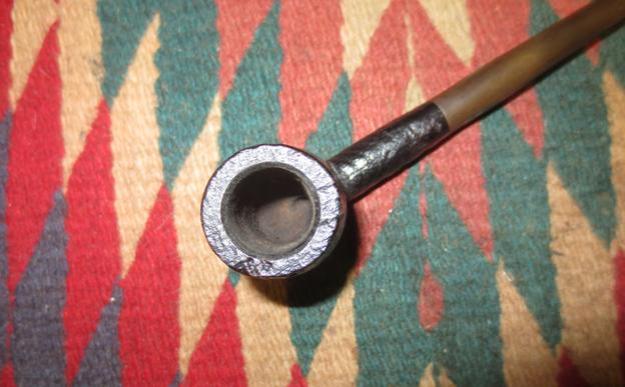
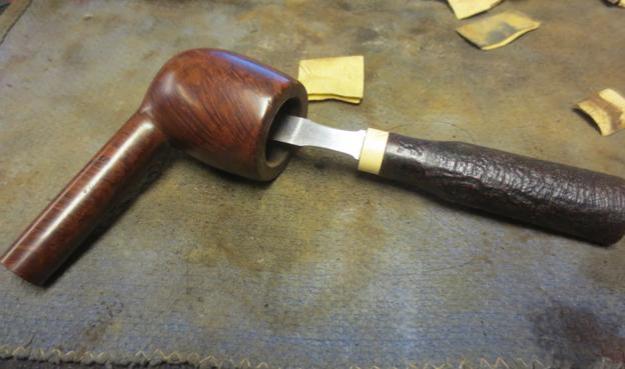
 I cleaned out the inside of the mortise and the airway to the bowl and in the stem with pipe cleaners, cotton swabs and alcohol.
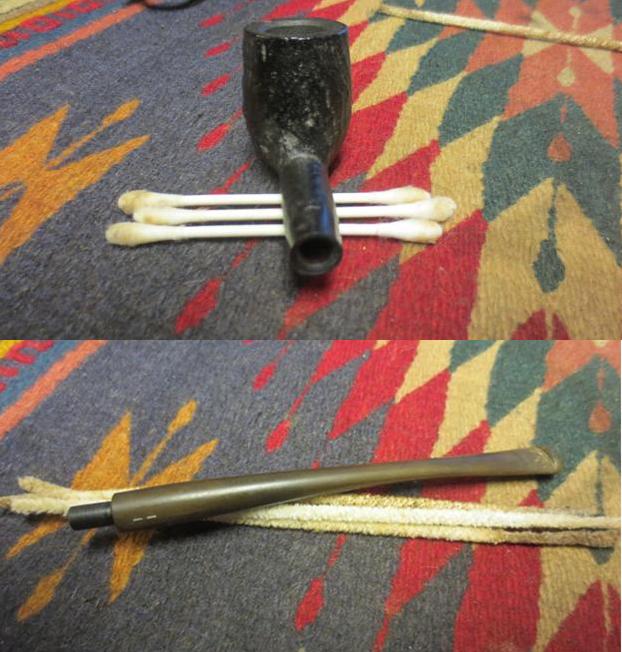 I sanded the stem with 220 grit sandpaper to remove the surface oxidation and begin the process of cleaning it off.
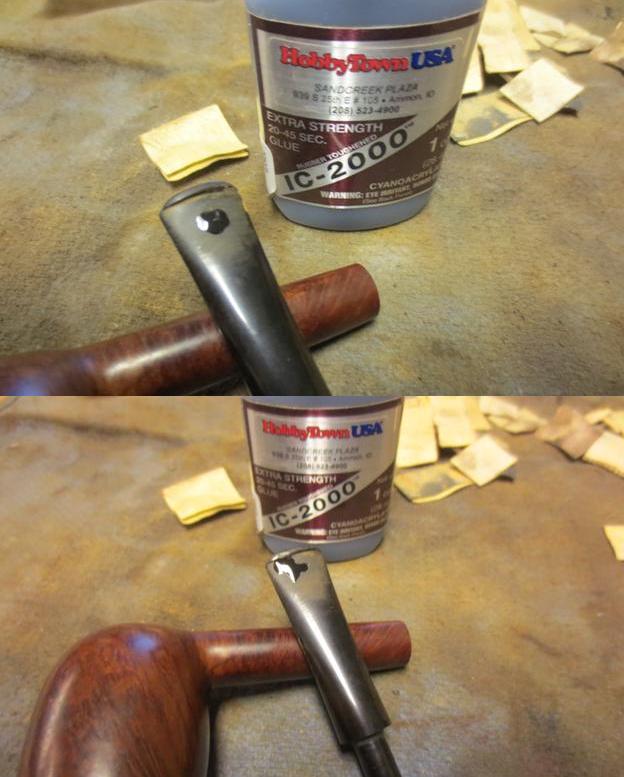
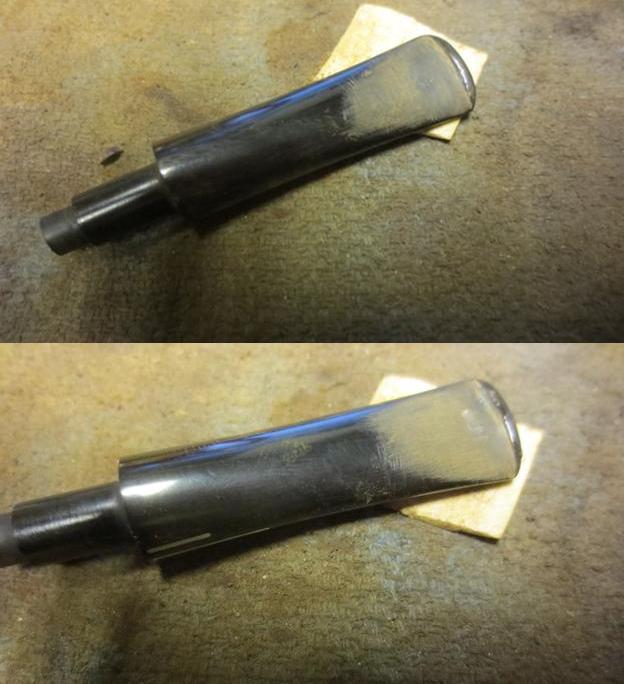
 I cleaned the flat surface on the left side of the stem and then began to build up the smooth area to bring the stem back to round. I sprayed it with an accelerator and then gave it a second coat of glue.
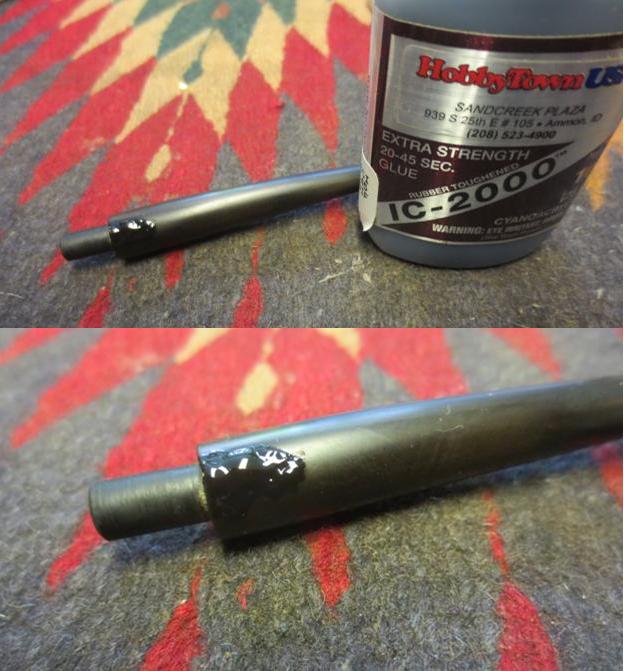 I put the stem in the shank and sanded it with 220 grit sandpaper to smooth out and blend in the patch to the rest of the stem. I worked on it with the sandpaper until the surface was smooth to touch and blended well with the rest of the vulcanite.
 Once it was smooth and round I wet sanded it with 1500-2400 grit micromesh sanding pads and wiped it down with Obsidian Oil. I dry sanded it with 3200-4000 grit pads and gave it another coat of oil.
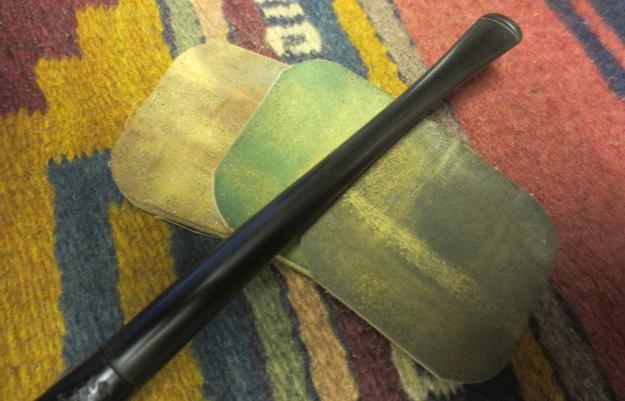
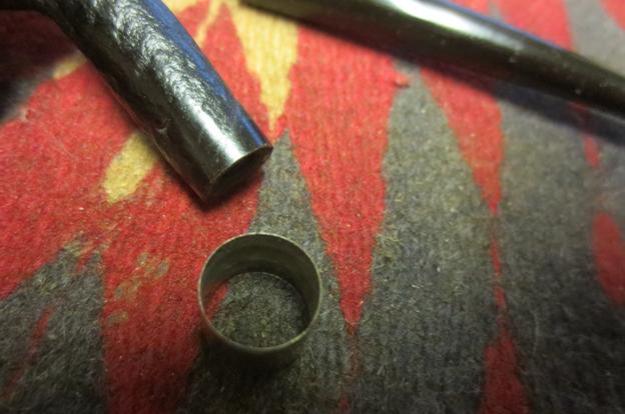
 I went through my assortment of bands to find one that was the correct diameter for the cracked shank. I measured it and then found the correct one. I heated it with a lighter and then pressed it into place on the shank of the pipe.
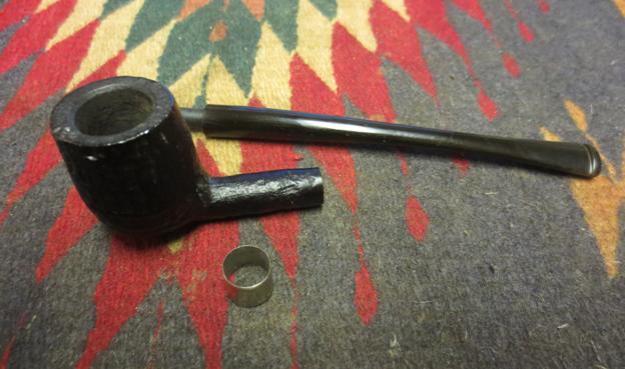
 I took a close-up photo of the shank end to show the crack at the top of the photo under my finger. I have circled cracked area in red.
 I finished sanding the stem with 6000-12000 grit micromesh pads and gave it a final coat of Obsidian Oil. I set it aside to dry.
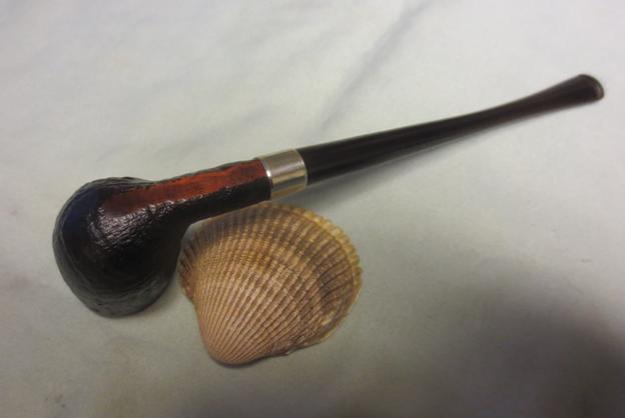
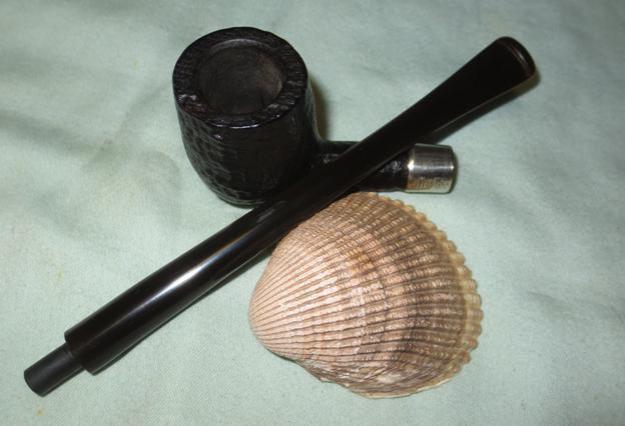
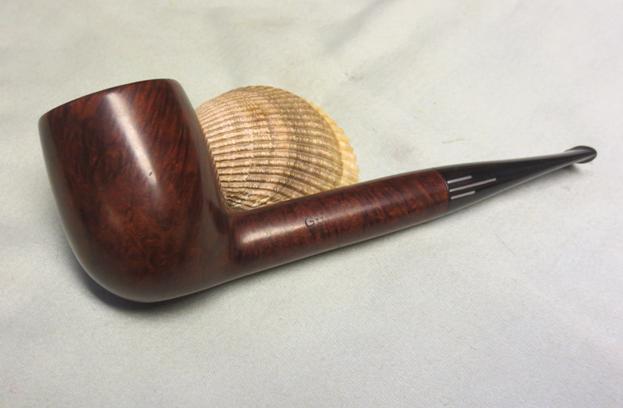
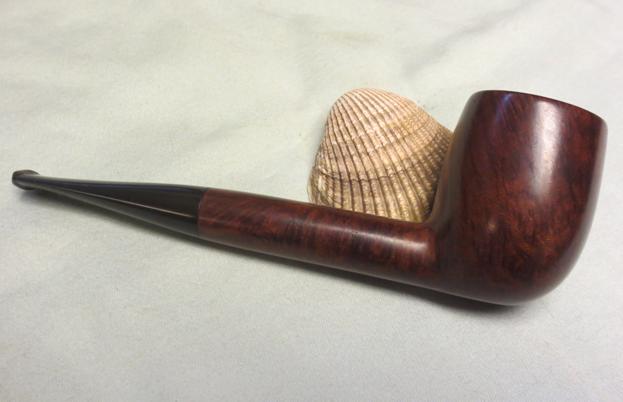
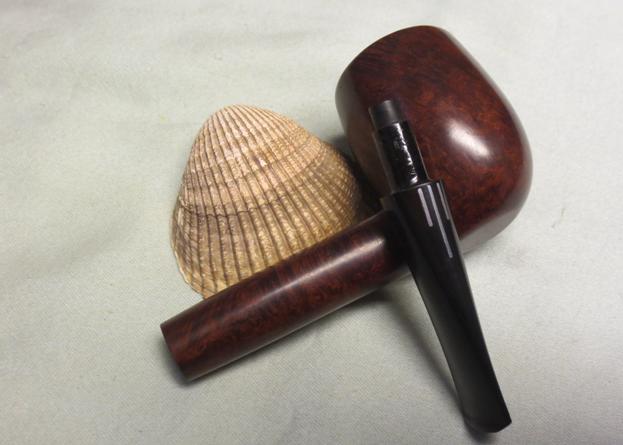
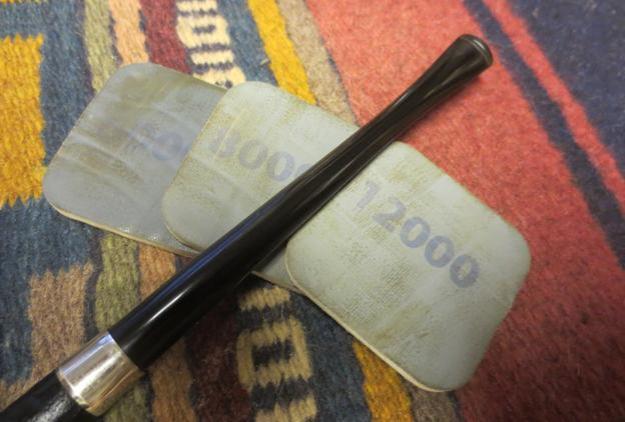 I polished the band with a jeweler’s polishing cloth and then buffed the pipe and stem with Blue Diamond on the buffer. I gave the bowl and stem several coats of carnauba wax and buffed it with a clean buffing pad to raise the shine. I hand buffed it with a microfibre cloth to deepen the shine. The finished pipe is shown in the photos below. Thanks for looking. This one will show up on the rebornpipes store soon. Send me a pm or a message if you are interested in owning it.