Blog by Dave Gossett
I’ve owned a few BBB’s for years but lately I’ve taken a real liking to the Own Make. I picked this up from eBay on the cheap. Even with the blurry pictures it looked rough, but it was even worse upon arrival.
The one time this pipe was actually reamed, I think it was with a knife. The inner rim was hacked up and the top was charred. 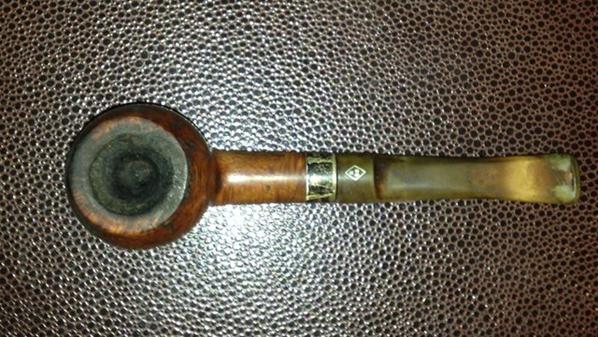


 I like a challenge so I got to work. I used a Dremel drill with a barrel sander to make way for a reamer.
Here is it after the initial cleaning. Lots of rim char and missing briar. 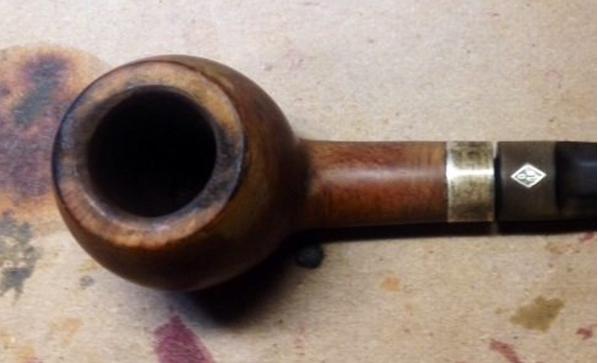 I started with a slight topping to give it a crisp symmetrical outer rim ring and then beveled the inner rim to smooth out the damage. Next I sanded the outside of the bowl to remove the scratches. Once the rim and stummel repairs were finished, I sanded the bowl chamber smooth and added a fresh carbon coating.
Next up: the stem. Once the stem was cleaned and sanitized I removed the tooth chatter with needle files and began wet sanding. I use craft sticks and glue various grits of sand paper to them for wet sanding the sharp edges and angles. Wet sanding the entire stem by hand can soften the crisp edges of the original design. Using these small sticks, can remove all the oxidation without compromising the original shape.
Here is an example from another project pipe. The stem in this picture also has a button patch repair. 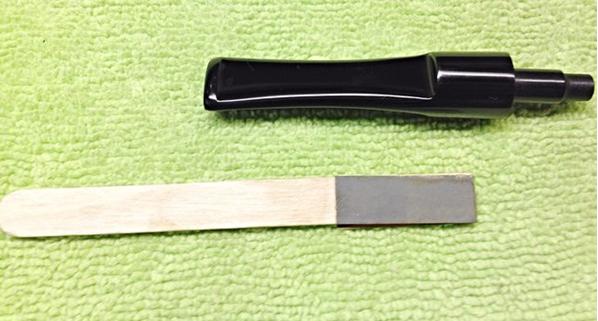 To finish up, I gave it few coats of carnauba wax and polished the silver band.


Your work always astounds me.
LikeLike
What a gorgeous pipe! Very nice work on restoring it.
LikeLike
Amazing transformation! Truly a magnificent piece of work.
LikeLike
That is a stunning transformation! Well done indeed!
LikeLike
Nice work Dave. The finished product always looks stellar coming off your bench. Well done. Am I mistaken or does the bowl have more of a cant to it than it did originally? Just curious. I like the jaunty new look if it does! Thanks for sharing the tip of the sanding stick with us. Very nice.
LikeLike
I kept the original canted angle. It does look a bit different in the before/after shots. In the before shots the pipe laying on it’s side. In the after shots it’s sitting upright.
LikeLike