Monthly Archives: May 2015

Yello Bole Sandblast Author Restoration


Blog entry by Al Jones

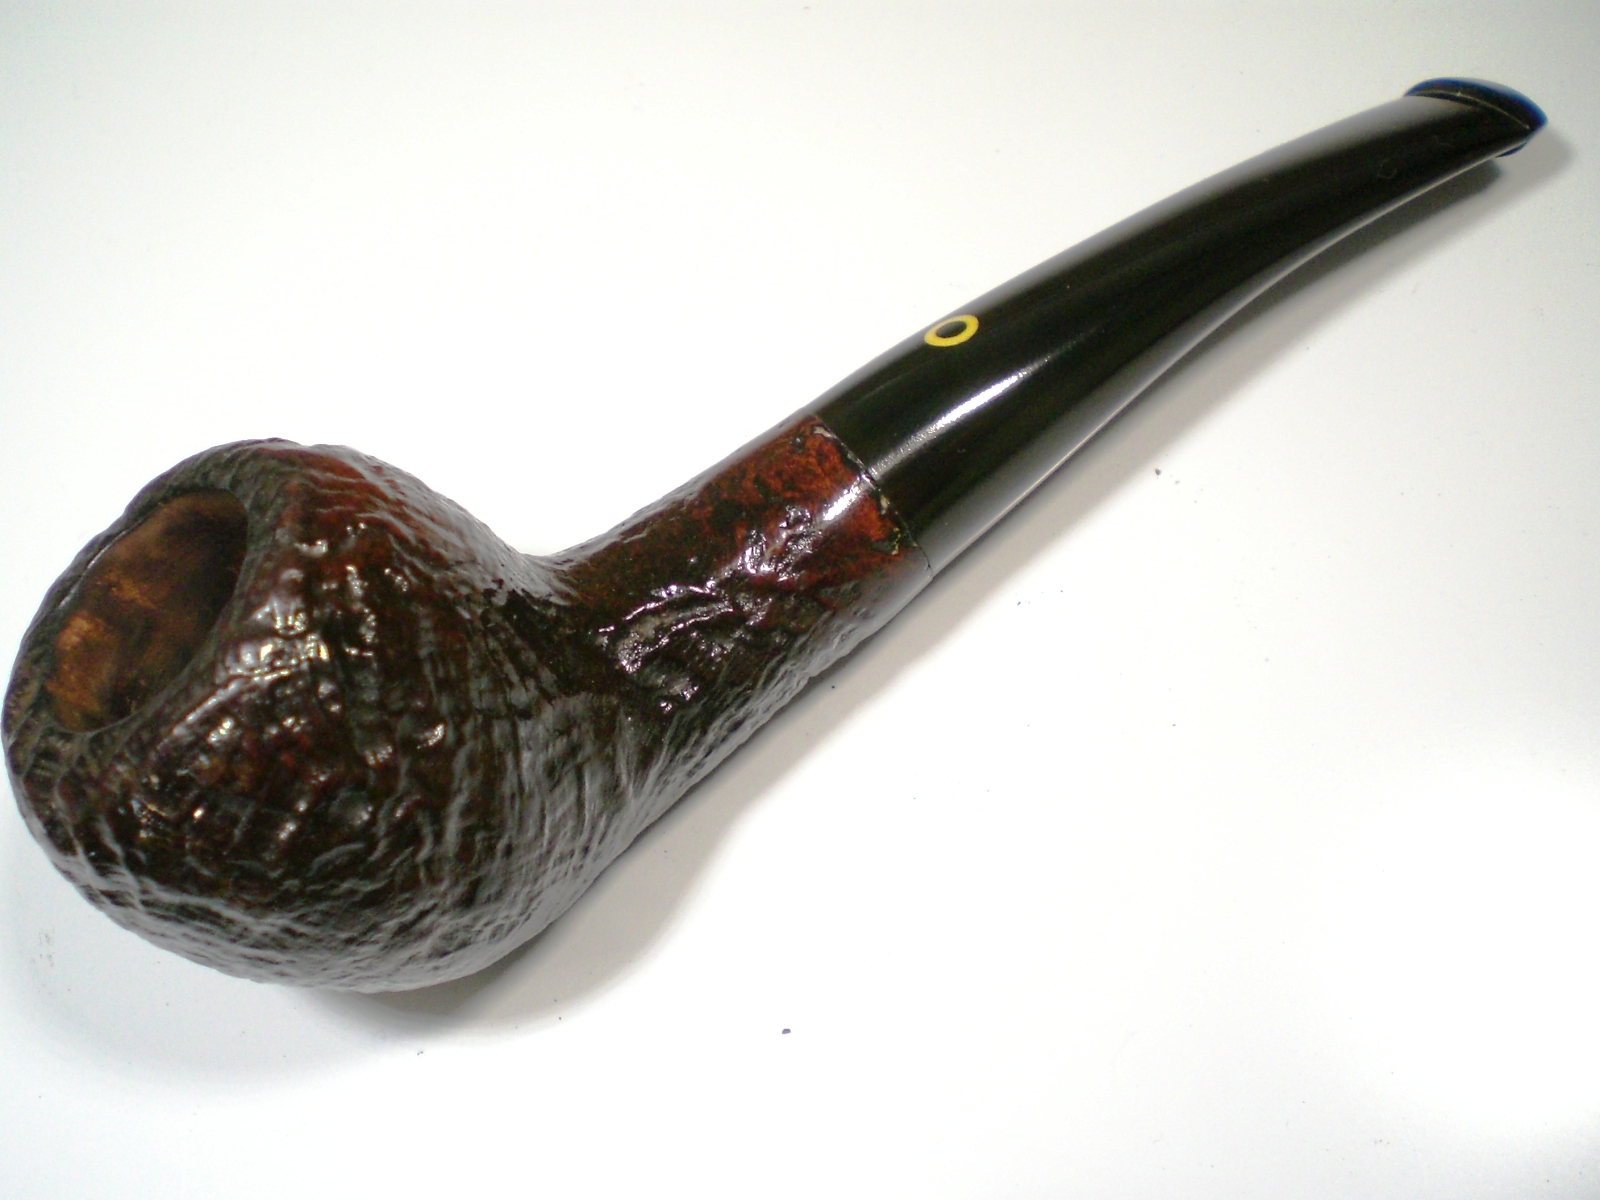
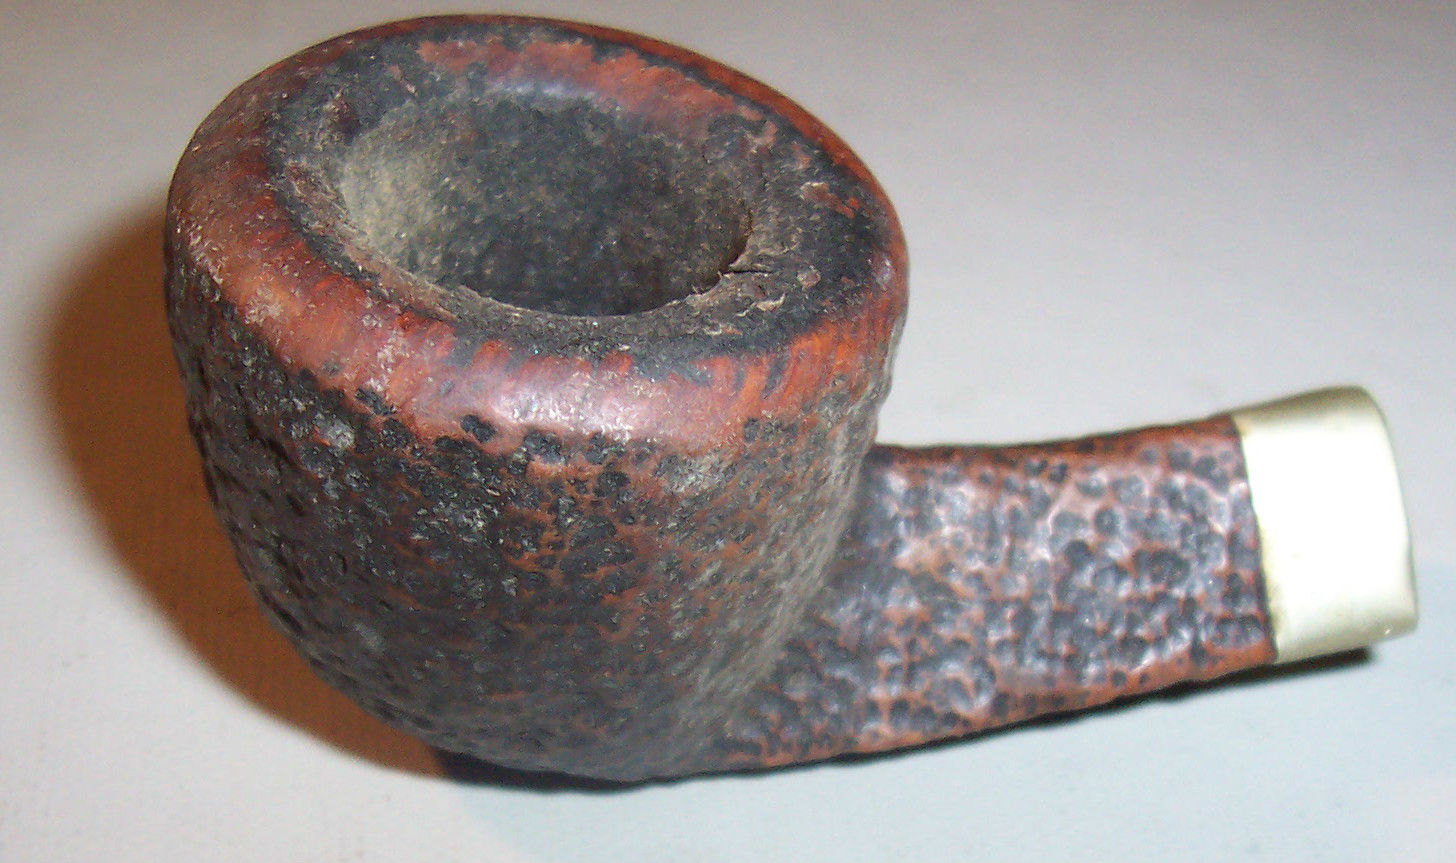
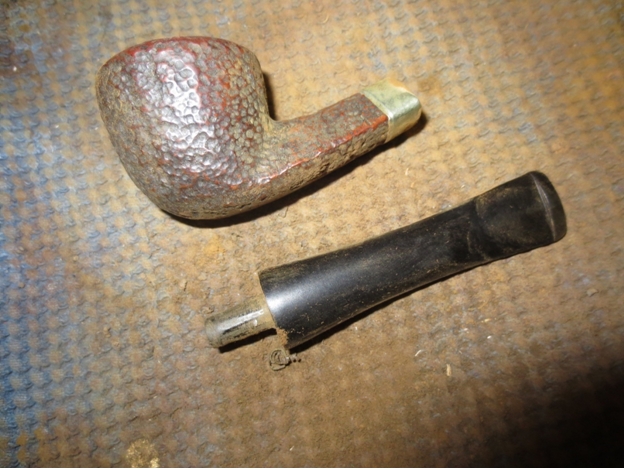
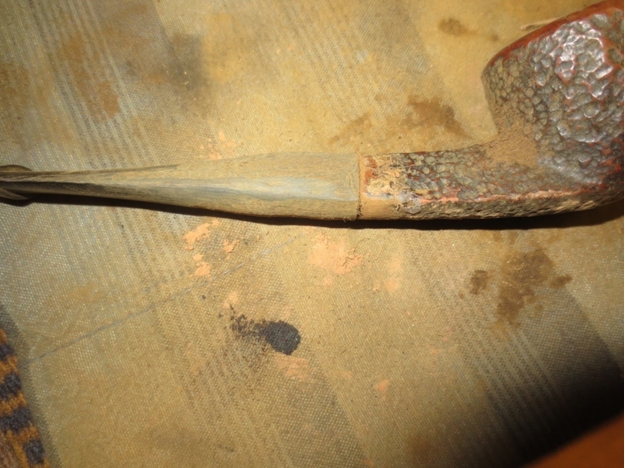
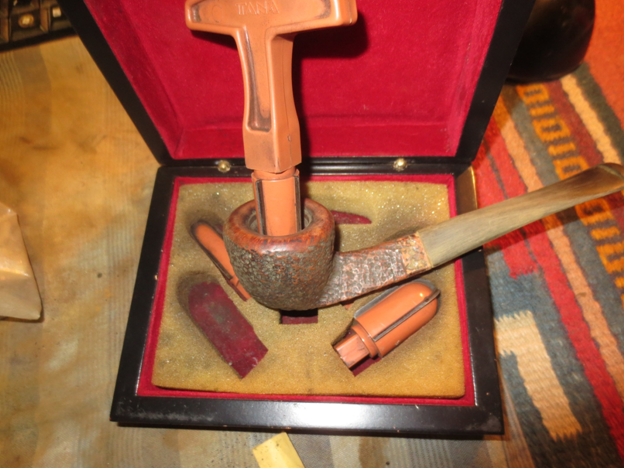
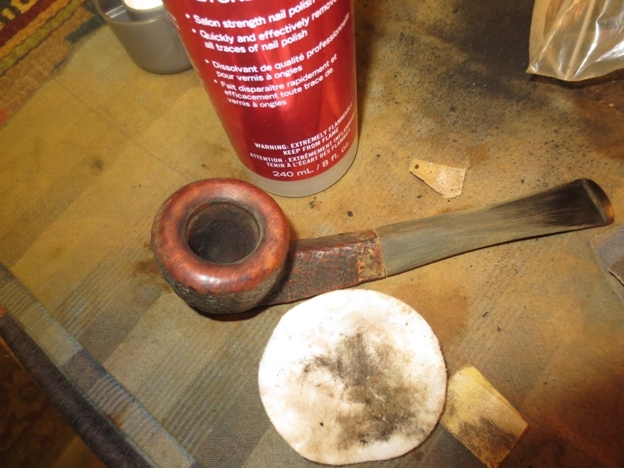
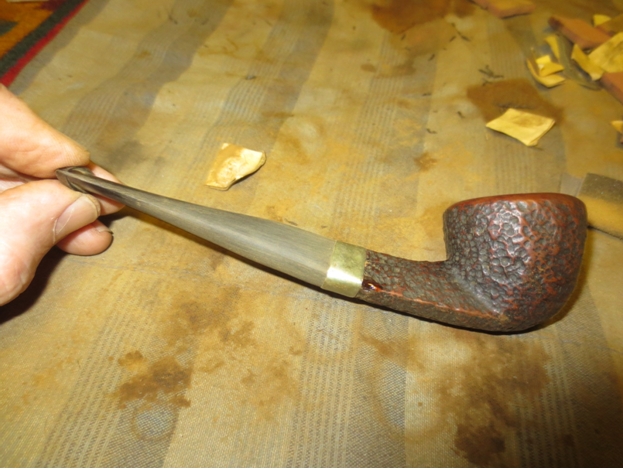
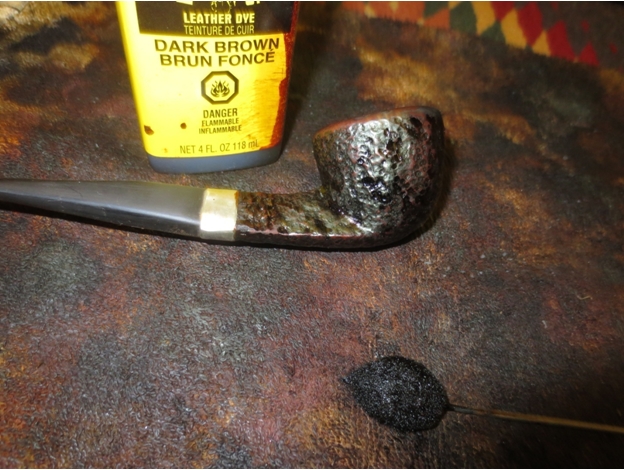
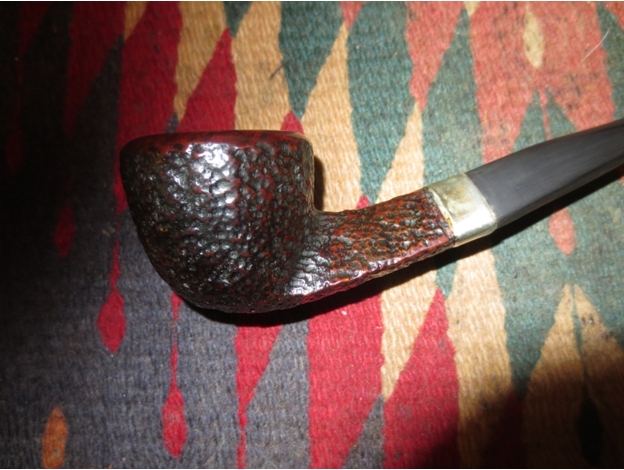
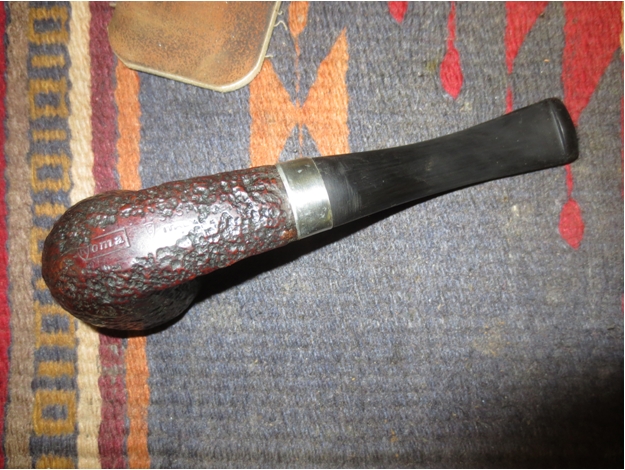
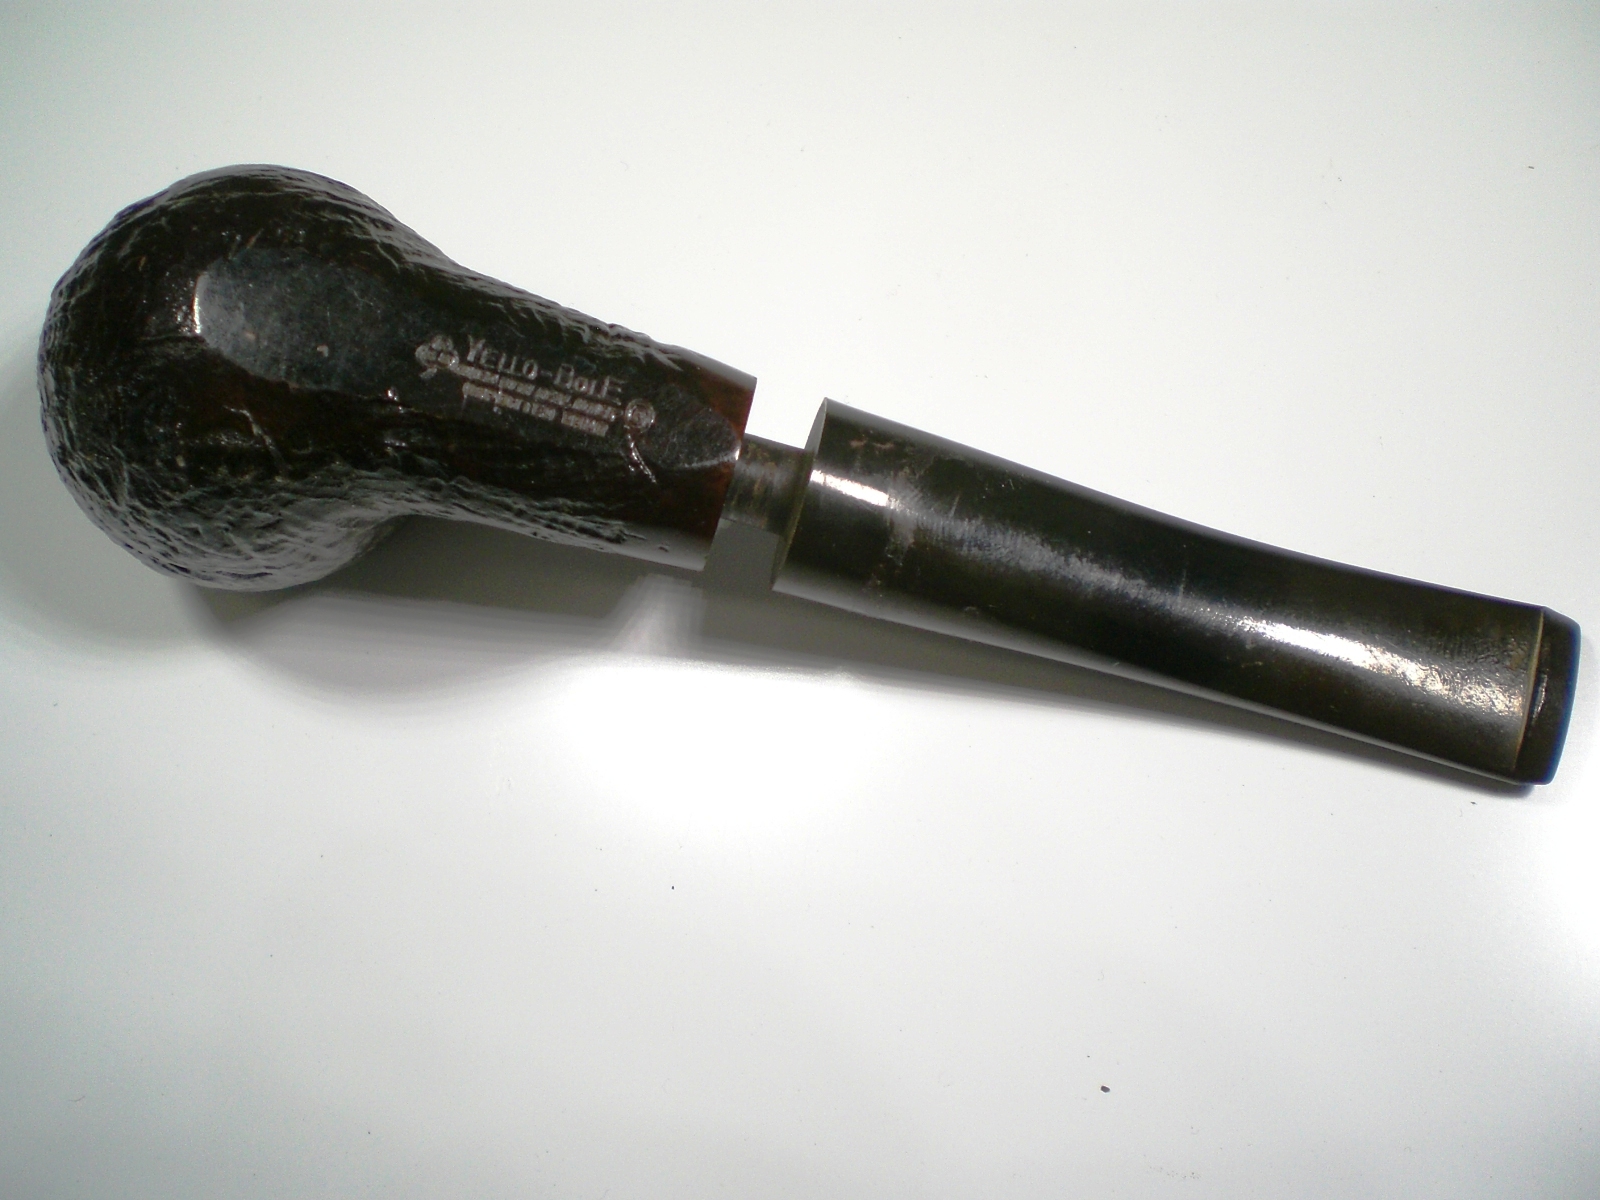
I’ve worked on a few Yello Bole pipes owned by a forum friend, but until now, I hadn’t found one of my own. I spied this one at a Pennsylvania flea market that I visit a few times per year. One vendor always has some older Kaywoodie. Last week, I found this Yello Bole in the case.

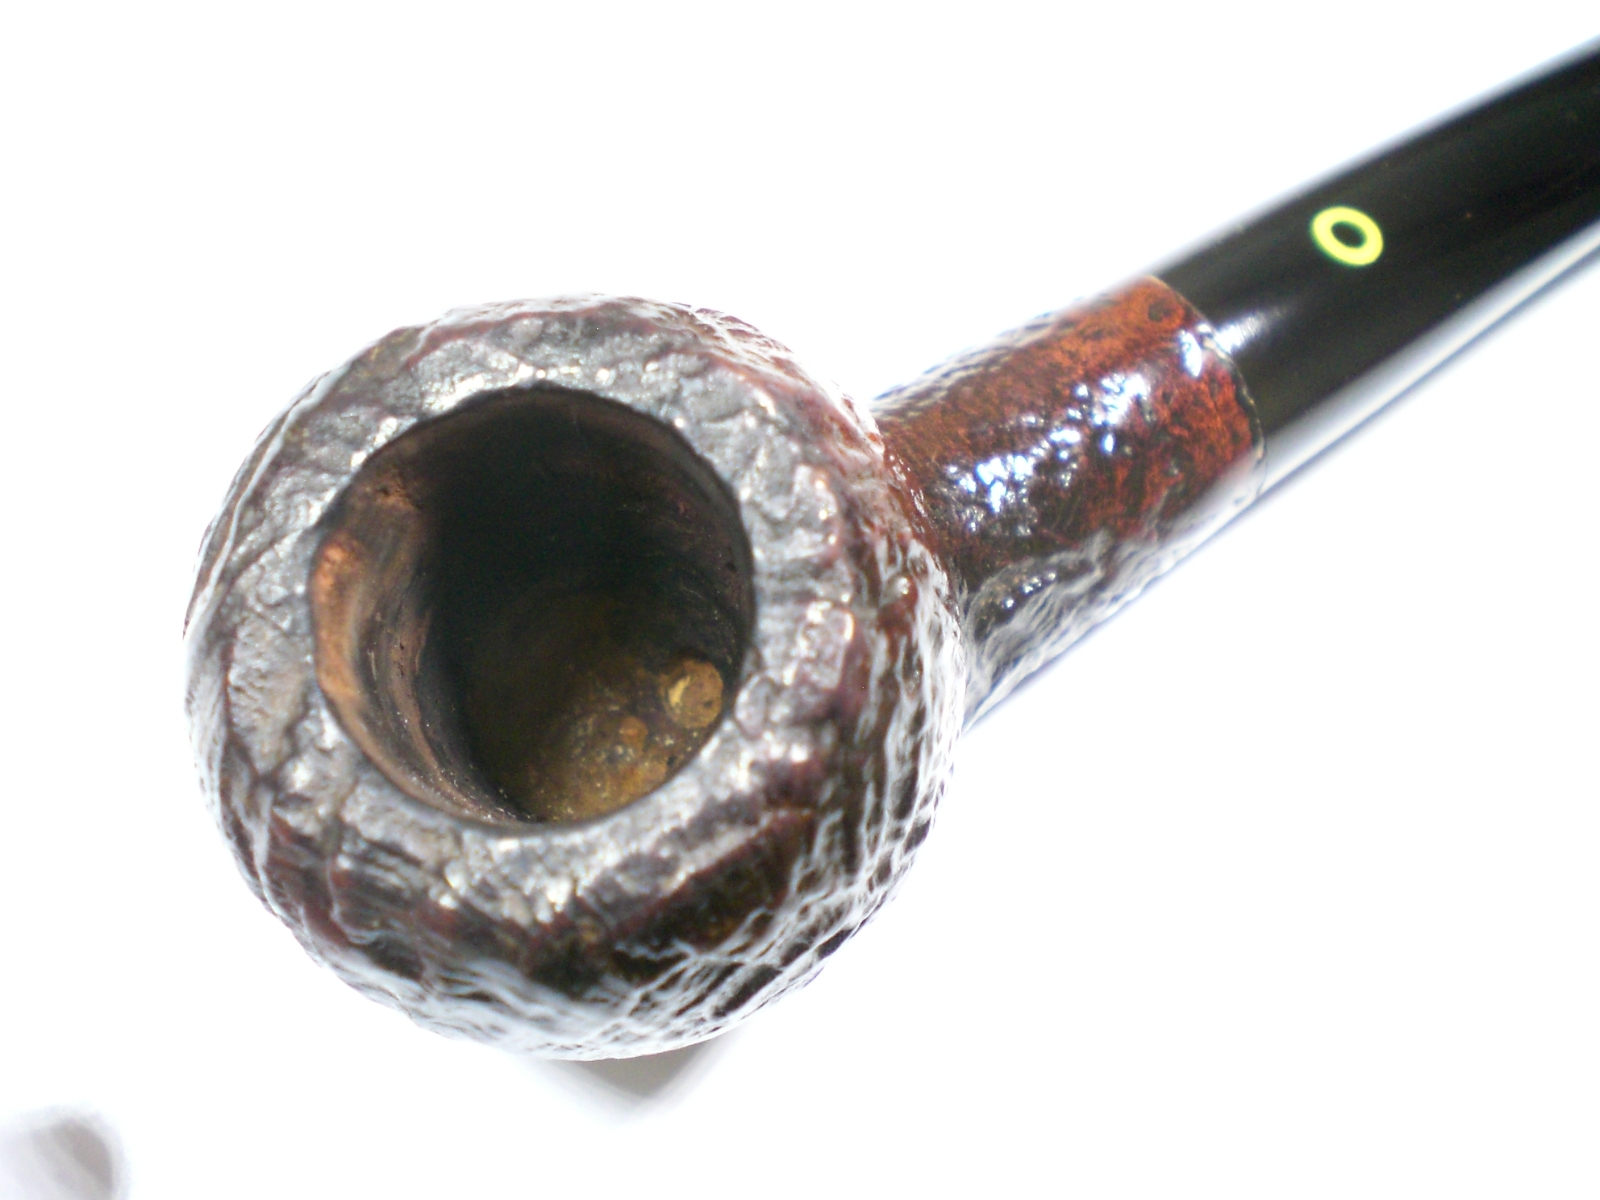
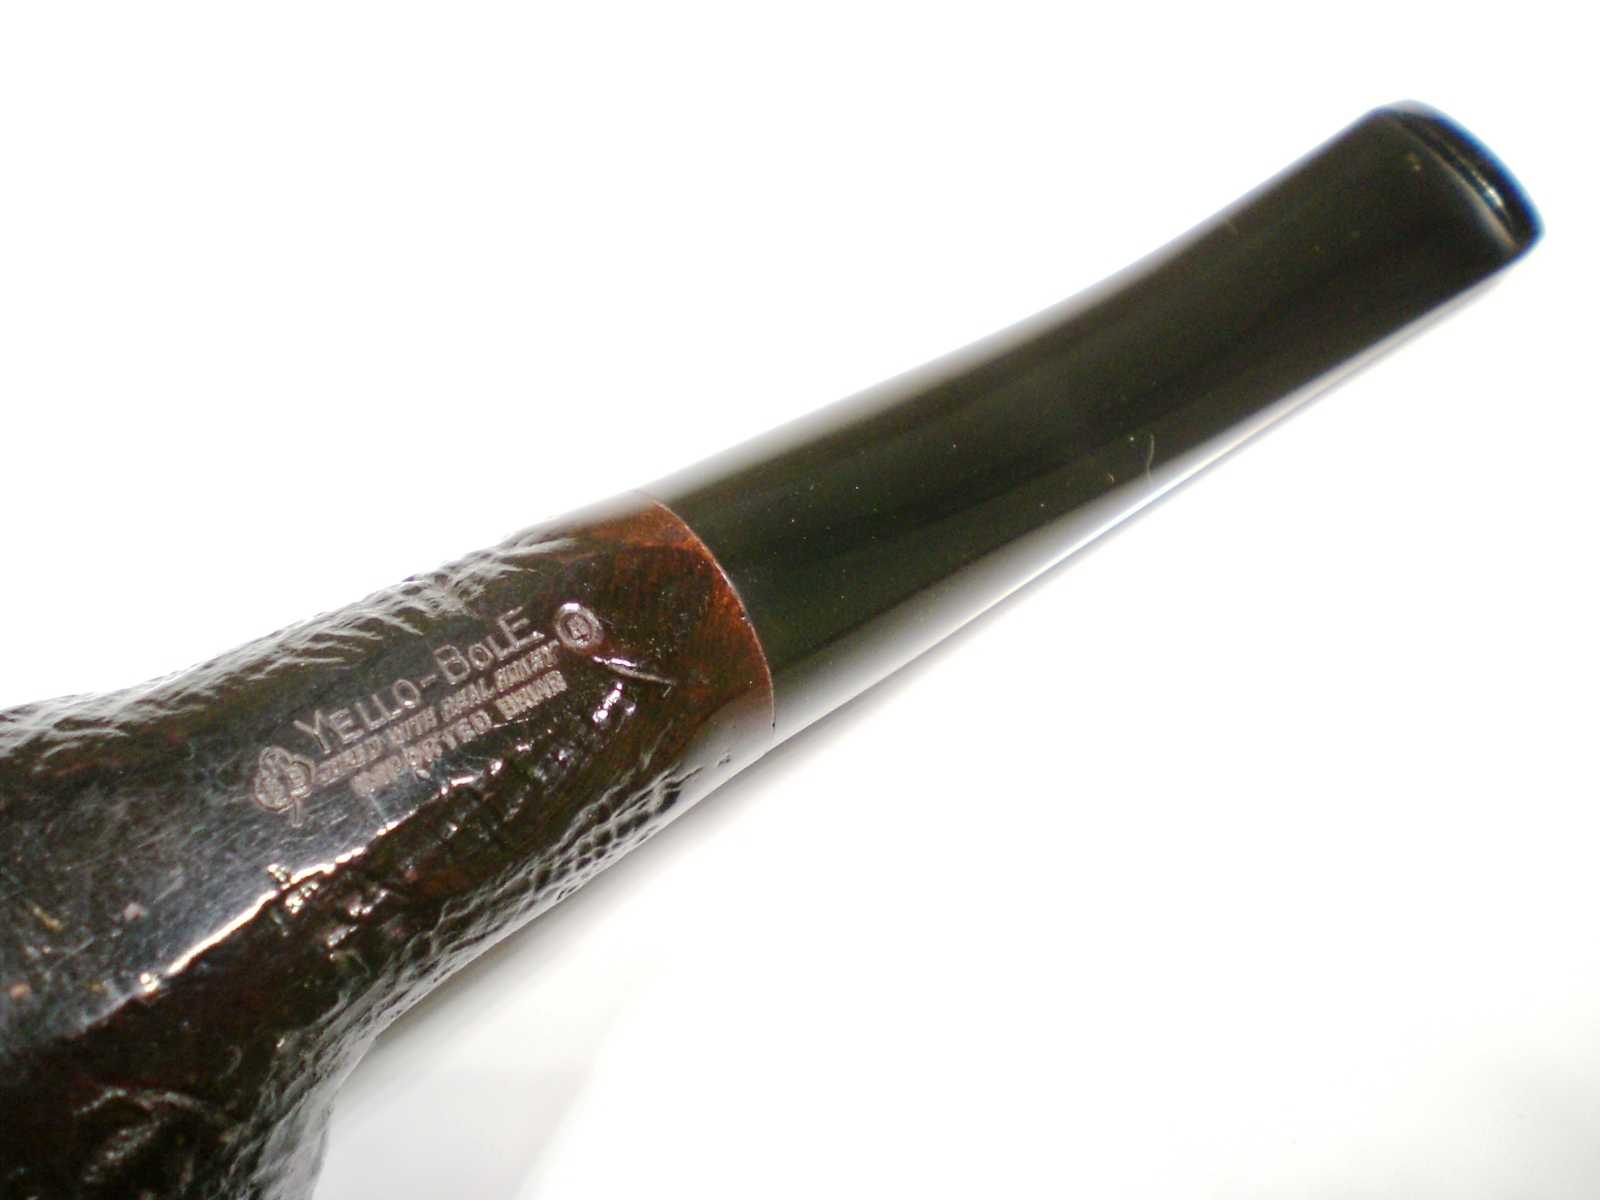
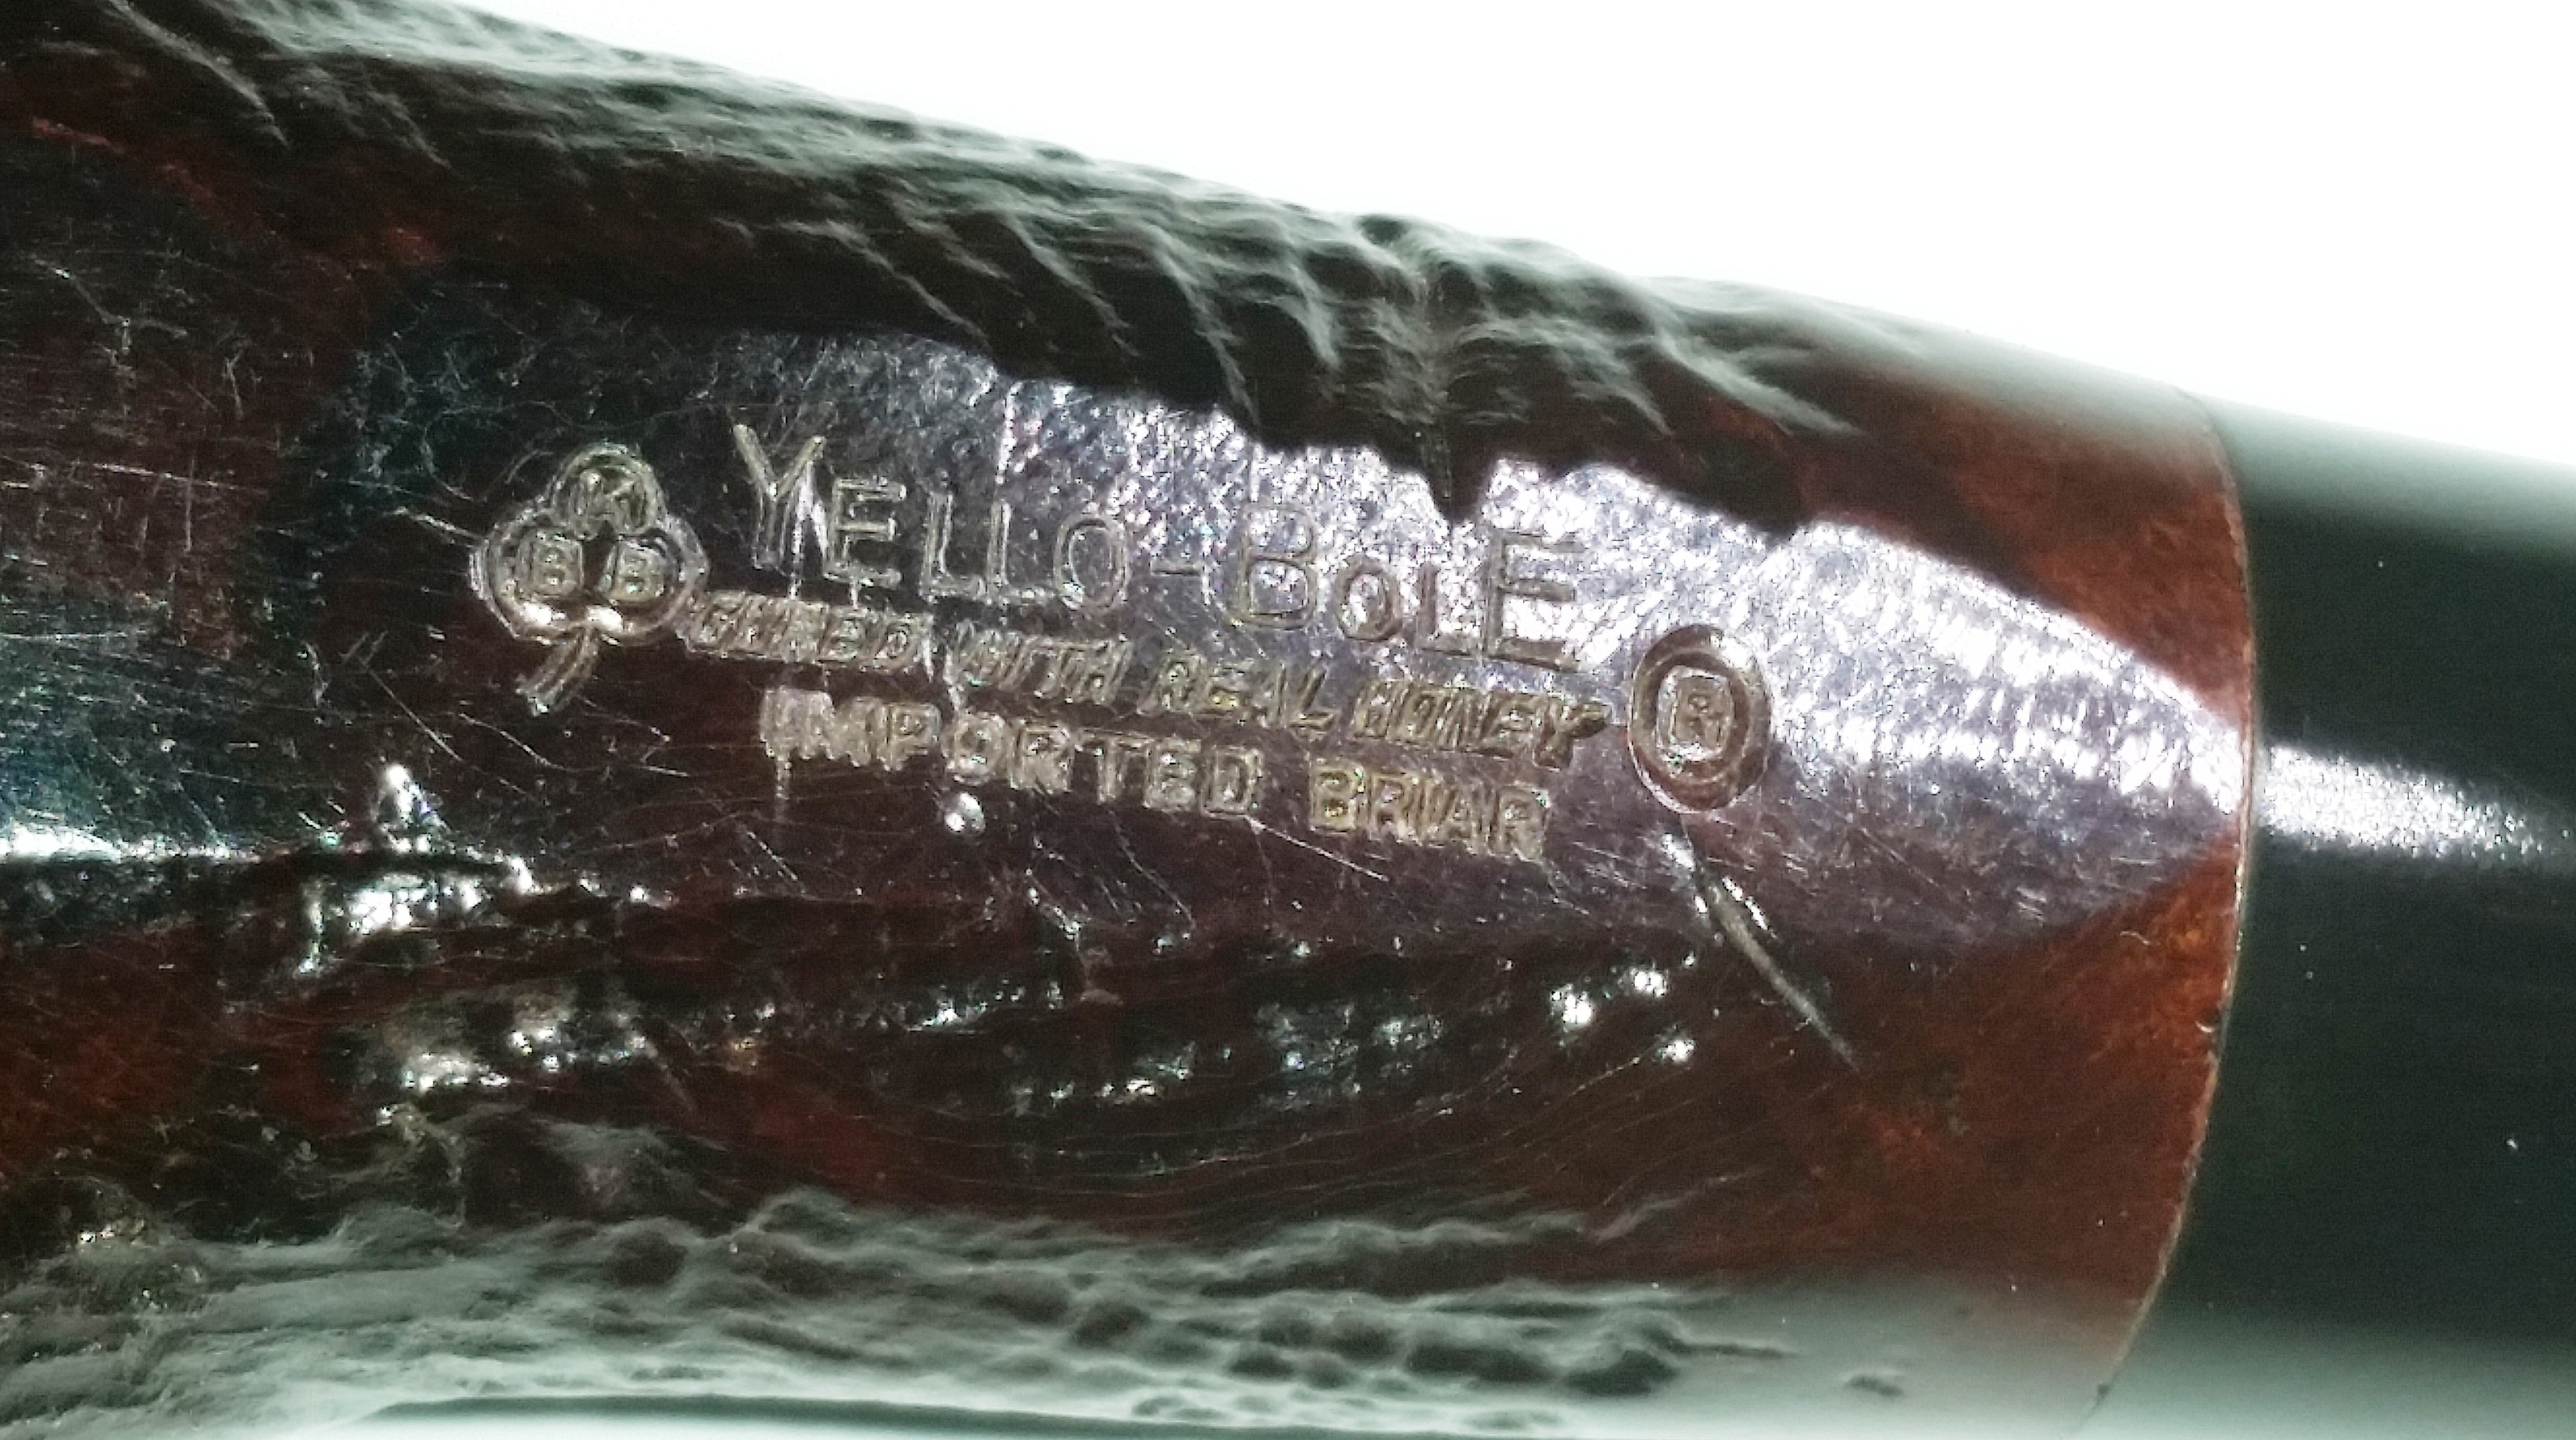
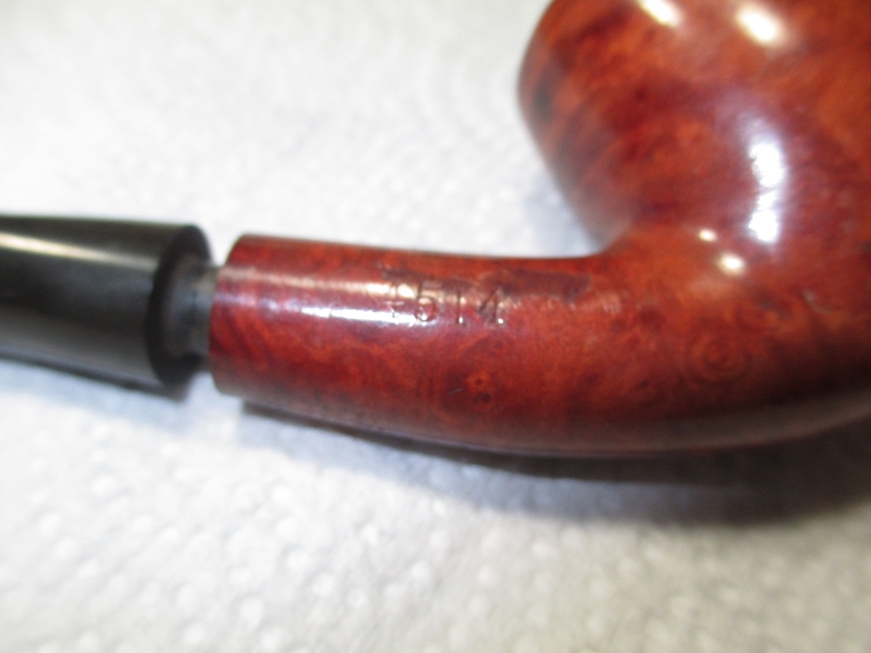
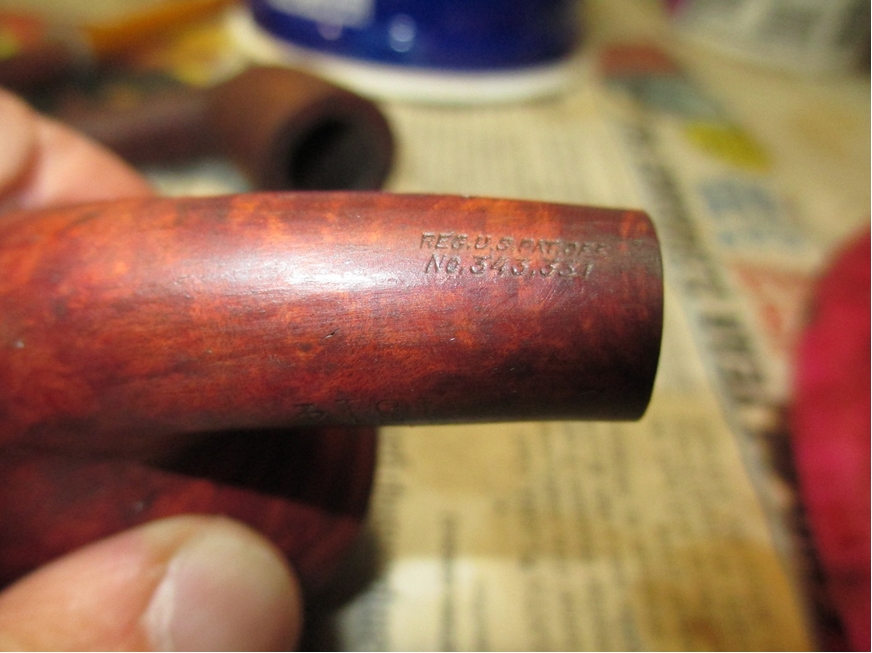
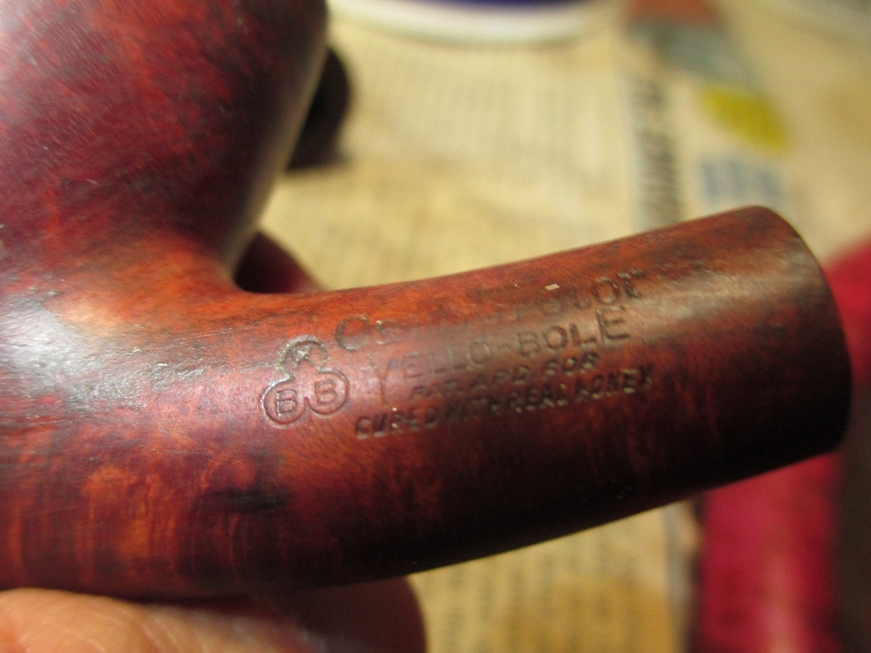
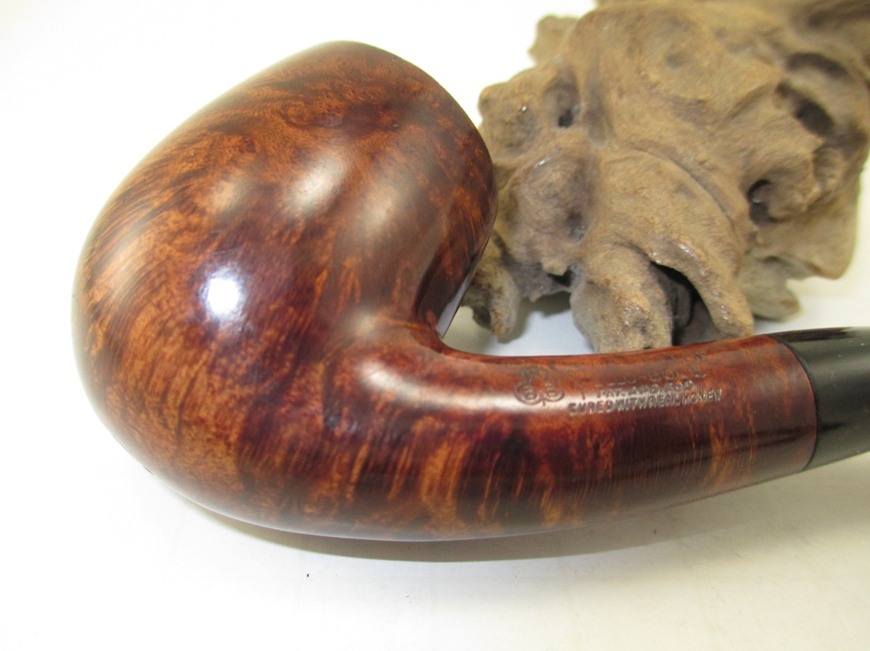
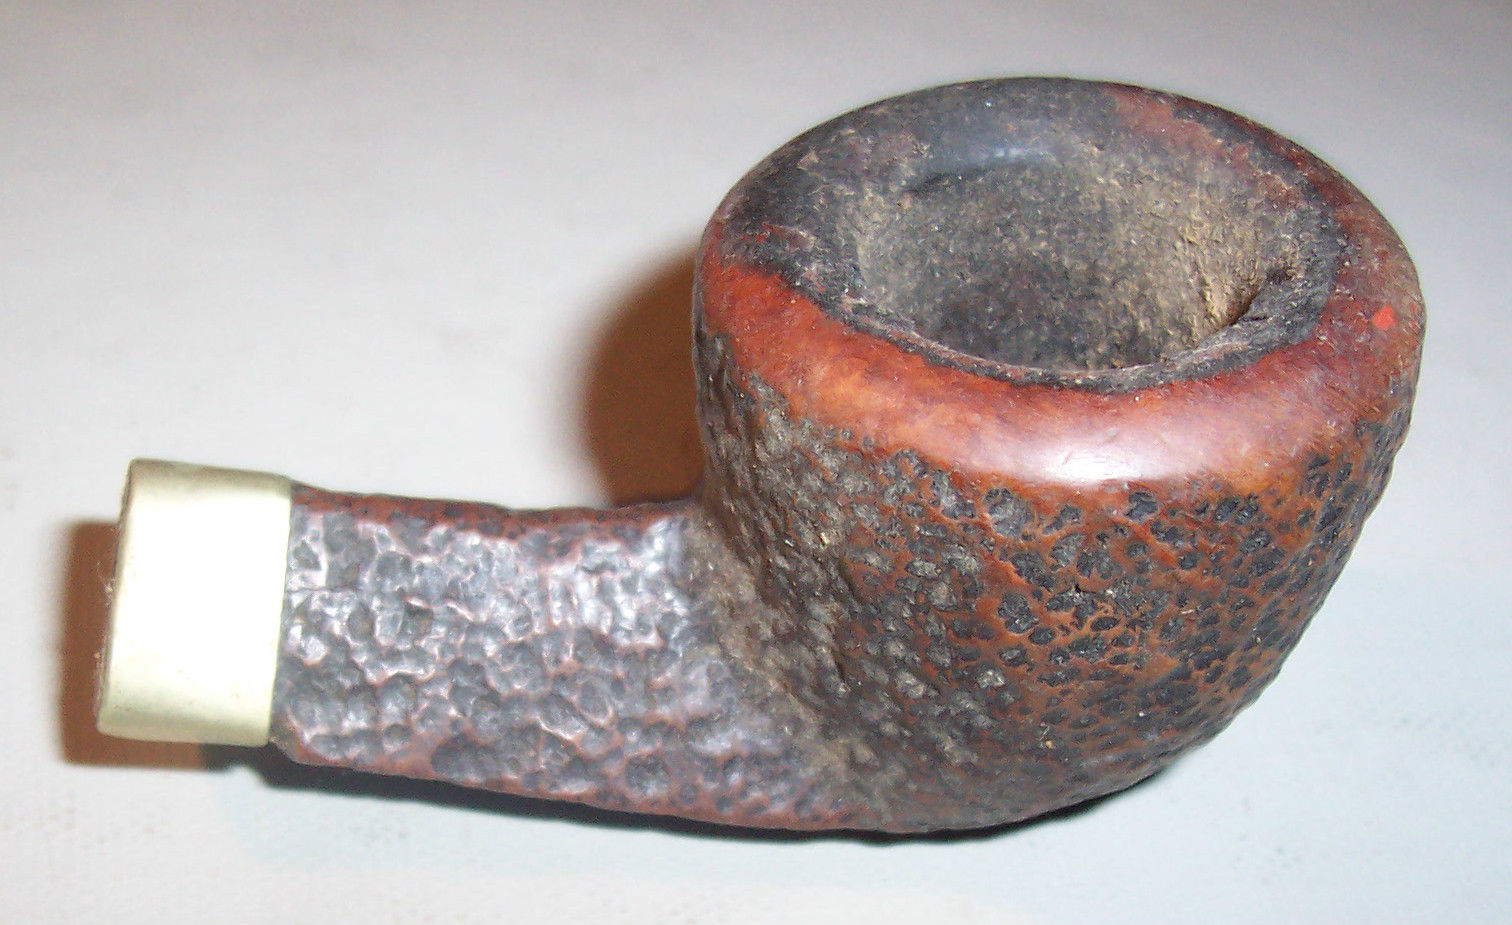
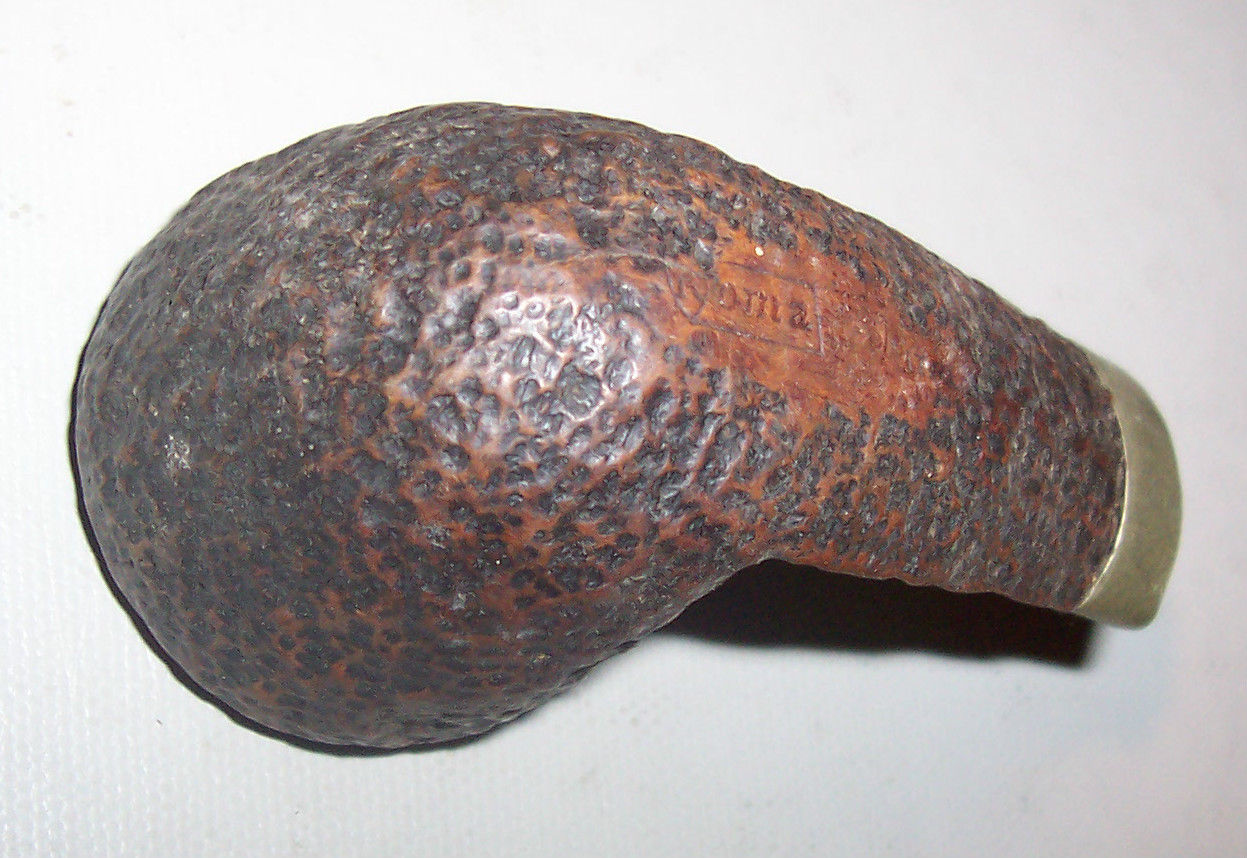
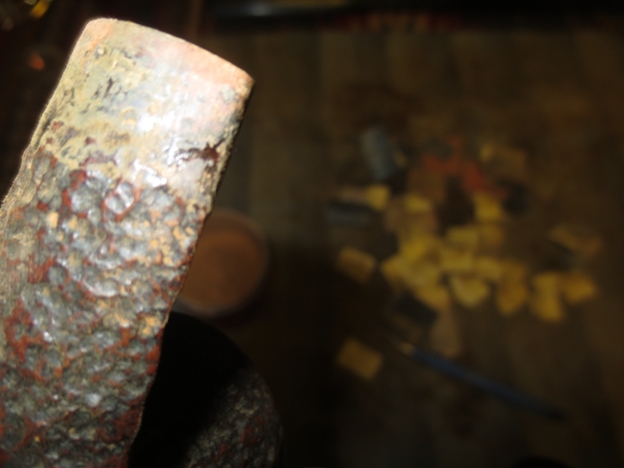
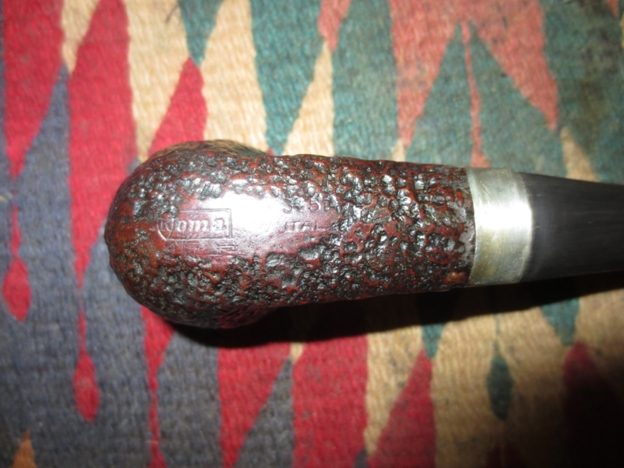
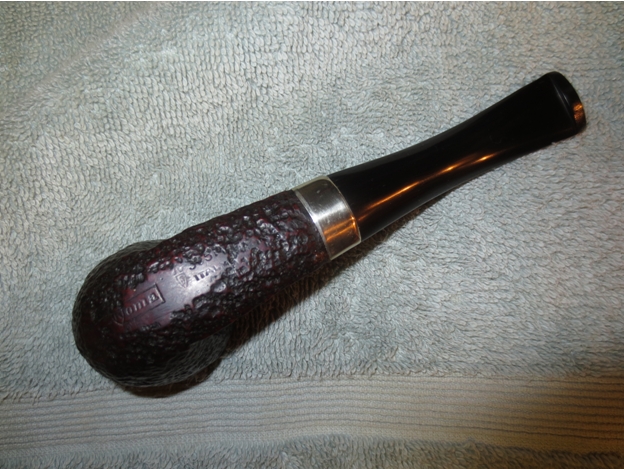
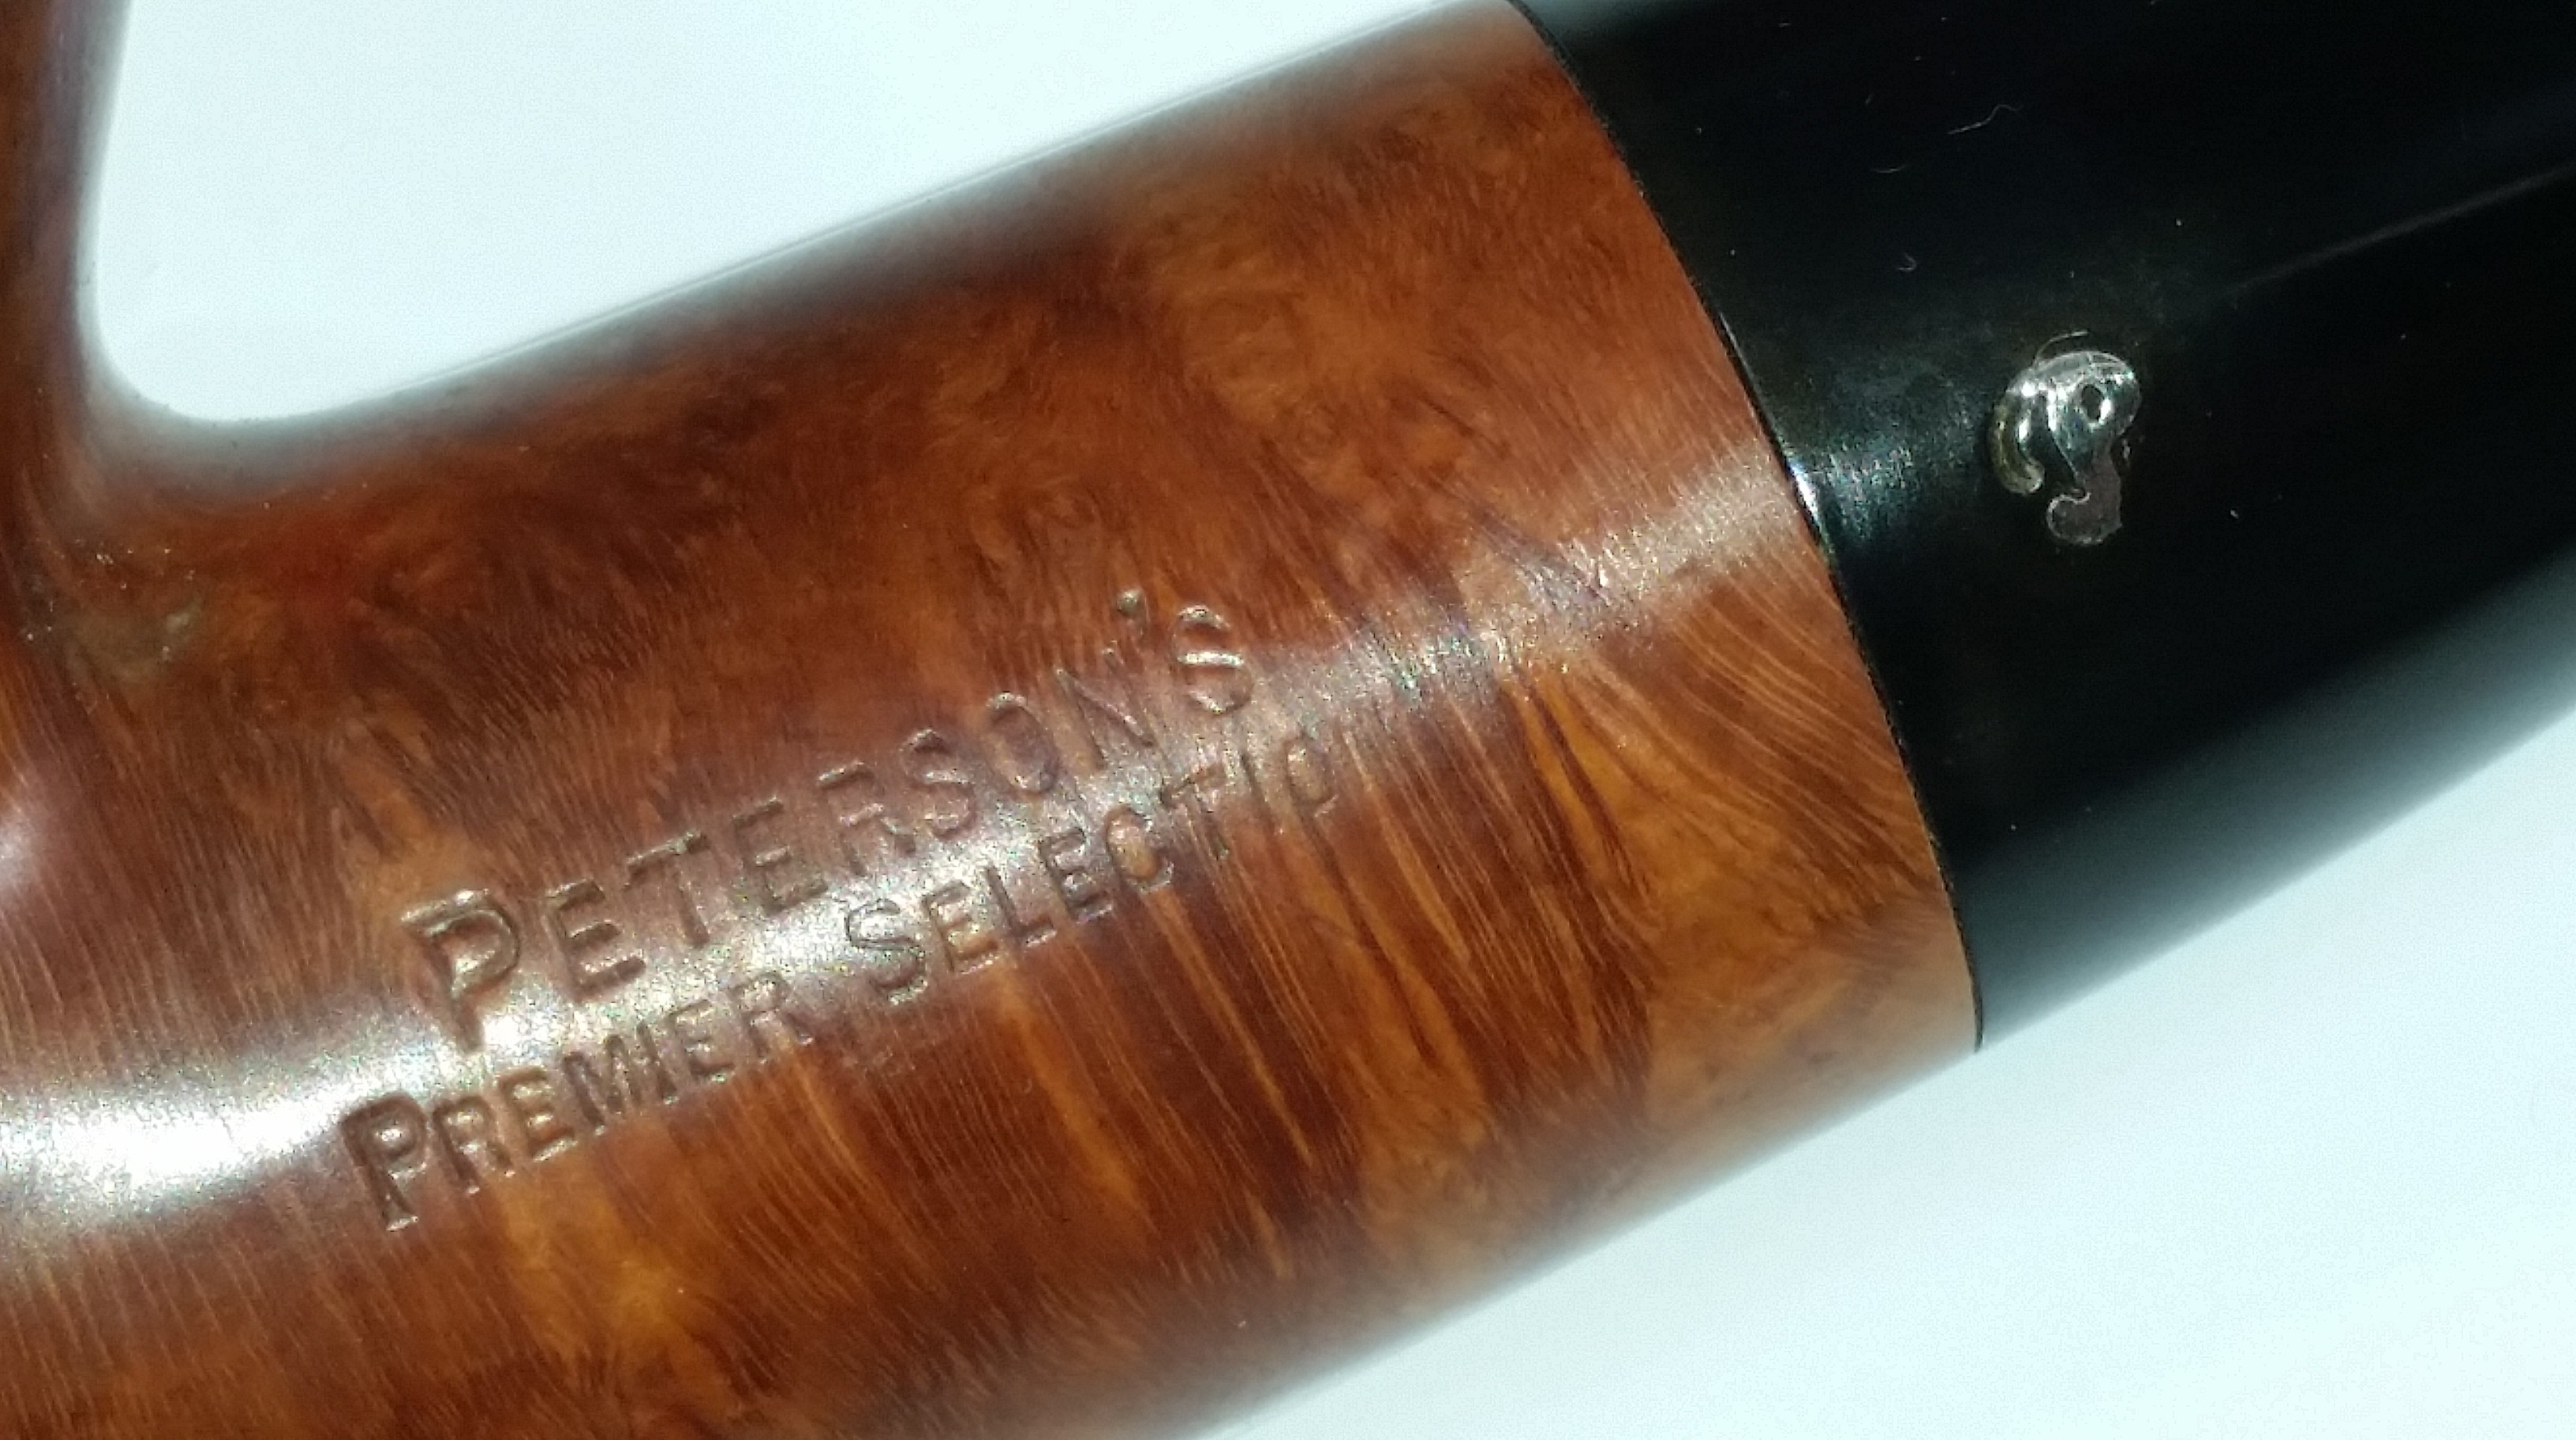
The pipe was definitely well loved, but the stem was nearly mint. I thought with the cake removed, the briar would also be in good shape. From the stamping and a comment on the Kaywoodie forums, I believe the pipe was made between 1937 and 1955.

Yello_Bole_Before

Yello_Bole_Before (1)

Yello_Bole_Before (3)

Yello_Bole_Before (4)

Yello_Bole_Before (2)

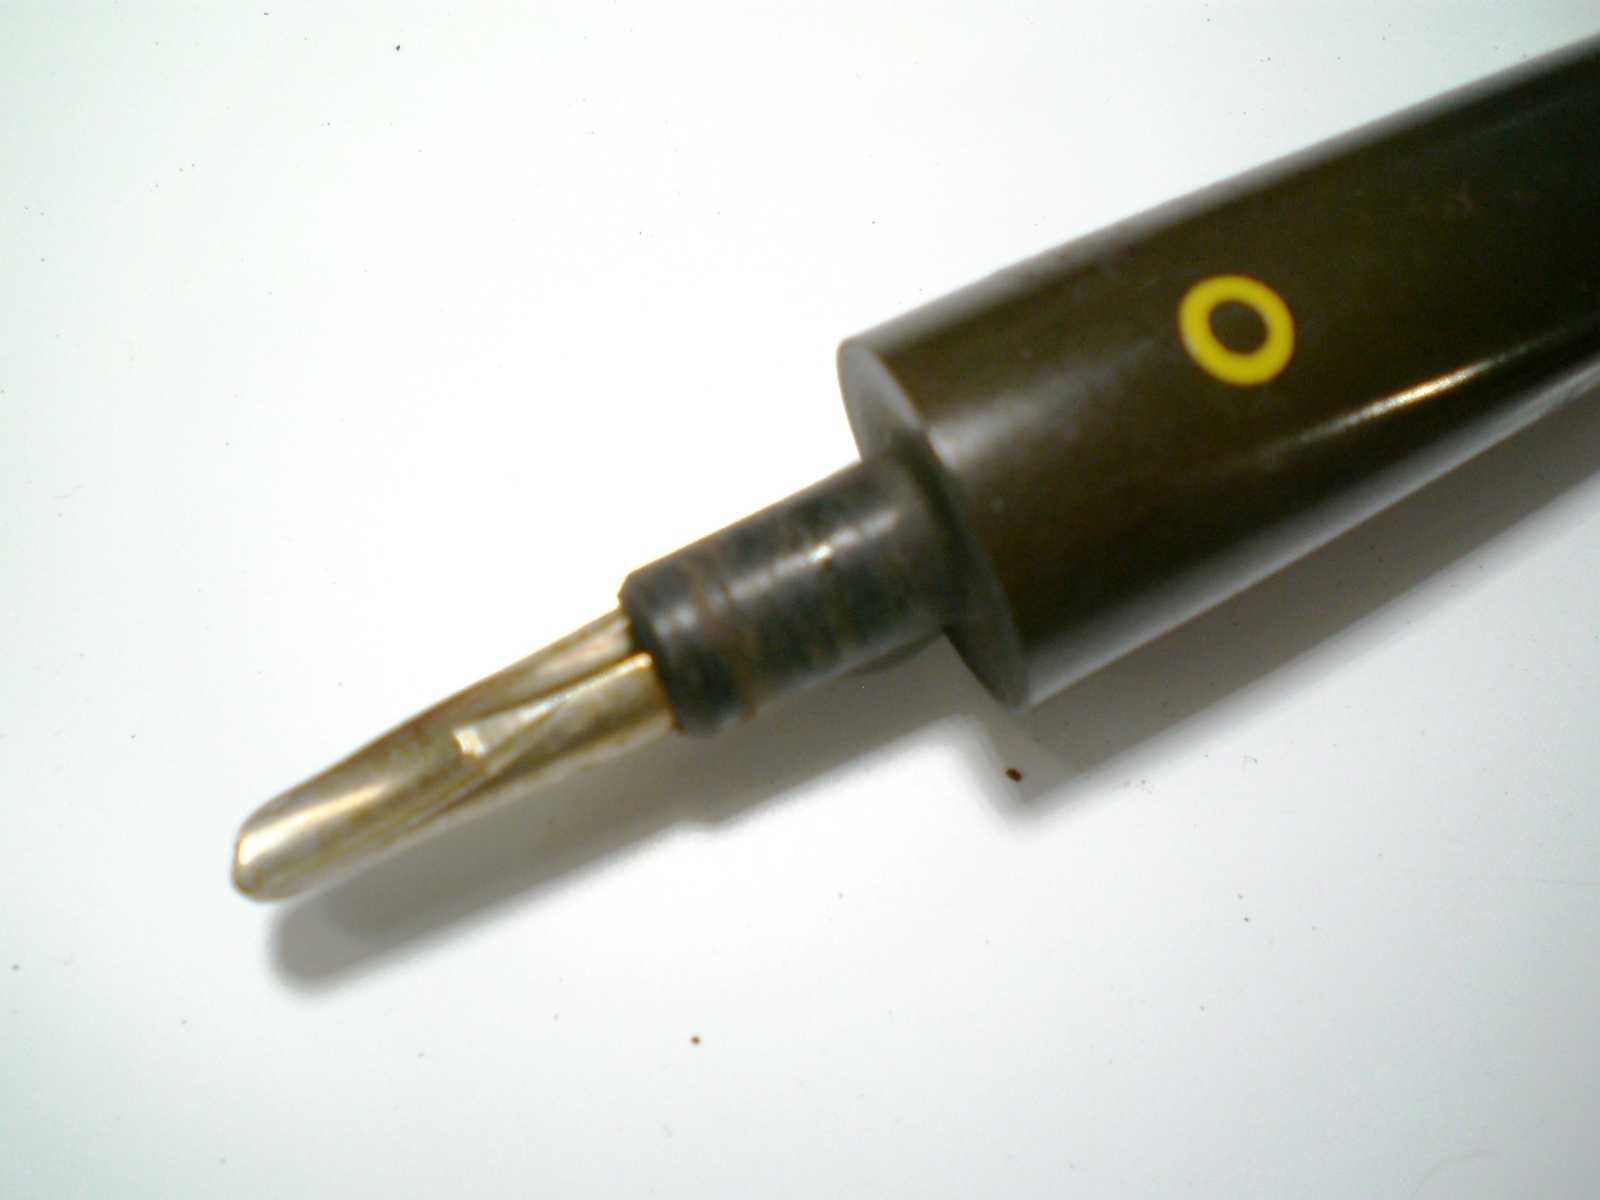
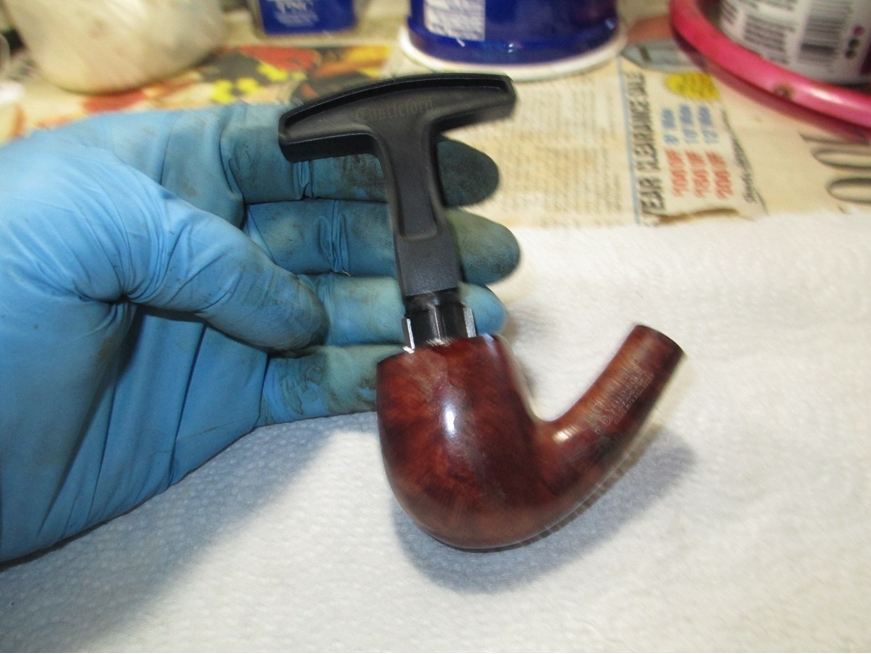
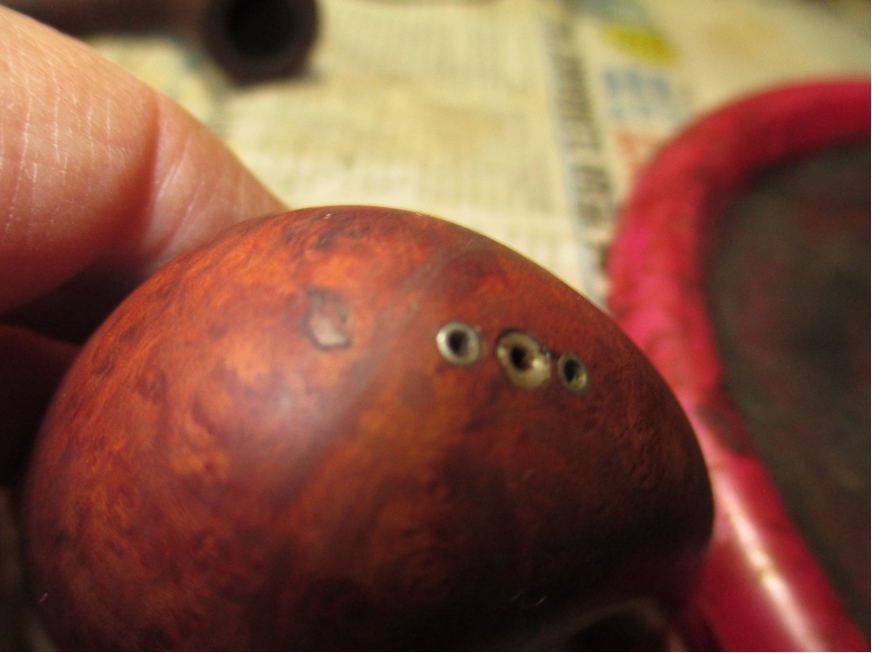
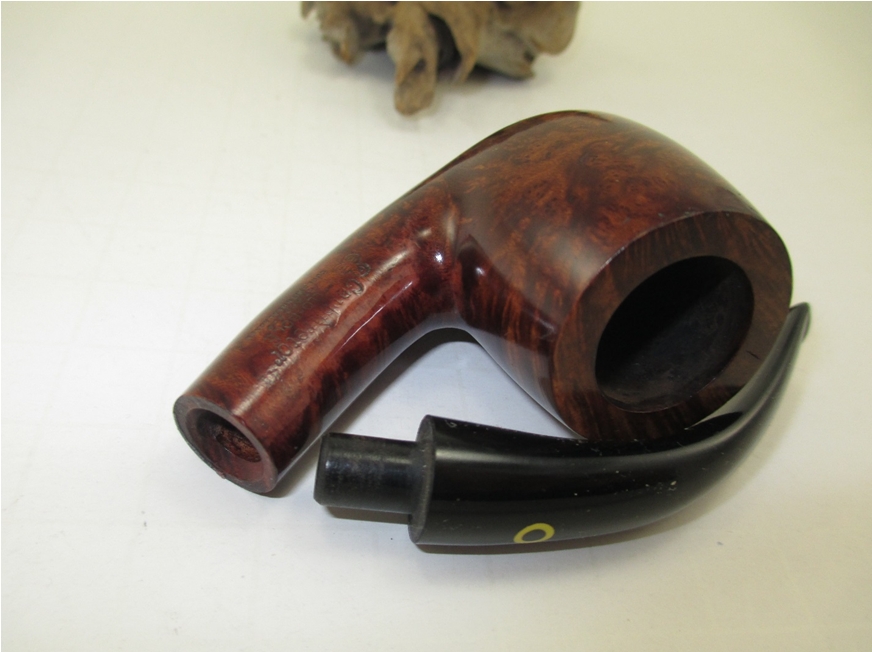
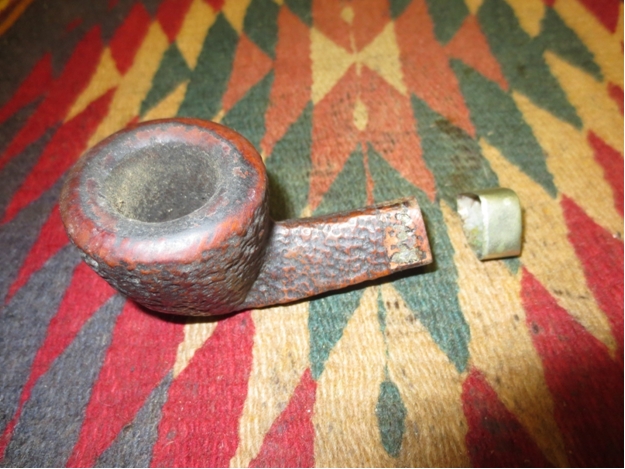
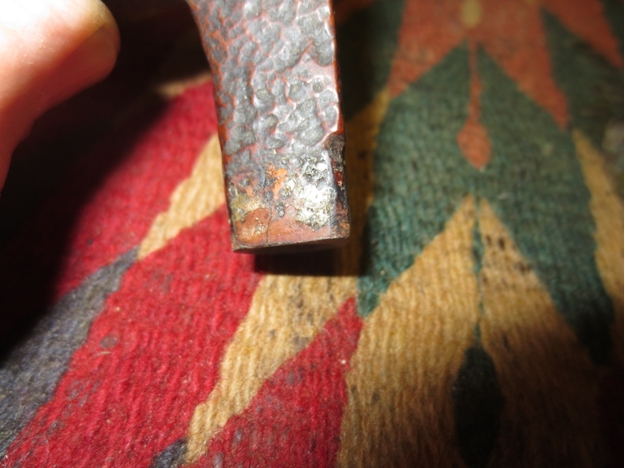
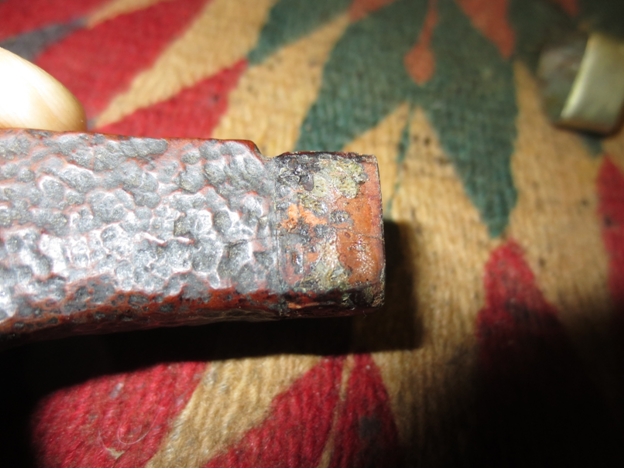
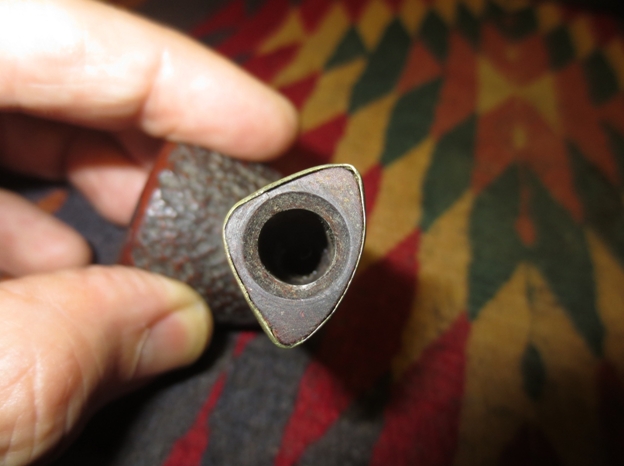
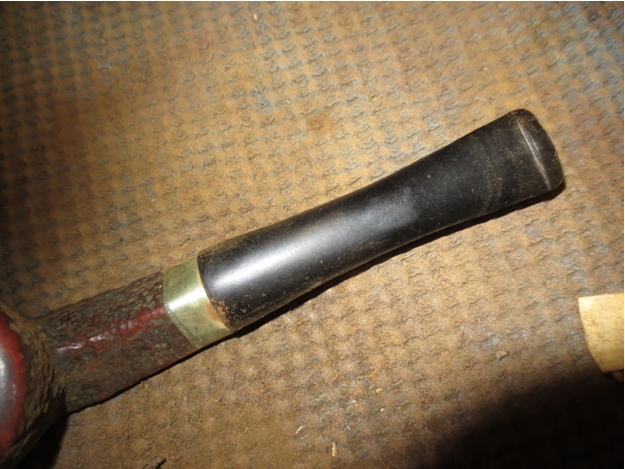
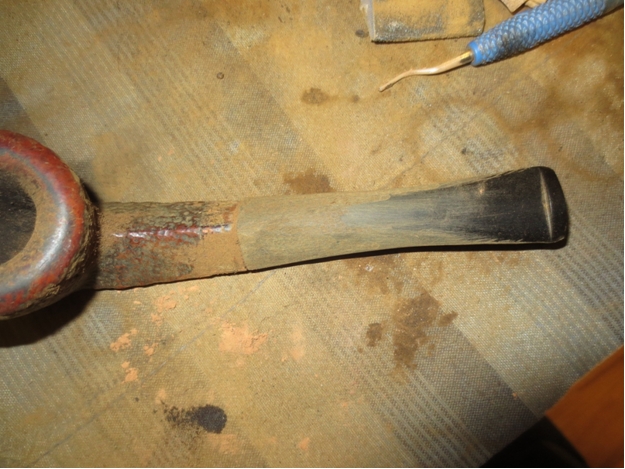
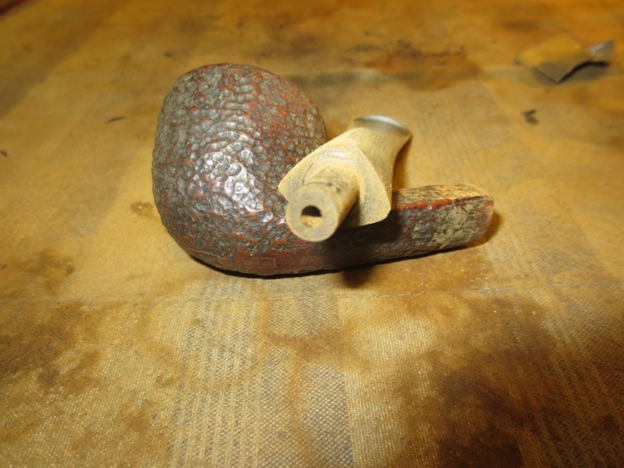
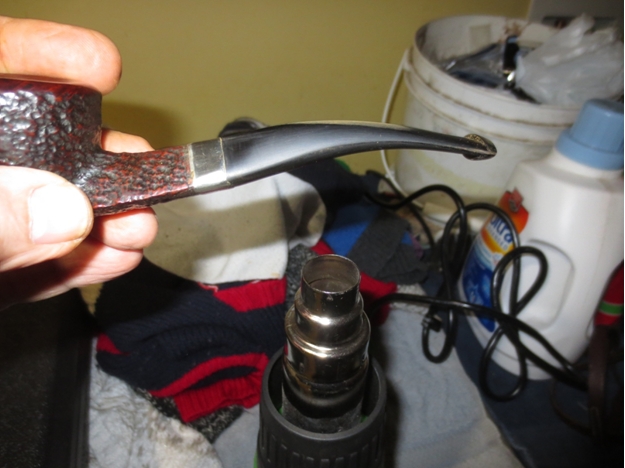
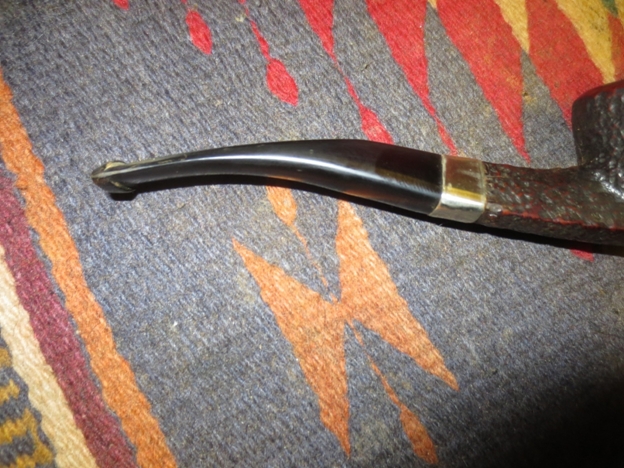
The scoop/stinger apparatus came out easily and without it, the stem fit snugly into the shank.

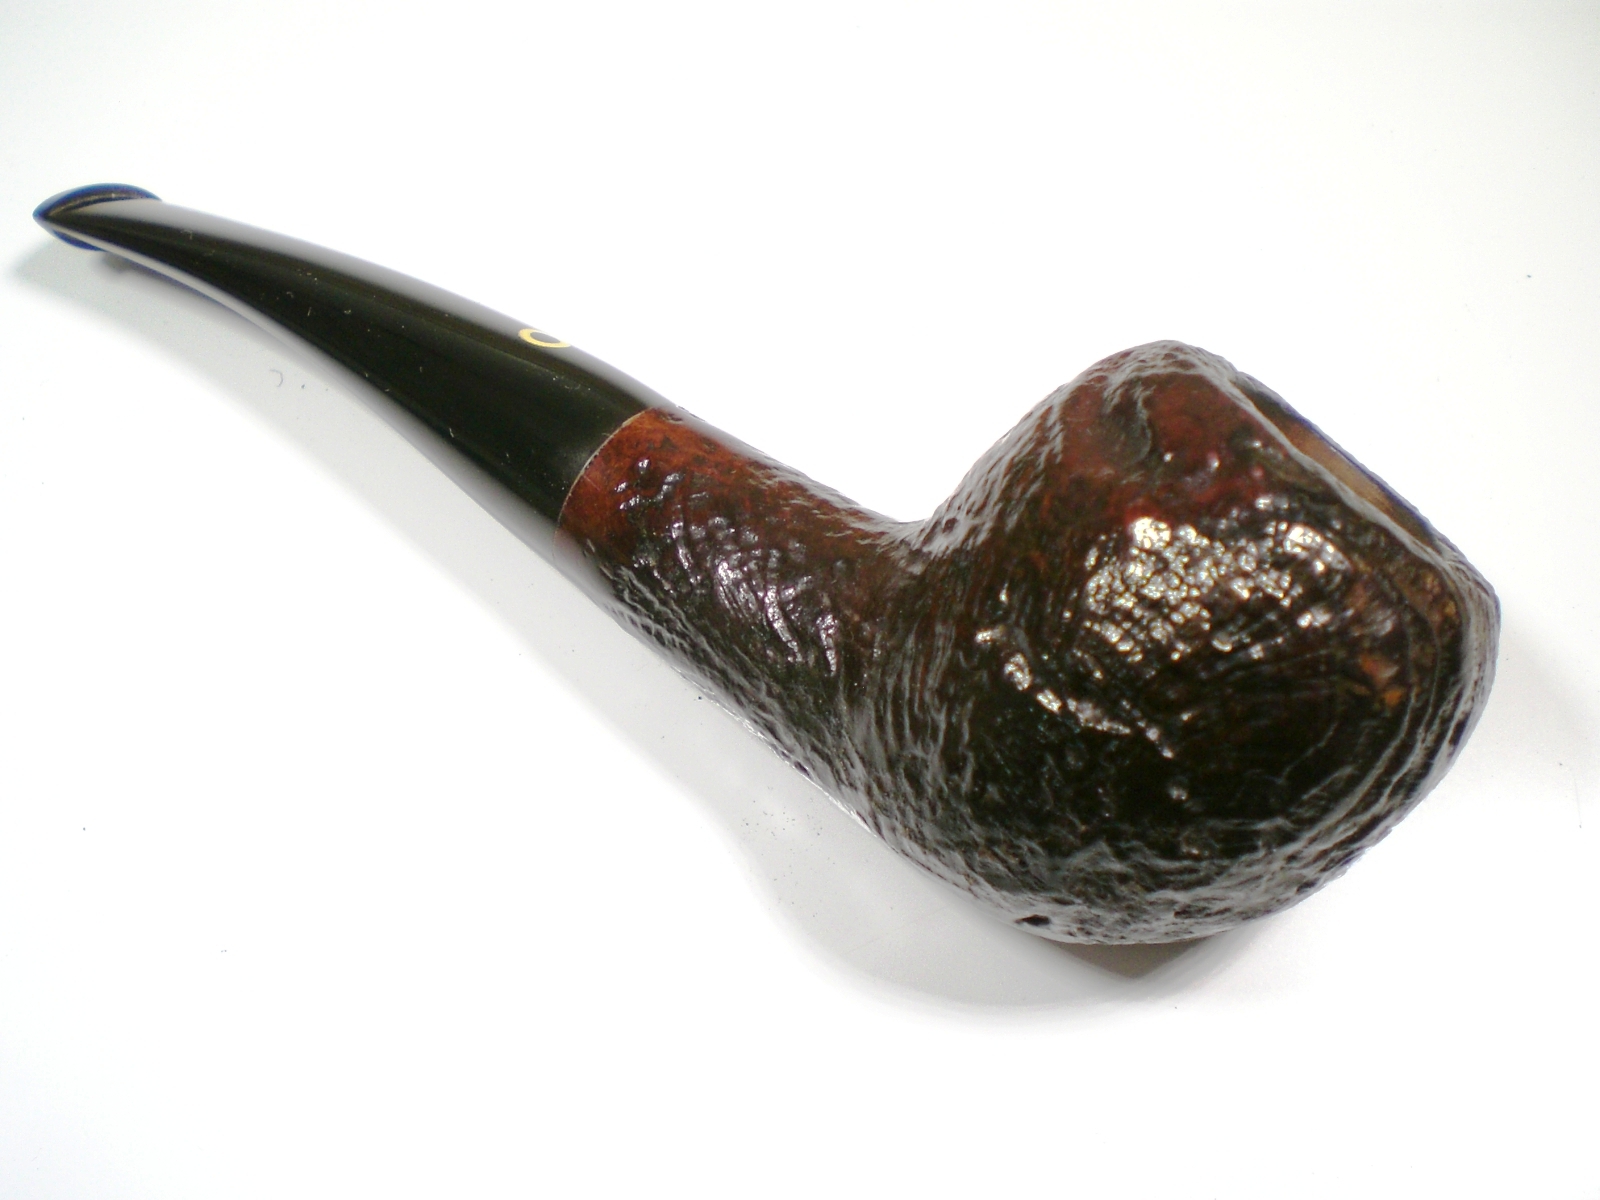
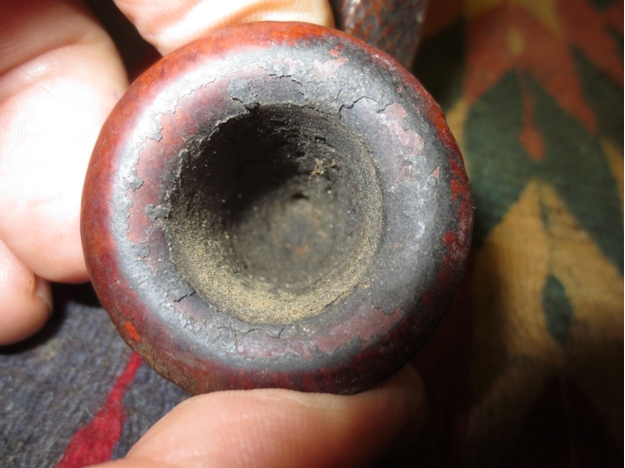
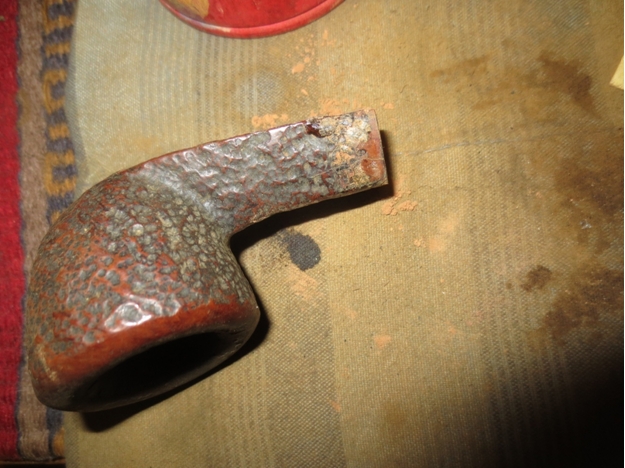
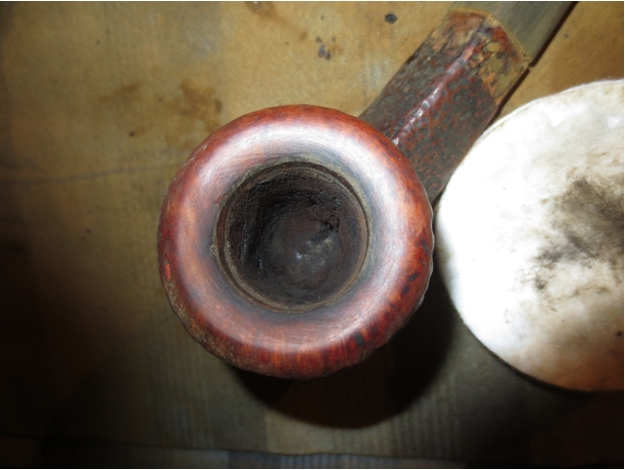
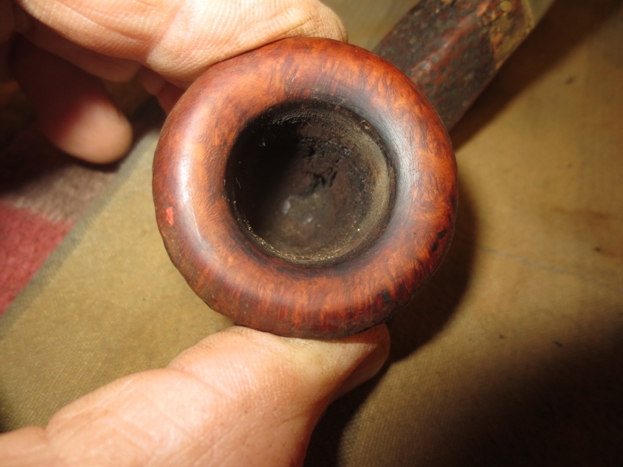
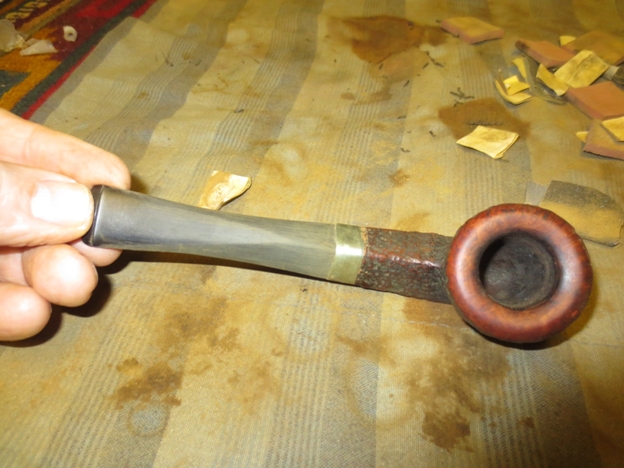
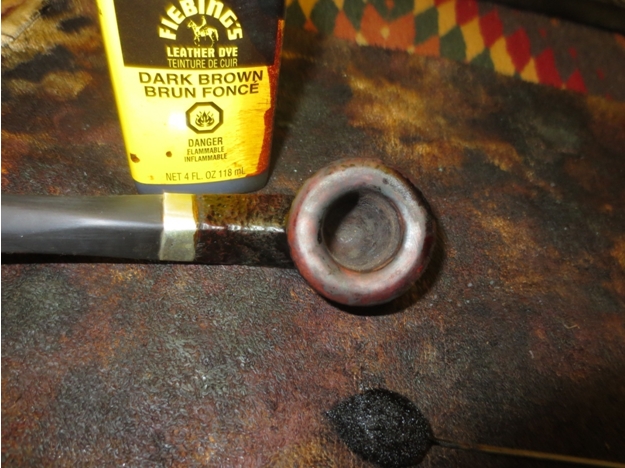
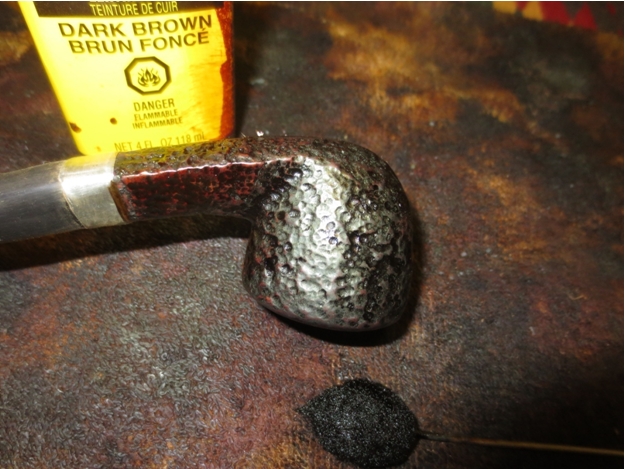
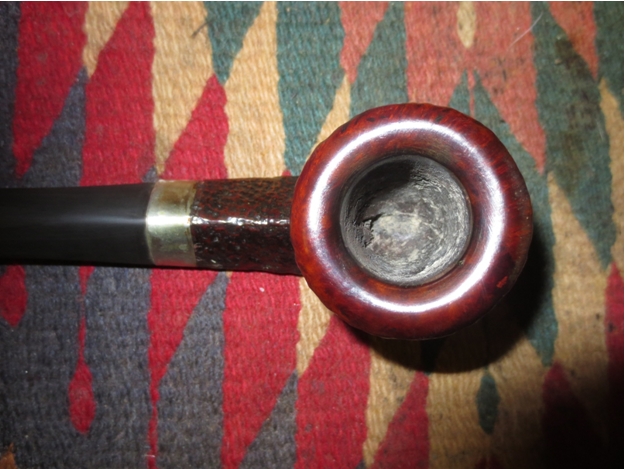
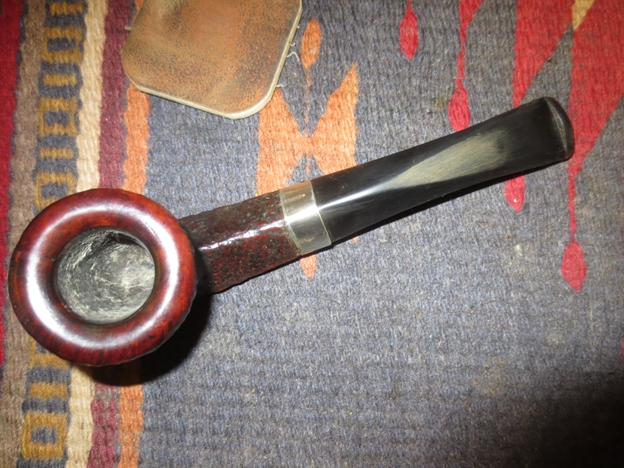
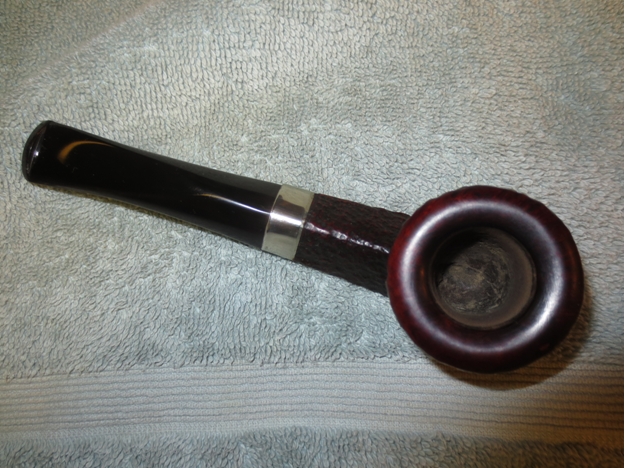
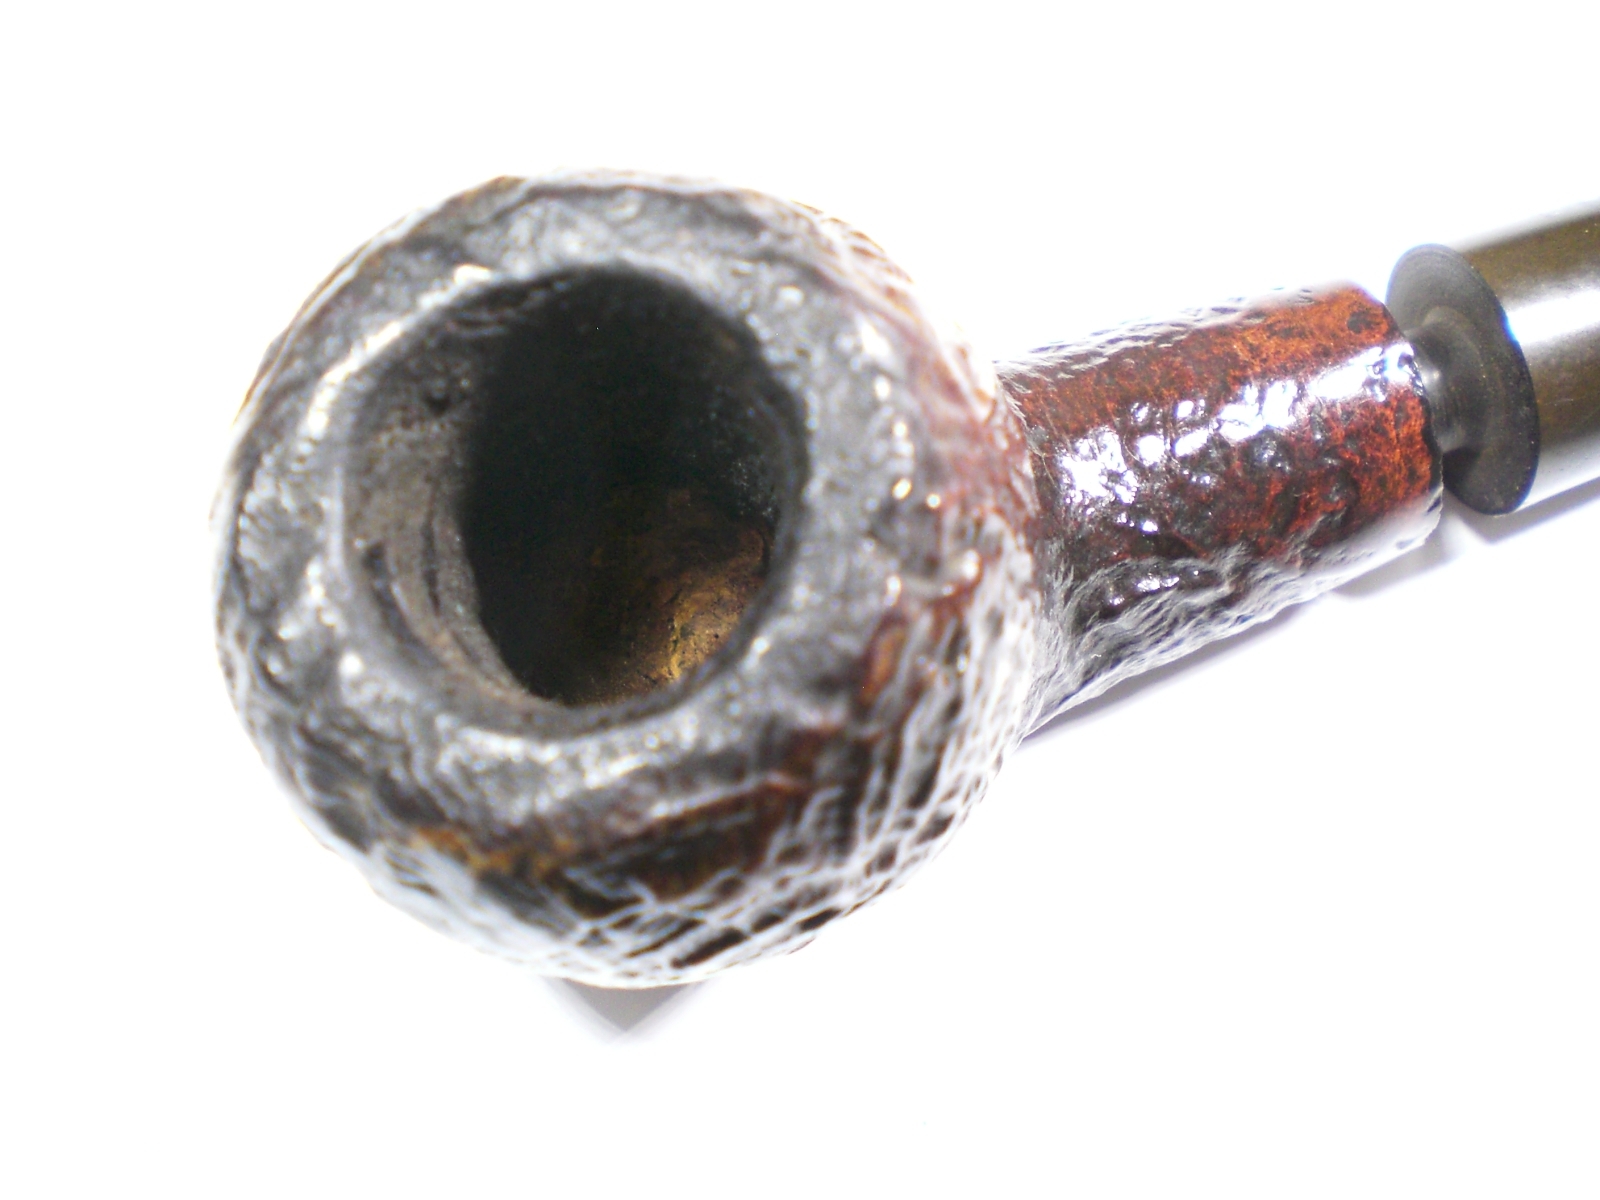
I reamed the bowl and found an interior in great shape. I used some distilled water and a little alcohol to remove the tar buildup on the bowl top. The pipe was then soaked with sea salt and alcohol. There were a few spots of lifted stain on the bowl (from its previous use/life). I used some Feiblings Medium Brown stain, at full strength, to touch up those areas.

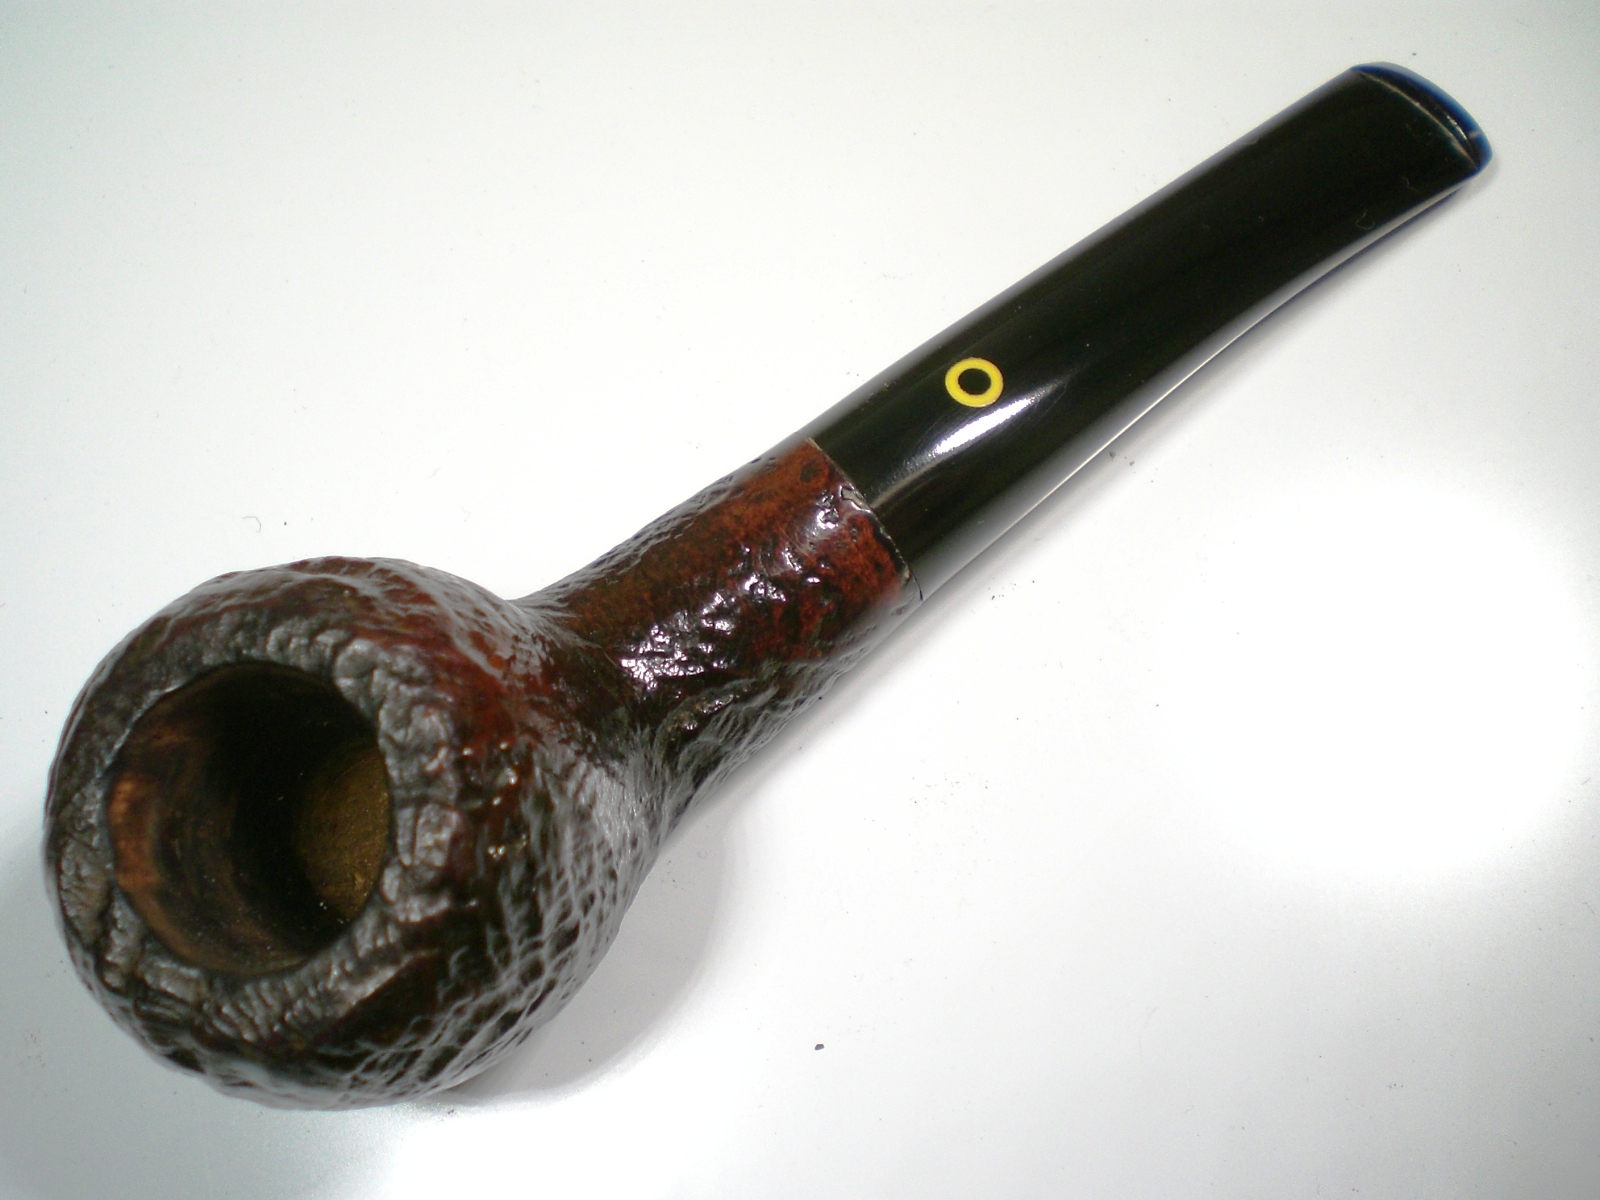
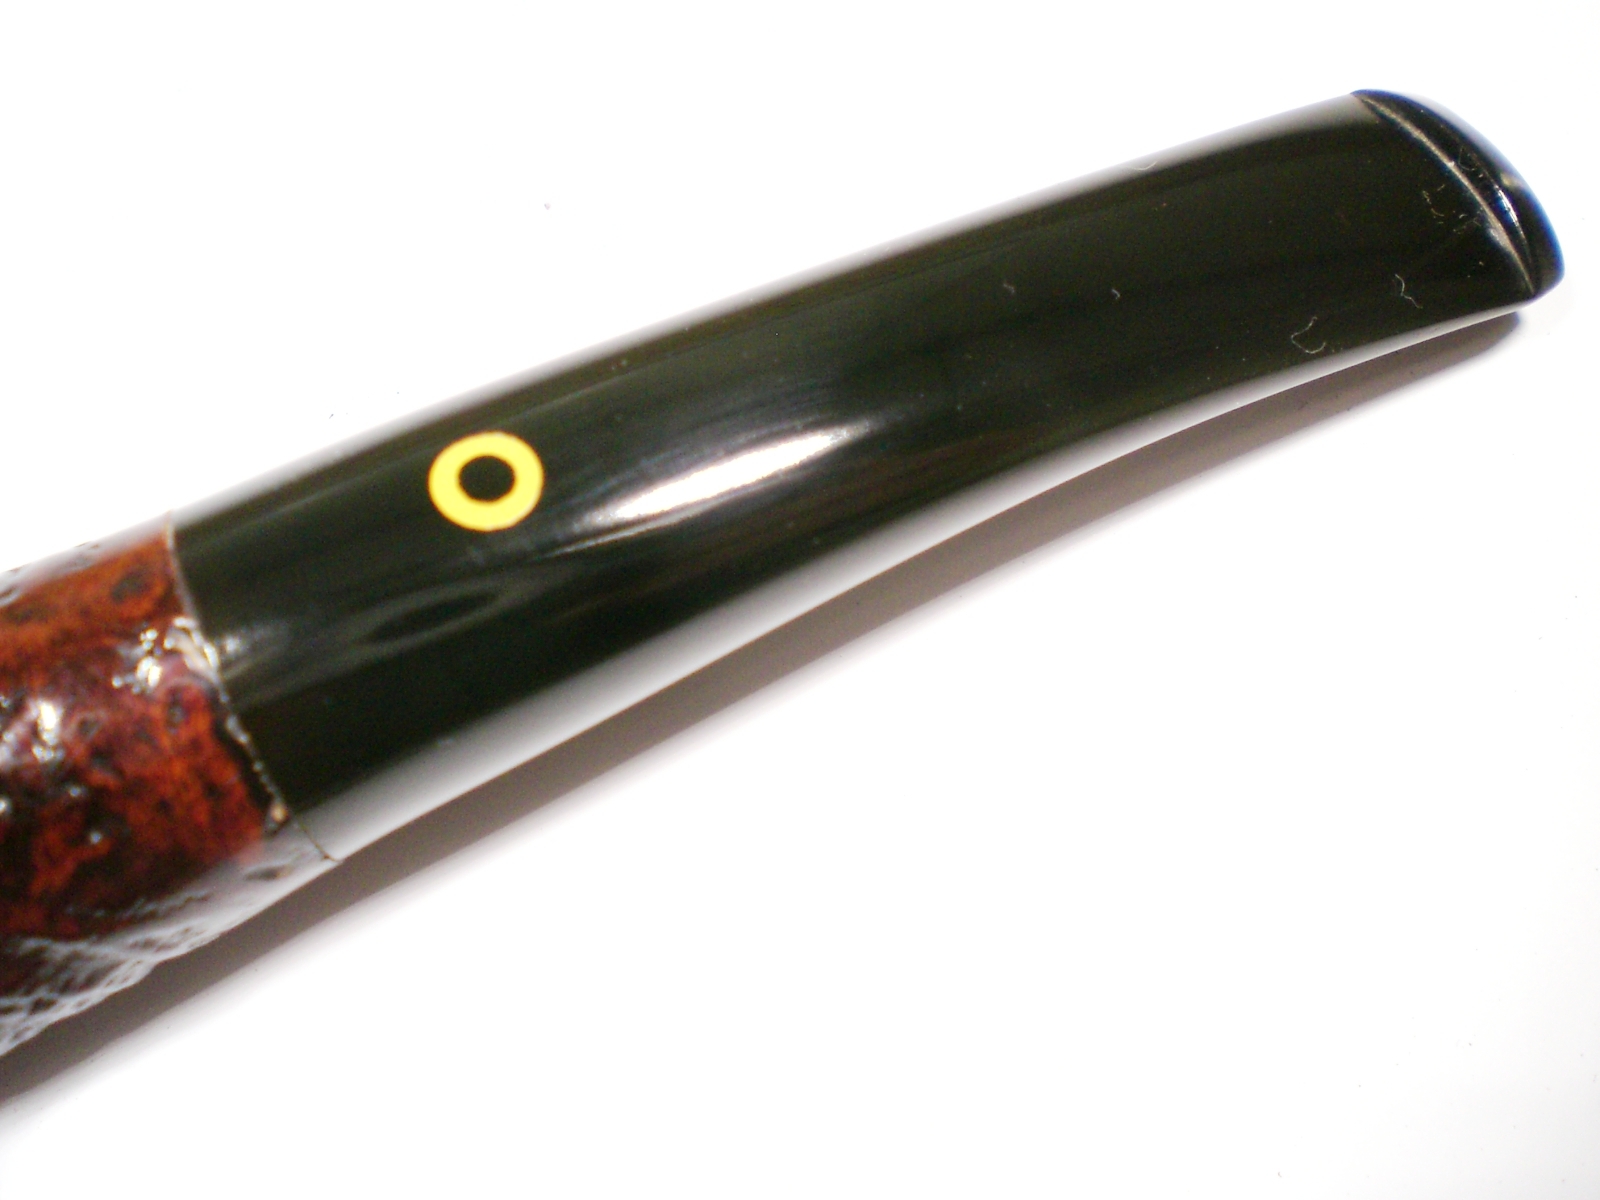
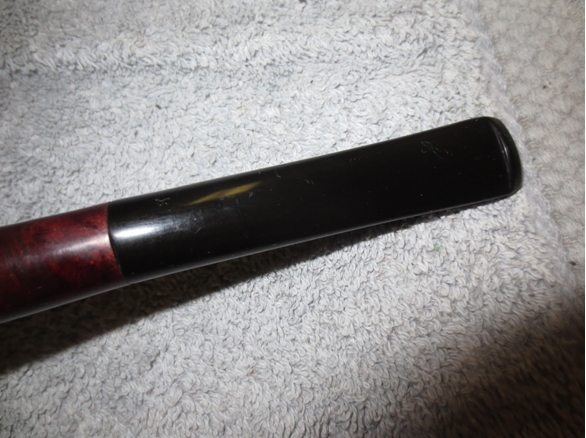
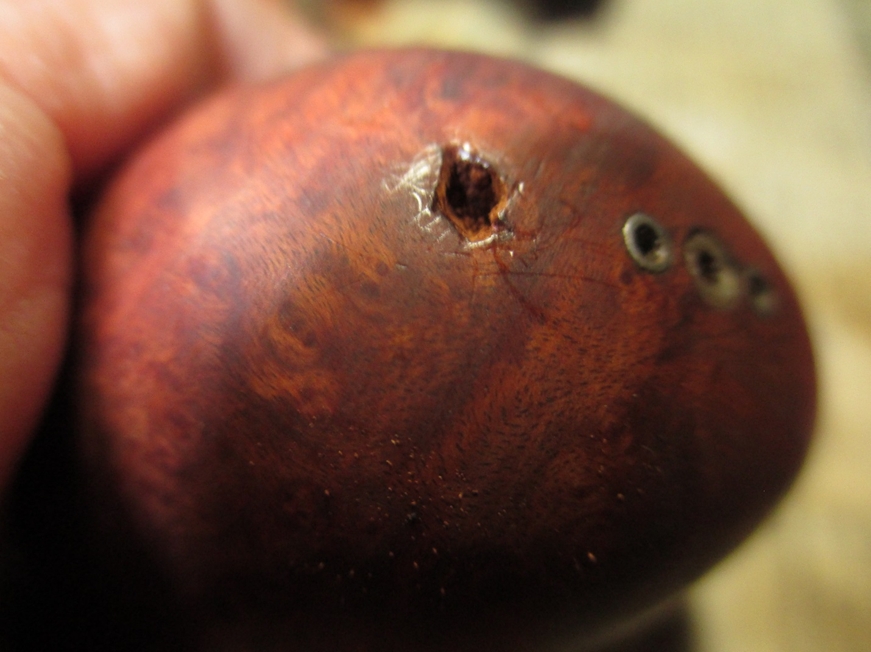
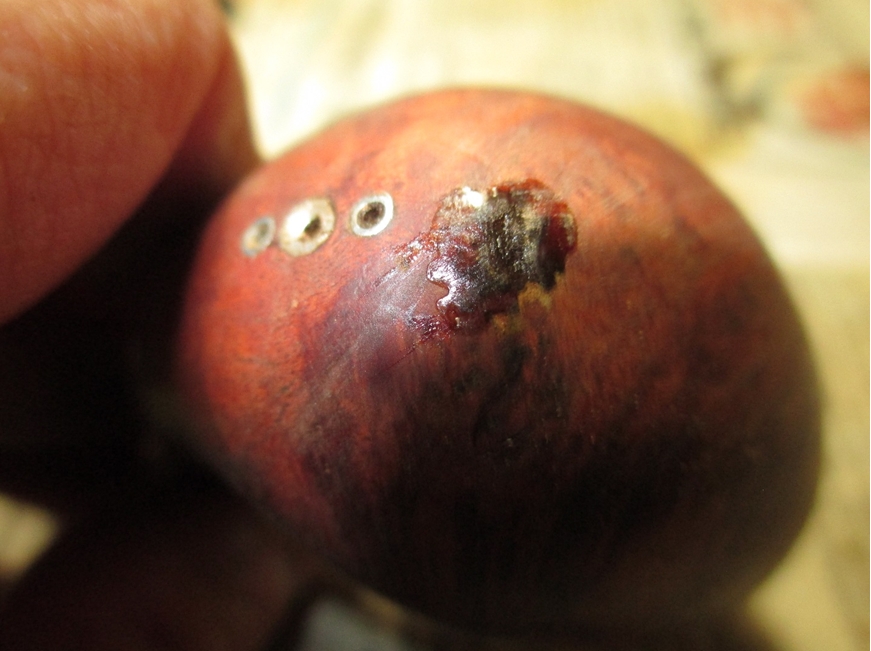
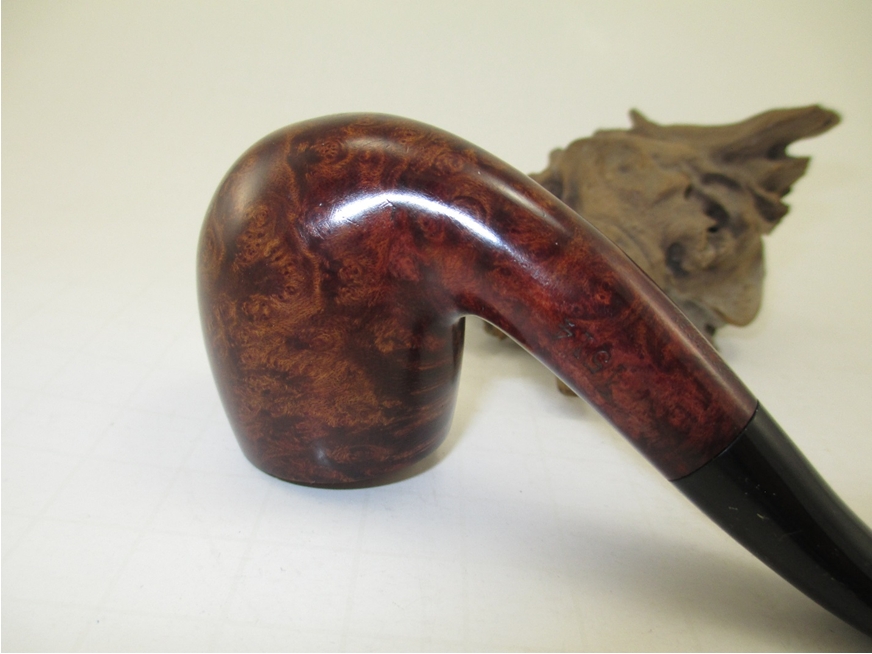
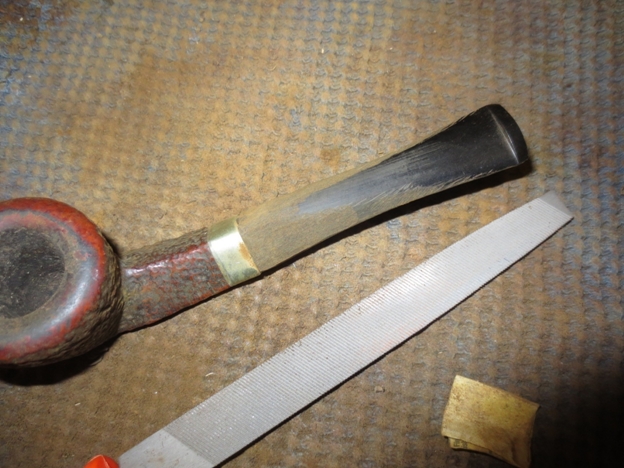
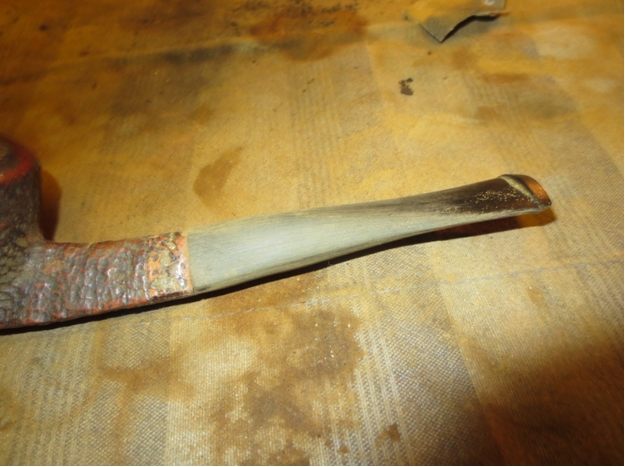
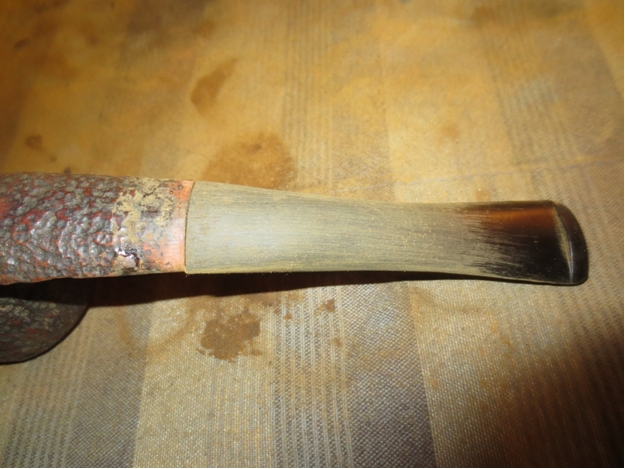
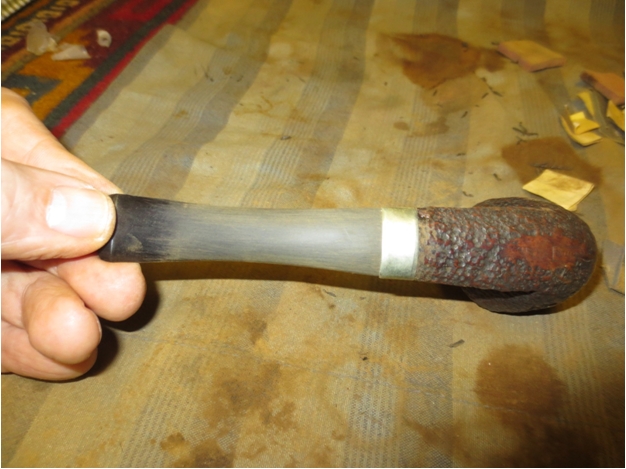
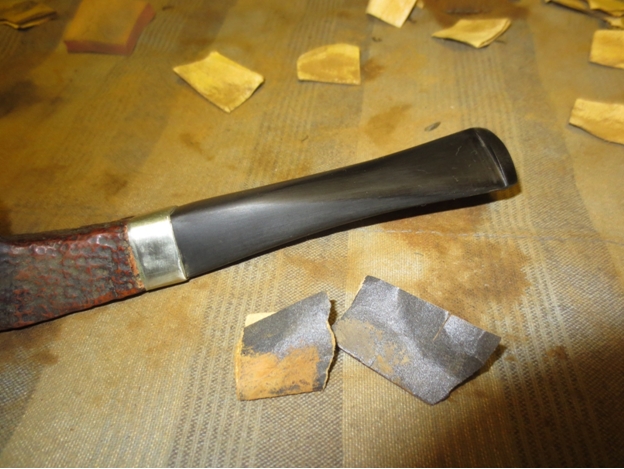
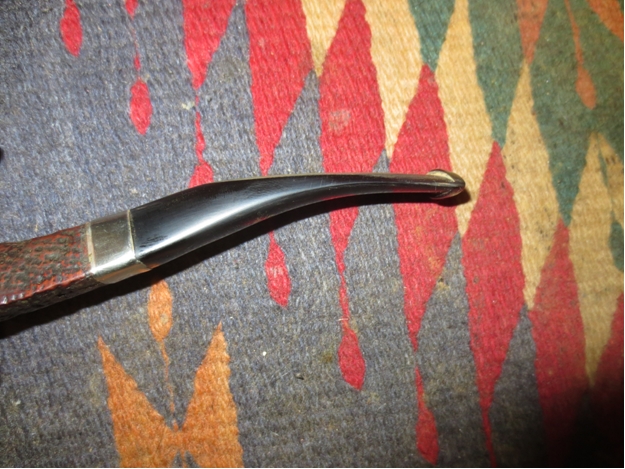
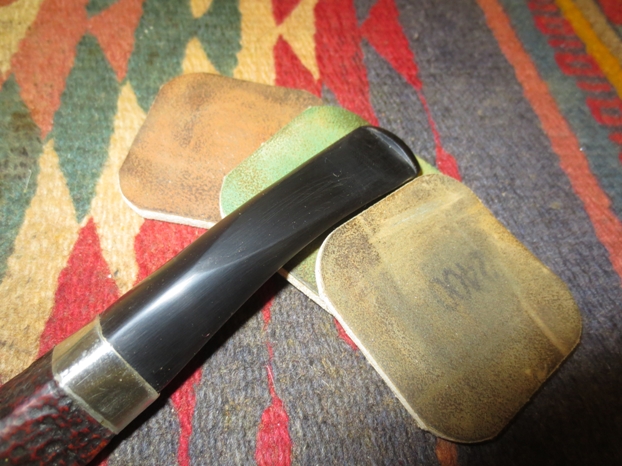
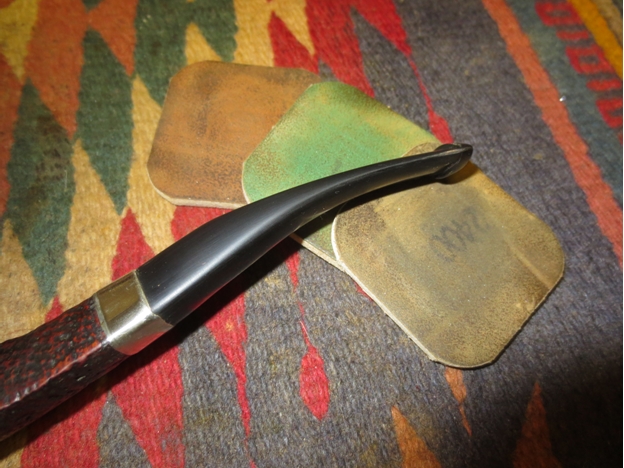
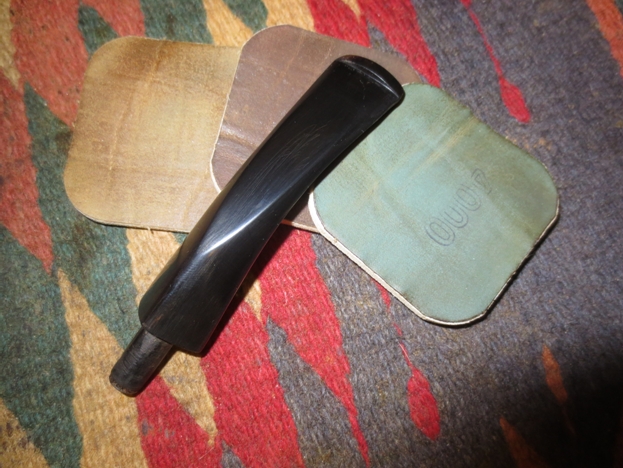
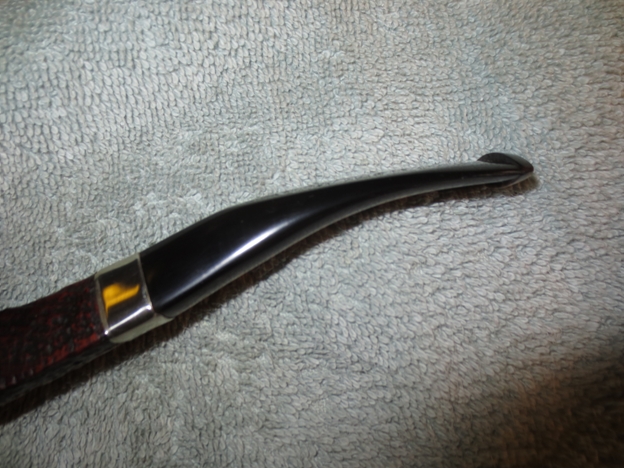
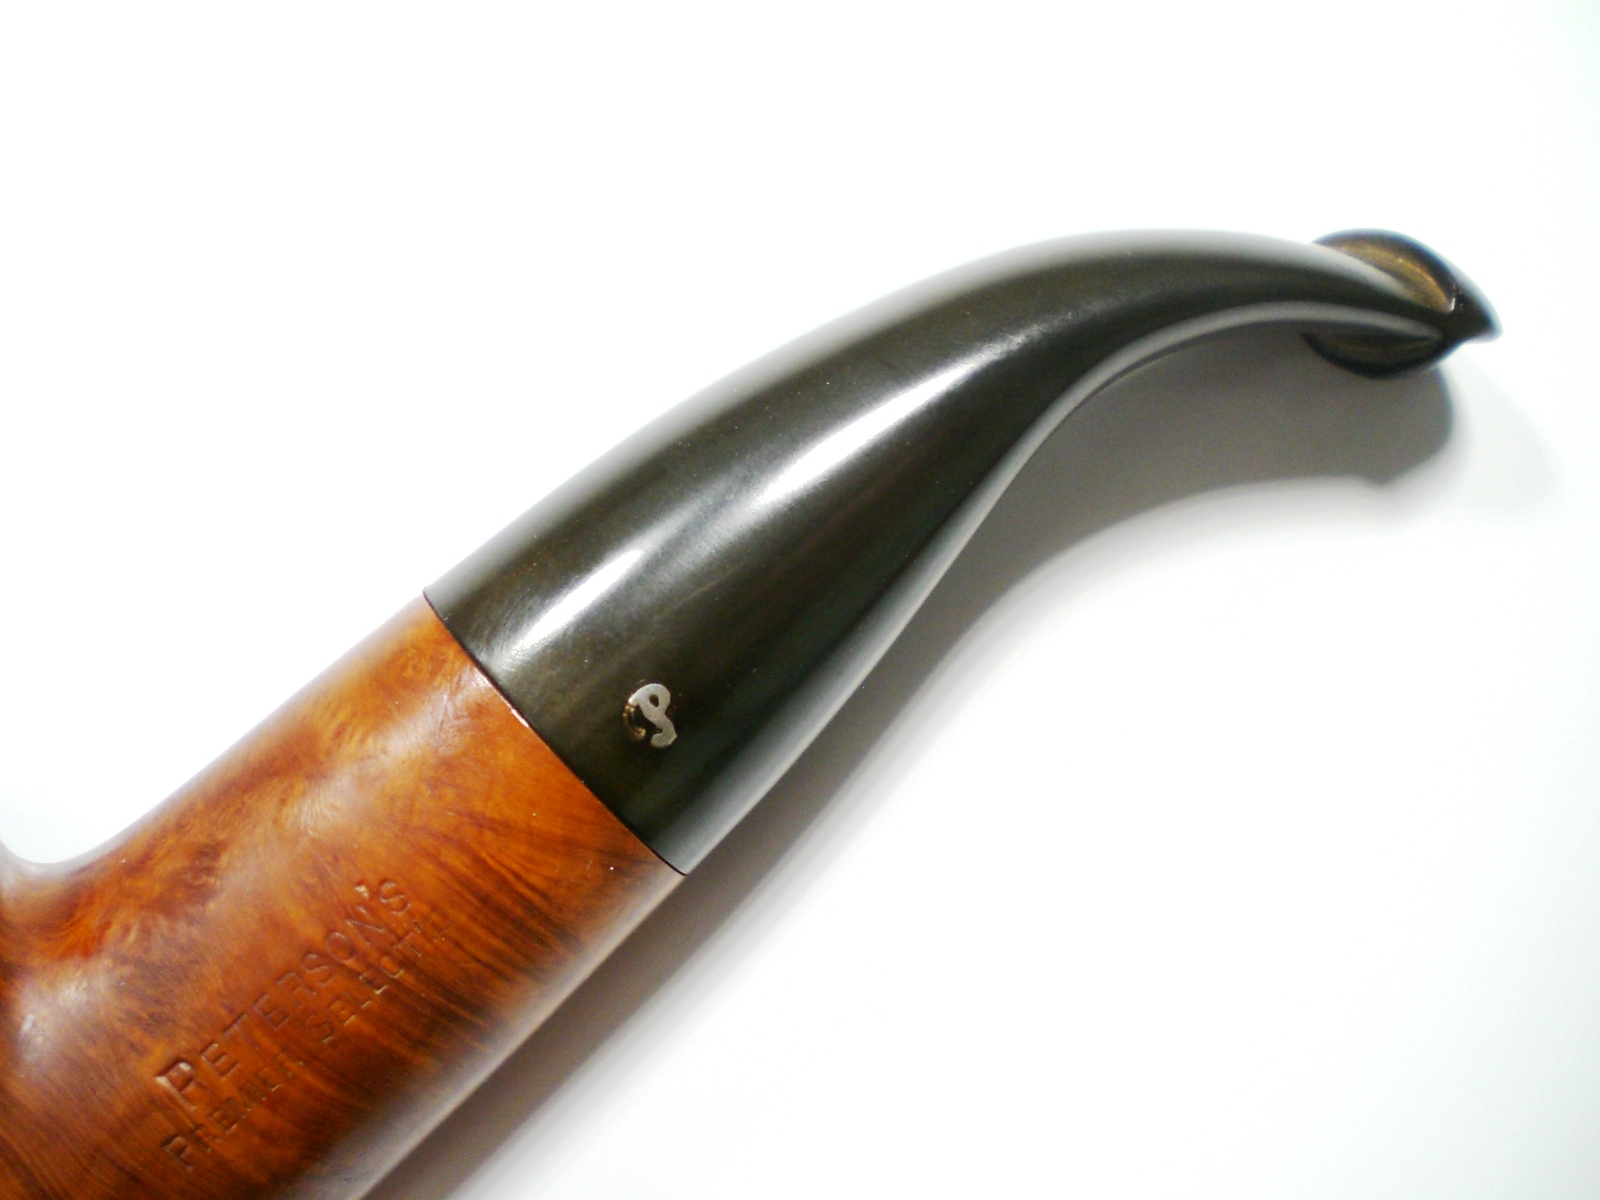
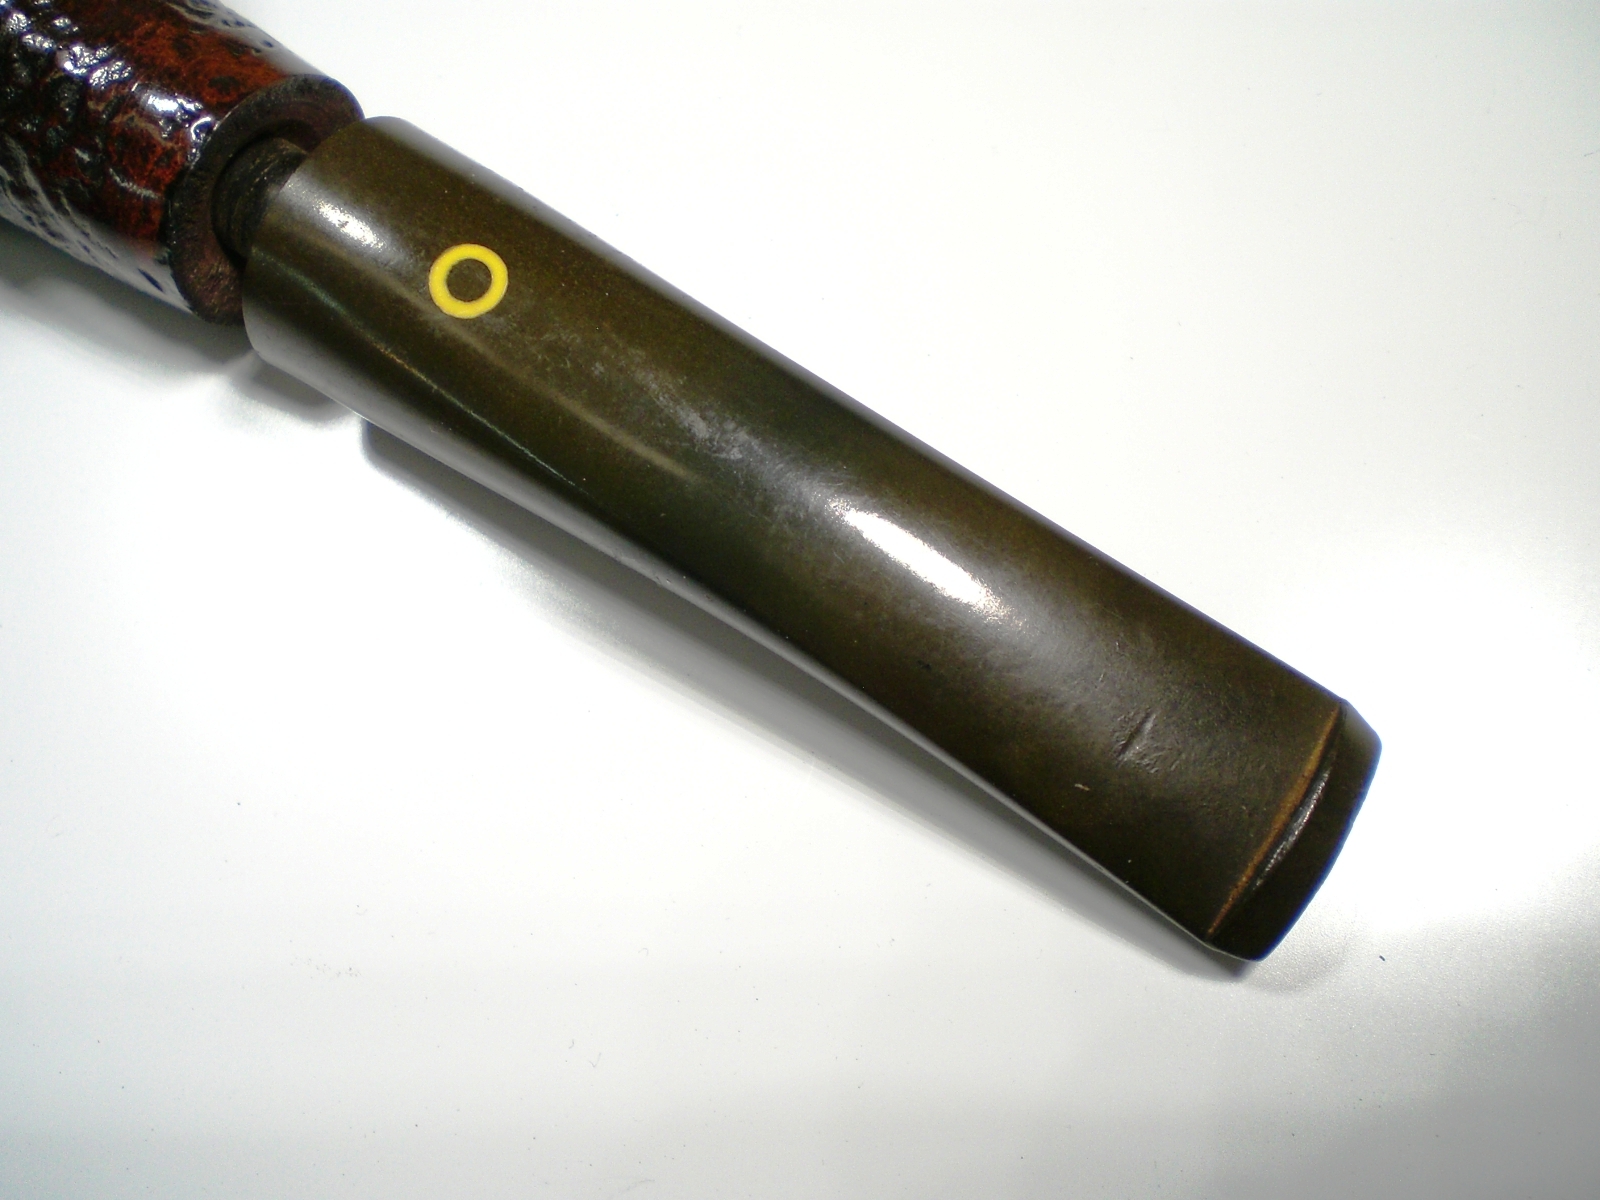
I put a dab of grease on the stem logo (which seems pretty durable) and soaked it in a mild solution of Oxy-Clean. There was a slight tooth crease on top of the stem, but it lifted nicely with a flame and was removed in the cleaning process. The stem was then mounted on the pipe and mild oxidation removed with 800>1500 and 2000 grit wet paper. I then moved to the 8000 and 12000 grade micromesh papers. The last step was to buff the stem with White Diamond and then Meguiars Plastic polish. I waxed the bowl exterior with some Paragon wax.

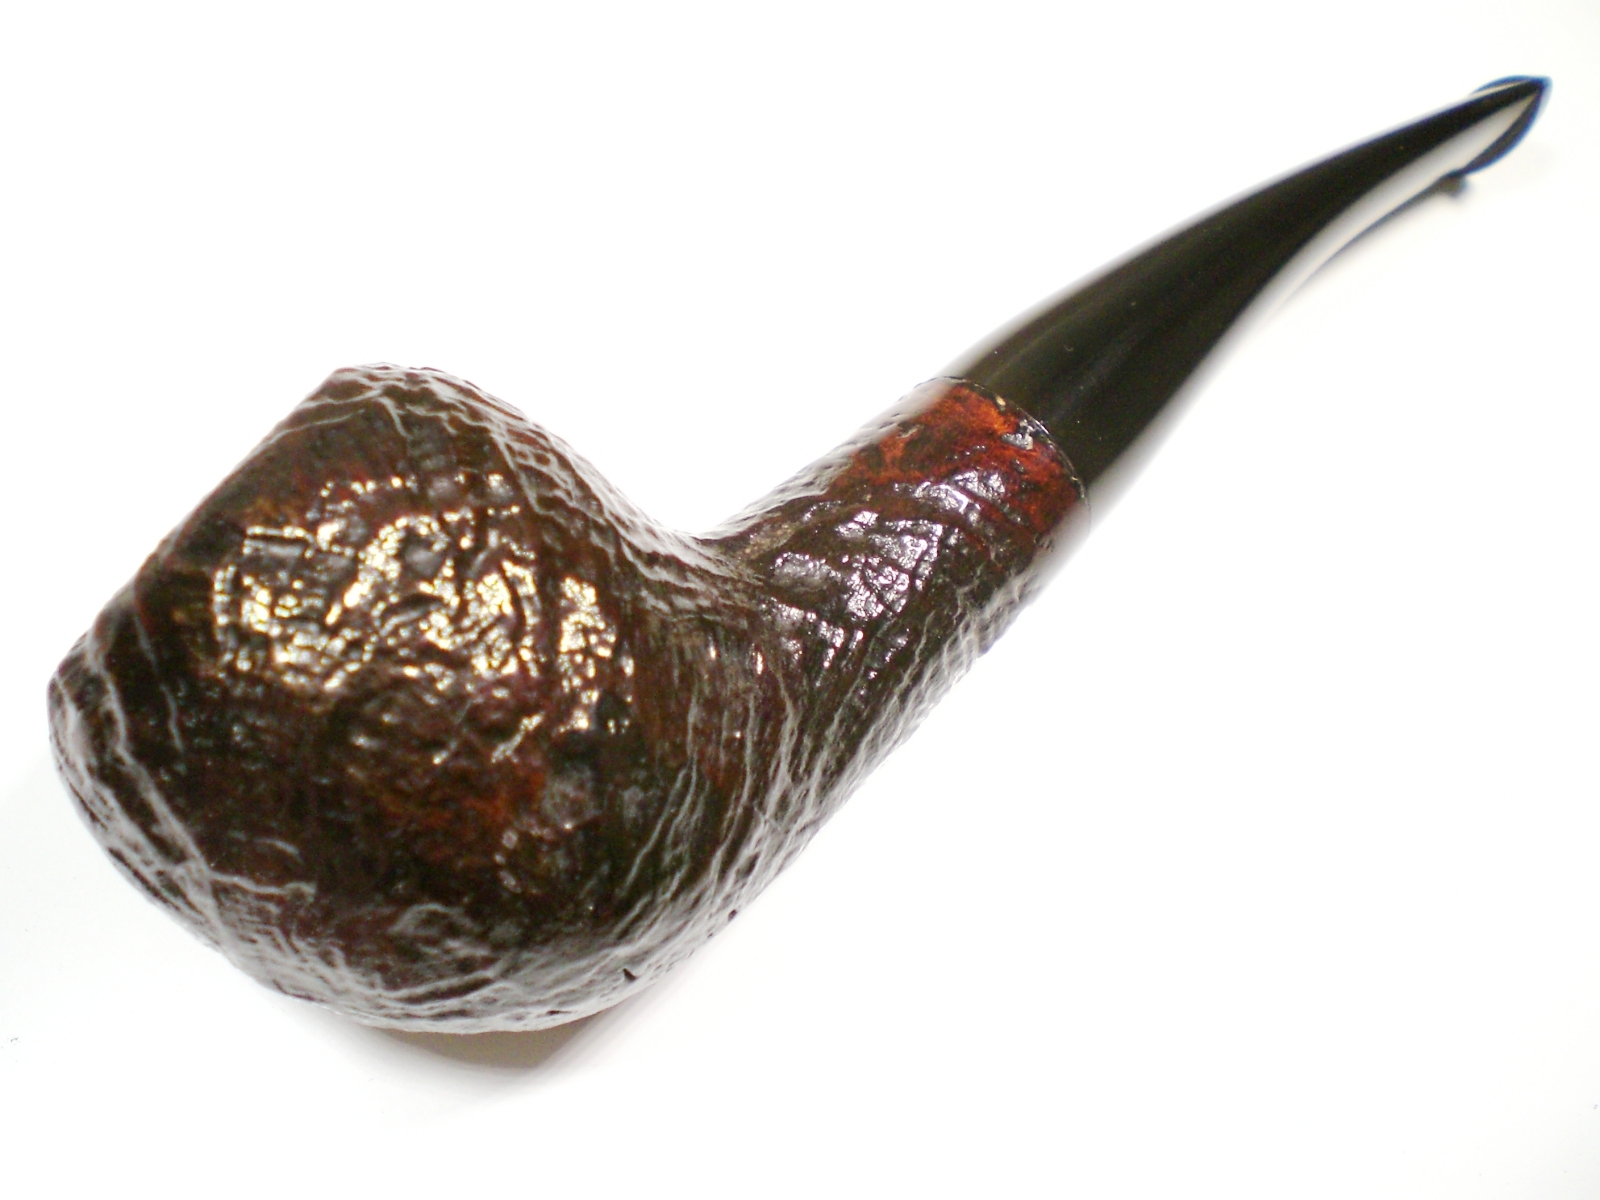
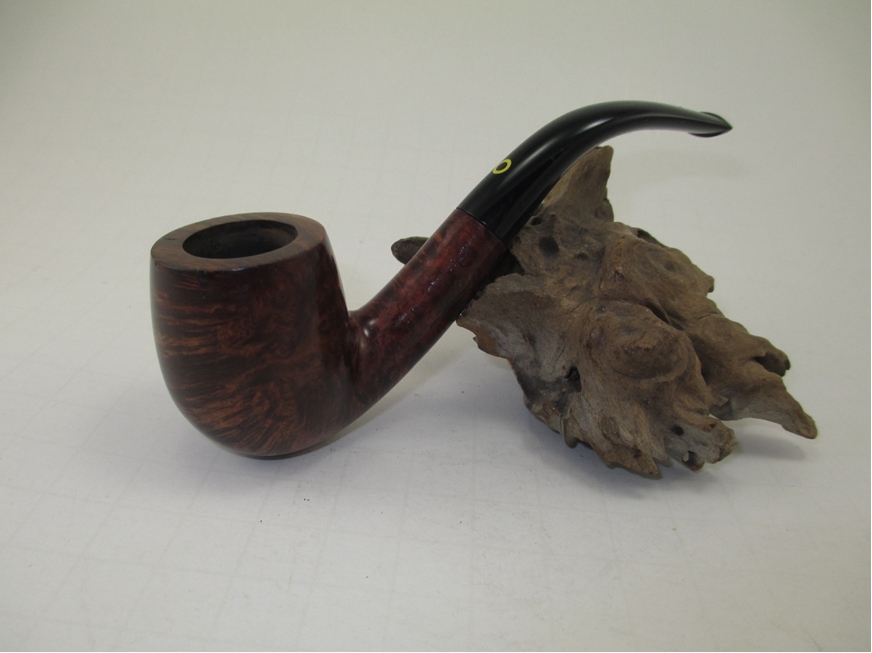
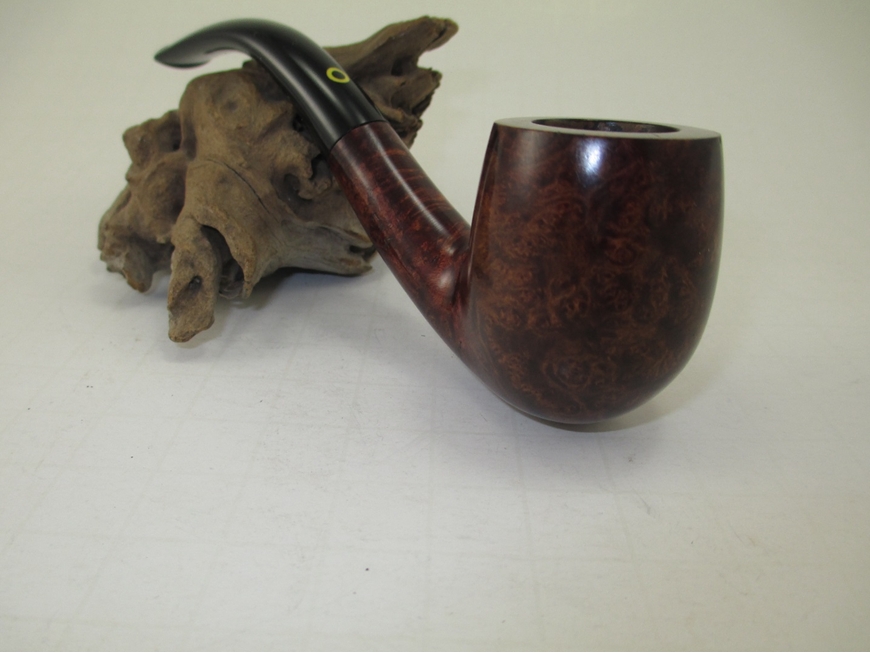
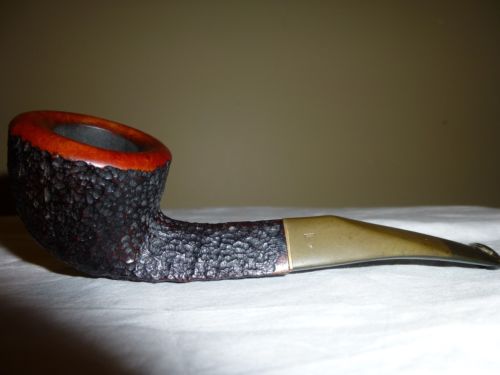
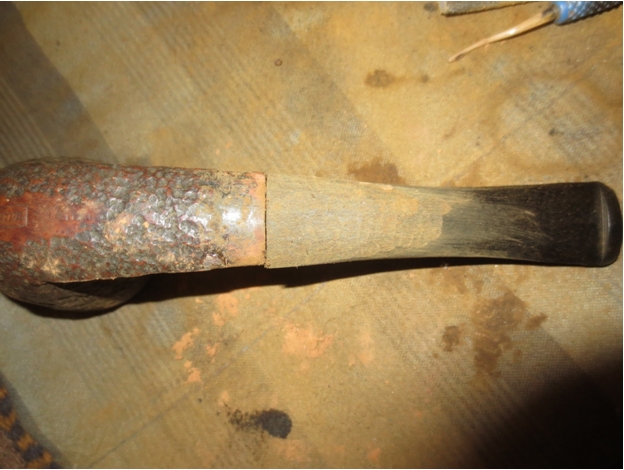
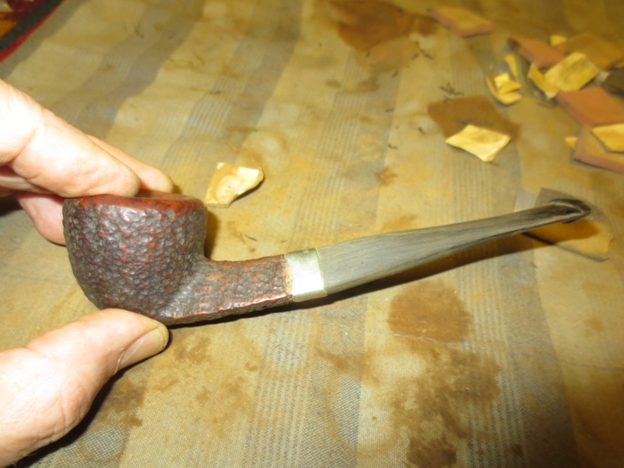
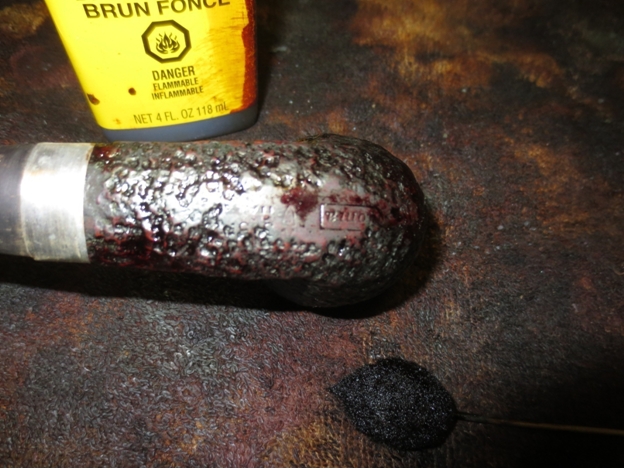
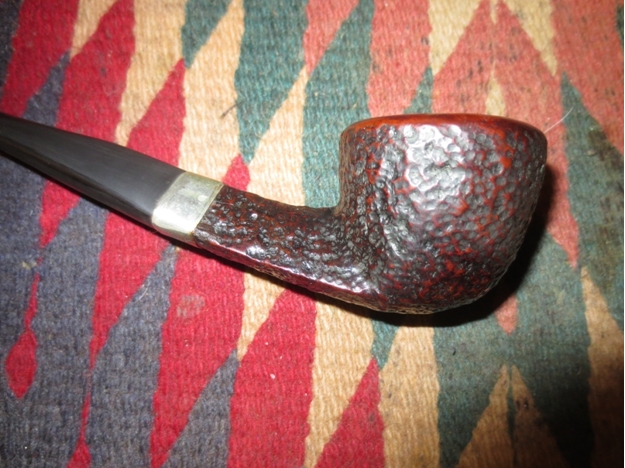
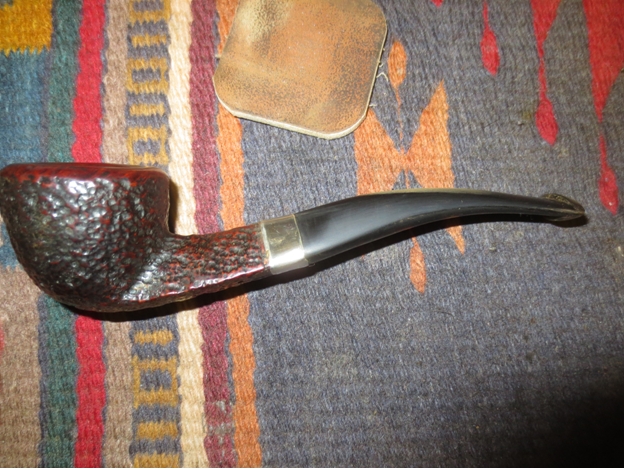
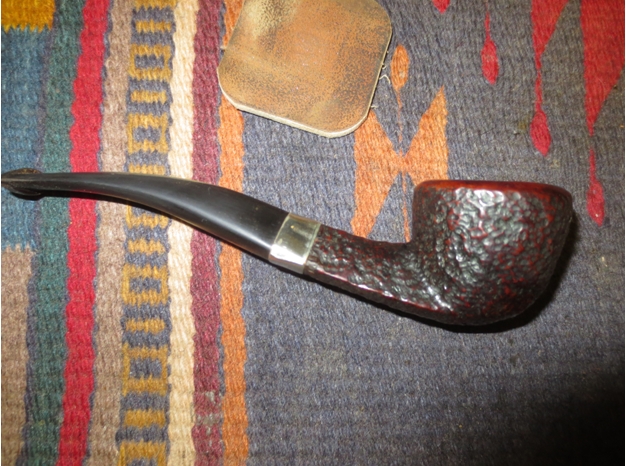
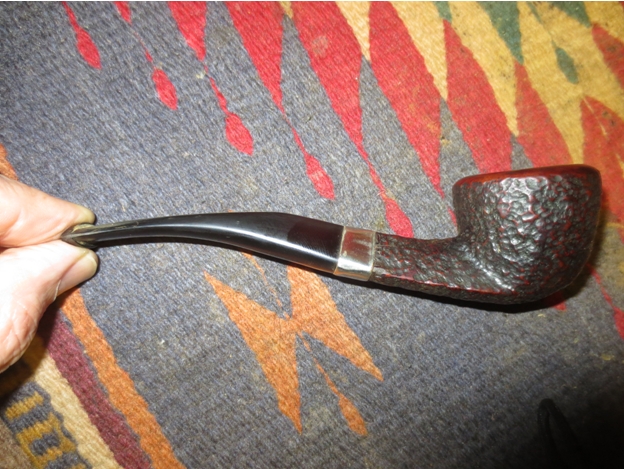
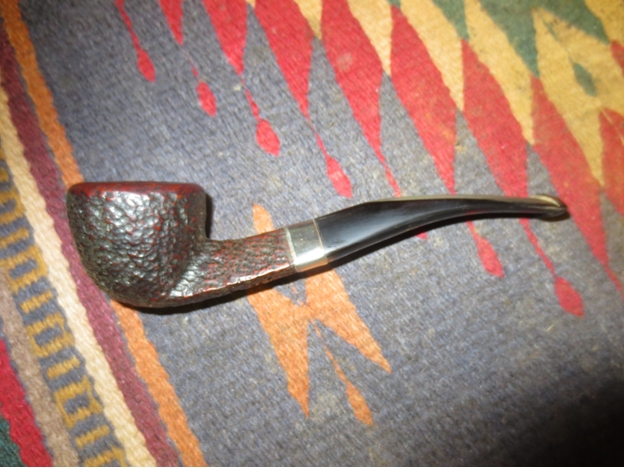
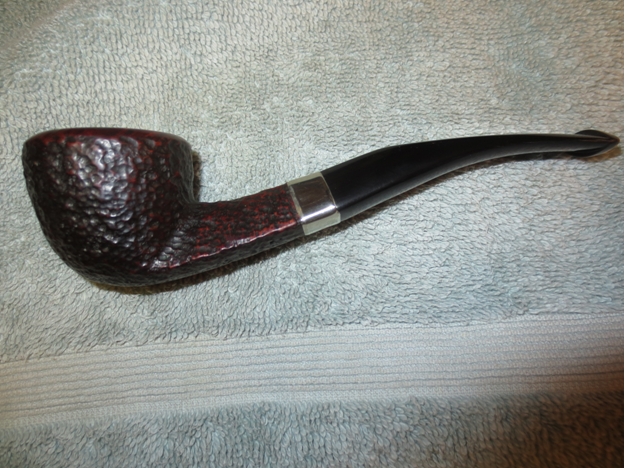
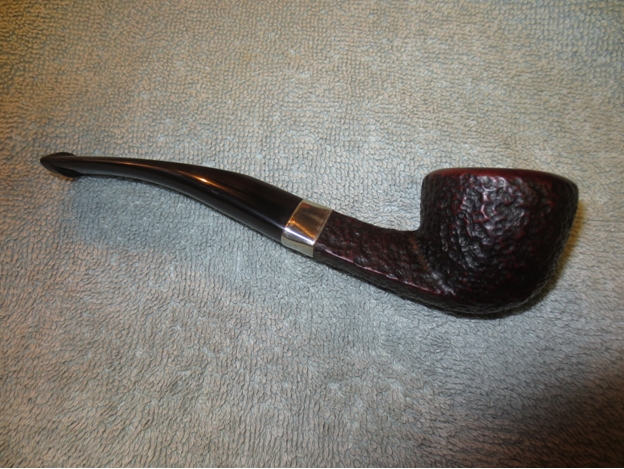
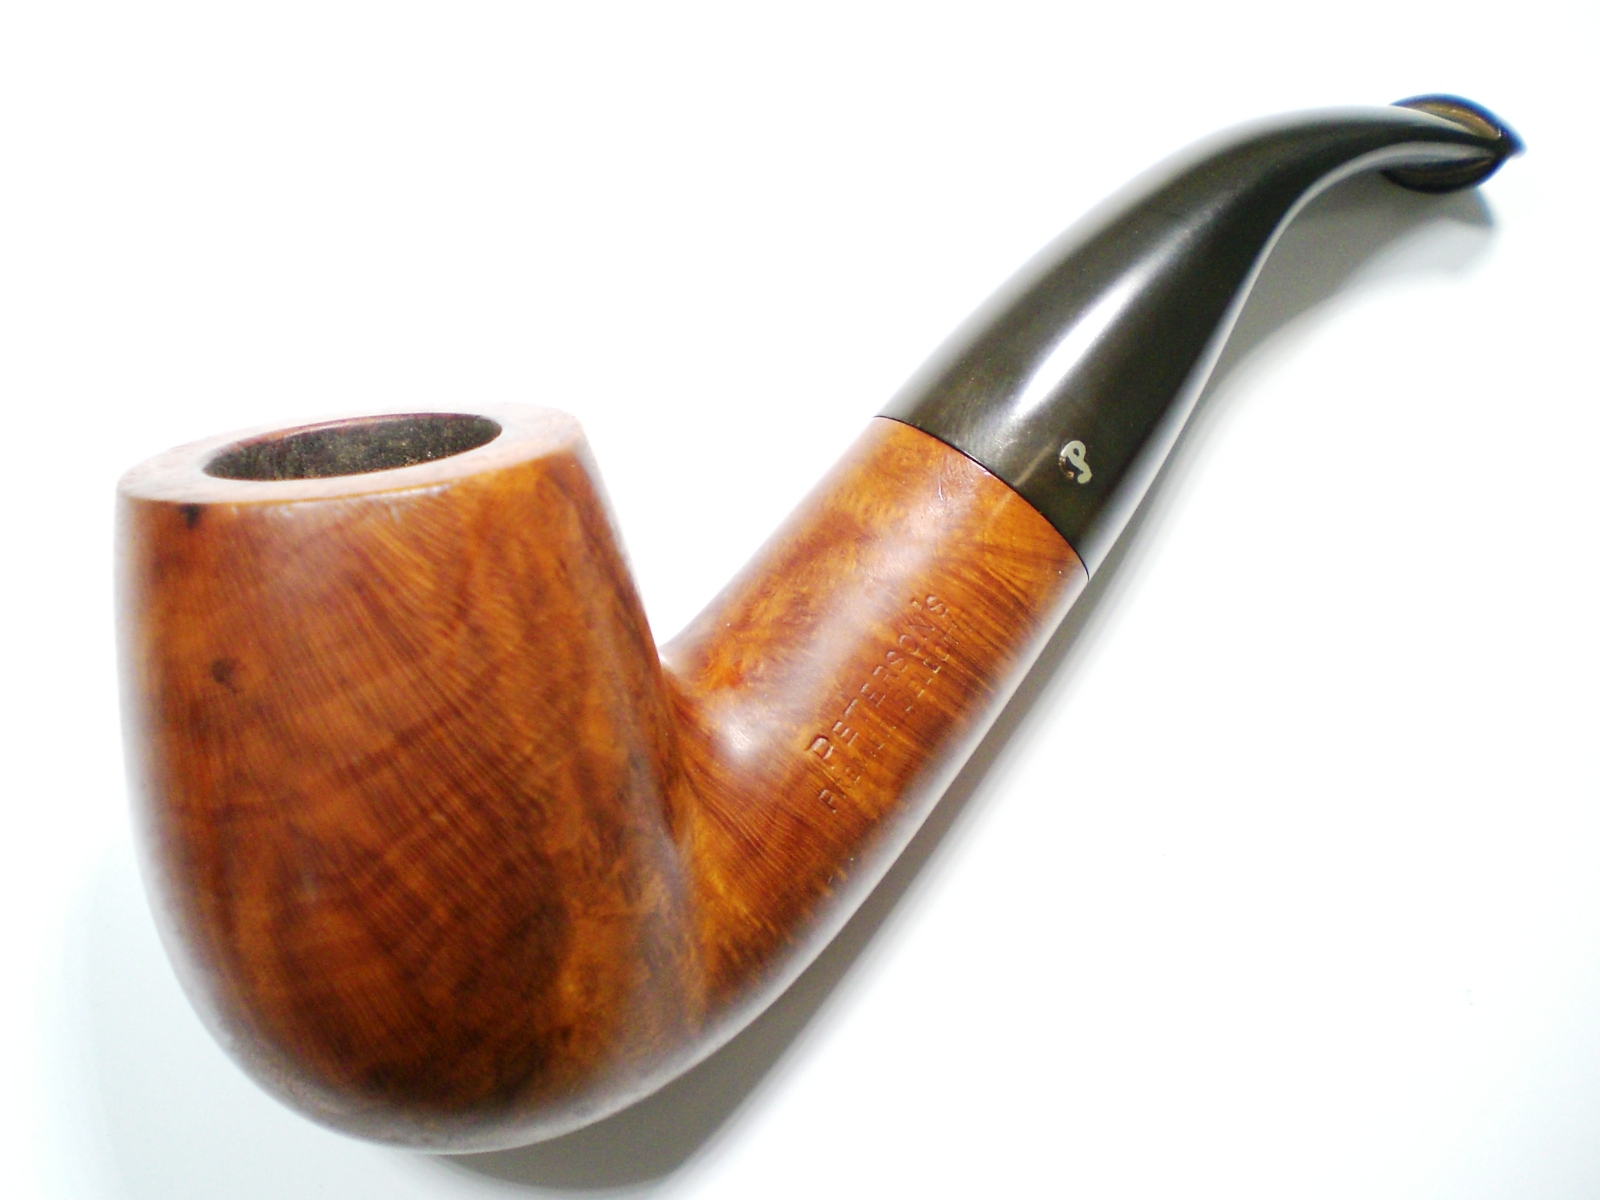
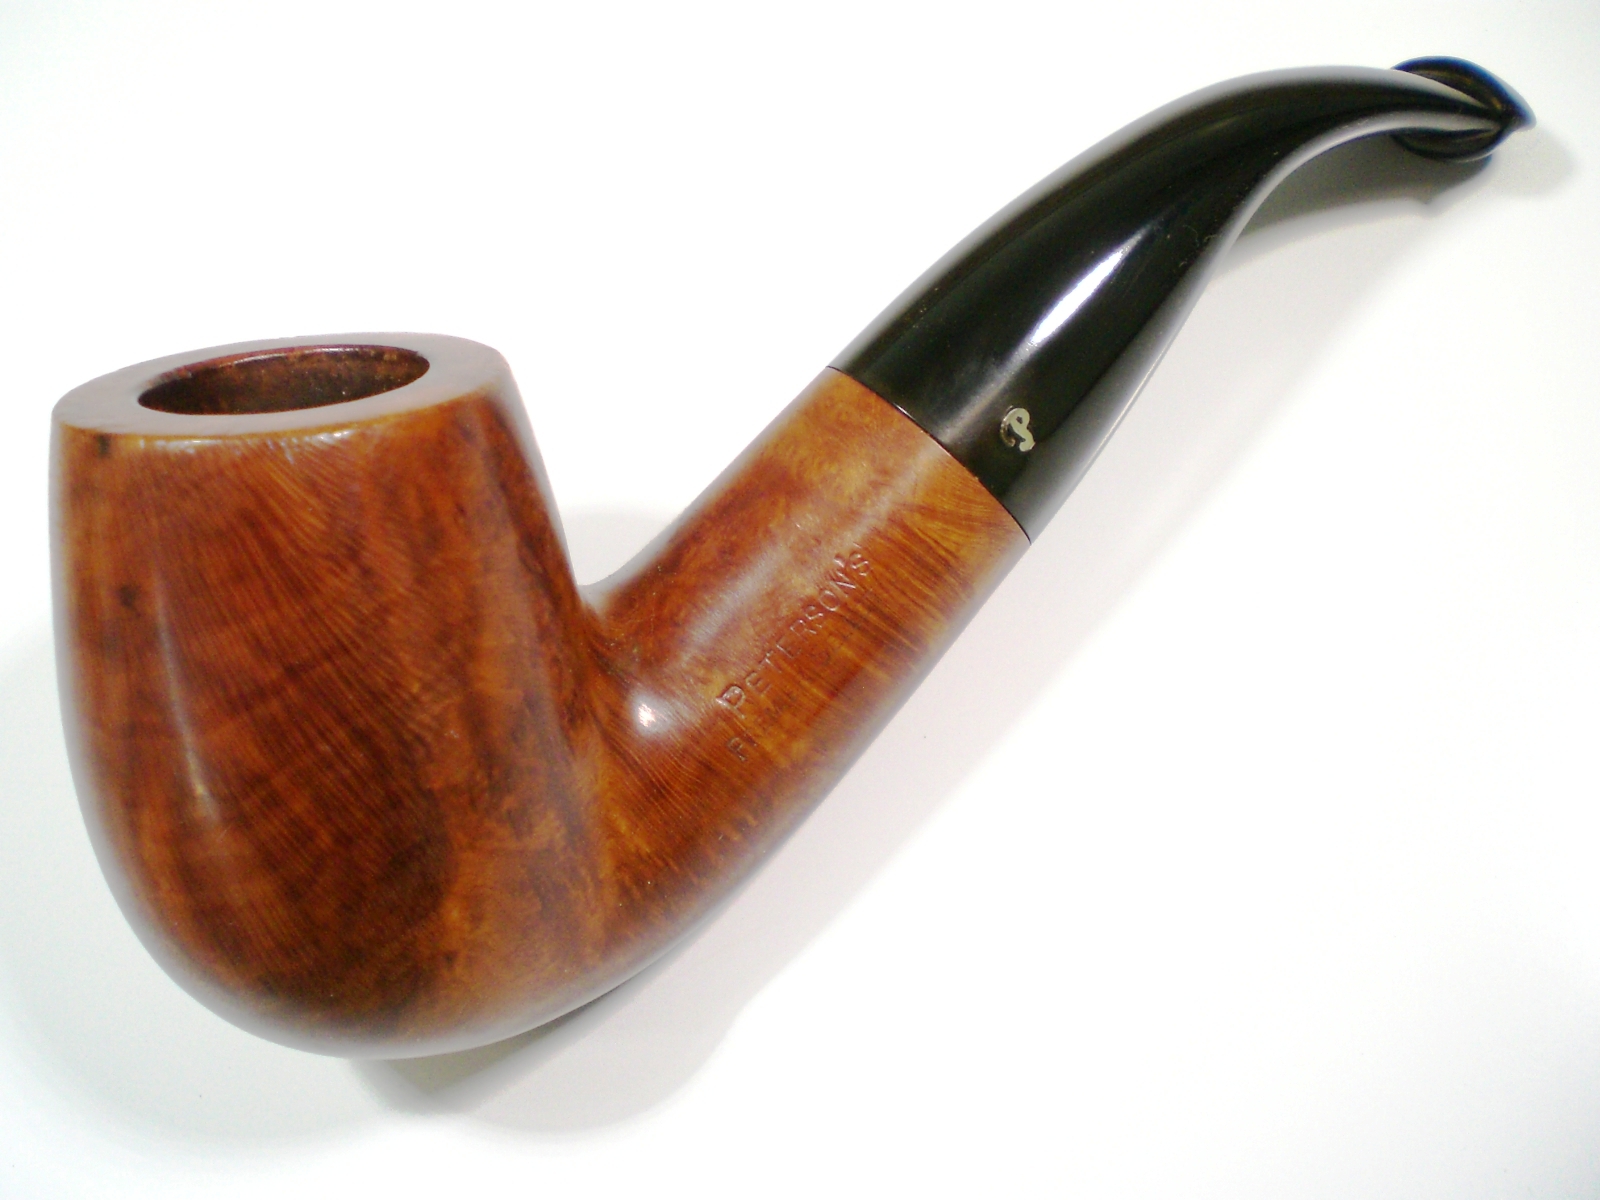
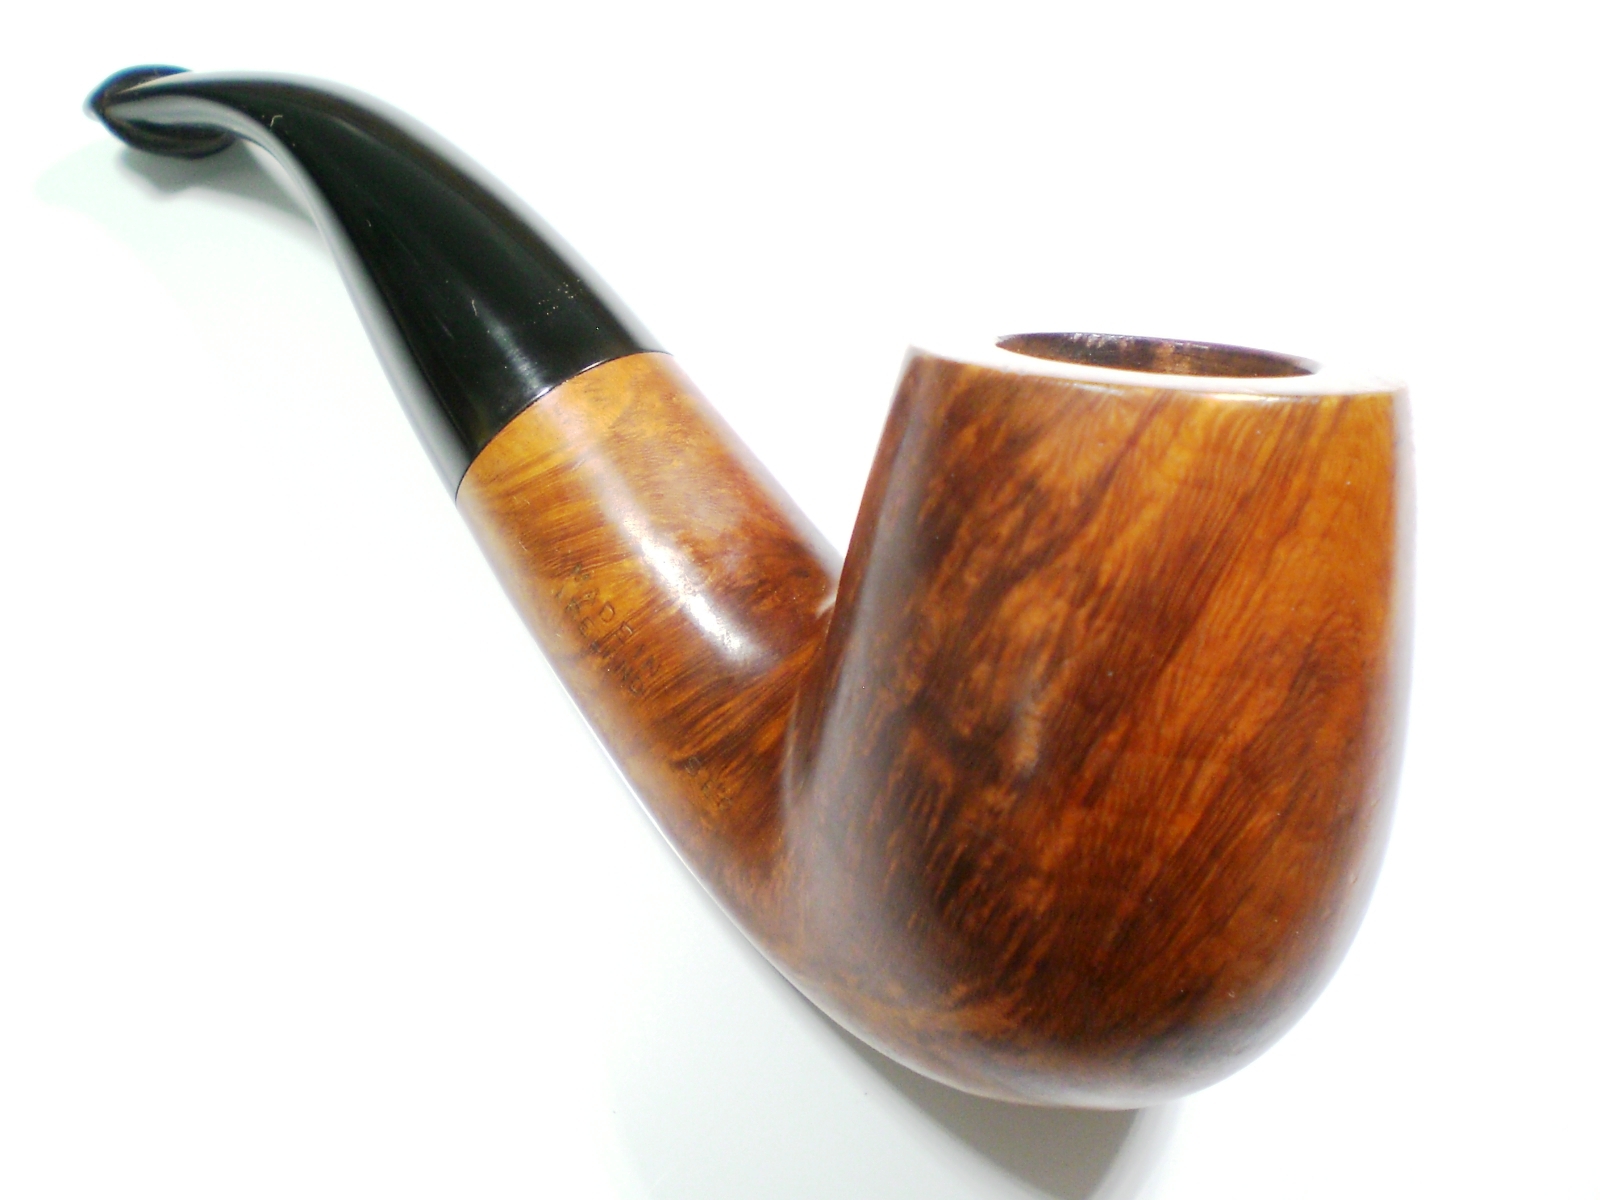
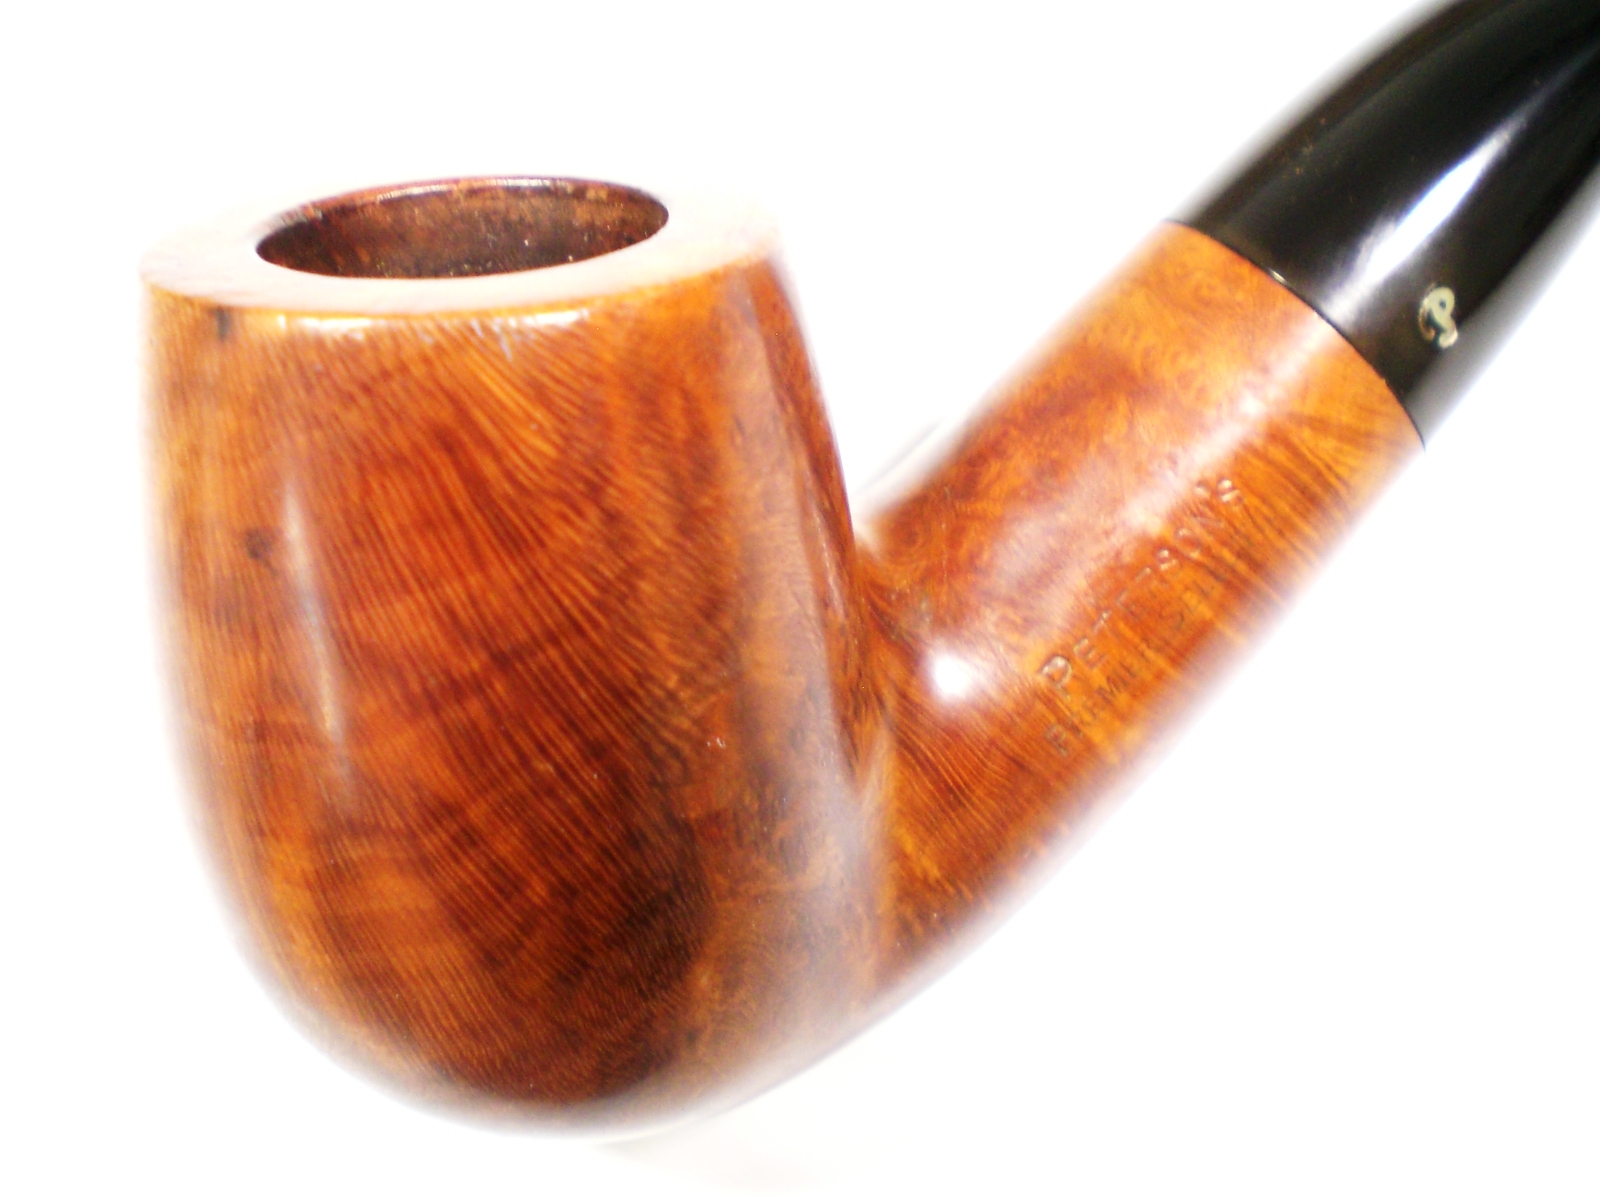
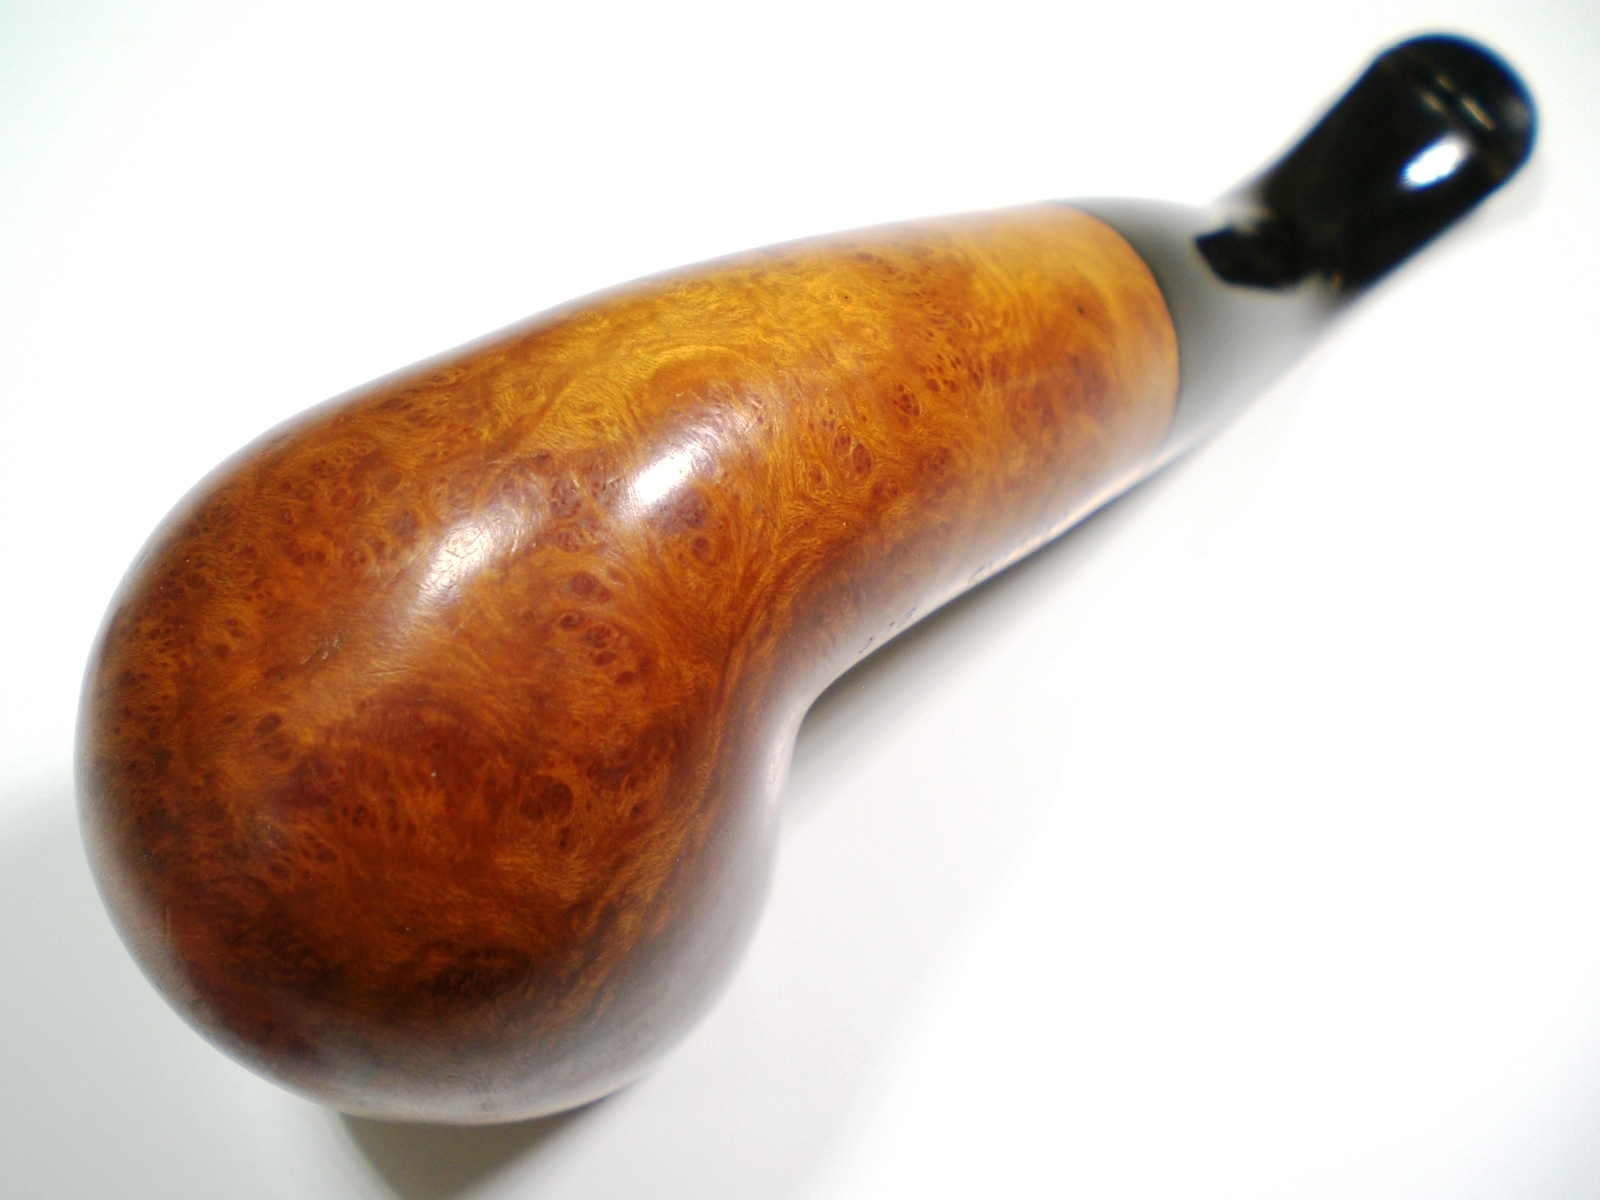
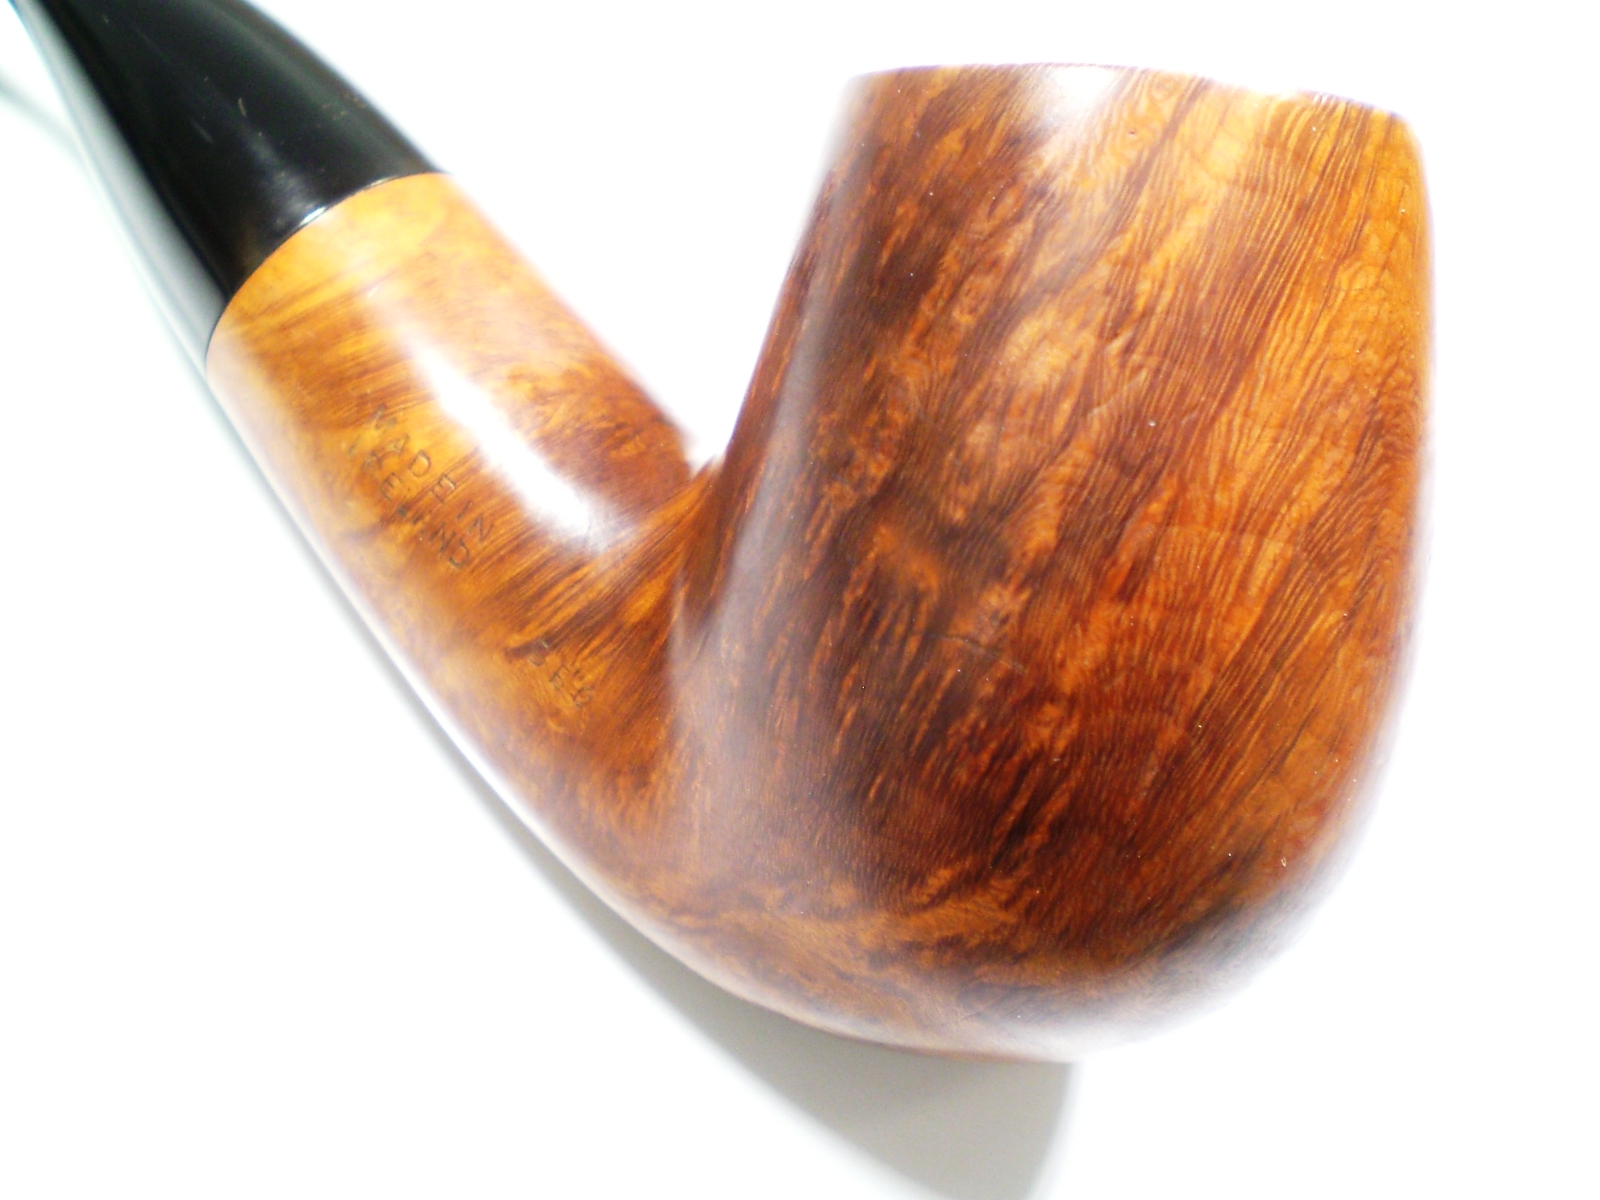
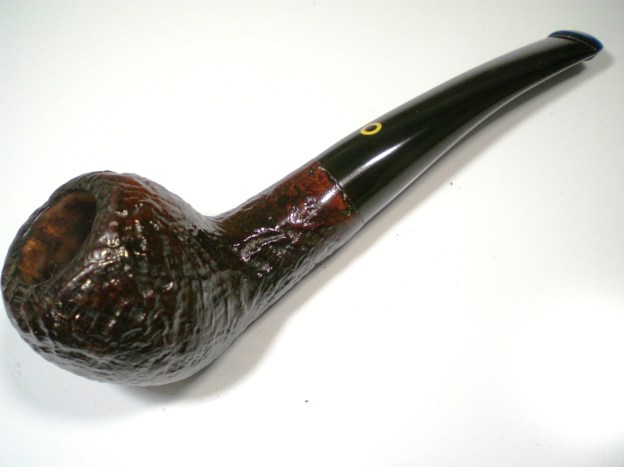
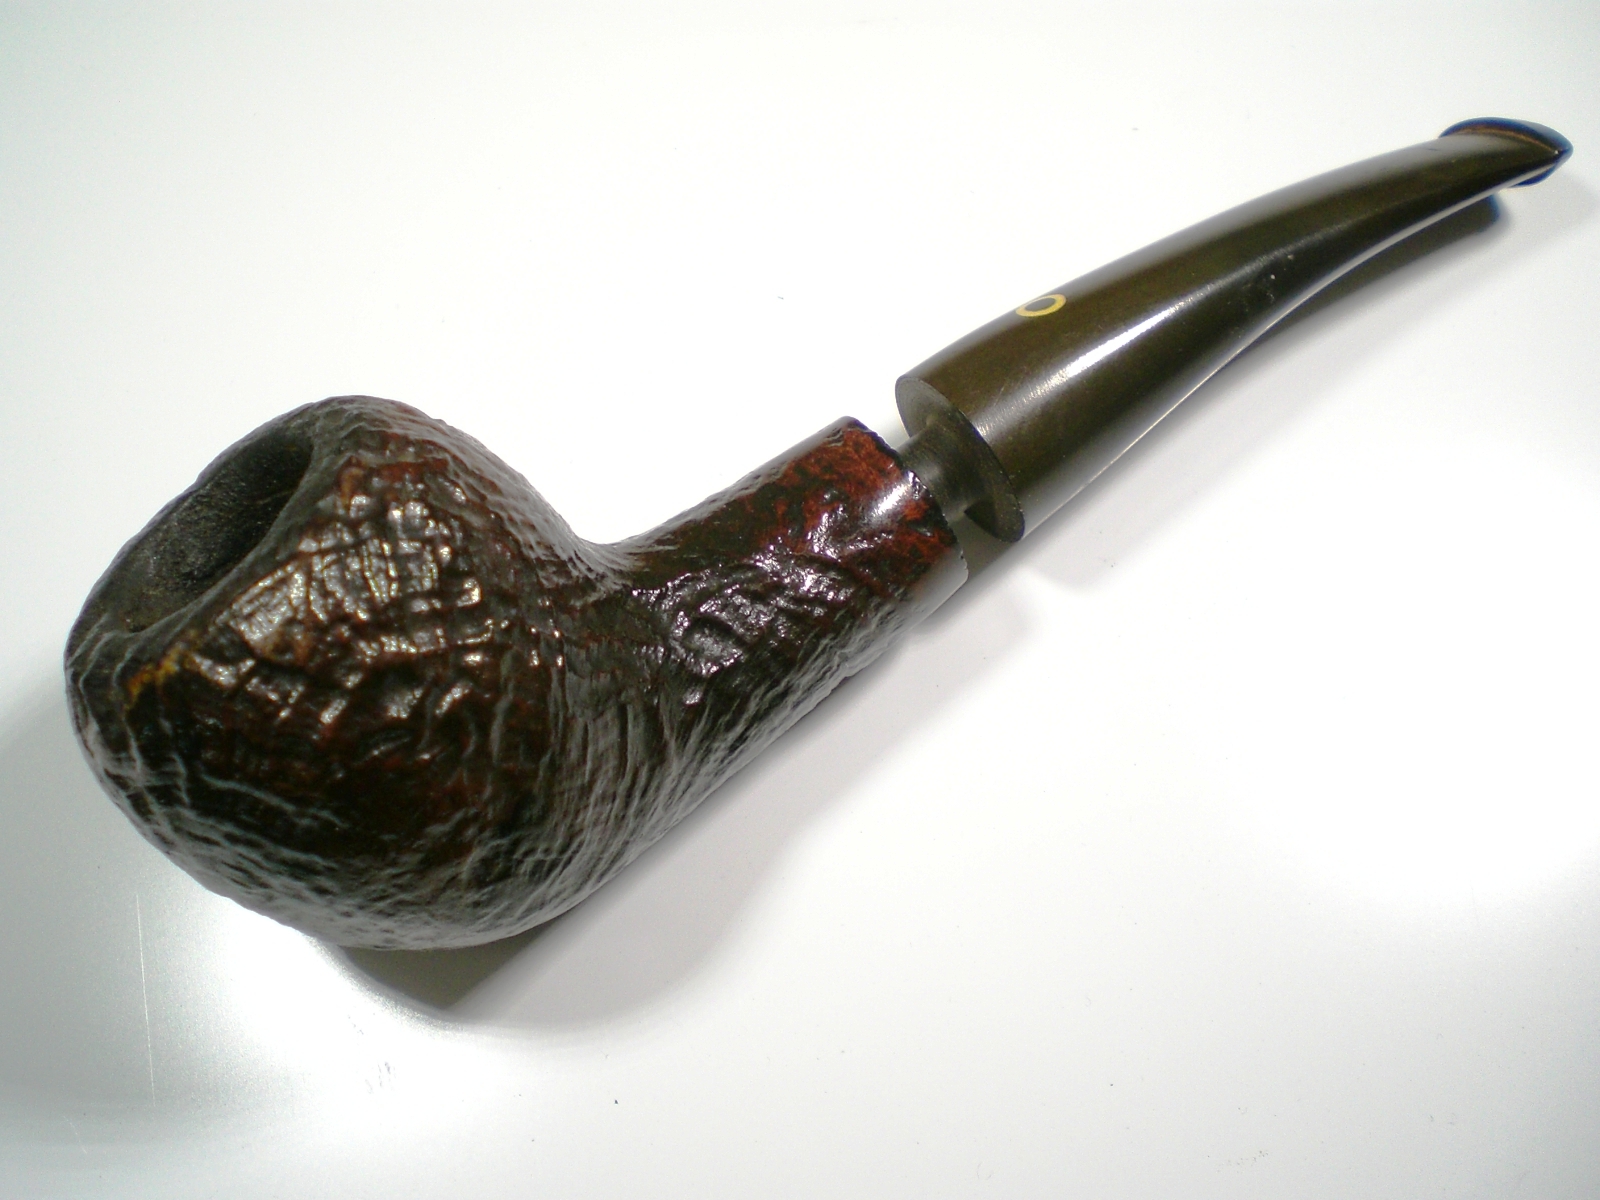
Here is the finished pipe, ready for use.

Yello_Bole_Finished

Yello_Bole_Finished (4)

Yello_Bole_Finished (3)

Yello_Bole_Finished (1)

Yello_Bole_Finished (6)

Yello_Bole_Finished (2)

Yello_Bole_Finished (5)

Yello_Bole_Finished (7)

Replacing a Broken Tenon and Repairing a Cracked Shank on an Old KBB Yello Bole Billiard


Blog by Steve Laug

Troy Wilburn and I have been corresponding for a few months now about pipe restoring and the fun of the hobby. He has posted some of his work here so he is no stranger to pipe restoration. I had not heard from him for a while so I sent him and email to check on him. I know he loves the older Yello Bole pipes and I wondered if he had worked on any recently. I am including a portion of the email he sent me in response to mine. He wrote:

“Funny thing you have contacted me as I do have a couple of Yello Boles I need tenon repairs on. One is an old favorite of mine that snapped off. I have tried to repair it and it failed. The other is an odd shaped NOS (I can’t find the shape on any KW chart. It’s a large bowl billiard with a short oval shank and short straight stem) pipe that I purchased with a broken tenon already but I can’t get the broken piece out (it’s really stuck!) So it might need to be drilled out and a new tenon made, I don’t know.”

“Tenon repair is something I’m not that experienced on and they are both very nice old KBB YBs and would like nice repairs done on them, so I was thinking about sending them to someone more experienced in those types of repairs. I was gonna ask Ed but I know he is always swamped with projects, so I was thinking about asking you if you would be interested in repairing them for me…”

I replied that I would gladly have a look and them and give them a go if they were something that I could fix. When they arrived last week I unpacked the box that Troy sent. I have to tell you he did a masterful job of packing these old pipes. They were individually wrapped in bubble wrap and then placed in small plastic containers. Then the plastic containers were put in bubble wrap and put in a box. There was no movement or rattle in that package.

When I took the pipes out I could see what Troy was talking about. The little odd shaped NOS Canadian was strange. It had a metal tenon. Upon observation I could see that someone had left the broken tenon in the shank and then made a metal tenon that slipped inside the broken tenon. Deep in the shank was the stinger rattling around free in the airway between the broken tenon and the bowl. The billiard that I chose to work on first was another matter. I think Troy tried to epoxy the stem on the tenon but it did not hold. The face of the stem was spotty with glue. The shank on the pipe was clean but I did not spend too much time checking it out to see if there were cracks or problems. Even though the tenon snapped I just by passed my normal observation and went to work. That was a decision I would regret shortly… but let’s not get ahead of ourselves yet.

I faced the surface of the stem and smoothed out the broken area on a topping board. I started with a drill bit slightly larger than the airway and worked my way up to a large enough drill bit that I could turn a tap into it to thread it for the new threaded tenon. This has to be done very slowly and carefully to not drill to deeply into the stem or to angle things so that the tenon does not sit straight in the shank once it is in place. The stem had some spots of glue on the surface and some marks around the end where the tenon had snapped off that would need to be addressed once I got to that point.tenon1 I generally have a few threaded tenons to work with around here. Wouldn’t you know it all of my ¼ inch tenons were gone and all I had left were these large ½ inch ones. It would have to work for this repair. I used a tap to thread the newly drilled stem. I fit the tenon in place and twisted it down until it sat flat against the stem. I then twisted it free and put some glue on the threads and twisted the new tenon into the stem. I cleaned up the excess glue around the junction so that the fit of the tenon was smooth and tight.Tenon2 Once the glue set in place I set up my PIMO Tenon Turning tool on my cordless drill and took down the tenon slowly until I had removed enough of the excess Delrin to get it close to a fit. Because there are no micro adjustments on the tenon turning tool I always get as close as possible with the tool and then use the Dremel and sanding drum and to strip it more and then finish it by hand with sandpaper.Tenon3 I love the way the Delrin spins off the cutter on the tool. Here is the new tenon sitting among the Delrin scraps ready to take to the Dremel and then hand sand.Tenon4 I used the Dremel to take the tenon down some more. I then sanded it by hand until the size was the same as the shank. When I slid it in place the fit was perfect. I was happy to have finished what seemed to be an easy repair. I slipped the stem out of the shank to clean and polish the tenon. When I slid it back in place the sound that makes me cringe was heard. It was just a slight low pop. I removed the stem and could see a small crack had either appeared on the shank with the new tenon in place or the new tenon had made the crack appear. I will never know for sure as I did not check it before. I cleaned off that area of the shank and examined the crack. It was just under ½ long and curved up through the stamping on the shank. I was sick.

I wrote Troy a quick email and told him the situation as it stood – great fitting stem, repaired tenon and now a cracked shank. I asked if it was cracked before or if I had cracked it. He was not sure either. Ah well no matter. I was hoping he would confirm that it was previously cracked but he didn’t know. I asked about banding the shank and he said he would rather not as he did not like bands. But if I had to a thin one would do. The problem was twofold – I did not have a thin band and a thin one would not fix the crack. I suggested that maybe I could do an internal repair and thin down the new tenon to fit inside of the tube that would be used to repair the shank. He said to go for it and see what I could do.

So I did a bit of looking through my parts bin to see if I could find either a piece of Delrin tube that I could drill and fit or a piece of metal that would work for the repair. I found I had a metal tube that would work. I cut off a piece the length of the mortise. I used the Dremel and sanding drum to roughen the surface of the tube and to reduce the diameter slightly. I wanted a good snug fit in the shank but did not want to open the crack or crack it further. I spread the crack slightly and put super glue in it and clamped it until it set.

While it was drying I used the Dremel to reduce the diameter of the tenon until it would fit inside of the metal tube. I figured it would be easier to do that fitting with the tube out of the shank than when it was inserted in the cracked shank. Again I sanded with the Dremel and then finished by hand sanding until the fit was a nice snug fit with the tenon all the way into the tube.tenon5

Tenon6 I sanded and smoothed the ends of the tube and made sure that the surface was rough enough to bond to the inside of the mortise. I roughened the walls of the mortise with a dental pick so that it was scored. I wanted to make both surfaces rough enough for the glue to bond to and make the tube secure in the shank. It would have to be a tight fit as I did not want the tube to come out with the stem when Troy took it off the pipe to clean it. I coated the outside of the metal tube with glue and let it get tacky. When it was tacky I pressed into the shank with the sharp end of a pair of needle nose pliers. I pushed it in until it sat against the end of the mortise in the shank.Tenon7 With the tube in place in the shank I still needed to flare the end so that it would fit against the bevel of the mortise end. I probably could have shortened the tube slightly but beveling the end would take care of that.Tenon8 I pressed the end of rounded tip of the needle nose pliers into the end of the tube and worked on the flare. It took some work to mould it to shape. I then use a small round needle nose file to smooth out the flare and match the angle of the bevel.Tenon9 I stained the end of the shank with a stain pencil and also touched up the cracked area on the shank. I will need to polish that to get it to match the shine on the bowl but you can see the fit of the stem against the shank and look of the shank.Tenon10 With the shank repair completed I needed to work on the stem. I sanded it with 220 grit sandpaper to remove the scratches and glue build up that was on the surface of the stem. I sanded it with medium and fine grit sanding sponges. Then it was time to sand it with micromesh sanding pads. Instead of wet sanding I used a little olive oil on the stem and sanded with the micromesh with oil. I did that with 1500-2400 grit pads. I continued with 3600-12,000 grit pads without adding any further oil to the surface of the stem. With these older Yello Bole stem I find that wet sanding does not work well but to sand with oil is perfect and will raise a nice shine. I also am careful about buffing them as they have a pretty low melting point and are easily damaged. This particular stem does not appear to be vulcanite so I was careful.Tenon11

Tenon12

Tenon13 The next two photos show the shank end. The stain got on the flare of the metal tube and I will need to wipe it out with a bit of alcohol. However you can see the flare of the metal and the briar to take the new tenon and hold the stem tight against the shank. The airway has what appears to be a loose piece of metal on the second photo at the bottom of the shank. I blew out the shank with air and the dust and fibres that were present disappeared.tenon14

tenon15 The next four photos show the finished pipe and stem. The newly fit stem sits nicely against the shank. The repair to the shank is solid and the crack is closed. With the metal insert it should be free from further cracking and the tenon slides in snugly to the mortise.tenon16

tenon17

tenon18

tenon19 The next two photos give a close look at the shank/stem junction. It is good and tight. The final photo shows that the new tenon sits tight against the stem and looks like it was when it left the factory – just narrower in diameter to fit in the metal tube.tenon20

tenon21

tenon22 The first pipe is finished Troy. Hopefully the second one will be much simpler. This one is ready for you to load up and enjoy once again.

1934-35 Yello Bole Carburetor


Blog by Andrew Selking

The more I work on old Yello Bole pipes, the more I appreciate them. First of all, they used the same briar that went into the higher end Kaywoodies. From my experience you might find a Yello Bole with one fill, but otherwise spectacular grain. This pipe is no exception, stunning swirling birds-eye and spectacular cross grain, with one fill on the bottom of the bowl.

I can say with a fair degree of certainty that this pipe is from 1934 or 35. The carburetor patent was granted in 1935, this pipe is stamped “Pat Applied For.” Interestingly enough, it also has a patent number on the bottom of the shank. Additionally, the four digit number was used by Kaywoodie until 1936. The first two numbers indicate the finish and the second two numbers indicate the shape.

When I got the pipe it had the usual heavy finish that Kaufman Brothers and Bondy (KB&B) put on the Yello Bole line to cover imperfections.Andrew1

Andrew2 As you can see from the picture, I was working on more than one Yello Bole stem.Andrew3 While the stem soaked in Oxyclean, I dropped the bowl into the alcohol bath to begin loosening the gunk inside.Andrew4 After soaking overnight, I used my Castleford reamer to ream the bowl. The cake seems to come off easier if I ream the bowl right after the alcohol bath.Andrew5 I normally document cleaning the inside of the pipe, but for some reason didn’t this time. I did the usual retort on the stem and bowl, followed by scrubbing the inside of the shank with a brush, followed by q-tips dipped in alcohol. I used pipe cleaners dipped in alcohol to remove the last of the tar build up in the stem.

Once the internals were sorted, I decided to see what was under the varnish. I used 0000 steel wool and acetone to remove the worst of the finish.Andrew6 Here are some details of the markings on the bowl.Andrew7

Andrew8

Andrew9 With the varnish off I could see the single fill on the bottom of the bowl.Andrew10 I used my dental pick to remove the fill…Andrew11 And repacked it with briar dust and CA glue.Andrew12 I use accelerator with the CA glue. This gives me the ability to start rough shaping the fill within a minute or two of application. I used 150 grit to knock of the high spots, followed by 400 grit to blend it in. I used a progression of micro mesh pads, from 1500-12,000 to remove most of the dings in the bowl and to prepare the wood for stain and final polish. I used 400 grit wet/dry with water on the stem, followed by micro mesh pads (1500, 1800, and 2400) with water. Next I used micro mesh pads without water (3200-12,000) to polish the stem. Finally I buffed the bowl with white diamond and carnauba wax on the buffer. I used my rotary tool (the generic term for a Dremel that isn’t made by Dremel) with white diamond and carnauba wax to polish the stem. Here is the final result.Andrew13

Andrew14 Some better detail of the grain.Andrew15

Andrew16

Andrew17

Andrew18 I forgot to mention that I tried something new to highlight the grain. I normally use a coat of black aniline dye followed by a brown or mahogany. This time I used dark walnut as the base coat. I like how it turned out.

Here is a better view of the stem and bowl.Andrew19 Thanks for looking.

Restoring and Shaping a New Stem for a Savinelli Roma 305


Blog by Steve Laug

When I saw this old Savinelli Roma on eBay I decided to bid on it and see what I could do with it. It had a triangular shank without a stem. The bowl had a cake build-up and the rim was covered with tars that were flaking off. The finish was dirty and worn as these pipes usually have a contrast dark stain on the bowl and a lighter stain on the rim. The rim is chamfered or bevelled inward toward the bowl. The edges of the rim – both inner and outer – were in great shape. The bowl was still in round.Roma1 The band was an aftermarket addition and from the looks of it covered a cracked shank. In the photo below you can see the band has been pressed into place and damaged the shape of the shank on the bottom right side. Notice the step down from the band to the bottom edge of the shank and you will see what I mean.Roma2

Roma3 I have included the next photo of the Savinelli Roma 305 to show what the pipe originally looked like. The triangular shank and matching stem are attractive. This should be interesting to duplicate on a replacement stem! The round rim and the contrast colour of the bowl and rim look very good. The thin metal spacer between the stem and shank would have been connected to the stem and with the cracked shank on the one I picked up will not be possible to duplicate.Roma5 I have also included a picture I found on the web of a badly oxidized stem. I saved this because it gives a good close up of the angles on the stem that I will need to duplicate.Roma4 When the pipe arrived I took it out of the package and gave it a thorough inspection. As I suspected the band was an added feature. It was pressed loosely in place to deal with a crack in the right side of the shank and also on the bottom edge. It was poorly fit and would need shaping before I put it permanently in place. I would also need to address the cracks in the shank and the missing notch on the right side of the shank.Roma6 The next group of three photos shows the damaged areas on the bowl and shank. The crack is visible in the first photo and the missing notch is visible in the second photo. The third photo gives a close up of the bowl and rim.Roma7

Roma8

Roma9 I slipped the band in place and took a photo of the end of the shank to give an idea of what the shape of the stem will need to be when I worked on it. You can see the poor fit of the band at this point as well.Roma10 I went through my can of stems to find one that fit. I tried diamond shaped stems and none had a wide enough diameter to match the width of the shank without being too long to look right. I finally settled on a round stem blank that had the correct diameter. I turned the tenon down with a PIMO Tenon turning tool until it fit the shank. In the photo below you can see the stem and the stem before I corrected the tenon.Roma11 With the tenon turned to fit I pushed it into the shank of the pipe.Roma12

Roma13 Using a rasp and files I roughed in the shape of the new stem. I used a Dremel and sanding drum to take it down as close as possible to the finished shape and then brought it back to the work table to use the files again. The photo below shows the roughly shaped stem. Much more sanding will be necessary before this stem is finished.Roma14 I slipped off the band from the shank and worked on the area on the right side of the shank where there was a large divot in the shank. I also cleaned the cracks on that side of the shank and the underside of the shank with alcohol. I picked out the loose briar with a dental pick and then filled in the divot with briar dust and superglue. I built it up to match the current level of the shank and carved it with the dental pick and needle files to match the finish around the repair. I put super glue in the cracked areas on the shank as well and pressed them until the glue set.Roma15

Roma16 The next photo shows the repaired edge of the shank. The shiny area on the right side of the photo is the glue and briar dust repair.Roma17 With the band off and the repairs made I inserted the stem and used the files to further shape the angles on the stem. I sanded it with 100 grit emery cloth to smooth out the file marks and further shape it.Roma18

Roma19

Roma20

Roma21 After more sanding with 180 grit sandpaper the stem is finally beginning to take shape. You can see the shape in the photos below.Roma22

Roma23

Roma24

Roma25 I decided to clean up the bowl before continuing further on the stem. I reamed it with a PipNet reamer and took it back to a thin cake. I would sand it smooth later in the process.Roma26 With hard sanding work done on the stem I worked on the bowl. I scrubbed down the bowl and shank with acetone to remove the remaining finish and scrubbed and scraped the buildup of tars on the rim. I used a small piece of folded 220 grit sandpaper to clean up the rim further.Roma27

Roma28 I scrubbed the rim with acetone and elbow grease and was able to remove all of the tars on the rim.Roma29 I put some wood glue on the shank and pressed the band into place. I wiped off the excess glue with a little alcohol on a cotton pad. I sanded the stem with 220 grit sandpaper to continue shaping and fitting it against the shank. I would need to clean up the straight edges on the sides of the stem and the flattened top portion before I was finished but I wanted to get the shank fit done first.Roma30

Roma31

Roma32

Roma33 I sanded the stem (particularly working on the shank stem junction) with 600 grit wet dry sandpaper. I also sanded the bottom and the sides of the stems at the same time.Roma34 I stained the bowl with a dark brown aniline stain, flamed it and repeated the process.Roma35

Roma36

Roma37

Roma38 I buffed the pipe with White Diamond to even out the stain and bring some shine to it.Roma39

Roma40

Roma41

Roma42 Then it was time to bend the stem to match the original in the photo that I had. I heated it with a heat gun until it was flexible and then bent it over a rolling pin that I use to get an even and straight bend.Roma43 I took the pipe back to the worktable and took the following photos so I could compare the stem with the original photo. The bend looked correct.Roma44

Roma45 However, the top of the stem needed to be flattened more and lose the arched look. I used a flat file that I have and worked on the top of the stem to flatten it.Roma46

Roma47

Roma48

Roma49 The next three photos show the stem after I had filed and flattened the top of the stem to get the angles correct.Roma50

Roma51

Roma52 I sanded the stem with 220 grit sandpaper, medium and fine grit sanding sponges and with 600 grit wet dry sandpaper. I moved on to polishing it with the micromesh sanding pads – wet sanding with 1500-2400 grit pads and dry sanding with 3600-12,000 grit pads.Roma53

Roma54

Roma55

Roma56 I buffed the stem with White Diamond and Blue Diamond plastic polish to further shine the stem.Roma57

Roma58 I polished the band with micromesh sanding pads and then buffed the pipe with Blue Diamond to bring out a shine. I then gave it multiple coats of carnauba wax and buffed it with a soft flannel buff to lift the shine even higher. The finished pipe is shown in the photos below.Roma59

Roma60

Roma61

Roma62

Peterson Premiere Selection 9BC


Blog Entry by Al Jones

Several weeks ago, Steve Laug reposted a “Peterson Pipes Notes” blog entry on the Shape 9BC, a chubby bent billiard. It was written by Peterson authority, Mark Irwin. In the past, Mark had been a helpful to me in identifying an older 999 shape and I always enjoy reading his blog updates.

Peterson Pipe Notes has Moved!

While I’m not necessarily a Peterson collector, the shape was immediately appealing to me, and I added it to my “Holy Grail” pipe list. In fact, that was my comment on Marks blog. I was quite surprised a few days later to stumble onto the eBay auction for this pipe. It was listed as a Peterson’s “Premiere Selection Pipe” and the shape was not clearly identified. I could see by the “Made in Ireland” Country of Manufacture stamp, that it was a pre-Republic era pipe and made prior to 1949. The shape looked like the 9BC but I couldn’t clearly identify the shape number. I like the shape so I took a shot and won the auction. Later, in communication with the seller, I learned the shape stamp was indeed the 9BC. Dating non-hallmarked Petersons is never a sure thing, but from the nomenclature, I believe the pipe was made in the 1947-1949 era.

I didn’t know much about the “Premiere Selection” grade, but later learned it was just under the Deluxe in the Peterson grading system.

The pipe as it was delivered. It was in excellent condition. The bowl interior was clean, the finish just slightly dulled with very good nomenclature. The stem was lightly oxidized and only had one small tooth mark. Stem fitment was excellent.

Peteson_9BC_Before (1)

Peteson_9BC_Before (3)

Peteson_9BC_Before (2)

Peterson_Premiere_Selection_eBay7

The bowl was very clean, but I gave it my usual soak with 91% isopropyl alcohol and sea salt. The shank has a sump like area that needed attention. After the soak, I cleaned that area thoroughly with a series of brushes and pipe cleaners dipped in alcohol.

The stem was lightly oxidized and had one small tooth mark. That lifted out nicely with some heat from a flame. I removed the first layer of oxidation with 800 grit wet paper and then moved to 1500 and the 2000 grades. Next up was 8000 and 12000 grade micromesh sheets. The stem was then buffed with White Diamond and then Meguiars Plastic Polish.

There were a few dings on the bowl, which lifted out with heat from an iron and a wet cloth. I then buffed the briar with white diamond to bring up the shine, being careful to stay away from the nomenclature. The briar then received several coats of carnuba wax.

I’m thrilled with this one and can’t wait to smoke it. The size of pipe was also a surprise. I was expecting a diminutive Peterson, but this is truly a chubby pipe at 70 grams.

Below is the finished pipe.

Peterson_9BC_Finish

Peterson_9BC_Finish (3)

Peterson_9BC_Finish (1)

Peterson_9BC_Finish (2)

Peterson_9BC_Finish (7)

Peterson_9BC_Finish (1)

Peterson_9BC_Finish (4)

Peterson_9BC_Finish (3)

Peterson_9BC_Finish (10)

Peterson_9BC_Finish (11)