Blog by Andrew Selking
I saw a post by Andrew on one of the forums I follow and wrote and asked if he would post it here. It is something that I have been working on for a while now and to read Andrew’s work. Without any further ado here is the article.
Let me preface this by saying I am not a photographer and I only have vague memories of learning about light in science class. I’m also frugal, so when I started looking for ways to take better pictures of my pipes, cost was big consideration.
So let’s build a light box. First we’ll start with the materials:
medium size cardboard box
white tissue paper
white duct tape (you could also probably use white masking tape)
white poster board (the thin flimsy kind)
day light bulbs (14W compact fluorescent)
ideally three directional lamps
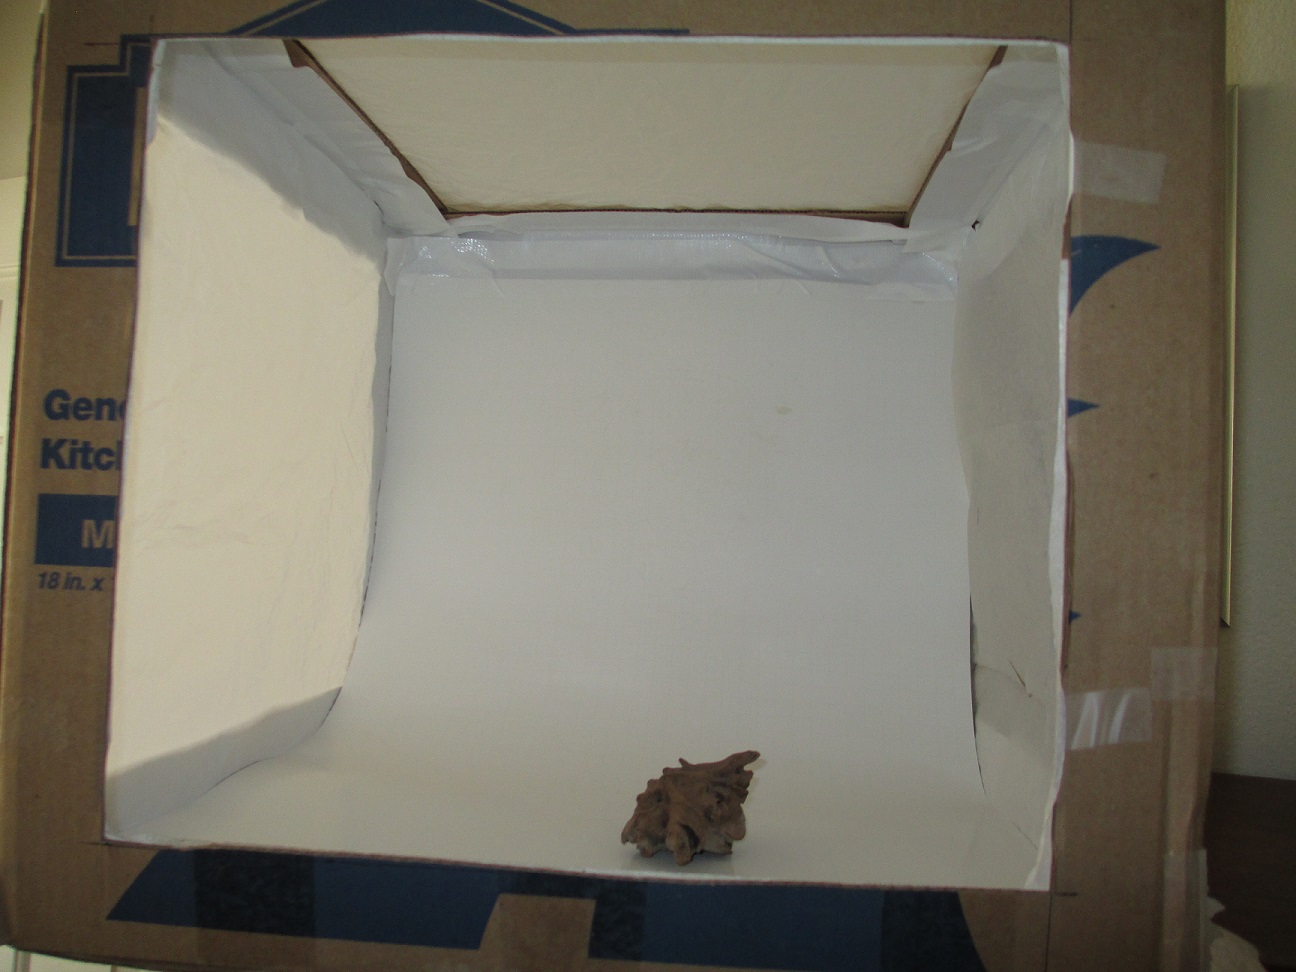
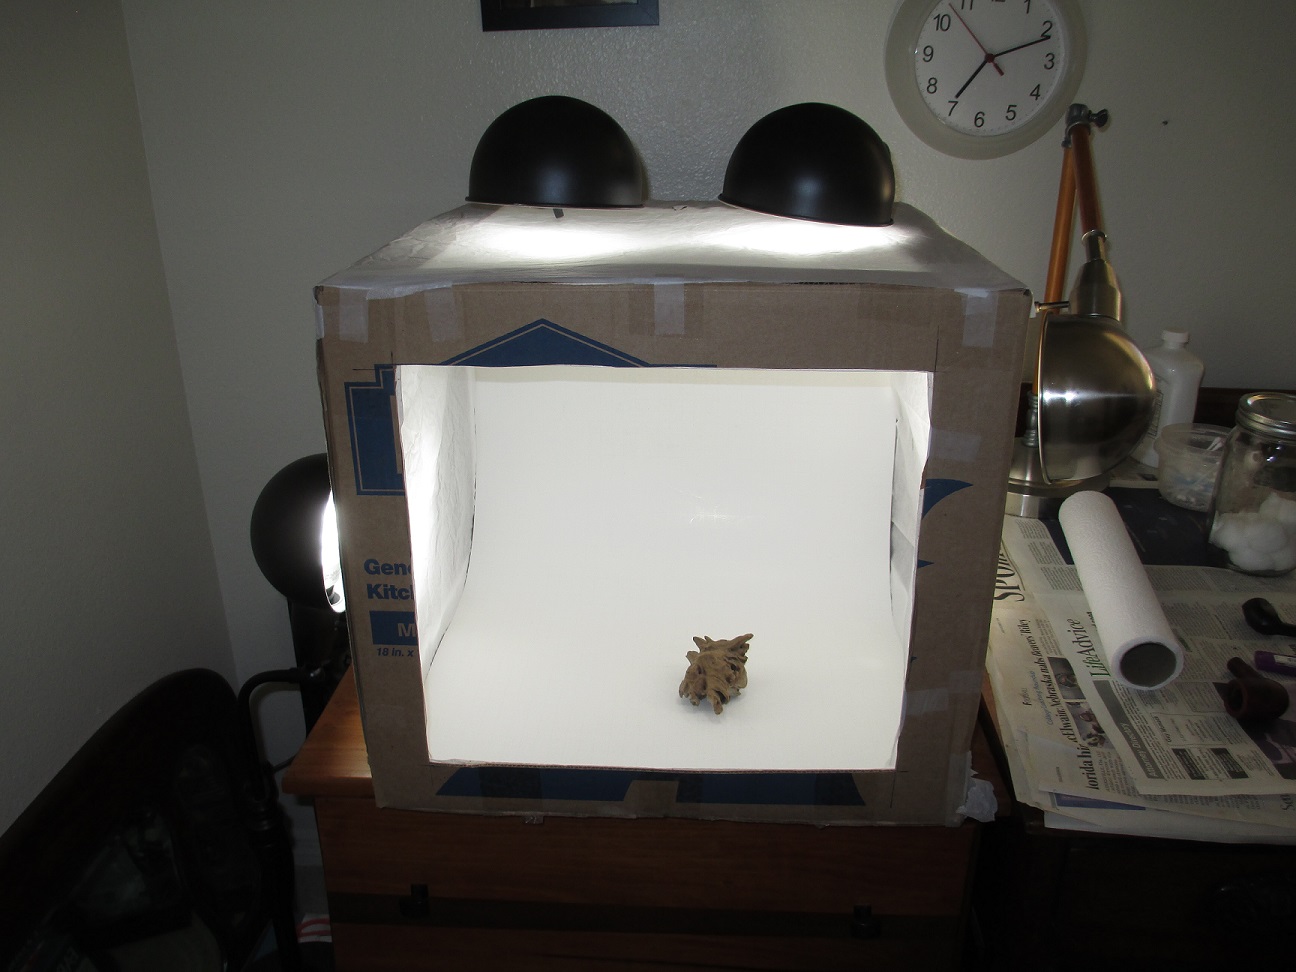
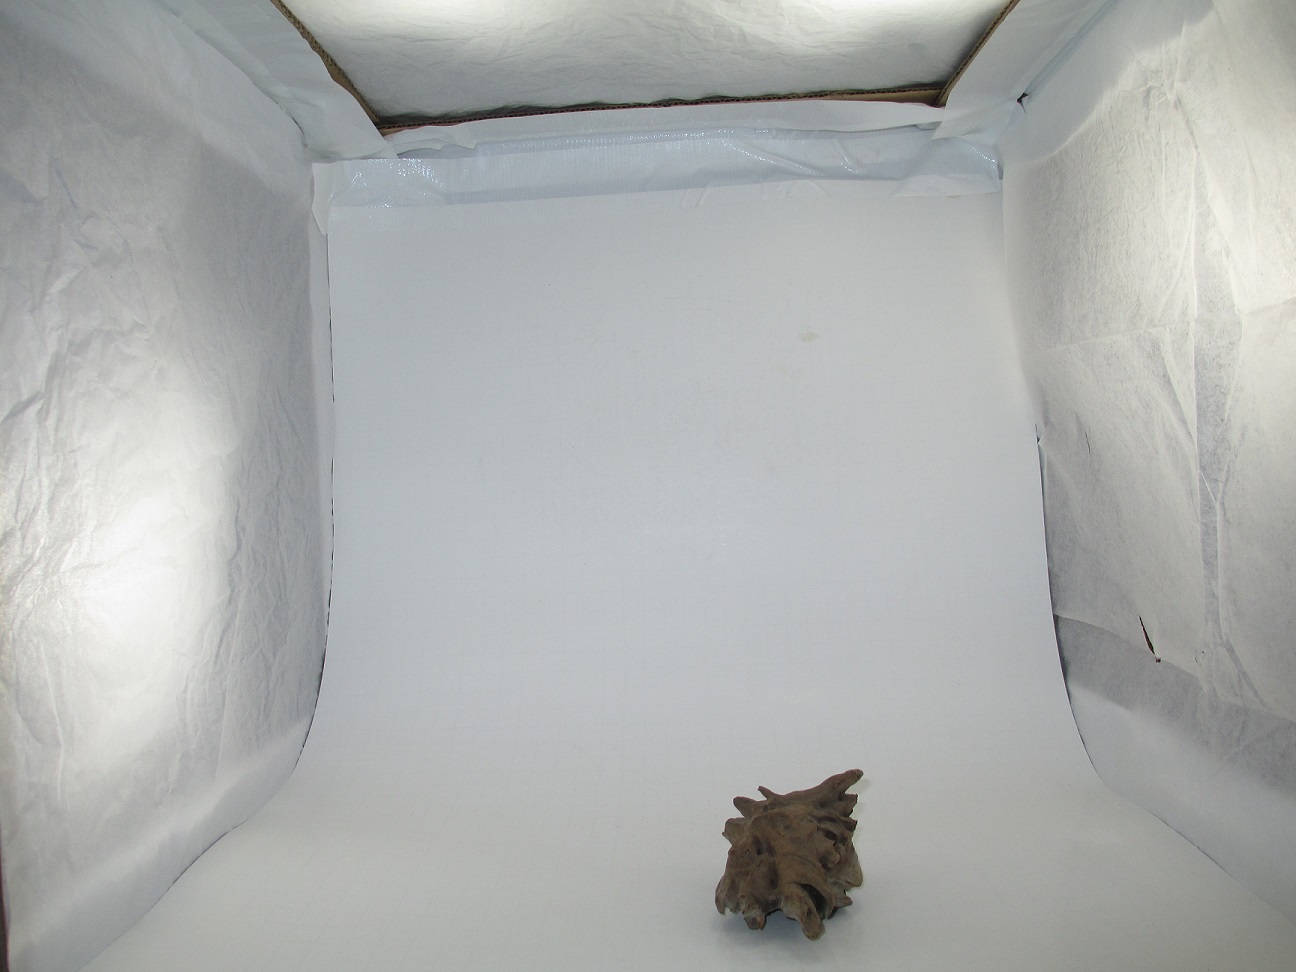
Cut out square sections on three sides of the box. Tape the top of the box and cut out a square section for the top. I used some of the scrap cardboard to reinforce the top. Next tape your poster board in the inside of the box. You will want it to curve from inside the box so that it makes the item you’re photographing look like its floating. Use the white tape to cover any cardboard that is inside the box. Finally, tape your white tissue paper over the openings on the two sides and the top.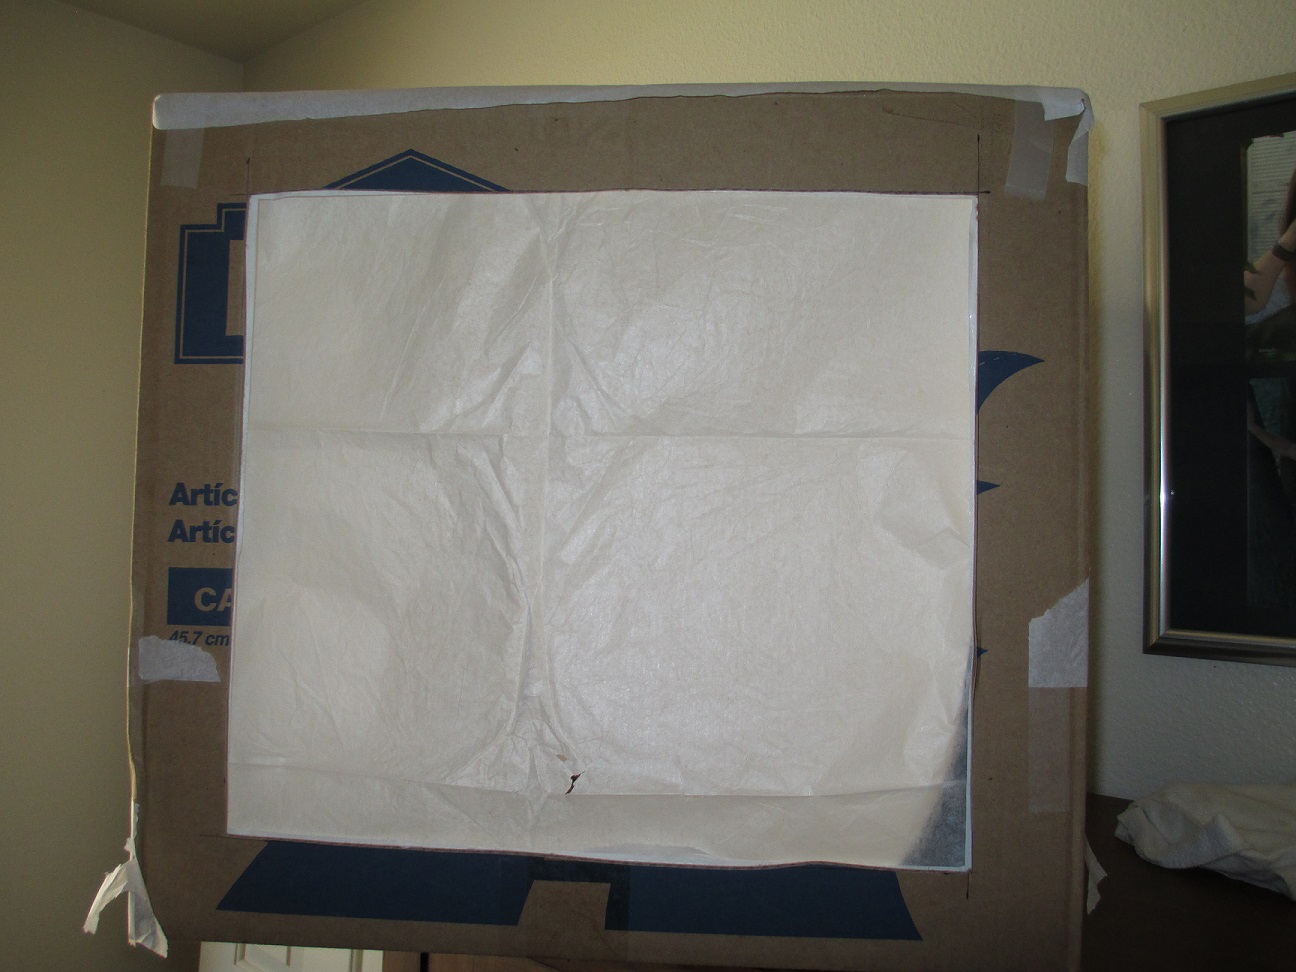
 I don’t have a fancy camera, but it does have a setting for slow flash to help give a better fill. I also use the close up setting. I was having problems getting my darker pipes to show up in the pictures. I tried more light and it still didn’t help much. I accidentally discovered that changing to a darker background makes the wood easier to see. I have an example of a pipe photographed with the all-white background and the same pipe photographed with a green towel in the background.
 I know a lot of you out there do some really great work restoring pipes, while others have amazing pipe collections. This is an easy way to let others appreciate what you do. I hope you found this post useful and I look forward to some amazing pictures.
