Blog by Troy Wilburn
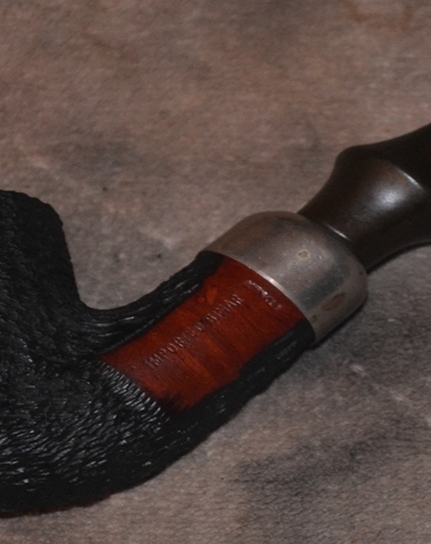
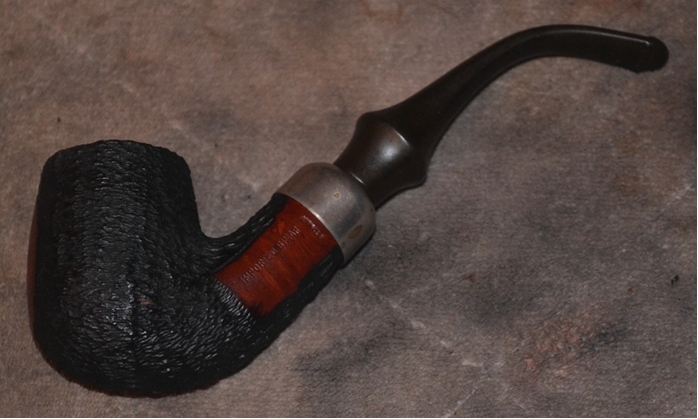
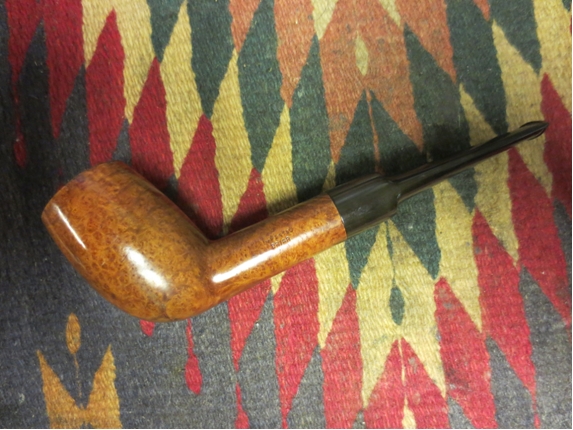
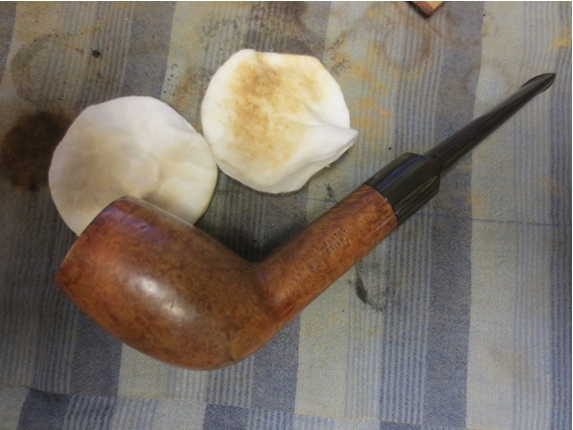
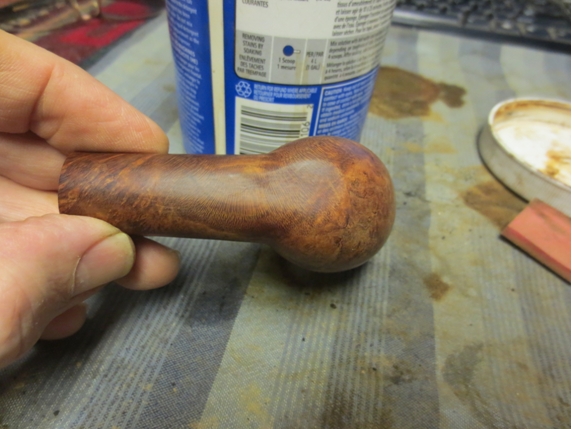
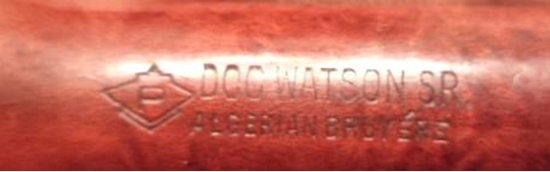
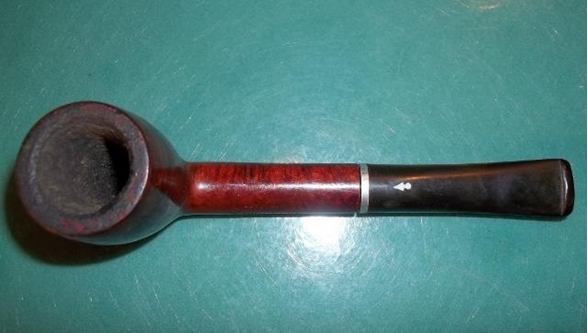
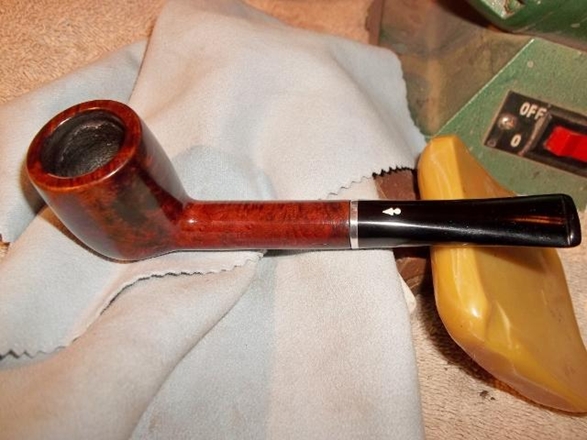
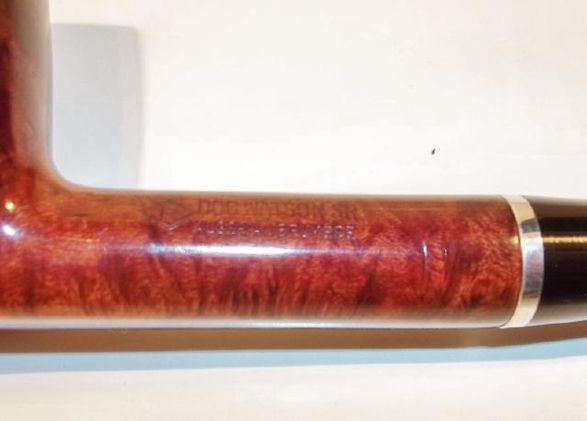
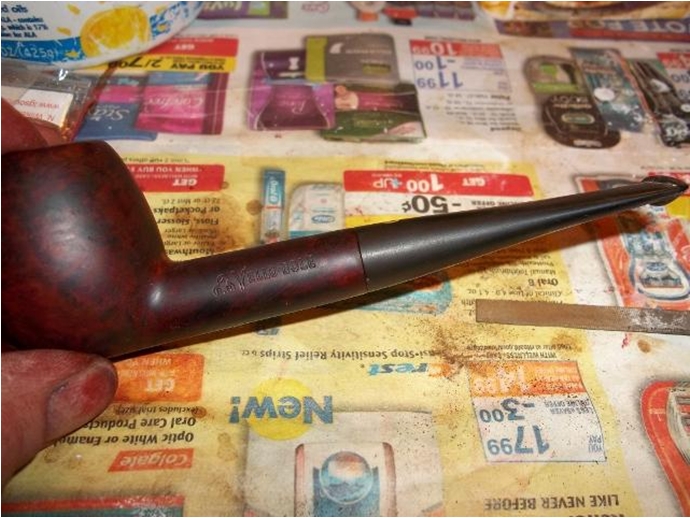
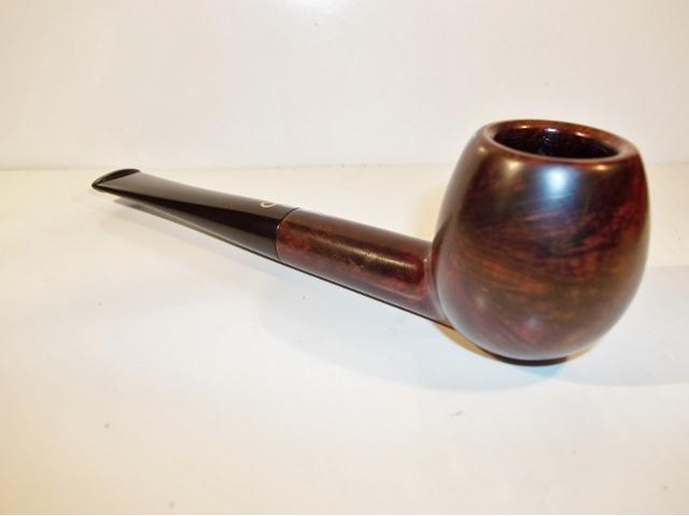
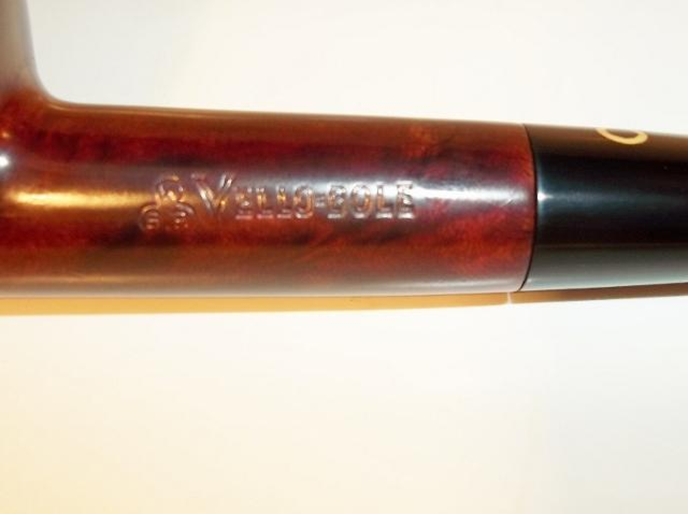
This is the other pipe I got with the Doc Watson. Both came from the same owner estate sale – an old gentleman that had them has since passed on to glory. The two pipes have been together longer than I have been alive. It’s an early Yello Bole in that it has the Imported Bruyere stamp but no “Honey Cured Briar” along with the 2033 four digit shape stamp. I’m guessing 1930 – 1933 roughly.
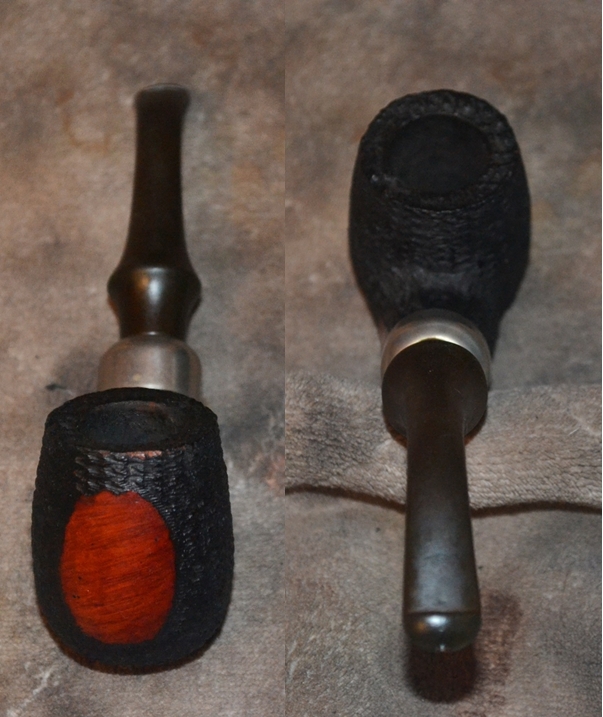
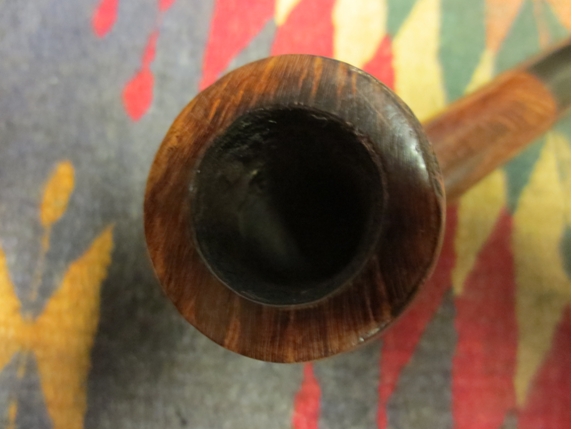
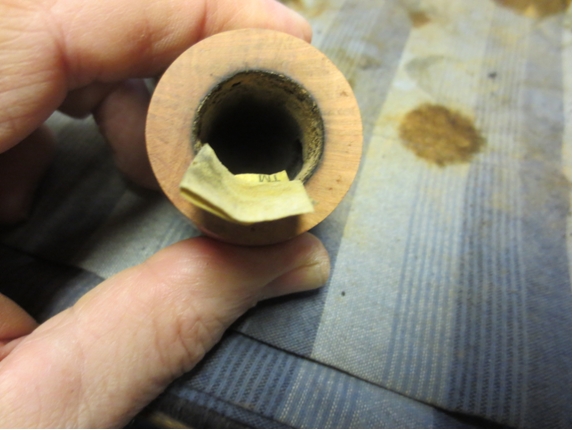
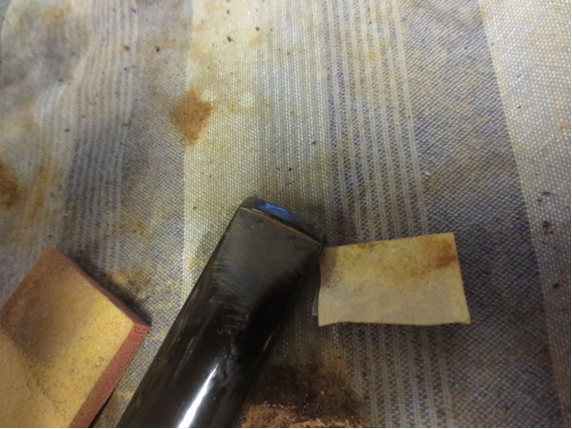
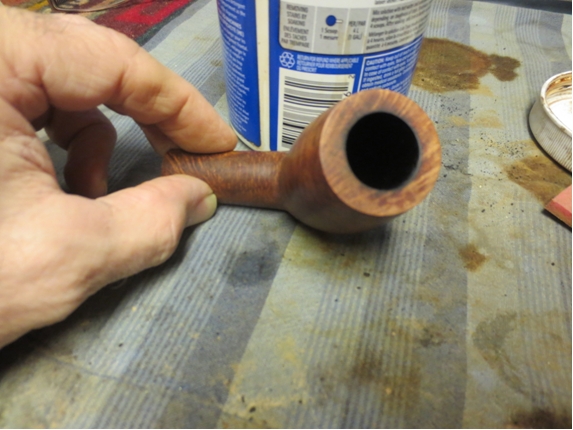
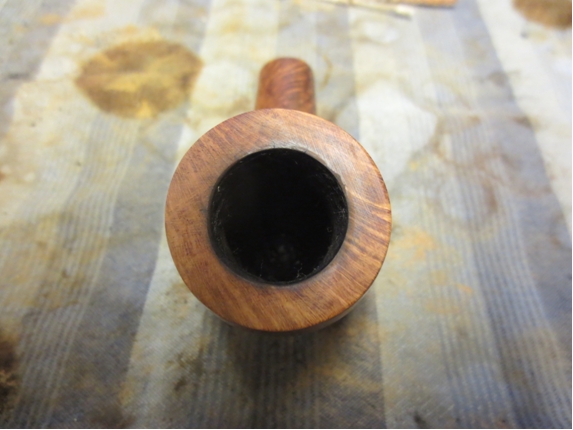
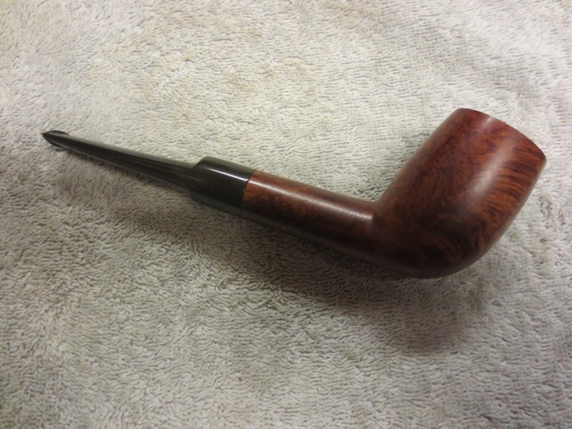
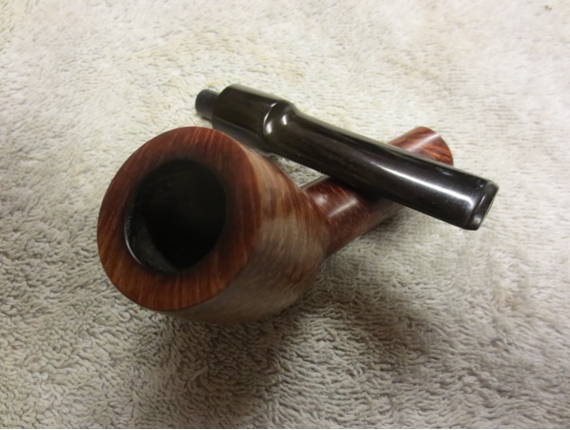
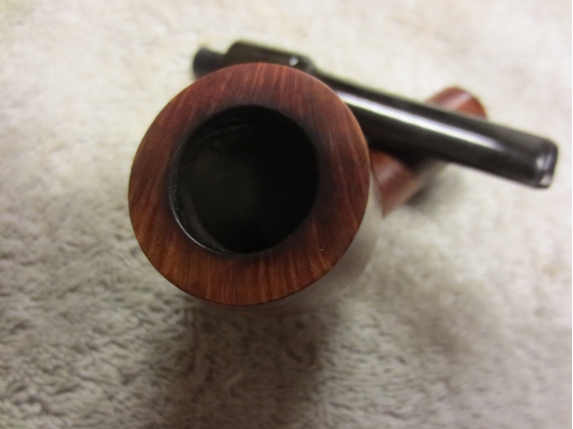
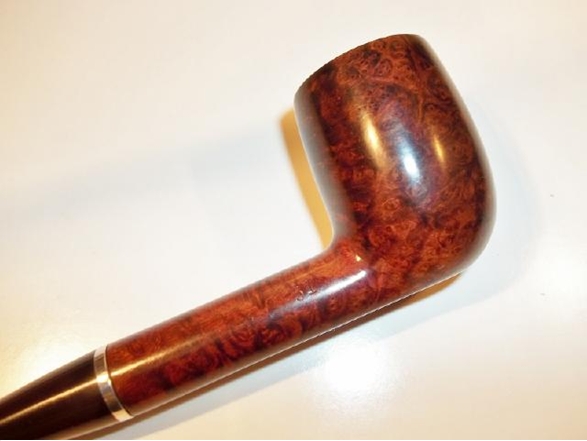
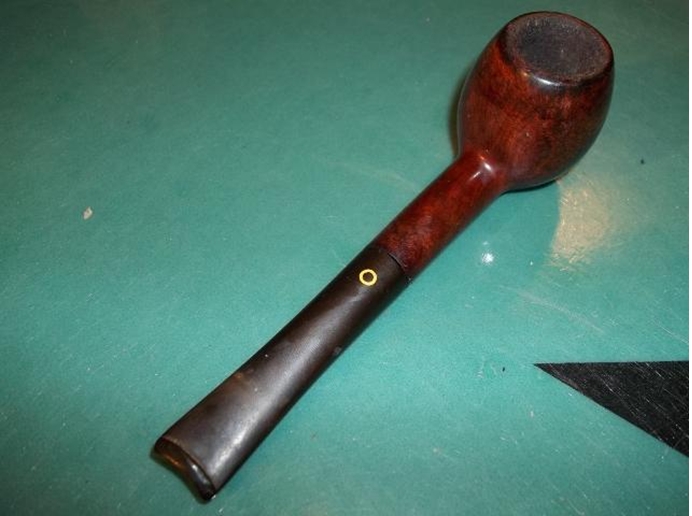
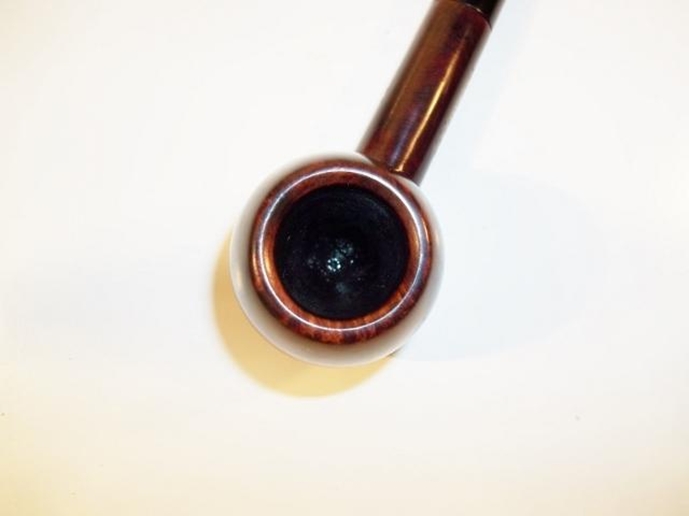
The pipe as it was when I got it.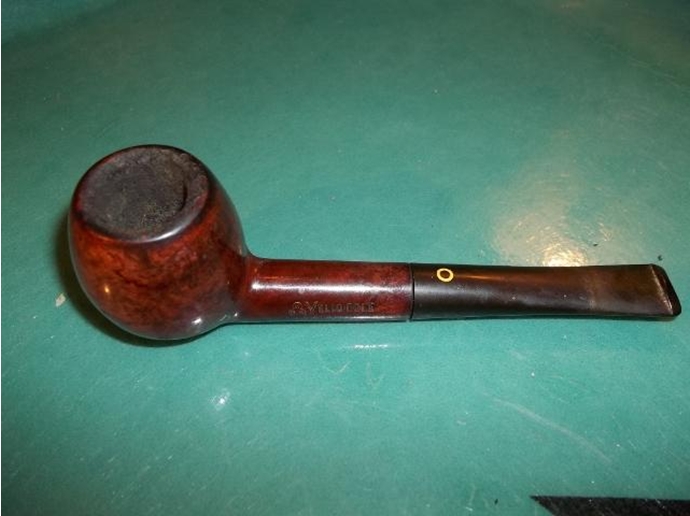
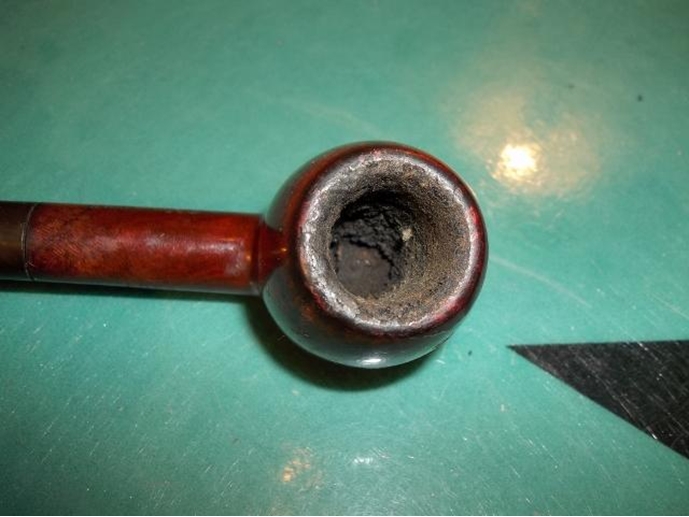
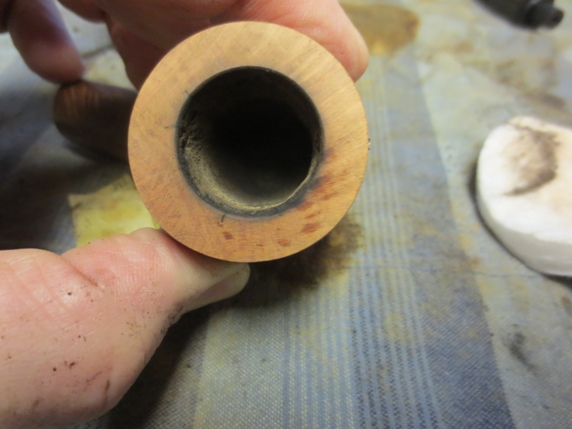
 I started out by removing most of the cake, then sanding inner bowl with some rough grit paper leaving a thin coat of cake.
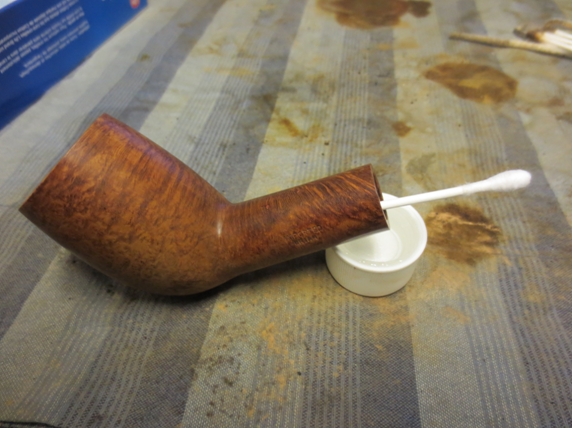
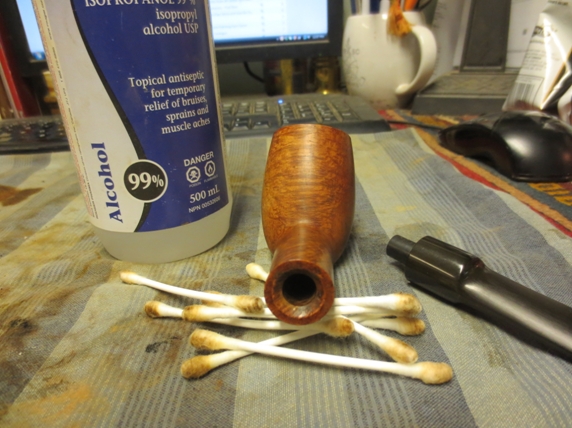
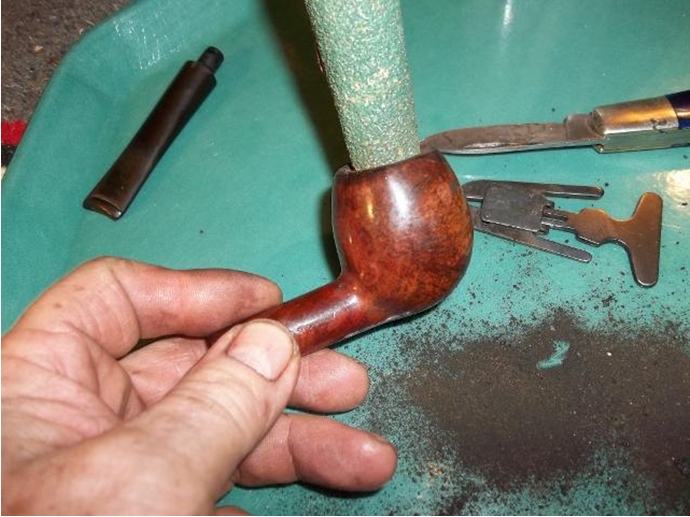 Next I cleaned out inner shank and stem with 91% alcohol. On these large airway YBs I like to twist 2-3 shank brushes together for better scrubbing. I also scrubbed outer stem with 91% alcohol and a Scotch Brite pad to remove grease, oil, wax etc.
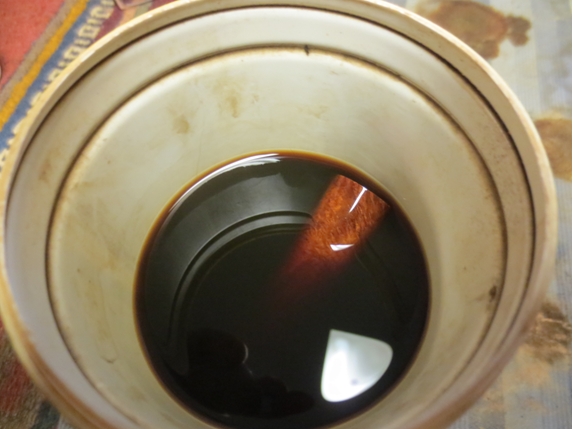
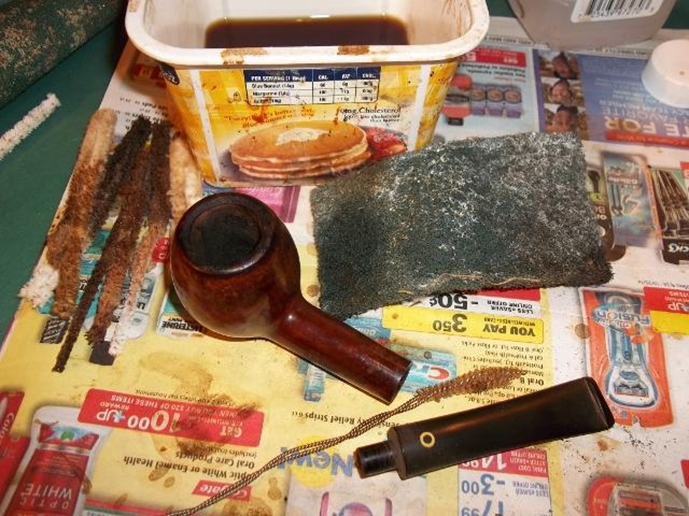 This is easiest way I’ve found to remove rim cake. I mix up some Oxy Clean and warm water. Dip a piece of Scotch Brite pad in it leaving it not quite dripping wet. Lay it flat on surface and move rim along lightly. It takes it off pretty fast and will not harm under finish if you are trying to save it. It will leave it discolored but a little mineral oil will bring the color back to original.
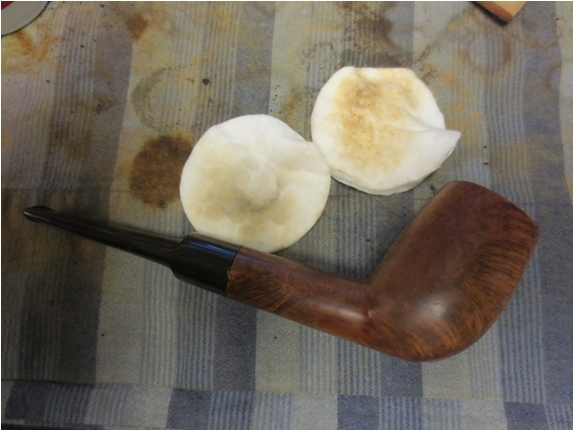
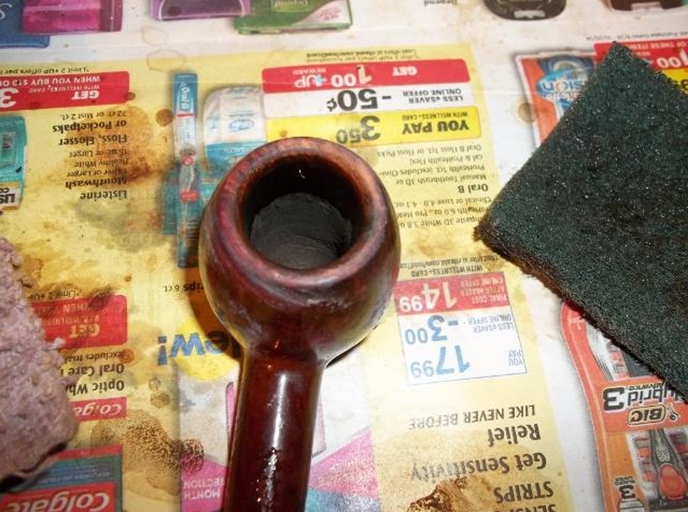 Next I went ahead and scrubbed bowl and stem with same pad and Oxy Clean solution. It will remove contaminants and not hurt the finish just dull it. It will remove any light oxidation from stem that might be present. I scrub the stem harder than the bowl.
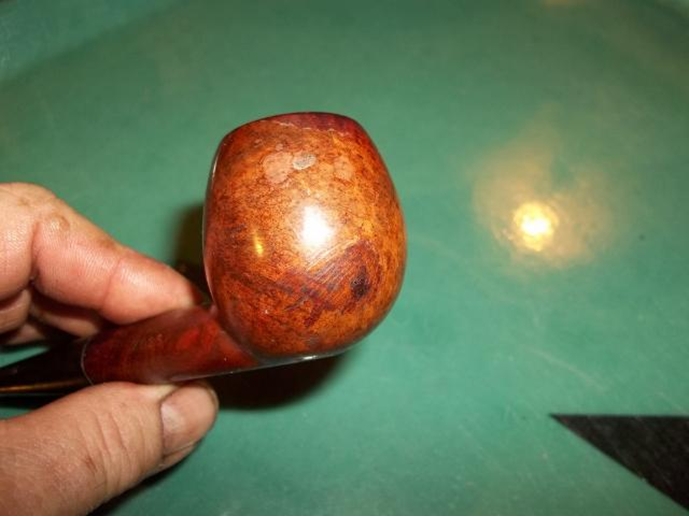
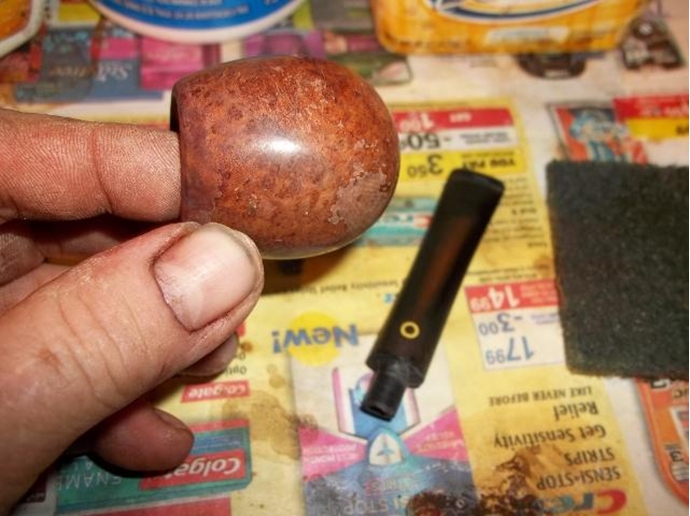 Next I went ahead and scrubbed bowl and stem with same pad and Oxy Clean solution. It will remove contaminants and not hurt the finish just dull it. It will remove any light oxidation from stem that might be present. I scrub the stem harder than the bowl. After getting a good look at the bowl after old dirt and such was removed the finish looks toasted. Sadly it cannot be saved.
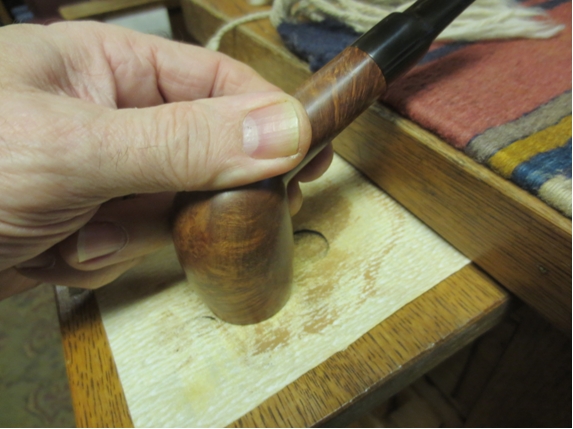
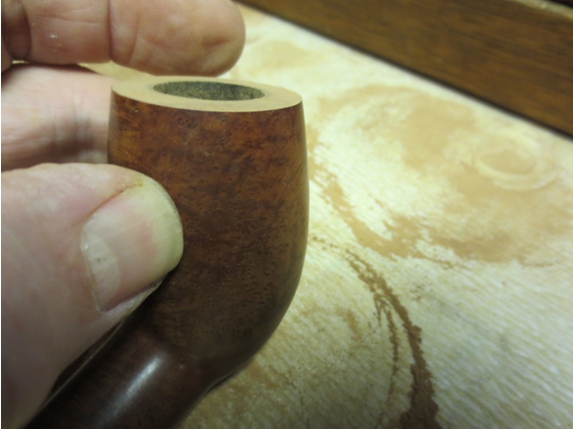
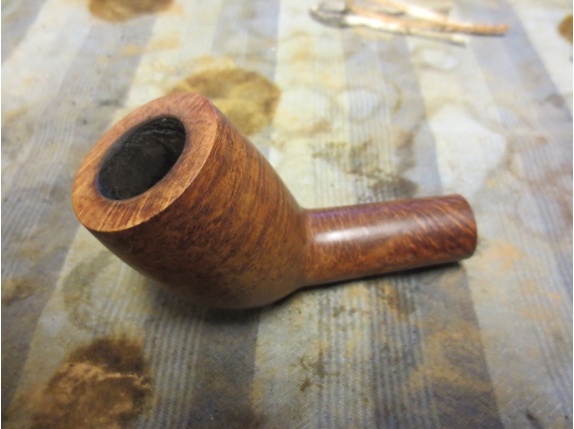
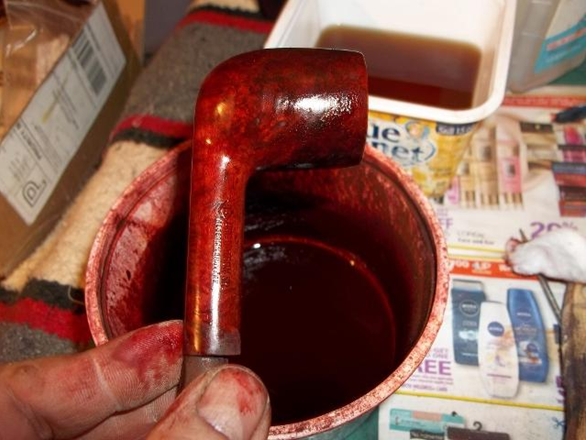
So I went ahead and sanded bowl with 400-2000 grit sandpaper. Never touching the stampings with any grit sandpaper less than 1200 grit. I will leave a defect or mark near a stamping just so it won’t be harmed.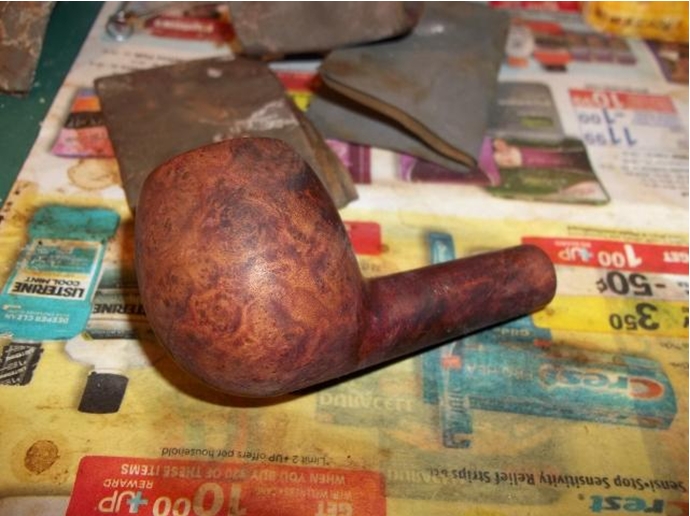 Luckily the stain I had left over from the Doc Watson was a good match so I was able to use it. I applied three coats letting in dry in between.
 After third coat of stain I like to apply mineral oil to help the grain stand out and condition the briar. The mineral oil lets you see any defects in the finish and what the bowl will look like when waxed. I set it to the side and let it air dry.
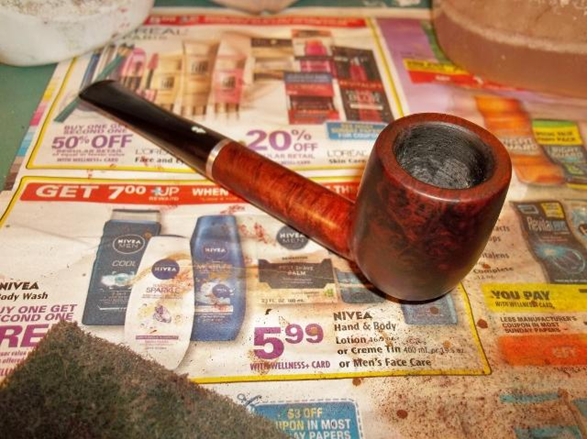
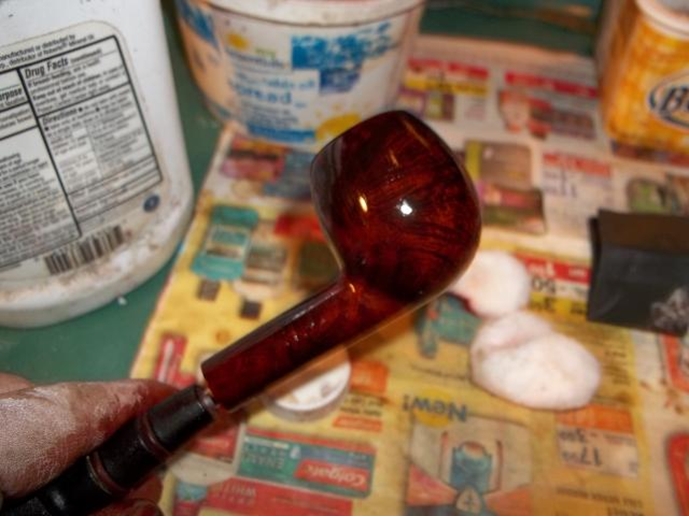 I had to do some filing on the stem and button to remove some tooth marks.
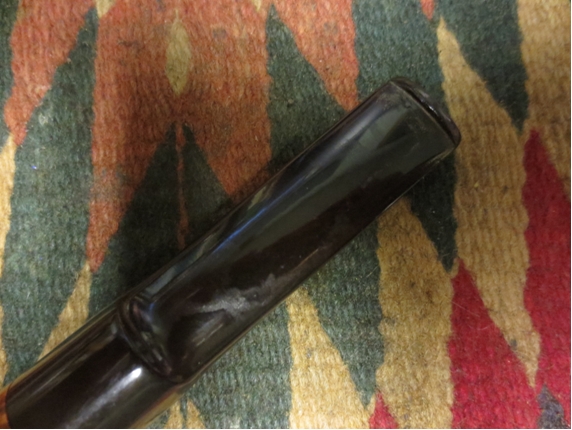
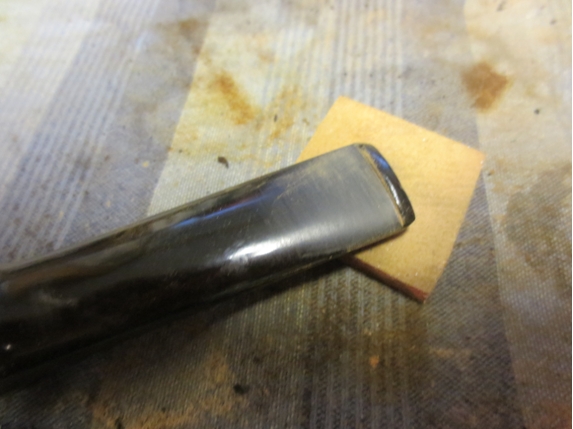
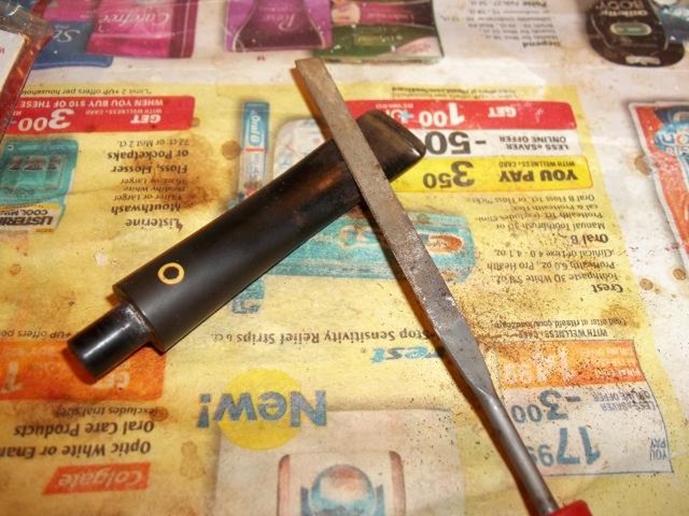 If you noticed in before pic the stem did not fit tight to the shank, so I filed down tenon a little at a time until it fit tight.
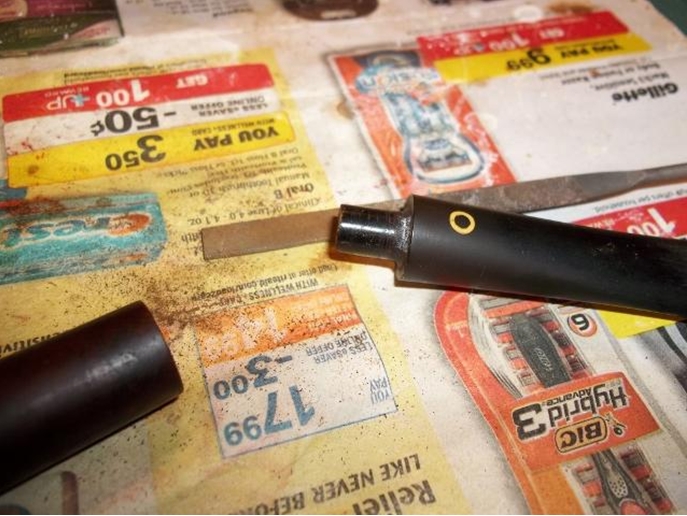
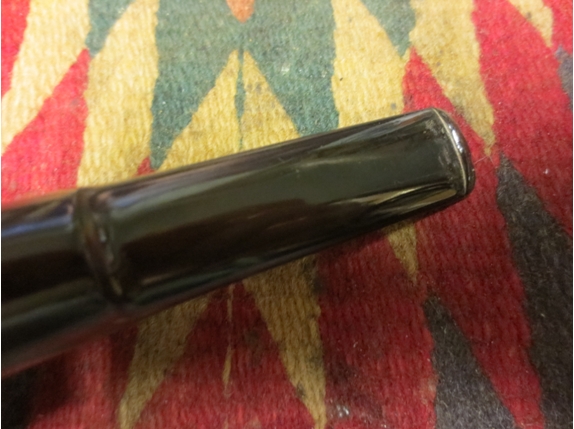
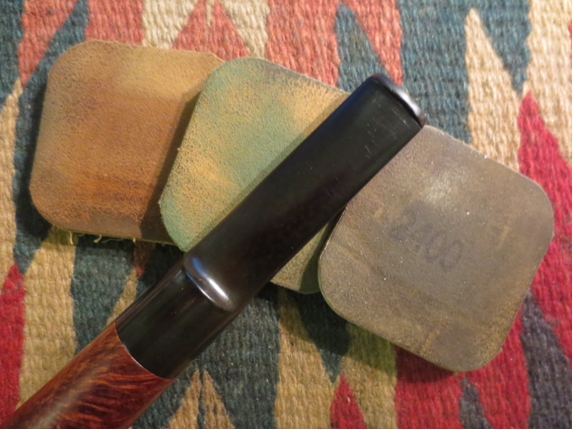
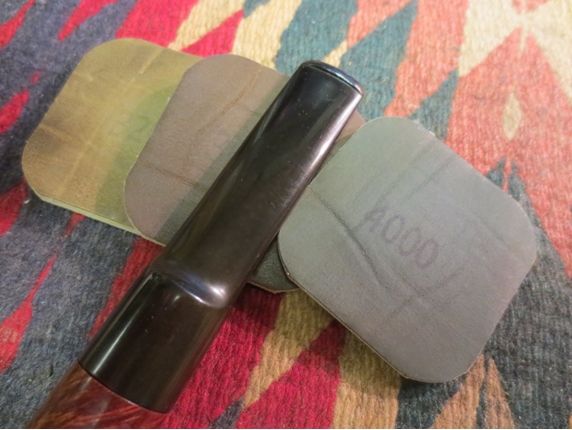
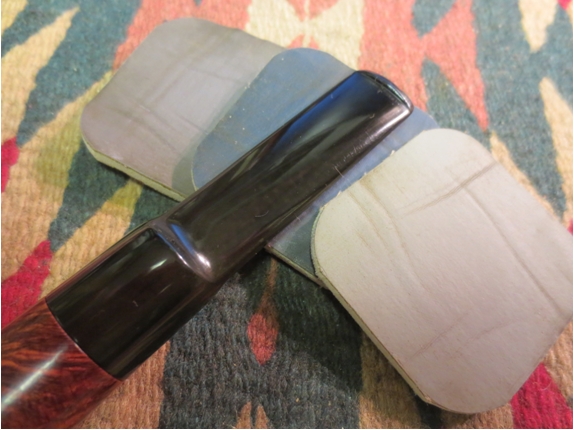
 I wet sanded the stem again using 400-2000 grit sandpaper.
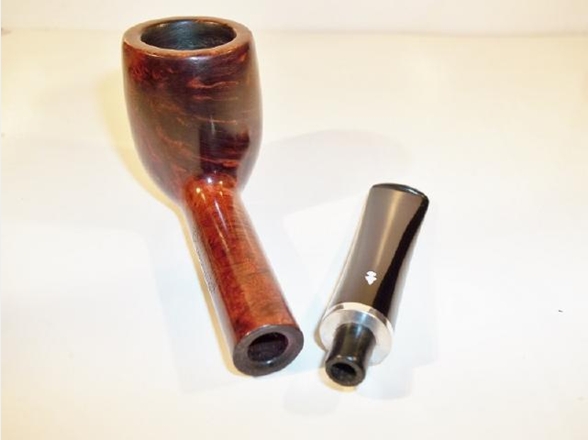
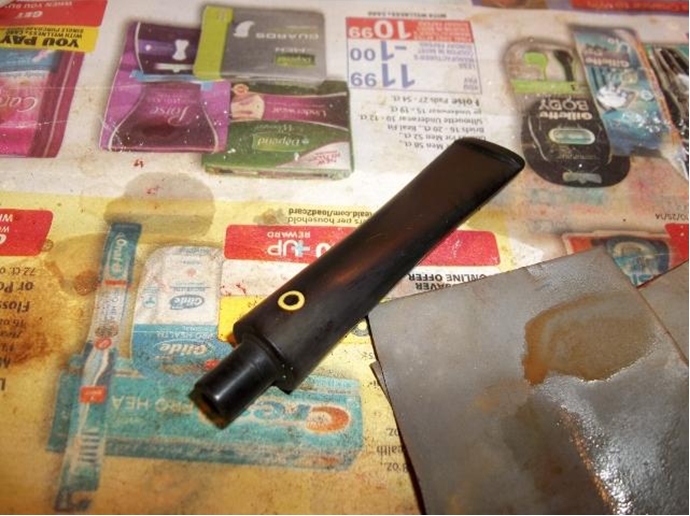 I put the bowl and stem back together and it is ready for some buffing and wax.
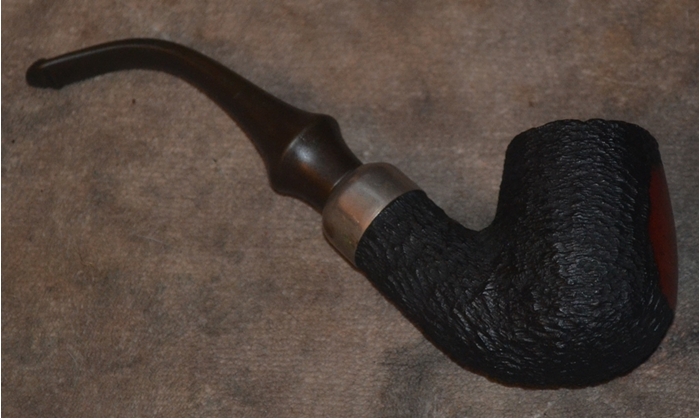
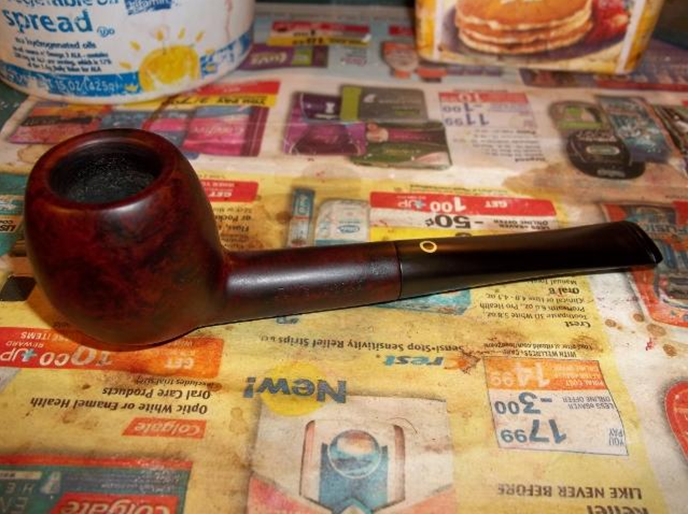 On bowls I’ve stained I put about 3 coats of base wax then go back over with white Tripoli then go back to wax .
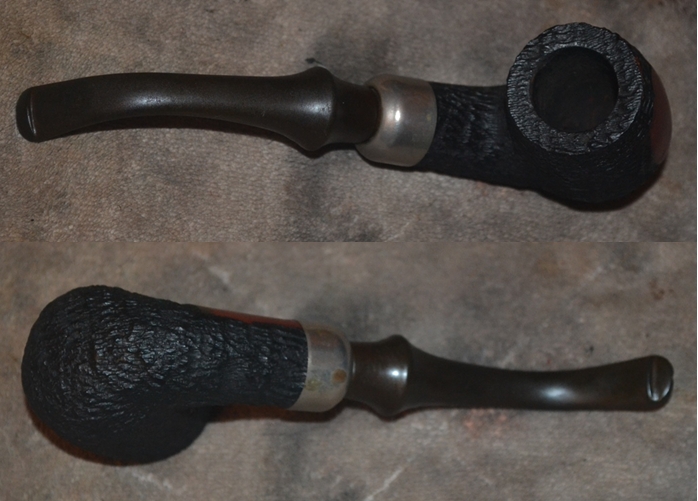
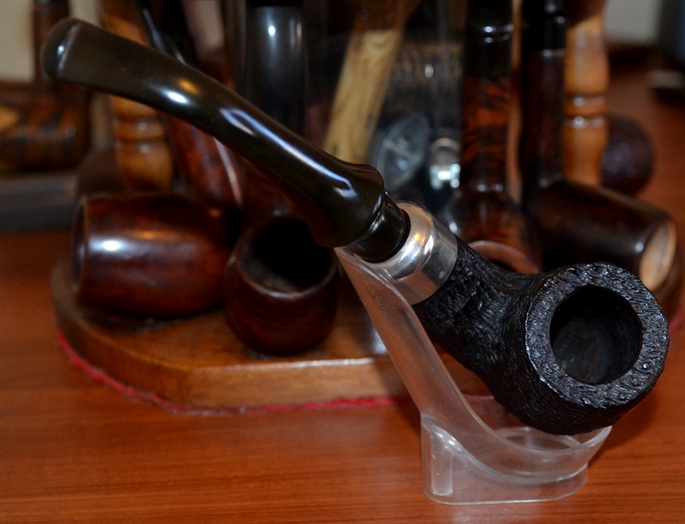
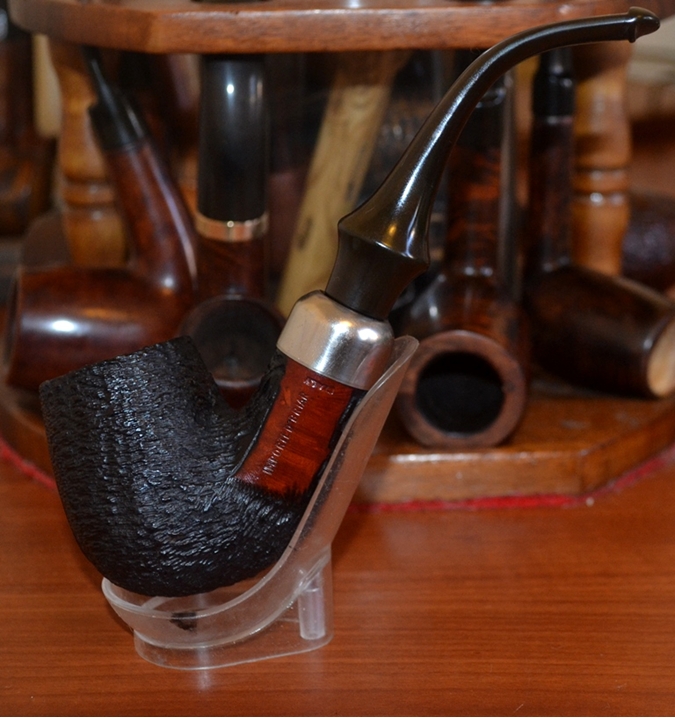
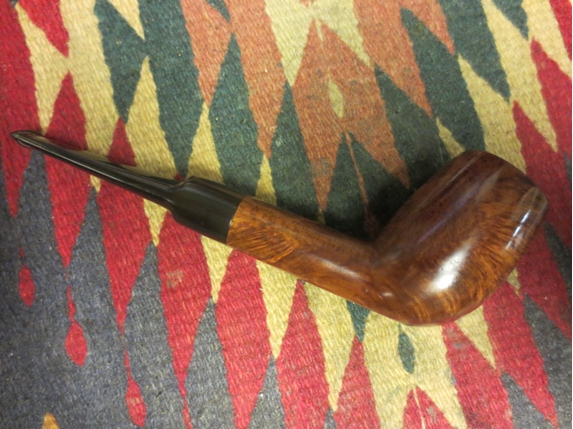
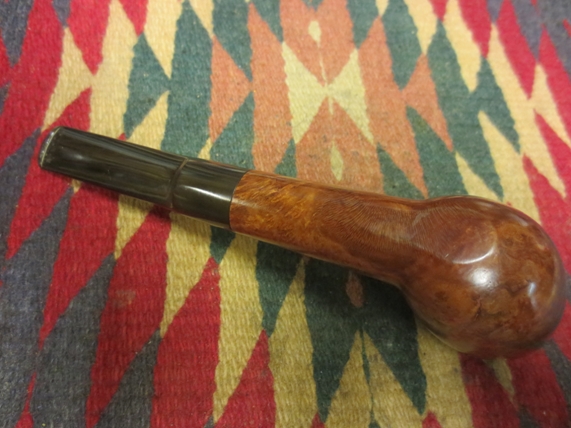
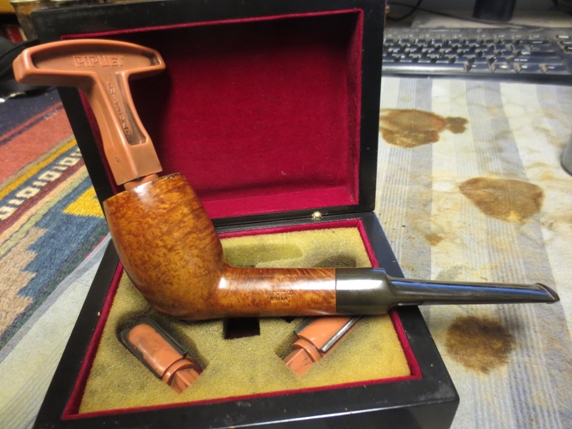
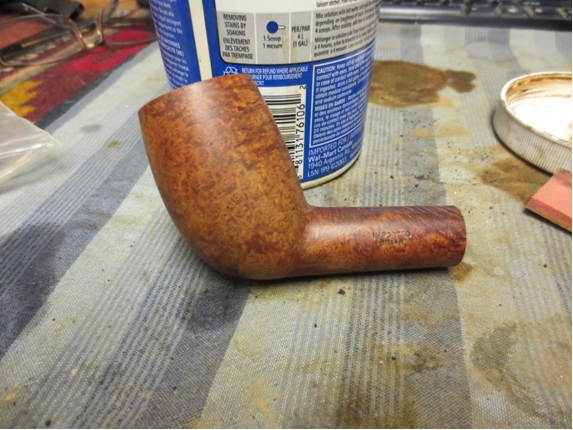
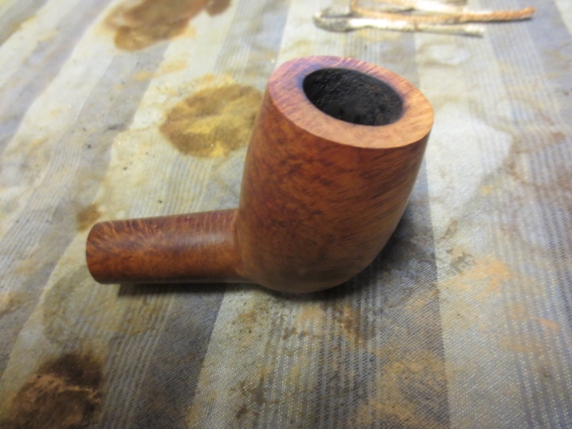
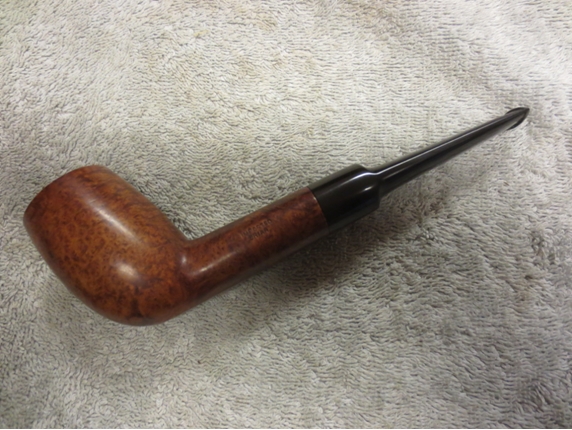
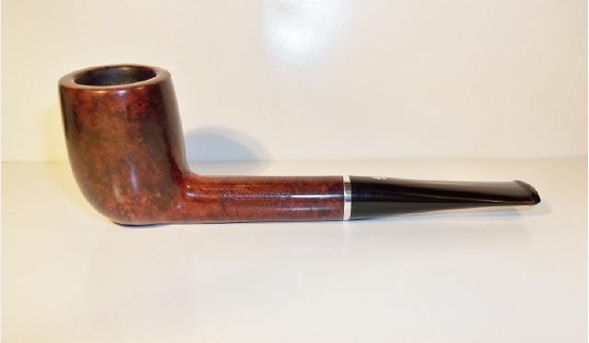
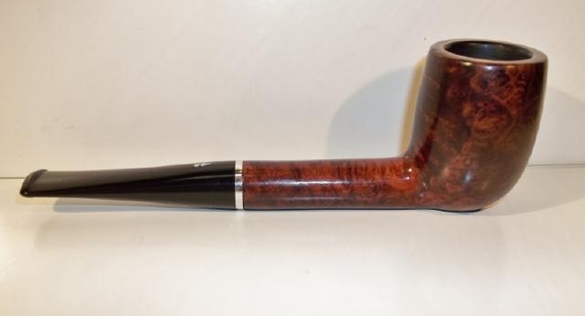
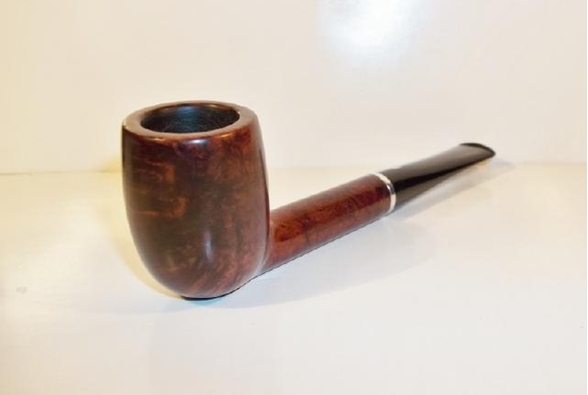
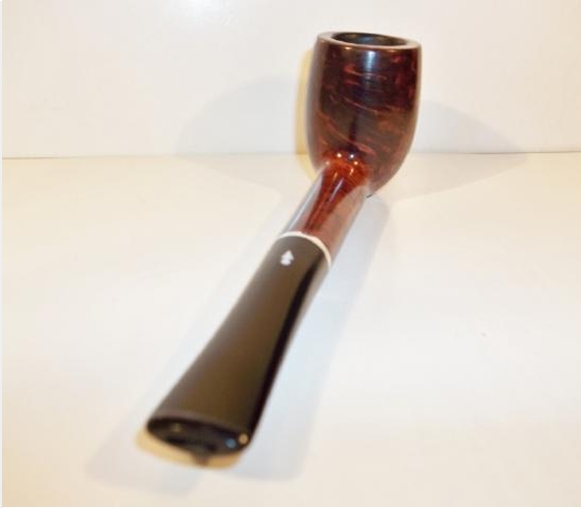
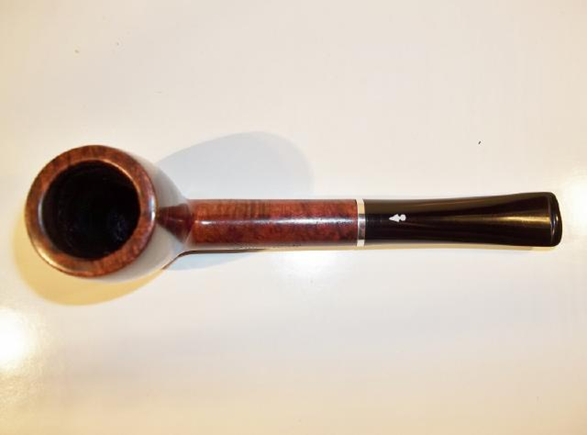
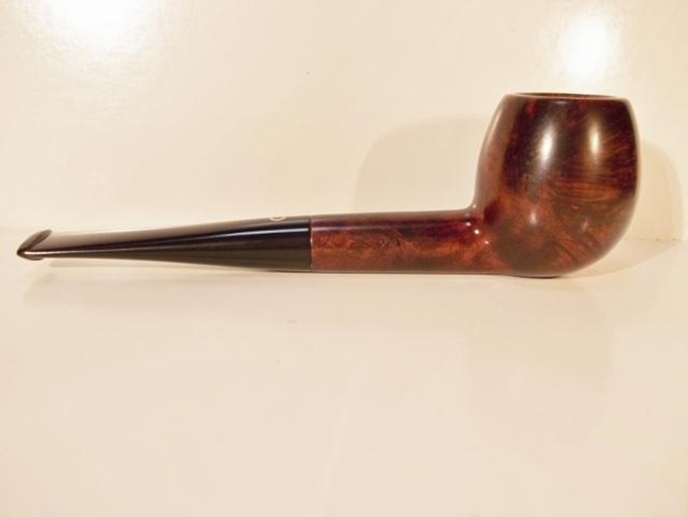
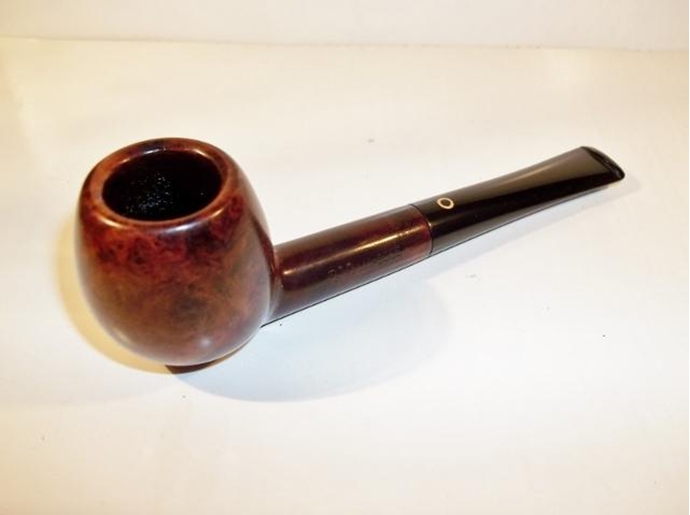
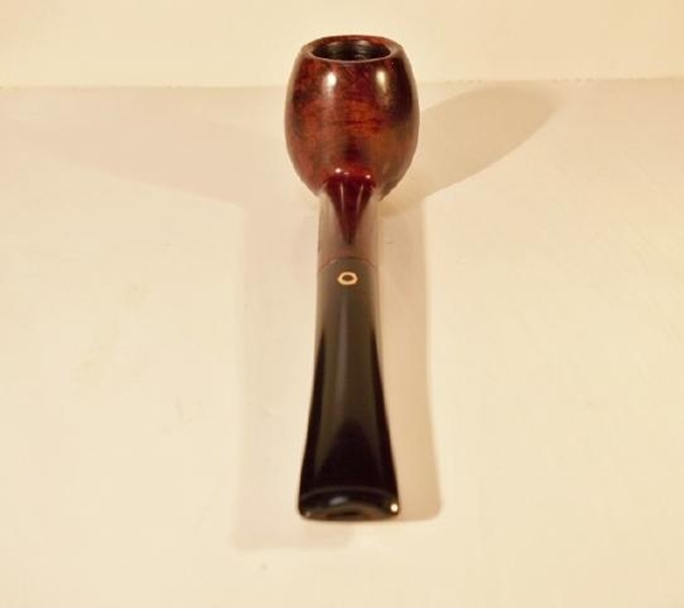
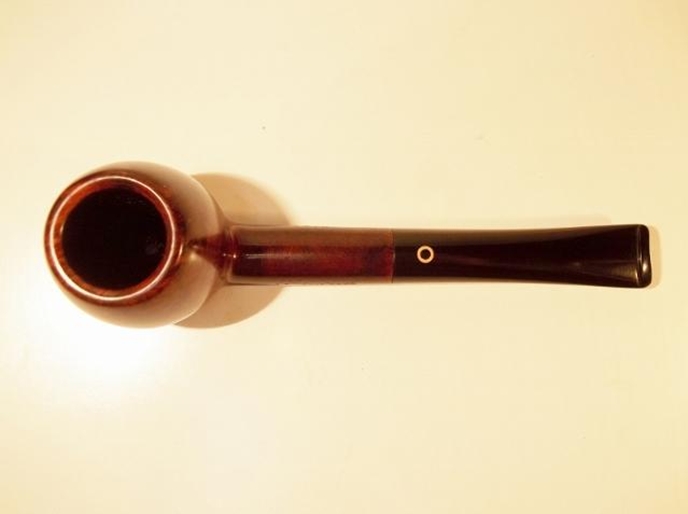
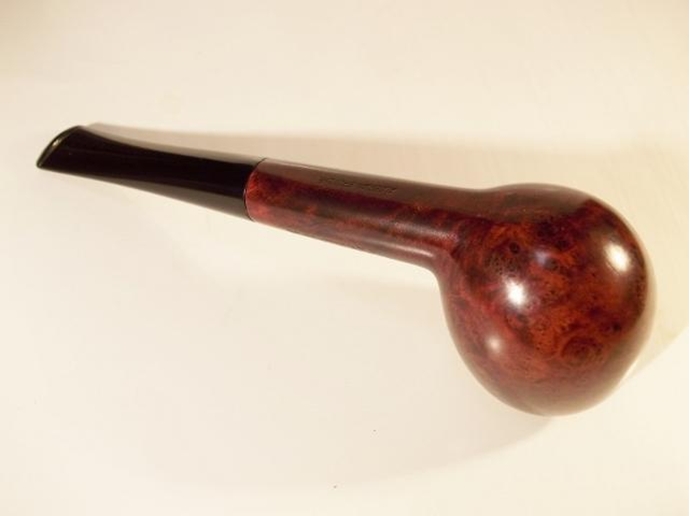
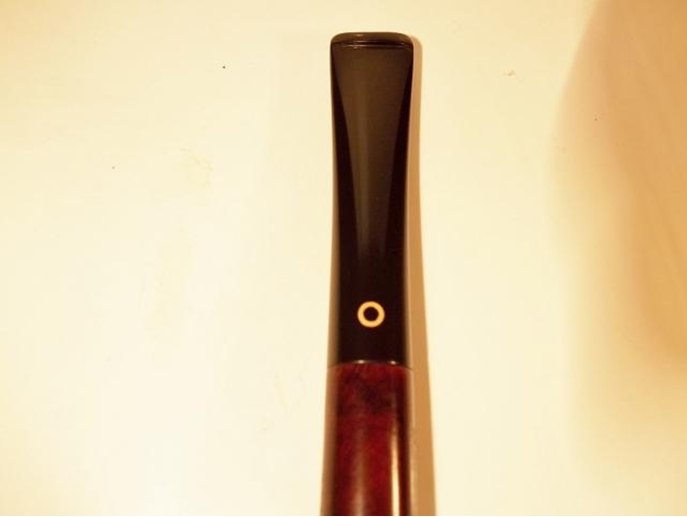
On the stems I use brown Tripoli, white Tripoli and then wax. Here are pics of the finished pipe.
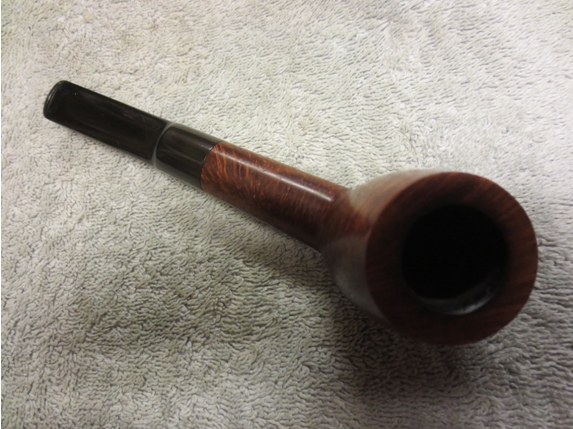
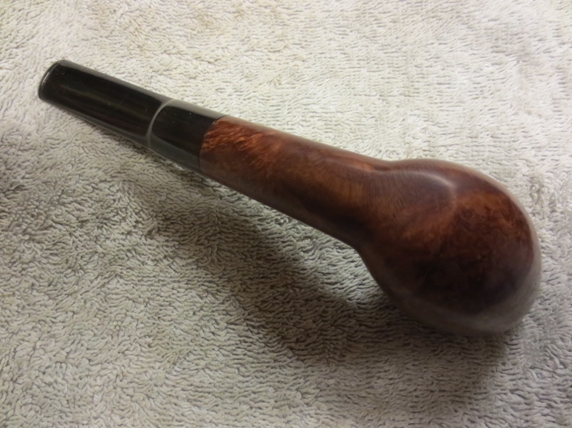
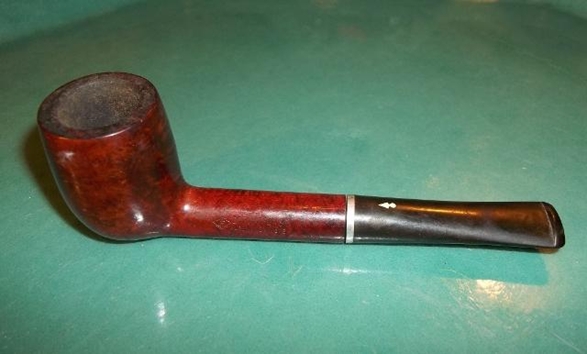
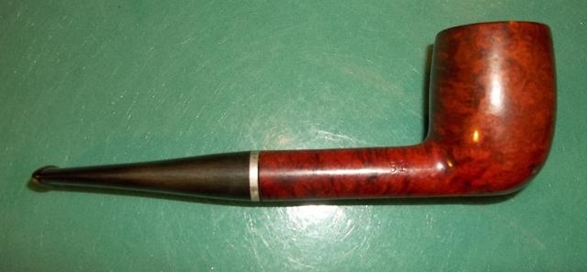
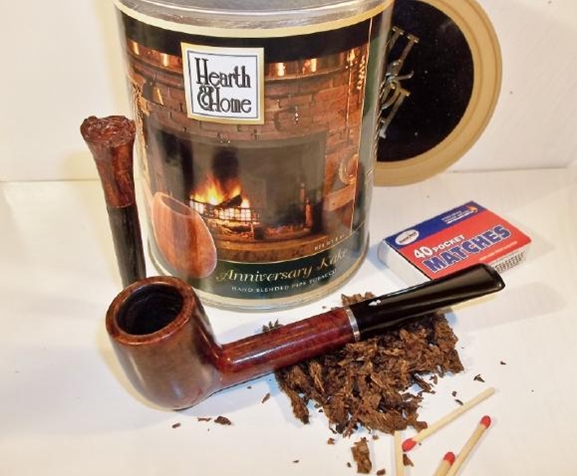
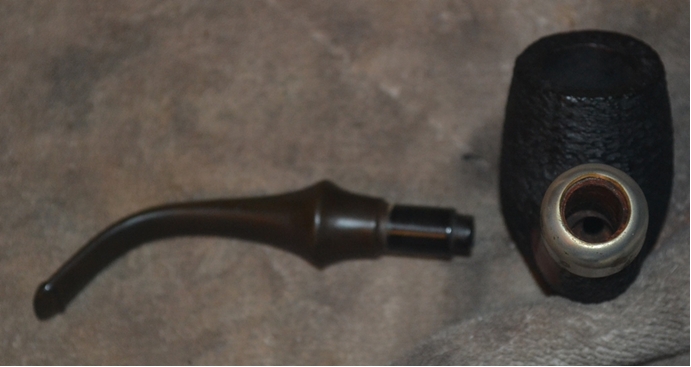
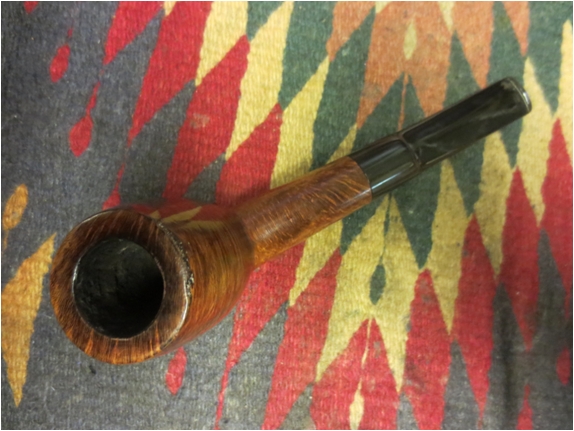
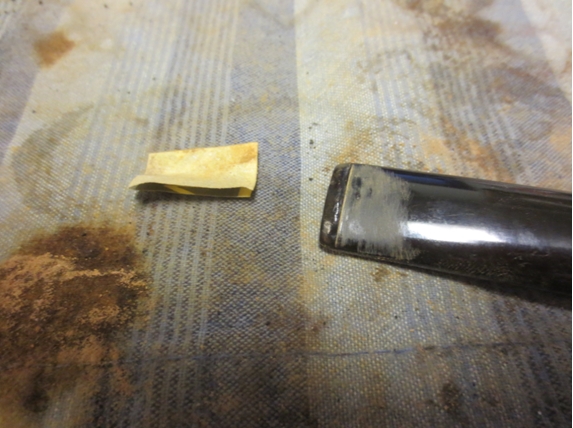
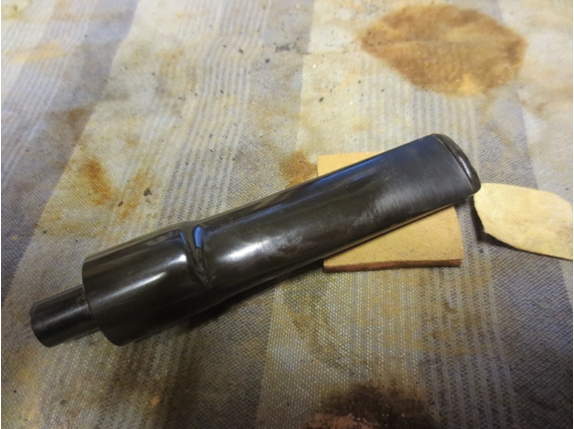
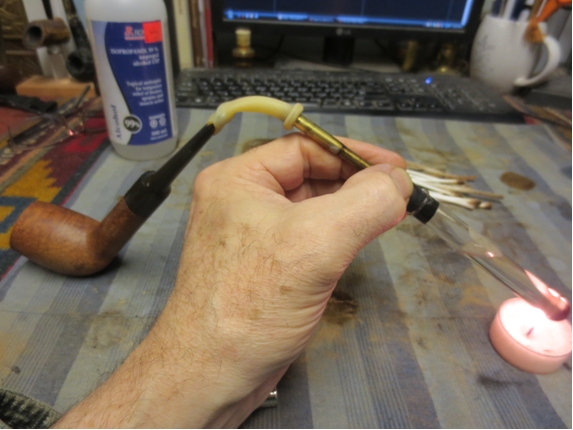
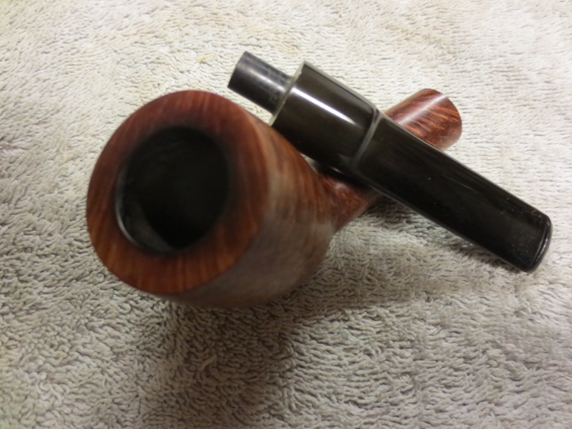
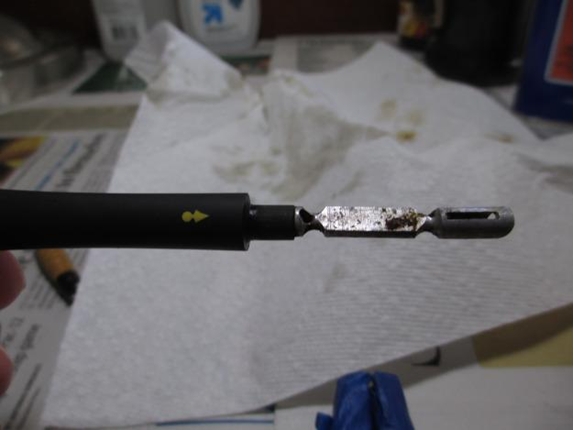
 It was missing a stinger so I dug out an extra I had and cleaned it up.
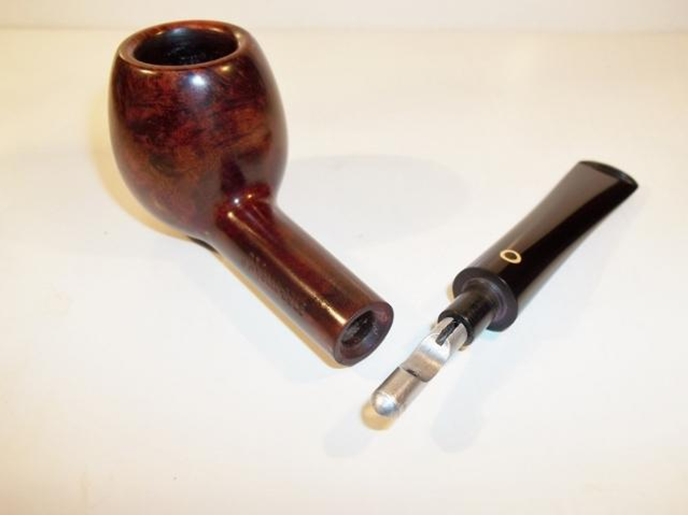
 It should make a fine daily smoker and better than most any pipe I could buy today for under a 100 dollars. I have less than 12 dollars in it.