Blog by John Ferguson
My friend John Ferguson, who I wrote regarding our pipe hunt and his learning to clean up estates, sent me an email a few days ago. In it he included some photos of a pipe that he picked up and was working on currently. He asked about the brand of the pipe so I did a bit of research on the pipe and found out that it was a Preben Holm pipe – the IIS stamping identifies it as such. Later he sent me a piece that he wrote about the find and his restoration work. Here are his words on this first restoration. It is great to have you posting regarding this pipe on rebornpipes John. Keep up the good work.
Ever since my friend, Steve, showed me how to restore my first estate pipe that I found in a batch of pipes at an antique store in Bellingham, WA, I’ve been itching to do some more hunting for pipes that would intrigue me.
I had the opportunity to do so on a recent trip to Texas to visit my family. One beautiful afternoon towards the end of November, my mother and I headed out to some antique stores to spend some time together. And of course, hunt for some pipes.
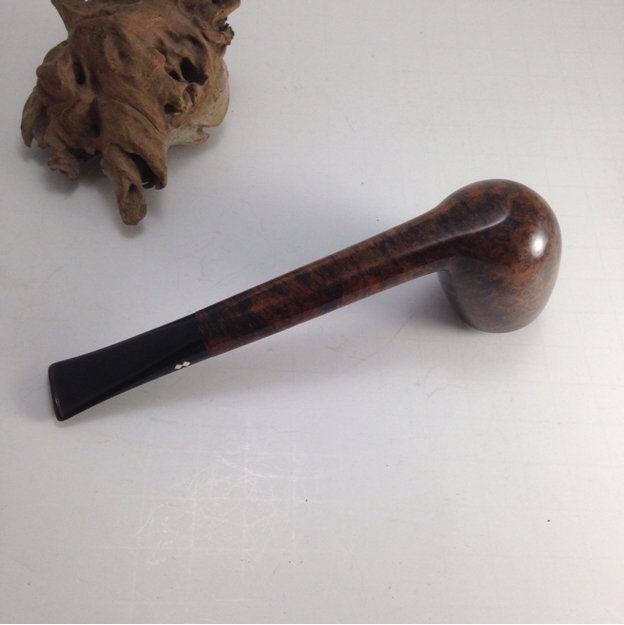
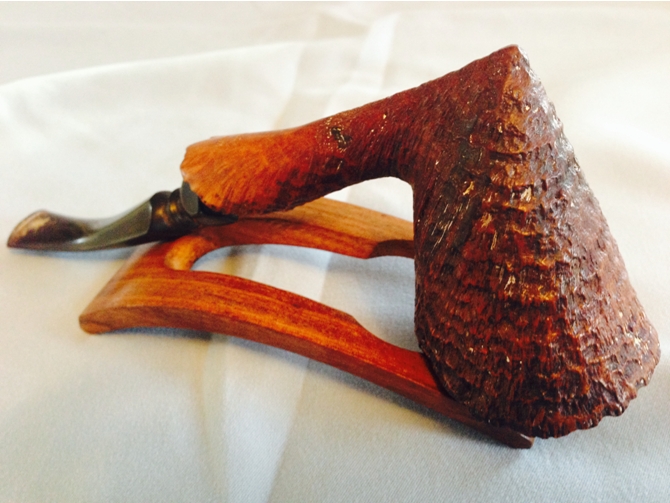
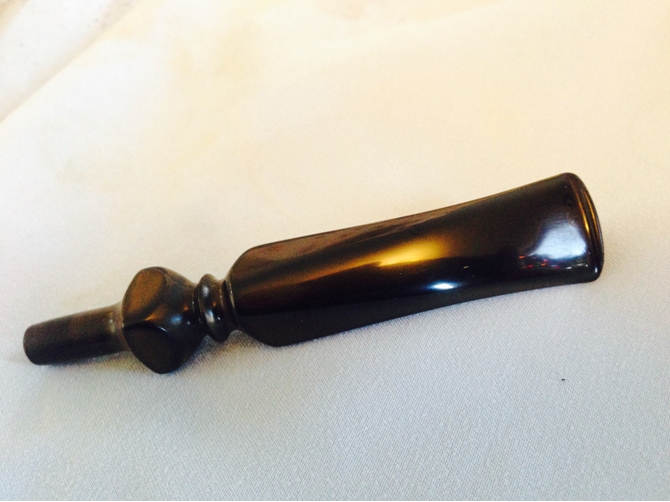
I found this pipe that intrigued me.
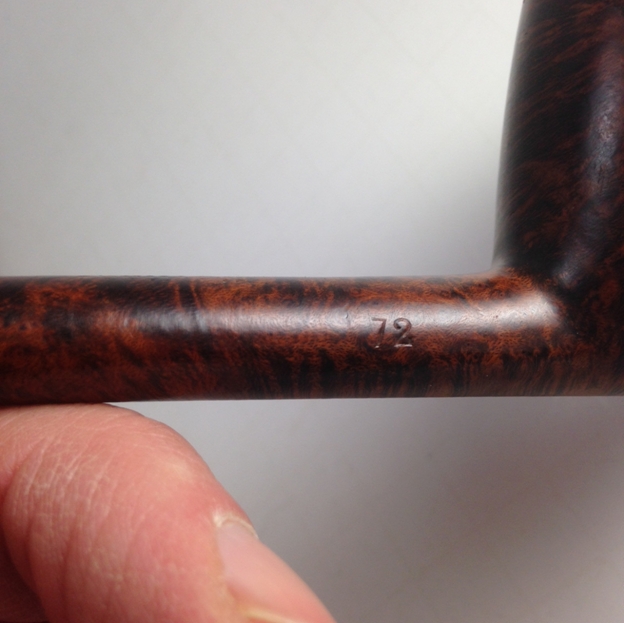
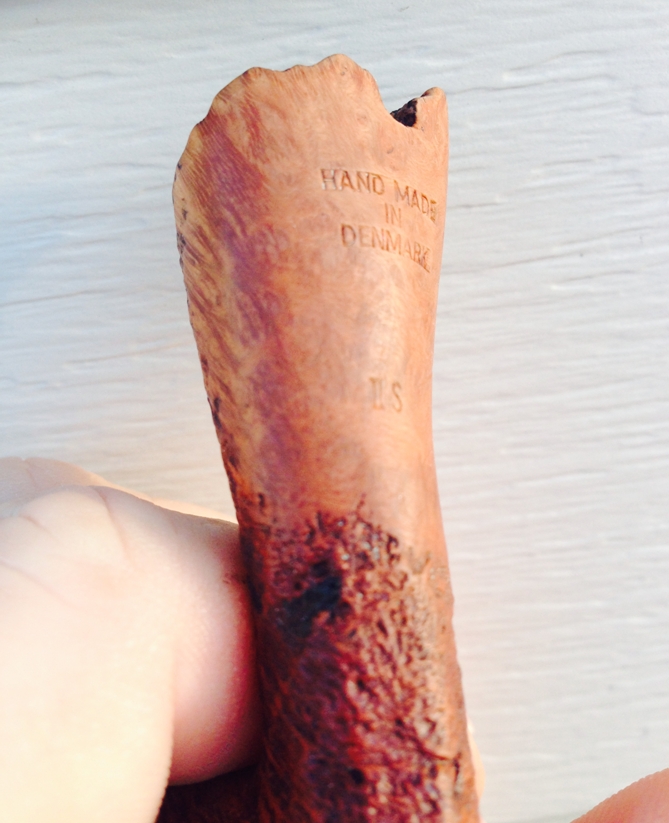
 It was stamped with the words, “Handmade in Denmark” with a “IIS” below it. I did a quick search on my smart phone, but couldn’t find any info quickly. With some help from Steve, we discovered that this was a Preben Holm Pipe.
It was only $10, and since my 19 year old son loves all things Scandinavian, and since it looked like something out of Lord of the Rings (another favourite of his), I decided to get it and restore it, and to give it to him as a Christmas gift this year.
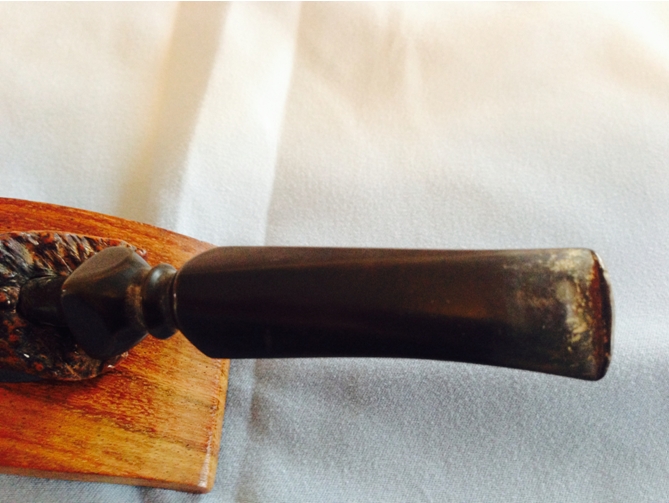
It definitely needed some help. The stem had tooth marks plus calcification.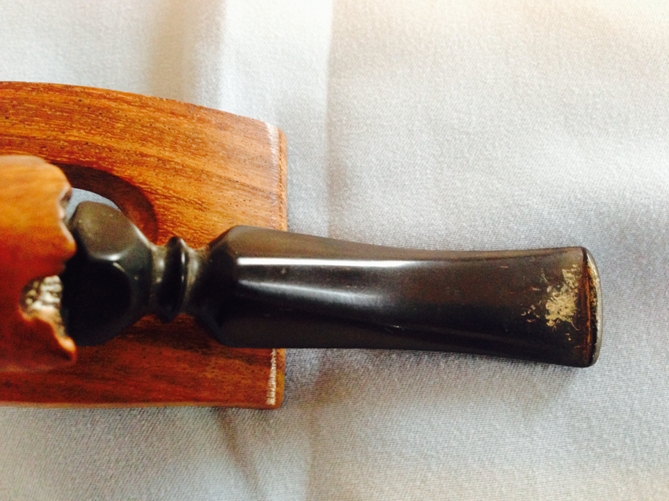
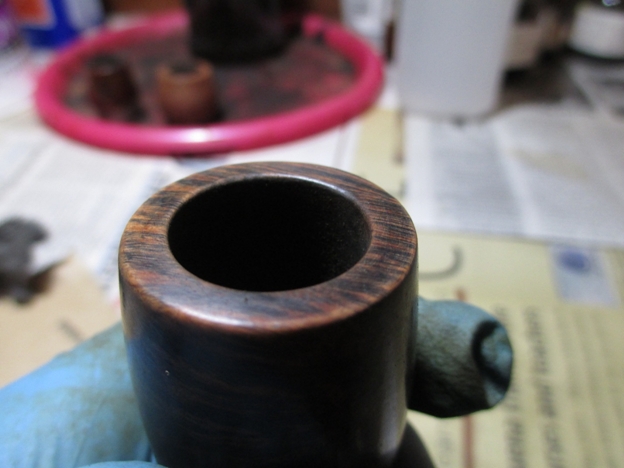
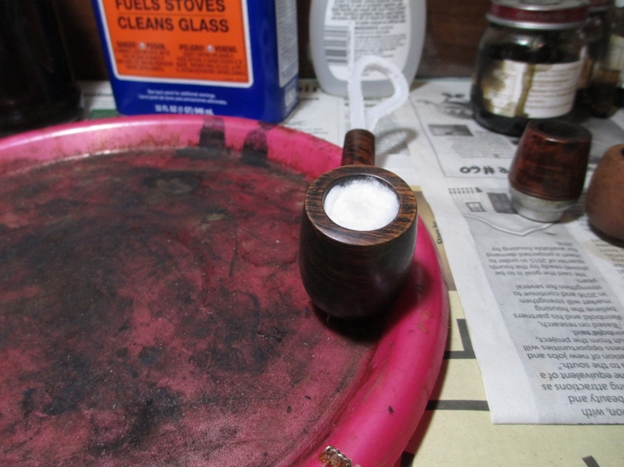
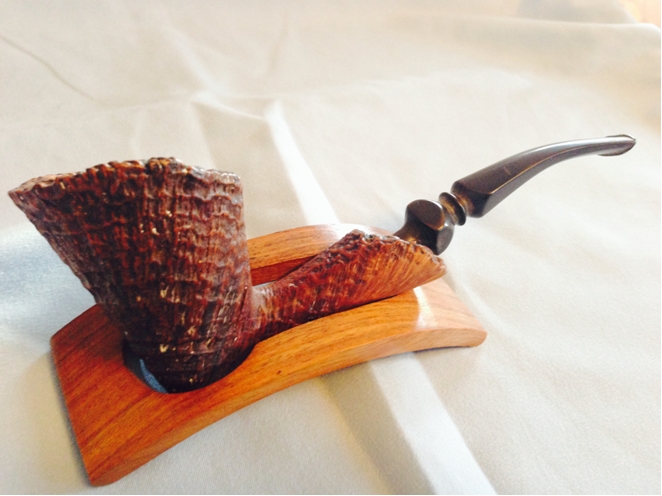
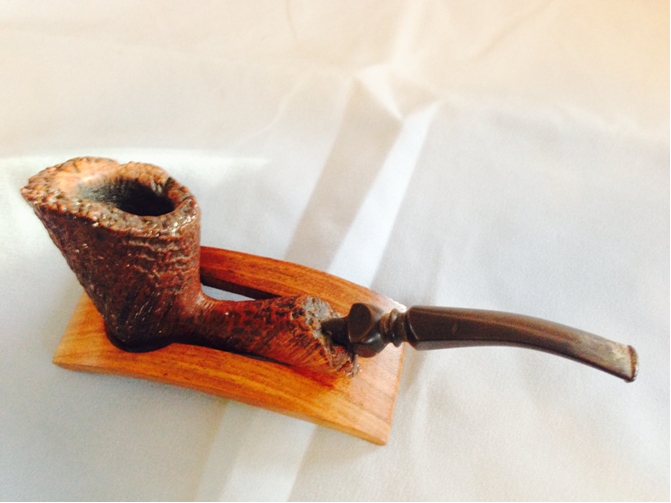
 And the bowl had what looked like paint chips embedded in the texture.
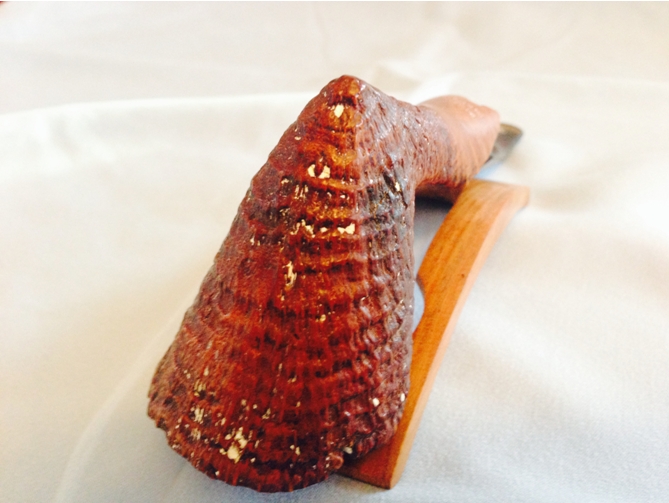
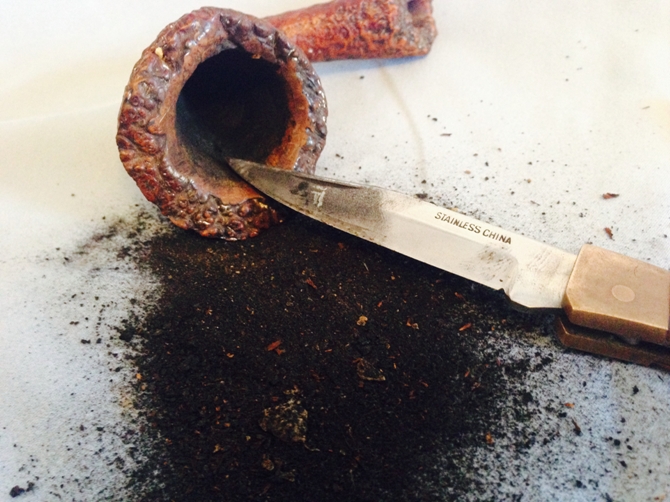
 There was a lot of cake built up on the inside of the bowl, so I took my grandfather’s pocket knife and began to ream it. Gently. I was careful not to damage the bowl.
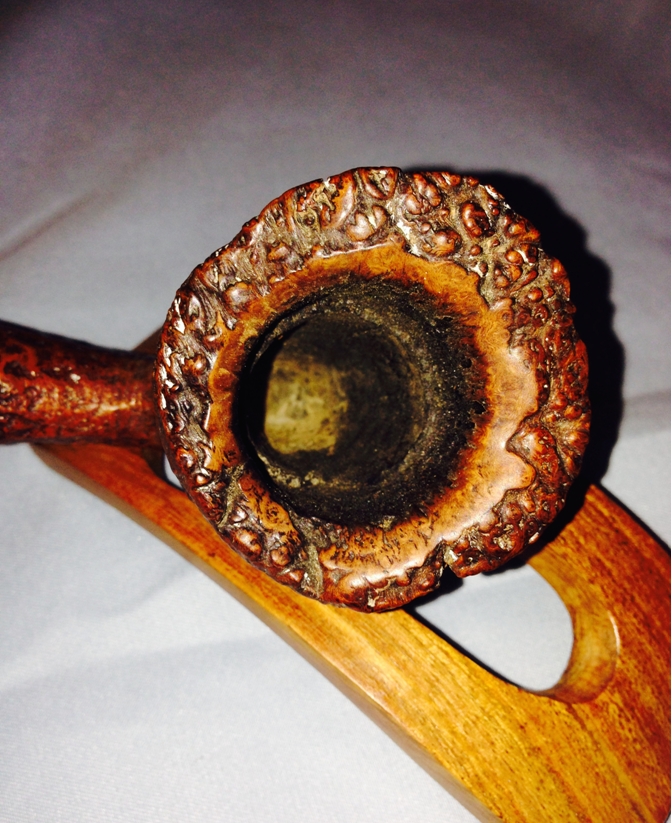
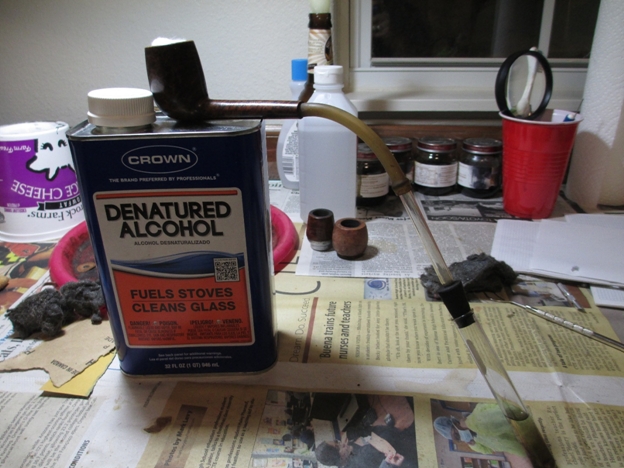
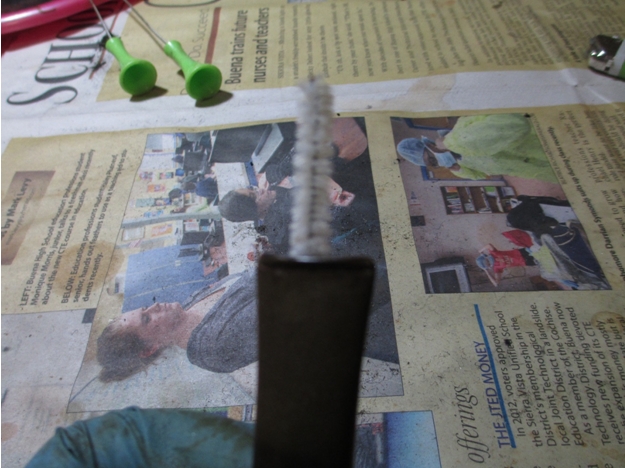
 I followed that up with pipe cleaners and alcohol to clean the shank. I used regular pipe cleaners, bristled pipe cleaners, and a pipe cleaning brush and worked until no more gunk came out and the pipe cleaners came out clean.
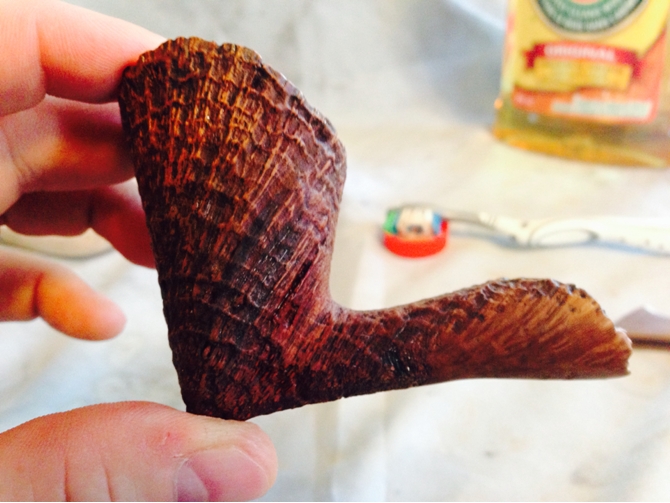
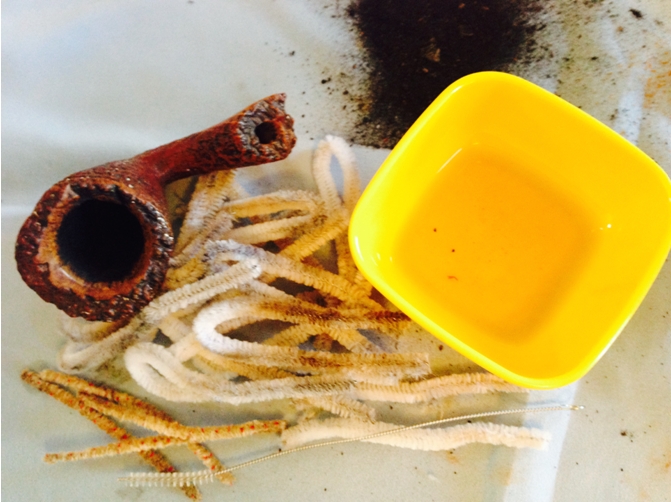 The next step was to clean the pipe with Murphy’s Oil Soap and an old toothbrush. I took several rounds of scrubbing to get most of the ‘paint flecks’ off of it, and what the brush didn’t get the tip of my pocket knife did. I think it turned out beautifully.
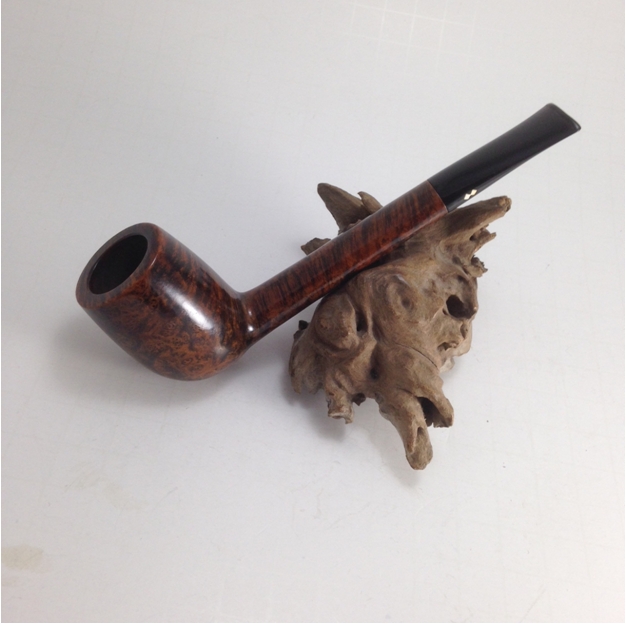
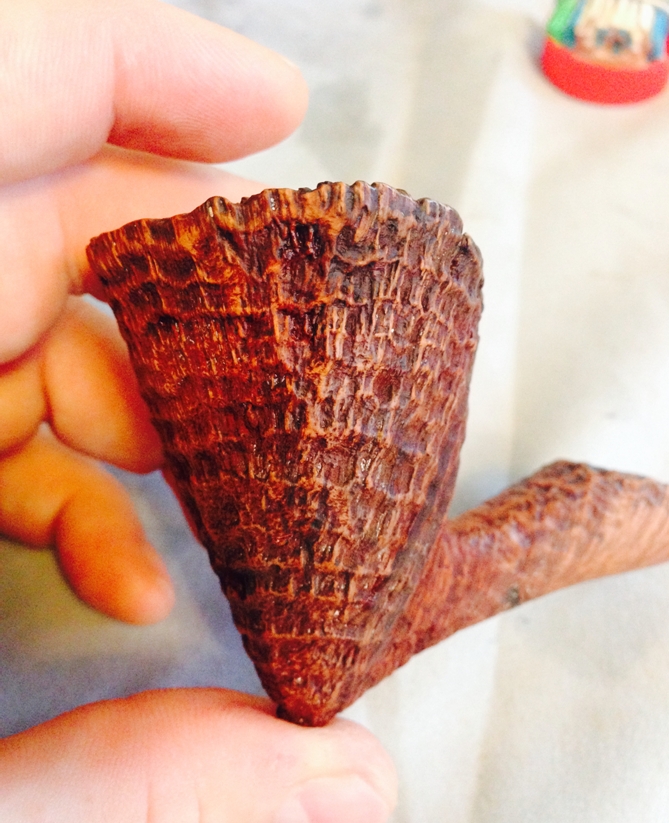

 Next came the cotton ball soak with alcohol on the inside of the bowl.
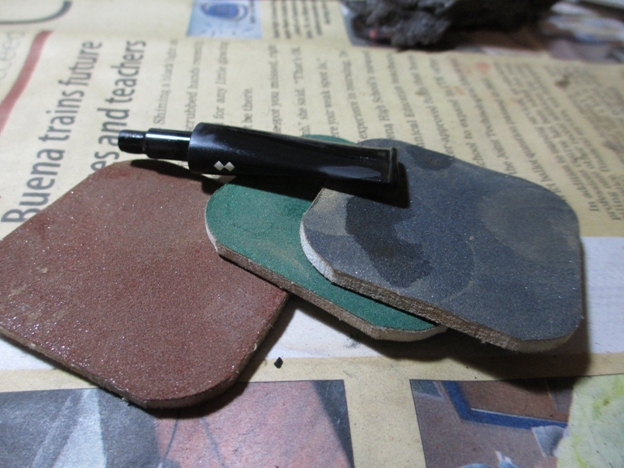
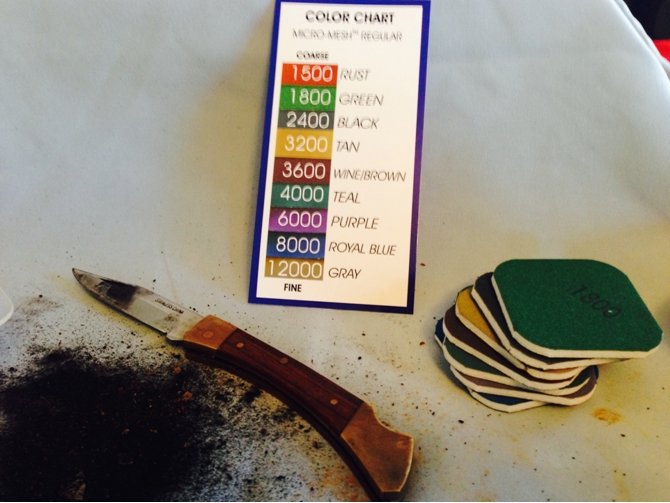
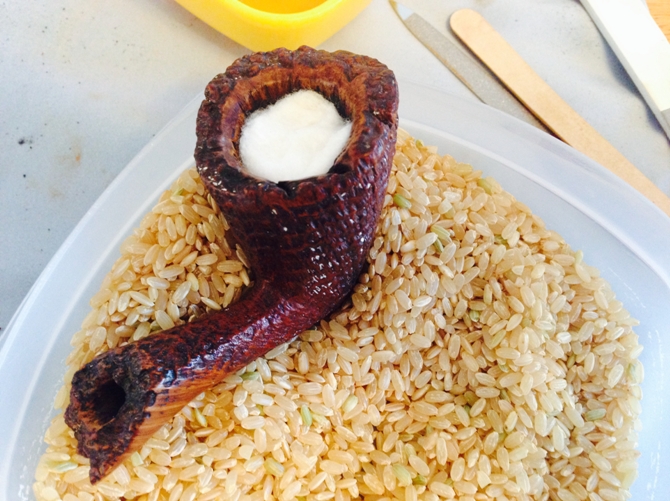 Then I turned to work on the stem. I began working on smoothing out the bite mark and removing the calcification by using 240 grit paper, followed by 180 grit. Then I began using micromesh pads working from the 1500 pad to the fine 12000 pad. After about an hour of work, I had a brand new looking stem.
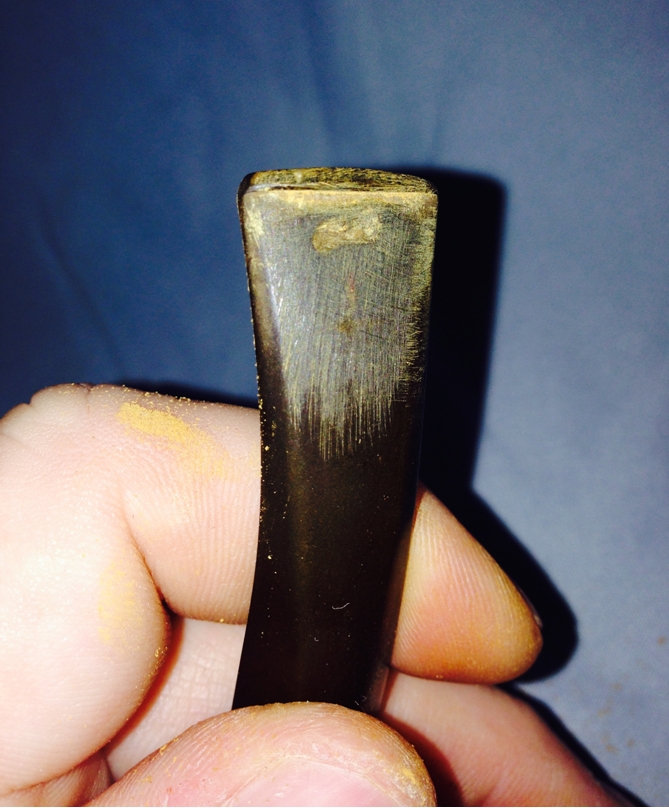
 Stay tuned for Part 2!