Blog by Steve Laug
I have had this 1940s era Peterson’s pot for quite a while now (stamped with a com circle Made in Ireland). I found it at a flea market here in Vancouver. It was a mess and missing a stem when I found it. There was a spring windcap welded to the top of the bowl by the carbon and the cake buildup. I did a write up on the restoration and how I made the stem that is on it in the photos below. You can read about it by clicking on the link below.
https://rebornpipes.com/2012/06/07/fitting-a-pipe-with-a-new-stem-photo-essay-20/ 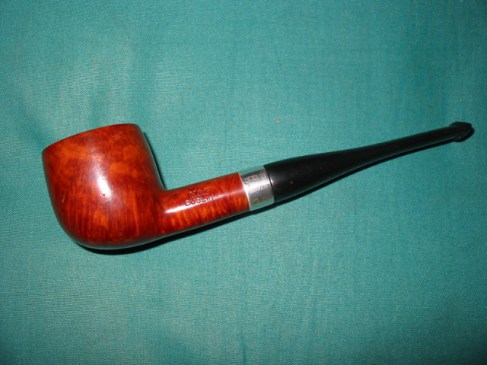
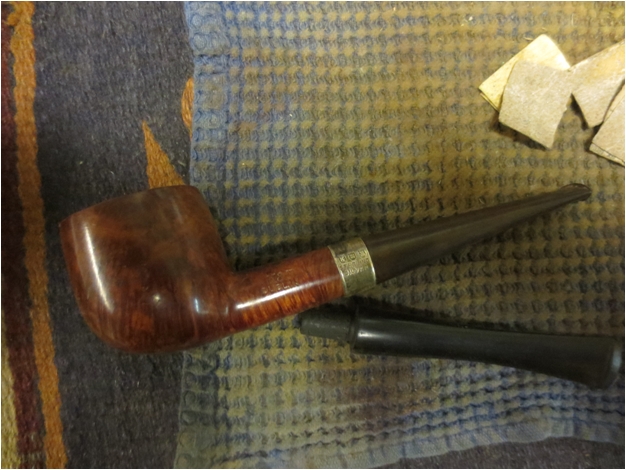
 From the moment I finished restemming it in June of 2012 I did not like it. It went into my box of pipes for sale. It is a beautiful piece of briar and the original band is clean and readable – it says K&P Sterling Silver. But the stem – even though it looked okay – did not do it for me. Since I am on this binge of reworking old pipes these days, pipes that just did not make the rotation even though they were workable and smokeable, this one was next on the hit list. I held in hand and looked it over. I was going to do some work on the stem shank fit but even as I looked at it I knew that would not change my mind.
Then the lights came on and I understood what it was that bugged me about this pipe. The stem was just too long to my liking. No amount of reshaping it would change that overall feel for me. The stem would need to go. I remember going through my can of stems when I restemmed it and this was the only one that I had that was even remotely close to working. However, recently I had purchased some old stems that only needed to be cleaned and repurposed. I was certain there was one in the can that would work. There was one that was about ½ inch shorter than the existing one. It was the perfect diameter for the shank. The tenon was a little big but a quick work over with the Dremel and sanding drum followed by hand sanding with 220 grit sandpaper took care of that problem. The stem fit well. It needed to be cleaned up and the oxidation removed from the surface but it was going to be a better looking stem in my opinion once I finished working it over.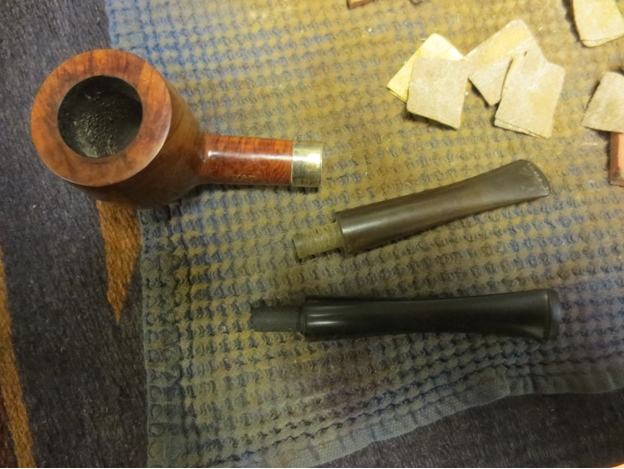

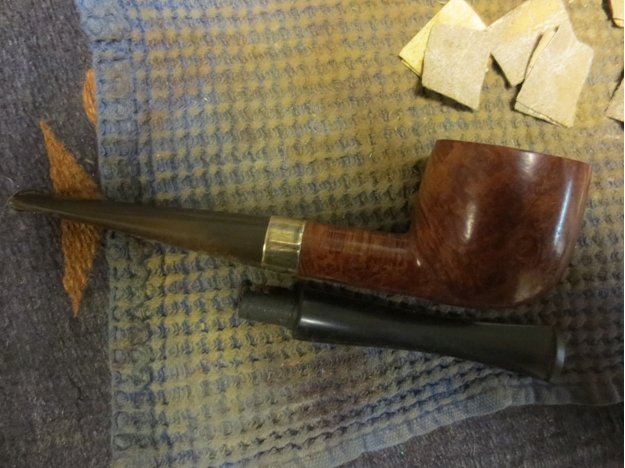
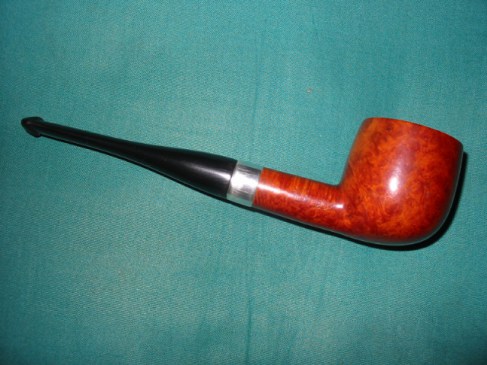
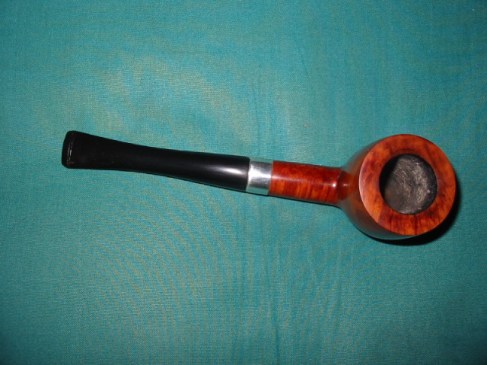
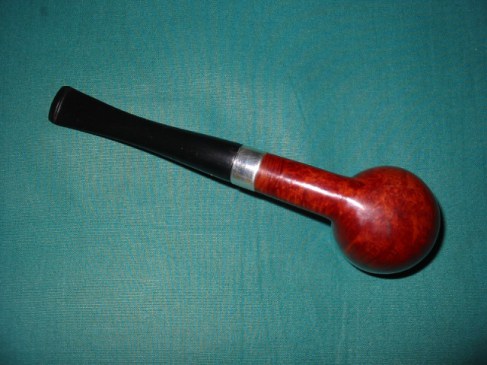
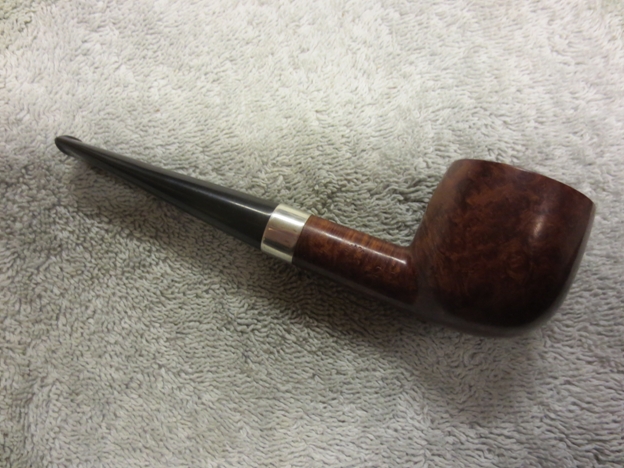
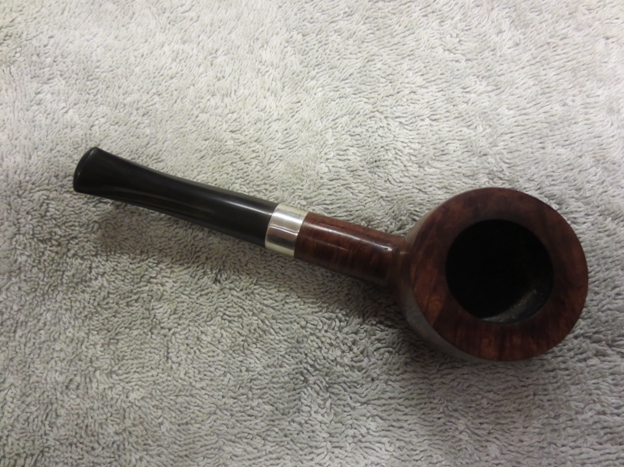
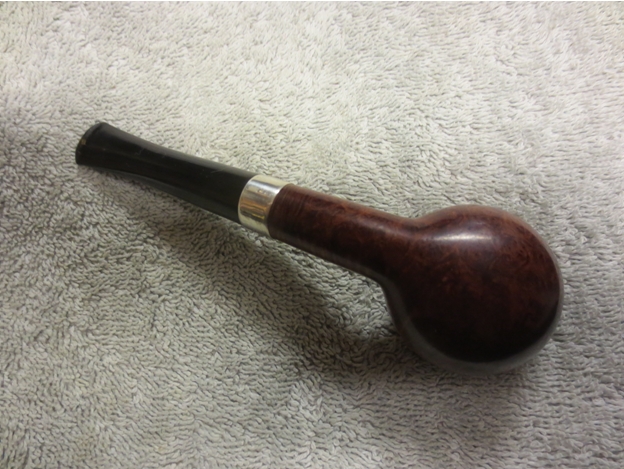
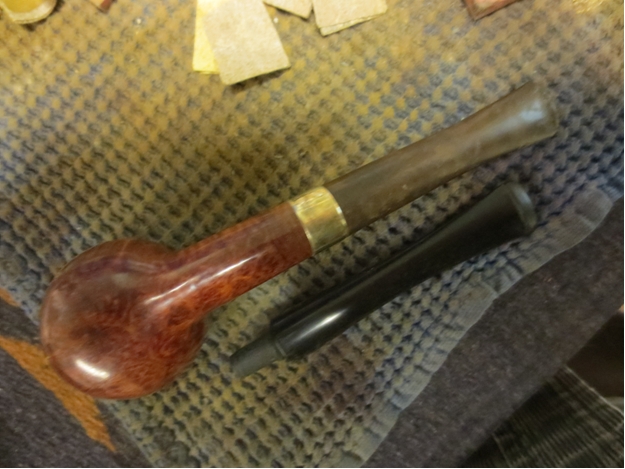 I sanded the stem with 220 grit sandpaper, medium and fine grit sanding sponges and then a fine grit sanding block to remove the oxidation on the stem. I could have let it soak in oxyclean but chose not to as I wanted to work on it without waiting. I also did not have any stamping on the stem that I wanted to preserve so sanding would do no harm. I worked on the button edges to sharpen them. I then sanded the stem with micromesh sanding pads – wet sanding with 1500-2400 grit pads and dry sanding with 3200-12,000 grit pads. I buffed the stem in between the 4000 grit pad and the 6000 grit pad with White Diamond. I rubbed the stem down with Obsidian Oil and when it was dry gave it several coats of carnauba wax and buffed it with a soft flannel buffing pad. The finished stem is shown in the photos below. I really like the new look of the pipe and am glad I replaced my first replacement stem. It will probably stay in the rotation for awhile now.
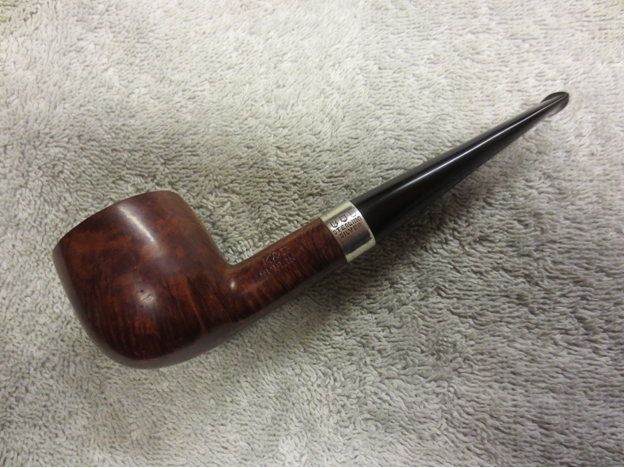
 You may be wondering when this “urge” to rework previous work will end. I am not sure I can give you a clear answer to that question. I am going through the pipes I am preparing to sell so there may well be others that come under scrutiny. As I rework them I will let you all know. Maybe it will end when I get the pipes I have picked up on Ebay finally arrive. It may well be a case of too much time during the holidays and the ladies in my life disappearing to do shopping that keeps me looking for ways to stay busy.
