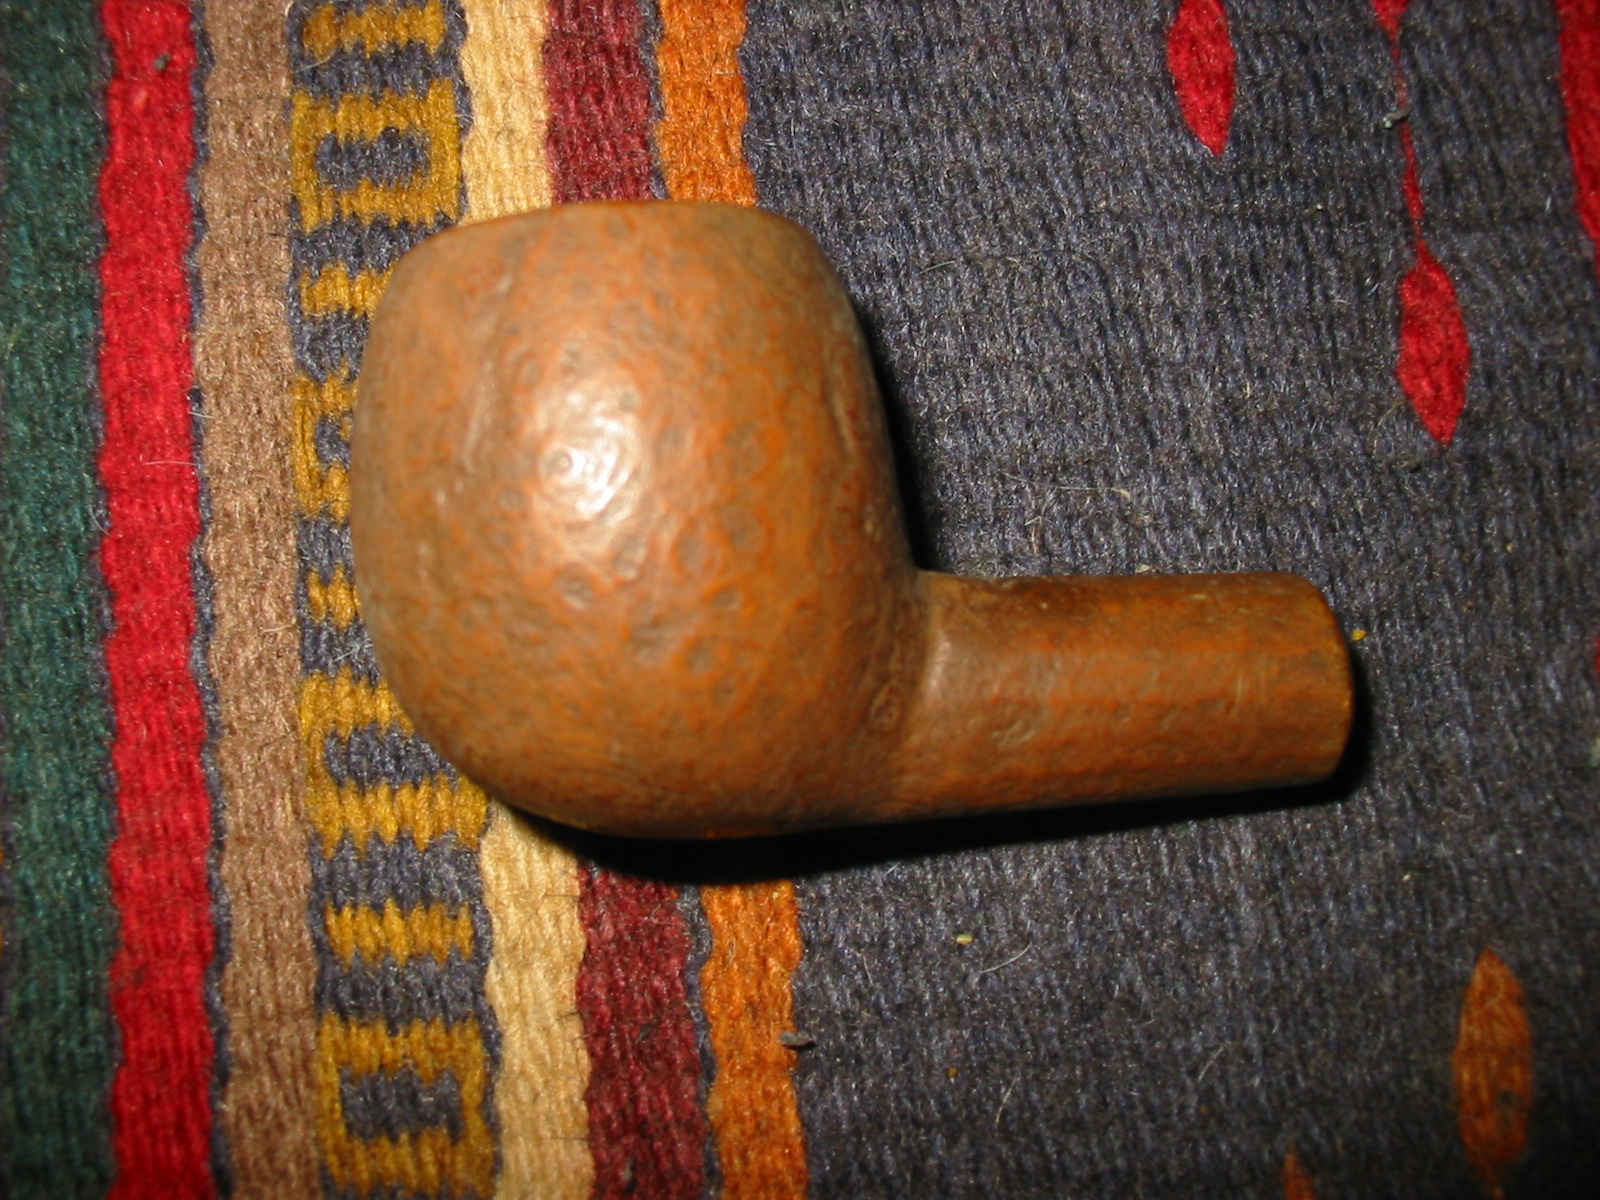
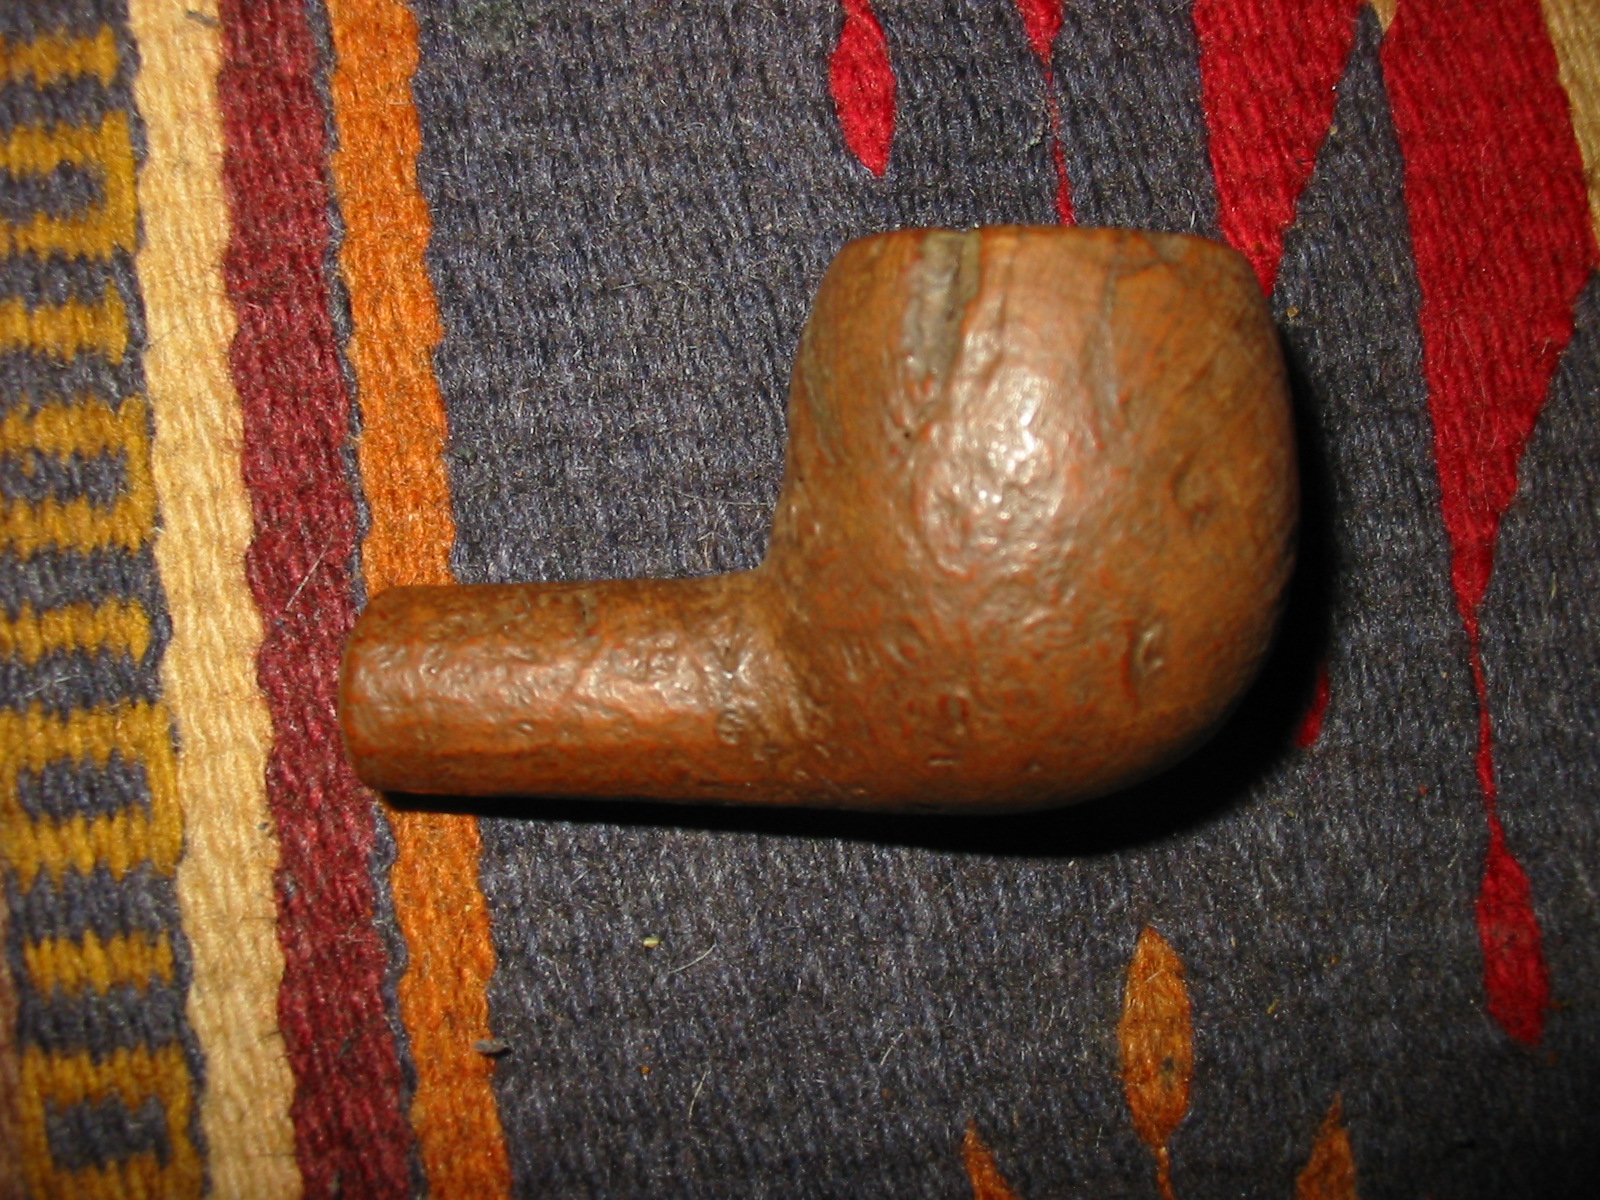
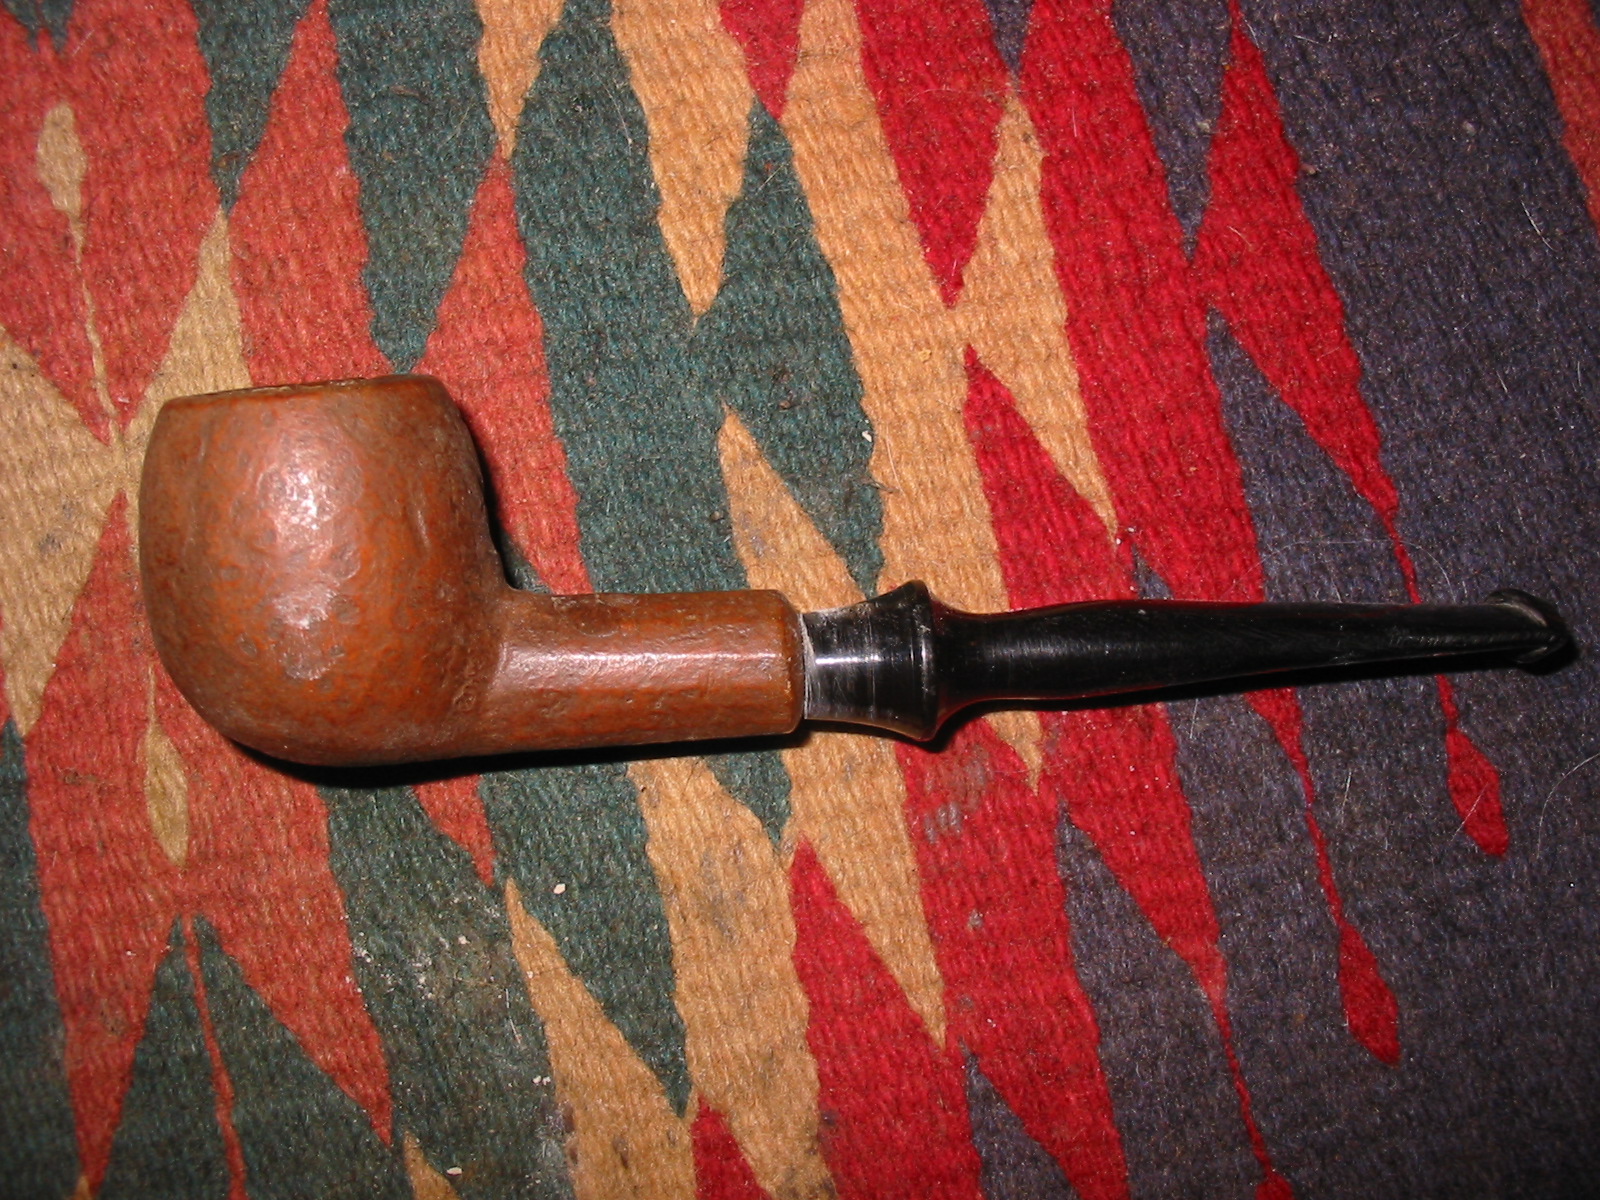
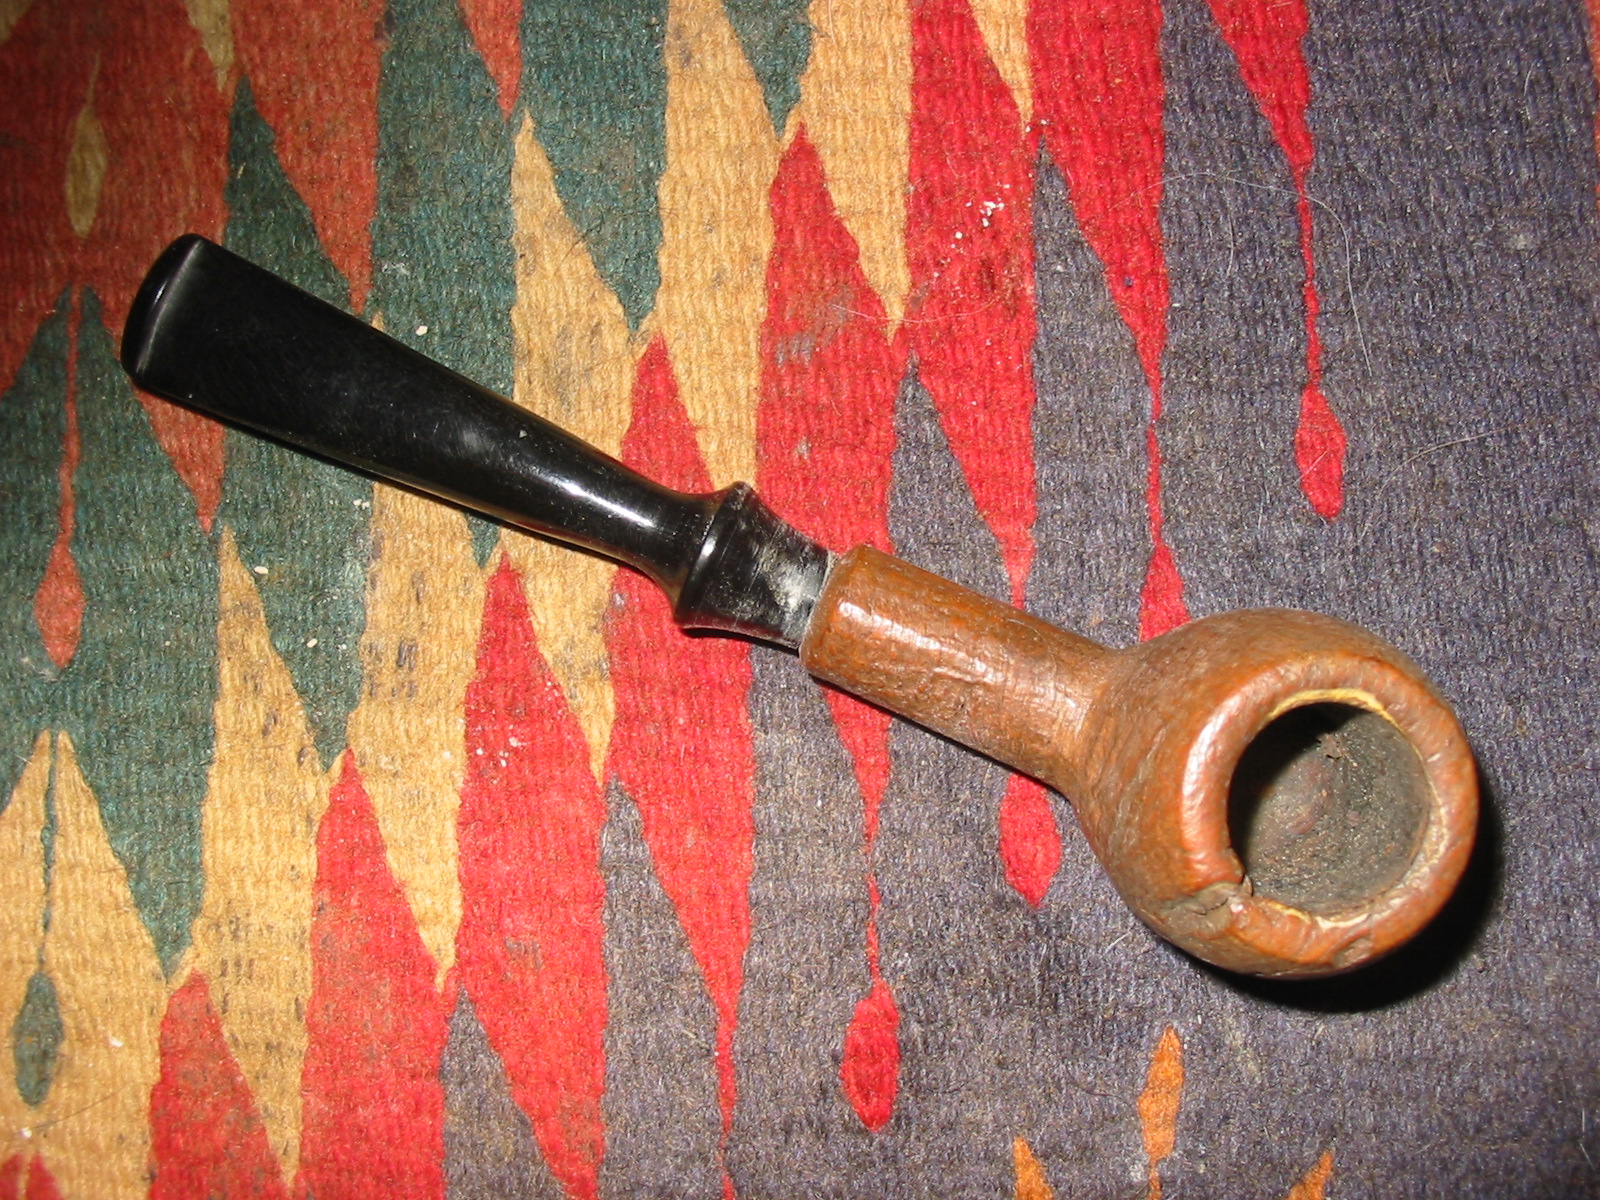
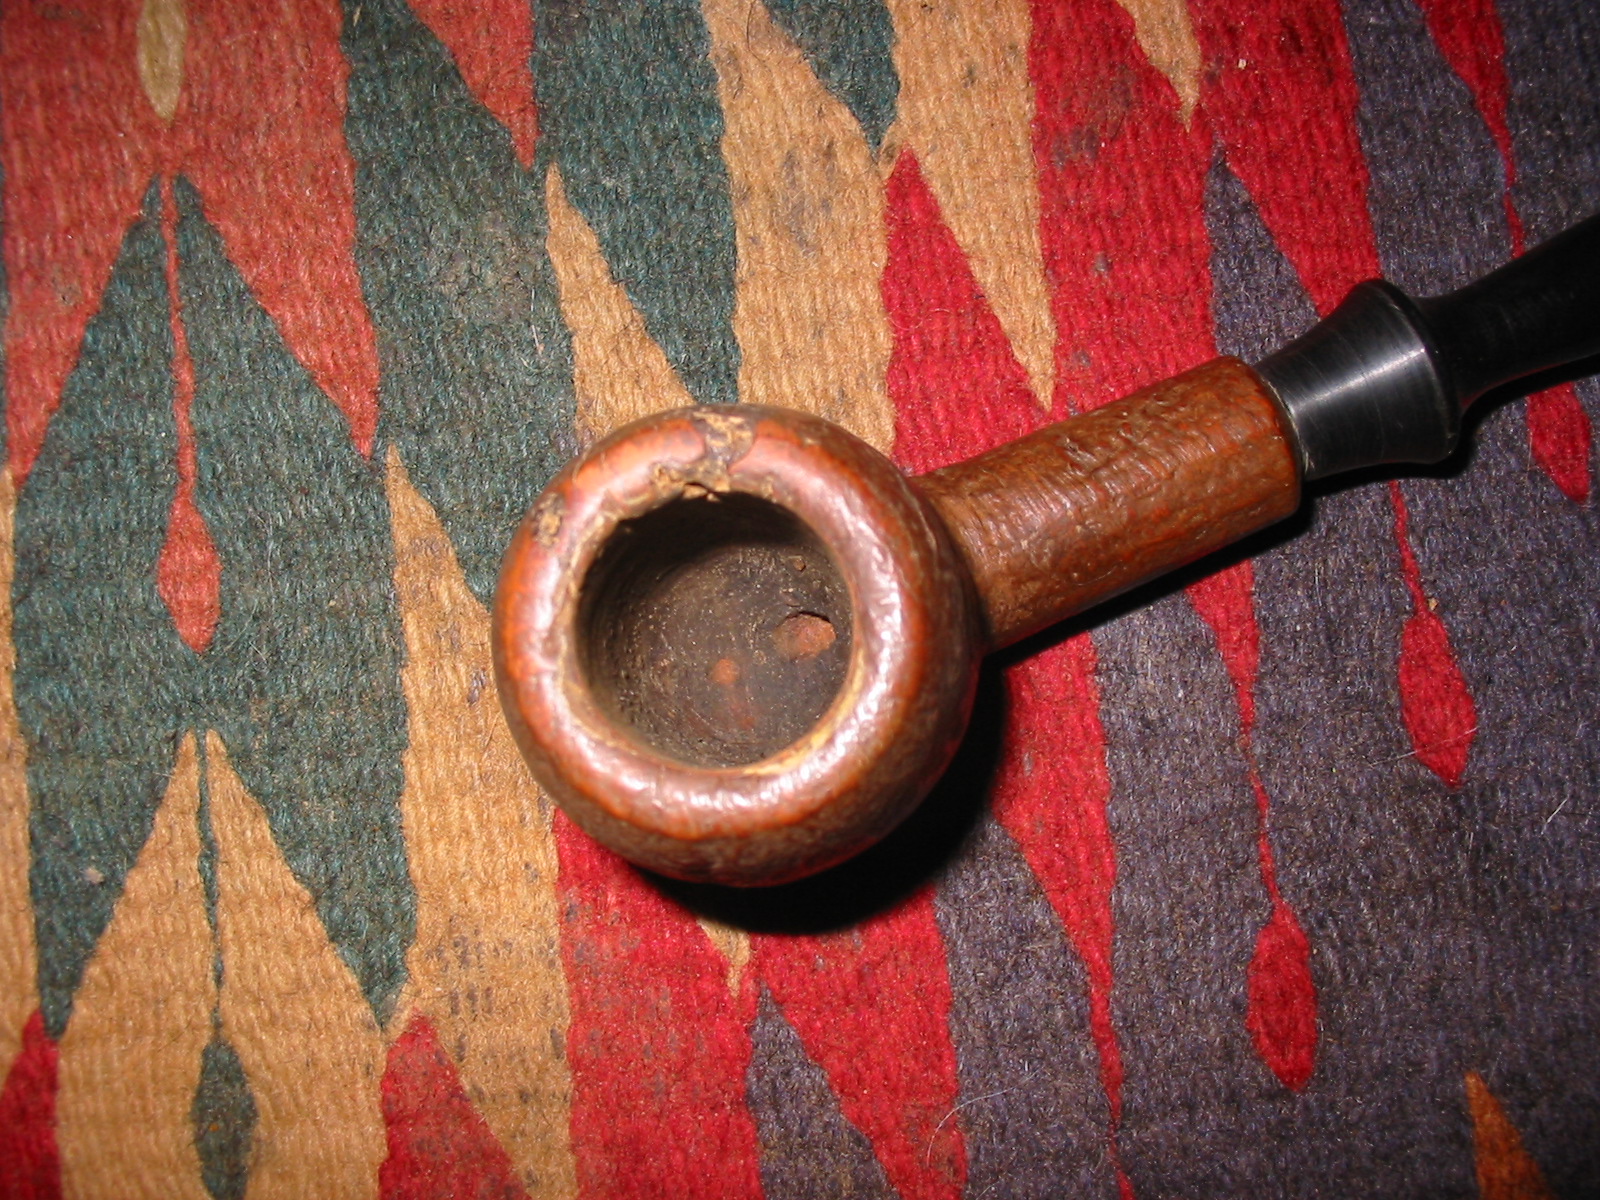
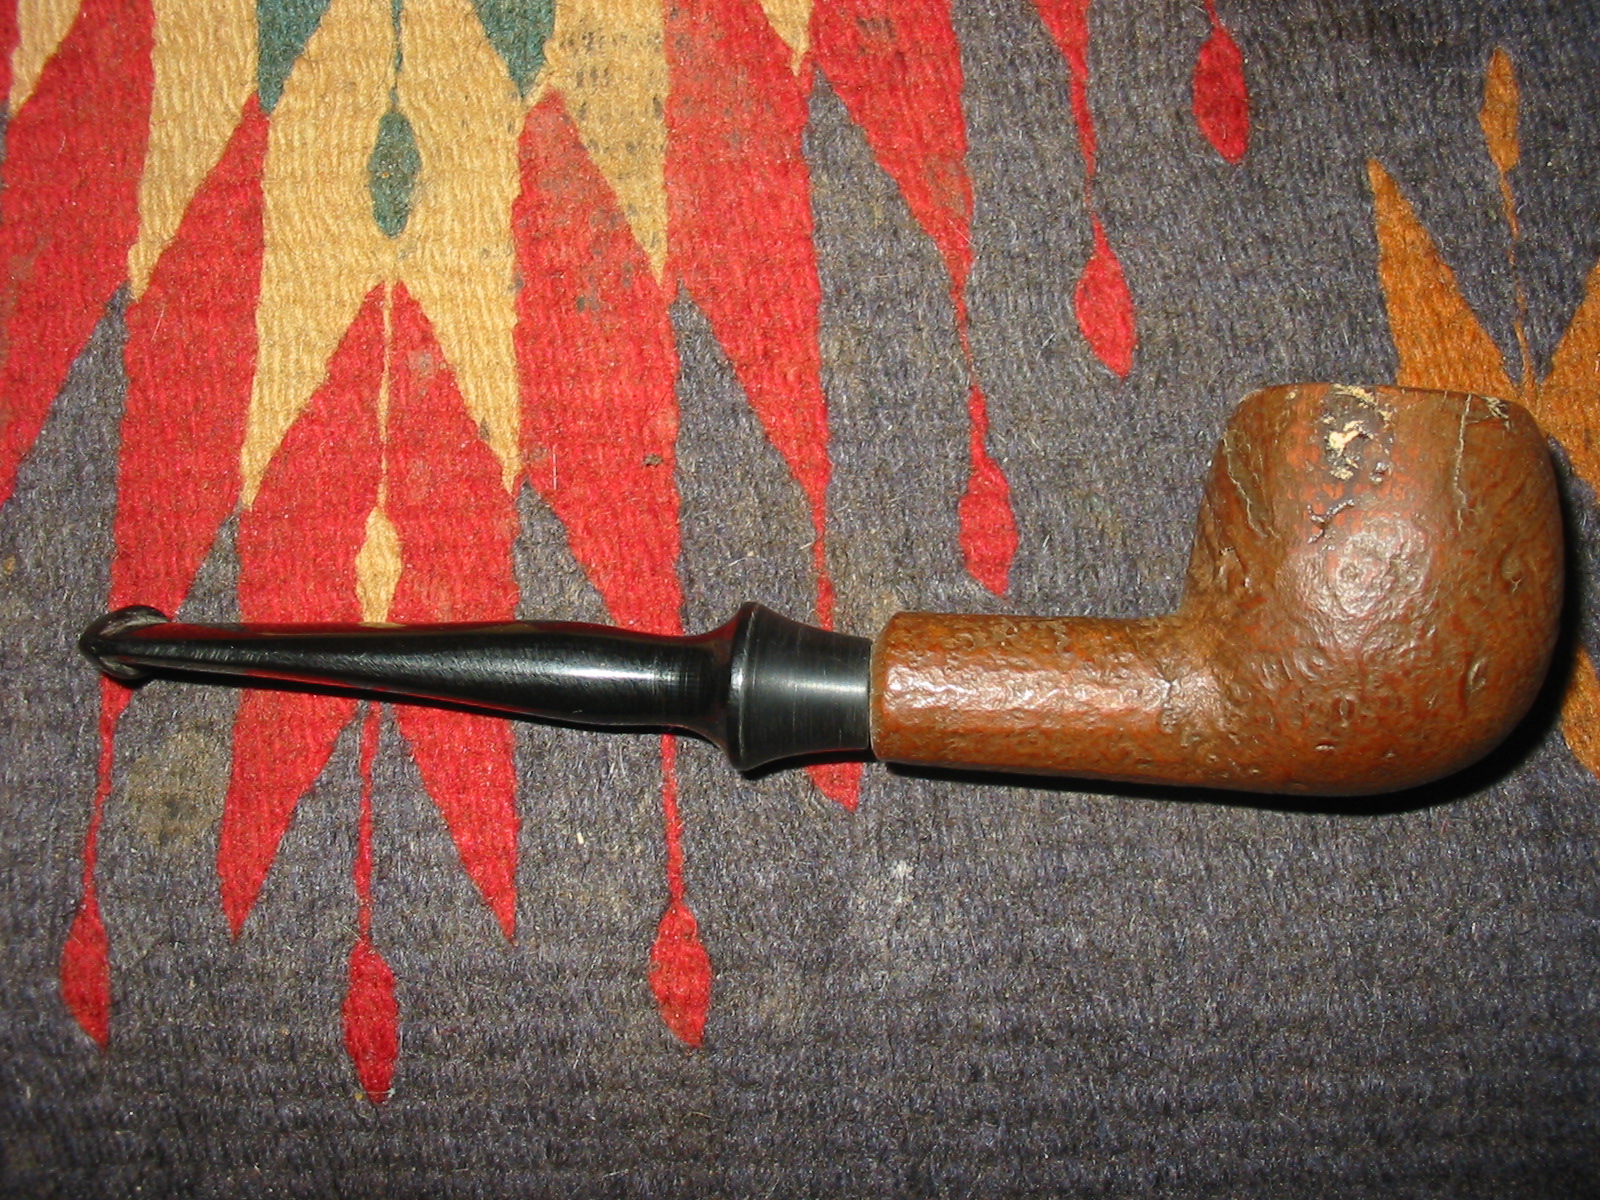
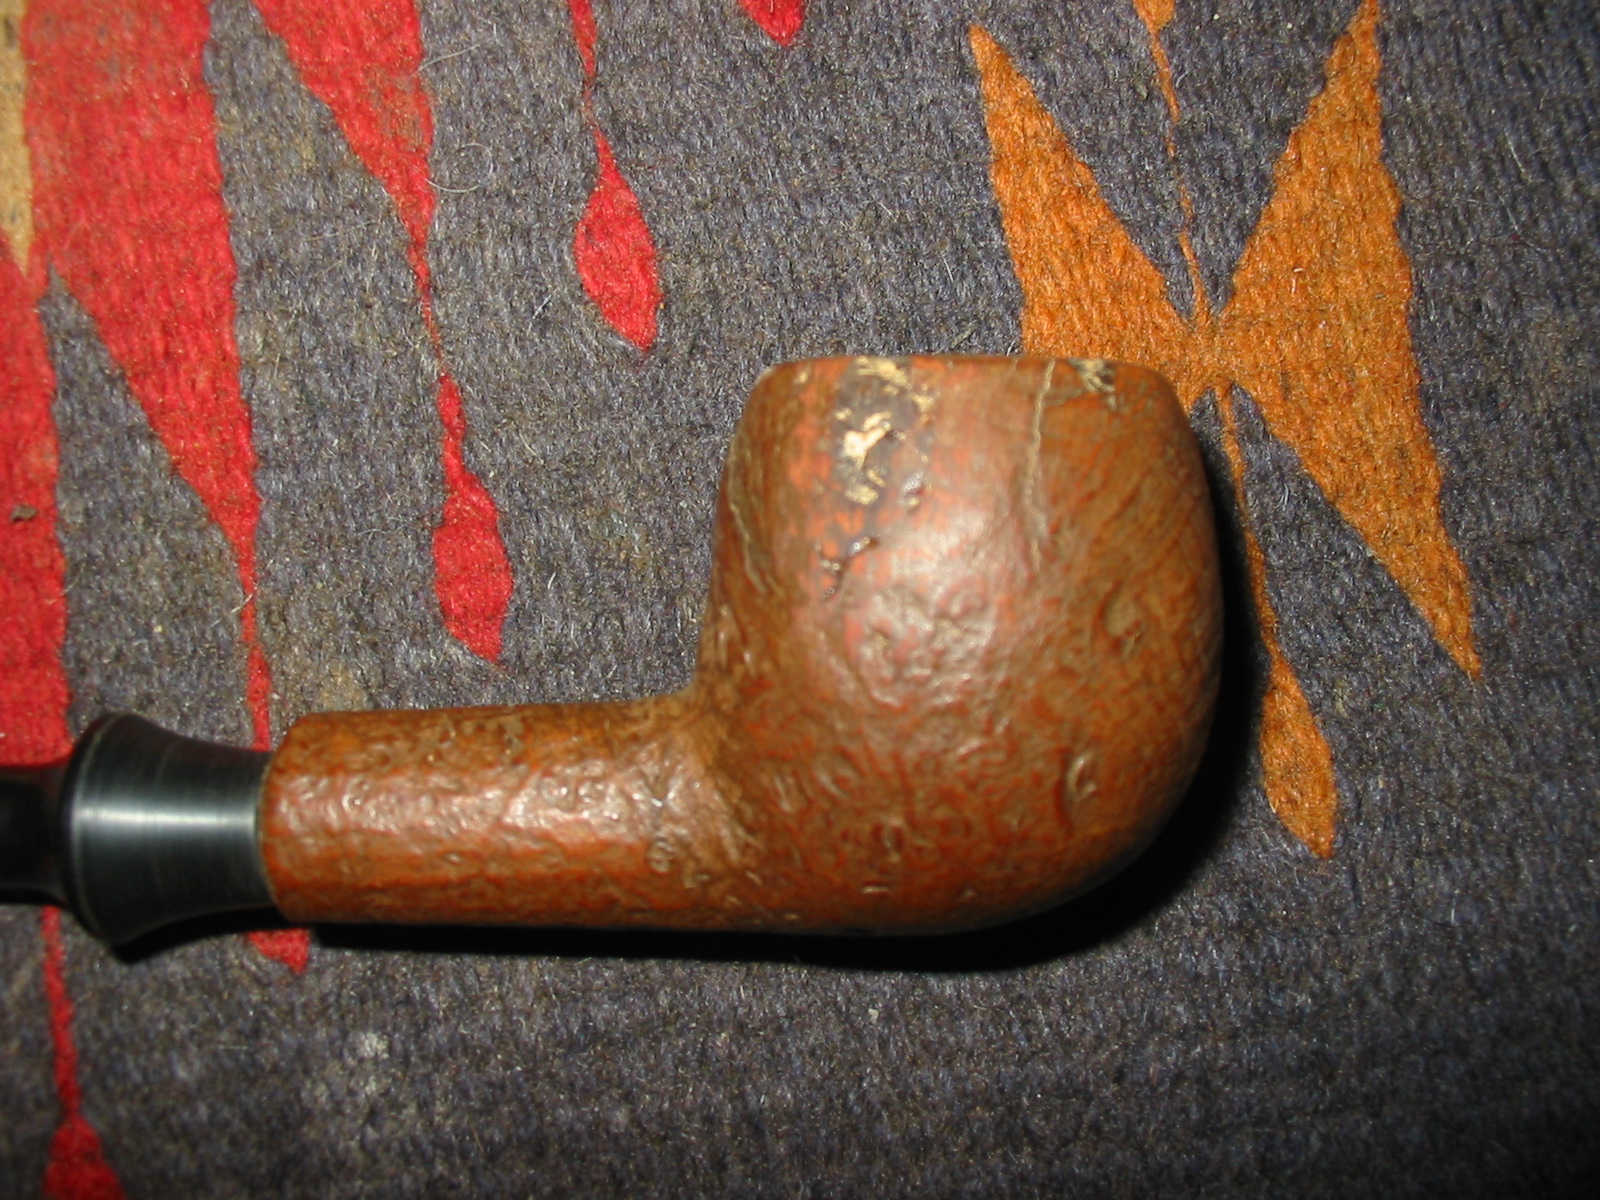
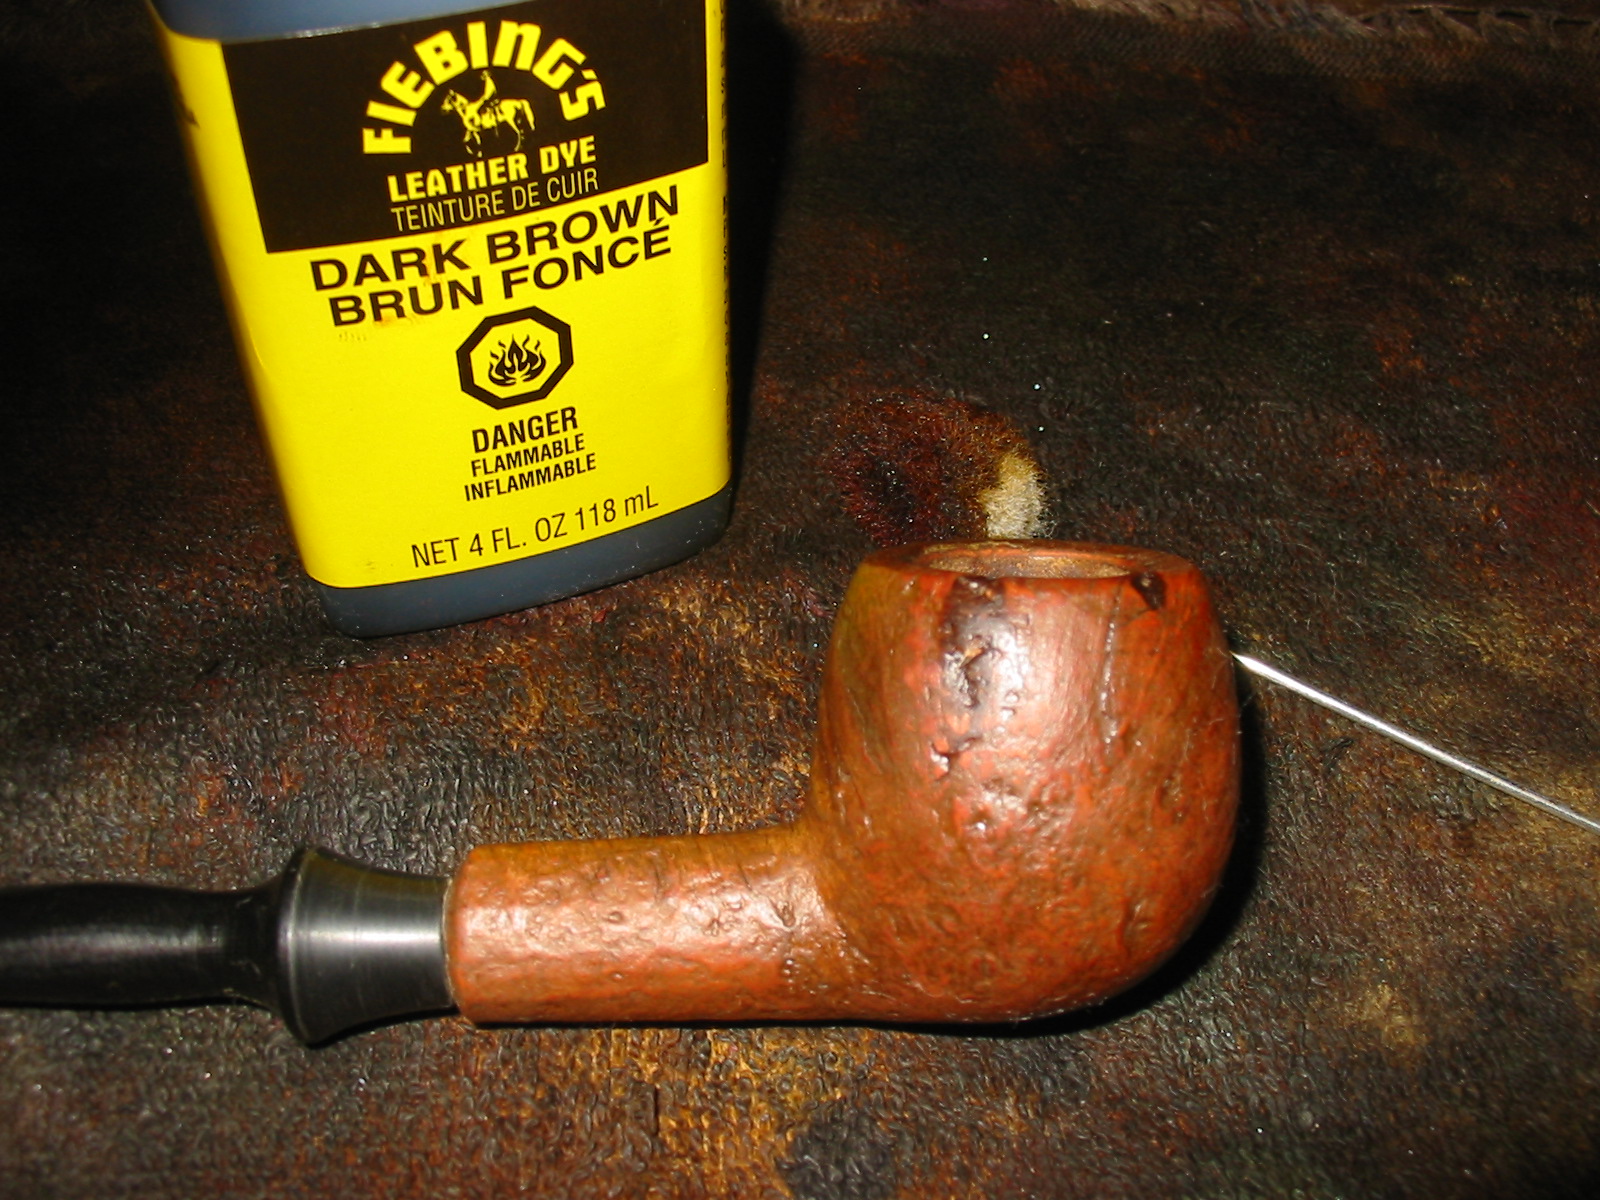
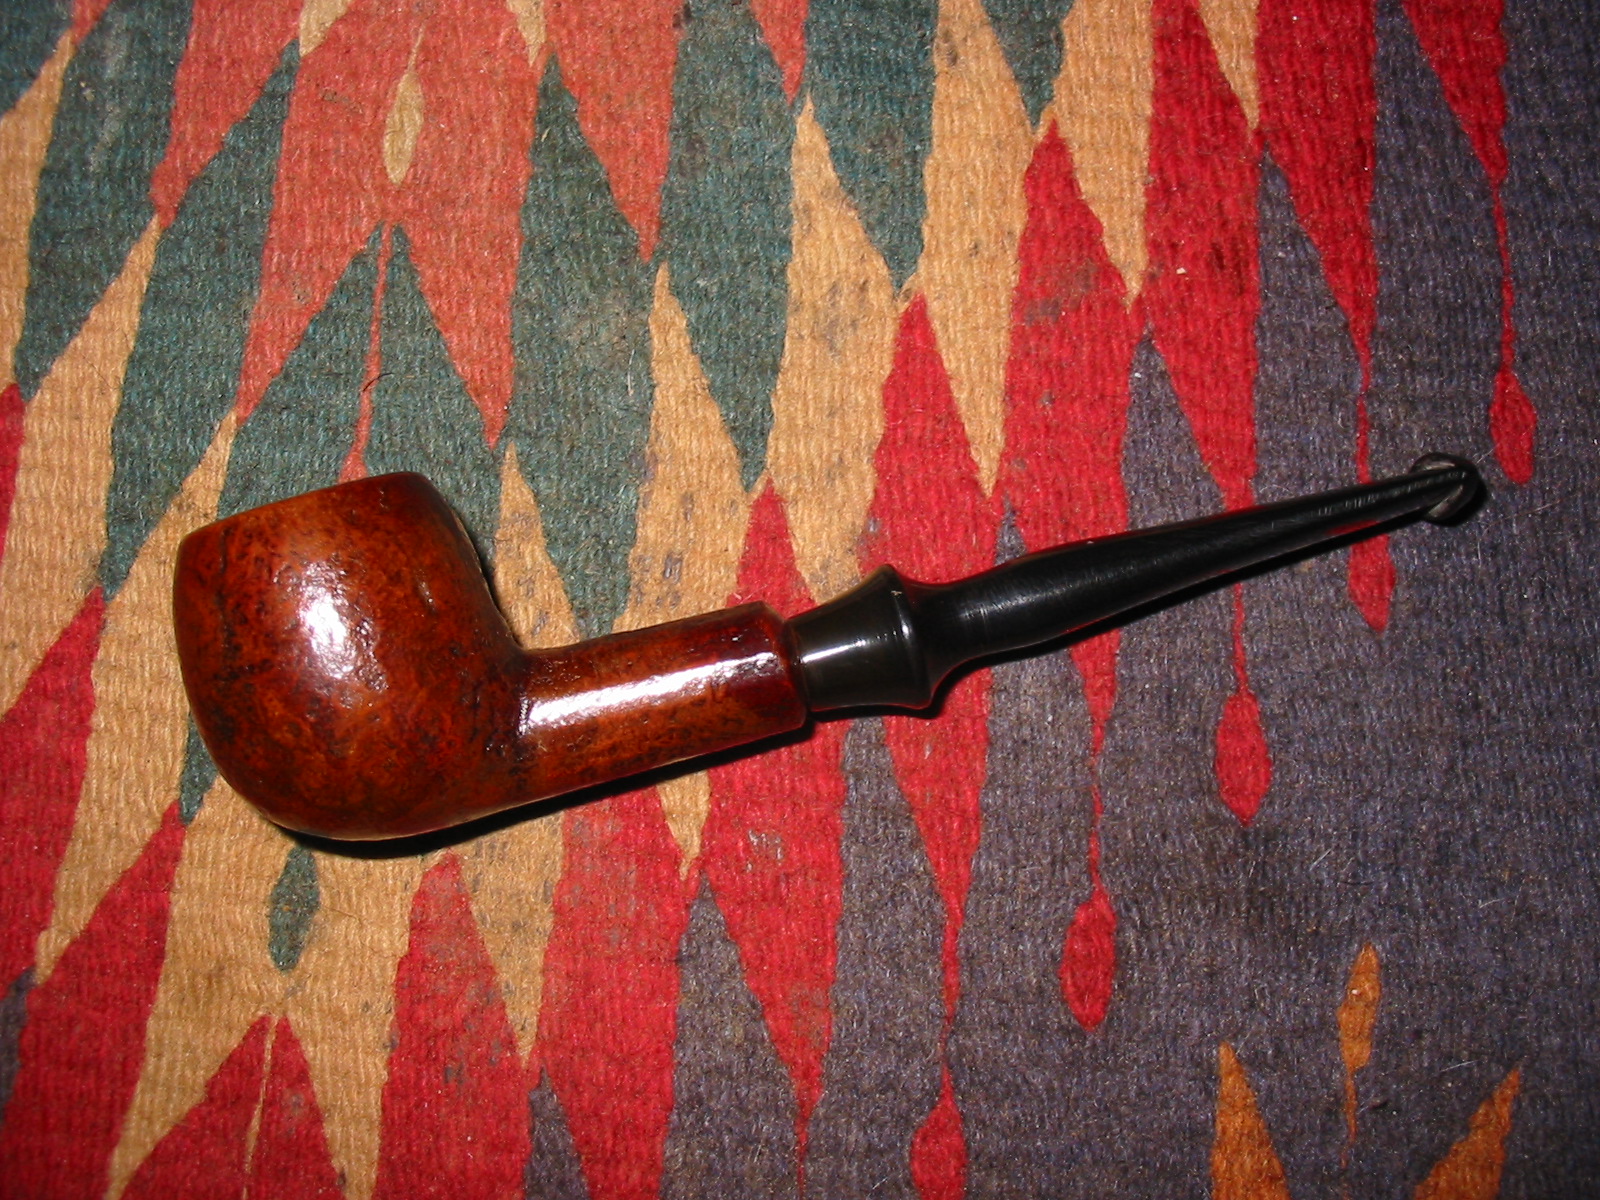
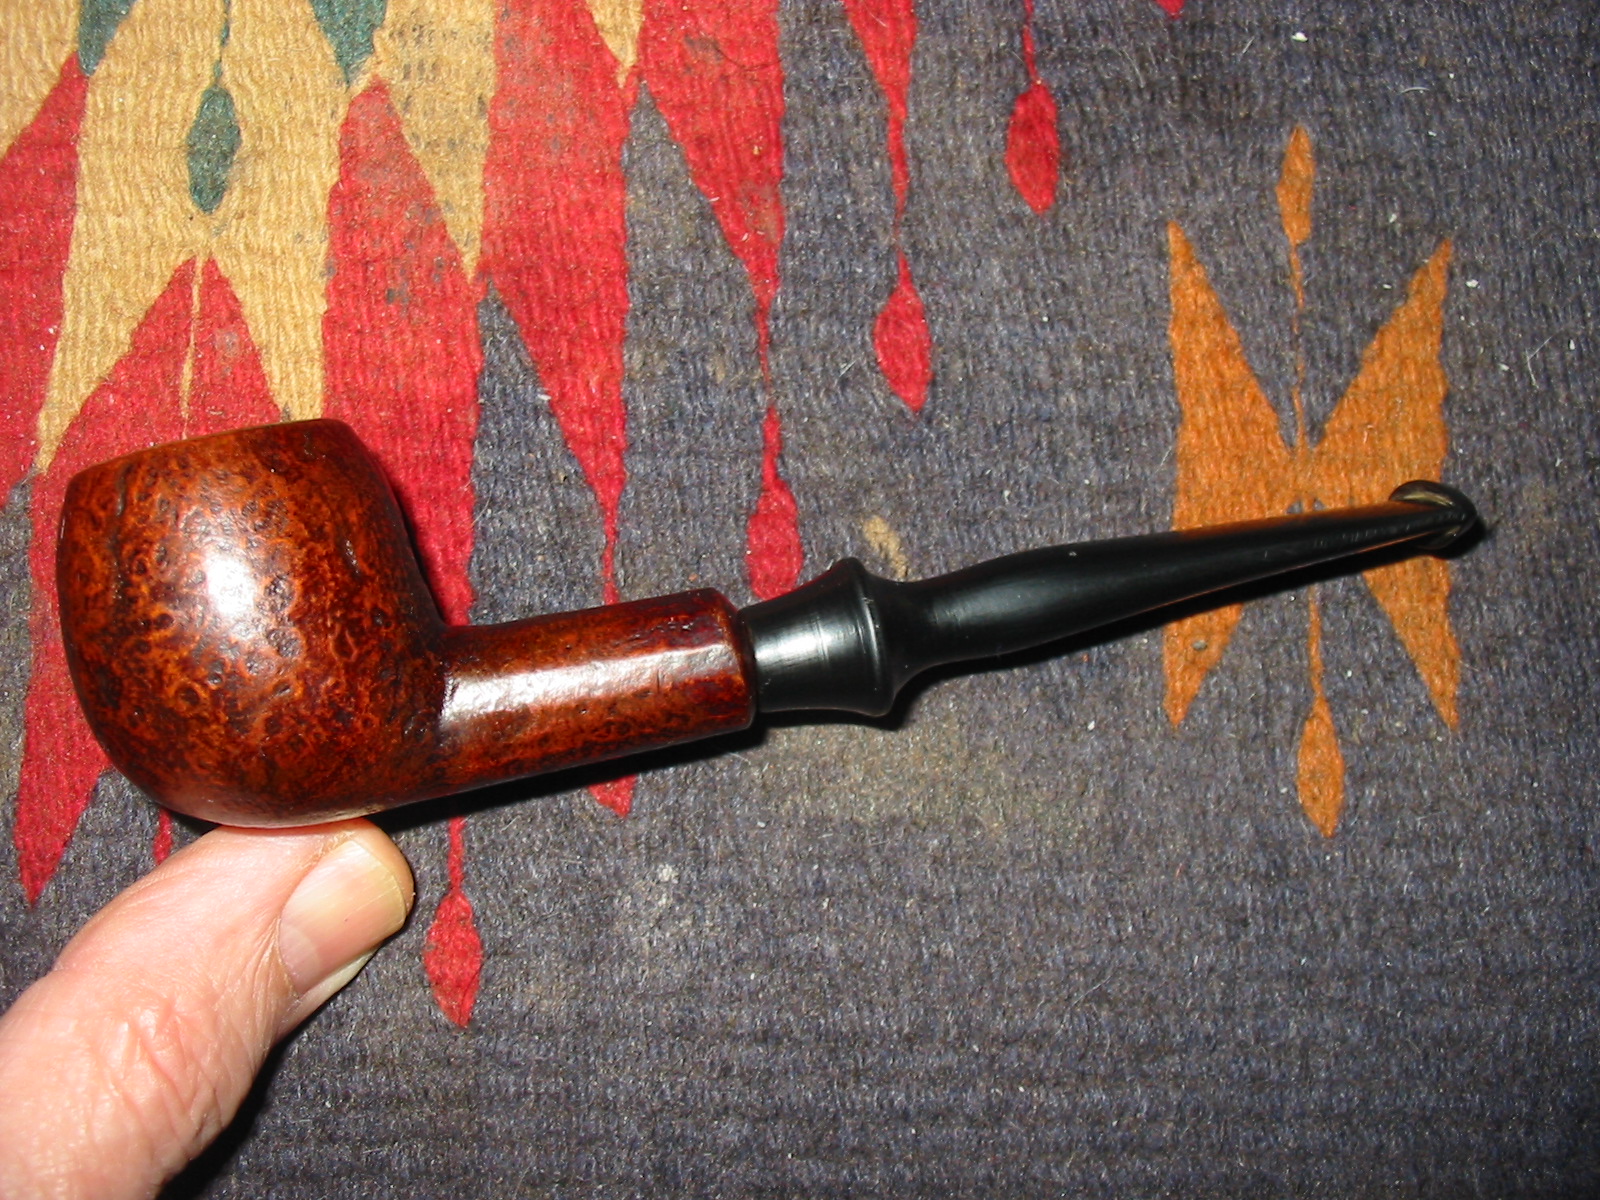
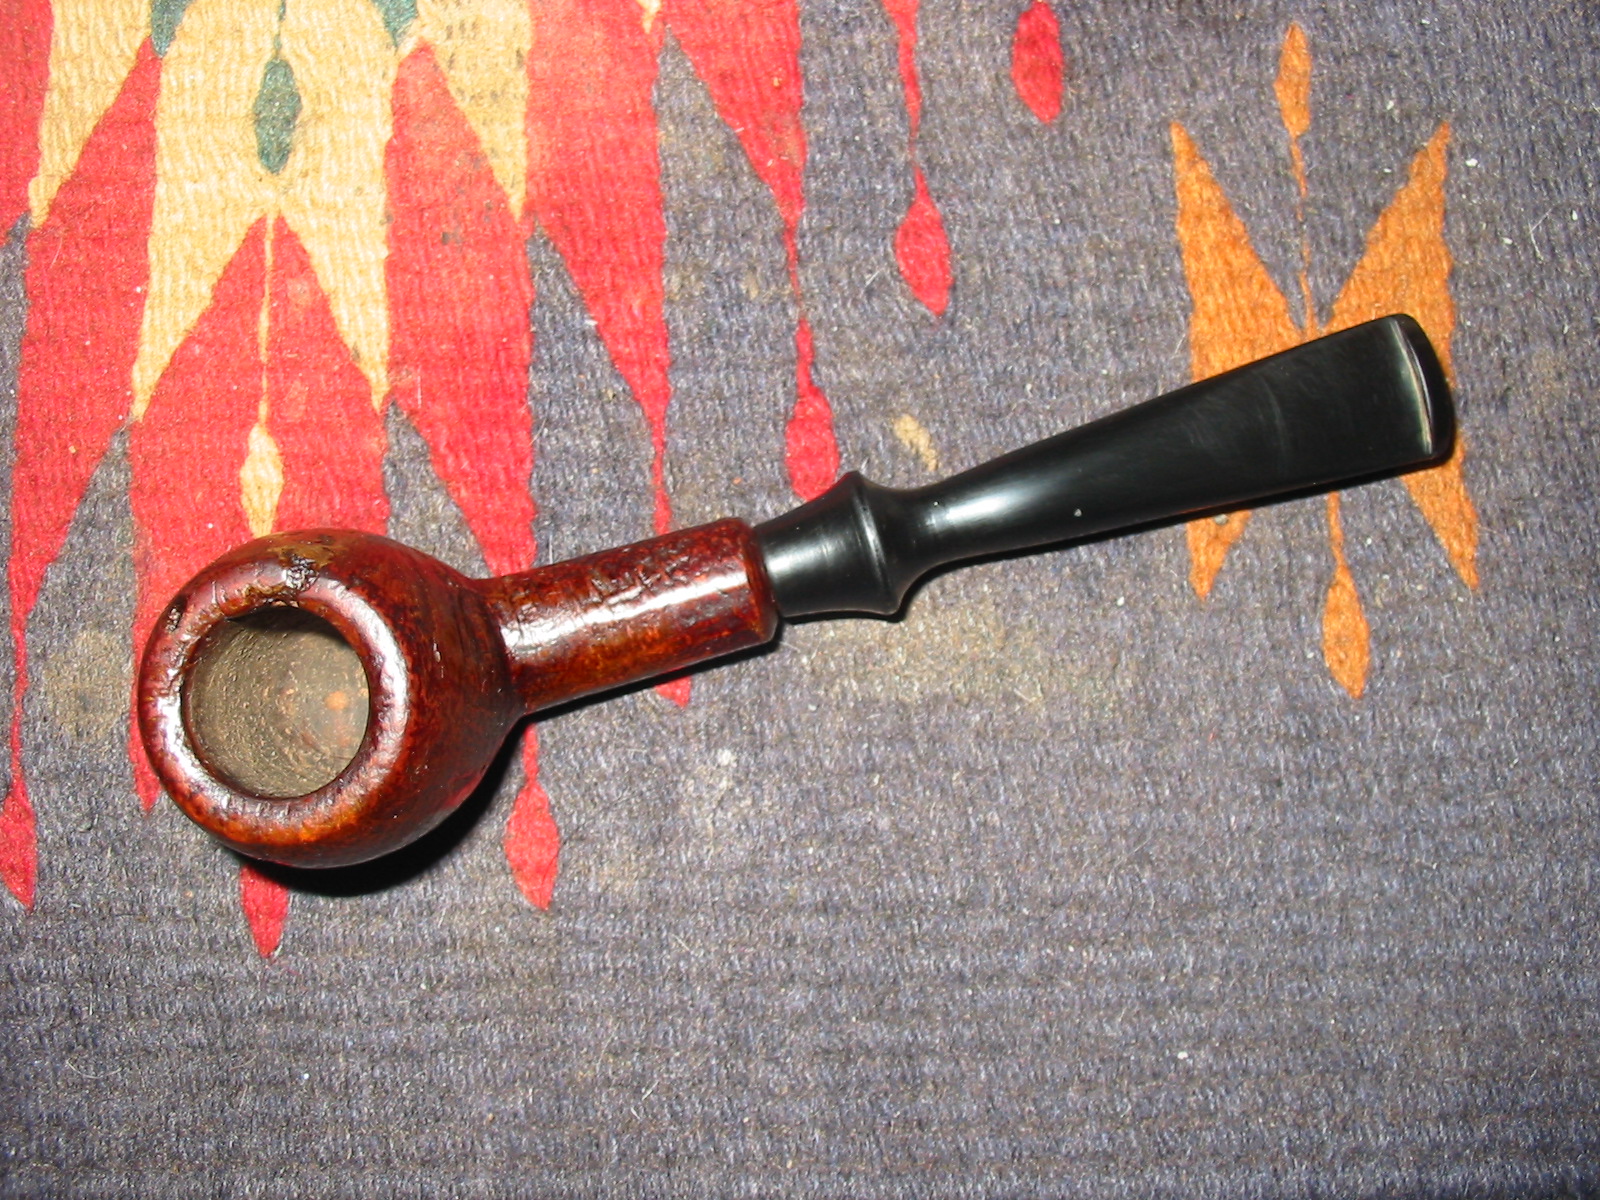
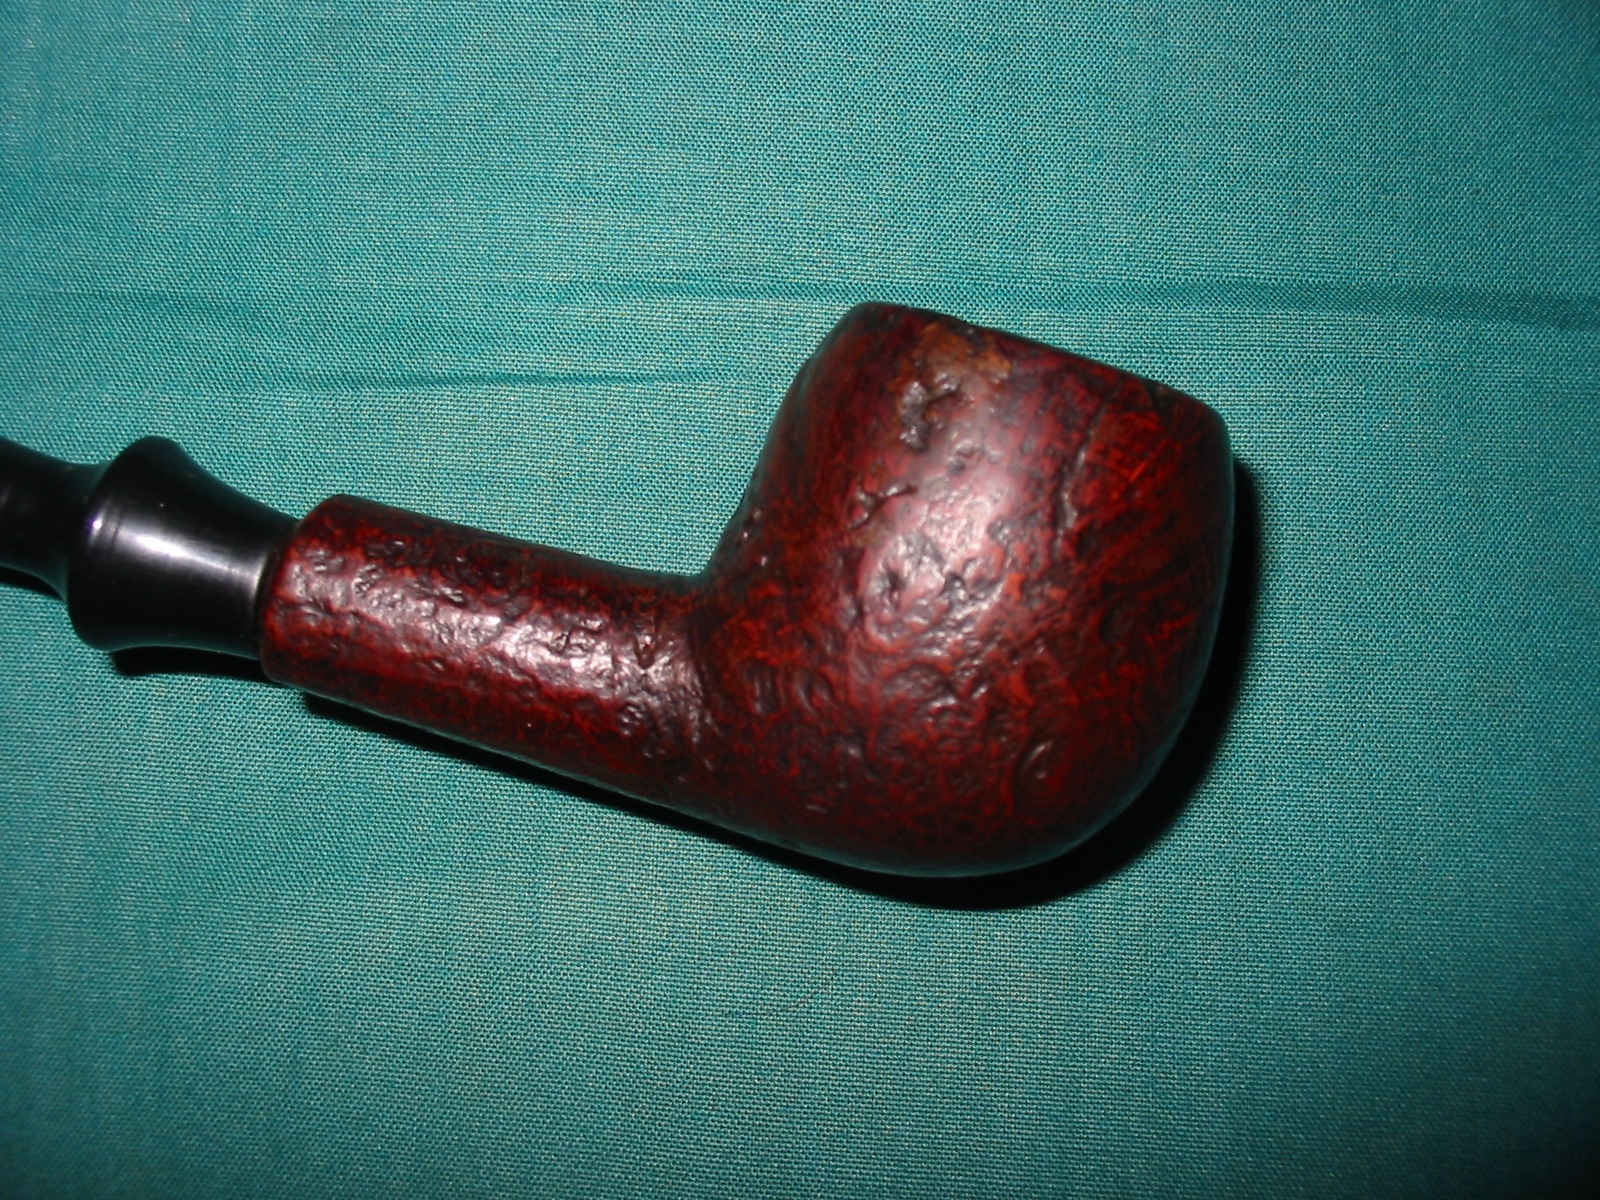
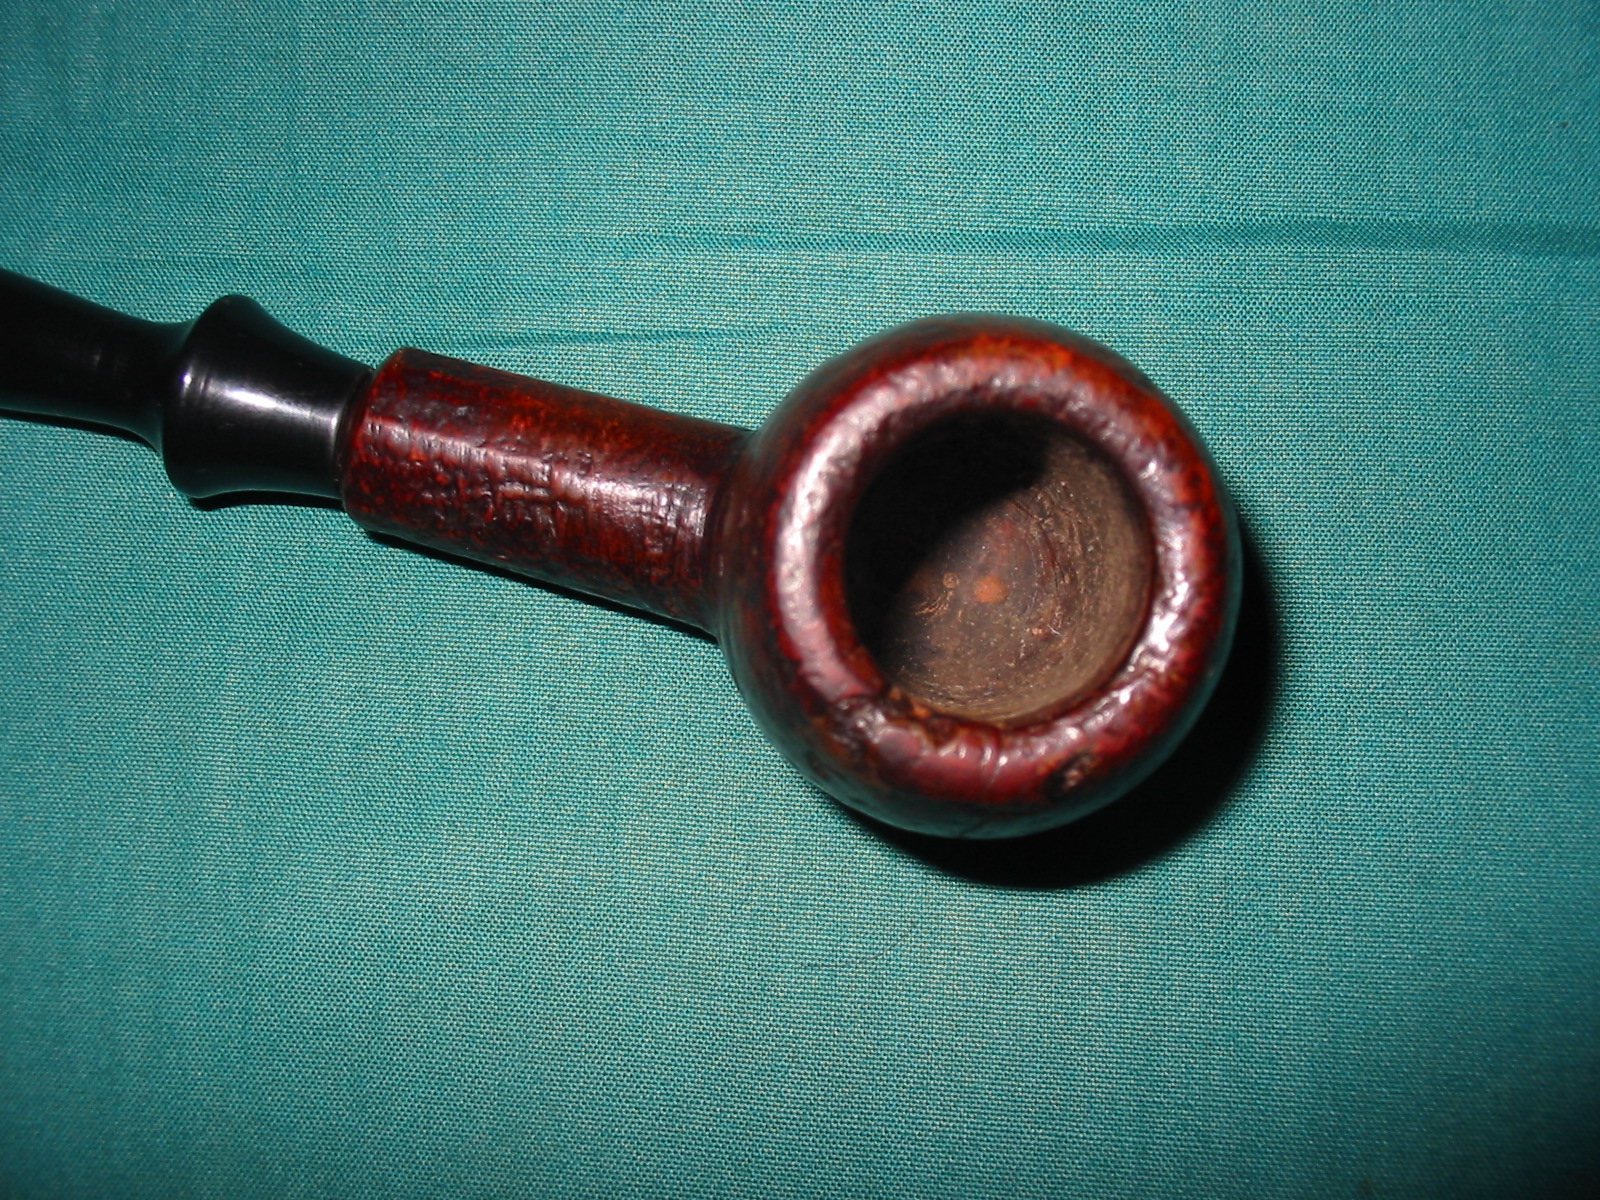
I was gifted this old apple bowl. It was a nicely shaped apple with a light sandblast finish. There were some significant problems with flaws and crevices in the bowl. The major flaw was on the right side of the bowl toward the top and on the top of the rim itself. It extended into the bowl for about a ¼ inch. There was no cake or build up and the bowl seemed clean and lightly smoked if smoked at all. It had a rounded shank so it was clear that the original stem had been a stick bit of some sort – though sadly it was lost. I had it sitting in my box of pipes to be refurbed for awhile while I worked on other pipes. Its turn finally came up.


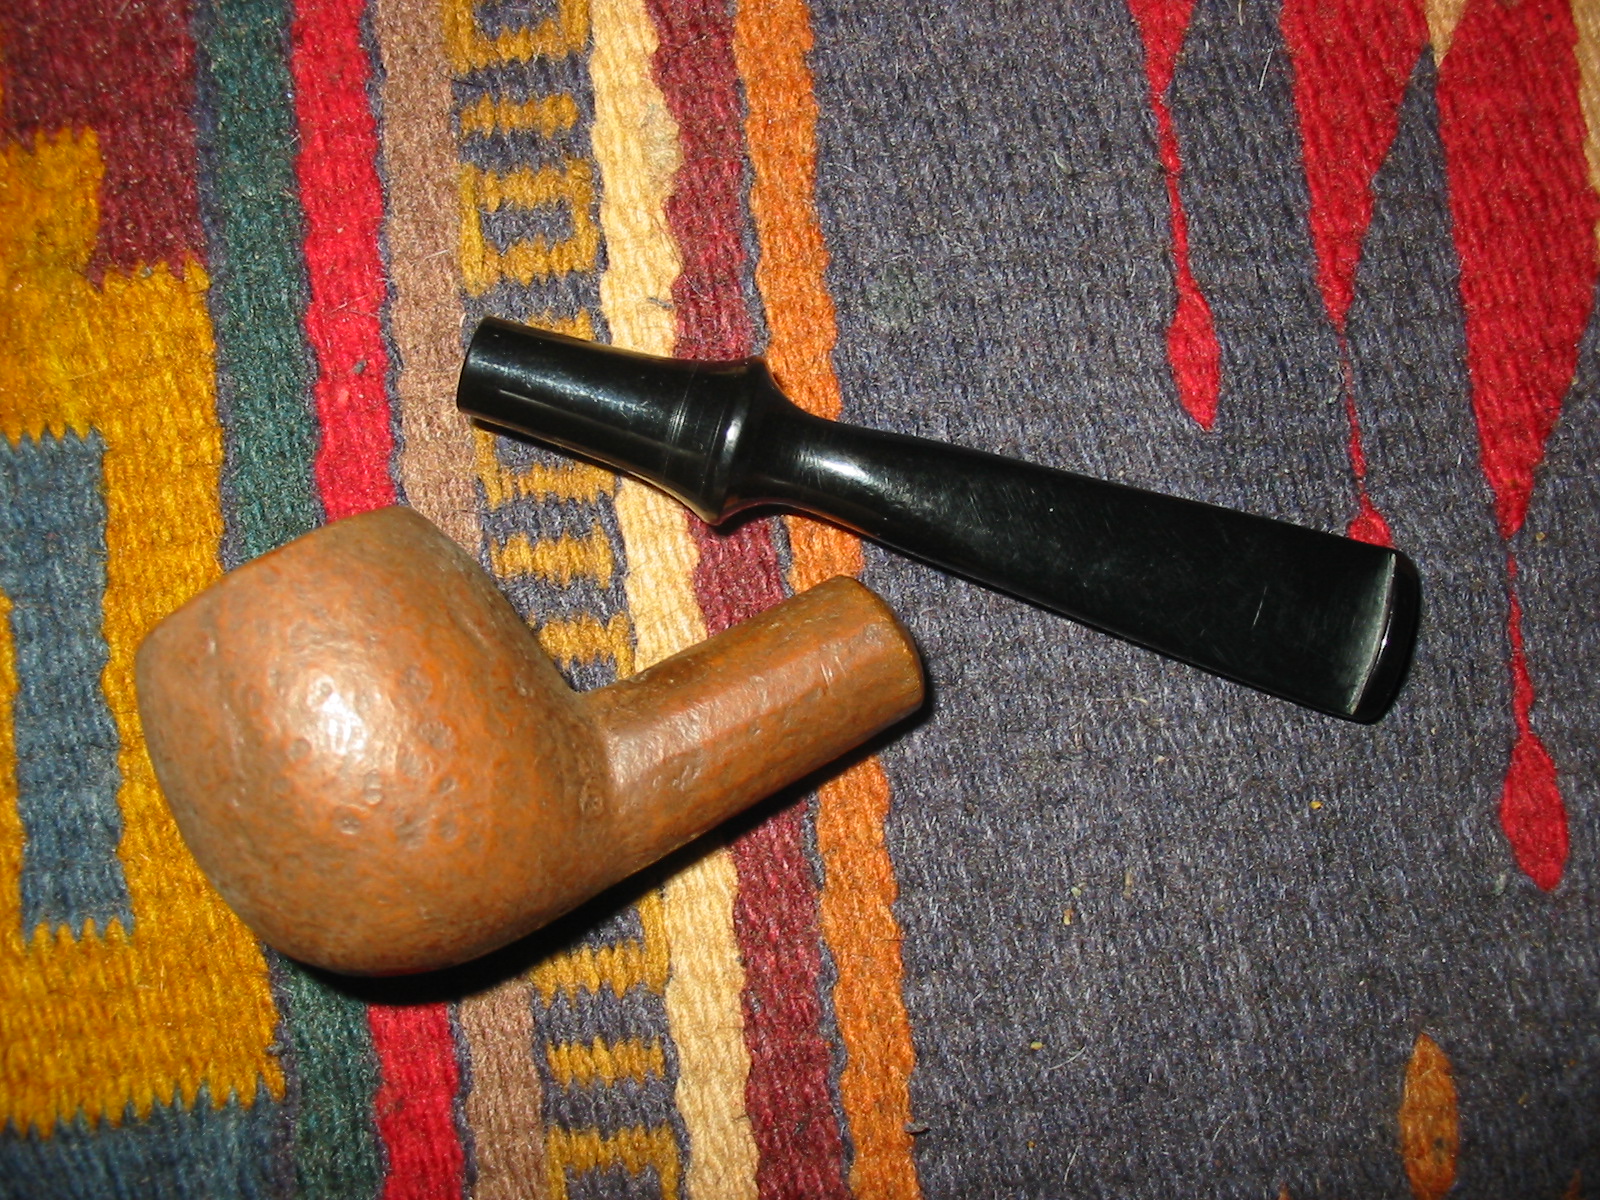
I went through my can of stems and found the kind of stick bit free hand style stem I thought would look good on this pipe.
I turned the tenon end of the stem with a PIMO tenon turning tool and then used the Dremel and sanding drum and finally some hand sanding with 220 grit sandpaper to get the stem to fit well in the mortise of the shank. With the fit nice and snug I would need to sand the saddle area and clean up the tenon to make it shine.
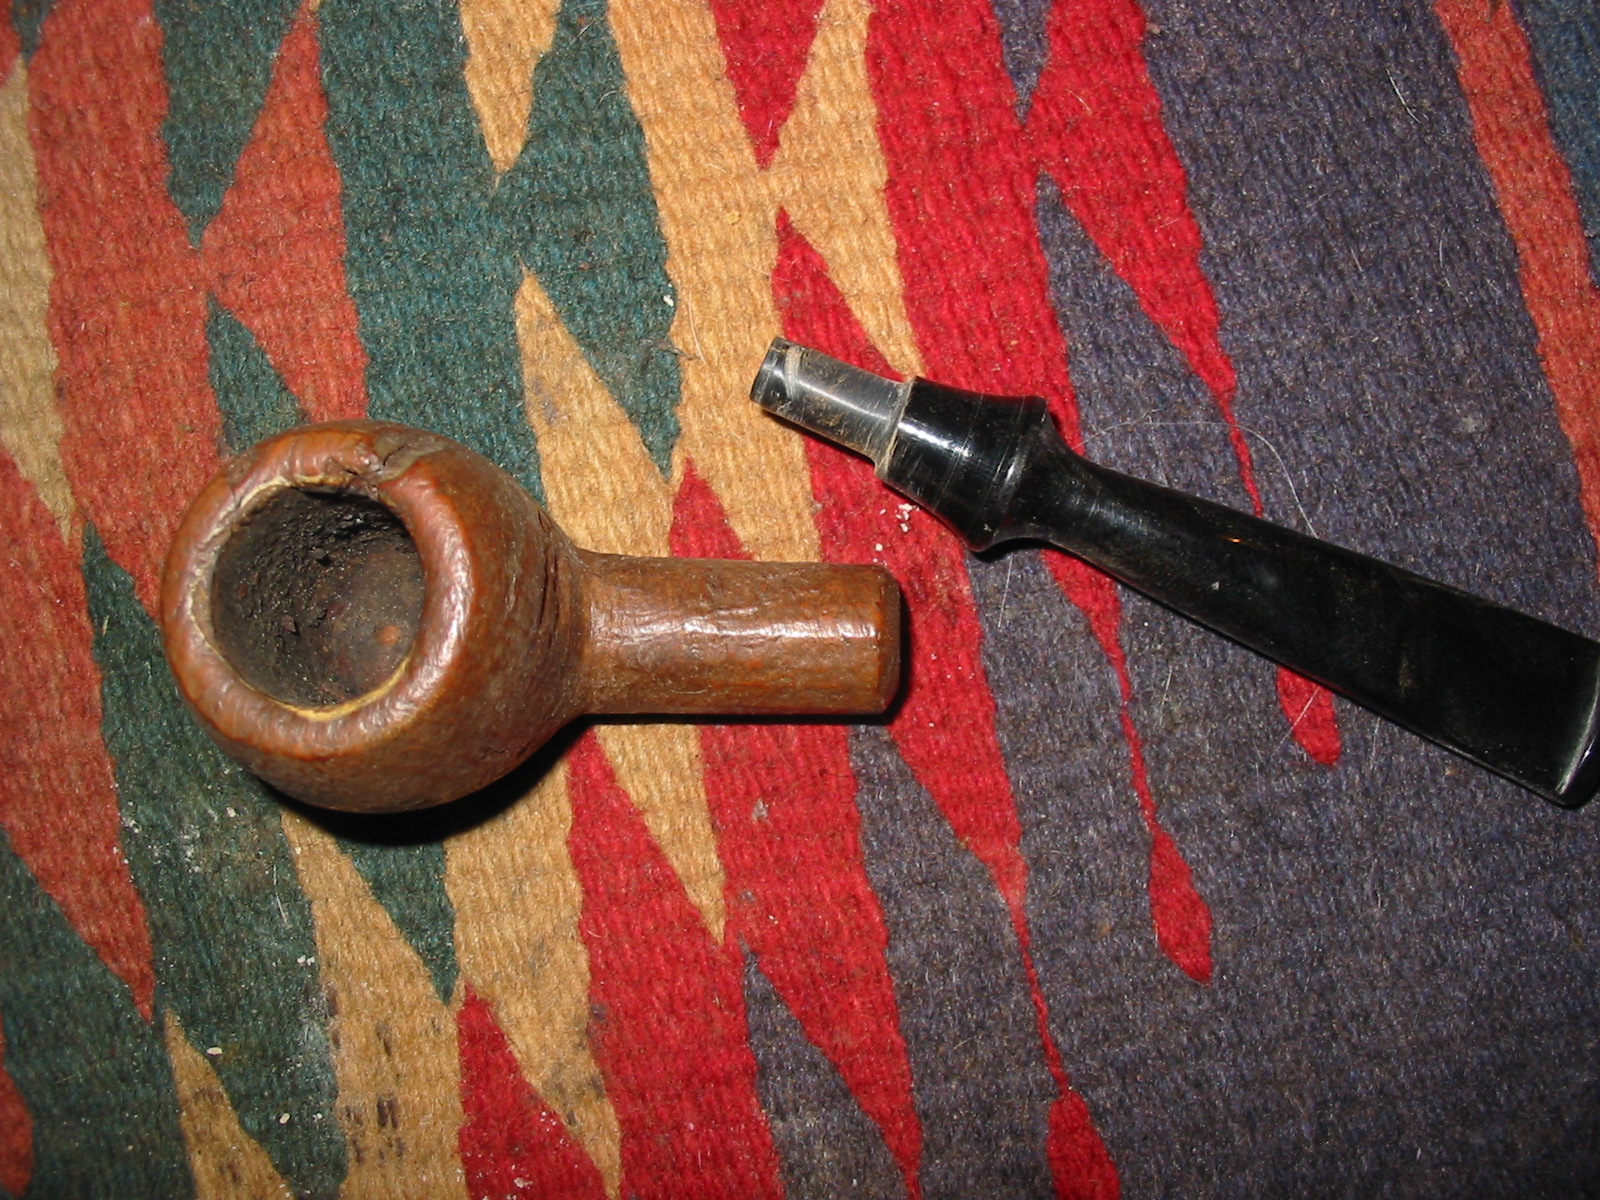
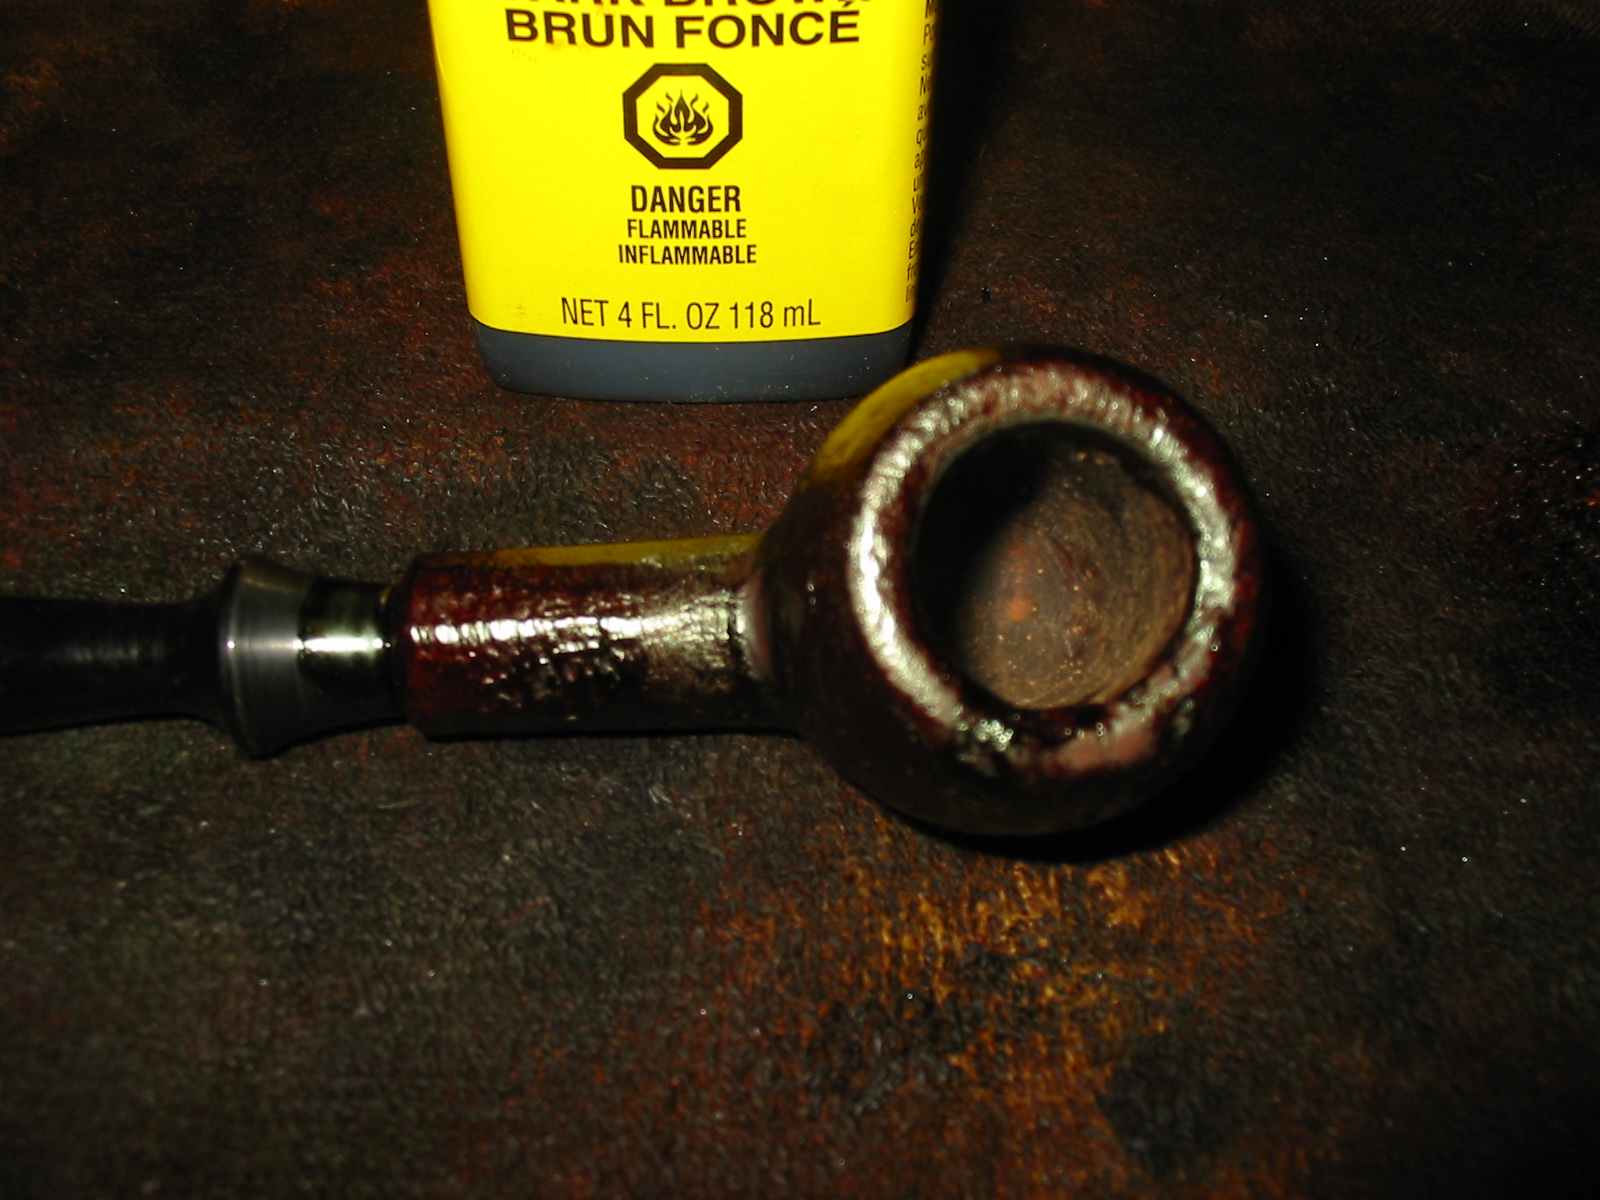
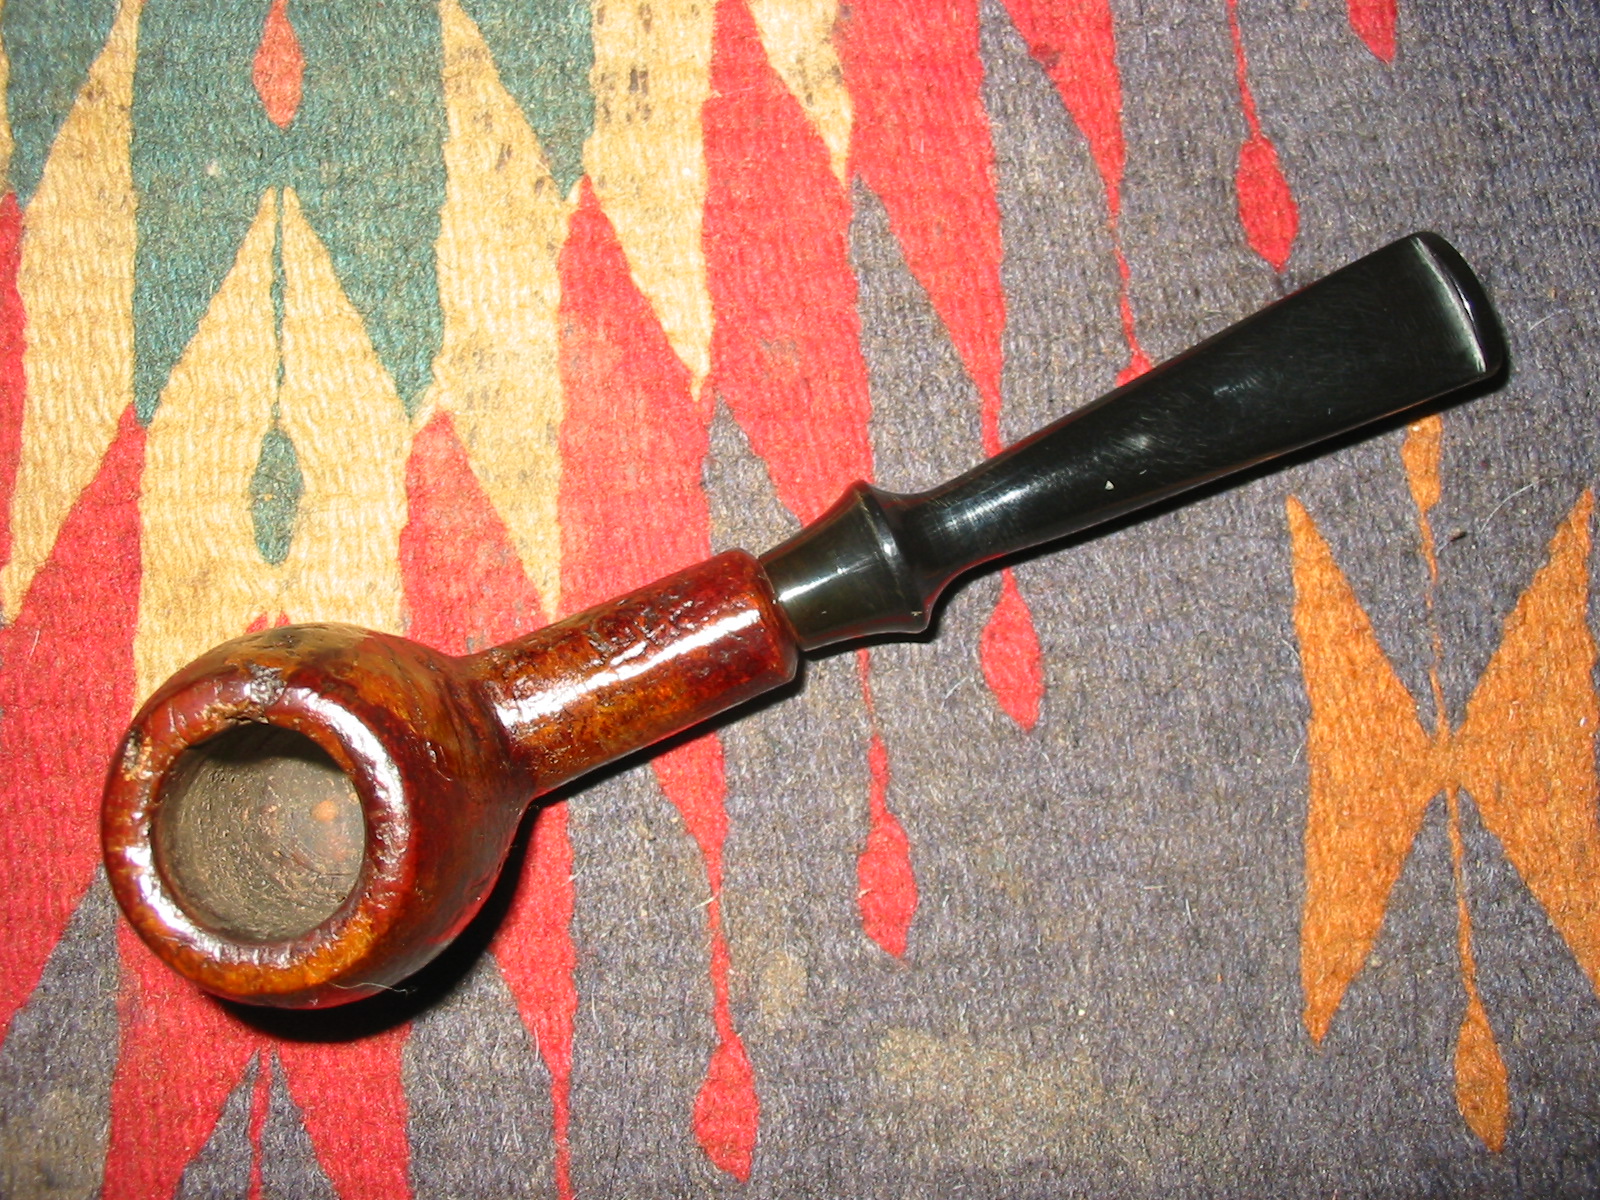
I cleaned up the crevices with a cotton swab and dental pick and isopropyl alcohol. I then packed some briar dust into the filled crevices and dripped super glue into the briar dust. I repeated the process until the flaws were filled and the surface of the bowl and rim bulged slightly. I sanded the rim and the fill on the side with 220 grit sandpaper to remove the excess fill. I scratched the surface with the dental pick to give it a similar texture to the surround sandblasted bowl. I sanded the saddle on the stem at the same time with 220 grit sandpaper. I finished the repair and the saddle area with a medium and a fine grit sanding sponge.
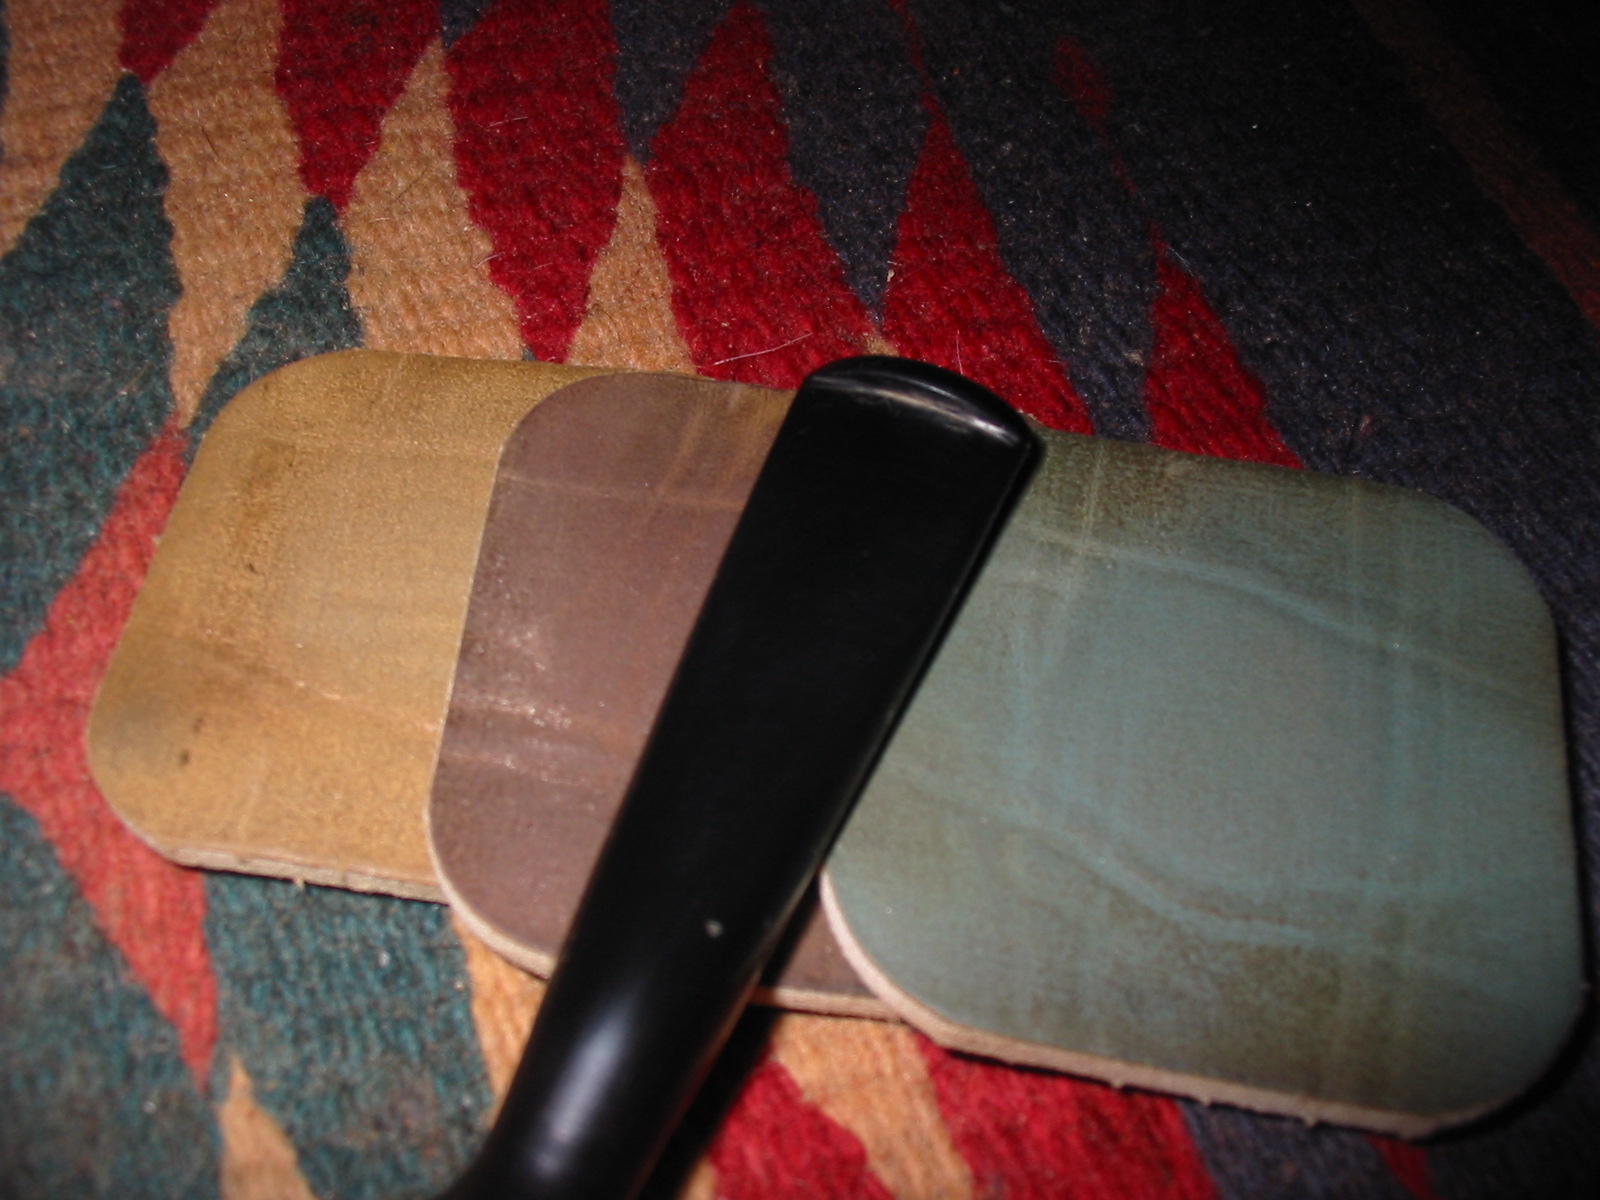
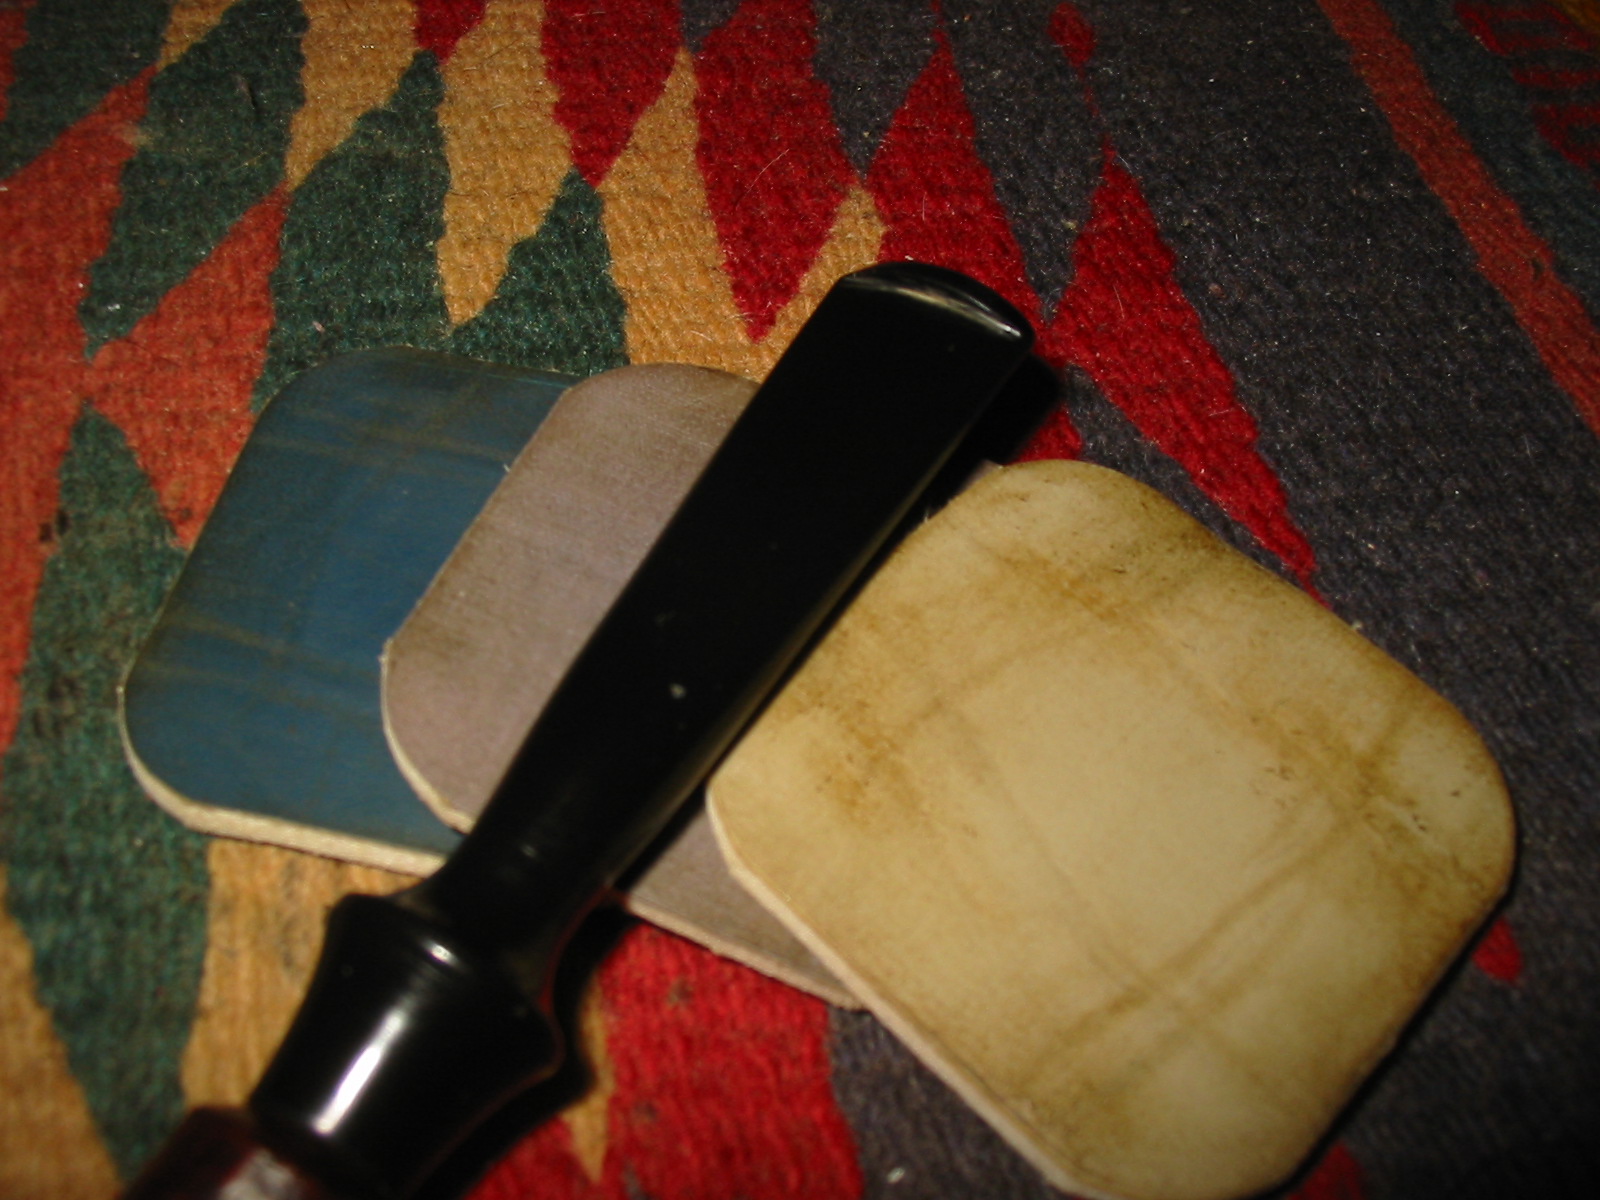
Once the area was filled and the texture finished it was time to stain the pipe. I decided to use a dark brown aniline stain that I would later wipe down with alcohol to give more transparency and aid in a contrast on the surface of the bowl. I wiped down the surface of the bowl with isopropyl alcohol before staining the bowl to remove the dust. I applied the stain and flamed the bowl and repeated the process until the coverage was even.
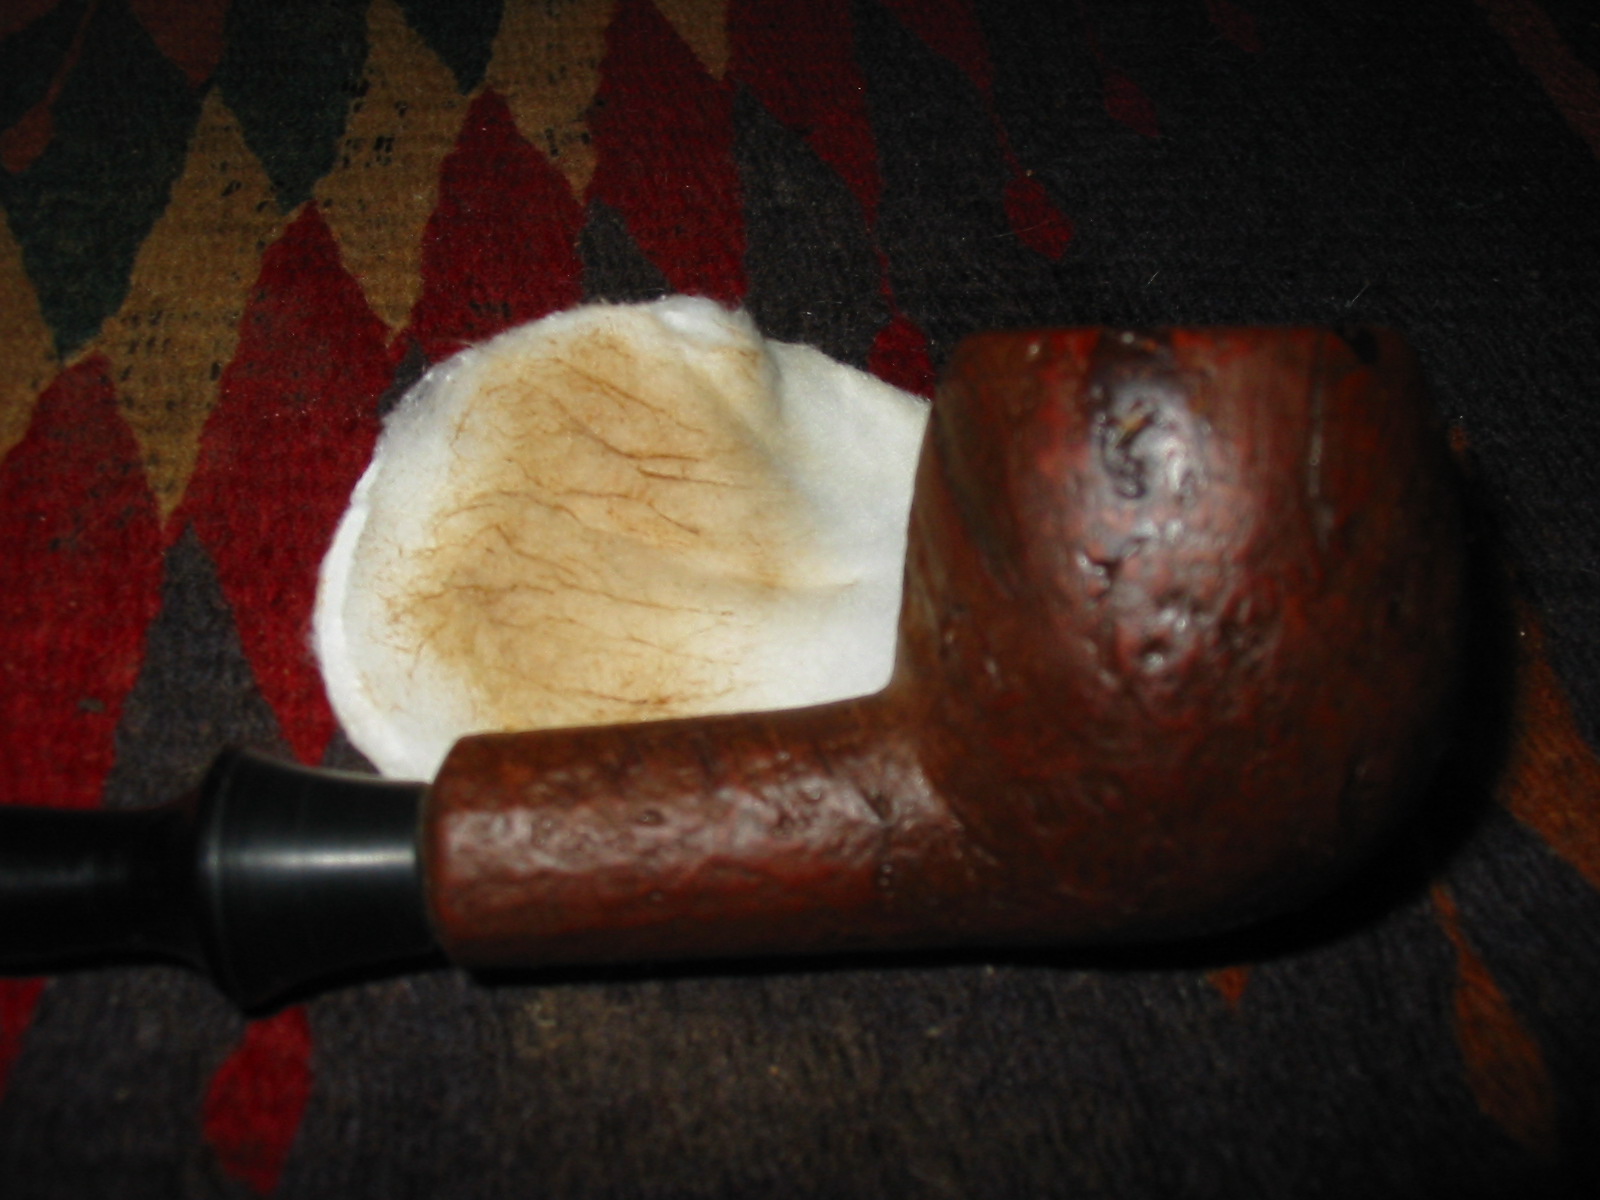

I wiped the bowl down with isopropyl alcohol on cotton pads to give the stain some more transparency and to lighten it.
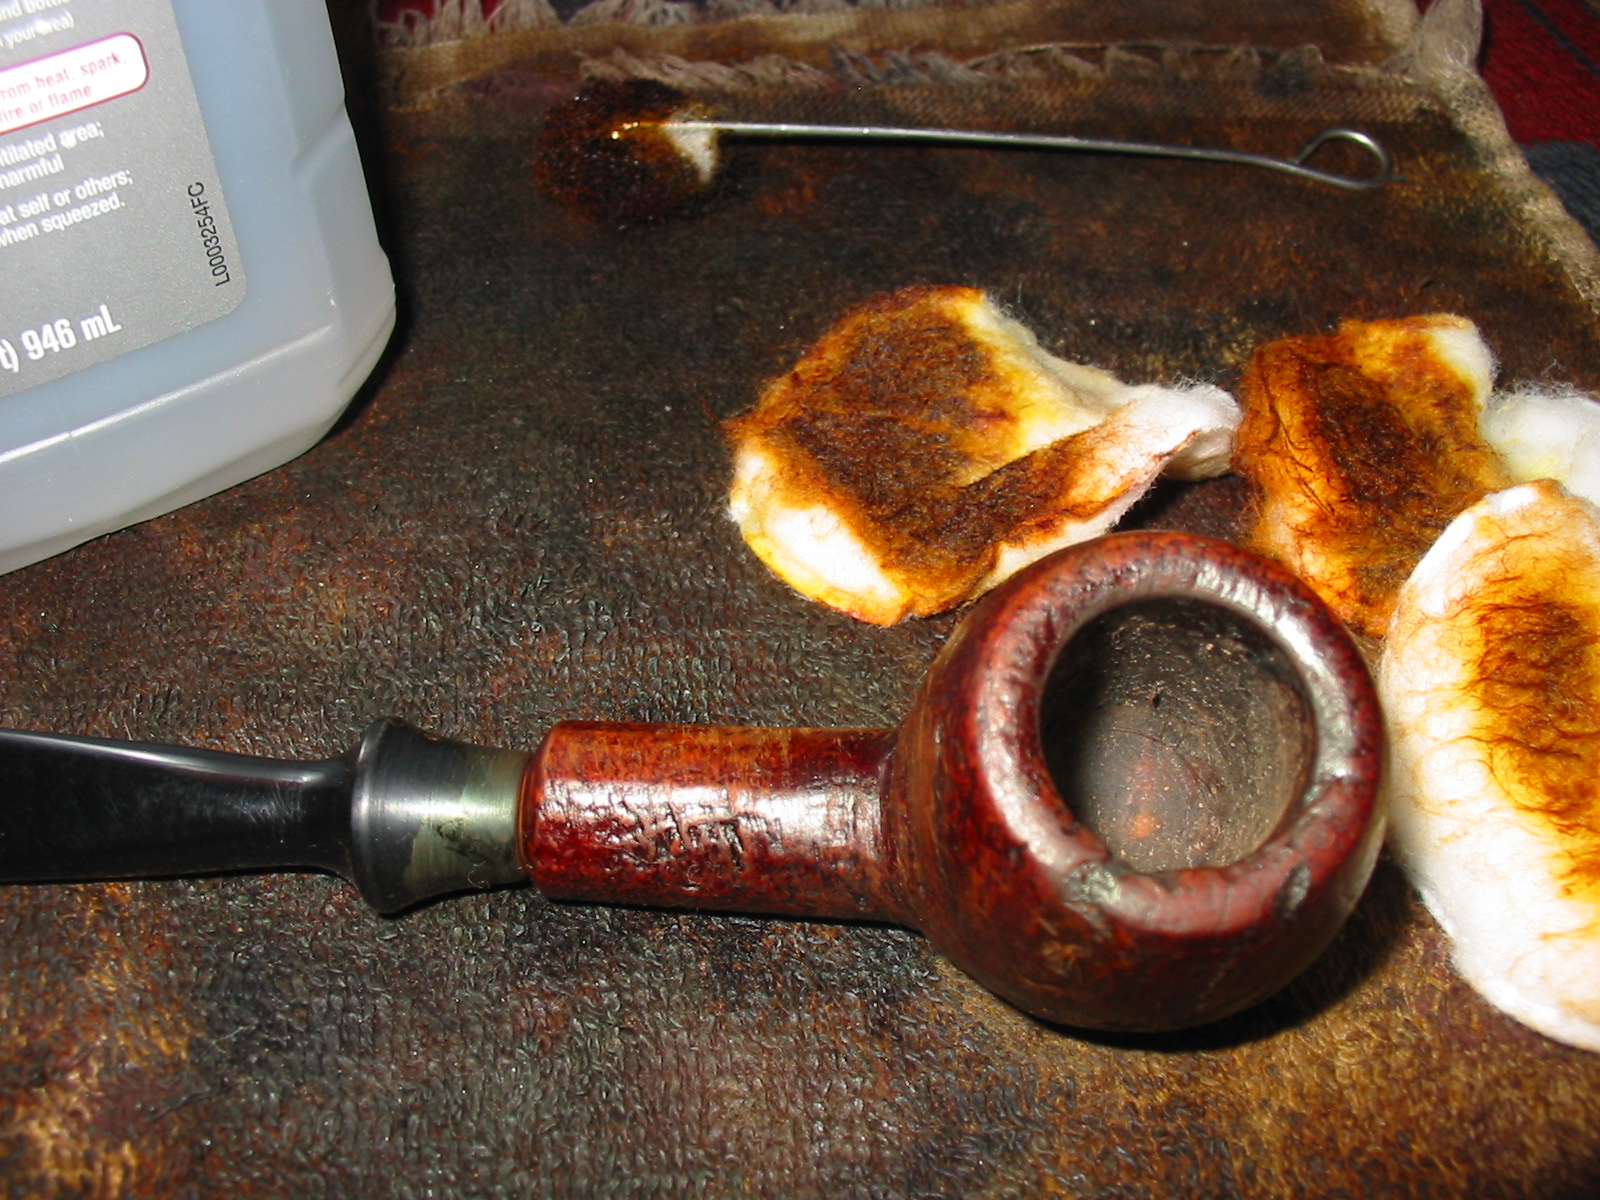

I buffed the bowl with a light touch on the buffer using White Diamond. I took it back to the work table and hand buffed it with a shoe brush to give it a shine. There were spots on the shank and the bowl where I would need to touch up the stain as it was too light and shiny.
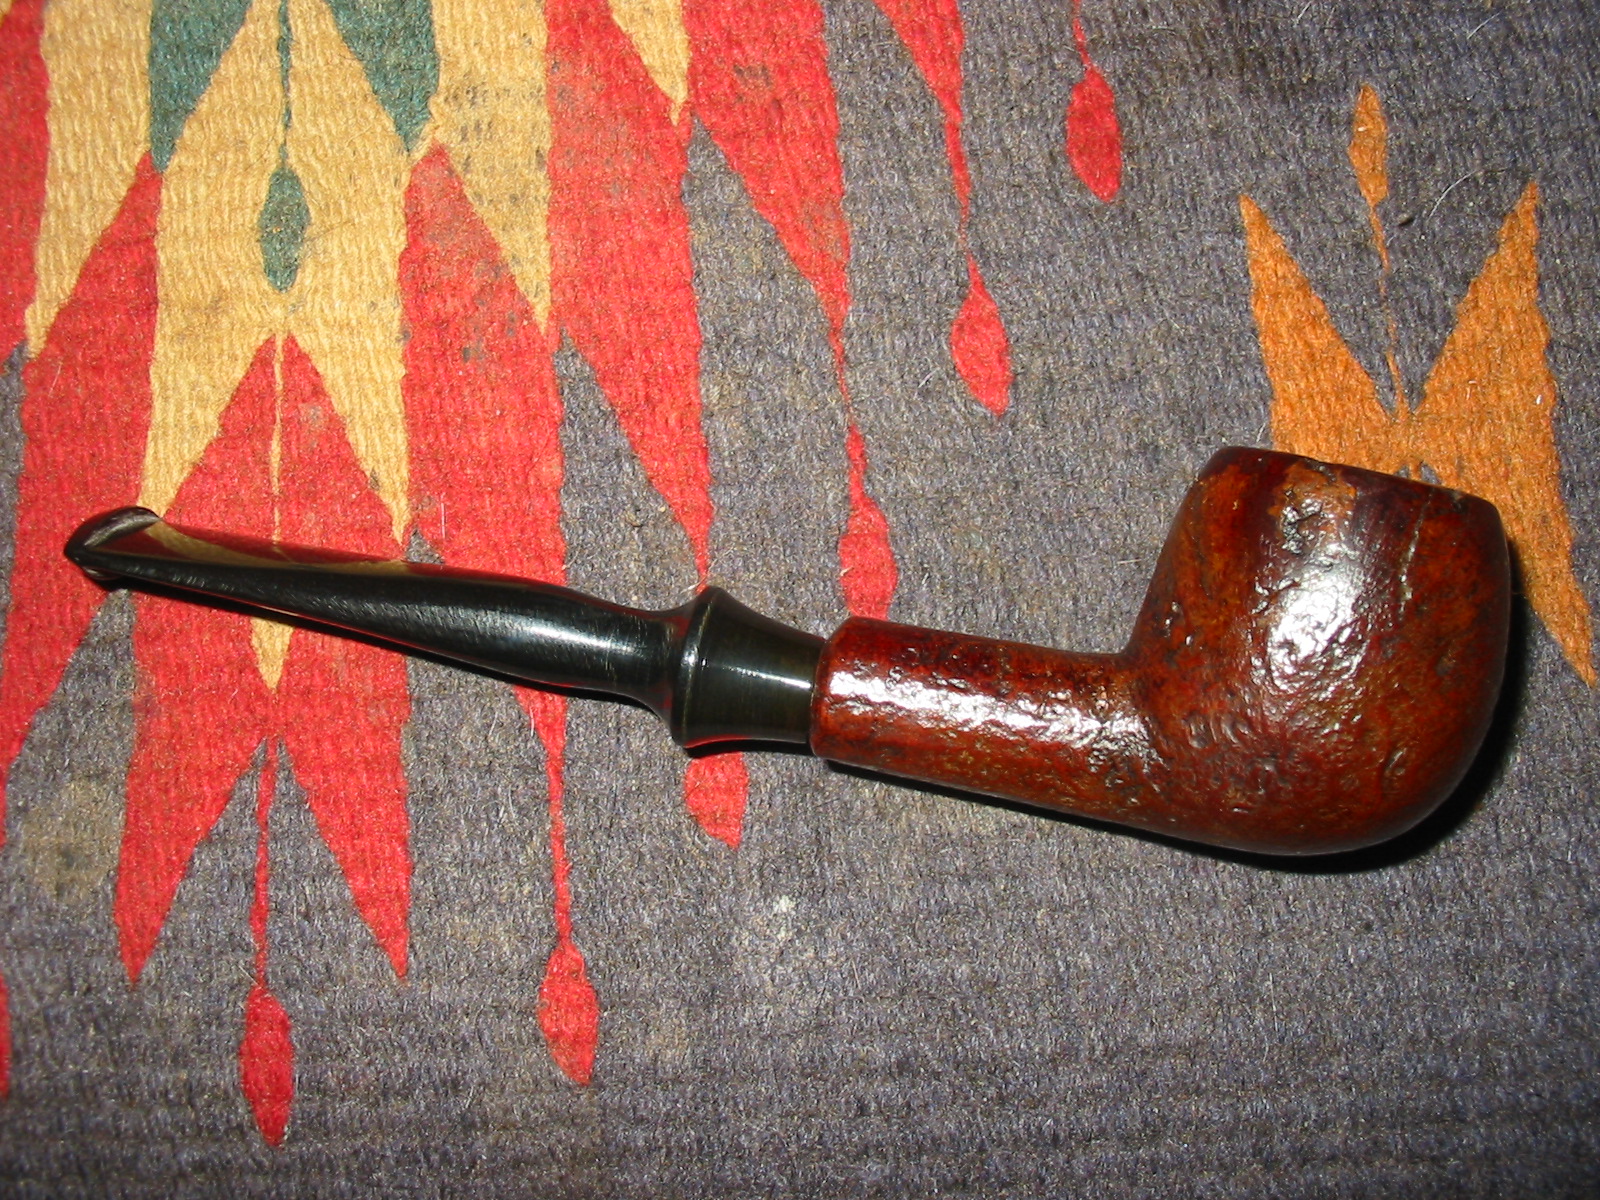
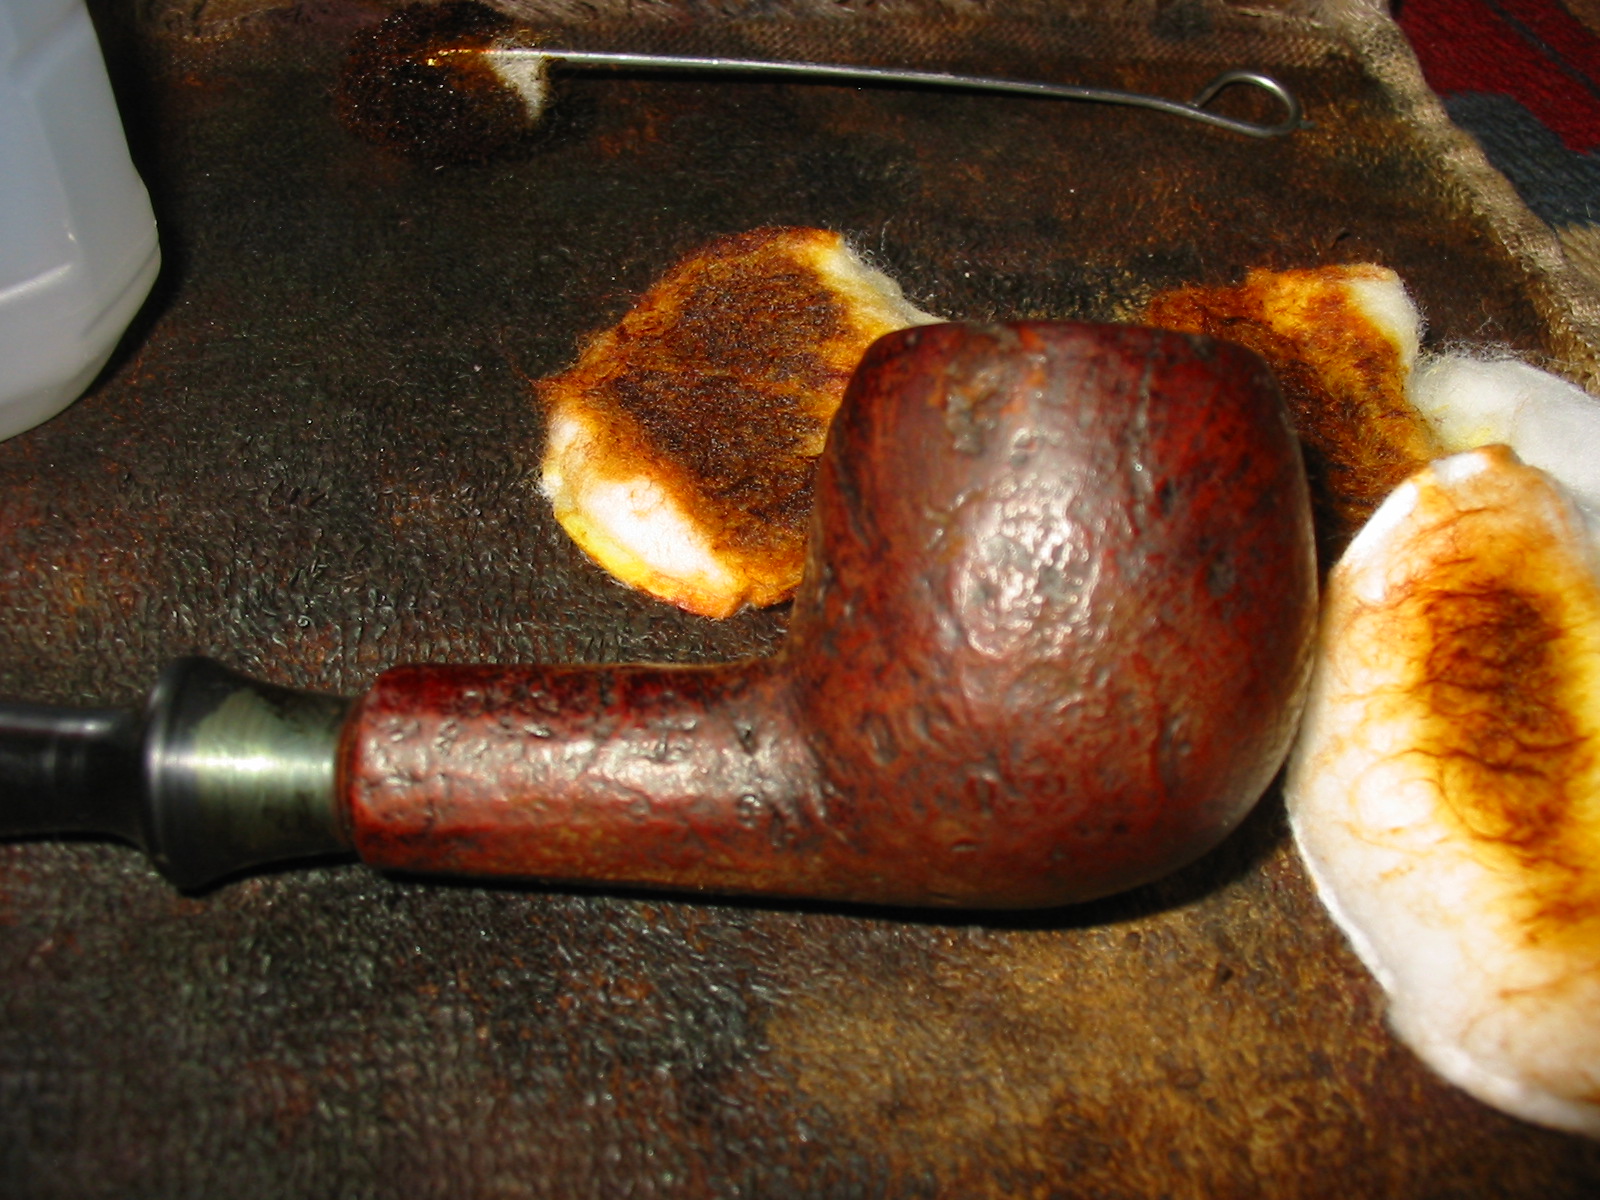
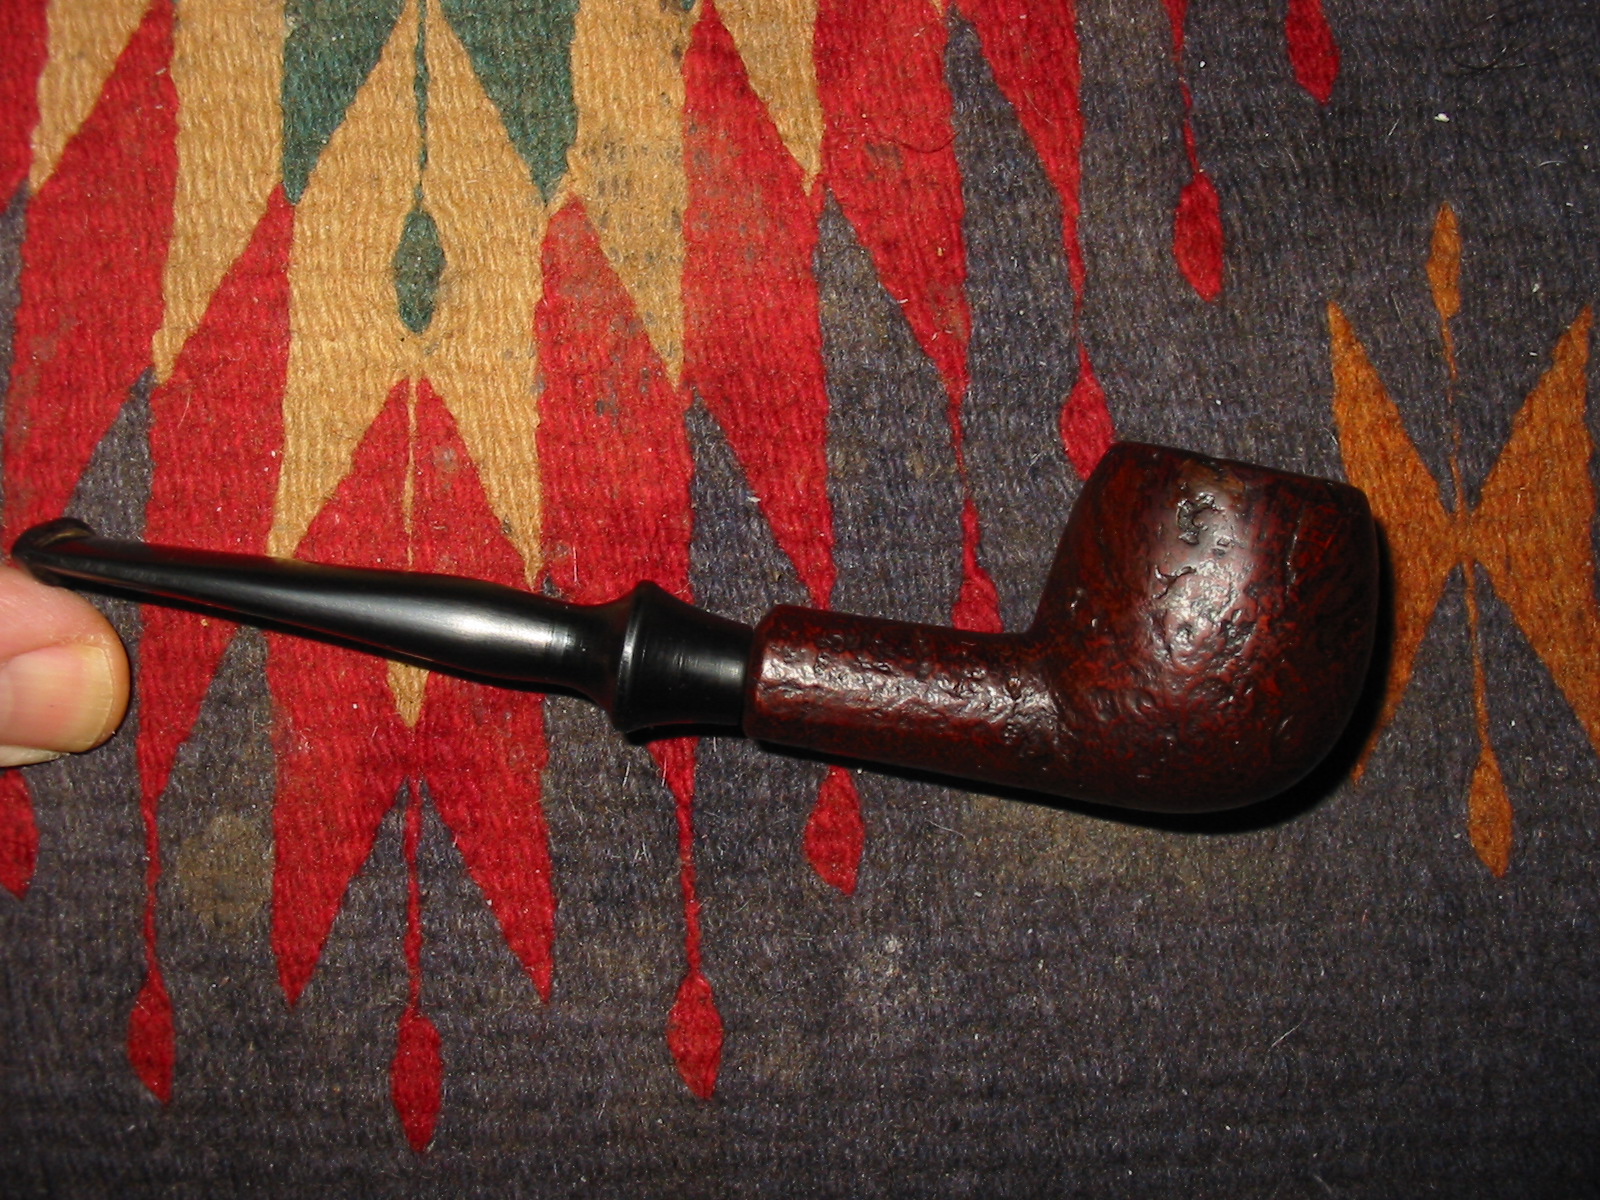
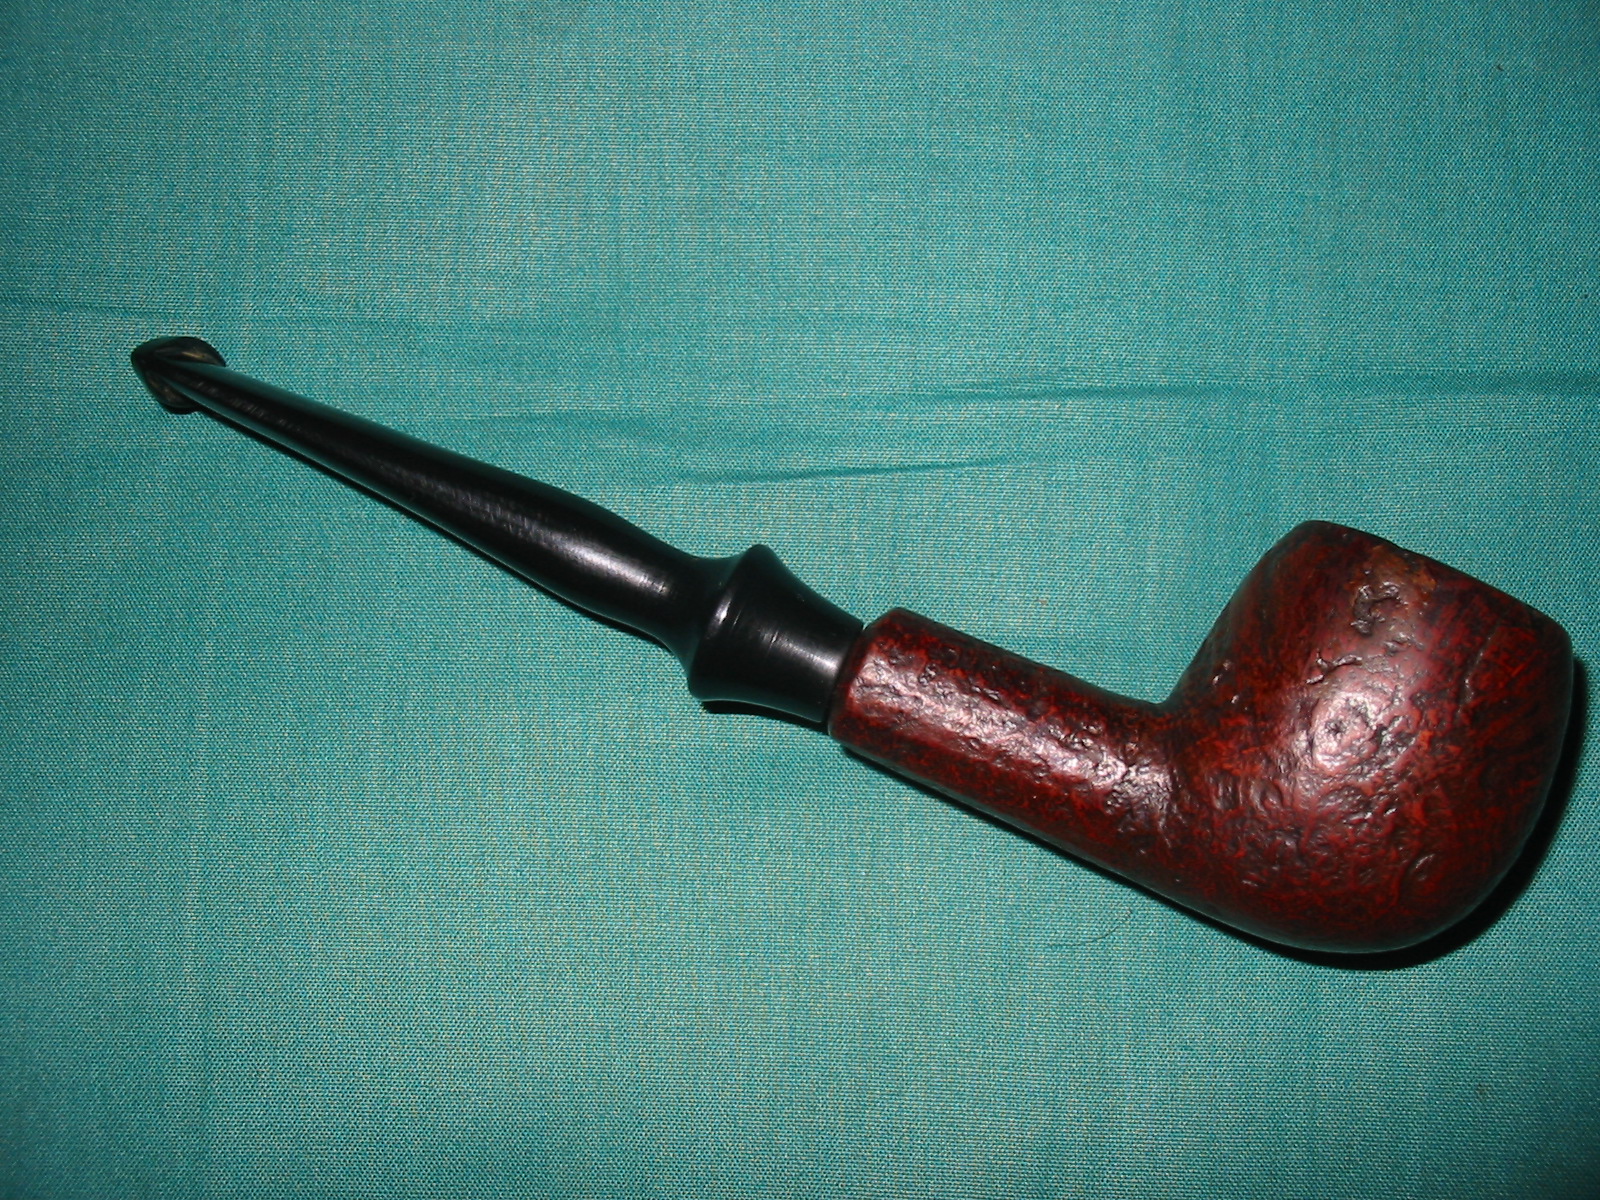
Once the coverage looked good I gave the bowl a coat of oxblood aniline stain to build a contrast. In the photos below you can see the way it worked to highlight the blast and show the grain. The birdseye grain under the blast on the left side of the bowl showed up with a nice contrast look.
I worked over the stem with micromesh sanding pads using the 1500-2400 grit pads to sand the surface of the bowl and give it more contrast with the crevices in the blast. I polished the stem with my usual pattern of micromesh pads – wet sanding with the 1500-2400 grit pads and dry sanding with the 3200-12,000 grit pads. I rubbed the stem down with Obsidian Oil and let it soak in. When it had dried I hand buffed the stem.

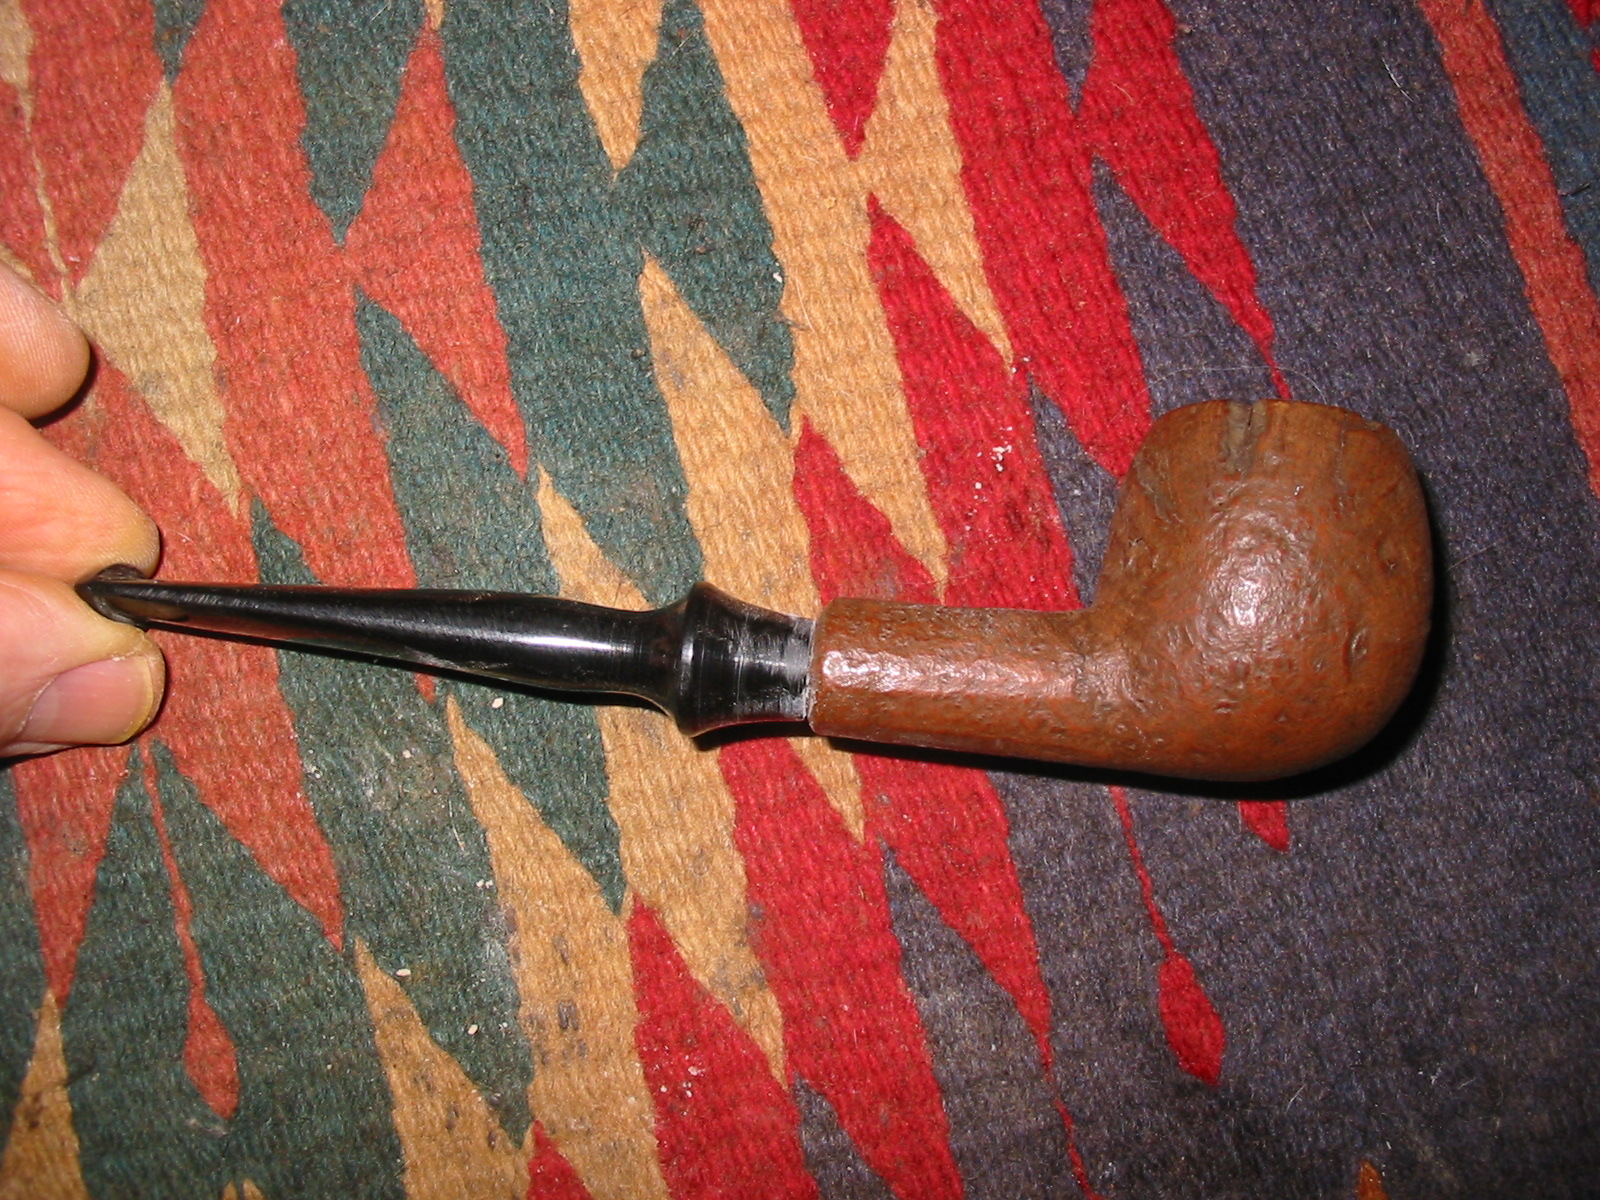
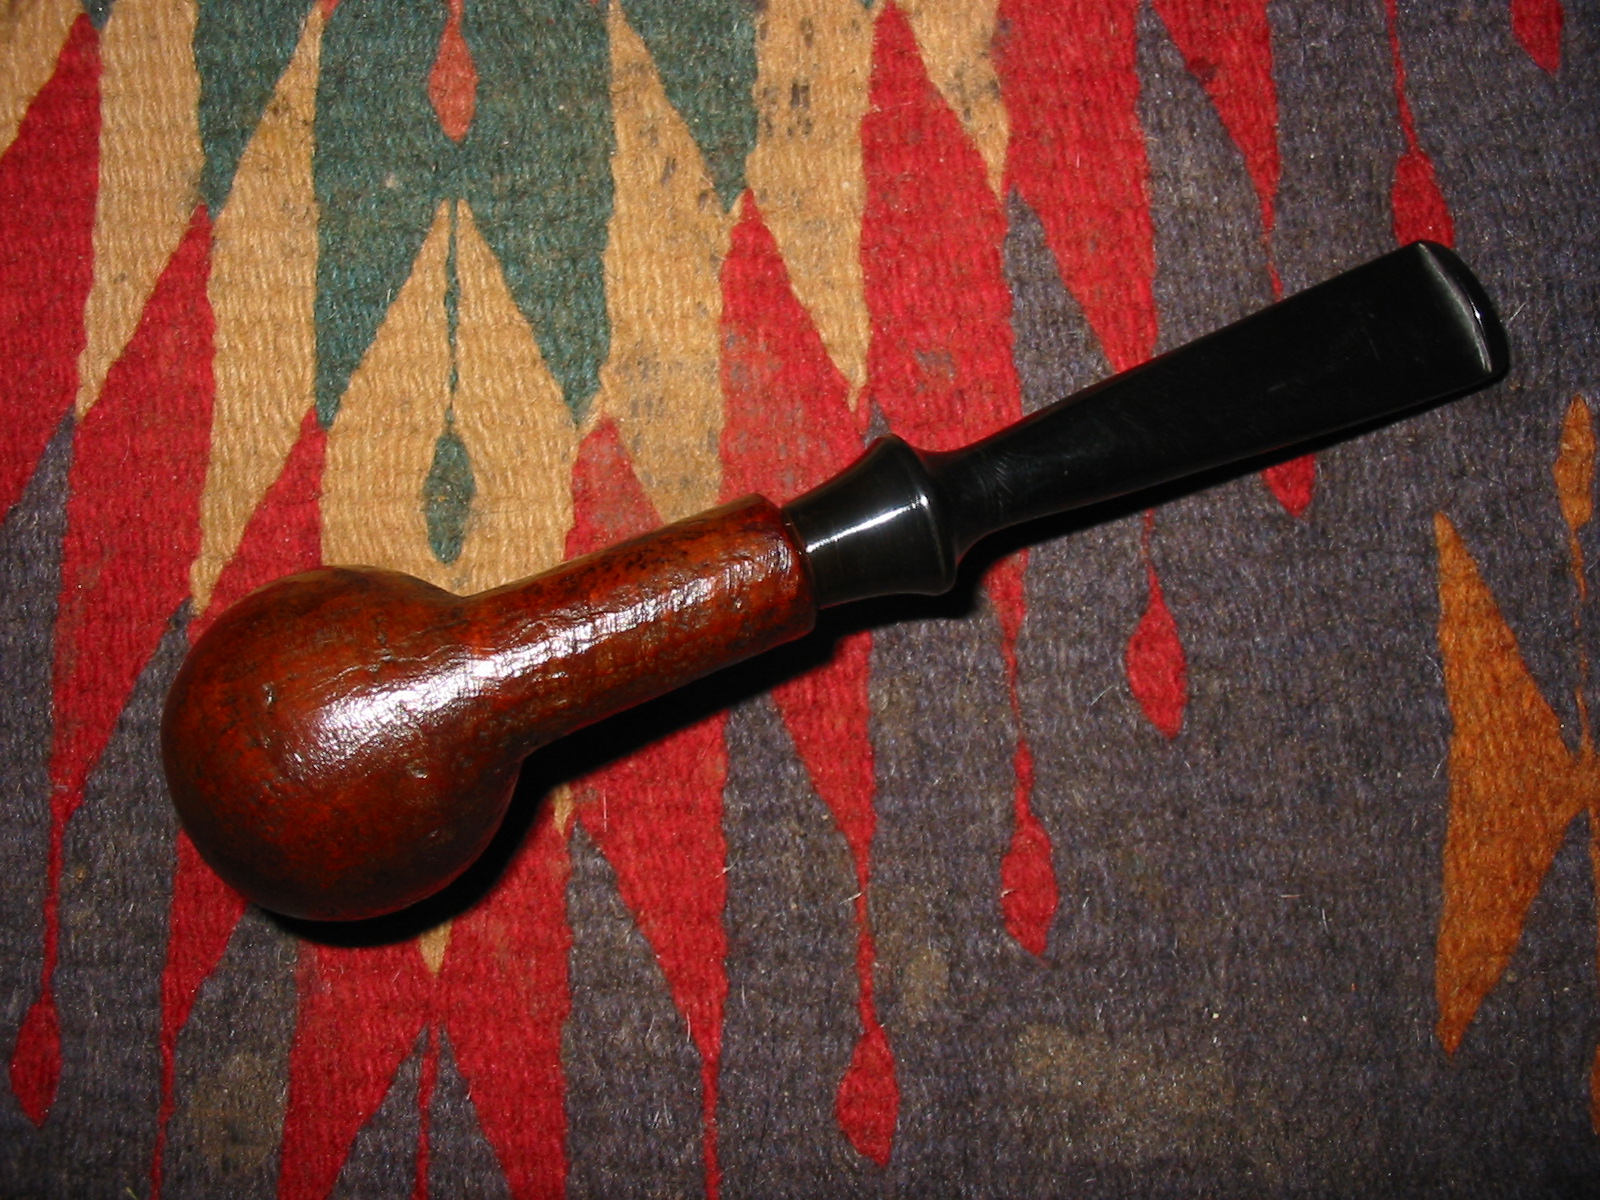
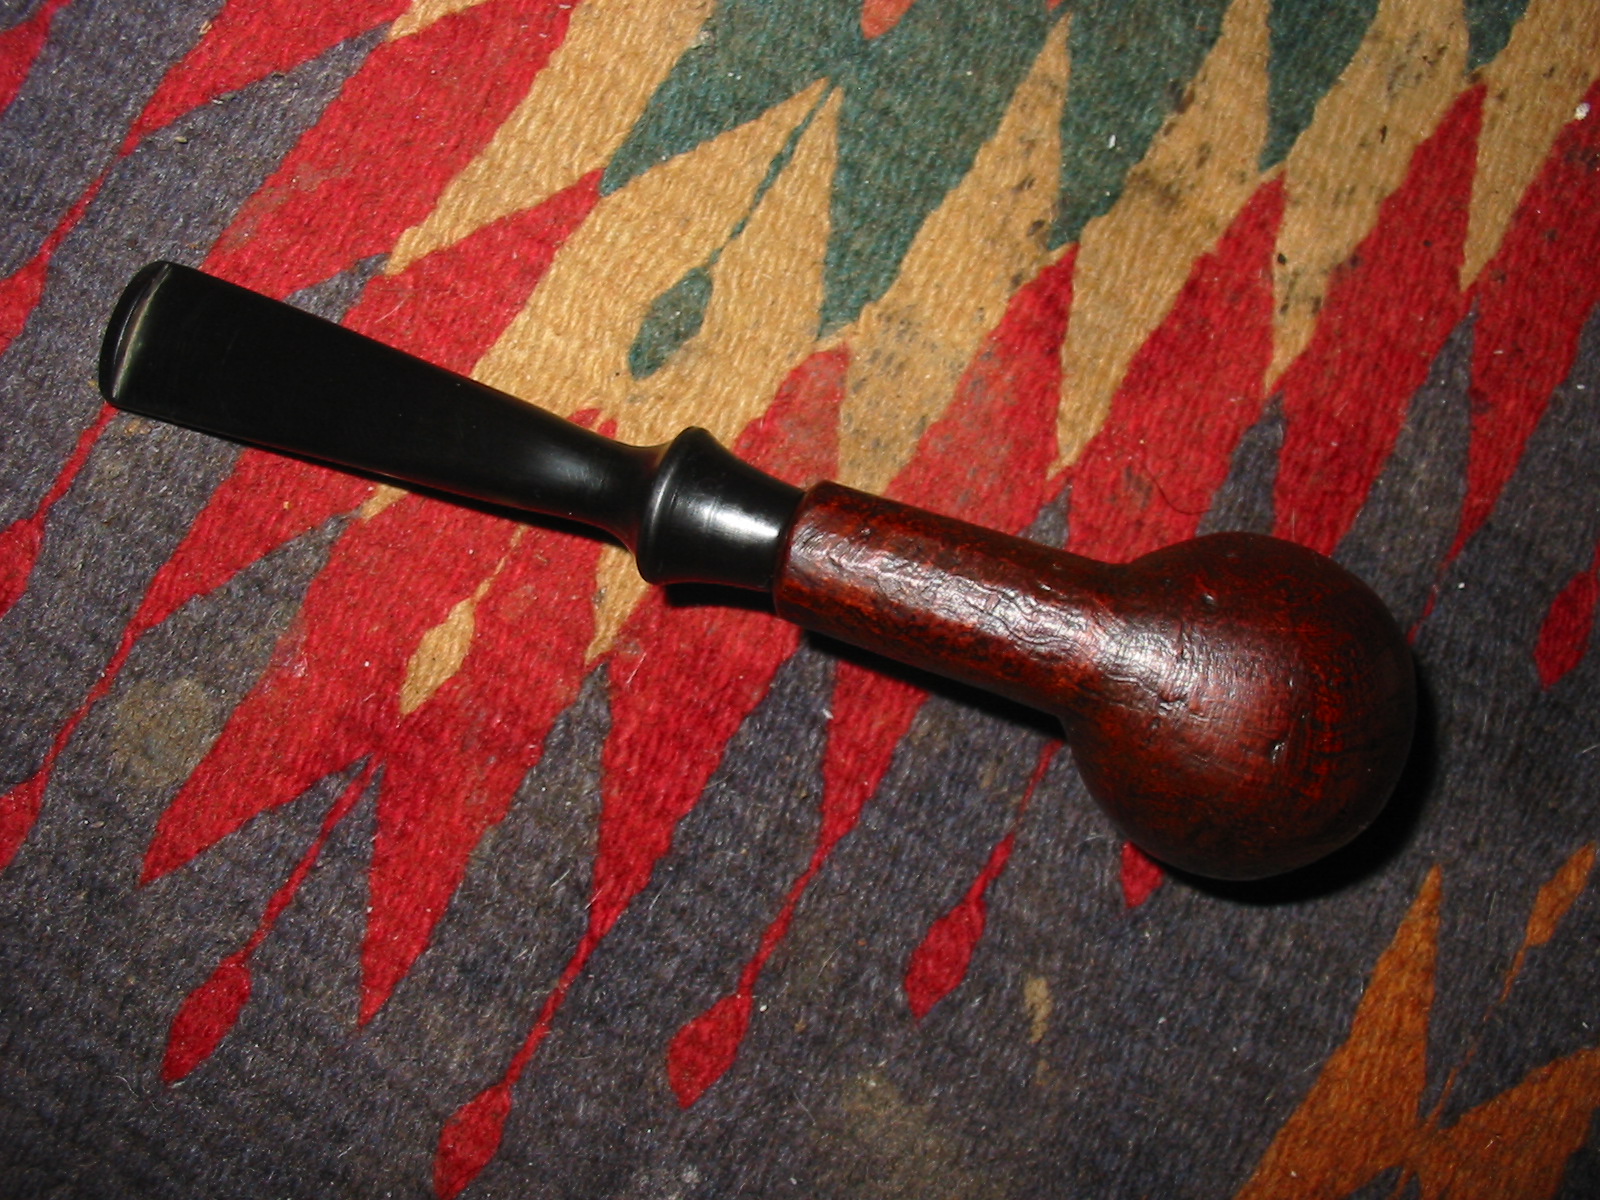
I buffed the pipe and the stem with White Diamond and then gave it multiple coats of carnauba wax. I buffed it with a clean flannel buff to raise the shine on the bowl. The finished pipe is shown in the photos below.

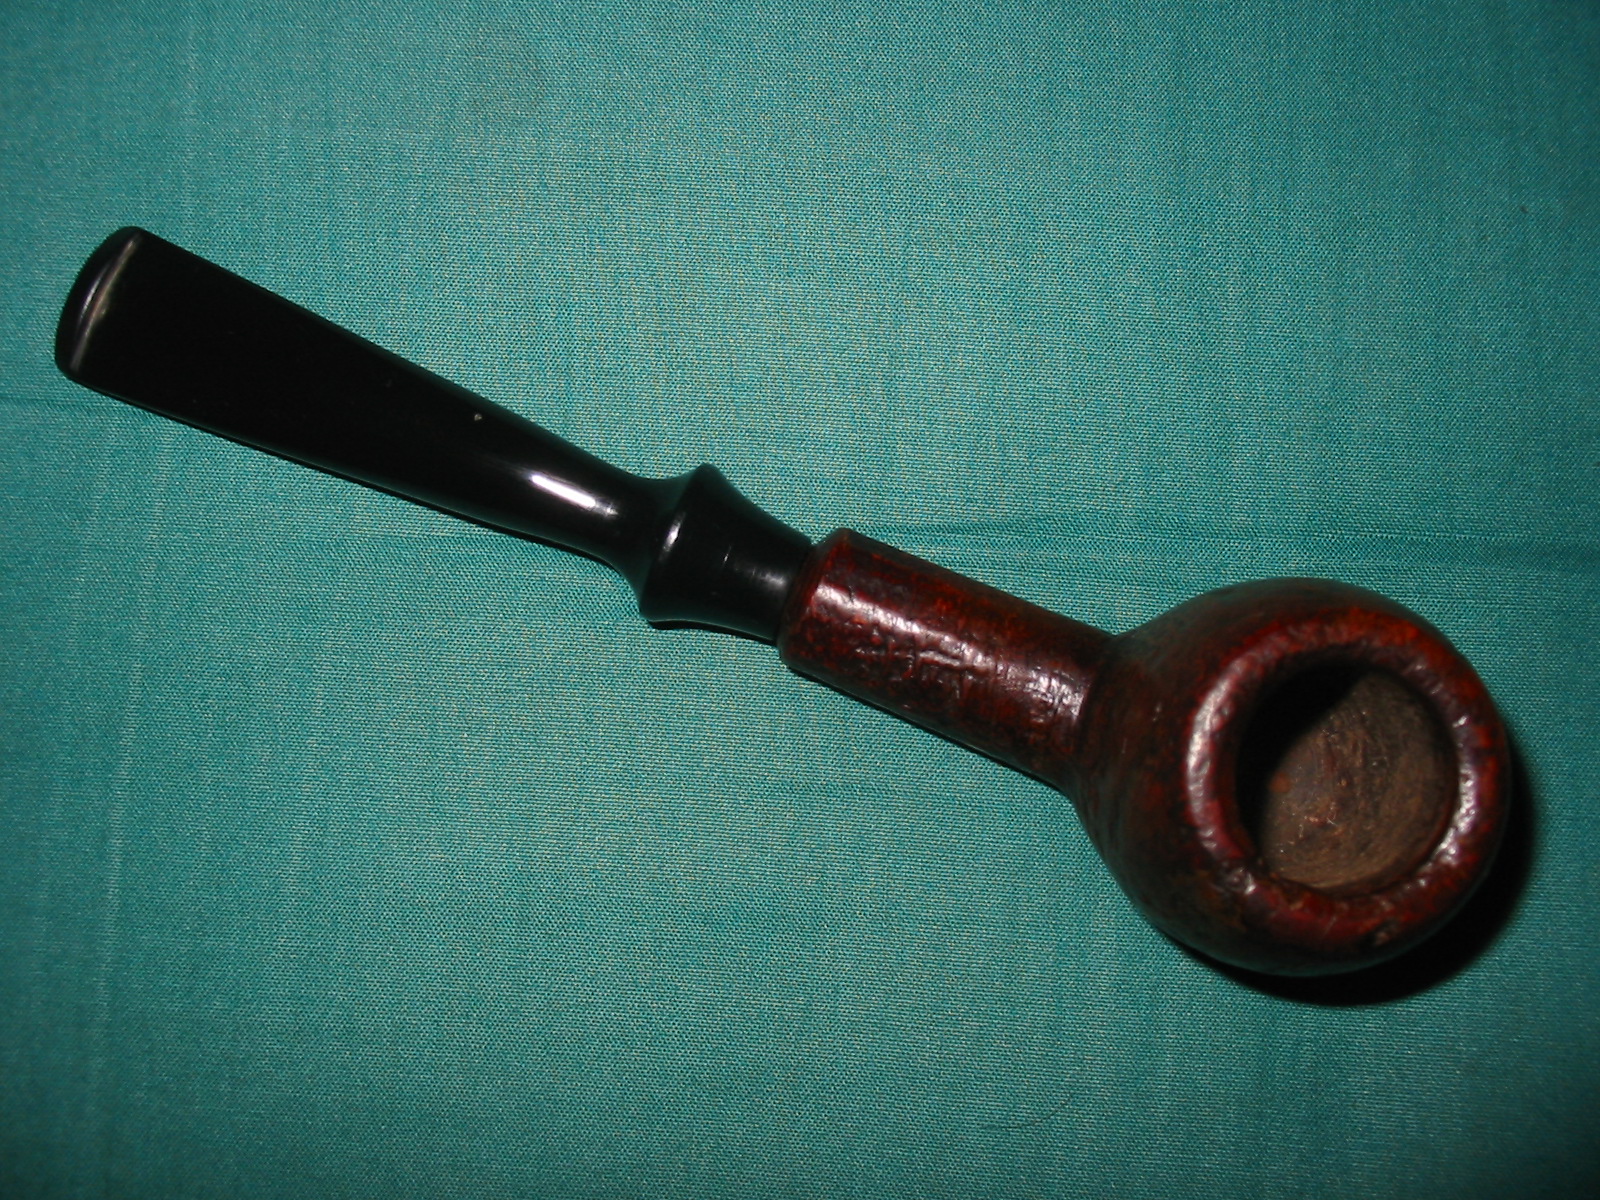

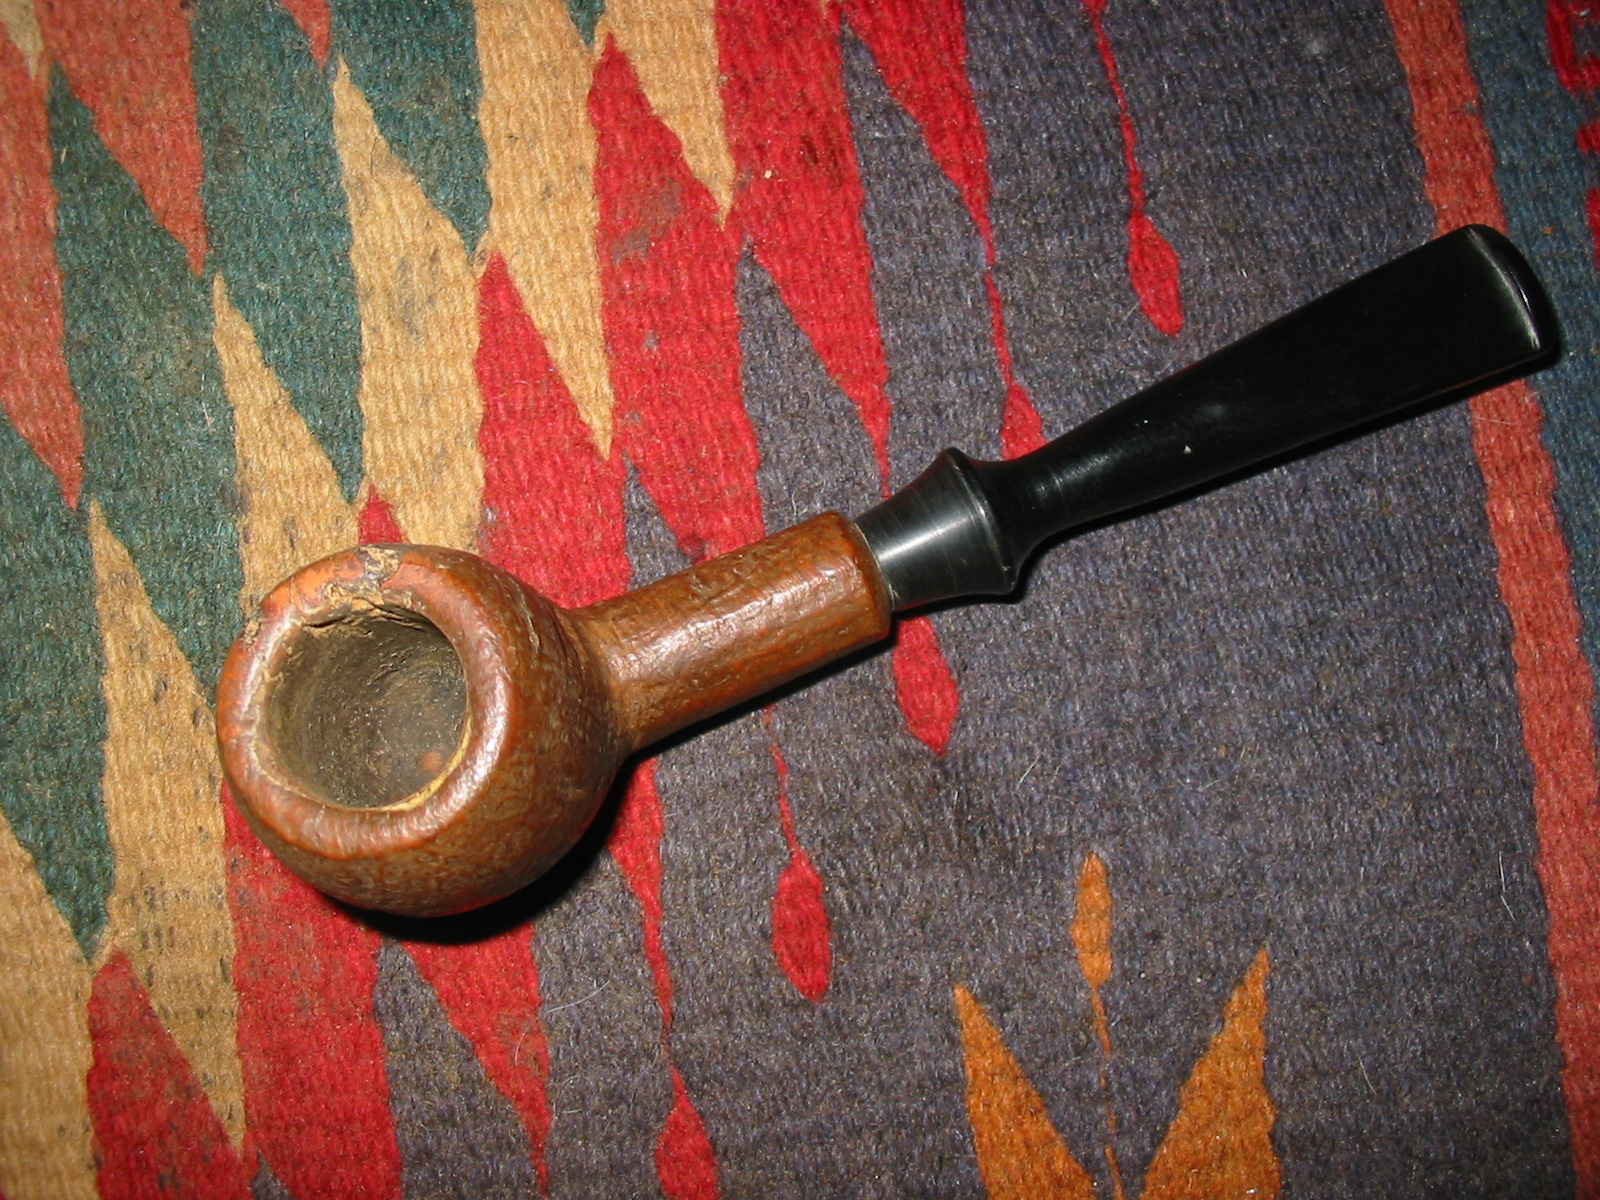
In closing I include two photos of the repaired areas of the bowl to show the finished repair. The super glue and briar dust repair worked well and is quite hidden by the stain and finish work. The trick was not to overfill the areas surrounding the crevice so that the filled area would blend into the texture of the bowl. I am pleased with the finished product.

The analogy is apt but makes my jaw hurt slightly! That stain did a nice job covering the fills.
LikeLike
Congratulations, Steve ! looks beautiful ! I stay with hope that the filling of these crevices will be “kept” strong in place. In similar cases, depending on nature/form of the crevice to be filled I have been proceeding like dentist who elaborates cavities by “mini carving”/drilling “cathing minihollows” on edges of cavity to let the filling be kept solidly in place.
LikeLike
I did not do that in this case as the cavities/crevices were not splits in the briar but actually sandpits – large and small. I picked out the debris that had collected in those areas and washed it down with alcohol to clean it before I used the filling material. I hope that makes sense. In general it is the same procedure I use to replace pink putty fills in briar. I remove, cleanse and refill.
LikeLike
I guess Jacek, in a sense I carve the edges as well. I use the dental pick to carve away debris and loose areas before refilling them. I also rough up the edges slightly to facilitate a good bond….thank you for your response.
LikeLike
I am sorry that I did not explain myself well; all what I had in mind, you have expressed so well here:
…rough up the edges slightly to facilitate a good bond…
In my old works of this kind I was concentrating on this what you say precisely and shortly: roughening of edges.
If the cavity is of kind of rounded shape with fairly even edges then in order to “help” the “gluing force” of glue I proceed like dentist when he or she elaborates the cavity in tooth. I believe that filling will be kept in place stronger if it will have on it’s edges a number of mini hooks/grips. In this case – protruding mini parts of filling. My attempt was to make “places” for them. I used small cutters – with ball or trapezoid ends/tips/working heads of diameter ca. 1 mm, sometime just drill bits of diameter ca 1 mm., sometime I used my burins. I was often carving mini undercuts in walls of the cavity to prevent the eventual falling out of the filling.
LikeLike
Yes, exactly. Thanks Jacek. I really like the analogy of a dentist repairing a cavity. That is where I actually got the idea of dental picks and scrapers. Thank you!
LikeLike