Blog by Steve Laug
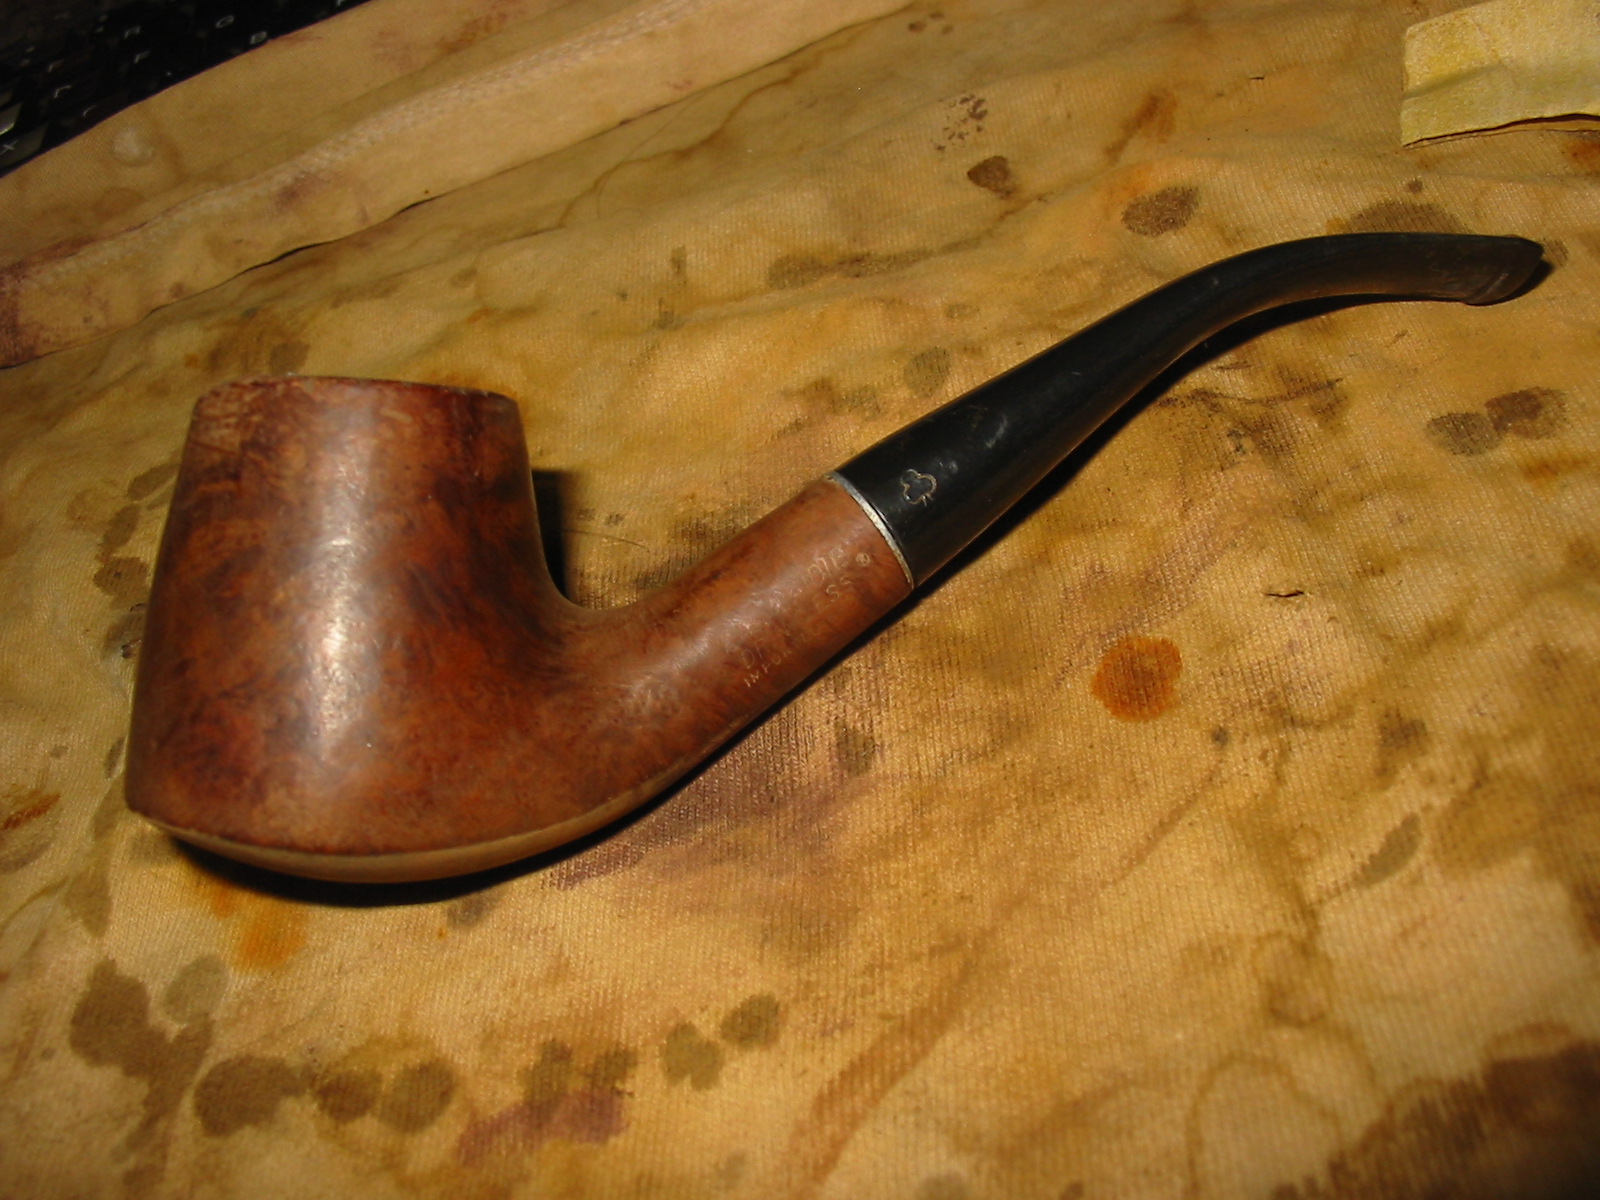
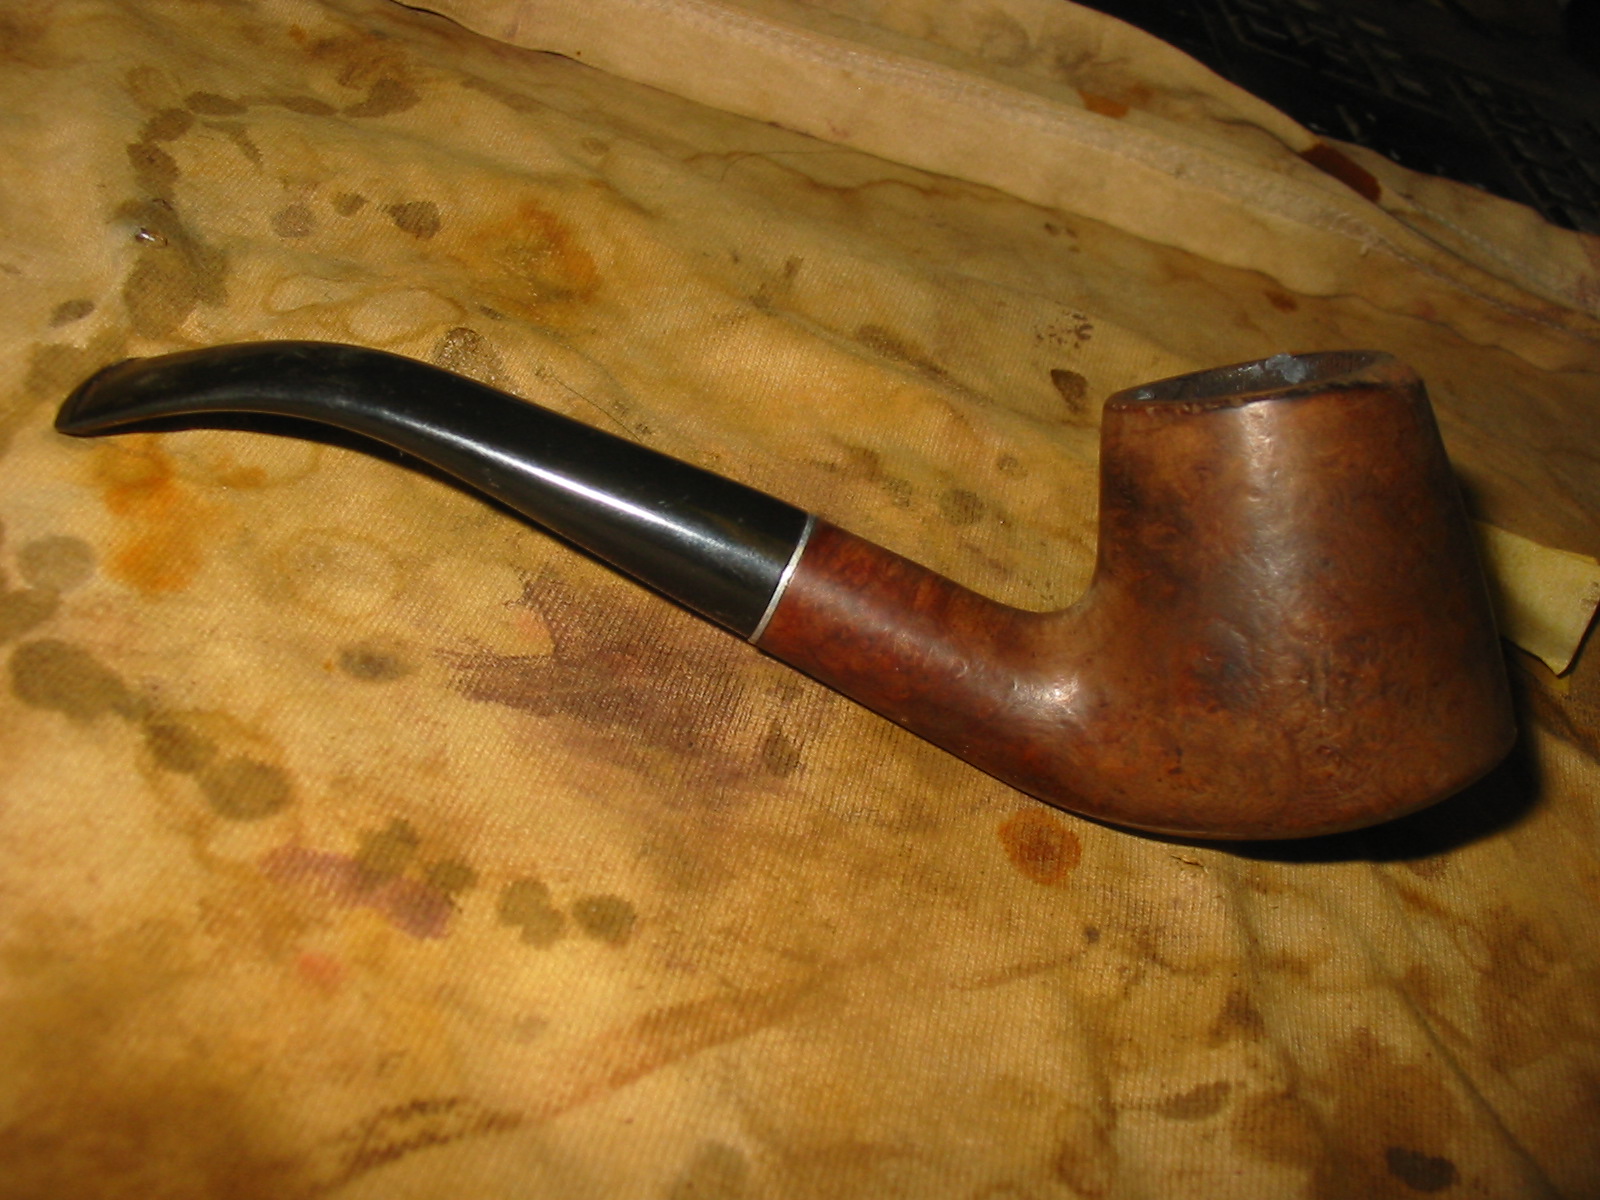
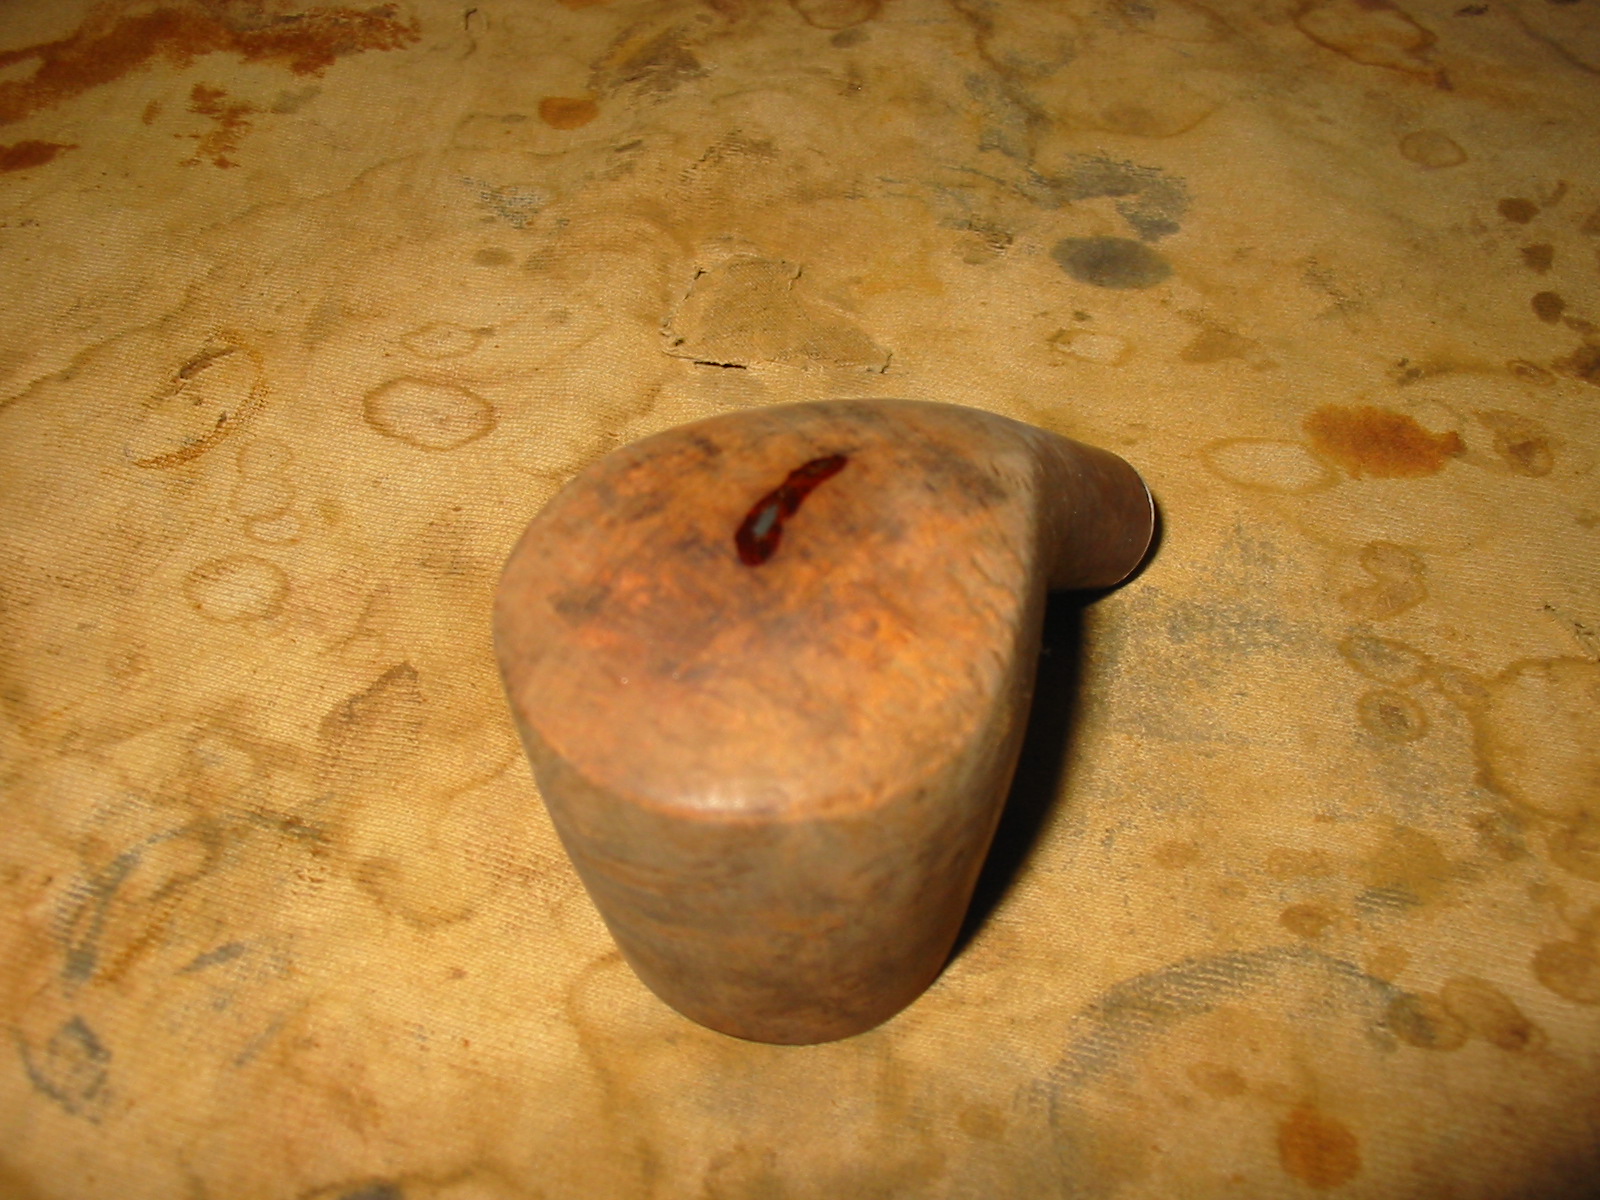
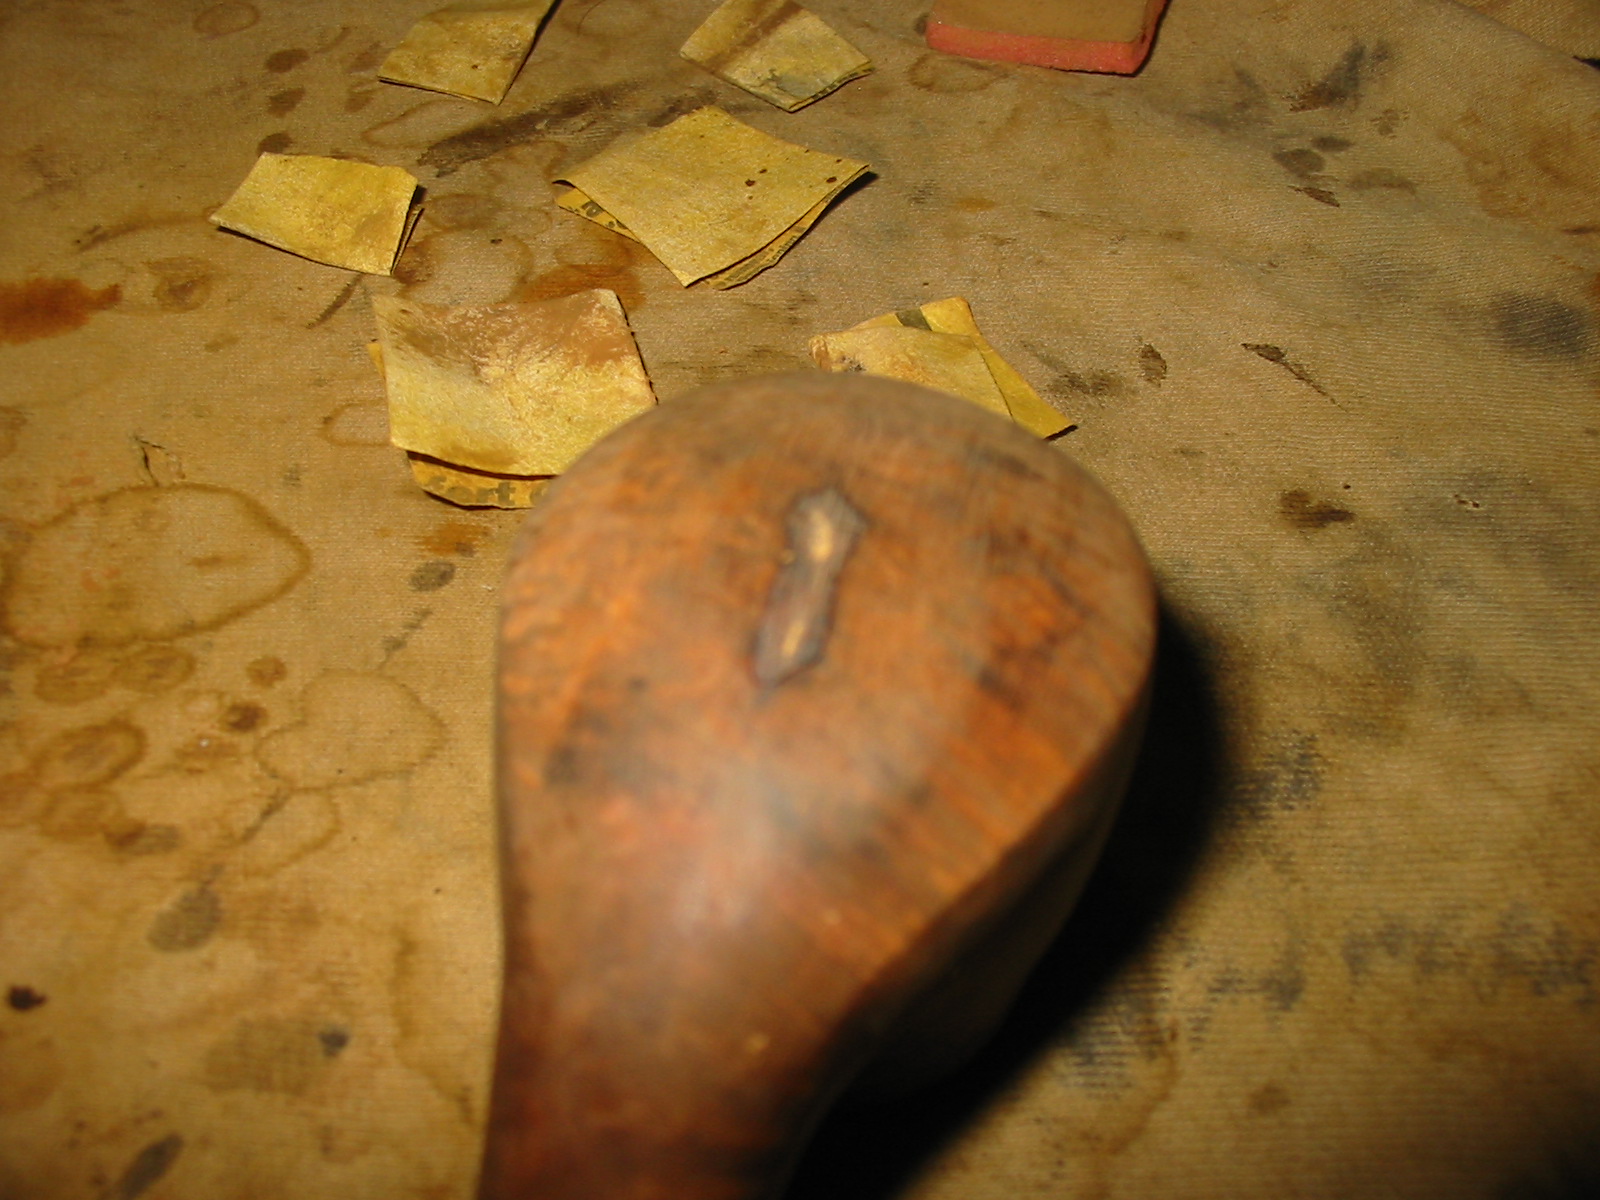
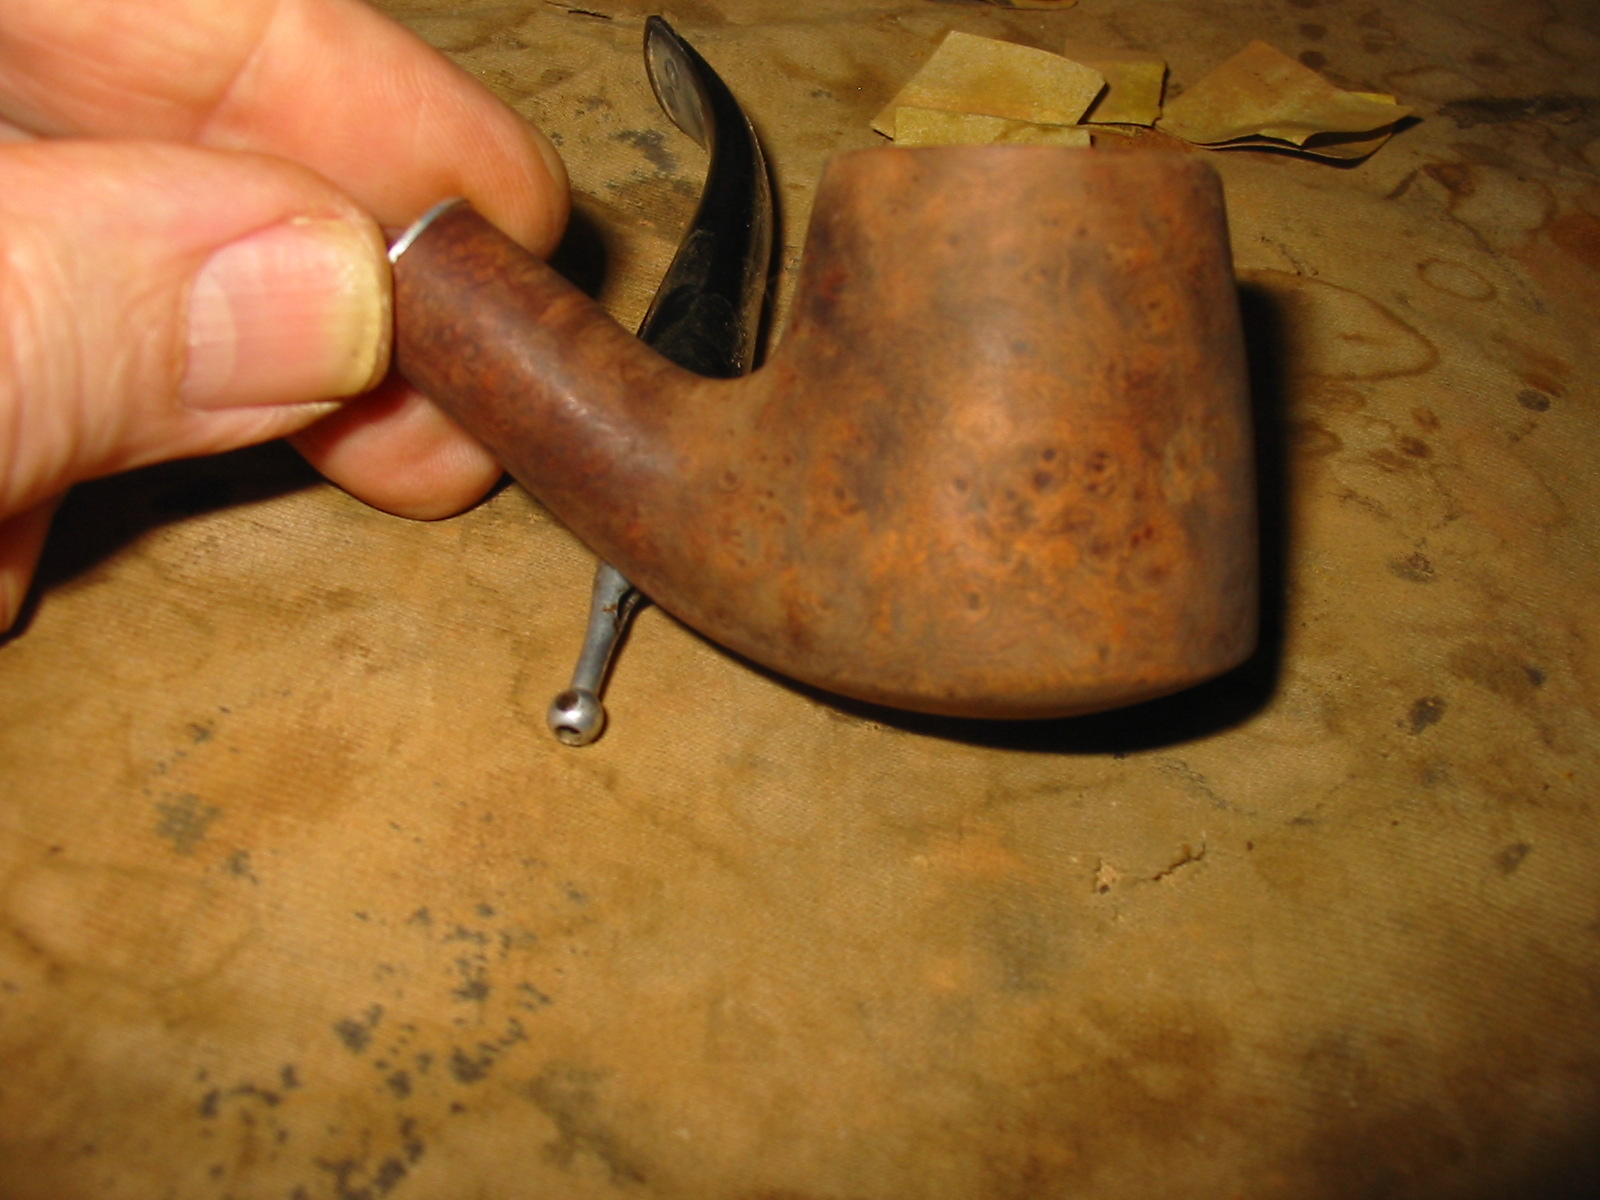
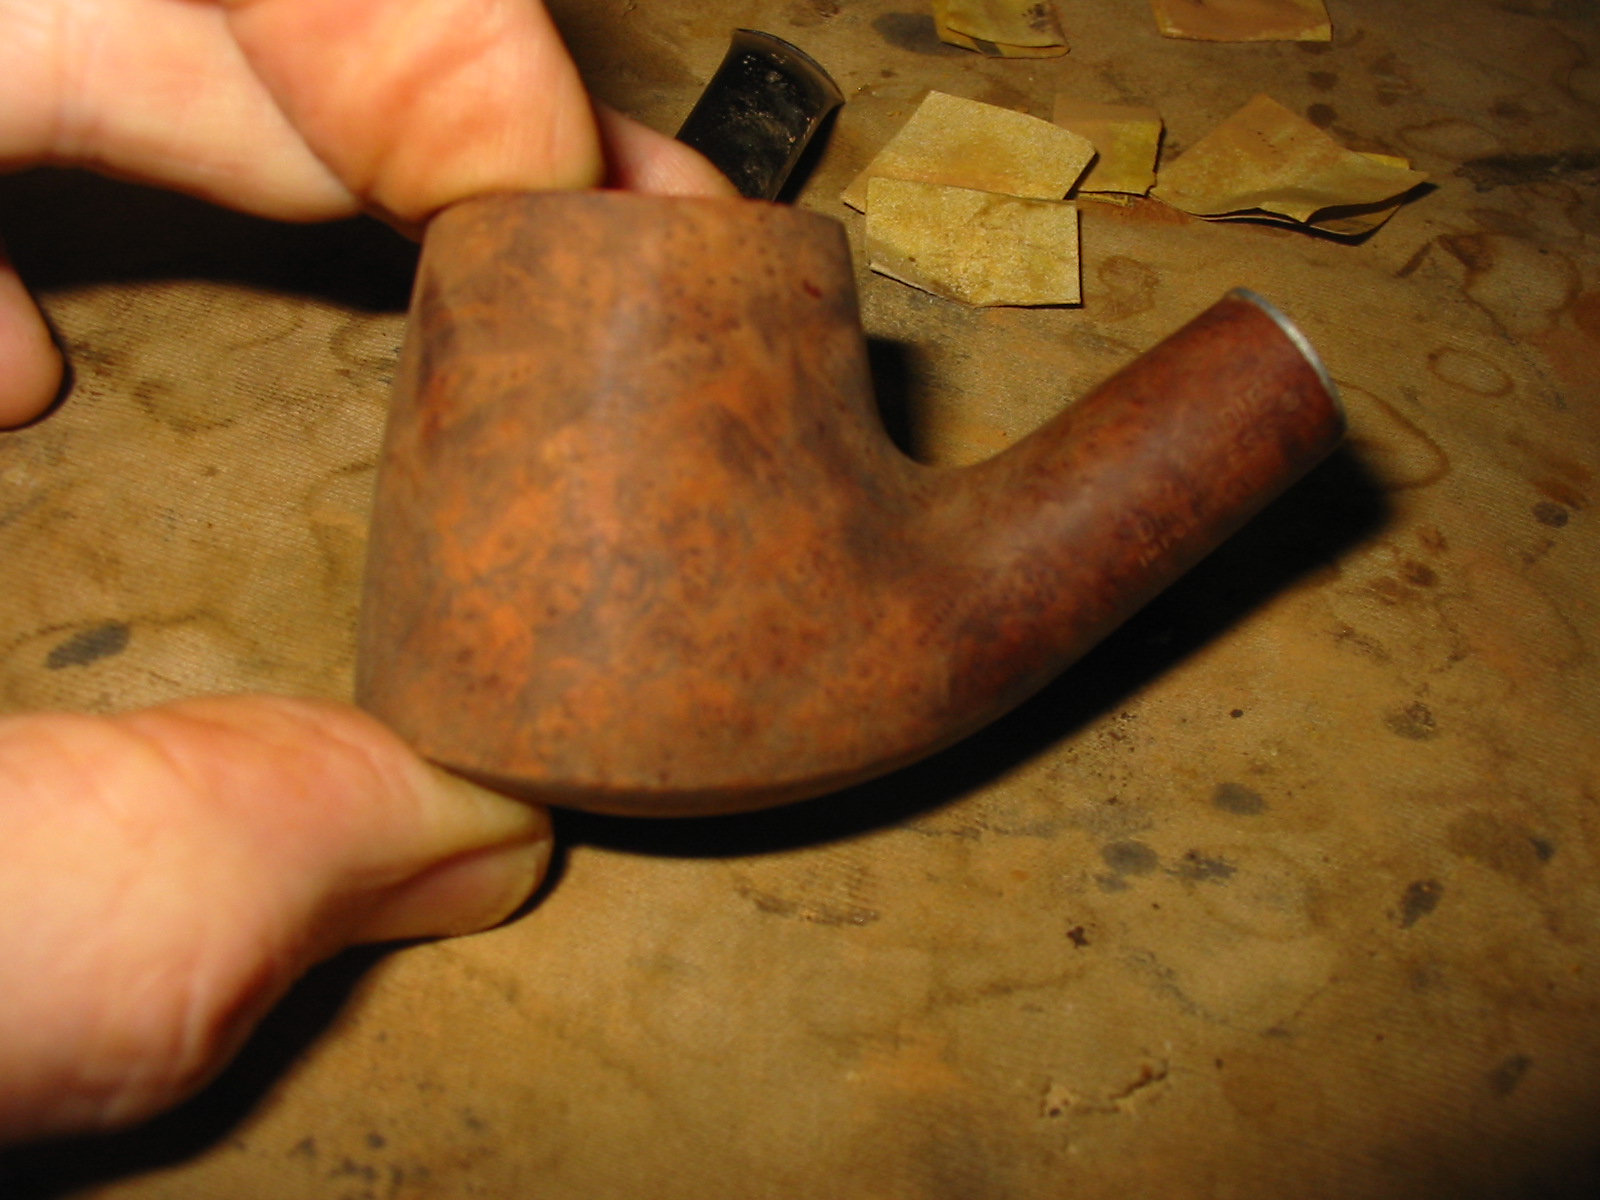
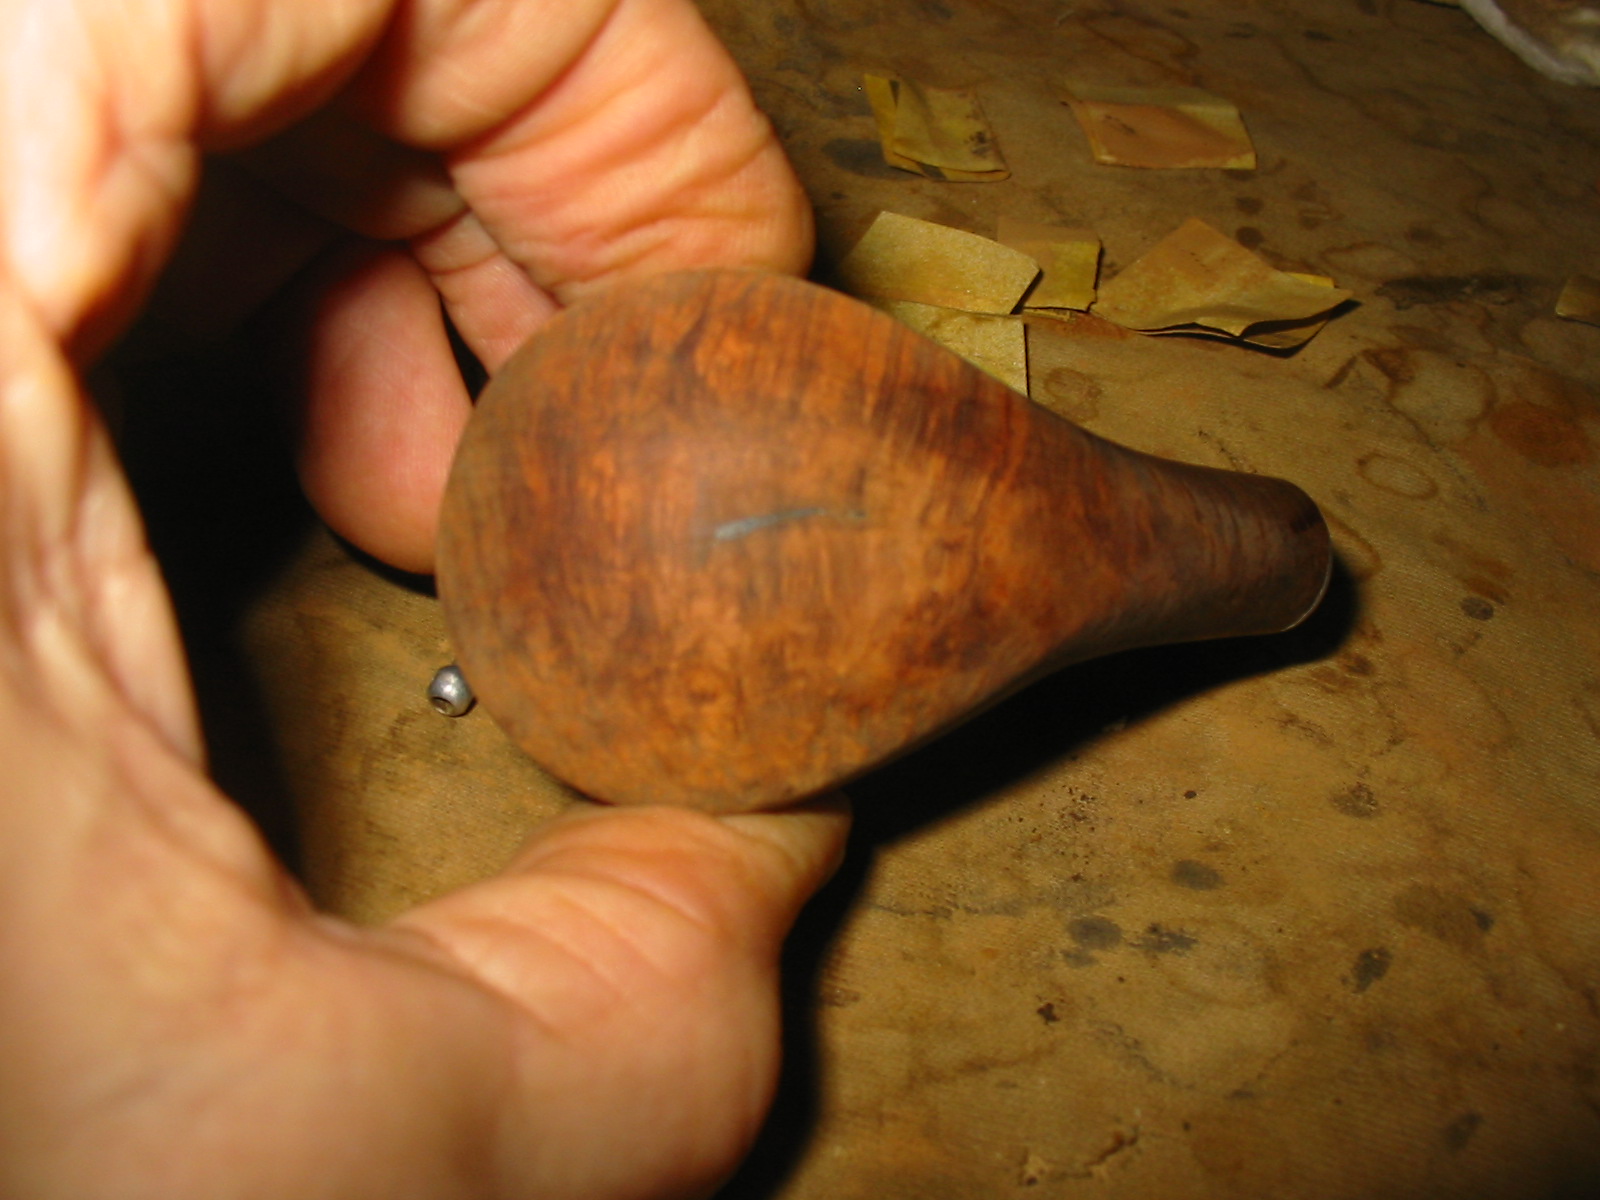
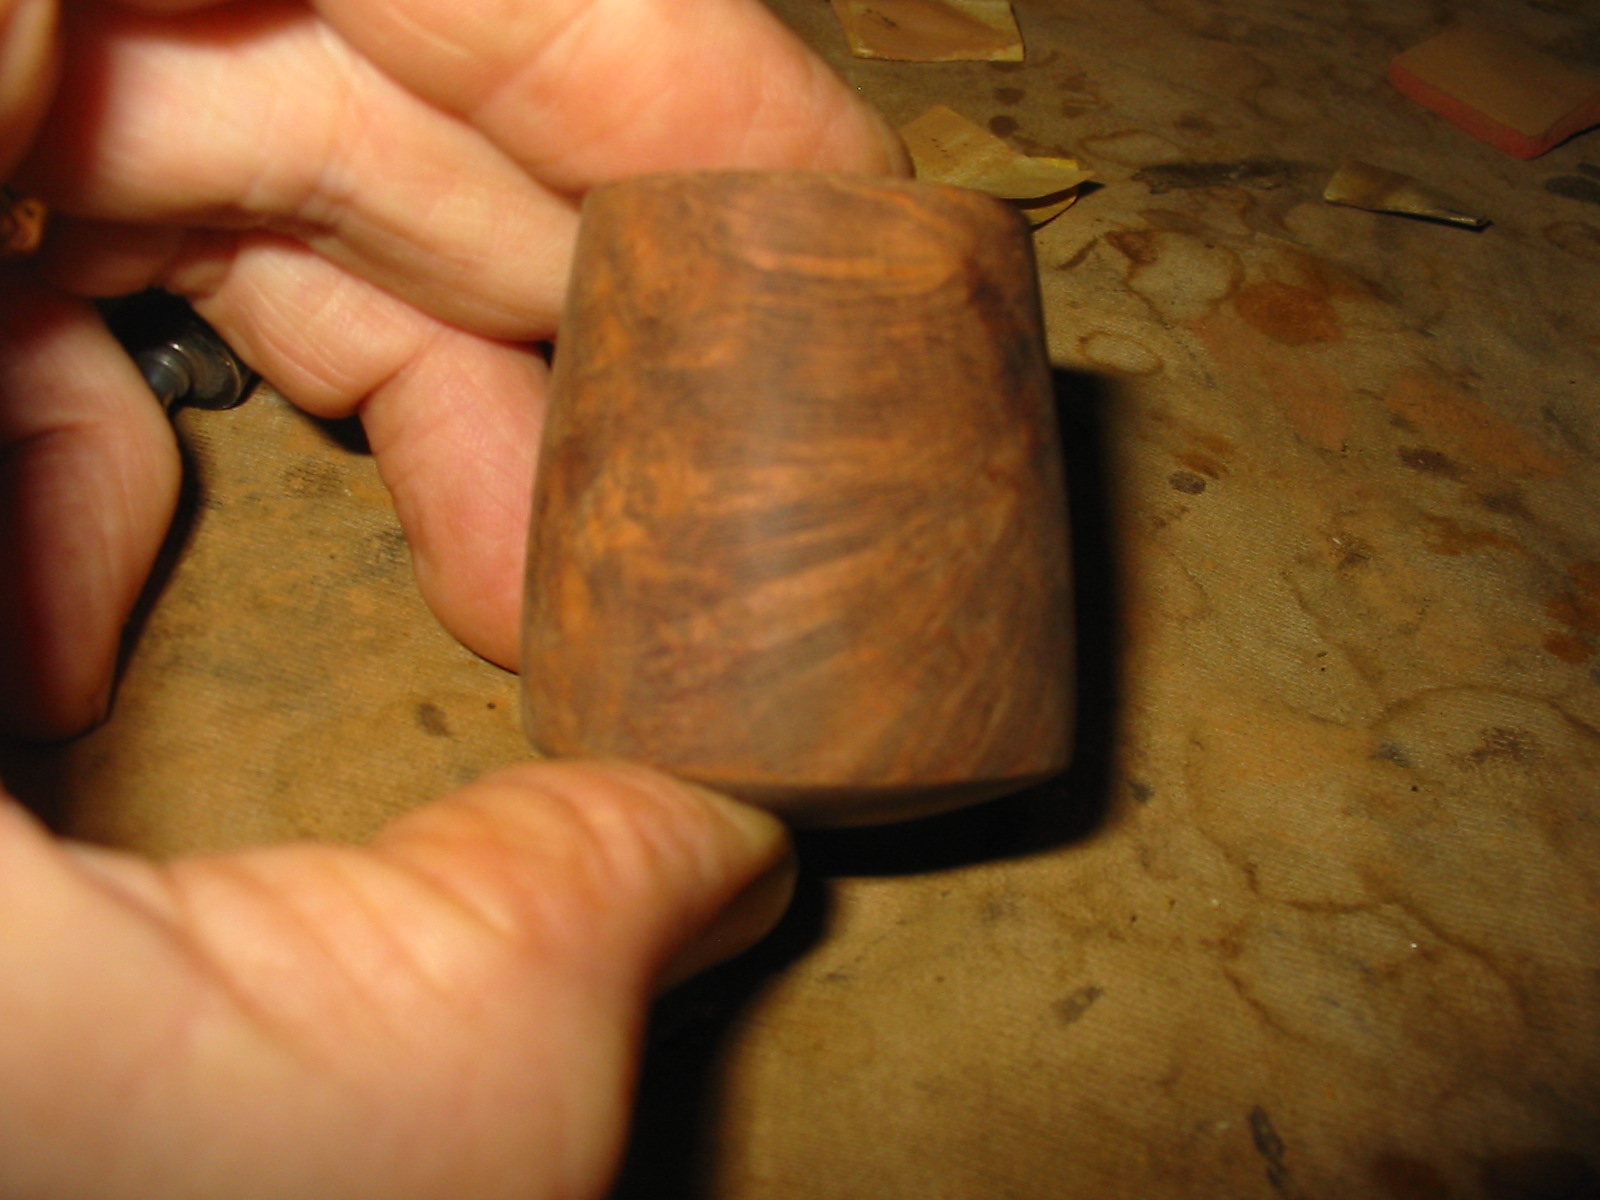
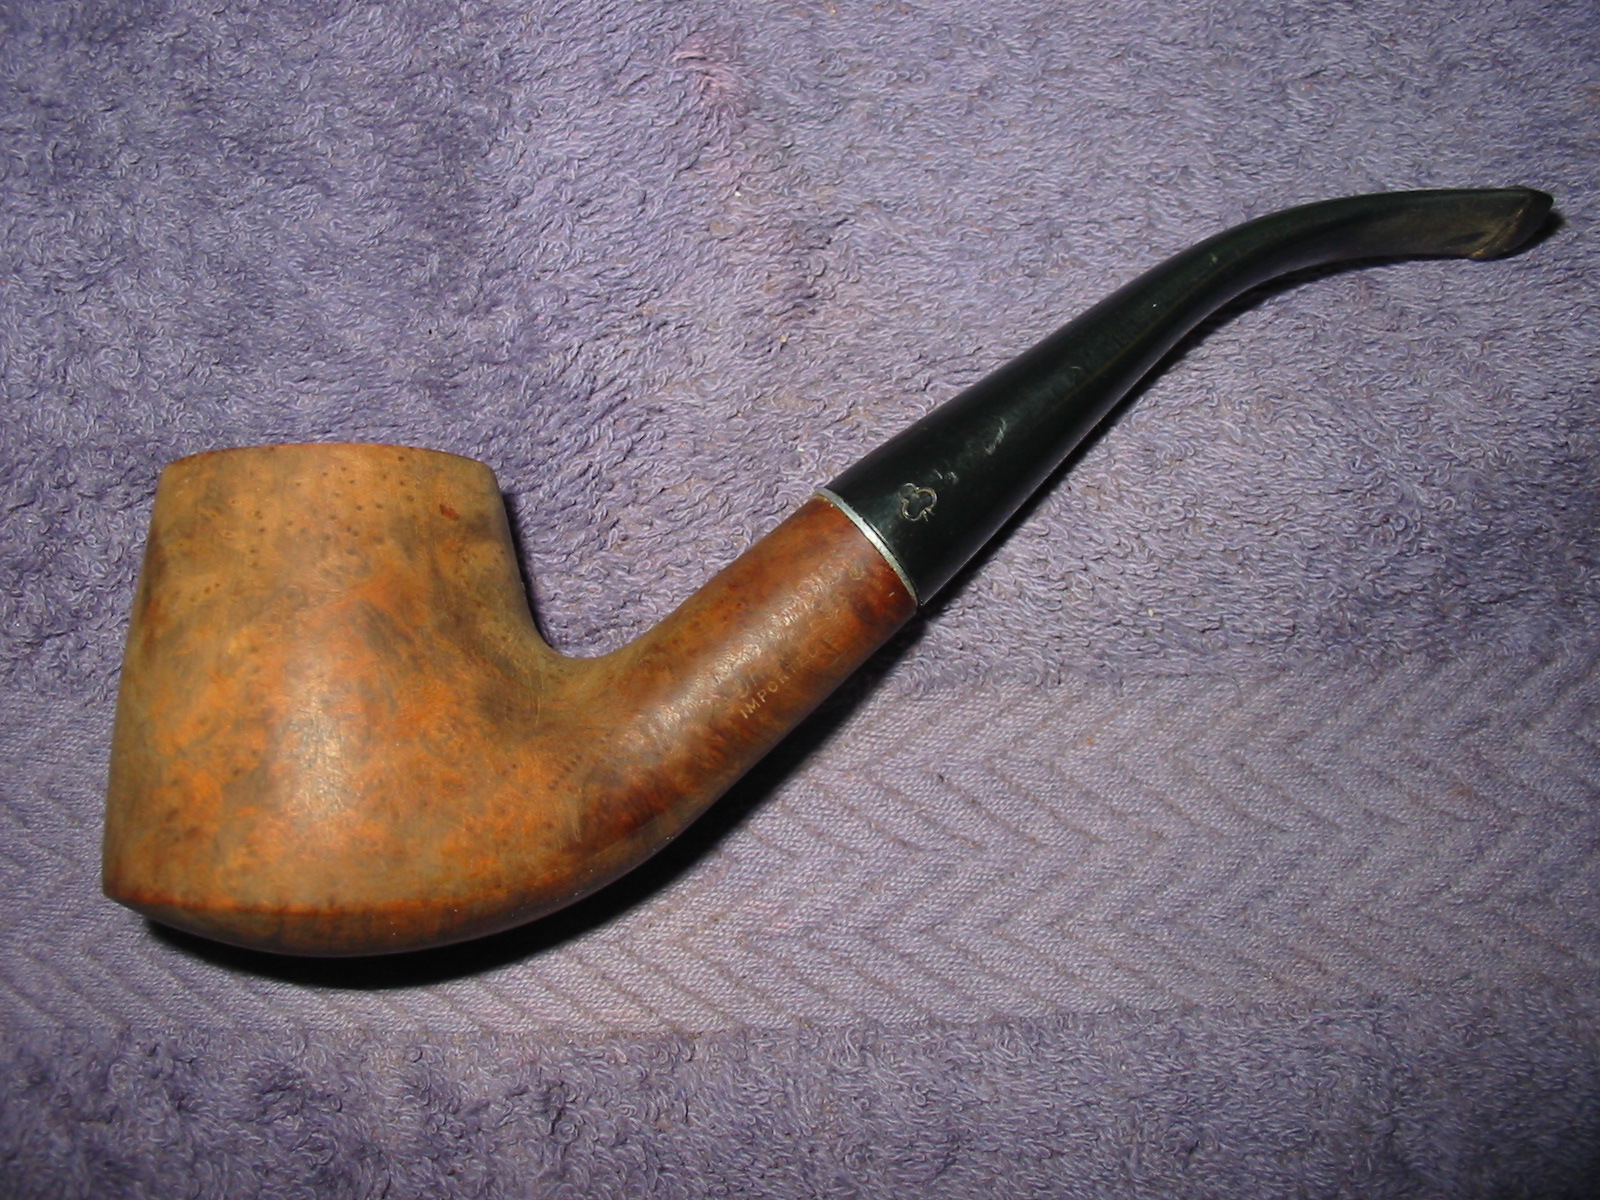
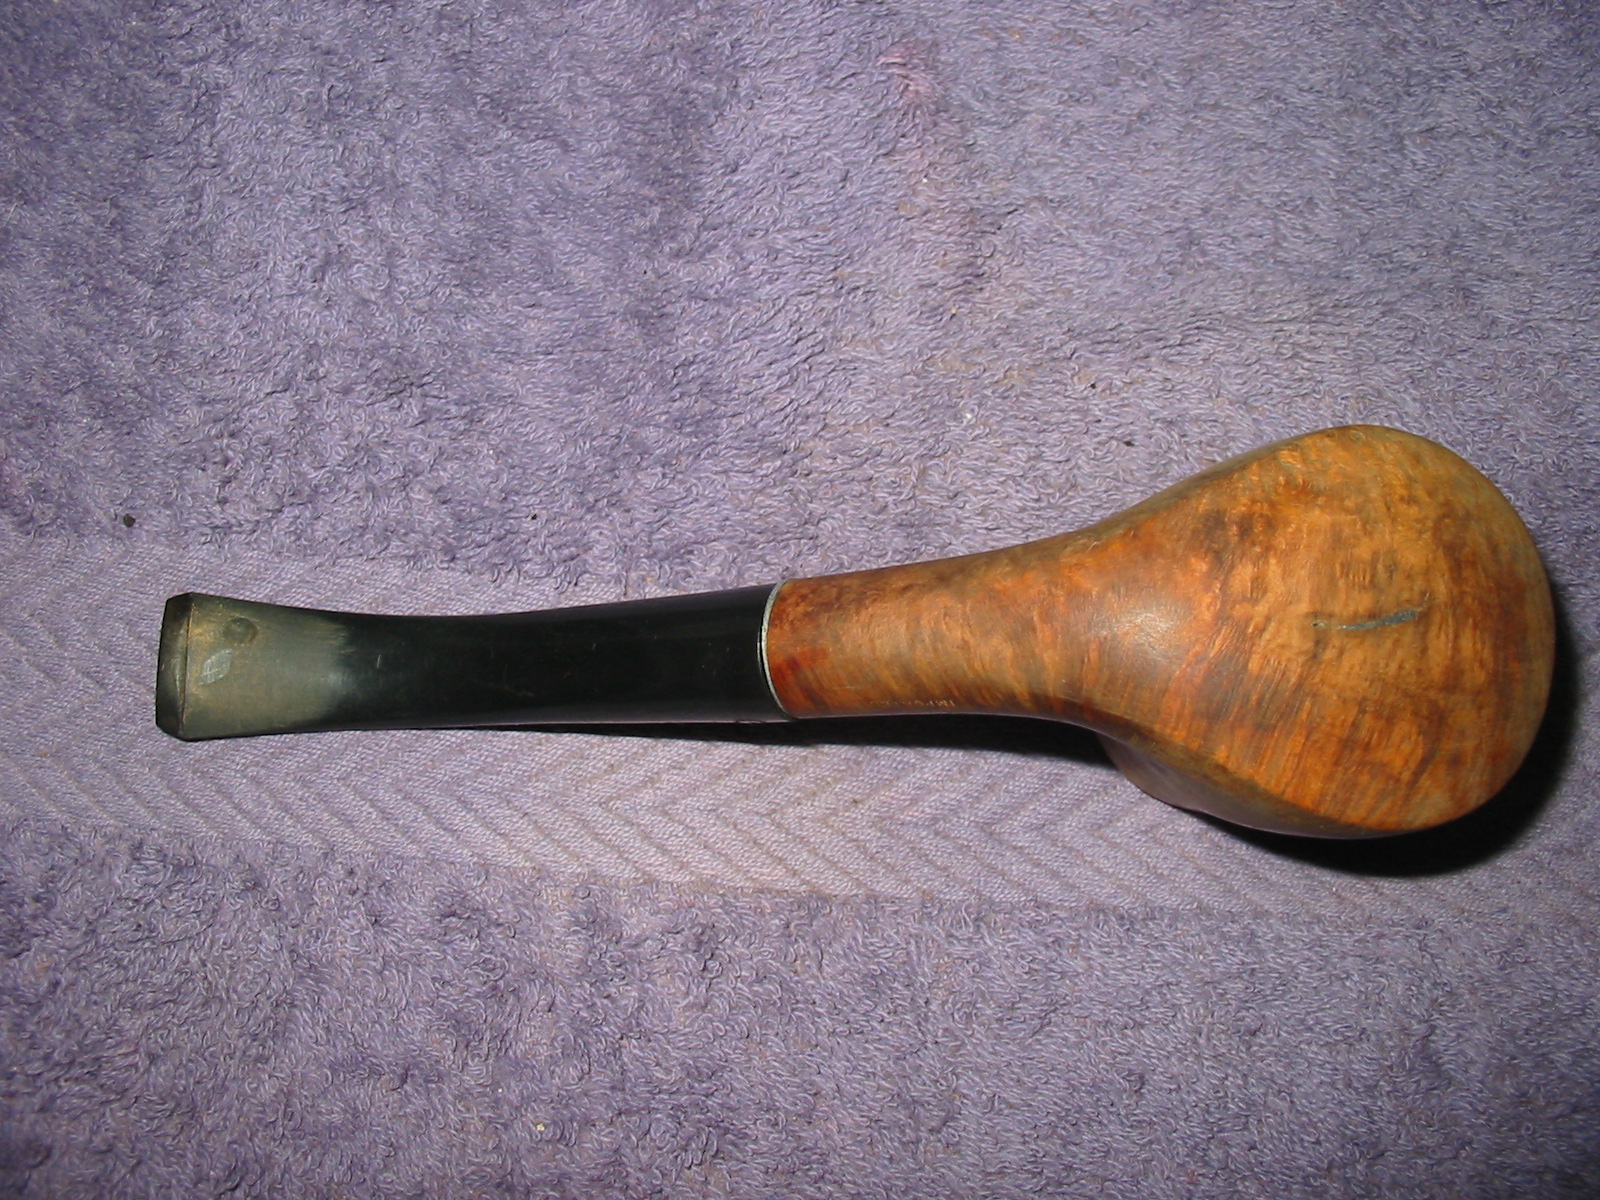
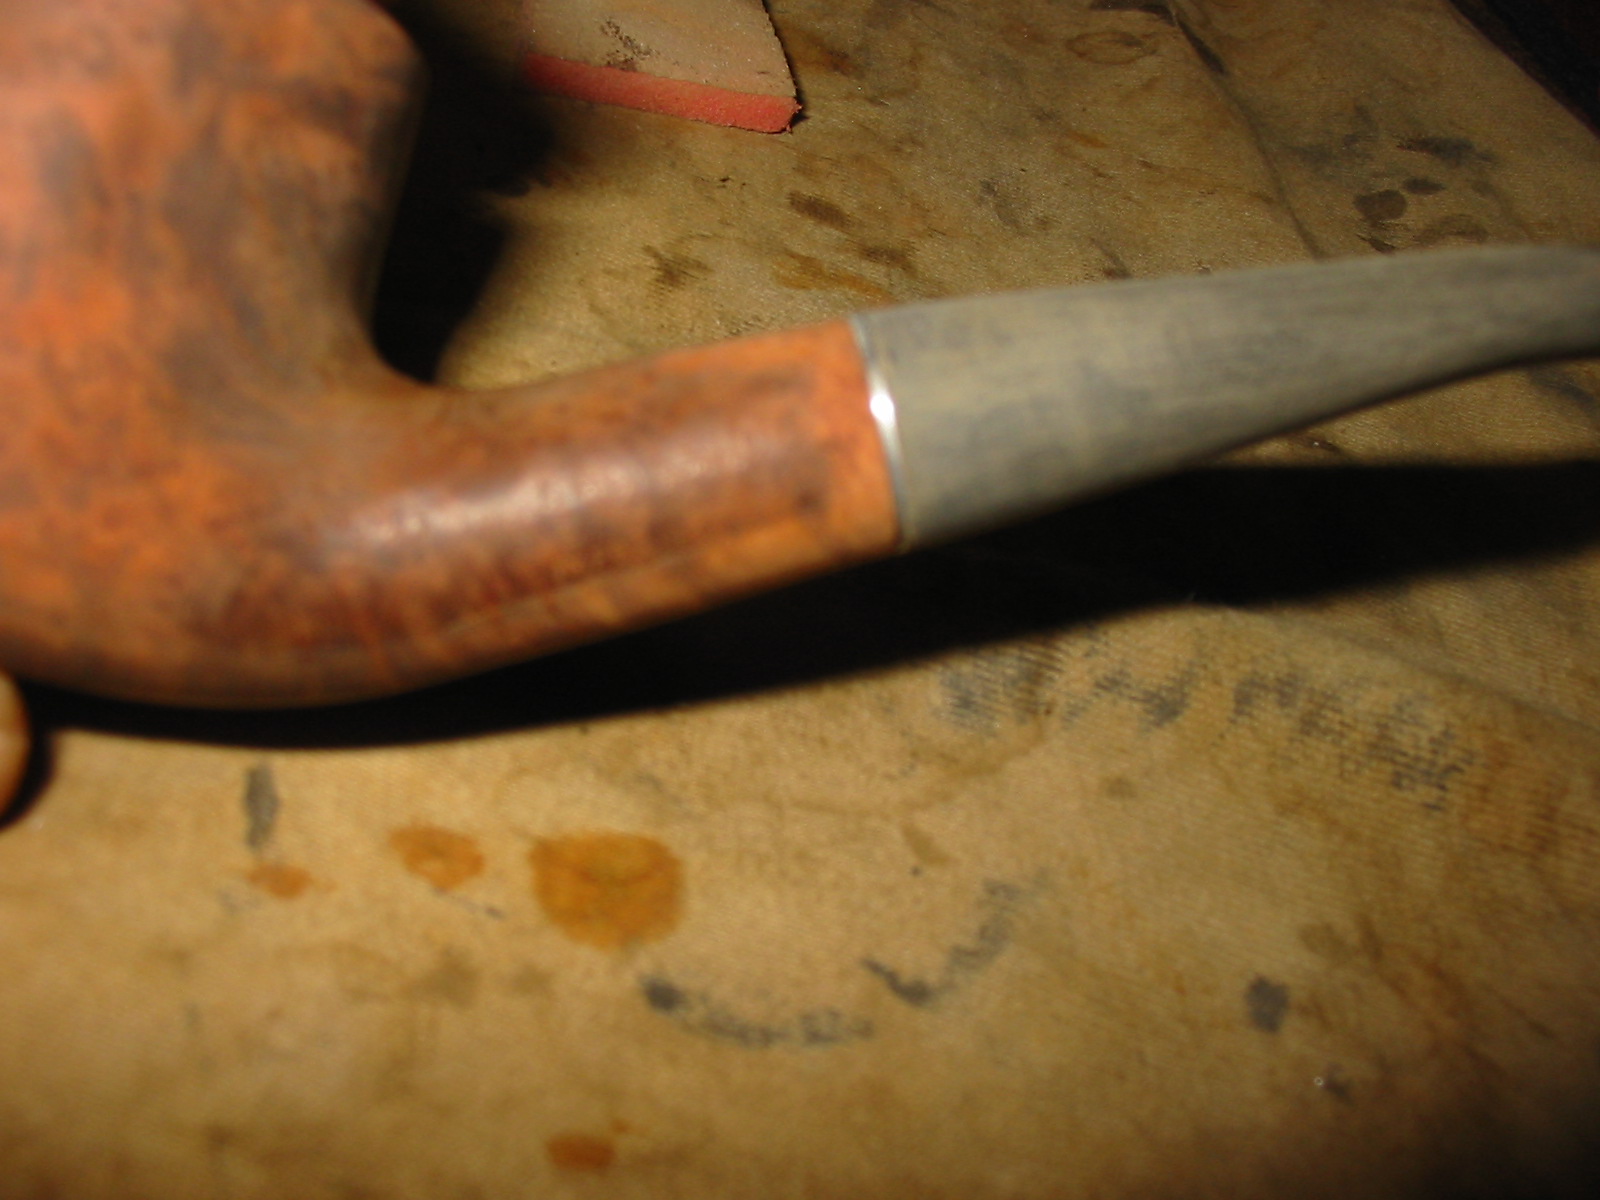
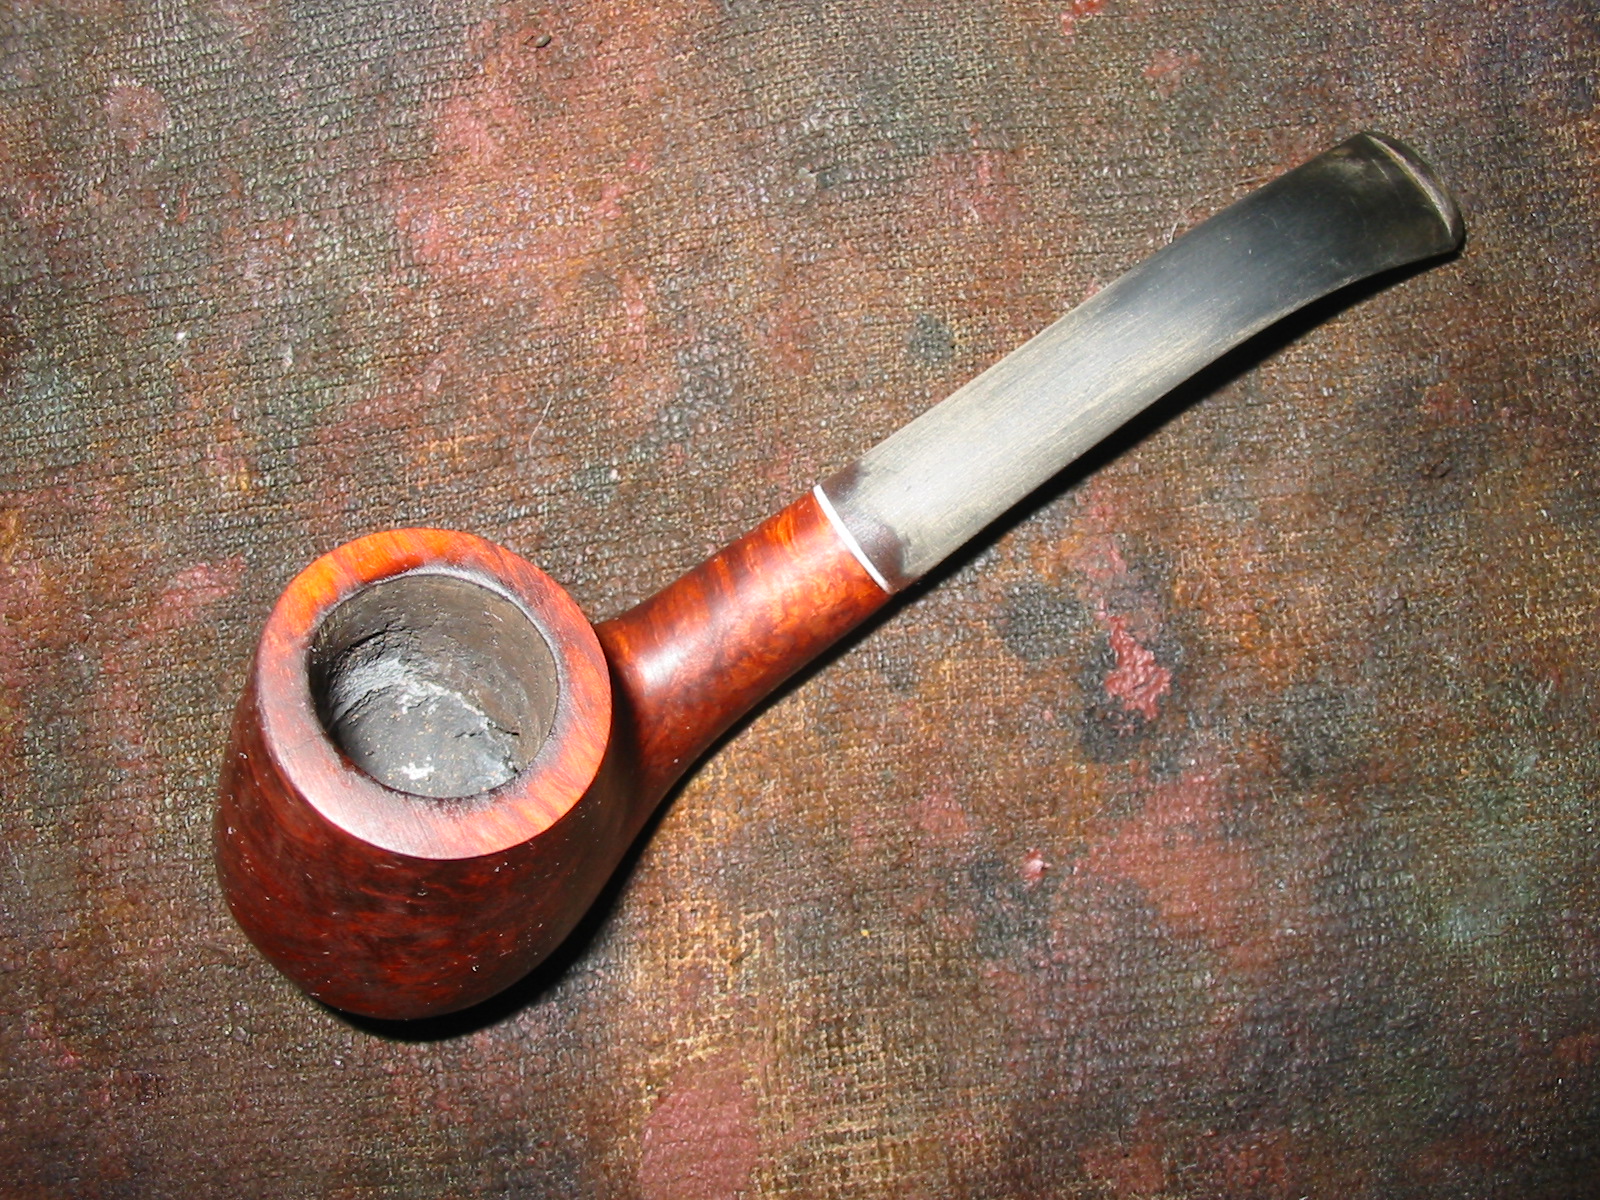
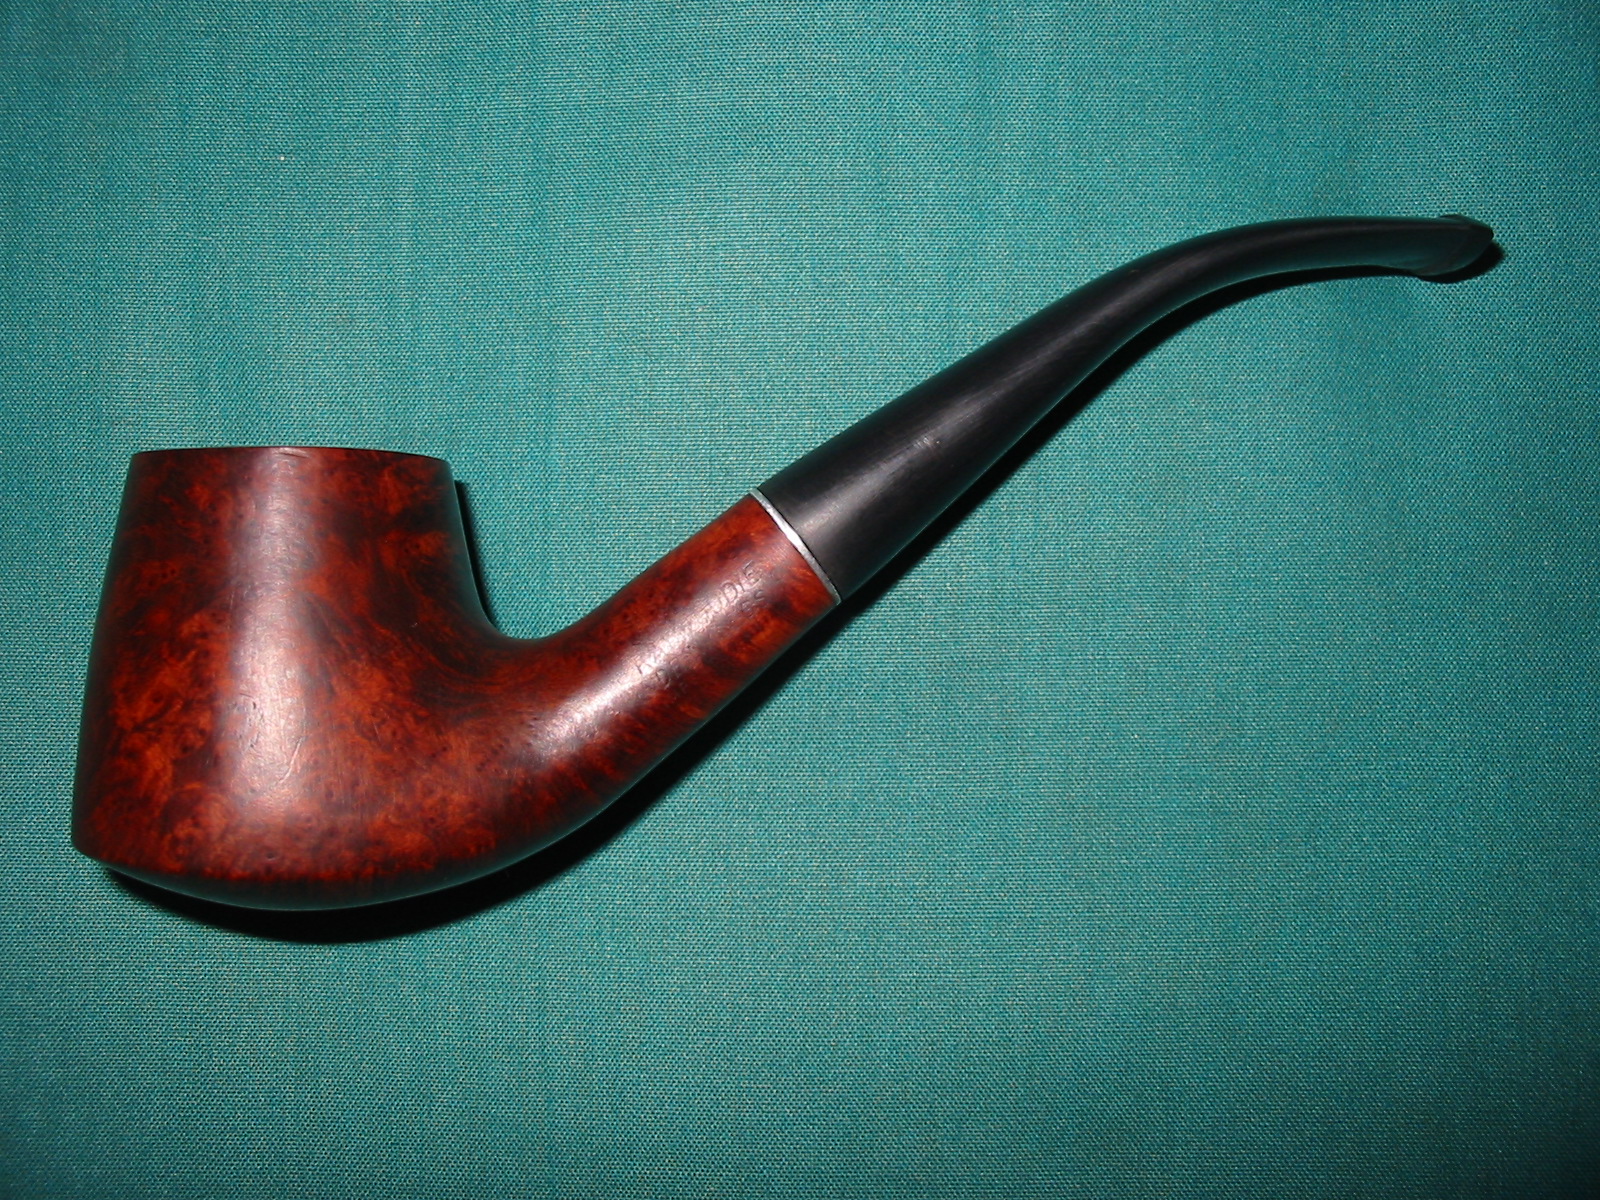
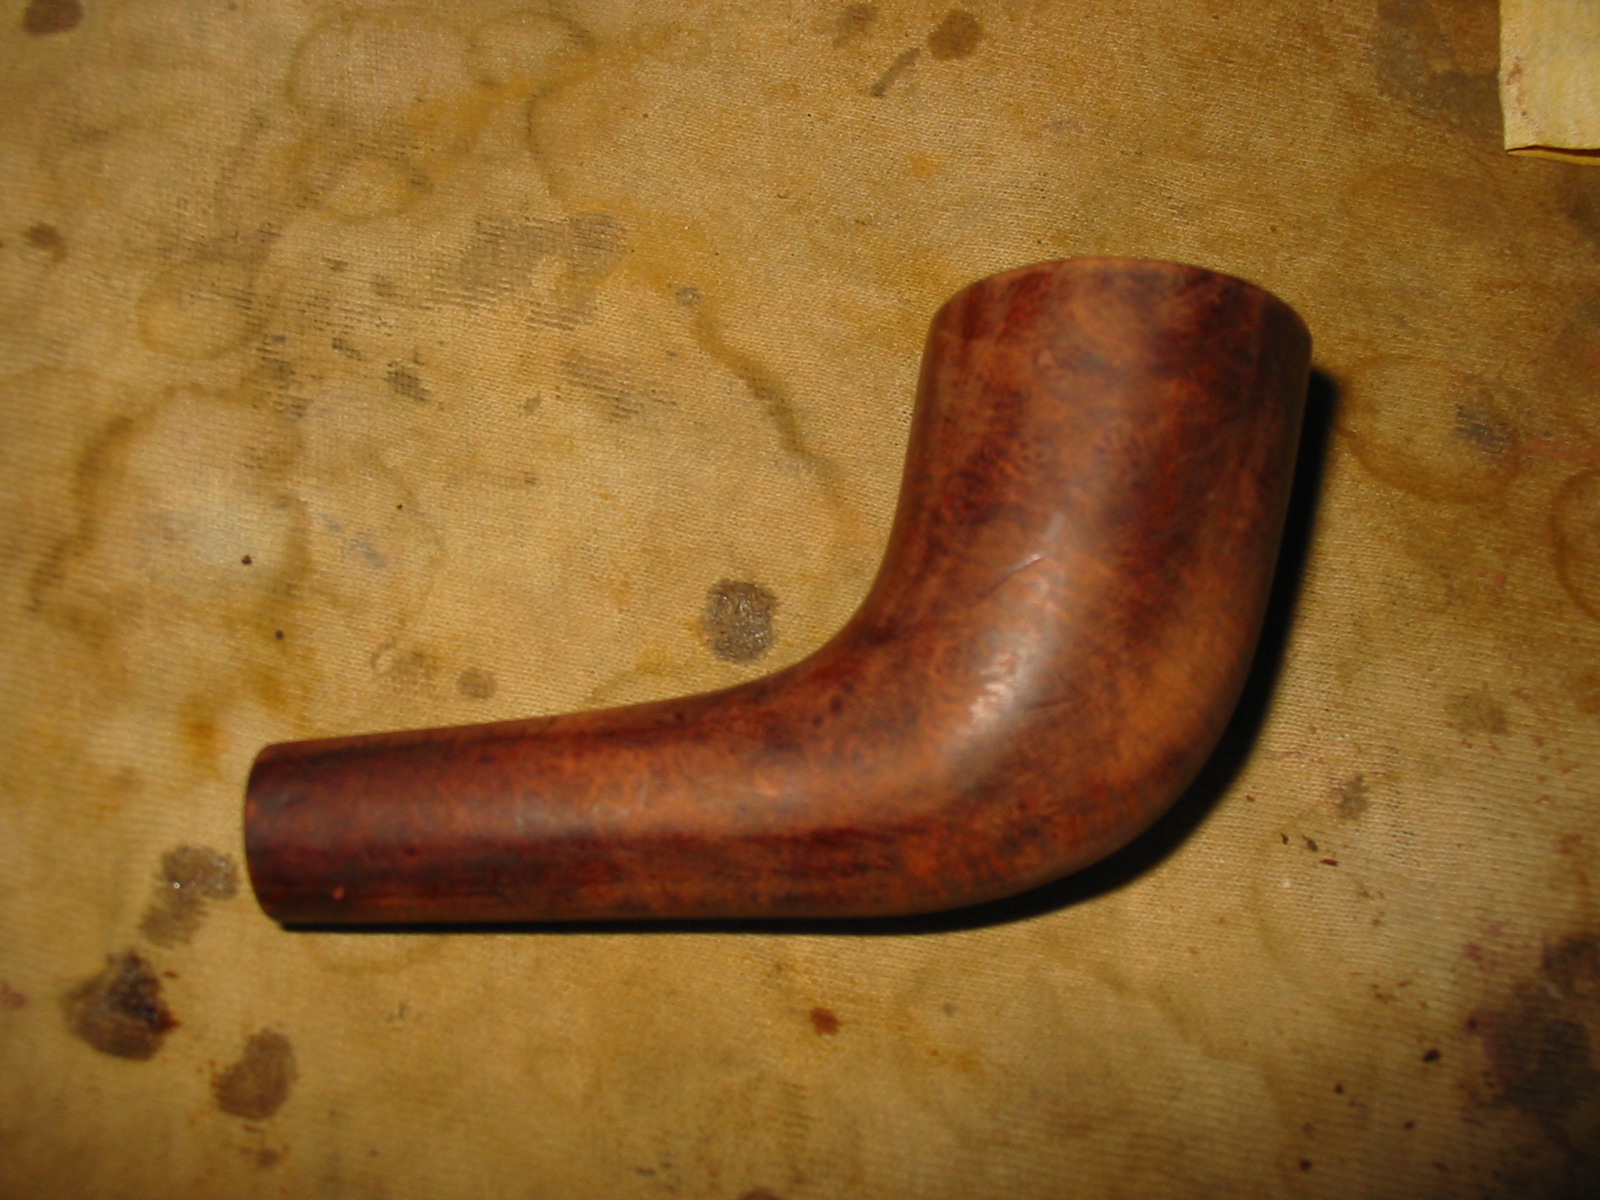
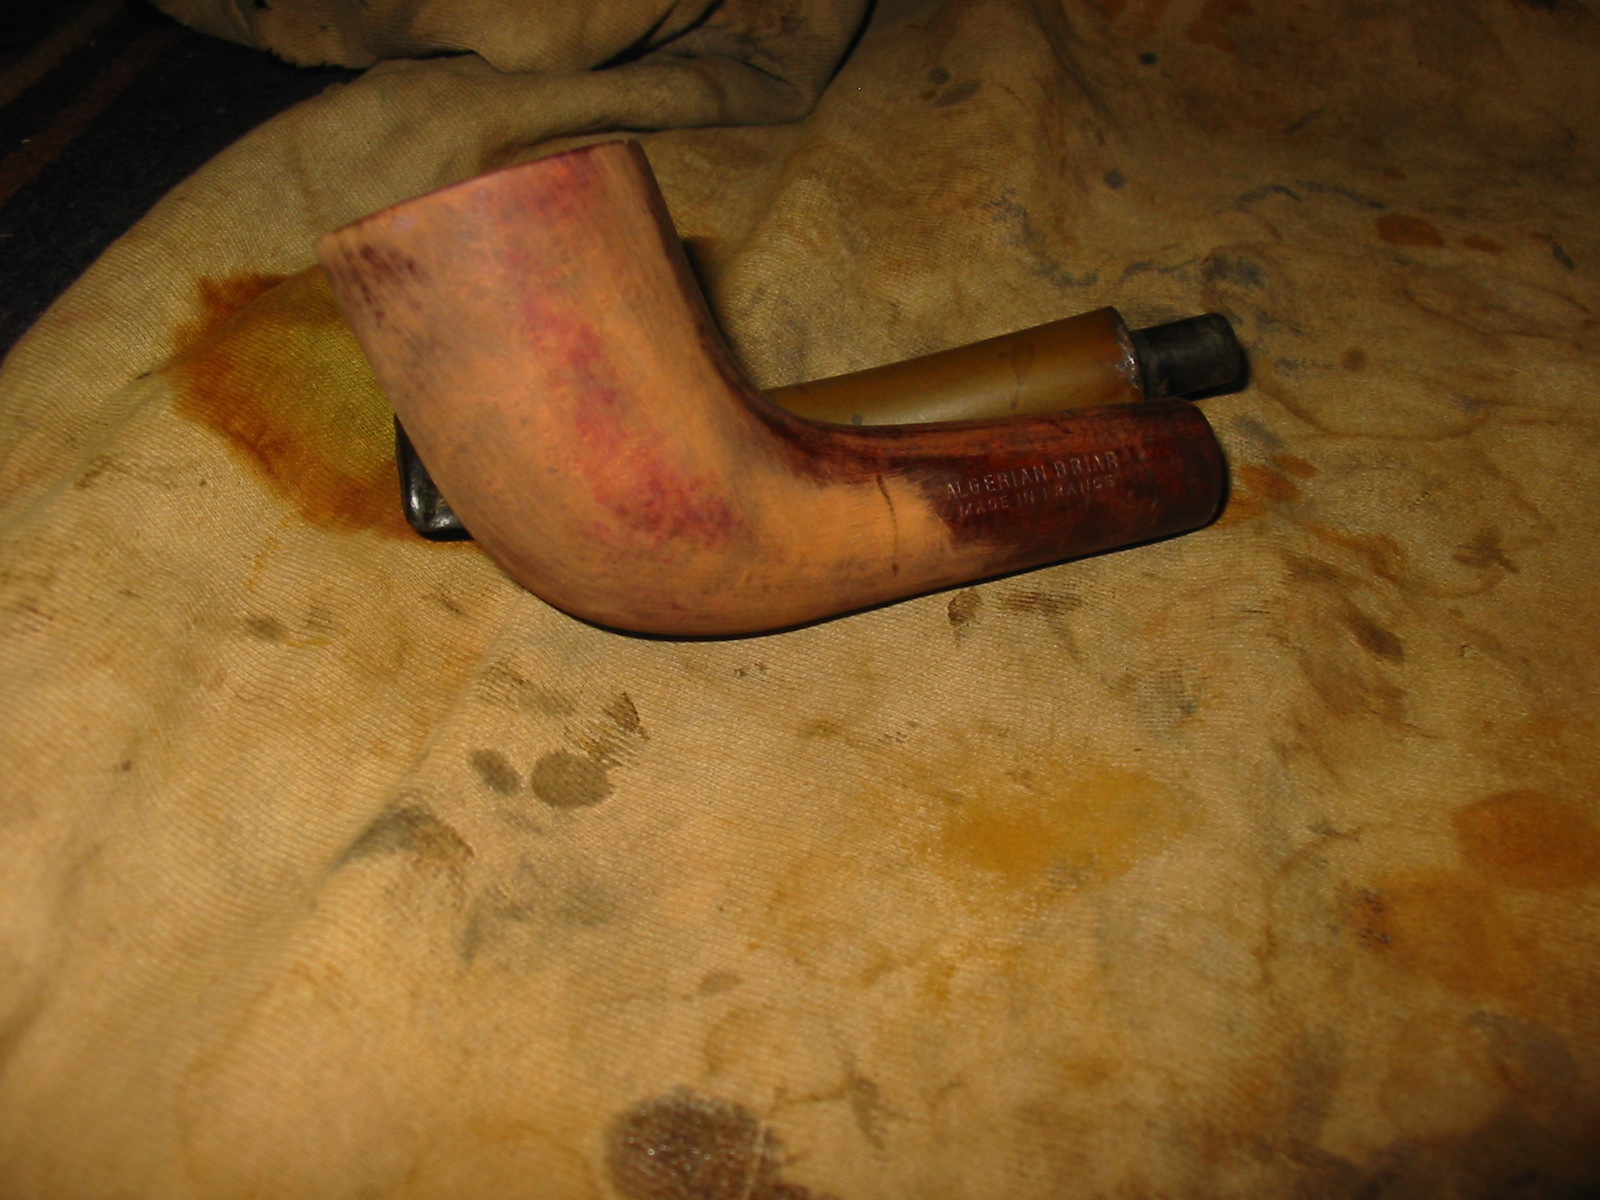
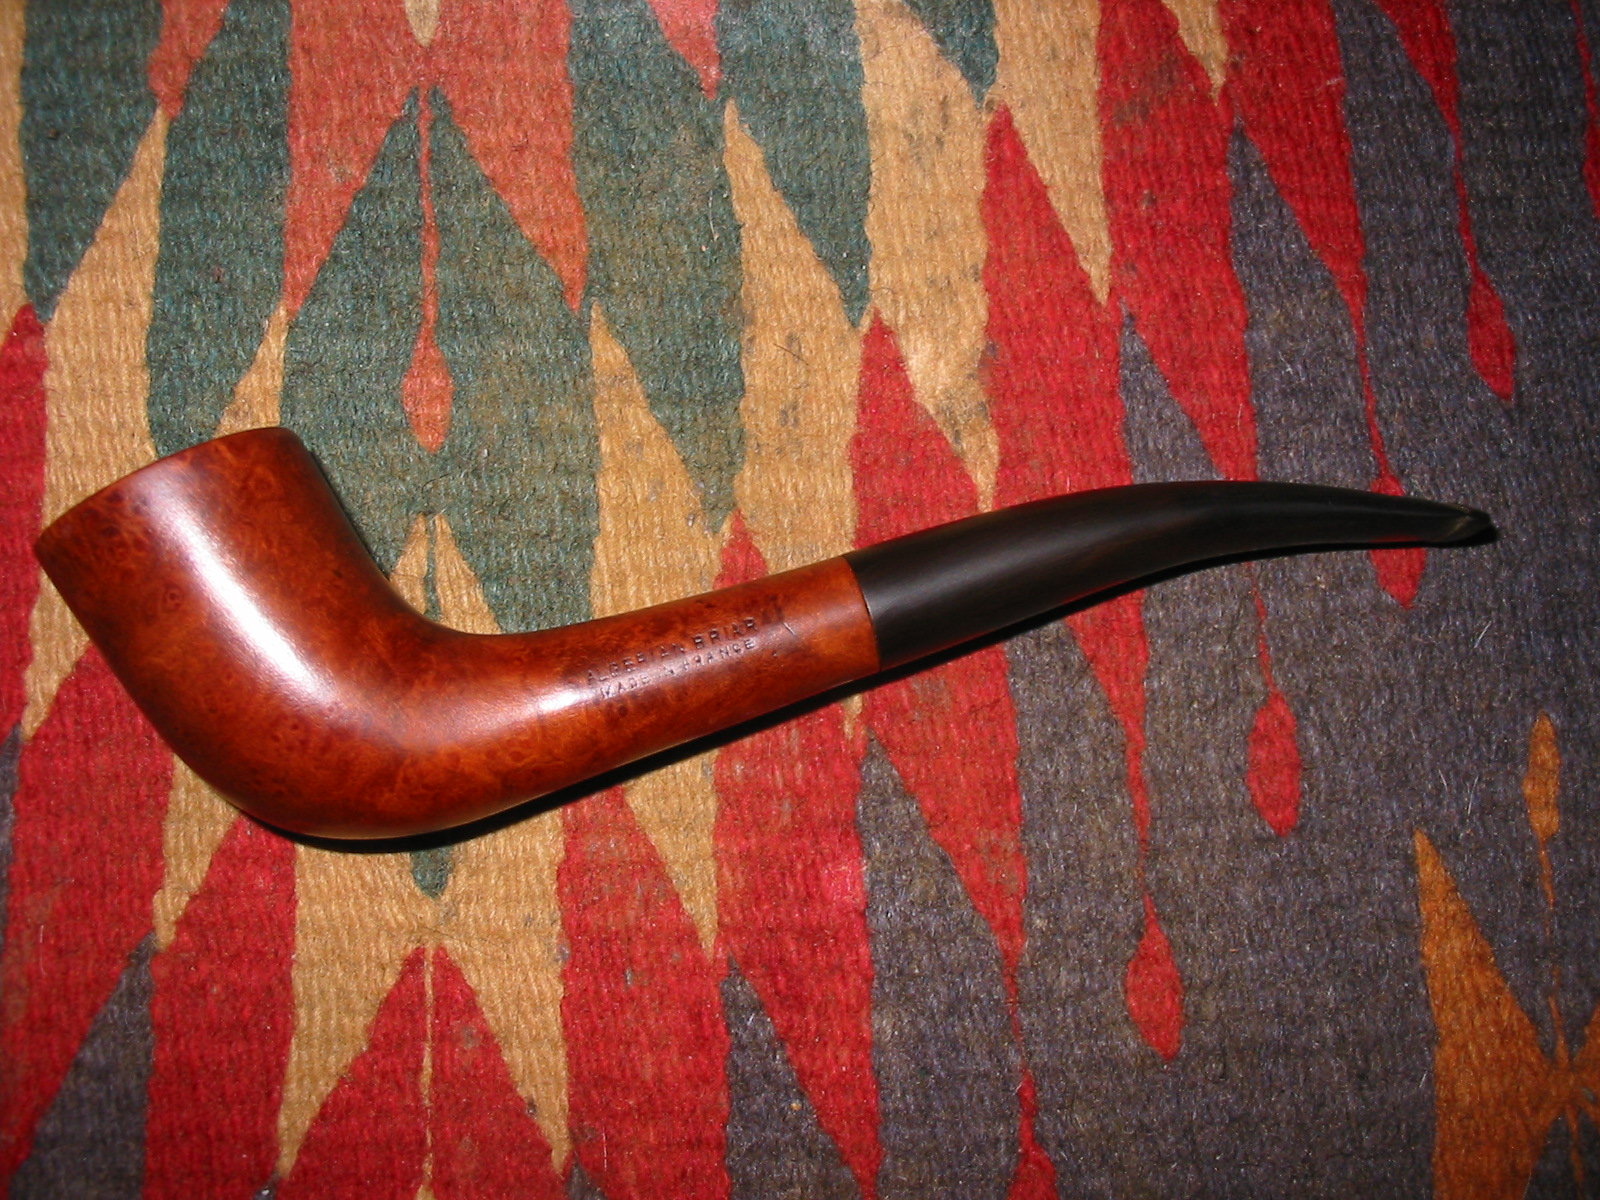
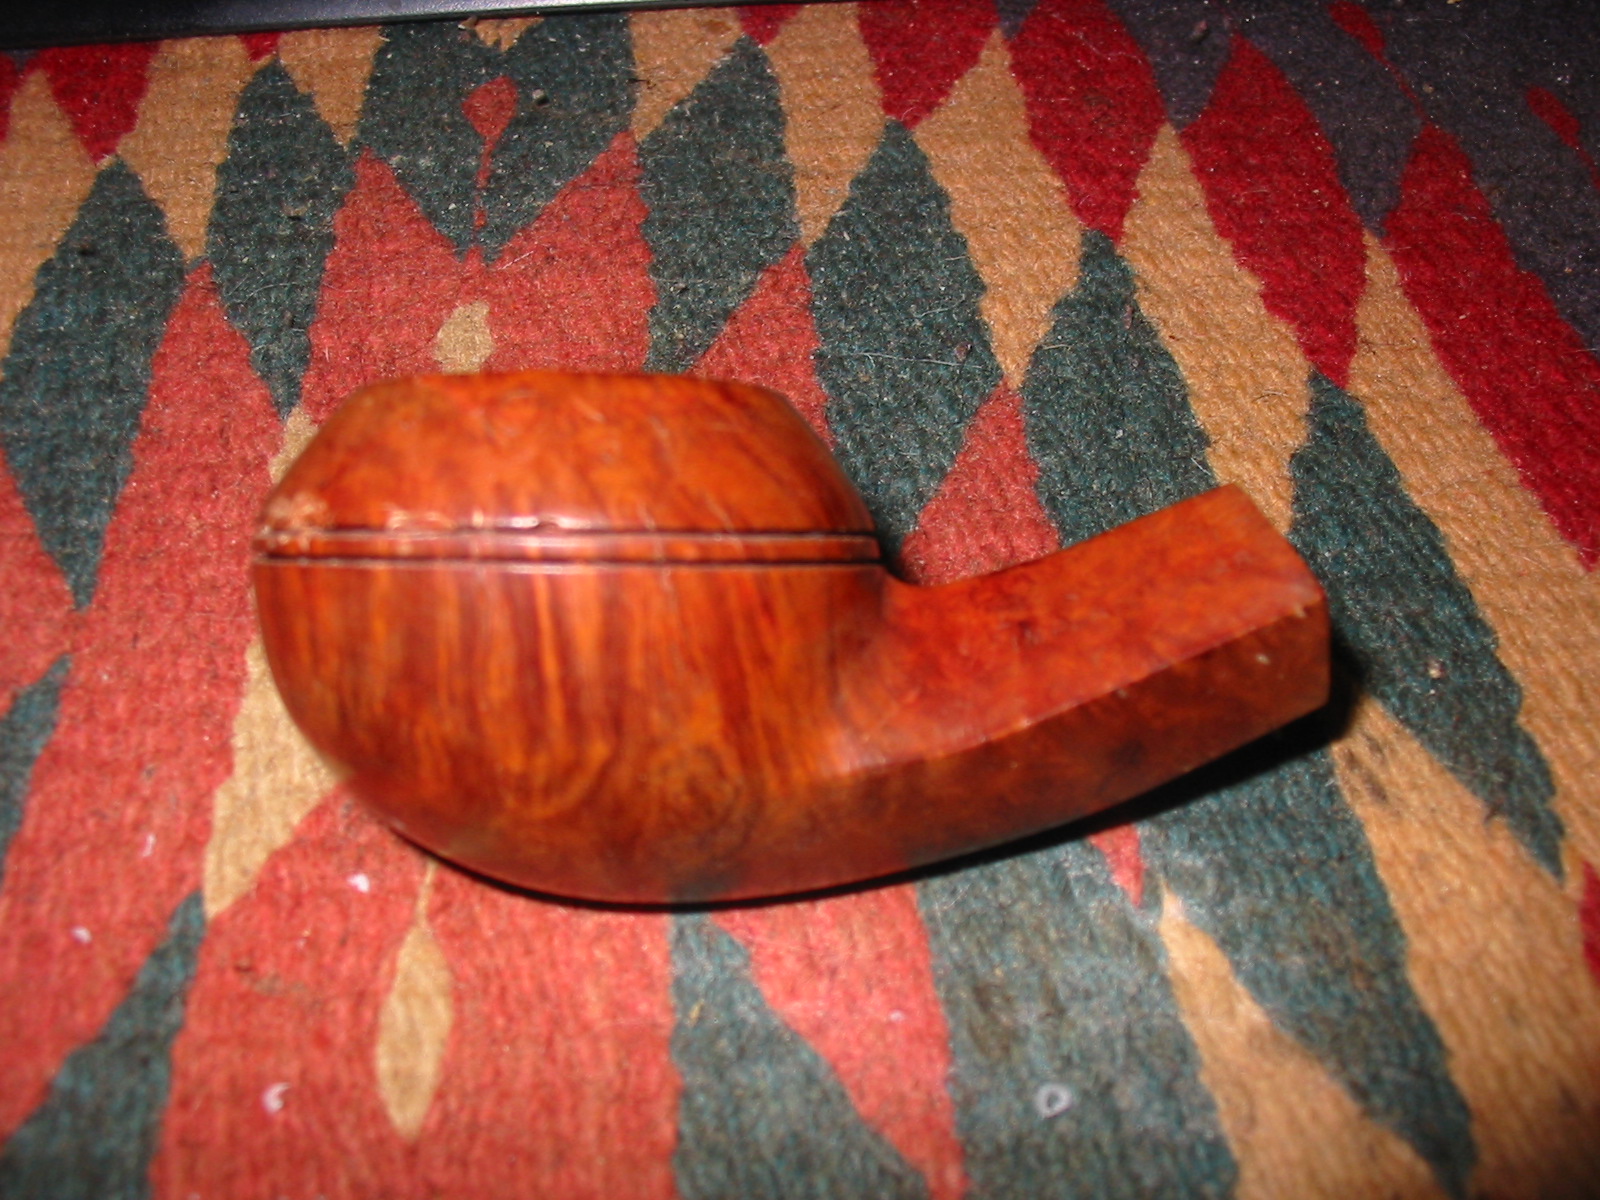
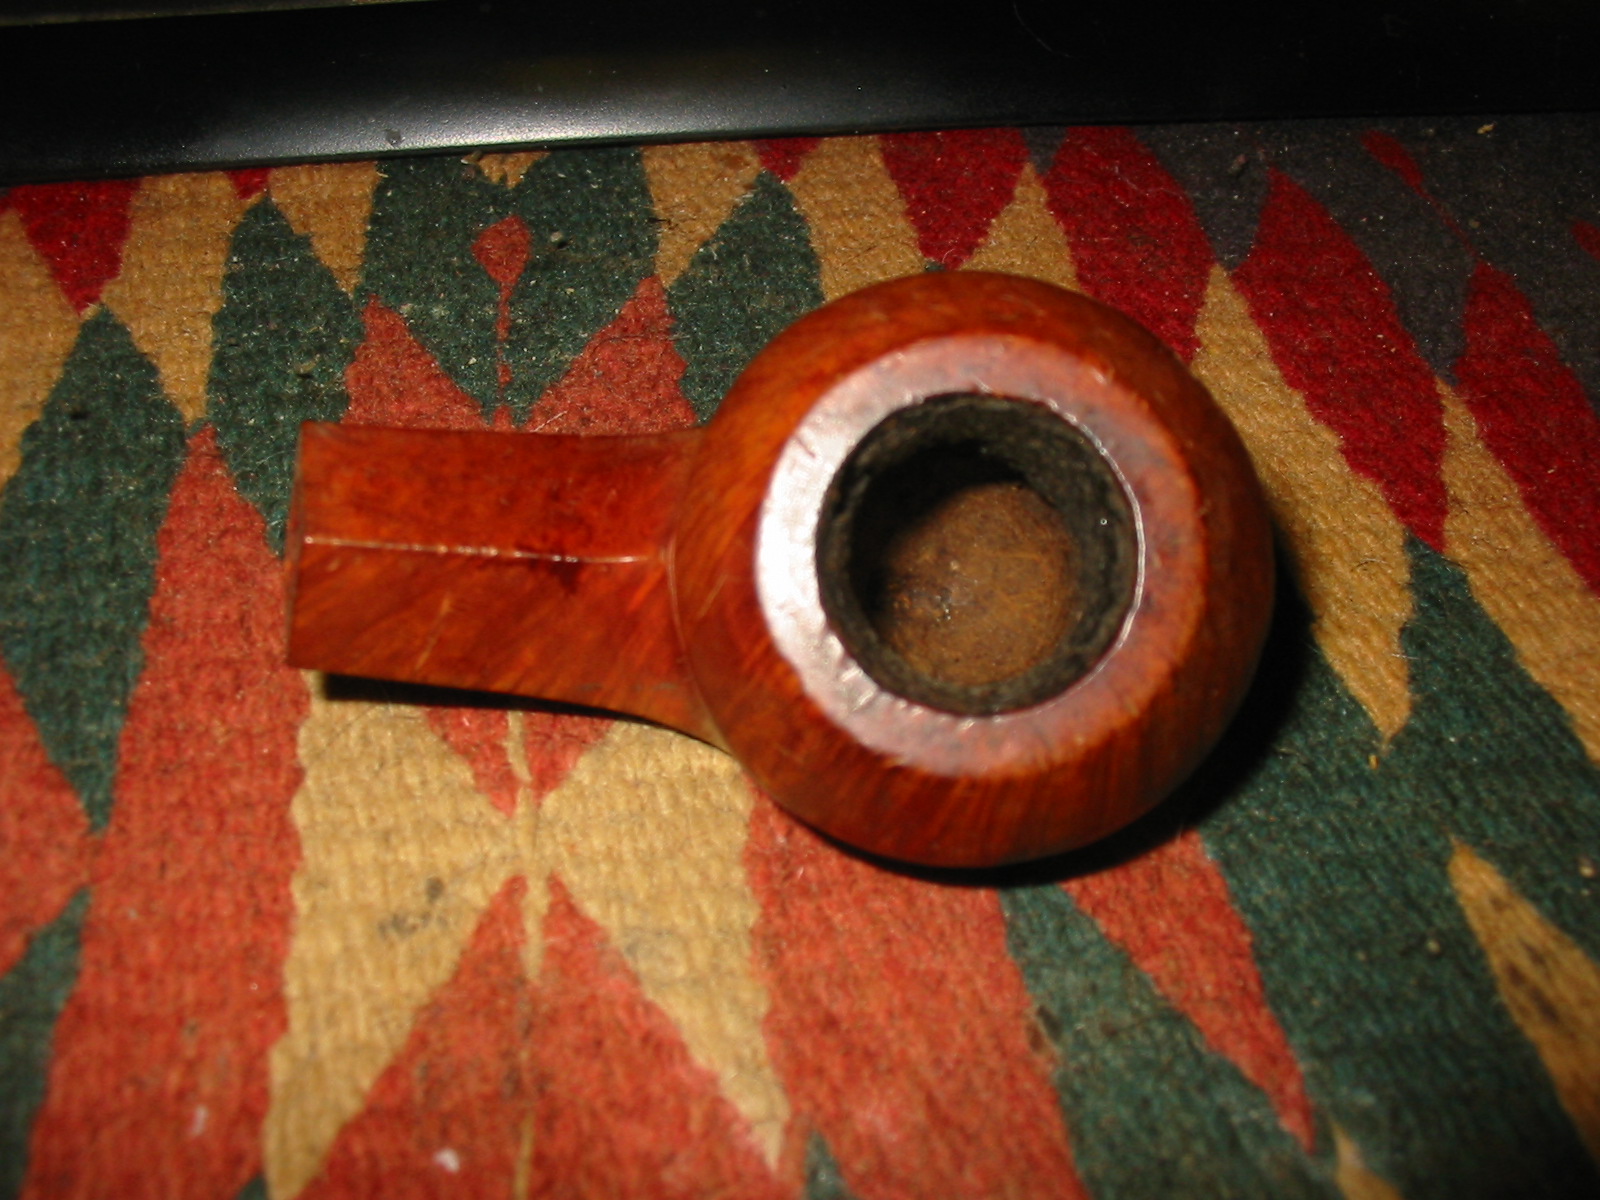
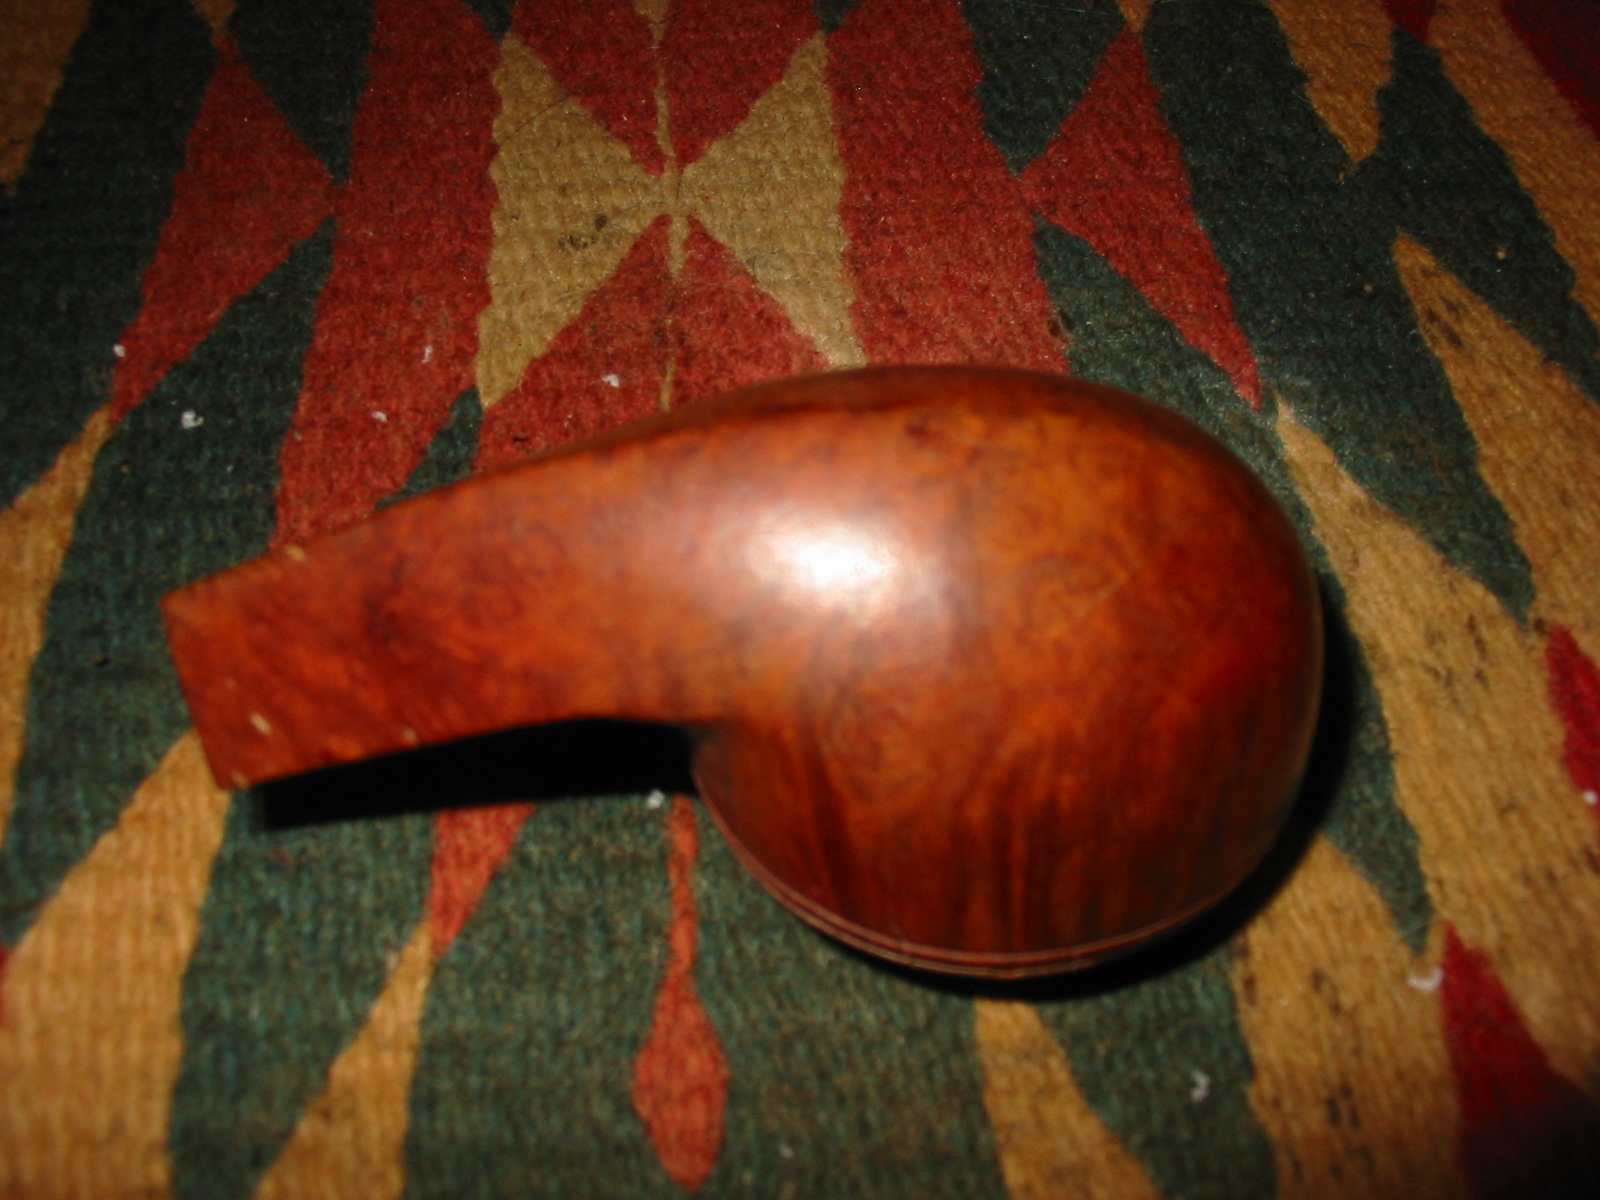
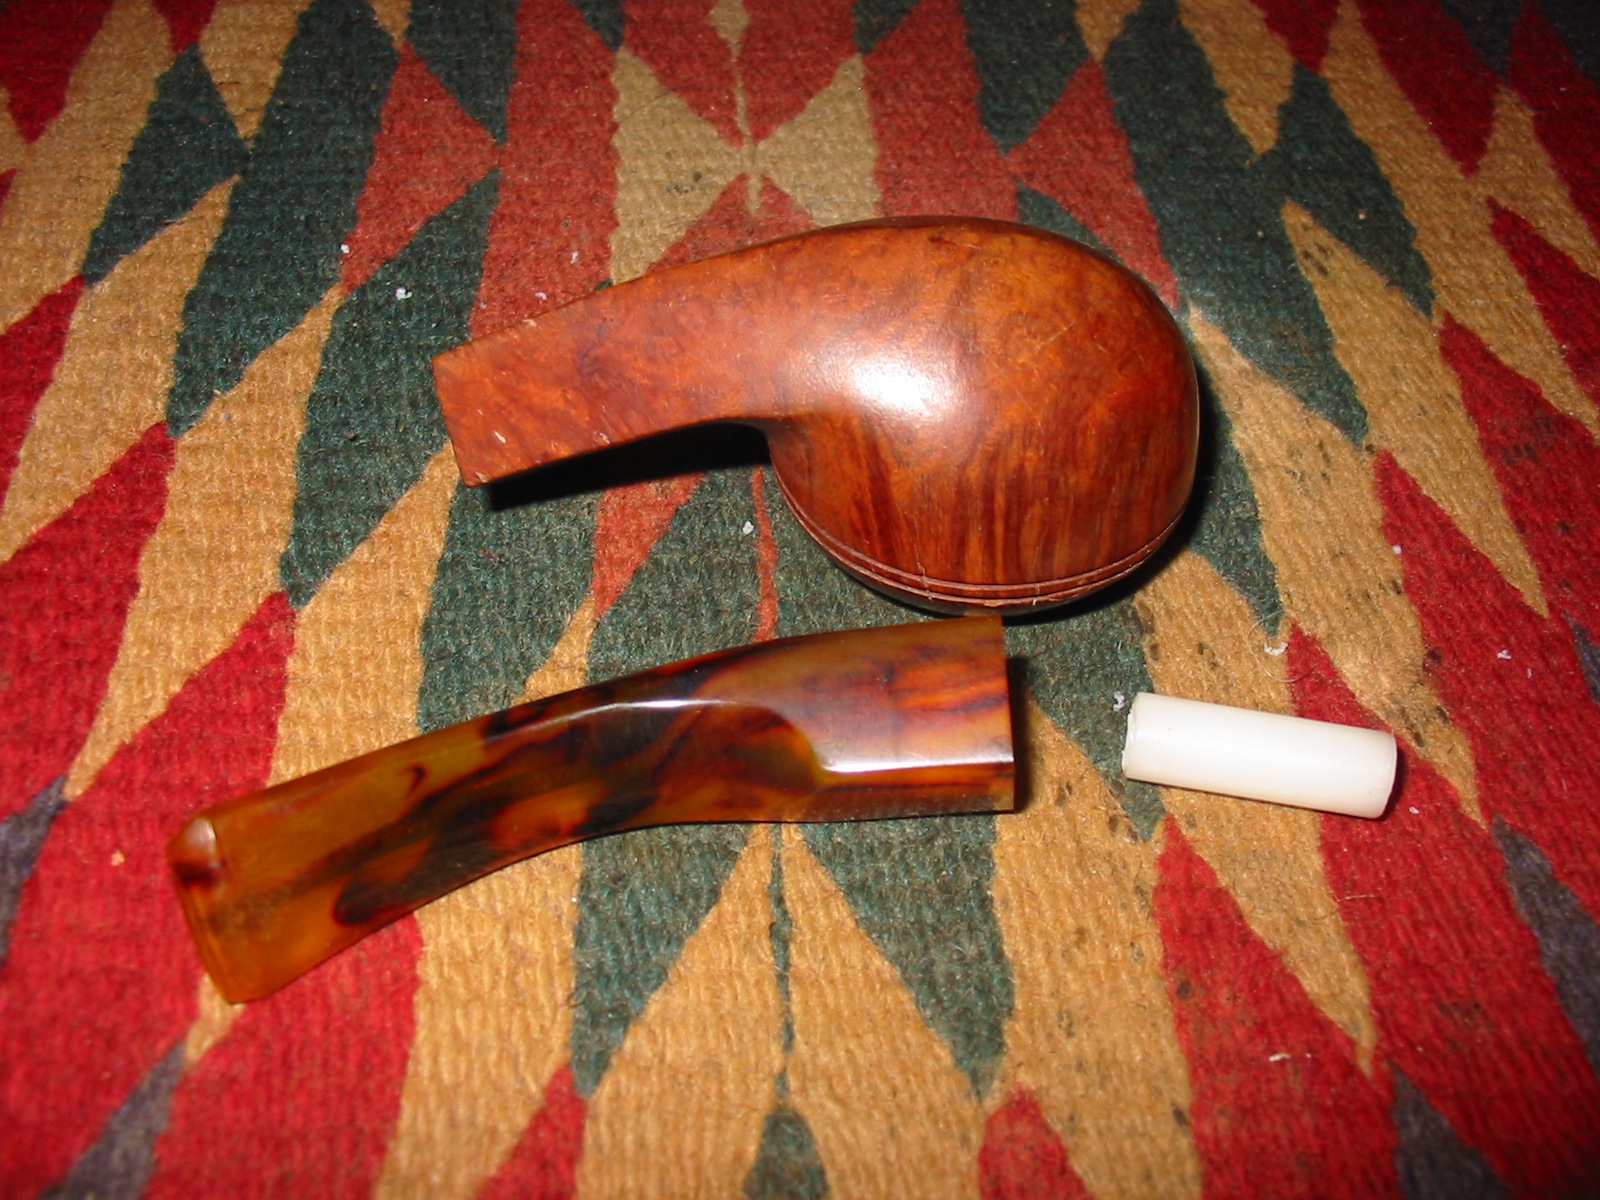
Another bowl that was sent to me was a nice bent bulldog shape that needed a stem. It was in good shape. The bowl needed to be reamed and the top of the rim lightly topped. It was stemless so I needed to make a stem for it. It was stamped on the left side of the shank Rembrandt over Imported Briar. In researching it on the web I found that the company that made the pipe was The National Briar Pipe Co. It was homed in Jersey City, New Jersey. They produced several brands that I have seen over the years: Biltmore, Forecaster, Honeybrook, King Eric, Kleenest, Mayflower, Rembrandt, Sir Sheldon, The Doodler (created and formerly produced by Tracy Mincer, †1966). Typically the original stem of Rembrandt pipes bore a logo on the left side of the stem – a capital “N” in italics. This bowl had some ding marks on the cap on the left side. There was some damage to the briar between the double rings on the cap.

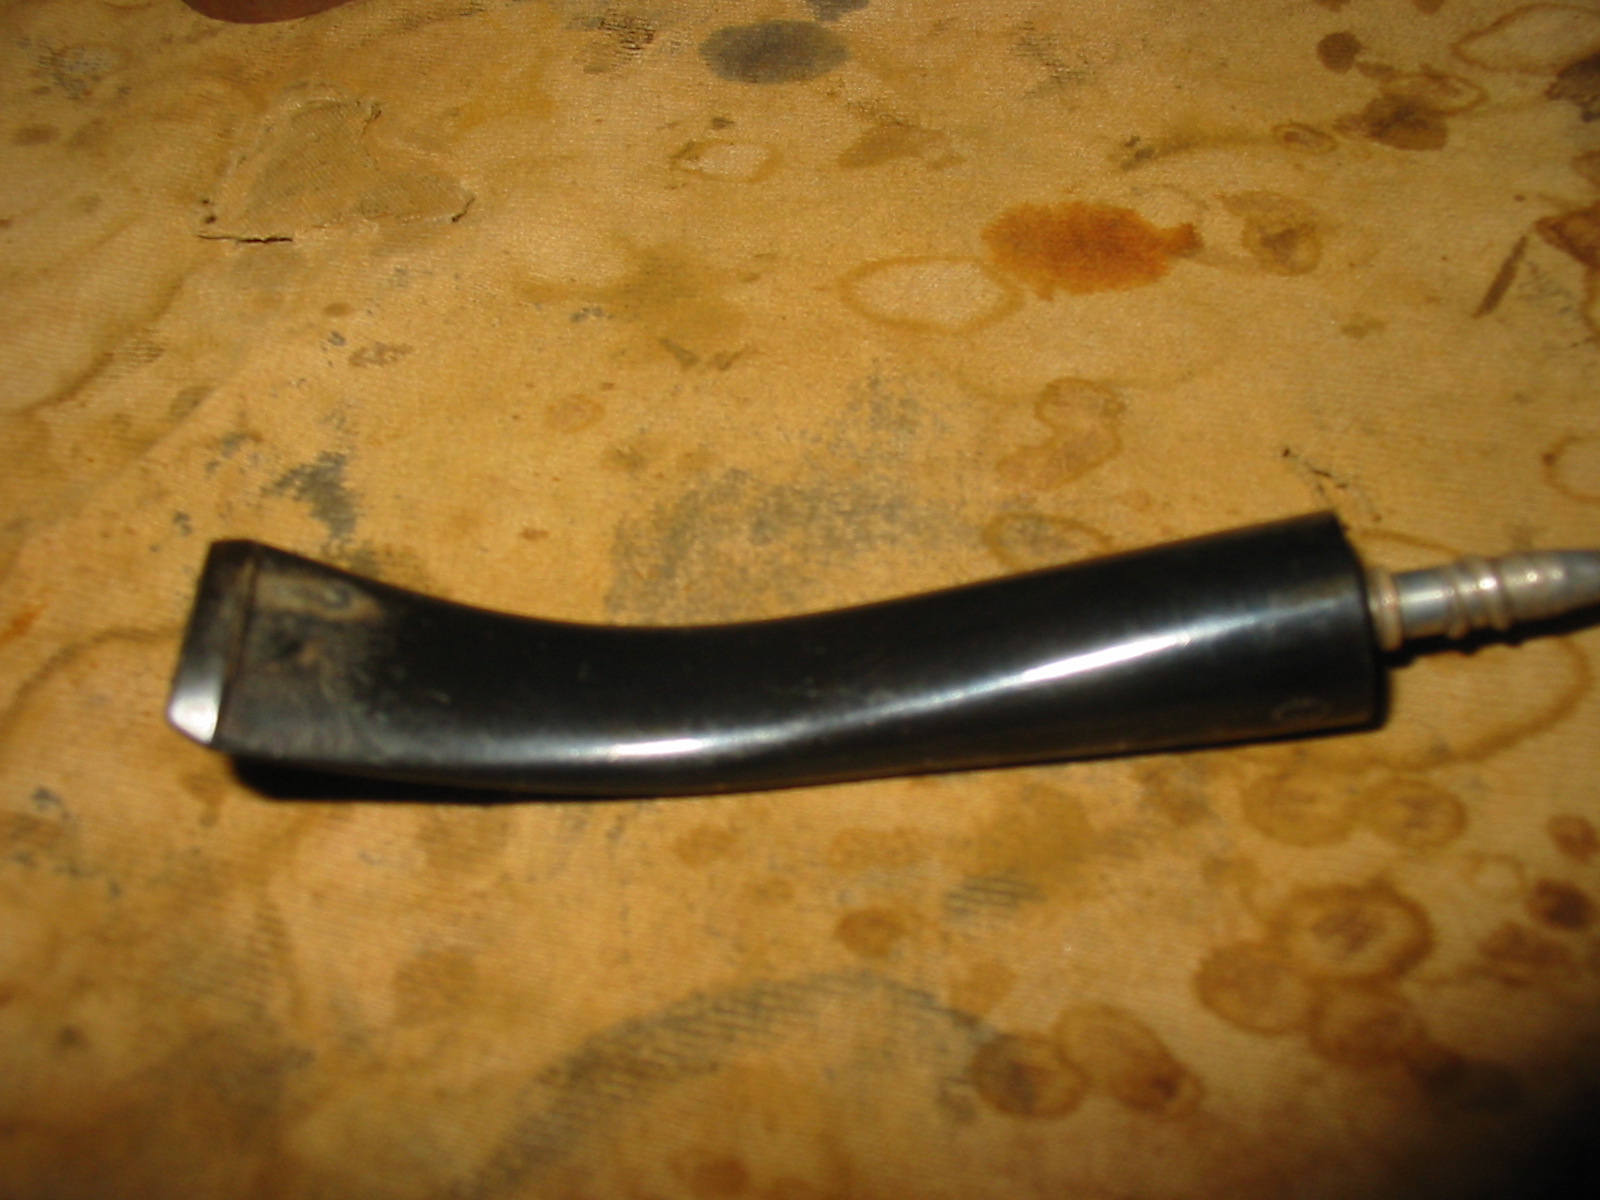
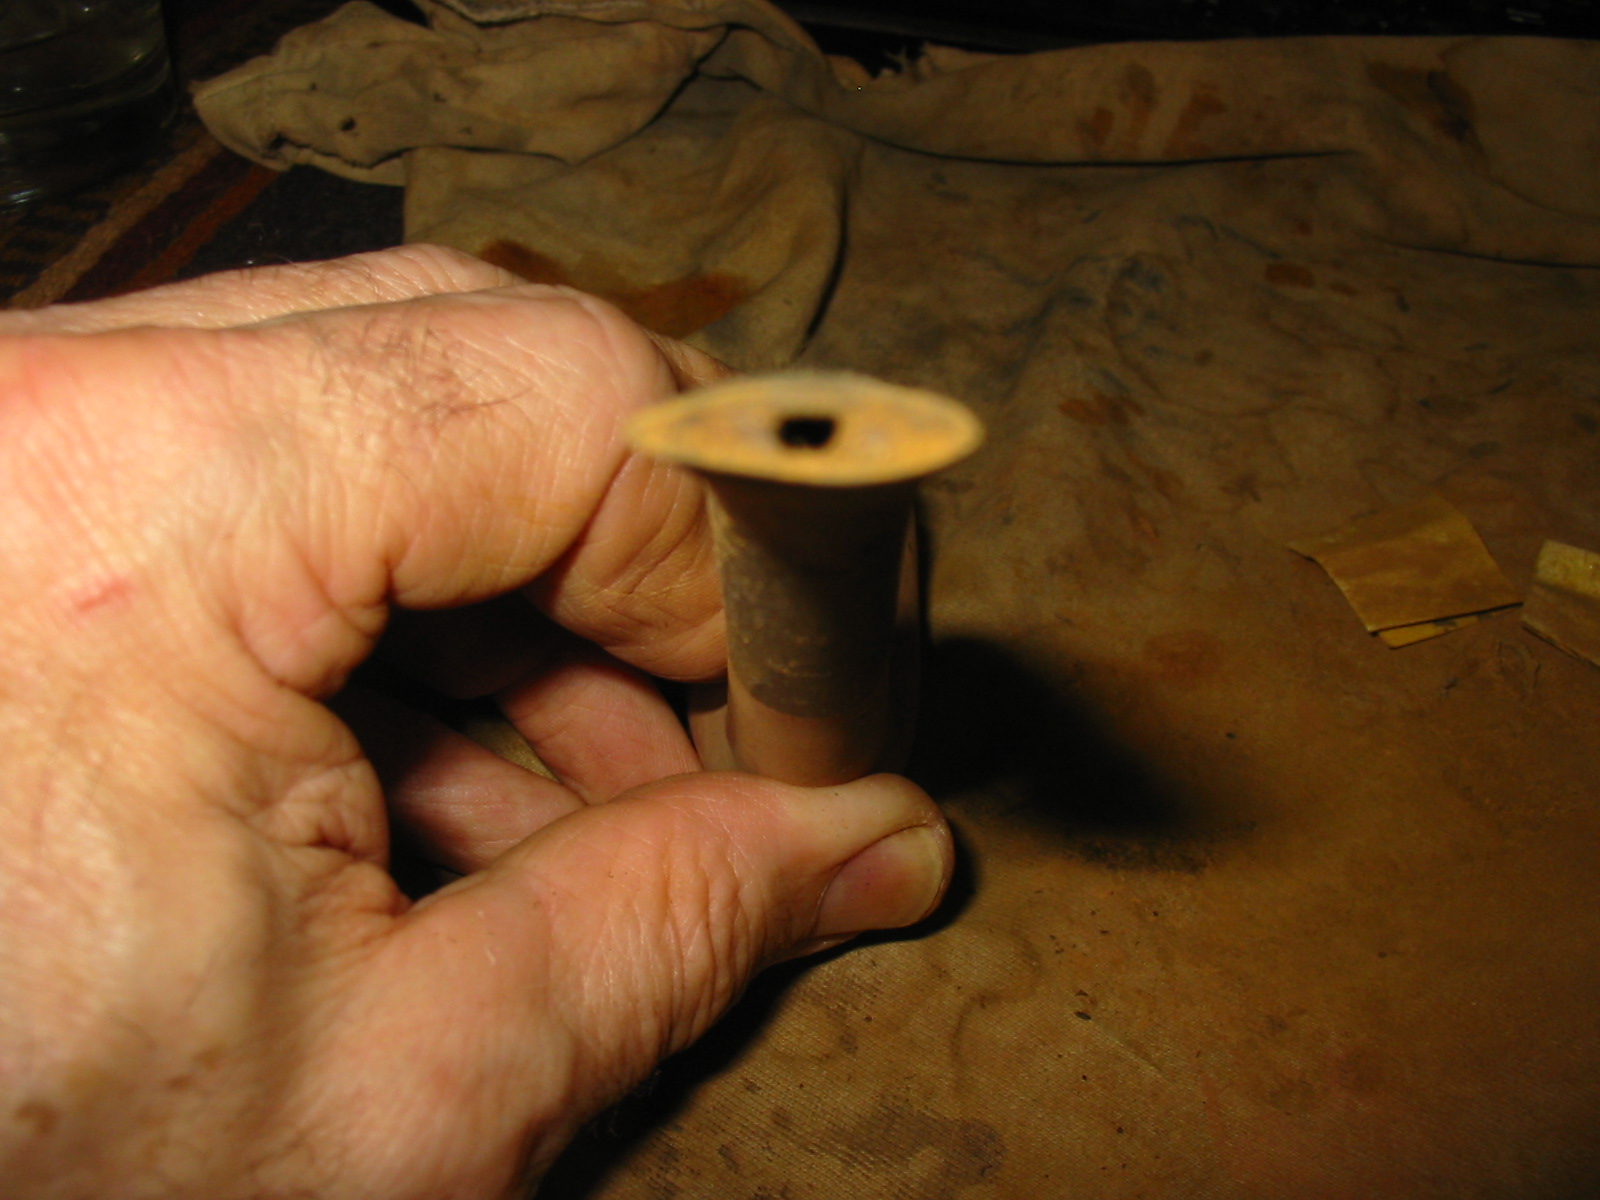
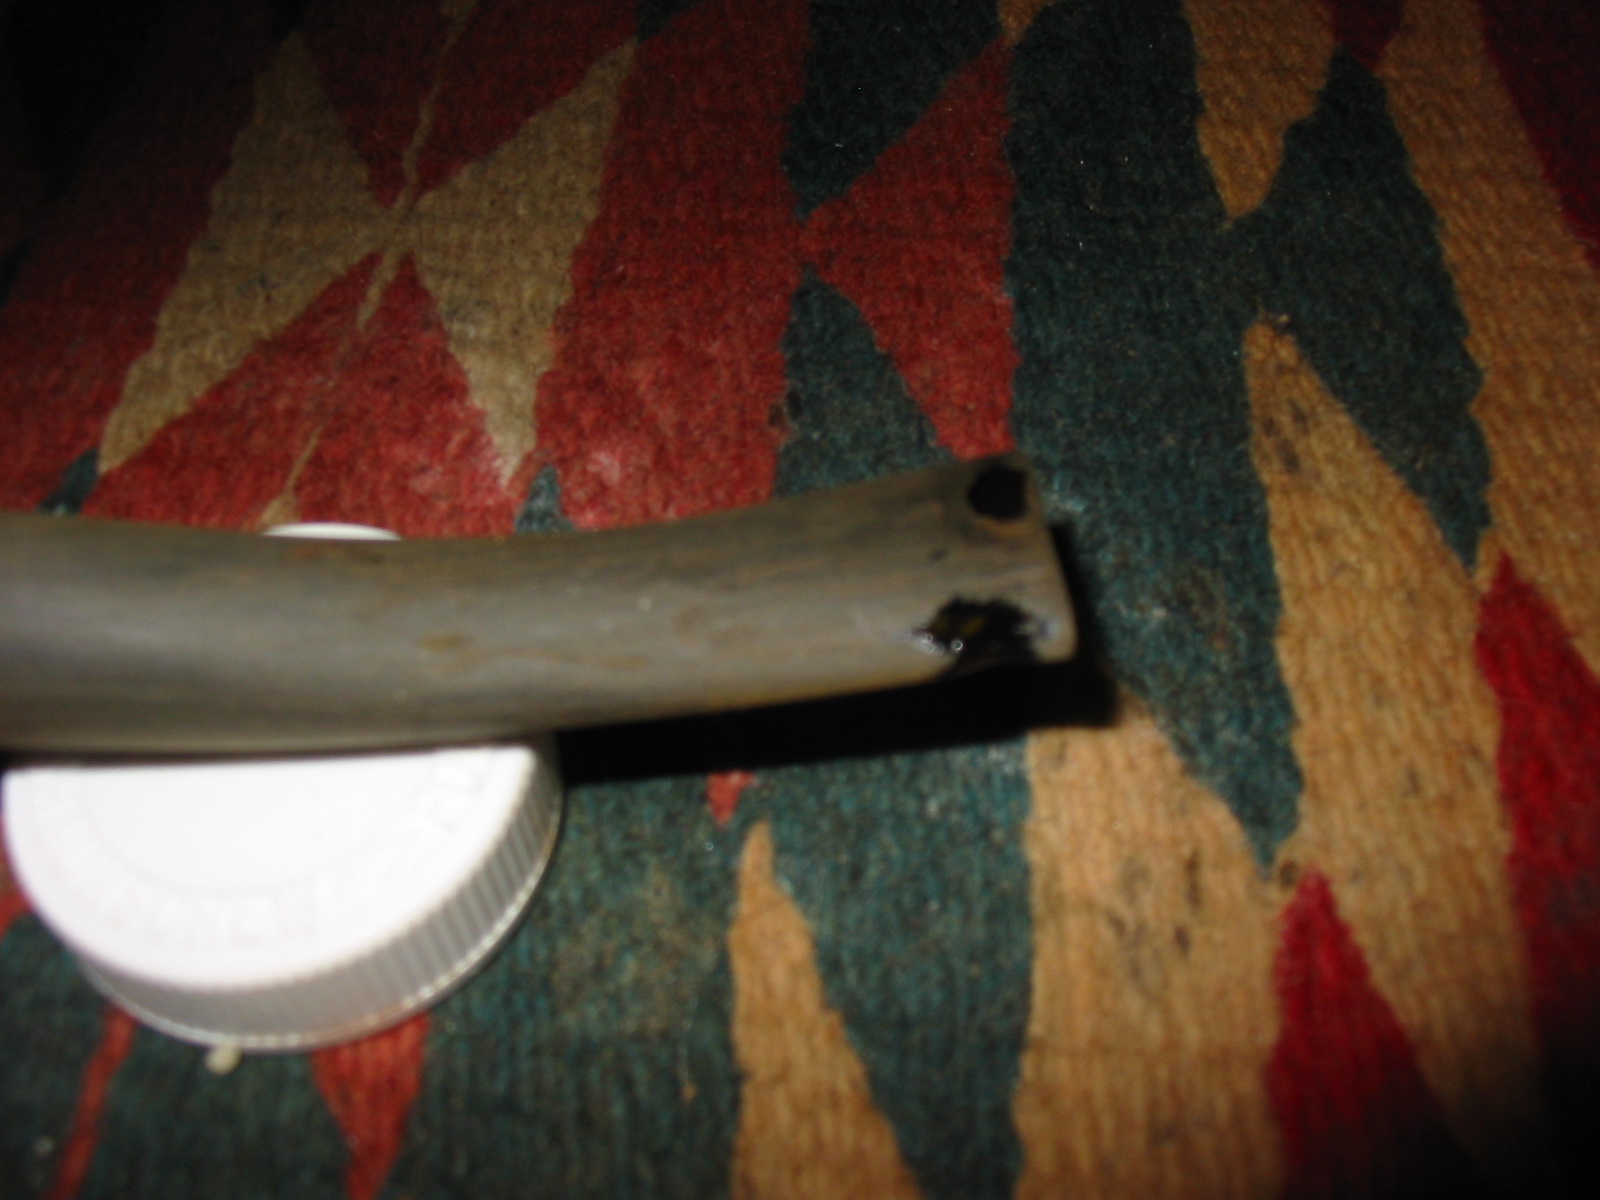
I sorted through my stem can and found a nice amberoid acrylic stem that would look great with the bulldog bowl. It needed a tenon so I used a piece of white Delrin that was a perfect fit in the hole in the stem. I scored the Delrin with a hack saw so that the glue would have a surface to stick to. I swabbed then tenon down with superglue and pressed it into the stem.
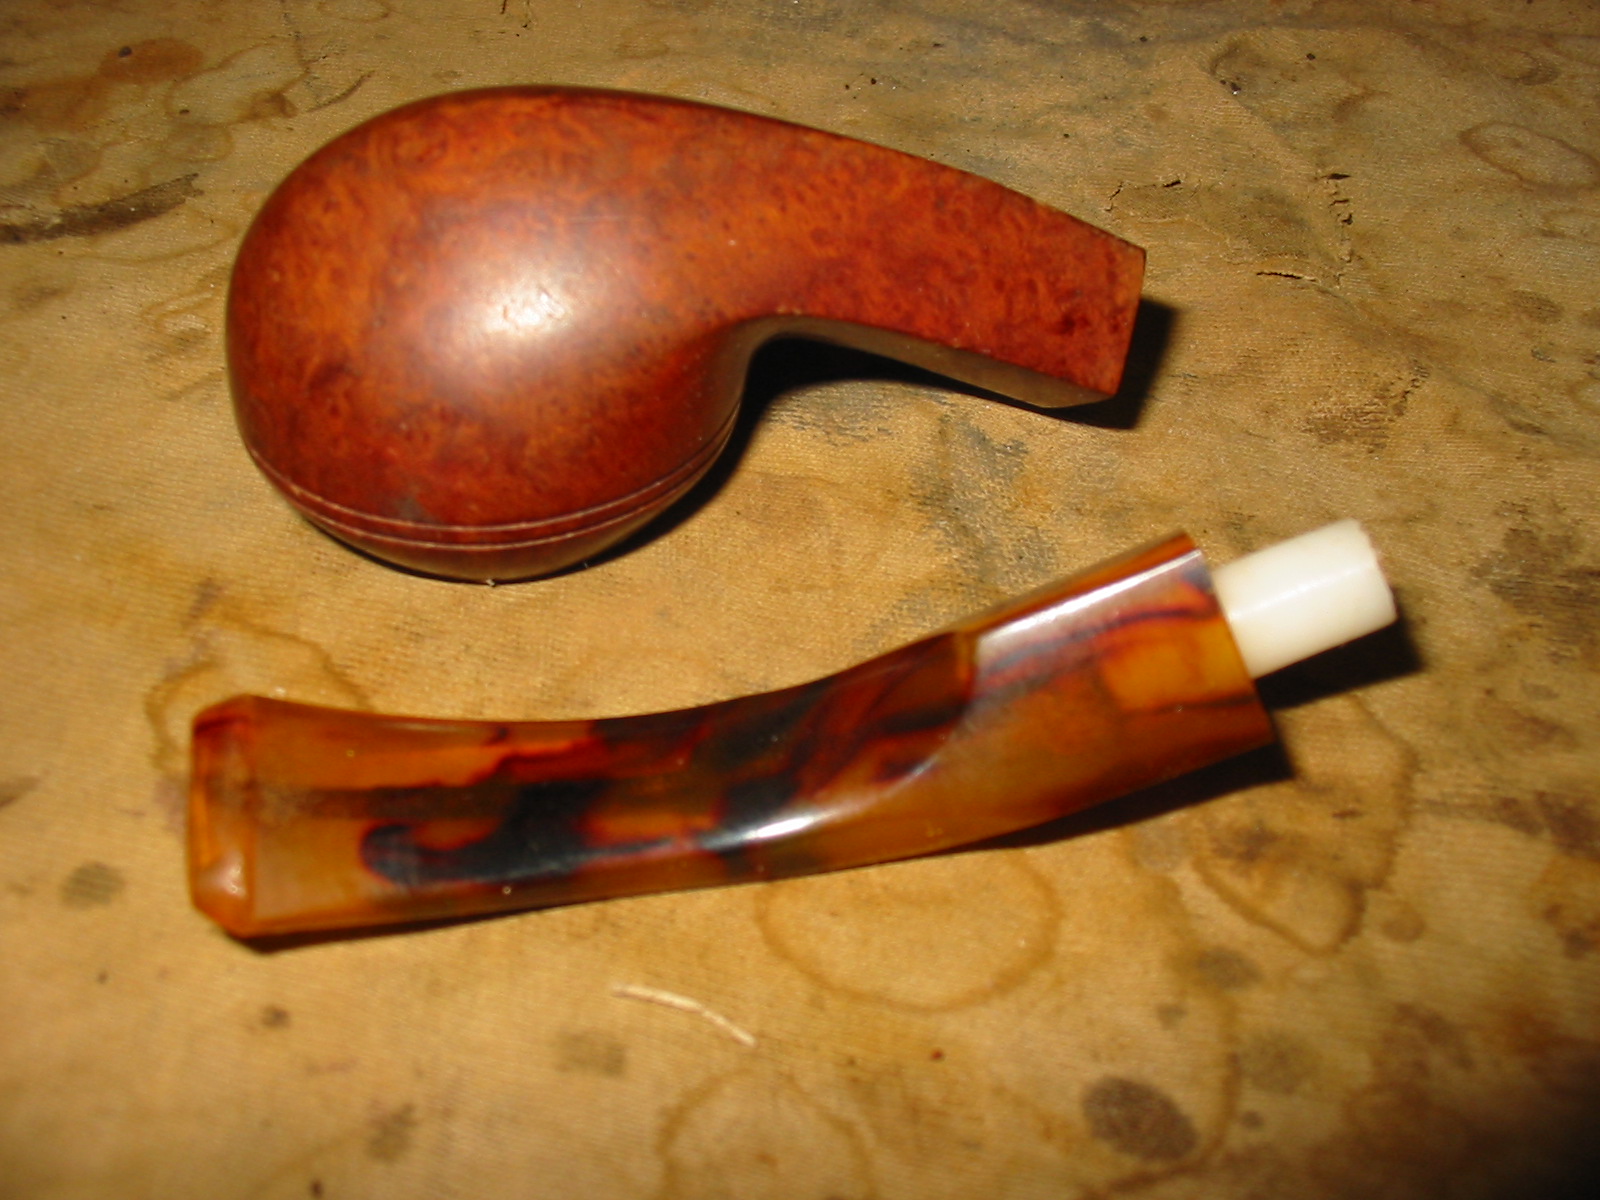
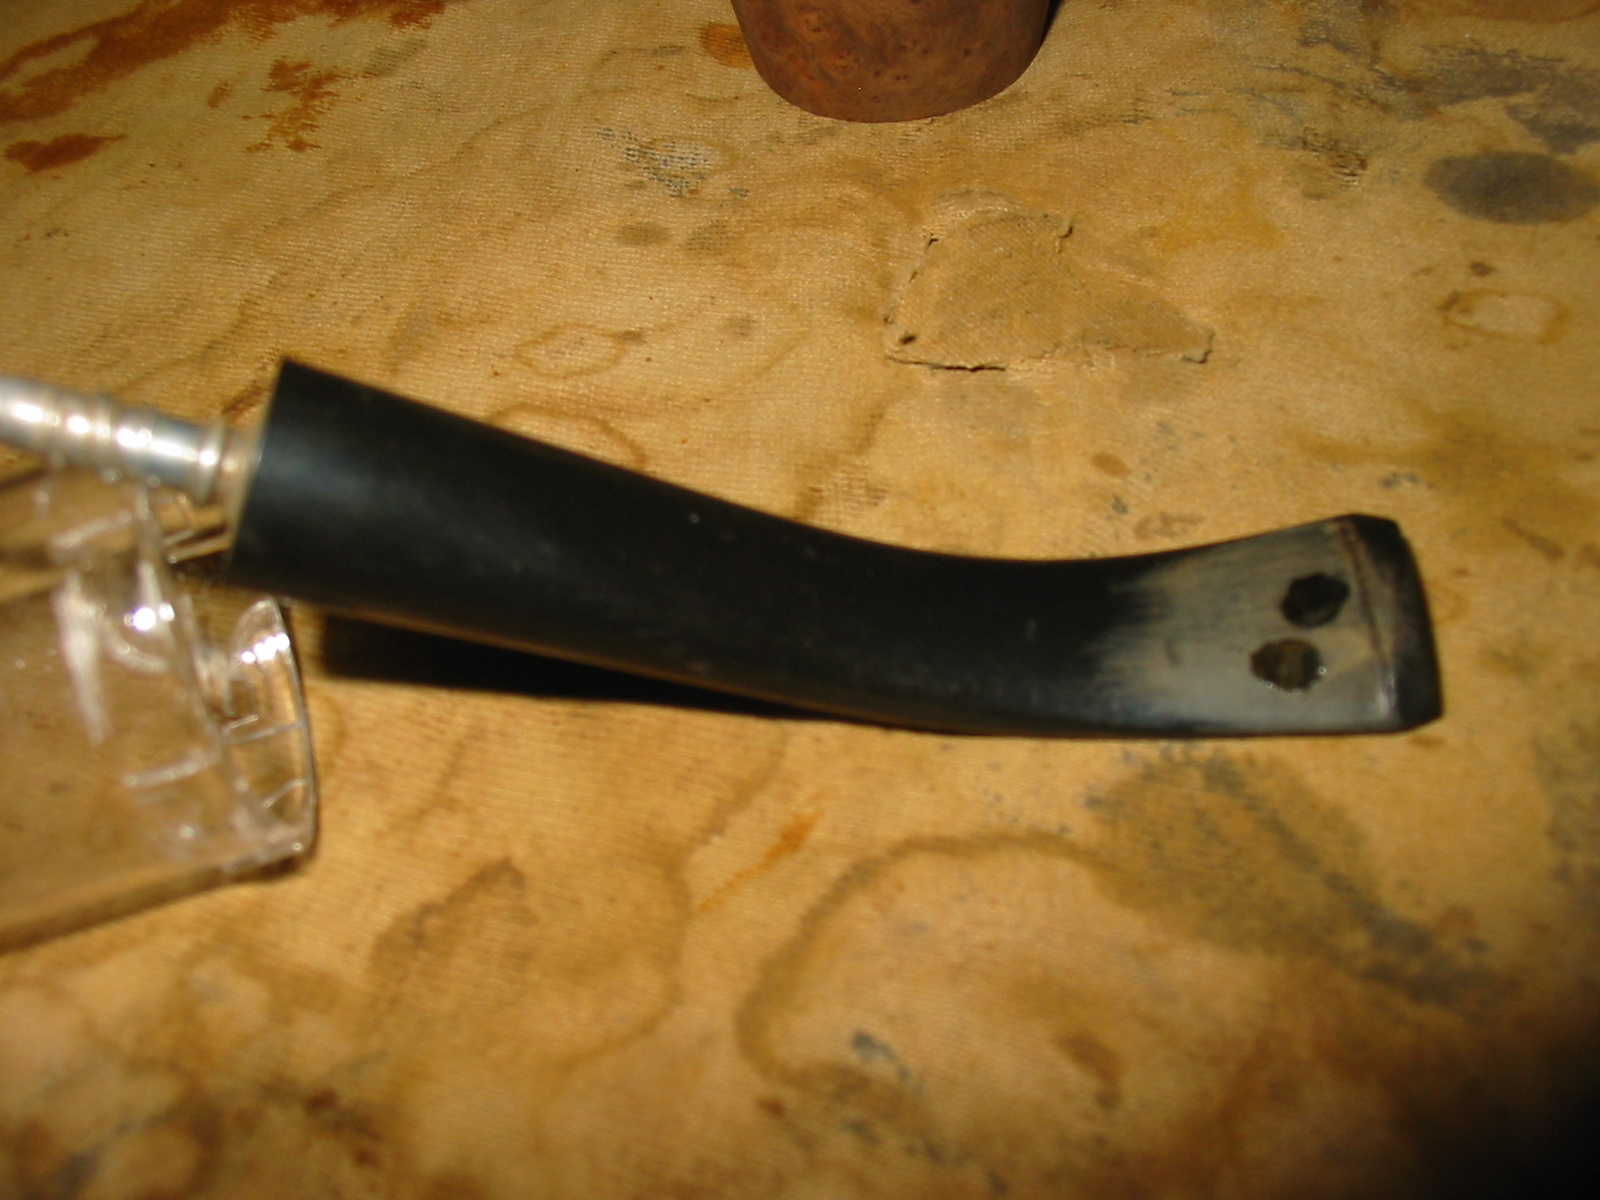
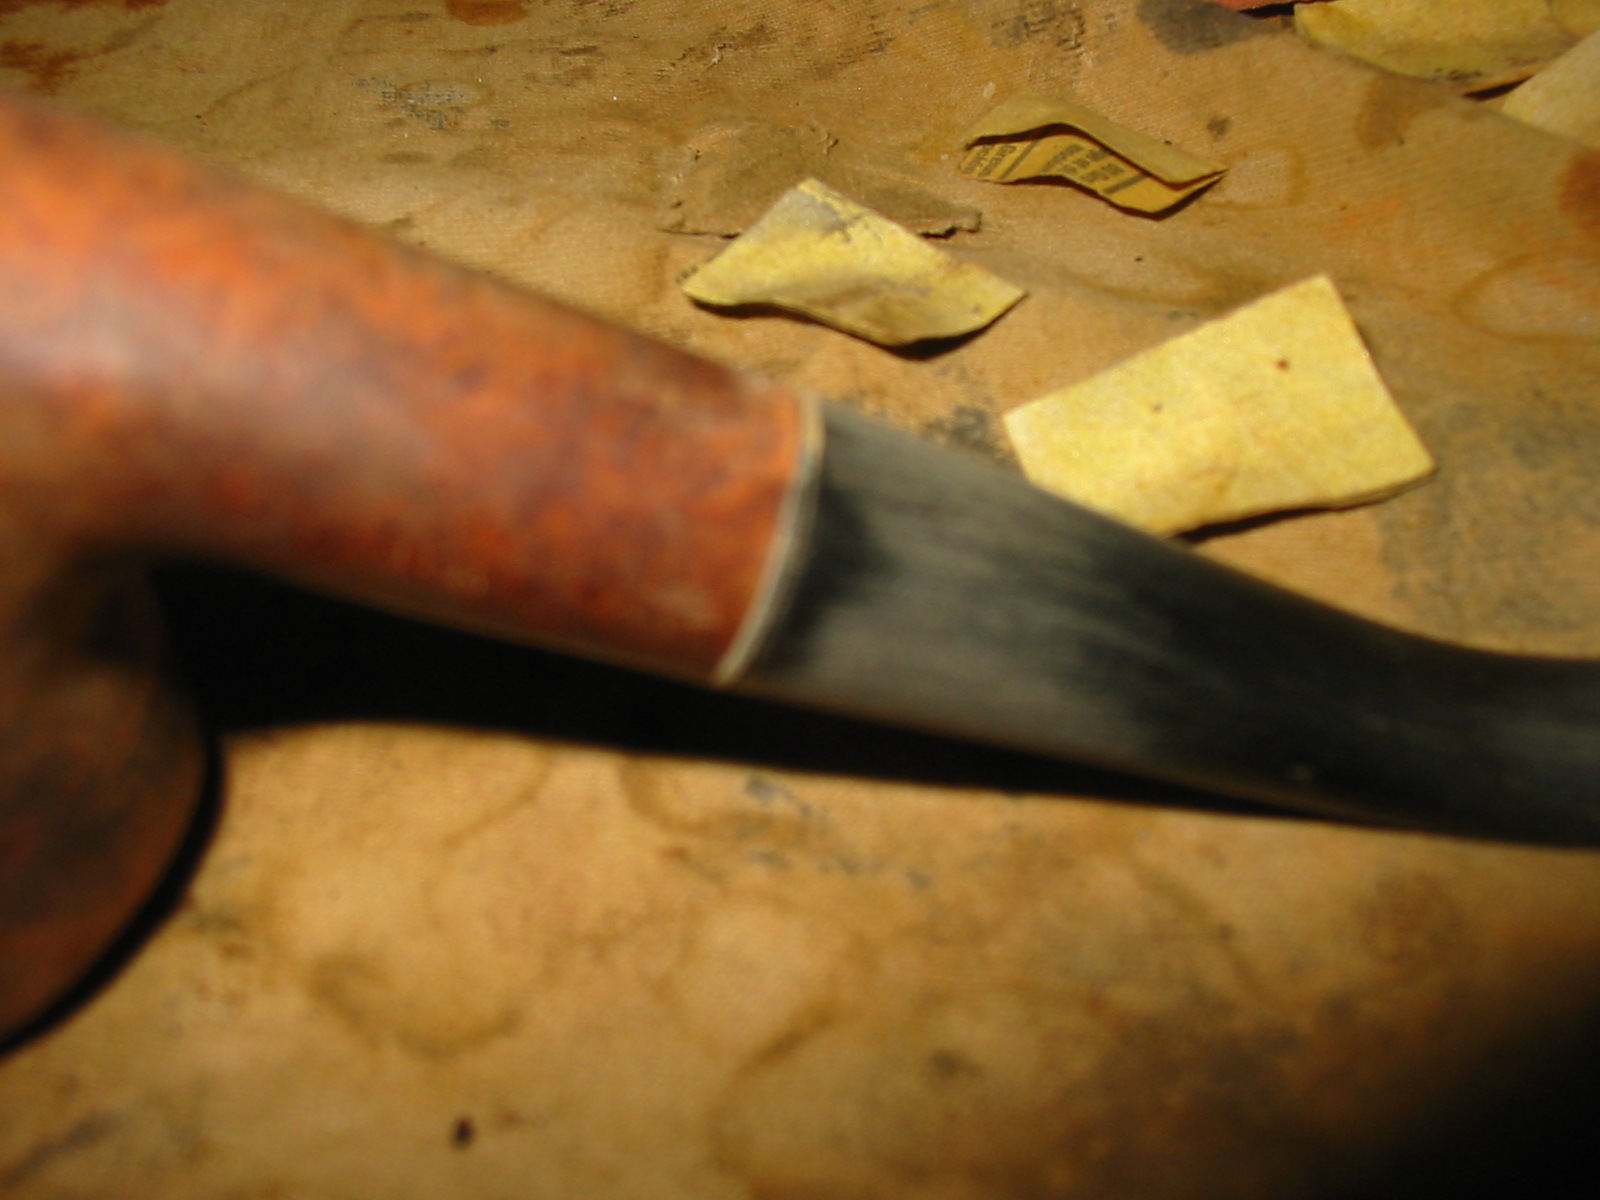
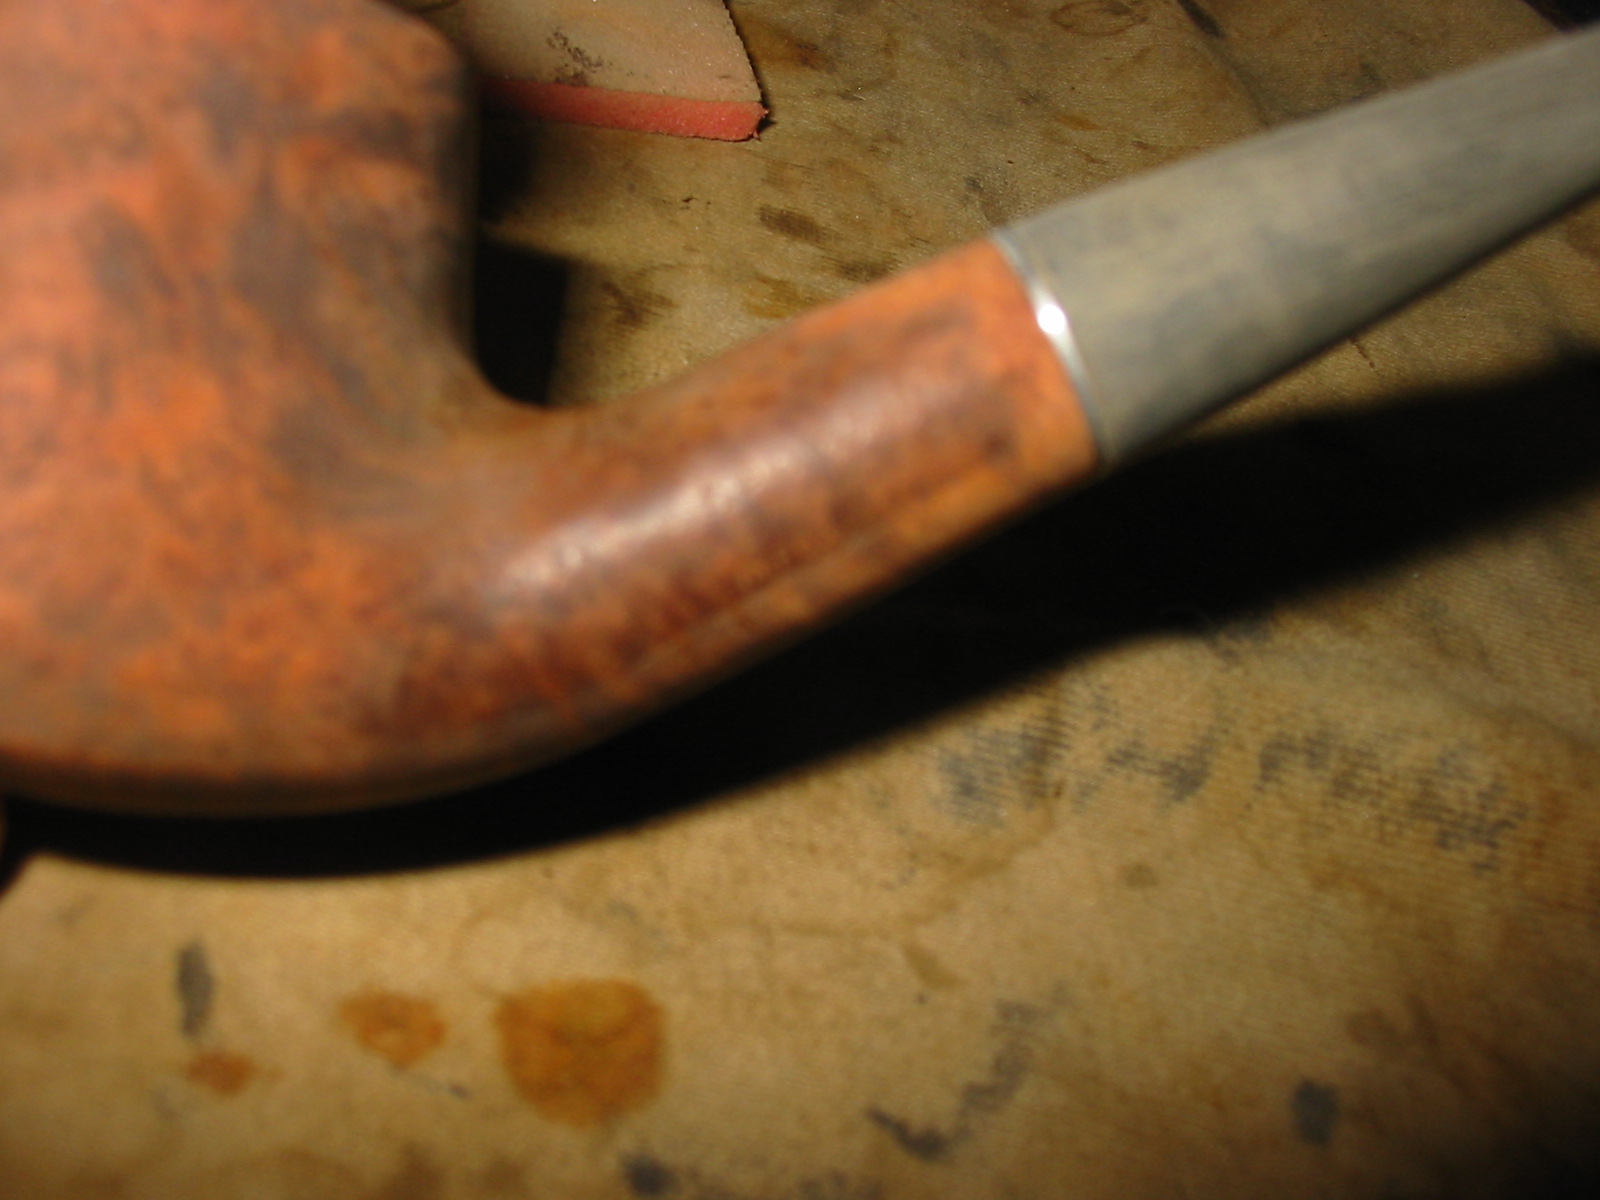
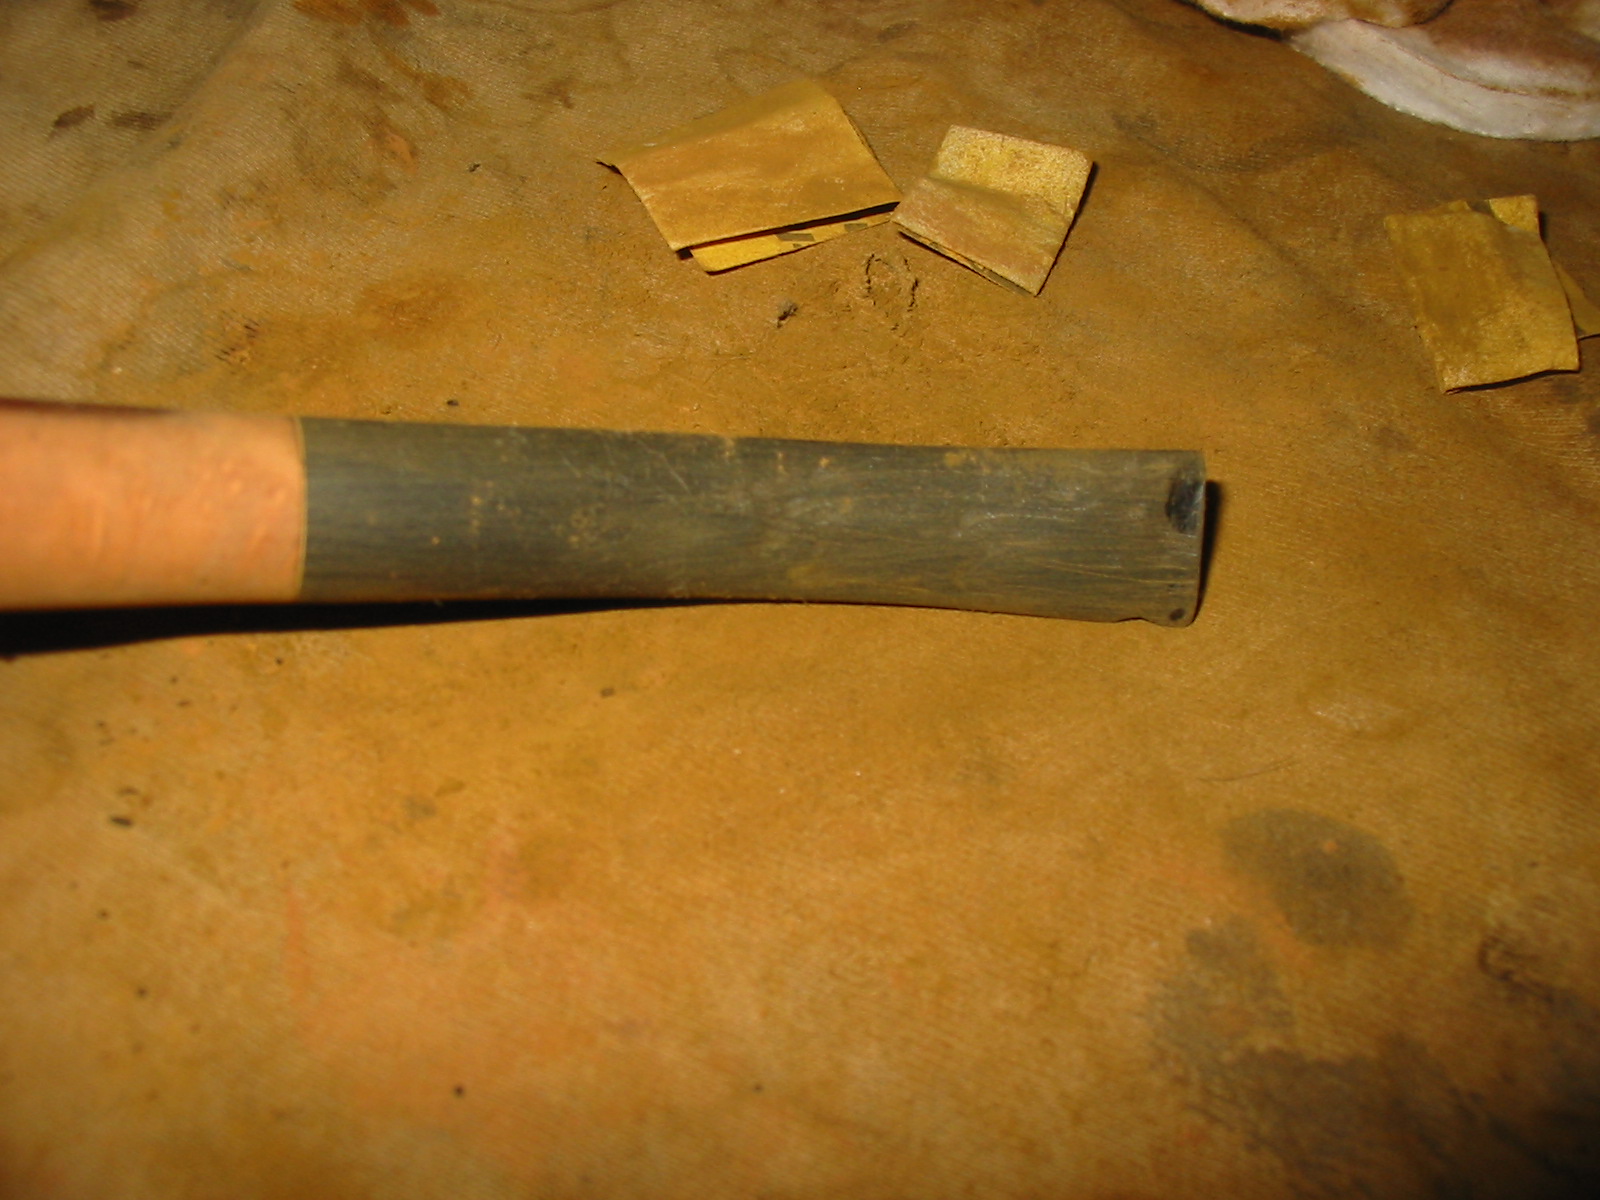
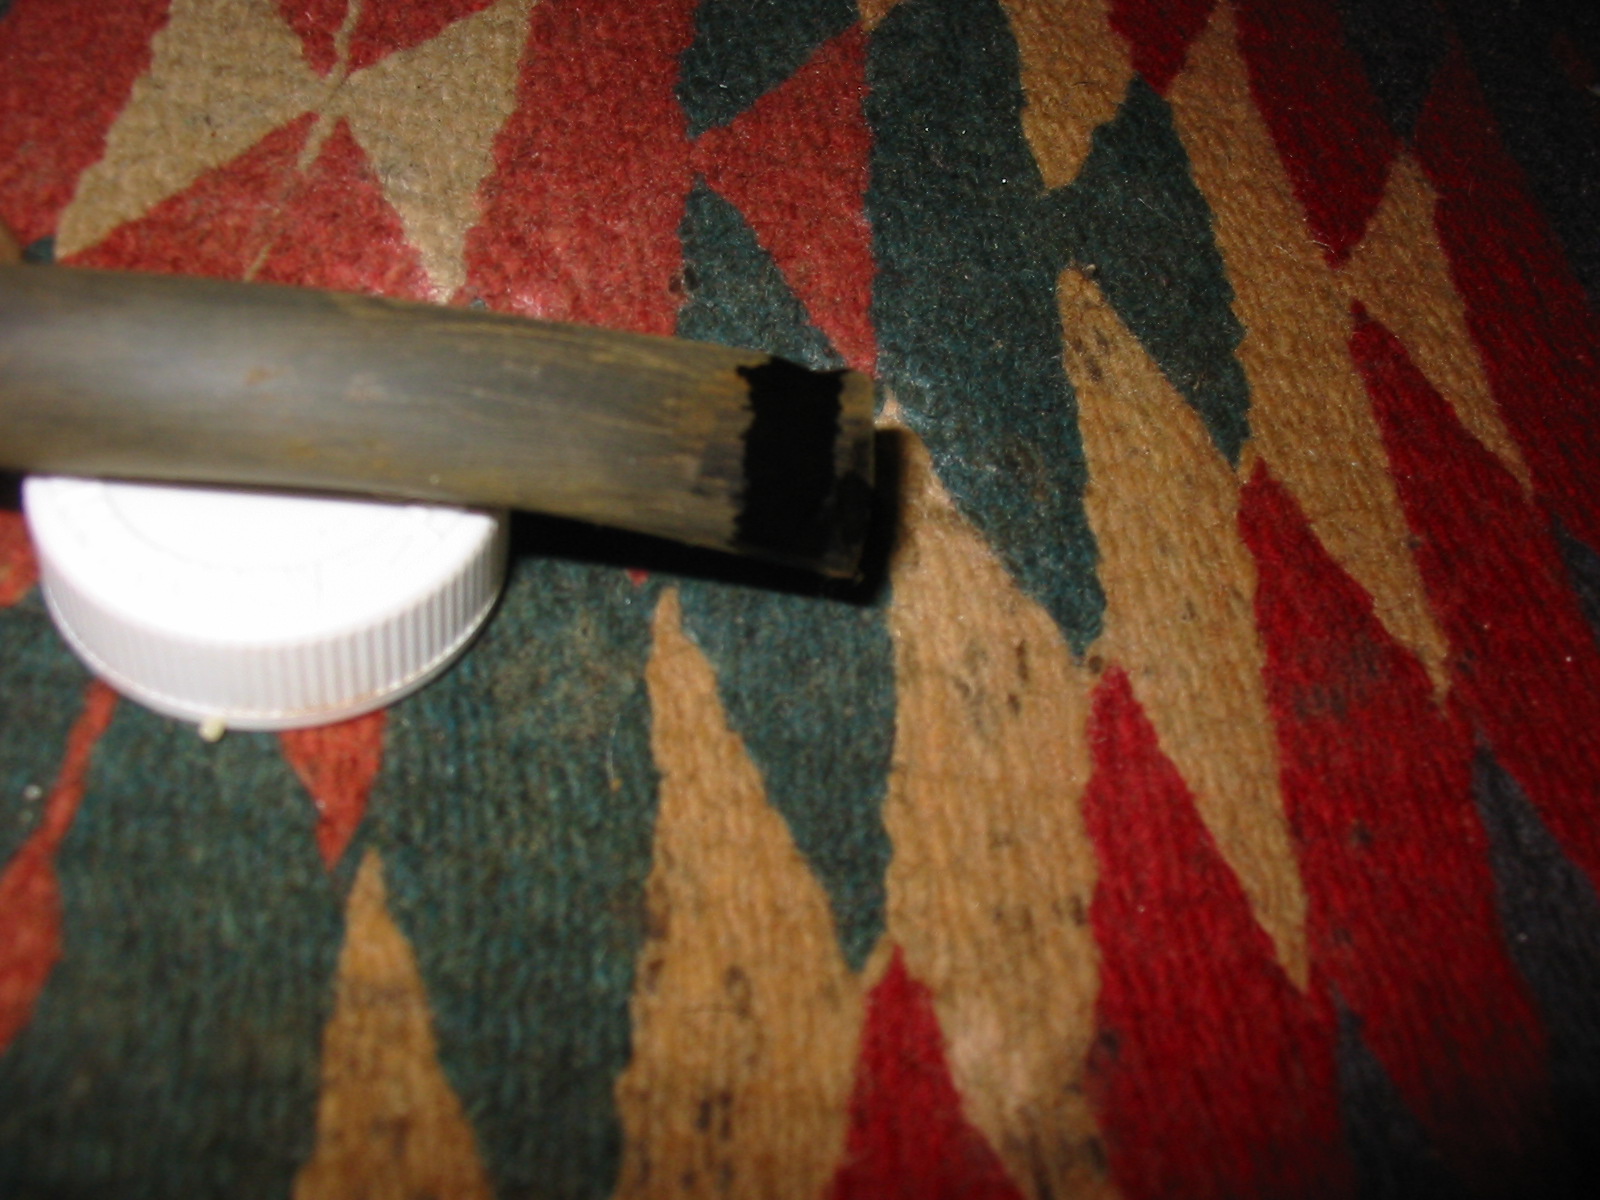
Once the glue had set in the stem and the tenon was firmly in place I sanded the tenon down with a folded piece of sandpaper to get a snug fit. I pushed it into the shank and it fit nicely against the shank. The diamond shank was smaller than the diamond saddle on the stem so I needed to sand it down to fit the shank.
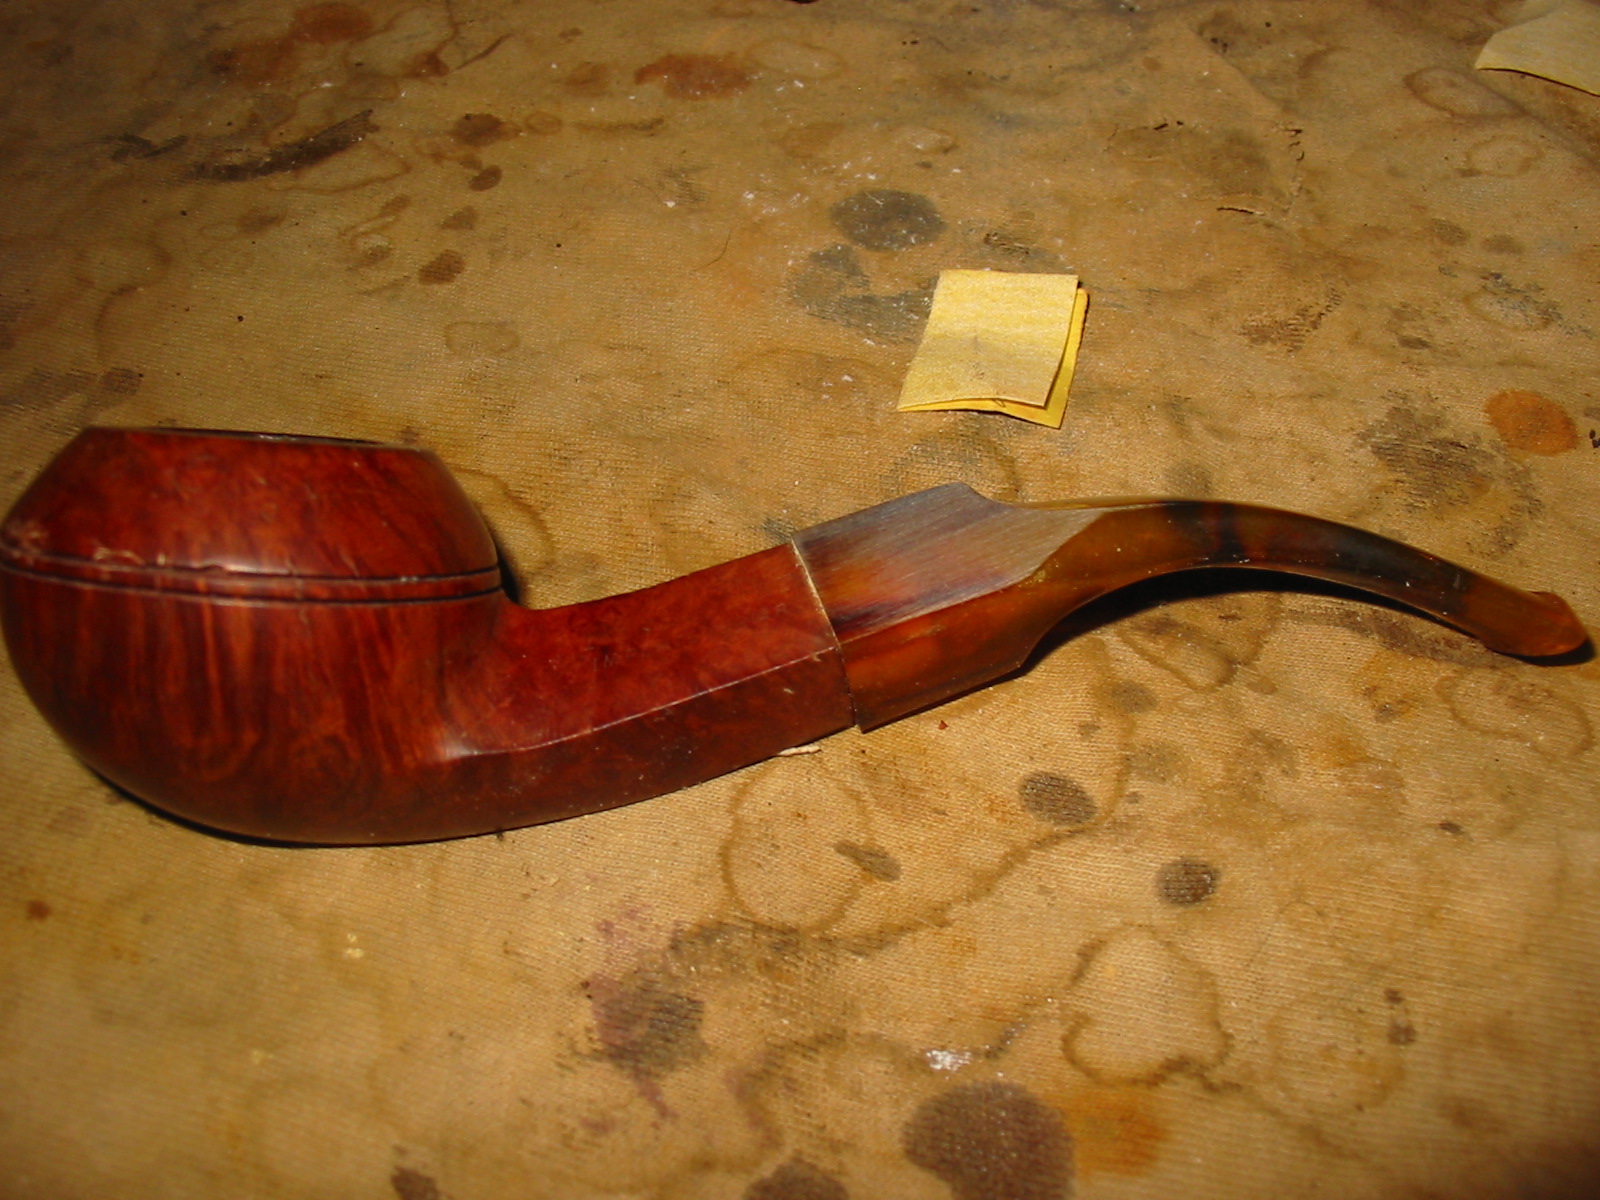
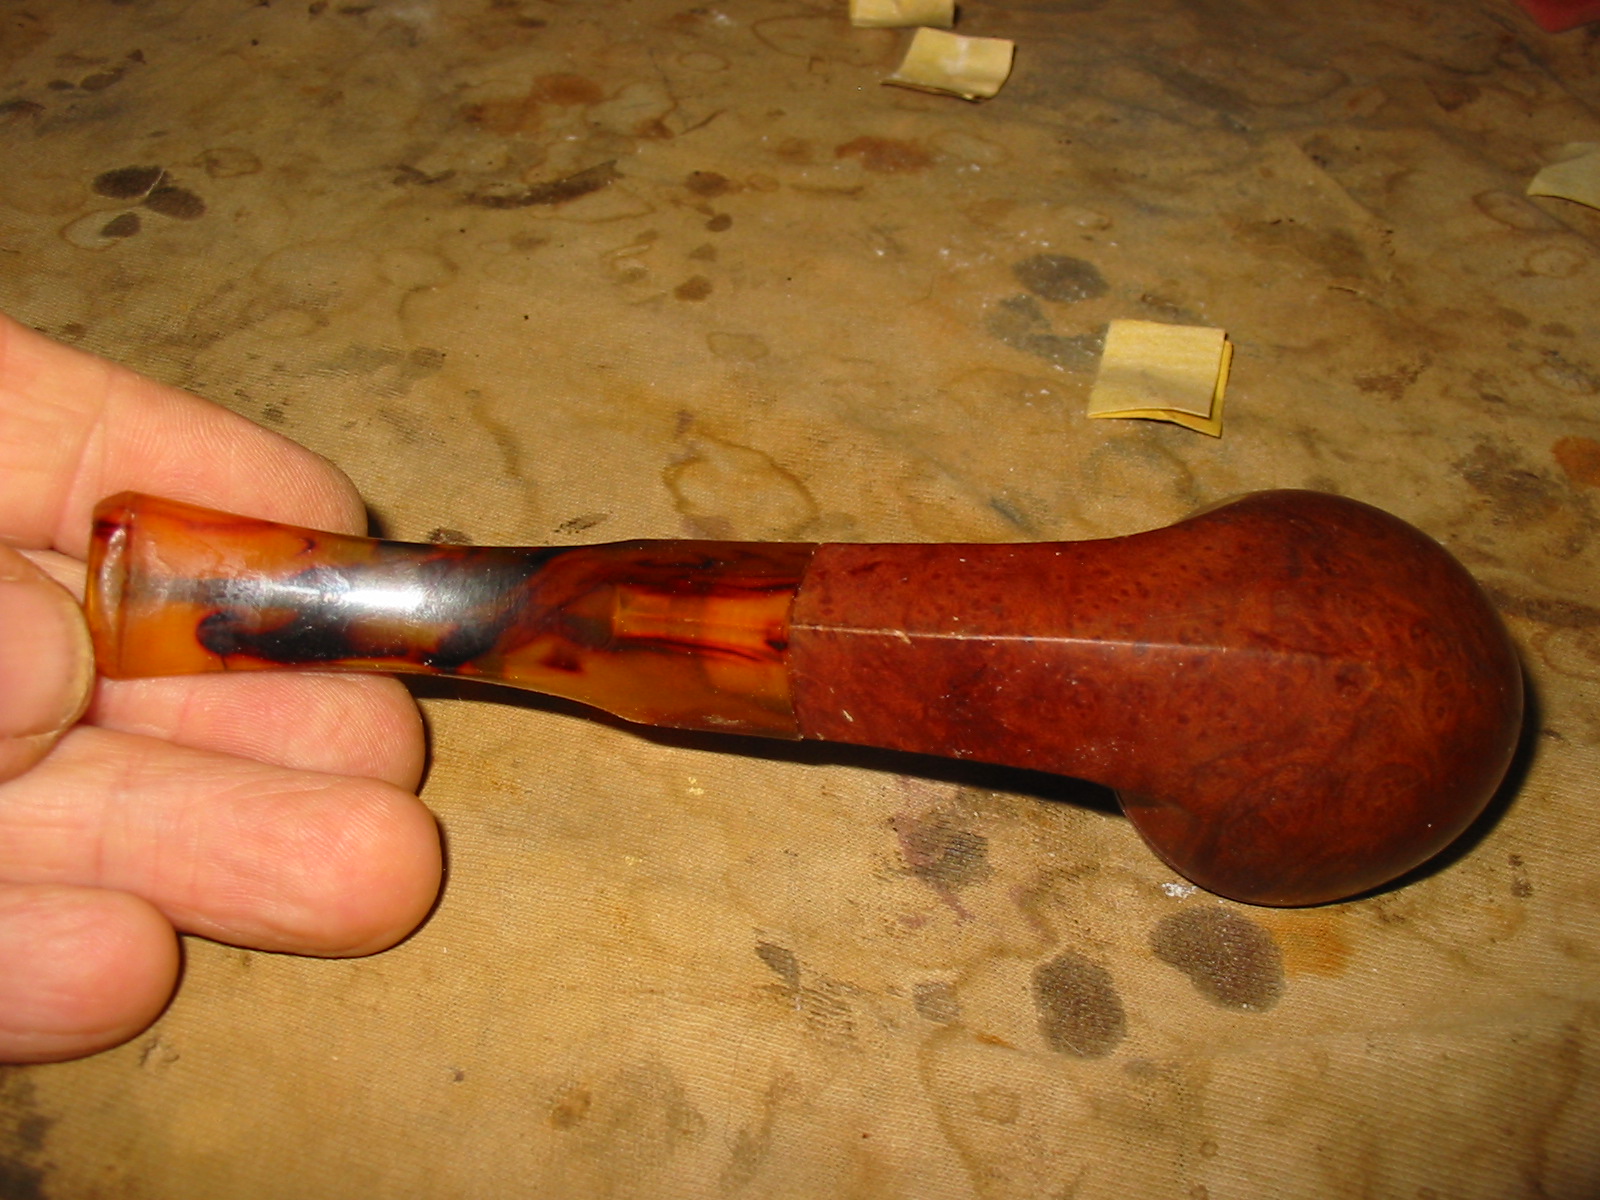
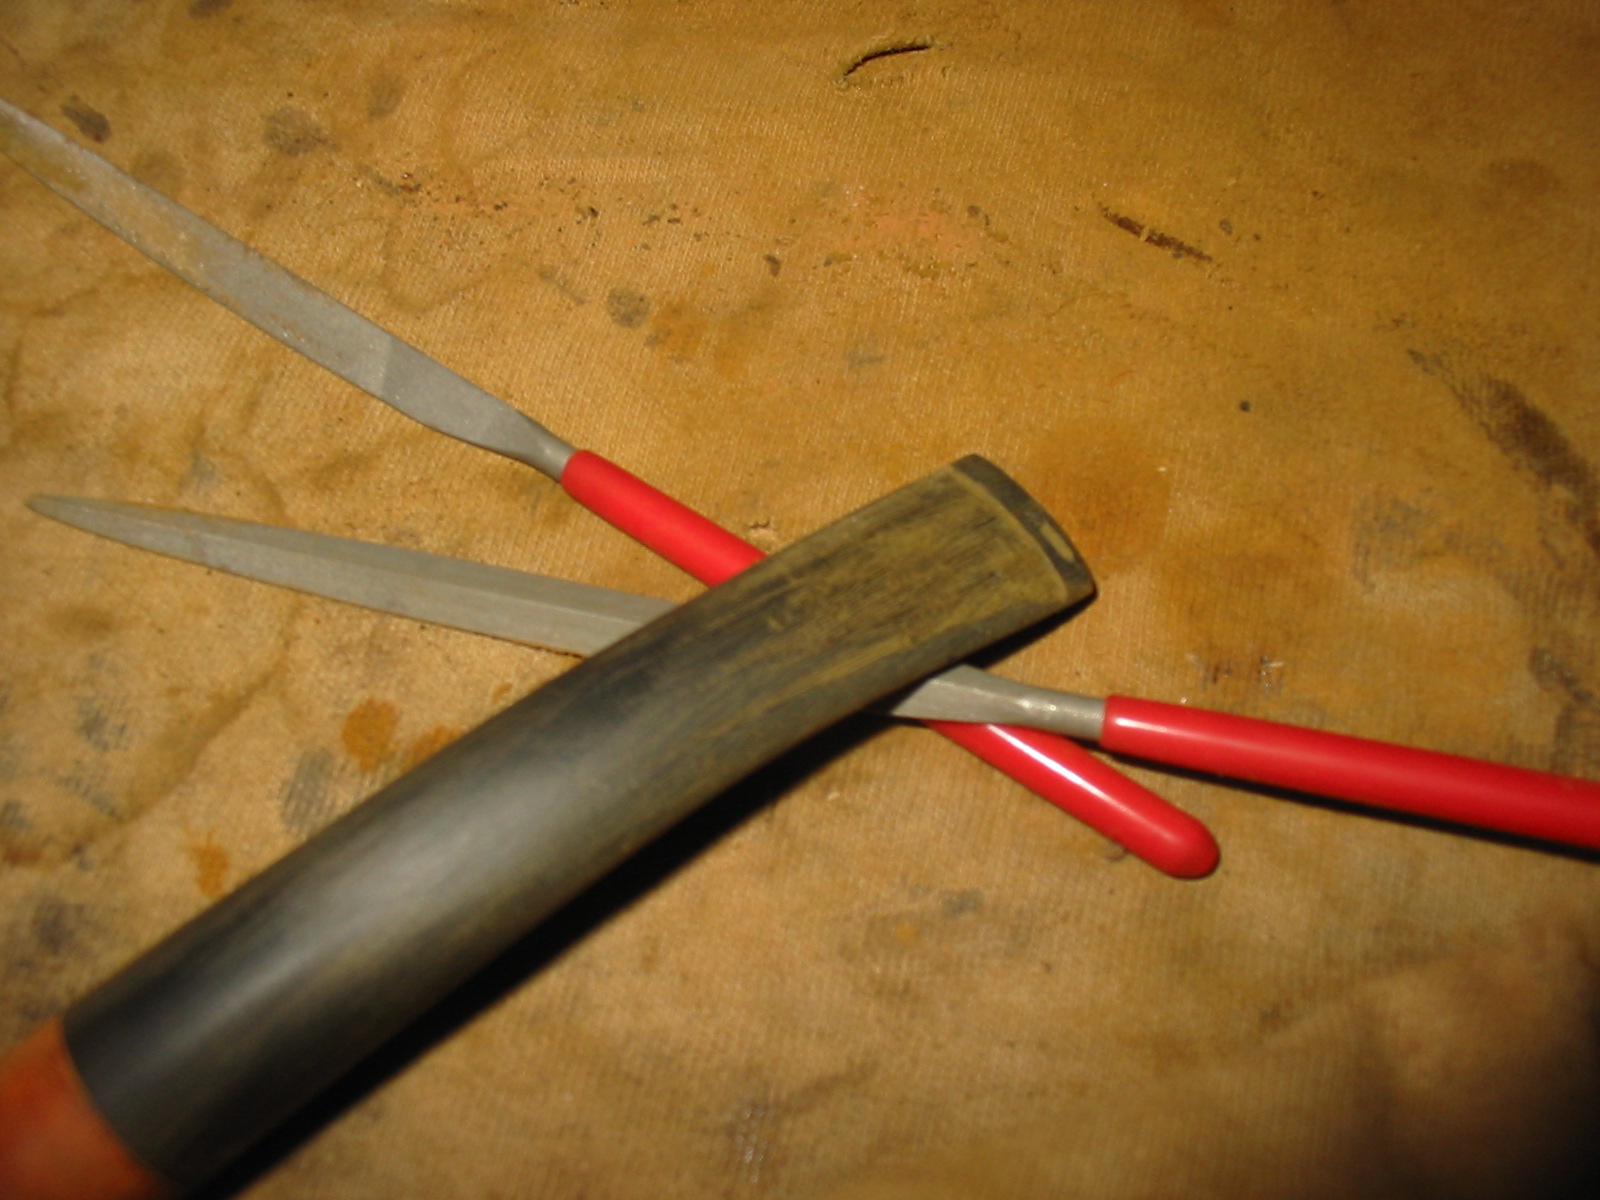
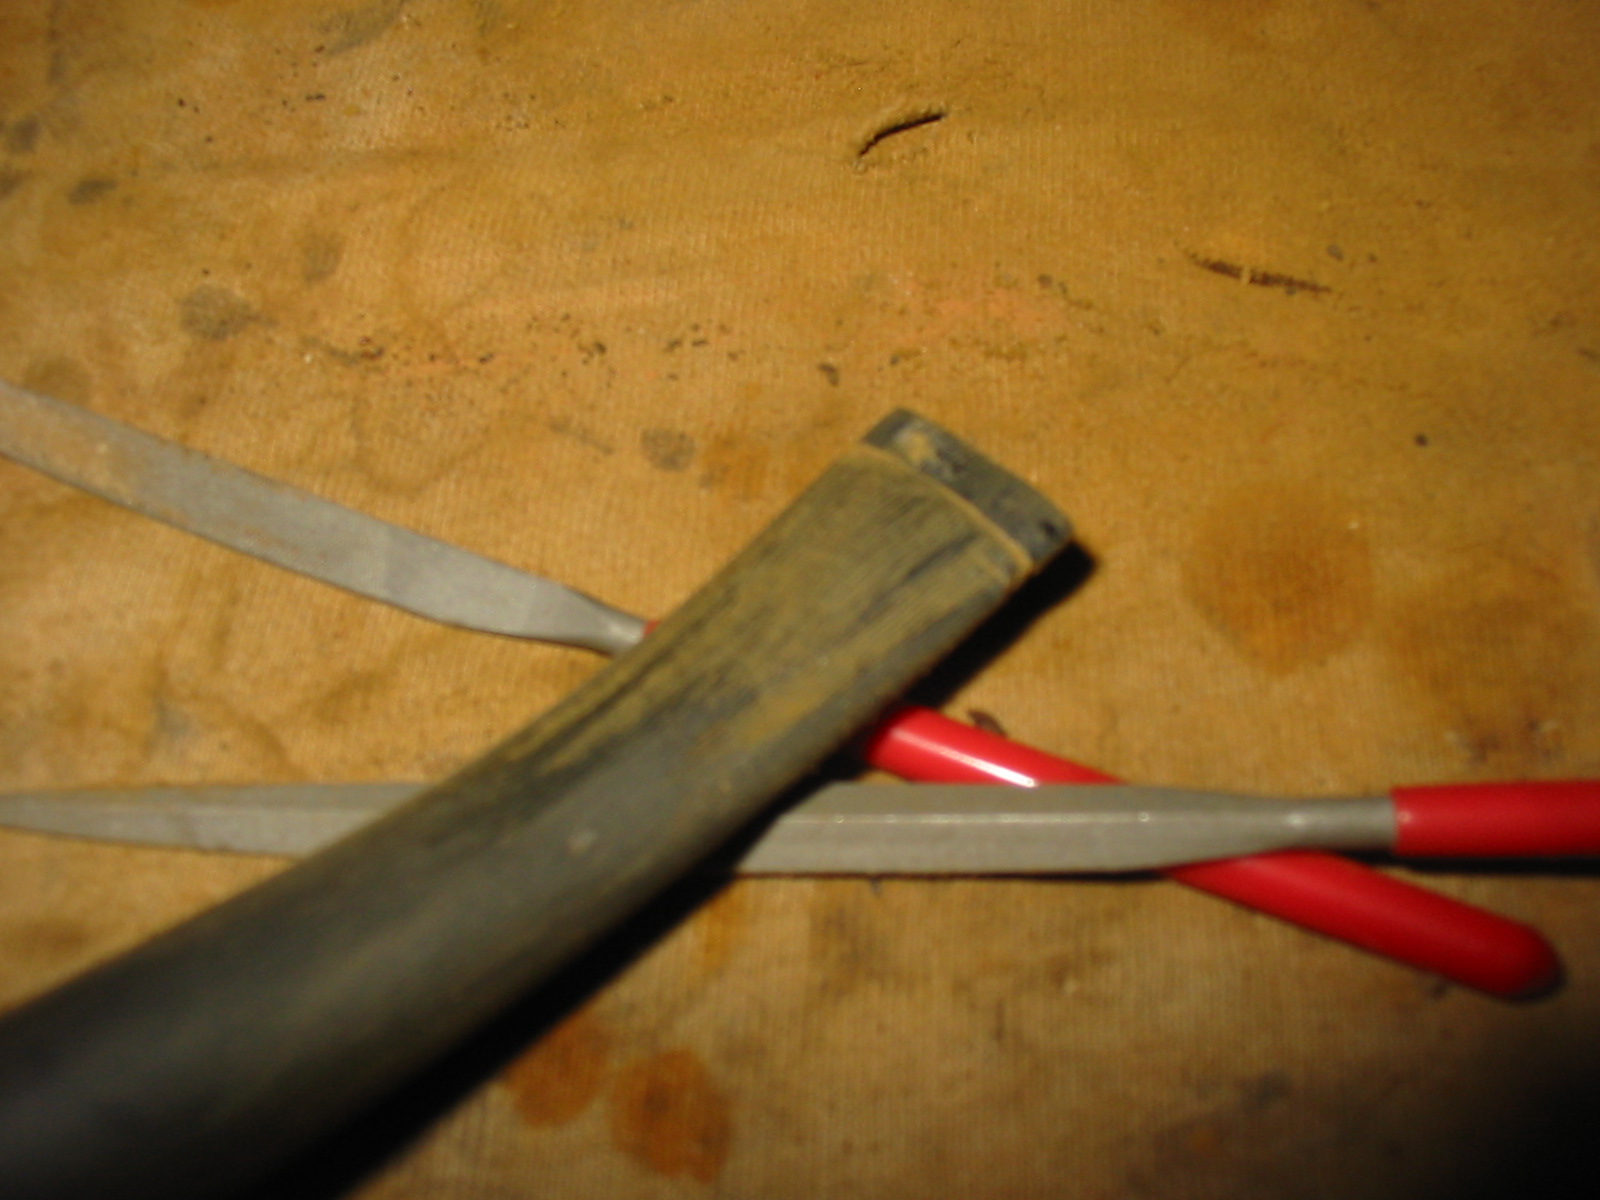
I used 220 grit sandpaper to start the process of shaping the stem and then a sanding drum on a Dremel to bring down the sides of the diamond close to the shank dimensions. I finished the fit with sandpaper and a sanding sponge.


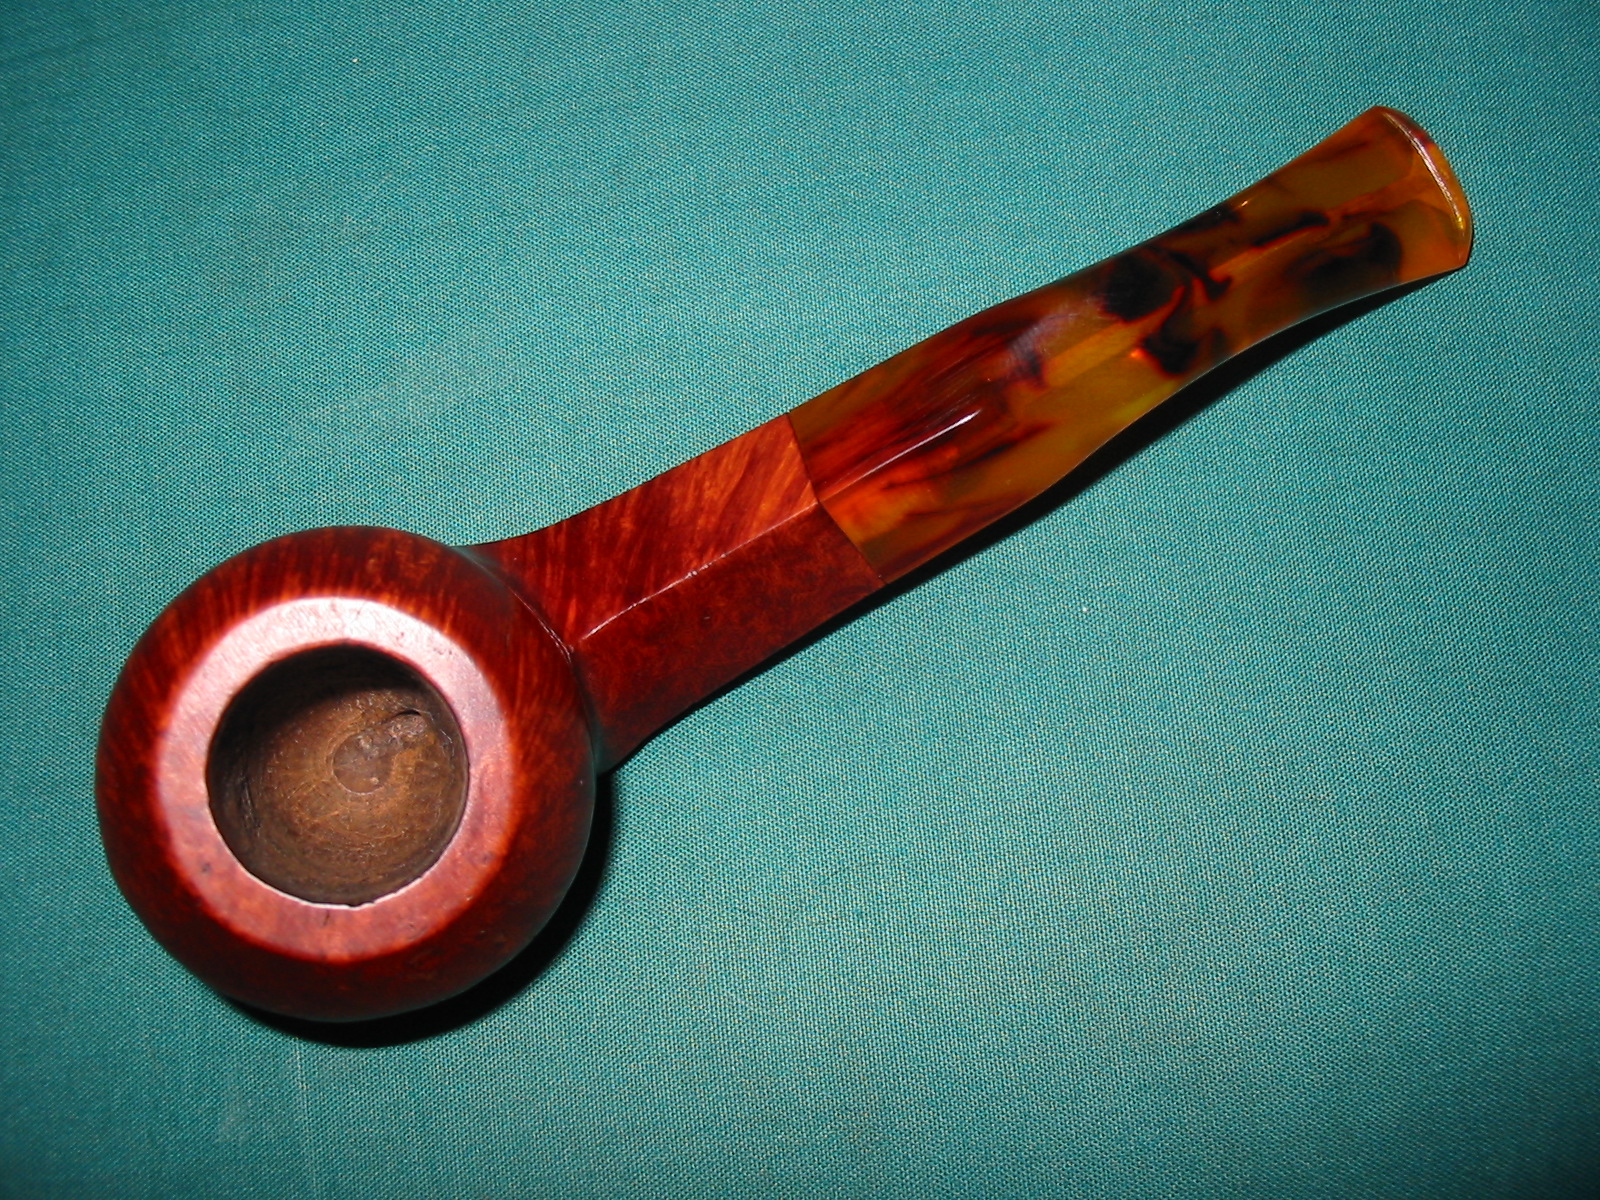
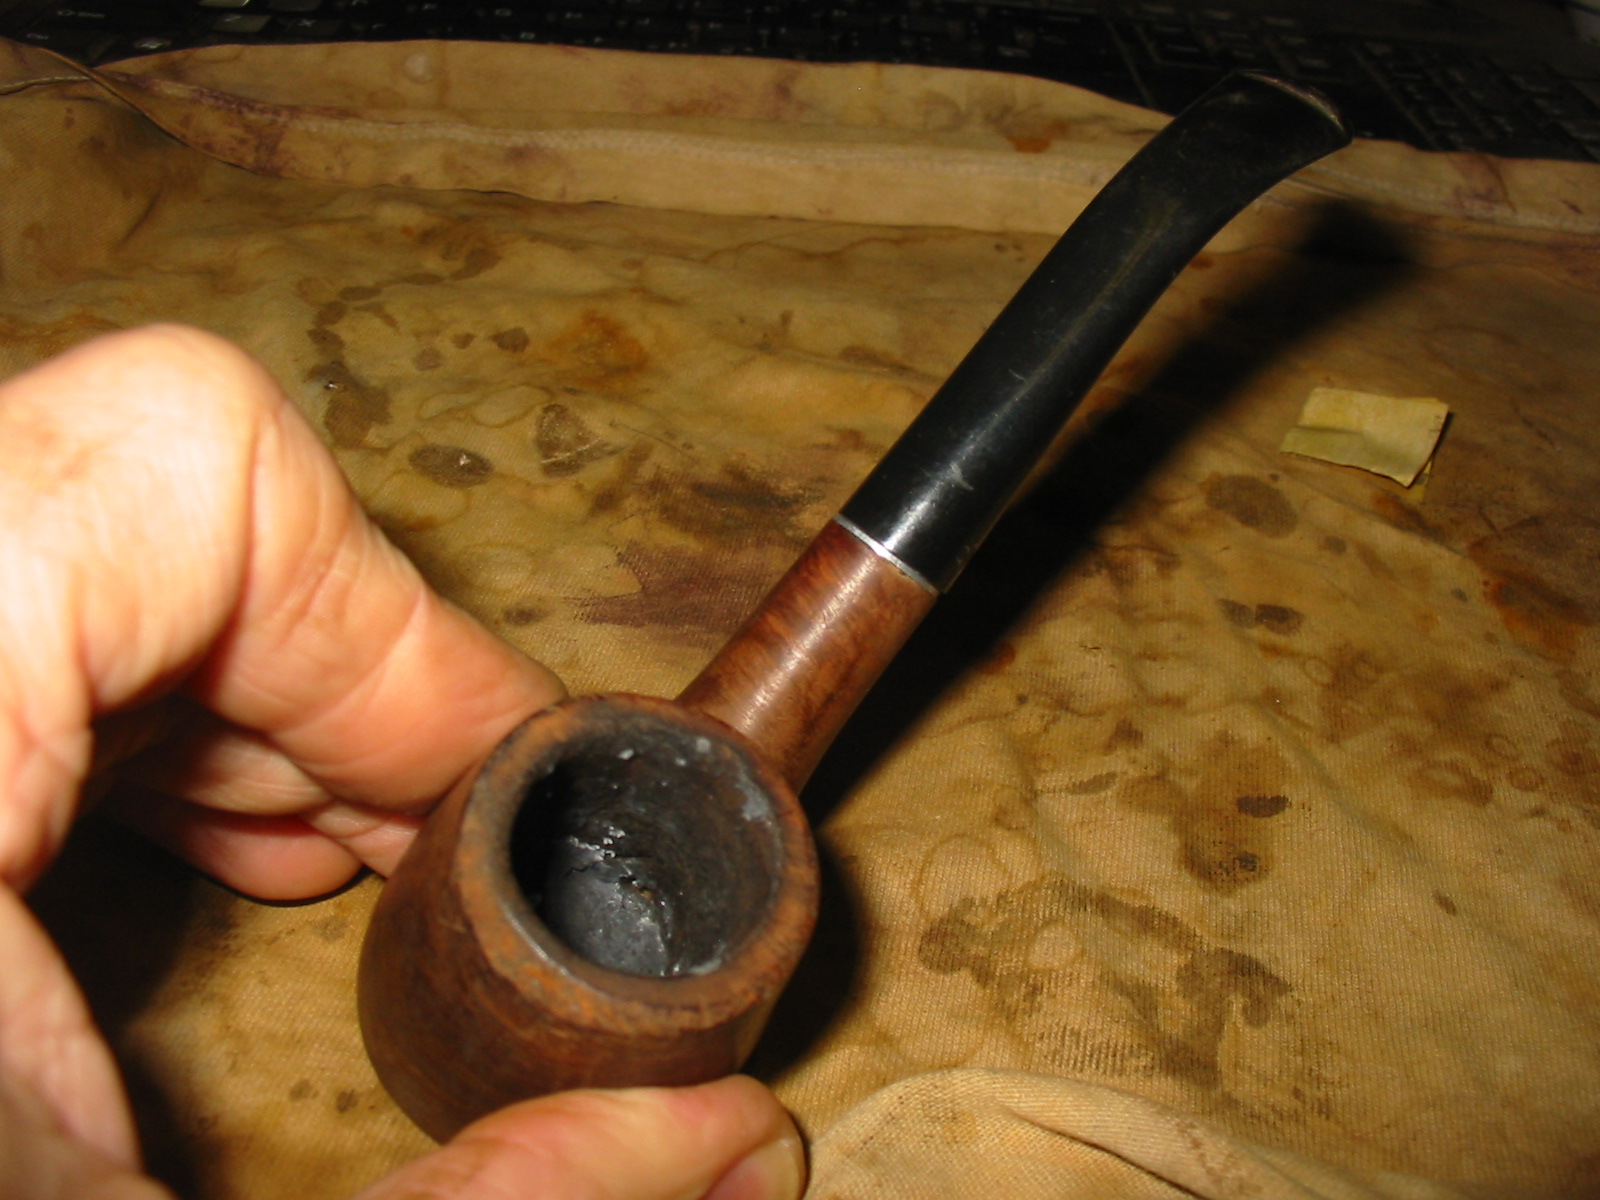
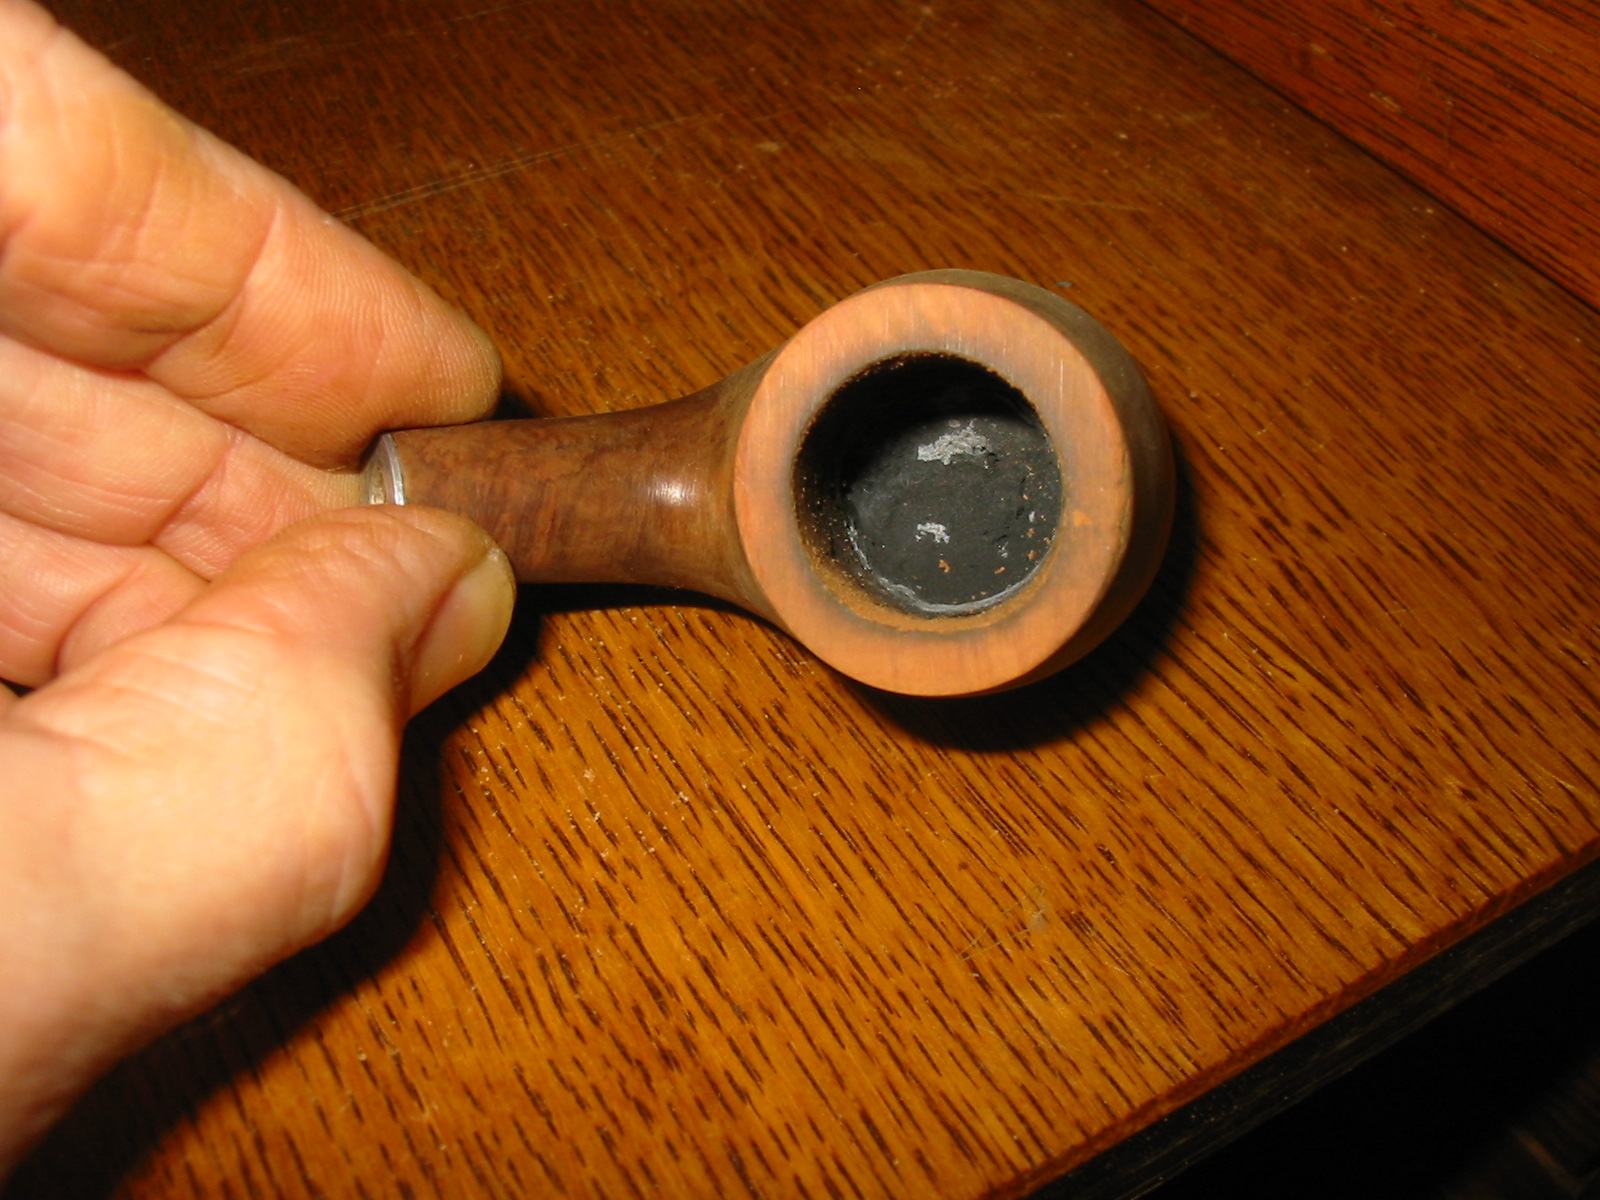
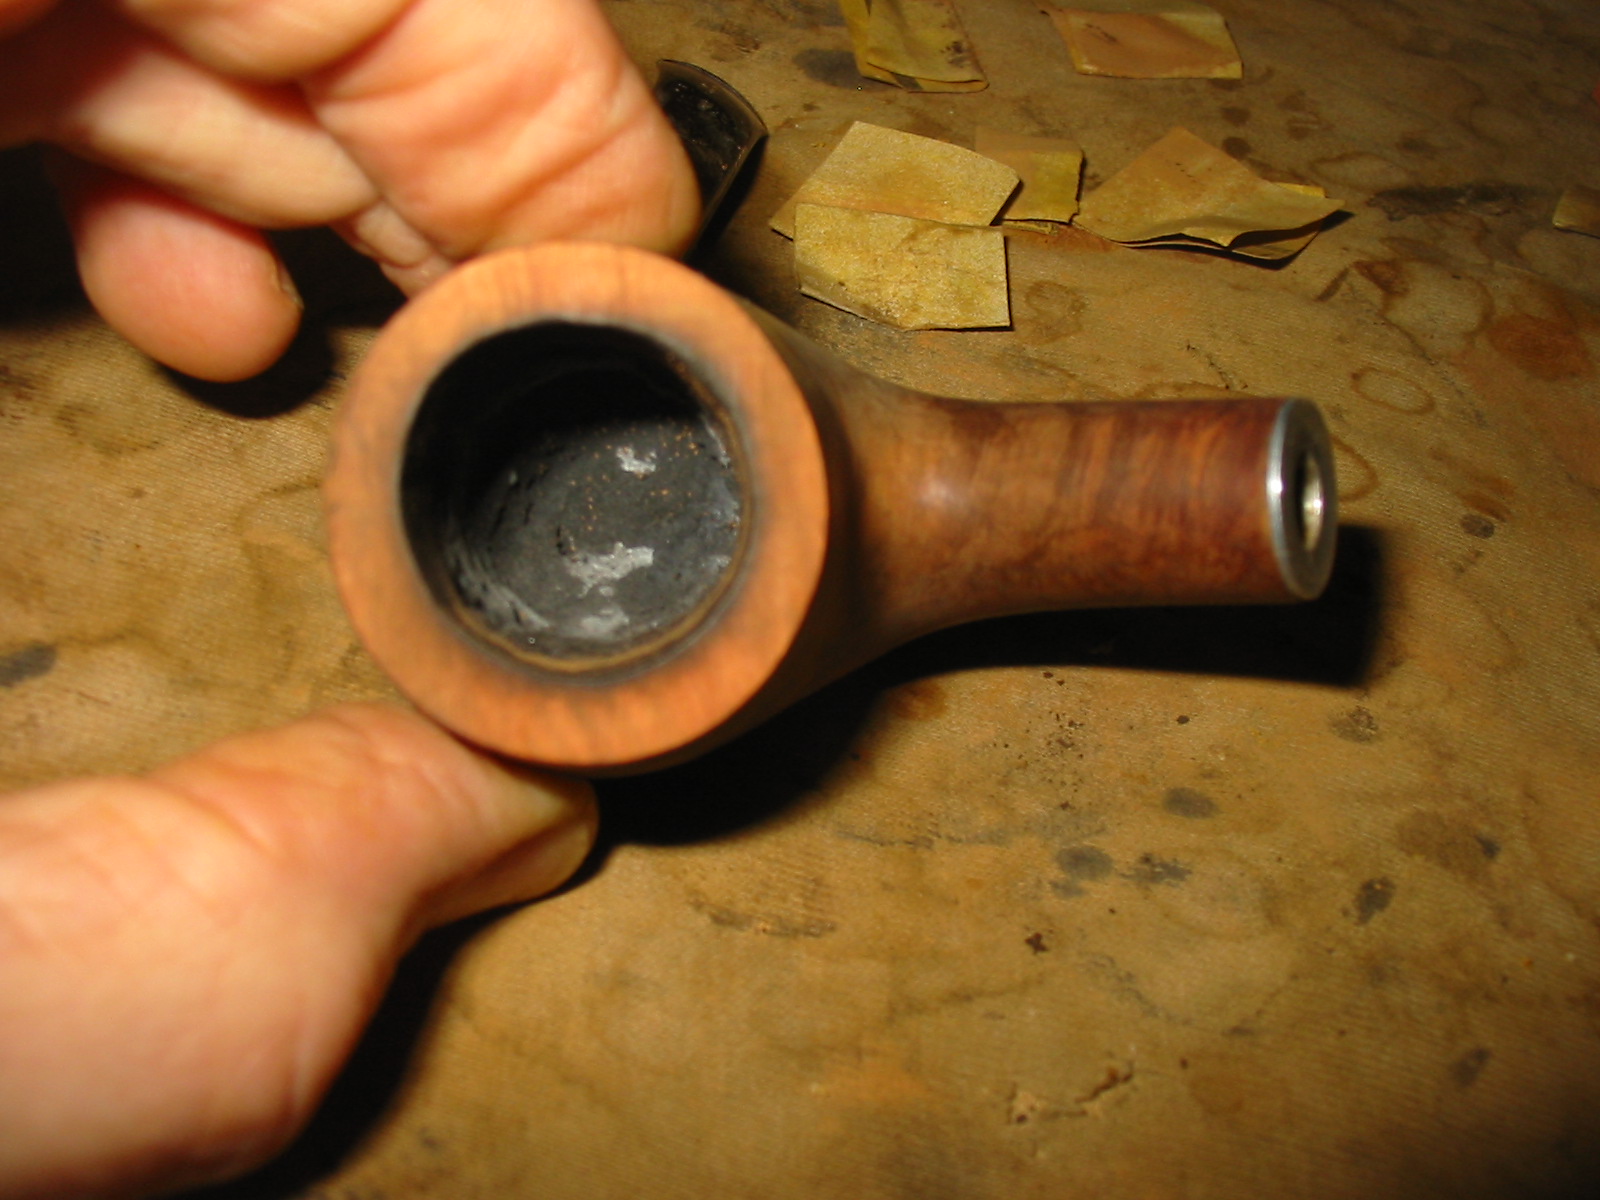
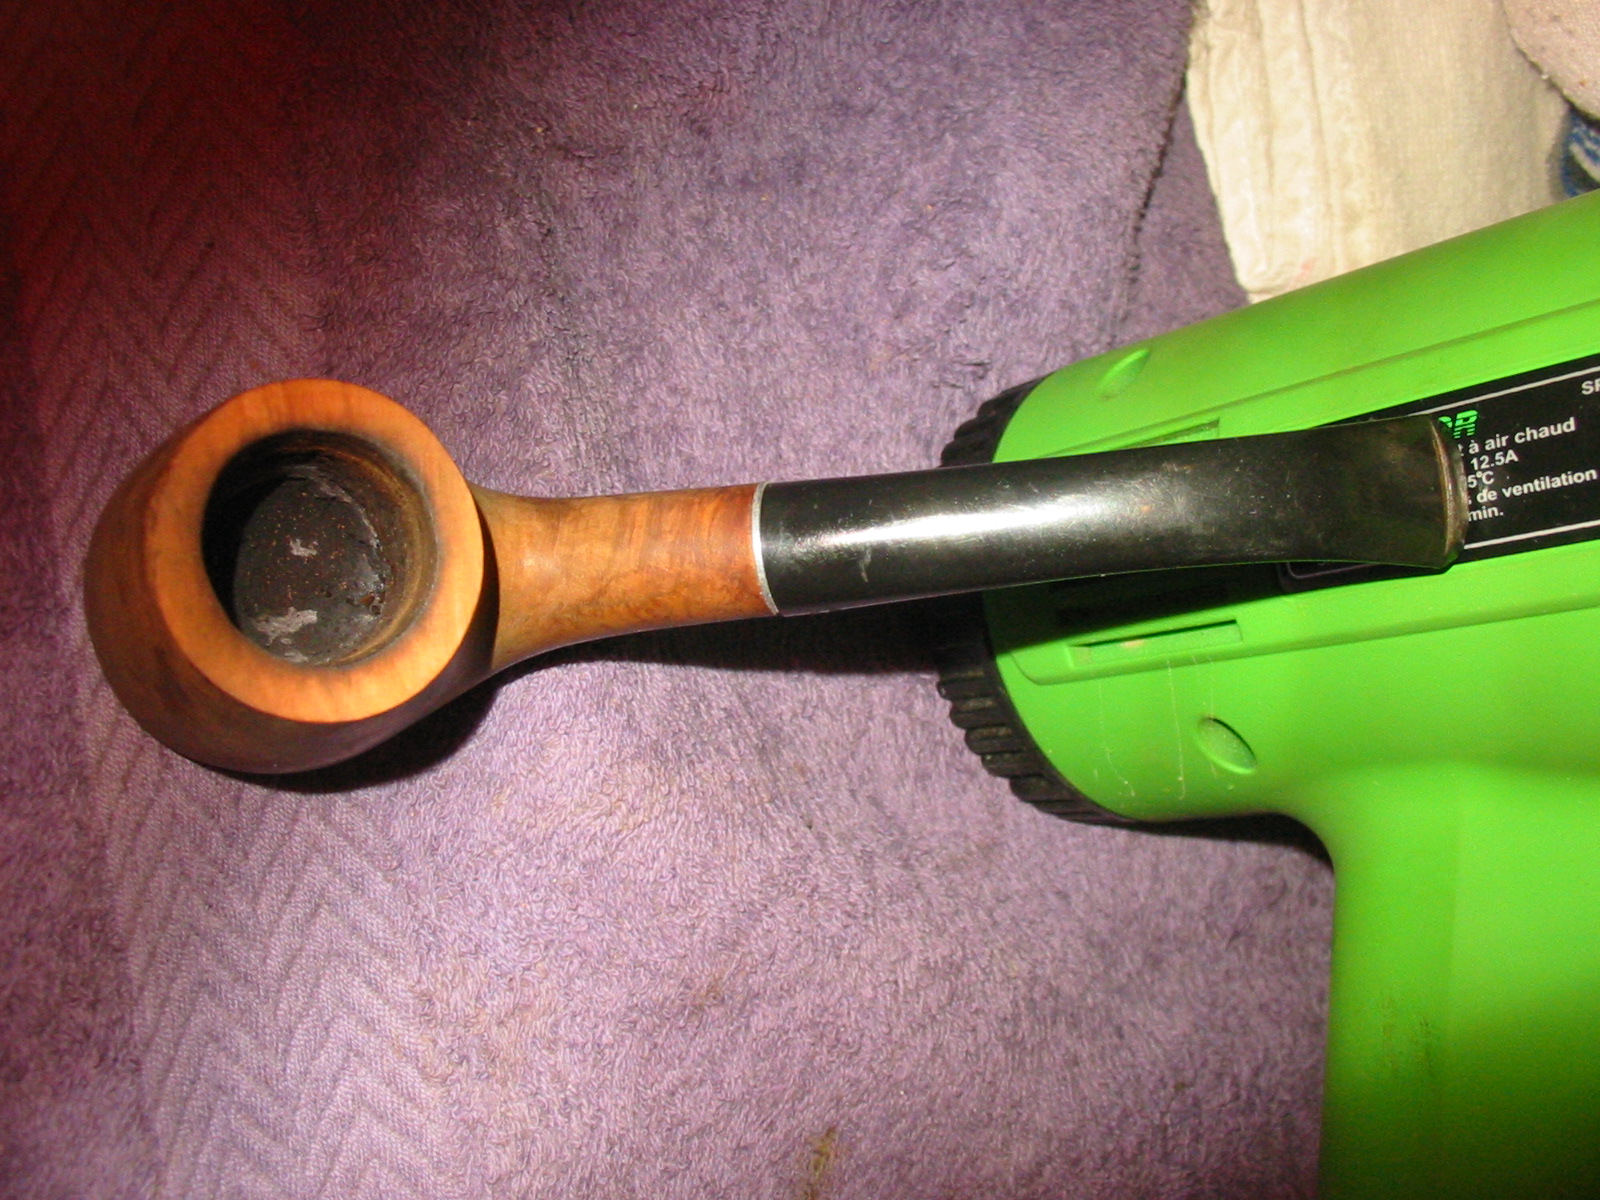
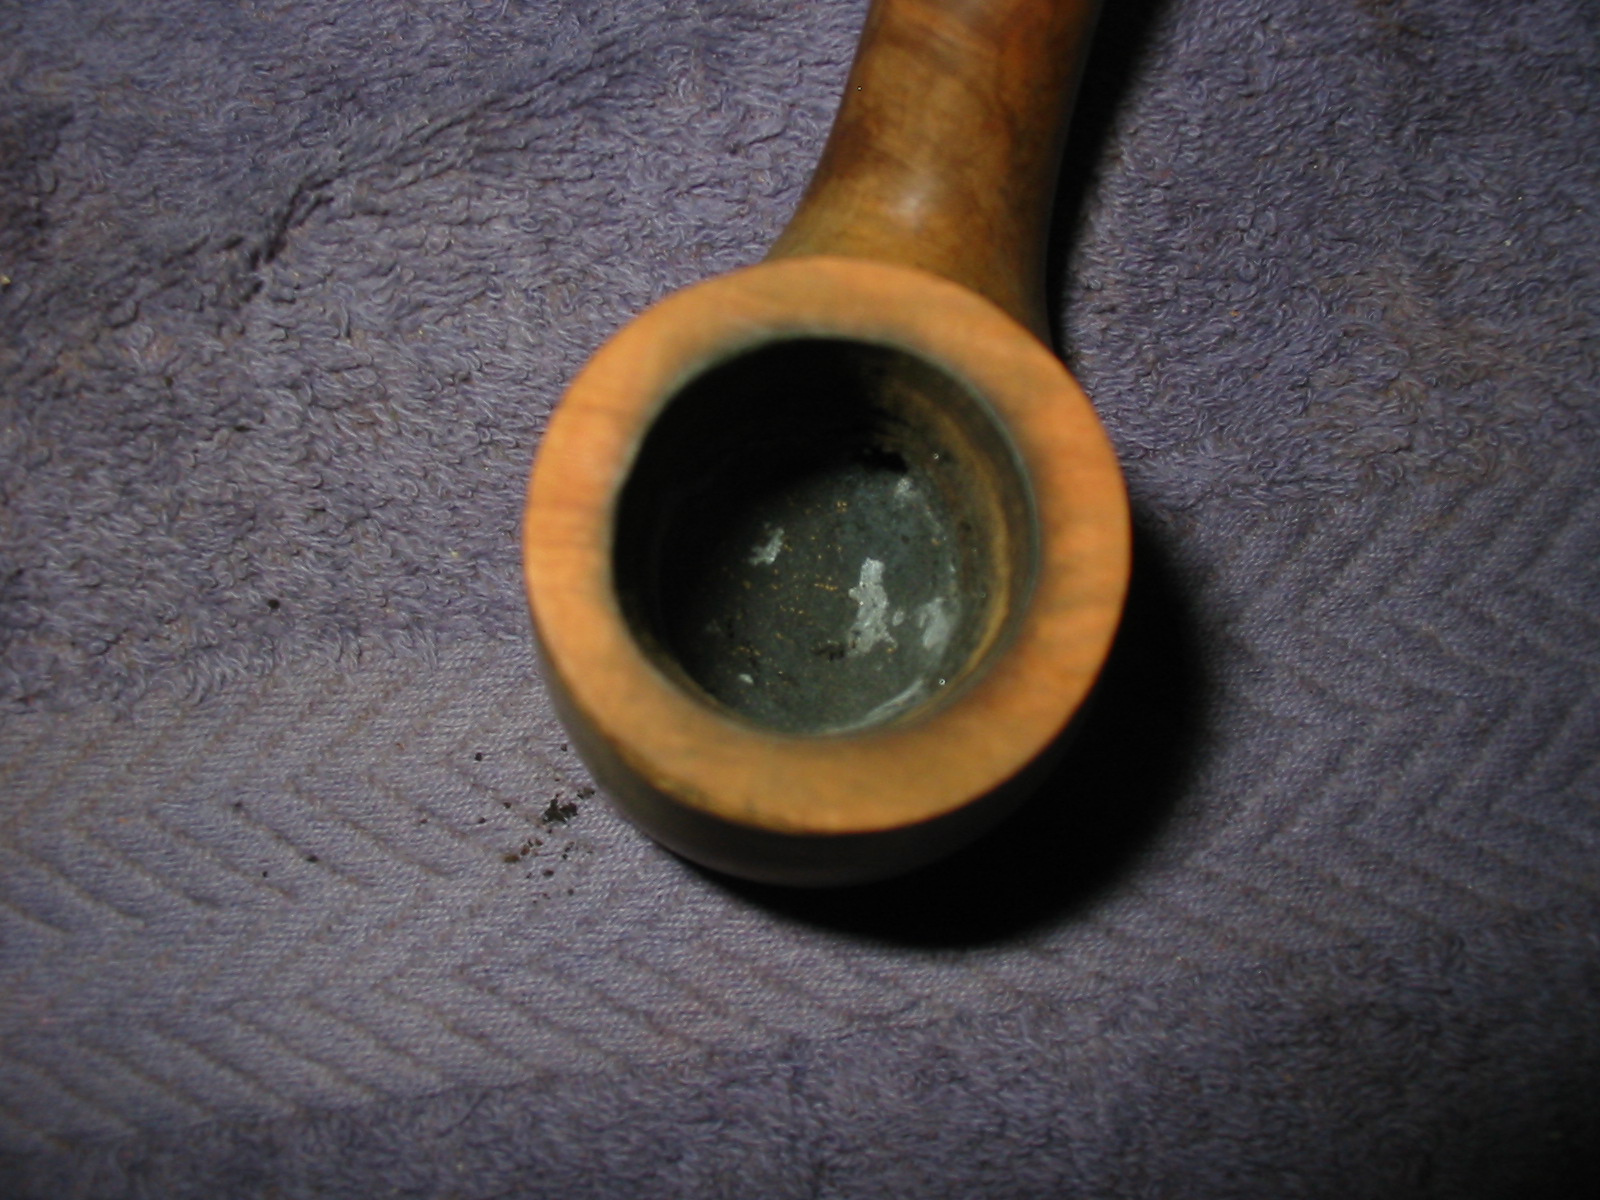
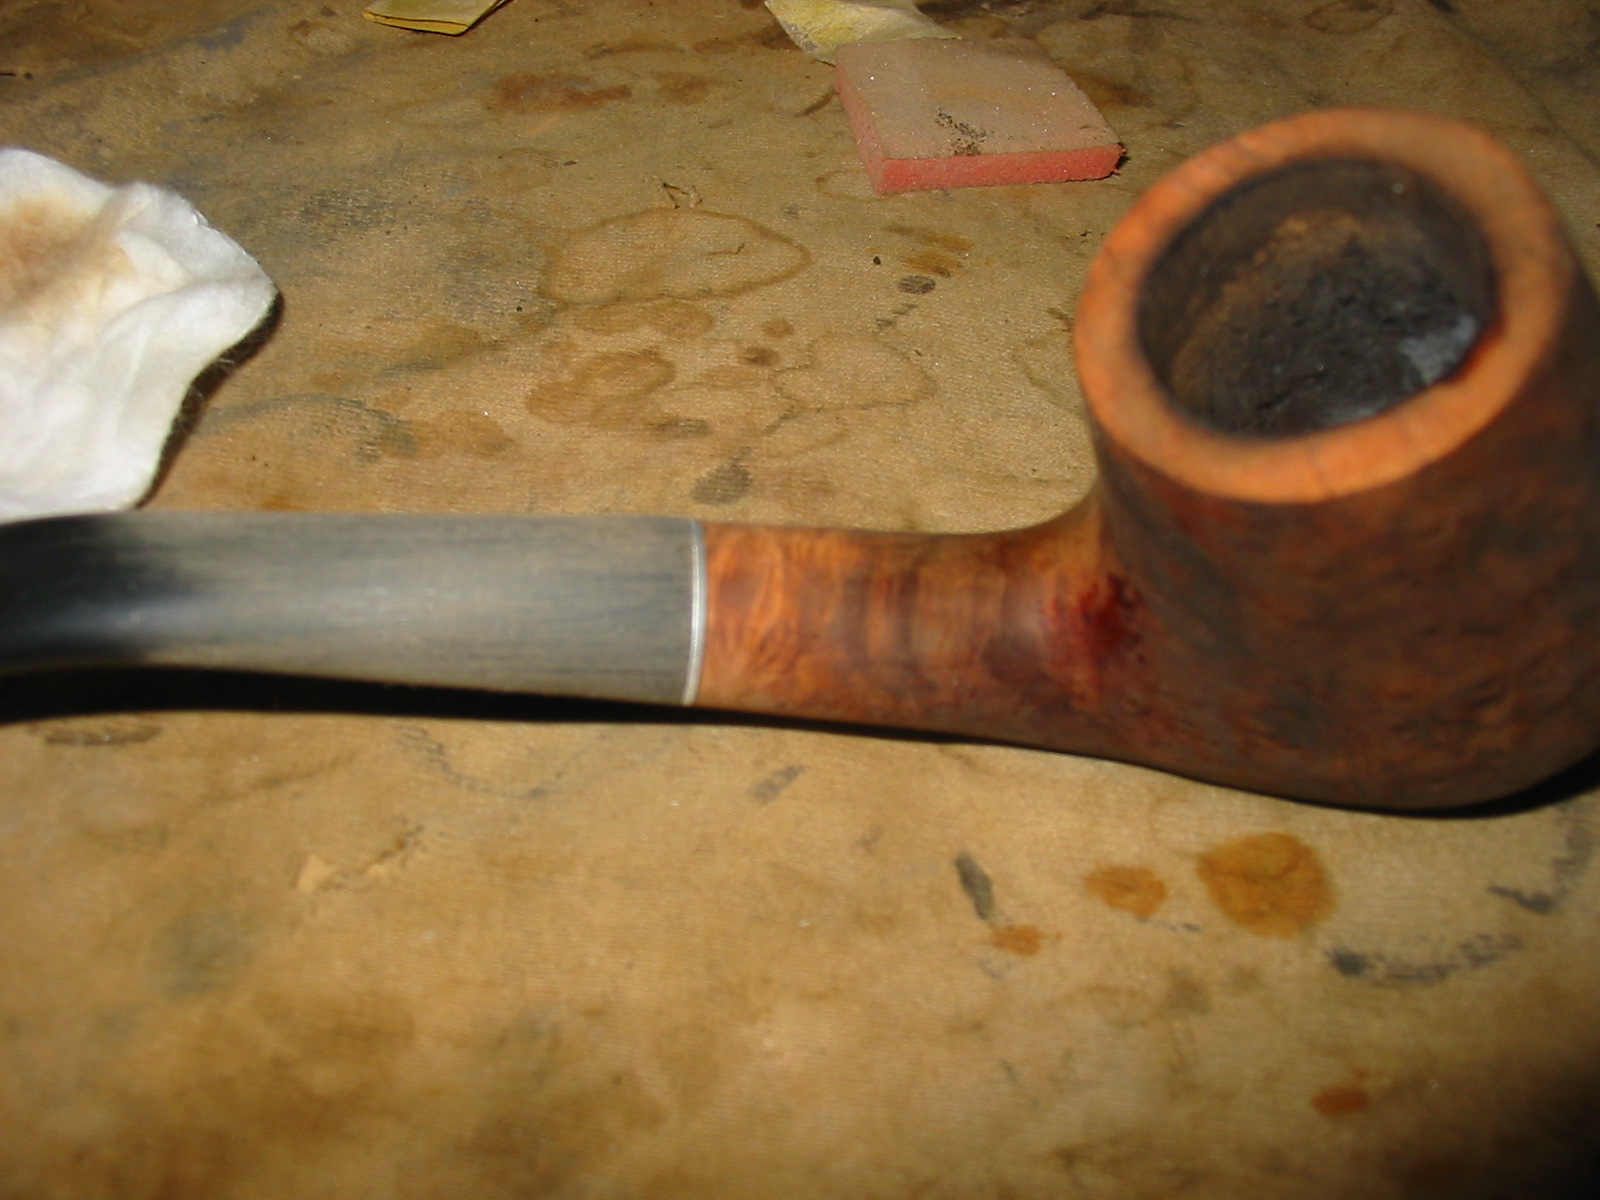
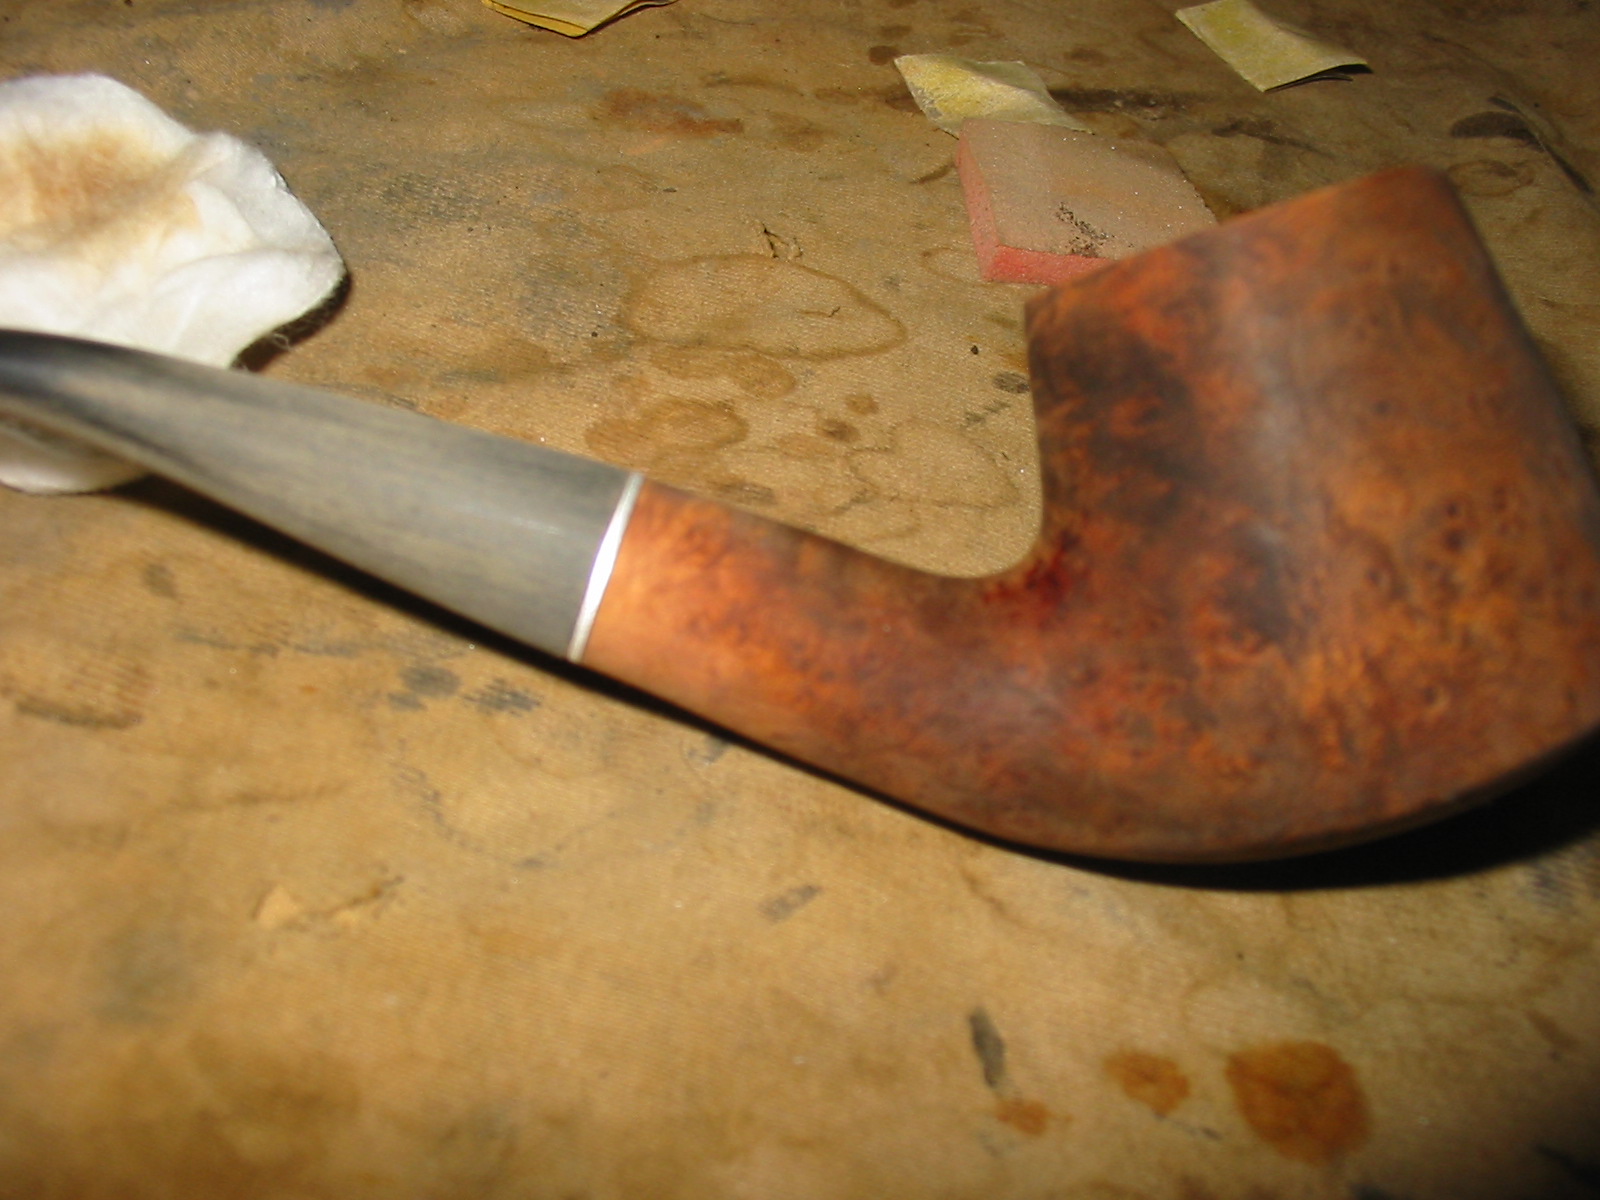
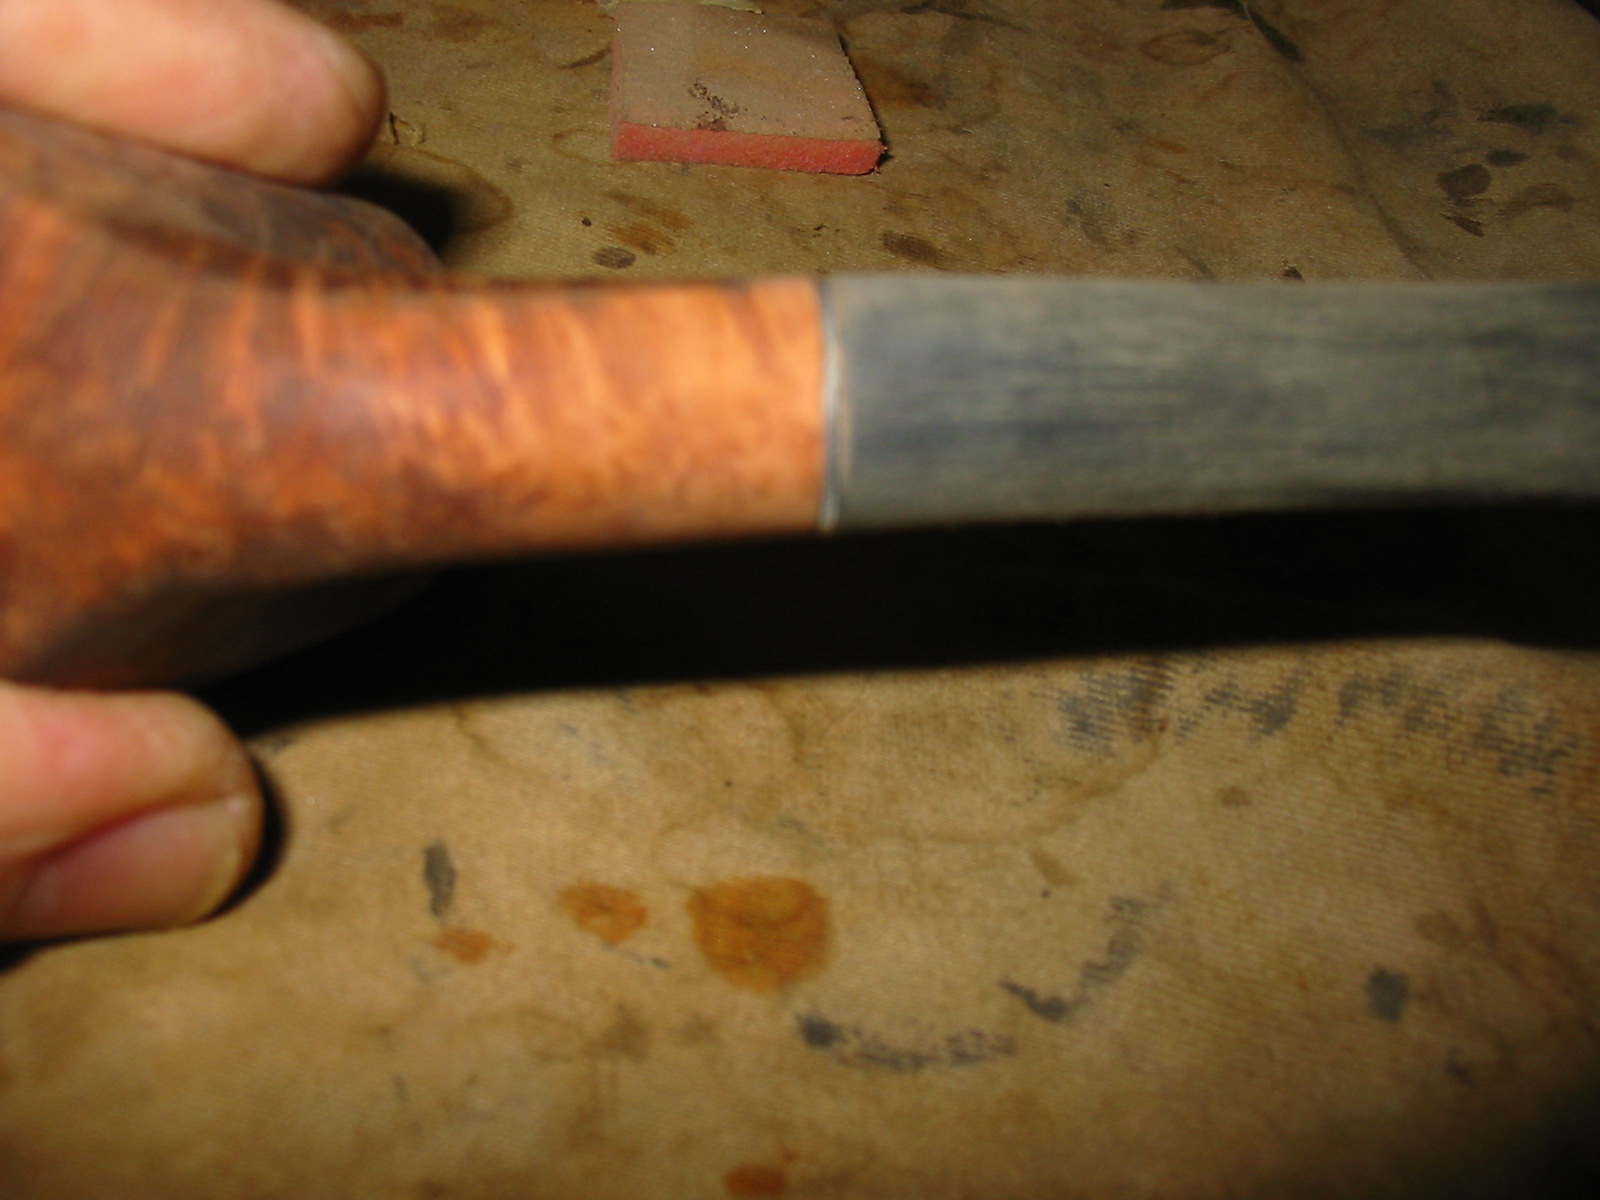
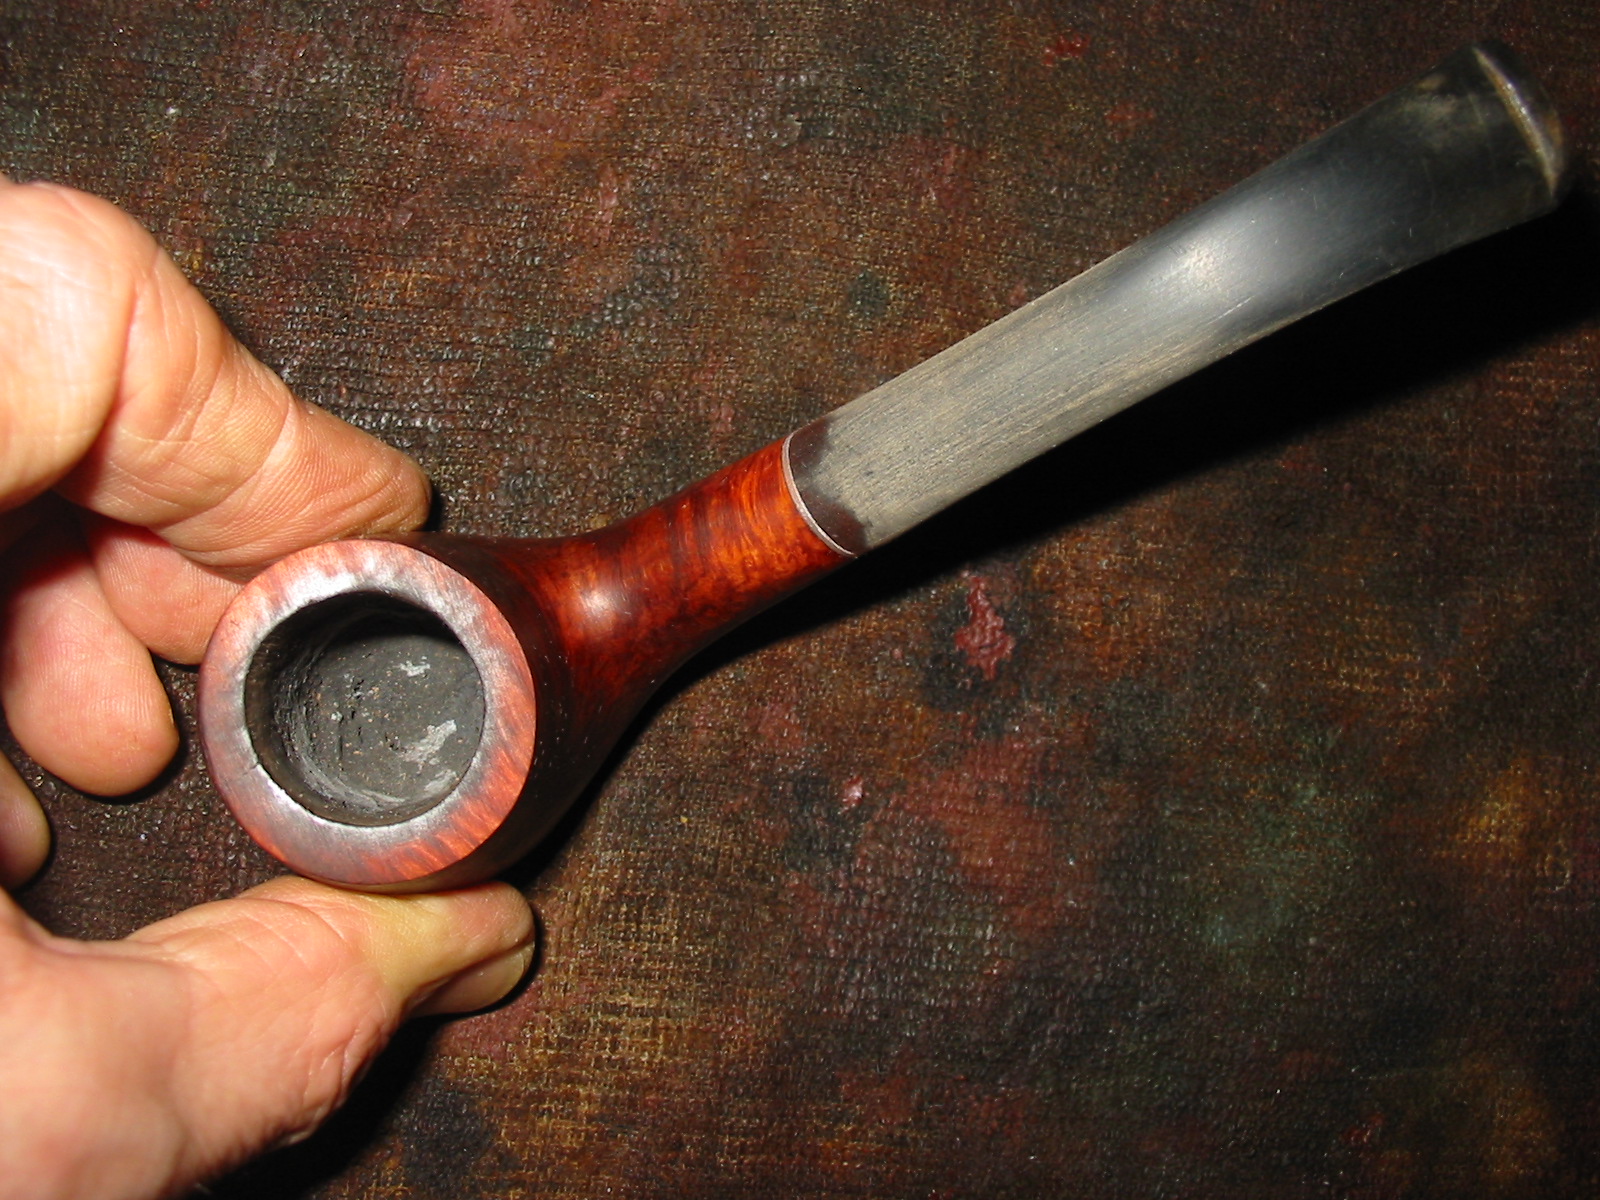
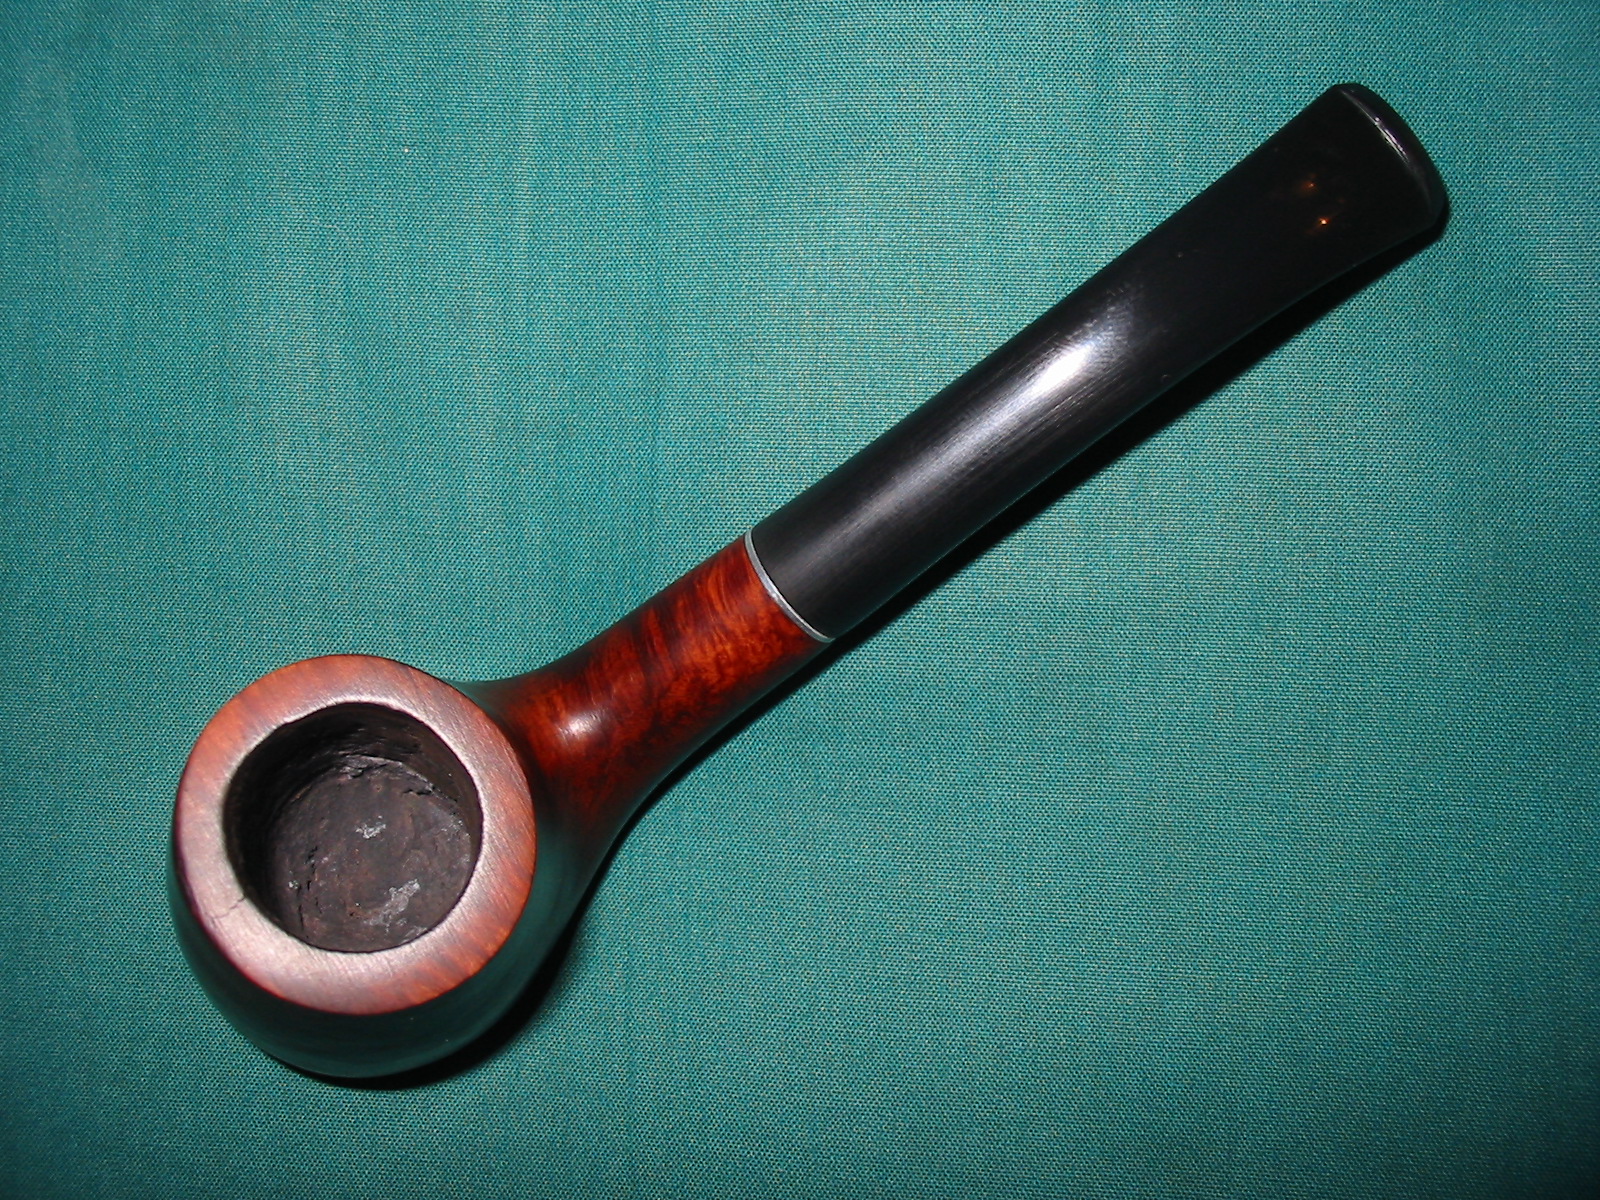
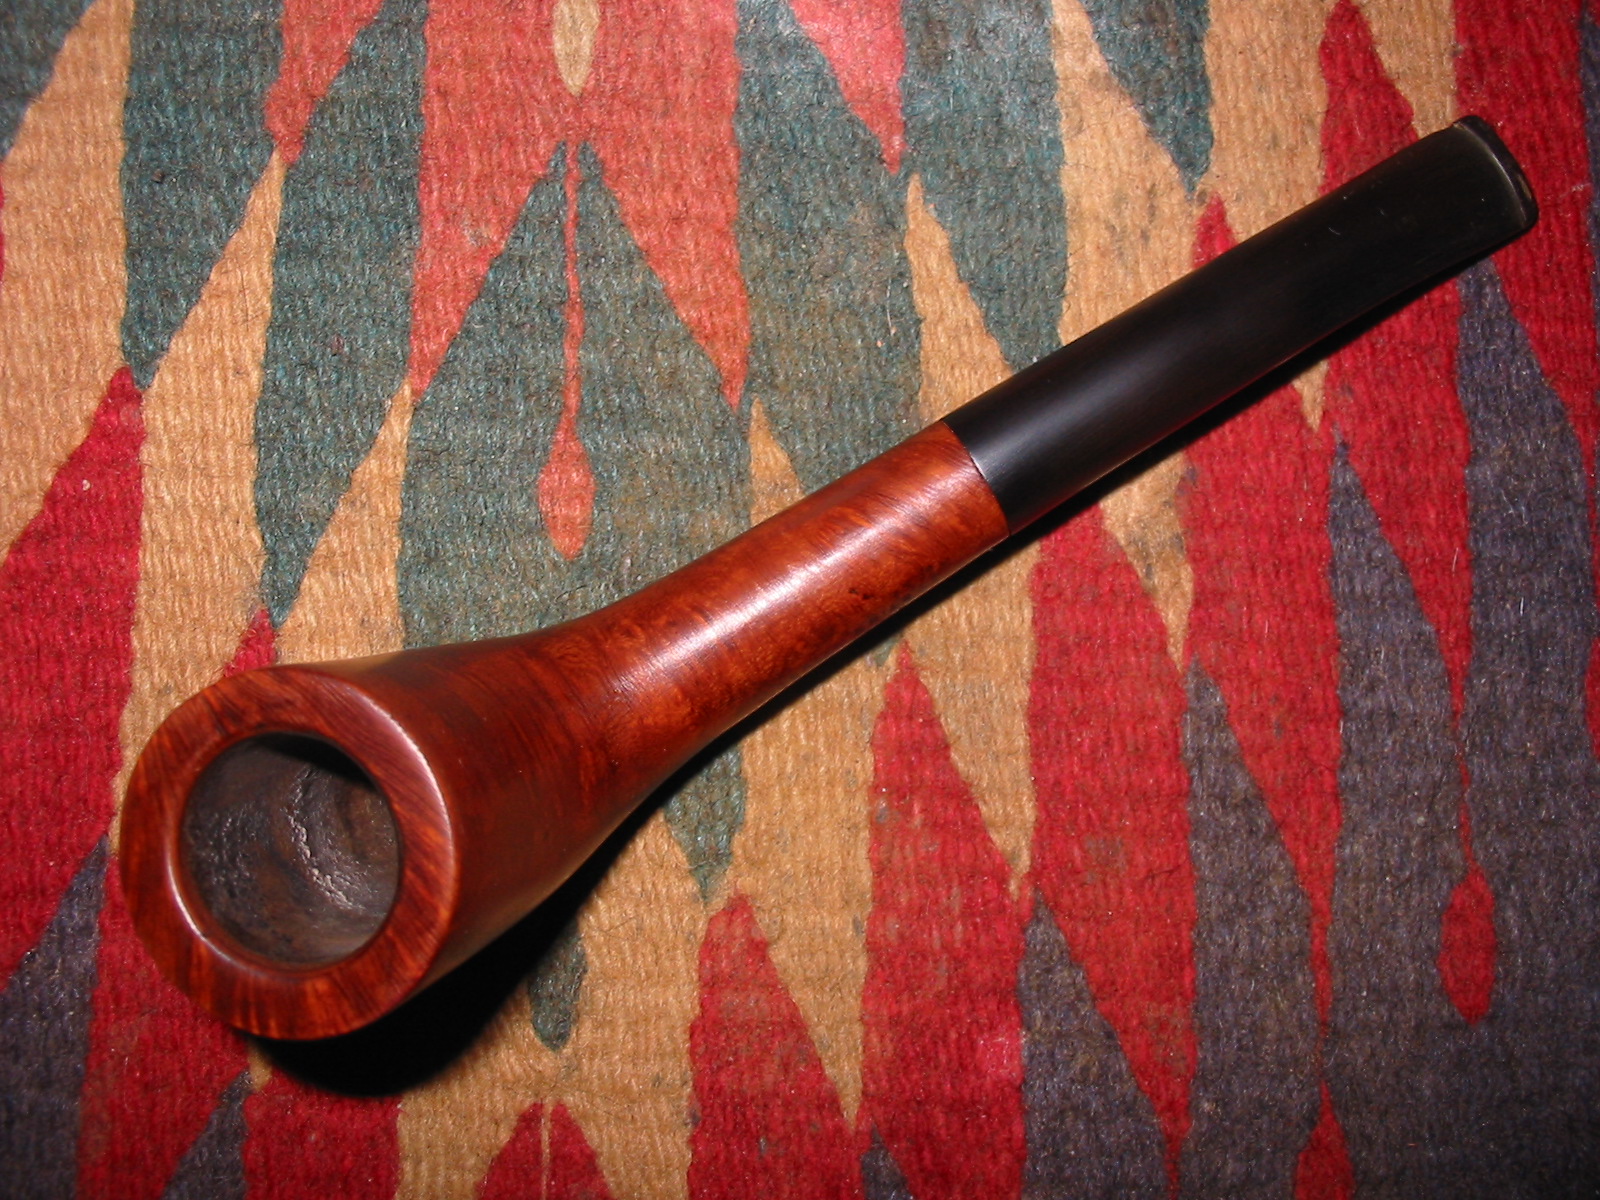
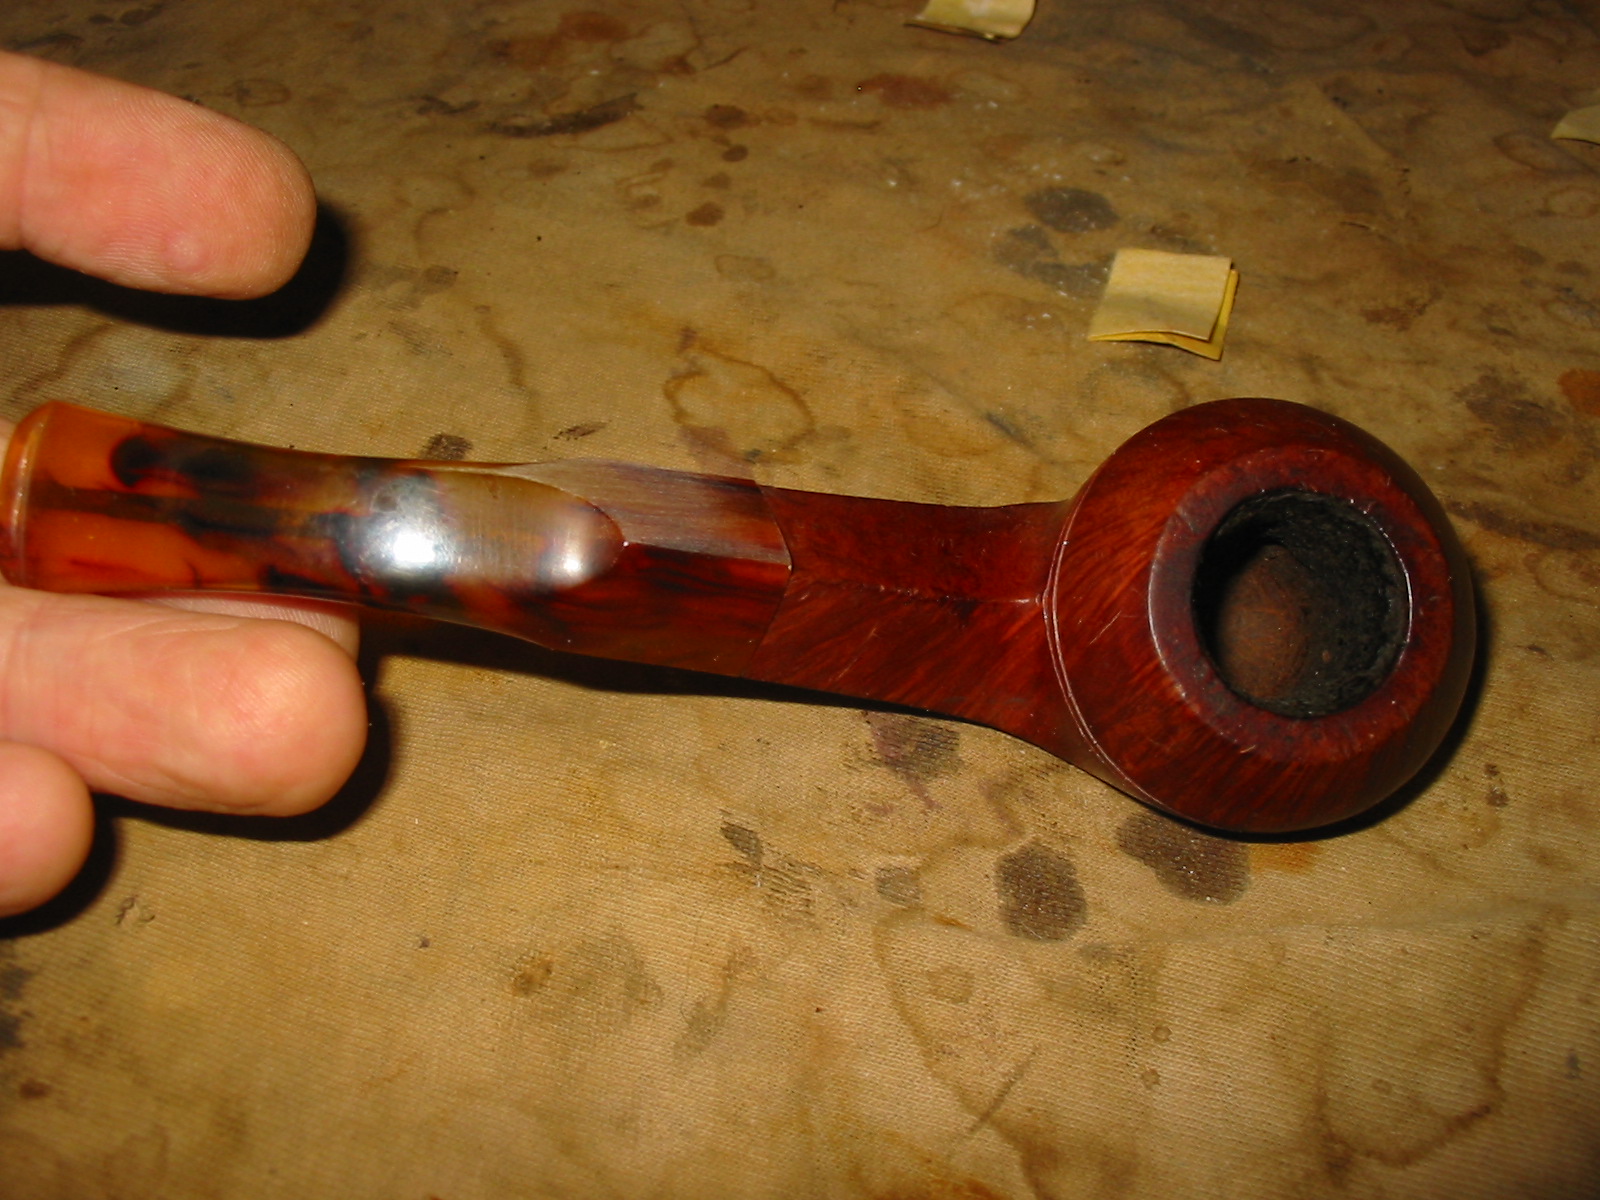
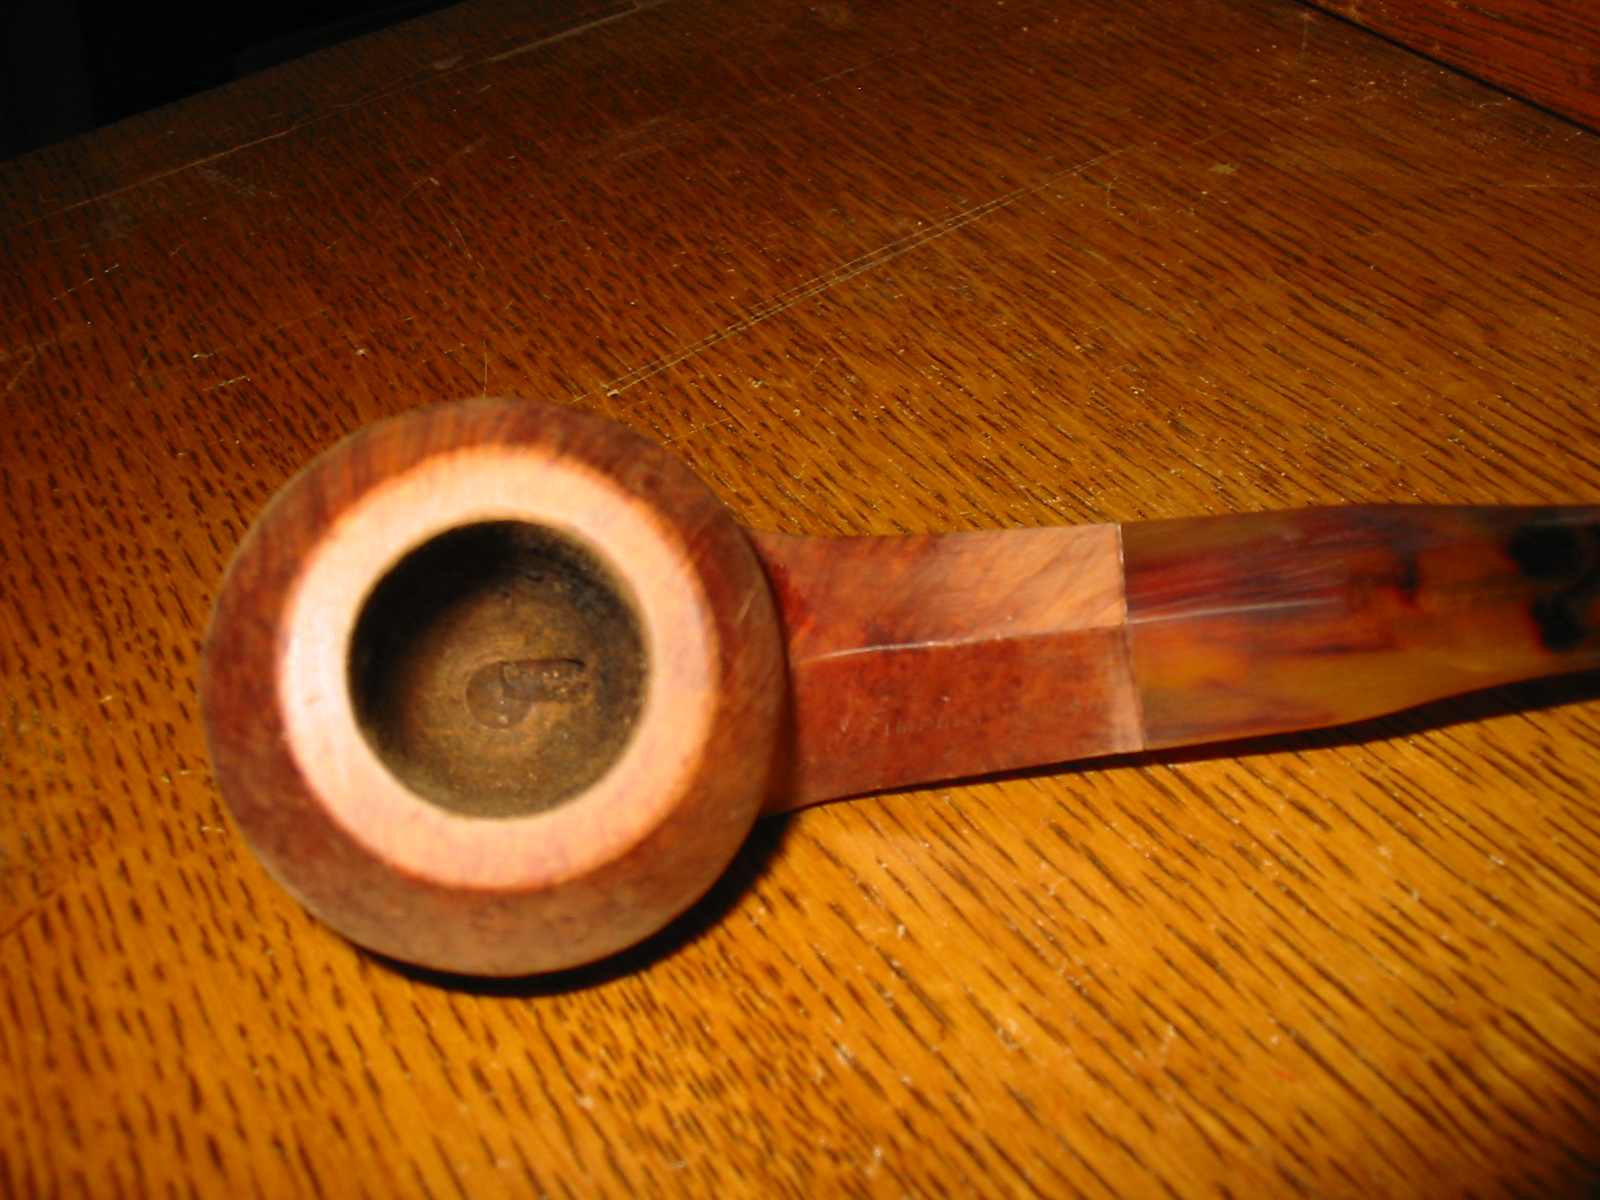
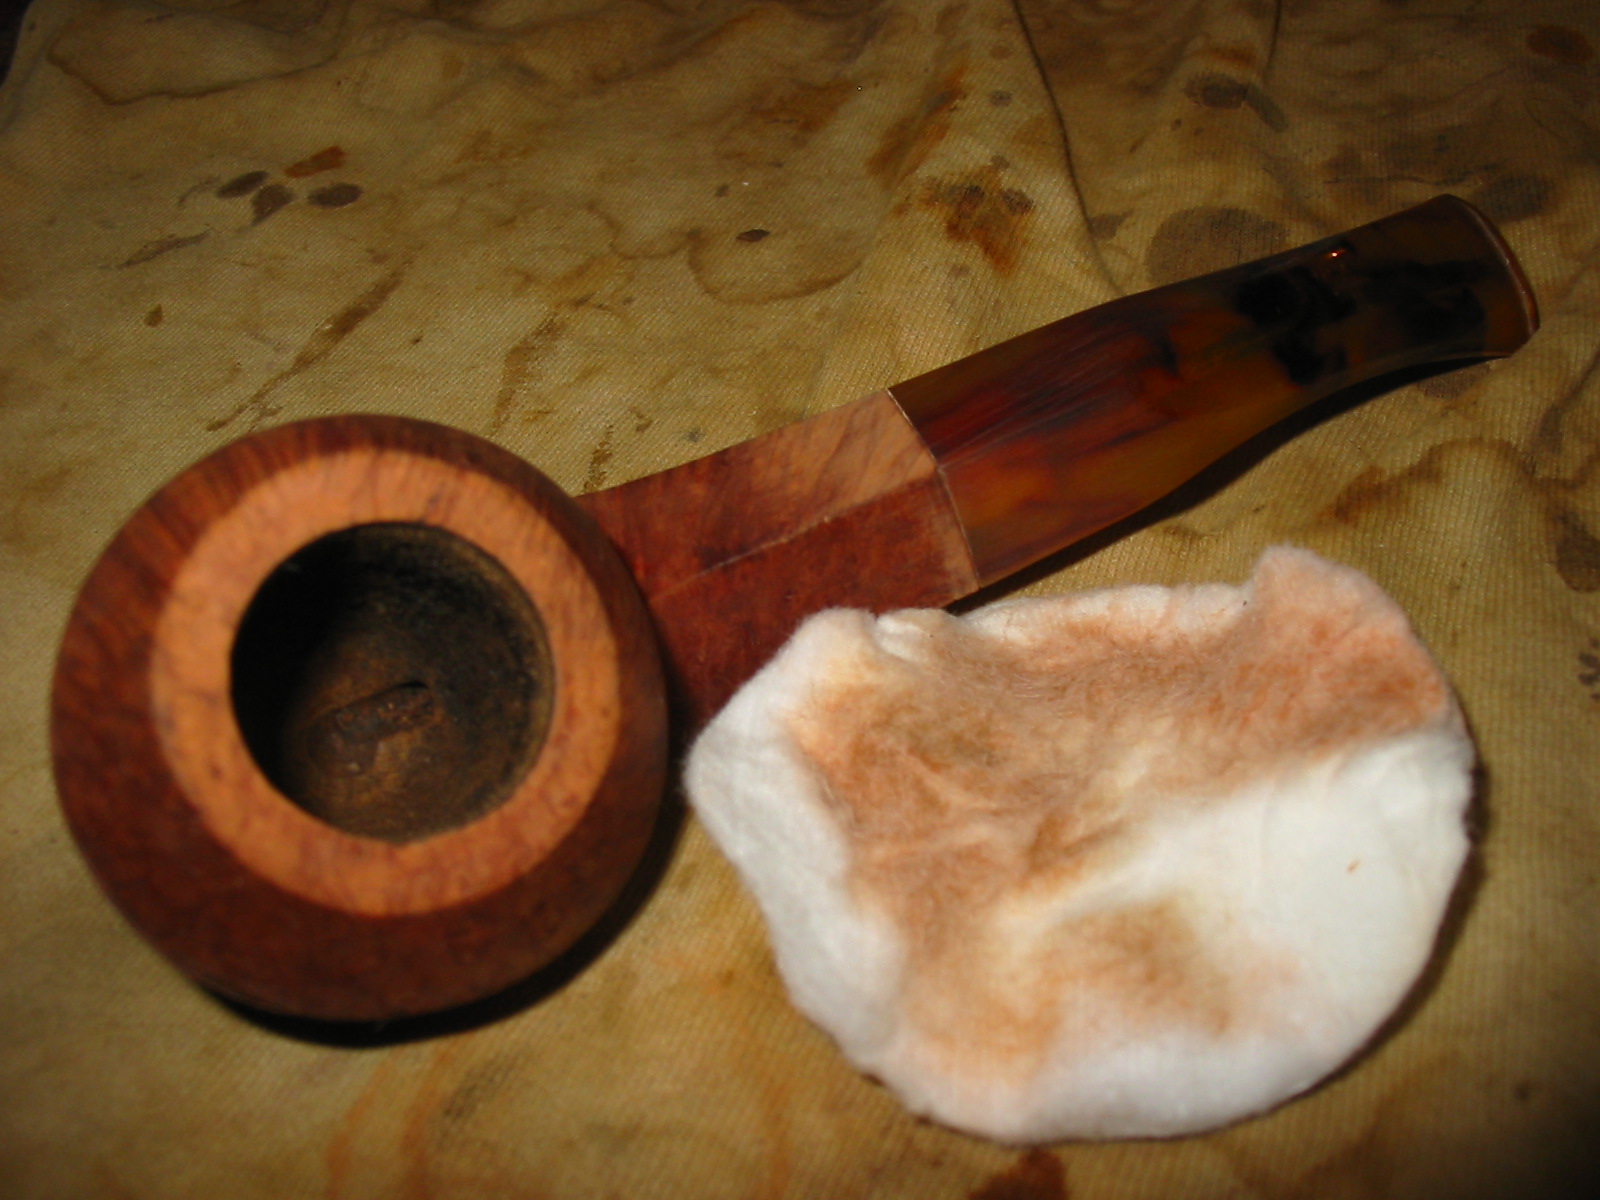
I sanded the stem and the shank with sandpaper and a sanding block until the transition between them was smooth to touch. I reamed the bowl with a PipNet reamer and took the cake back to the wood.

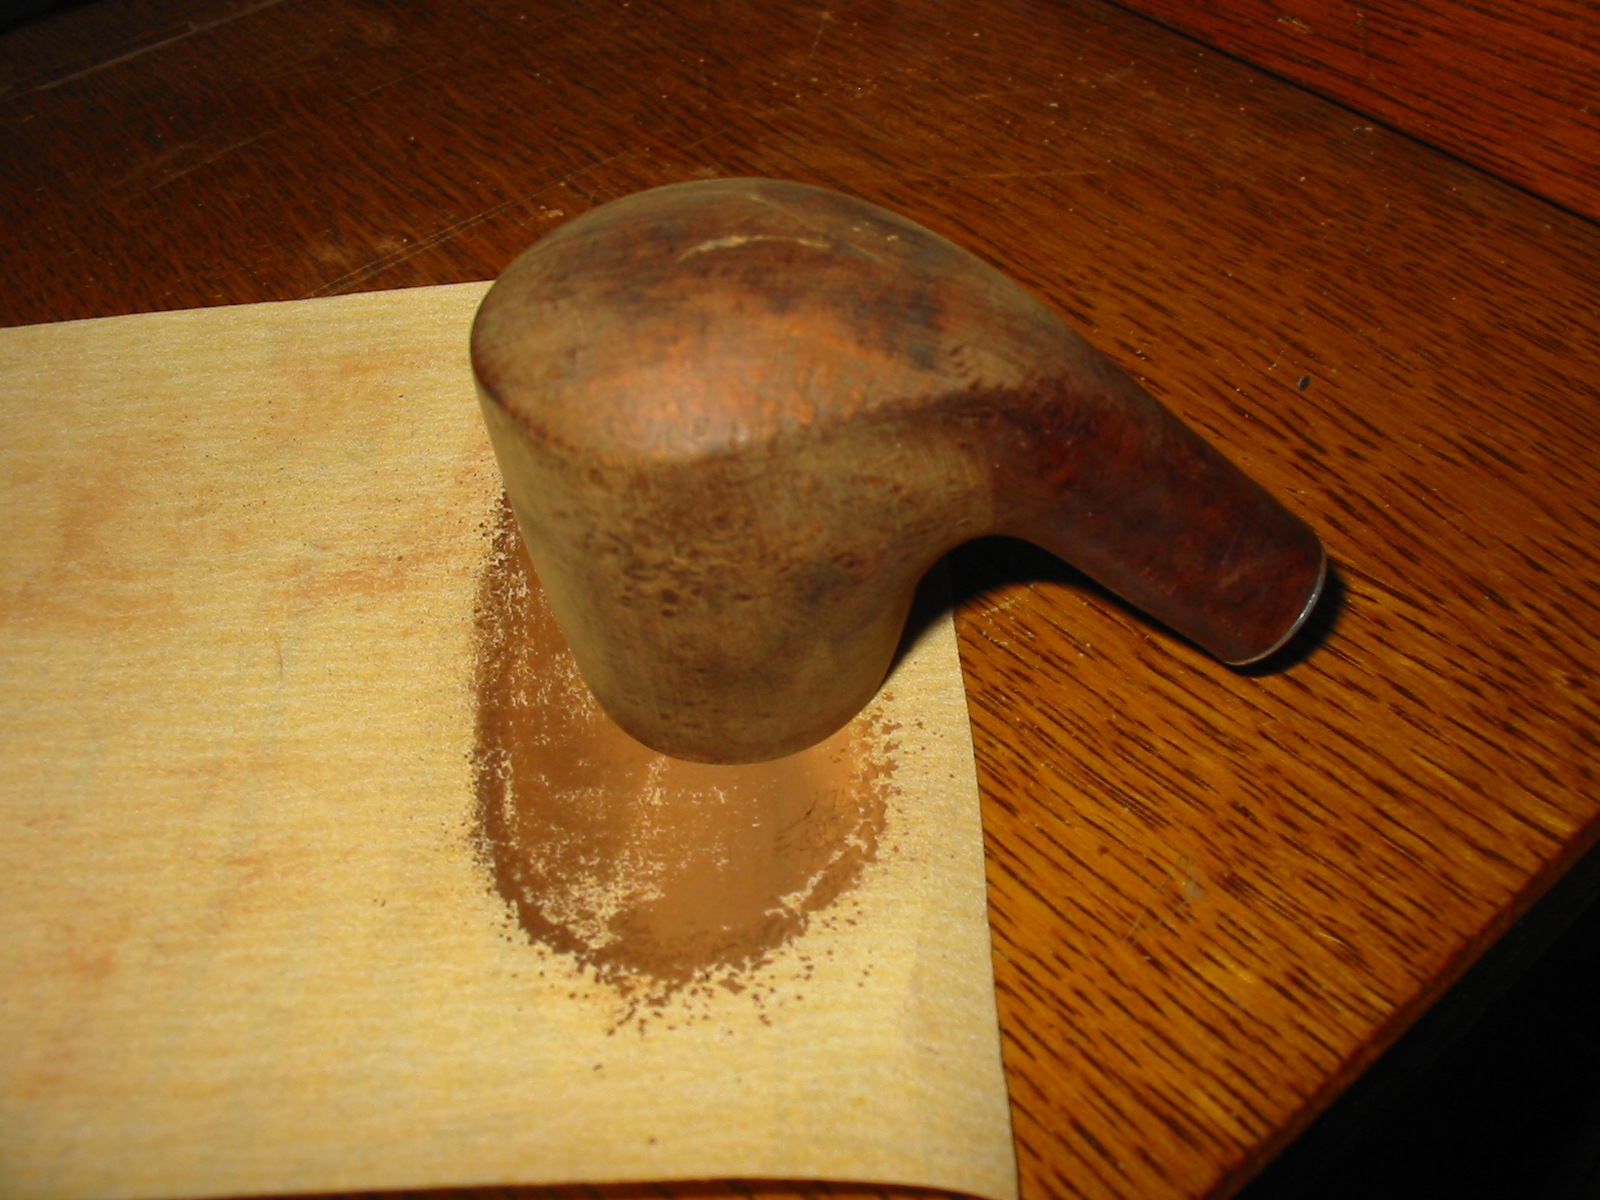
I set up my topping board and sandpaper and lightly topped the bowl to remove the nicks and cuts in the surface of the rim. I followed up on the sanding board with a sanding block laid on the board and once again turned the bowl into the sanding block to smooth out the scratches left behind by the sandpaper.
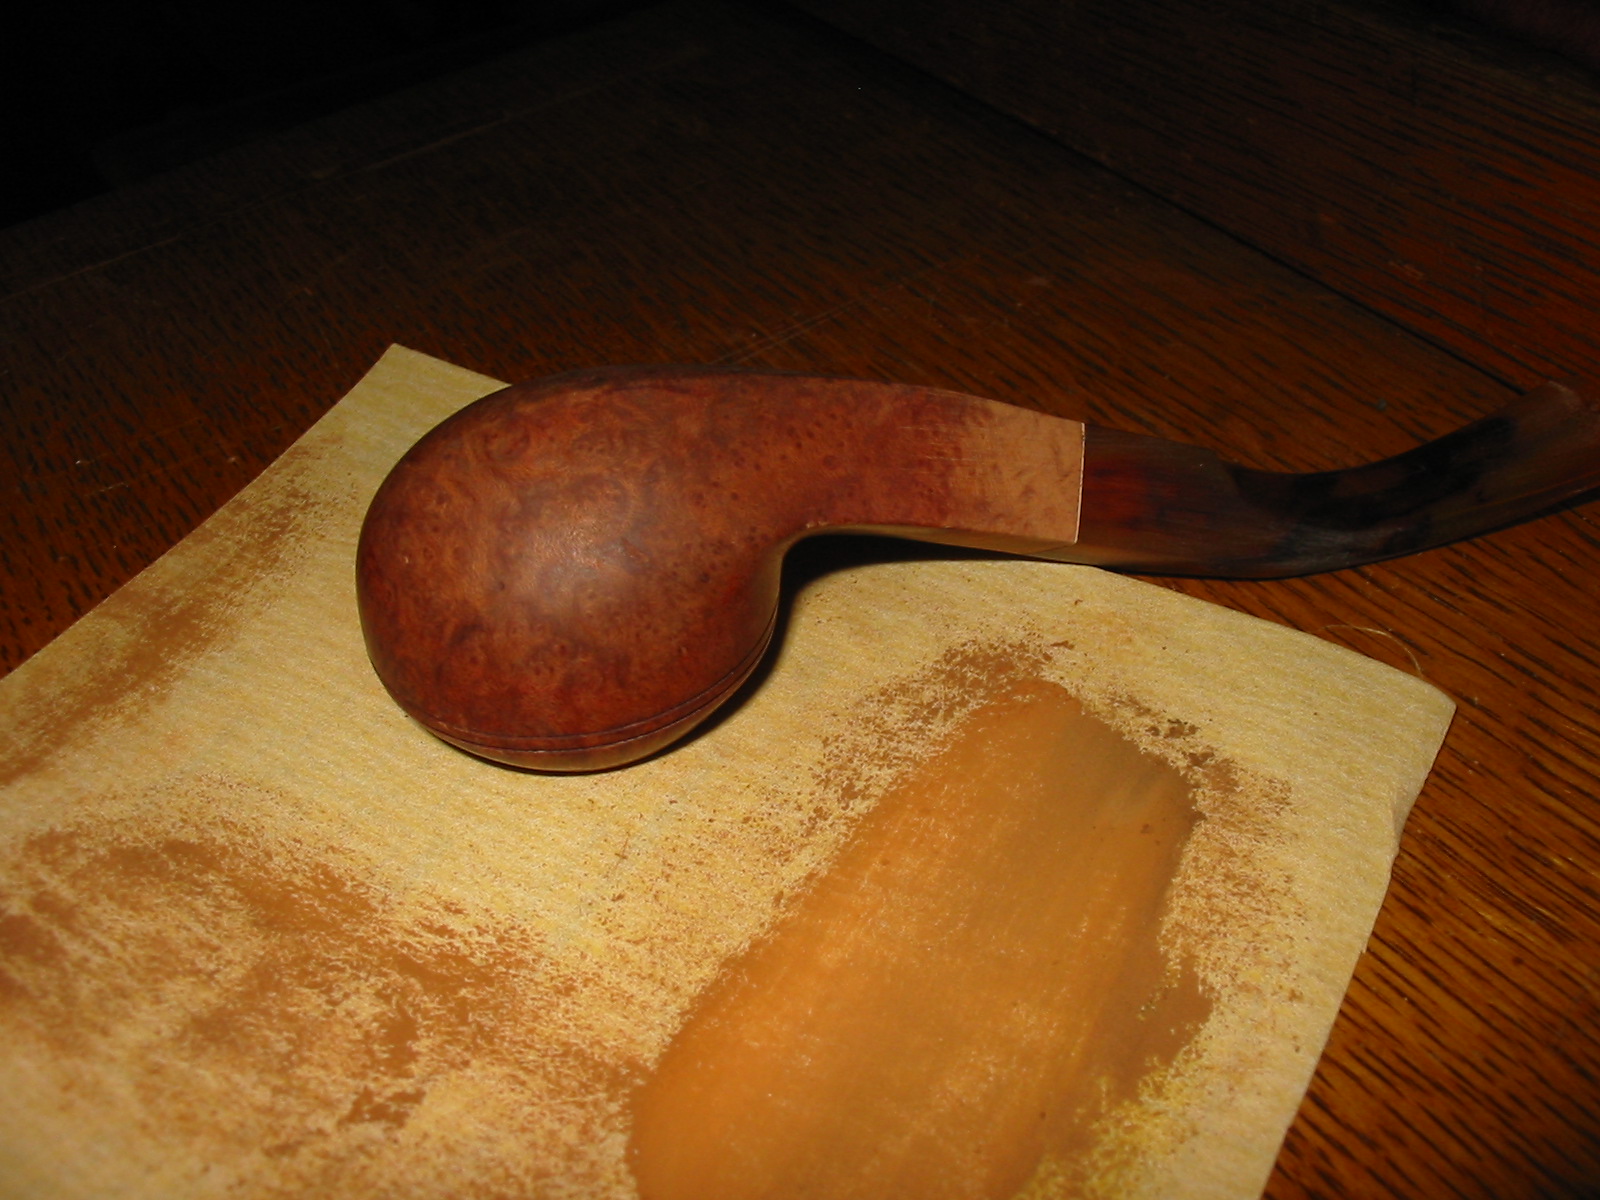
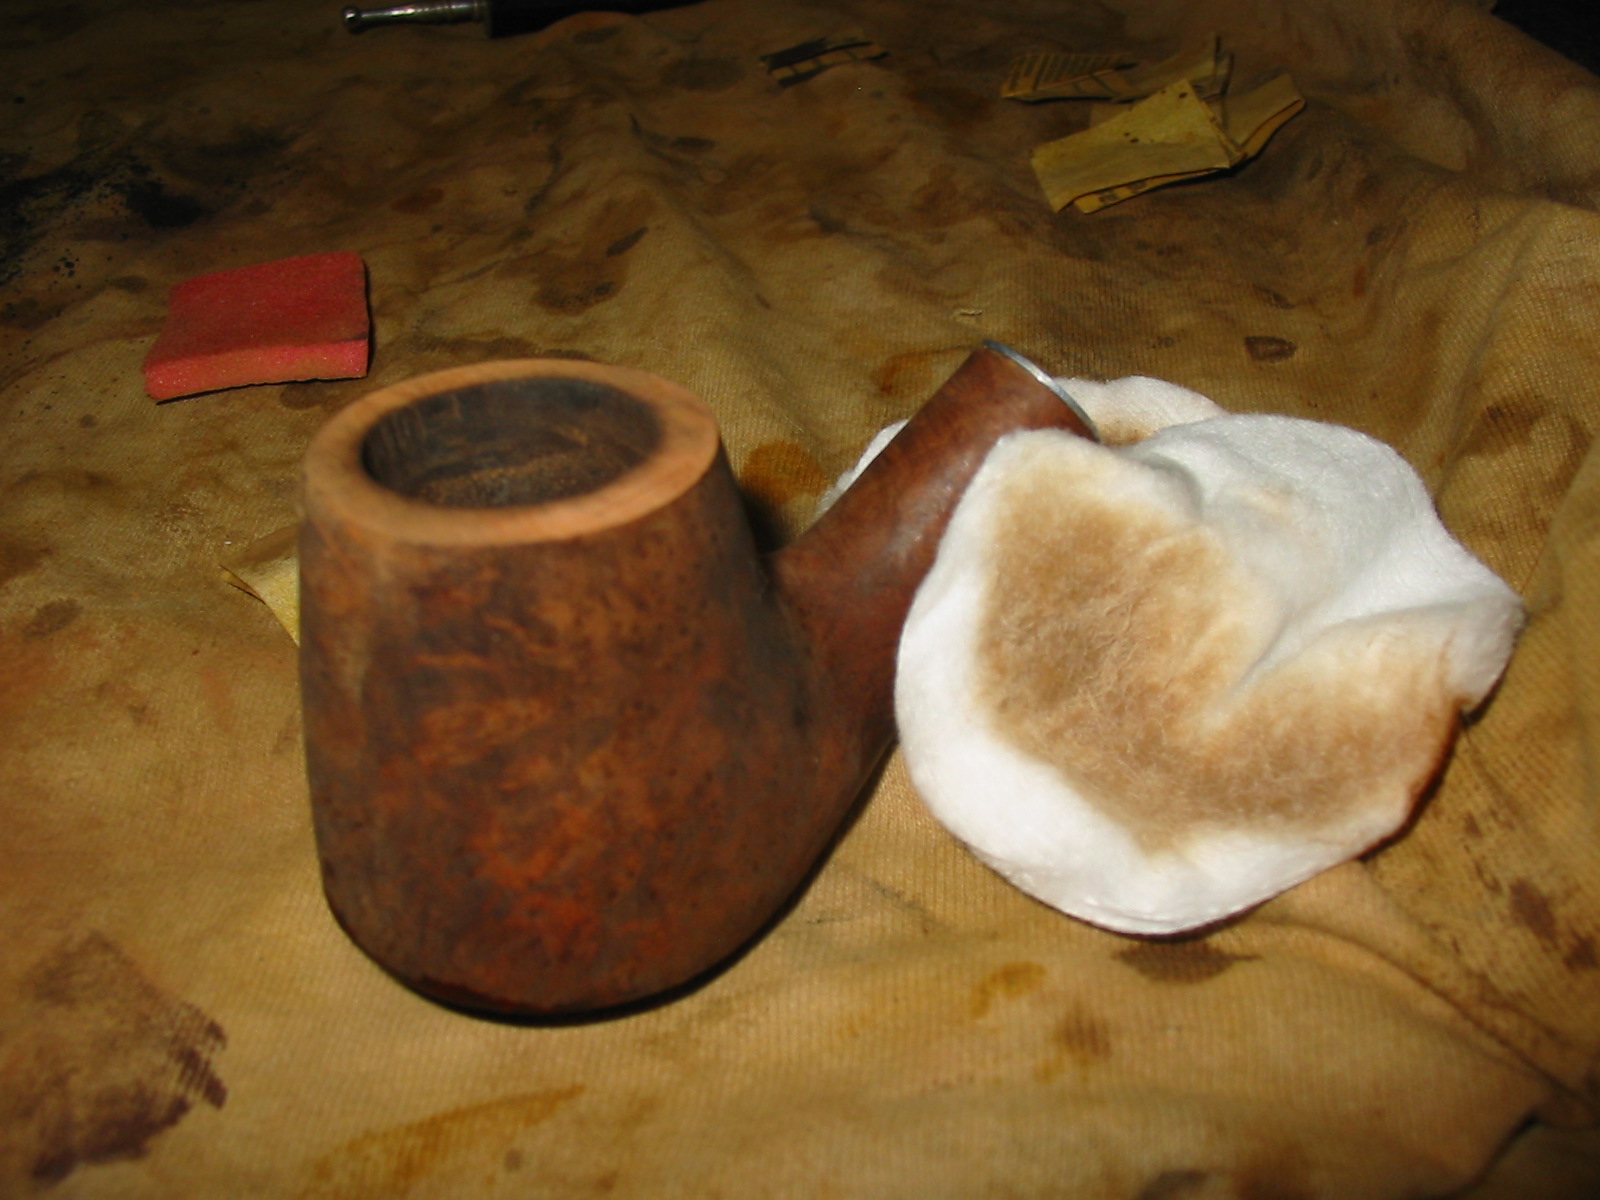
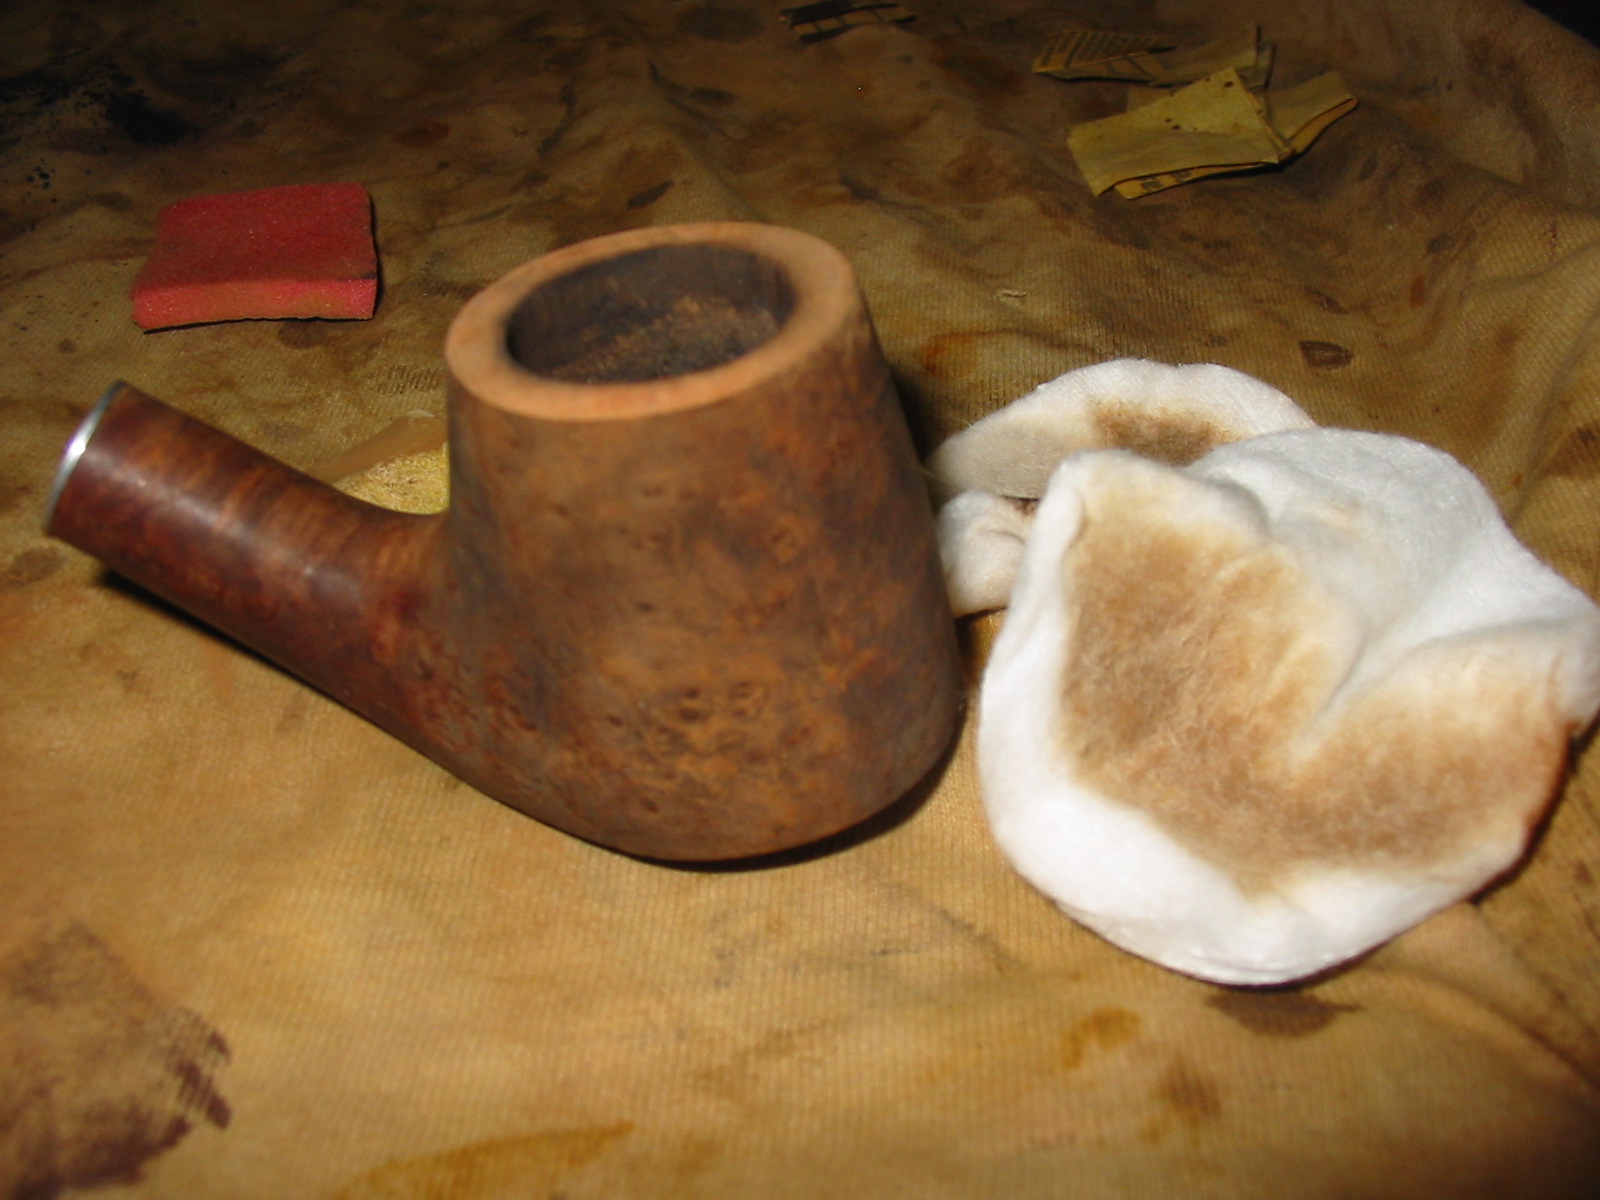
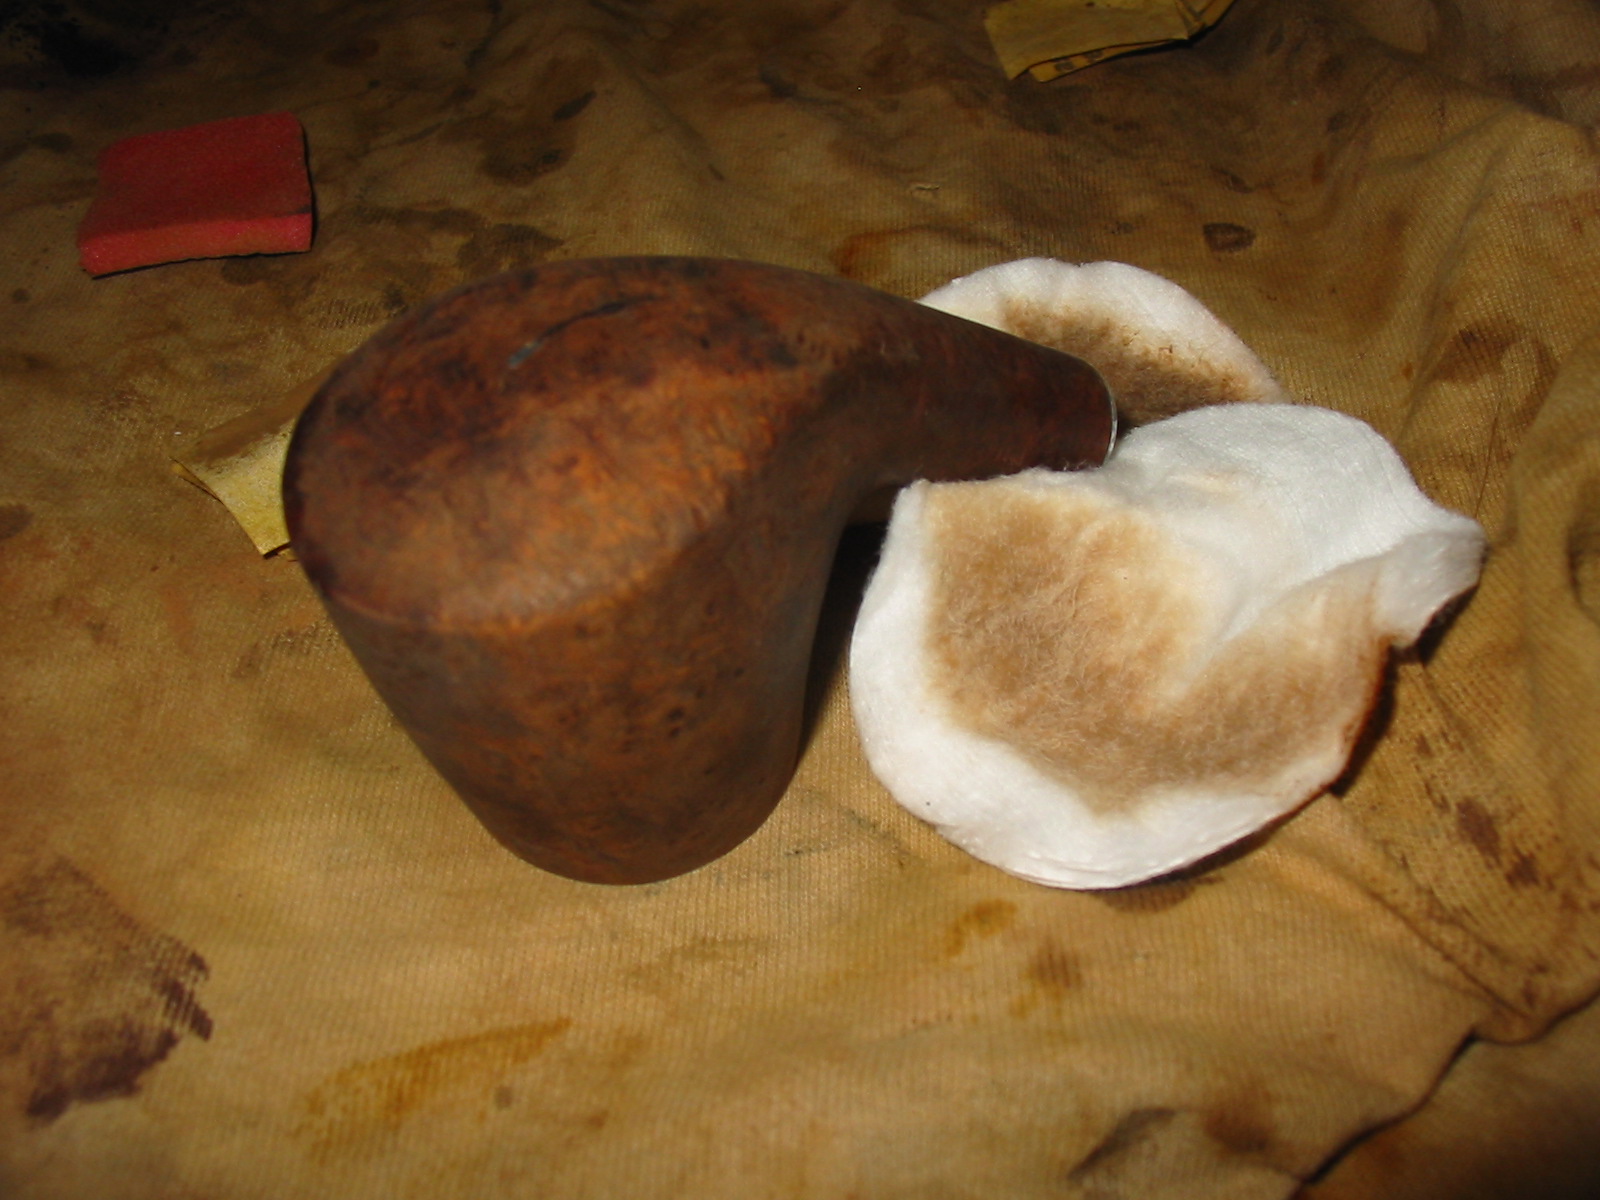
I wiped the bowl down with acetone and cotton pads to remove the finish and make the restaining of the bowl more consistent. I have found that when I have sanded the shank and the rim it is easier to remove as much of the finish as possible before I restain the pipe.

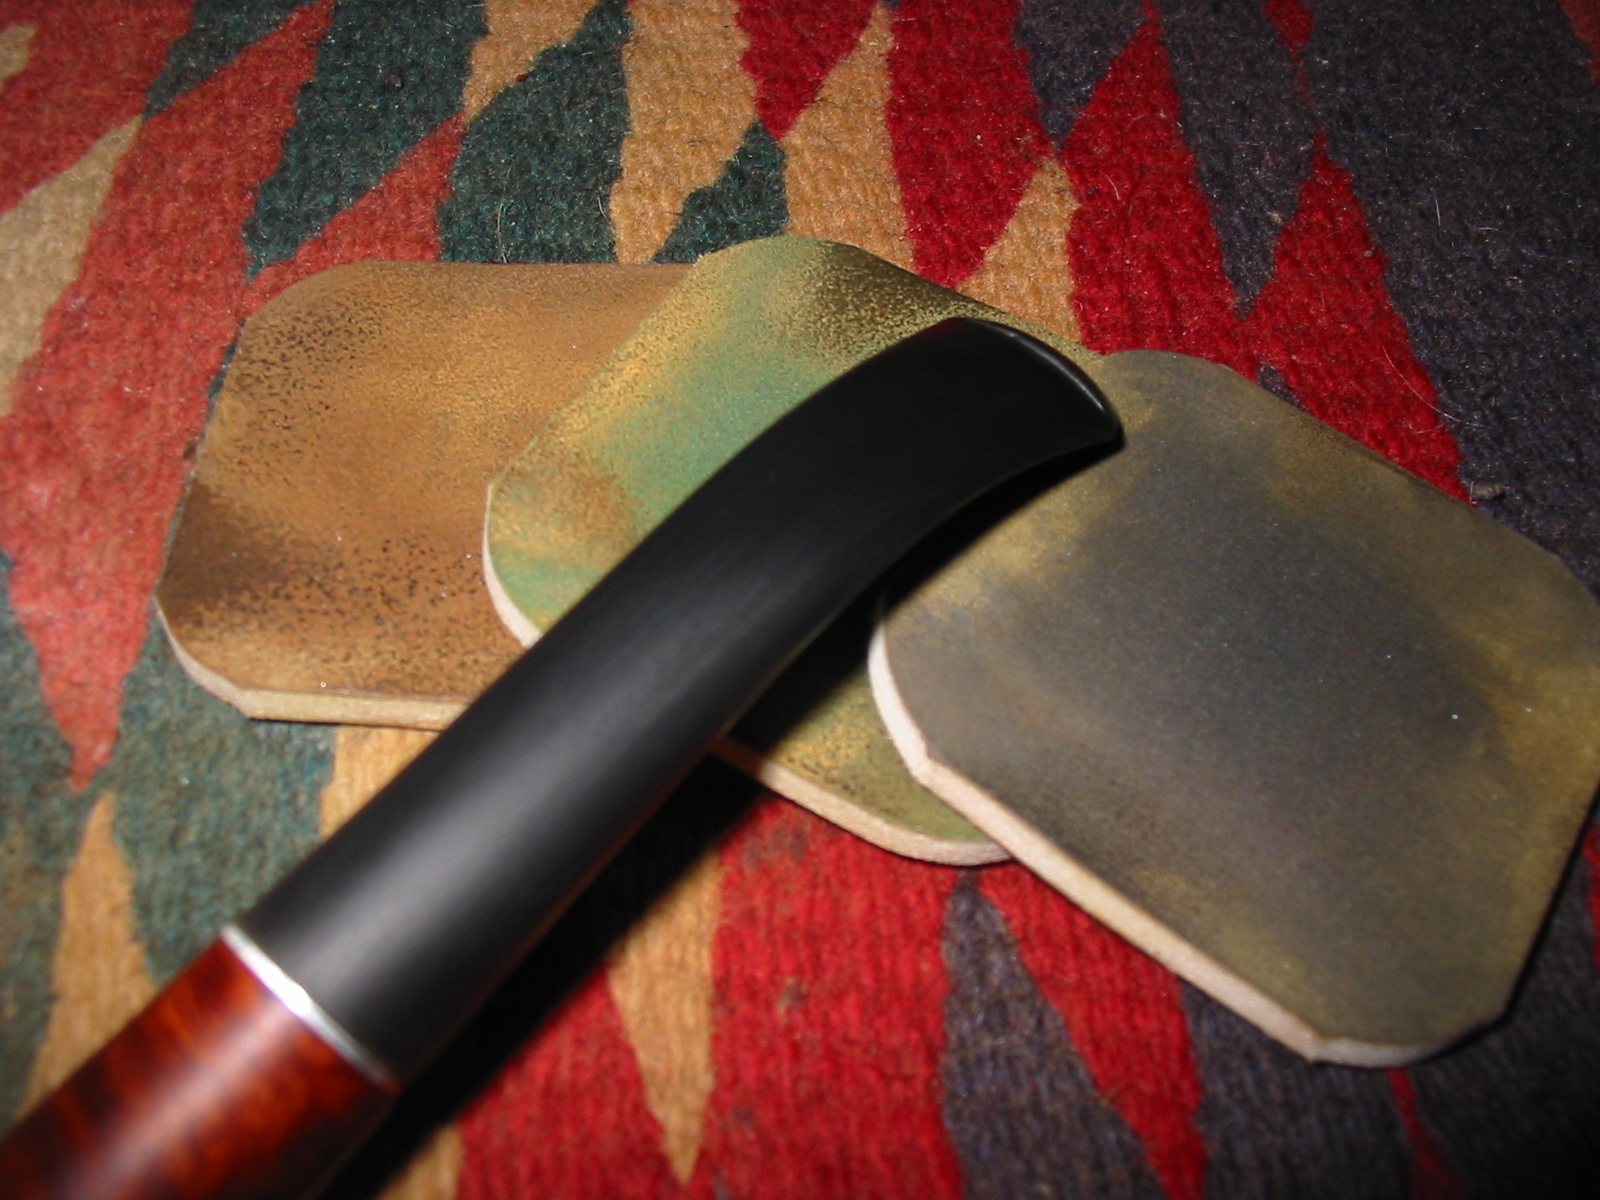
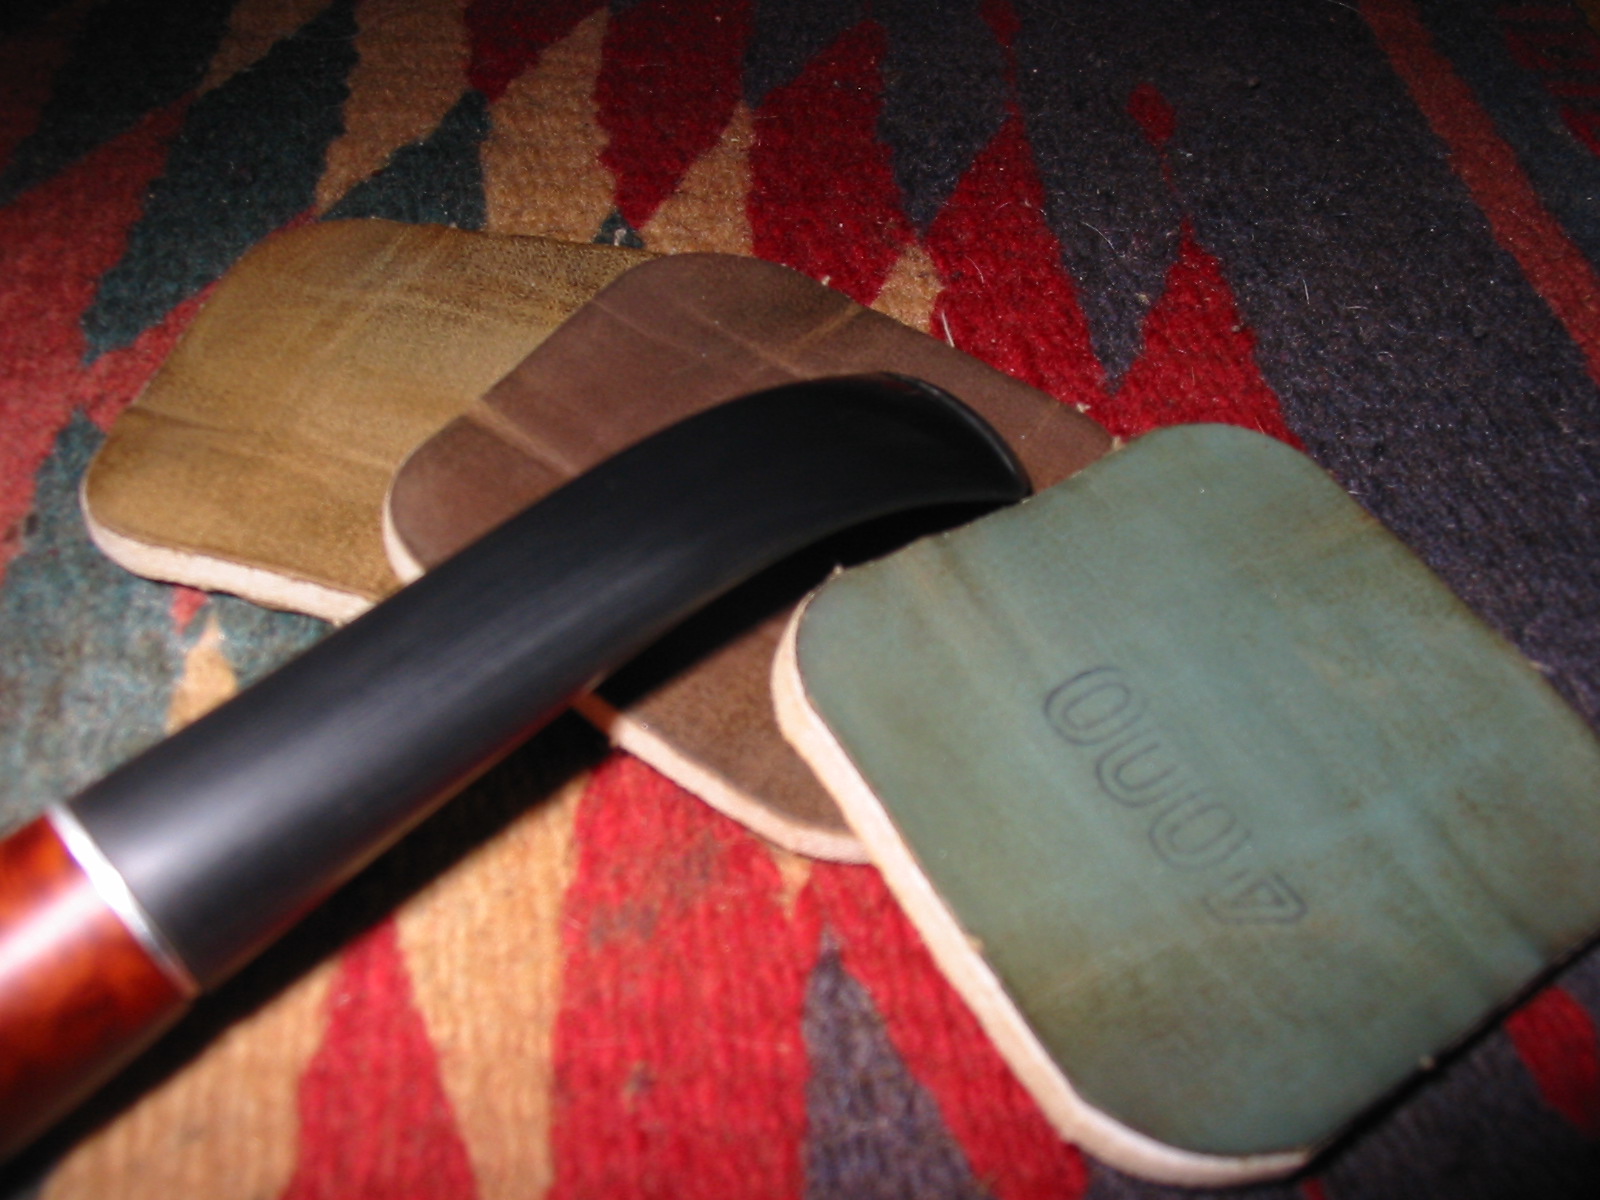
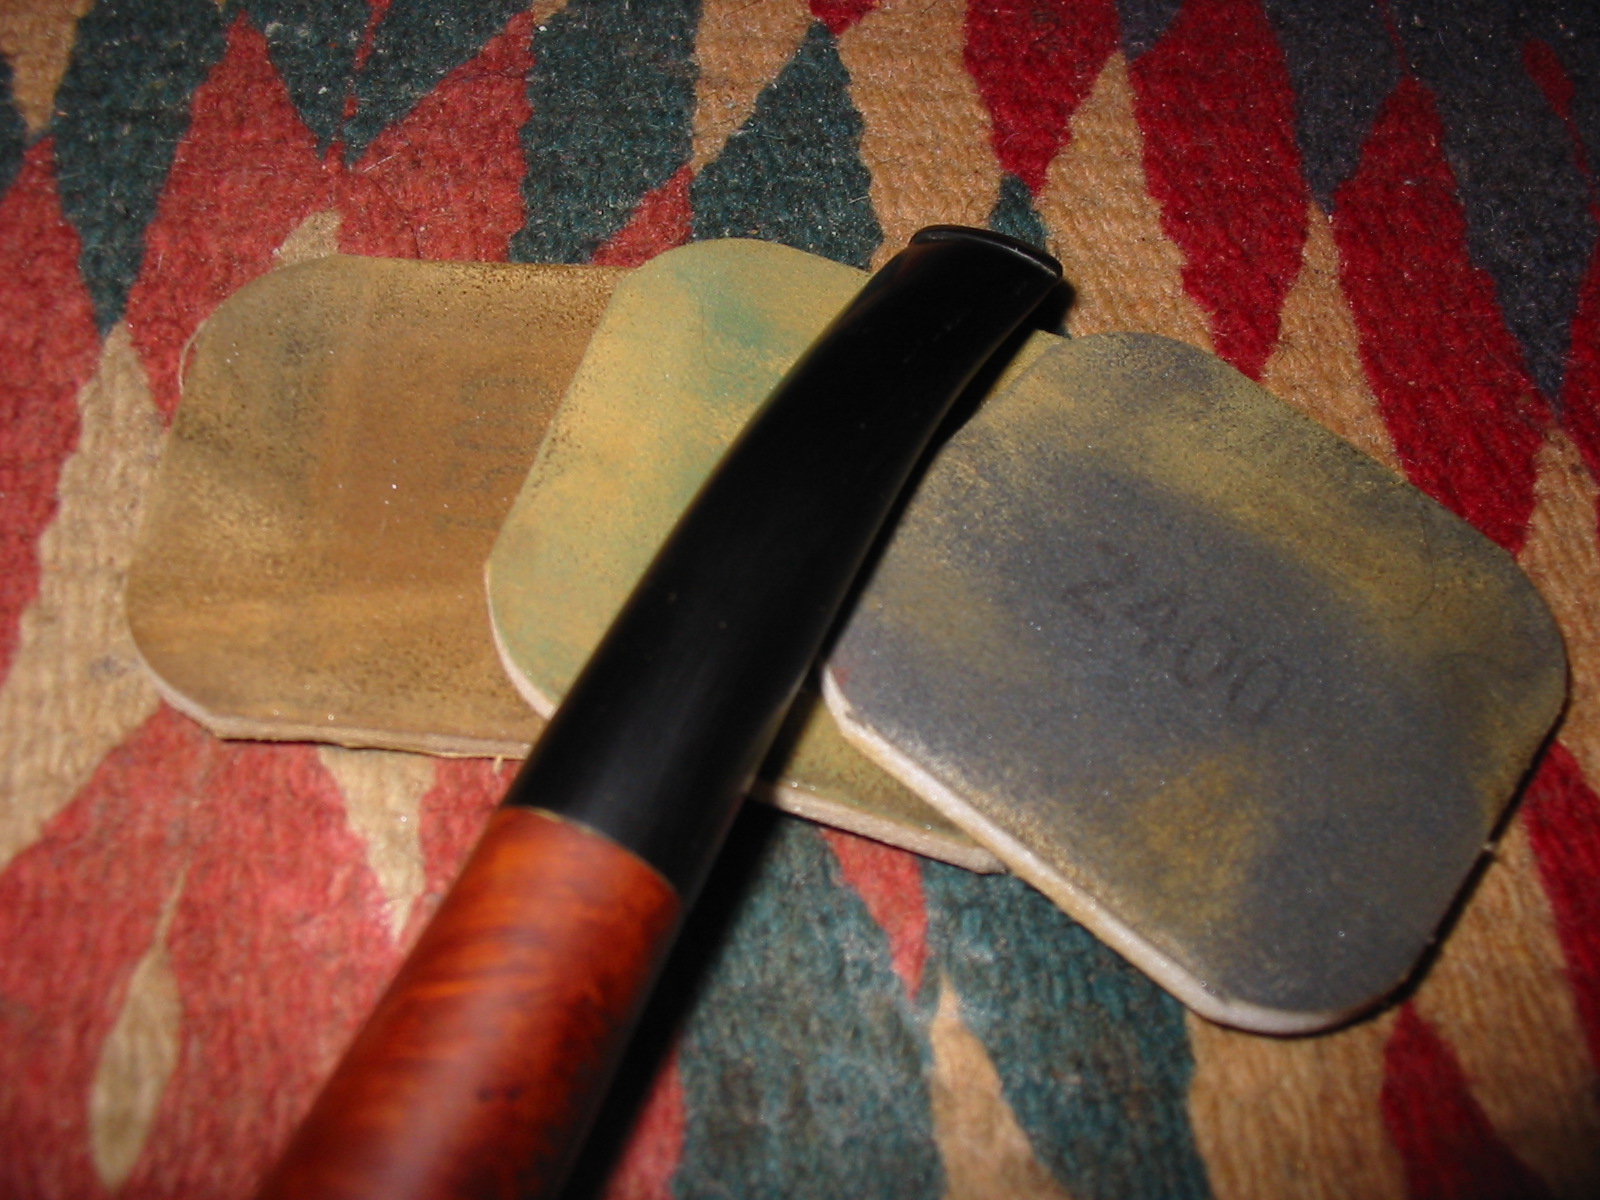
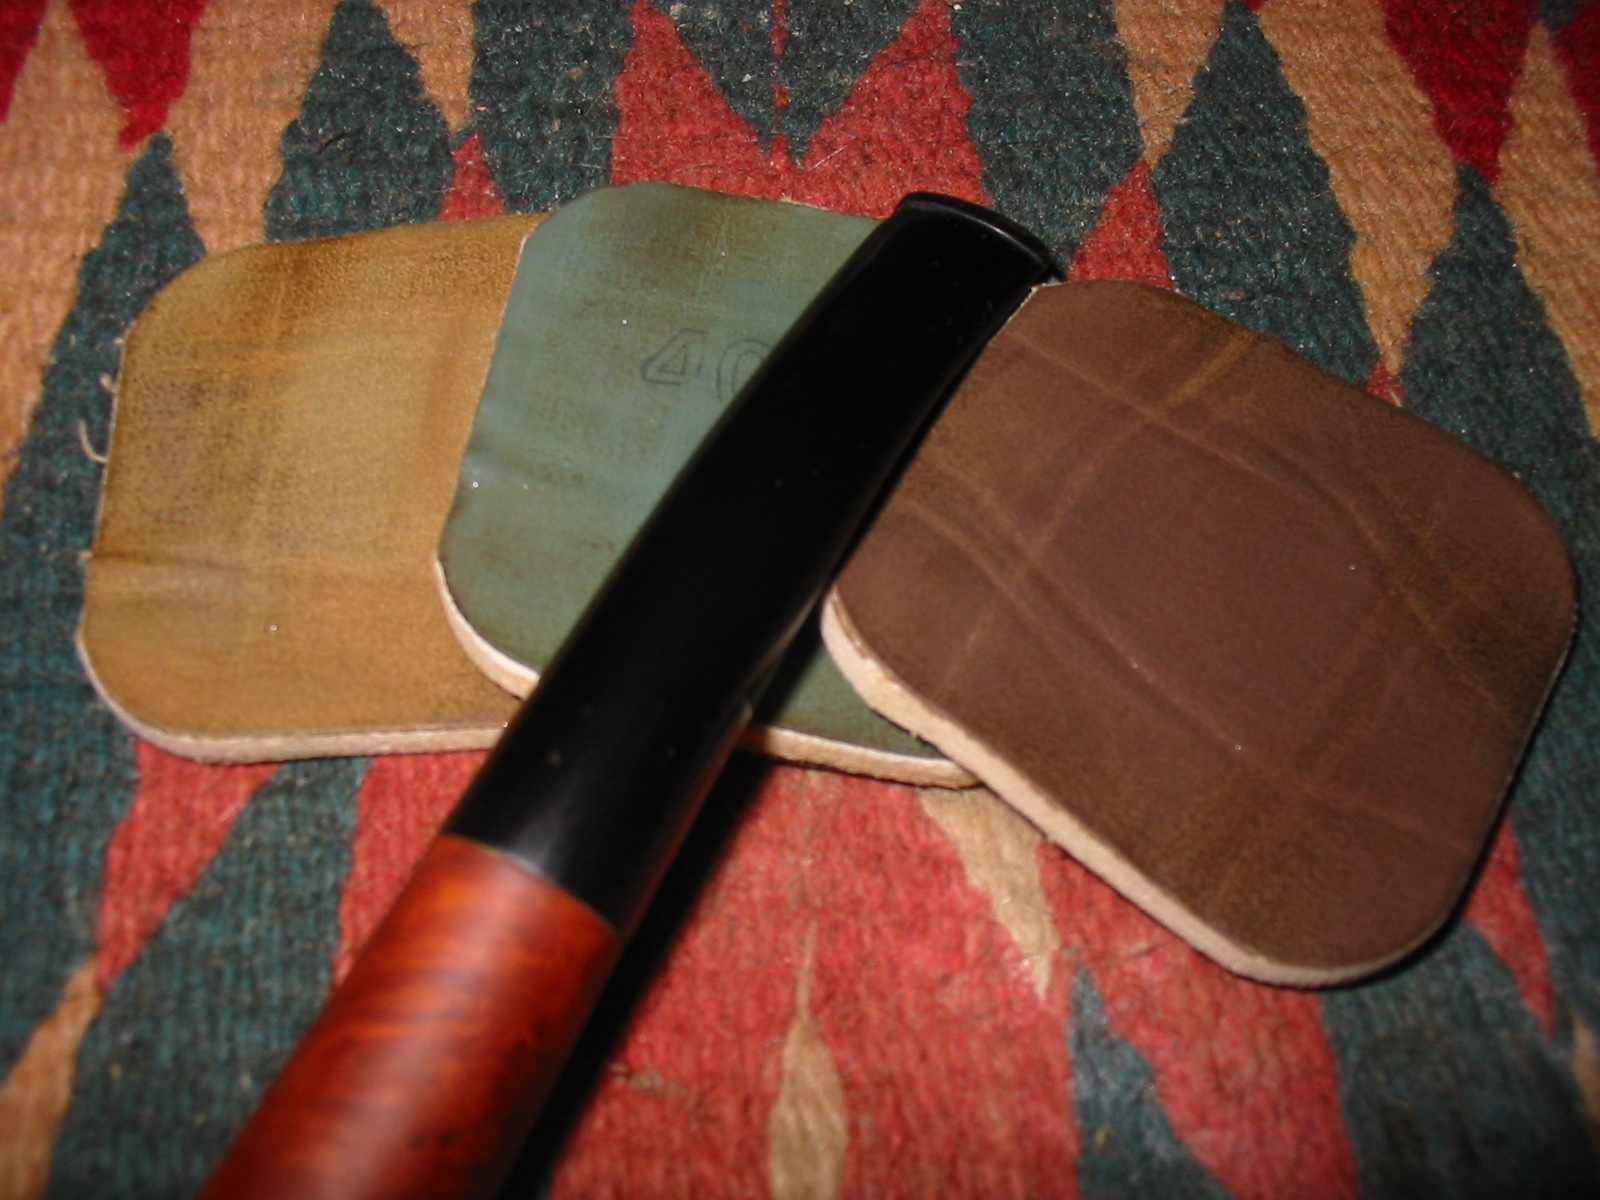
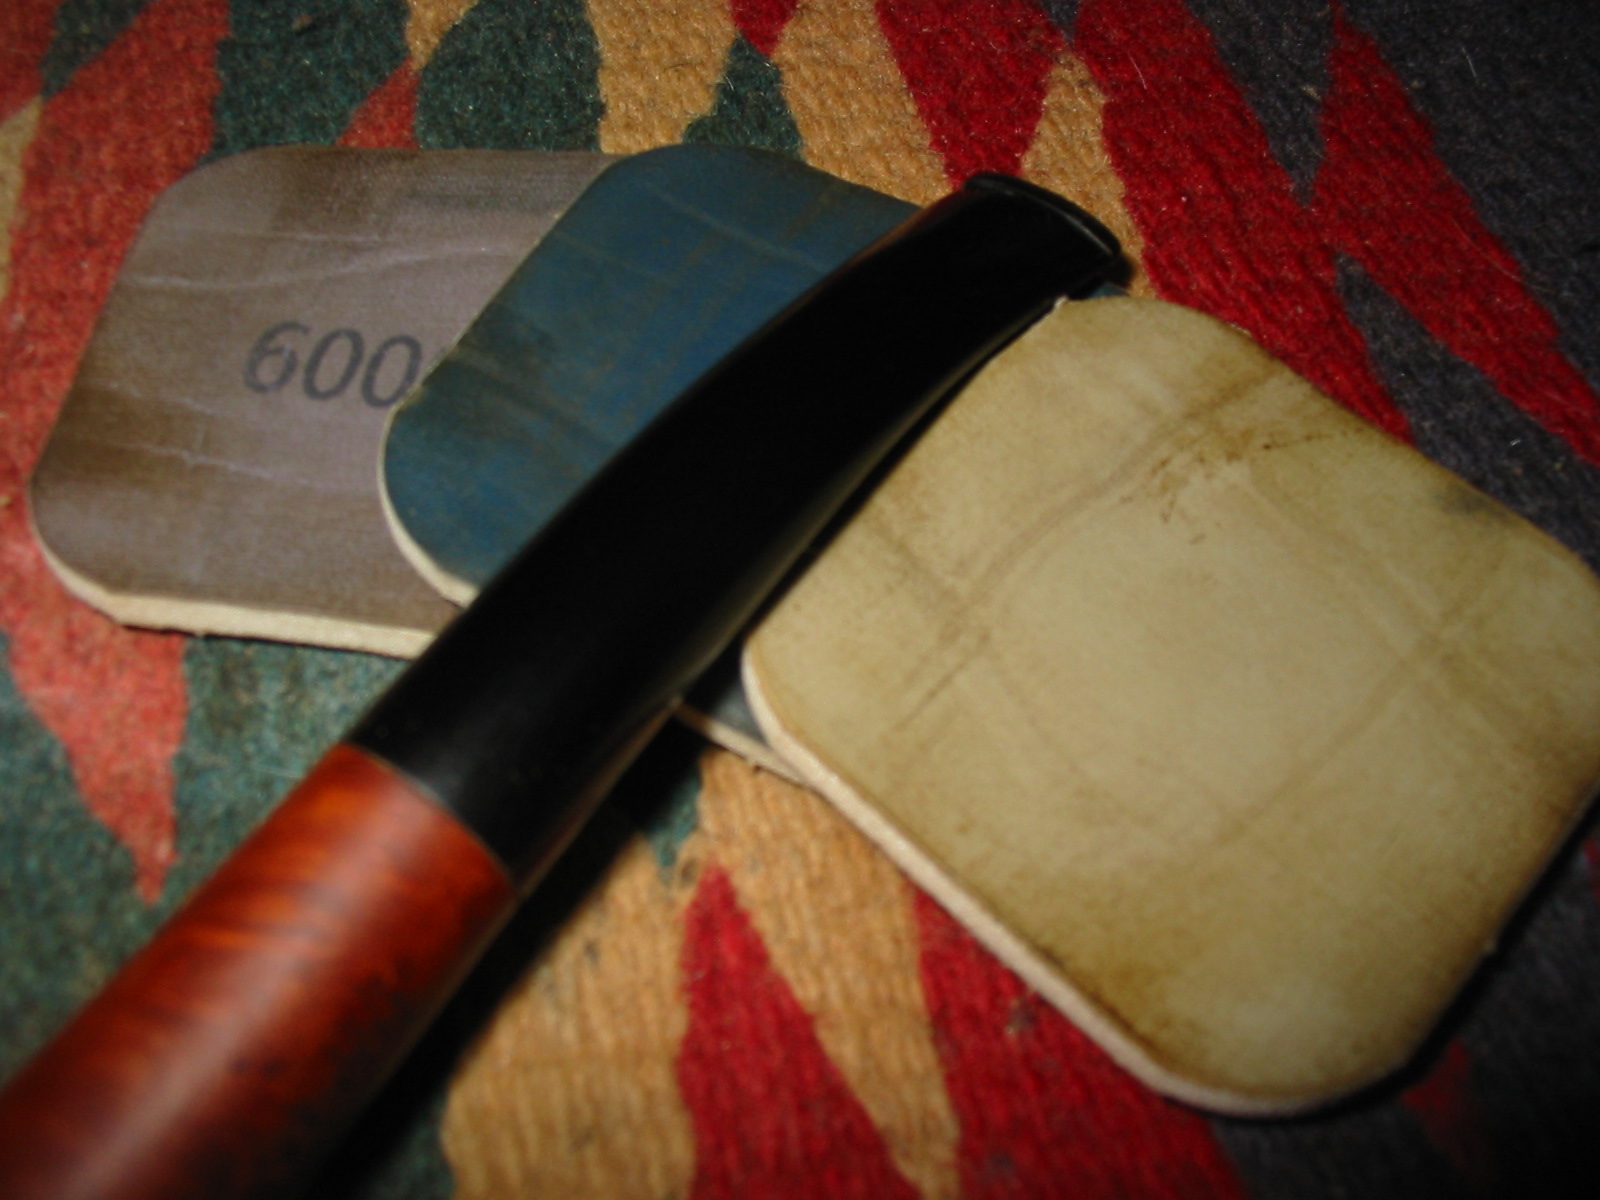
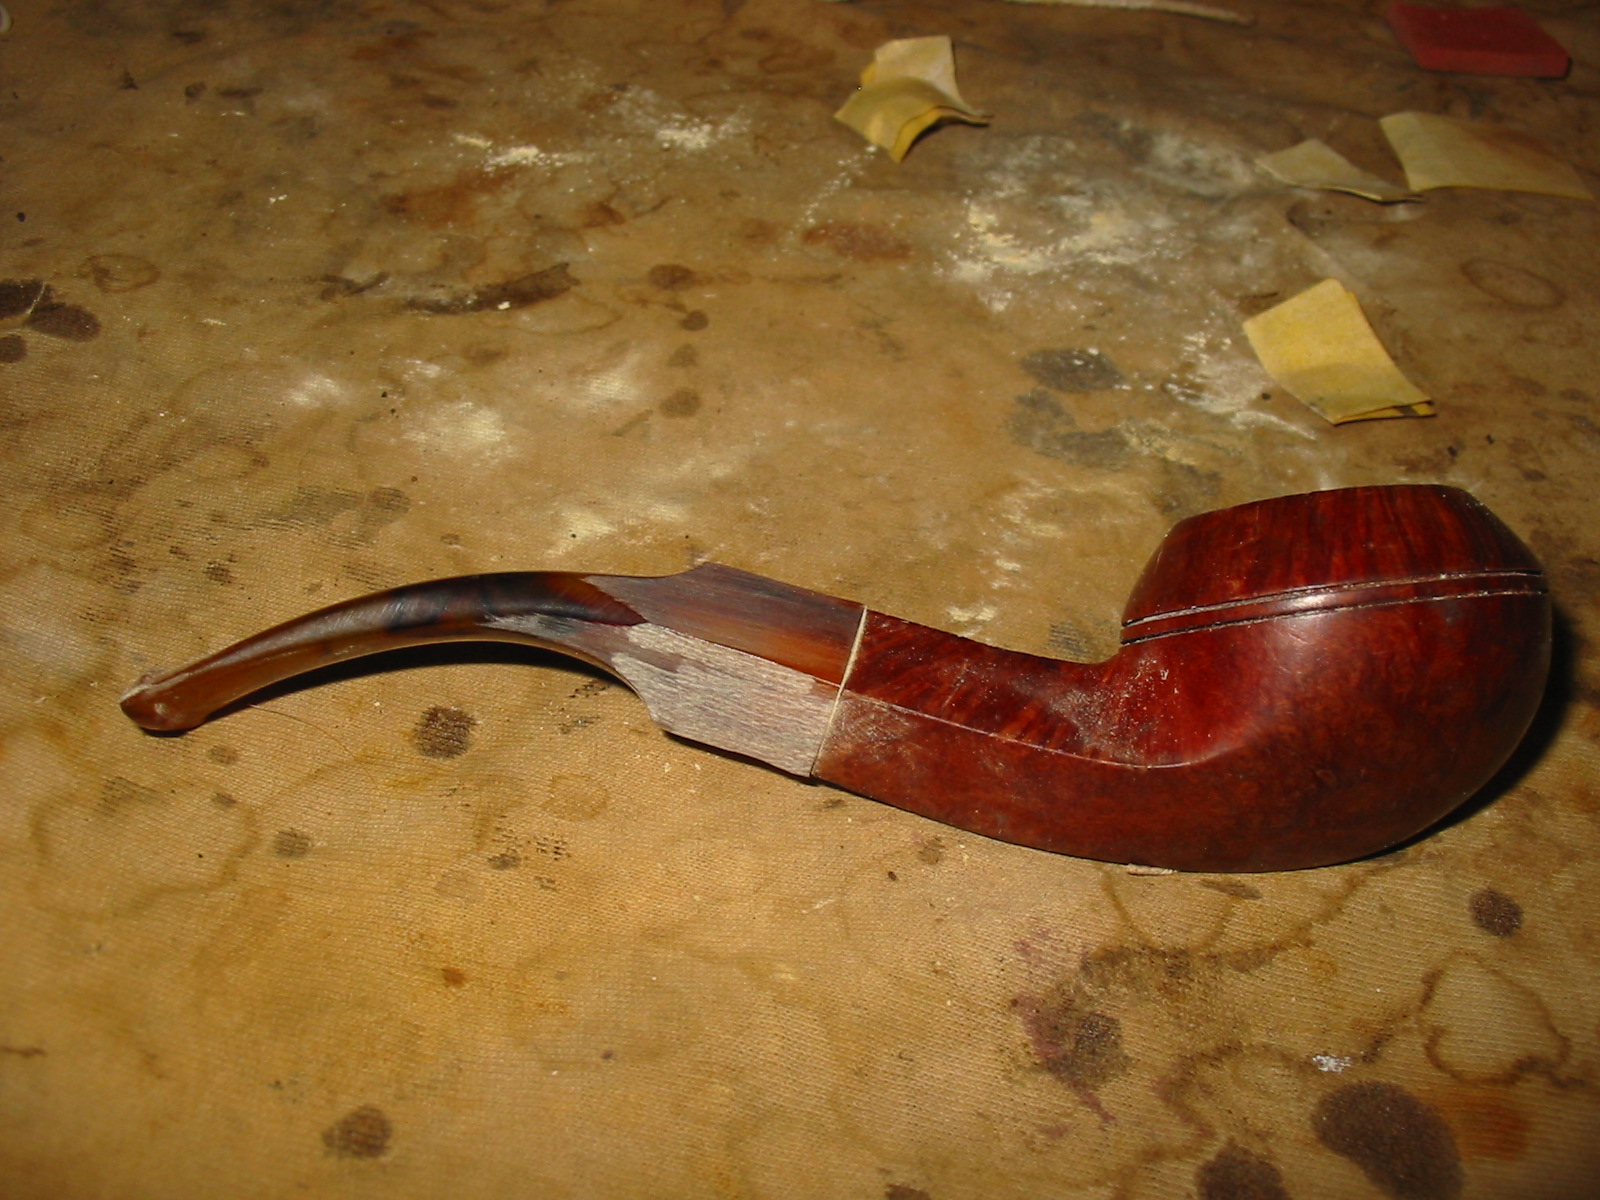
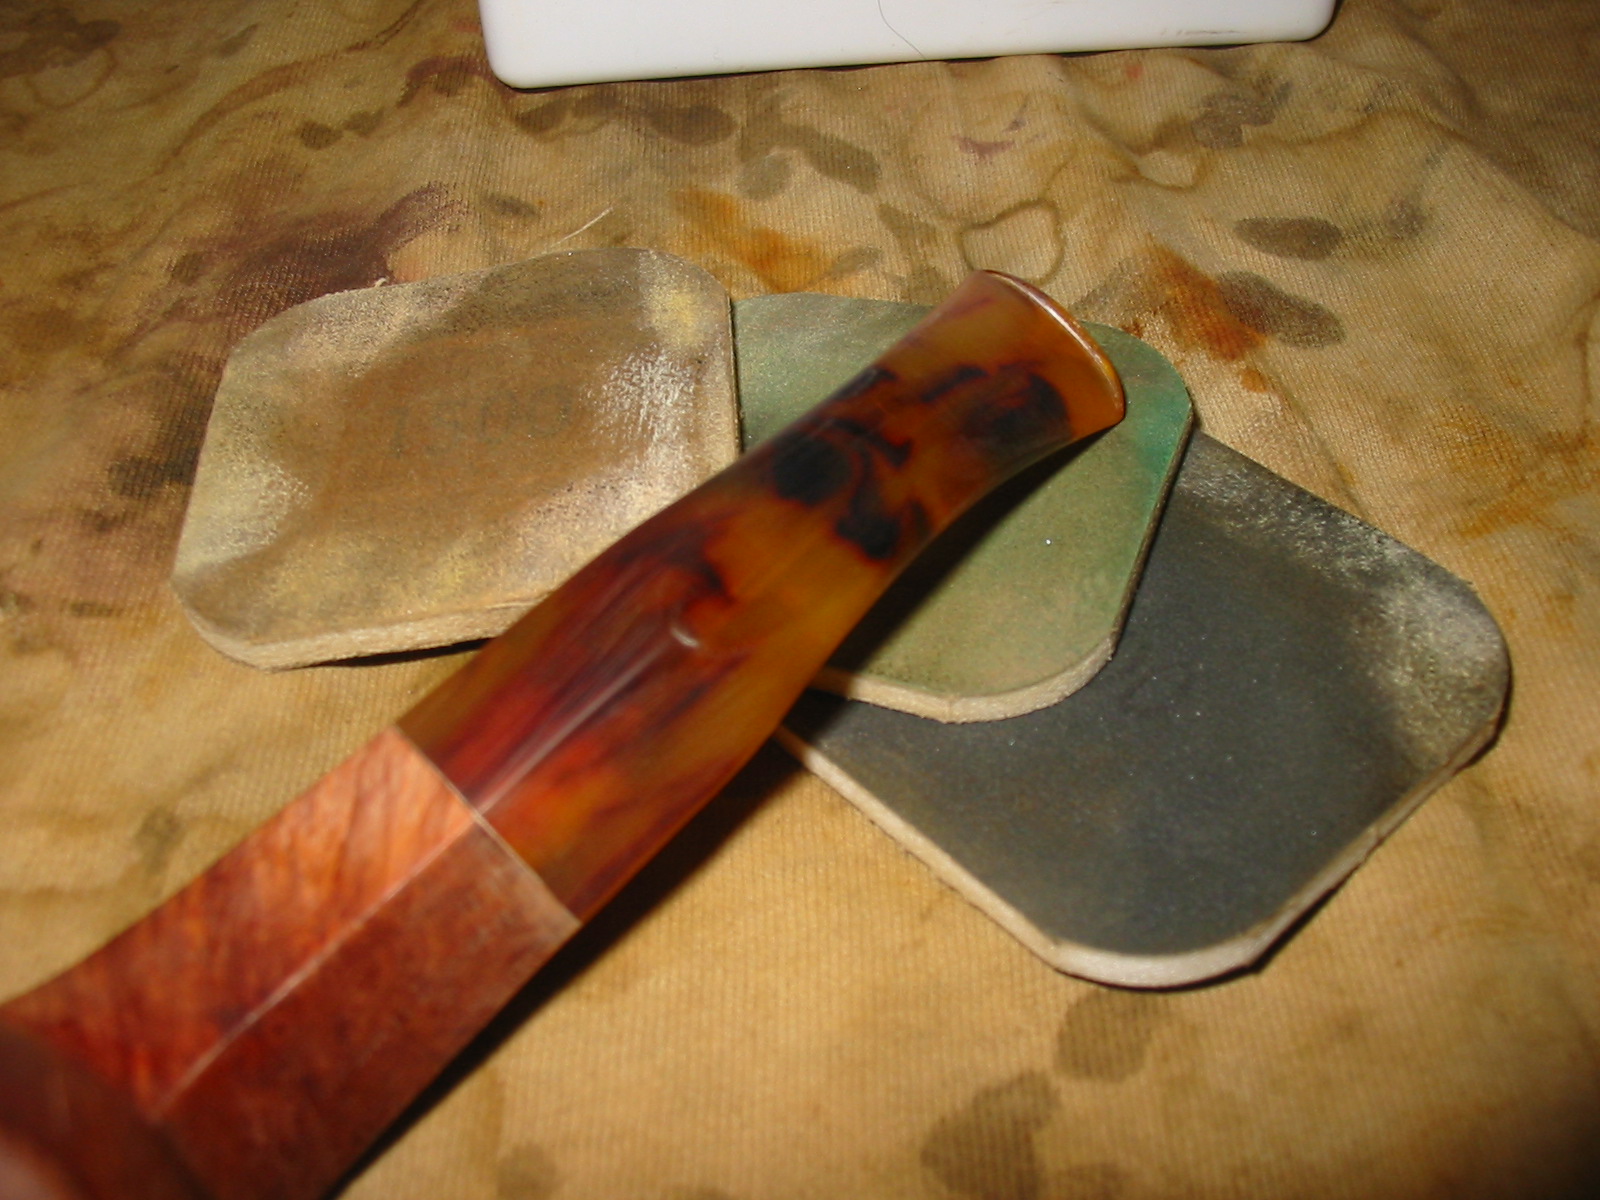
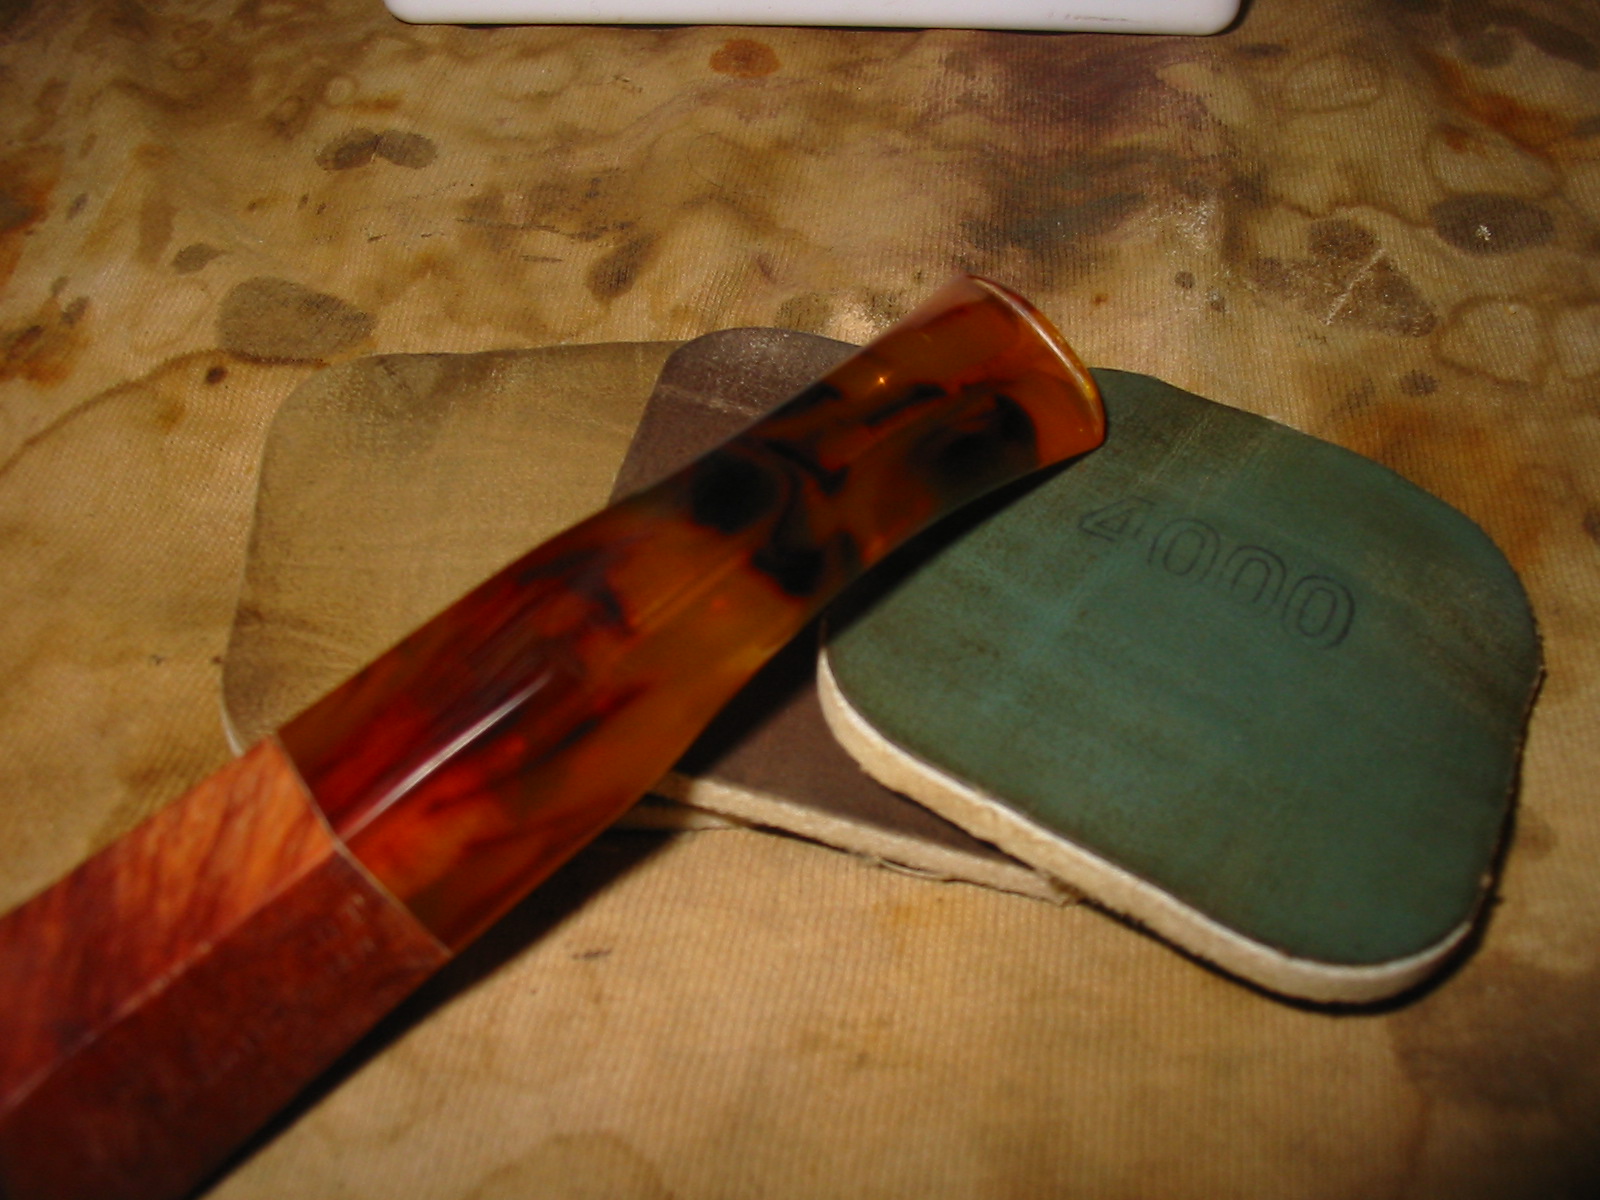
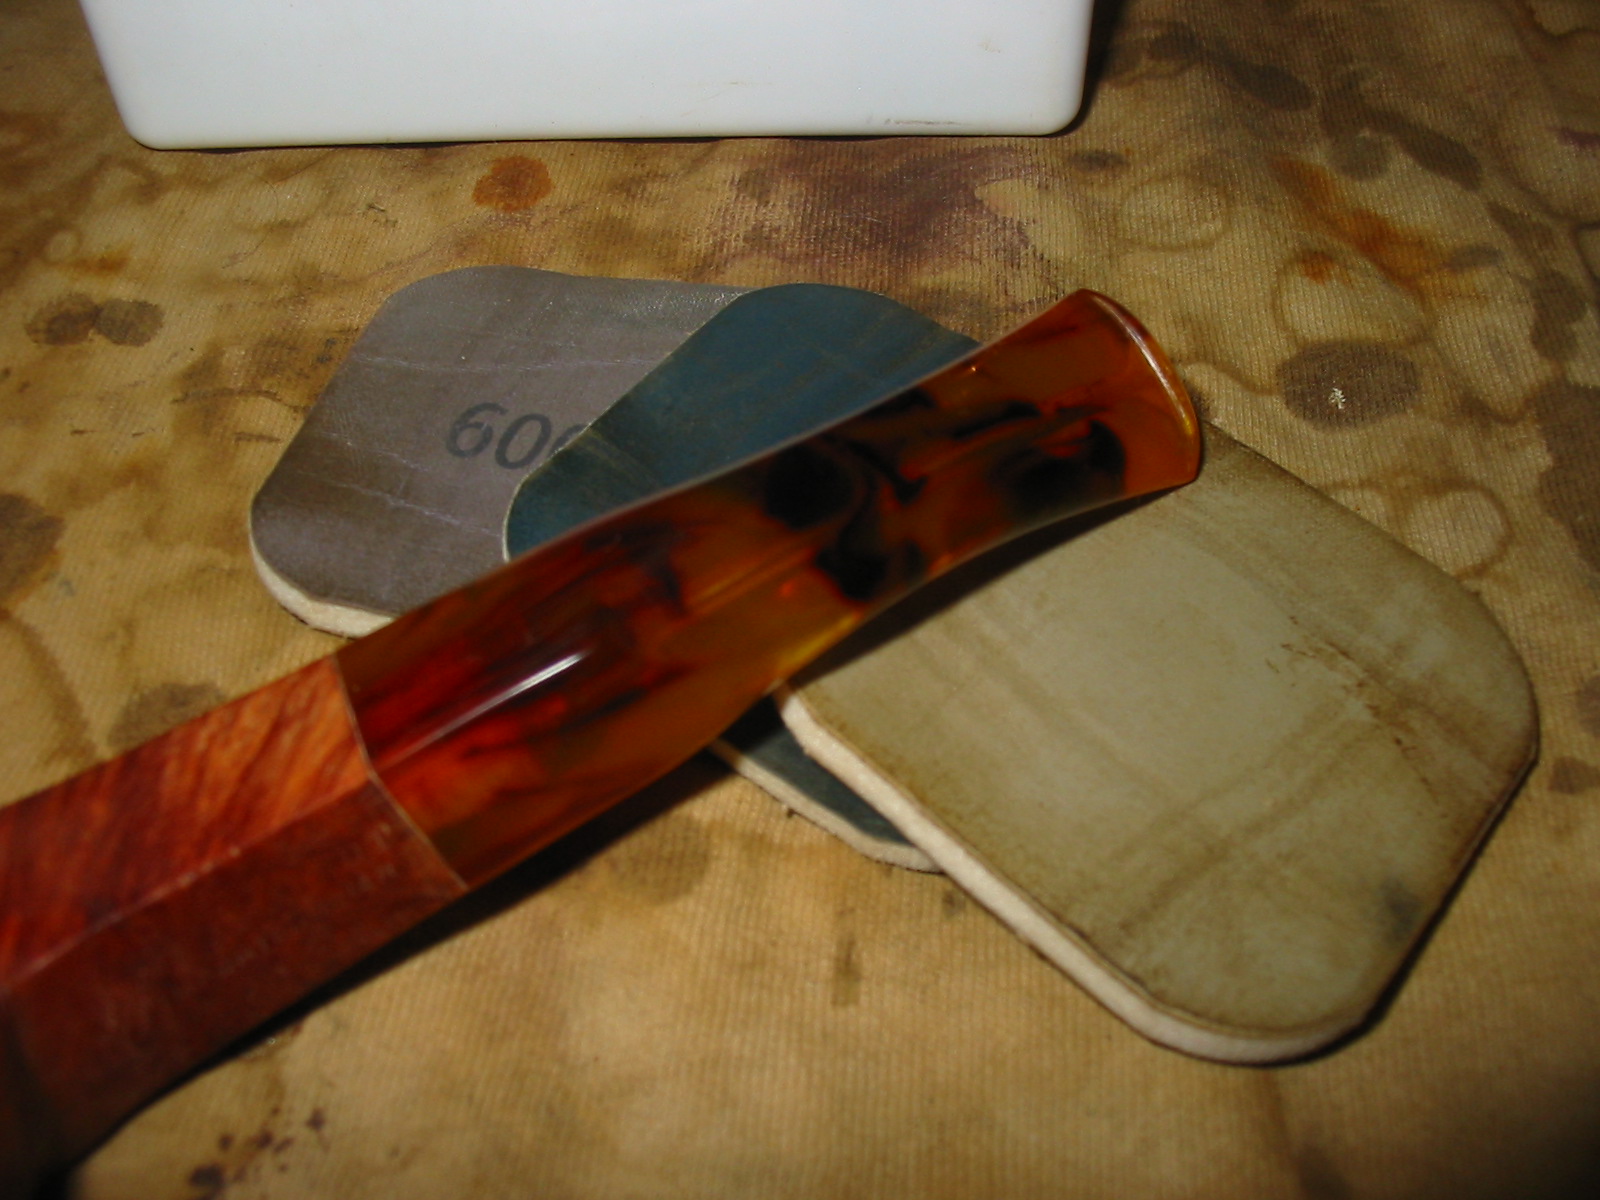
I sanded the stem with my usual array of micromesh sanding pads – wet sanding with 1500-2400 grit pads and dry sanding with 3200-12,000 grit pads. I rubbed the stem down with Obsidian Oil and then did some more work on the bowl.
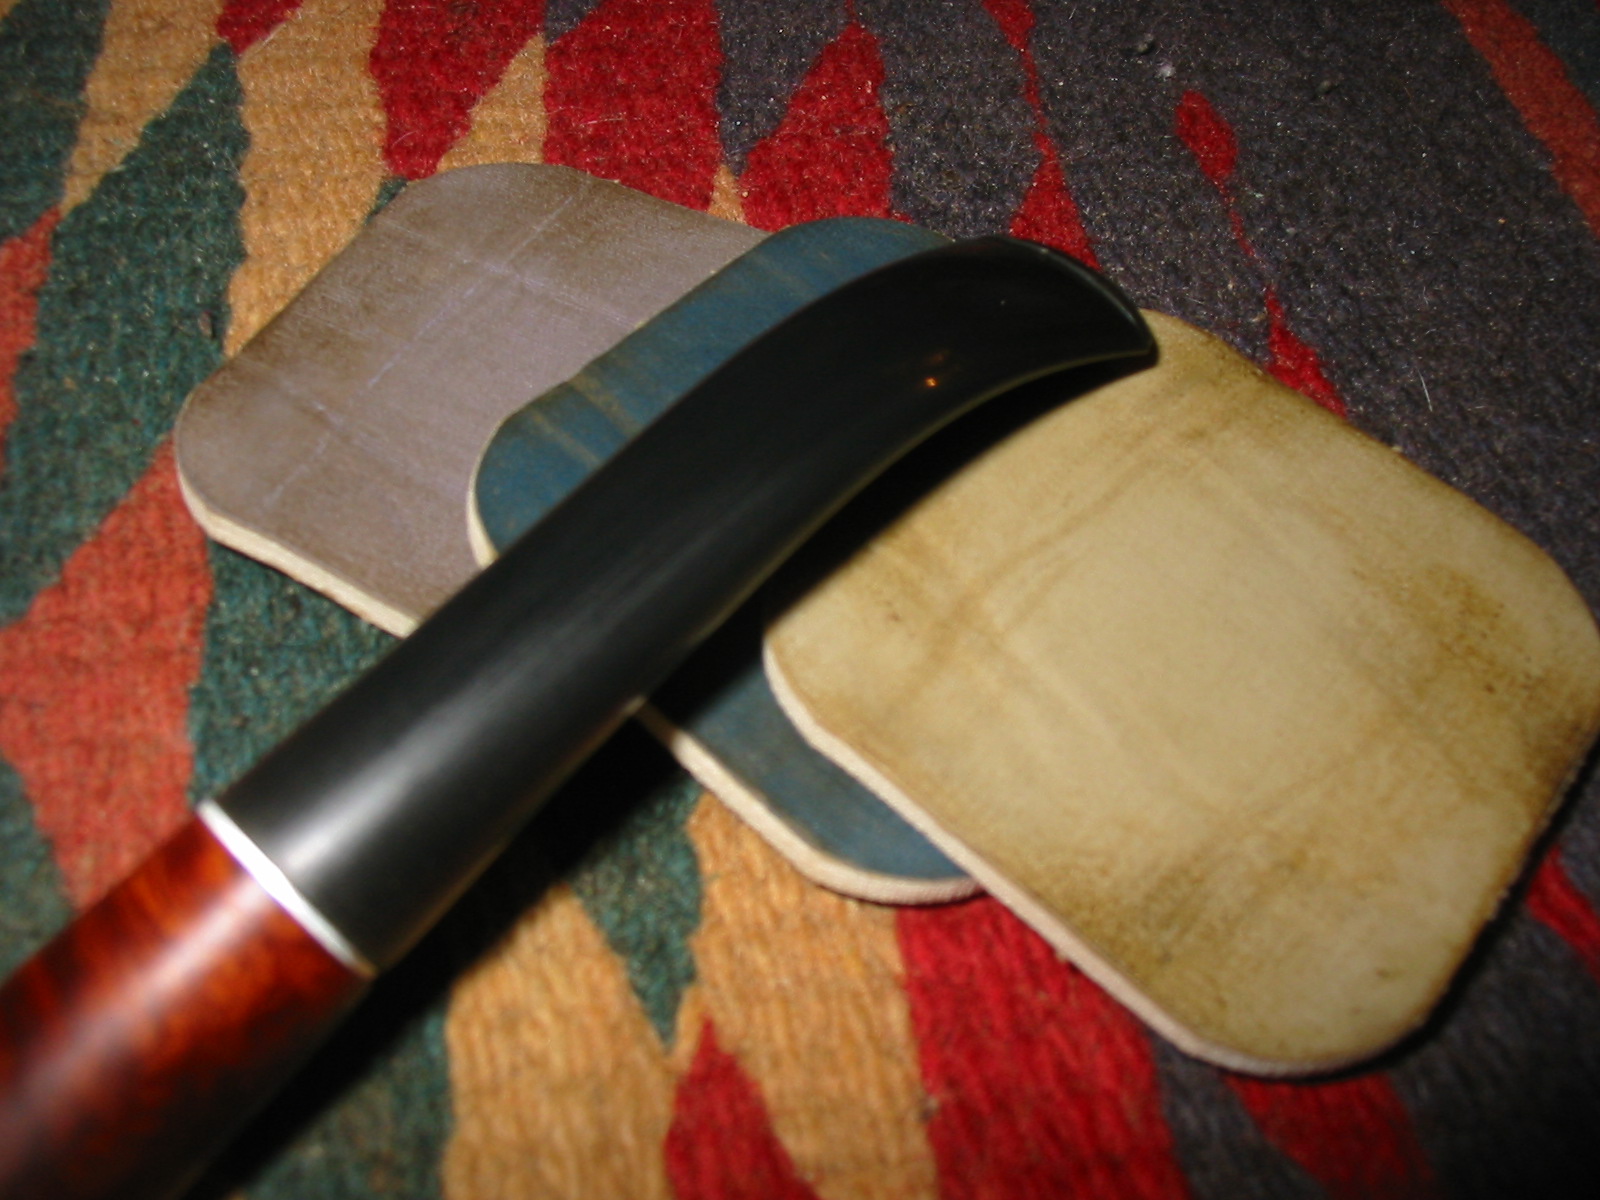
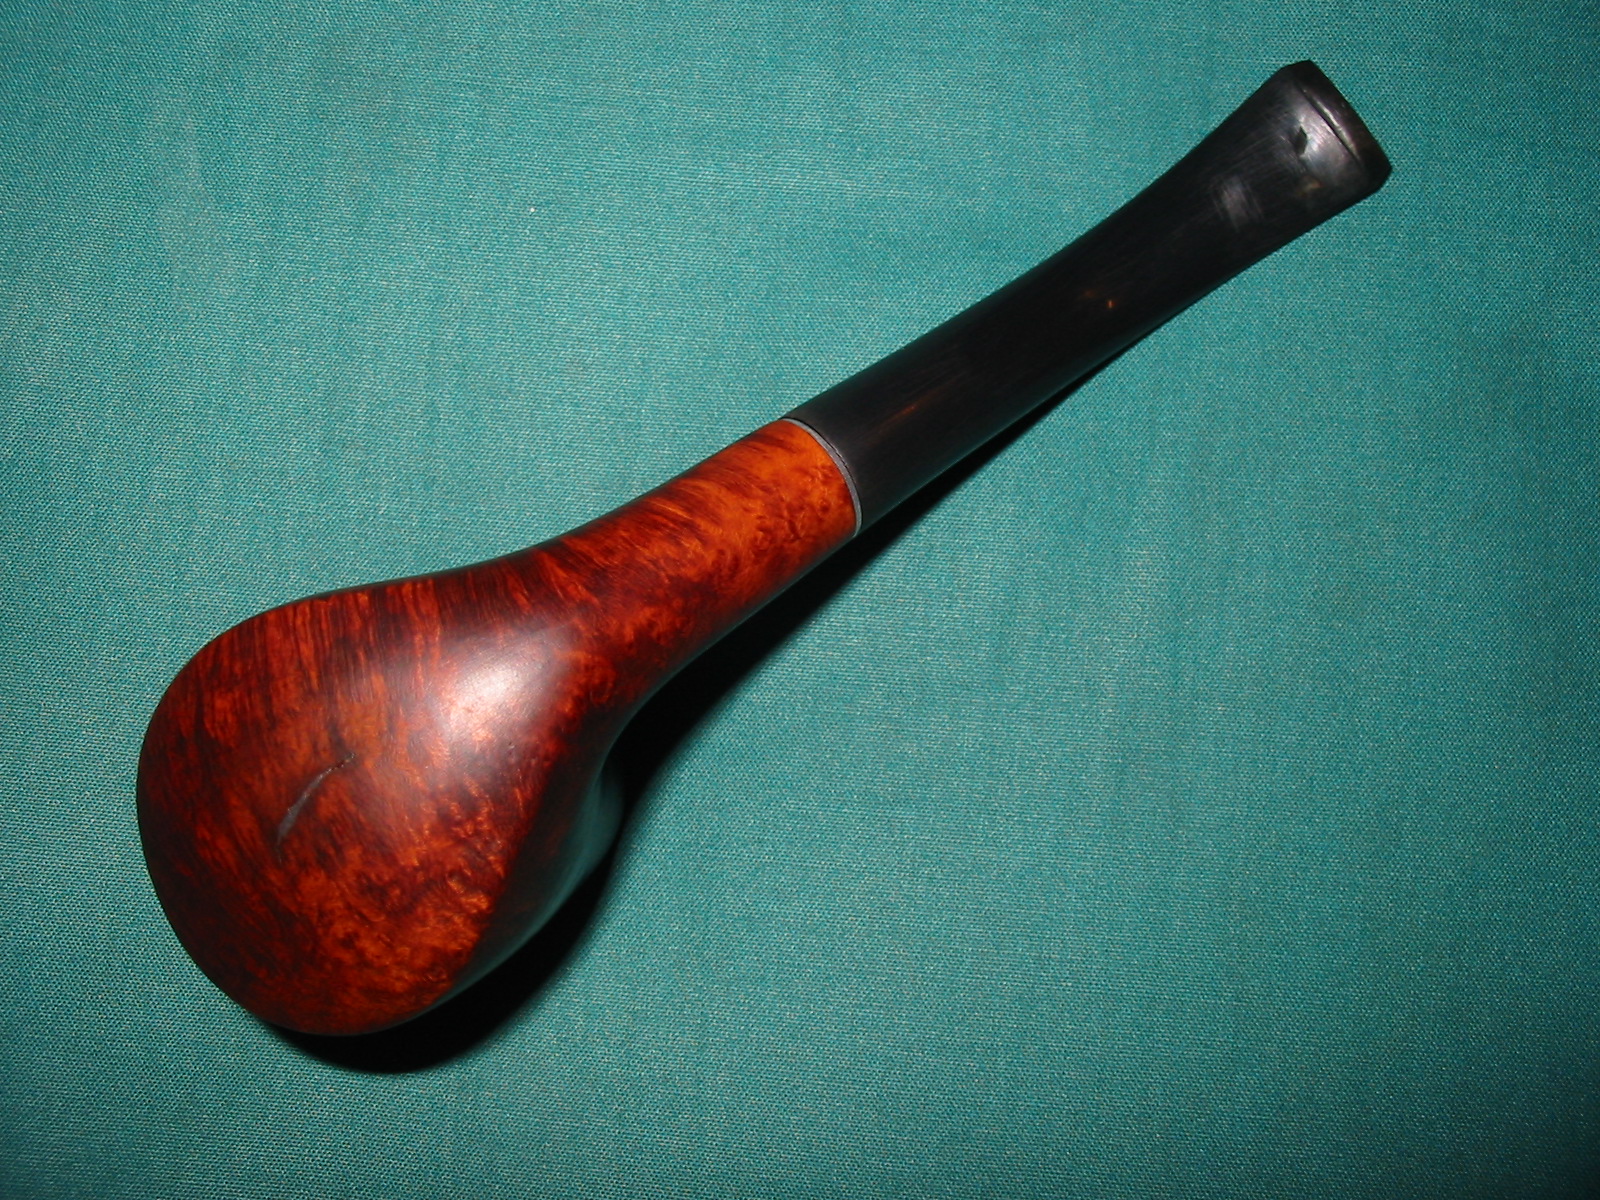
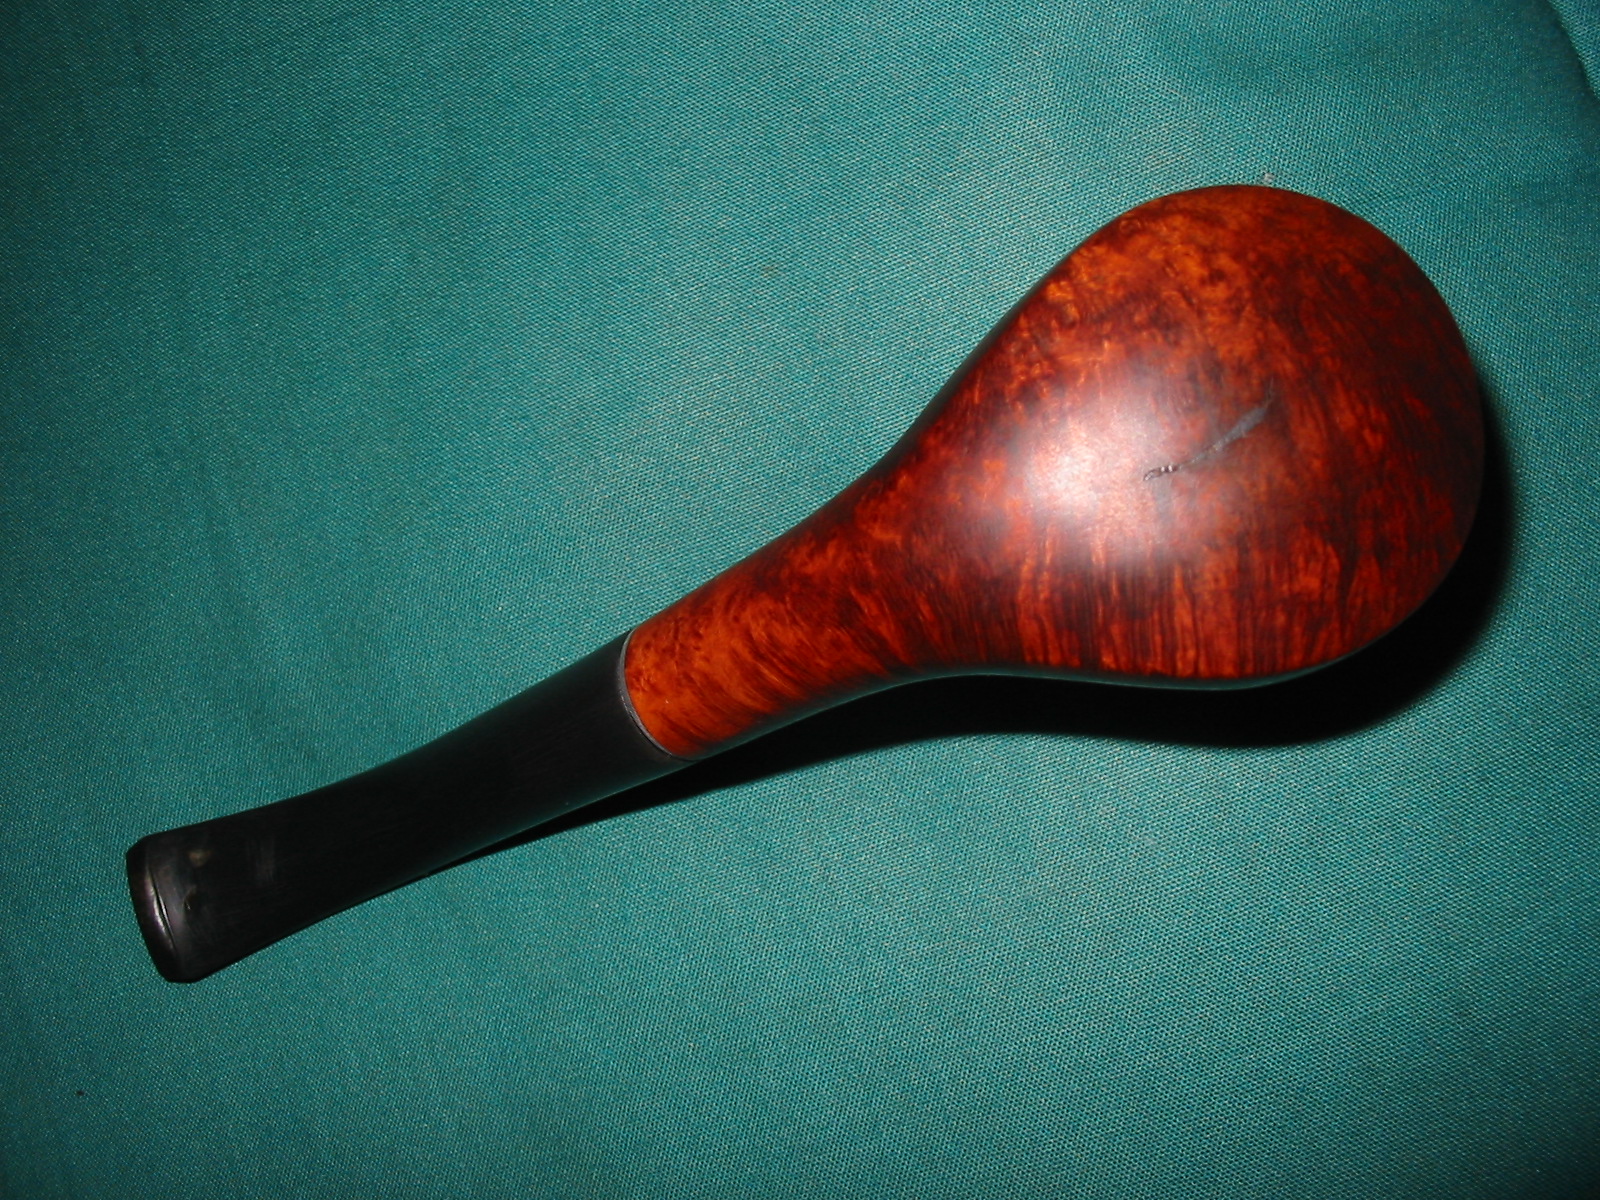
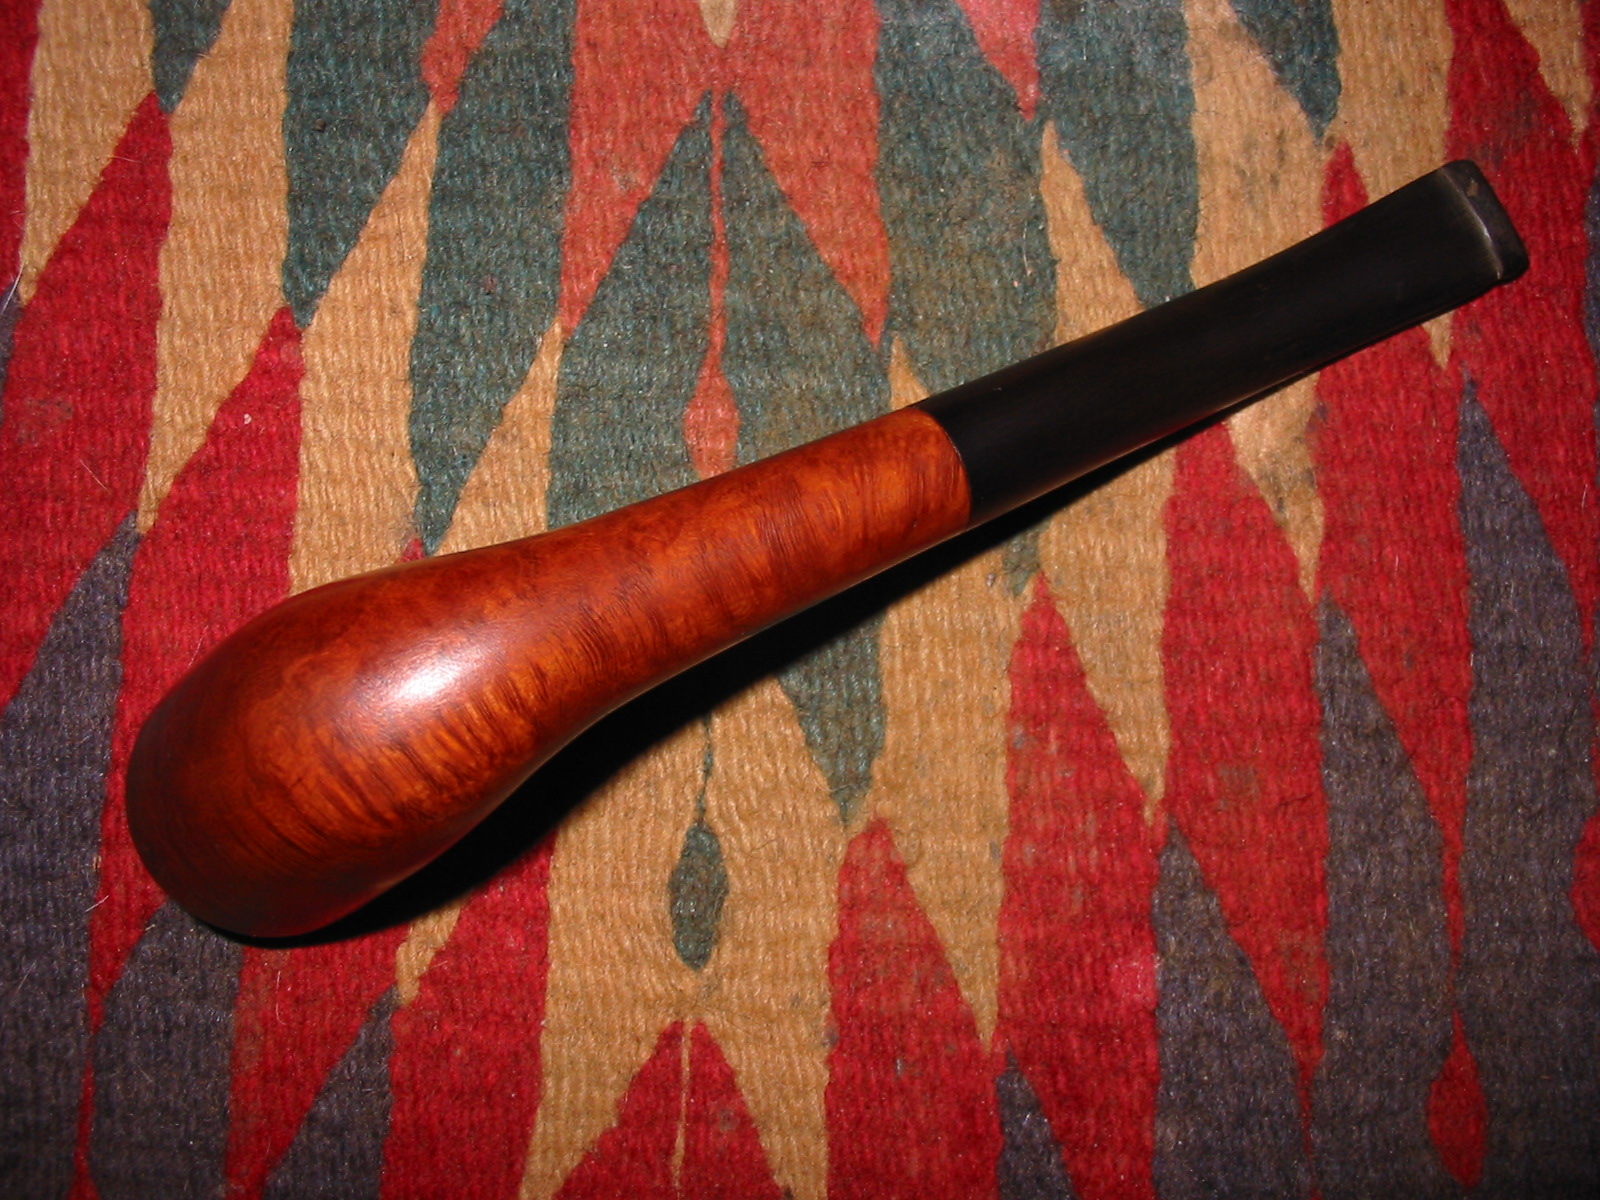
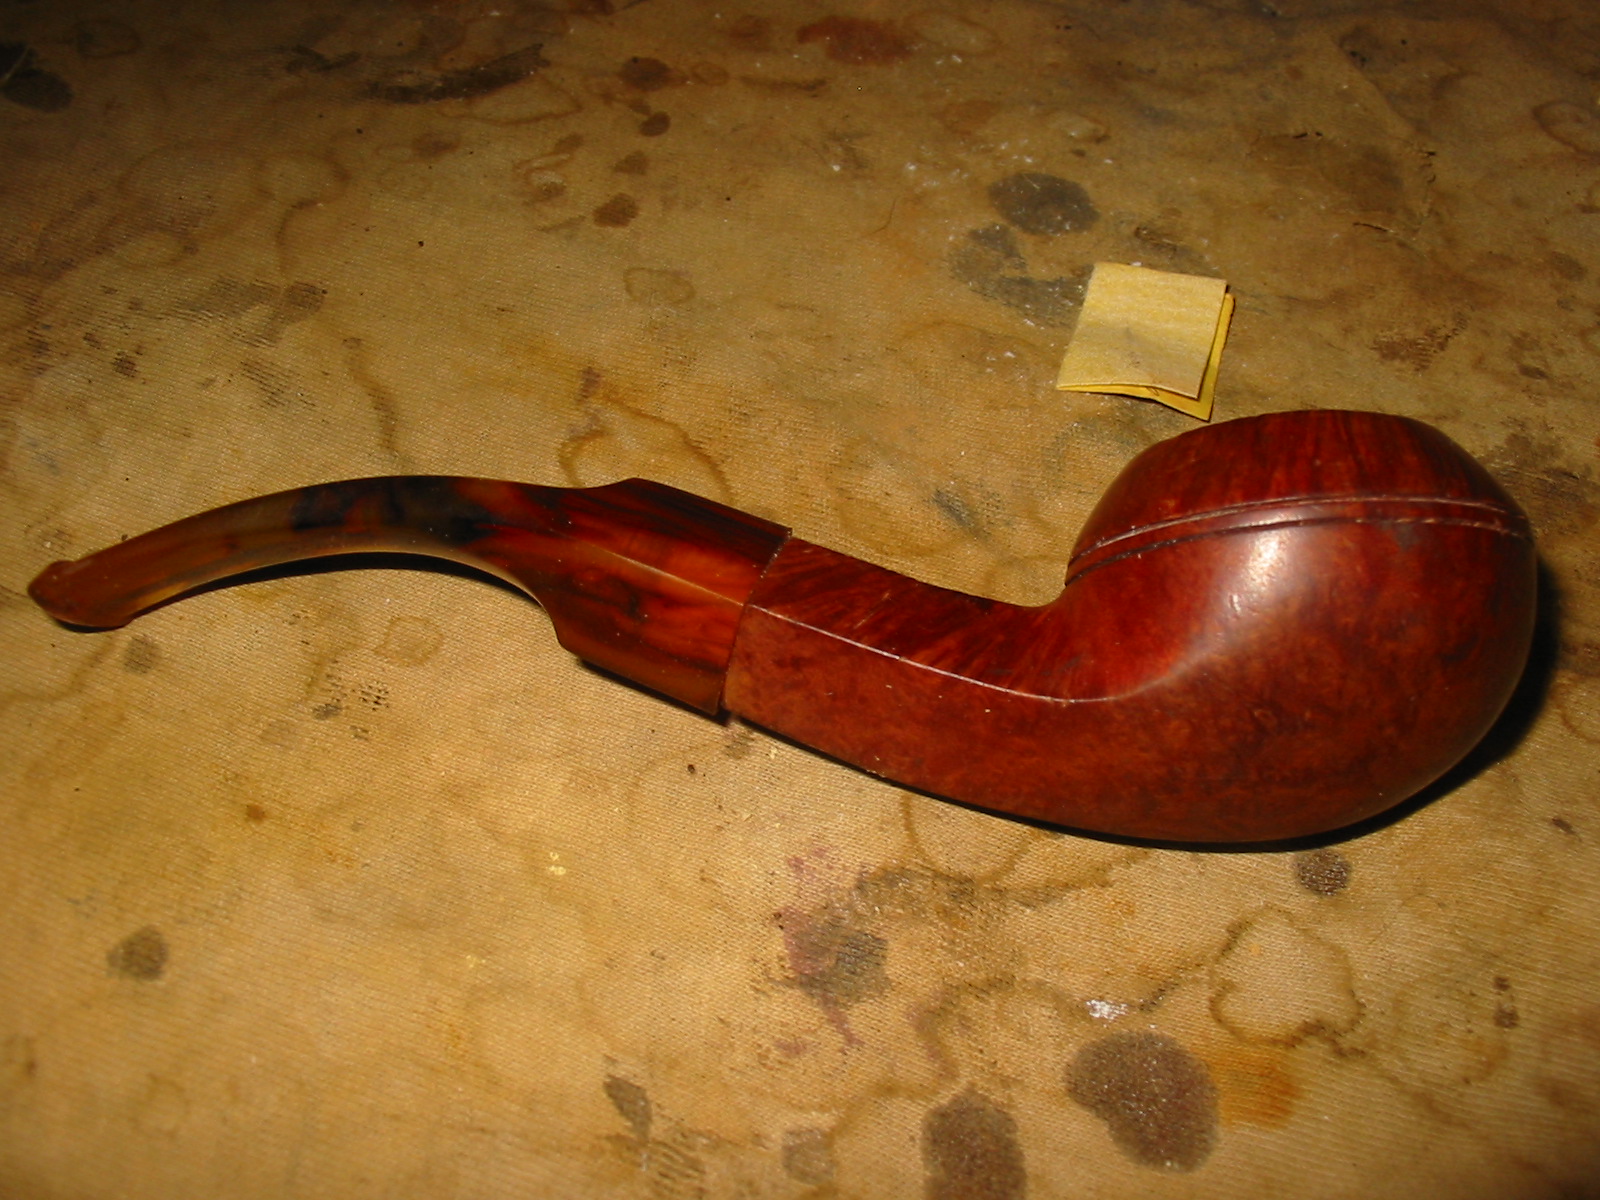
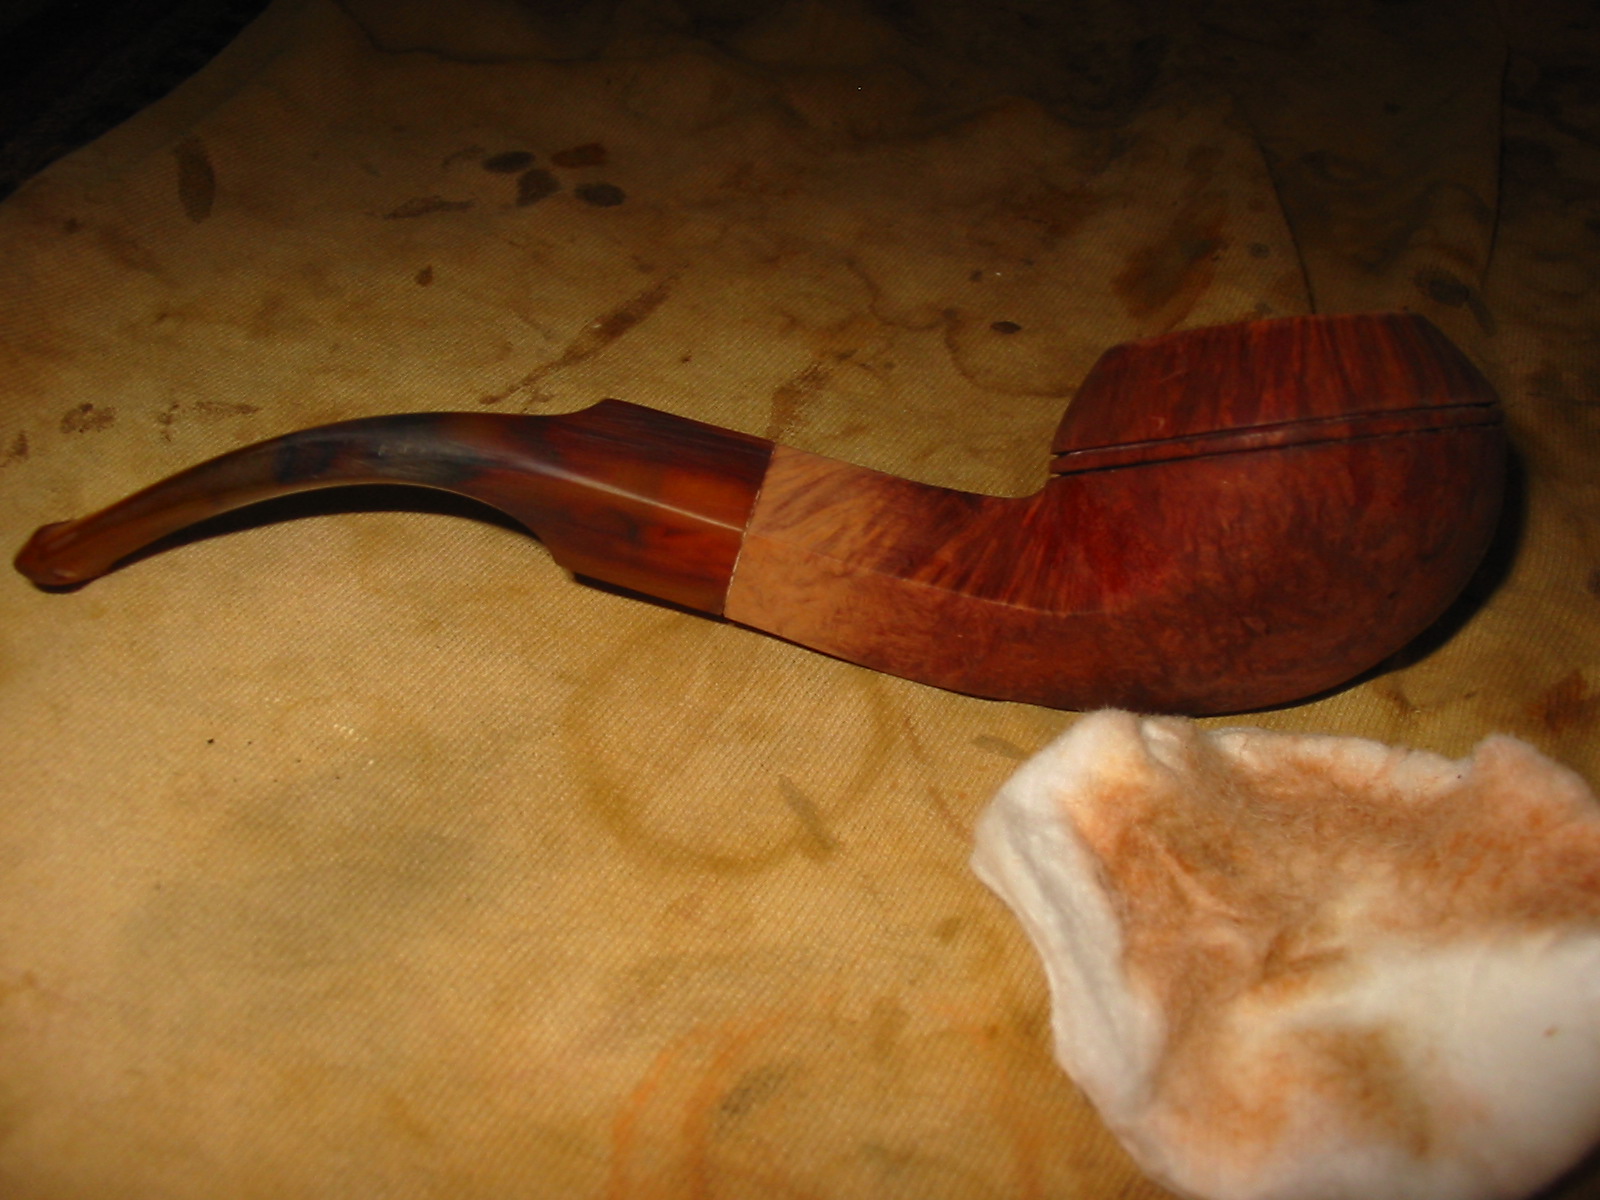
I stained the bowl with a dark brown aniline stain thinned 2:1 with isopropyl alcohol. I stained and flamed the stain and repeated the process until the coverage on the shank and the rim matched the bowl. I hand buffed the pipe with a soft cotton cloth to see where I stood with the finish on the bowl.
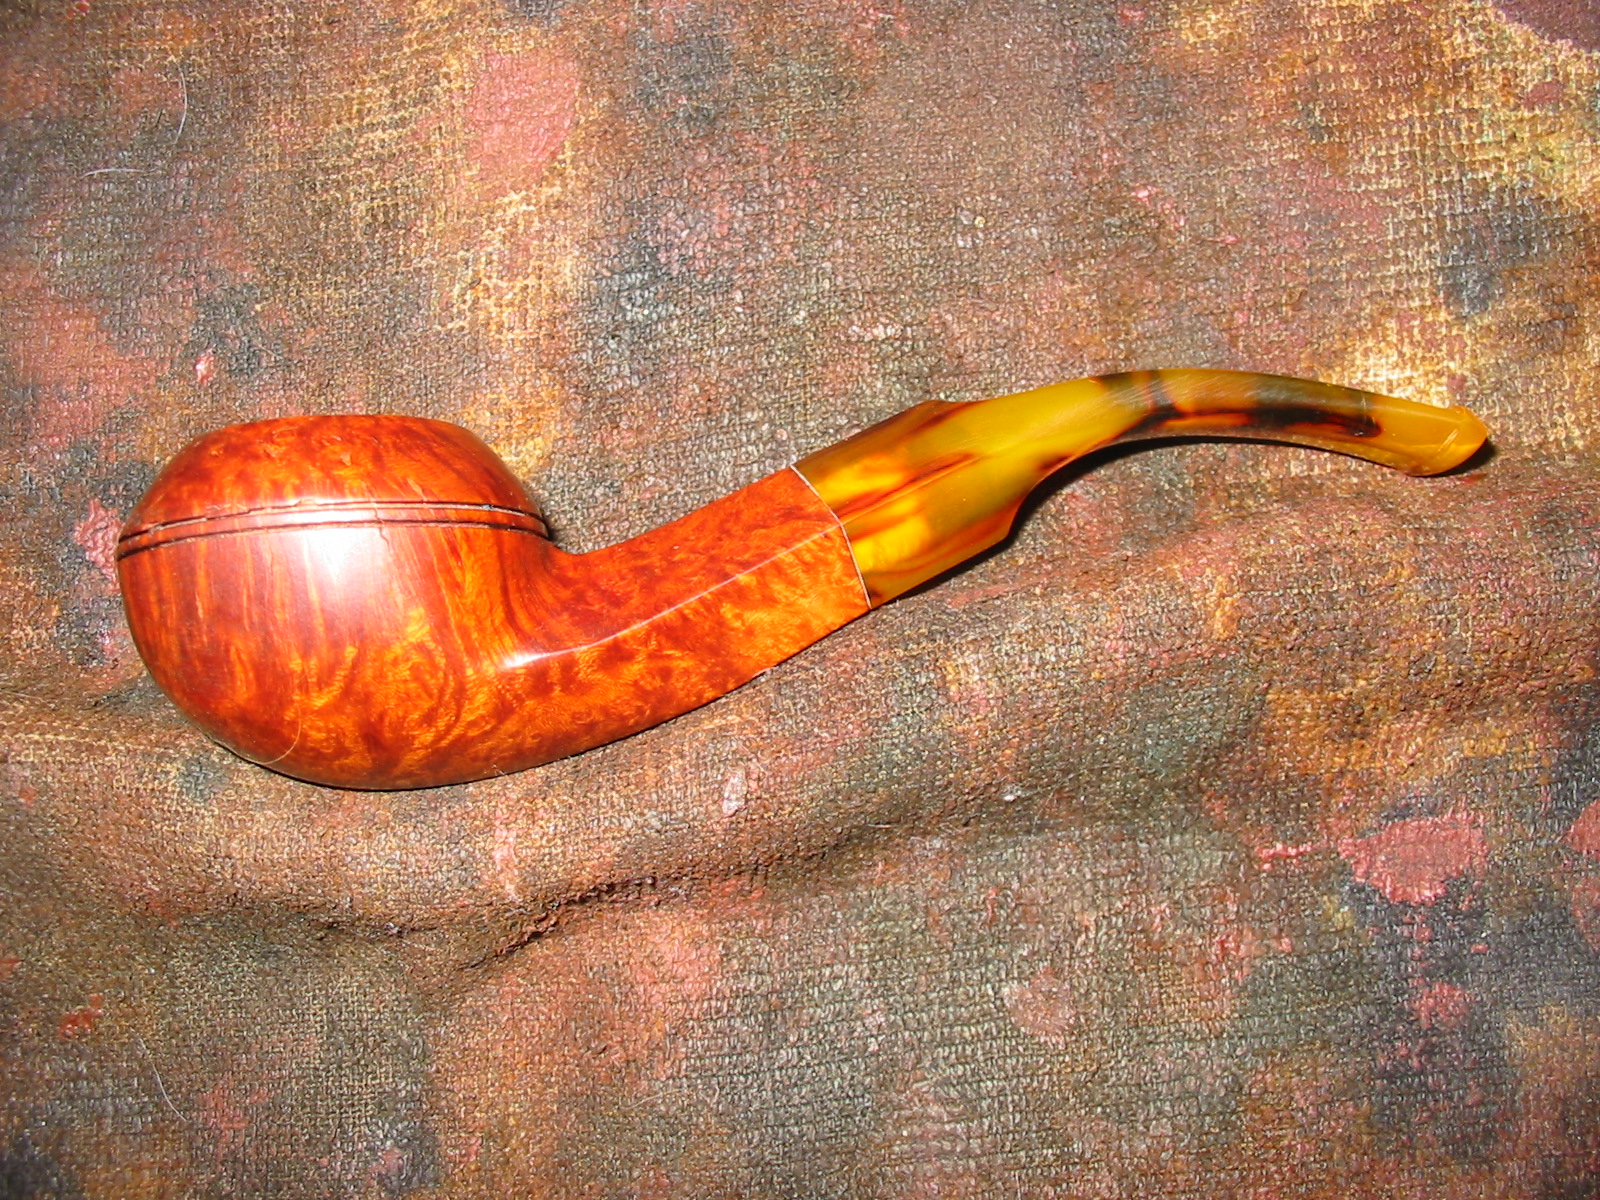
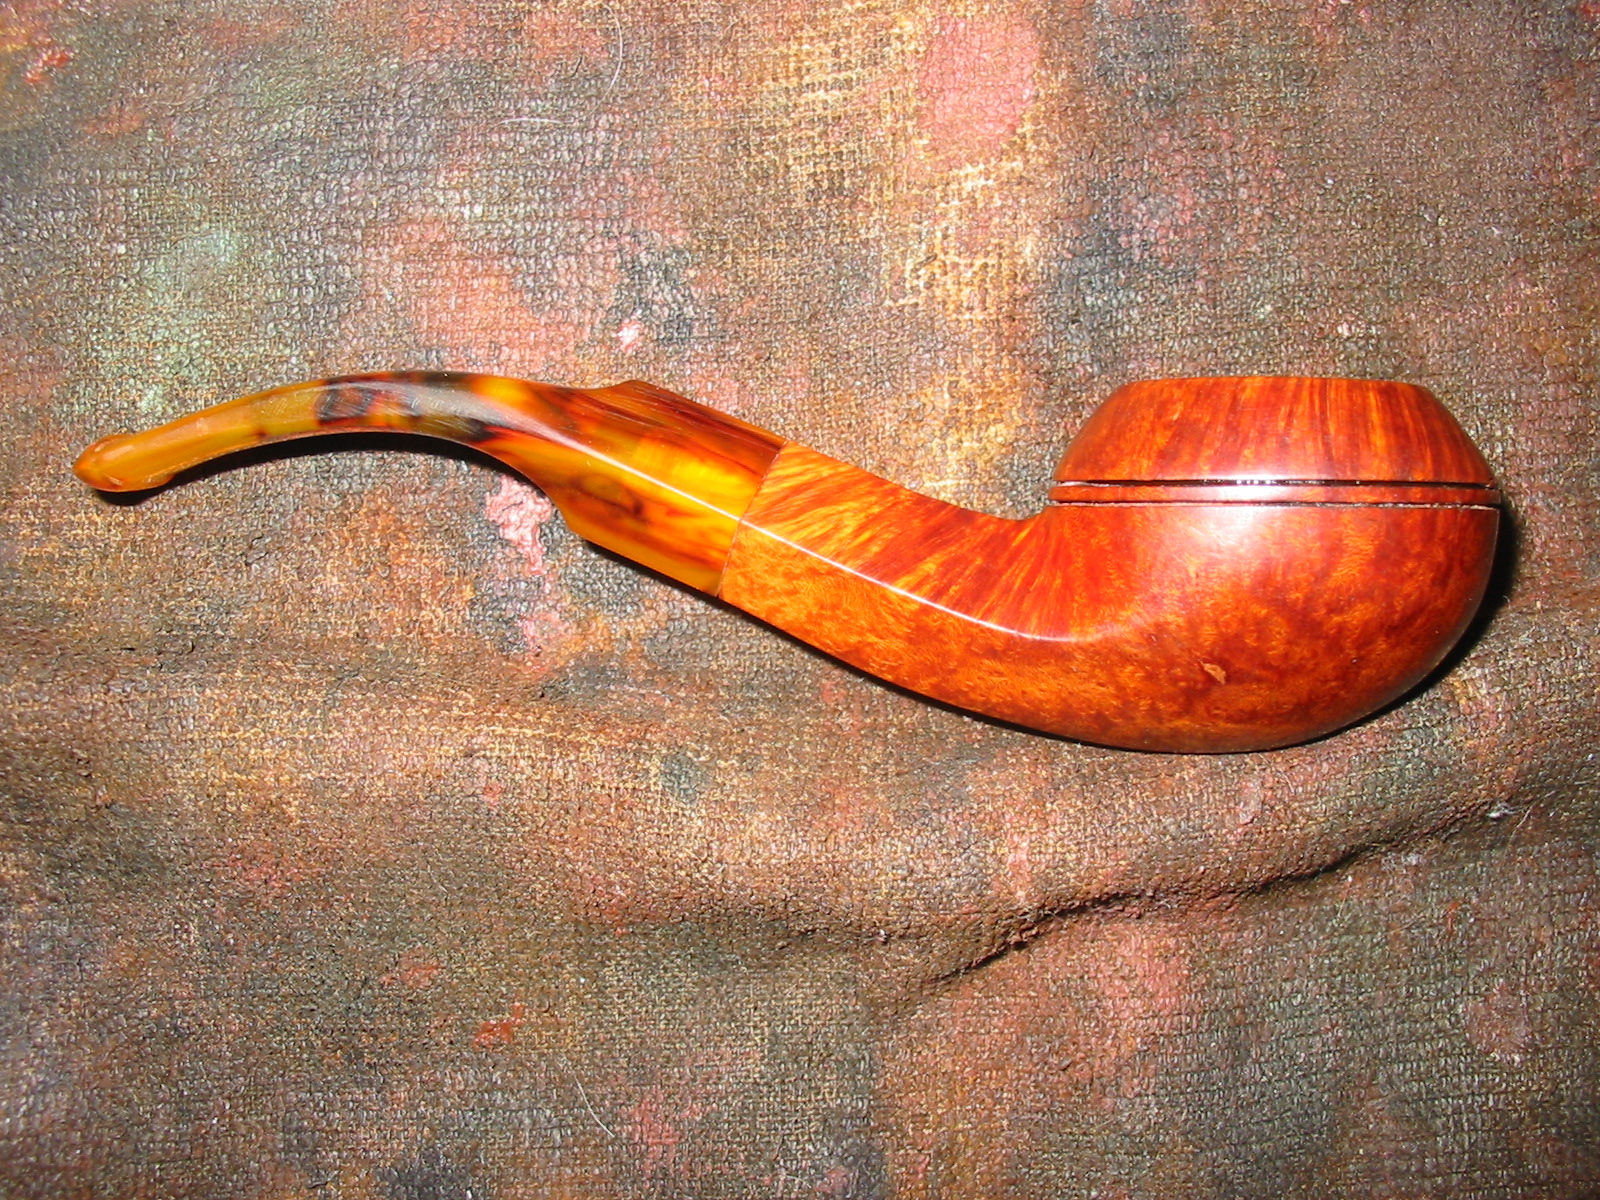
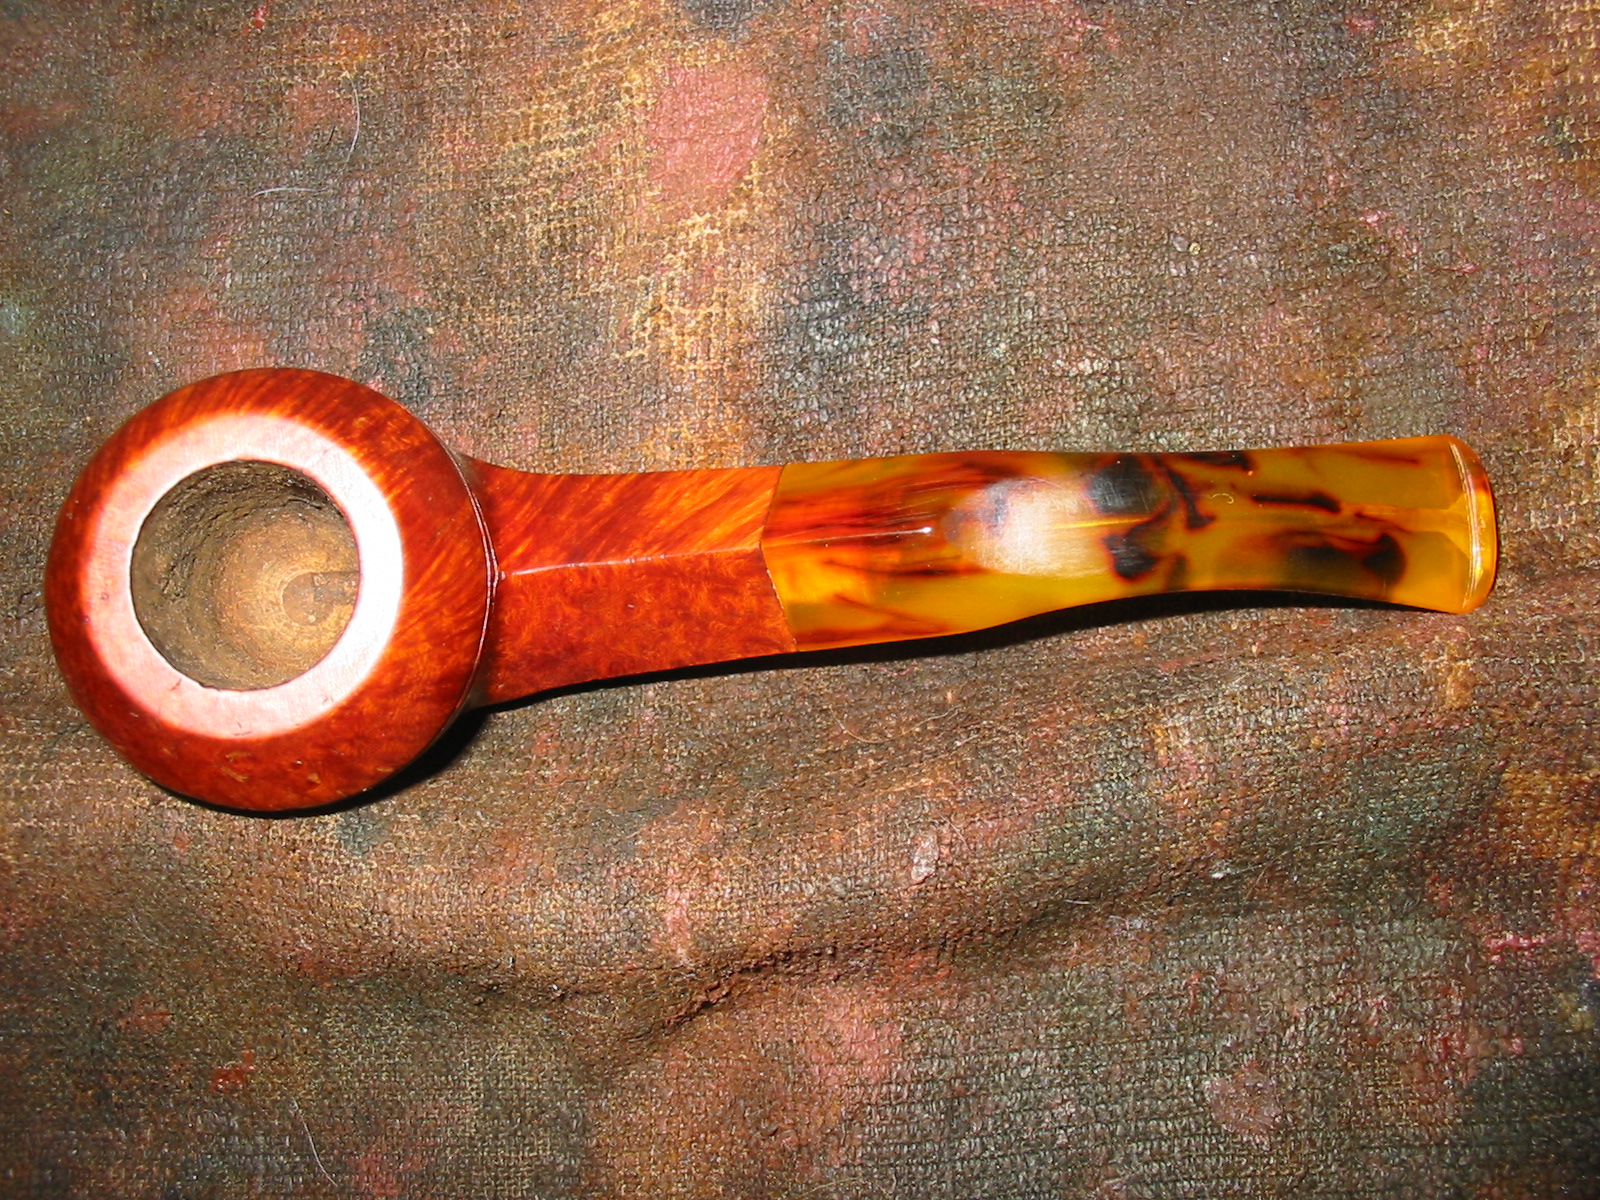

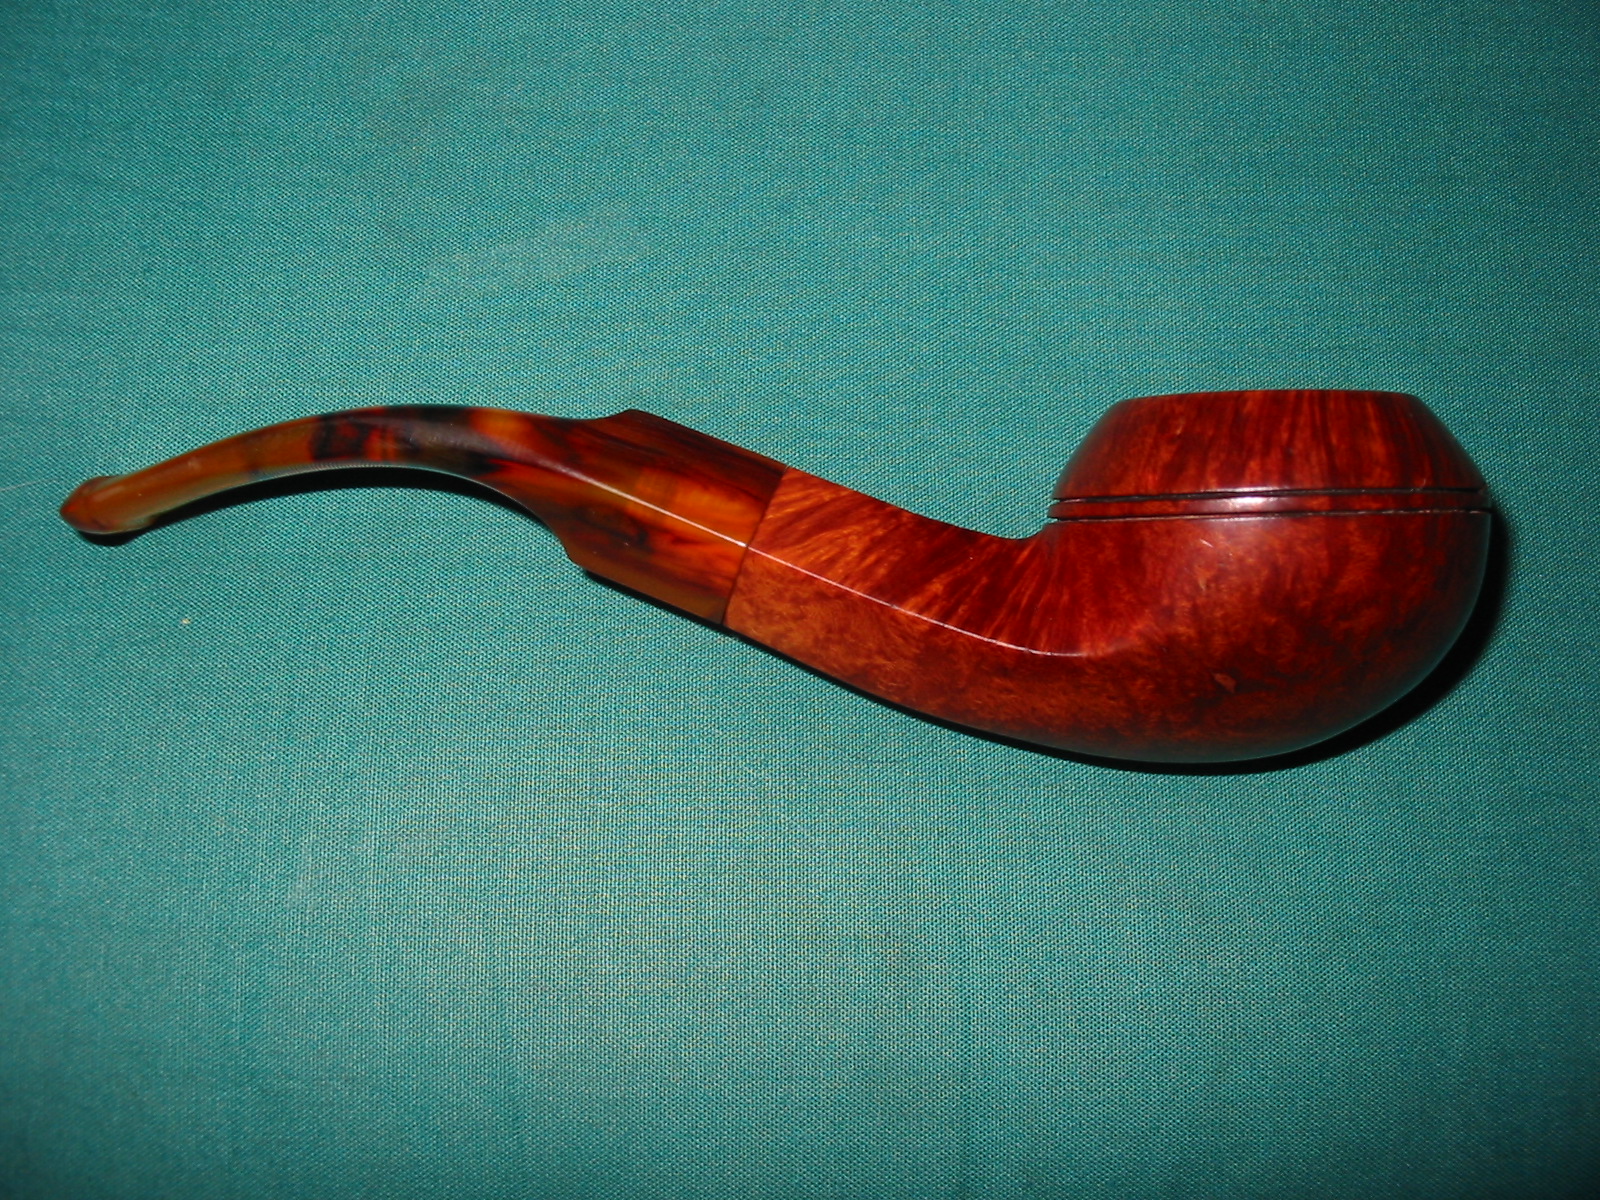
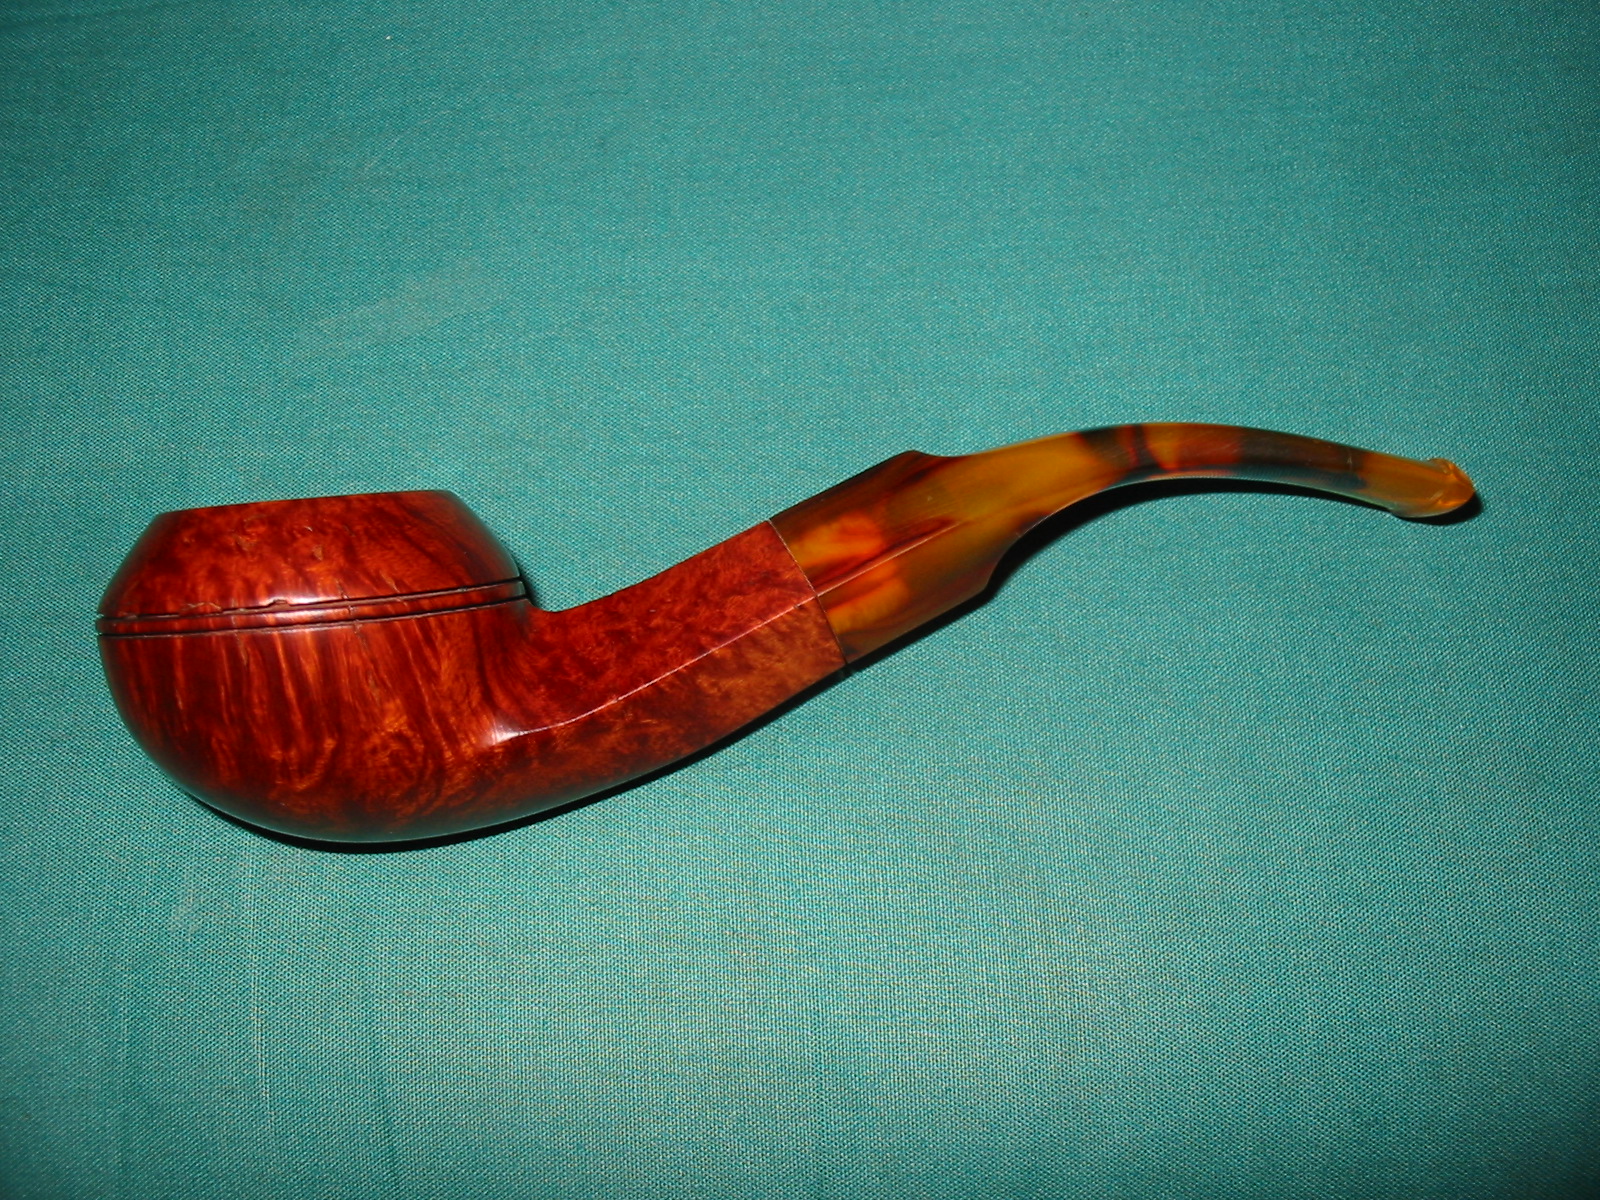
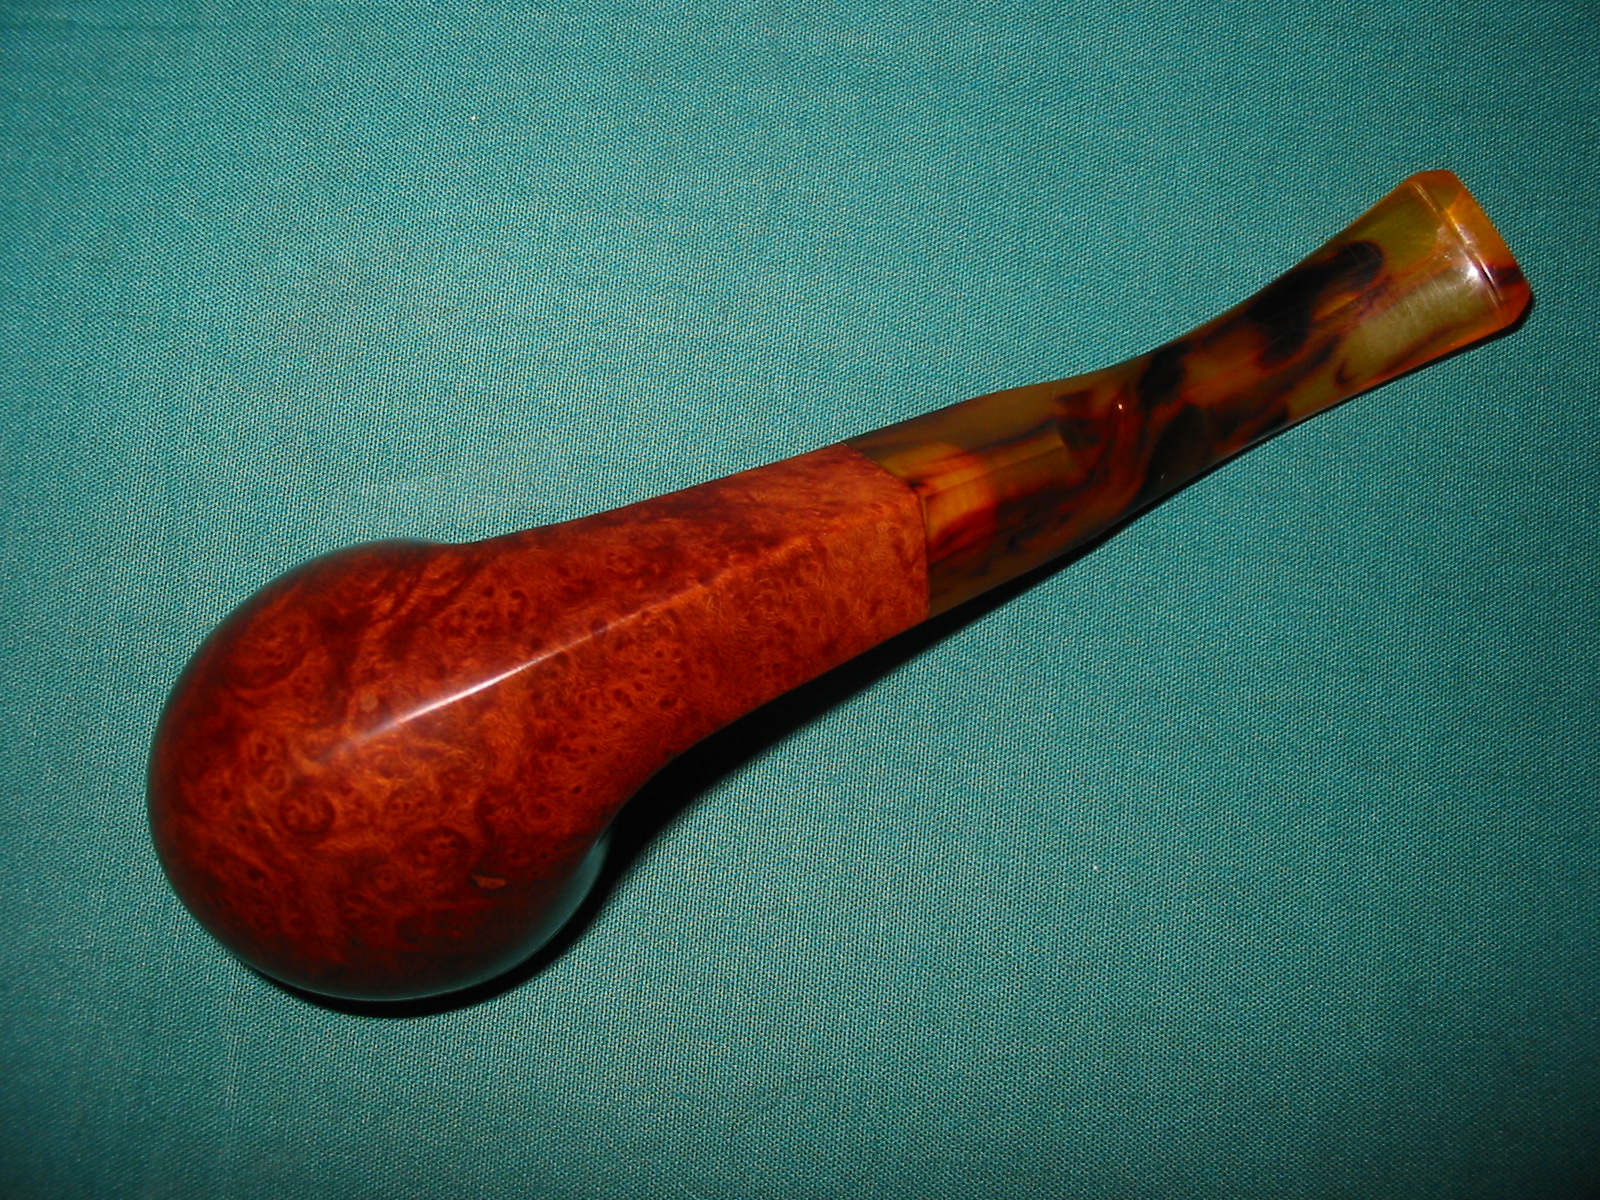
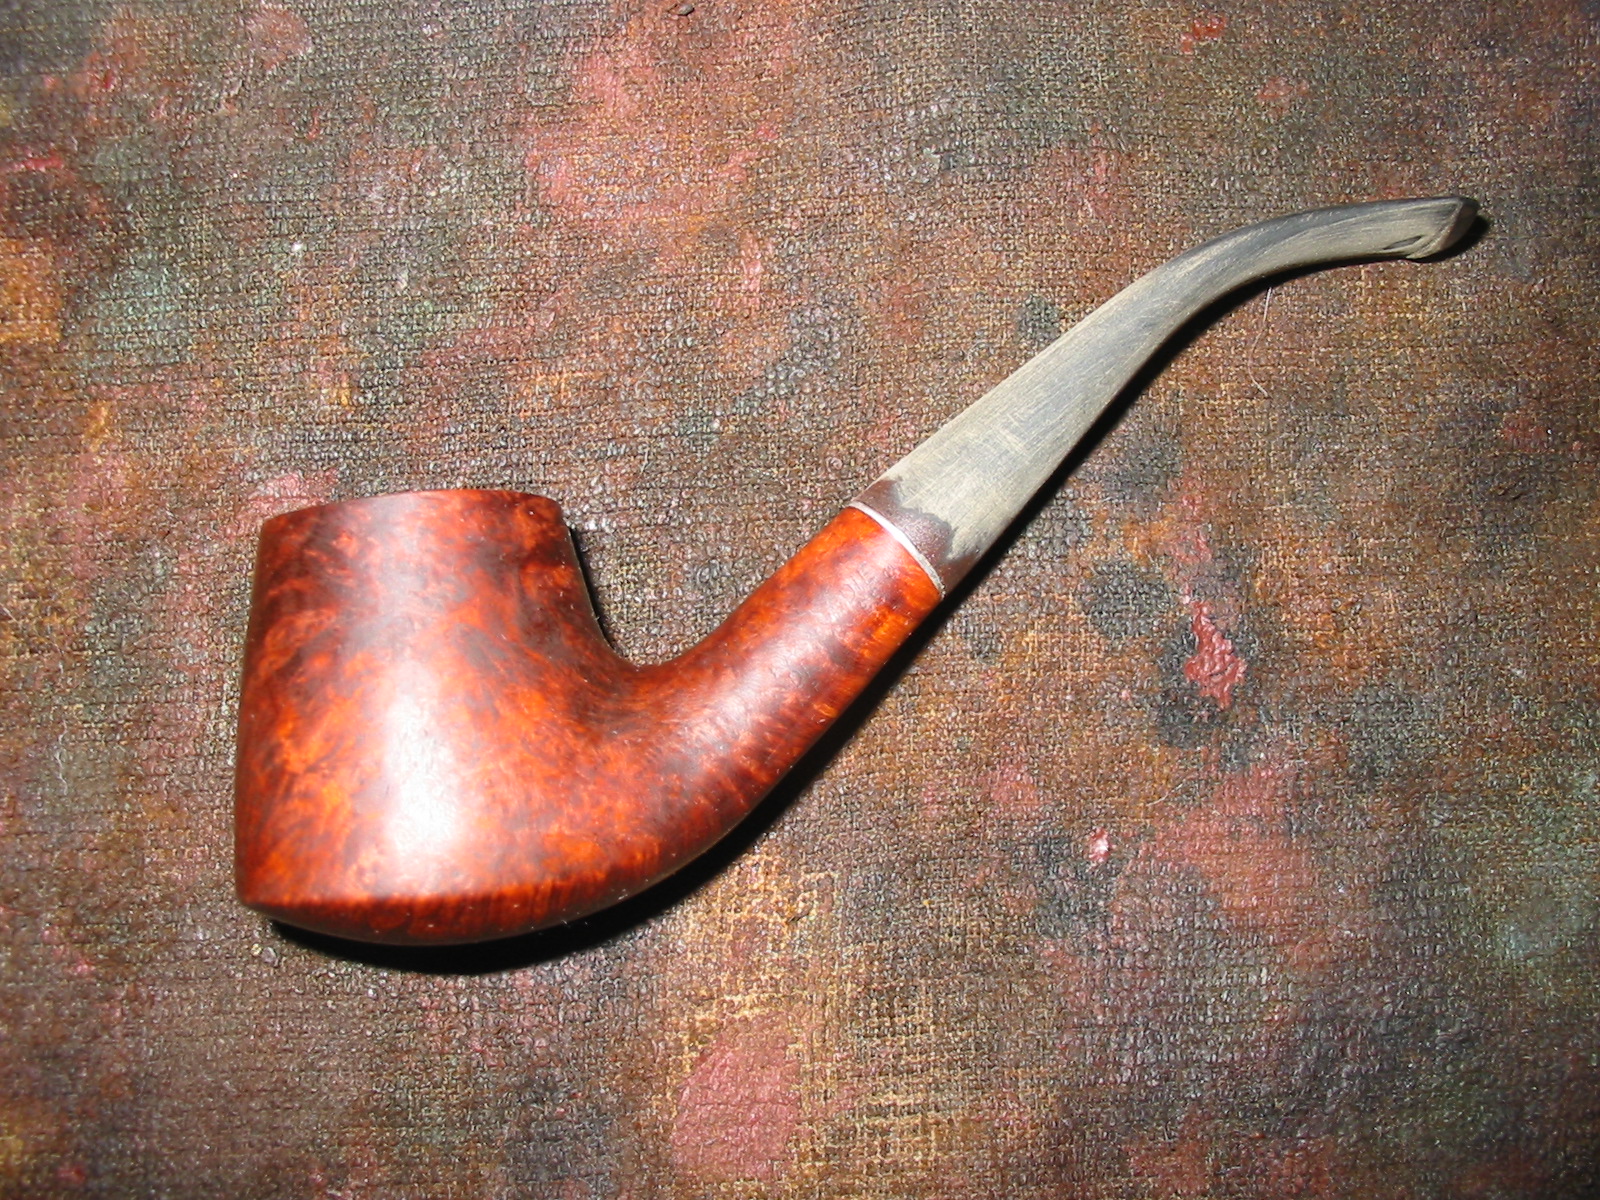
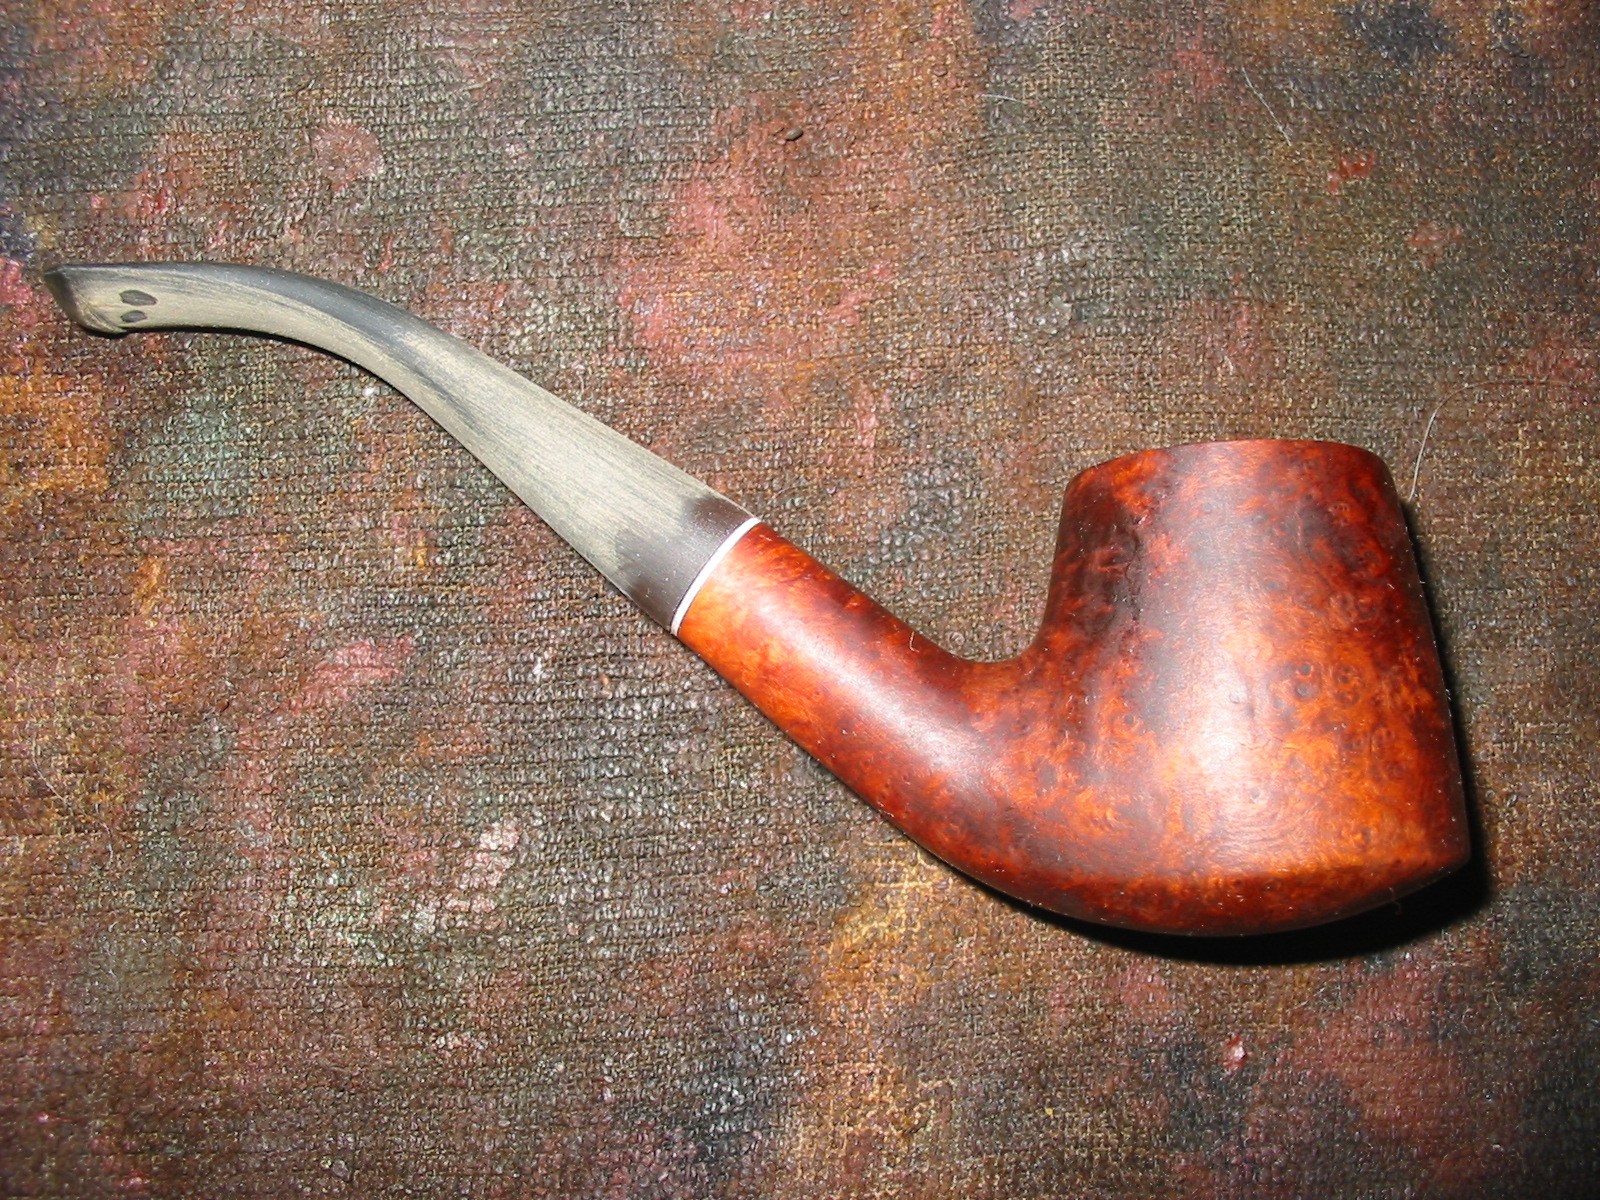
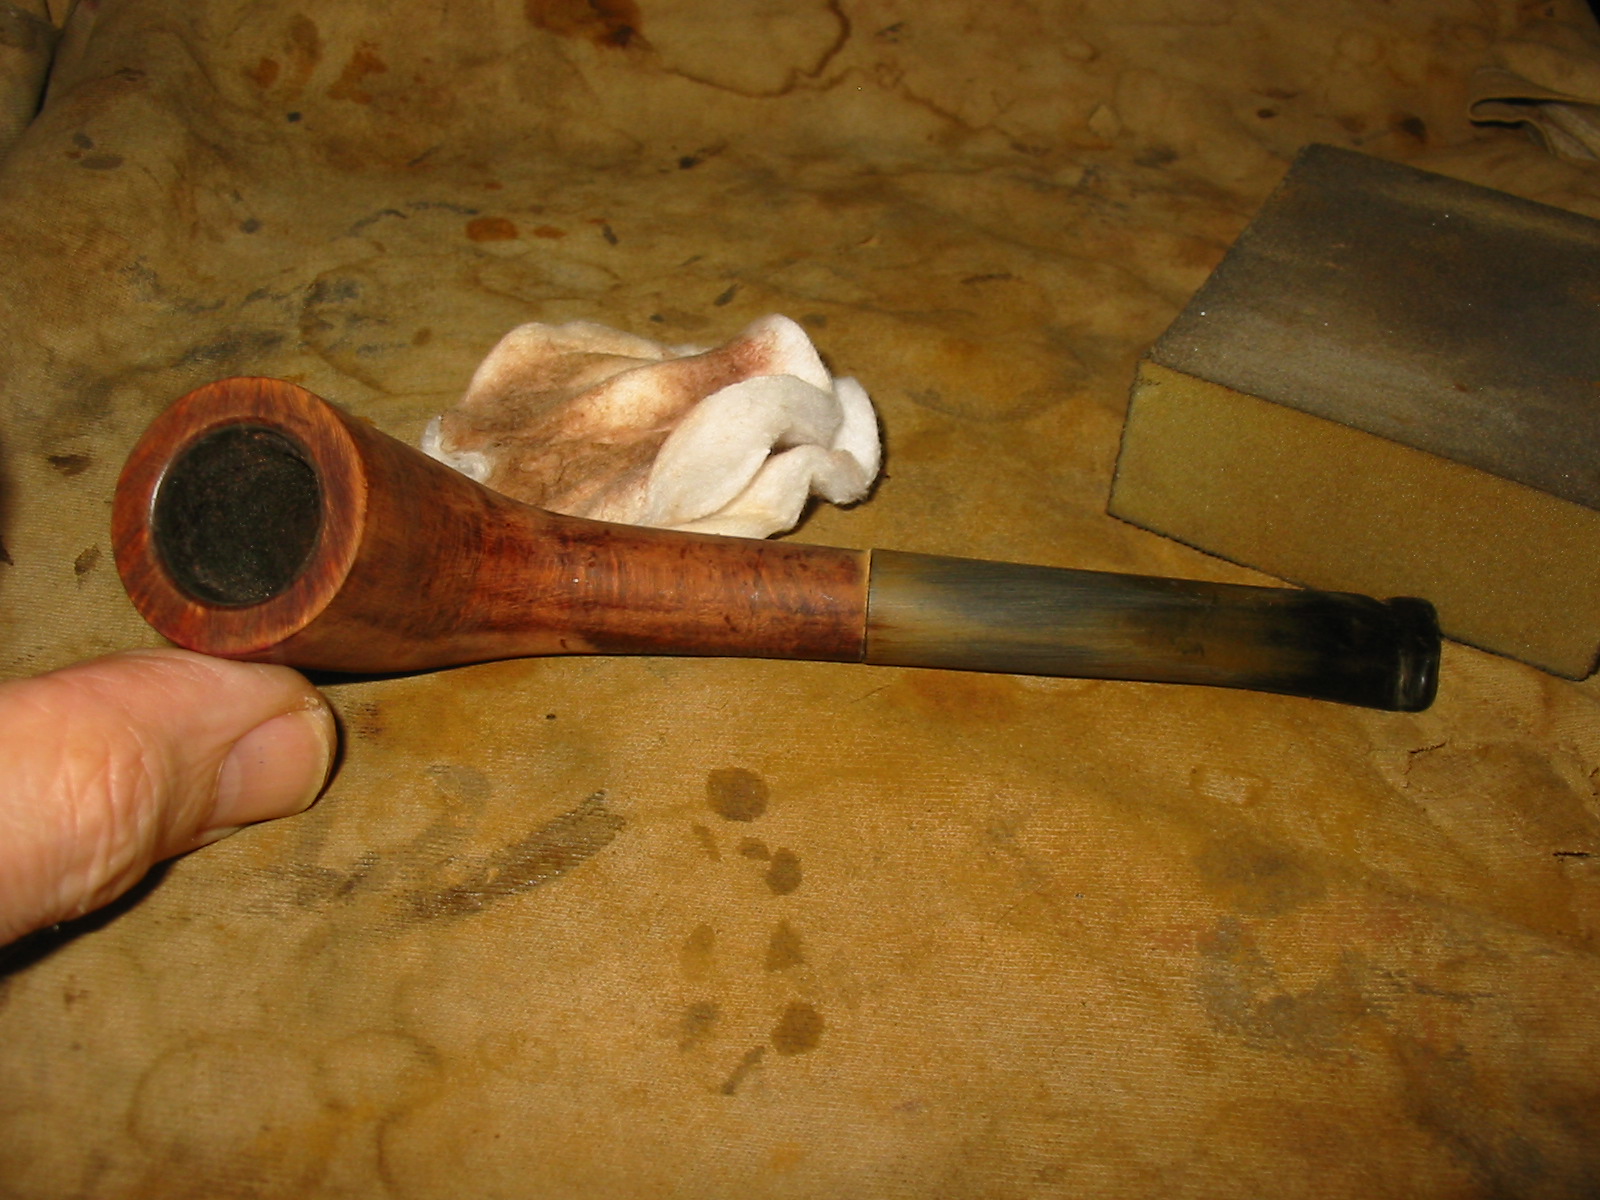
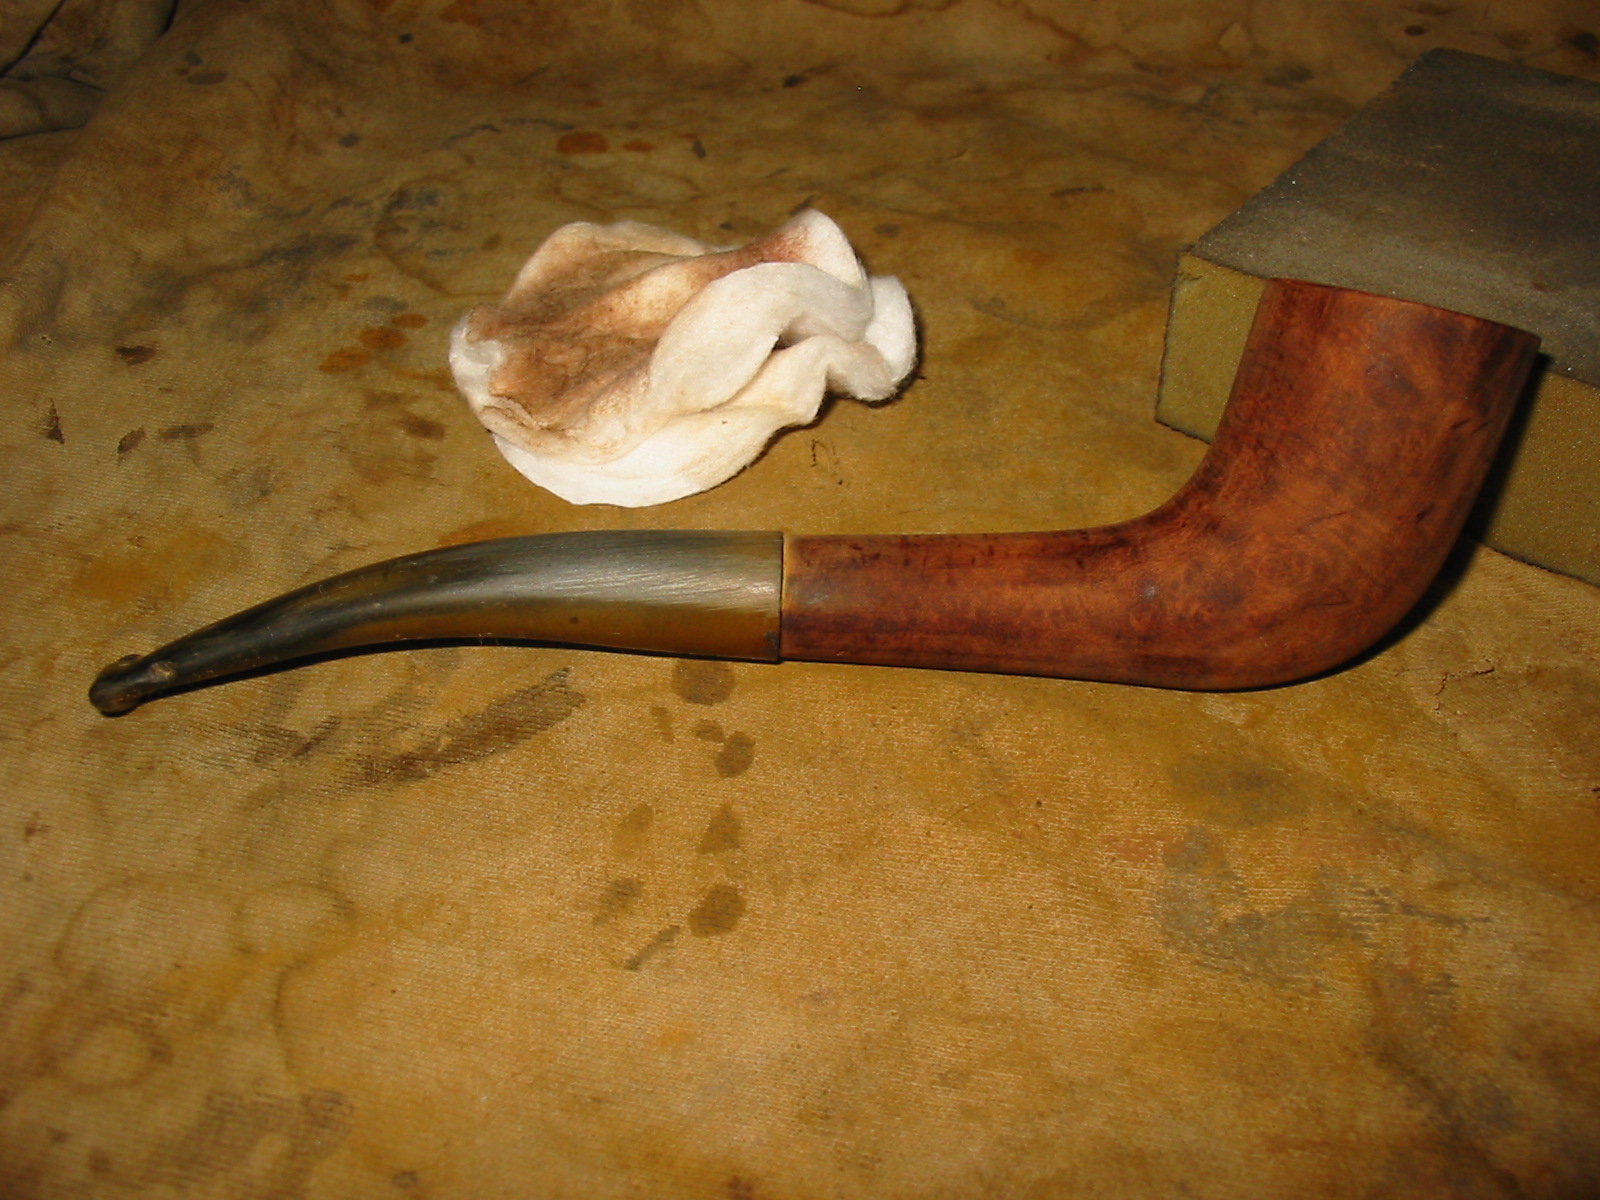
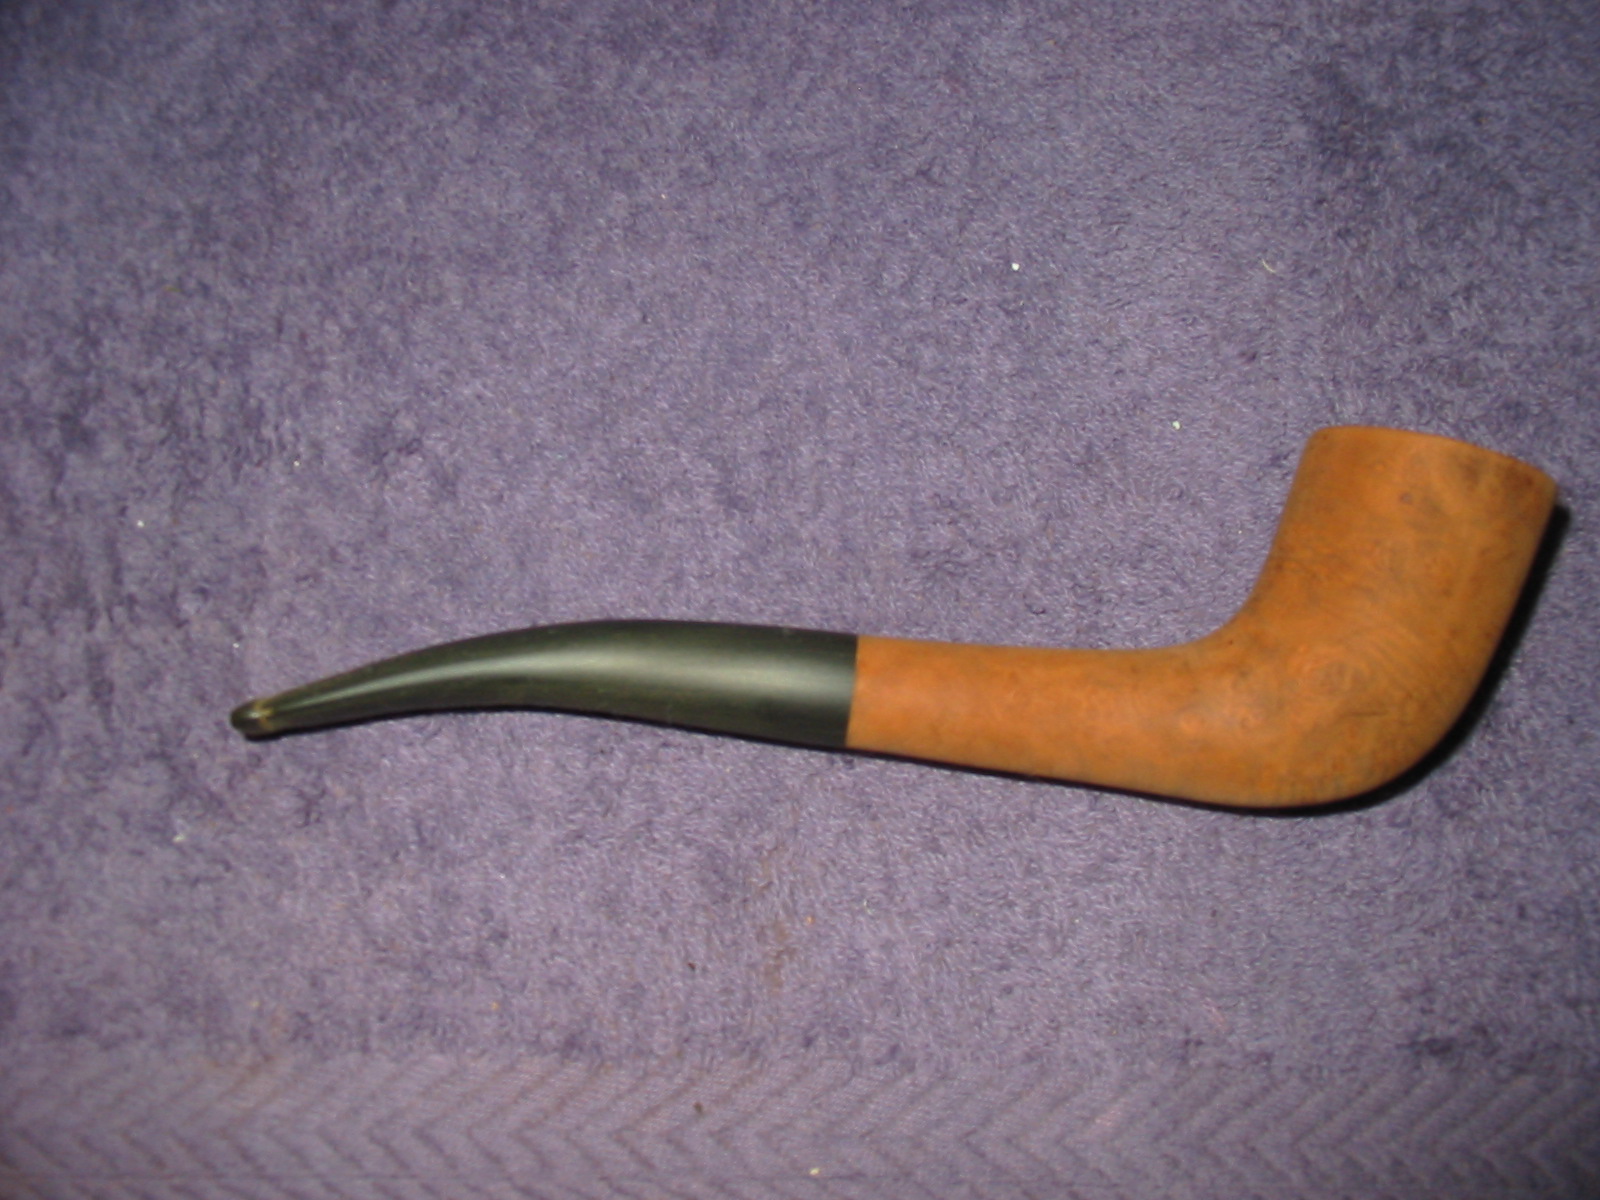
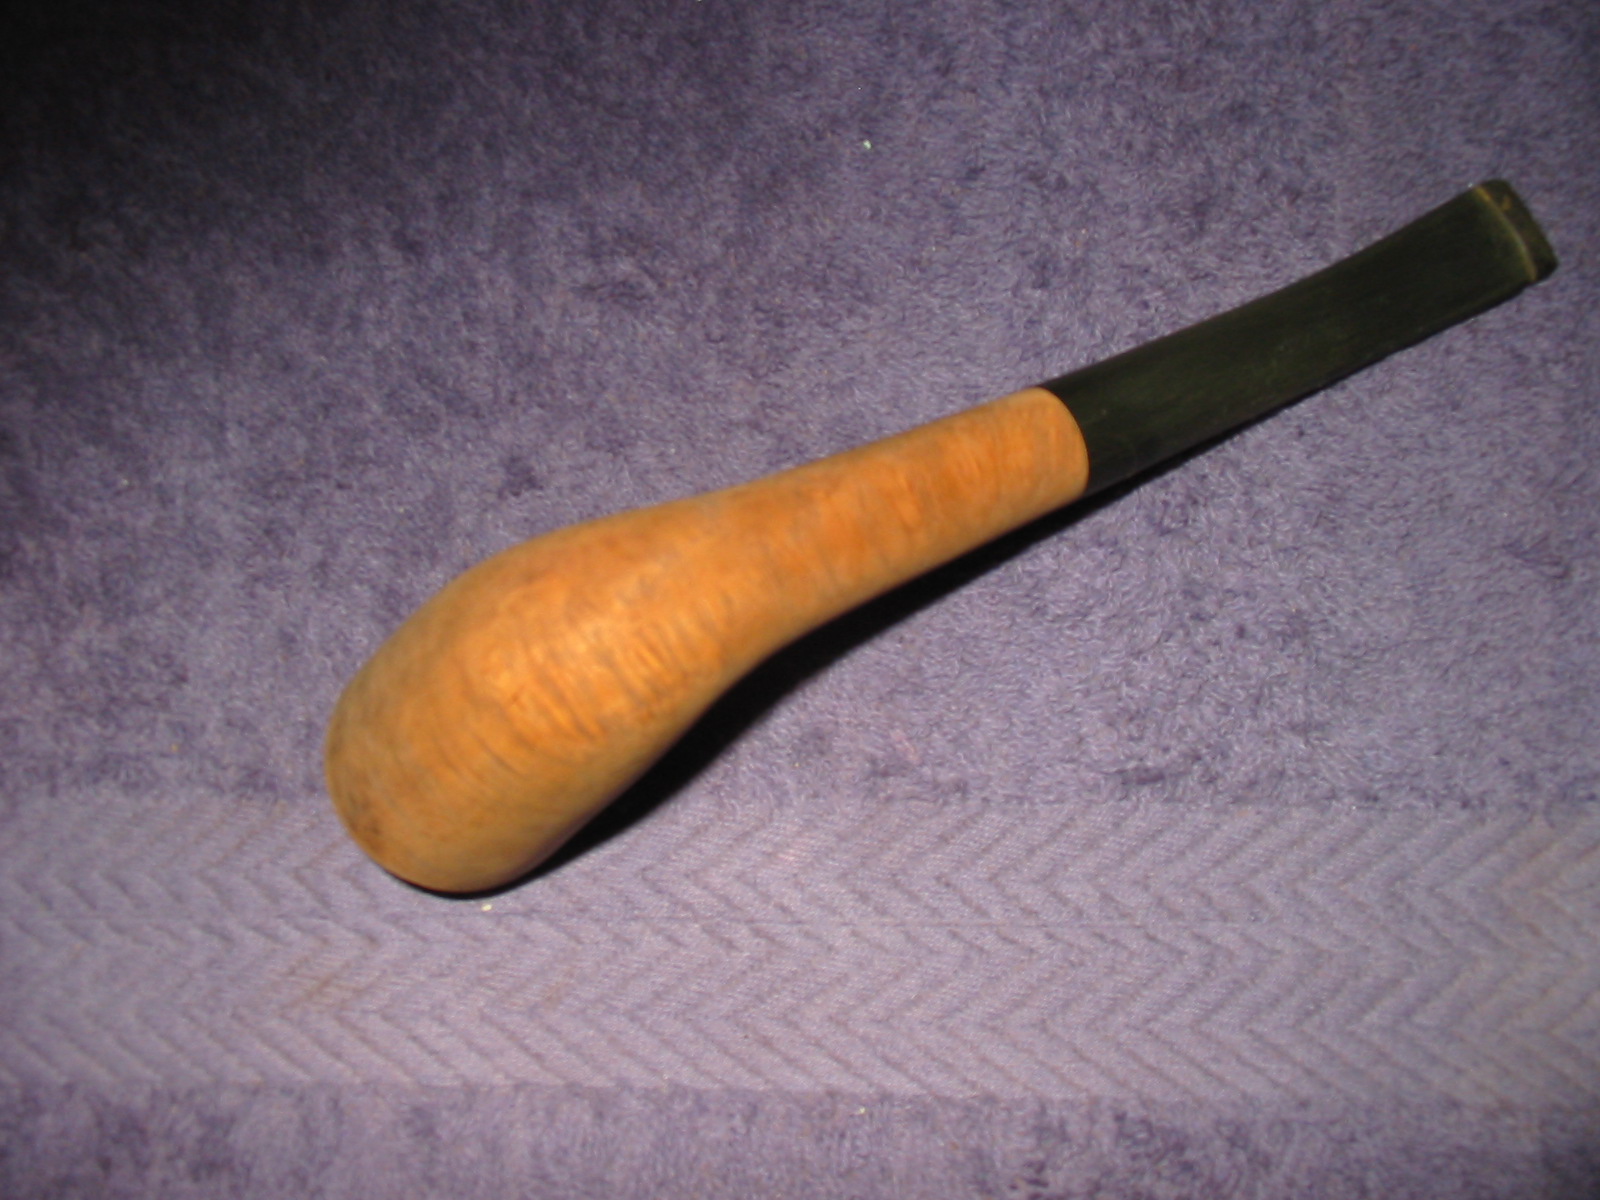
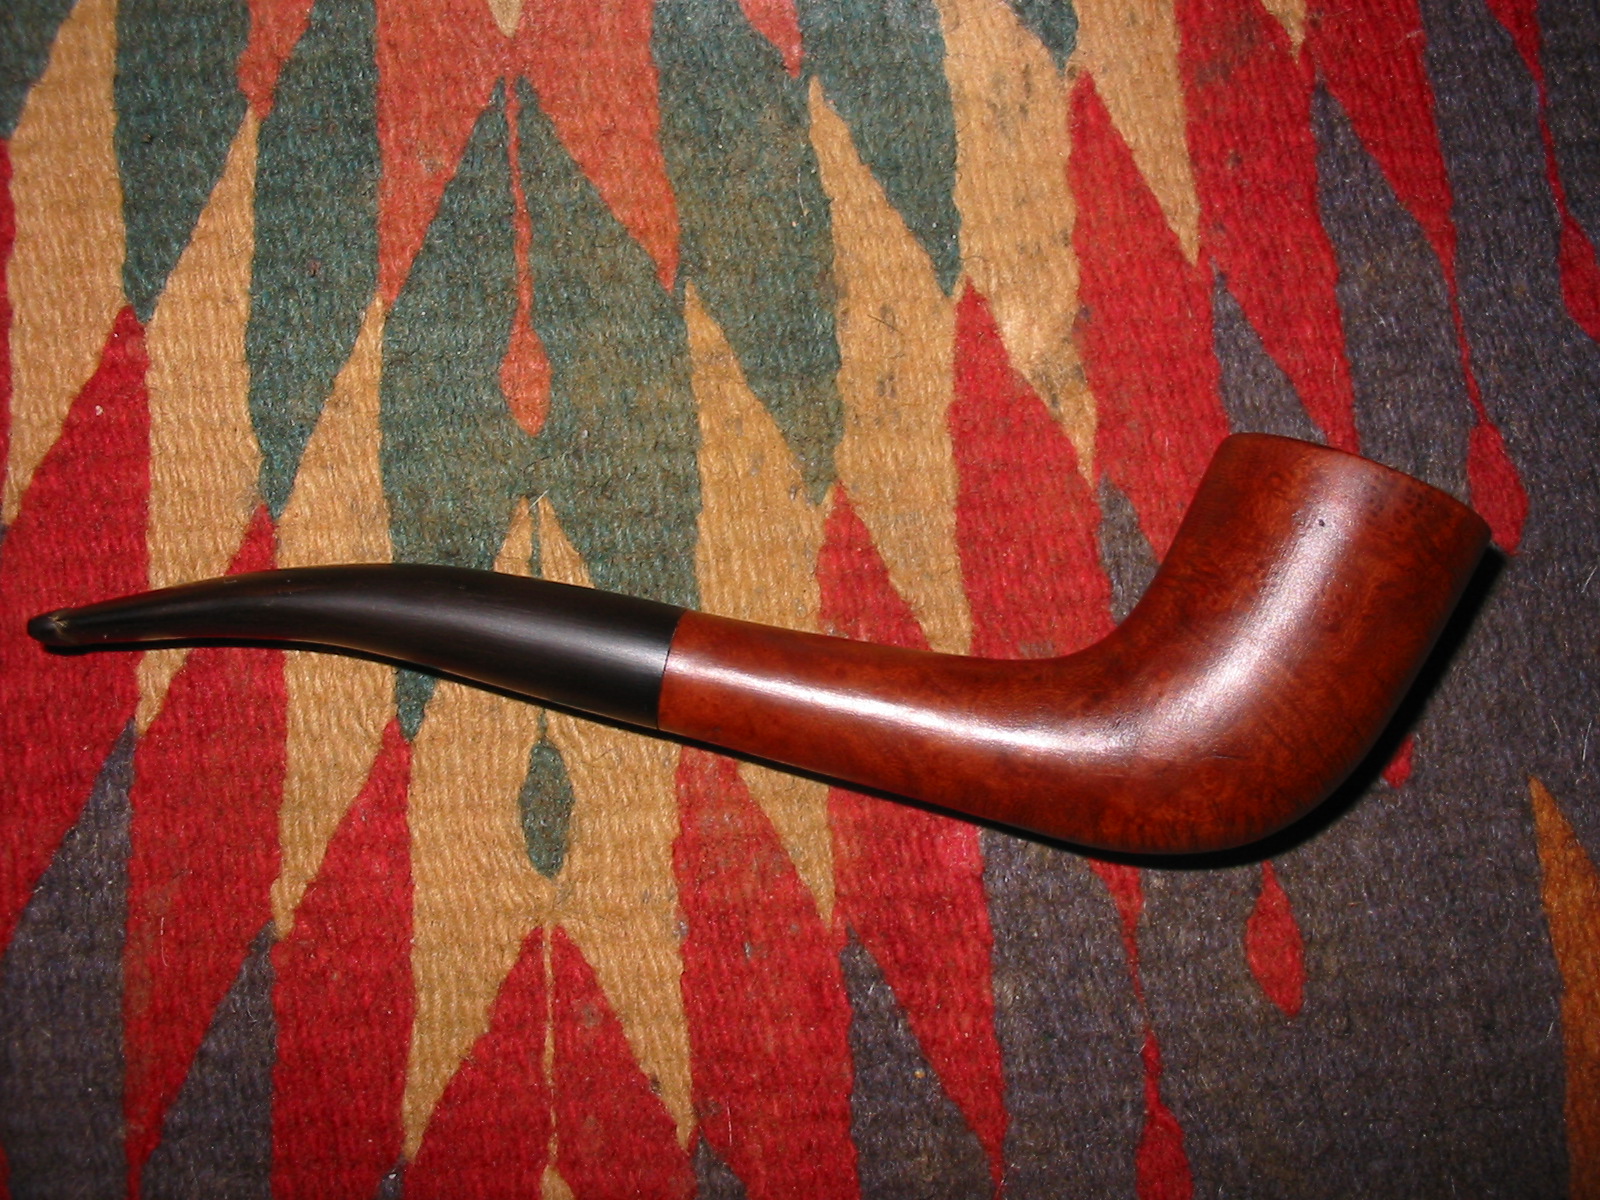
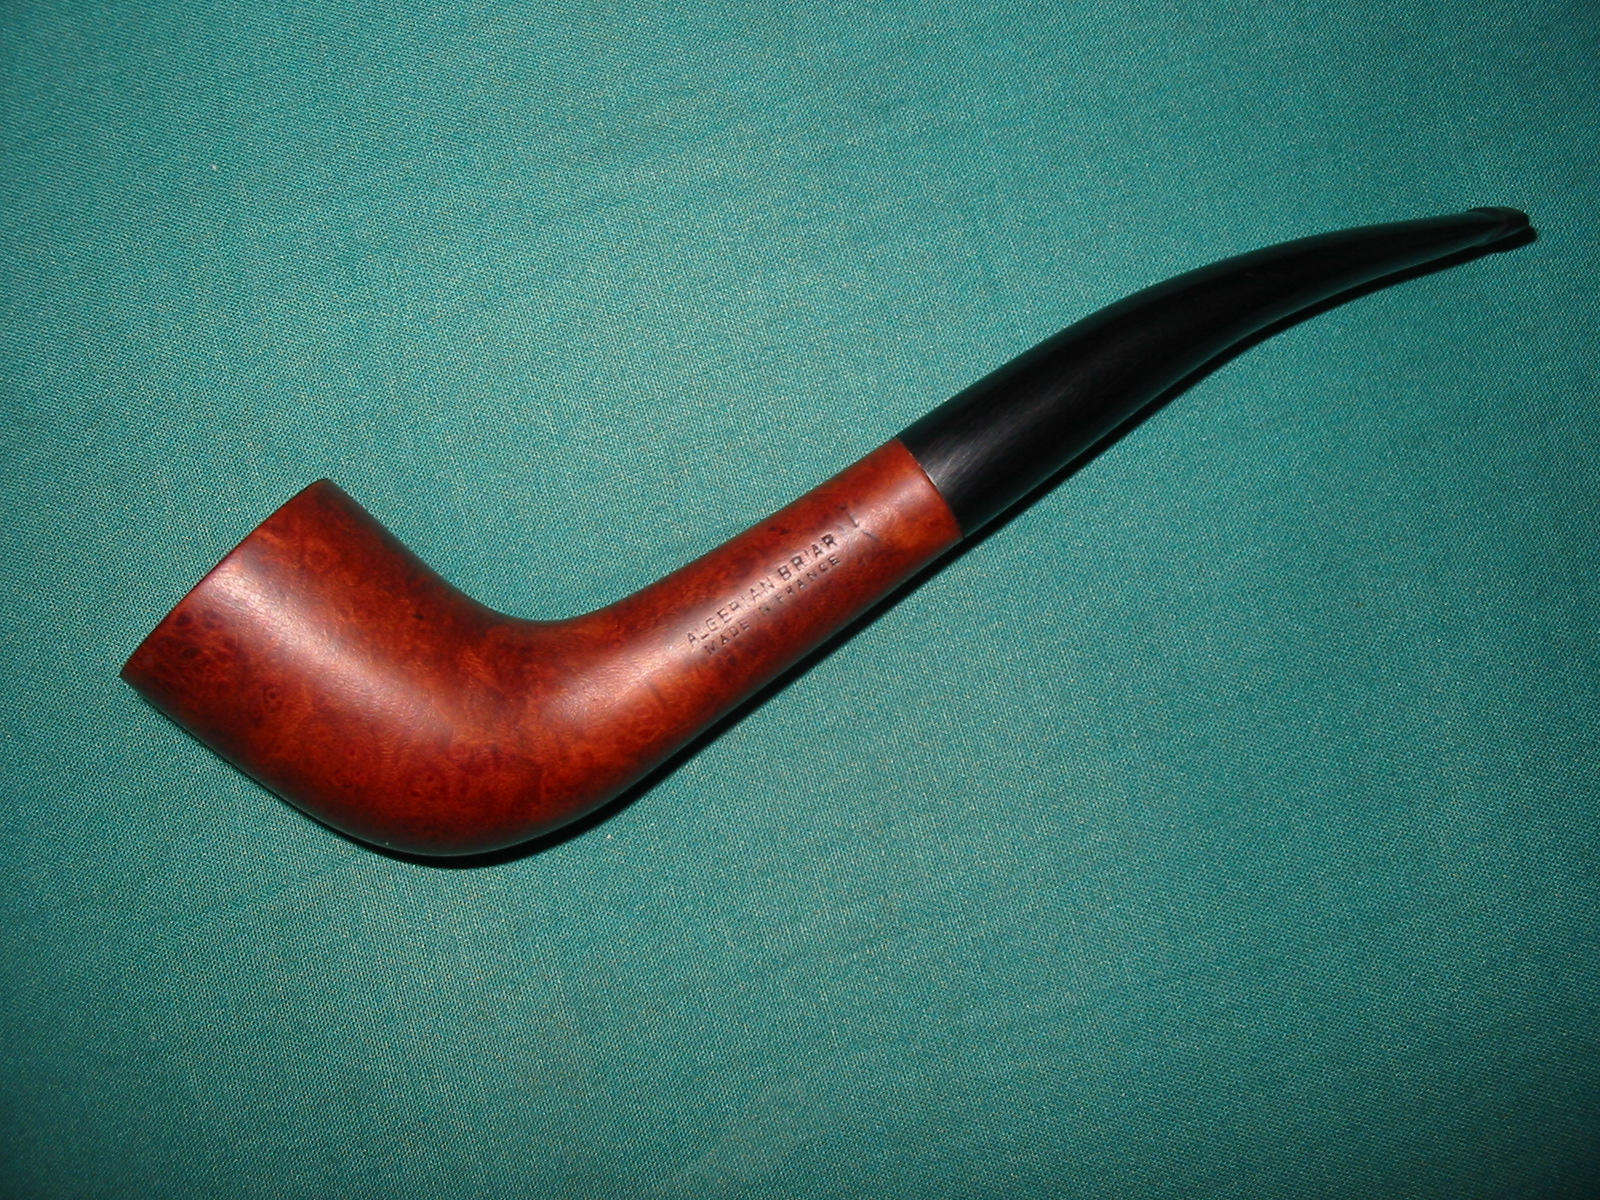
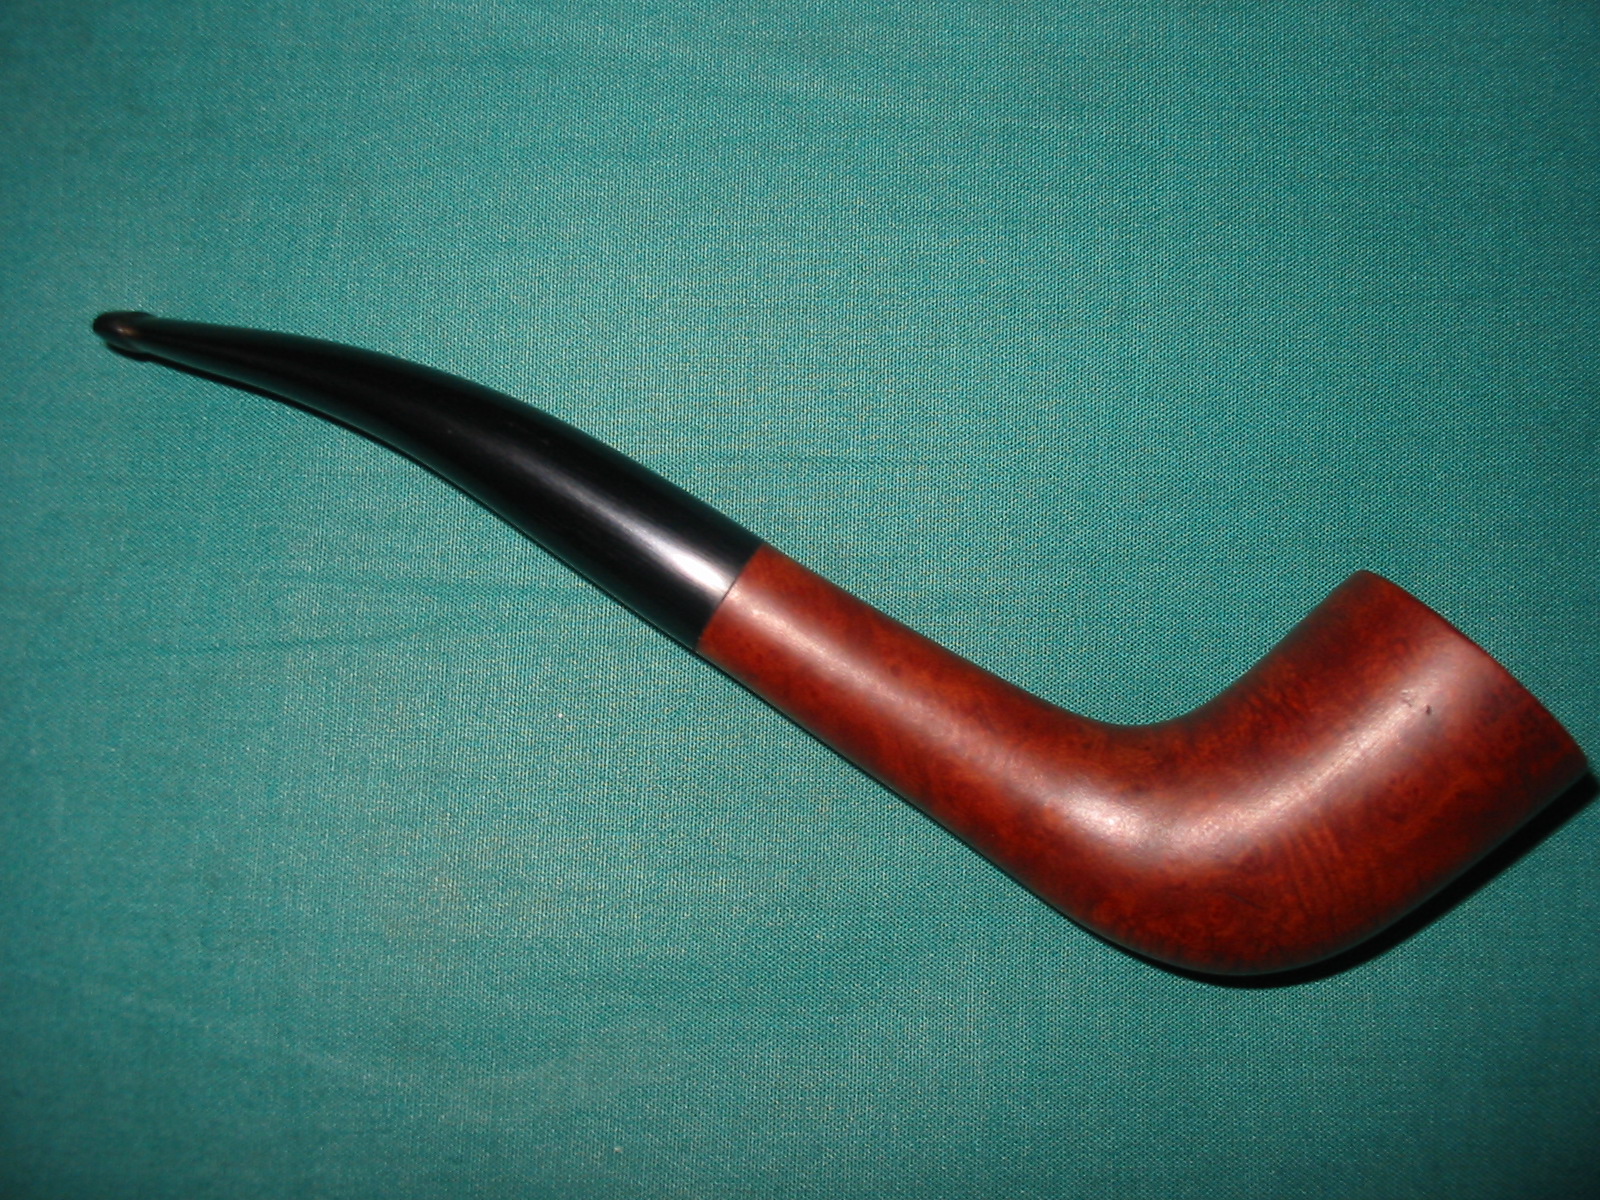
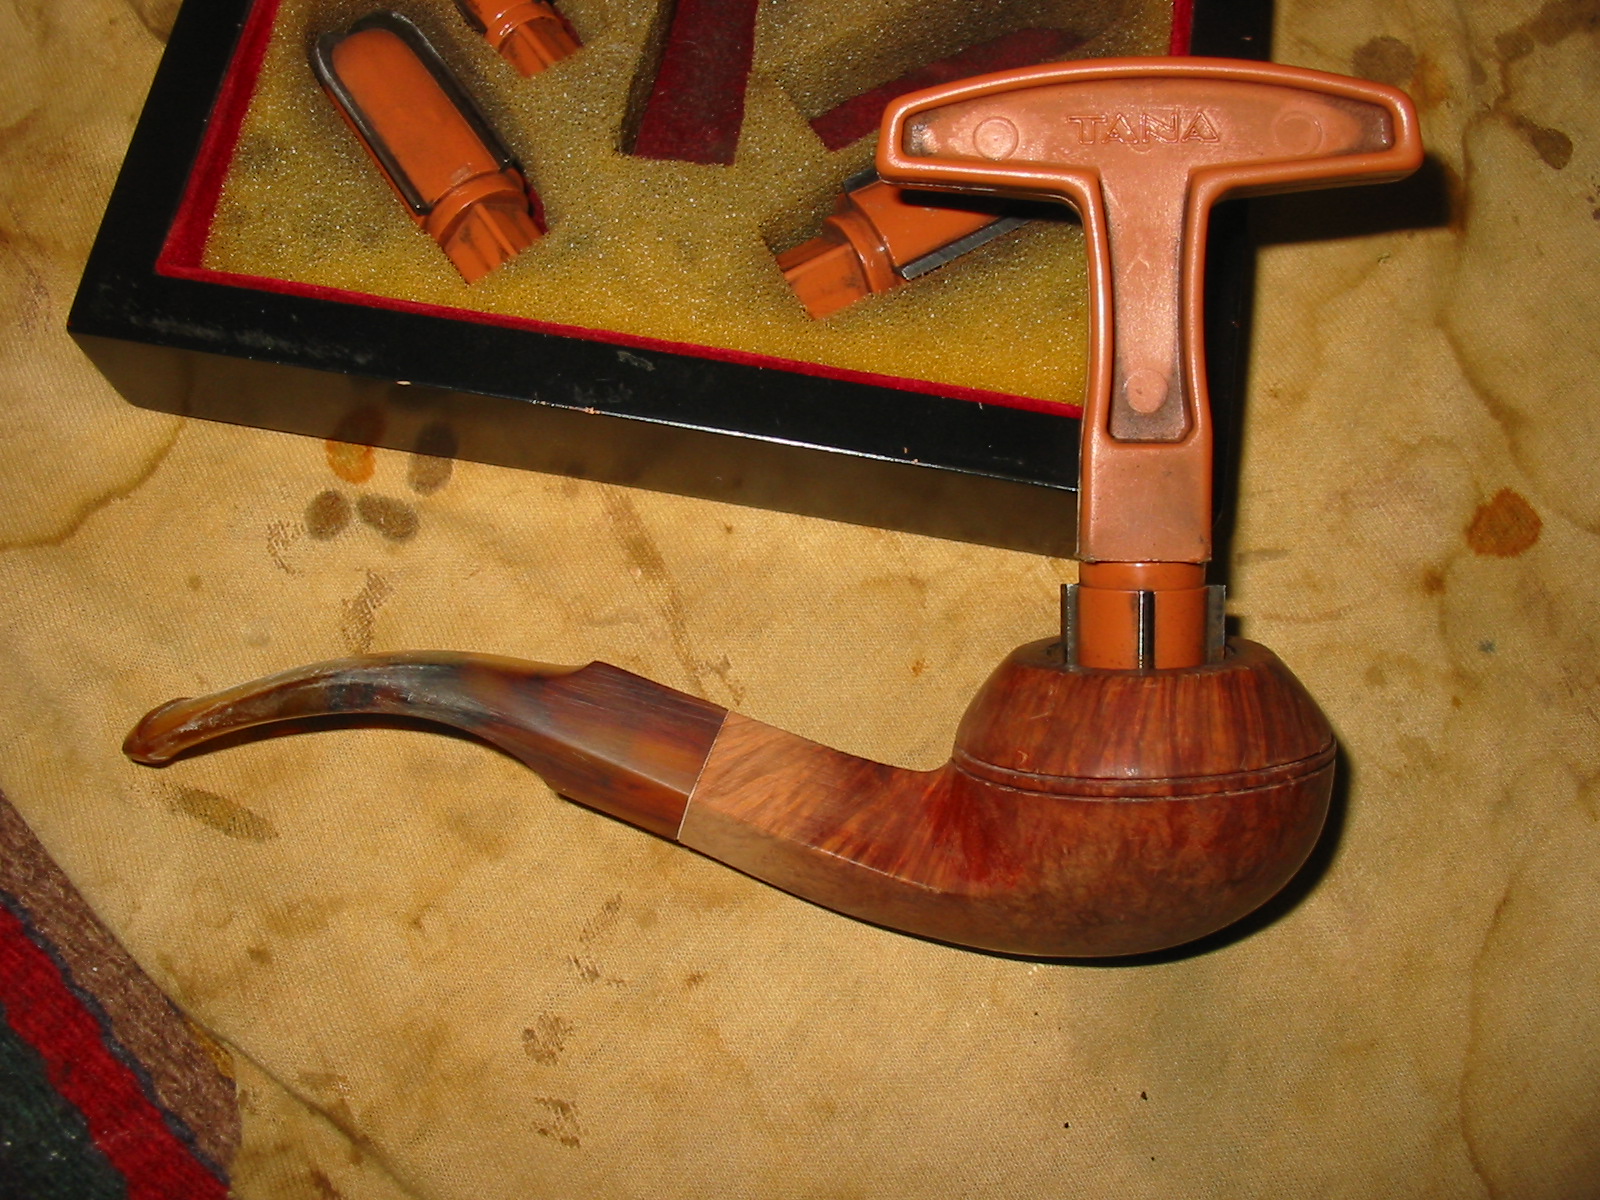
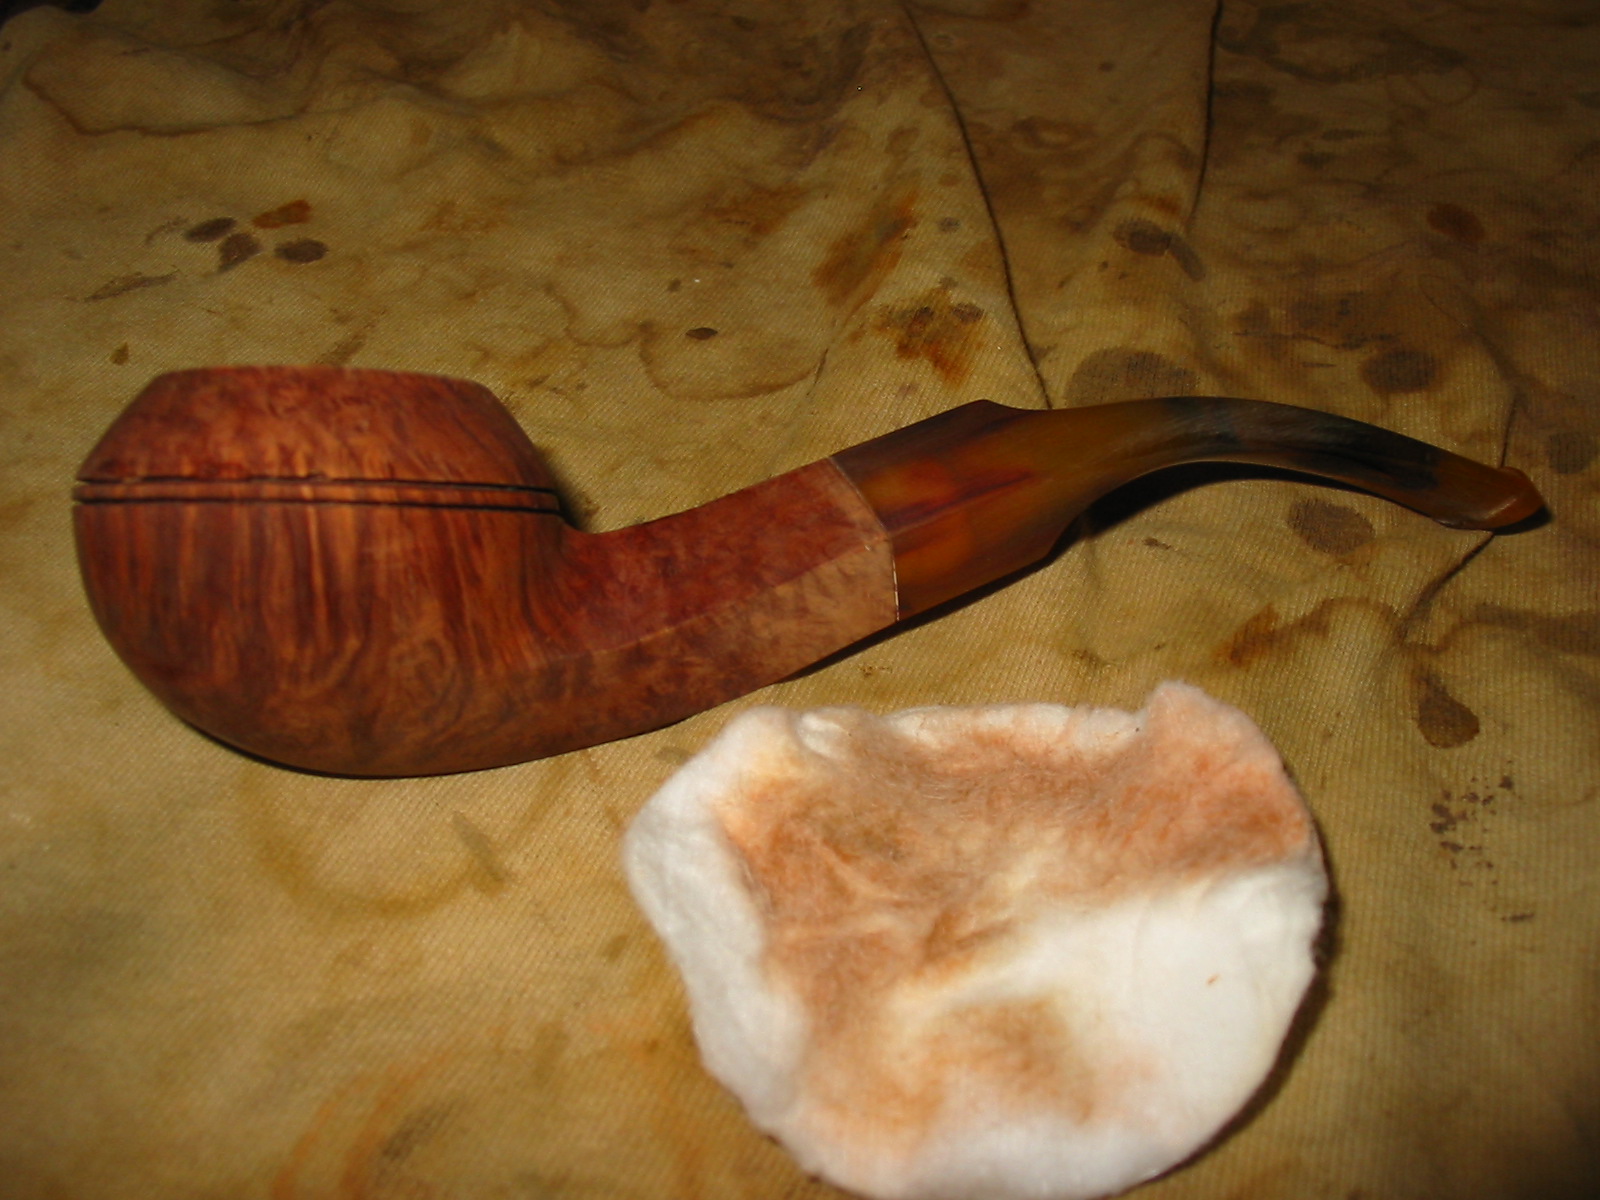
I gave the pipe another coat of the stain and then took the pipe to the buffer and buffed the bowl and stem with White Diamond. When I had finished I buffed it with multiple coats of carnauba wax and then with a soft flannel buff to finish the shine. The completed pipe is shown in the photos below. I really like the way the stain and the striations in the stem work together. I think that this one may well stay I my own collection!