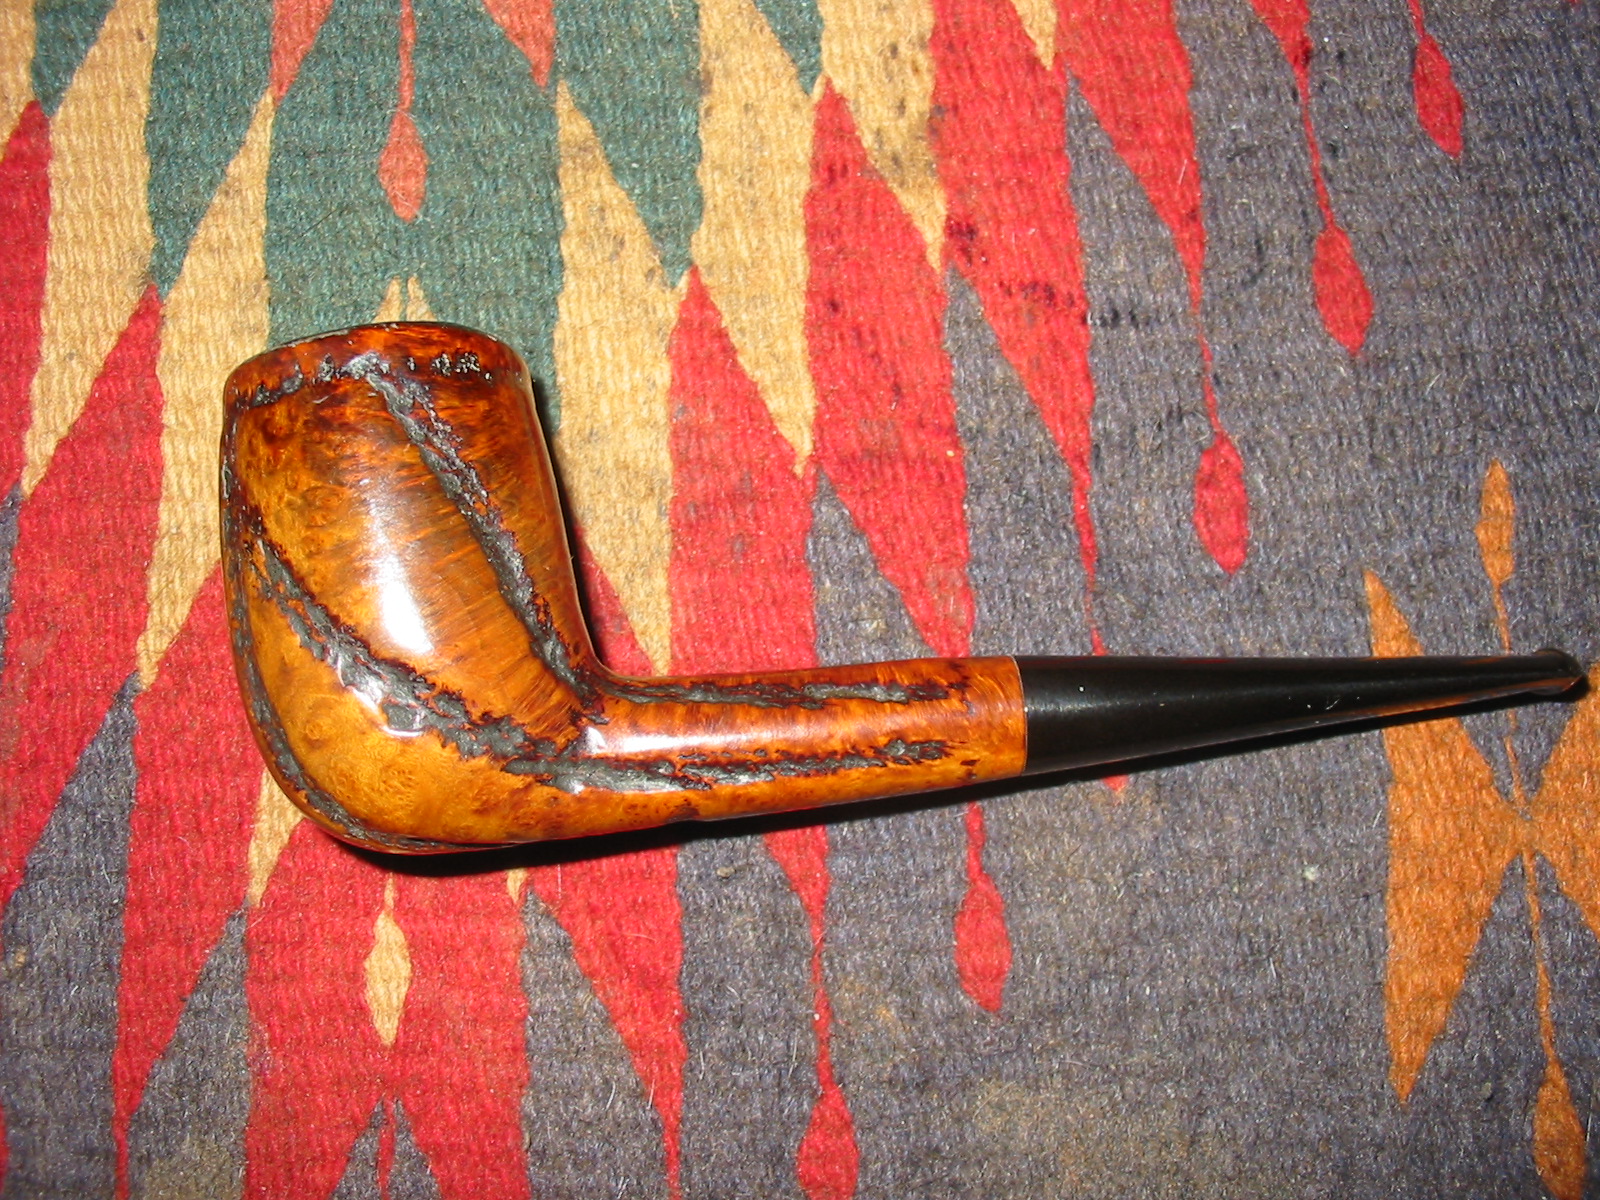
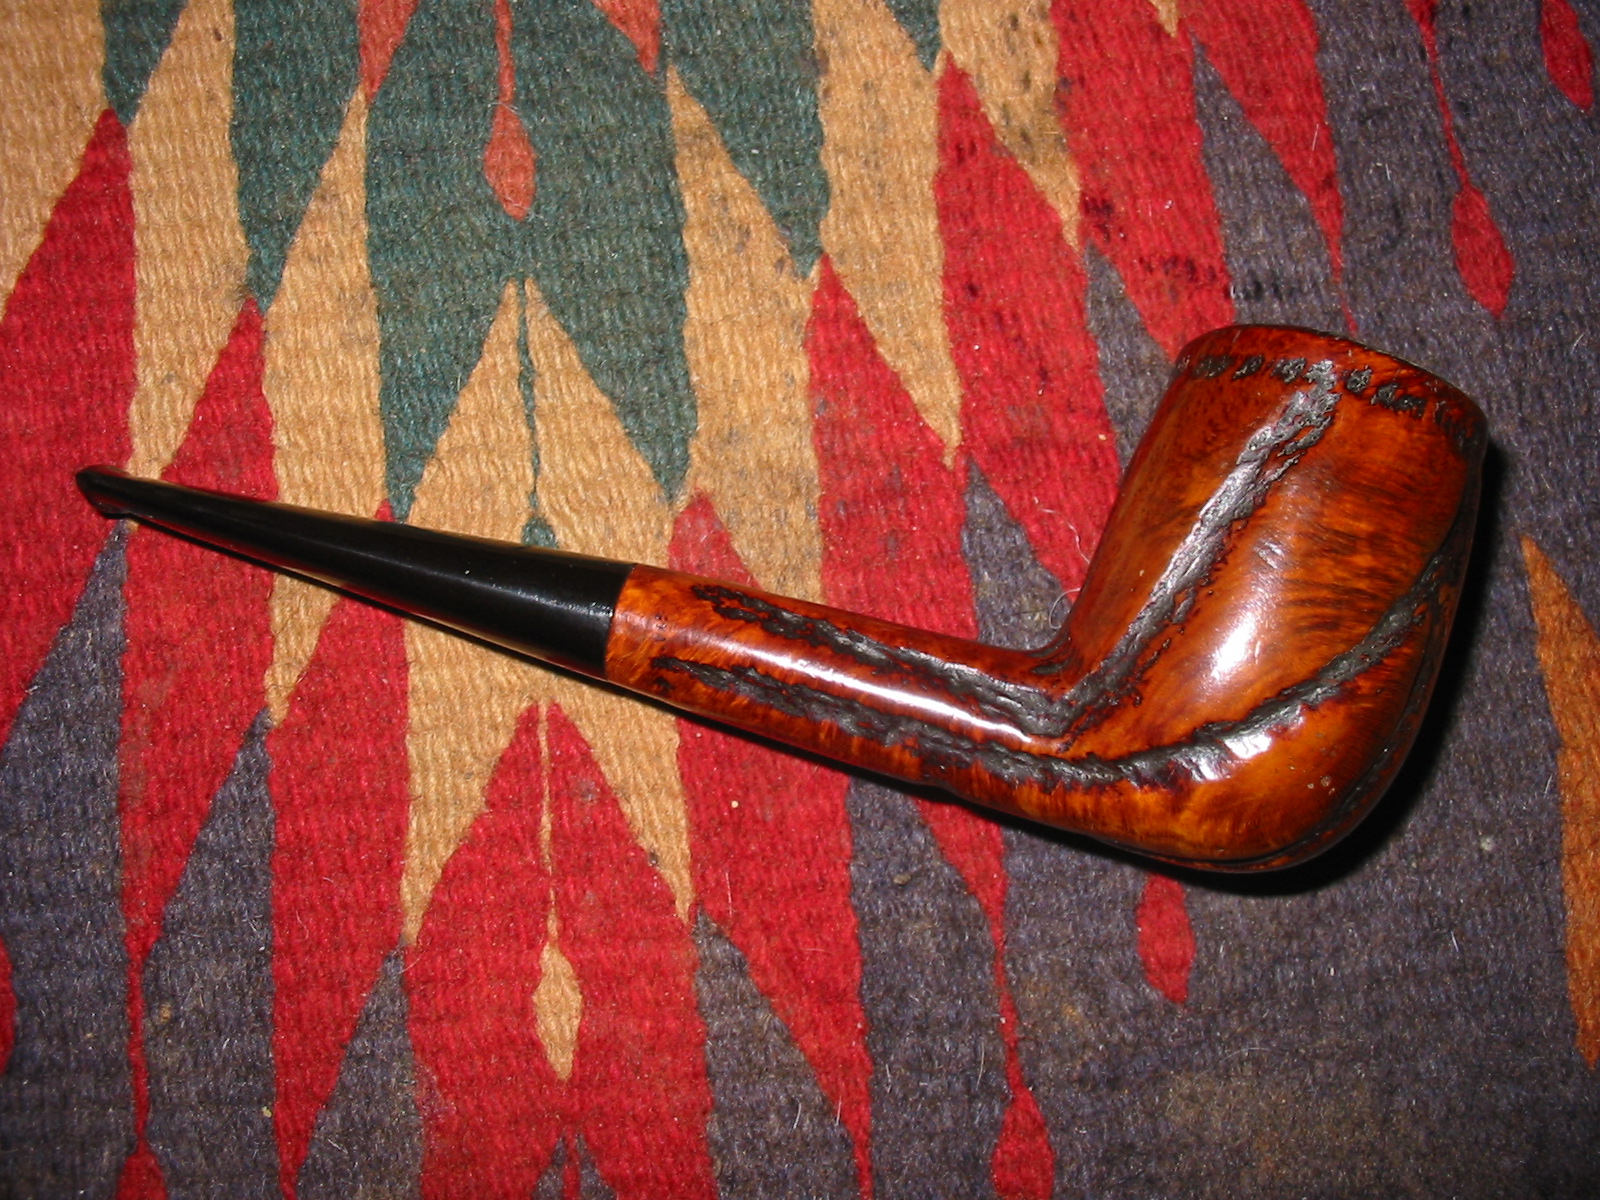
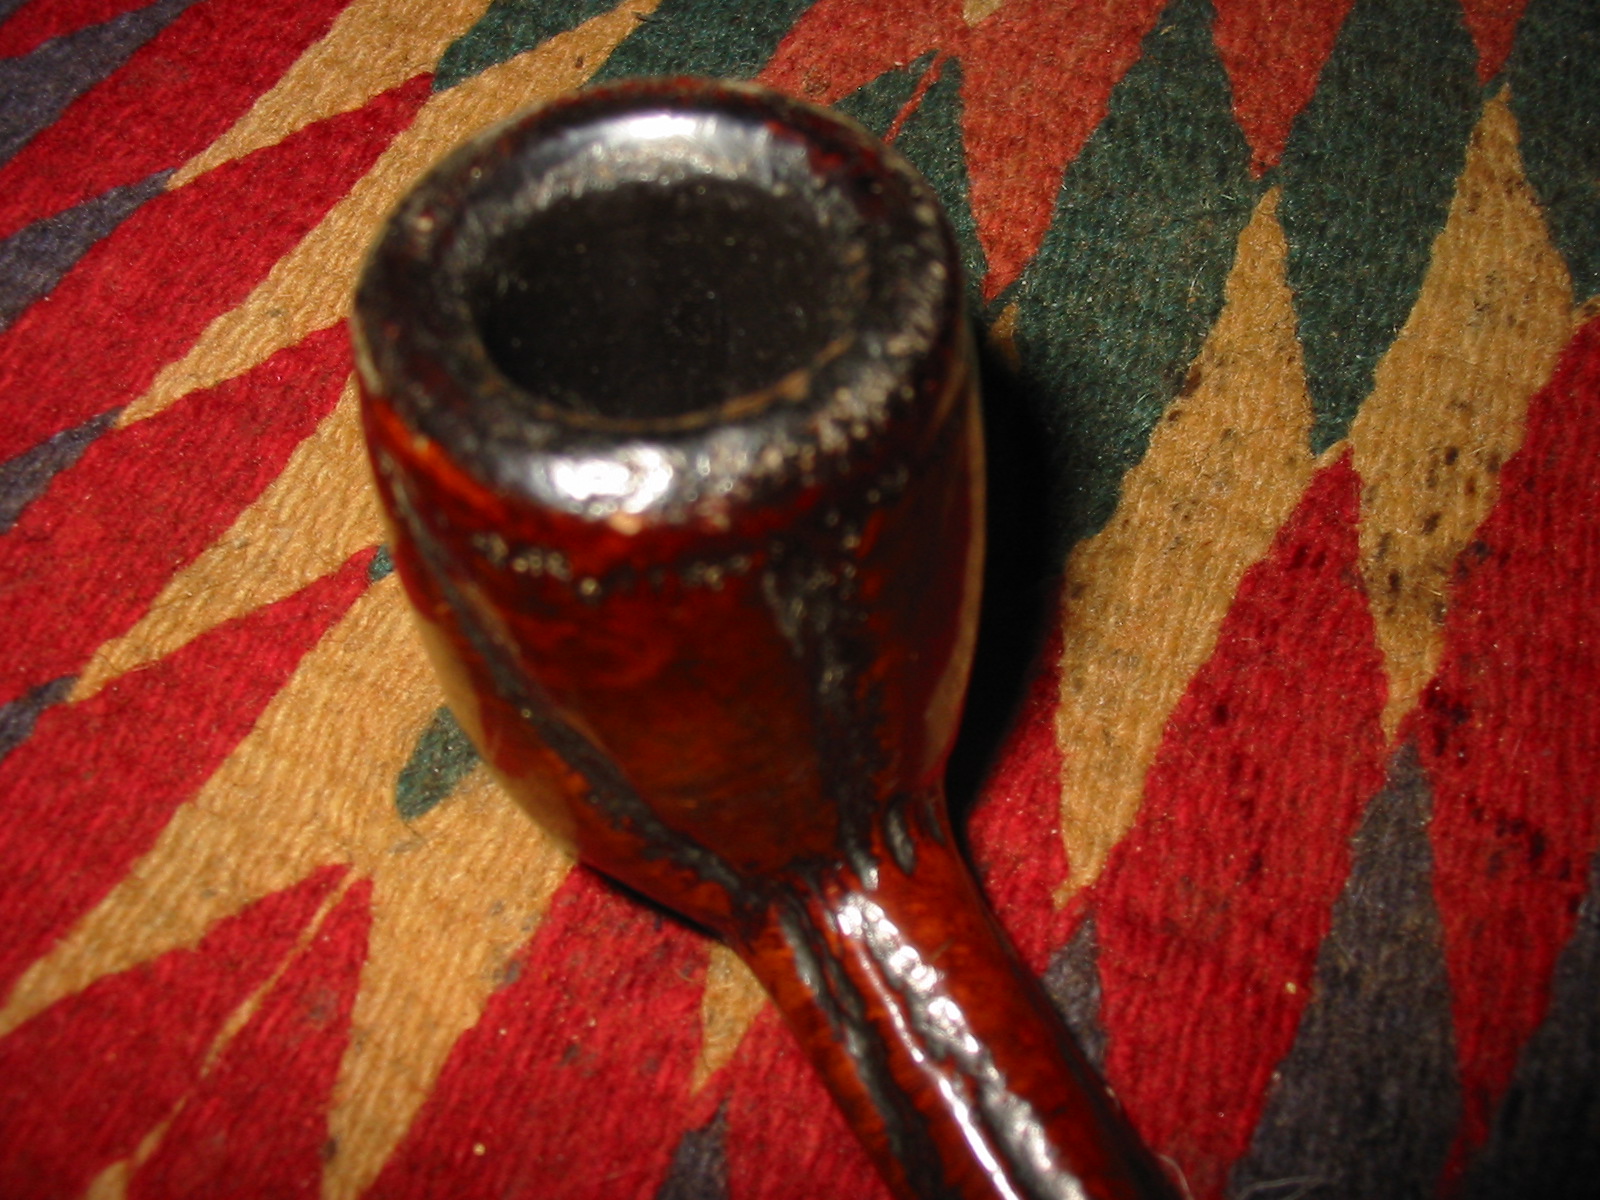
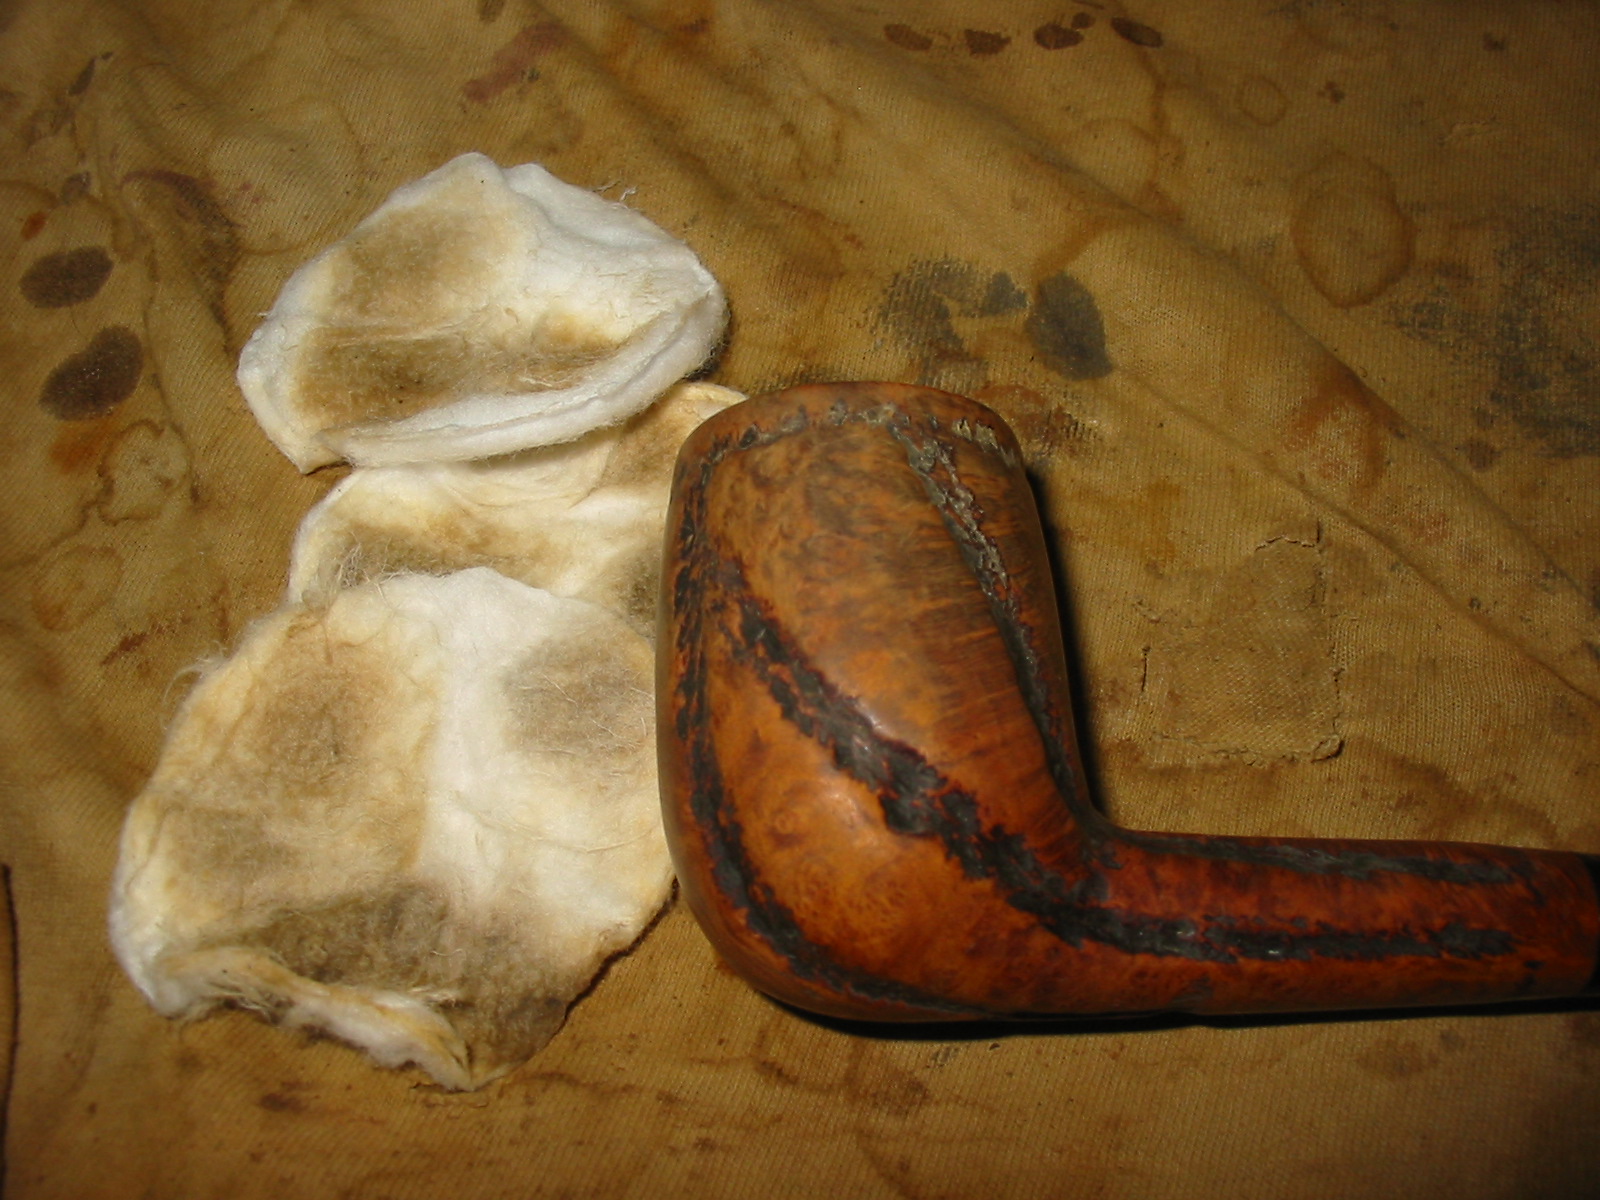
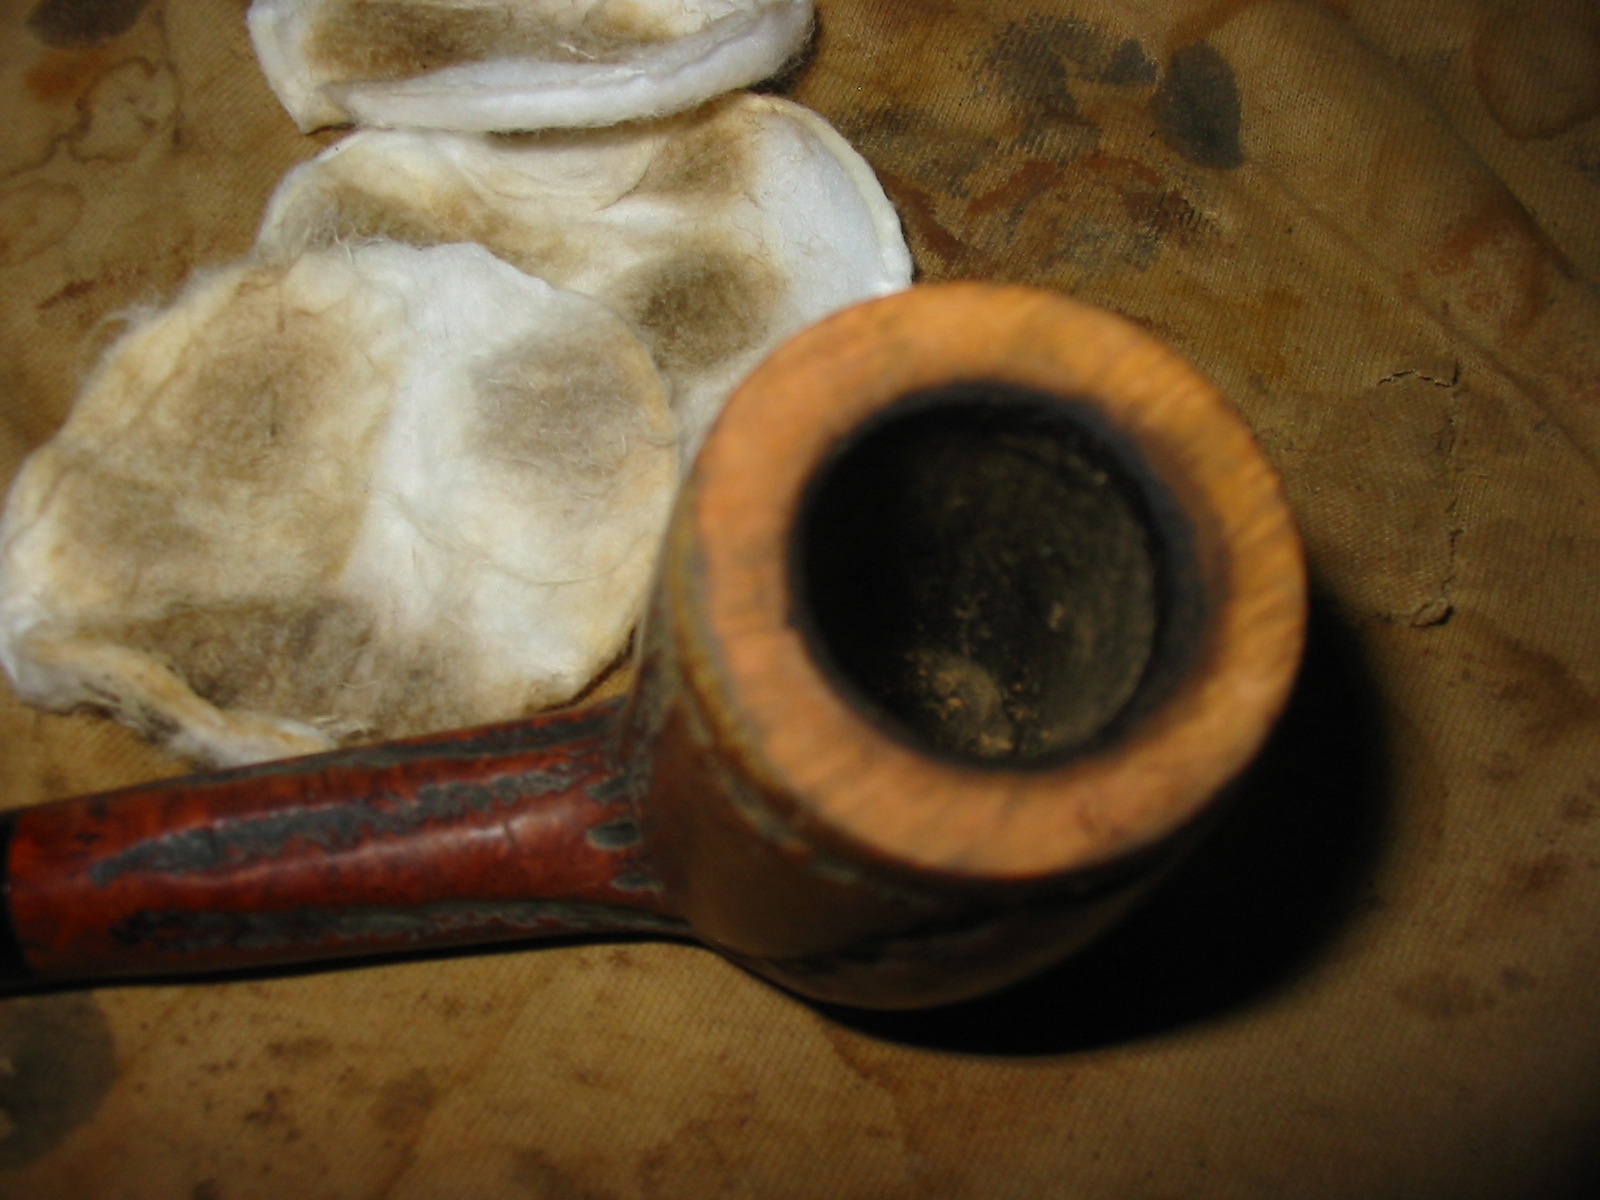
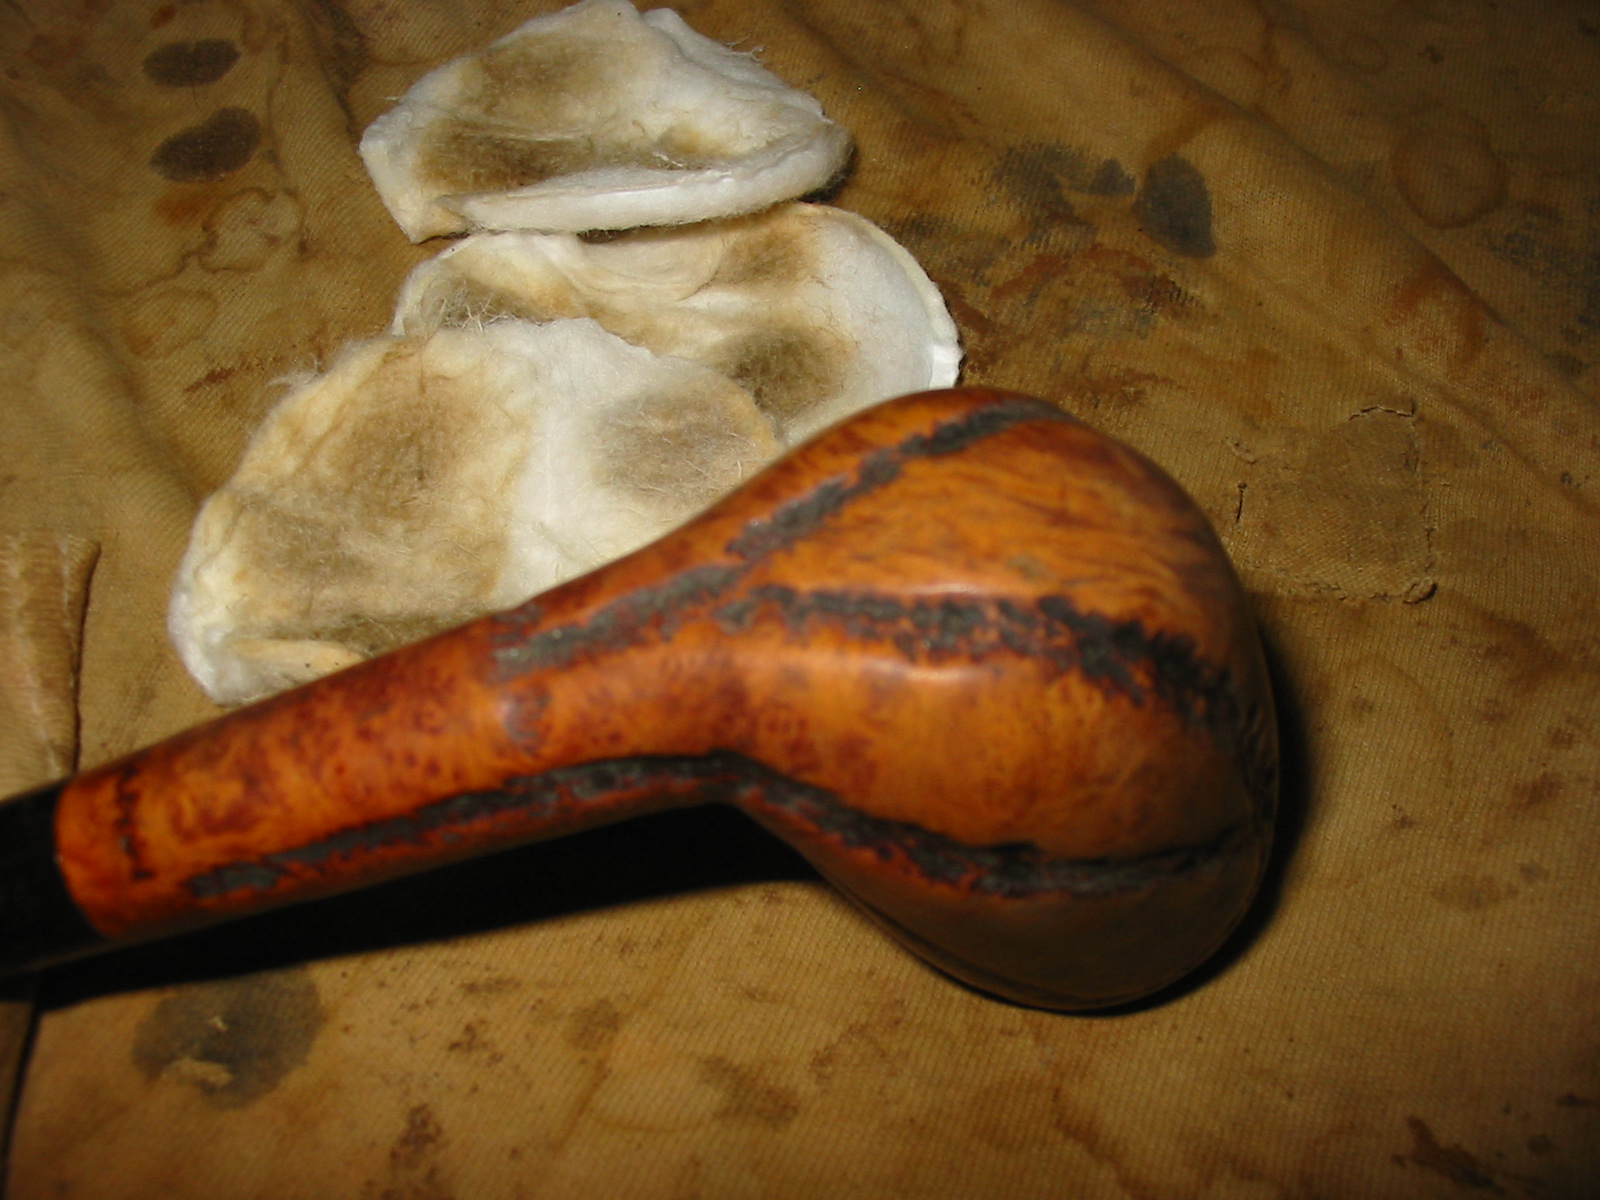
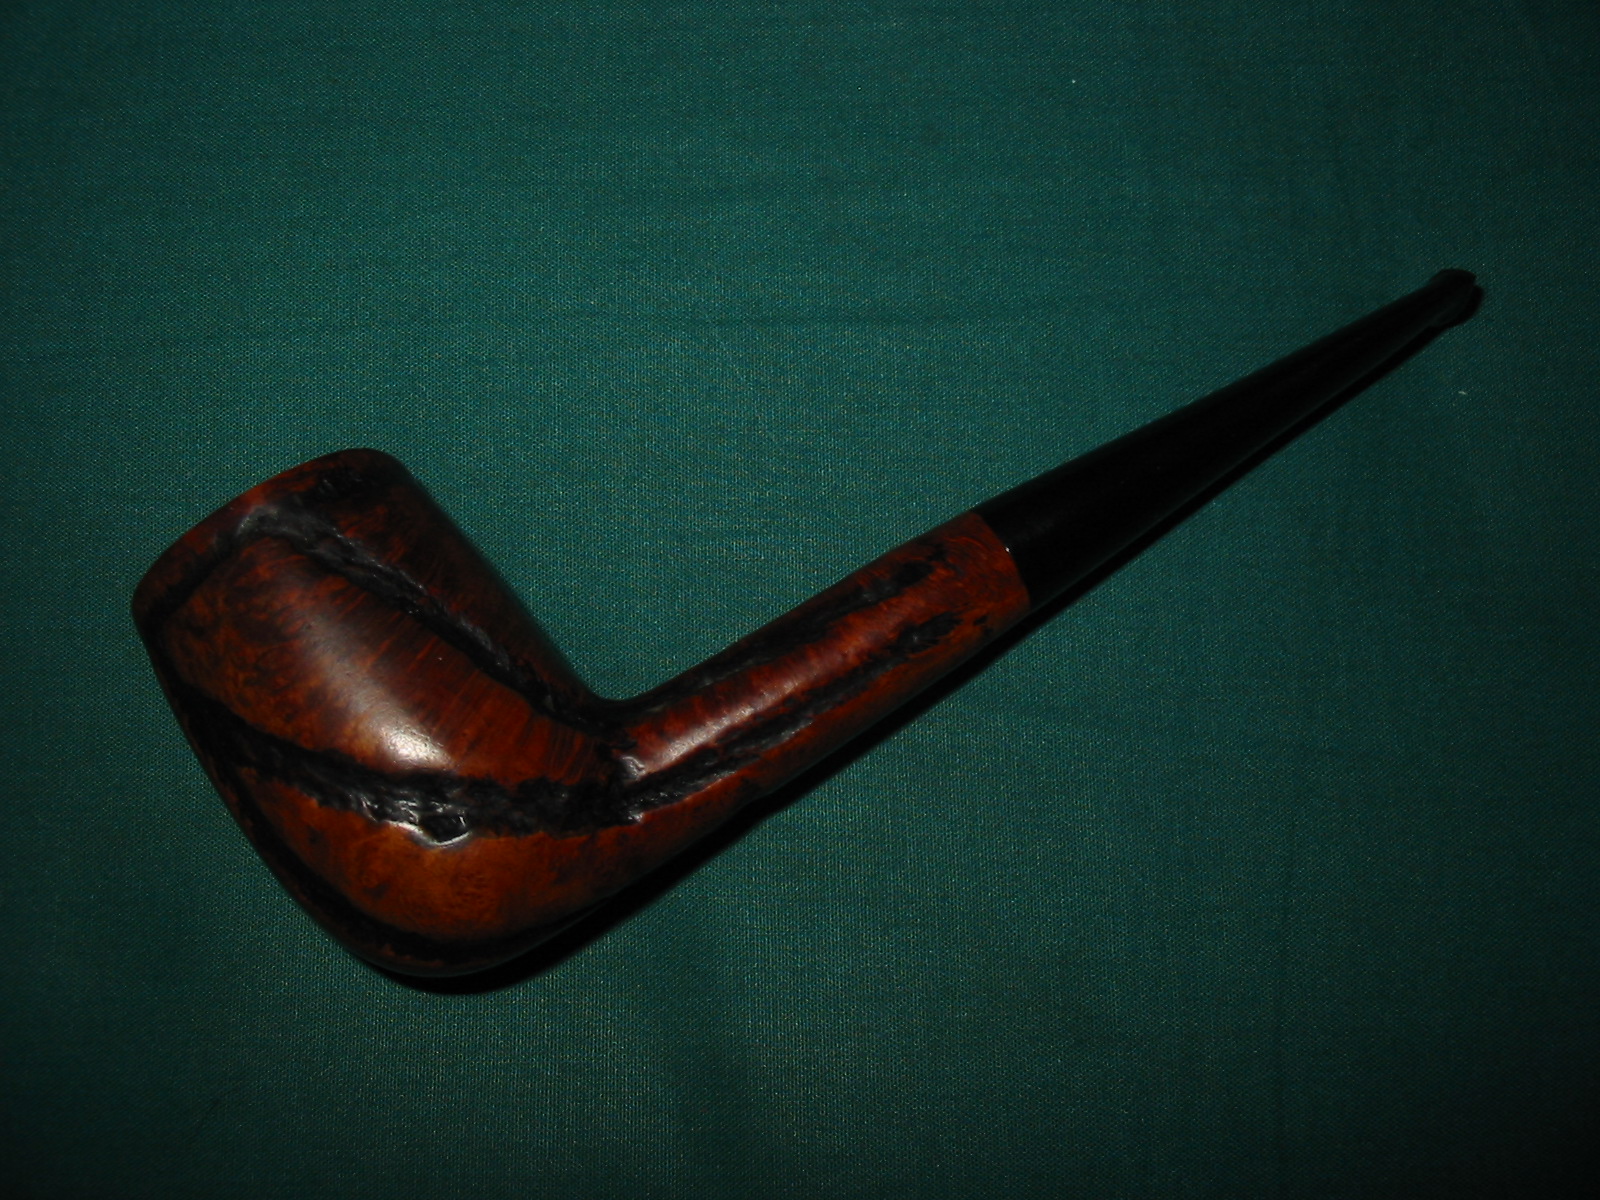
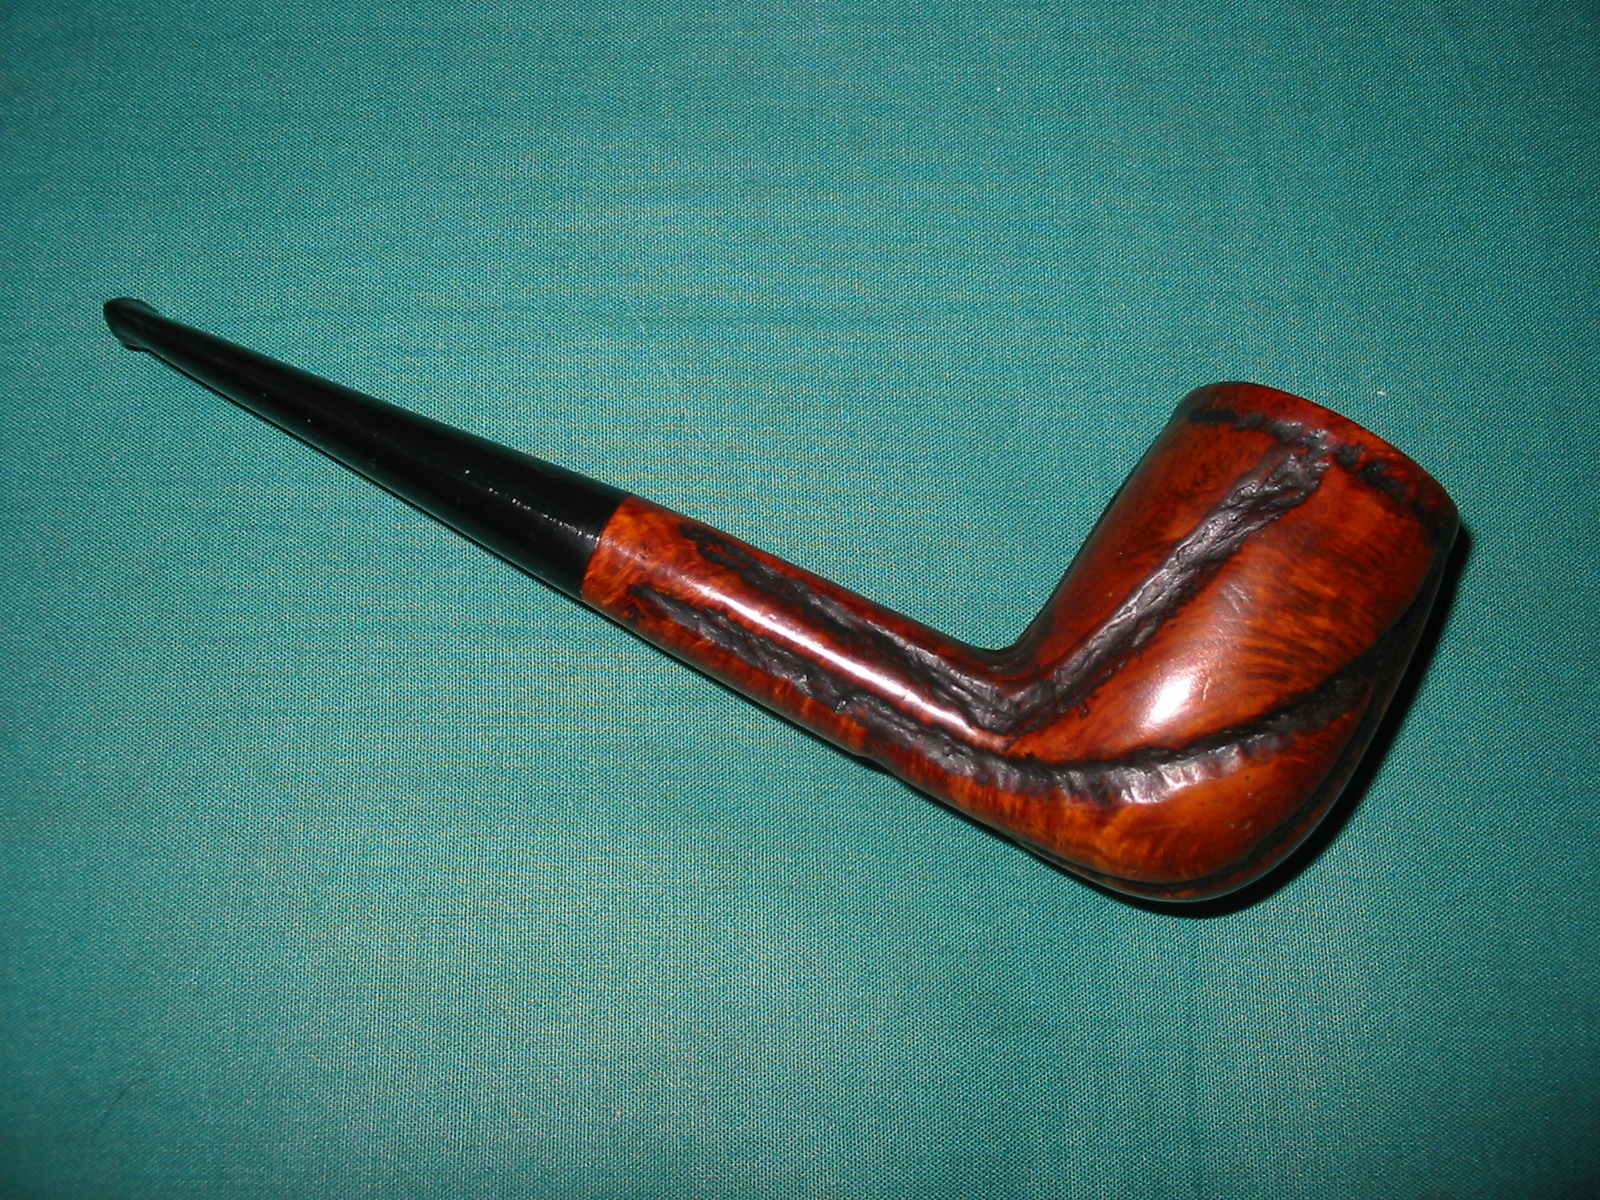
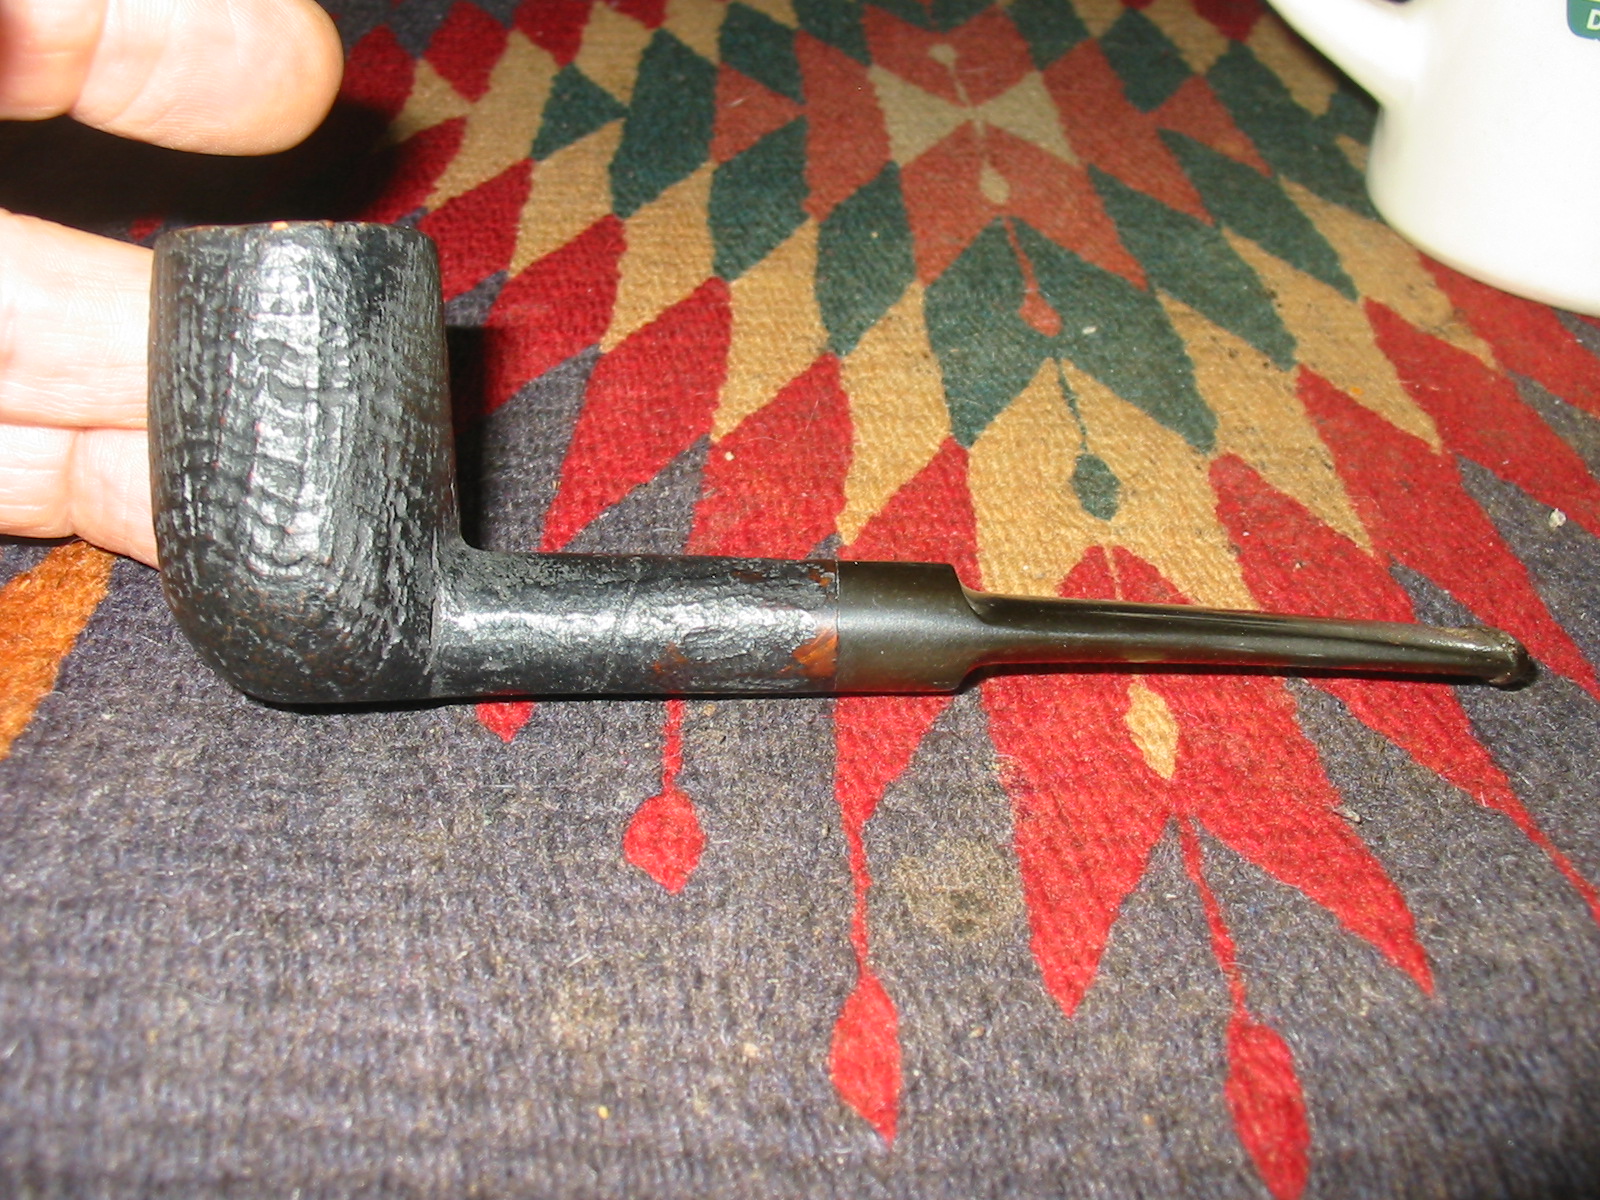
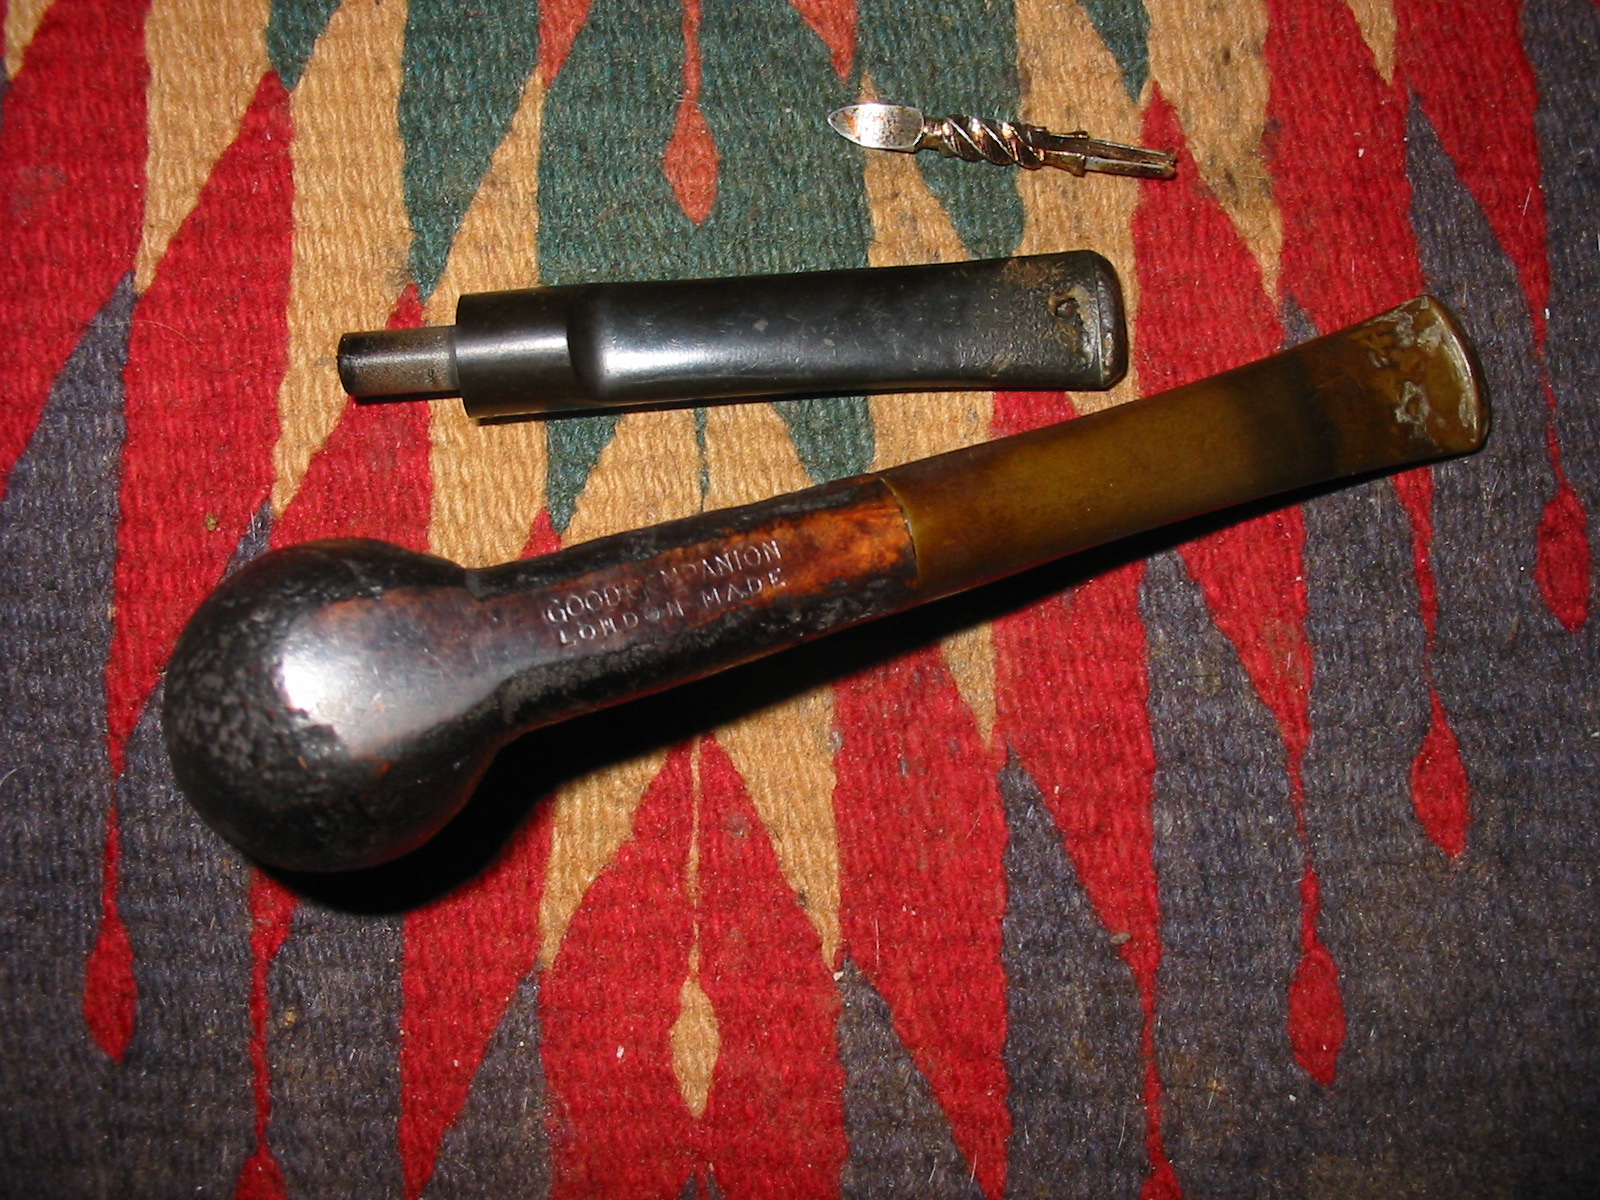
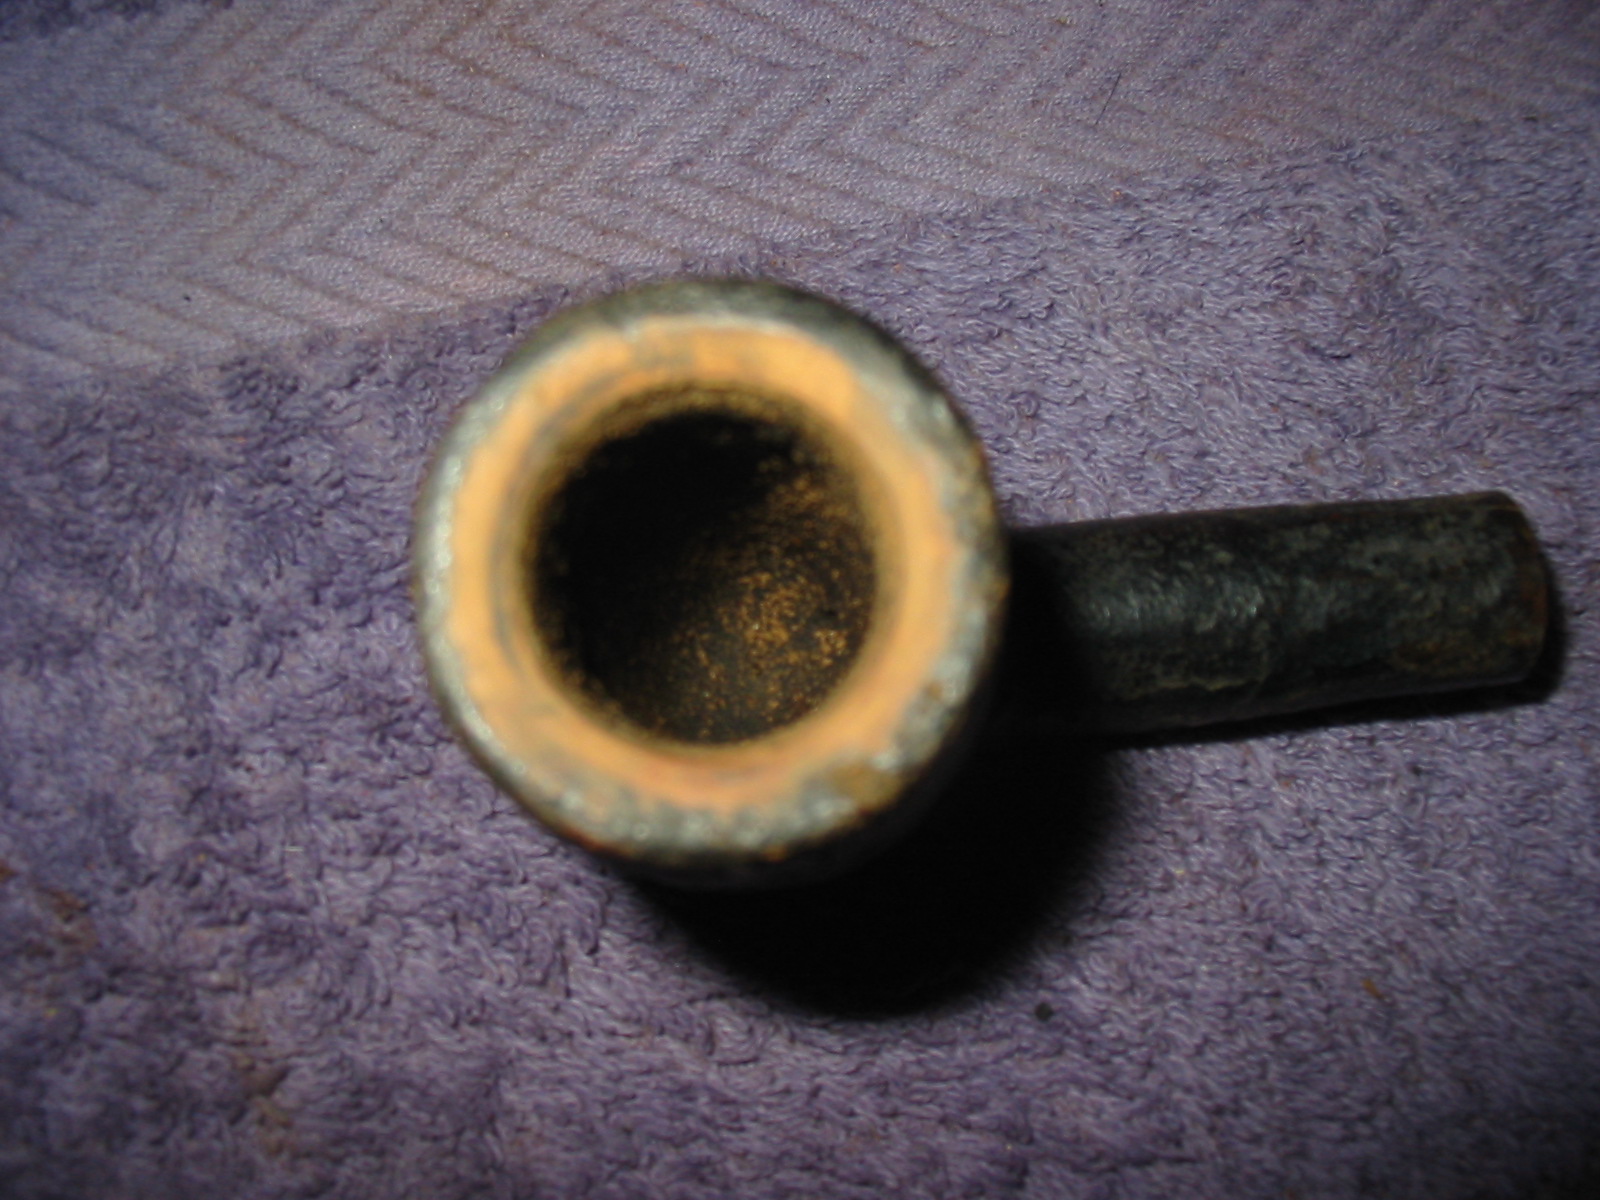
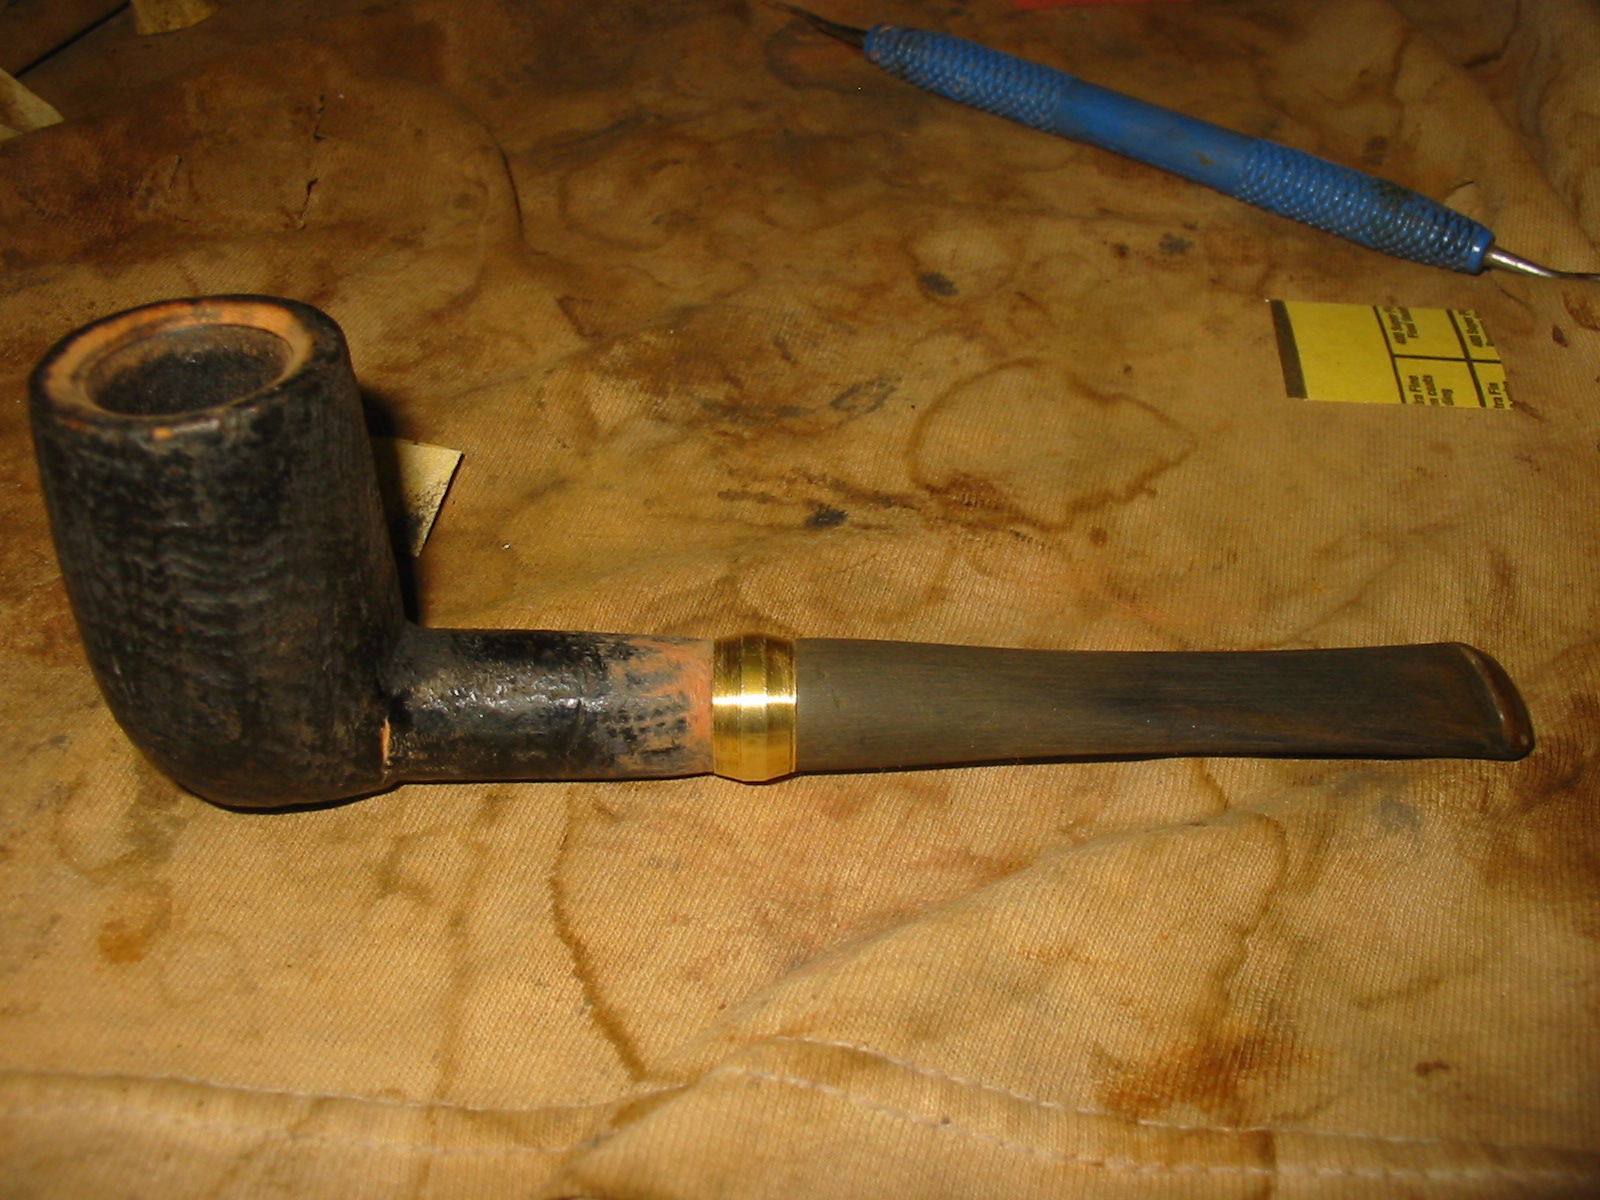
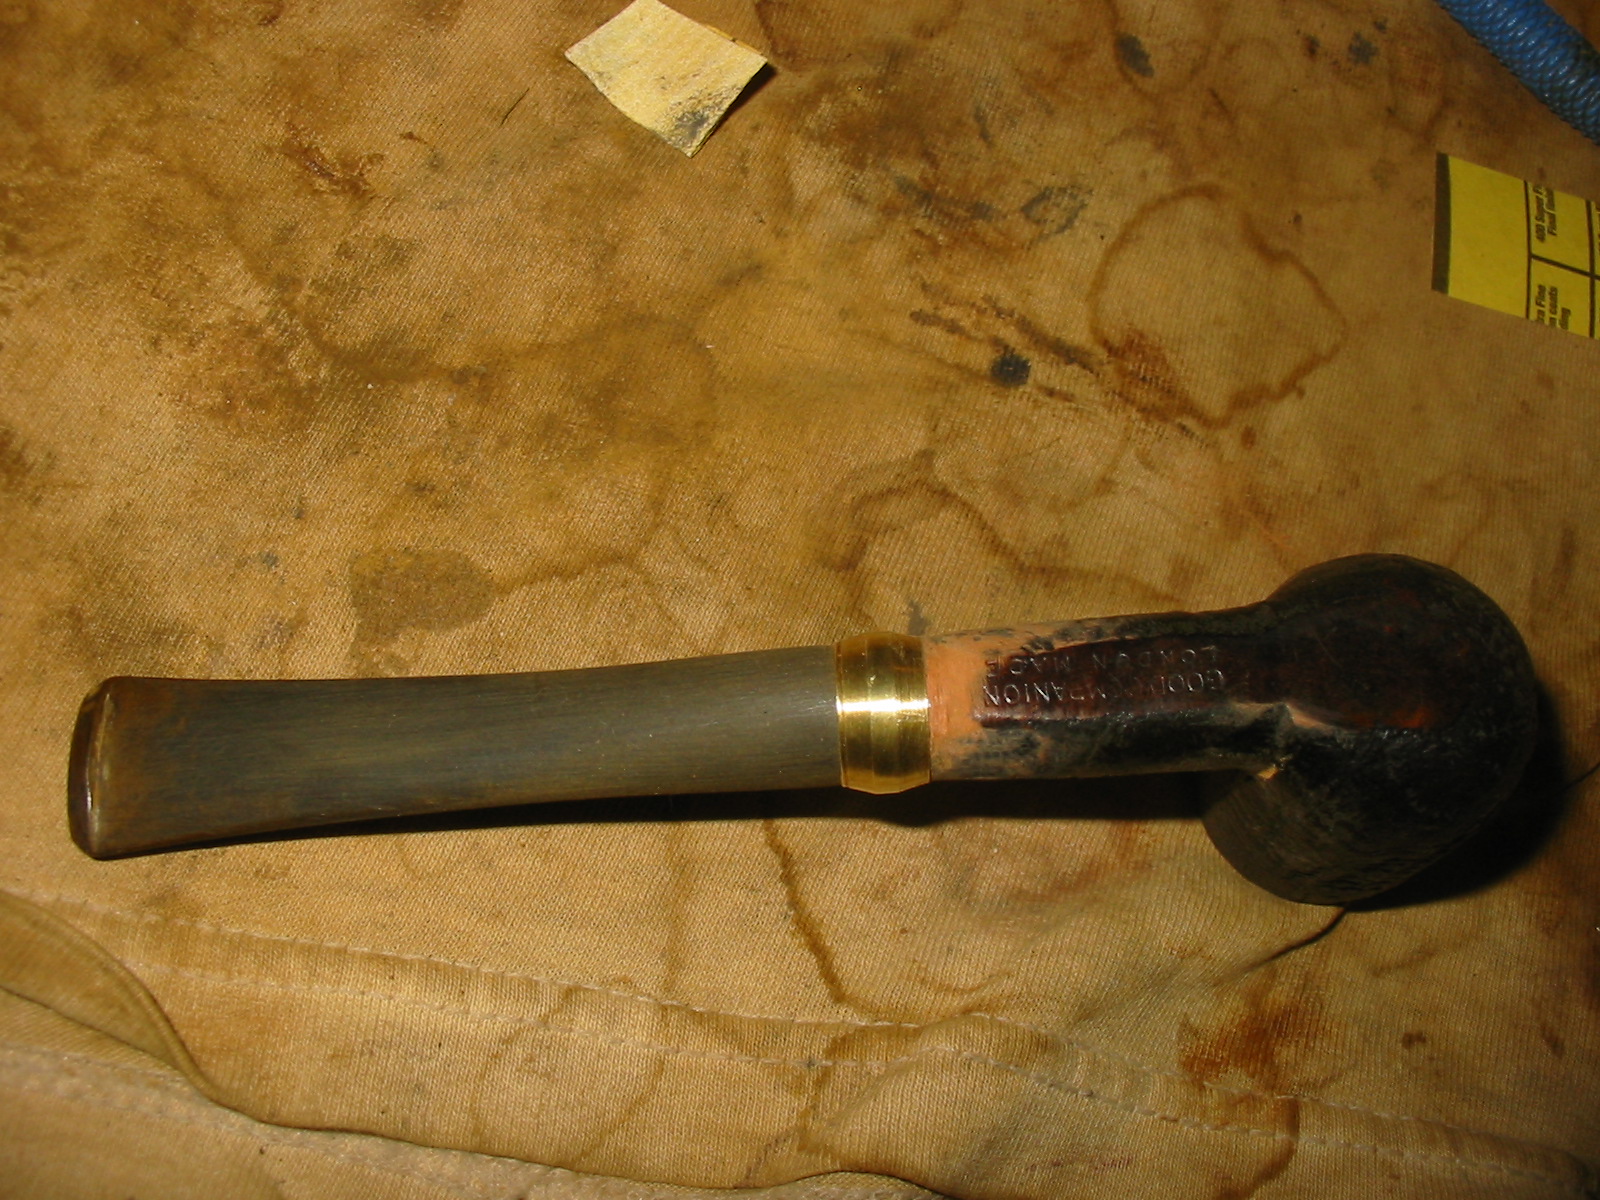
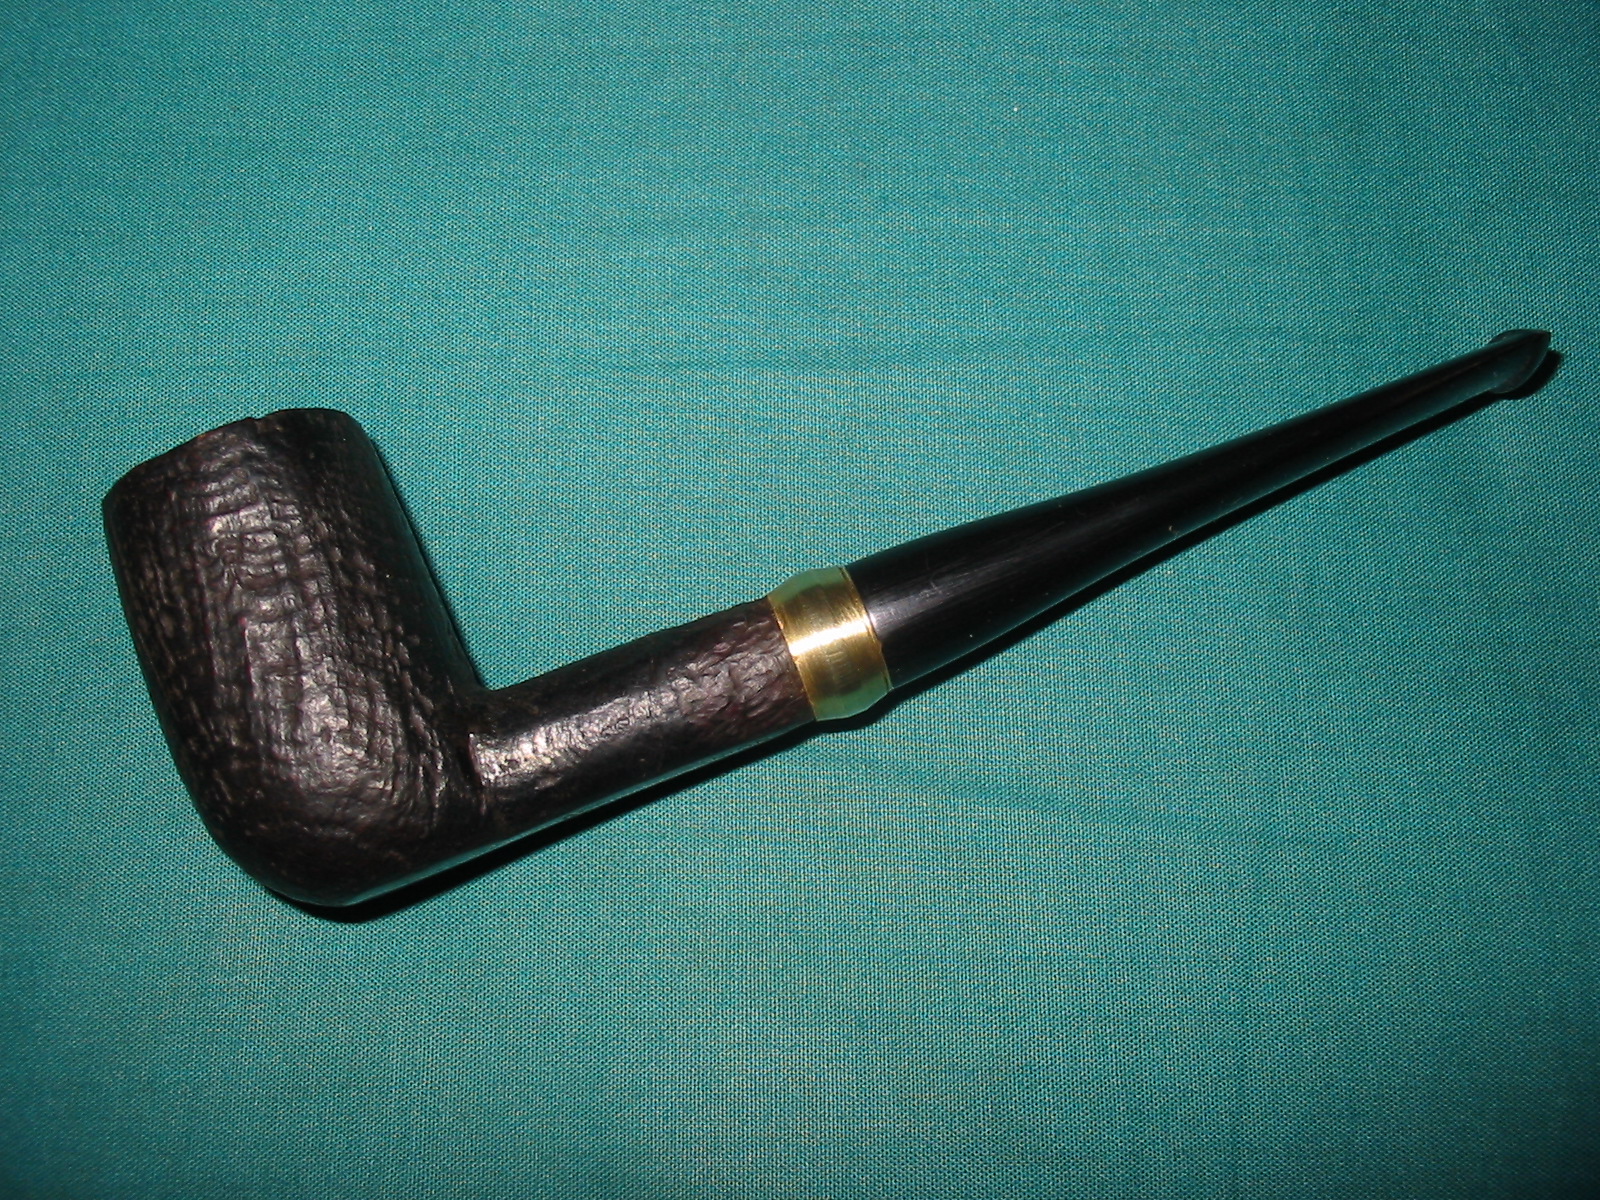
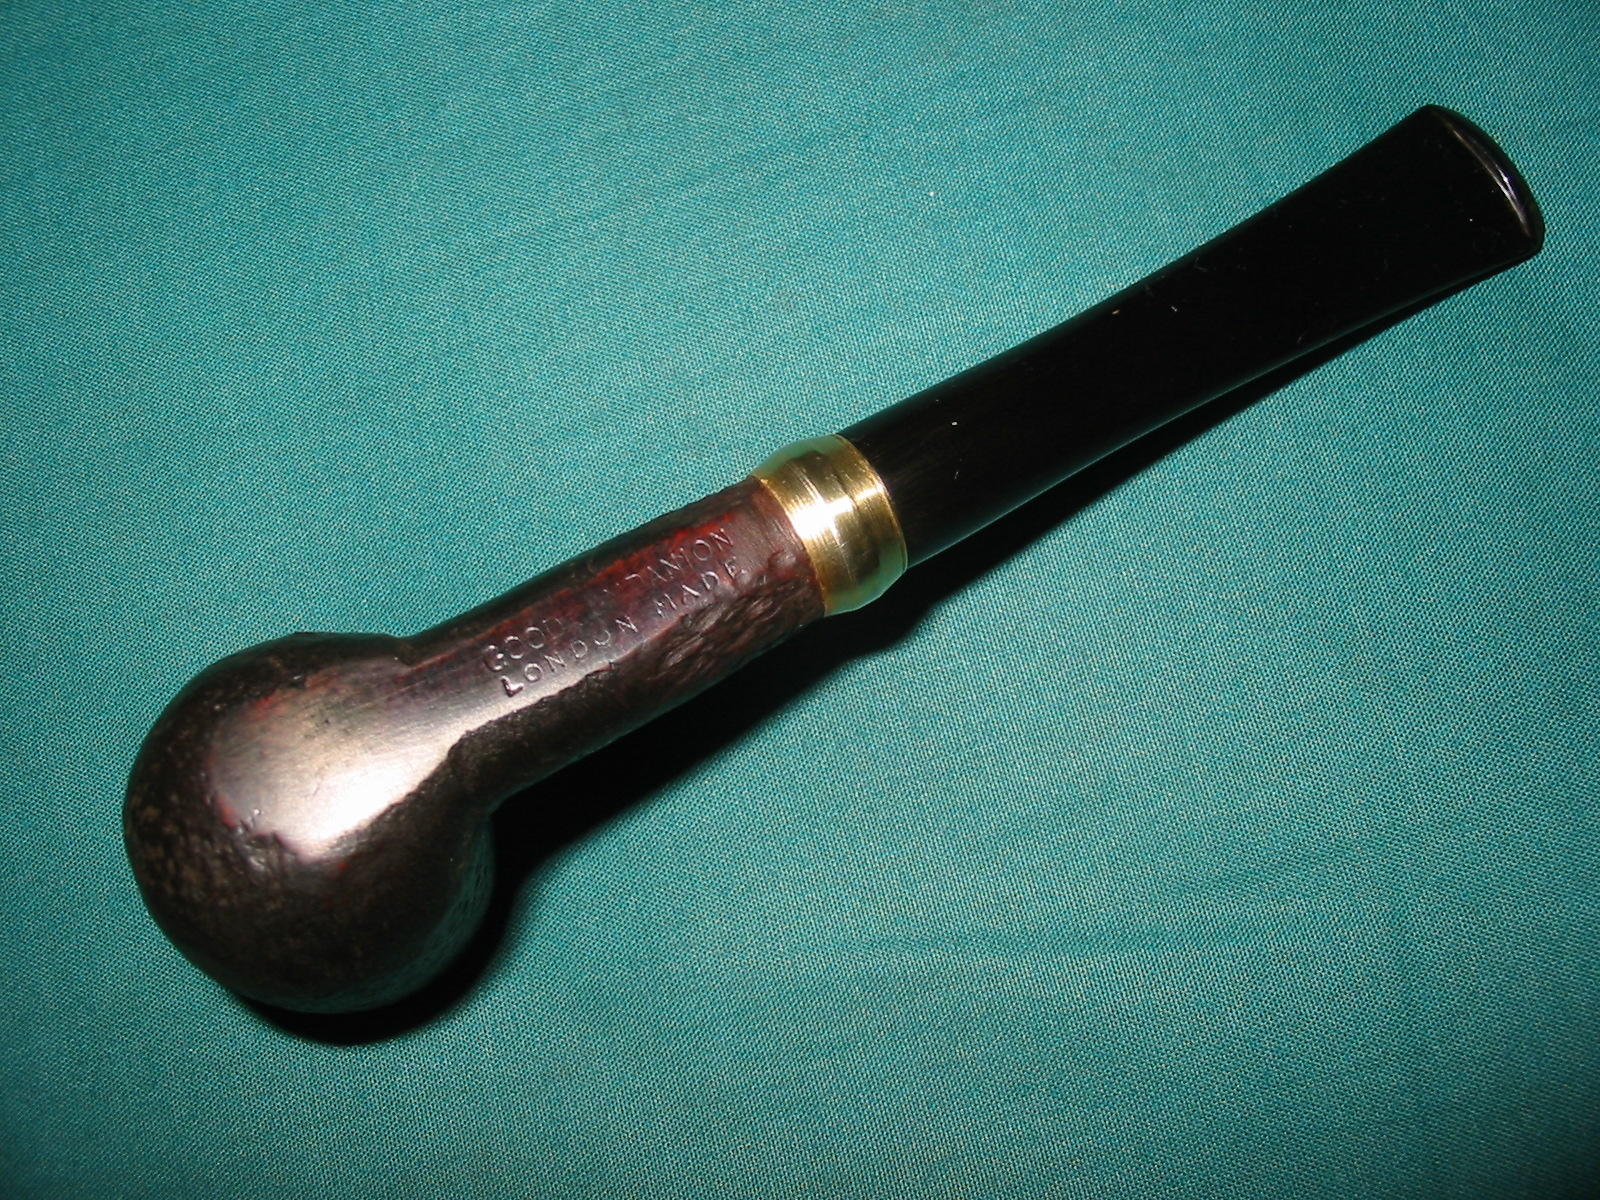
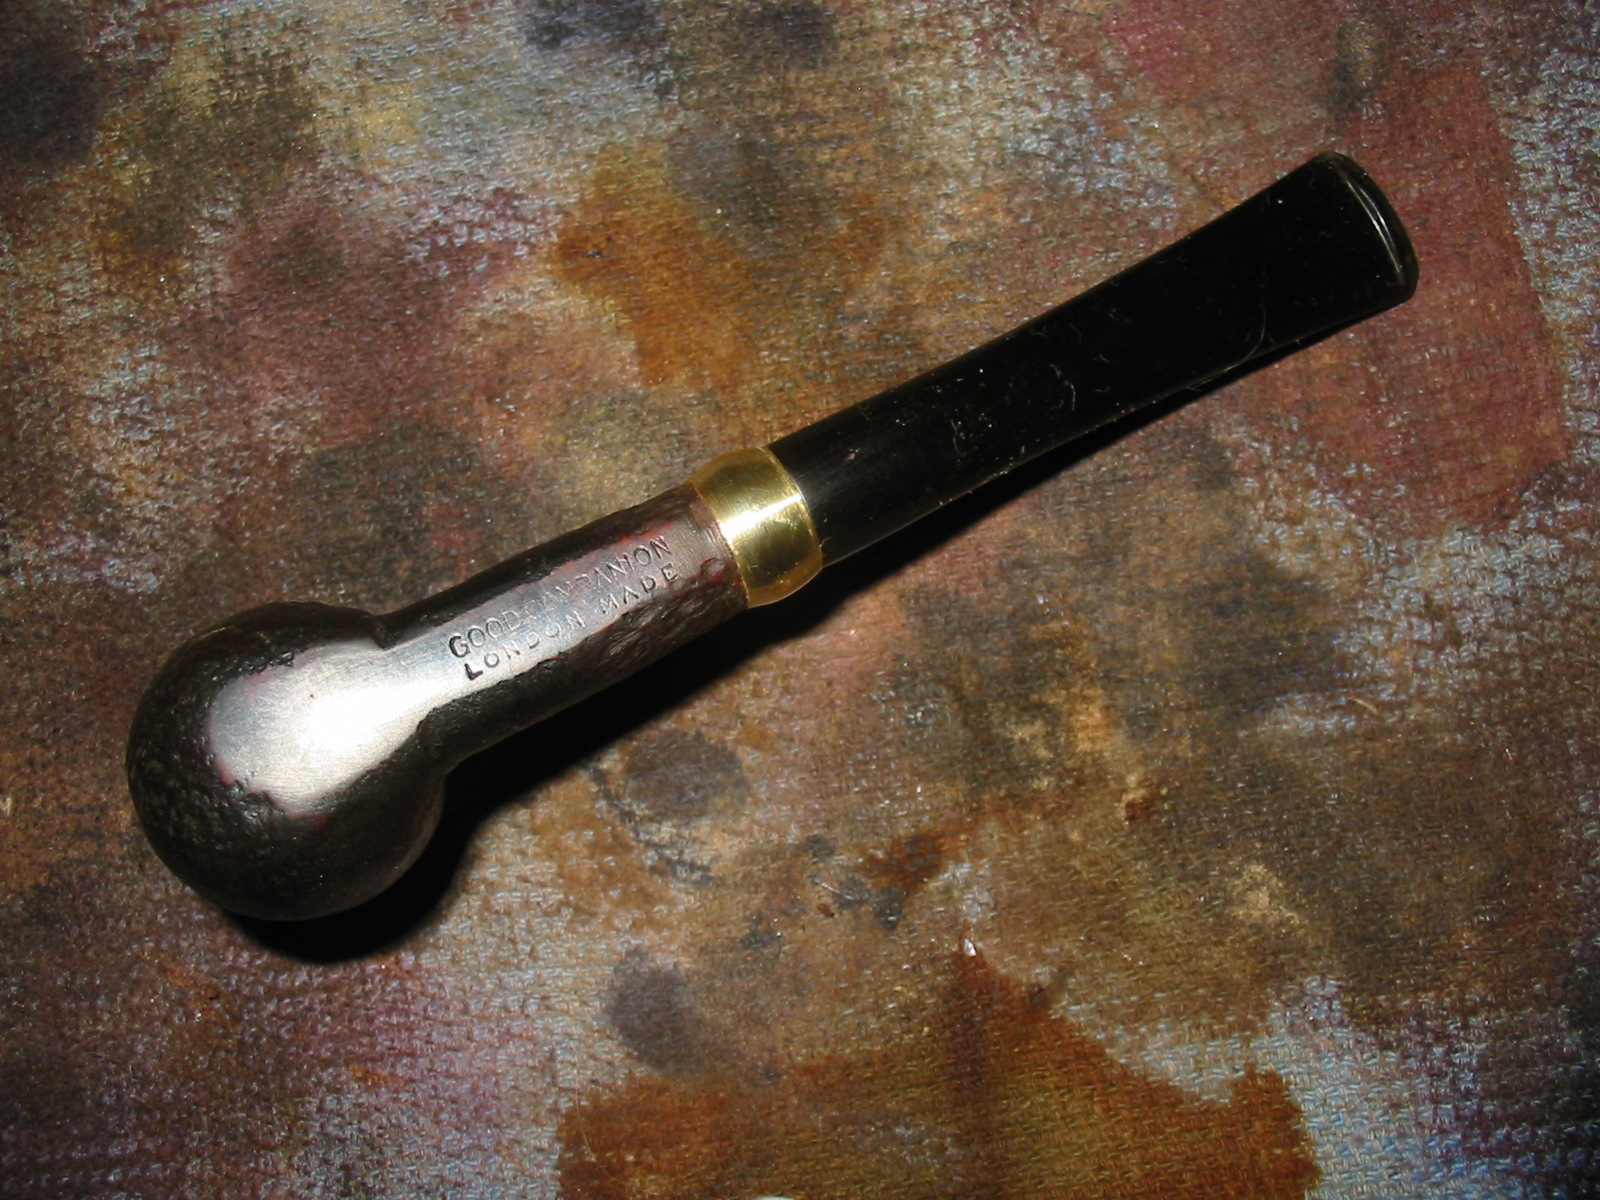
My wife and I went out for lunch on Saturday and there was an antique shop across the street from the restaurant. After eating we brave torrential downpours and ran across the street check out a shop we had not visited before. We looked through the various display cases and I found the pipe below along with a chewed up Yello-Bole billiard. The pipe was a small group 3 sized billiard. The finish was a dark brown stain on a sandblasted pipe. The left side had great grain pattern and showed deep grooves. The right side was a tight birdseye grain and the blast was shallow and close. The shank was rusticated to look like a sandblast. The stem had a slight bend but seemed be from sitting in the heat rather than intention. There was a bite through on the top surface of the stem that was large enough that it could not have been patched. The rim was originally smooth and beveled inward but the bevel had been damaged and needed to be reshaped and cleaned up. The stamping on the pipe is what ultimately made me spend the $10 to make the pipe mine. It read Good Companion over London Made on the underside of the shank. I just finished reading a new book by Mark Irwin called Pipe Companions. In it he wrote of the relationship between the pipe and the pipeman. I think it was a great coincidence to walk into a pipe stamped Good Companion. I wanted to clean it up and make it my own.

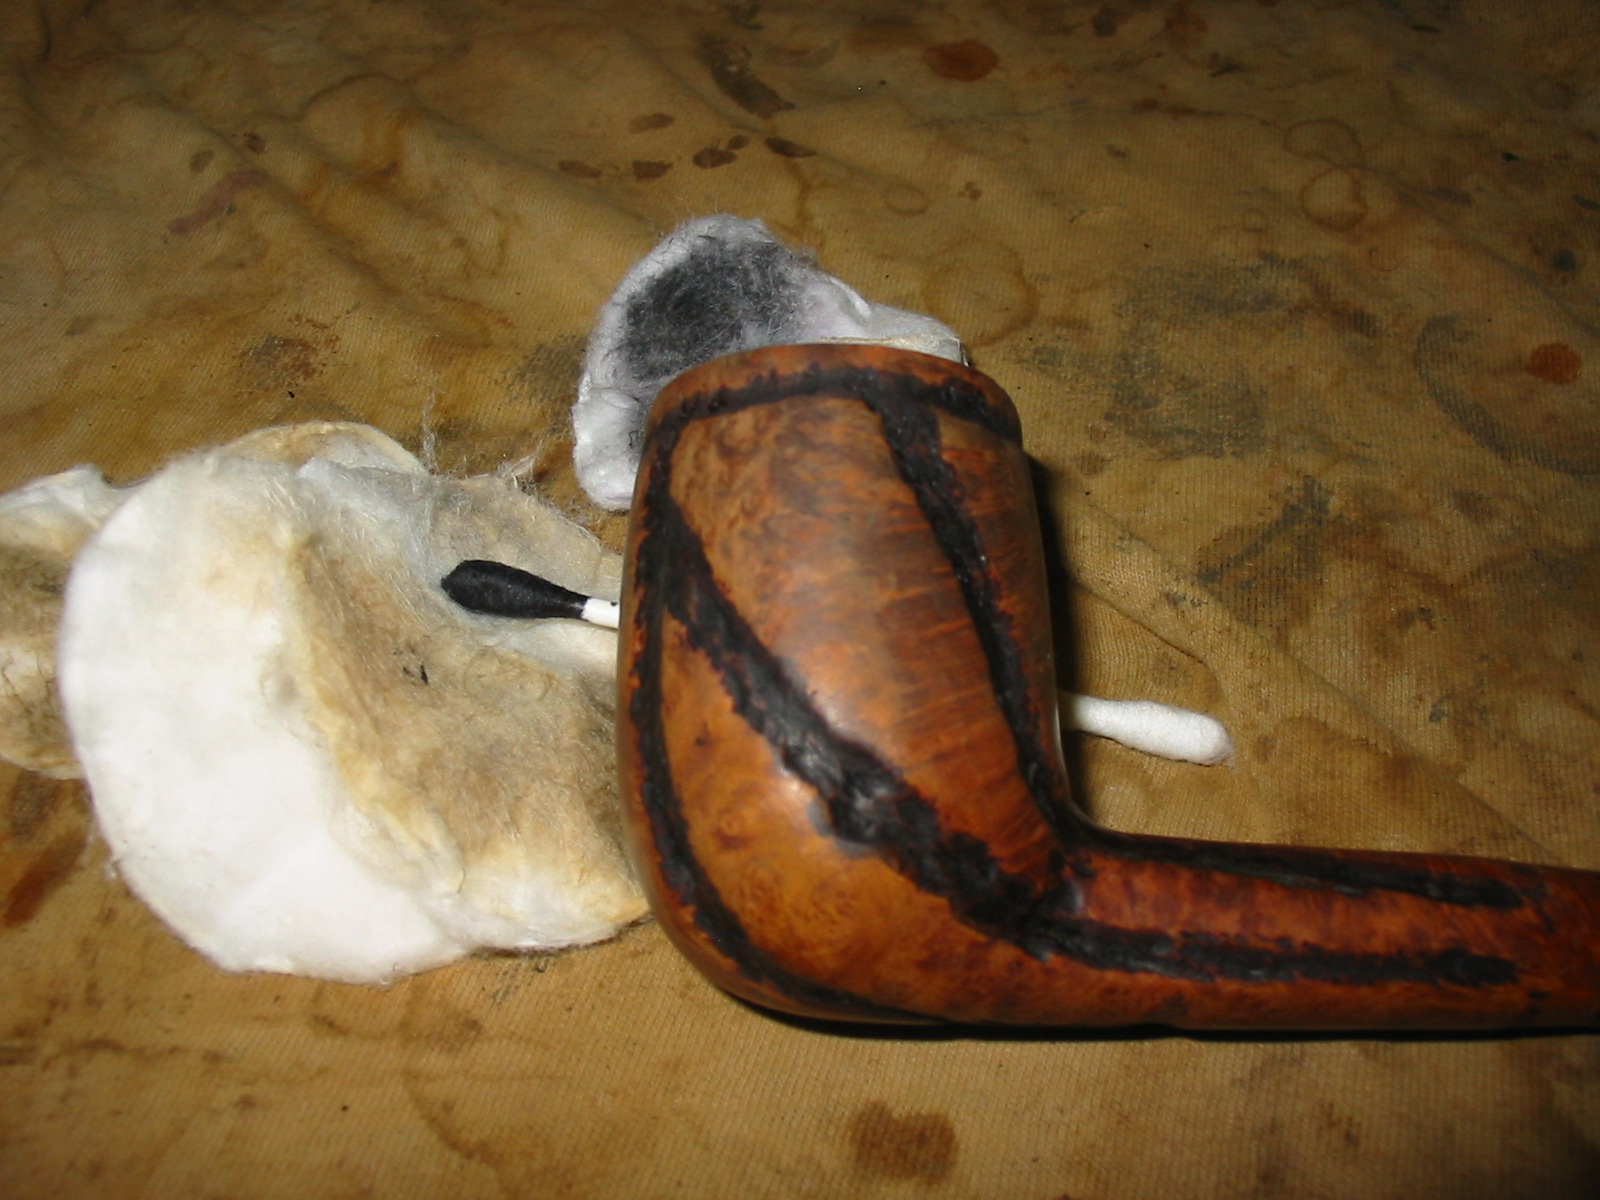
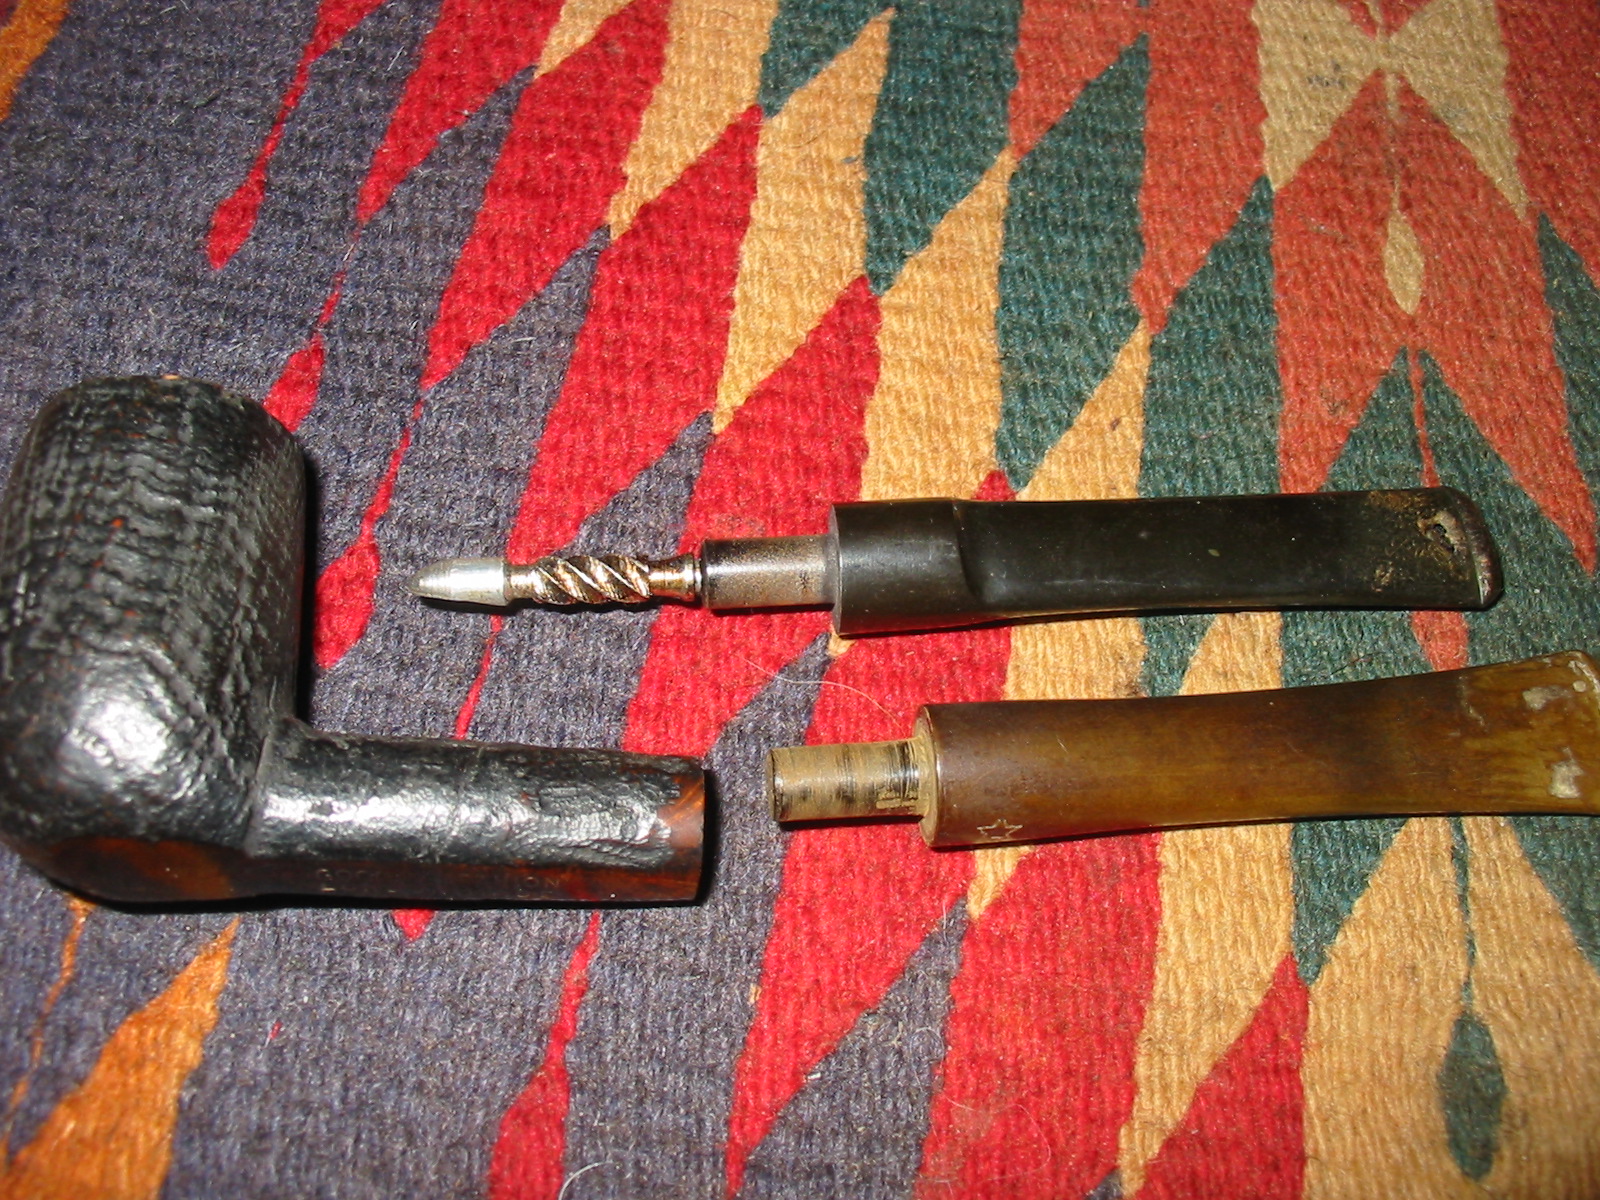
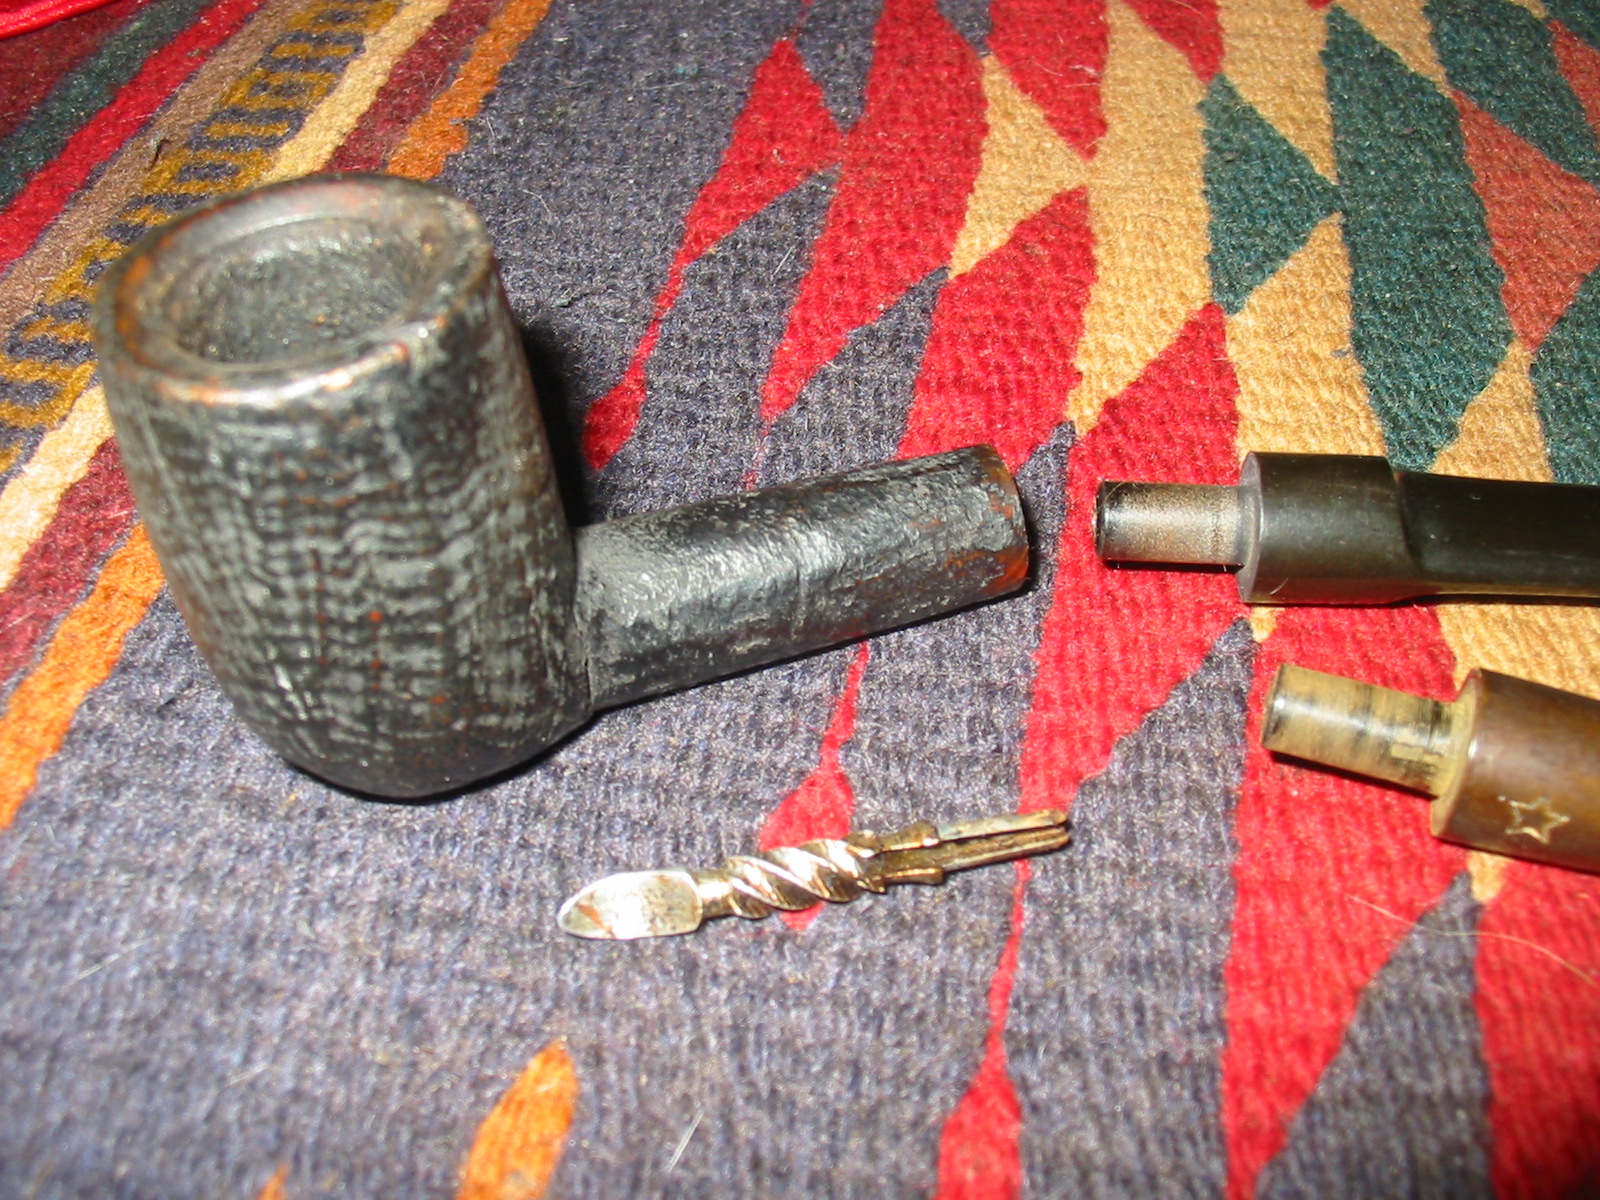
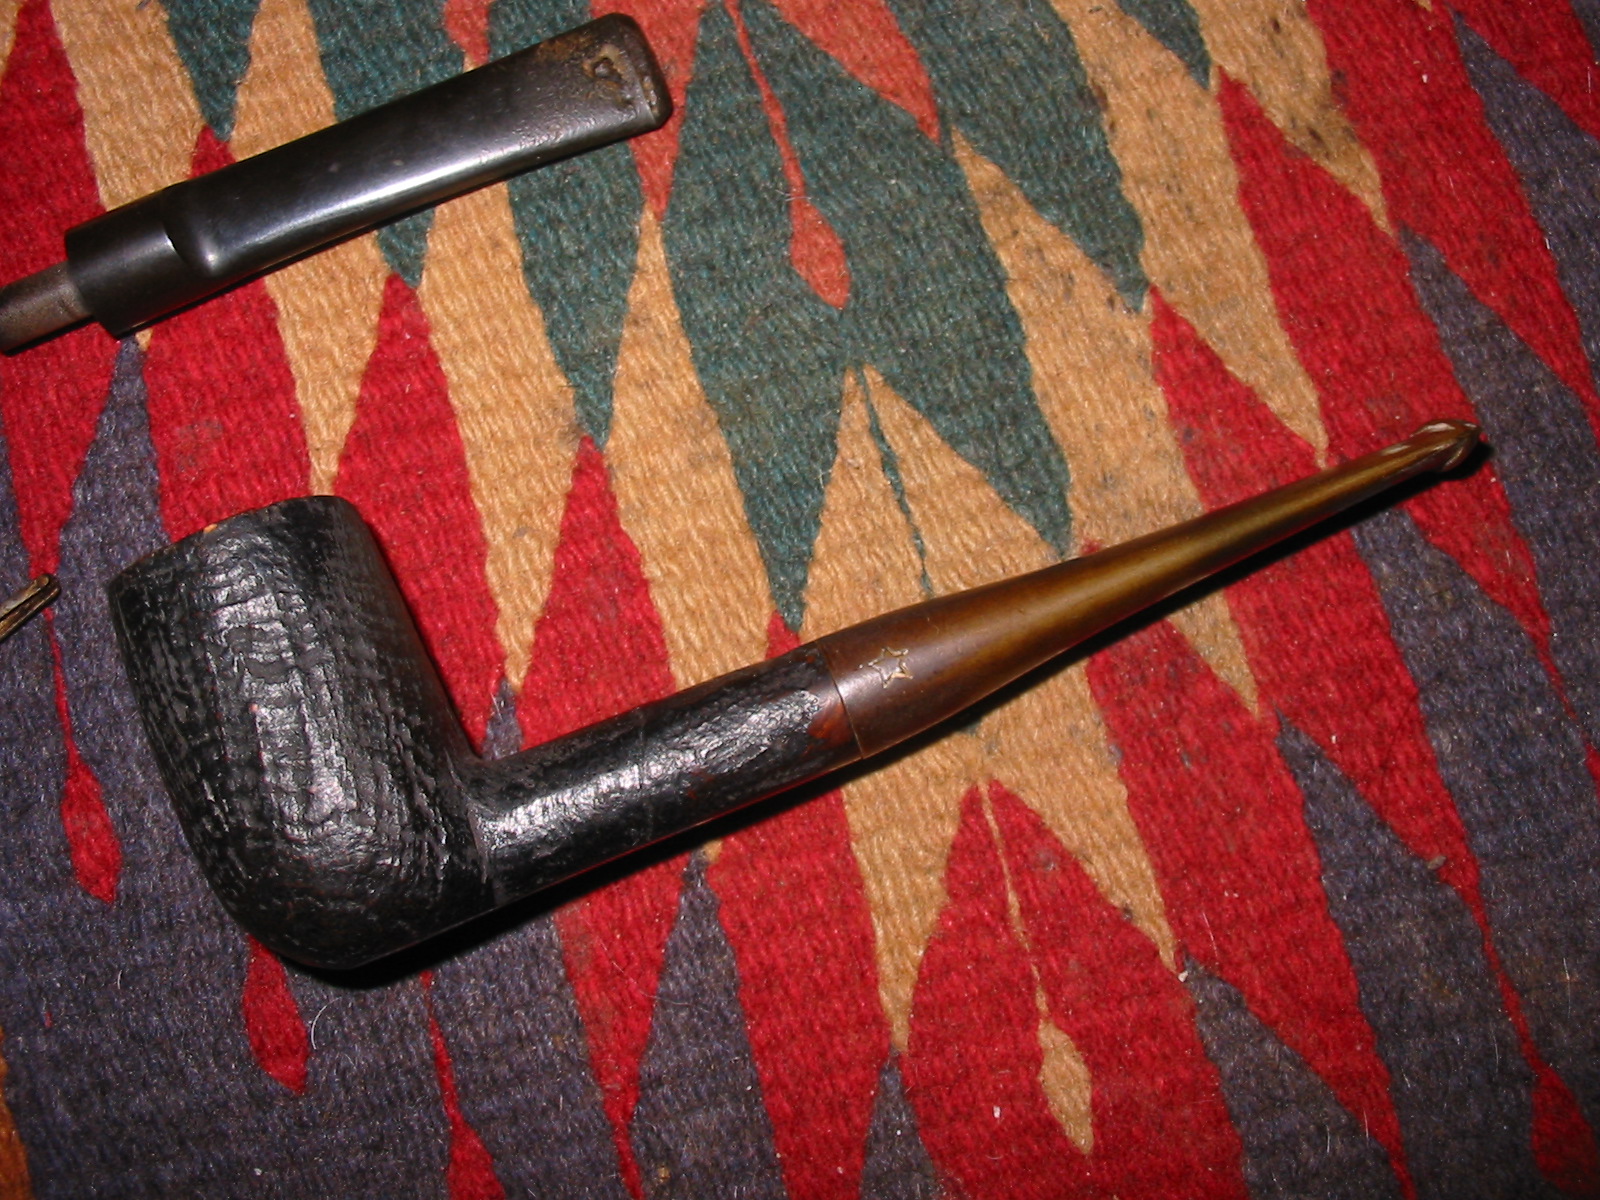
When I got home from the visit to the shop I took the pipe apart. The stem had a large spiral stinger apparatus in the tenon. The stem itself was badly chewed. I found a new stem for the pipe in my can of stems and worked on the tenon to make the tapered stem fit the shank.
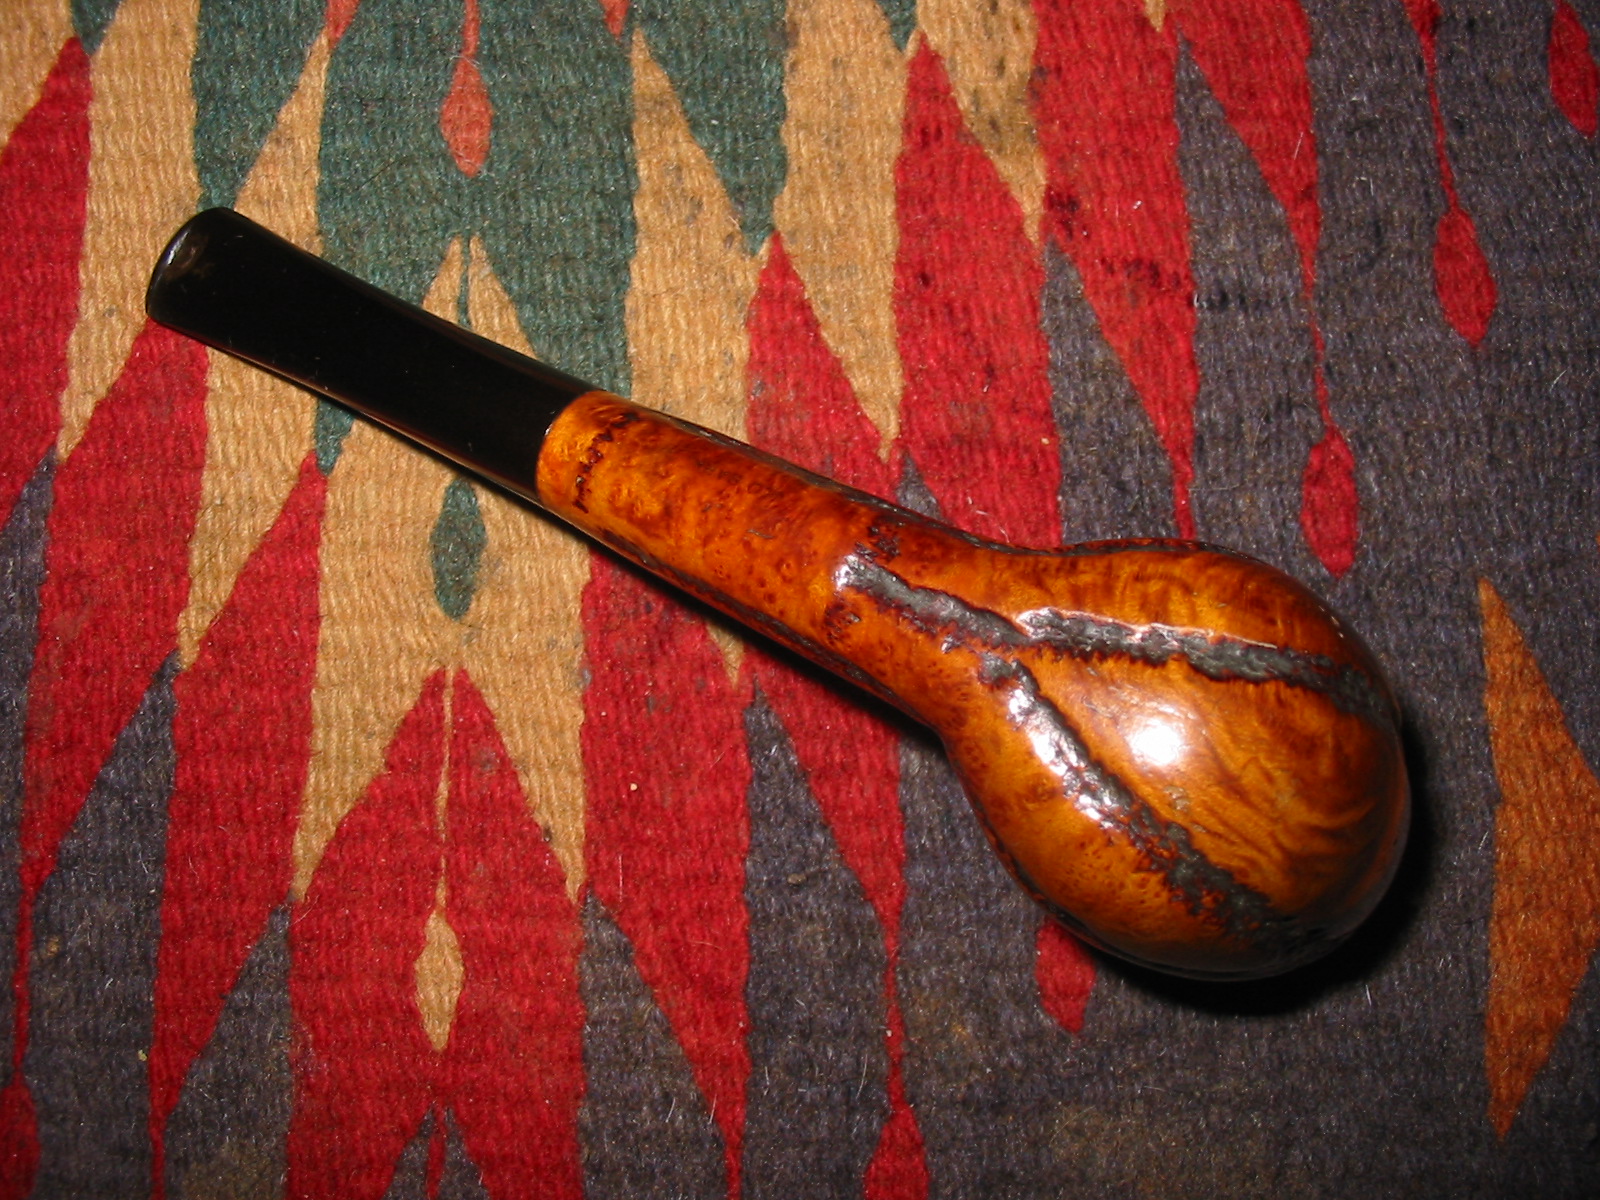
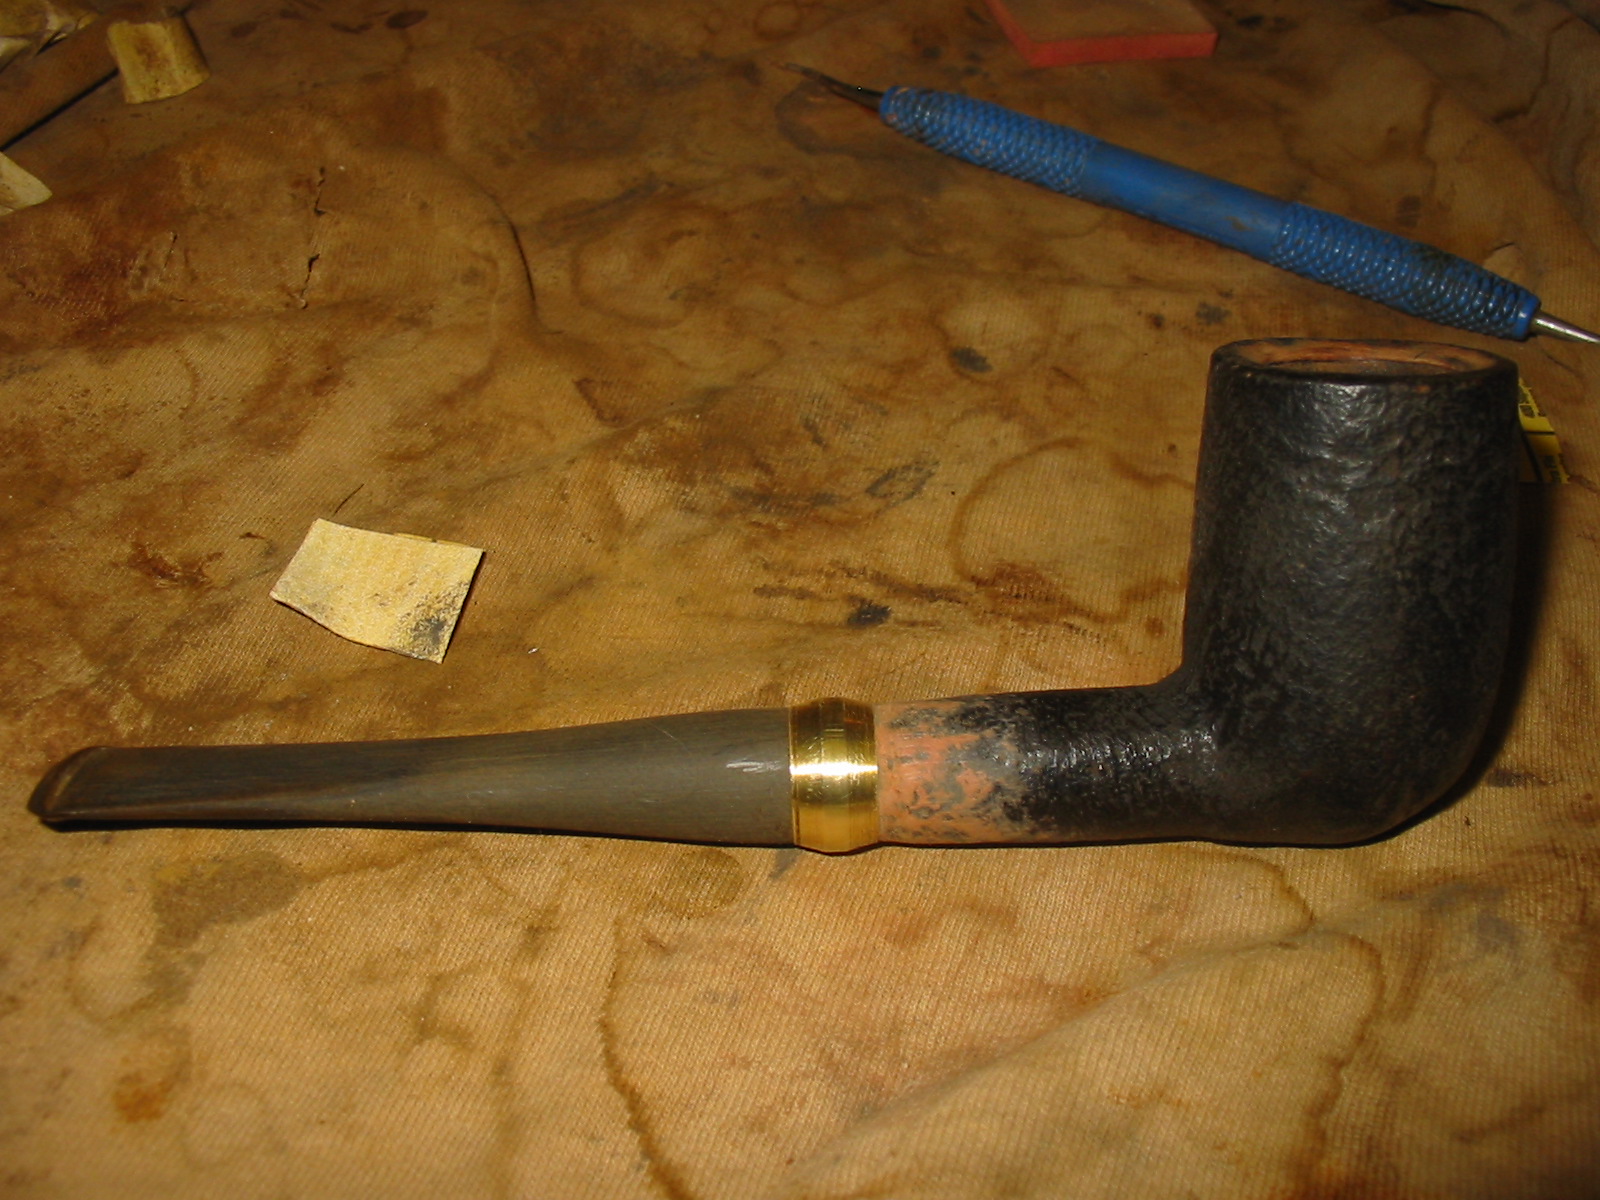
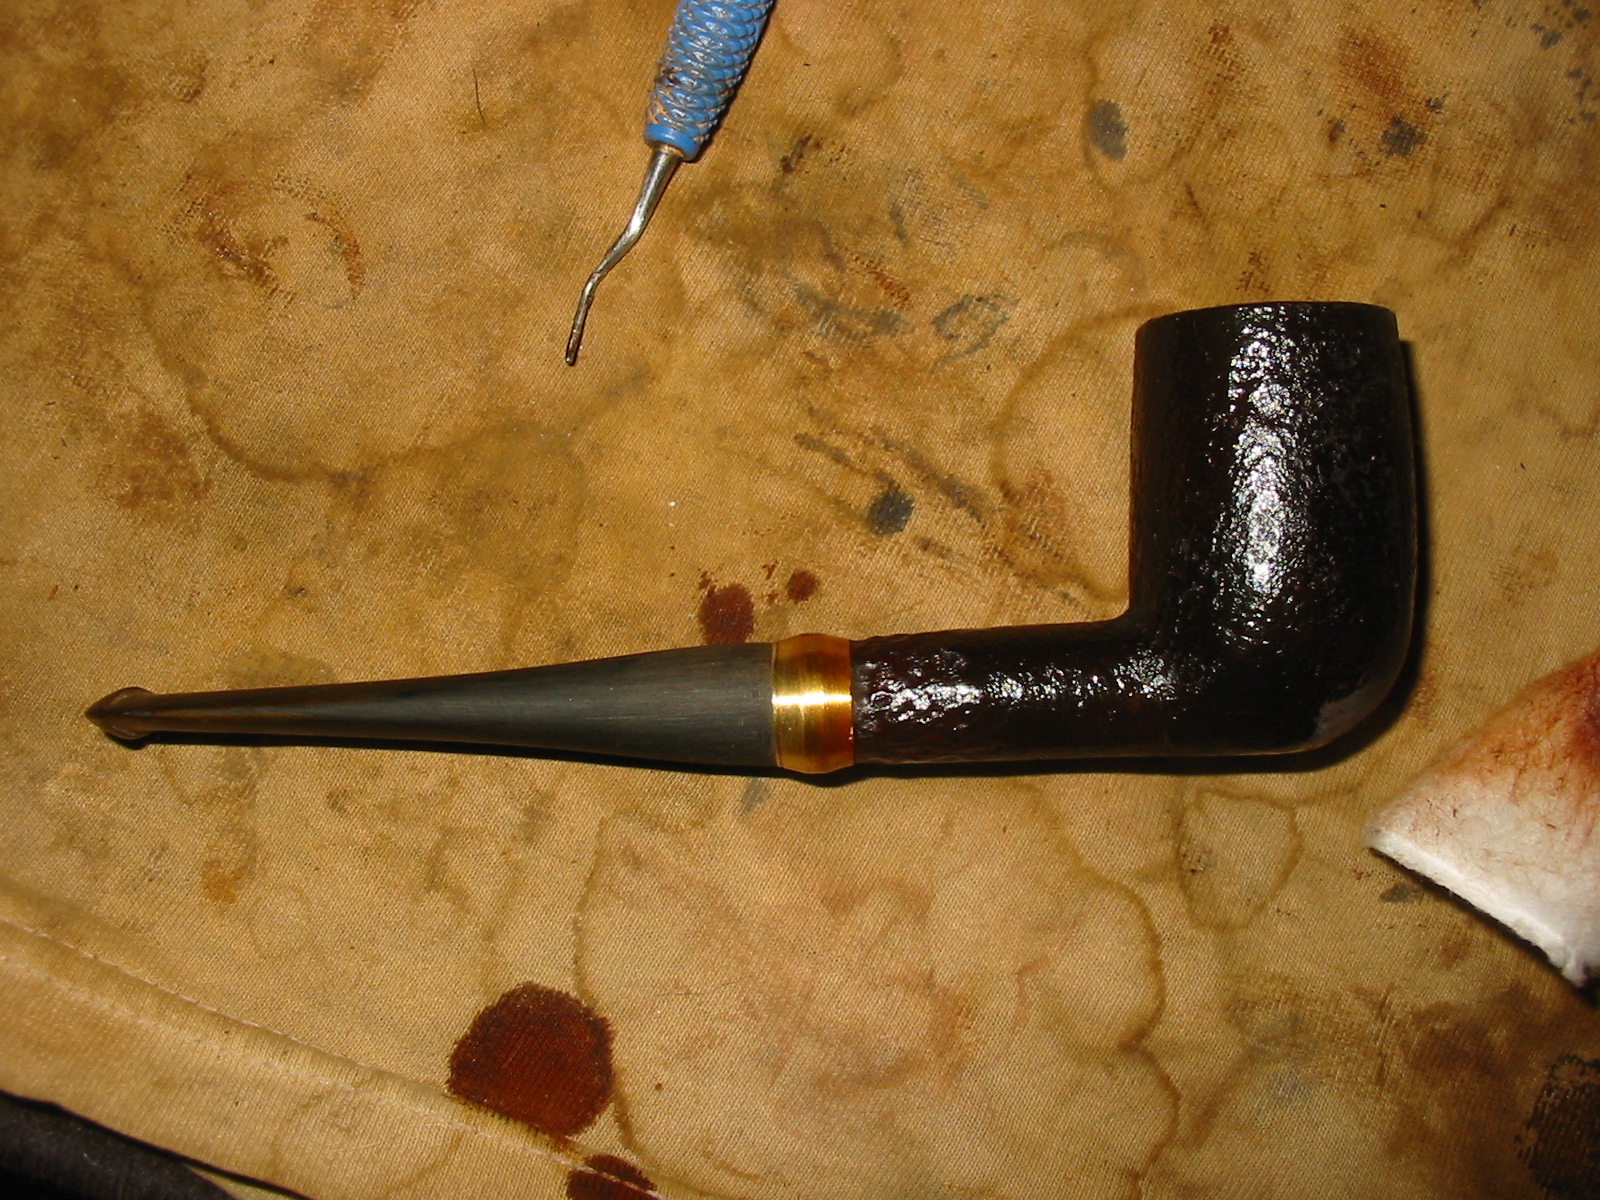
I pushed the newly fitted stem into the shank to have a look at the shape with a taper stem. I liked the overall look of the pipe with the new stem. I sanded the stem to remove the calcification and the oxidation on it. I also worked on the fit of the stem to the shank. I wanted the transition to be smooth and seamless. I took the stem in and out several times while I worked on it. The last time I pushed it into the shank there was a crack! I don’t know if that has happened to you but when it happens there is a sick feeling in the pit of my stomach. Here the pipe was almost ready to refinish and the stem fit well and then crack. The frustration at that moment is high level. I laid the pipe down and had a coffee while I thought about my next steps.


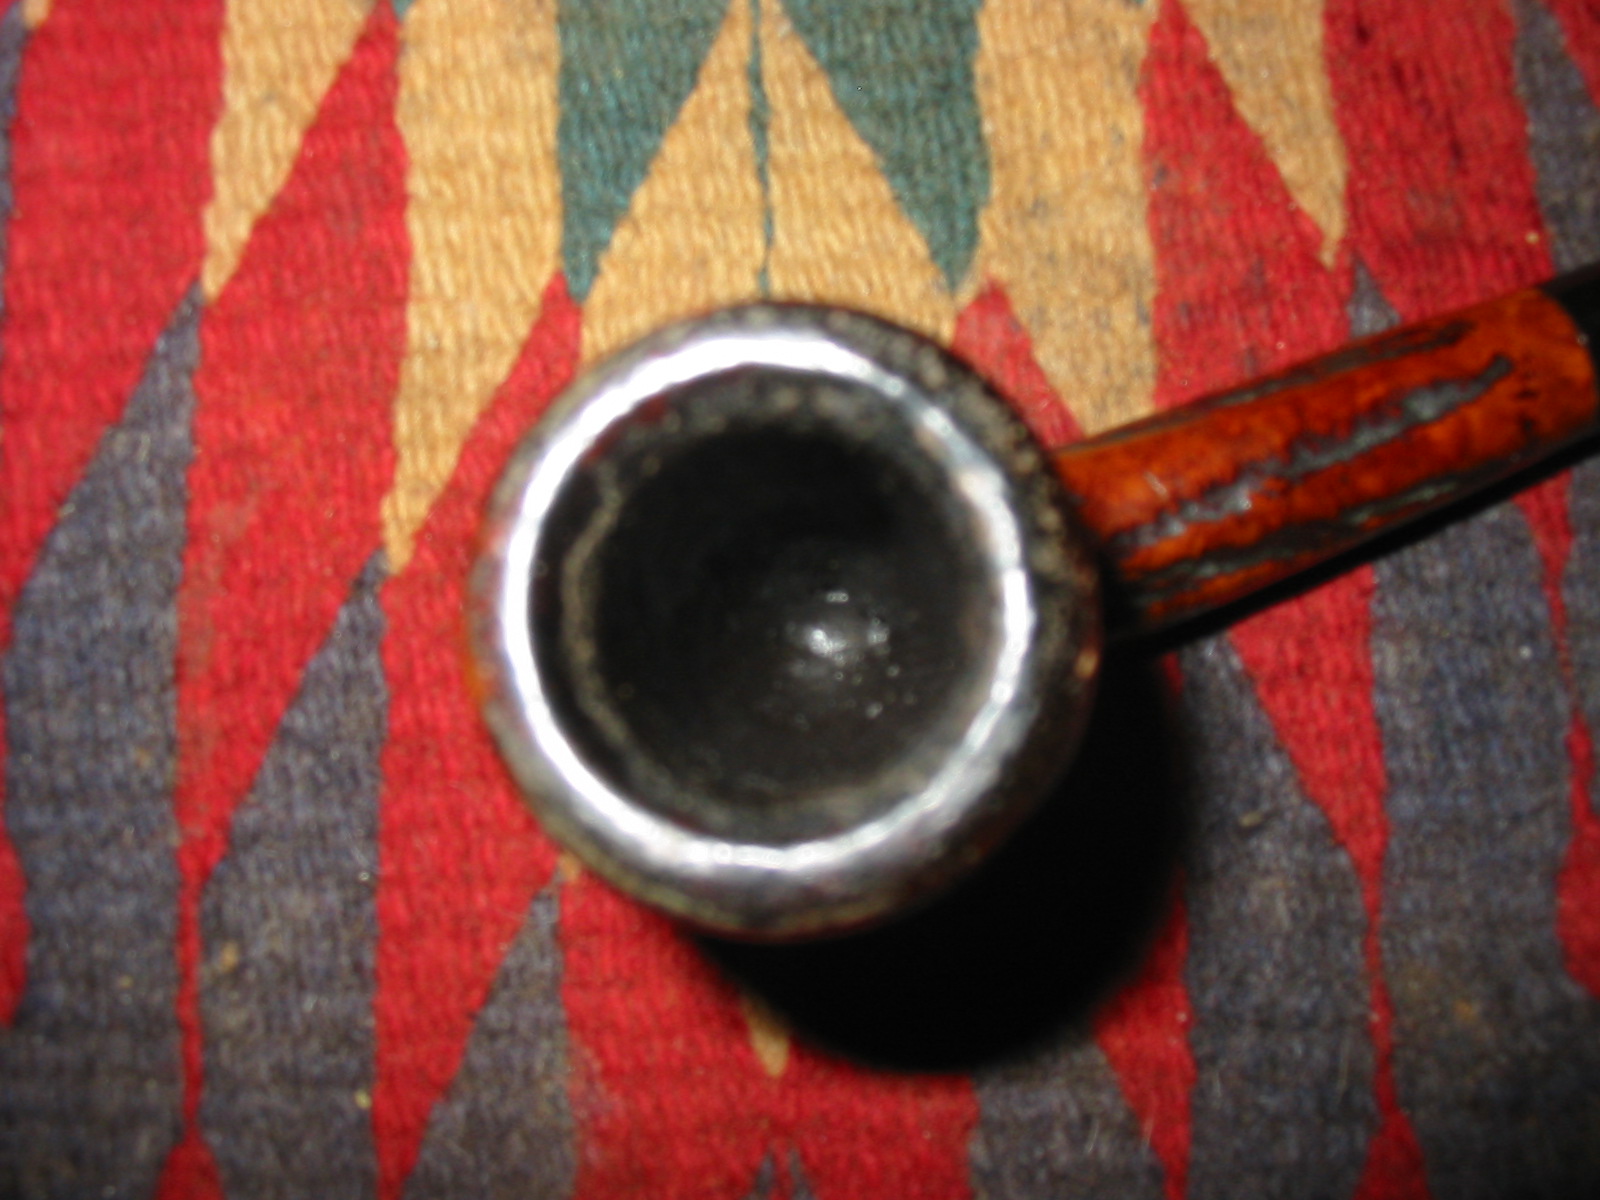
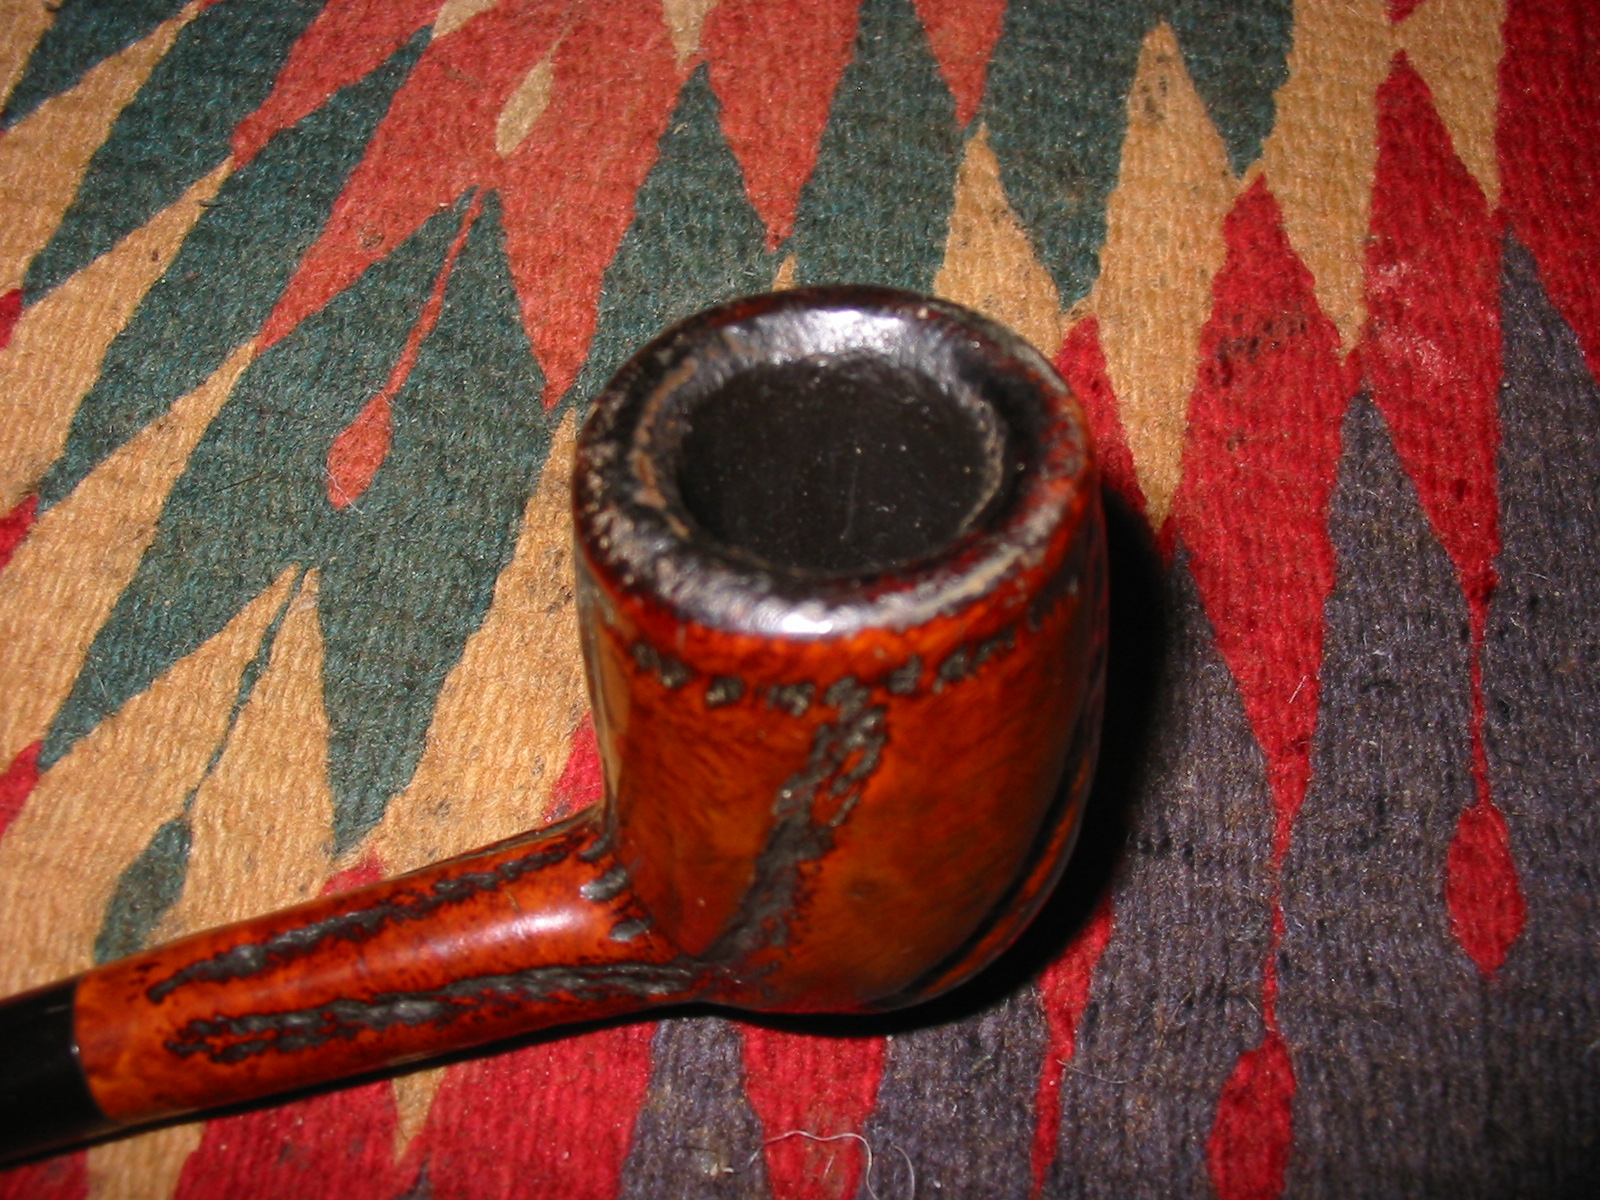
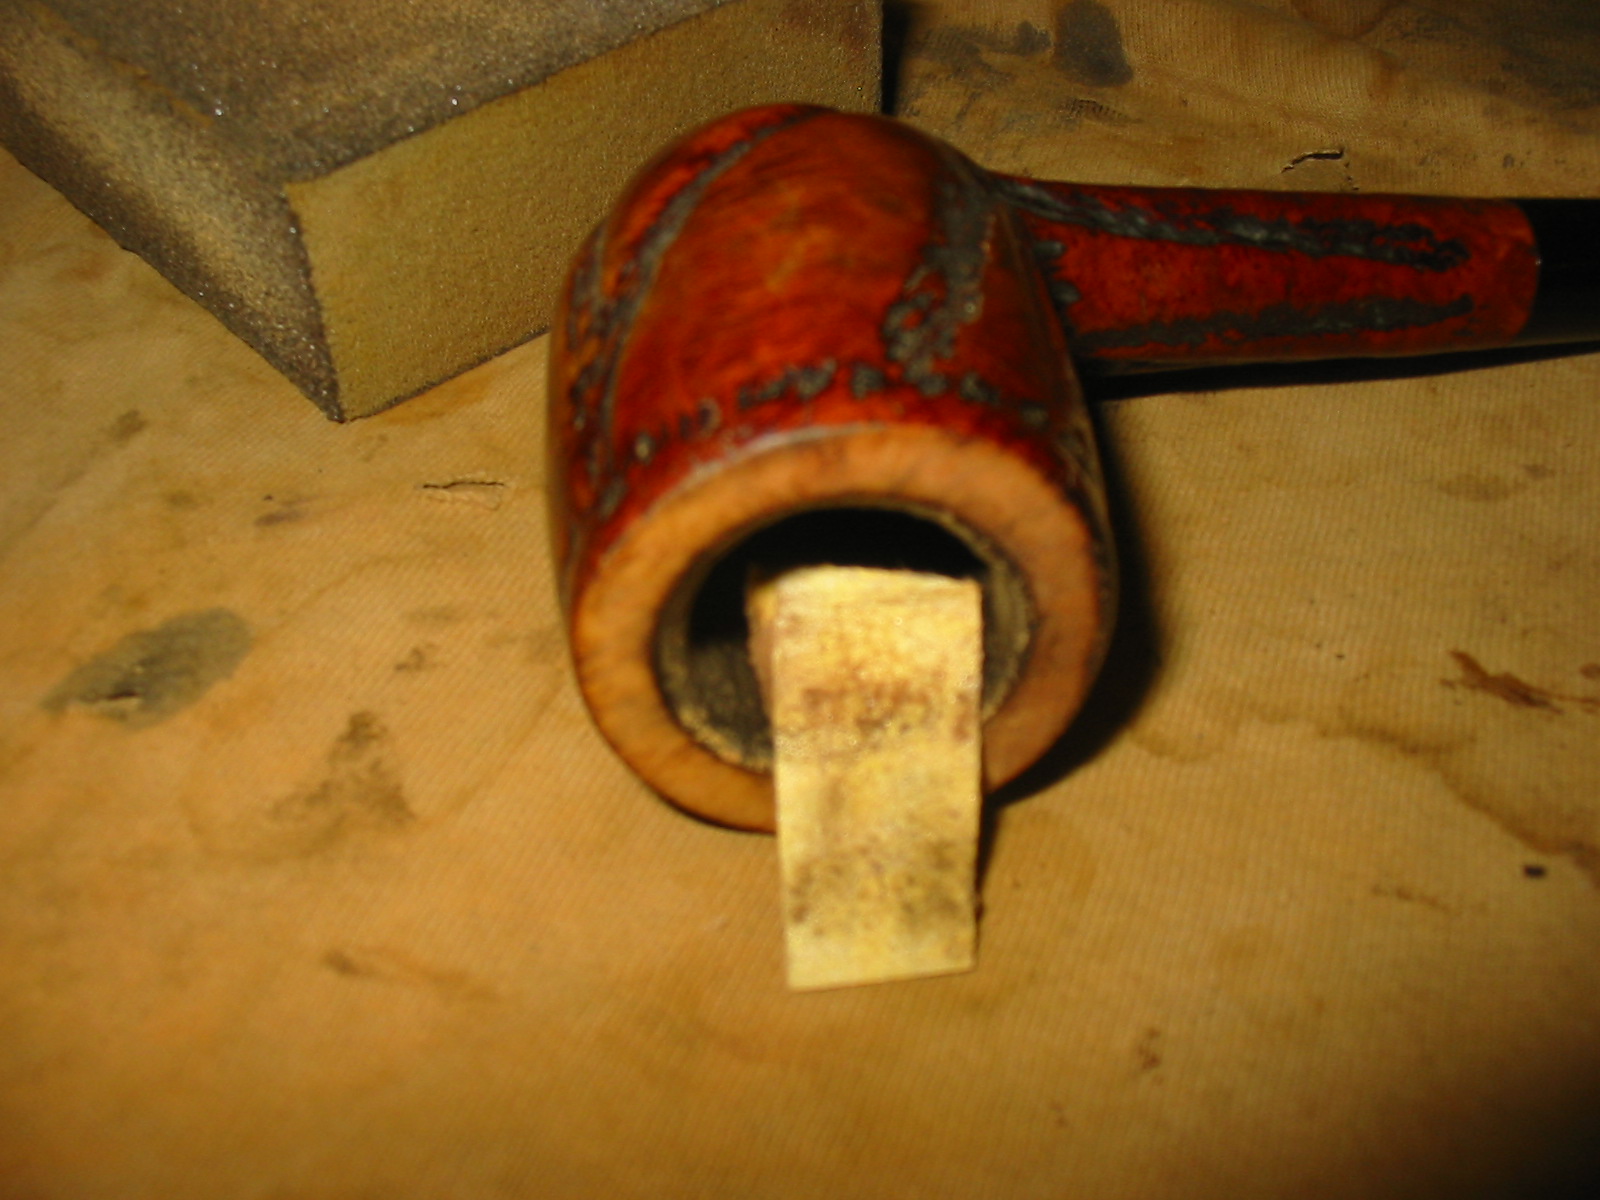
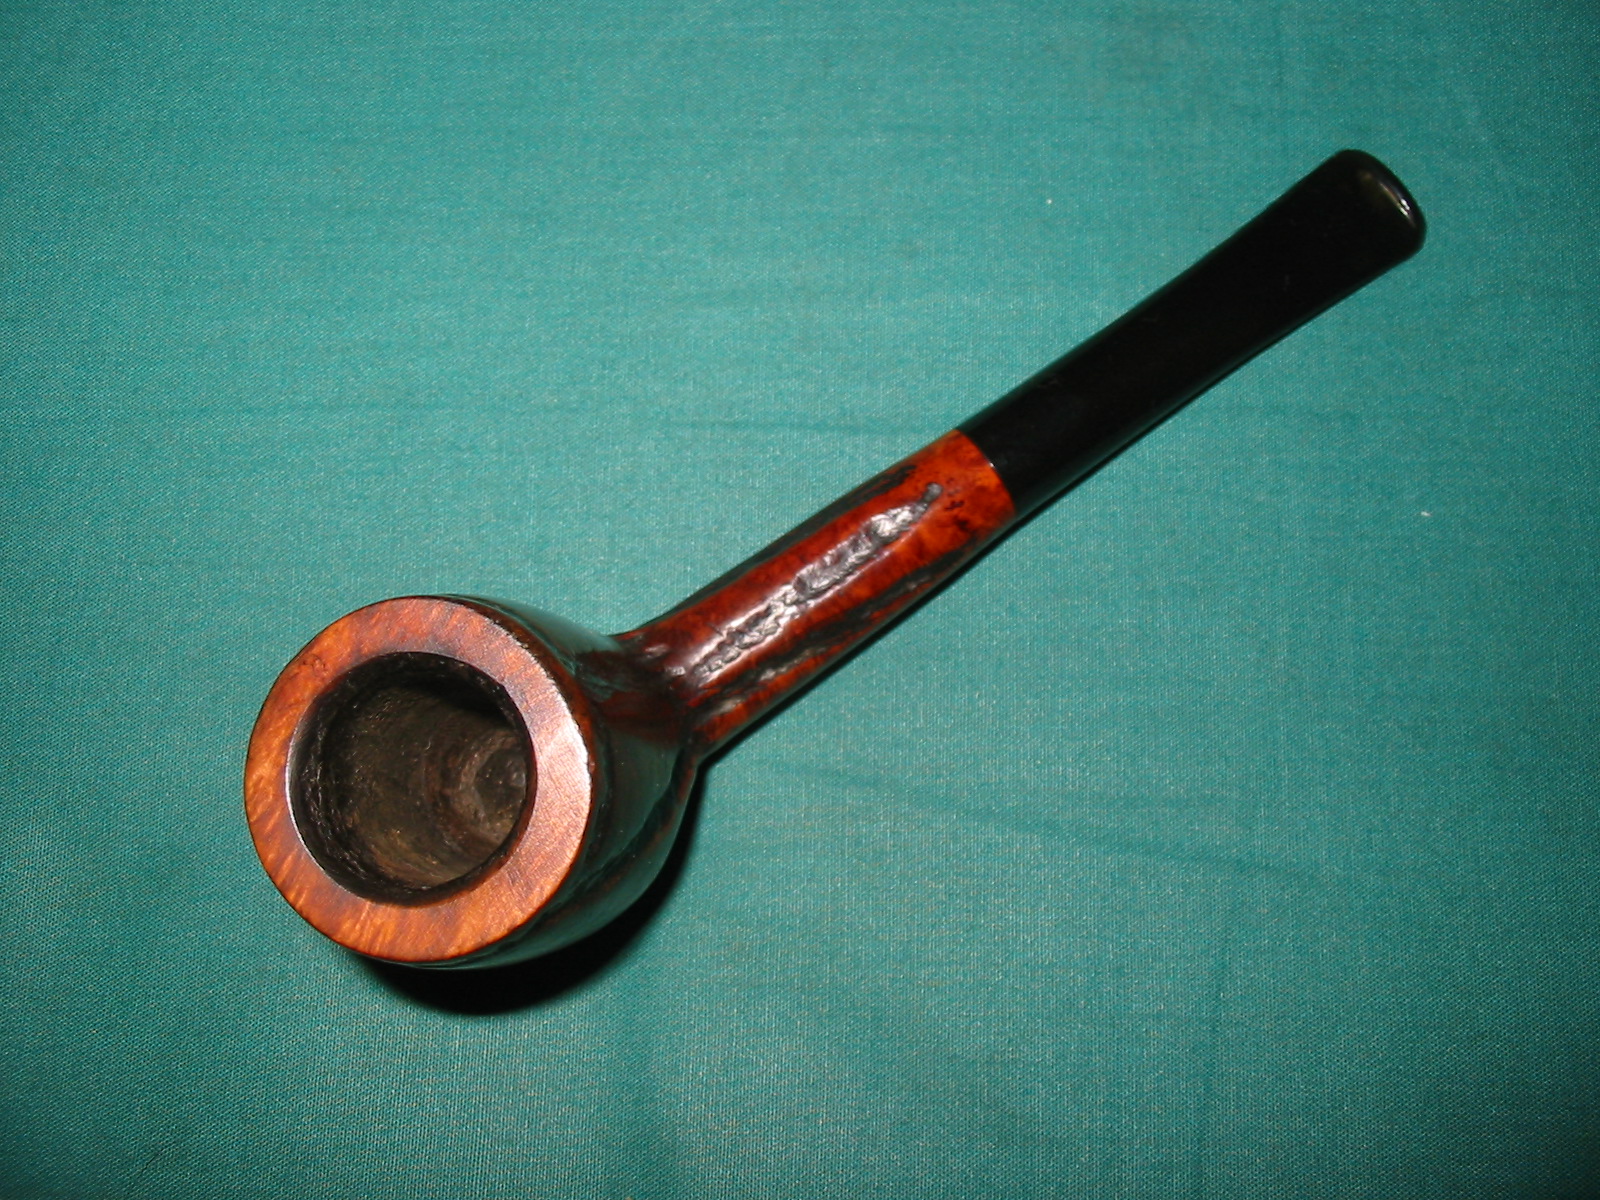
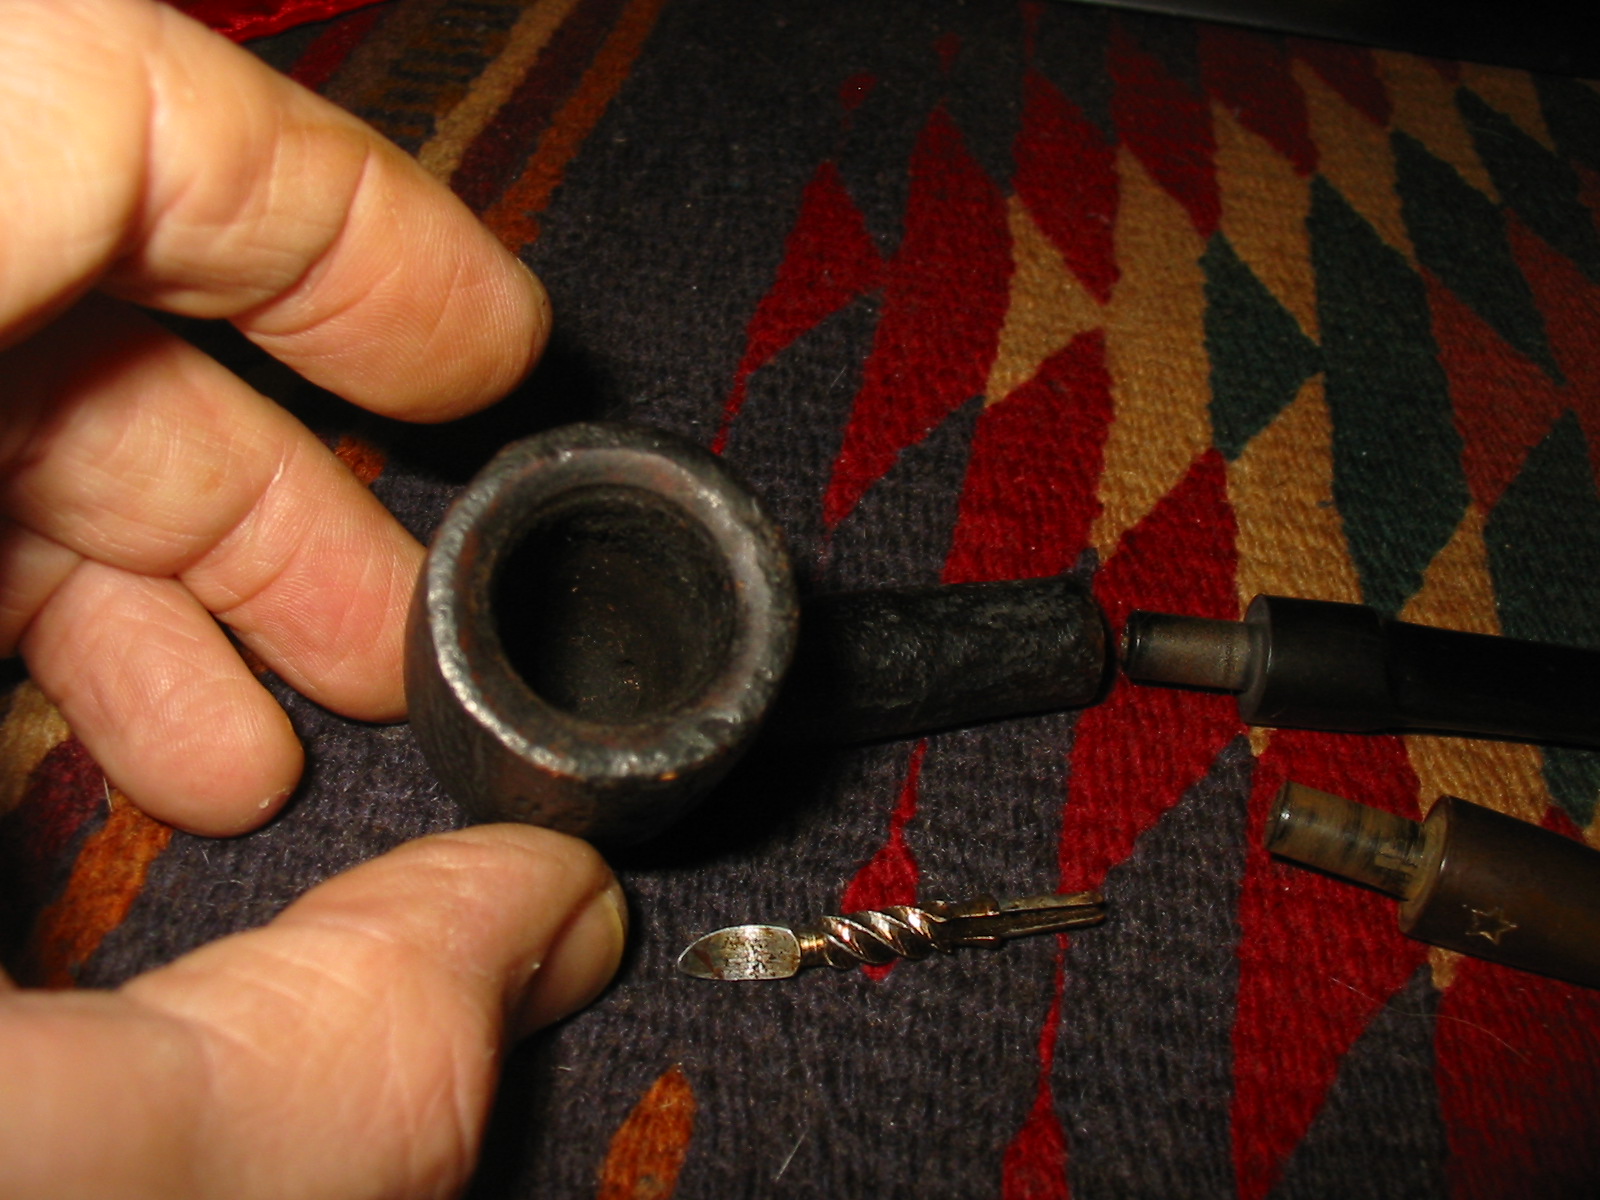
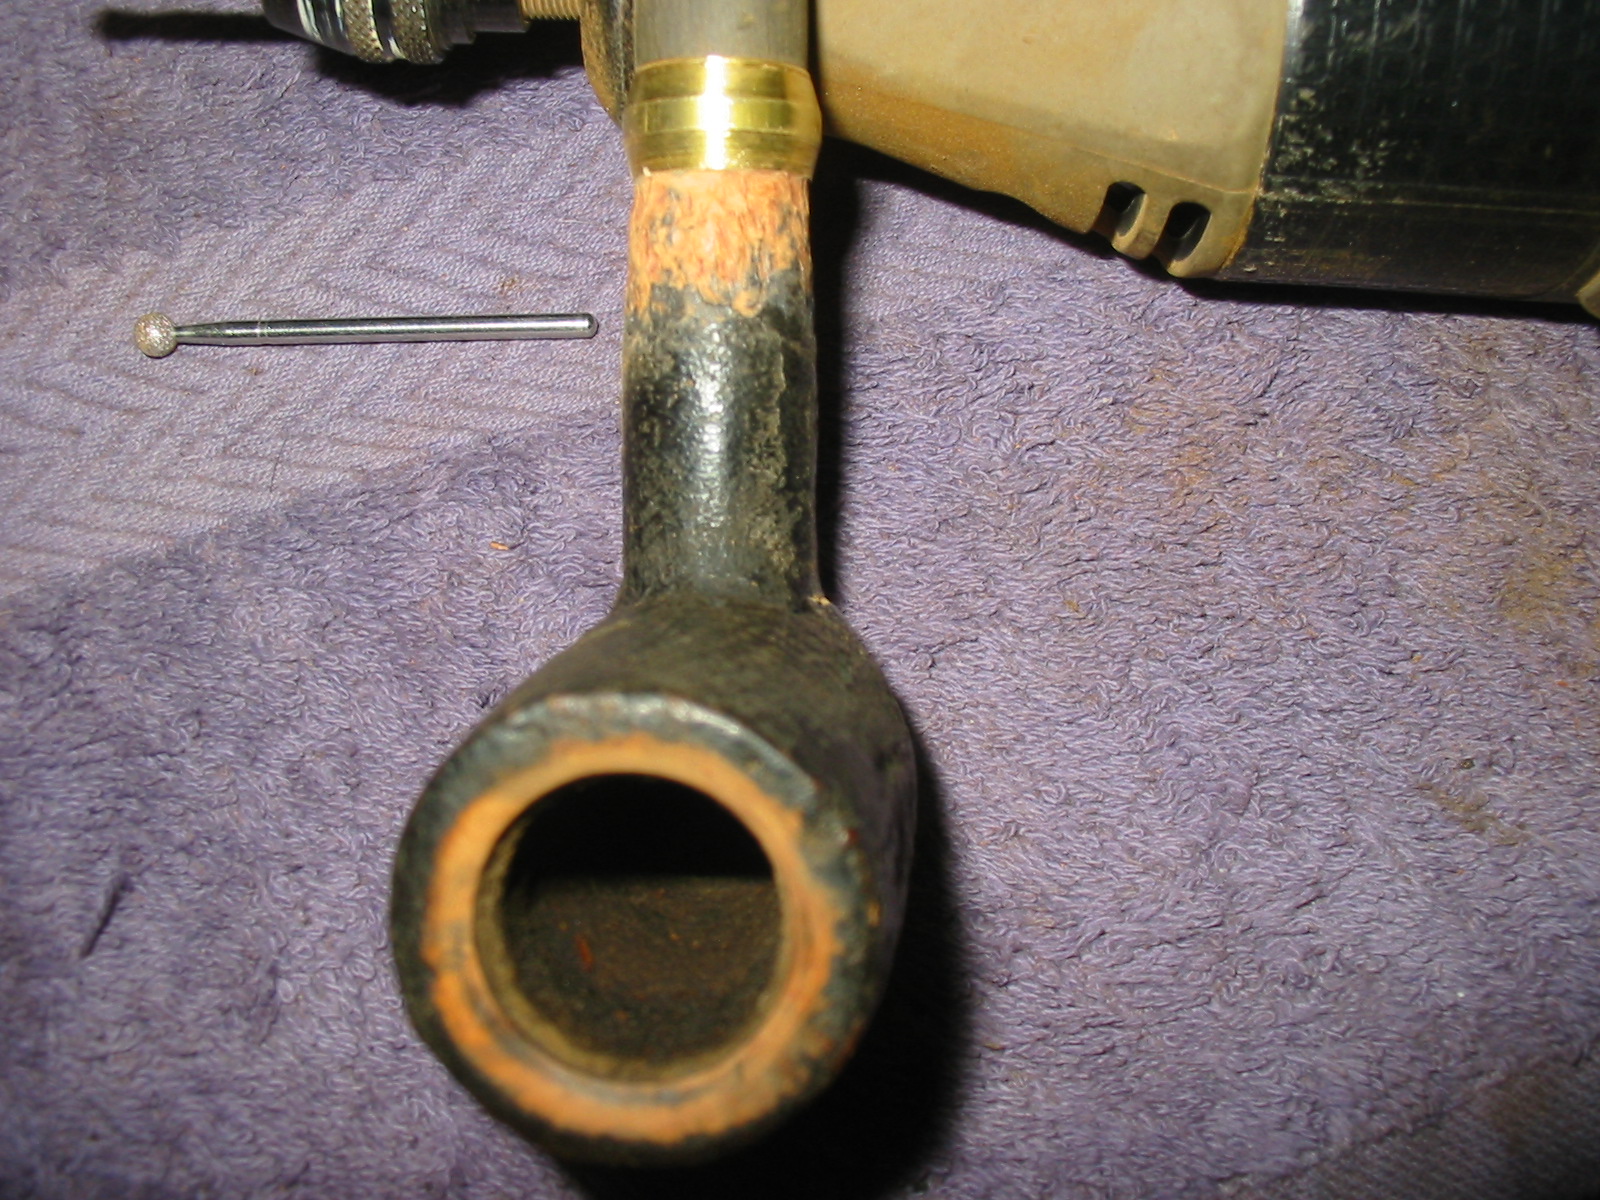
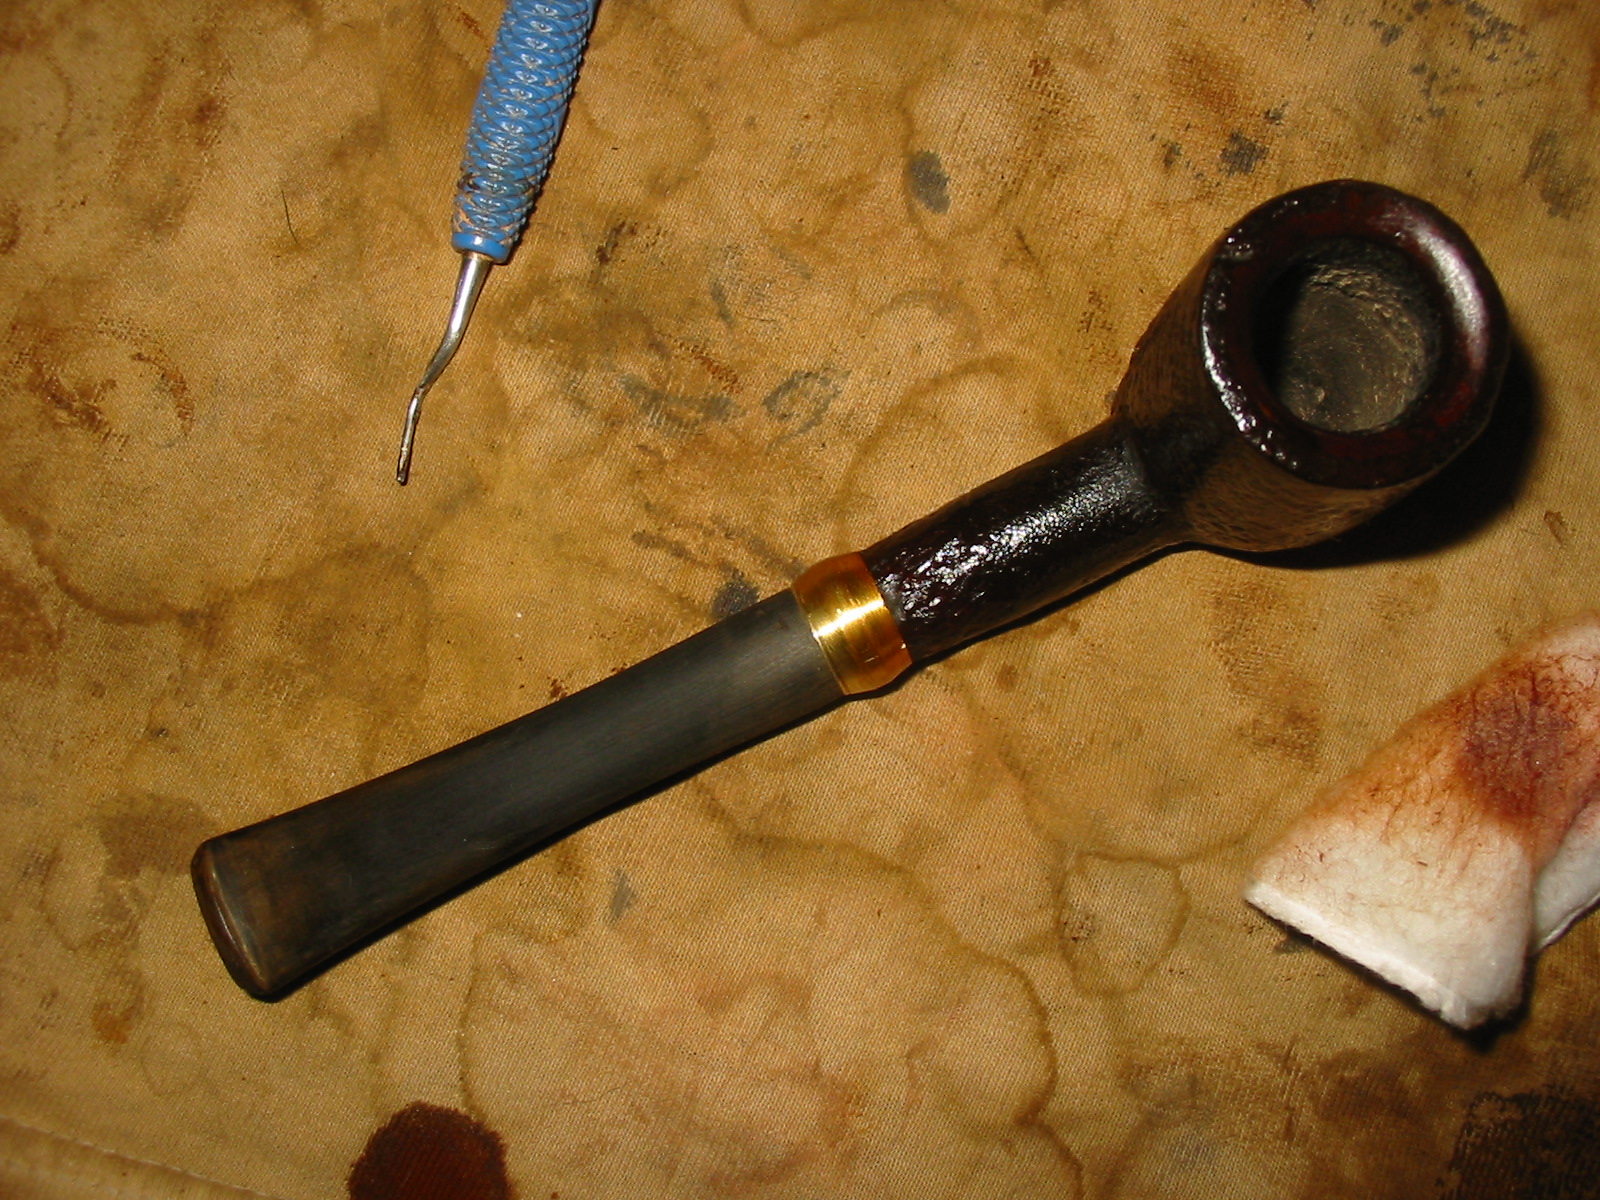
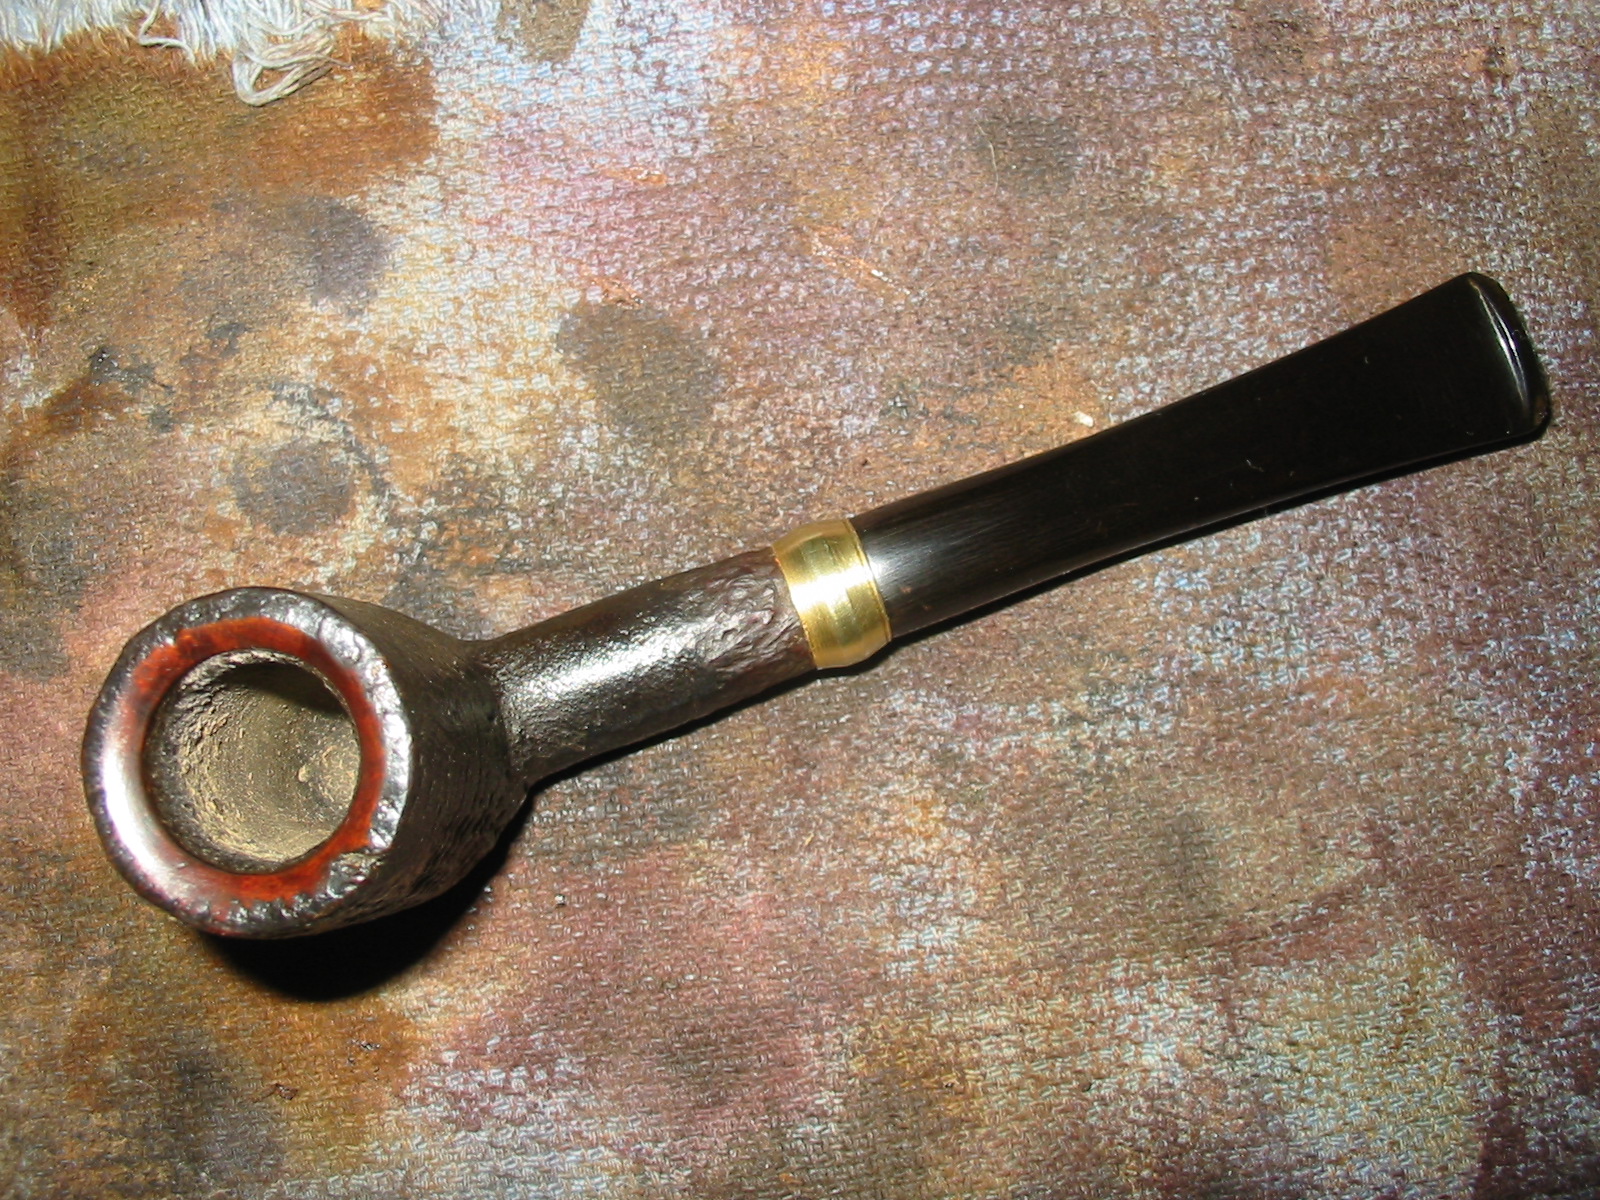
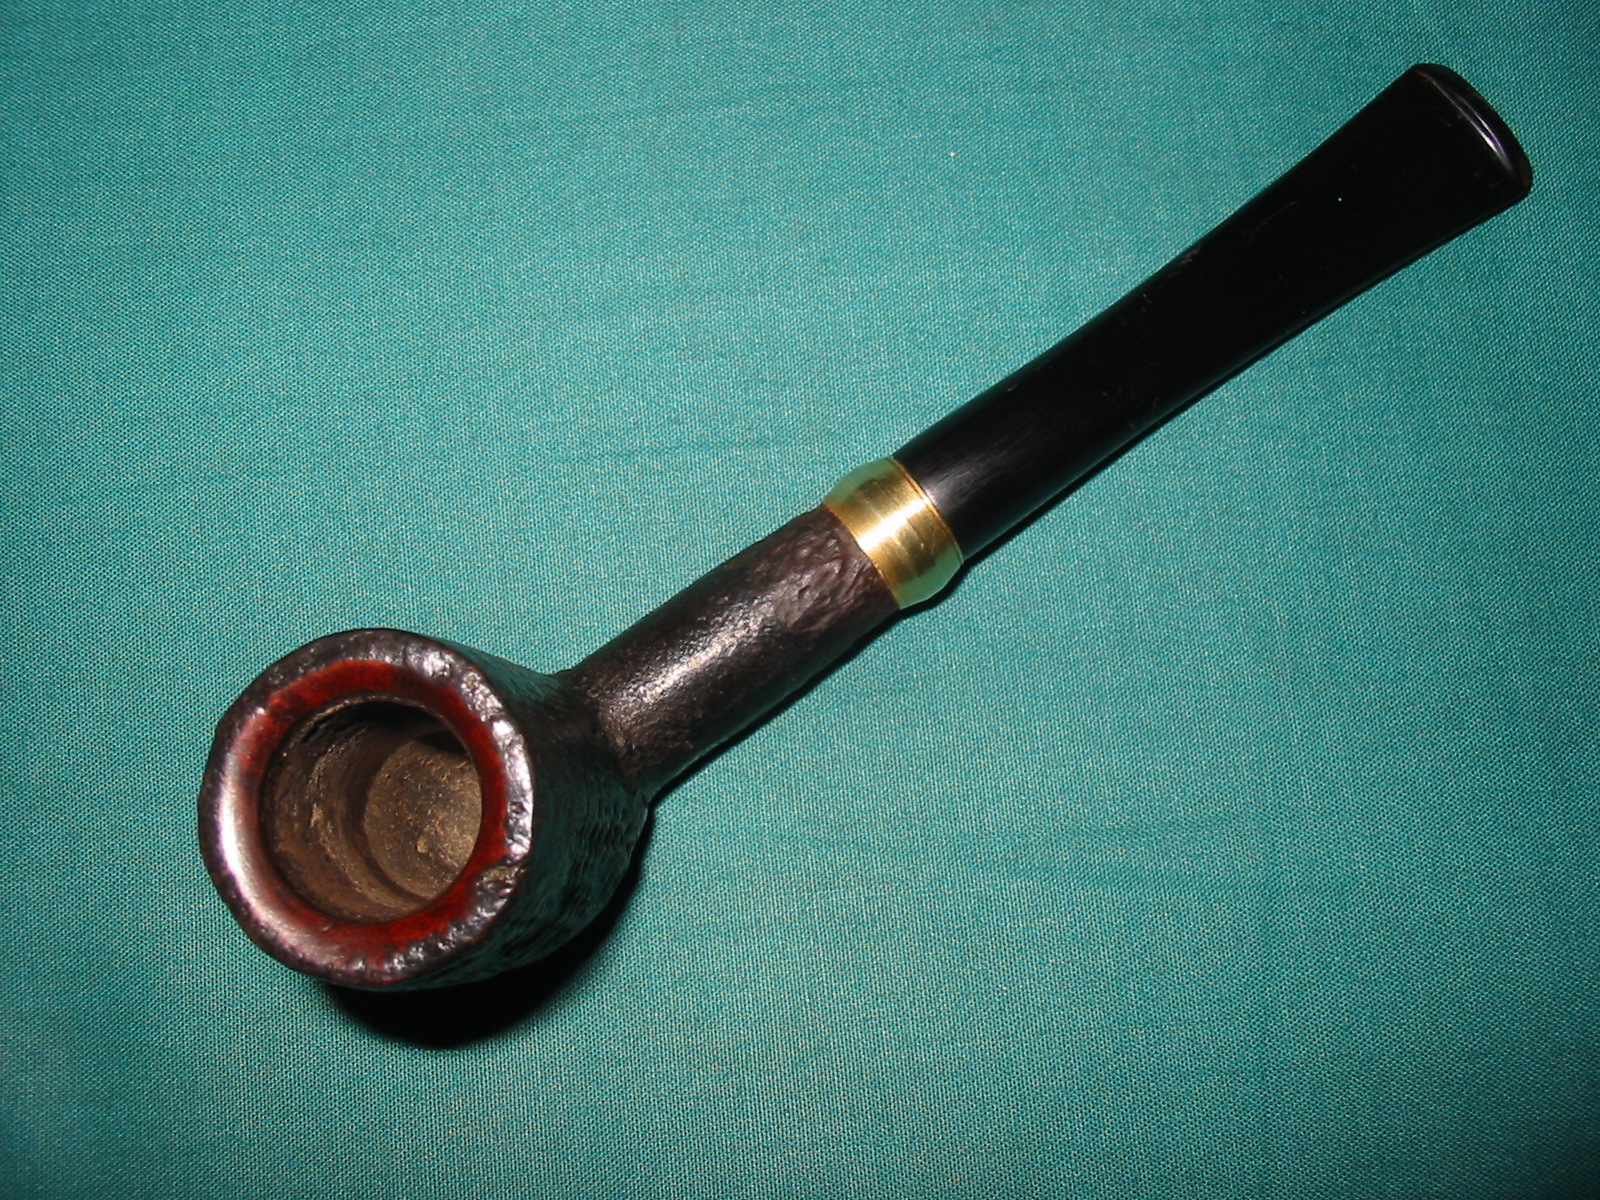
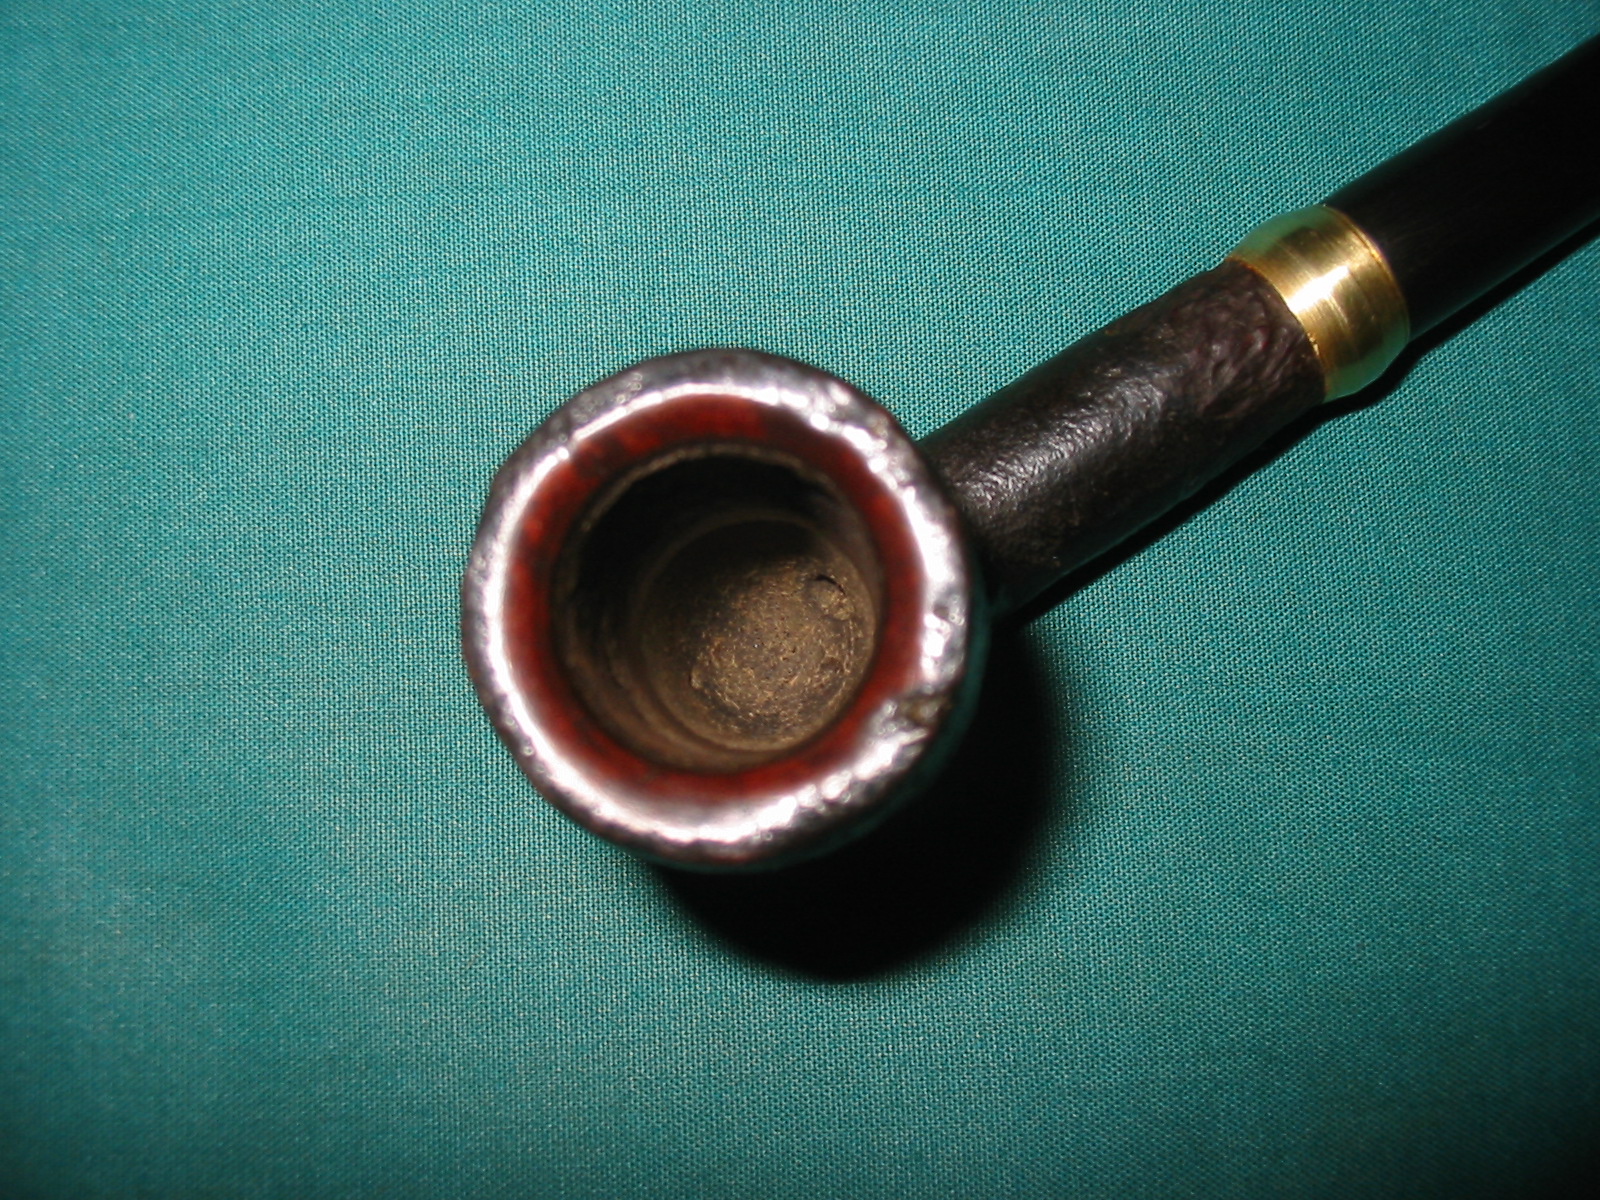
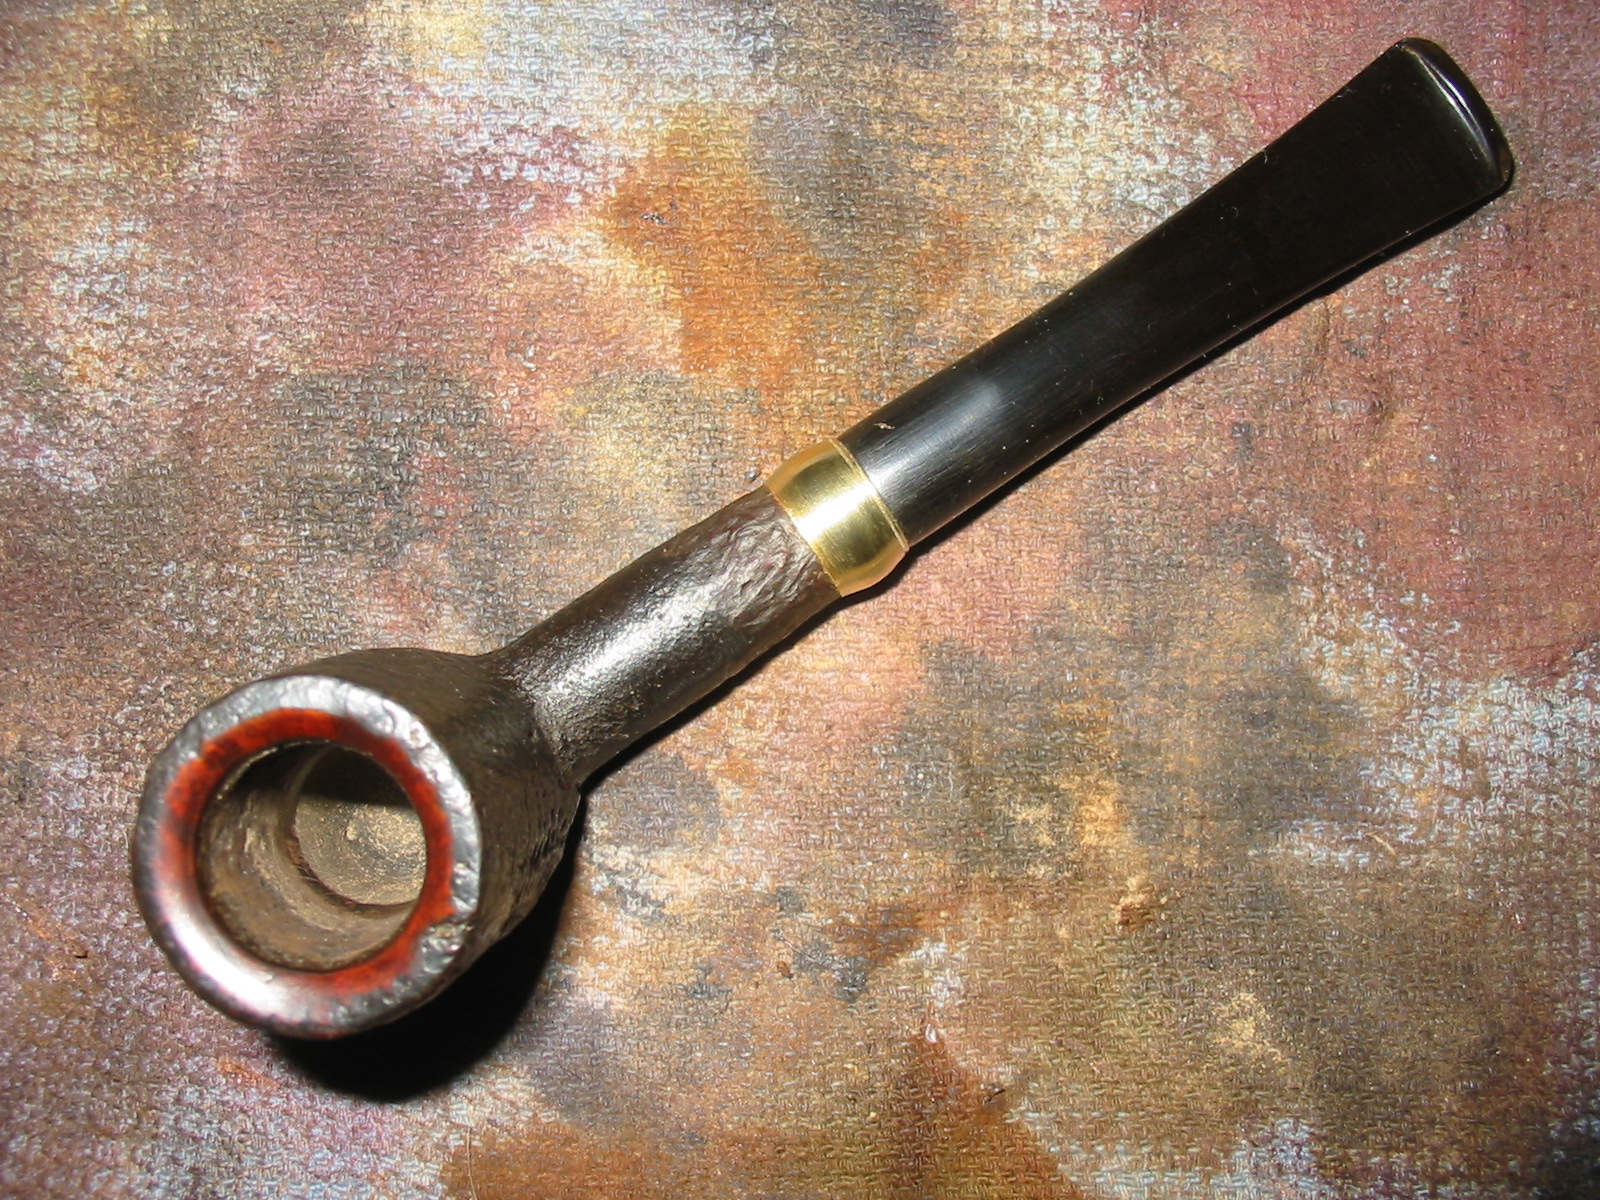
I went through the box of nickel bands that I have here and I did not have any the correct size for the shank. All of them were either too huge or too small. I did remember however that I had some brass plumbing pressure fitting pieces that would make a great band on the pipe and create a totally different look on this old pipe. Before fitting the band I worked on the bevel of the inner edge of the rim. I used a folded piece of sandpaper to smooth out the rim damage and reshape the bevel.
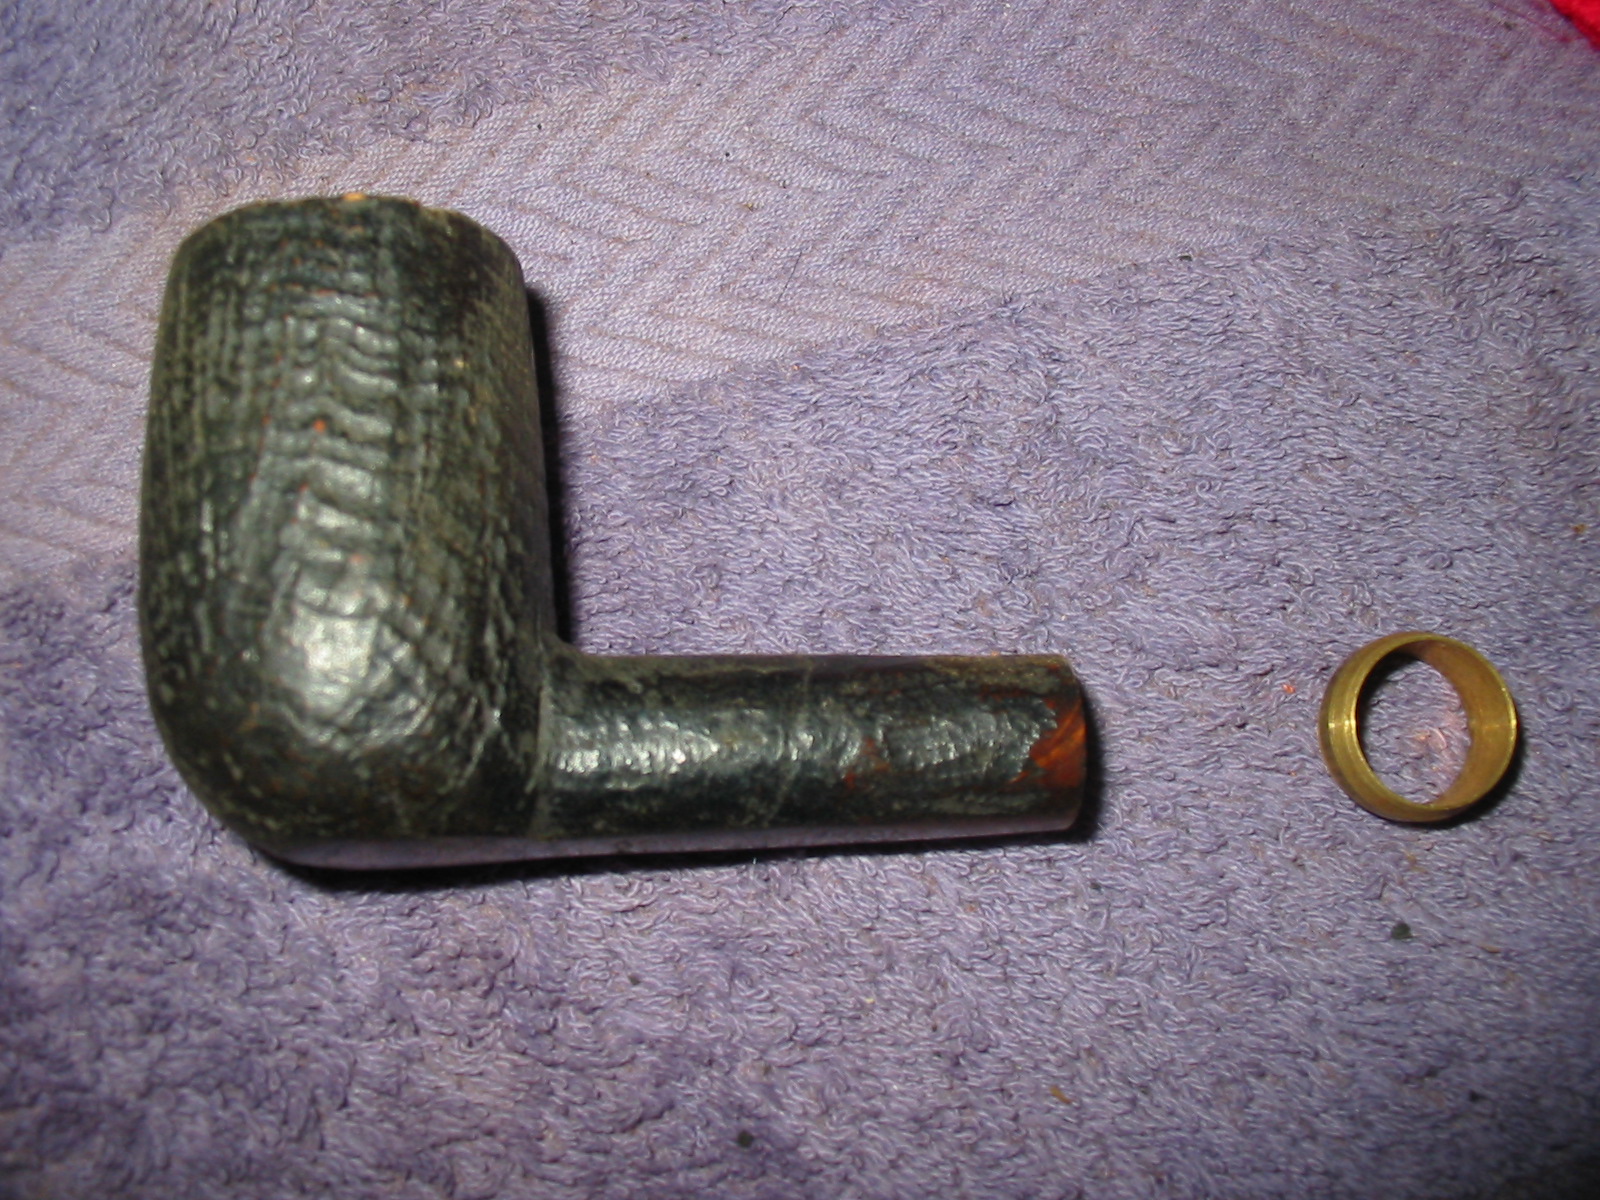
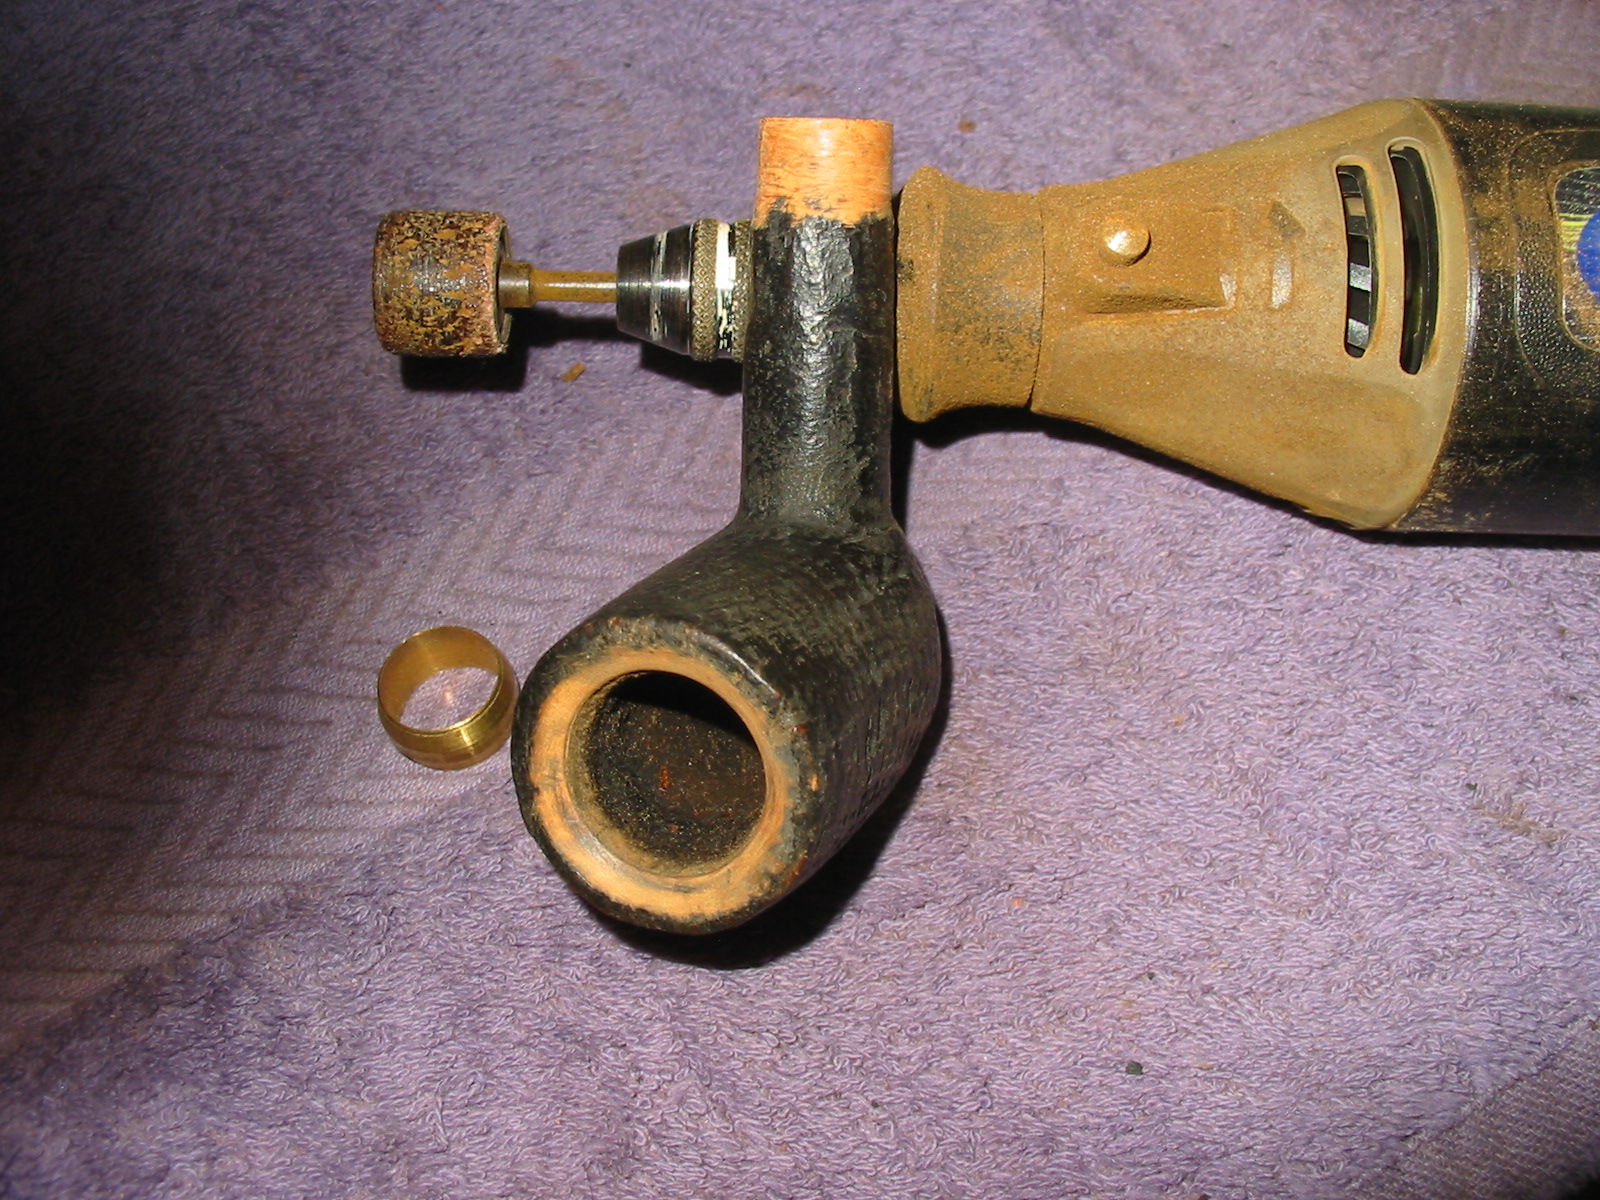
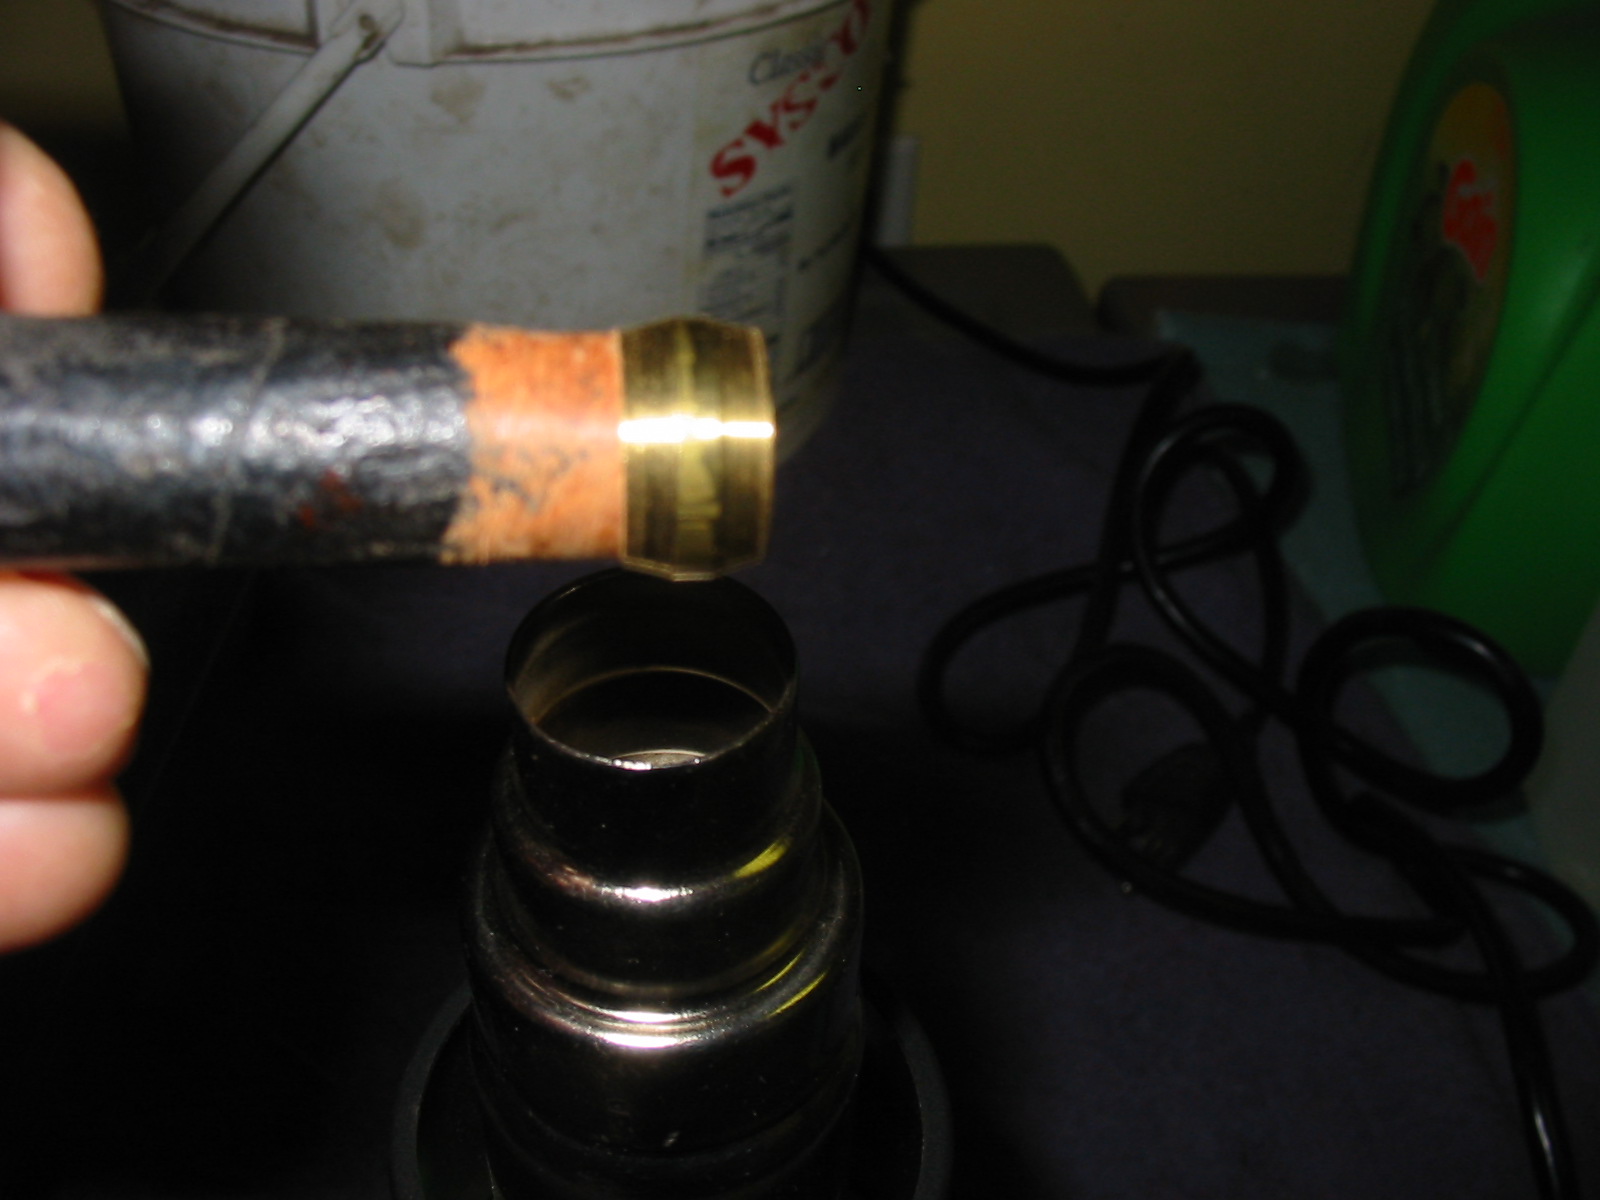
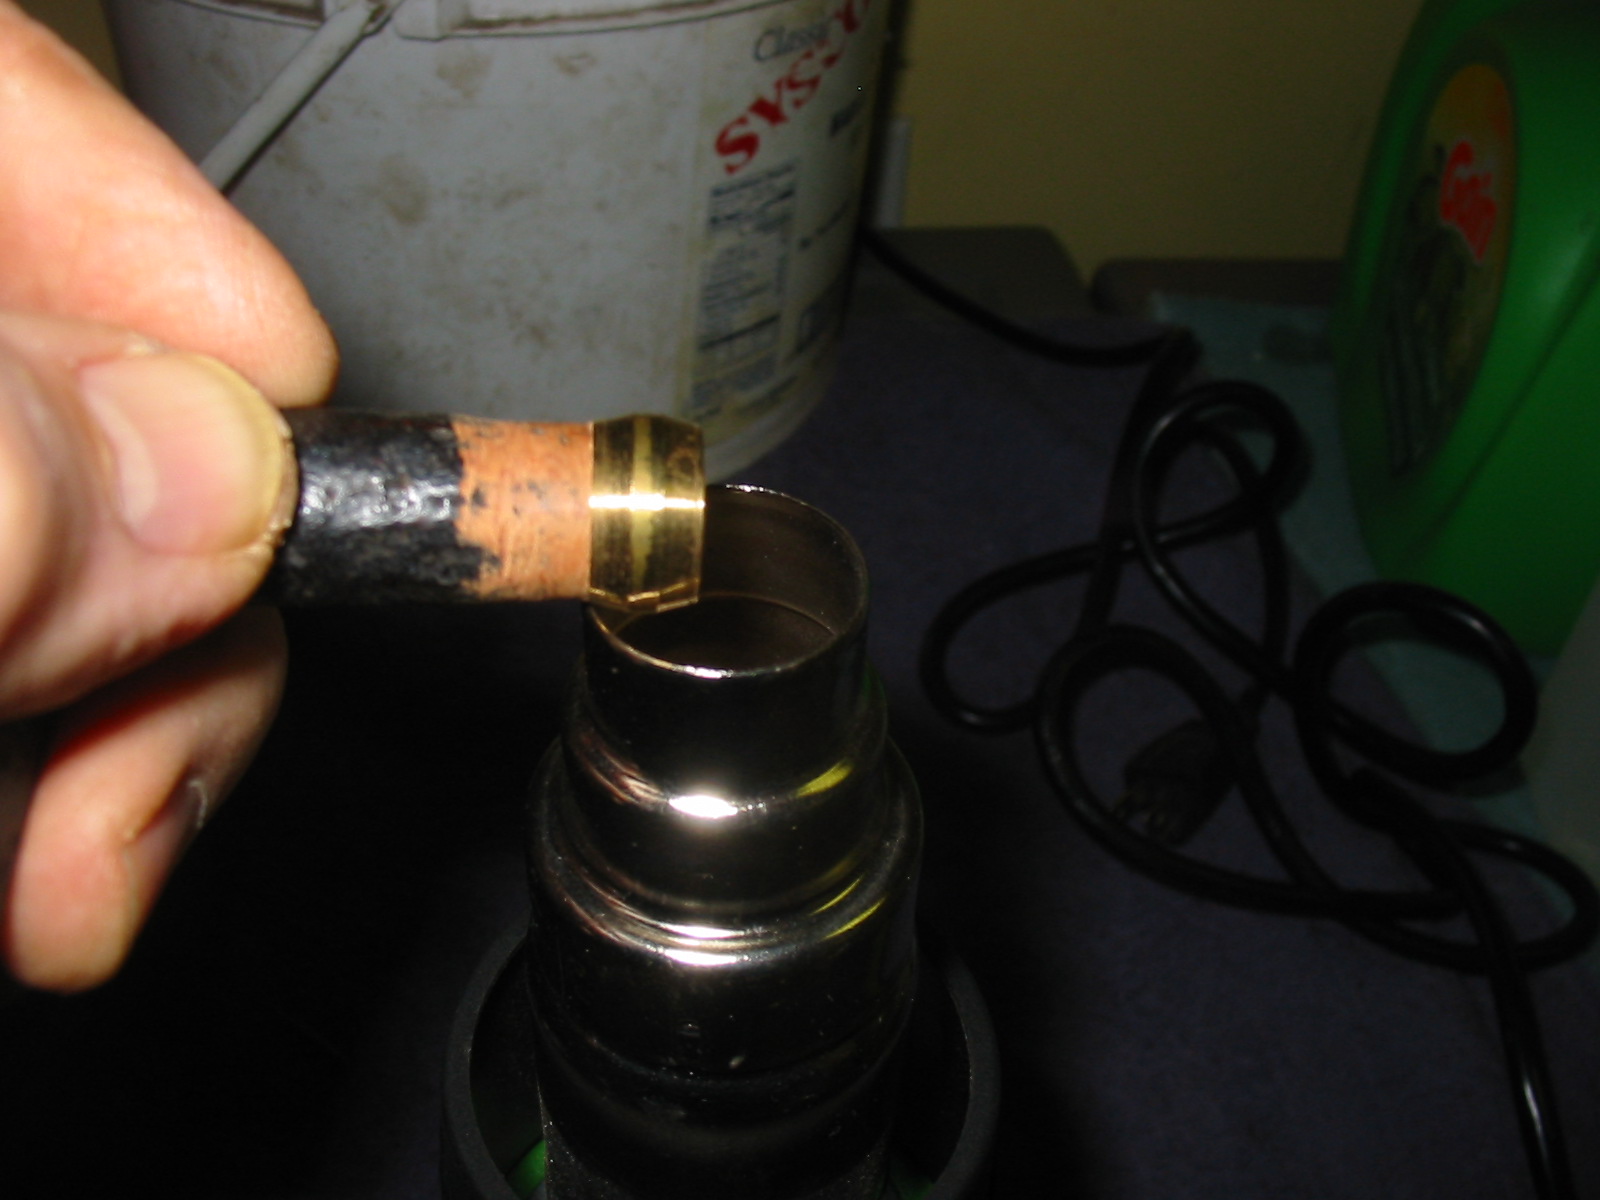
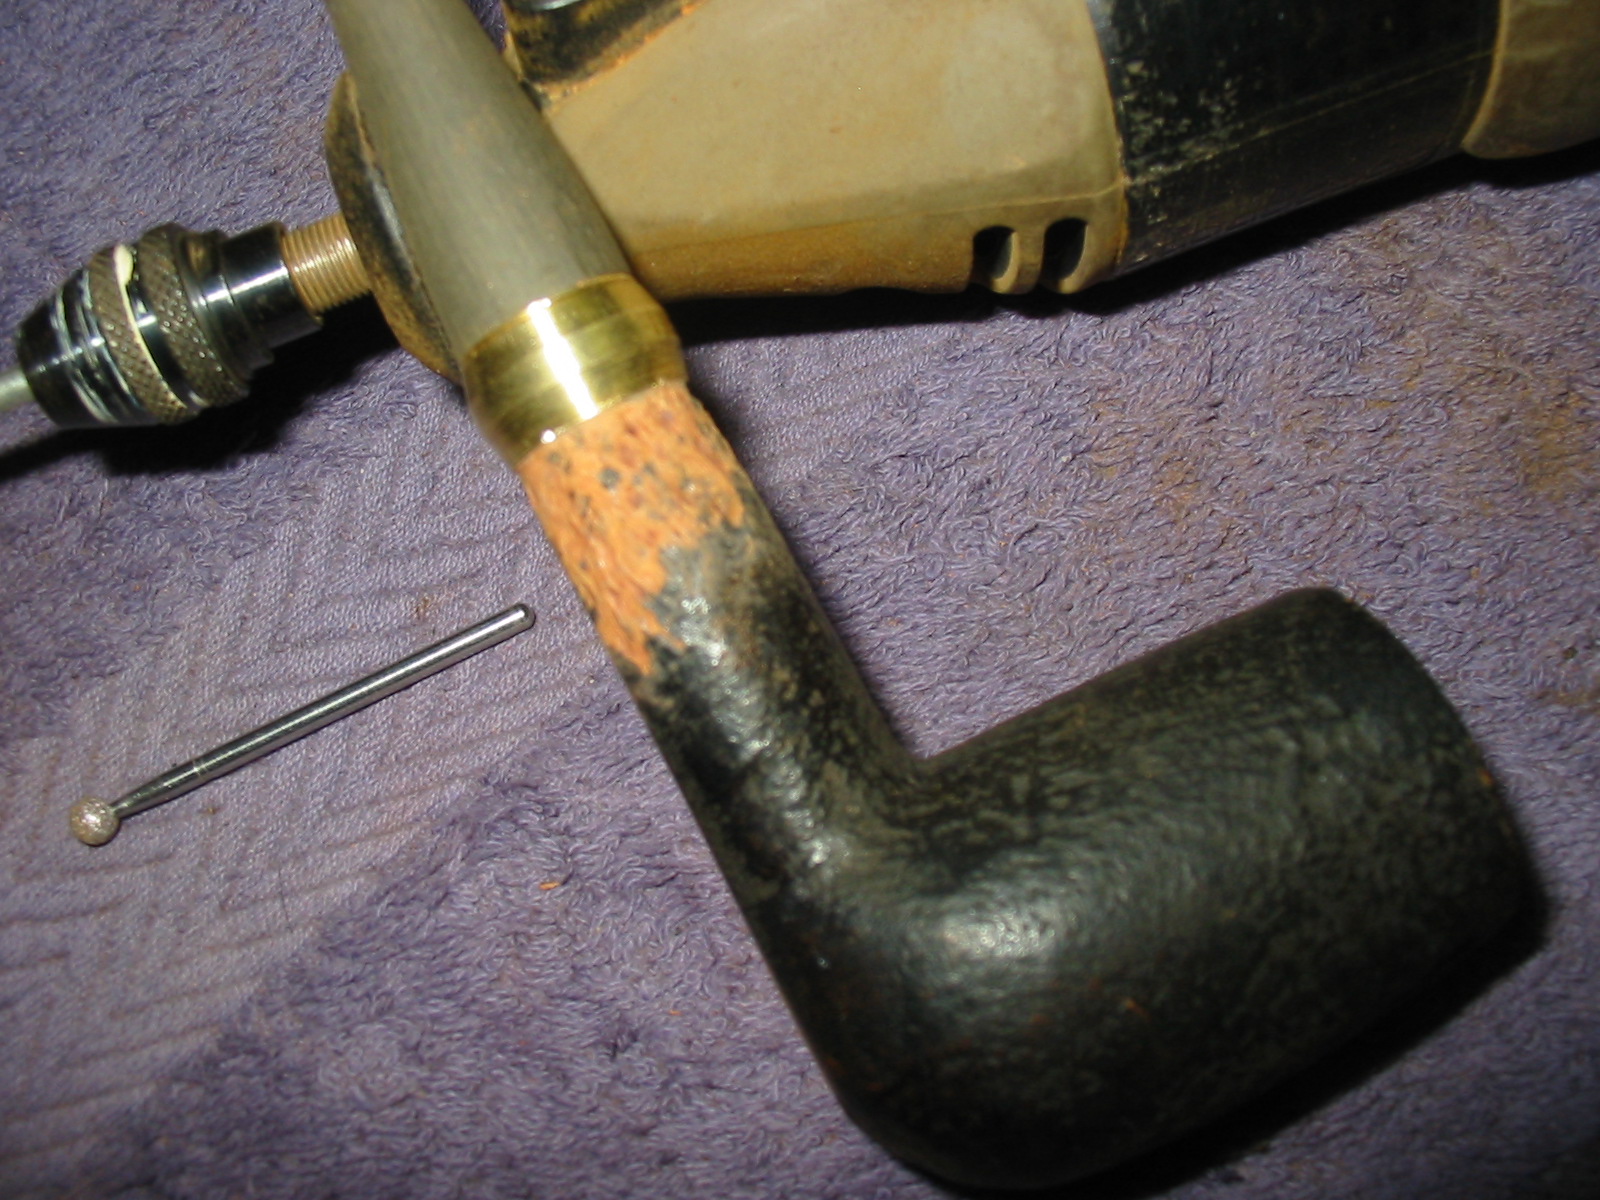
I used a Dremel and sanding drum to sand back the shank so that the band could be pressure fit against the cracked shank. I took back the rustication until the finish was gone and the shank area was smooth. When the band fit tightly on the shank I heated the brass band with a heat gun and then pressed it into place on the shank.
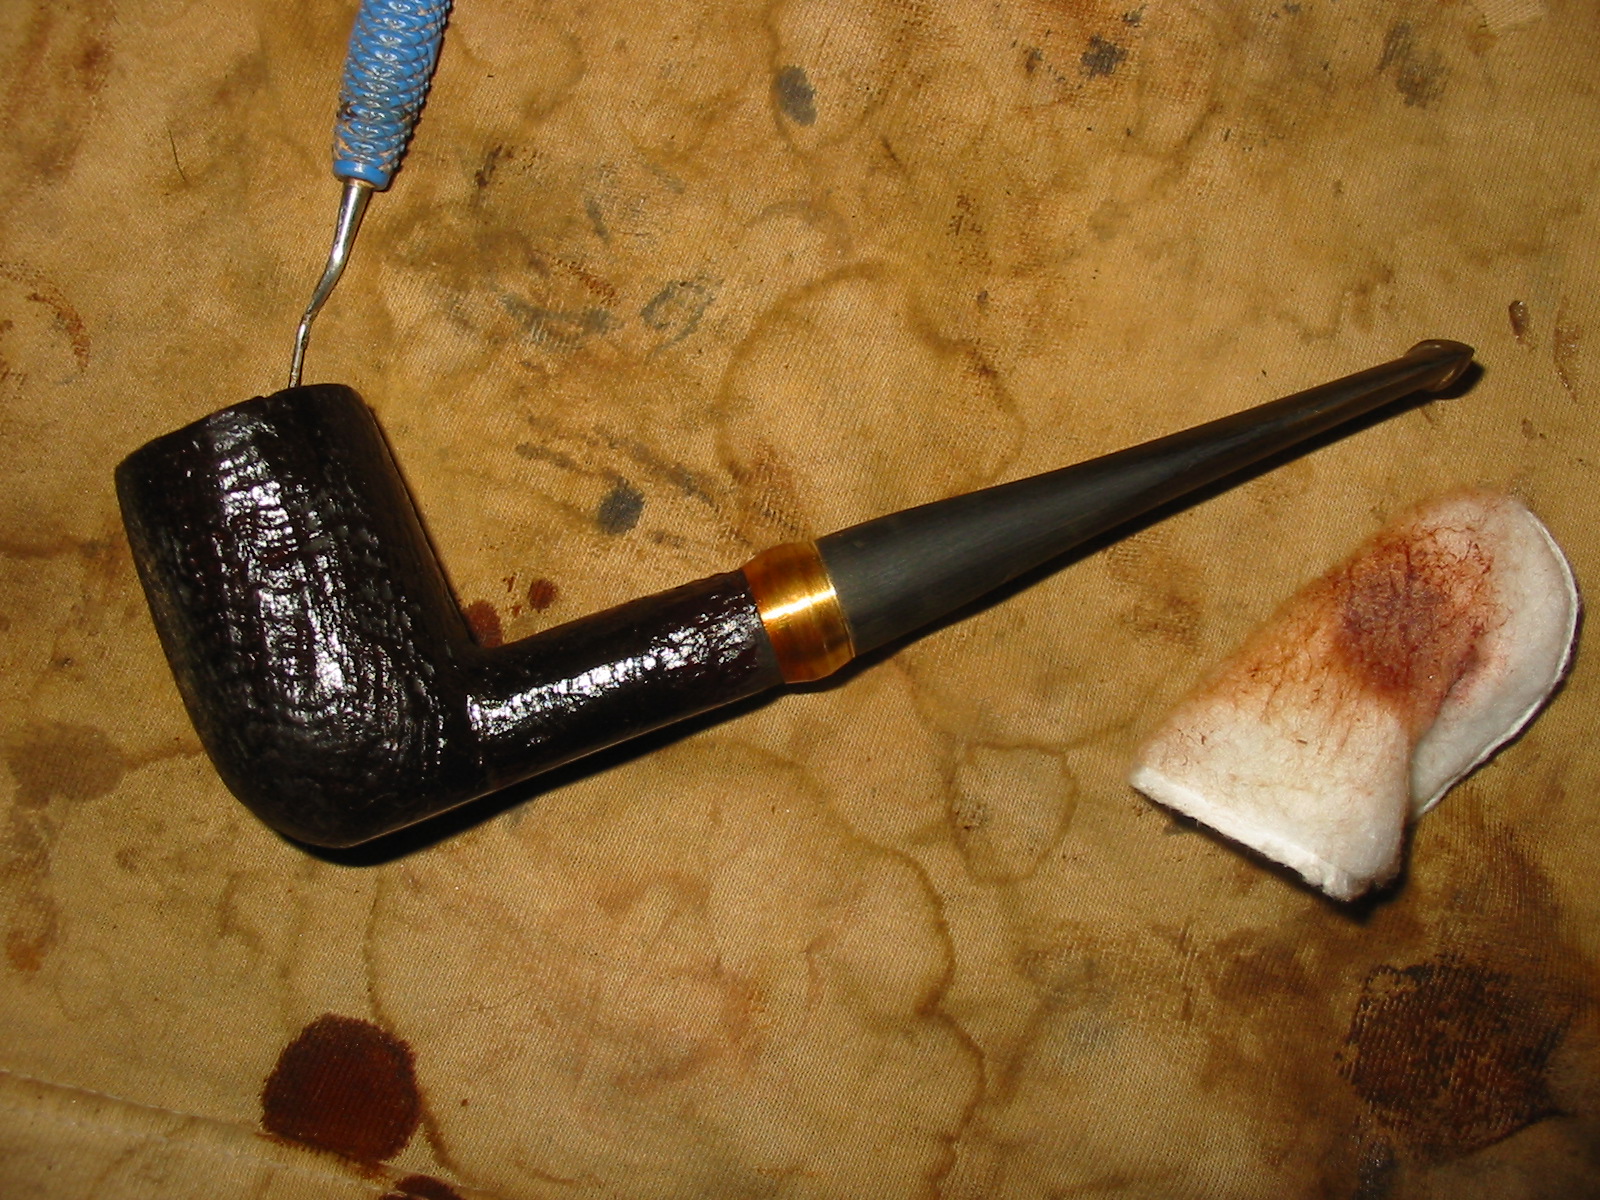
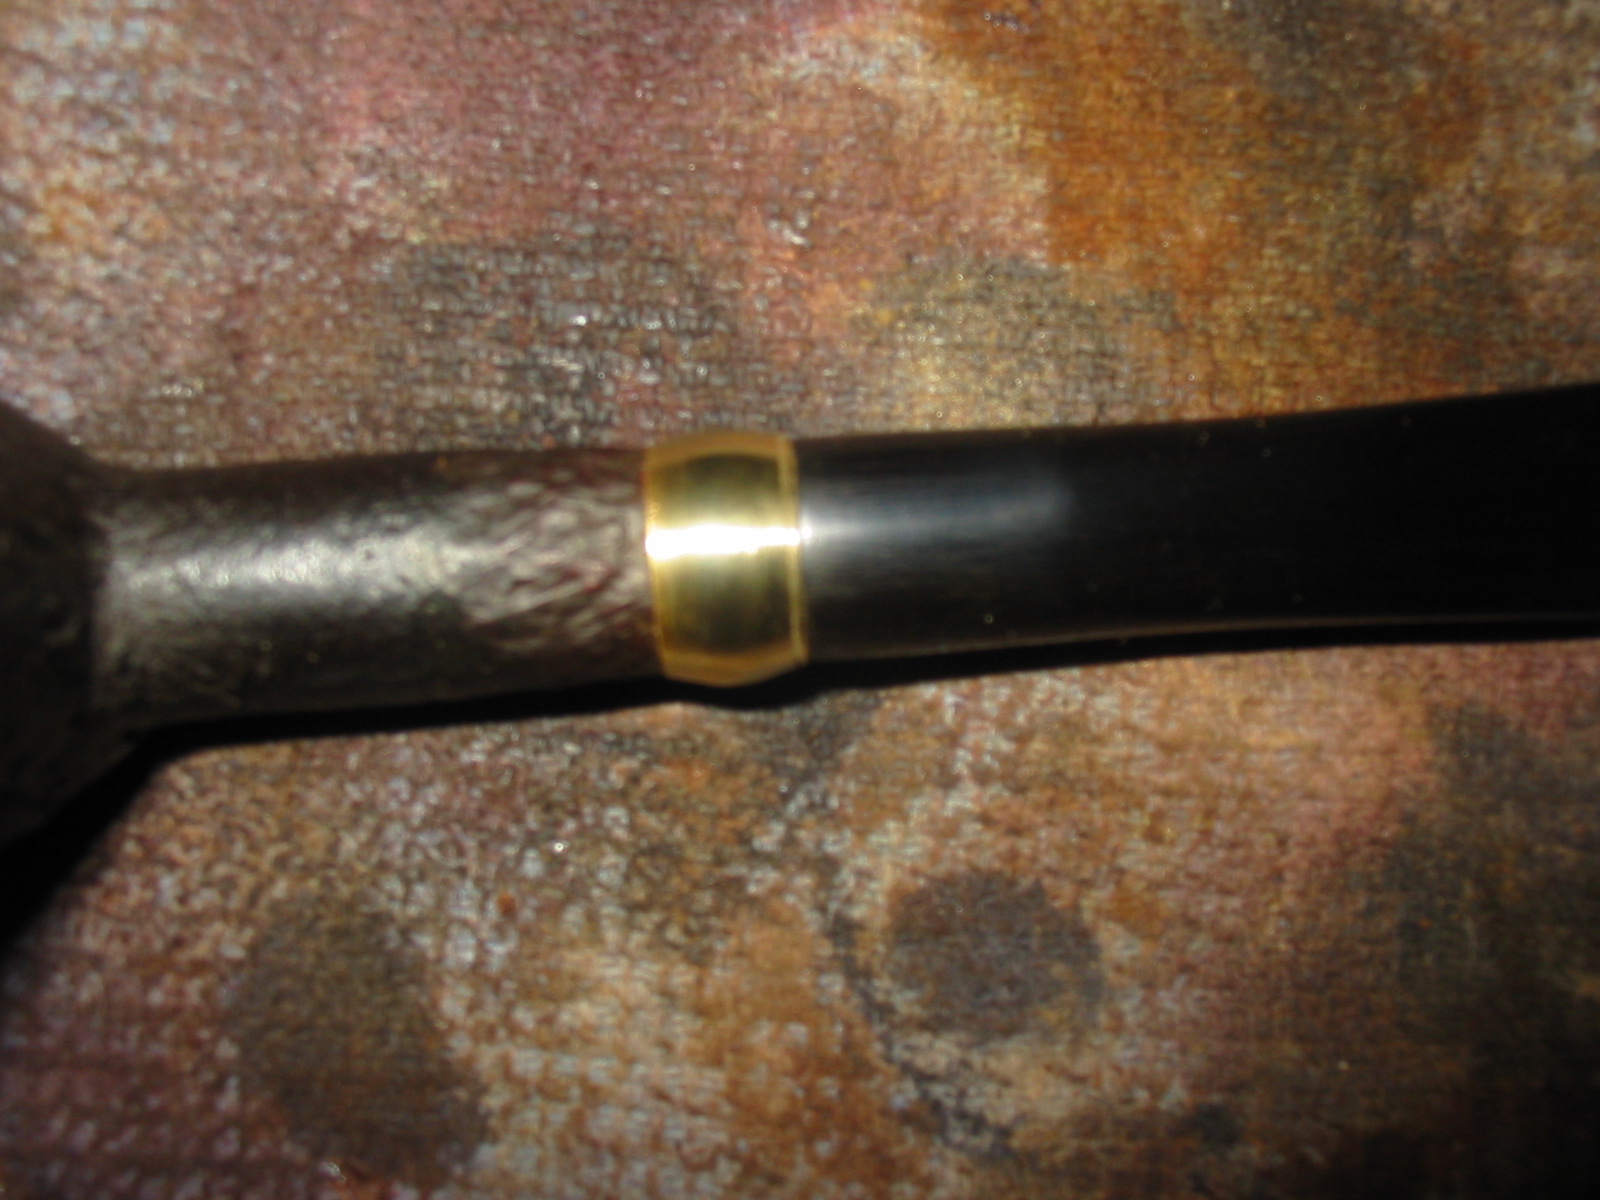
I pressed the band into place on the shank and then hand sanded the area in front of the band smooth so that I could rework the taper of the shank and the finish to match the rest of the pipe.

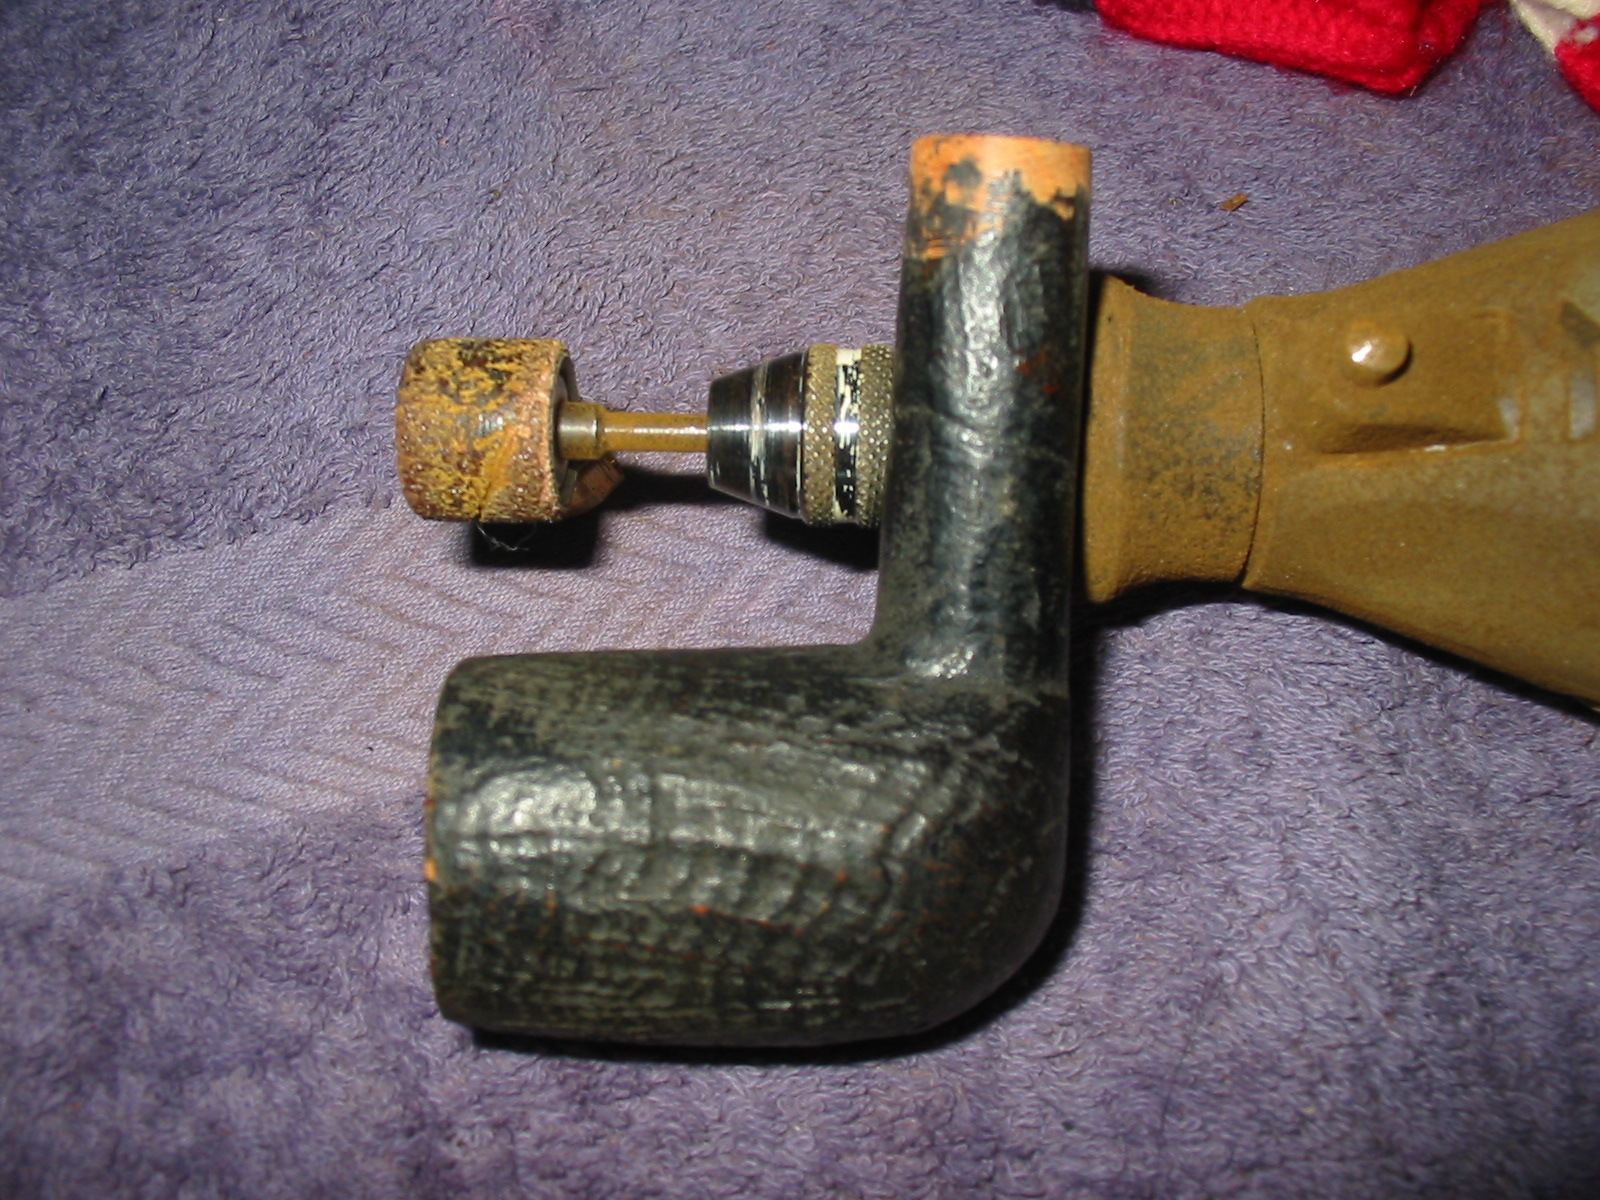
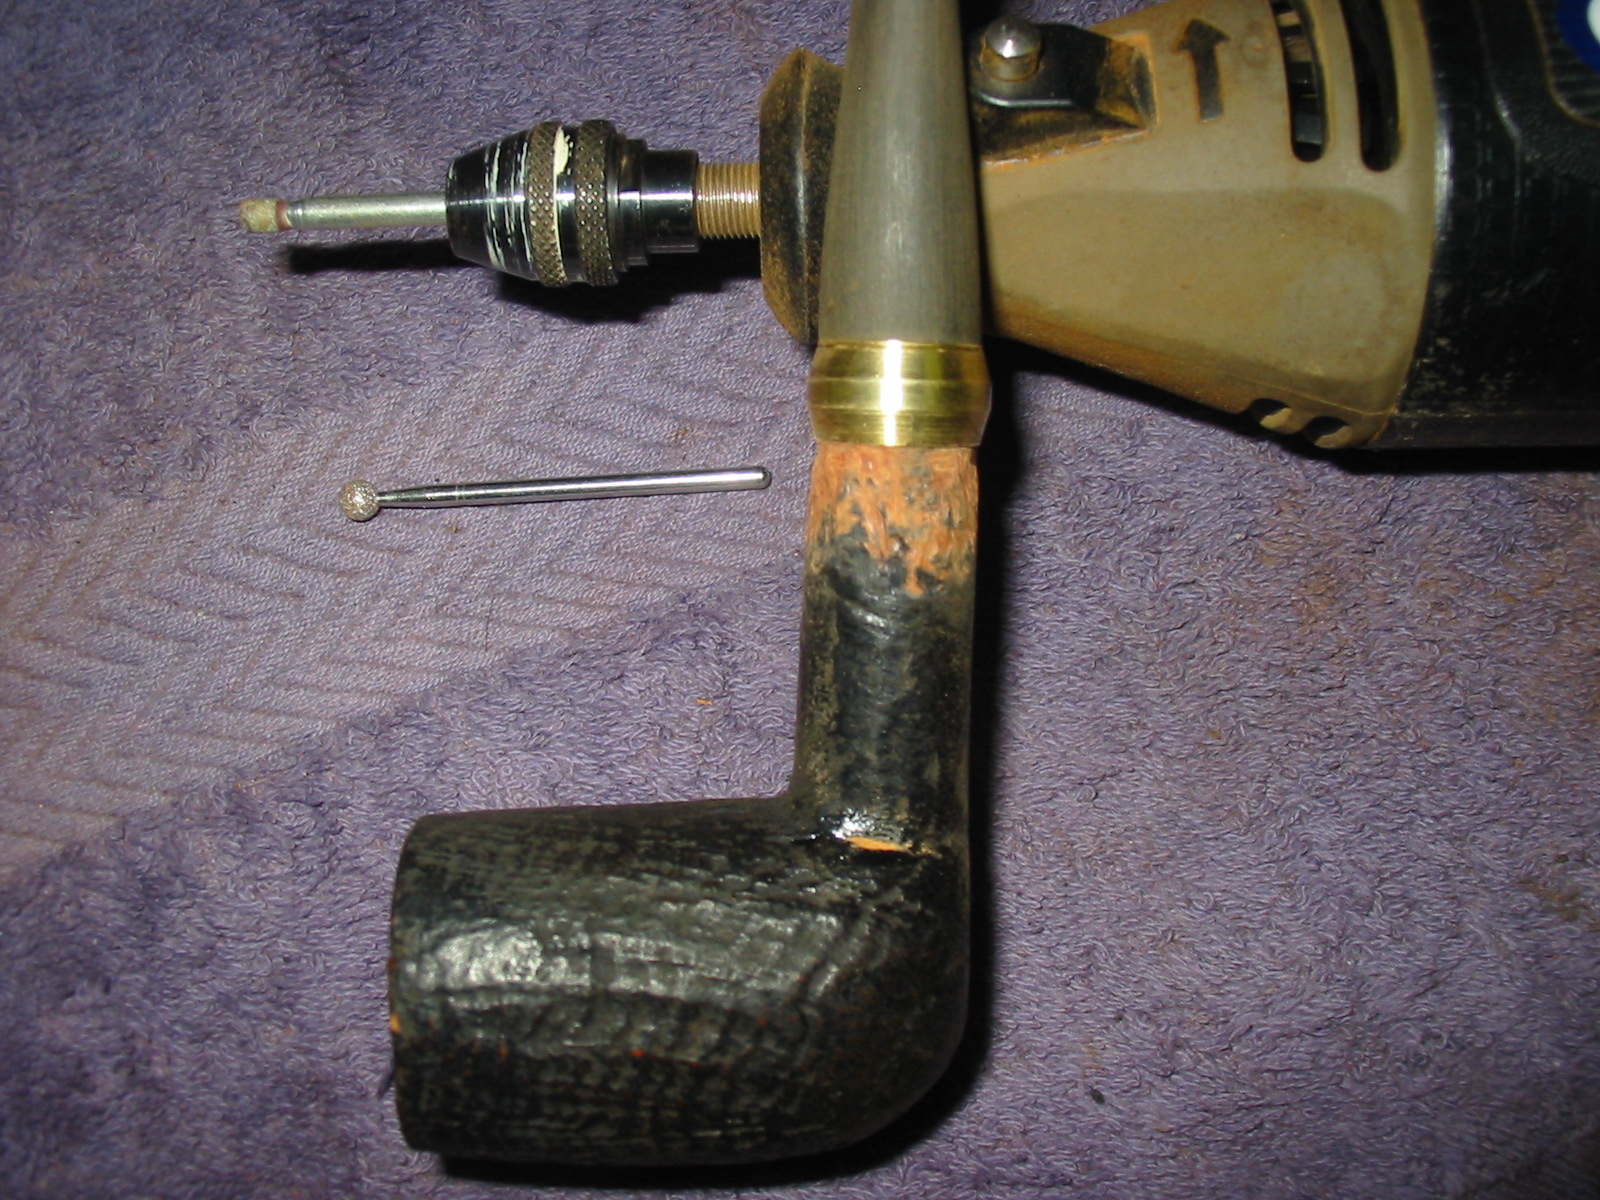
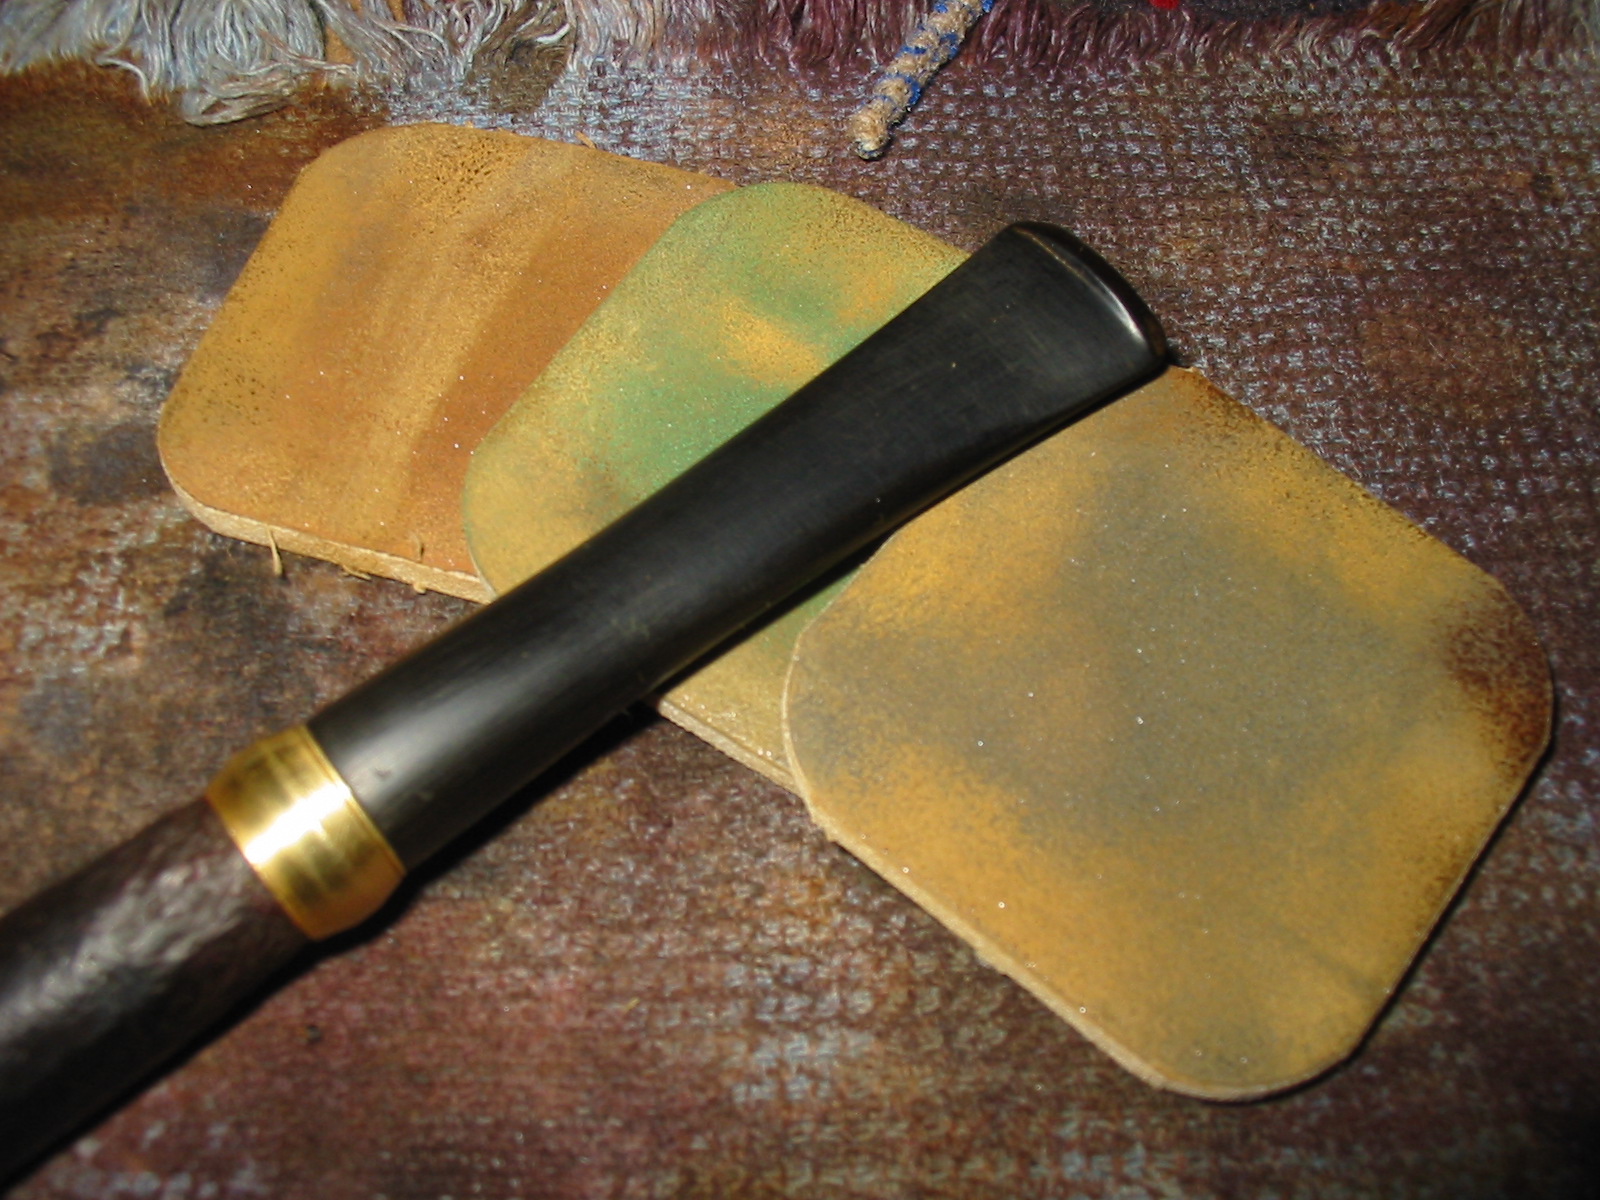
I used the two Dremel diamond cutting heads pictured below to rusticate the finish on the shank. I used the cylinder first and then the ball. I worked it into the briar to make the smooth area match the rest of the bowl.
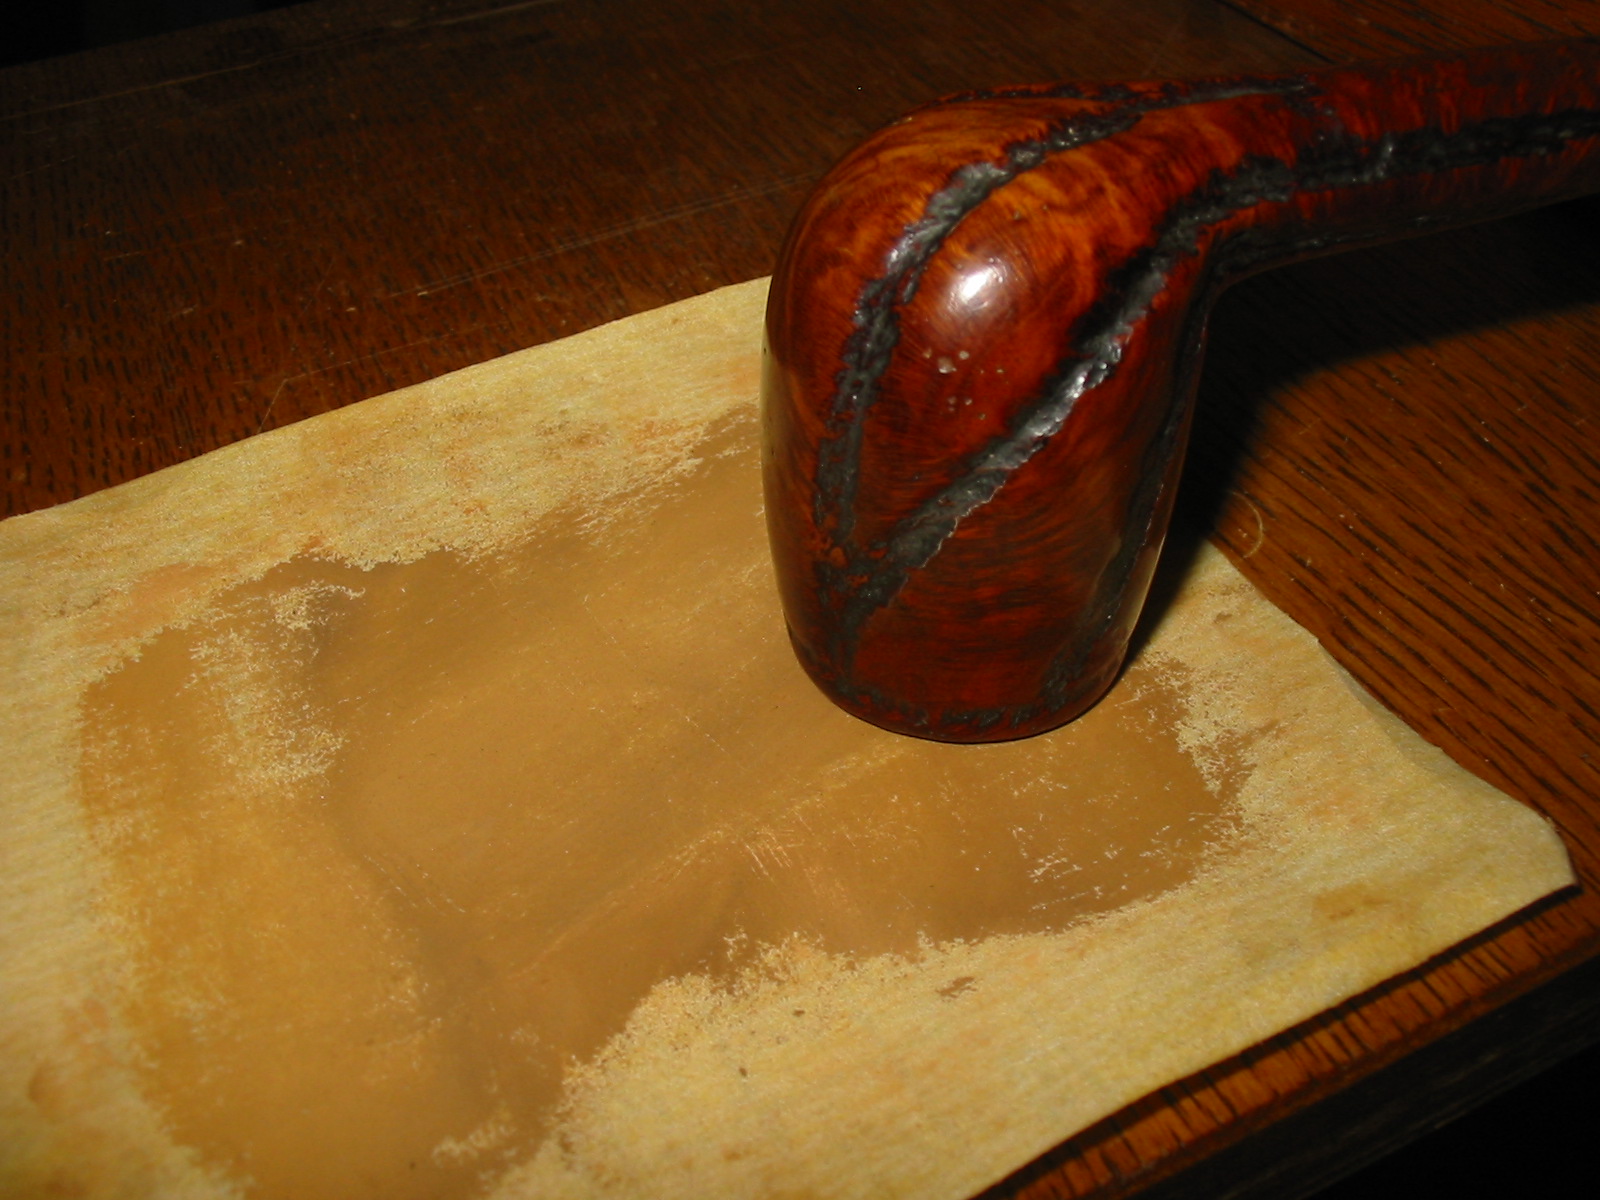
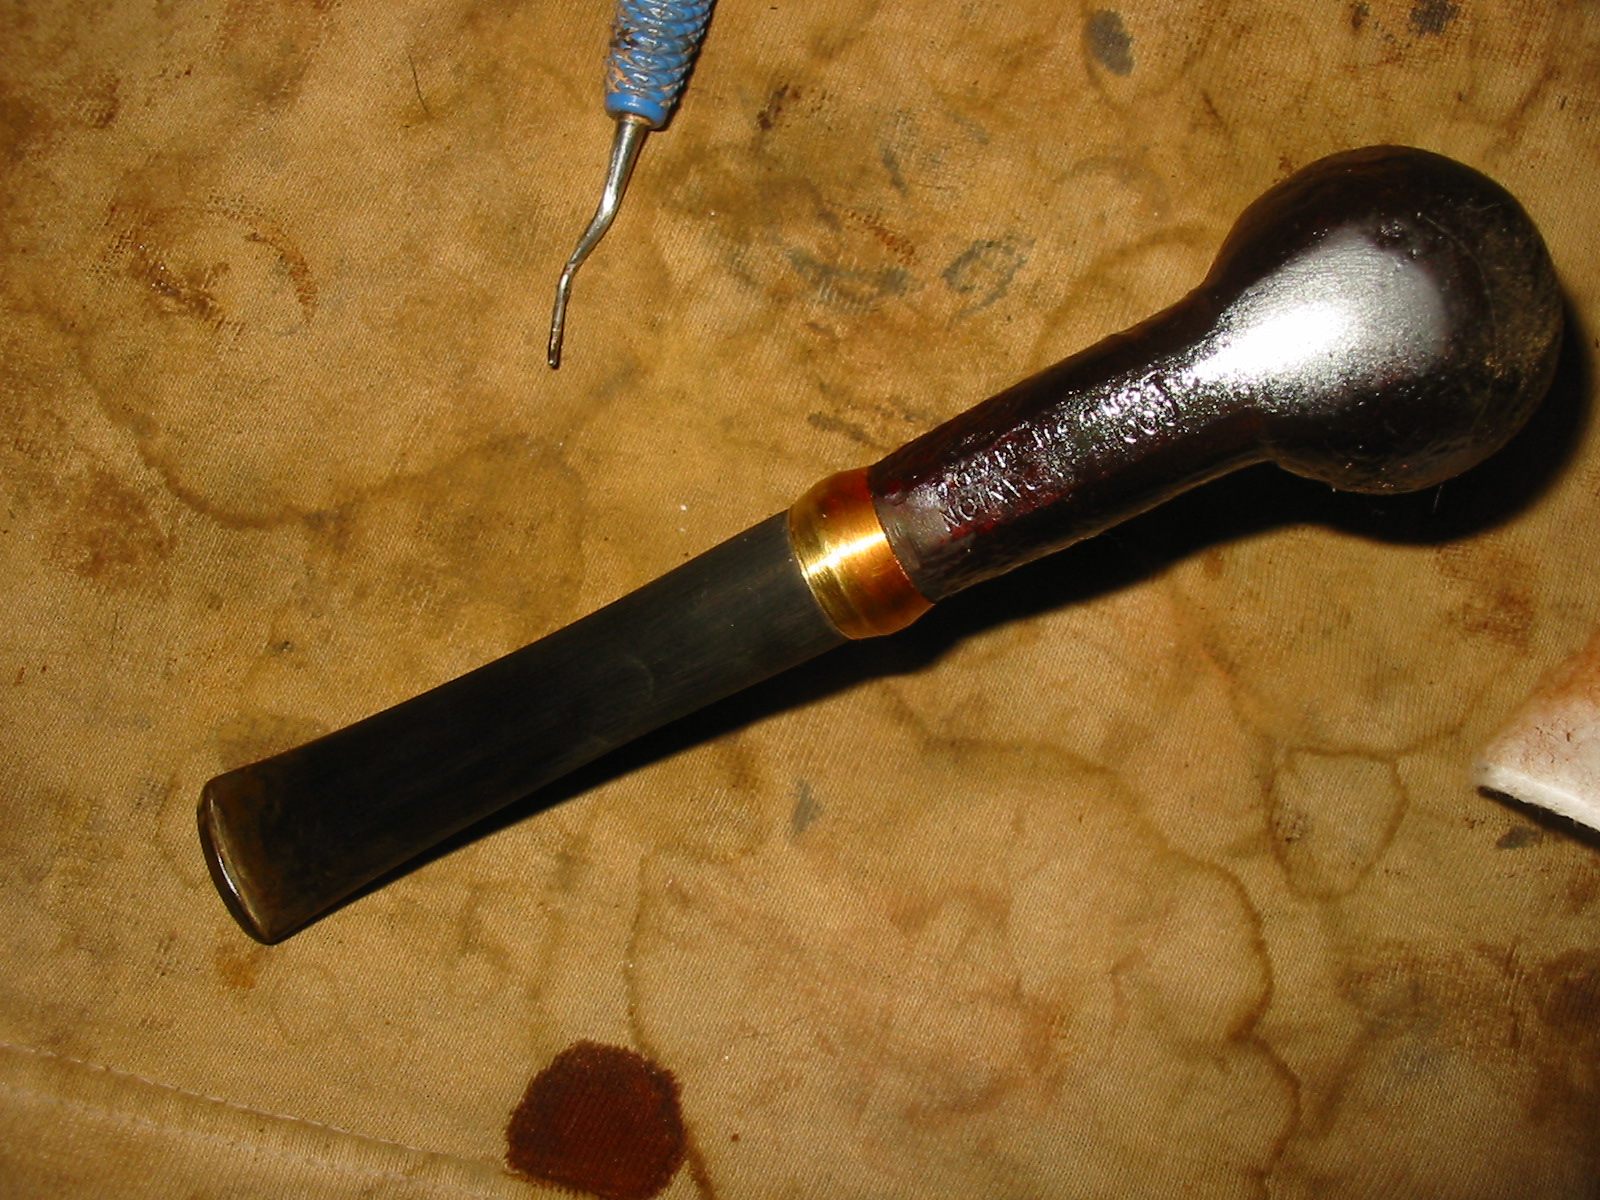
After rusticating the shank I stained it with a dark brown aniline stain and flamed it to set it deep within the grain. I stained the rest of the pipe as well and the rim with multiple coats of the dark brown.
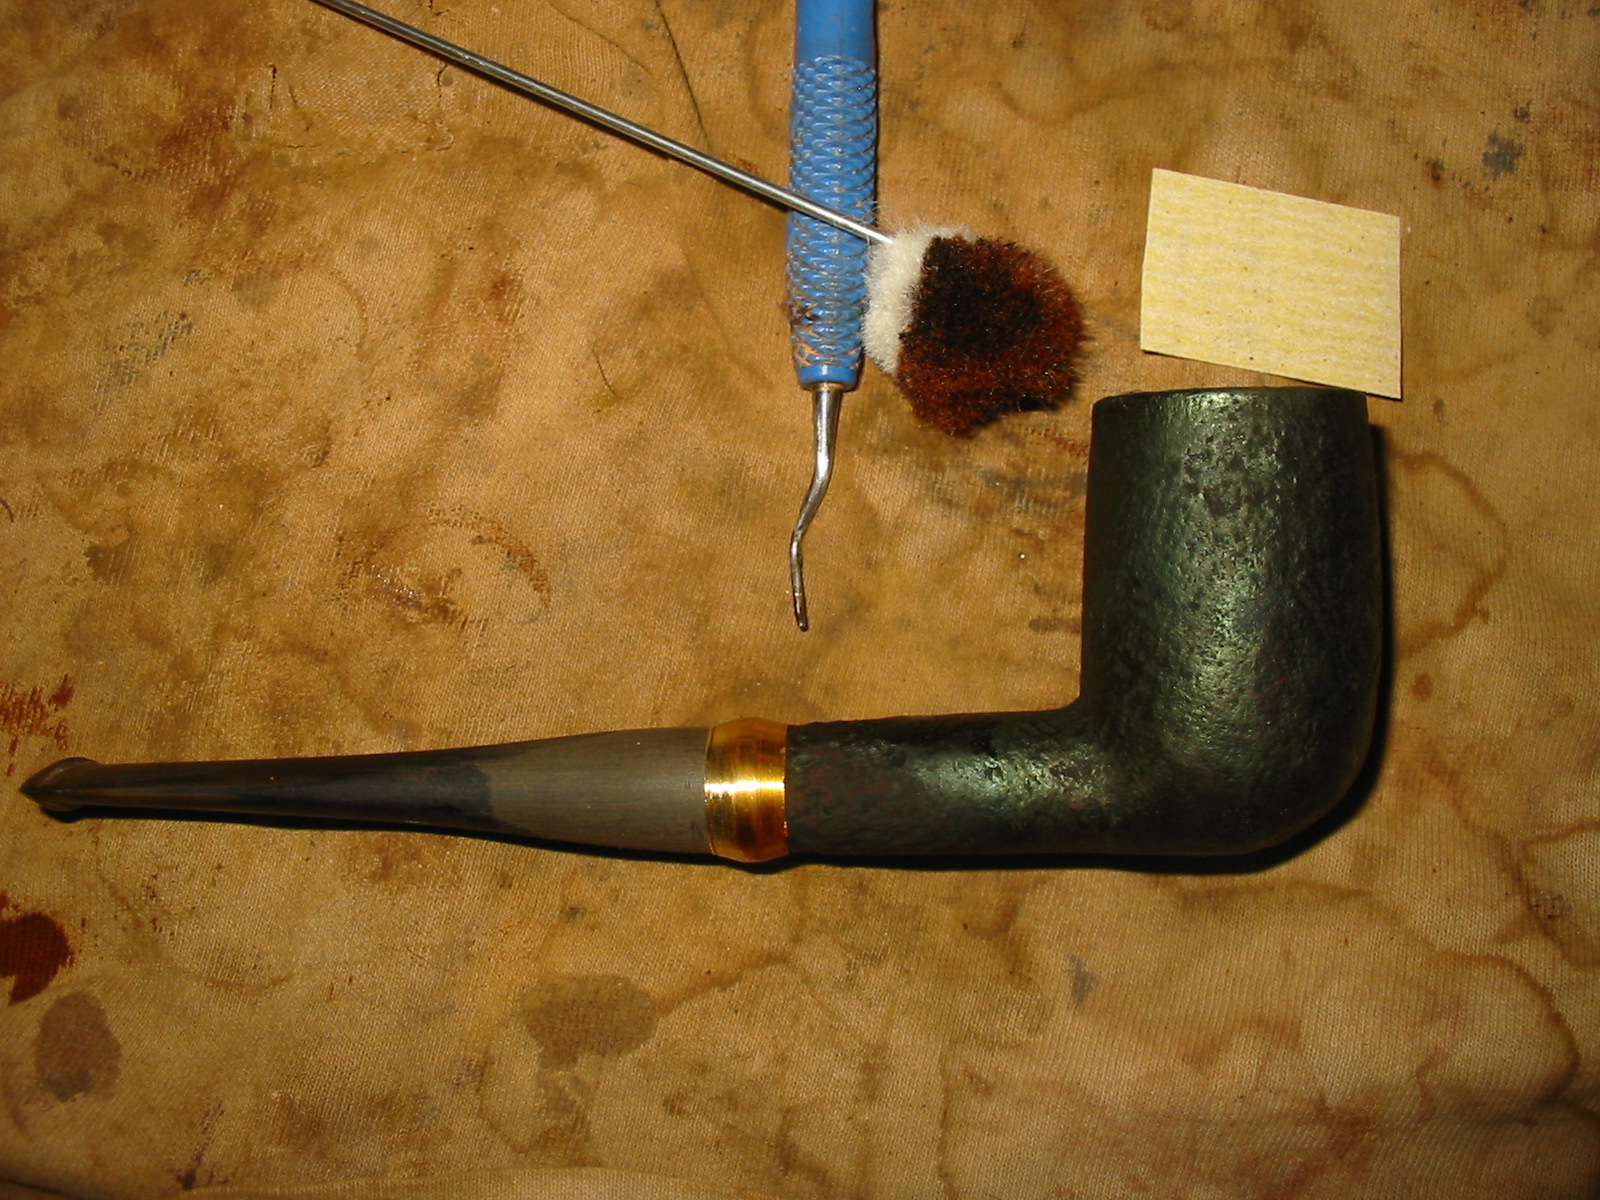


Once the stain was dry on the bowl I hand buffed it with a cotton cloth and then stained it a second time with MinWax Red Mahogany stain. I rubbed it on and then rubbed it off. I repeated the process until I had the colour that I wanted.
I buffed the bowl on with White Diamond and to evenly distribute the stain coat and give the pipe a rich shine. When I had finished I worked on the stem with 220 grit sandpaper, a medium grit sanding sponge and micromesh sanding pads. I used my usual array – wet sanding with the 1500-2400 grit pads and dry sanding with the 3200-12,000 grit pads. I rubbed down the stem with Obsidian Oil and rubbed it into the vulcanite.


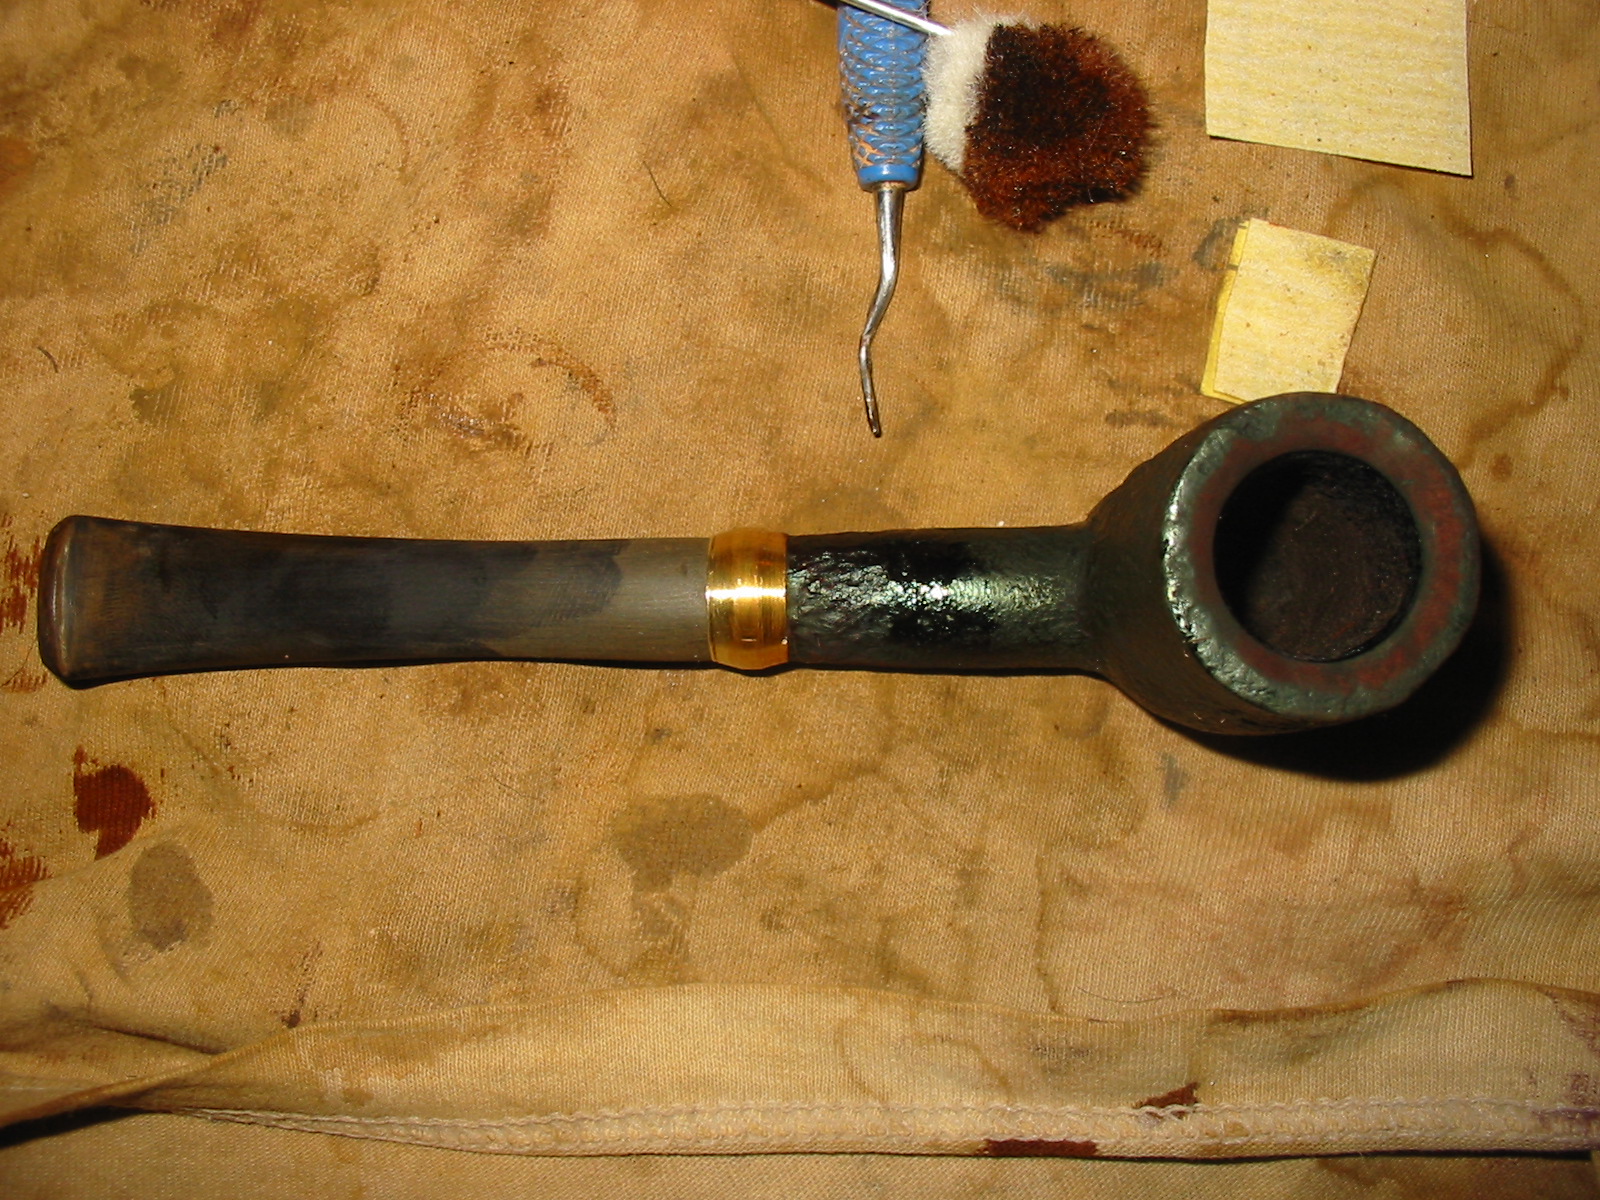
I sanded the bevel on the bowl and the brass band on the shank with the 1500-2400 grit micromesh pads.
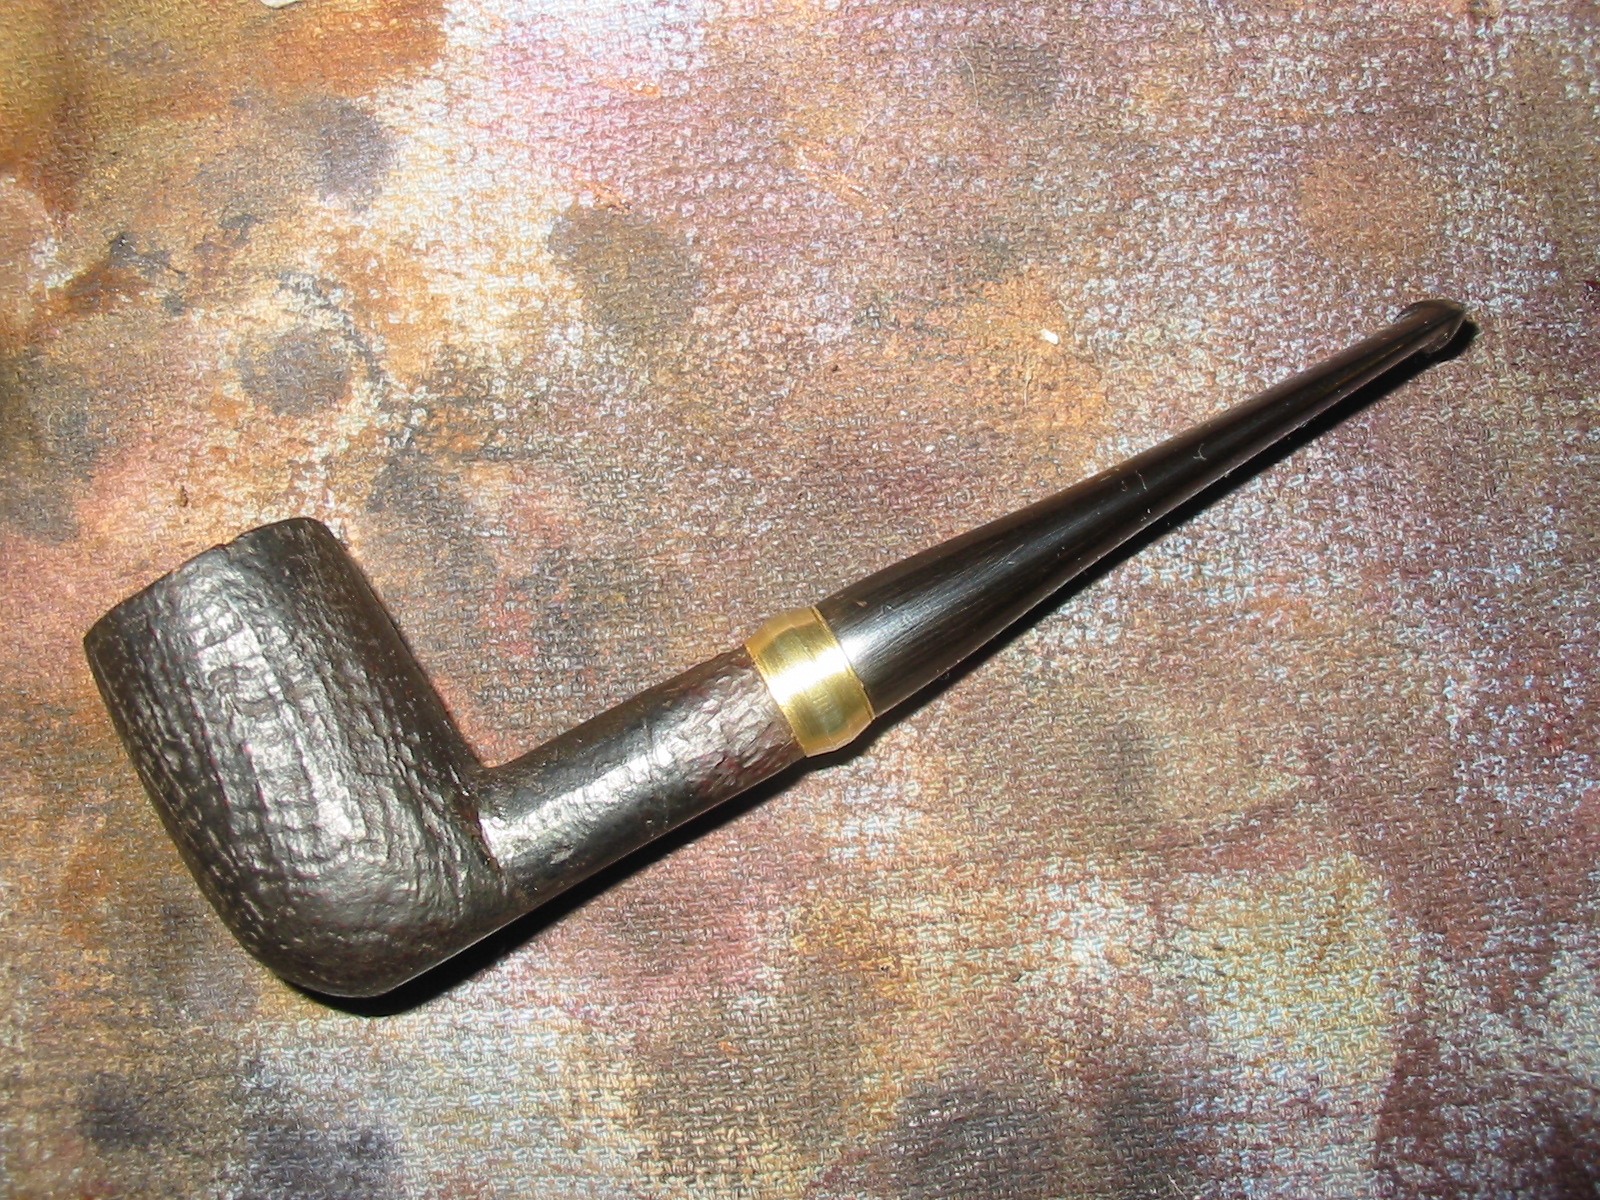
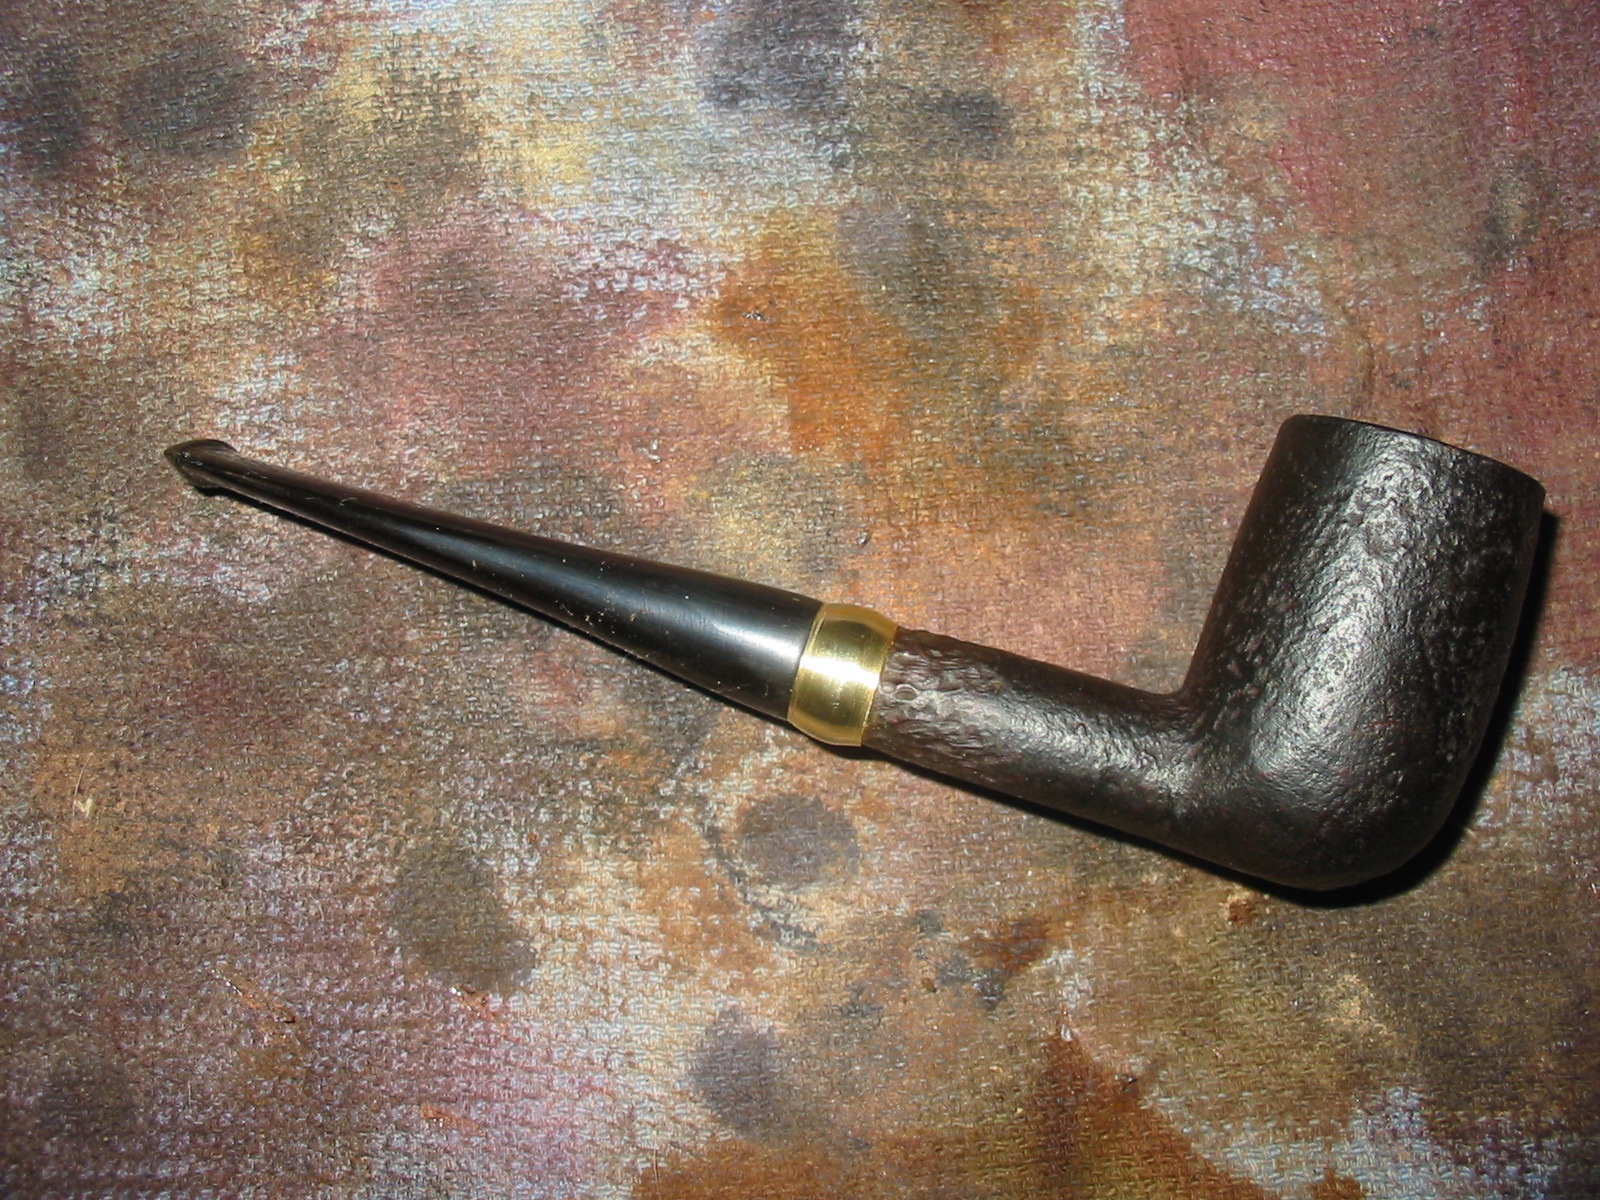
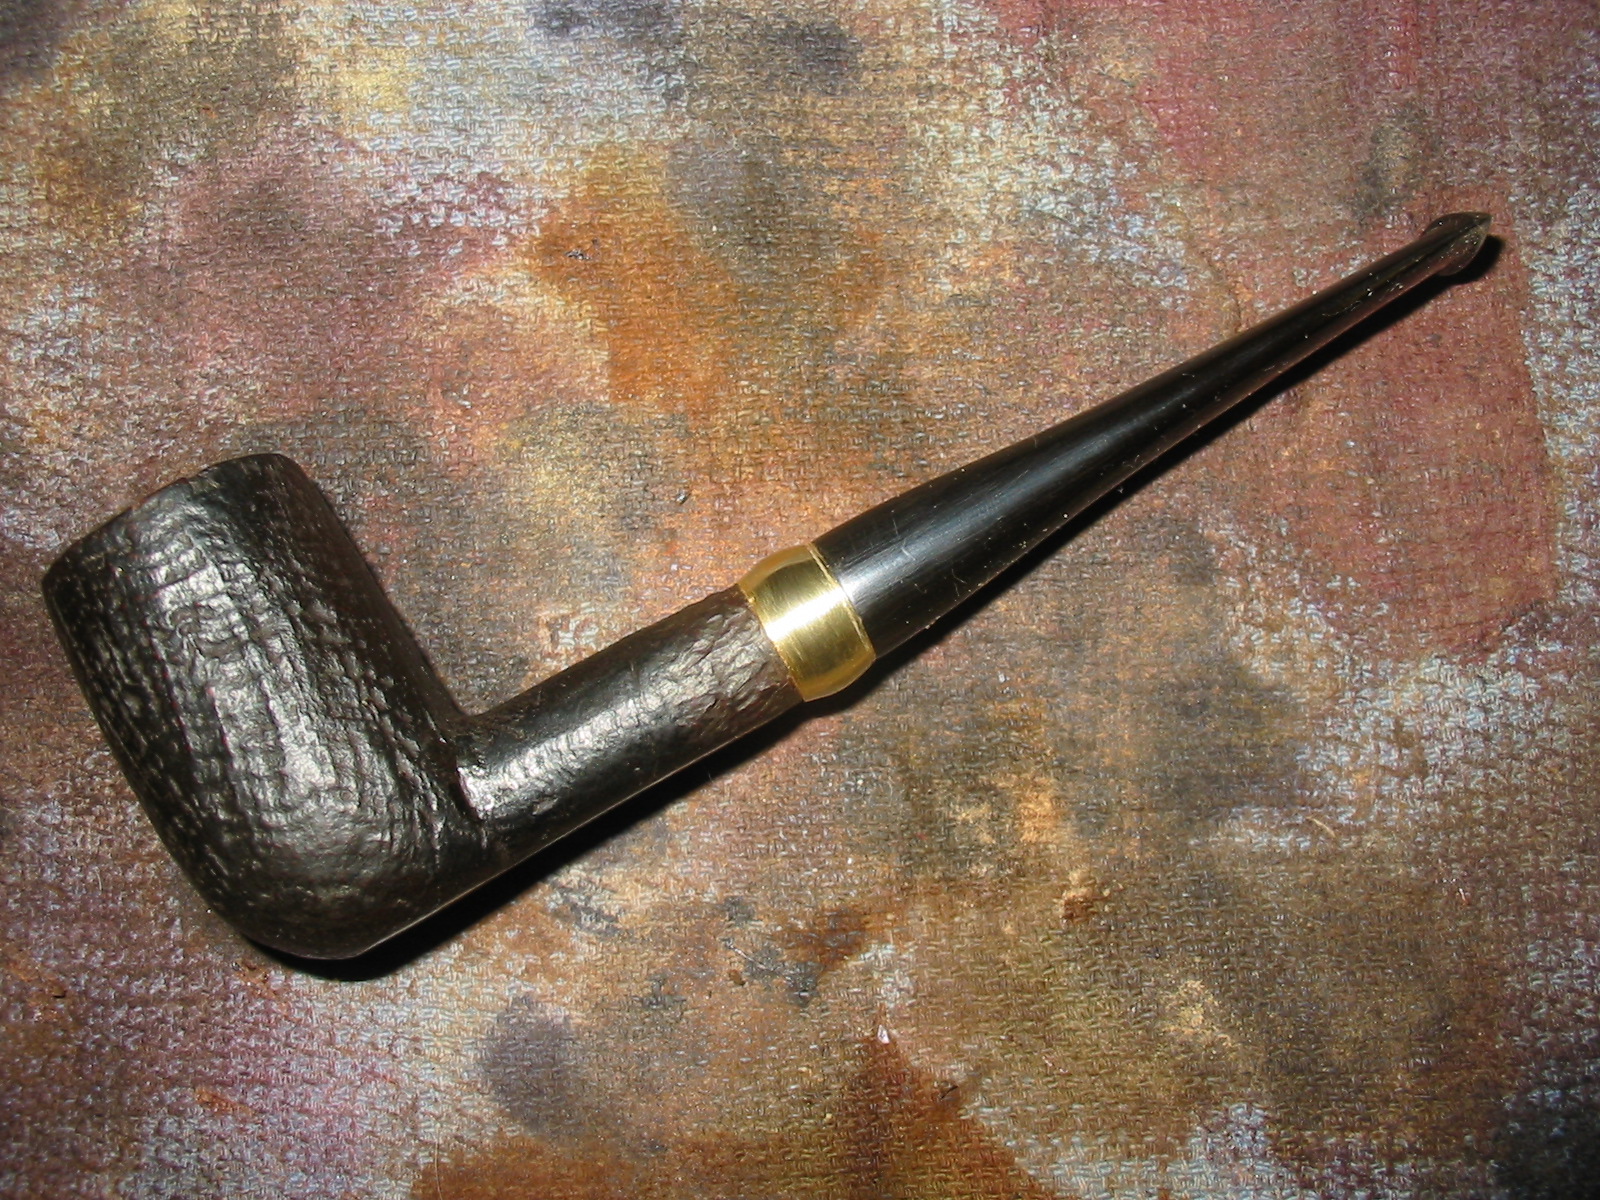
I buffed the pipe with White Diamond and then gave the stem multiple coats of carnauba wax. I used Halcyon II wax on the sandblast finish of the bowl. I buffed the pipe with a clean flannel buff. I have to say though I would have liked to keep the pipe unbanded and pristine, the crack that happened in the shank made me try something a little different. I actually like the finished look of the pipe with the brass band. The combination of the two stains give the blast finish depth that changes with different lighting and the tapered stem adds some panache to this Good Companion.

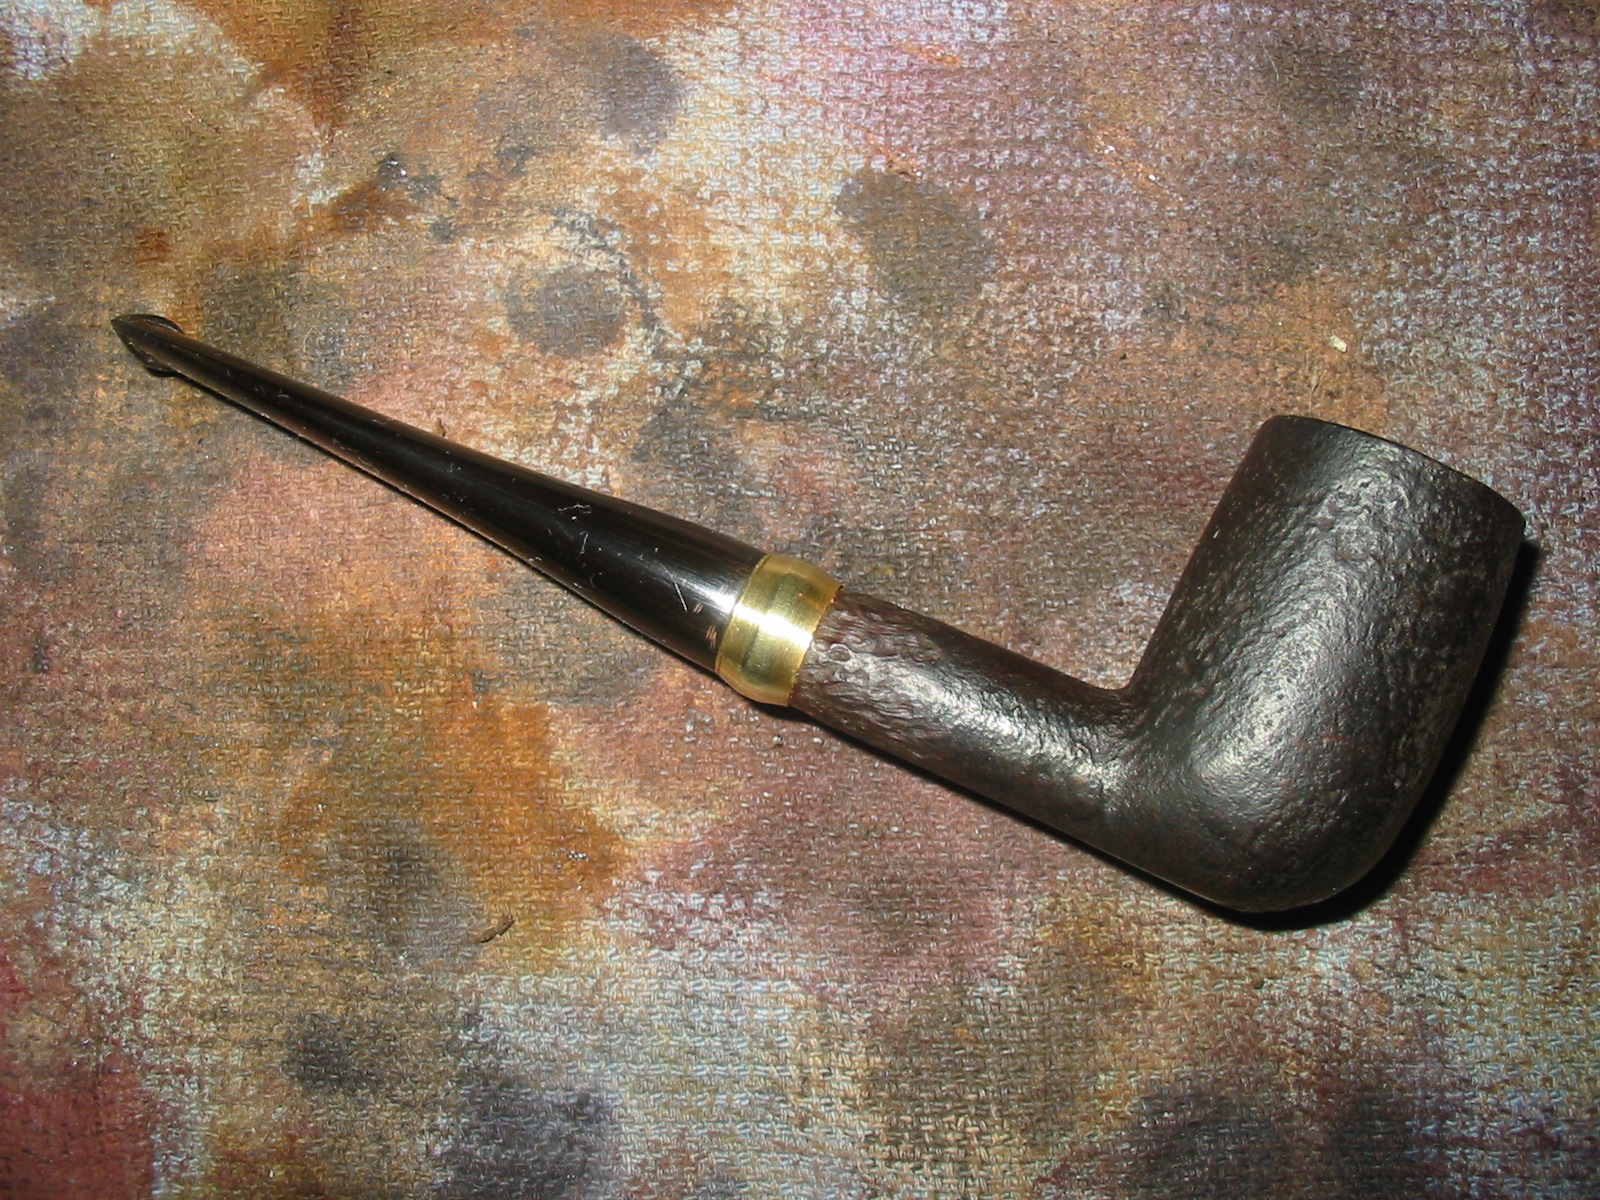
Looking at the photos I decided to do a bit more work shaping the brass band. I sanded the band with 220 grit sandpaper to remove the ridges in the brass. I followed that by sanding with a medium and fine grit sanding sponge. I finished sanding the band with micromesh sanding pads from 1500-3200 grit polish it.

With the band finished I will give the pipe another buff to polish the handling that it received working over the stem.