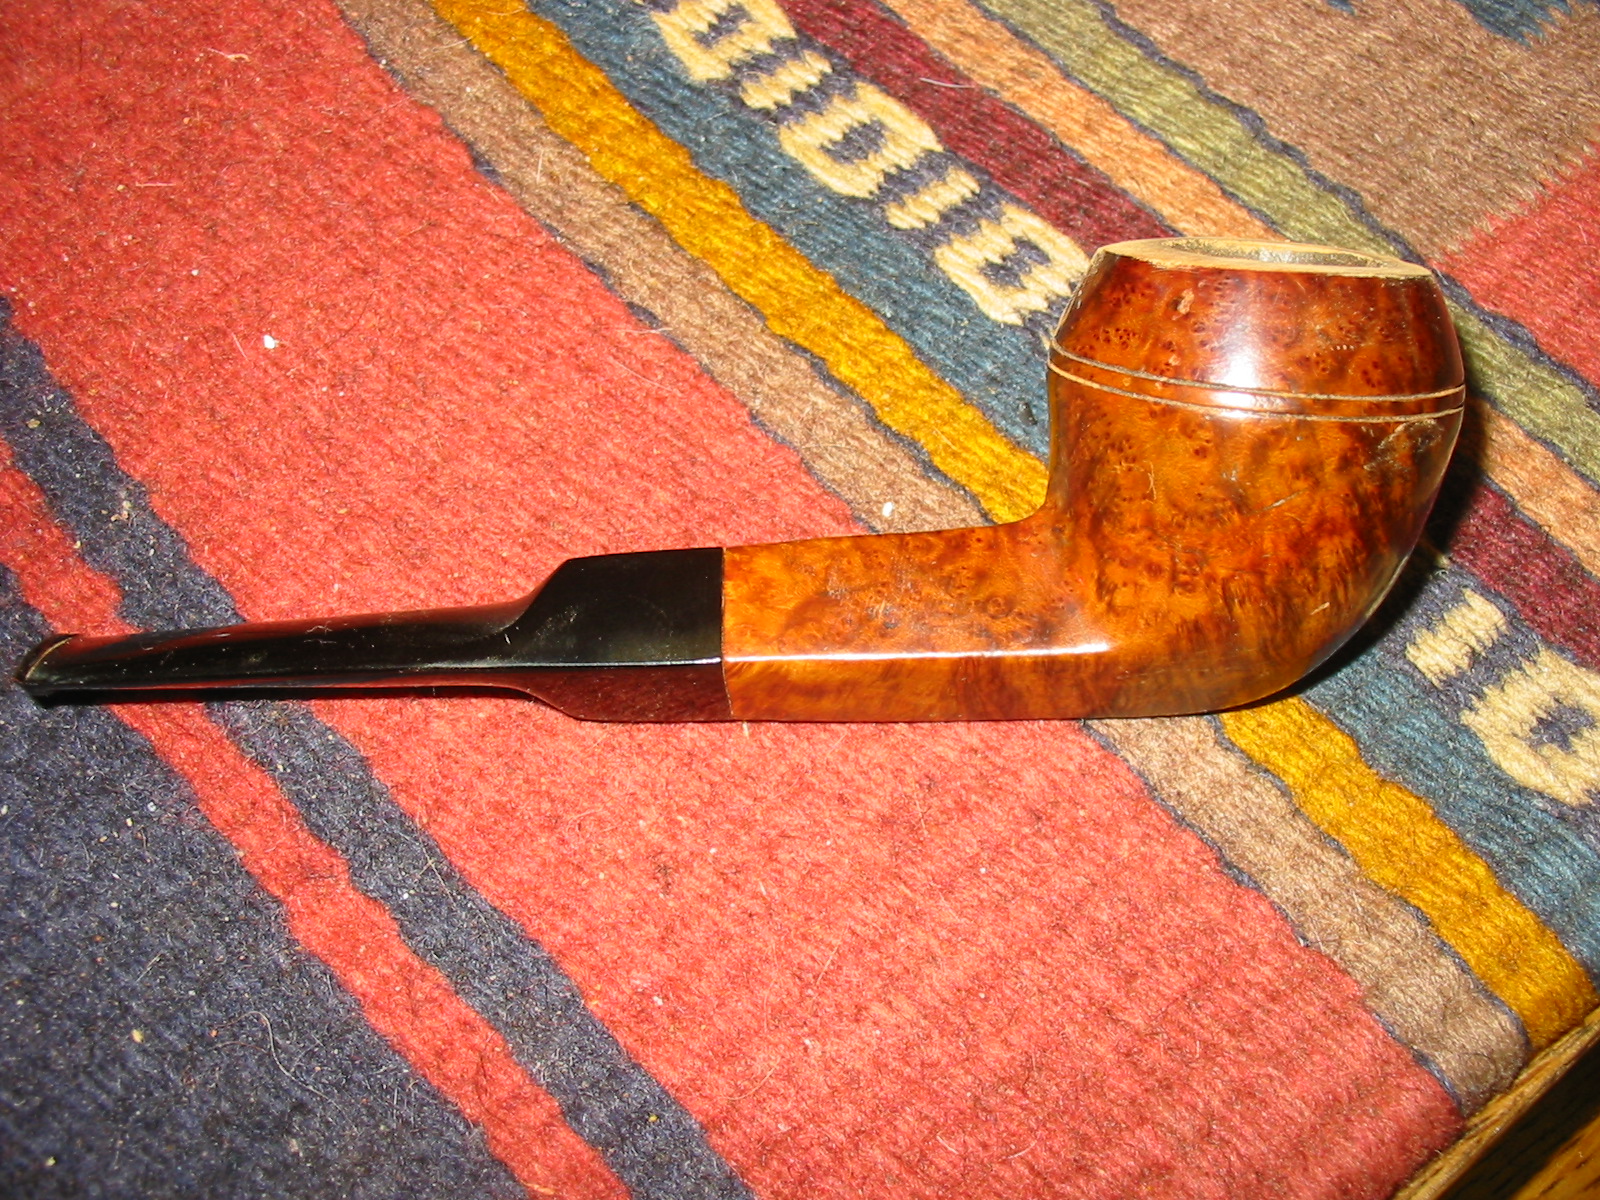
This poor old bulldog came in the pipes that were donated to the Vancouver Pipe Club and I decided to work on it and see if I could repair some of the damage that had been done when someone tried to top it in the past. The rim looked as if whoever topped it tried to do it by hand and not on a flat board. Because of that the surface of the rim was wavy with high and low spots and the outer edge was lower than the inner edge in several places. The top was also at a slight angle as the sanding had not been done on a flat surface.
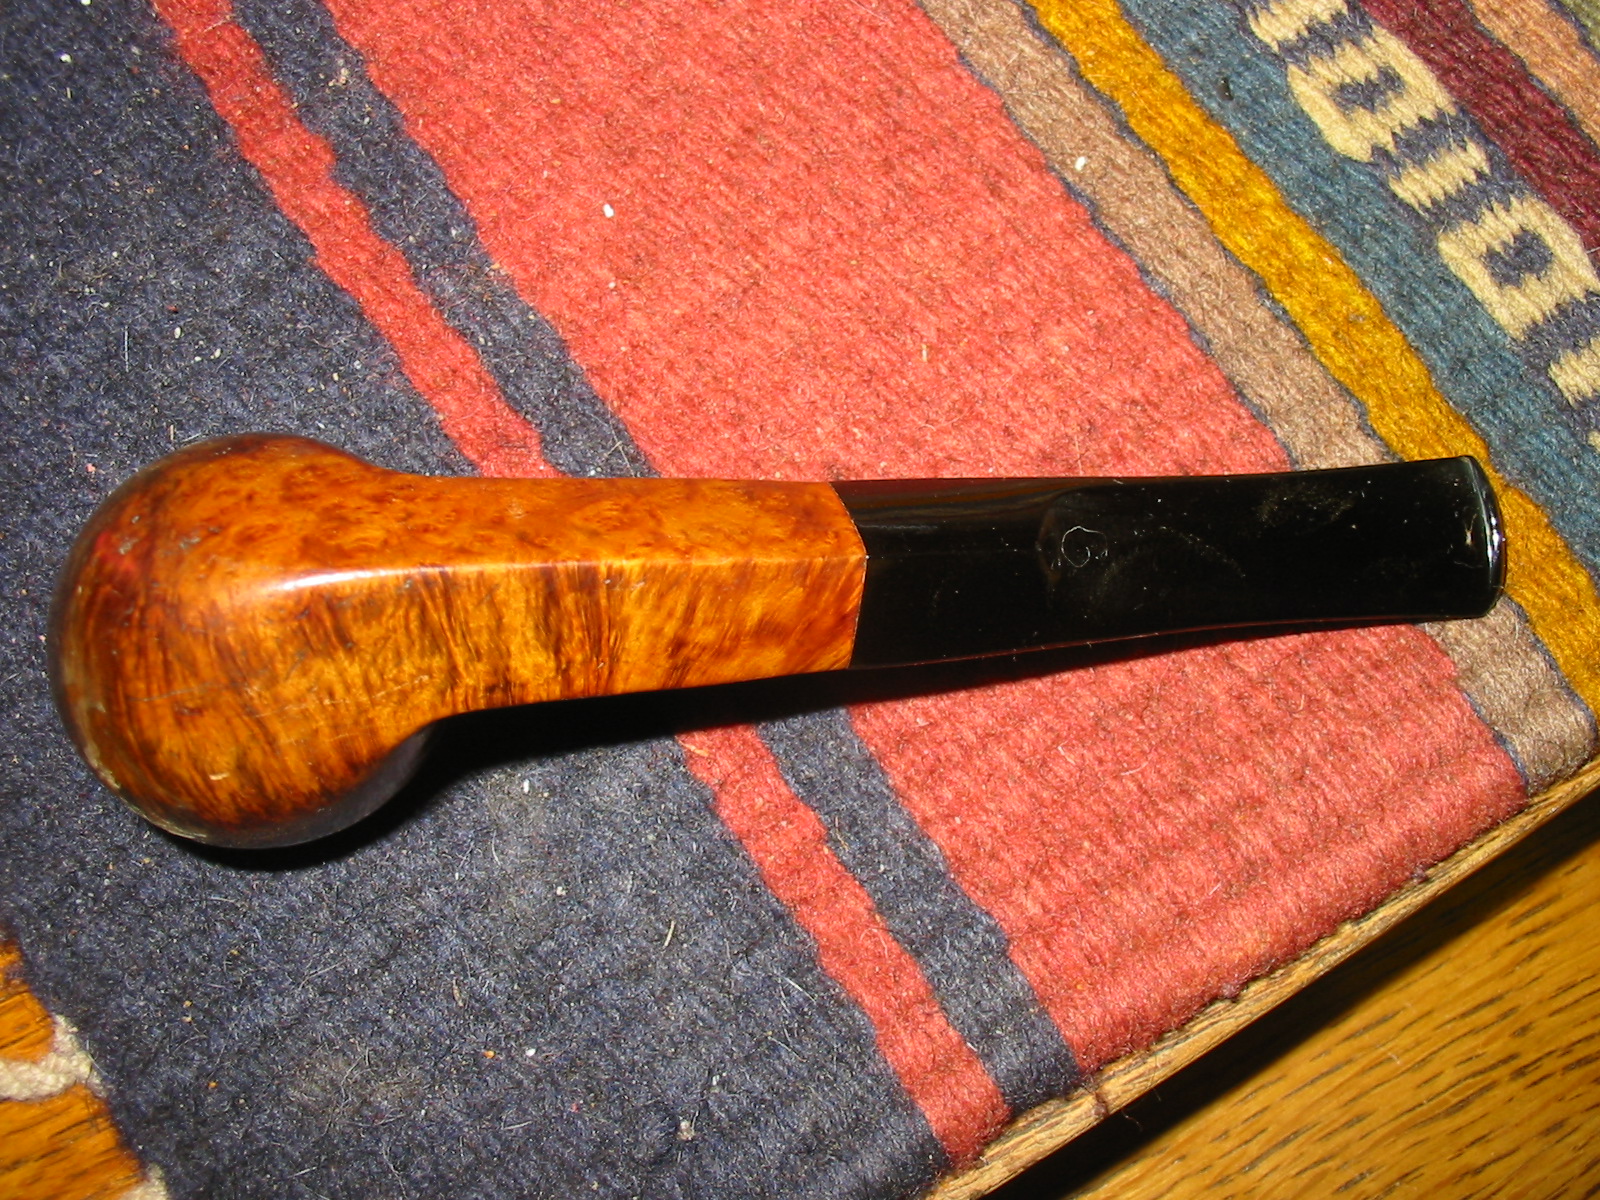
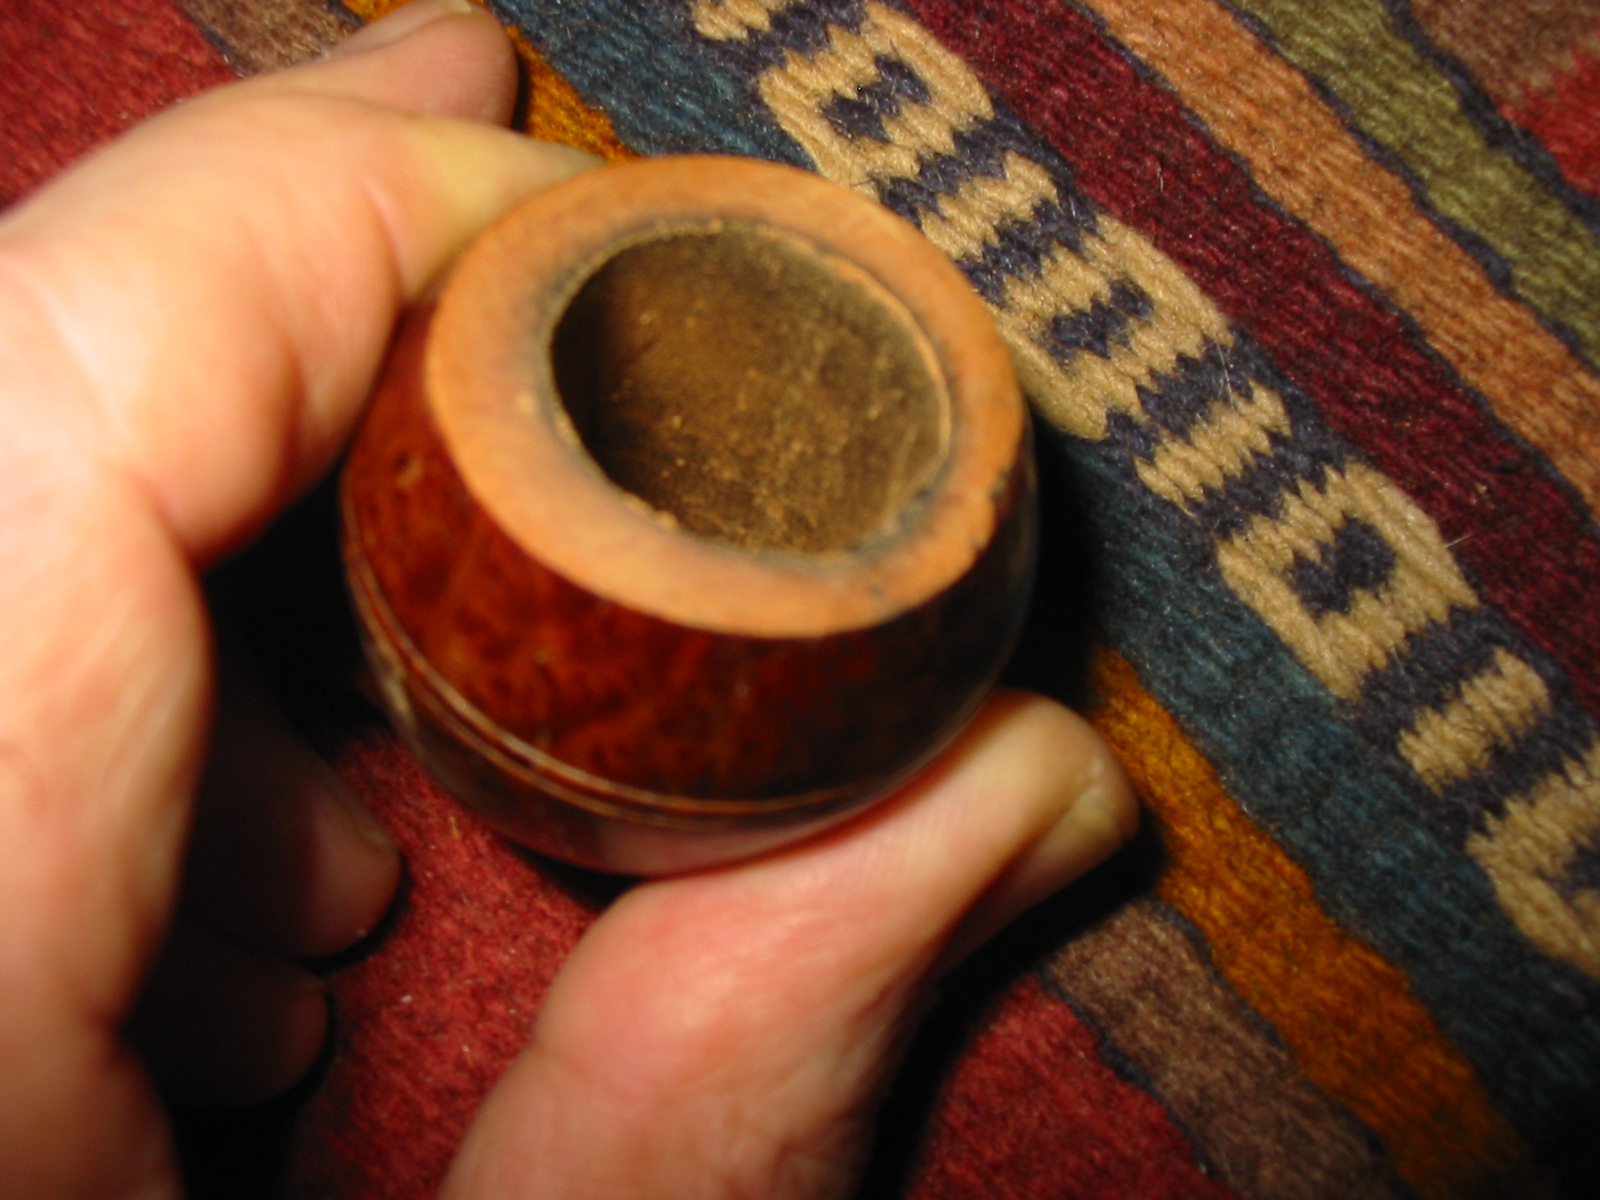
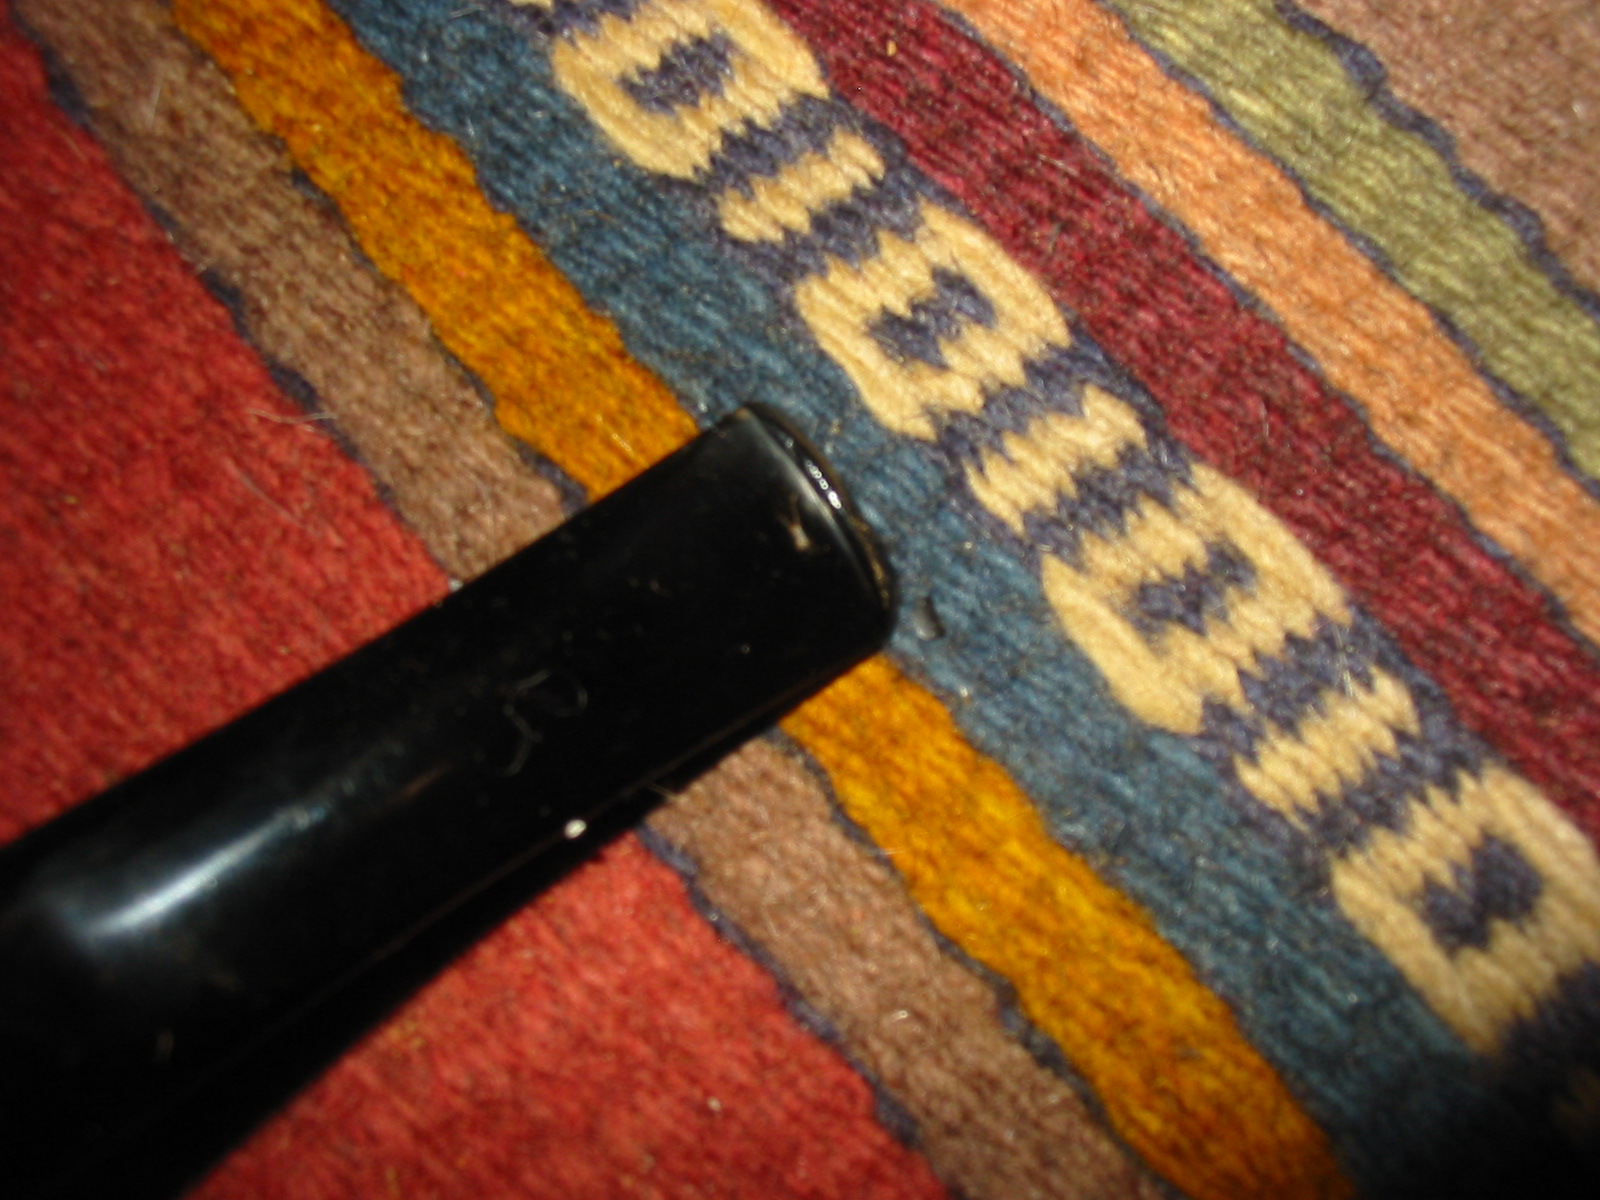
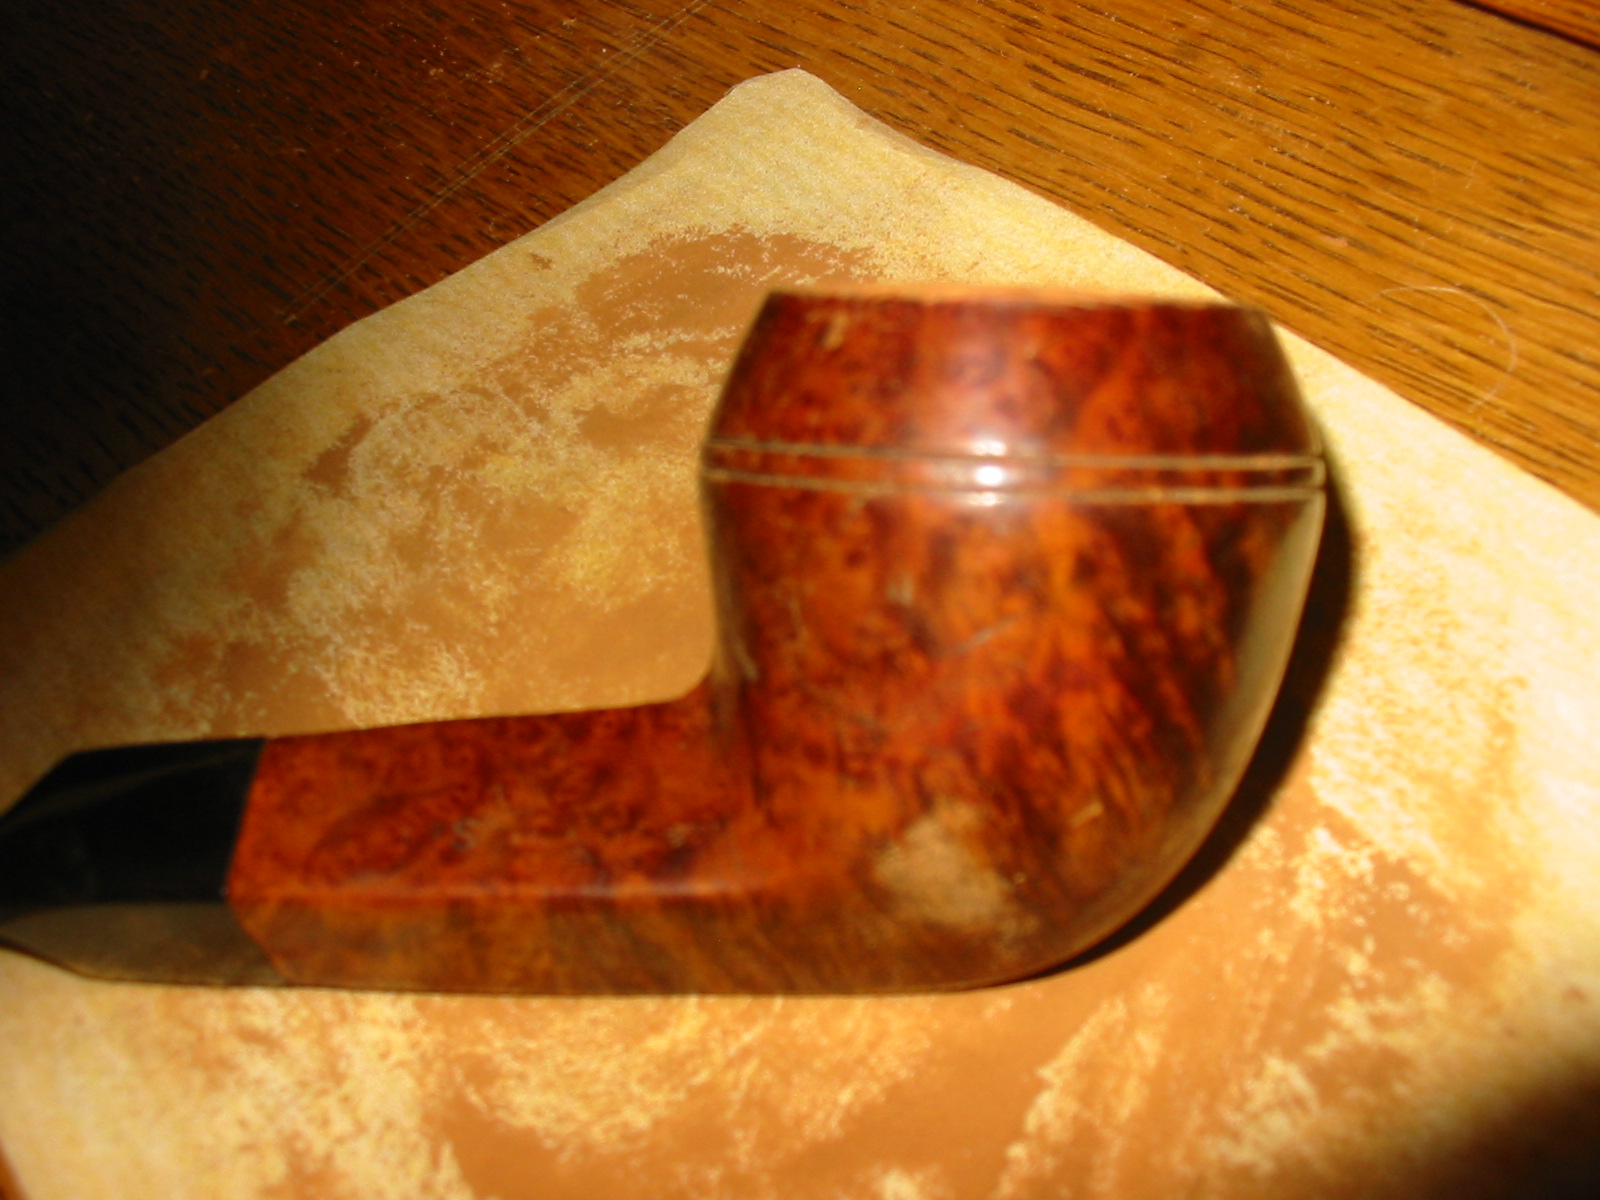
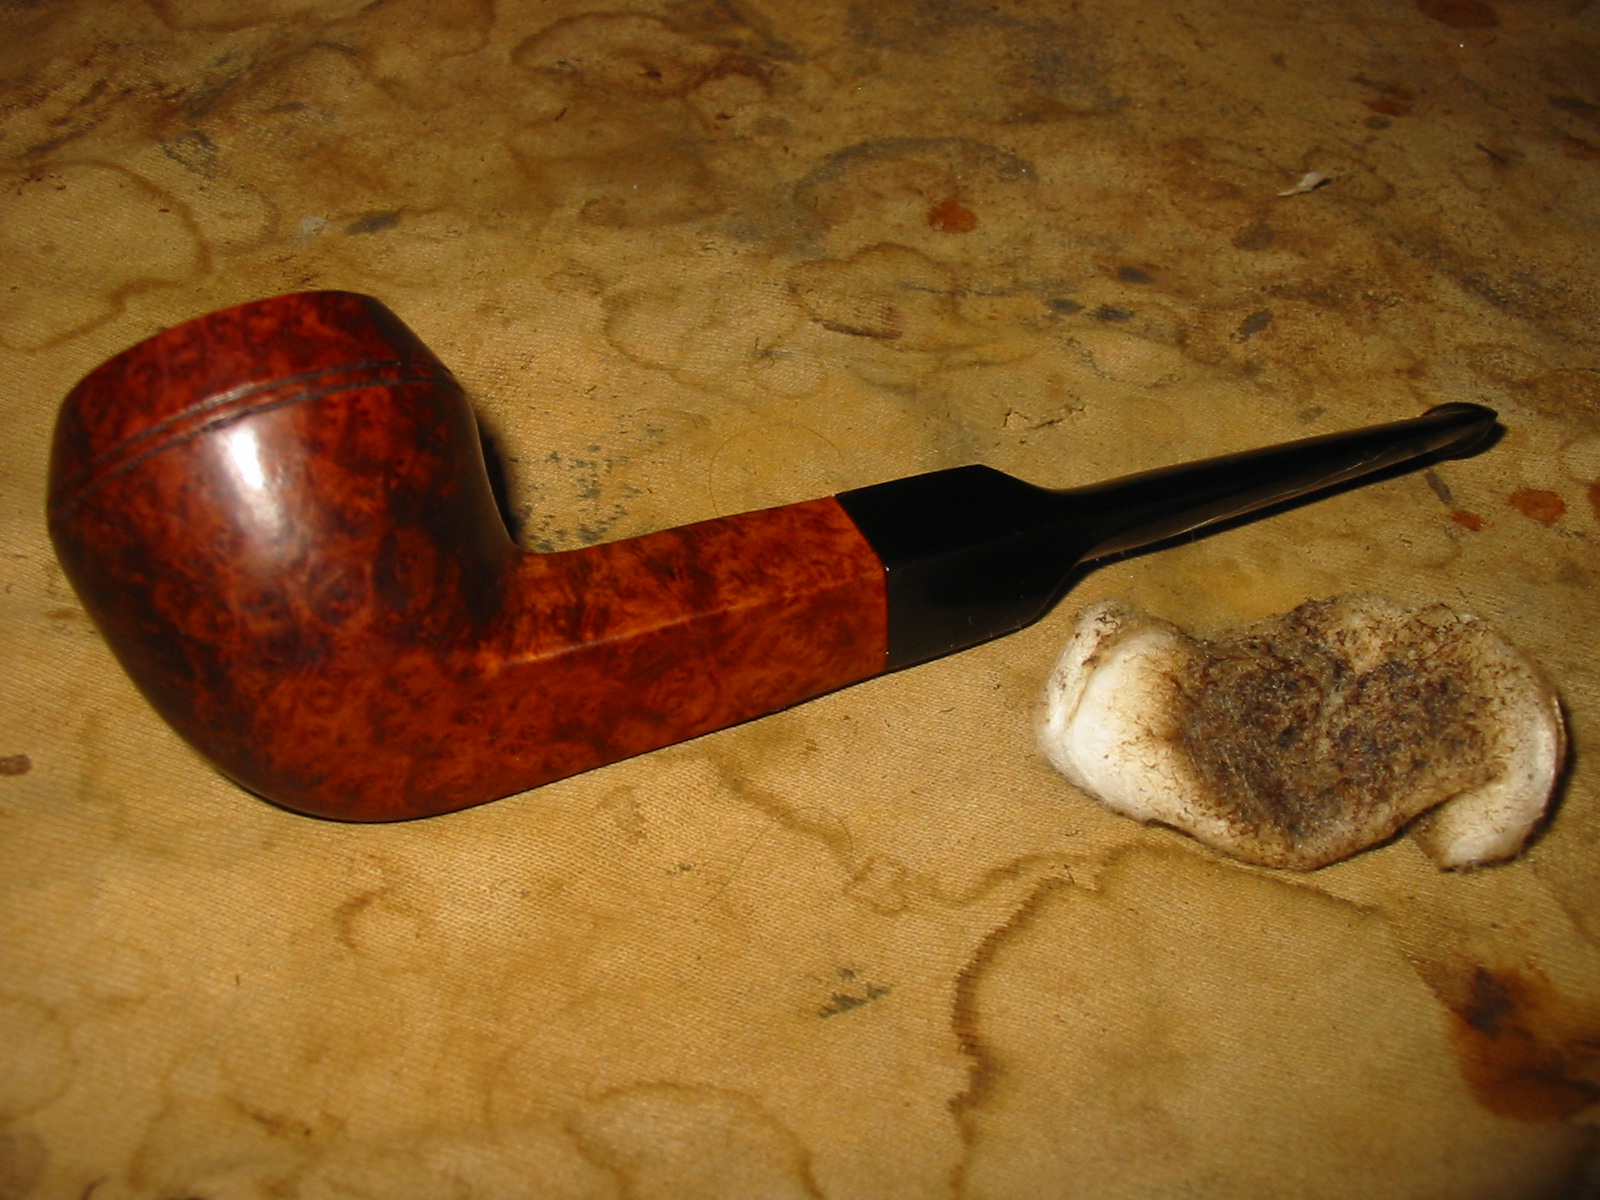
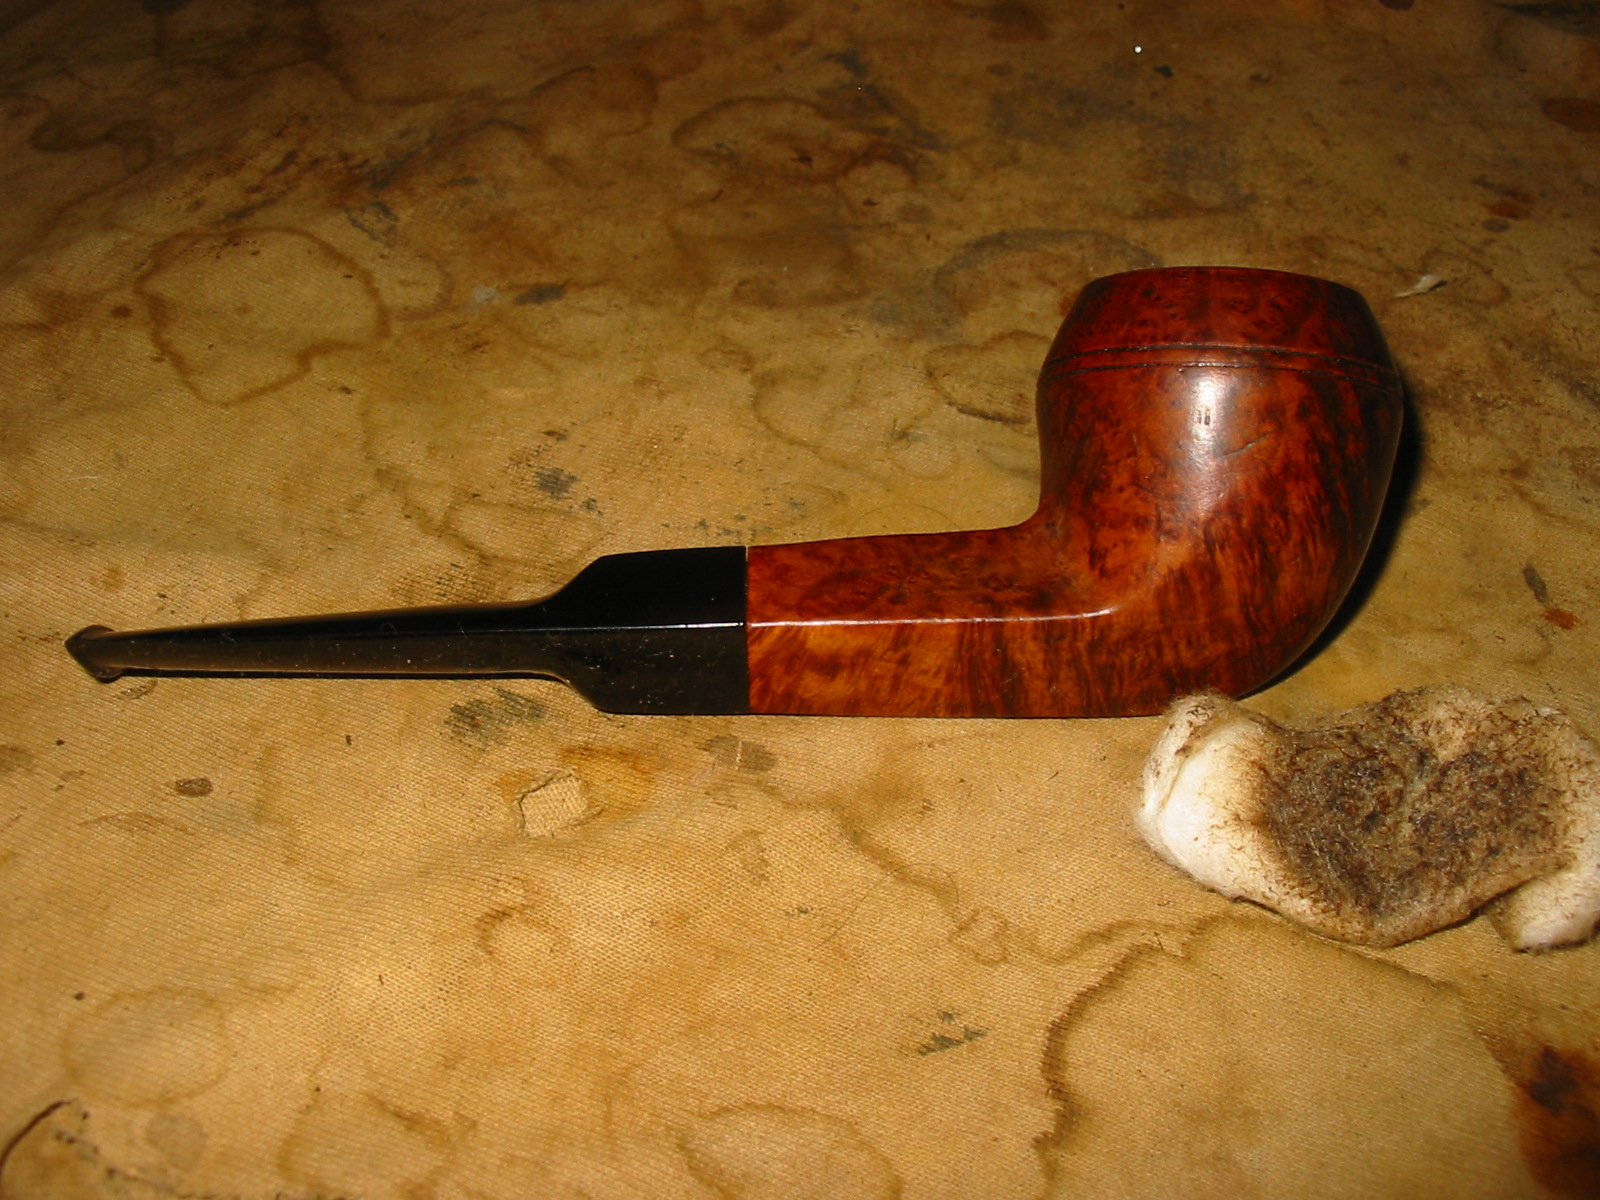
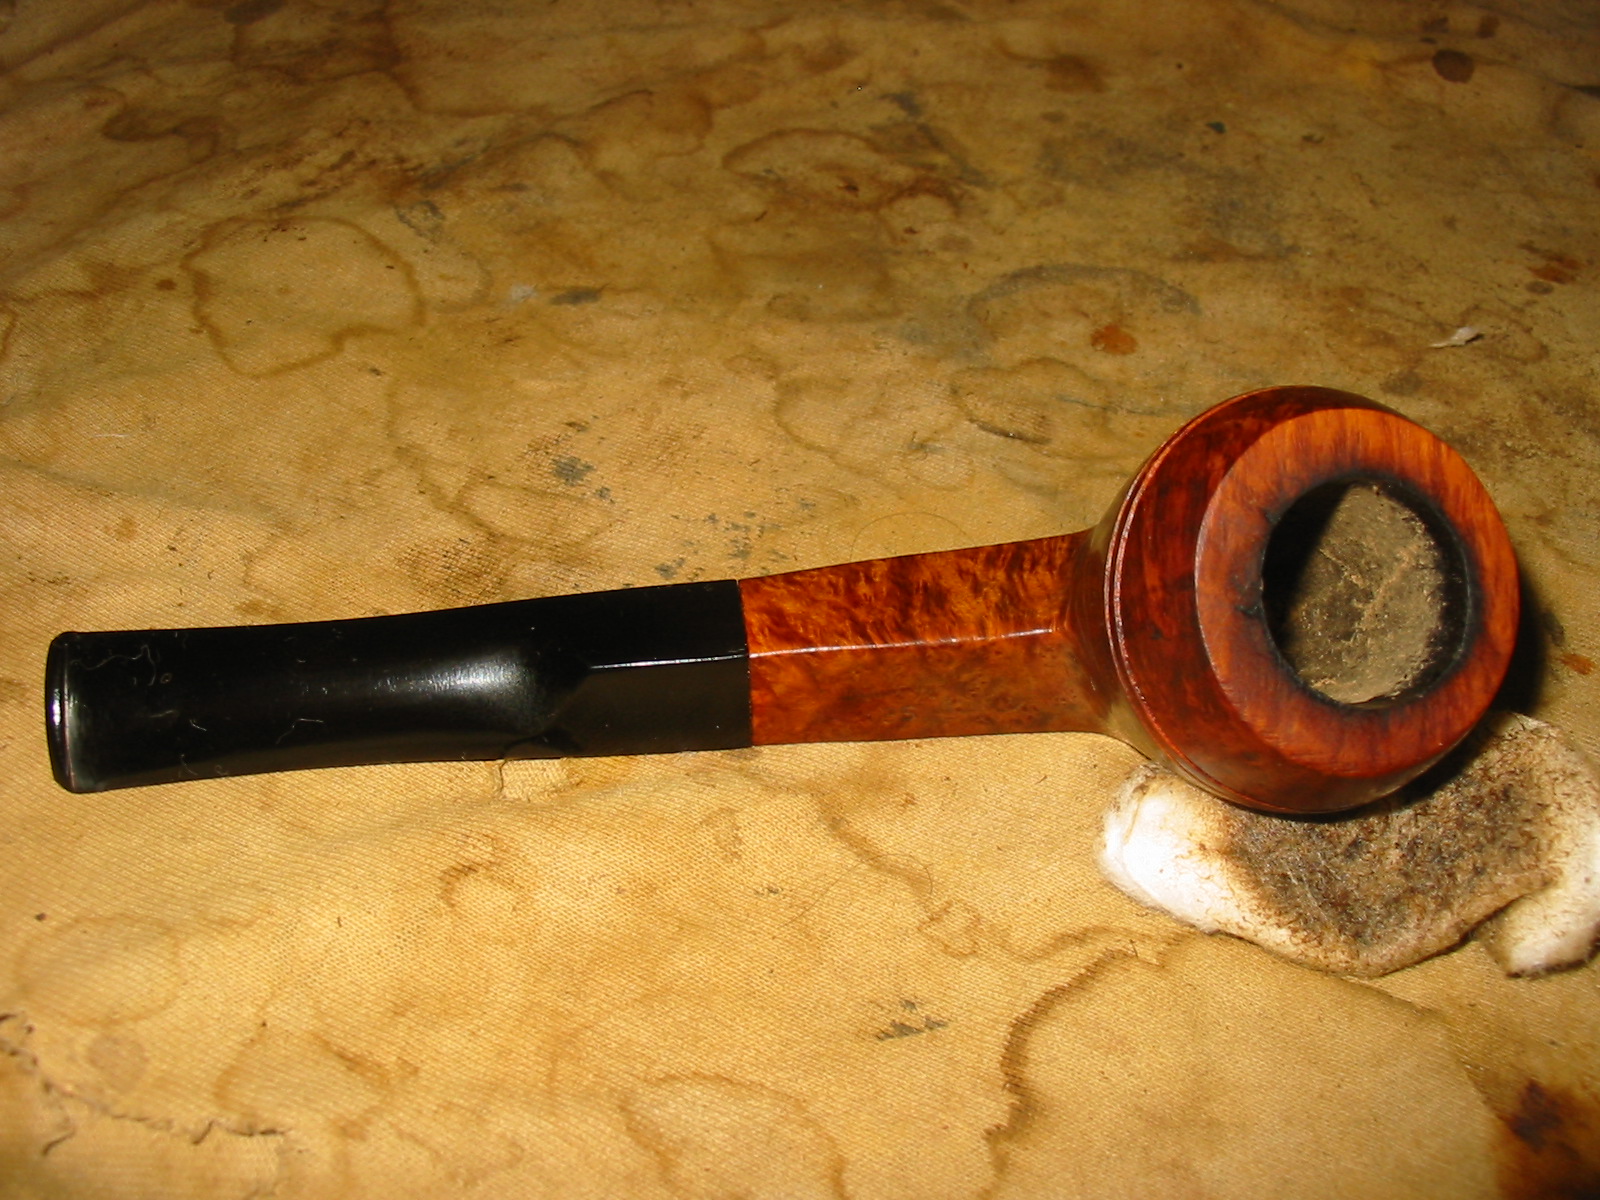
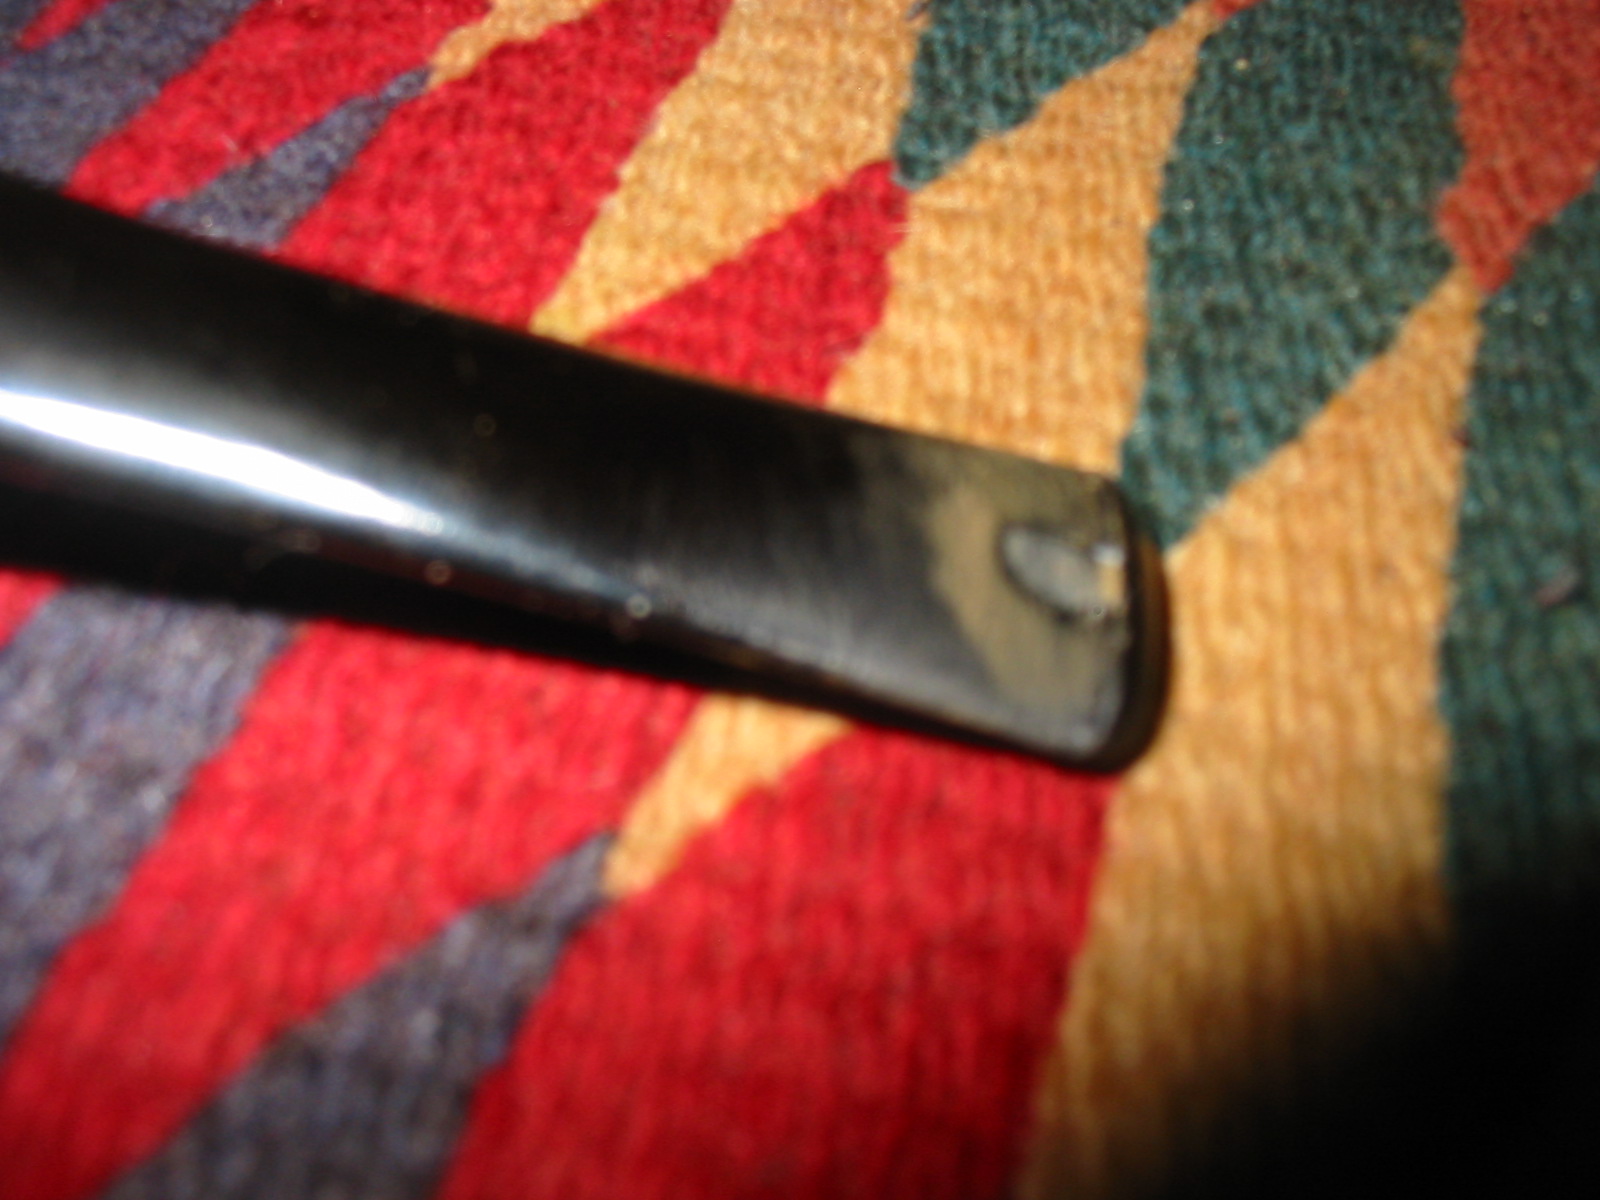
The first two photos below show the damage to the rim from the side profile. Note the wavy surface of the rim. The third photo shows some damage on the underside of the stem next to the button and the fourth photo shows the rim from the top view. In that photo the bowl appears to be seriously out of round and the front edge seems thinner than the rest of the bowl. This is a bit of an illusion due to the poorly executed sanding on the rim. The way the bowl had been sanded left the front of the bowl lower than the back of the bowl thus creating the appearance of a thin wall. The stamping on it had been buffed out on the left side of the shank and on the right side I could still see very faintly London England over 403S. I am uncertain of the maker. I checked the Comoy’s shape number chart, the GBD and the Orlik shape number charts and there is no such number. Perhaps other may have some idea of the maker.

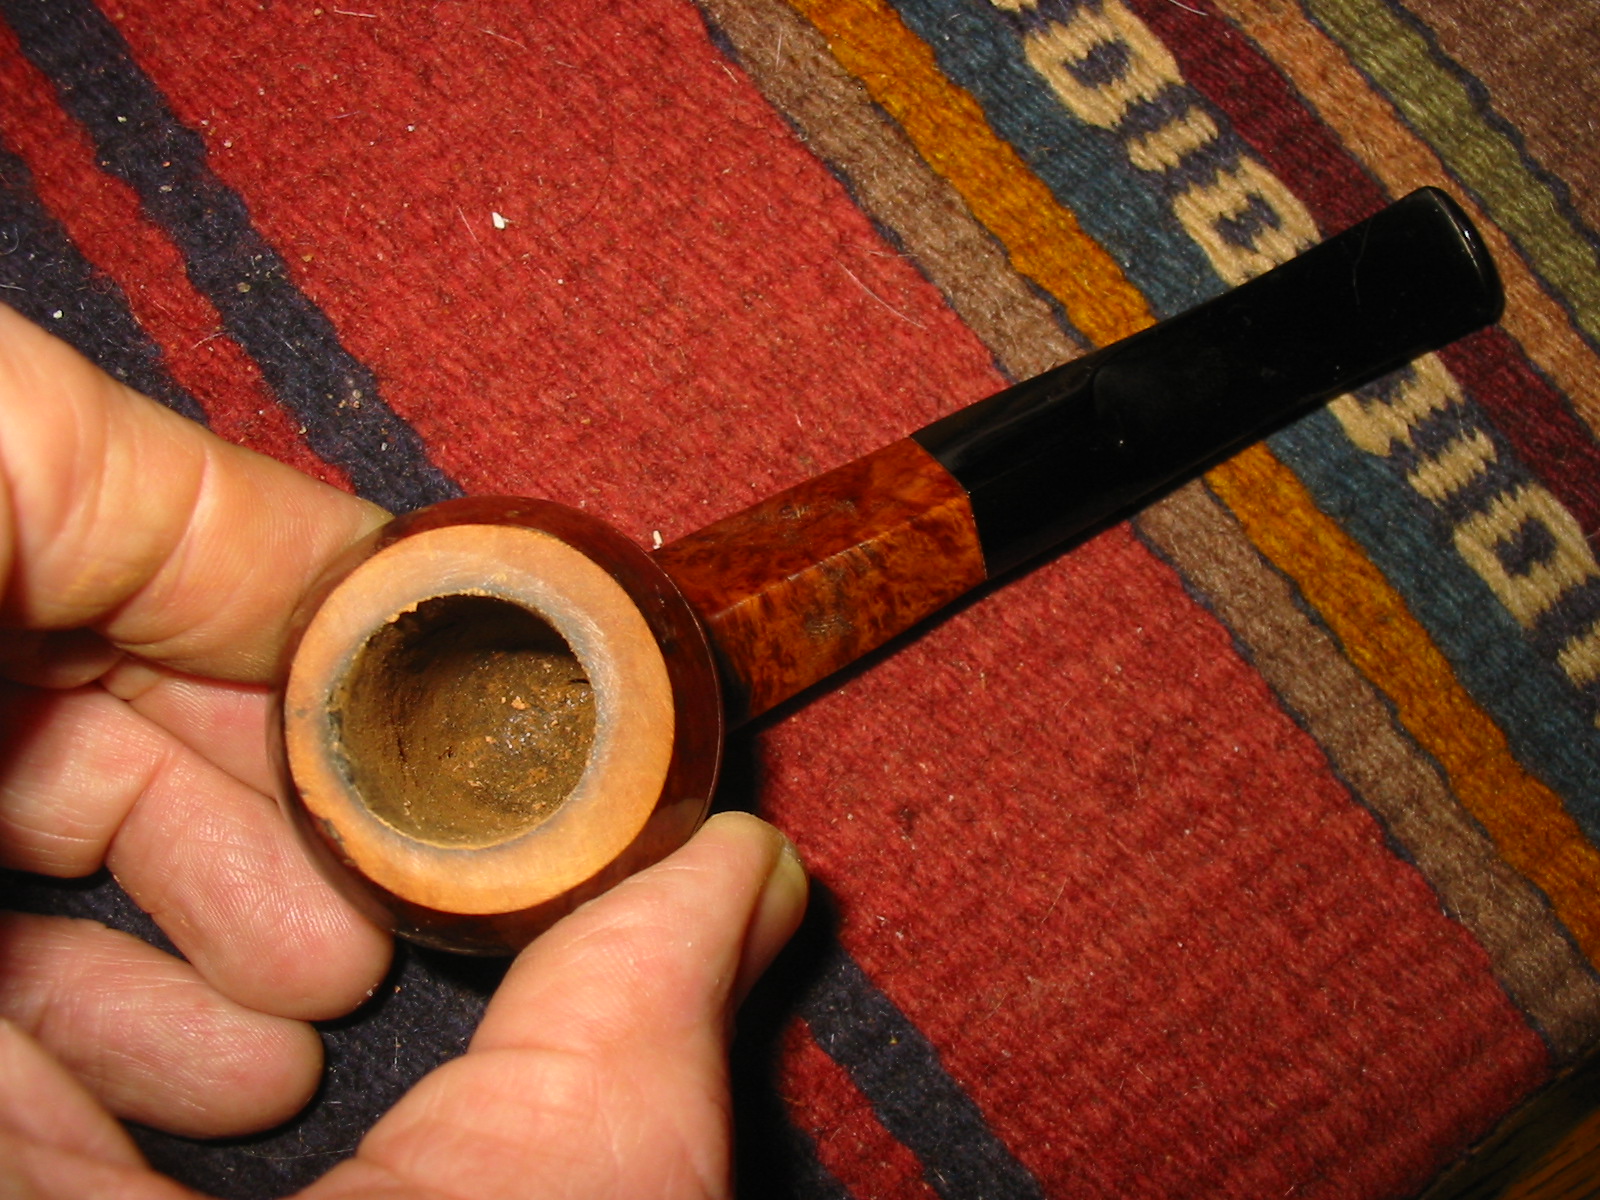
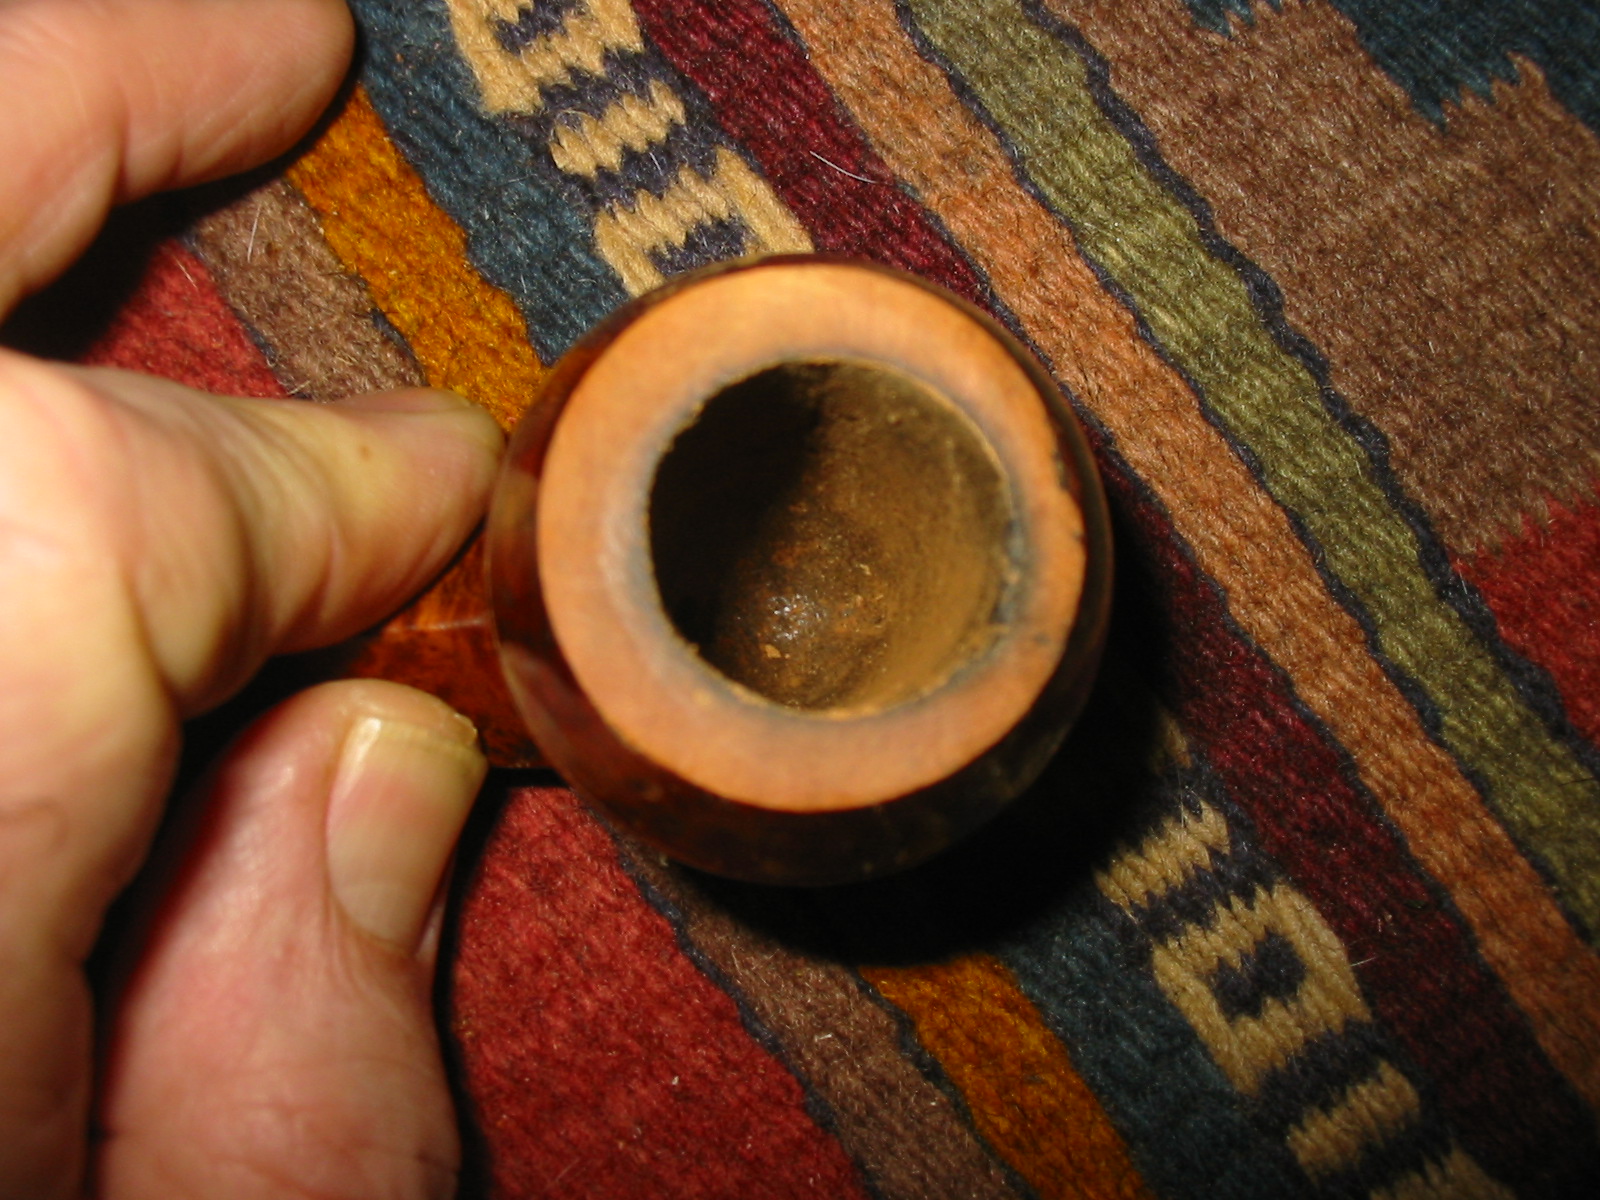
I took a two close up photos of the top of the rim to show the damage more clearly. There was also significant burn damage to the front inner edge of the rim. Fortunately this damage was only surface and a retopping would take care of most of it.
I also took a close up photo of the end of the stem next to the button to show the tooth marks on the underside next to the button.
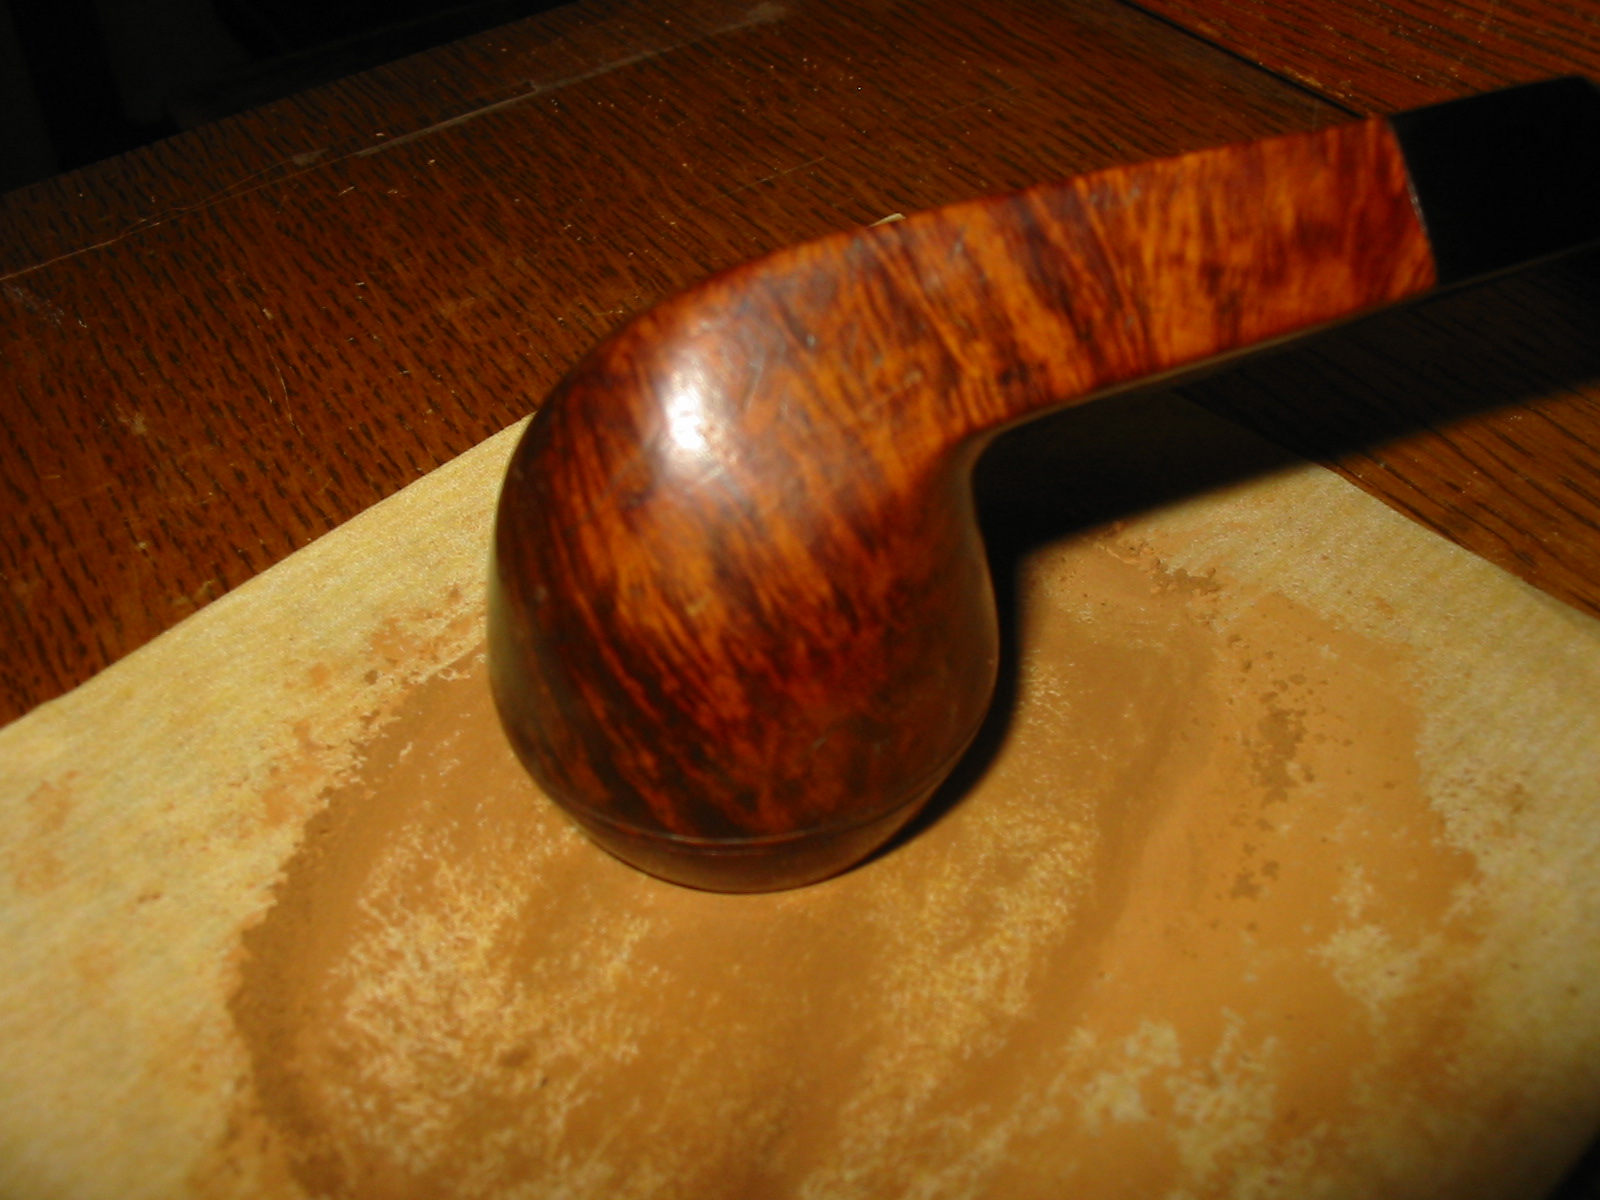
I set up my topping board and sandpaper to work on the rim and repair the damage. It took care to keep the high point of the bowl flat against the surface of the paper and sand until the rim flattened out. This took more time than usual as I had to continually check to see if the rounded spots, low dips and angle sanding of the rim surface were being removed. I also wanted to remove the burn damage as much as possible. The next five photos show the process and the results of the sanding. The profile views show the repair of the outer edge to a flat straight surface with a sharp edge. The top view shows the more even distribution of the thickness of the wall and the removed burned area on the front of the bowl.

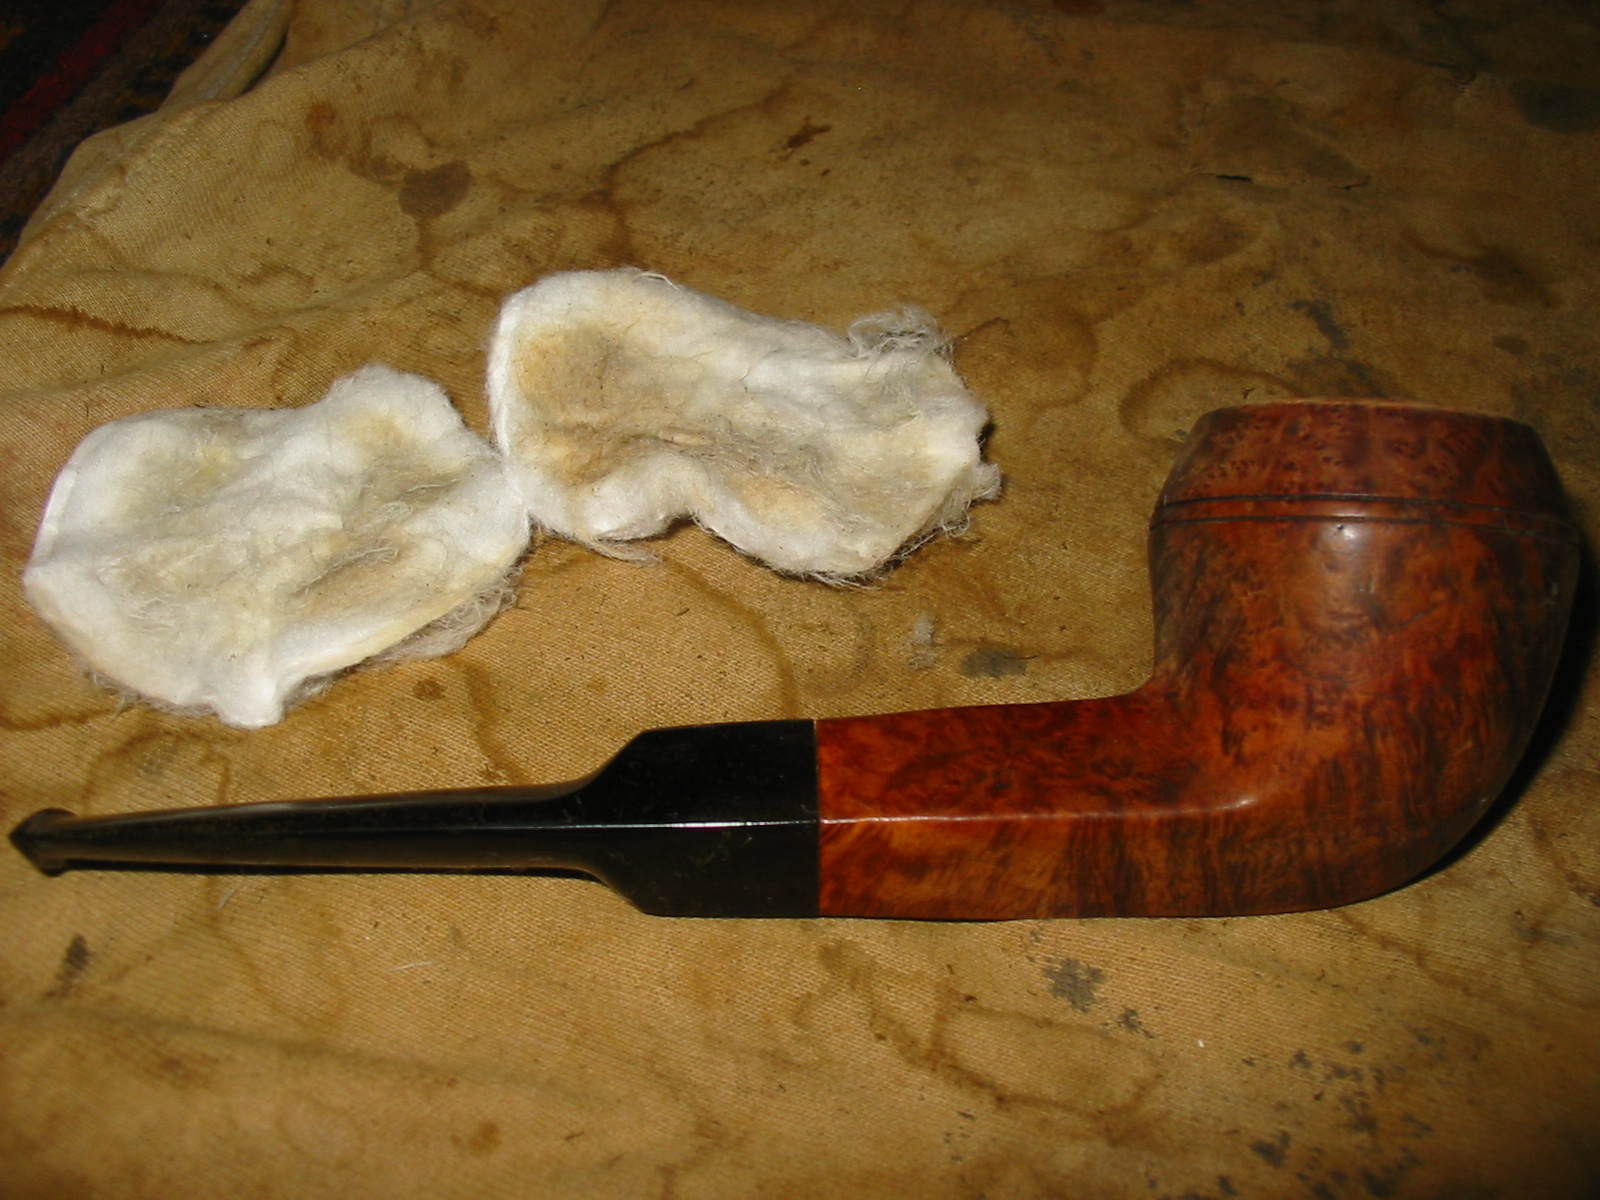
I wiped the bowl down with acetone on cotton pads to remove the varnish and the remaining finish on the bowl so that it would be easier to match the colour of the bowl and the newly topped rim.
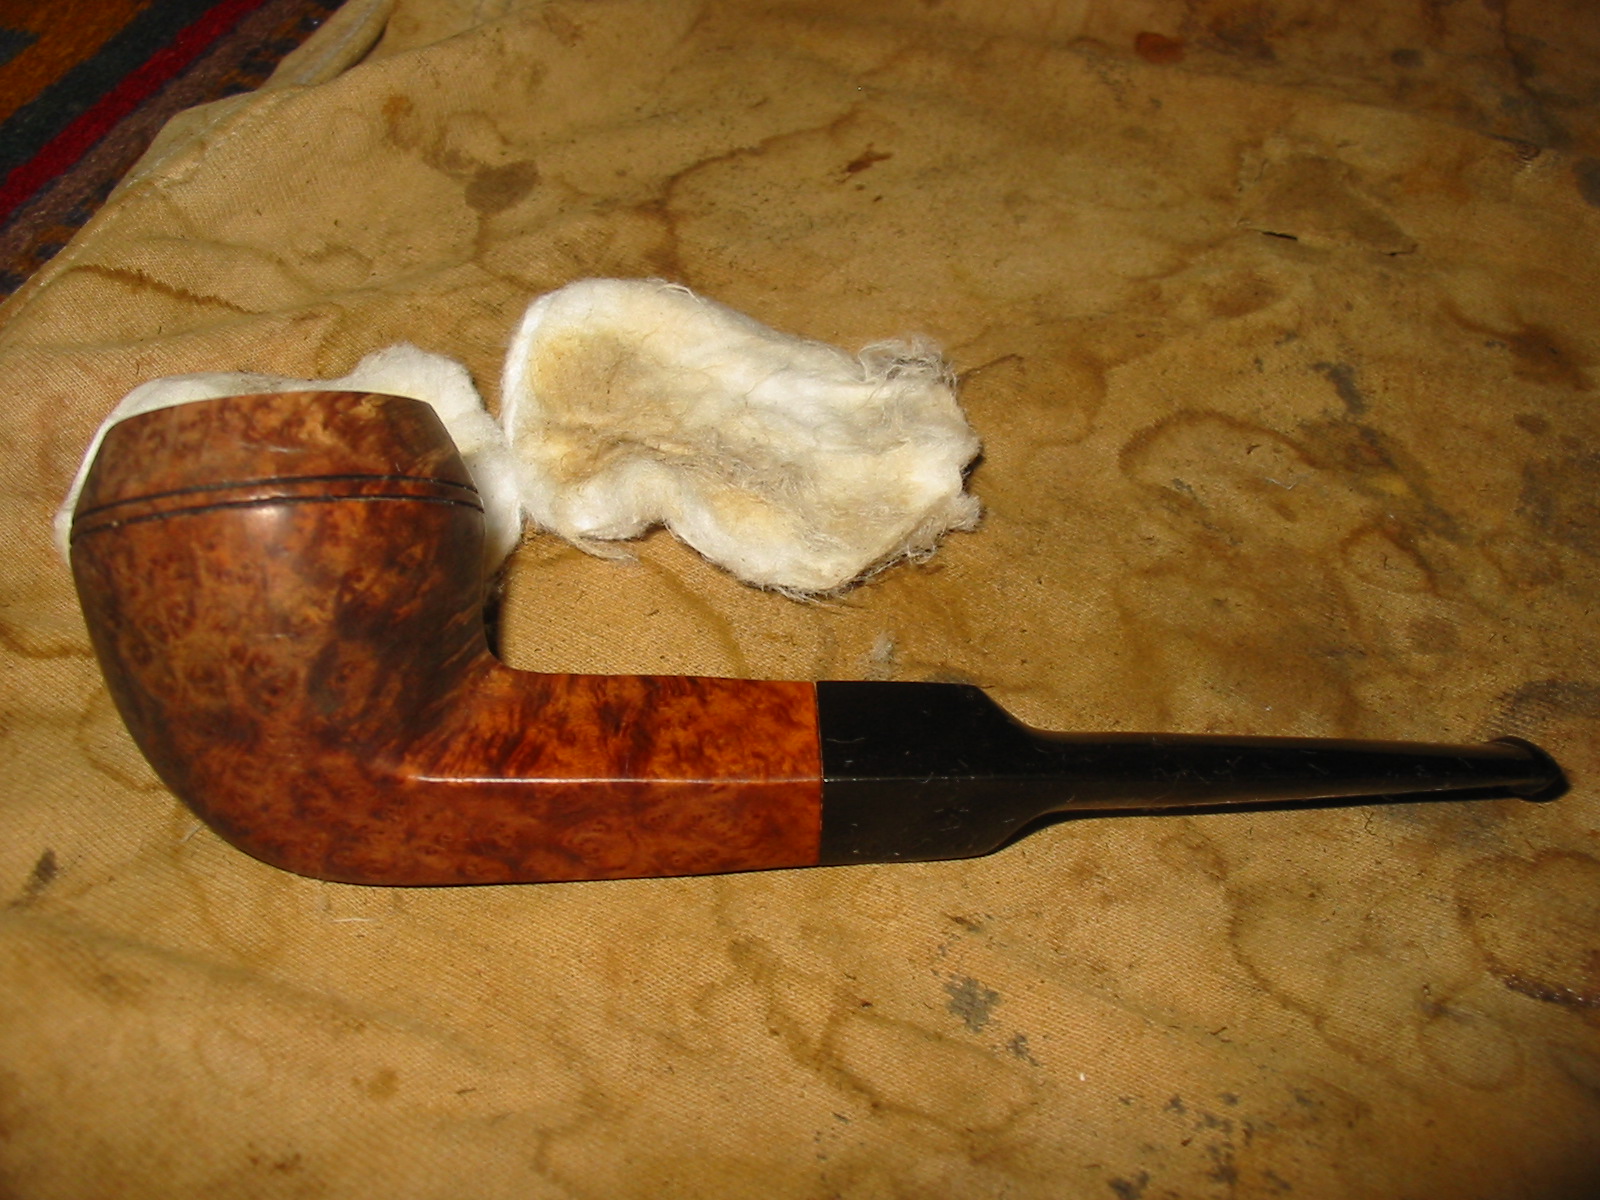

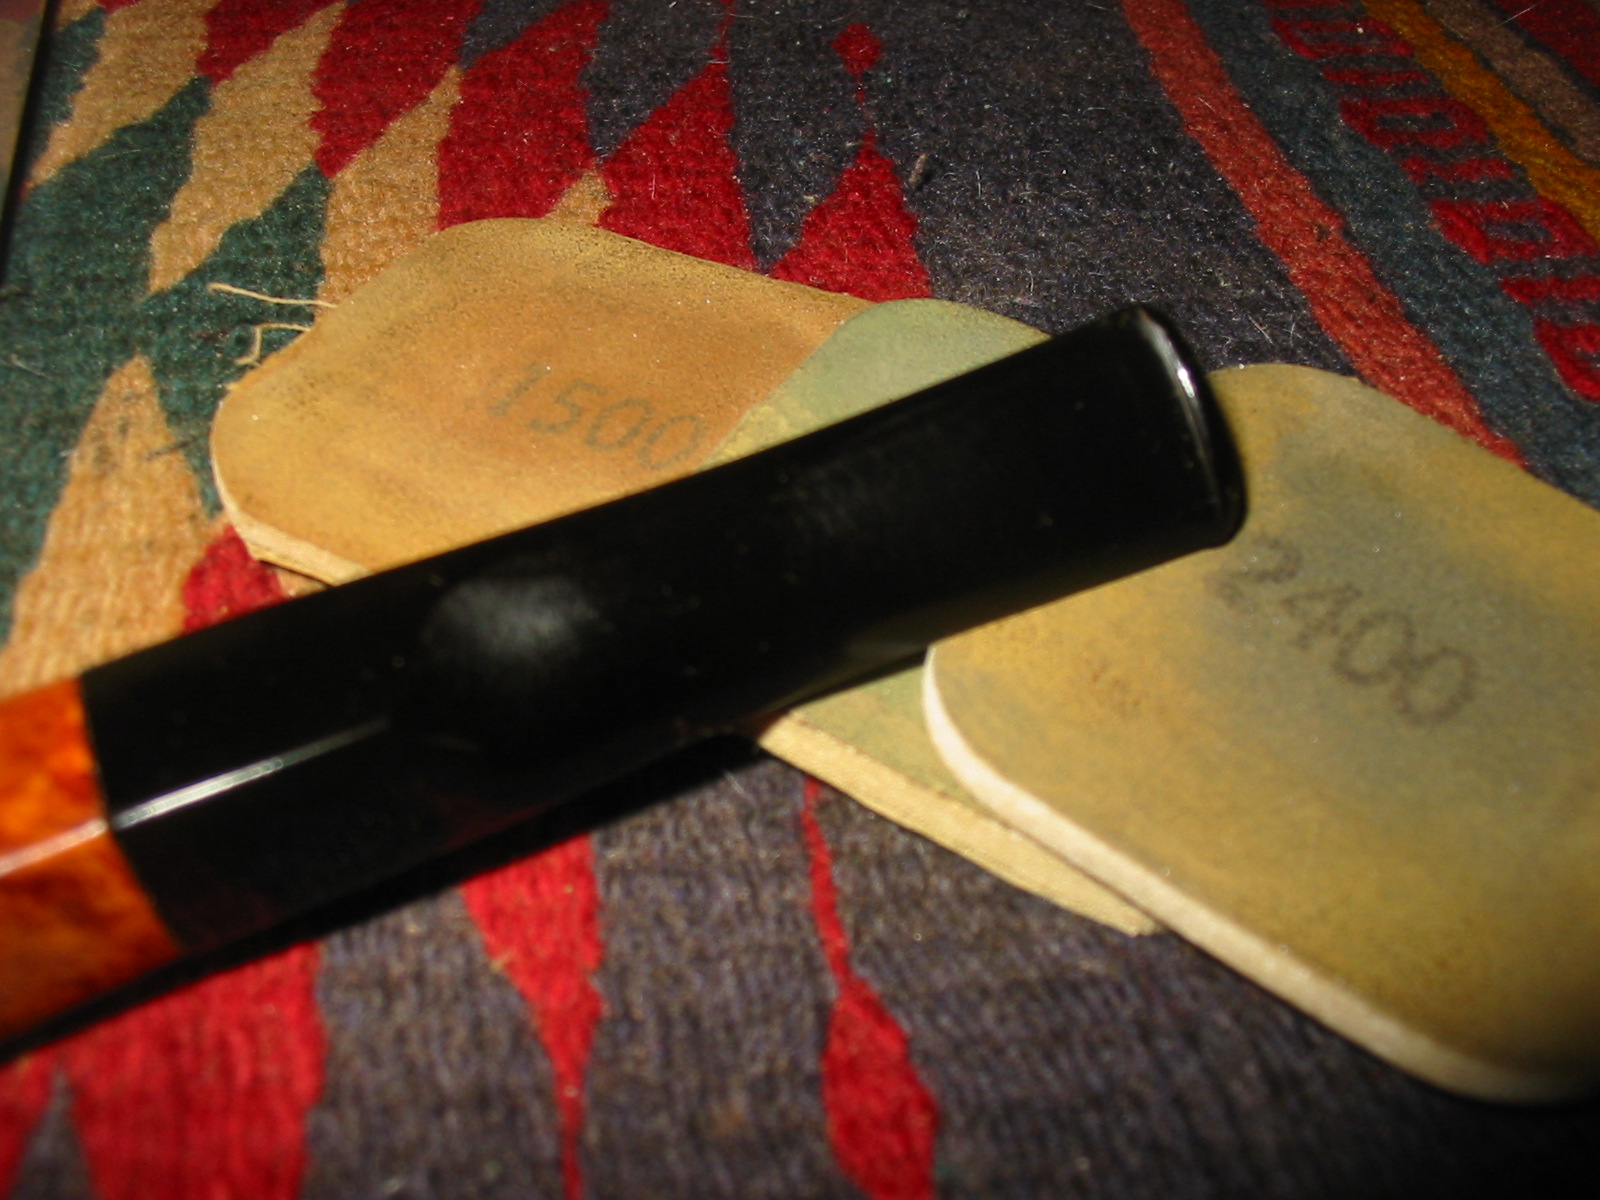
I sanded the rim with a fine grit sandpaper and wet sanded with a 1500 grit micromesh sanding pad to remove scratches and prepare the rim for staining. I stained the bowl and rim with MinWax Medium Walnut Stain and rubbed it on to the pipe and rubbed it off until I had achieved the colour and coverage that I wanted.
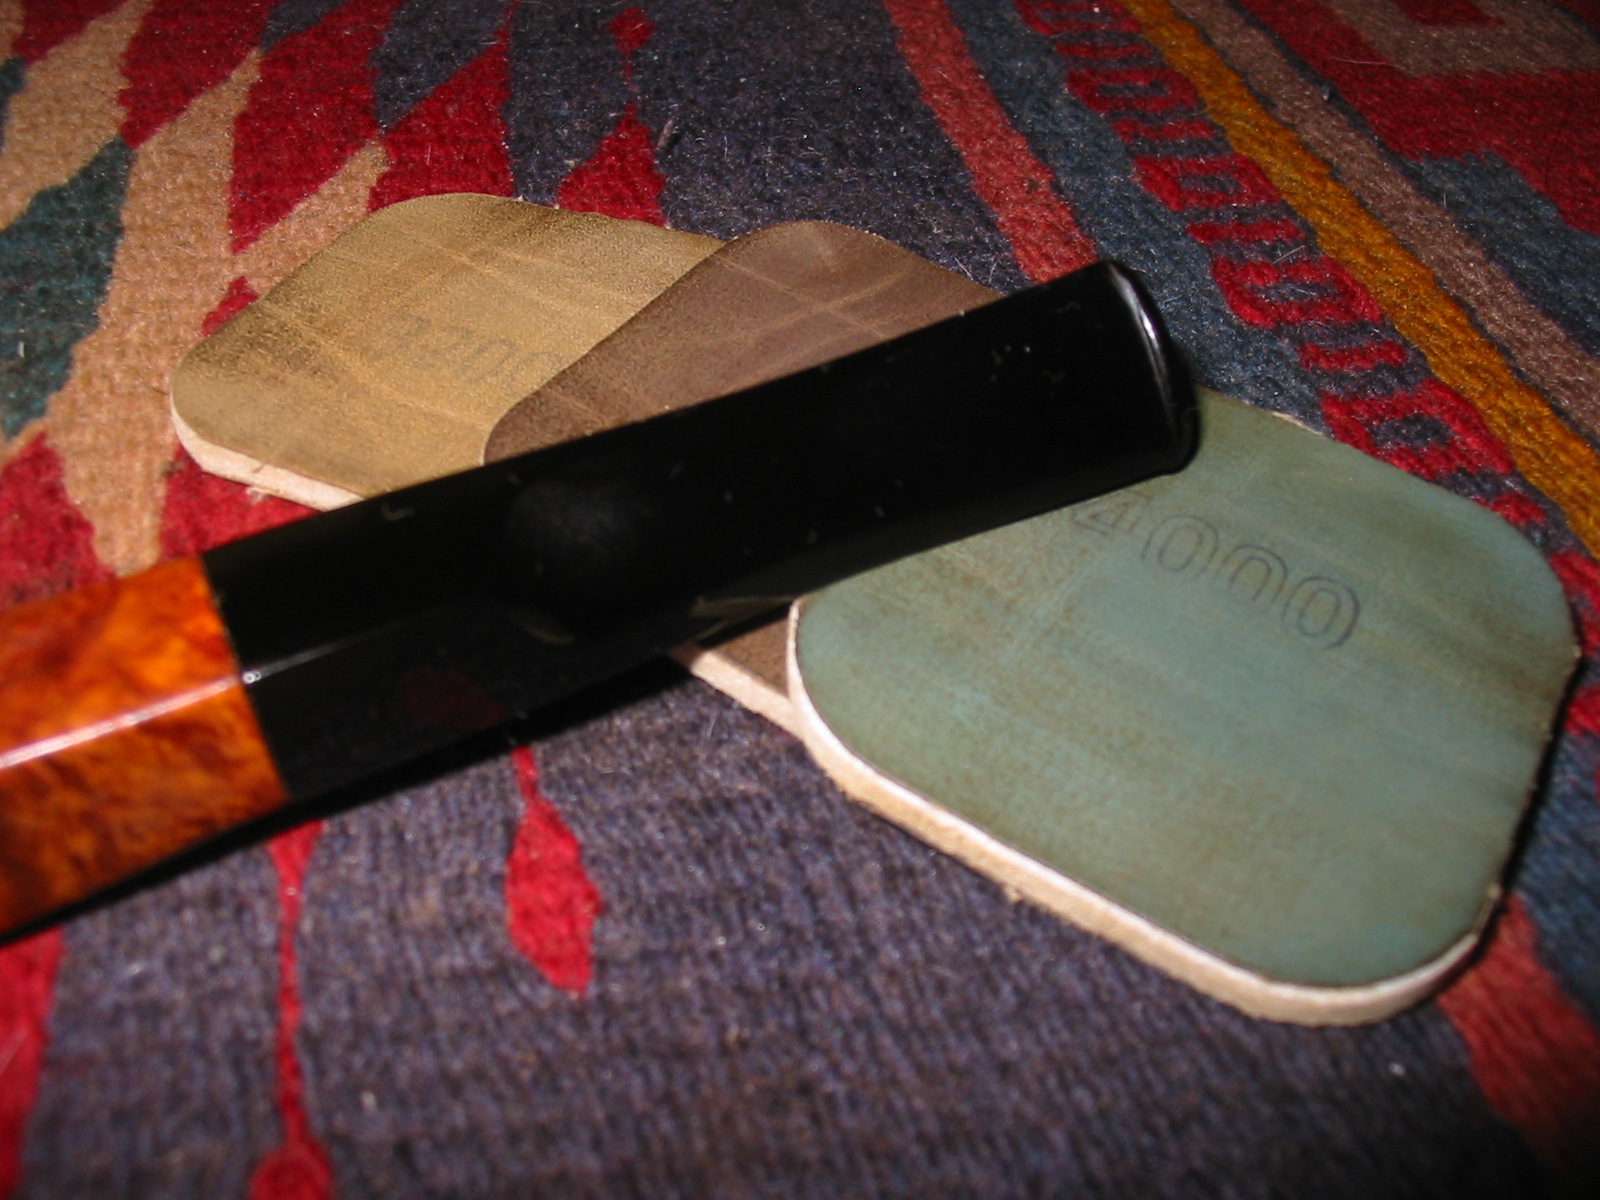
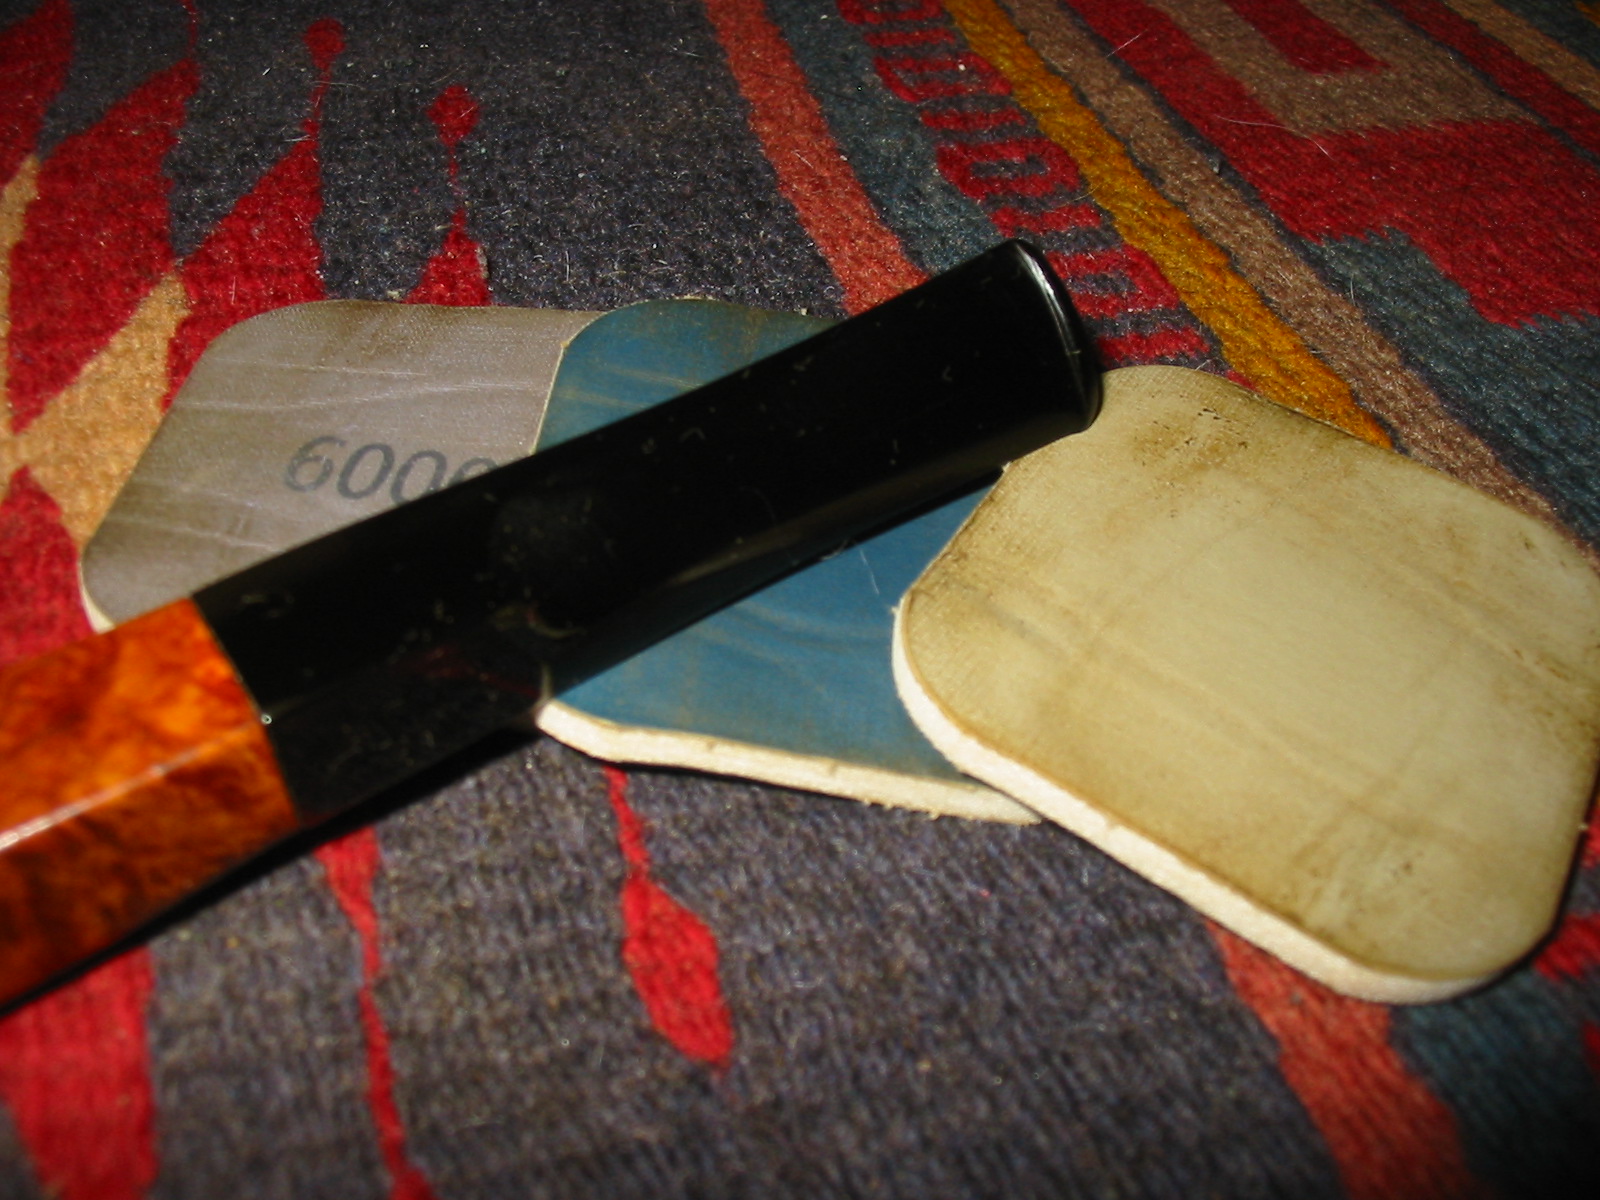
I sanded the damaged areas on the topside and the underside of the stem near the button to remove the tooth marks. I started with 220 grit sandpaper and then a medium grit sanding sponge to repair the tooth damage.
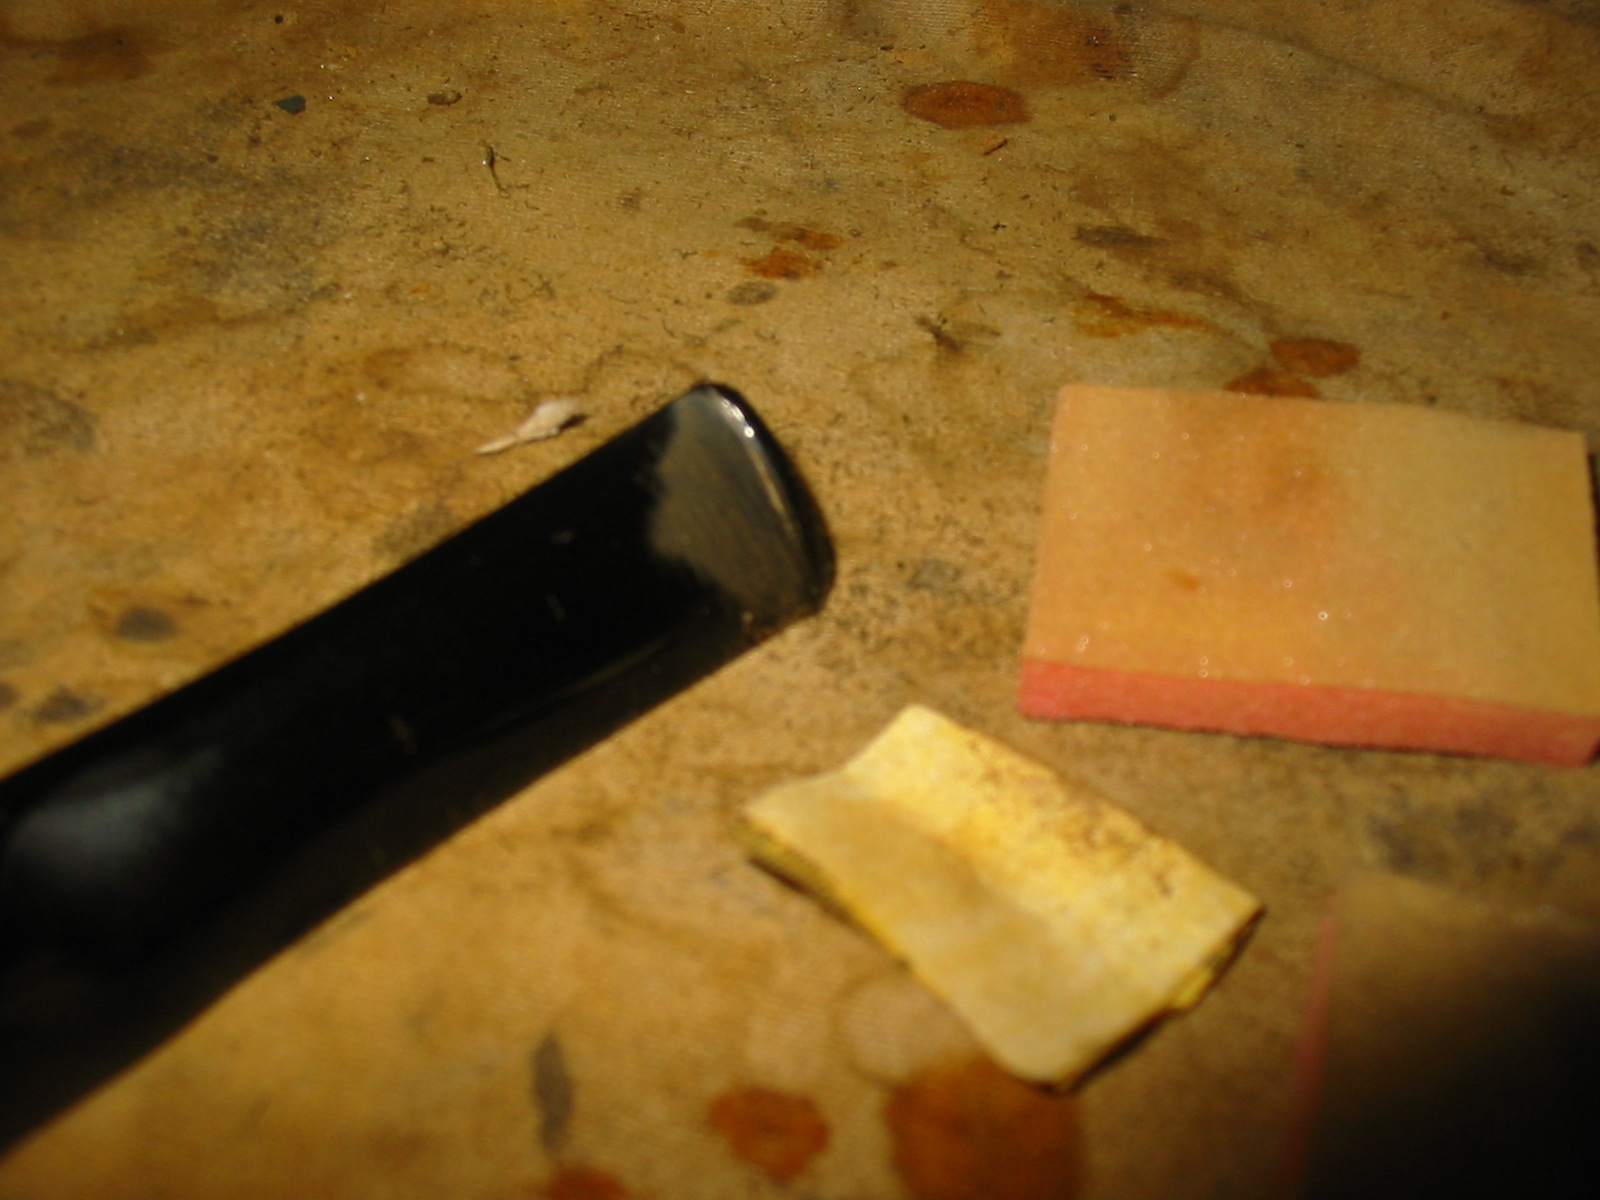
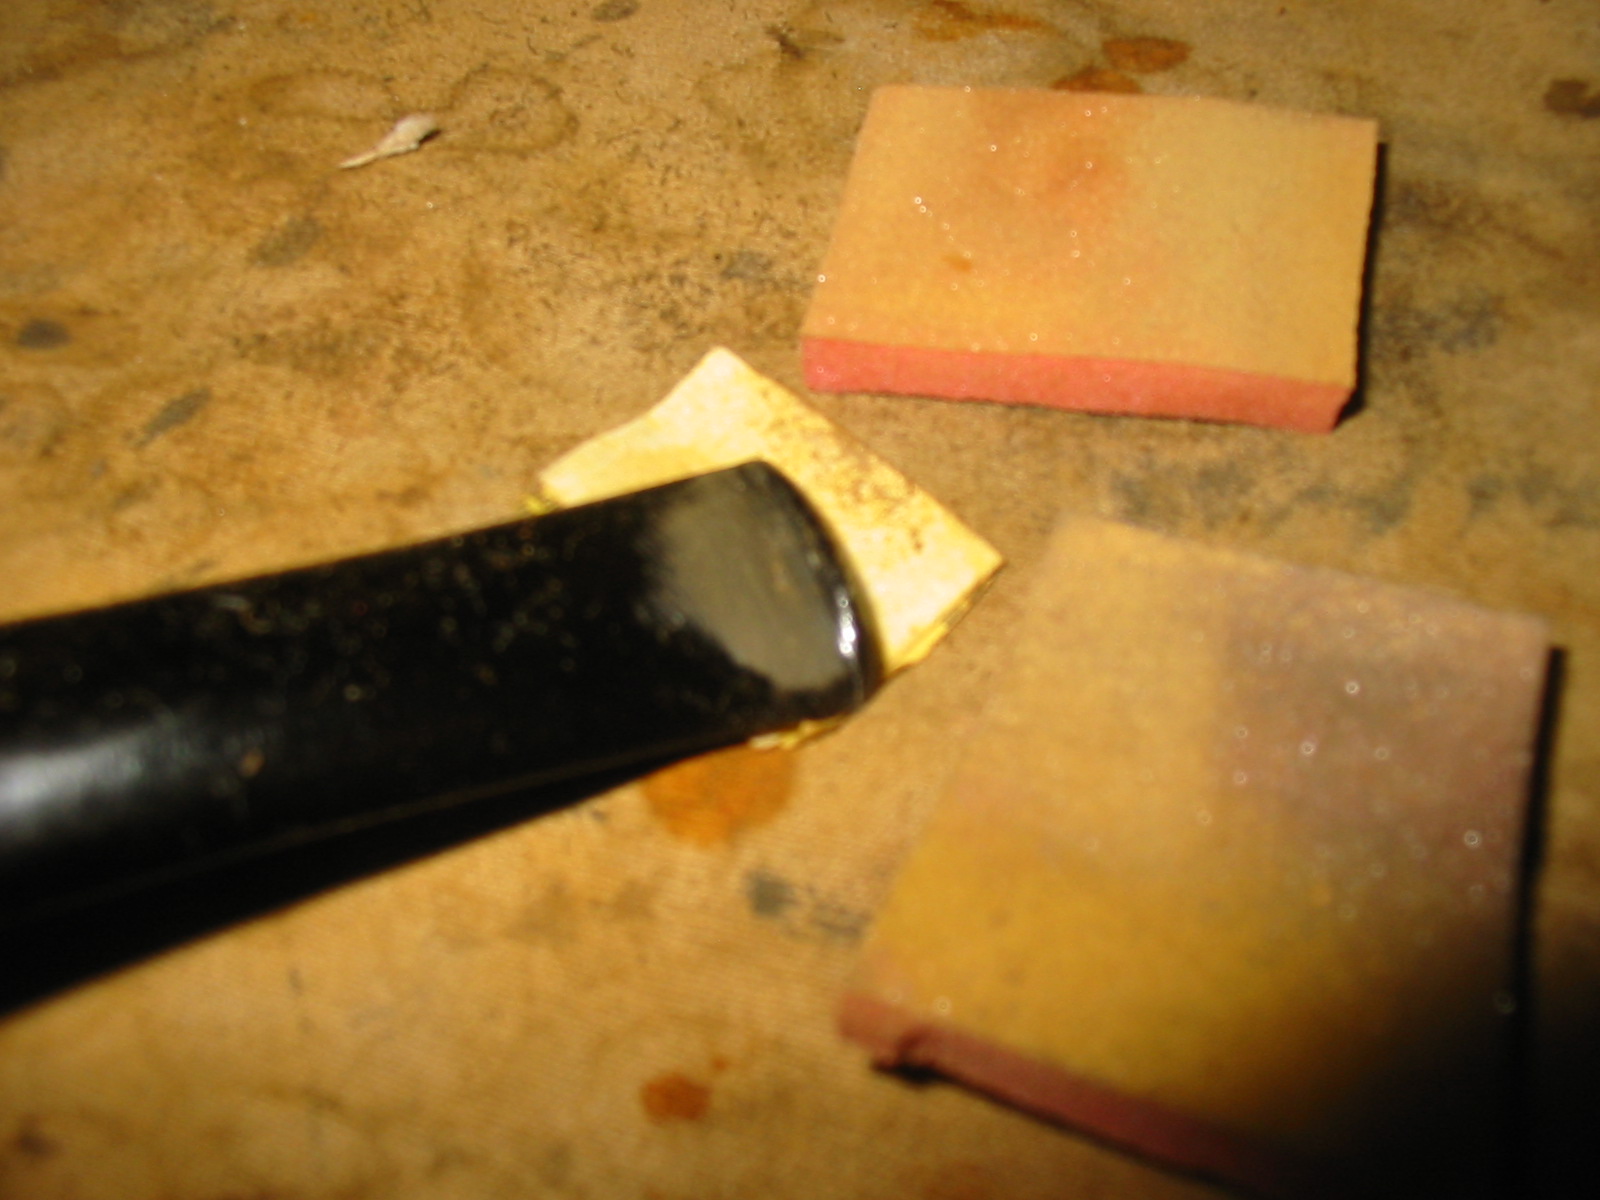
The mark on the underside was deep and once I had sanded and cleaned it I put a drop of super glue on it to build up the divot. Once it was dry I sanded it again with 220 grit sandpaper and the sanding sponge to blend it into the surface of the stem.


I used my usual array of micromesh sanding pads to polish the stem repair – wet sanding with 1500-2400 grit sanding pads and then dry sanding with 3200-12,000 grit pads. I buffed the stem with red Tripoli and White Diamond and then rubbed it down with Obsidian Oil. When it was dry I rubbed the stem down and reinserted it in the pipe.
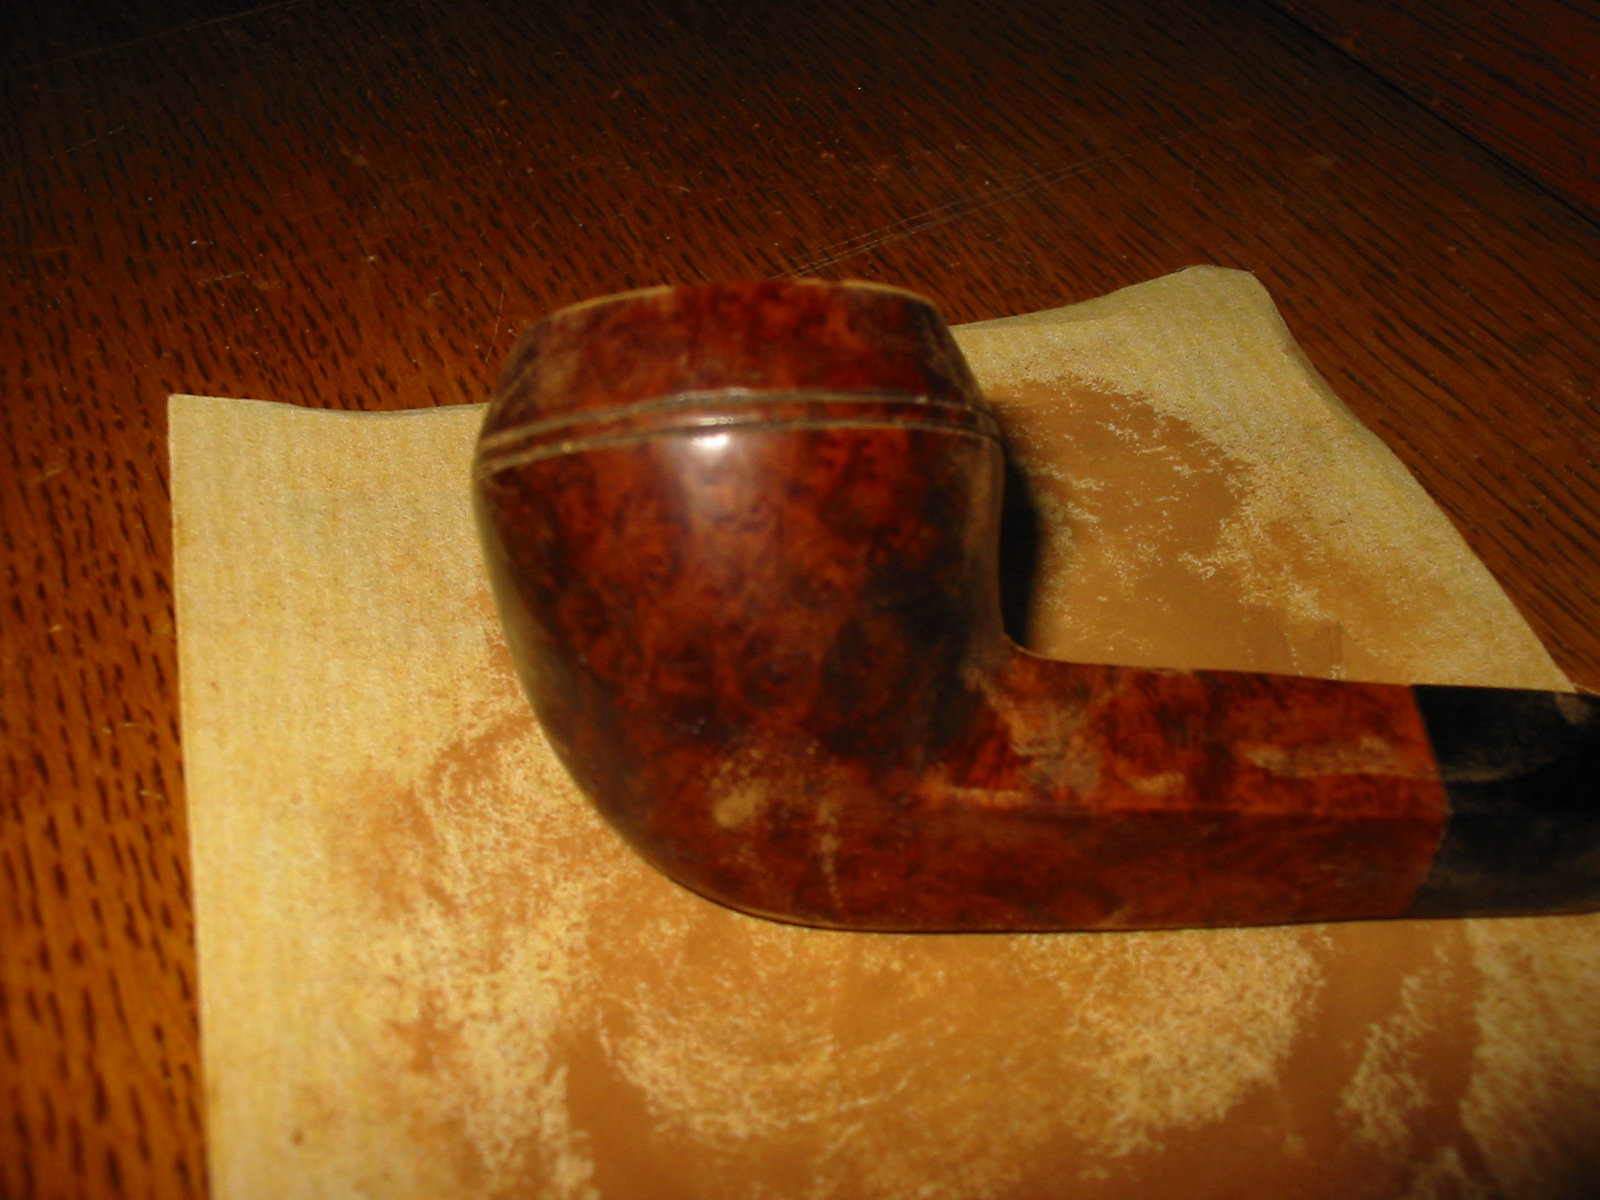
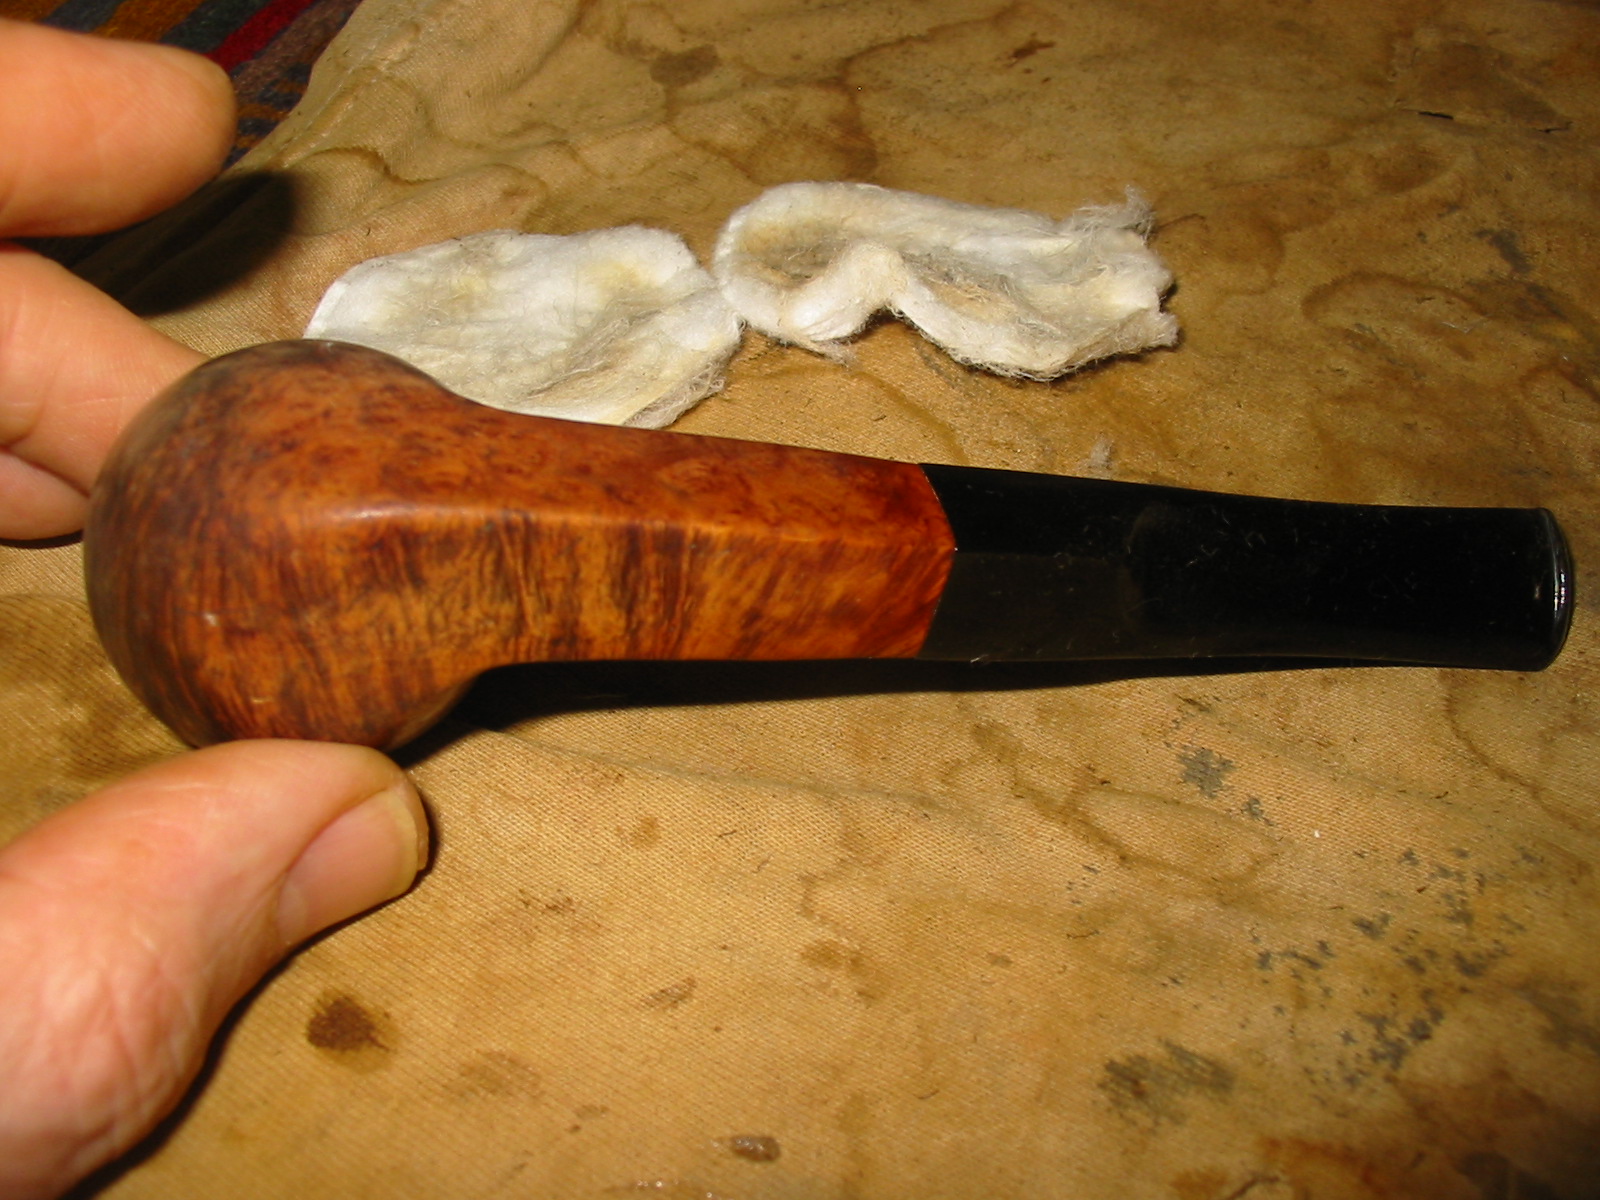
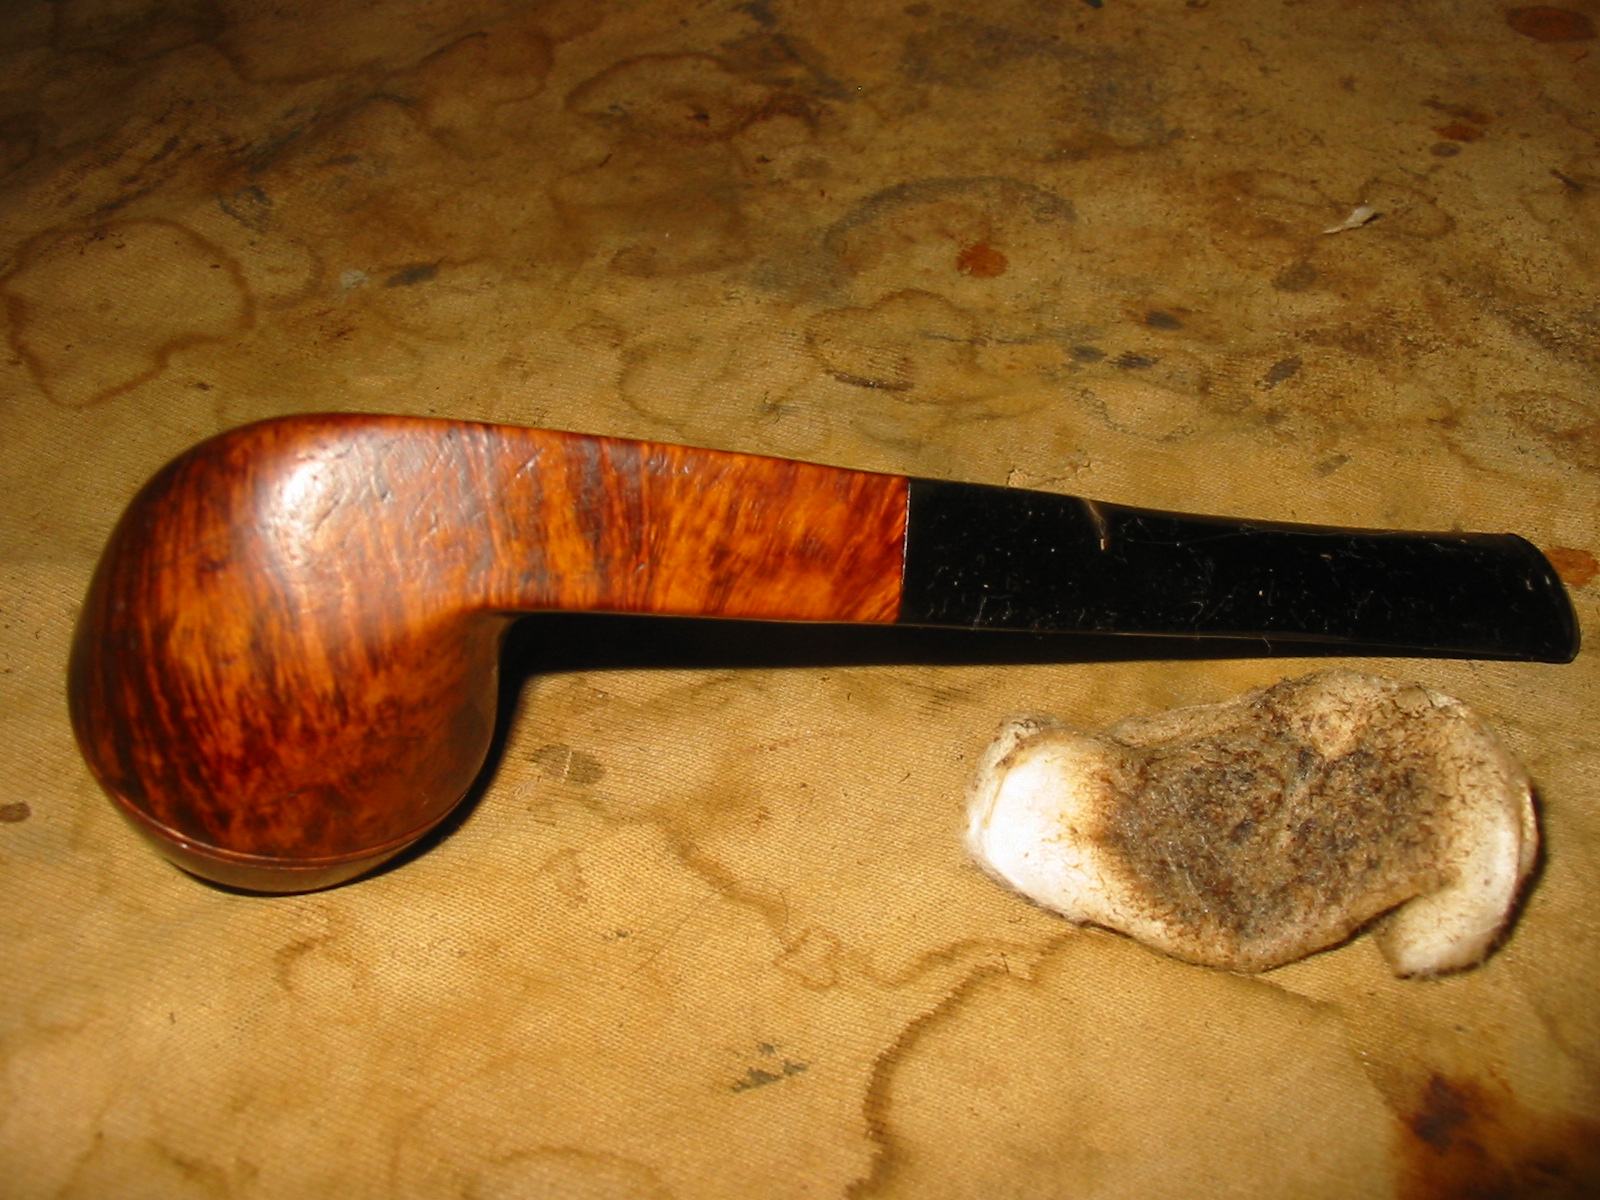
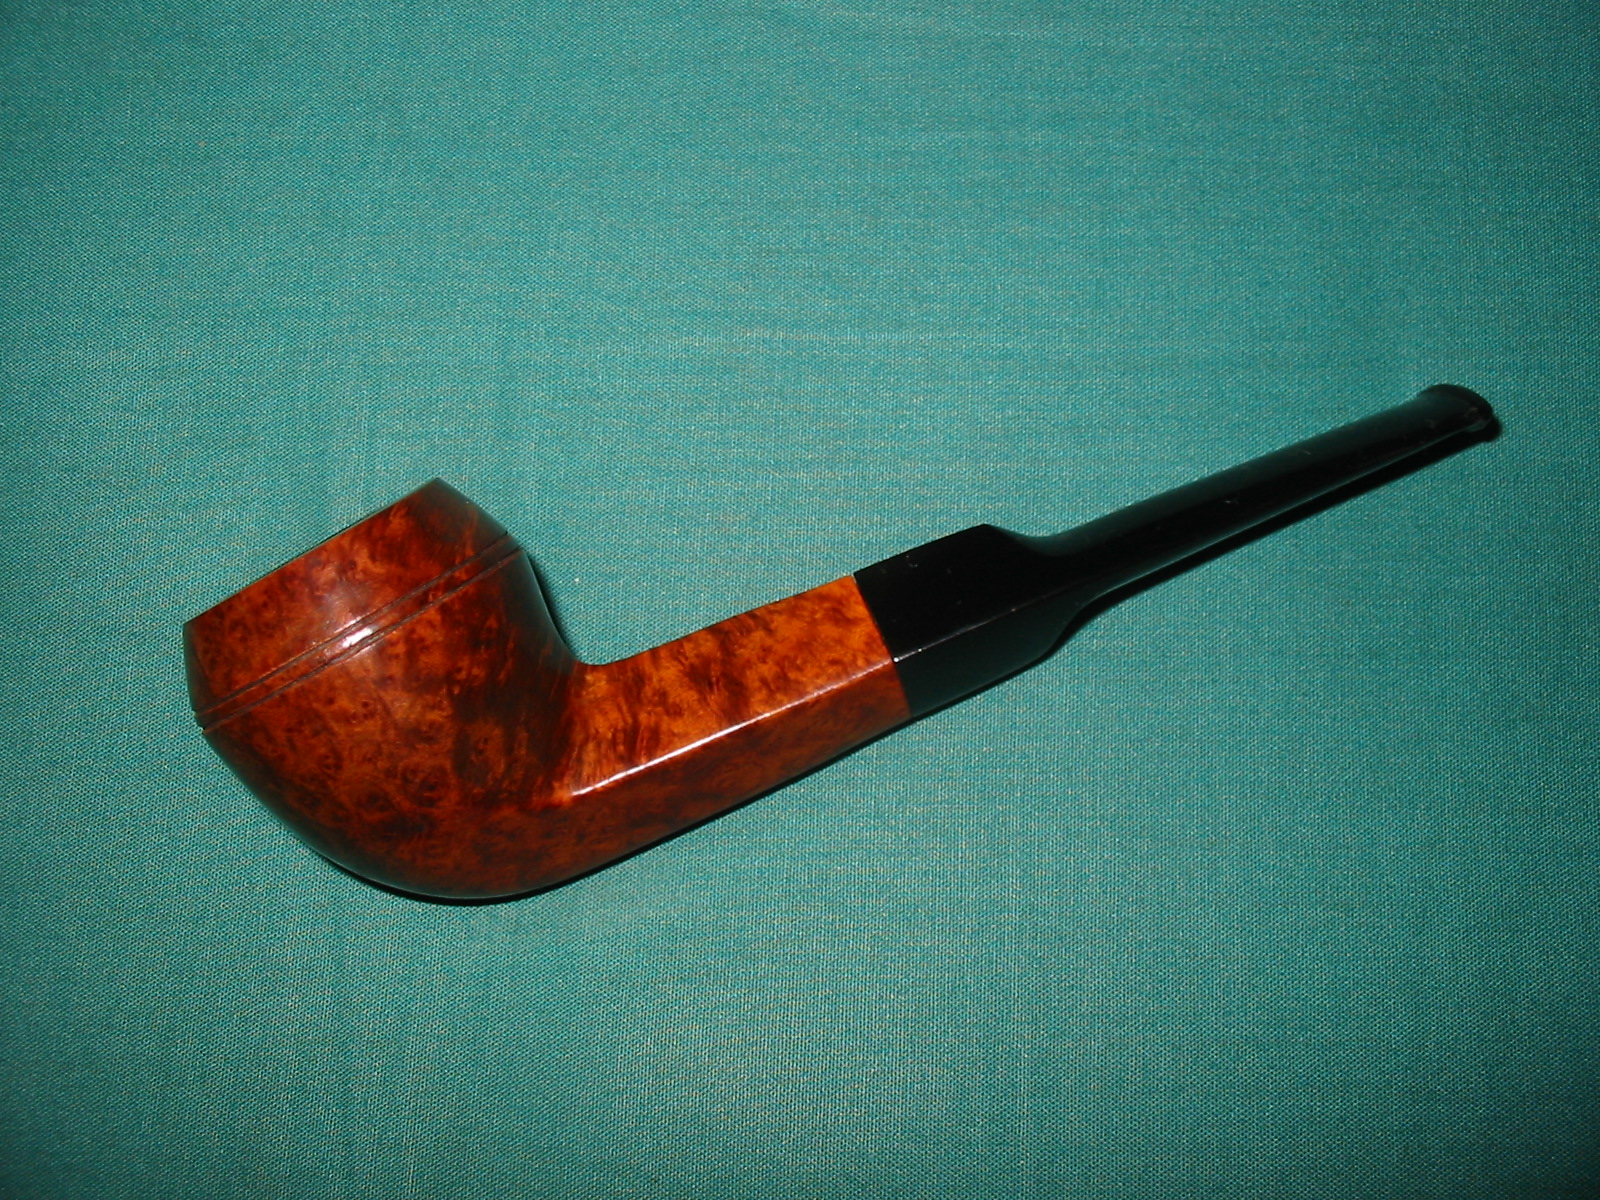
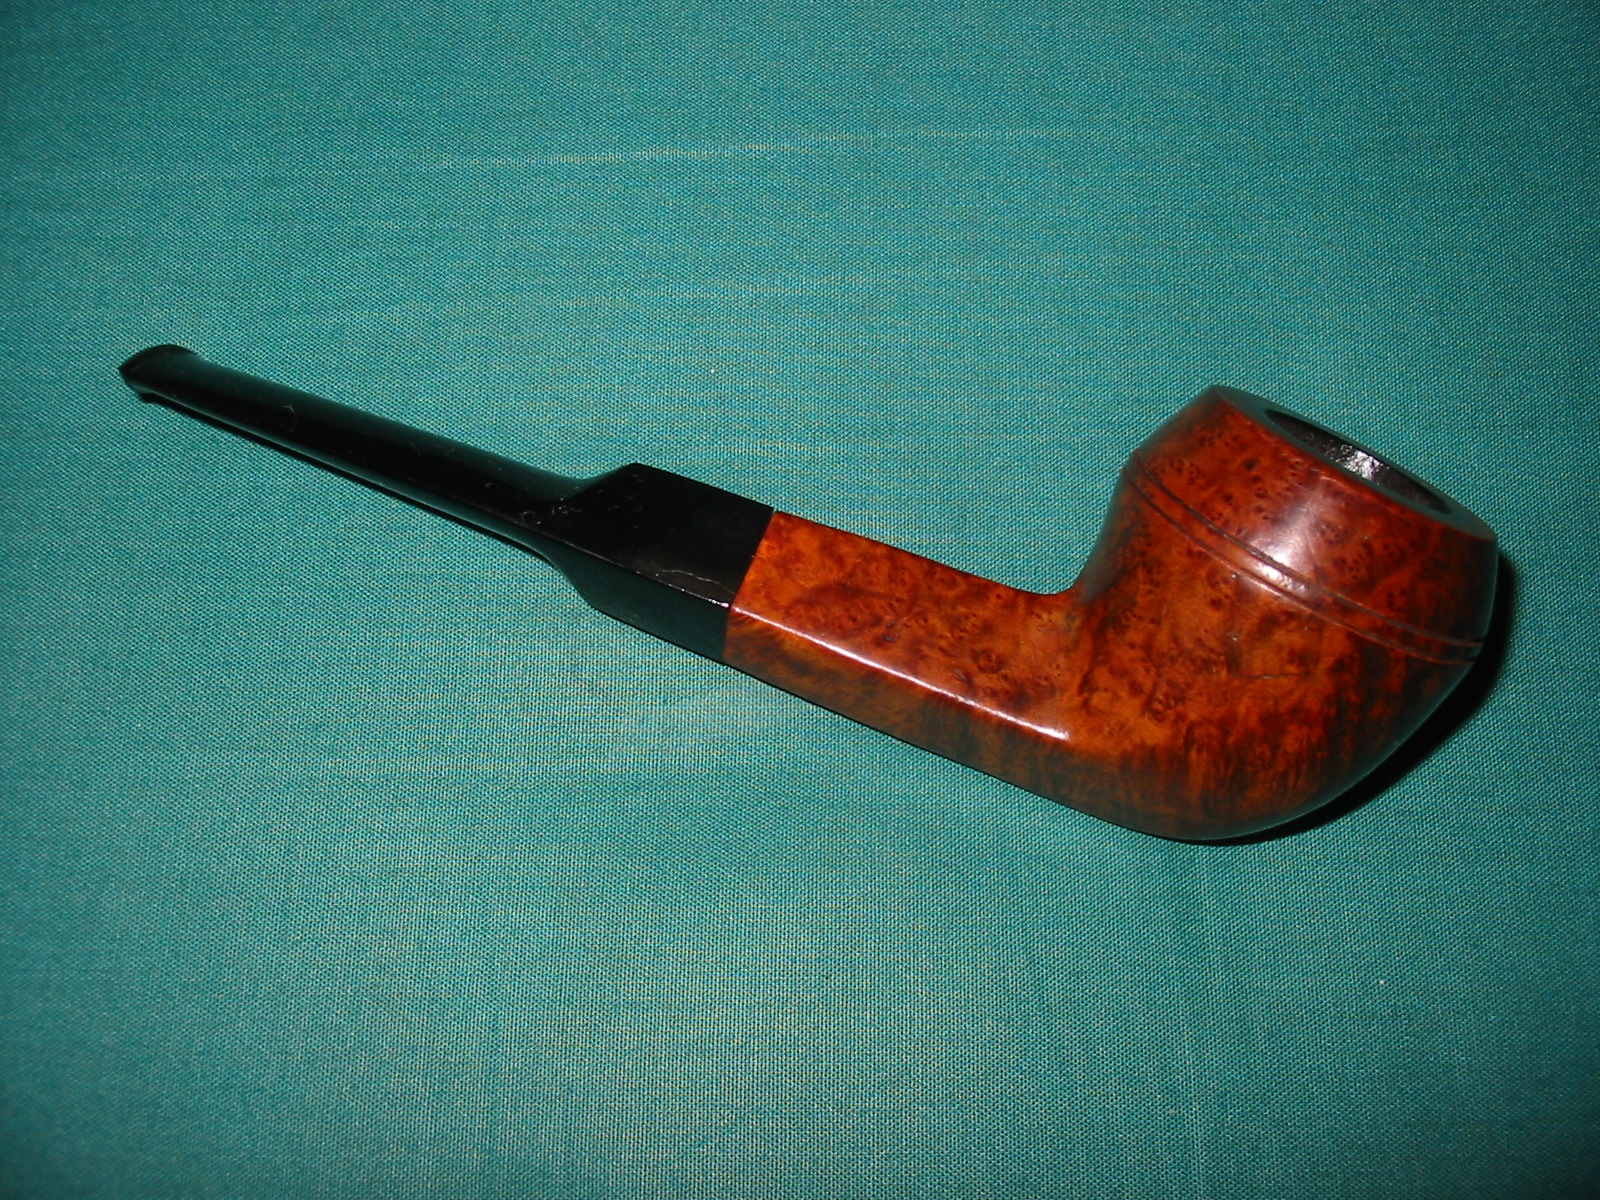
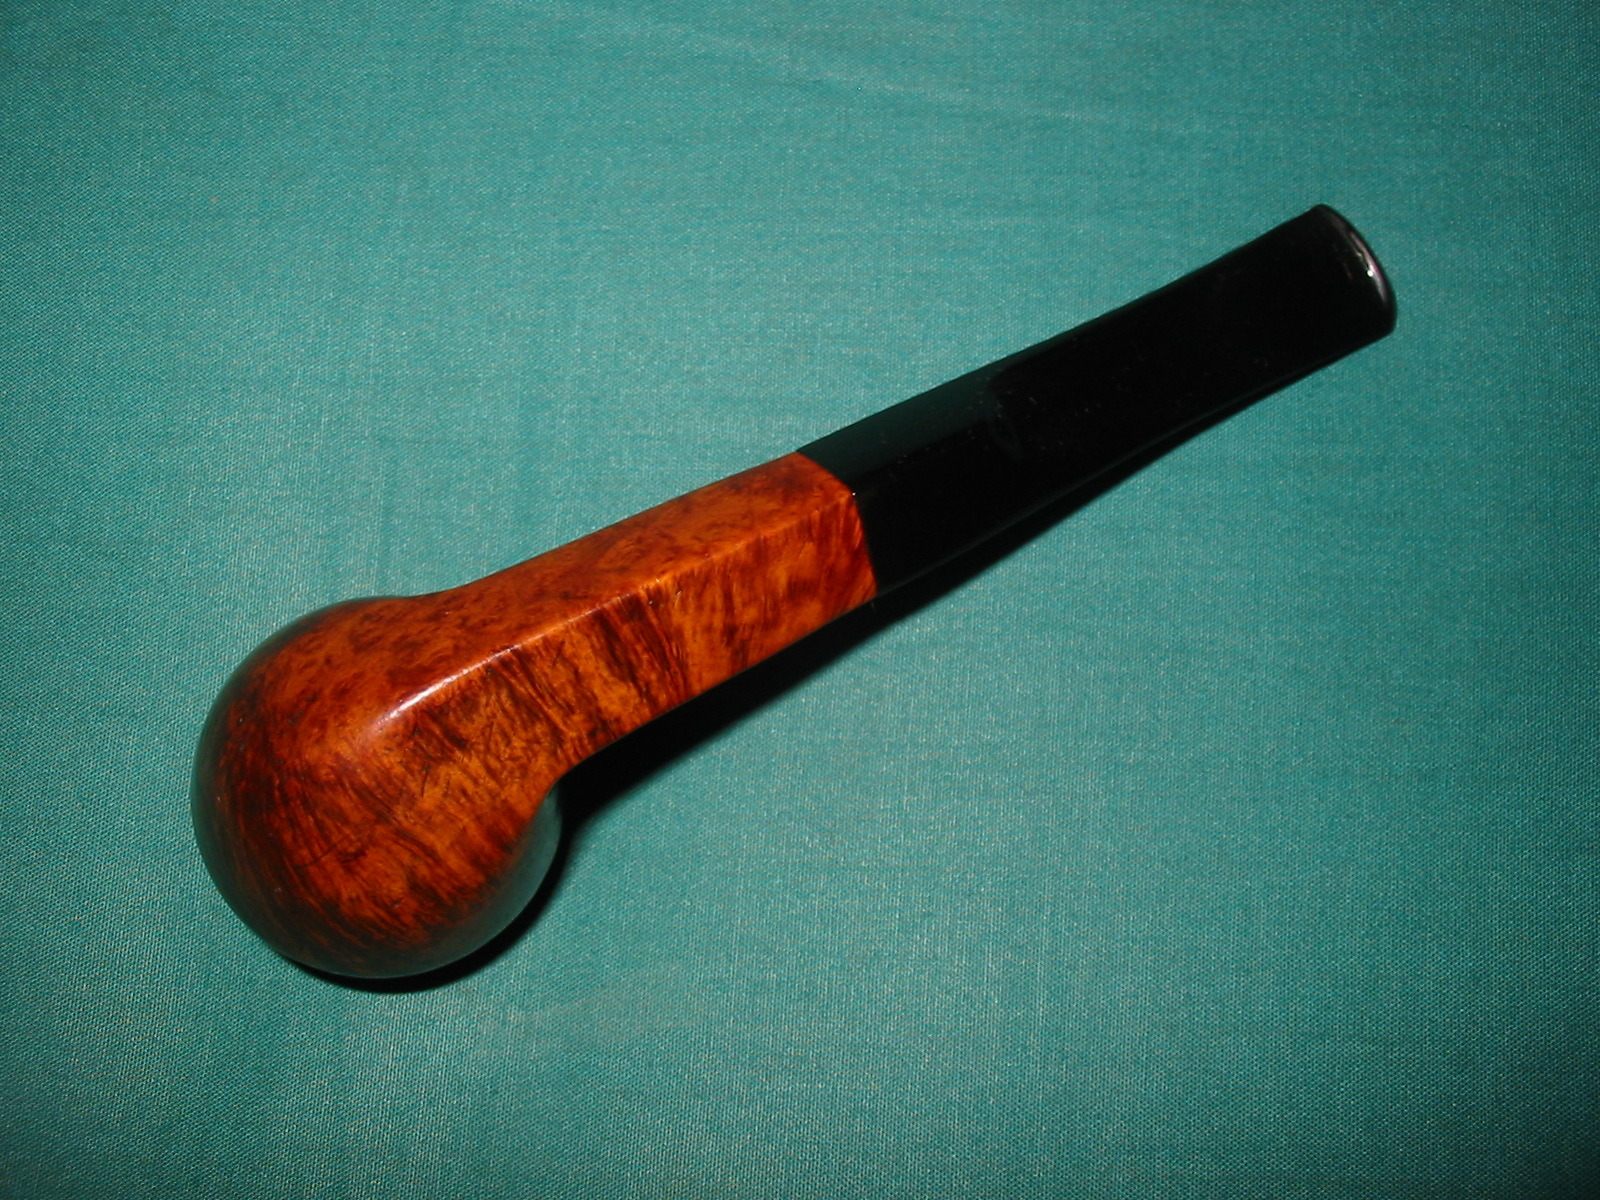
I buffed the pipe and stem with White Diamond and then gave it multiple coats of carnauba wax. I finished the buffing with a clean flannel buff to give it a shine. The finished pipe is pictured below. It is ready to go back to the Pipe Club and will make someone a nice pipe.


Great job on bring back this Bull Dog. Thanks for sharing this article. I didn’t know that a botched topping job could be re-done, and yield this good of result. The pipe looks nice now, and should be an easy sale for the club. I’m sure they appreciate your work as much as we appreciate the article.
LikeLike
That looked like a hacksaw job. So do you give these back to the club after refinishing them?
LikeLike
Yes Andrew they will go back to the club and be sold
LikeLike