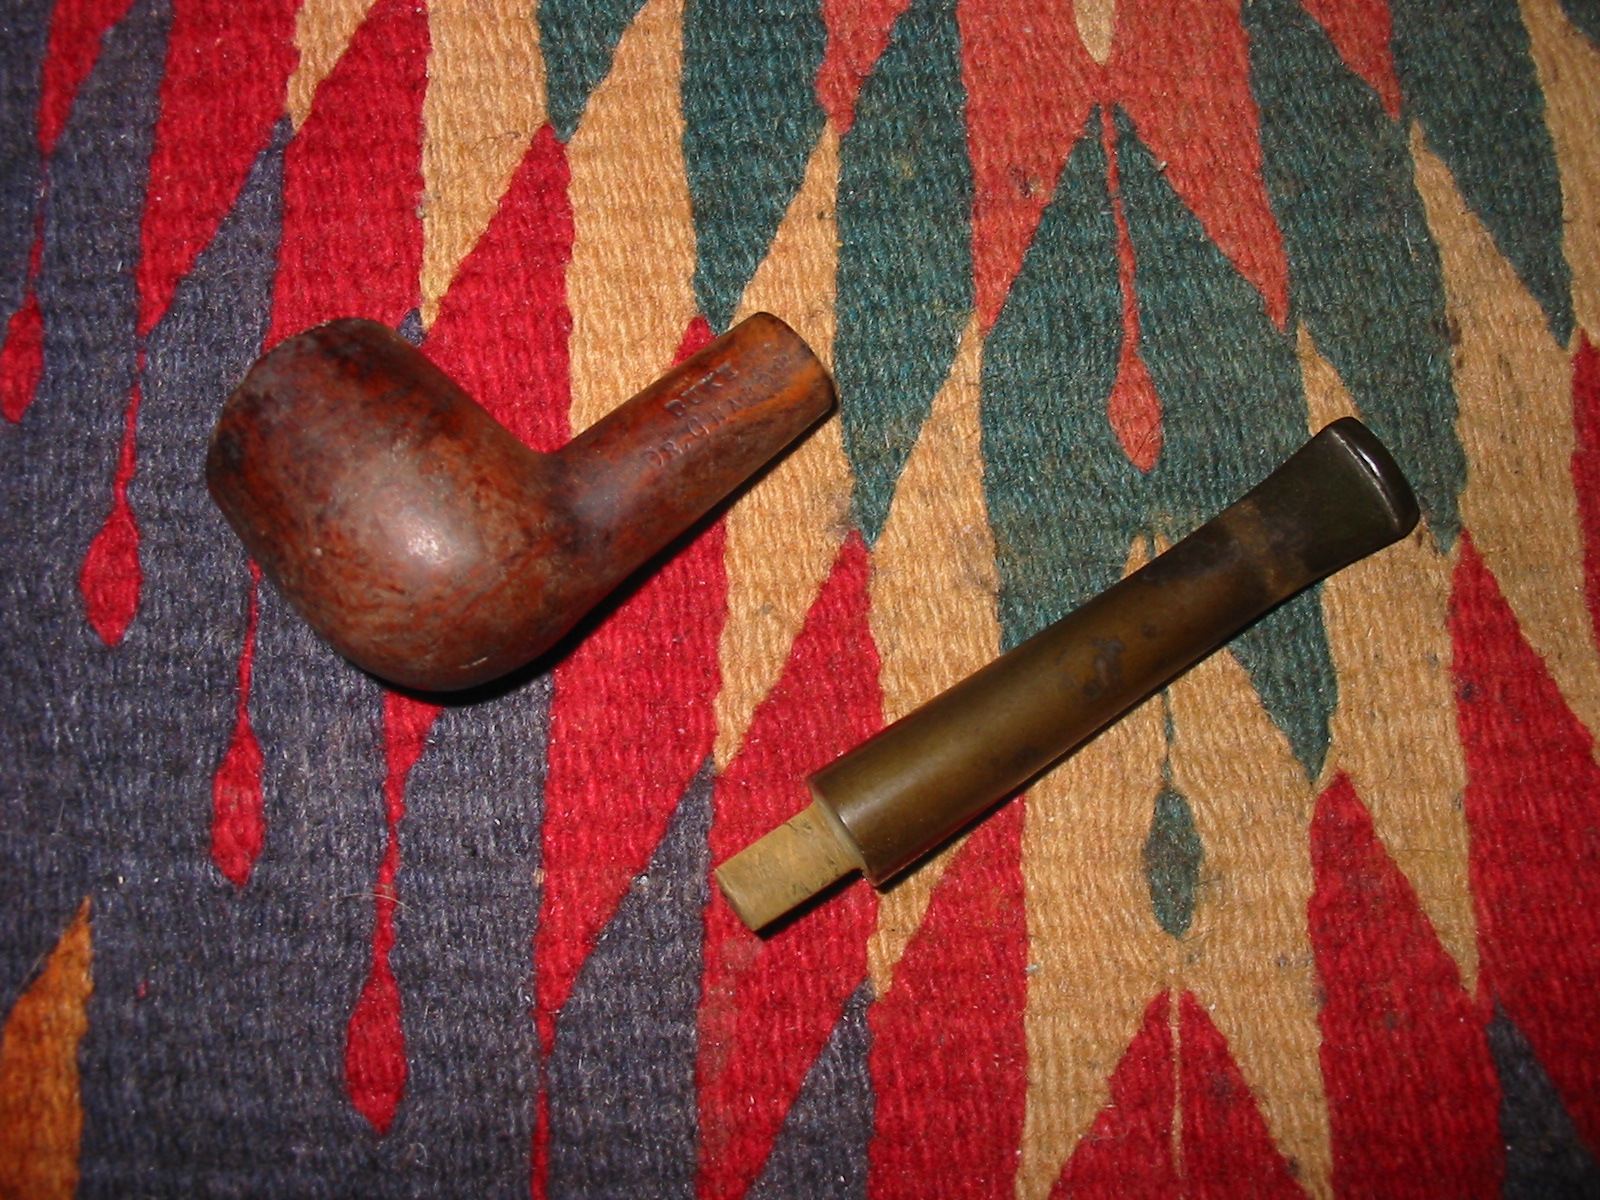
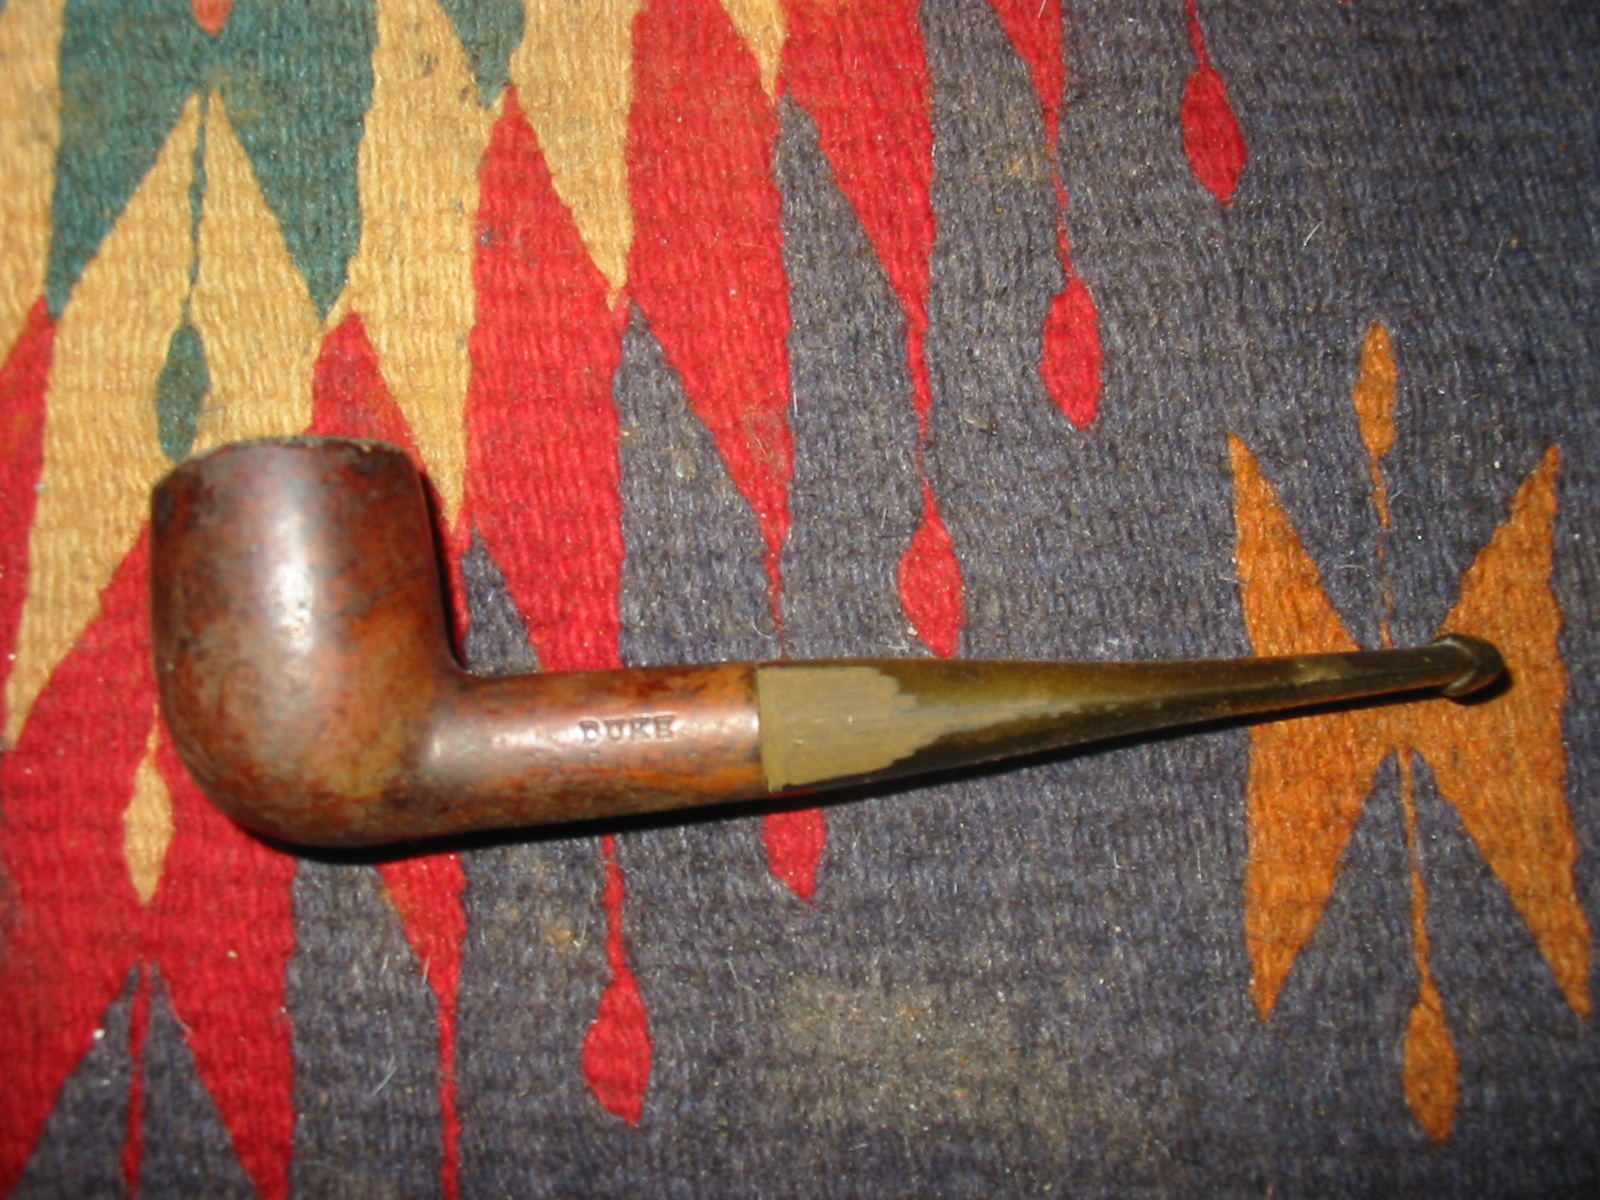
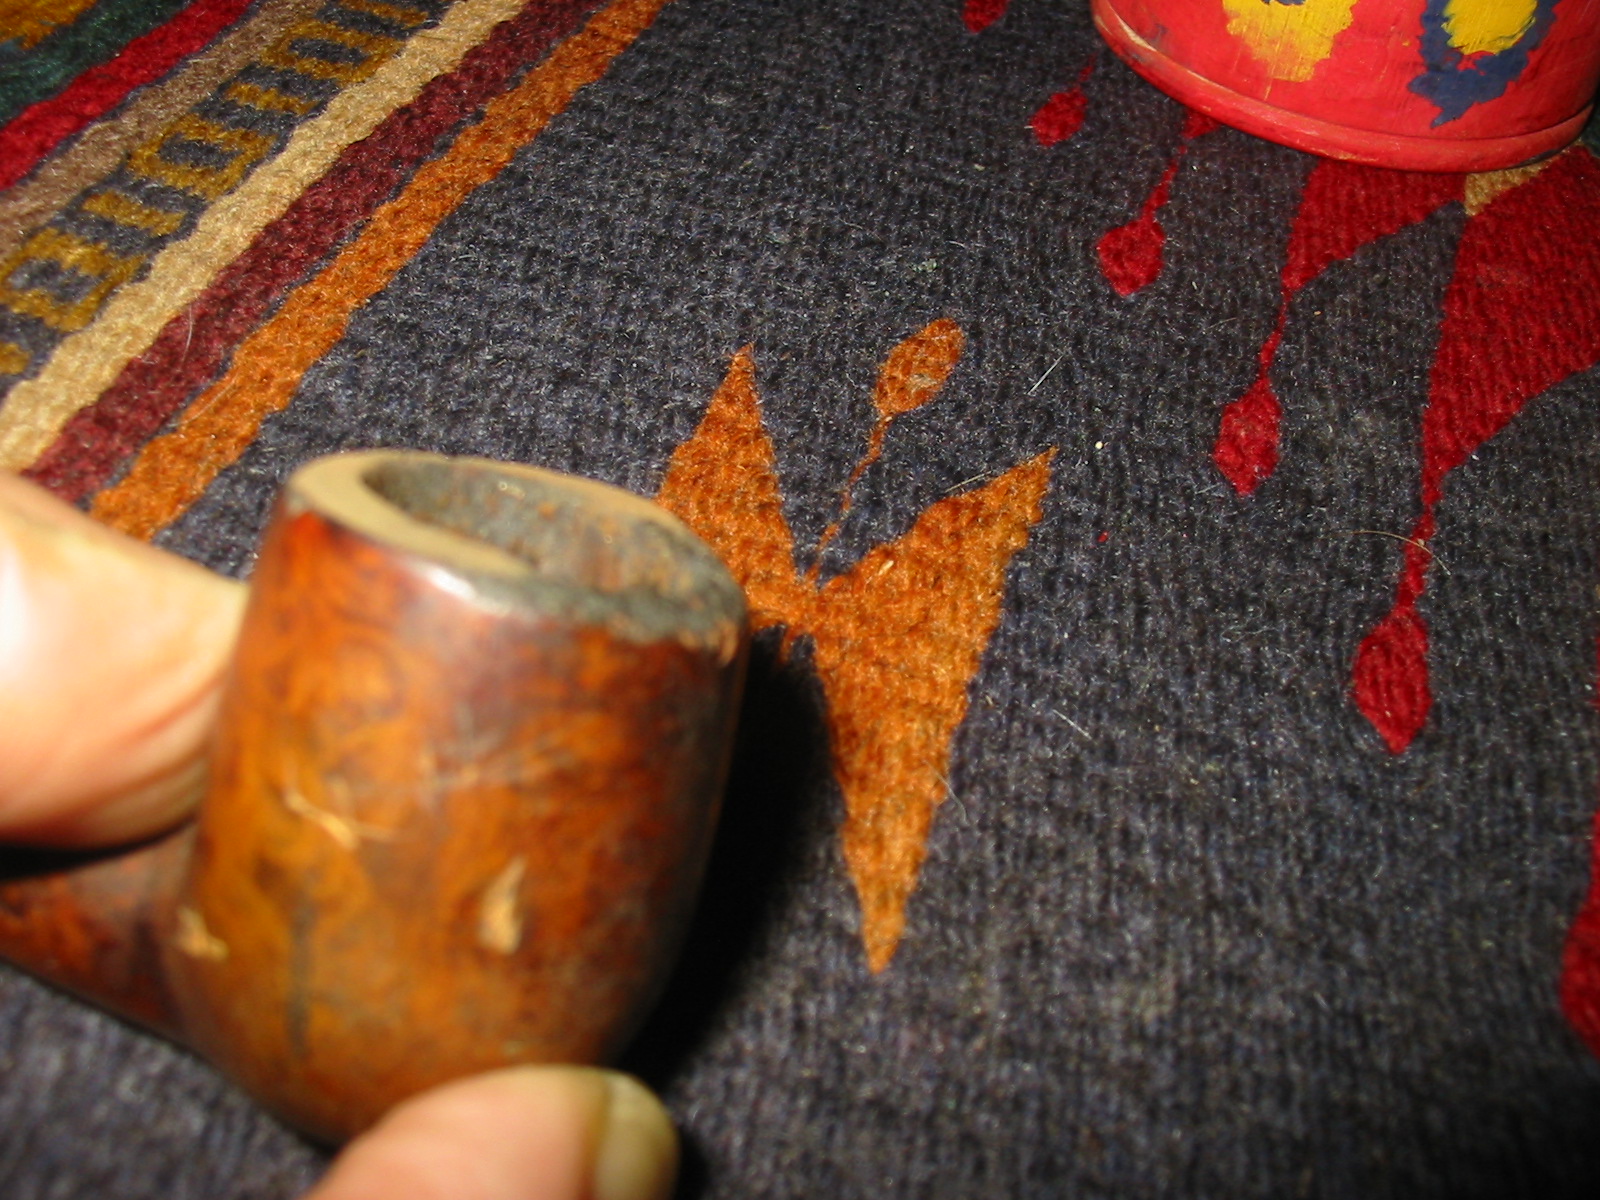
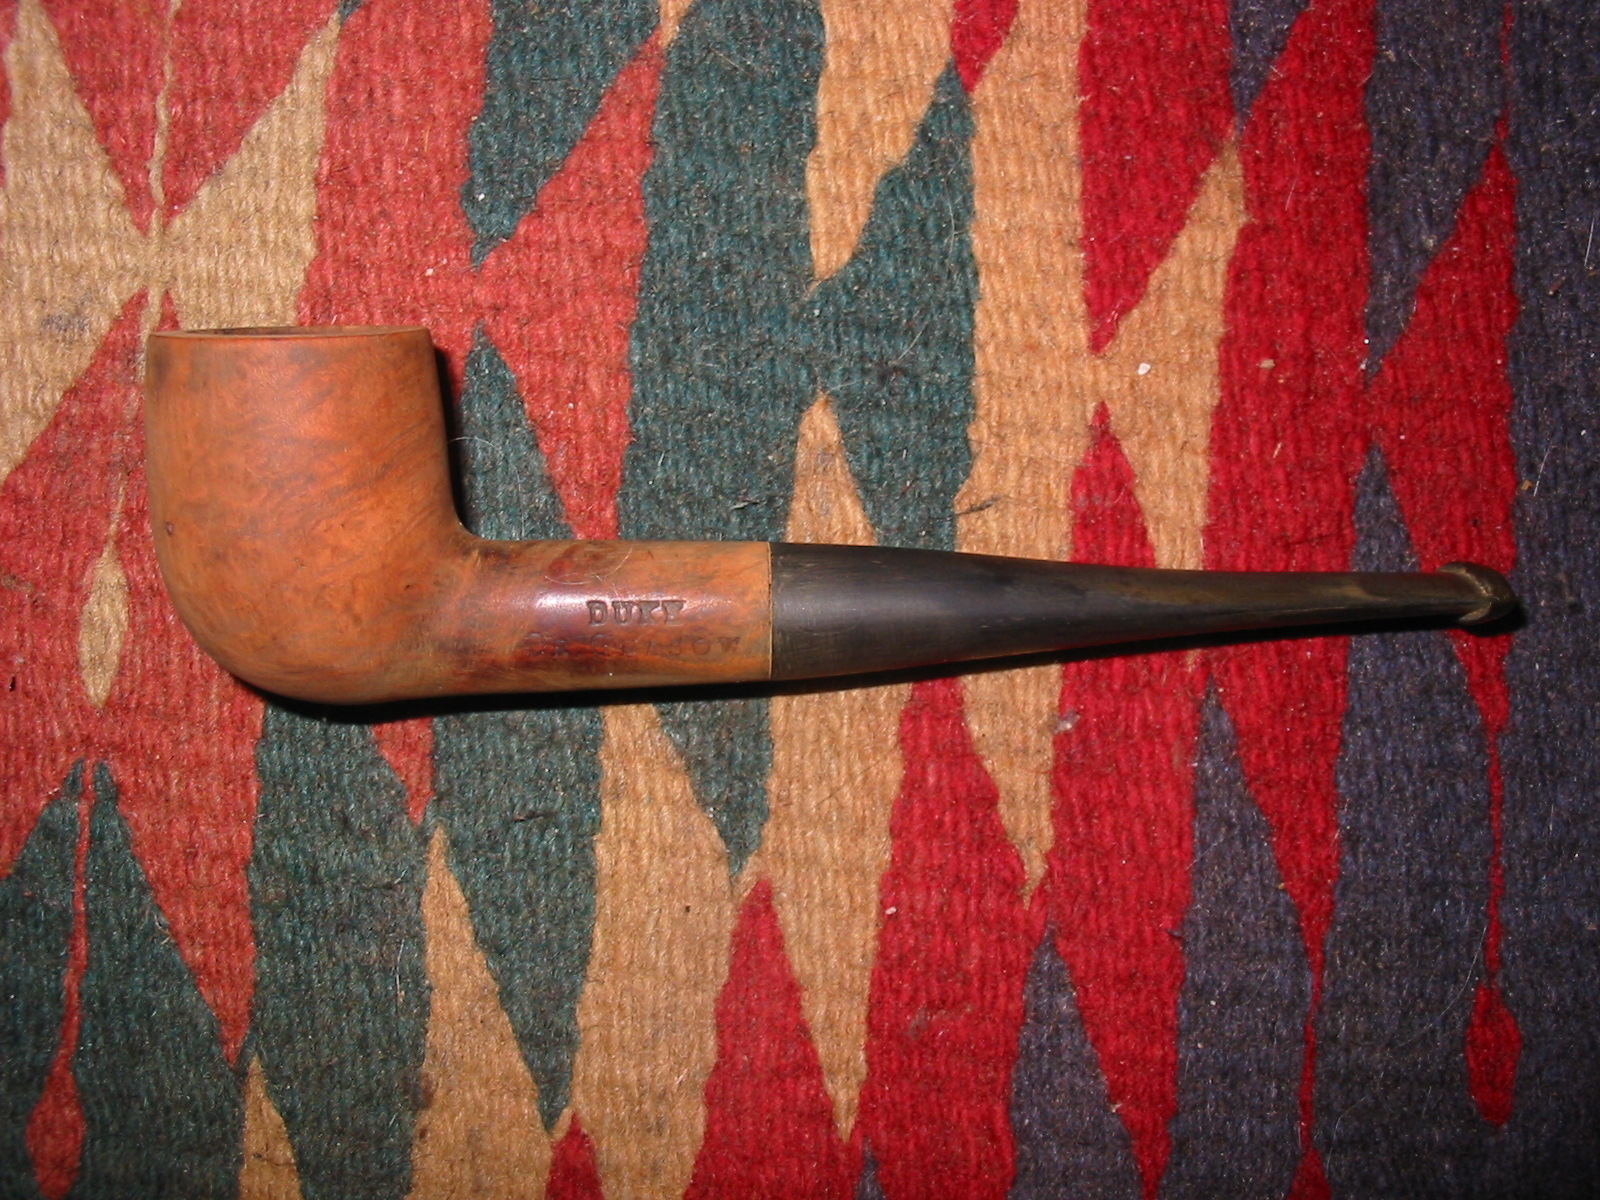
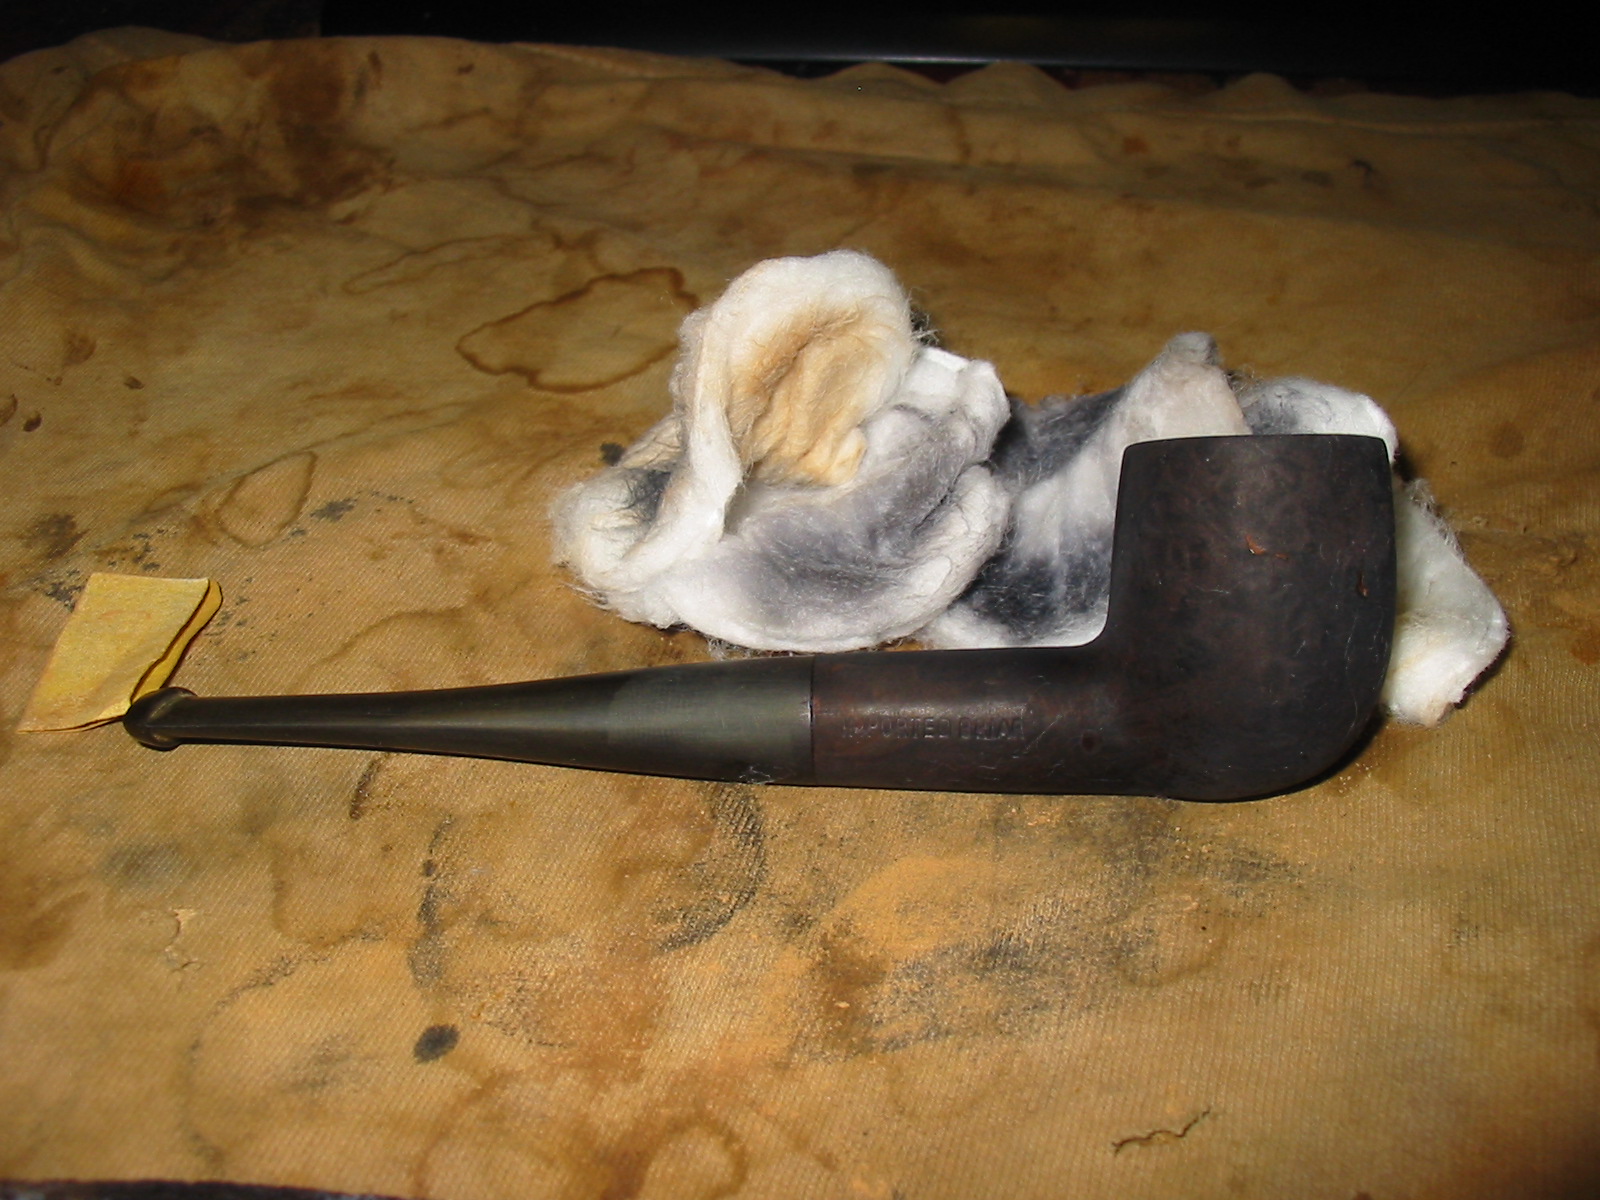
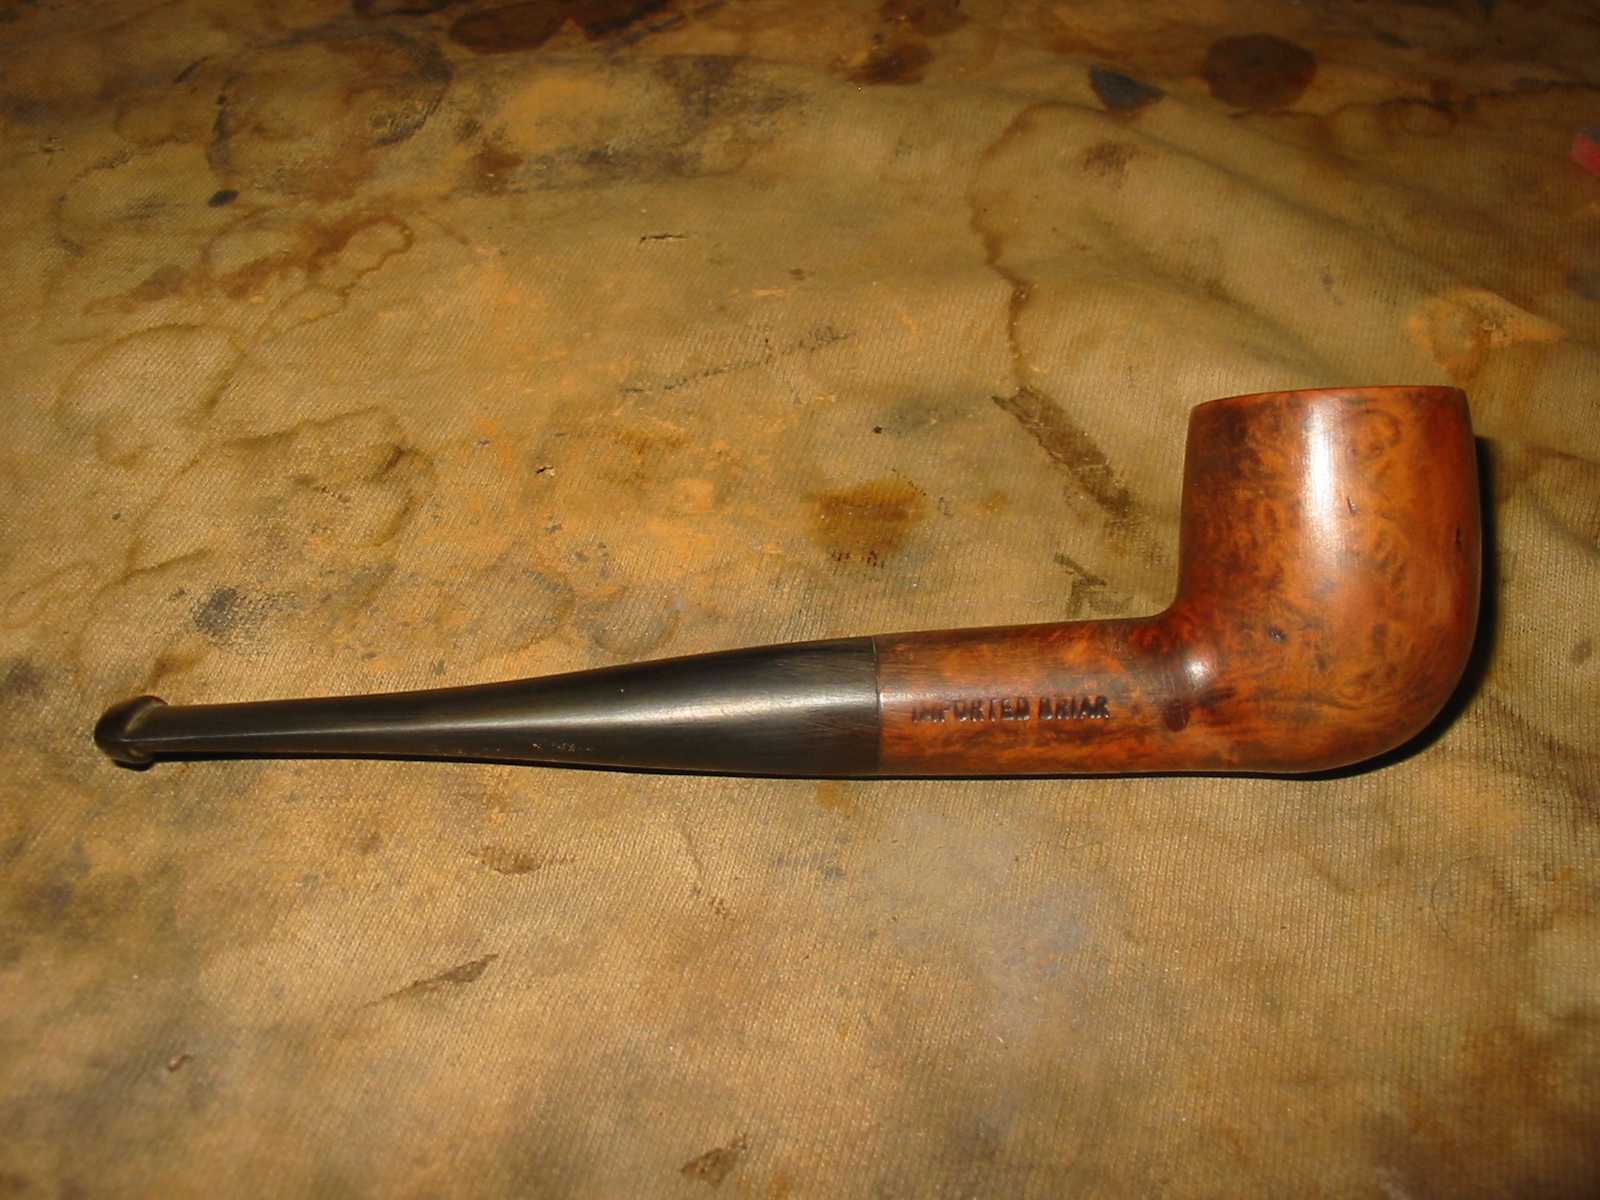
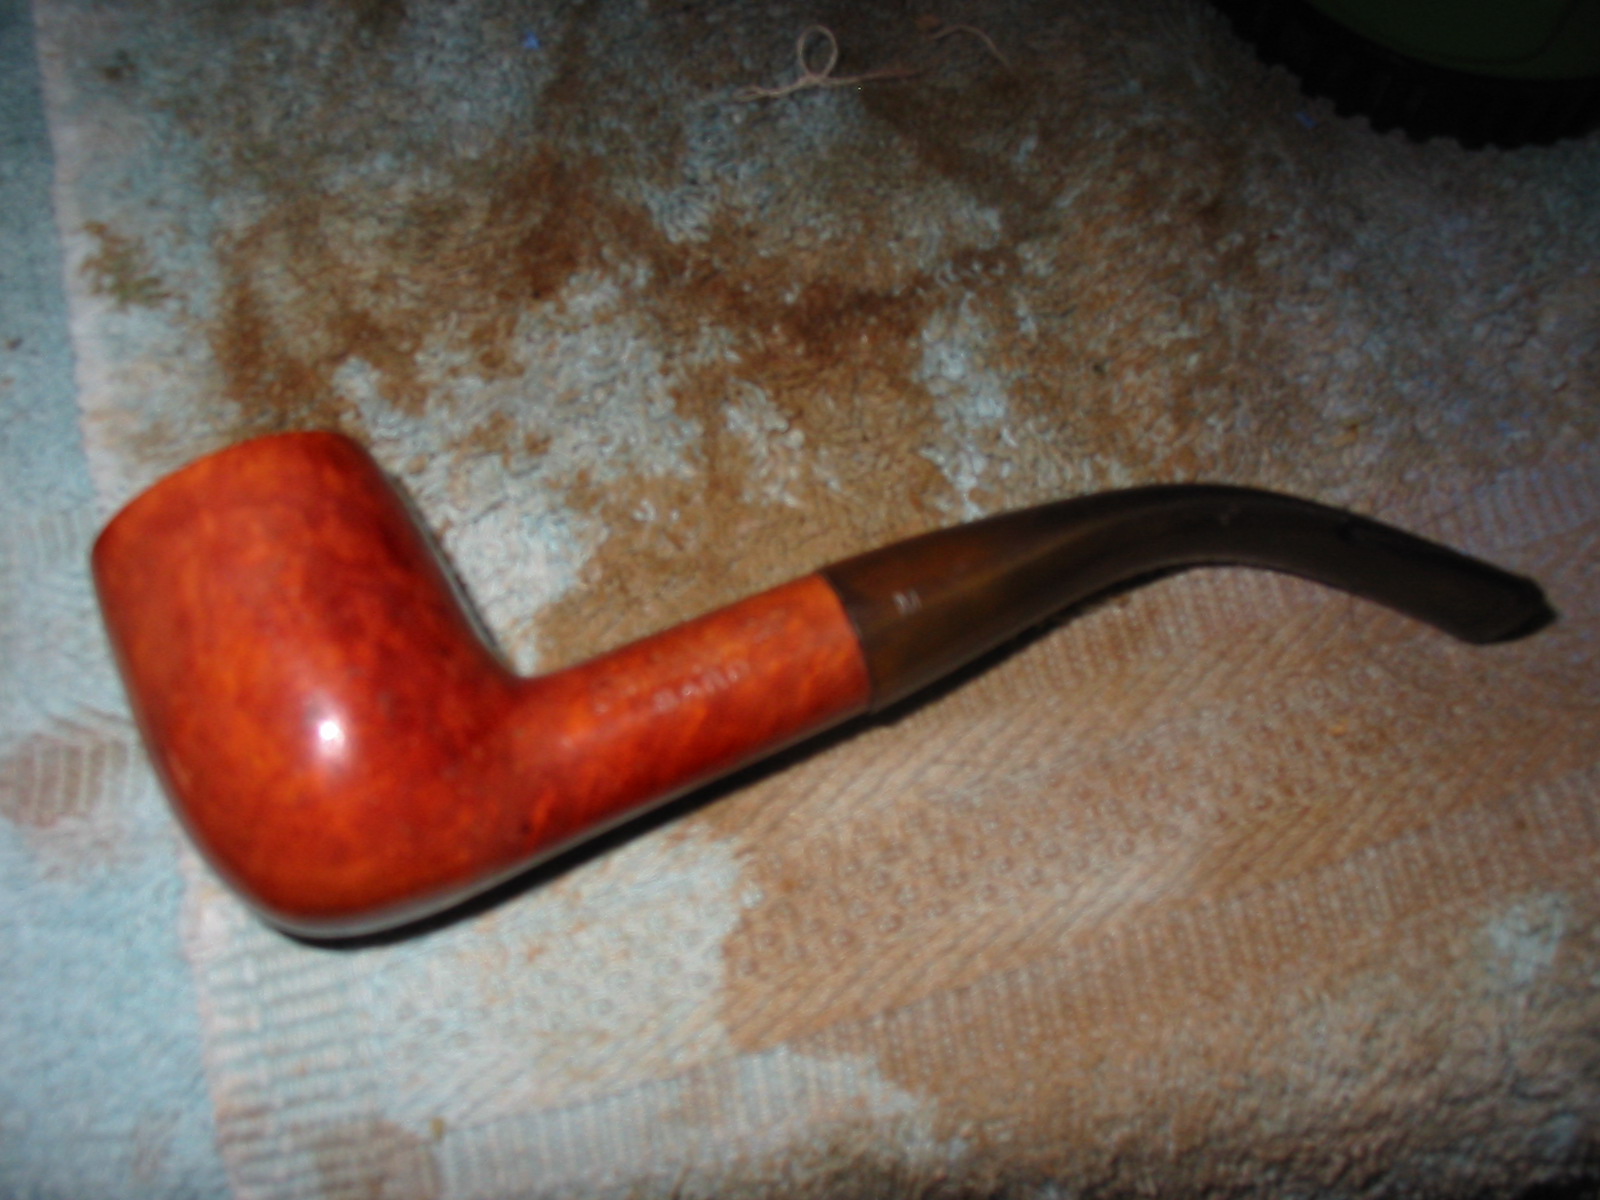
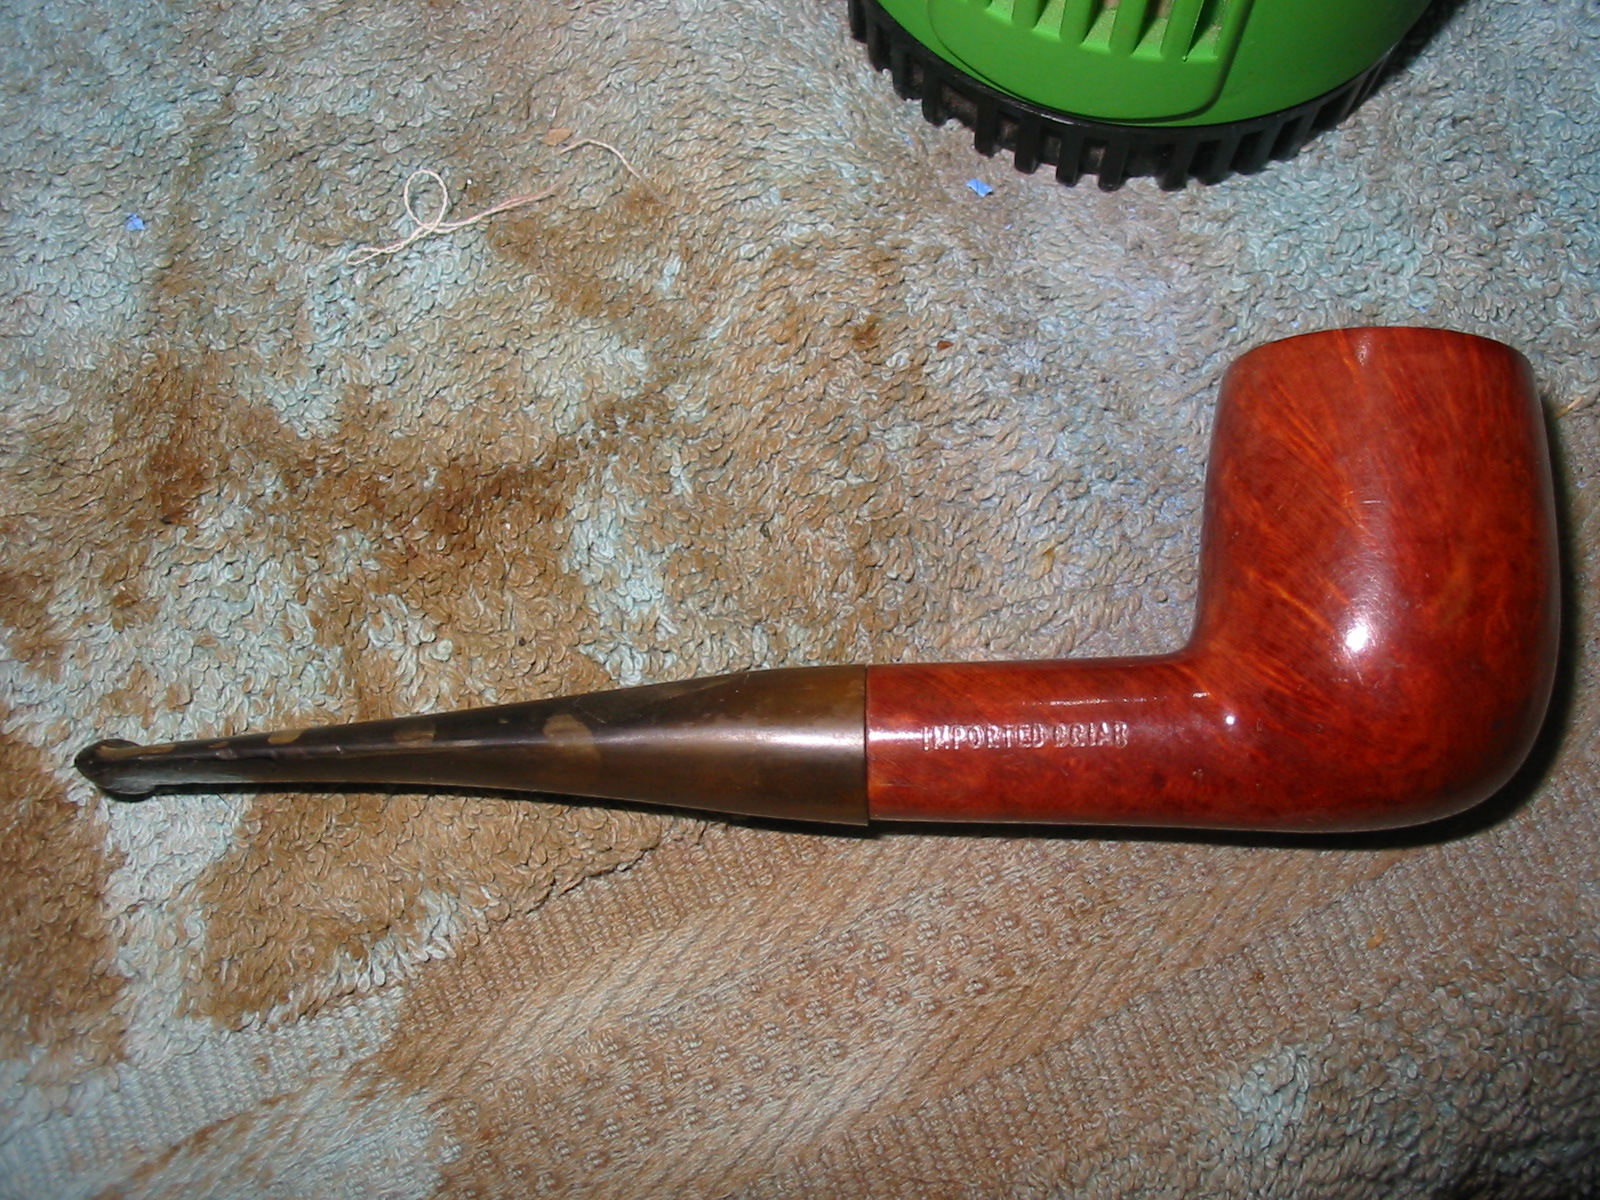
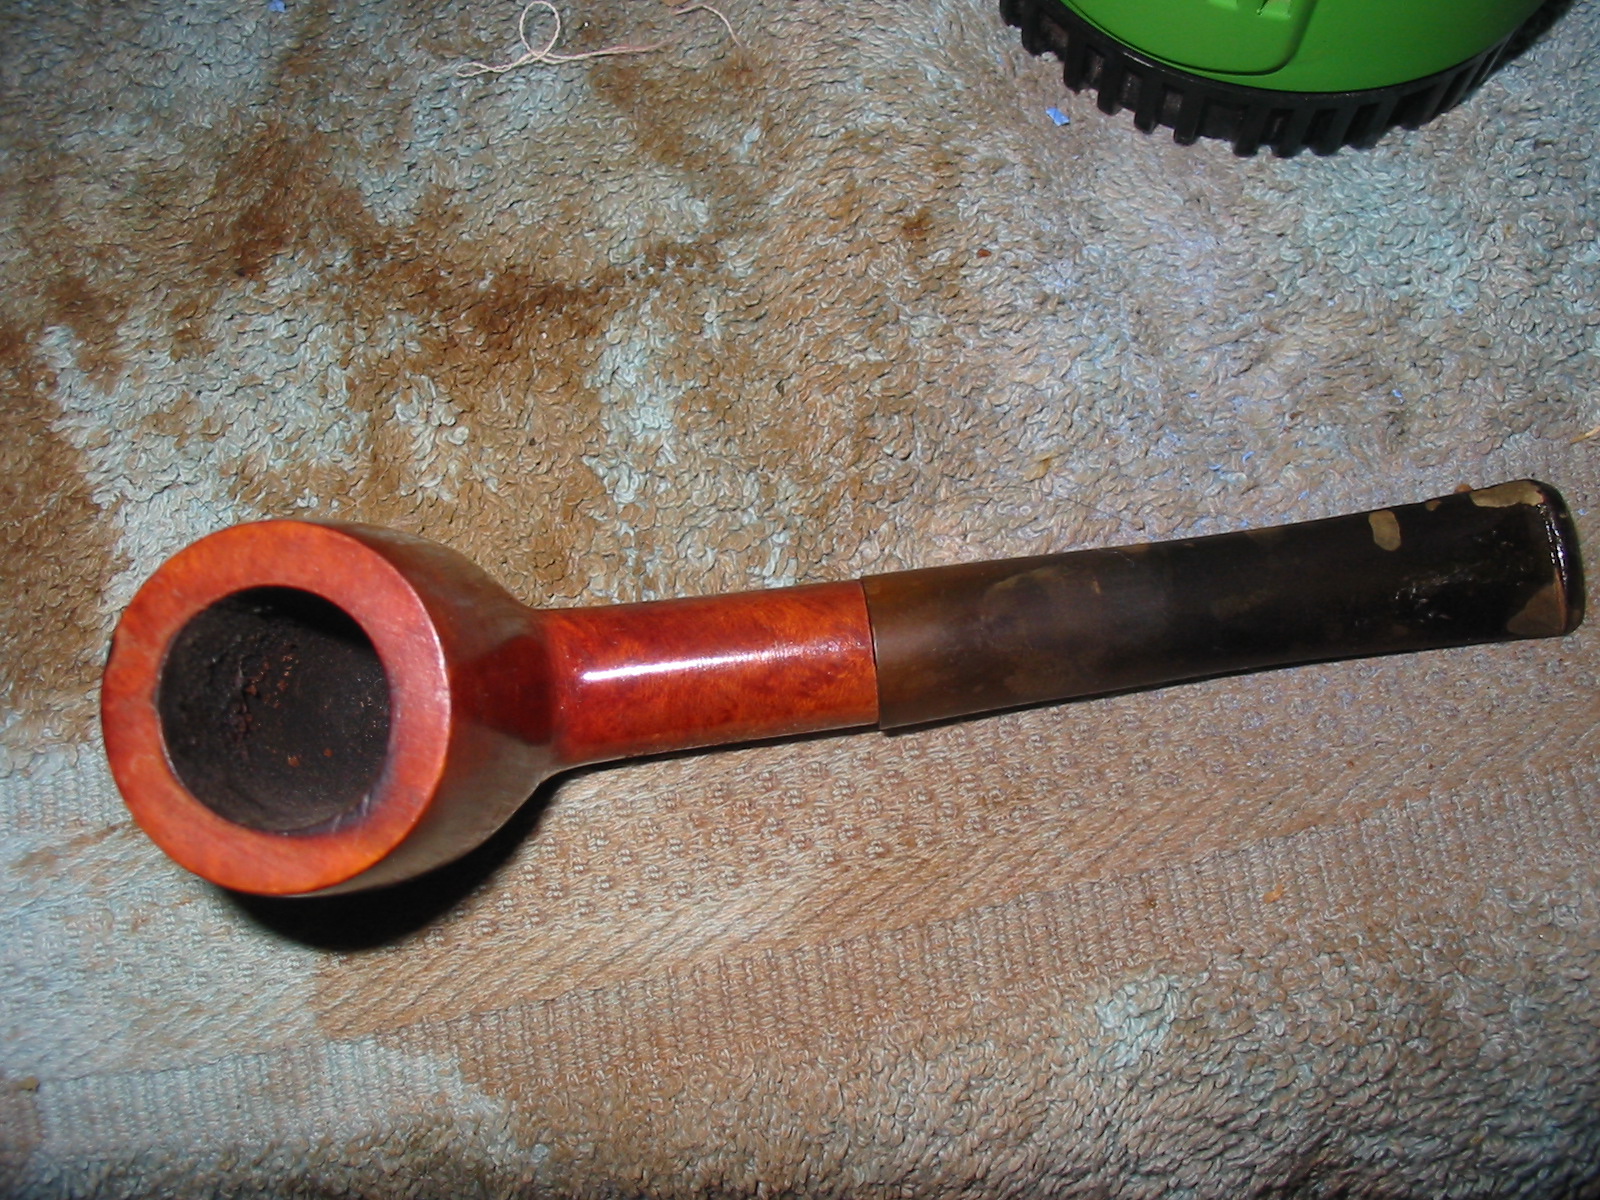
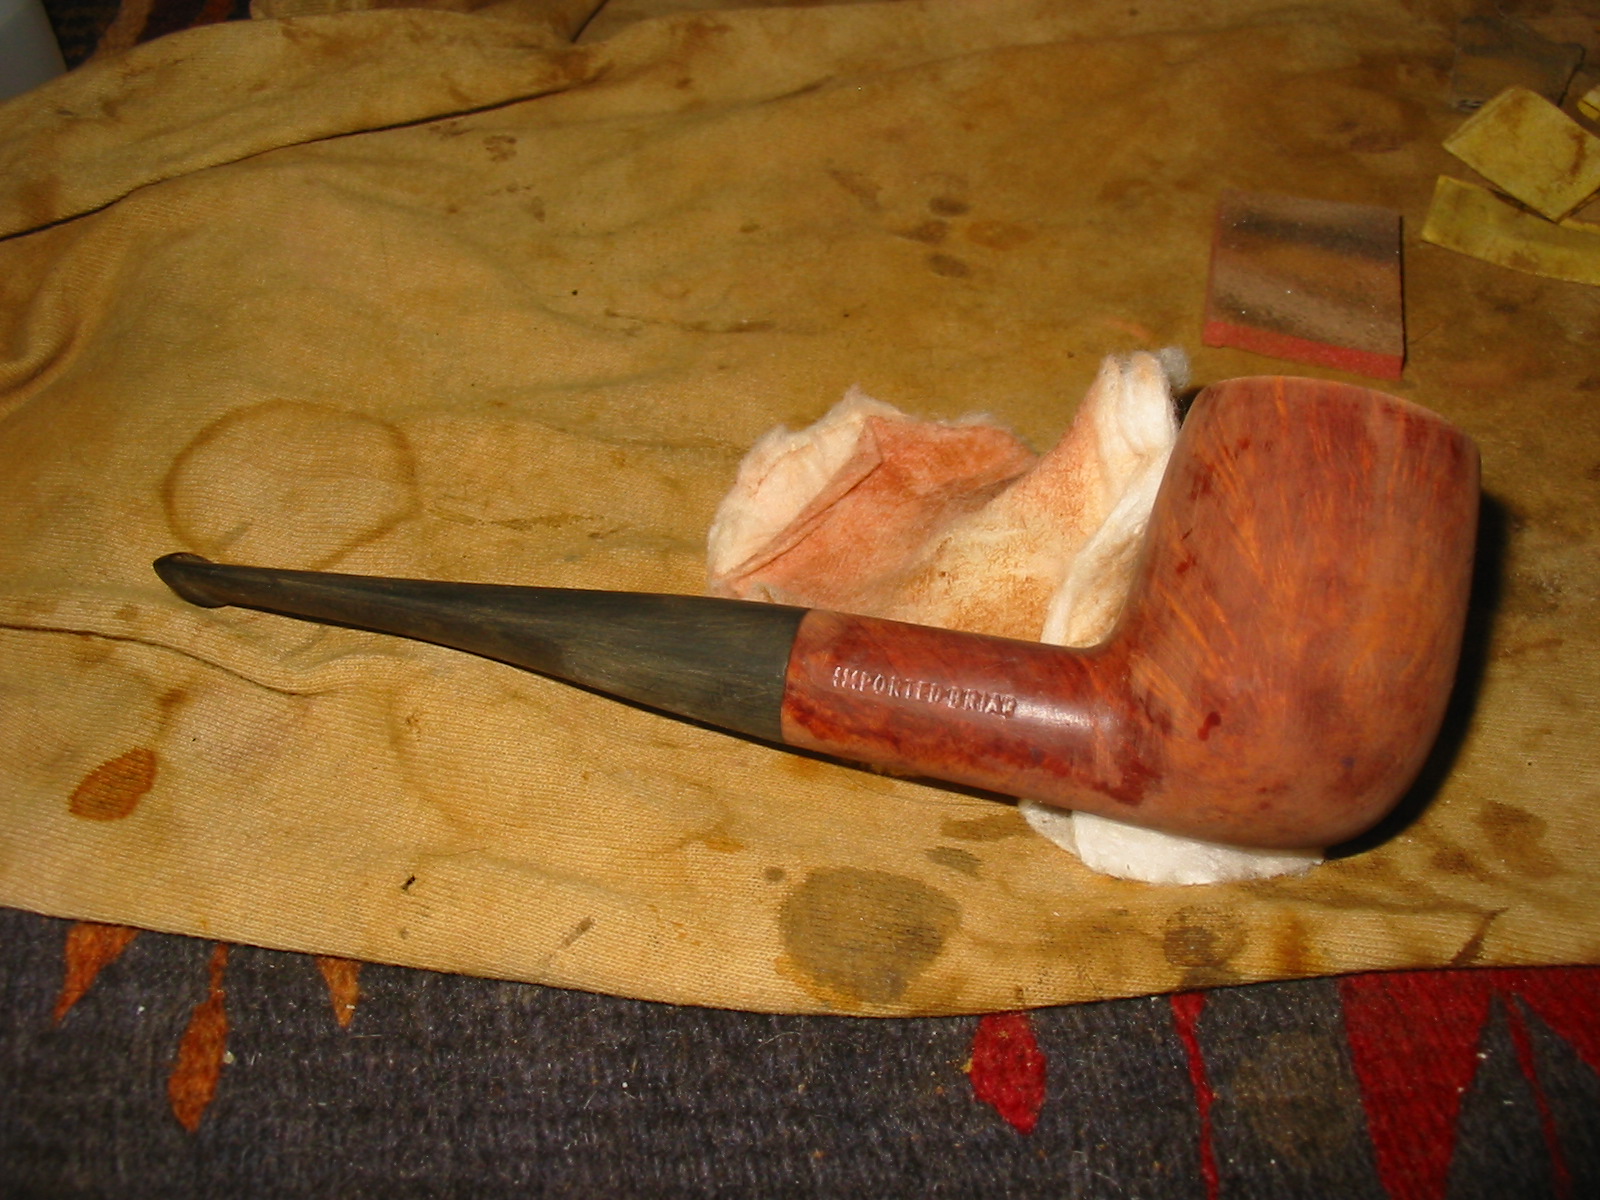
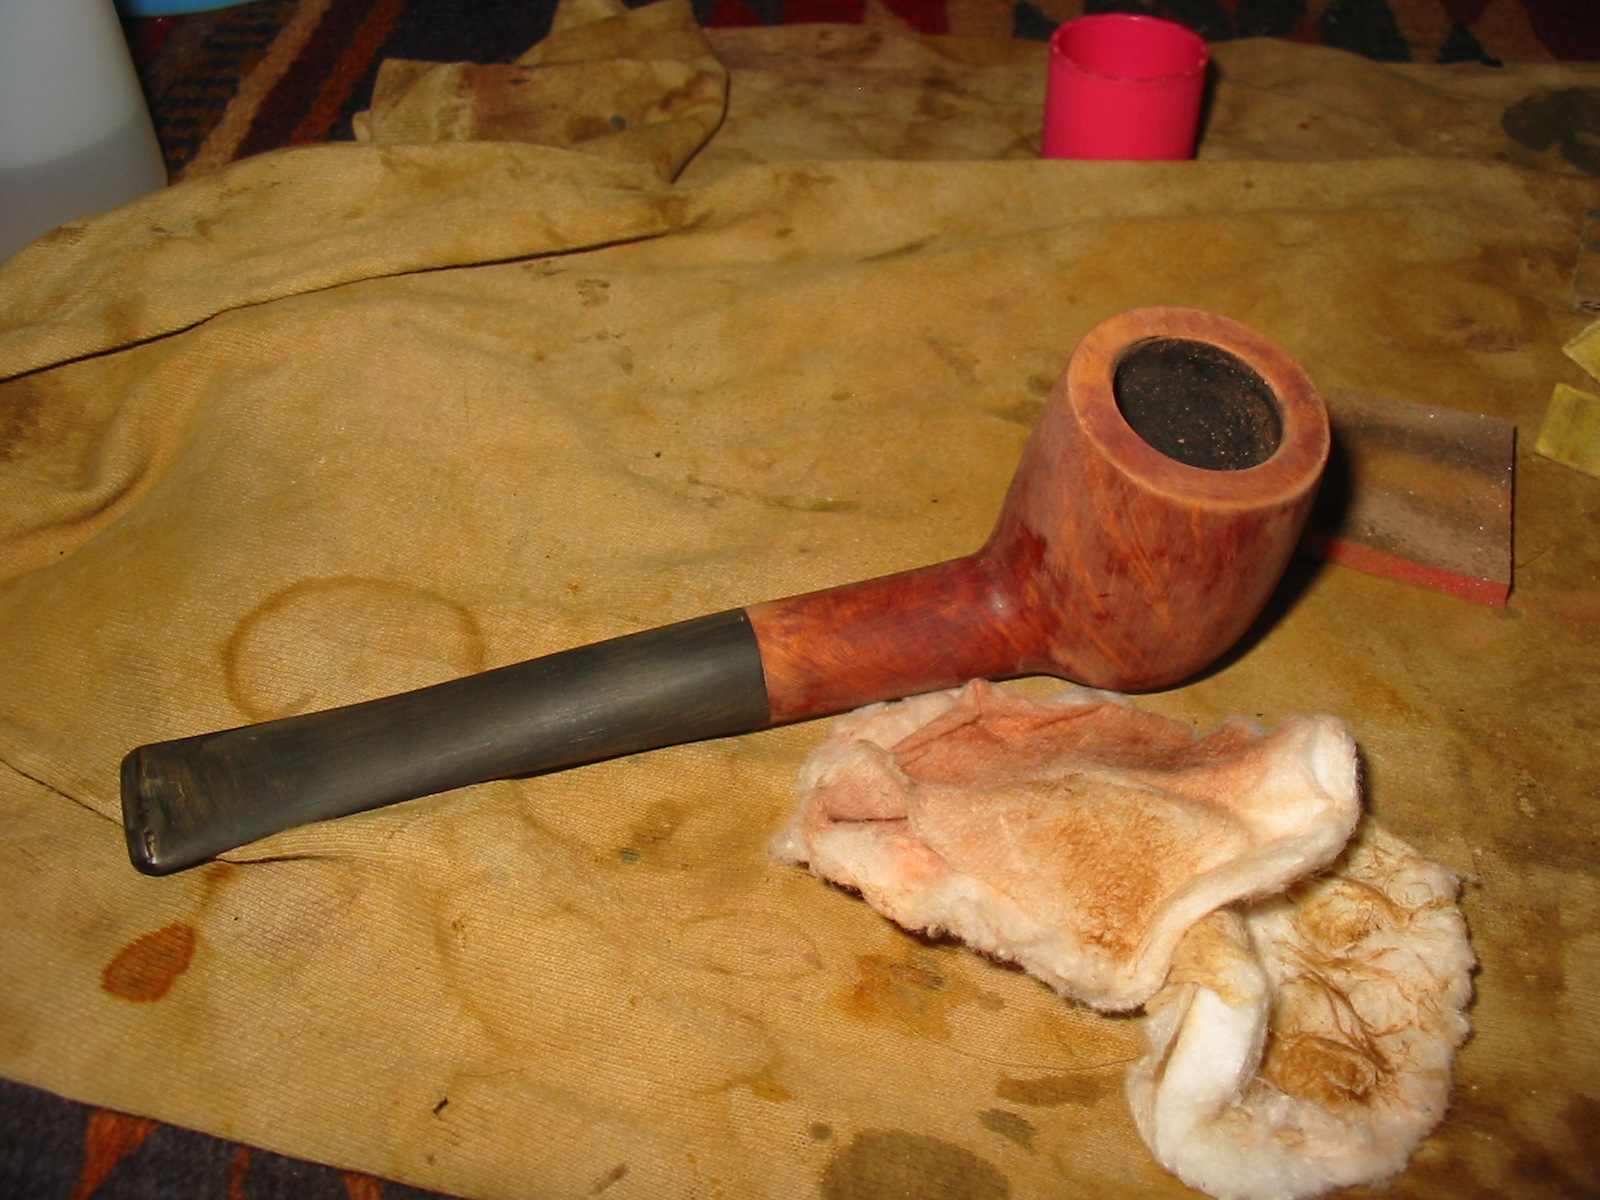
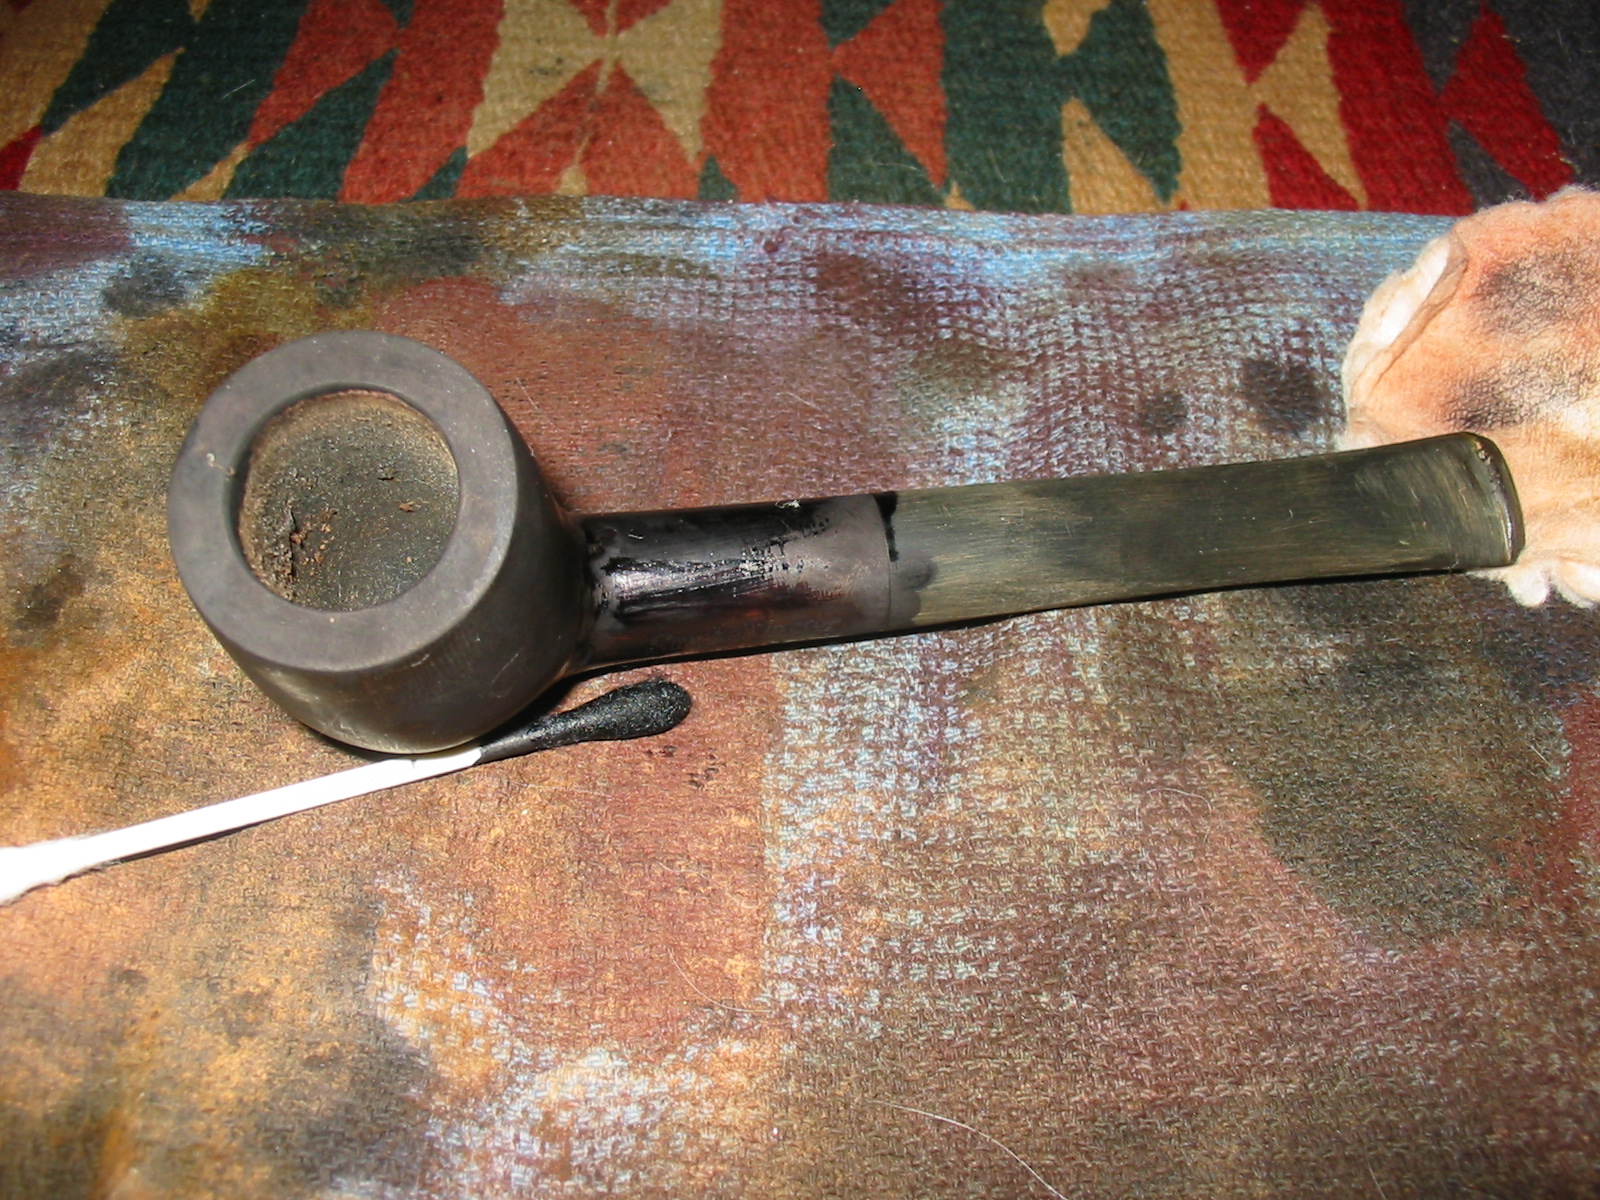
I am down to the bottom of my box of pipes to be refurbished. I have three left. In the bottom of my box was a pipe bowl stamped Smokemaster Bard on the left side of the shank and on the right side of the shank stamped Imported Briar. I found a stem in my can of stems that fit the shank after I adjusted the tenon. The diameter of the stem was slightly larger than the shank but that would be an easy adjustment. The bend would need to be straightened but that would be a simple process. The bowl was lightly smoked and the finish was a very shiny Varathane coating that made the bowl look like plastic. The shank was clean and took very little work to remove the dust that had built up in it.

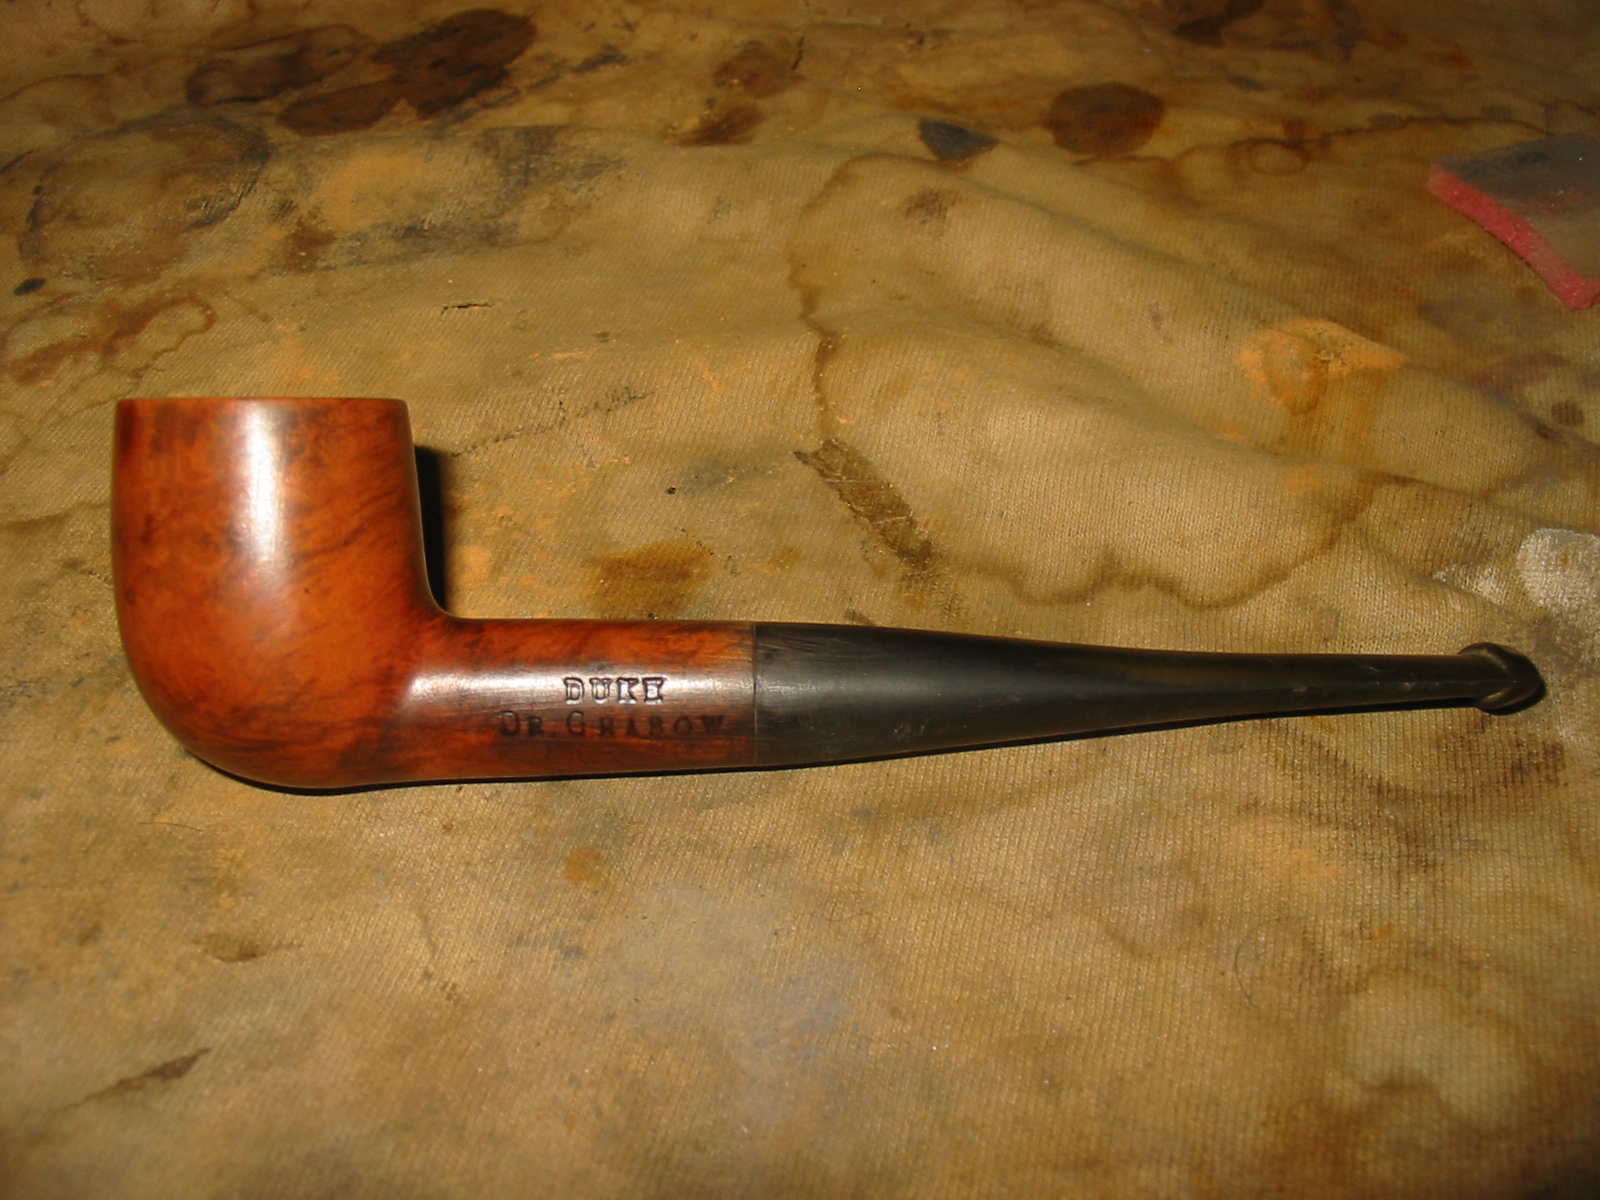
I knew nothing about Smokemaster pipes and had no idea who made them. The finish and shape reminded me a lot of Dr. Grabow pipes that I have reworked but that was not enough for me. As has become my habit with pipes I don’t know about, I did a bit of research on the web and found out that the pipe was made by the Briarcraft Pipe Company. The Company was very prosperous between 1920 and 1940. They produced both Briarcraft pipes and a line of seconds under the following names: Airo, Arcadian, Briarmeer, Smokemaster, Cavalcade, Hallmark, Sterling Hall, Filter Kleen and Wimbledon. They closed their doors in 1950. The pipe that I had was definitely not made pre-1950 and the stamping was wrong for it to be made by them. The original Briarcraft stamping was more stylized and had a Germanic script for the stamp. This one was italicized.
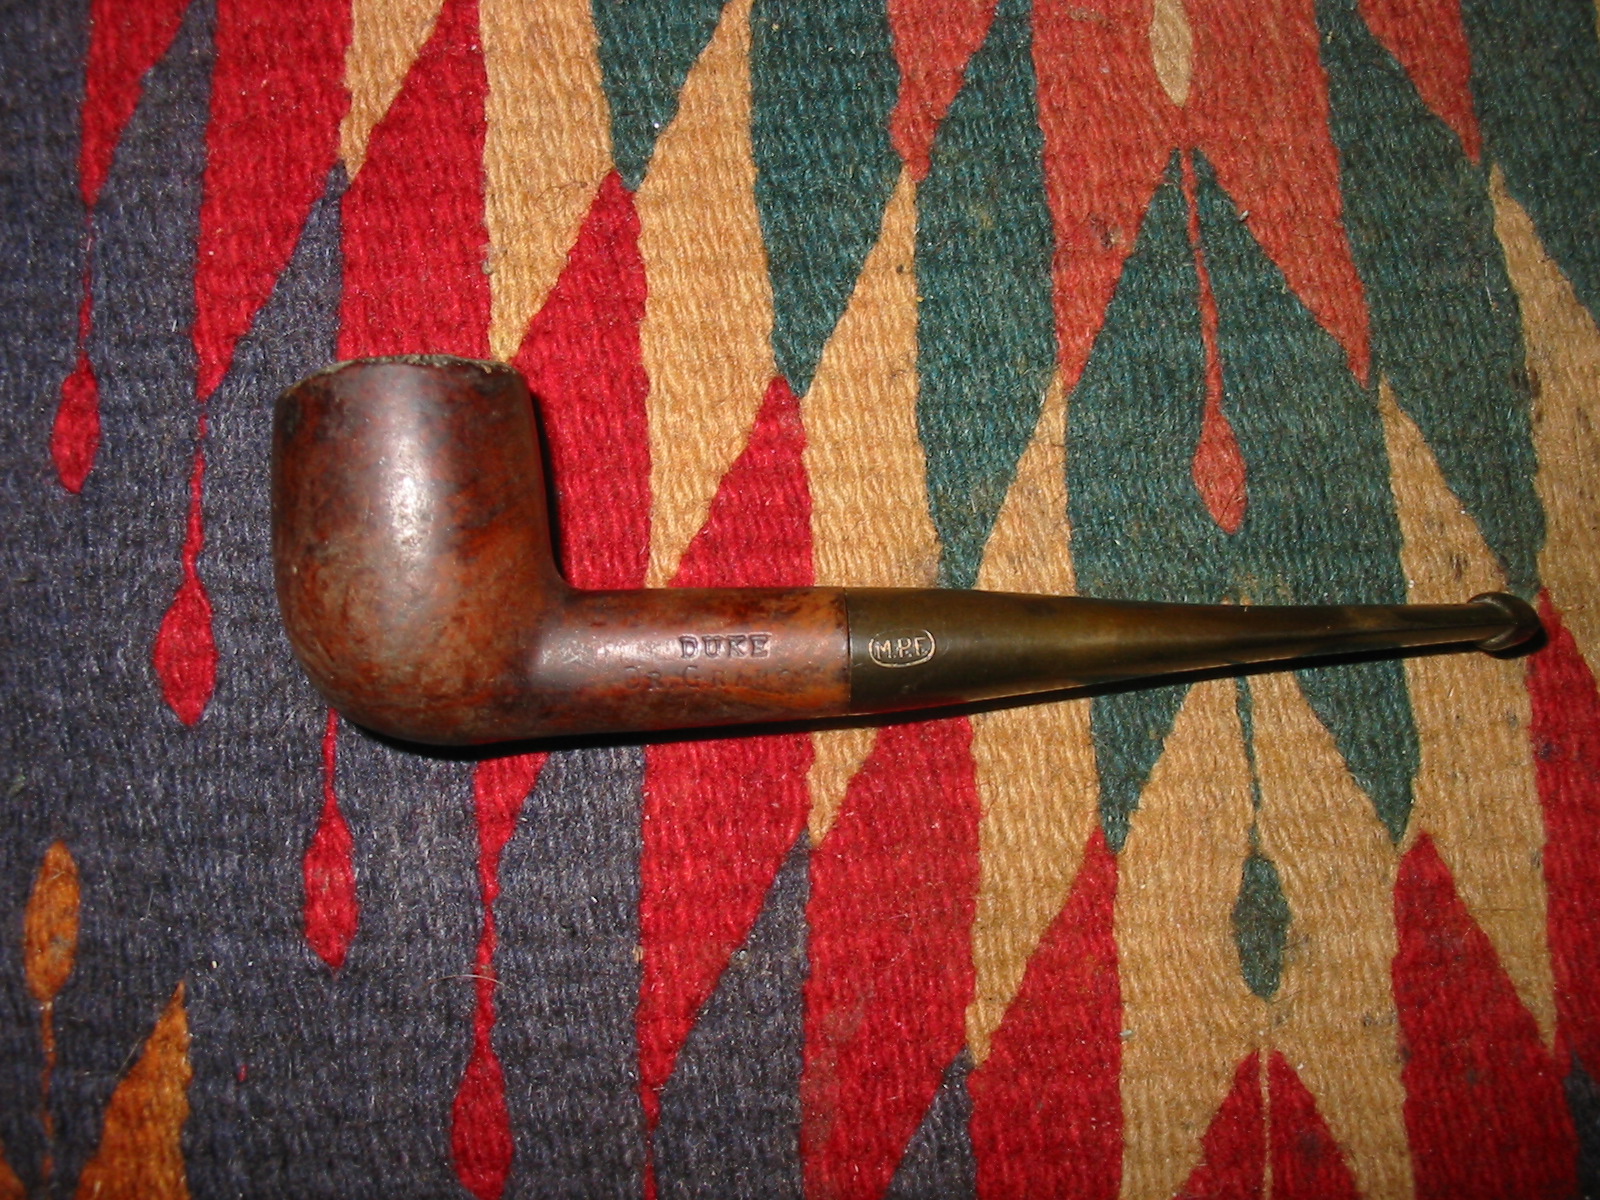
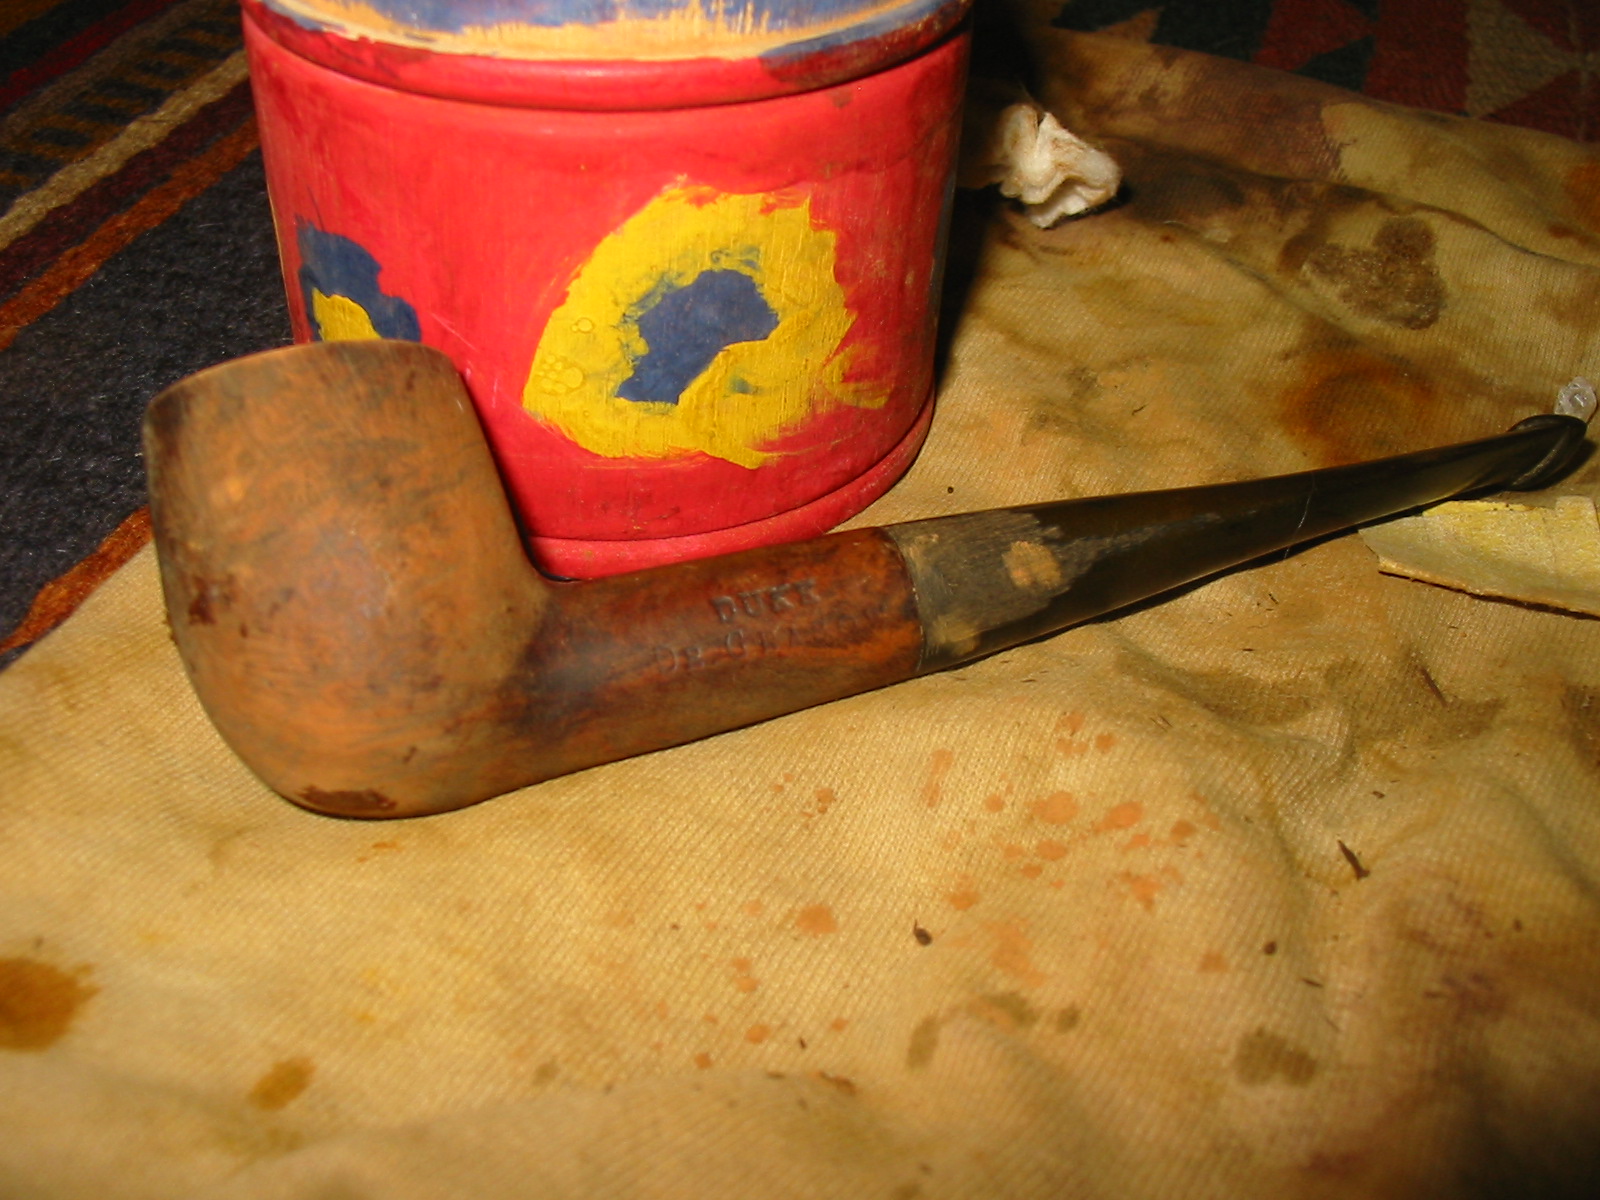
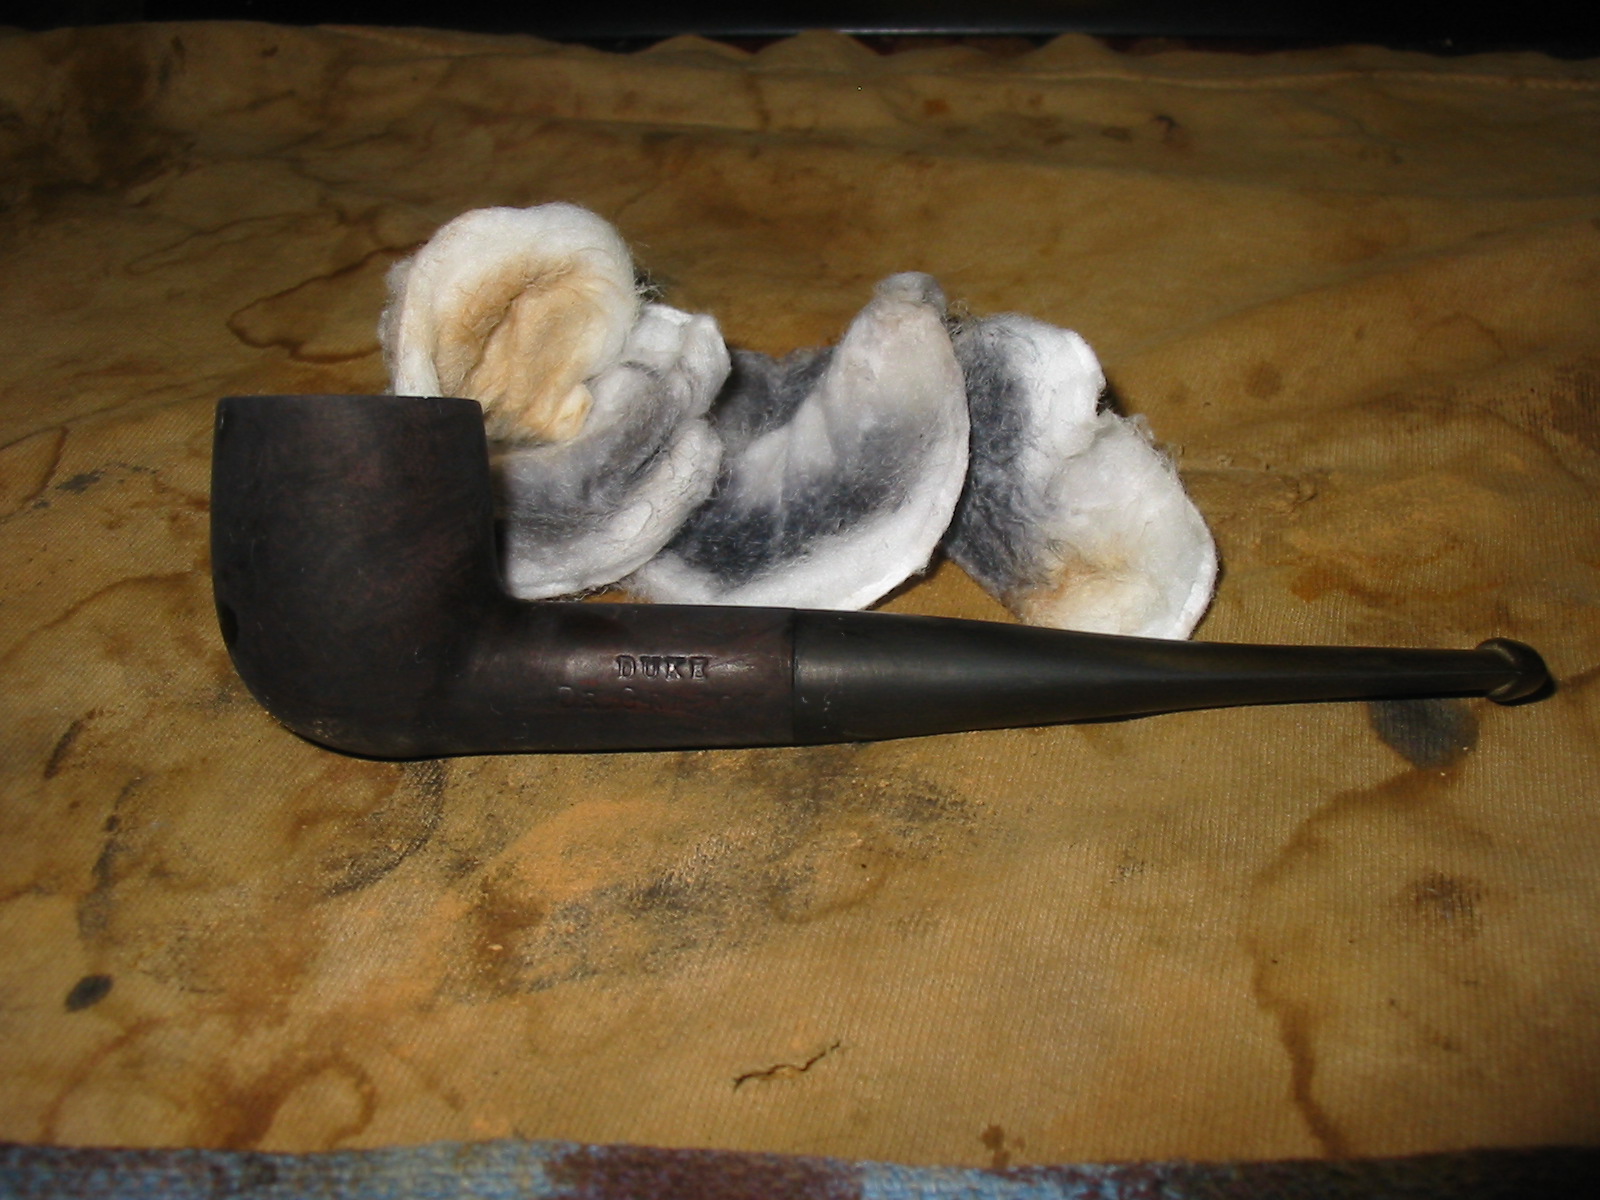
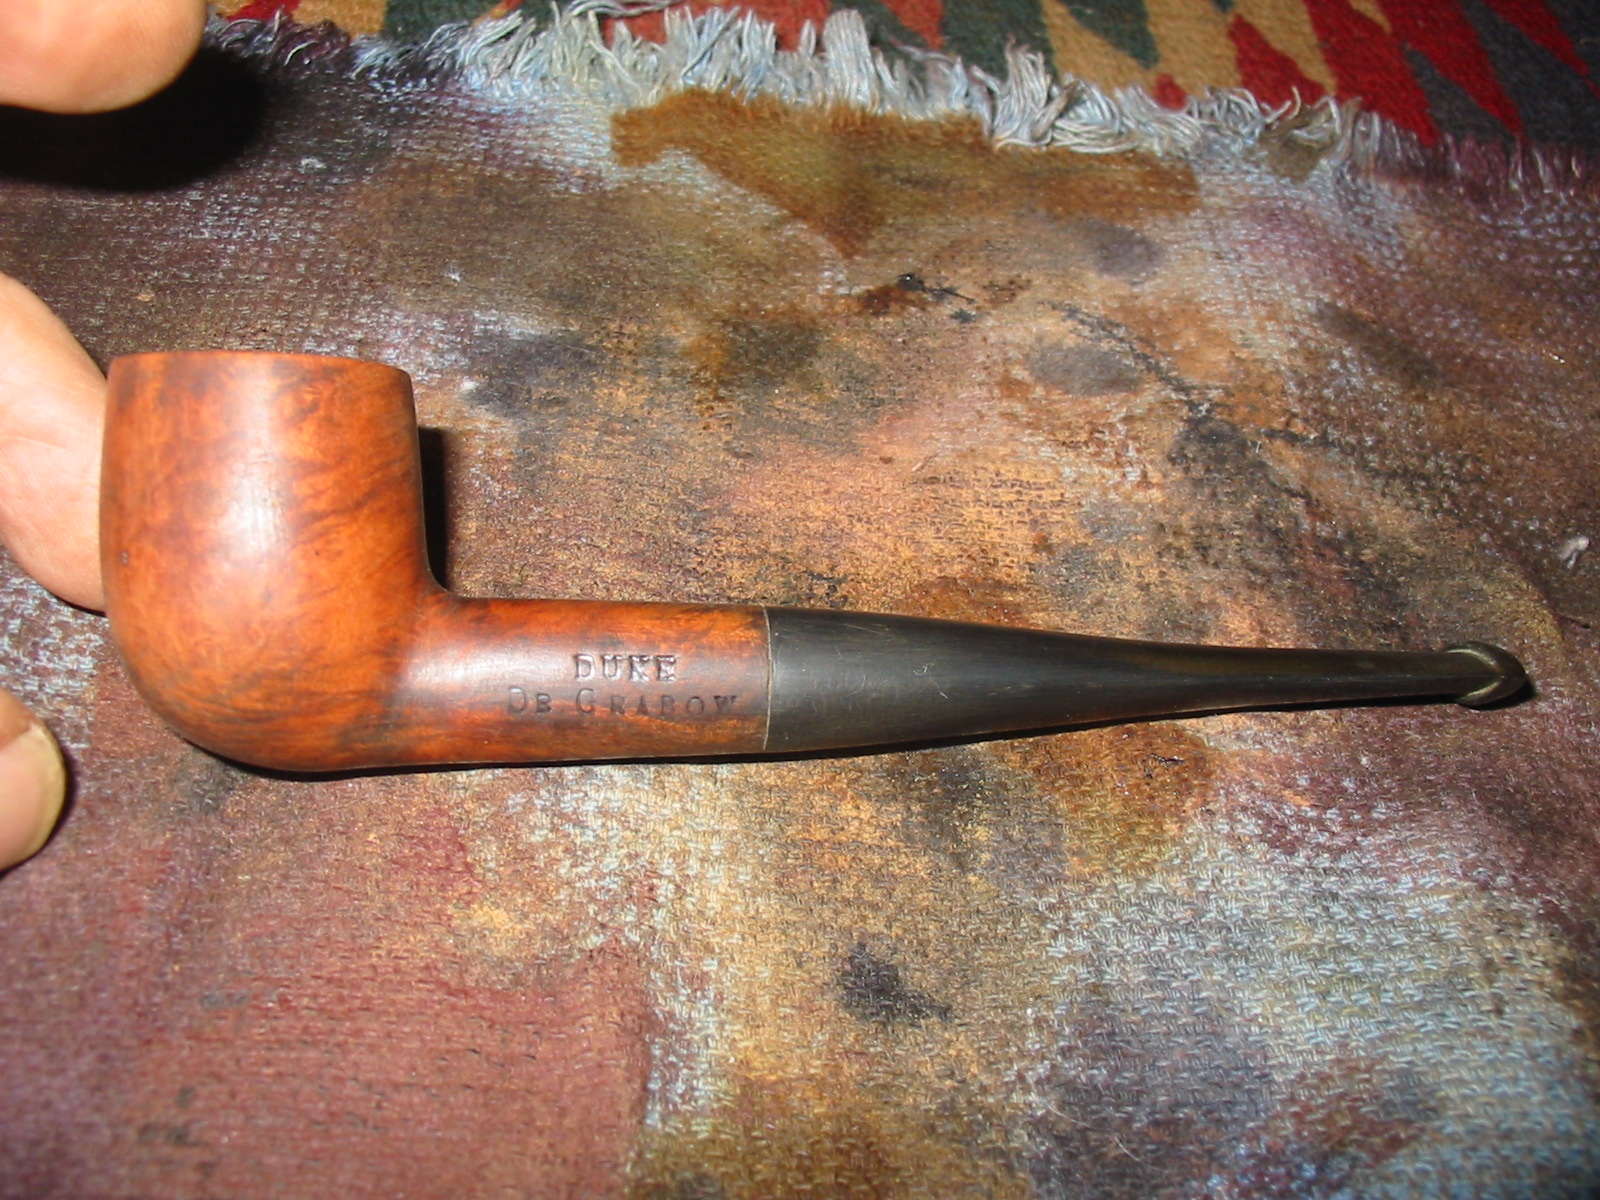
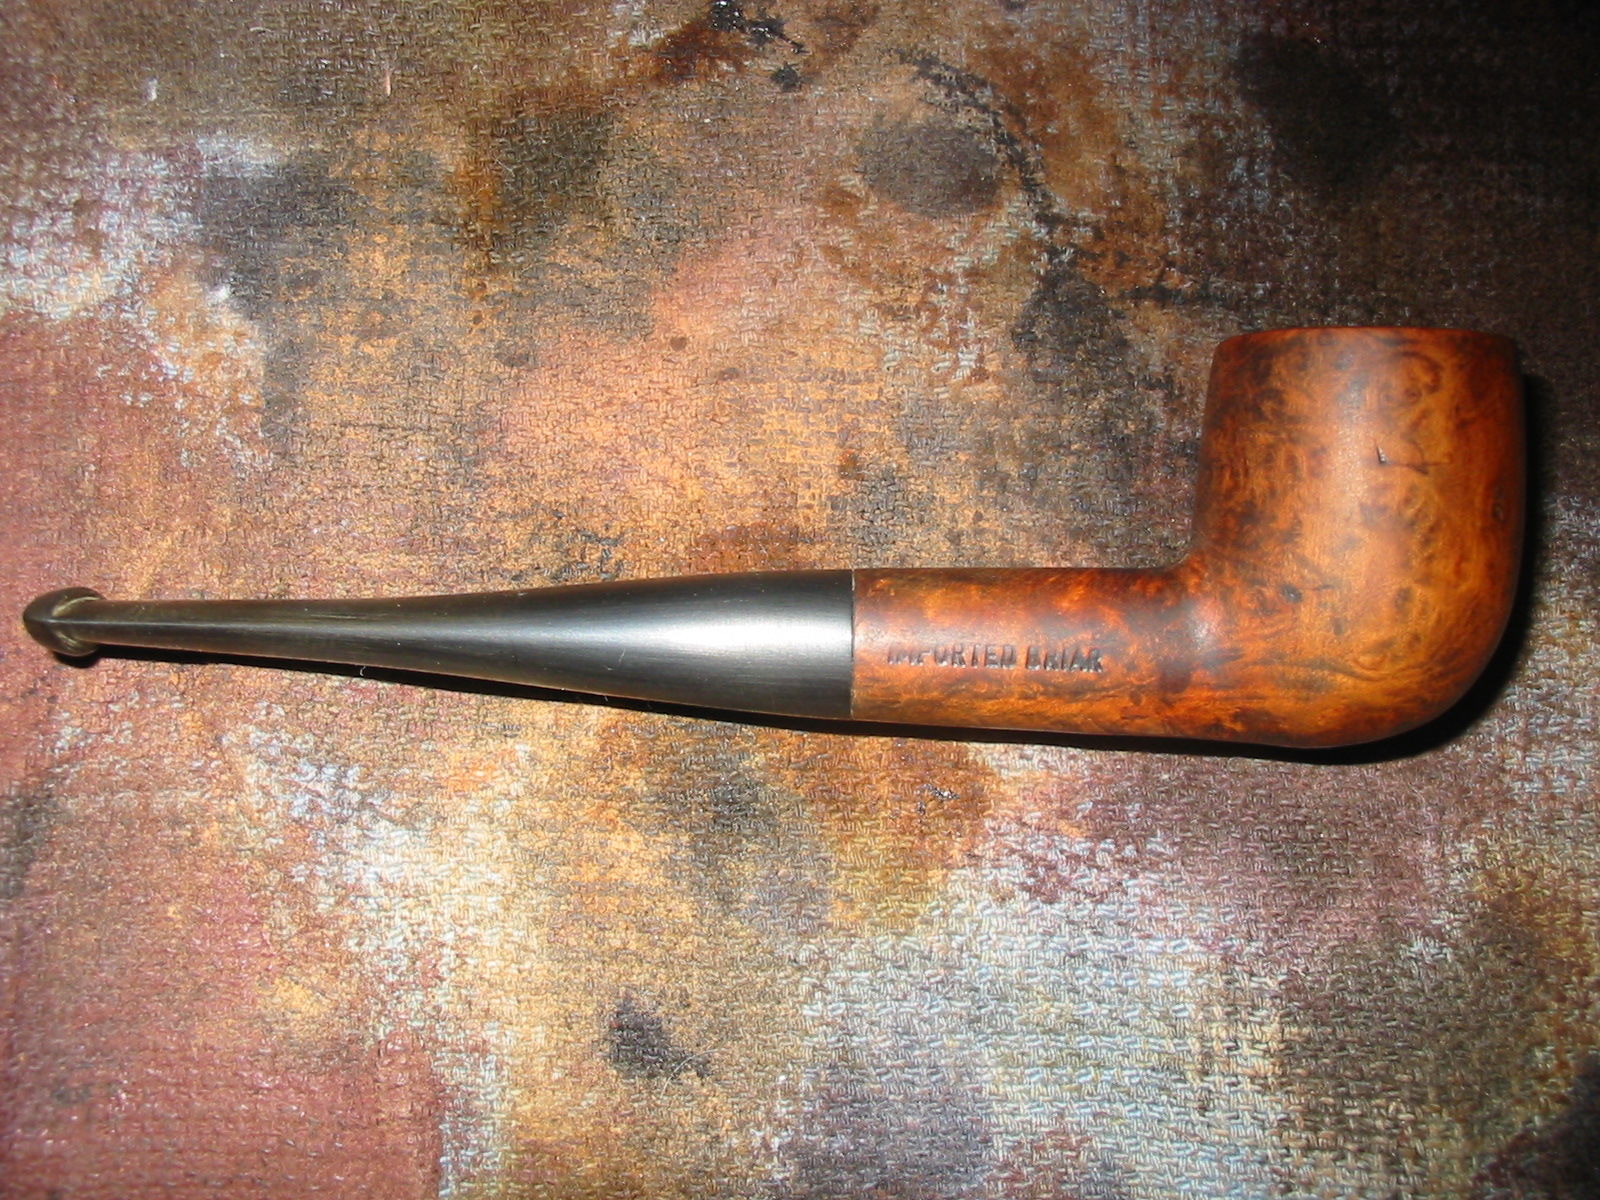
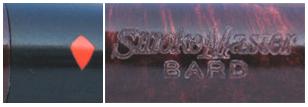
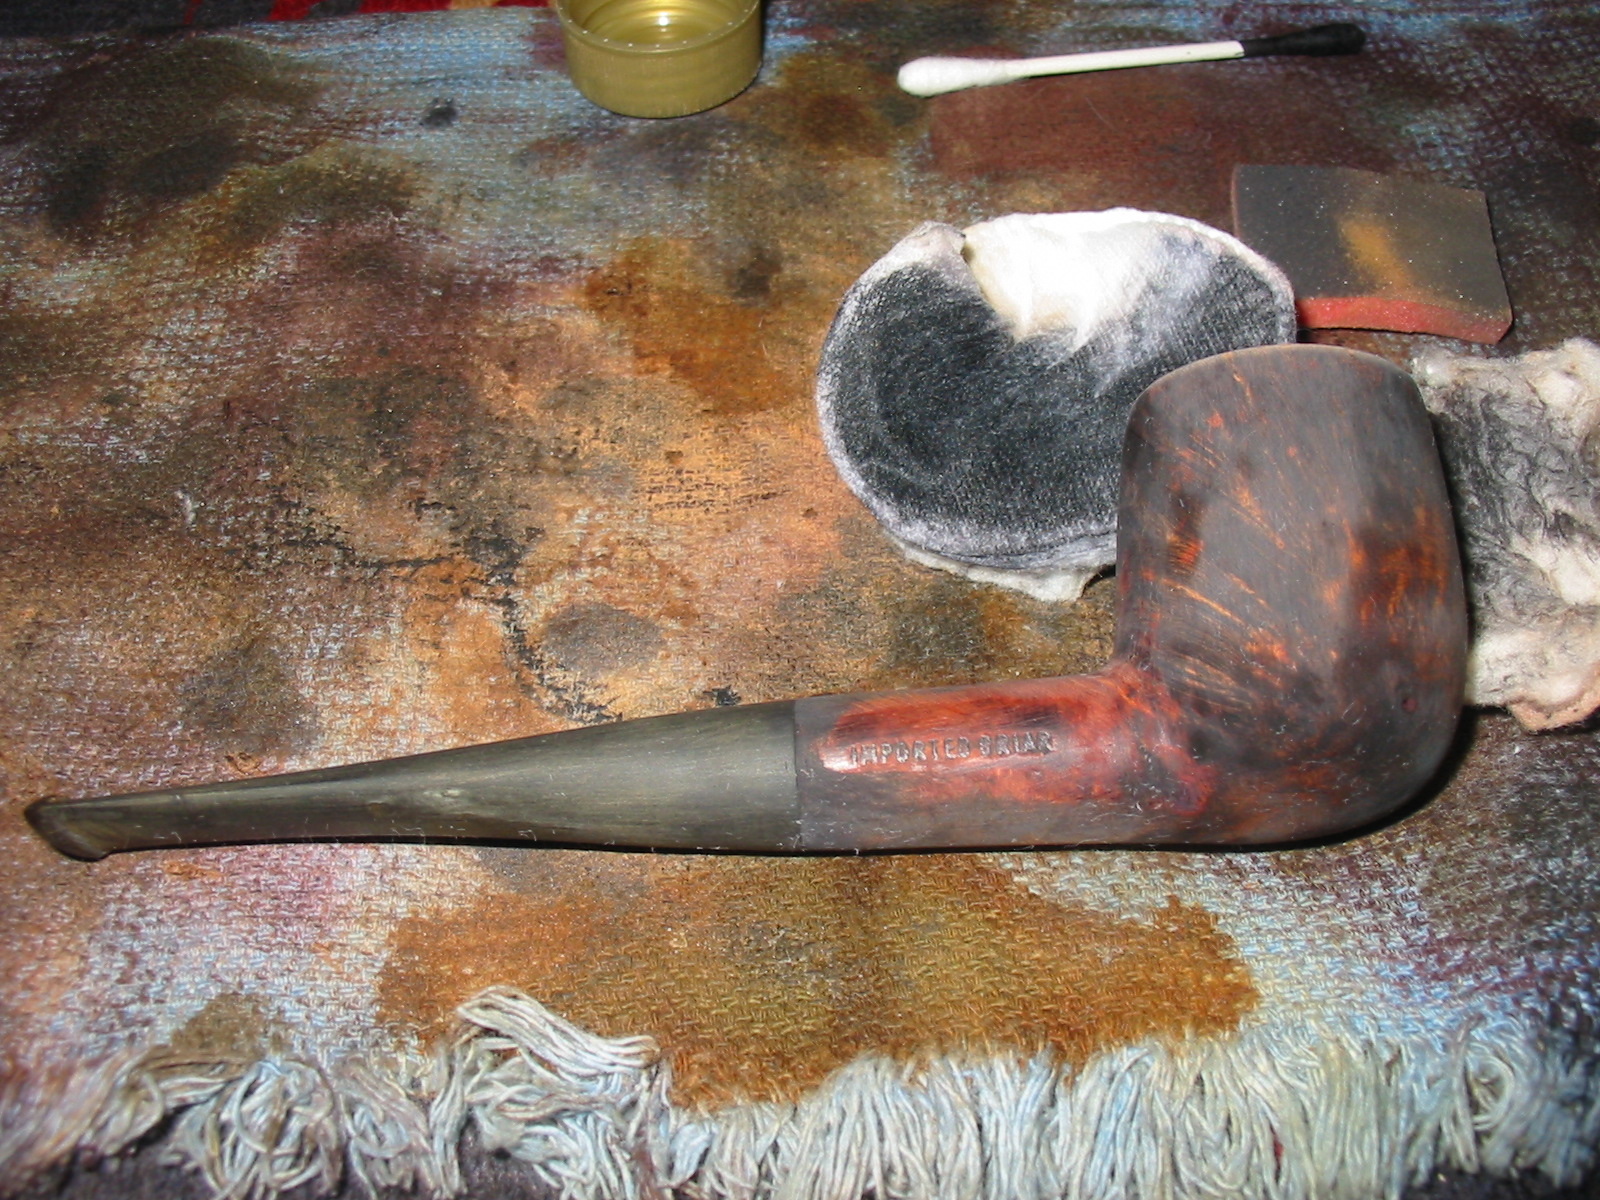
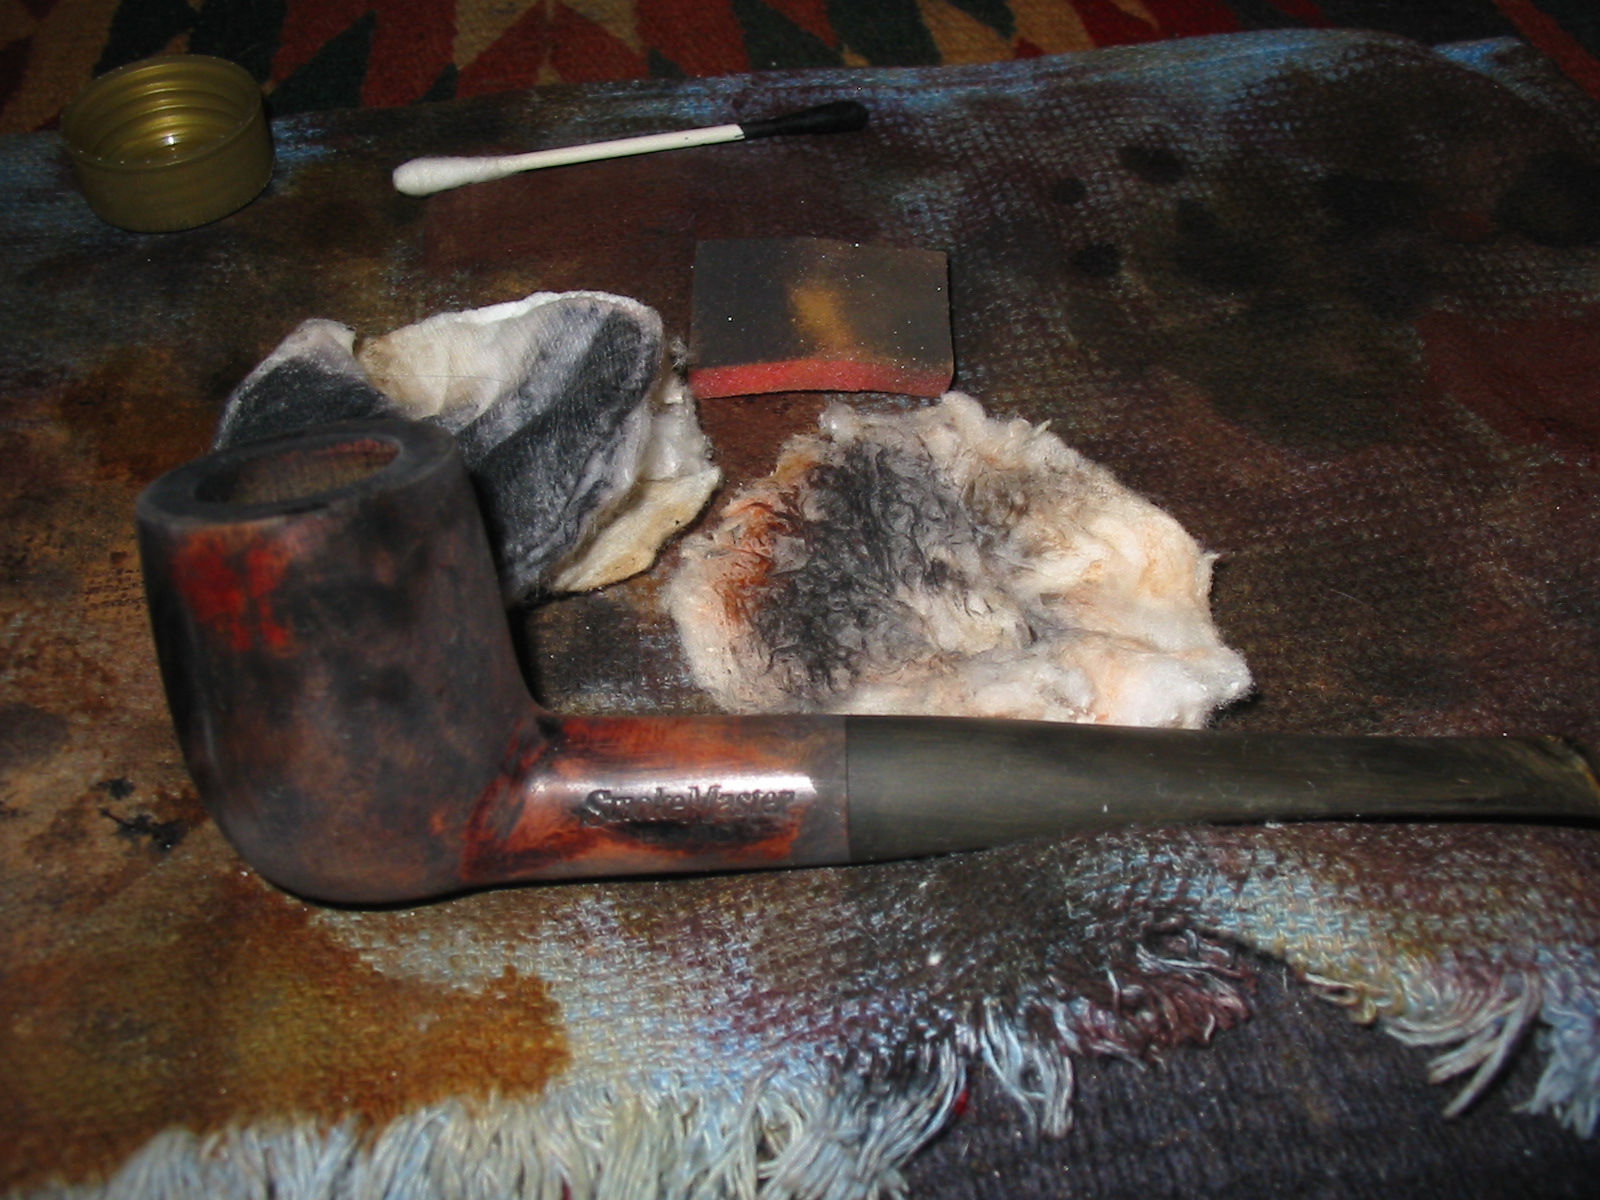
Further digging uncovered the fact that around 1967 Dr. Grabow acquired the name and system rights to the Smokemaster line, and was produced until the mid 1990’s. Thus my initial thought of it being a Grabow was correct. It turned out that Dr. Grabow made three series of Smokemaster pipes – the 100, 200, and 300. I have restored and restemmed several of these over the years but never found one that had the original stem intact. Dr. Grabow also made a line of Smokemaster pipes for L.L. Bean. Below are two photos – one of the stem logo which is a shield and the other is the stamping that is on the pipe that I refurbished.

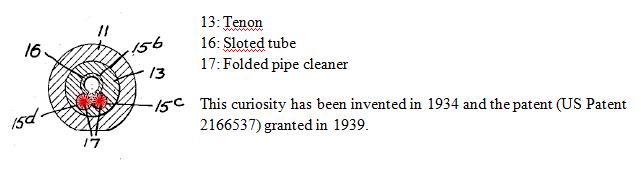
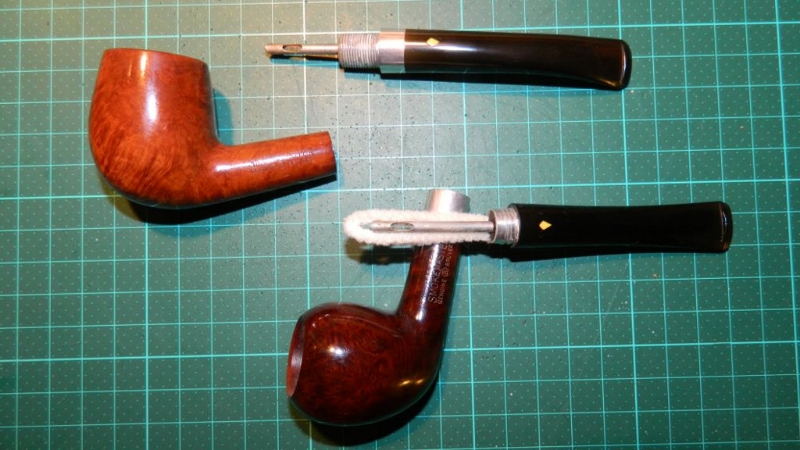
I found out that the Smokemaster had a very unique filter system and was distinct from other filter systems in that it did not include a stinger apparatus. Rather it used a slotted tube that had two special holes in it. A folded pipe cleaner was inserted into the two holes and extended the length of the shank. It collected the tars and moisture of the smoke and could be easily changed and replaced by the pipe smoker. The diagram below shows the design from the end of the tenon.

I did a patent search and it gave me the following information. This includes both the original description by the inventor and also a diagram submitted at the time of the patent application. I found it at this site: https://www.google.com/patents/US2166537?dq=2166537&hl=en&sa=X&ei=r2u4UtPOHI_ZoAT9moHYCg&ved=0CEAQ6AEwAQ
Description
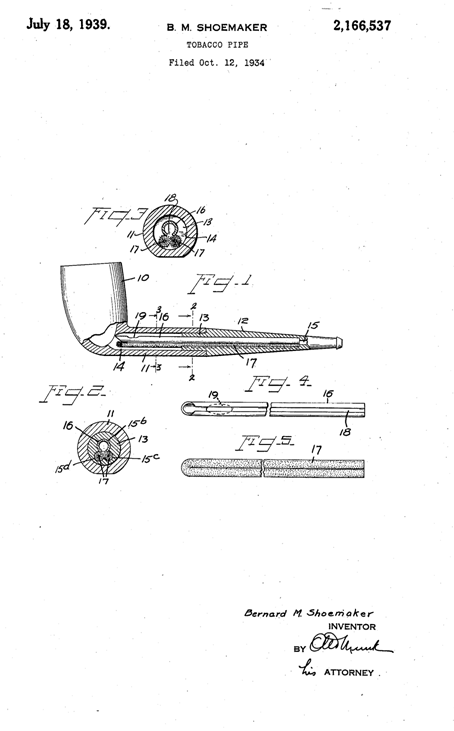
1939 – B. M. SHOEMAKER 2,166,537
TOBACCO PIPE Filed Oct. 12, 1934 crnar B.M. Shoemaker INVENTOR v ATTORNEY Patented July 18, 1939 UNITED STATES PATENT OFFICE 1 Claim.
My invention relates to tobacco pipes and more particularly to the type in which the bit and bowl portions are separately united to each other.
The principal object of my invention is to maintain the smoke passage in the pipe substantially free of solid deposits, making for general cleanliness in the interior of the pipe and sweet, cool smoking qualities.
I accomplish this object by arranging within the pipe a readily replaceable absorptive member which is designed to receive condensate and solid matter from the smoke as it passes through the pipe. The preferred form of such absorptive member is an ordinary pipe cleaner which, as is well known in the art, comprises a highly flexible metallic core portion carrying a large number of bristles extending there from.
One embodiment of the invention is illustratively exemplified in the accompanying drawing in which Fig. 1 is a longitudinal sectional view of a pipe; Fig. 2 is a transverse sectional view on the line 22 of Fig. 1; Fig. 3 is a transverse sectional view on the line 3-3 of Fig. 1; Fig. 4 is a broken elevation view of a metallic tube or liner constituting one of the pipe elements; Fig. 5 is an elevation view broken intermediate its ends, of the form of absorptive member used in the present construction.
Referring to the drawing, and more specifically to Figs. 1 to 3, denotes the pipe bowl, 1 the bowl stem, 2 the bit and 3 the tenon by which the bit and bowl stem are separately united. The bowl stem has the usual well l4 and the bit the usual smoke or draft passage 15. The bit 12 is further provided with three bores, 15b, c, d, and forming a continuation of the smoke passage 16. A metal tube 16 is provided which is longitudinally slotted at its lower portion and through the slot l8 the products of well be omitted. The tube l6 lies in the bore 15b. The pipe cleaner is doubled upon itself and the two legs or branches of the pipe cleaner enter the bores 15c and l5d and rest there during use of the pipe. The bores 15c and l5d parallel the bore 15b at opposite sides of its longitudinal centre. The embodiment of the invention described is a very desirable construction inasmuch as it receives a standard length pipe cleaner, which in its folded position in the passage 14 is offset from the axis thereof, and which when rotated or twisted with the tenon to seat the same the folded strands of the cleaner engage and brush or clean the wall of the bore.
The operation of the device is very simple. The pipe is sold complete with the pipe cleaner in position. After the pipe has been used for a length of time it will be found that the pipe cleaner is practically saturated with deposited matter. Thereupon the pipe cleaner is simply removed from the pipe and a new one inserted in its place. If desired, the cleaner may also be used in the ordinary manner, naturally before it has become fouled, by moving it back and forth once or twice through the draft passage l5 and/or tube.
What I claim is: In a tobacco pipe, a bowl portion having a stem provided with a central bore, and a bit portion for said stem, the bit having a centrally disposed smoke passage and grooves arranged in the bottom of said passage, a tubular liner mounted in the smoke passage and adapted to project into the bore of the stem, said liner having its underside provided with a longitudinal slot opening into the grooves and bottom of the central bore of the stem beyond the bit, and an absorptive member mounted in said grooves and arranged under the liner throughout its length to receive condensate from the liner and to wipe the wall of said bore when the bit is turned.
BERNARD M. SHOEMAKER.
Classifications
U.S. Classification 131/184.1, 131/203
International Classification A24F1/00
Cooperative Classification A24F1/00, A24F2700/03
European Classification A24F1/00
I find that kind of information fascinating and am always intrigued by the designers urge to provide a cooler and cleaner smoke for the pipeman who uses his invention. I was not able to find out if Dr. Grabow continued to use the patented design when it took over the line from Briarcraft but I am assuming so until it is shown otherwise by information from those who read this or by a pristine stem that still has the apparatus intact on one of the Grabow Smokemaster pipes.
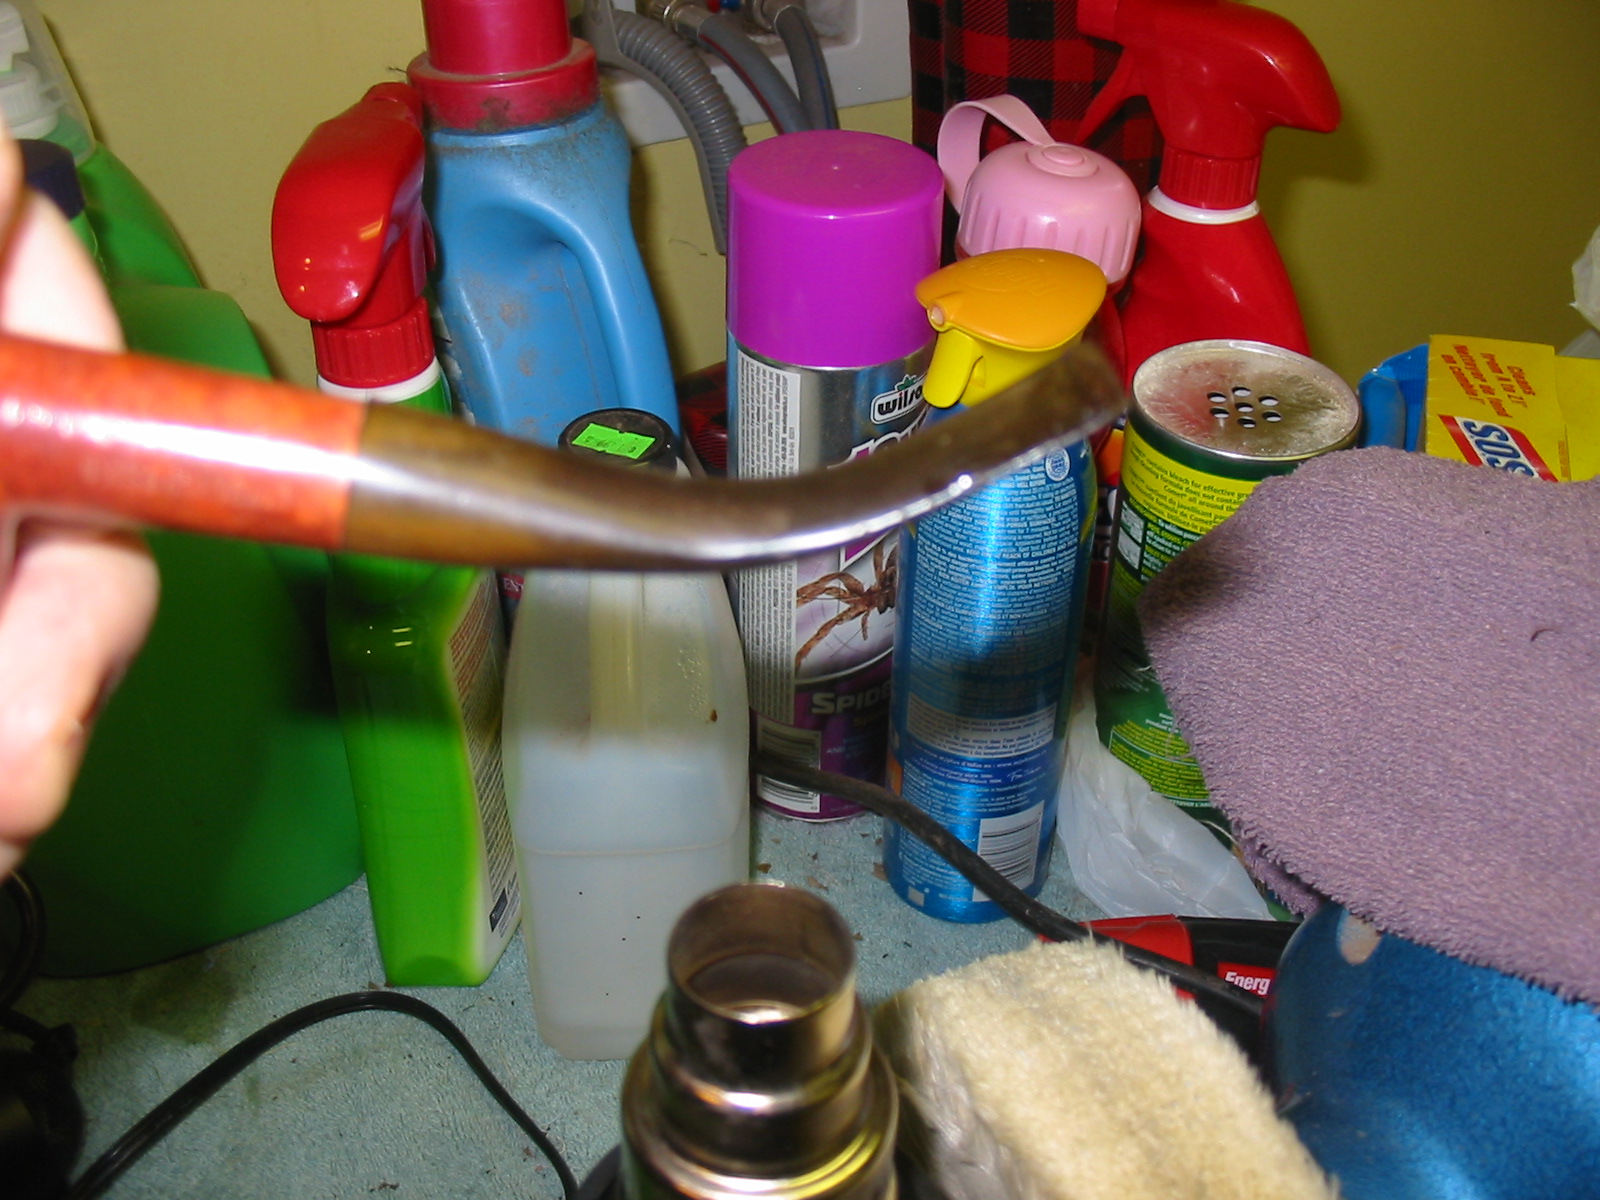
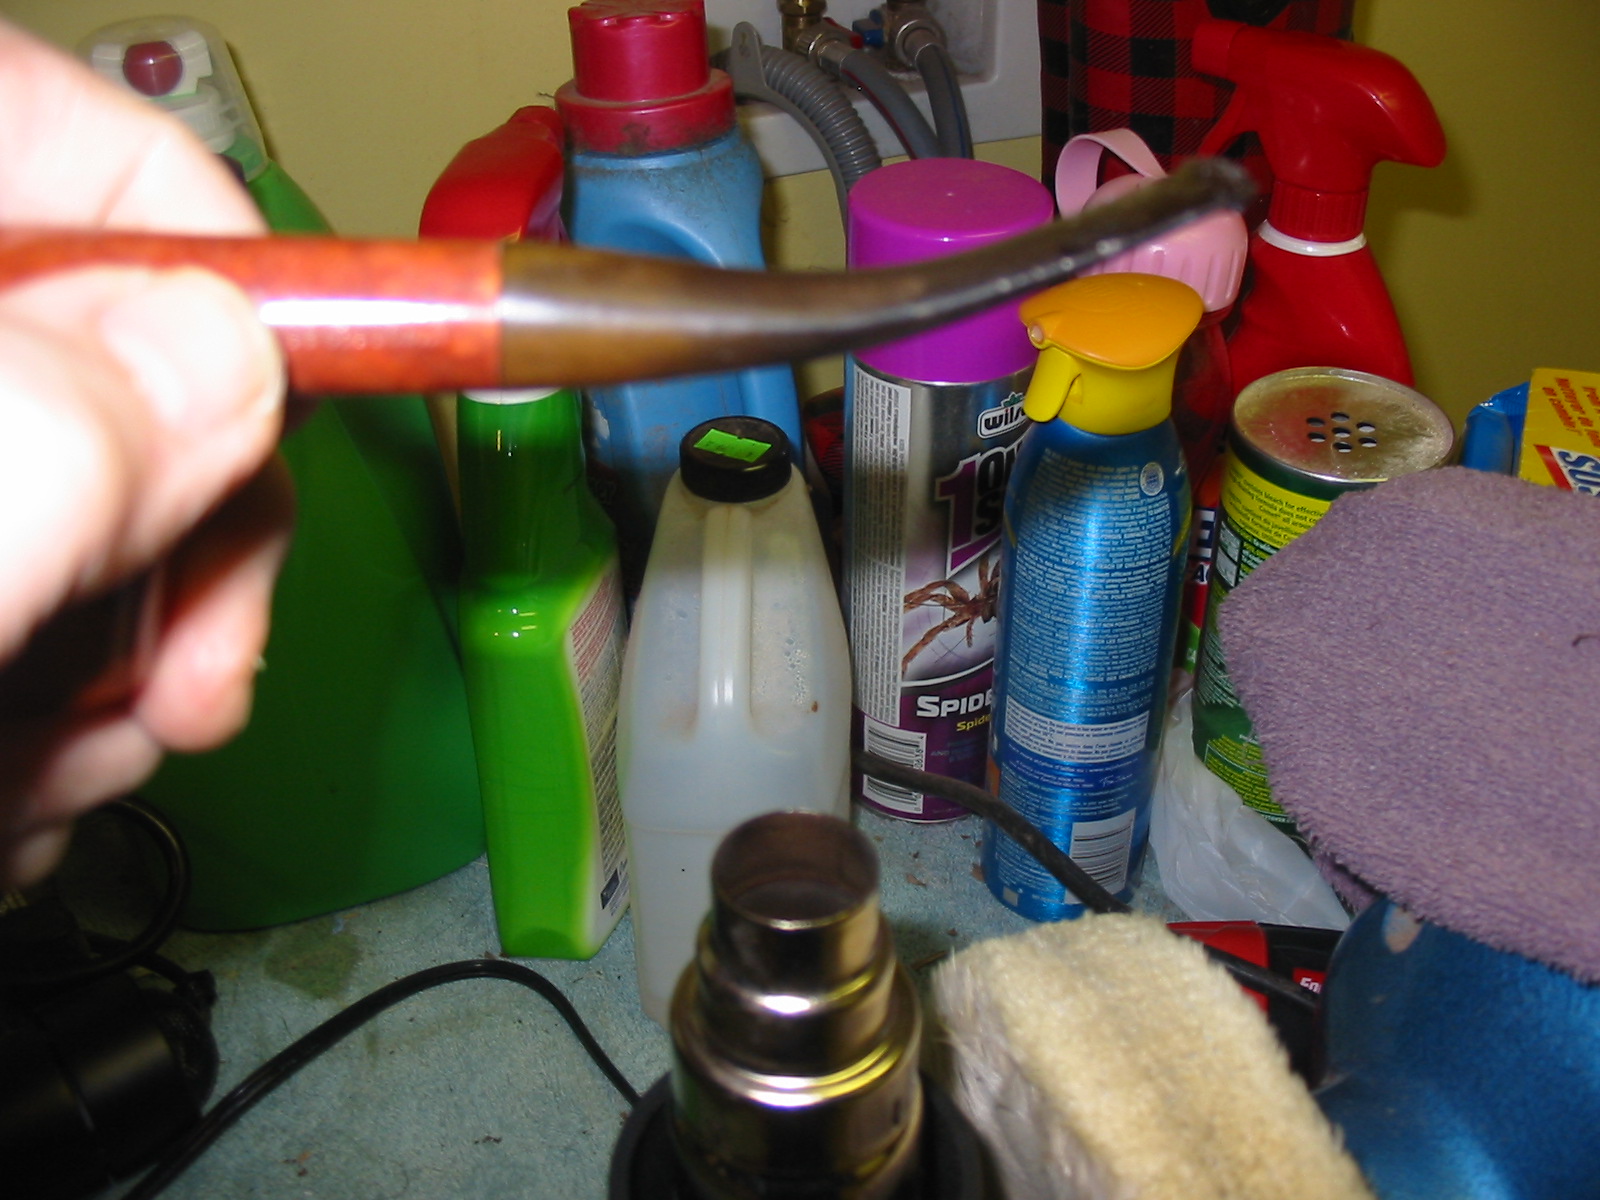
So armed with that information I went to work on the pipe. I began with the newly fitted stem and heated it with a heat gun to straighten the bend. Vulcanite has memory so with heat the stem returns to its original shape. I held the stem about 6 inches above the heat source, ran the gun on high and watched as the stem began to return to normal. It is important not to hold the vulcanite too close to the heat as it burns and to not rush the bend by helping it as it can snap if not properly heated.


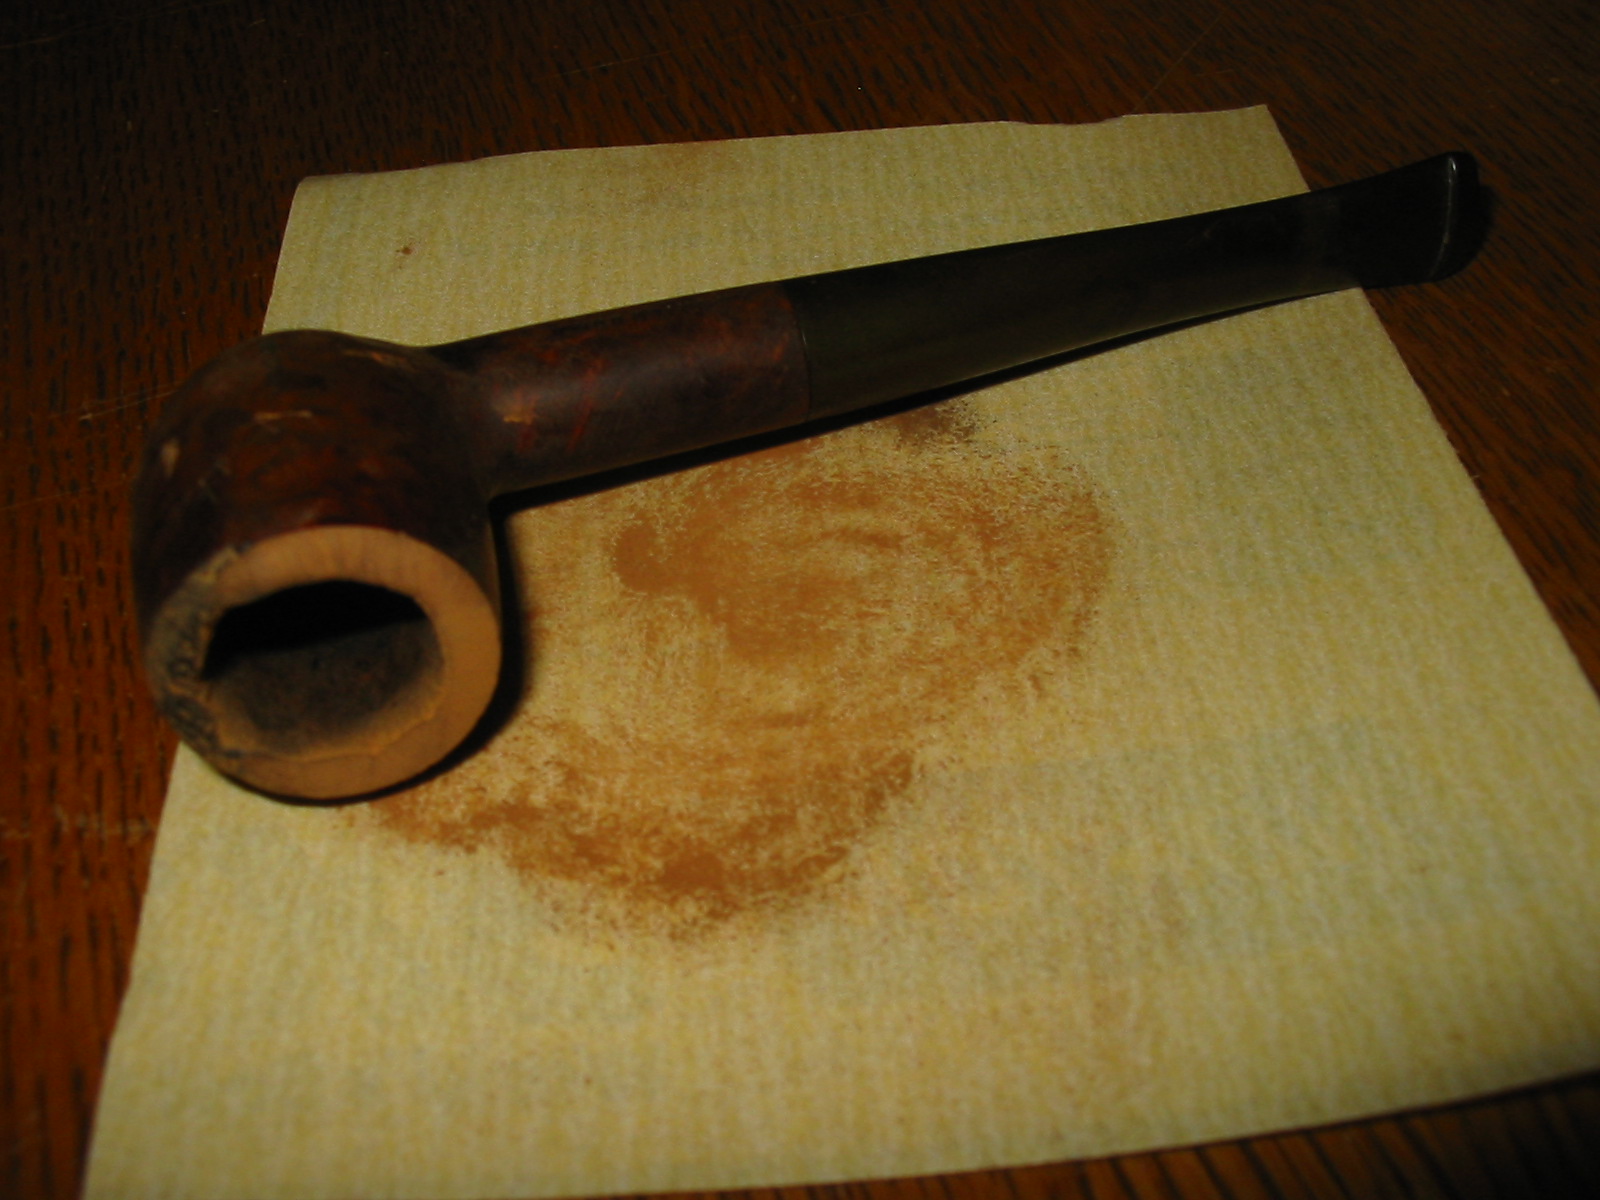
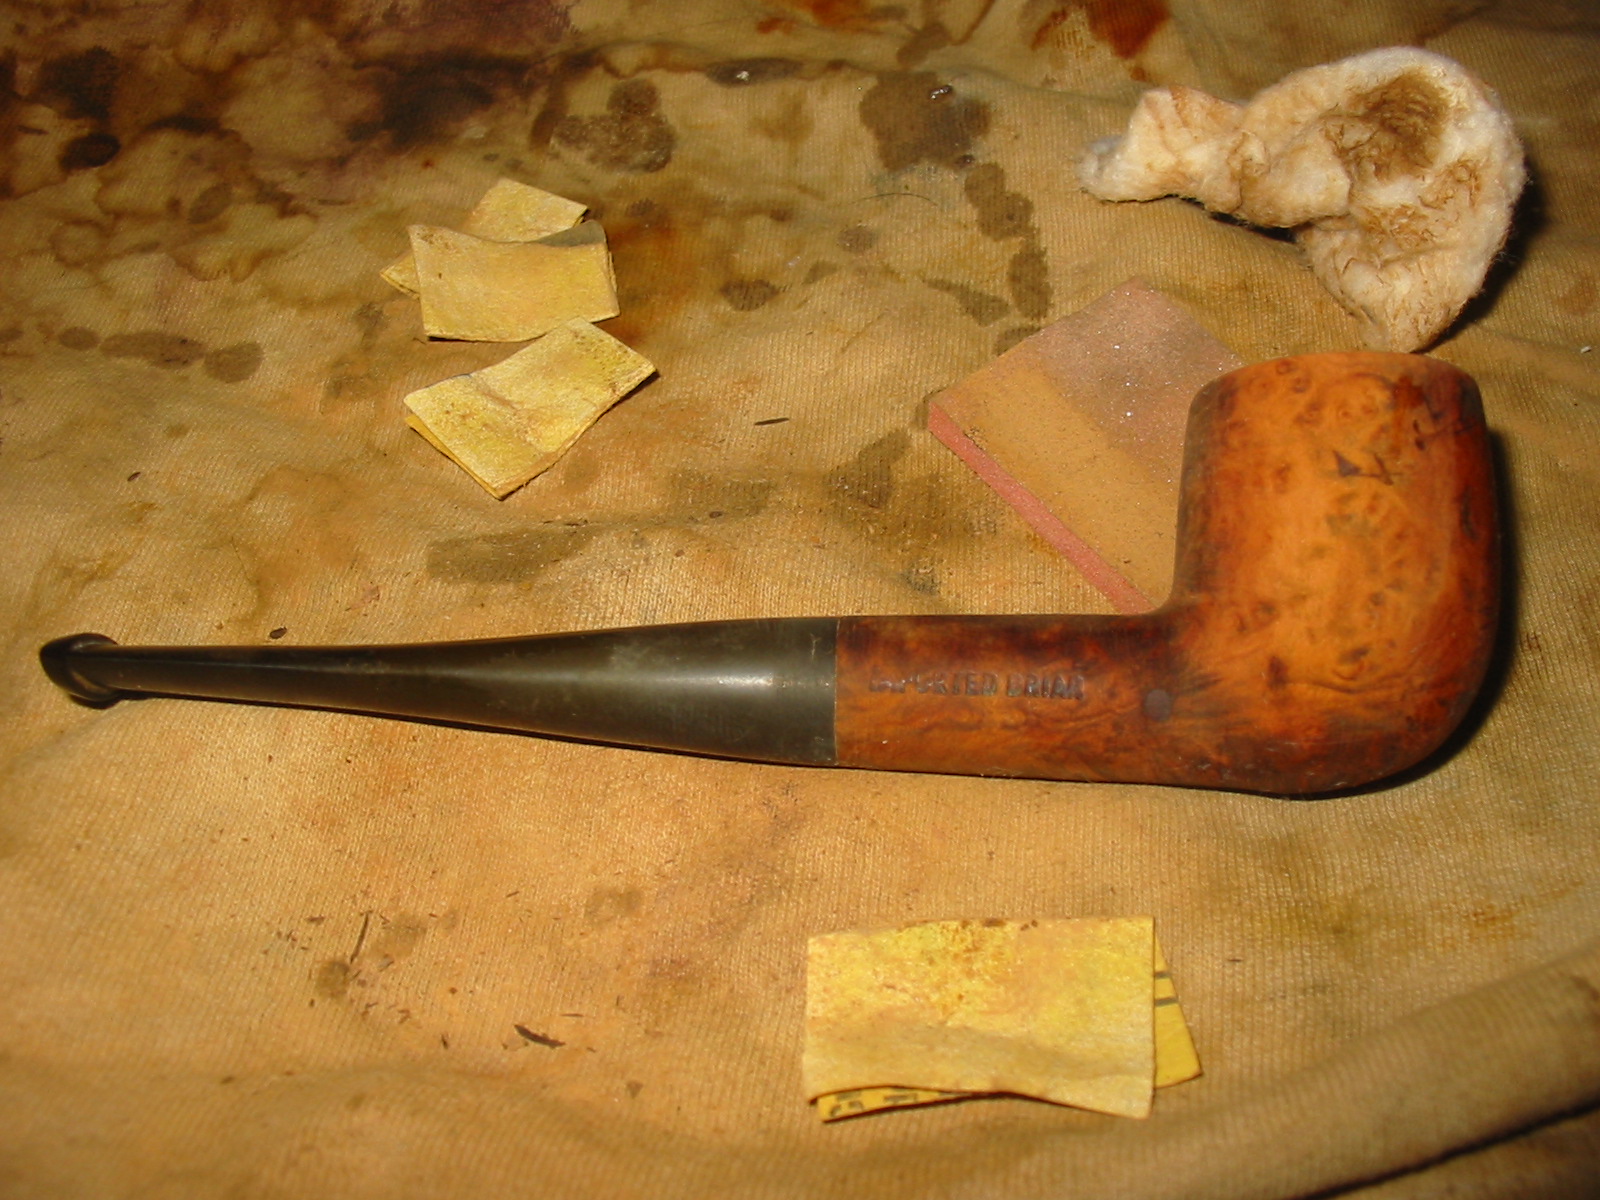
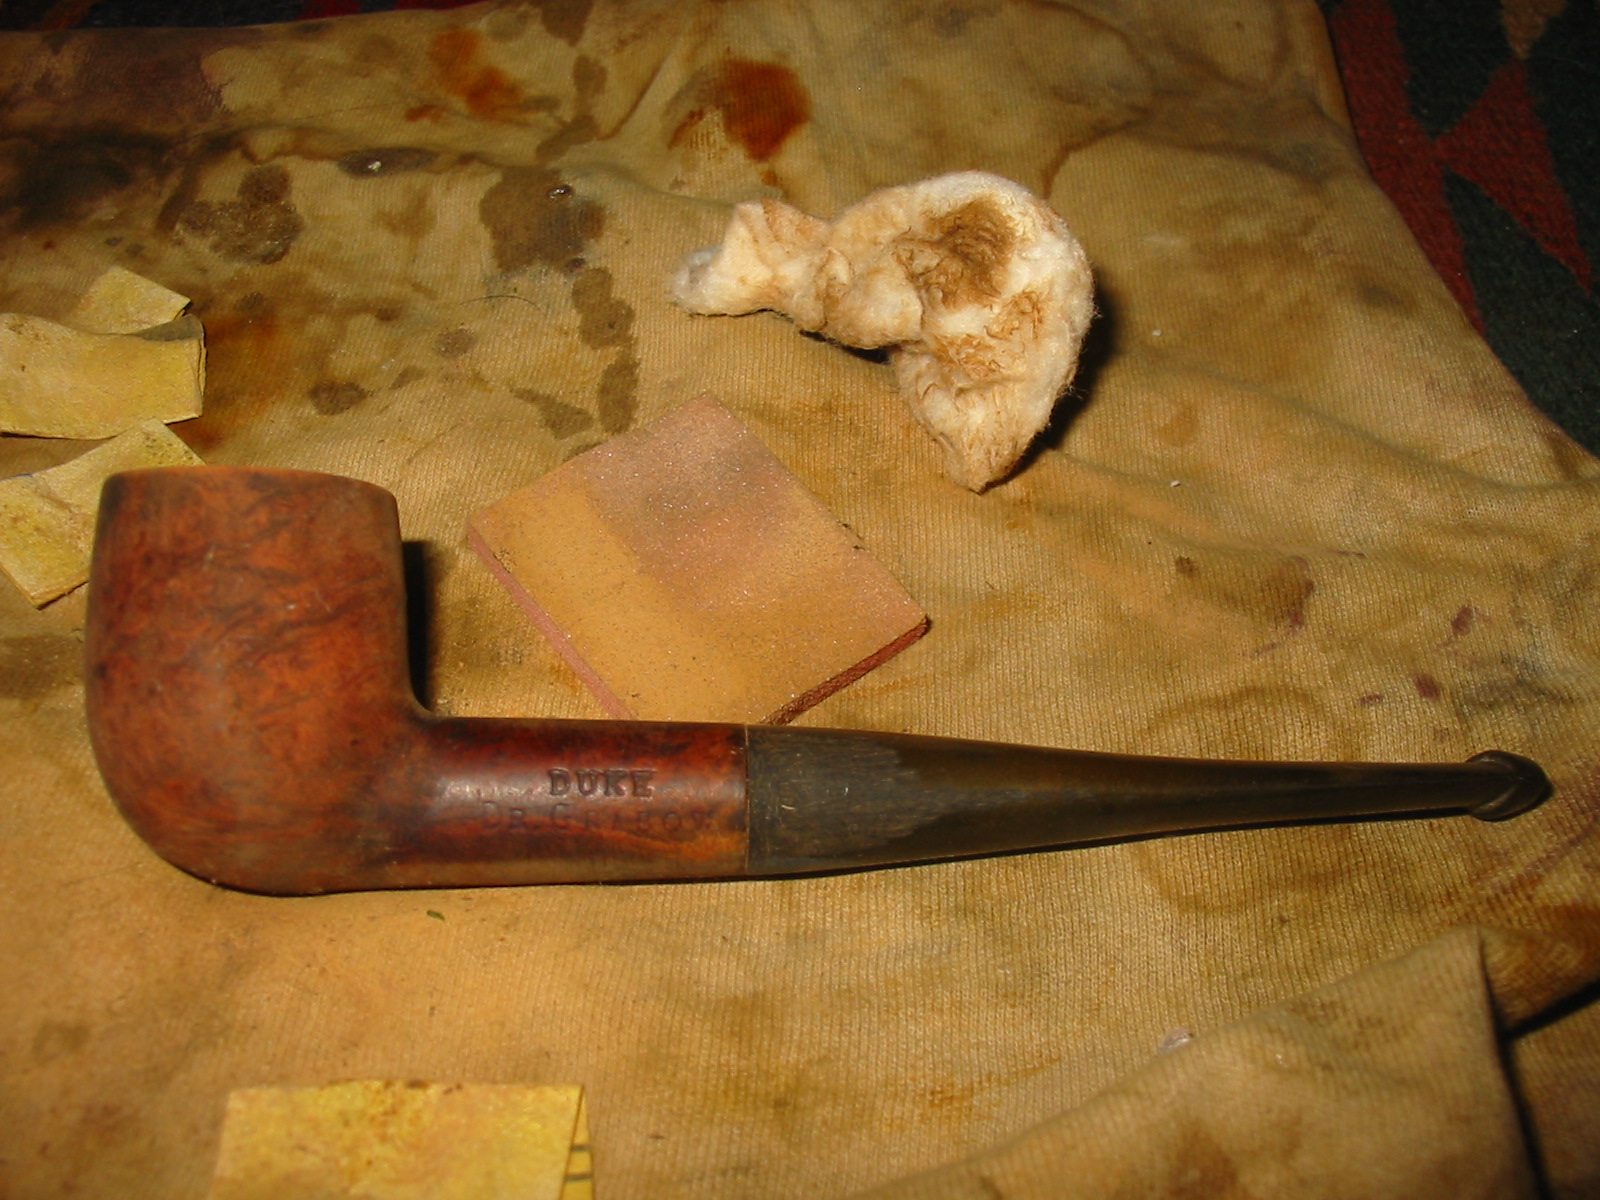
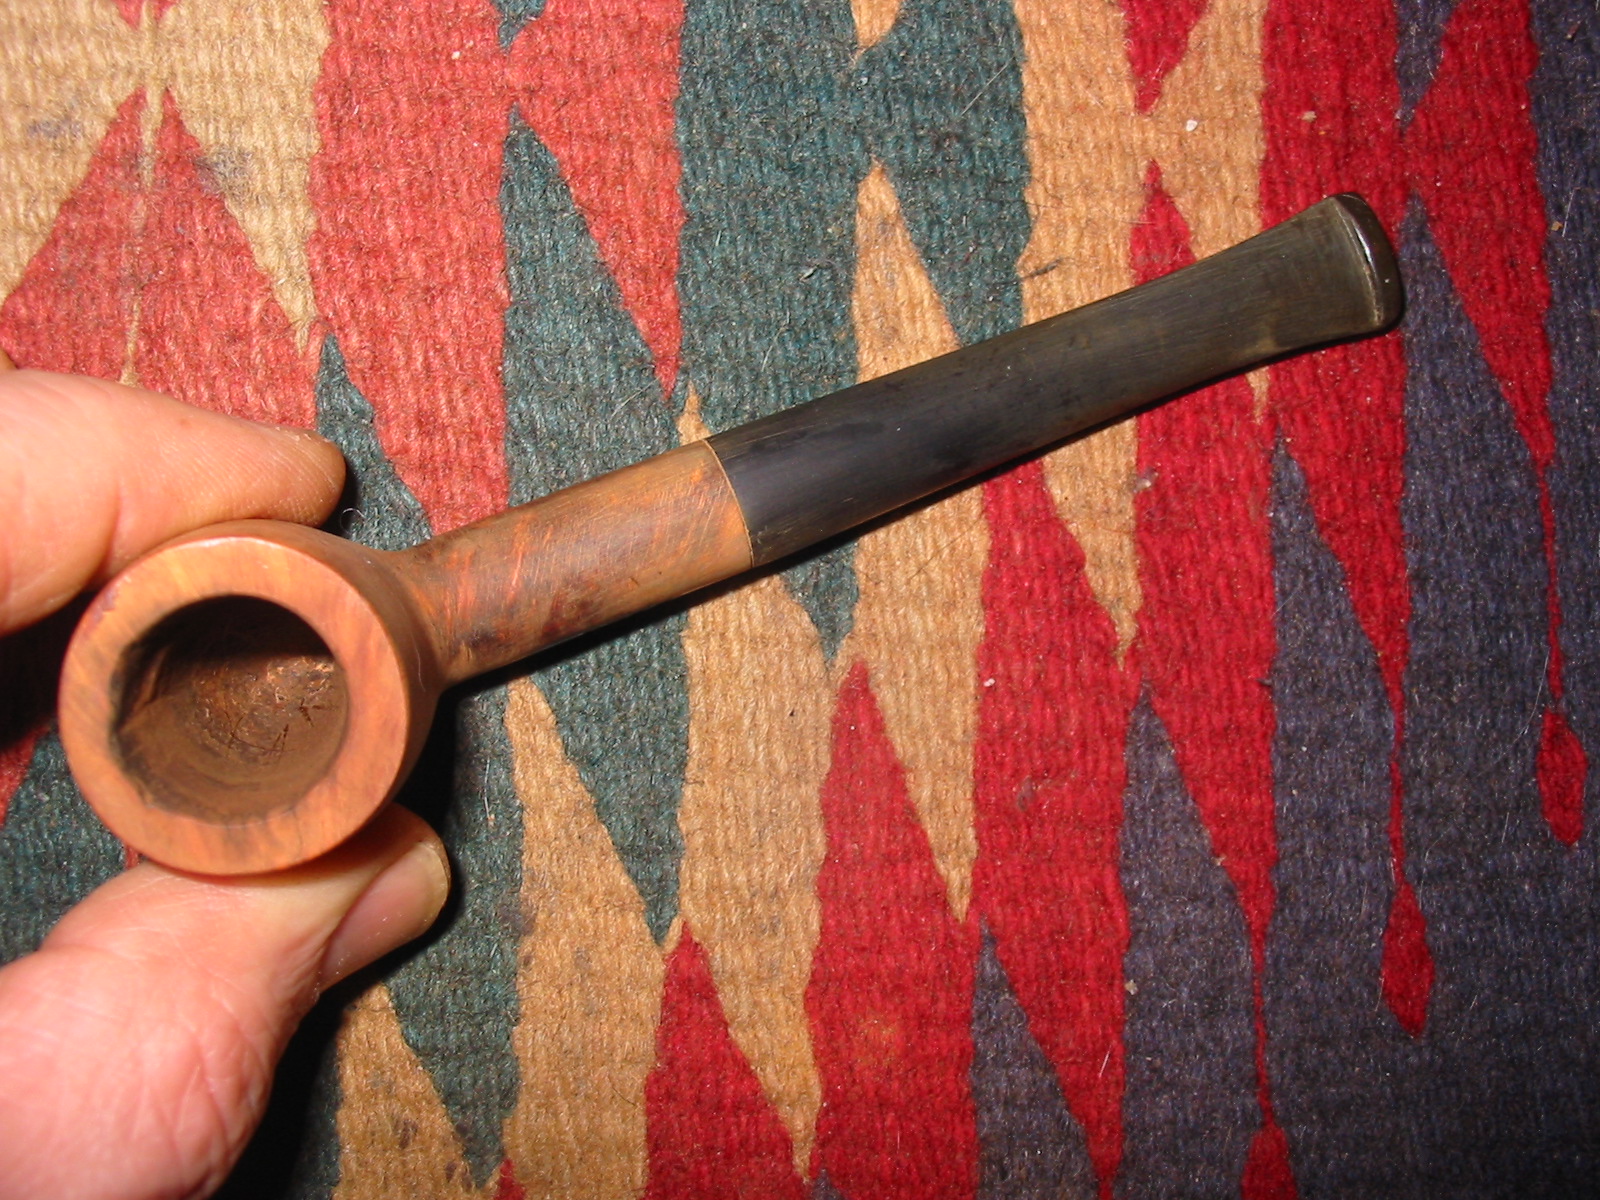
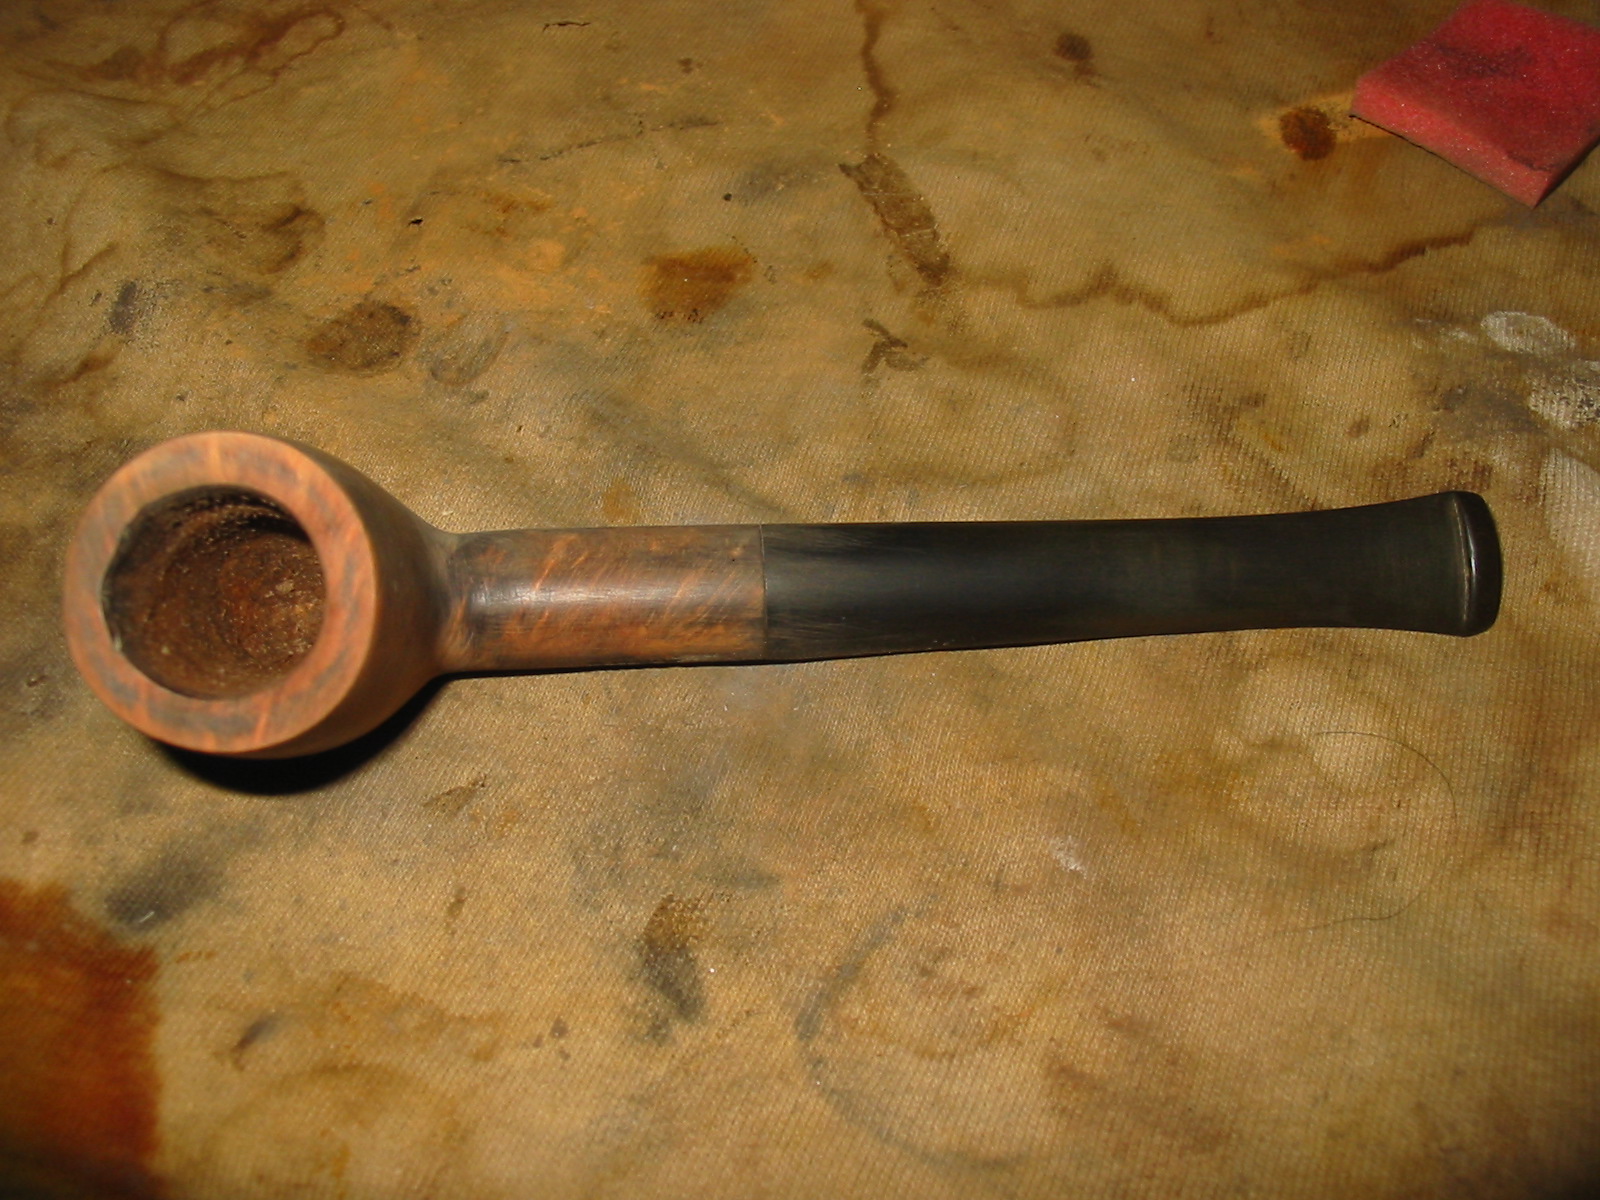
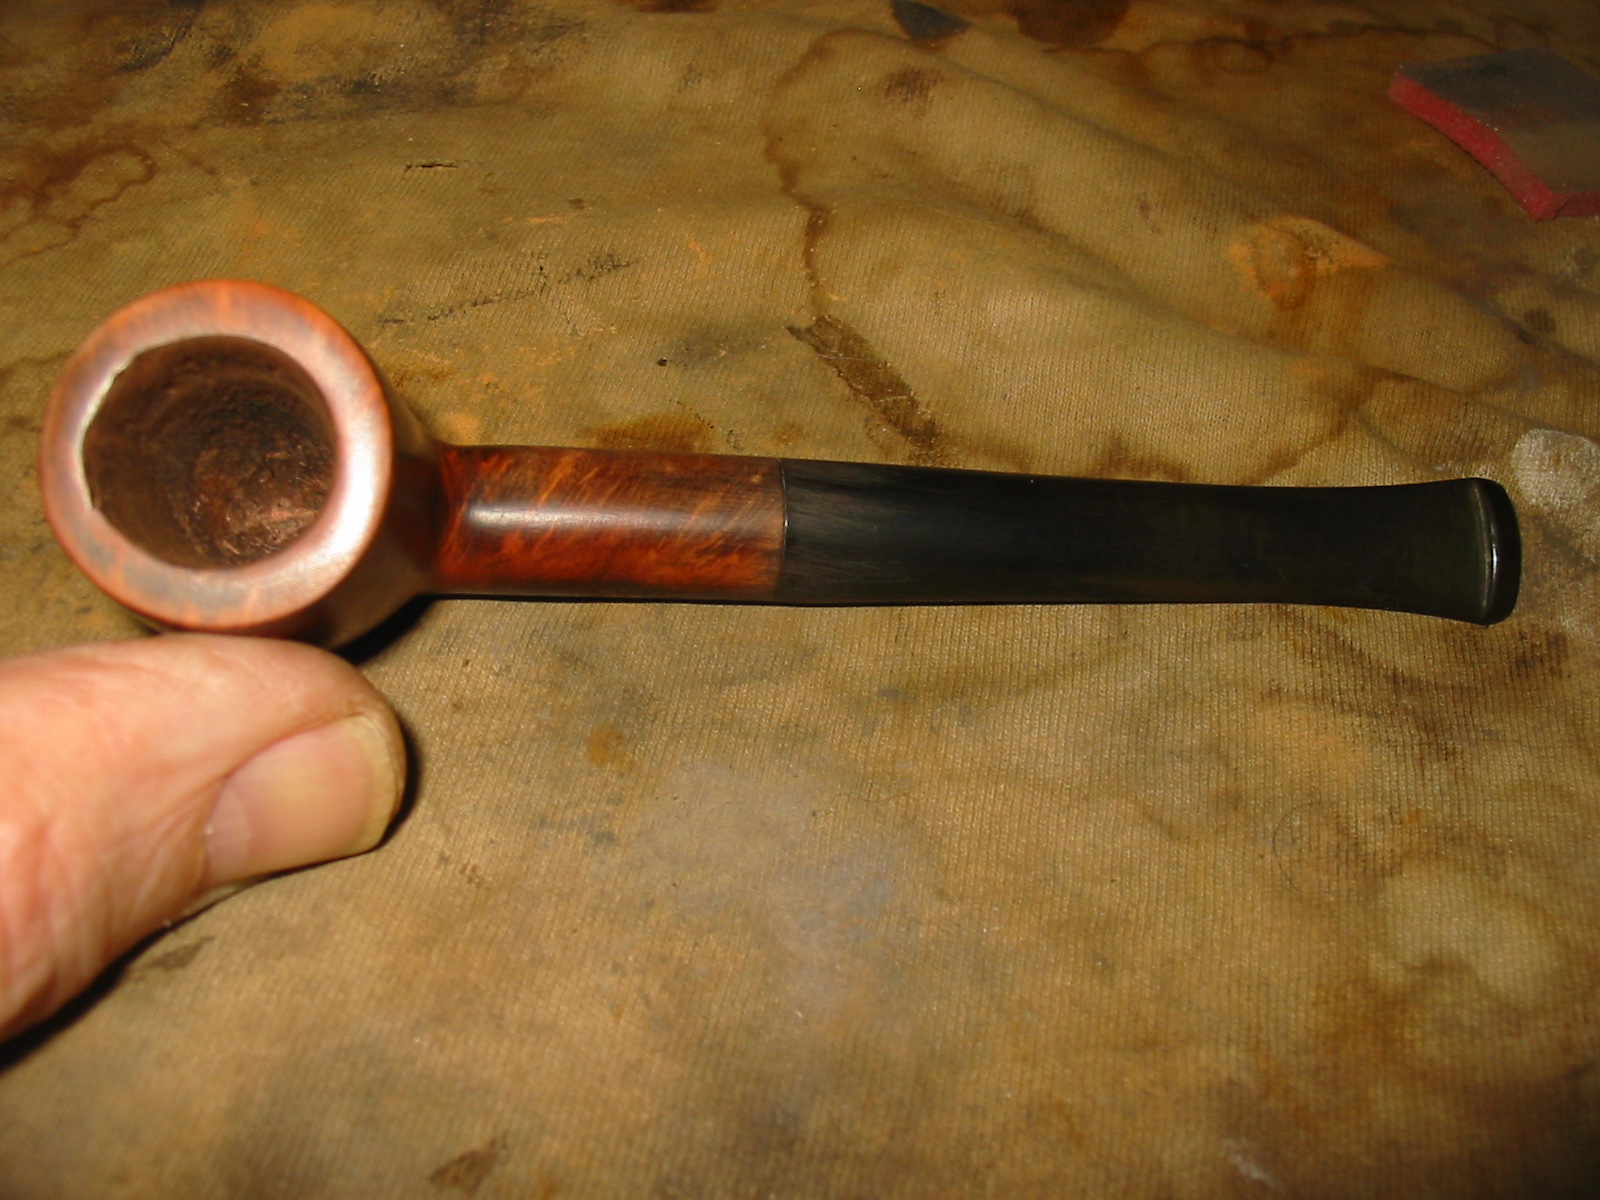
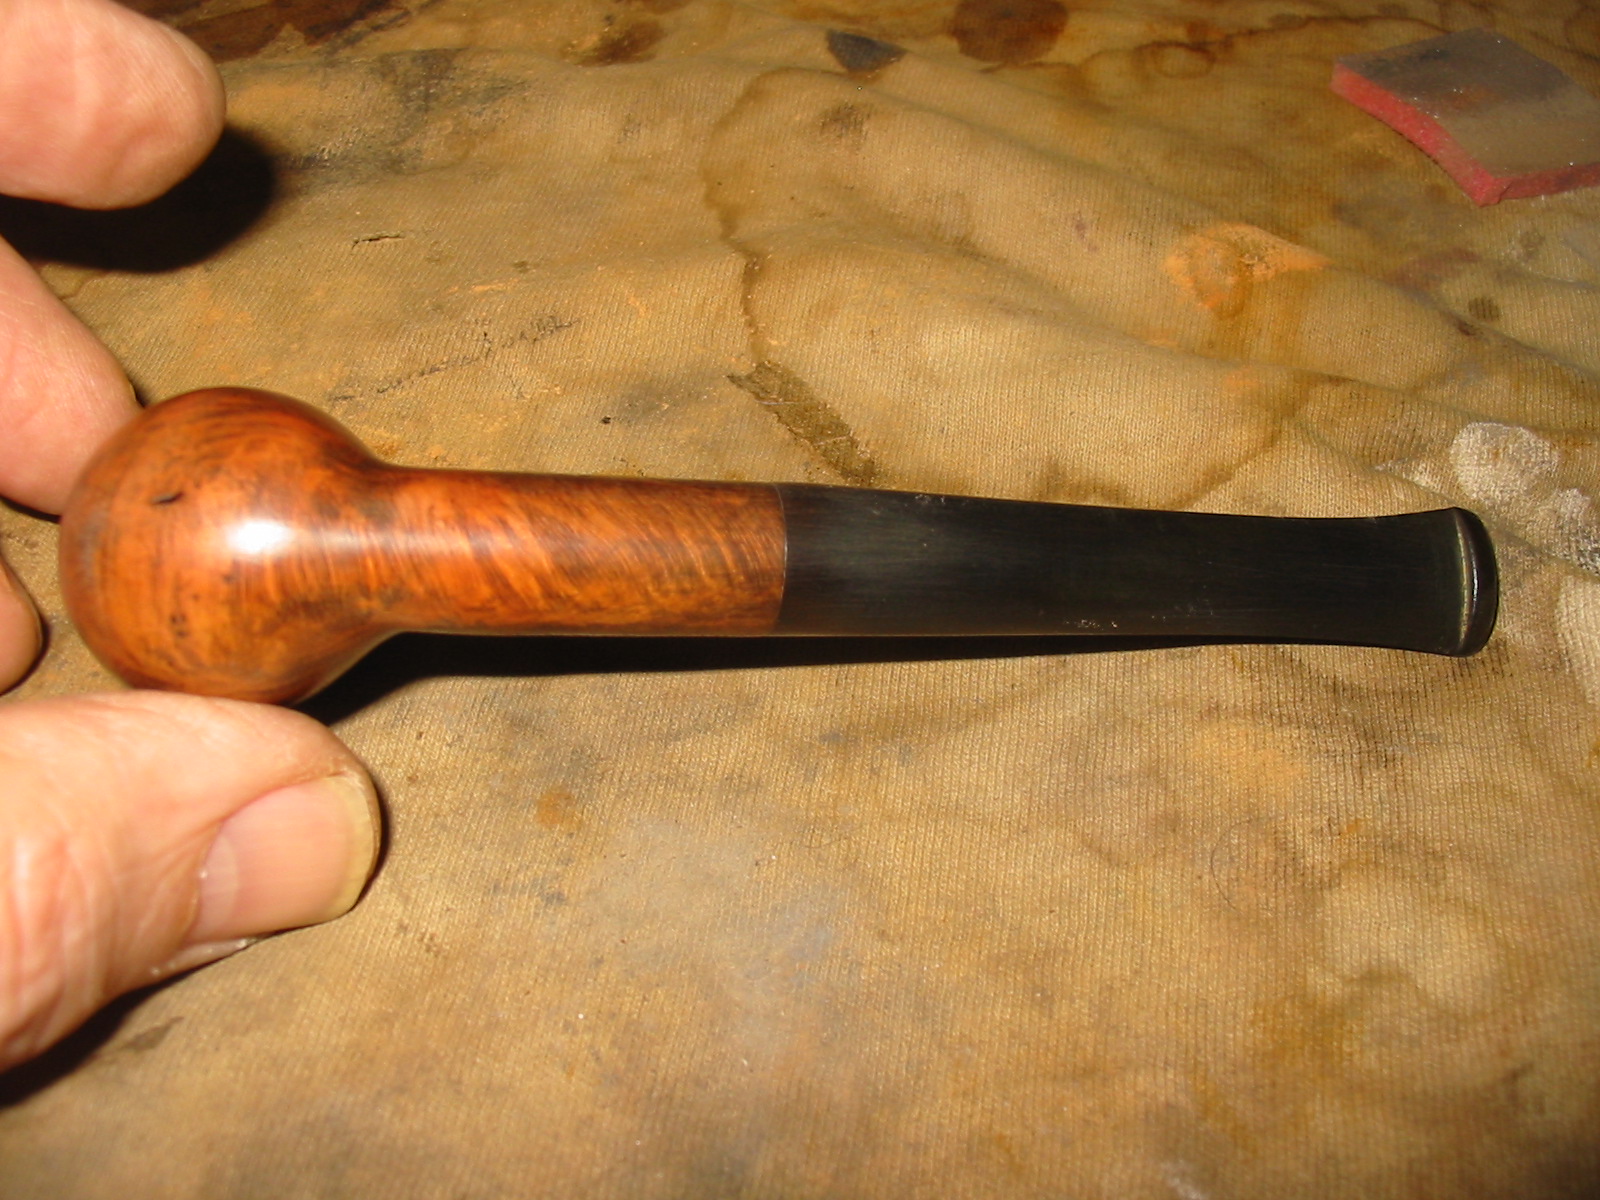
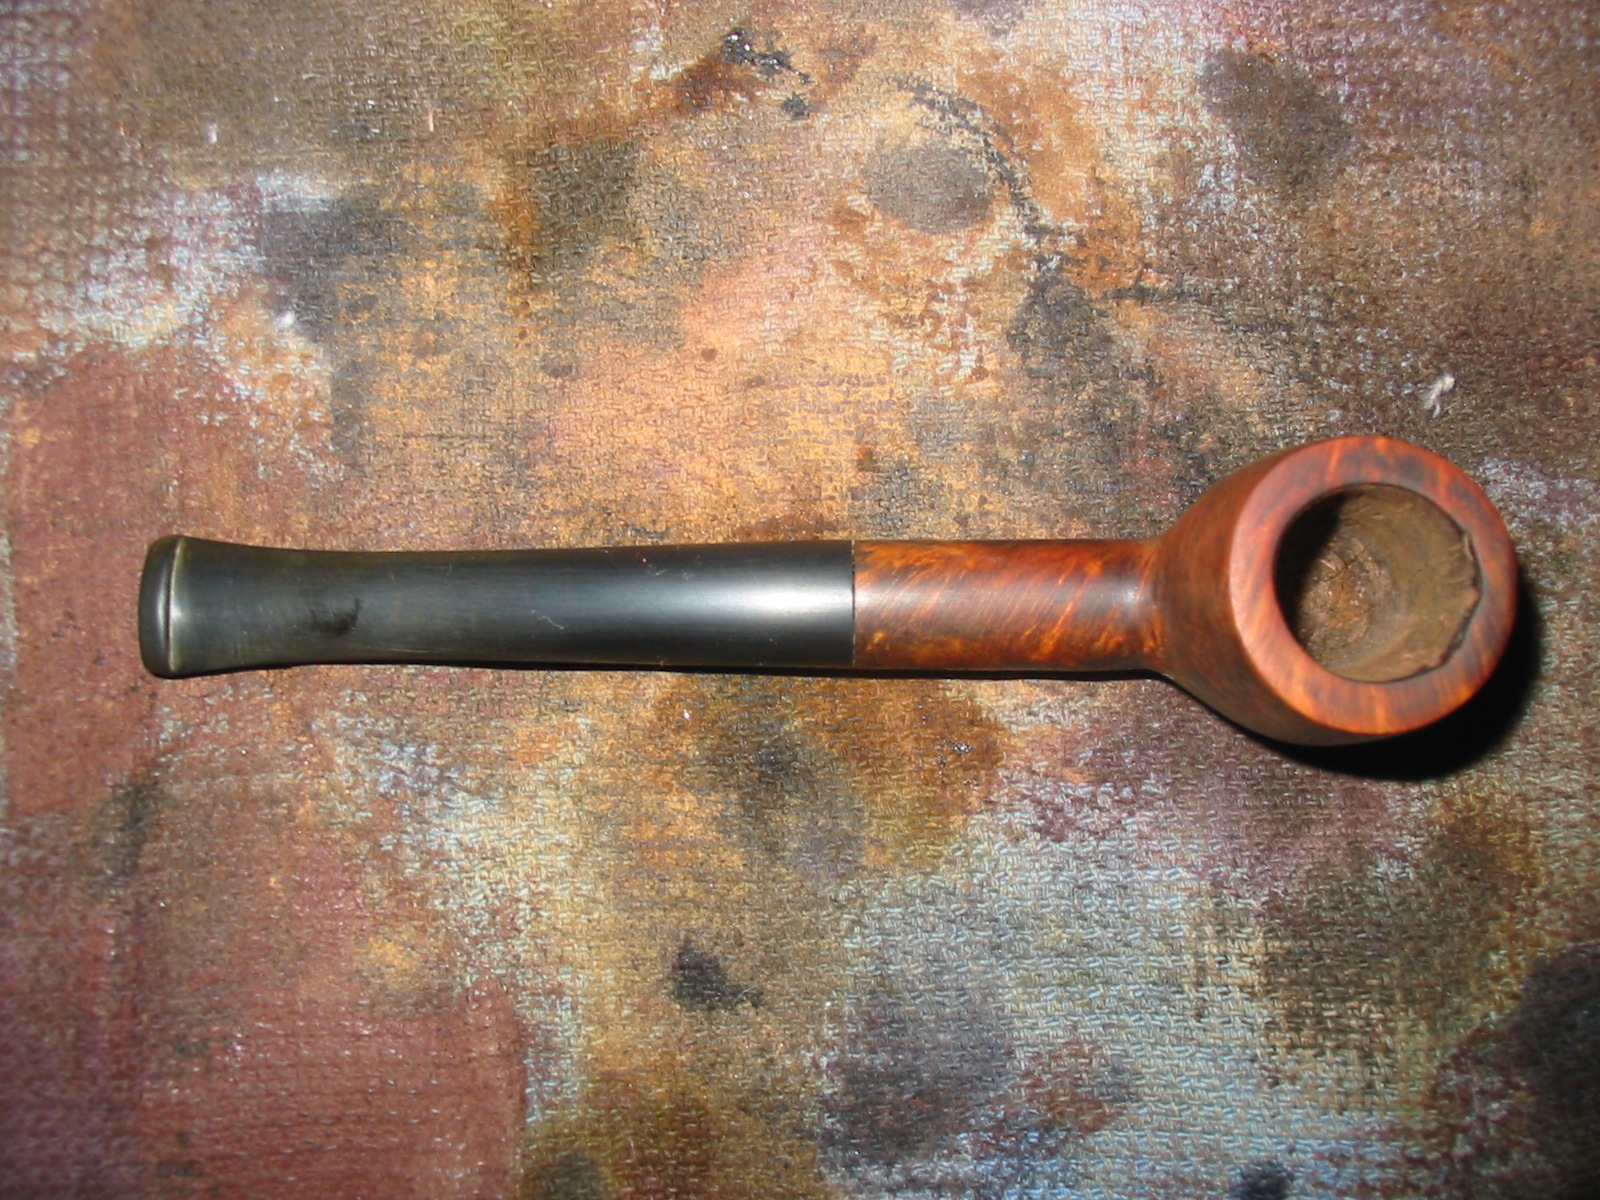
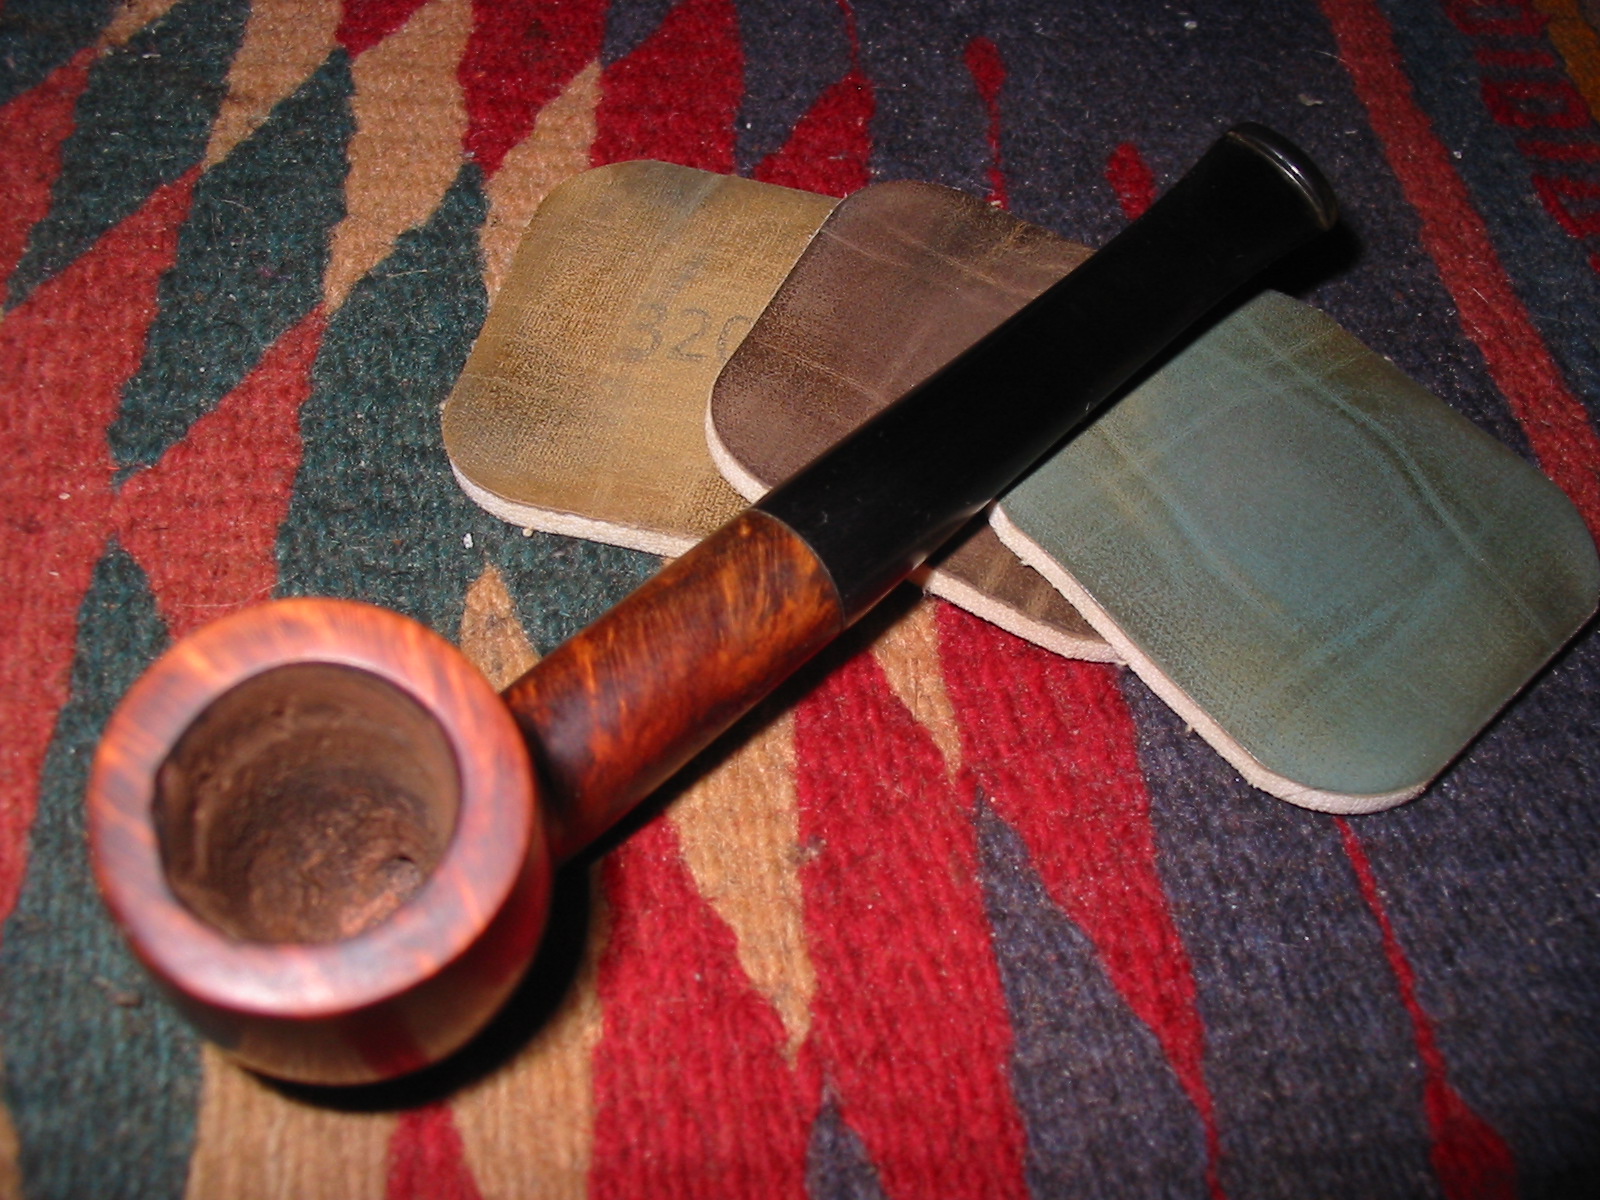
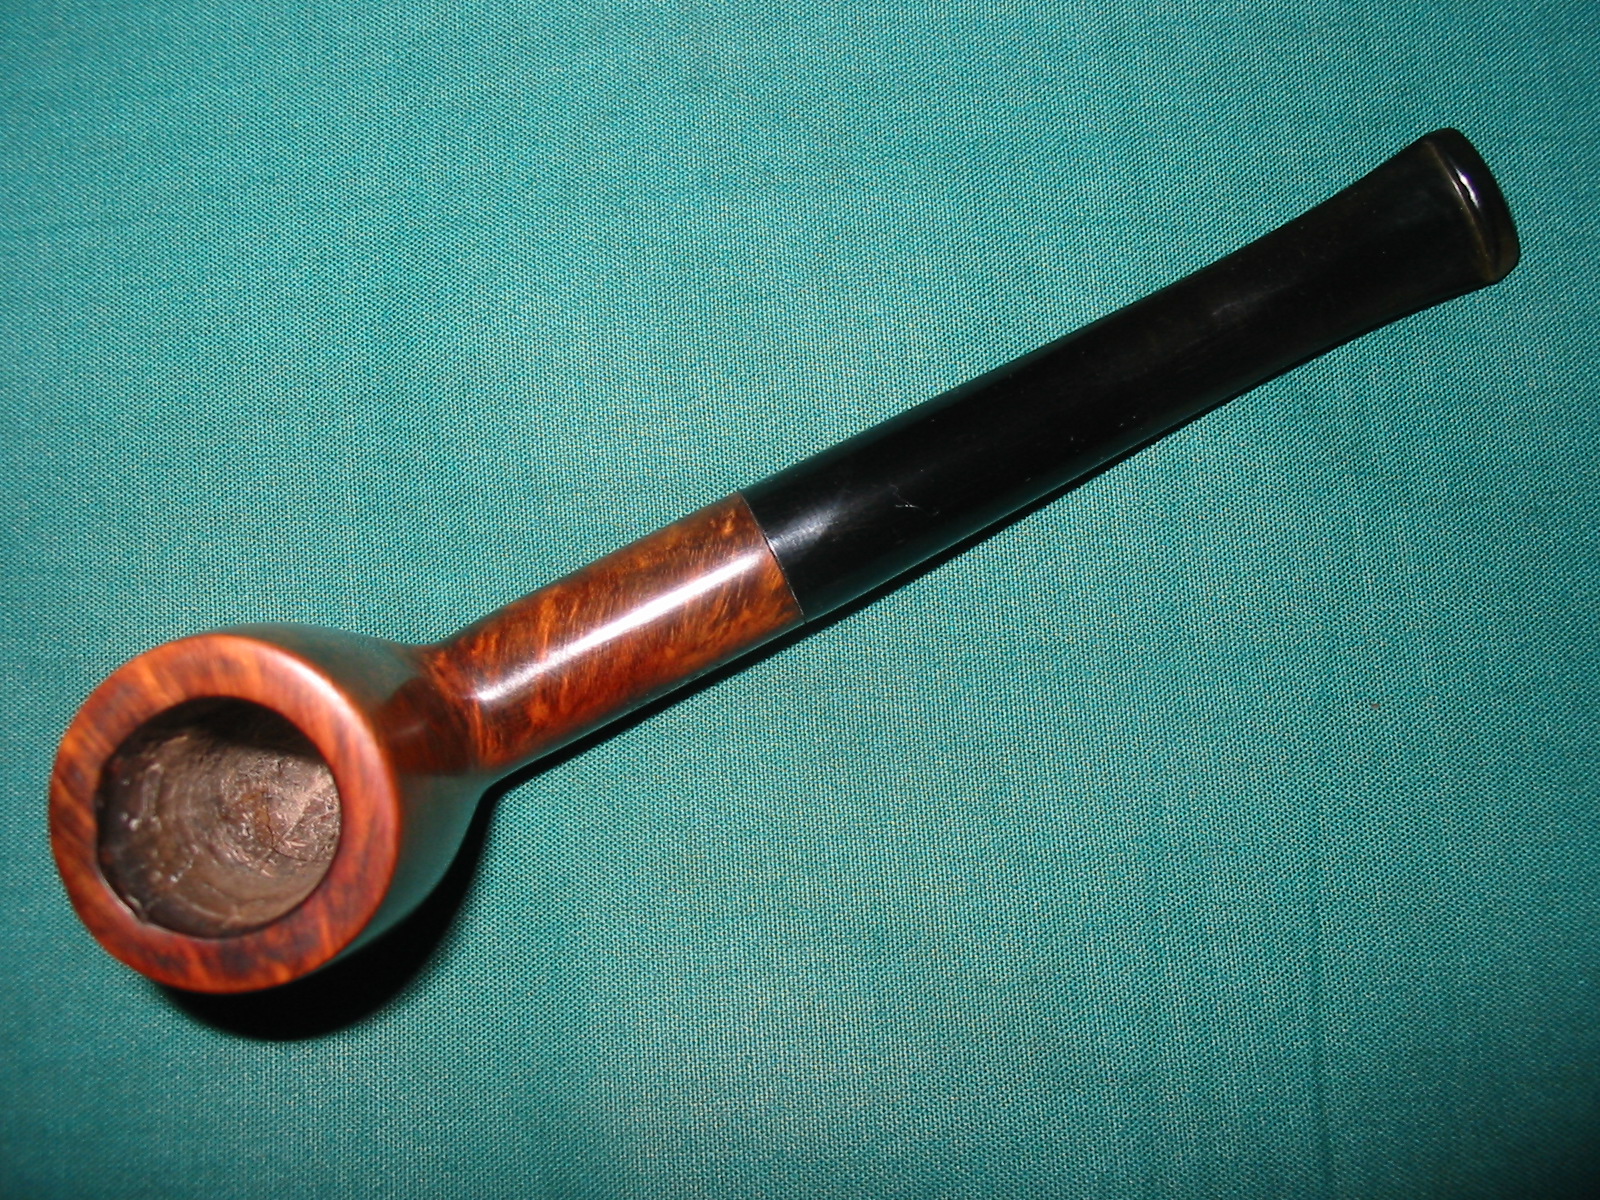
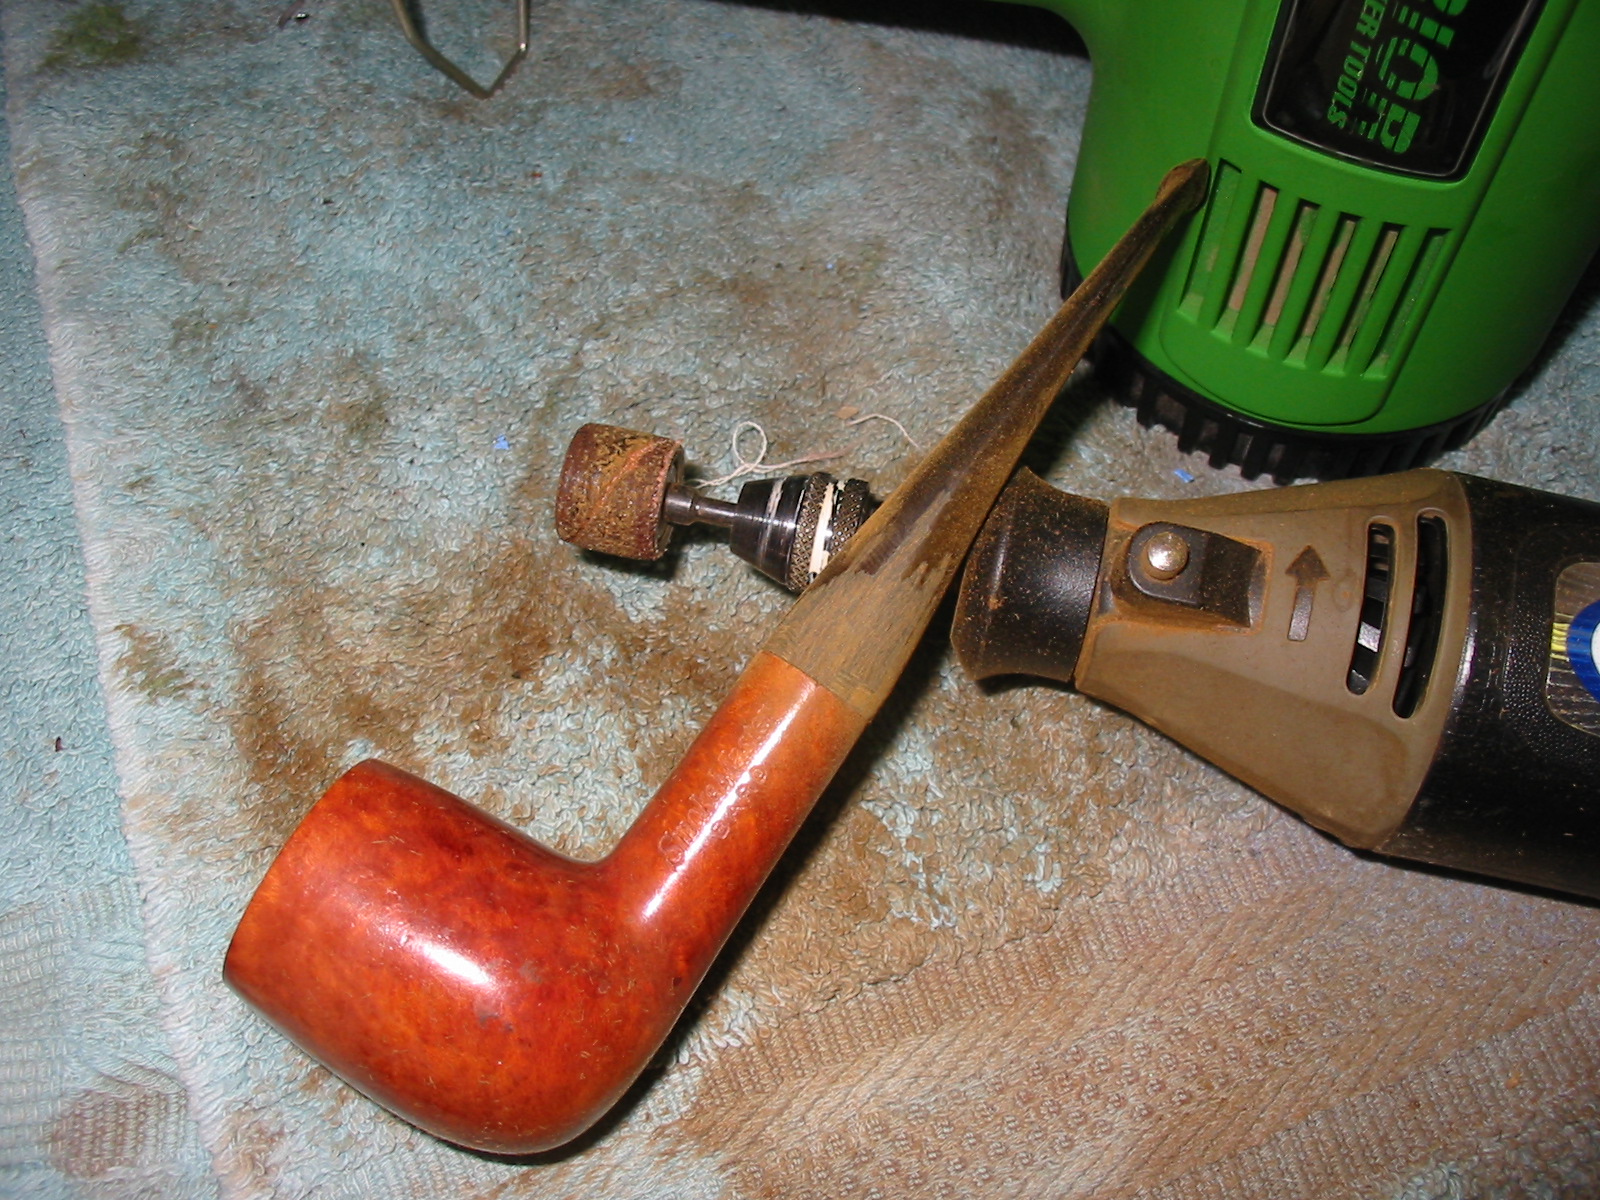
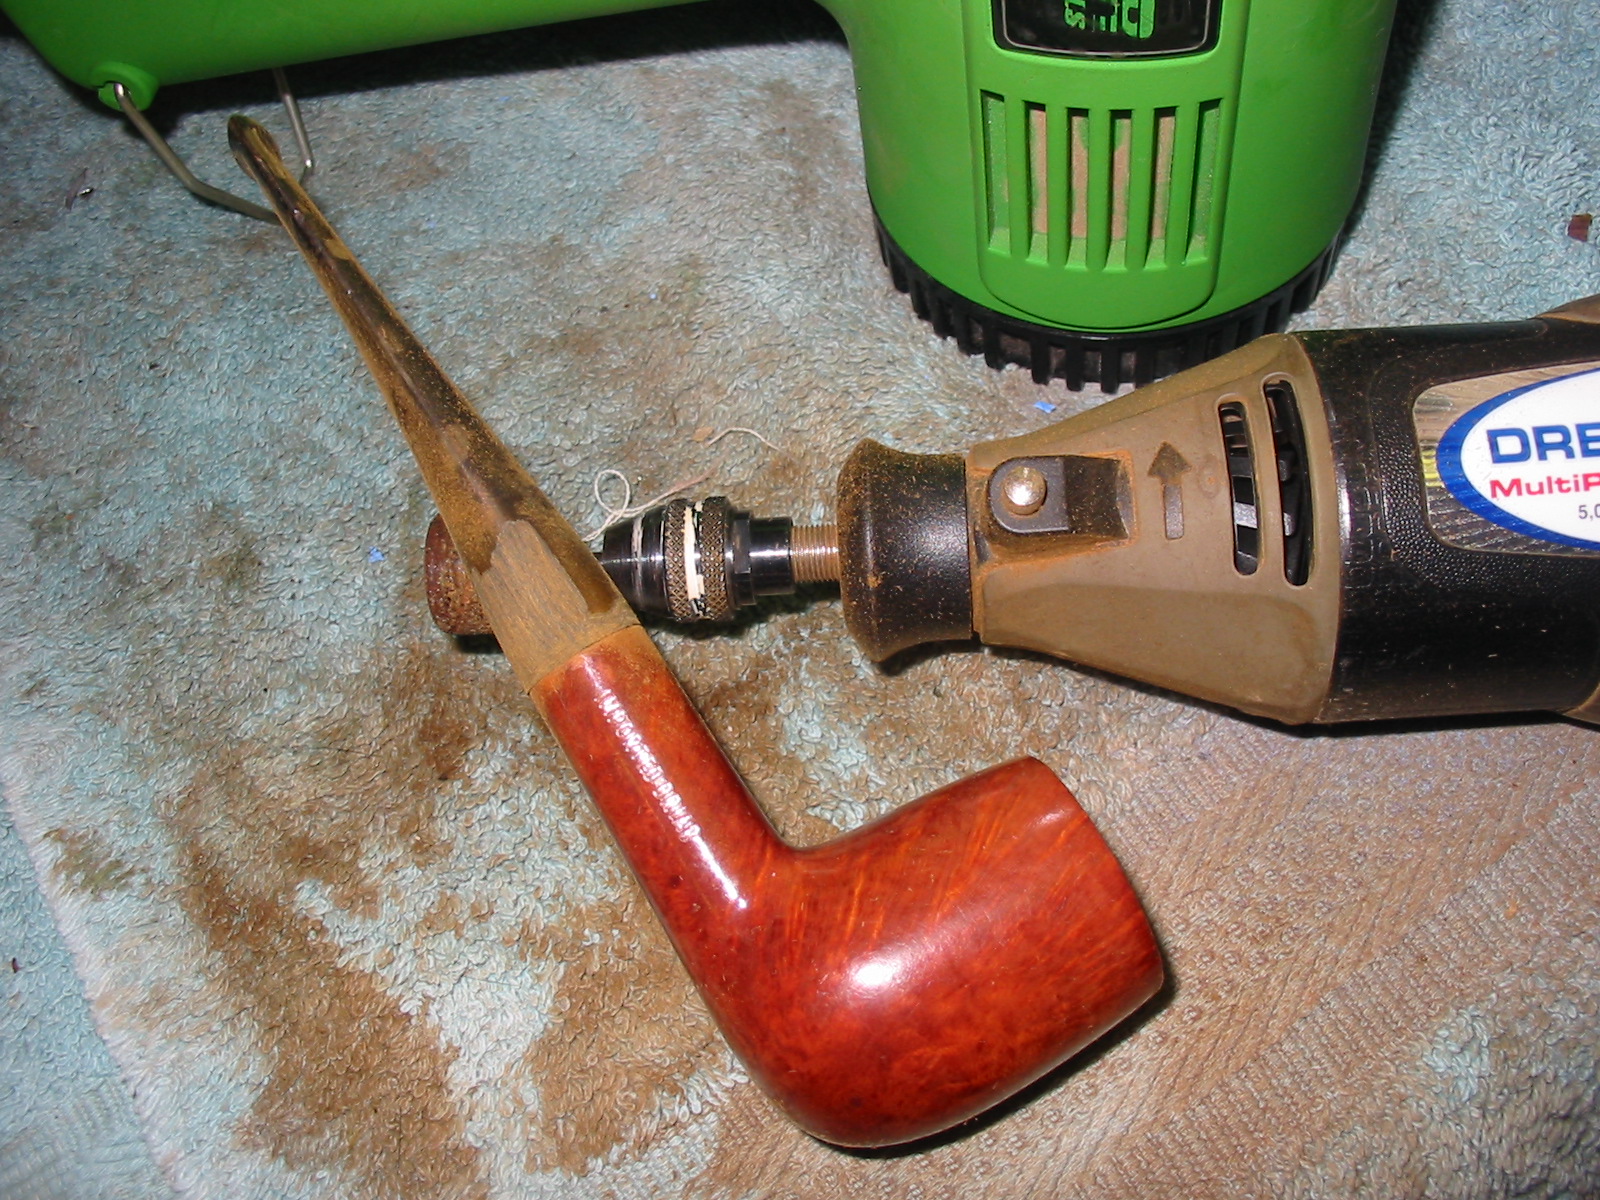
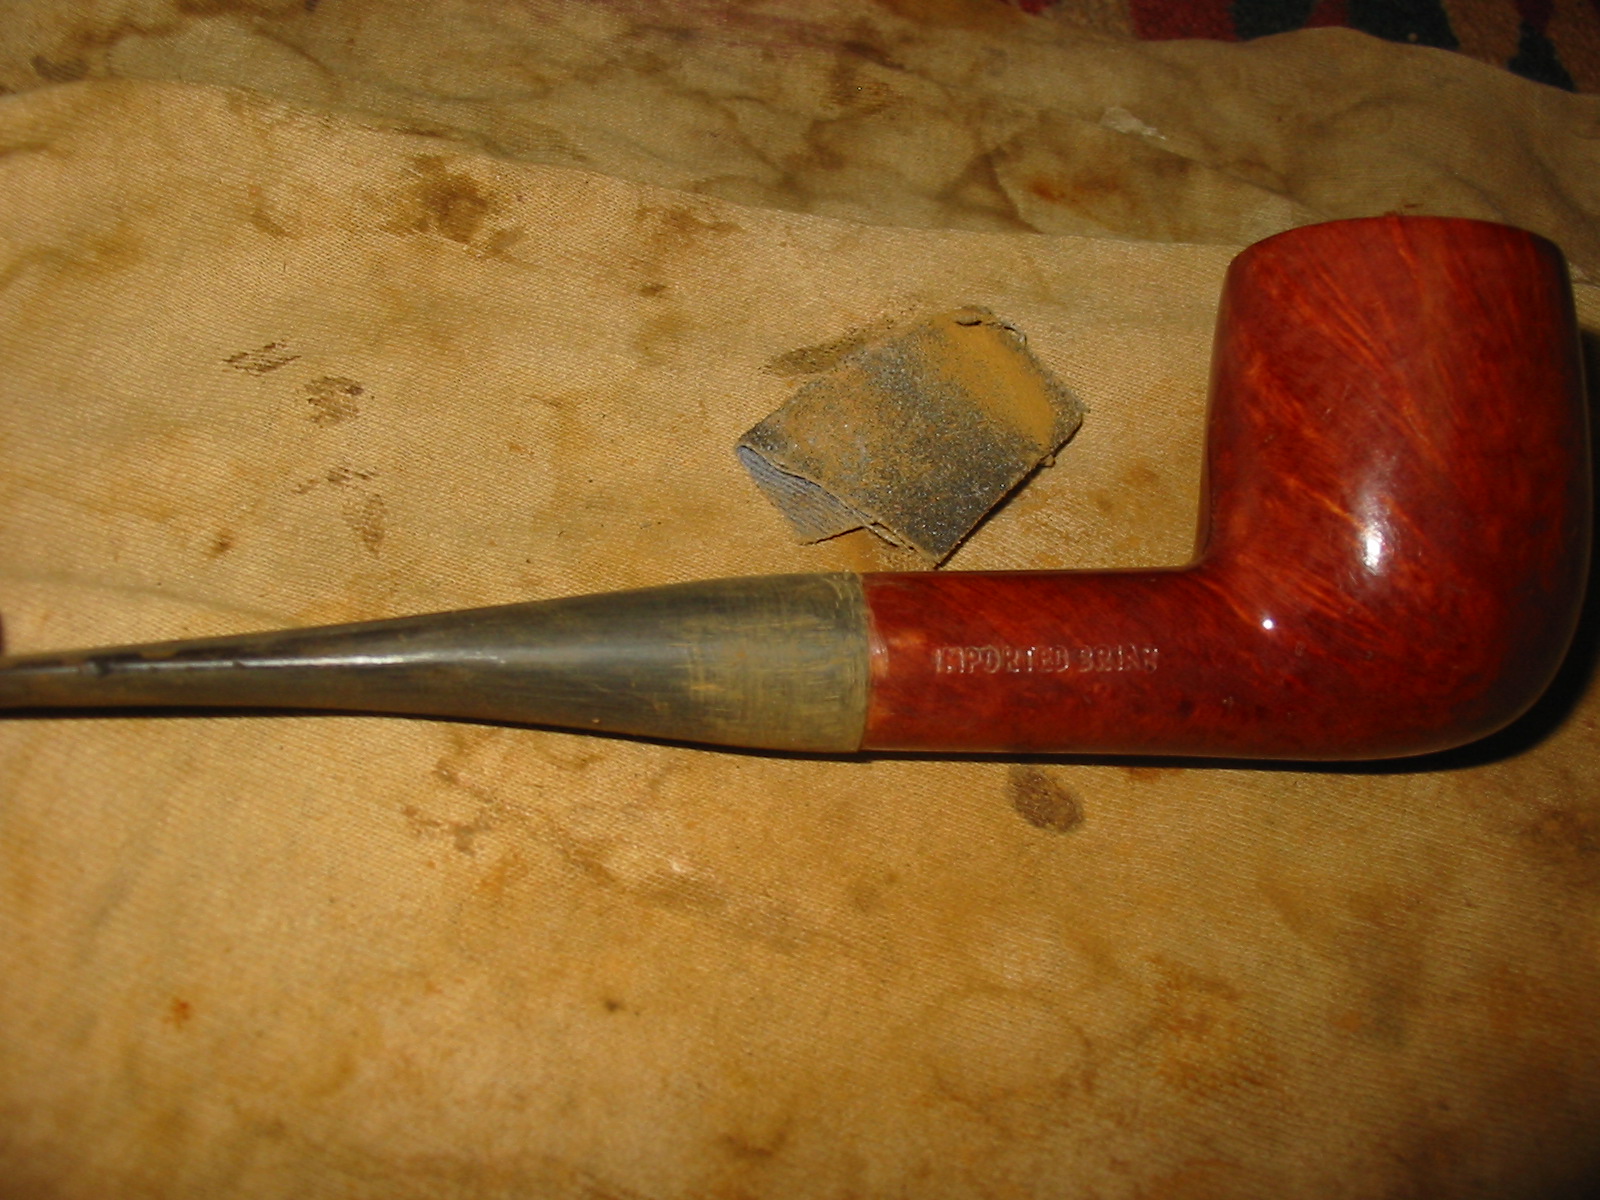
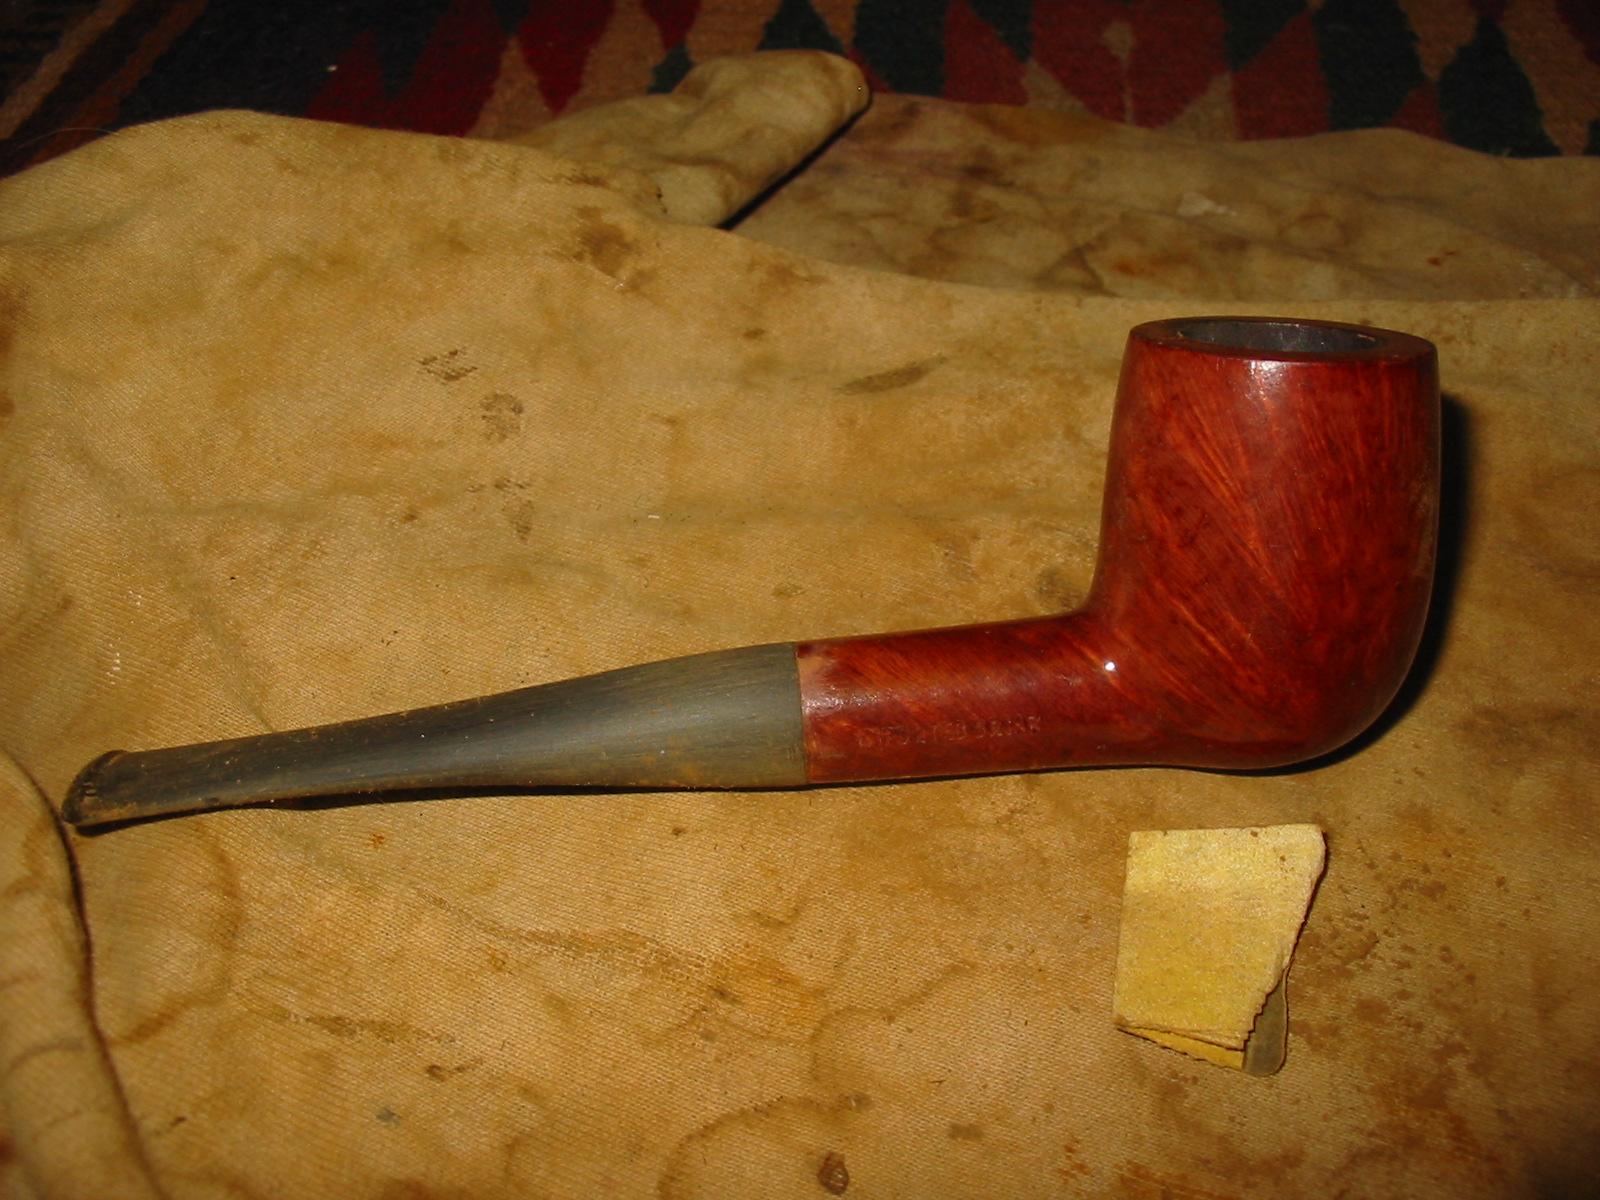
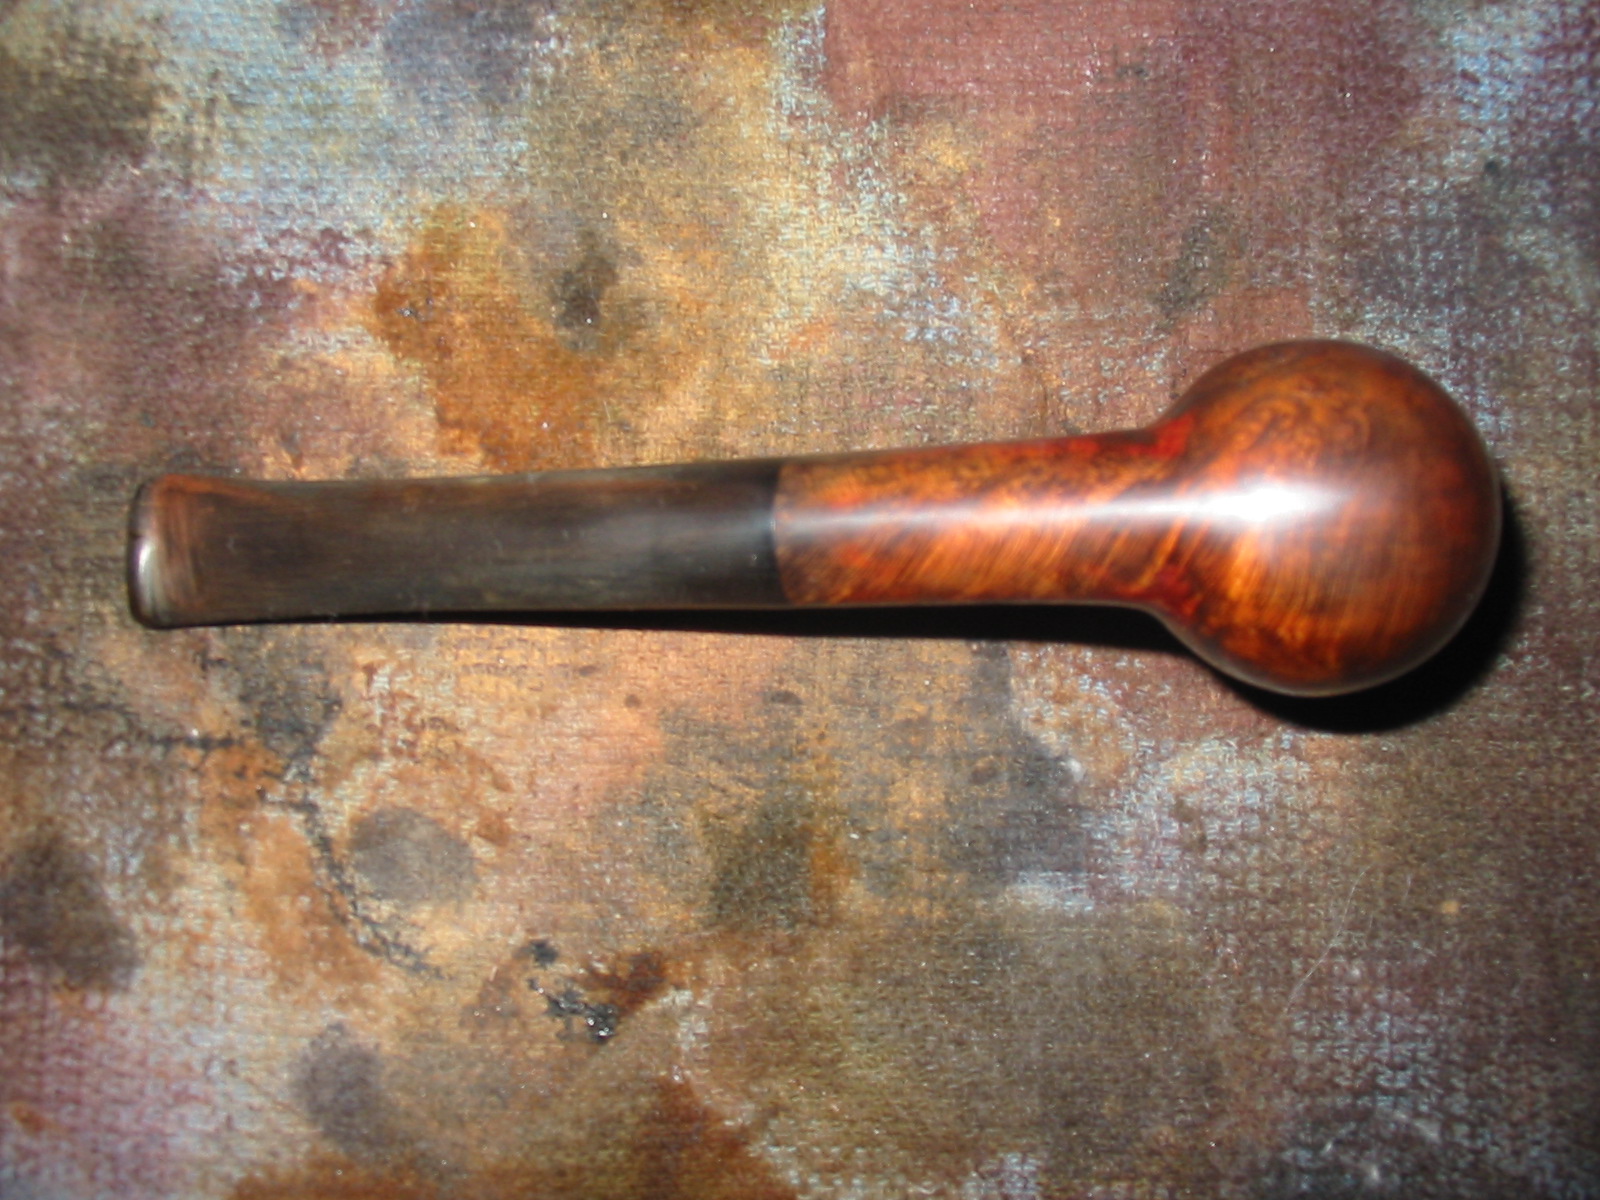
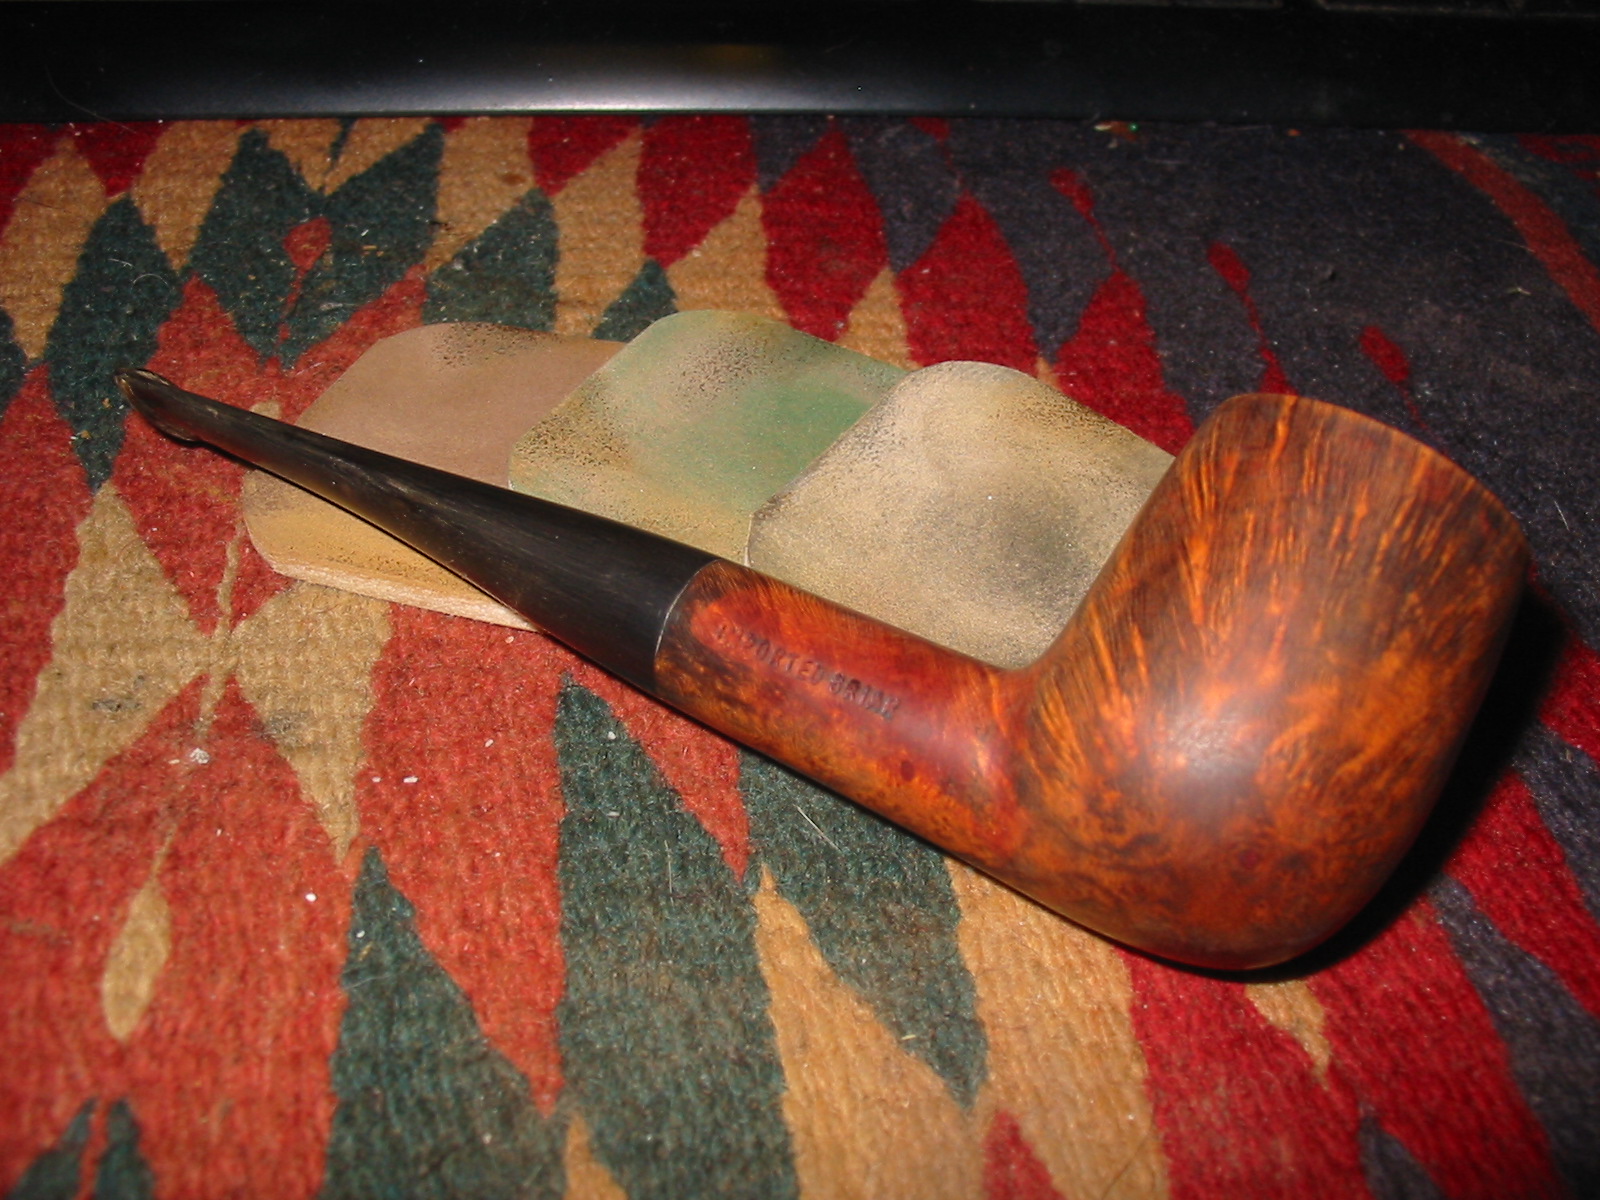
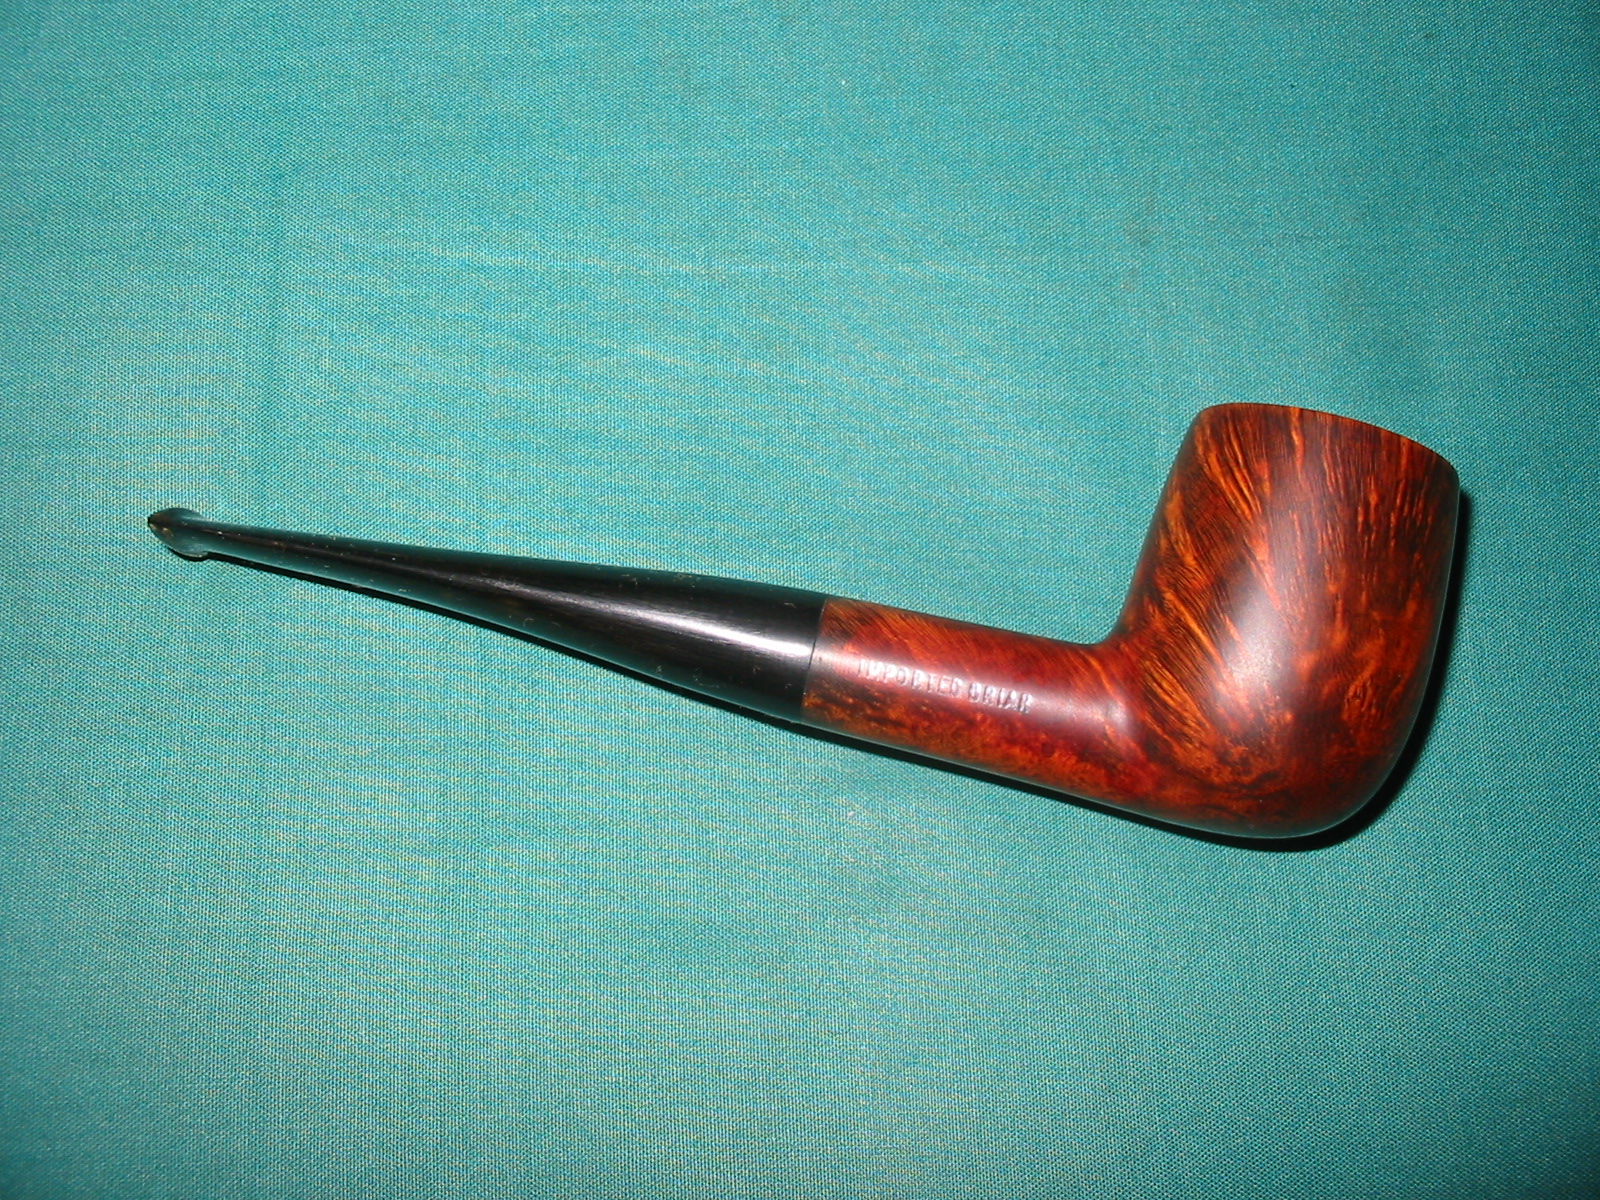
The straightened stem is pictured below. It can also be seen in the next three photos that the diameter of the stem is slightly larger than the diameter of the shank. I also left a slight bend to the stem as I liked the look of it on this pipe.


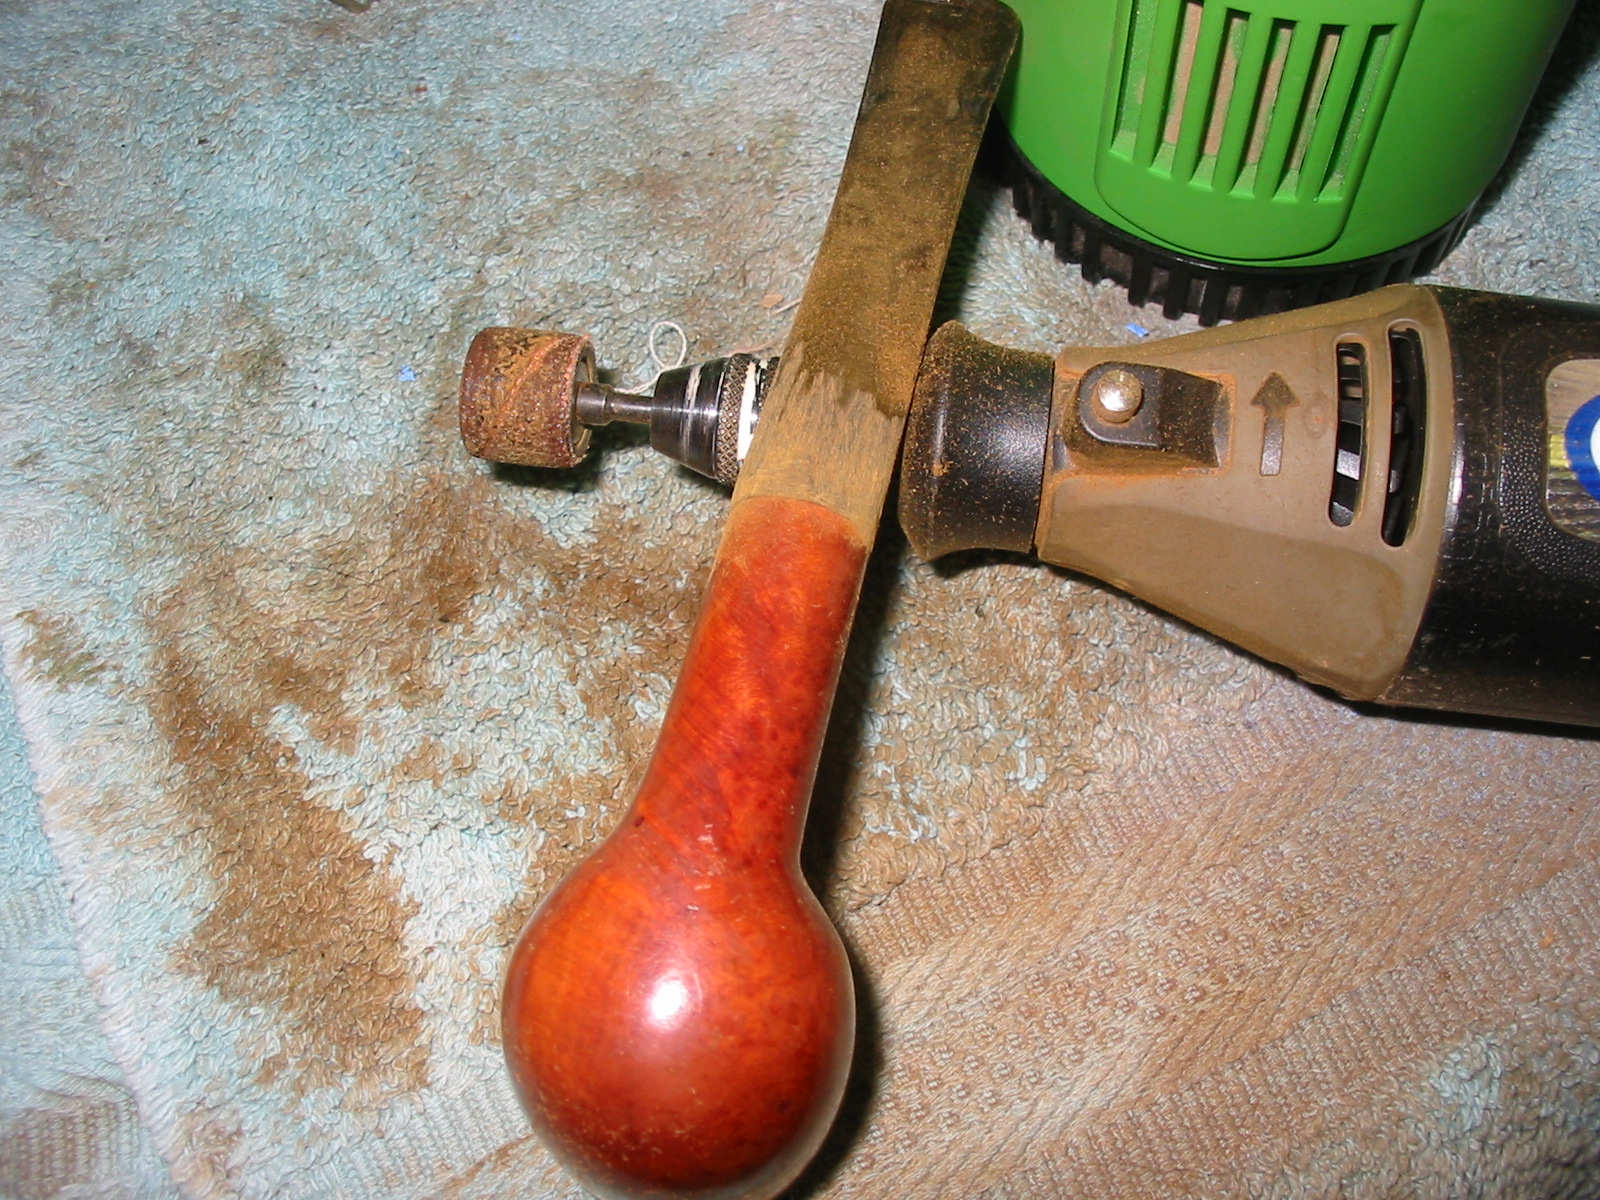
I used a Dremel with a sanding drum to reduce the diameter of the stem to match the shank. This has to be done slowly and with a steady hand so as not to nick the shank of the pipe. I move the Dremel slowly along the diameter of the stem and also backward toward the button to keep the lines accurate and not bulge after the sanded area. I sand it as close as possible to the correct diameter and then hand sand it to fit.


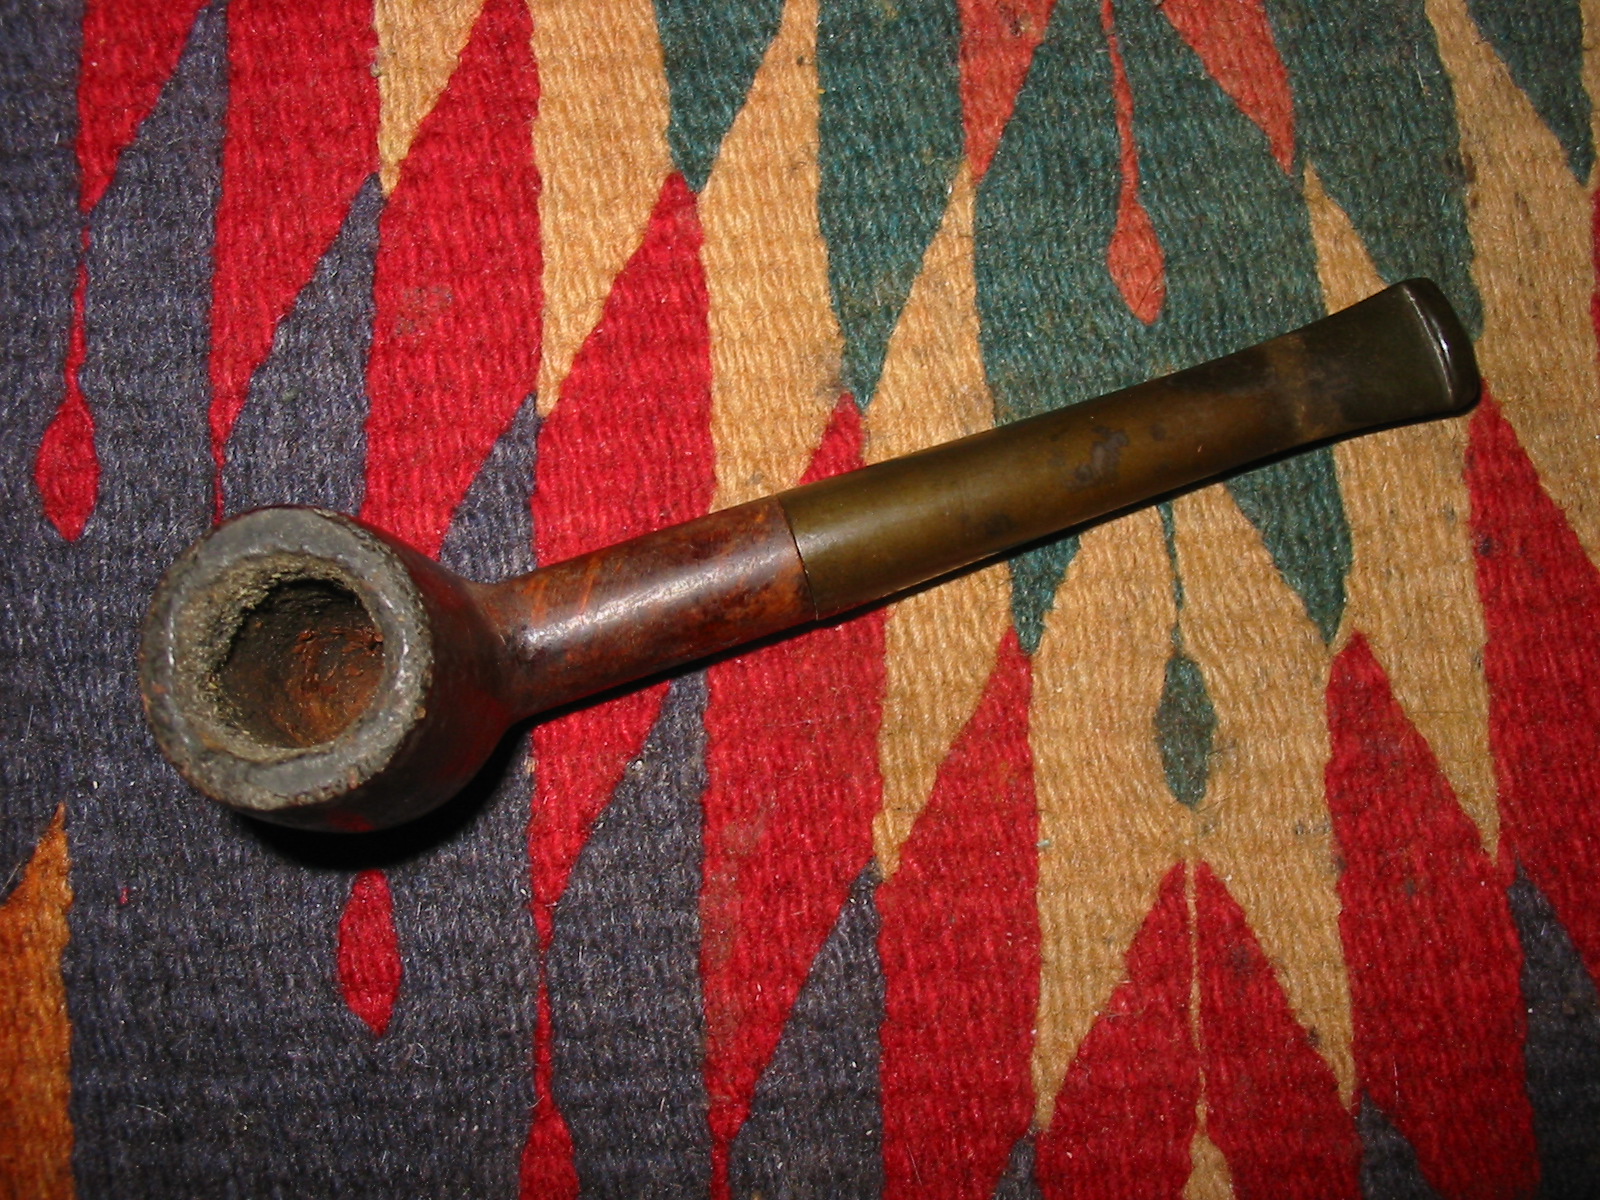
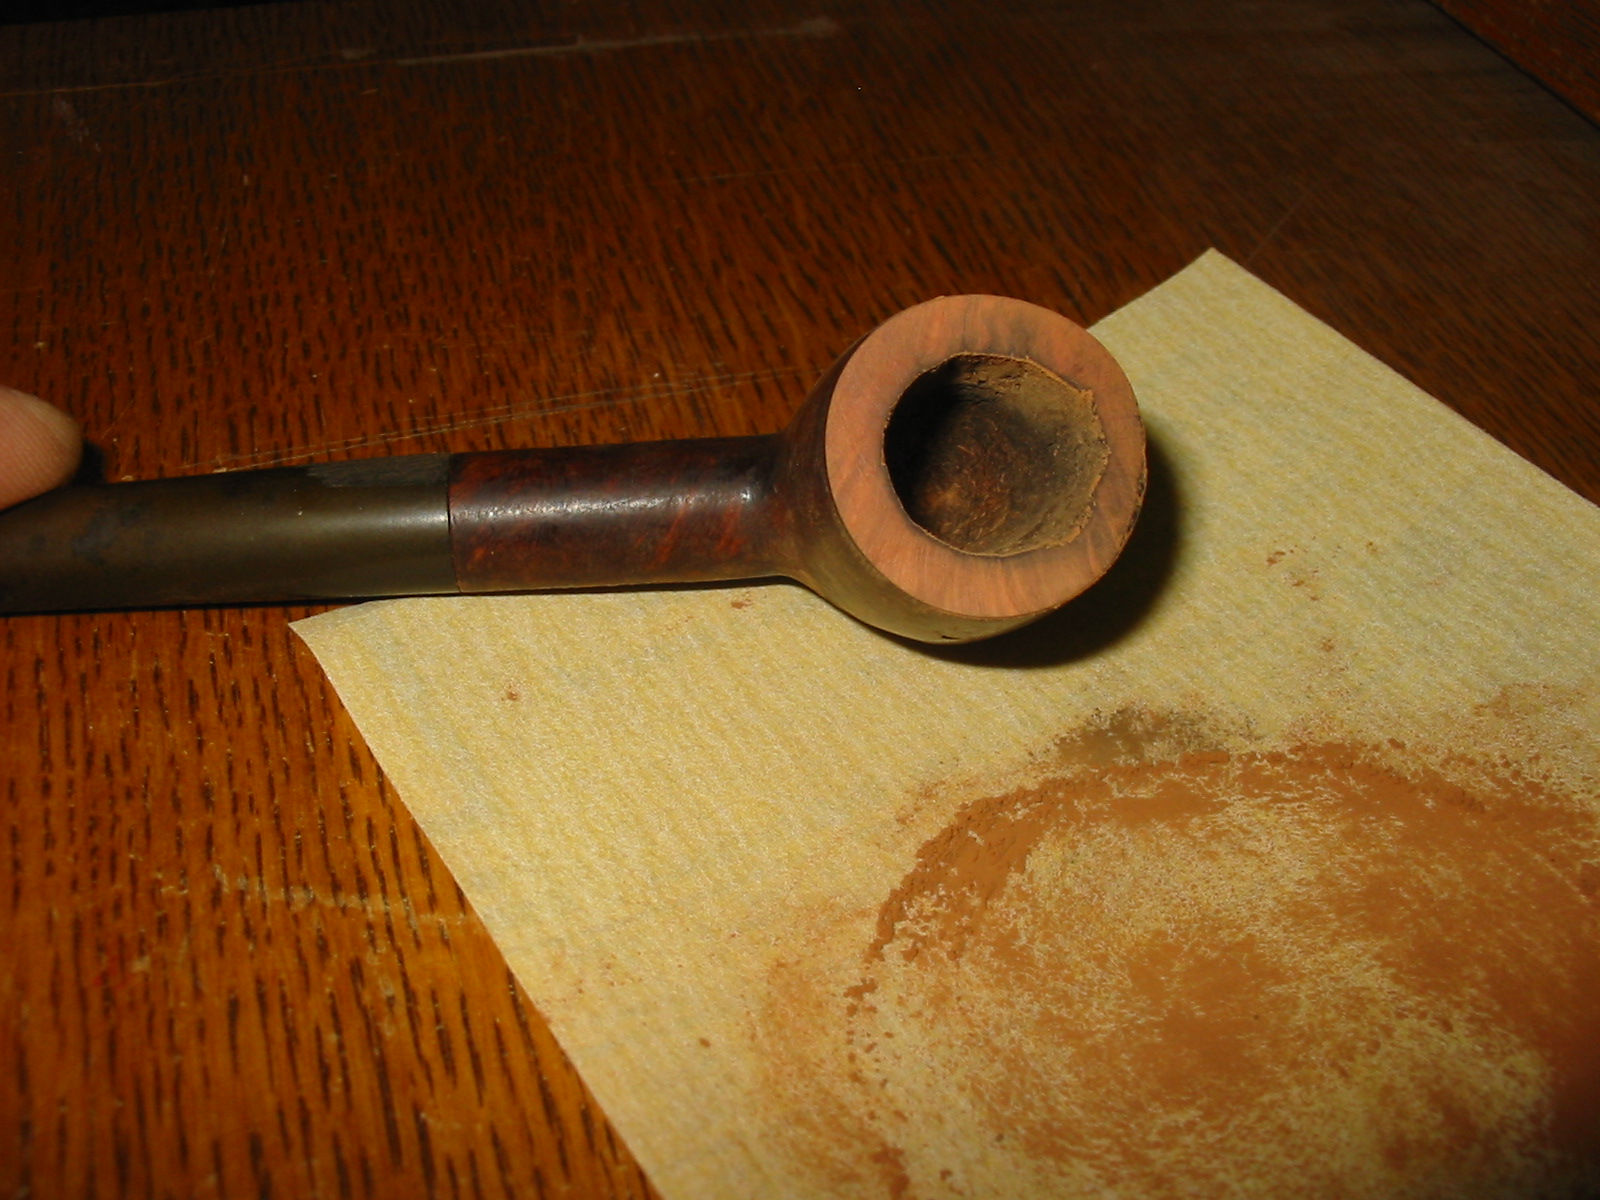
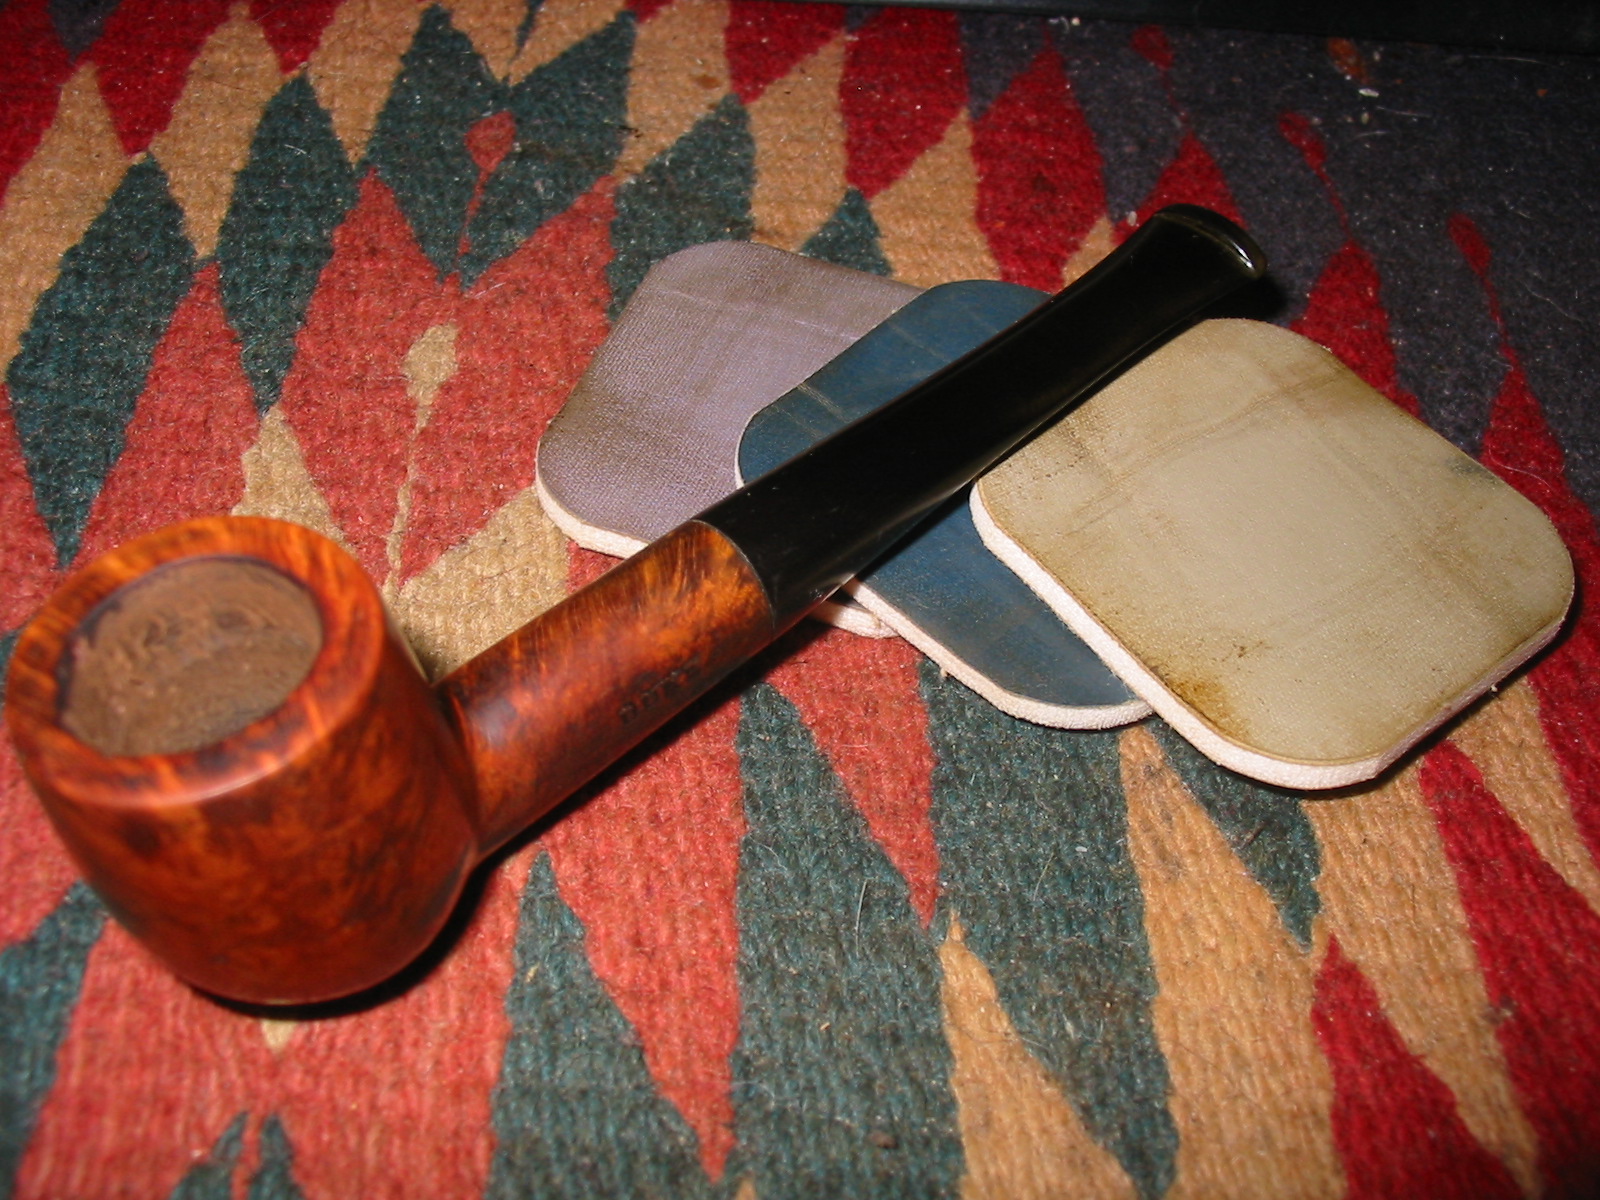
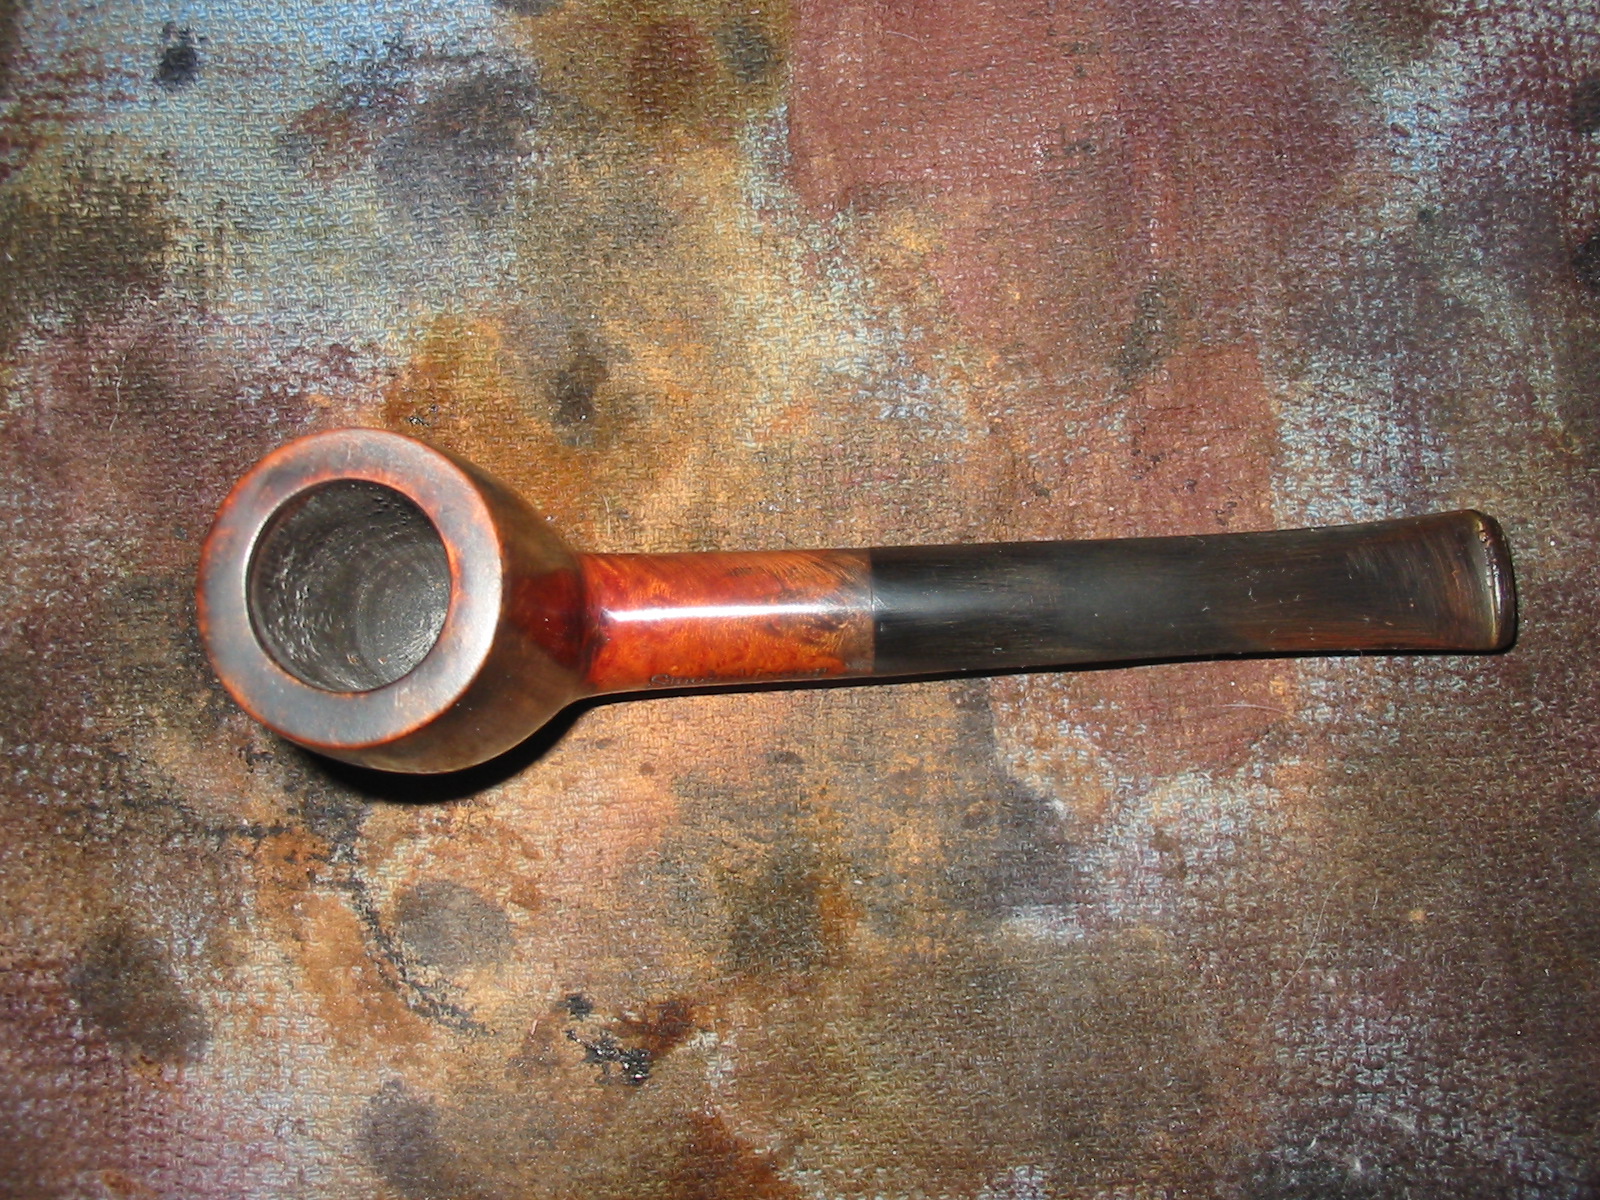
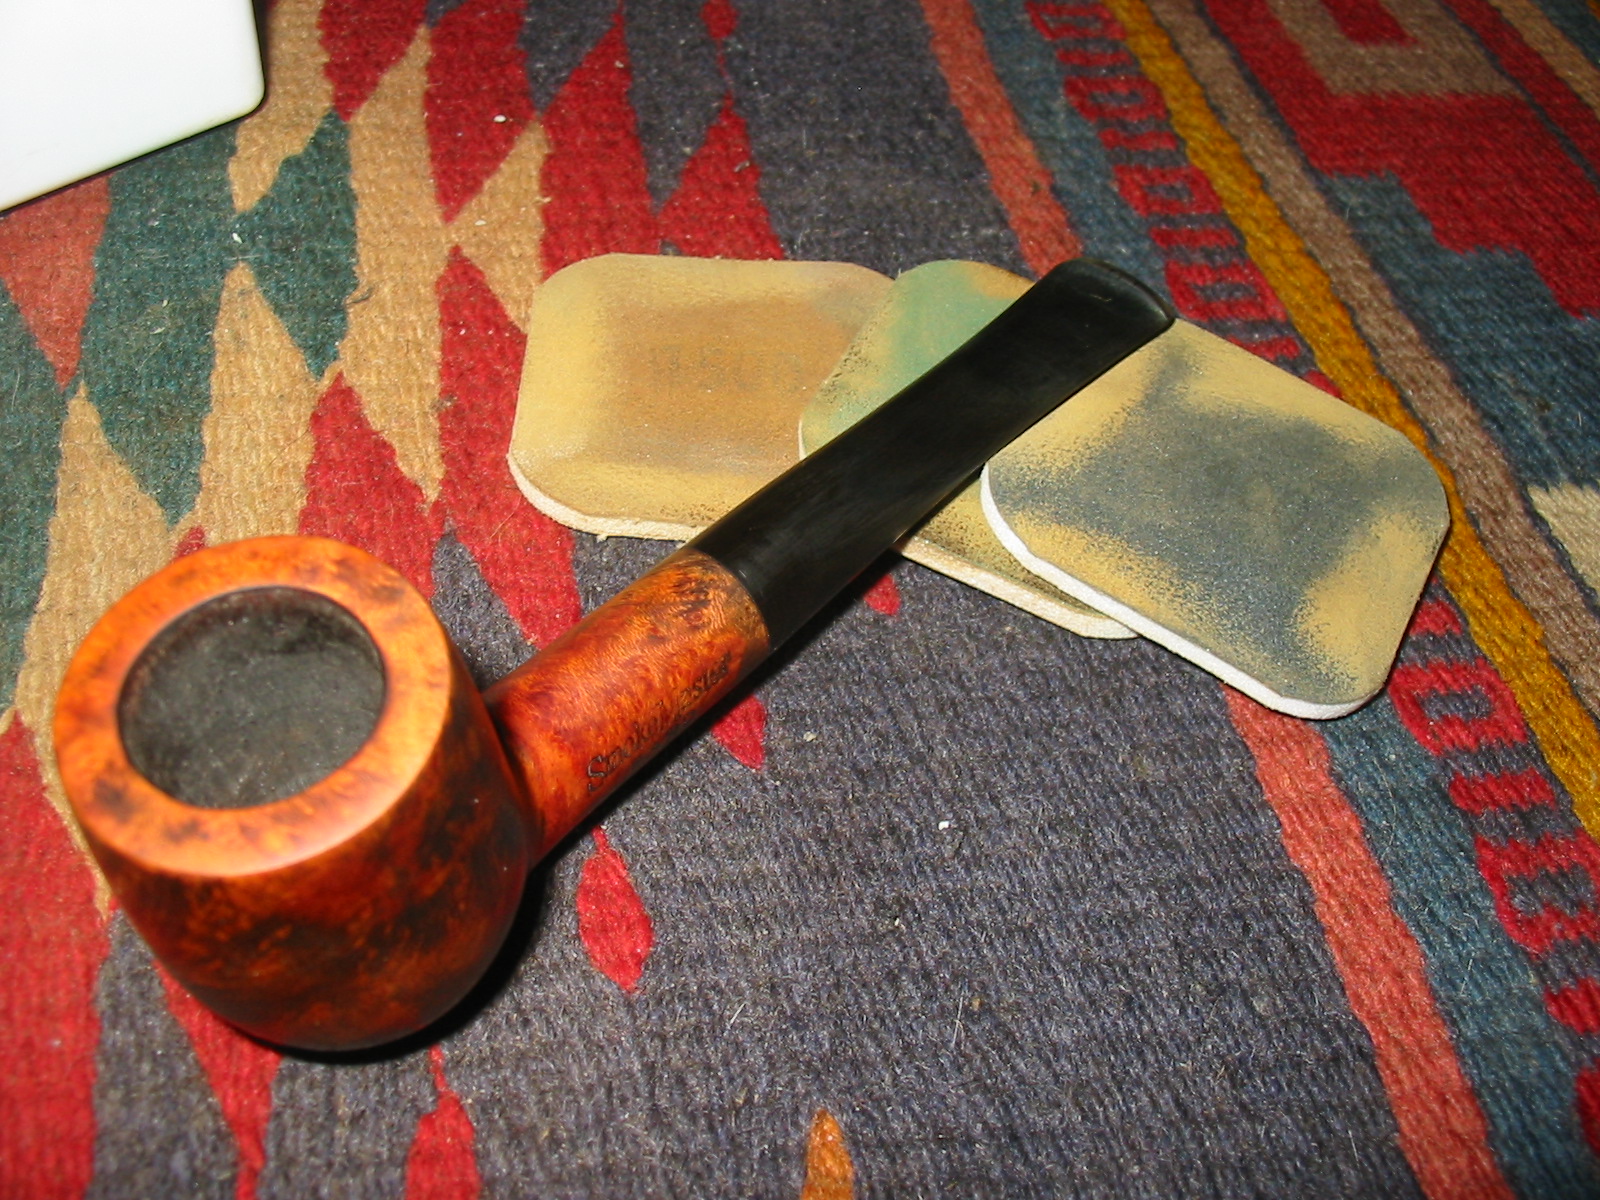
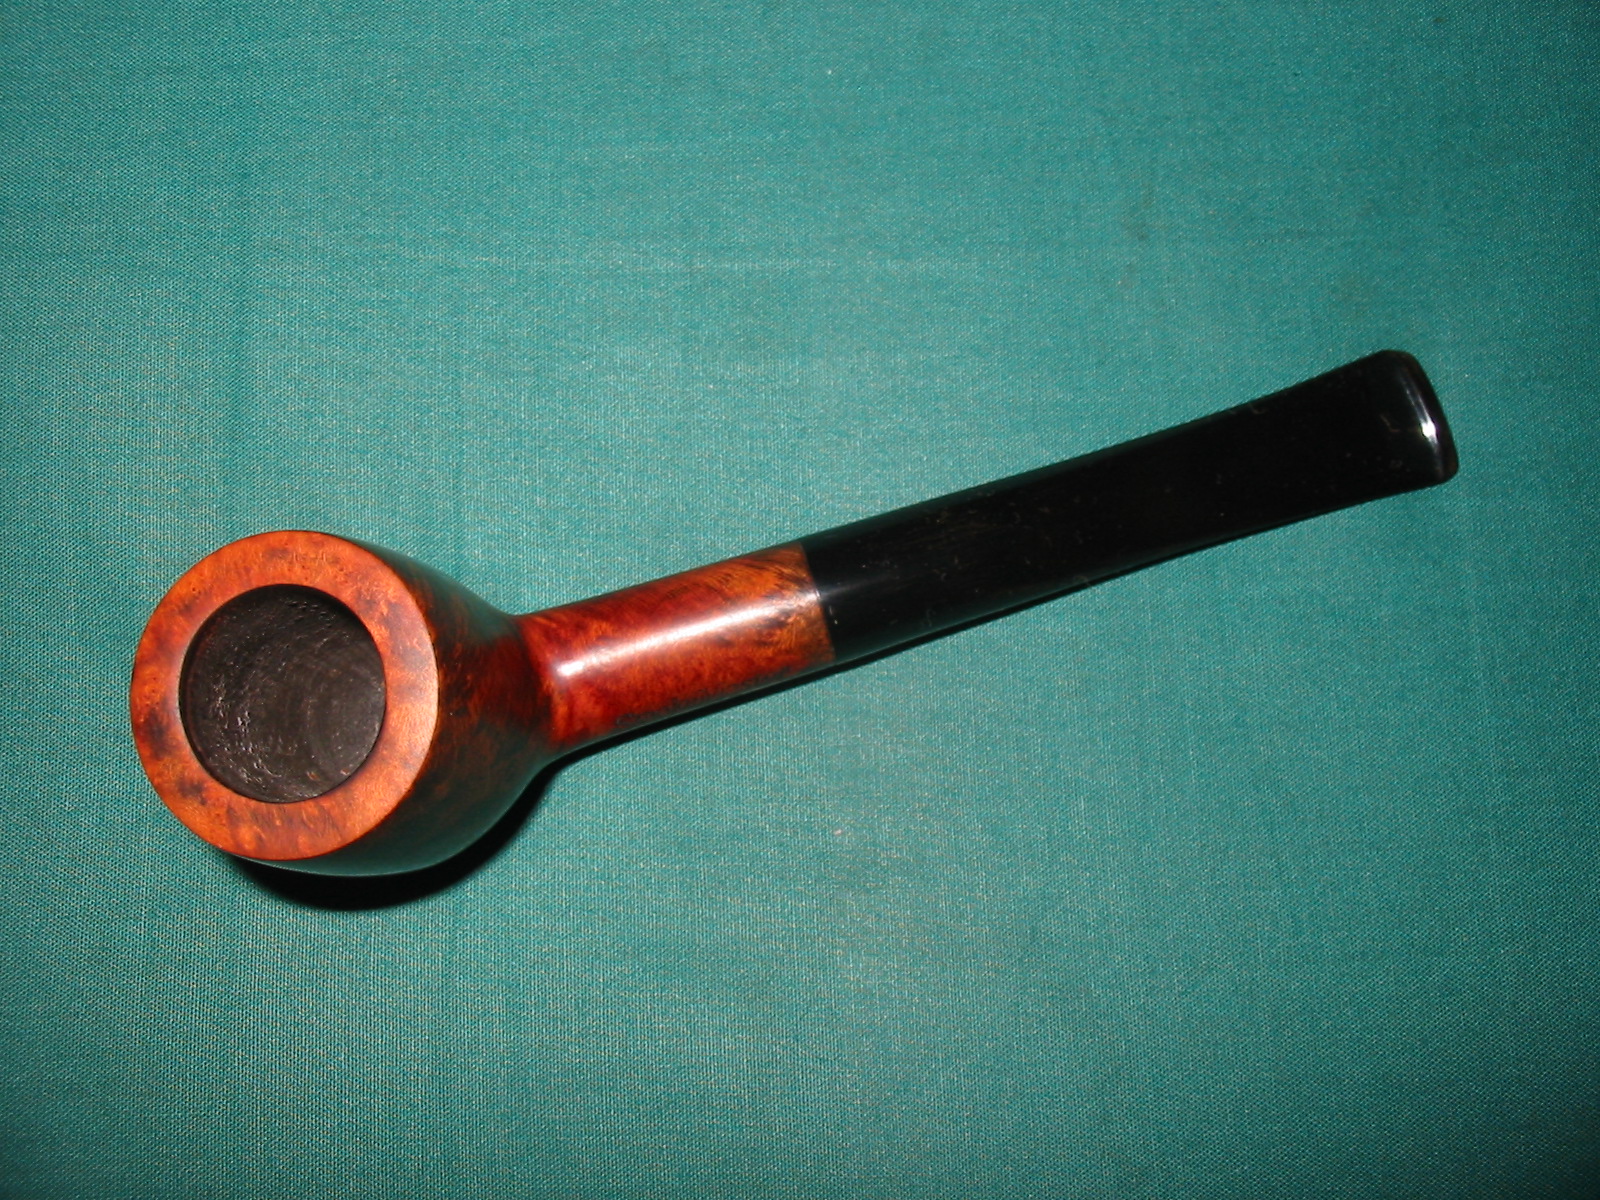
I took it back to the work table and sanded the stem with medium grit emery cloth to smooth out the finish and fit of the stem. I then used 220 grit sandpaper and continued to sand until the stem fit was smooth. At this point I also began to use a sanding block to make the transition between the new stem and the shank smooth. I did not worry about sanding the stem as I intended to remove the plastic finish and rework the entire pipe with a new finish. I also sanded the top of the bowl to remove the two burn marks that were present on the inner edge of the rim. This is visible in the last of the series of photos below.


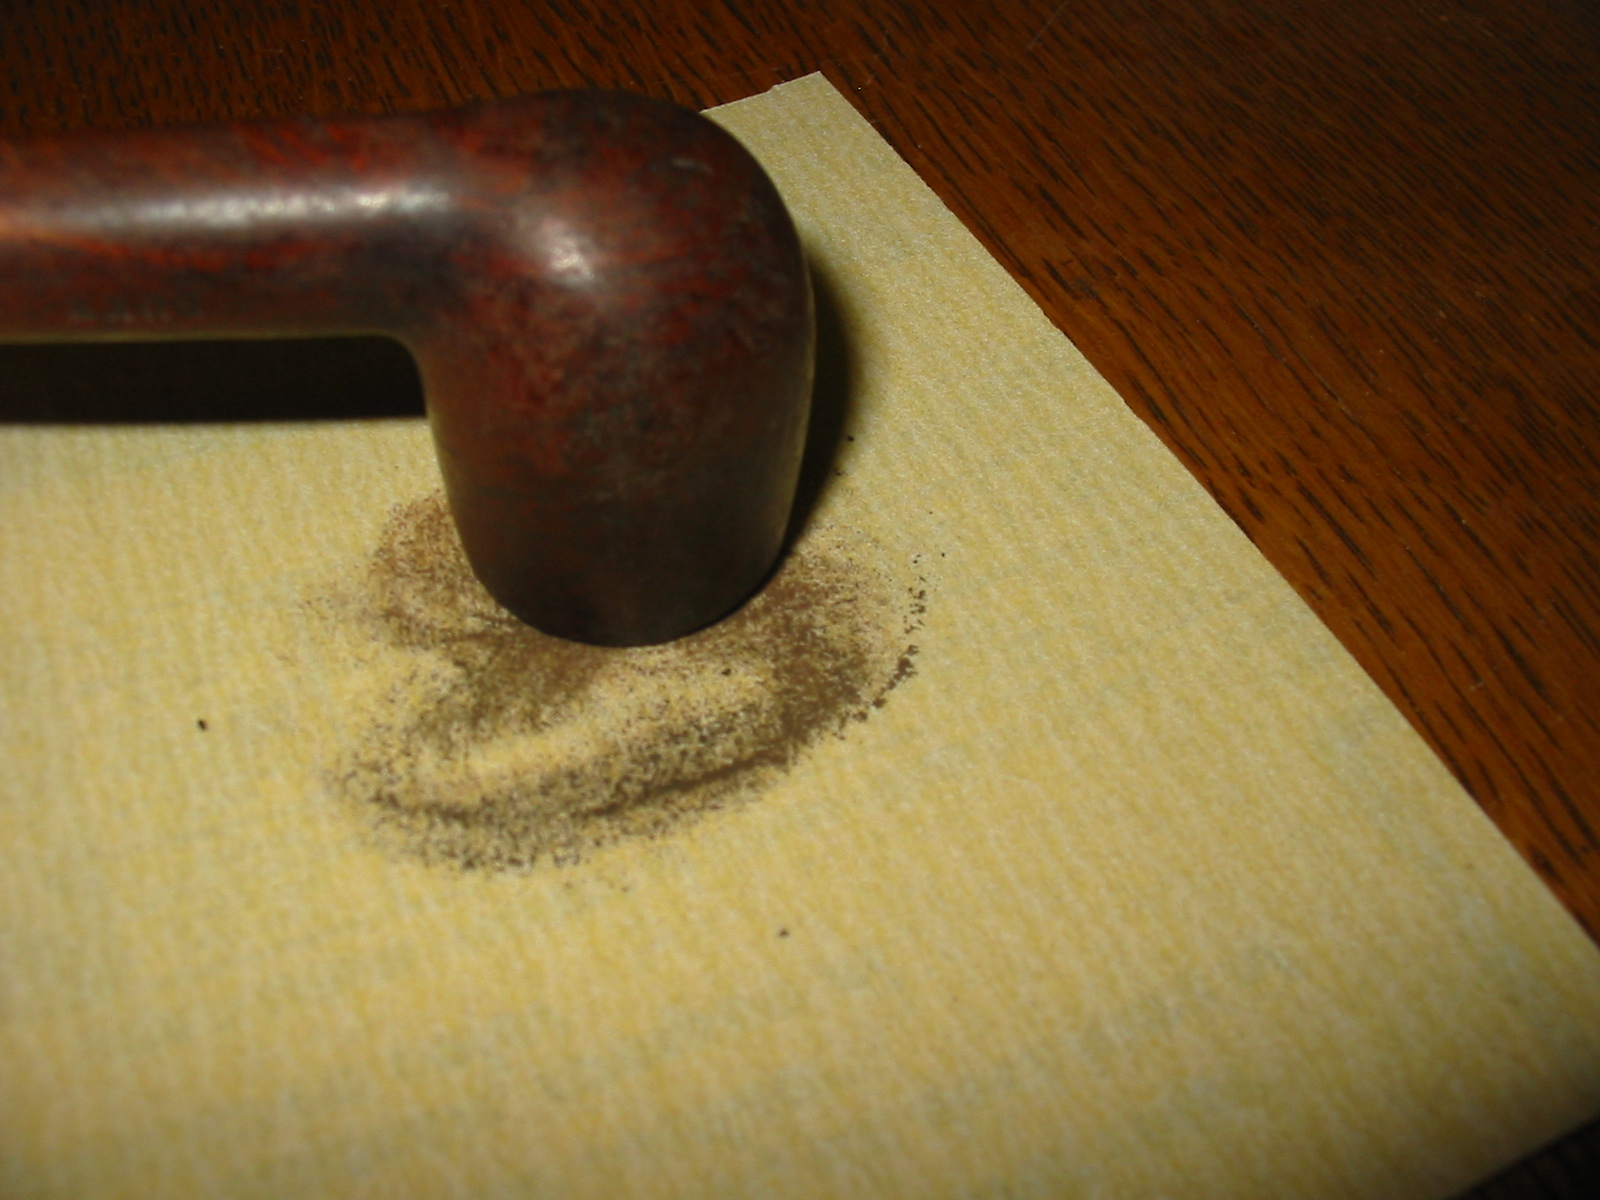
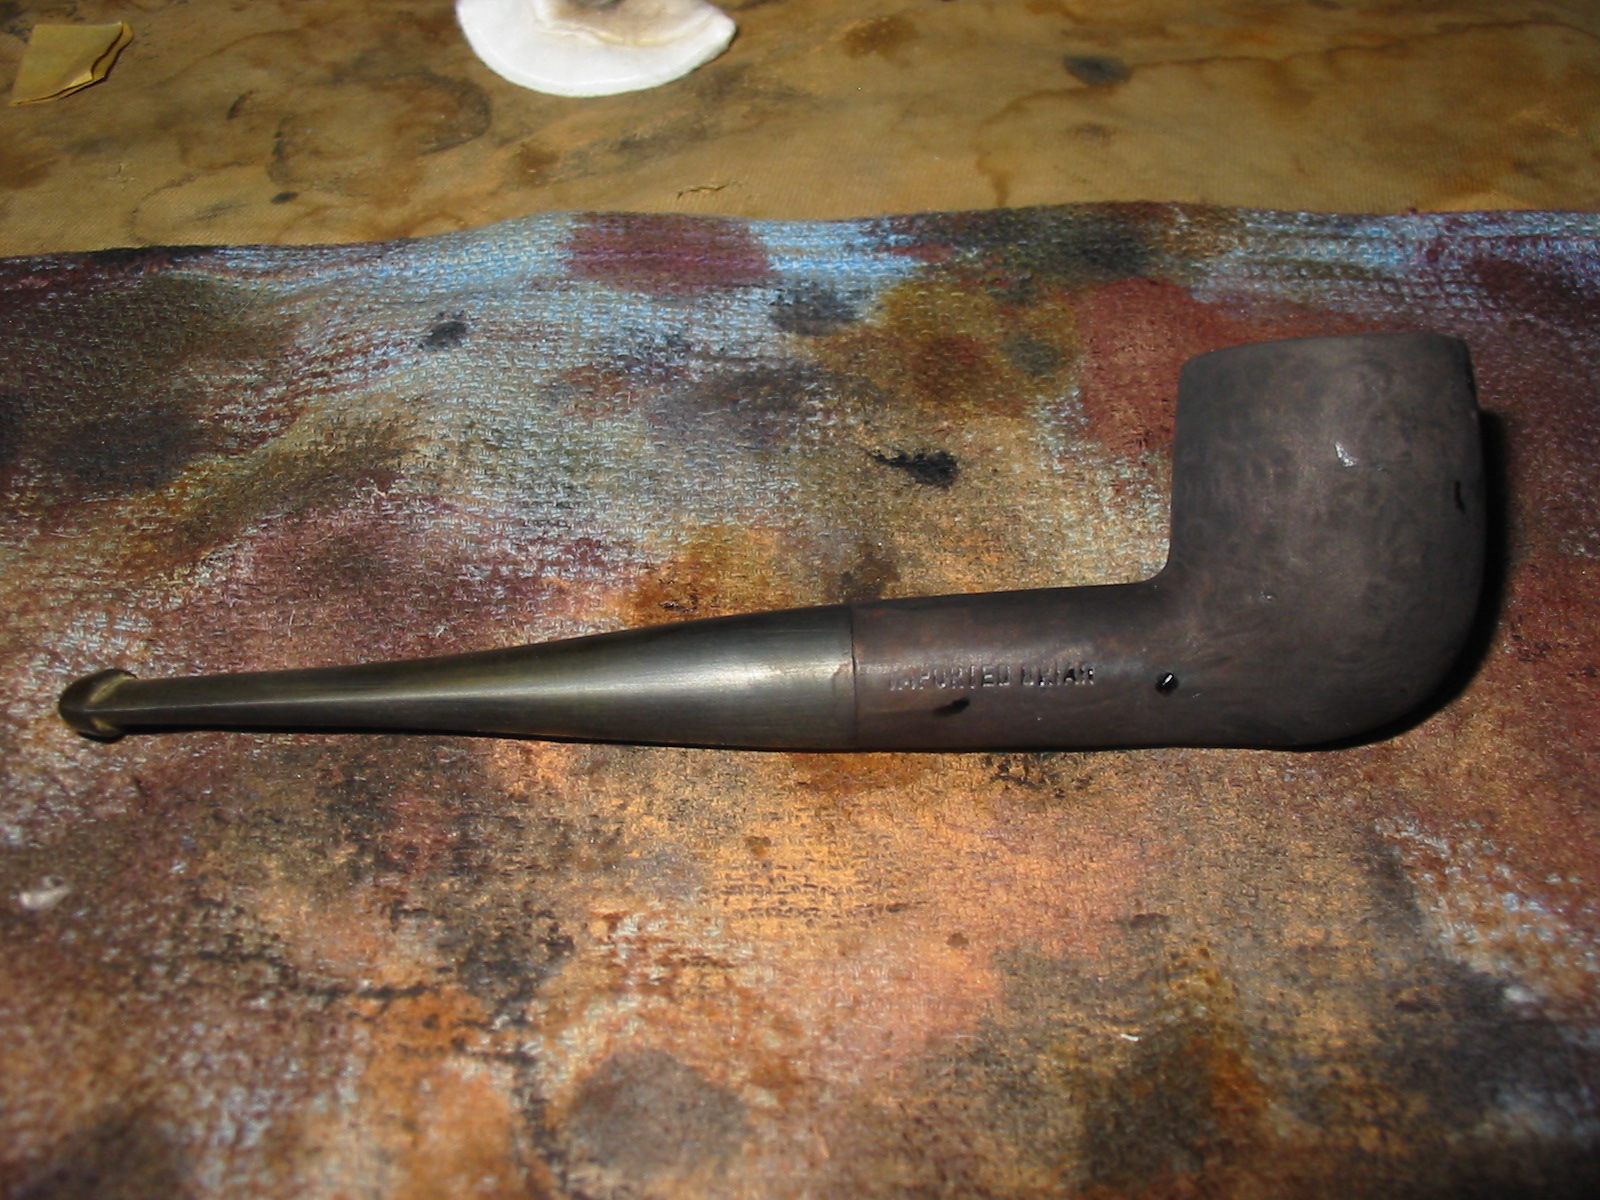
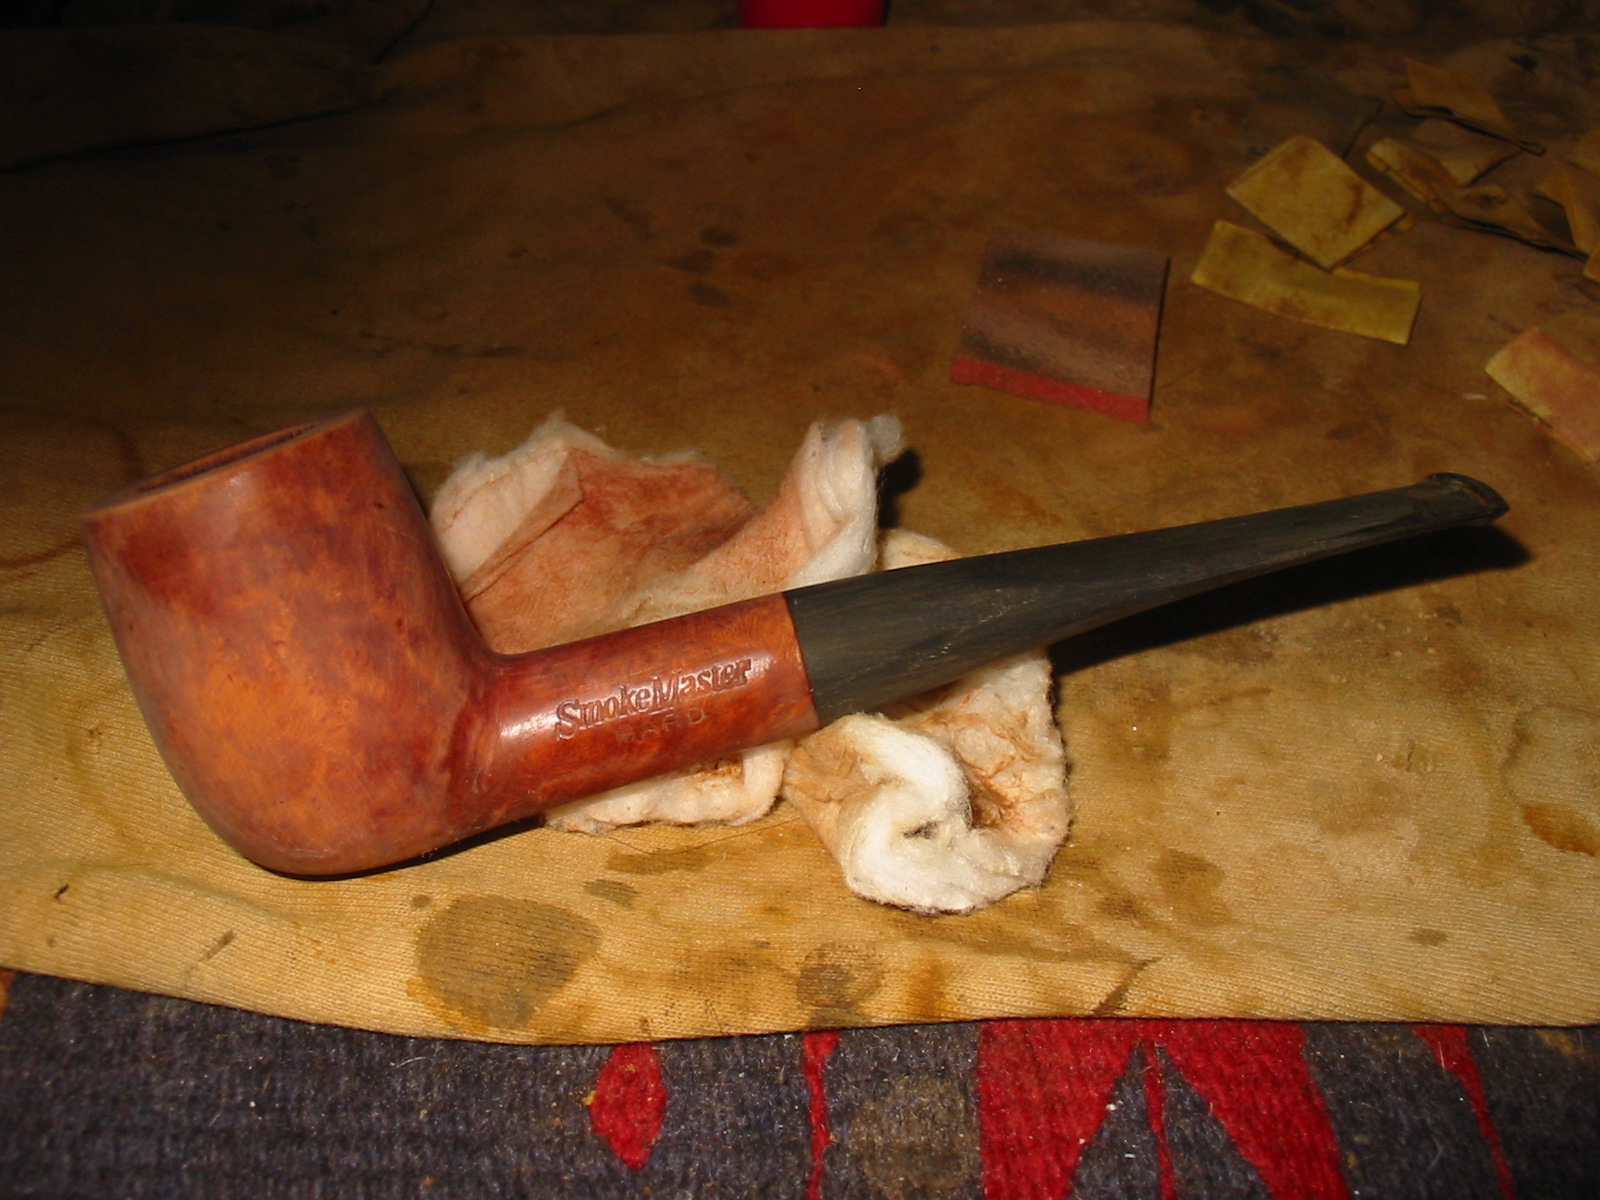
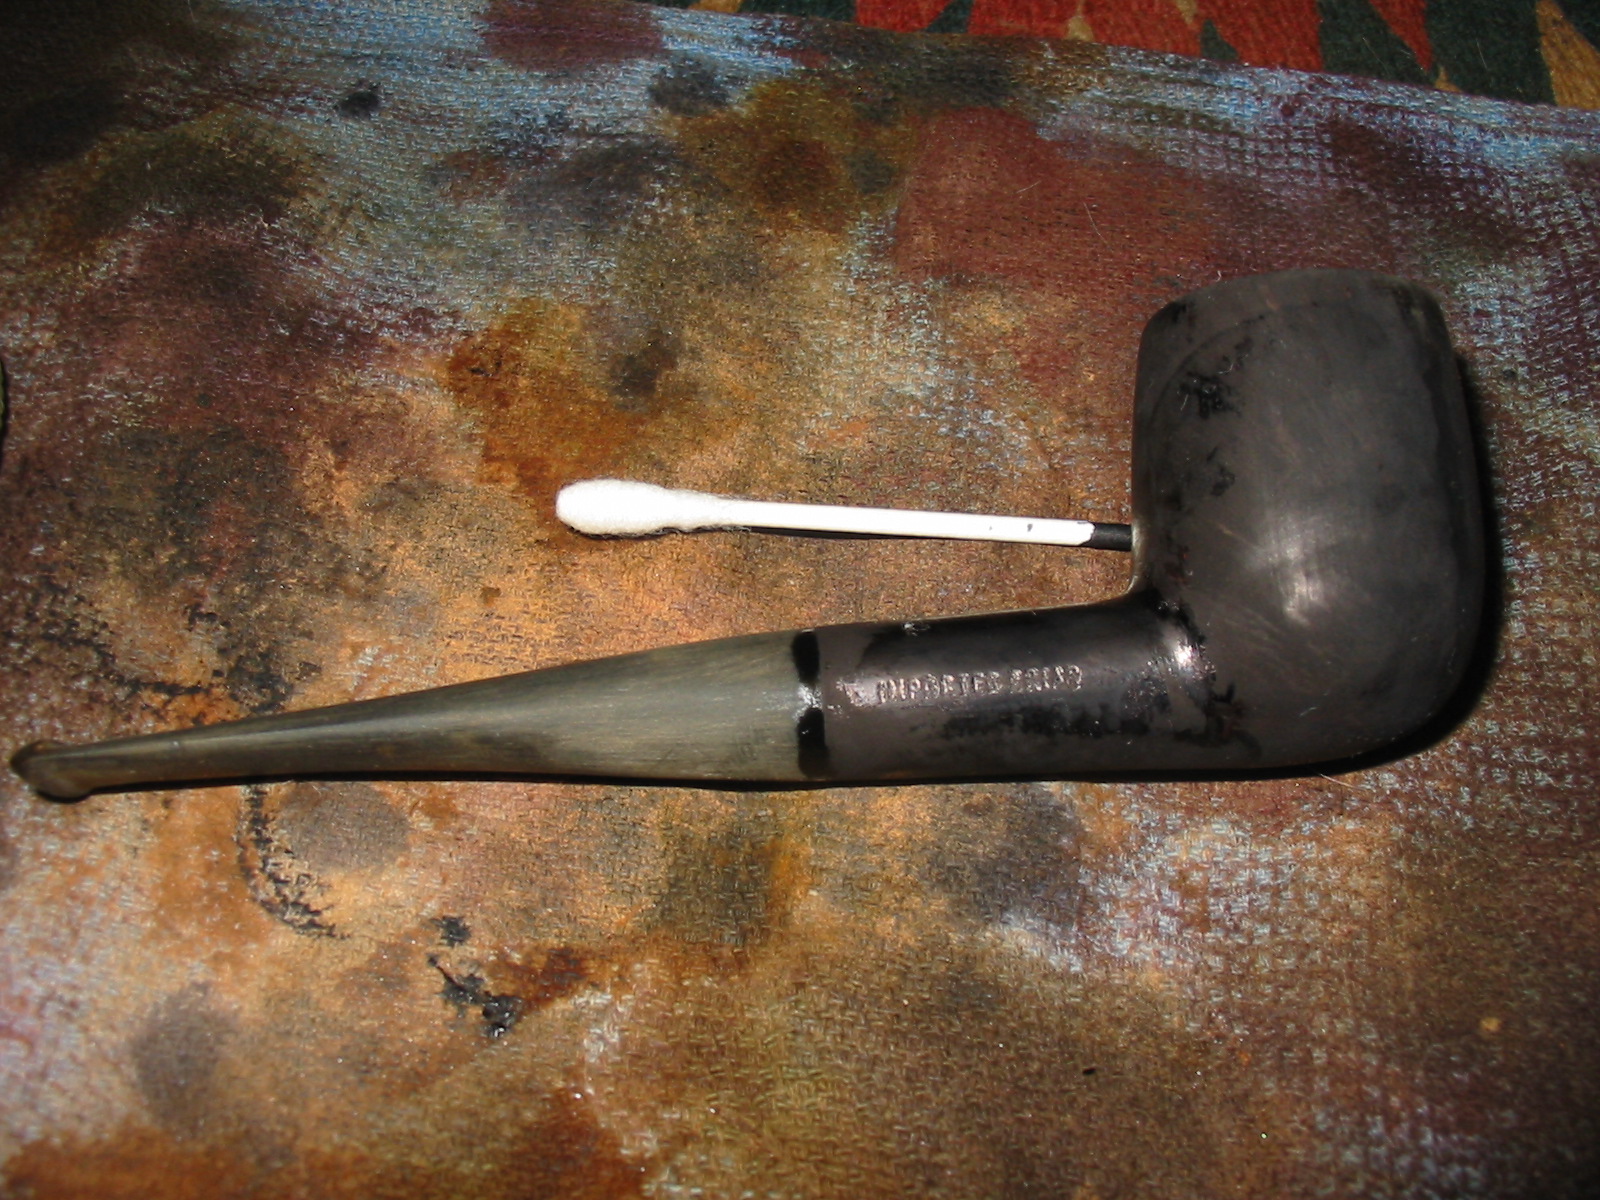
I wiped down the bowl with acetone on a cotton pad to try to remove the plastic like finish that was on the pipe. The acetone succeeded in dulling the finish but not in removing it from the briar. I continued to wipe it down until I was through the finish coat. I sanded the bowl with a medium grit sanding sponge between the acetone washes. (I had previously tried the alcohol bath on pipes with this type of finish and found that they did not penetrate the finish.)


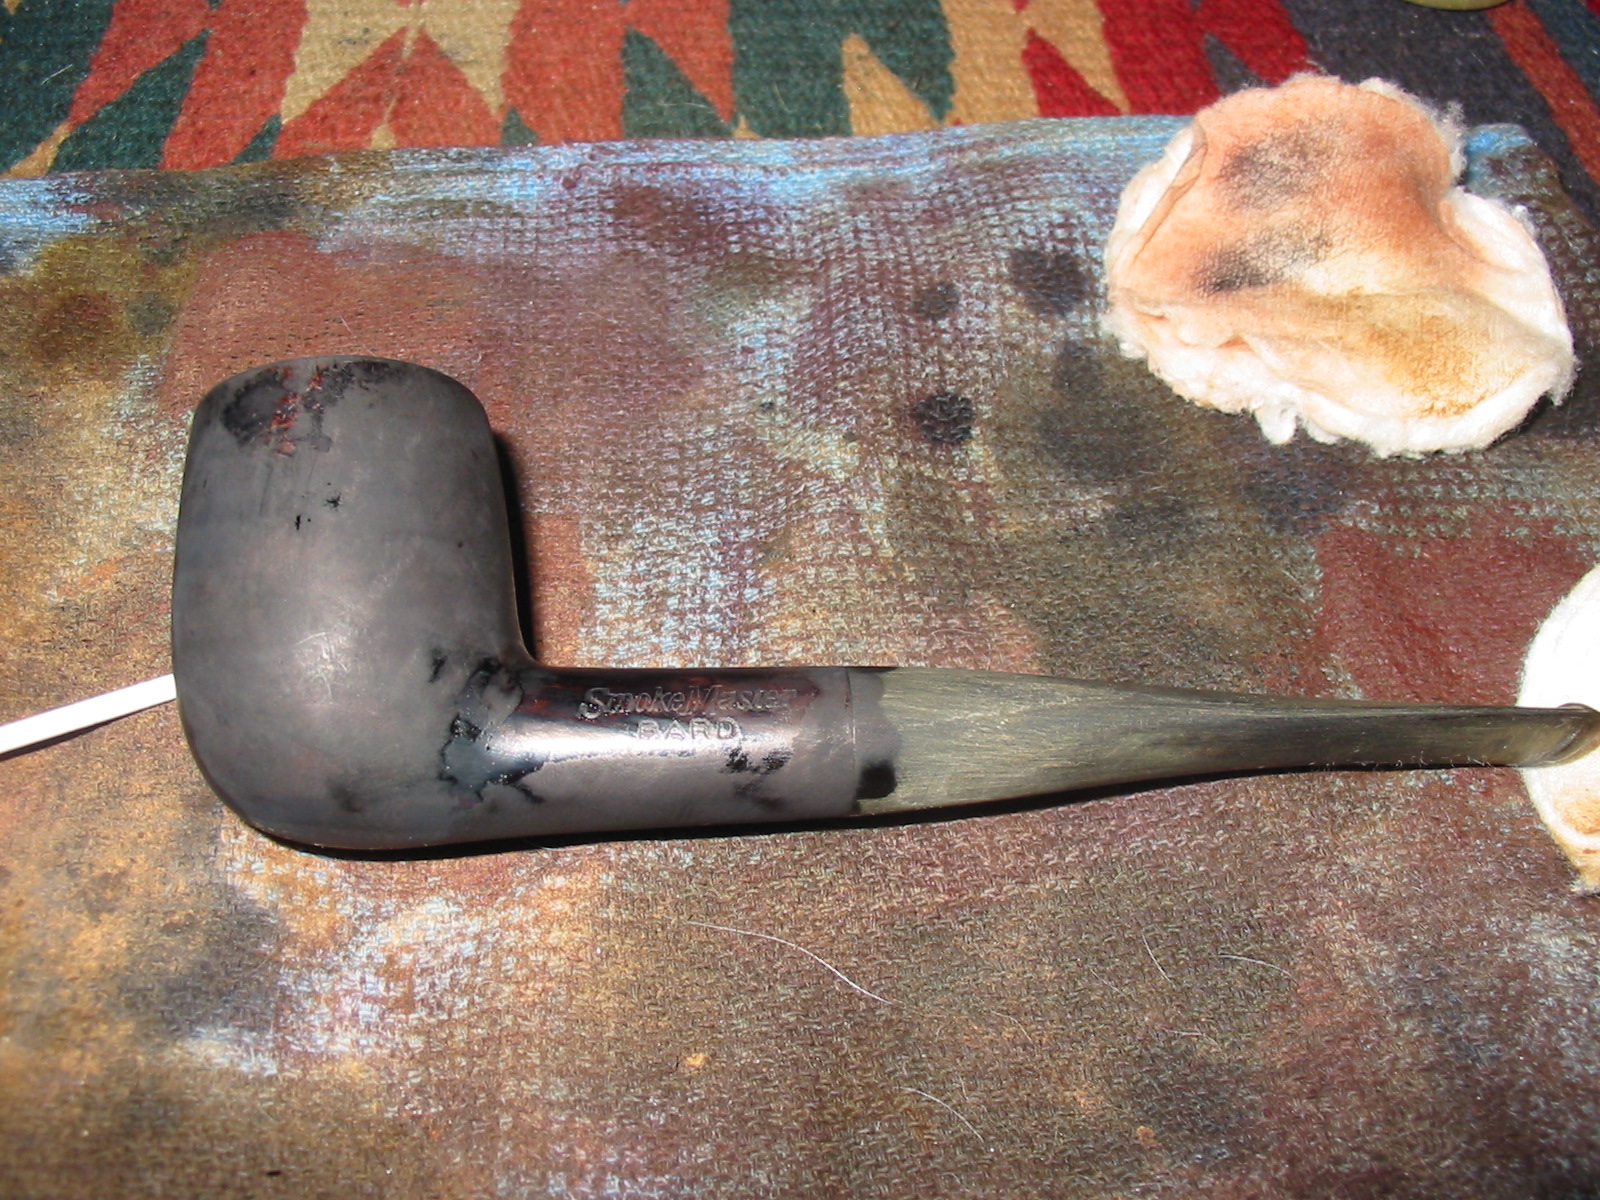
Once the finish was removed I sanded the pipe with a fine grit sanding sponge to remove the scratches as much as possible. I was not overly worried at this point in removing them all as I intended to do a two part stain and sand between the stain coats. I stained the pipe with a black aniline stain, flamed and stained and flamed again. I also heated the bowl to drive the black stain deep into the grain of the pipe so that when I sanded it the grain would show well.


I wiped the bowl down with Everclear on a cotton pad to remove the topcoat of the stain. I knew that the stain would have penetrated deep enough into the grain to leave the parts present that I wanted highlighted.


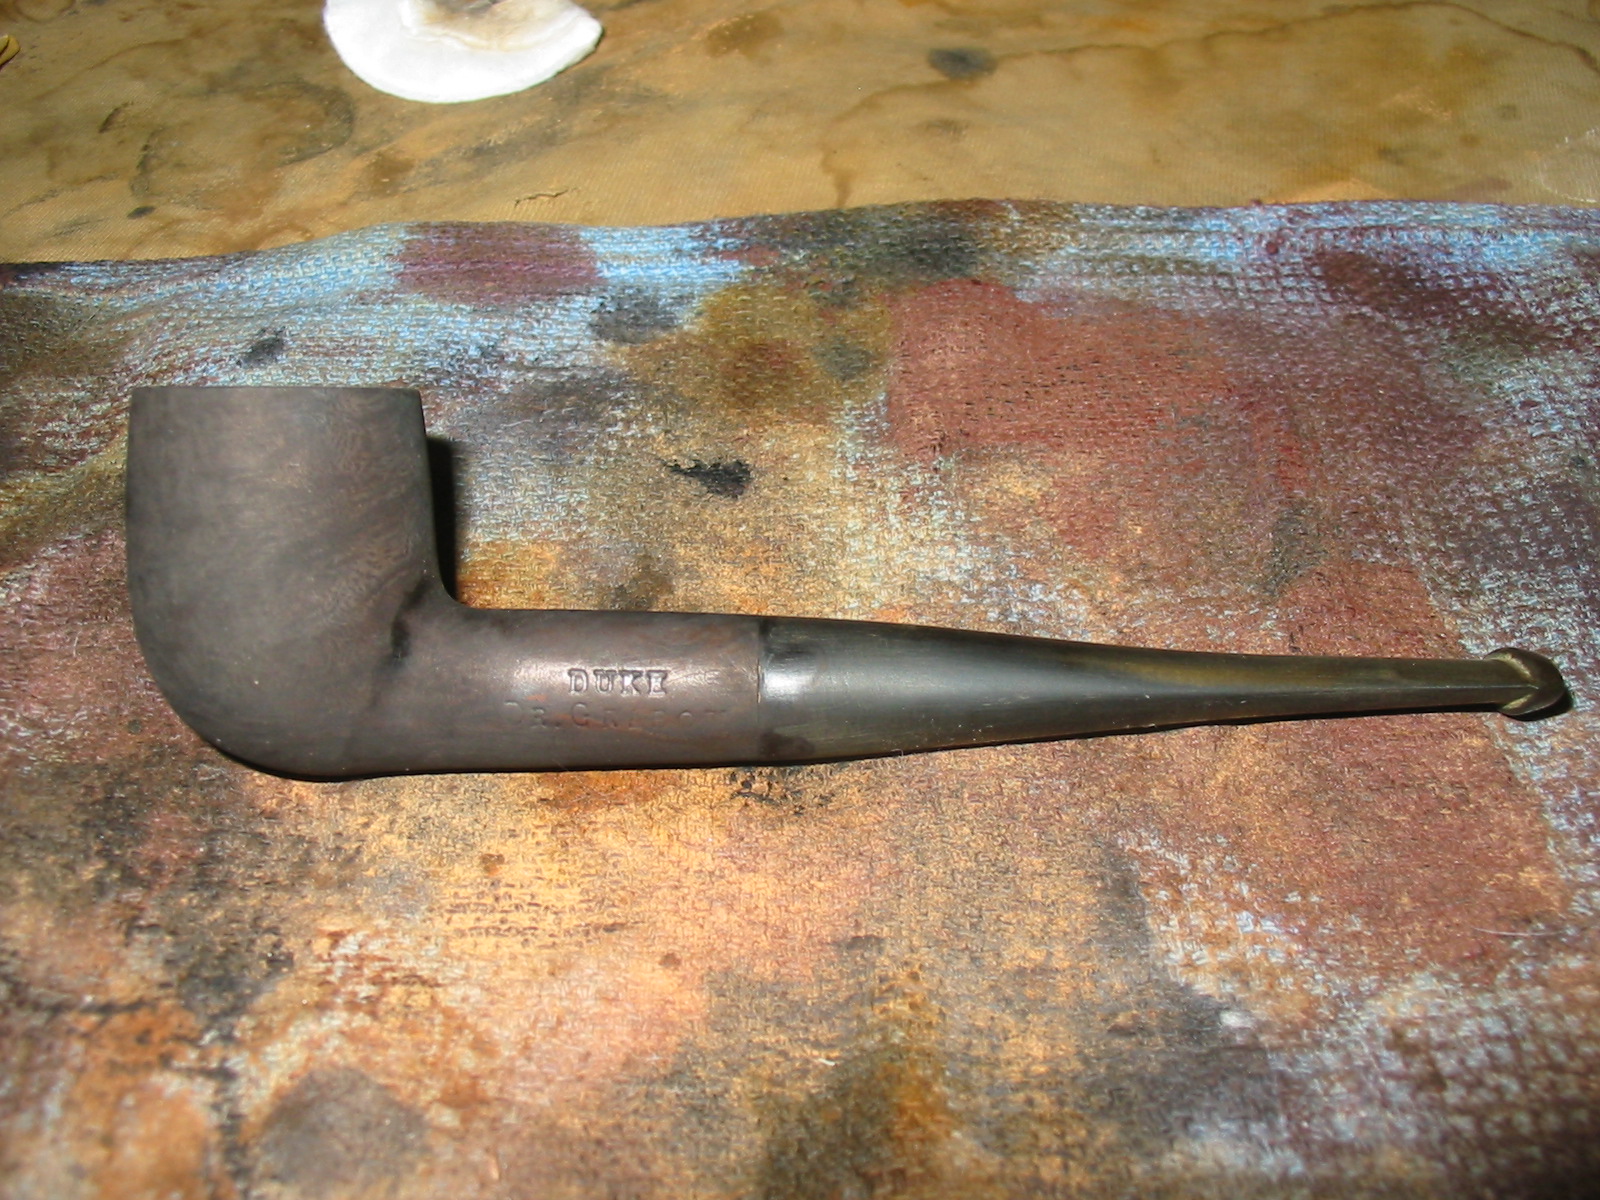
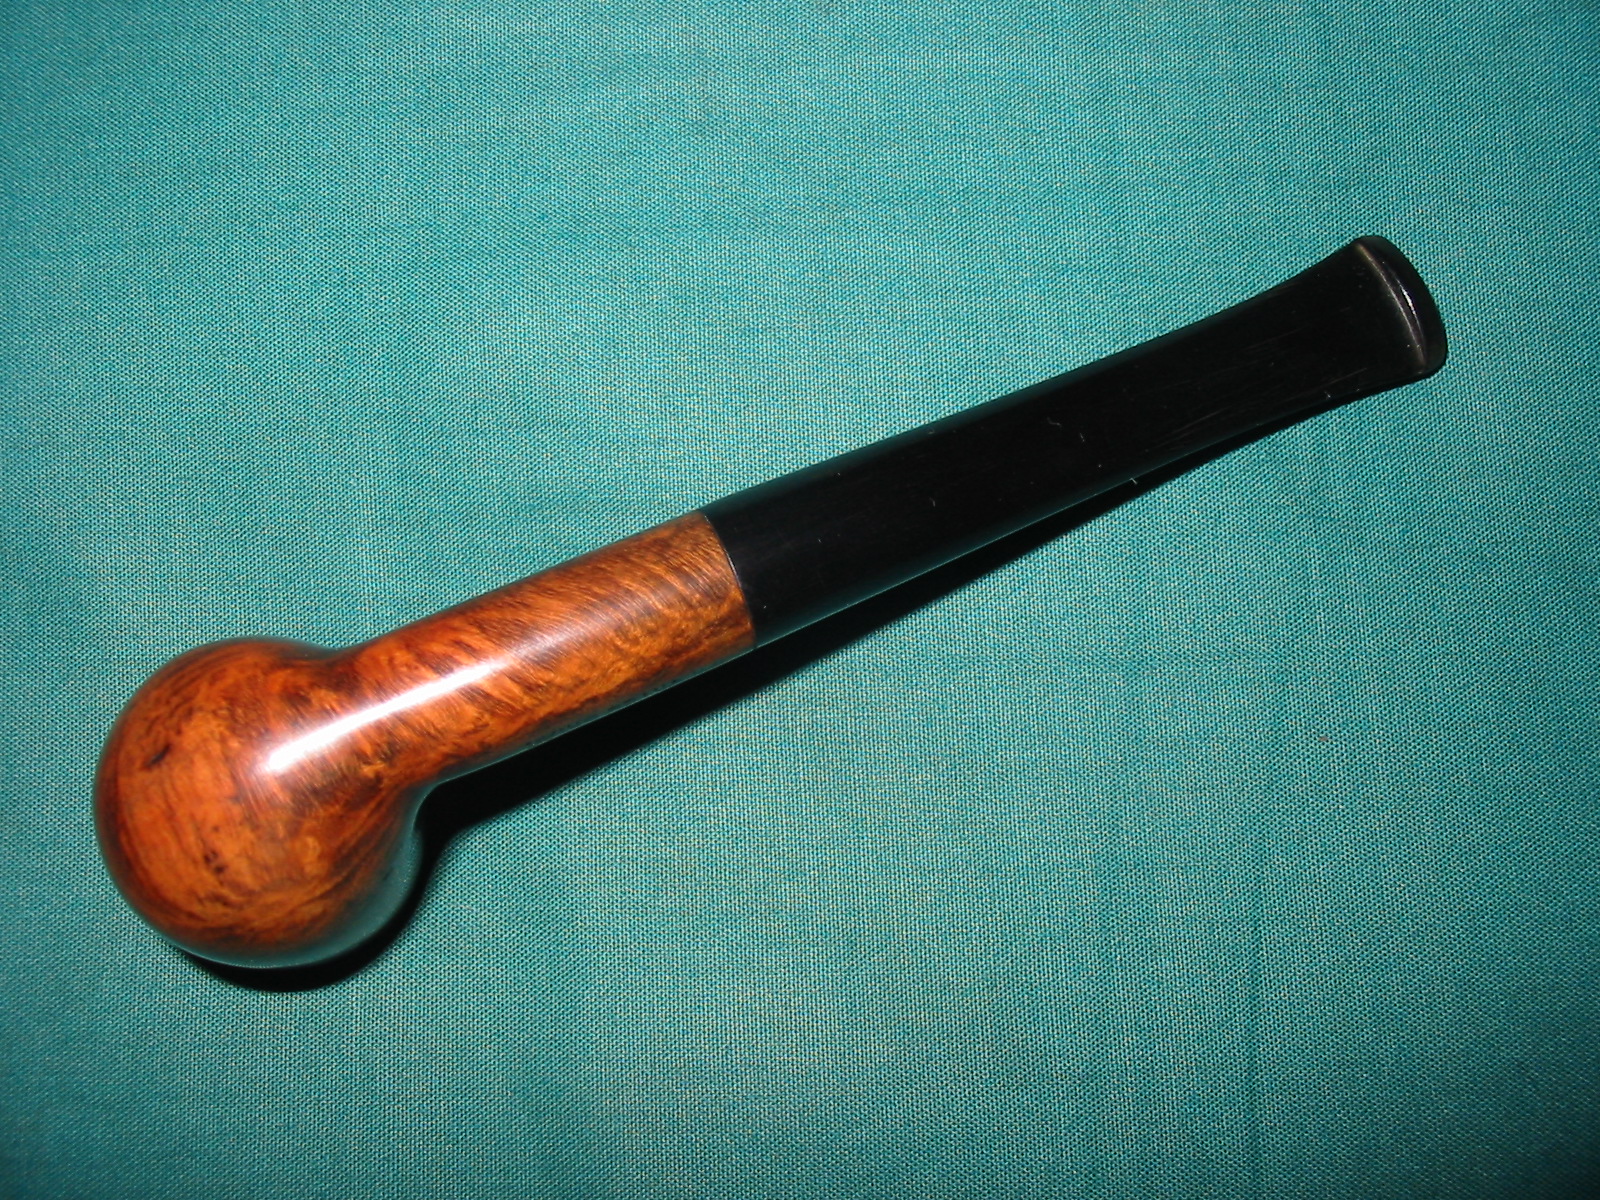
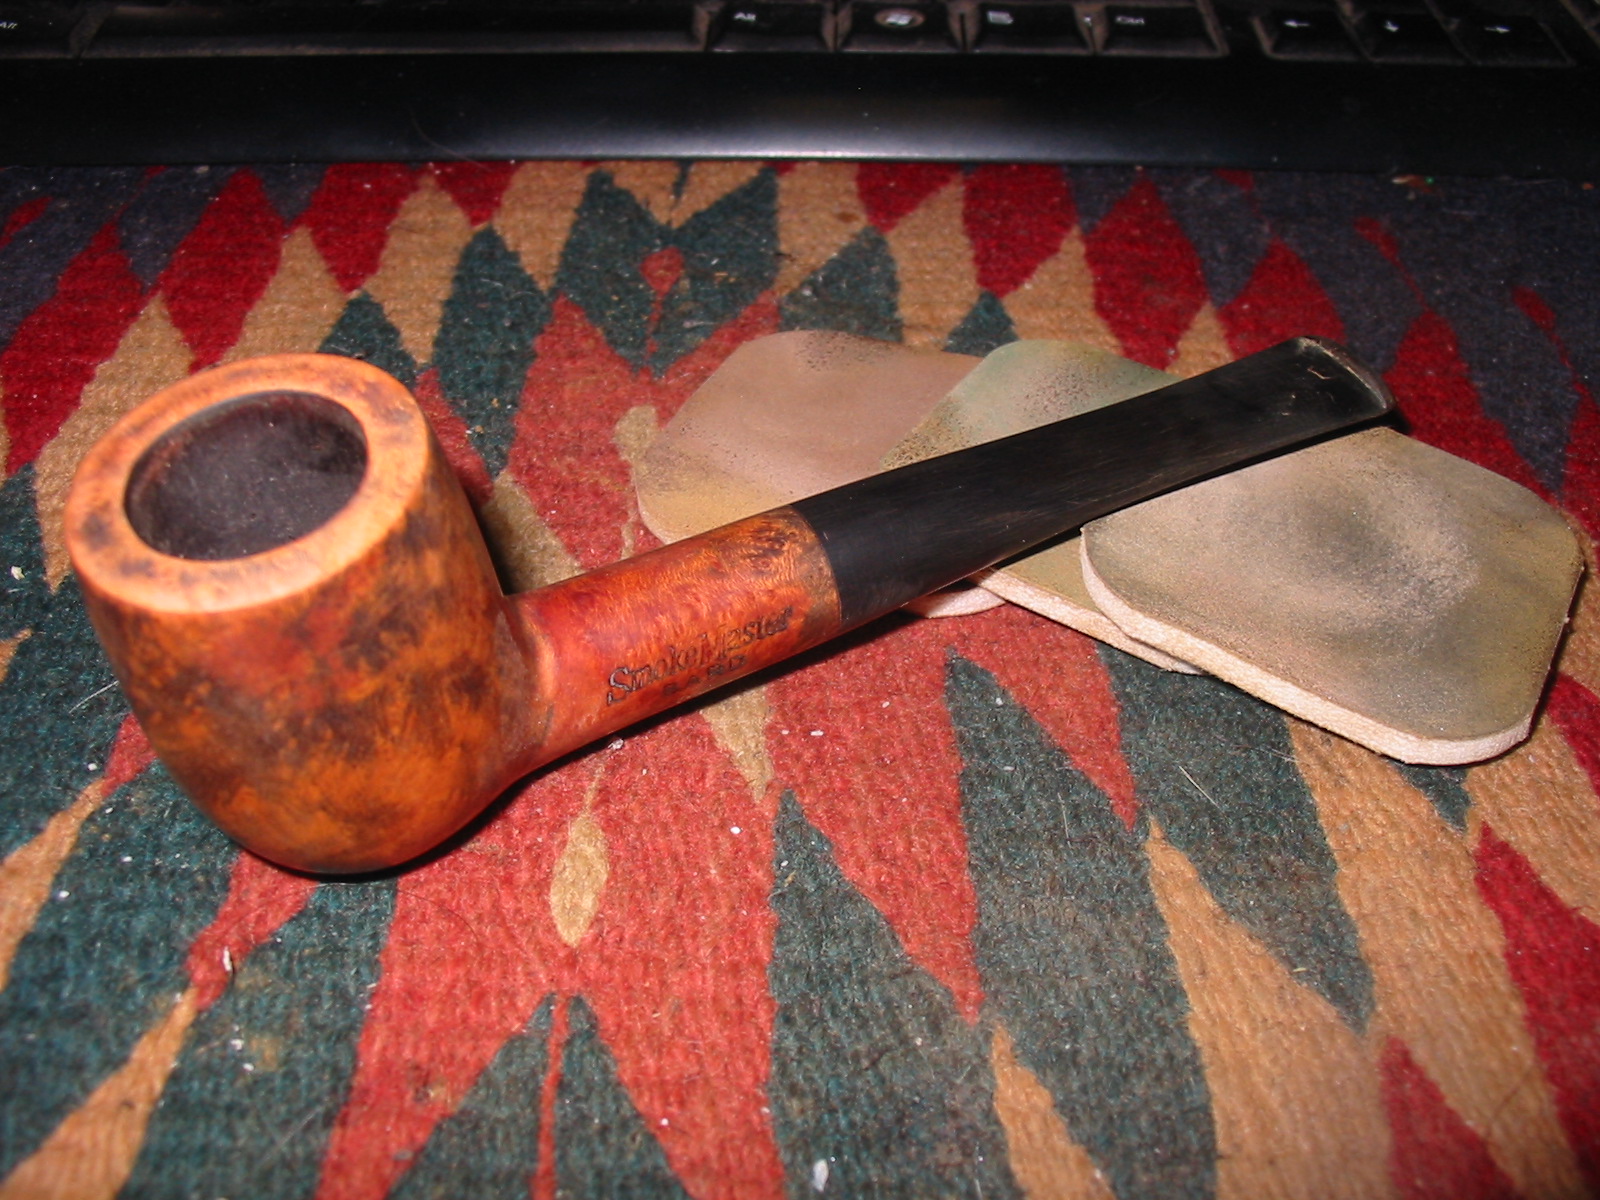
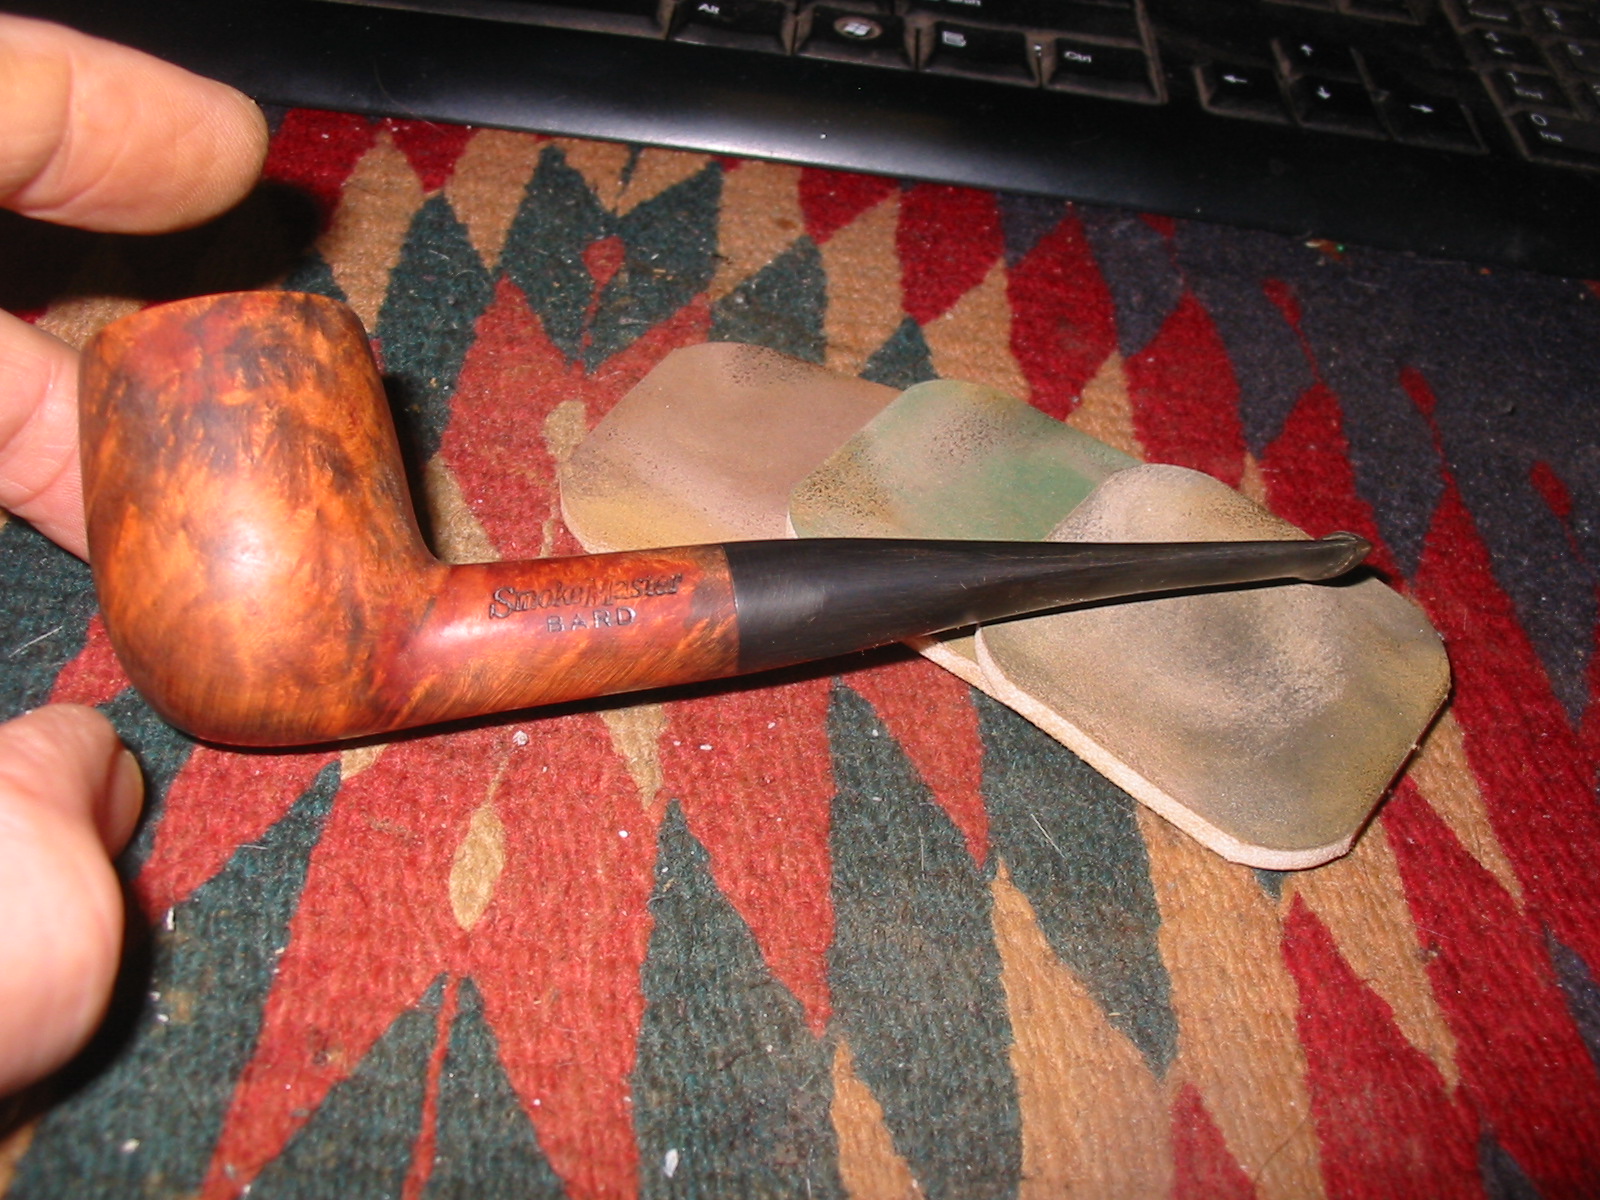
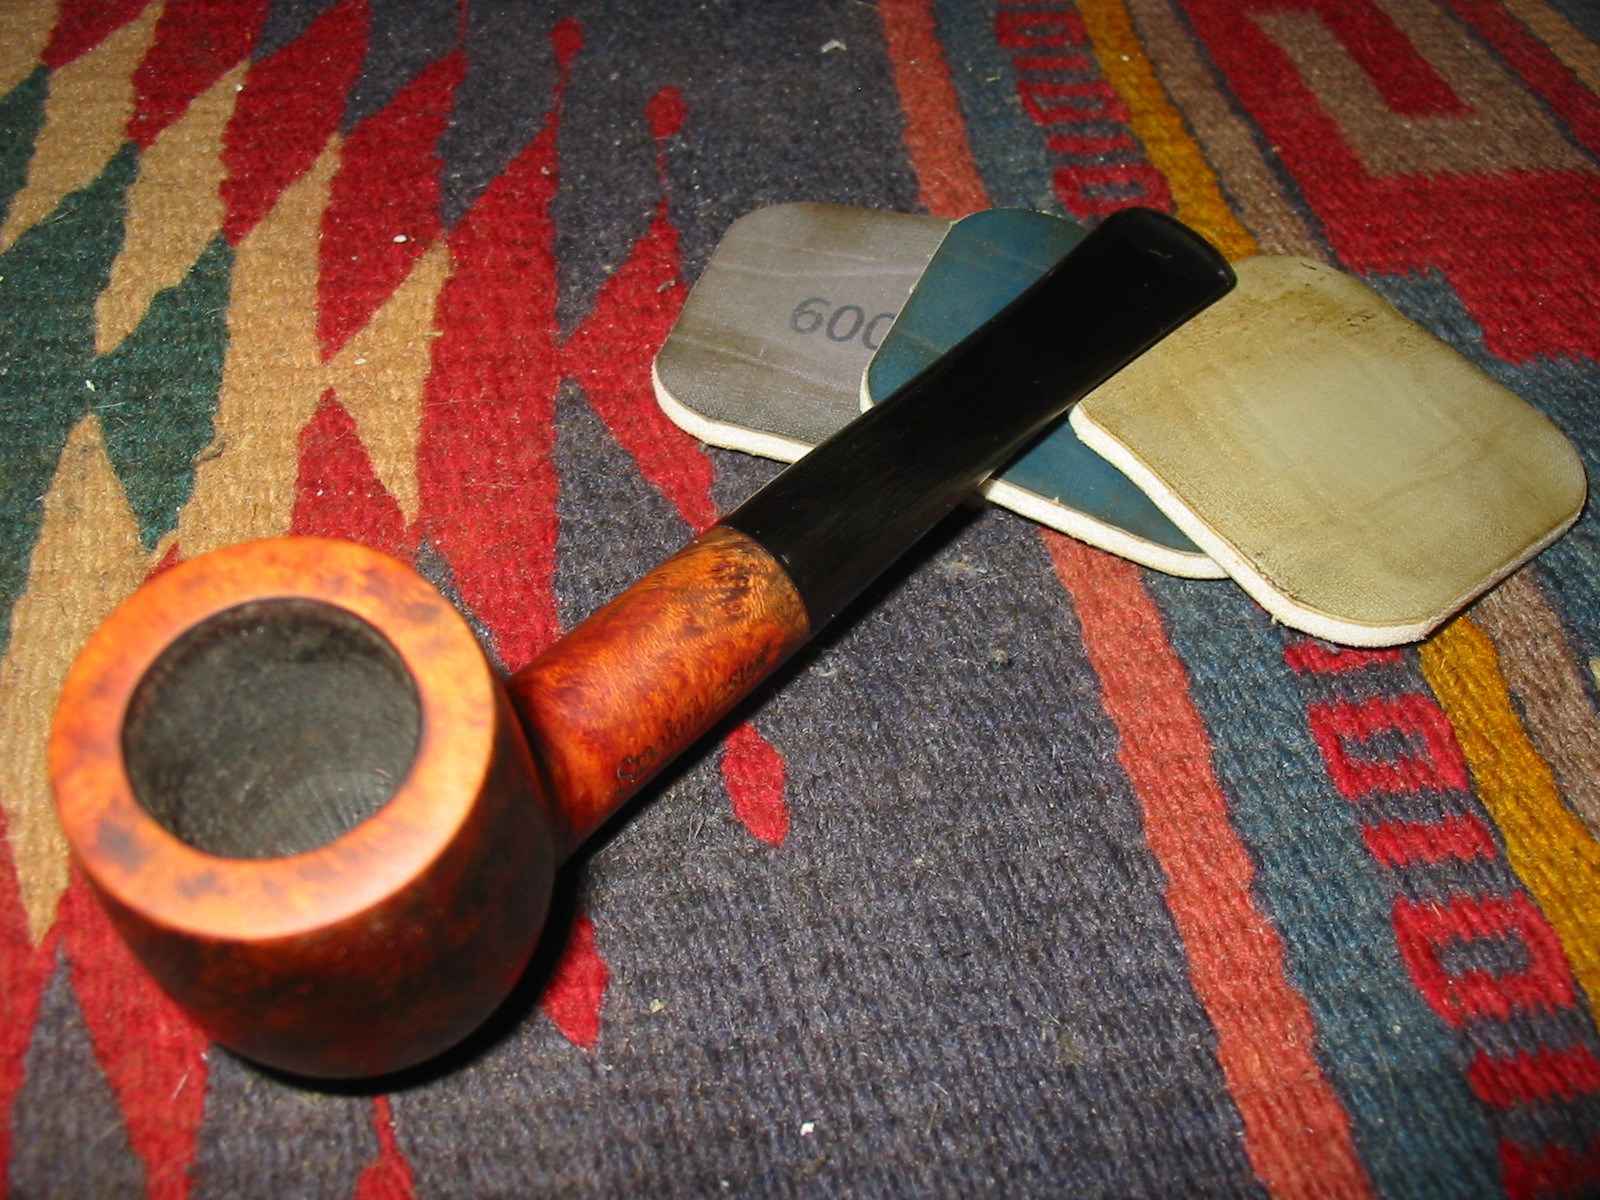
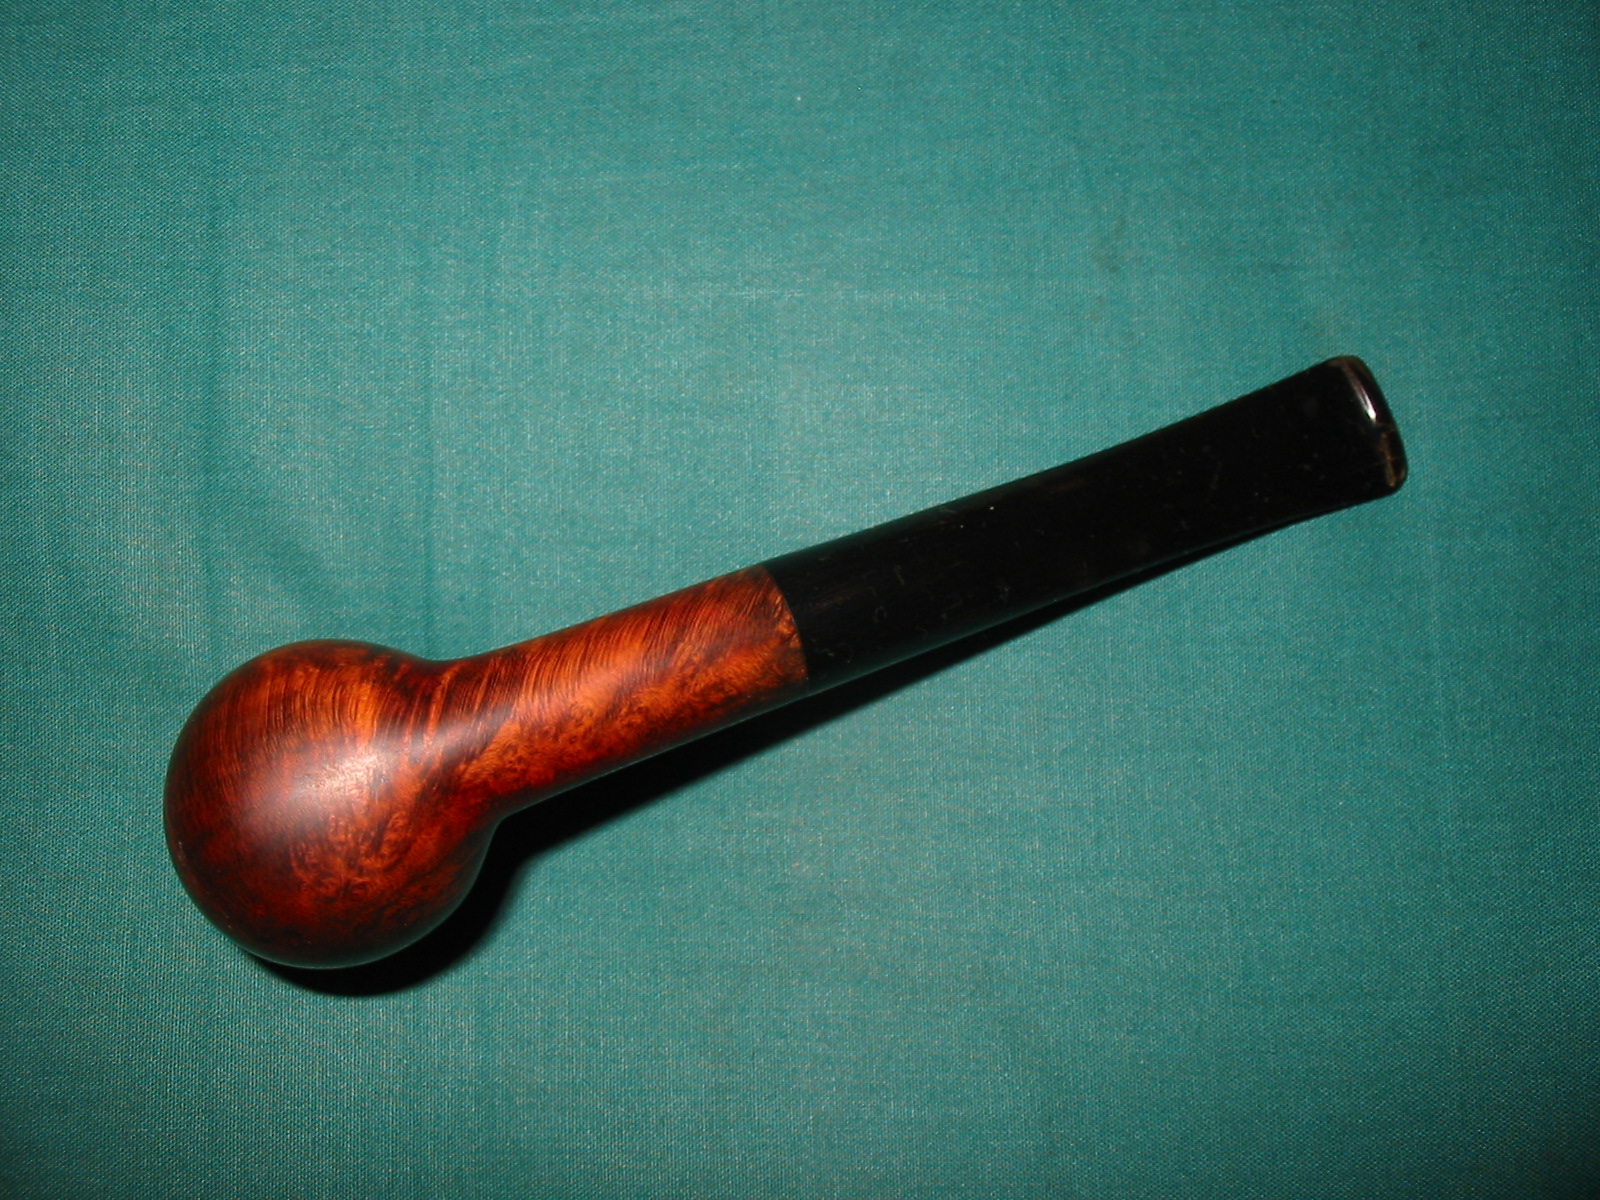
I buffed the pipe with red Tripoli to further remove the black stain. The next four photos show the bowl after buffing. I still wanted to remove more of the stain from the pipe to get the desired effect and differentiate the grain for the finished look of the pipe.


I wet sanded the bowl and the stem with 1500-2400 grit micromesh sanding pads to further remove the black stain from the surface of the bowl. The sanding also served to remove the scratches left behind by the fine grit sanding sponge before staining. The first four photos below show the finish after I had sanded the bowl with these grits of micromesh. I then dry sanded the bowl and stem with the remaining grits of micromesh pads from 3200-12,000. The state of the bowl and stem can be seen in the last two photos below.


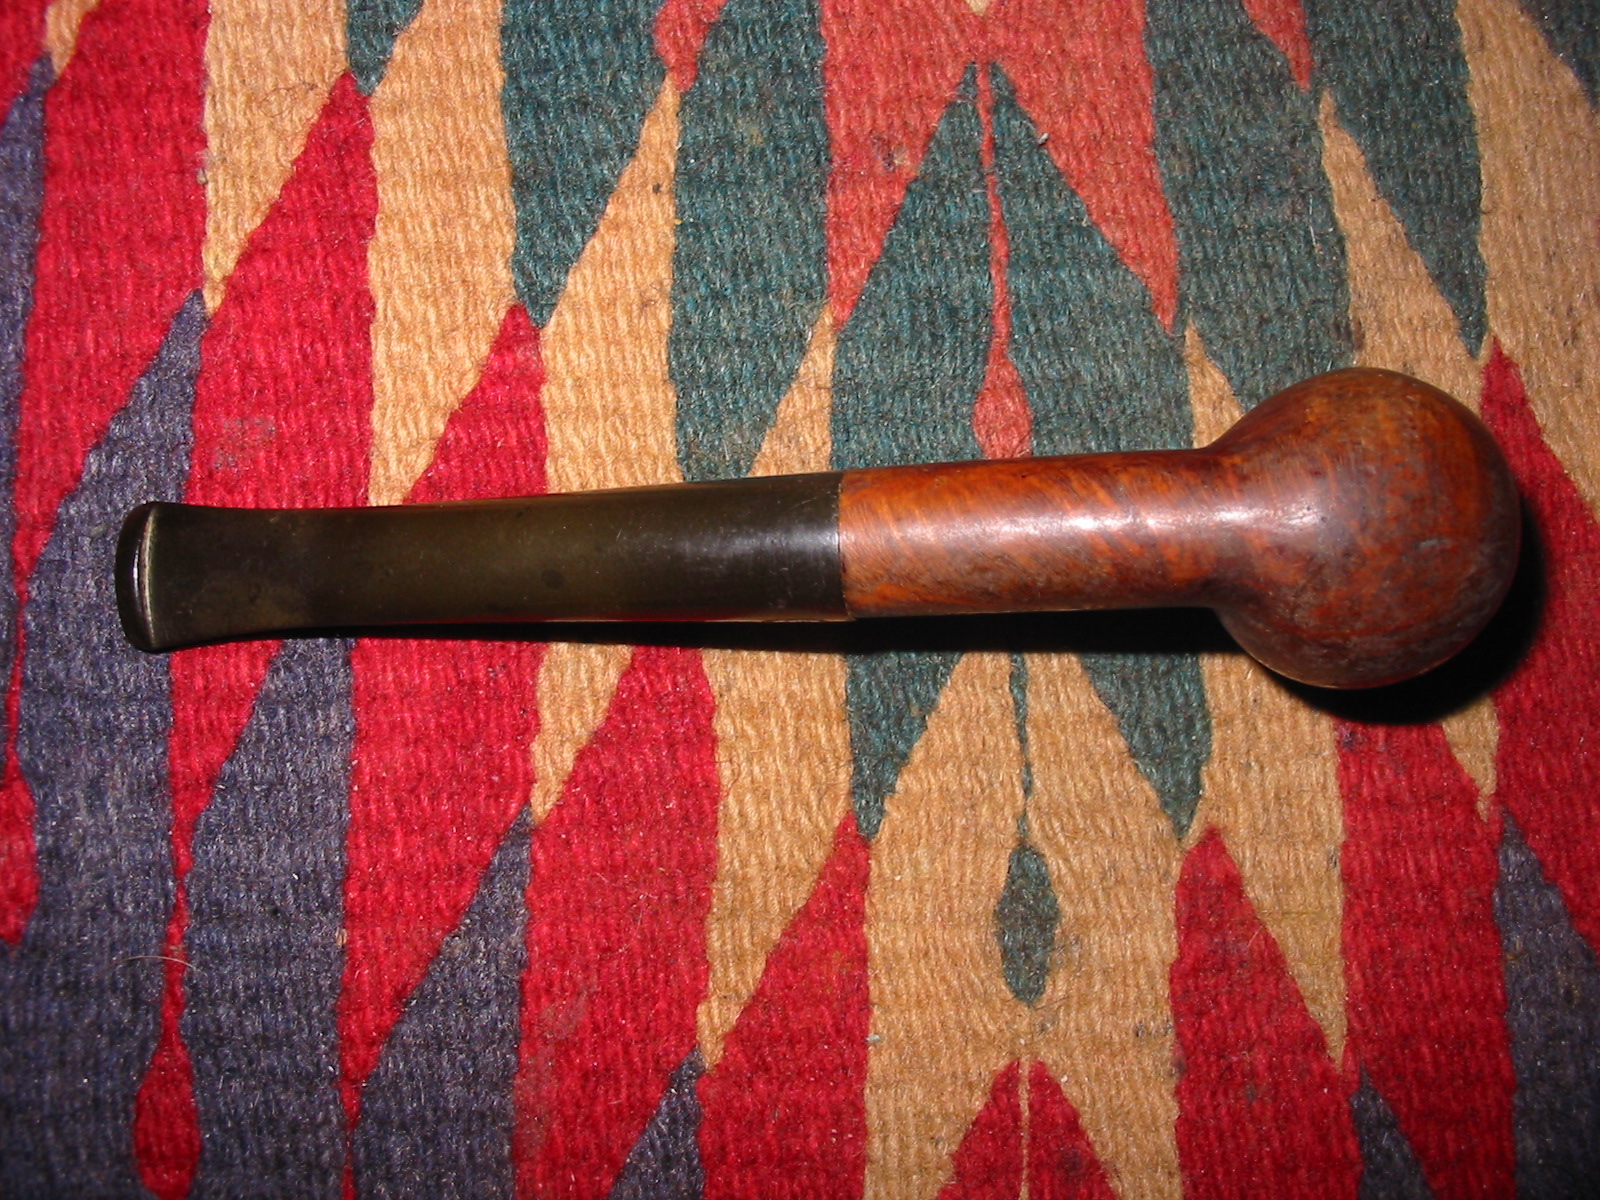
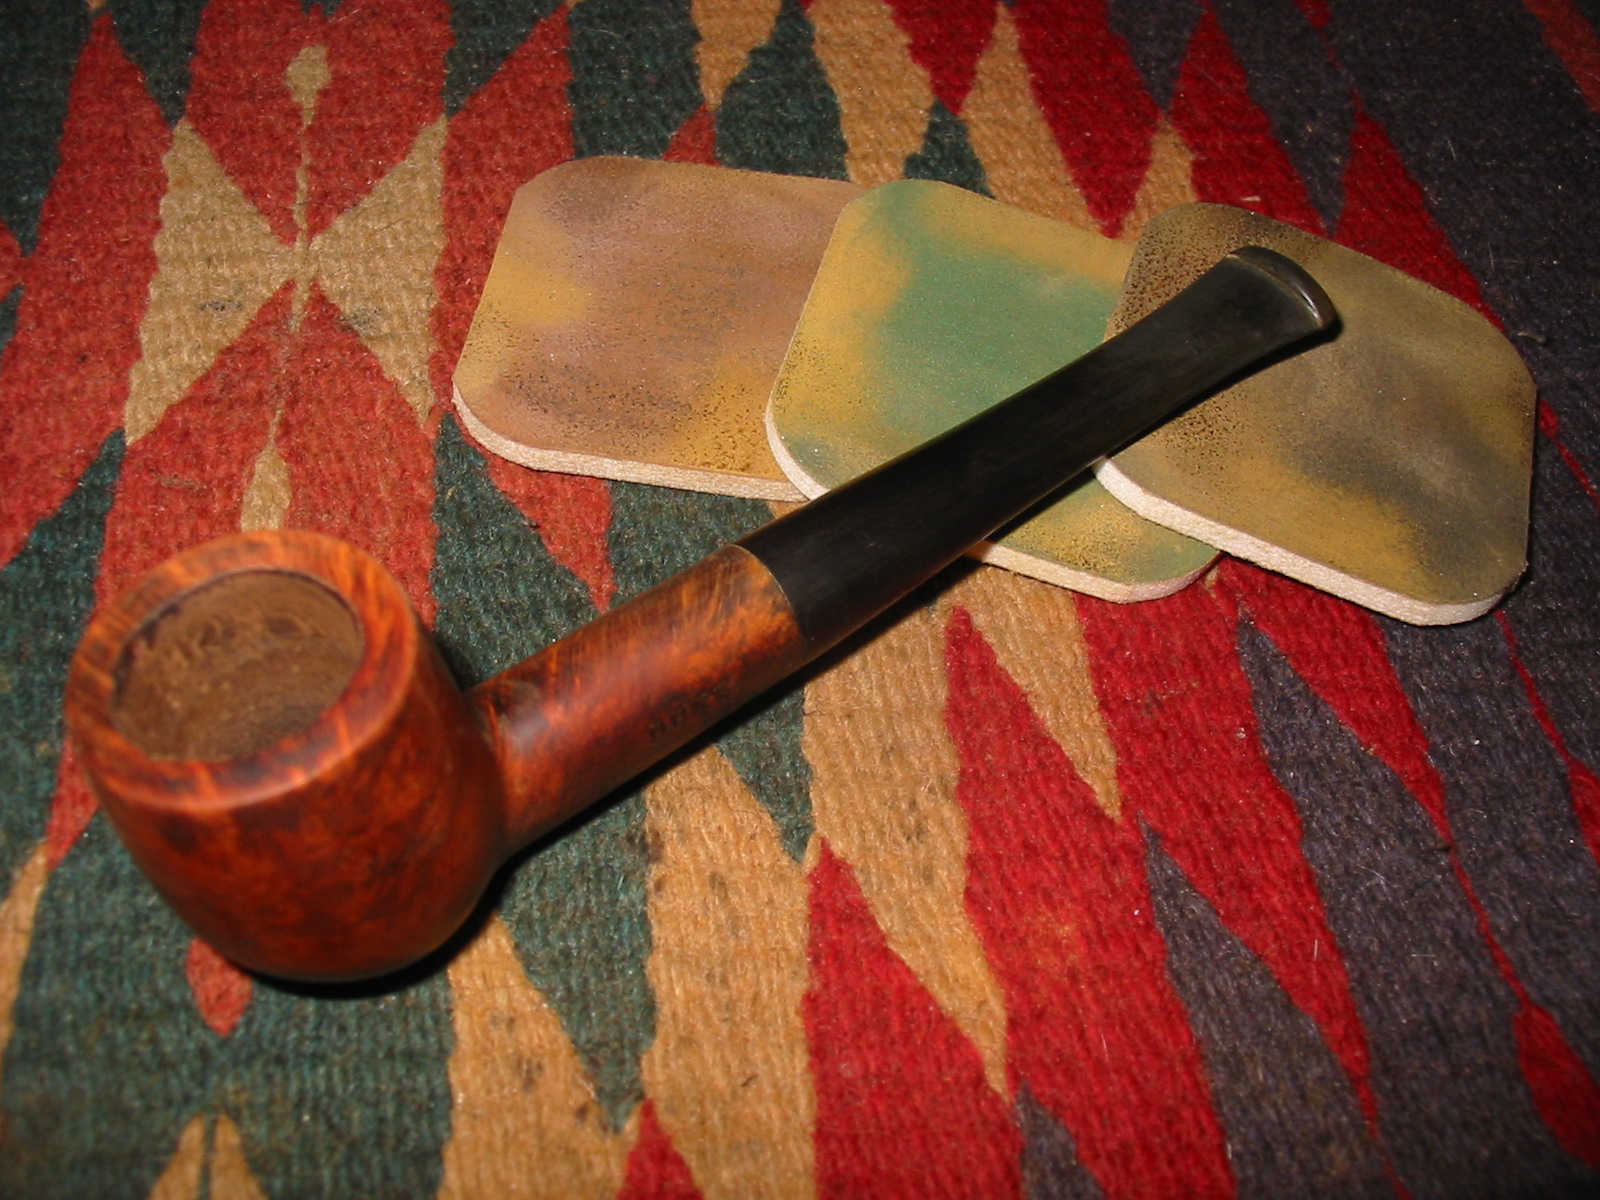
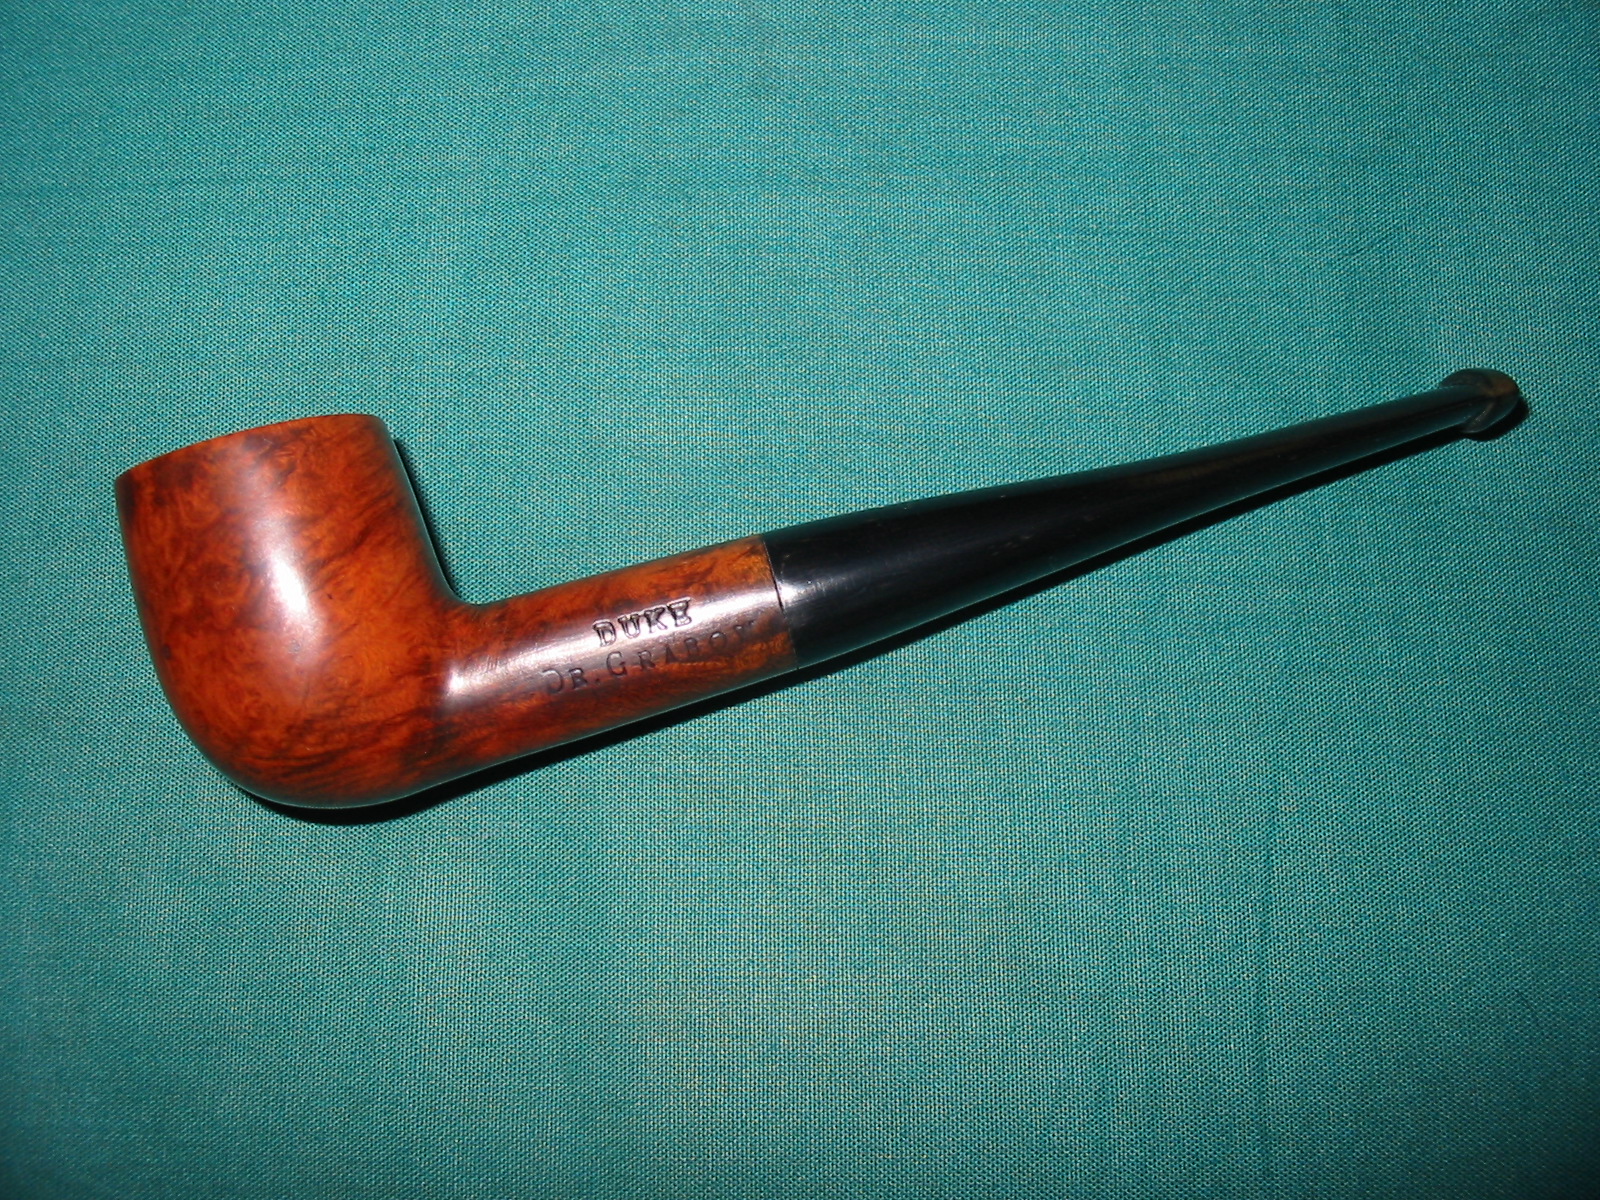
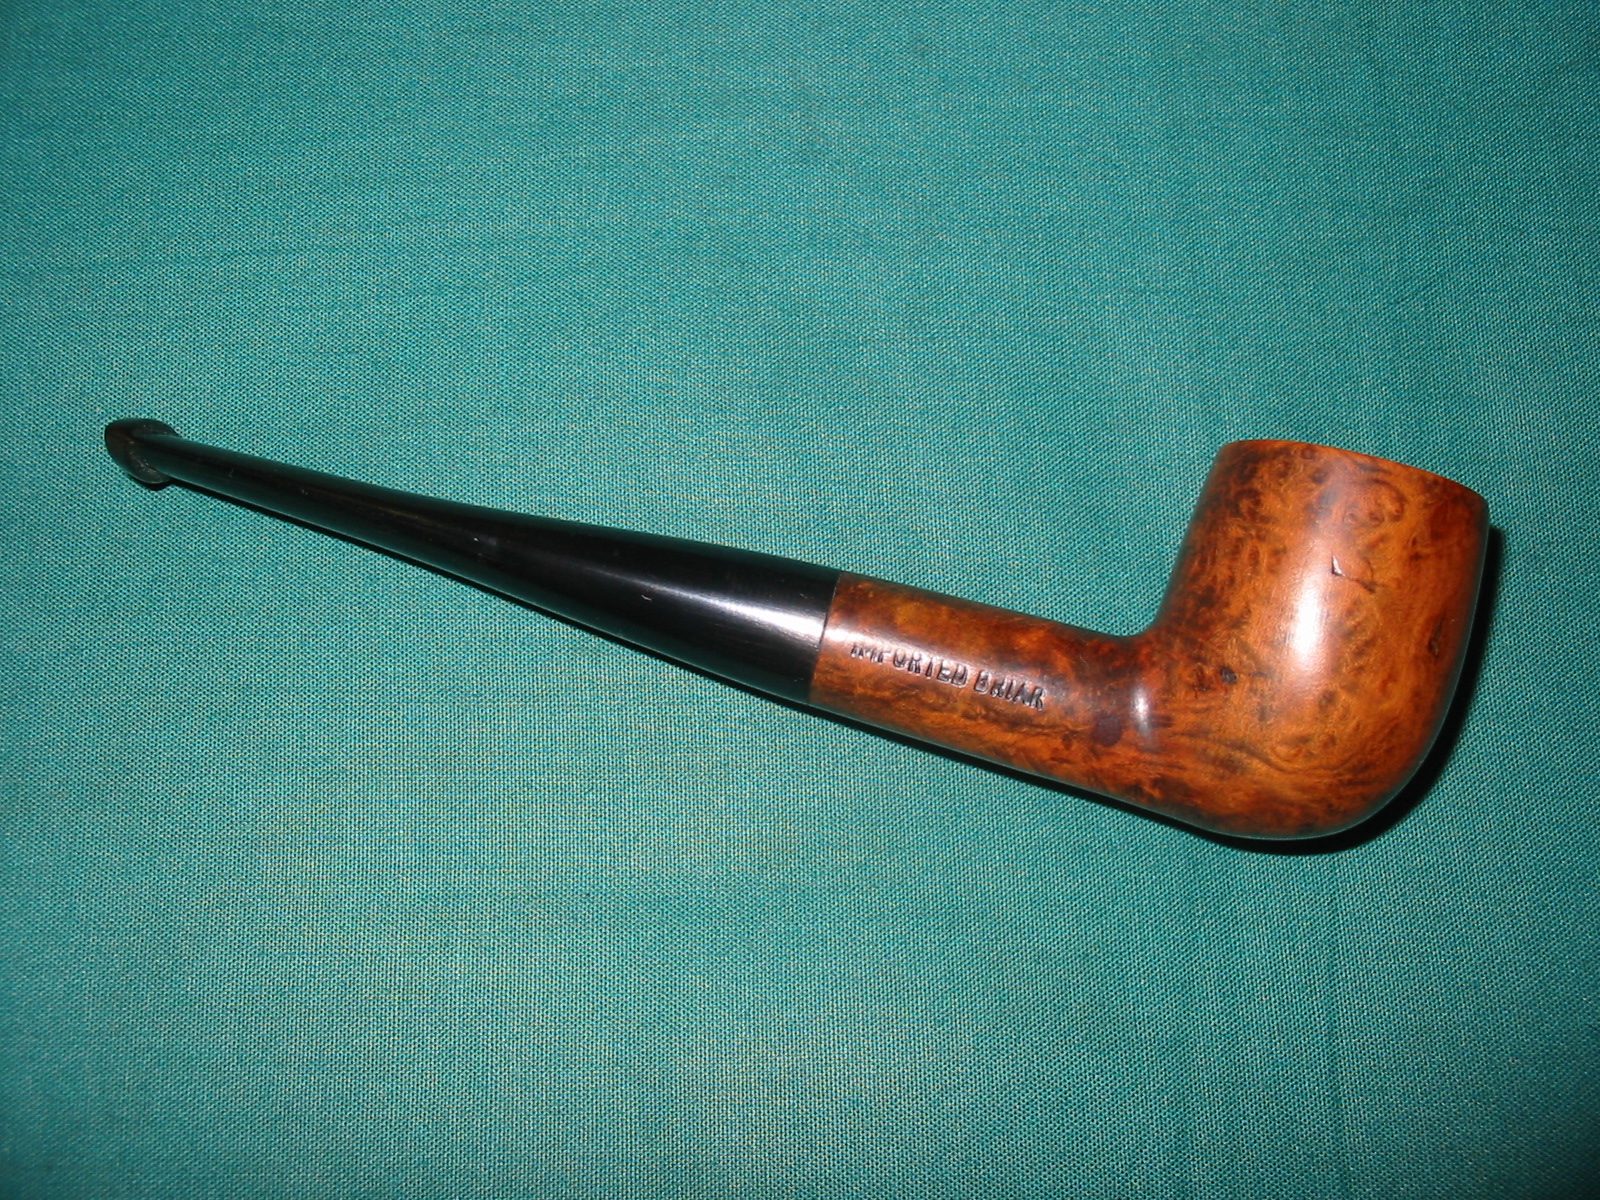
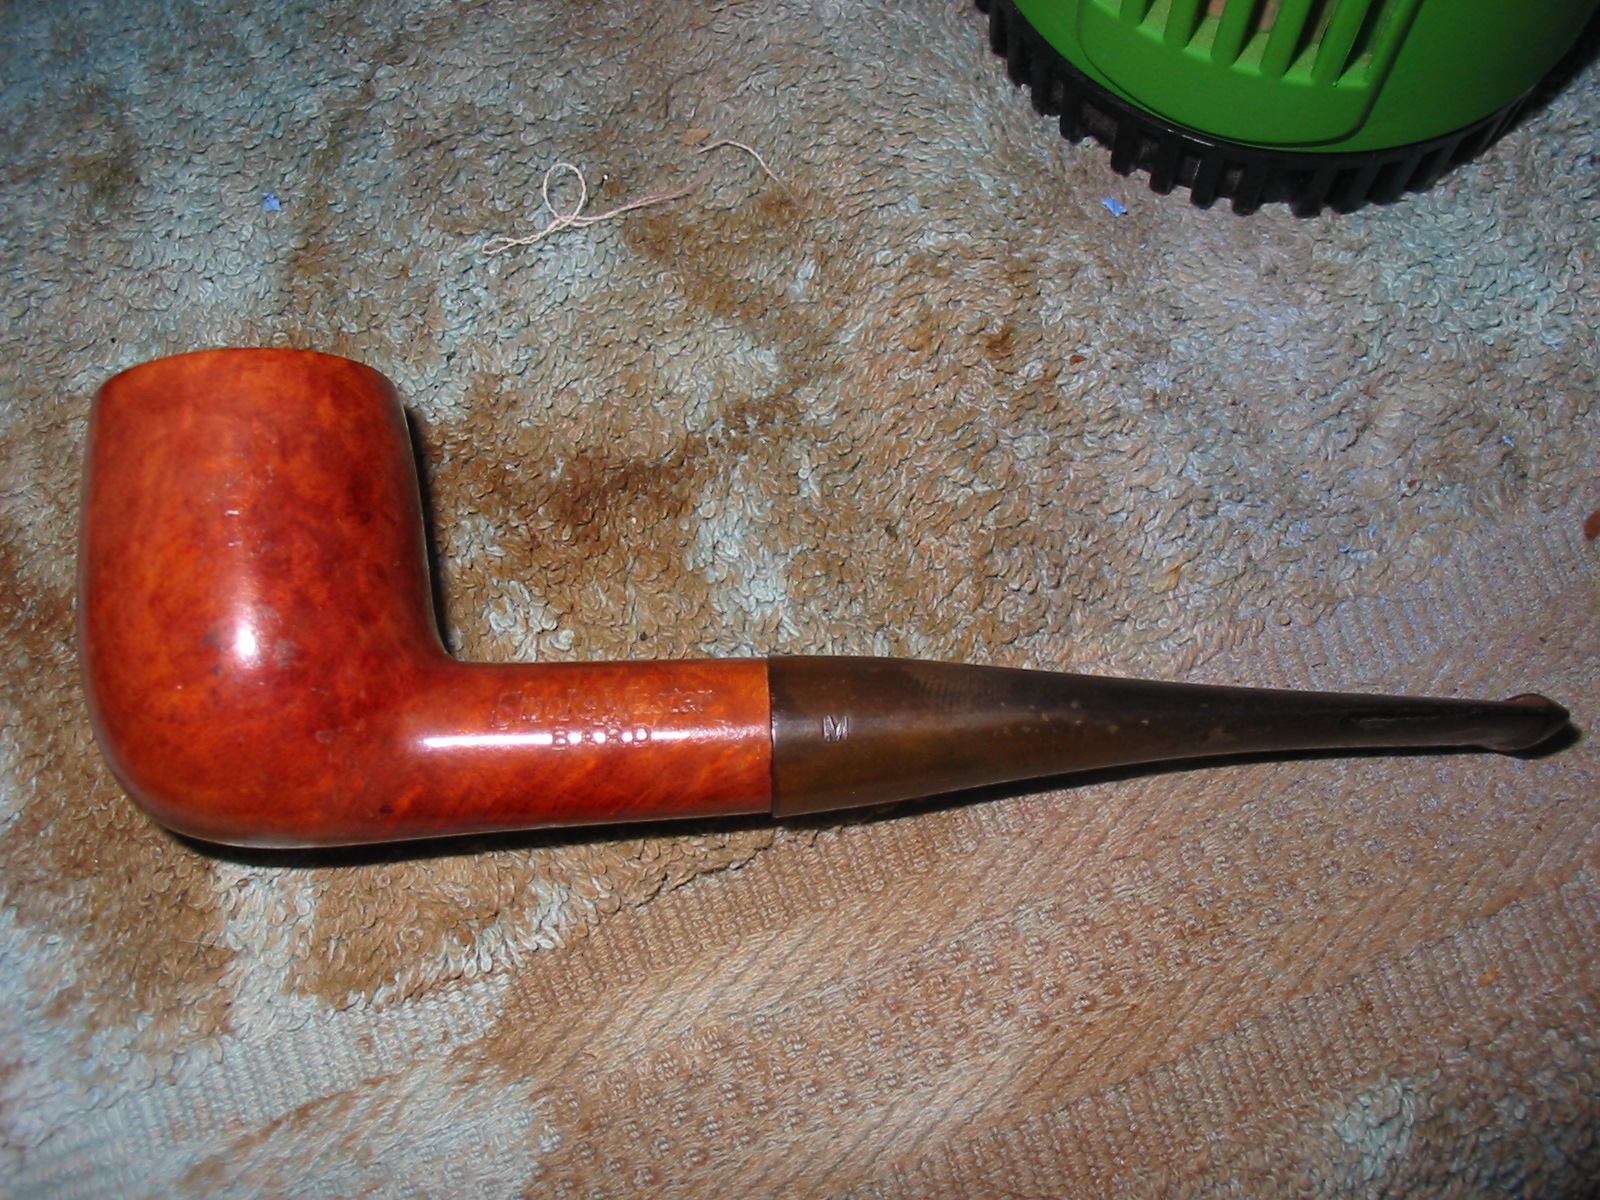
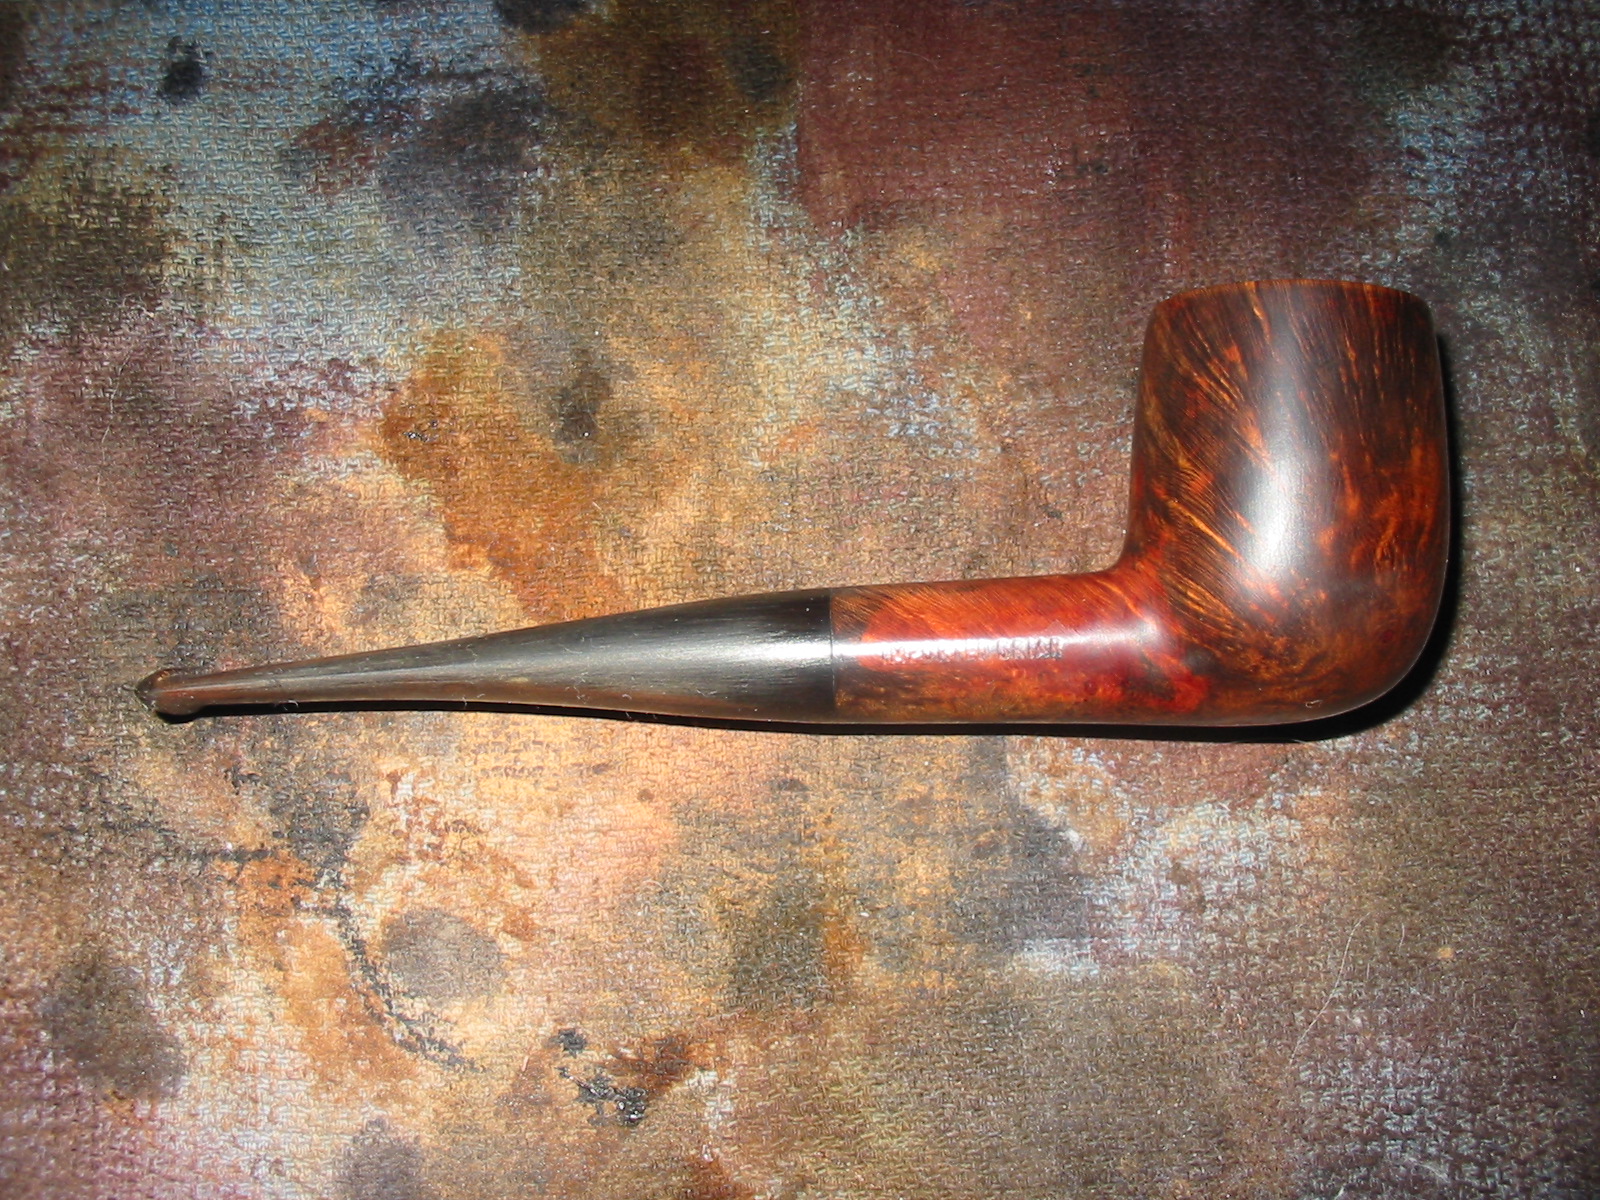
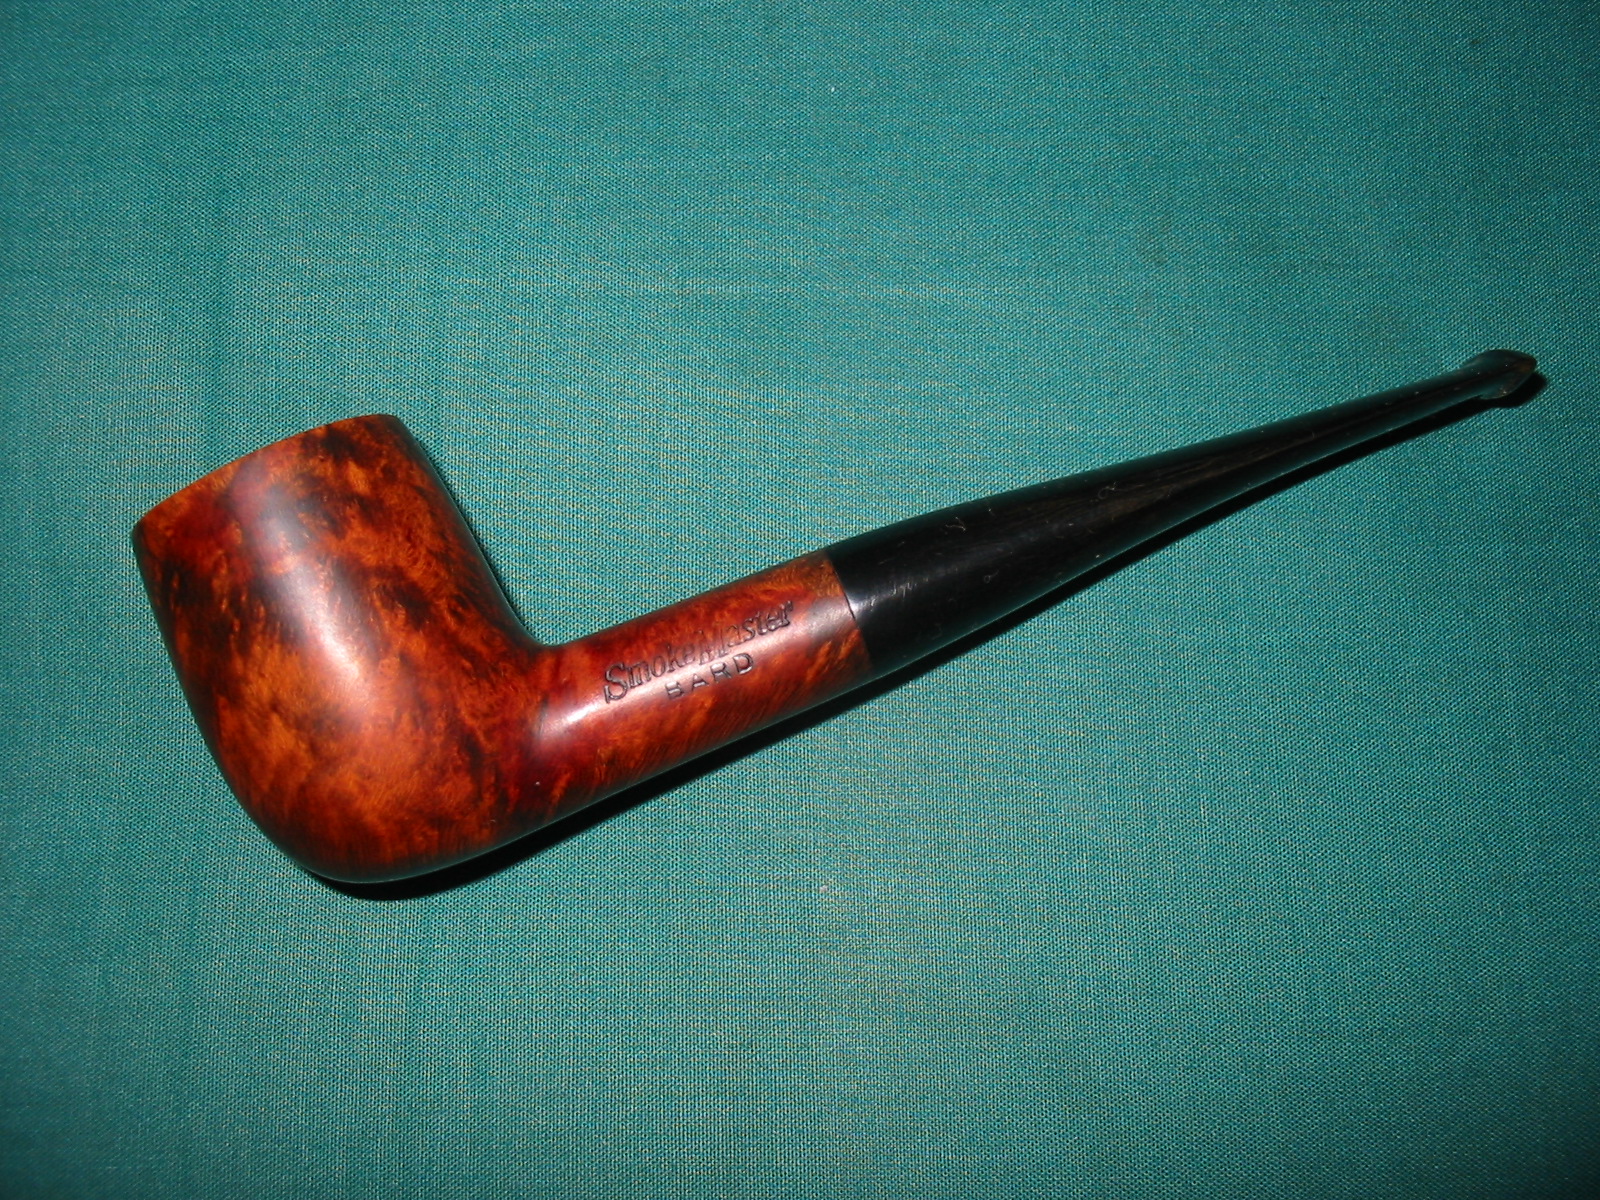
Once I had removed as much of the black as I wanted I stained the pipe with the second stain – an oxblood aniline stain. I heated the bowl, applied the stain, flamed it and reapplied and reflamed it until the coverage was even around the bowl. Once it was dry I buffed the bowl and stem with White Diamond to polish the finish and the stem. I rubbed the stem down with Obsidian Oil to protect the vulcanite and when dry gave the bowl and the stem multiple coats of carnauba wax to polish and protect the pipe. The finished pipe is pictured below. I really like the contrast stain and the matte like finish on the pipe. The two step stain process highlighted the grain on the pipe and gives it a far more polished and finished look than the previous plastic coat had down. This piece of briar, though not stellar, did not have fills or flaws that are visible. It should make someone a great addition for their pipe rack.


NOTE: I was just reading on PSU and saw a post there that had this photo of the filtration system on these pipes. http://pipesmokerunlimited.com/showthread.php?4015-Smokemaster-Filter-Pipe Thanks to the poster, Hammerhead (Terry Swope???maybe) for posting the photo for us to see.