Daily Archives: October 12, 2013

Restemming a Gift Pipe – a Savinelli Autograph 5


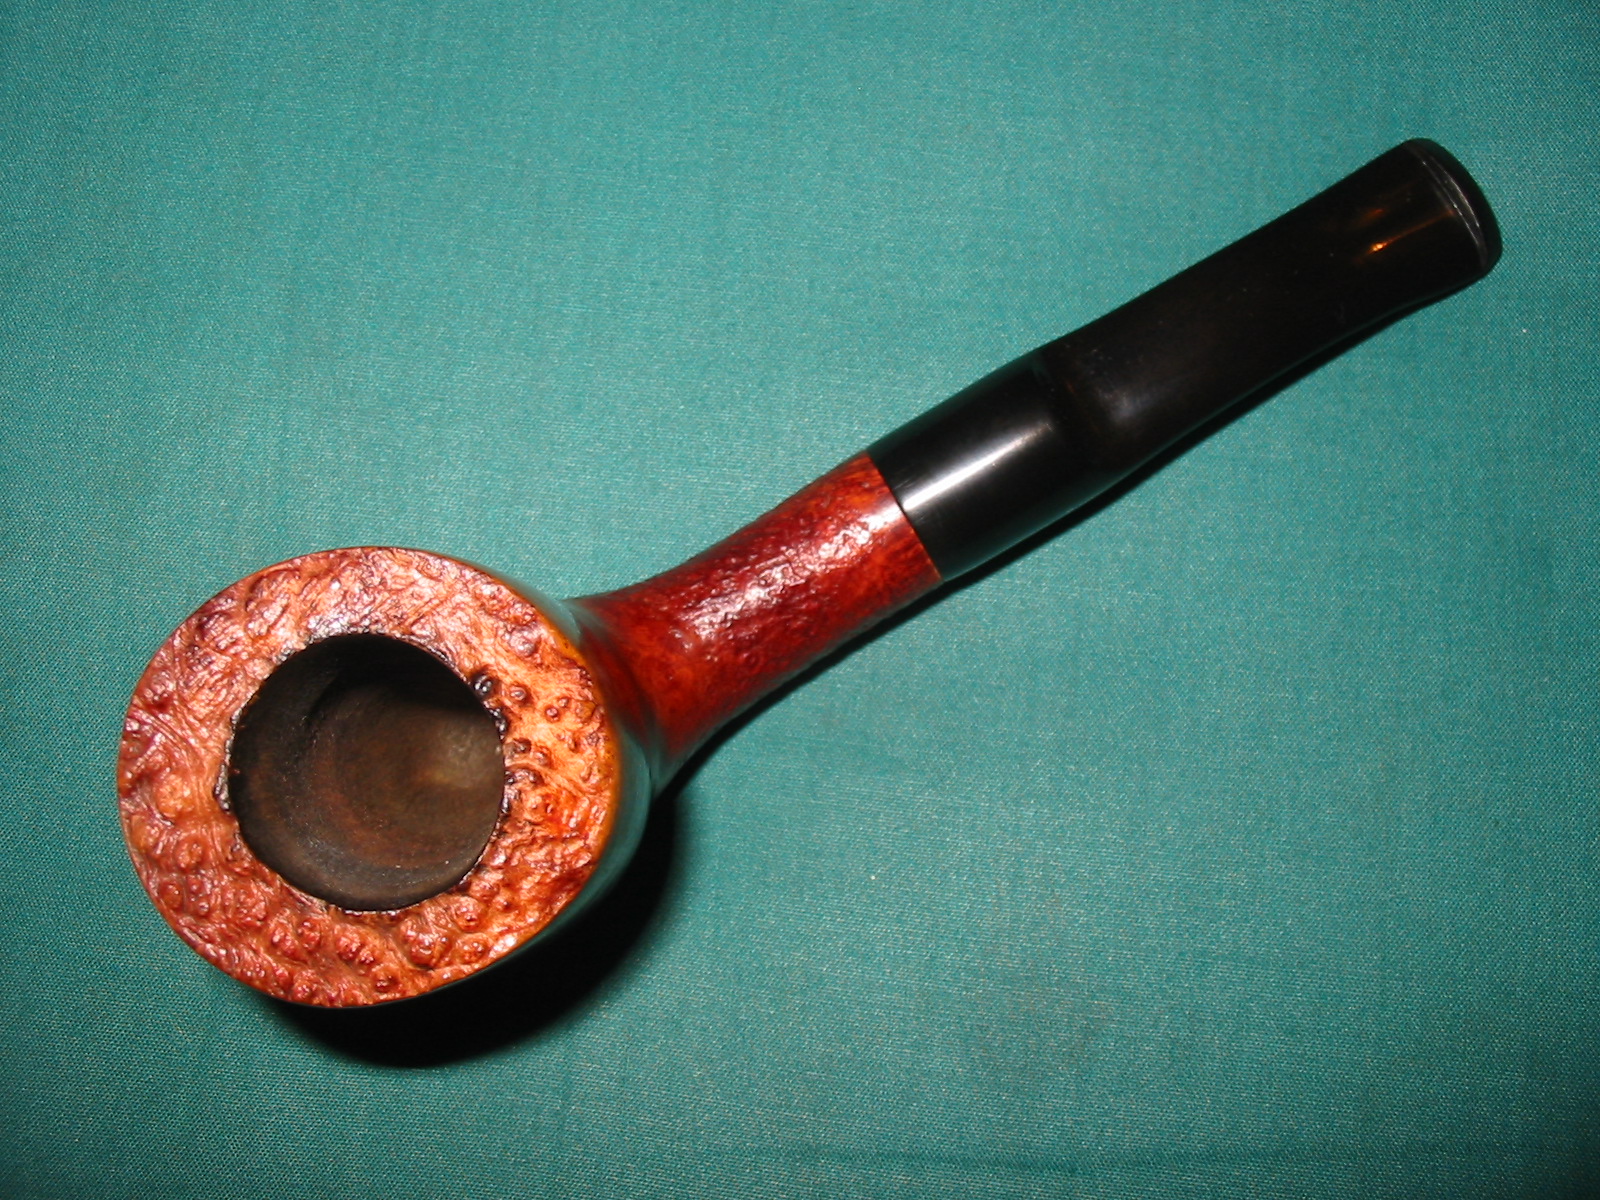
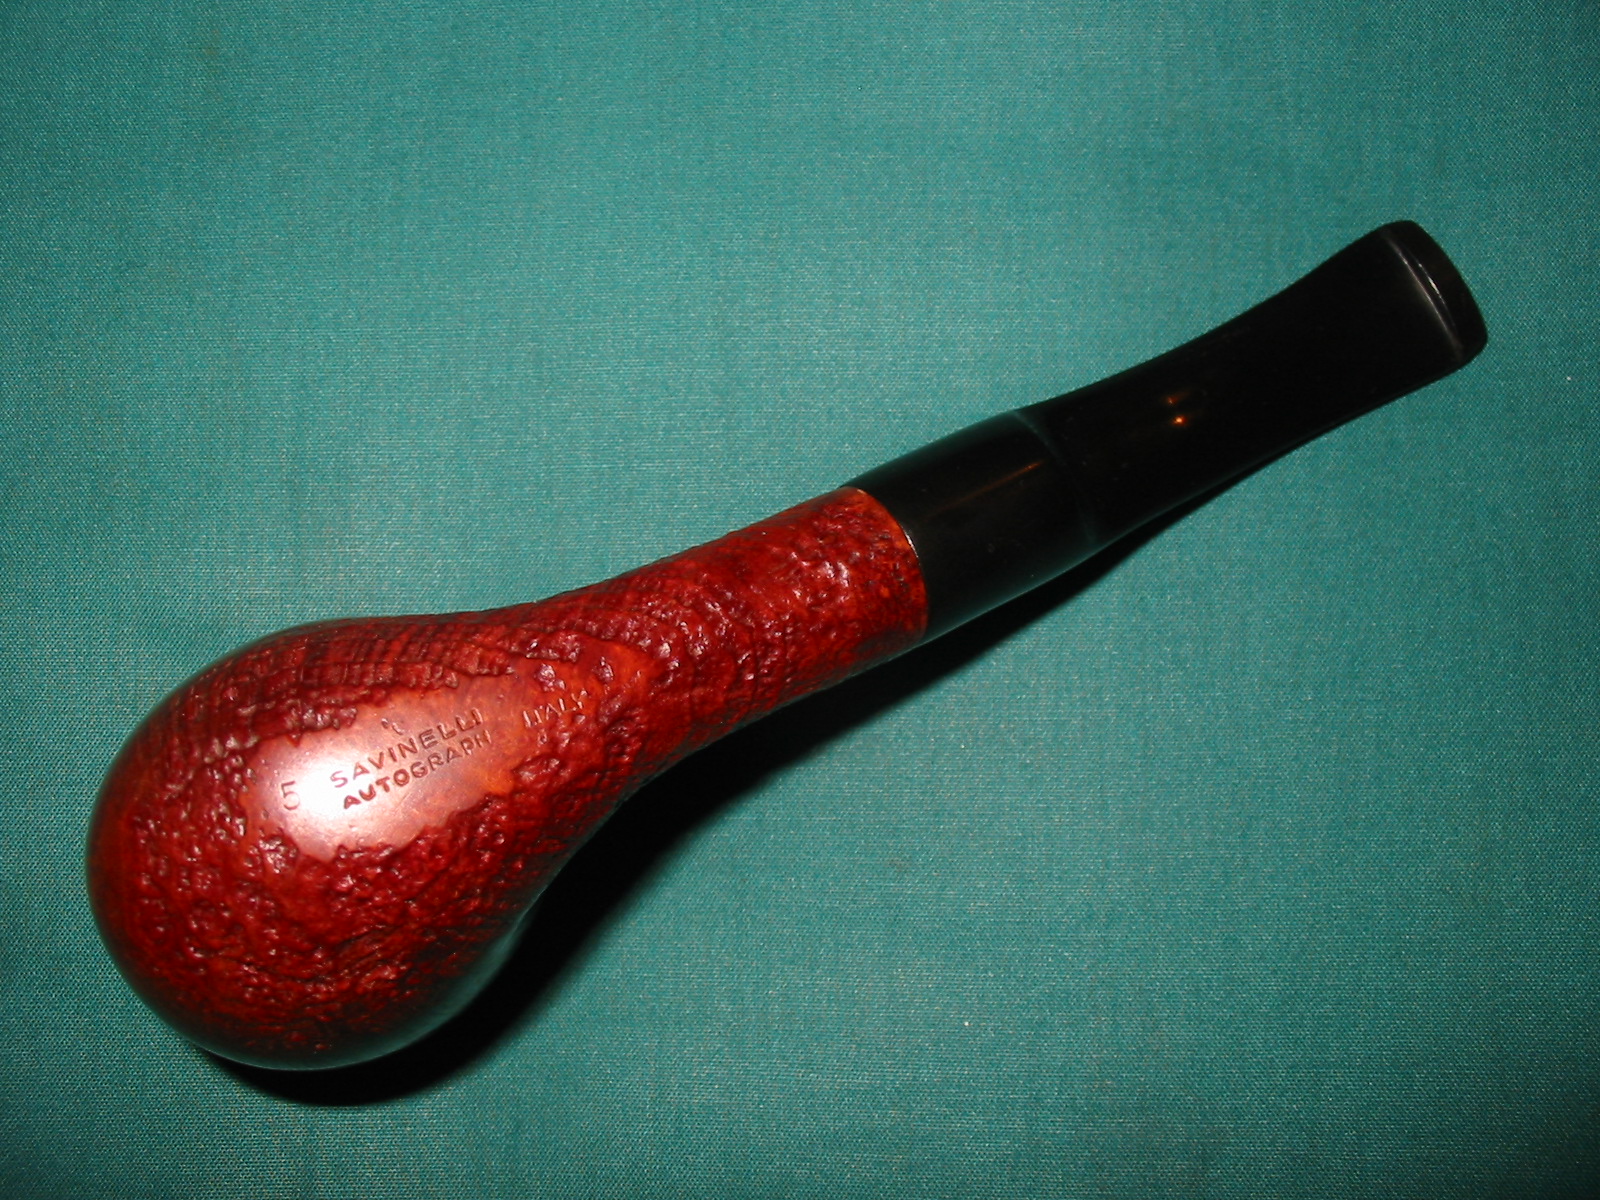
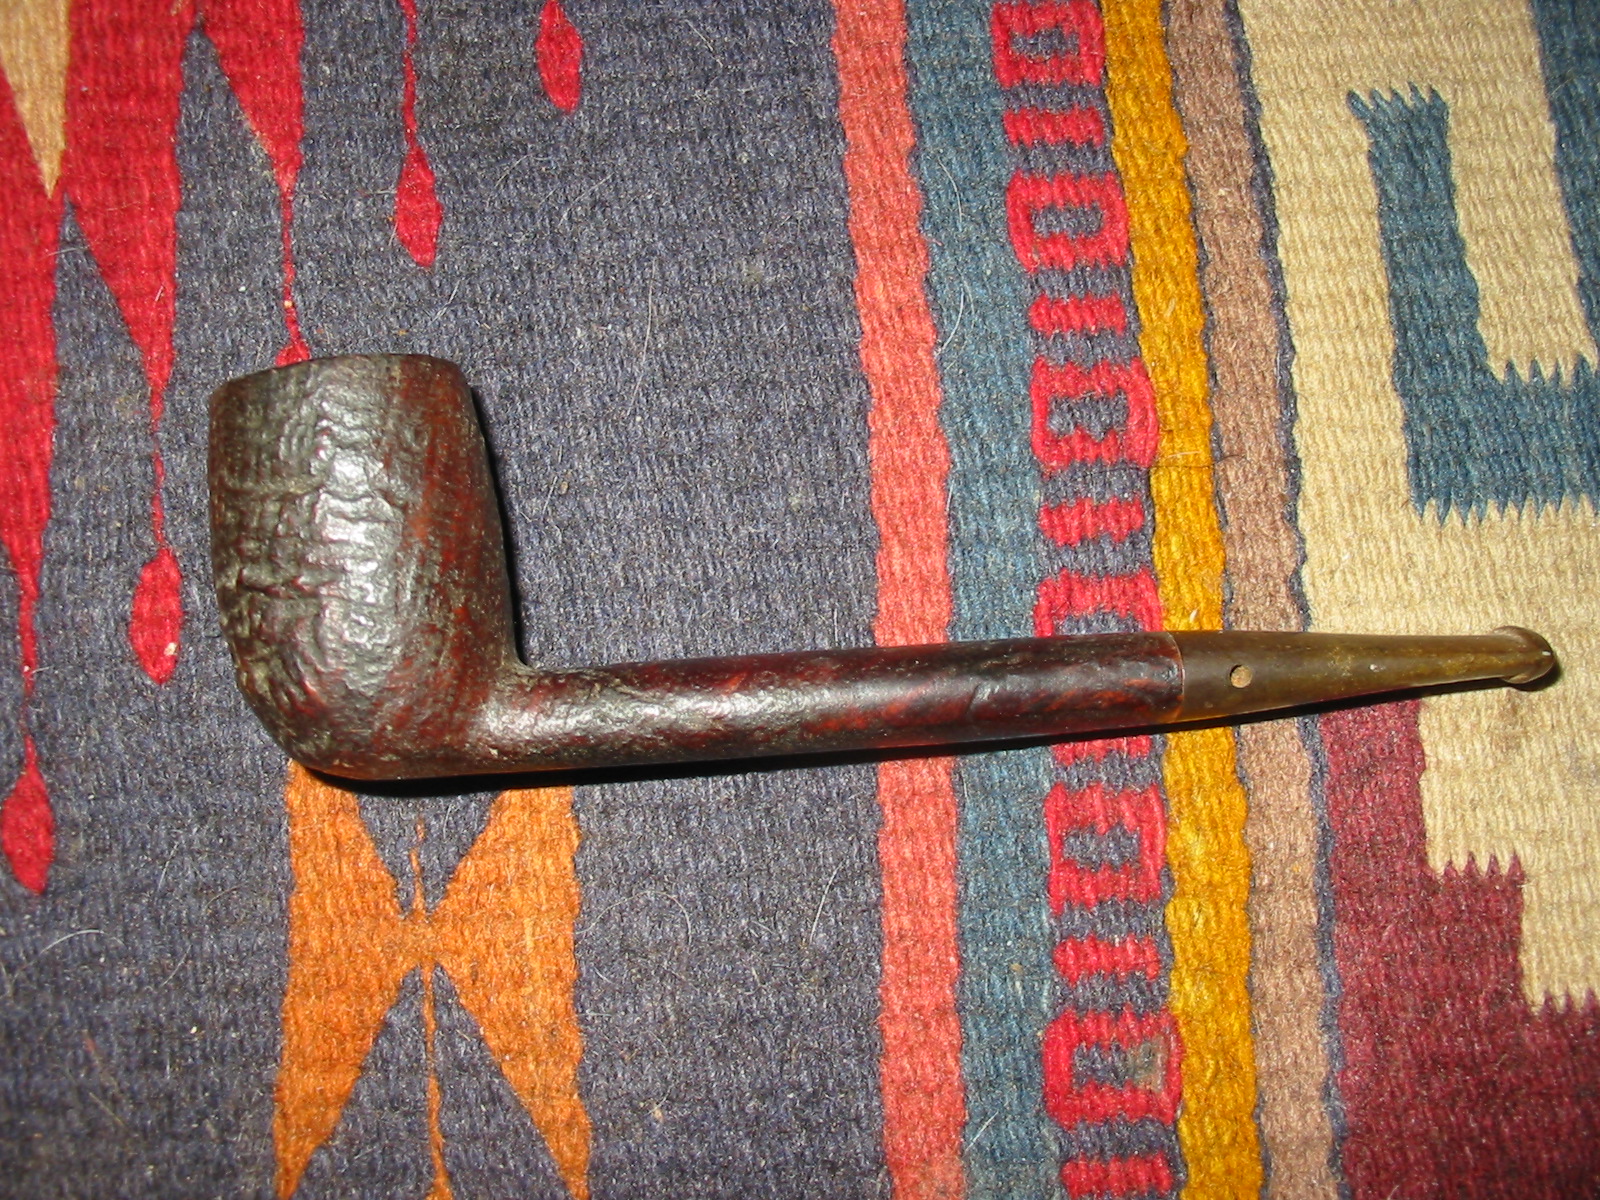
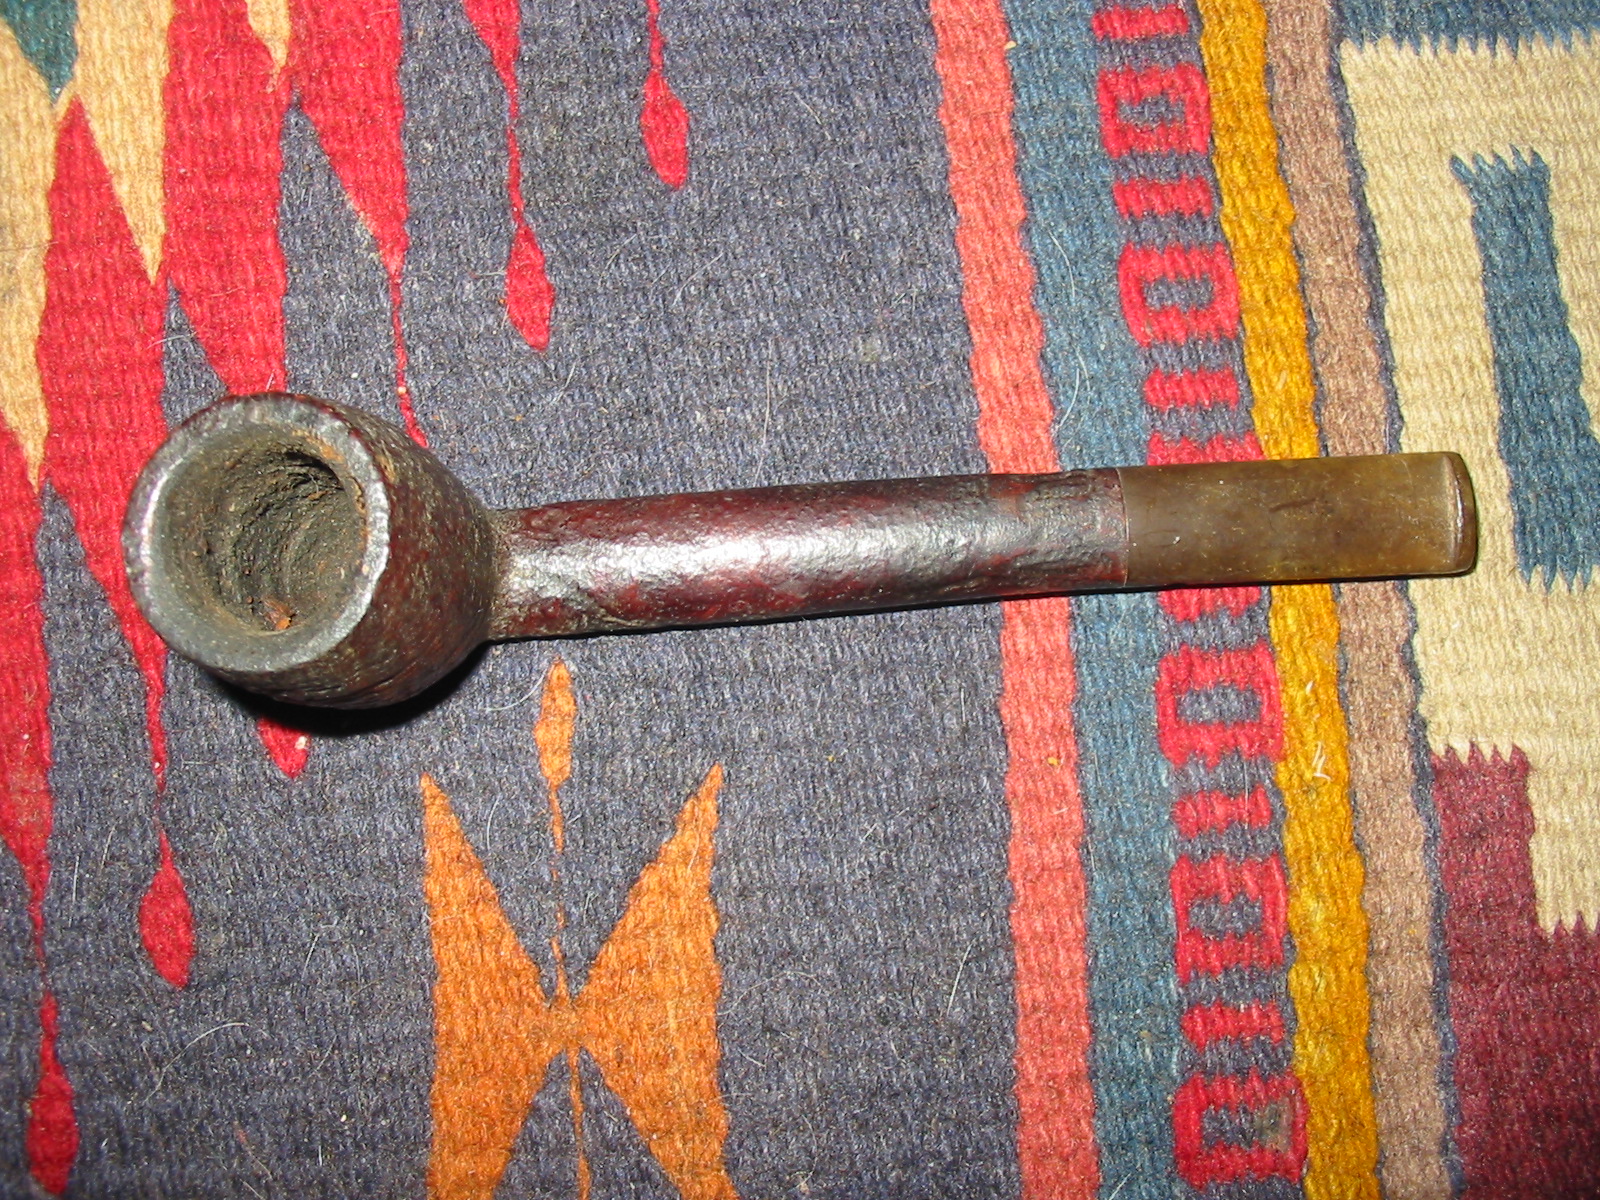
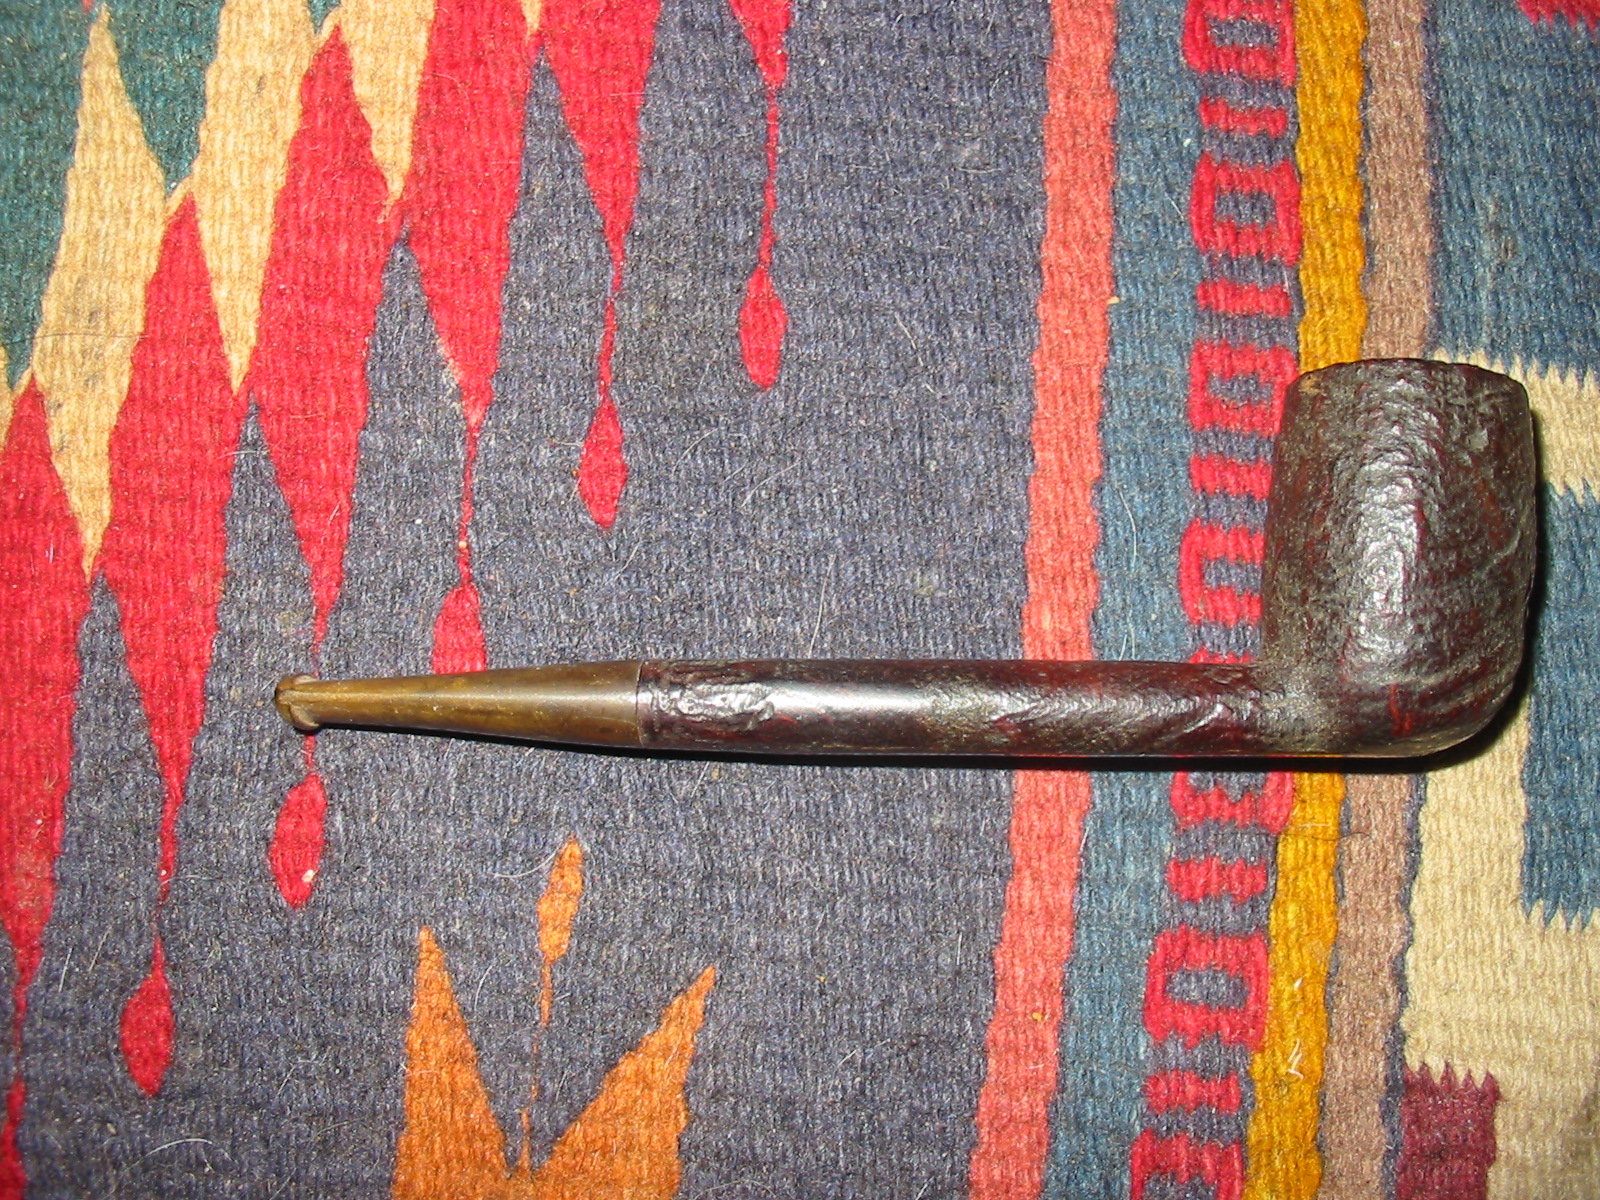
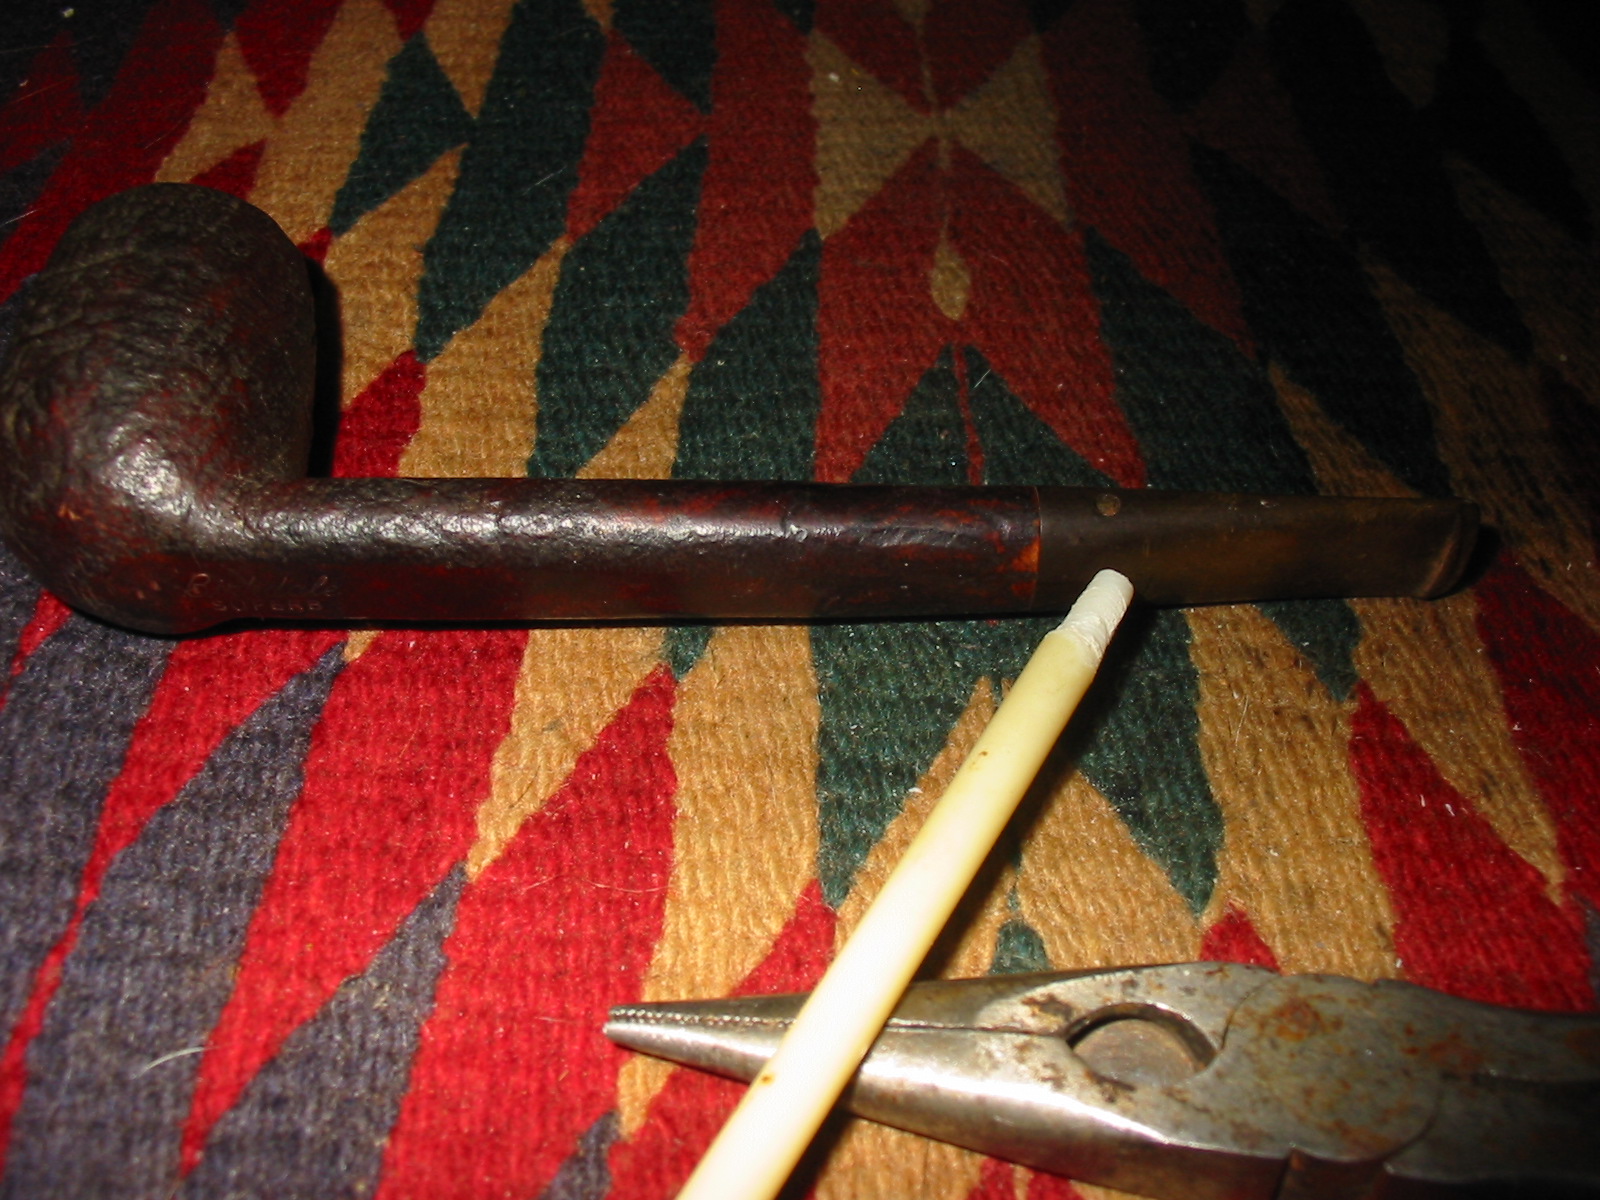
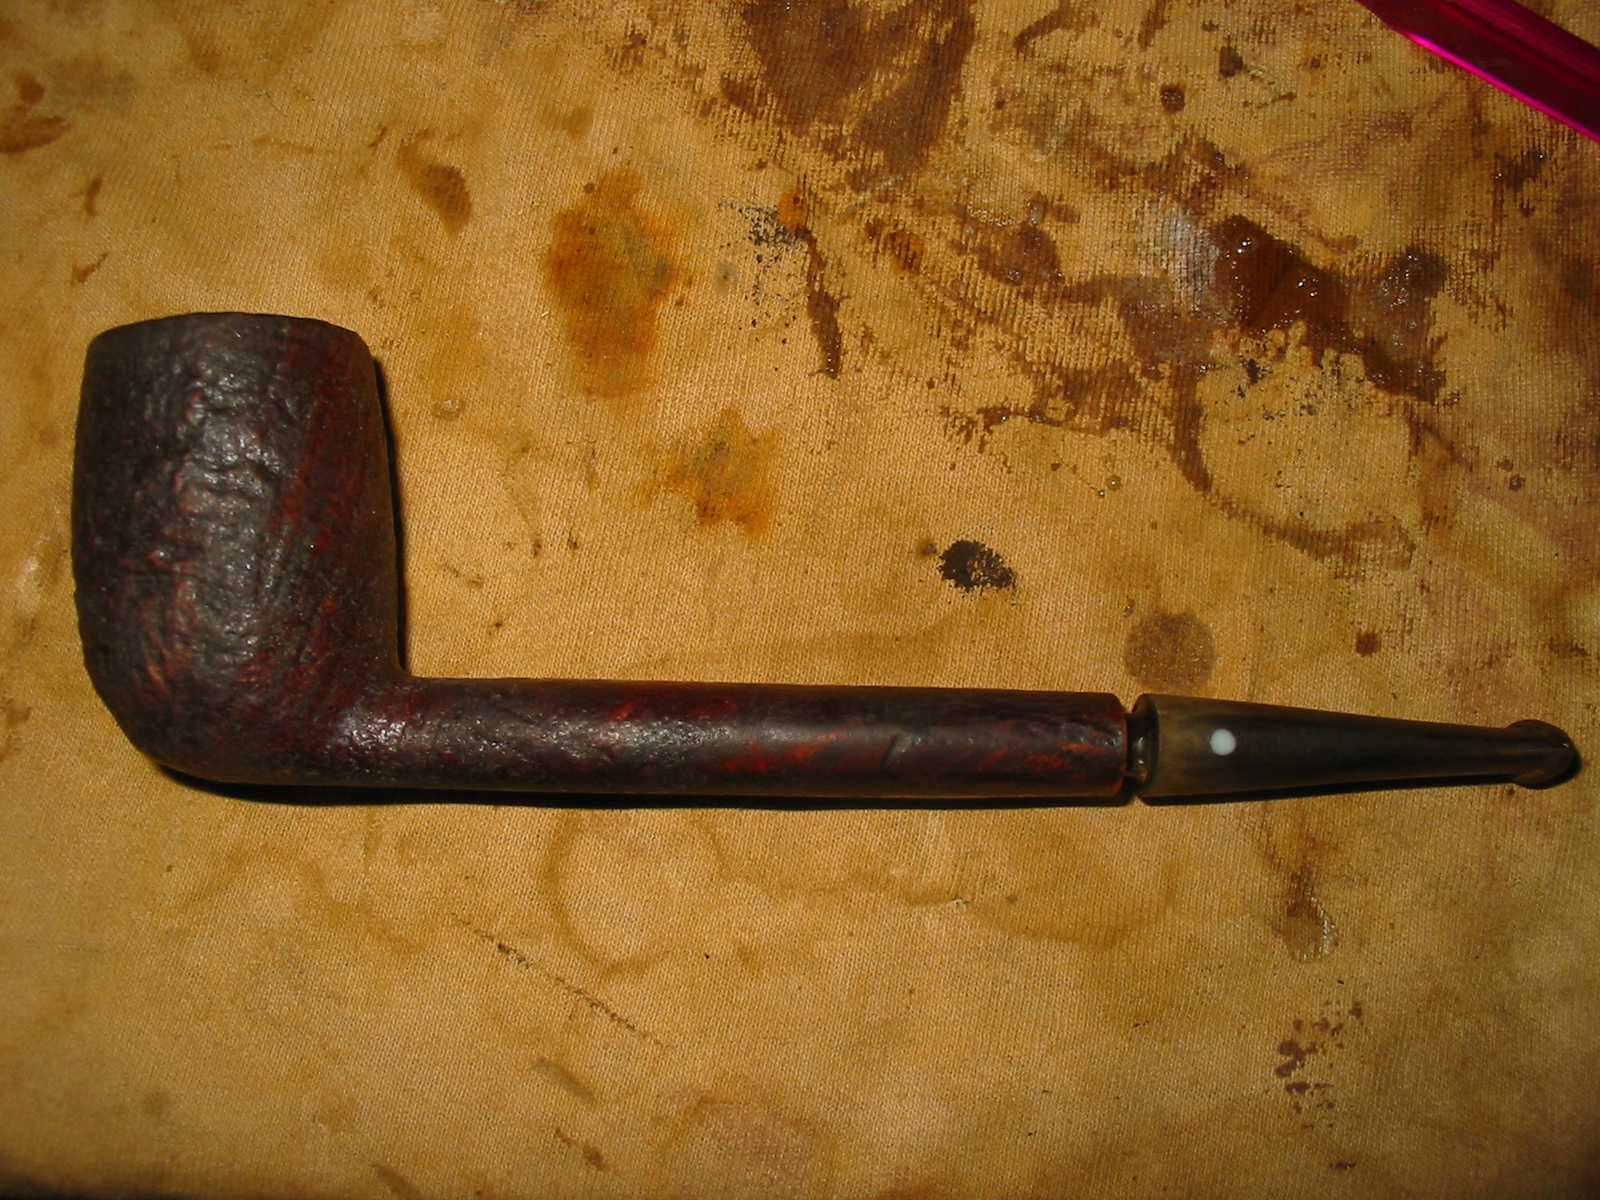
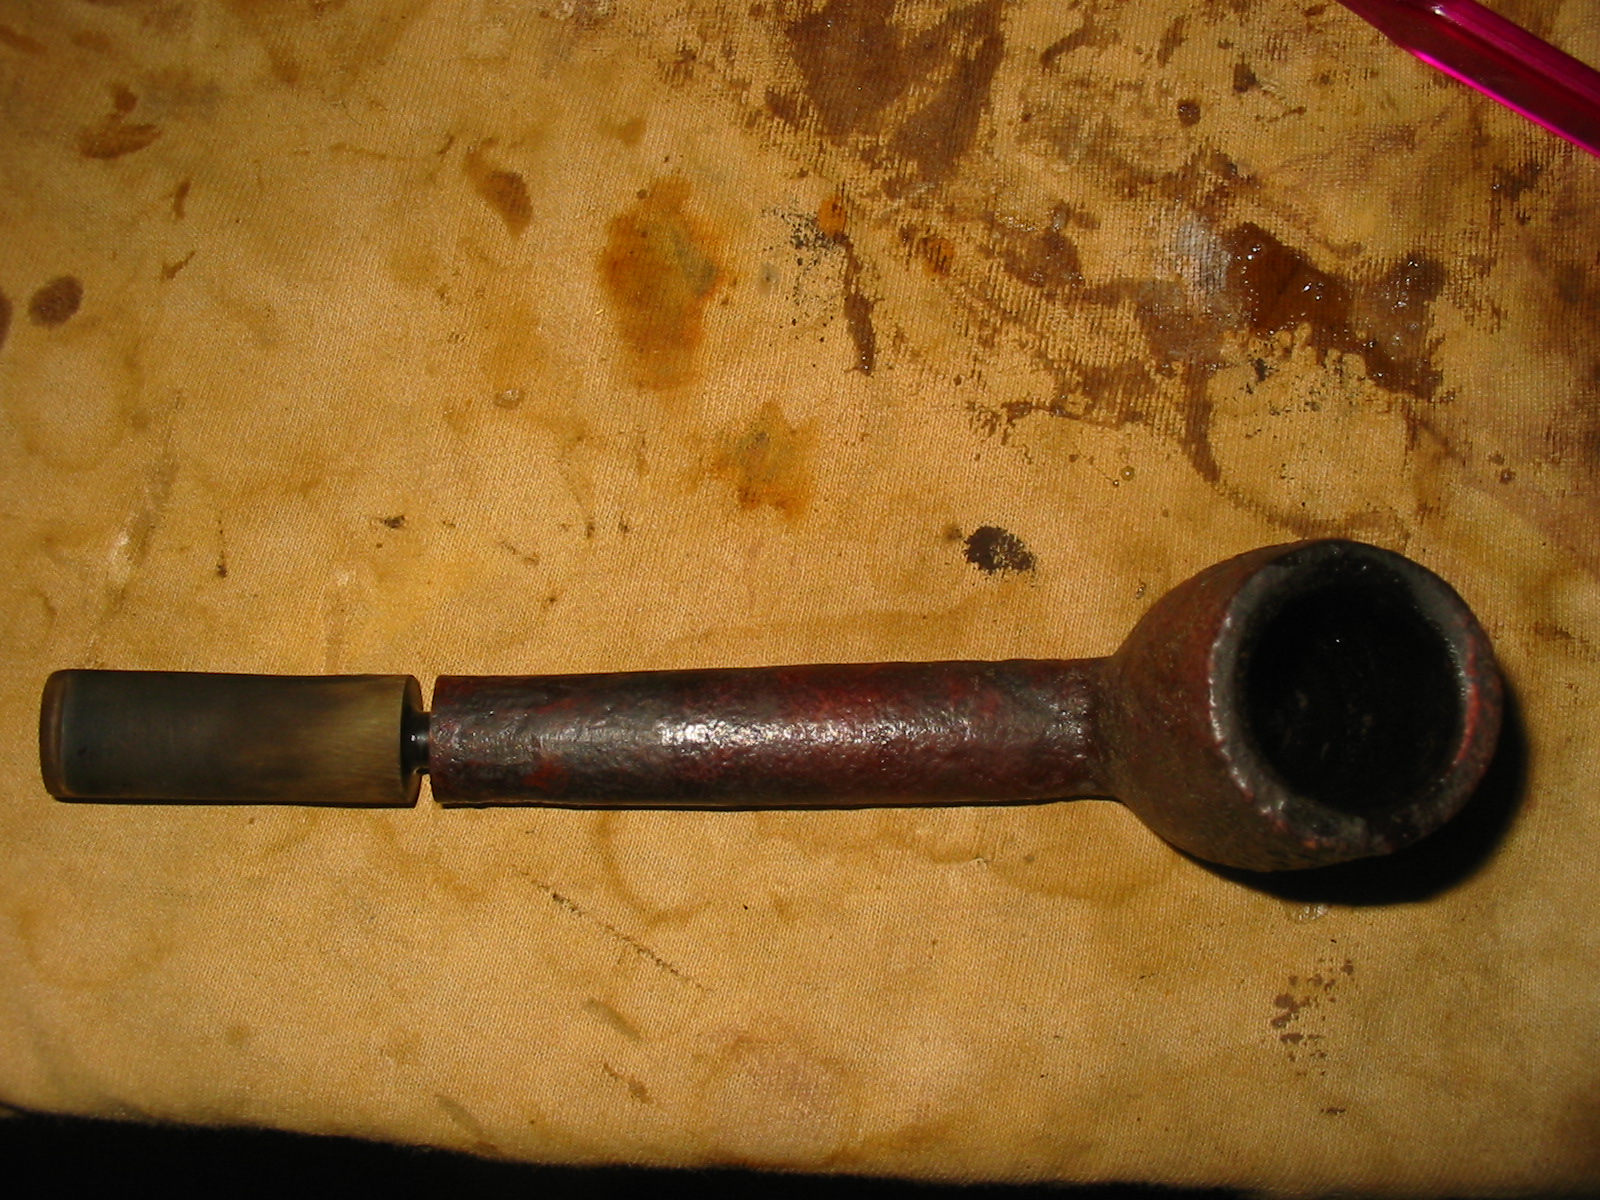
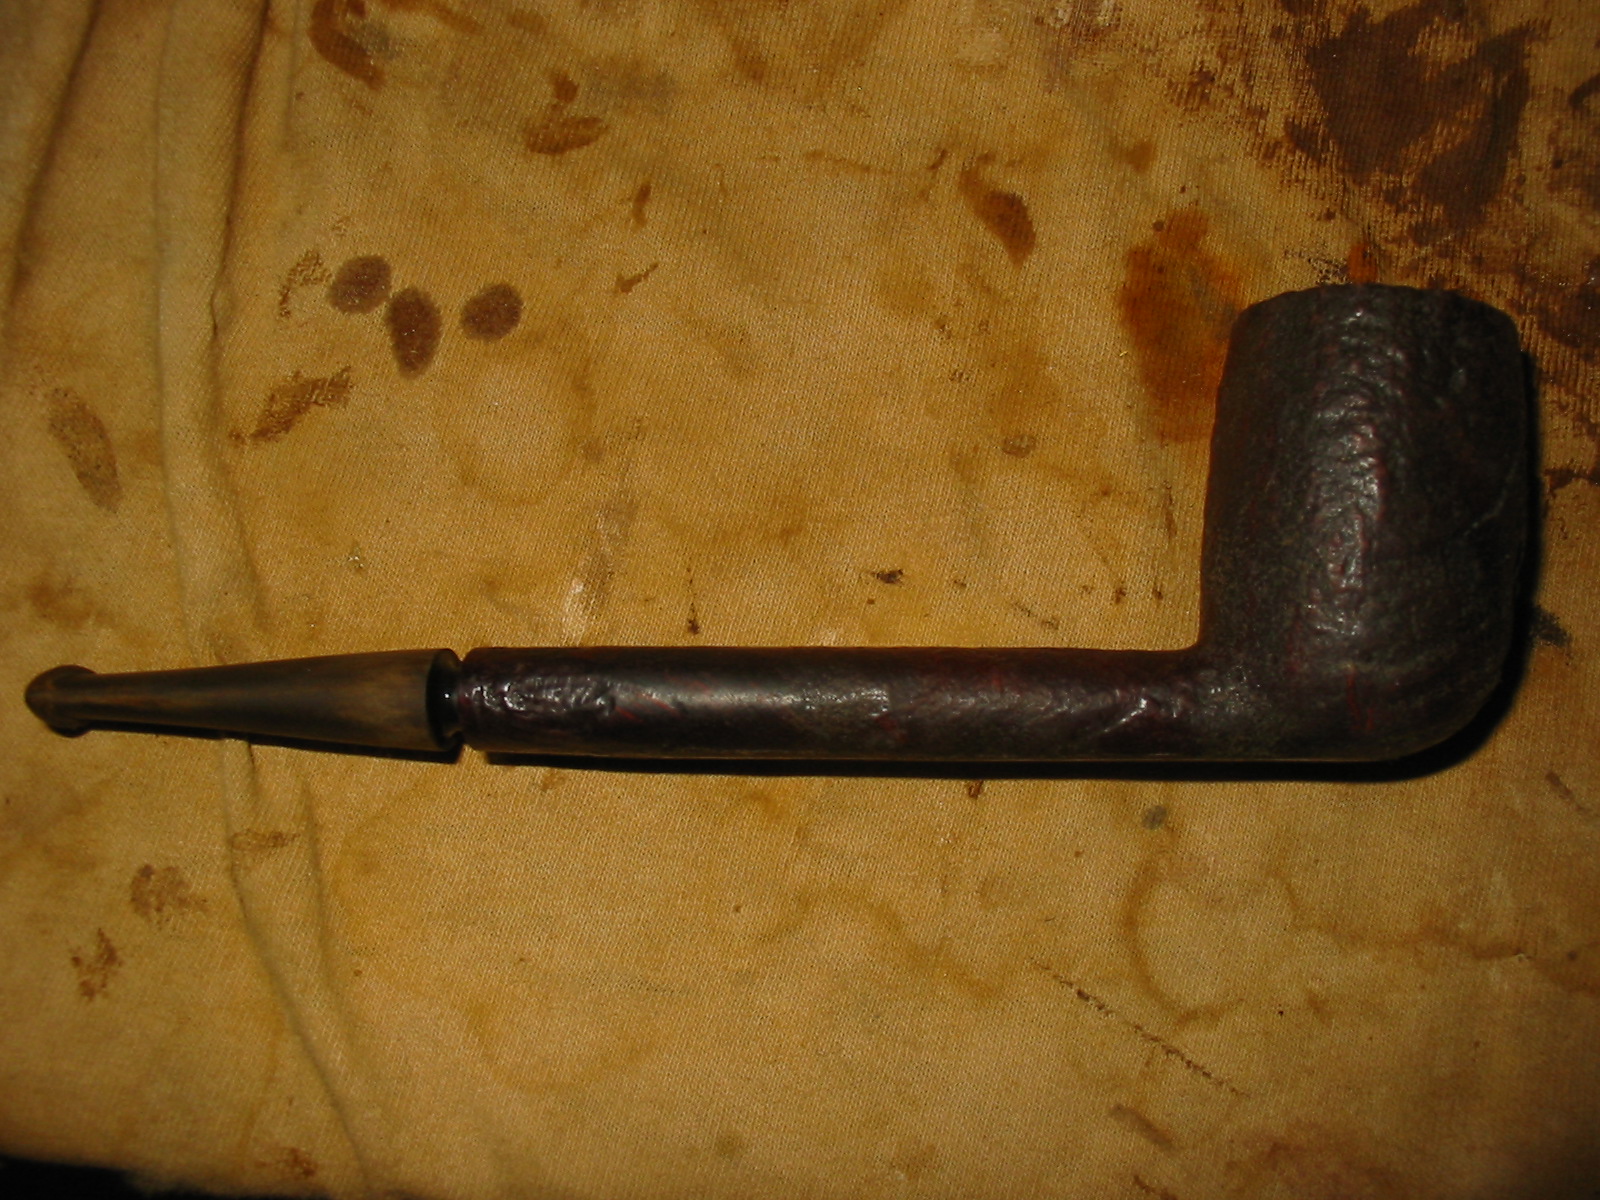
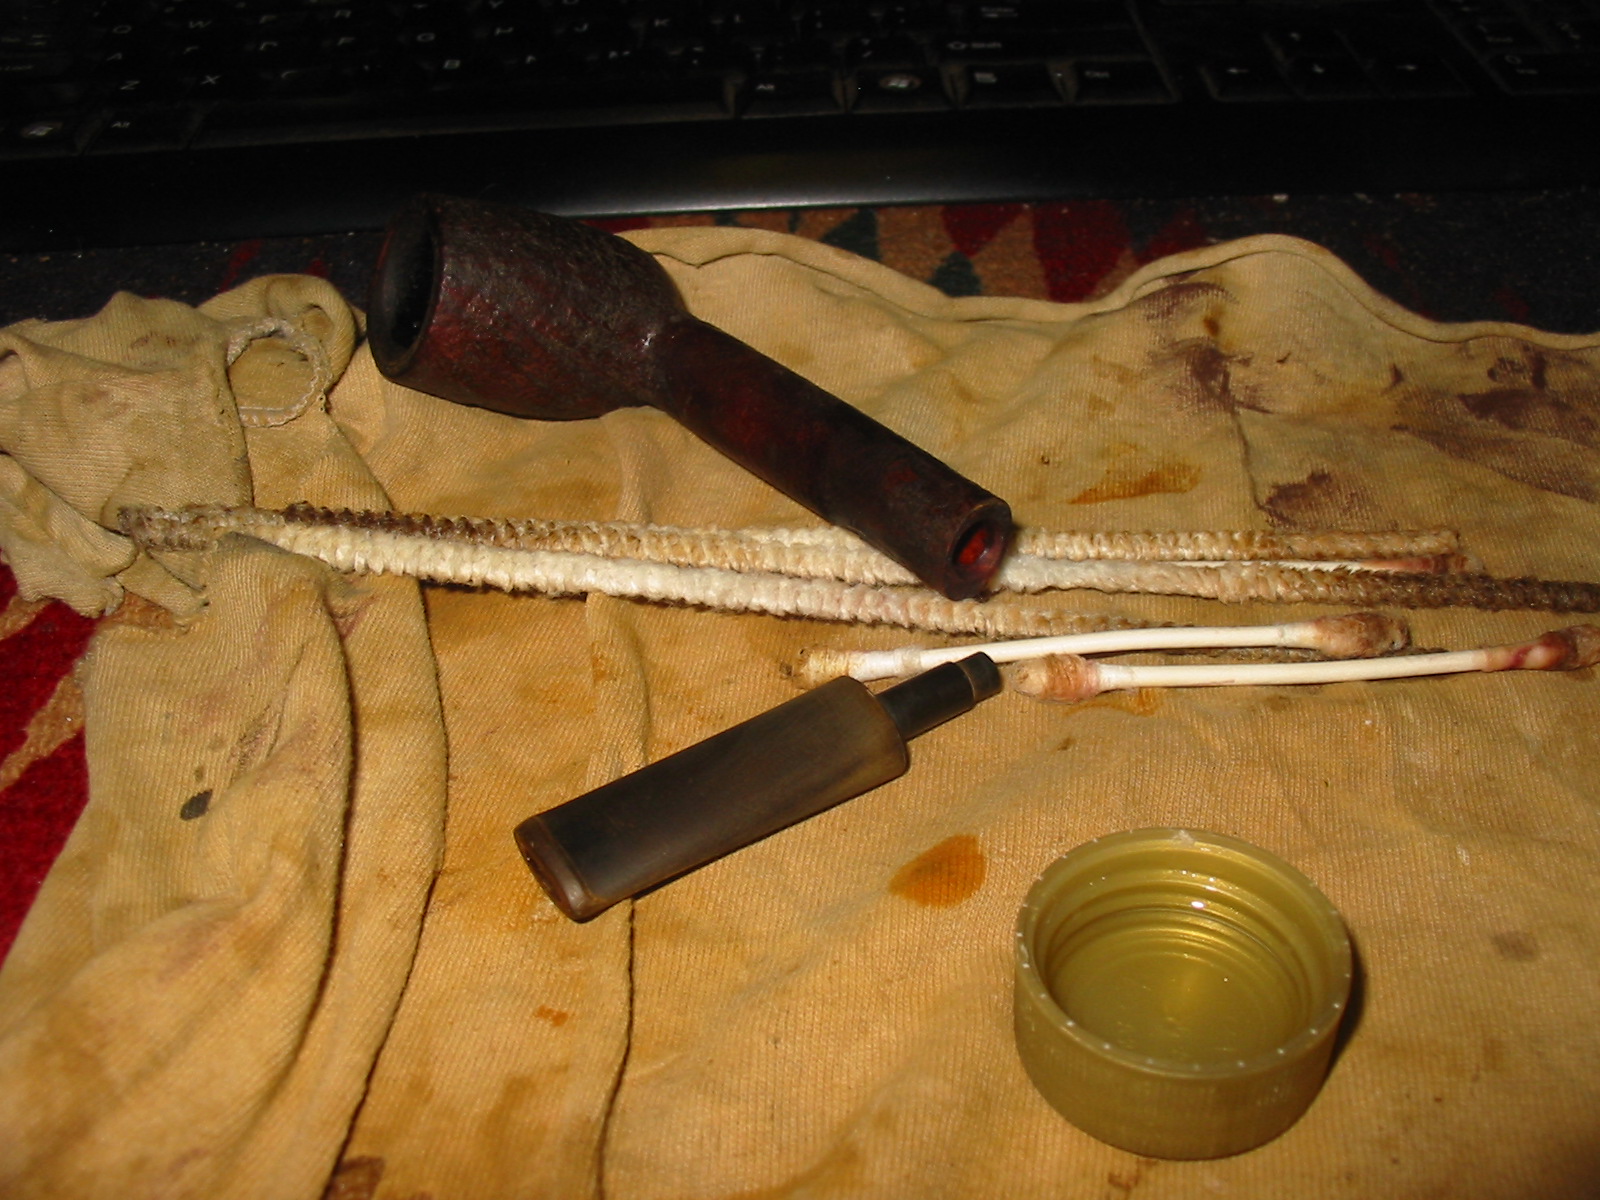
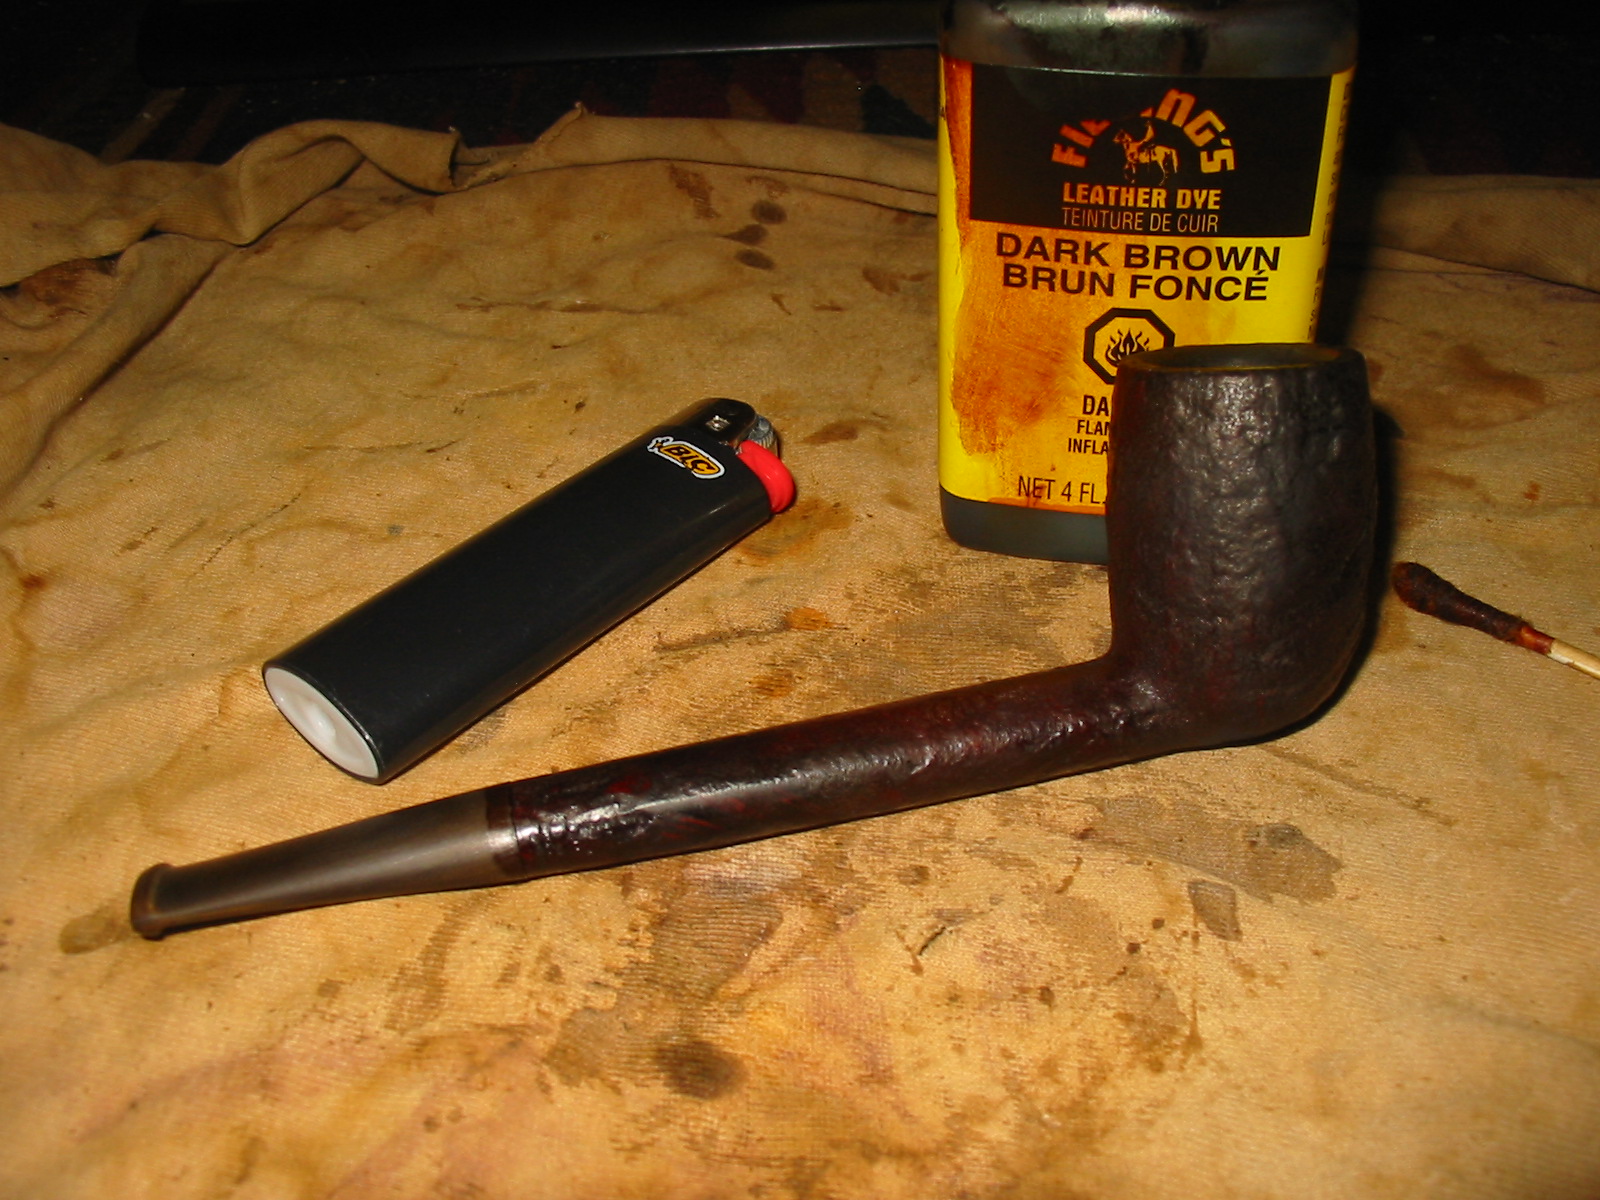
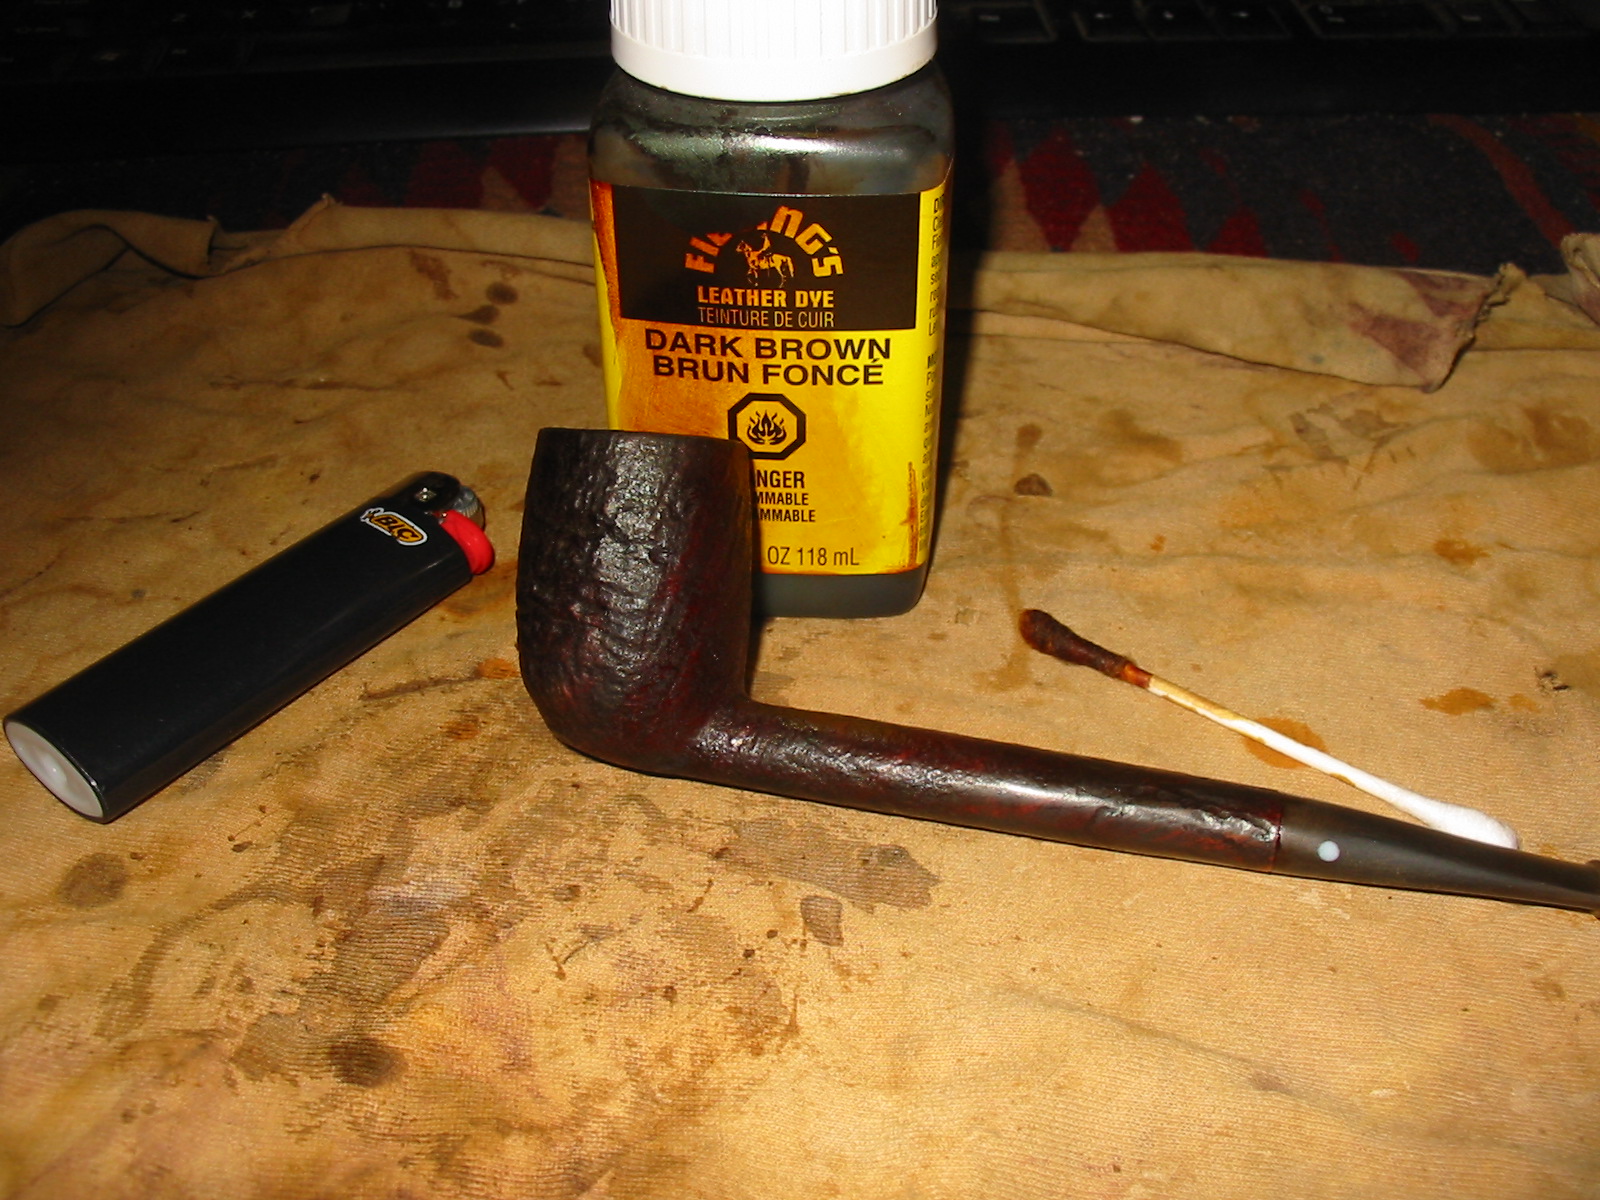
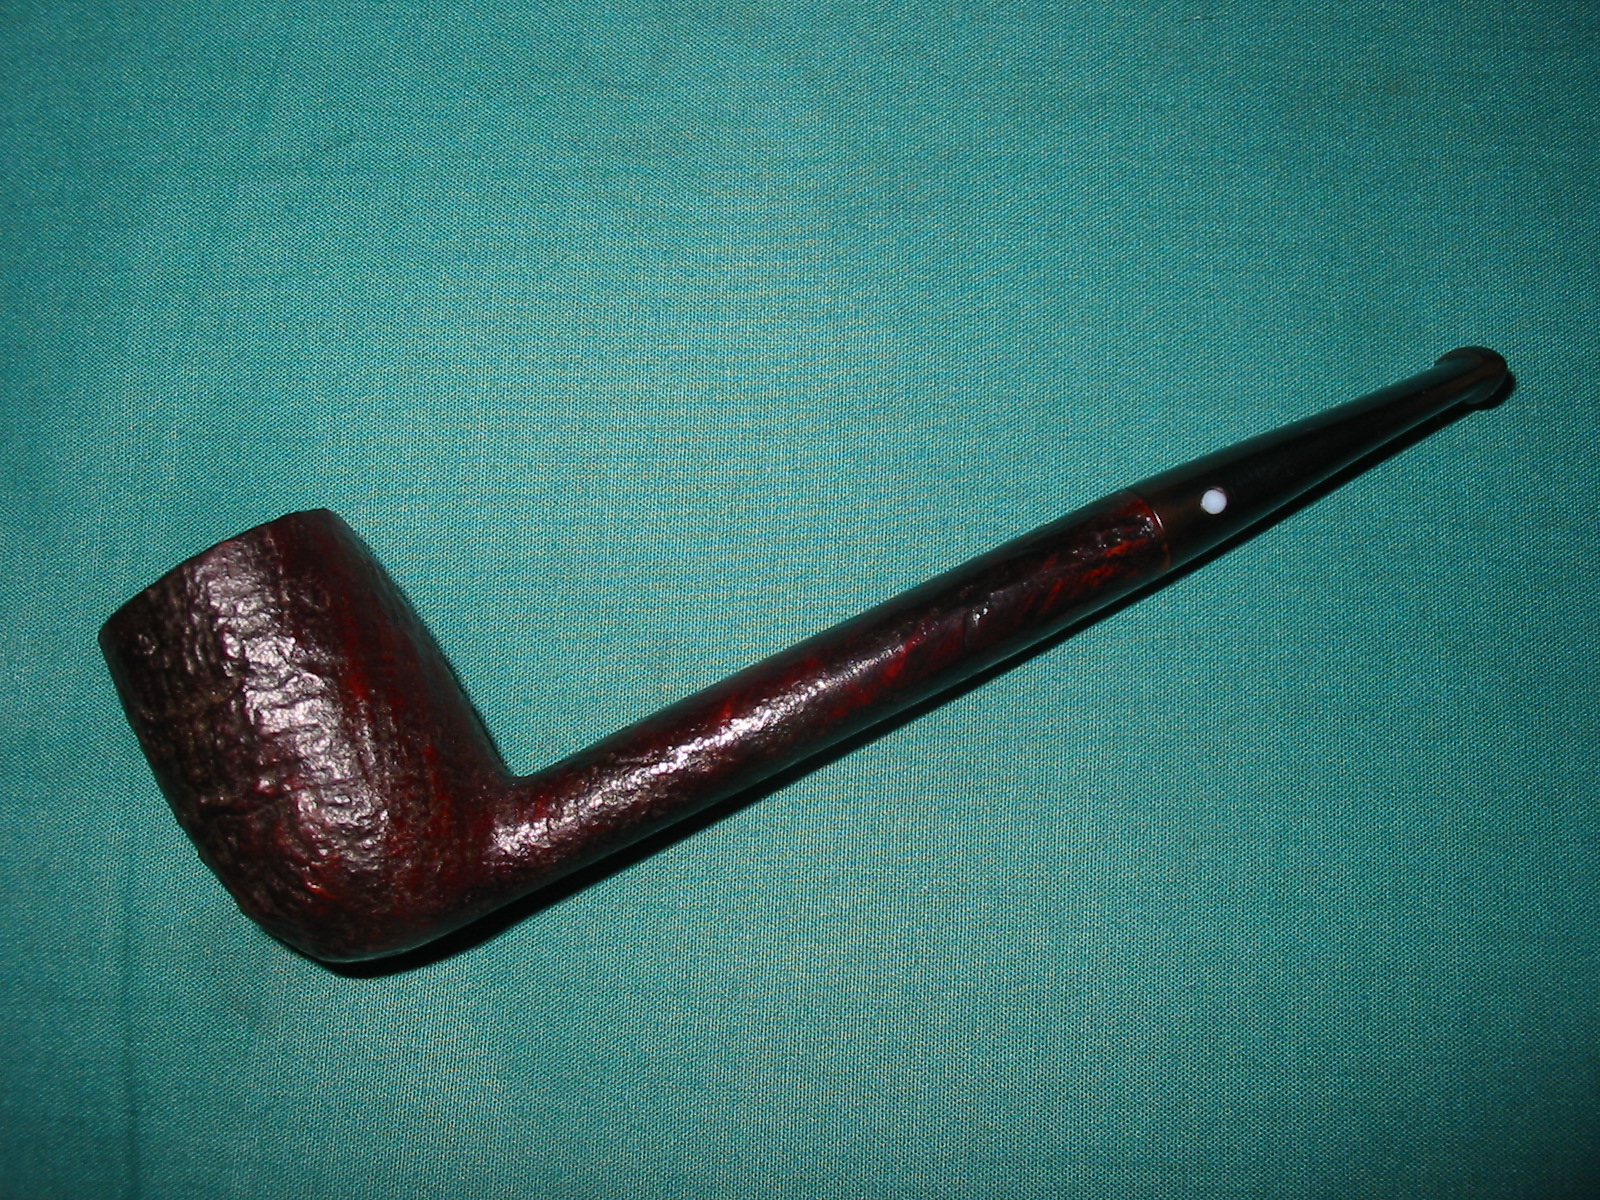
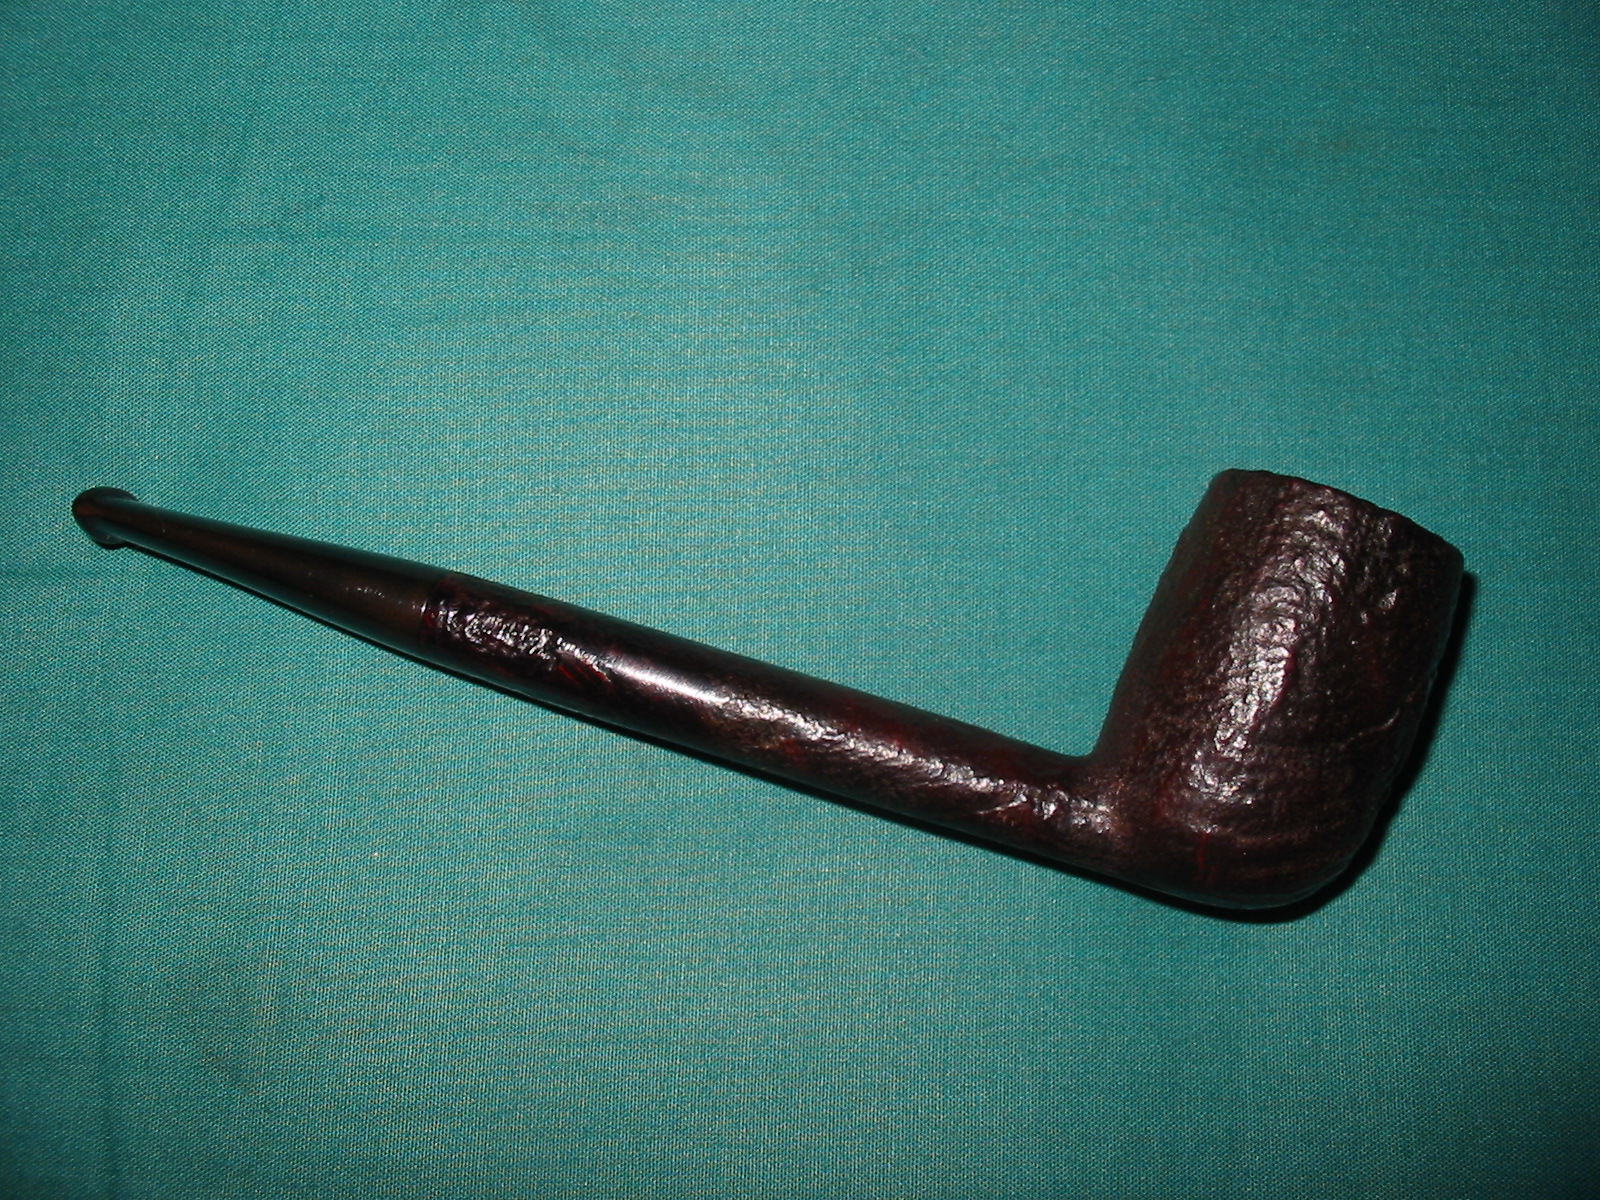
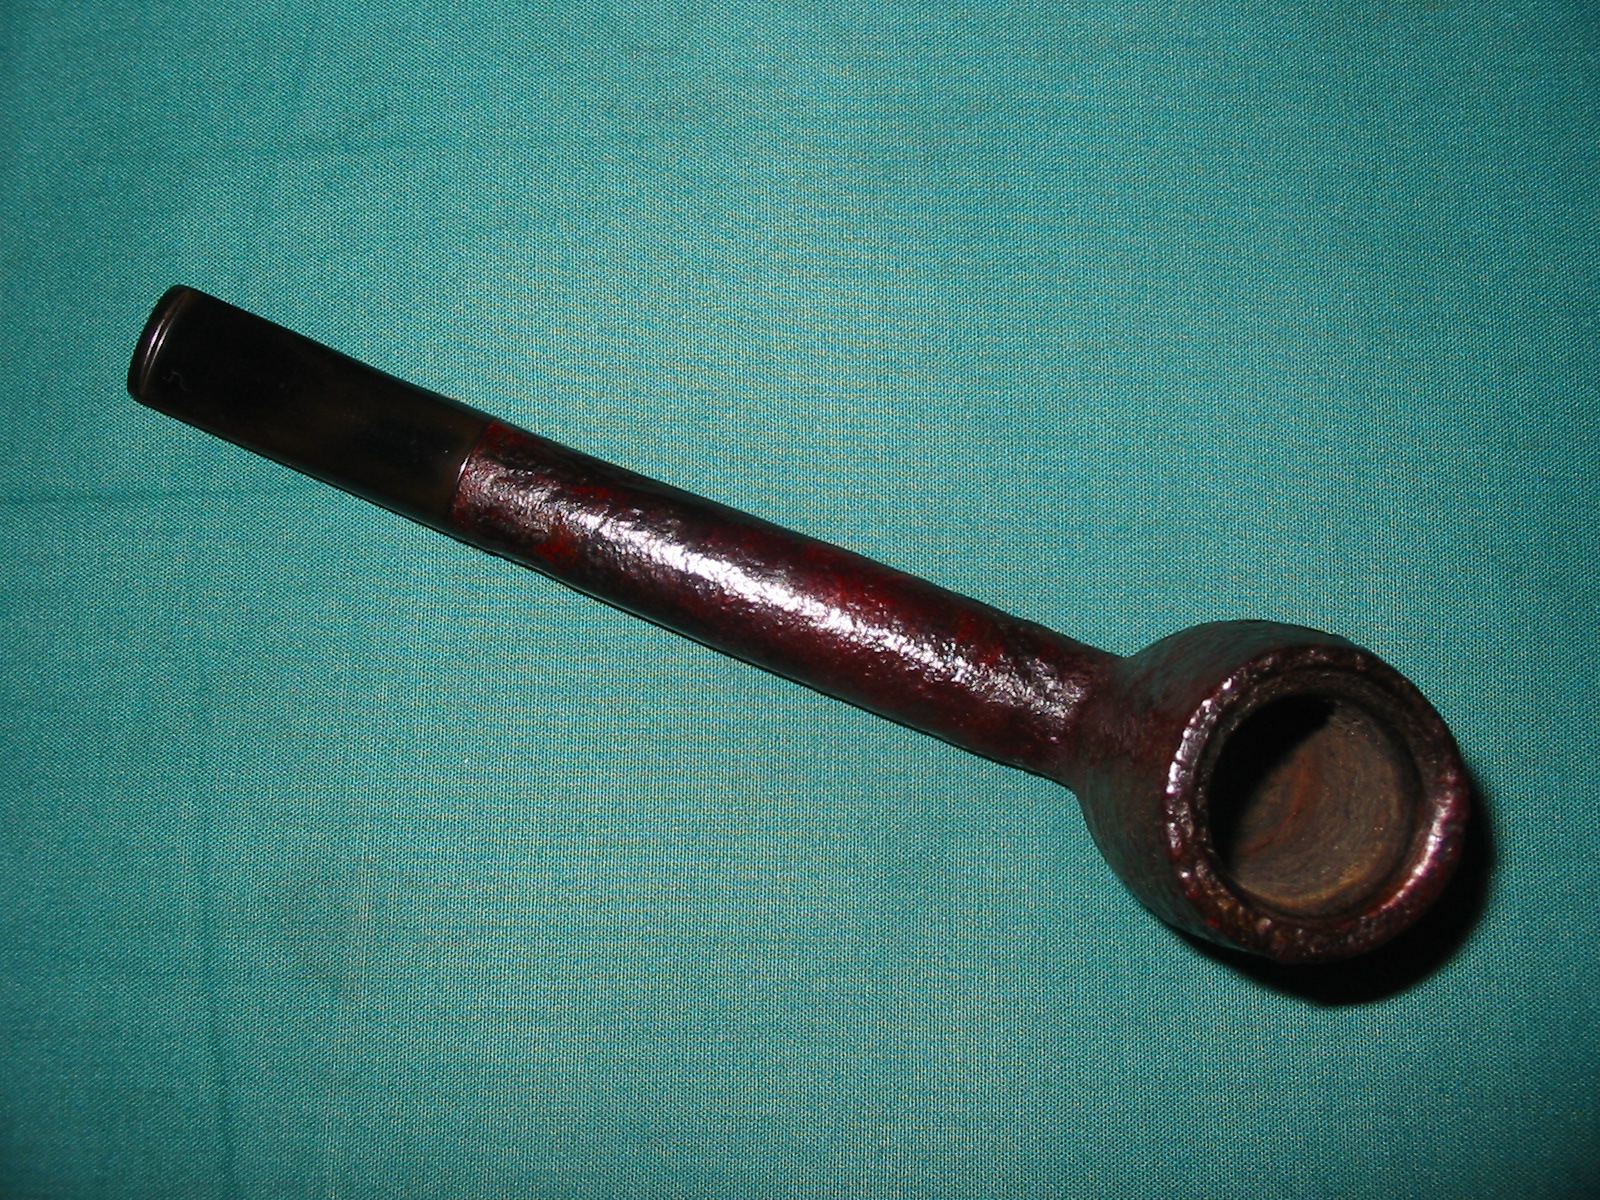
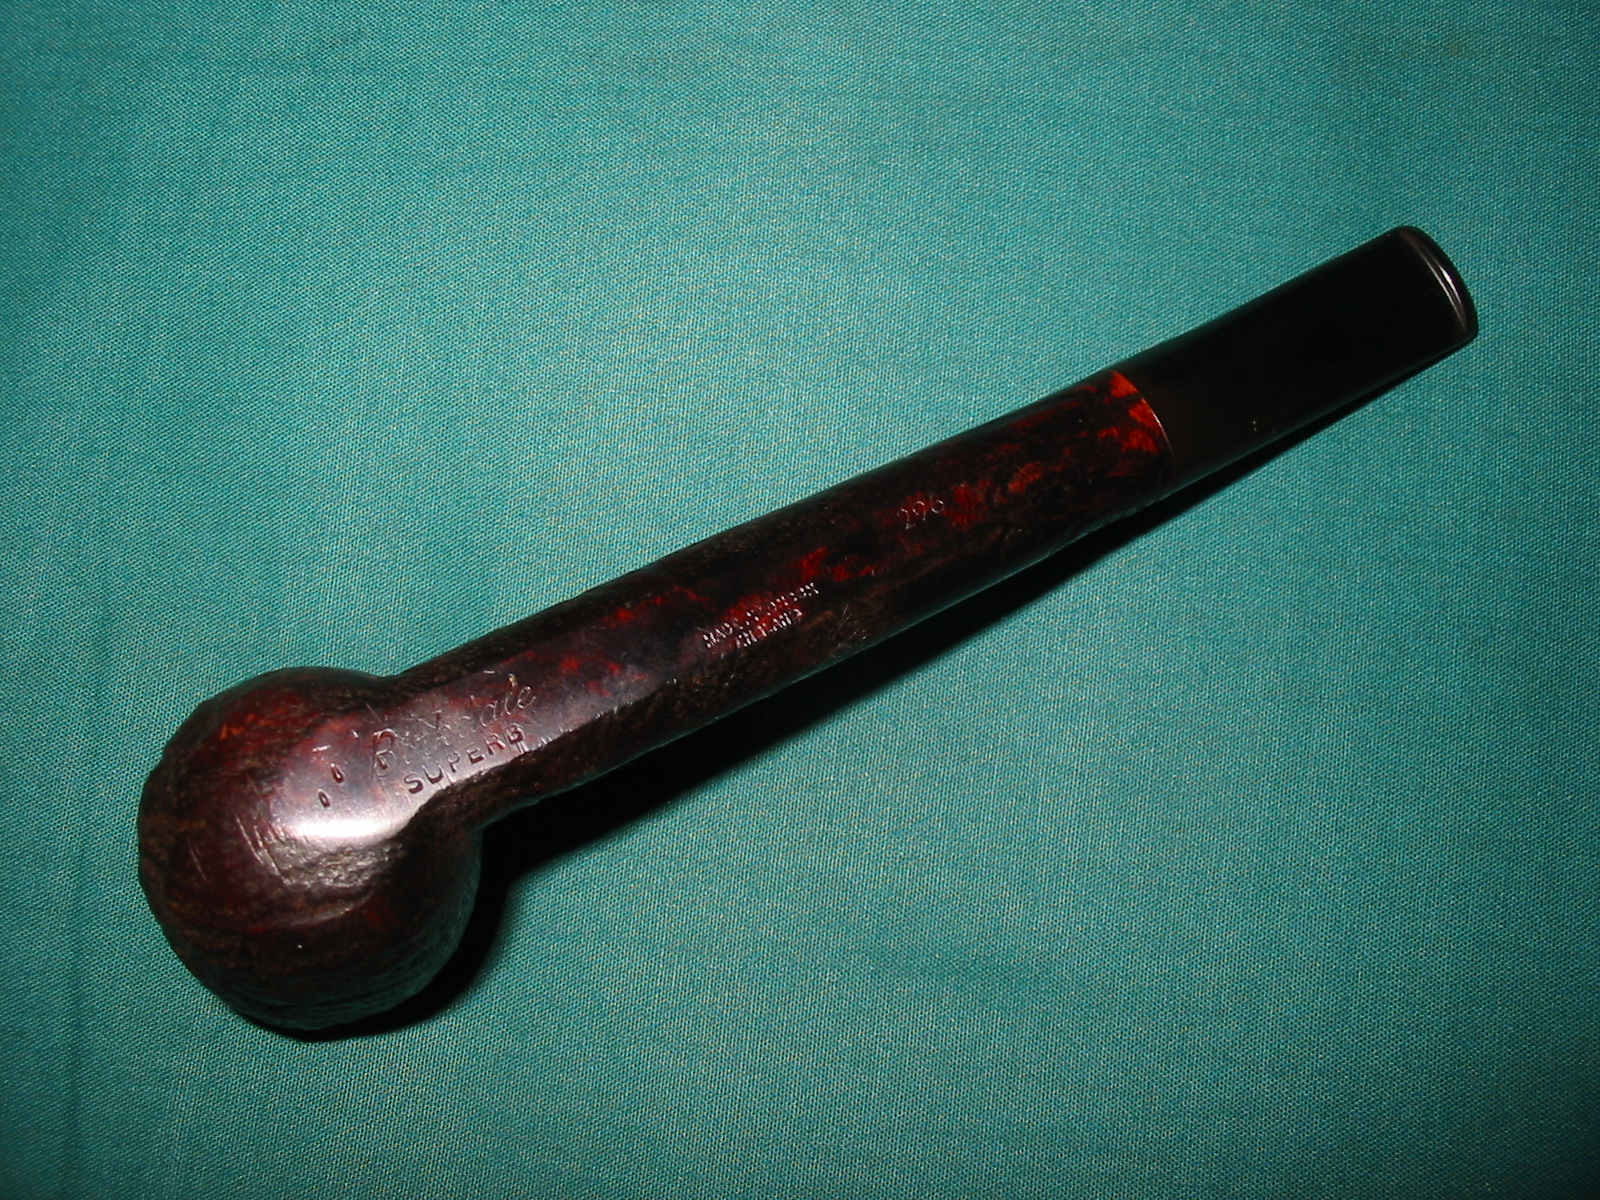
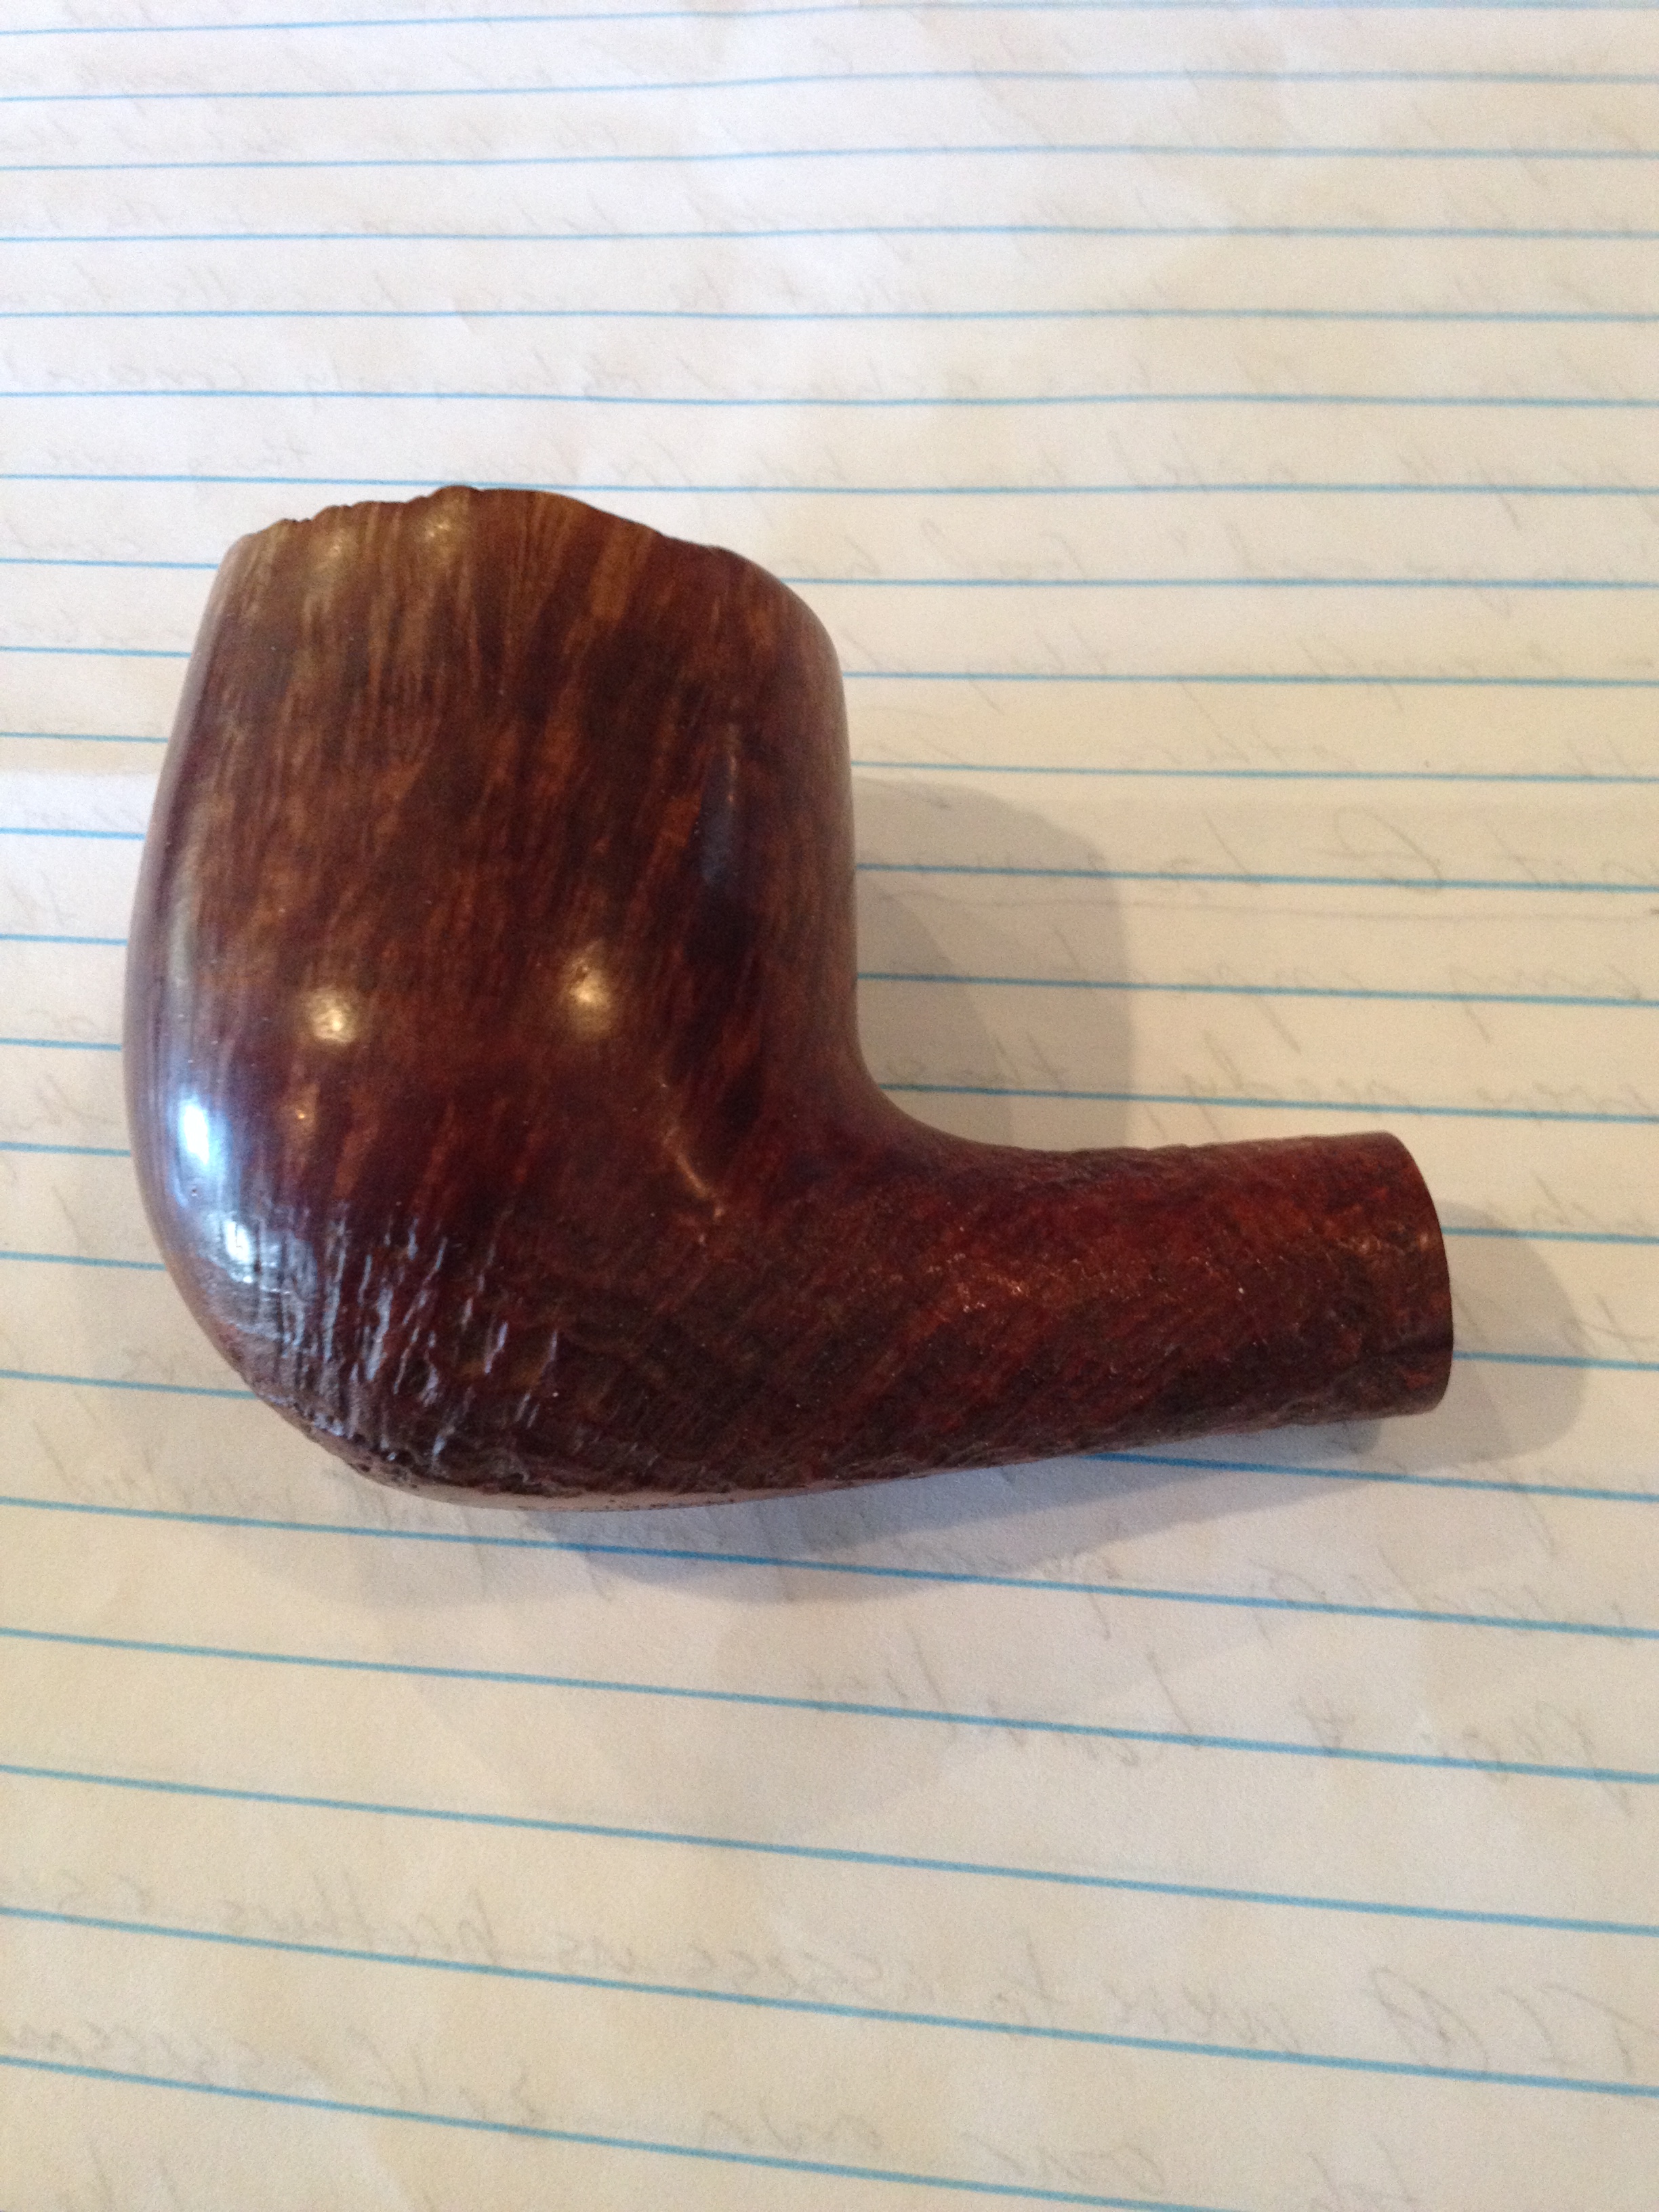
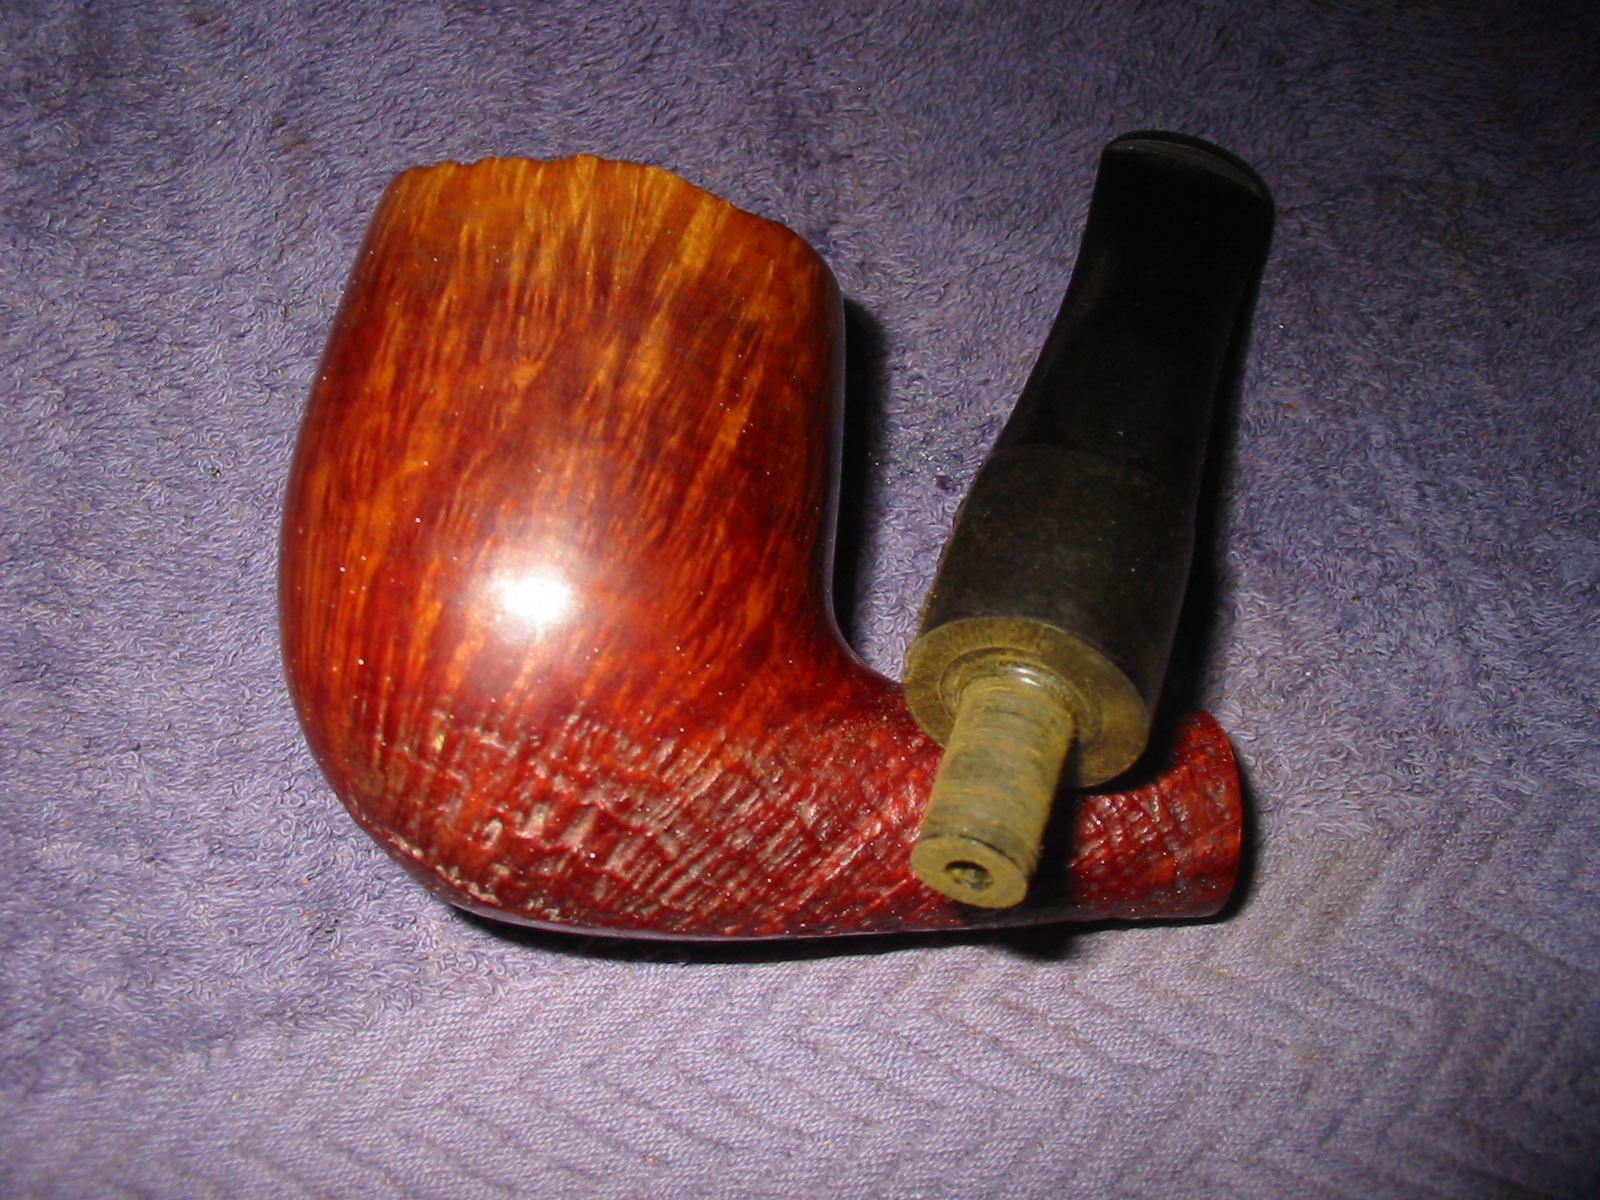
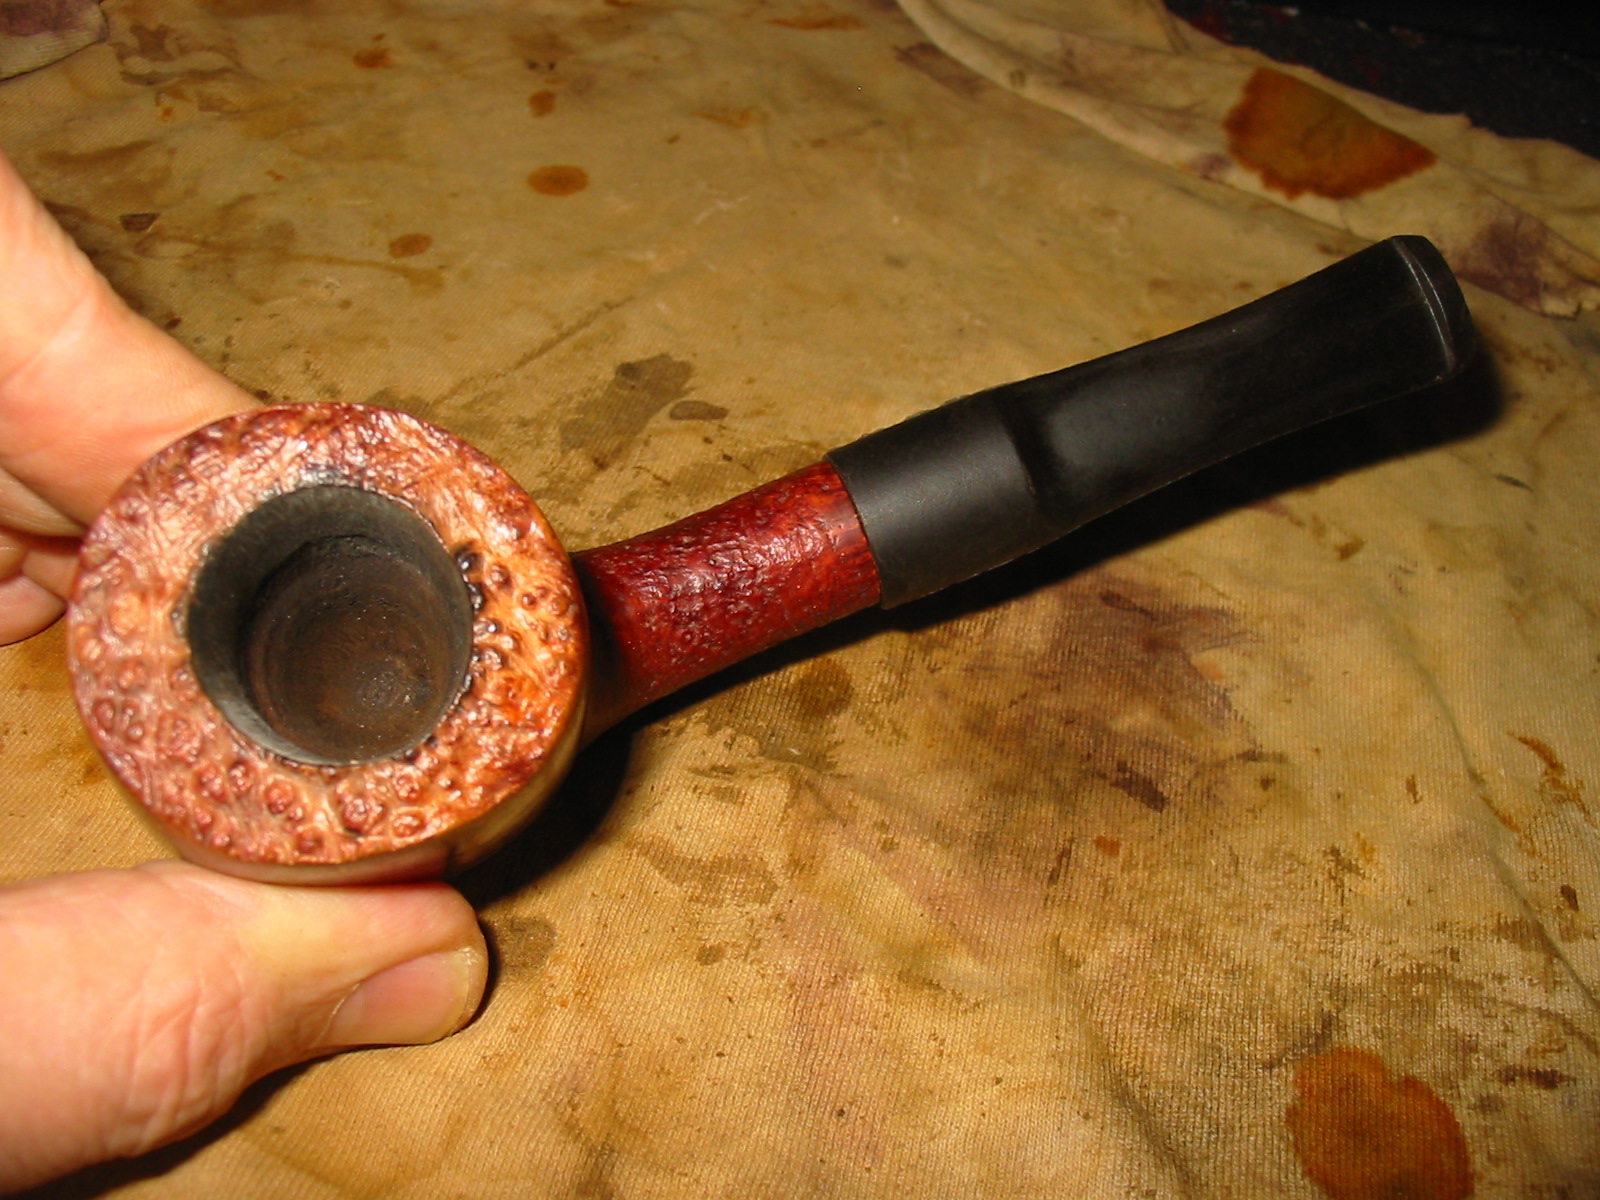
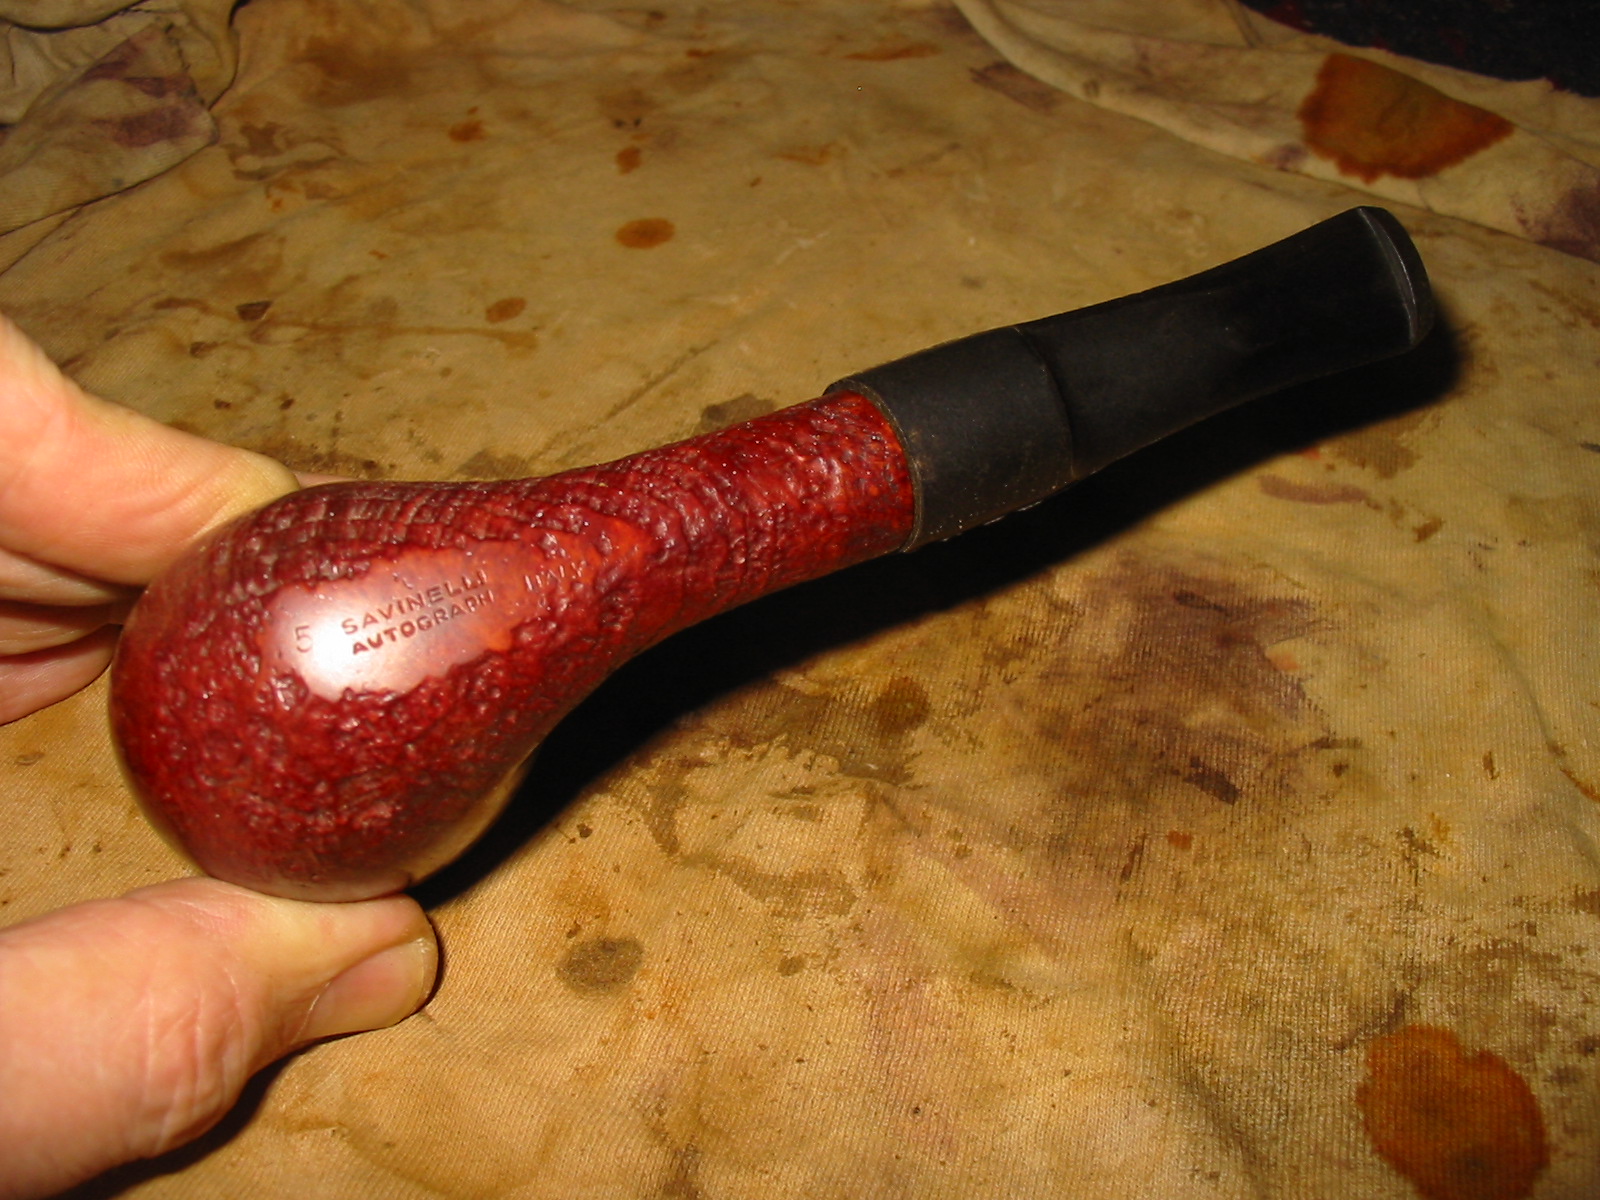
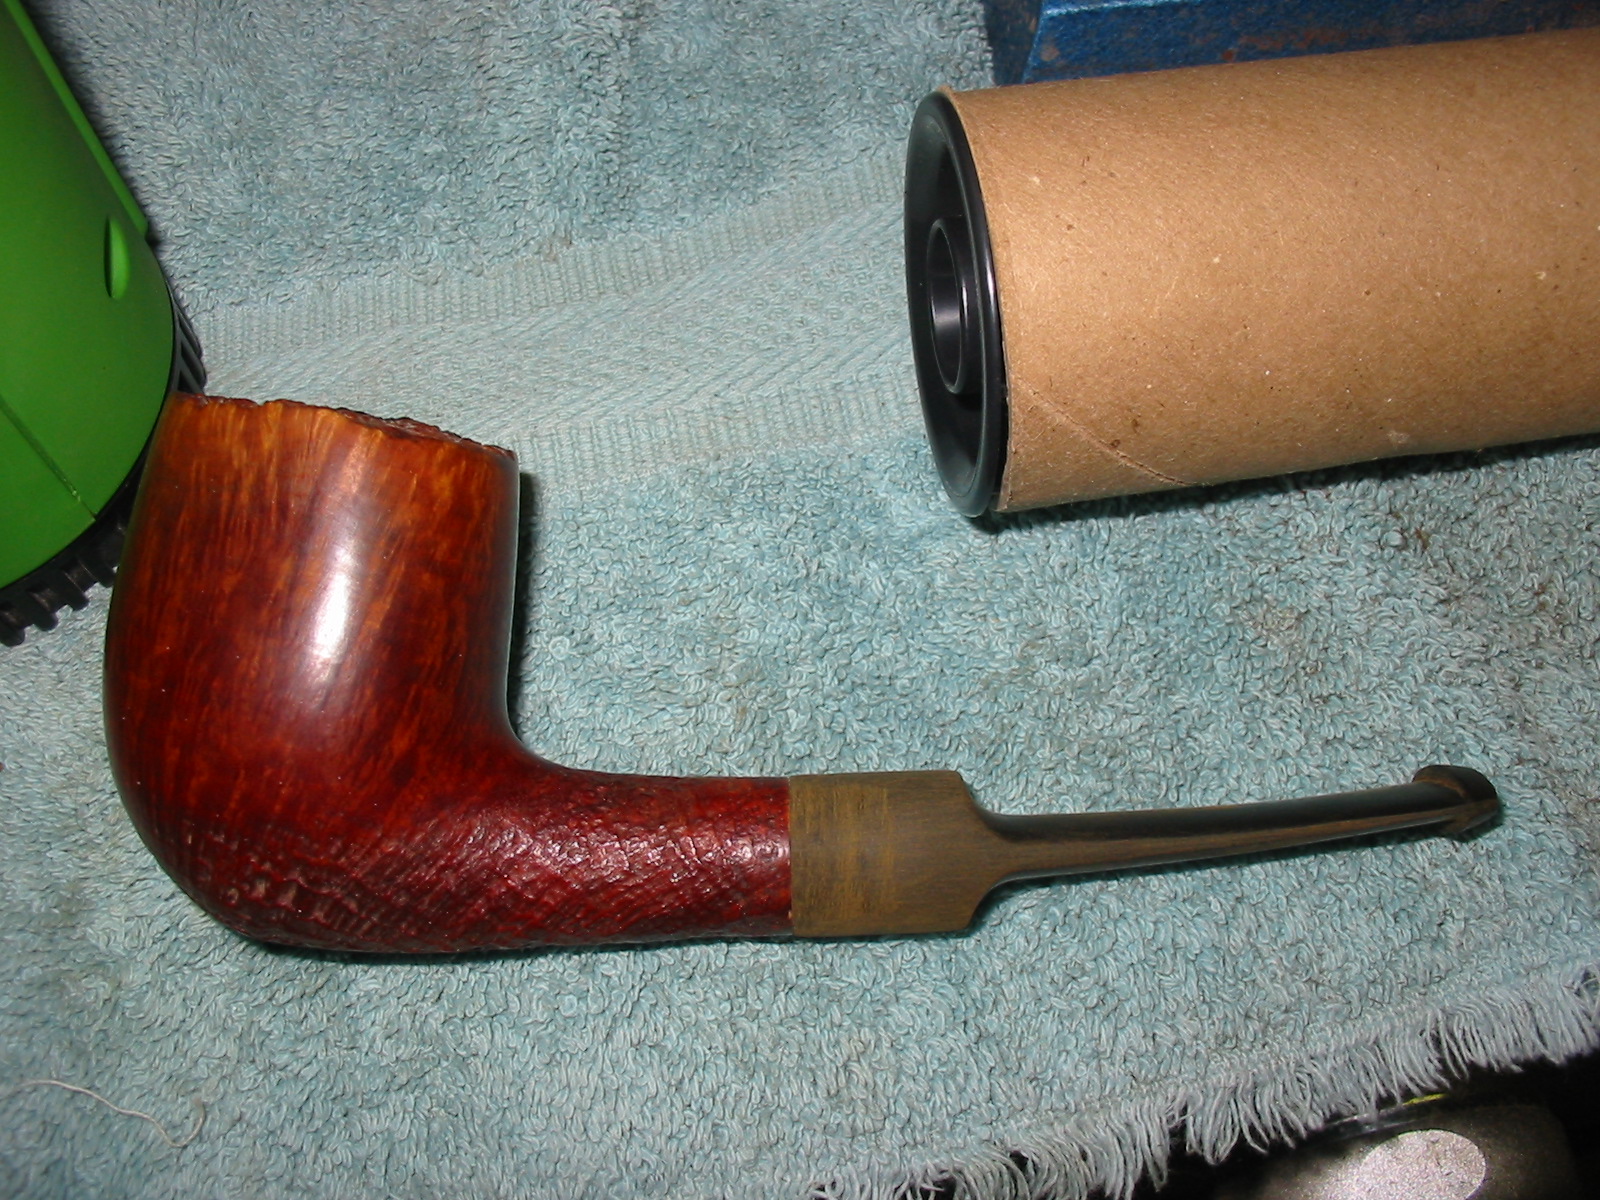
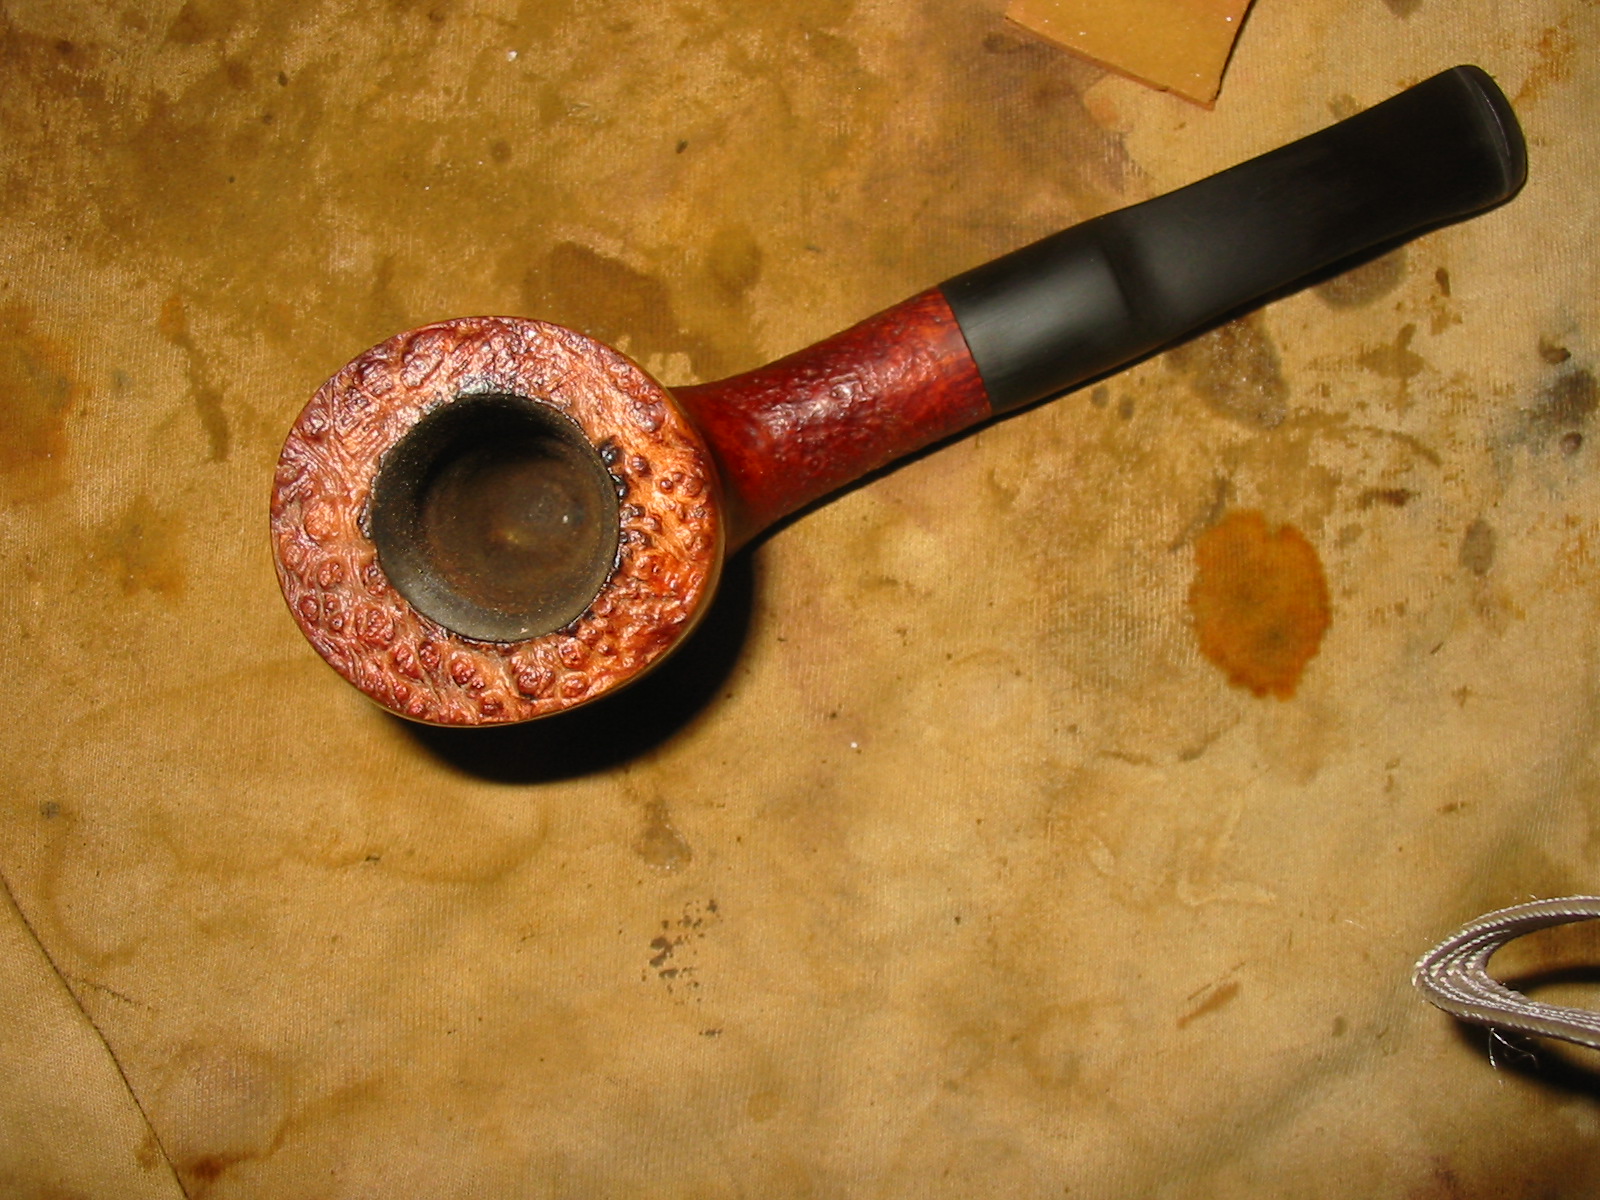
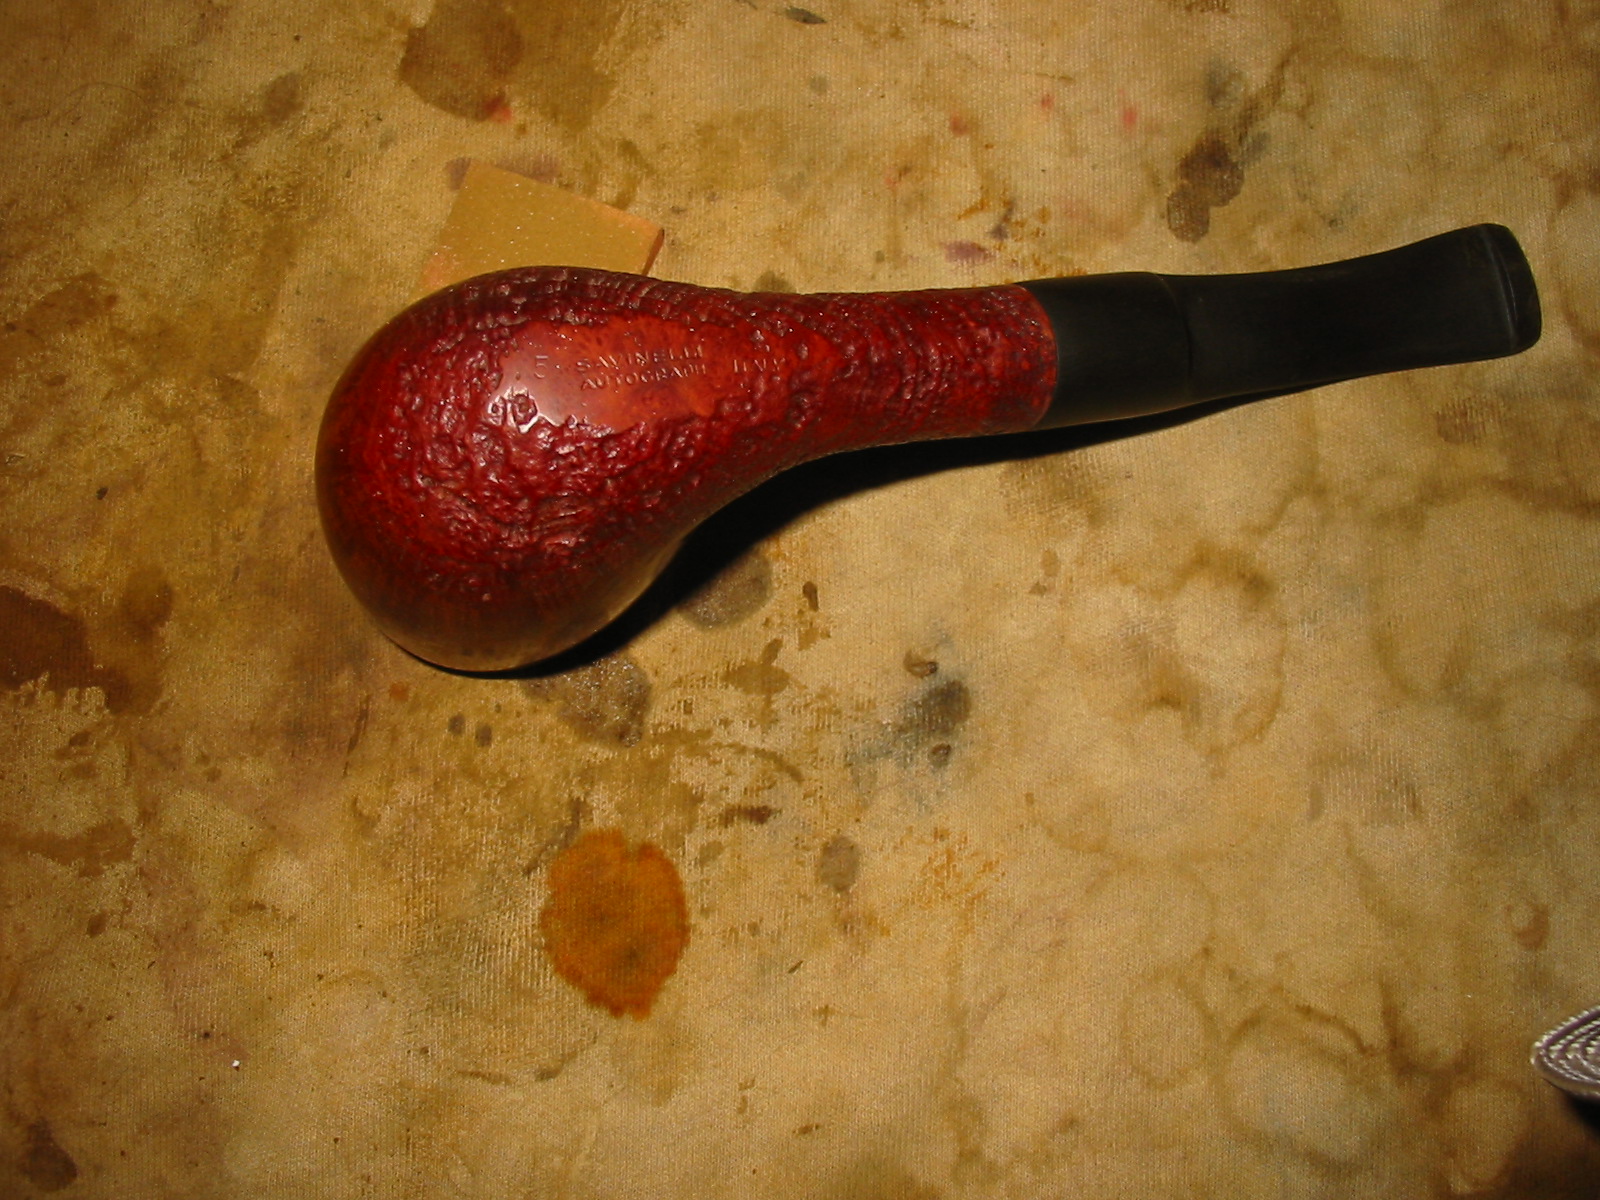
On a recent work trip to Alberta I stopped by and visited Todd Bannard (aka Sasquatch) in his workshop. He did a bit of work on a Delrin sleeve for me and we smoked some bowls together. I left a couple of refurbished pipes with Todd and he gave me a Savinelli Autograph 5 bowl that needed to be restemmed. This afternoon I got around to fitting a stem to the pipe. The briar is a beautiful piece with a lot of gorgeous grain. The bottom of the bowl and the shank are sandblasted. The bowl has a plateau top and the shank took a flush fit stem. It had been barely smoked and certainly was not broken in. If it had been smoked one or two times that may be saying more than is true as the grain in the interior of the bowl is still quite visible. Below are some pictures of the bowl before I restemmed it.
IMG_0466

IMG_0467

IMG_0468

IMG_0469

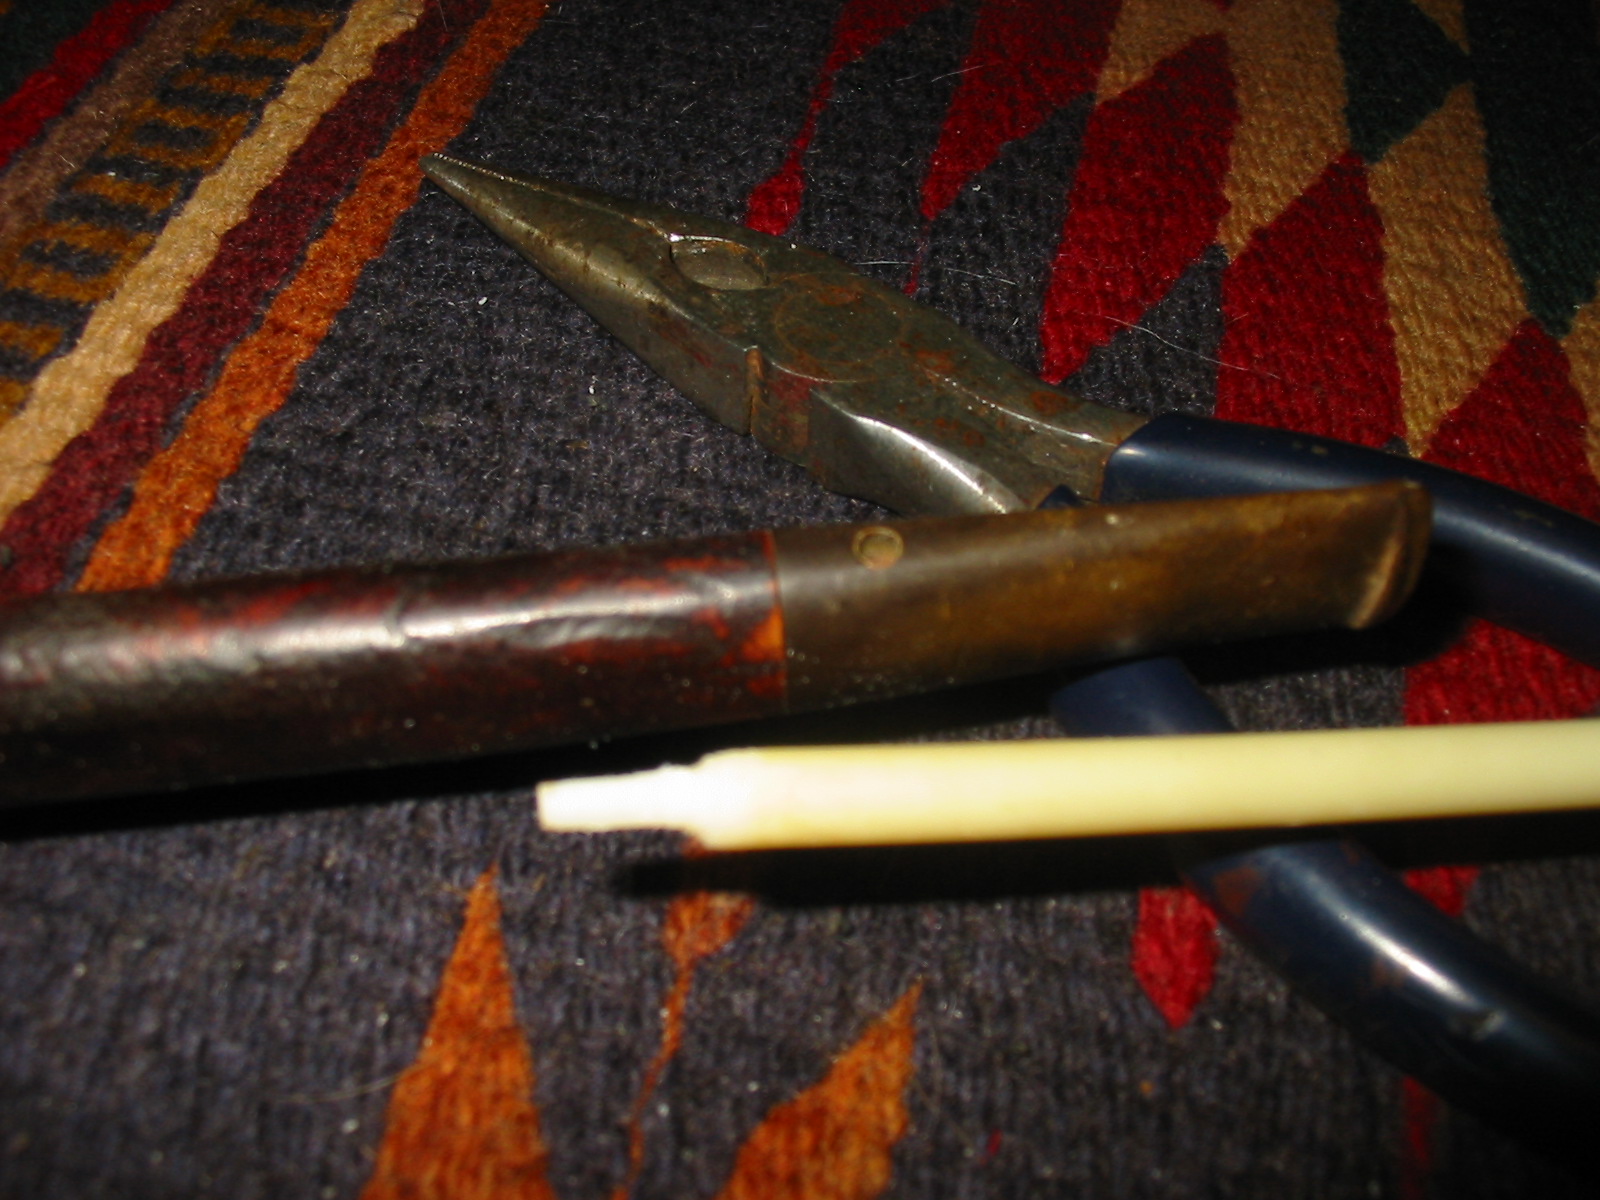
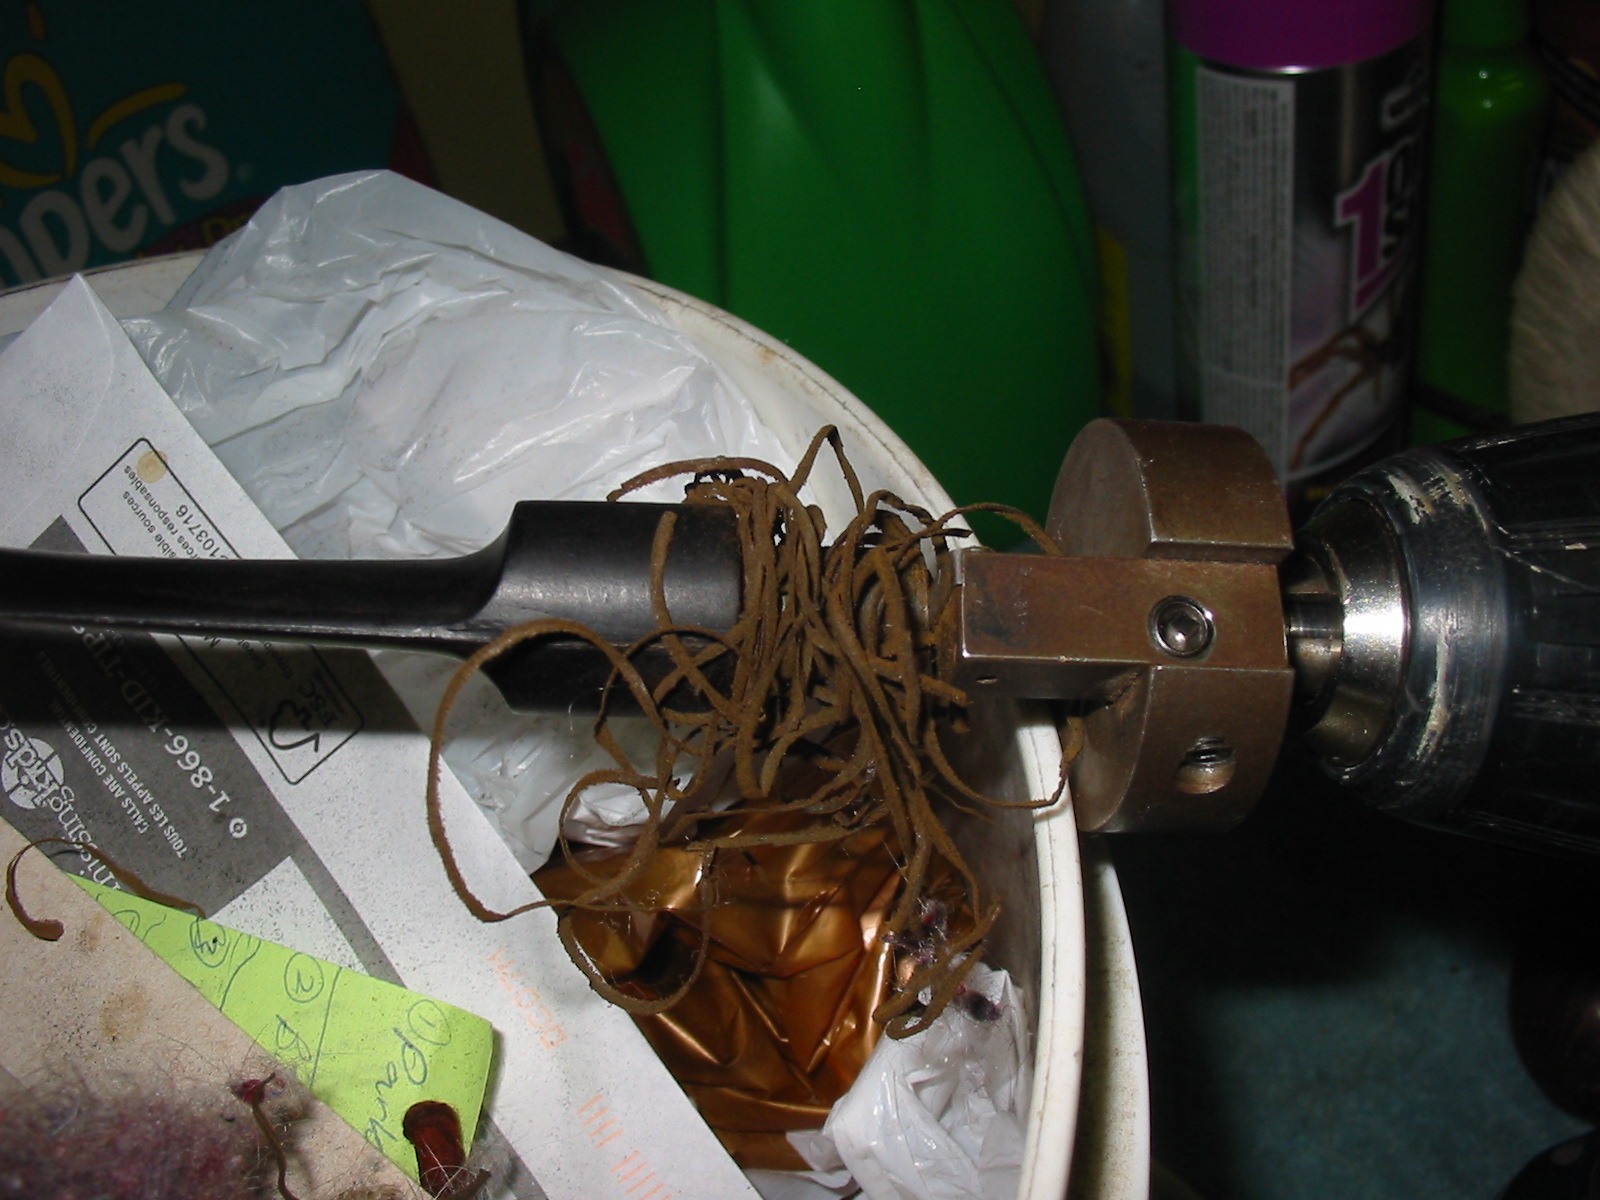
I did research on the Savinelli Autographs to see what kind of stems they had and found a variety of them in pictures. About half of the photos showed a saddle stem with much the same proportions as the one that I chose to use. I went through my box of stems and found one that would approximate the look of the pipes online. I also wanted one that would fit after I turned the tenon. It would also take some minimal adjustment to the diameter of the saddle in order to align with the shank. I drilled open the airway to hold the guide pin on the Pimo tenon turner. I put it in the cordless drill and slowly cut away the diameter of the tenon until it was close to fitting in the shank.
IMG_2000

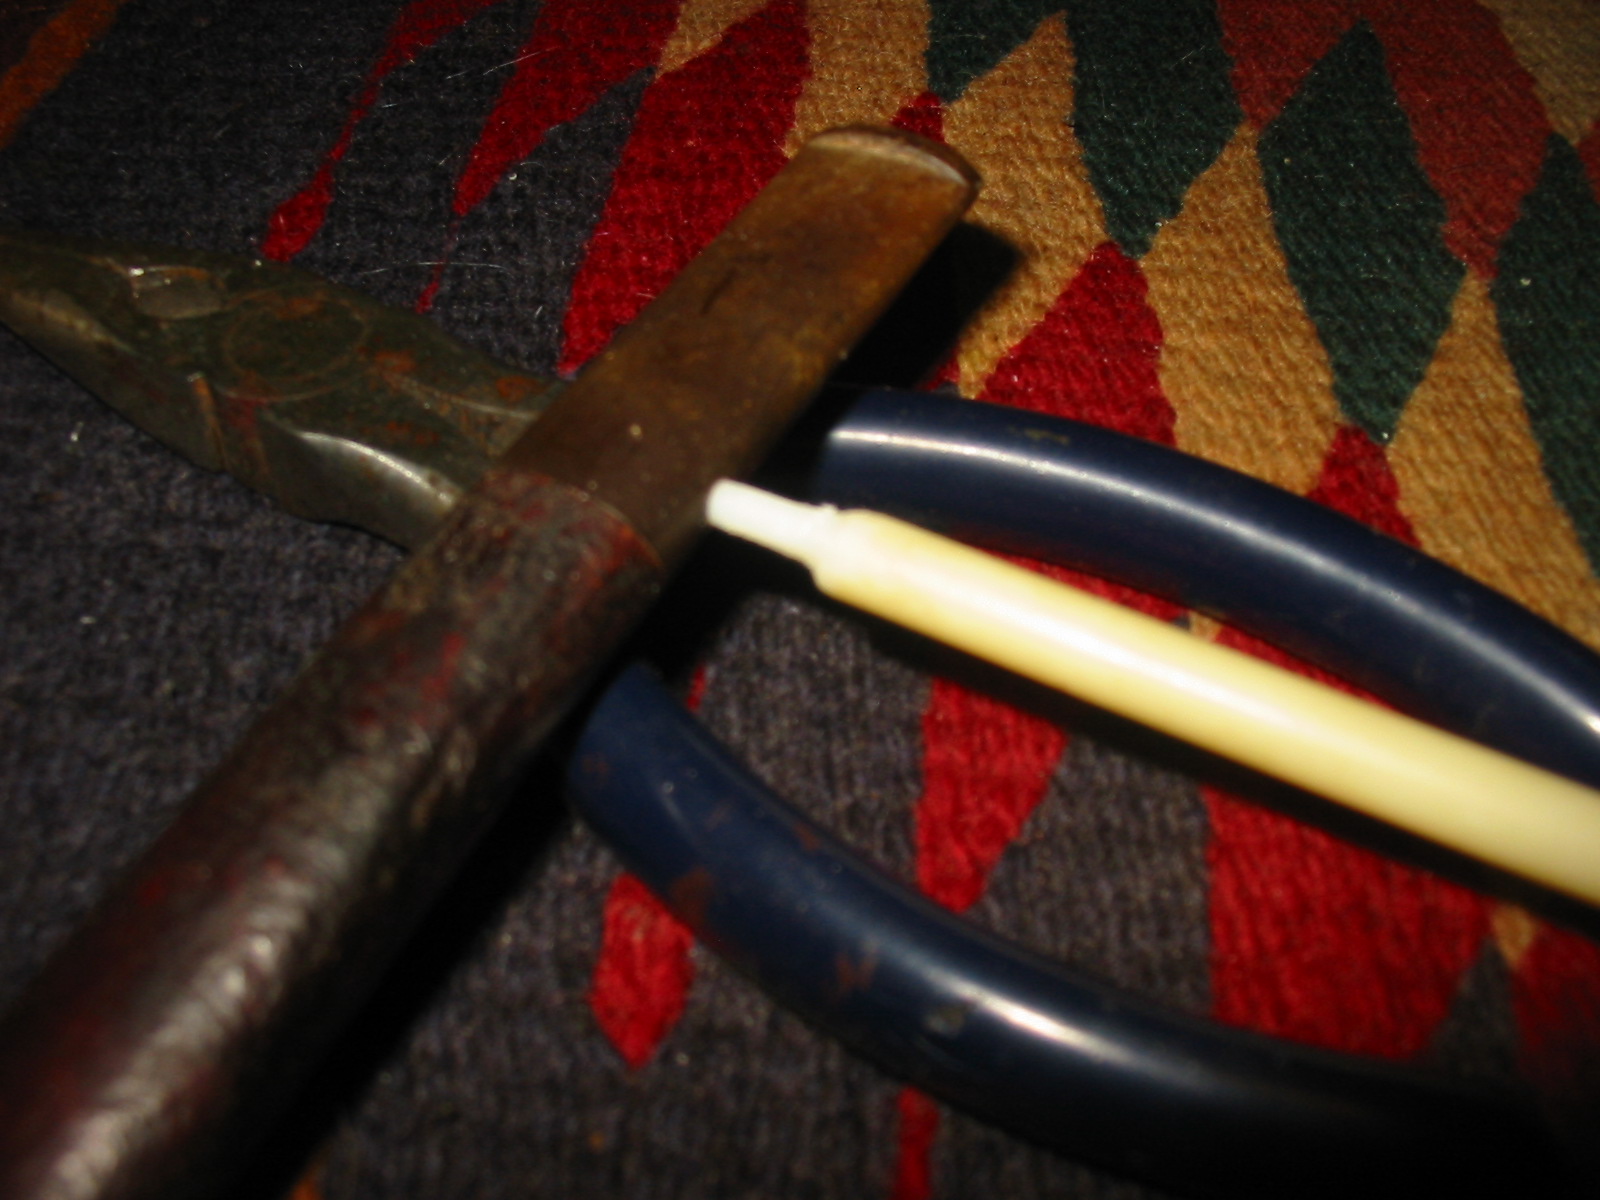
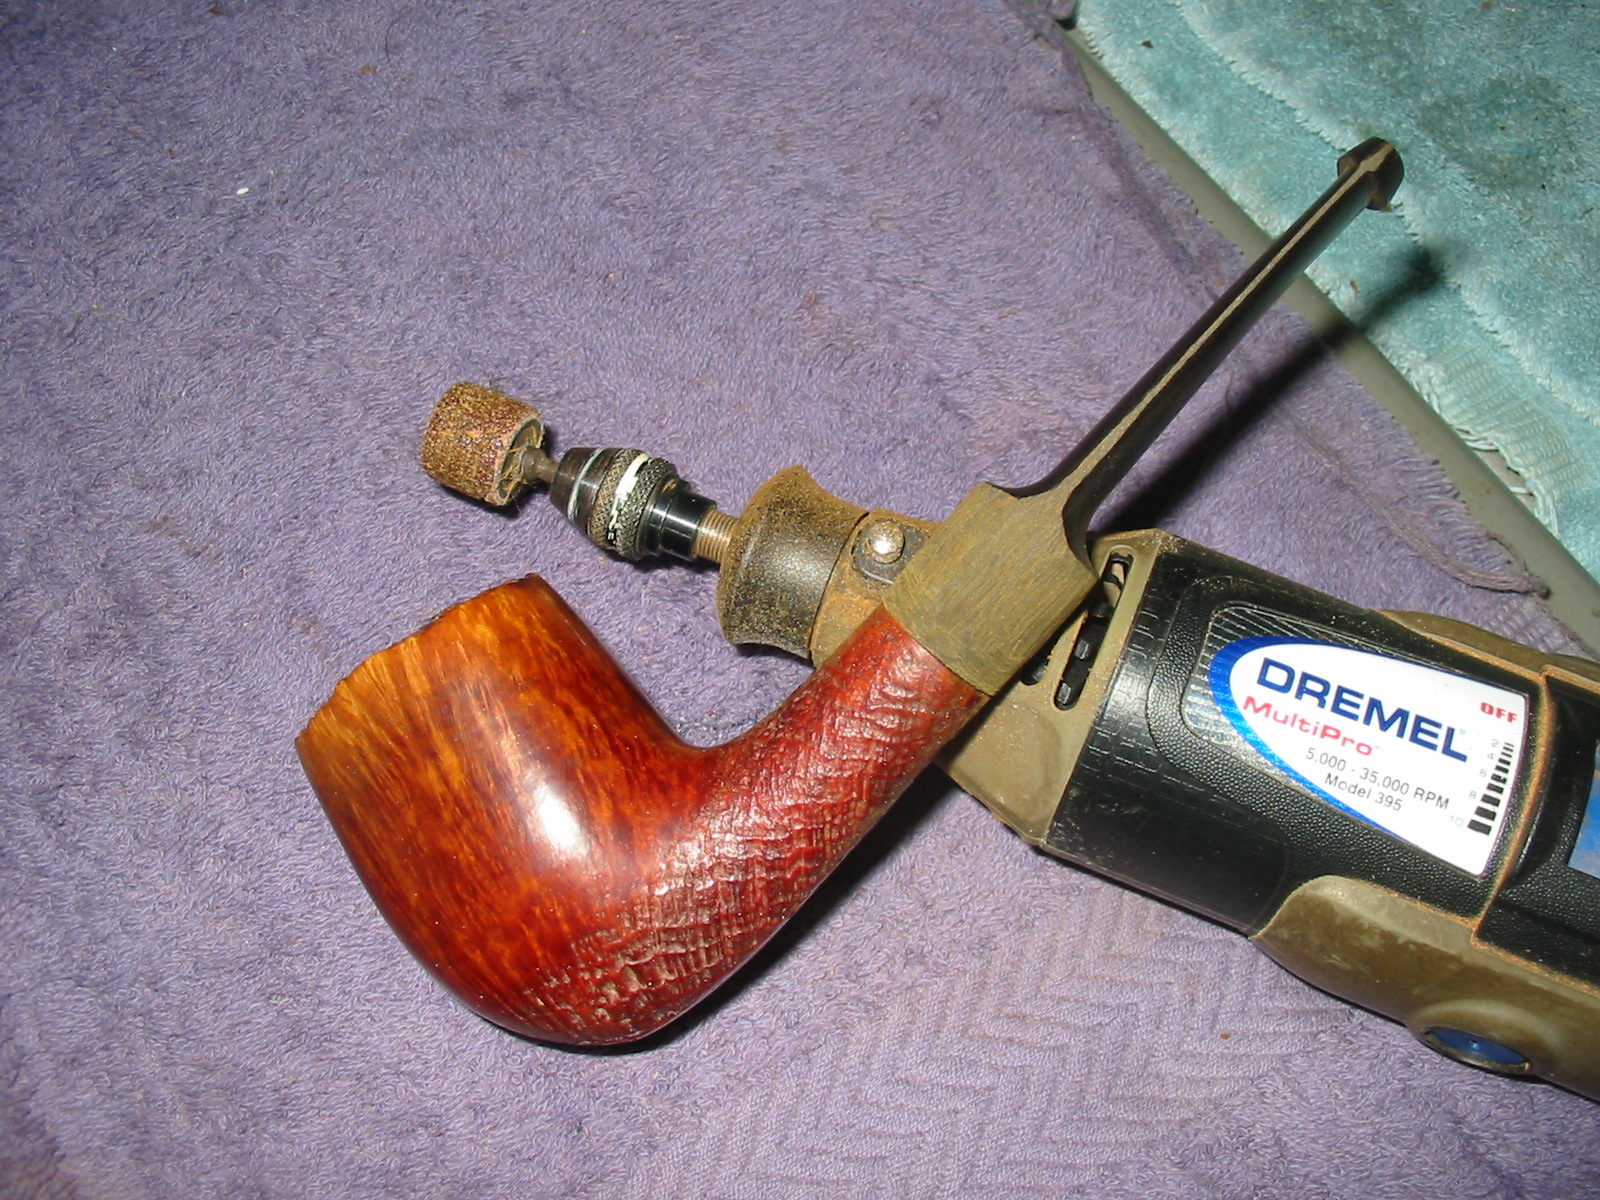
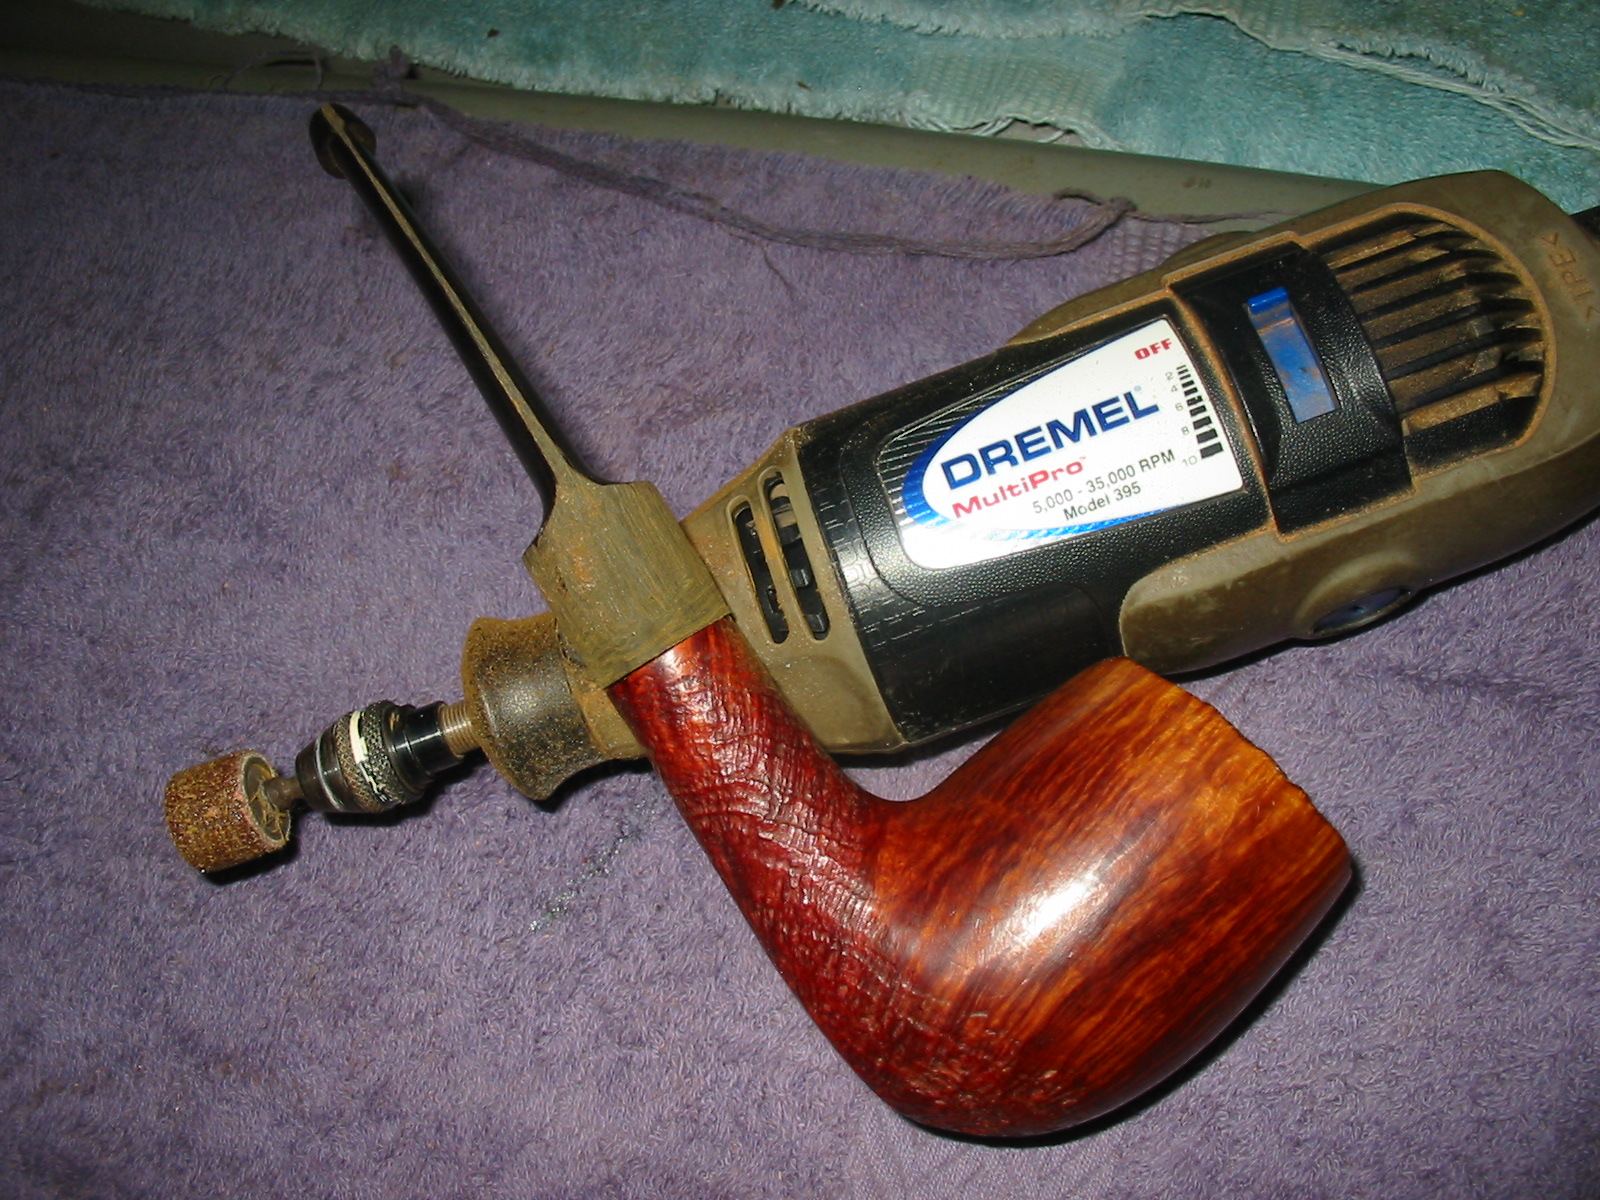
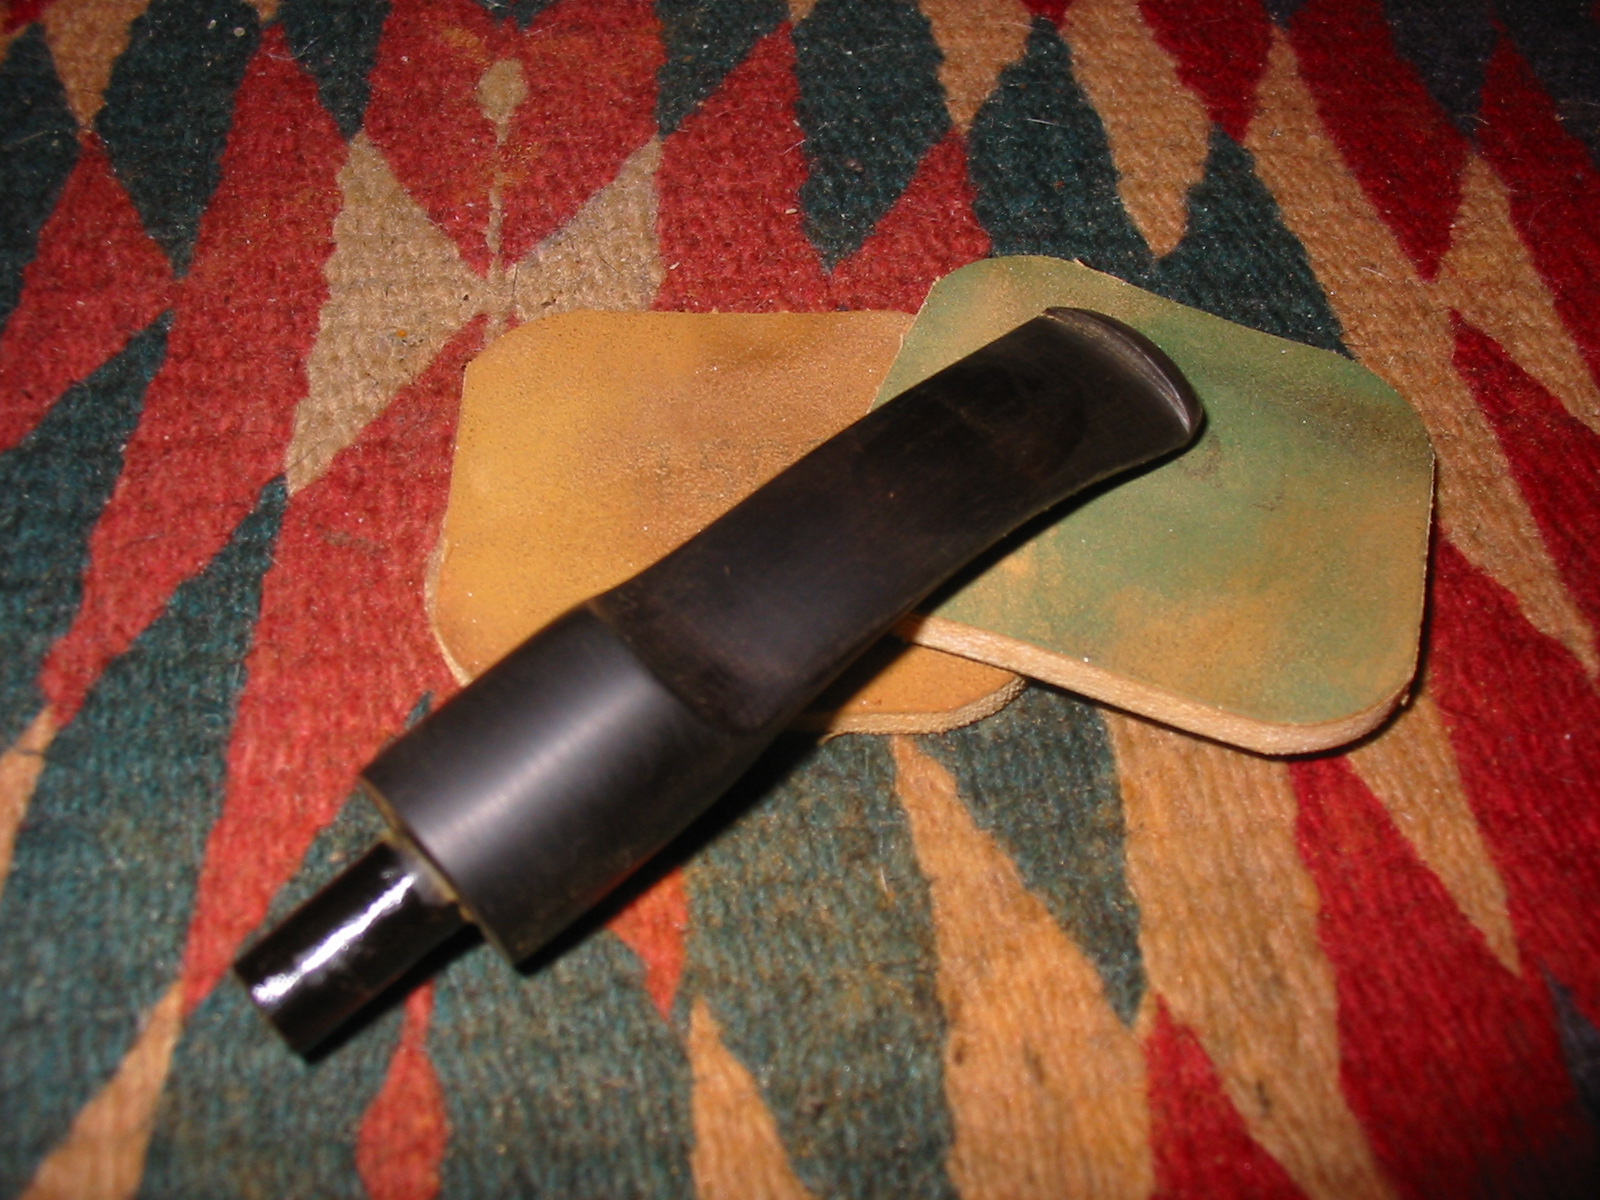
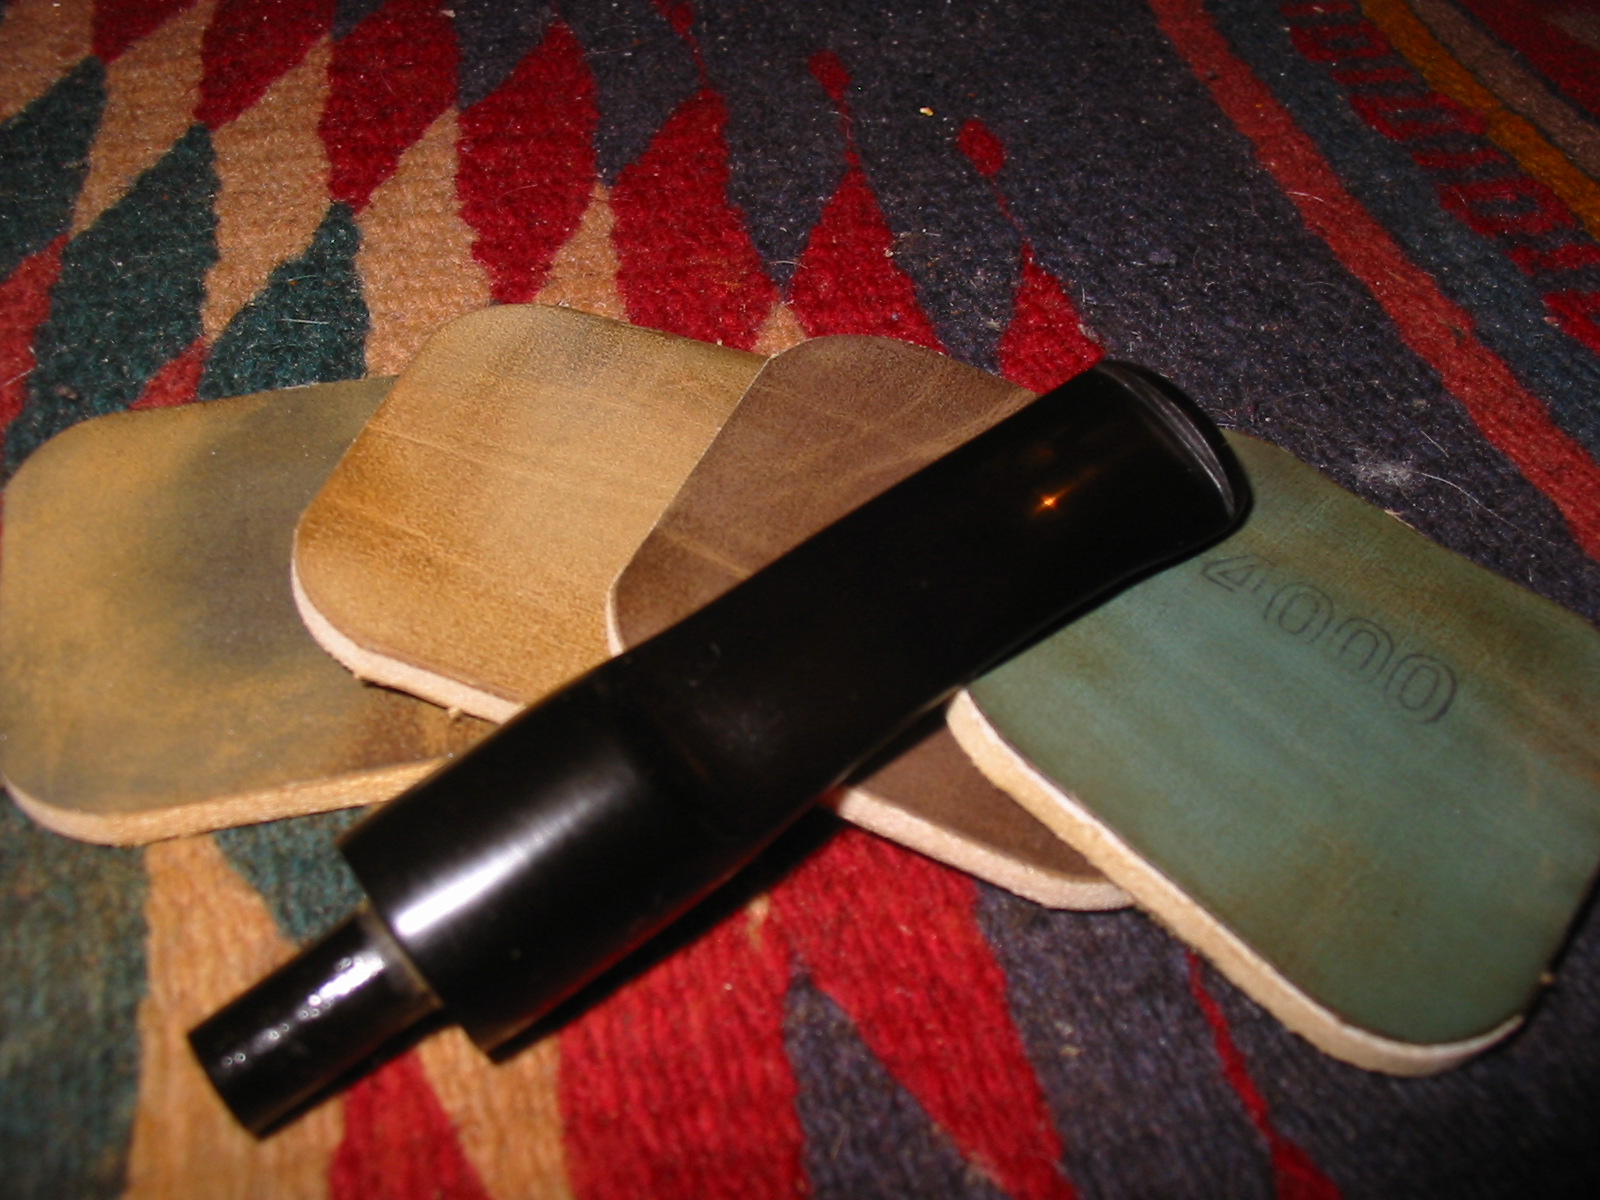
I used a Dremel with a sanding drum to take down the tenon until it fit the shank. The next two photos show the newly cut tenon before I sanded it down to smooth out the marks left by the Dremel.
IMG_2001

IMG_2002

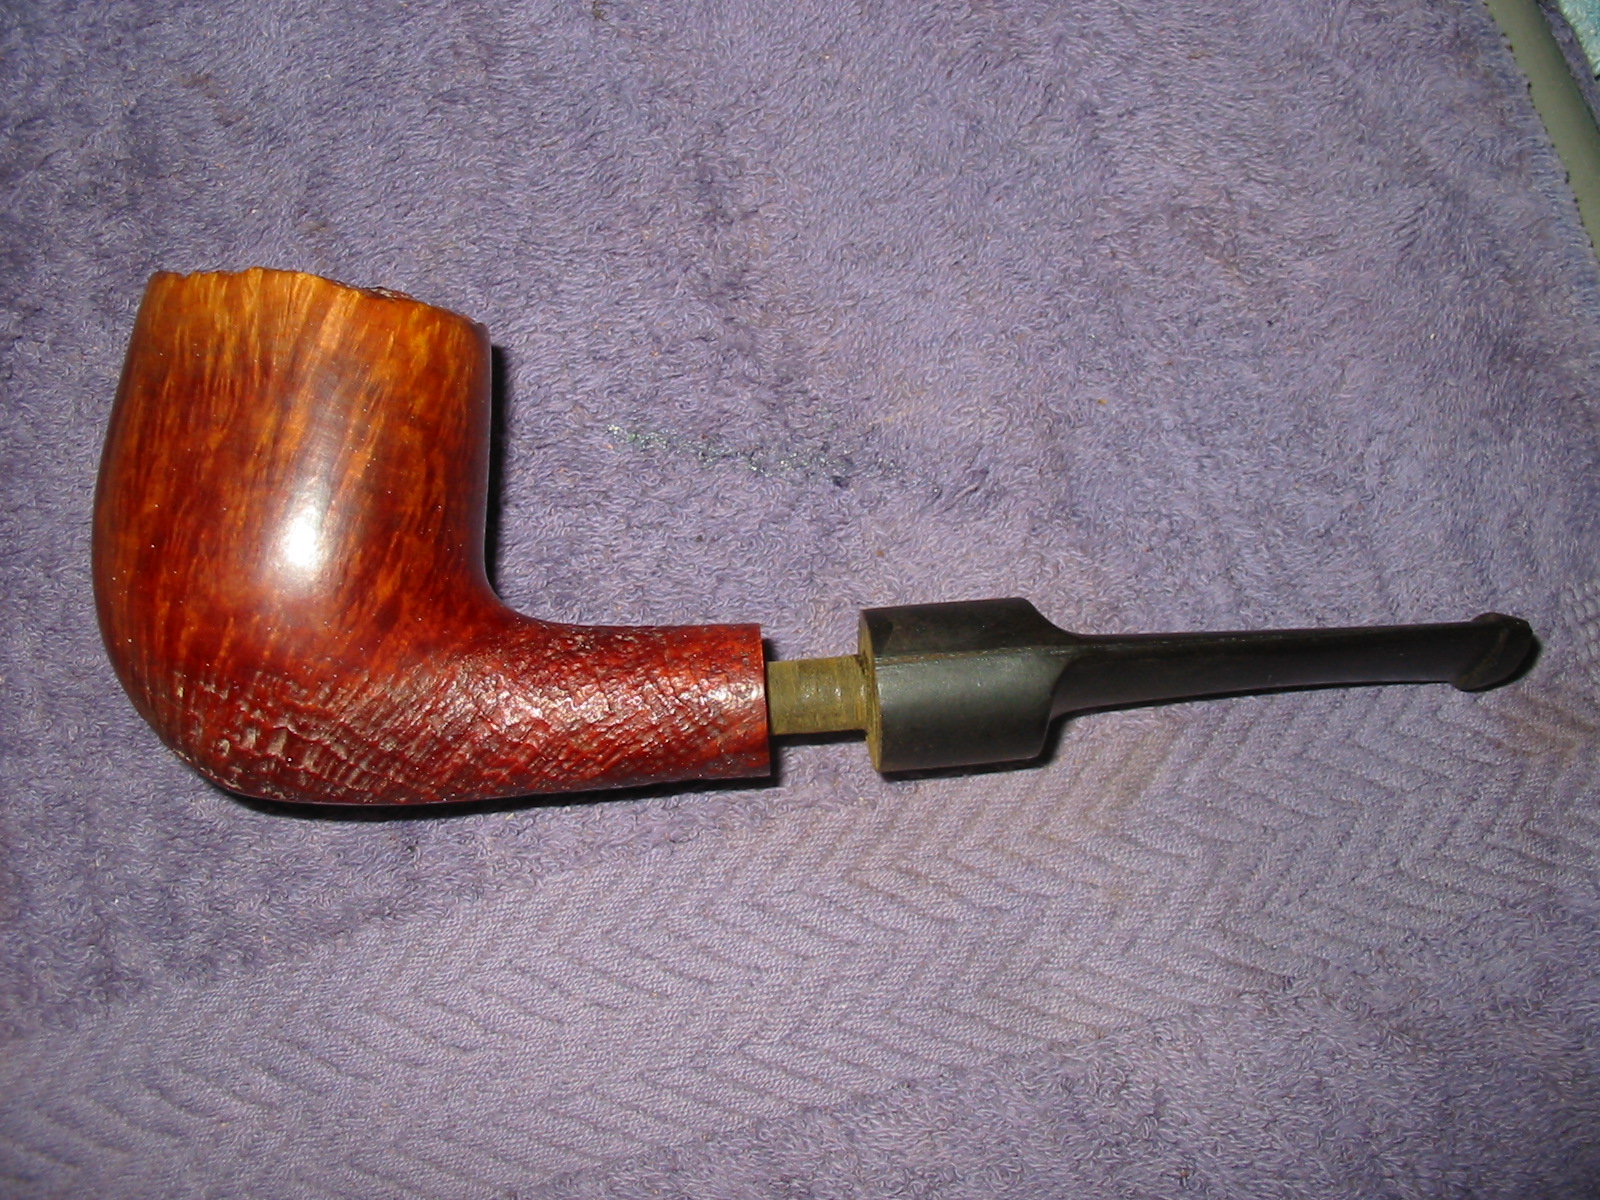
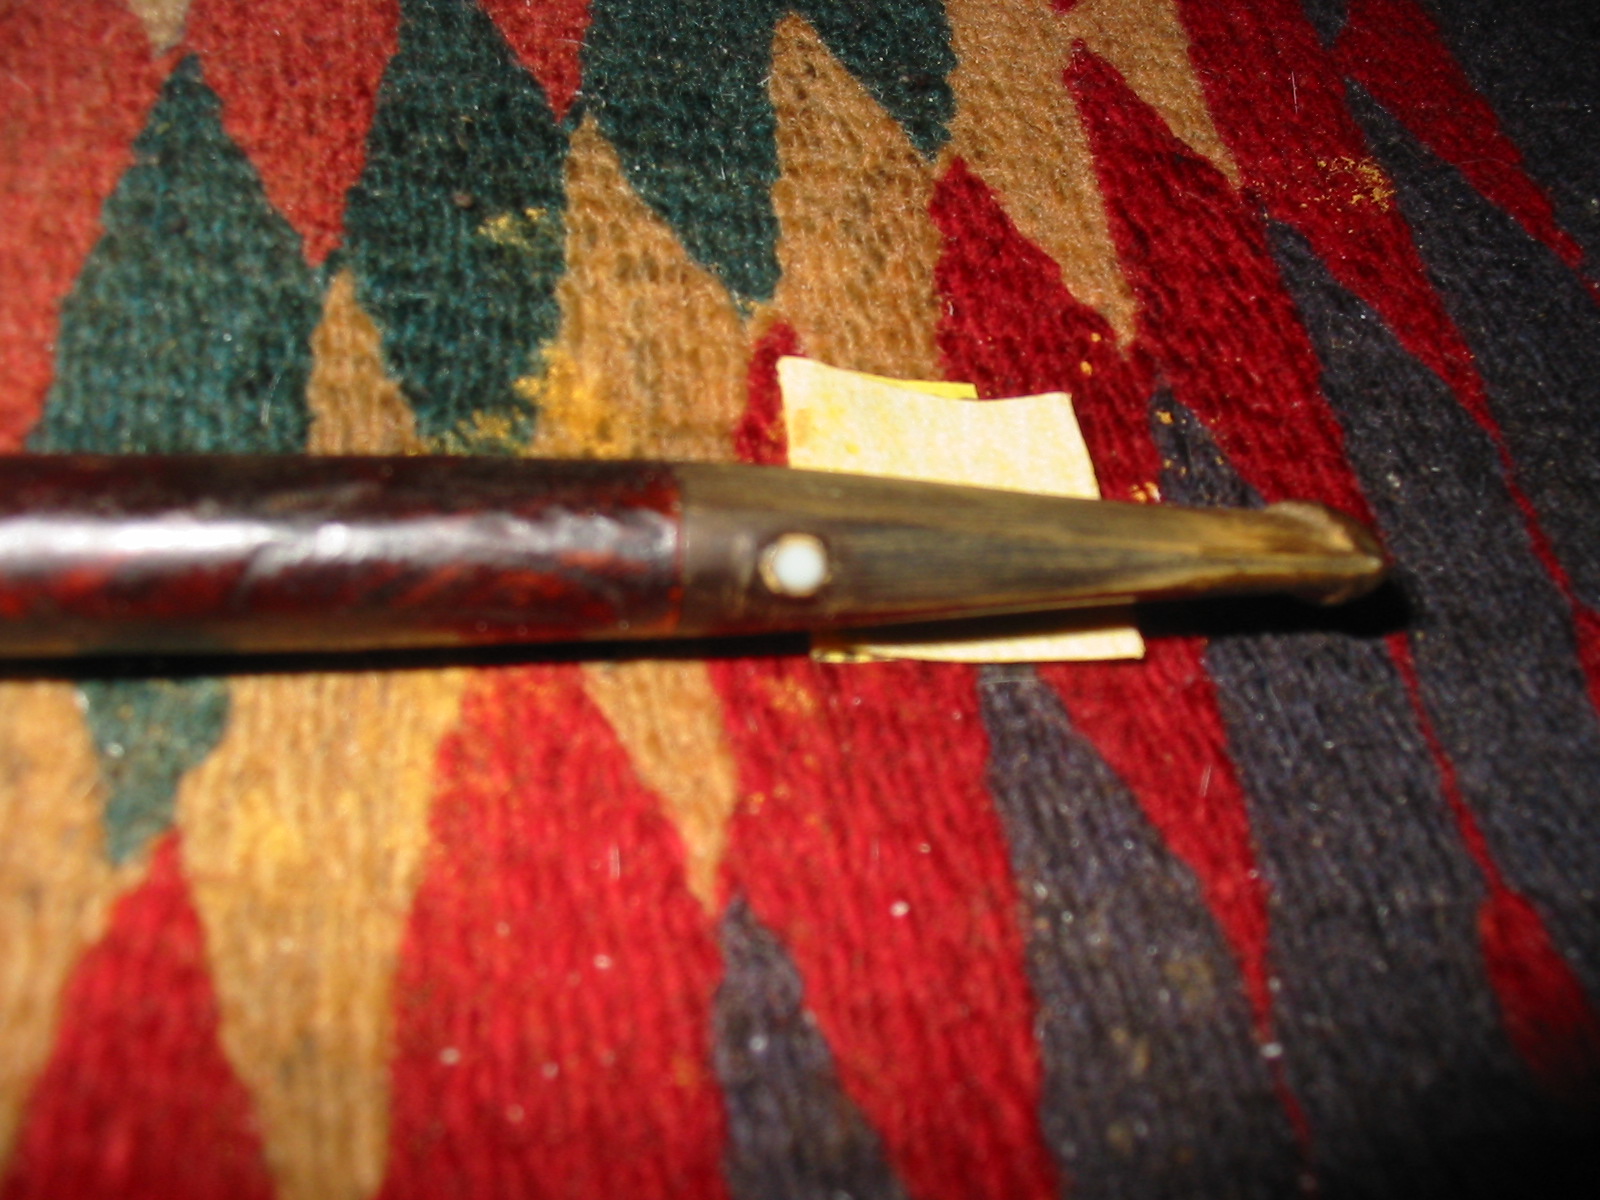
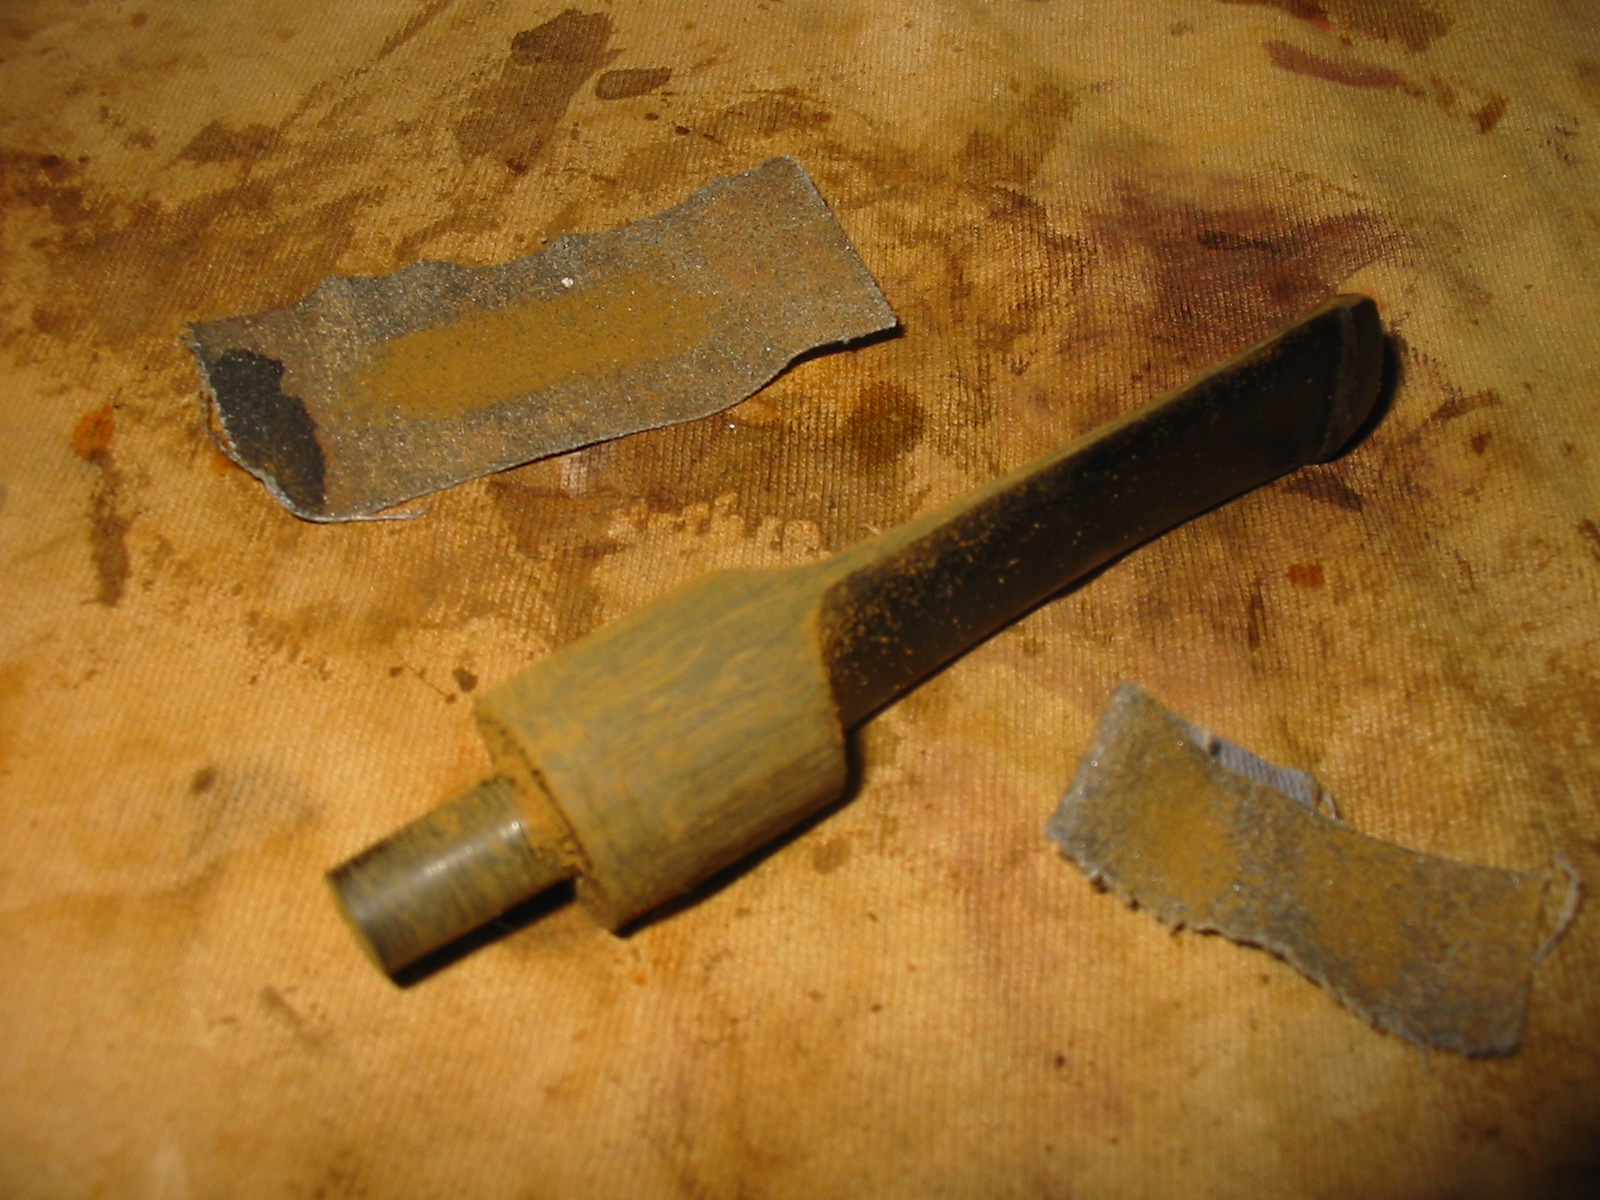
I sanded the tenon with 220 grit sandpaper and then with 1500 and 1800 micromesh sanding pads to smooth out the tenon. Once that was done the stem fit in the shank snuggly. In the four photos below the fit of the stem can be seen and the excess of vulcanite that needed to be trimmed away from the diameter is also visible.
IMG_2003

IMG_2004

IMG_2005

IMG_2006

I sanded the diameter with a Dremel and a sanding drum. I took off the casting marks left along the edges of the blade and on the sides of the saddle portion of the stem. I also used the Dremel to take off the excess diameter of the stem. I worked carefully and slowly along the joint of the stem and the shank so that I did not damage the briar with the sander. I was able to remove the majority of the overage with the Dremel and finished with sandpaper.
IMG_2007

IMG_2008

I sanded the Dremel marks out and further reduced the diameter with medium grit emery cloth. I sanded it until the fit was almost perfect. I would finish the fit with finer grits of sandpaper and the micromesh sanding pads later.
IMG_2009

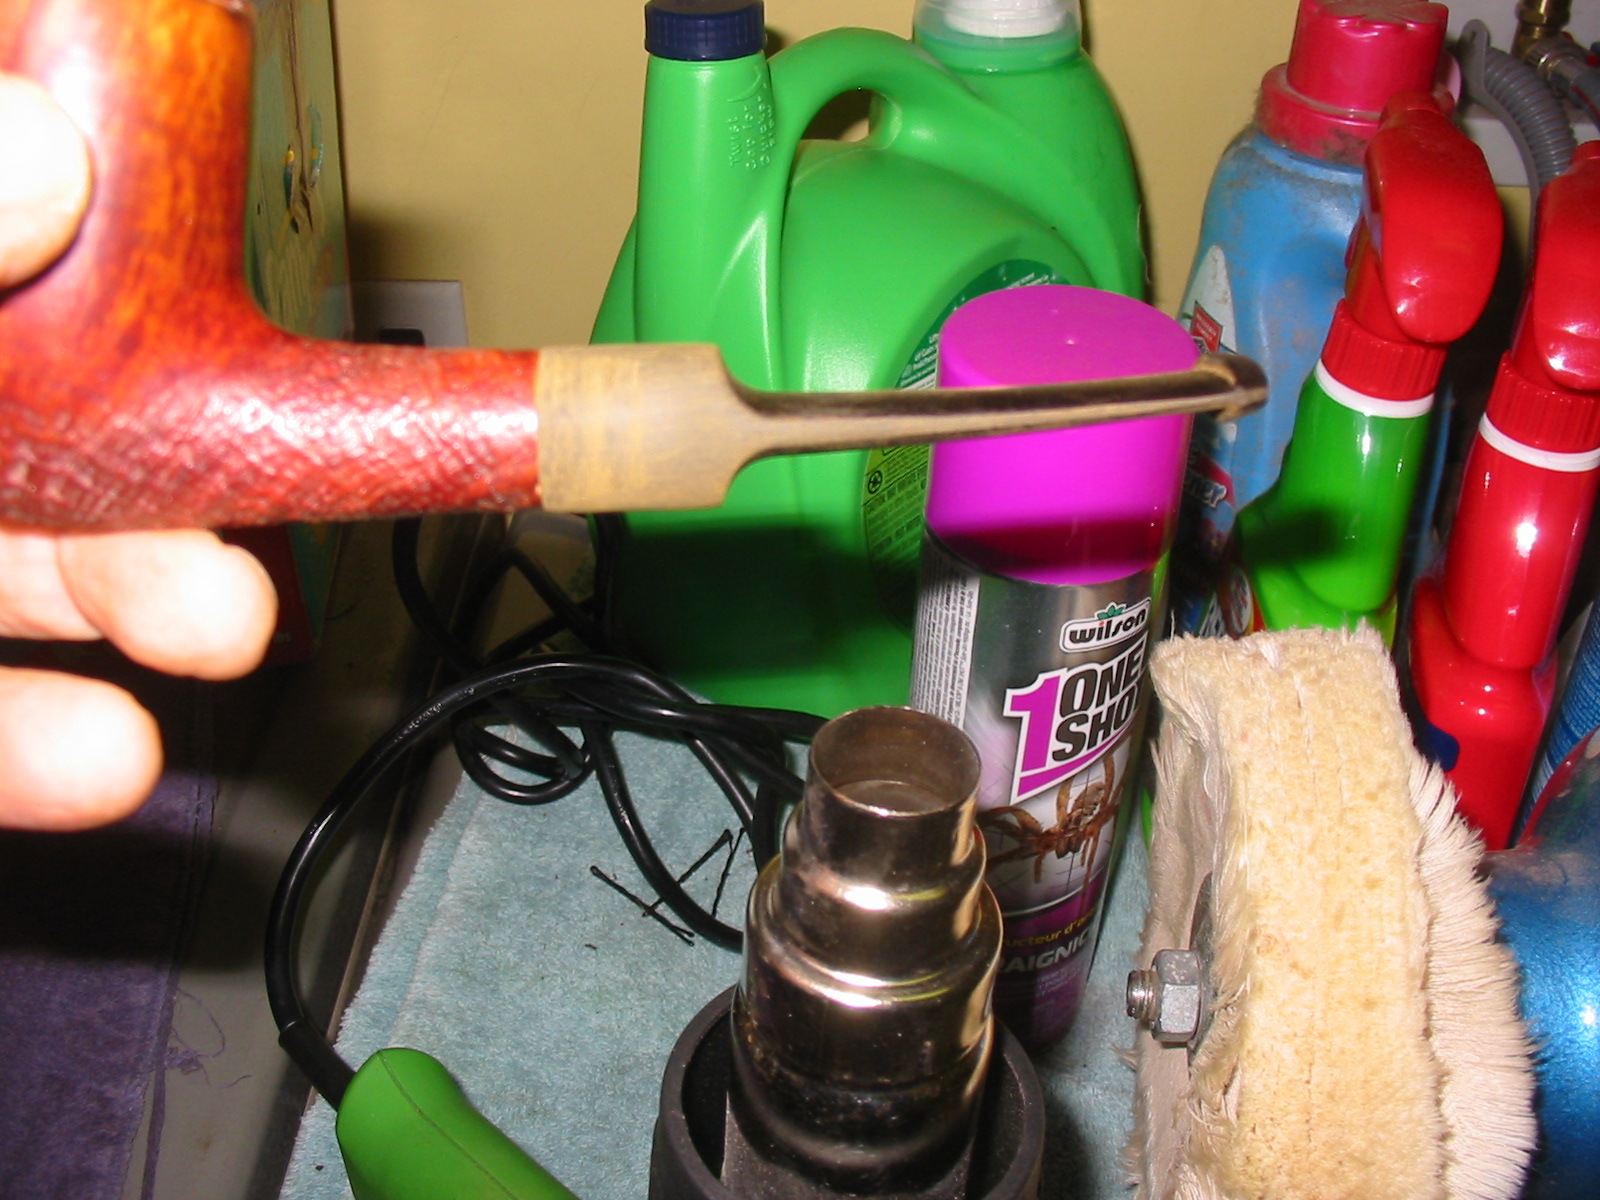
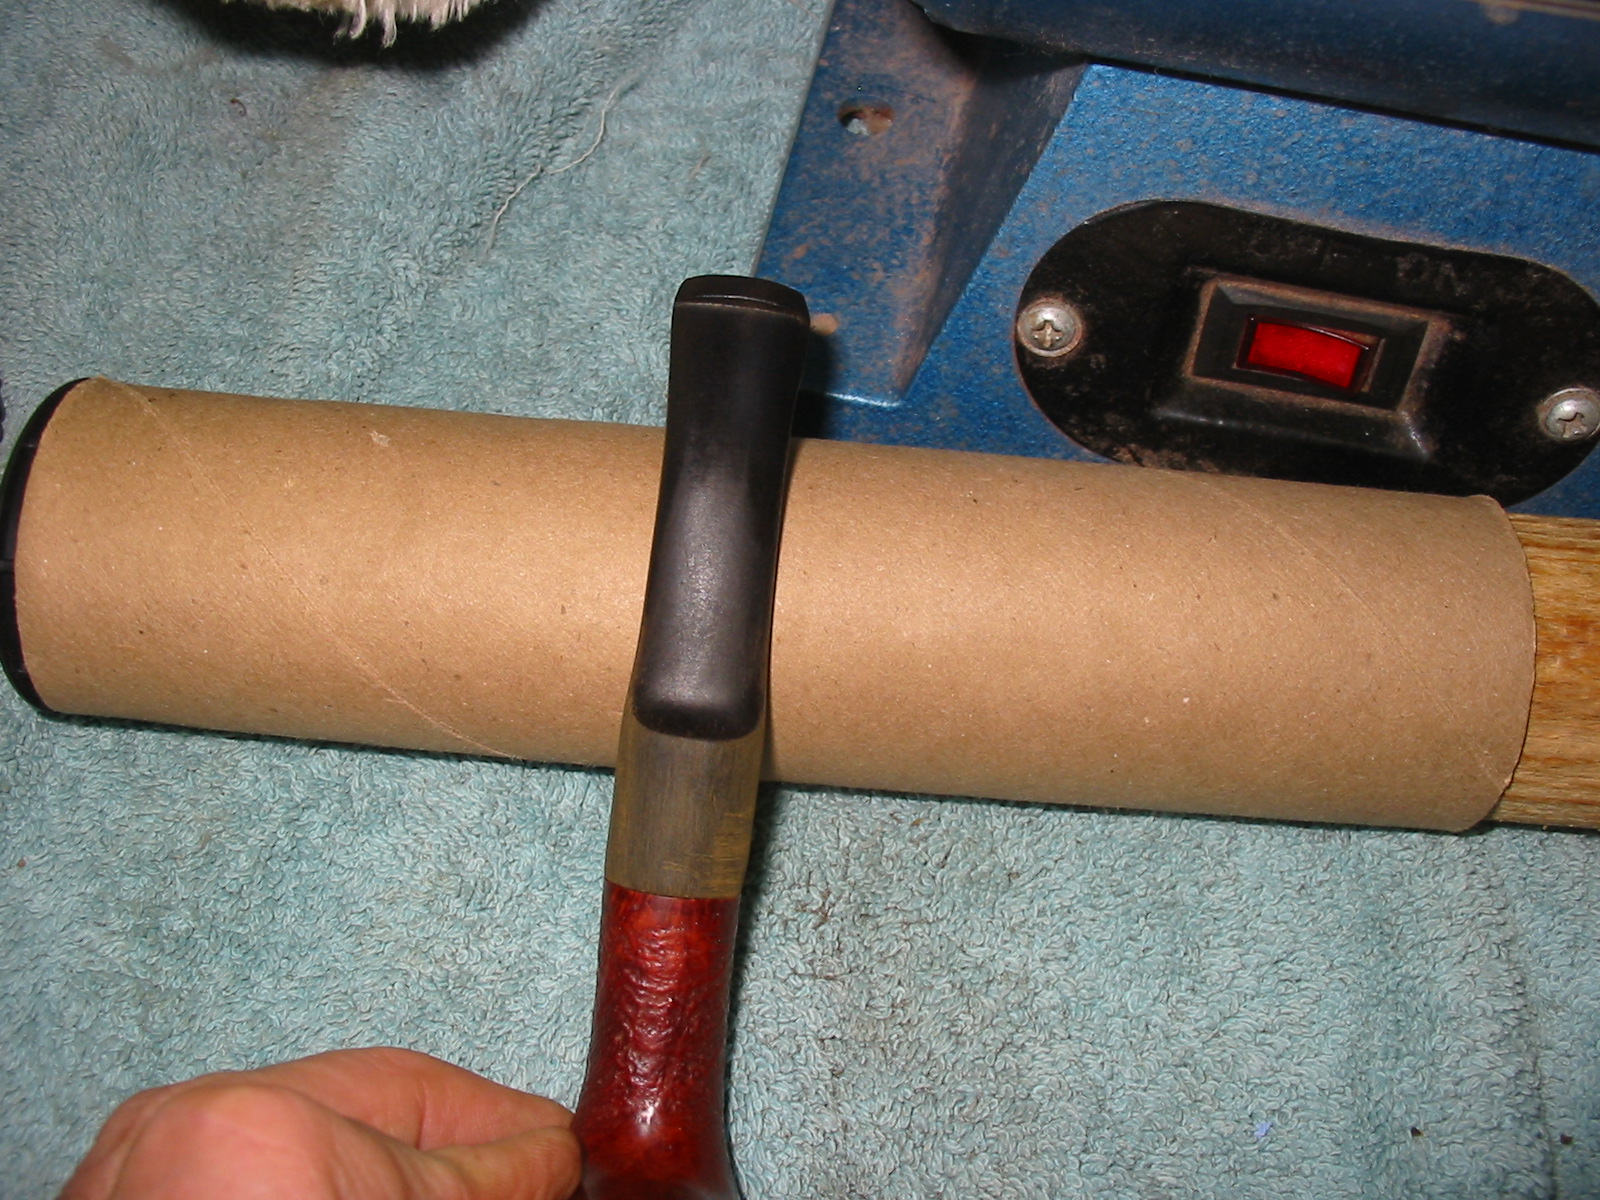
I set up a heat gun and the rolling pin I use to bend the stems next to it. I heated the stem with the heat gun set on the lower of the two settings. I held it over the heat until the vulcanite was flexible. At that point I bent the stem over the rolling pin in order to get an even bend in the vulcanite. Once it was bent to the angle I wanted I held it under the cold water tap in the sink to set the bend. The next four photos show the process and the resultant bend in the stem.
IMG_2010

IMG_2011

IMG_2012

IMG_2013

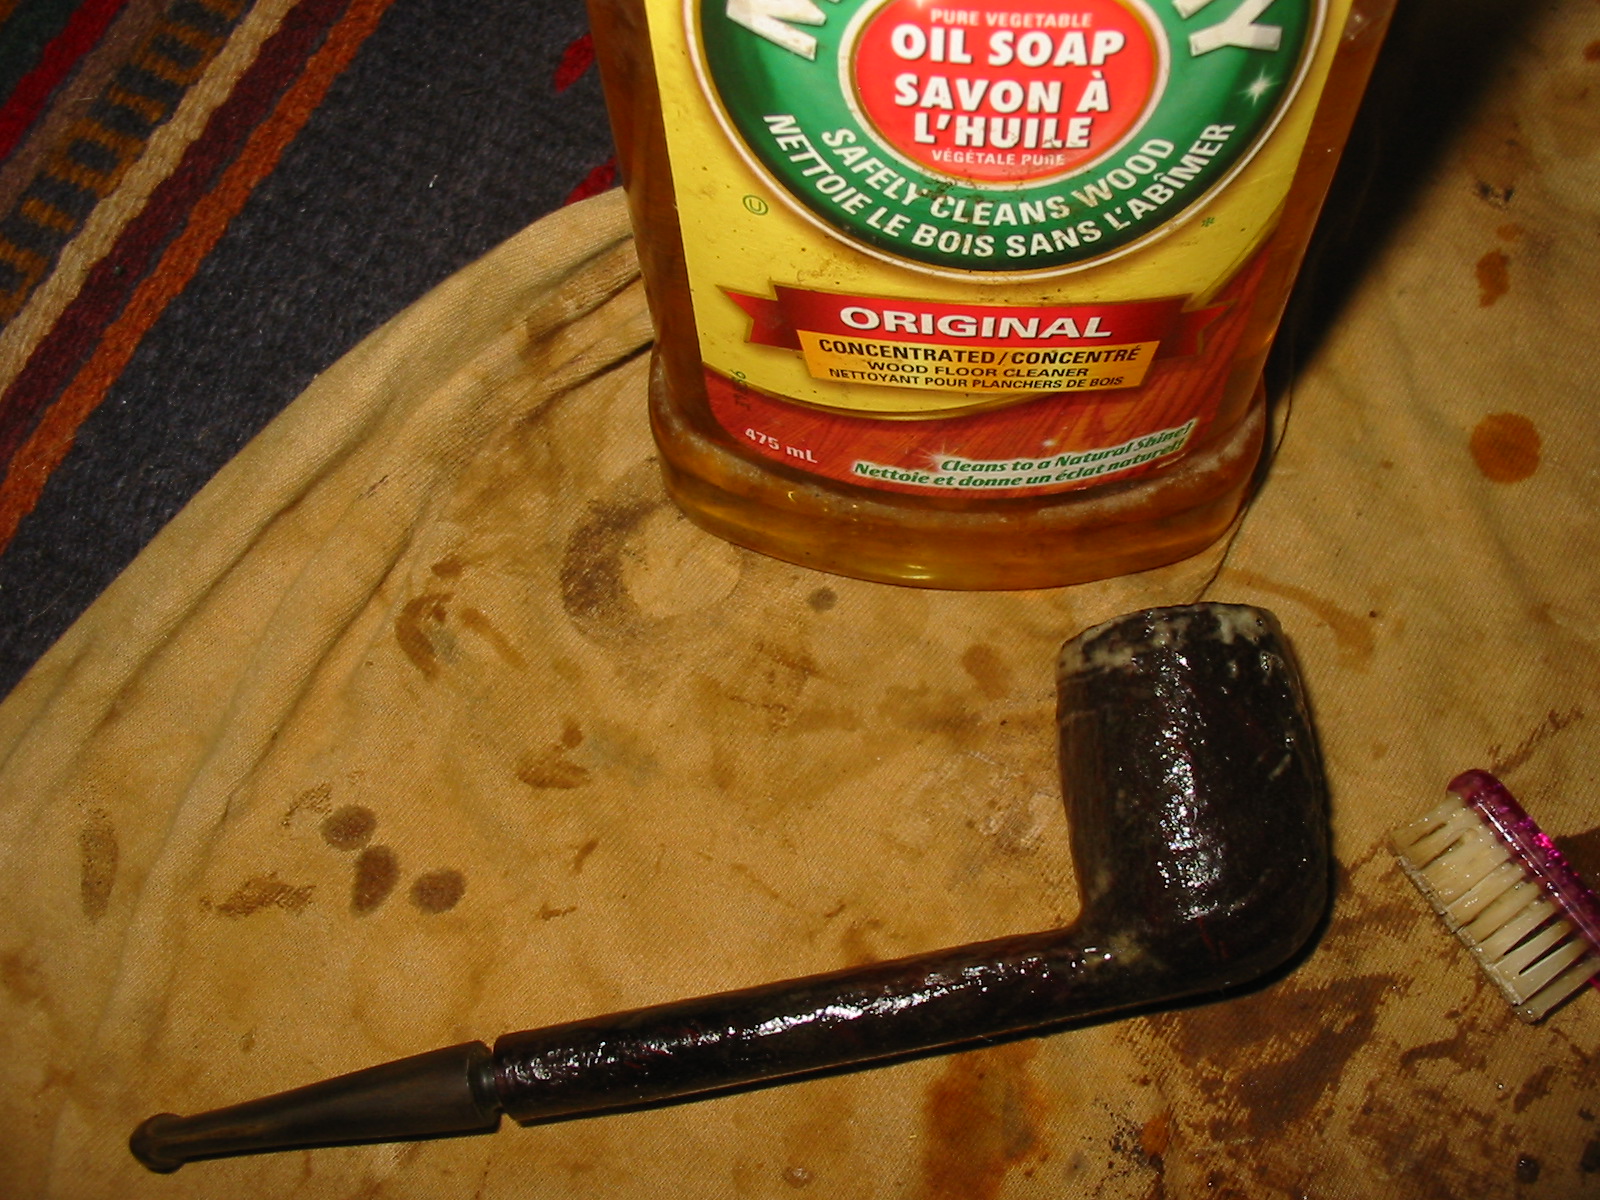
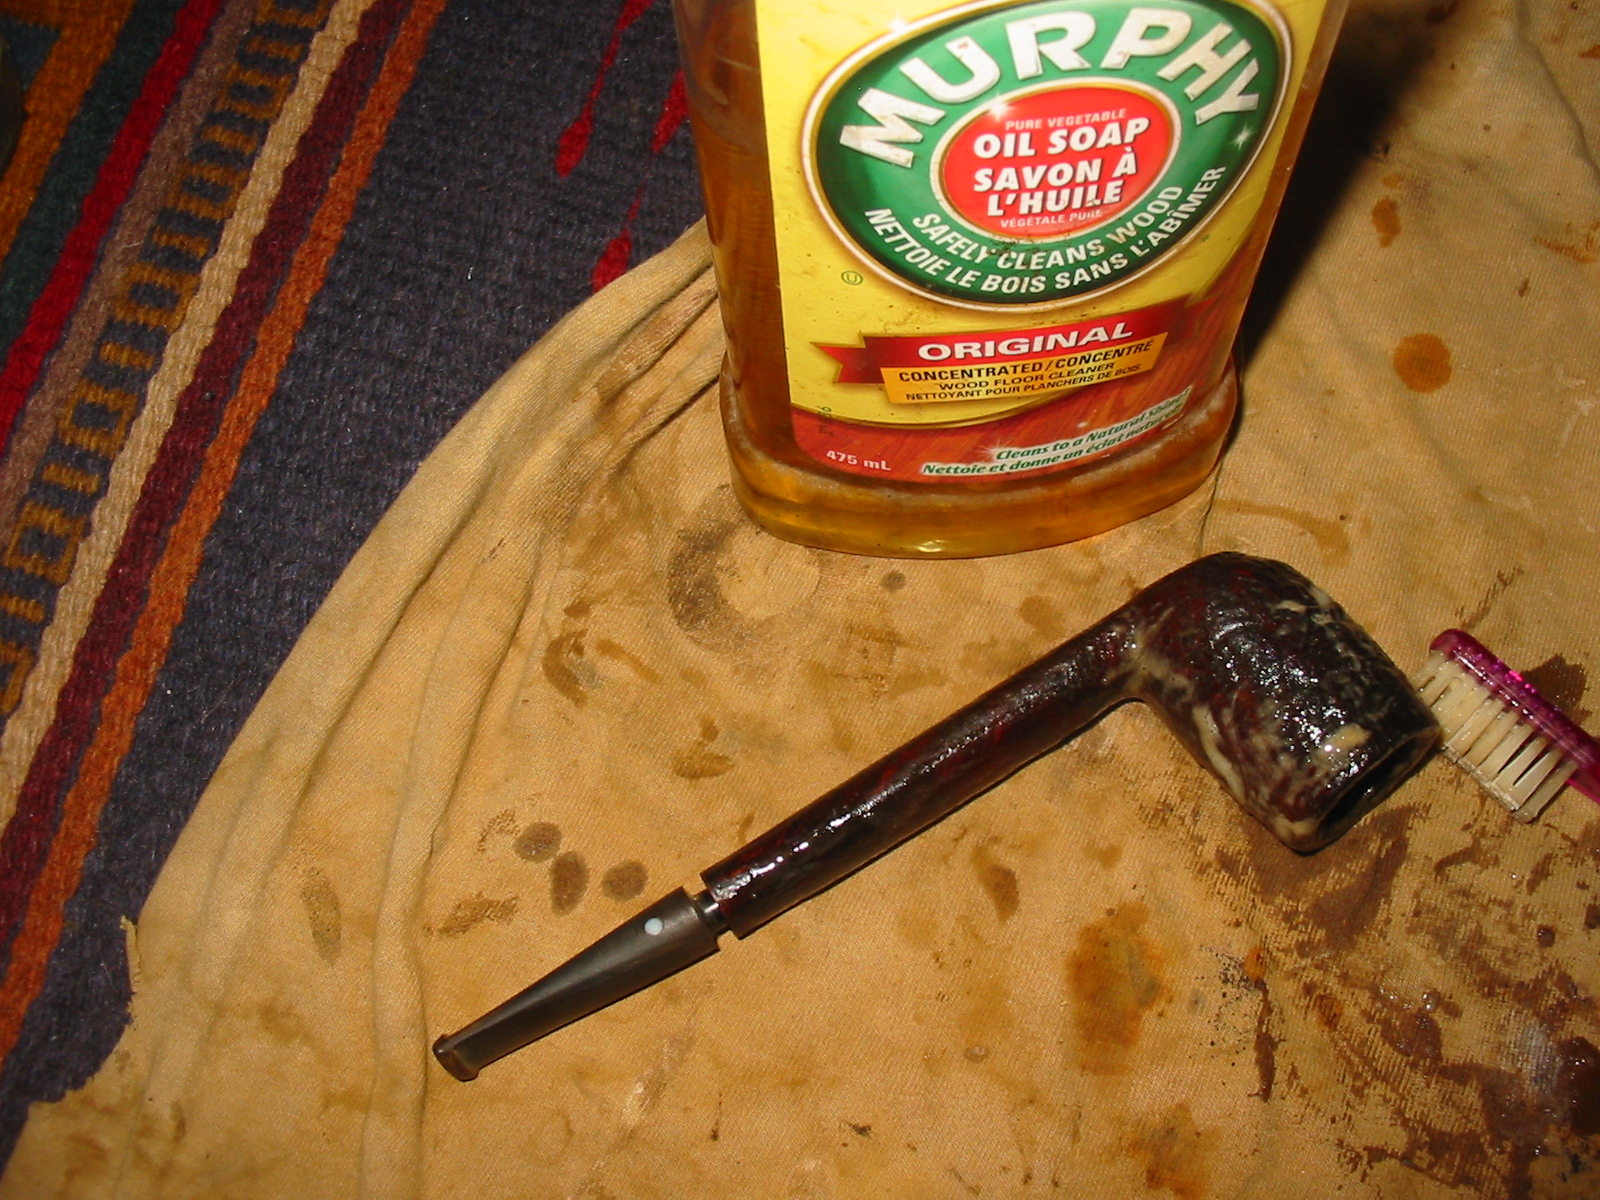
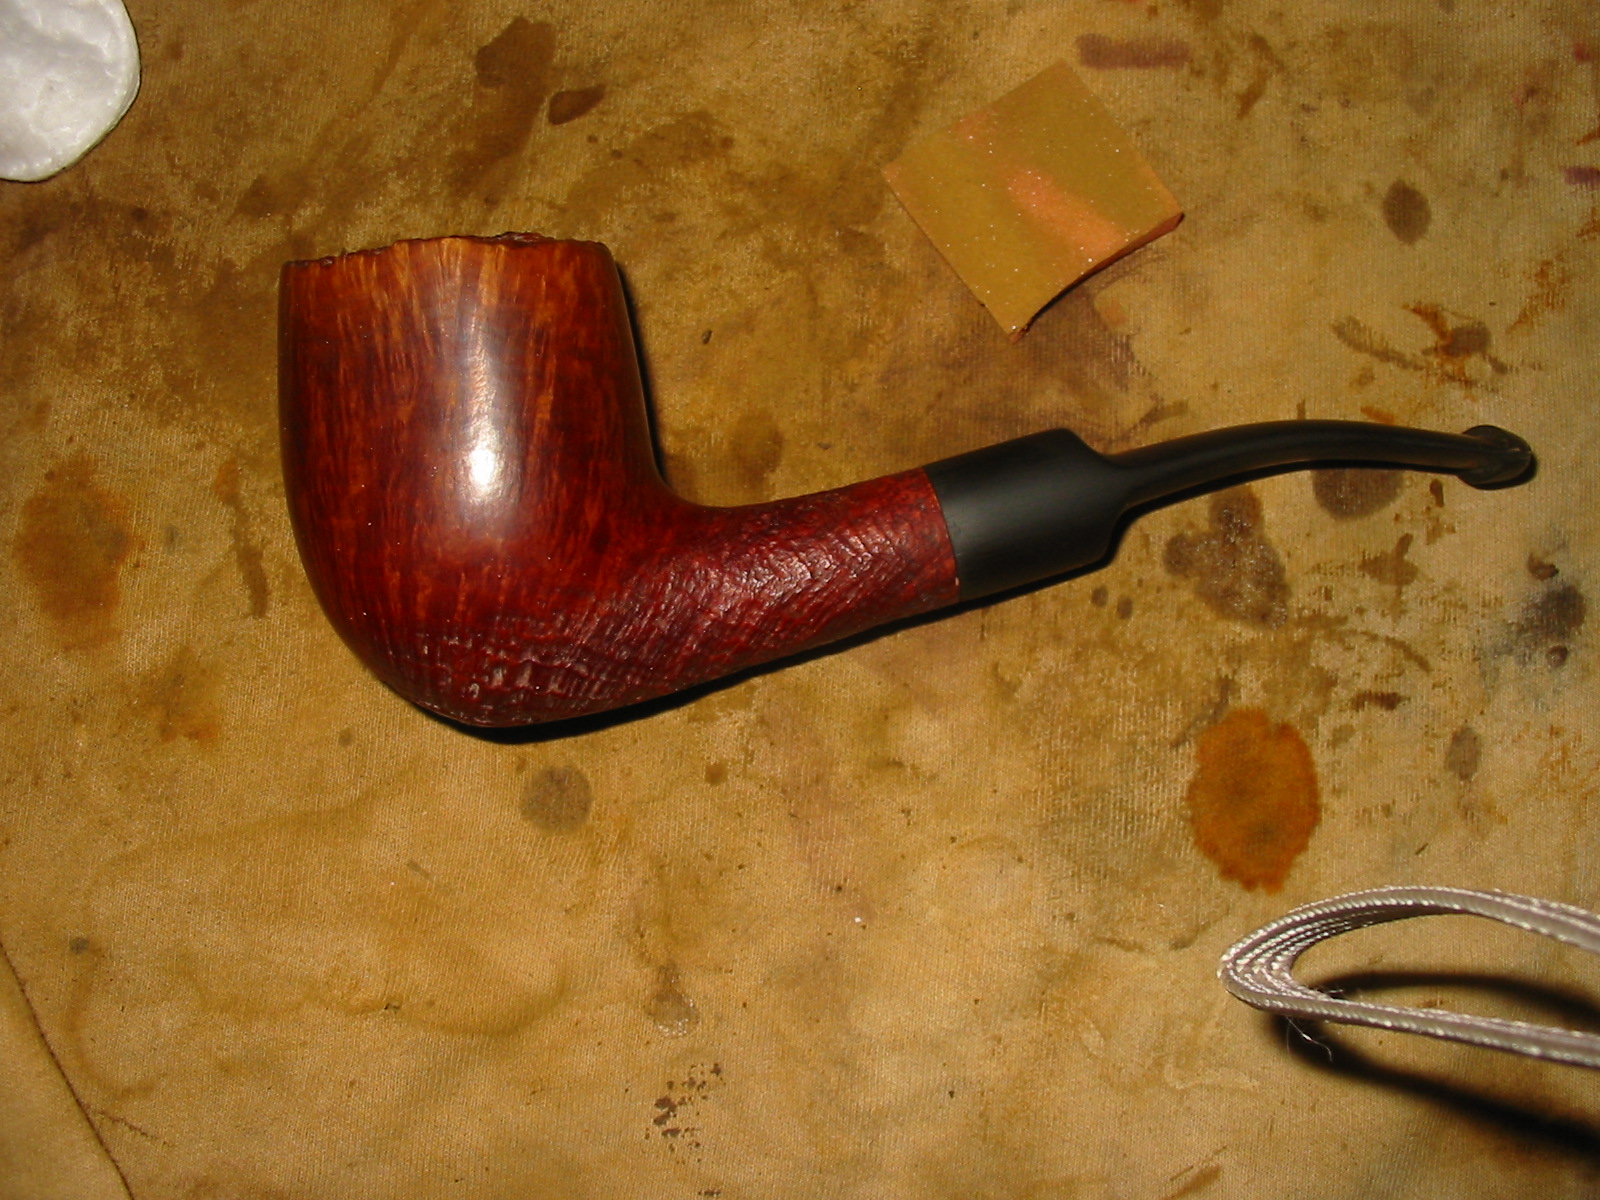
I took the newly bent stem back to the work table and did some more sanding on the diameter of the saddle to further match the shank. I used 220 grit sandpaper and a medium grit sanding sponge to clean up the stem and remove the scratch marks left behind by the emery paper. I scrubbed the bowl with Murphy’s Oil Soap and a soft bristle tooth brush to remove the dust and grit left in the sandblast portion and the plateau on the top of the bowl. I rinsed the bowl under warm tap water and dried it with a soft cotton cloth. I gave the bowl several coats of carnauba wax on the buffer before inserting the stem and giving it a light buff with red Tripoli. The next four photos show the status of the pipe and the new stem after the polishing on the buffer.
IMG_2016

IMG_2018

IMG_2019

IMG_2020

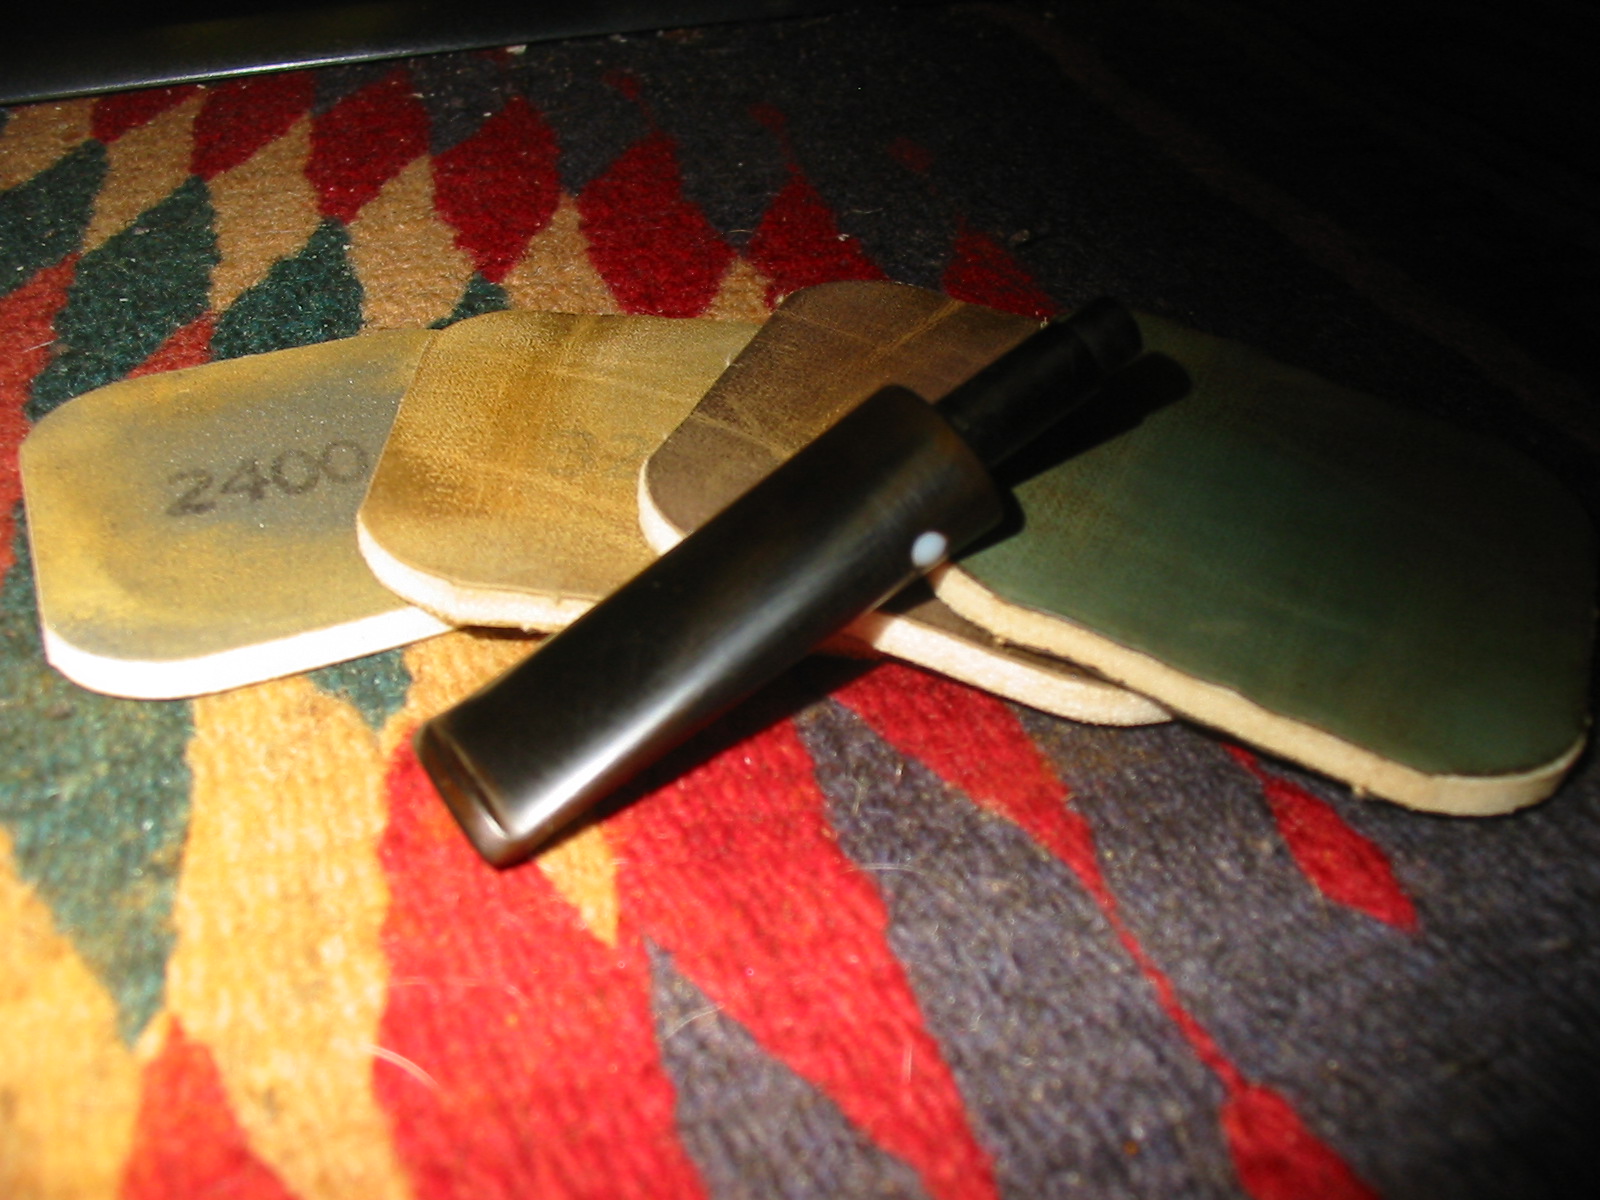
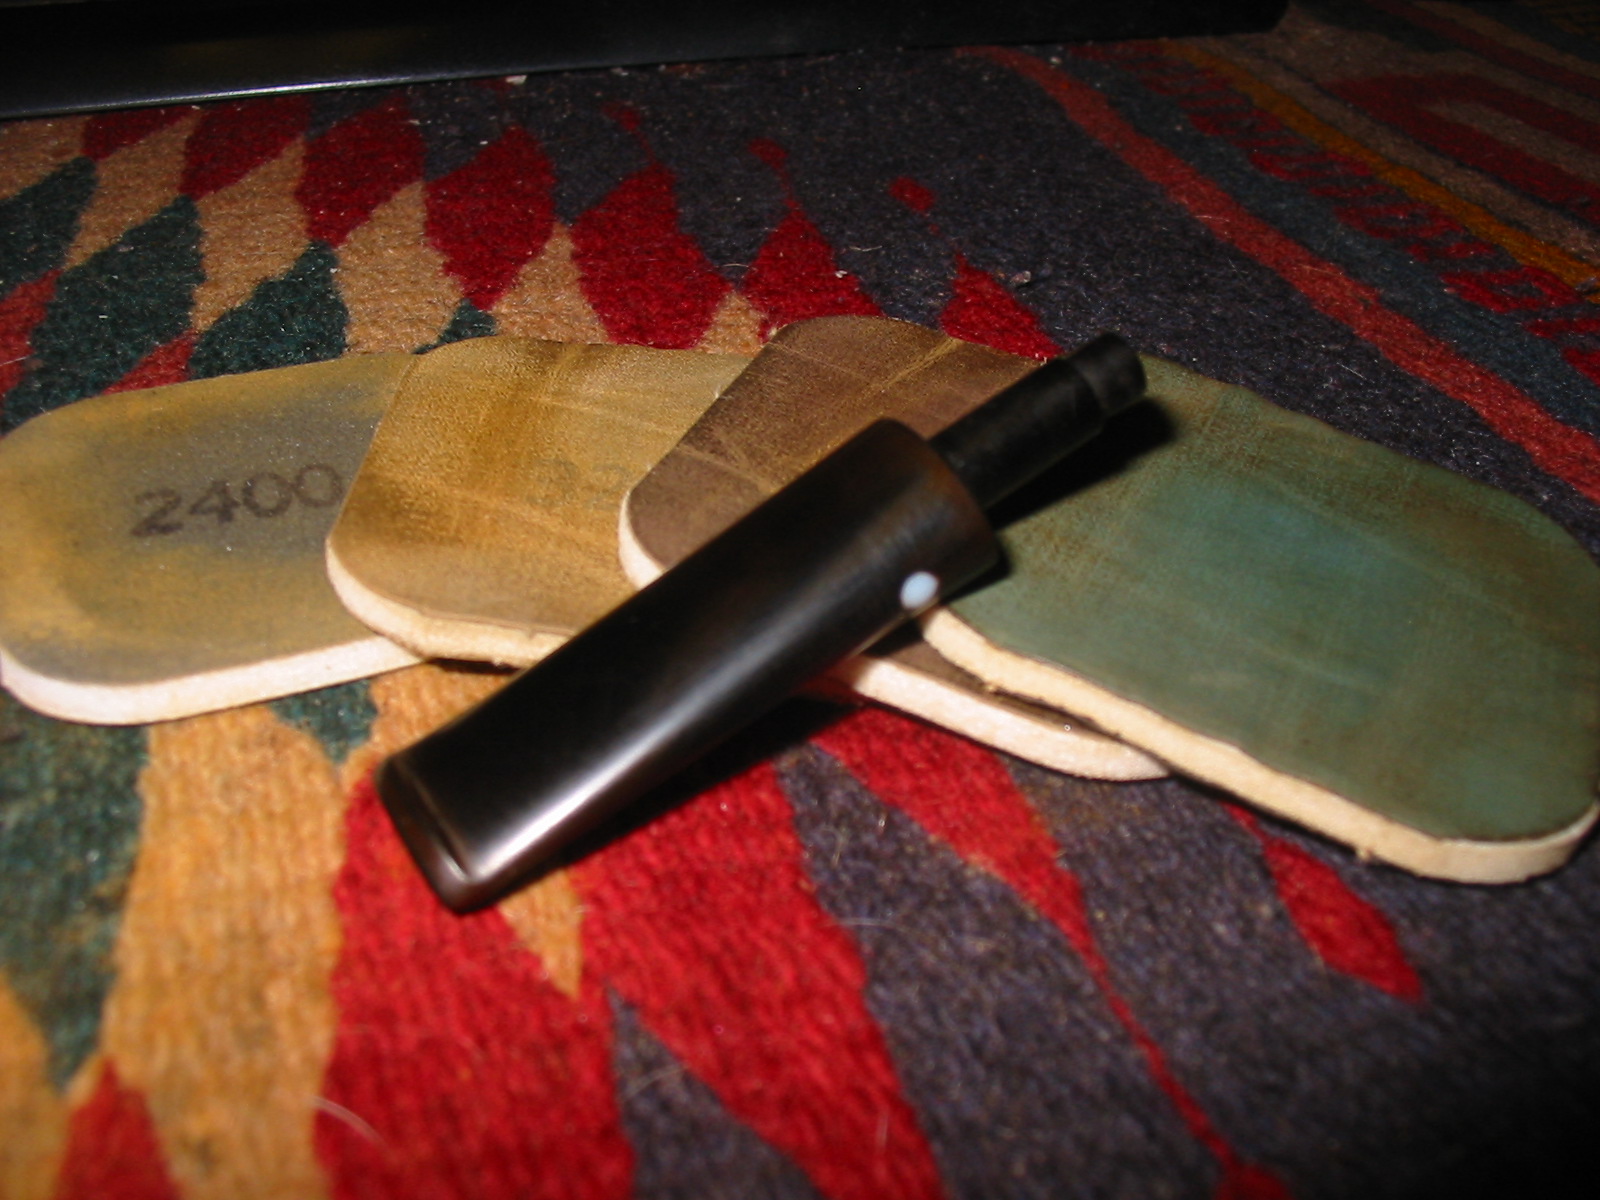
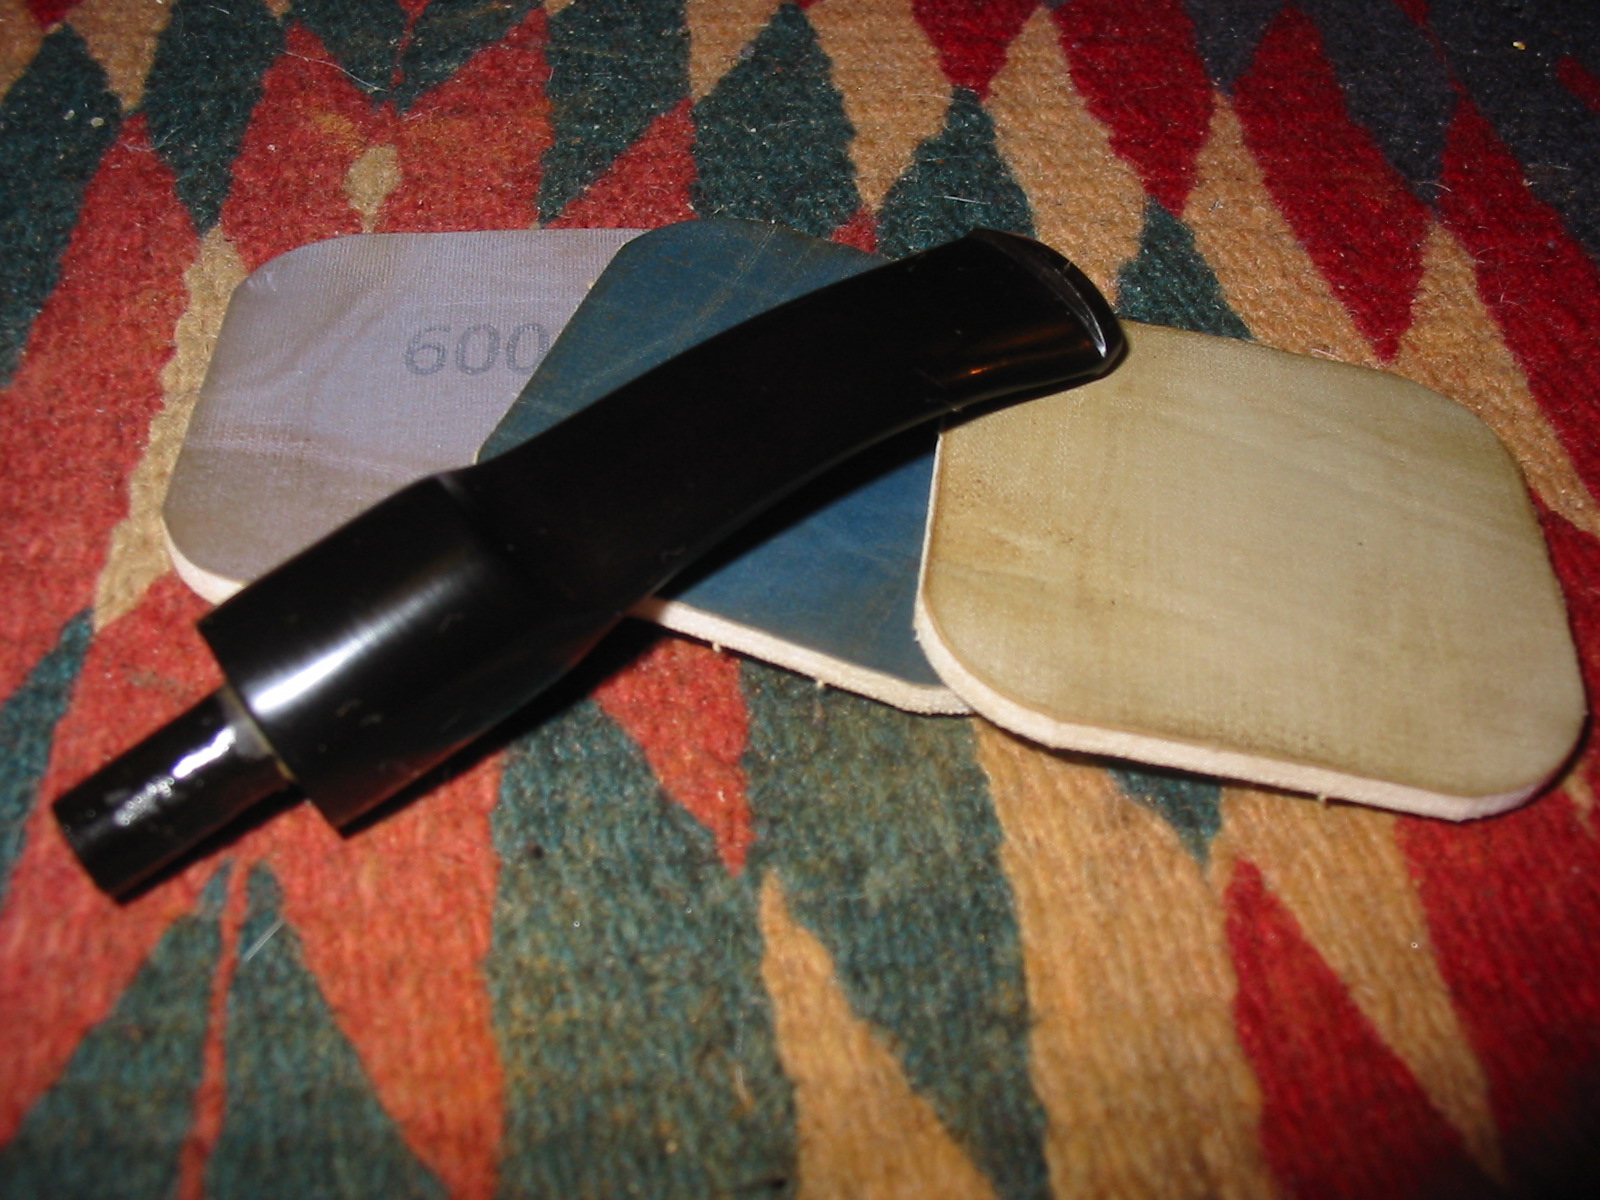
Next I sanded the stem with the micromesh sanding pads. I wet sanded it with 1500, 1800 and 2400 grit micromesh and then dry sanded with the remaining grits 3200-12,000.
IMG_2021

IMG_2025

IMG_2026

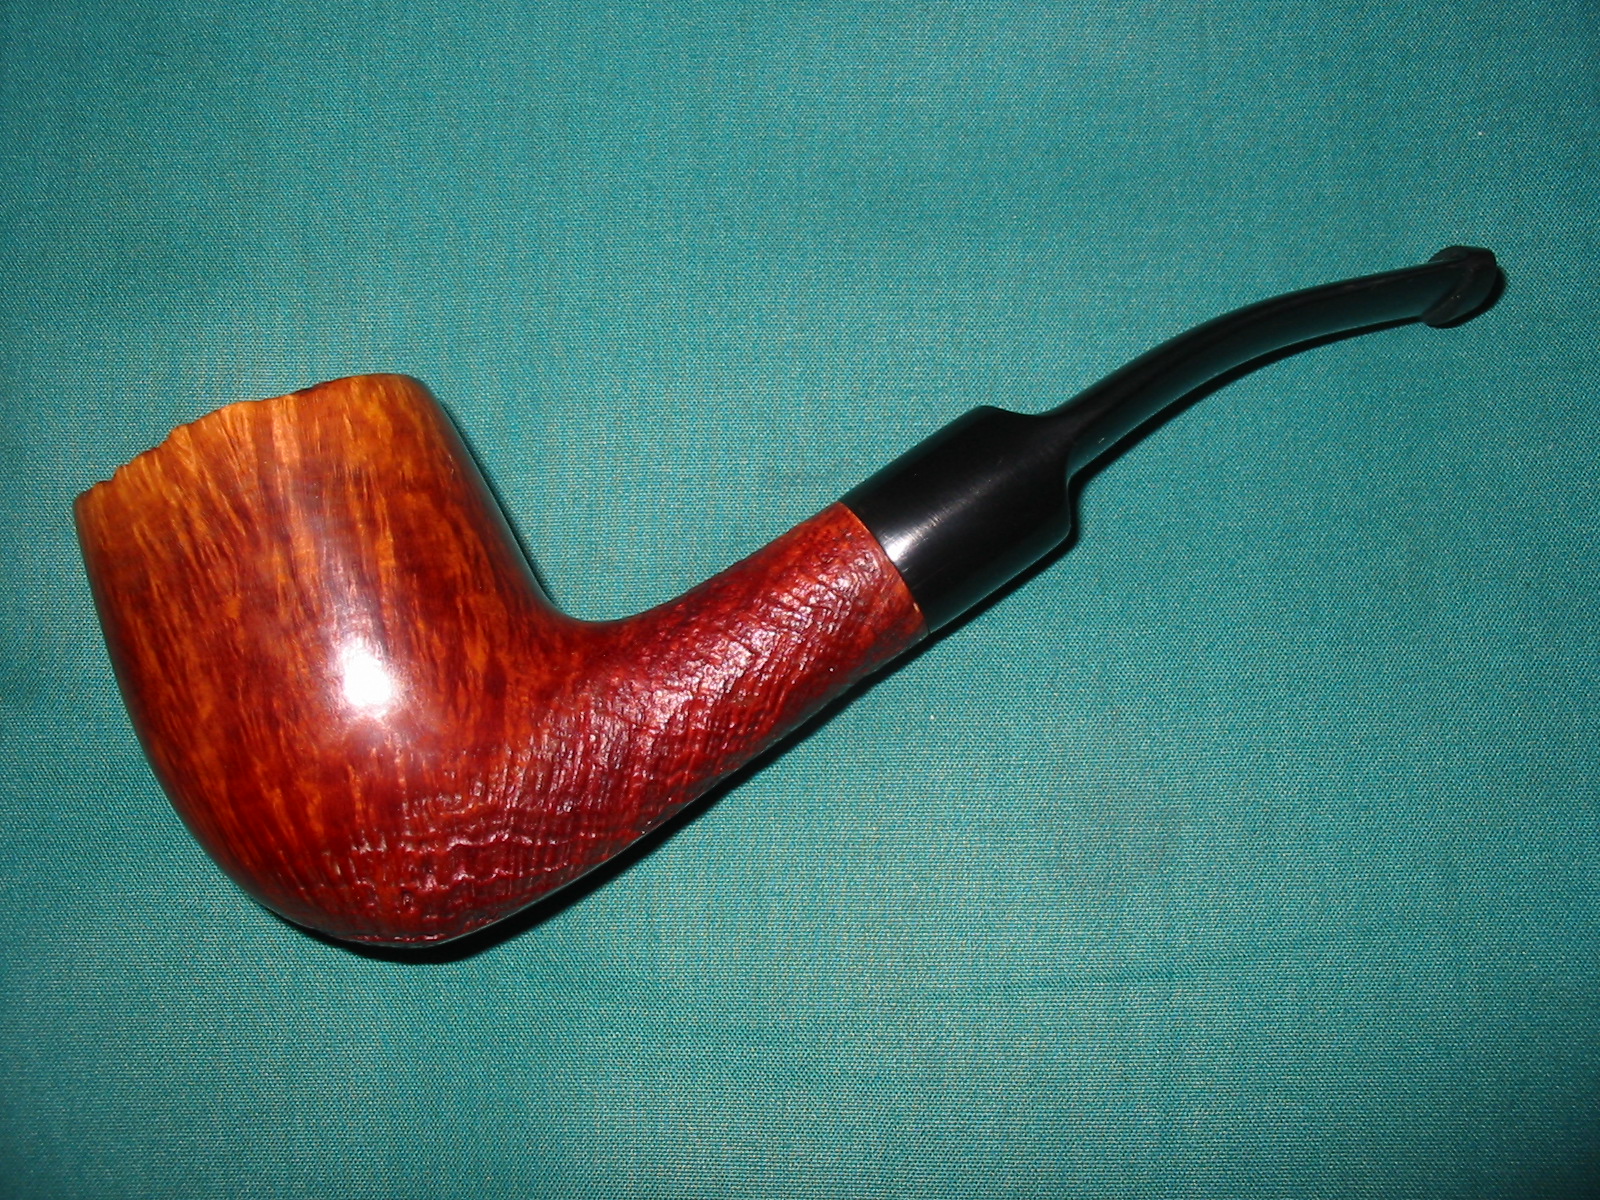
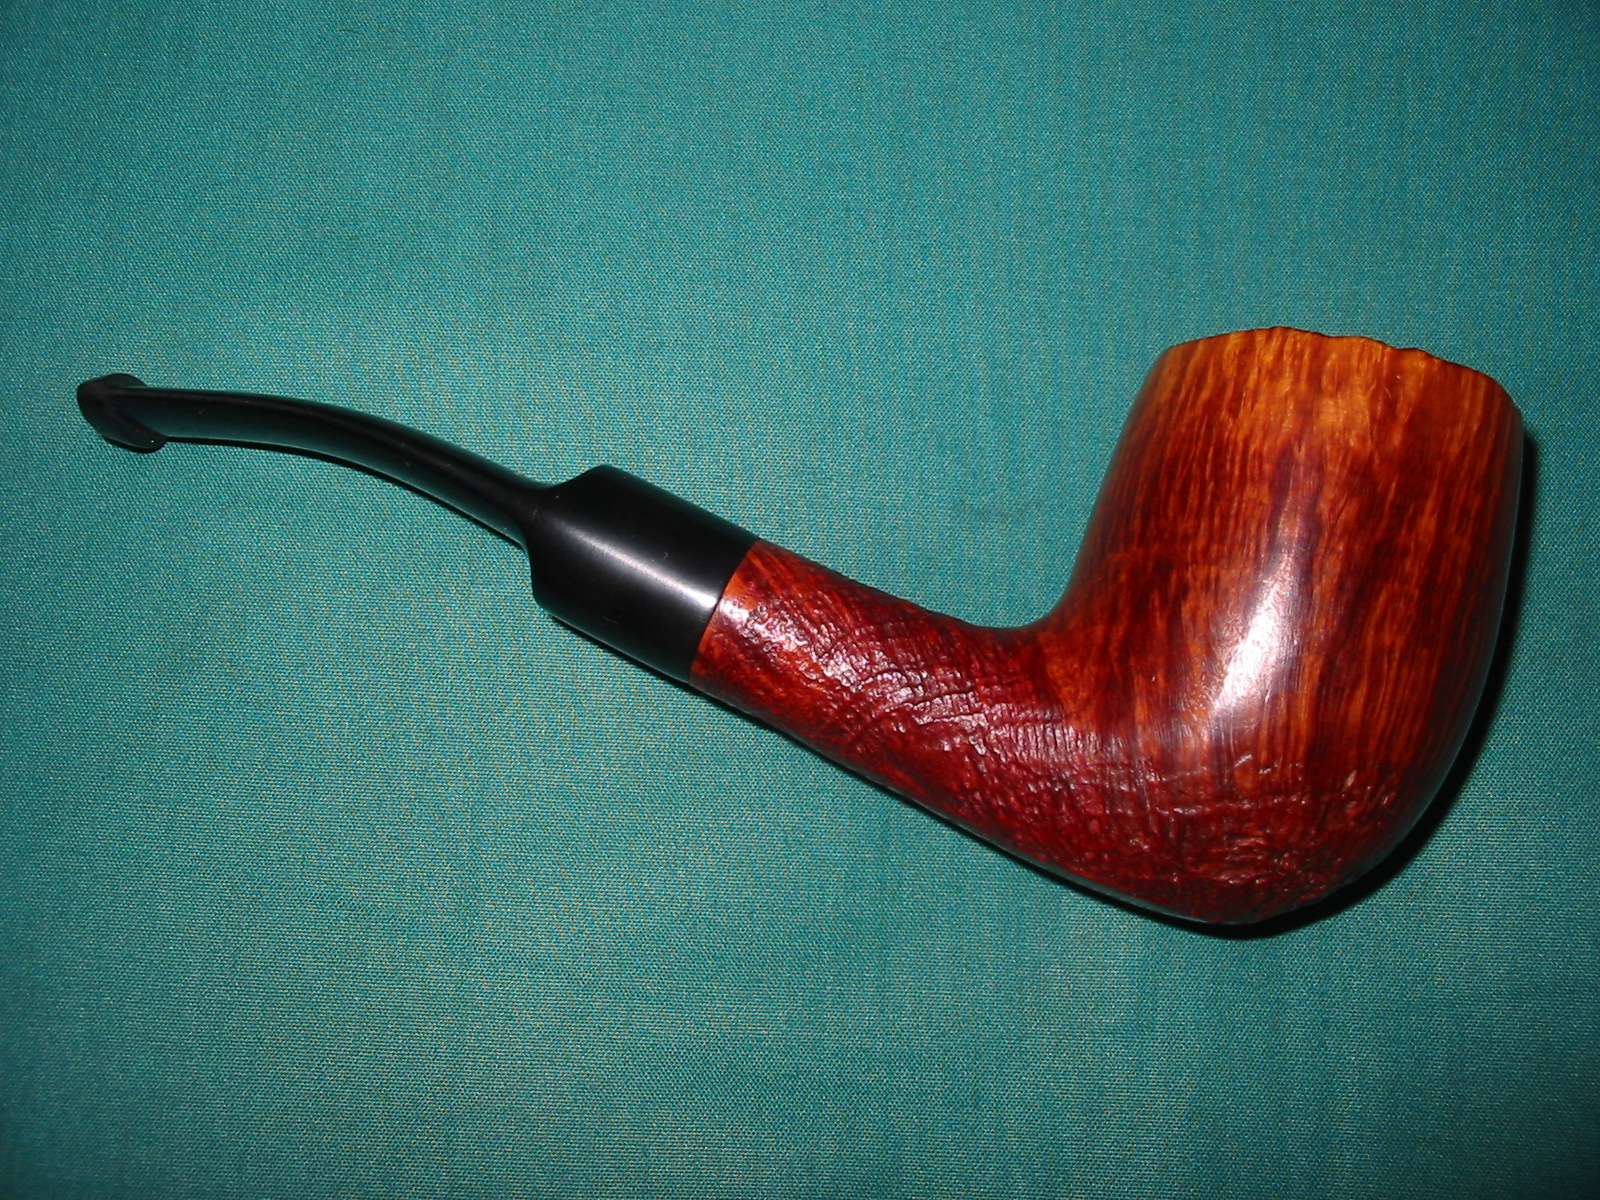
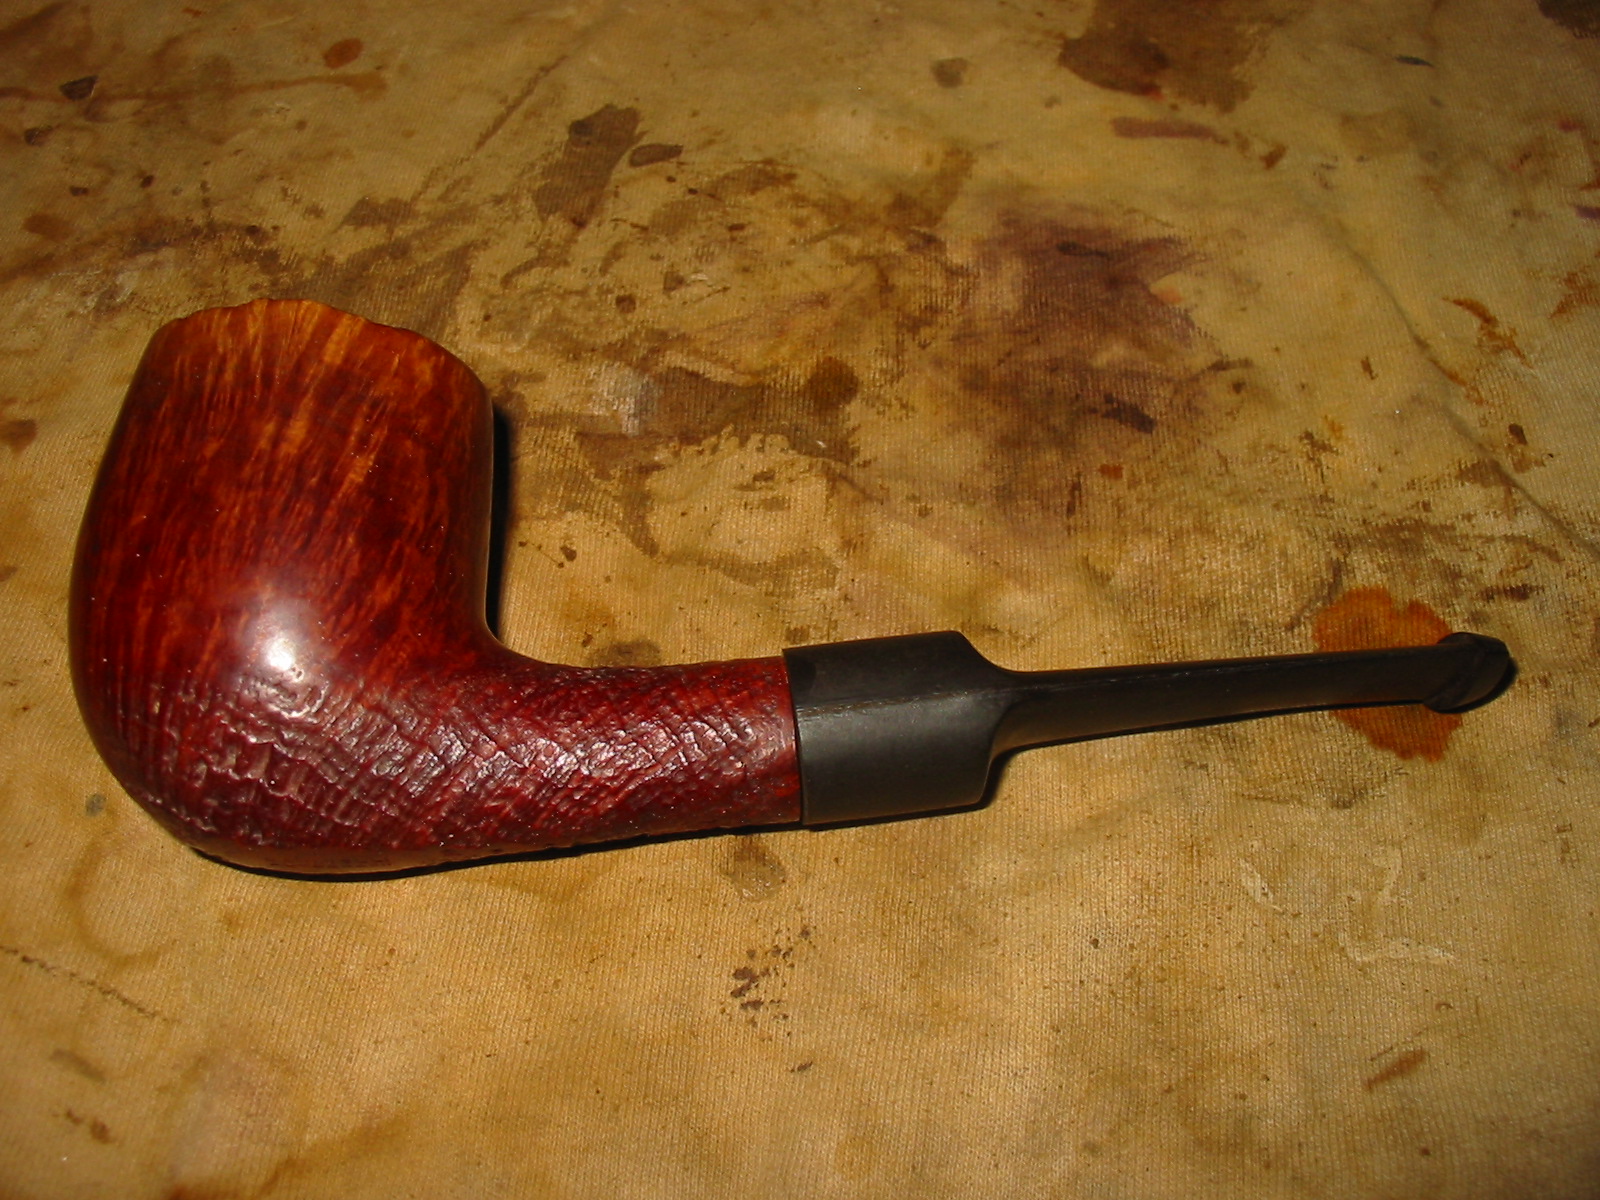
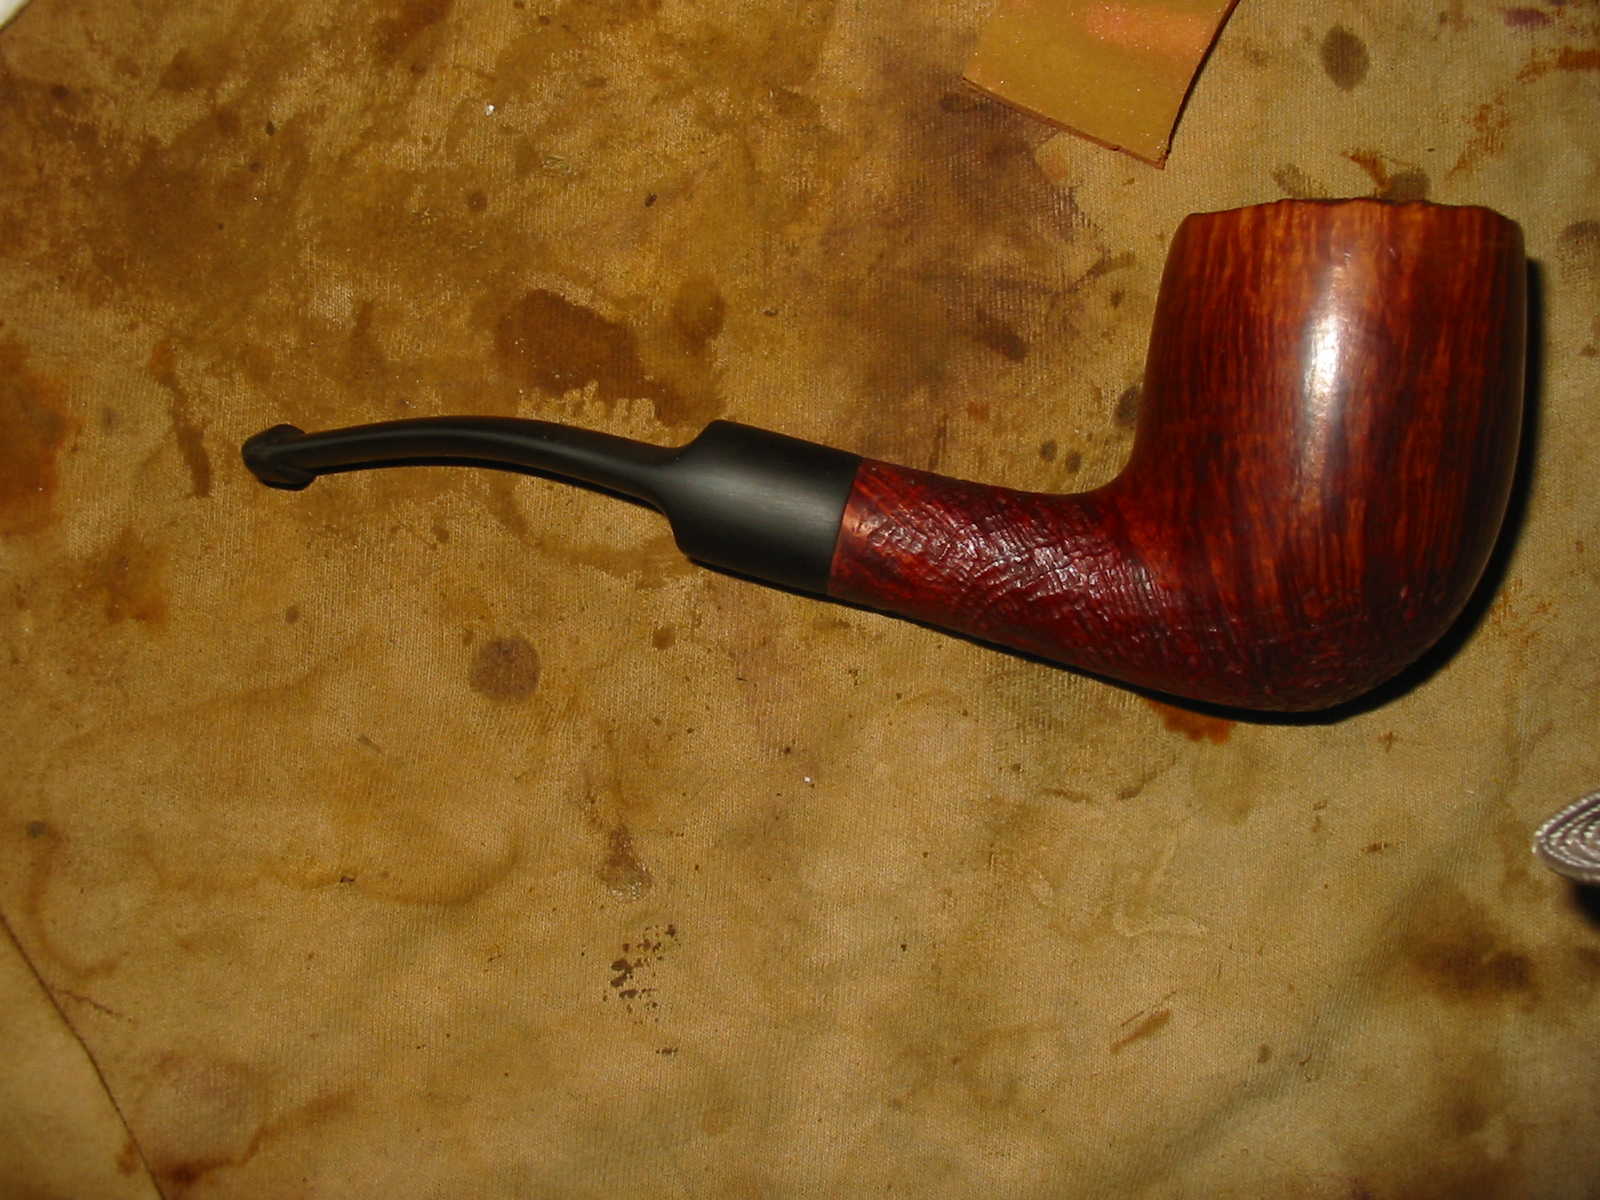
When I had finished with the micromesh pads I gave the stem a coat of Obsidian Oil and rubbed it into the vulcanite. Once it was dry I buffed the stem and the bowl on the buffer lightly with White Diamond and then gave the pipe several coats of carnauba and buffed to a shine with a clean soft flannel buff. The pictures below show the finished pipe. It is now ready for the pleasure of breaking it in. I still have not decided what tobacco to use with it but there are several options on the table. I want to thank Todd for the great looking bowl to be restemmed and I will enjoy it and remember the visit to his shop.
IMG_2027

IMG_2028

IMG_2029

IMG_2030

Refurbed Birkdale Canadian – Made in London England Shape # 296


On my trip in Northern Alberta, Canada I picked up this older Canadian with a sandblast finish. The blast is not deep and craggy but is fine nonetheless. It is stamped on the smooth bottom of the shank Birkdale in script over SUPERB. Next to that it is stamped Made in London over England and then a shape number – 296. I have not heard of the Birkdale brand so I Googled it on the net to see what I could find out about it. There was not much there in terms of solid information. There were numerous posts on various forums requesting information. The information on the brand showed some confusion. From Pipedia Birkdale is a brand of the German pipe company named Wolsdorff. In turn Pipephil pegs Wolsdorff as a chain of tobacconists that had their pipes made by different German companies like Design Berlin and Oldenkott. However, the one I found has the made in London England stamping that removes the German connection. Something about the shape and shape number made me do a search in the Comoy’s shape and number charts available online. I found that the 296 shape for Comoy’s is an oval shanked Canadian, exactly like this one. Thus it appears that the pipe was made by Comoy’s. I am wondering if the Birkdale (which is a region in England) is not one of a line of English regionally named pipes made by Comoy’s. Does anyone have any information on this possibility?

As for the pipe’s condition – the finish was dirty and somewhat worn. The rim was worn and showed some wear on the inner edge. It was partially beveled inward. The cake was broken and thin on the inside of the bowl. The stain was worn and spotty on the shank near the stem. The stem itself was oxidized and had tooth chatter on the top and underside near the button. The insert logo was missing. From what I can find online the insert design was in the air. The hole was round and like the space for a dot. I suppose it may have had the Comoy’s C with the circle at one time but I am not sure. The tenon on the pipe was an older step down version like the Comoy’s. The pipe was worn and dirty but very salvageable. The three photos below show the state of the pipe when I brought it to the work table.
IMG_1866

IMG_1867

IMG_1868

I decided to make an off white insert for the hole in the stem (the hole did not go into the airway). To make the replacement I have a knitting needle that I use for replacement dots. I used a Dremel to turn the end of the needle down to the size of the hole in the stem. The next six photos show the process of shaping the new dot for the stem. The first four photos show the shaping of the dot stock. The last two photos show the inserted dot.
IMG_1972

IMG_1973

IMG_1974

IMG_1975

Once the newly turned end fit into the hole in the side of the stem I cut it off with a pair of needle nosed pliers and began the finishing work on the dot. I glued it in place in the hole with superglue and when it was set sanded it down with a Dremel. When the surface of the dot matched the surface of the stem I sanded it with 220 grit sandpaper until it was smooth. The remainder of the finishing on the dot would be done when I cleaned up the oxidation on the stem.

IMG_1976

IMG_1977

I reamed the pipe with a PipNet reamer to clean out the bowl and remove the broken cake. I scrubbed the exterior of the bowl and shank with a soft bristle tooth brush and undiluted Murphy’s Oil Soap. I scrubbed it until all the crevices were clean and then rinsed it under warm tap water being careful to not get water in the bowl or shank. I patted the surface dry. The first two photos below show the scrubbing process. The third, fourth and fifth photos show the bowl after being dried off. The surface is clean and ready to work with.
IMG_1979

IMG_1980

IMG_1981

IMG_1982

IMG_1983

I cleaned out the internals of the stem and shank with pipe cleaners and Everclear as well as cleaning out the mortise area with cotton swabs. Interestingly the inside of the shank not only had minimal tars but also there was some of the red undercoat stain in the shank. I was able to remove all of the stain and the tars.
IMG_1984

I restained the pipe with a dark brown aniline stain, flamed it and restained and flamed it again until the spots without stain on the edge of the rim and near the stem were well covered. I mixed the stain one part stain to one part alcohol as I wanted it to cover the briar but allow the undercoat of the red to come through once it was buffed and waxed.
IMG_1985

IMG_1986

I used 1500 and 1800 grit micromesh sanding pads and wet sanded the stem to remove the surface oxidation. I also “painted” the stem with a Bic lighter to burn off the oxidation. The picture I took of this failed to come out so I do not have photos of this step. I then dry sanded the stem with the remaining grits of micromesh from 2400-12,000 grit.
IMG_1988

IMG_1989

IMG_1990

I gave the stem a coat of Obsidian Oil and rubbed it into the vulcanite. Once it was dry I hand buffed the stem and then gave it a coating of carnauba wax by hand using some Paragon wax. I reinserted the stem in the pipe and then took it to the buffer. I buffed it with White Diamond and then gave the bowl and stem a light buff with carnauba wax. I repeated the waxing until the pipe was well covered. I gave it a final buff with a soft flannel buff. The photos below show the finished pipe. The topcoat of brown stain lets the red undercoat show through and adds dimension to the finished look of the pipe.
IMG_1991

IMG_1992

IMG_1993

IMG_1994