Blog by Steve Laug
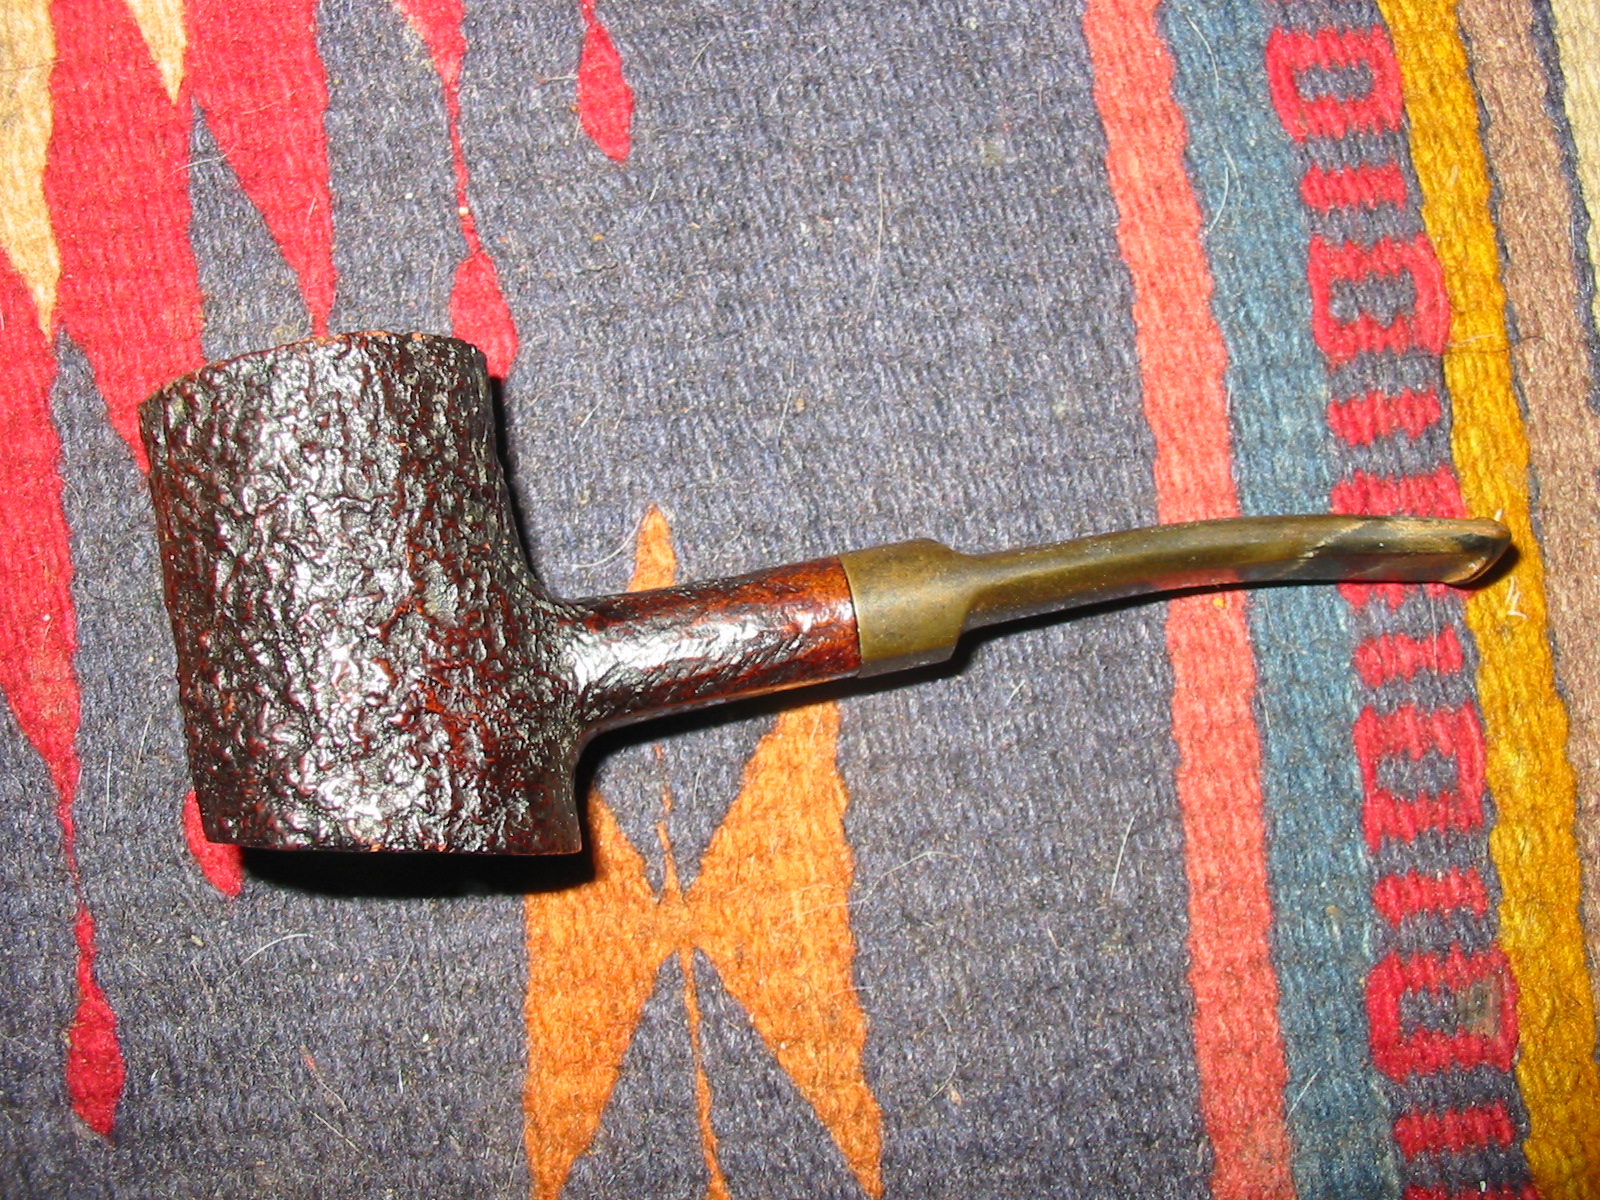
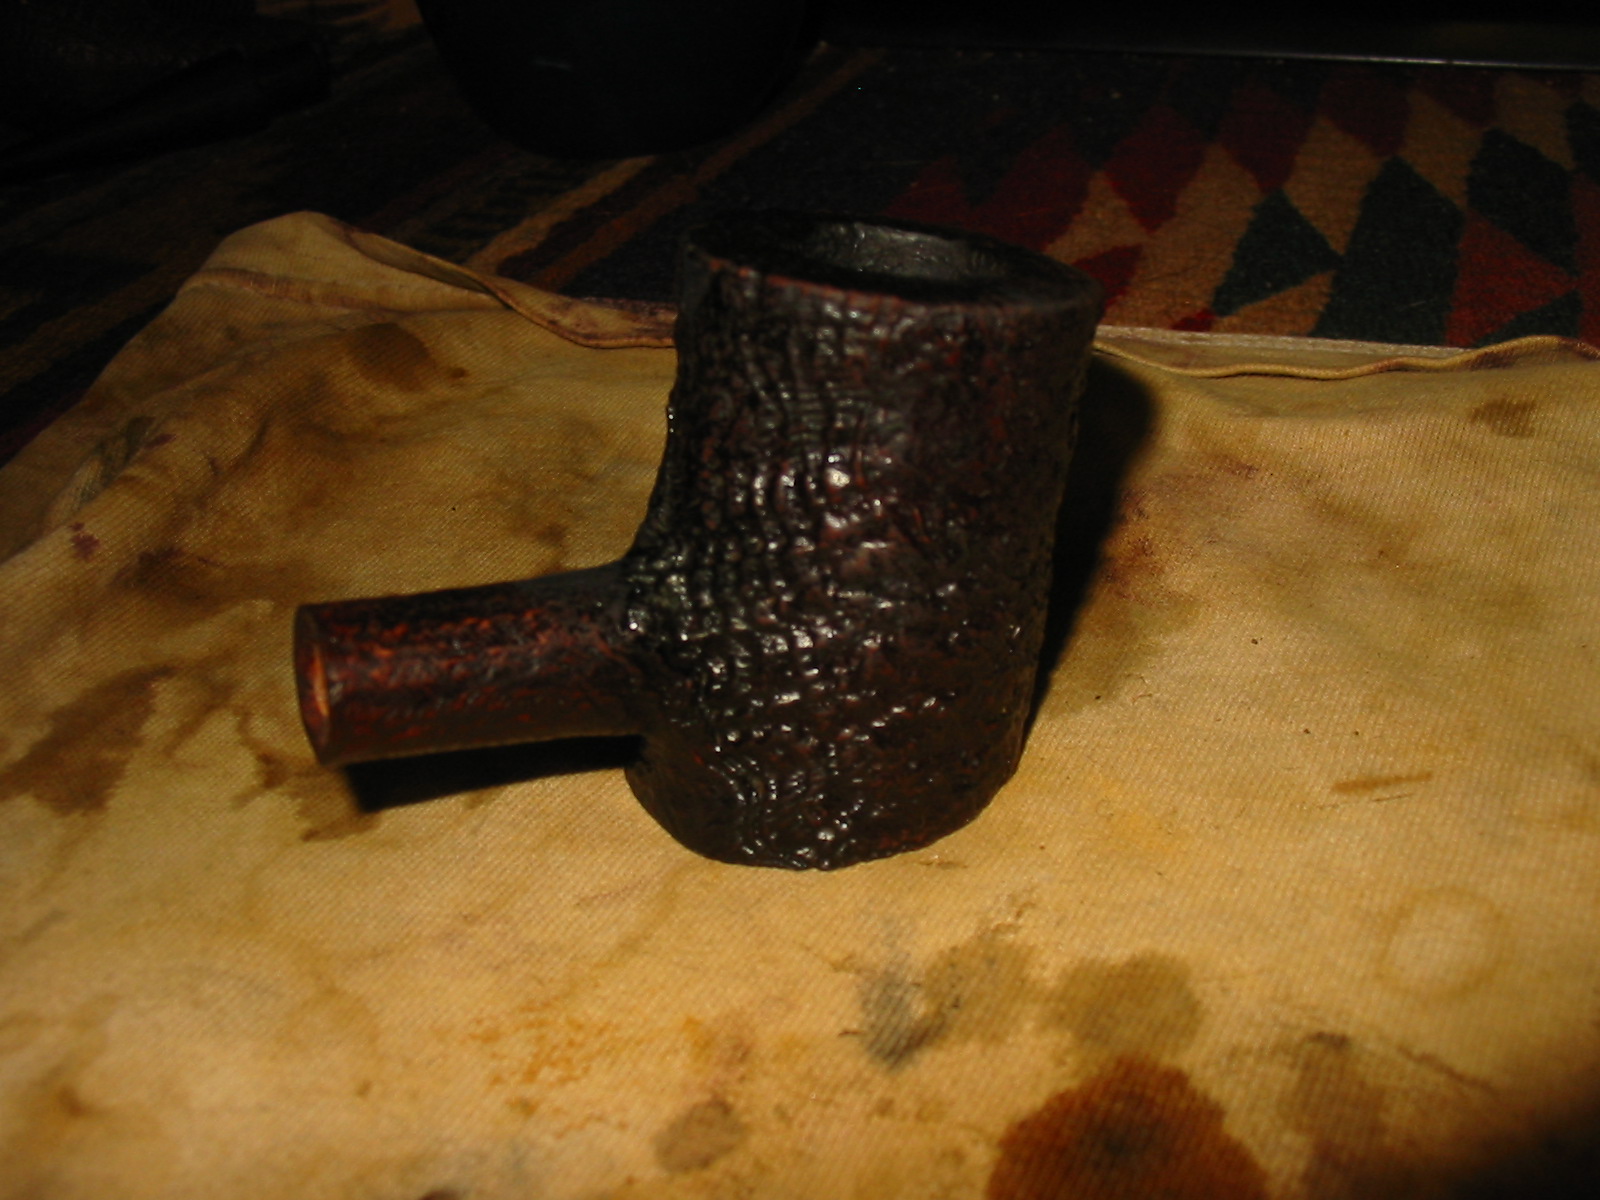
The first of the latest lot I picked up on my trip to Northern Alberta was brought to the work bench this afternoon. I decided to work on little Parker Super Briar Bark Cherrywood. It is stamped on the underside of the shank Parker over Super in a diamond over Briar Bark. Next to that is Made in London England with both a size number – 4 – and a shape number – 283.

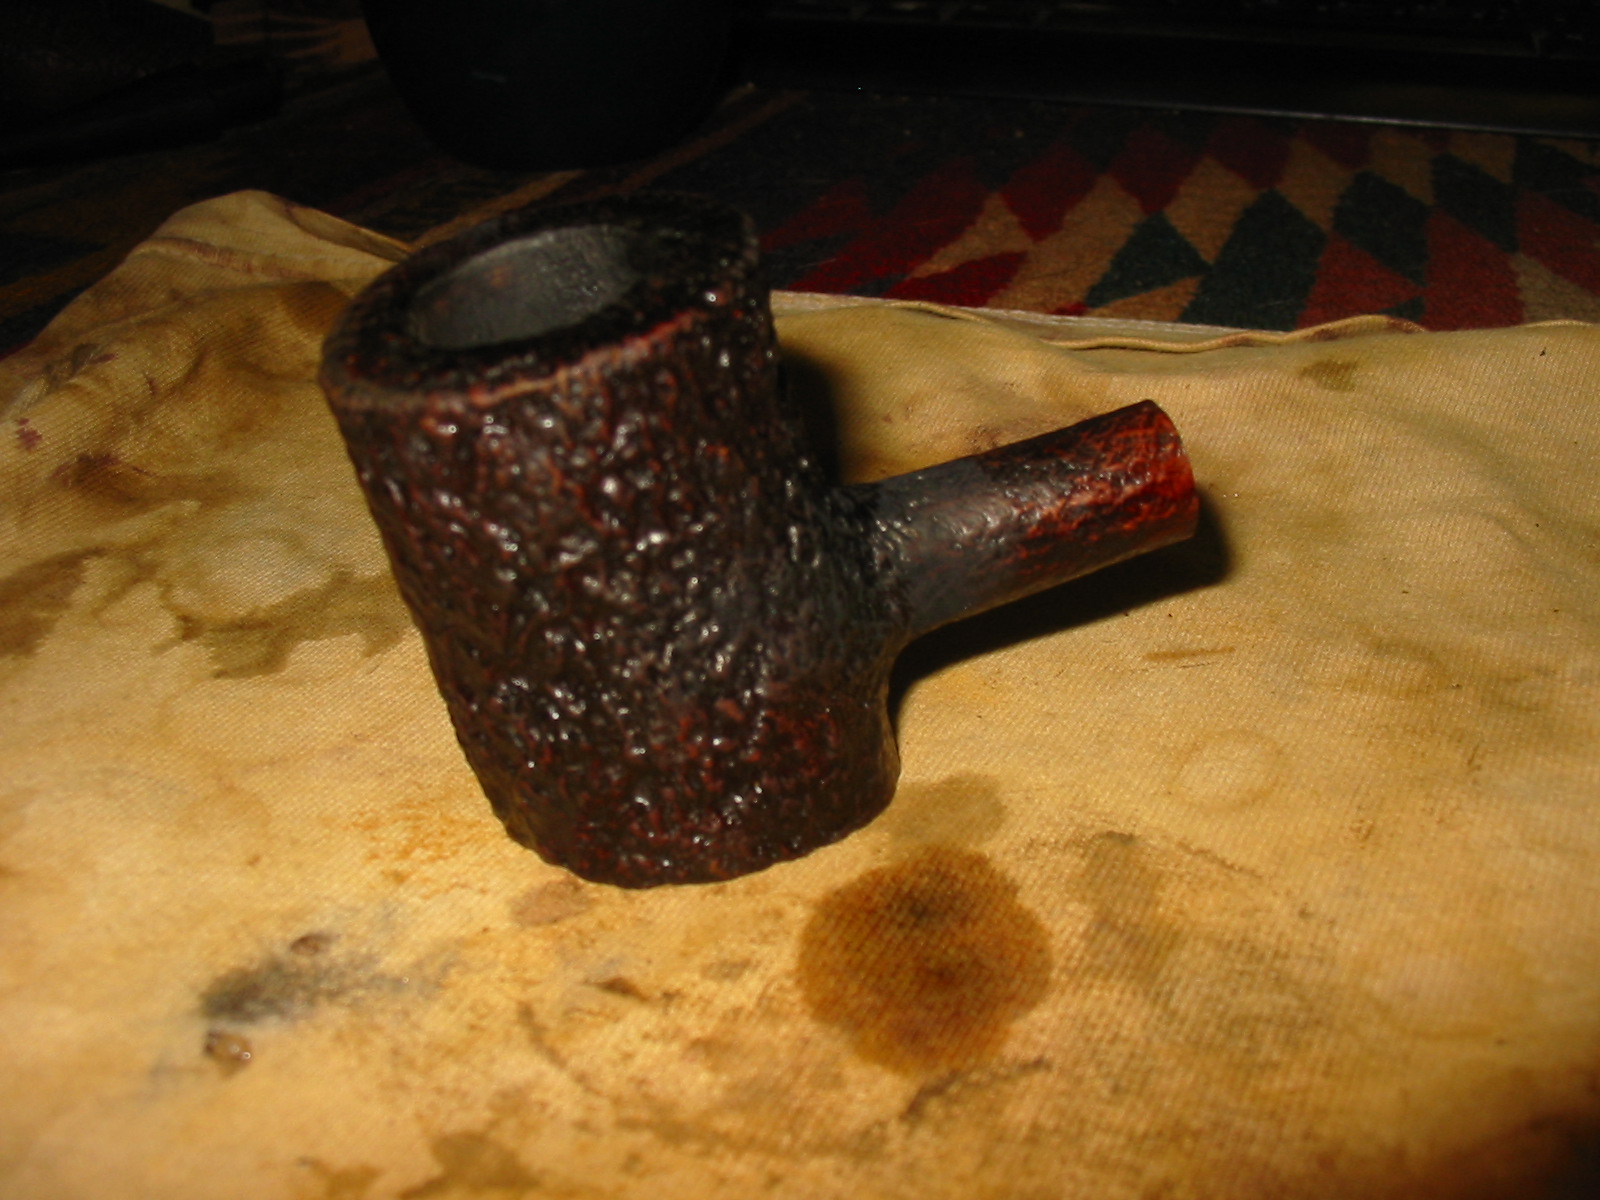
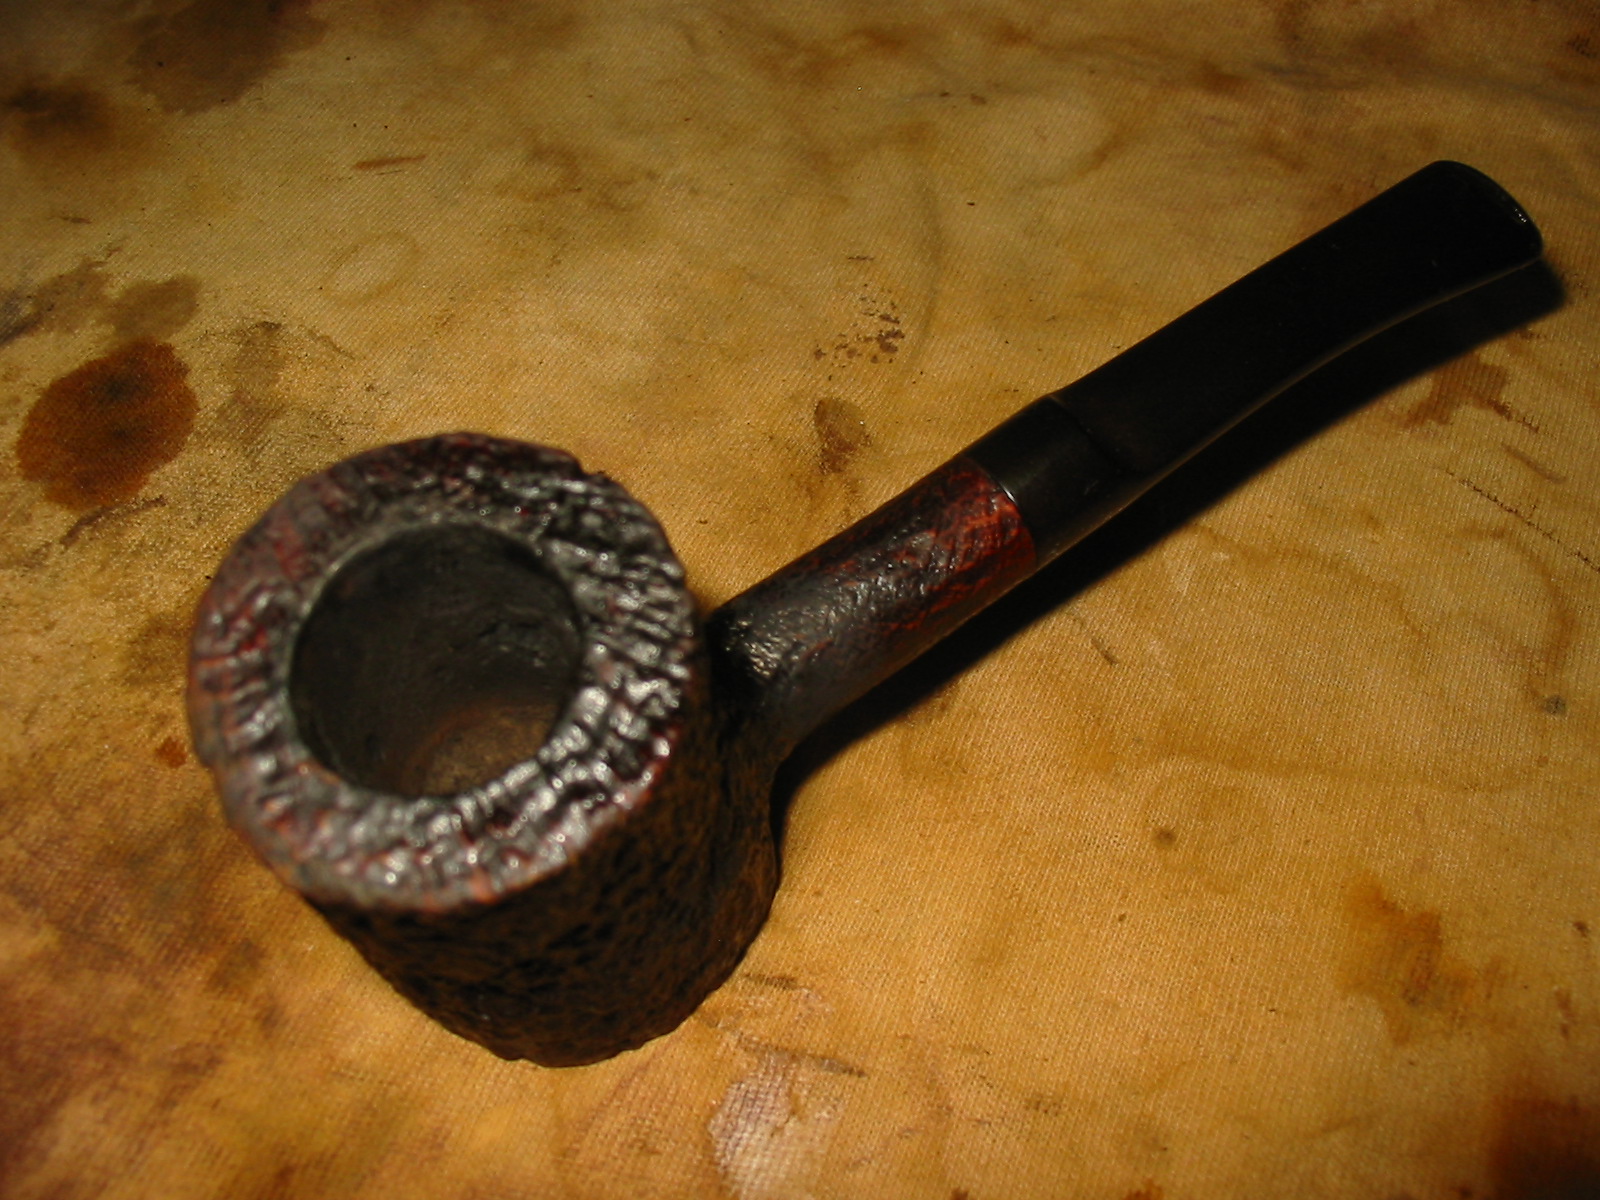
The bowl had a lot of cake build up in the bowl and had some nicks in the briar around the outer edge of the rim. The finish was dirty with grime in the deep crevices of the sandblast on the outside of the bowl and a buildup of tars on the top of the rim. The stem was oxidized and had some tooth damage on both the top and bottom sides near the button. The Parker logo “P” in a diamond was partly visible on top of the stem. It was merely a painted on logo and not stamped in the vulcanite so it would be hard to clean and leave in place.


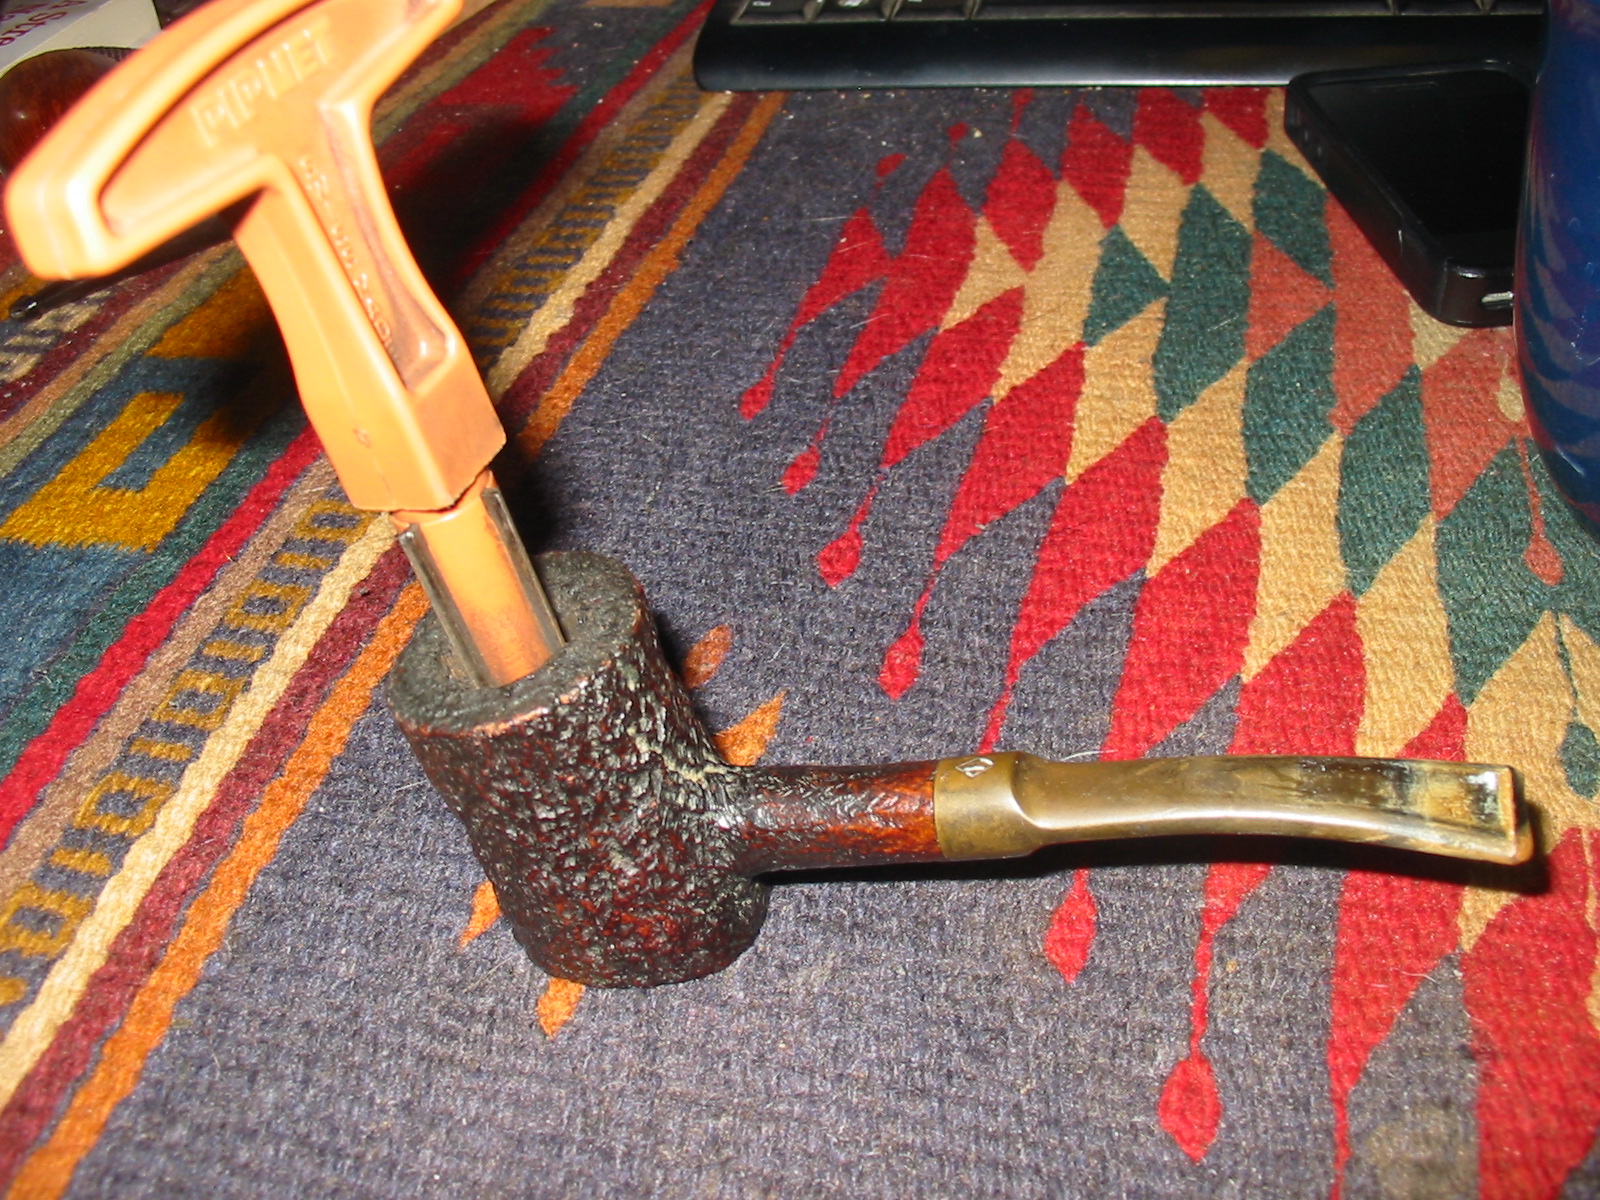
I reamed the bowl with a PipNet pipe reamer – a T handle and different cutting heads. The smallest diameter cutting head trimmed back the cake to a thin coat. I dumped the carbon buildup in the rubbish and then cleaned out the bowl with a cotton swab dipped in Everclear to remove any leftover loose carbon.
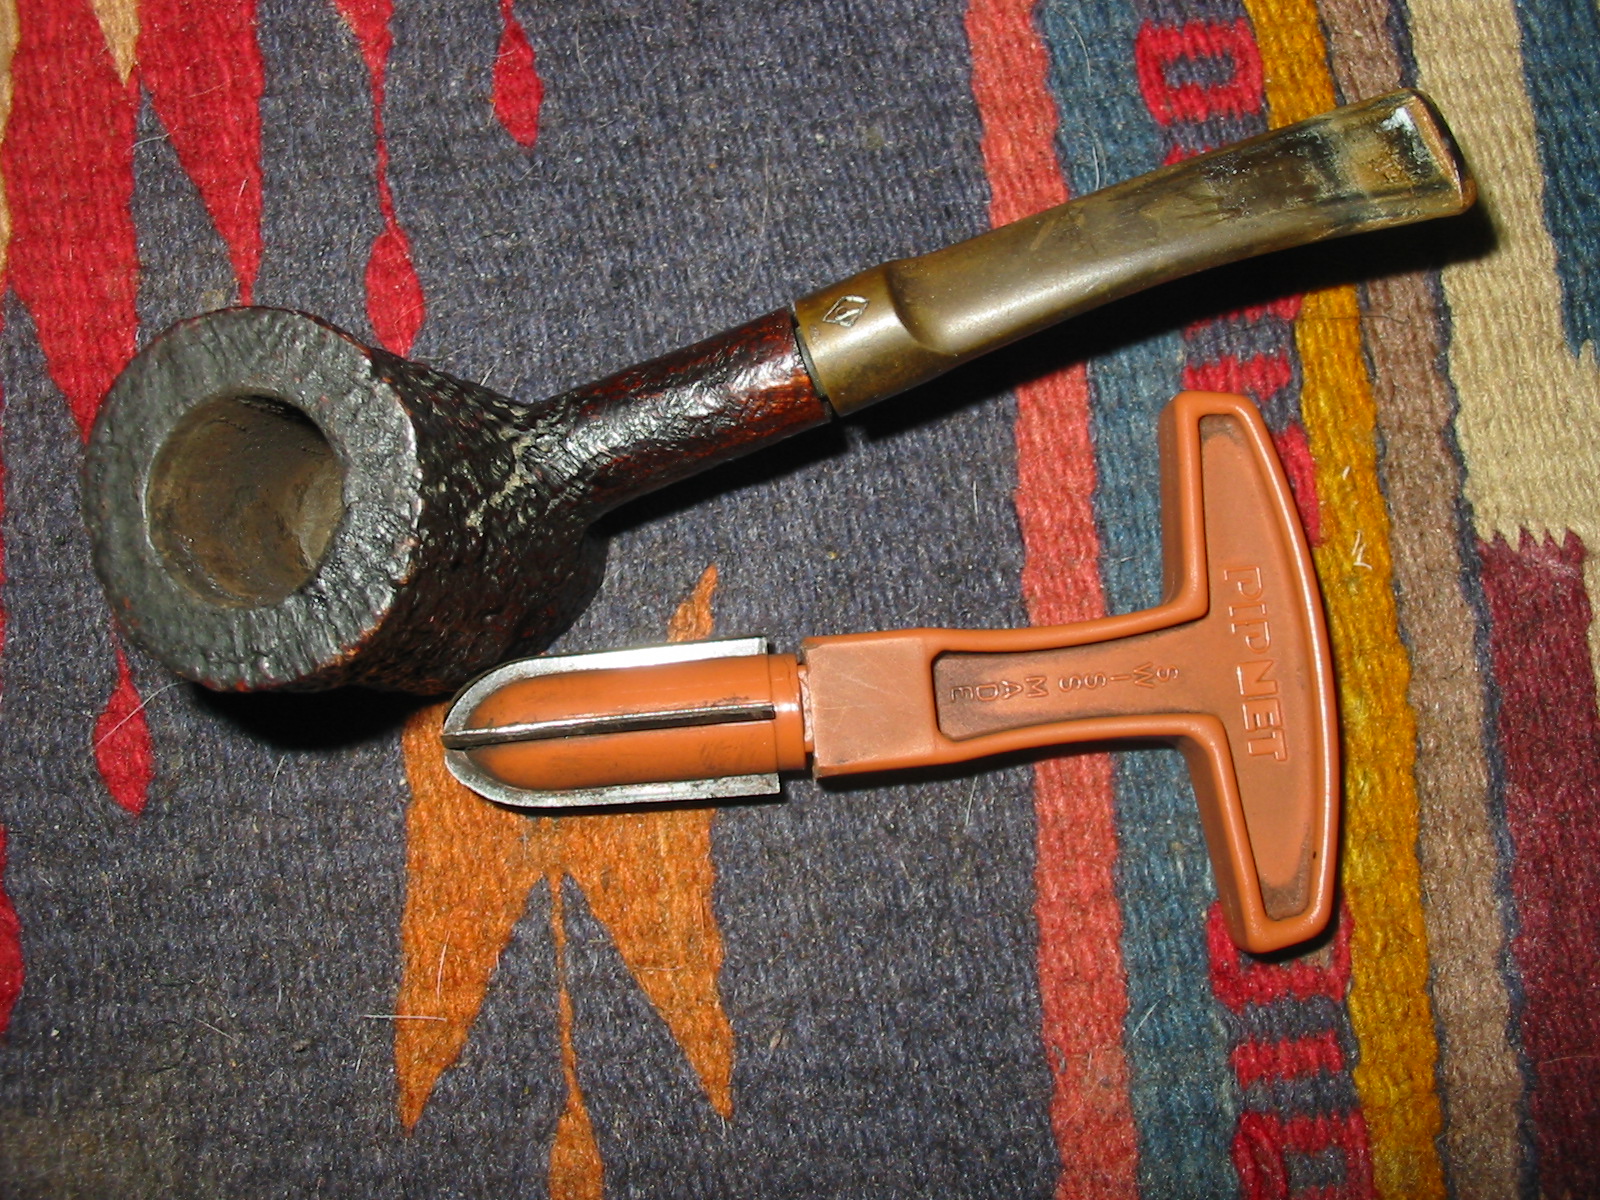
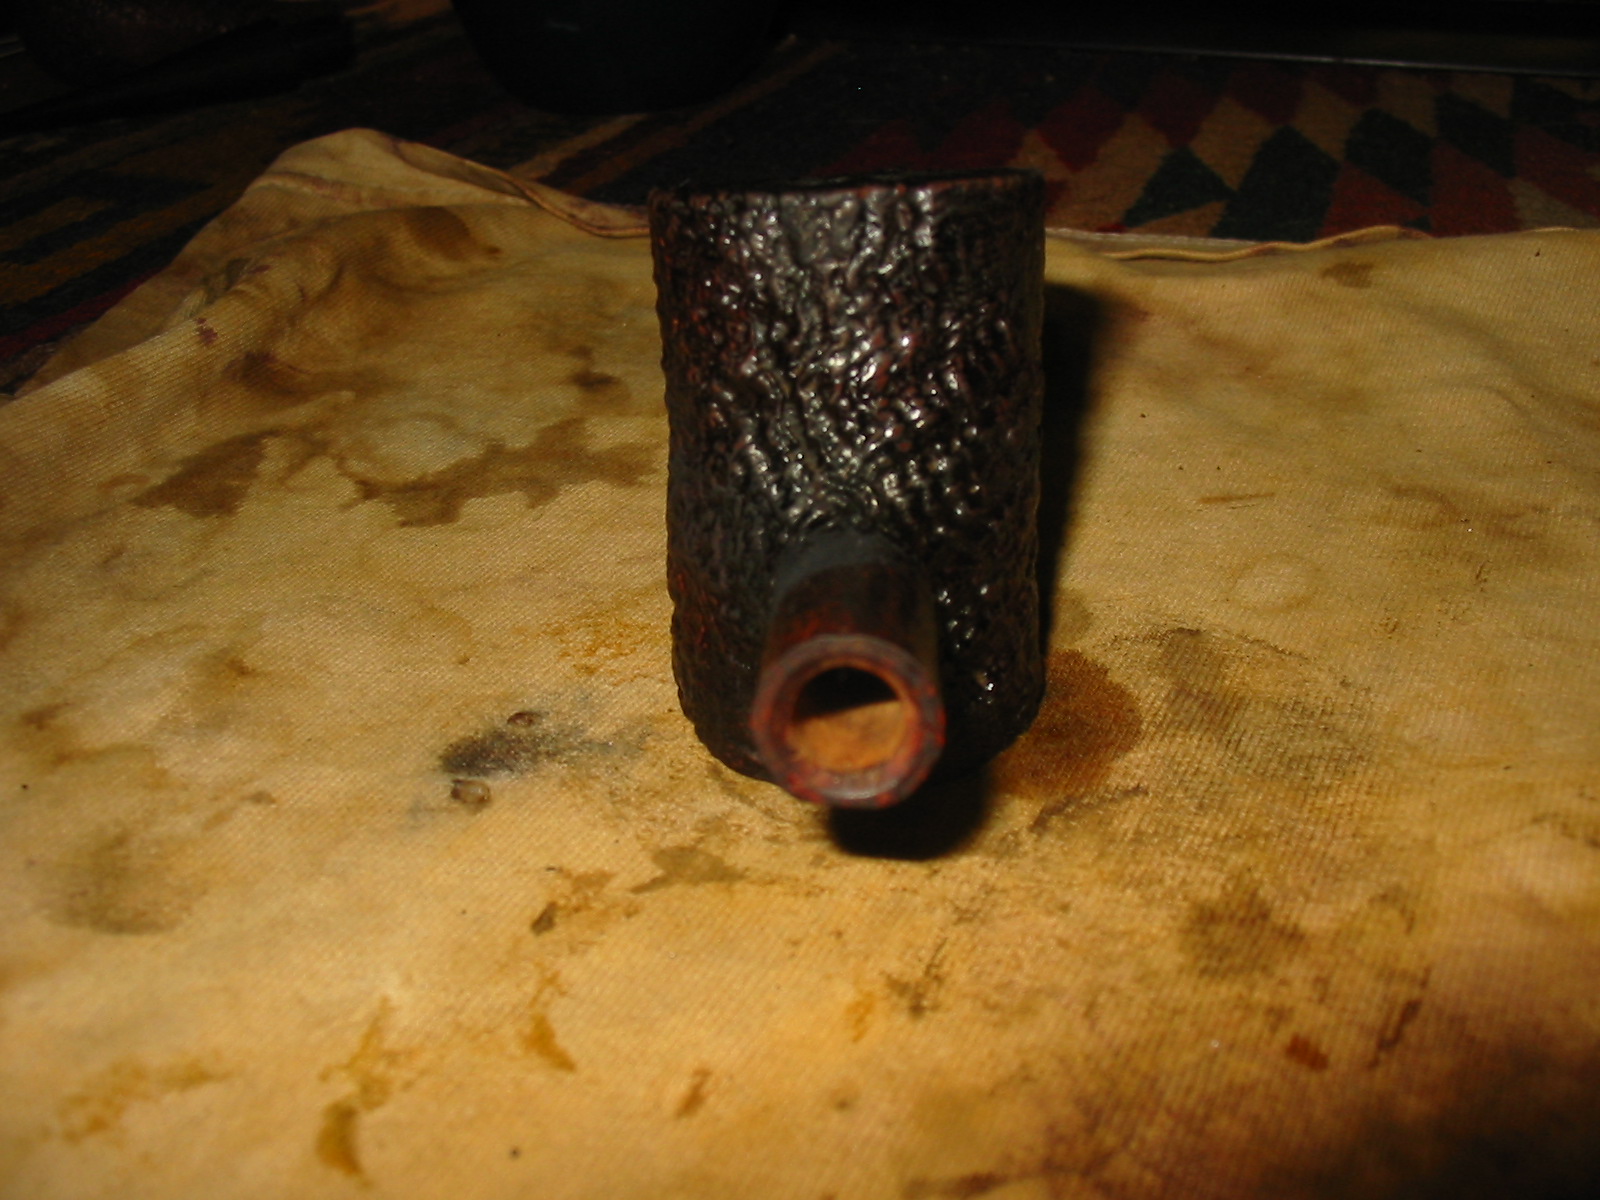
I removed the stem and found that the pipe had an inner tube like the Dunhill Inner Tube that was used as a method of keeping the shank clean from tar buildup.

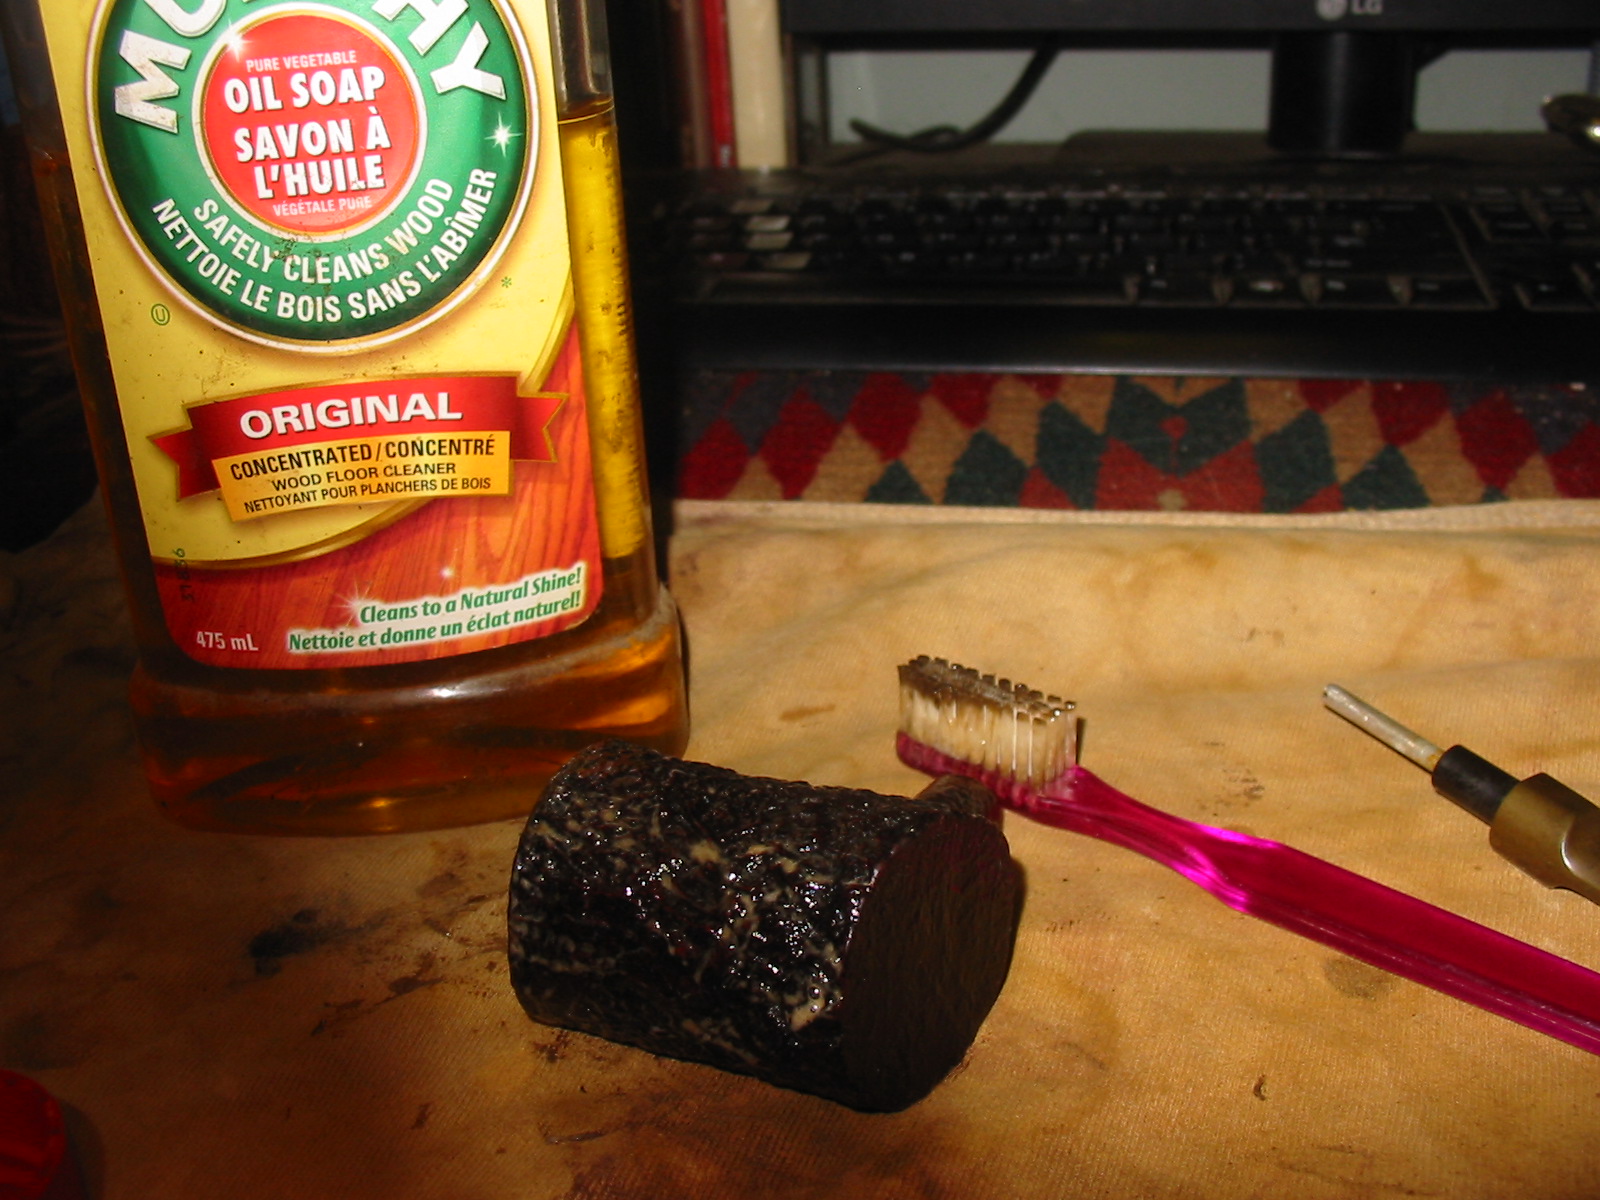
I scrubbed the surface of the bowl and shank with a soft bristle tooth brush and undiluted Murphy’s Oil Soap. I scrubbed it until the soap was dirty and then rinsed it off under warm running water and patted it dry. I kept the water out of the bowl and the shank as I did not want those areas wet.
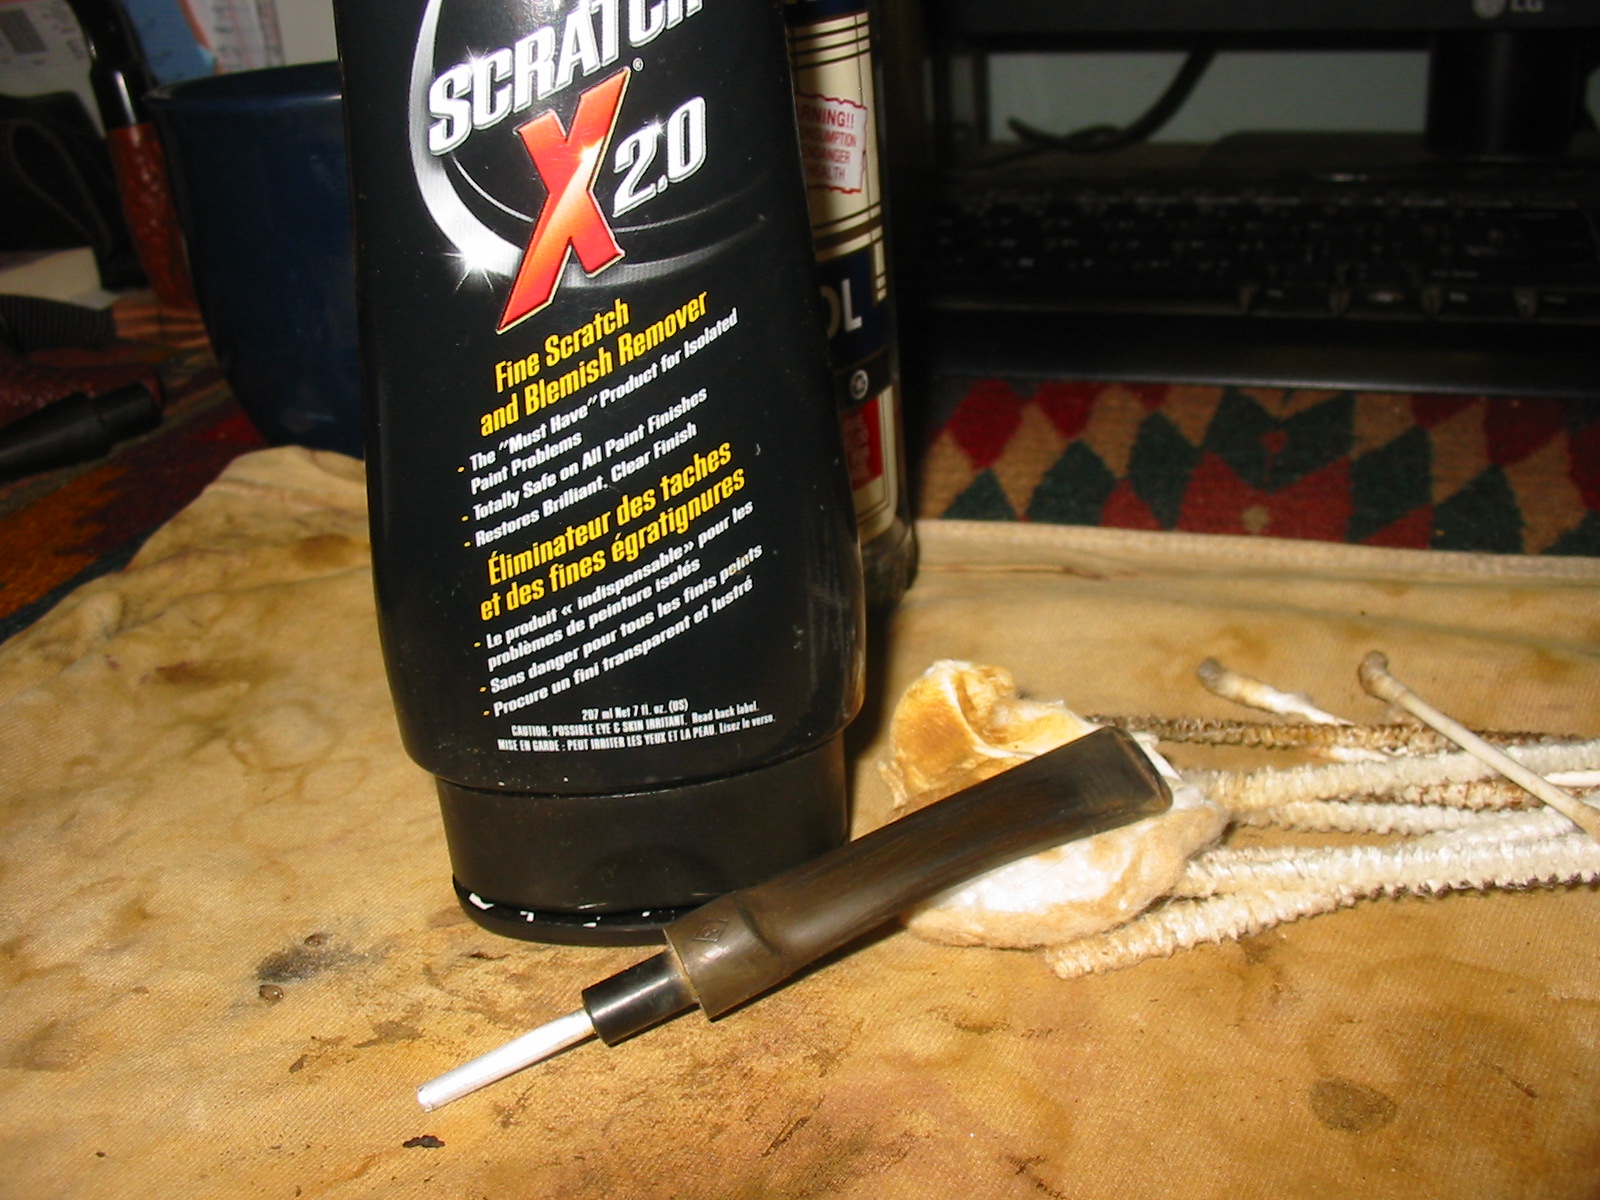
I cleaned out the shank and the bowl with pipe cleaners and cotton swabs and pipe cleaners dipped in Everclear. Once the inside was clean I worked on the oxidized stem. I sanded it with 220 grit sandpaper to break up the calcium buildup around the button area and to also minimize the tooth marks on the top and the bottom side of the stem. After the initial sanding I scrubbed the surface of the stem with Meguiar’s Scratch X2.0 to remove the surface oxidation and to soften the oxidation deep in the stem.

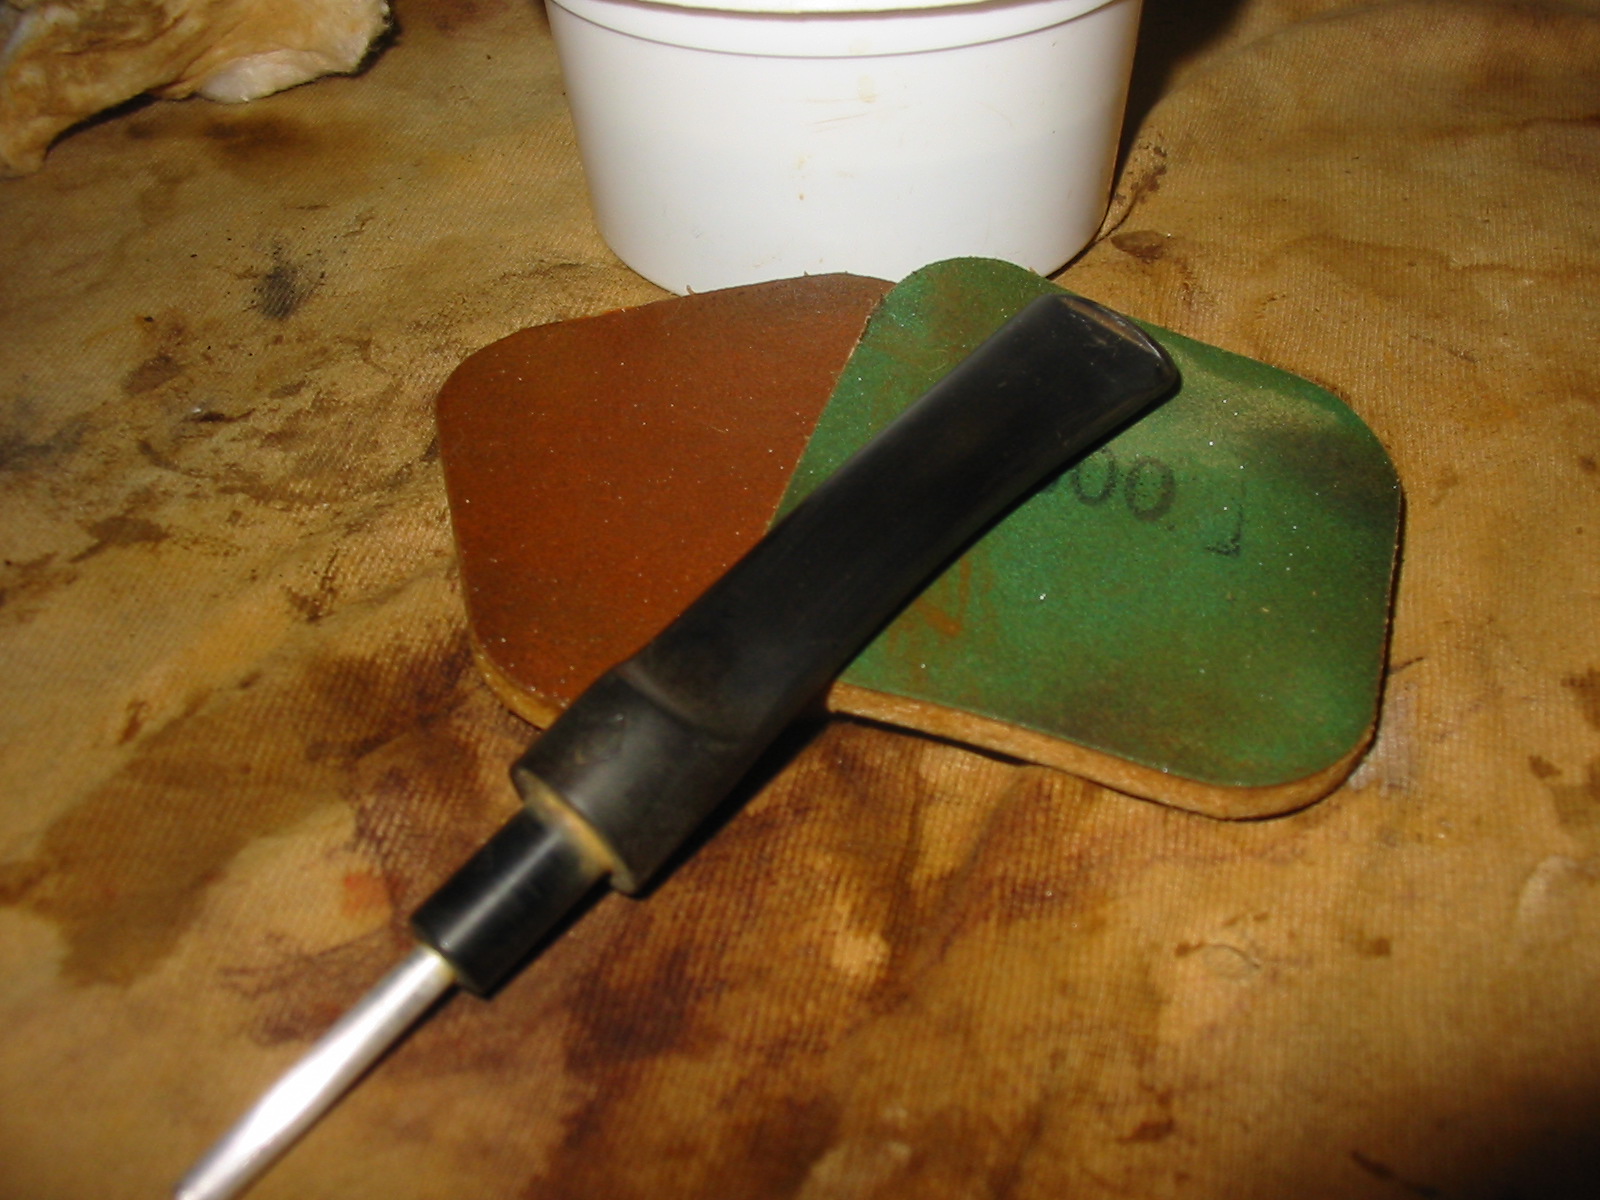
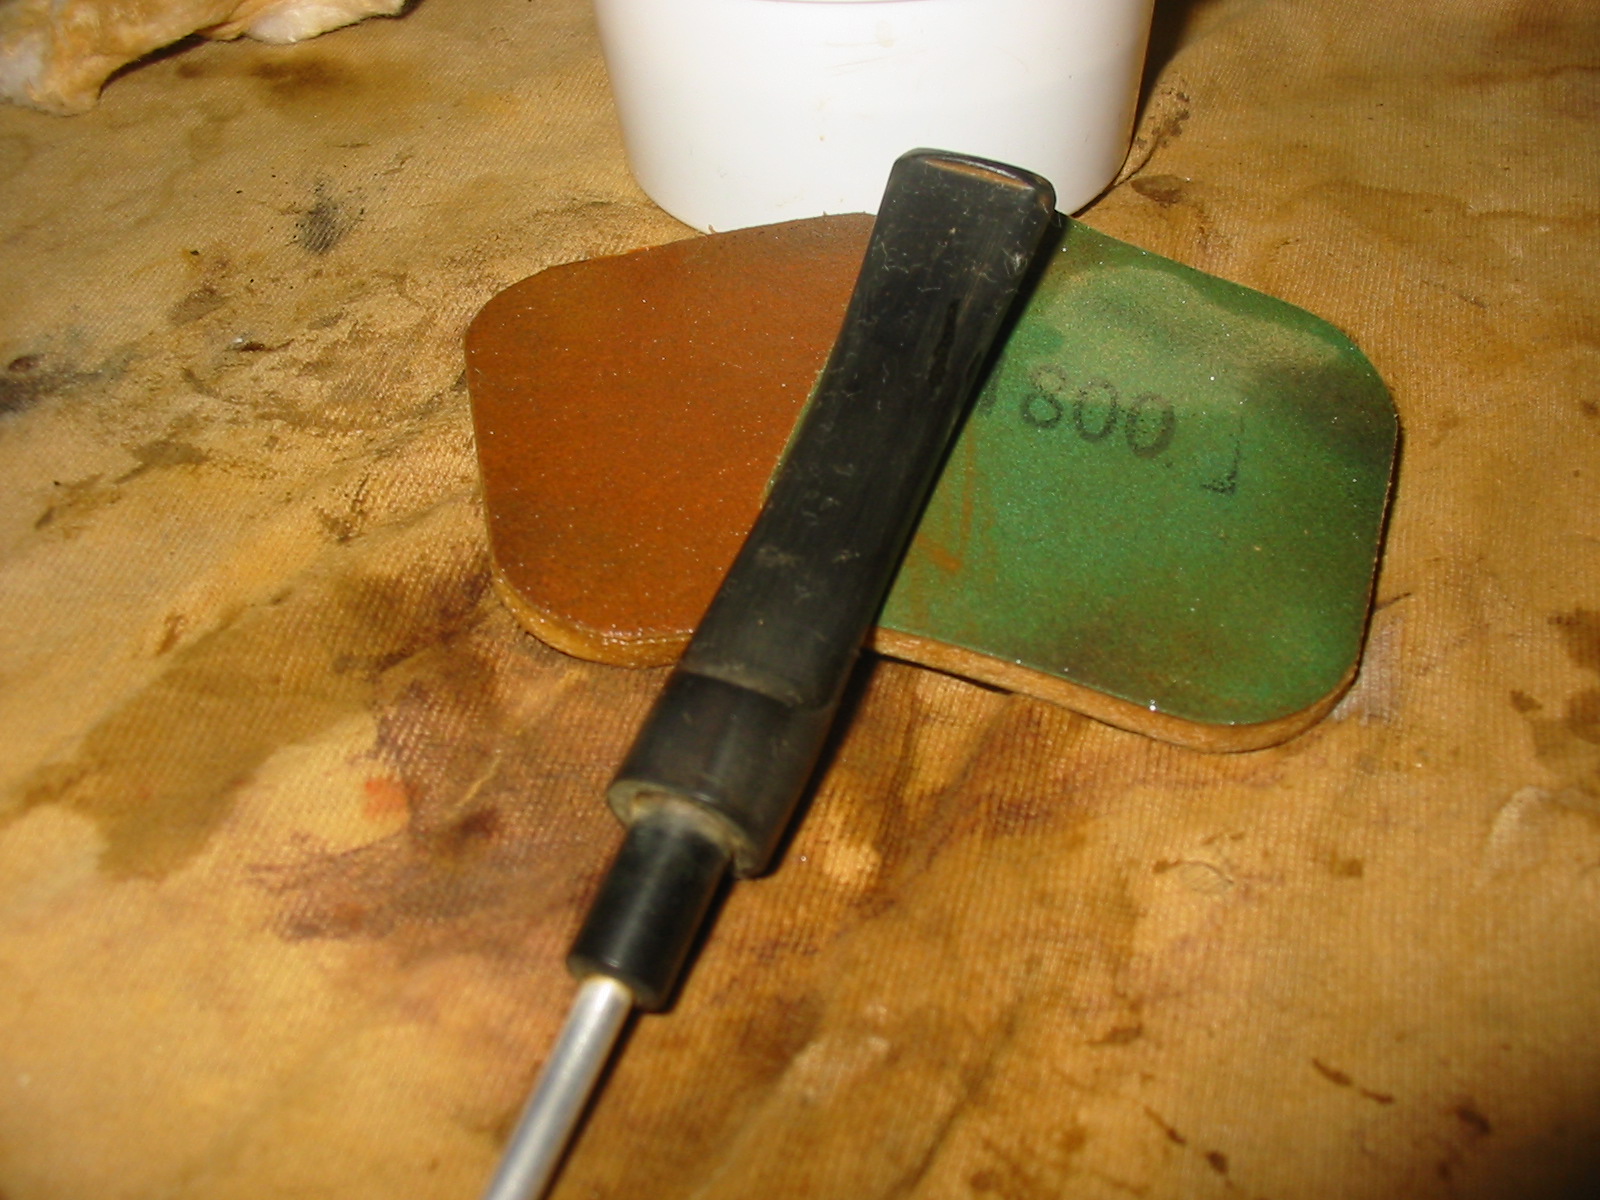
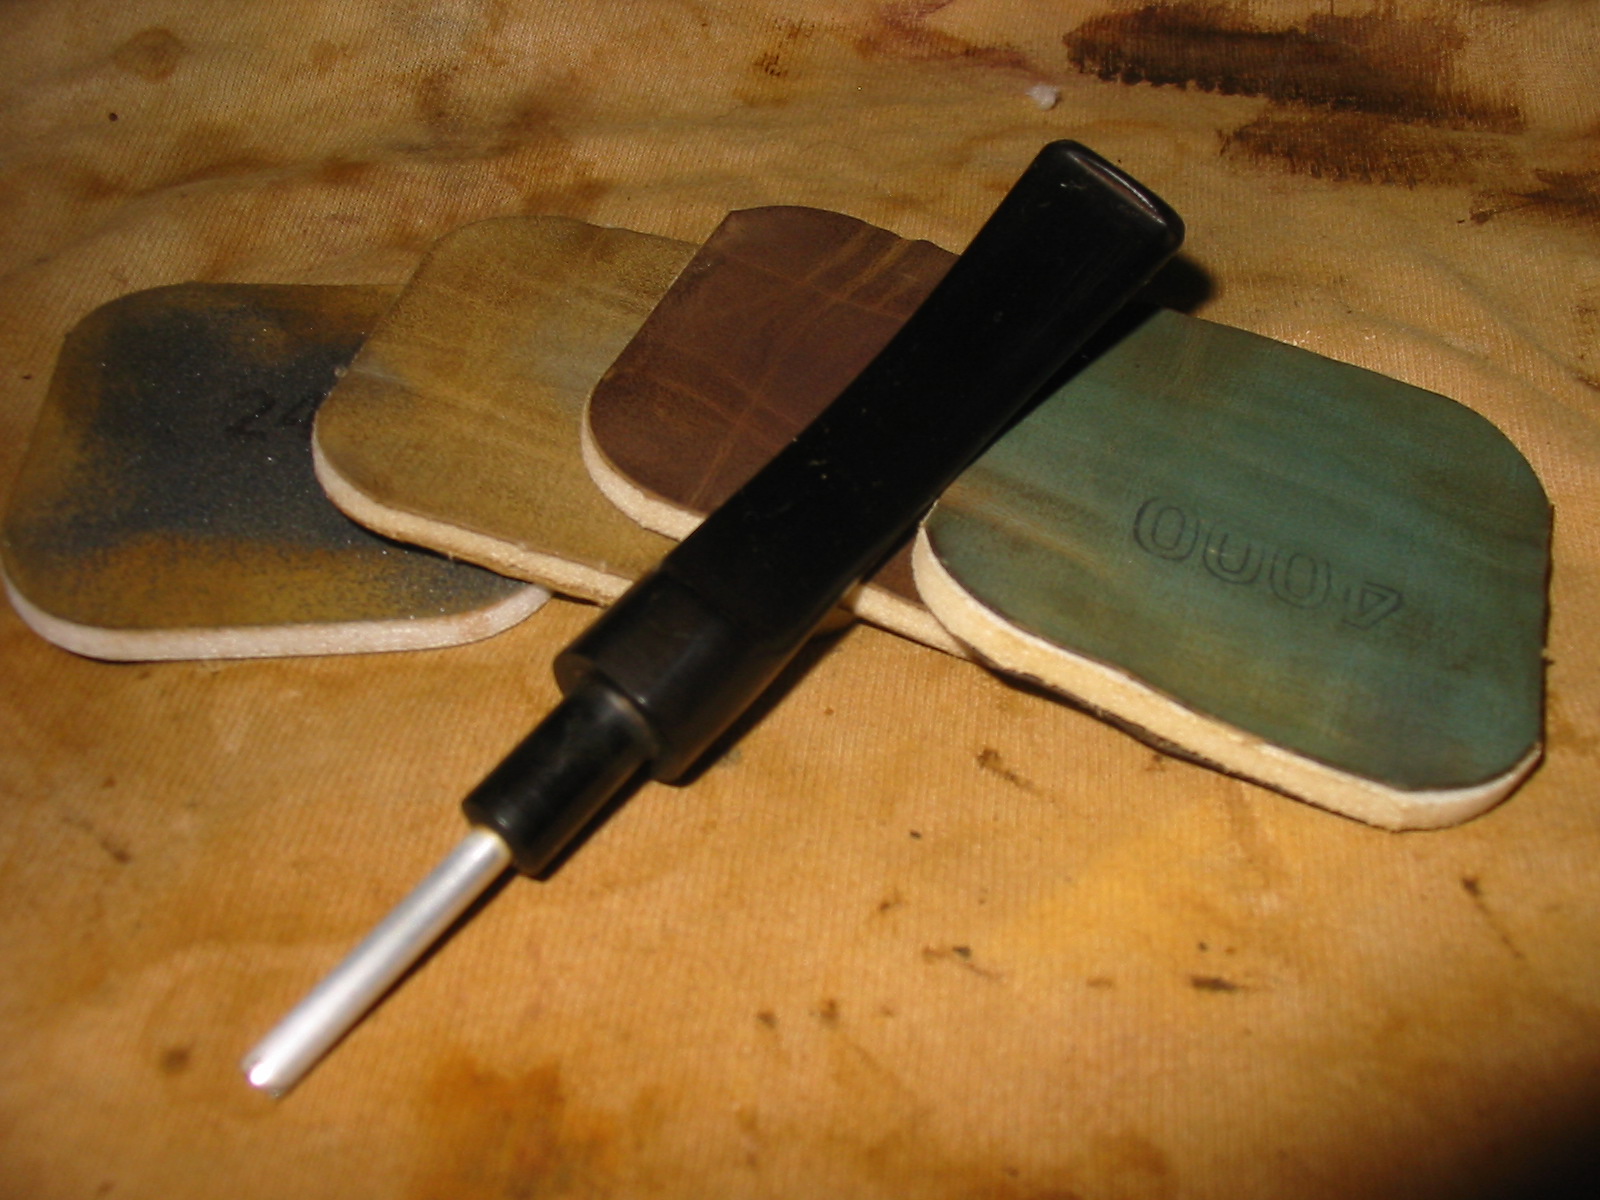
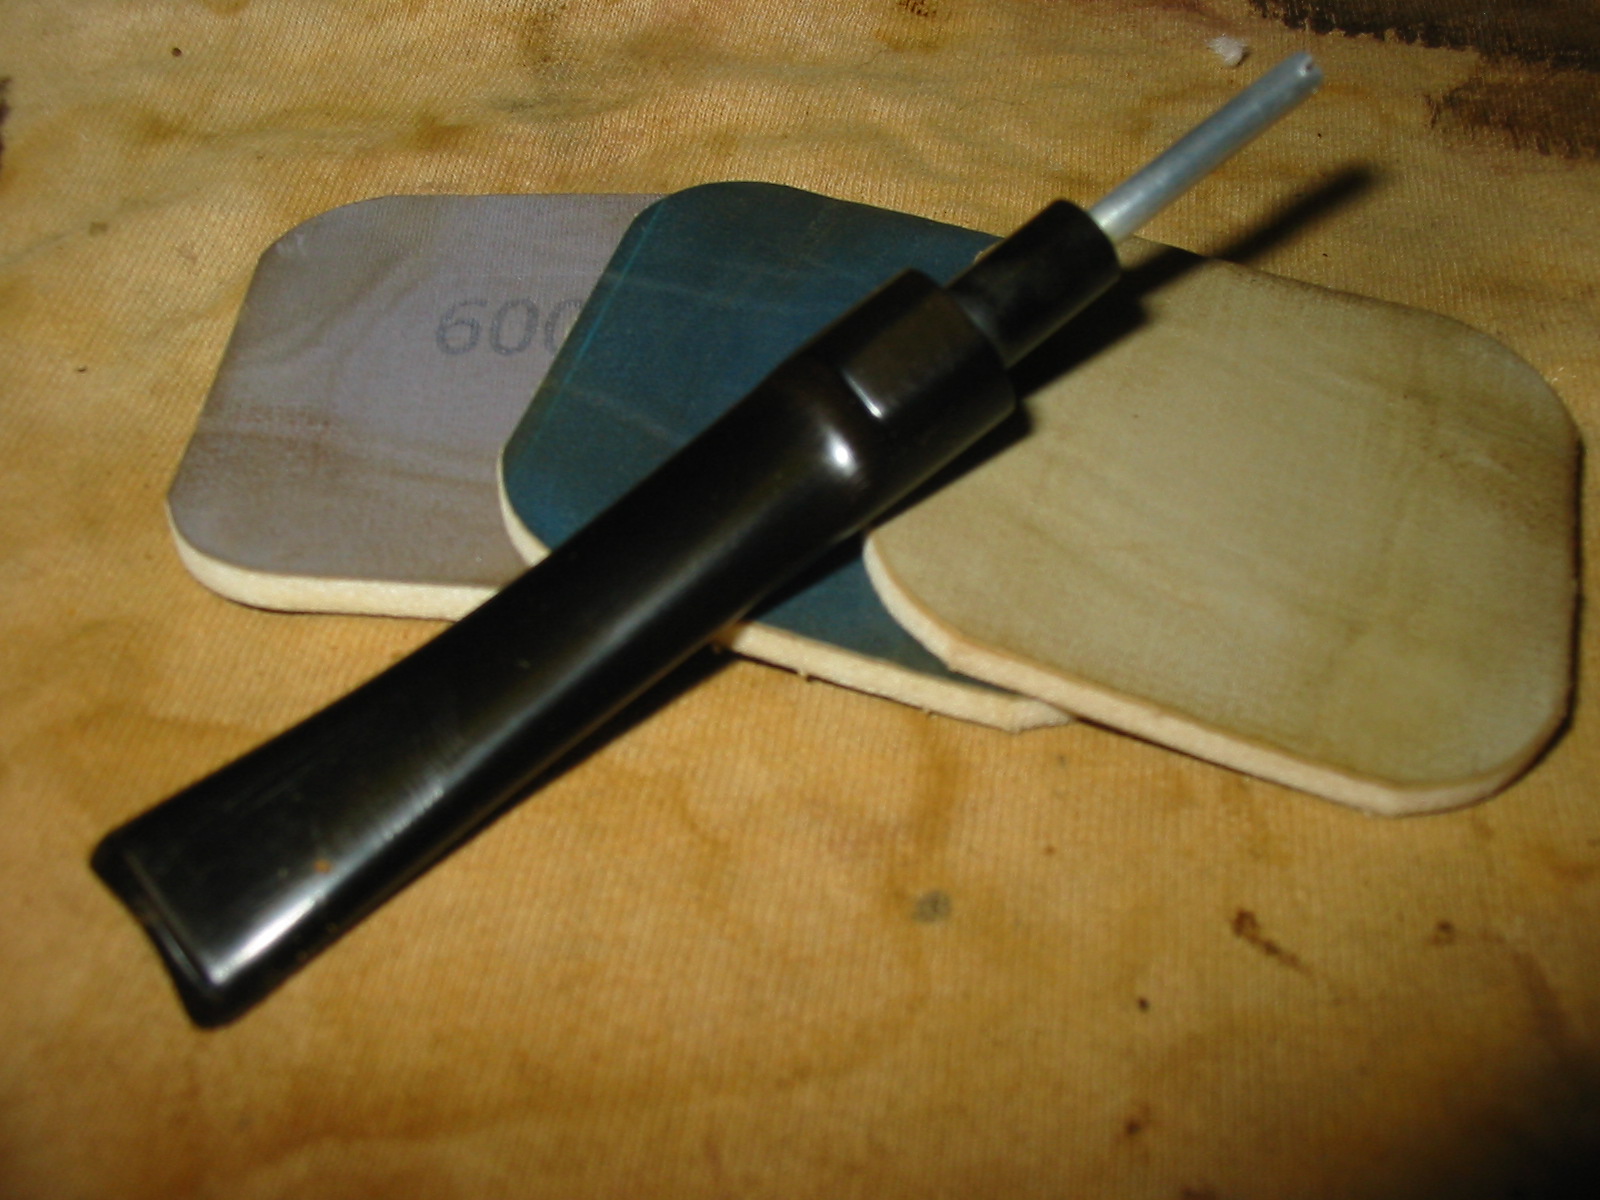
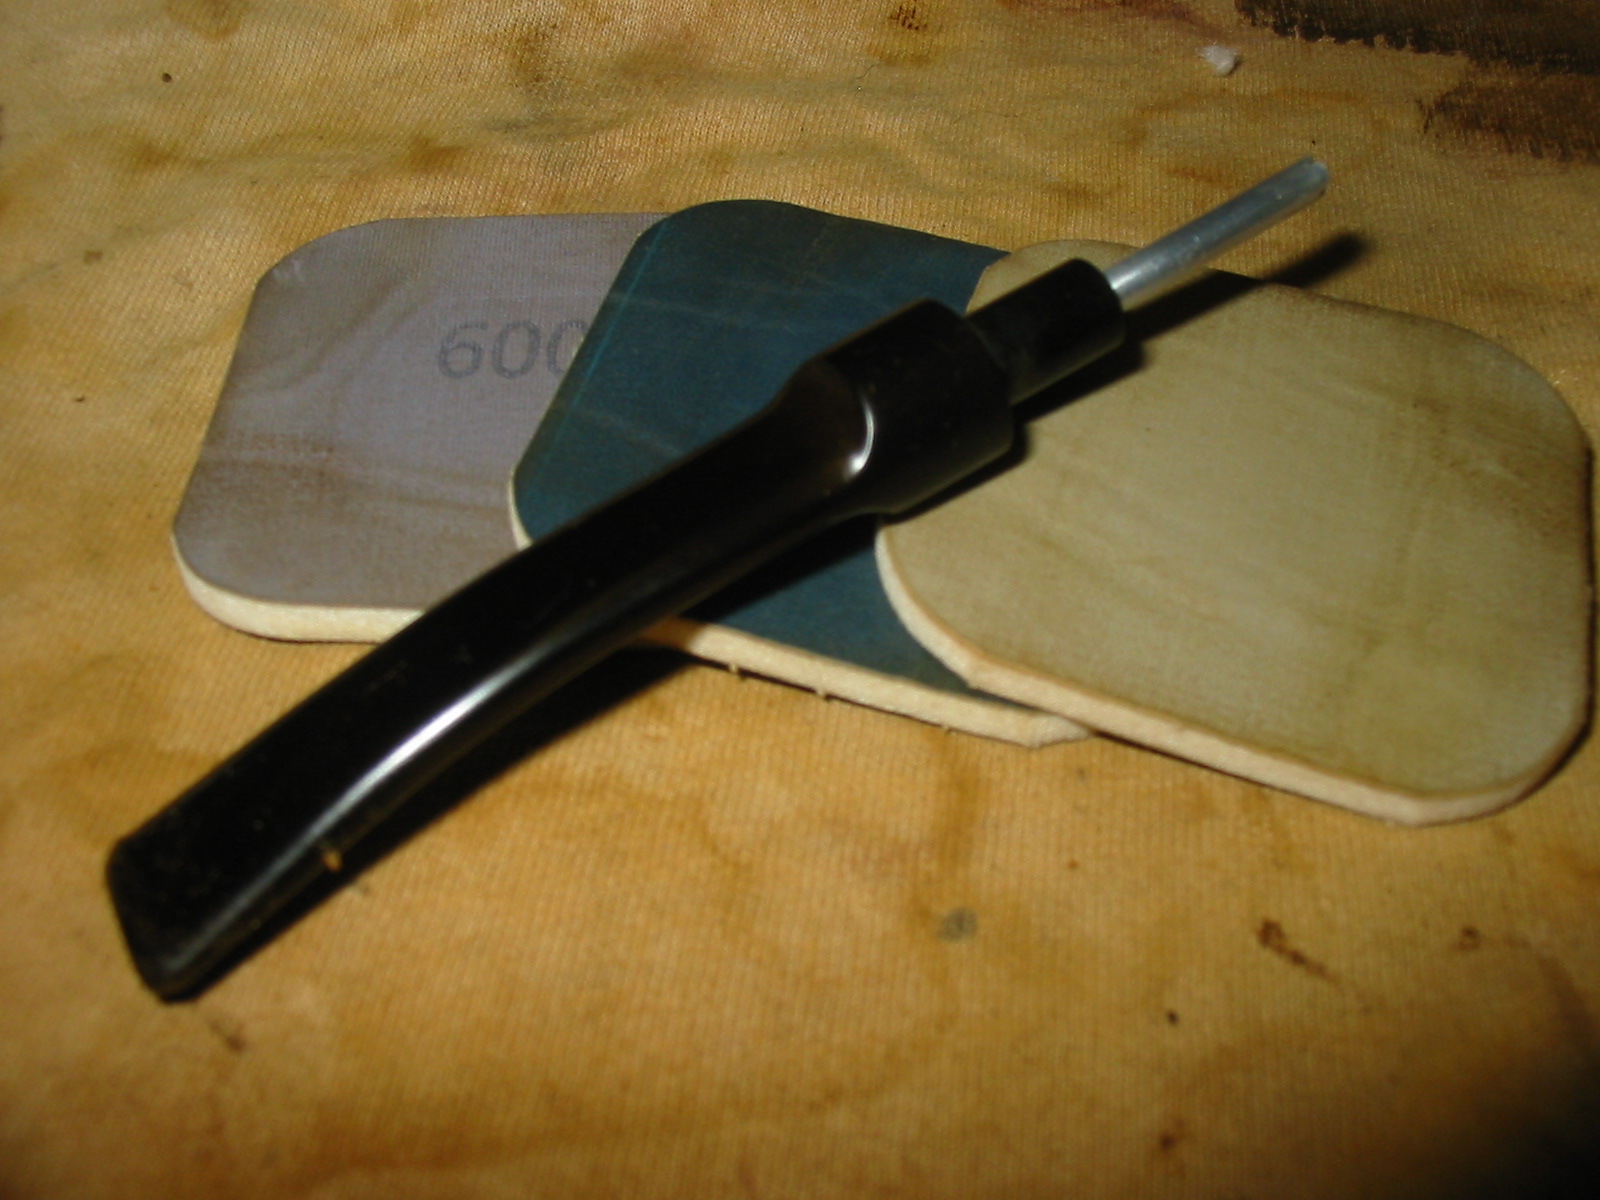
I scrubbed the inside of the stem with pipe cleaners and Everclear and used 0000 steel wool on the aluminum inner tube. I sanded the stem with micromesh sanding pads from 1500-12,000 grit. I wet sanded with the 1500 and the 1800 grit and afterward applied some white out to the area of the logo. I decided to try and build it up a bit. The logo appeared to be stamped in the stem but as I looked at it I could see that it was a painted on logo. In the polishing of the stem I sacrificed the logo. I dry sanded with the remaining grits of micromesh from 2400-12,000.
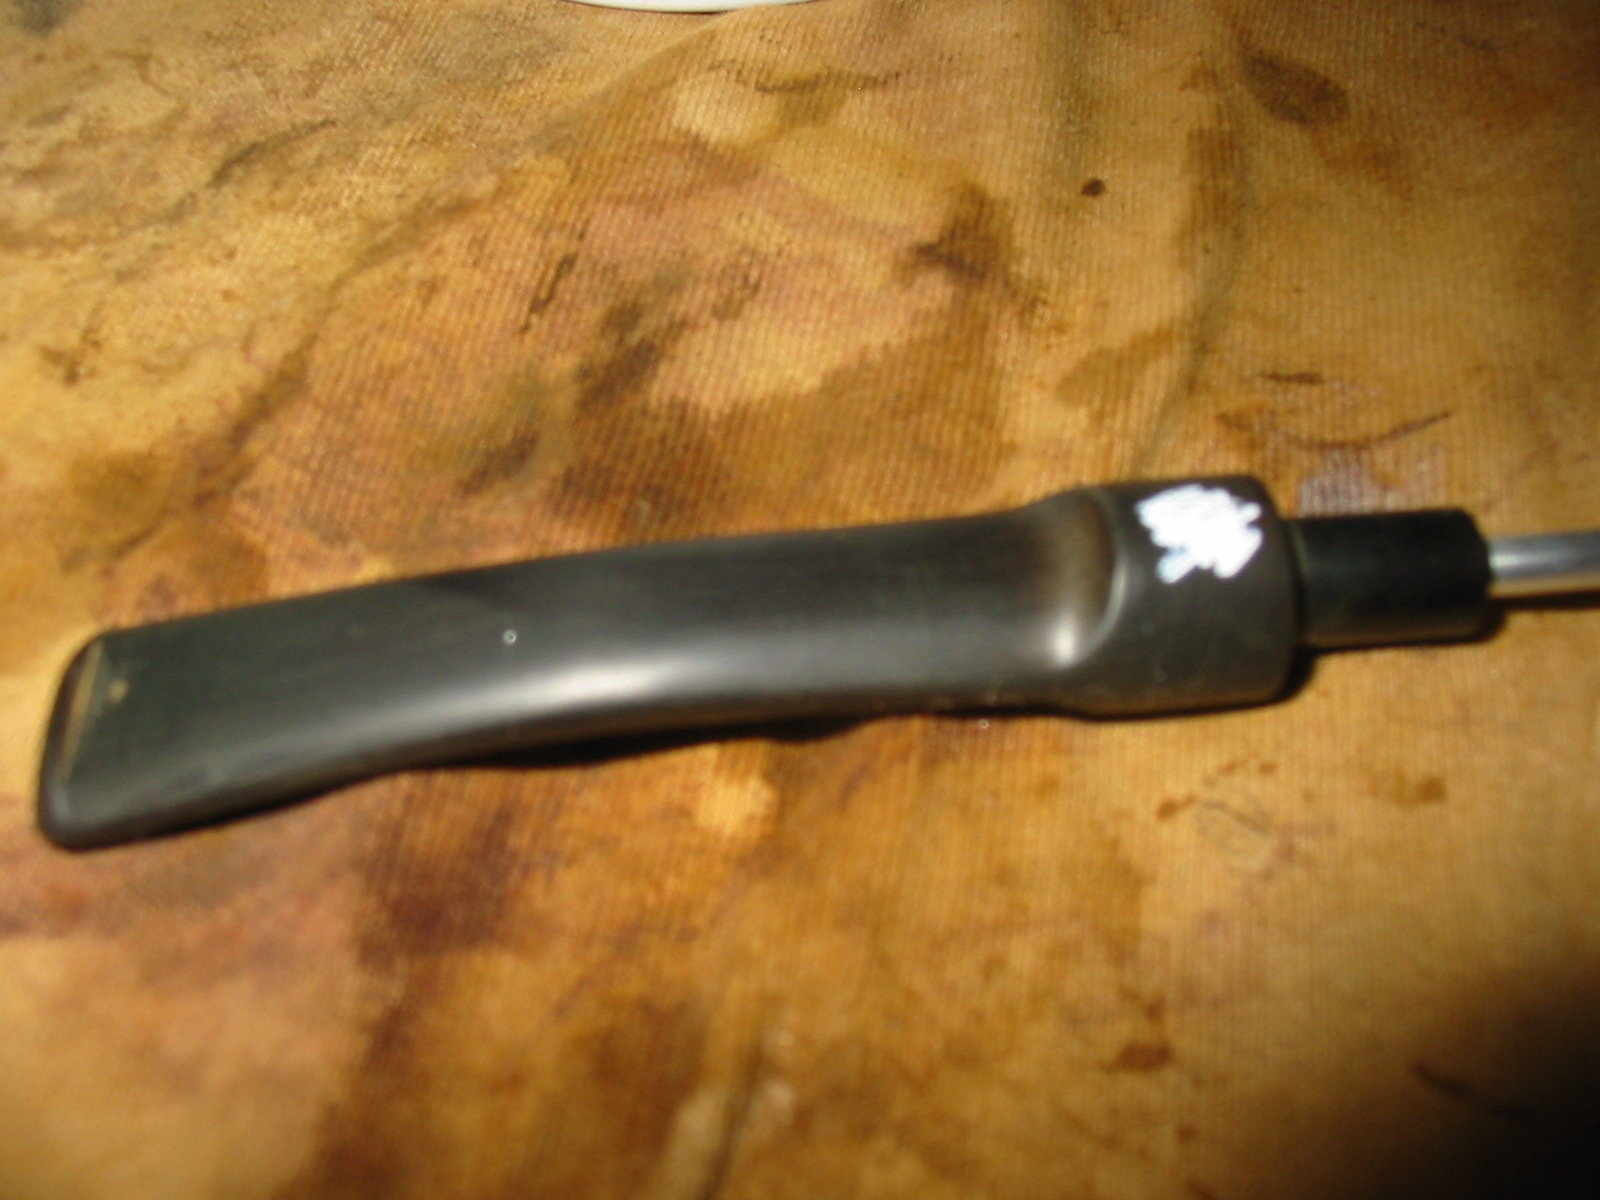

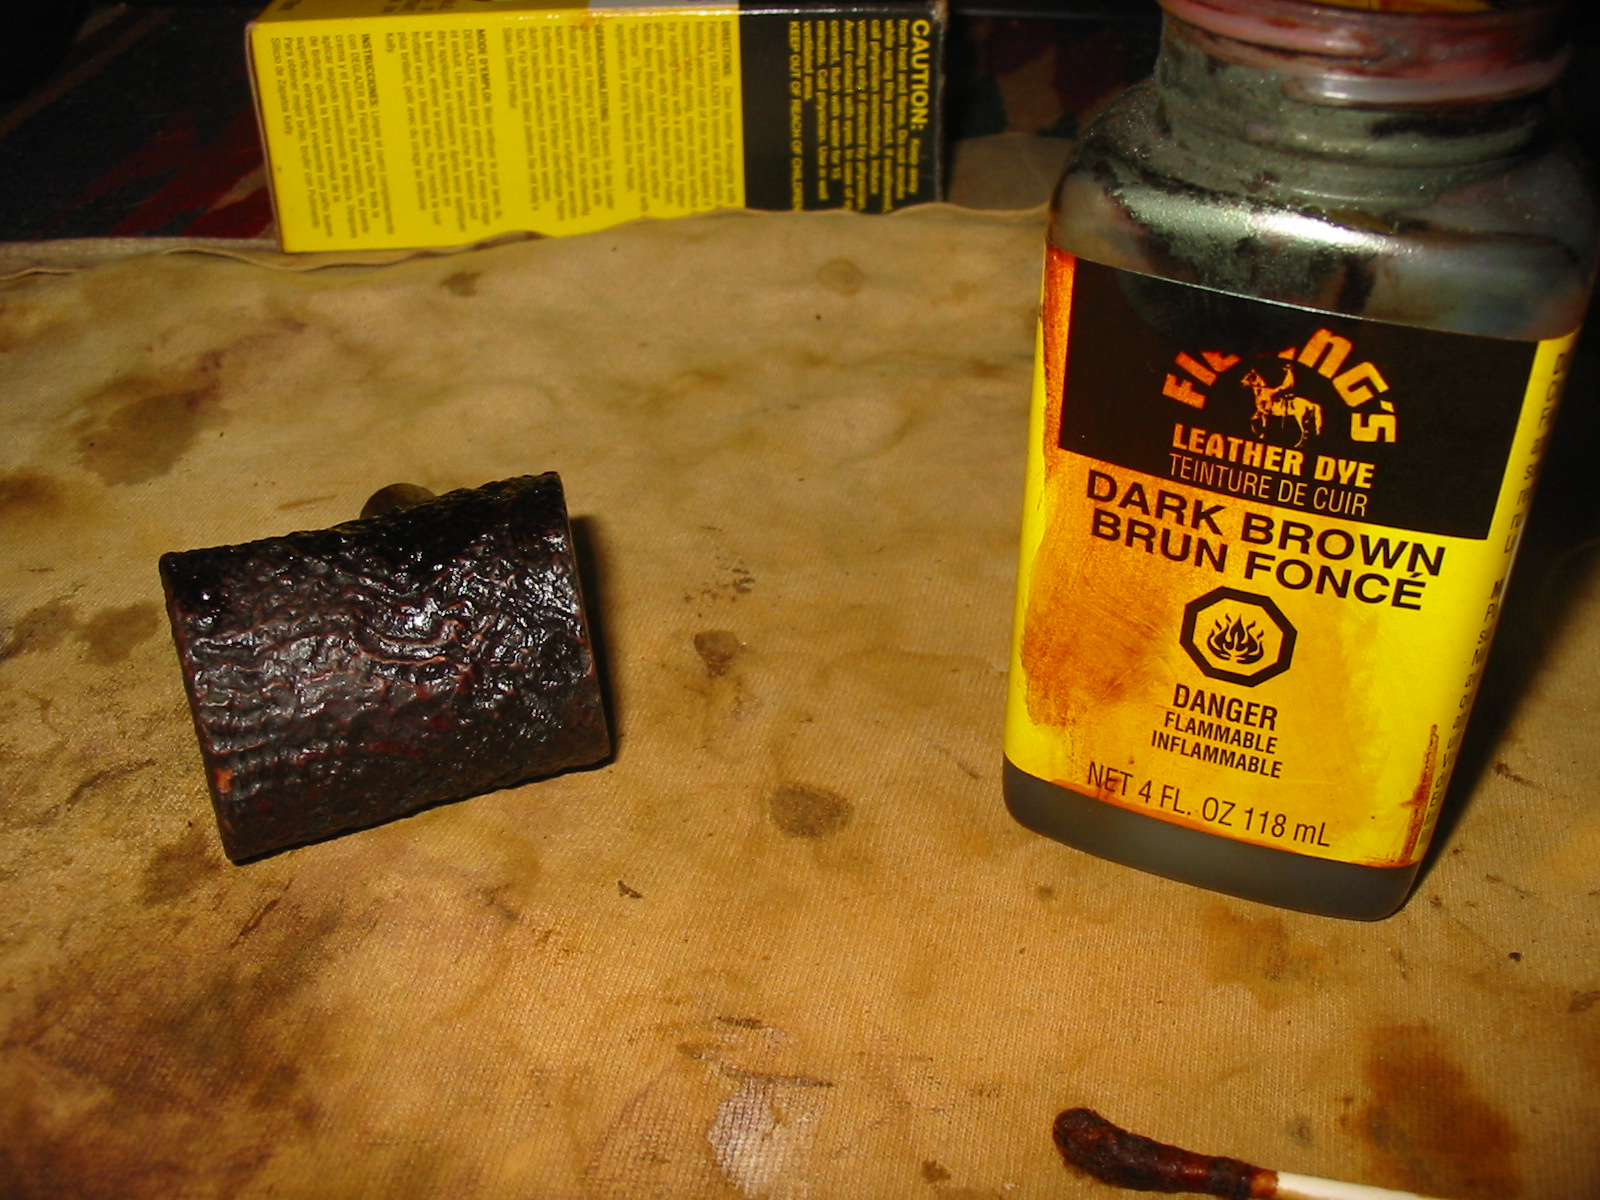
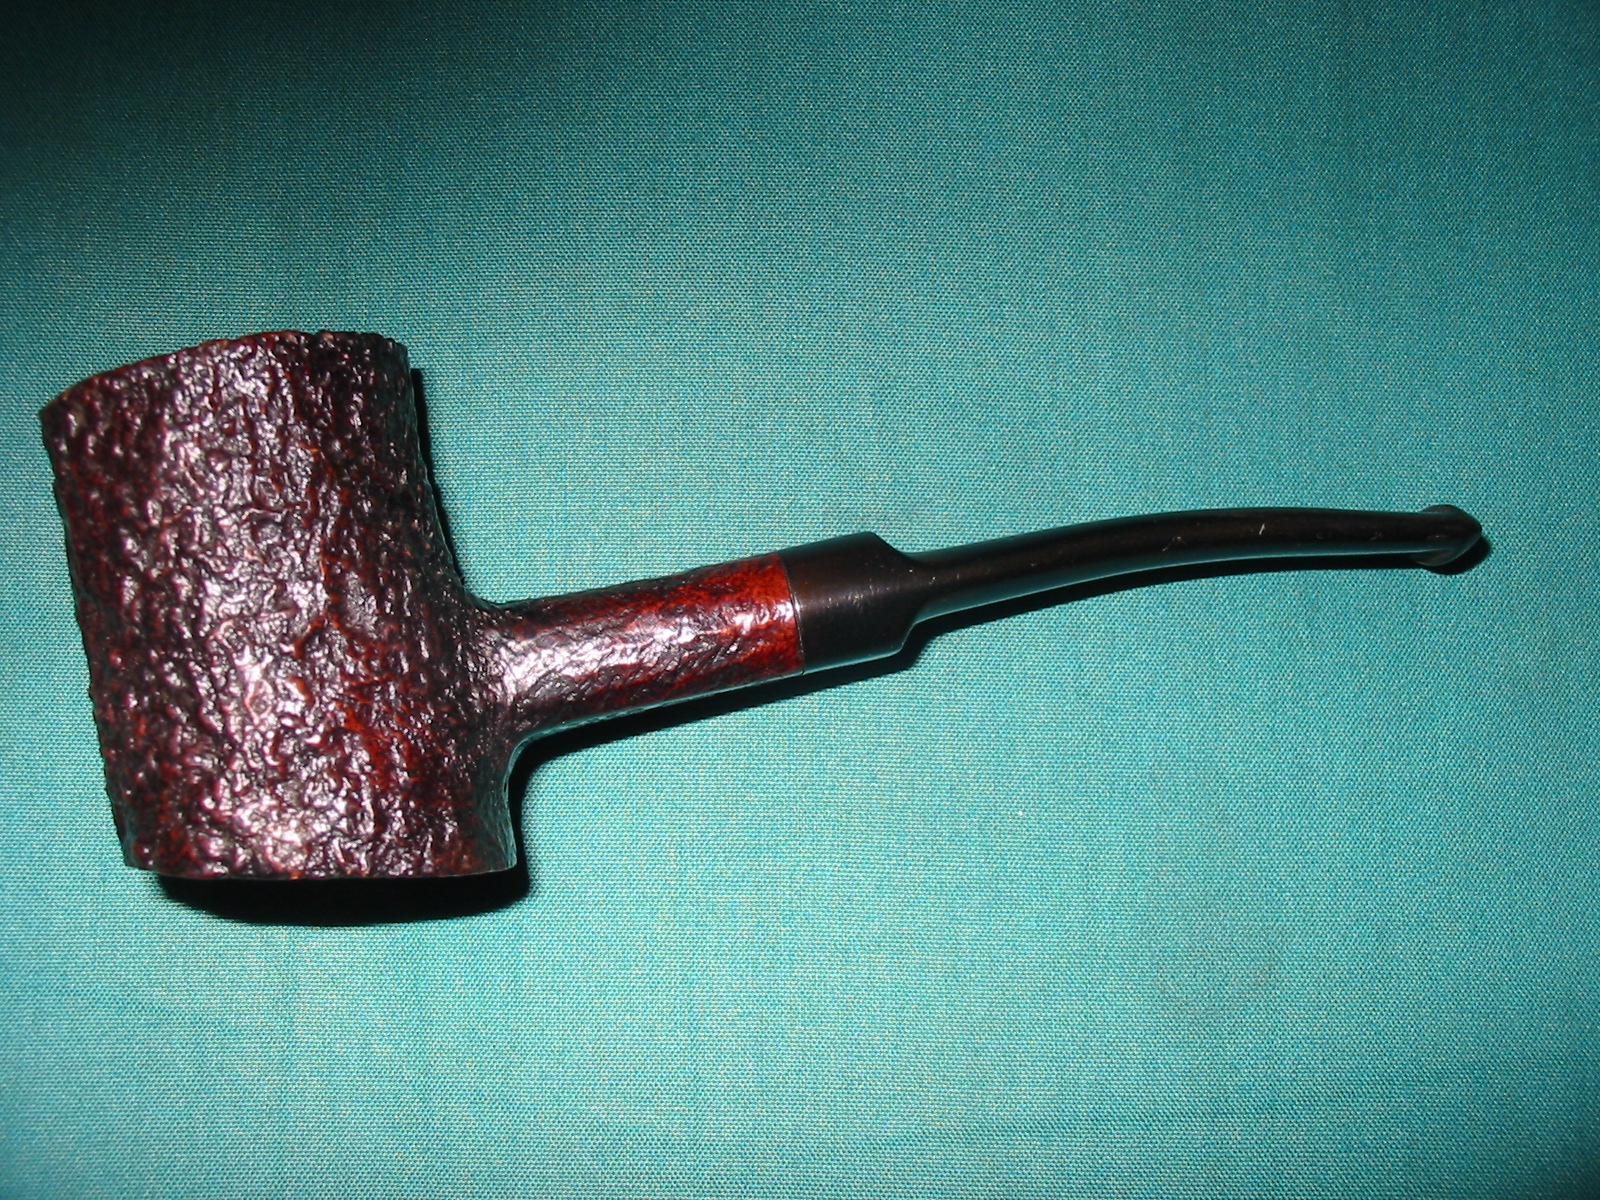
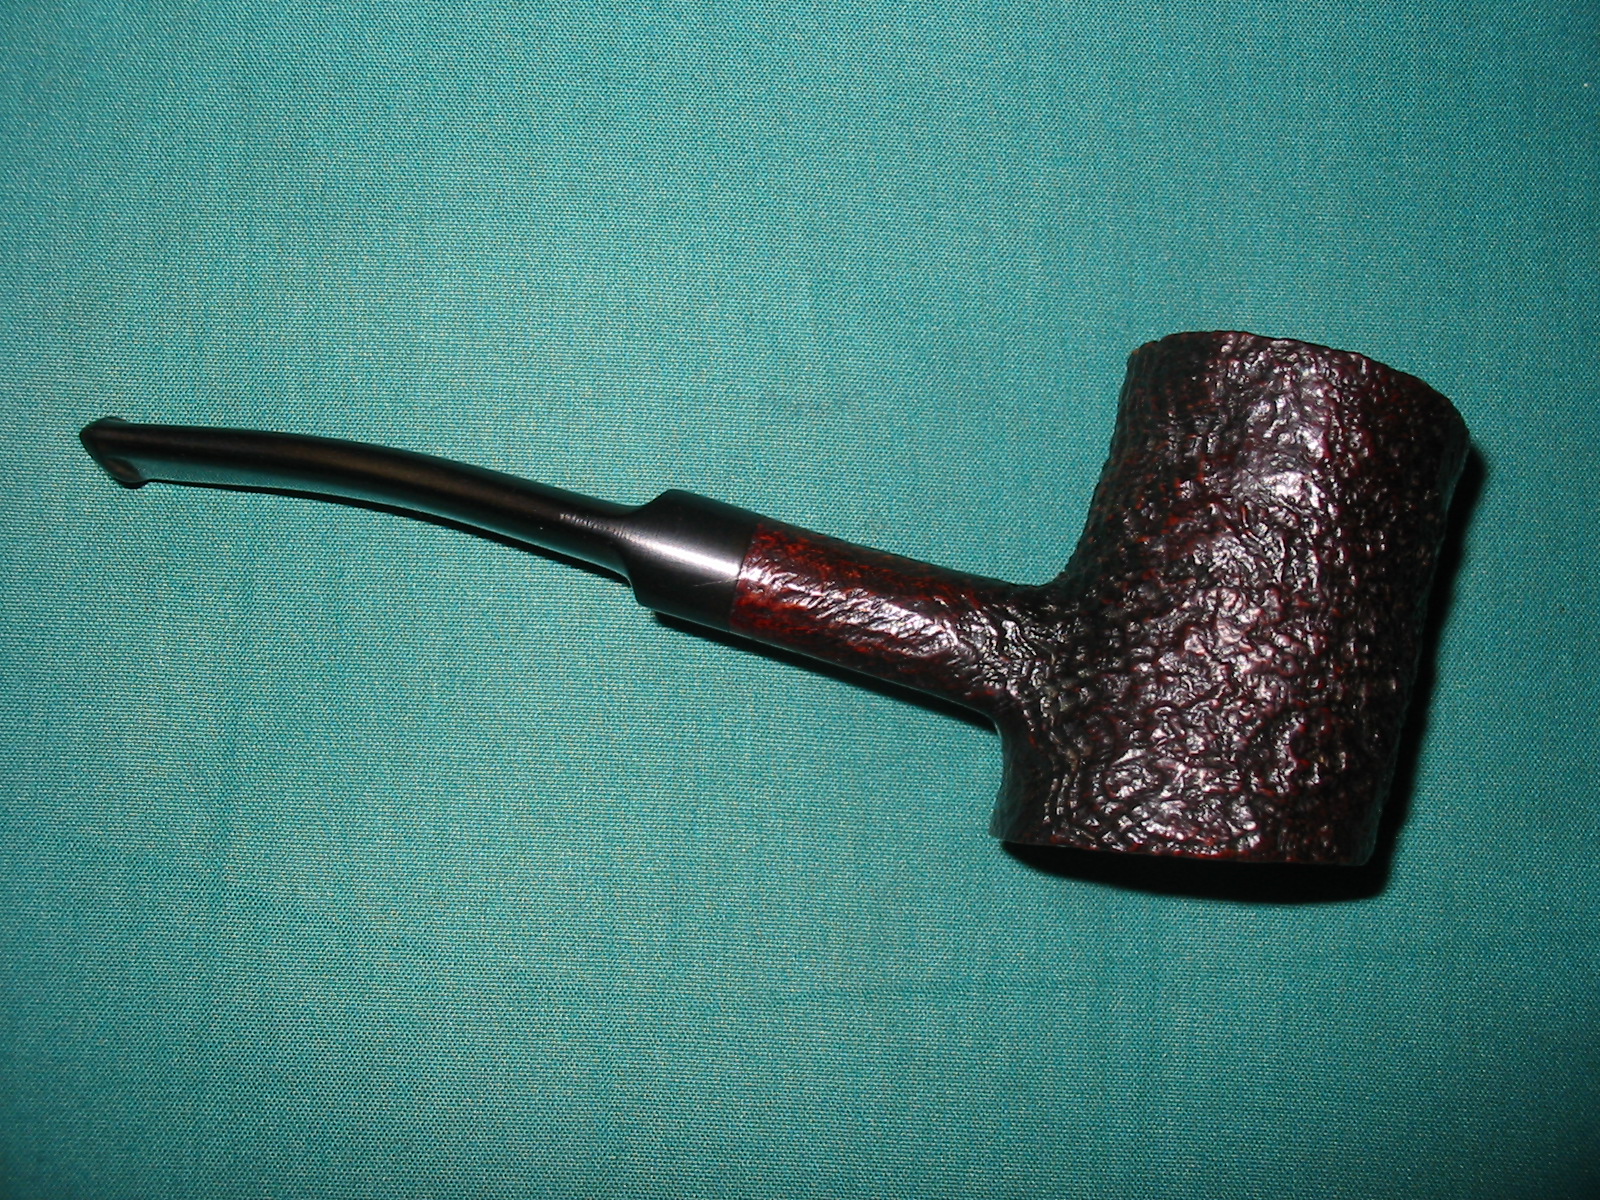
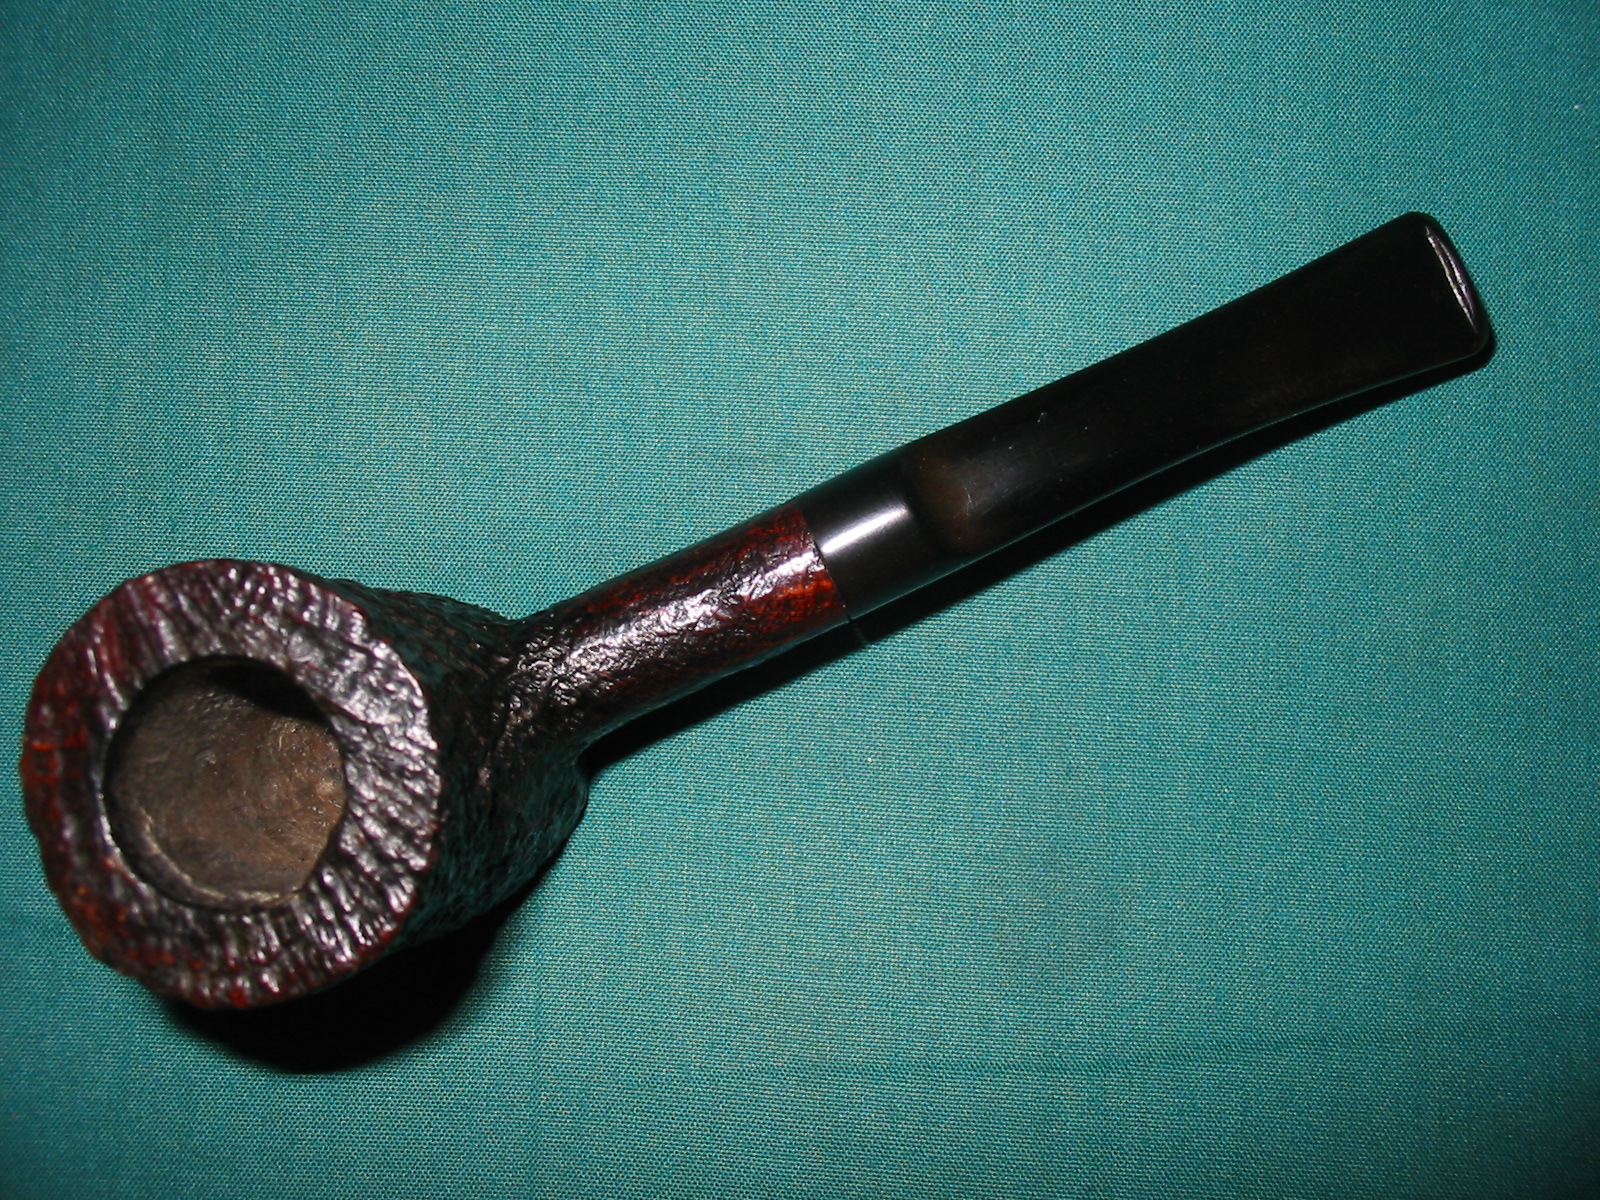
When the sanding was completed I gave the stem a rub down with Obsidian Oil and let it soak into the vulcanite. I buffed it with a soft cloth and gave the stem a coating of carnauba wax by hand. I restained the bowl with a dark brown stain that had been diluted with one part alcohol to one part stain. I wanted to cover some of the nicks in the outer rim and some of the light spots on the shank that showed wear and tear. I applied it with a cotton swab and then flamed it with a lighter. I reapplied the stain and reflamed it until I had the colour match I was looking for.
I reinserted the stem and gave the bowl and the stem a coat of Halcyon II wax and hand buffed it with a soft cotton cloth and a shoe brush.

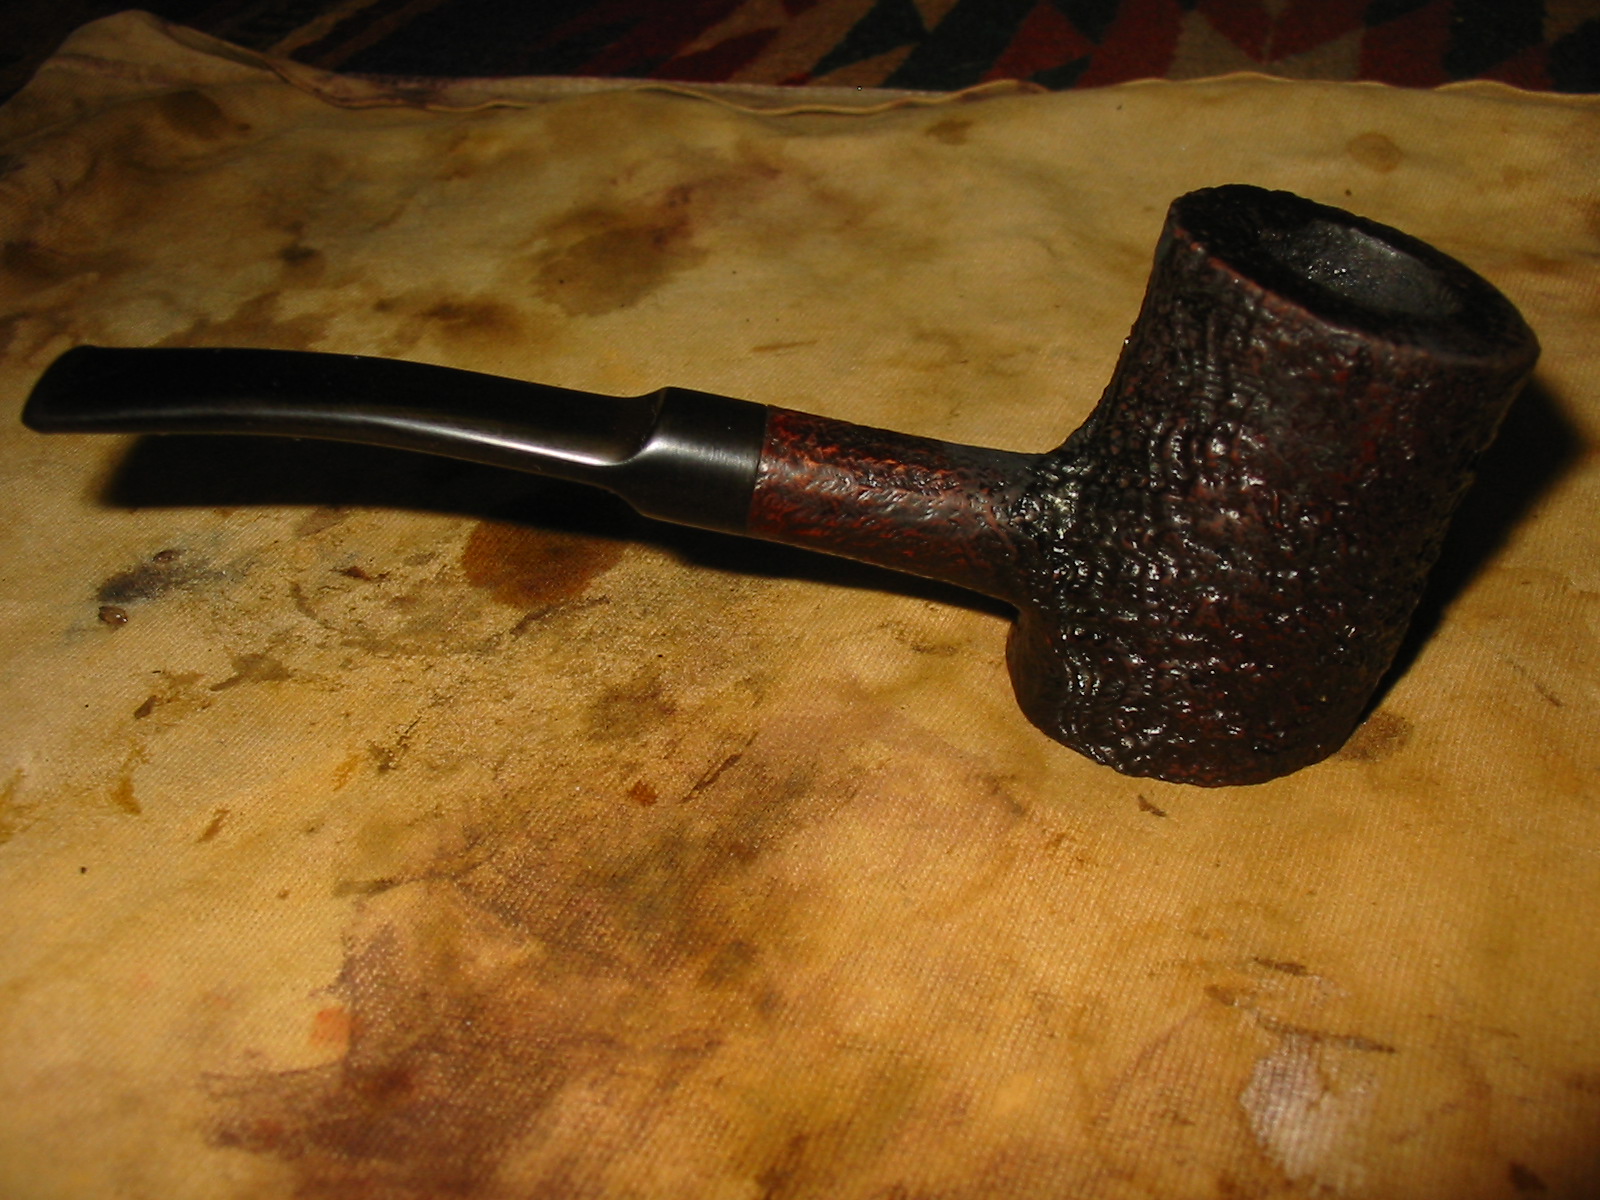
To finish the pipe I buffed the stem with White Diamond and lightly buffed the bowl with the same. After the buffing I gave it a light coat of carnauba wax and buffed it with a clean flannel buff. The finished pipe is pictured below and awaits its inaugural smoke.


As always a nice job! However, why no oxy bath rather than the sanding and polish scratch rubout. I like the soak then 4 oooo steel wool then sanding if needed. Thanx for all your efforts I enjoy the refurbishing immensely both for my briars and my rescues.
LikeLike
Thanks Ken. I am trying different methods for a bit. Will eventually go back to the oxyclean soak
LikeLike