Blog by Steve Laug
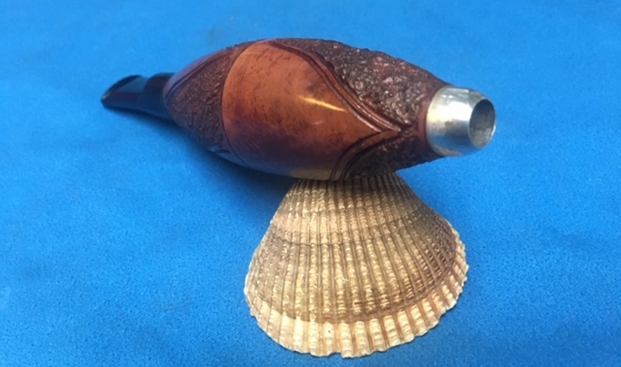
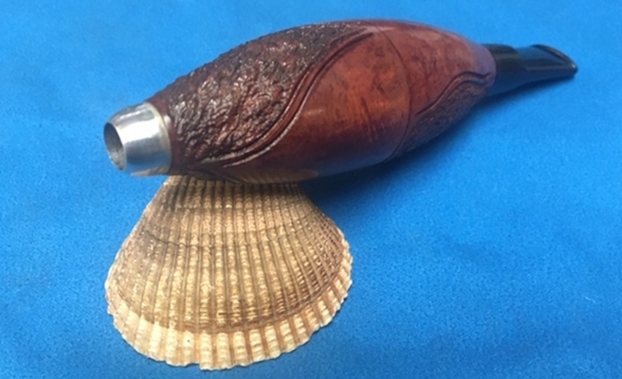
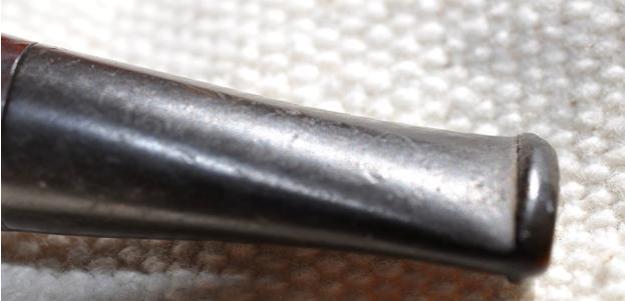
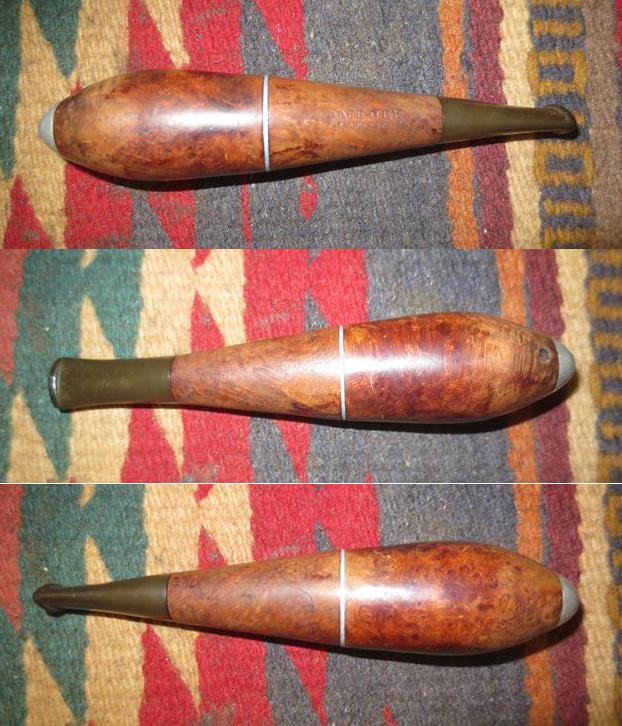
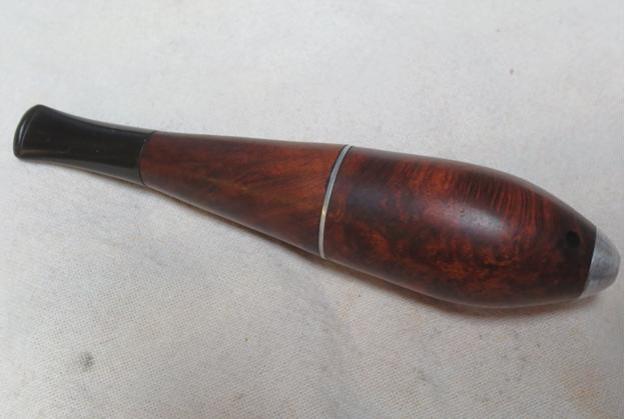
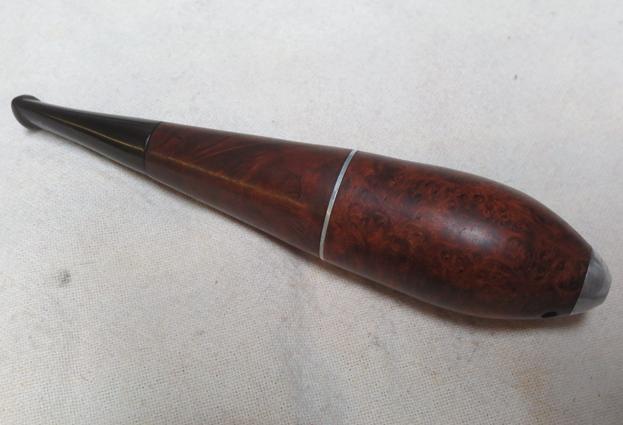
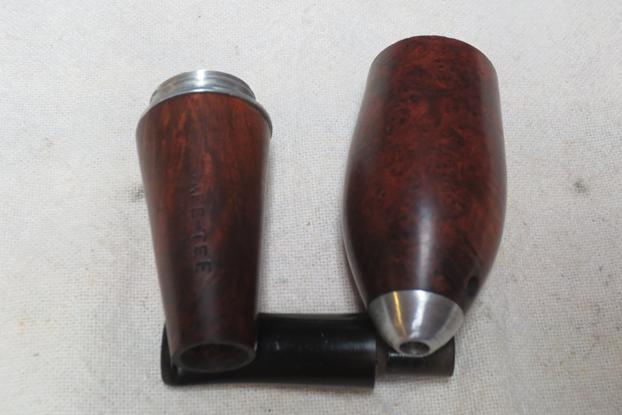
Jeff and I pick up a lot of pipes from a variety of places. The last time I visited him in Idaho I went through out boxes of pipes to be restored and picked out some unsmoked pipe that I could quickly spruce up and turn around on the rebornpipes store. This is another one of those pipes. It is called a Sparkless, Zeppelin or Cigar pipe. It unscrews in the centre of the pipe and the tobacco is stuffed in the cone side and then the pipe is screwed back together. I have yet to read a definitive description of how to light it. Some light it before putting it back together and others light it through the cone end. It remains a mystery to me! It has a vulcanite saddle stem. It is stamped Made In Italy around the thin band between the briar and the vulcanite stem. The pipe was lightly smoked and dusty from sitting around for a long time before coming to us. I say lightly smoked where actually I am not sure if a full bowl was ever smoked in it. It is impeccably clean on the inside with slight darkening in the bowl portion. The finish was a mix of smooth and rusticated in twists and turns around the bowl. It dirty but you can see the finish was okay. The nickel plated cone is oxidized but was not dented. The stem looked good but had some small nicks and scratches in the surface. Otherwise it was a great looking little pipe. It is a unique pipe for sure and well made. I took some photos of the pipe before I cleaned and polished it. 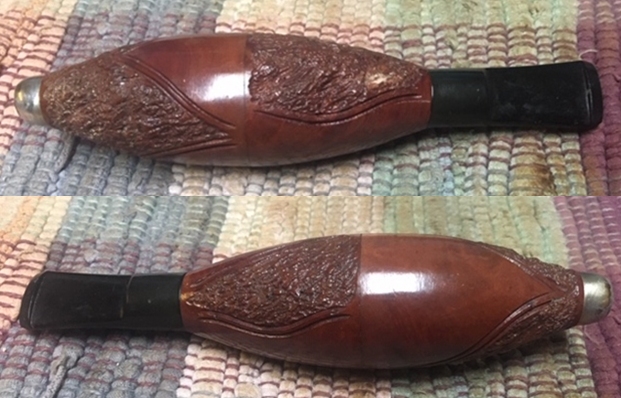 I took a close-up photo of the nose cone of the pipe and of both sides of the stem. You can see the dust and debris in the rustication on the nose cone photo. That is how the rustication looks all around the bowl. The stem is scratched and dirty. It looks like it might have had a price tag sticker on it that left behind some stickiness. The smooth portions also seemed to have a light shellac or varnish coat on them that was flaking.
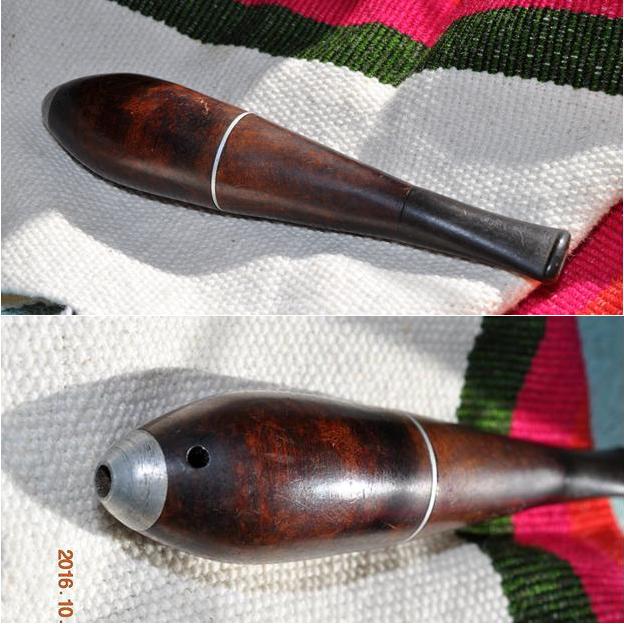
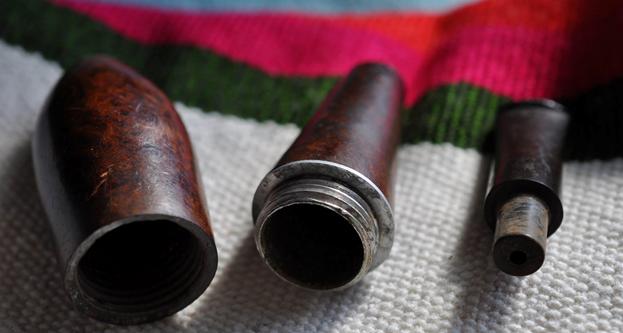
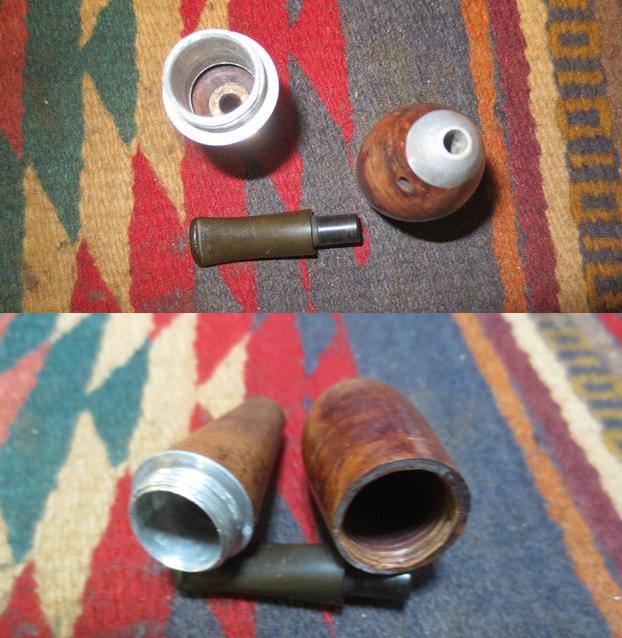
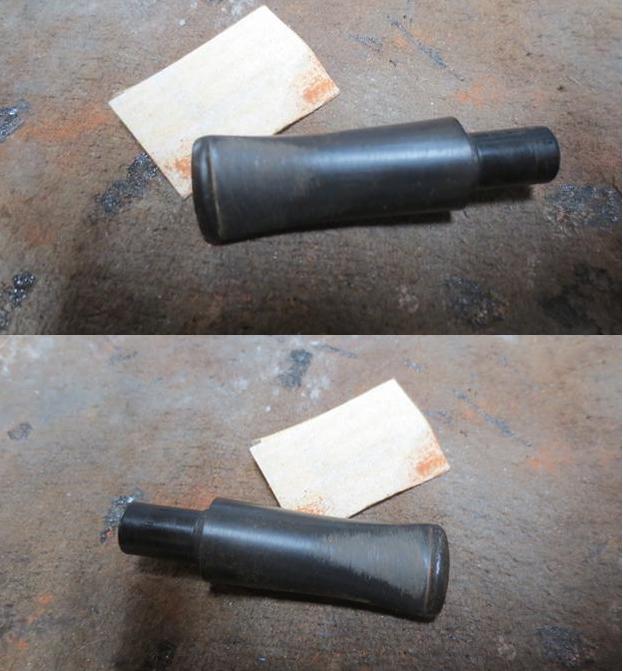
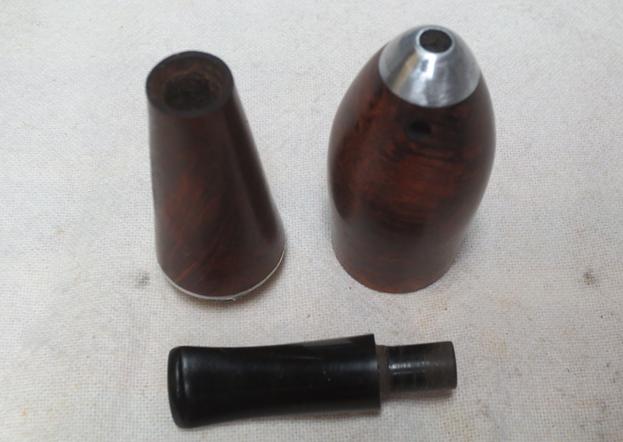
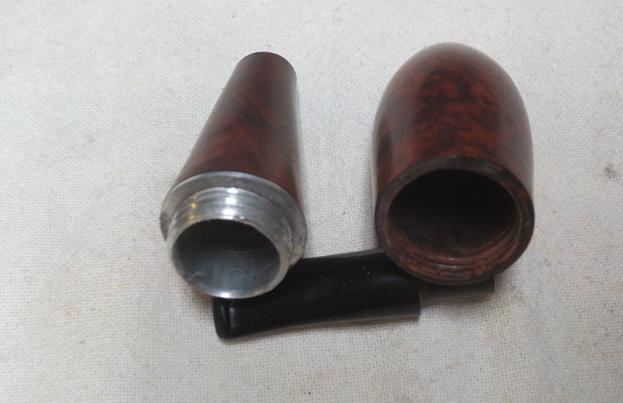
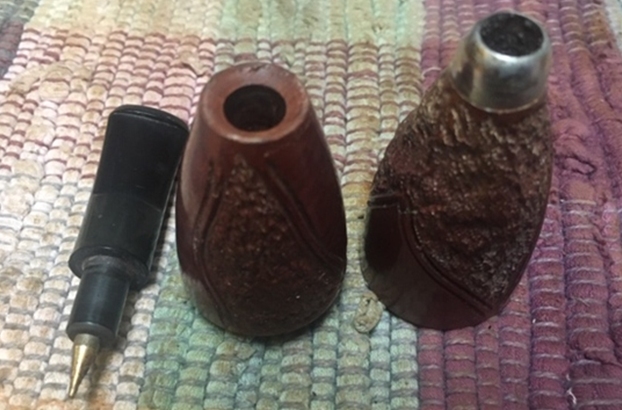
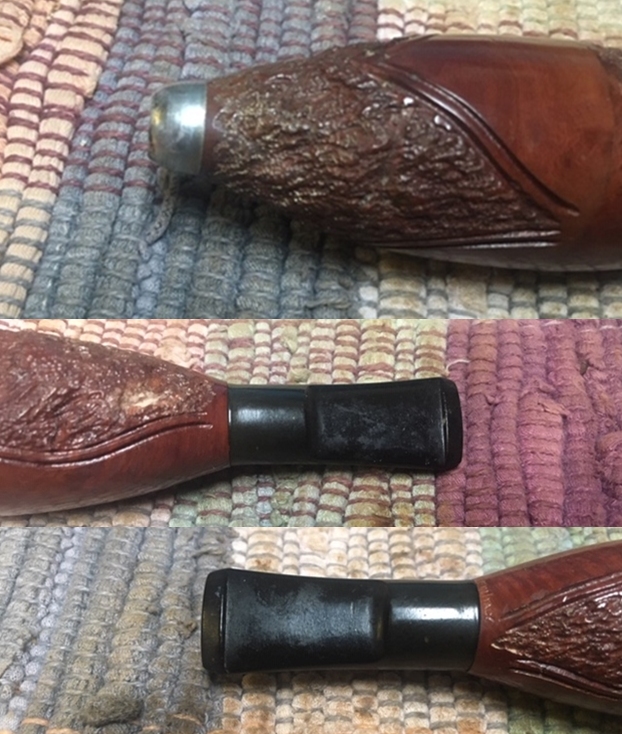 I took the pipe apart and took some photos to show what I was trying to explain in the opening paragraph. You can see the front half is threaded in the briar. The mouthpiece end has metal threads over the briar. I removed the bit/stem from the other end and took a photo. It had a metal cone shaped stinger apparatus that is built into the tenon. It looks like it is pressure fit in place.
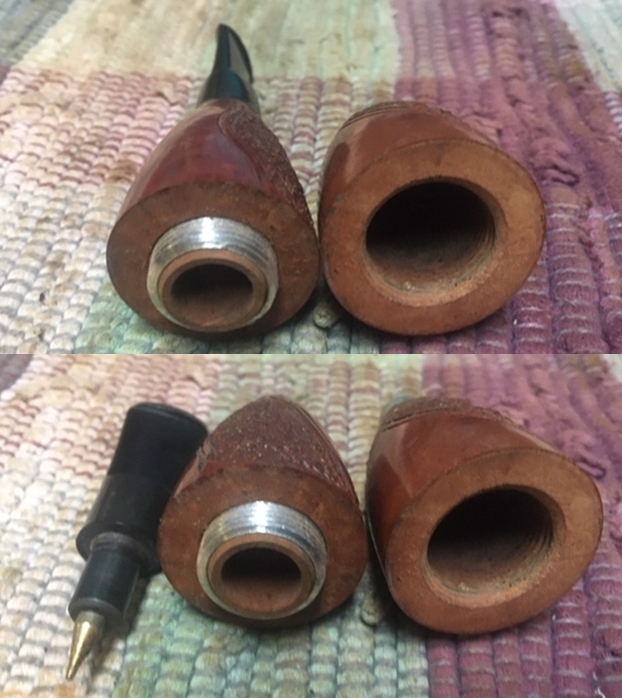
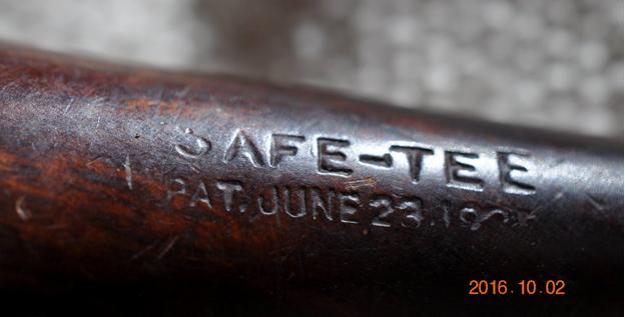
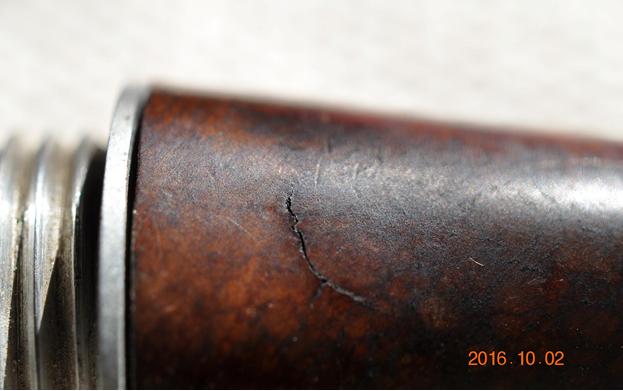
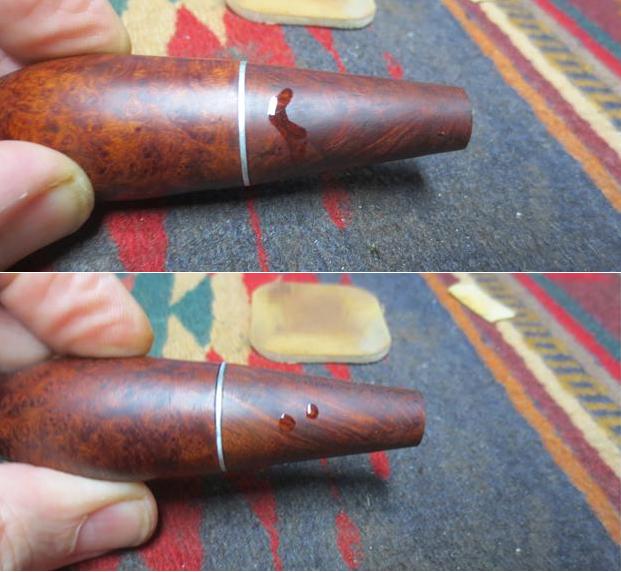
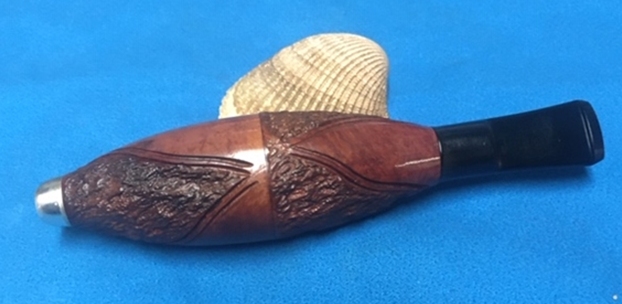
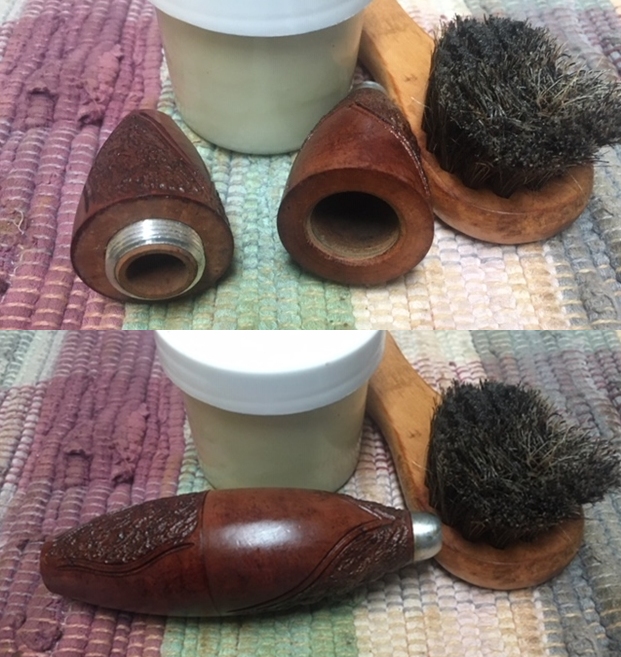
 I took a photo of the Made in Italy stamp on the shank end of the cone – just above the stem/shank junction. It is stamped on the smooth portion of the briar.
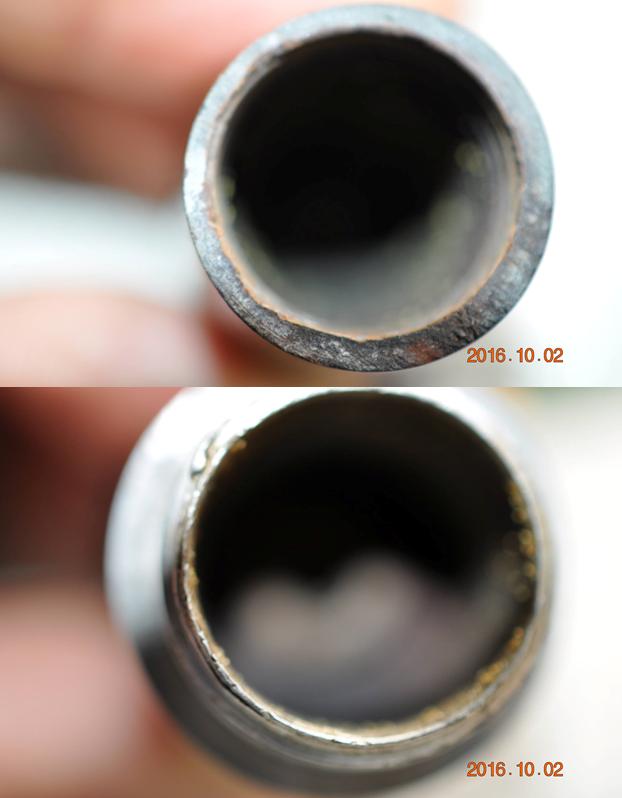
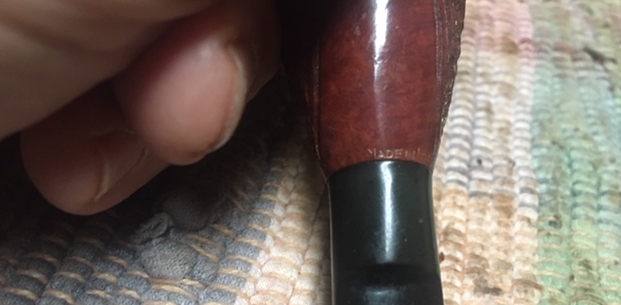 I started my clean-up of the briar with a wire brush. I worked it over the rustications to remove the grime and grit and over the smooth areas to remove the loose varnish or shellac coat. I followed that with a quick application of a 1500 grit micromesh pad on the smooth parts of the pipe. When I was finished it looked dull but clean.
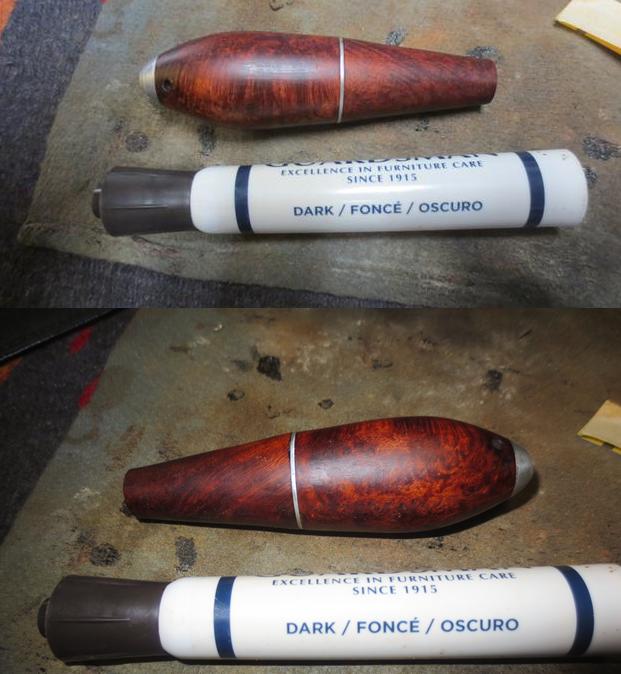
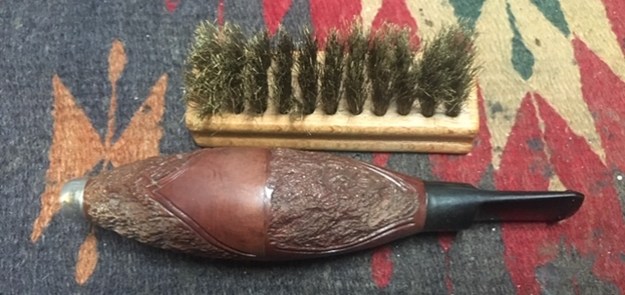 I wanted give a little life to the bowl finish so I worked some Before & After Restoration Balm into the surface of the briar with my fingertips and a horsehair shoe brush to get it into the grooves of the rustication. The product works to clean, enliven and protect the briar. I let the balm sit for a little while and then buffed with a cotton cloth to raise the shine. The photos show the bowl at this point in the restoration process.
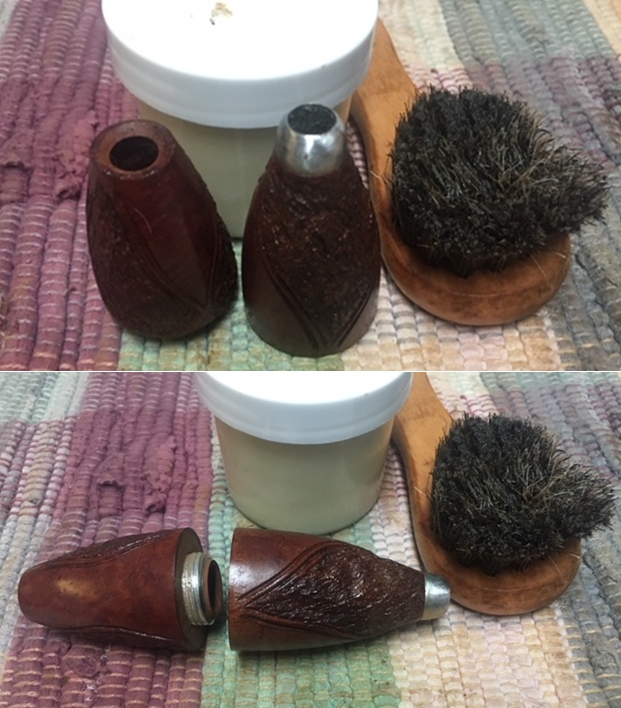
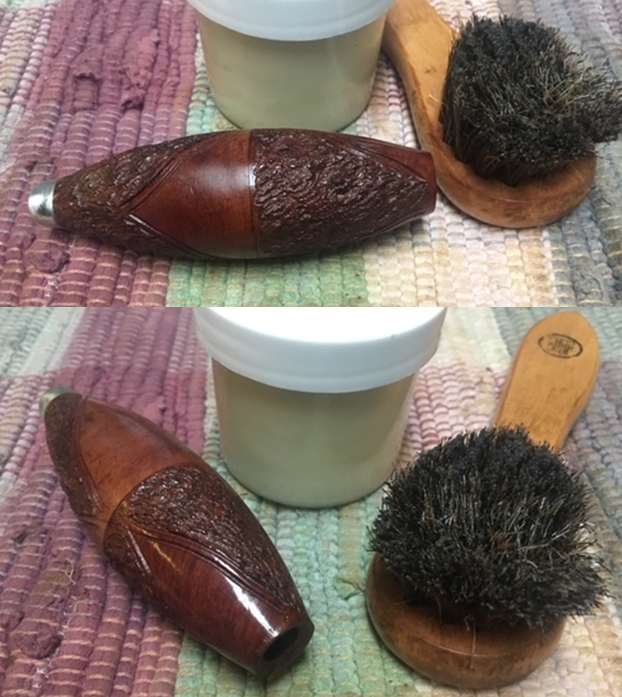
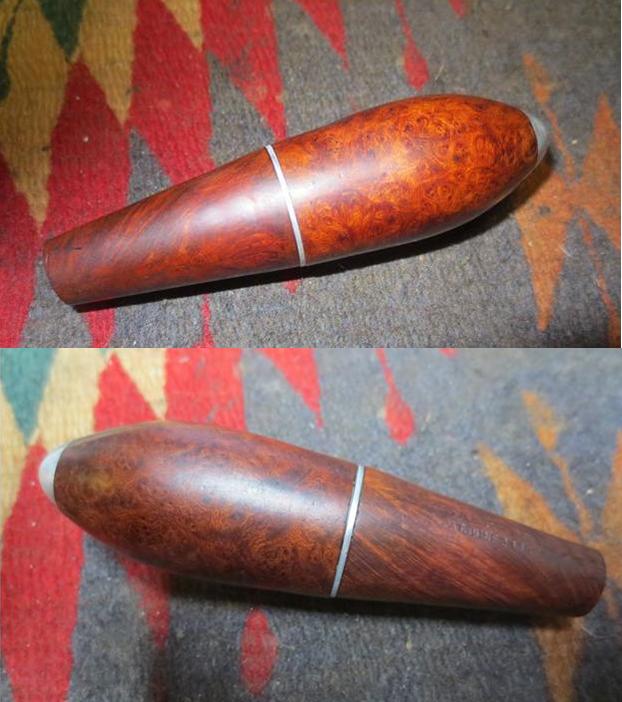
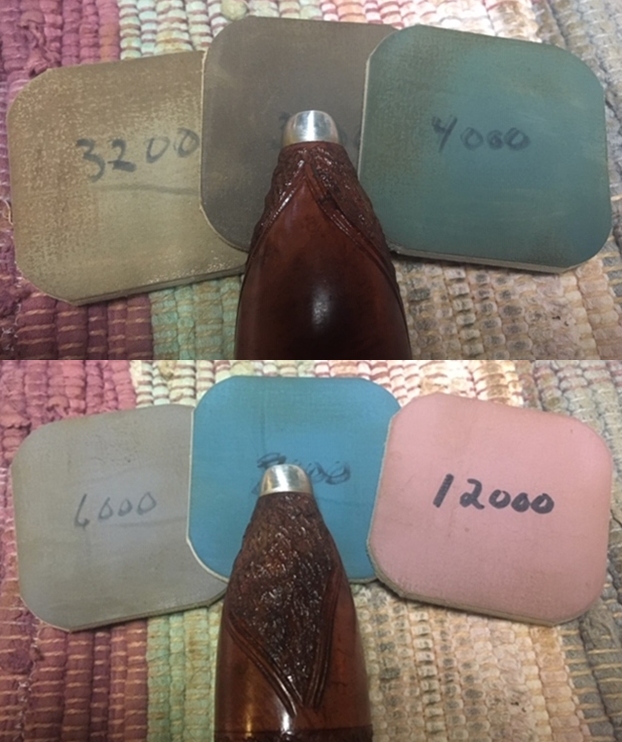
 I polished the nickel nose cone with micromesh sanding pads – dry sanding with 1500-12000 grit pads. I wiped it down after each pad with a damp cotton pad. The cone took on a rich shine.
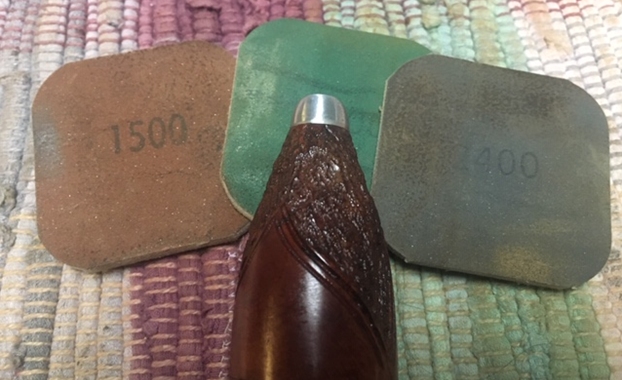
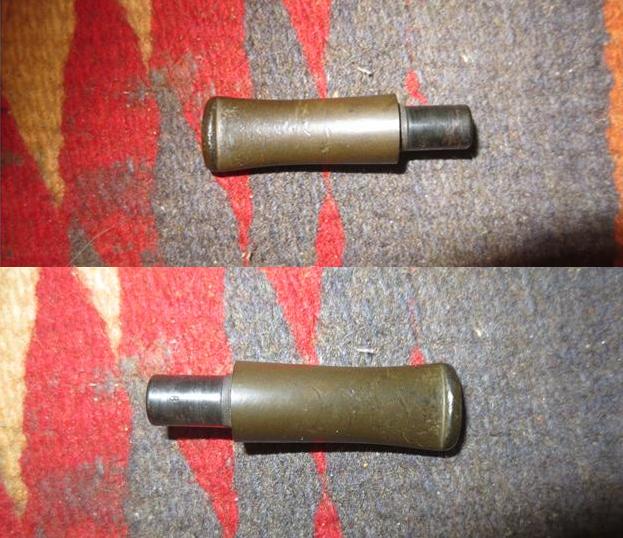
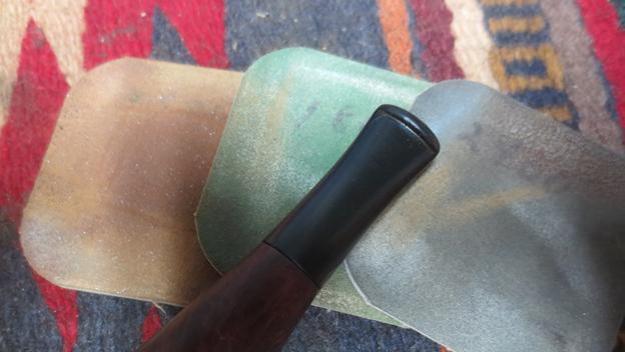
 I set the bowl aside and turned my attention to the stem. The nicks were prevalent on the surface of the stem so I sanded them out with 220 grit sandpaper and started the polishing with 400 grit wet dry sandpaper.
 I rubbed the stem down with Denicare Mouthpiece Polish – a red Tripoli like gritty pasted that seems to work really well to smooth out the scratches and remove light oxidation. I don’t think the product is made anymore but it is a great one to use while I still have a bit of it around. I wiped it off with a cotton pad to polish the vulcanite.
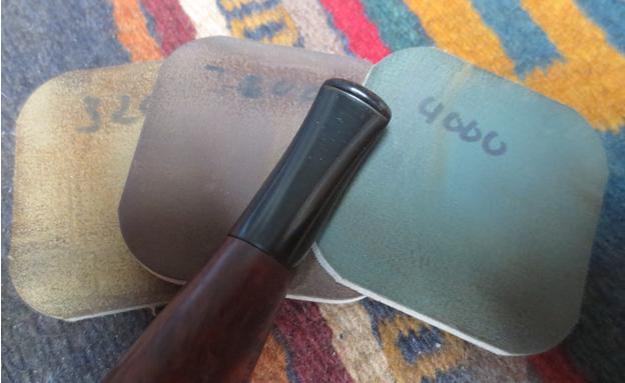
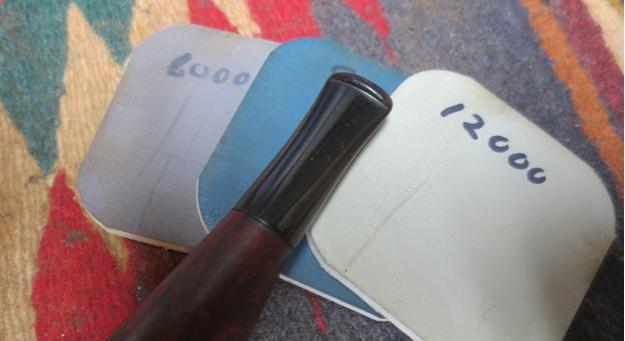
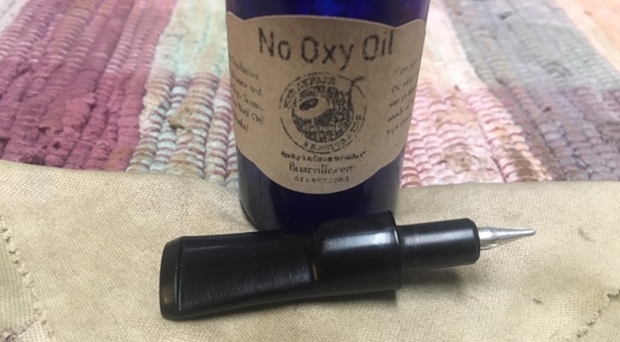
 I polished the stem with micromesh sanding pads – dry sanding with 1500-12000 grit sanding pads. I wiped it down after each sanding pad with a cloth containing some Obsidian Oil. I finished polishing it with Before & After Pipe Stem Polish – both Fine and Extra Fine and buffed it off with a cotton cloth. I gave it a coat of Briarville’s No Oxy Oil to preserve and protect it.
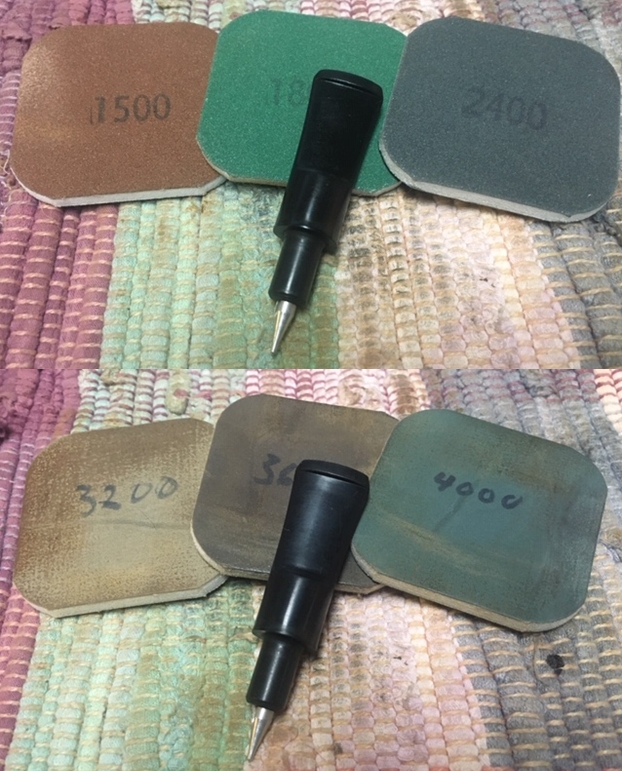

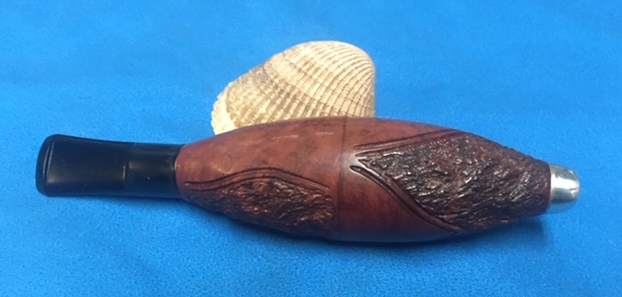
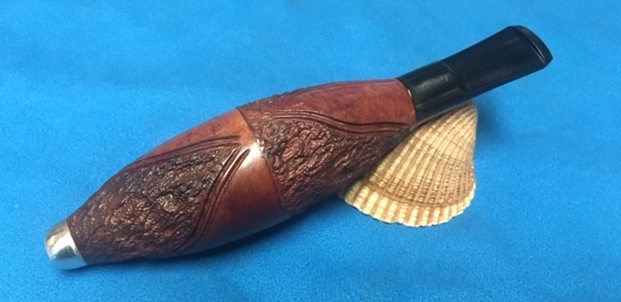
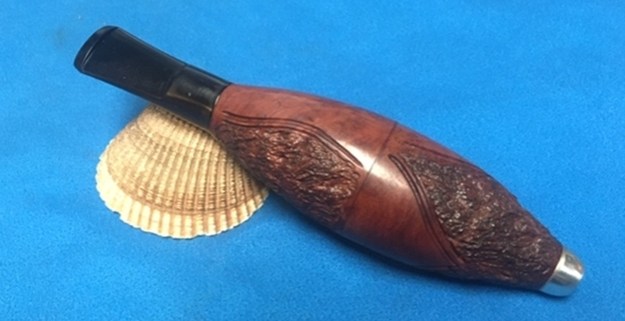
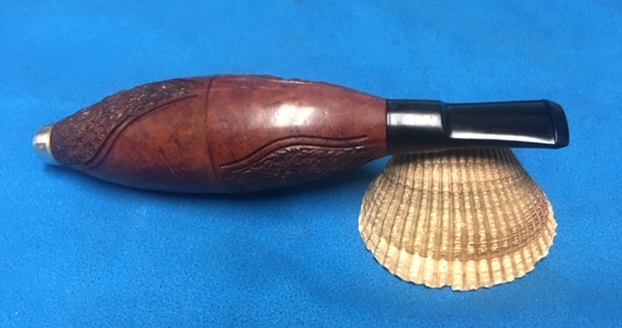
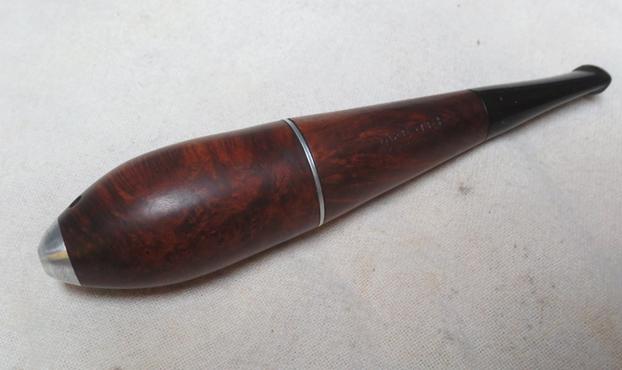
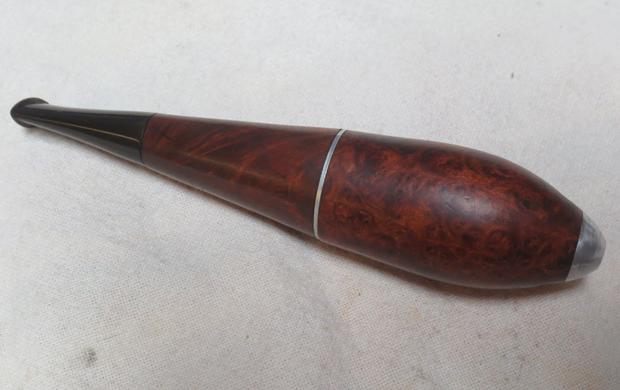
 I put the pipe back together and buffed the pipe with Blue Diamond on the buffing wheel. I carefully avoided the stamping on the shank during the process. I gave the bowl multiple coats of Conservator’s Wax and the stem multiple coats of carnauba wax on the buffing wheel and followed that by buffing it with a clean buffing pad on the buffer. I hand buffed the pipe with a microfiber cloth to deepen the shine. The finished pipe is actually a nice looking unique. Give the finished pipe a look in the photos below. The dimensions of the pipe are Length: 5 ¼ inches, Height: 1 1/8 inches, Outside diameter of the bowl: 1 ¼ inch, Chamber diameter: 5/8 of an inch. This unique Zeppelin style Cigar Pipe is a well-made little pipe in great condition. Thanks for walking through the sprucing up process with me as I worked over another beautiful pipe. This one will be going on the rebornpipes store shortly. If you are interested in adding it to your collection let me know. Thanks for your time.