Blog by Steve Laug
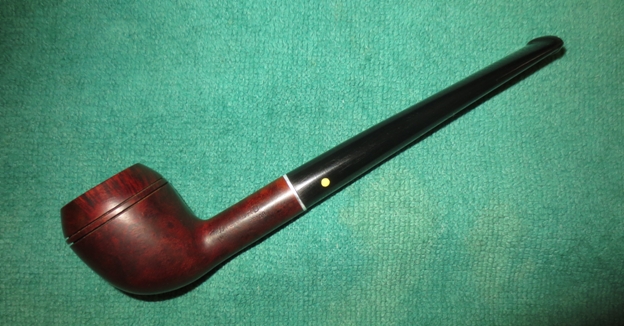
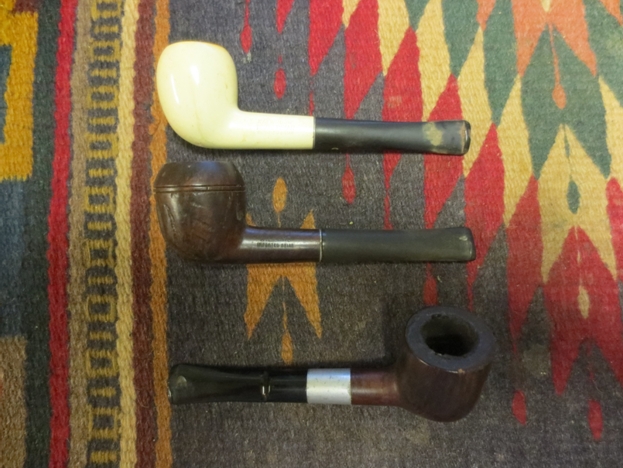
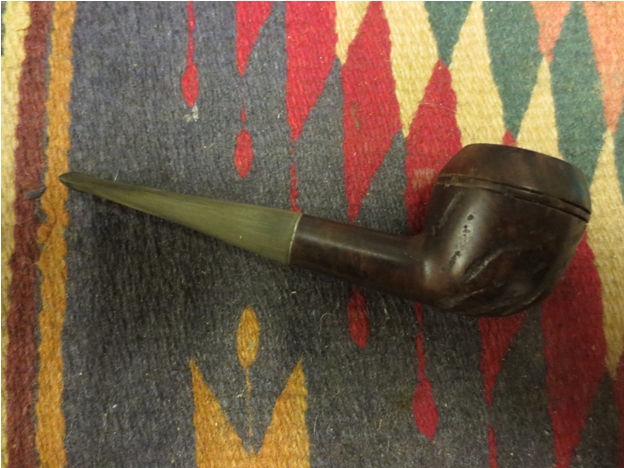
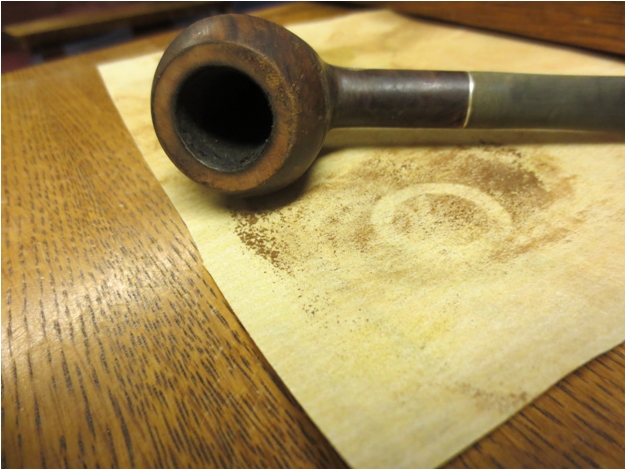
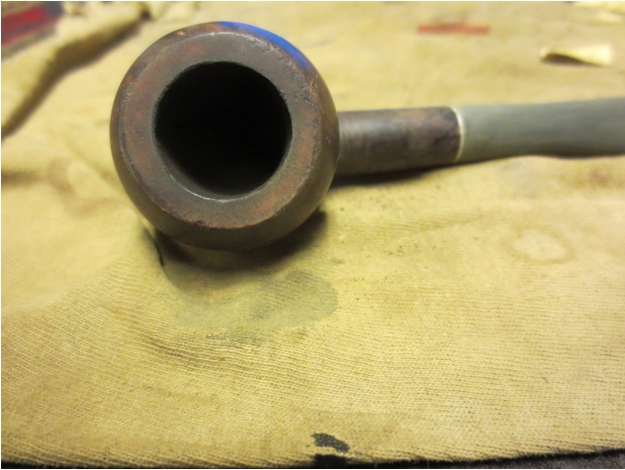
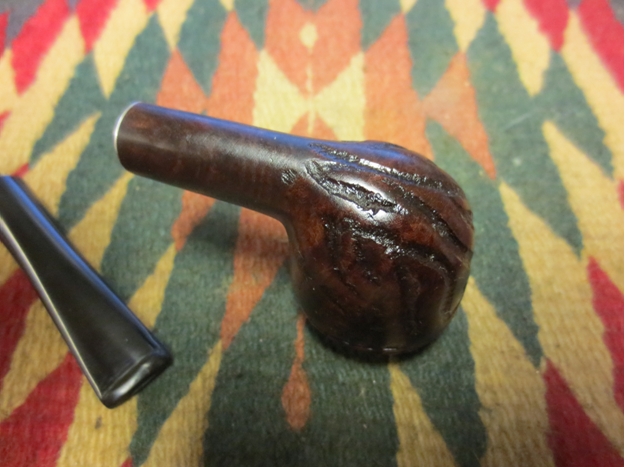
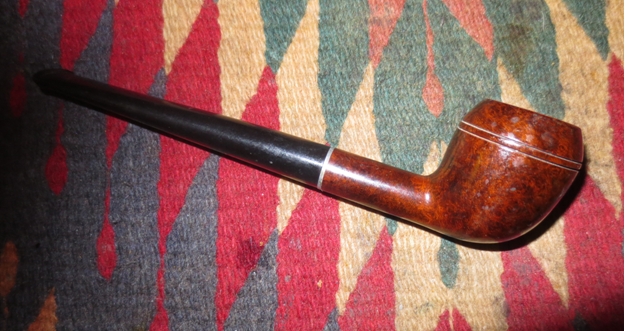
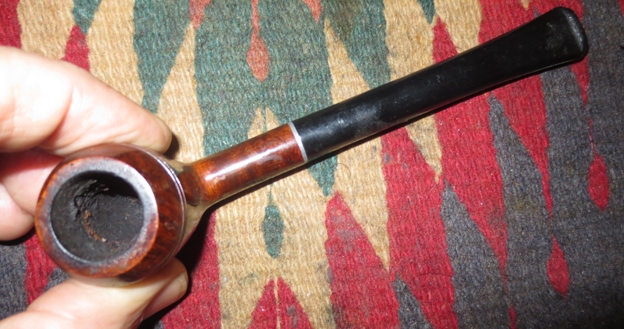
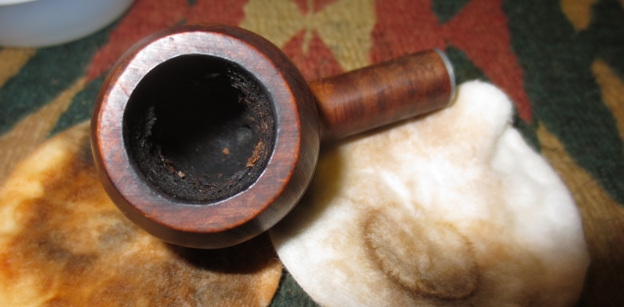
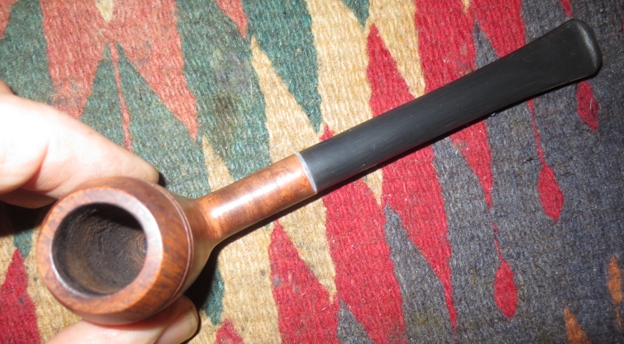
I am finally finishing up the final pipes in the box of gift pipes. This one is a little long stemmed Willard Rhodesian. It is stamped Willard over Imported Briar. It was in pretty good nick. The finish was worn and peeling in some places. There were scratches in the surface of the briar on the sides of the bowl. The bowl was lightly caked with remnants of tobacco clinging to the walls of the bowl. The stem was chewed but no deep marks were in the surface. The stem is that odd nylon like material that was on pipes of this era. It had a threaded tenon and a short stinger that was pretty clean as well. The stem was clean on the inside as was the shank of the pipe. The stem was slightly over turned and had some damage to the nylon of the upper portion of the stem.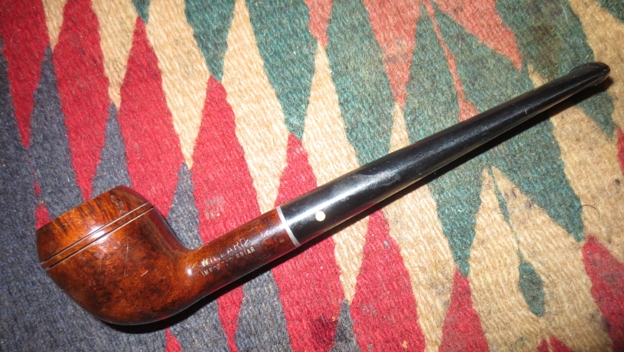
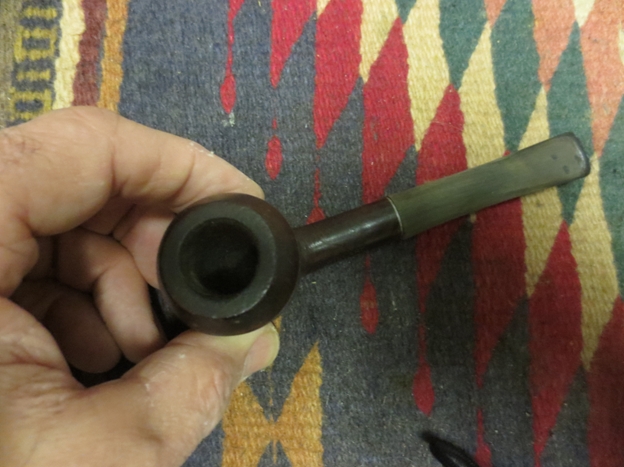
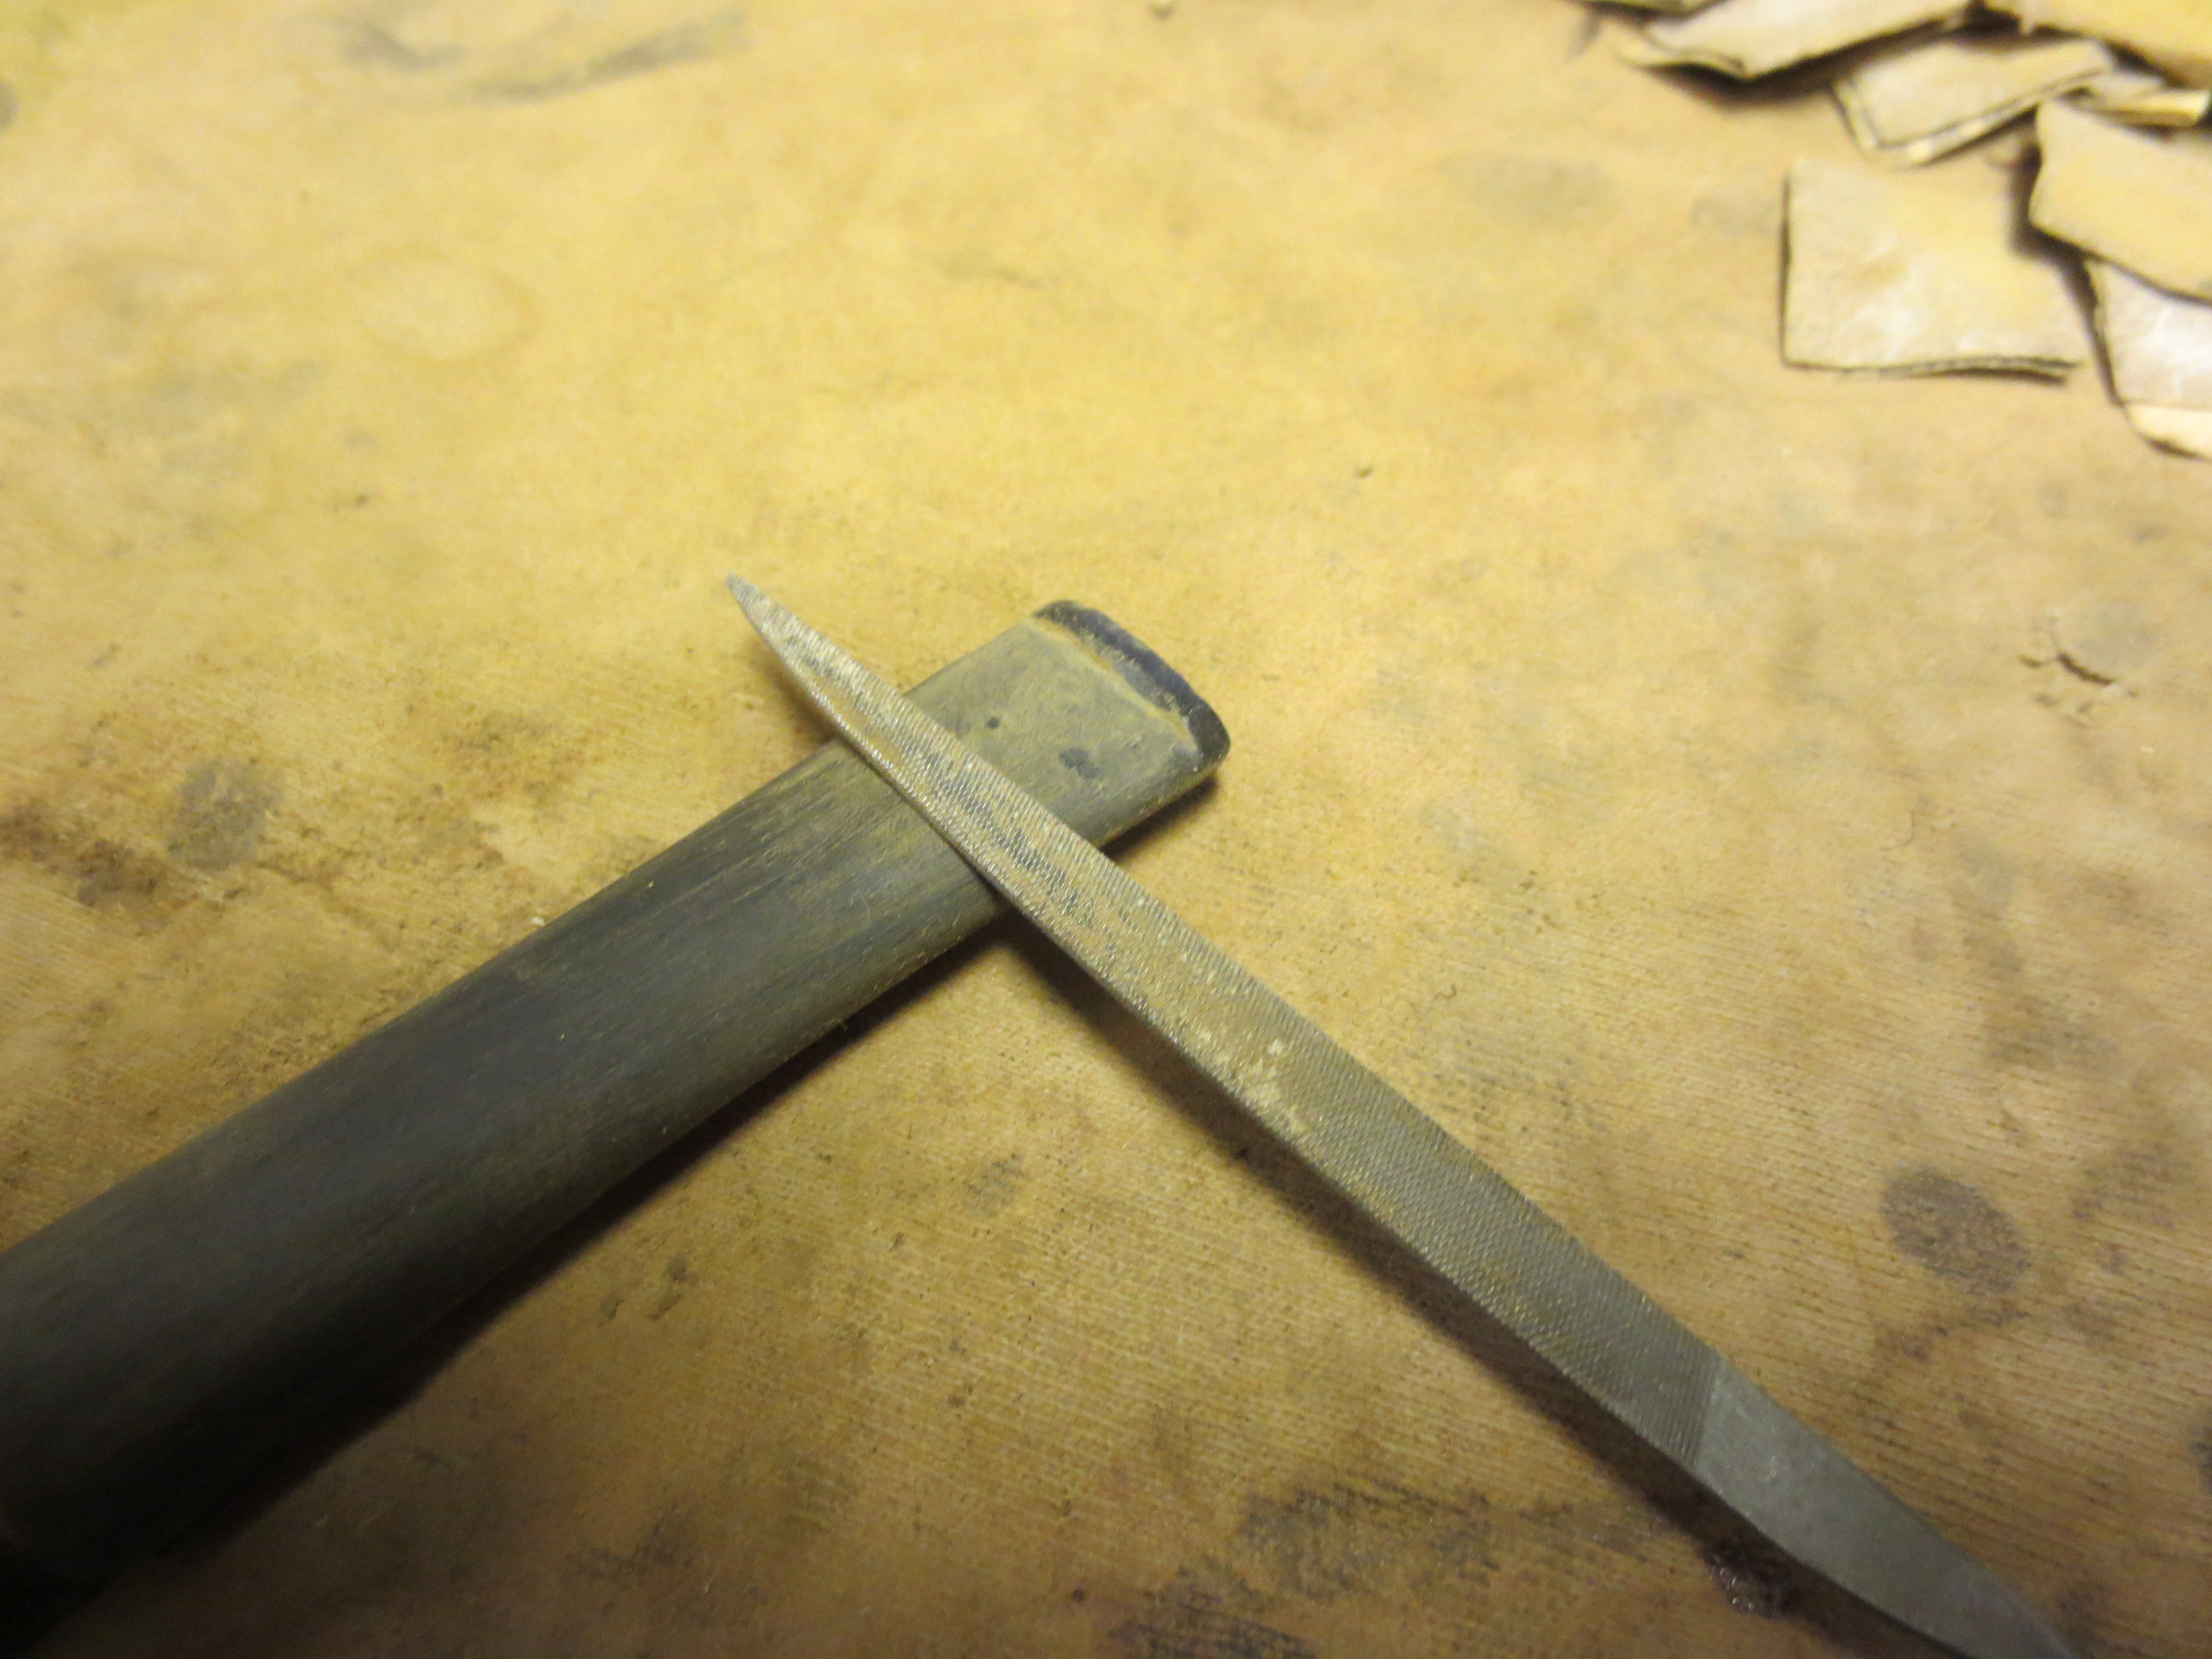
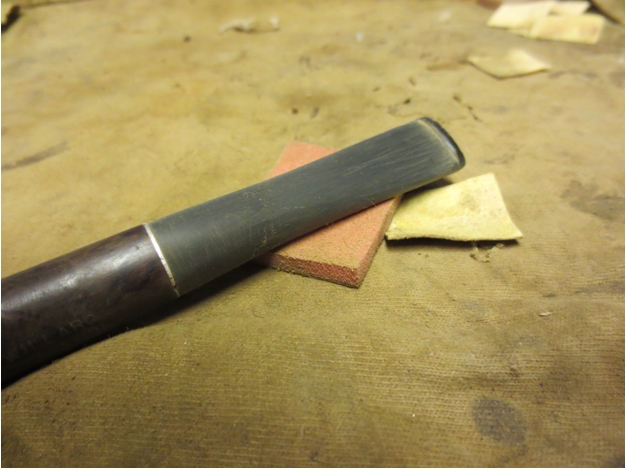
 The next two photos show the tooth damage to the top and underside of the stem near the button.
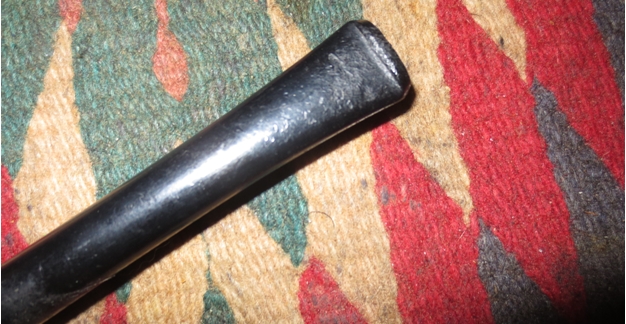
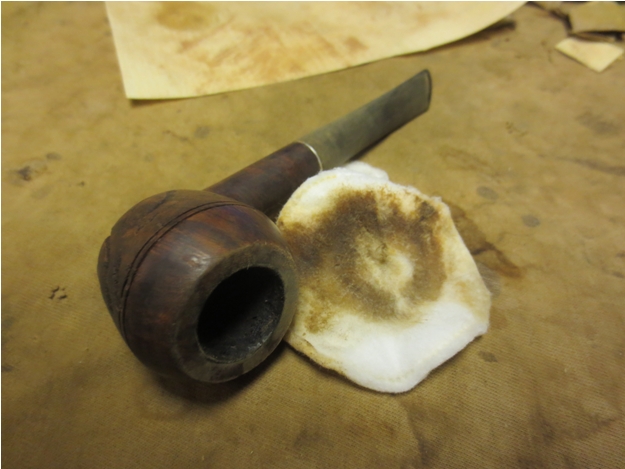
 I decided to remove the spotty and peeling finish first. I wiped it down with acetone on cotton pads until the varnish coat was removed. To my surprise there were no visible fills in this piece of briar. The wood actually had some nice grain under the varnish coat.
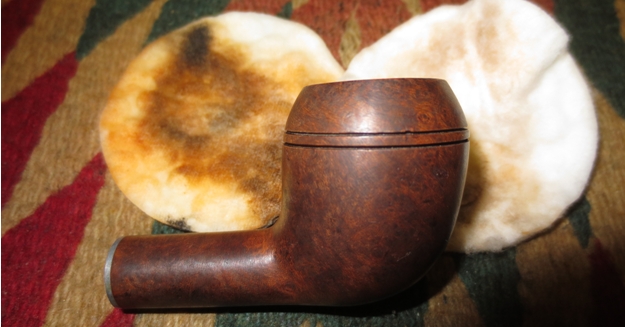

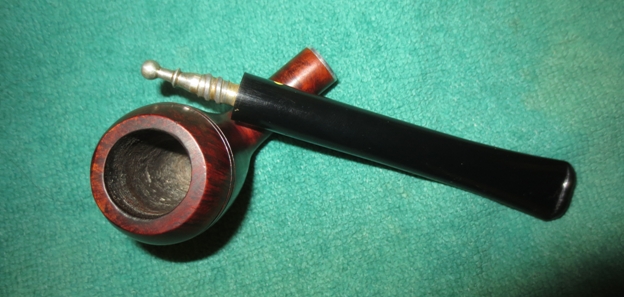
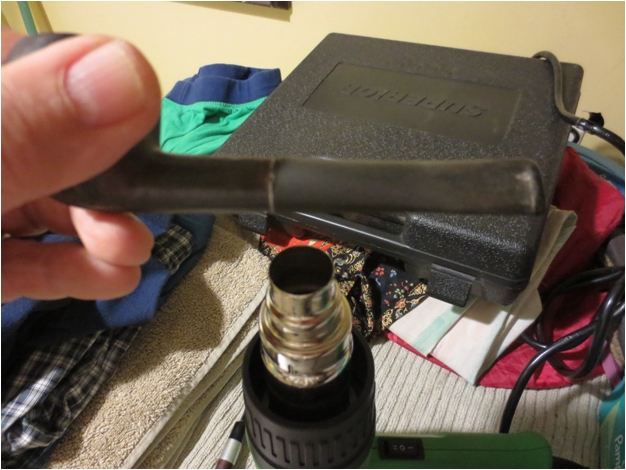
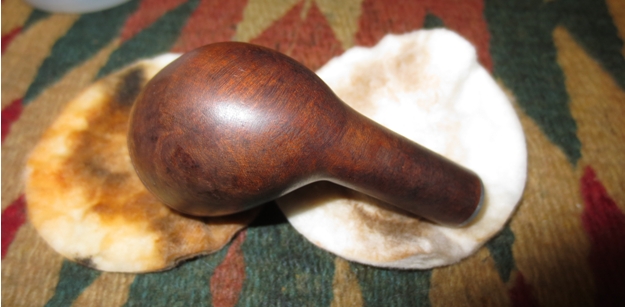 I sanded the stem with 220 grit sandpaper to remove the damage on the surface and the tooth marks on the top and underside near the button. I heated the stinger with a lighter to soften the glue so that I could correct the over turned stem. Once it was softened I put it in the mortise and turned it clockwise until it lined up with the bowl properly. I let it cool and harden once again before removing it from the shank.
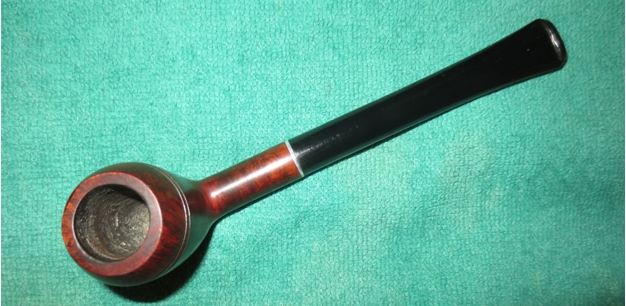
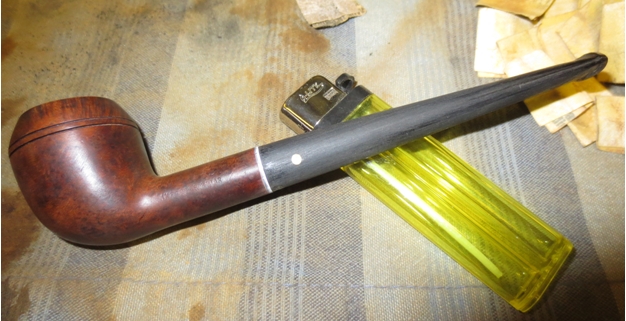 I scraped out the slight cake and remnants of tobacco with a pen knife taking it back to bare wood so that a new cake could be built up by the next pipe man.
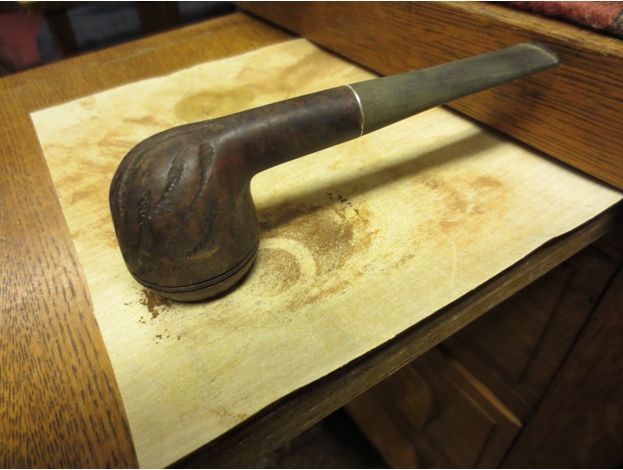
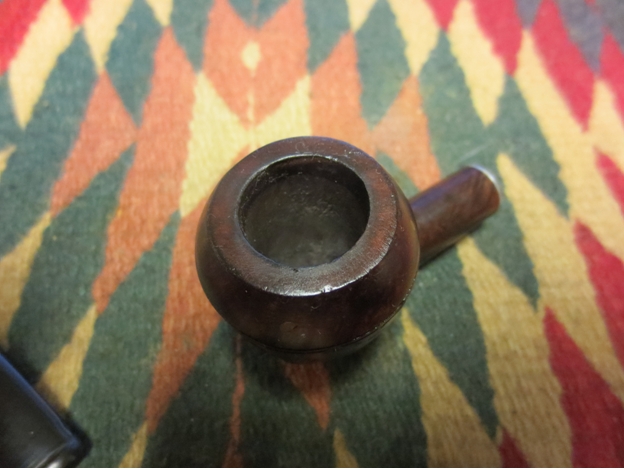
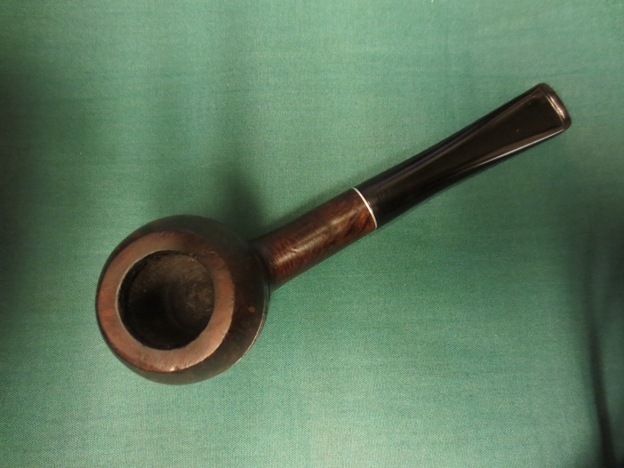
 I sanded the bowl and the stem with a medium and fine grit sanding sponge to remove the scratches left behind by the sandpaper and then put it back on the pipe and took the next set of photos.
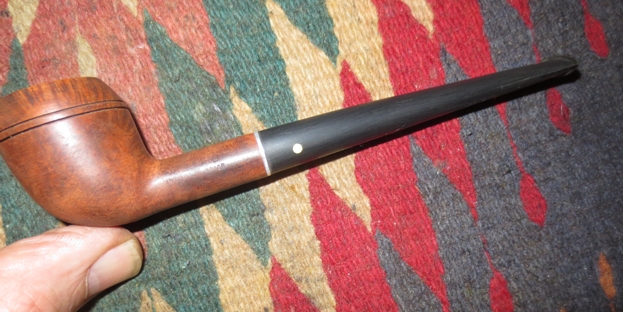
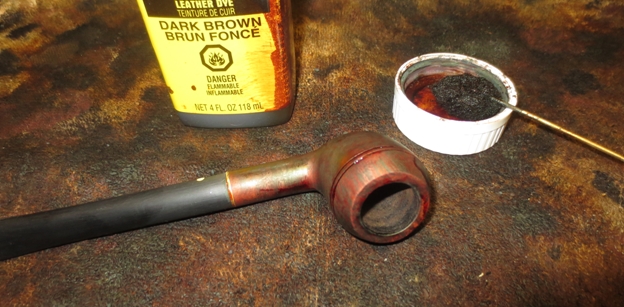
 I stained the bowl with a dark brown aniline stain mixed with two parts alcohol to thin it down and lighten it. I applied it and then flamed it with a lighter to set the stain. I reapplied the stain and flamed it again.
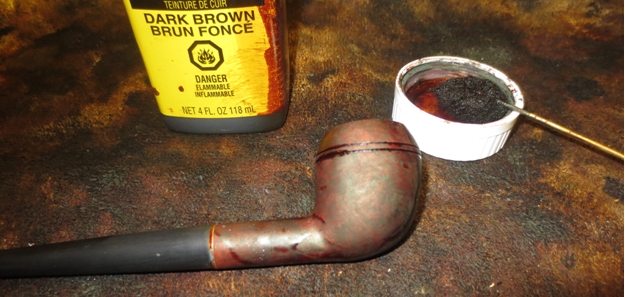
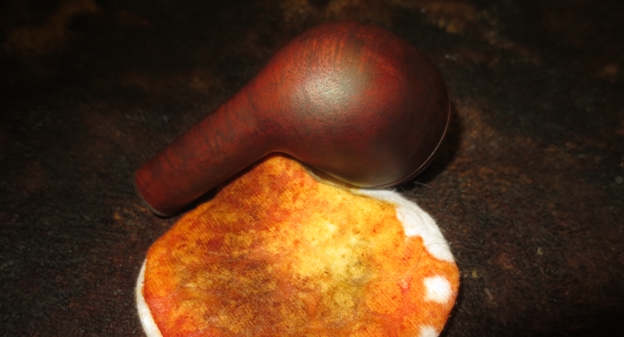
 Once the stain dried I wiped the bowl down with alcohol on a cotton pad to even out the stain coat and to make it more transparent.
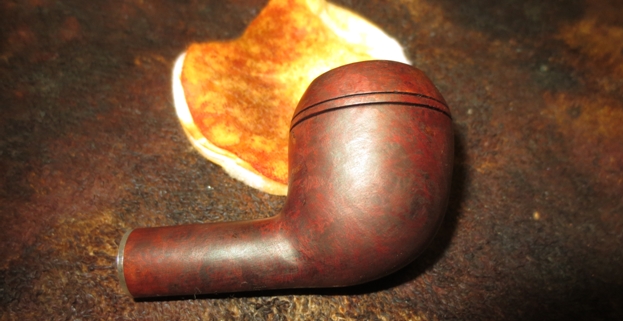


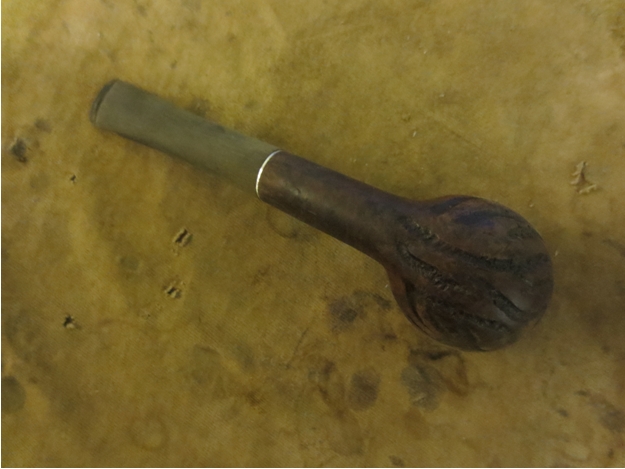
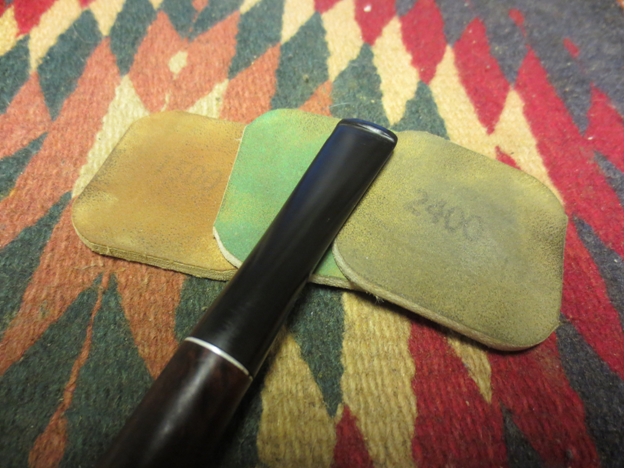
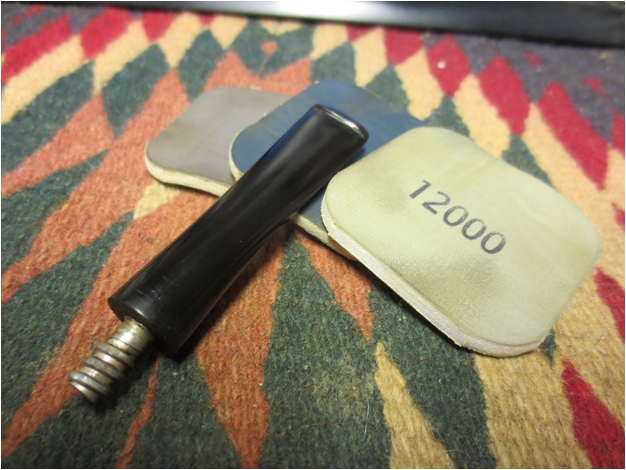
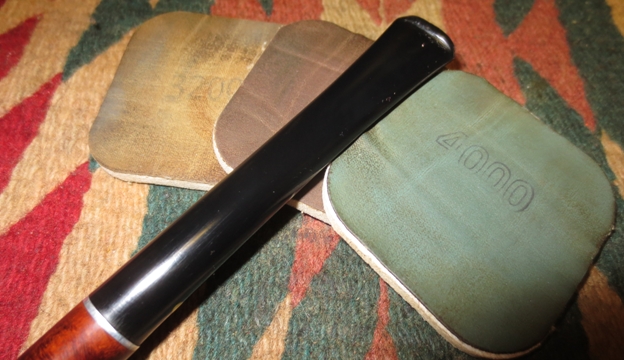
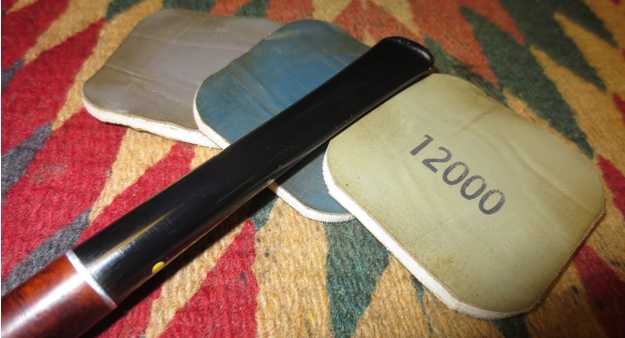
 I put the stem back on the shank and sanded it with micromesh sanding pads to polish it. I wet sanded with 1500-2400 grit pads and dry sanded with 3200-12,000 grit pads. I rubbed it down with Obsidian Oil between each set of three pads and then again the final time. I did not buff the stem with the buffer as I find that the nylon stems do not do well with the heat of the buffer. I applied some Paragon Wax to the stem and hand buffed it with a shoe brush.
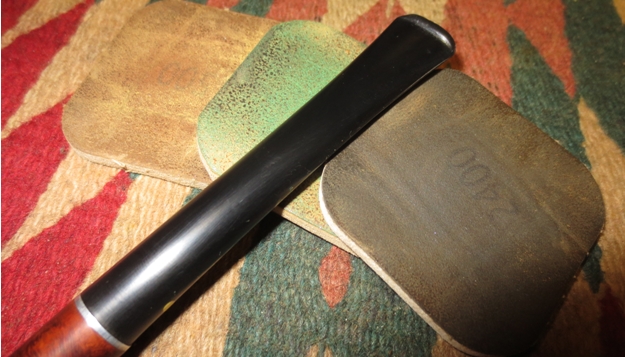
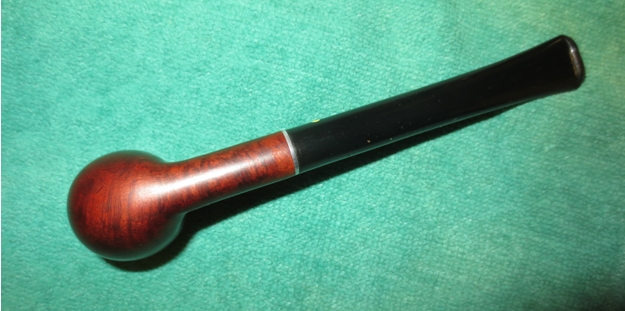
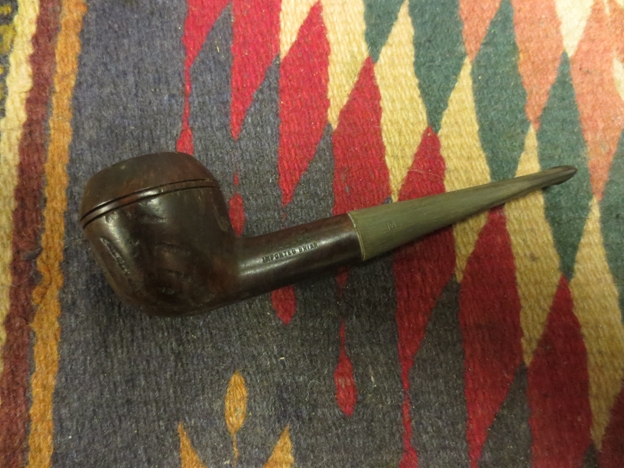
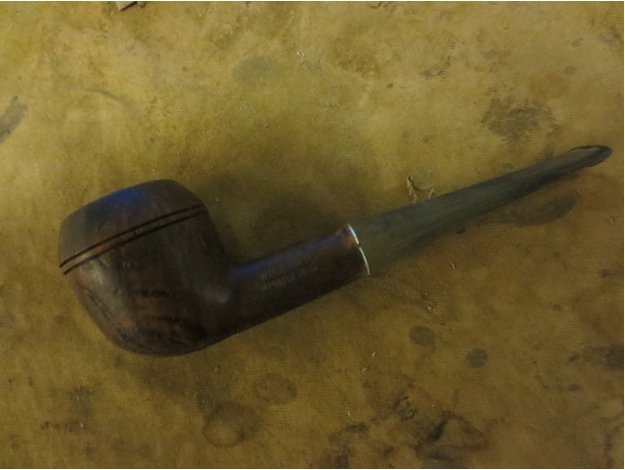
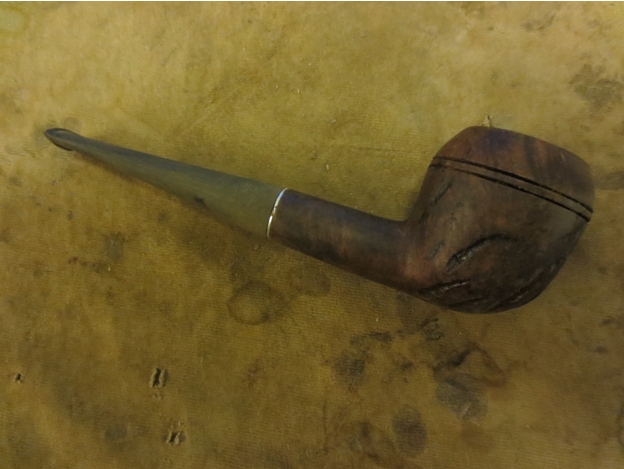
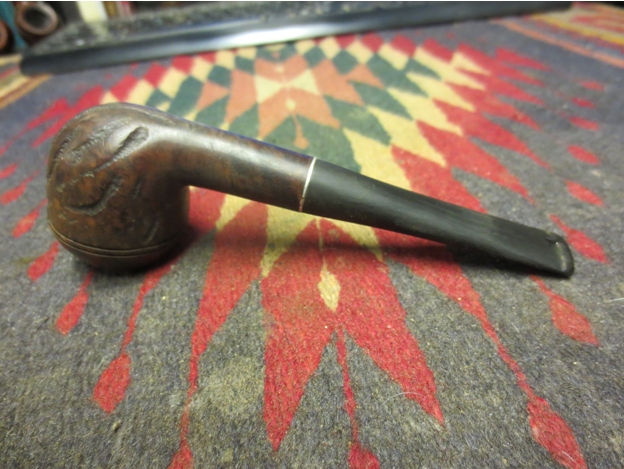
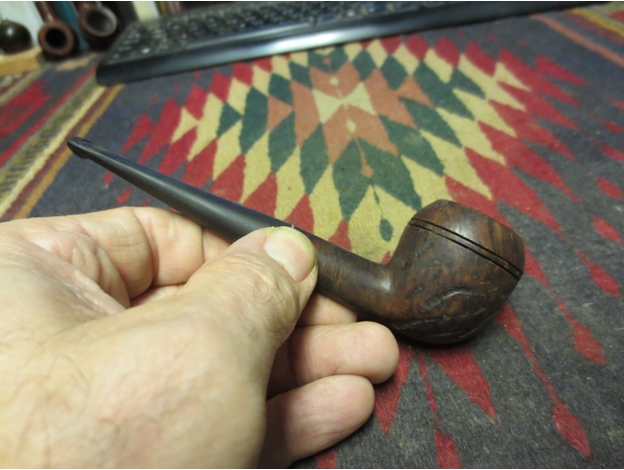
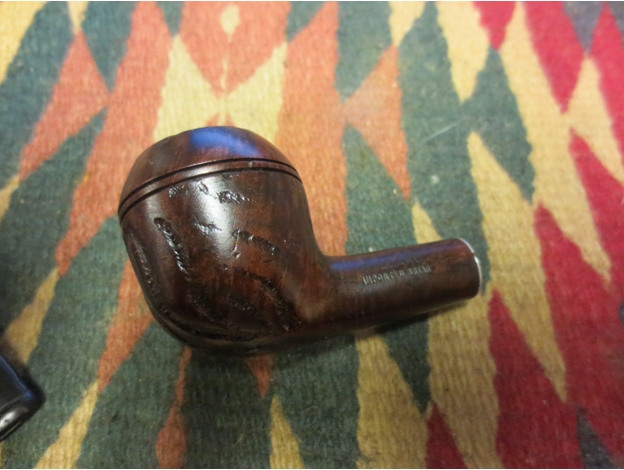
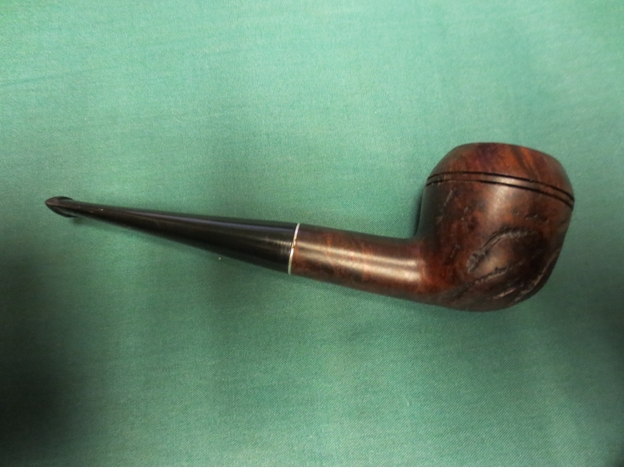
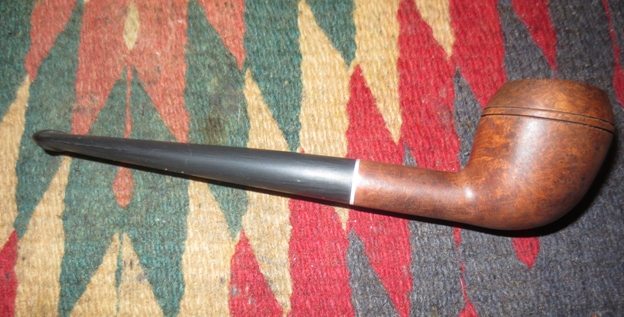
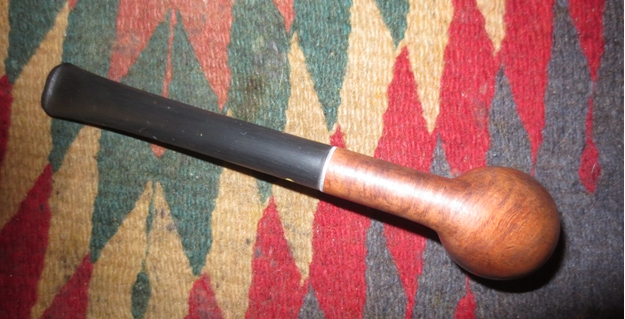
 I buffed the bowl with White Diamond and Blue Diamond on the buffing wheel and then gave it multiple coats of carnauba wax. The finished pipe is shown in the photos below. It is ready for a long life of delivering a decent smoke to whomever’s rack it ends up gracing. It is a pretty little Rhodesian that looks great.