Blog by Steve Laug
This afternoon I finished a nice little meerschaum apple with a gold rim cap and gold band on the shank and a Ruby Bakelite/Redmanol stem (https://rebornpipes.com/2021/12/25/next-on-the-table-is-a-blinged-out-meerschaum-bent-apple-with-a-ruby-bakelite-stem/). I posted it on the blog and it sold almost before it was on the store. I was contacted by another friend for the same pipe and had to tell him that it sold. I did however have another interesting one in the box that he might be interested in seeing. The pipe was also a meerschaum with rectangular shank, rolled gold band on the shank and a Red Bakelite stem. We purchased of Ebay from Queensbury, New York, USA. This pipe was heavily smoked and needed a lot of work but showed promise. The leather cover on the case was in was worn but still in decent condition. There was some wear on the edges of the case but the hinges and lock worked very well. Don’t you want to know what is inside of this case? Do you want to compare it with the other meerschaum I wrote about? Well… I will get there. Jeff opened the case to show us what the pipe looked like inside. The lining of the case was worn and had a faded green colour to it. There was not identifying stamp on the lid. The rolled band was ornate and filigreed. It really was a beautiful looking older pipe.
 Jeff took a photo of the pipe in the case. It look like it had been smoked hard and often. The case was filled with chunks of tobacco and ash and the rim top was covered with thick lava. The meerschaum however was really beginning to take on some nice patina – particularly on the shank. Have a look at this beauty!
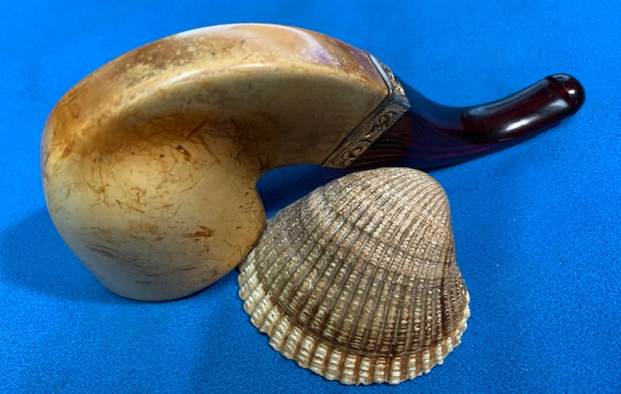
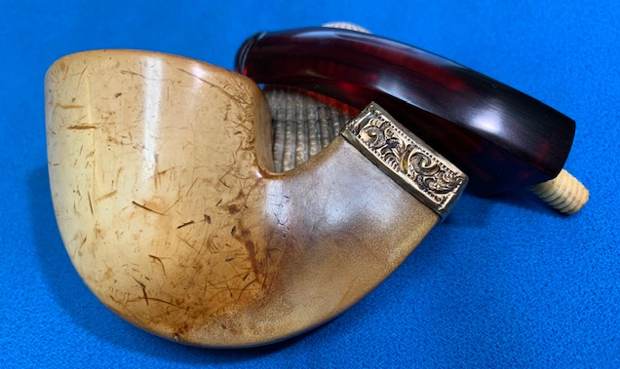
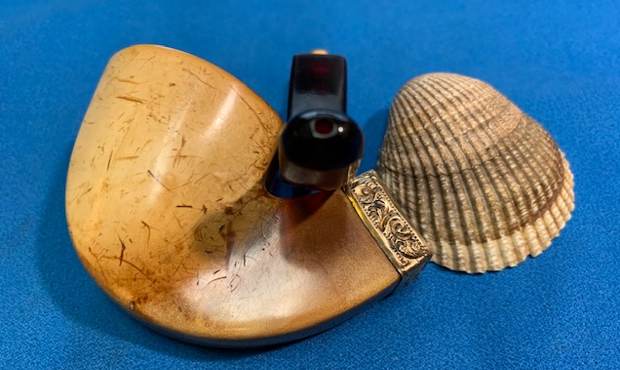
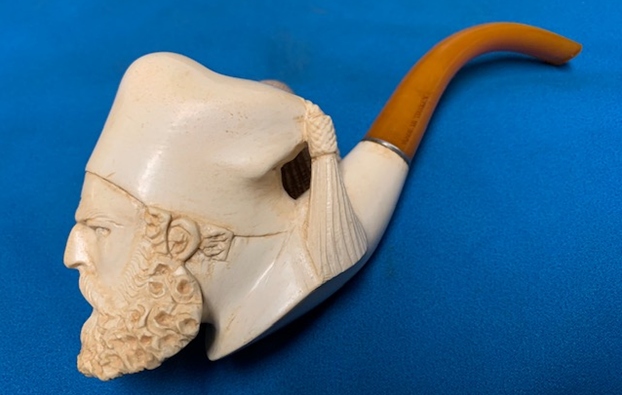
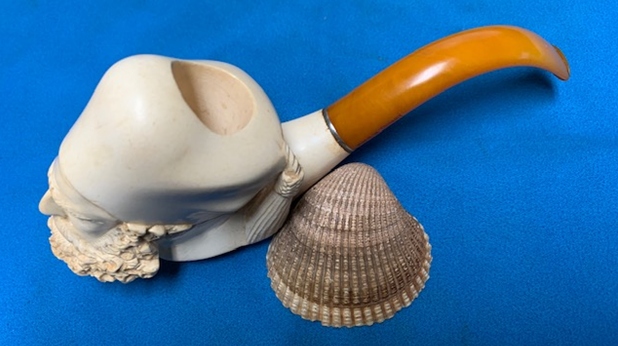
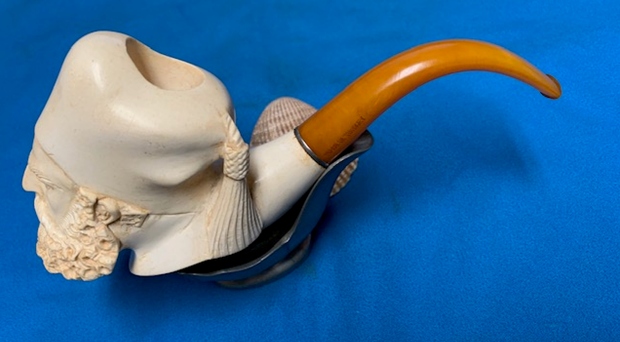
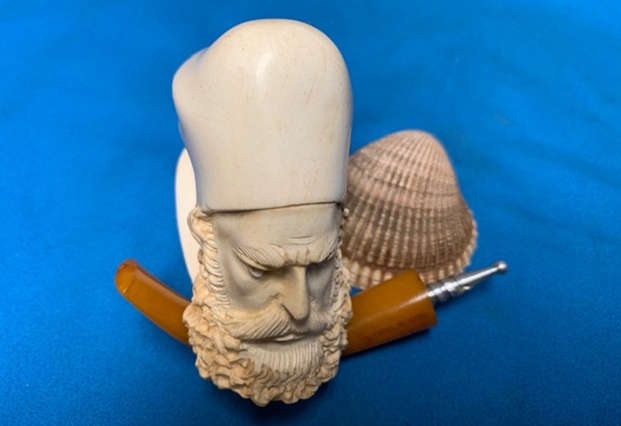
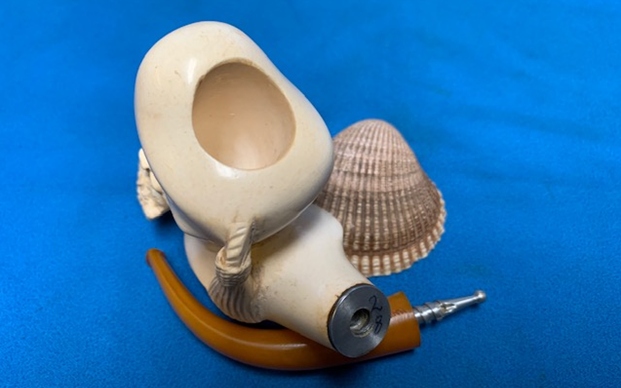
 He removed it from the case and really it is the first look of the profile of this interestingly shaped old timer. I would almost call it an Opera pipe but it is a bit big for that. It is however longer and thinner than a standard bowl. Otherwise it is a squashed bent Dublin. It is really filthy but look at the patina on the shank and the rolled gold band on the shank. It is really quite lovely. The second photo below shows the top view of the pipe. You can see the cake in the bowl and the lava on the rim top but do not miss the shape of the bowl. It is a unique one for sure.
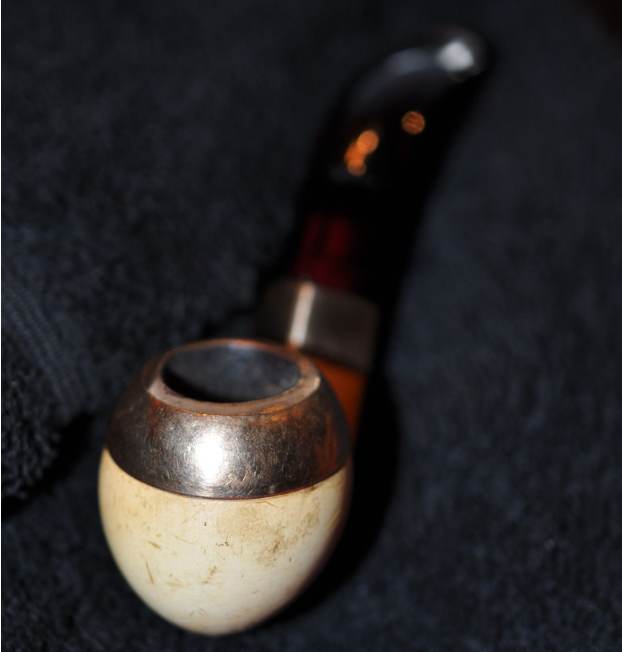
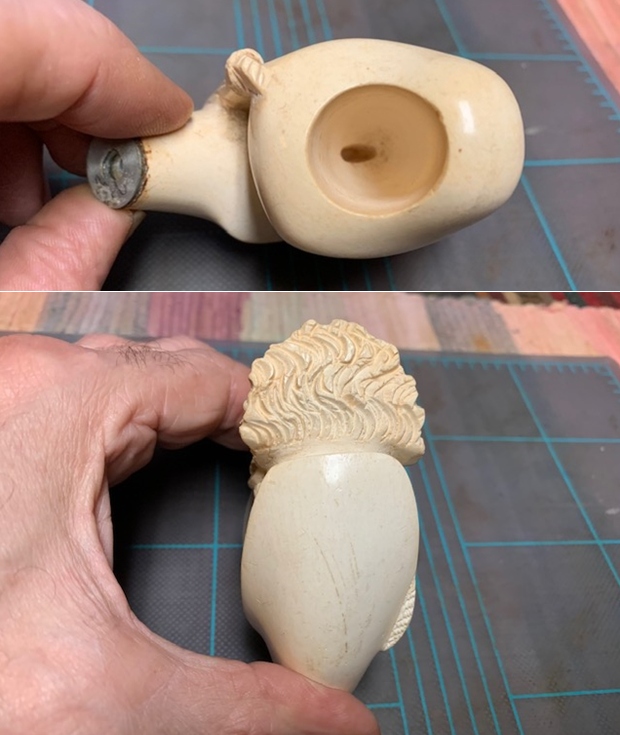
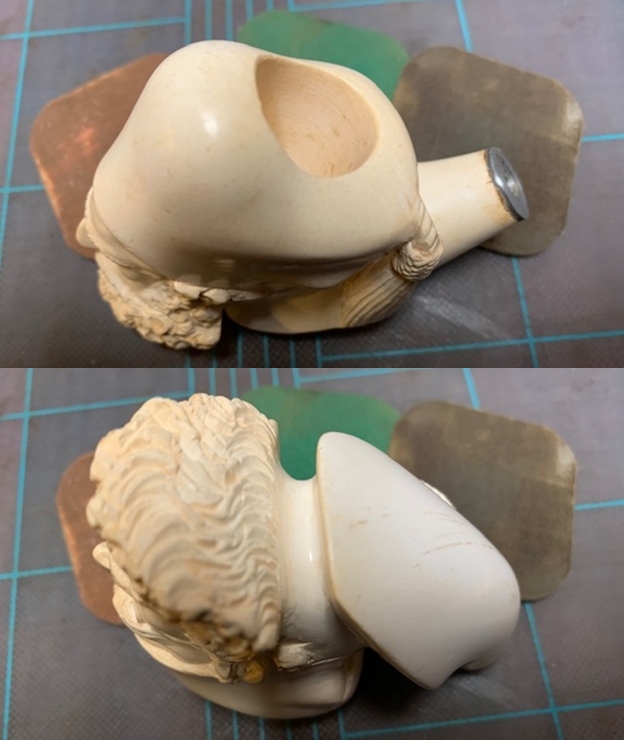
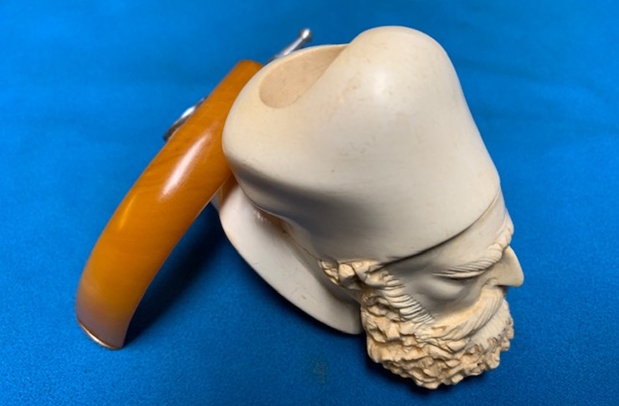
 Jeff took some close up photos of the rim top to show the lava build up and the very thick cake in the bowl. It really made me wonder what the inner edge of the bowl looked like. You can also see some of the scratches on the side of the bowl. It is a mess but…
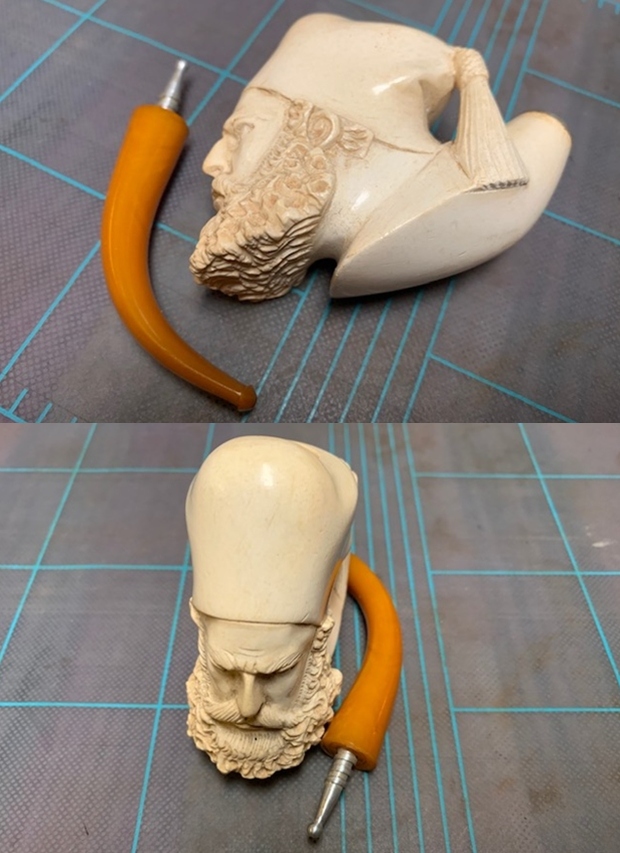
  The stem is very nice and actually surprisingly unchewed. There are light tooth marks and chatter on the stem surfaces but nothing deep and the shape is also quite unique. The rolled gold band on the shank is also very ornate.
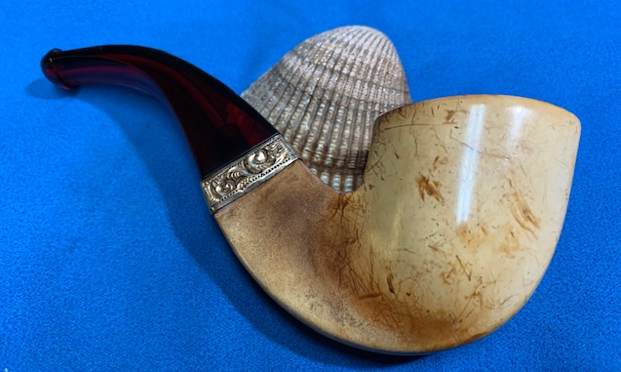
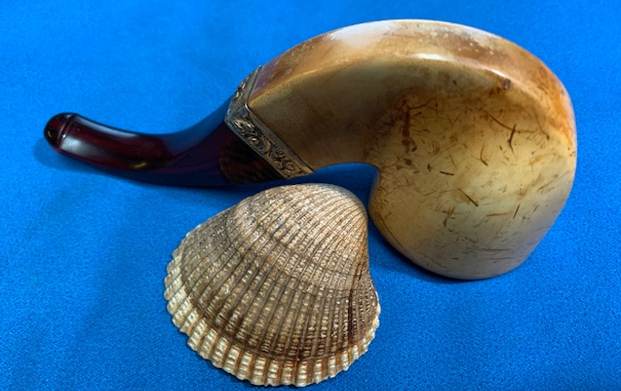
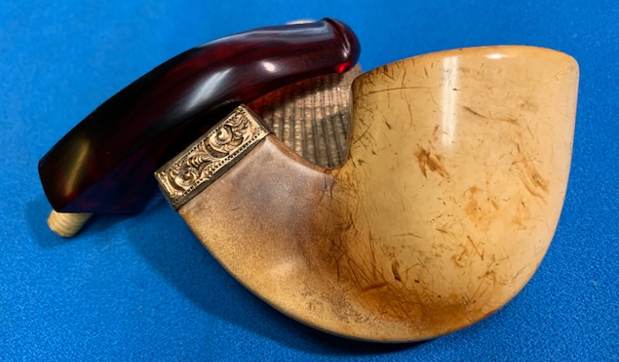
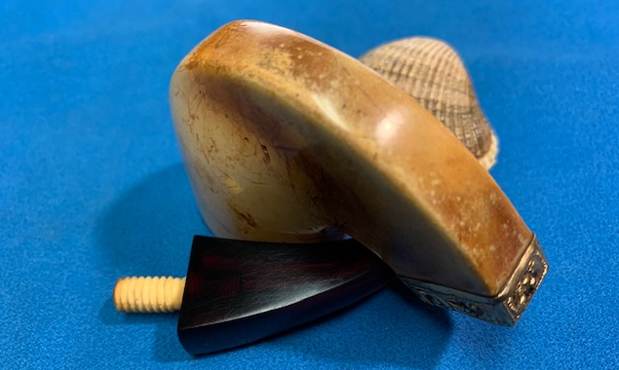
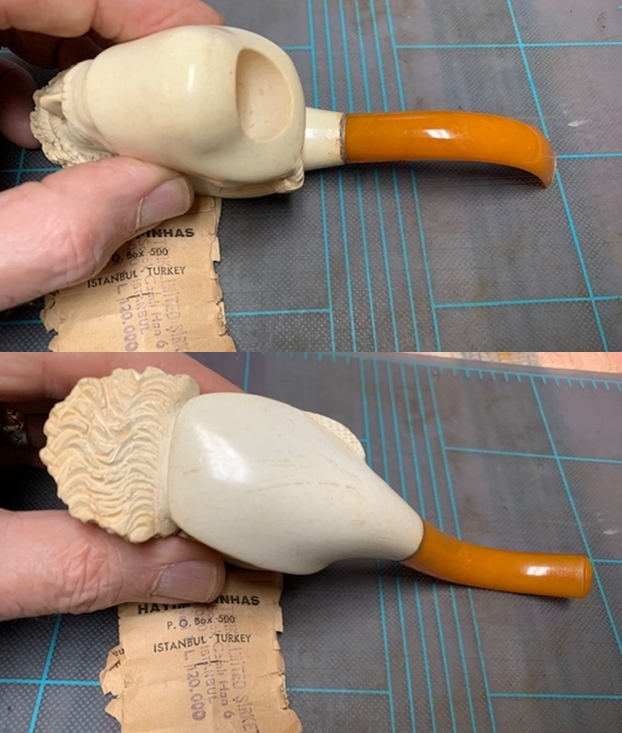
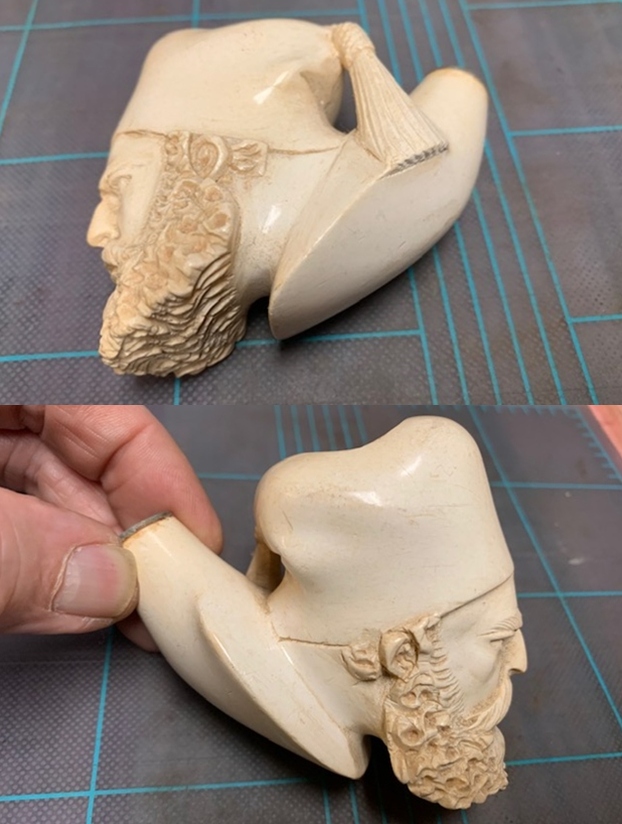
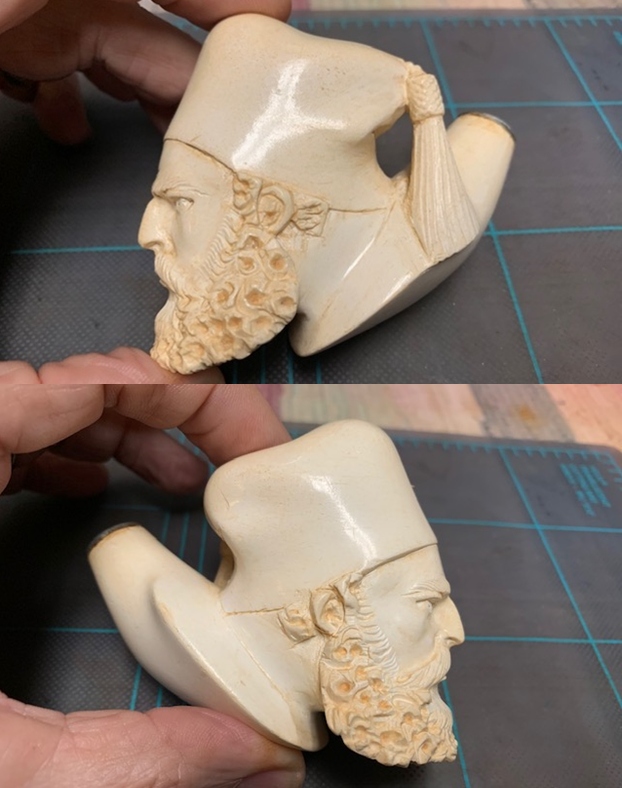
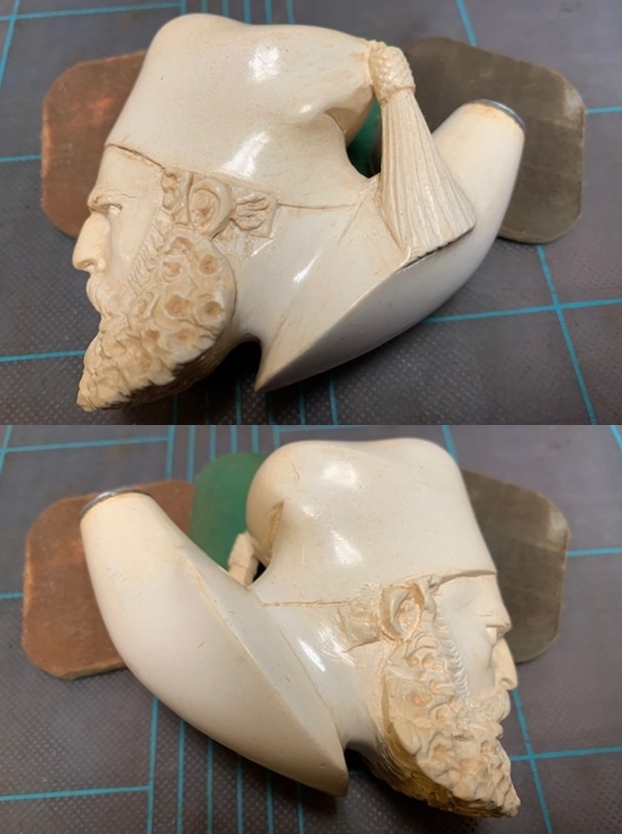
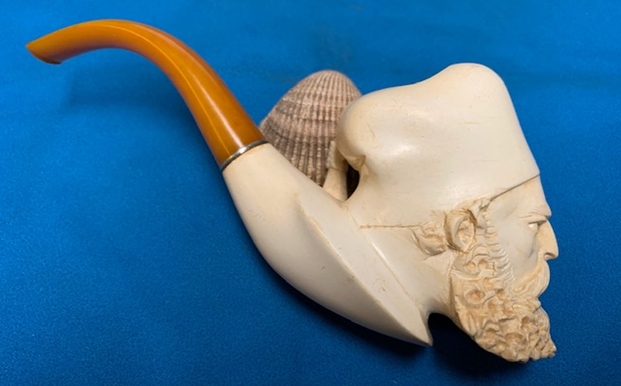
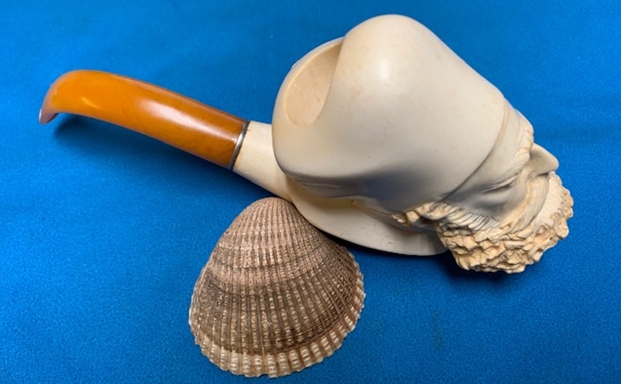
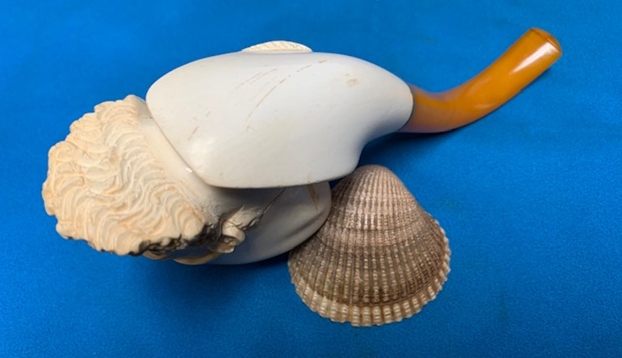
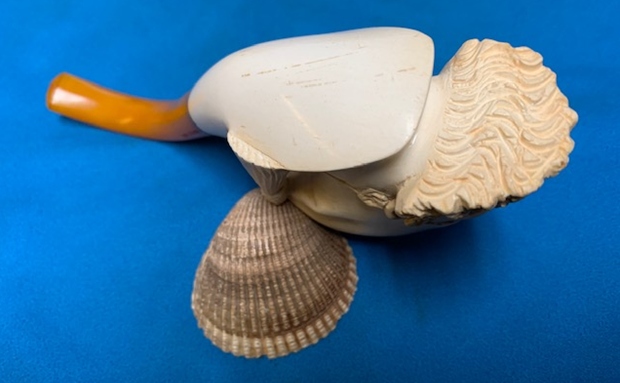
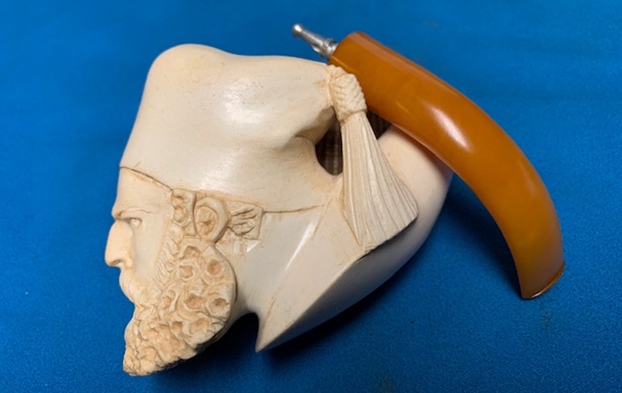
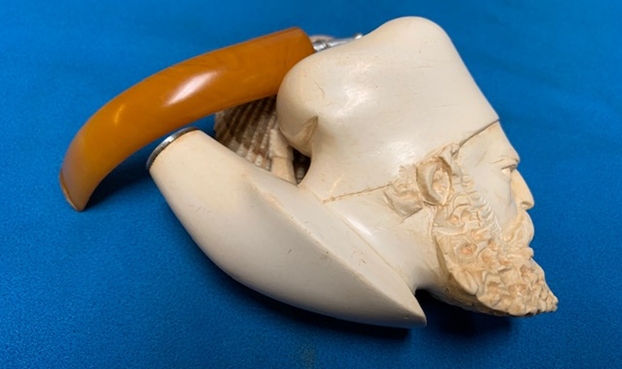
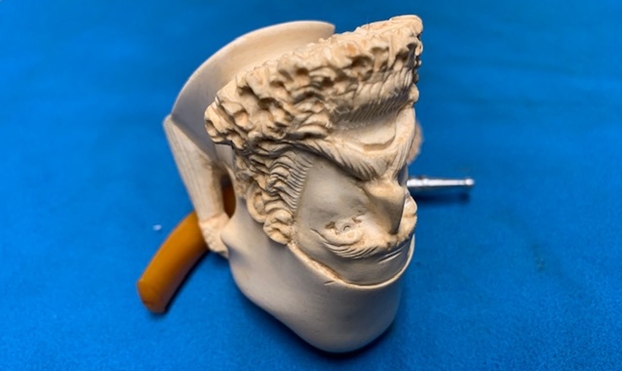
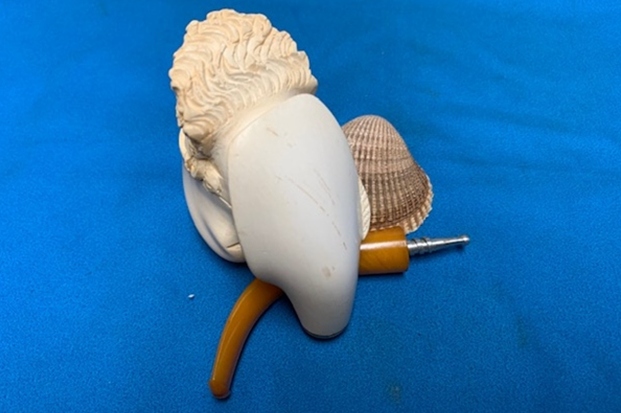
 He took some photos of the sides and heel of the bowl to give a sense of the wear and tear on the pipe. You can see it has been a hard worn and greatly used pipe. It must have been a terrific smoker and someone’s favourite go to pipe. I really like the look of the patina on the shank. The mottled reds and browns are very nice.

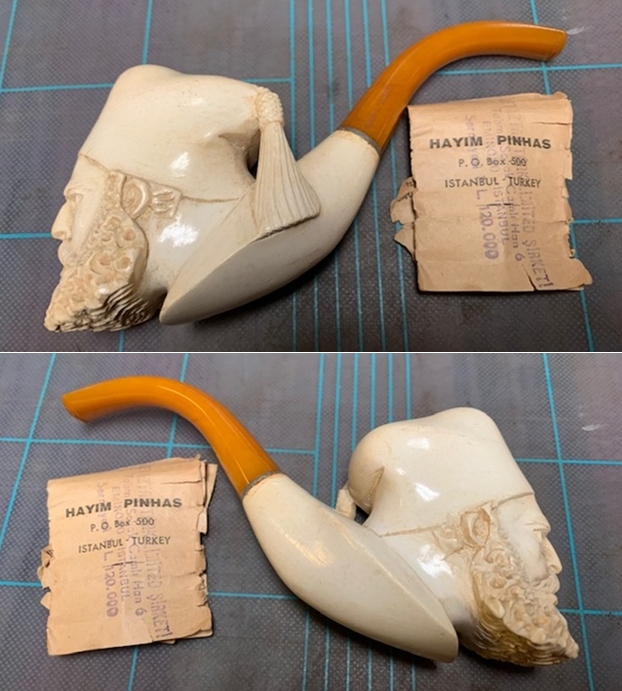
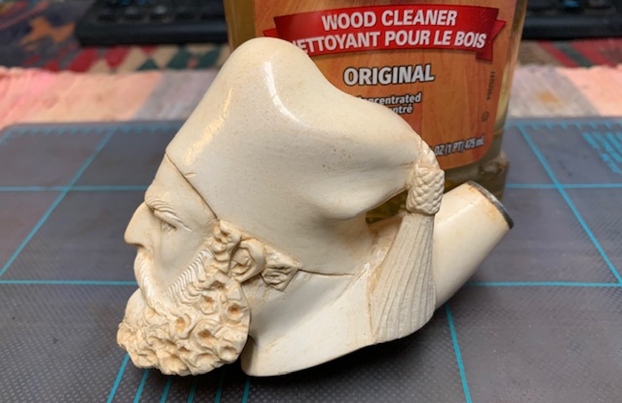
 Jeff had cleaned it thoroughly. He had reamed it carefully with a PipNet reamer and cleaned that up with a Savinelli Fitsall Pipe Knife. He worked slowly so as not to damage the inner edge of the bowl. It was a mess. He had scrubbed the exterior of the meerschaum with undiluted Murphy’s Oil Soap and a soft tooth brush. He cleaned out the interior of the shank and airway with alcohol, pipe cleaners and cotton swabs. He carefully cleaned out the Bakelite stem with clean water and pipe cleaners to remove the debris and oils in the airway and the threads of the bone tenon. I took photos of the pipe when it arrived here. The first two photos show case after he had cleaned it in the process. The third photo shows the pipe in the fitted case
 The overall look of the pipe after cleaning shows the tiredness and worn look of the bowl sides. The stem on the other hand is quite remarkably unscathed and the bone tenon almost looks new. The pipe is a beauty in the rough and definitely needs some TLC.
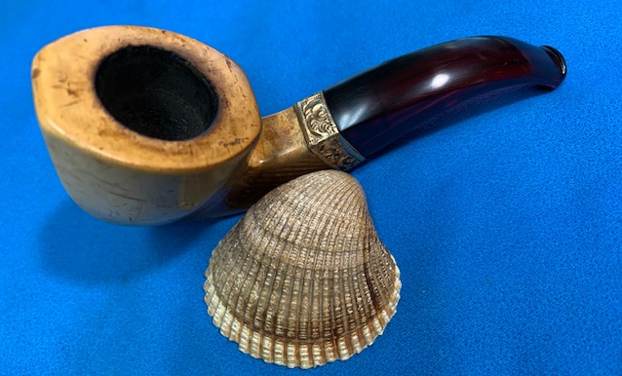
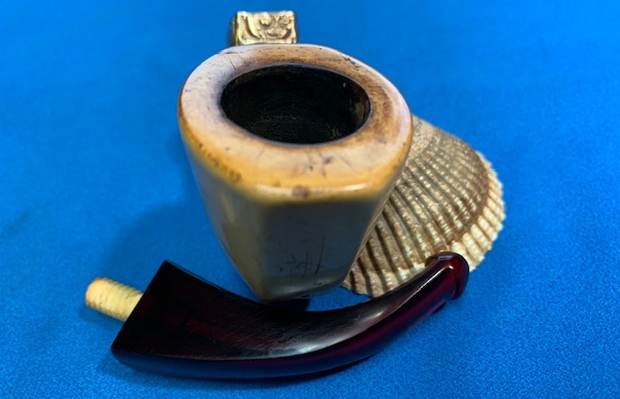
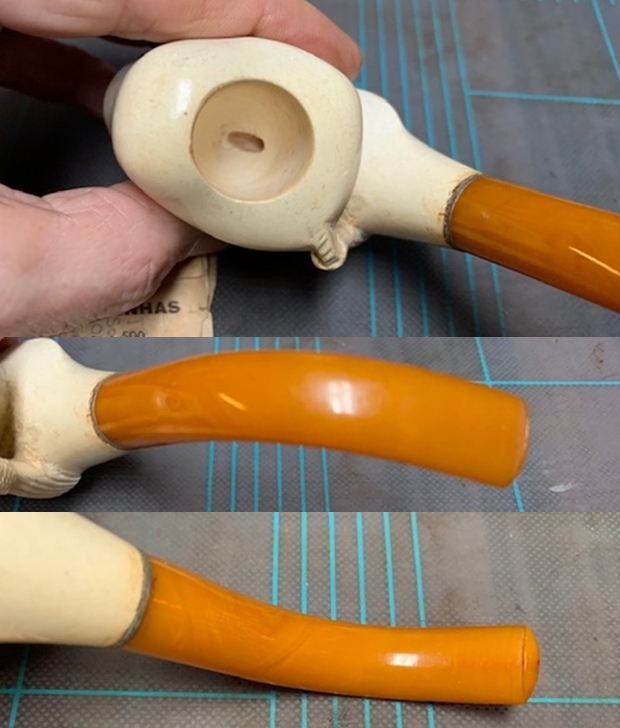
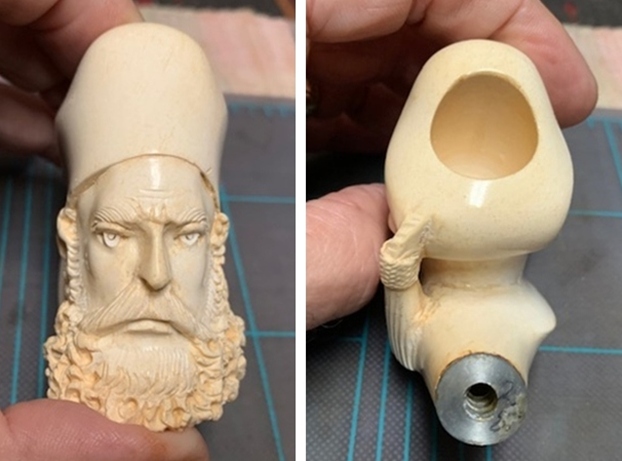
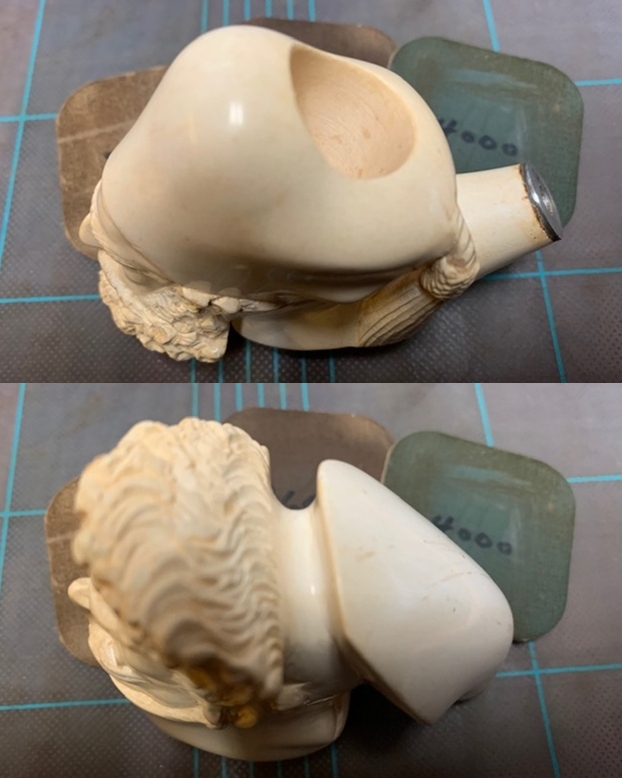
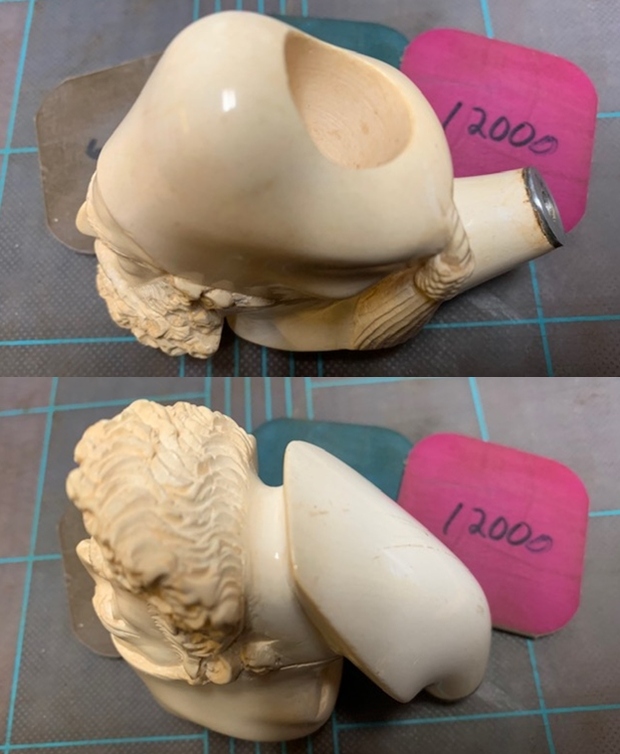
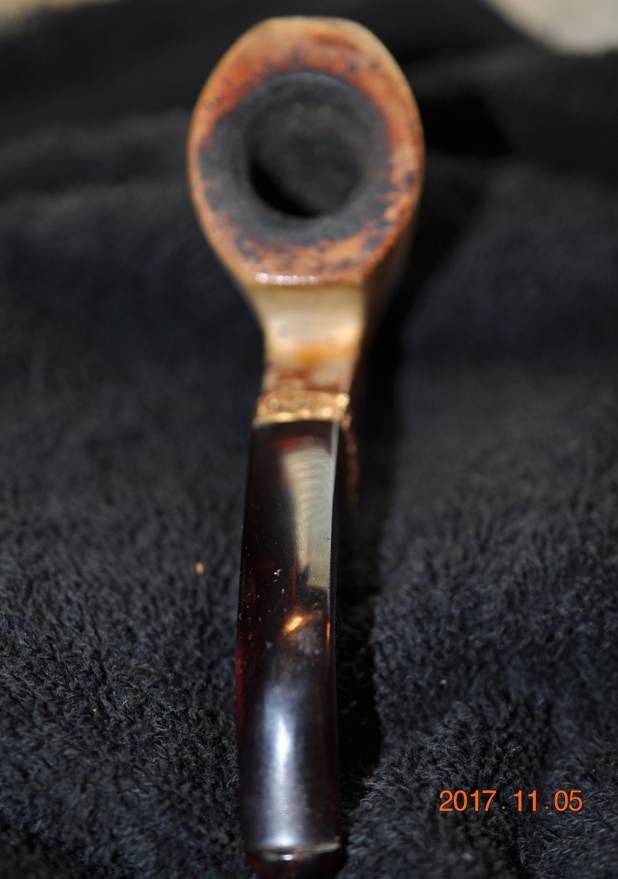
 I took a close up photo of the bowl and rim top to show the condition of the cleaned bowl and rim. You can see the clean bowl and the many scratches and darkening on the back edge and top of the rim. I also took some photos of the stem to show how it looked. It was remarkably clean. Even the tooth chatter and marks were very minor.
 I unscrewed the stem from the shank to see an almost new looking threaded bone tenon on the stem. Amazingly it was free of damage and had not been over or under-turned in the shank.
 I decided to start my work on this pipe by addressing the damage to the inner edge of the rim and the rim top. I used a folded piece 220 grit sandpaper to work over both. I was able to remove most of the damage on the inner edge and a fair bit on the rim top with the sandpaper. It definitely is an improvement.
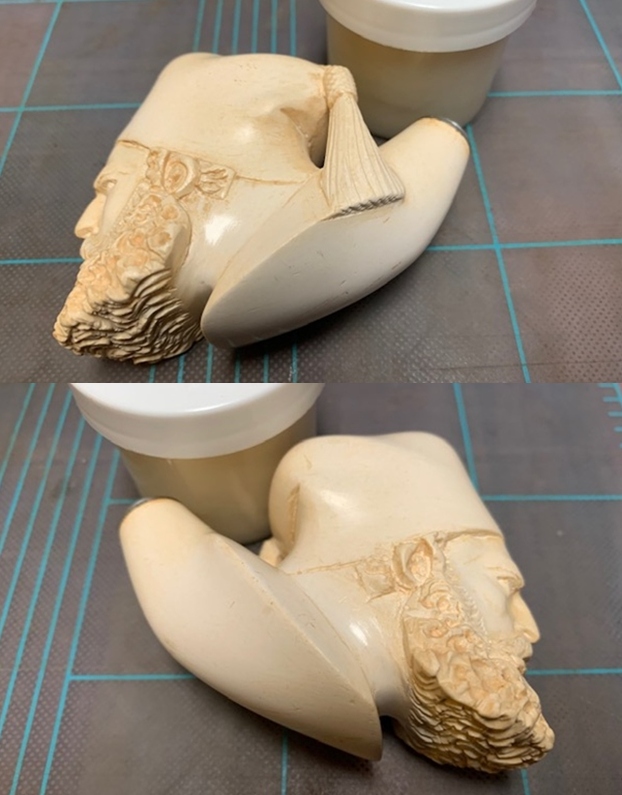
 I polished the briar and the shank with micromesh sanding pads – dry sanding with 1500-12000 grit pads. I worked on the rim top and make it even better looking. I figured that once I heated it to rewax they would look significantly different (Time will tell). I wiped the bowl down after each pad with a damp cloth. The meerschaum began to shine and the scratches were less intrusive. The photos tell the story!


 Now it was time to wax the meerschaum bowl. I melted a block of beeswax and dipped the pipe I in the mix and painted the wax with a cotton swab into the hard to reach spots on the shank corners. I heavily coated the bowl with the liquid wax.
 I let the wax harden dry then I used the cork as a handle while I heated it with a heat gun. As the wax melted I wiped it off with a paper towel. I let the excess drip back into the container. The bowl began to really take on some patina even though the scratches also stood out more. Those scratches were part of the story of the pipe’s journey.
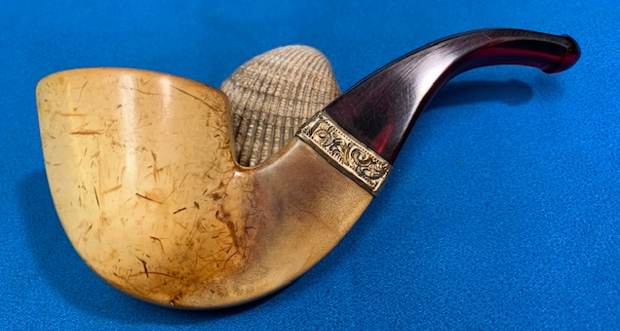
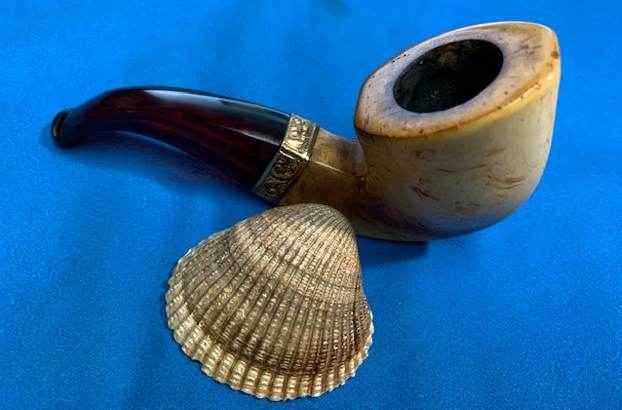
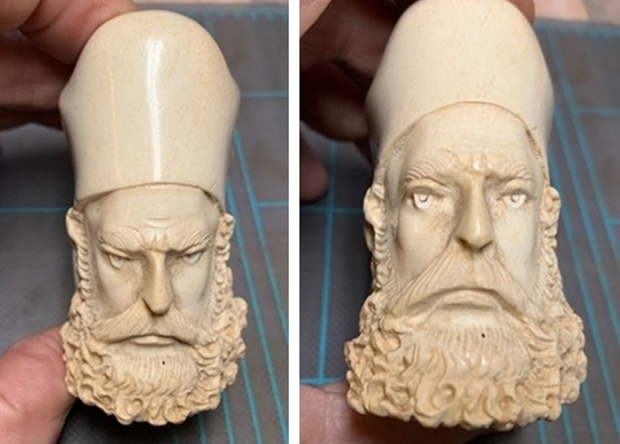
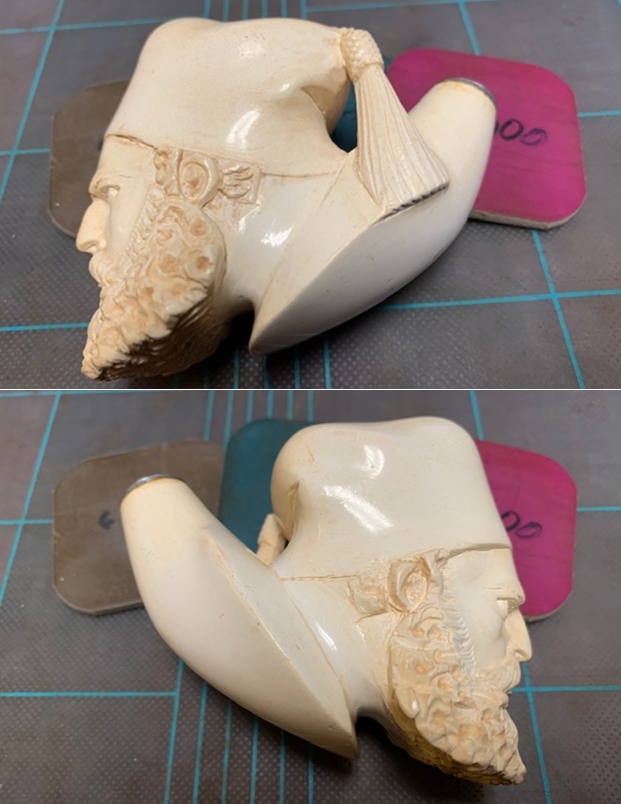
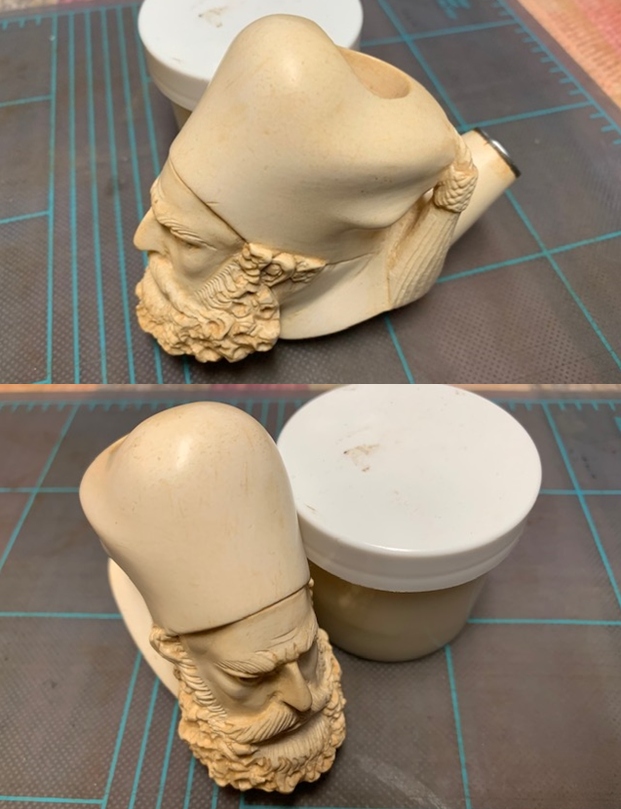
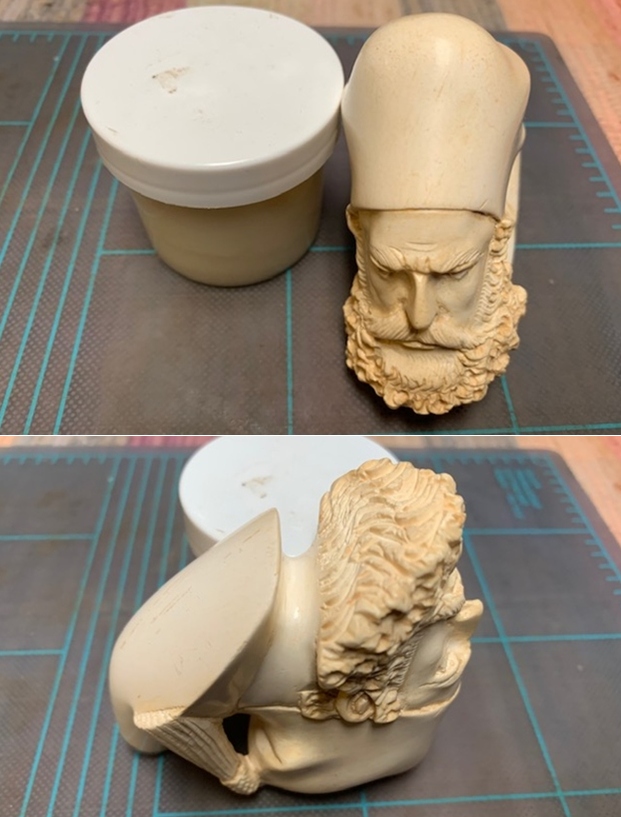
 I buffed it with a soft cloth and took pictures of the pipe at this point in the process of the restoration. The wax did its magic and the patina was rich and deep. Even the scratches looked better to me! The pipe is well traveled and the scratches help tell the story.
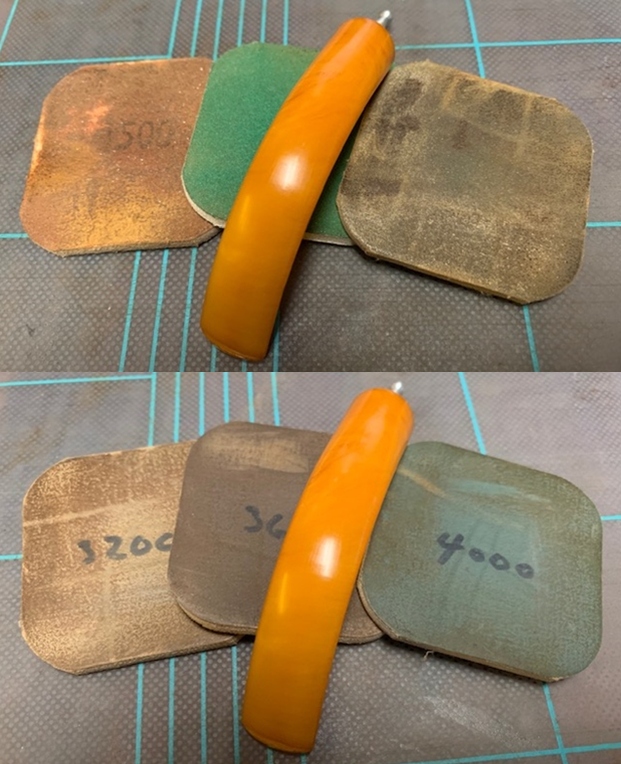
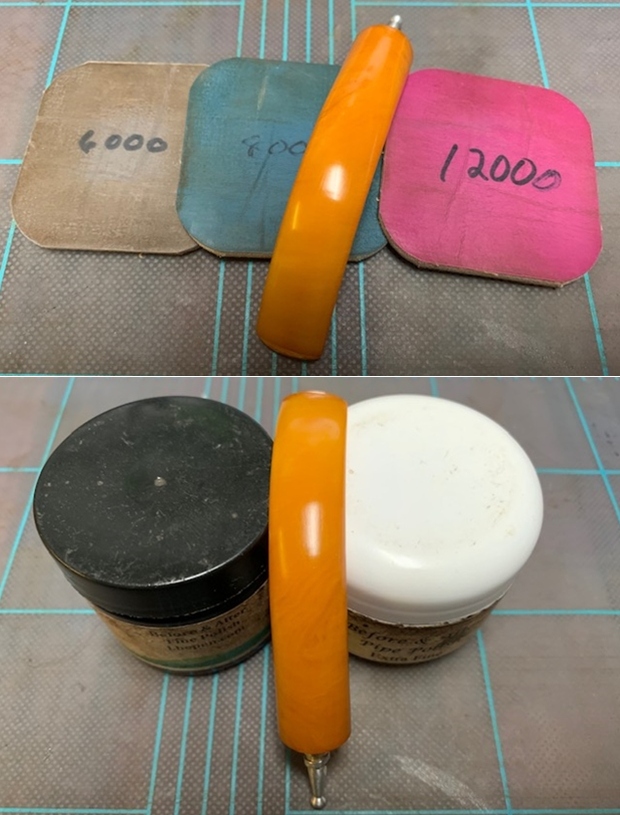
 I set the bowl aside and turned to deal with the stem. I polished the Bakelite stem with micromesh sanding pads – dry sanding with 1500-12000 grit sanding pads. I wiped it down after each sanding pad with a cloth containing some Obsidian Oil. I finished polishing it with Before & After Pipe Stem Polish – both Fine and Extra Fine and buffed it off with a cotton cloth. I gave it a final coat of obsidian Oil and set it aside to dry. It is a beautiful looking ruby coloured stem.
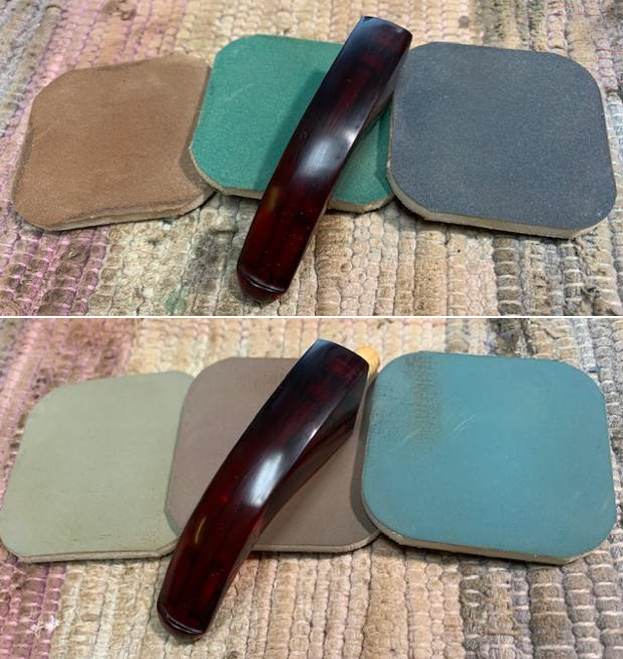
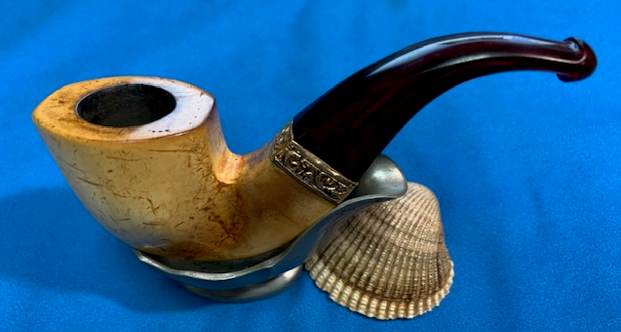
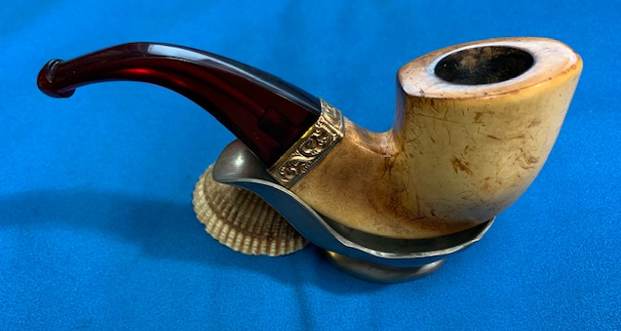
 This beautiful no name Bent Opera shaped Meerschaum with a Bakelite stem was another fun pipe to work on and I really was looking forward to seeing it come back together again. With the grime and debris gone from the finish it was a beauty and after the waxing with Beeswax the patina was quite nice. The rolled gold filigreed band on the shank is an added bonus. I put the stem back on the bowl and buffed the pipe with Blue Diamond on the buffing wheel. I buffing it with a clean buffing pad on the buffer to raise the shine. I hand buffed the pipe with a microfiber cloth to deepen the shine. The rich polished meerschaum on the bowl looks really good with the polished ruby Bakelite stem. It is very well done. Give the finished pipe a look in the photos below. I can only tell you that it is much prettier in person than the photos capture. The dimensions of the pipe are Length: 5 inches, Height: 2 inches, Outside diameter of the bowl: 1 1/8 inches x 1 ¾ inches, Chamber diameter: 7/8 of an inch. The weight of the pipe is 39 grams/1.38oz. This is truly a great looking Meerschaum. Thanks for walking through the restoration with me as I worked over another beautiful pipe. This beauty has already been spoken for and is reserved for the next pipeman. I hope to send it out in the mail tomorrow. Thanks for your time.