by Steve Laug
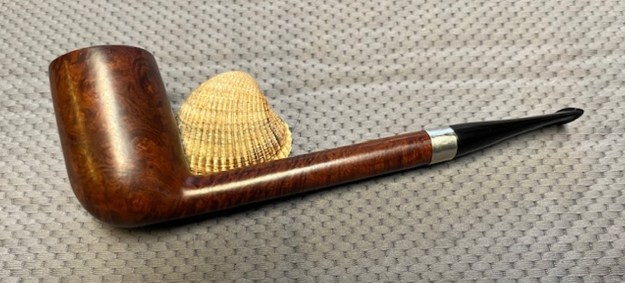
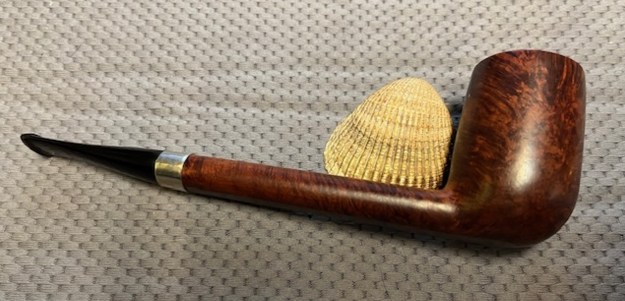
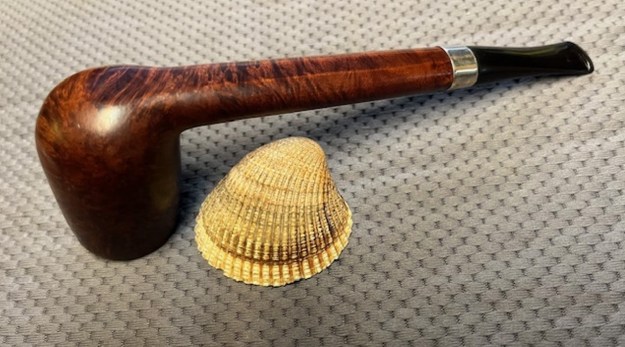
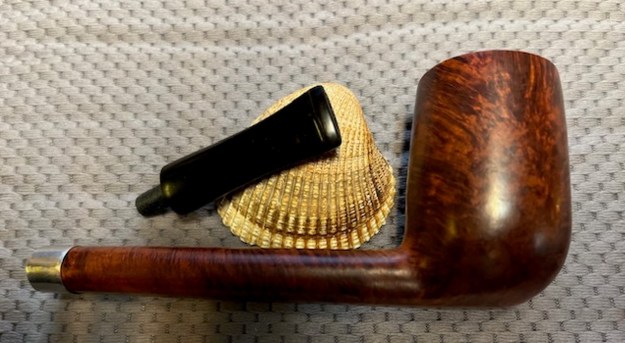
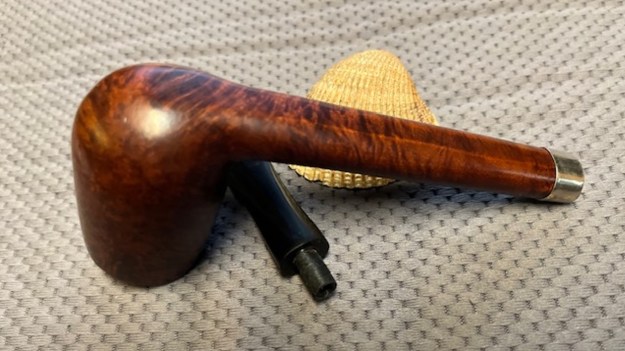
The next pipe on the work table is a smooth Canadian that has an Italian look to it but I cannot prove that. It is stamped on the top side of the shank and reads OLD WORLD. There were no other identifying marks or stamps on the shank of the pipe. It is a bit of a mystery pipe. It is another one that came from a box of pipes with broken tenons that I set aside to work on someday. Another one of those days I guess! It is long shank Canadian shaped bowl with a vulcanite taper stem. It has a tall bowl on it with some mix of grain around the sides and shank. The bowl had a moderate cake in the bowl and some lava on the rim top. The finish was in excellent condition and the stain highlights the grain. It was a dirty pipe on the inside of the shank. The vulcanite taper stem had no logo stamped on the topside. It has oxidation, calcification, tooth chatter and tooth marks on both sides ahead of the button. The tenon had snapped off cleanly and was missing when it came to us. I took photos of the pipe before I started working on it. 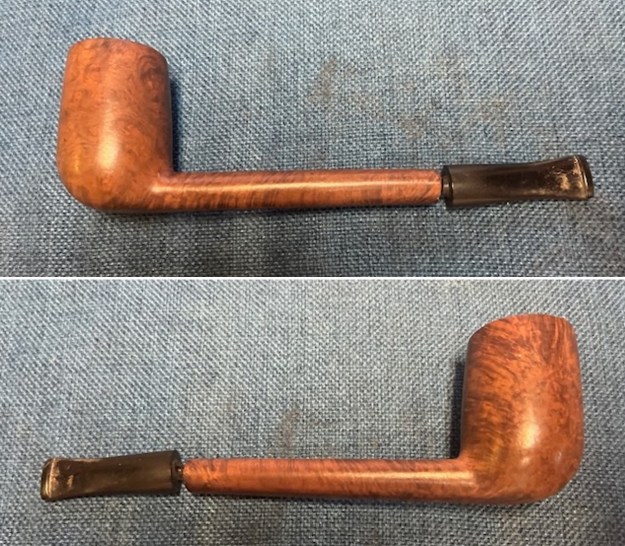
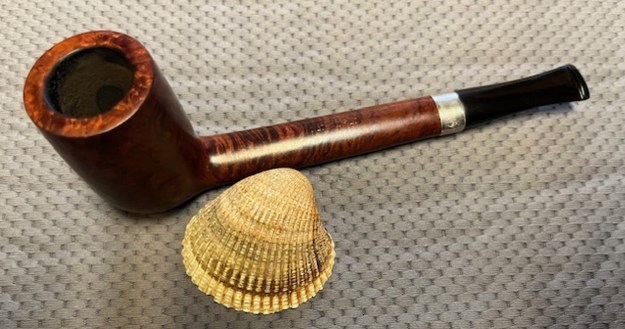
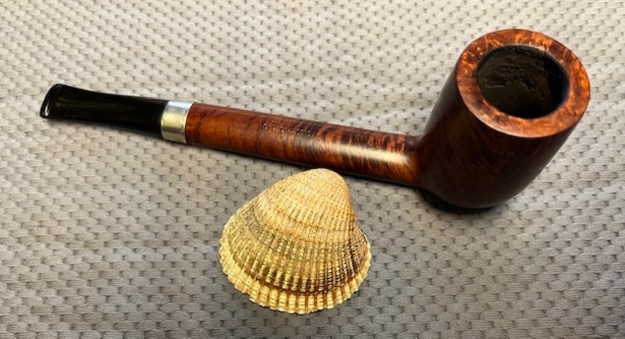
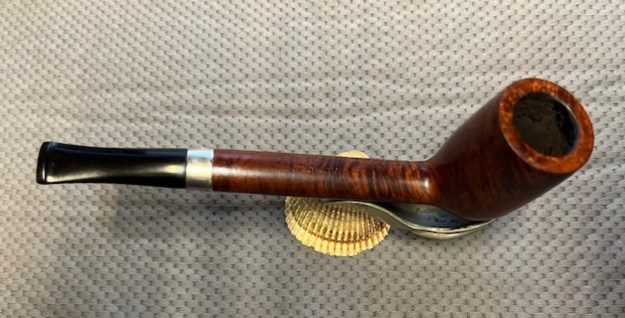
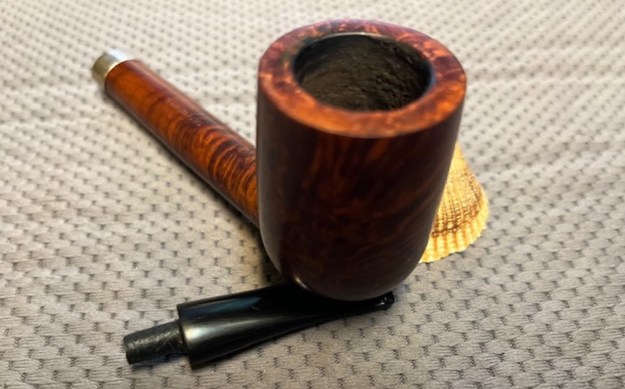
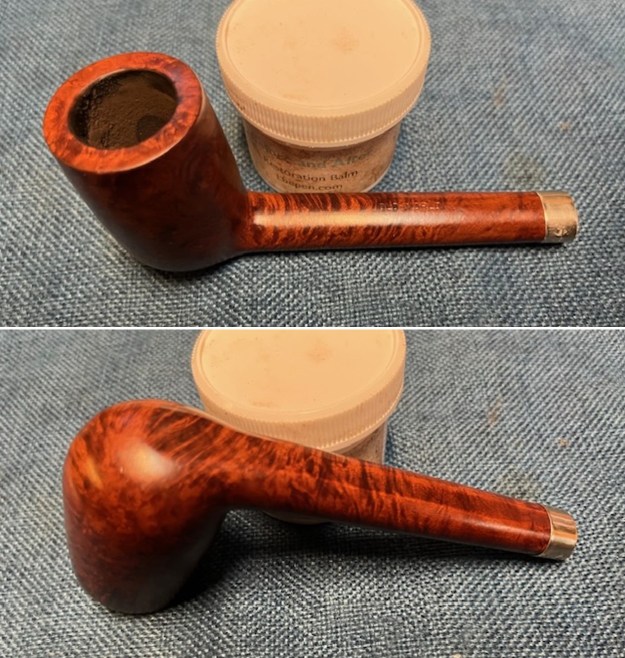
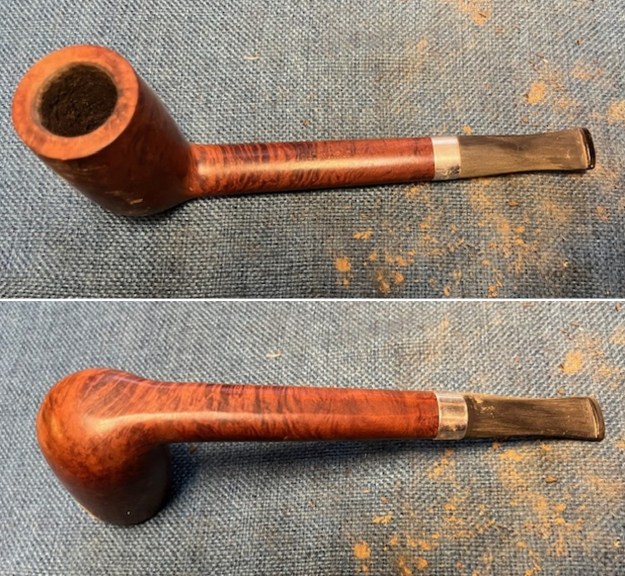
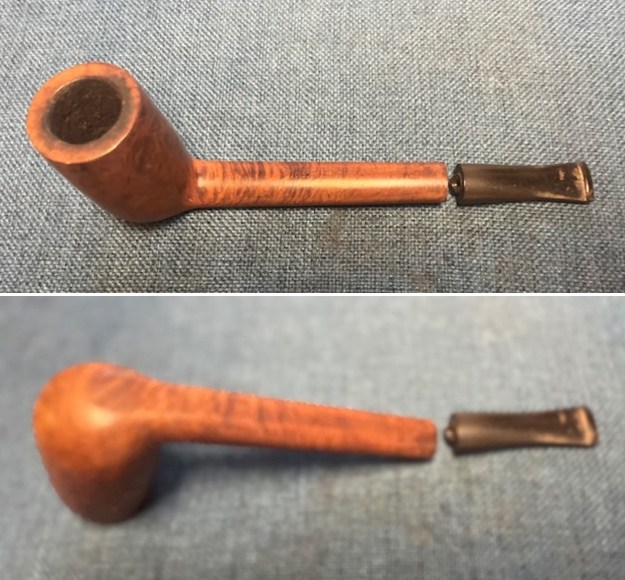 I took photos of the bowl, rim top and stem sides to show the condition of the both. It was a dirty bowl with debris and a moderated cake on the walls. The rim top had some darkening and lava on the right side toward the back of the bowl. The inner edge showed darkening and some build up in the same area. It was hard to know what the condition of the inner edge was underneath. I took photos of the top and underside of the stem showing tooth marks on both sides ahead of the button.
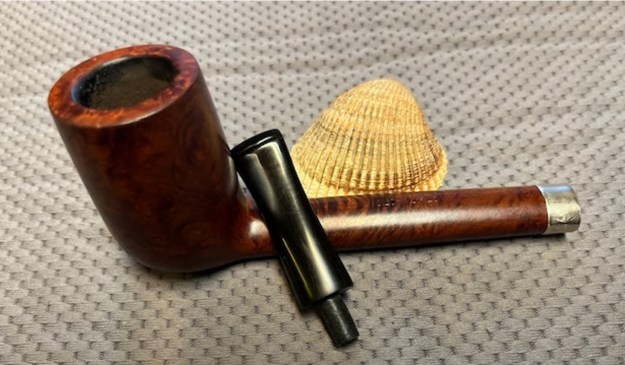
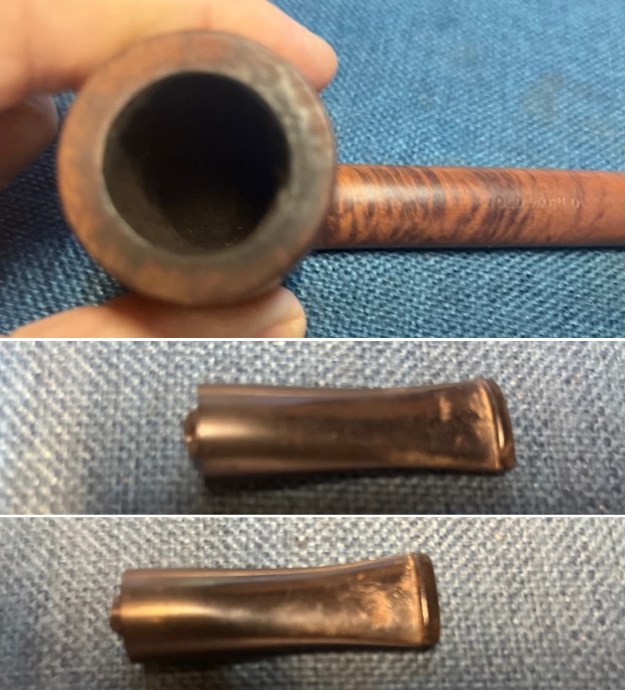 I took a photo to capture the stamping on the topside of the shank. It is clear and readable as noted above.
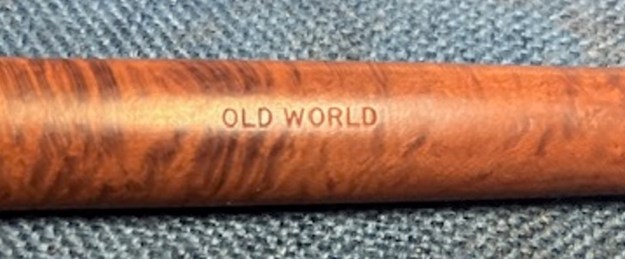 There was nothing online to identify the maker of the Old World pipe I was working on. The only thing I found was a note on “Who Made That Pipe” linking it to a brand stamped Old World Collectors made by Mastercraft. I knew from a lot of work on Mastercraft in the past that they never actually made pipes but had a wide variety of European carvers who made pipes for them to sell in the US. My early thoughts were that this was an Italian Made pipe but I will never be certain of that. Now it was time to work on the pipe.
In preparation for fitting a new tenon I flattened out the broken edges on the snapped tenon using a topping board and 220 grit sandpaper. I carefully smoothed out the stem end with a Dremel and sanding drum.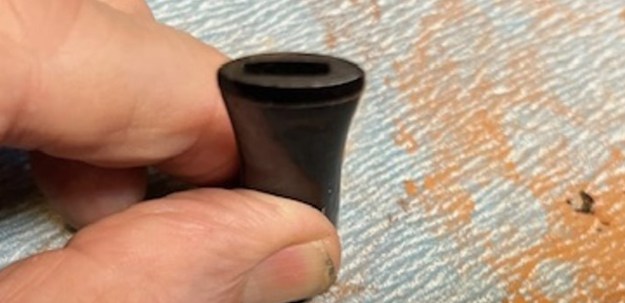 I drilled the home for the new tenon using airway in the stem as a guide. I drilled it several times with increasingly larger drill bits until I had the opening the same size as the threaded portion of the new tenon.
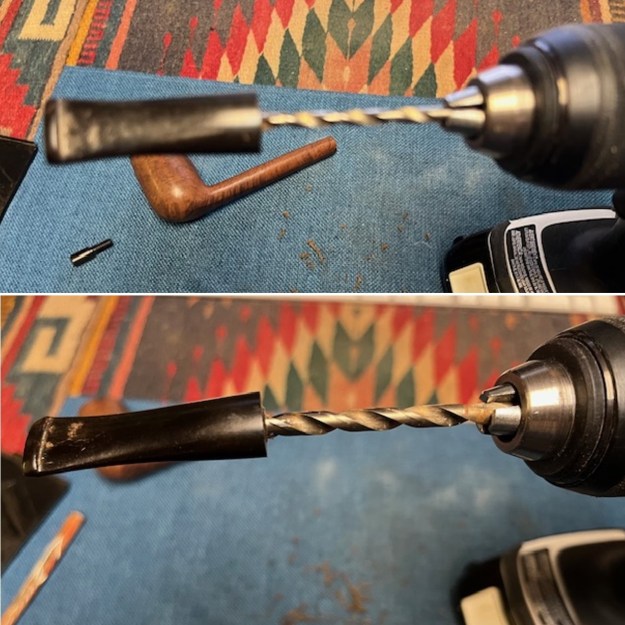 I examined the end of the shank to check for cracks or chips and found that there were no cracks but there were several chips on the shank end on both sides. I knew that I would need to fit a band on the shank end to give it a sharp edge for the fit of the stem to the shank.
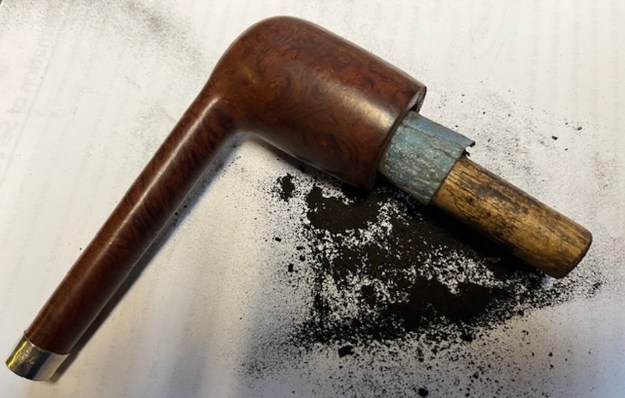
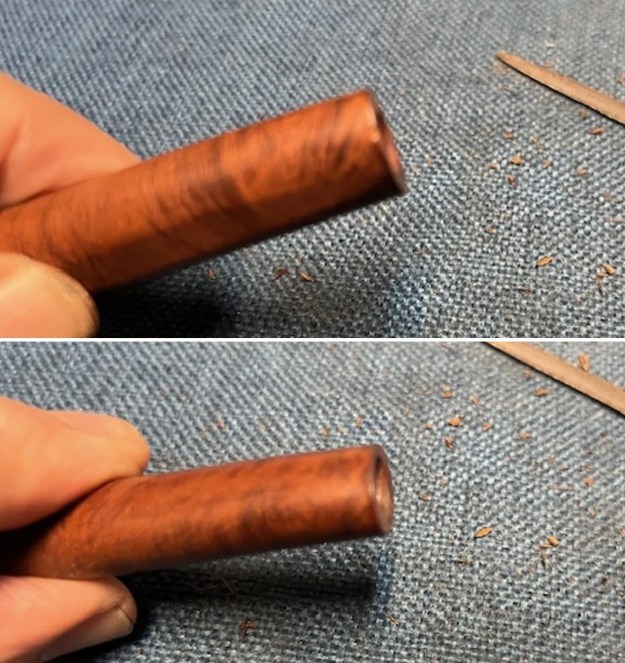 I fit the tenon in the stem to make sure the fit and alignment was correct and repeated the process in the mortise. I reduced the diameter of the tenon with a Dremel and sanding drum for a smooth fit in the mortise. I fit the stem on the tenon in the mortise to check the alignment. I went through my bands and found an oval band that would fit well on the shank end. I used a folded pipe cleaner to apply all purpose glue to the briar.
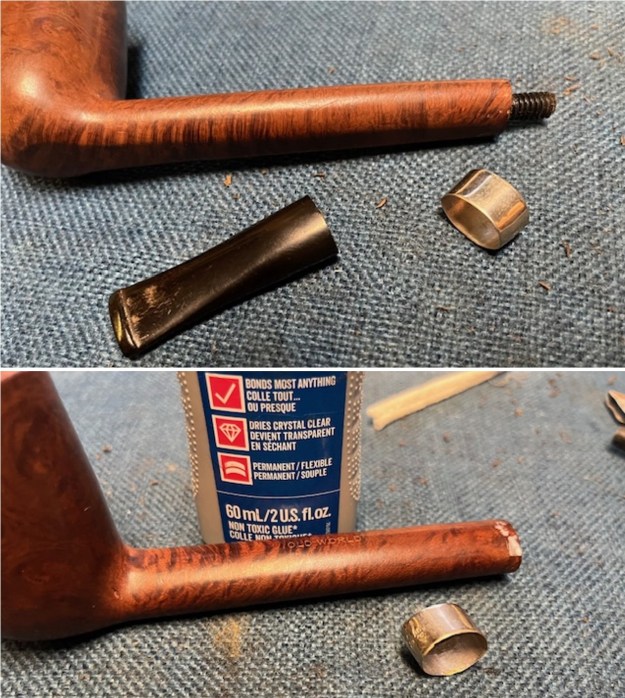 I pressed the band on to the shank end and squared it off for the fit of the stem against the shank. The band added a touch of bling to the shank that would look very good once the glue cured.
 I put the tenon in the shank and made sure that it was straight in the shank. Once it all was straight the stem would fit perfect on the shank end.
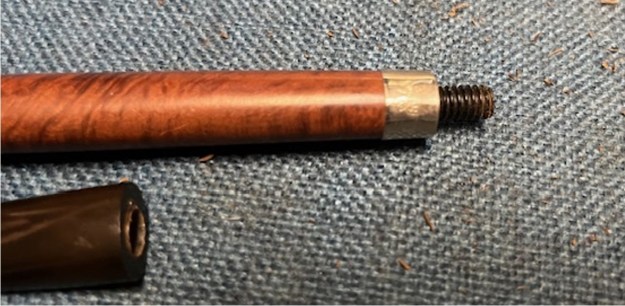 With the fit as good as it was going to get on this one I slid a pipe cleaner in the stem and tenon and painted the threads with black CA glue. I pressed it into place in the stem and set it aside to cure.
 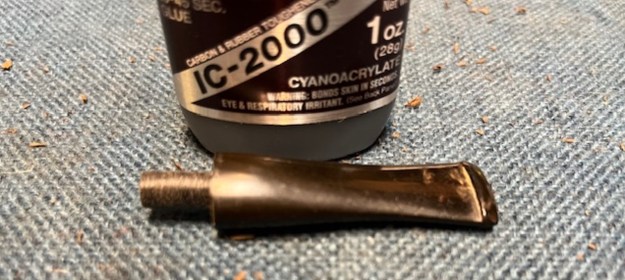 While it was curing I turned my attention to the bowl. I reamed the bowl with a PipNet pipe reamer using the 2nd and 3rd cutting heads to remove the cake in the bowl. I cleaned up the reaming with a Savinelli Fitsall Pipe Knife and finally sanded the bowl with 220 grit sandpaper wrapped around a piece of dowel to clean up the walls of the bowl. It was in great condition.
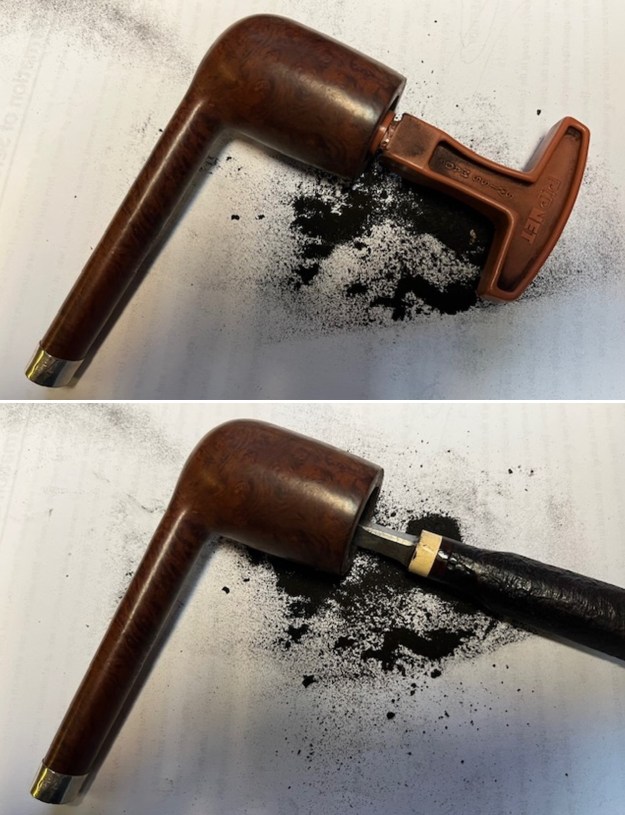
 I cleaned out the shank and airway into the bowl and the stem with pipe cleaners, cotton swabs and alcohol to remove the tars and oils. I cleaned out the airway in the stem at the same time.
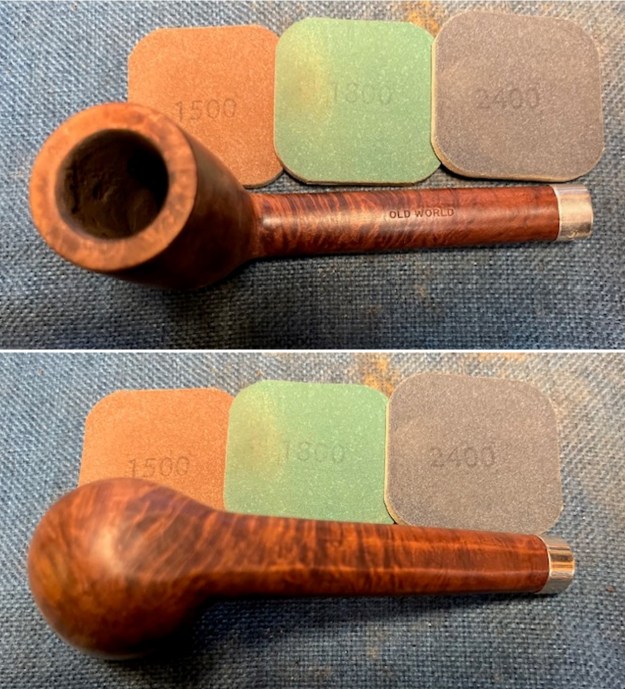
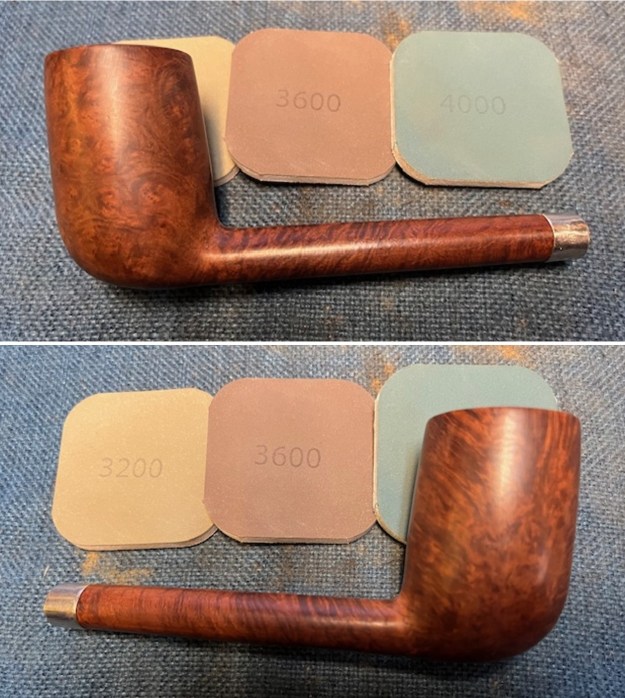
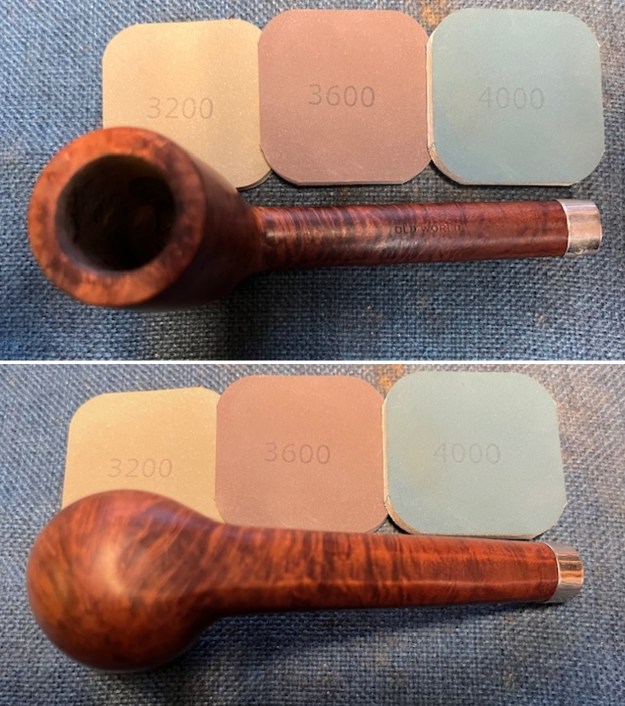
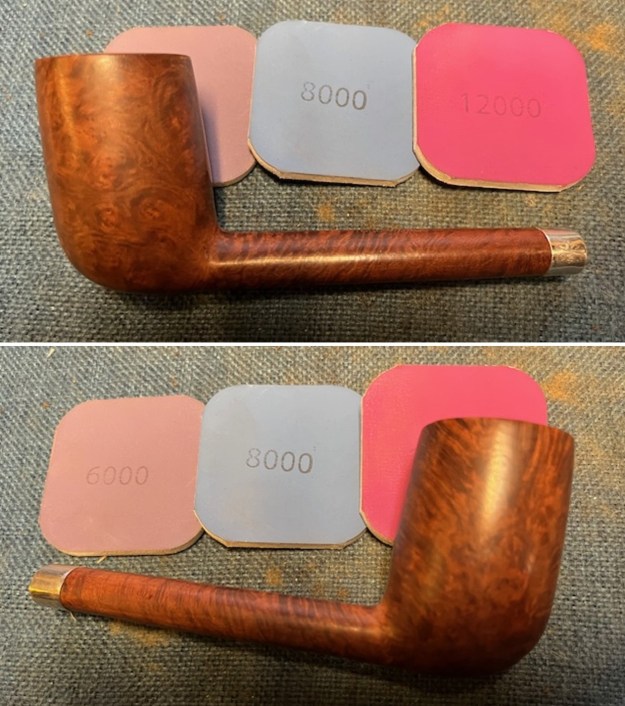
 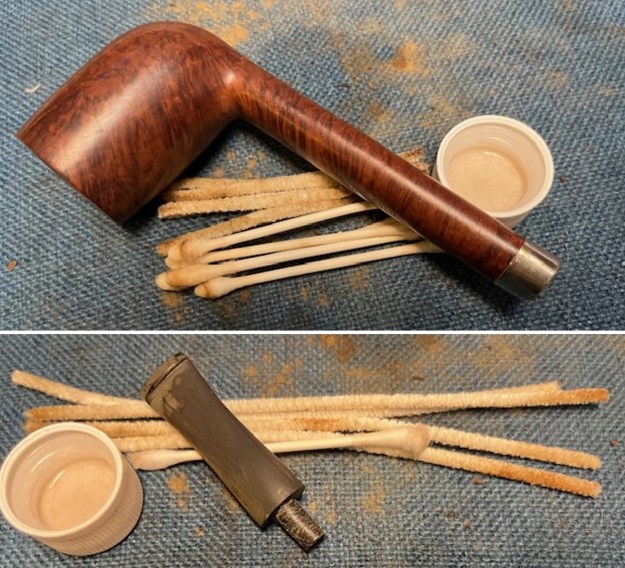 I polished the rim top and bowl with micromesh sanding pads – dry sanding with 1500-12000 grit sanding pads. I wiped it down with a damp cloth after each sanding pad to remove the dust and debris. It looked progressively better with each set of pads.
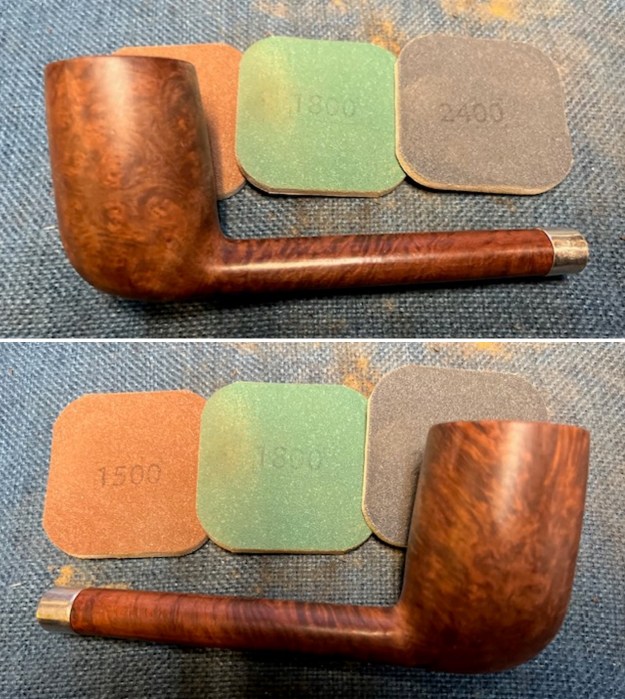
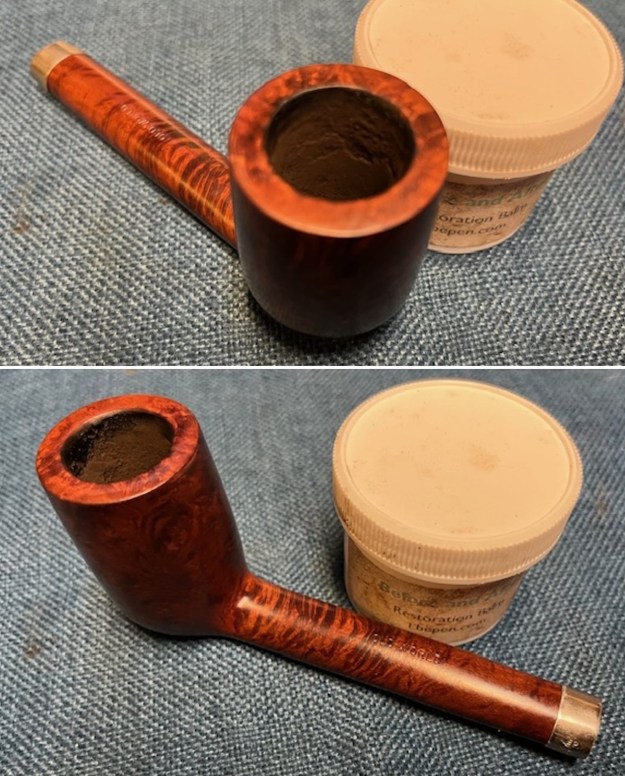
 I worked some Before & After Restoration Balm into the finish of the bowl, rim top and shank with my fingertips to clean, enliven and protect it. I find that the balm really makes the briar come alive again. I let the balm sit for 15 minutes and then buffed with a cotton cloth to raise the shine. The bowl really looks good at this point.
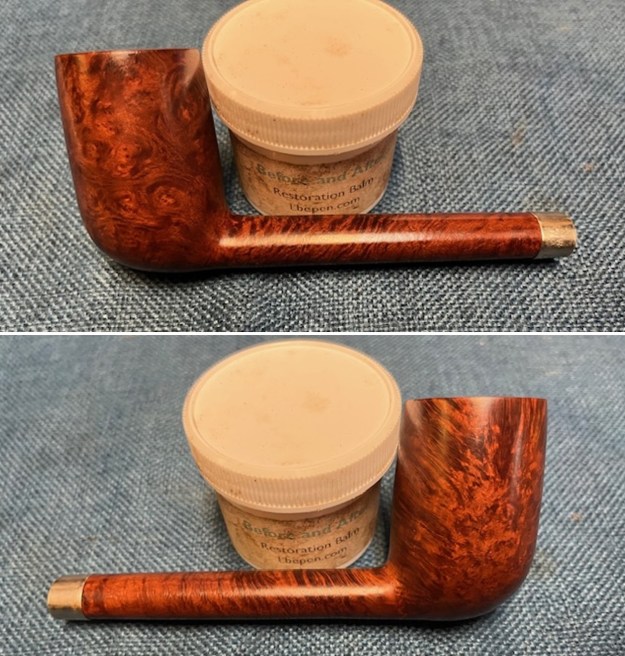
 I set aside the bowl and turned my attention to the stem. I sanded the stem surface with 220 sandpaper to remove the tooth chatter and light tooth marks. I worked on the fit of the stem to the shank end so that it sat right in the edge of the band. It was looking much better at this point.
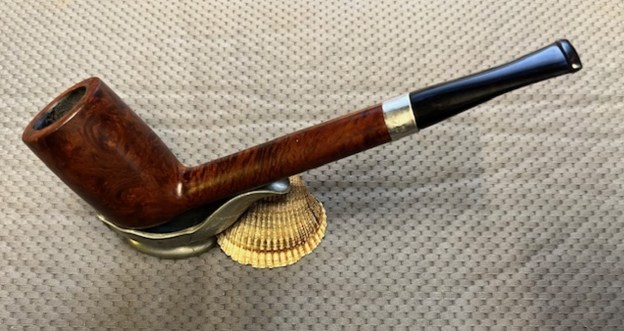
 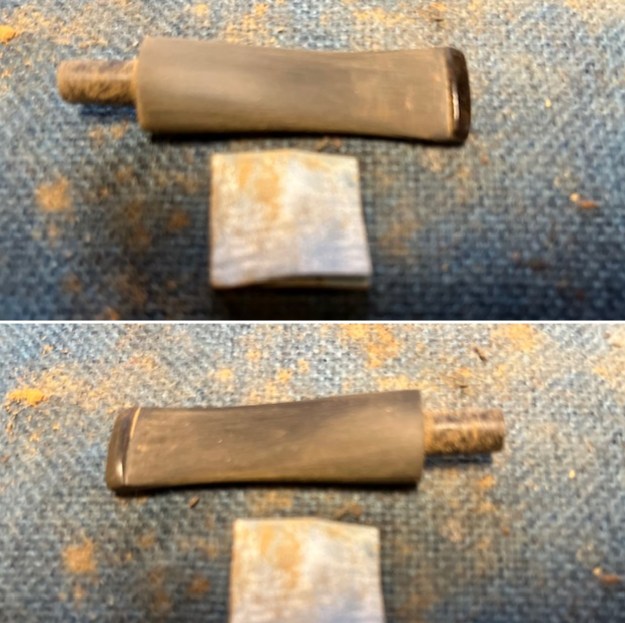 I put the stem on the shank and took a photo of the pipe at this point to show the fit of the stem and the new band.
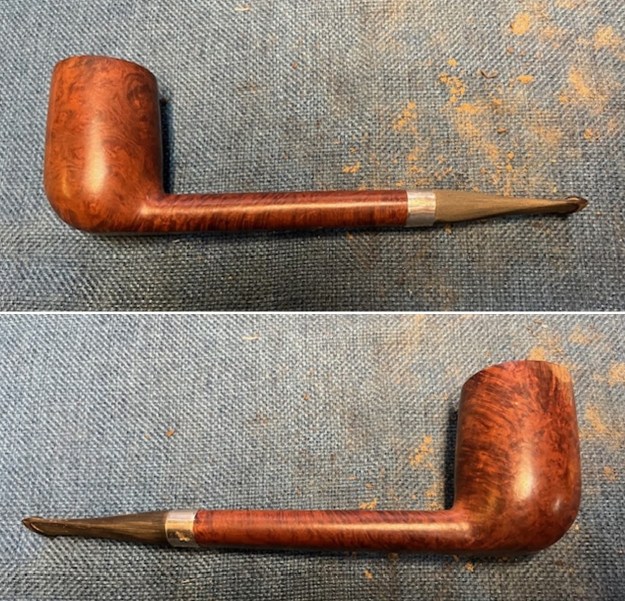
 I sanded the stem with 320-3500 grit sanding pads and wiped the stem down after each pad with an Obsidian Oil saturated cloth to remove the grime and protect the stem.
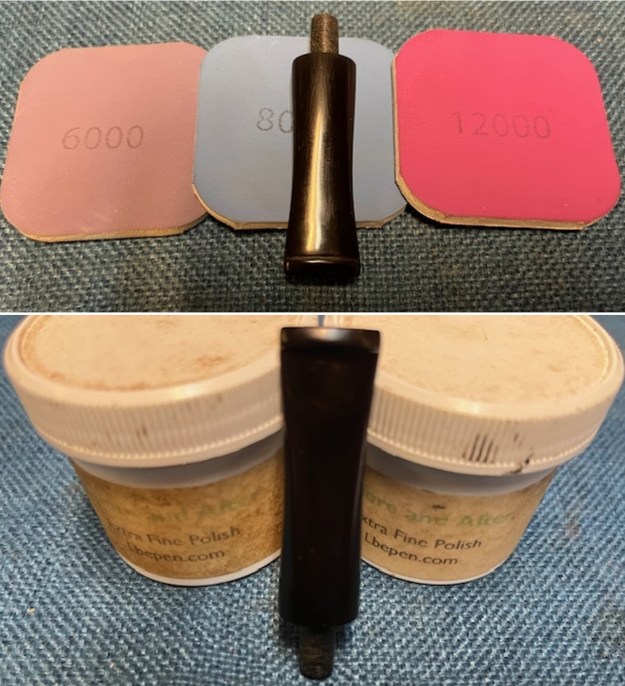
 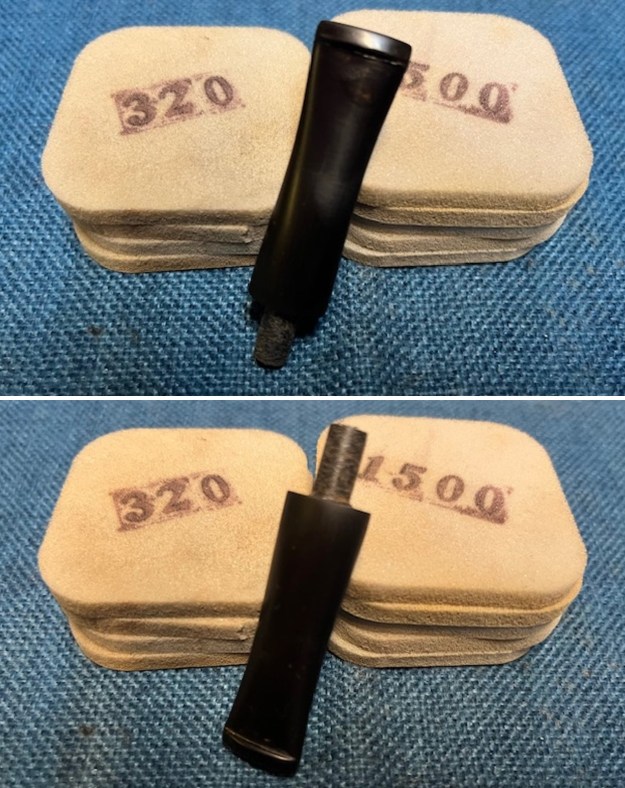 I polished the stem with micromesh sanding pads – wet sanding it with 1500-12000 grit pads. I polished it further with Before & After Pipe Stem Polish – both fine and extra fine.
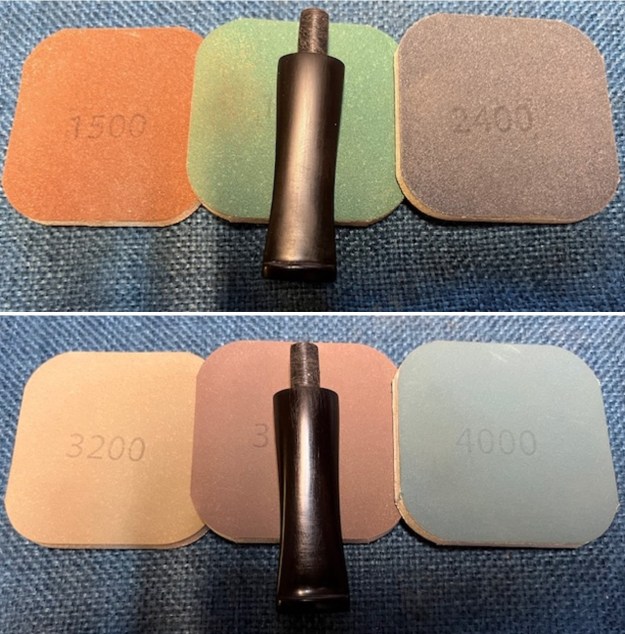
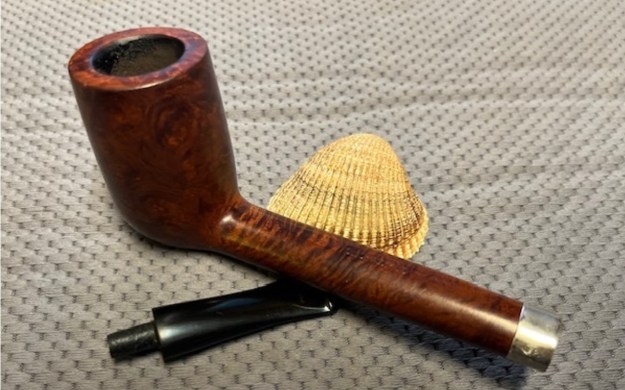
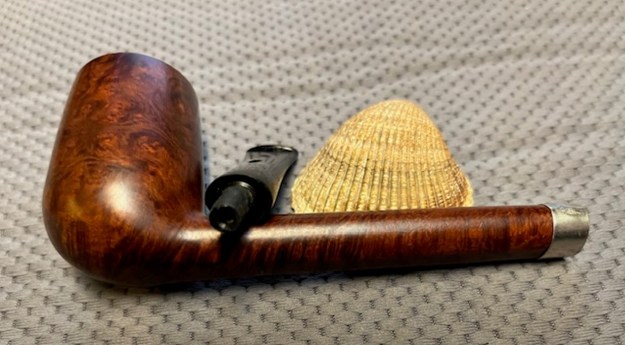
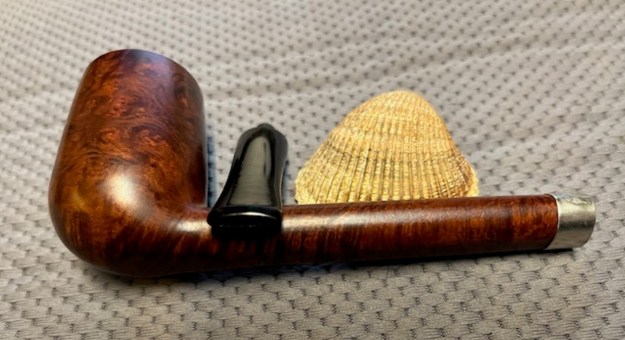
 Once again, I am the part of the restoration that I always look forward to – the moment when all the pieces are put back together. I put the pipe back together and buffed the bowl and the stem with Blue Diamond on the buffing wheel. I gave the bowl and the stem multiple coats of carnauba wax. I buffed the pipe with a clean buffing pad to raise the shine. I hand buffed it with a microfiber cloth to deepen the shine. It is fun to see what the polished bowl looks like with the deeply rusticated finish and the black acrylic stem. This richly stained Old World Canadian is light weight and ready for you to load up a tobacco of preference and enjoy a fresh smoke. Have a look at it in the photos below. The dimensions are Length: 7 inches, Height: 2 ¼ inches, Outside diameter of the bowl: 1 ¼ inches, Chamber diameter: ¾ of an inch. The weight of the pipe is 45 grams/1.59 ounces. This is one that will go on the Italian Pipe Makers Section of the rebornpipes online store shortly. Let me know if you are interested in adding it to your rack. Thanks to each of you who are reading this blog. Remember we are not pipe owners; we are pipemen and women who hold our pipes in trust until they pass on into the trust of the next generation.