Blog by Paresh Deshpande
The early Transition Era Barling #2639 that was recently restored was a breeze to work on and finished in real quick time, including the write up. The next pipe now on my work table has a lot of similarities to the Barling #2639; it is cleaned and spruced up by Abha, comes from my inheritance of pipes, has no serious issues to address (apparently) and in this instance too, she has not taken pictures before she commenced her cleaning regimen!!
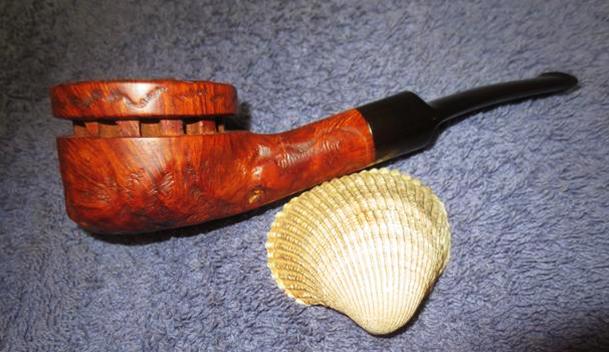
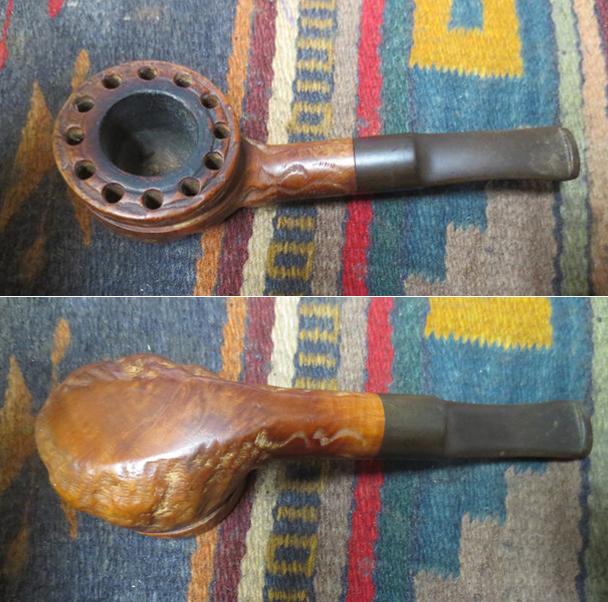
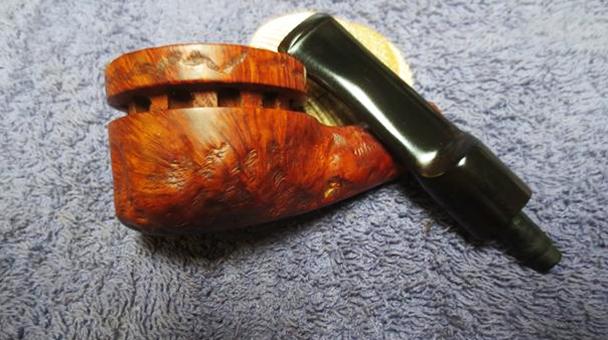
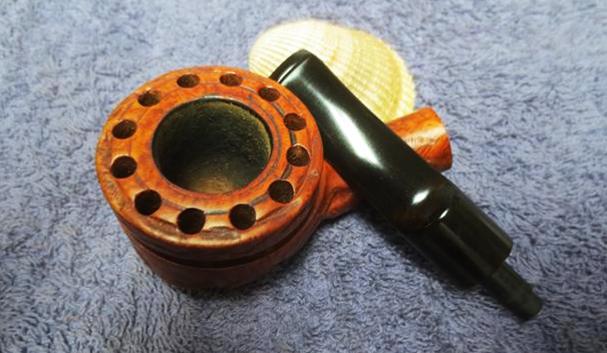
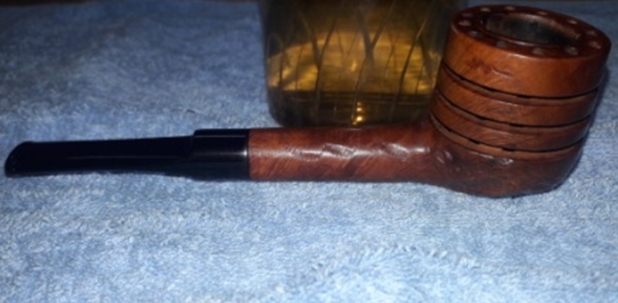
“The Doodler” pipe on my work table is definitely not a looker by any stretch of imagination!!!! It is a simple straightforward billiard with a vulcanite saddle stem. What is unique though, is its design contribution in the ever progressing quest in the pipe world for a cool smoke and the man behind its design and development. The characteristic features of this pipe are a Custom-Bilt like worm rustications on the heel and shank, even and equally spaced out drilled holes and vertical slats which can be seen through the three rings of briar. From the design itself, it is apparent that all these features that have been incorporated in construction is with one and only purpose and that is to increase the dissipation of heat from the chamber while providing a nice cool smoke. The only stamping seen on this pipe is “THE DOODLER” in fancy block letters over “IMPORTED BRIAR”, on the right side of the shank. The saddle straight vulcanite stem is devoid of any logo.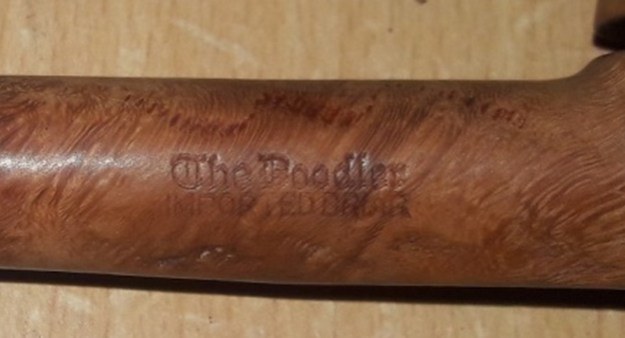 While restoring one of the 5 (or 6) Custom-Bilt from my inherited pipes, I had read about the legendary pipe maker from America, Mr. Tracy Mincer and his second innings after Custom-Bilt, The Doodler!!! To refresh my memory, I revisited rebornpipes.com and pipedia.org. These sites have all the information that one is looking for on “THE DOODLER”. Here are the links from these sites; https://rebornpipes.com/2013/05/22/a-unique-piece-of-pipe-design-history-doodlers-by-tracy-mincer/
https://pipedia.org/wiki/The_Doodler
From both the above articles, it is amply evident that the pipe that is on my work table is from the 1953 to 1960s era and is an integral part of history in mankind’s eternal quest for a cool smoke!!!!
INITIAL VISUAL INSPECTION
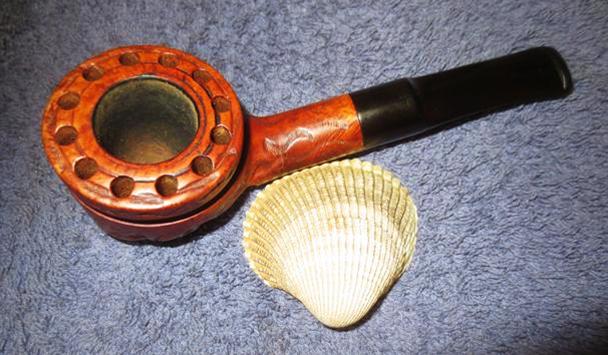
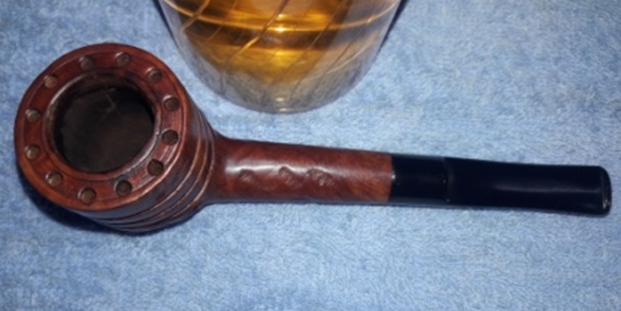
This pipe is another that Abha, my wife had sent me after she had reamed the cake back to the bare briar and cleaned the stummel exterior and rim top surface with Murphy’s oil soap. She had also cleaned out all the nooks and crevices resulting from the design of the pipe. She followed it up with cleaning the mortise and the shank using regular and hard bristled pipe cleaners dipped in isopropyl alcohol. The cleaned up pipe on my work table now, can be seen in the following pictures. It really feels nice to work on a clean pipe; I must admit and cannot help but thank her for doing all the dirty work. Unfortunately, she did not click any pictures of the condition of the pipe before she worked her magic on them. When I inquired about the condition before she had cleaned it, her one line reply was “surprisingly different from his (grandfather’s) other pipes!!!” For those who have been reading my previous write ups would recollect that my grandfather never really believed in cleaning his pipes, he would rather buy new ones when the old pipes clogged up and became unsmokable. However, in this case, there was a very thin layer of cake and the stem was in good condition.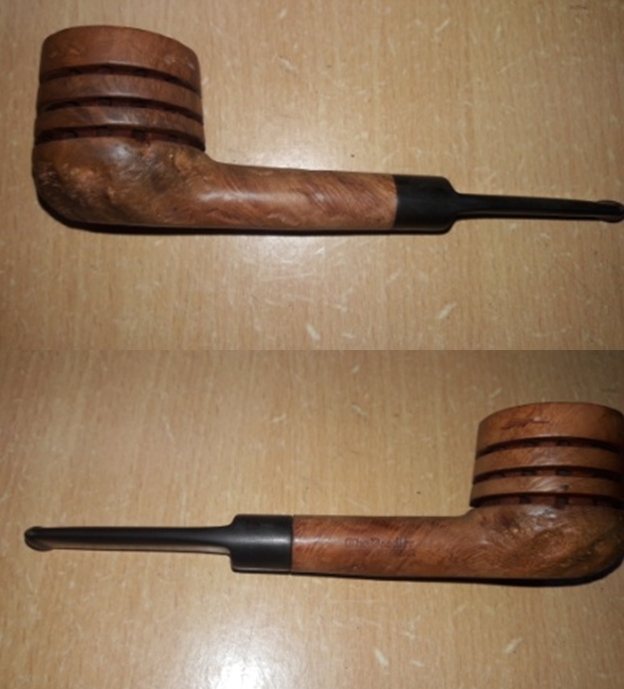
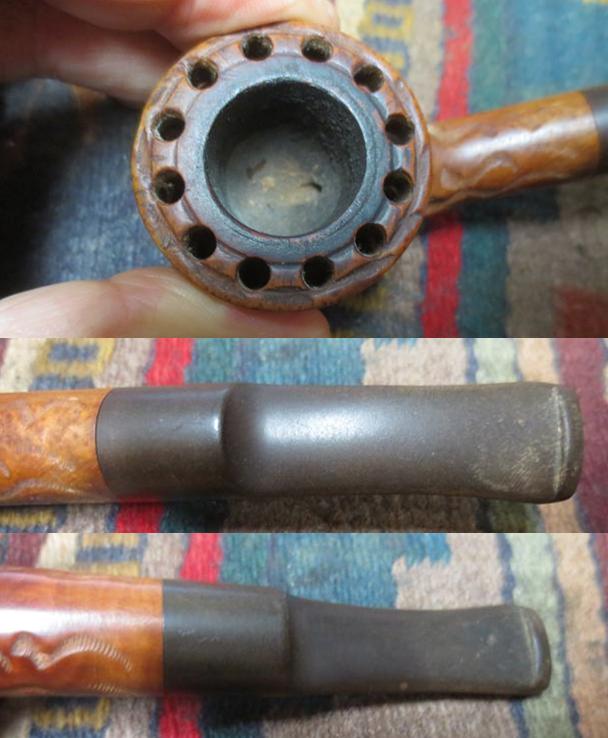
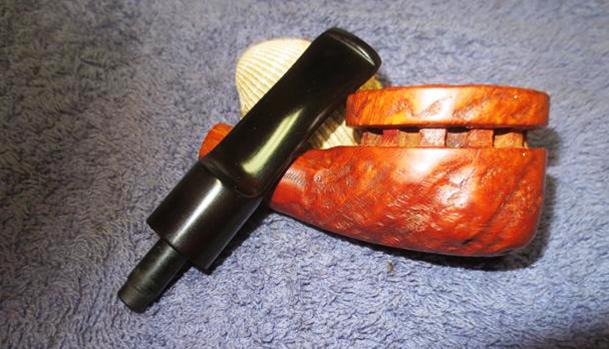
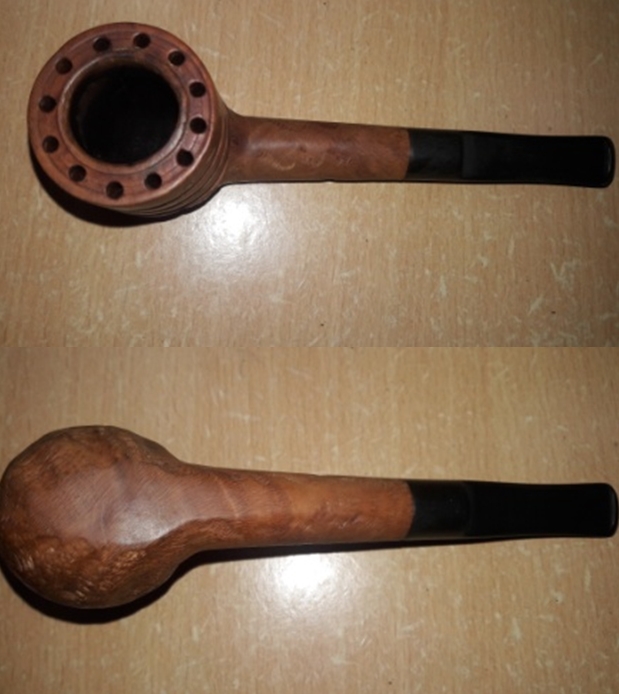 From the present condition of the pipe, there are only two issues that I would need to address on the stummel; a heat fissure on the wall of the chamber and the heel has thinned out (or so it appears to me). To err on the positive, I intend to coat the chamber wall and heel with a mix of activated charcoal and yogurt. This coat will not only protect the chamber wall from direct heat, but will also aid in faster build up of the cake.
The vulcanite stem is surprisingly clean with only a slight damage to the lip on the upper surface. This issue should not be a major headache to address. The lip edge on both sides is distinct but will have to be sharpened. Also, the upper surface of the slot has thinned out. Why, I fail to comprehend!! The quality of vulcanite is good. The fit of the tenon in to the mortise is slightly loose. This is usually observed in pipes where the mortise wall has dried out due to non usage for a long time.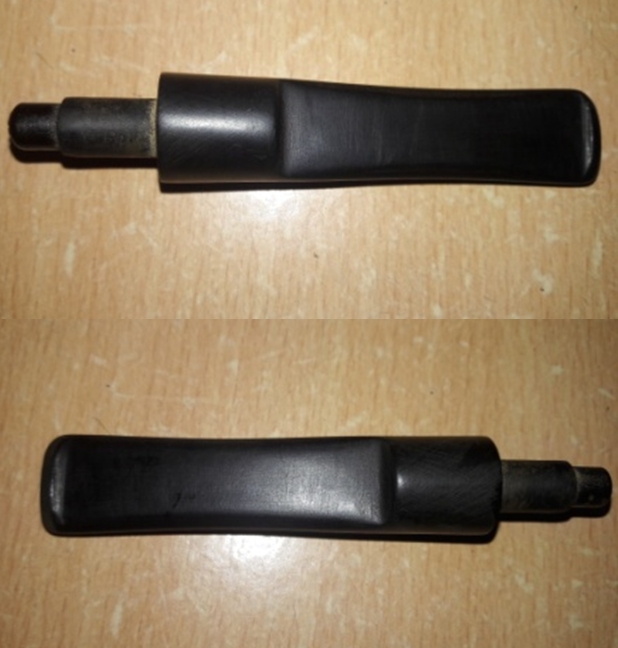
 THE PROCESS
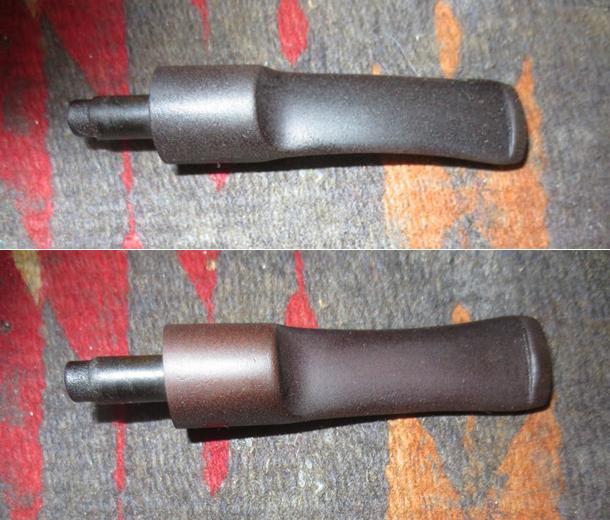
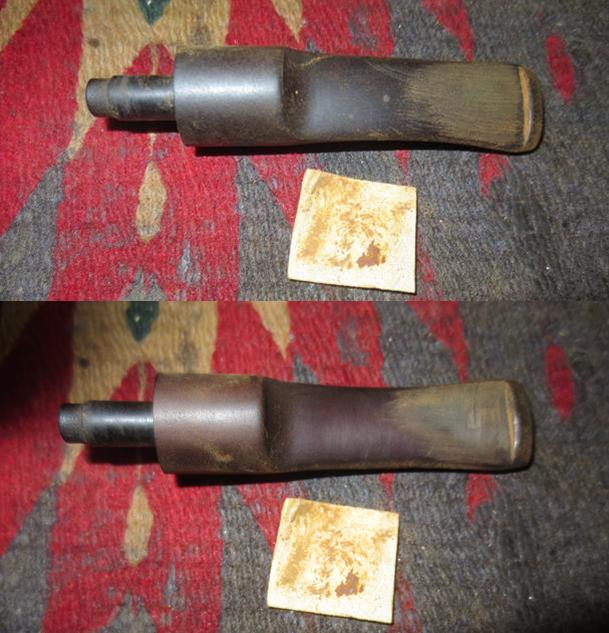
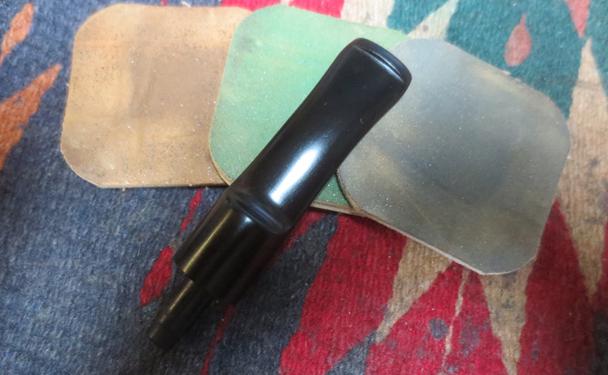
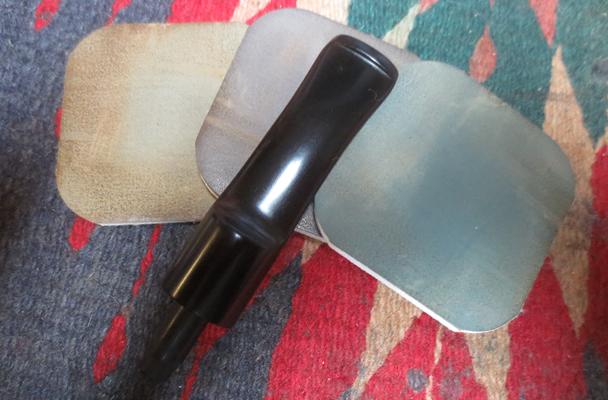
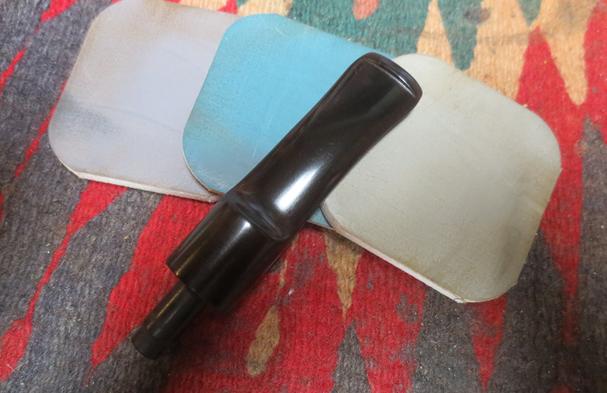
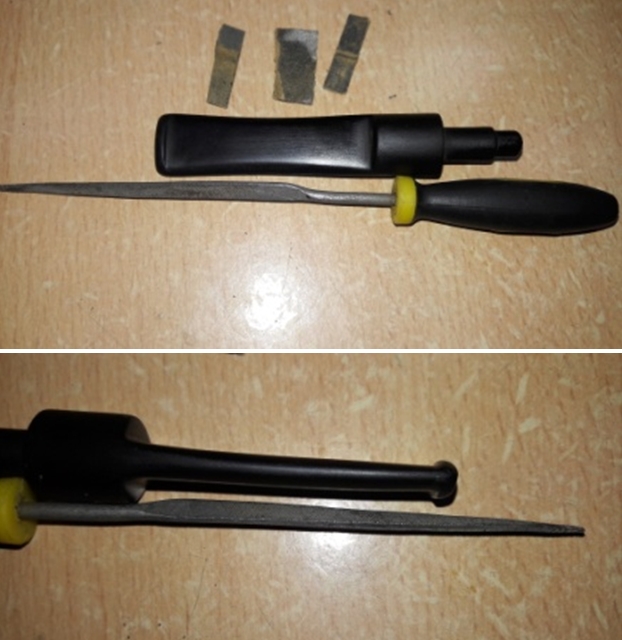
Since in this project, the stem has the most number of issues to be addressed, it is where I start the restoration. I wiped the stem surface clean with a cotton pad dipped in alcohol to remove all the dust and dirt from the surface. To address the issue of thinned out upper surface of the slot, I layered the upper lip edge with a mix of activated charcoal and clear CA superglue and I set it aside to cure overnight. I applied a layer of this mix to the lower lip edge to ensure an even thickness on both surfaces. Once the filling of charcoal and CA superglue had cured and I was satisfied with the thickness, using a needle file, I sand the layers of the fill to match the surface of the stem. For a better blending, I further sand the entire stem with 220 followed by 600 and 800 grit sandpaper. This helps to reduce the sanding marks left behind by the more abrasive 220 grit paper. To bring a deep shine to the vulcanite stem, I went through the complete set of micromesh pads, wet sanding with 1500 to 2400 grit pads and dry sanding with 3200 to 12000 grit pads. I wiped the stem with alcohol after each pad and rubbed it down with Extra Virgin Olive oil. The internals of the stem was cleaned out using alcohol and pipe cleaners. The finished stem is shown below.
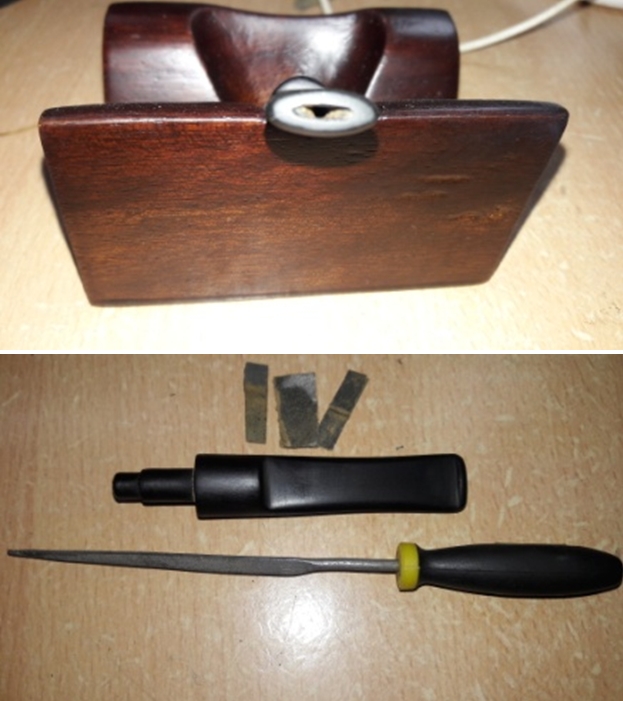
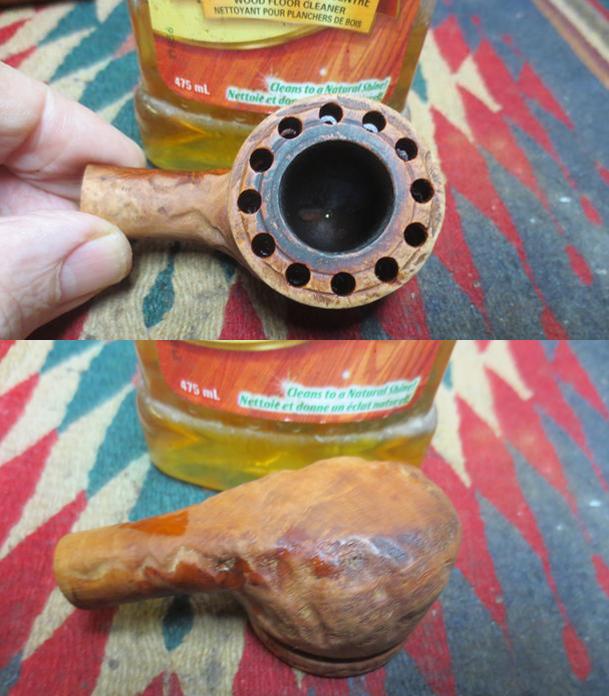
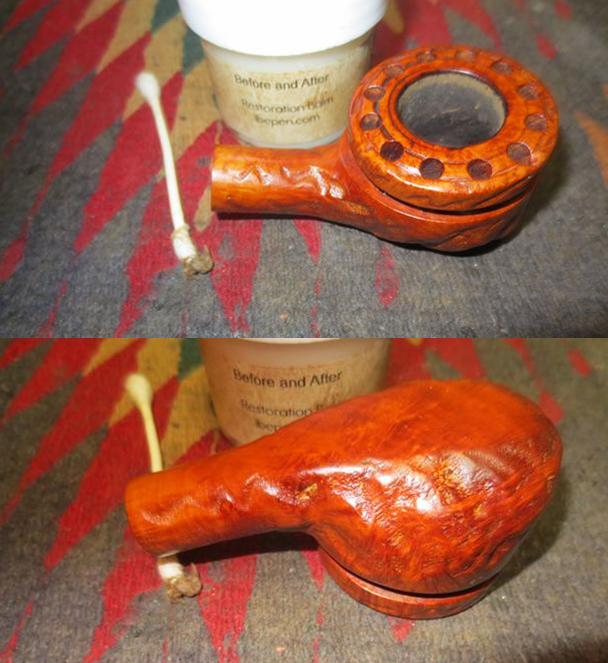
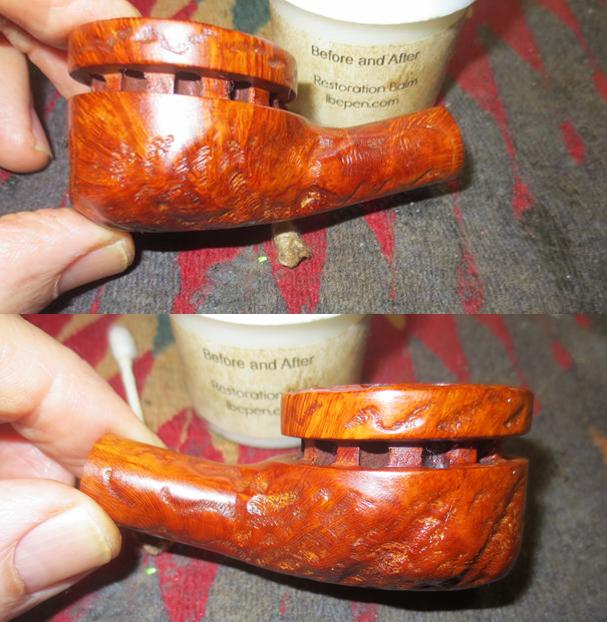
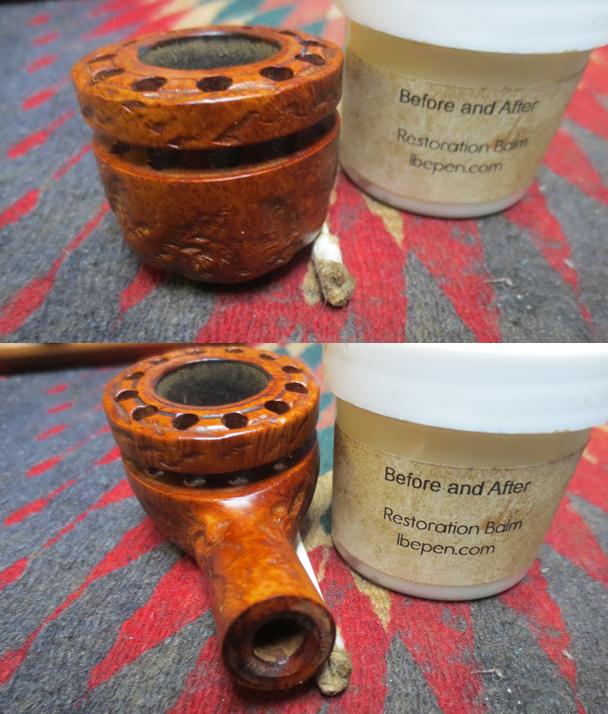
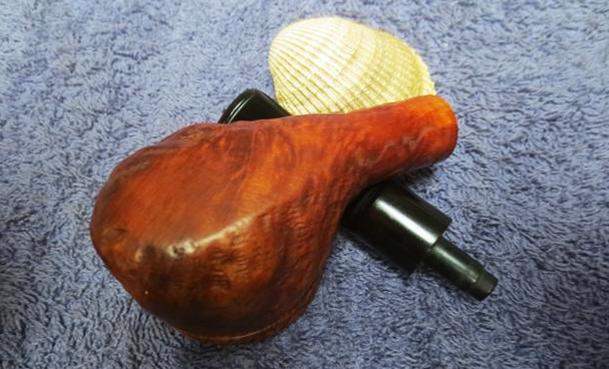
 I rub a small quantity of “Before and After Restoration Balm” in to briar and let it rest for a few minutes. The balm almost immediately works its magic and the briar now has a nice vibrant appearance. I further buff it with a horse hair shoe brush.

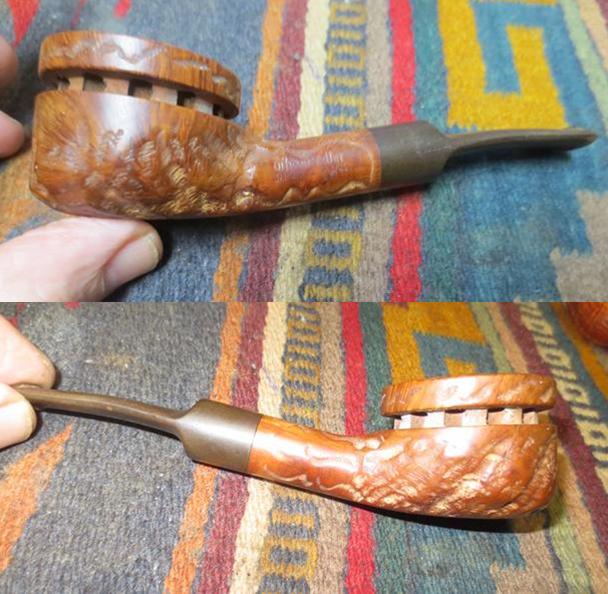
 To finish the restoration, I re-attach the stem with the stummel. I mounted a cotton cloth buffing wheel to the Dremel (actually it is not the brand machine, but a local machine which is similar). I set the speed at about half of the full power and applied White Diamond compound to the entire pipe. I wiped/ buffed the pipe with a soft cotton cloth to clear it of any leftover compound dust. I then mounted another cotton cloth wheel on to the polishing machine and applied several coats of carnauba wax. I finished the restoration by giving the entire pipe a rigorous hand buffing using a microfiber cloth to raise the shine further.
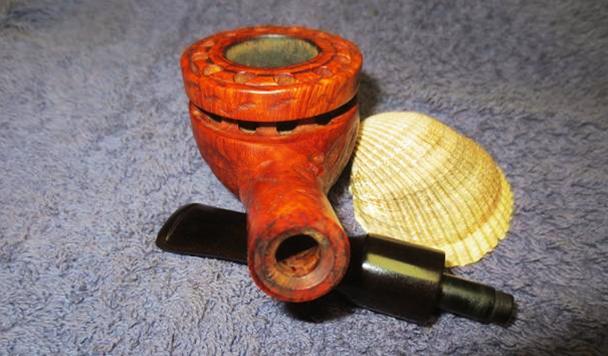
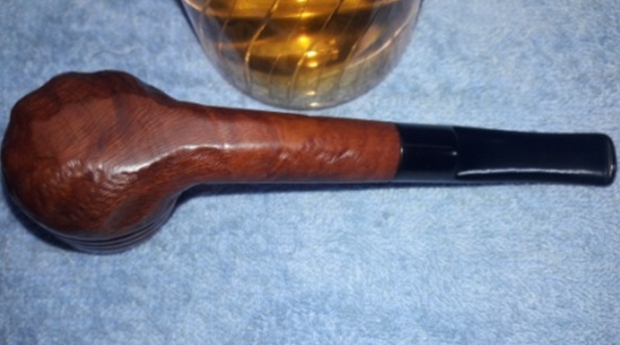
 The completed pipe looks fresh, vibrant and ready for its next innings with me. This piece of briar will find a place of pride in my collection, if not as part of rotation, as a part of history of pipes. If only it could tell me stories it had witnessed and why did my grandfather not smoke it as heavily as his other pipes?!!!! Thank you for having the patience to reach this far while reading the write up.
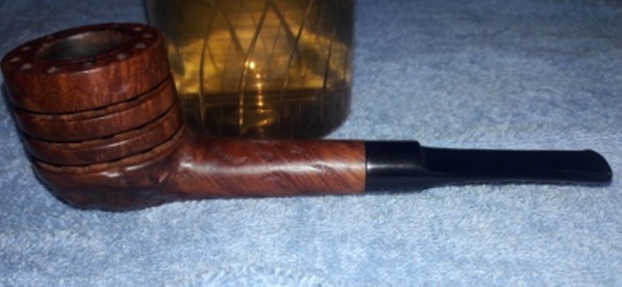
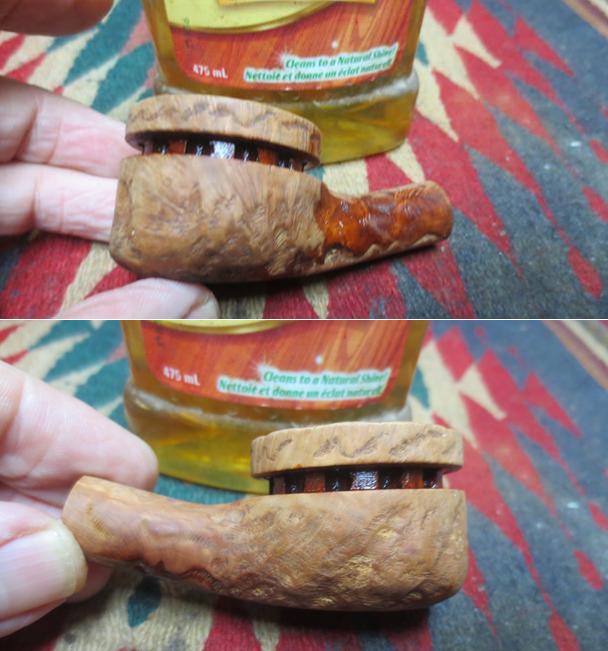
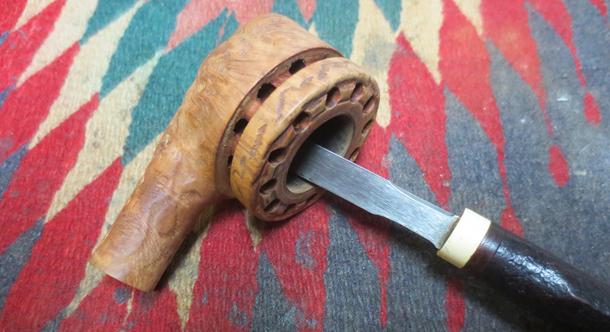
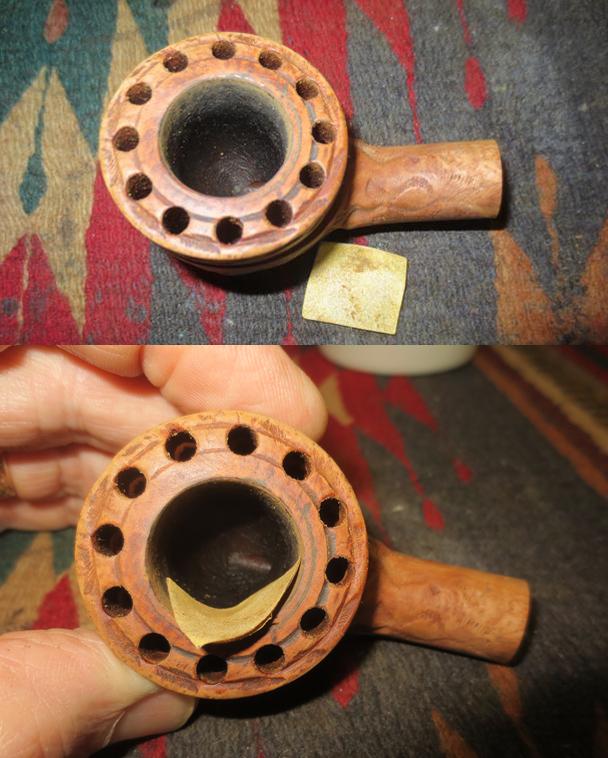
 PS: The only issue that needed to be addressed was that of the thin line of heat fissure. I mixed activated charcoal and yogurt to a consistency where the mix is thin enough to spread evenly but thick to the point that it is not runny at all. Using my fabricated bamboo frond, I apply an even coat all along the chamber wall and drop a thick blob of the mix over the heel. I tap the foot of the stummel with my fingers to ensure an even spread of the mix over the heel and expel air bubbles.