Tag Archives: super glue and briar dust fills

Restoring an old Harlequin Pipe and Trying to Unravel the Mystery of its Origin


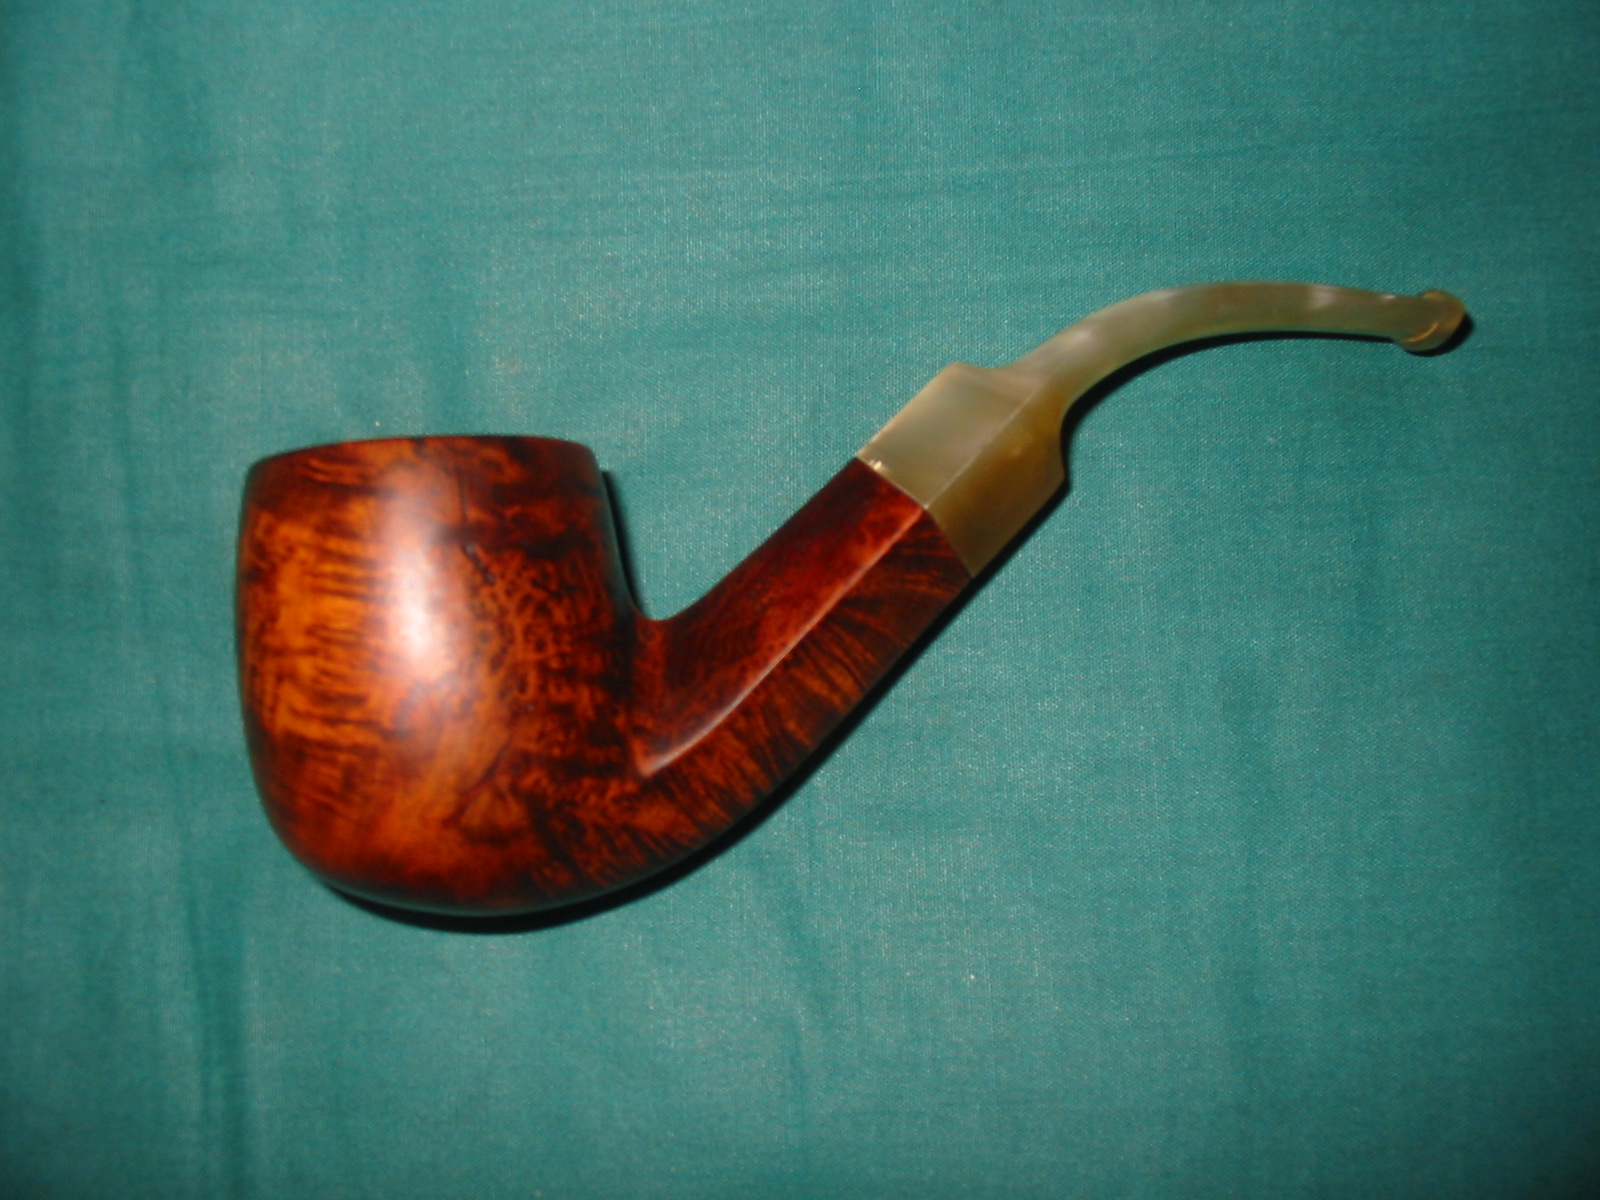
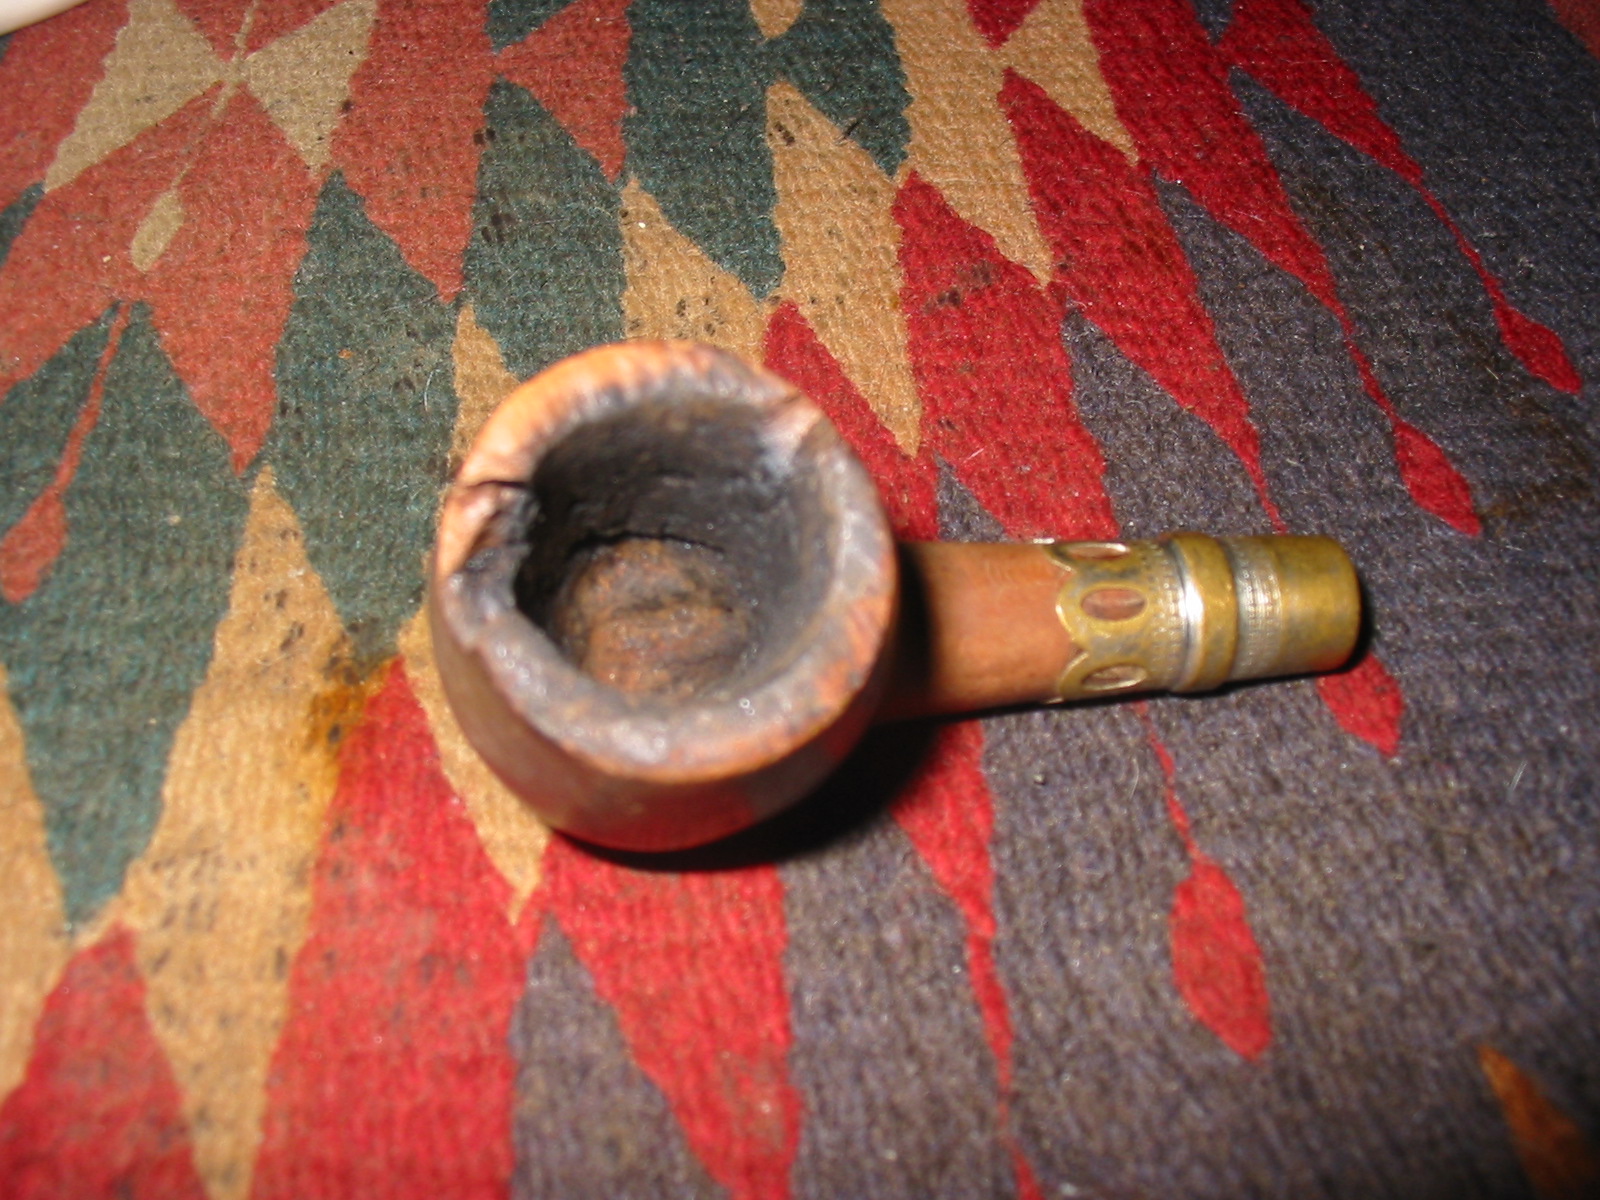
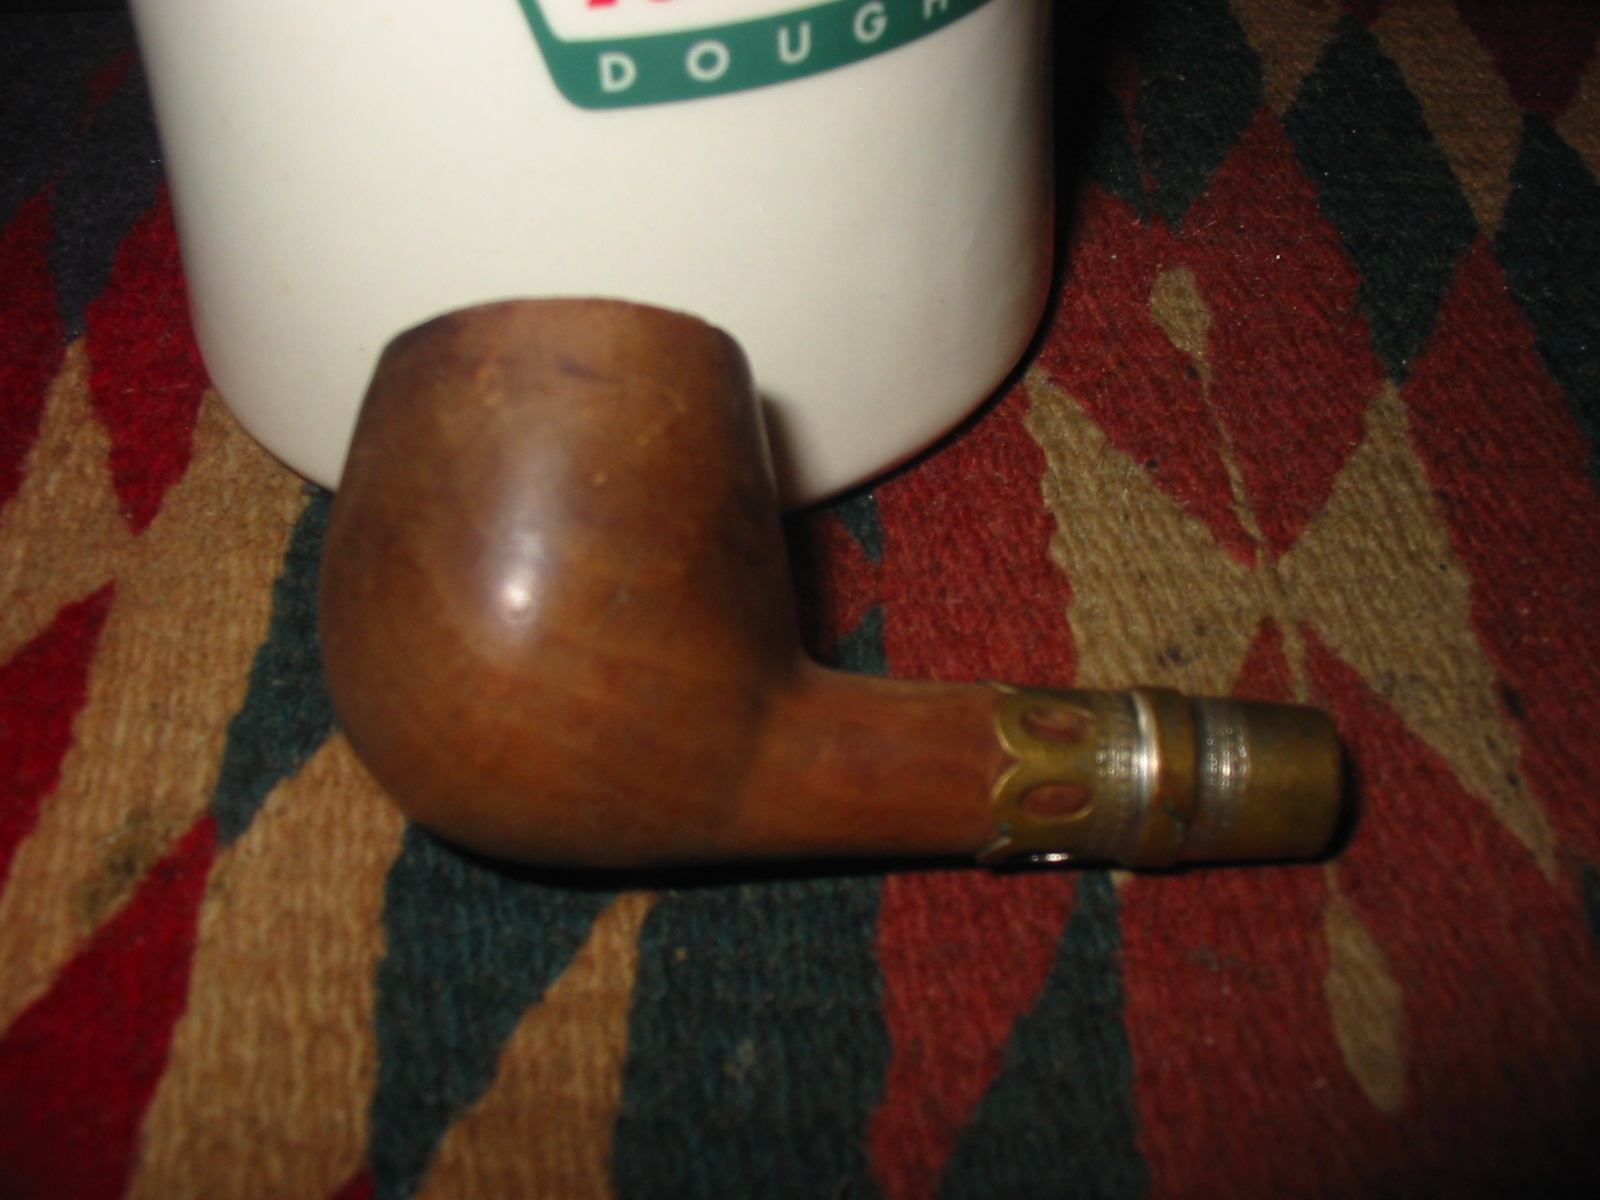
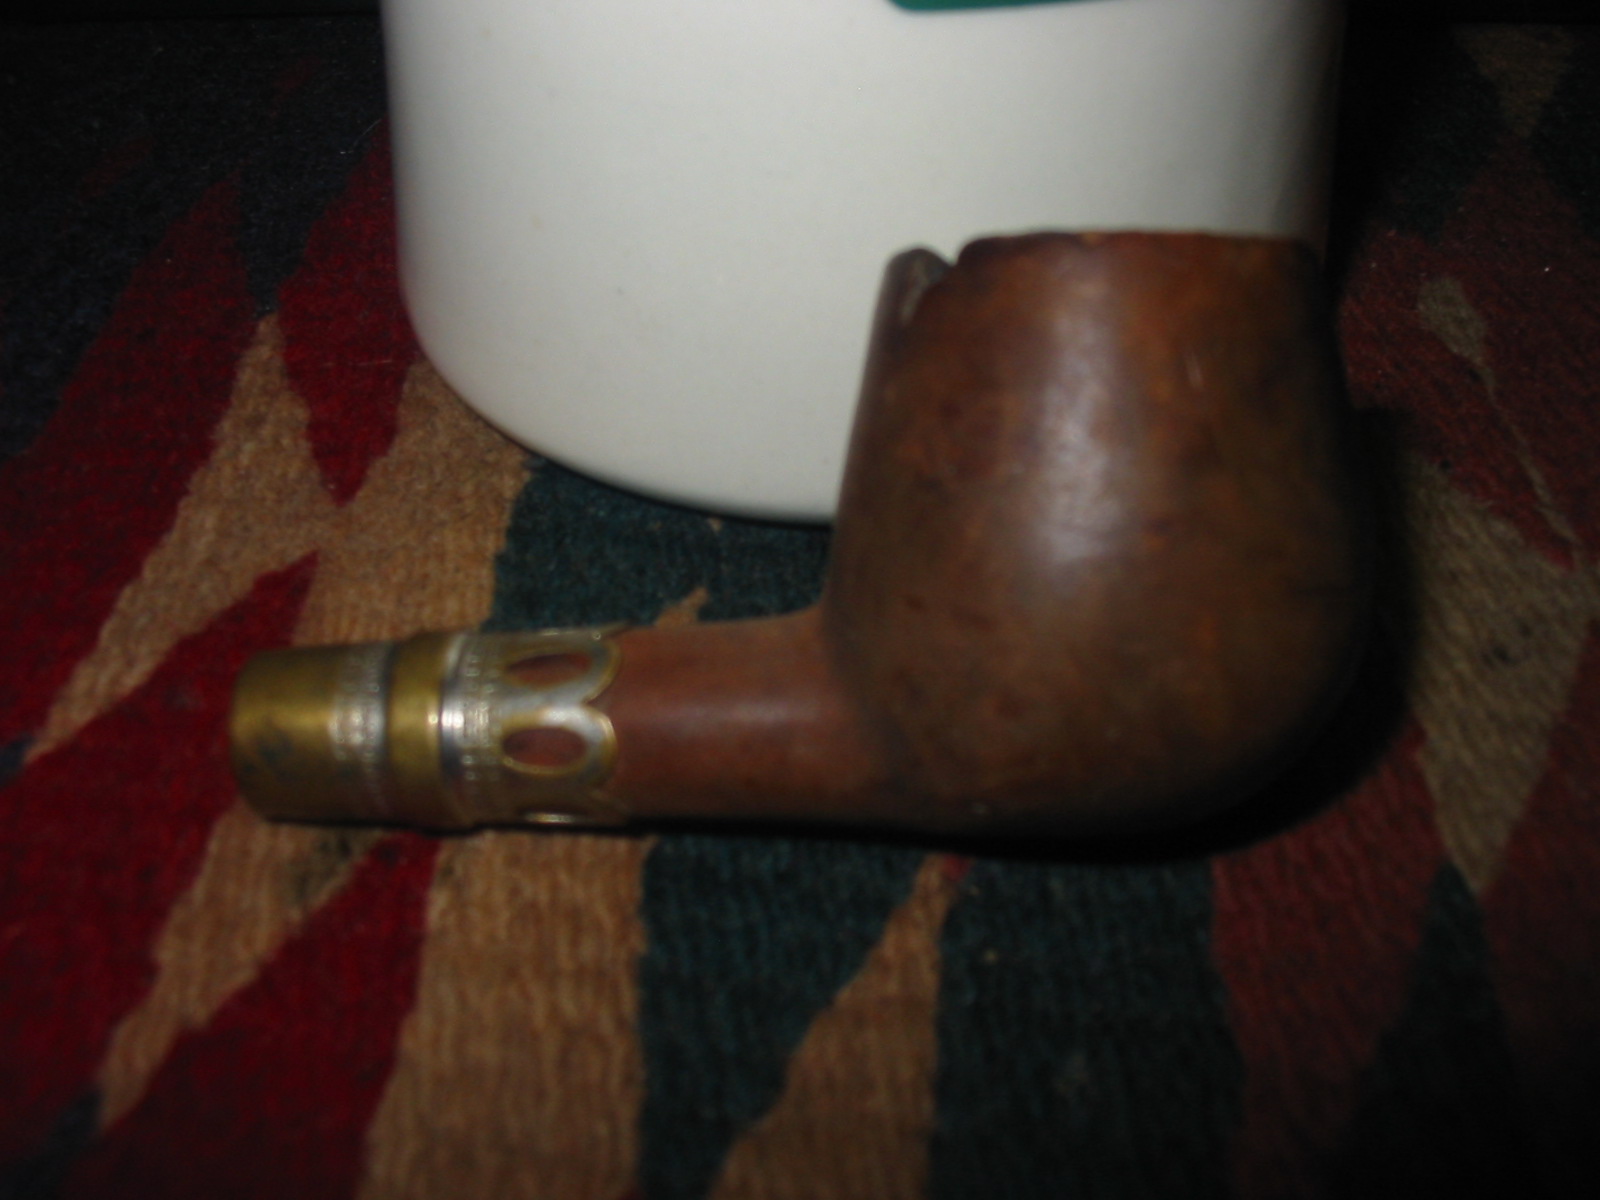
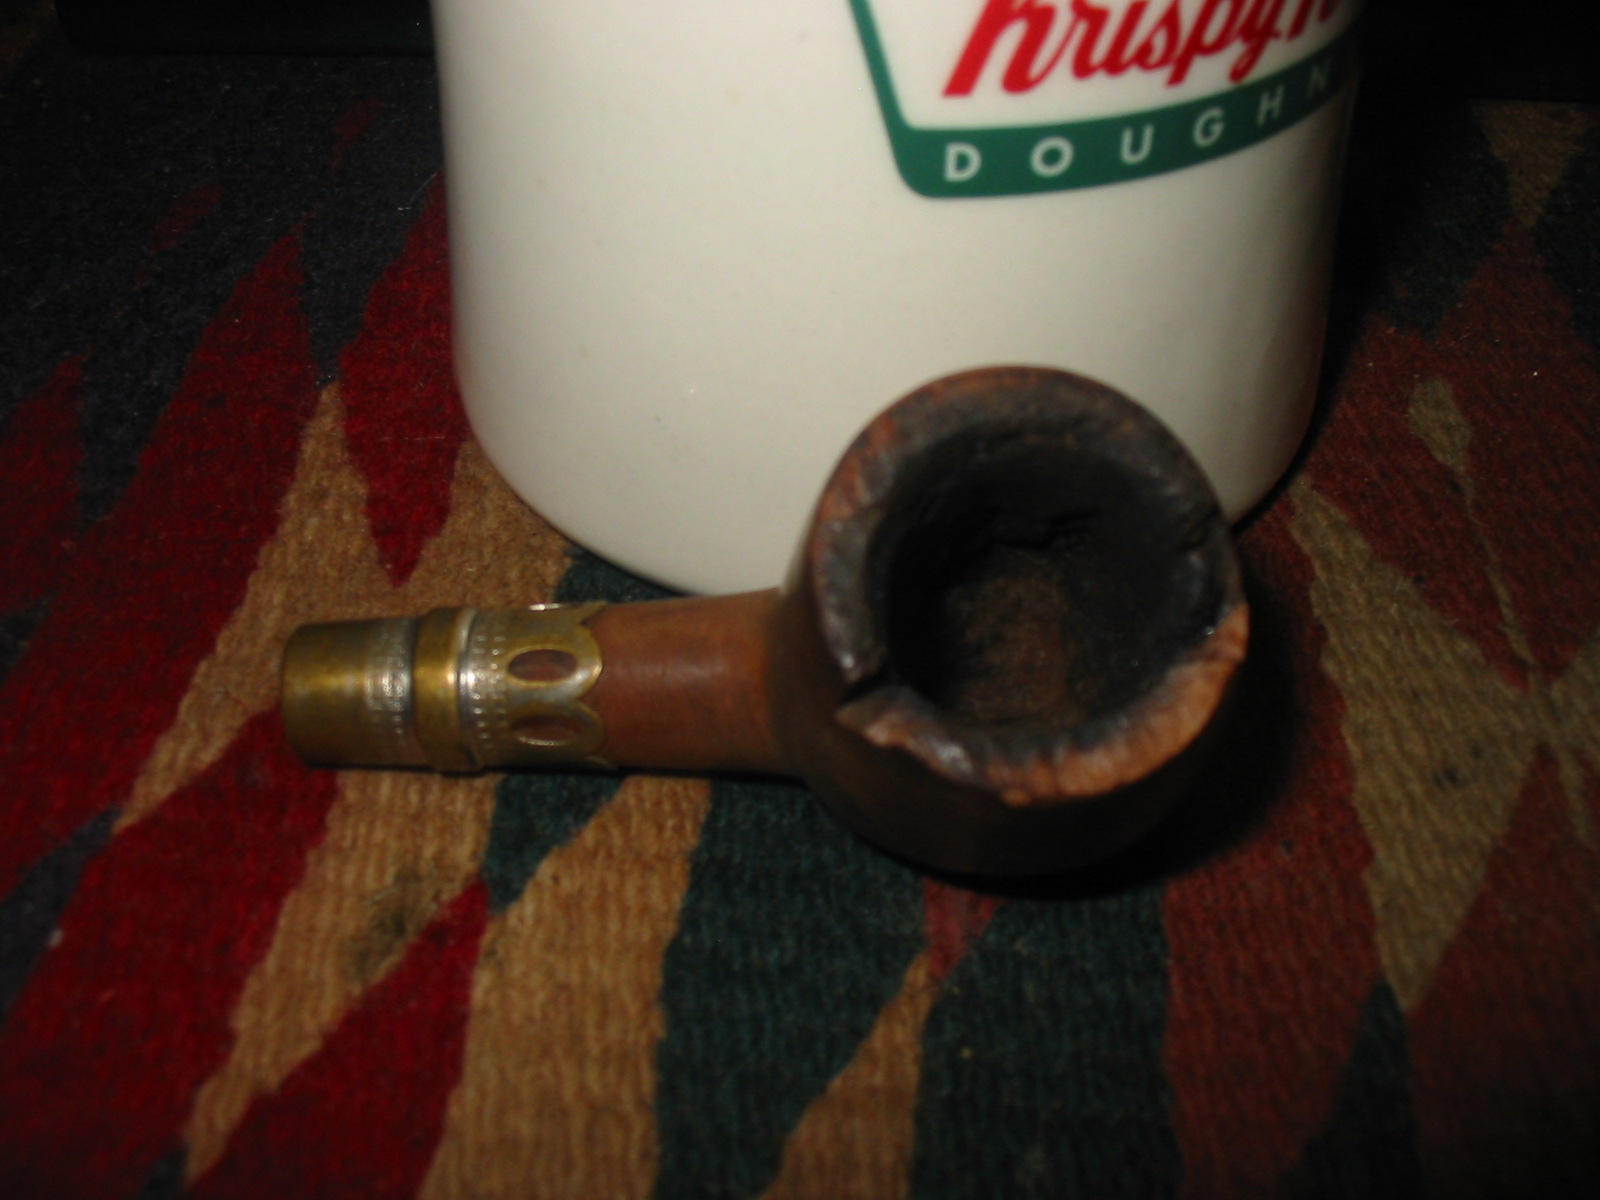
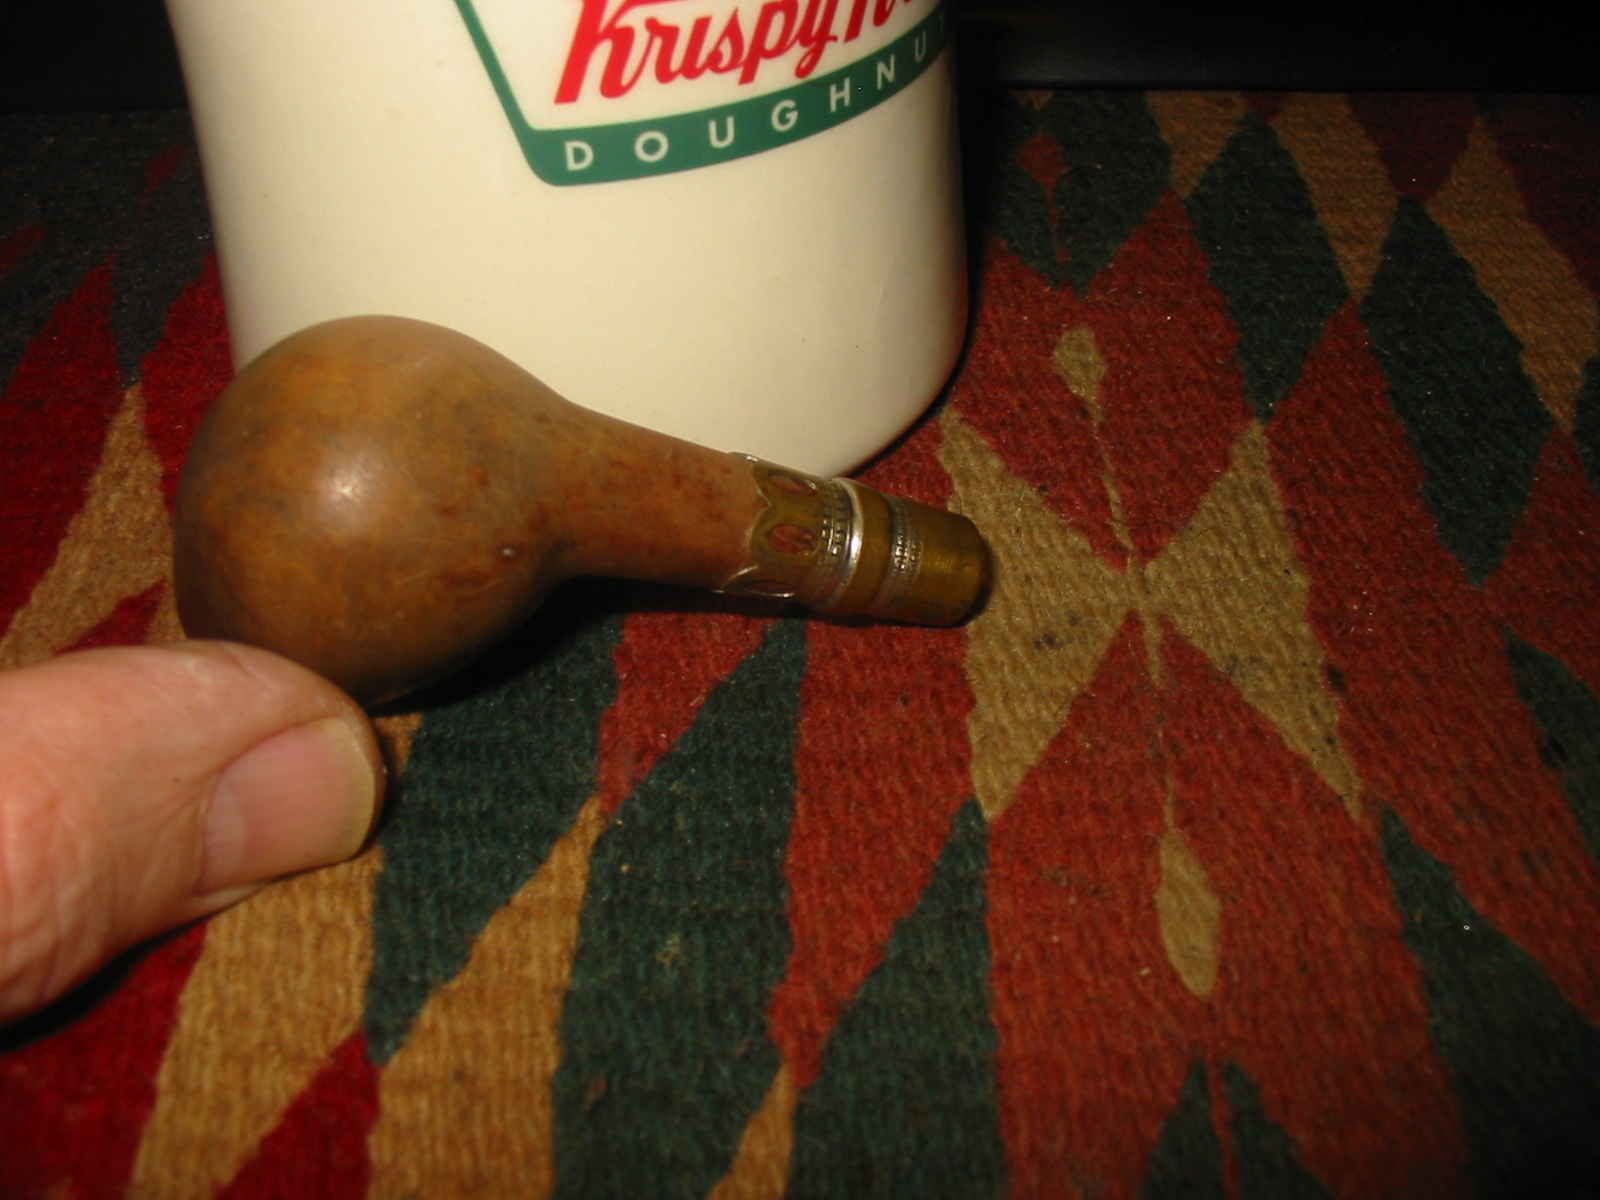
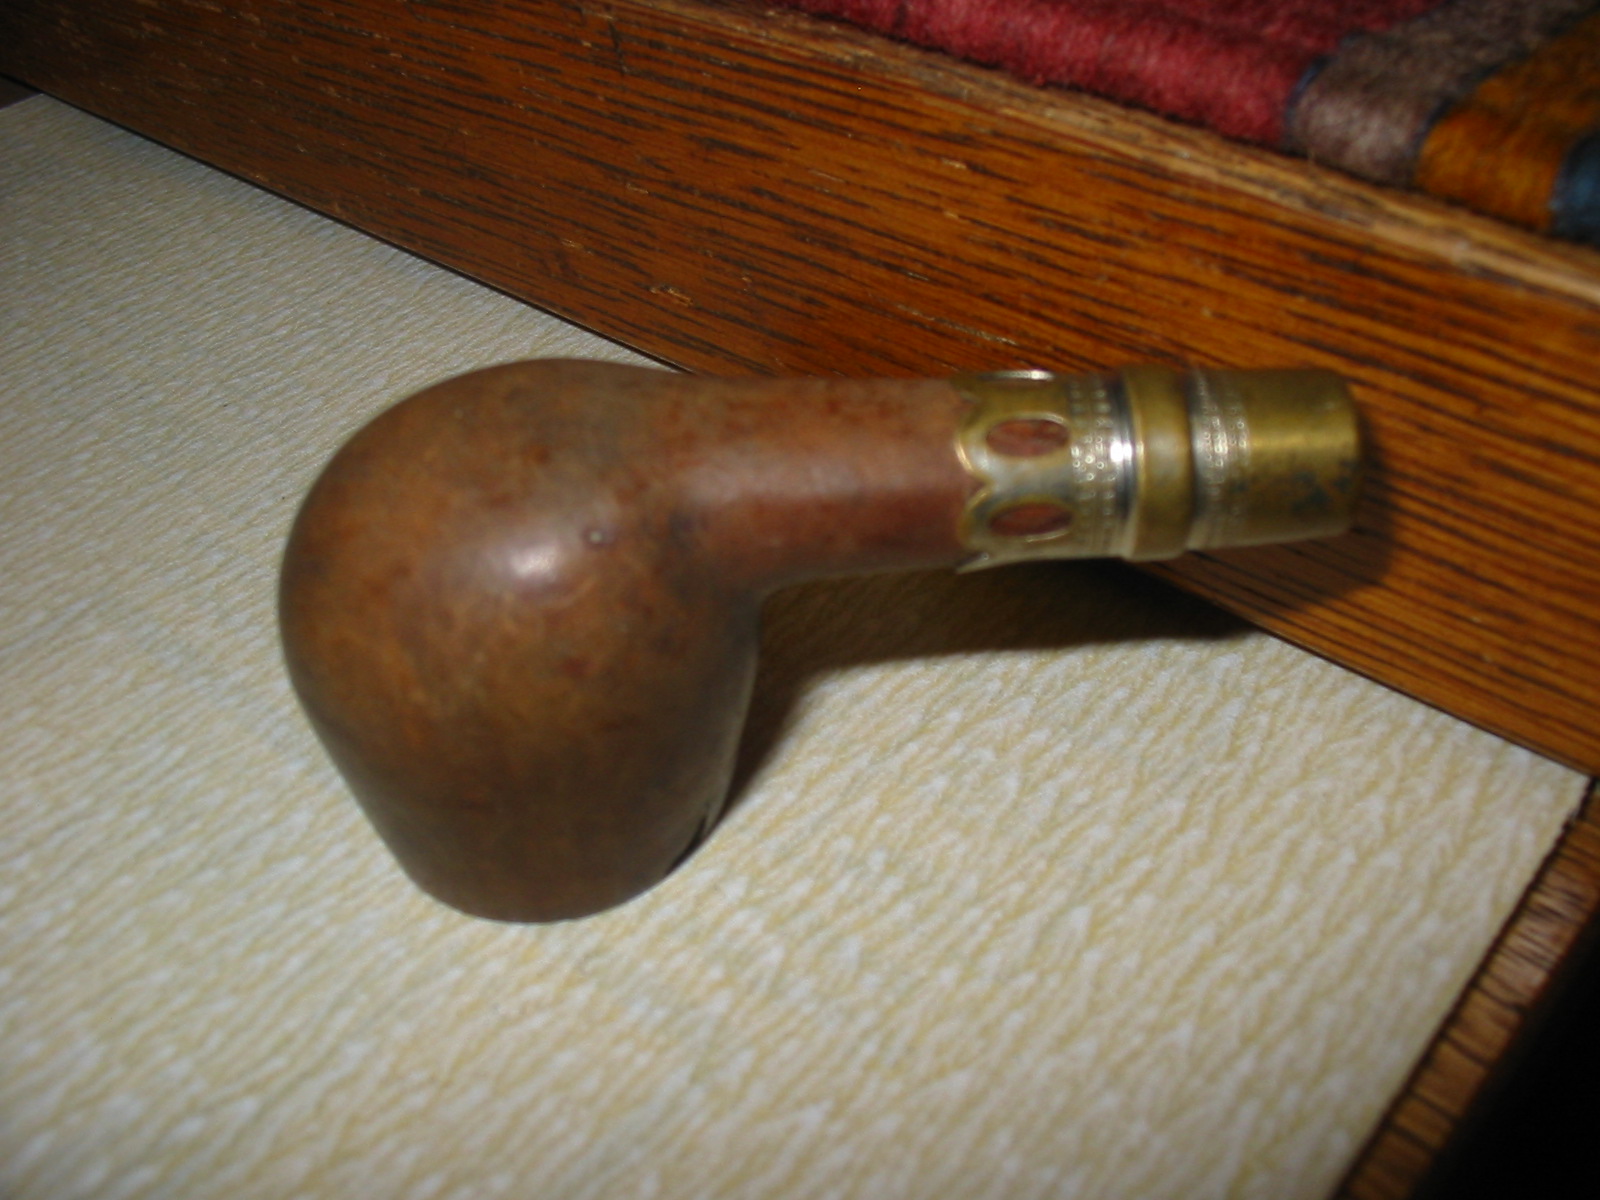
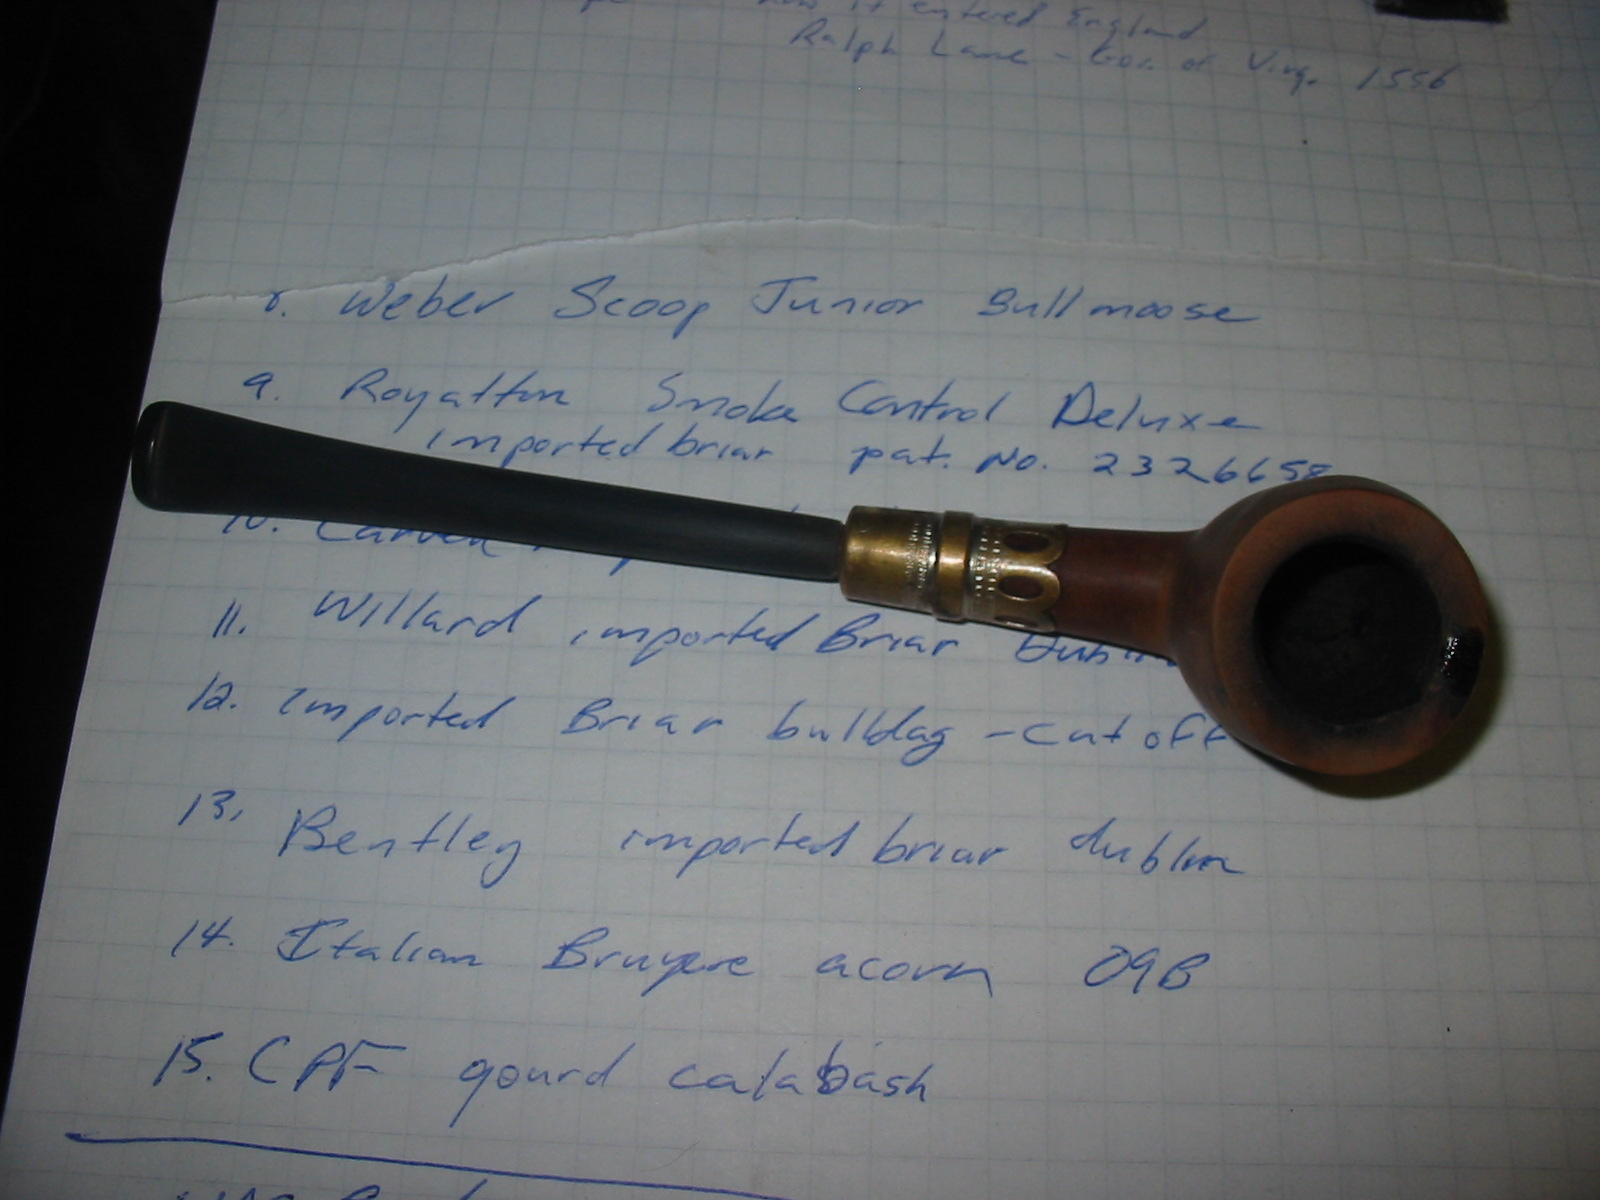
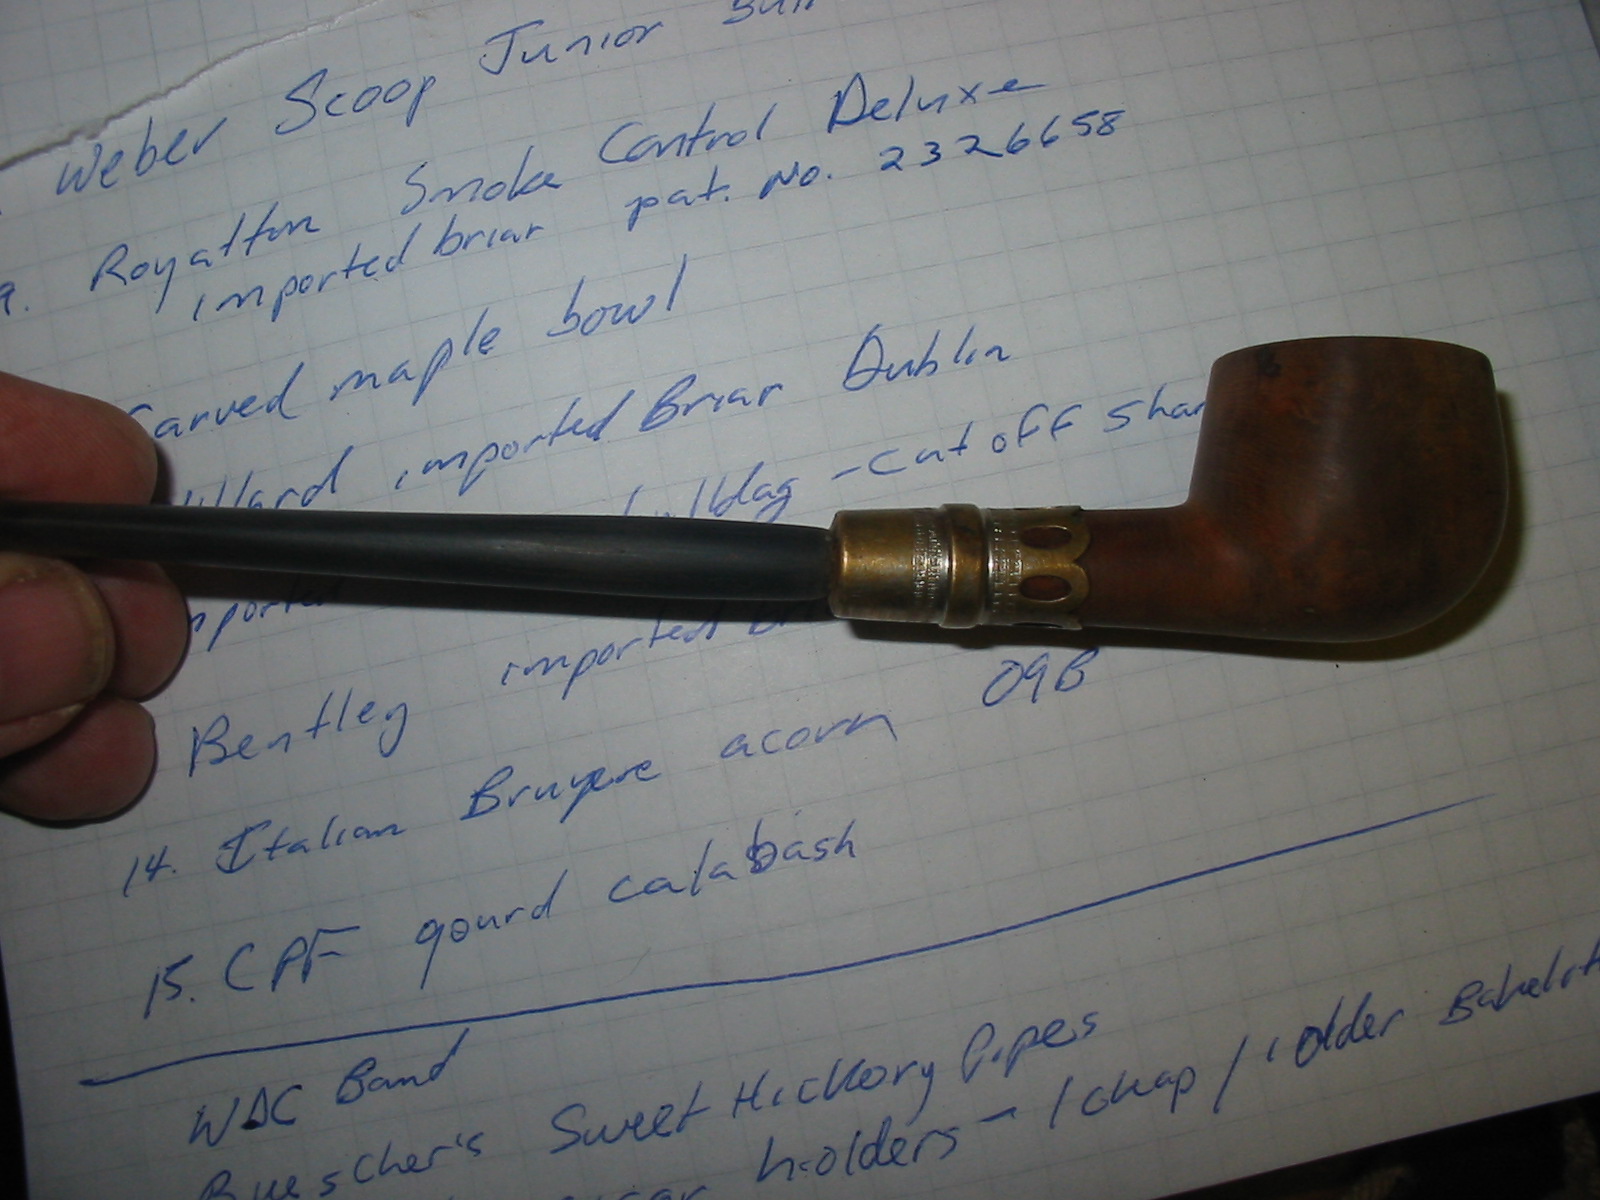
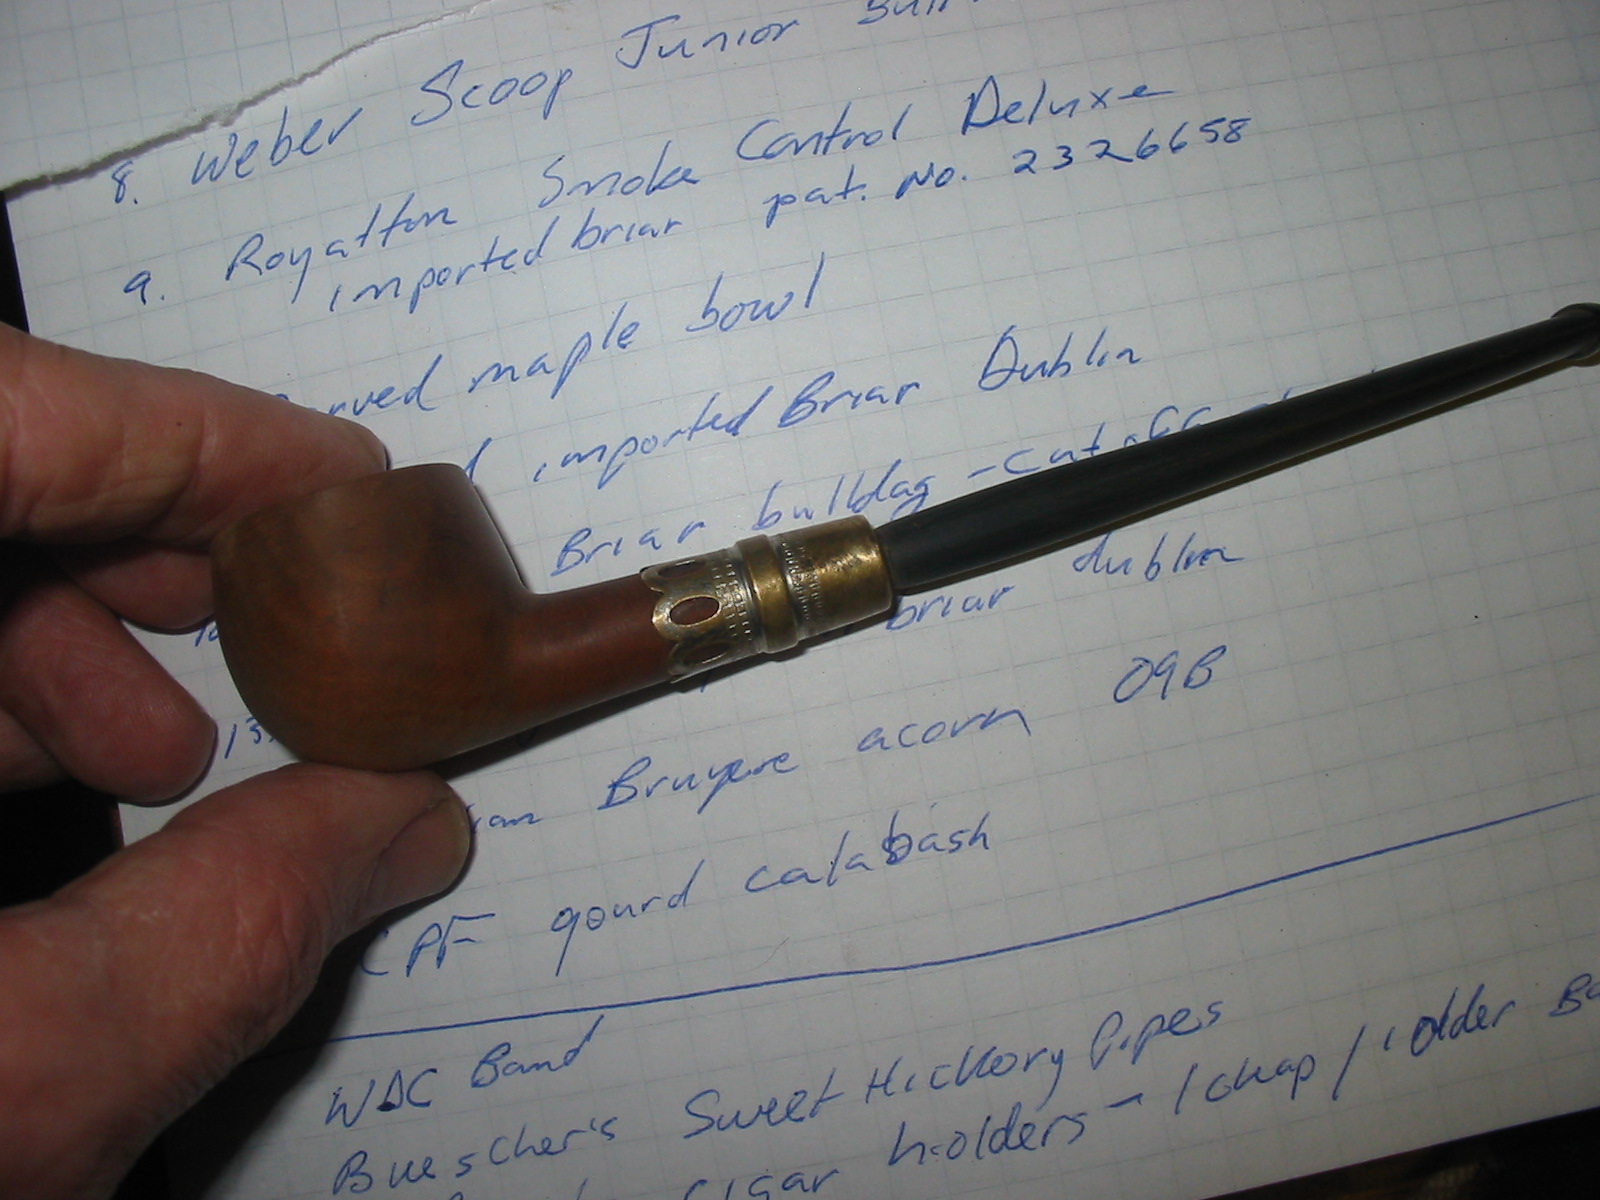
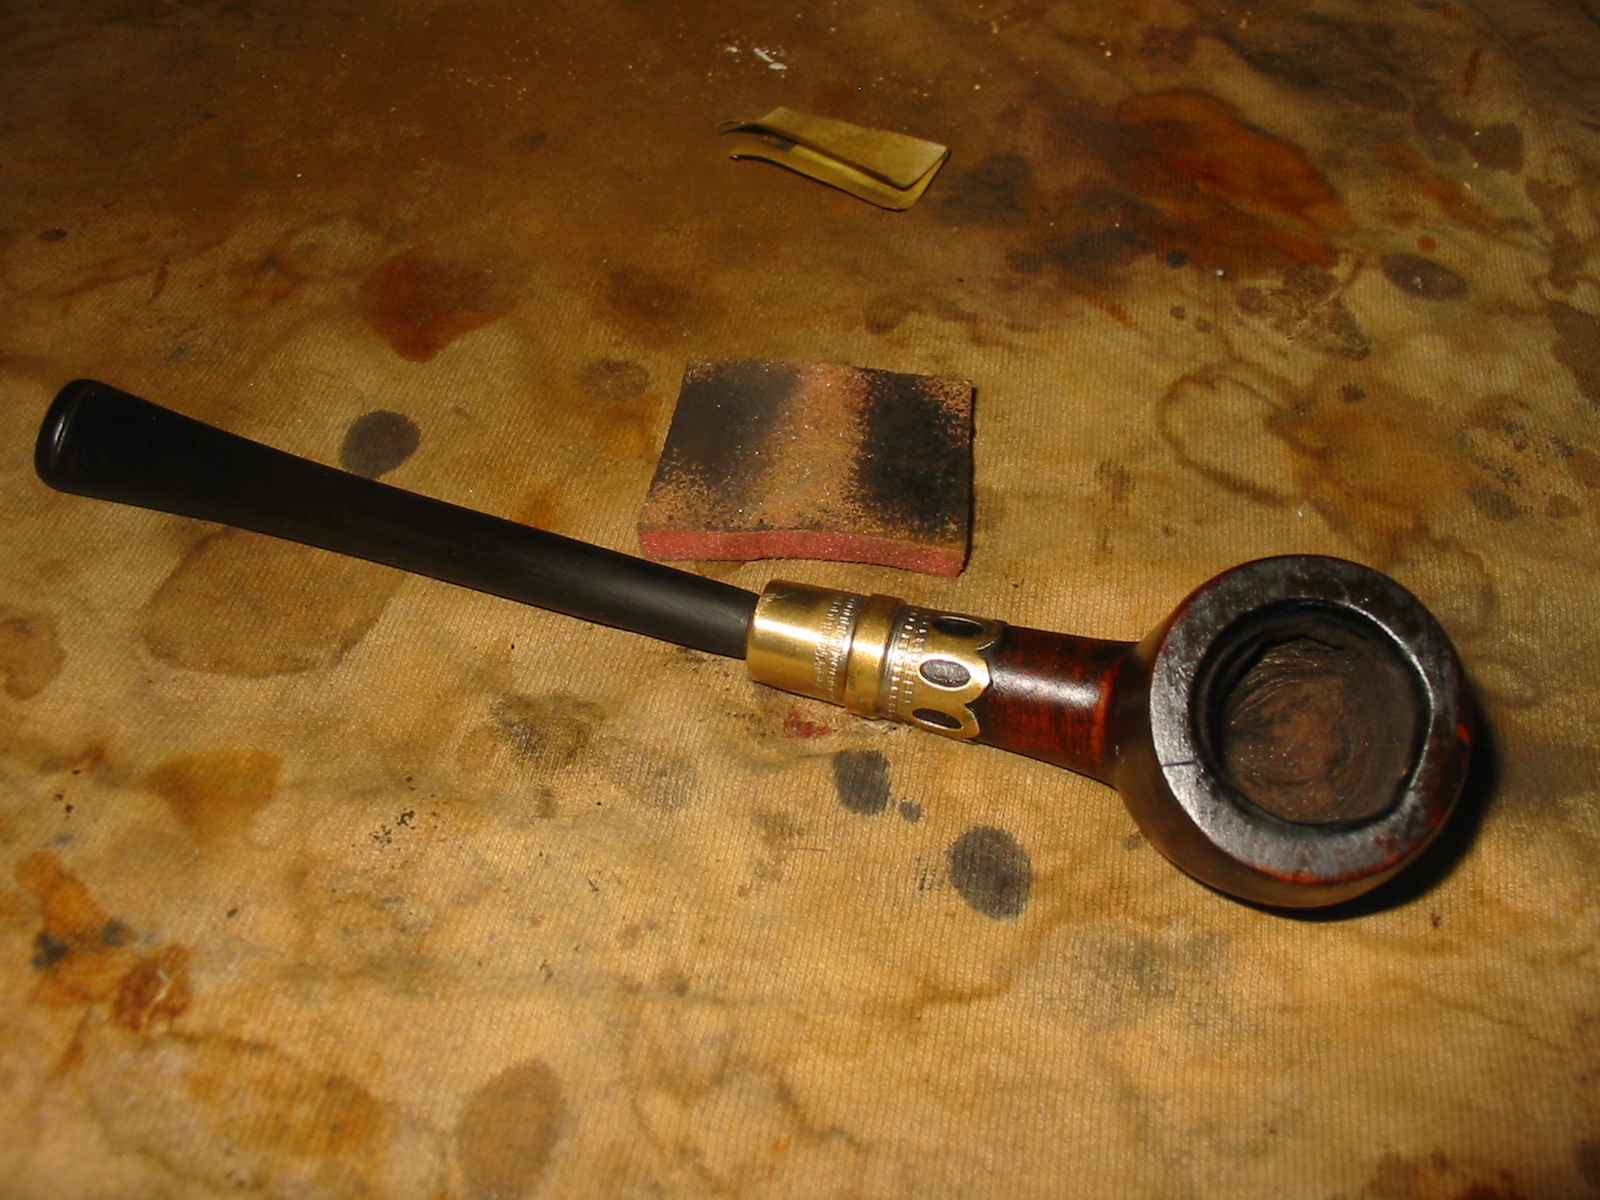
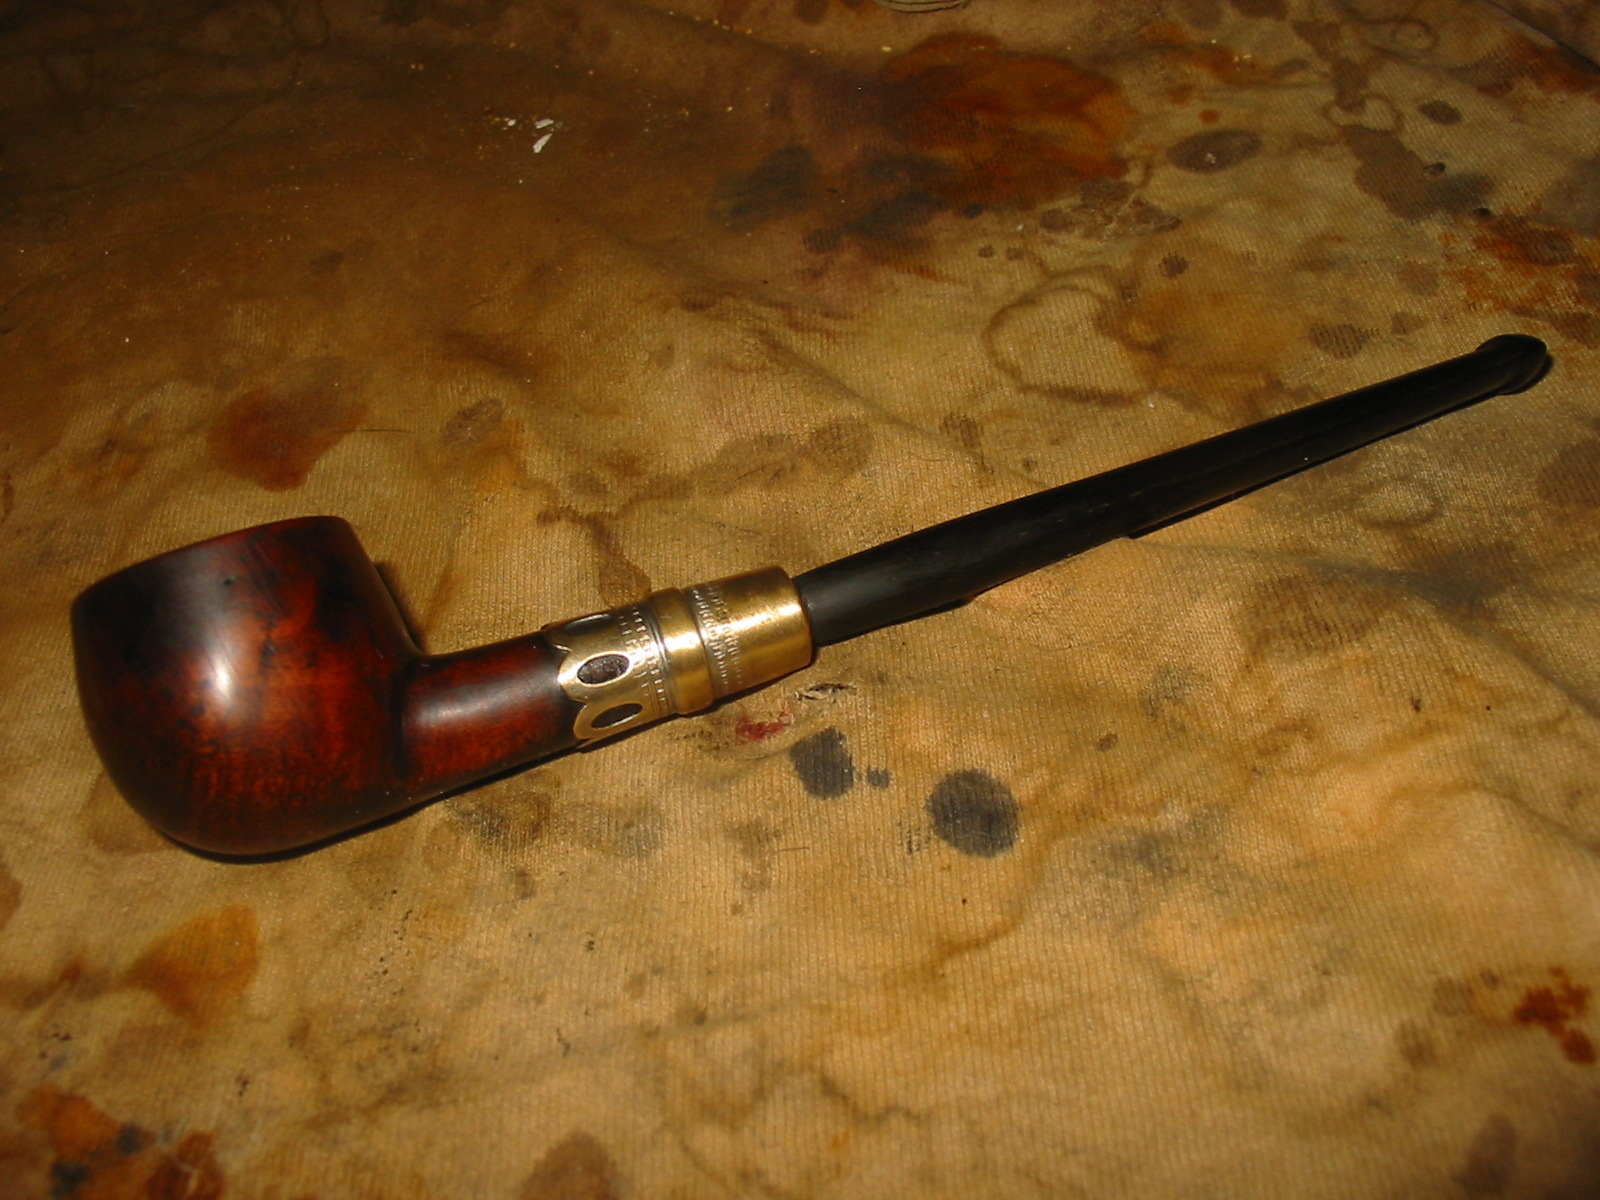
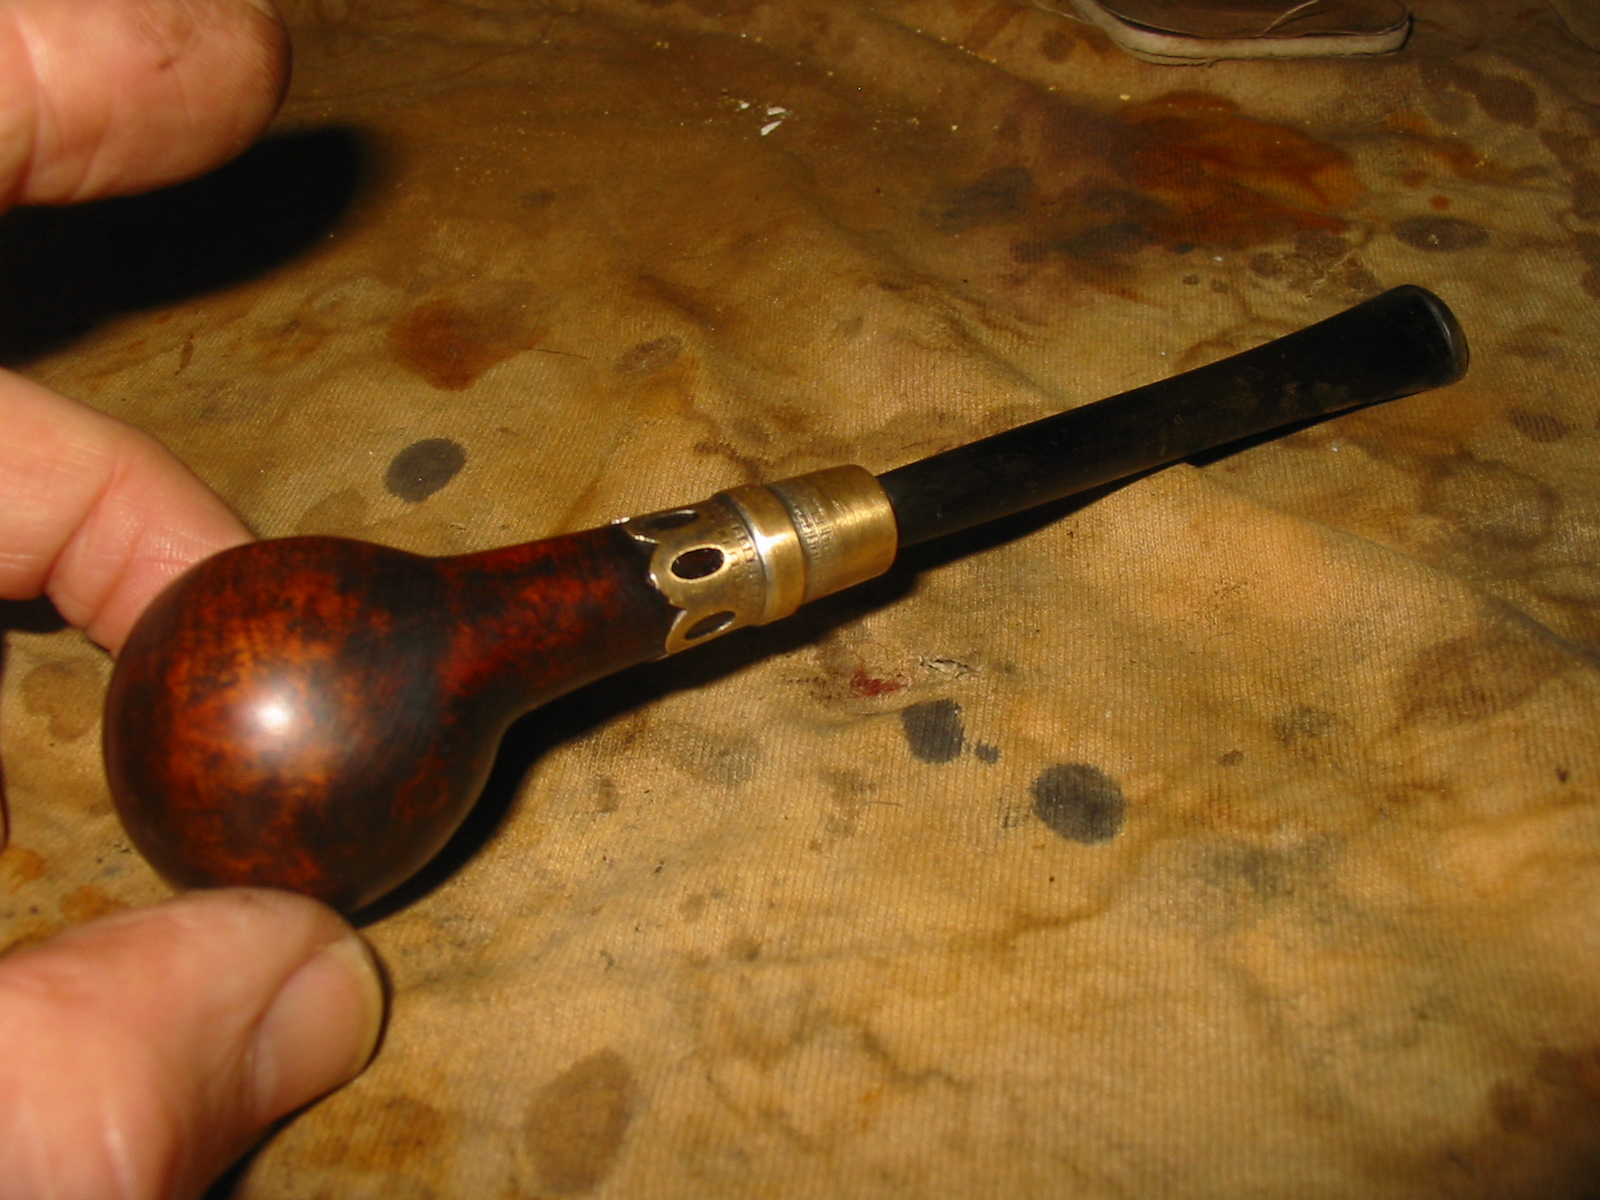
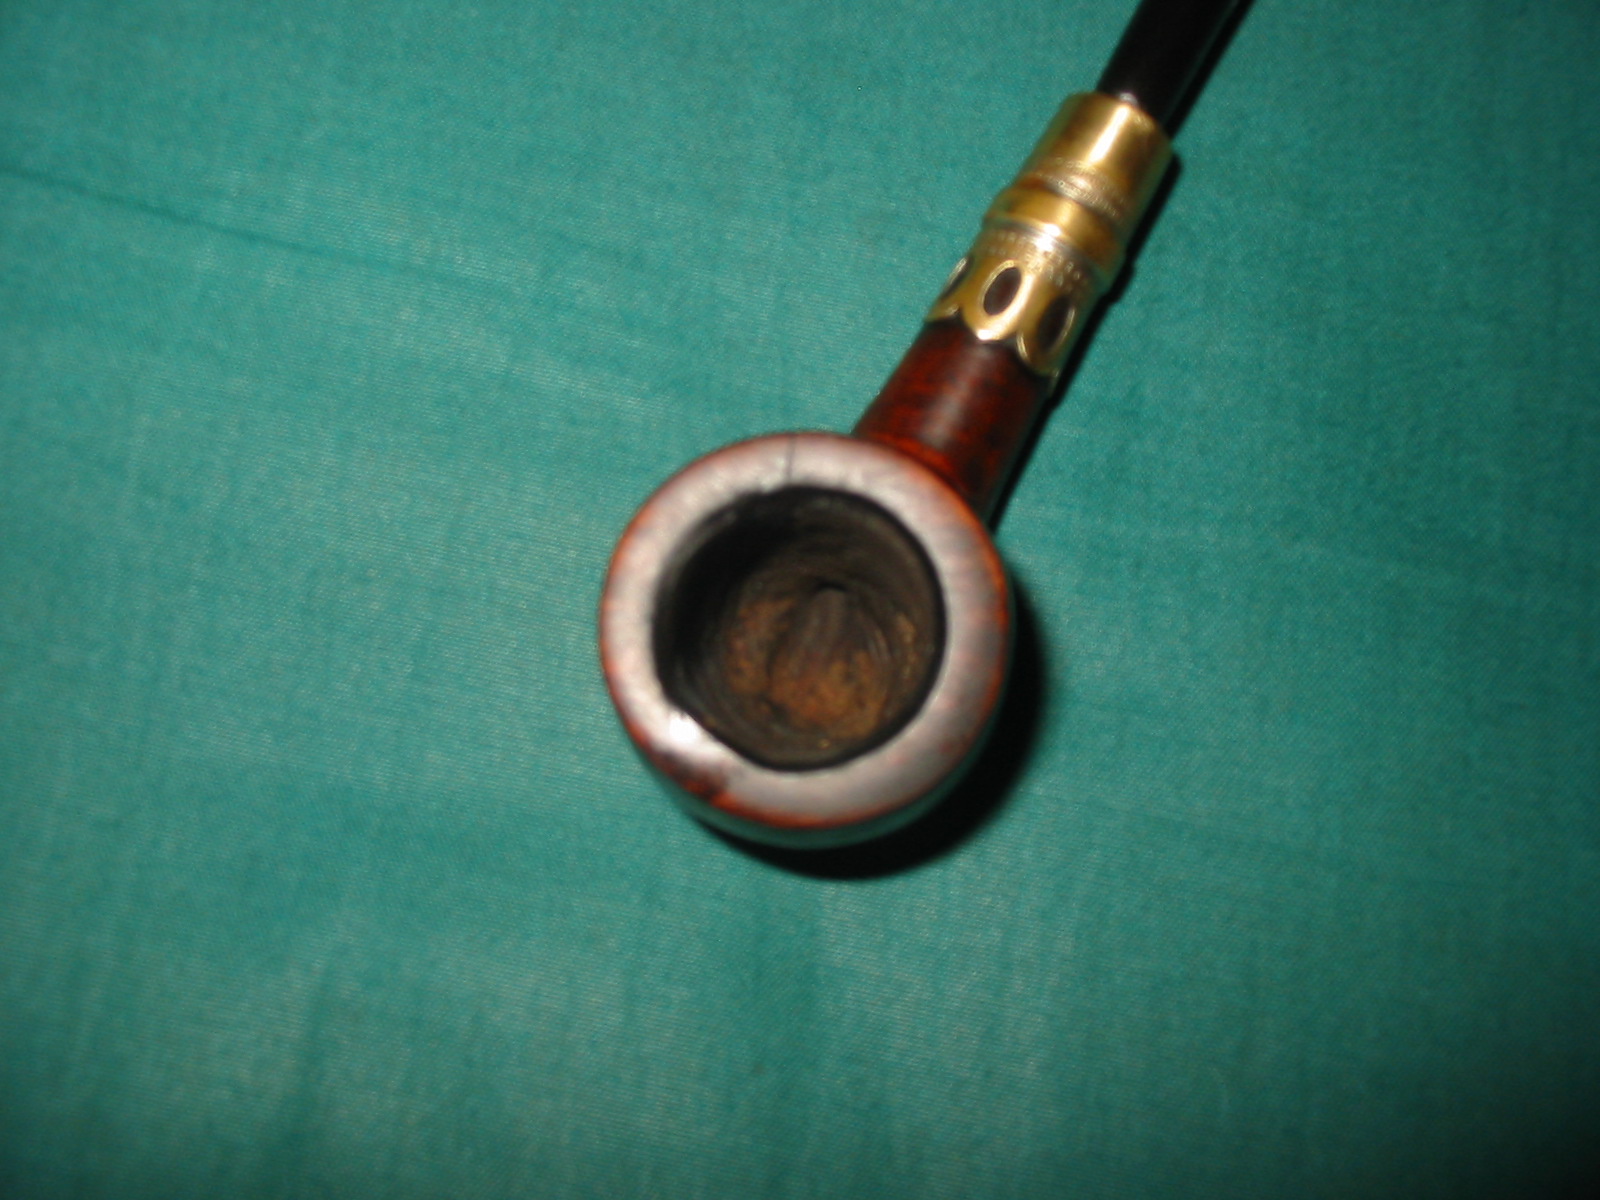
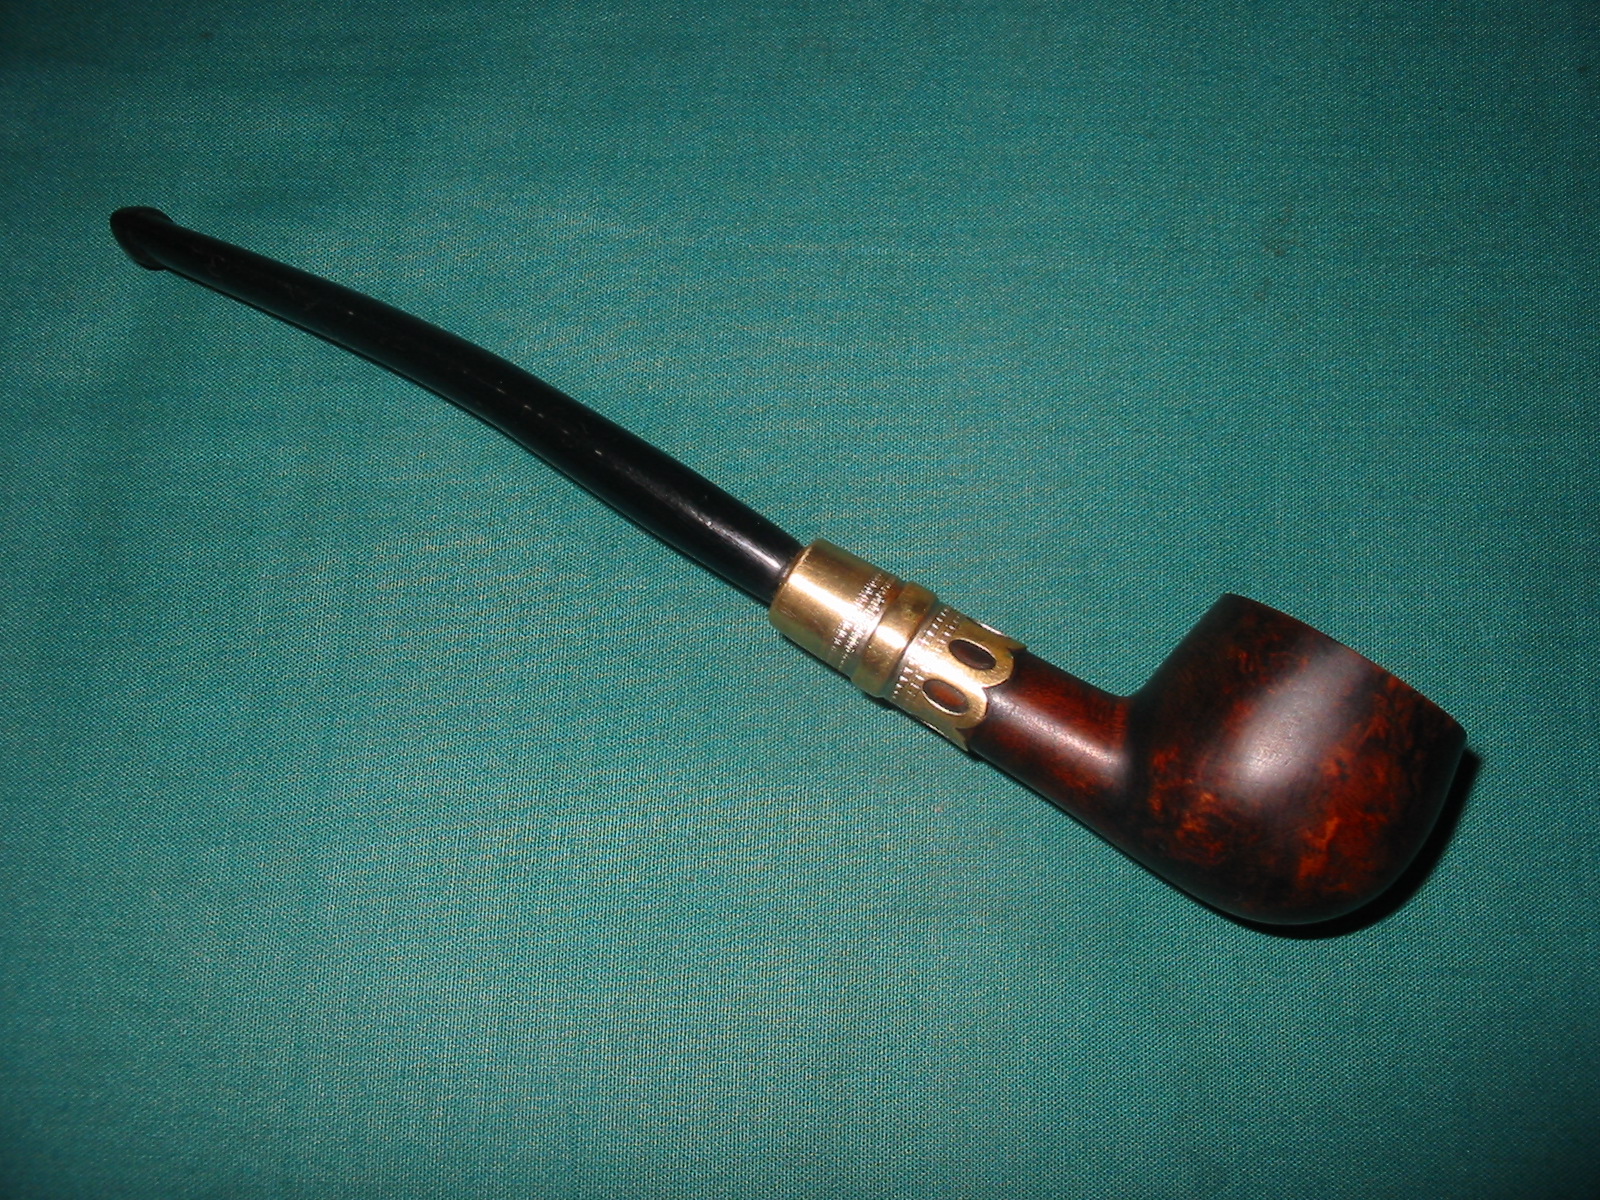
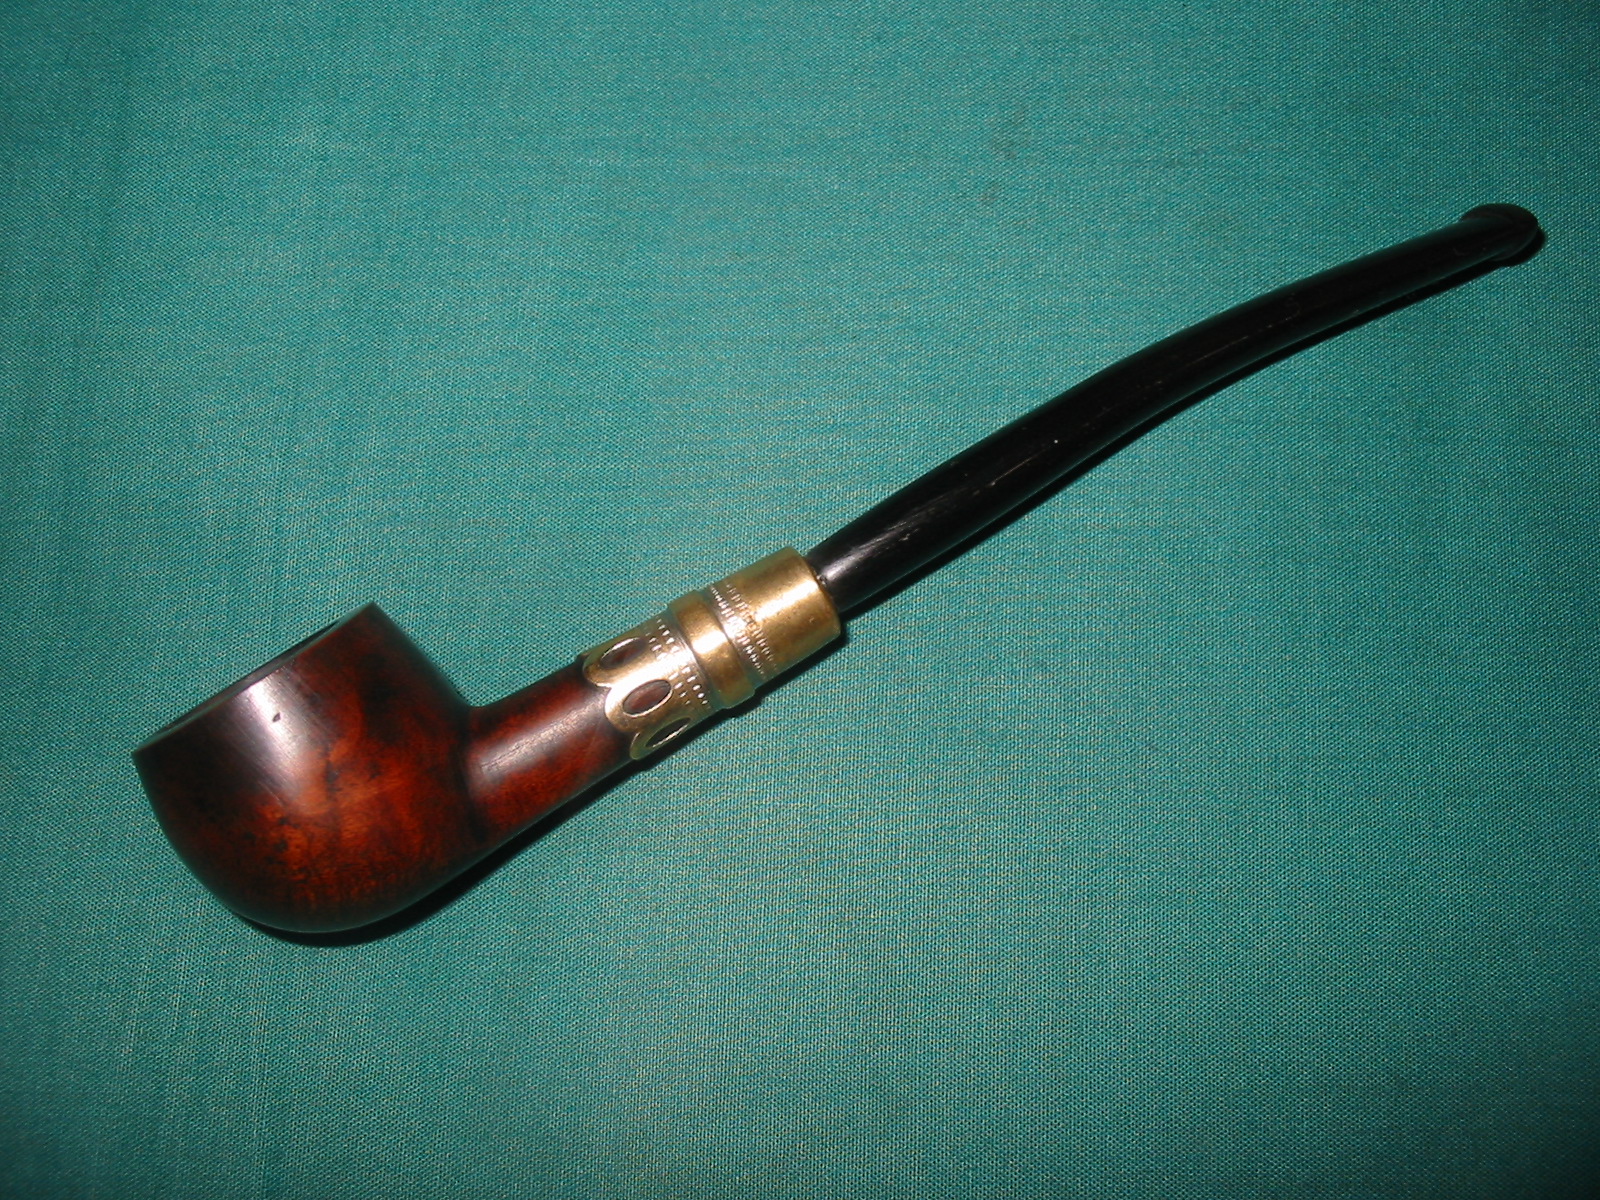
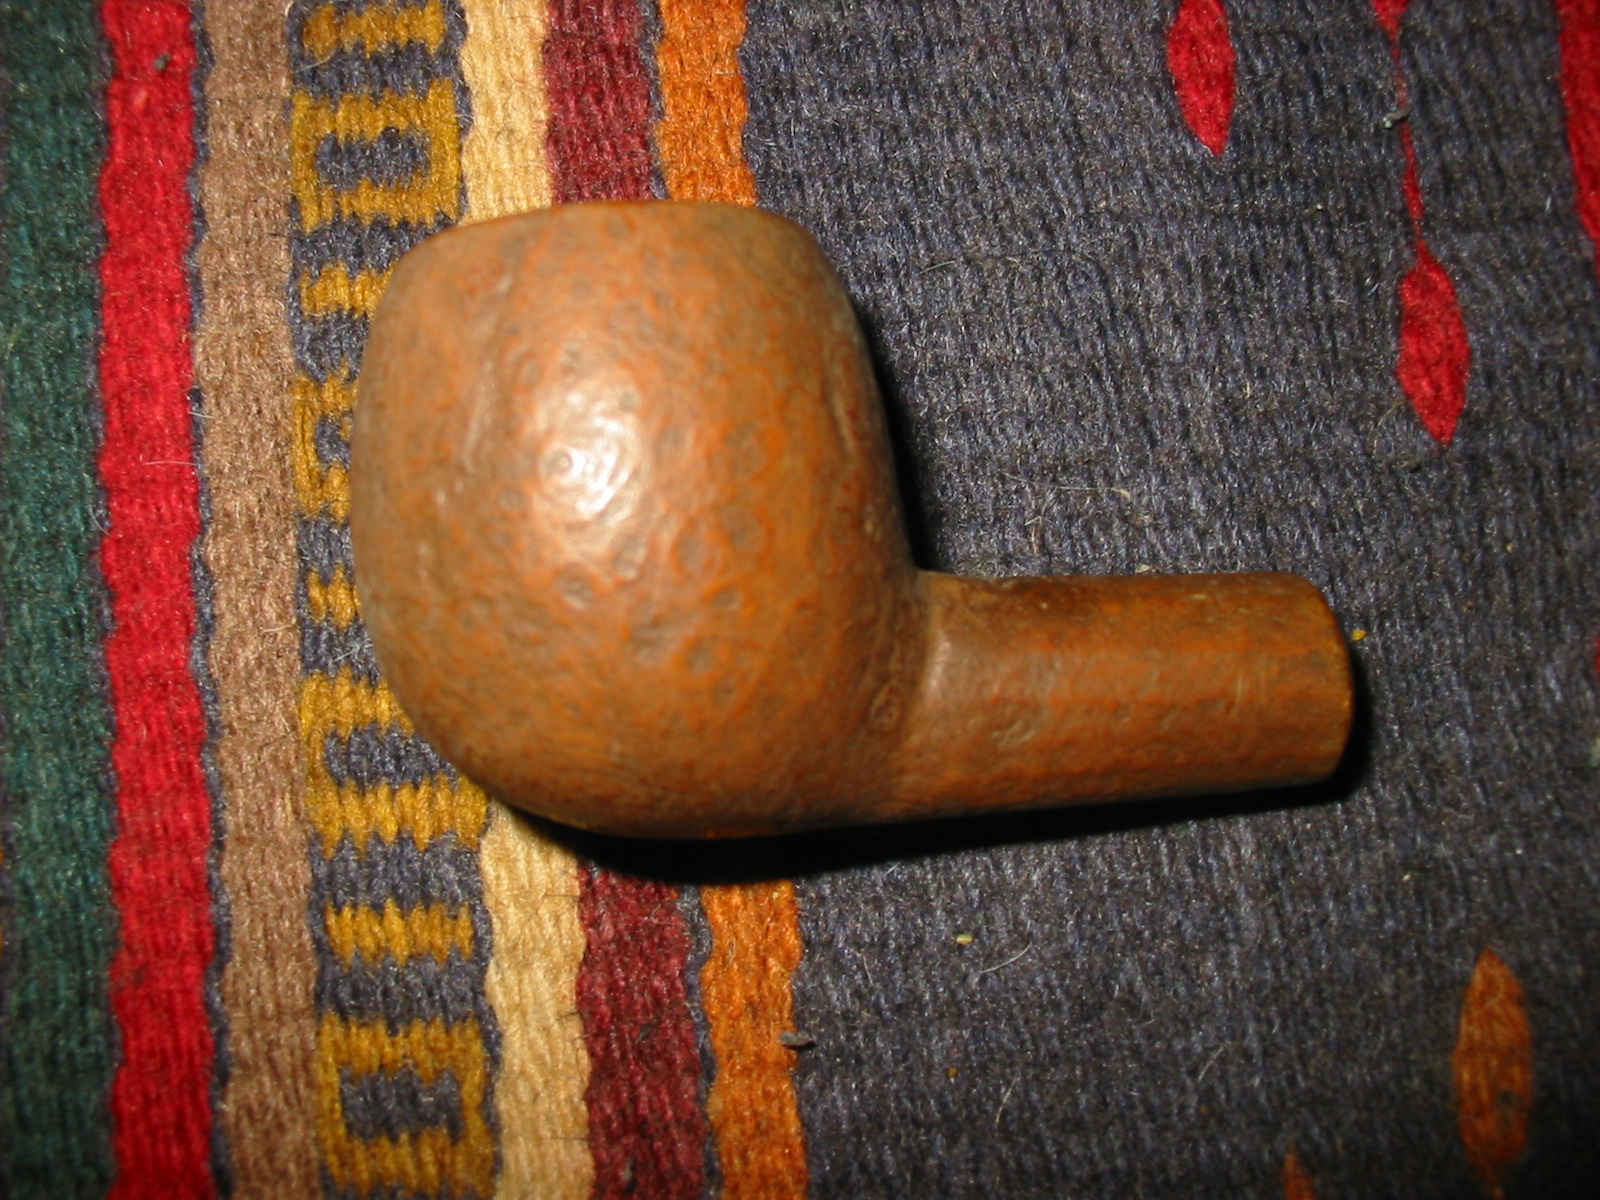
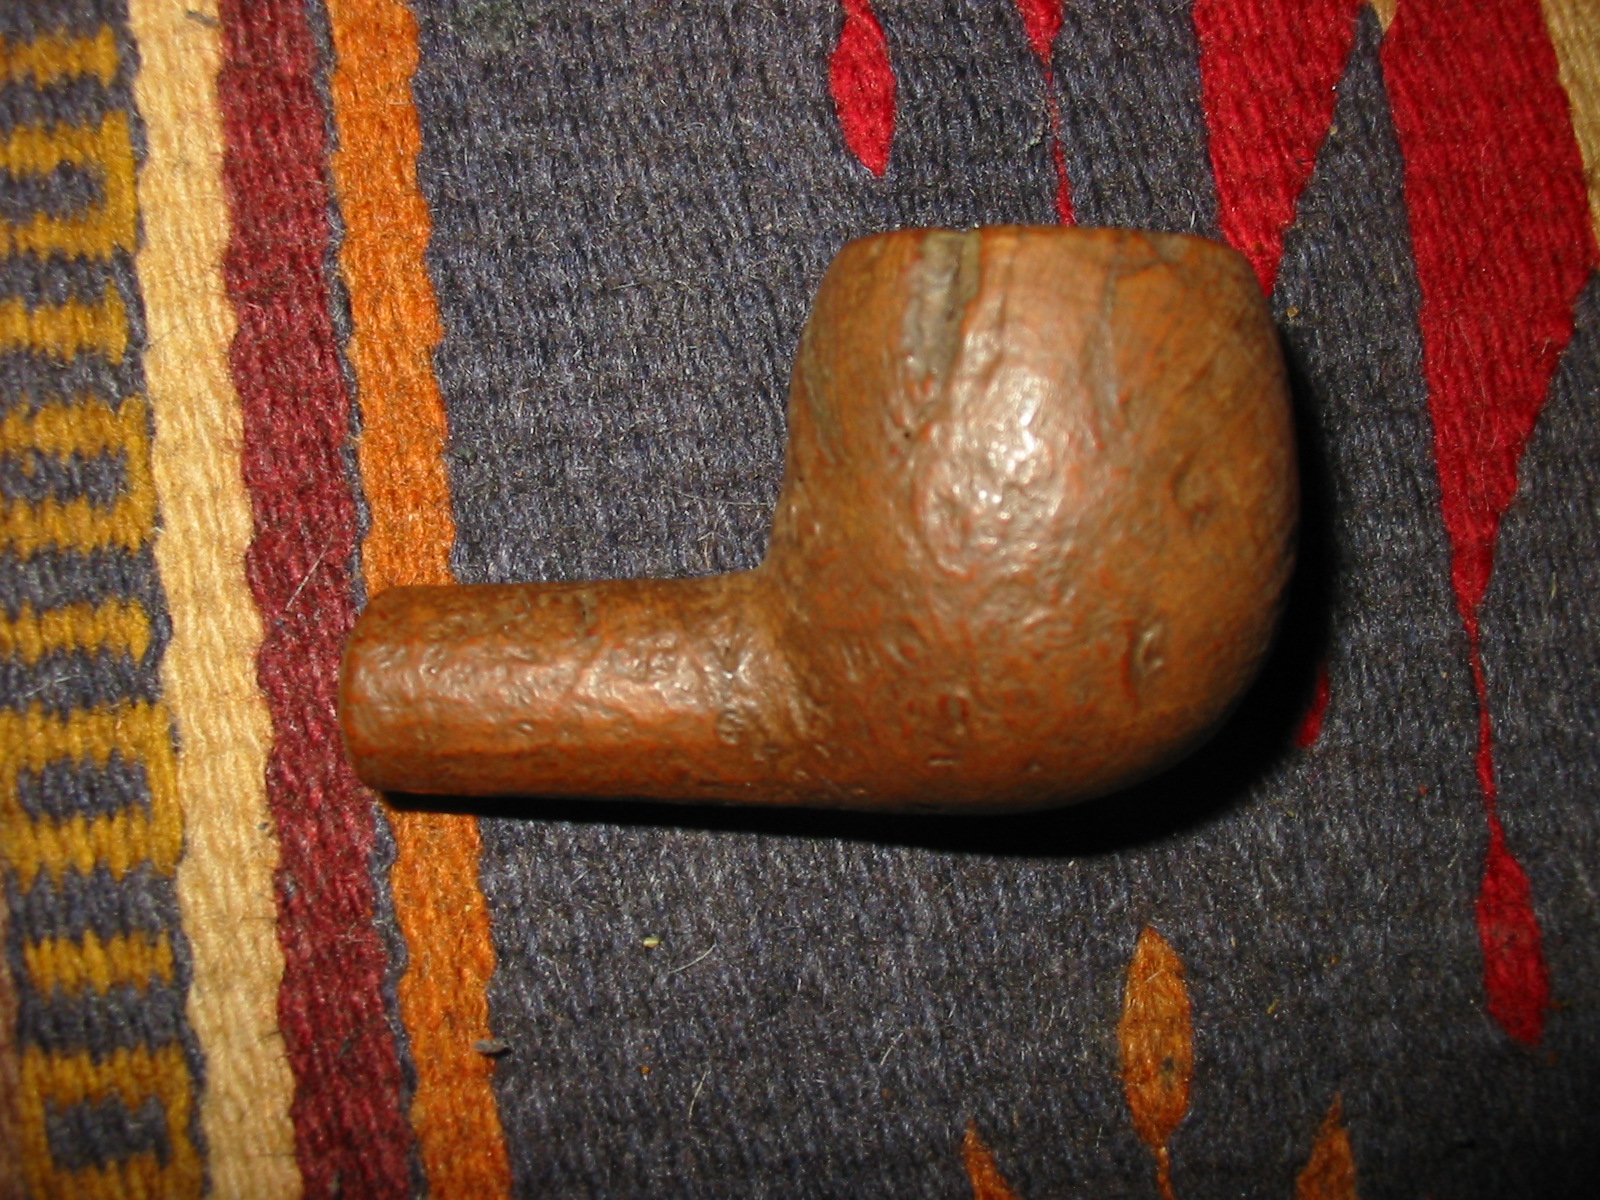
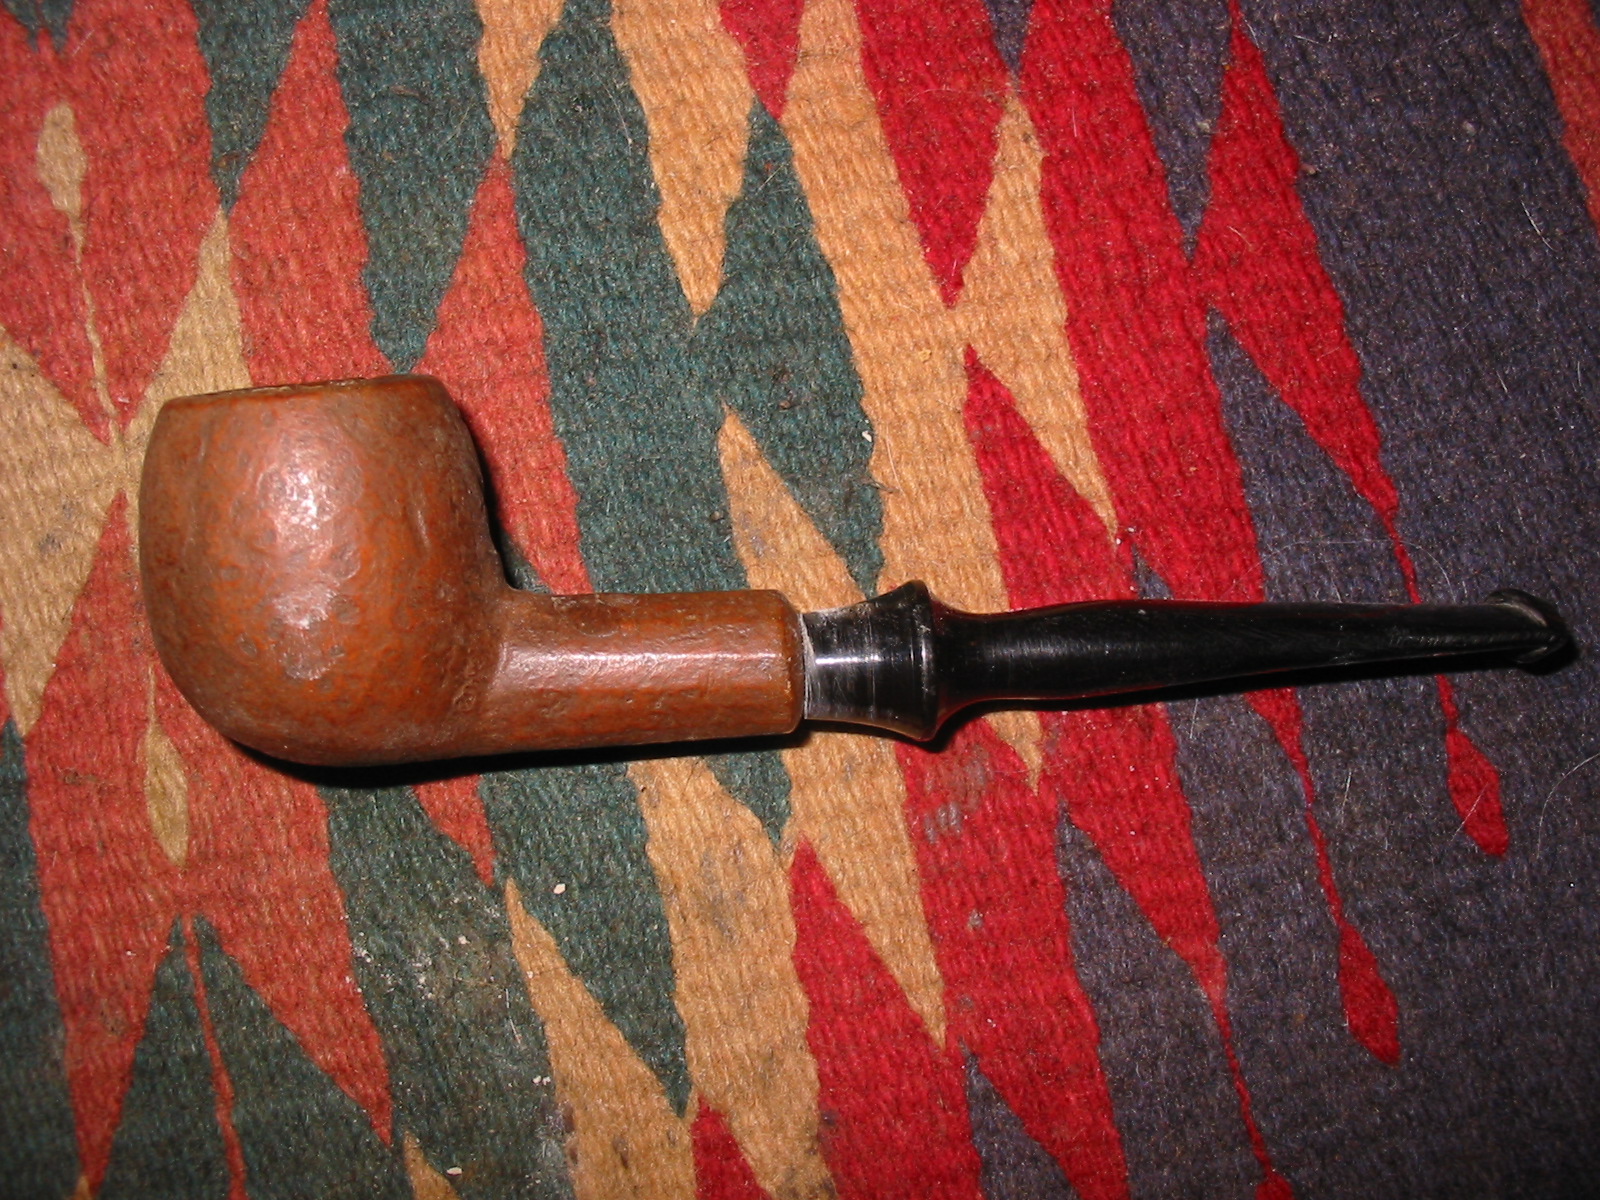
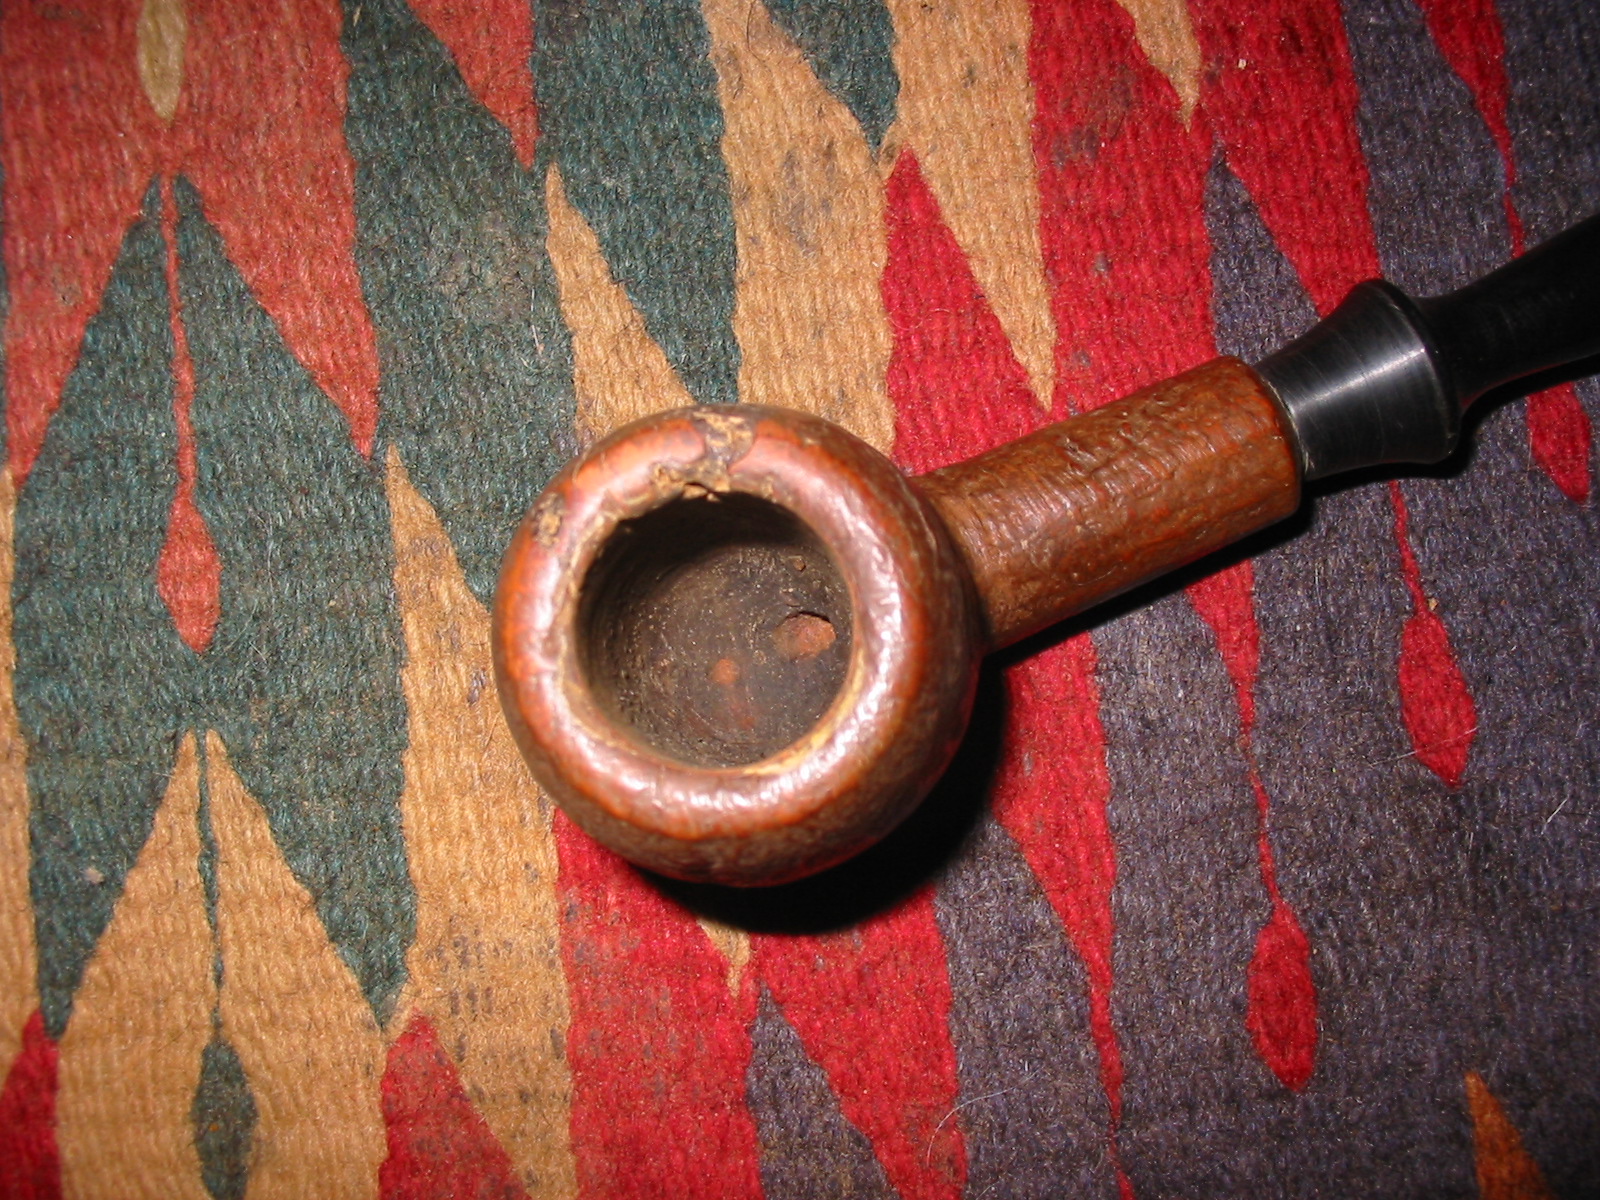
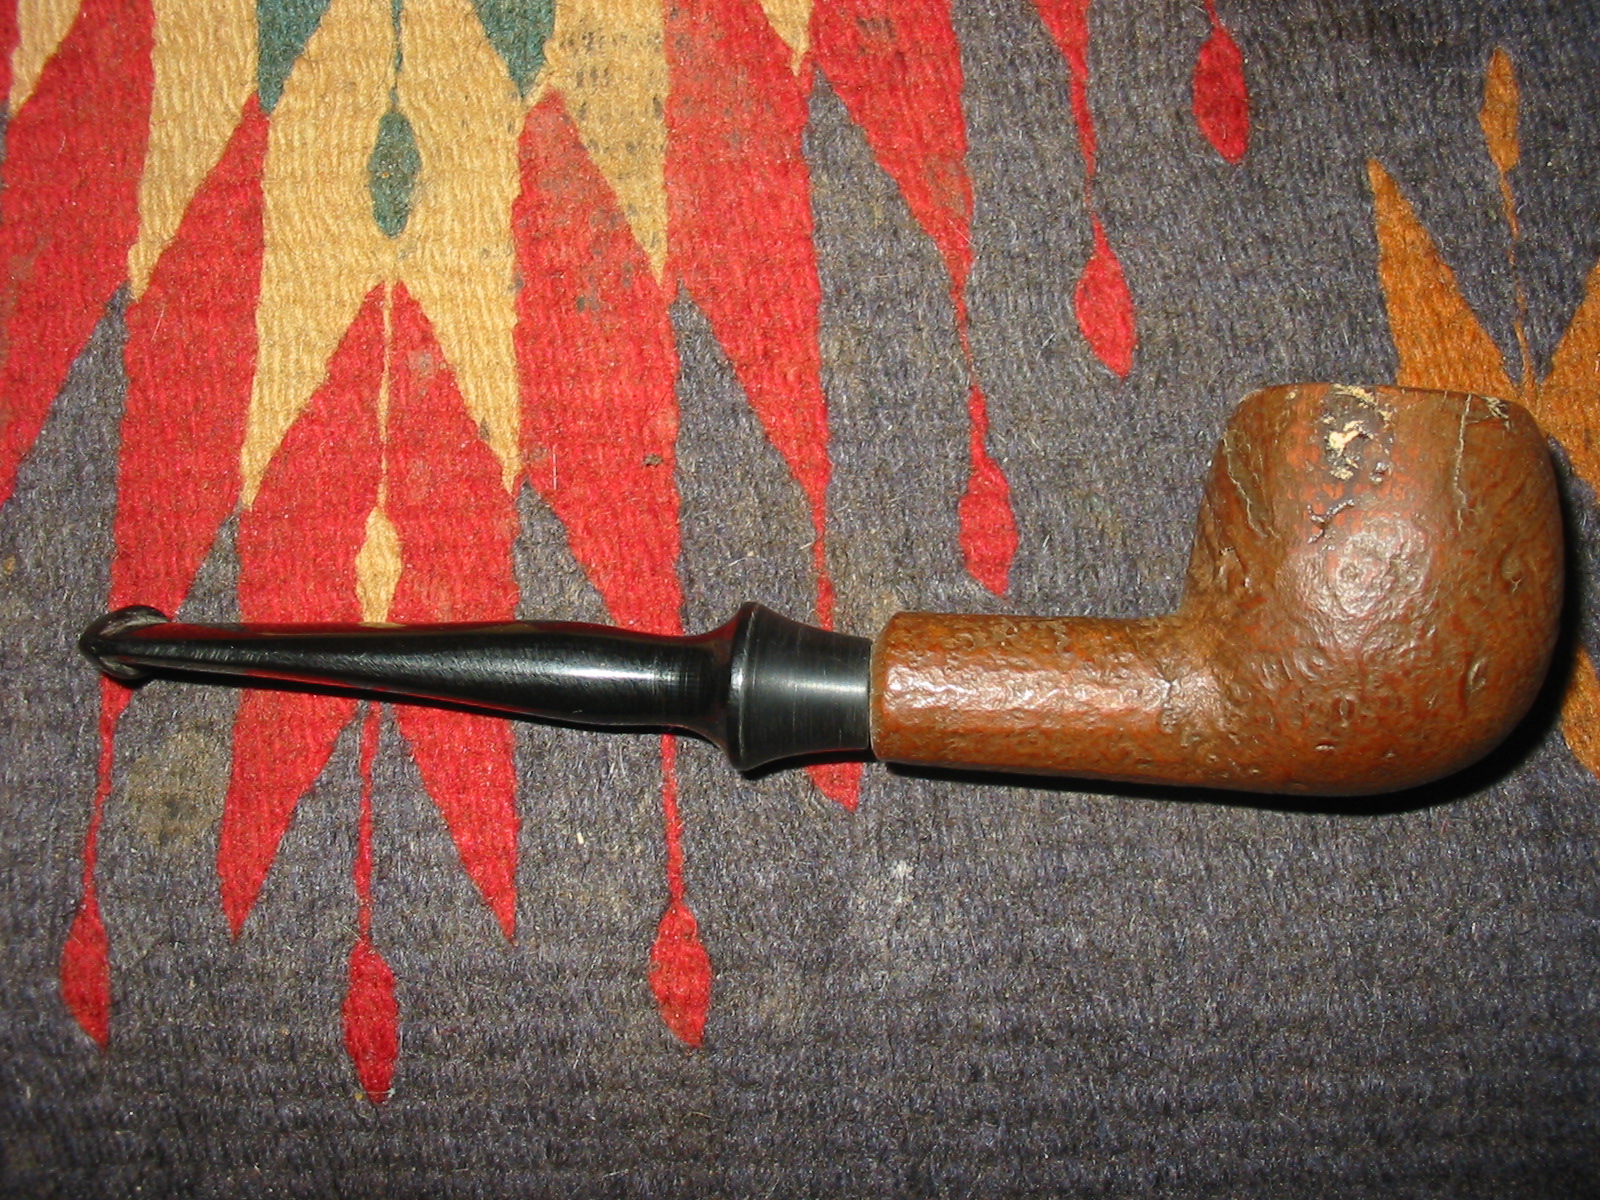
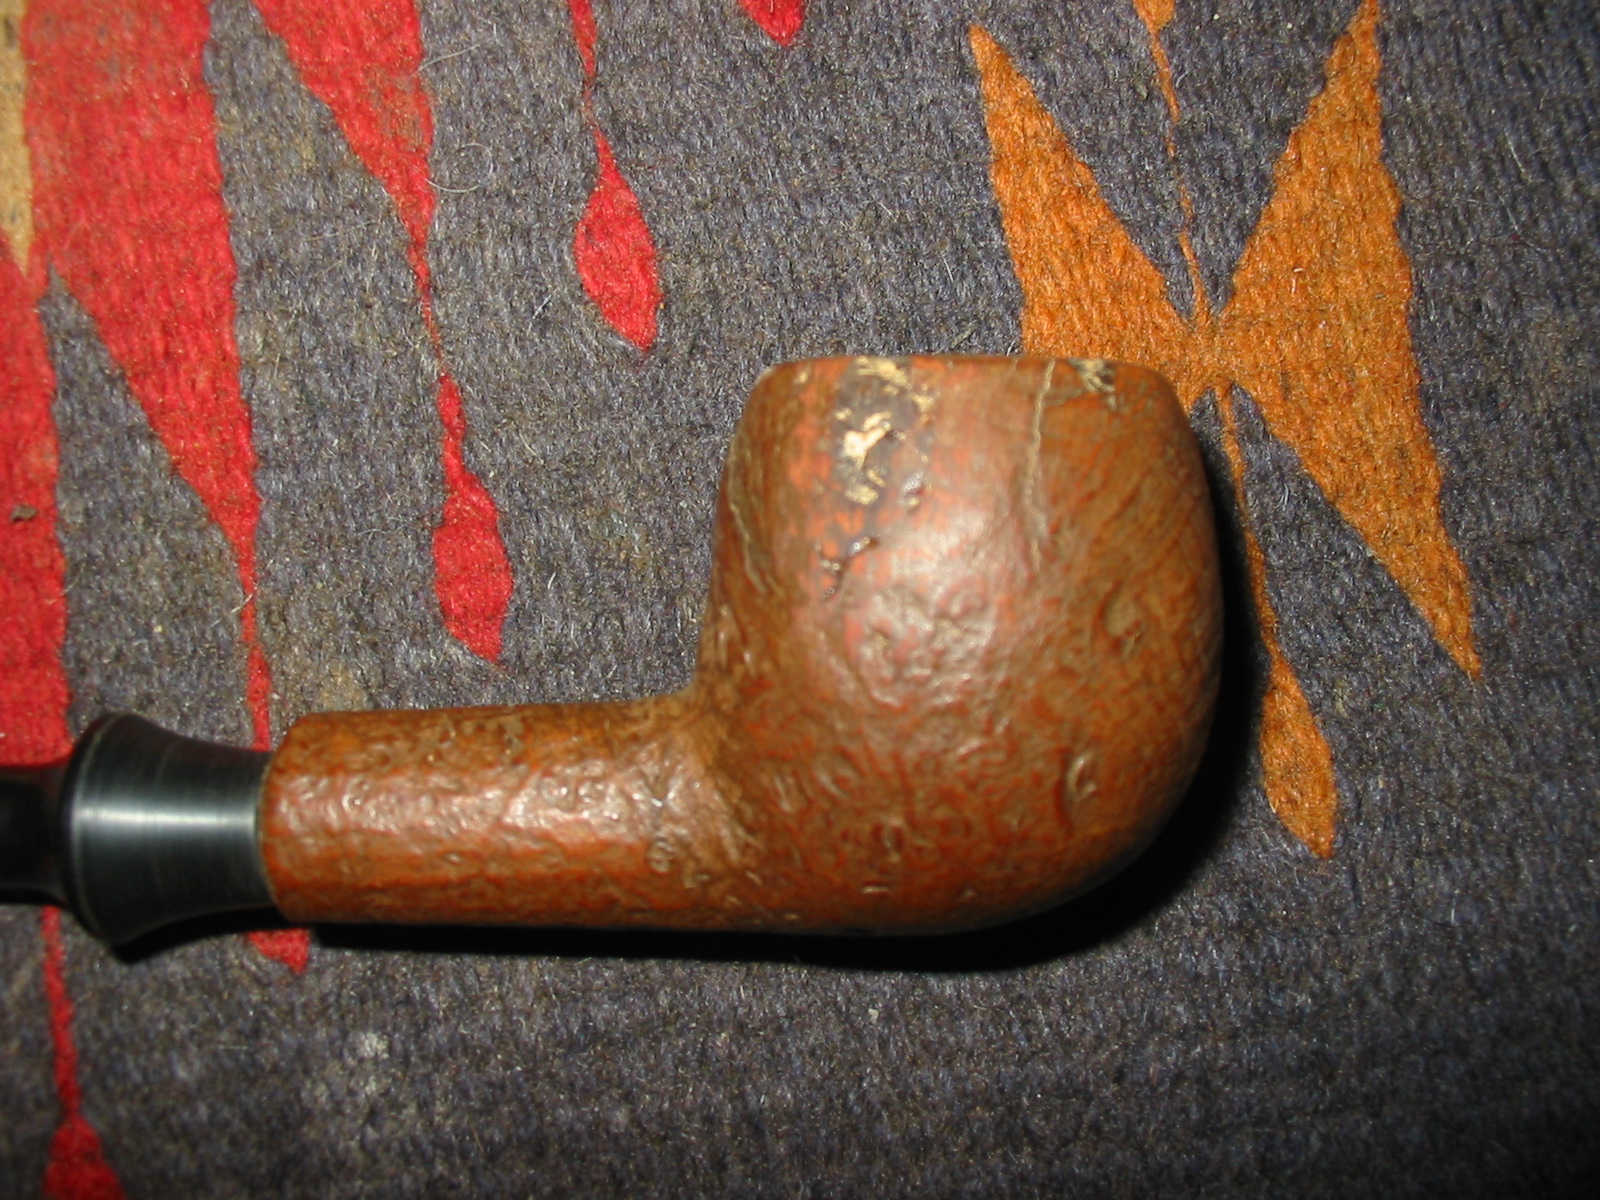
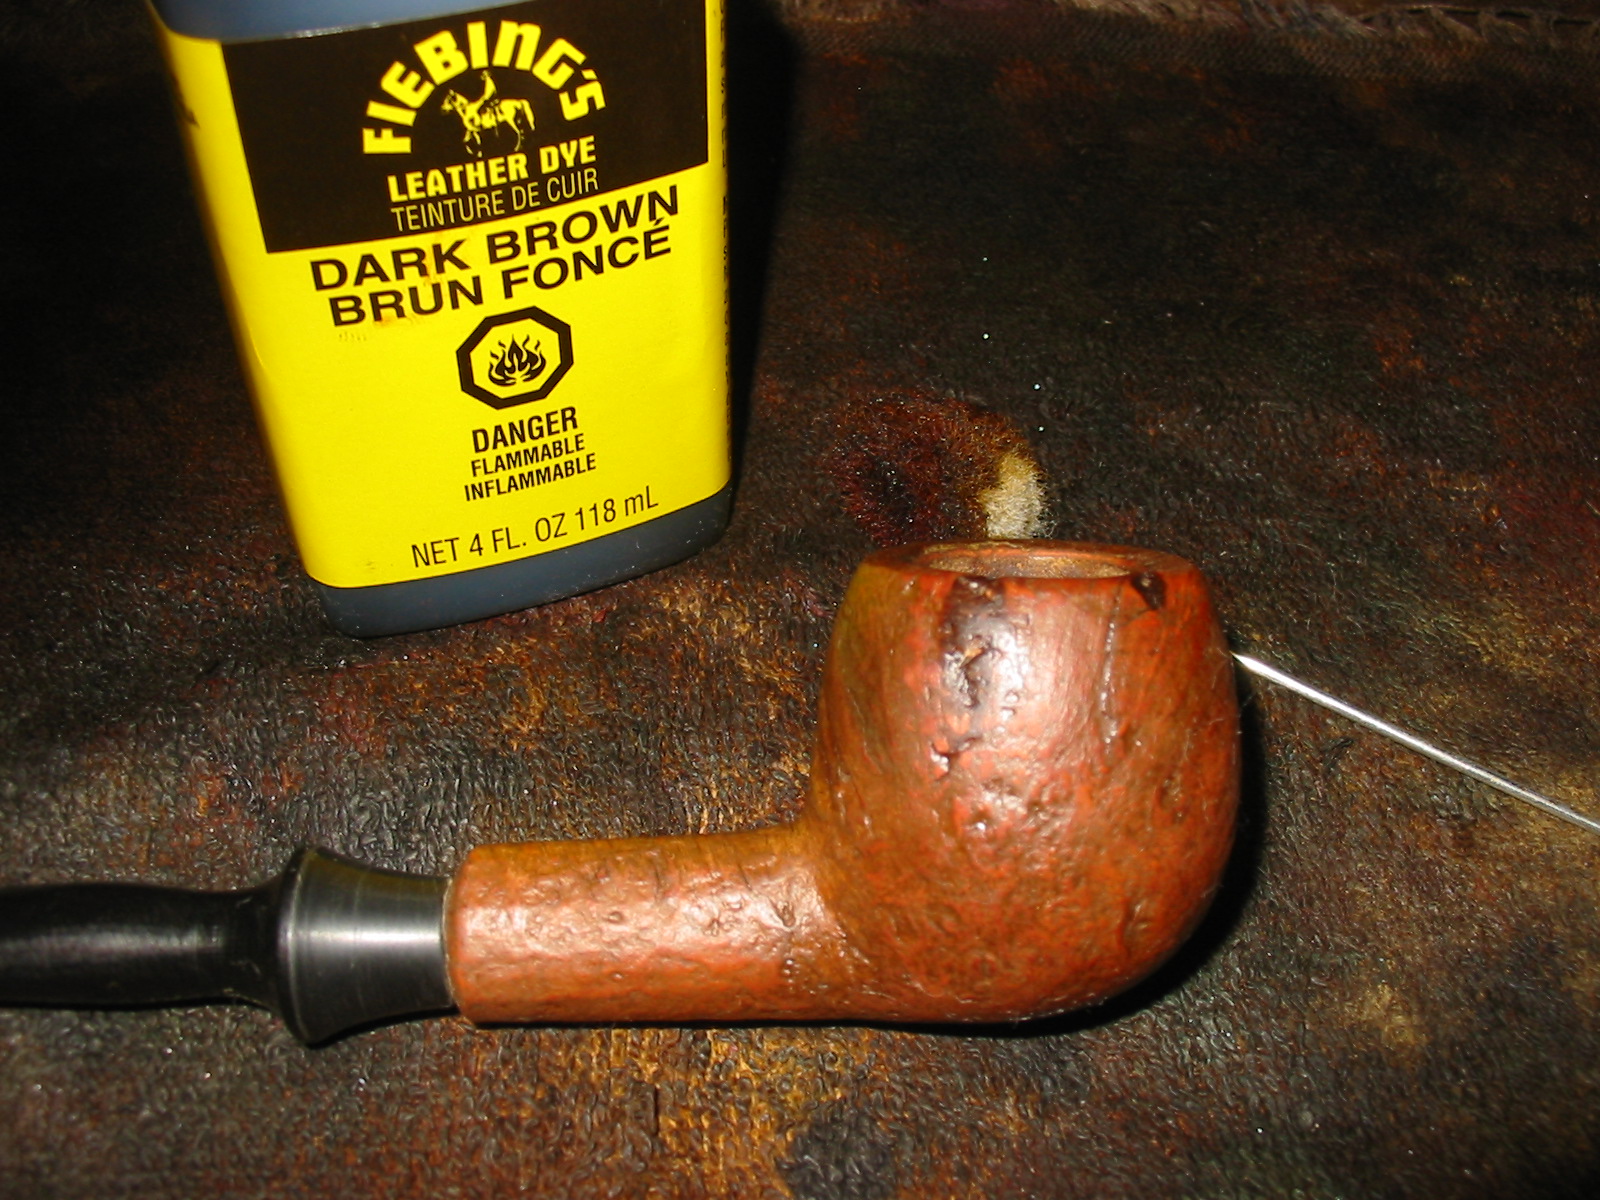
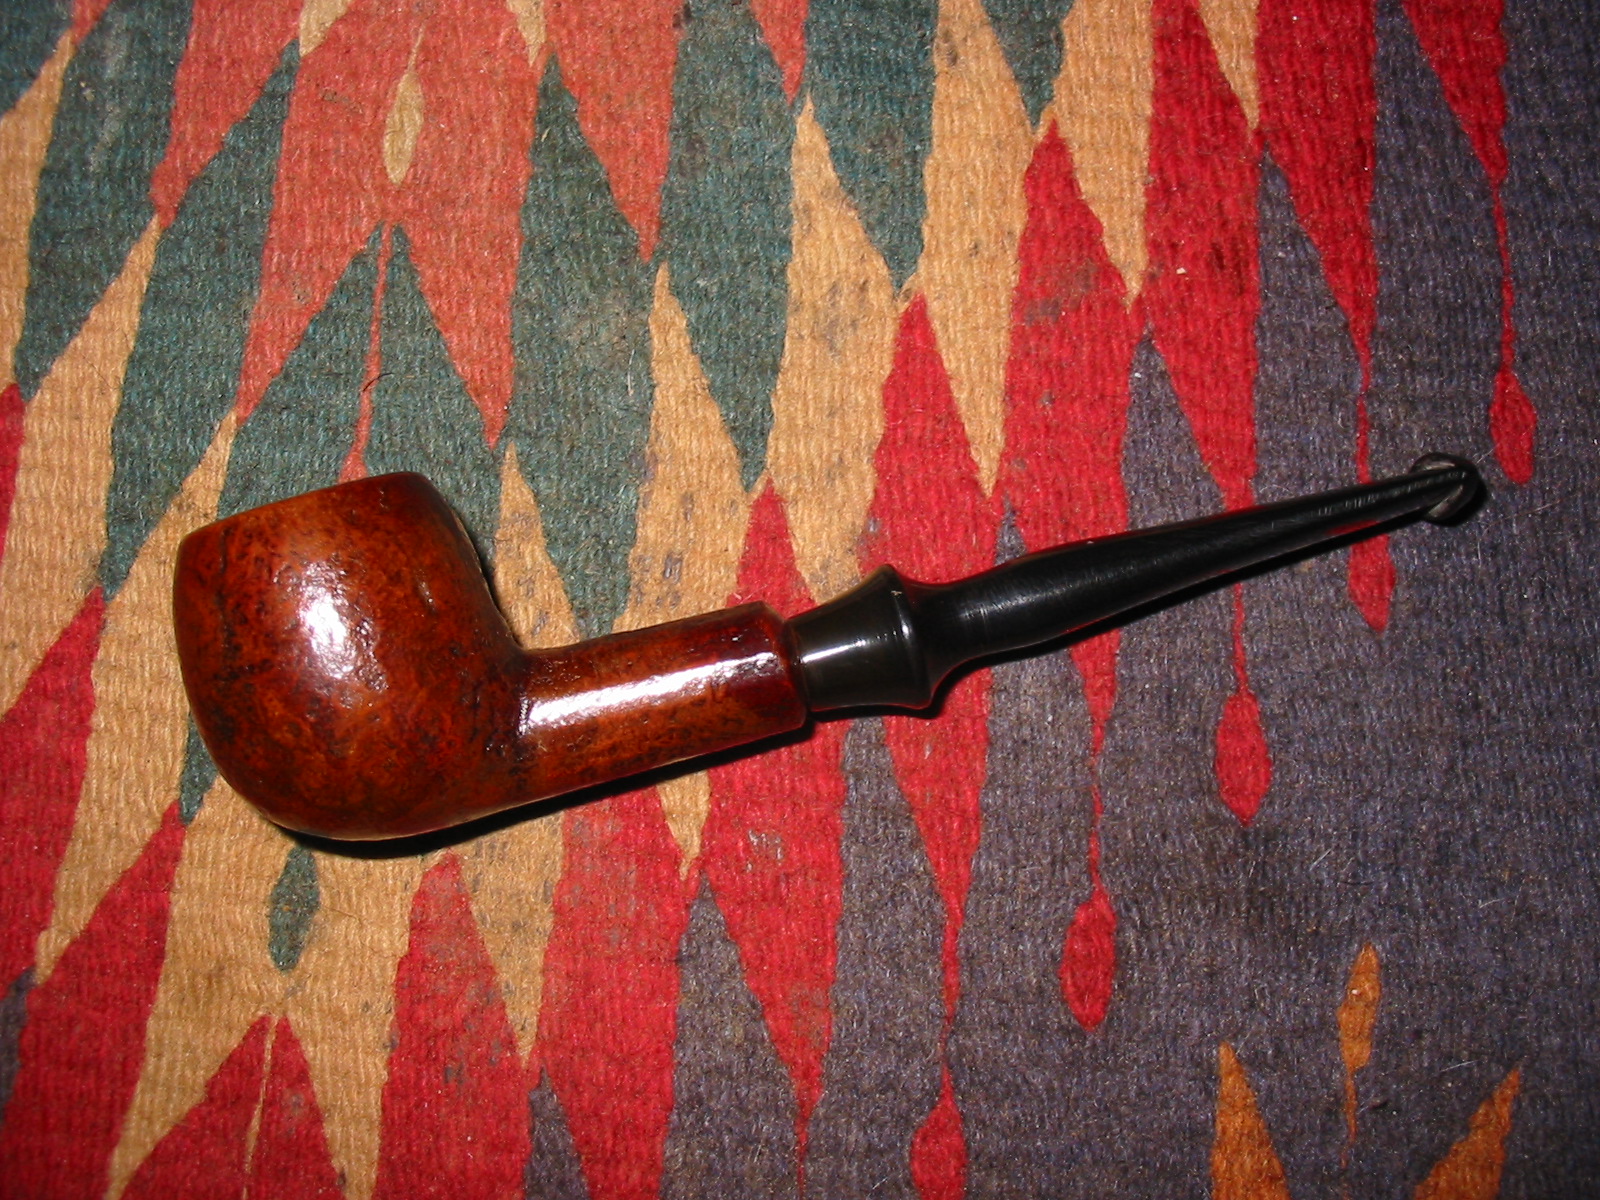
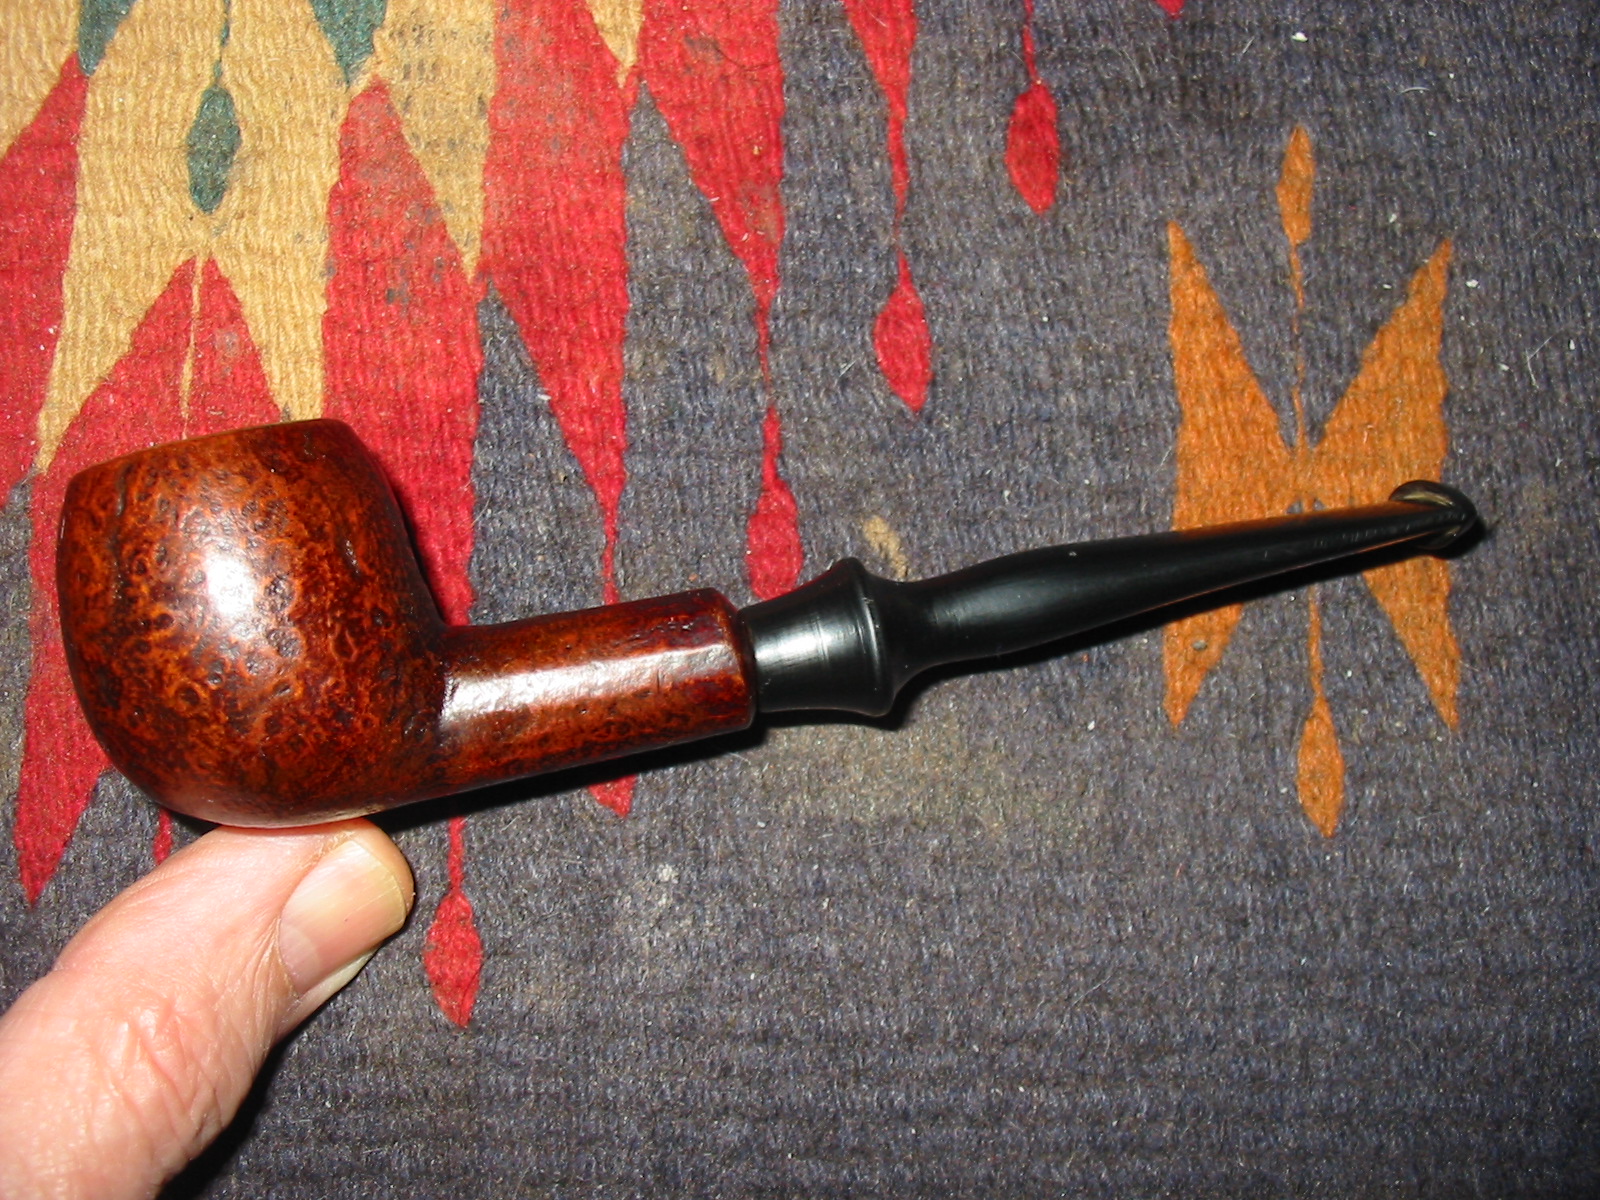
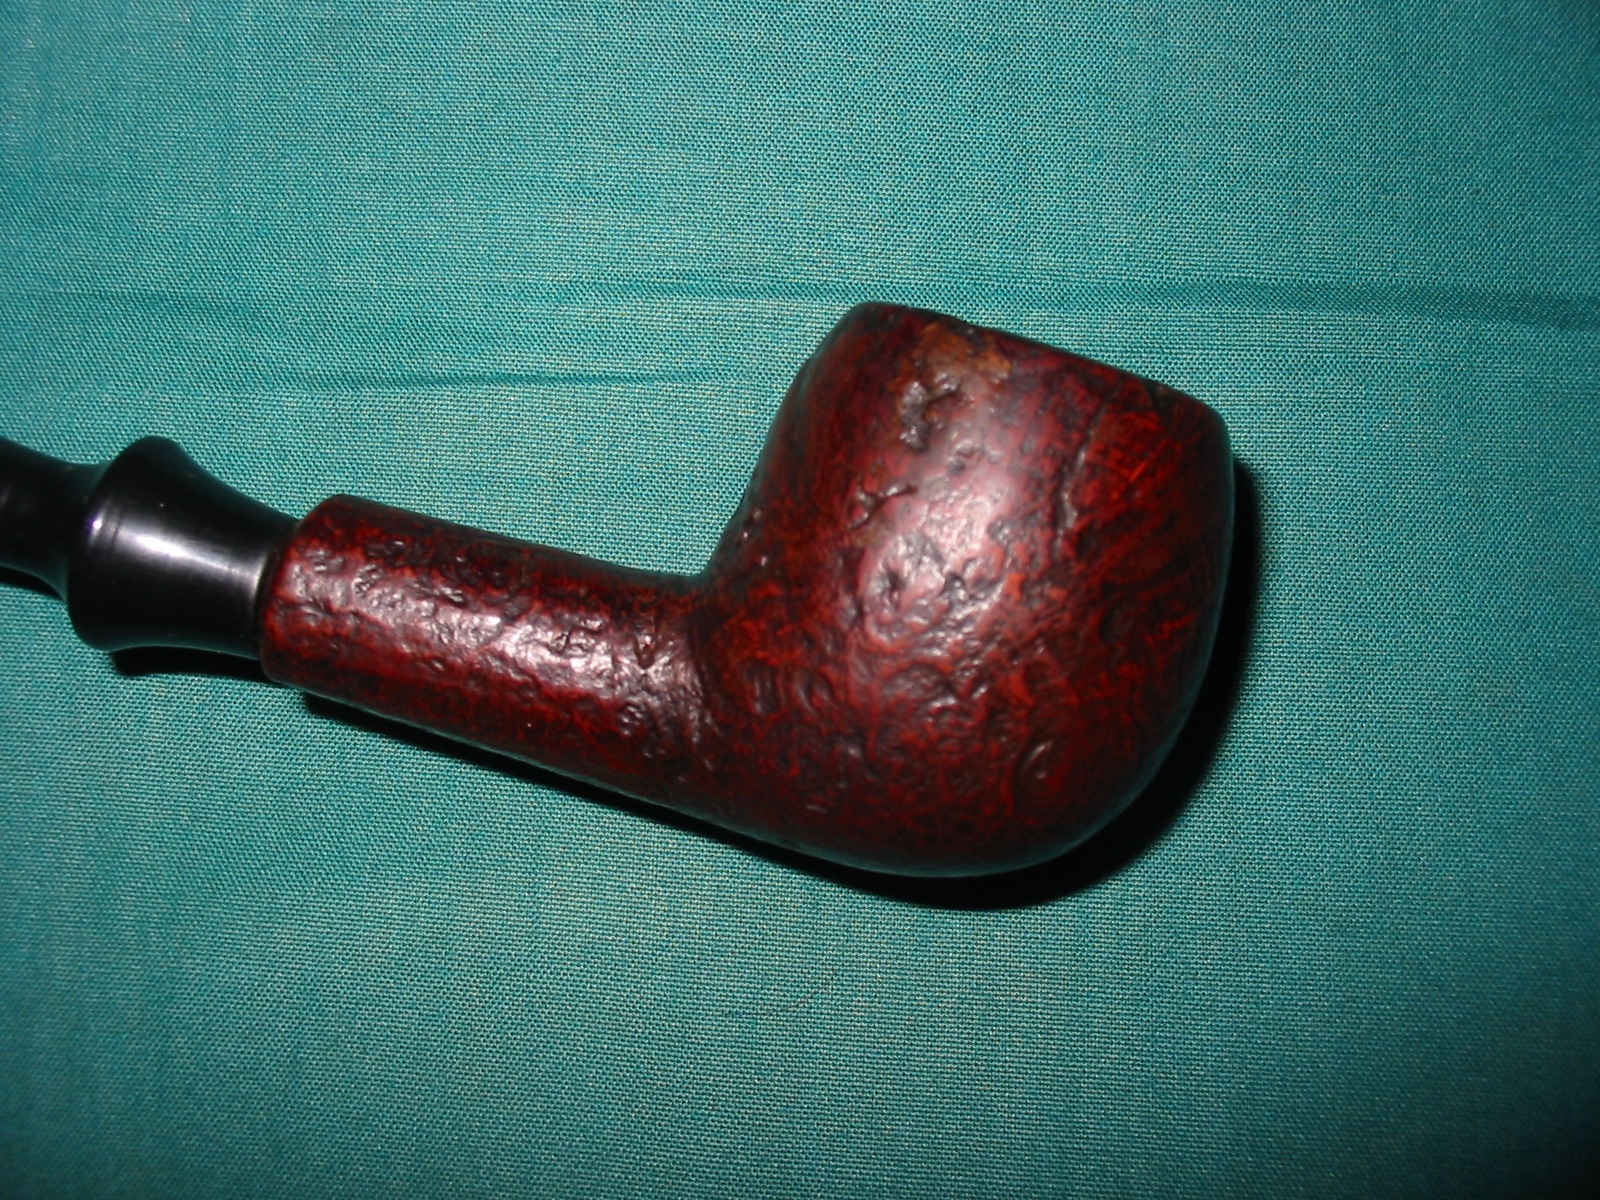
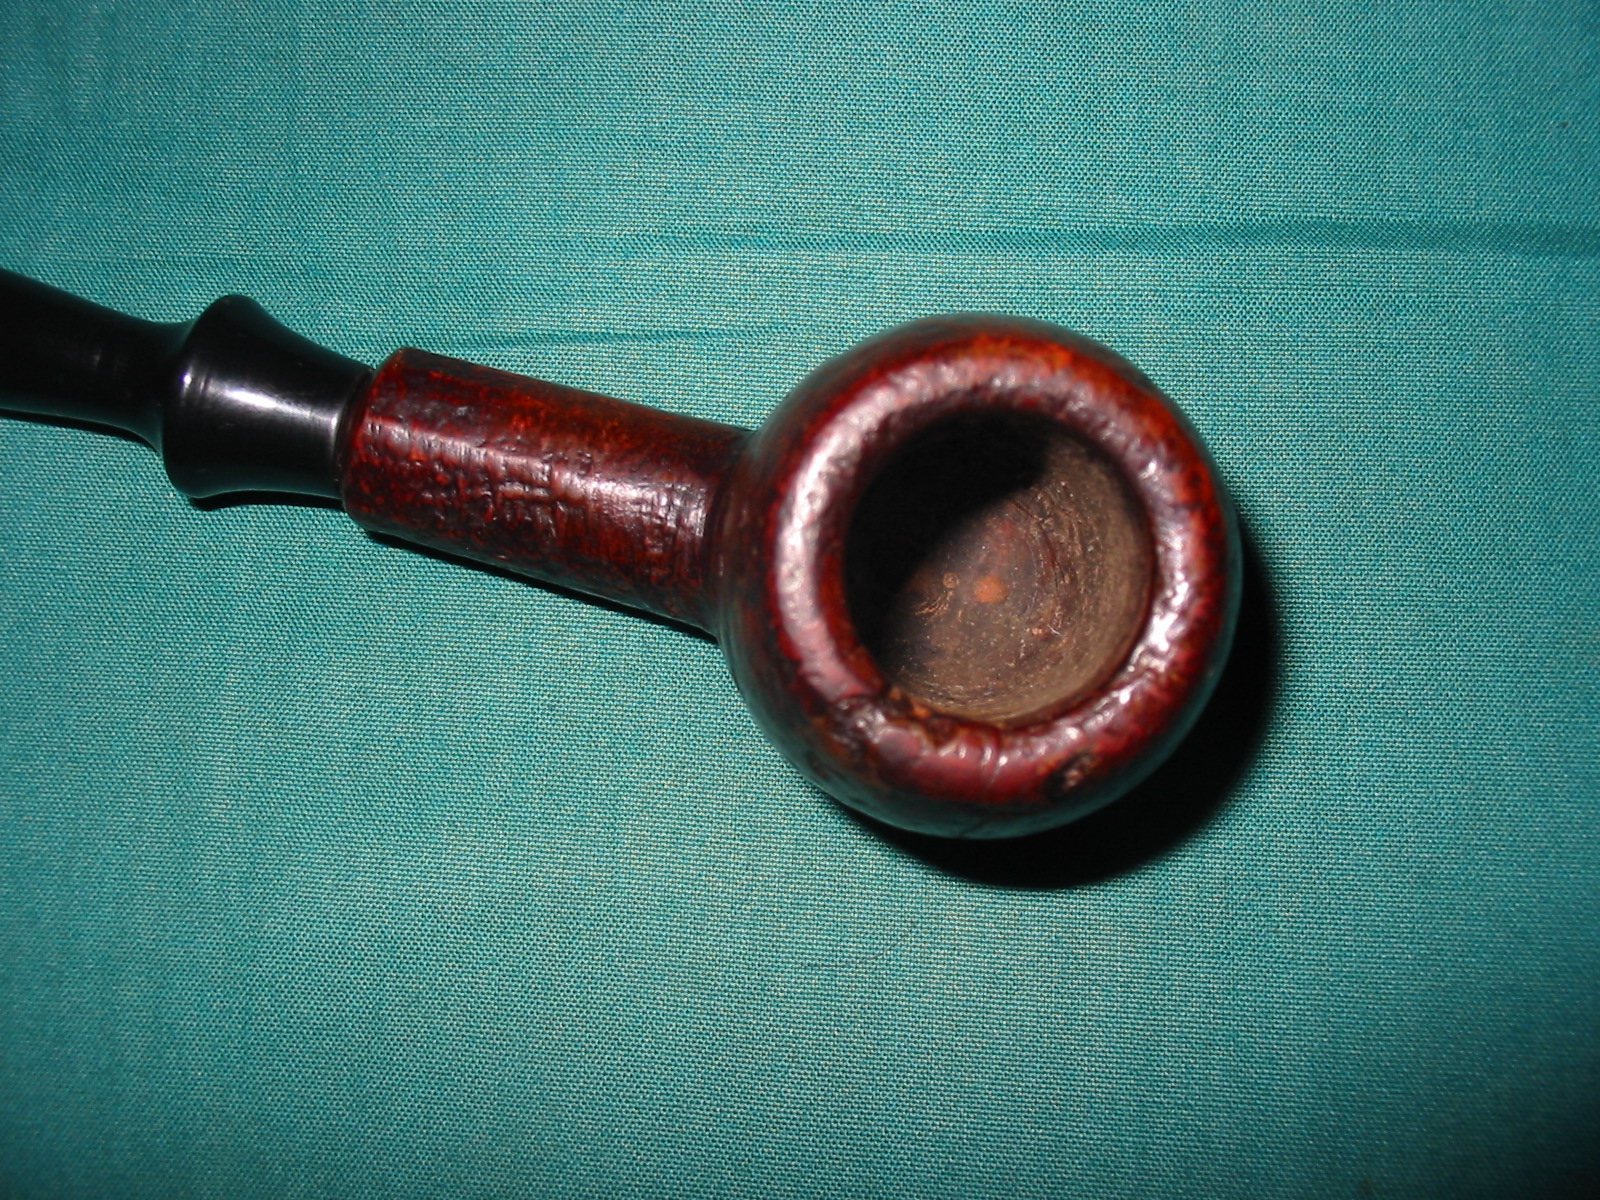
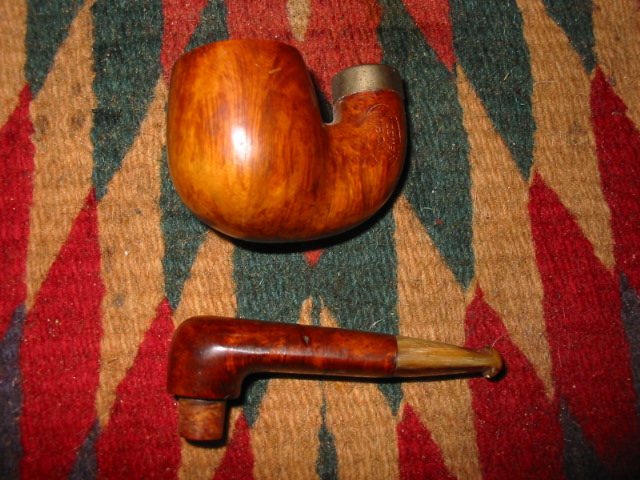
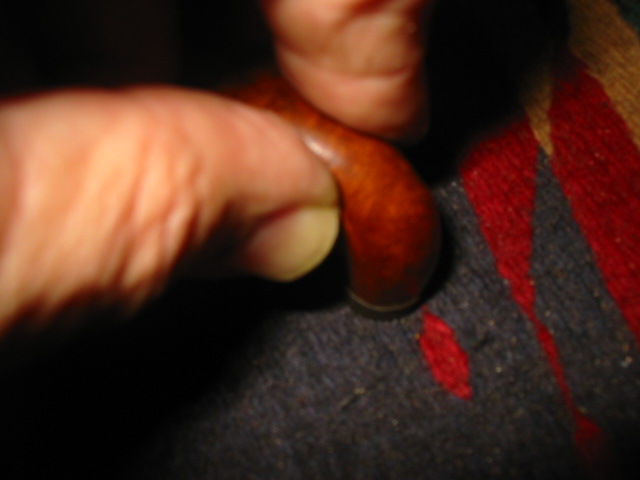
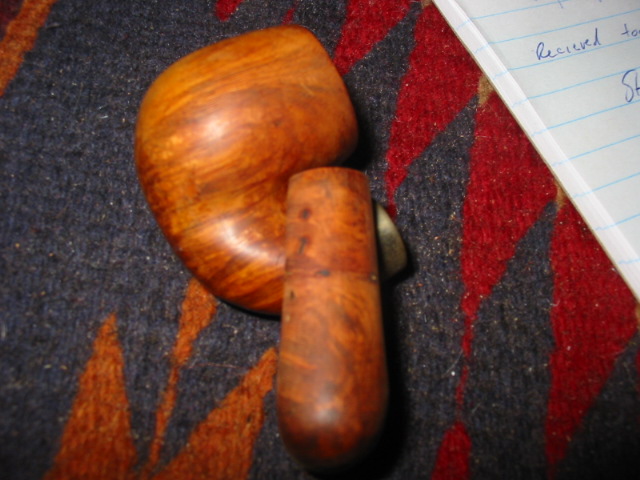
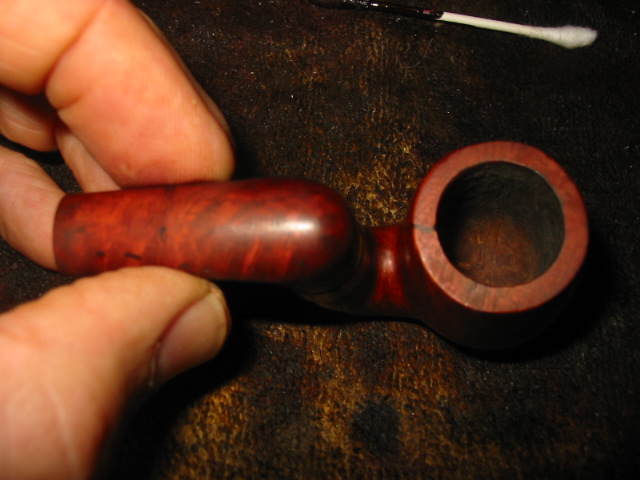
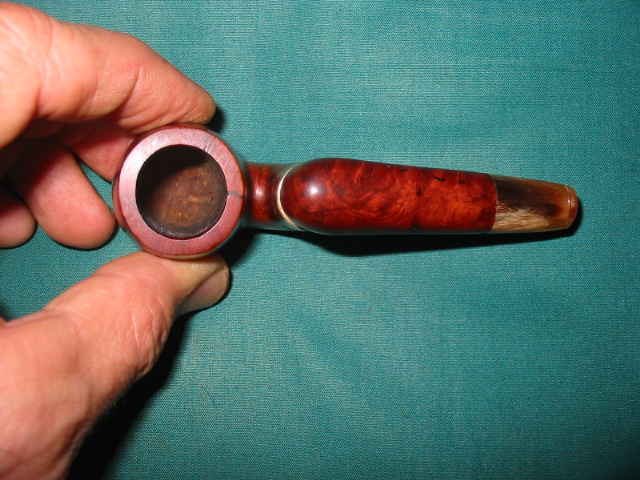
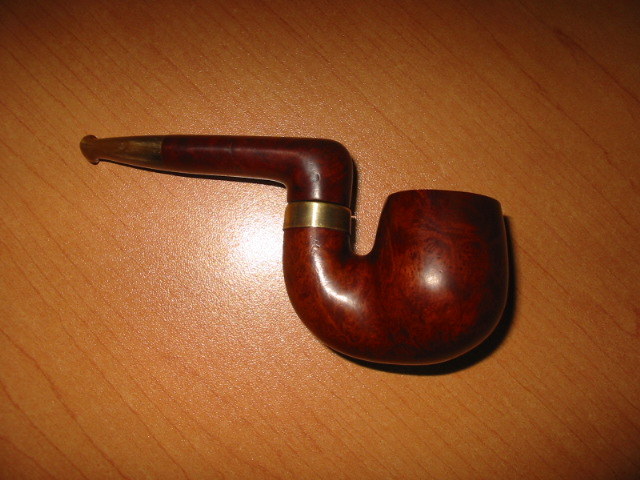
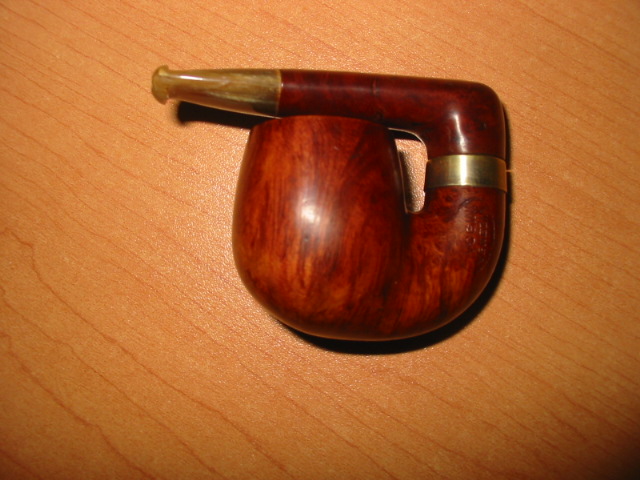
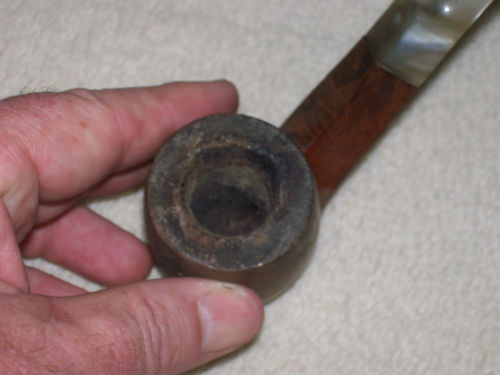
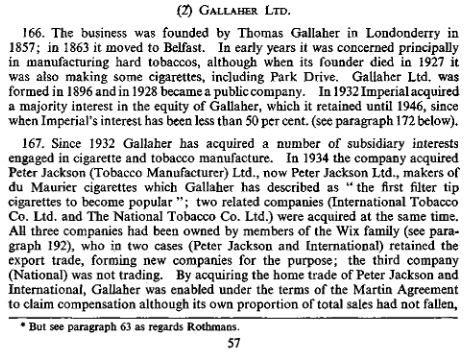
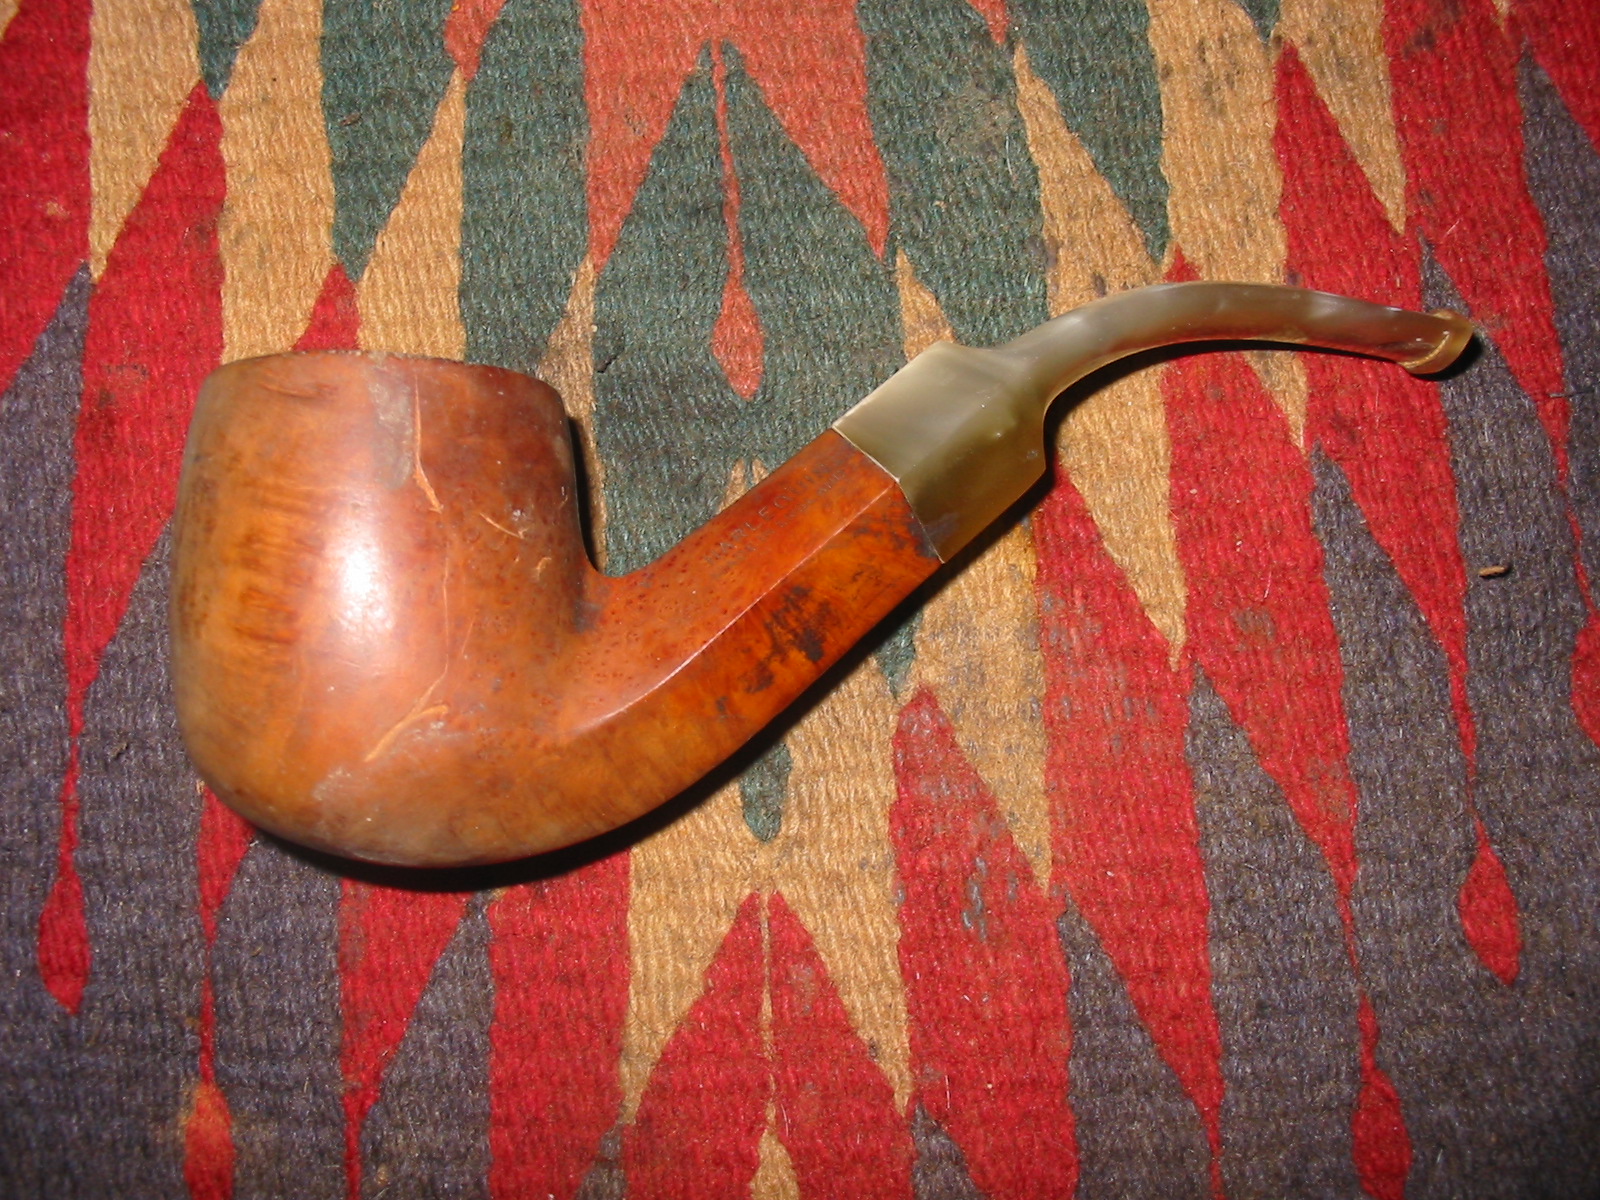
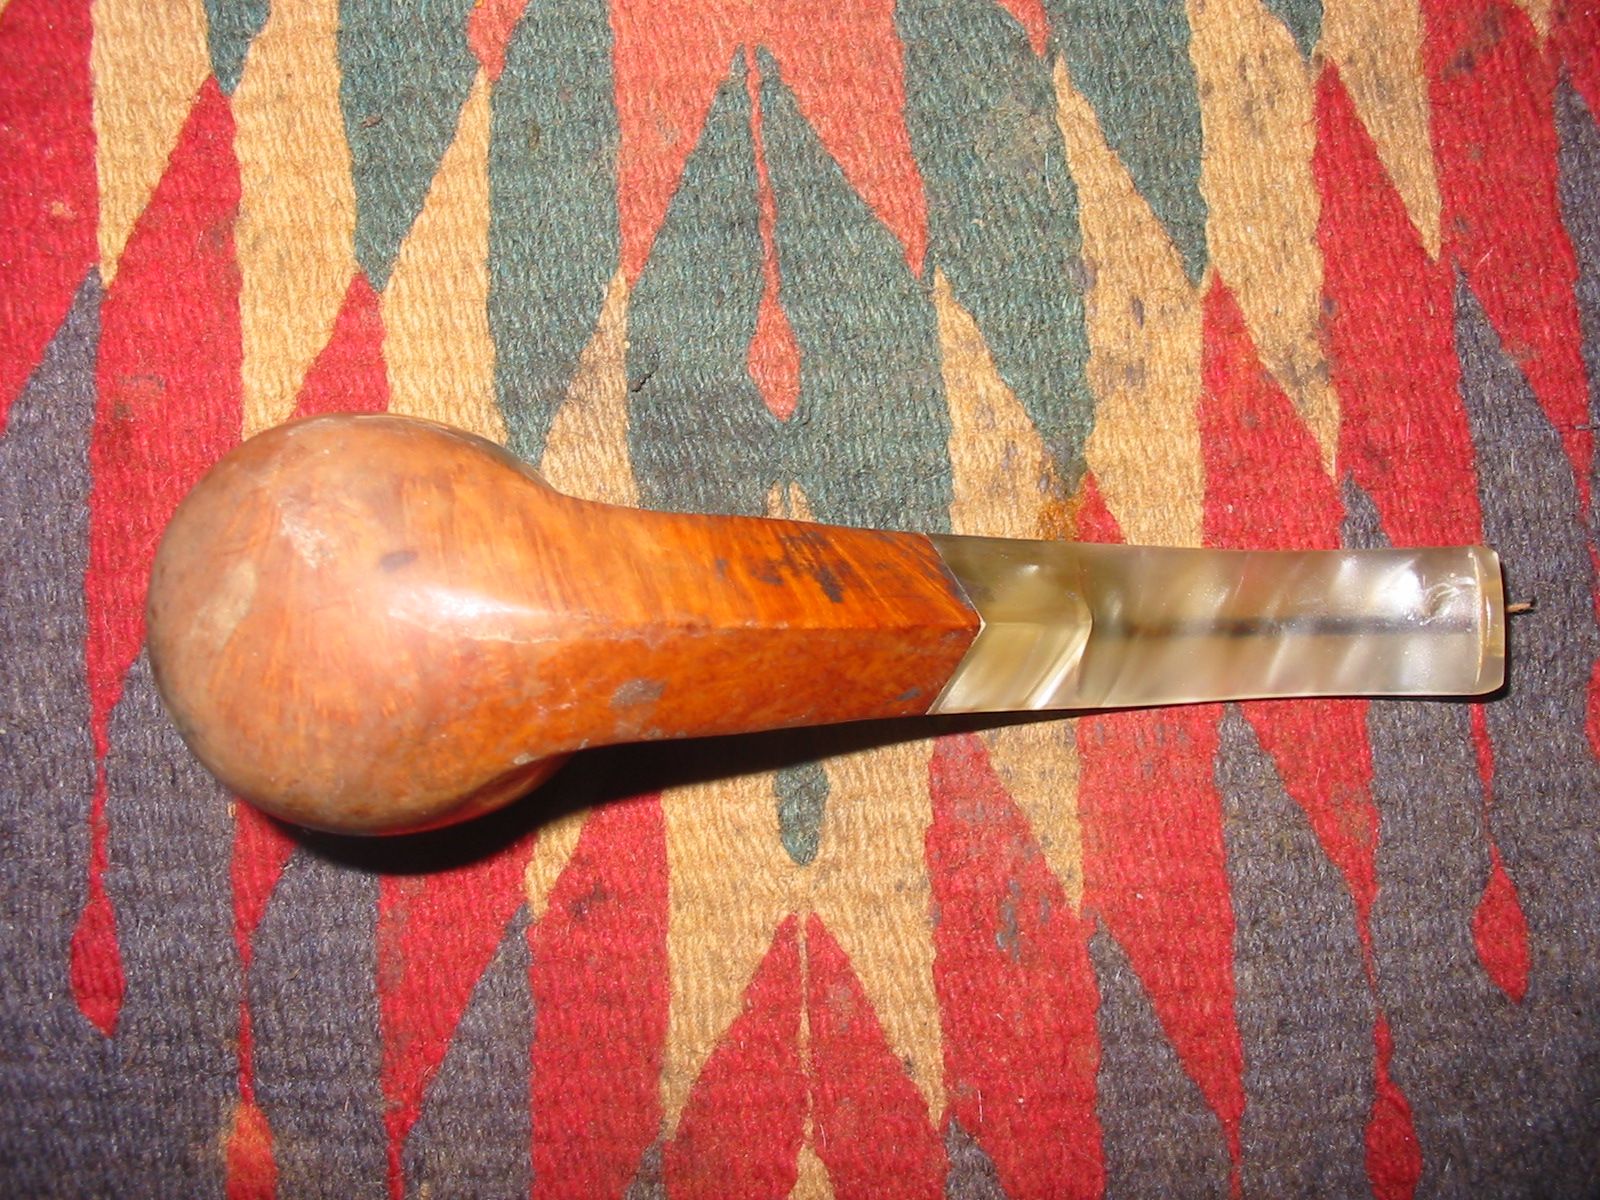
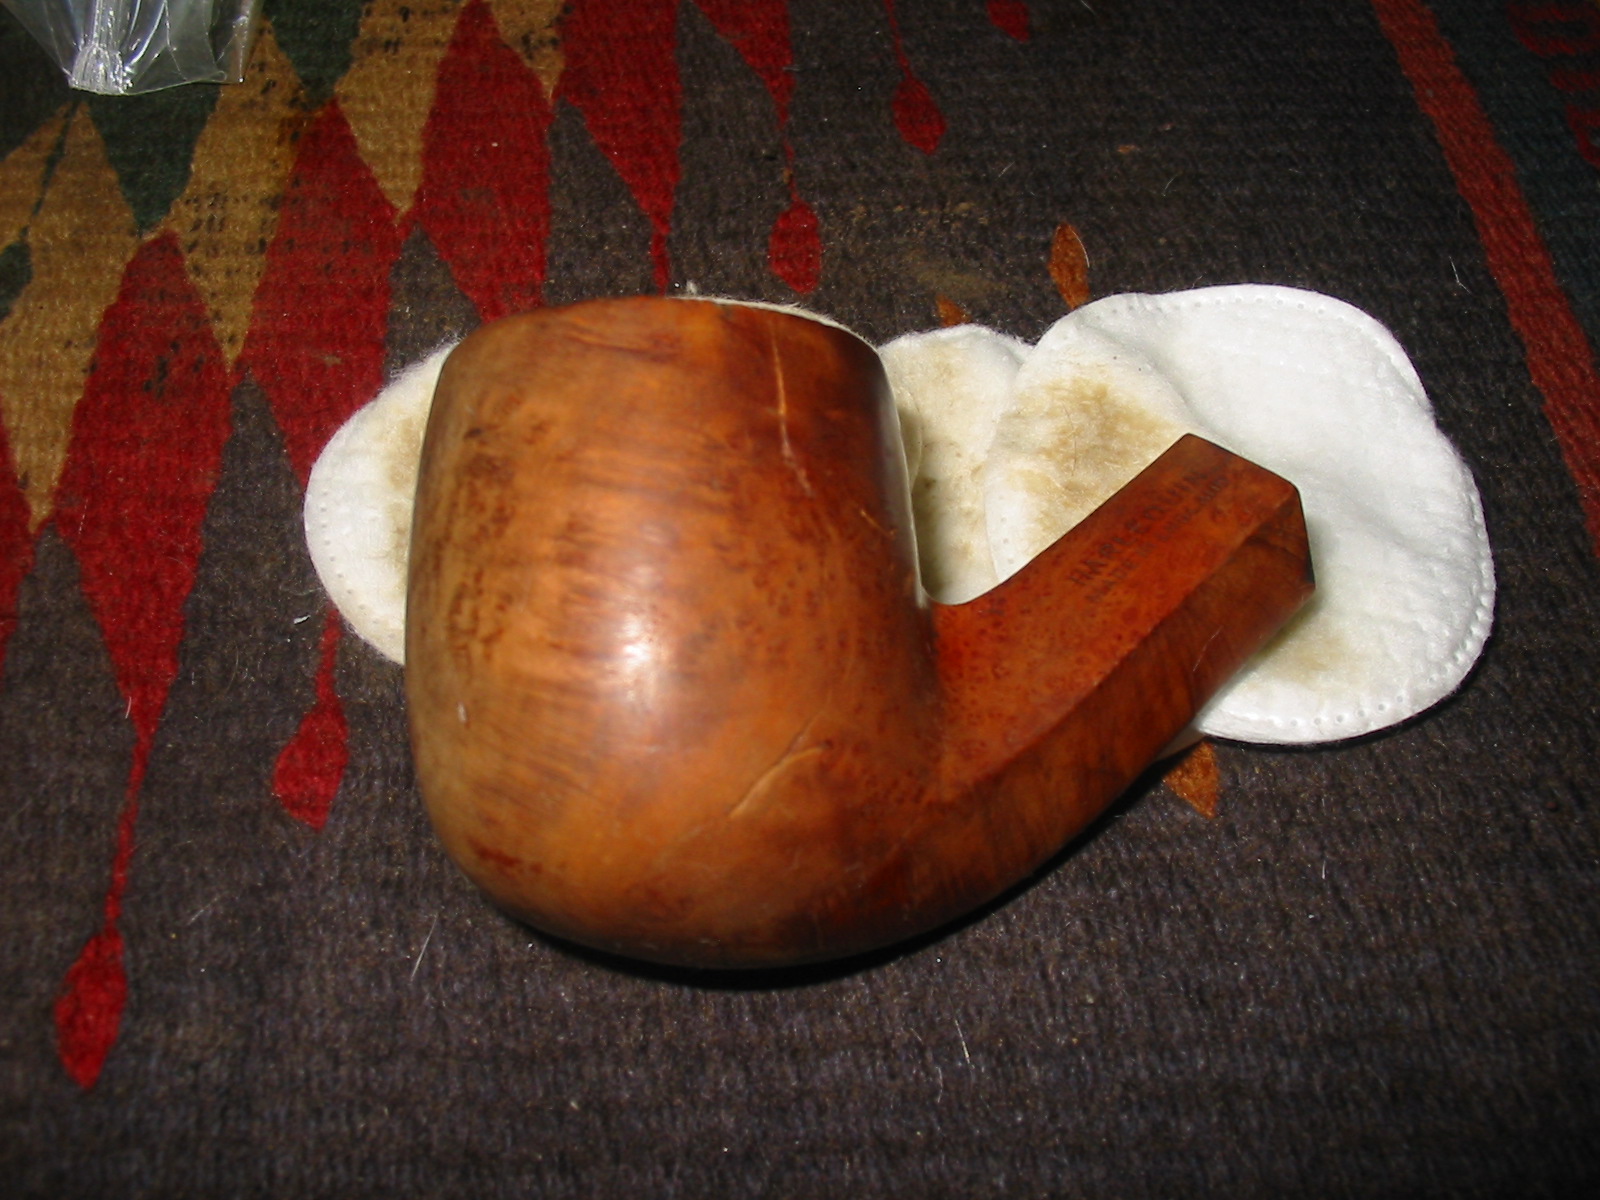
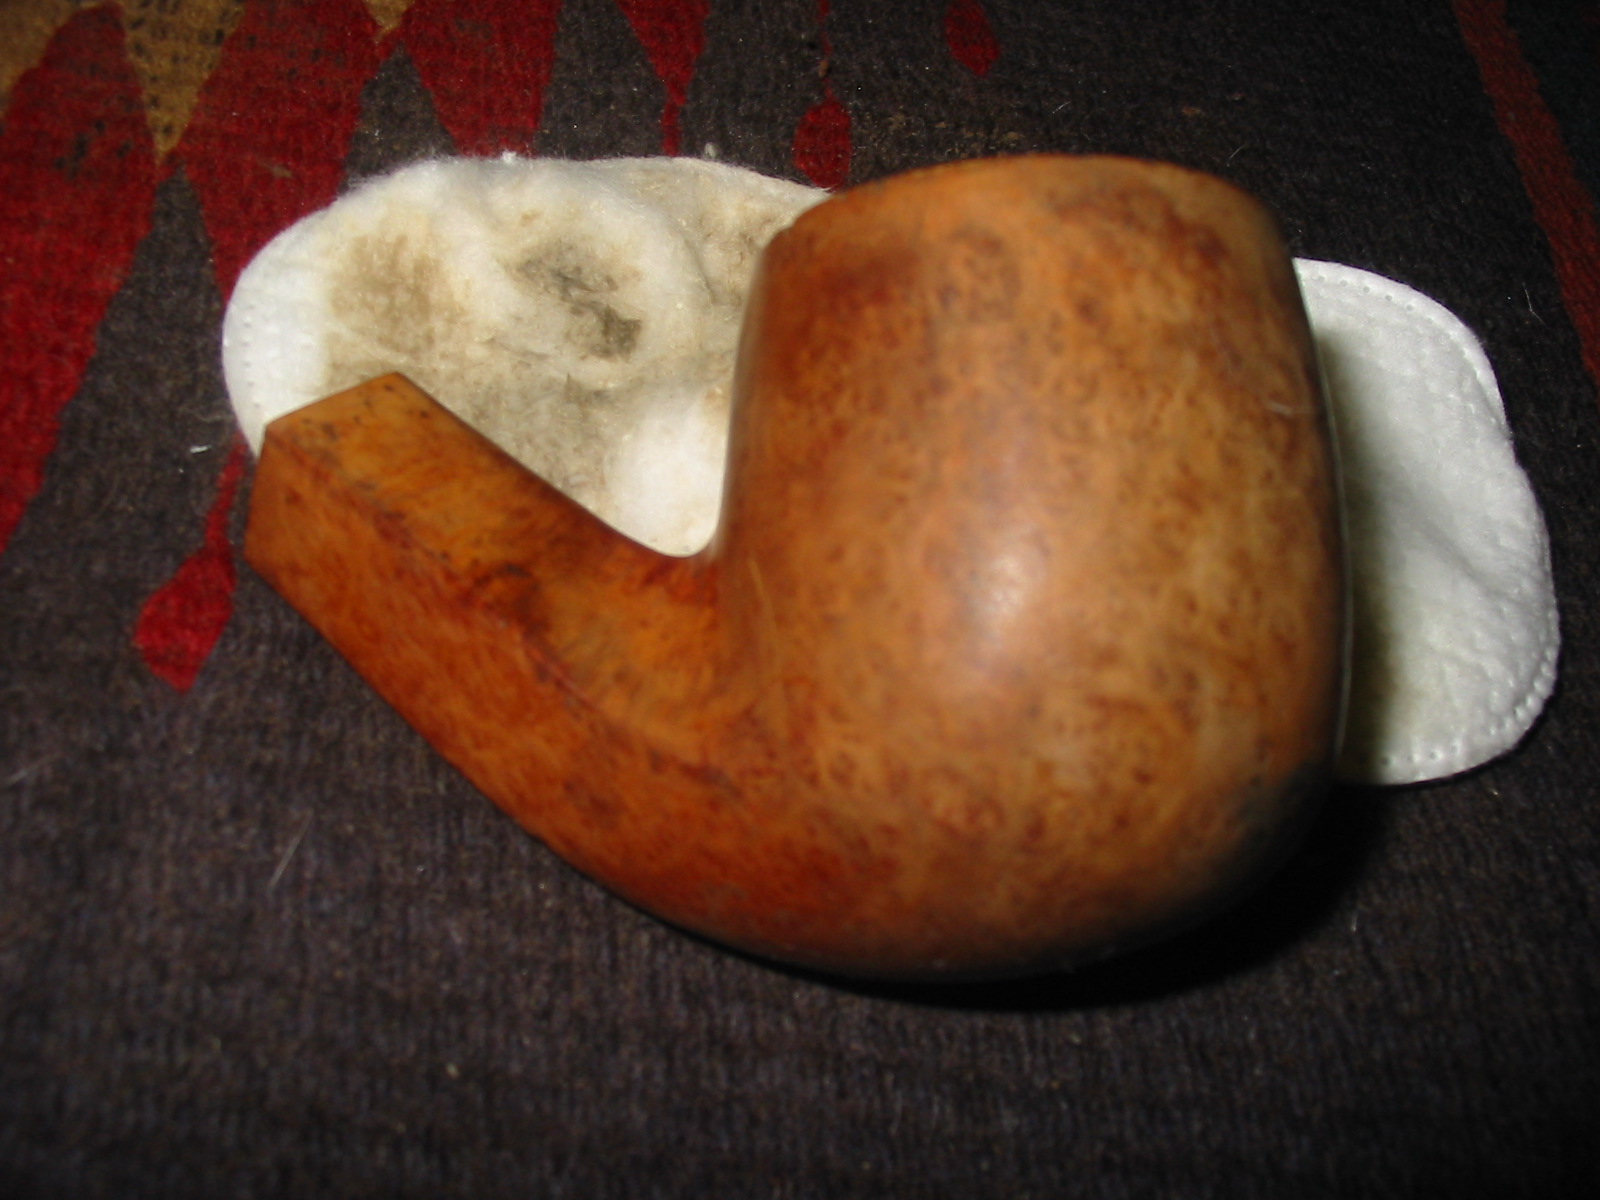
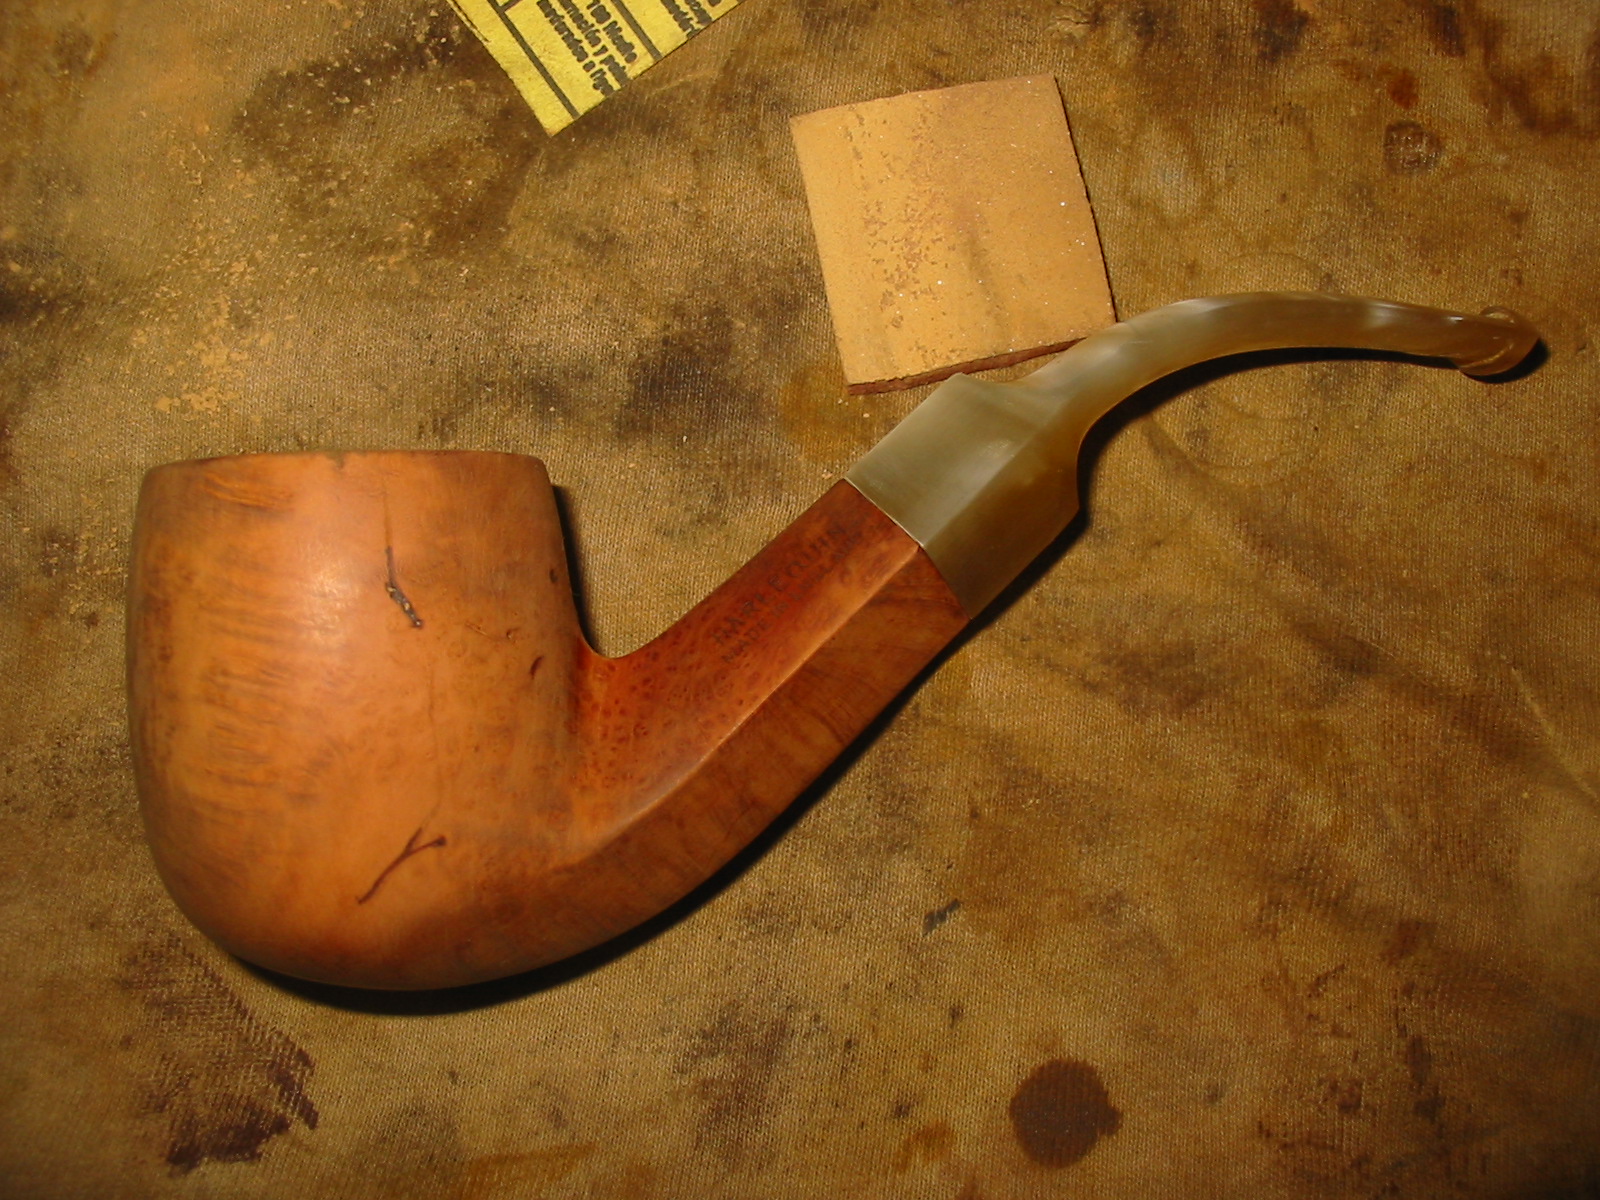
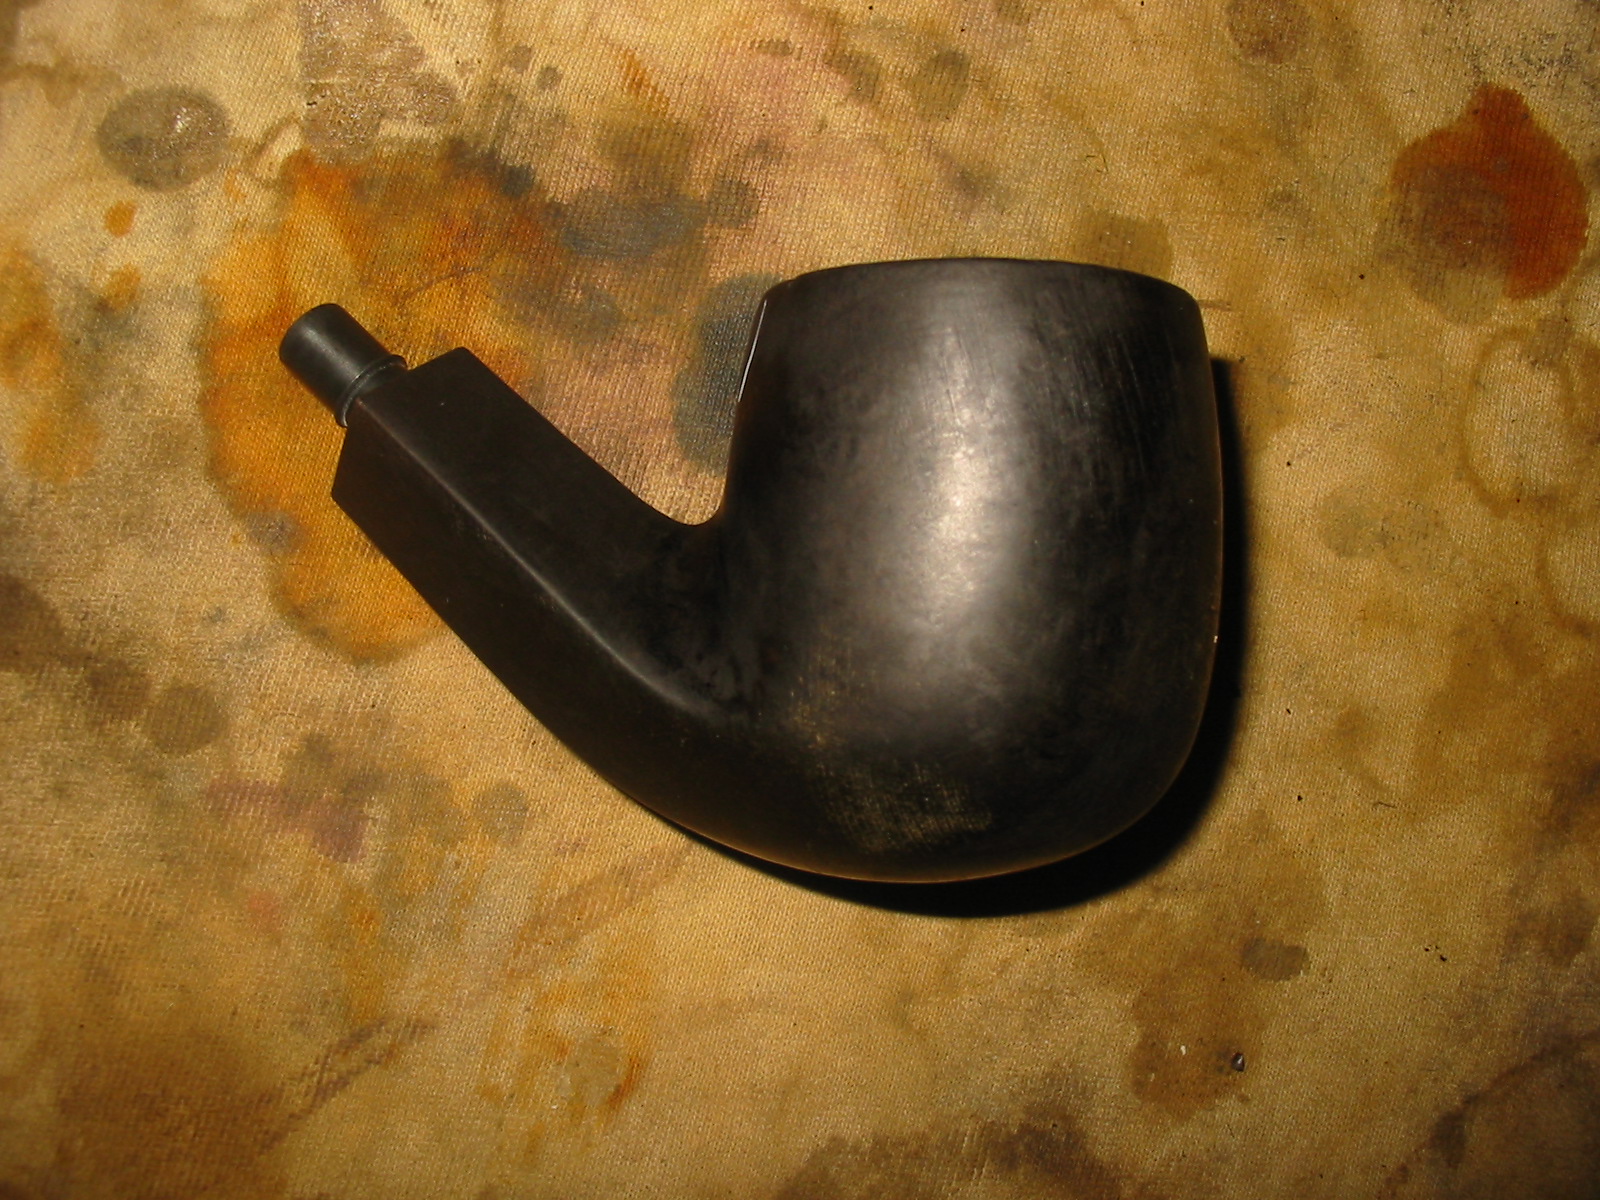
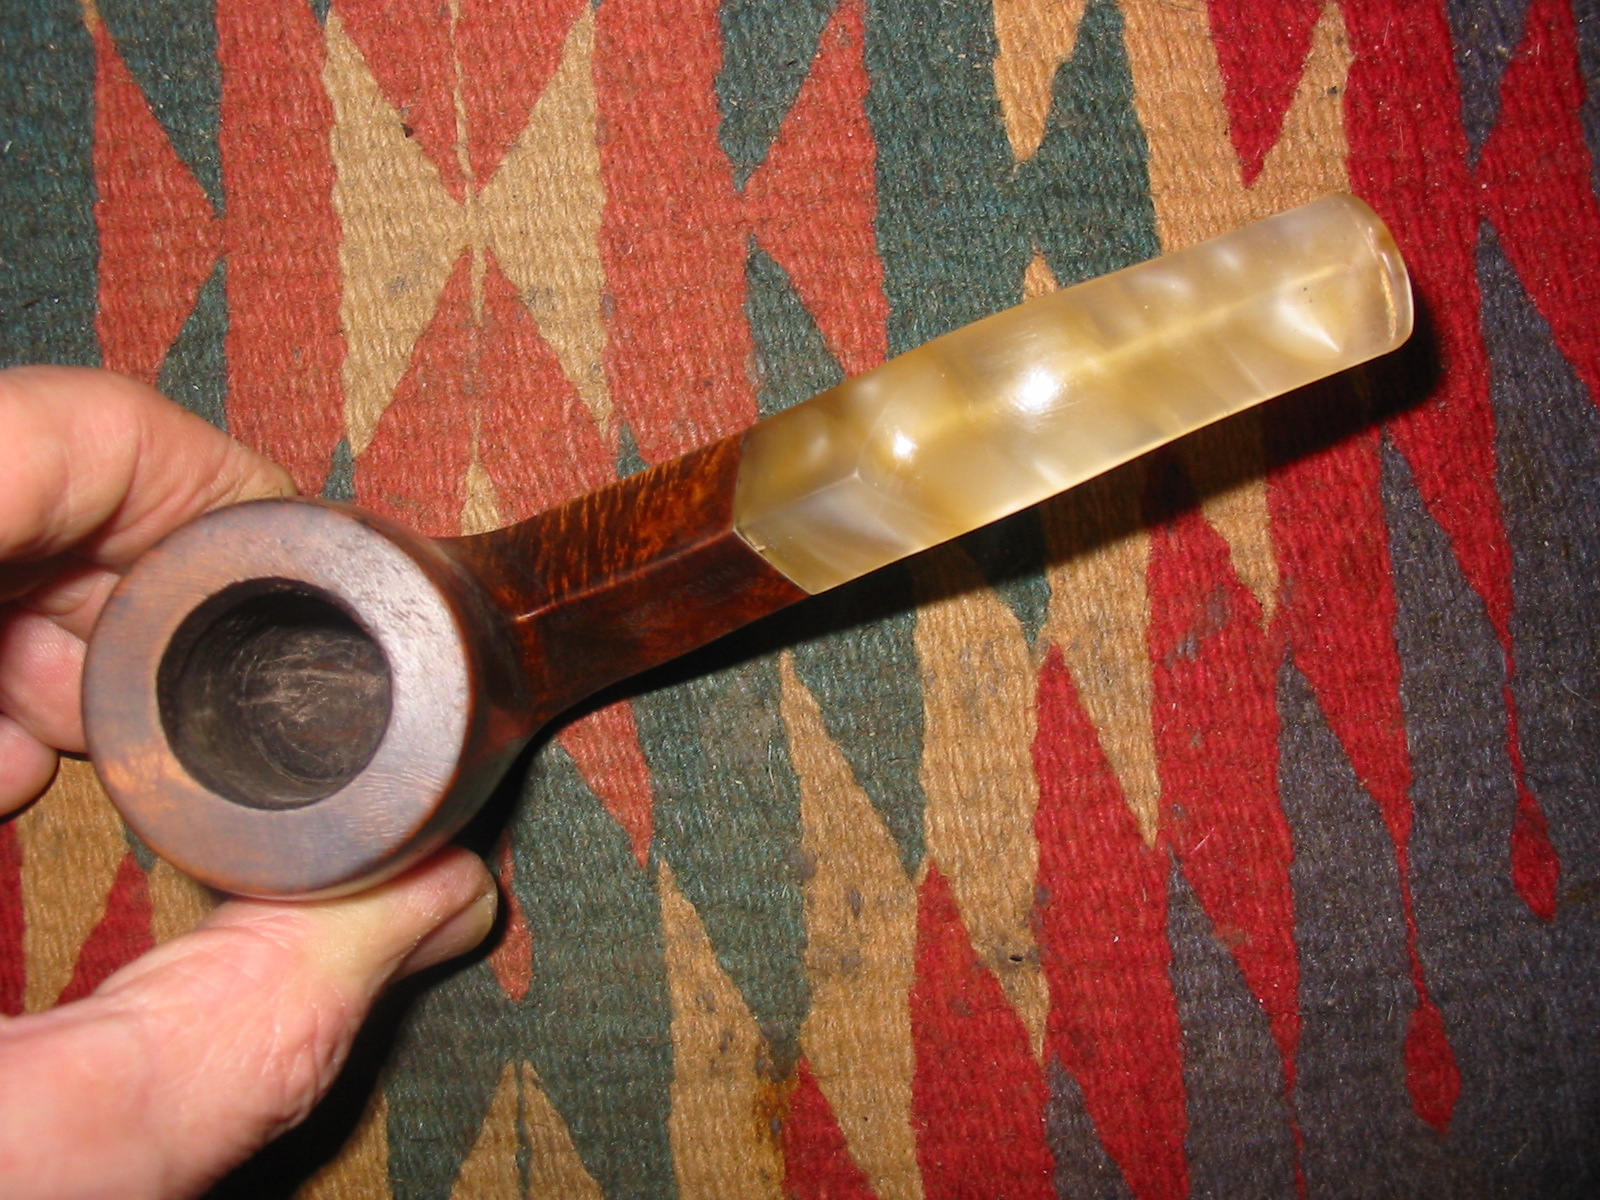
When I saw this old pipe on eBay something about it caught my eye. I could see that it was structurally sound. There were no cracks or significant problems with the bowl or shank. The rim was dirty and the bowl very caked but there did not appear to be any damage to the surface of the rim. The outer edge had been tapped out a few times and showed some minor denting around the bowl. There were some gouges/scratches on the left side of the bowl. It looked as if a sharp instrument had scored the briar. There were some dark stains on the briar that easily could have been burn marks but did not appear to be so from the photos. These stains were on the underside of the shank near the junction of the shank and stem on the left side, on the lower right side of the right side and on the lower left side of the front of the bowl. It looked like stains in the grain rather than burns in the photos so I took a chance on it. The stem looked like it was grey/silver Lucite in the photos and that also intrigued me. The tobacco juices had stained the airway dark. Other than that the stem appeared to be undamaged and would be a pretty easy clean up.
Harlequin1

Harlequin2

Harlequin3
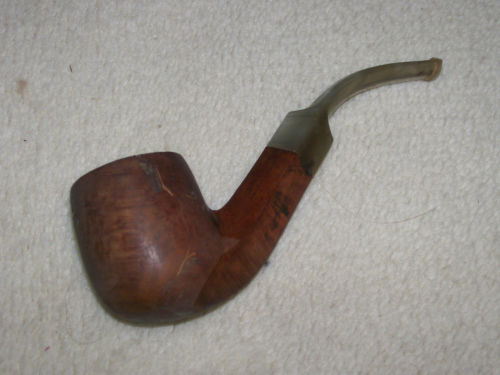
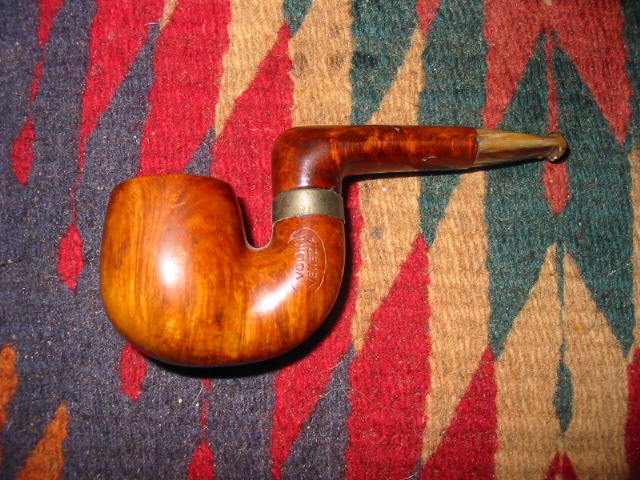
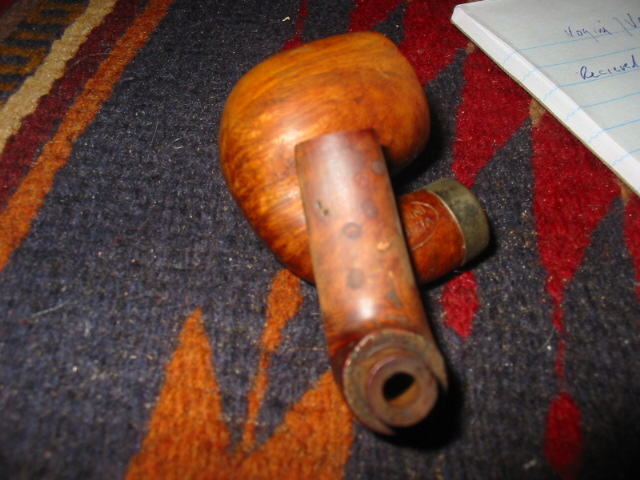
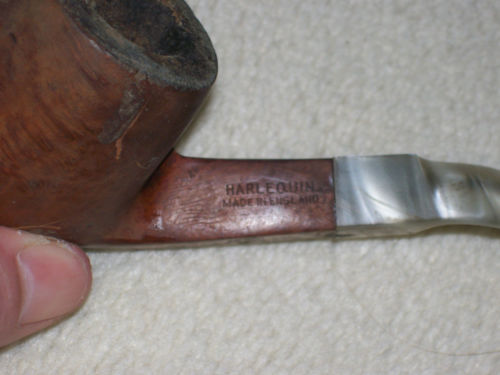
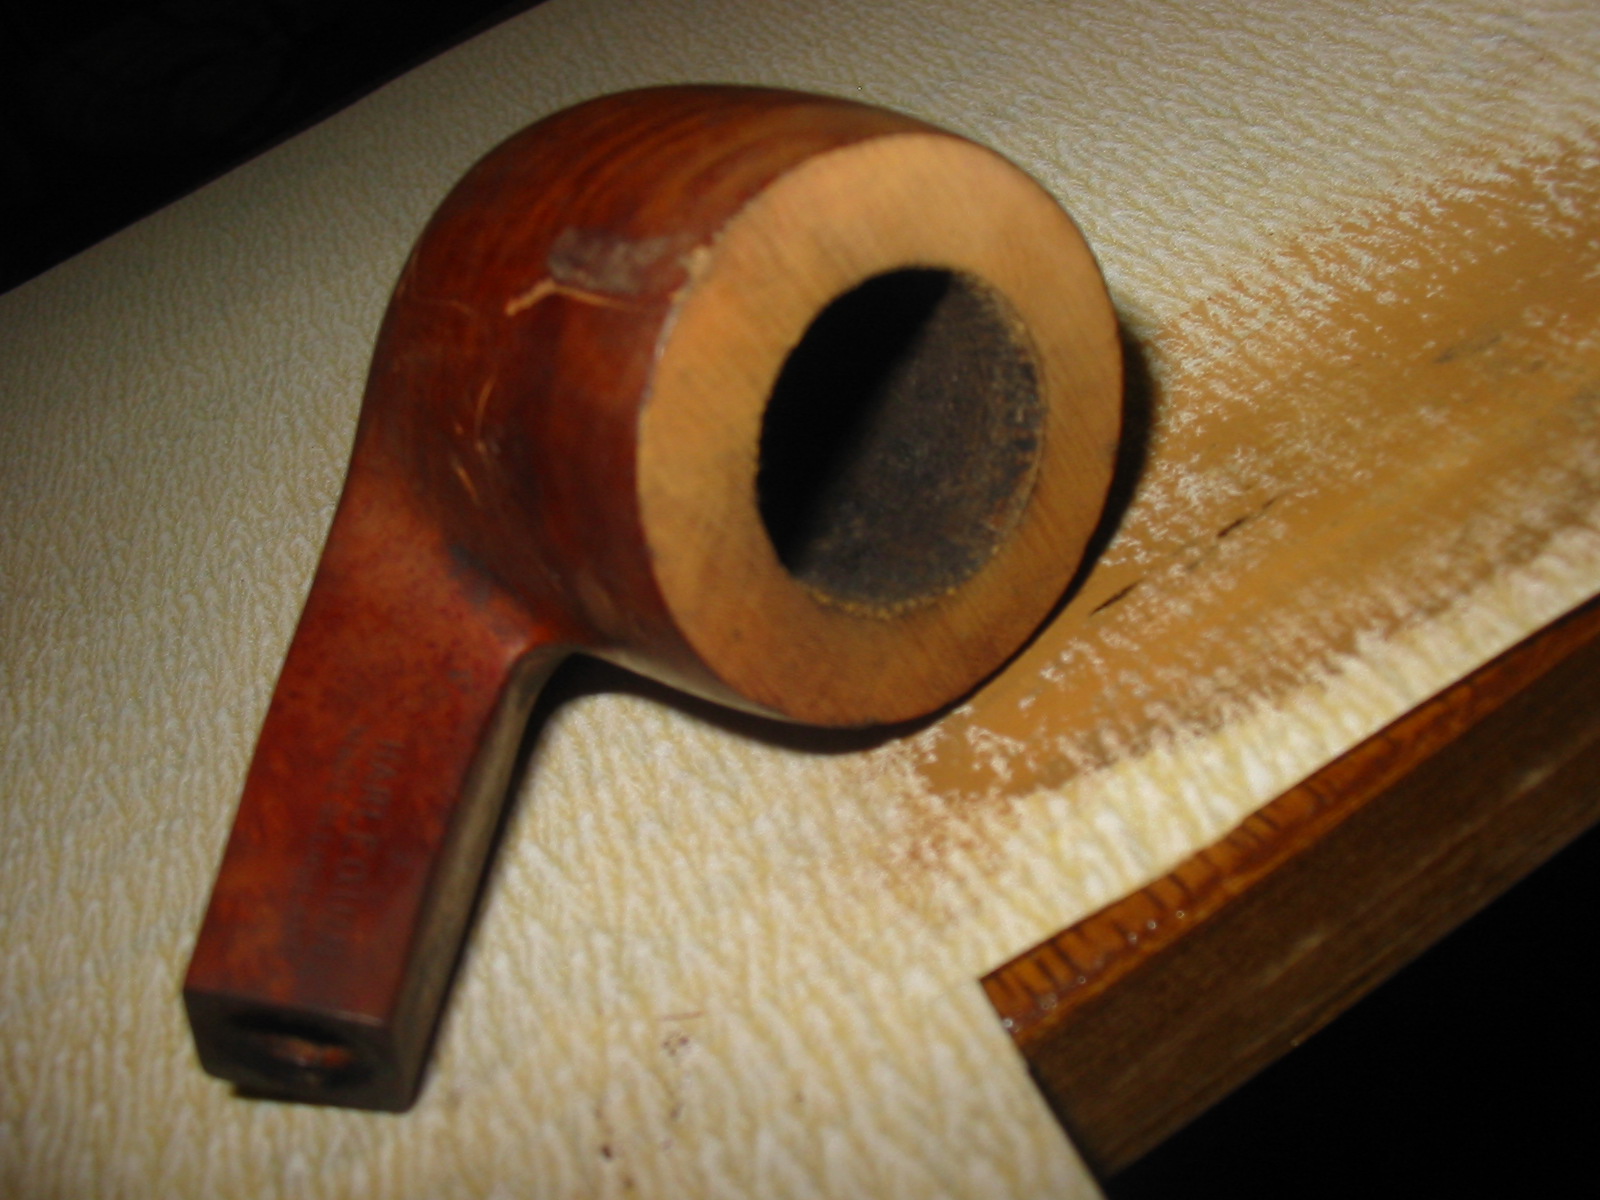
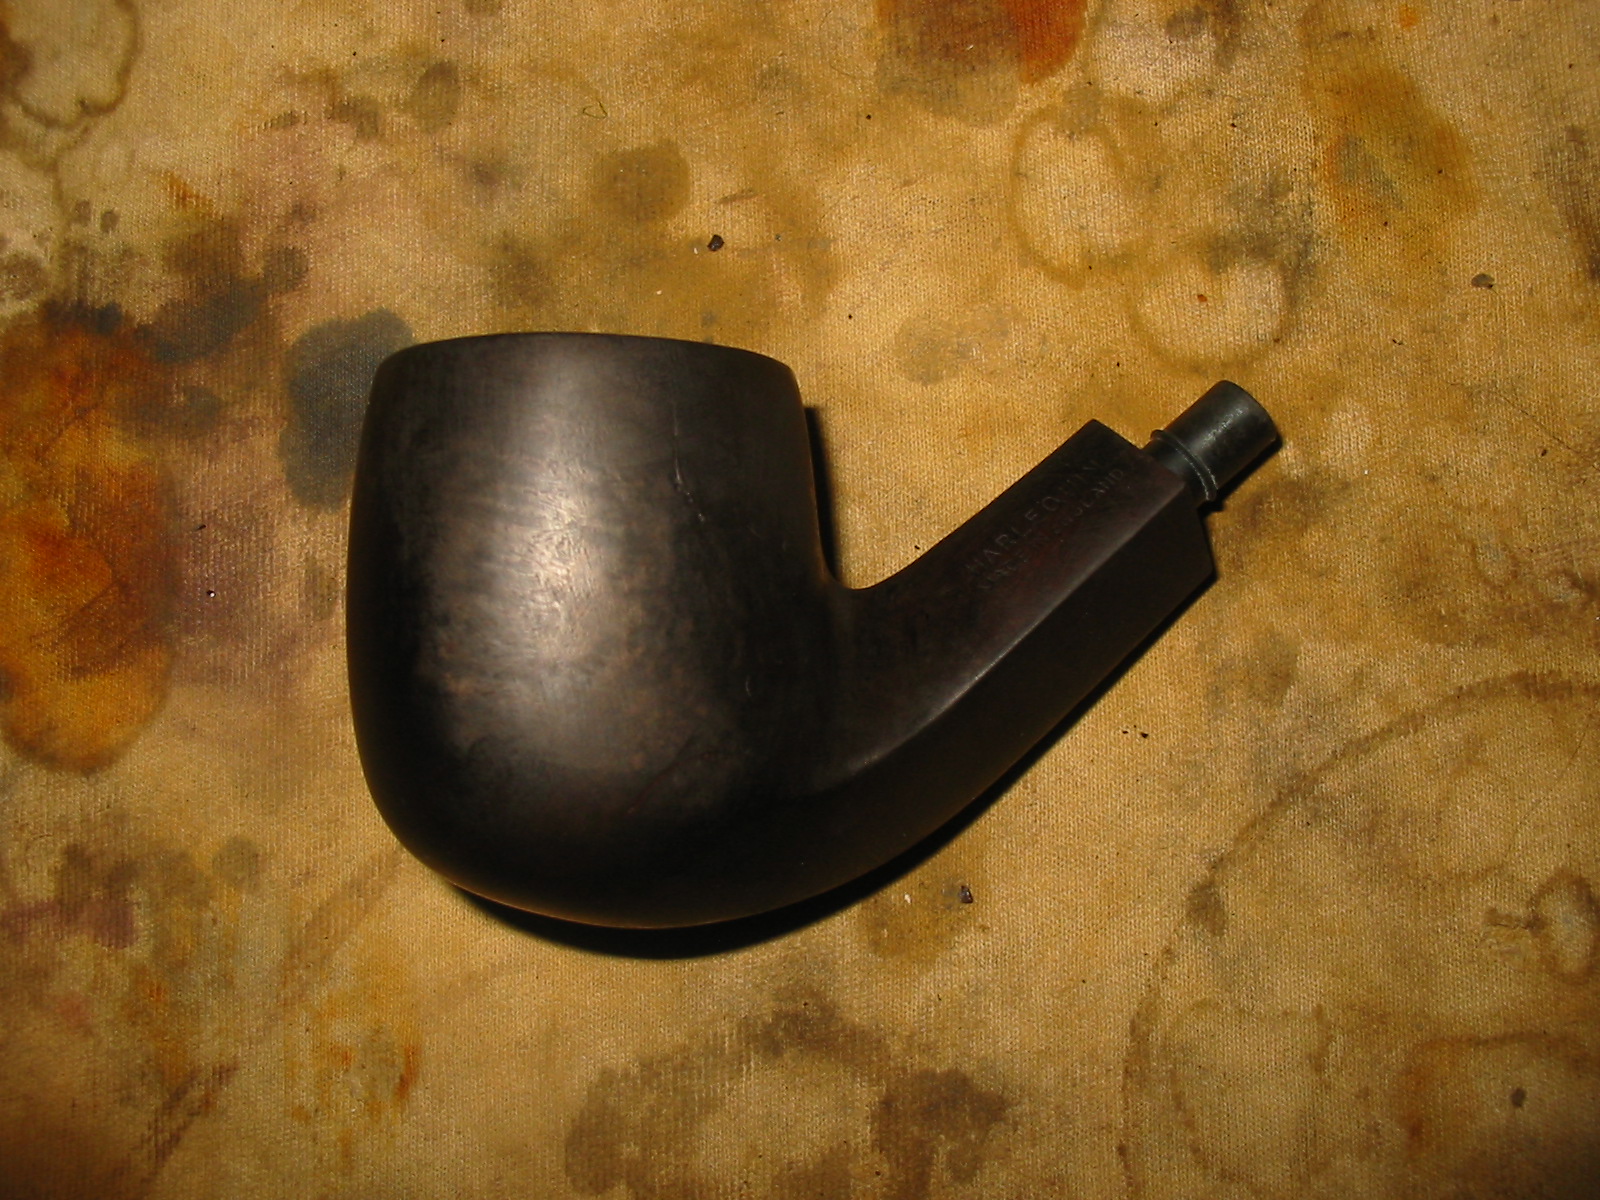
The stamping on the shank was the mystery to me. I had never heard of Harlequin pipes and this one was clearly stamped Harlequin in block letters over Made in England. I wanted to see what I could find out about the brand so I went to my usual sources of information. I checked in “Who made that Pipe” by Wilczak and Colwell and “Pipes Artisans and Trademarks by Lopes to see if either of them identified the maker. Both books had nothing listed for the brand. I went on the British Trademark site and read through many of the listings for Harlequin and found that the name was used by many companies for things from wallpaper to graphics design. There were lines of greeting cards, children’s toys and clothing all bearing that name. I found nothing listed that hinted that the pipes were a registered name. I posted on several online forums that I frequent to see if anyone had any ideas. Several folks on the forums recalled that Gallaher’s Tobacco Limited in Ireland had made a tobacco for years called Harlequin. I did some research to see if they had made pipes.
Harlequin4
As I dug through various sites on the hunt for information I received some responses on the forums. One person responded that several English tobacco brands also sold pipes – St. Bruno for one did that. Another respondent on Smokers Forums, Chris (flatticus) posted a couple of links to Gallaher’s that confirmed that they had not only made tobacco products but had made pipes or had them made. He included this information:

Ok, so Gallaher’s made at least some pipes into the early 70’s. And according to this link: http://books.google.com/books?id=LAO…20pipe&f=false

They made a Balkan Sobranie pipe. Or at least intended to enough to register the trademark, and along with the trademark for the tobacco itself. Certainly adds a bit of credence to the idea of a tobacco and pipe sharing the same brand name and stamp.

I have included the information cited above from the link to Google books – the Kenya Gazette and have posted it below. In correspondence from E.G. Bunyassi, Assistant Registrar of Trade Marks he clearly states under the heading of Balkan Sobranie that Gallaher’s Limited, a company organized under the laws of the UK of Great Britain and Northern Ireland had made cigarettes, pipe tobacco and pipes.
Gallaher pipes
I asked on the forum whether anyone knew whether the company made pipes. Chris (flatticus) responded again with the following information:

Interesting question, I don’t honestly know, but Gallaher’s used that trademark for like 70 years, and they were a big, big company. Actually from Northern Ireland, and had the biggest tobacco factory in the world in 1896 in Belfast, didn’t completely disappear until they were bought out by Japan Tobacco in 2007, but before that had a distribution conglomerate with RJ Reynolds for their cigarettes and were pretty gigantic. But they didn’t let the Harlequin mark until at least after 1963, when they last registered it. If I had to guess, they probably let it die after 1969 when American Brands, who I think owns Lucky Strike and similar brands, bought them out. They let the mark expire in 1980, but I see no record of anyone else buying it, and apparently it’s still available.

So, blindly guessing, I’d be surprised if anyone had the guts to use the same mark in a same or similar industry other than Gallaher’s. At least not in Ireland or the Commonwealth. But, that said, I can’t find a record or advertisement suggesting they ever made a pipe. However, I did find this thread, containing a quote from Gallaher himself talking about making pipes as a possible future avenue to address the “aging” nature of pipe smokers. http://christianpipesmokers.net/modu…wtopic&t=24081

Perhaps this was part of the “pipe renaissance” project he was talking about, made to get new pipe smokers interested. I checked harlequin ads, there a few vintage ones out there in images, but none of them referenced a pipe, just the tobacco. But the idea of a free pipe with tobacco, or at least a cheap or, as he put it, “disposable” pipe does seem to fit nicely with his intention there. Any way you slice it, though, it’s a nice bit of mystery to ponder. One of my favorite things about estate pipes, hands down.

In another link there was information on the Gallaher Company. I copied that information and have posted it below. It makes an interesting read in terms of history of this old brand. I have one chunk of Gallaher’s Irish Roll Cake here that is a good strong smoke. I also have some of their other tobaccos in my cellar but sadly it is no more. I think the likelihood is that the Harlequin pipe was made by them and matched the Harlequin Tobacco blend they sold.
Galahers1

Gallahers2

Gallahers3

Gallahers4
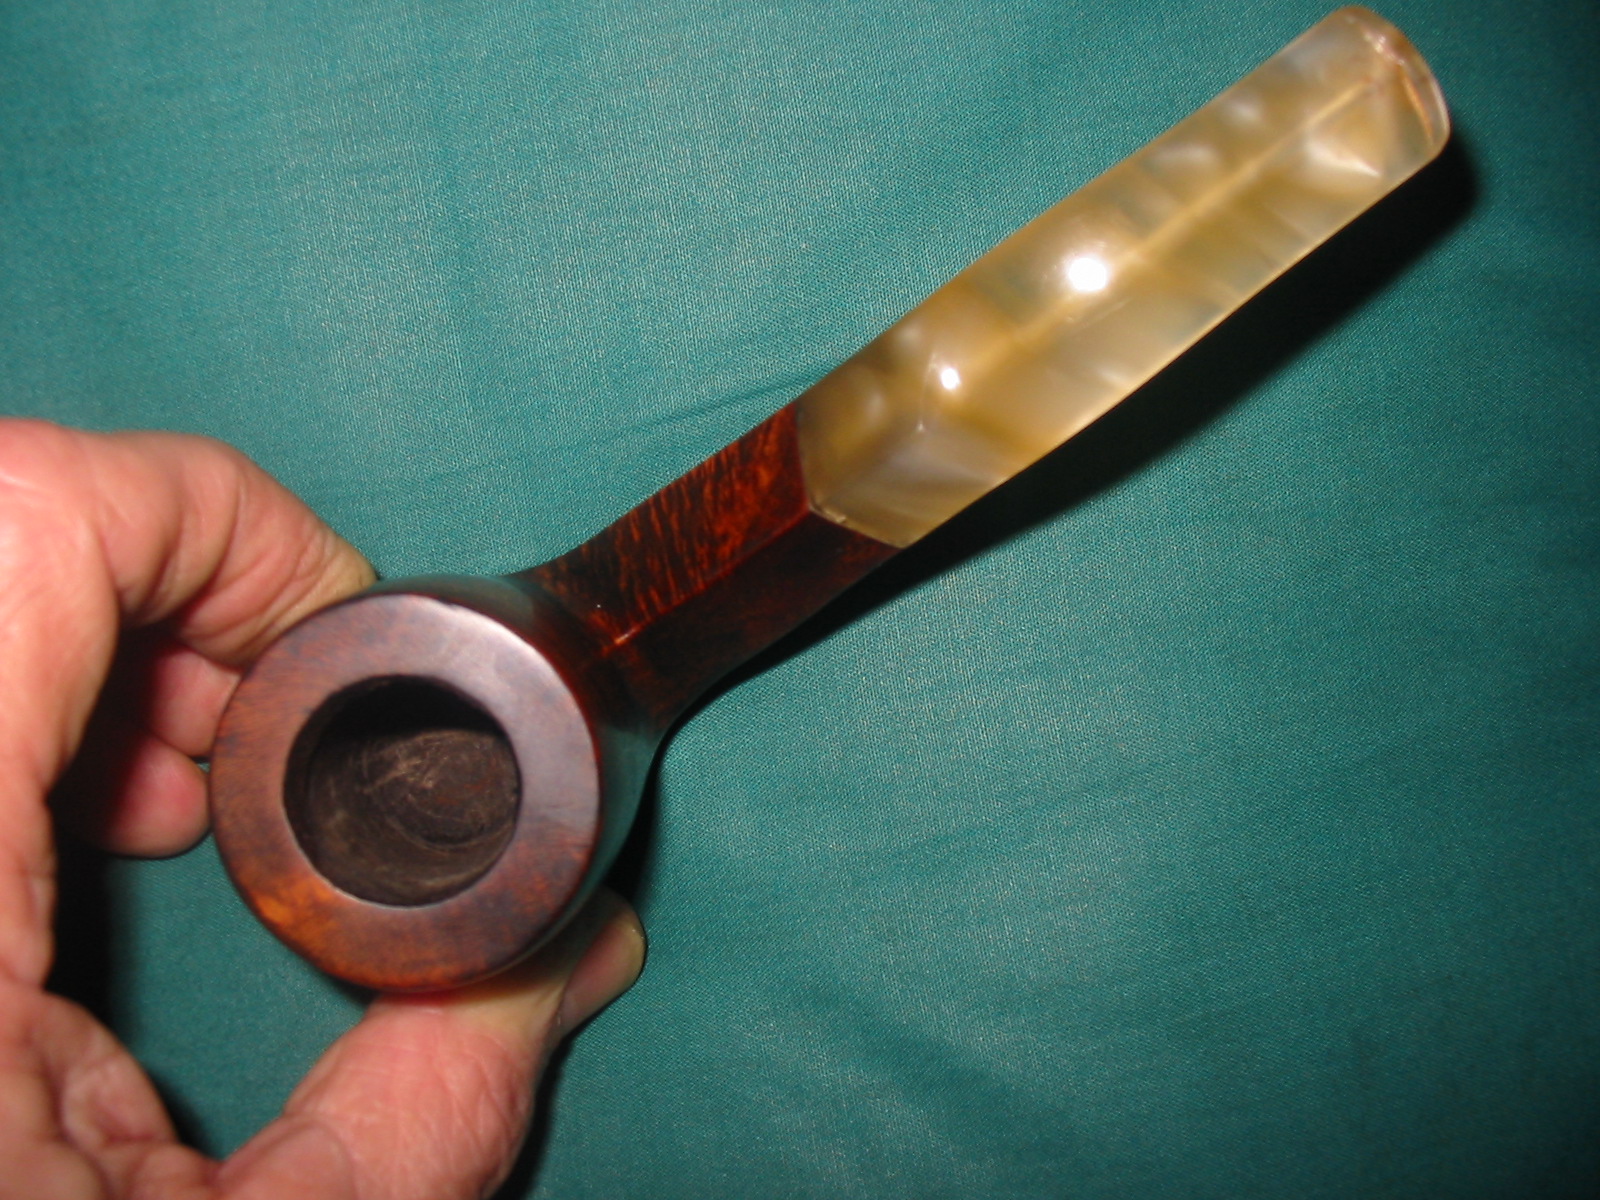
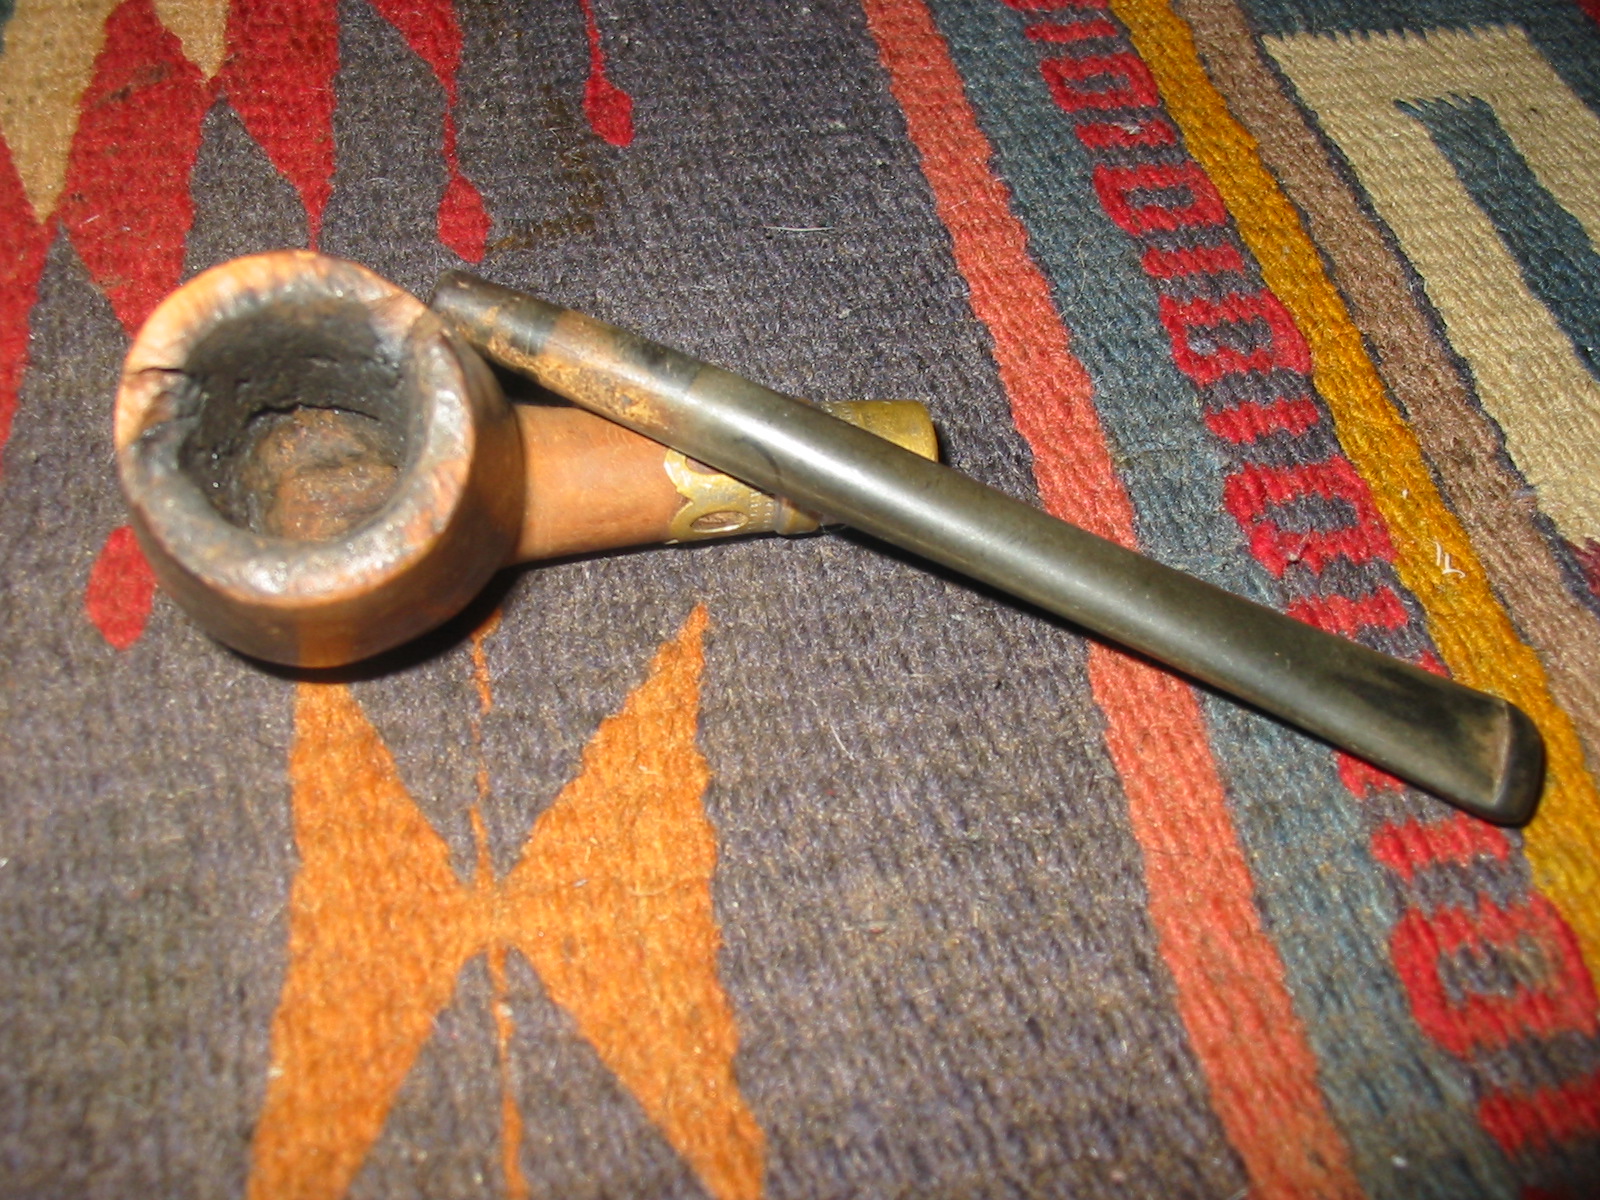
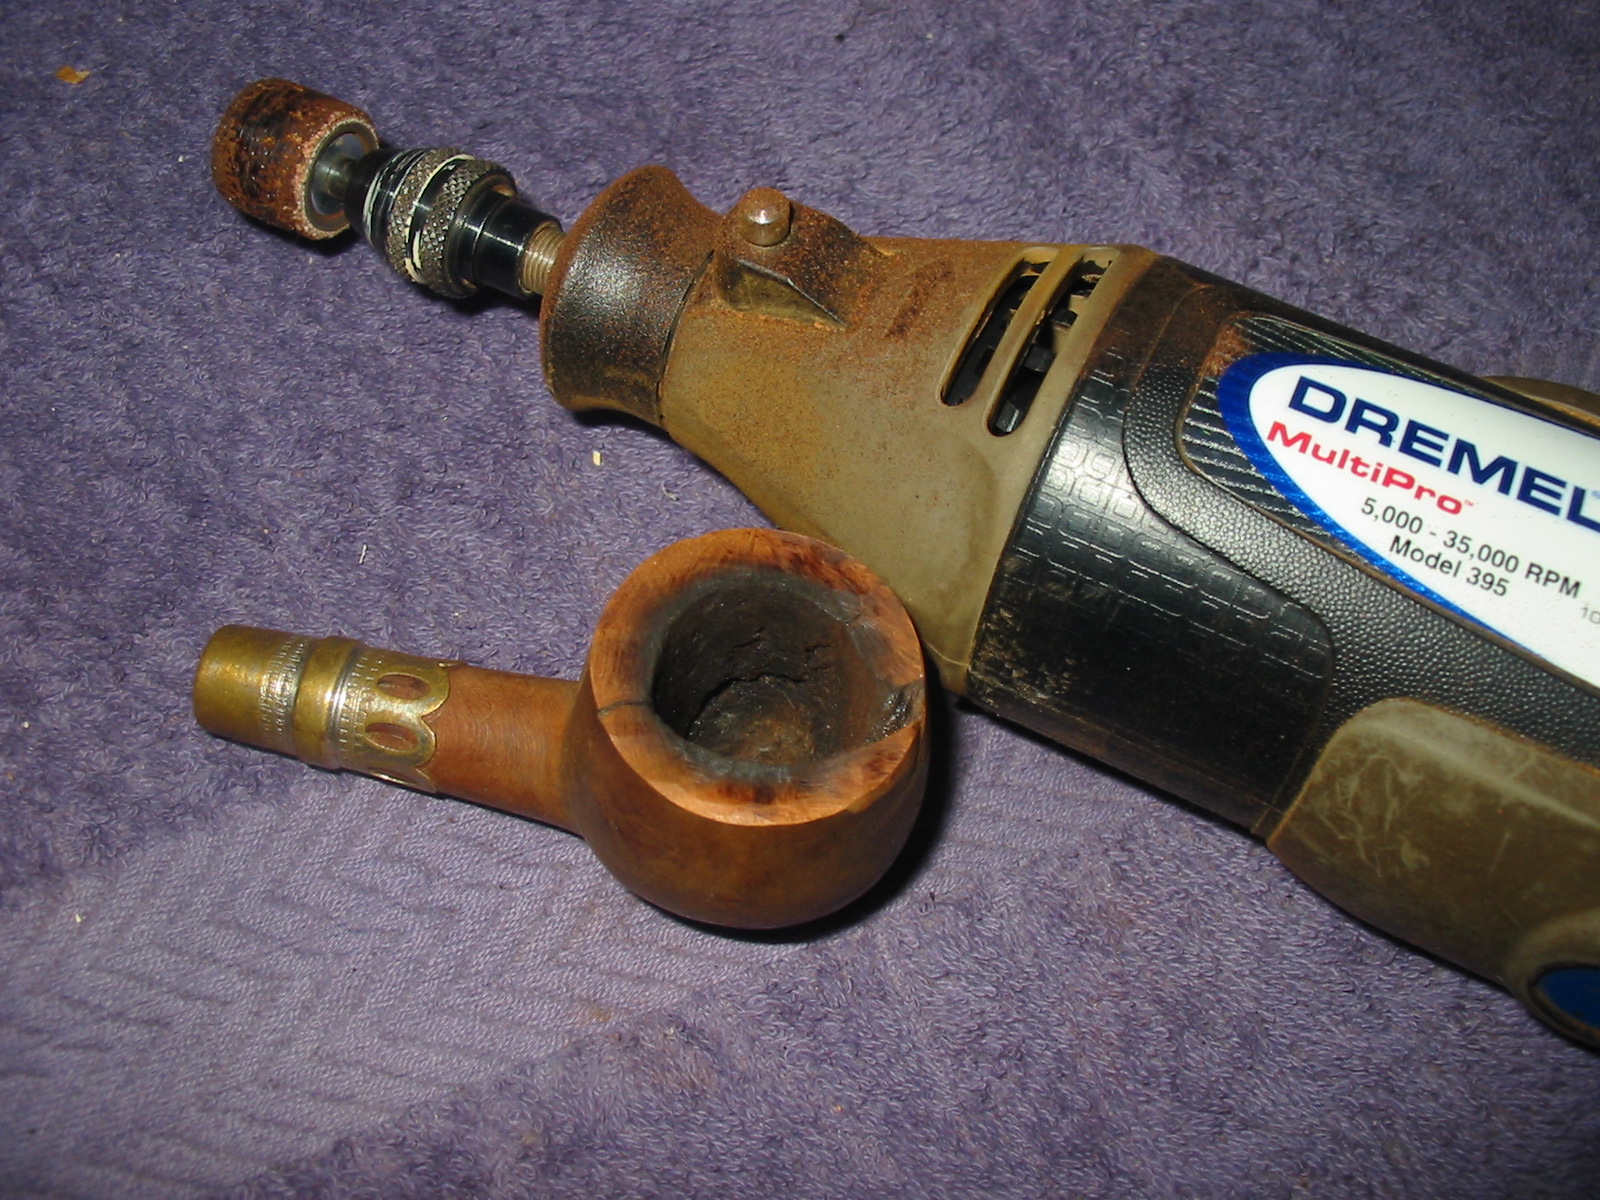
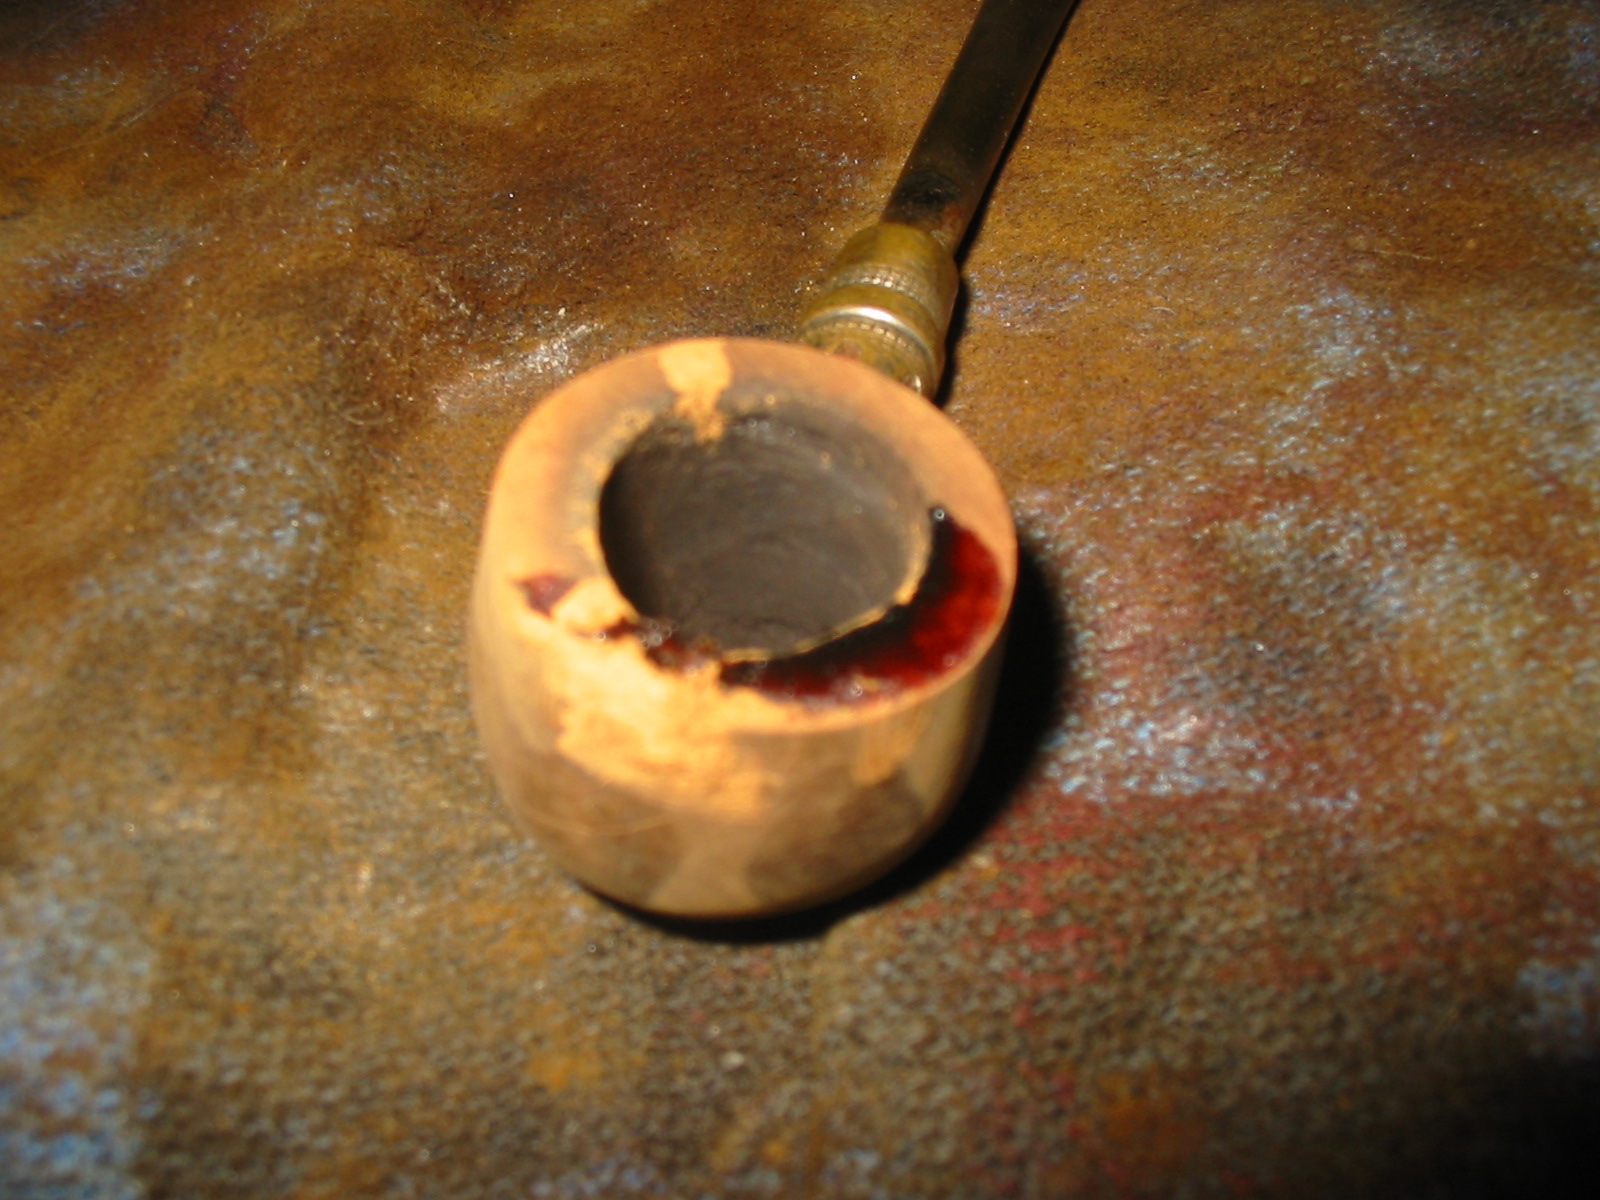
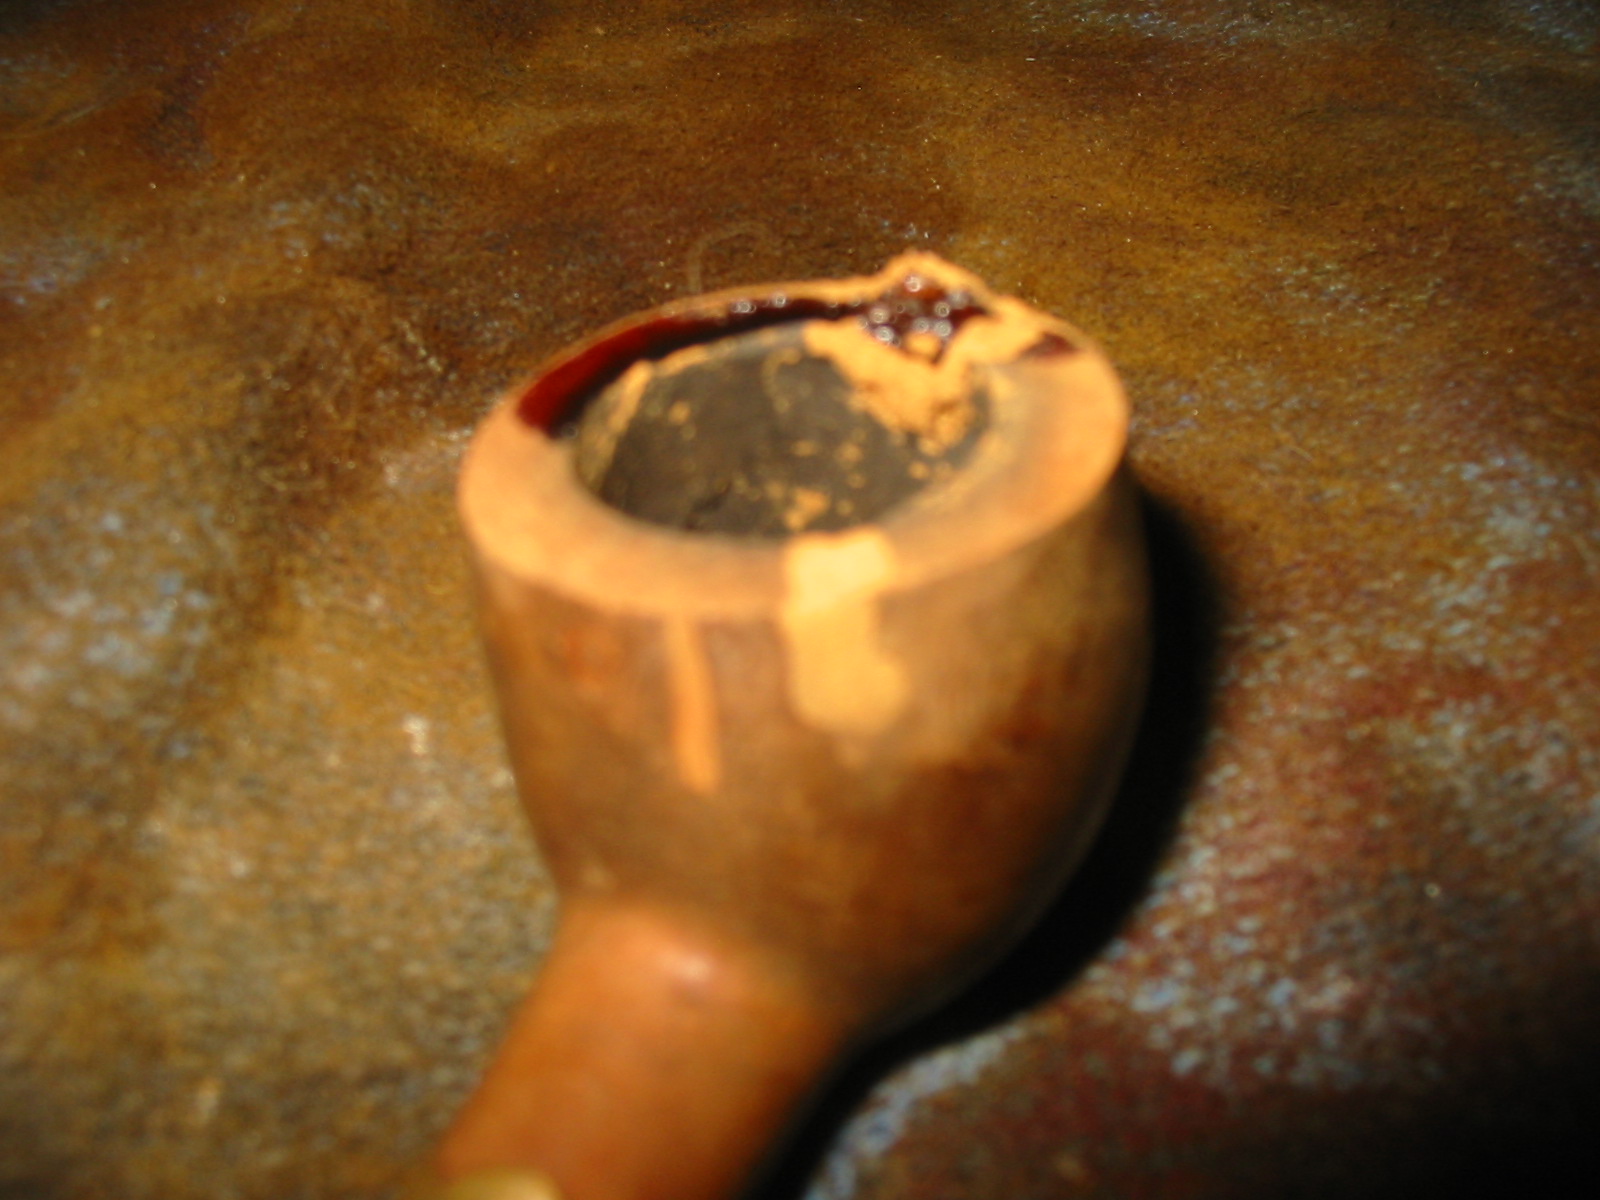
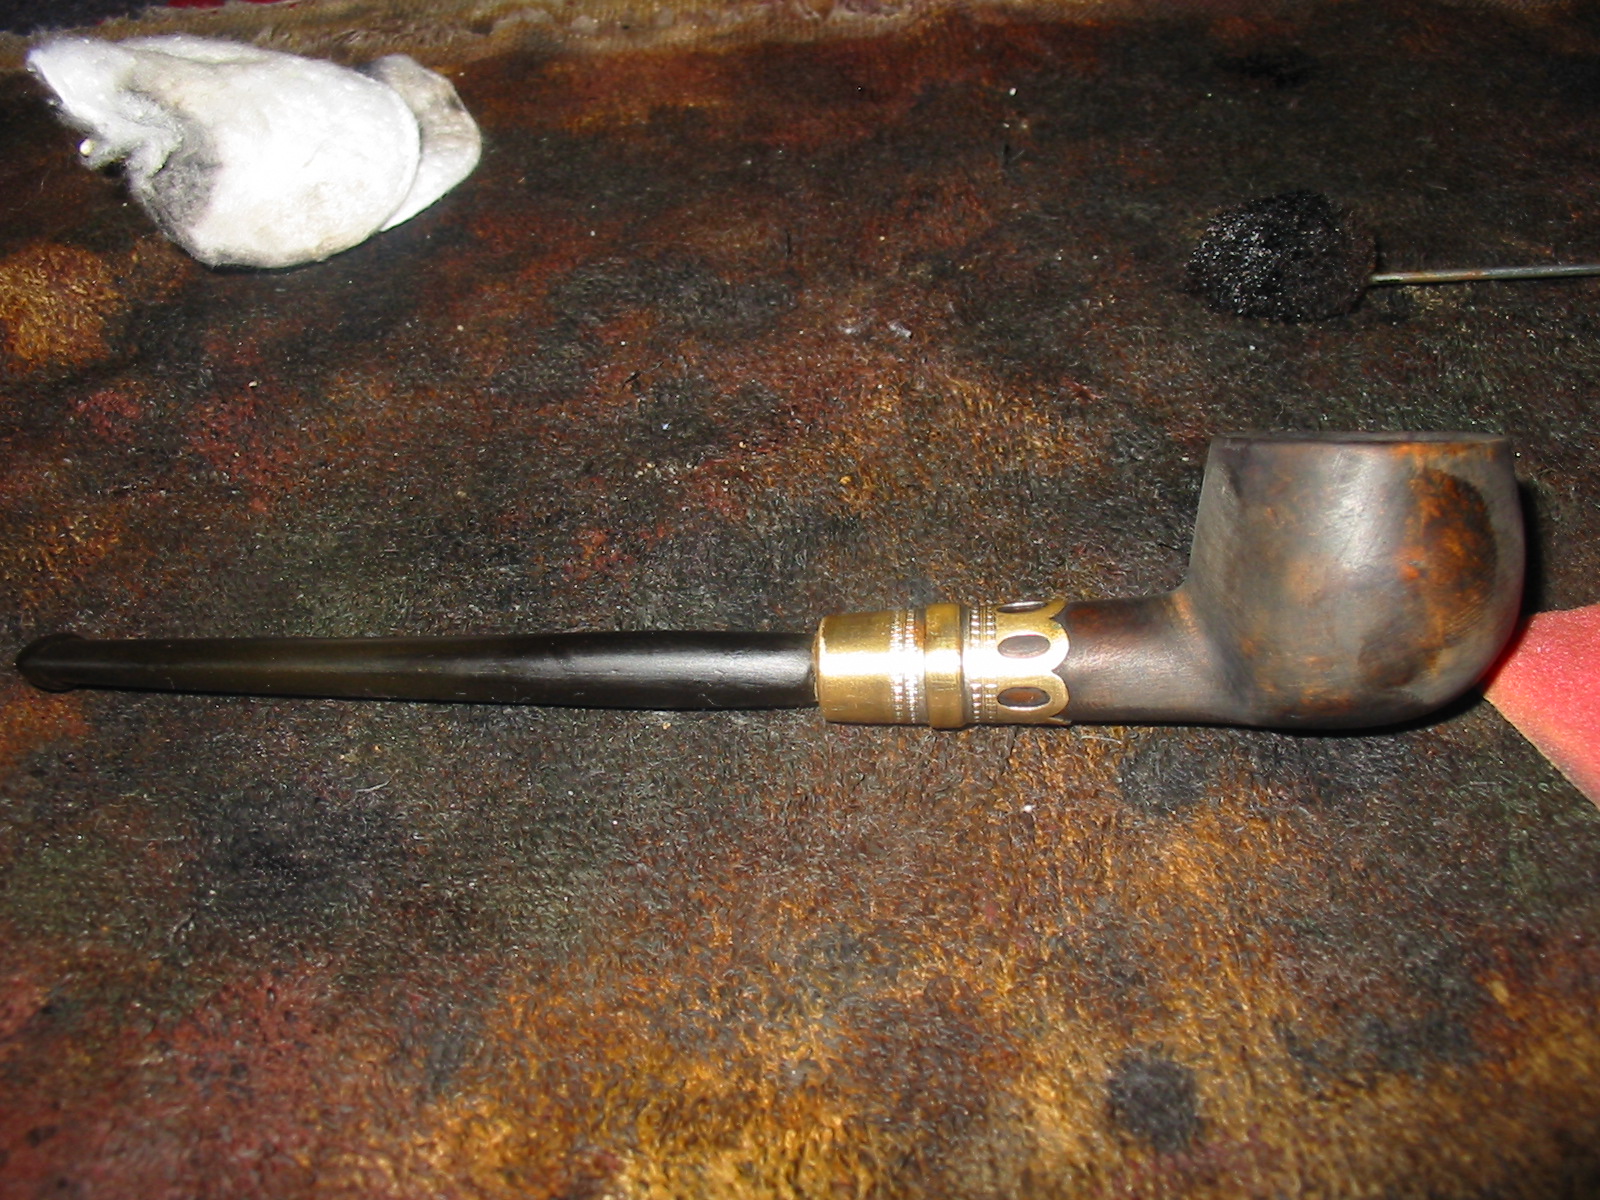
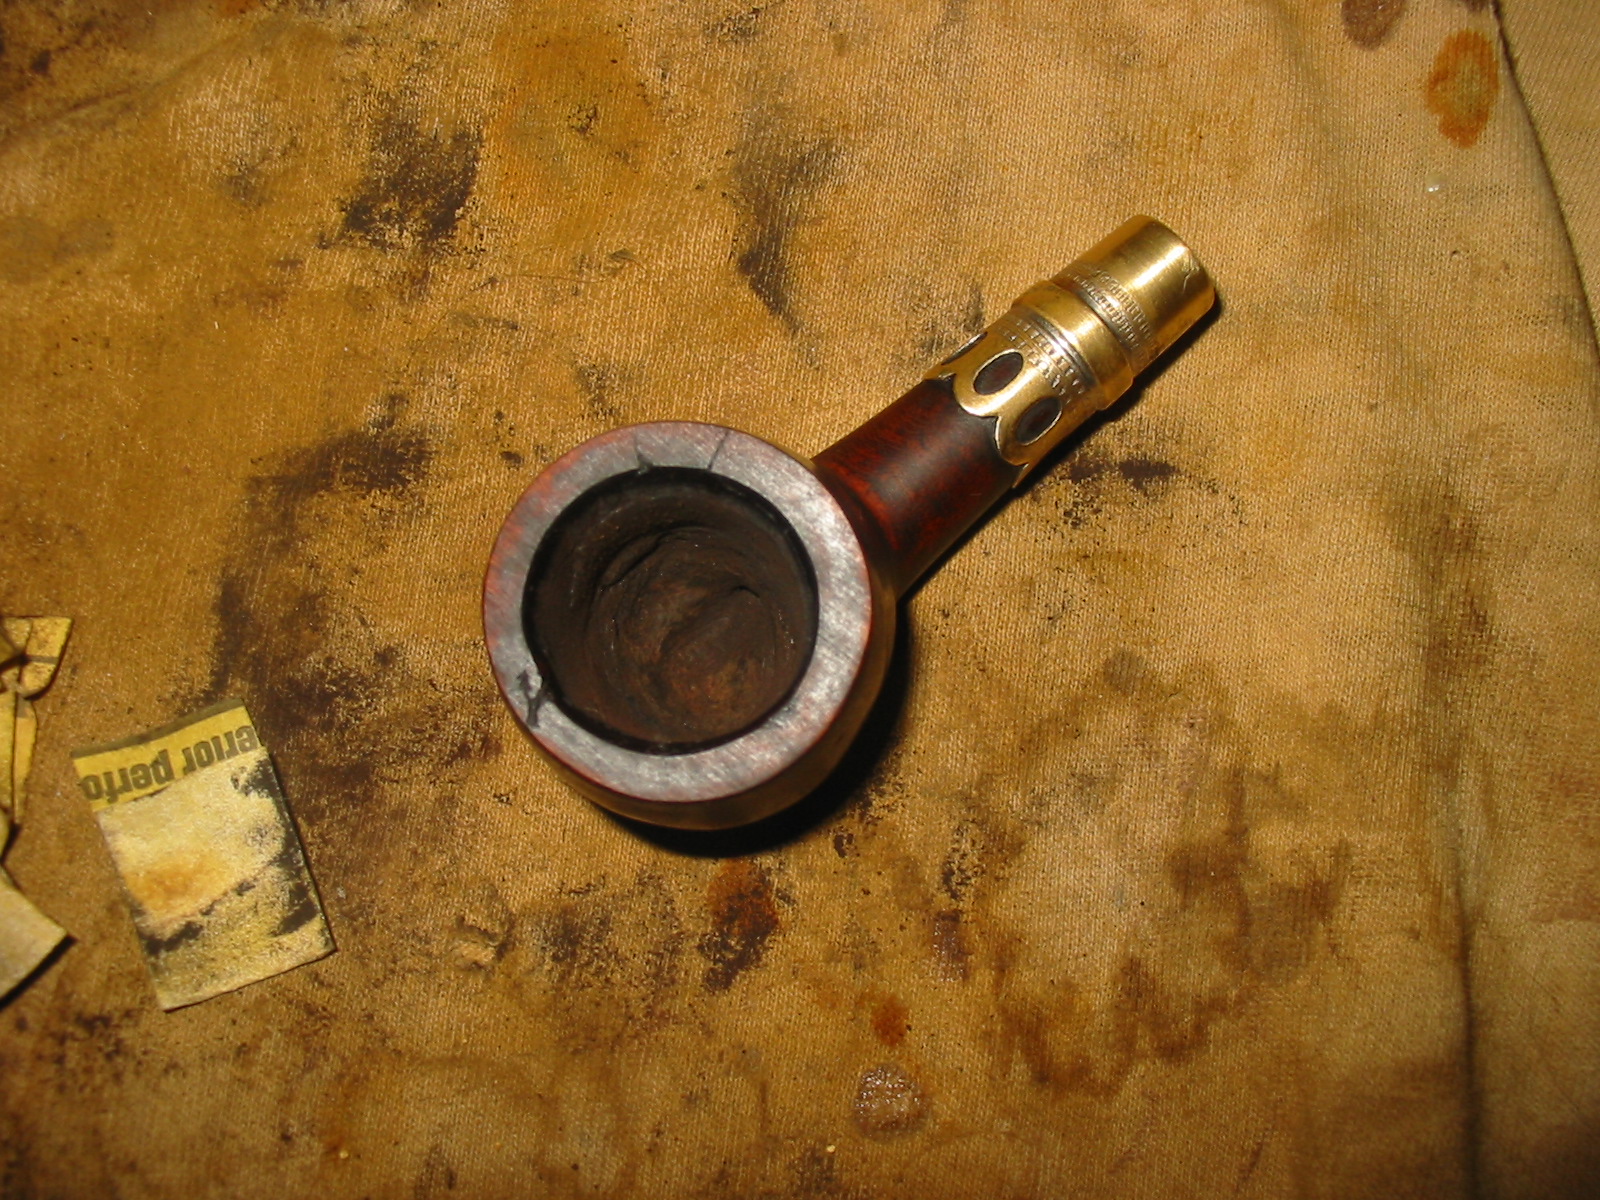
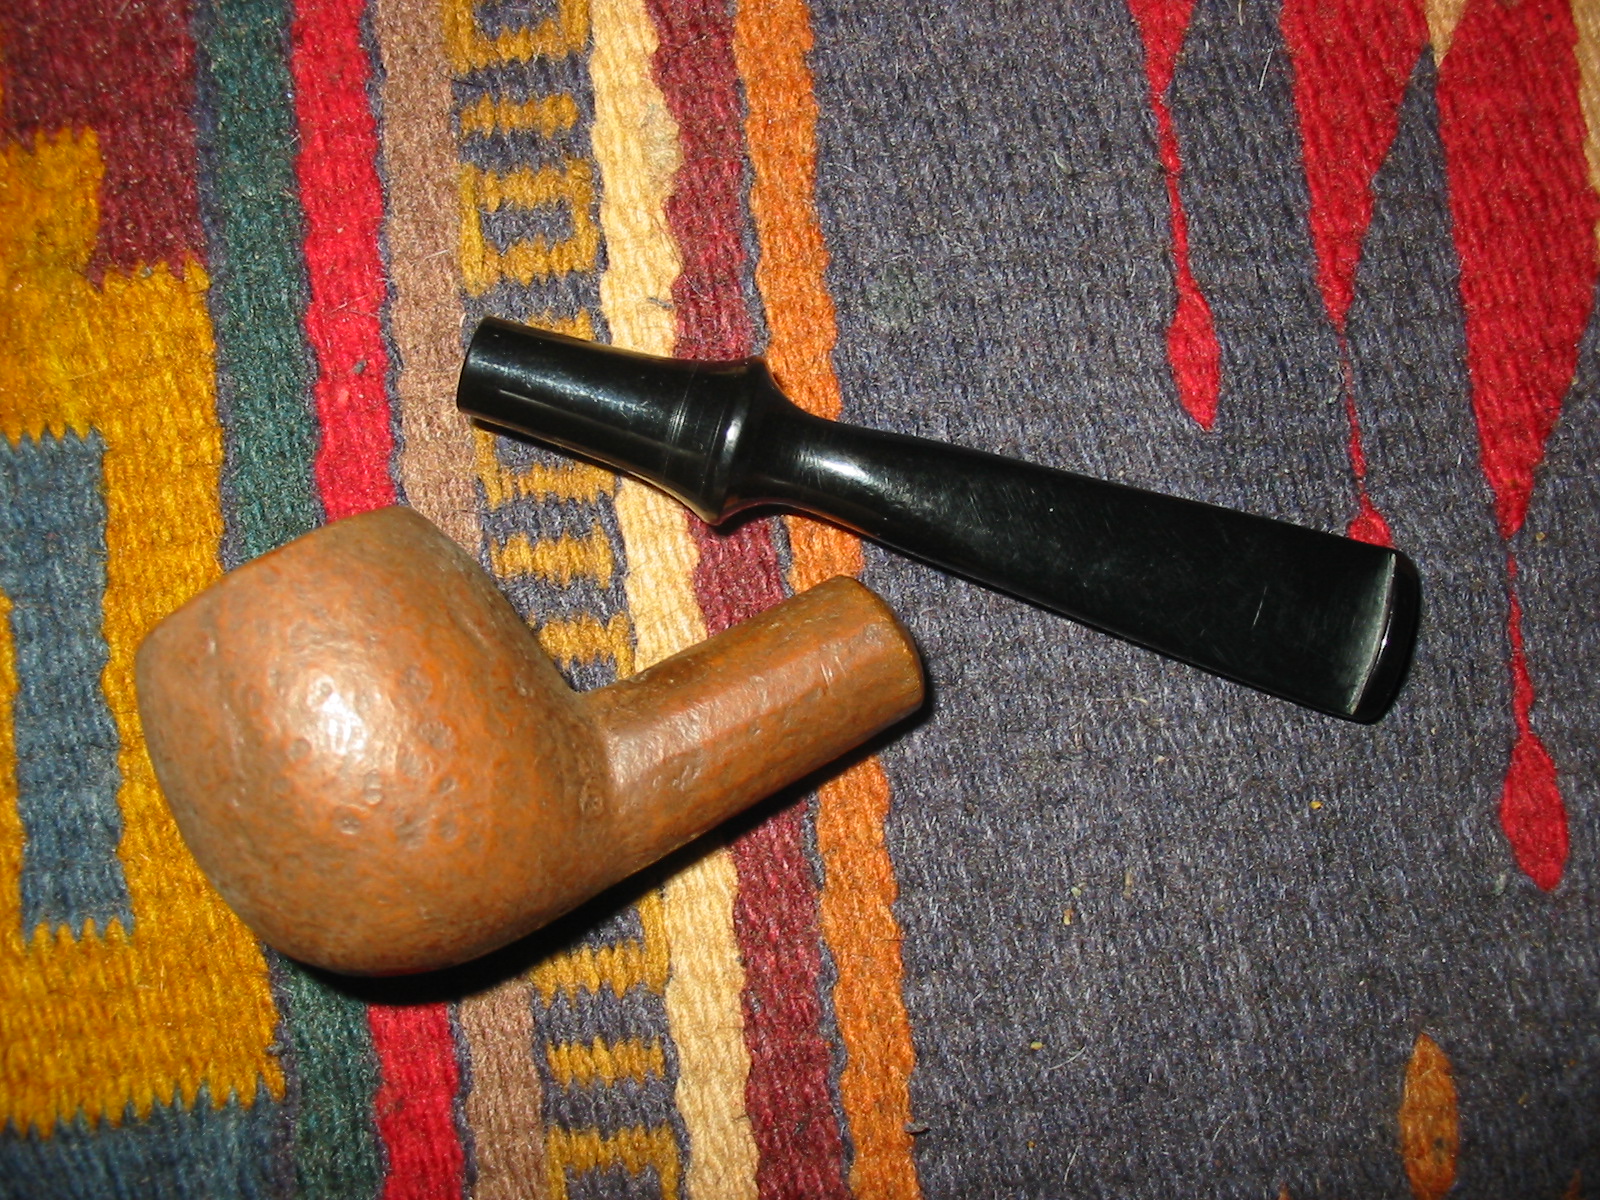
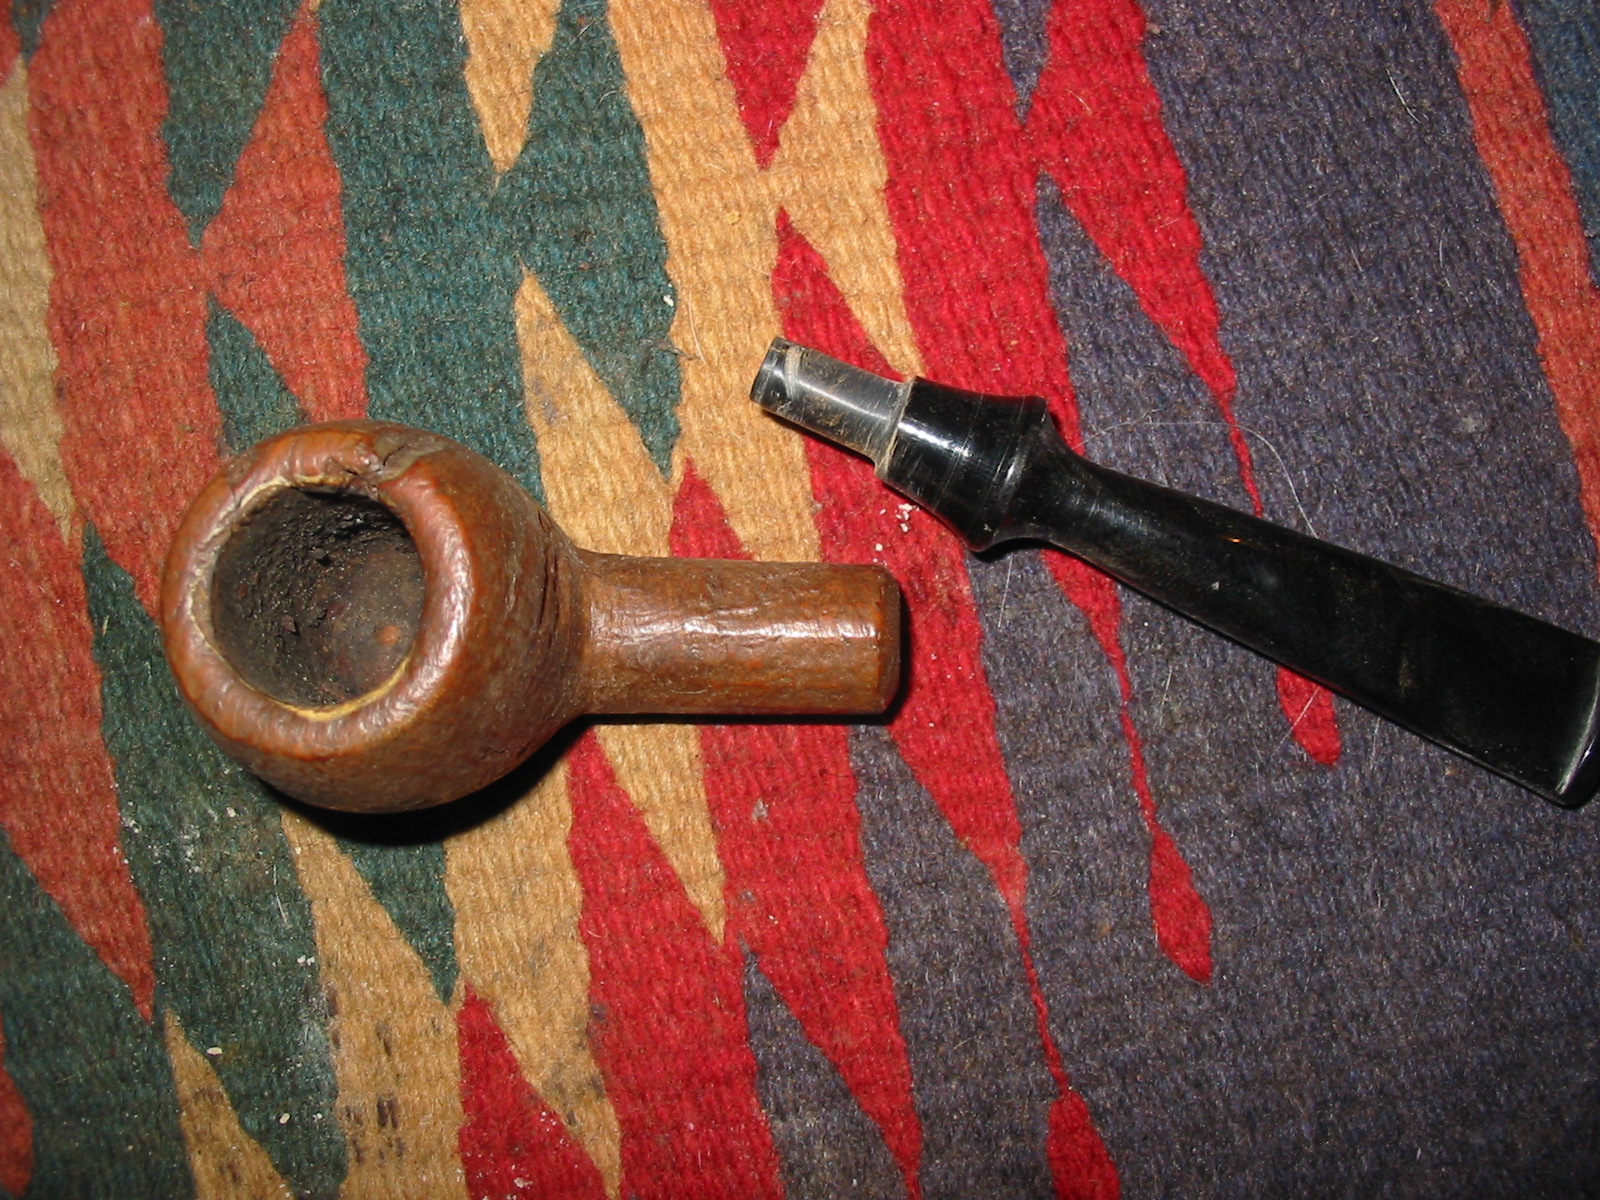
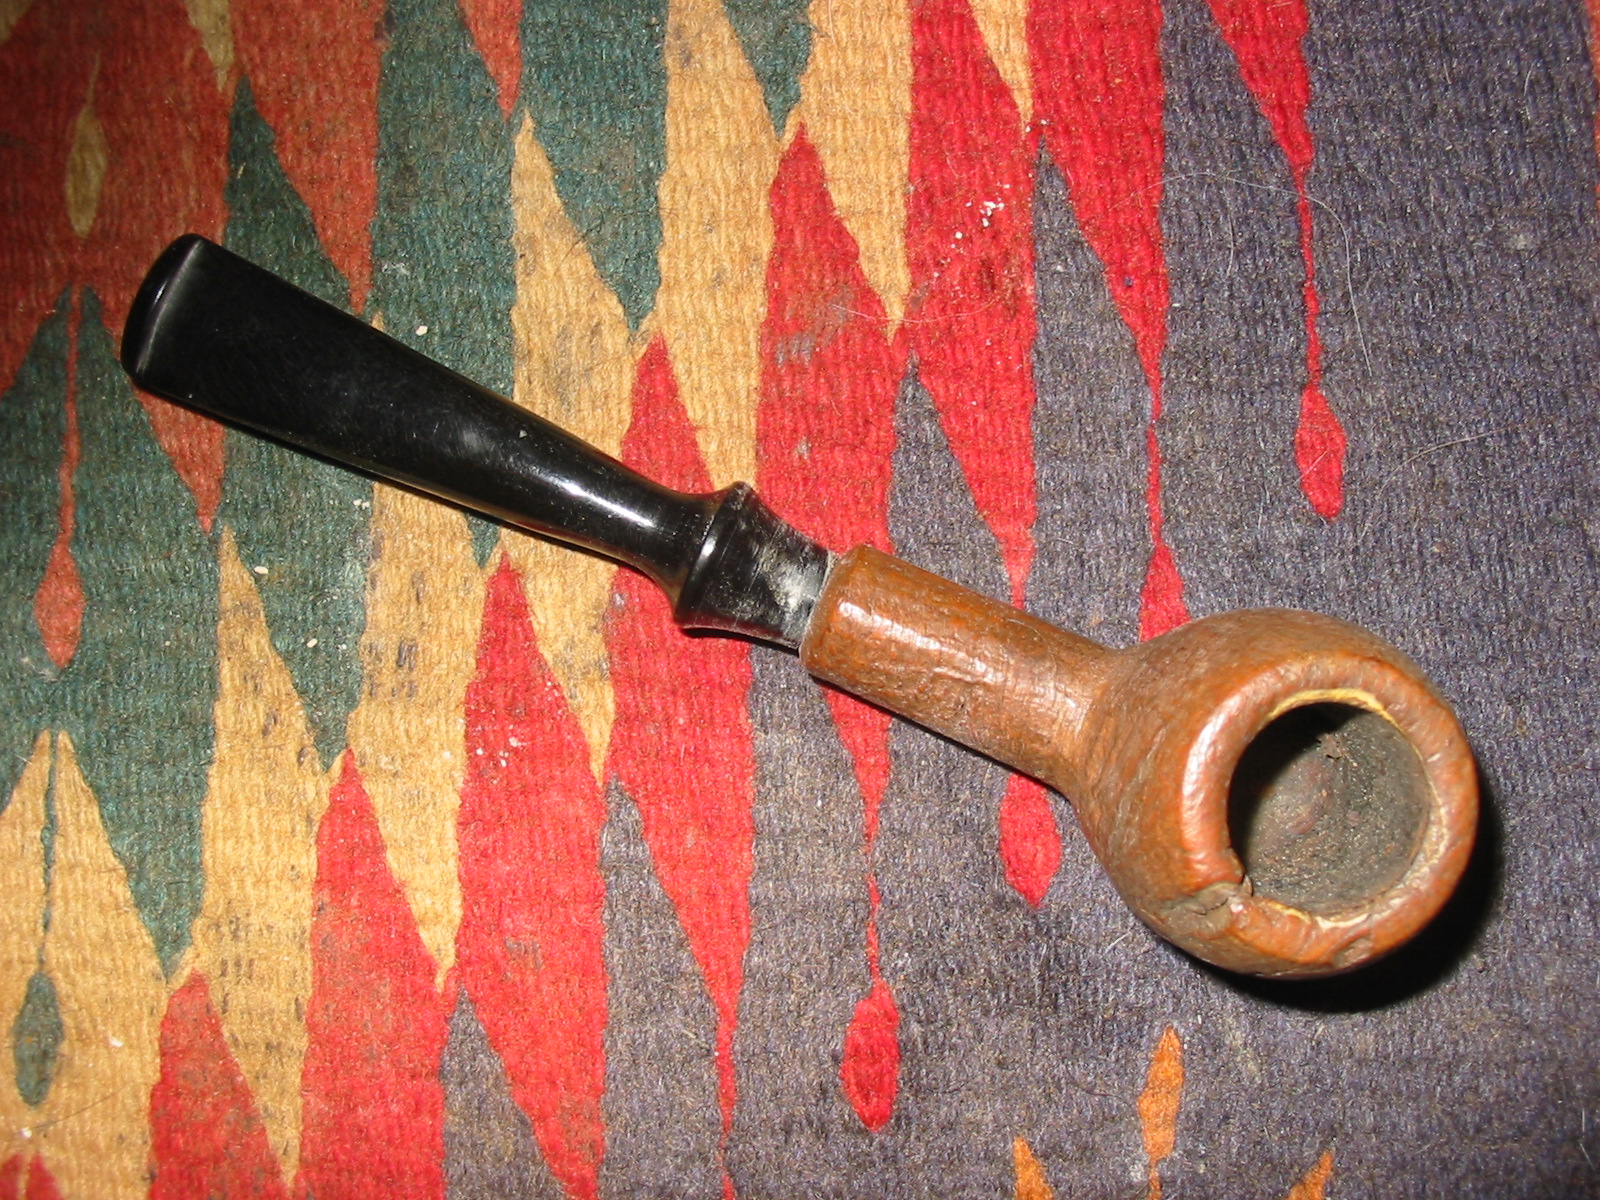
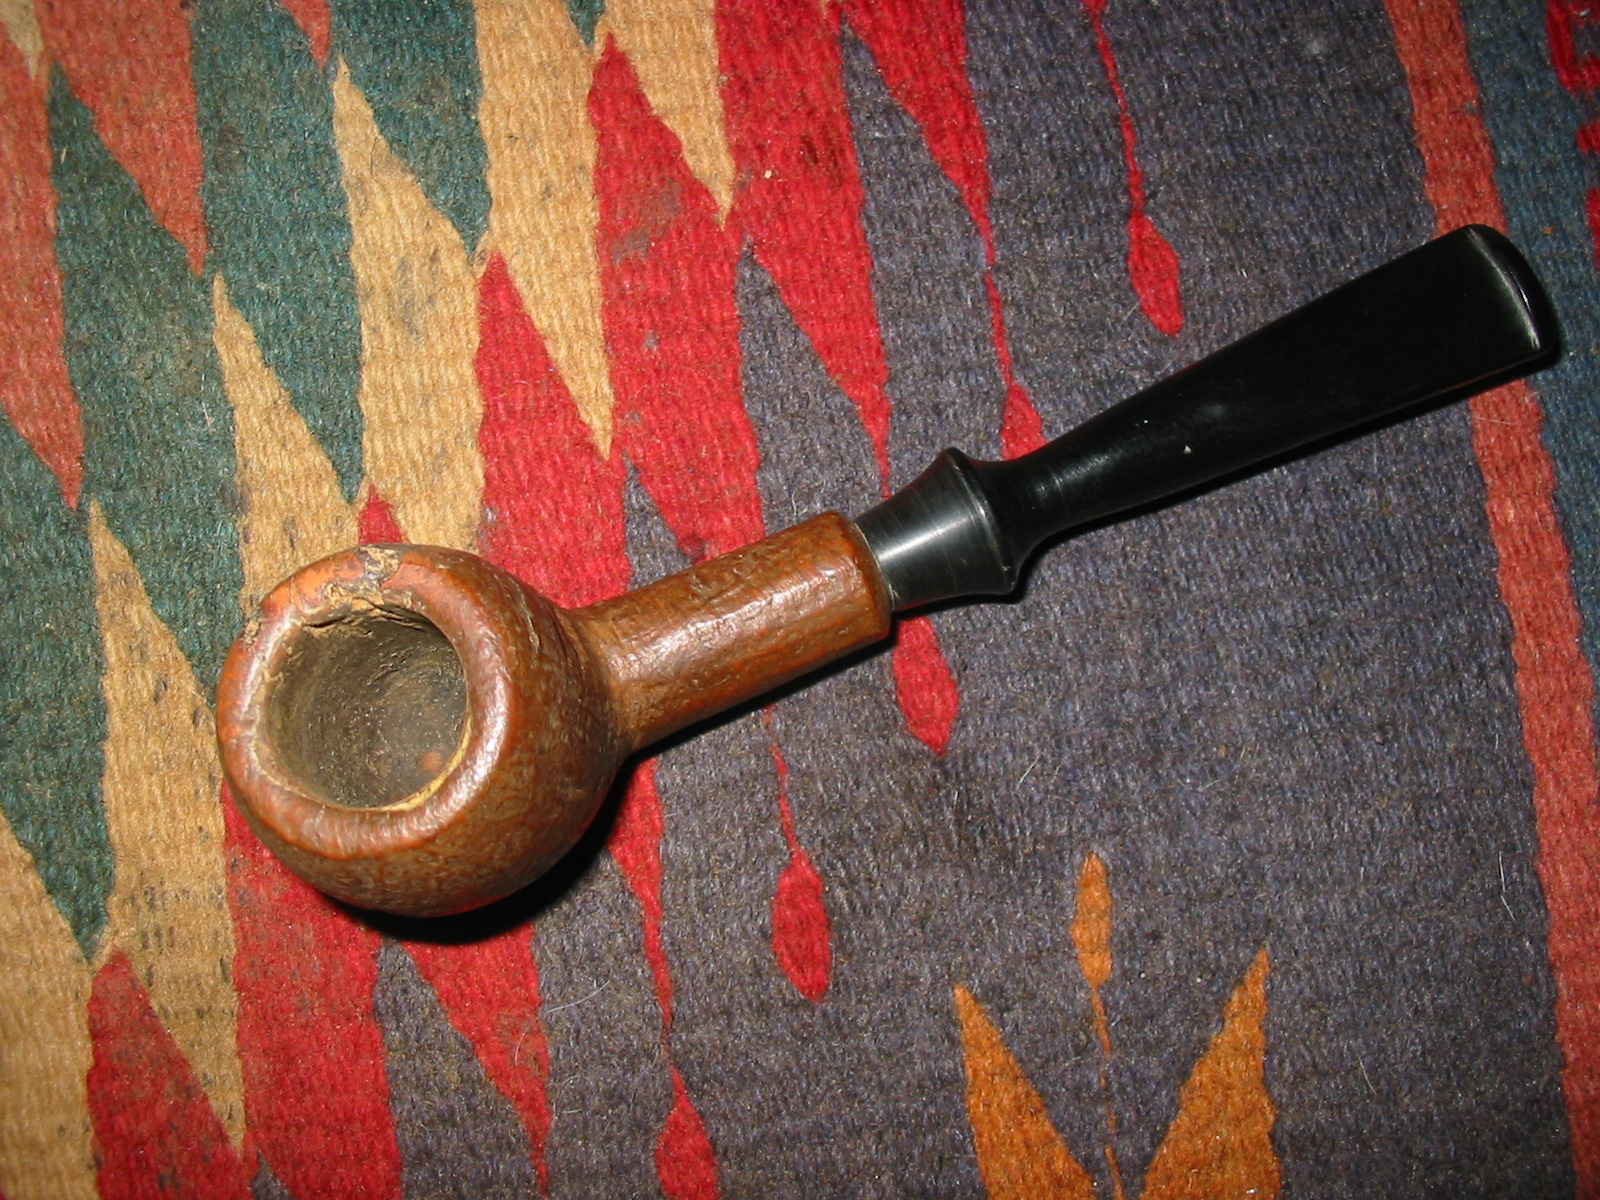
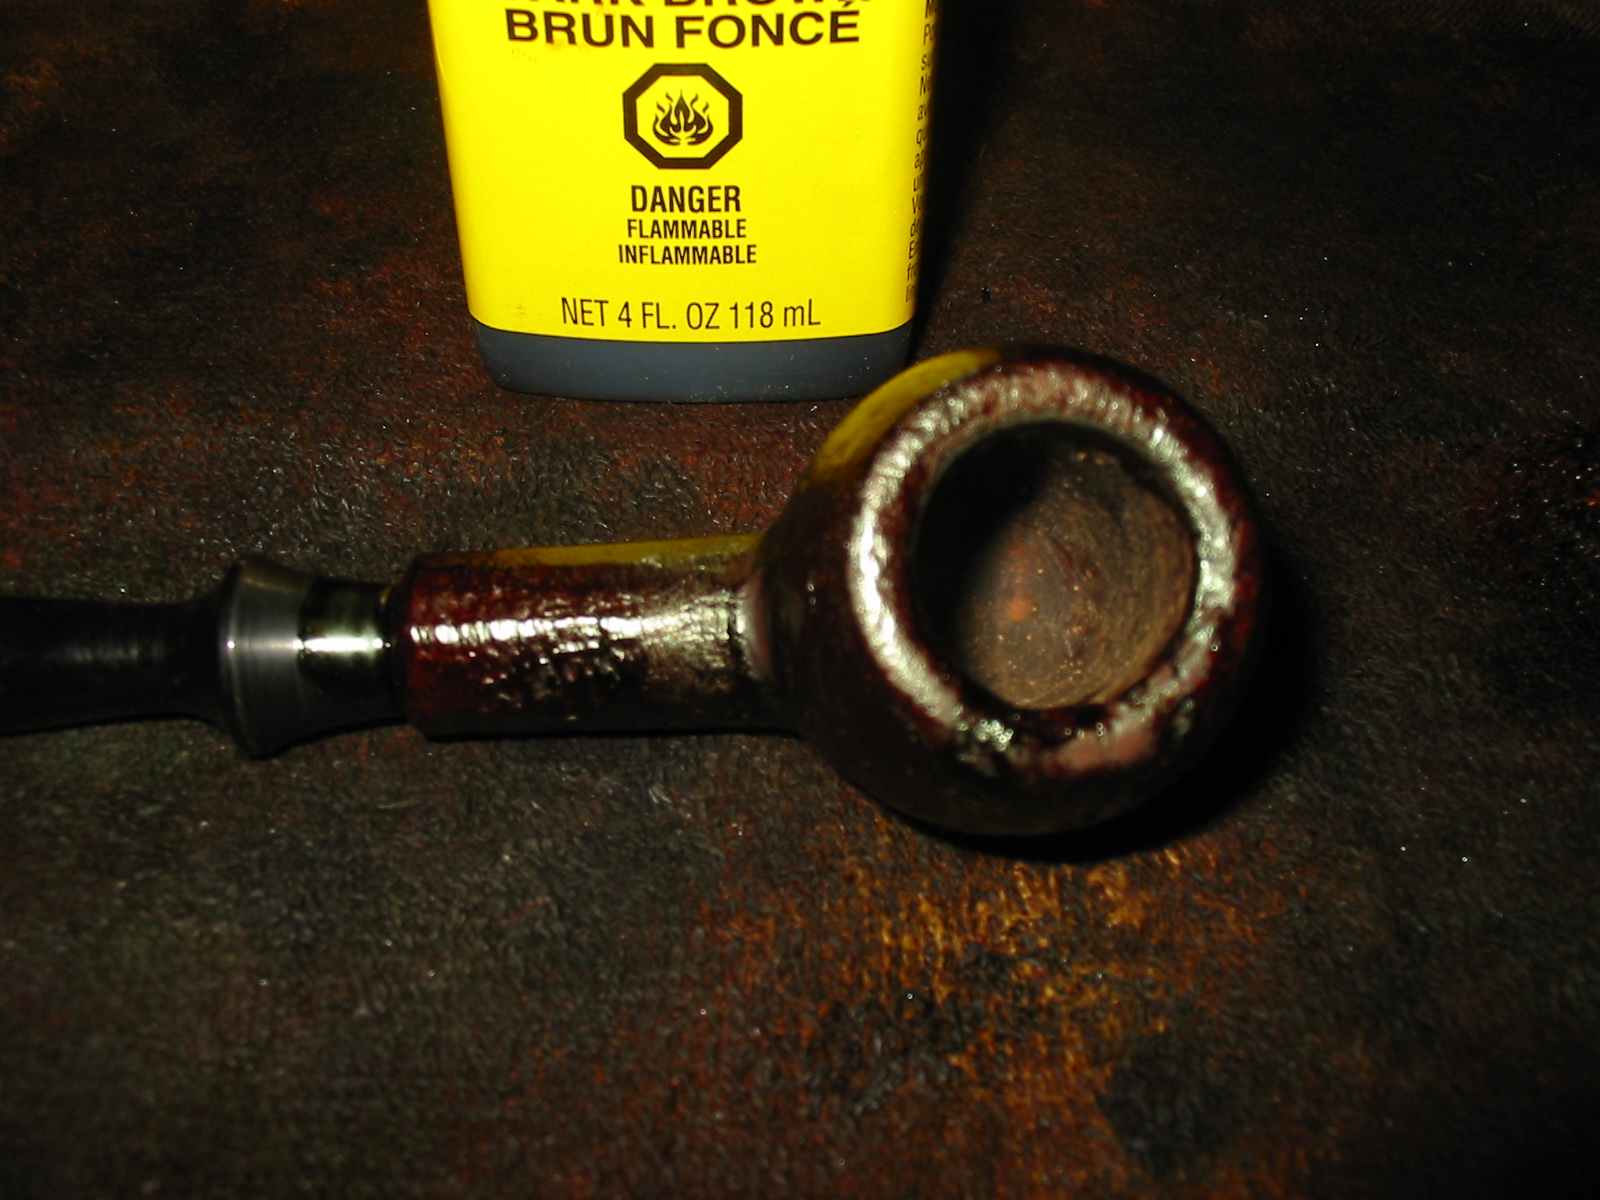
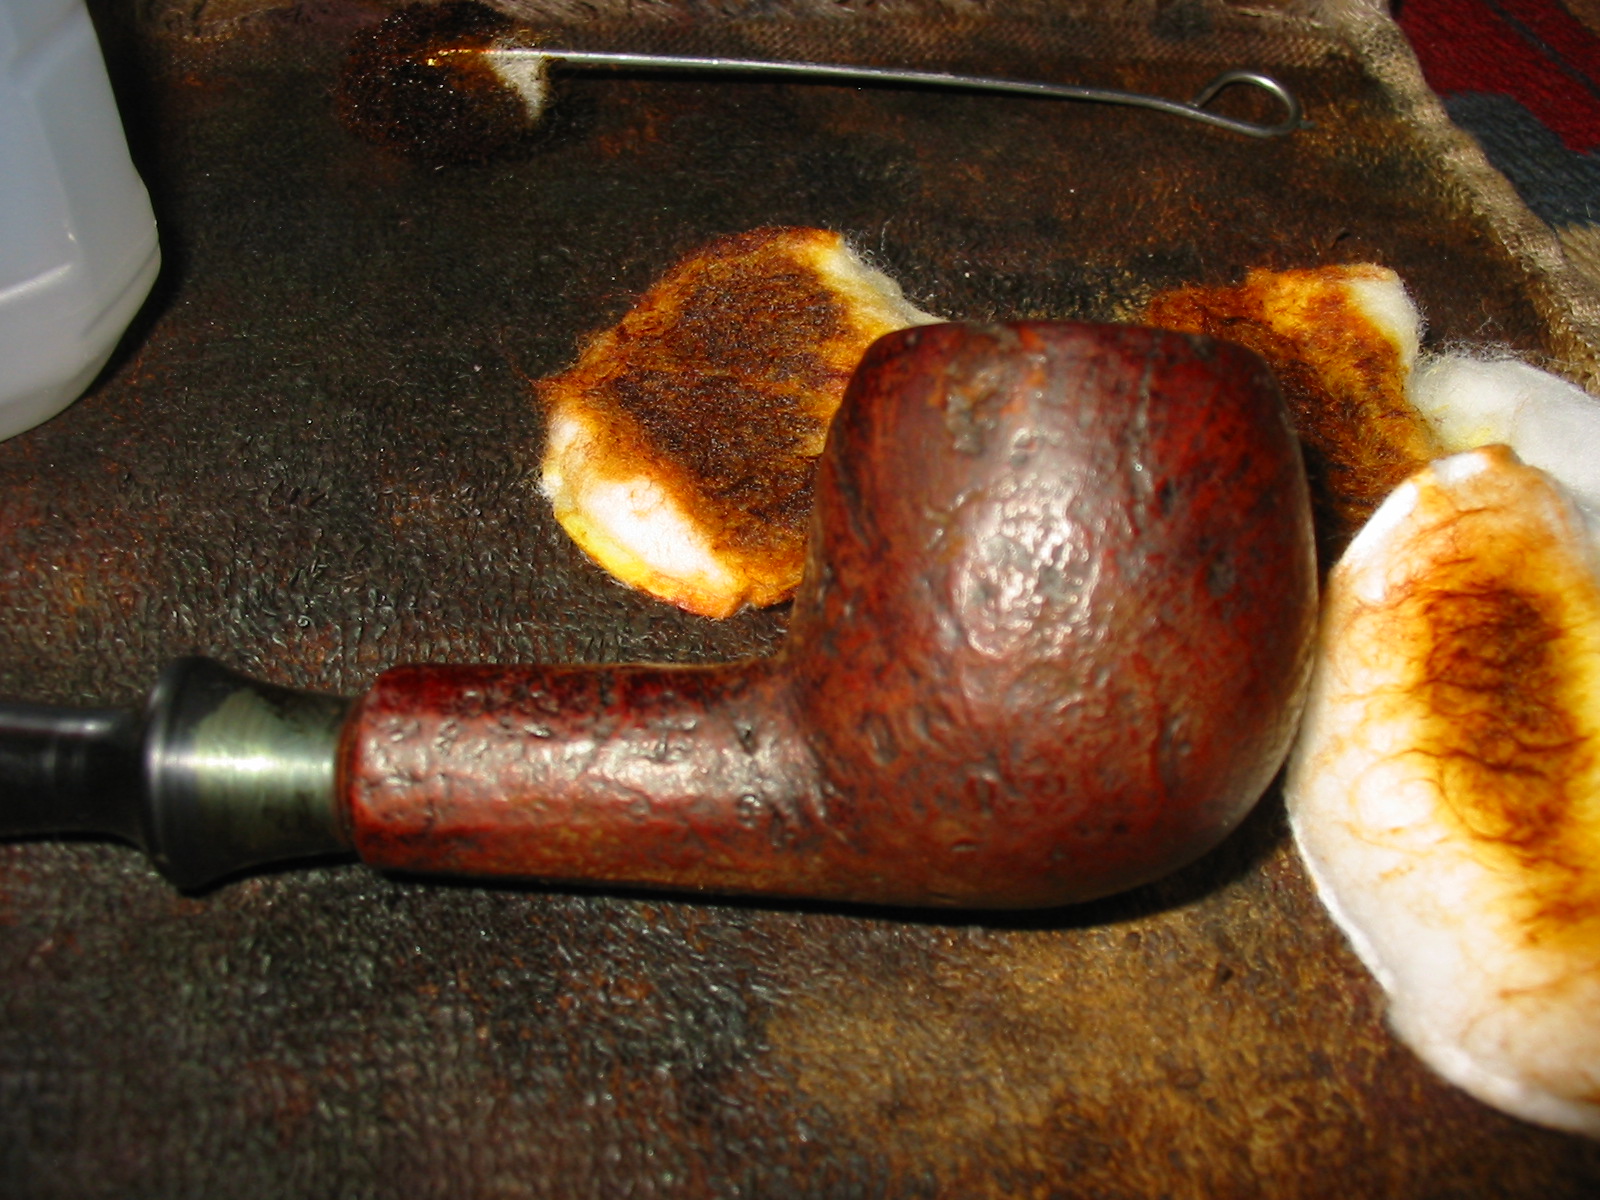
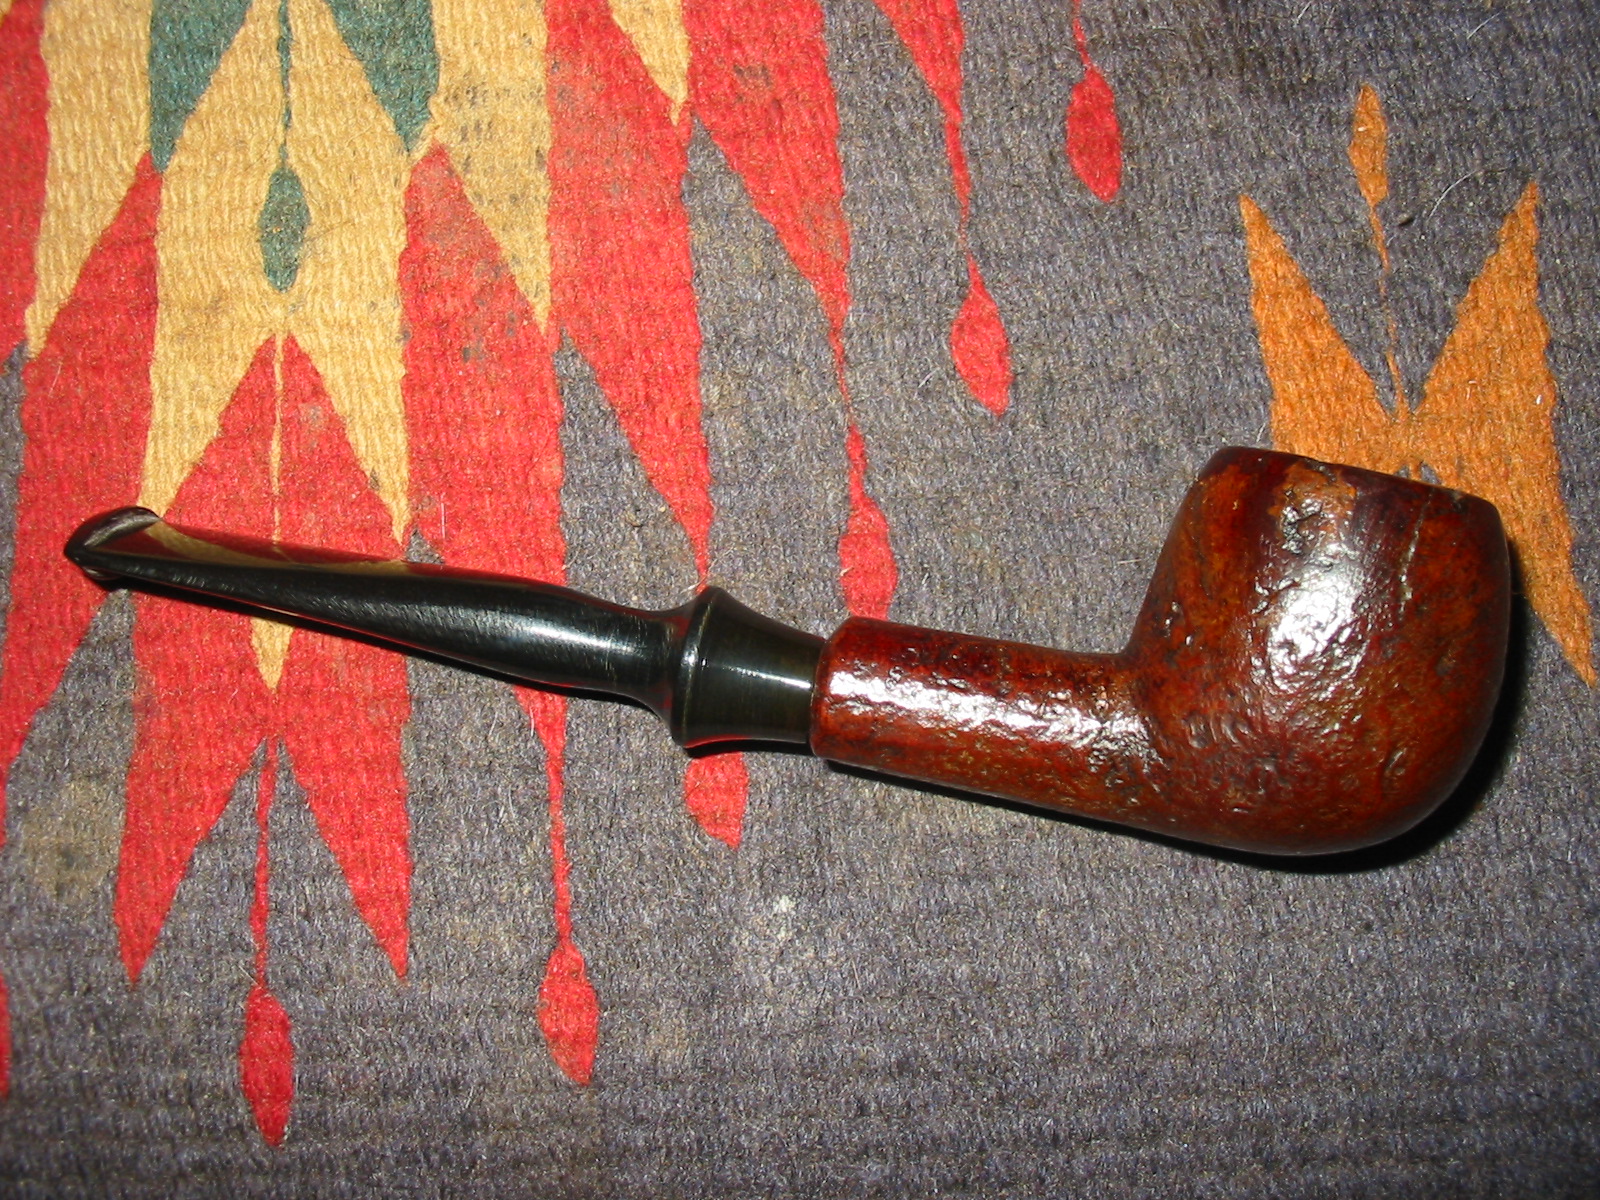
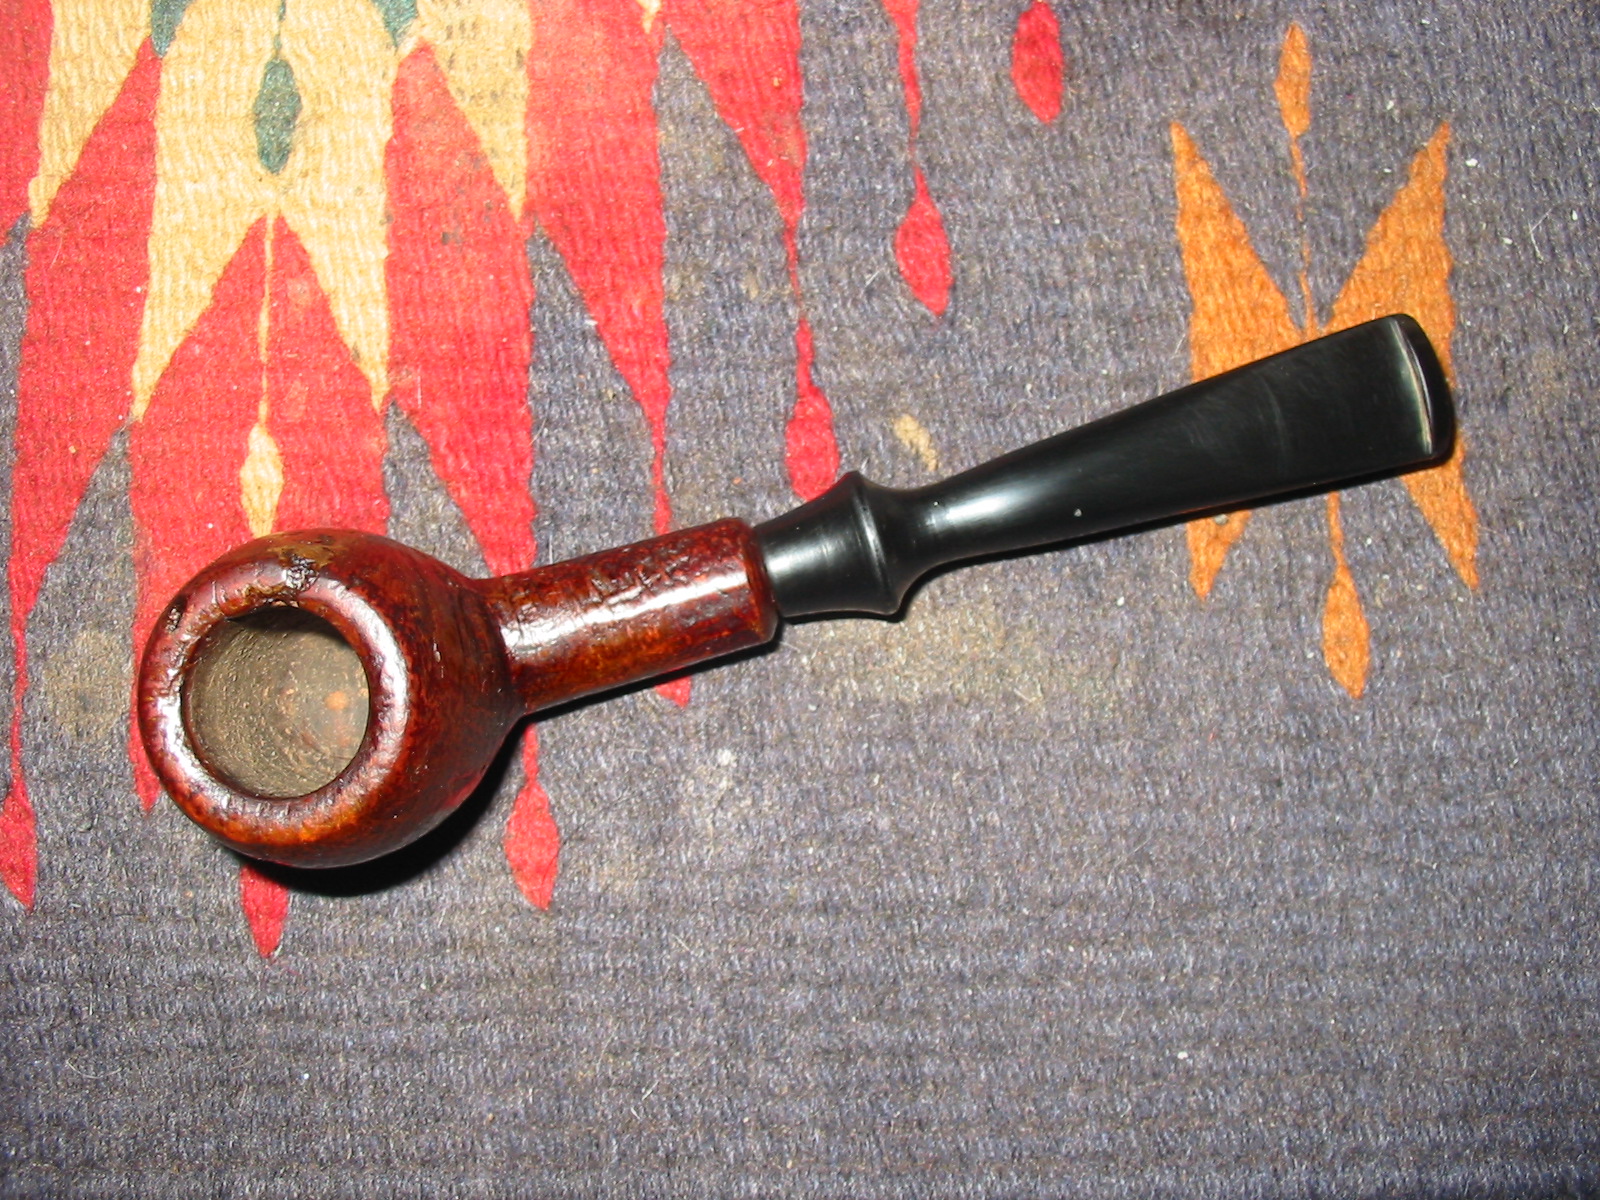
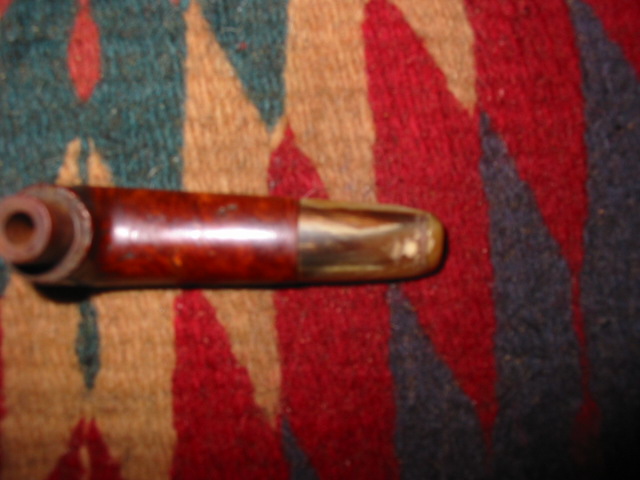
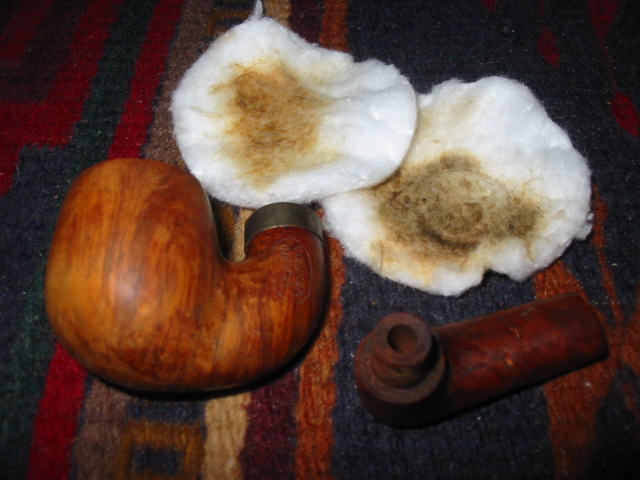
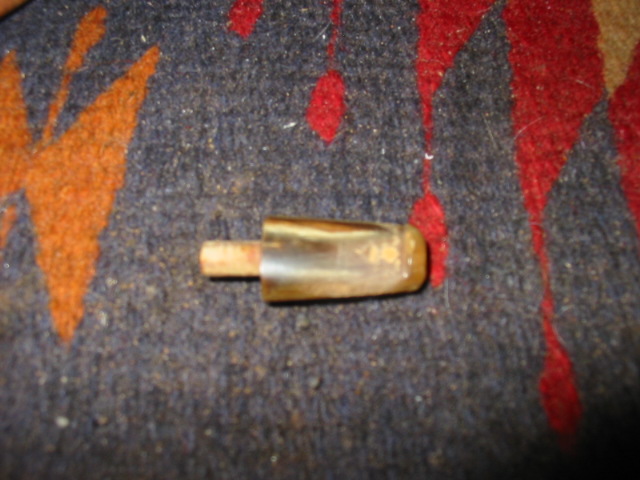
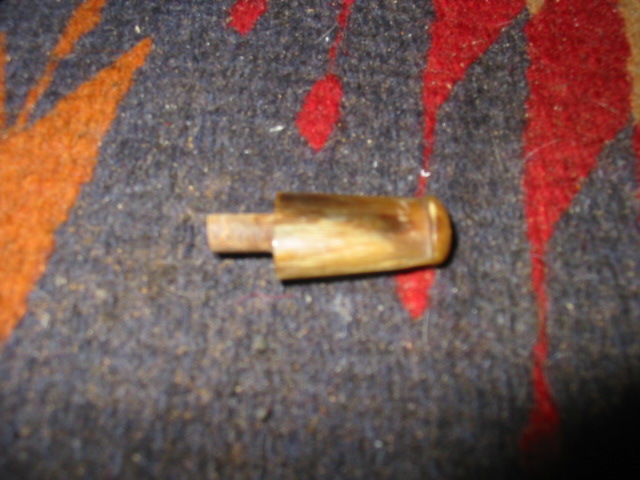
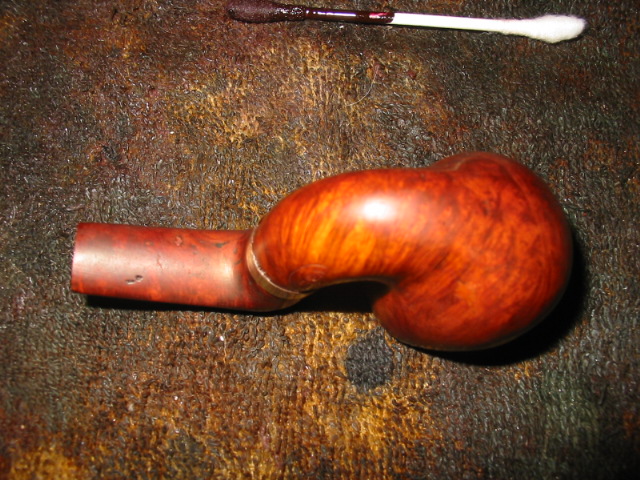
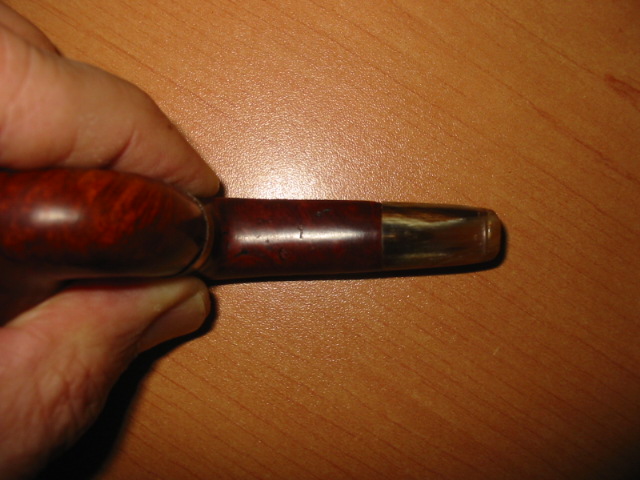
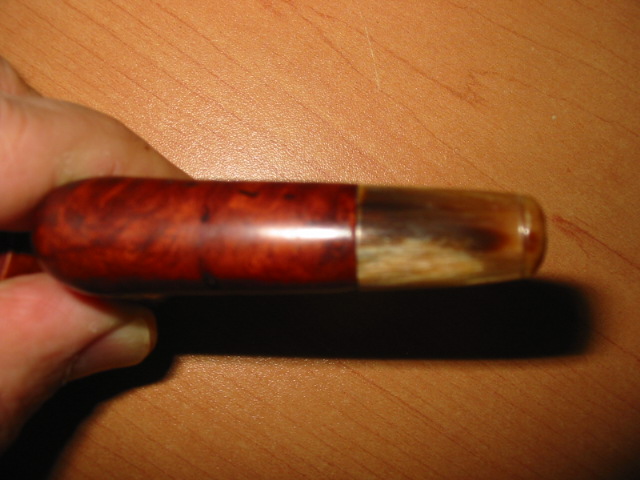
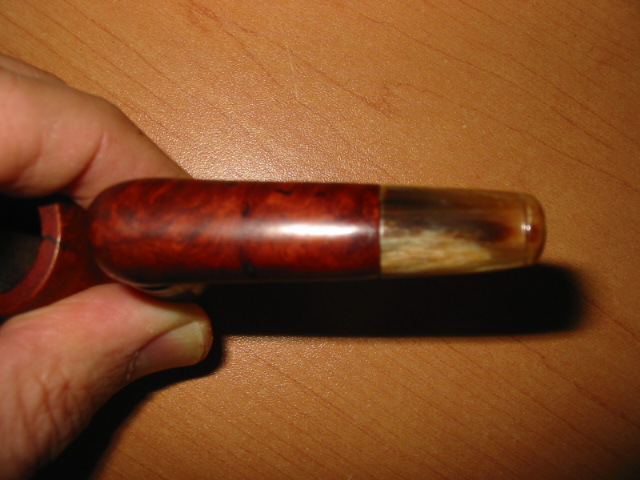
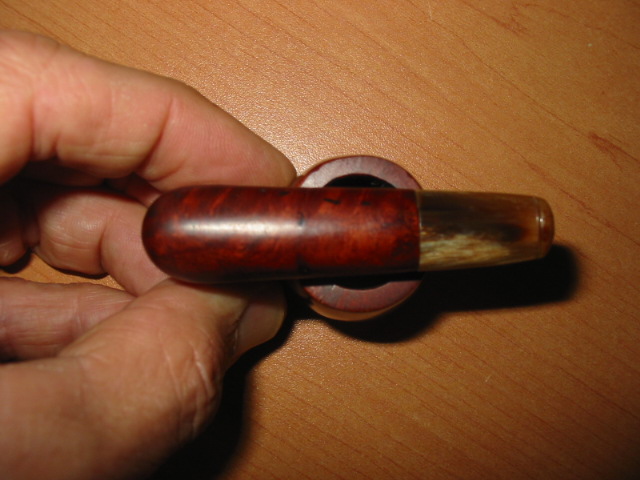
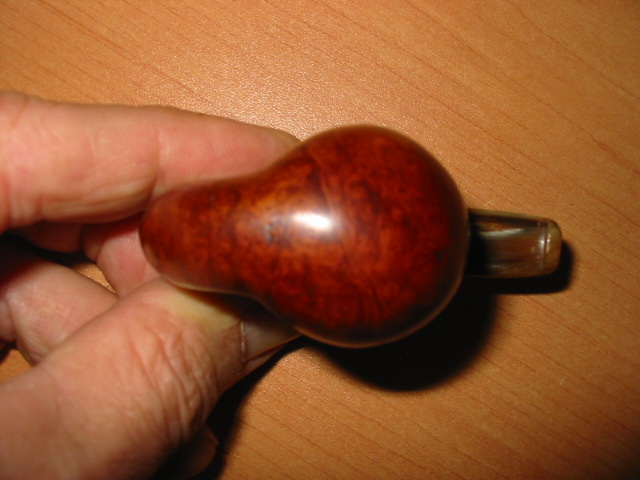
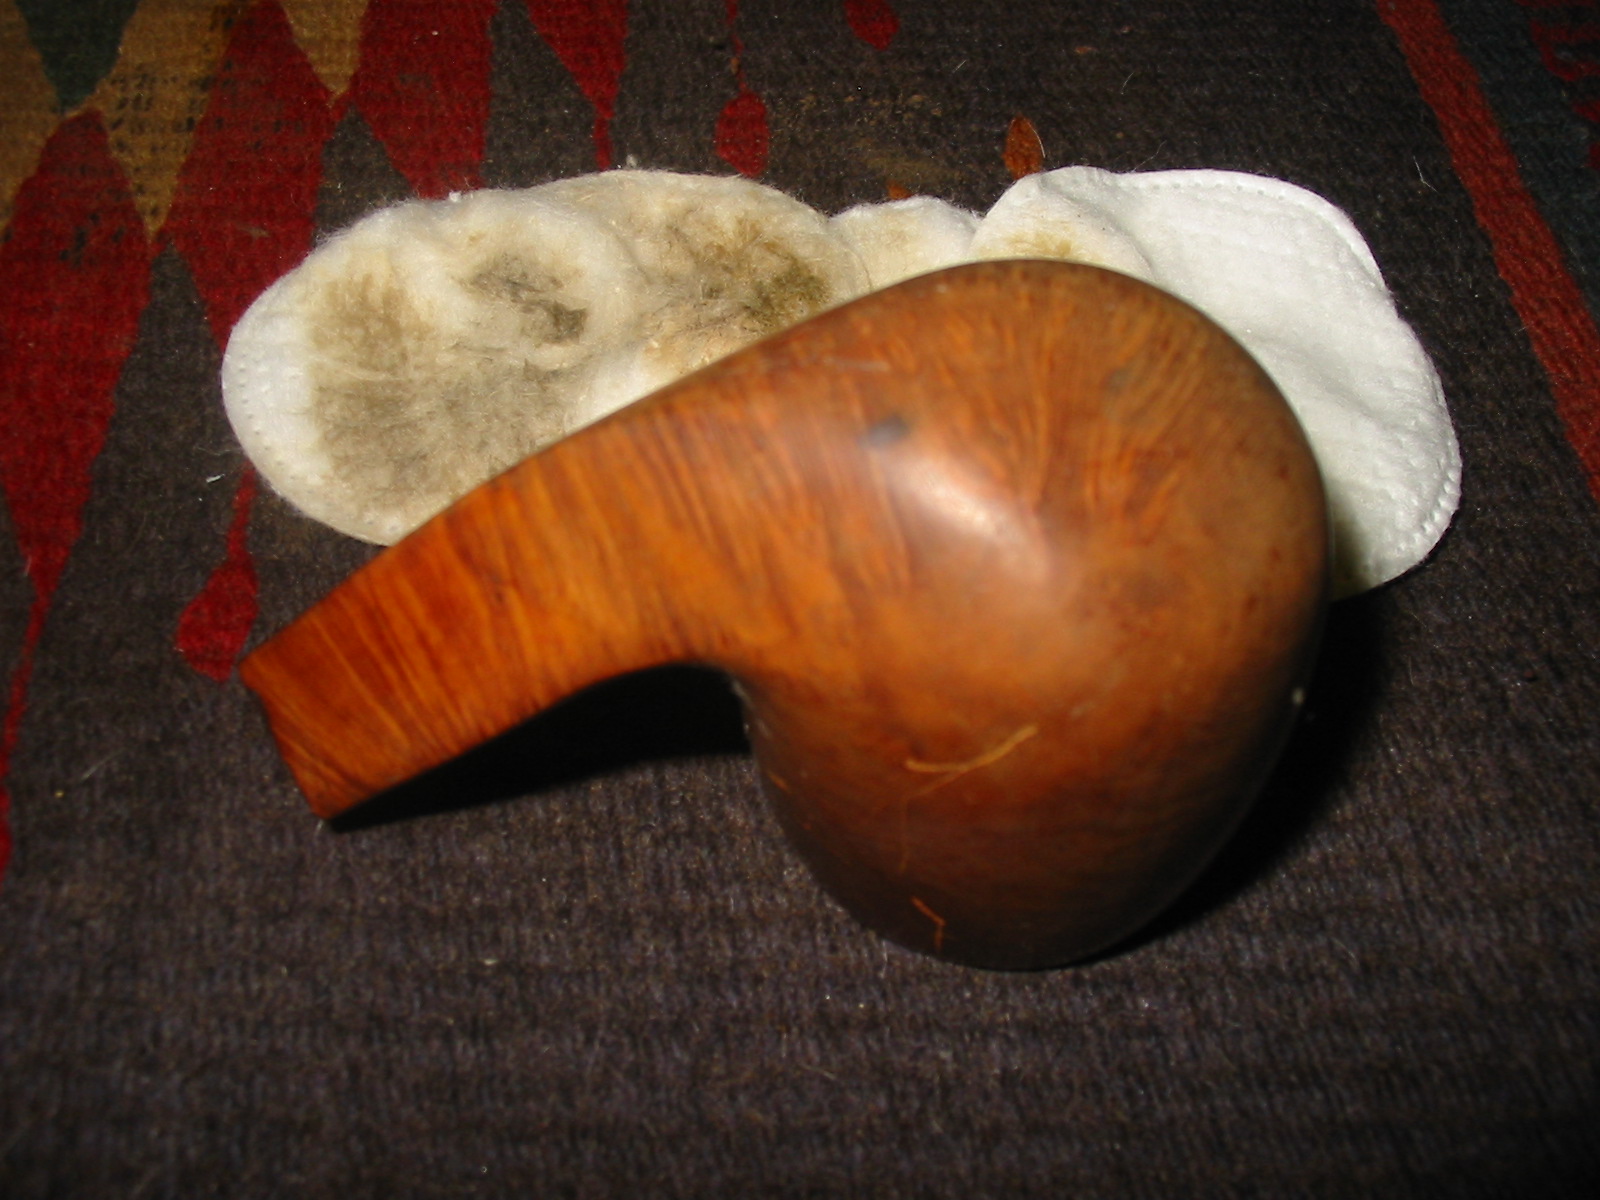
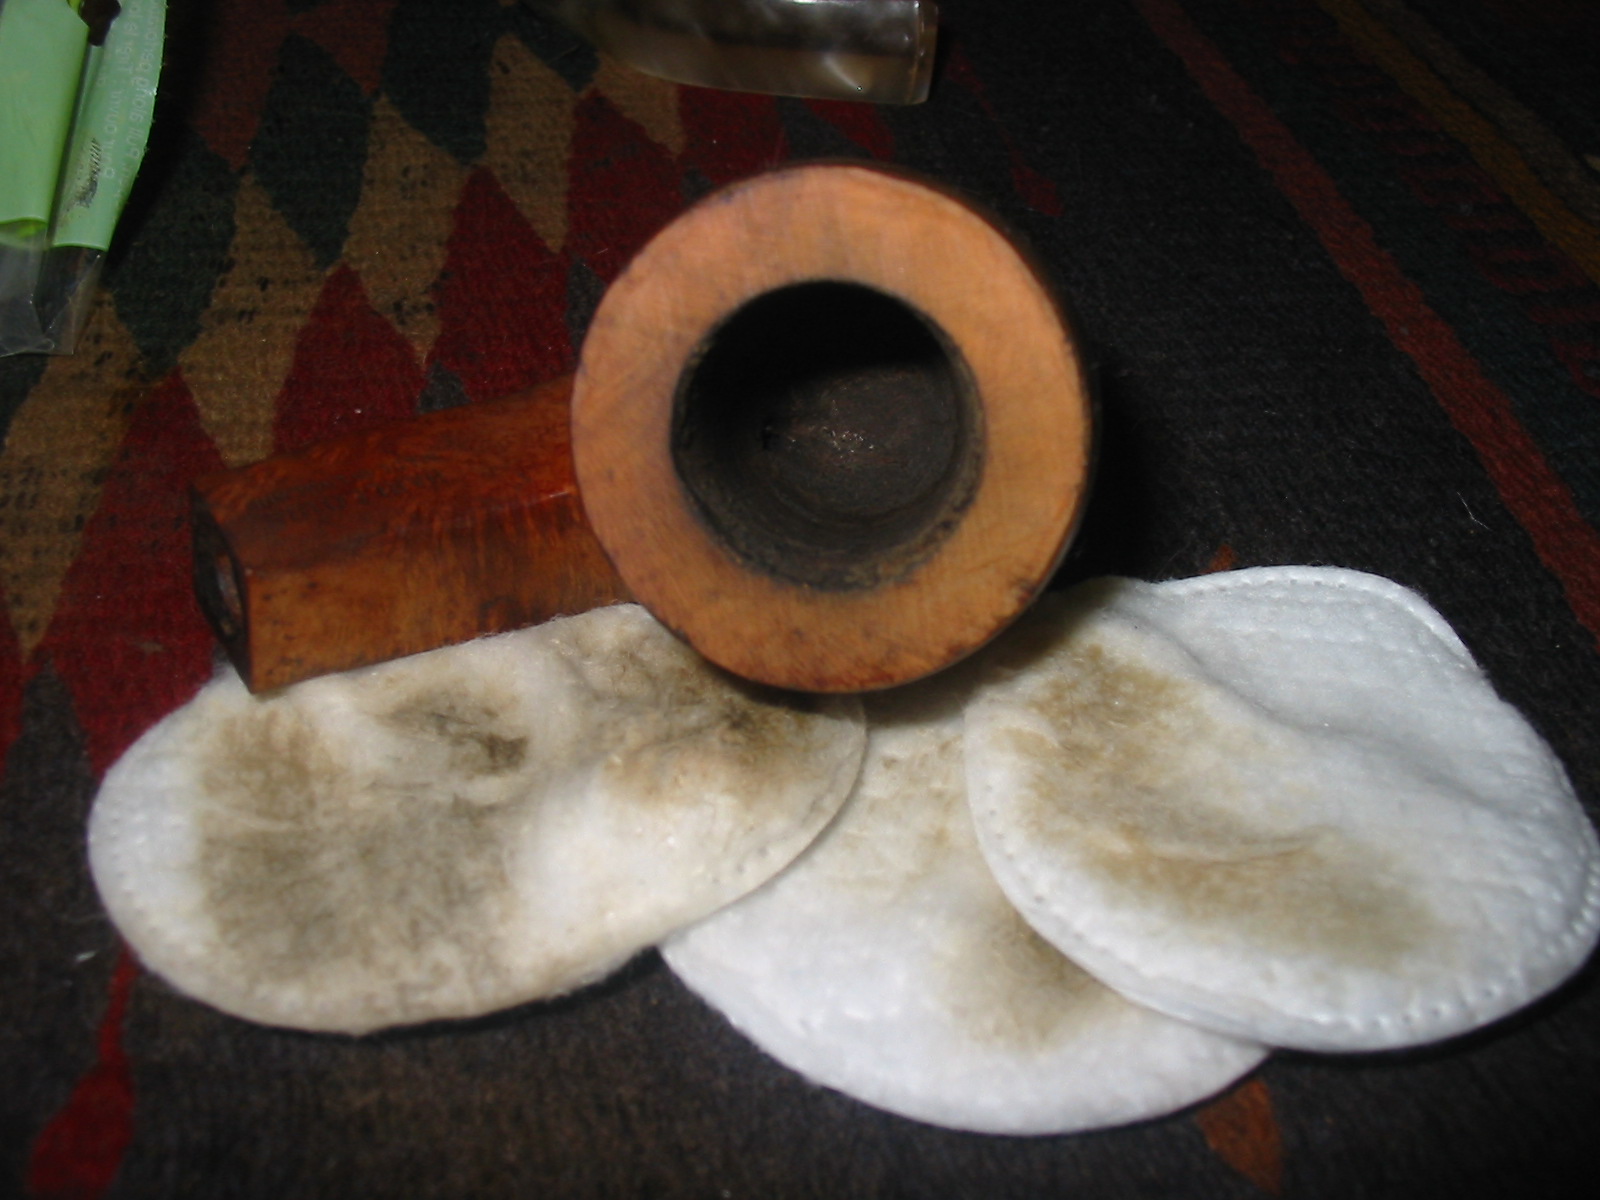
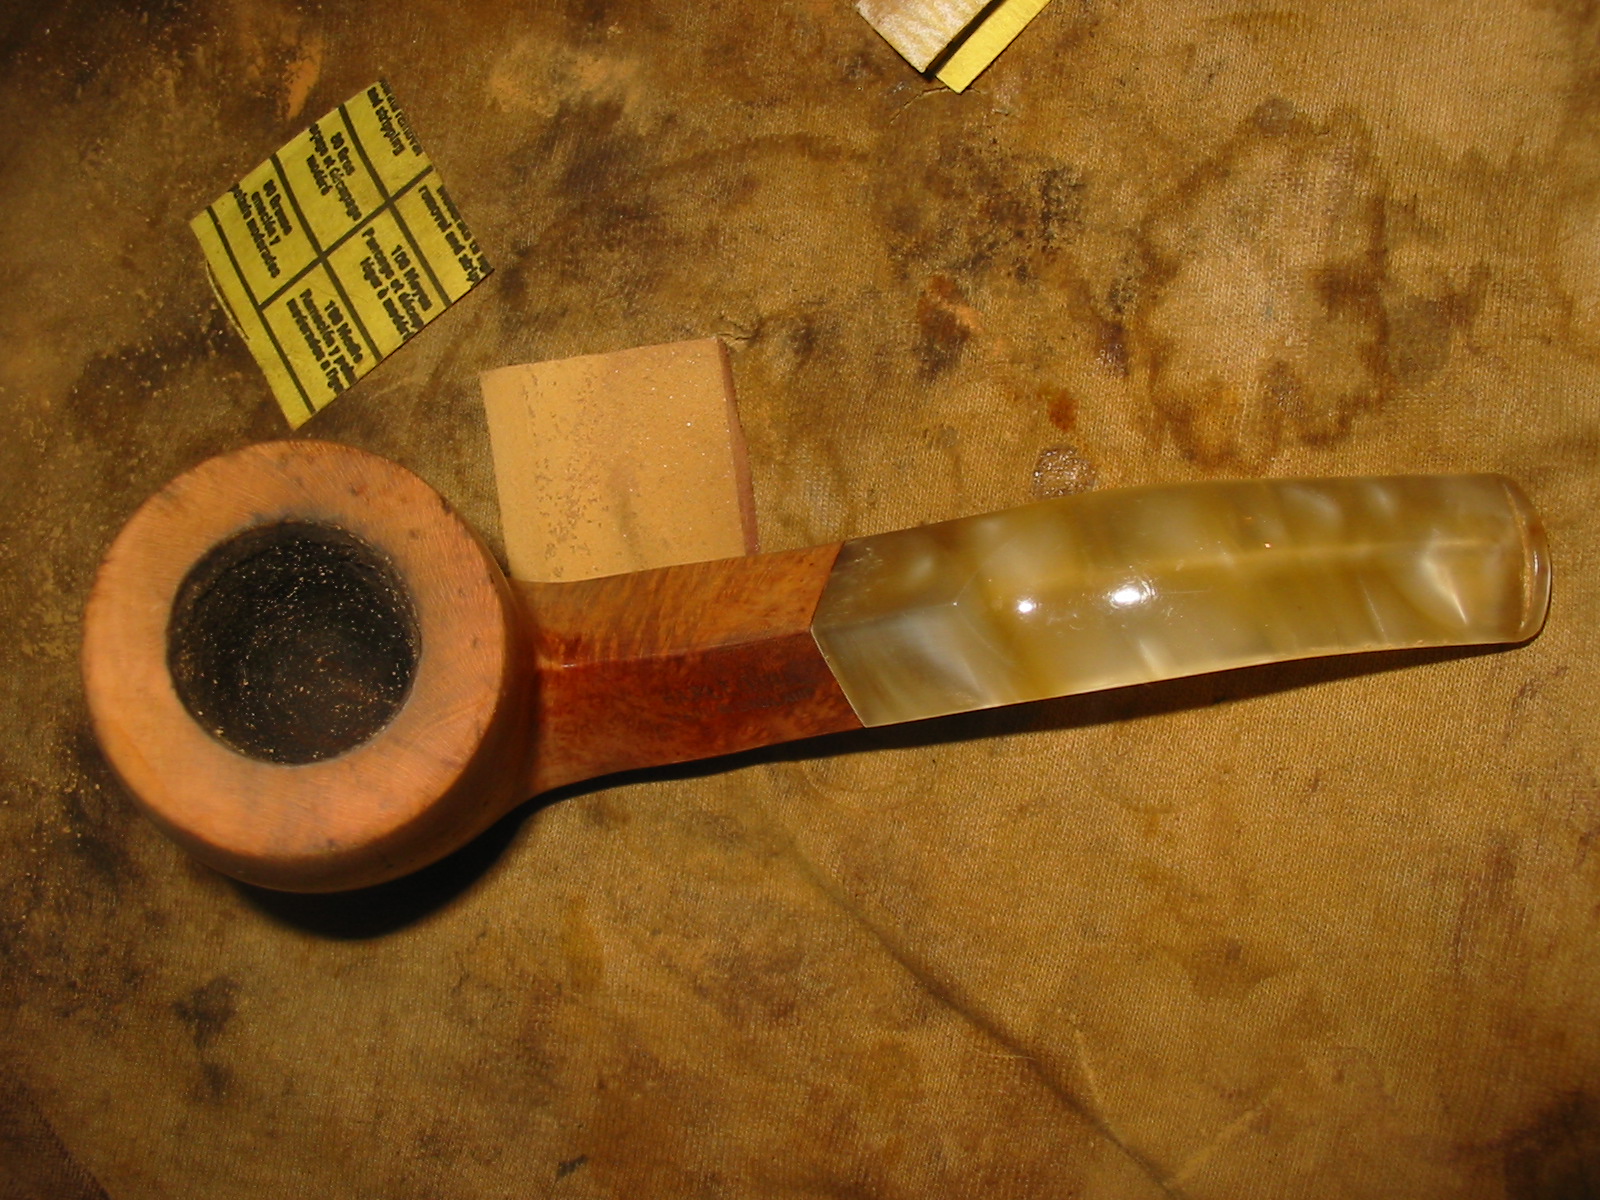
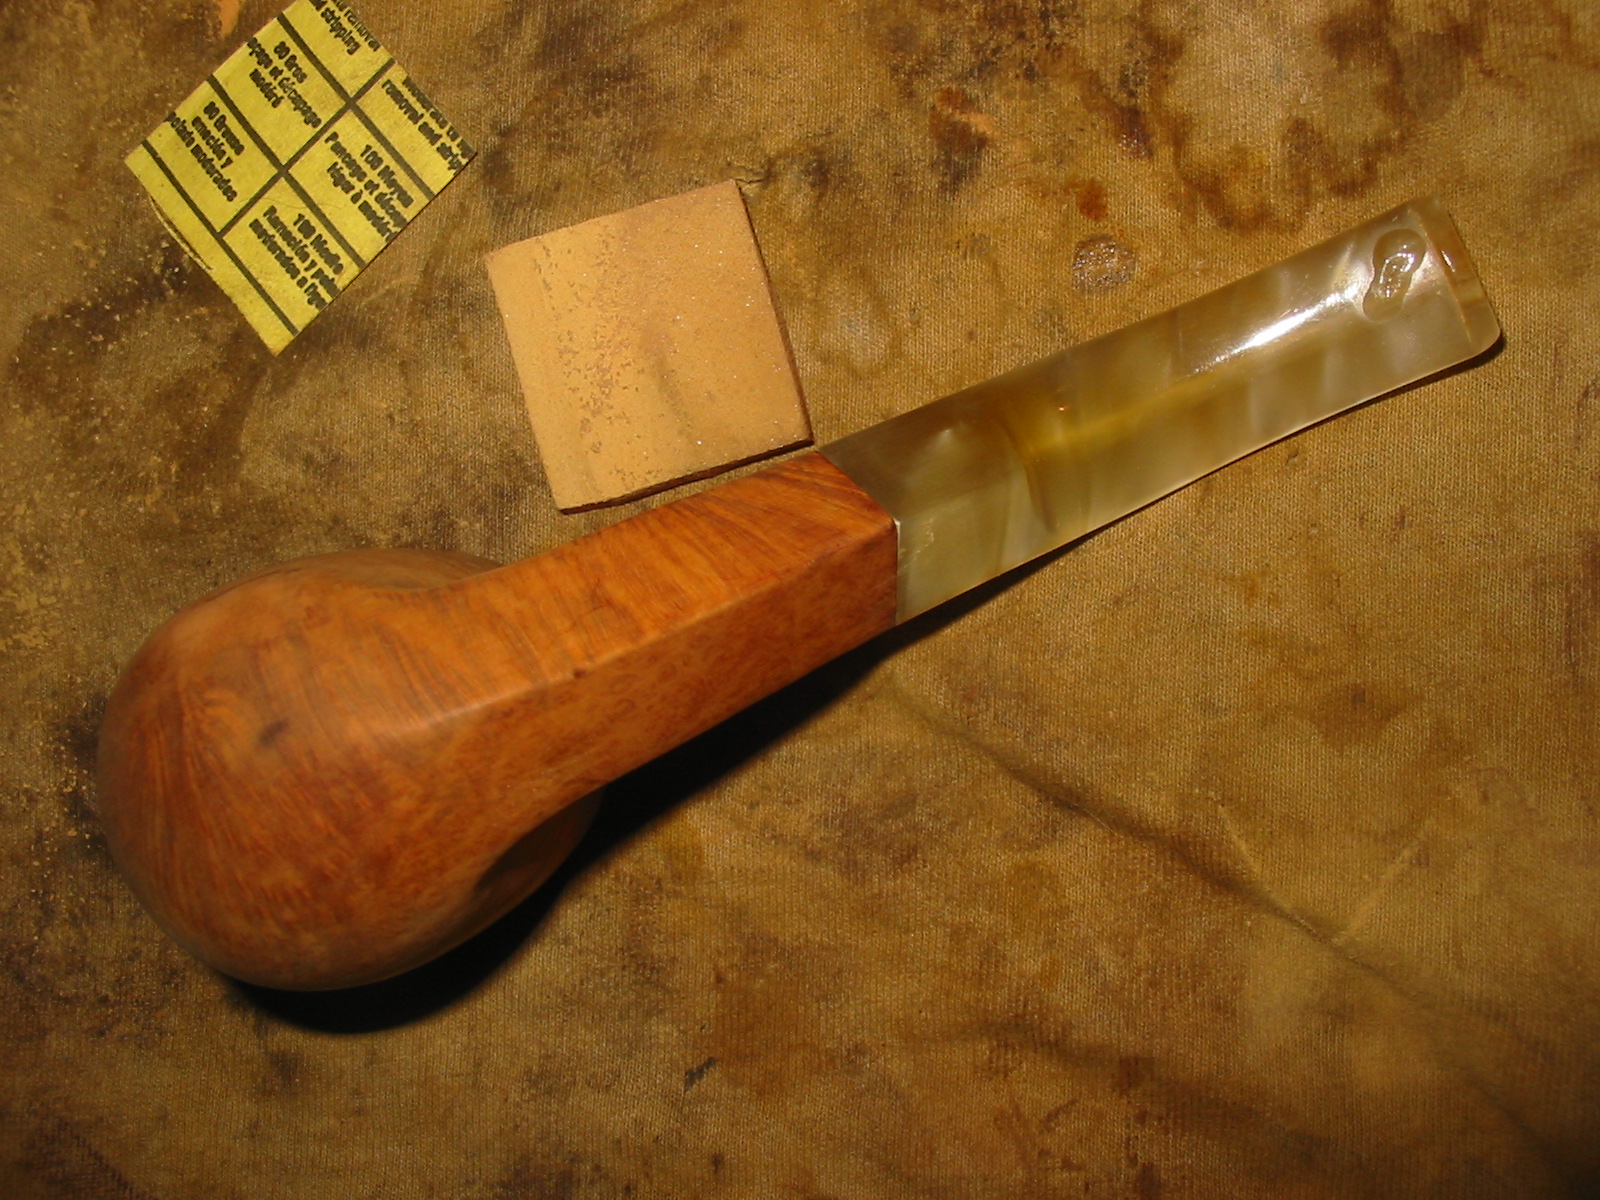
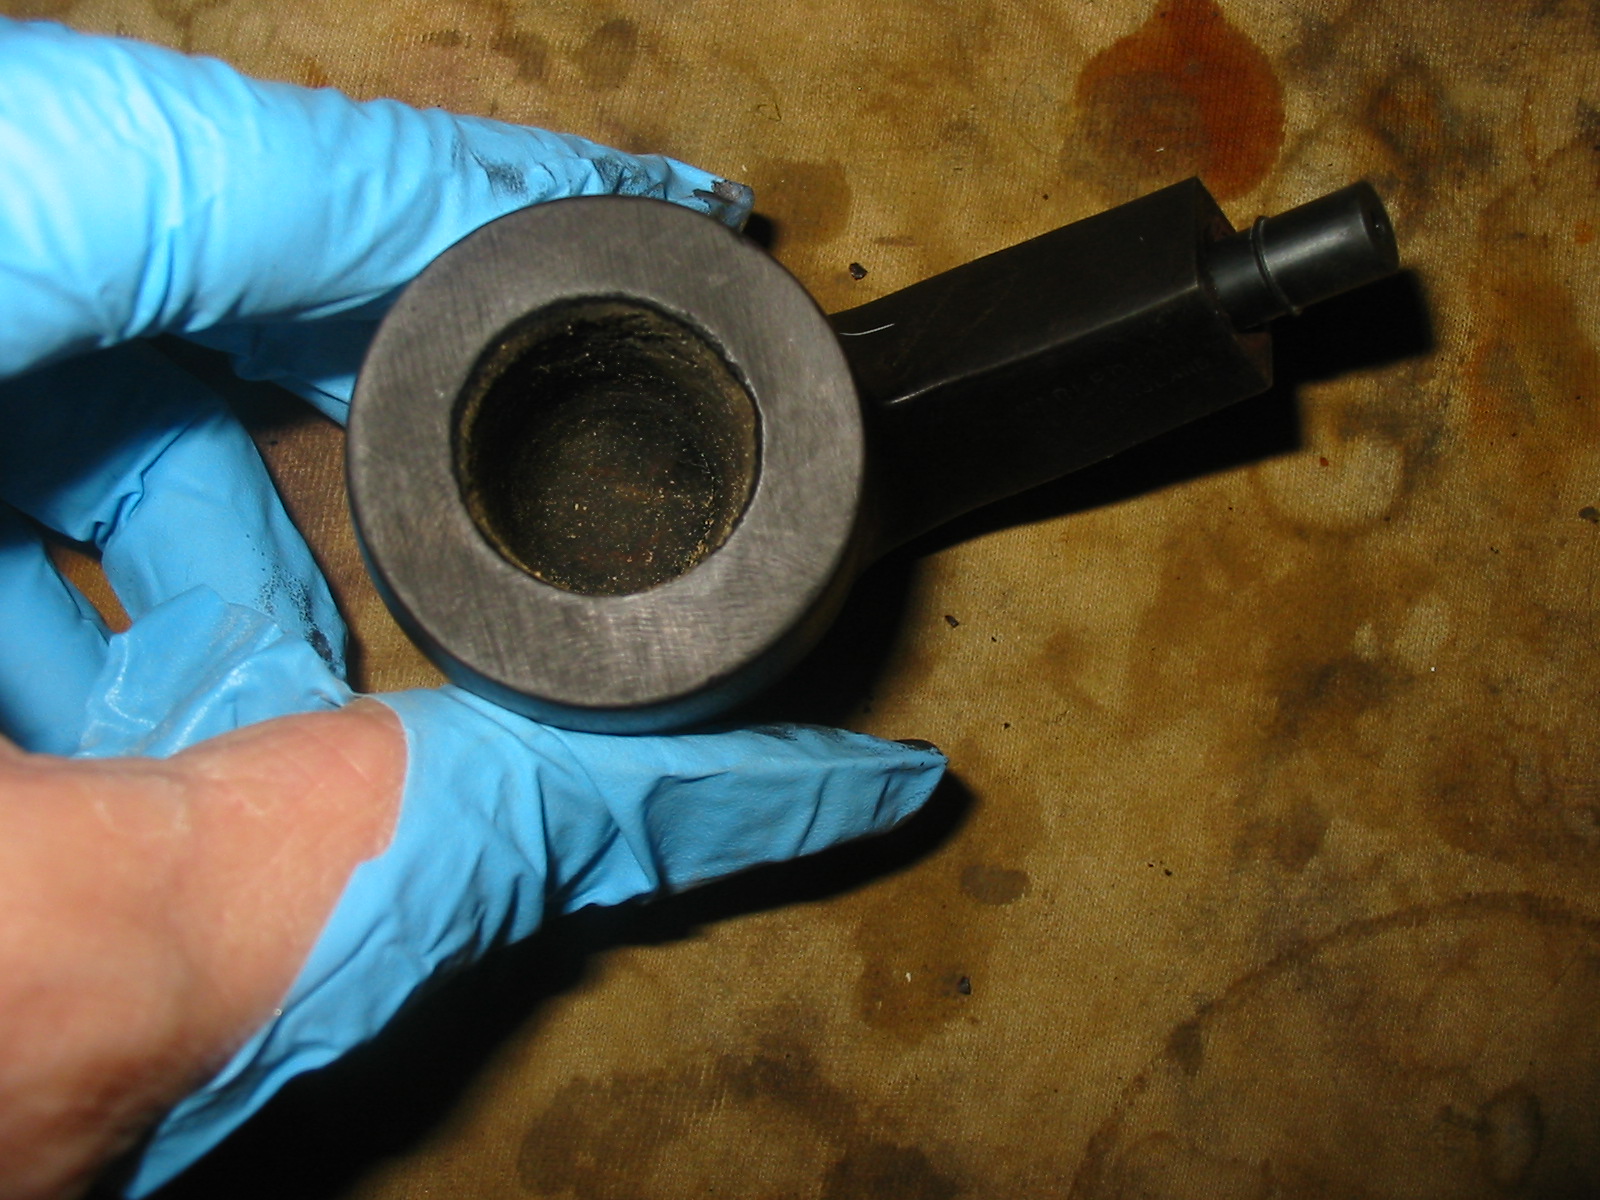
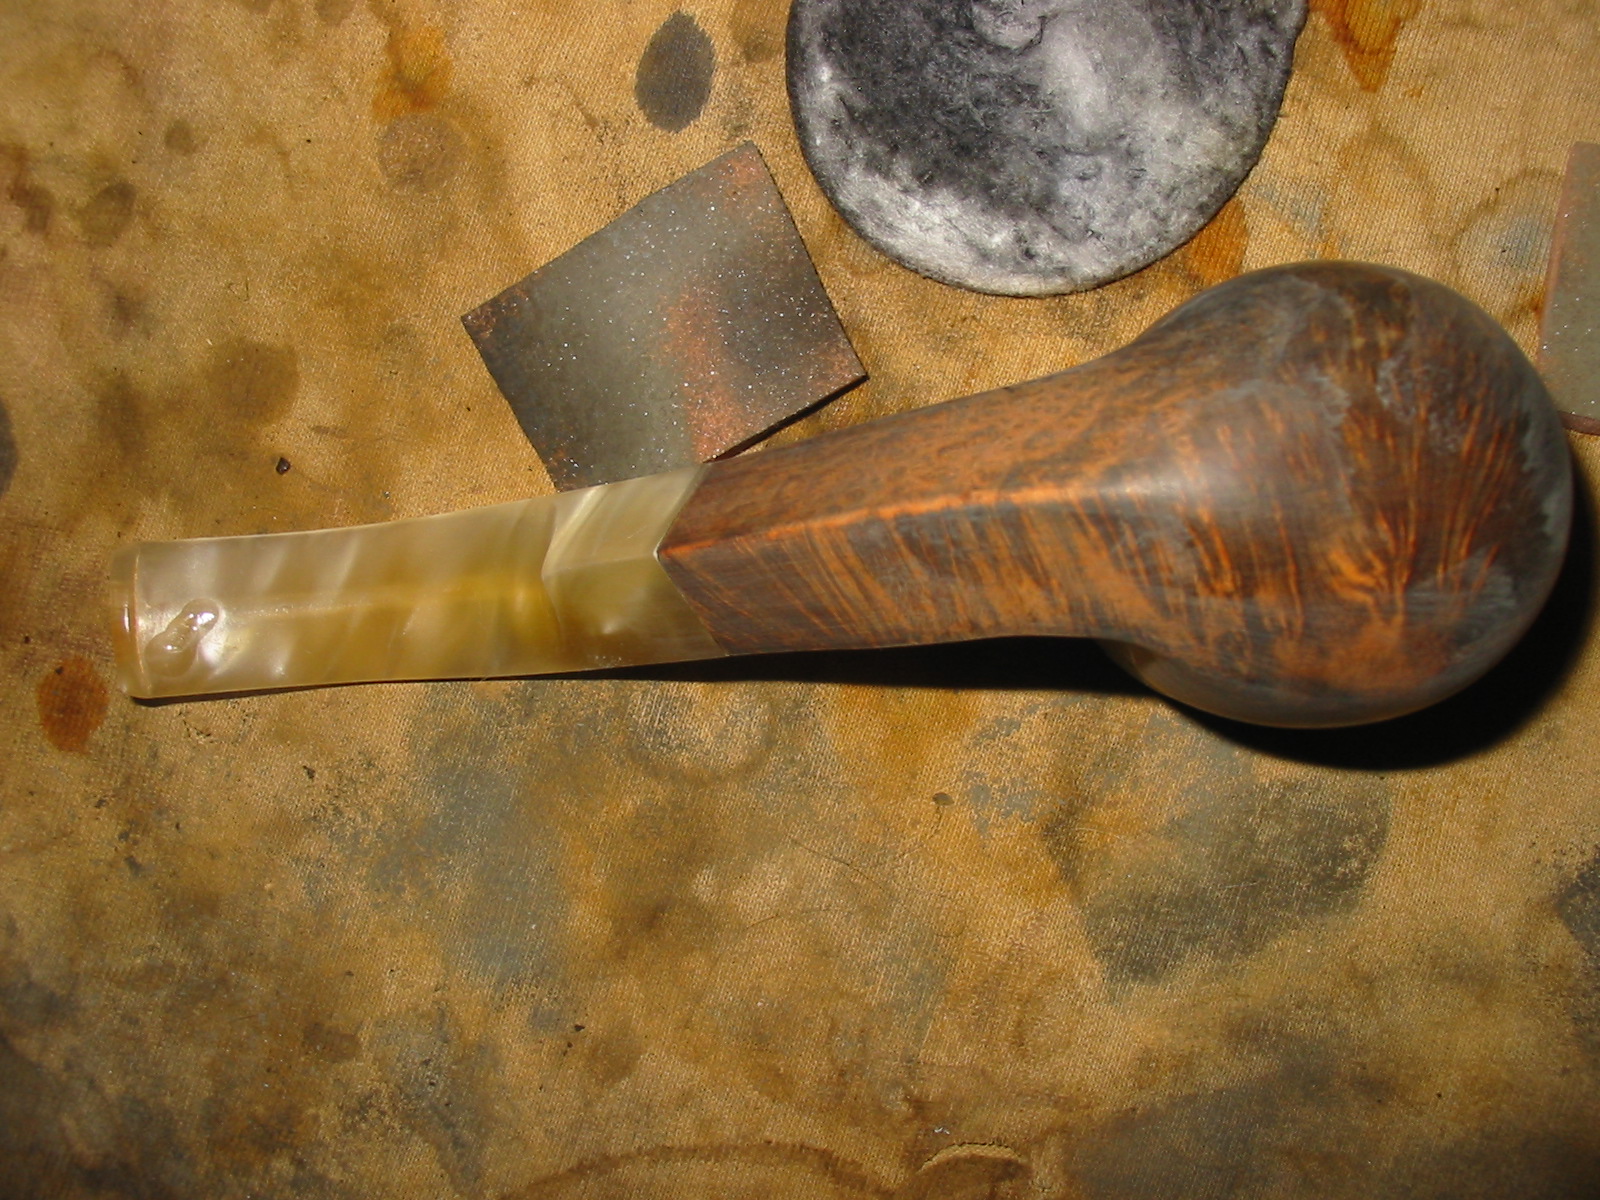
Once the pipe arrived I unpacked it and took it to the work table to begin the clean up. I was surprised that the stem was not grey but in real life almost a light green with heavy black tars in the airway. There were also some tooth marks on the top and bottom of the stem that would need to be repaired. The fit of the stem to the shank was snug and smooth. The bowl was badly caked and the rim covered with thick tar. The bowl had some deep gouges that had appeared in the photos on eBay but they were not as deep as I expected. The grain was far better than I expected. Underneath the dark marks, which appear to be ink stains rather than burn marks was some beautiful cross grain and birdseye as well as mixed grain. It would look beautiful when it was cleaned up and refinished. There were several spots on the briar that had large sticky spots of a glue-like substance.
IMG_6195

IMG_6196

IMG_6197

IMG_6198
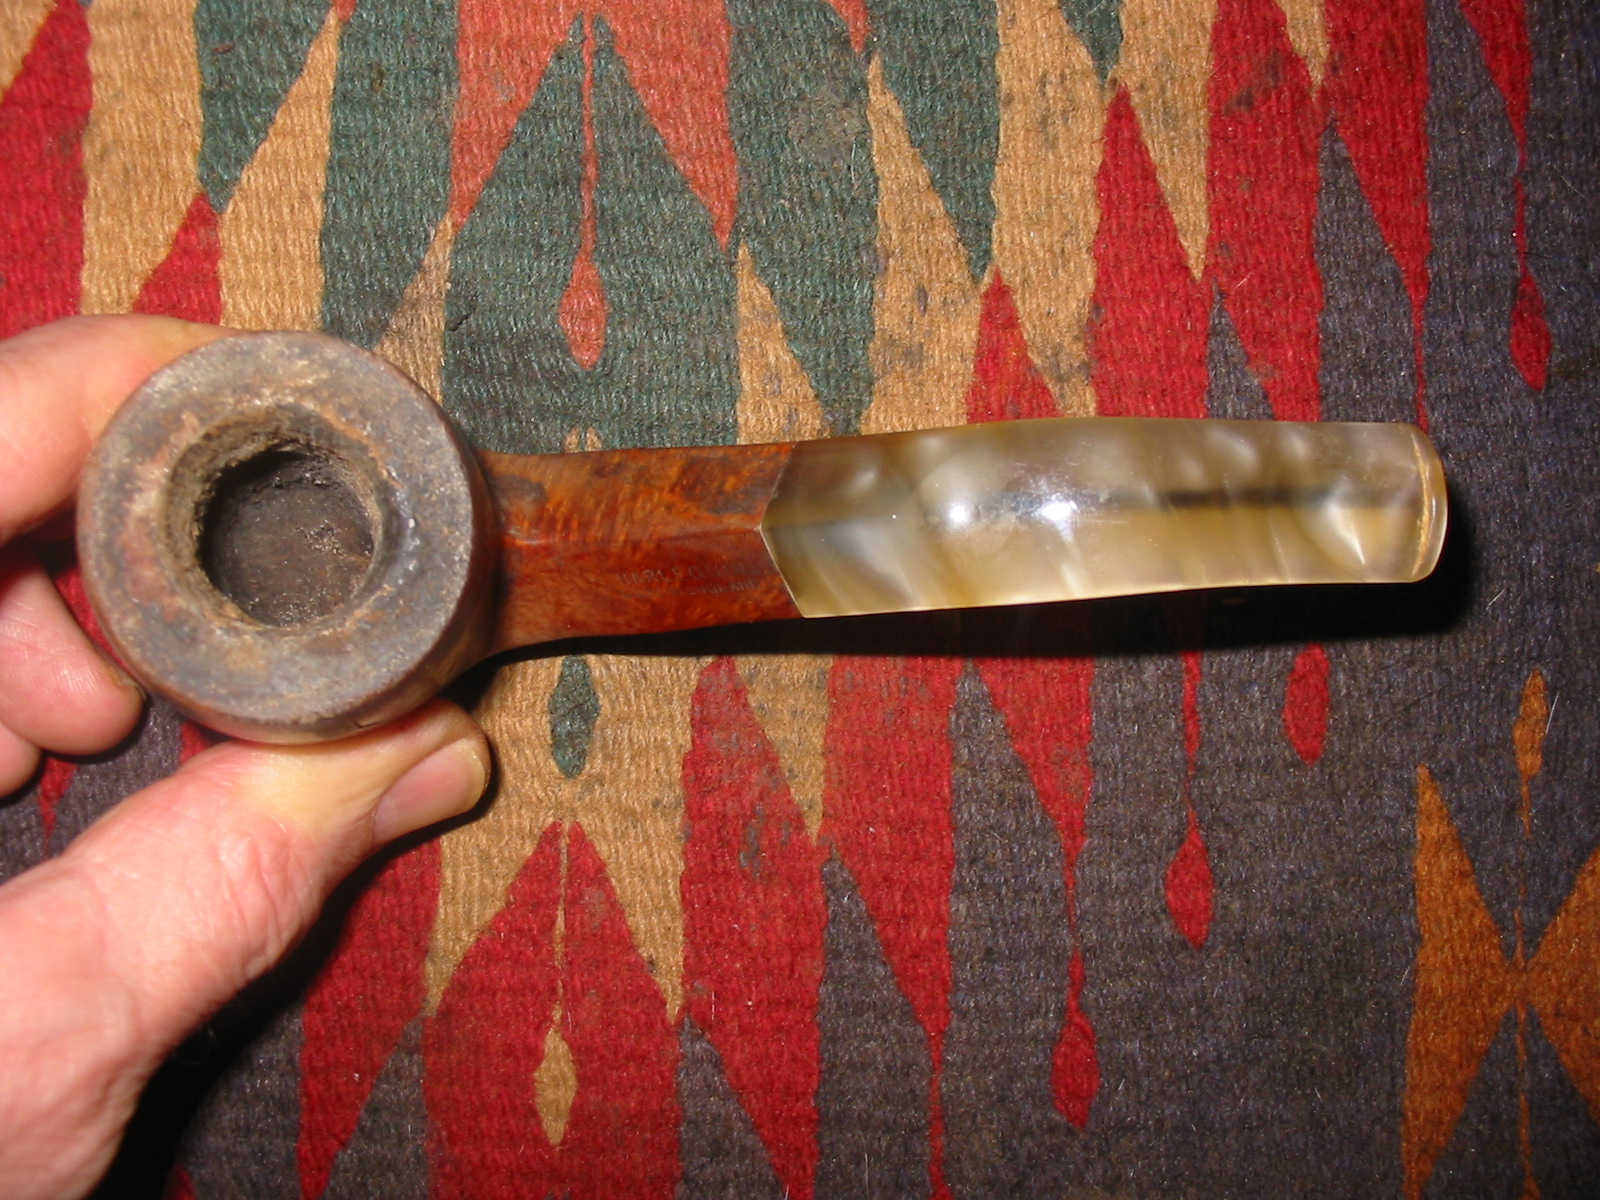
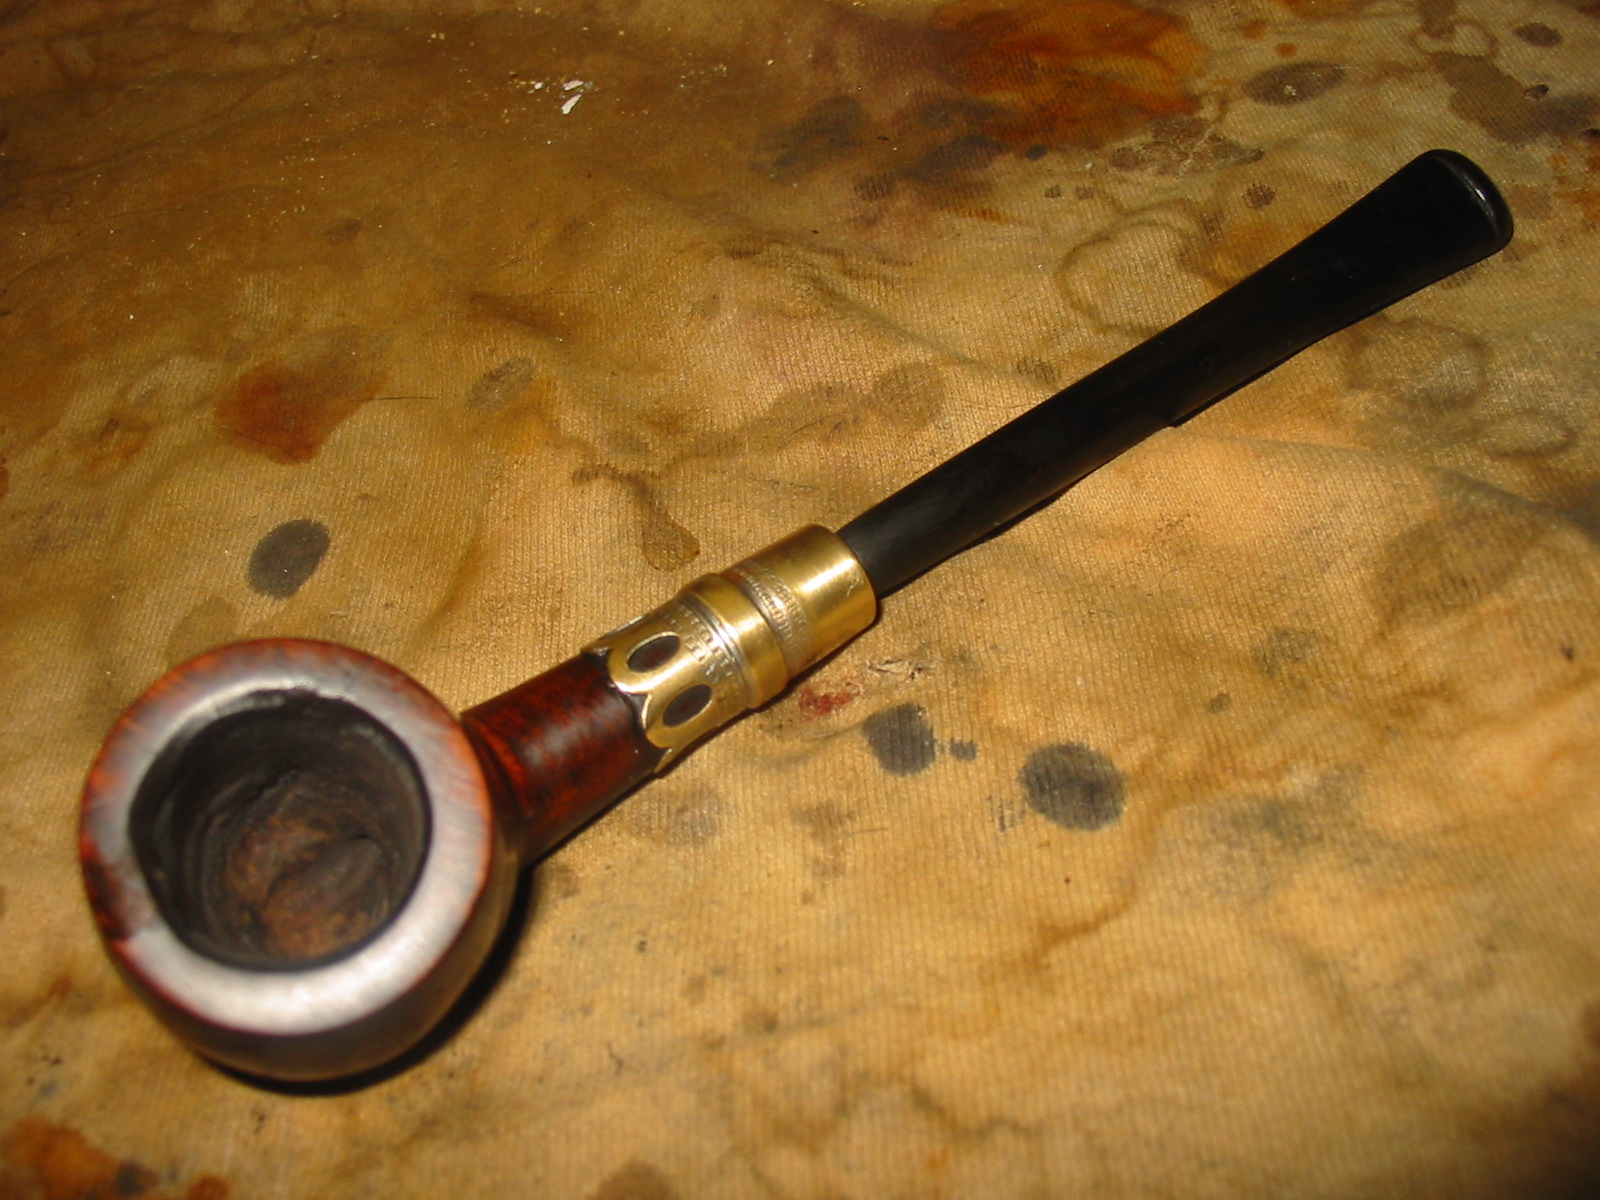
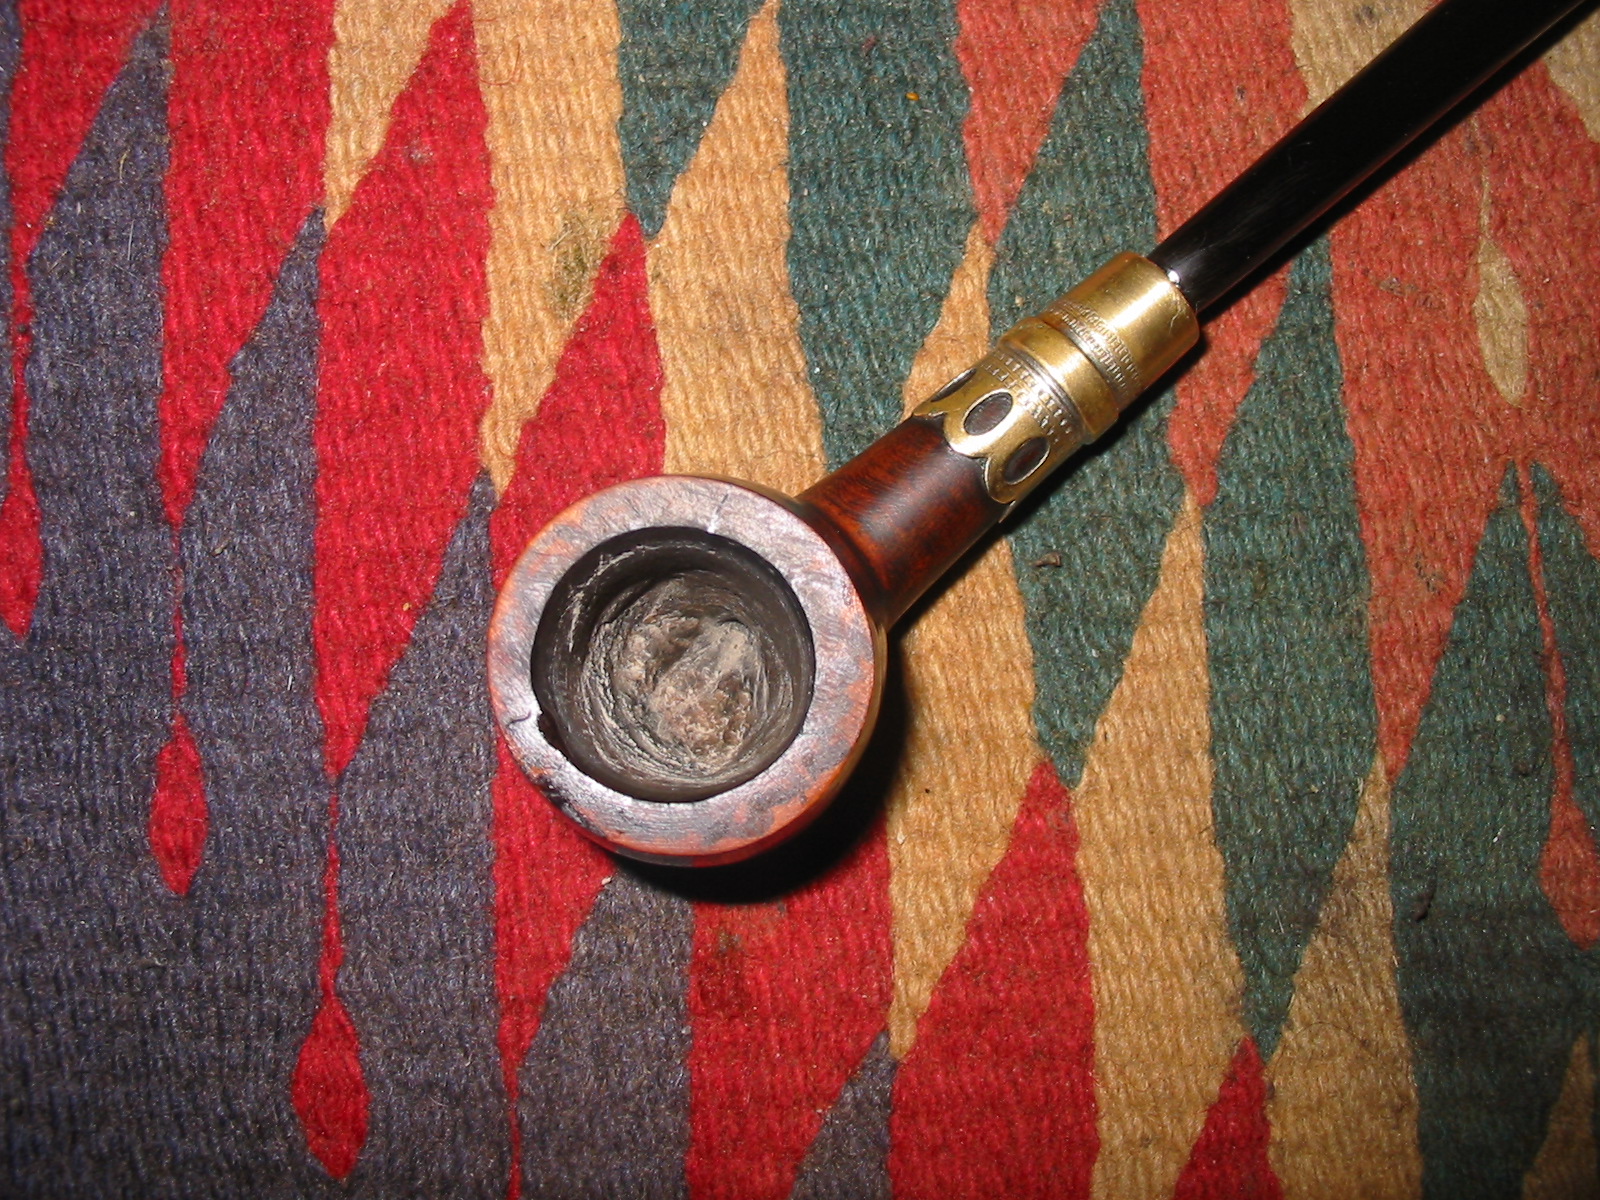
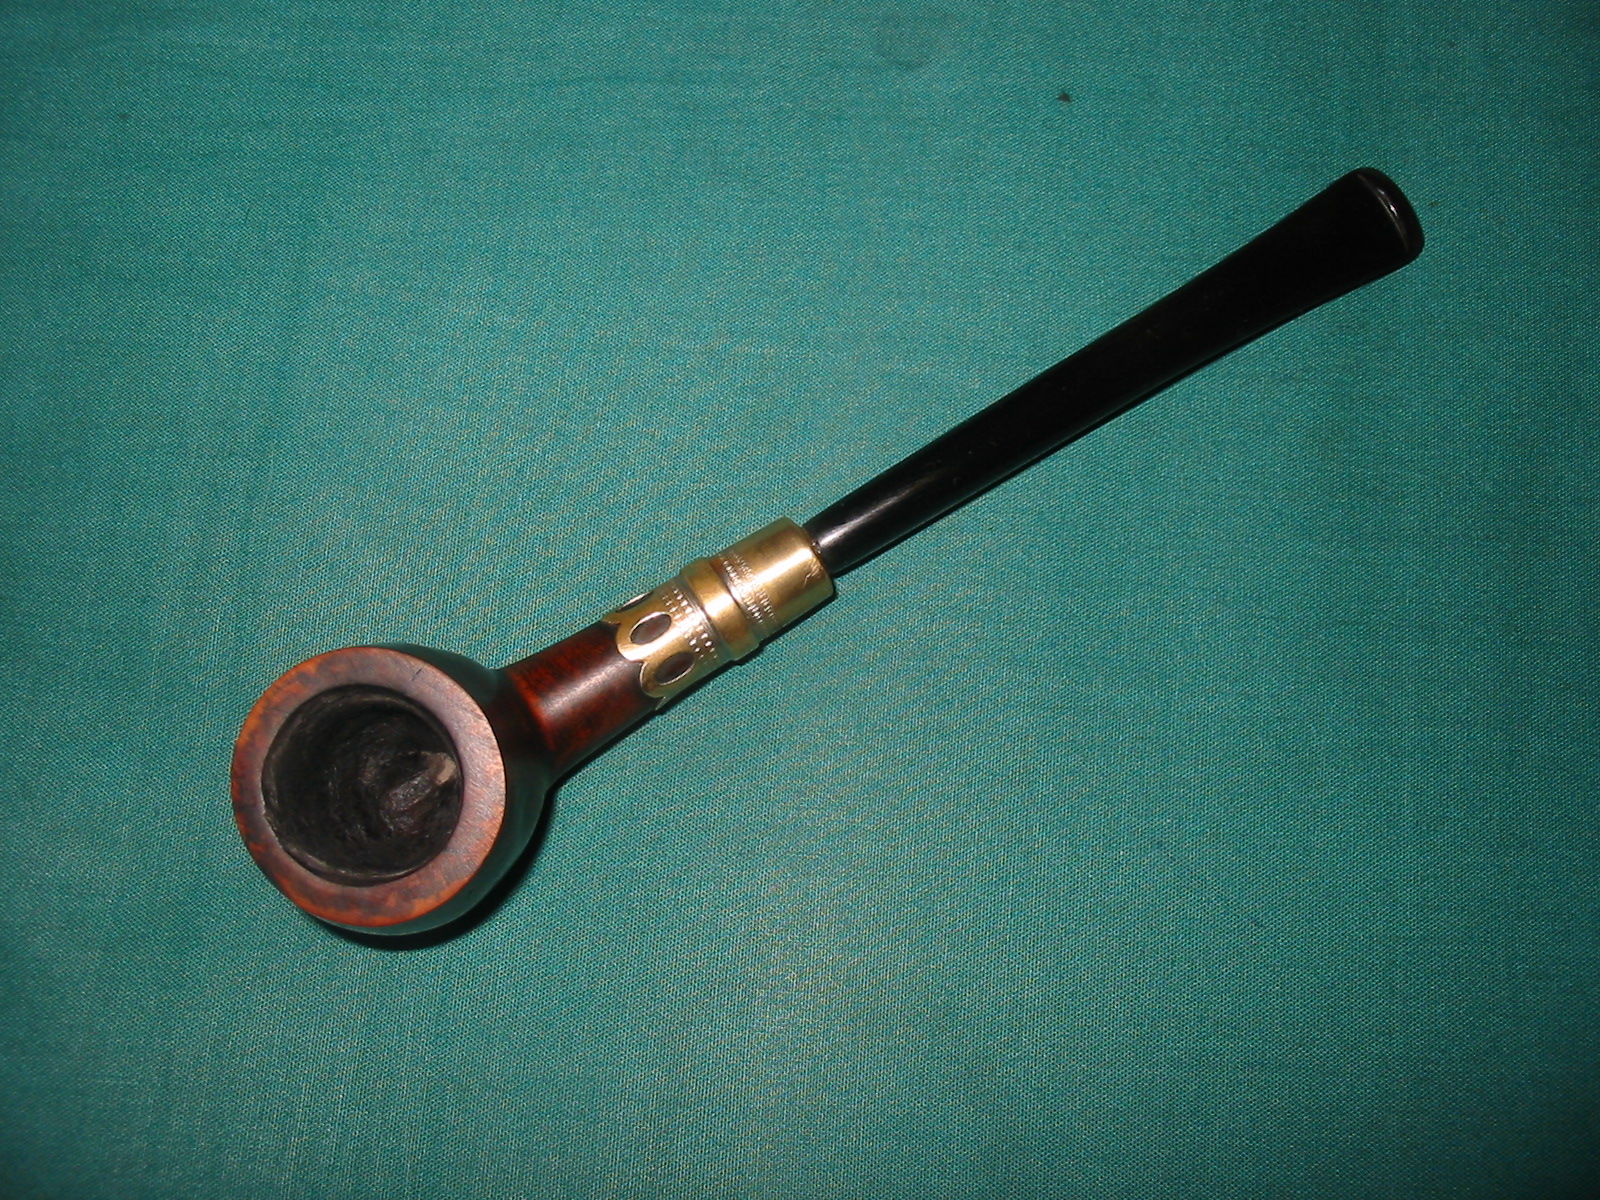
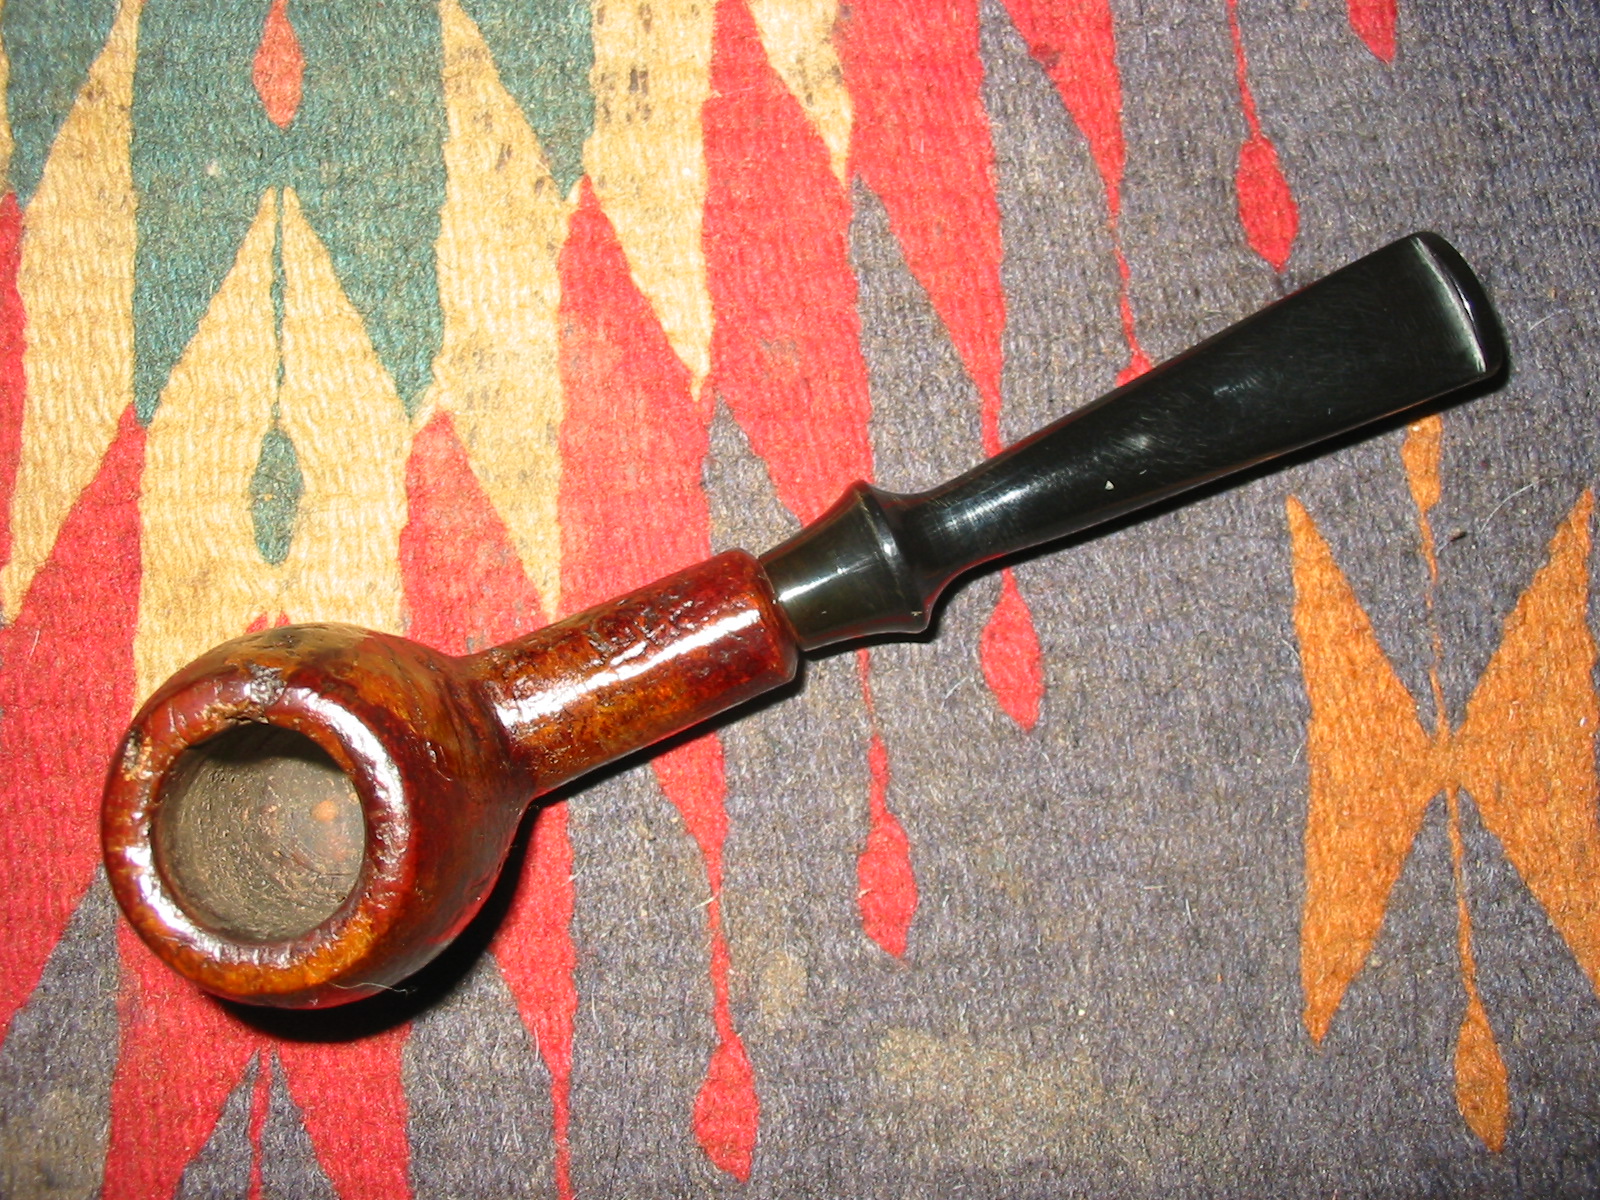
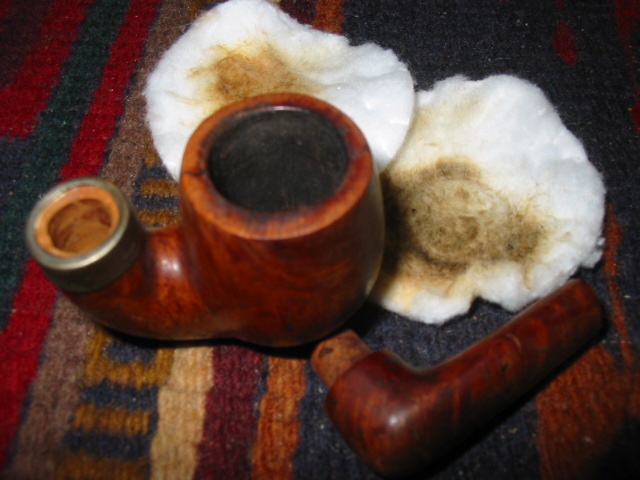
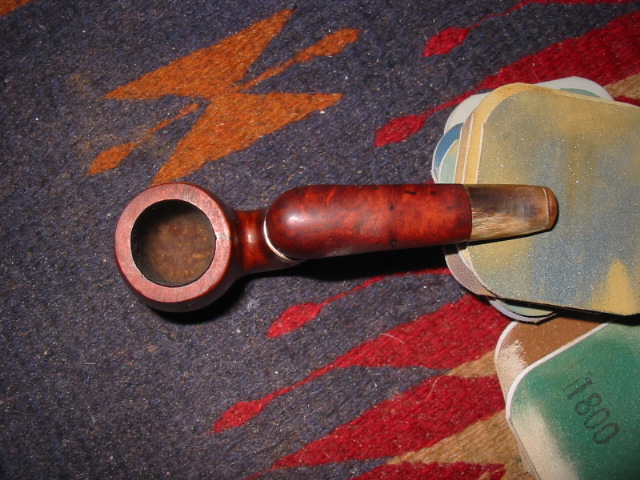
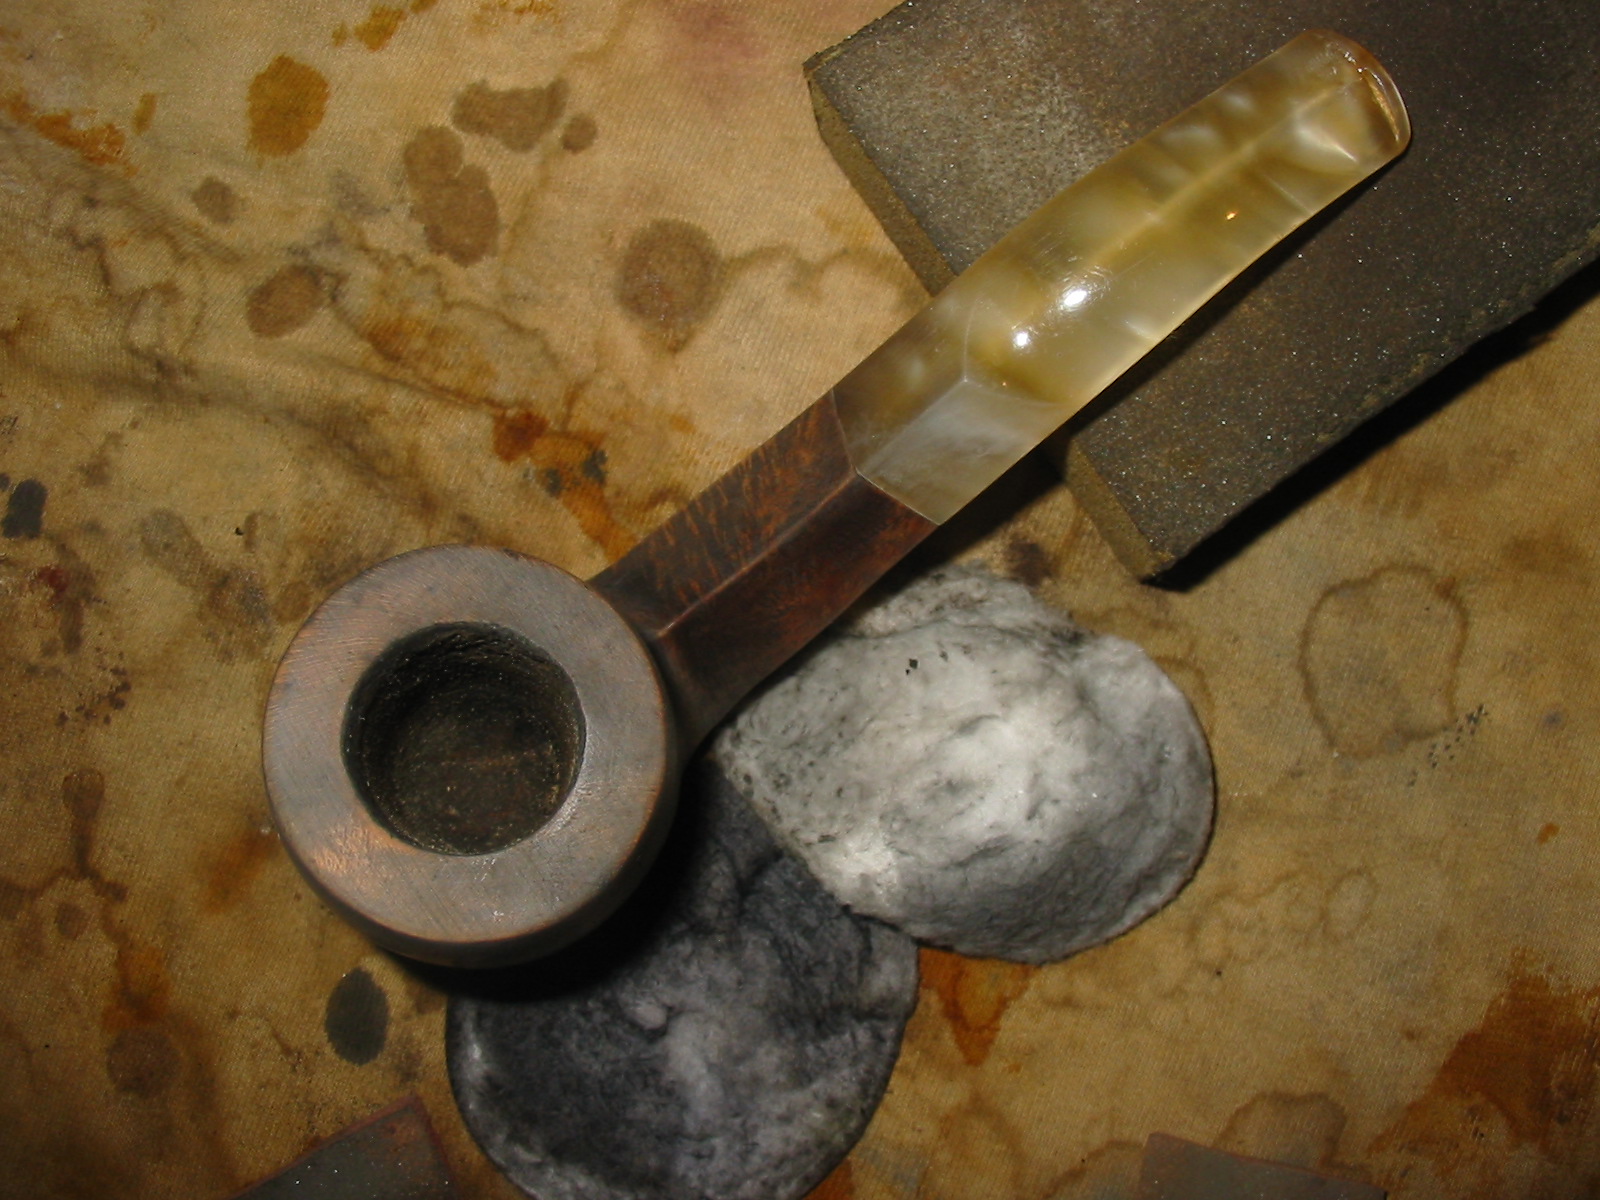
I reamed the bowl with a PipNet reamer to remove the cake. It was surprisingly soft and crumbly. I took it back to a very thin cake to form the base for a new cake.
IMG_6199
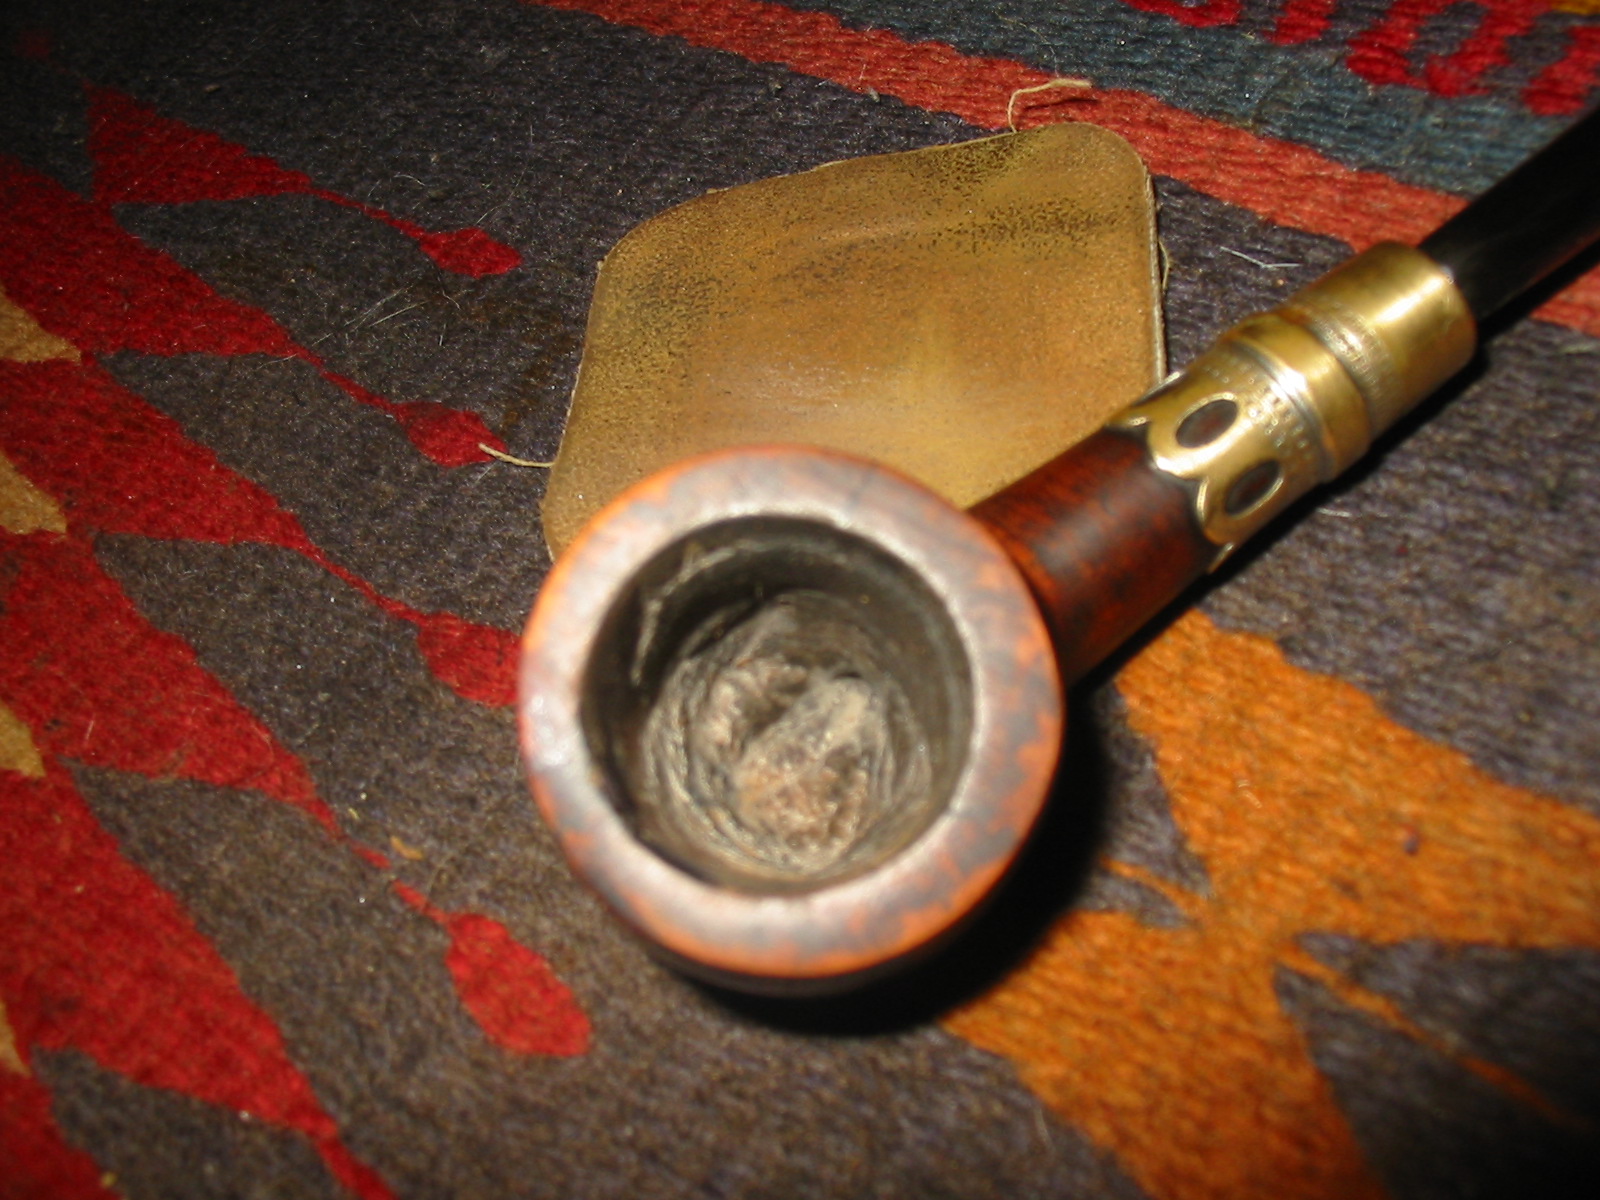
I set up a topping board with 220 grit sandpaper to clean off the build up on the rim. It was hard and no matter how hard I scrubbed it, it would not come off. The outer edges of the rim were also damaged from knocking out the bowl after smoking. The light topping would smooth out the edge damage and minimize the effect without changing the look of the bowl.
IMG_6200

IMG_6203
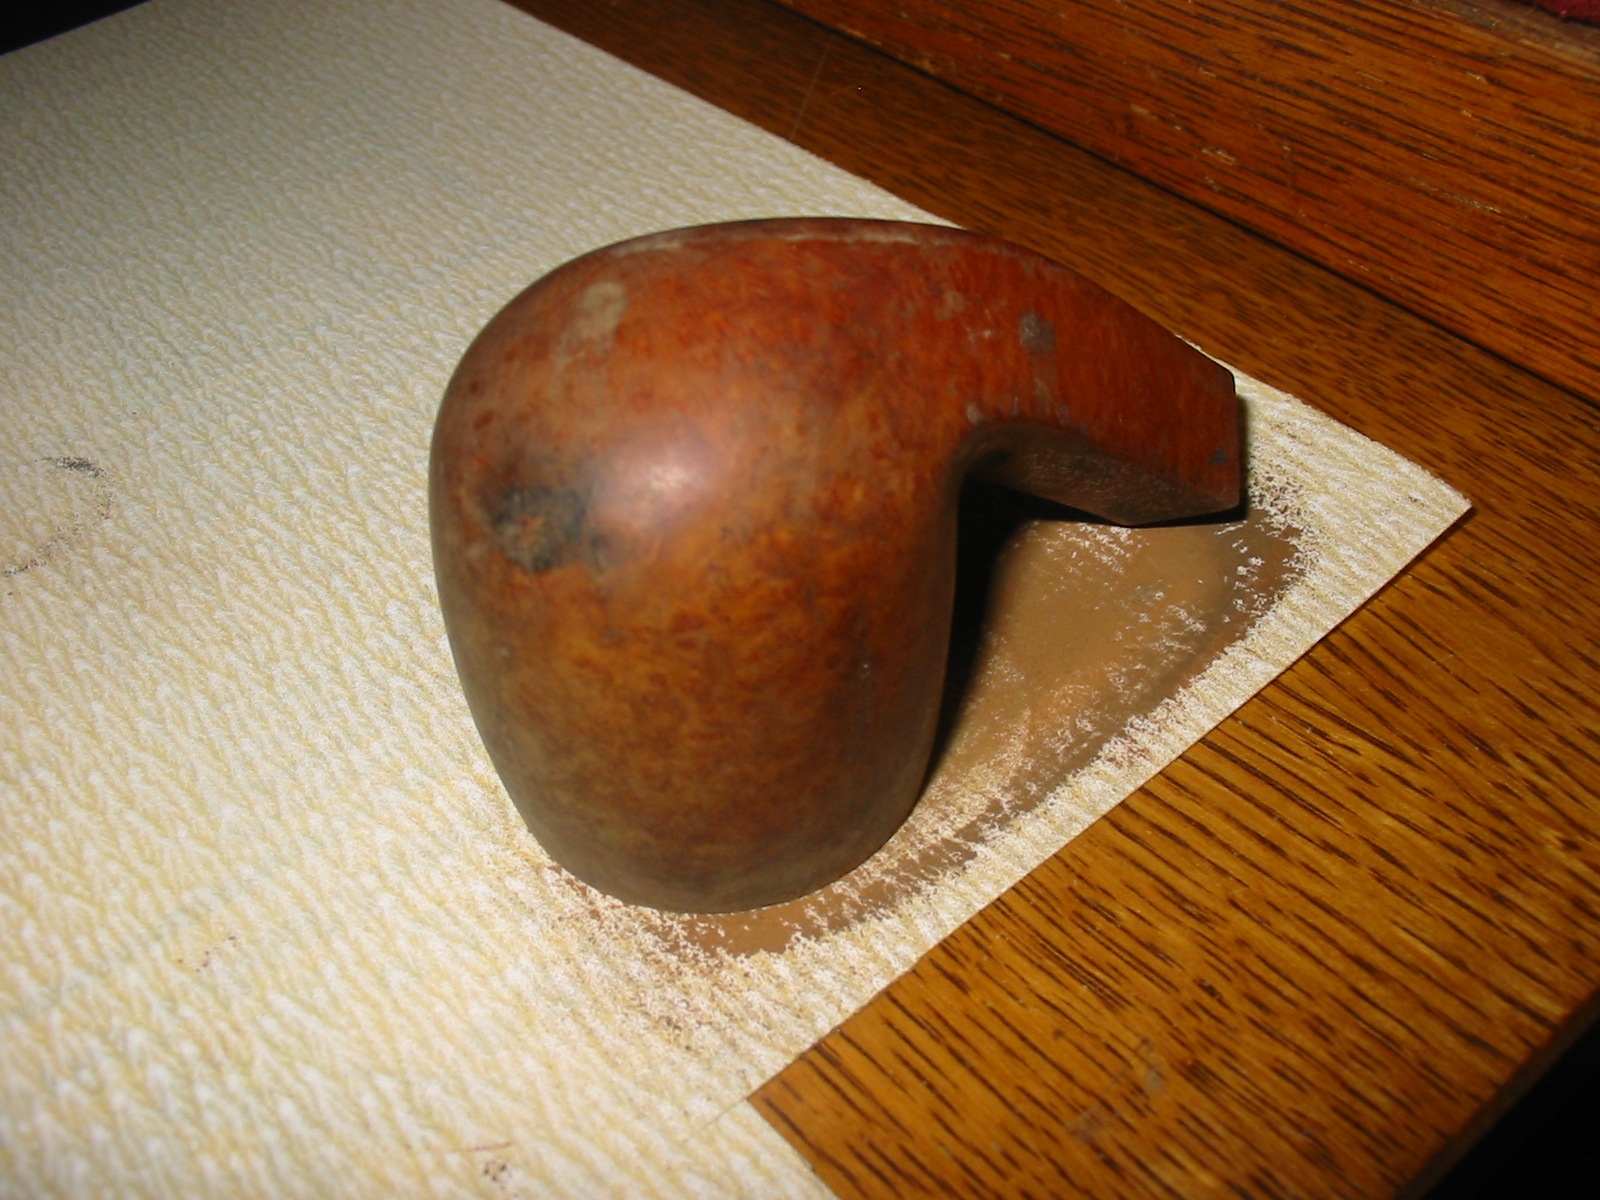
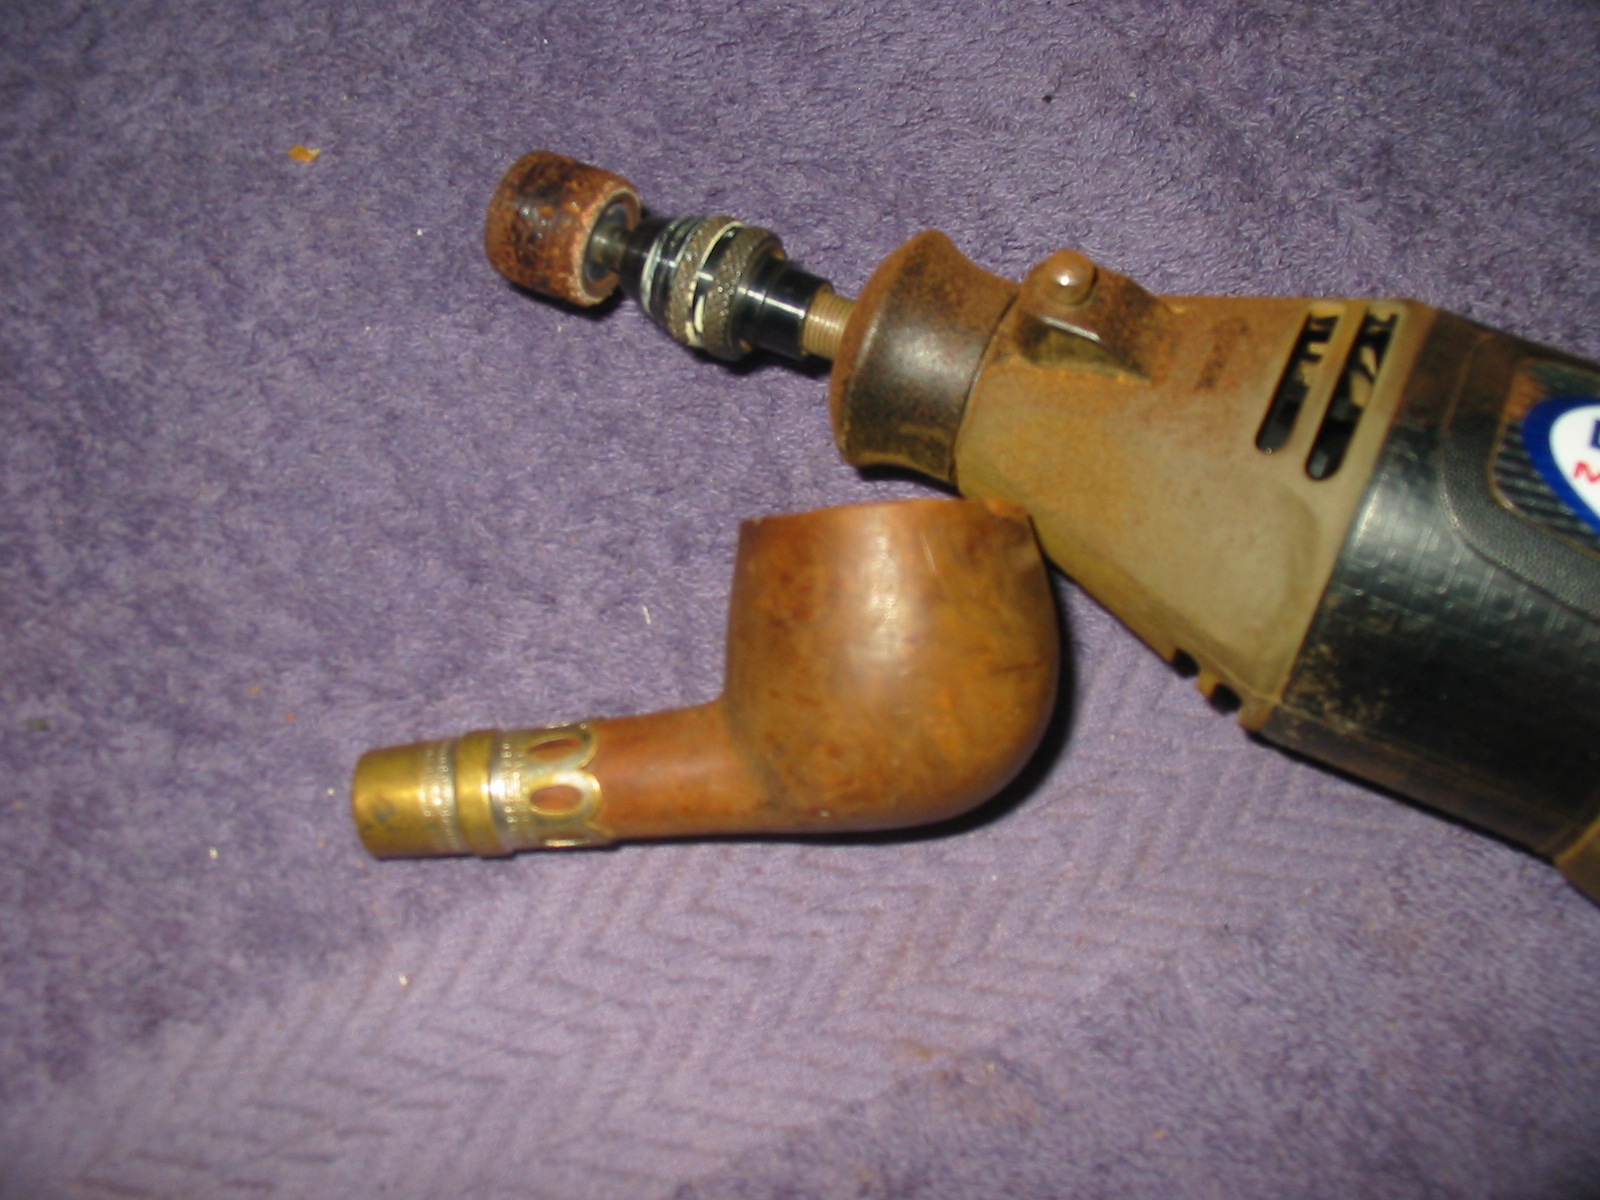
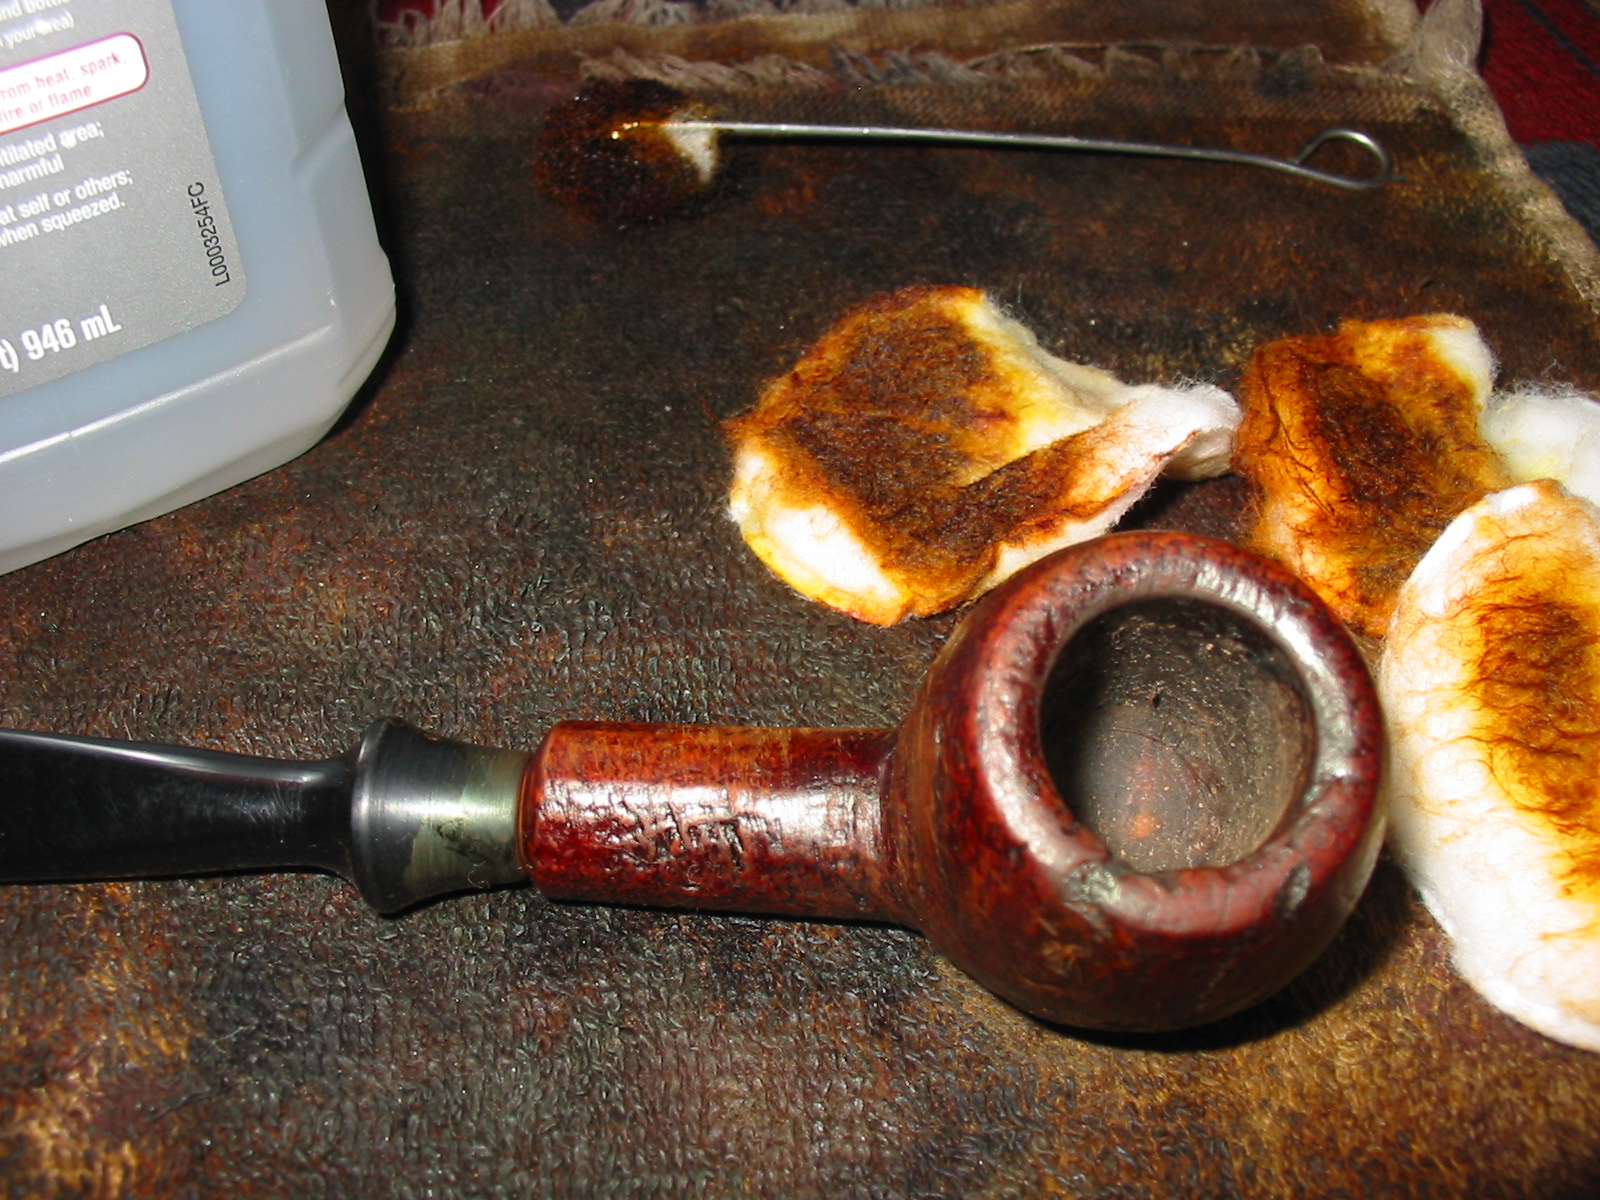
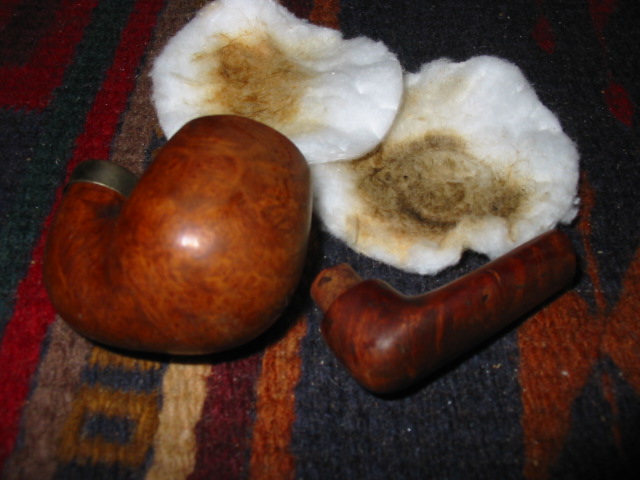
I scrubbed the exterior of the bowl down with acetone on cotton pads to remove the ink and sticky build up on the finish. I also decided to remove the finish so I scrubbed it until the majority of the finish was gone.
IMG_6204

IMG_6205

IMG_6206

IMG_6207
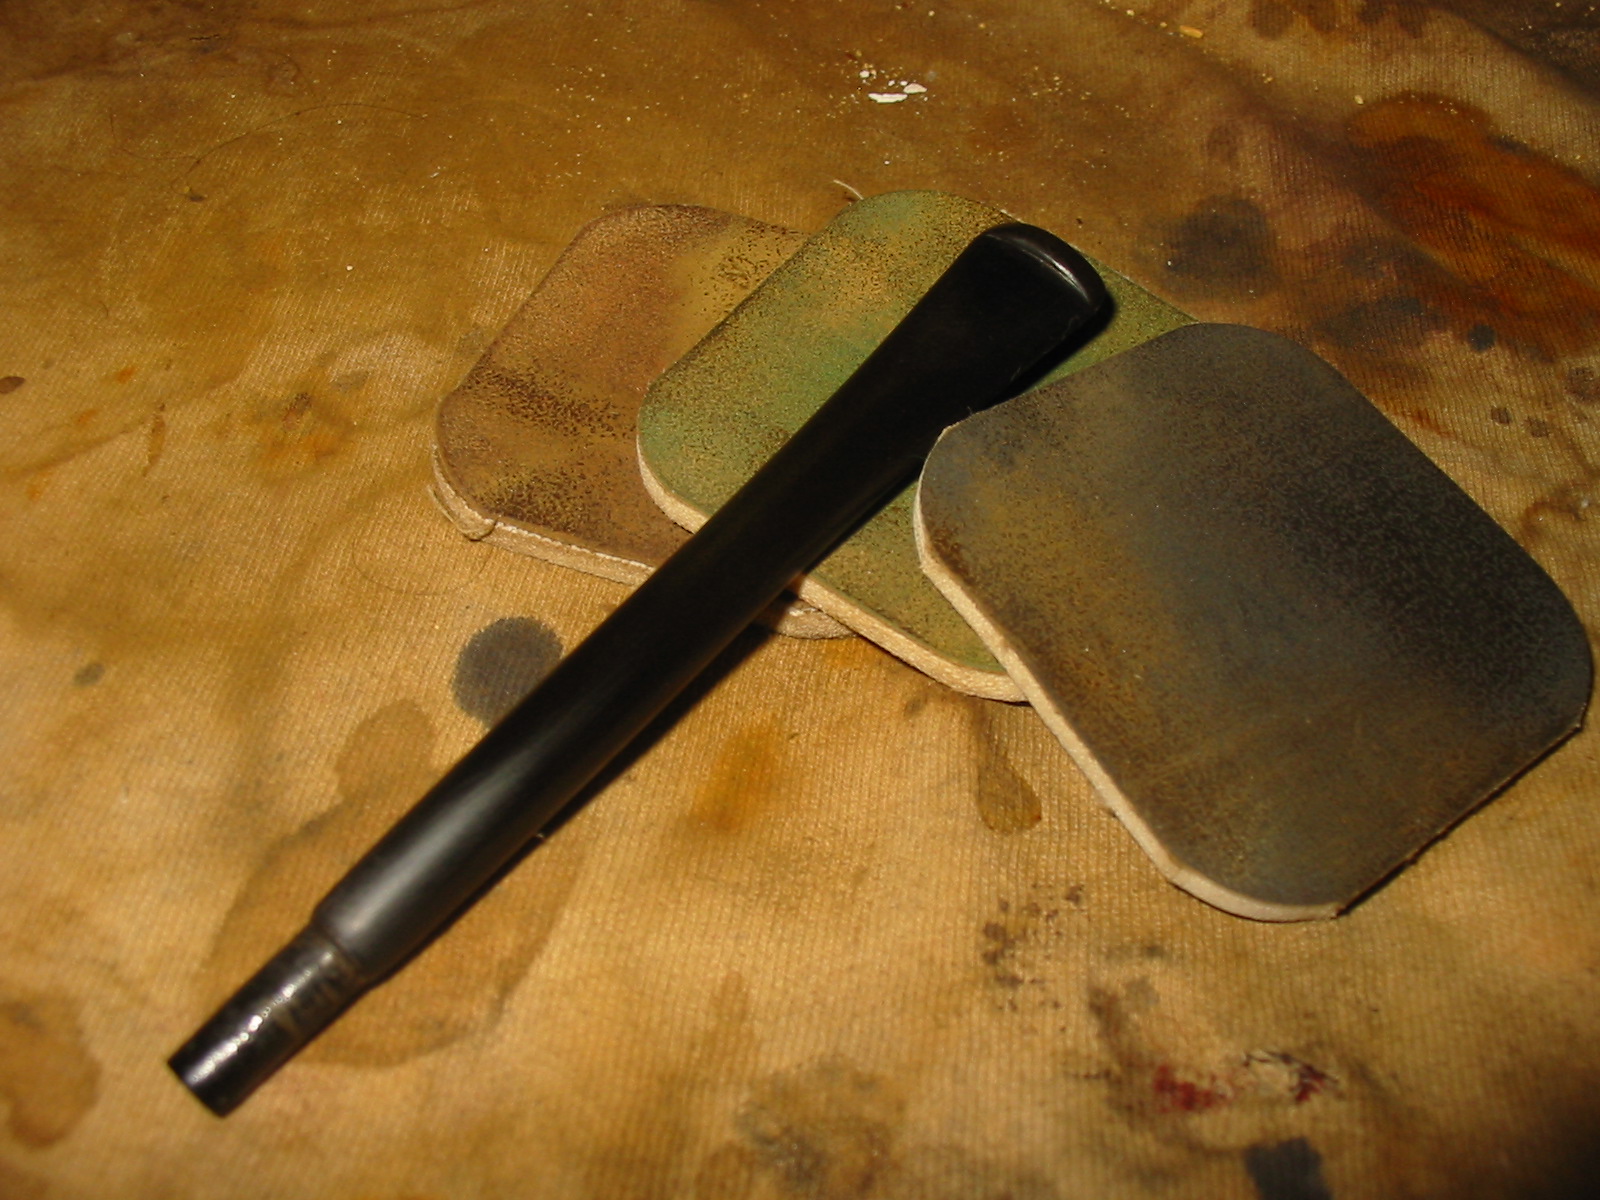
I cleaned the stem with cotton swabs and pipe cleaners and isopropyl alcohol. I was able to scrub out the airway and the slot in the button removing the stains. I also scrubbed the end of the tenon to clean out the staining there. I scrubbed the mortise with alcohol and cotton swabs as well until they came out clean. The internals were cleaned and smelled fresh rather than smelling like old aromatic tobacco.

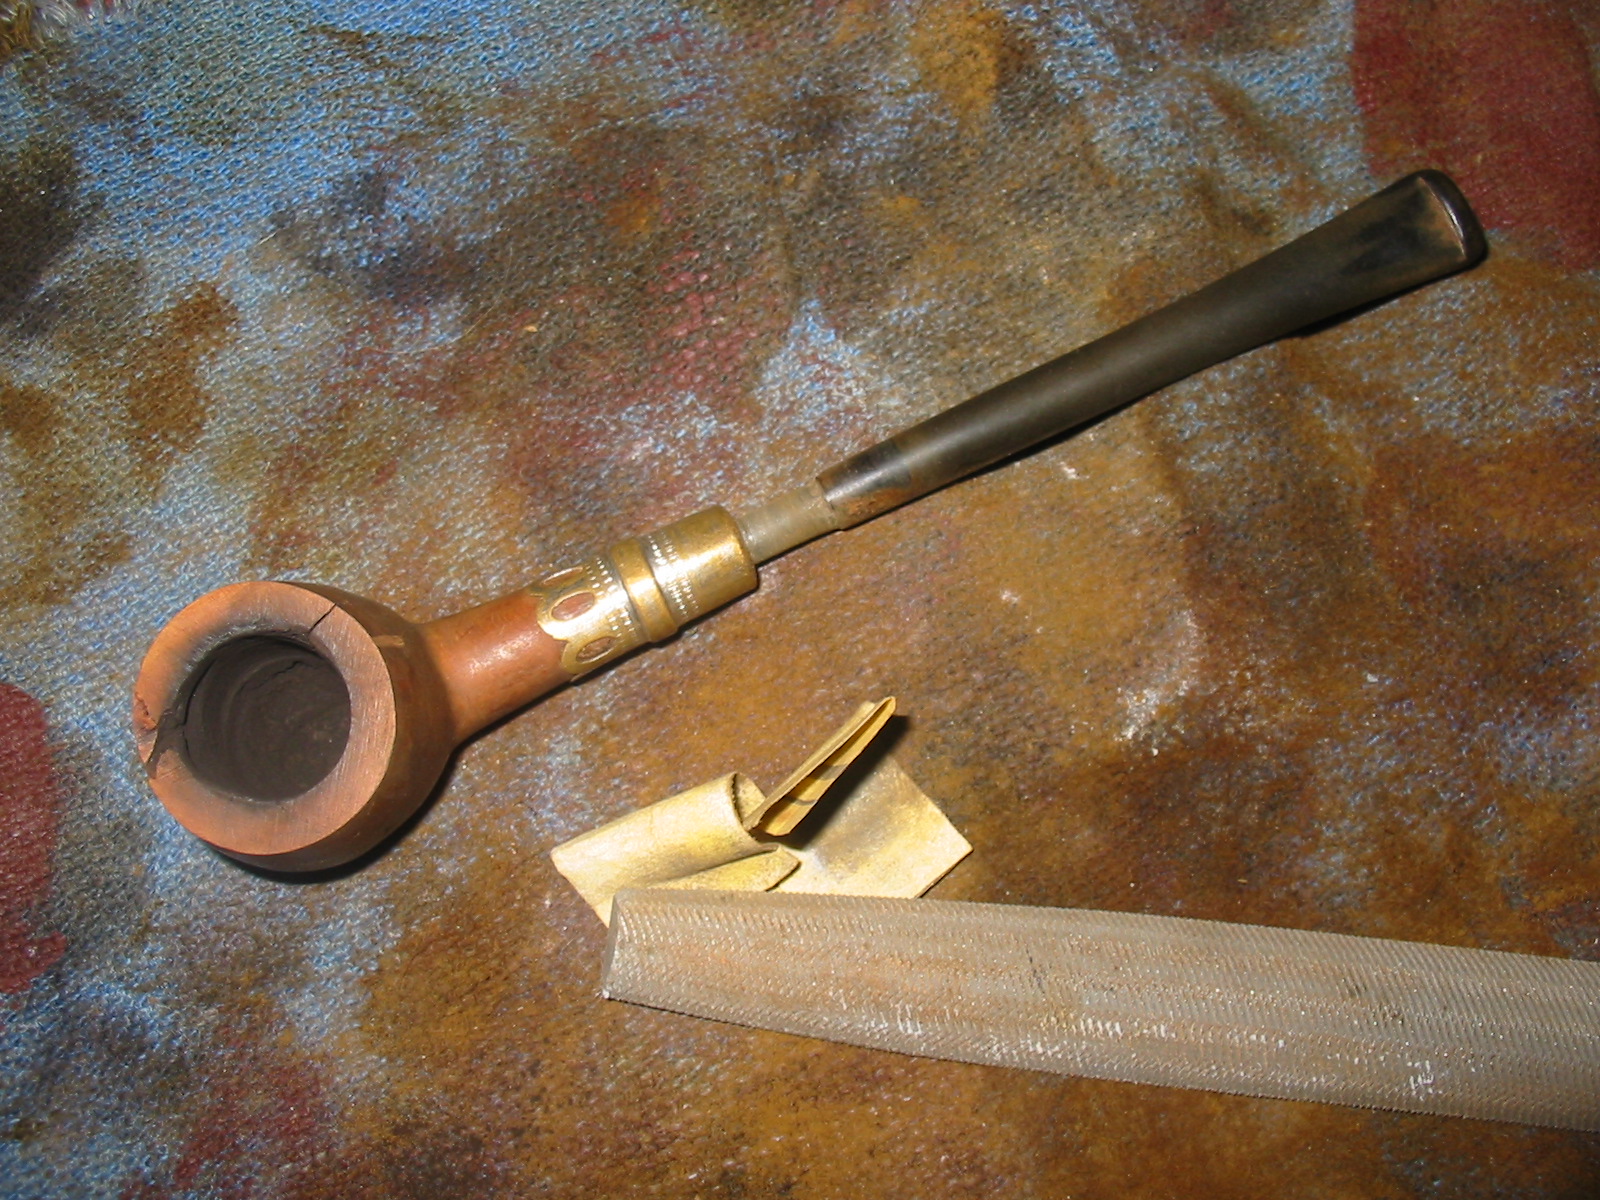
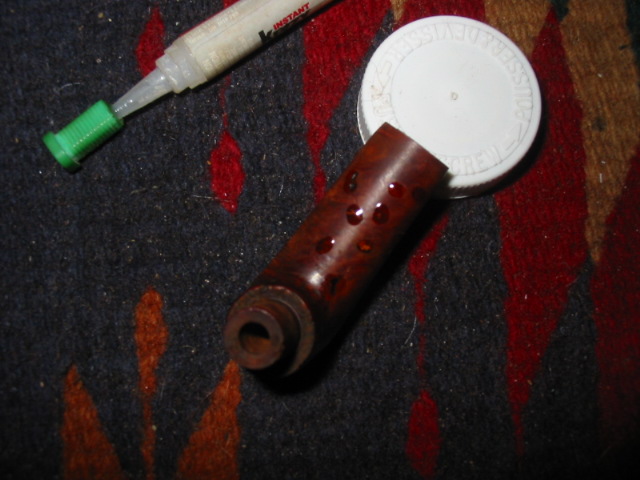
Once it was clean, I tried to steam out the gouges in the bowl but they would not lift. I could have sanded them out but that would have changed the profile of the bowl so I opted on repairing them with super glue and briar dust.
IMG_6212
I sanded the repairs with 220 grit sandpaper and then followed that by sanding with medium and fine grit sanding sponges to blend the surface of the fill with the rest of the surrounding bowl. After sanding the fills I sanded the entire bowl with the medium and fine grit sanding sponge to remove the rest of the finish on the bowl. I carefully worked around the stamping so as not to damage it.
IMG_6213

IMG_6214

IMG_6215
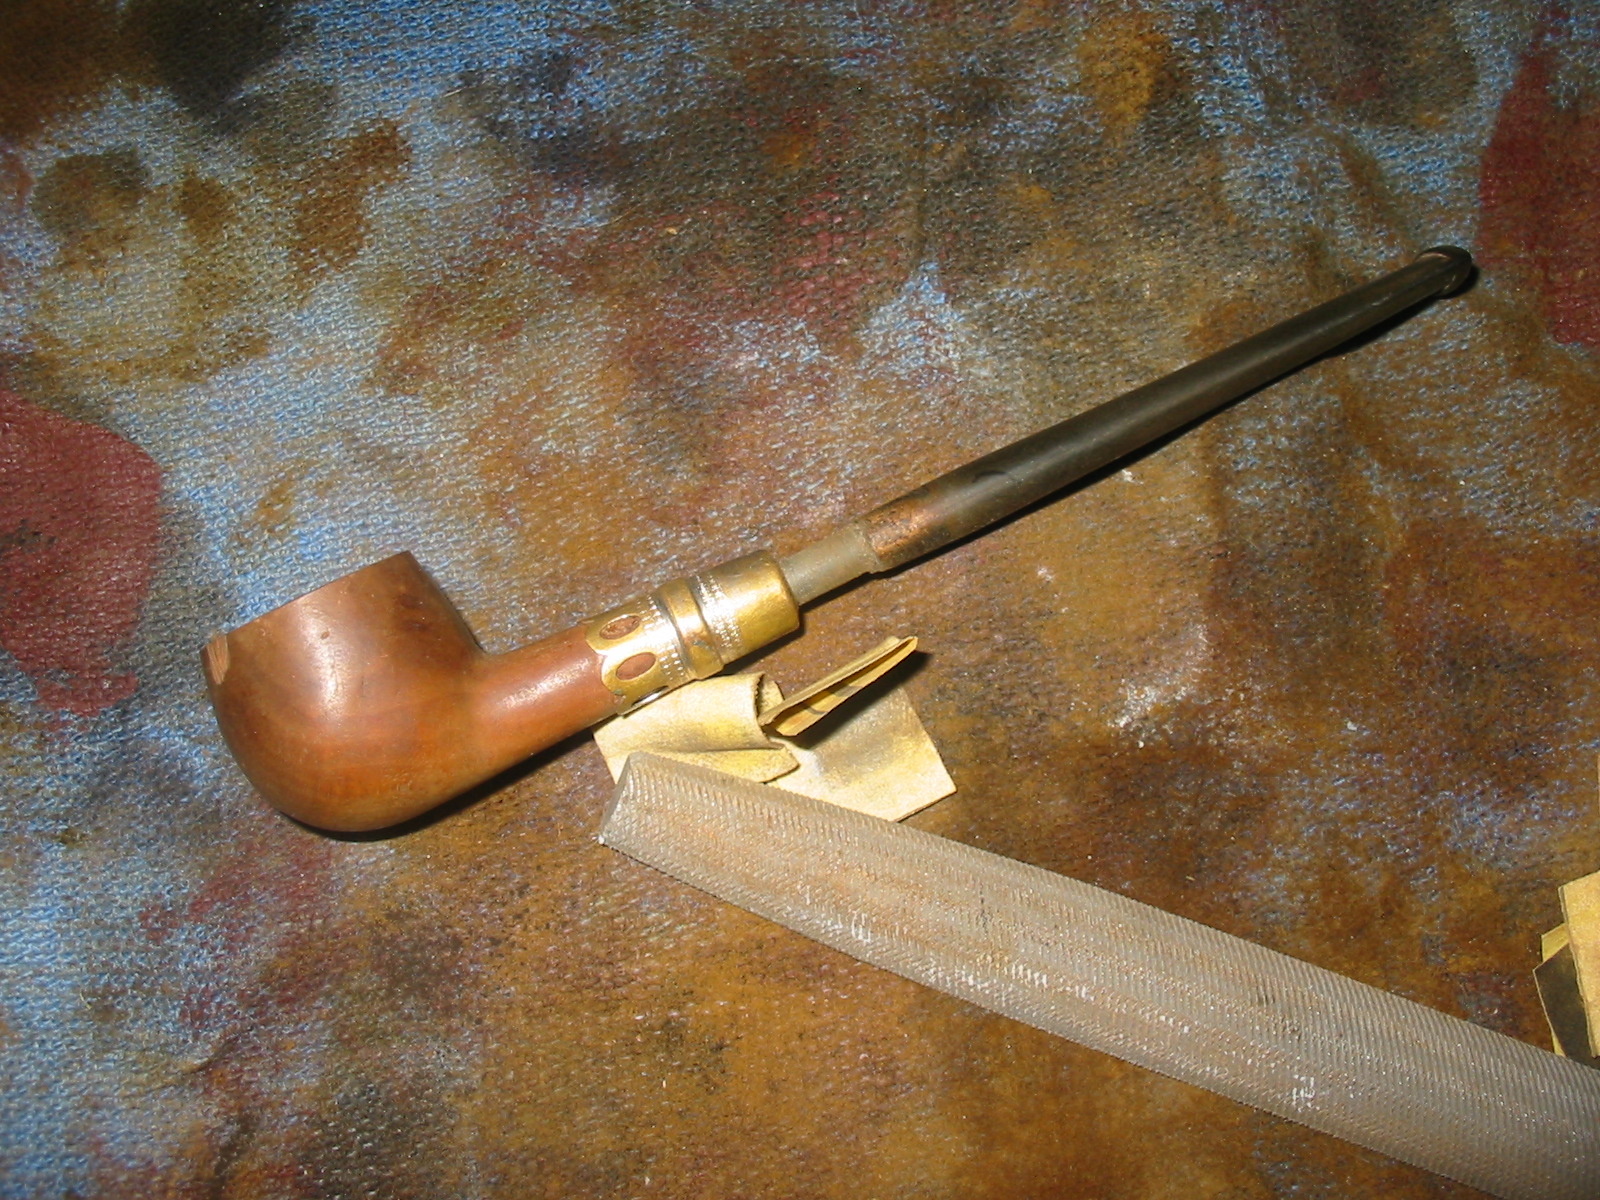
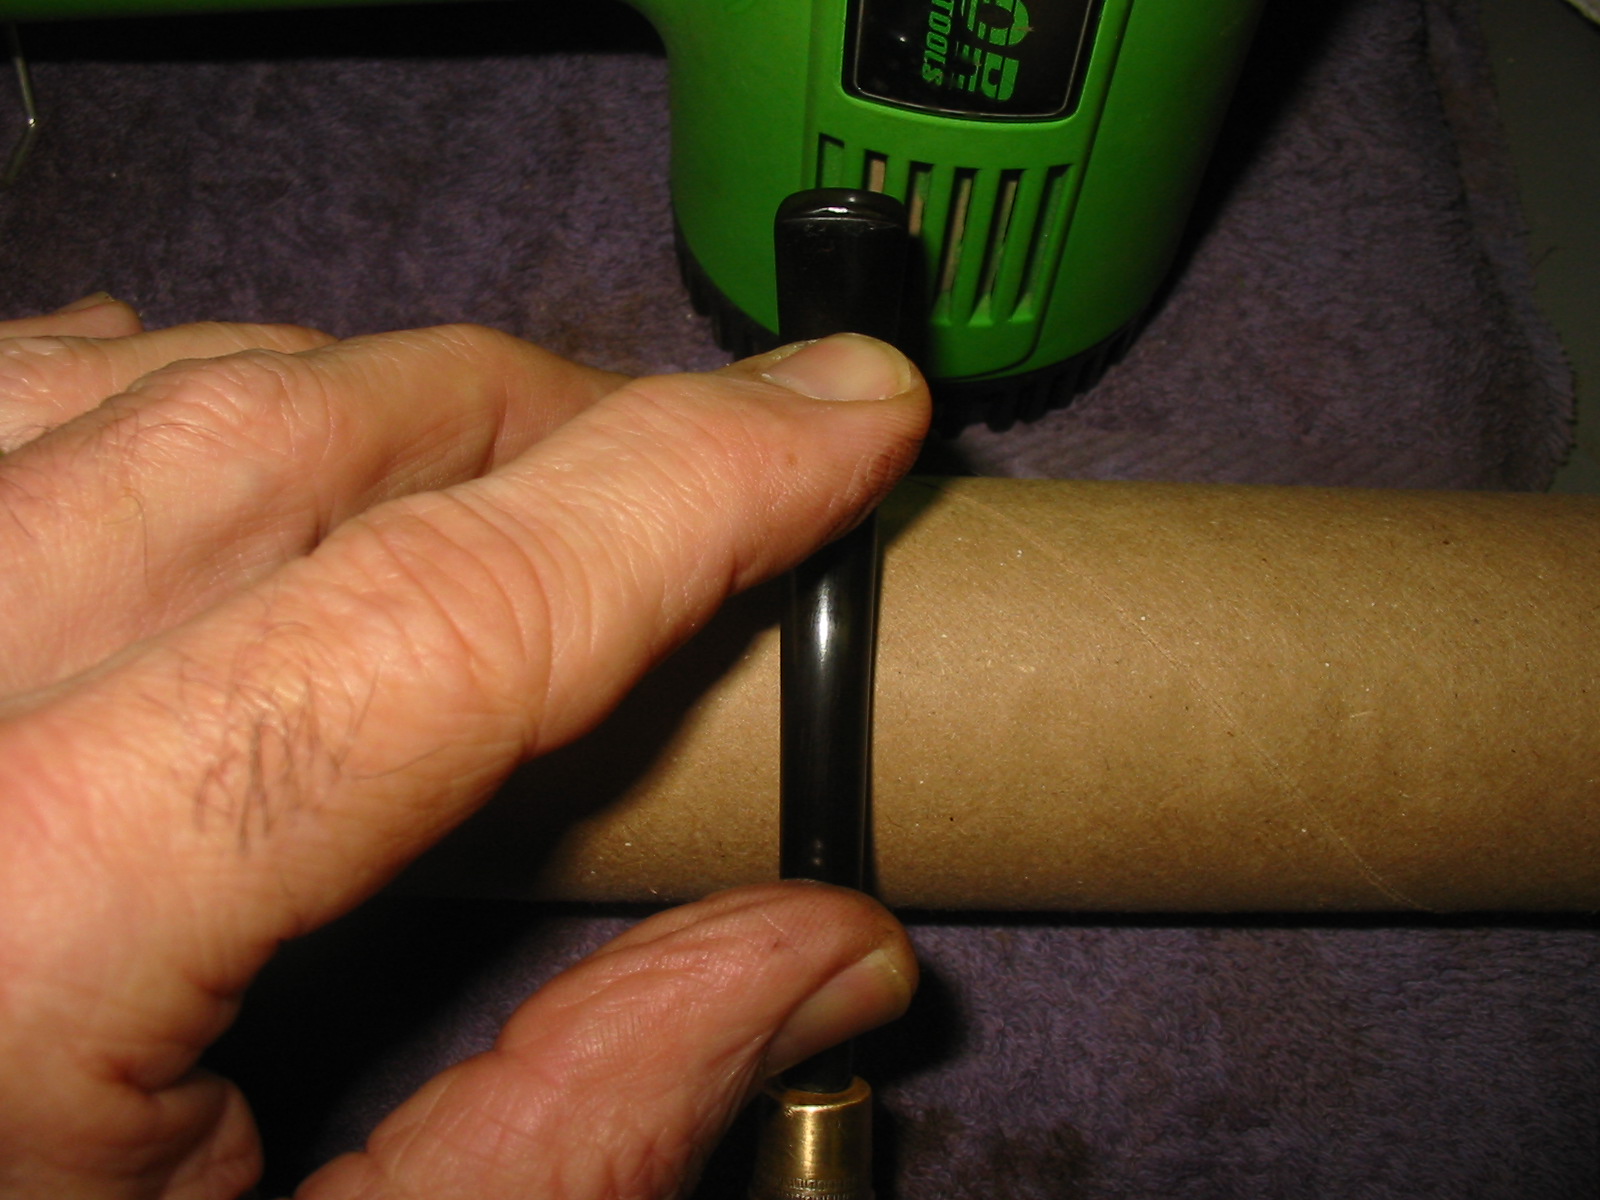
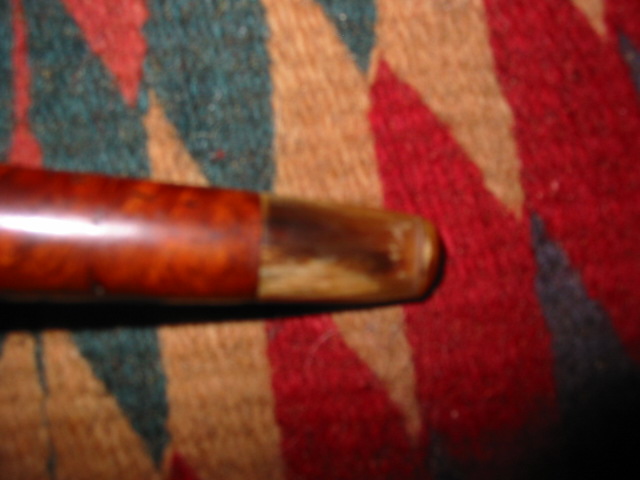
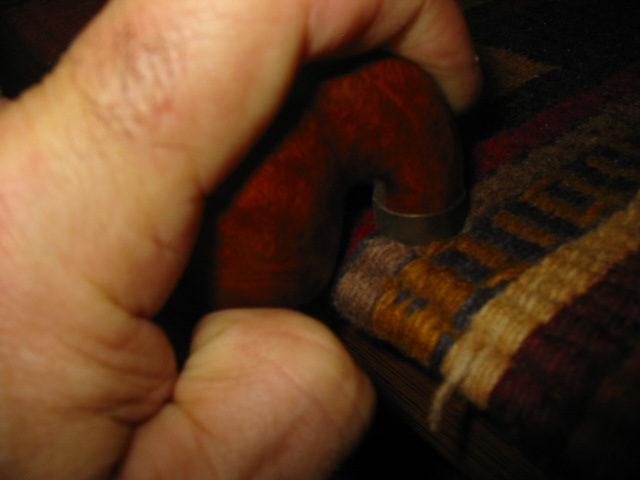
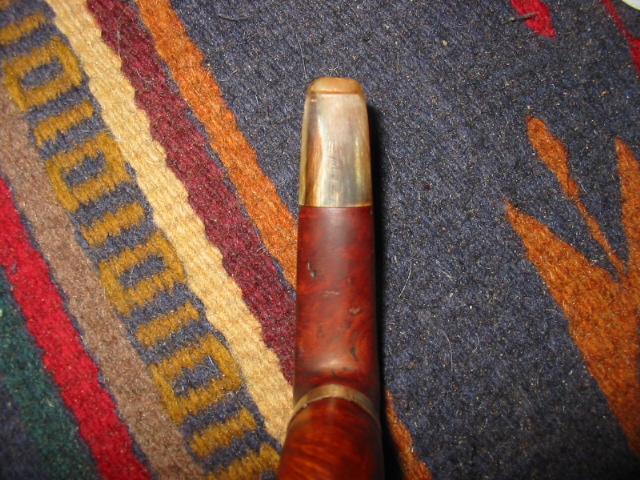
I used clear superglue to repair the deep tooth marks on the top and bottom sides of the stem near the button. The bottom repair can be seen in the photo below. I later sanded it with 220 grit sandpaper and the sanding sponges to blend it into the stem surface.
IMG_6216
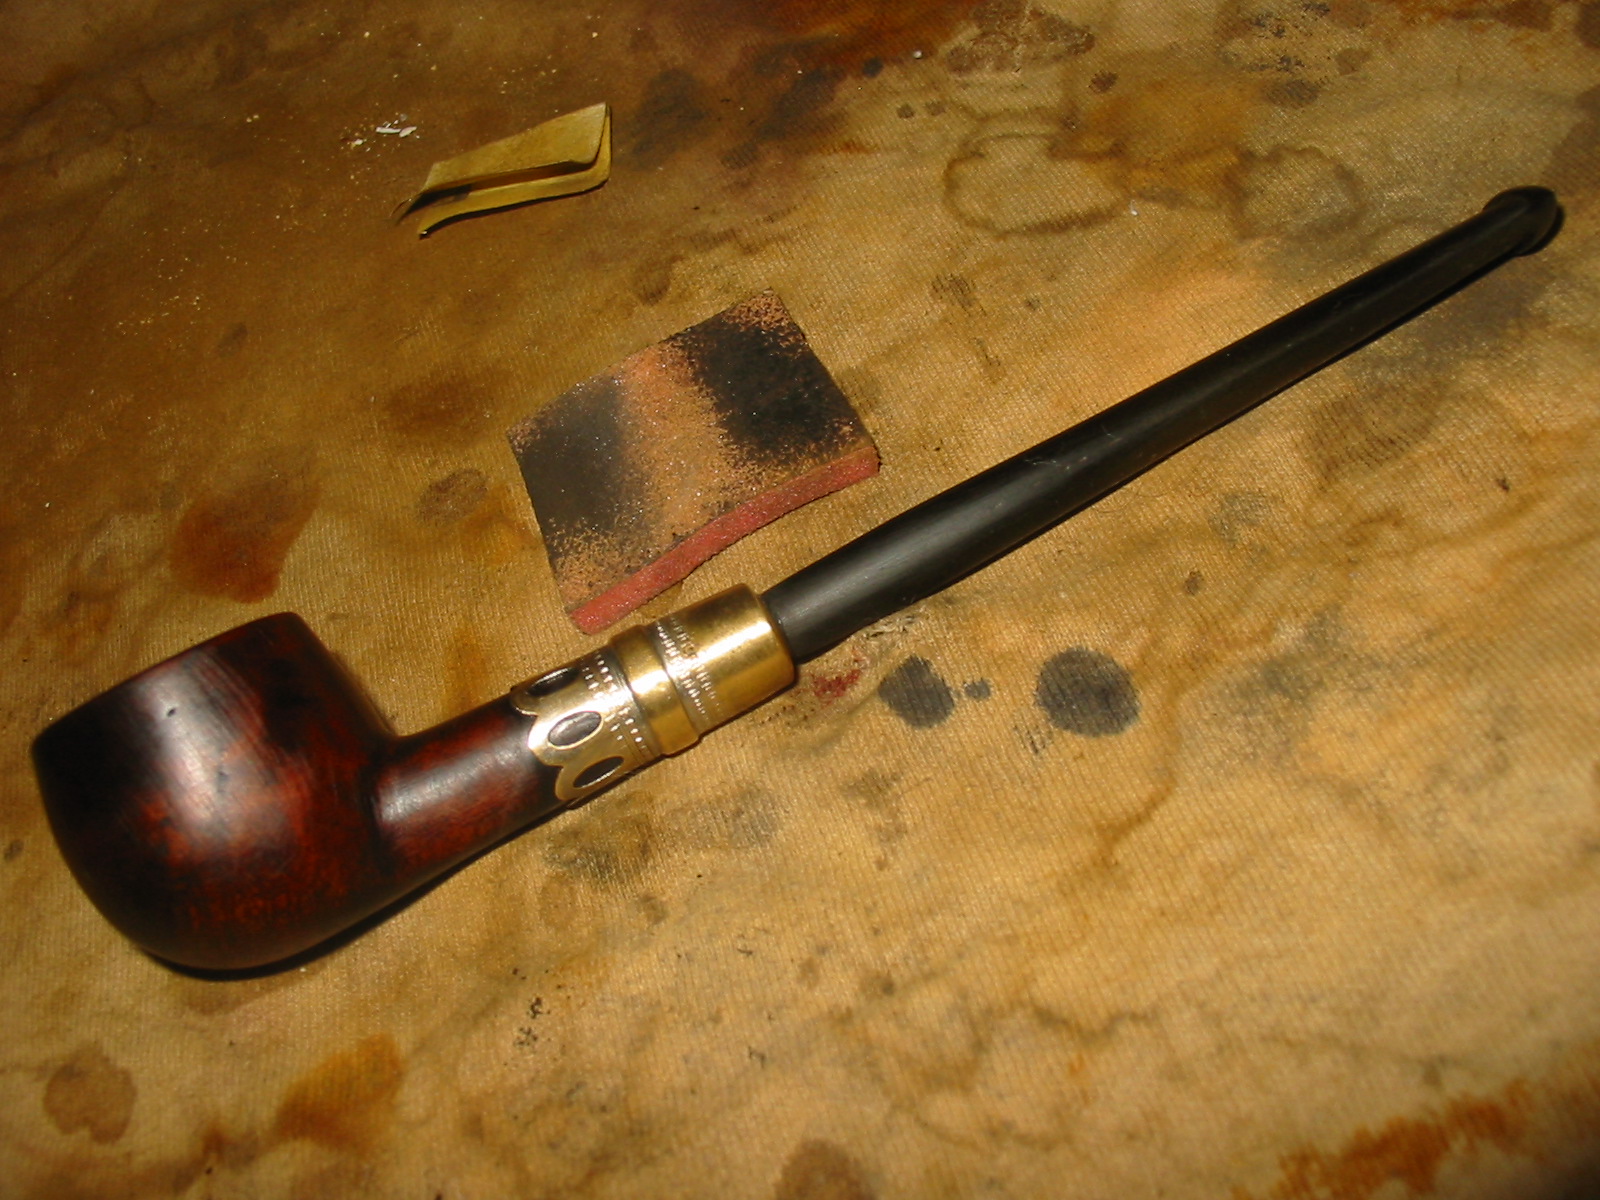
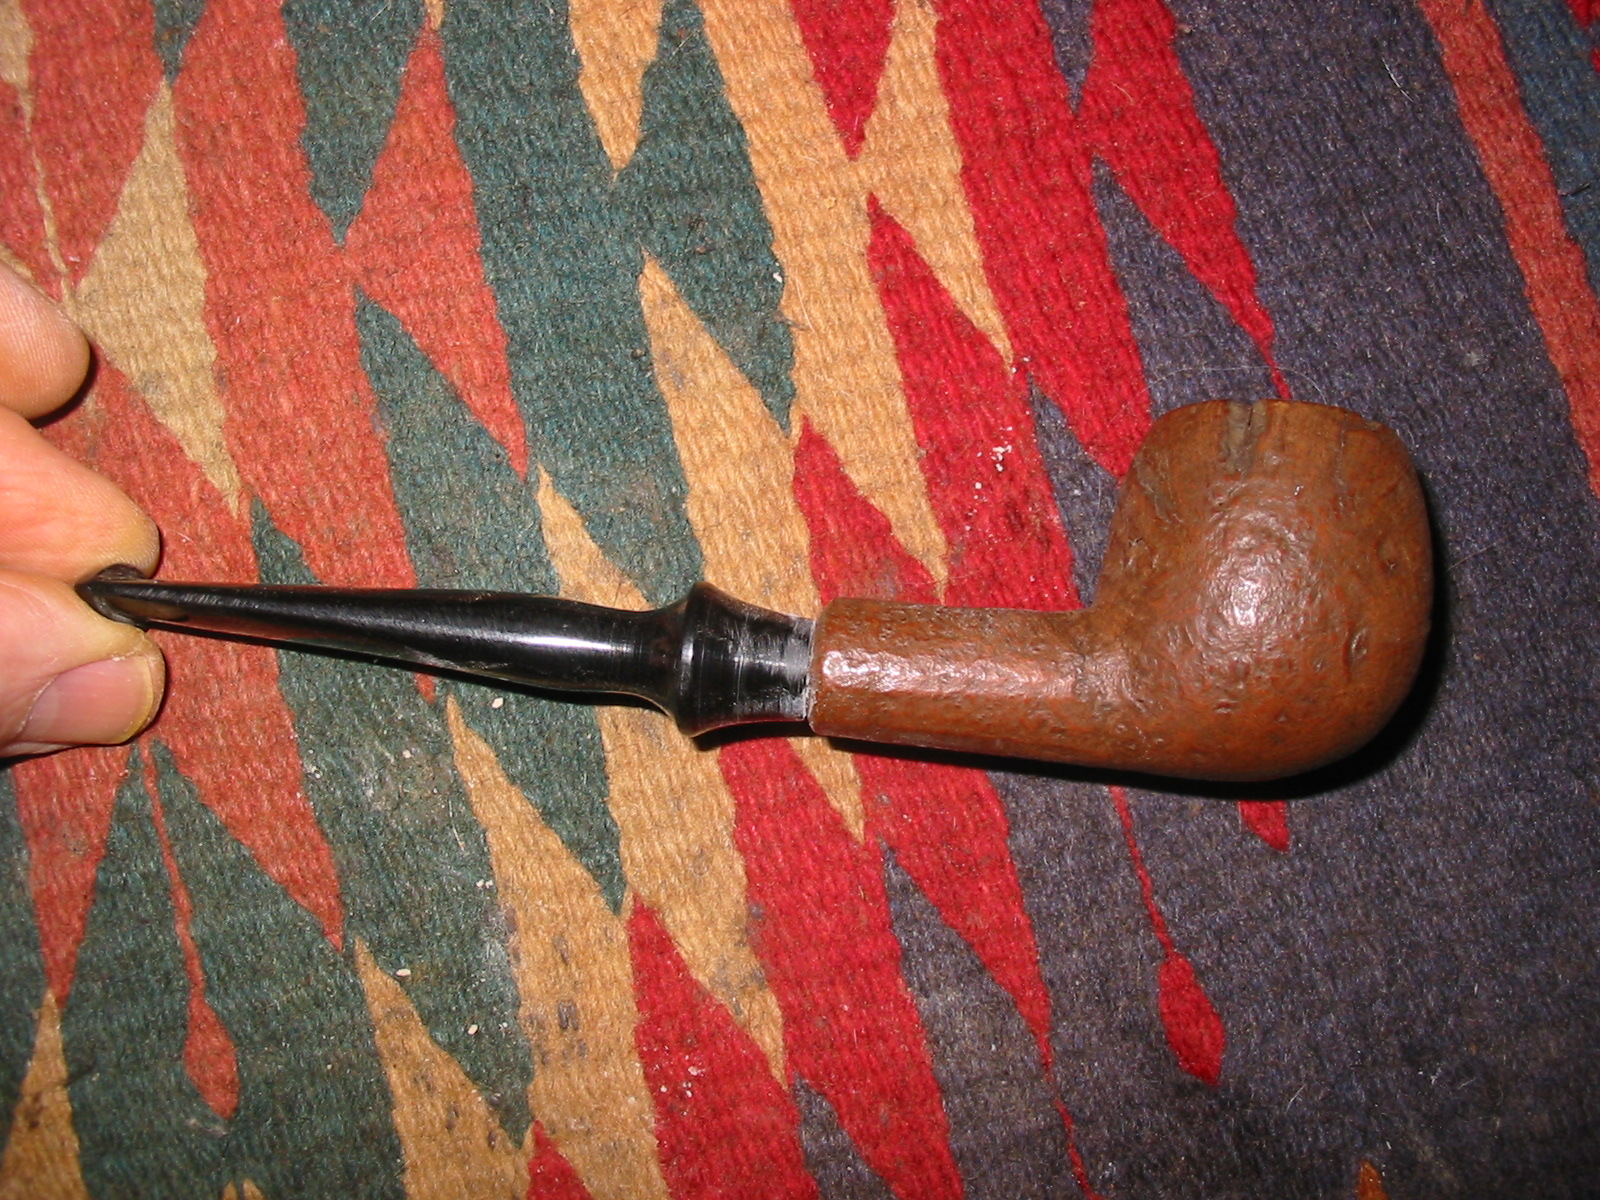
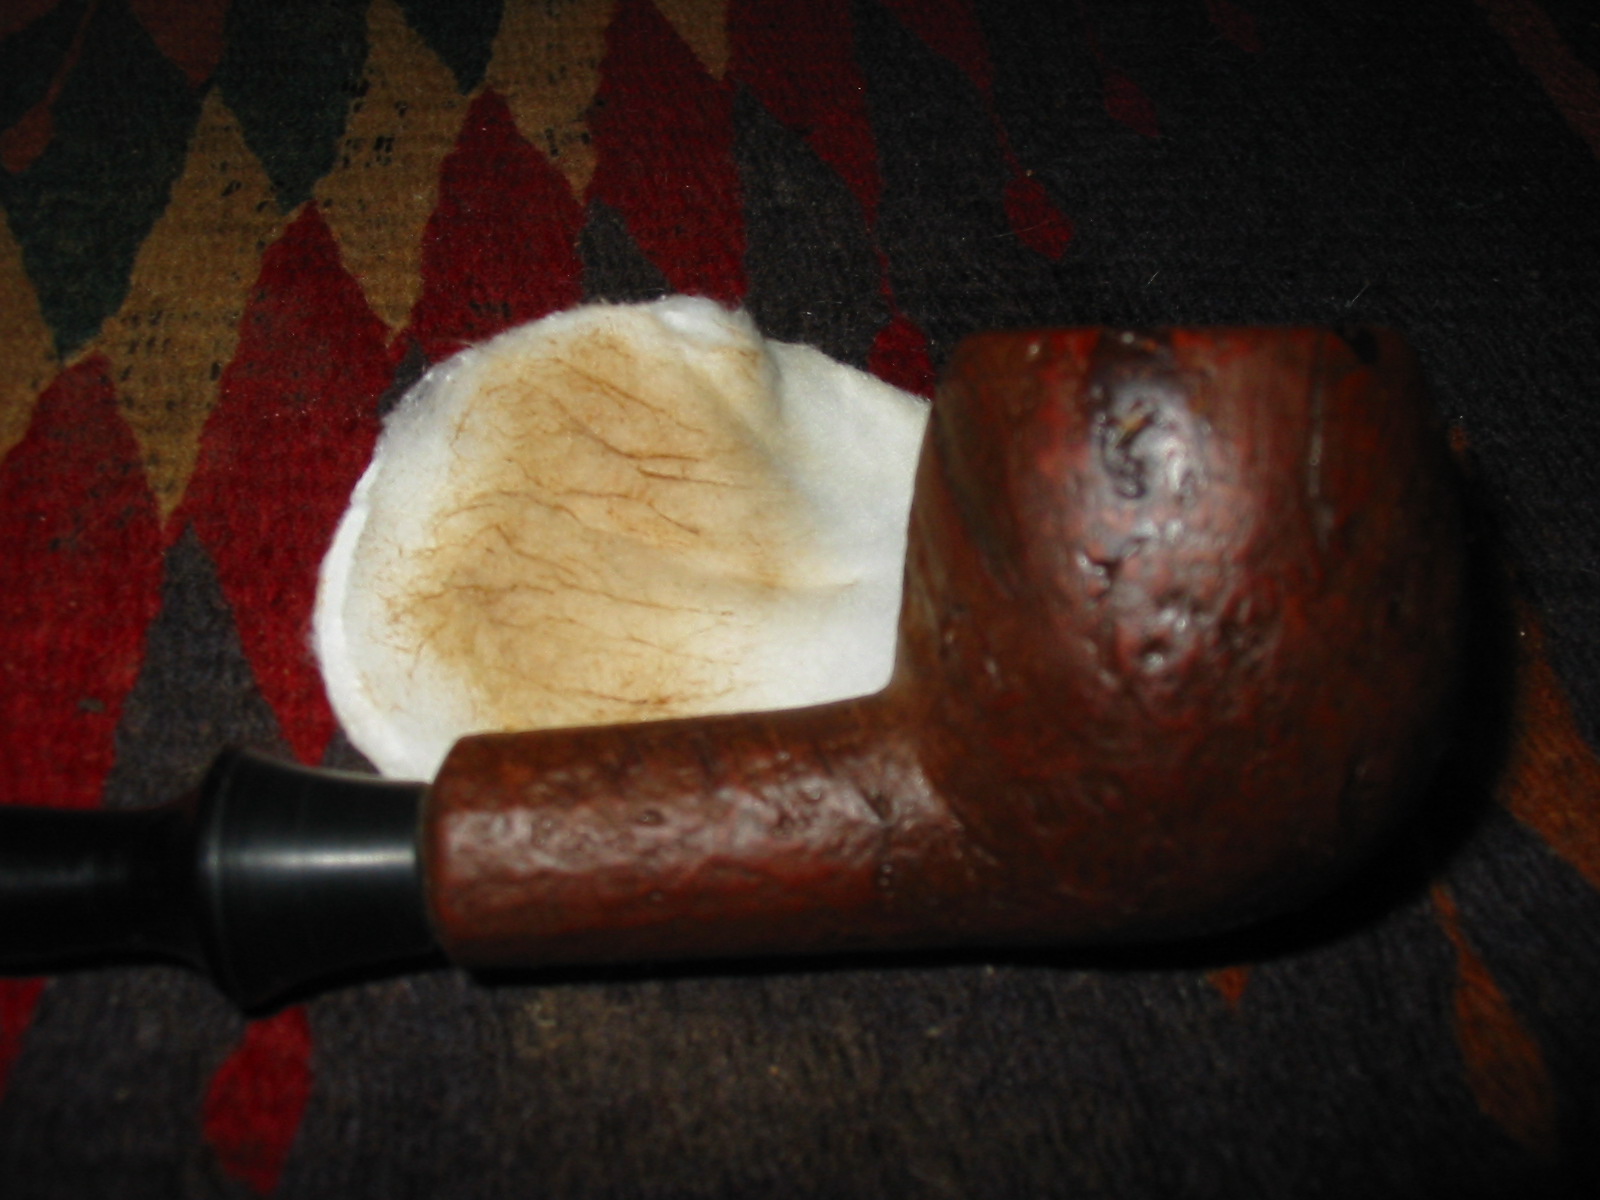
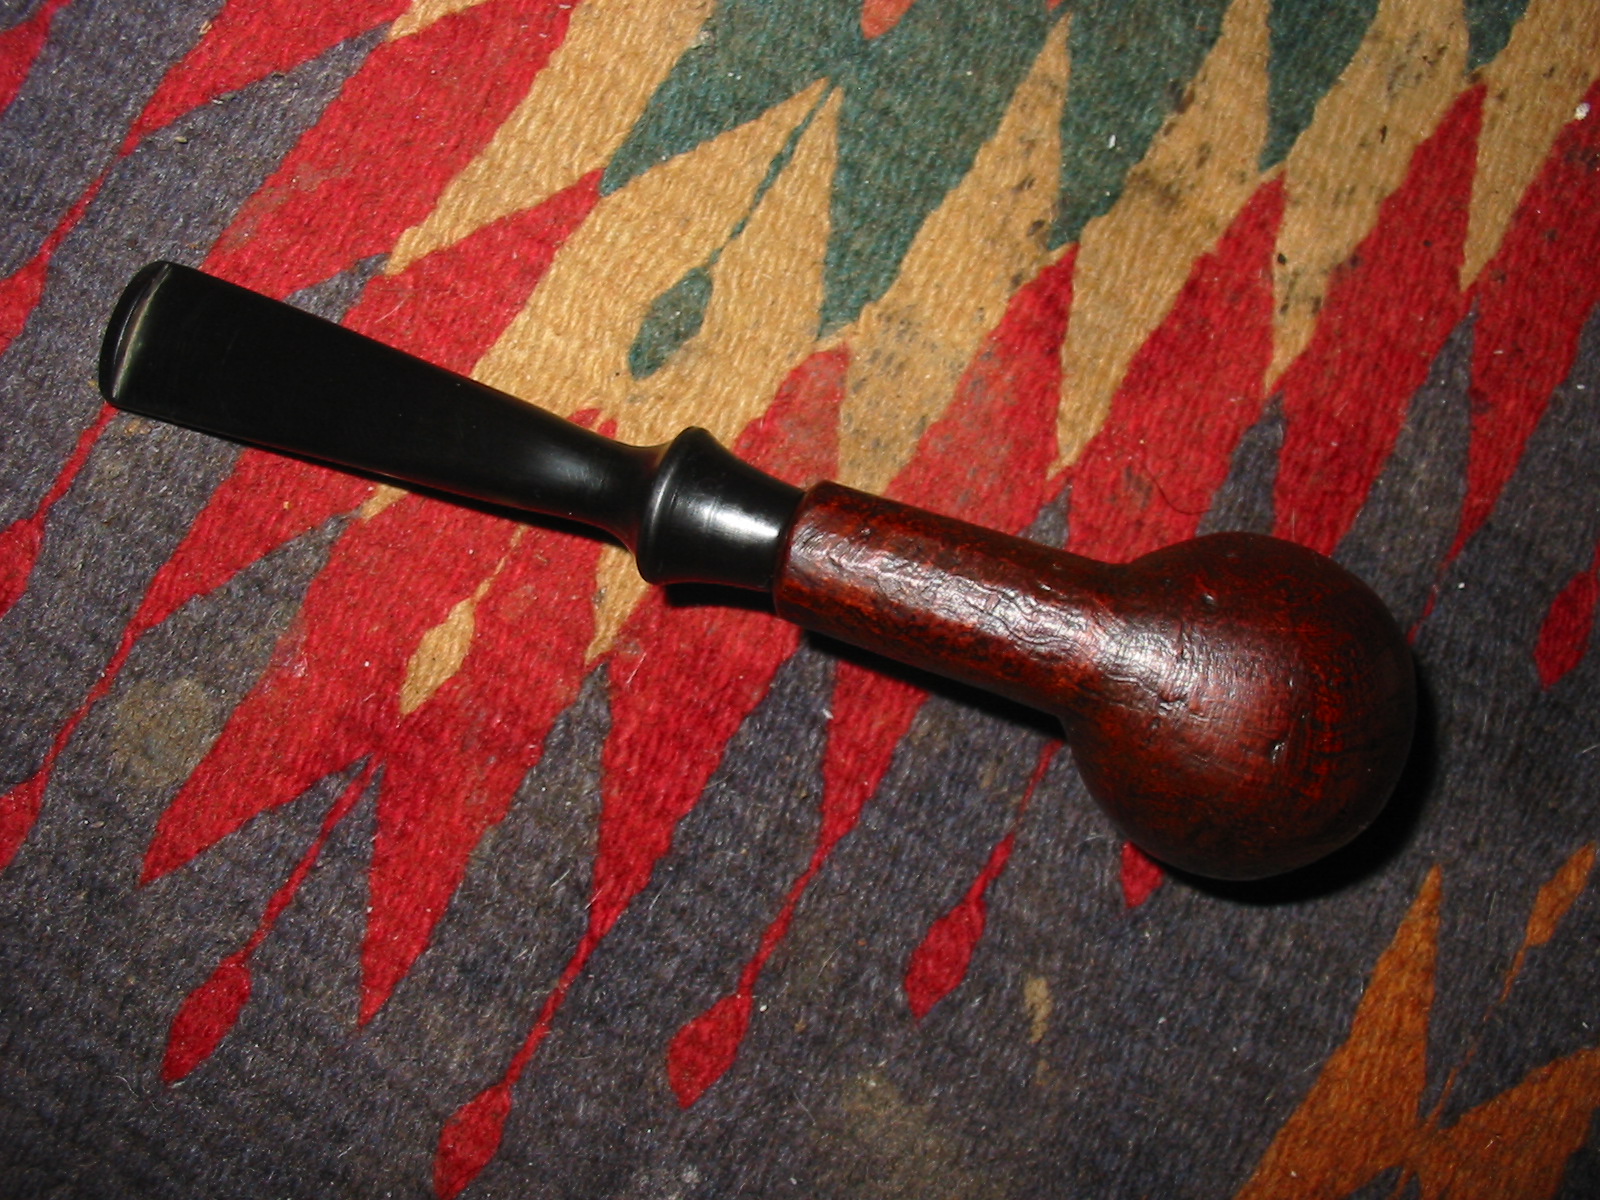
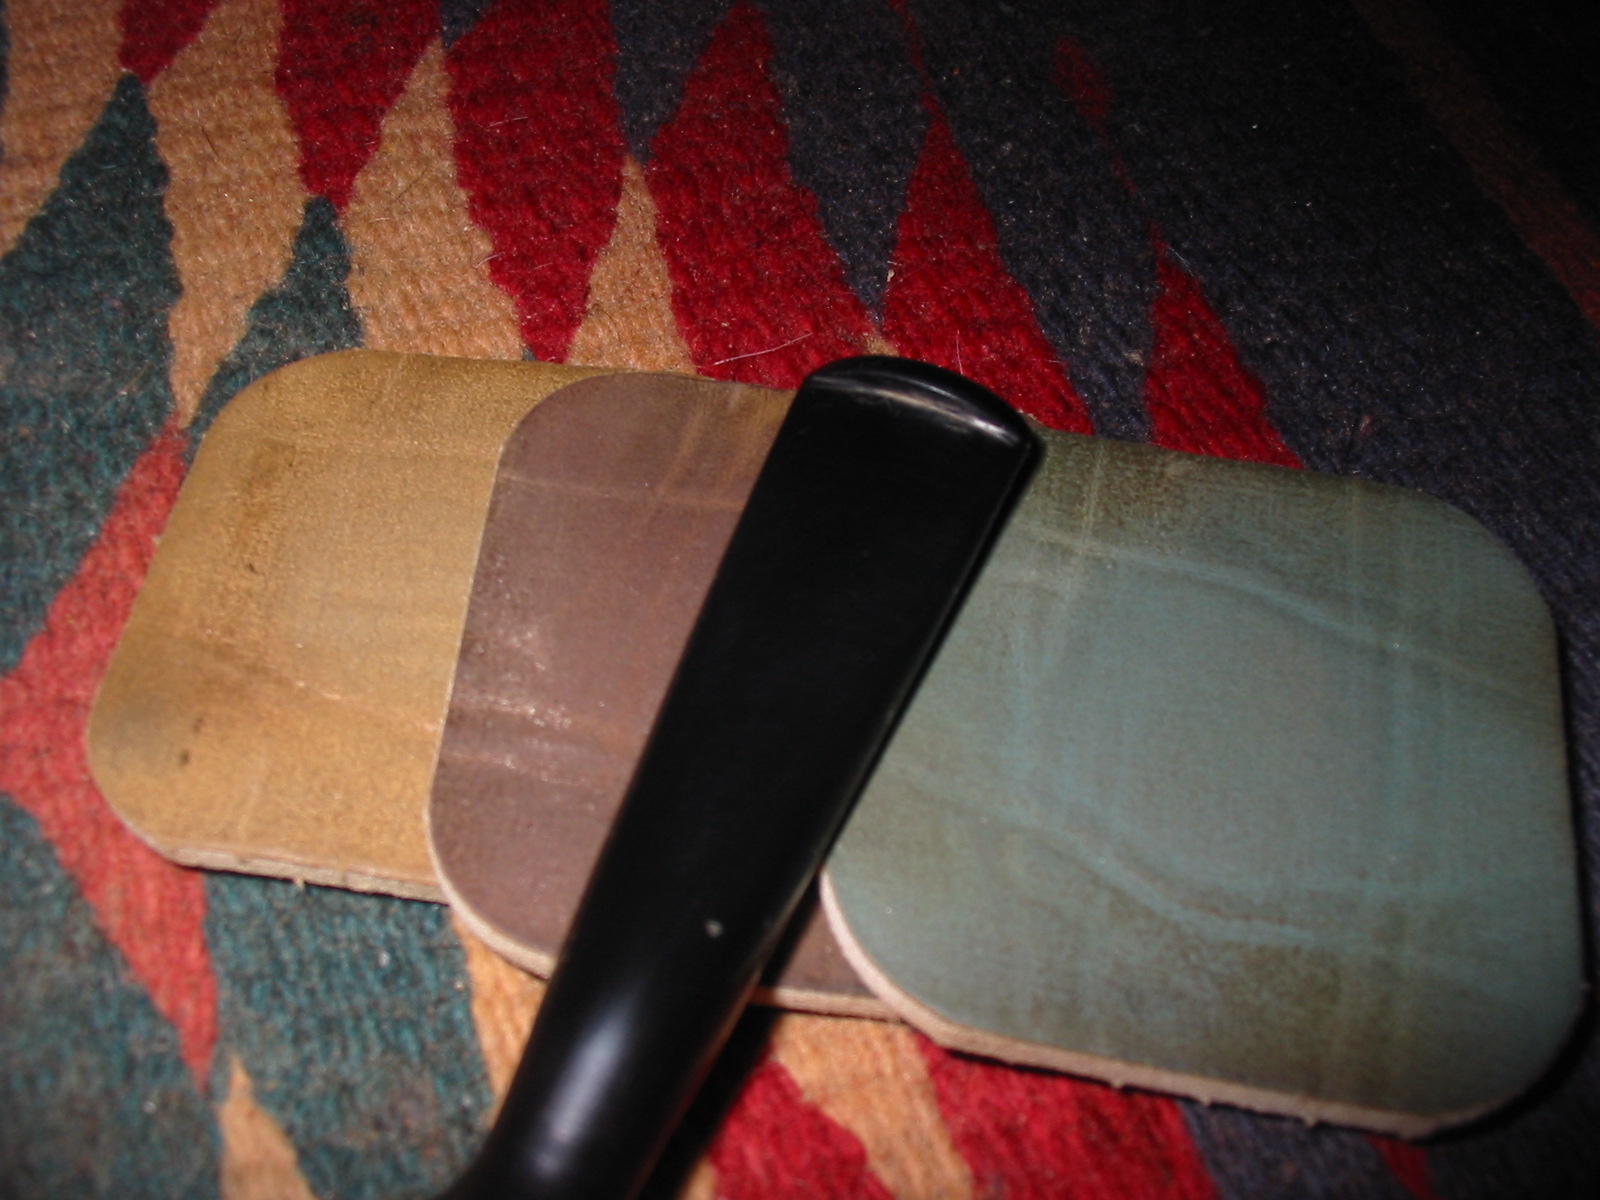
I decided to use the contrast stain process I have been working on to highlight the grain on this beautiful pipe. I gave it an under coat of black aniline stain. I used a Delrin tenon for a handle in the shank to be able to turn the bowl while I was staining. I applied the stain, flamed it, applied it and flamed it again until the coverage was even.
IMG_6217

IMG_6218

IMG_6219

IMG_6220
When the stain had dried I sanded it with a medium grit sanding sponge to remove the surface stain while leaving the grain highlighted with the black. I wiped it down repeatedly with isopropyl alcohol on cotton pads to check and see what the grain was looking like after sanding. This process took far longer than the staining and initial preparation. I sanded and washed, sanded and washed the bowl and shank until the grain stood out against the briar.
IMG_6221

IMG_6222

IMG_6223

IMG_6224
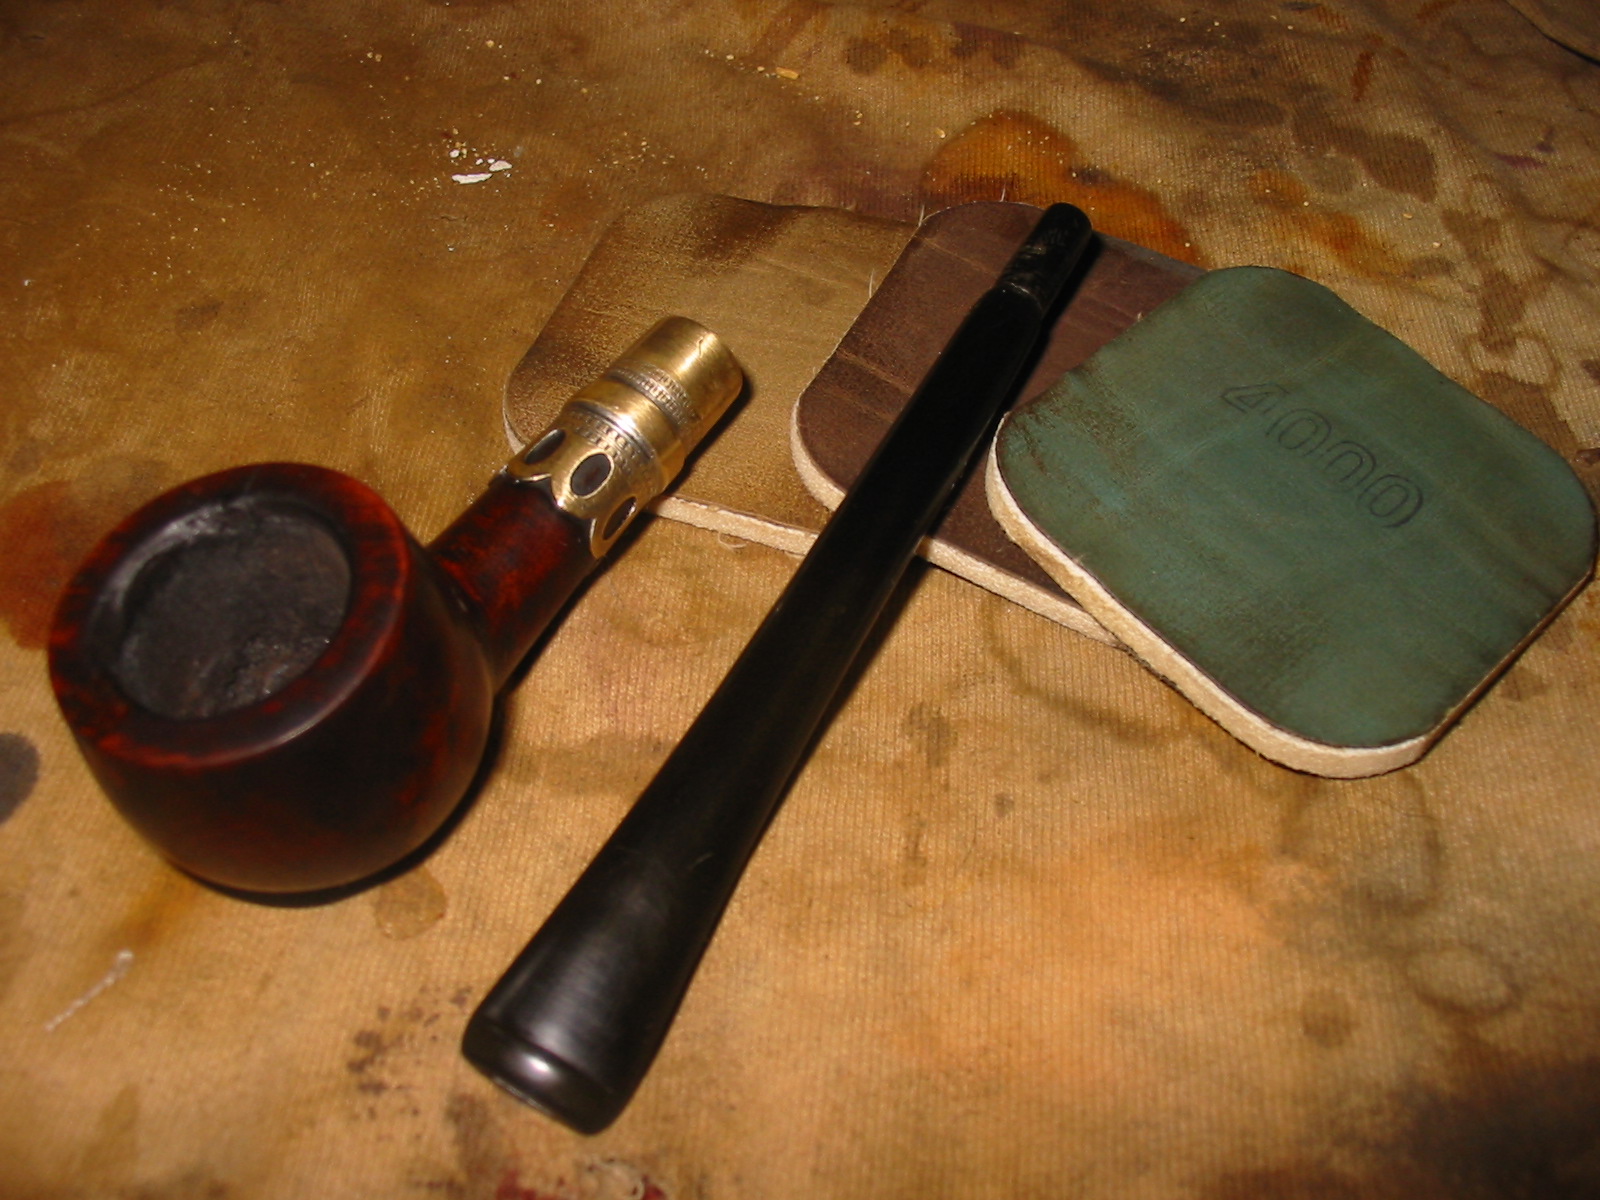
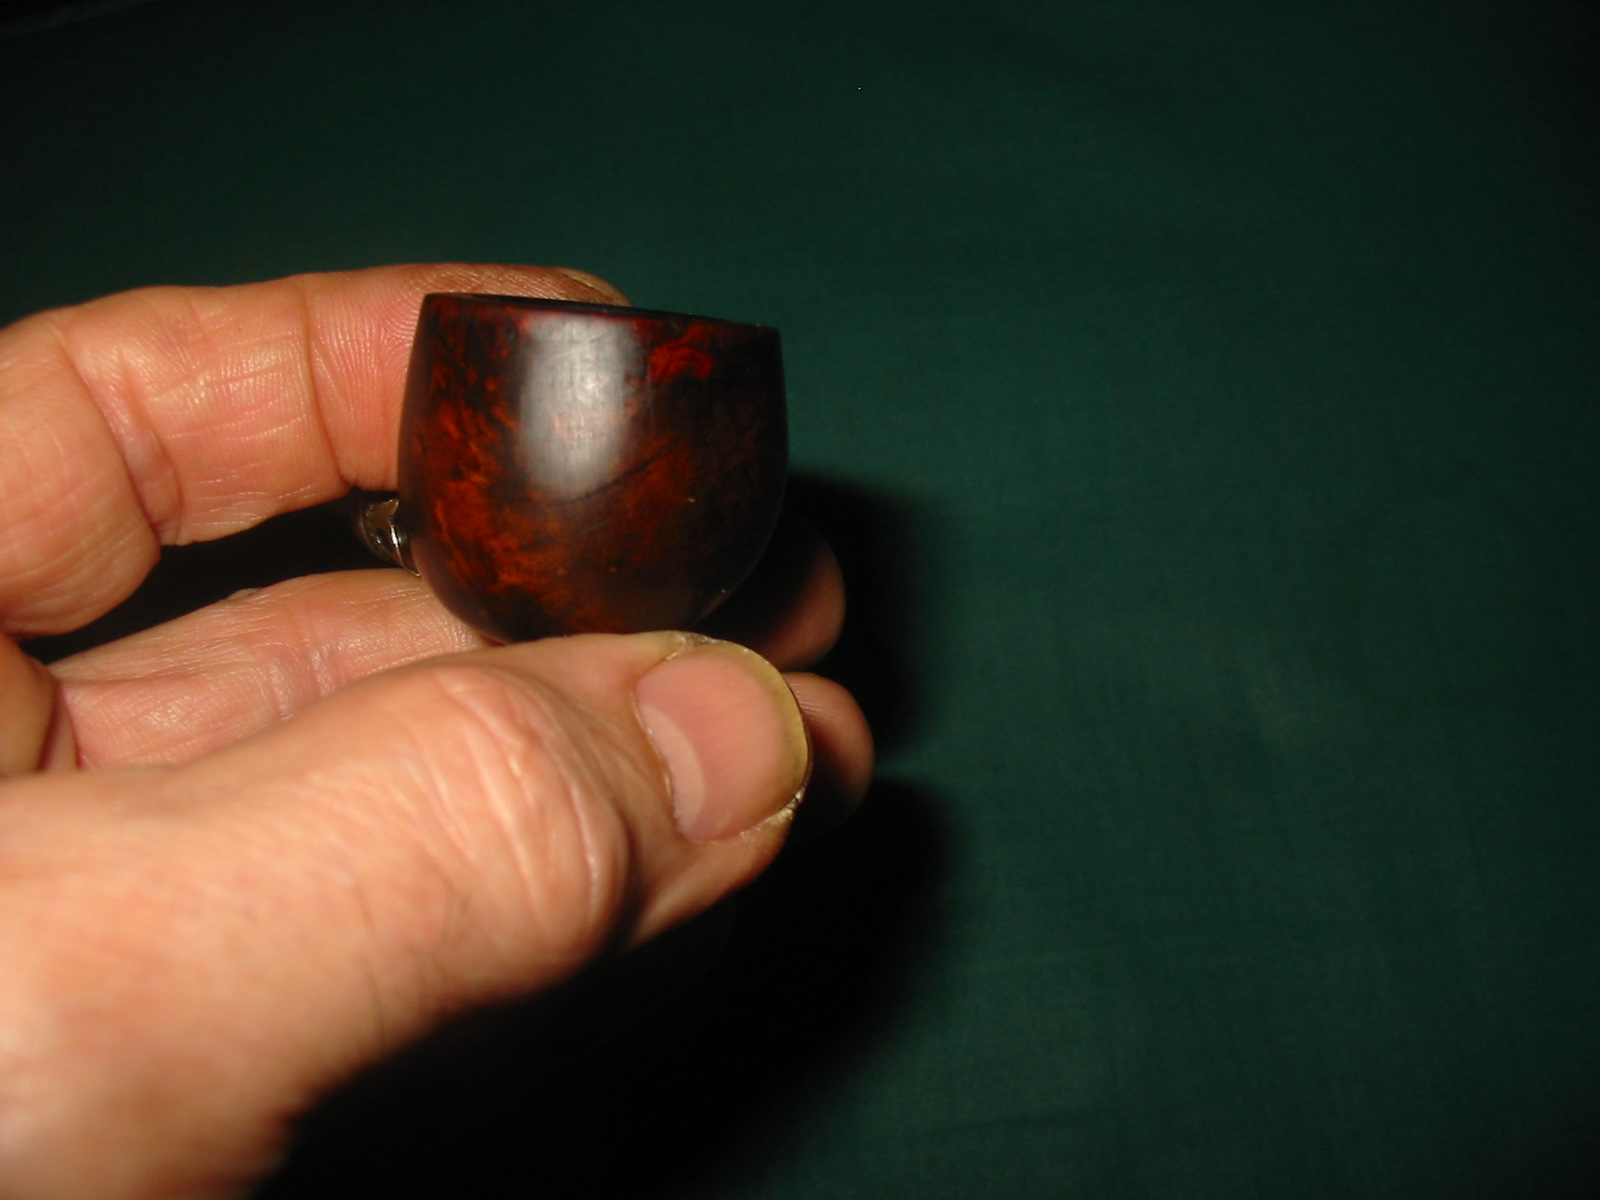
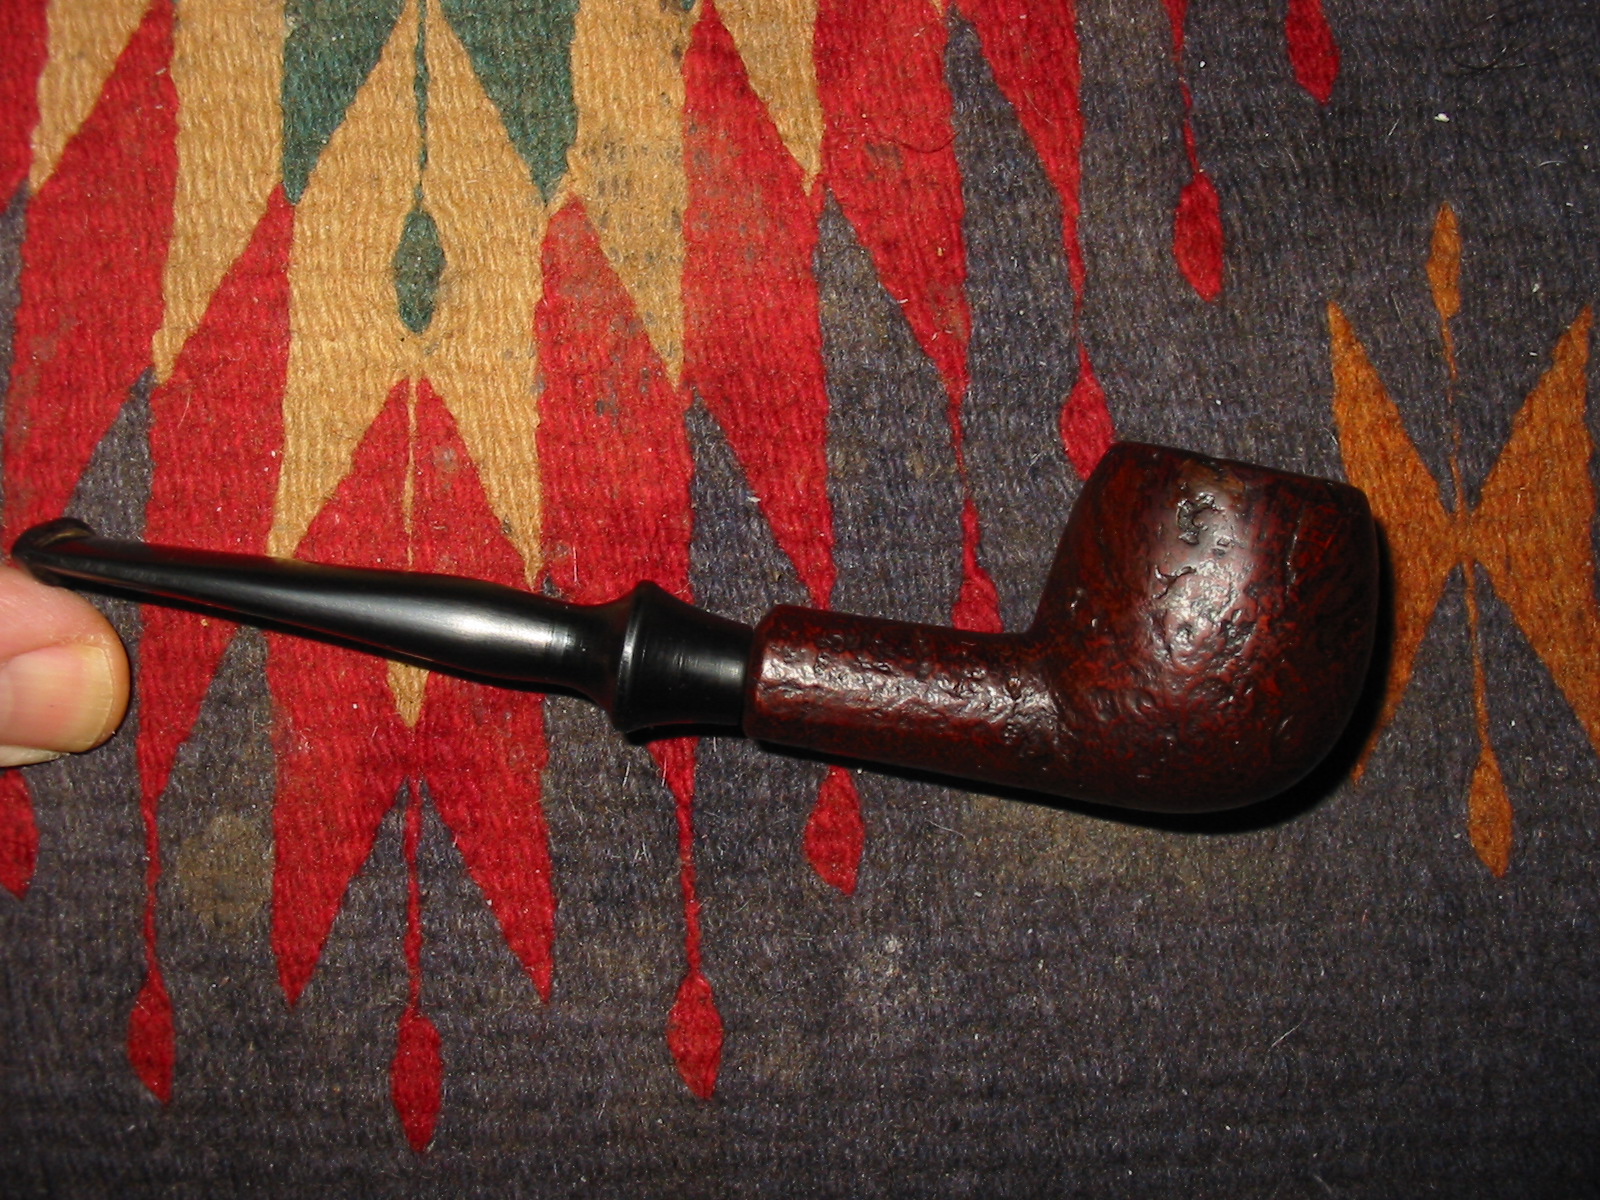
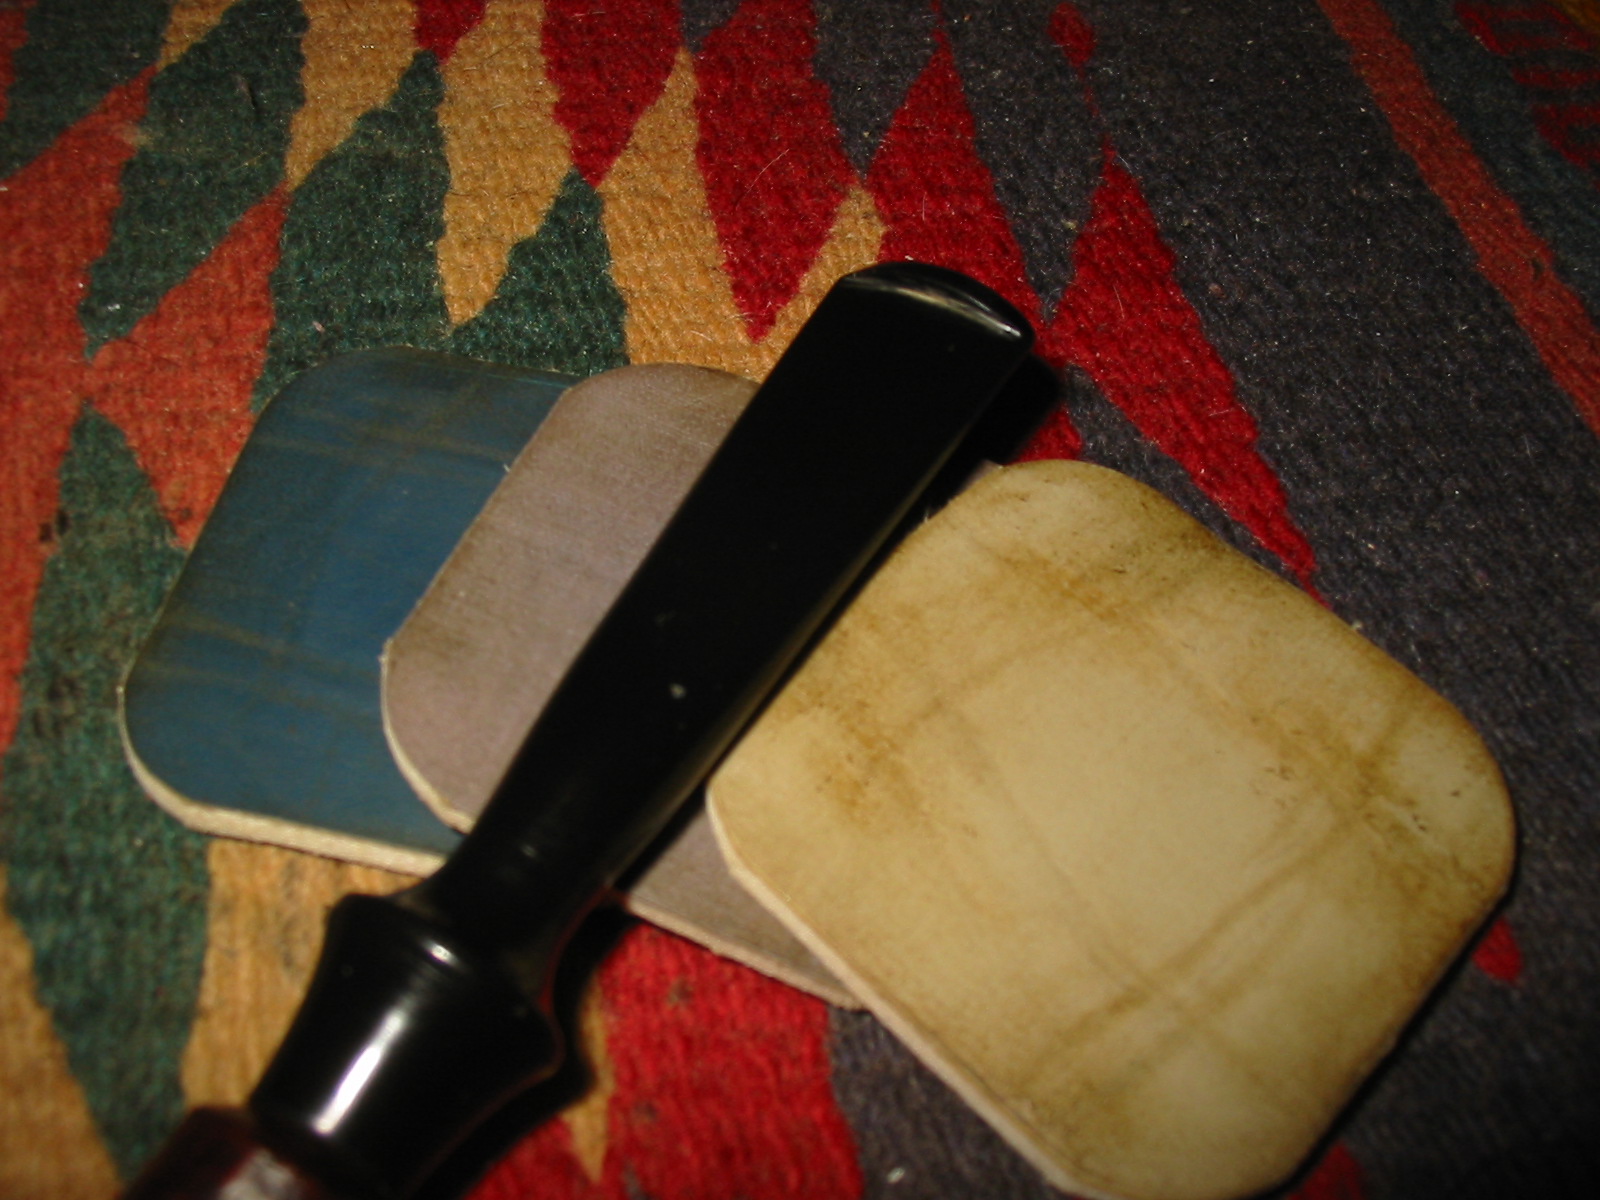
I sanded the bowl with micromesh sanding pads – wet sanding with 1500-2400 grit to further remove the black stain that was stubbornly sticking in the angles of the bowl and shank. I then gave the bowl a top coat of oxblood stain. My thinking was that the contrast between the black in the grain and the red in the other portions of the briar would make the grain stand out.
IMG_6225

IMG_6226

IMG_6227

IMG_6228
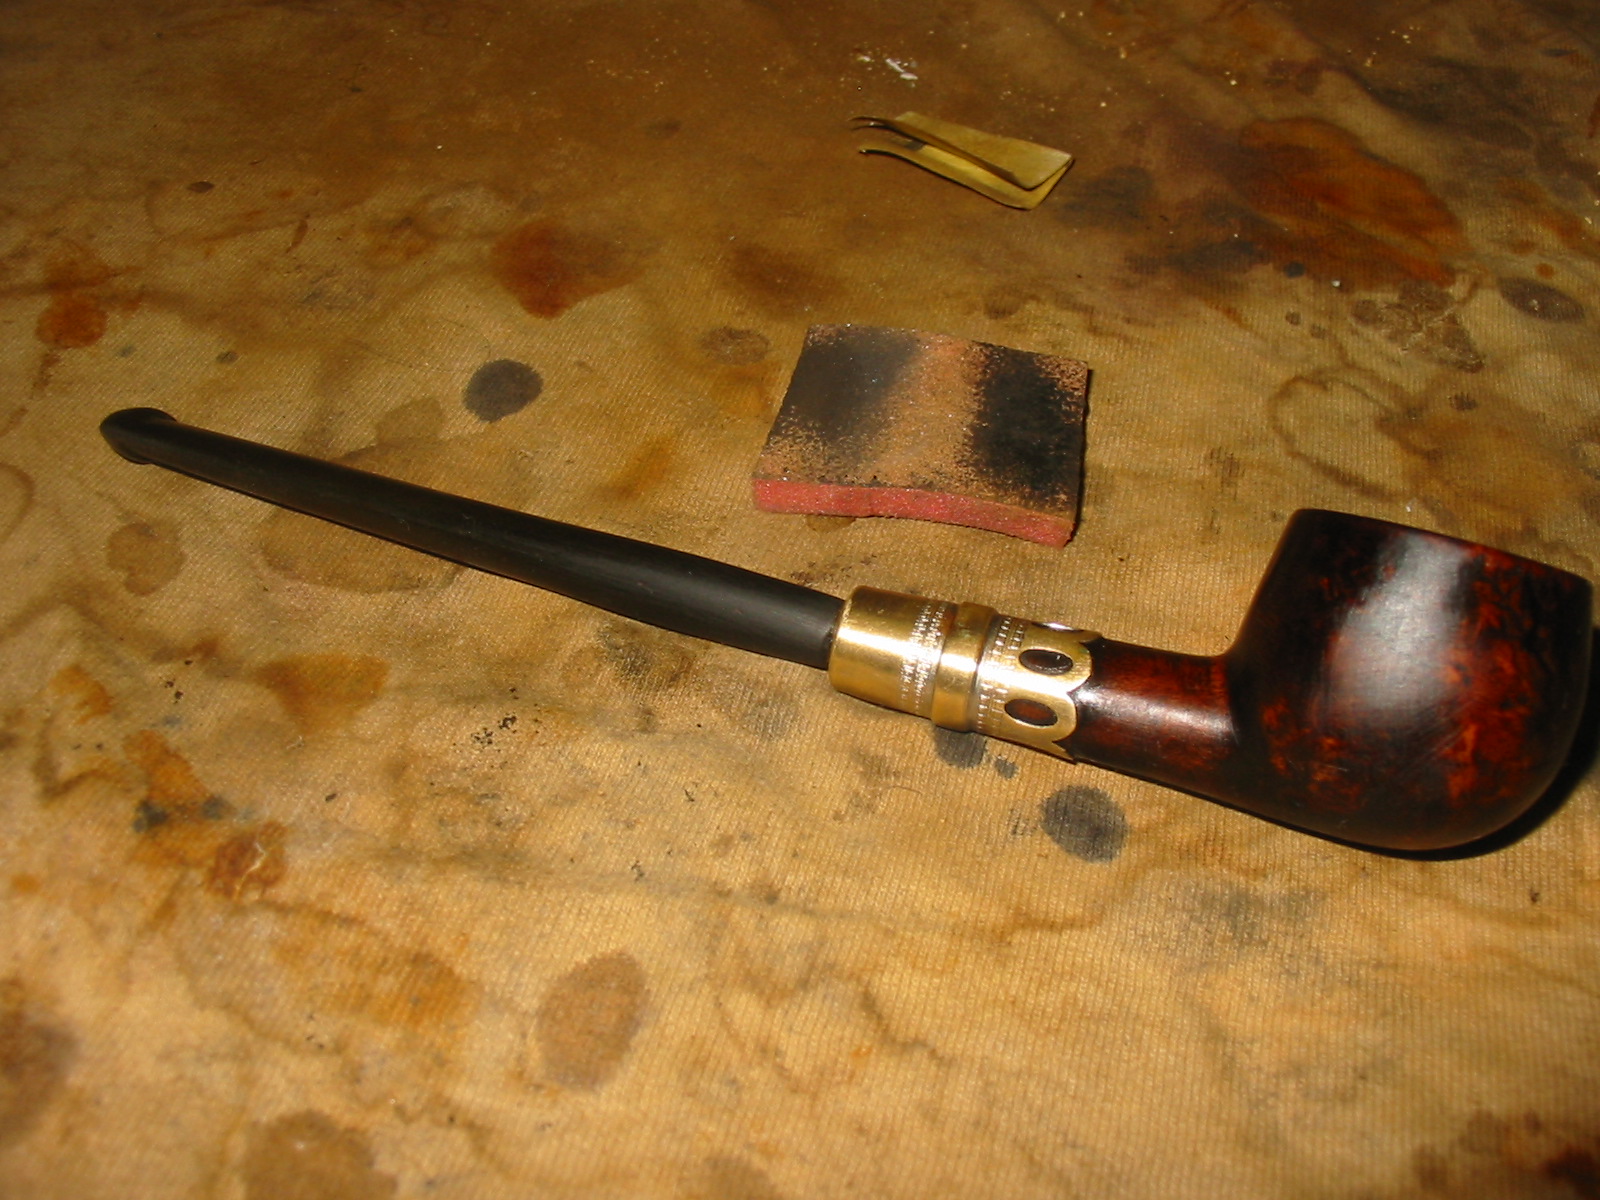
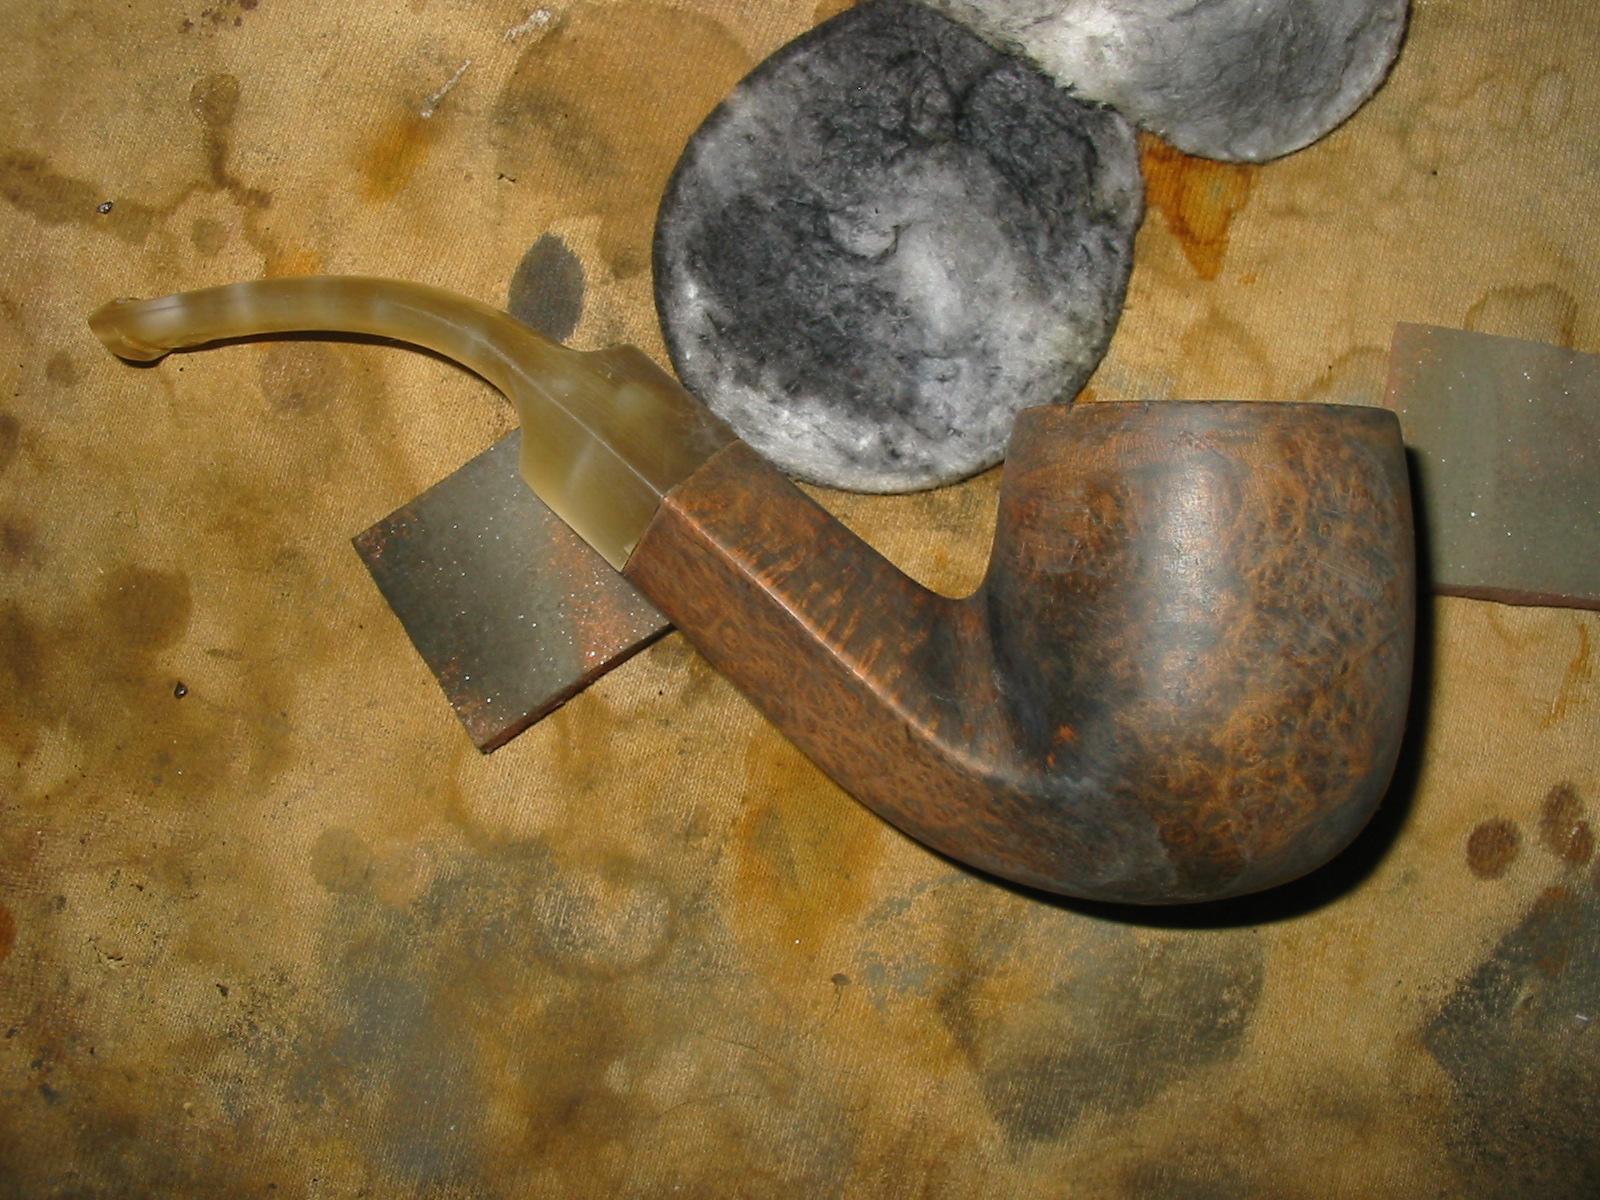
When the oxblood stain dried I dry sanded the bowl with micromesh sanding pads to remove some more of the dark stain and make the grain stand out even more. I rubbed the bowl down with olive oil and used it as a medium for the sanding. It worked well to remove the darker areas of the bowl near the shank and along the top edge and rim.
IMG_6229

IMG_6230

IMG_6232
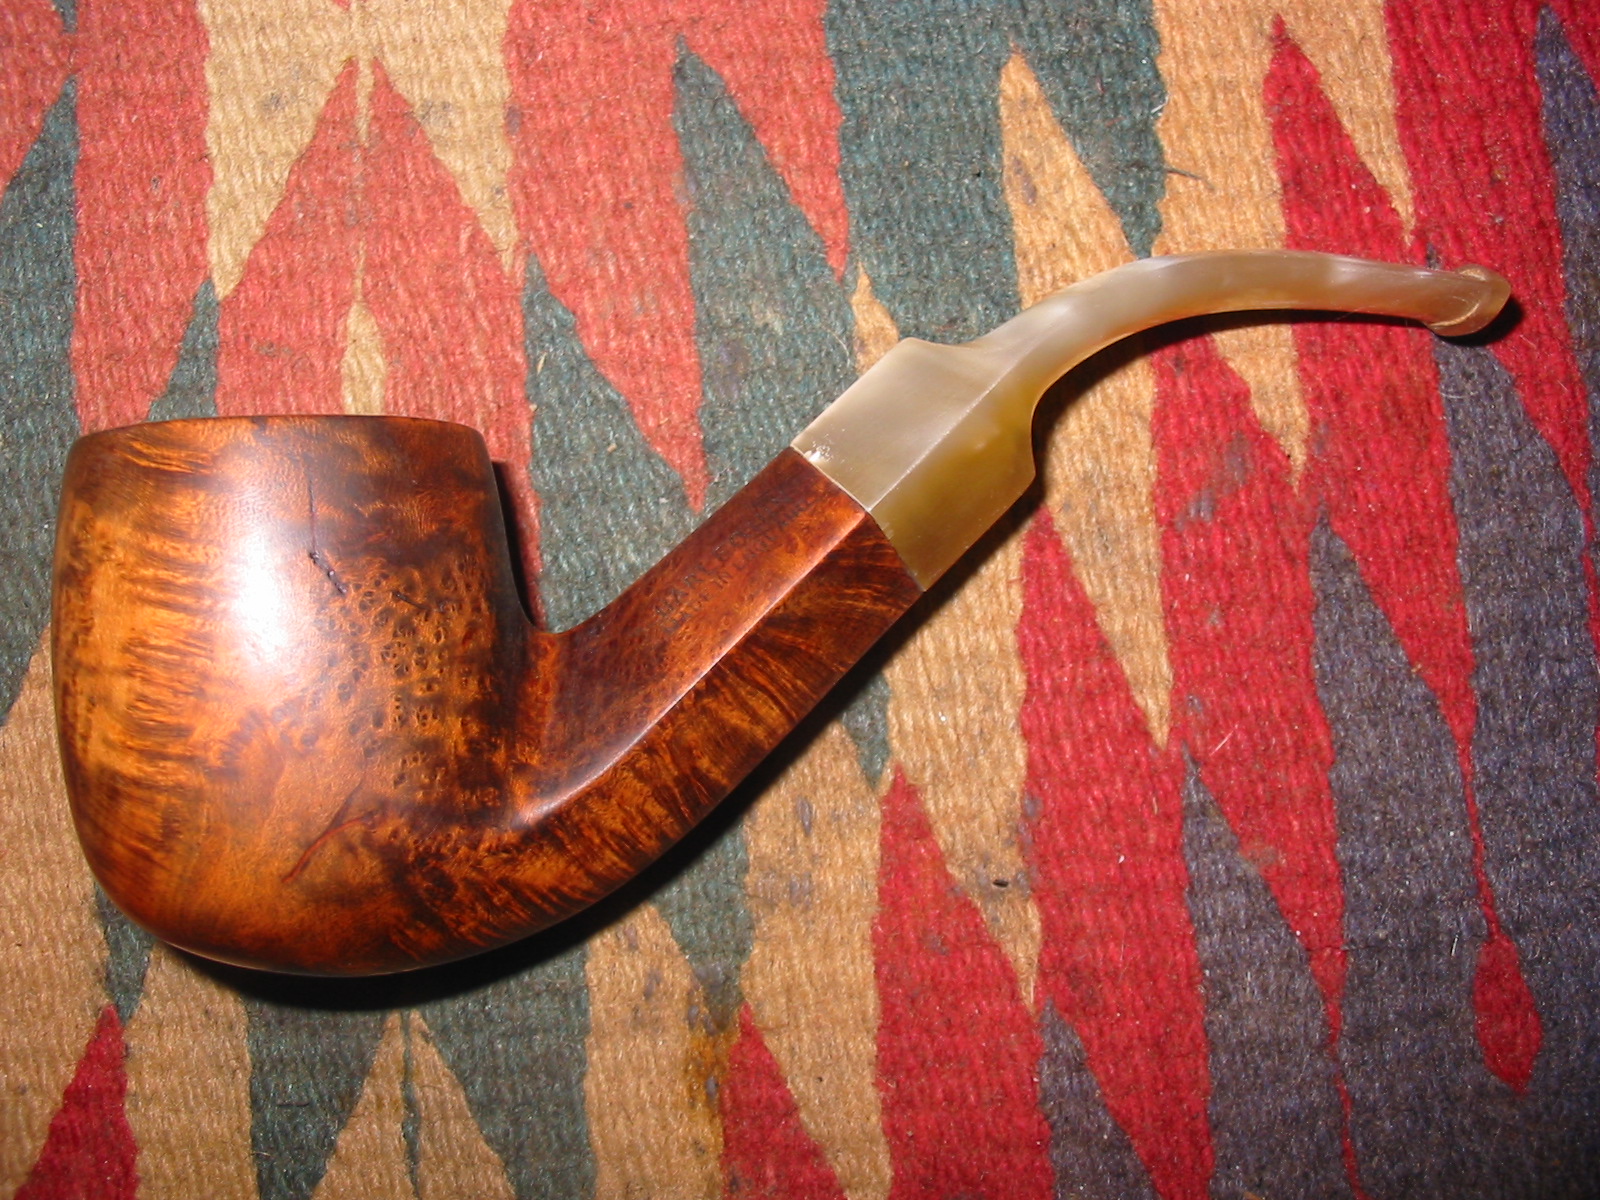
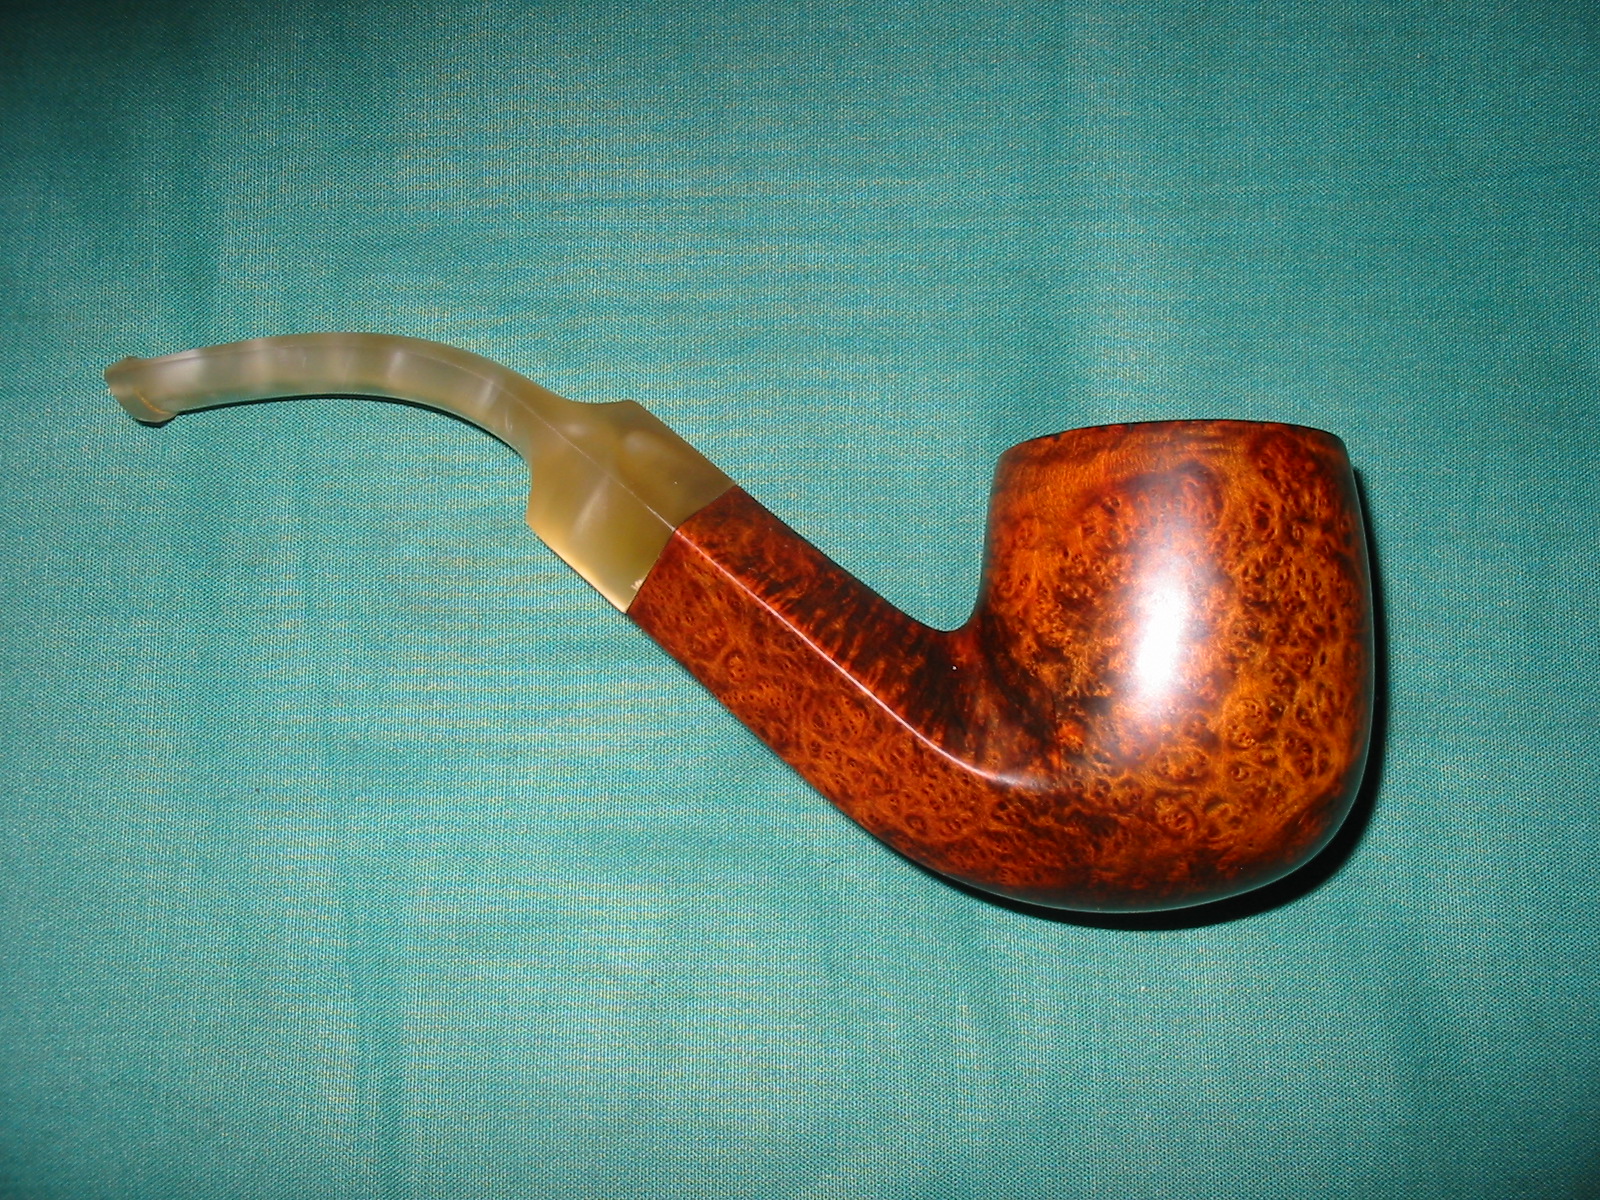
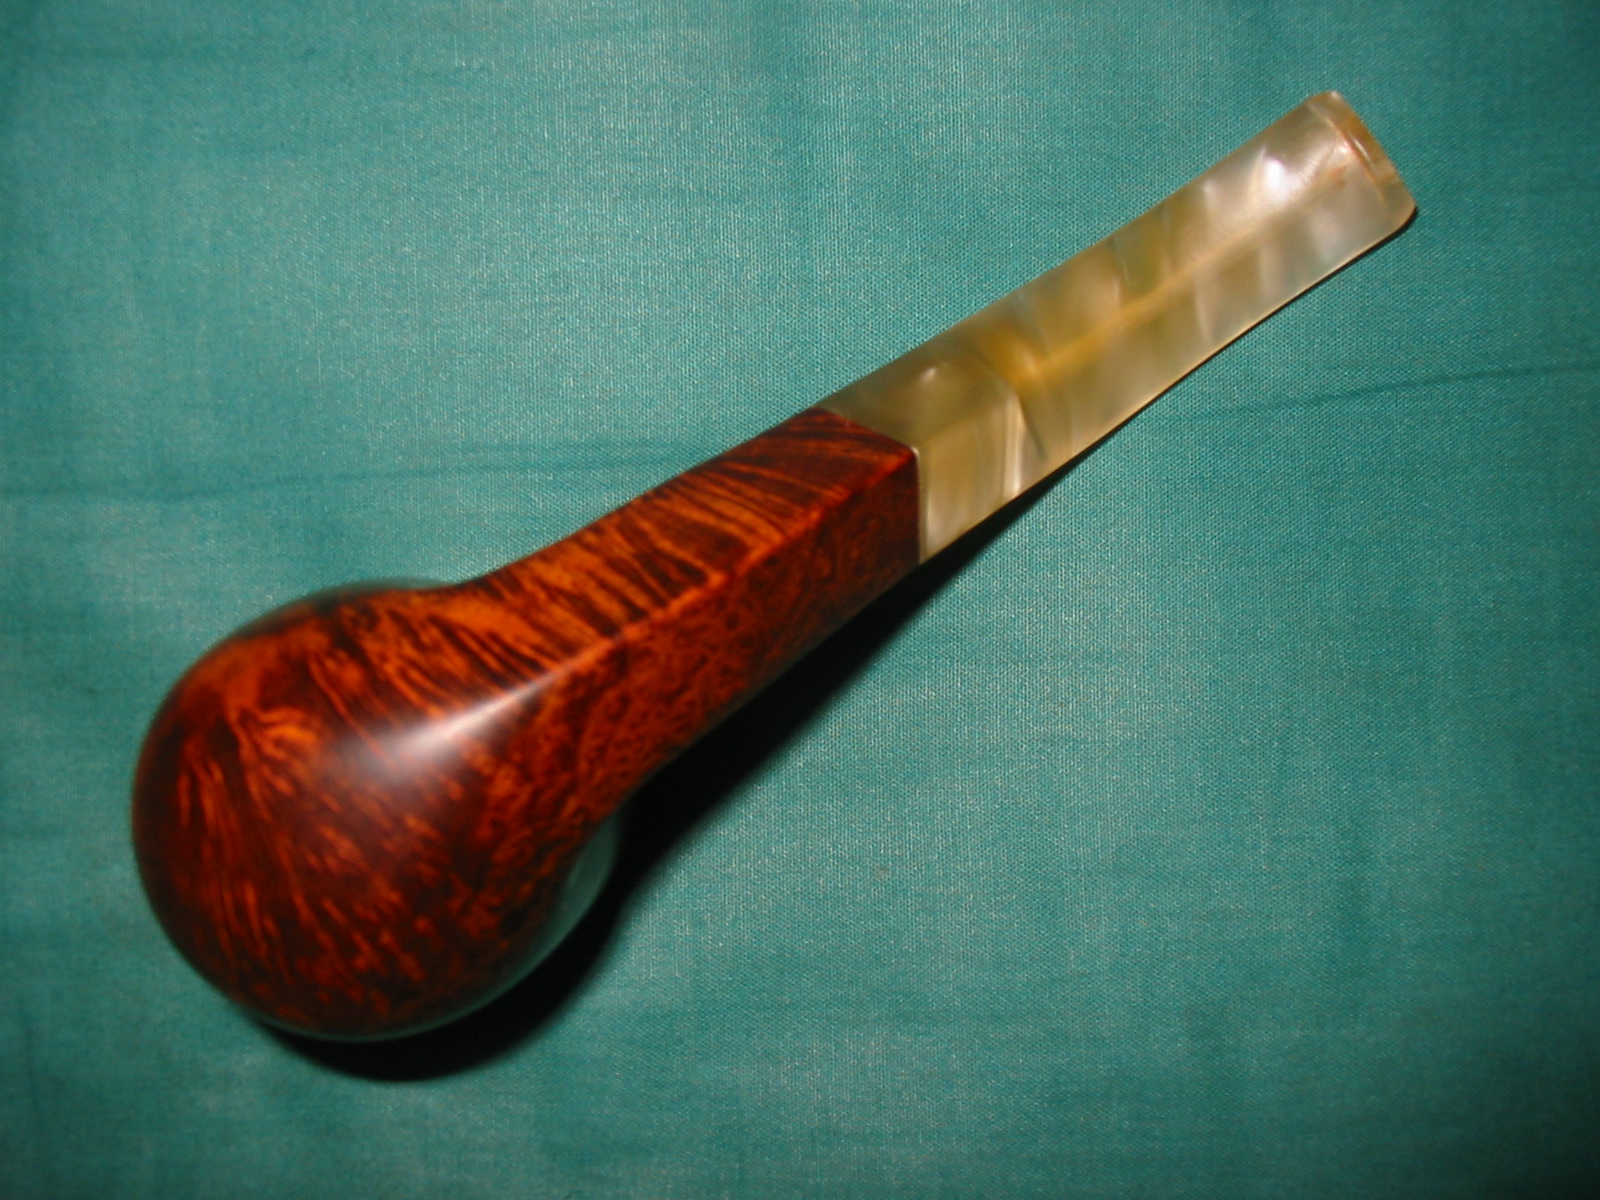
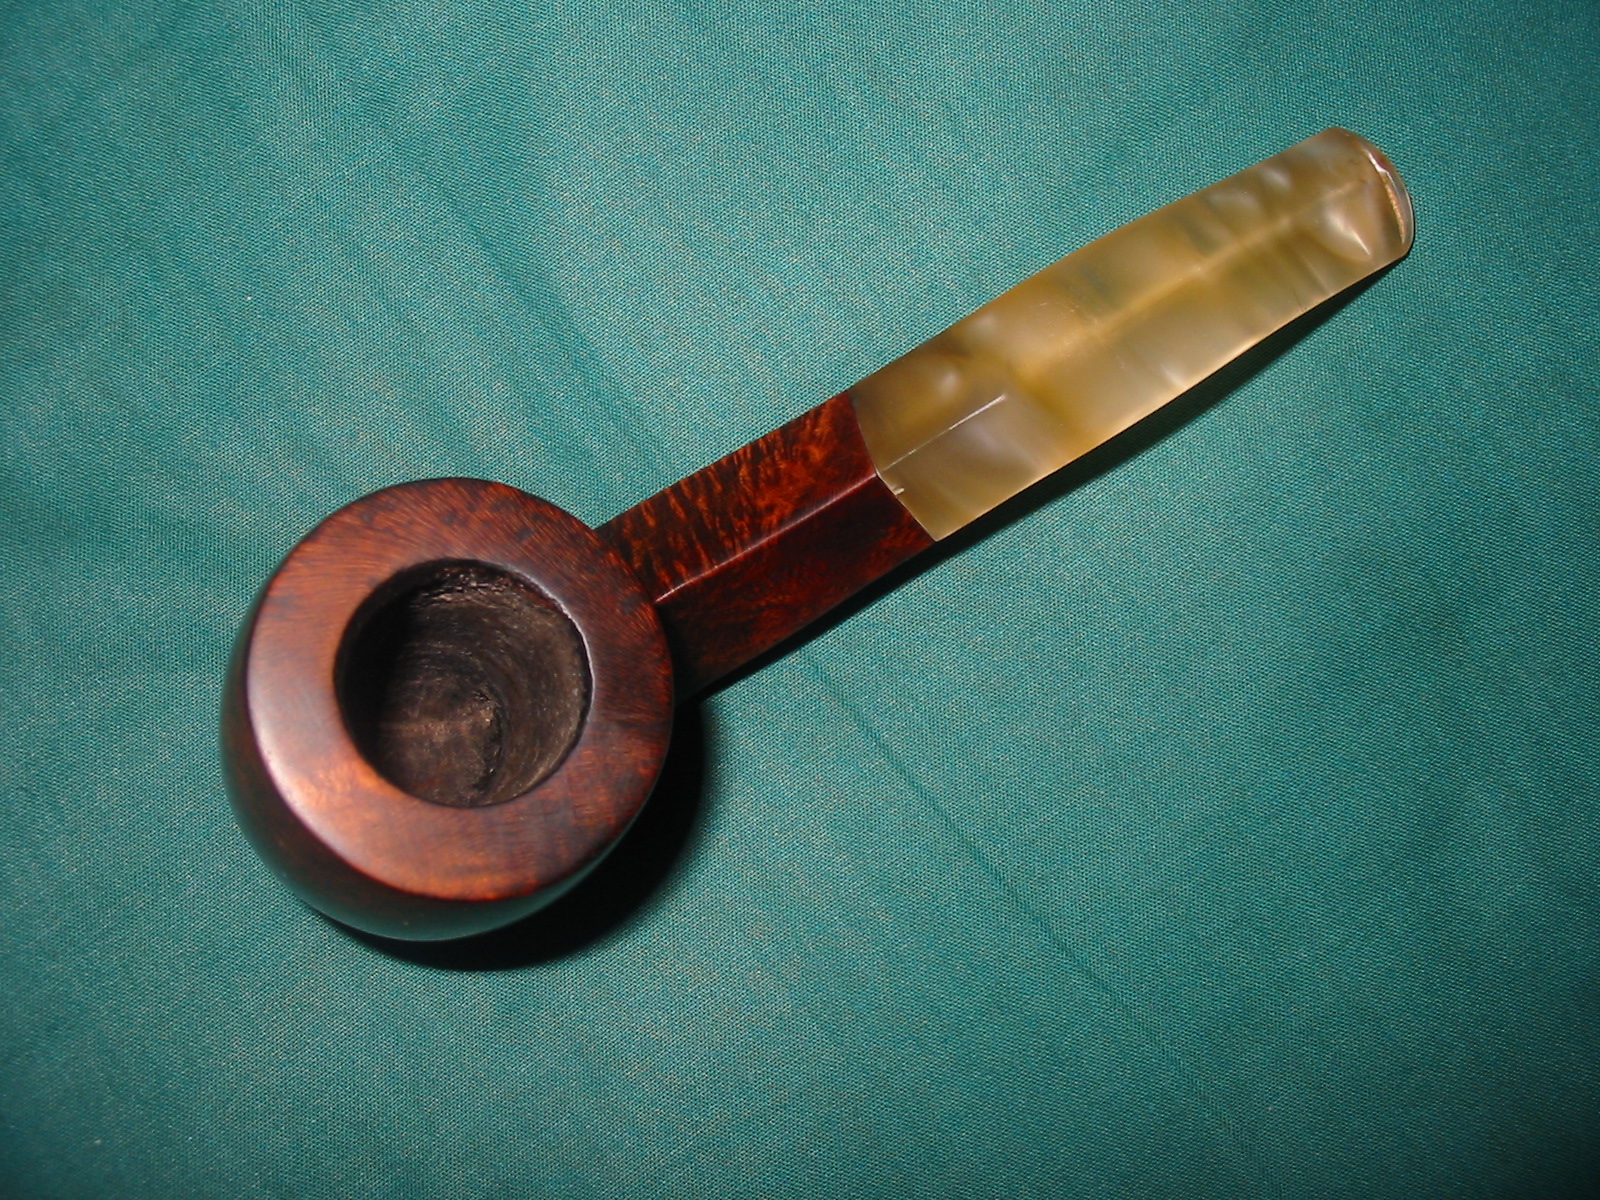
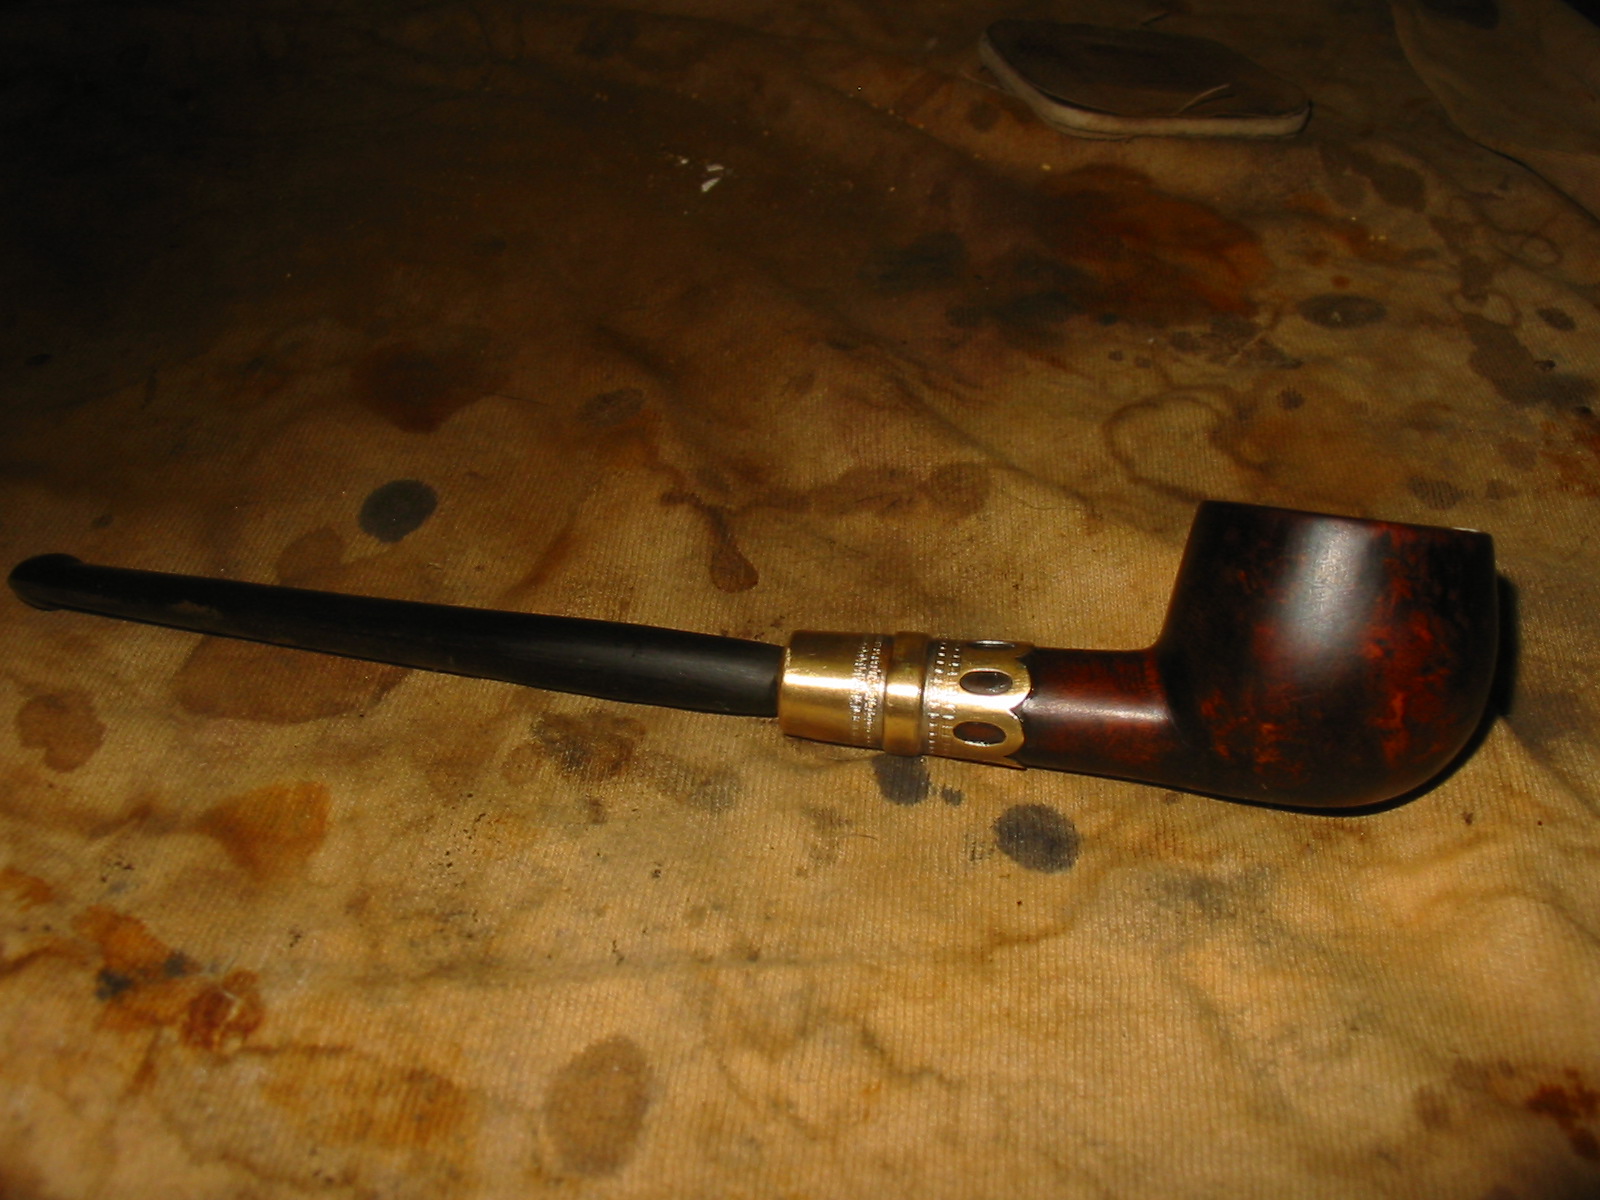
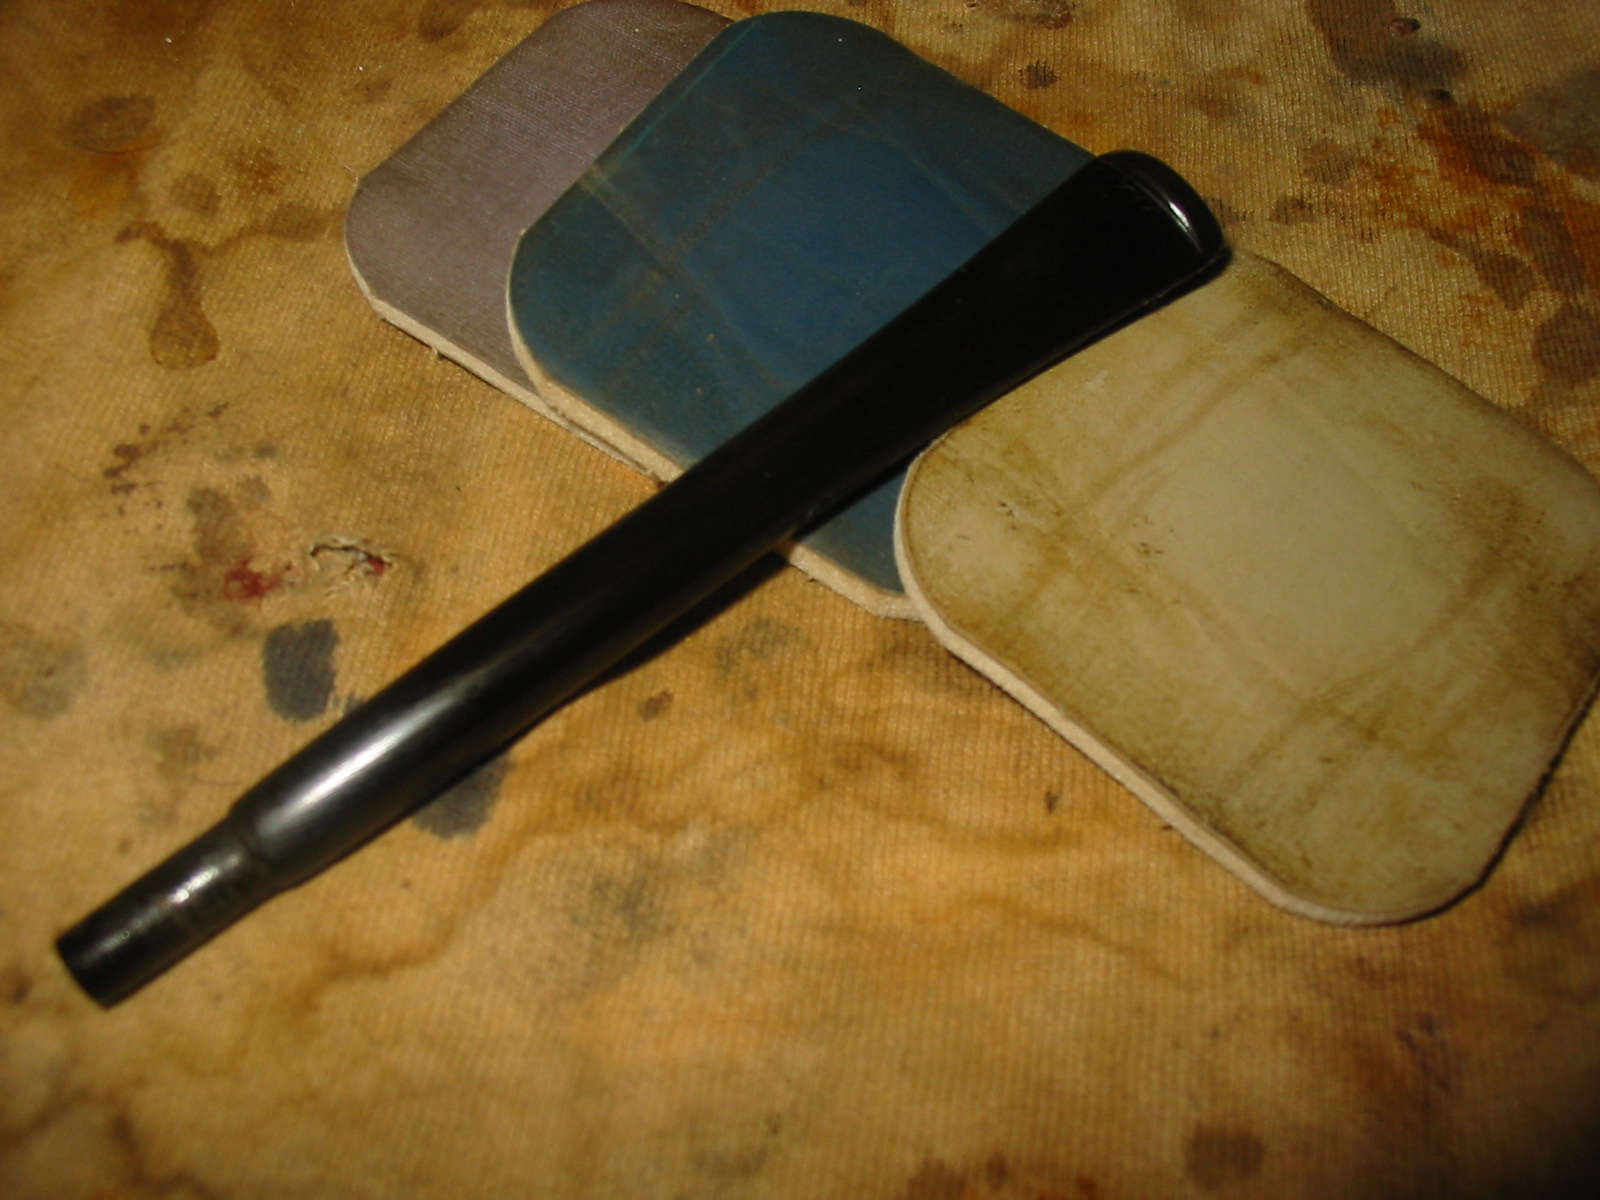
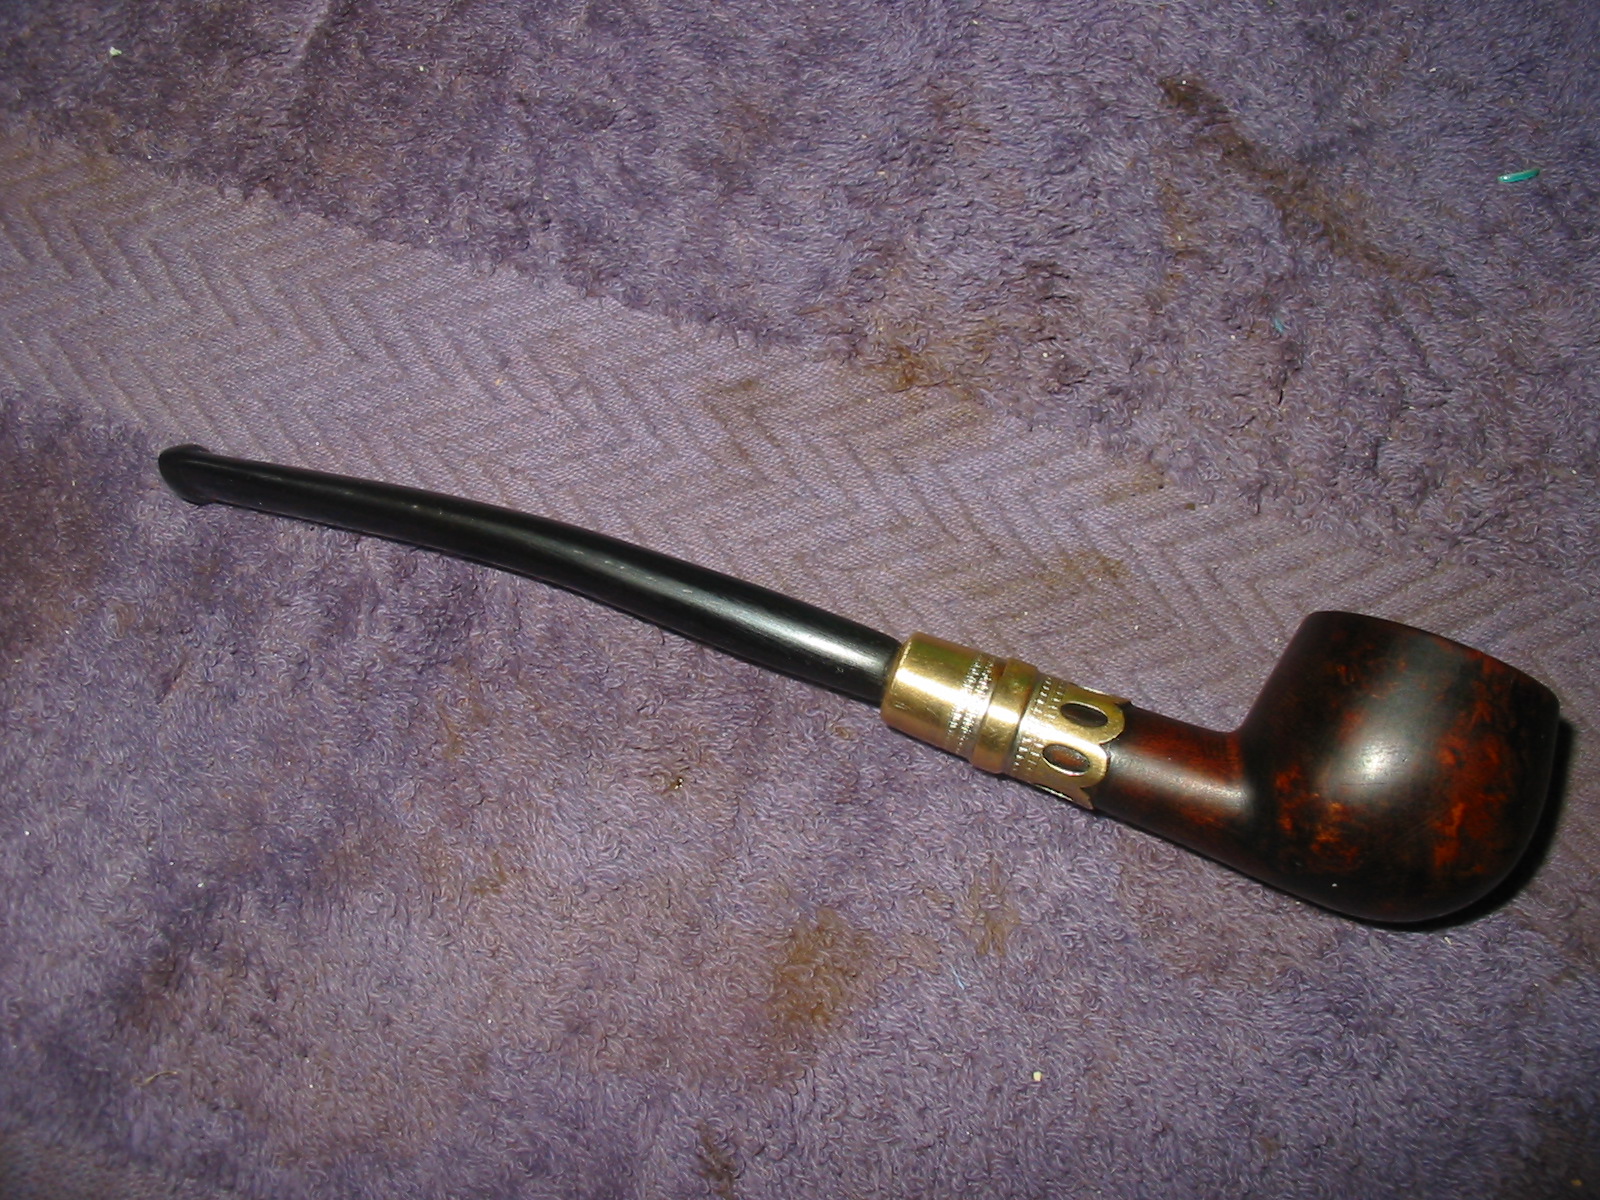
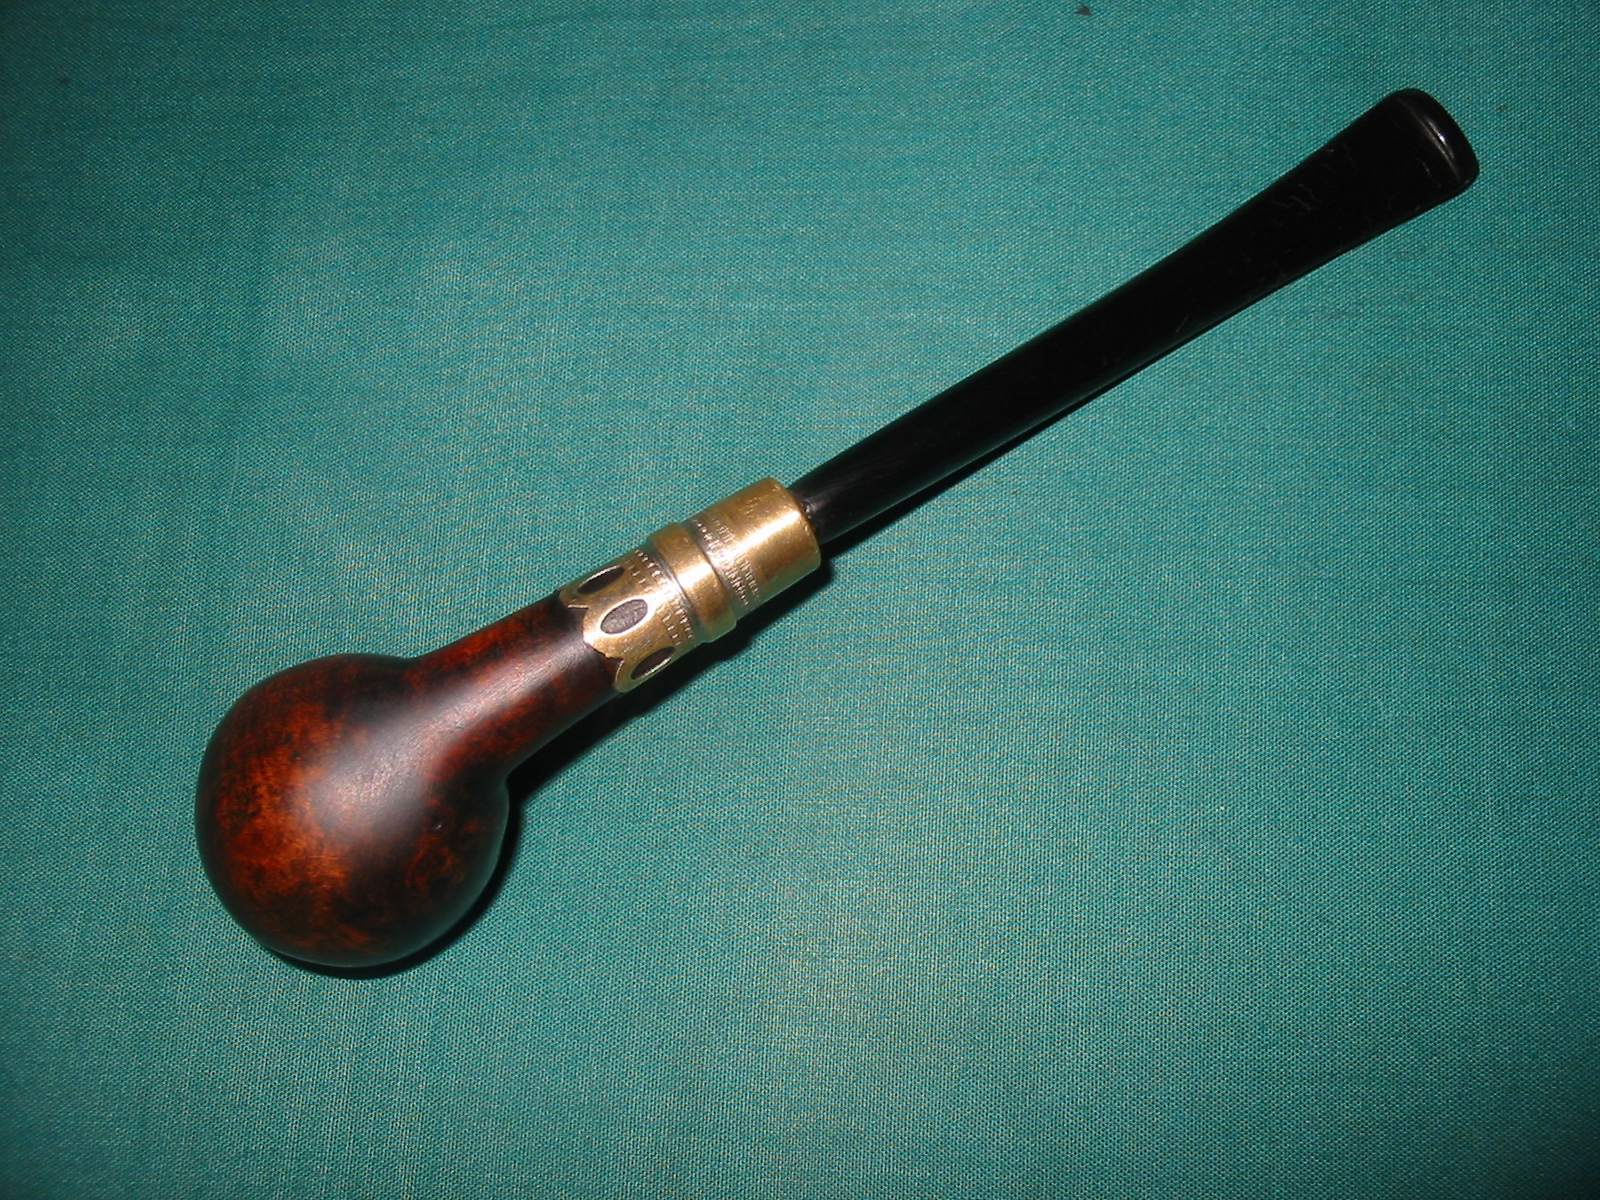
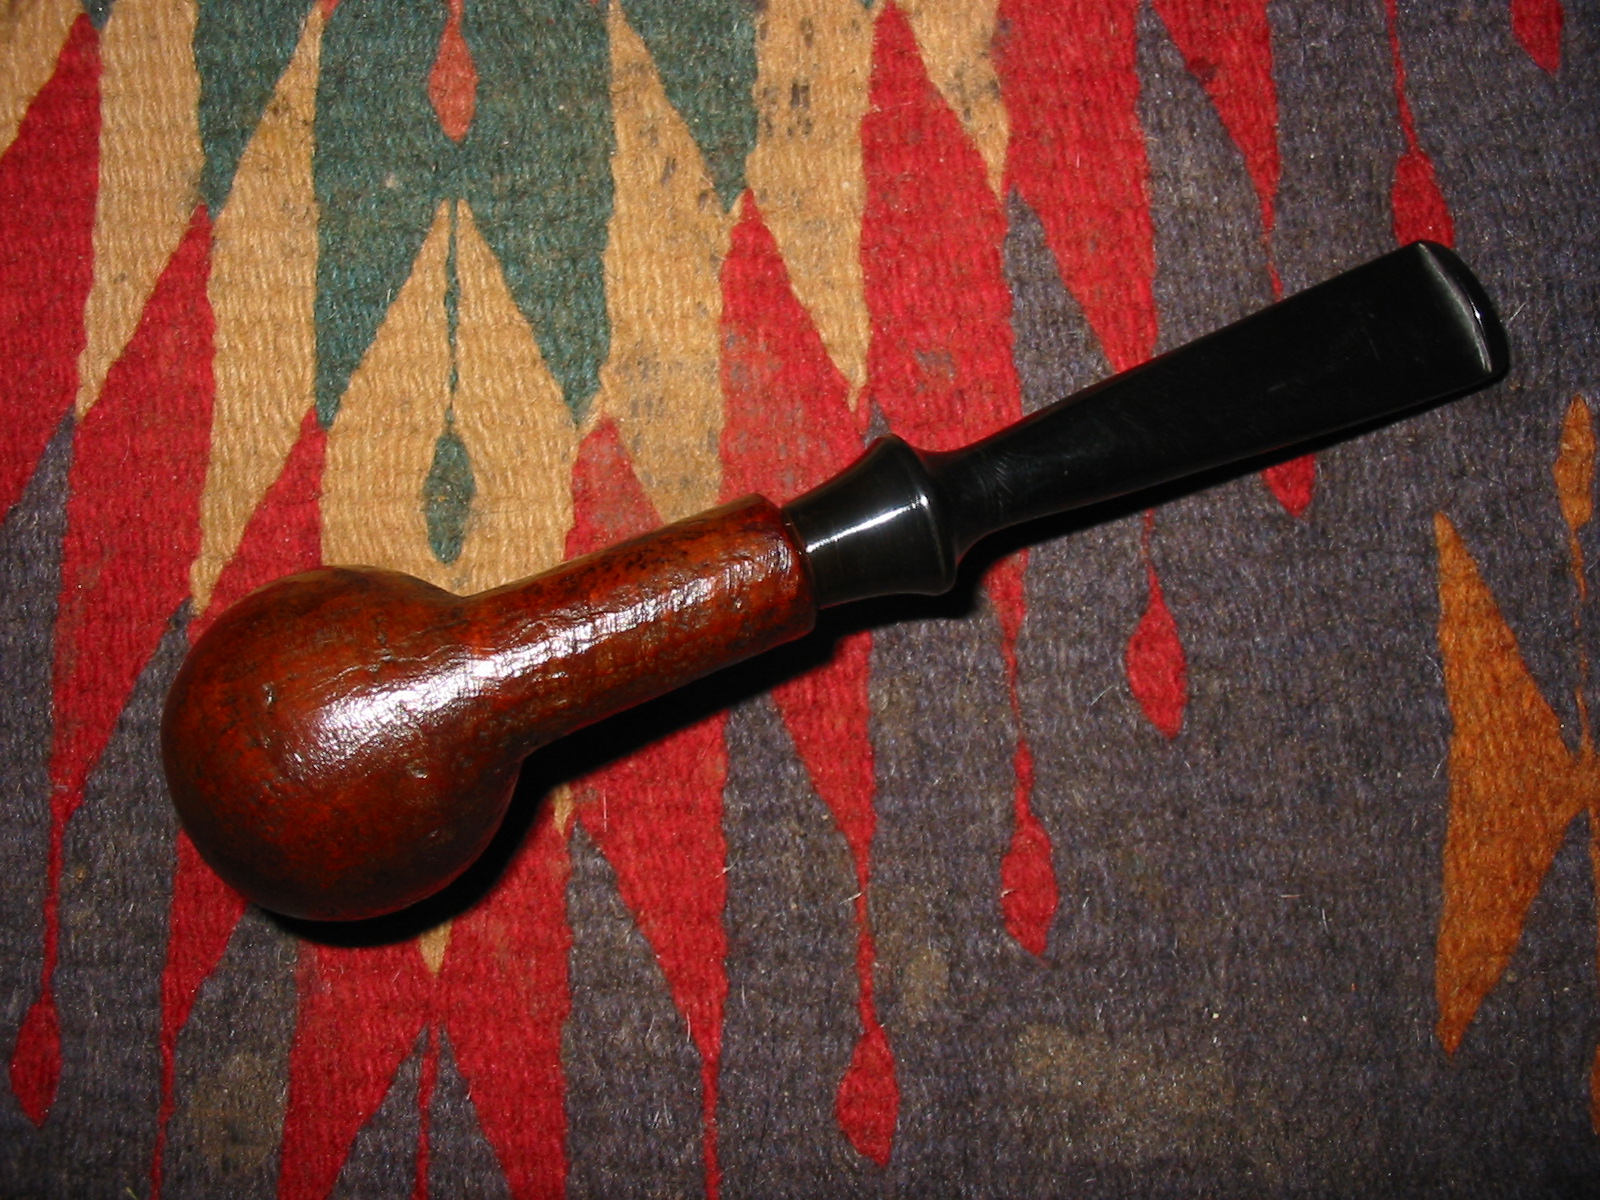
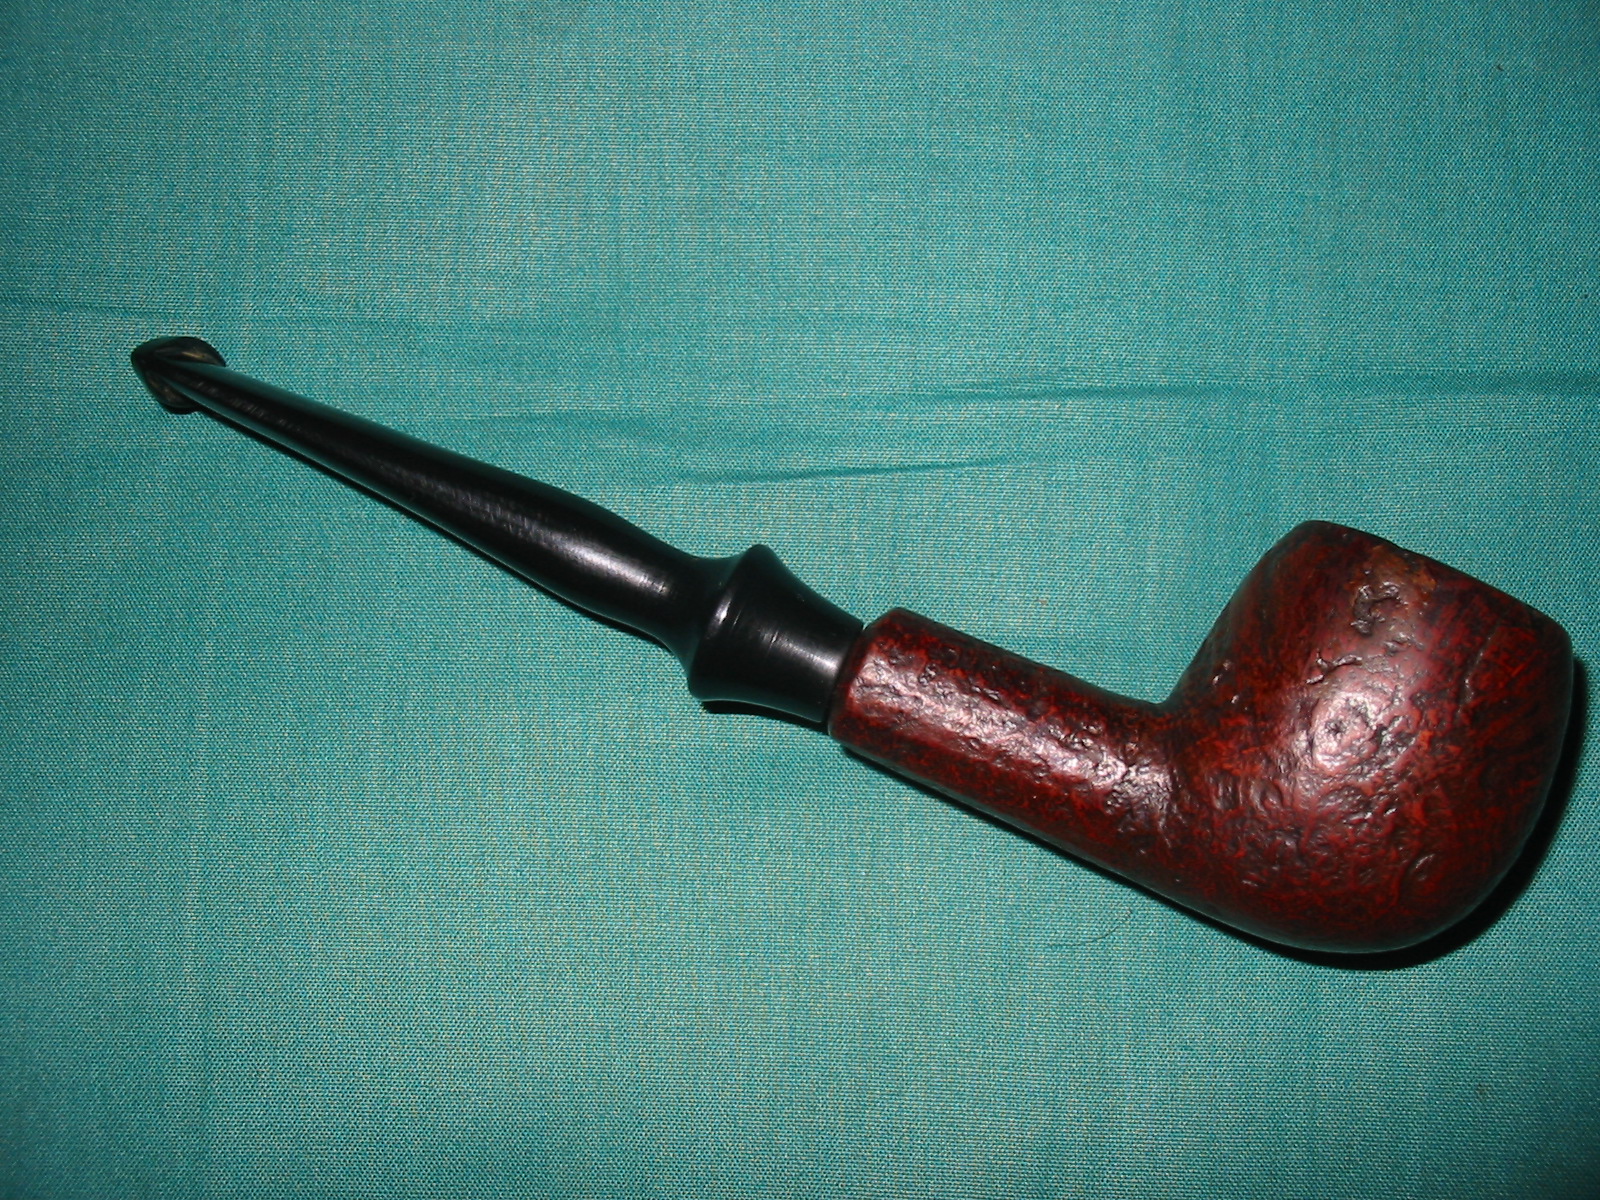
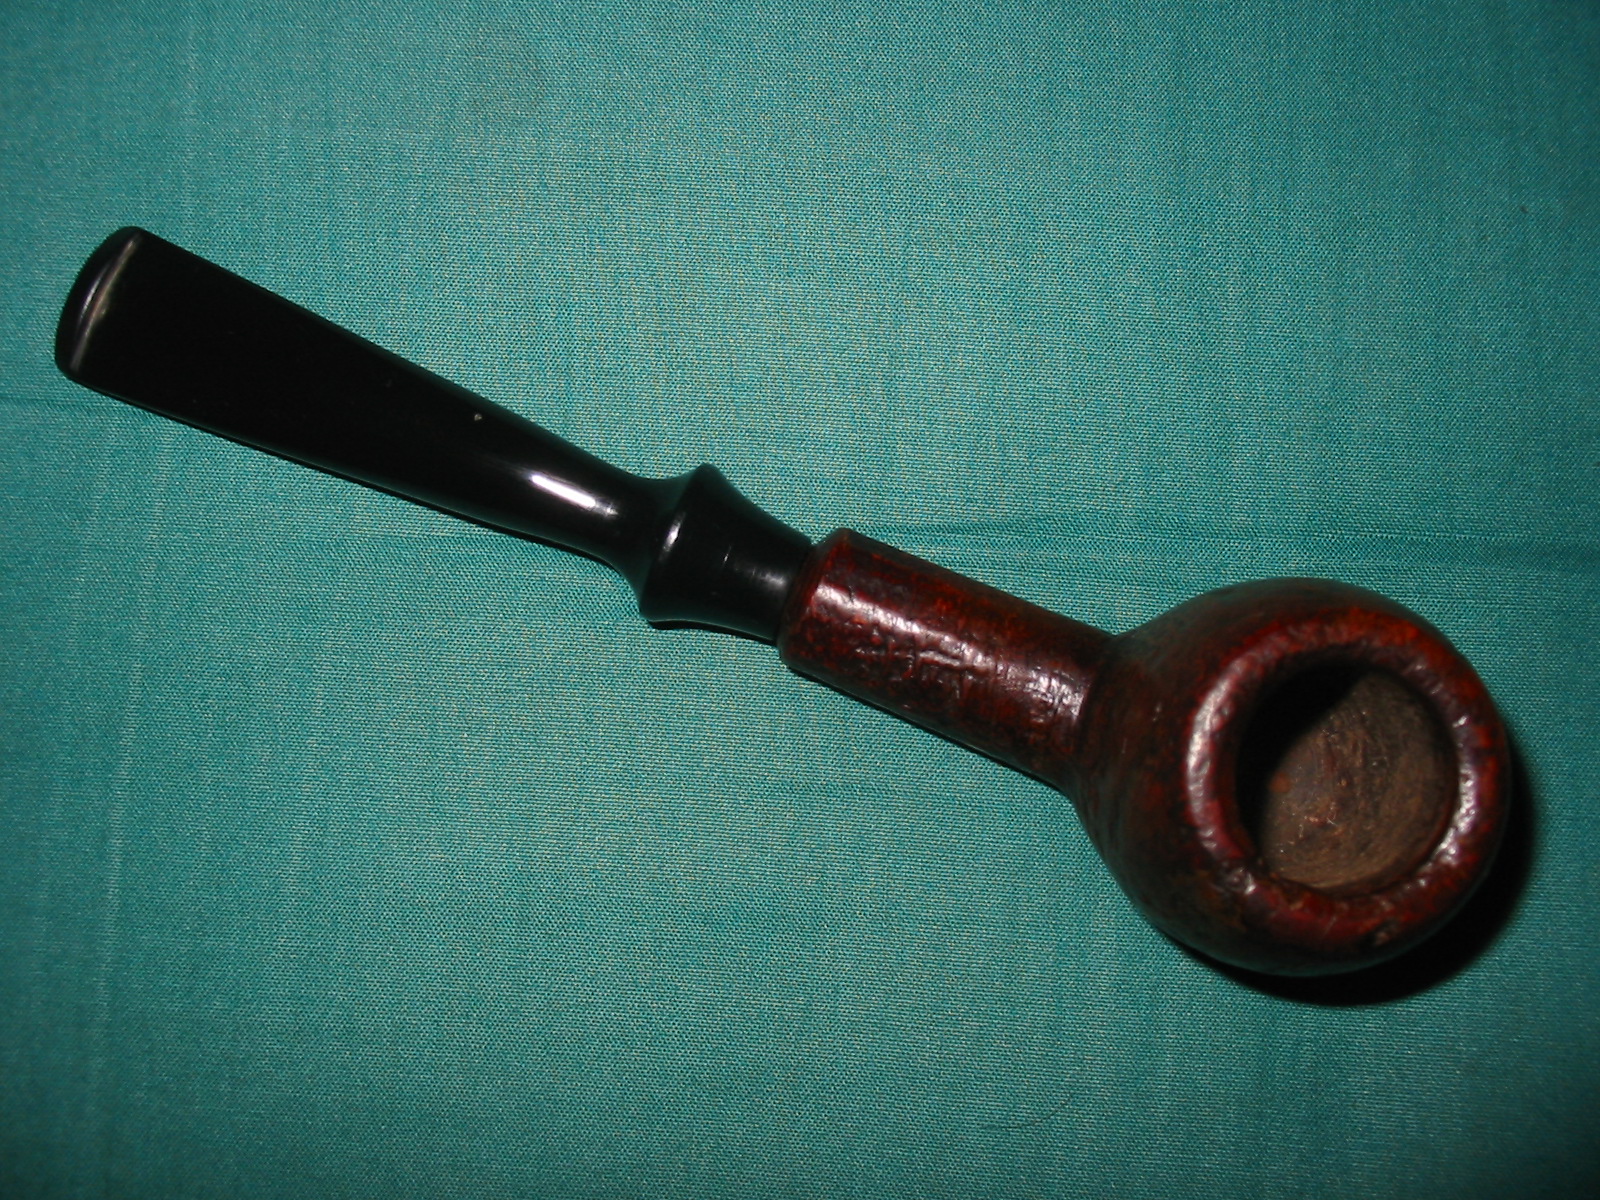
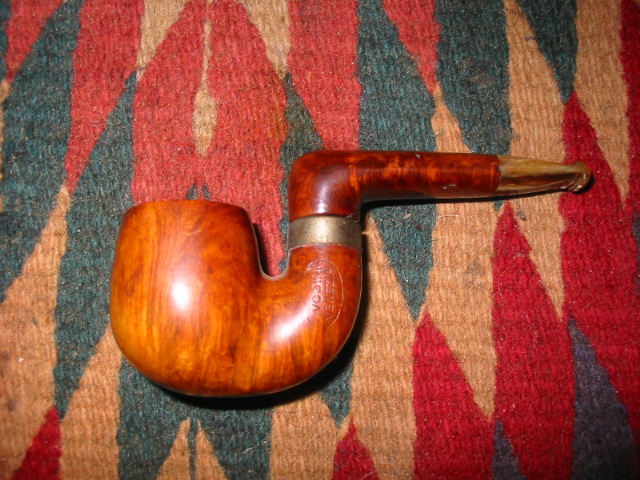
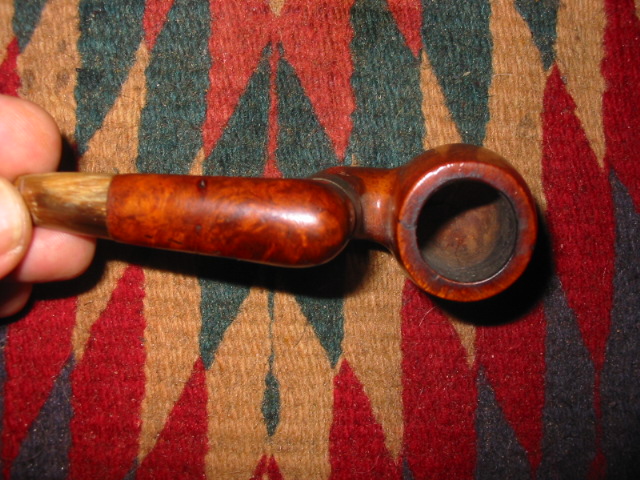
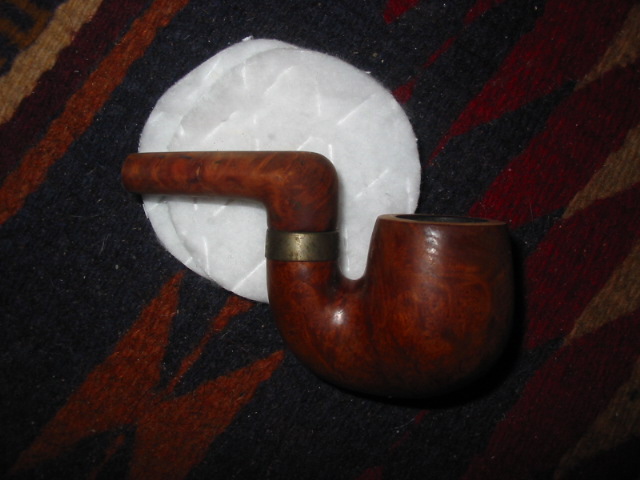
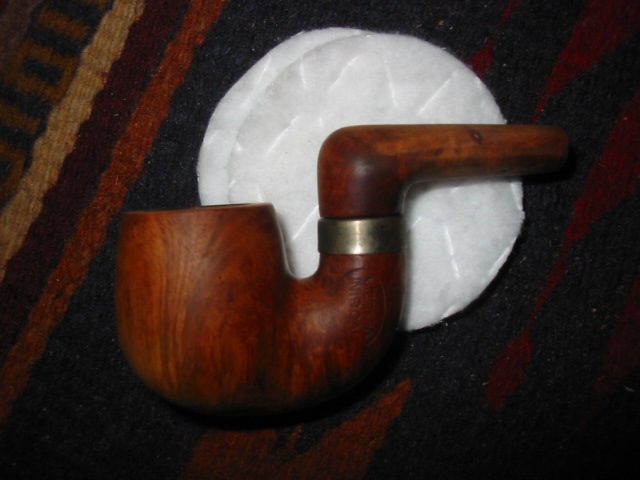
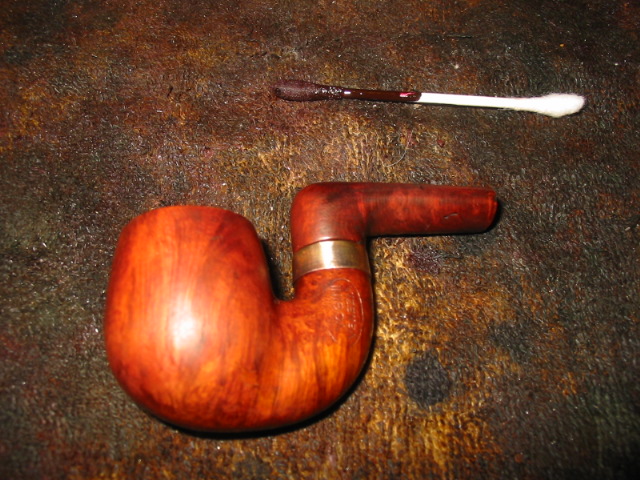
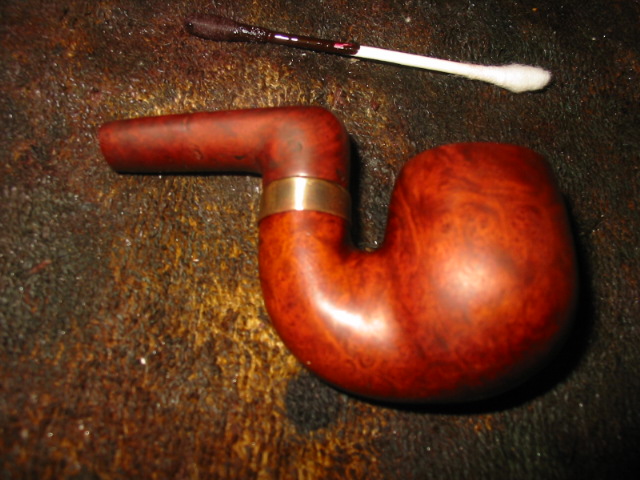
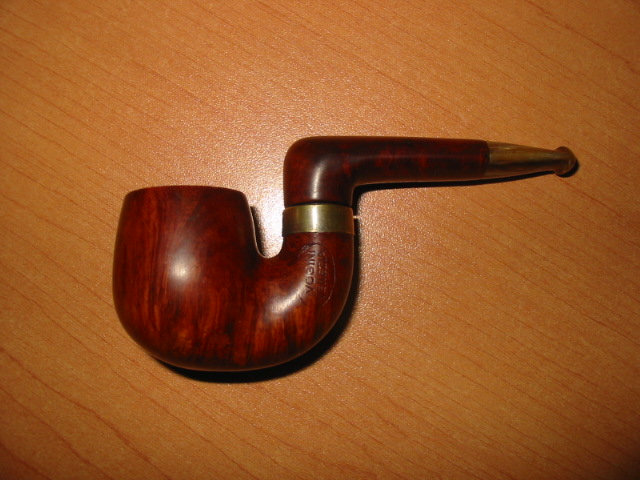
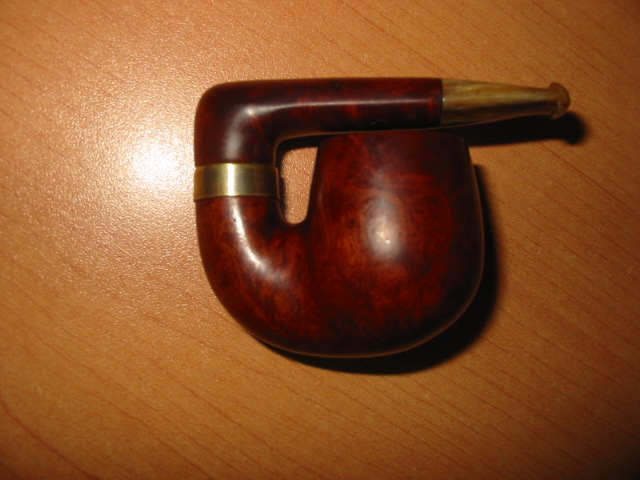
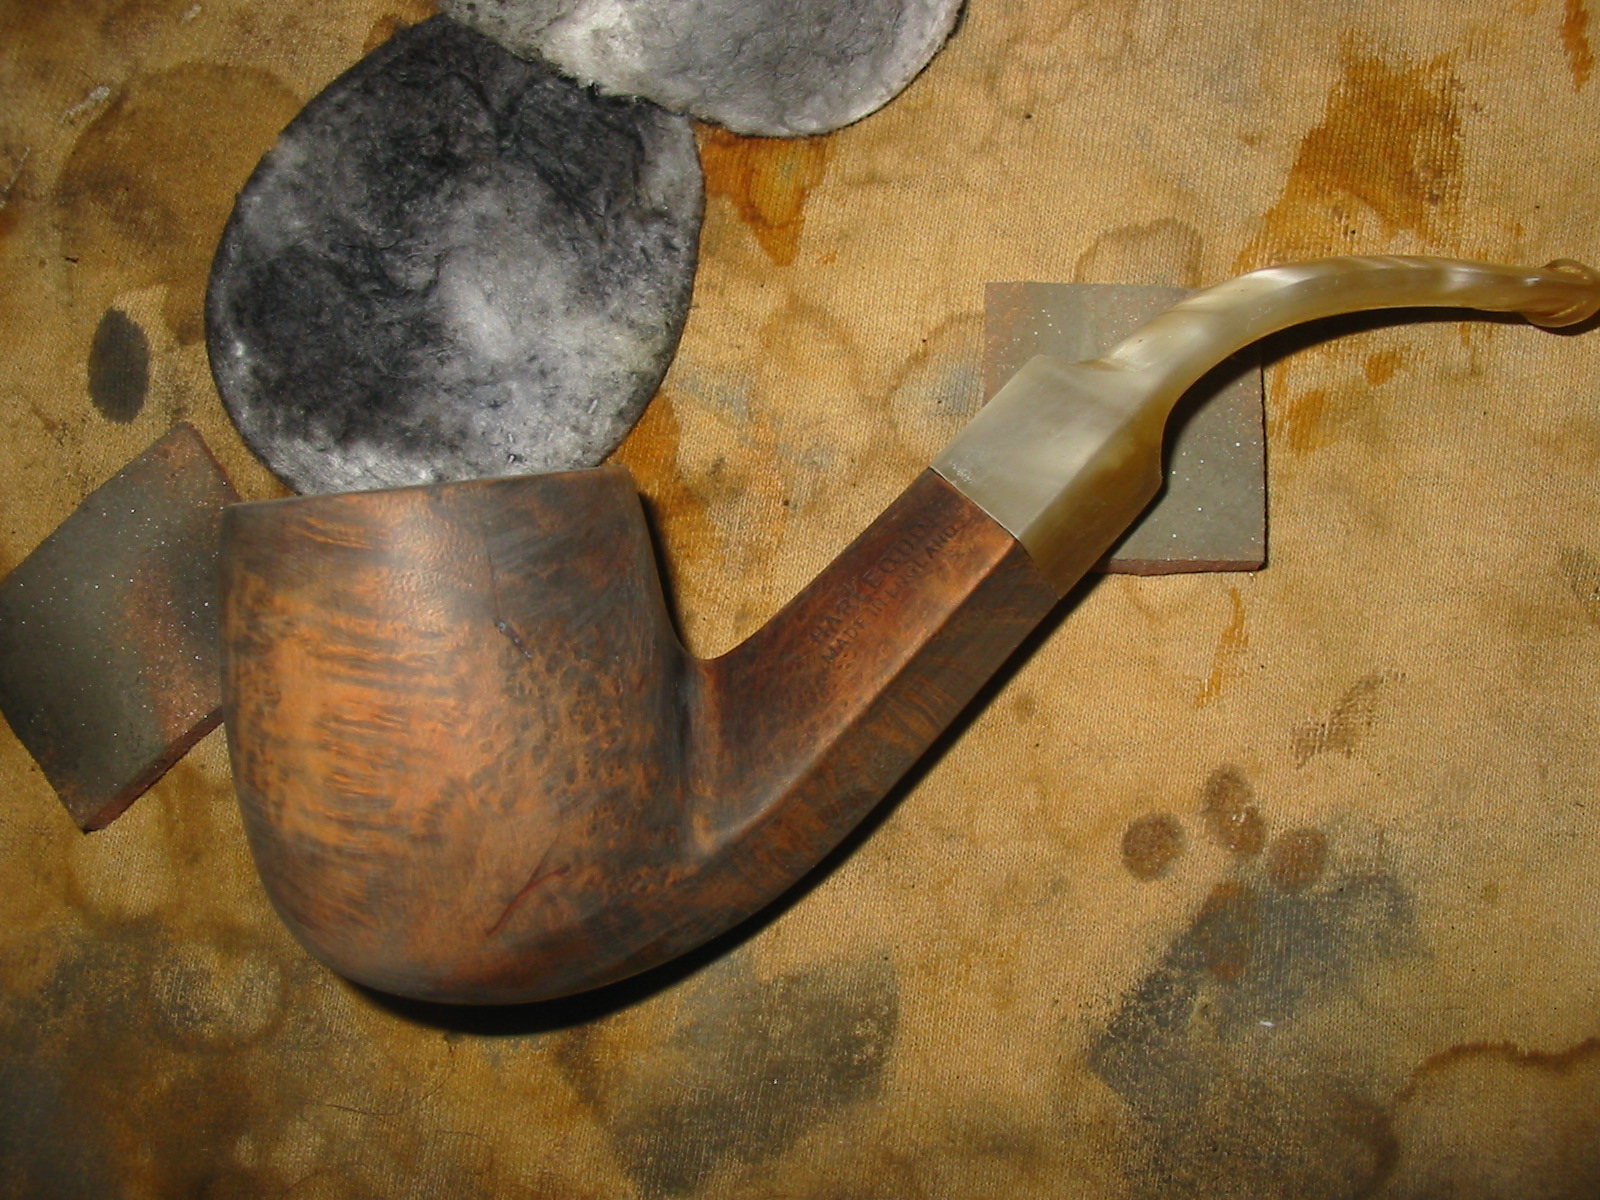
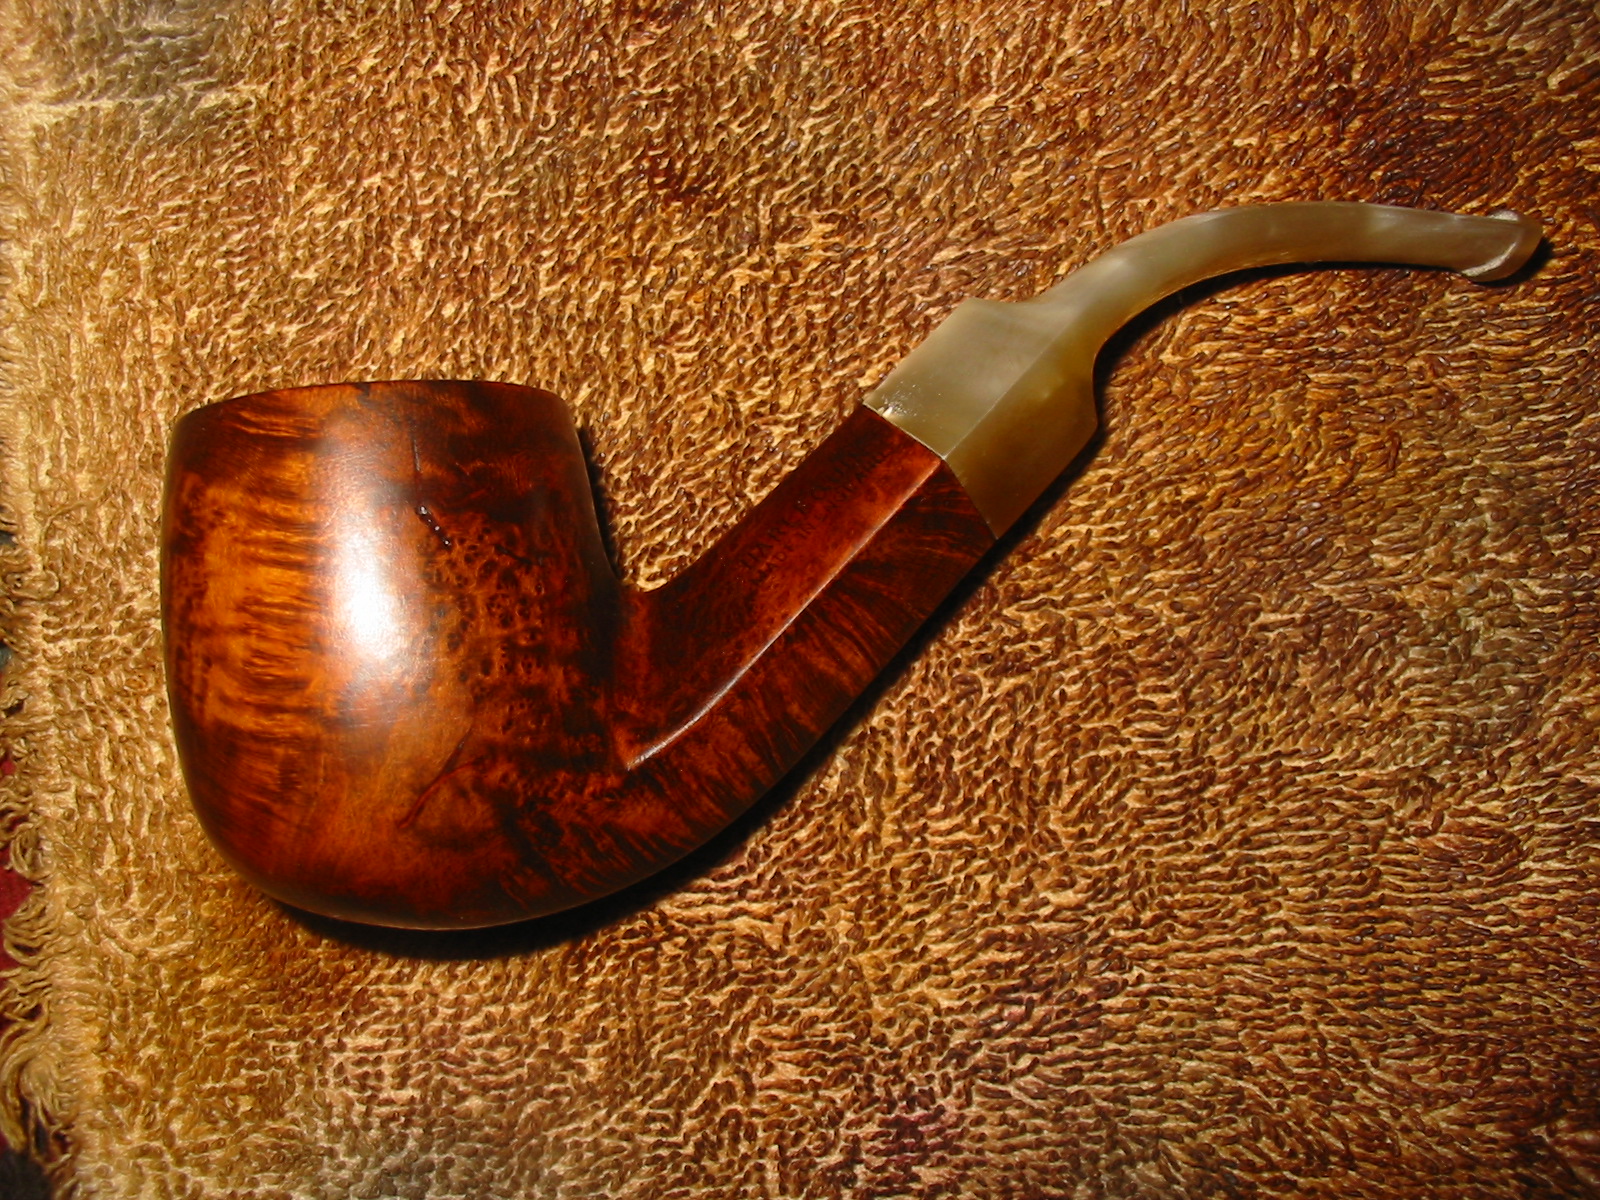
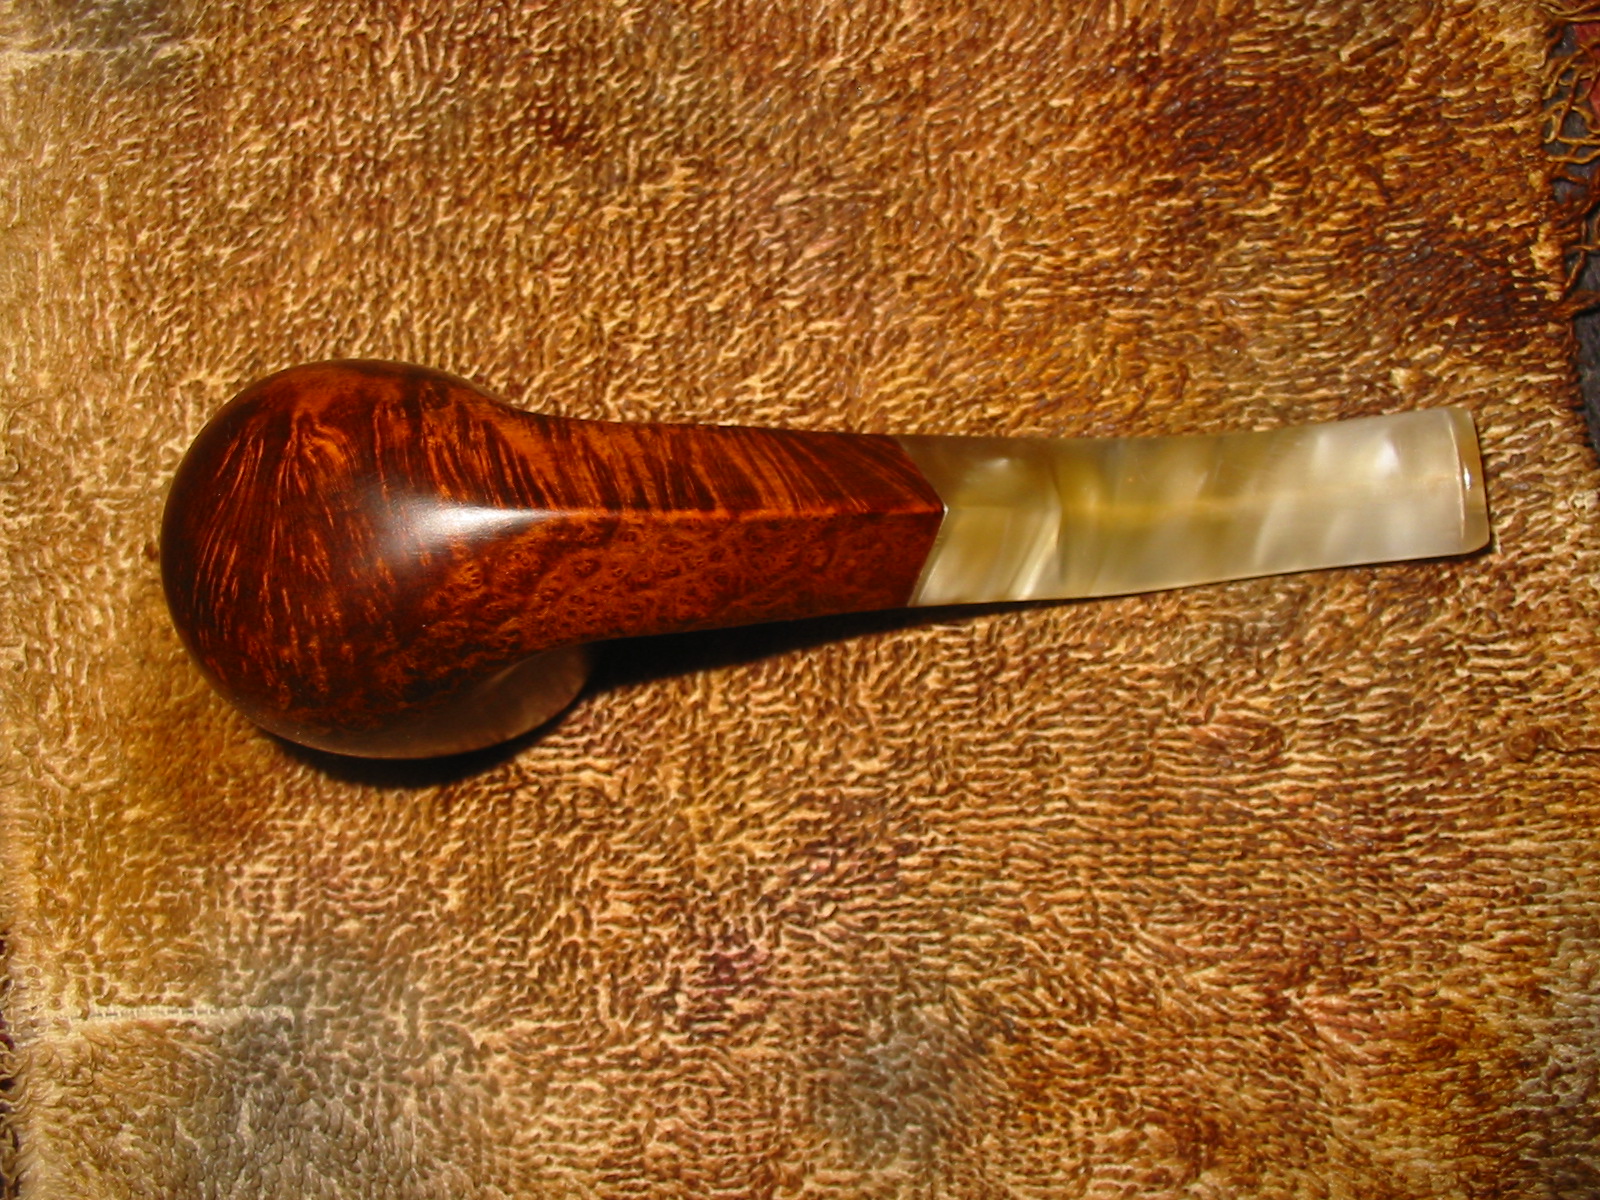
After sanding I took the pipe to the buffer and buffed the bowl and stem with White Diamond to polish the briar and the Lucite stem. I had previously sanded the stem repairs with the sanding sponges to remove the bump of the glue and blend it into the surface. I followed that with sanding the stem with all grits of micromesh from 1500-12000. I wiped the stem down with Obsidian Oil and then gave the bowl and stem multiple coats of carnauba wax to protect and polish it. I finished by buffing the pipe with a clean soft flannel buffing pad. The finished pipe is shown in the photos below. It is cleaned, stained and ready to smoke. I am really pleased with the finished look of the pipe. The yellow mother of pearl looking stem works well with the contrast stain on the bowl.
IMG_6234

IMG_6235

IMG_6236

IMG_6237

IMG_6238

A Journey from a Sad Apple to a Handsome Prince


In my antique mall grab bag there was an antique apple shaped pipe with an ornate end cap. It was a mix of brass and silver and had a fascinating look – at least to me. I liked it from the get go. The problem was the damage to the bowl was extensive. It truly was a mess with chunks of briar missing and cracks and crevices on the rim as well as in the upper portion of the bowl. So I looked through some of the bowls I have here to see if I had one that the end cap would fit but none were to be found. Lots of reshaping and changes would have had to be done to make any of the bowls I had work so I revisited the damaged bowl and did a few measurements on it to if I could remove the damage and still have anything left that was worth the work.
IMG_6143

IMG_6144

IMG_6145

IMG_6146

IMG_6147
After measuring the bowl I figured that I could convert it from an apple/brandy shape to a prince shape. If you look at most prince shapes you can easily imagine how it would have looked as an apple or a ball shaped pipe. It is not hard to see the prince as a cut down apple. I also looked through my stems and found an older military push stem that would give it a princely look. The end of the stem would need to be turned down slightly to fit in the metal end cap of the shank.
IMG_6148
I decided to start with a conservative approach to the reduction of the height of the bowl and the removal of the damaged briar first. I have learned that it is easy to remove briar but next to impossible to put it back once it has been removed. I set up the topping board and began to turn the bowl into the 220 grit sandpaper to work back the rim. After about ten minutes of work I could see that it would take me all night to hand sand it back to the height I wanted to work with. There had to be a better way to get it close and then finish the topping with the sandpaper and board.
IMG_6149
I decided to use a Dremel to remove most of the damaged briar, carefully working to keep it as close to flat as possible – a trick with a Dremel and a sanding drum but it worked fairly well. I took back all of the damage on ¾ of the bowl rim and left a slight amount on the front ¼. The rim would be thick and I would be able to rework the inner edge to bring it back to round with folded sandpaper.
IMG_6150

IMG_6151

IMG_6152
I took the bowl back to my worktable and used the topping board to flatten out the rim. The flattened rim is pictured in the photos below. I also used a rasp to trim down the taper of the bit so that it would fit in the metal end cap. The rest of the fine tuning of the stem would be done by hand with sandpaper and small files.
IMG_6153

IMG_6154

IMG_6155
I sanded the stem taper so that the fit was snug in the shank of the metal end cap and shank. The build on this old pipe was interesting. When I first got it I was able to remove the end cap. The shank had been cut quite short and then flattened so that a stem would sit in the end cap and be pressed against the end of the shank. I worked on the stem to achieve that result so that the stem sat flush against the end of the shank. With the stem fit correctly it was time to do some work on the bowl.
I decided to use some briar dust and super glue to repair some of the deep cuts in the briar. I cleaned out the cuts in the surface of the rim as well as the surface cracks that remained with a dental pick. I wiped down the surface with isopropyl alcohol and scored the areas that would be repaired so that the fill would bond well with the briar. I packed in briar dust with the dental pick and then dripped the super glue into place. I always overfill my patches so that when dry they are not sunken.
IMG_6156

IMG_6157
When the patches dried I sanded them with 220 grit sandpaper and a medium and fine grit sanding sponge to bring the surface of the patch to the same height and shape as the surrounding briar. This process is kind of like sculpting and once it was done I reshaped the outer edge of the bowl and did some work on the inner edge as well. The photos below show the look of the pipe at this point in the process. The handsome prince is beginning to emerge from the ashes of the old bowl.
IMG_6158

IMG_6159

IMG_6160
I decided to use a two step staining process to better blend in the fills and repairs to the bowl. They would still be visible but not stand out as the first thing that was noticed when looking at the bowl. I used a black under stain first. I heated the briar with a heat gun to warm it and open out the “pores” in the wood to take the stain well. I applied it heavily, flamed and repeated the process until I had good coverage on the bowl. Once it was dry I sanded the bowl to remove the majority of black stain. It remained in the grain and I left it a bit heavy around the top edge of the bowl and rim. I wanted it to have a shadow like look in those areas.
IMG_6161

IMG_6162

IMG_6163

IMG_6165
I wiped down the bowl with acetone on a cotton pad to remove the final bit of black and the sanding dust that was left behind from my work. I gave it several coats of oxblood stain as a topcoat. My thinking was that the deep red of the oxblood stain would set off the black under stain and provide an interesting contrast look to the finish.
IMG_6166

IMG_6167

IMG_6168

IMG_6169
I buffed the bowl and stem with Red Tripoli and White Diamond to see where things stood in terms of the colour and coverage on the bowl. I took it back to the worktable and sanded it with micromesh pads to smooth out the finish on the bowl. I still needed to do some more work on the rim and the stem at this point but the finish on the bowl was getting to the place where it was looking good.
IMG_6170

IMG_6171

IMG_6172

IMG_6173
I sanded the stem with medium and fine grit sanding sponges to remove the scratches and smooth out the transition from the part of the stem that sat in the end cap and the remainder of the stem. I followed that by sanding with micromesh sanding pads – wet sanding with 1500-2400 grit pads and dry sanding with 3200-12000 grit pads. I rubbed the stem down with Obsidian Oil once I had finished the sanding.
IMG_6175

IMG_6176

IMG_6177
The polish on the stem needed a bit more work to remove some of the scratches that still remained but I left that for the moment and decided to give the stem a slight bend. I set up a heat gun and heated the vulcanite until it was pliable. I bent it over a rolling pin that I use for doing this. I find that I get a more even bend when I use the pin as the base for bending.
IMG_6178

IMG_6179

IMG_6180
I took it back to the worktable to examine the repair on the front of the bowl more closely and to also do more work on the interior edge of the rim. It was significantly out of round, particularly around the area of the patch I had applied.
IMG_6185

IMG_6186
I used a half round wood rasp and folded 220 grit sandpaper to rework the inner edge of the rim. While doing so I also decided to top the bowl some more. I worked on the edge until it was getting more round, restained it to see what it looked like and decided I needed to top the bowl even more to remove more of the damage to the surface of the rim.
IMG_6187
After topping it even more, I sanded it with a fine grit sanding block and then restained the rim yet again. At this point the bowl was looking far better. There was still a slight divot out of the edge of the rim on the front of the bowl. I wanted to rework that area some more before I was finished with the pipe.
IMG_6188
I sanded and shaped the inner edge of the rim some more with folded sandpaper, repaired the fill with a bit of superglue and briar dust, sanded some more to get it to the place shown below. All that remained was to sand the top of the rim and inner edge with micromesh pads to clean up the overall appearance and the bowl was ready to go.
IMG_6190
I sanded the inner edge of the rim with some 400 and 600 grit wet dry sandpaper and then carefully dry sanded the top of the rim with micromesh sanding pads 1500-2400 grit. I gave the inside of the bowl a light coat of pipe mud to protect the bowl. I hand buffed the bowl with a shoe brush to give it a shine and then gave it multiple coats of carnauba wax to finish. The completed pipe is shown below in the last series of photos.
IMG_6191

IMG_6192

IMG_6193

IMG_6194
The old sad apple had disappeared and was replaced with a handsome prince that still had some life in it. The little prince will now grace my pipe rack and will one day be given in trust to the next pipeman who will carry on enjoying this piece of history.

Giving New Life to a no-name Sandblast Apple


I was gifted this old apple bowl. It was a nicely shaped apple with a light sandblast finish. There were some significant problems with flaws and crevices in the bowl. The major flaw was on the right side of the bowl toward the top and on the top of the rim itself. It extended into the bowl for about a ¼ inch. There was no cake or build up and the bowl seemed clean and lightly smoked if smoked at all. It had a rounded shank so it was clear that the original stem had been a stick bit of some sort – though sadly it was lost. I had it sitting in my box of pipes to be refurbed for awhile while I worked on other pipes. Its turn finally came up.
IMG_5419

IMG_5422

IMG_5421

IMG_5420

I went through my can of stems and found the kind of stick bit free hand style stem I thought would look good on this pipe.
IMG_5418

I turned the tenon end of the stem with a PIMO tenon turning tool and then used the Dremel and sanding drum and finally some hand sanding with 220 grit sandpaper to get the stem to fit well in the mortise of the shank. With the fit nice and snug I would need to sand the saddle area and clean up the tenon to make it shine.
IMG_5426

IMG_5427

IMG_5428

IMG_5429

IMG_5430

I cleaned up the crevices with a cotton swab and dental pick and isopropyl alcohol. I then packed some briar dust into the filled crevices and dripped super glue into the briar dust. I repeated the process until the flaws were filled and the surface of the bowl and rim bulged slightly. I sanded the rim and the fill on the side with 220 grit sandpaper to remove the excess fill. I scratched the surface with the dental pick to give it a similar texture to the surround sandblasted bowl. I sanded the saddle on the stem at the same time with 220 grit sandpaper. I finished the repair and the saddle area with a medium and a fine grit sanding sponge.
IMG_5431

IMG_5432

IMG_5433

Once the area was filled and the texture finished it was time to stain the pipe. I decided to use a dark brown aniline stain that I would later wipe down with alcohol to give more transparency and aid in a contrast on the surface of the bowl. I wiped down the surface of the bowl with isopropyl alcohol before staining the bowl to remove the dust. I applied the stain and flamed the bowl and repeated the process until the coverage was even.
IMG_5434

IMG_5435

IMG_5436

IMG_5437

I wiped the bowl down with isopropyl alcohol on cotton pads to give the stain some more transparency and to lighten it.
IMG_5440

IMG_5441

IMG_5442

I buffed the bowl with a light touch on the buffer using White Diamond. I took it back to the work table and hand buffed it with a shoe brush to give it a shine. There were spots on the shank and the bowl where I would need to touch up the stain as it was too light and shiny.
IMG_5443

IMG_5444

IMG_5445

IMG_5446

Once the coverage looked good I gave the bowl a coat of oxblood aniline stain to build a contrast. In the photos below you can see the way it worked to highlight the blast and show the grain. The birdseye grain under the blast on the left side of the bowl showed up with a nice contrast look.
IMG_5447

IMG_5448

IMG_5449

IMG_5450

I worked over the stem with micromesh sanding pads using the 1500-2400 grit pads to sand the surface of the bowl and give it more contrast with the crevices in the blast. I polished the stem with my usual pattern of micromesh pads – wet sanding with the 1500-2400 grit pads and dry sanding with the 3200-12,000 grit pads. I rubbed the stem down with Obsidian Oil and let it soak in. When it had dried I hand buffed the stem.
IMG_5451

IMG_5452

IMG_5453

I buffed the pipe and the stem with White Diamond and then gave it multiple coats of carnauba wax. I buffed it with a clean flannel buff to raise the shine on the bowl. The finished pipe is shown in the photos below.
IMG_5454

IMG_5455

IMG_5456

IMG_5457

In closing I include two photos of the repaired areas of the bowl to show the finished repair. The super glue and briar dust repair worked well and is quite hidden by the stain and finish work. The trick was not to overfill the areas surrounding the crevice so that the filled area would blend into the texture of the bowl. I am pleased with the finished product.
IMG_5458

IMG_5459

Chuck’s Gift Pipes Part 1 – a Horn Stemmed Venezia Vogini


Blog by Steve Laug

In celebration of his 1500th post on Smokers Forums, Chuck (Desertpipe) sent me an email regarding some packages that he was going to distribute to three folks on the Forums. Two of them came to the Vancouver area and one went to the East Coast of the US. I refurbished the older Barling that is heading east as a surprise to the new owner. (I posted the refurb on that old pipe on the blog https://rebornpipes.wordpress.com/2012/08/05/new-life-for-an-old-barling/ ) Now the wait for the package to come my way north and into my mail box begins.

Chuck posted on SF that he had mailed out the packages. On 08/23/12 I received this email from him regarding the package coming my way. It seems he has chosen two pipes for me to work on. I look forward to seeing them.

Steve,
Back a decade ago, when I first started getting serious about understanding pipes, I discovered the wonderful world of size. I dawned on me that the size of pipes had radically changed over the course of time, related to the quality, cost and strength of tobacco. I put together quite a collection of pipes from many decades, and also a collection of tobaccos from as many sources and time frames as I could.

The two pipes coming your way are from this collection. The red stemmed pipe will need your magic touch to return to perfect, and I look forward to your take on the restoration. The other is one of my two favorites of this type. It has all the bells and whistles that make one collect very old examples, and I bet it finds a permanent home in your collection.

Enjoy, my Friend,
Chuck

When I received the above email, my curiosity was piqued and I sent him an email asking about the age of the two pipes and this is his response via a reply email.

My best guess…..The red stem is early Redmanol time frame….puts it 1920’s/30’s? 14k gold filled band has no marks to help out.  The horn bit folder (so far beyond cool as to be in a class by itself) is before that, as far as I have been able to trace, turn of the Century or a bit before?

Now I am even more excited to see what the package contains once it arrives. I have a weak spot for older pipes. The tension of the wait increases!

Today, 9/4/2012 Chuck’s gift box arrived. I opened it to find a tin of C&D Opening Night and two nice little old timers. The first is an old WDC bent pot with a Redmanol stem. The other is a folding vest pocket pipe. The shank has a 90 degree bend and the stem is horn. These are going to be great to work on.

I chose to work on the folding vest pocket pipe first. It is stamped Vogini over Venezia in an oval on the upward bend of the bowl to meet the shank. When it arrived the bowl was clean. There were a few scratches on the rim. There were small dents on the left and right side of the bowl. The band was set crooked with the back side lower than the front making a good seat for the shank impossible. The shank is briar and is a 90 degree bent piece. It is very unusual. There were fills on both the top and the underside of the horizontal part of the shank. The stem is a nice piece of horn that is actually quite tiny. It has tooth chatter on the top and the bottom side of the stem. There are two tooth dents on the underside next to the button. The orifice hole in the button is slightly off centre. This is a great looking old timer that should clean up easily and look amazing!

I have done a bit of research and find that the Venezia brand is definitely Italian and is either a Cavicchi mark or La Rocco but not sure which was an early company. The mark may even go back further into history that I am aware and than Who Made That Pipe reports. If any of you have any ideas on the age and provenance of this pipe let me know by posting a comment. Thank you ahead of time for the information. ImageImageImageImageImageImageImageImageImageImage

On the evening it arrived I removed the band from the shank and glued, pressure fit it and reset it at a proper angle to seat the shank correctly. I used carpenters glue to reglue the band. I pressed it on and held it until it was set. I then wiped the bowl down with a cotton pad and acetone to clean off the grime and the remaining finish. I also wiped down the band to remove the oxidation that was built up on it. ImageImageImage

I cleaned off the briar shank and the bowl with some more acetone to remove the finish completely and to clean it so that I could begin to repair the fills in the shank. The first photo below shows the pipe after has been wiped down with acetone completely. I avoid using acetone on horn stems. In pictures 2, 3, and 4 you can clearly see the cotton pads that I use with the acetone to wipe the pipe down. These are circularly pads that I pick up at a local store in the makeup section. They are used to remove makeup but I find them perfect for using with alcohol and acetone wipes. I dampen them with the liquid and then wipe down the surface. The dirty pads in the pictures show the dirt and stain that has been removed from the surface of the pipe. ImageImageImageImage

Once the surface is clean, I picked the pink putty fills from the top and underside of the shank piece. I wanted to refill them with briar dust and super glue (pictures 1 and 2 below show the spots that were filled with the combination). ImageImage

I sanded the filled areas (pictured in the next two photos) until they were smooth dark spots on the surface of the wood using fine and extra fine sanding pads. I continued to sand down the surface of the shank and the bowl until the spots were basically blended into the wood as much as possible. I also sanded the rim and top of the bowl to remove the scratches. The bowl and rim were sanded with micromesh pads 1500-2400 grit. The shank was also sanded with the same grits. Photos 3-4 show that finished look of the spots. Once they were sanded to that point I wiped down the shank piece with a pad and isopropyl alcohol to clean off any remaining dust on the briar. ImageImageImageImage

I set the bowl aside and worked on the stem to remove the tooth chatter and the tooth marks on the underside. Horn is such interesting material to work with. I use a fine grit sanding sponge to remove the chatter and tooth marks. It is flexible so it is easy to conform to the curve of the stem. I also had to use emery cloth (fine grit) to remove the remaining marks left by the tooth dents. ImageImage

I restained the bowl and the shank with an oxblood aniline stain, flamed it and then buffed it with White Diamond to remove opacity of the stain and polish it. I wanted the bowl and stem to match in colour rather than the original look of the darker shank and lighter bowl. I gave the entirety several coats of carnauba wax and a light buff with a flannel pad on the buffer. ImageImageImageImage

From the above pictures you can see the colour of the shank and bowl are pretty close. I needed to do some work on the fit of the shank to the bowl. The briar tenon on that portion of the shank was loose fitting and could easily have fallen out at this point in the cleaning. I used a thin coat of super glue and sanded it down to make it a snug fit. Once the shank had a good flush fit and was snug to the bowl, I sanded it with micromesh pads 8000 and 12,000 grit to give it a shine. I gave it another coat of carnauba wax and set it aside.

ImageImageImage

I gave the tenon on the stem a thin coat of super glue as well and sanded it until the fit was snug. The stem had been loose and easily came out of the shank and would twist from side to side. The superglue made it fit perfectly. I continued to sand the surface of the stem with micromesh pads using the 1500 and 1800 grit pads before buffing it with White diamond. I went on to sand it with the pads from 2400-12,000 grit. Each successive sanding brought more of a shine to the stem. Once it was finished I gave it several coats of carnauba wax and buffed the whole pipe on the buffer to raise the shine. Image

Image

The final pictures were taken this morning (9/5/12) after a quick wipe down with a polishing cloth. The next series of five photos show the pipe with the shank and stem extended and ready to smoke. There are several shots to show the state of the horn stem after the sanding and polish. It has a beautiful natural sheen to it that is amazing and only possible in horn. There is almost a warm glow that seems to come from within the stem. You can see that the super glue patches in the fills and the sandpits are fairly well blended into the shank.  ImageImageImageImageImage

The next series of four photos show the folded pipe ready to be put in the vest pocket and carried with me to the next event where I want to take a small pipe which folds up nicely into a small square and slips into my pocket. The grain on this little pipe is amazing.

I would like to once again thank Chuck for his generous gift of this old timer. I look forward to firing it up and smoking it over the remaining years I am around. I love these unique old timers that add colour and character to my collection. I often wonder what stories they would tell if they could speak. Ah well, I will now add my story to the list of those who have smoked and enjoyed this beauty. ImageImageImageImage