by Steve Laug
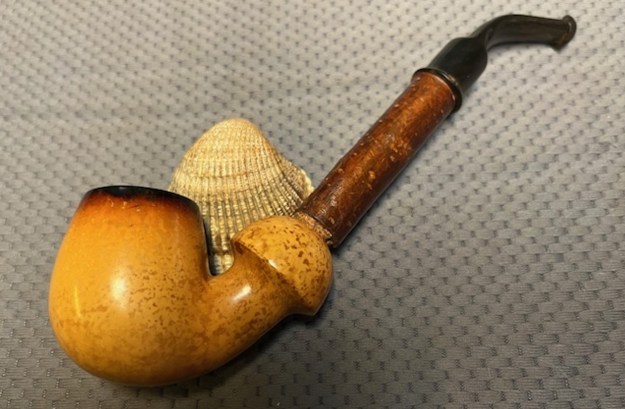
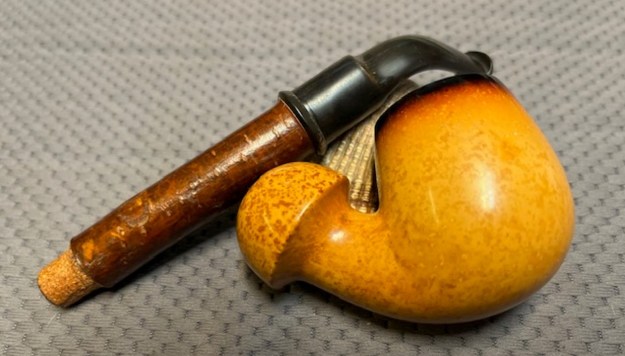
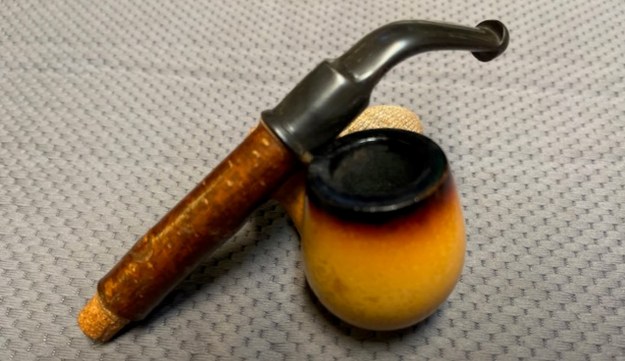
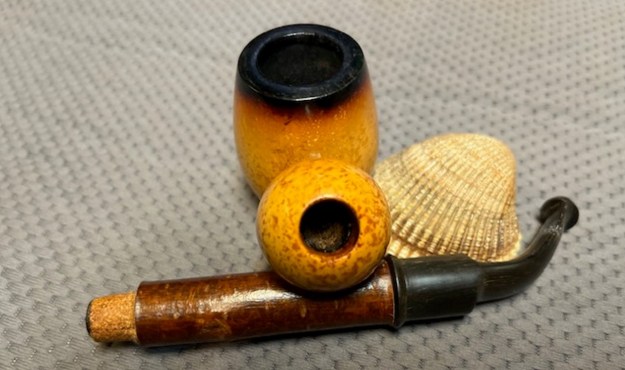
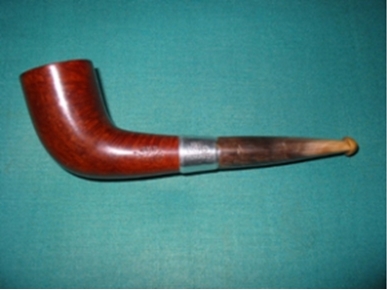
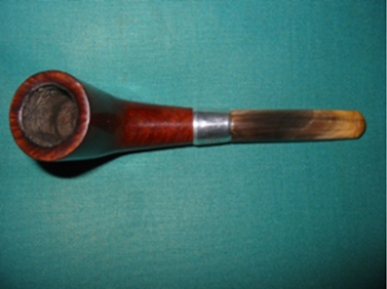
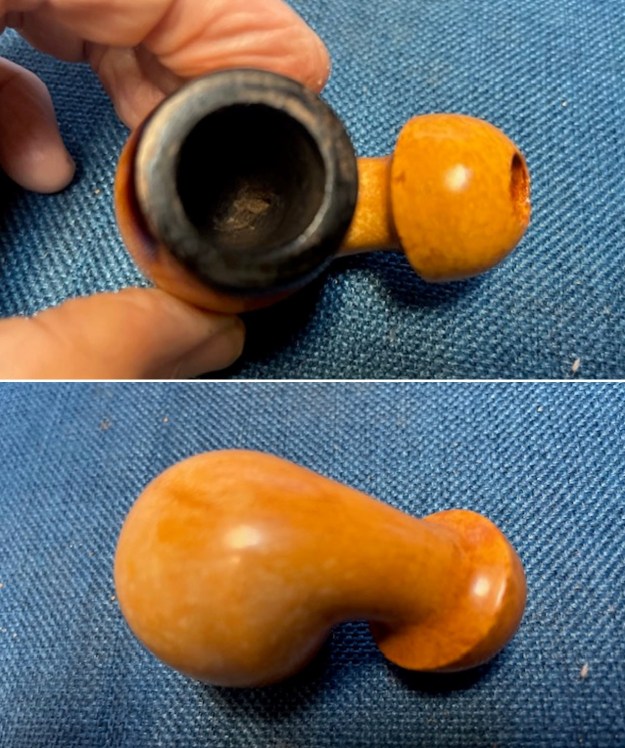
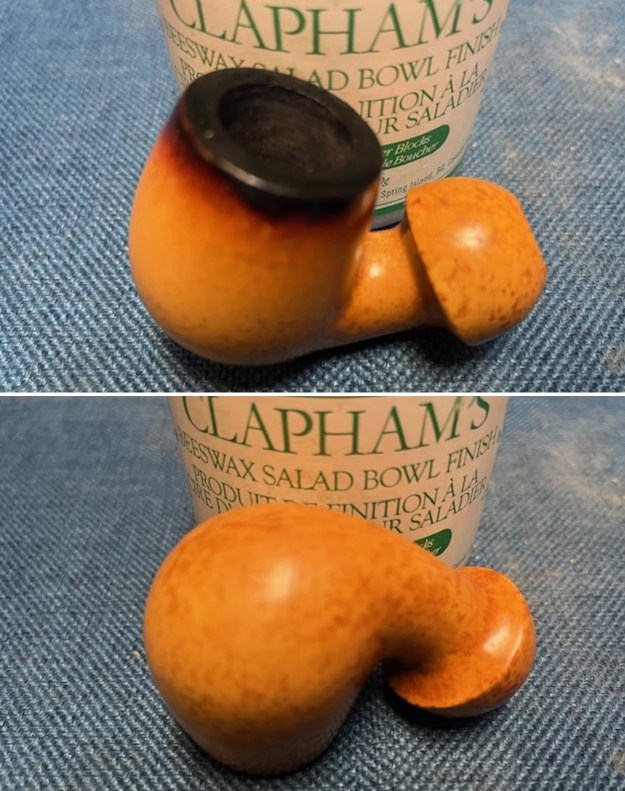
I have had this older meerschaum bowl in my box of pipes to restem for a long time. I have no idea where we picked it up but this older style bowl always catches my attention. The mushroom shaped shank, the patina on the meer and the darkened, or flumed, edge of the bowl all catch my eye. I have worked on quite a few of these in the past and most had cherrywood shanks and horn stems. I was going through my box of bowls the other evening and once again this one really caught my eye. The finish is clean with a very nice patina. The bowl is very clean with no cake build up and appears to have been well maintained. The rim top is clear of debris and lava and the fluming is faded in spots around the top. The shank is also clean and appears to have been cleaned before we set it aside. I don’t know about you all but when you have a lot of pipes to work on sometimes it is easy to forget what has been done on the pipes in boxes. I took some photos of the pipe to give a sense of what it looked like when I removed it from the box.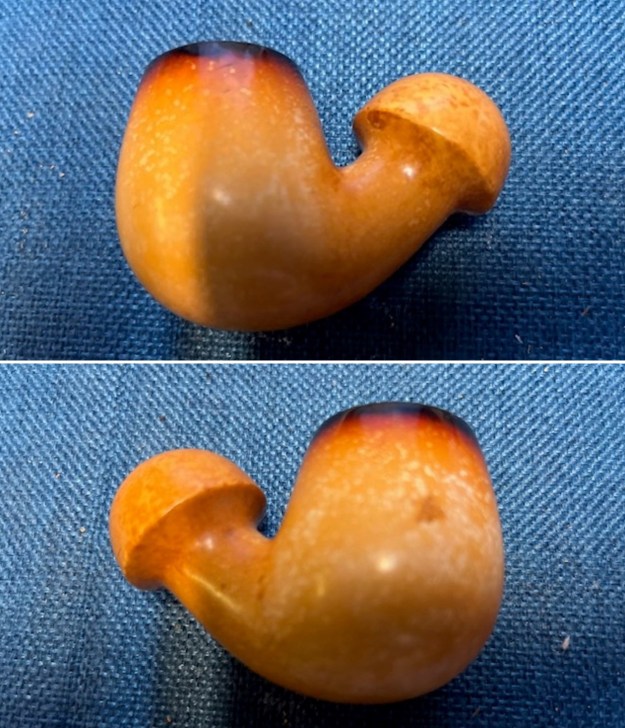
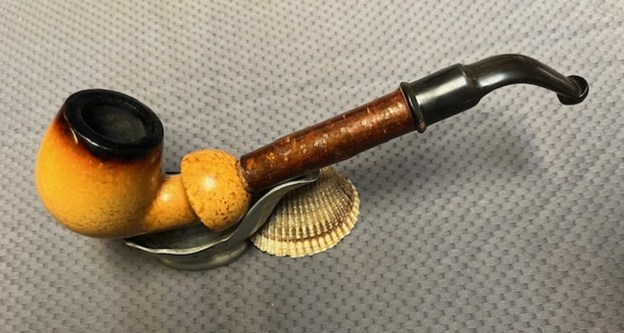
 I went through my stems and found a cherrywood shank and horn stem that would work well with the pipe. I would need to glue some cork on the tenon of the stem (normal for this style of shank). The cherrywood was in excellent condition but the stem had some worm damage on the sides and a small split in the underside that would need to be repaired.
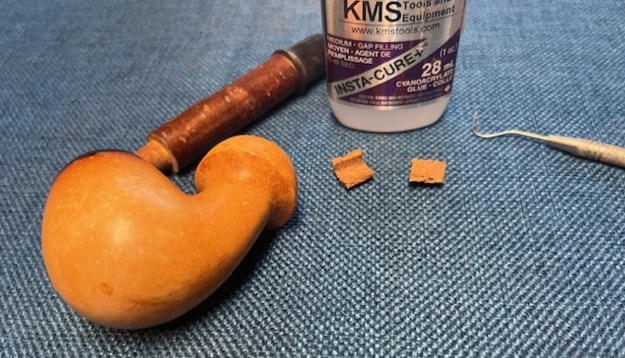 I gave the cork a coat of clear CA glue and pressed it in place on the shank end. I love working with this glue as it cures quickly and holds very well.
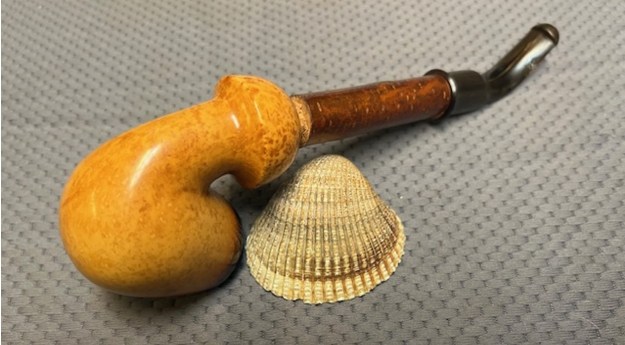
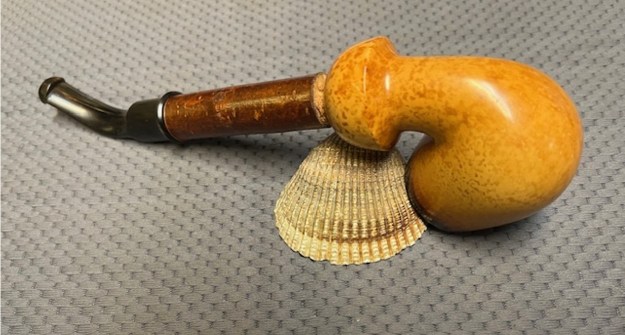
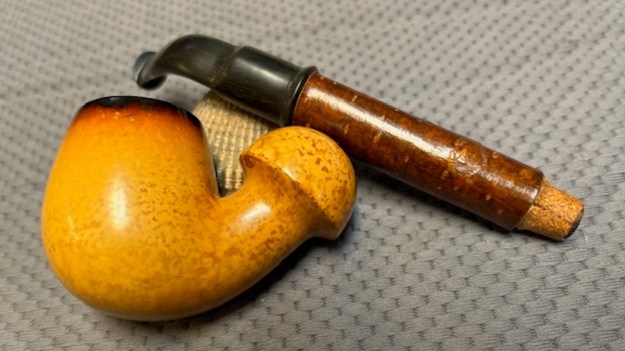
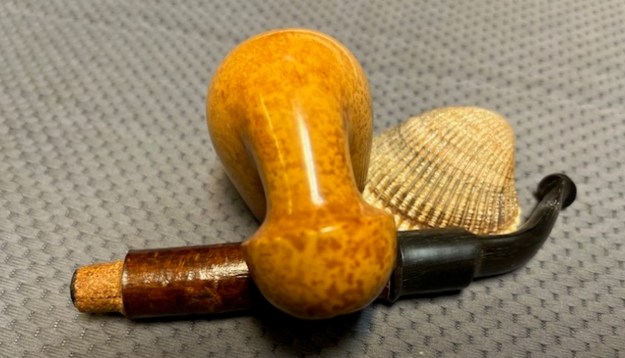
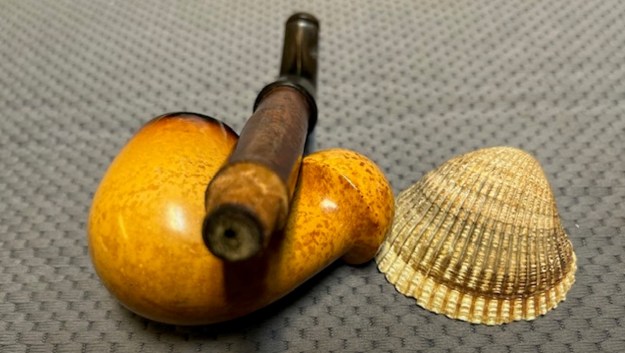
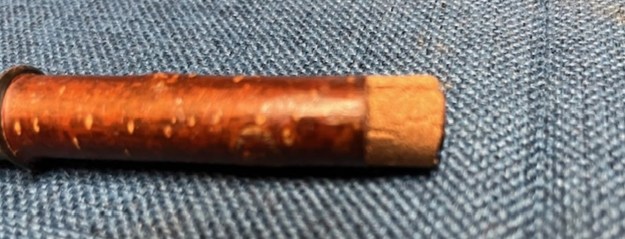 I took some photos of the parts of the pipe to show the general proportion of the pipe. You can also see the seams in the cork gasket. But no worries. I still need to sand down the gasket for a fit in the shank and grease it which will bring the seams together. You can also see the worm damage on the horn stem in the second and third photos below.
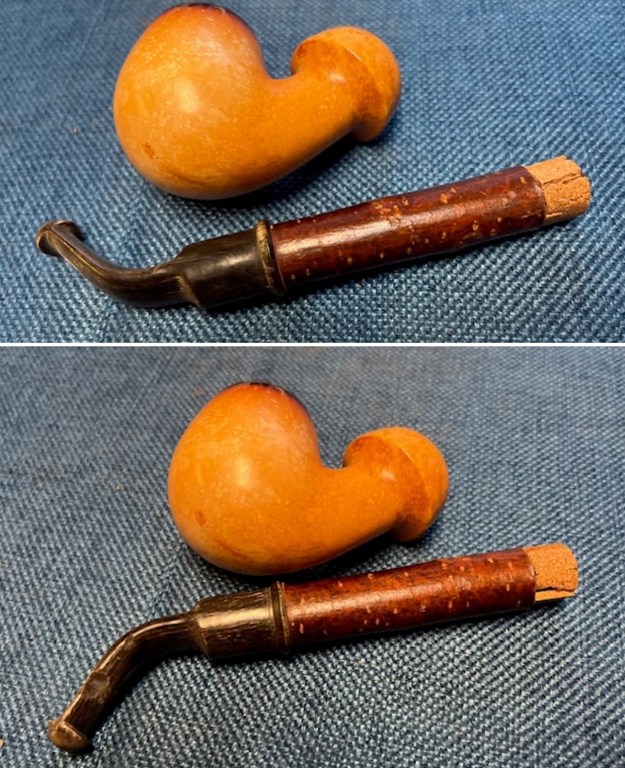
 I used my Dremel and sanding drum to reduce the diameter of the cork gasket until it fit well in the shank ed of the bowl.
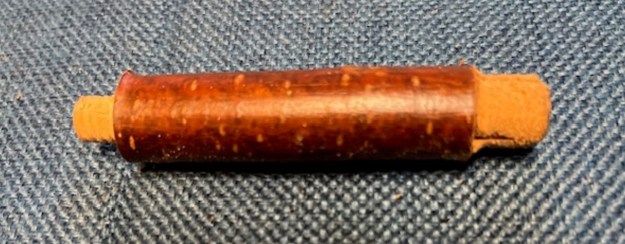 I used some Vaseline petroleum Jelly to soften and preserve the cork gasket. I worked it into the cork with my finger tips and let it sit. I repeated the process and once finished the cork was soft and pliable. It fit well in the shank and was snug and solid.
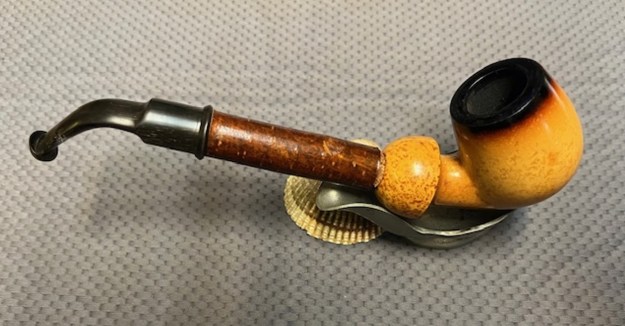
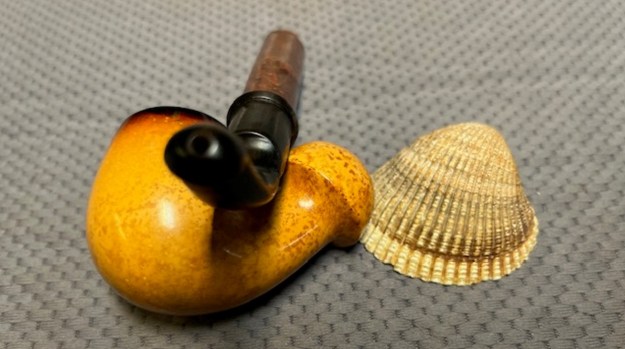
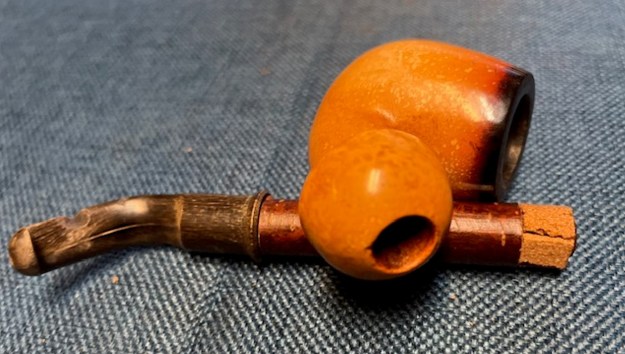
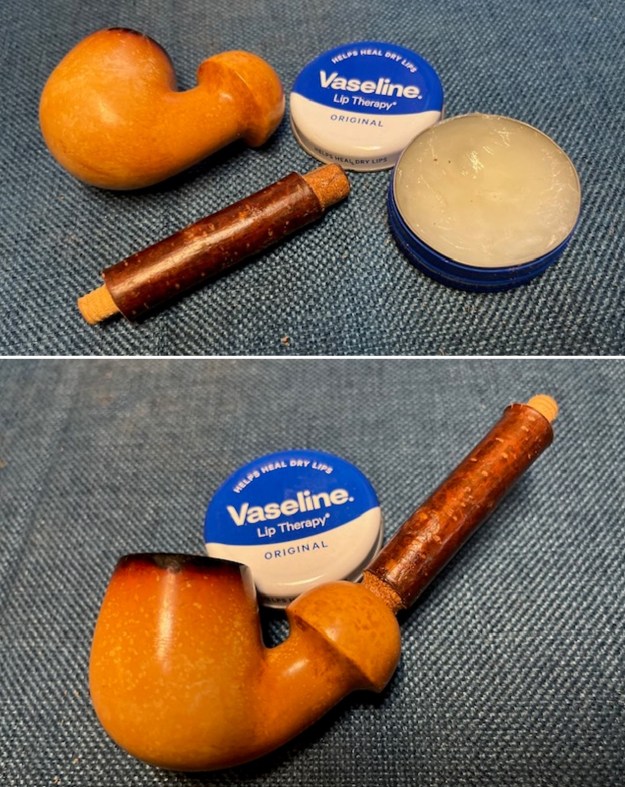 I screwed the stem on the shank to give a sense of what the pipe would look like once finished. I like the look and feel of this one.
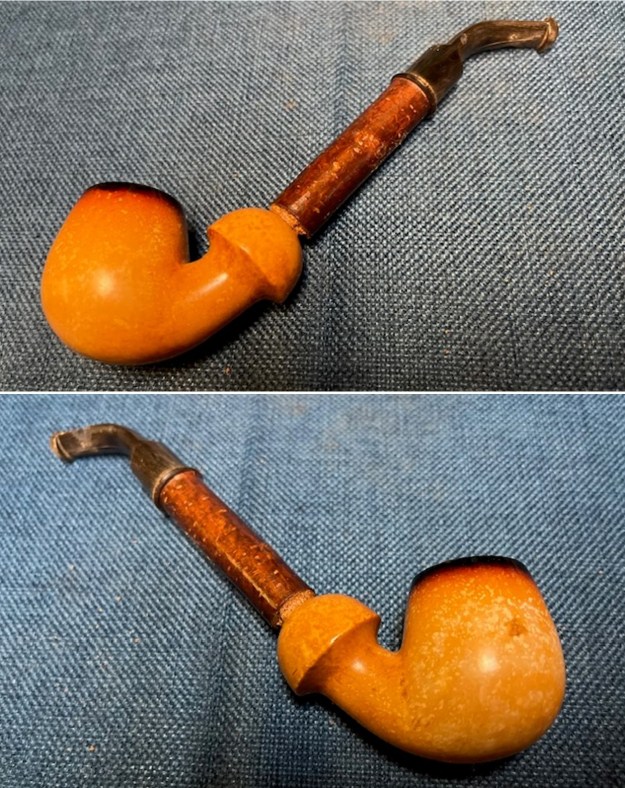
 I touched up the black flume to the rim top with a black Sharpie Pen. I coloured in the edge and the spots on the rim top and inner edge until it was blended in.
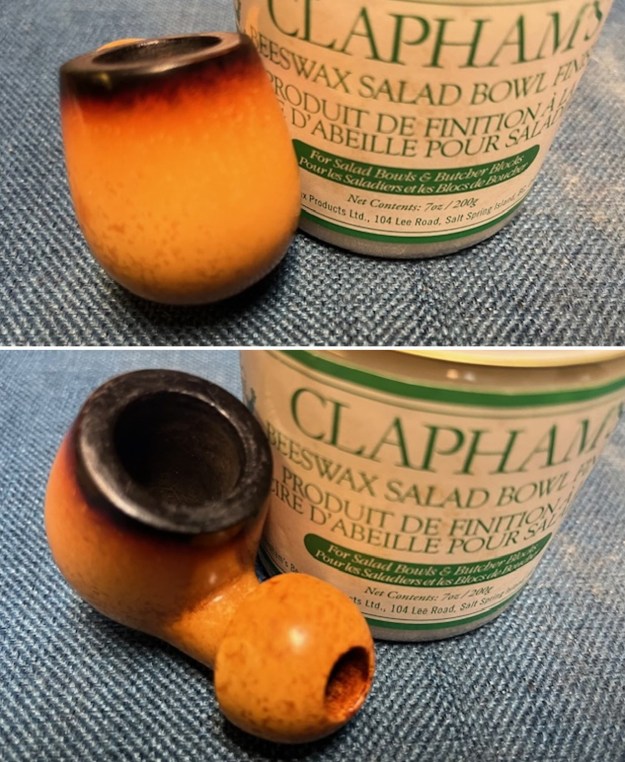
 I gave the bowl multiple coats of Clapham’s Beeswax/Carnauba wax. I applied it by hand and let it cure then buffed it off with a soft cloth to raise a shine.
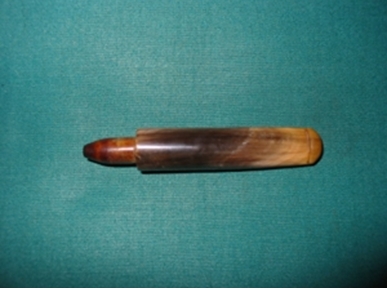
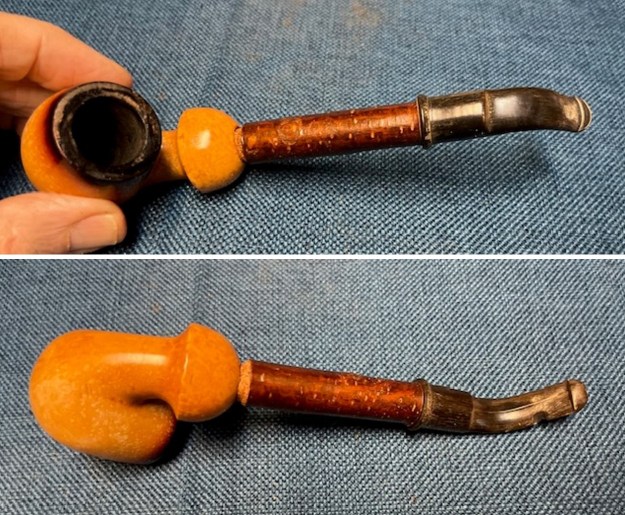
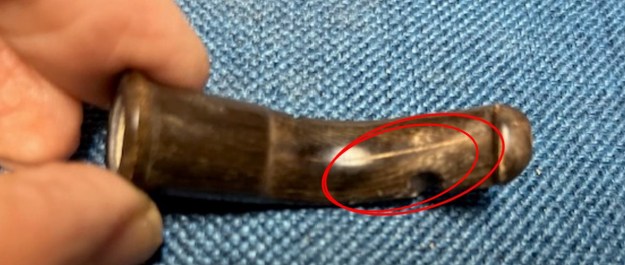
 I removed the stem from the cherrywood shank and set the bowl and shank aside. It was time to address the worm damage in the horn stem. I have circled the damaged areas in red in the photos below.
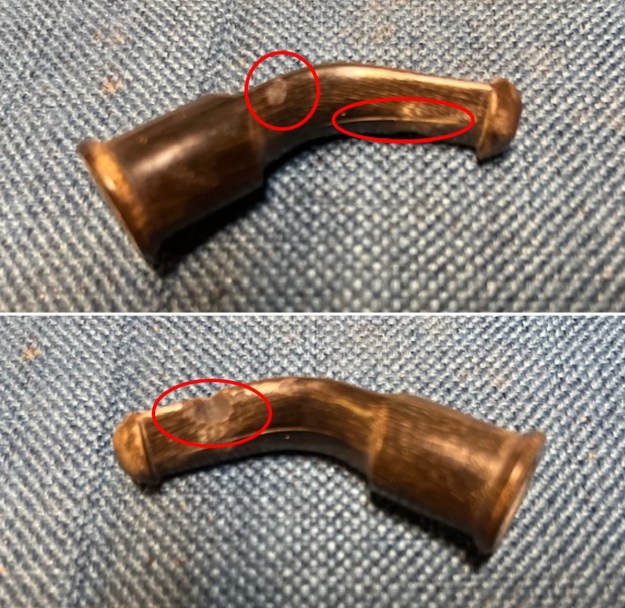
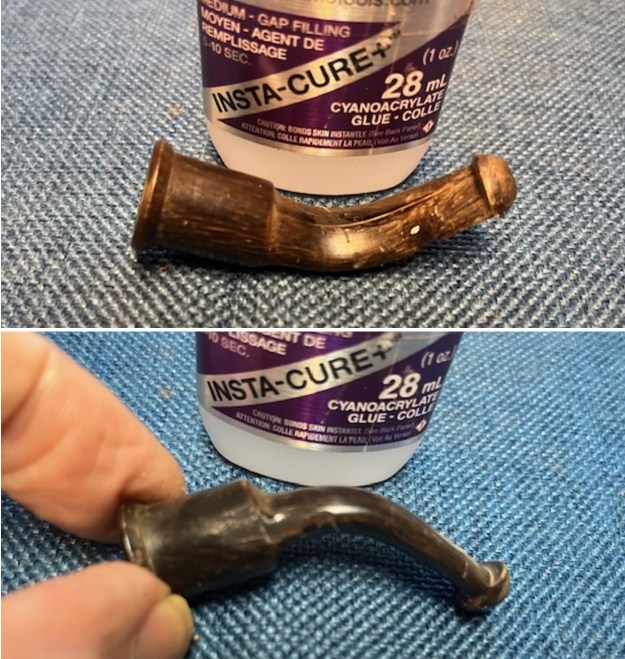
 I filled in the split on the underside of the stem and the worm damage spots on each side with clear CA glue. I layered it into he damaged areas until it was smooth.
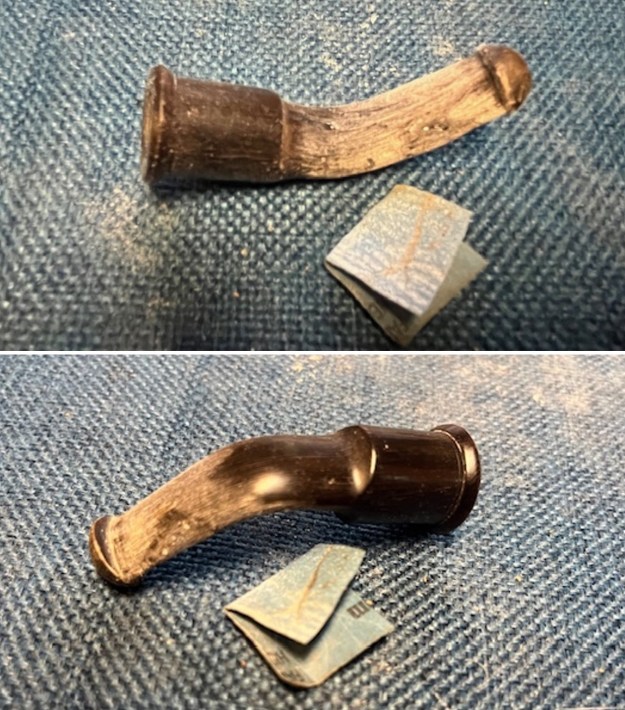
 Once the repair cured I shaped and flattened the repairs with a small file. I worked over the shape with a folded piece of 220 grit sandpaper. I wanted the edges and surfaces to be smooth.
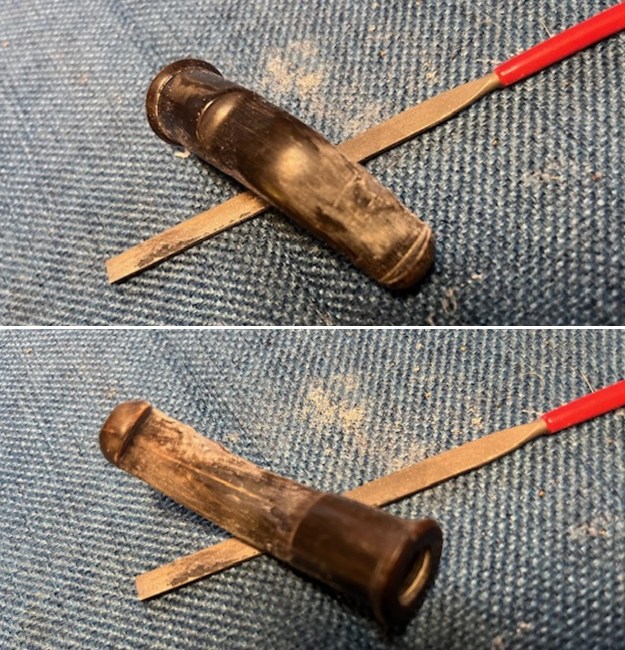

 I sanded the stem with 320-3500 grit sanding pads. I wiped the stem down after each sanding pad to remove the sanding debris and dust. The stem looked very good.
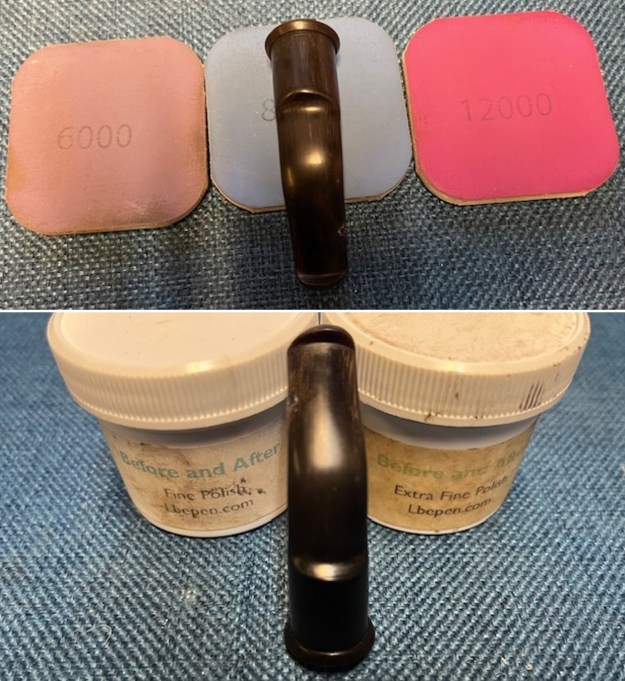
 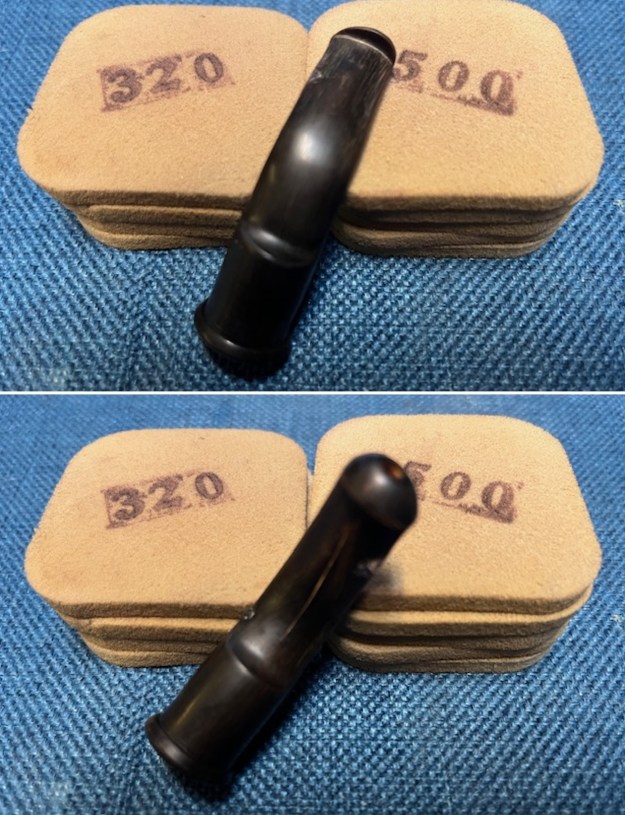 I polished the stem with micromesh sanding pads – 1500-12000 grit pads. I wiped it down with an Obsidian Oil cloth after each sanding pad. I finished polishing it with Before & After Pipe Stem Polish – both Fine and Extra Fine and buffed it off with a cotton cloth. I gave it a coat of Obsidian Oil to preserve and protect the stem.
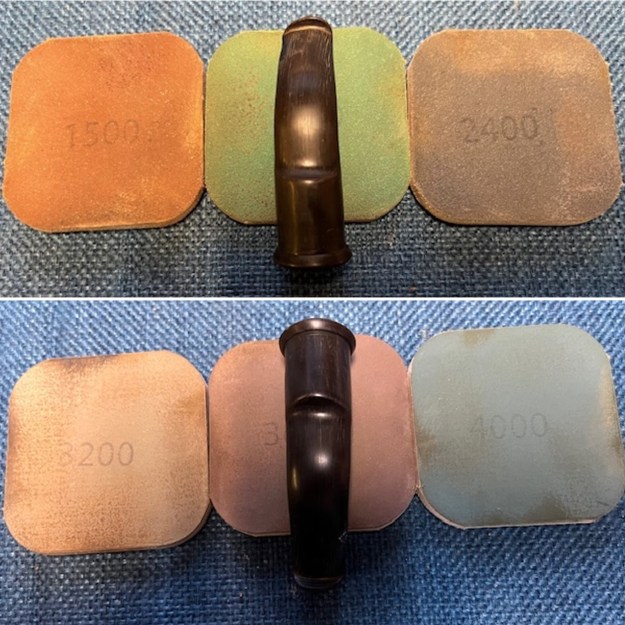
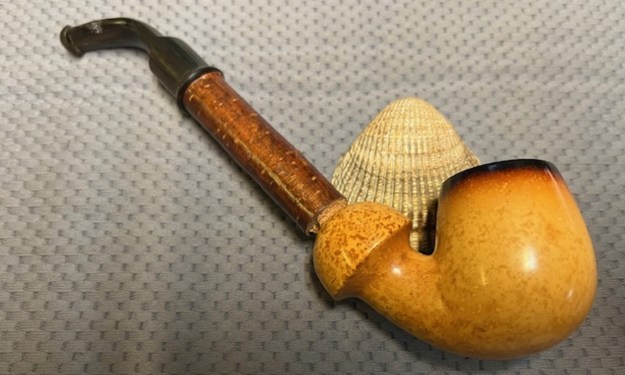
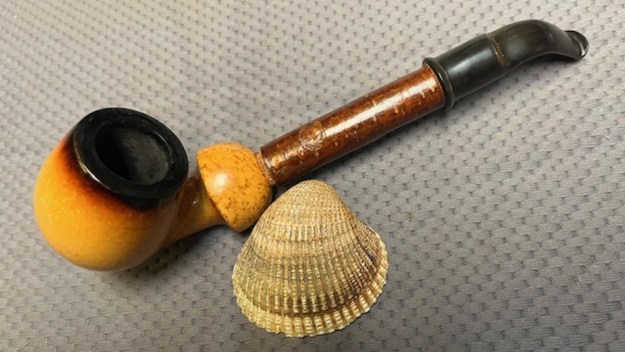
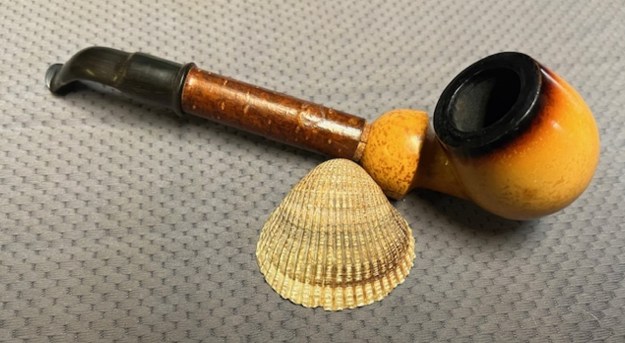
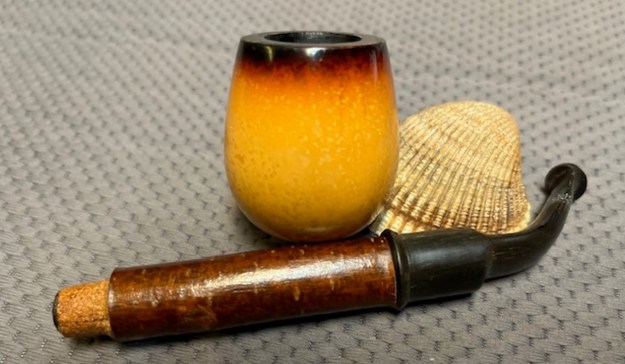
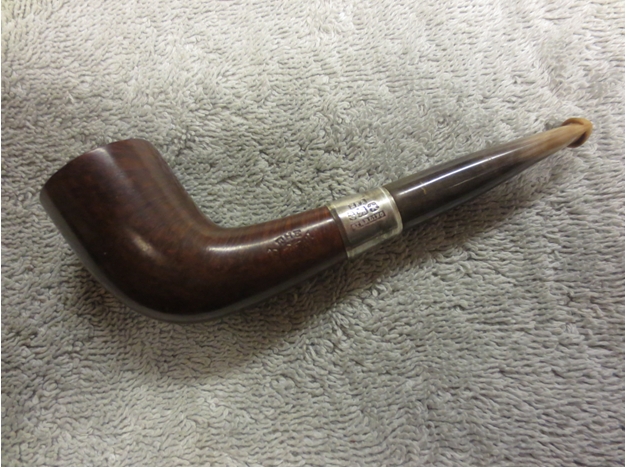
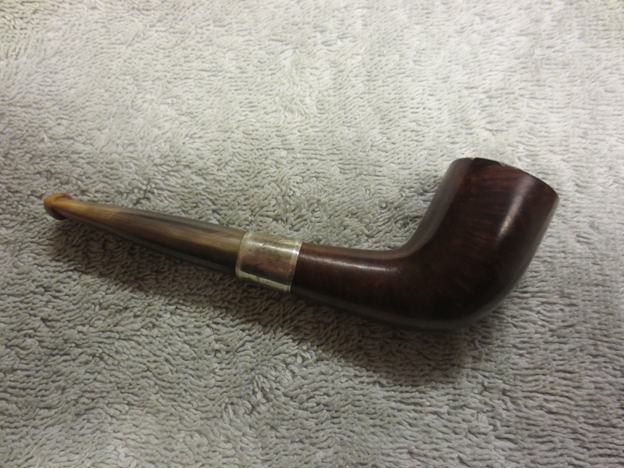
 This Old Apple Meerschaum with its new Cherrywood and Horn Stem is a great looking pipe now that it has been restored. The patina on the waxed meerschaum gives a sense of depth to the pipe. The flume on the rim and down the outer edge of the bowl is a nice touch. The Cherrywood shank and the rebuilt horn stem go well with this older classic bowl. I carefully buffed the parts of the pipe with Blue Diamond on the buffing wheel. I gave the bowl and the stem multiple coats of Clapham’s Beeswax carefully buffed the entire pipe with a clean buffing pad. I hand buffed the pipe with a microfiber cloth to deepen the shine. The finished Old Apple Meerschaum with its new Cherrywood and Horn Stem fits nicely in the hand and feels great. Give the finished pipe a look in the photos below. The dimensions of the pipe are Length: 7 inches, Height: 1 ¾ inches, Outside diameter of the bowl: 1 ¼ inches, Chamber diameter: ¾ of an inch. The weight of the pipe is 57 grams /1.98 ounces. I will be adding it to the rebornpipes online store in the Meerschaum Pipe Section shortly. Send me an email or a message if you wish to add it to your collection.
As always, I encourage your questions and comments as you read the blog. Thanks to each of you who are reading this blog. Remember we are not pipe owners; we are pipe men and women who hold our pipes in trust until they pass on into the trust of those who follow us.