Blog by Steve Laug
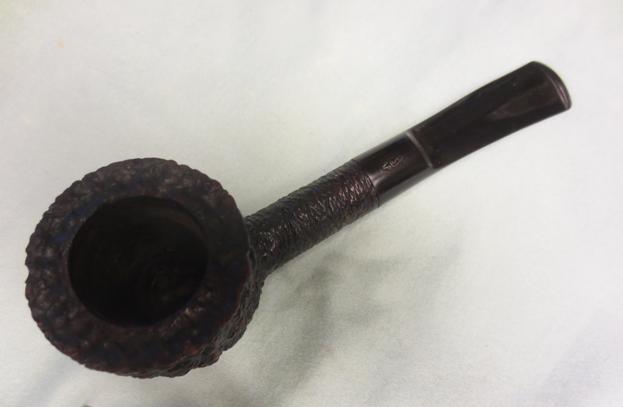
One of the gift pipes received from a friend when I repaired his pipe was a beautiful little Savinelli Capri 121 Pot. I love the finish on the Capris. There is something about the rusticated finish that adds a tactile dimension to the pipe that I thoroughly appreciate. This pipe was no exception. The finish on the bowl was in excellent condition though at some point in its life it had been topped. The typical rustication on the rim surface had been sanded smooth and the rim had been stained with a reddish brown stain. The internals of the pipe were very clean. The bowl had been reamed and the airway in the mortise was spotless. The stamping on the bottom of the shank was sharp and legible – it reads Savinelli Capri over Root Briar and the Savinelli shield and next to that the shape #121 over Italy.
The stem had seen better days but it was still repairable. It was oxidized and the gold stamping was faint on top of the saddle. There were tooth marks on the top and the bottom of the stem. The ones on top had been repaired and filled with a white looking epoxy. It was hard and smooth but it was white and it looked really bad with the brown oxidation on the stem. These would need to be removed and repaired when I worked on the stem. The tooth marks on the underside of the stem were not as deep and could easily be remedied by sanding the stem. The inside of the stem was also very clean. I took the following photos when I brought the pipe to the work table.
 I took some close-up photos of the rim and the stem to show the condition of both. The topping job on the rim actually was very well done. The refinish on it was impeccable – no scratches or grooves, just a clean smooth surface. The stem shows the story I mentioned above. The top side view shows the repairs and the underside view shows the dents.
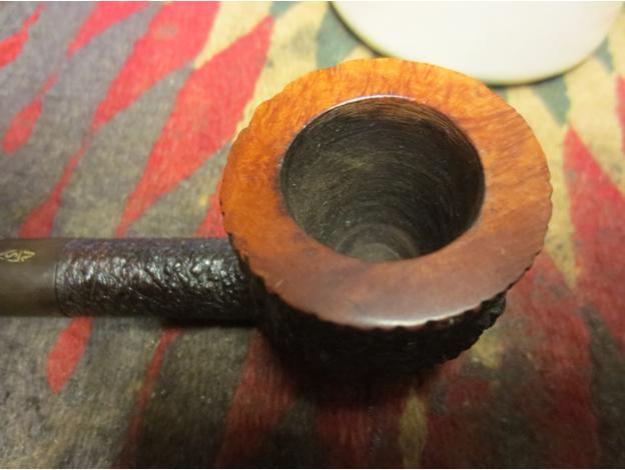
 Taking care of the dents on the underside of the stem was an easy matter. They were not too deep so I sanded the stem with 220 grit sandpaper and they disappeared.
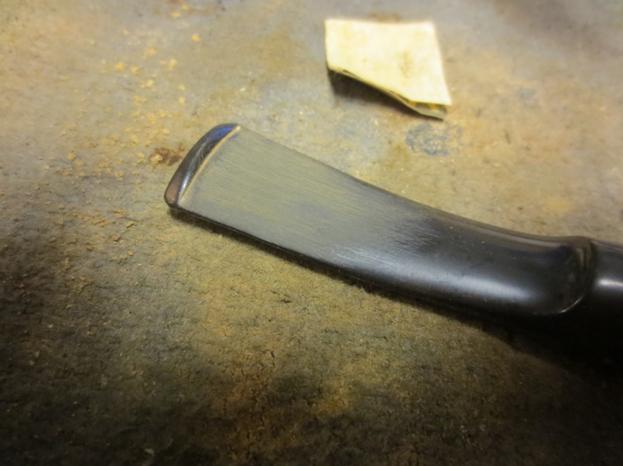 The top of the stem was another matter. I wanted to remove the white repairs. I sanded the stem until they were four distinct repairs. Then I used the dental pick to pick away at the white epoxy repair until it was pitted and gave me a new divot to work with. I used some black super glue to refill the divots and cover the white that had been present before.
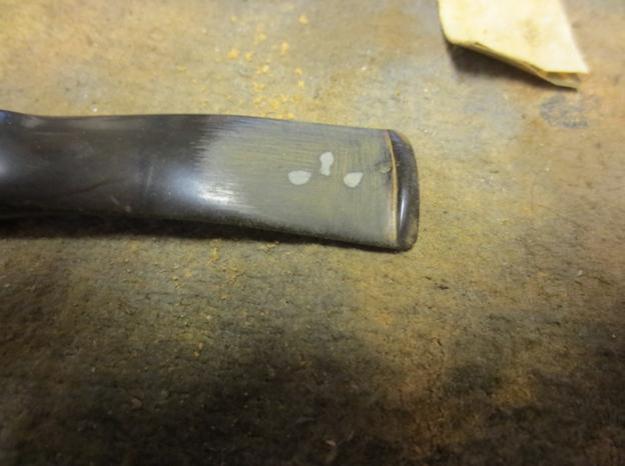
 I sprayed the glue with an accelerator and then sanded the repair with 220 grit sandpaper to blend it into the surface of the stem. In the next photo you can see that the white no longer was visible. The trick would be to keep it that way!
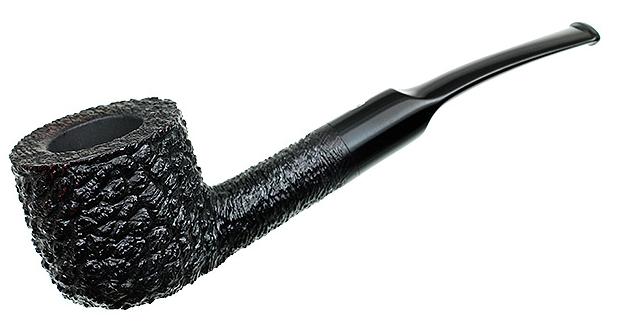
 Now it was time to address the rim. I was not sure about rusticating it because it actually looked quite fine the way it was. I went online and found a photo of a Capri that was the same shape and the rim was rusticated. I liked the look of the rim blending into the finish of the bowl. The decision was made. Now I had to work to get a similar look.
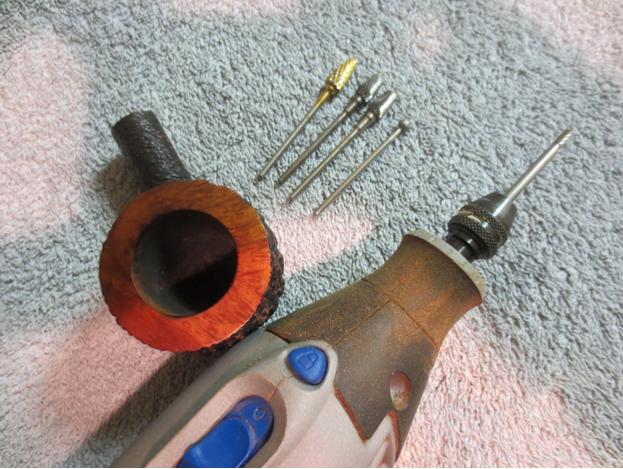
 took out my Dremel and my assortment of burrs. I was pretty certain that I would use them all in the process of rusticating the rim with a deep and pebbled look.
 I started with a simple cylindrical burr to carve some random swirls across the rim. I did this lightly at first and then deepened them. At this point I kept to the middle of the rim as I had ideas about rusticating the edges a little differently.
 I followed that by using the ball burr to deepen the swirls and work on the inner and outer edges of the rim. At this point the surface was beginning to look good. But too me it was not rustic enough for the Capri finish on the bowl – it was too tame looking.
 I used cone burr next with a cross hatch pattern to randomize the pattern even more and deepen the grooves in the surface and edges.
 I next moved onto another cone burr with a spiral pattern and continued to work on the rim pattern. It was getting close to the point I was aiming for.
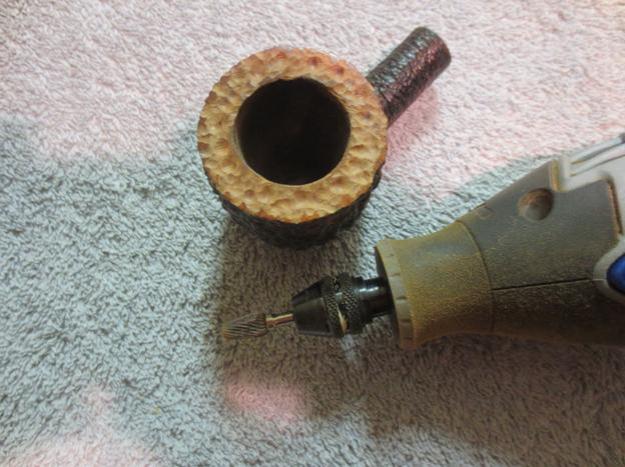 I used the last cone burr that had a swirl pattern in the opposite direction and went over the rim again to further accent the roughness.
 I used the cylindrical burr to cut some of the lines between the divots and edges of the bowl and make it more craggy looking.
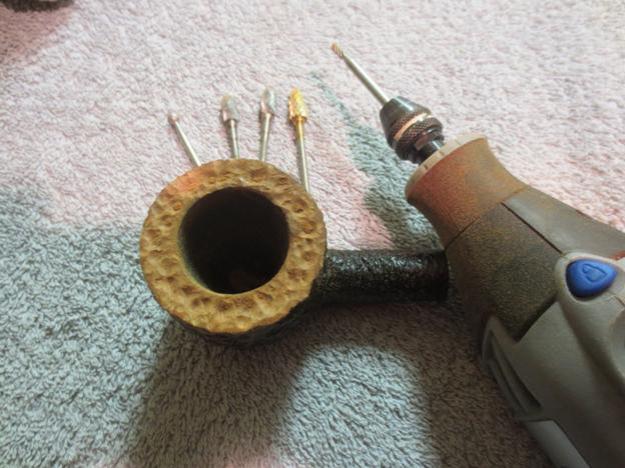 At this point in the process I was finished with the burrs and I put a coat of medium brown stain on the high points in the rustication using a stain pen. I followed that up with using a black Sharpie pen to fill in the divots and low spots on the rustication.
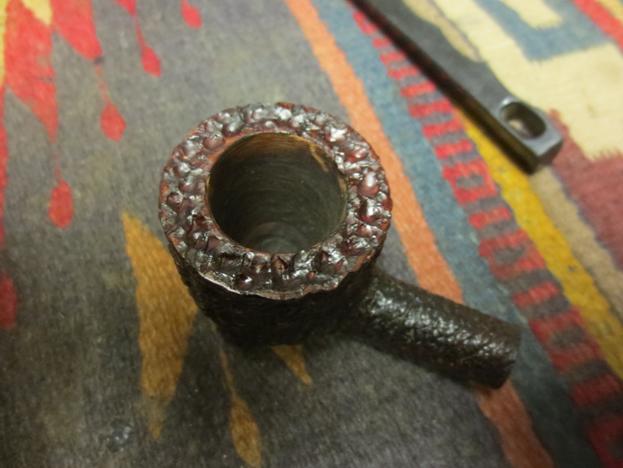 I scrubbed the newly stained rim with a brass bristle brush to knock off some of the high spots and get a more burnished look like the bowl sides. I still was not happy with the stain so I used the sharpie again to darken the low spots and grooves. I then restained the rim with the dark brown stain pen. The colour was very close to the sides of the bowl.
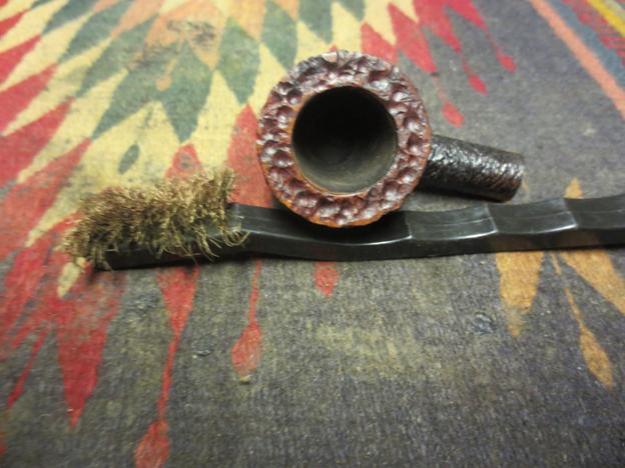
 I could have probably stopped there but I did not. I studied the photo of the rim above and noted that there were some striations or cuts in the surface of the rim that connected all the rustication and gave it a distressed look. I have a serrated edge letter opener here that I thought might work to give me more of that look. I cut the surface from every direction with the edge of the letter opener and carved and hacked it to distress it. I used the brass brush once again and then recut the rim with the opener.
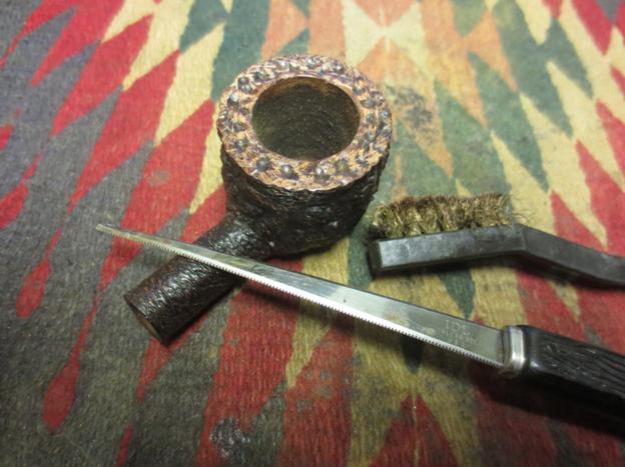 I restained the rim with the black Sharpie and the dark brown pen. And then gave it a light buff on the wheel with Blue Diamond. I say light because if I had pressed any harder the polishing material would have gone into the grooves and made a mess. The rim looked good to me. The finish was done and all that remained was to wax it with some Conservator’s Wax.
 I gave the bowl and rim several coats of Conservator’s Wax (works like Halcyon II on rusticated finishes) and buffed it with a shoe brush to polish and give a shine. I wet sanded the stem with 1500-2400 grit micromesh pads to begin the polishing process. It was tricky around the stamp on the shank so I had to work carefully with the pad to get as much of the oxidation as possible.
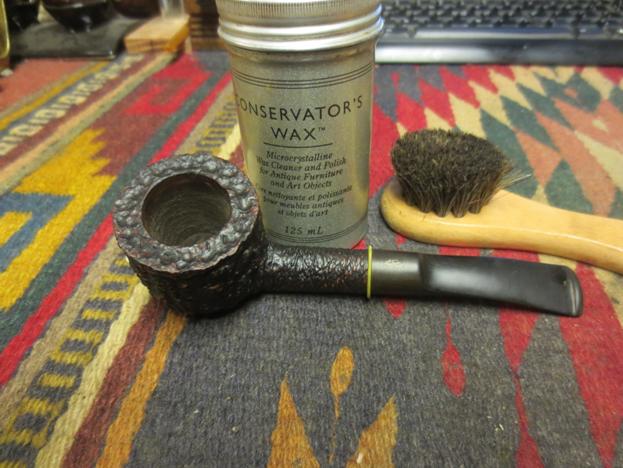
 I buffed the stem with White Diamond to further polish it and then sanded it with 4000 grit wet dry sandpaper to really work on the oxidation at the shank. It is a finicky part of the process because of the weak stamping. I rubbed the stem down with Obsidian Oil and then progressed to 3200-4000 grit micromesh pads. Another coat of oil preceded the final sanding with 6000-12000 grit pads. I gave the stem a final coat of oil and set it aside to dry.
 I buffed the pipe with a shoe brush and then with a microfibre cloth. I gave it several more coats of the Conservator’s Wax and polished it to a shine. I buffed the stem with Blue Diamond and gave it several coats of carnauba to protect it and then buffed the stem with a clean buff to raise the shine. I hand buffed the entirety one final time with a shoe brush and then took the finished photos below. This was a fun project. You can see that the white stem repairs have disappeared and the rustication on the rim fits the overall look of the pipe far better than the smooth finish that was there before. Thanks for looking.