by Kenneth Lieblich
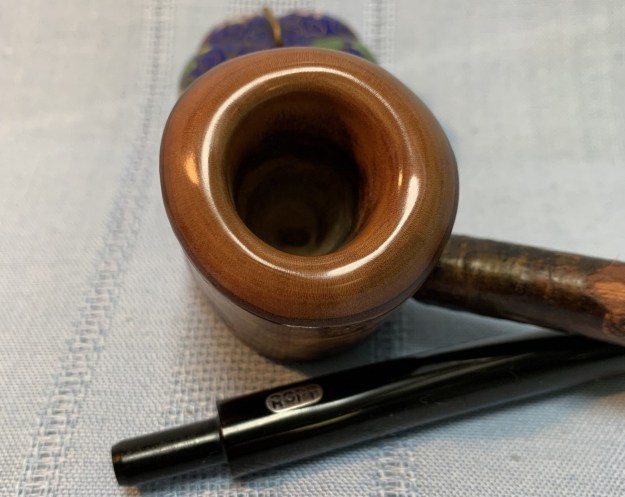
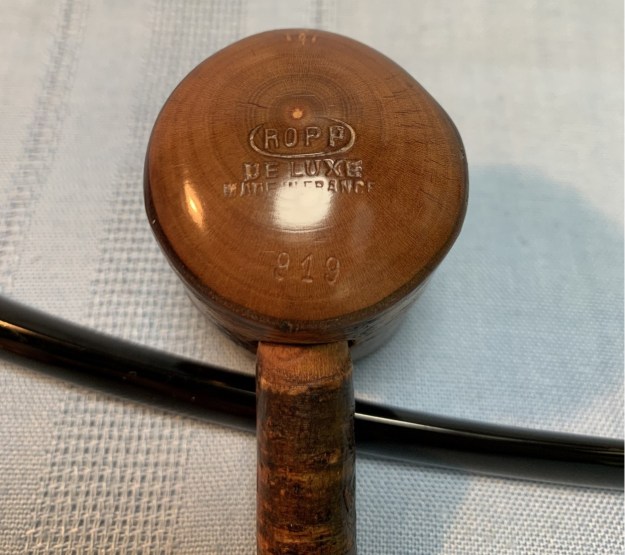
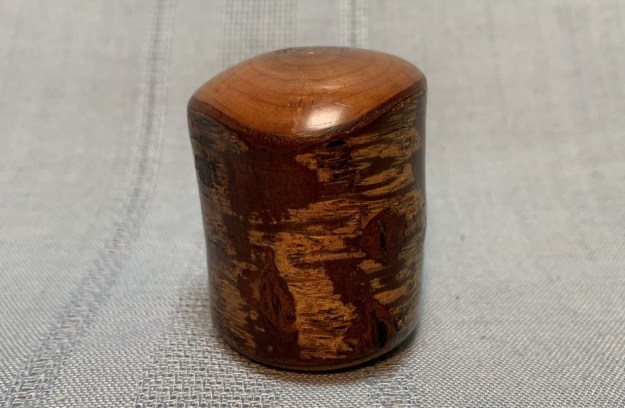
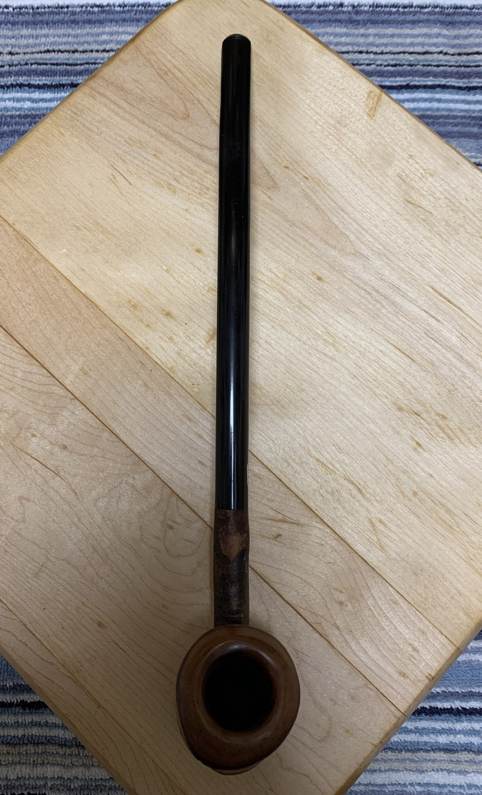
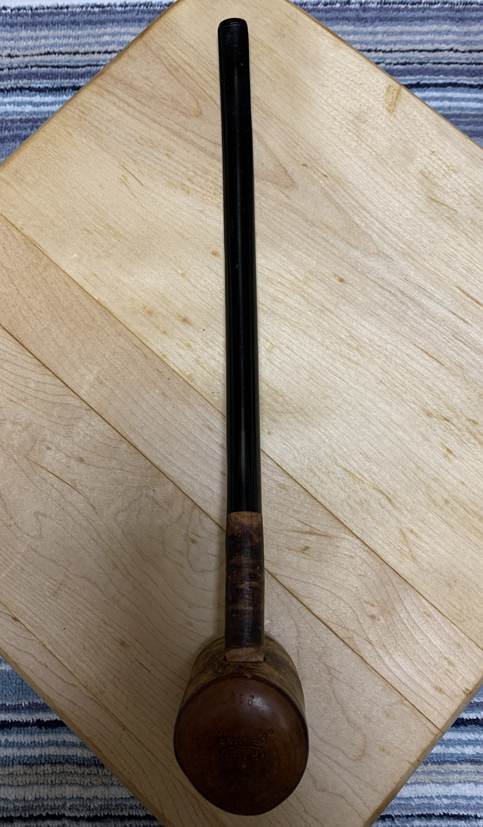
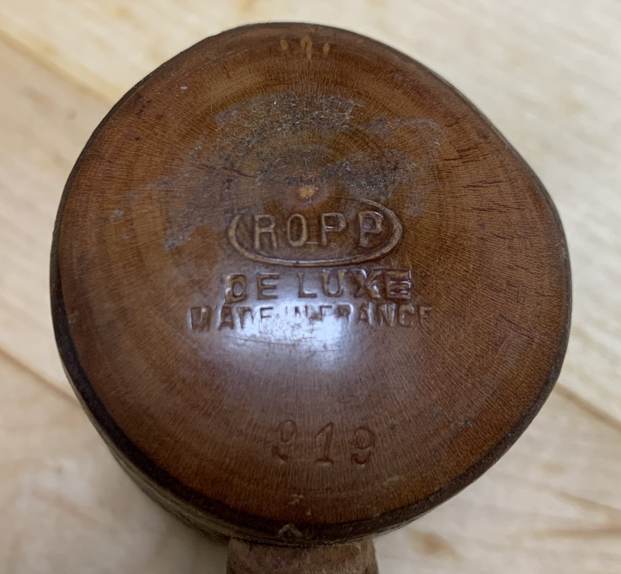
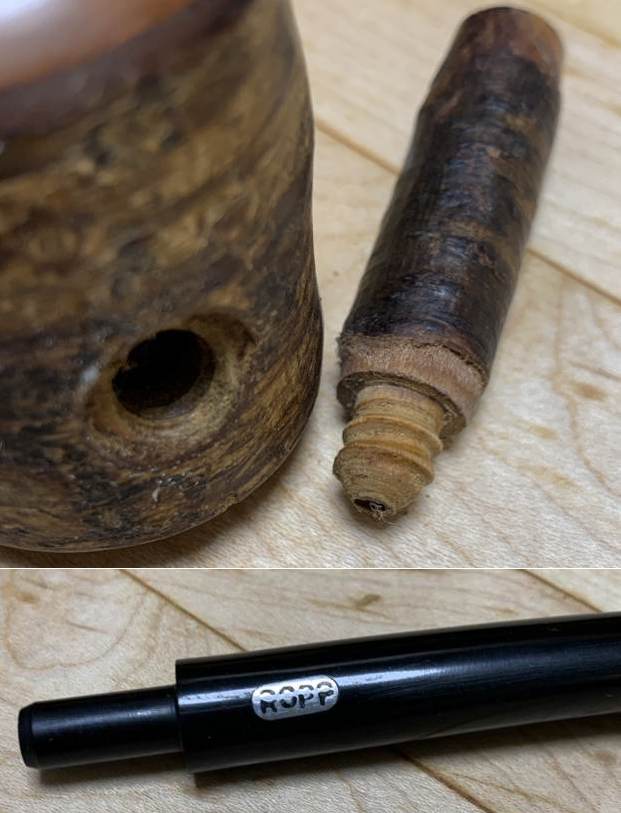
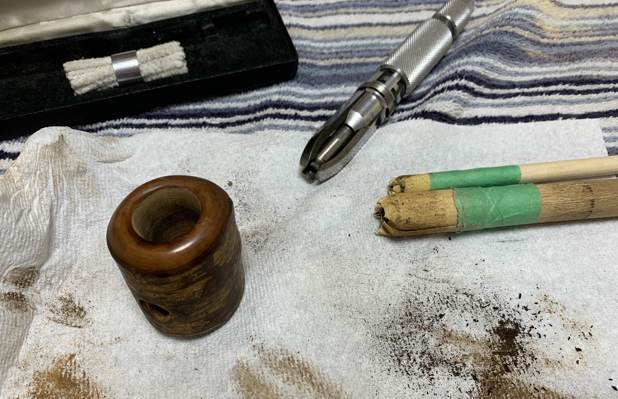
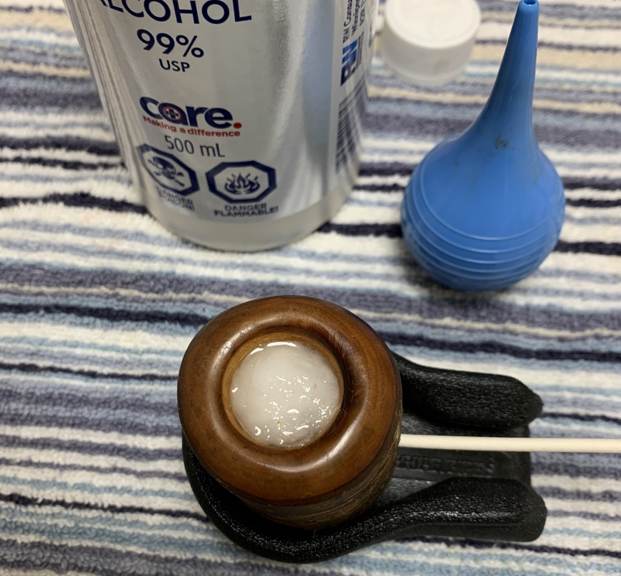
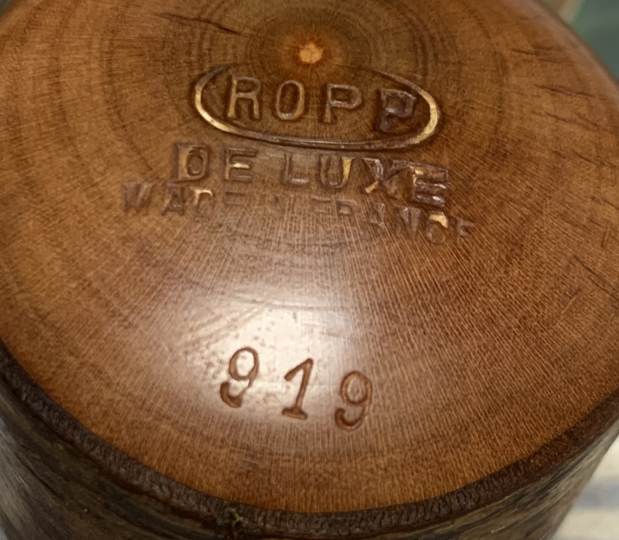
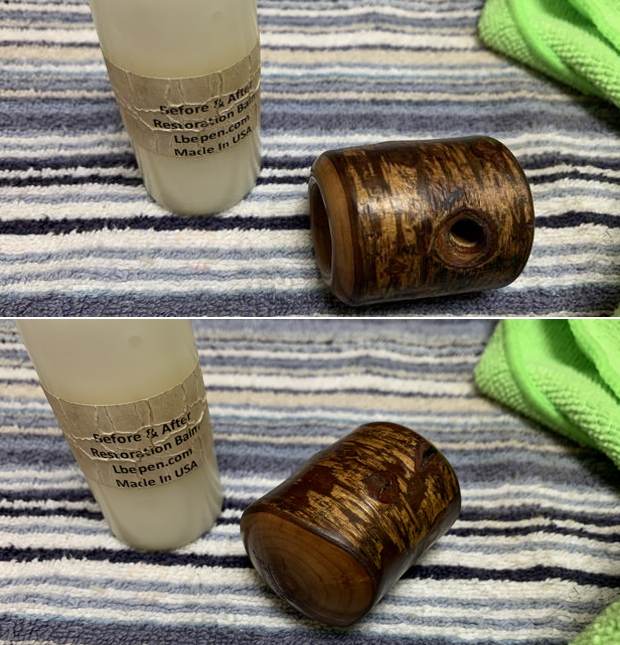
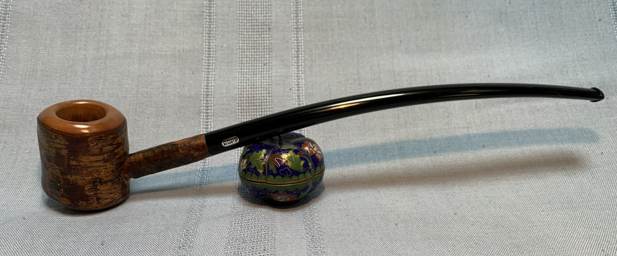
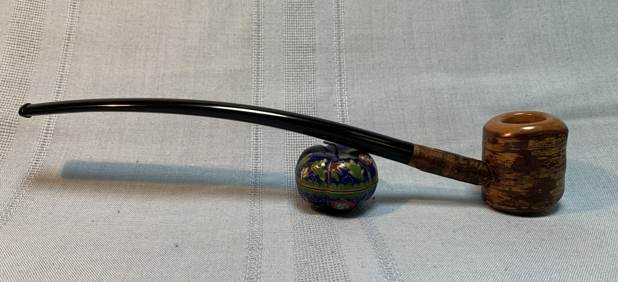
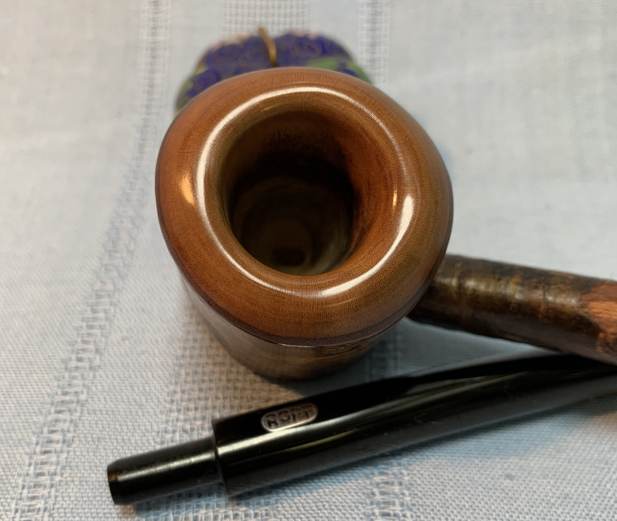
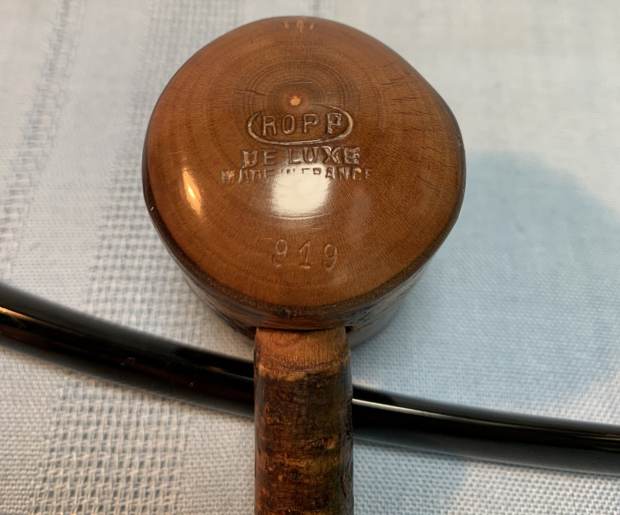
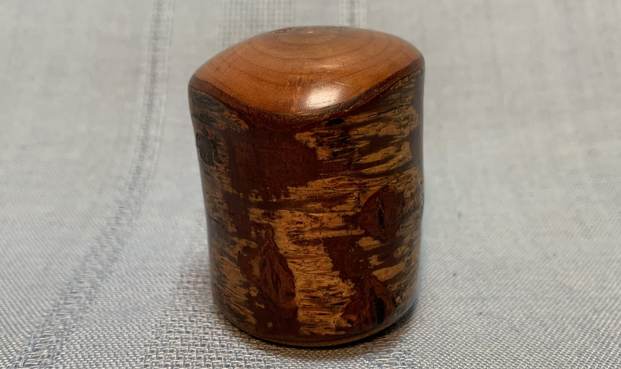
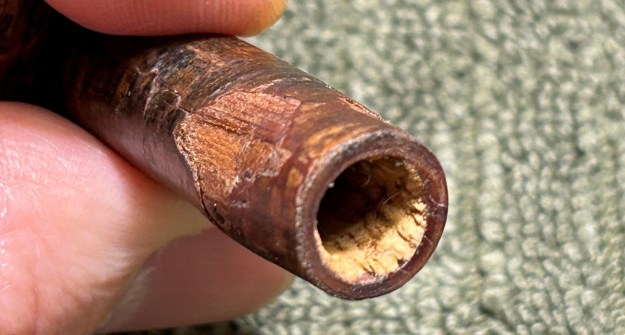
Welcome to another instalment of my Pipe Incident Reports. The idea, in general, is to provide a brief write-up – focusing on a particular pipe-restoration-related issue – rather than an entire restoration story. Today’s story is on the resolution of a very specific pipe repair – replacing a cork mortise – with some added challenges. I hope this blog post will be useful for those undertaking a similar repair. A couple of years ago, I restored this lovely Ropp De Luxe Cherrywood 919 for a friend and he’s smoked it with great gusto since then. In fact, you can see the story of its restoration here. By his own testimony, it’s a great pipe, smokes well, and feels good in the hand. However, over time, he noticed that the cork lining in the shank mortise had chipped and the stem was becoming loose – so he wondered what I thought about it. This news sounded concerning, so I asked him to bring me the pipe. I took it to my workbench and this is what I found:
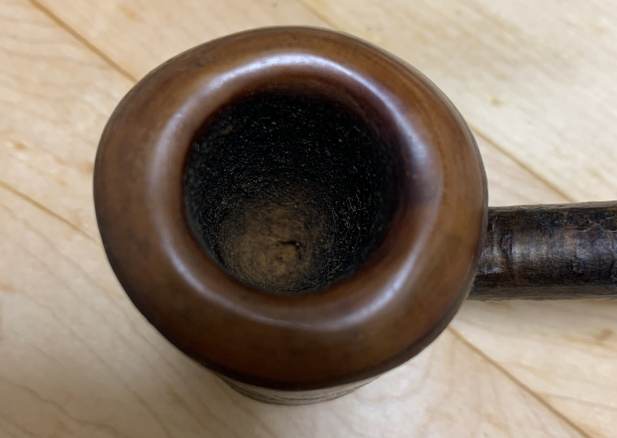
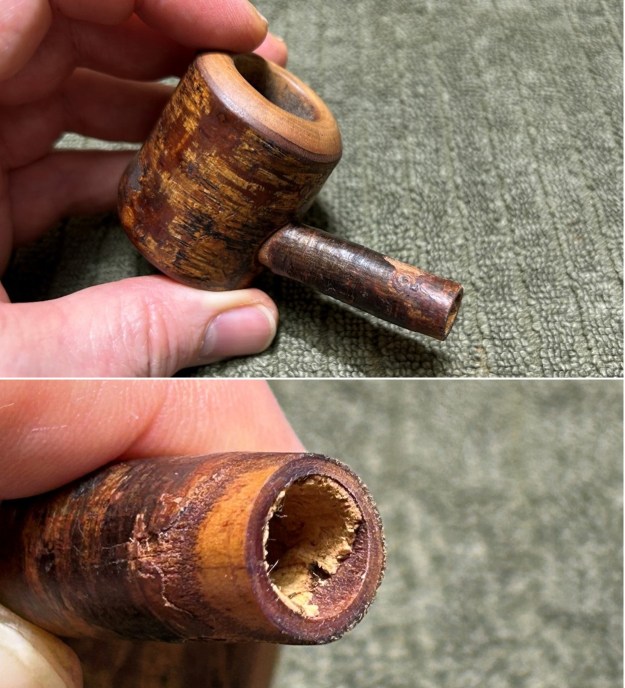
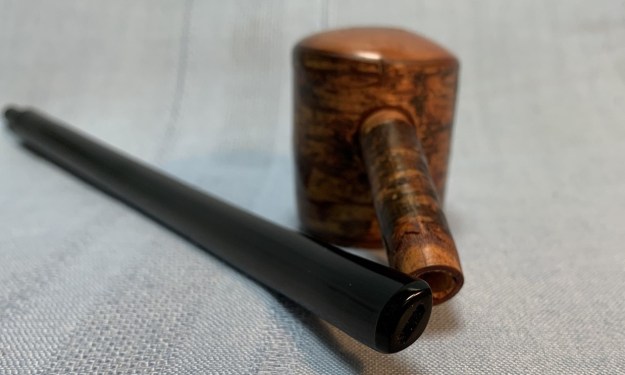
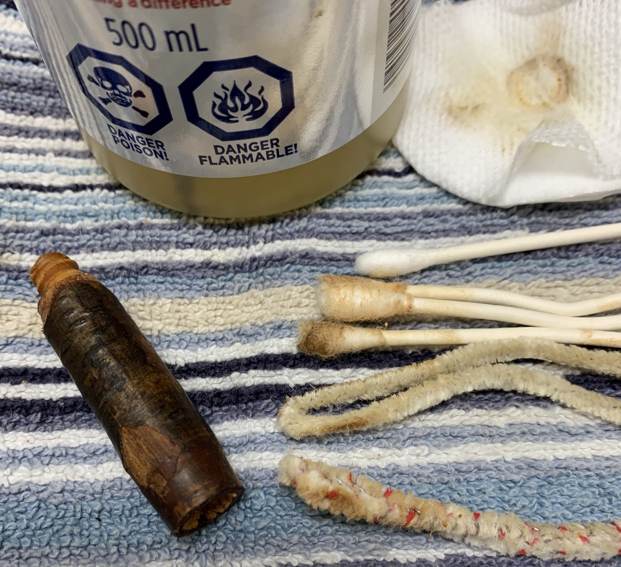
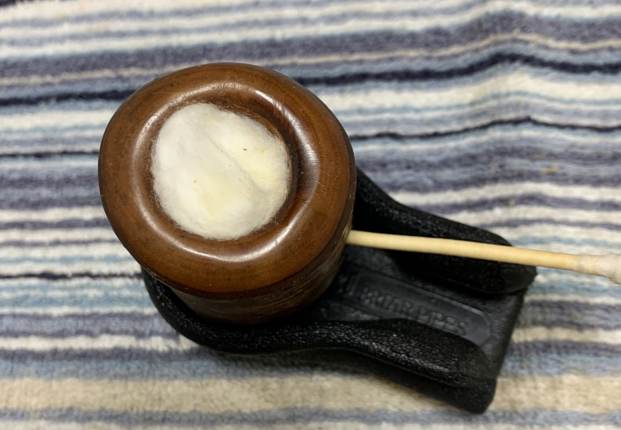
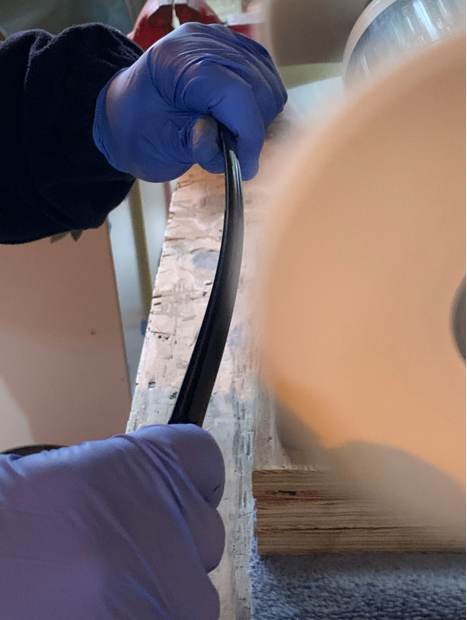
 It’s an old pipe and I suppose that it’s no surprise that the cork would degrade over time. This must be repaired so that my friend can continue to enjoy his pipe. First, I took a fairly dull blade (deliberately) and cut out the remaining cork. Mercifully, this was easy and the debris came out quickly.
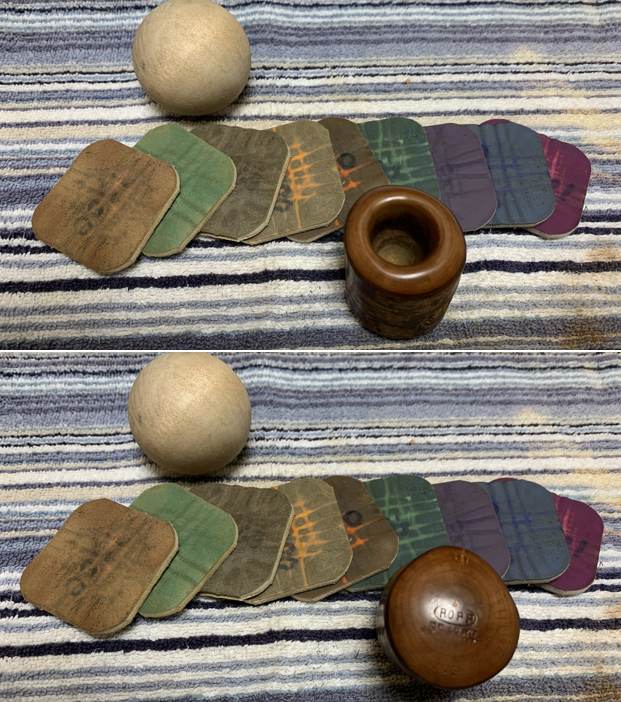
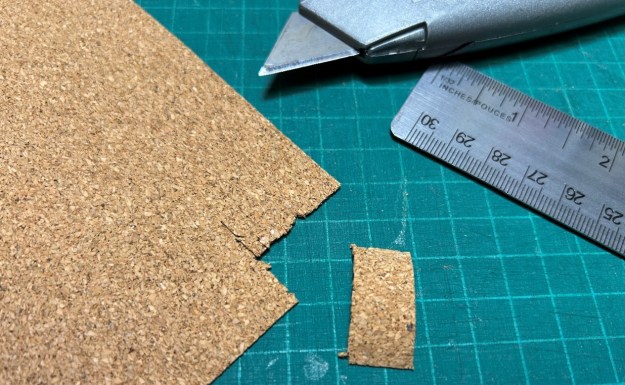
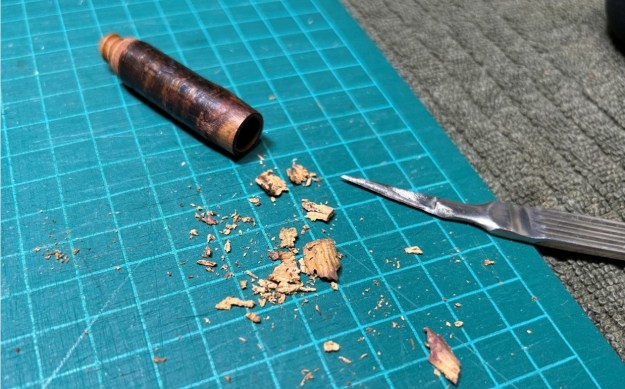 I then gave some thought as to how this should be repaired. In the past, when I’ve repaired cork-lined mortises, I took the cork from a wine bottle and carved it to fit the mortise, then drilled out the cork to fit the tenon. This is fine, but not as precise and tidy as I would like. This time, however, I thought I would try something different. I bought some sheets of cork and decided that cutting an exact piece would be a better solution.
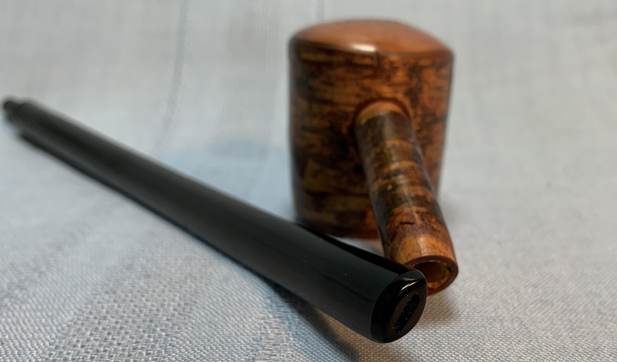
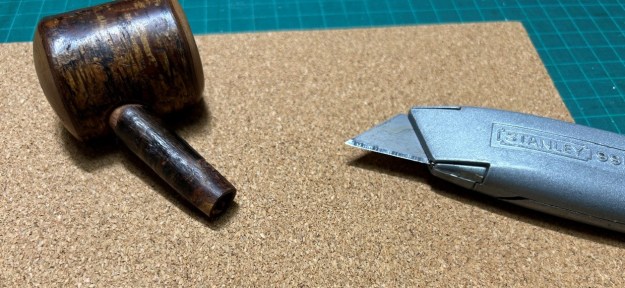 How do I figure out what to cut for this pipe? Good question! I am no mathematician, but from somewhere in the recesses of my mind, I remembered how to calculate the circumference of a circle: C = 2πr (or, in this case, C = πd). I grabbed my Vernier caliper and measured the diameter of the mortise. This gave me the information I needed to cut the correct piece of cork.
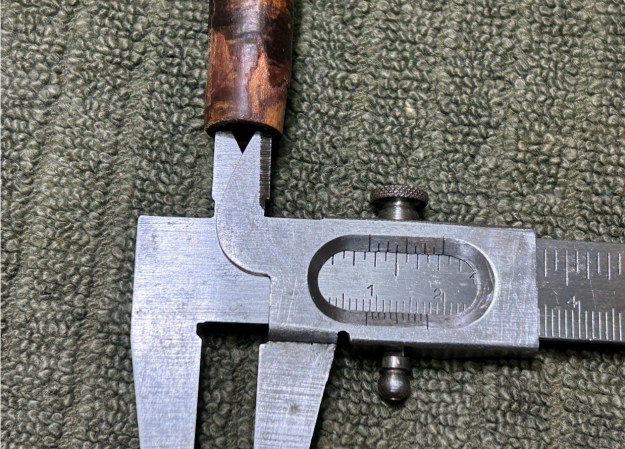
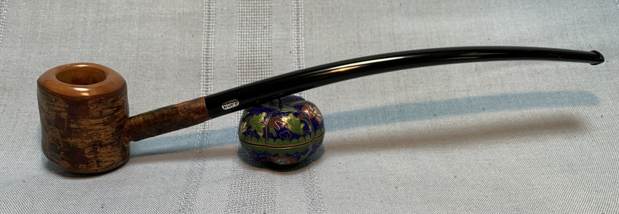
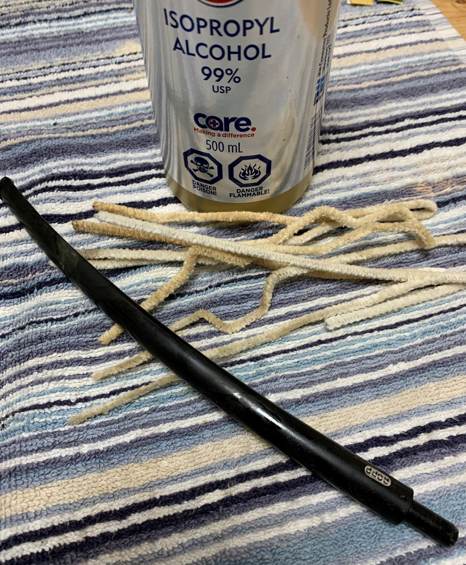
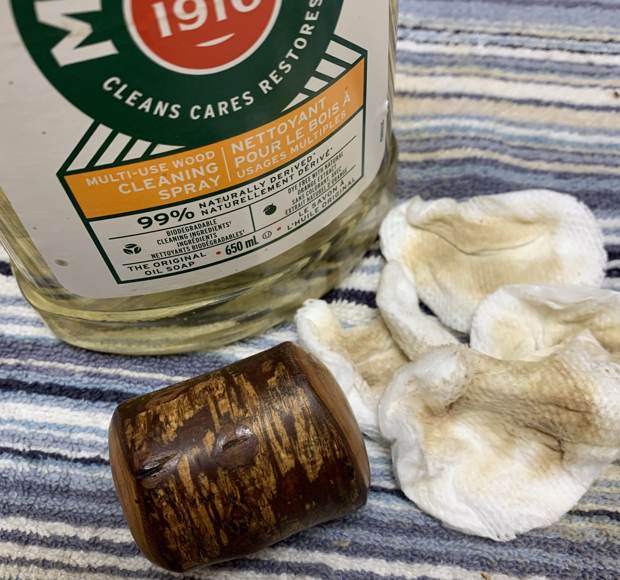
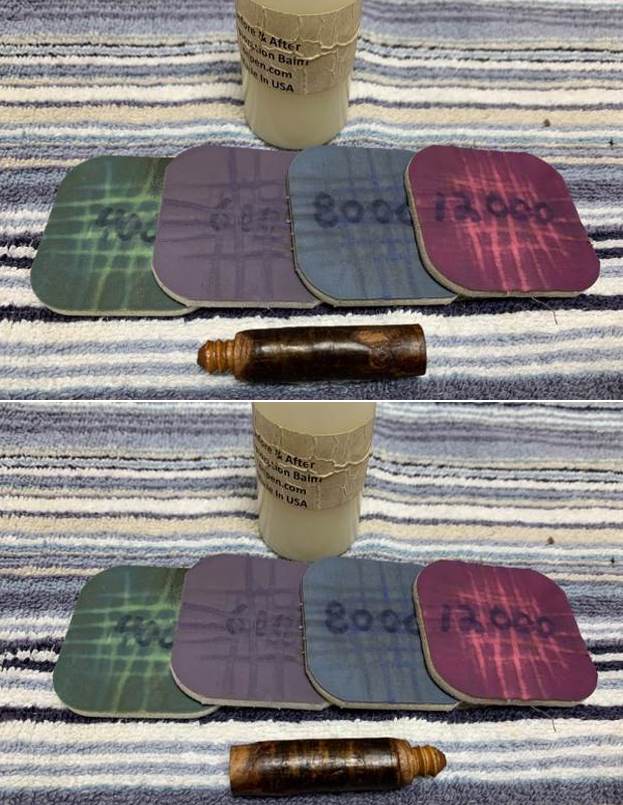
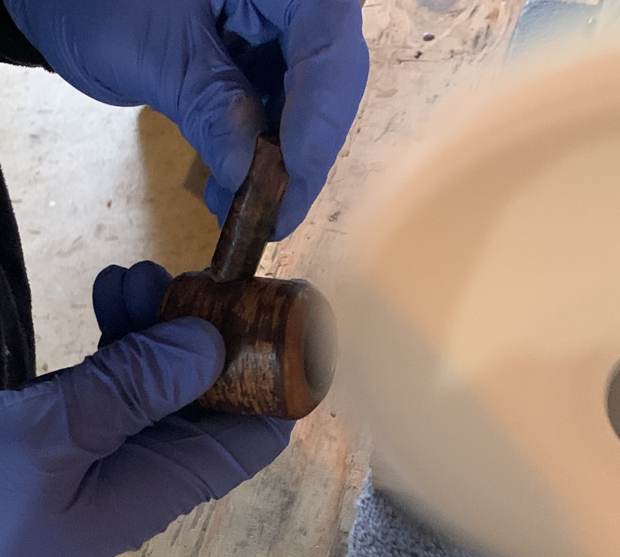
 I test fit the tenon with the cork until it fit perfectly. Since cork is a type of wood, I lined the mortise with wood glue and delicately inserted the slice. I let it cure for a full 24 hours, then rubbed the whole stummel with some LBE Before & After Restoration Balm and worked that into the wood. The next day, I returned the pipe to my friend. Happy days.
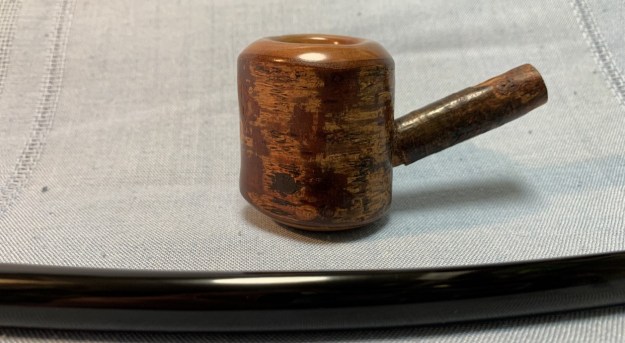
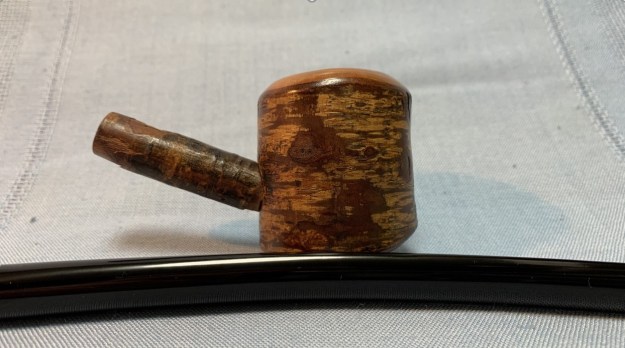
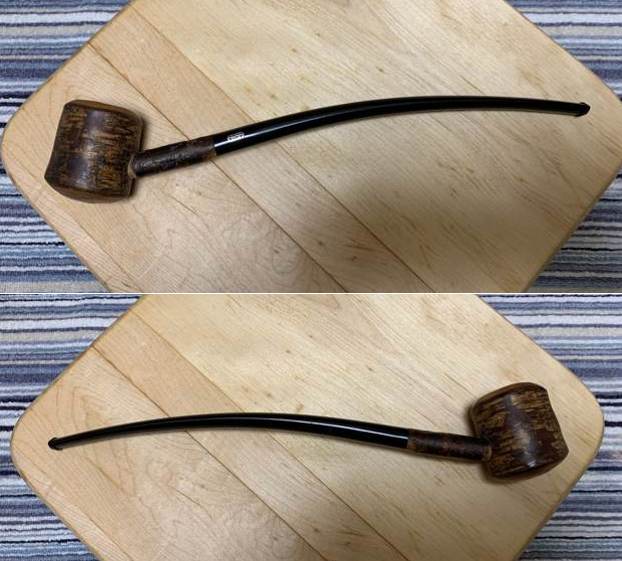
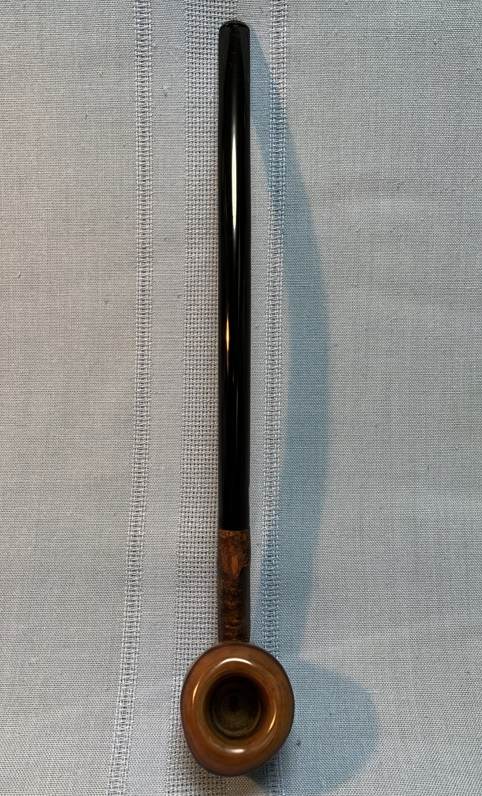
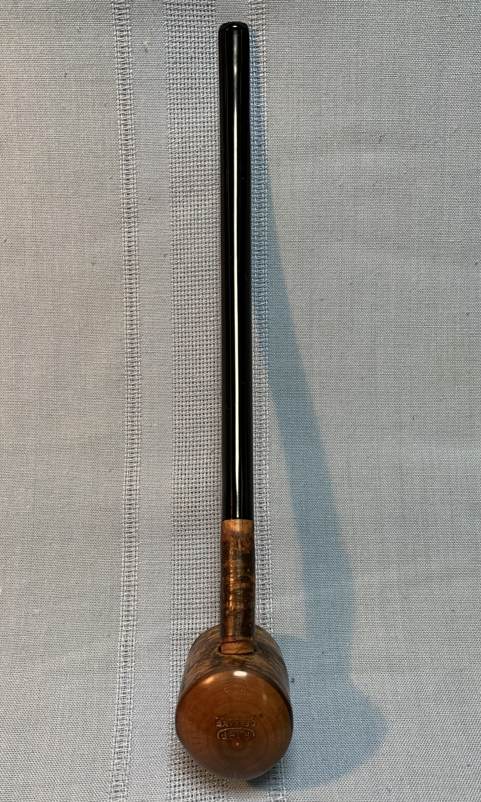
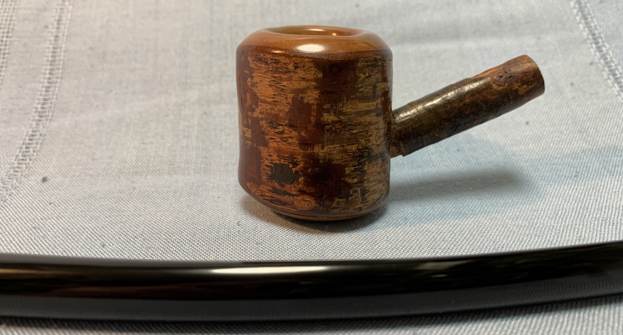
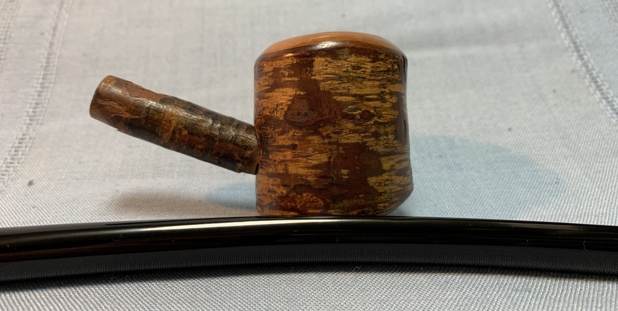
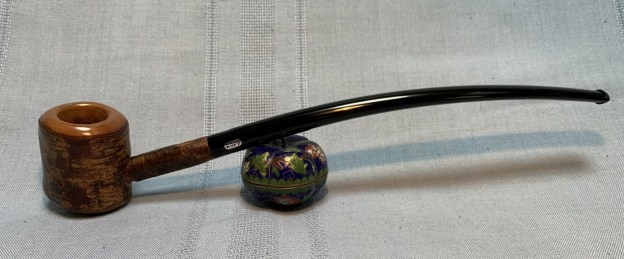
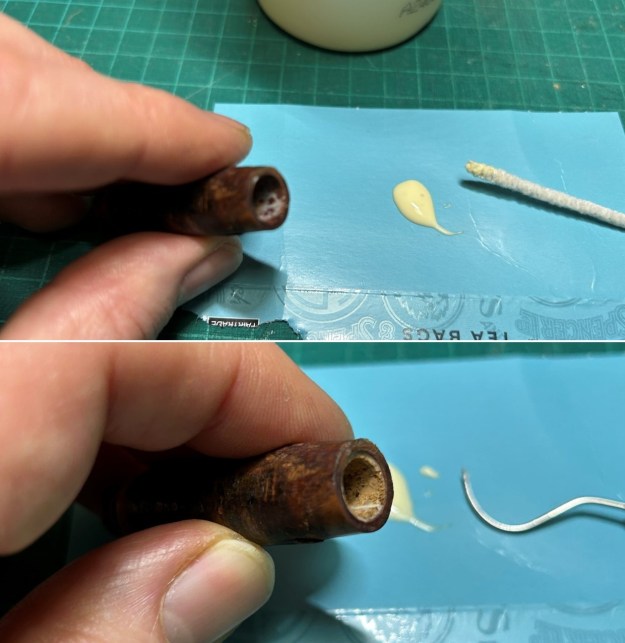 Thanks so much for joining me on this interesting repair. I hope you enjoyed reading this instalment of my Pipe Incident Reports – I look forward to writing more. Below are some photos taken from my original restoration. If you are interested in my work, please follow me here on Steve’s website or email me directly at kenneth@knightsofthepipe.com. Thank you very much for reading and, as always, I welcome and encourage your comments.