by Steve Laug
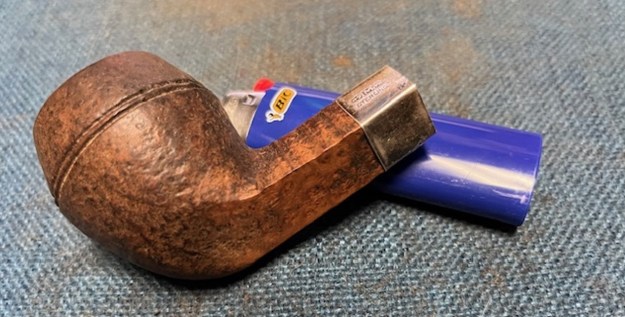
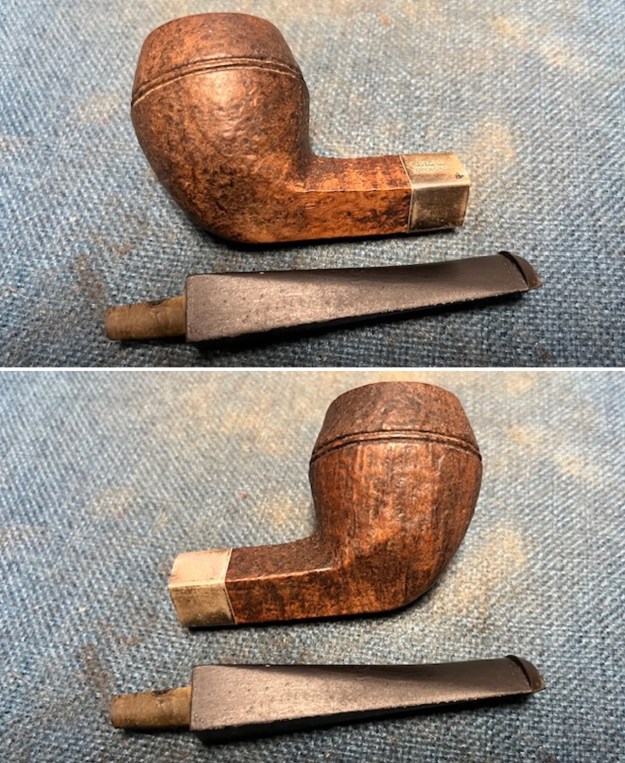
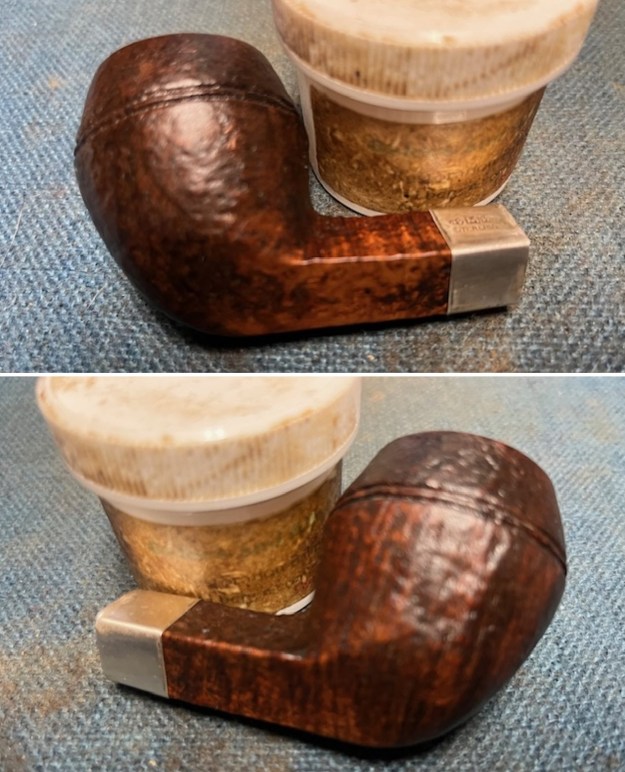
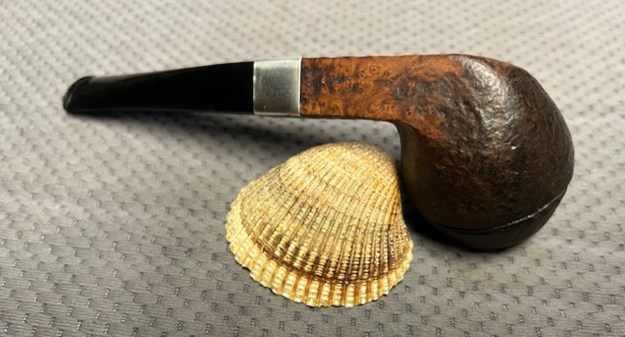
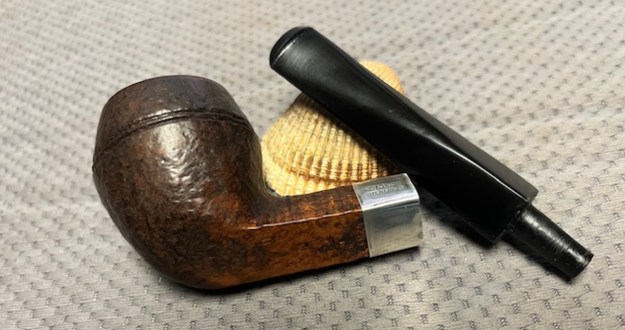
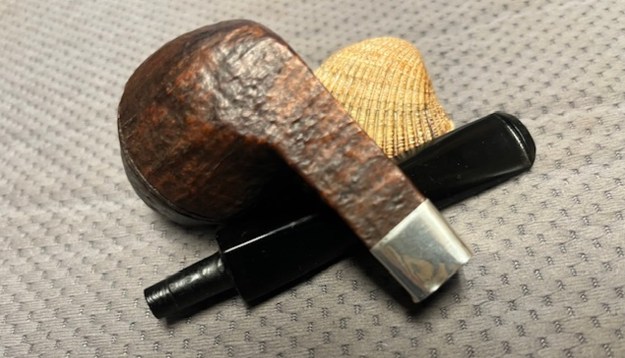
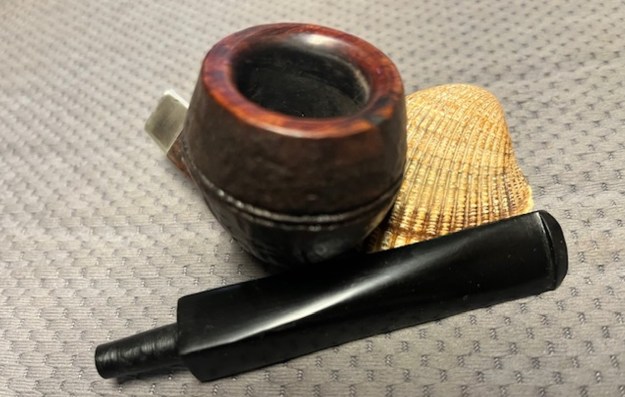
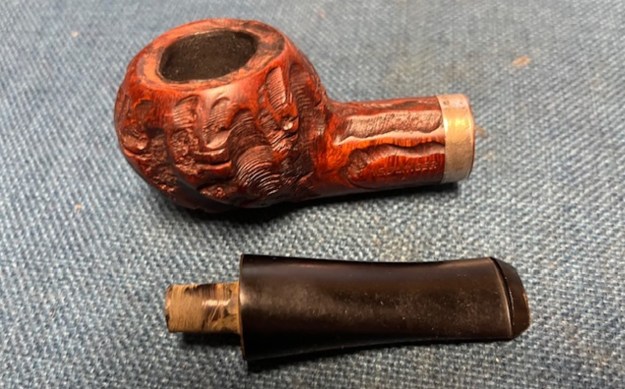
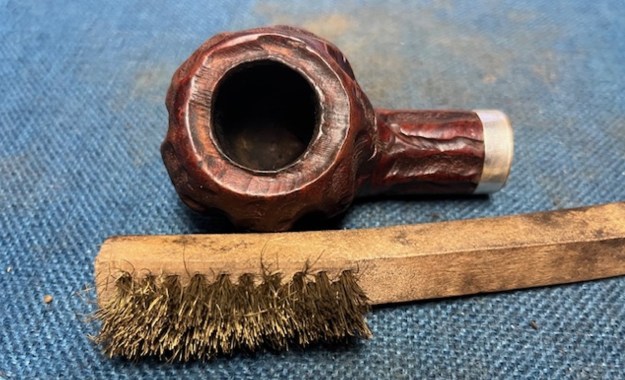
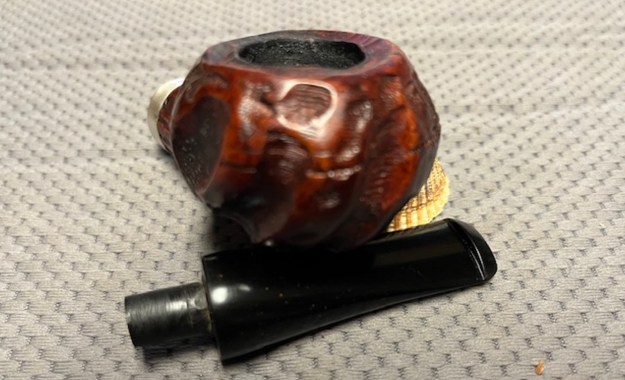
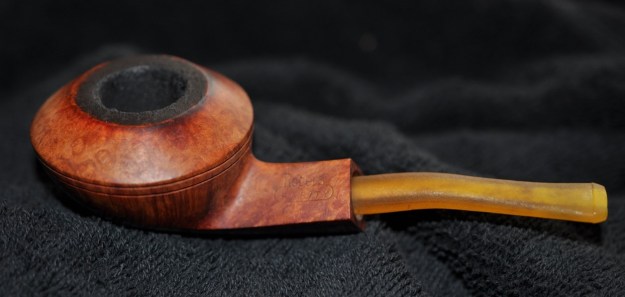
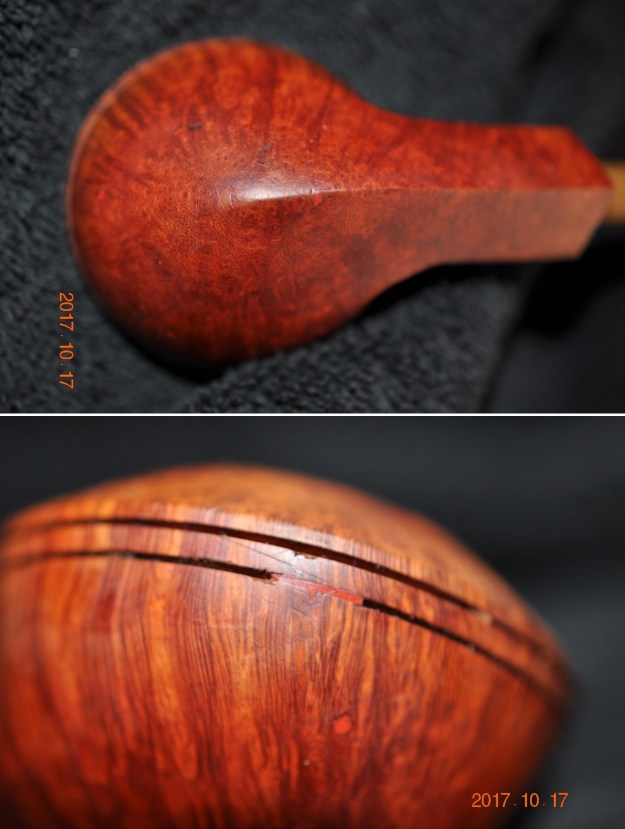
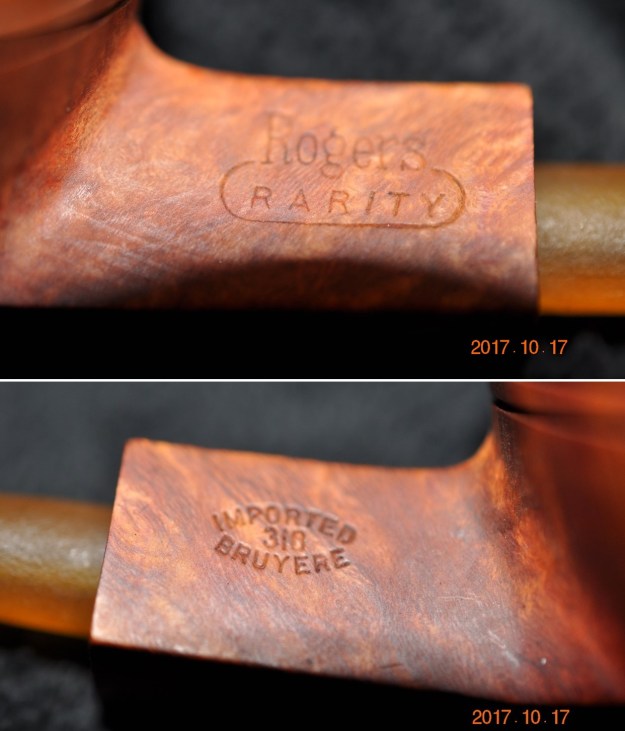
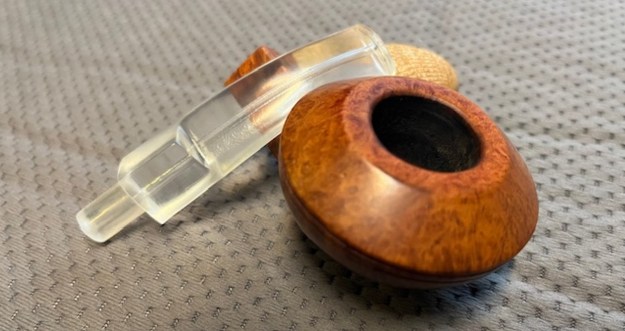
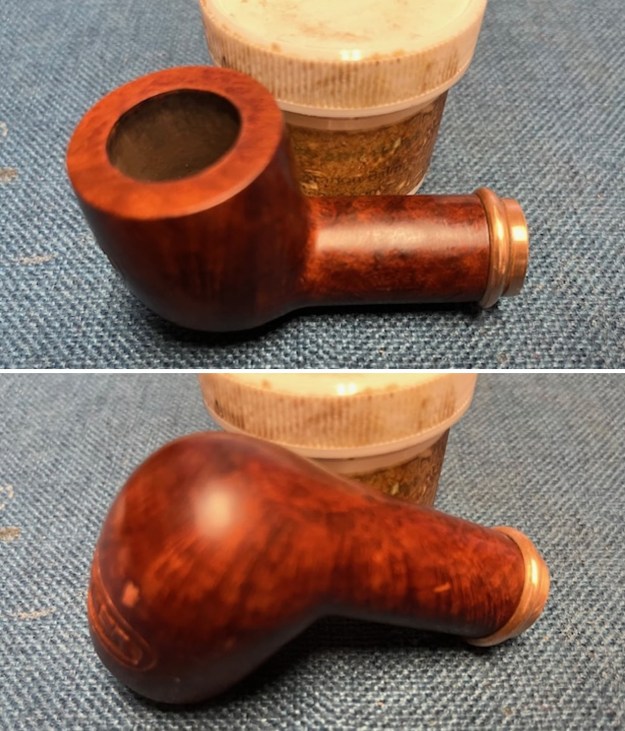
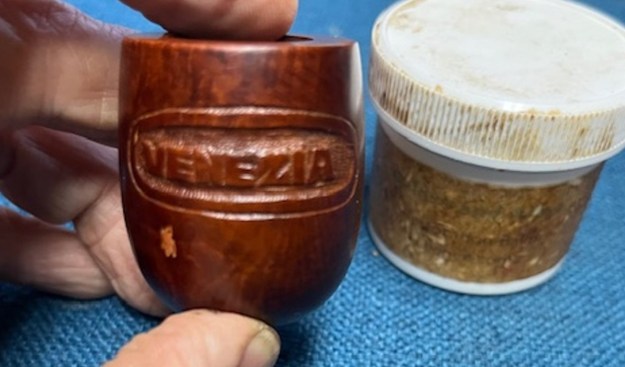
Once again, I am breaking the rhythm of restoration of pipes that Jeff has sent to me work on a bowl that I have in a very big box of bowl without stems. There are probably about 100 bowls that I have been chipping away at for a long time now. Yesterday I had to urge to restem a few of the bowls. The next bowl I chose was this interesting thick shank Billiard bowl that was a system style pipe that had two airways entering the bowl and shank. I ran a pipe cleaner through each airway in the shank and the came out in the bowl bottom. The shank end had a thick step-down brass fitting that was oxidized and greenish coloured. The stamping on the left side of the shank was an oval that reads Bruyere [over] Garantie. The front of the bowl was carved with the word VENEZIA (smooth) in a rusticated oval. Somewhere along the way Jeff had reamed and cleaned the bowl and it was waiting a new stem. The briar was dirty from sitting in my box for years. The rim top had a bit of debris and darkening on the surface that was probably present after Jeff’s previous cleanup. I examined the brass shank end for any stamping and there was nothing in the brass as it was unmarked.
I found the VENEZIA carving interesting, which is what drew me to it in the first place. I have worked on Savinelli pipes that were in a line called VENEZIA and I have worked on a folding pocket pipe from my late friend Chuck (https://rebornpipes.com/2012/09/05/chucks-gift-pipes-part-1-venezia-vogini/) that also bore that name along with Vogini. I have done a bit of digging and I cannot put a finger on the maker other than it is separate from the Savinelli Line. The one thing I know is that they have certainly made some unique pipes. This System Pipe is certainly another unique and special looking pipe. My guess is that it probably had a horn stem with a plunger in the centre of the tenon and an airway on the top left and right of the centre dropping the smoke into the rest of the airway in the stem as cool and dry.
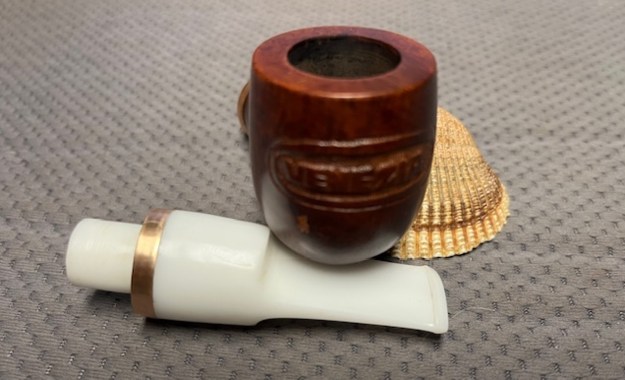
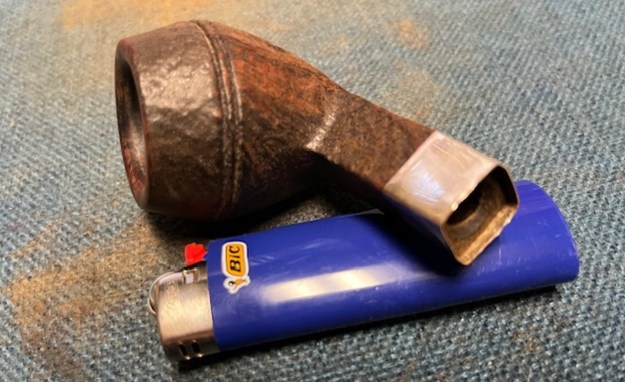
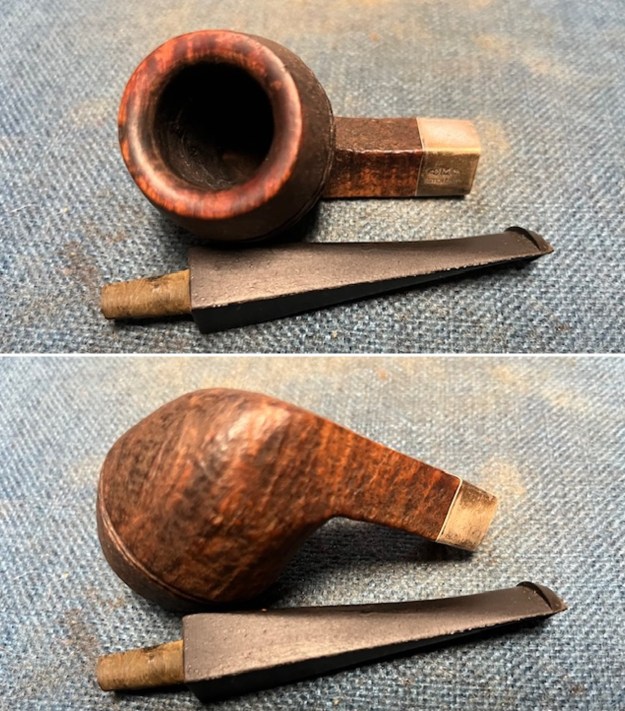
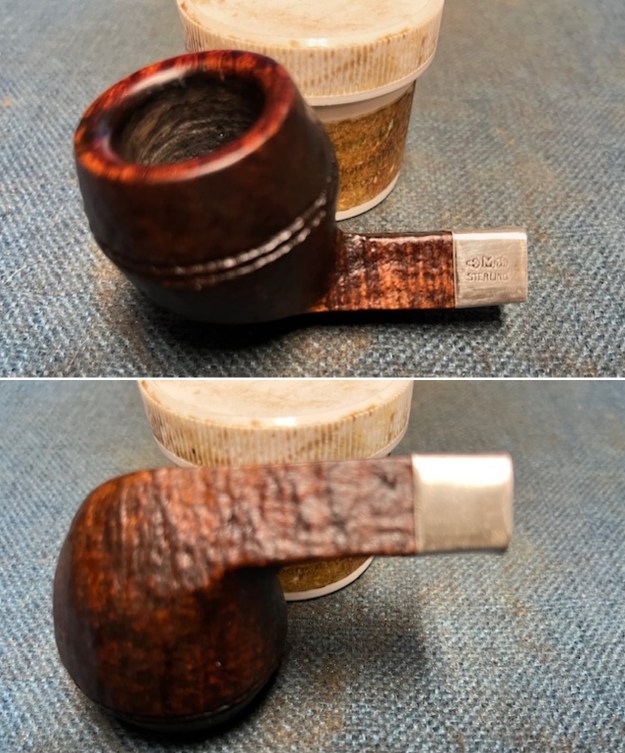
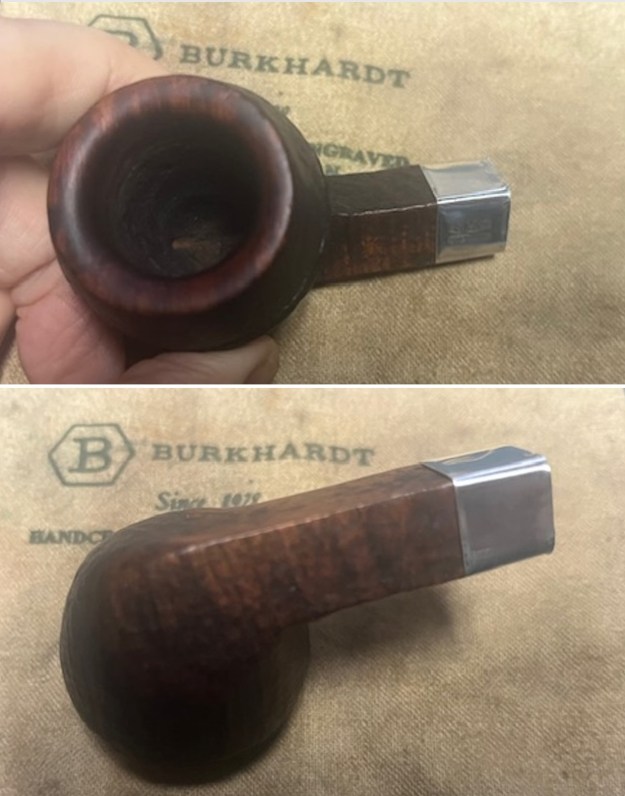
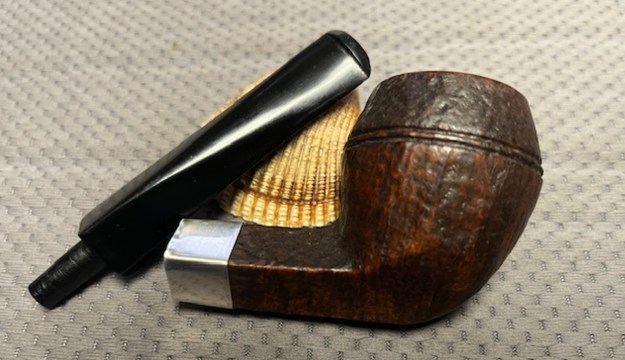
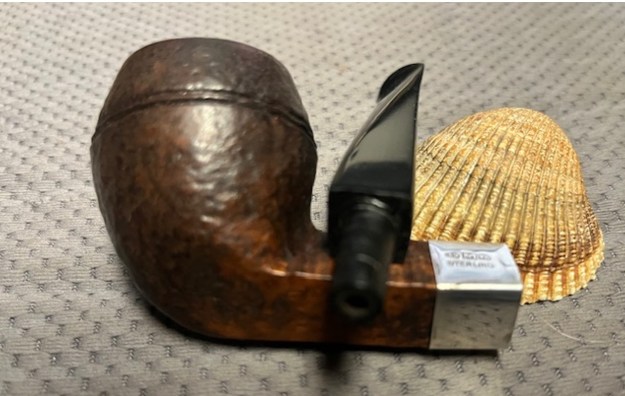
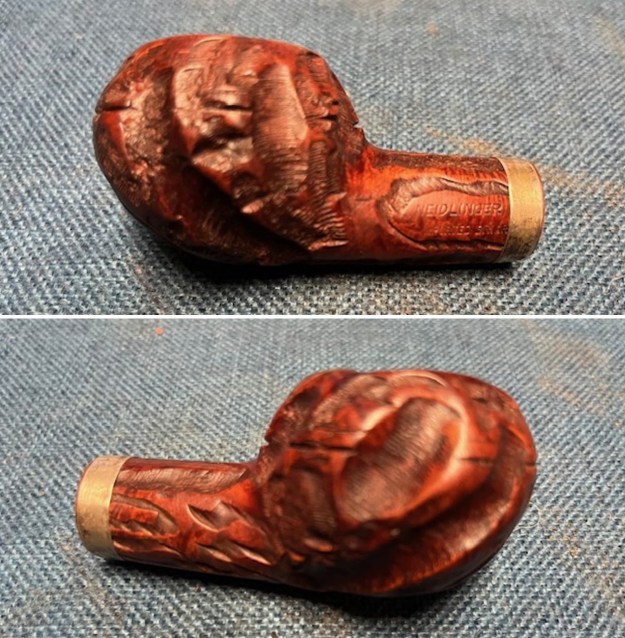
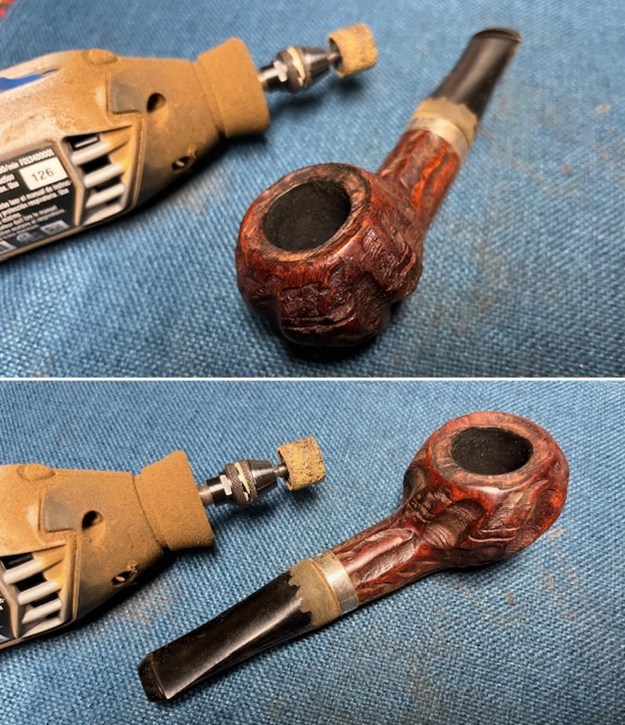
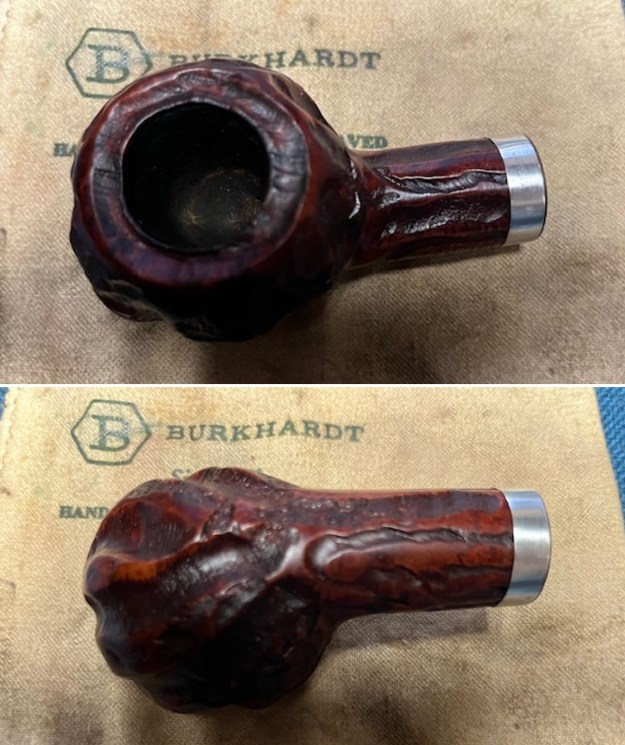
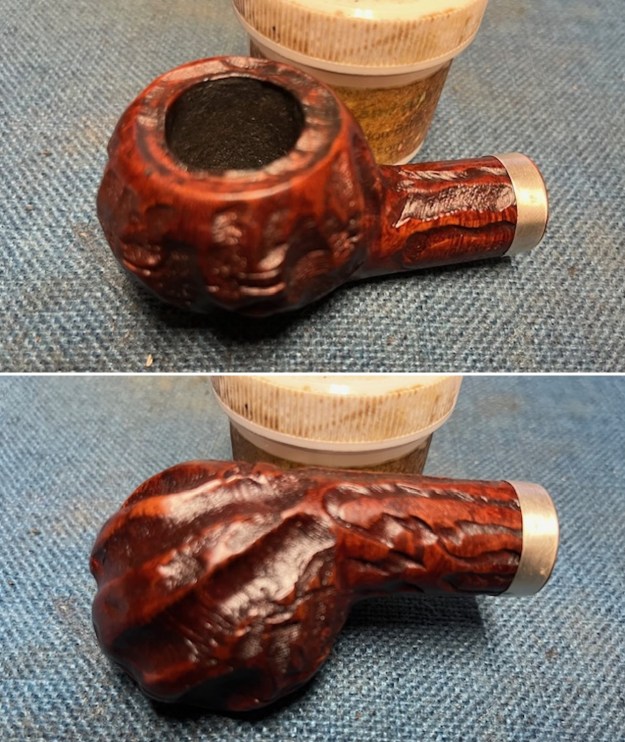
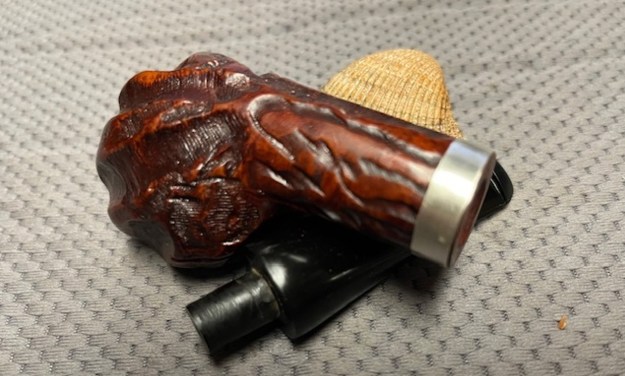
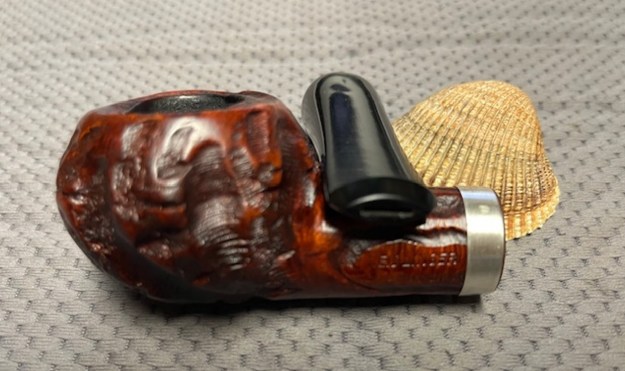
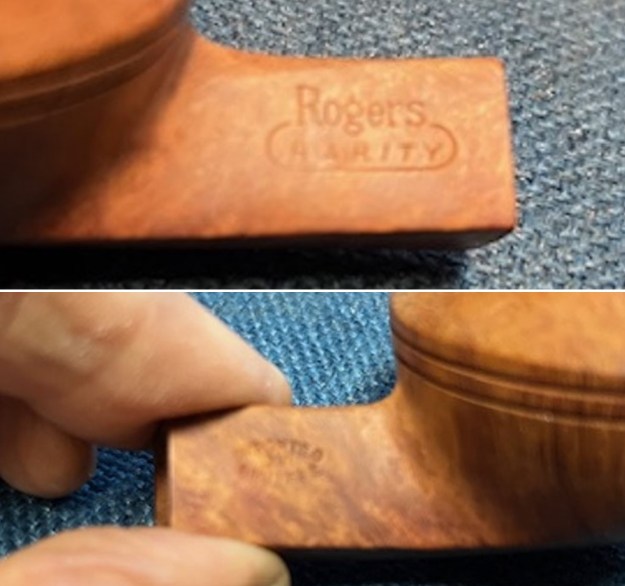
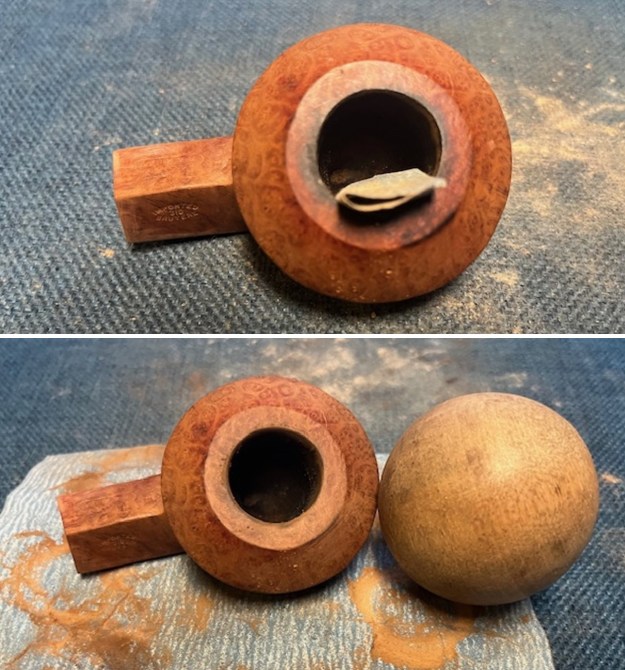
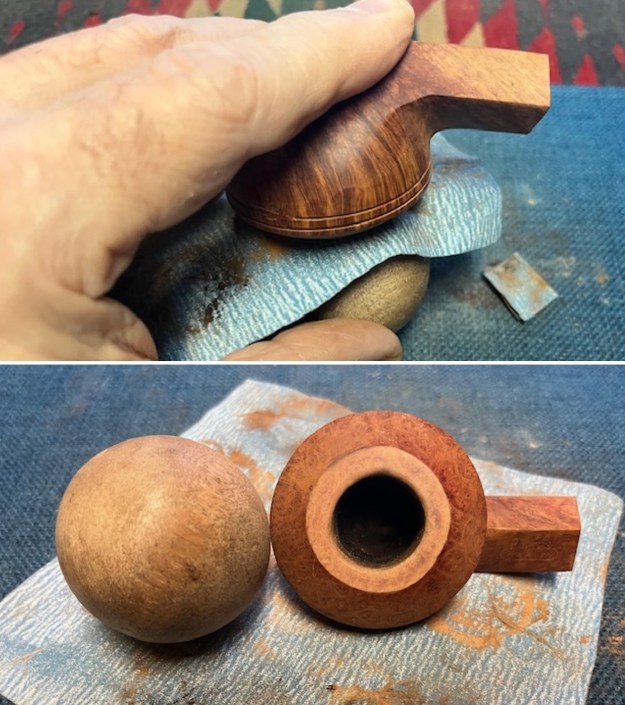
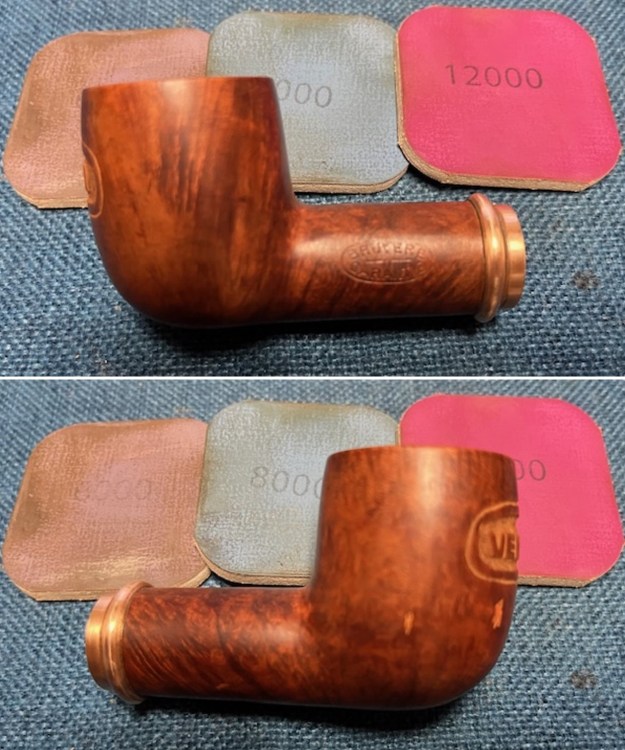
 I took a photo of the carving on the front of the bowl and the left side of the shank. They are clear and readable as noted above.
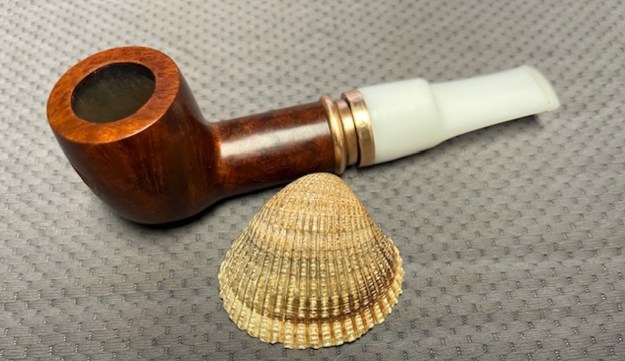
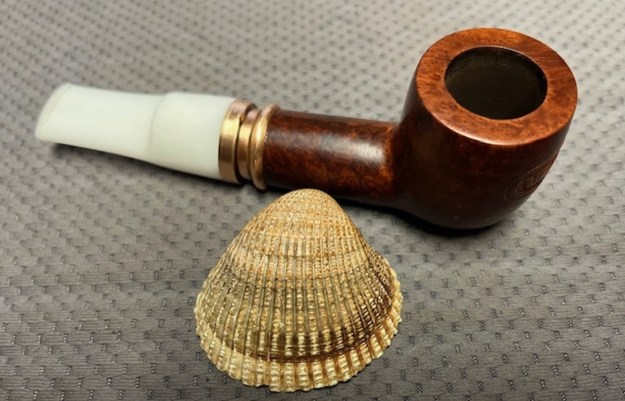
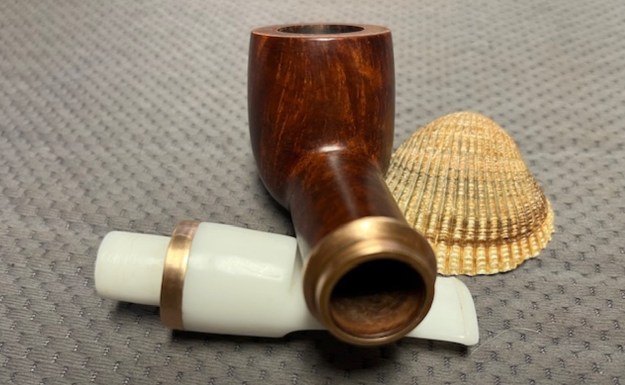
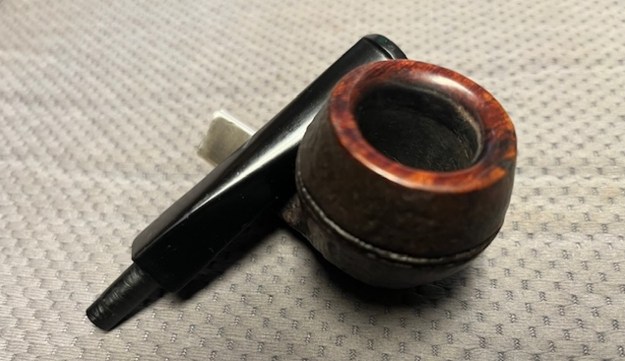
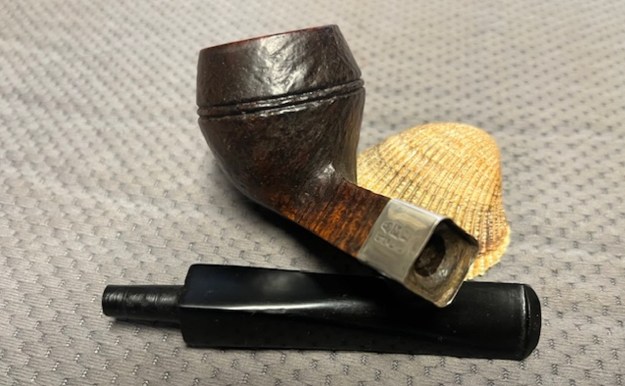
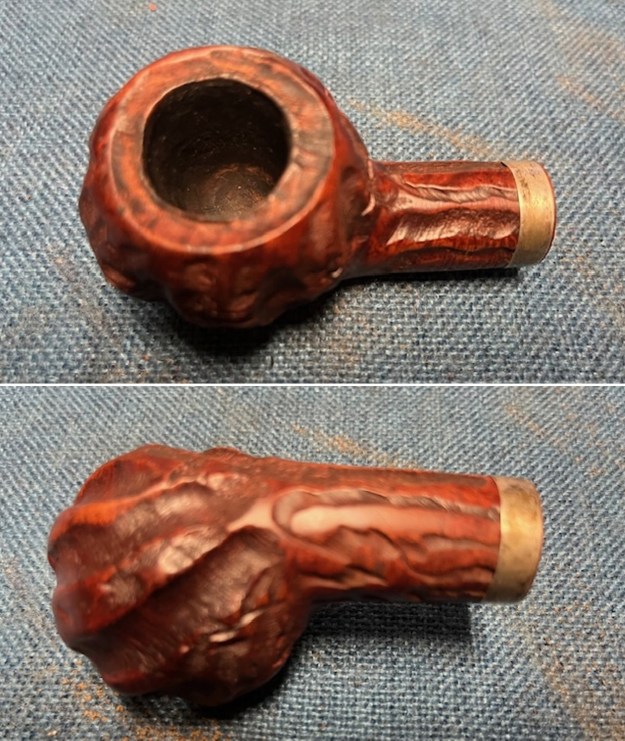
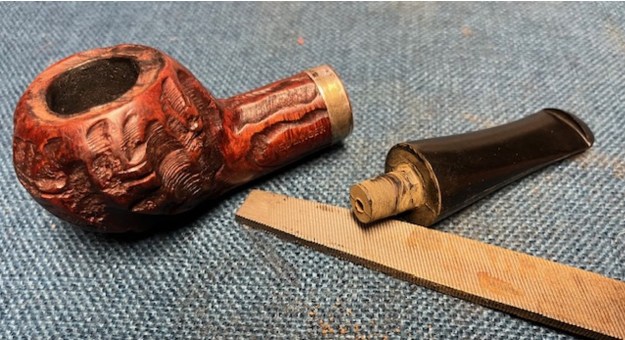
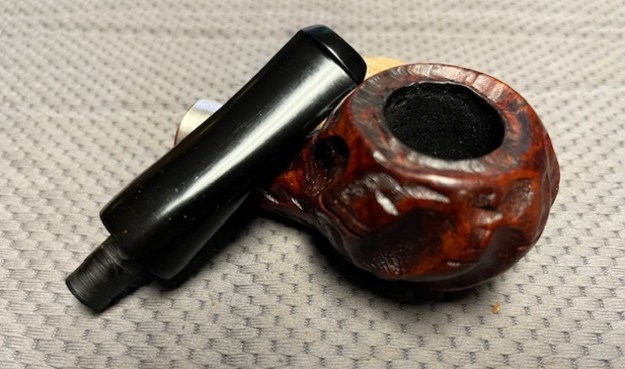
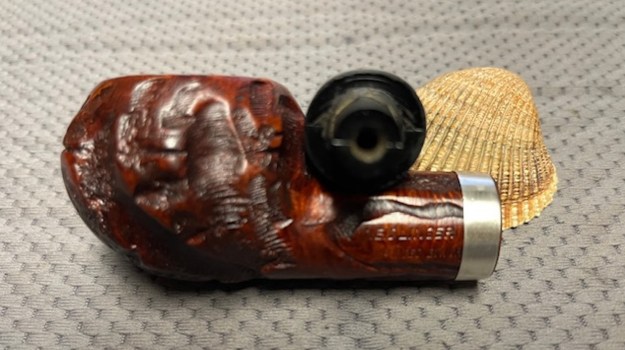
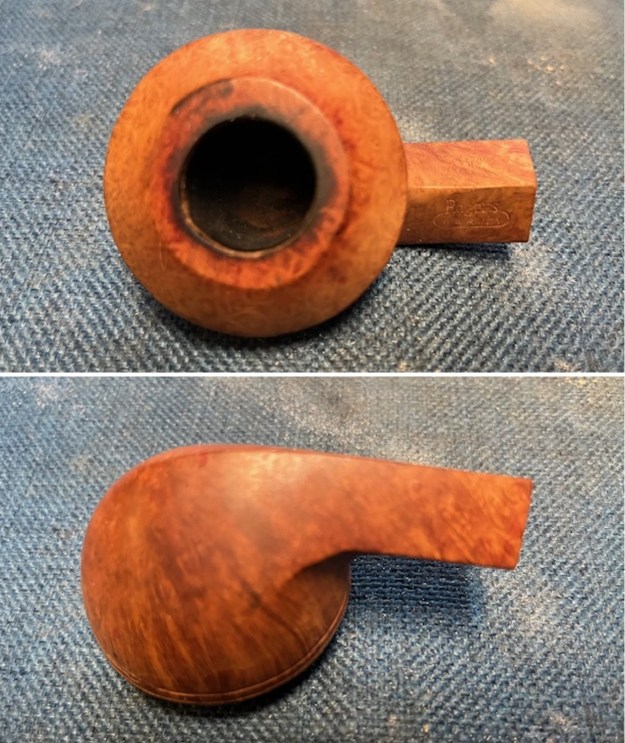
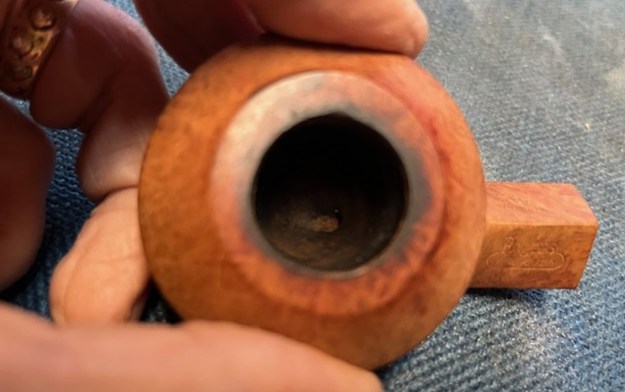
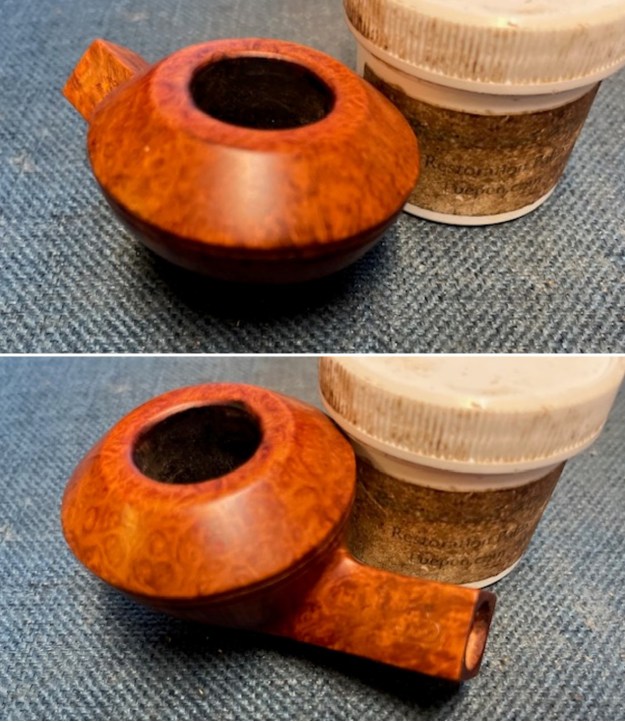
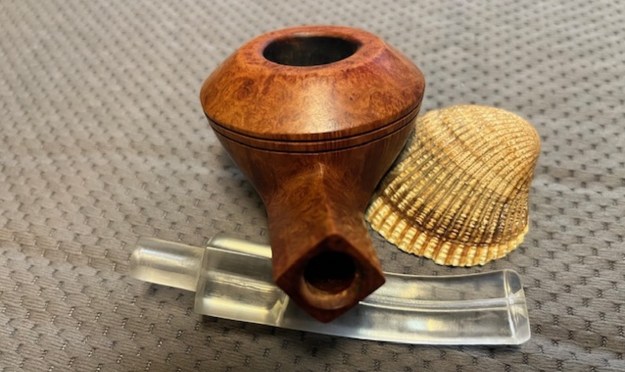
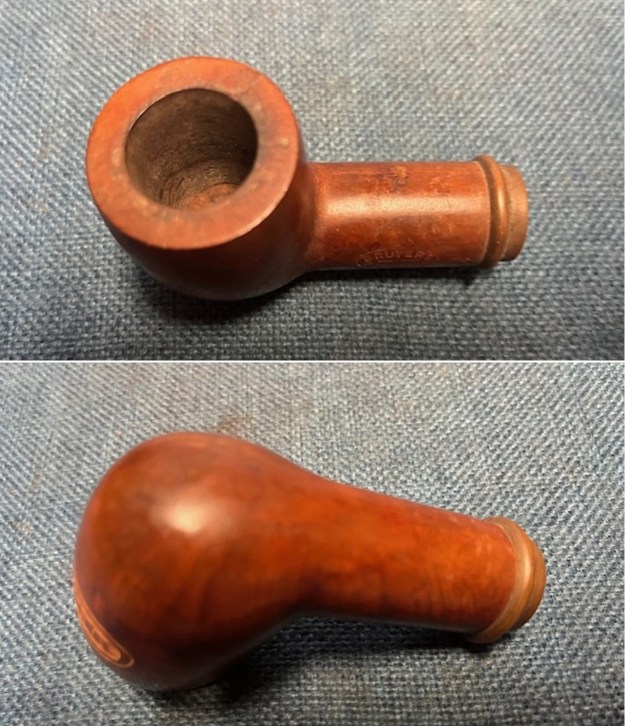
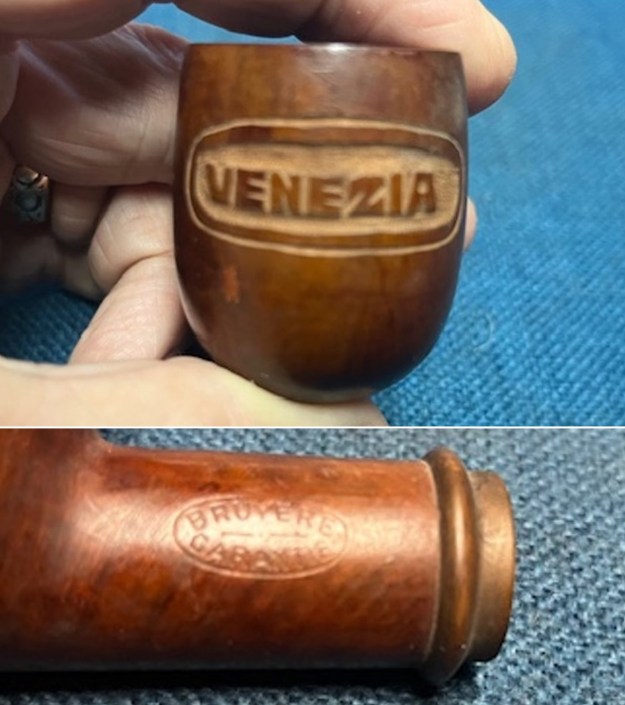 I took a photo of the airways as they entered the shank. You can see one at the top right and top left. There is also fitment at end of the mortise that looks like it held a pin in the centre as a condenser that fit in the mortise.
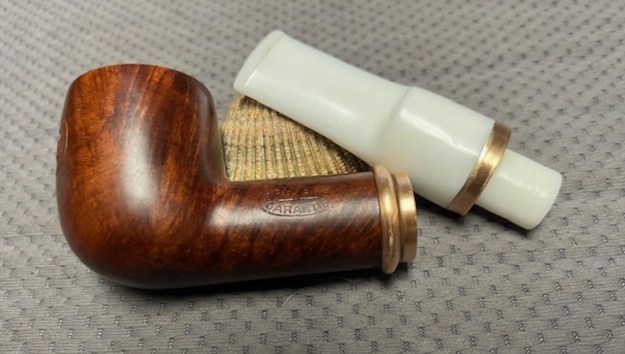
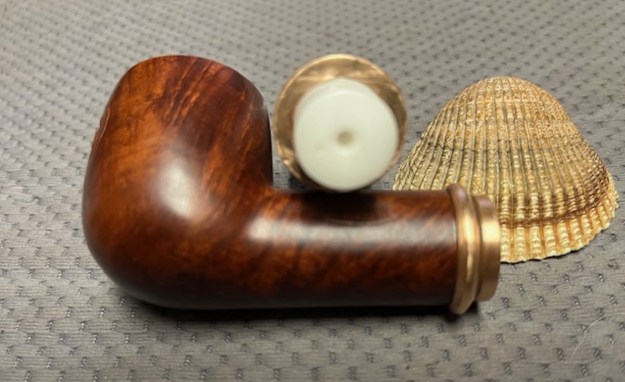
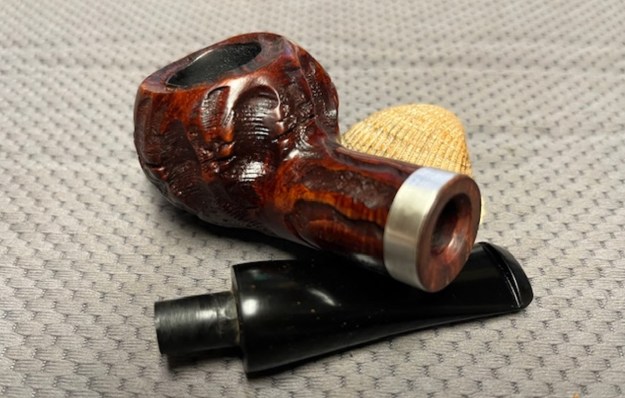
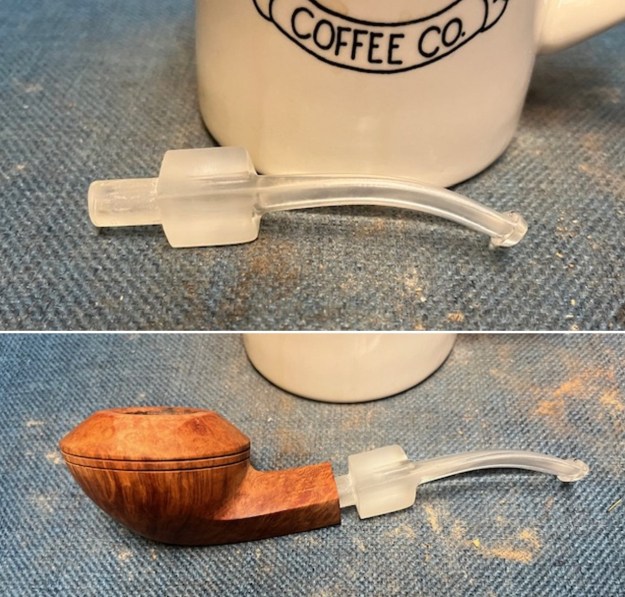
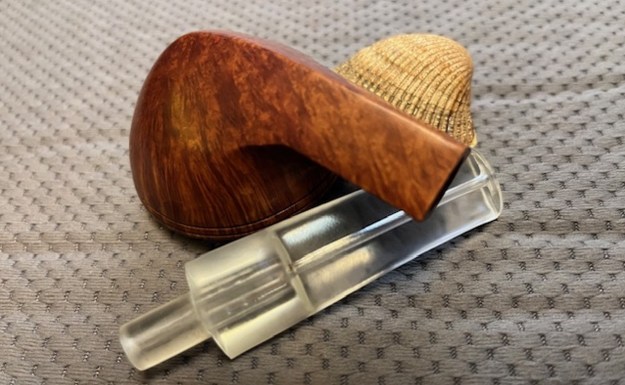
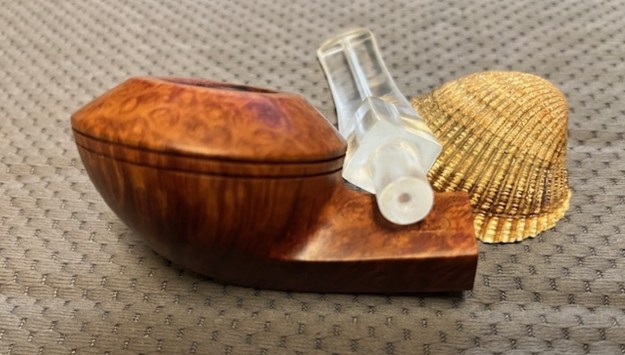
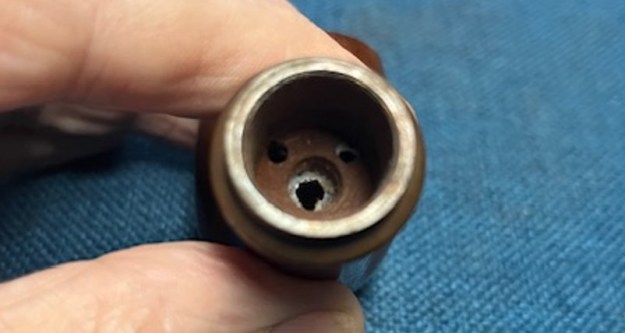 I went through my stems and found an interesting white acrylic saddle stem that would look good with this bowl and the brass shank end. I would need to reduce the diameter of the tenon to fit in the large mortise and would also need to reduce the diameter of the saddle portion to reflect the diameter of the shank.
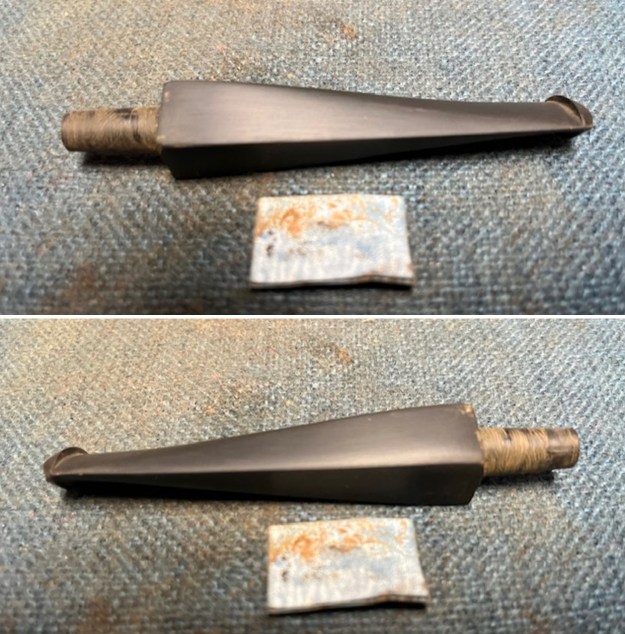
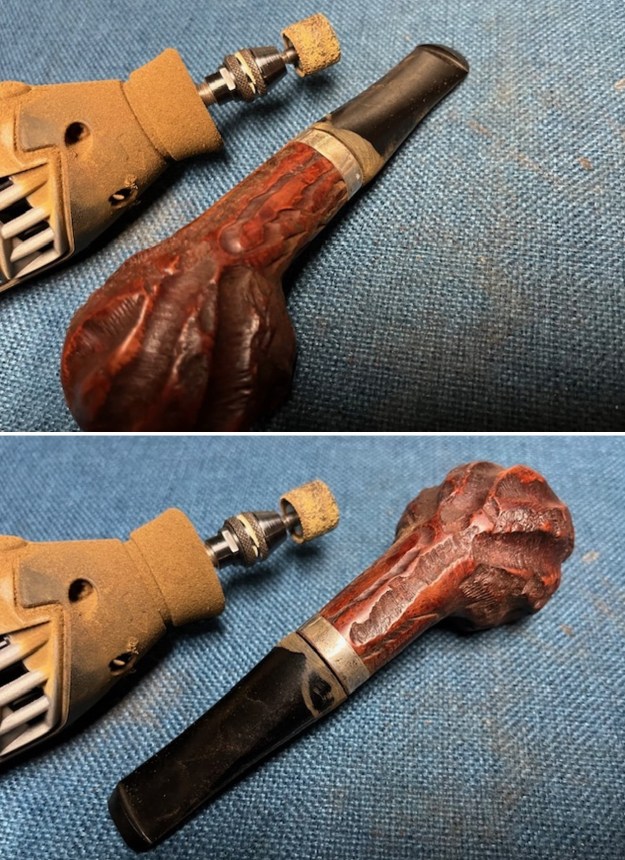
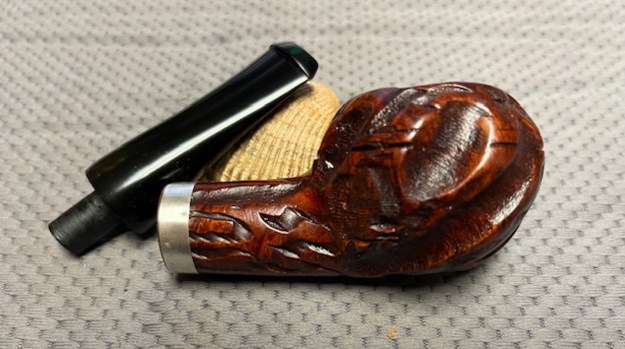
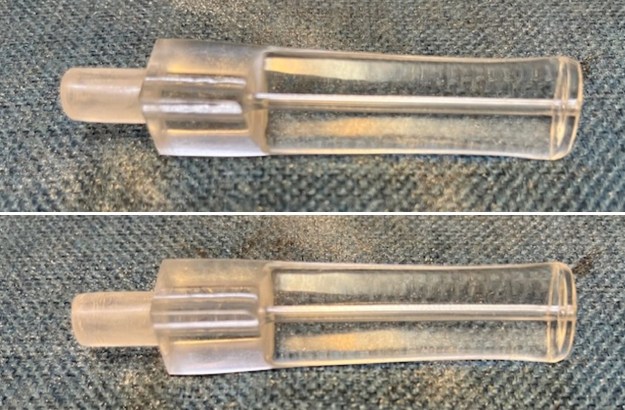
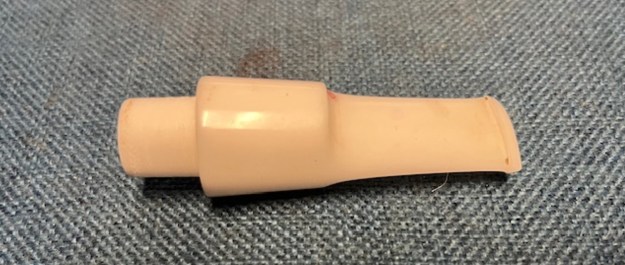 I used a Dremel and a sanding drum to take down the diameter of the saddle portion of the stem and also the tenon. I decided to try something a bit different – to fit the end of the stem with a reversed shank band/ferrule. I reduced the stem diameter enough to press the band onto the end of the stem.
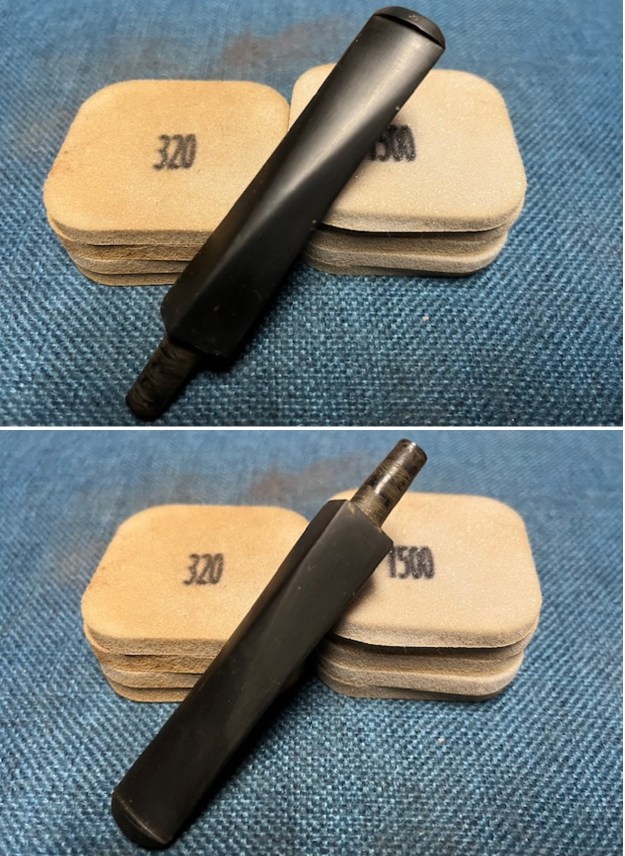
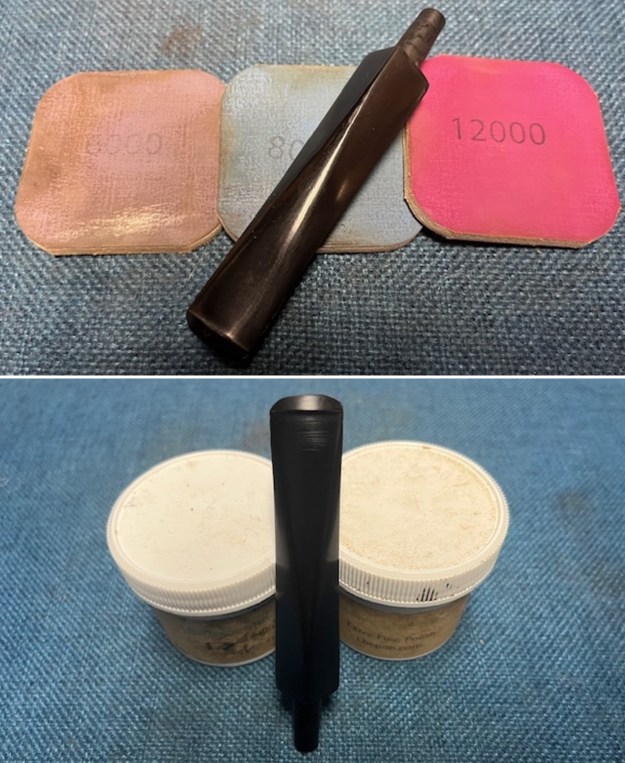
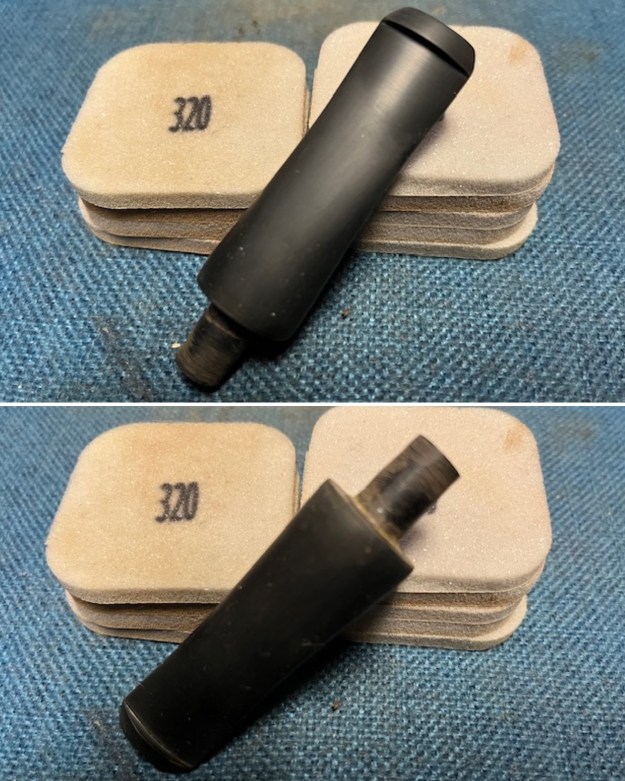
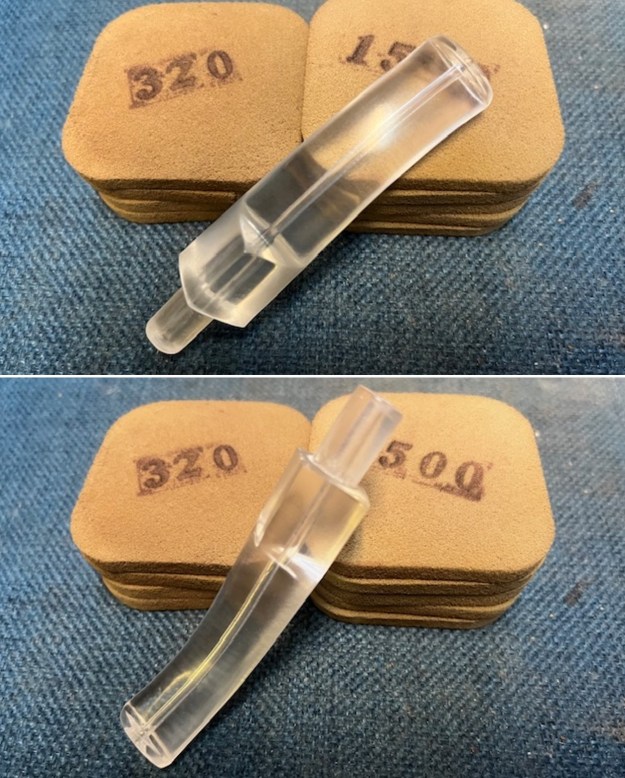
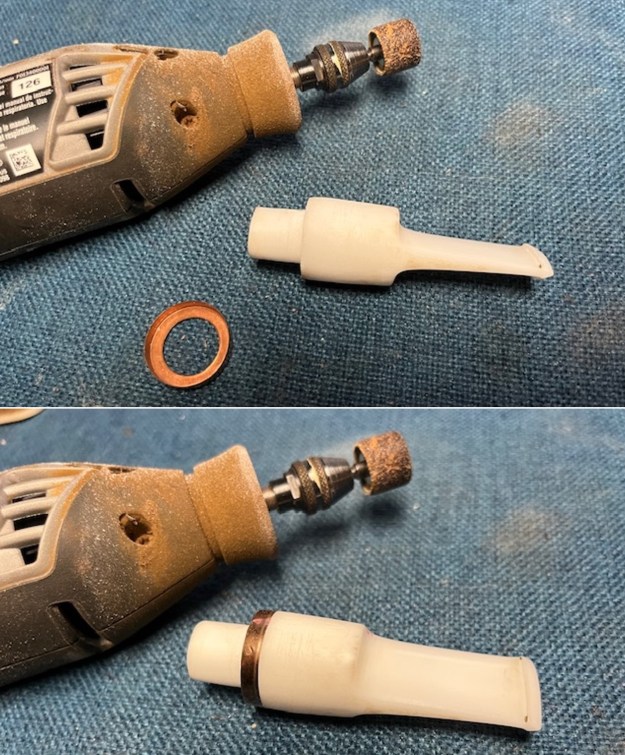 I sanded the stem with 220 grit sandpaper to smooth out the marks from the Dremel. I followed that by sanding it with 320-3500 grit sanding pads to further blend down the sanding areas. I wiped the stem down between pads with an Obsidian Oil cloth to remove the sanding debris from the stem.
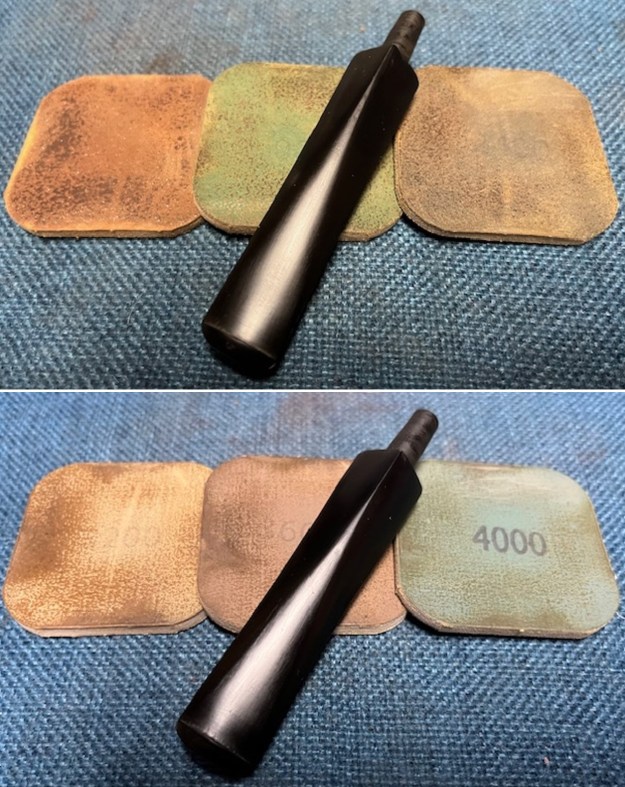
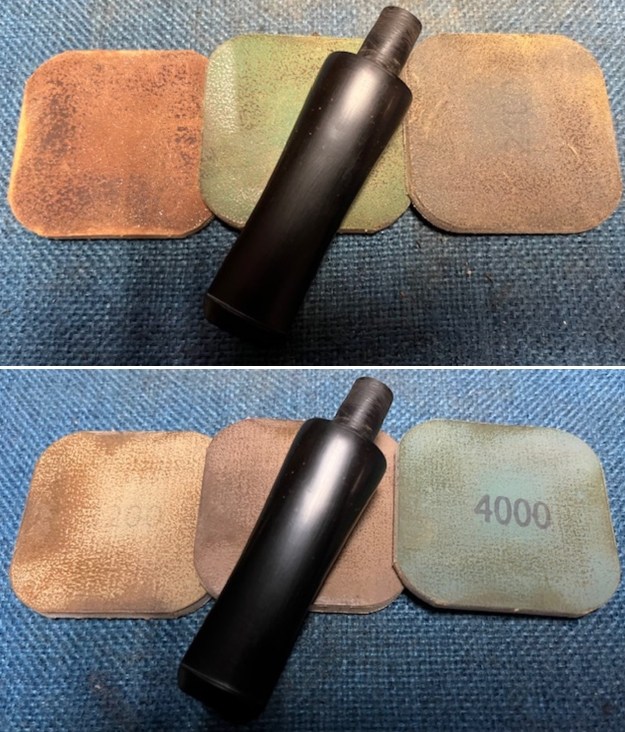
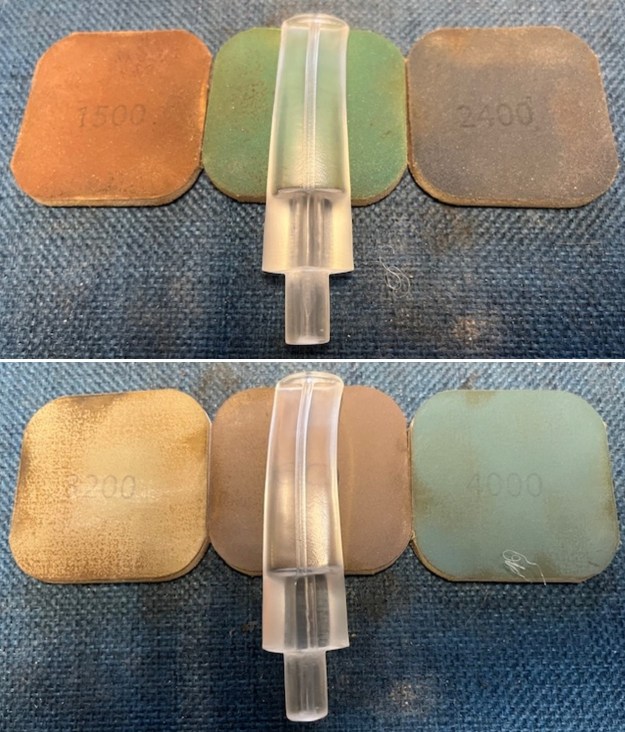
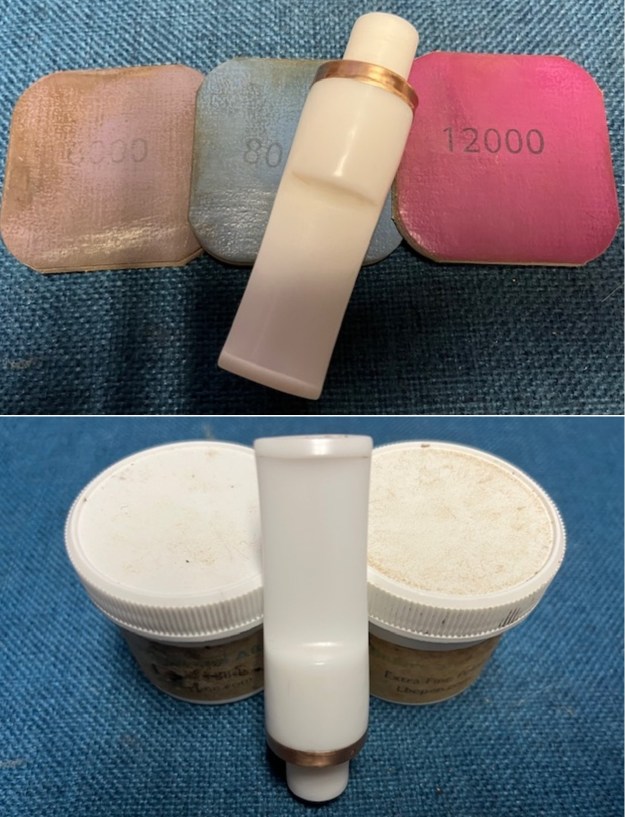
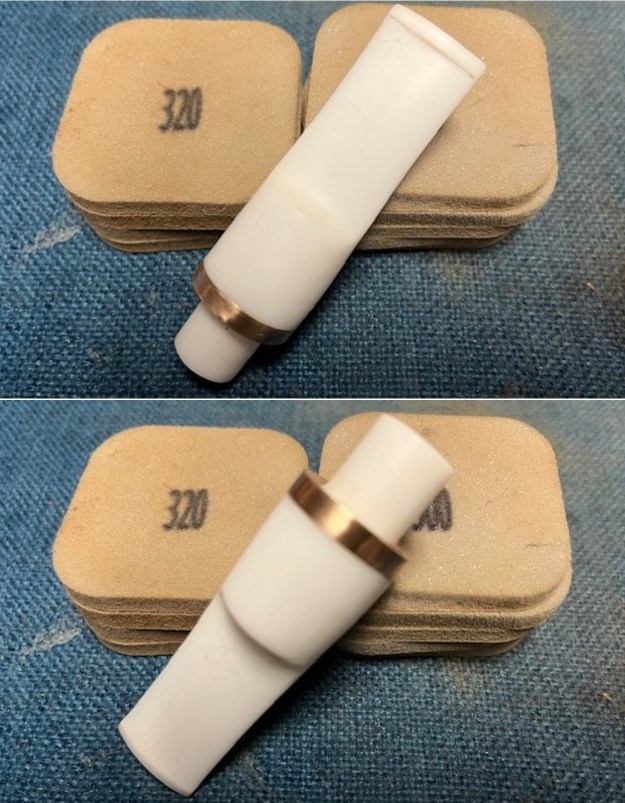 I polished the stem with micromesh sanding pads – dry sanding with 1500-12000 grit sanding pads. I wiped it down after each sanding pad with Obsidian Oil. I polished it with Before & After Pipe Stem Polish – both Fine and Extra Fine.
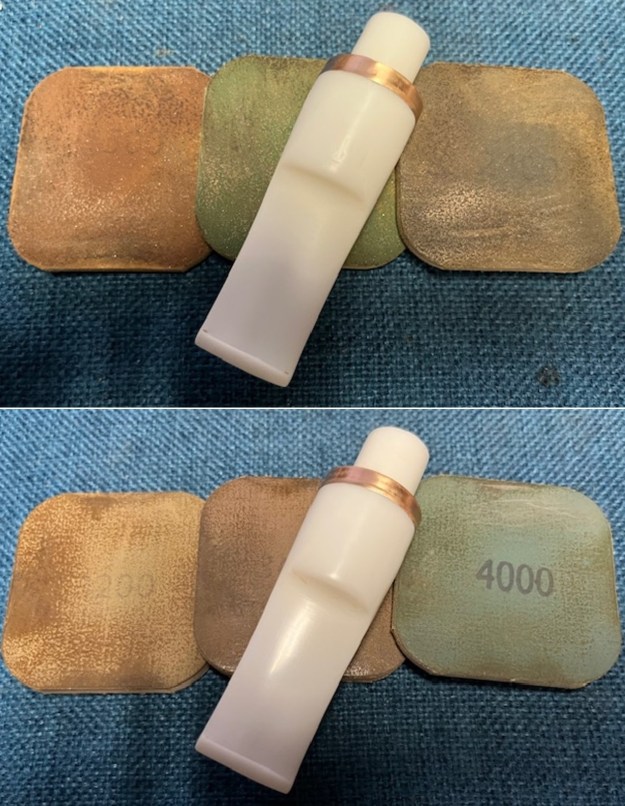
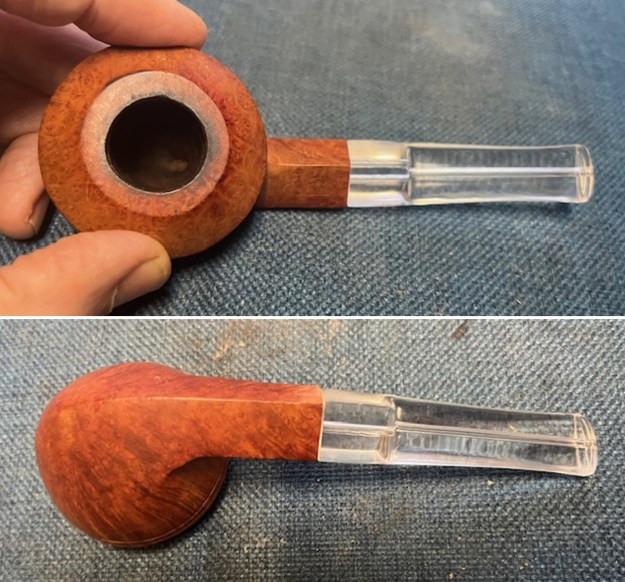
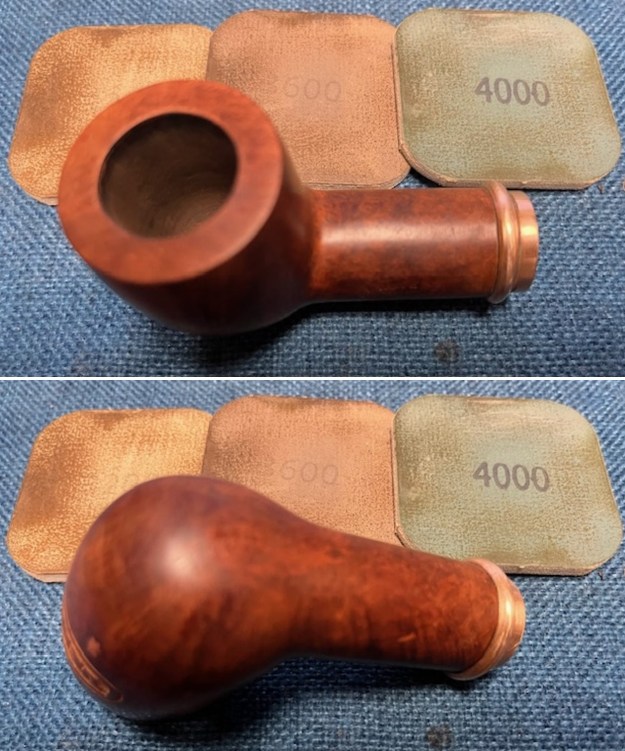
 I set the stem aside and turned my attention to the bowl. I wiped down the bowl with alcohol to remove the spotty finish and the debris on the bowl sides. It began to look much better.
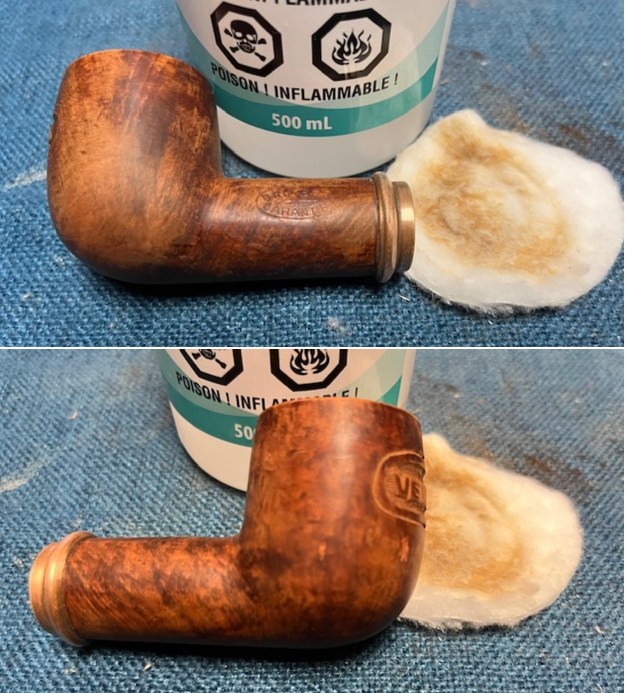
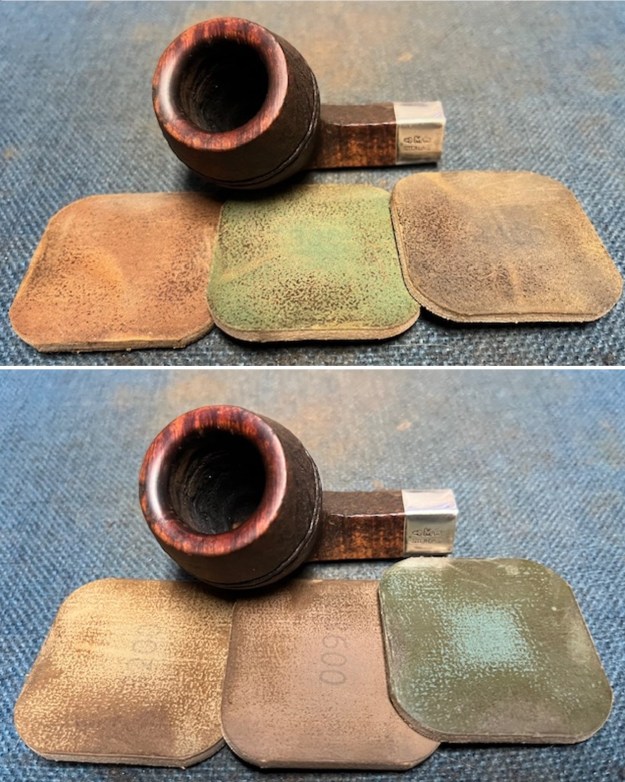
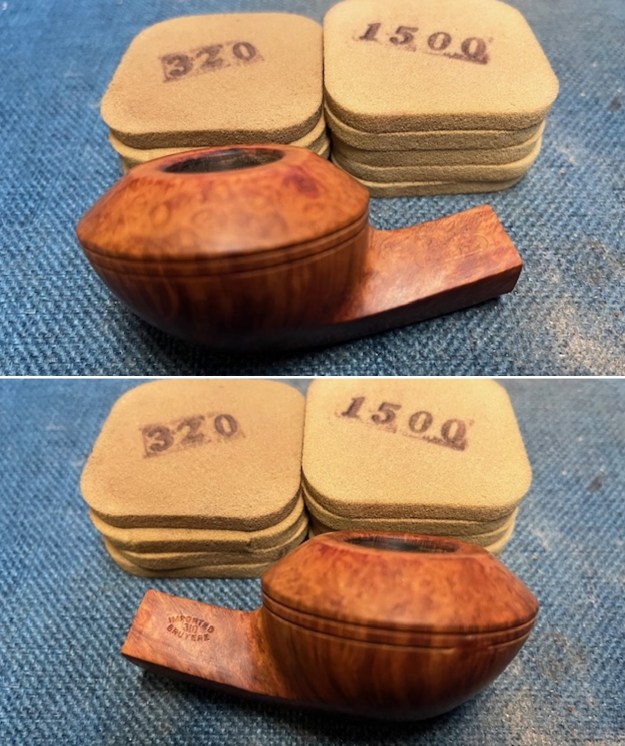
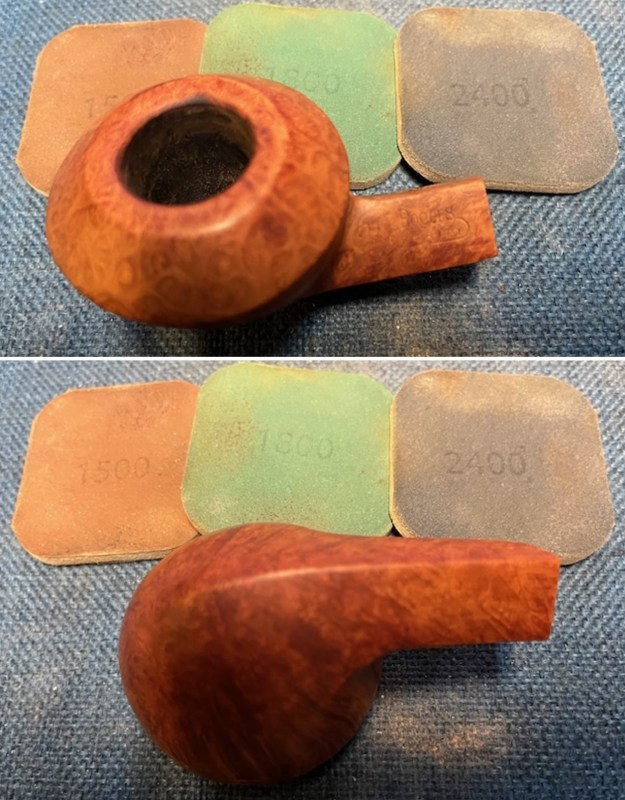
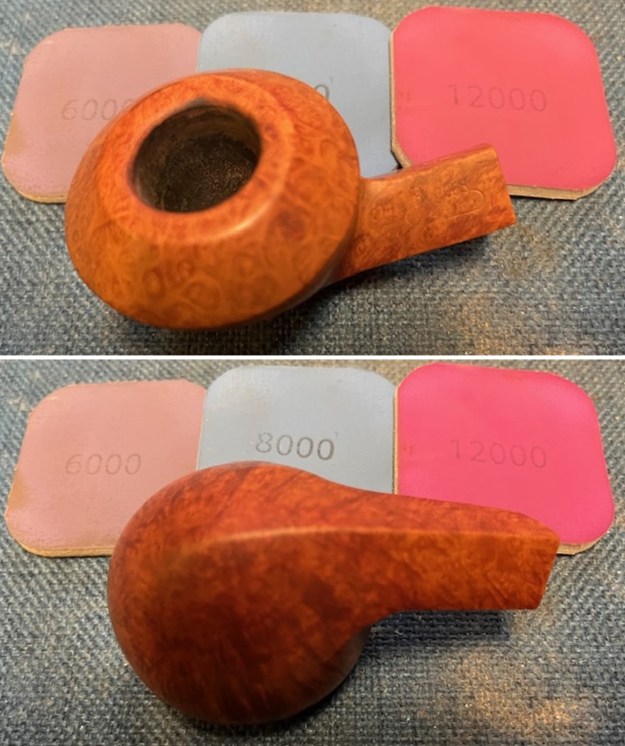
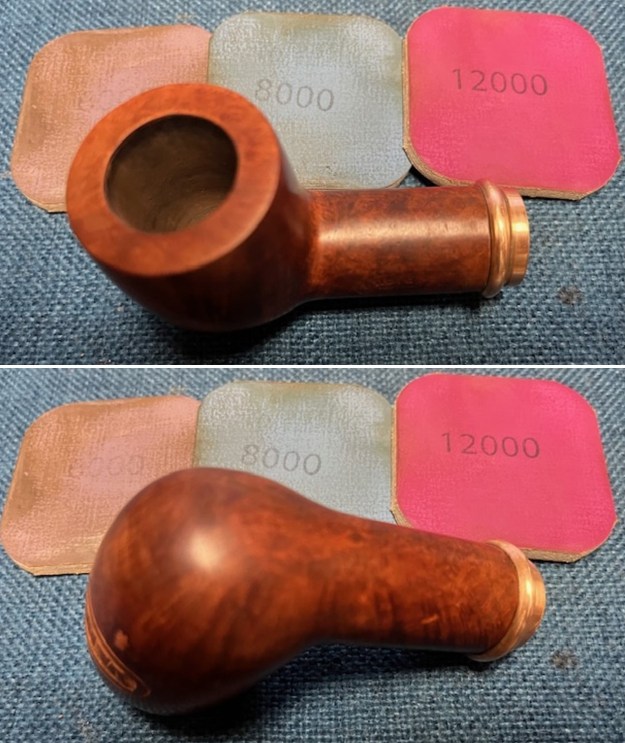
 I sanded the bowl with 320-3500 grit 2 x 2 inch sanding pads. I wiped the bowl down after each sanding pad with a damp cloth to remove the sanding debris. It began to take on a rich shine.
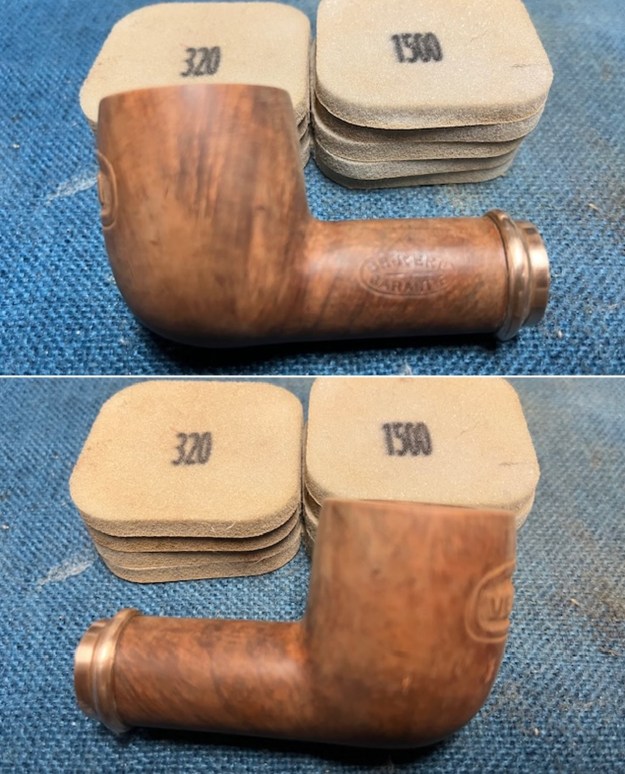
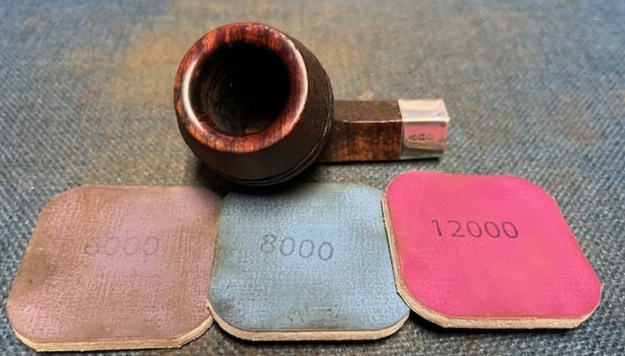
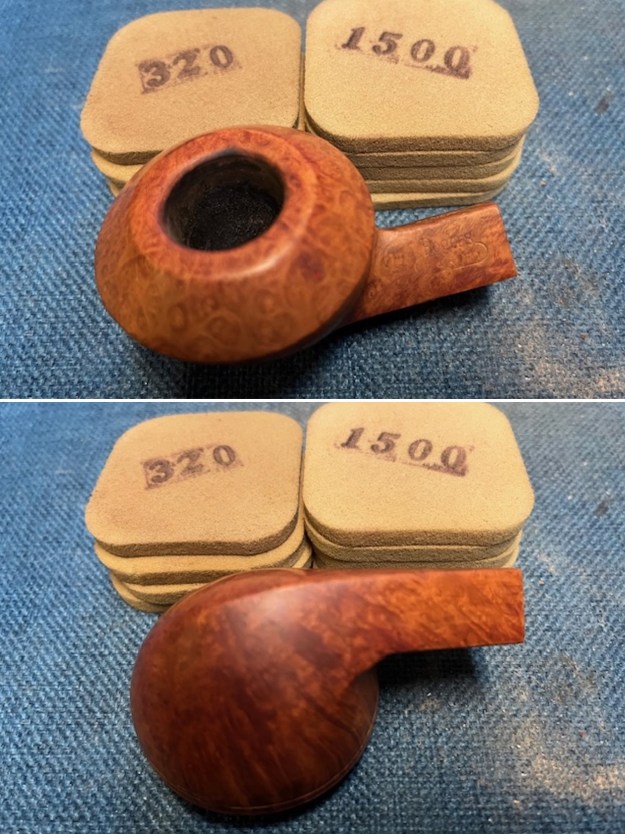
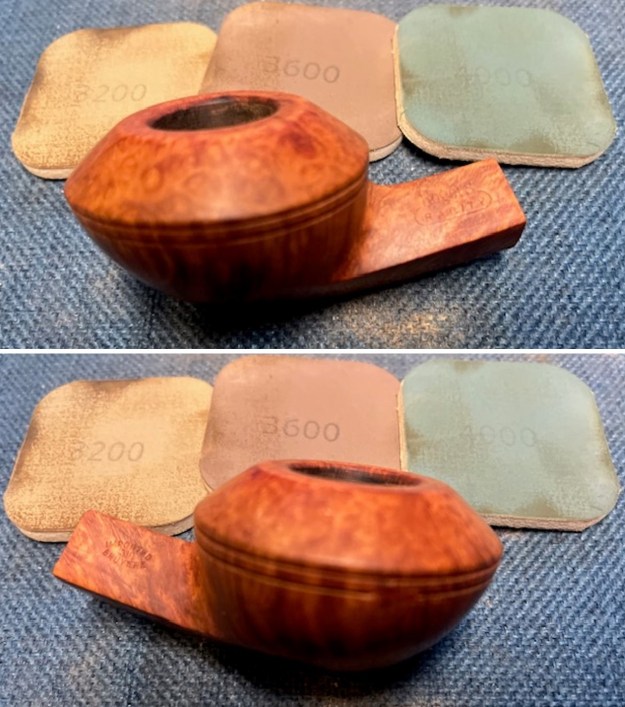
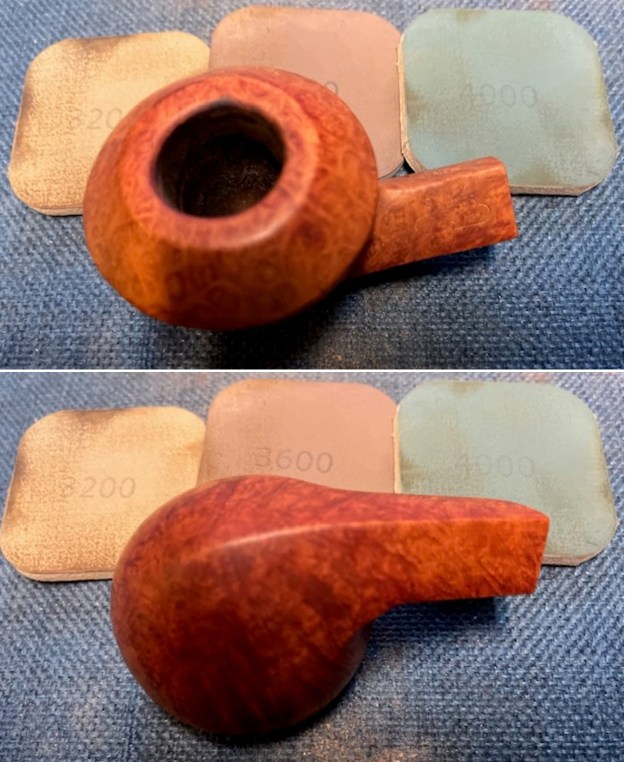
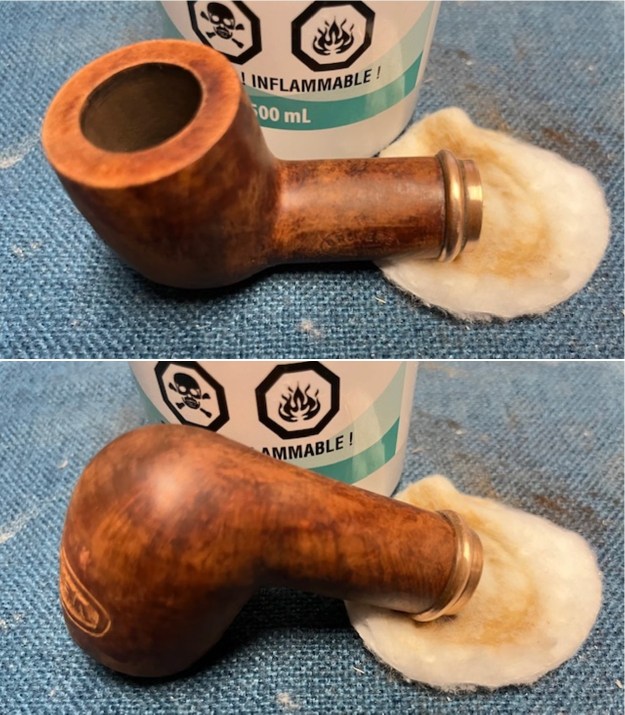
 I polished the briar with micromesh sanding pads – dry sanding with 1500-12000 grit pads. I wiped the bowl down after each pad with a damp cloth to remove the sanding dust. By the end of the process the pipe bowl looked very good.
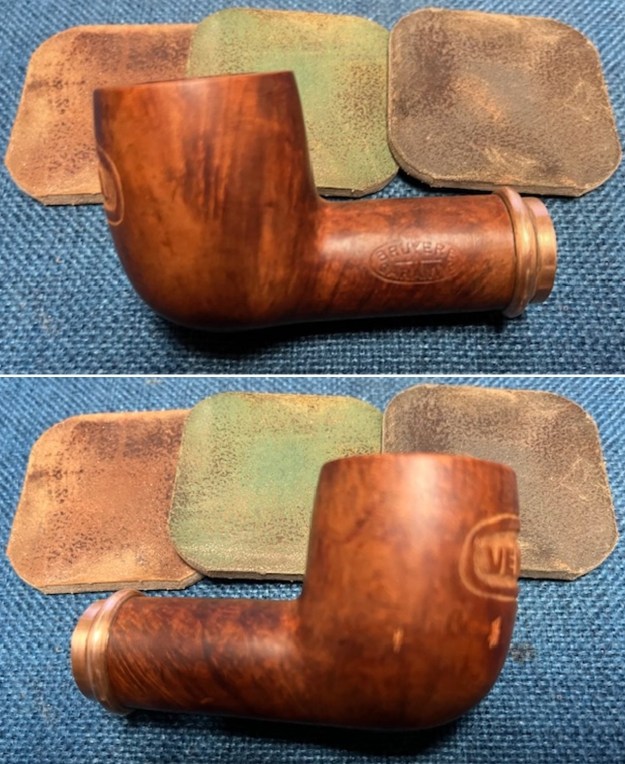
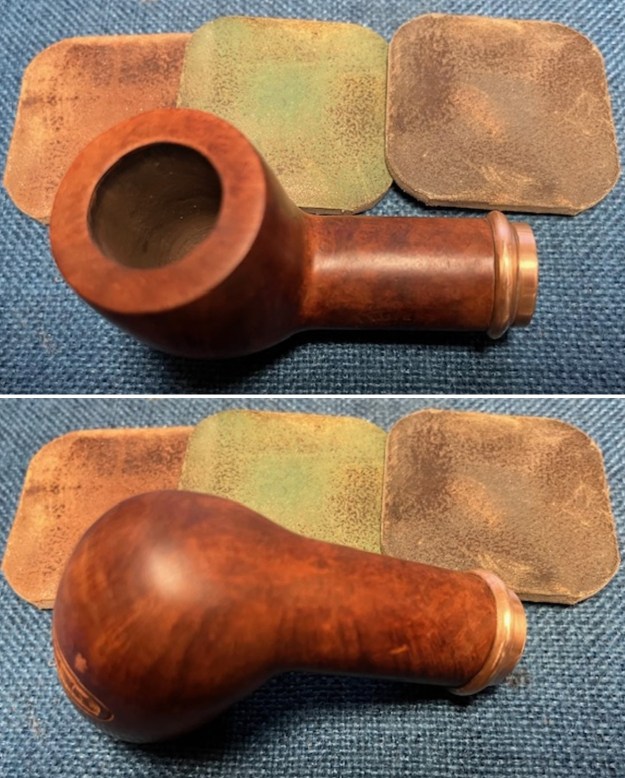
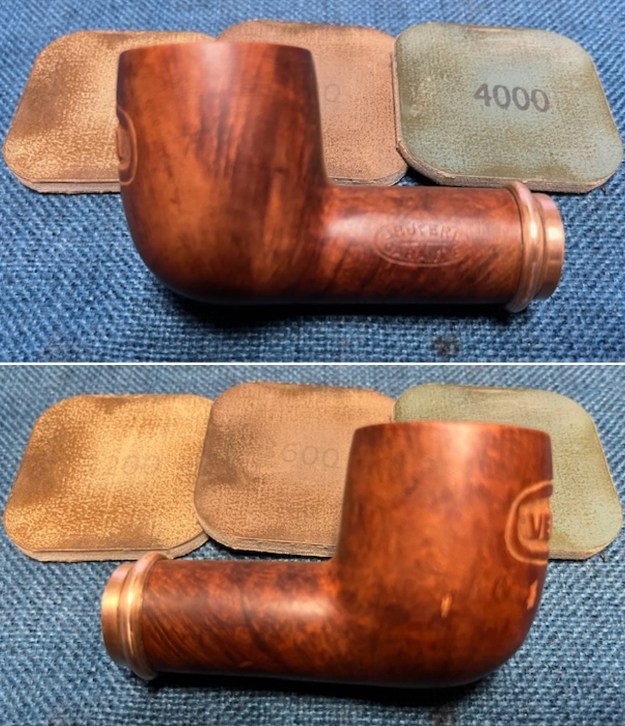
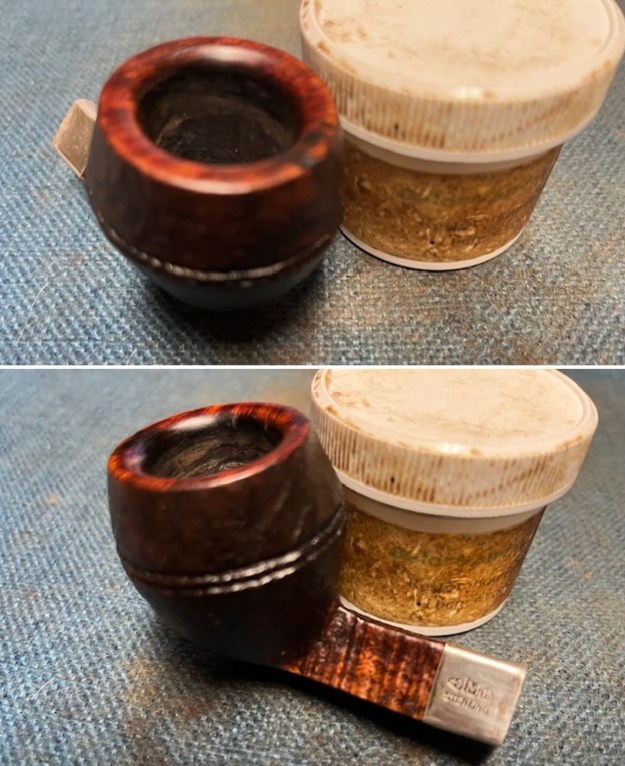
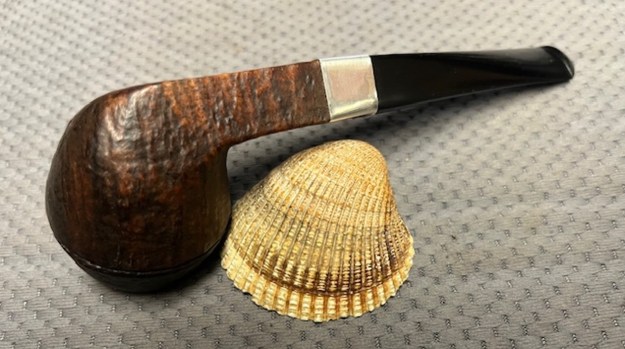
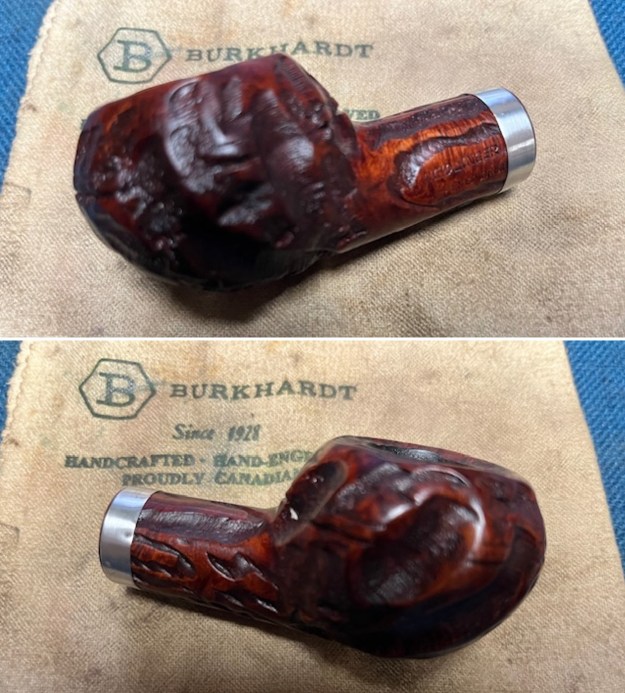
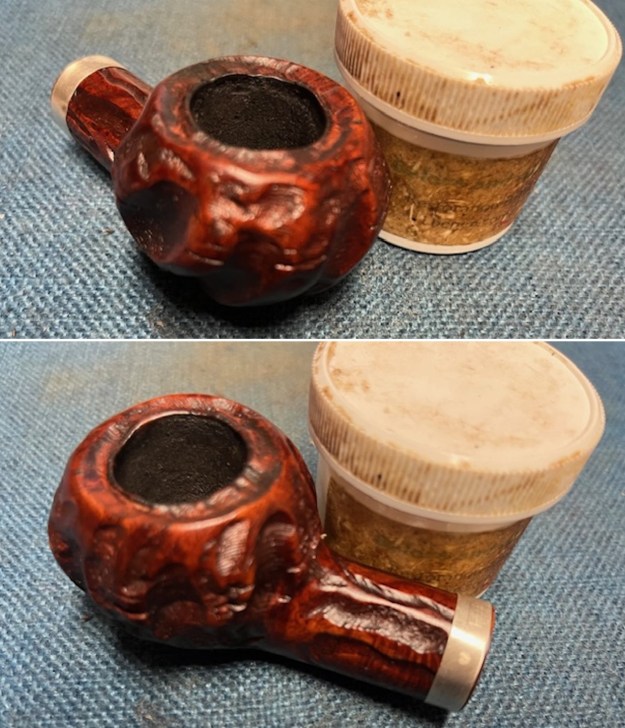
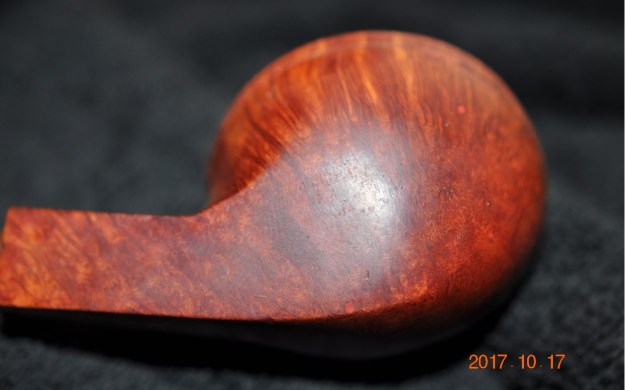
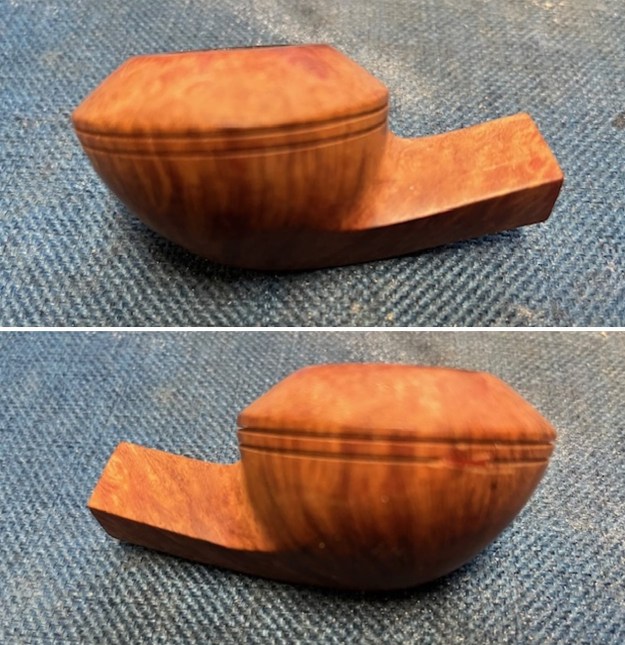
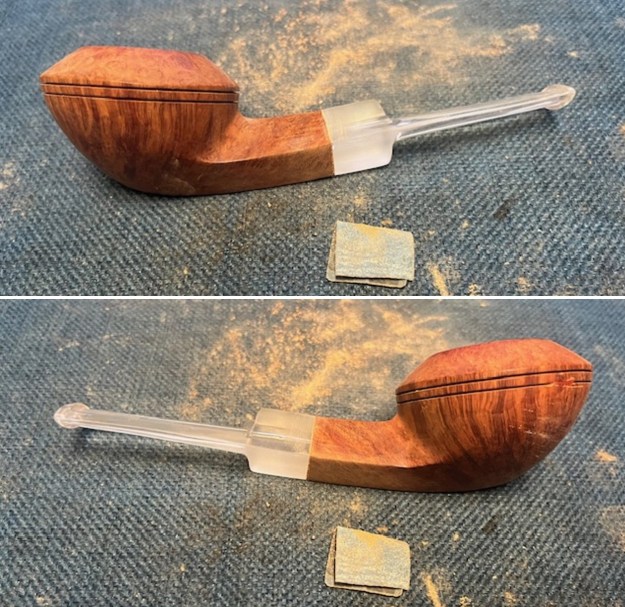
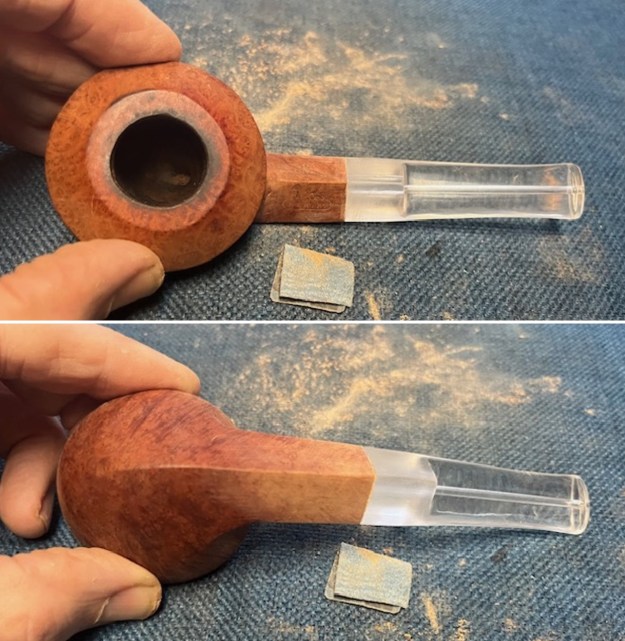
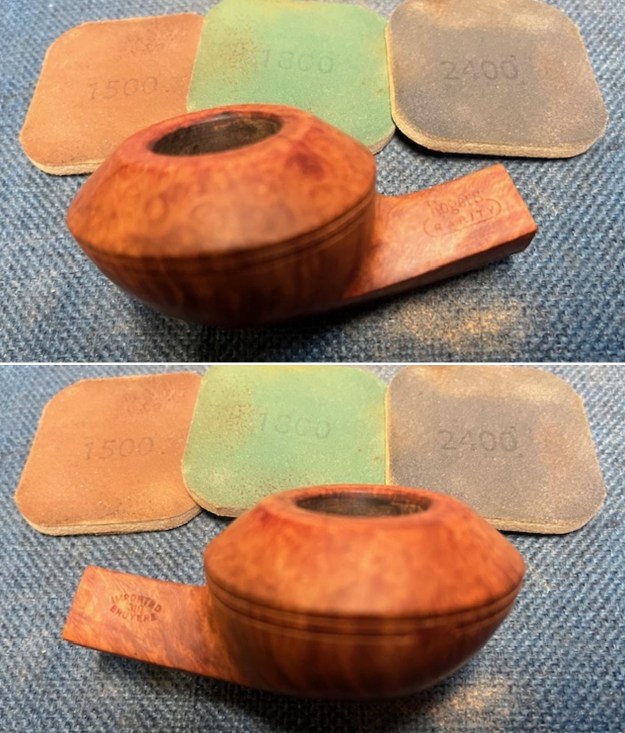
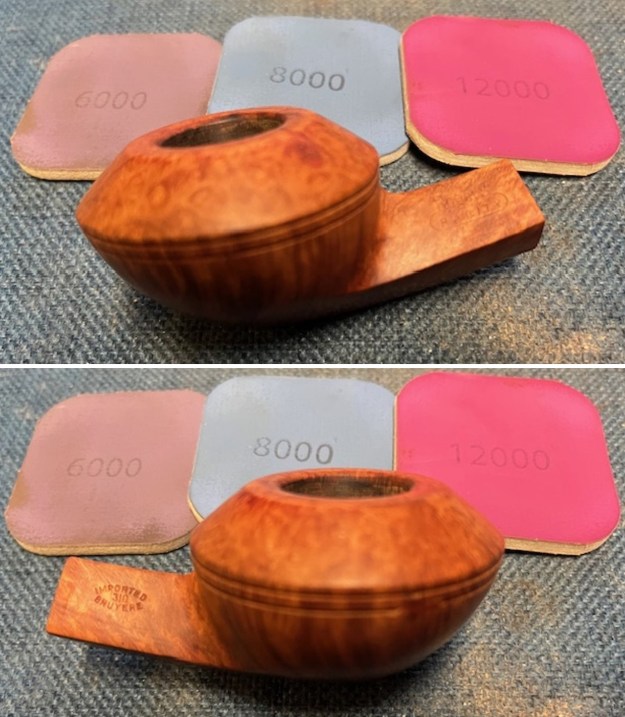
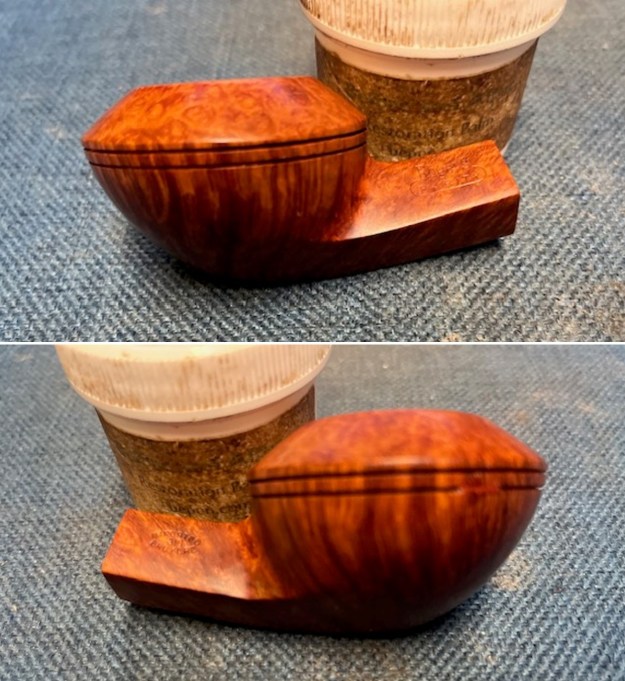
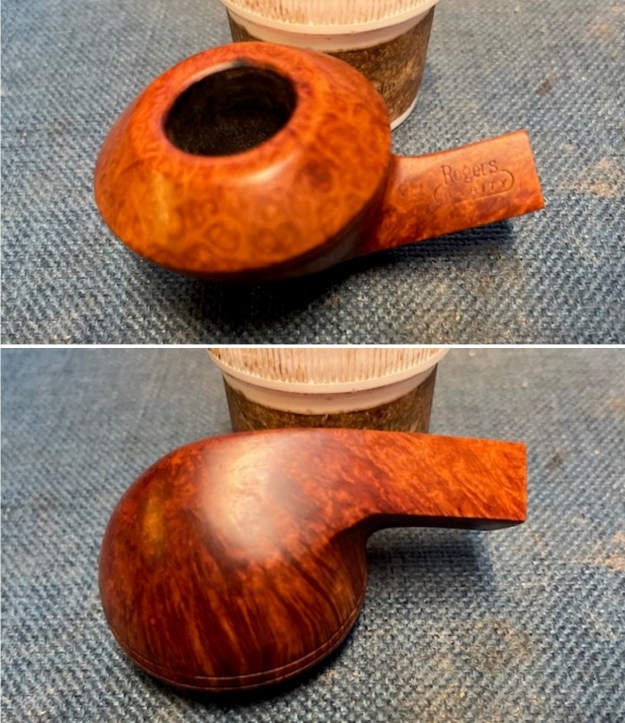
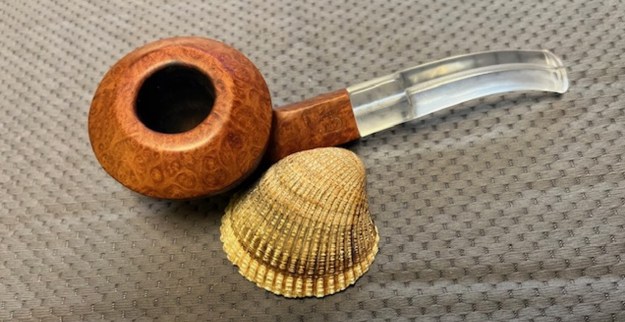
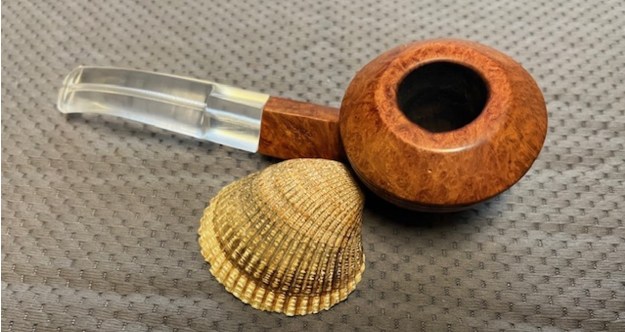
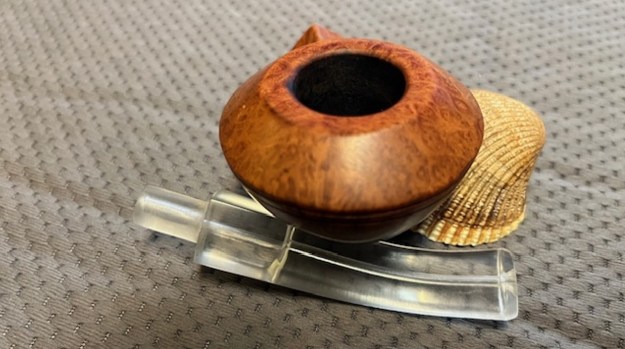
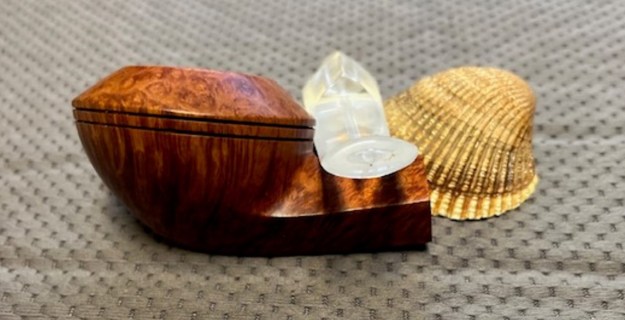
 I worked some Before & After Restoration Balm into the surface of the briar with a shoe brush to get into the carving on front of the bowl and my fingertips on the smooth. The product works to clean, enliven and protect the briar. I let the balm sit for 15 minutes and then buffed with a cotton cloth to raise the shine. The photos show the bowl at this point in the restoration process.
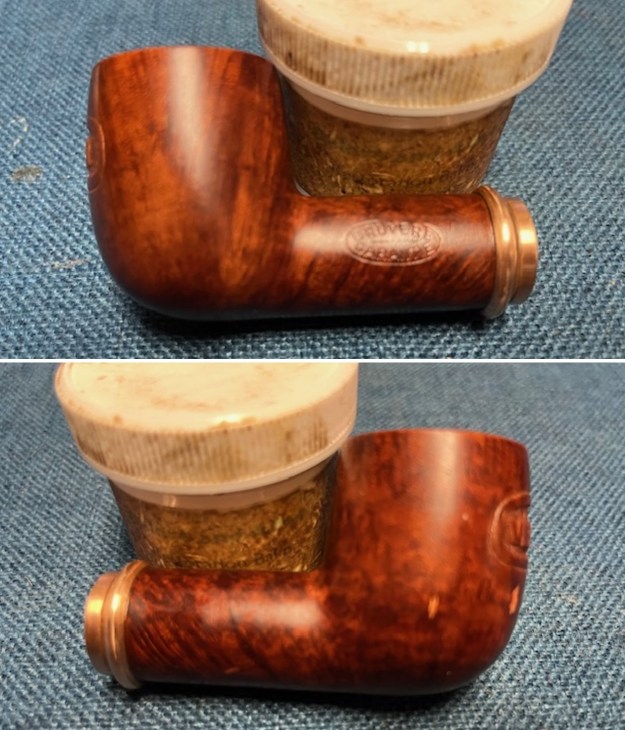

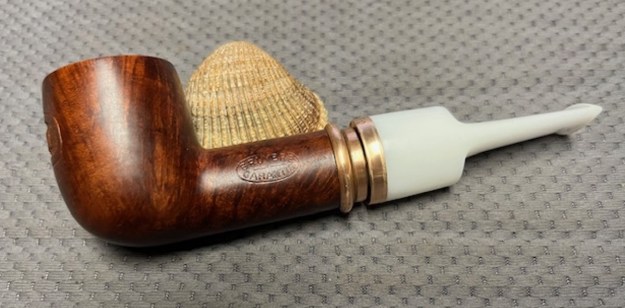
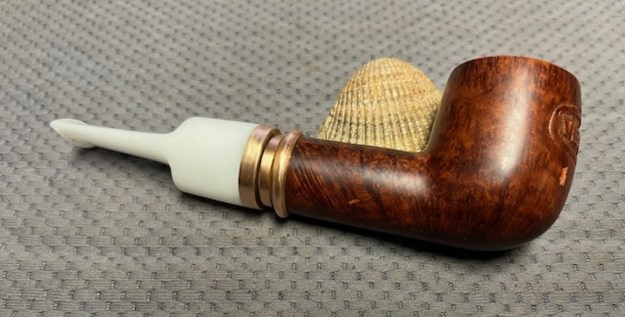
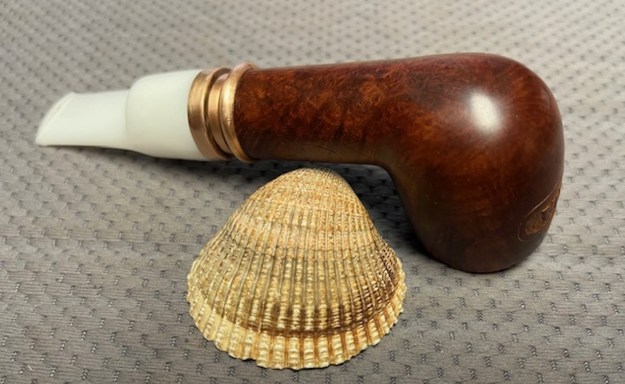
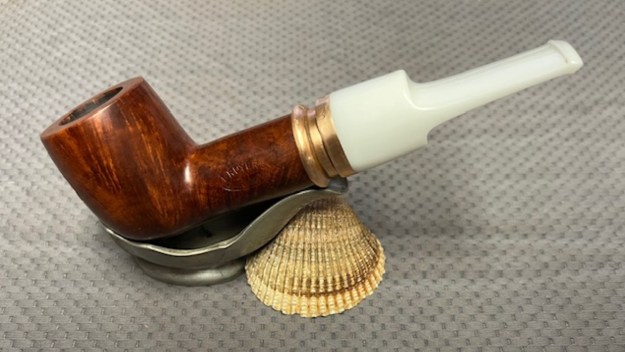
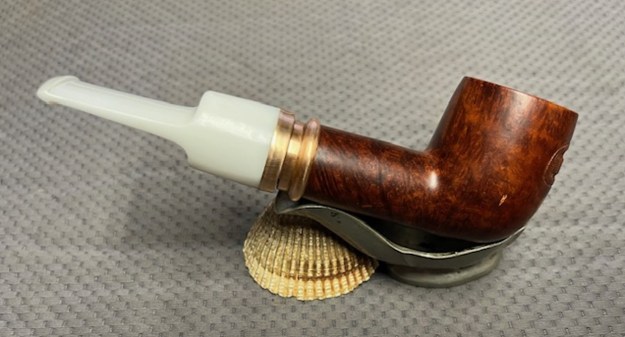
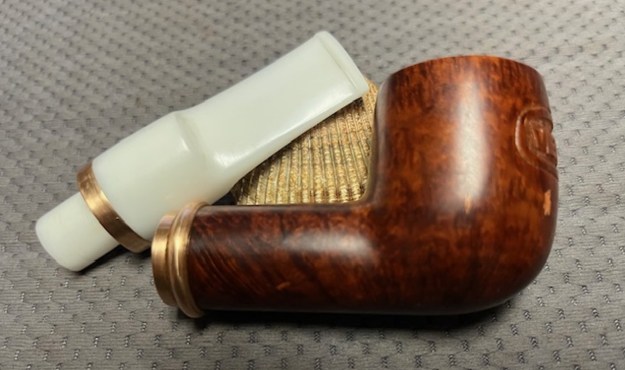
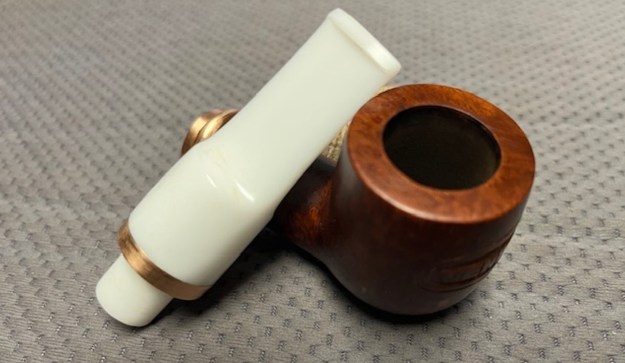
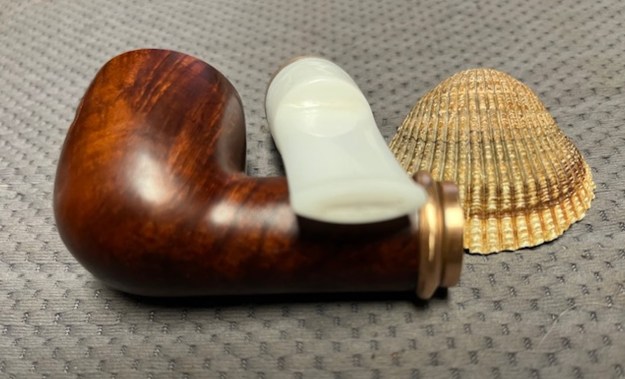
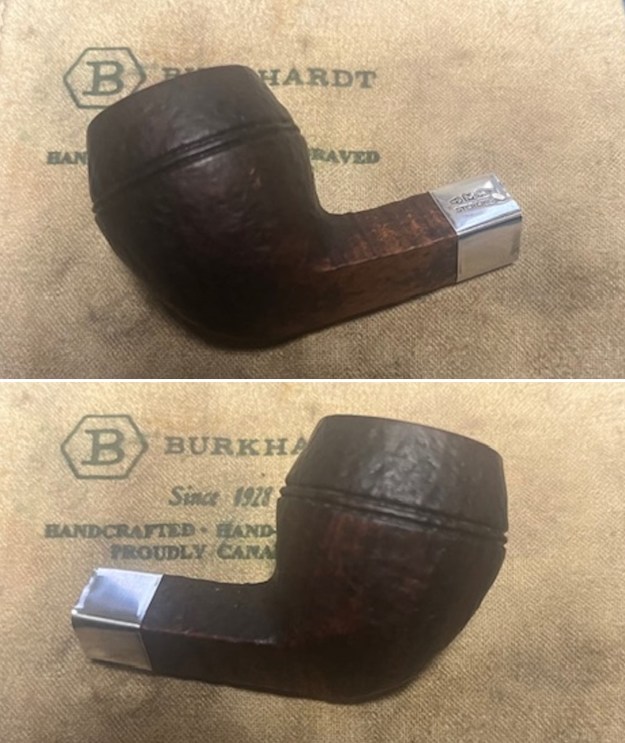
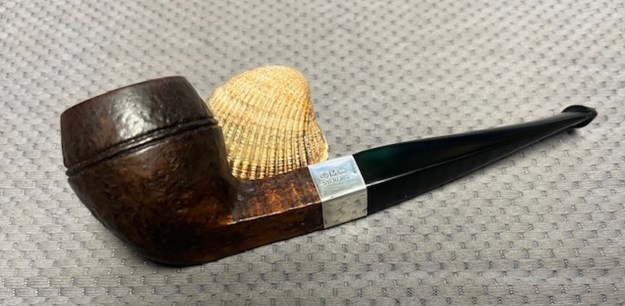
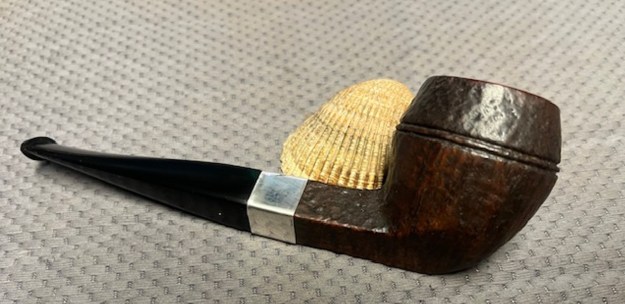
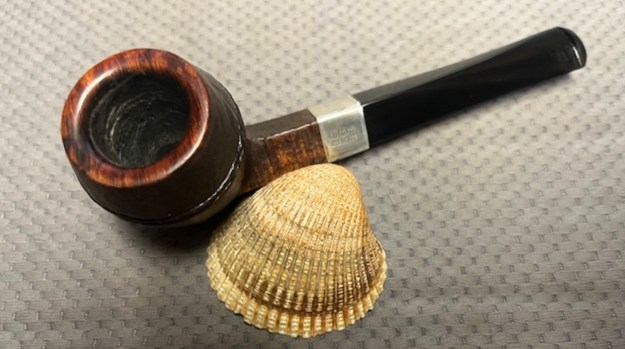
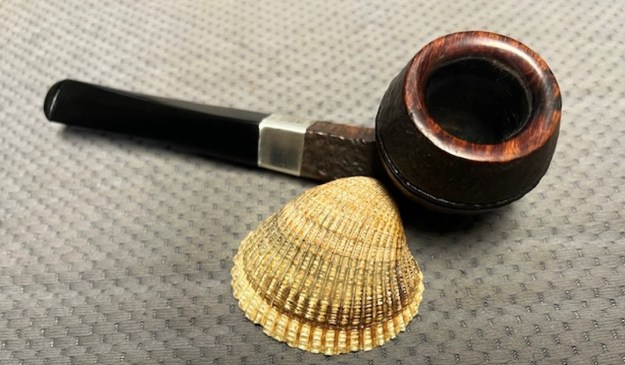
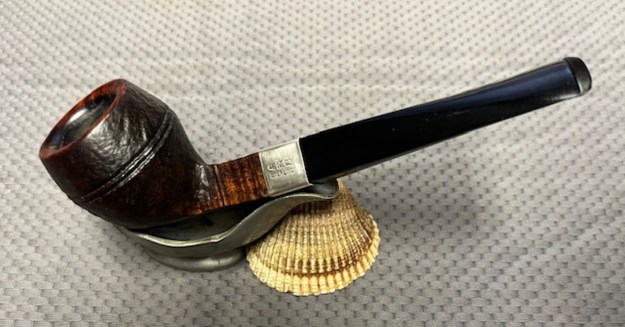
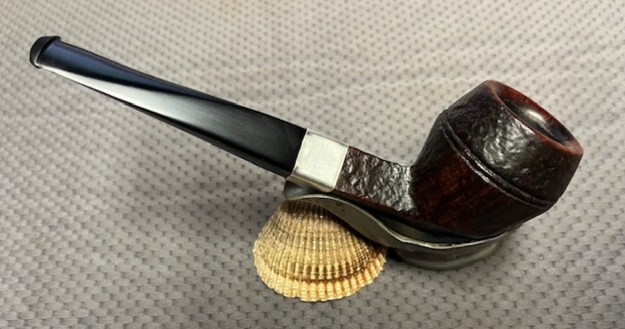
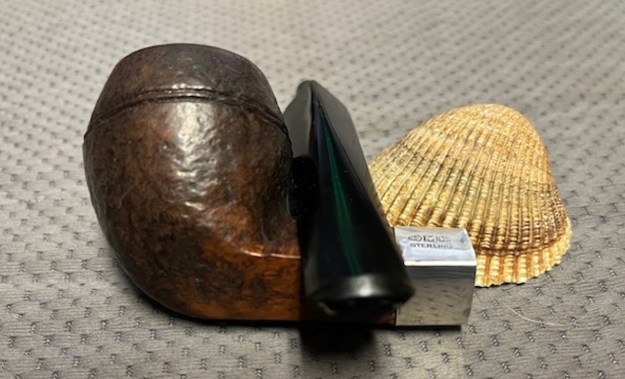
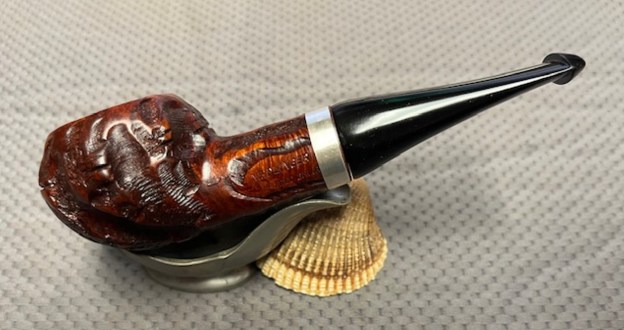
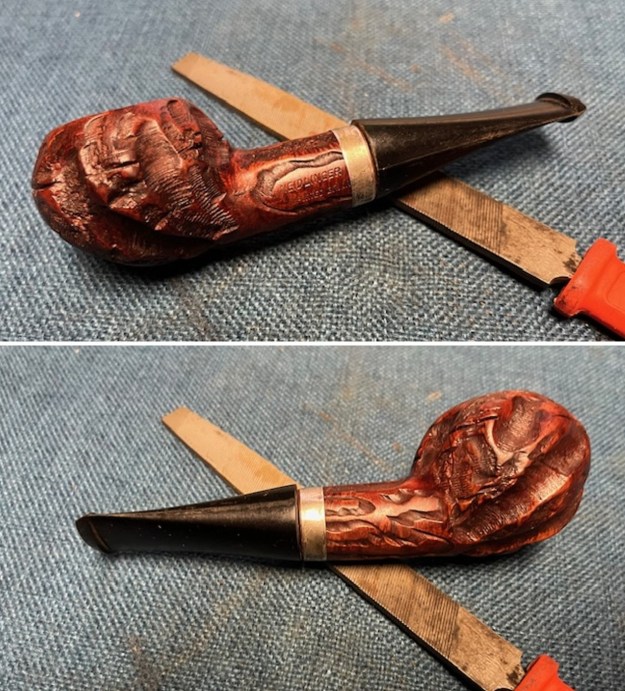
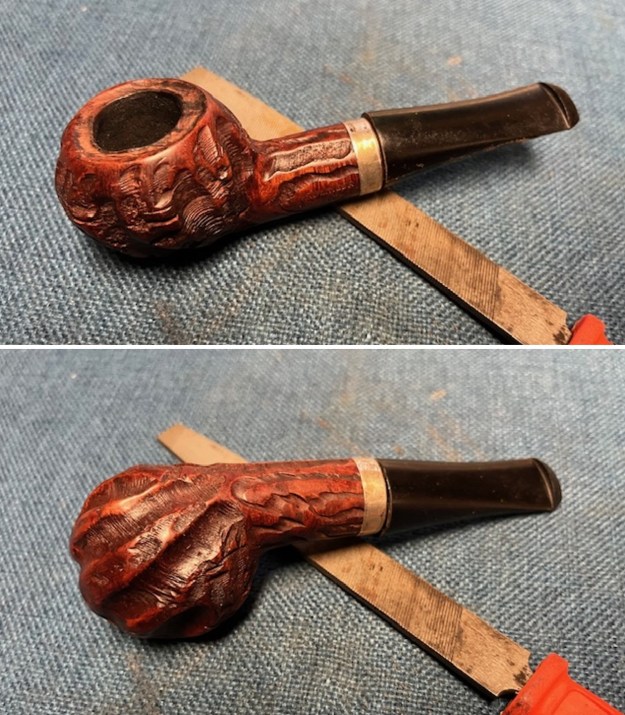
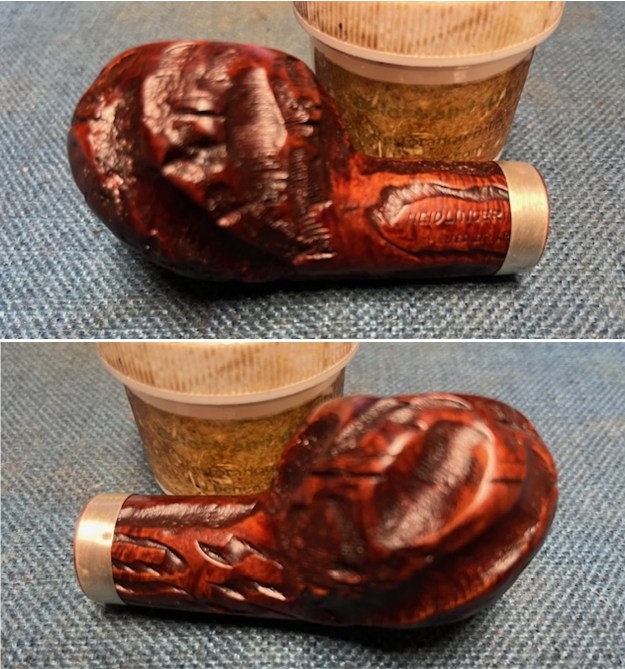
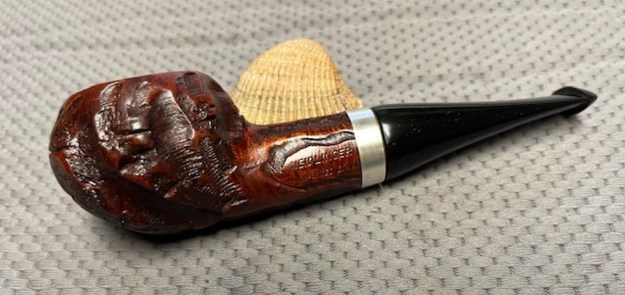
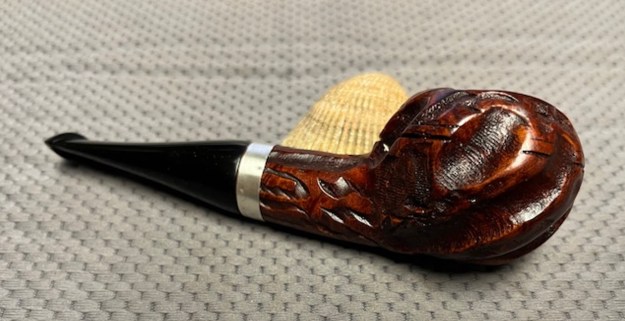
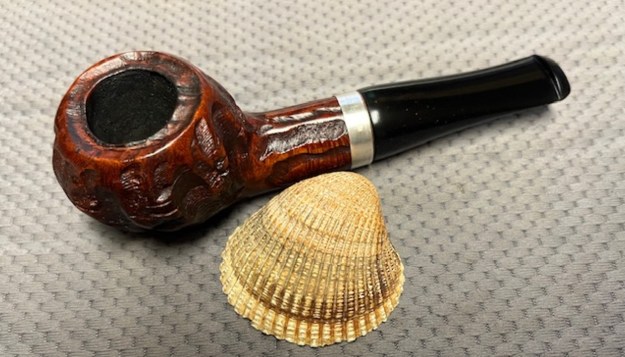
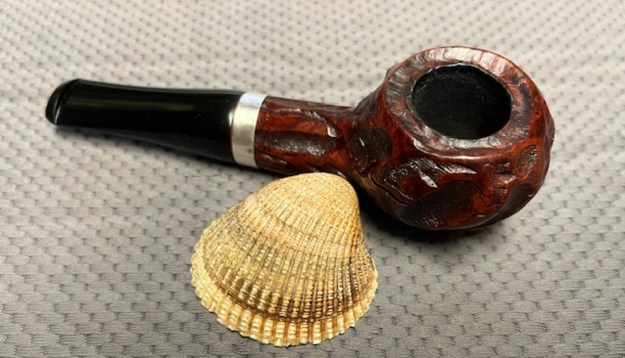
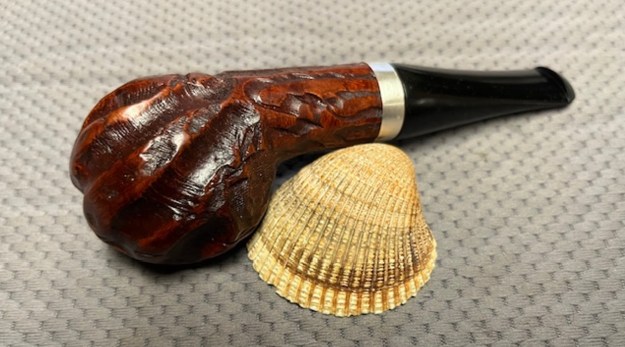
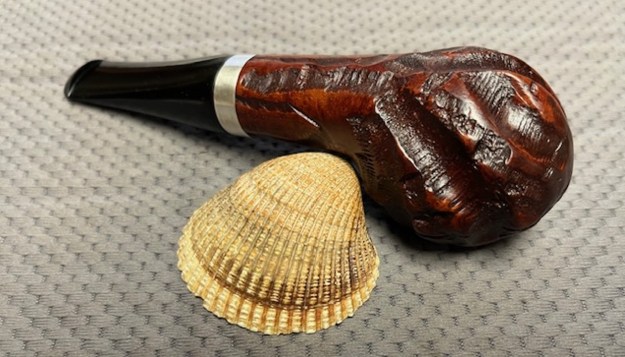
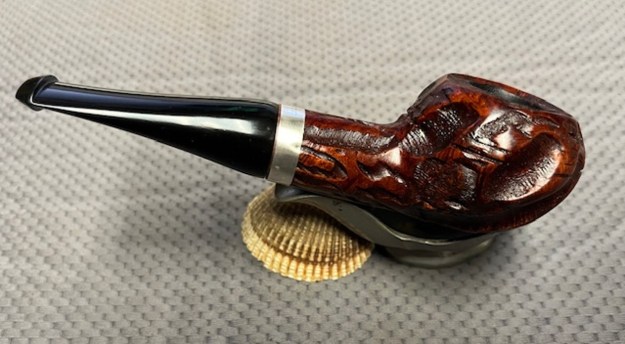
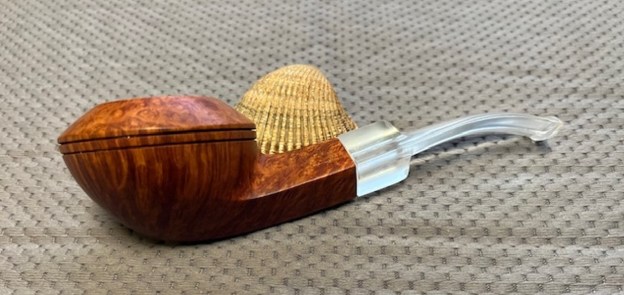
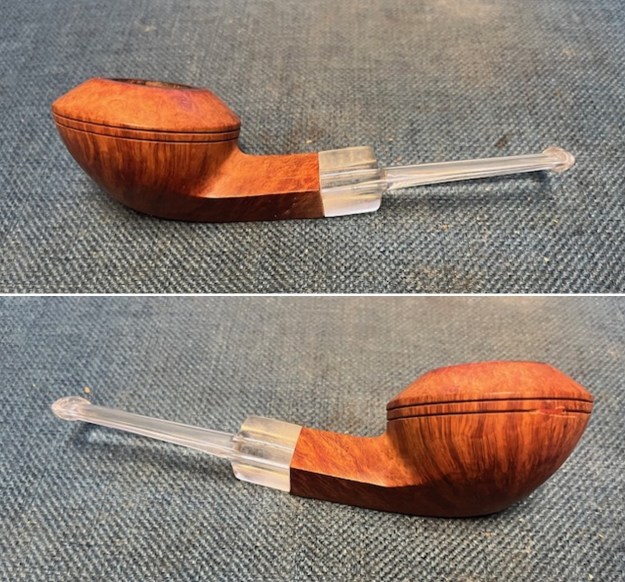
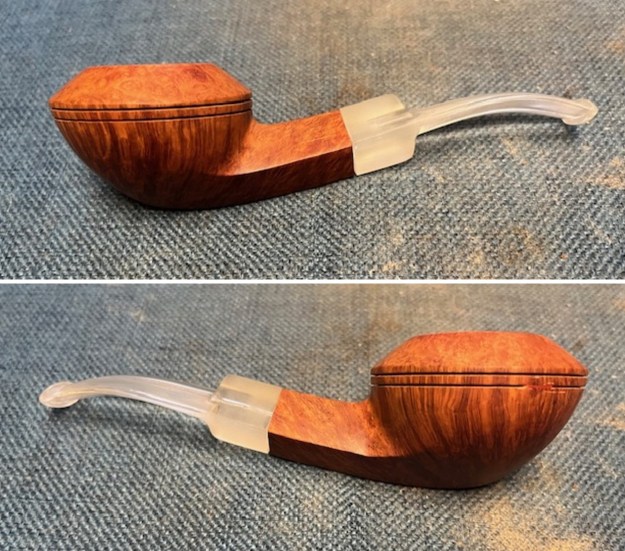
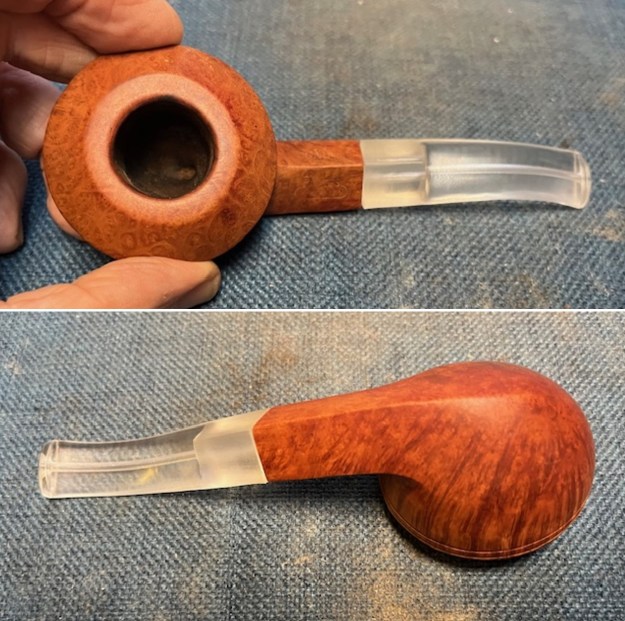
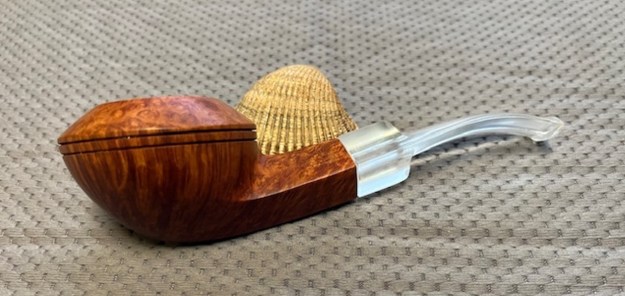
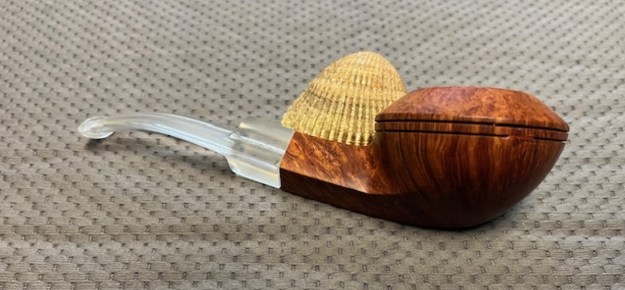
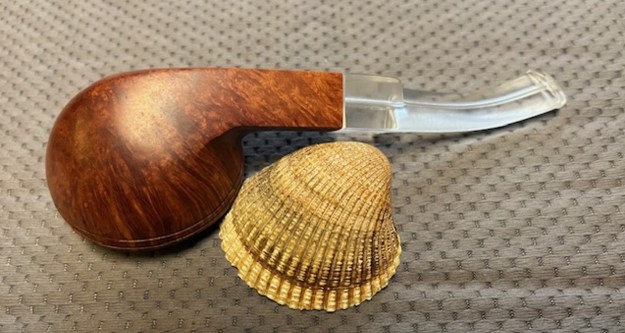
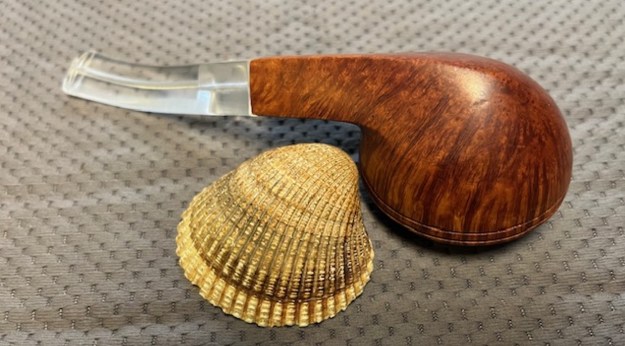
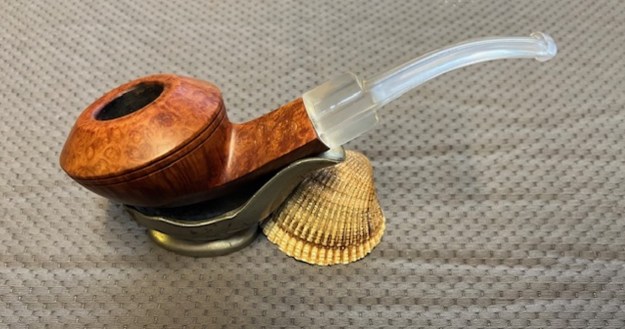
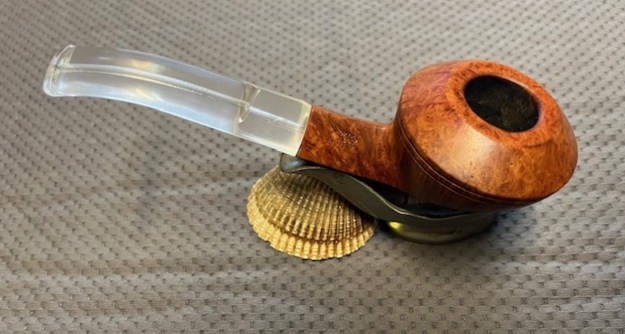
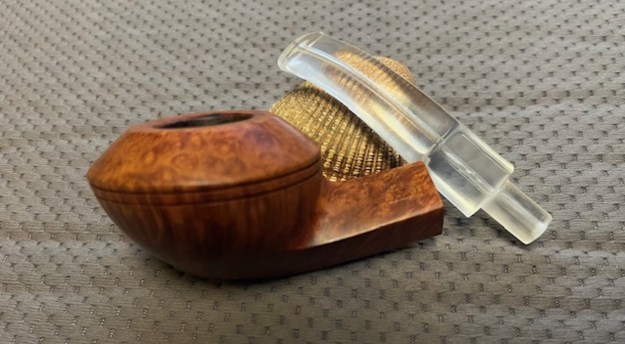
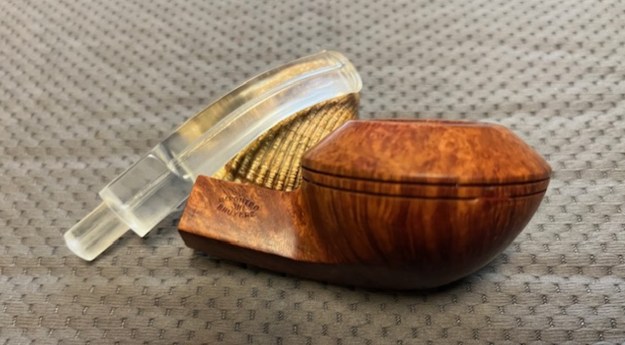
 This Unique Vezania System Bowl with the new White Acrylic stem is a great looking pipe now that it has been restored. The rich finish gives the shape an elegant look. The flow of the bowl and the new stem have a great hand feel. I put the stem back on the bowl and carefully buffed the pipe with Blue Diamond on the buffing wheel using a light touch on the briar. I gave the bowl and the stem multiple coats of carnauba wax on the buffing wheel. I buffed the entire pipe with a clean buffing pad. I hand buffed the pipe with a microfiber cloth to deepen the shine. The finished Vezana System Bowl and new stem fits nicely in the hand and feels great. Give the finished pipe a look in the photos below. The dimensions of the pipe are Length: 5 ½ inches, Height: 1 ¾ inches, Outside diameter of the bowl: 1 ¼ inches, Chamber diameter: ¾ of an inch. The weight of the pipe is 59 grams/2.08 ounces. This is unique enough that for the time being I am going to hold on to it and enjoy its look, feel and smoke it! Thanks for reading this blog and my reflections on the pipe while I worked on it.