Blog by Steve Laug
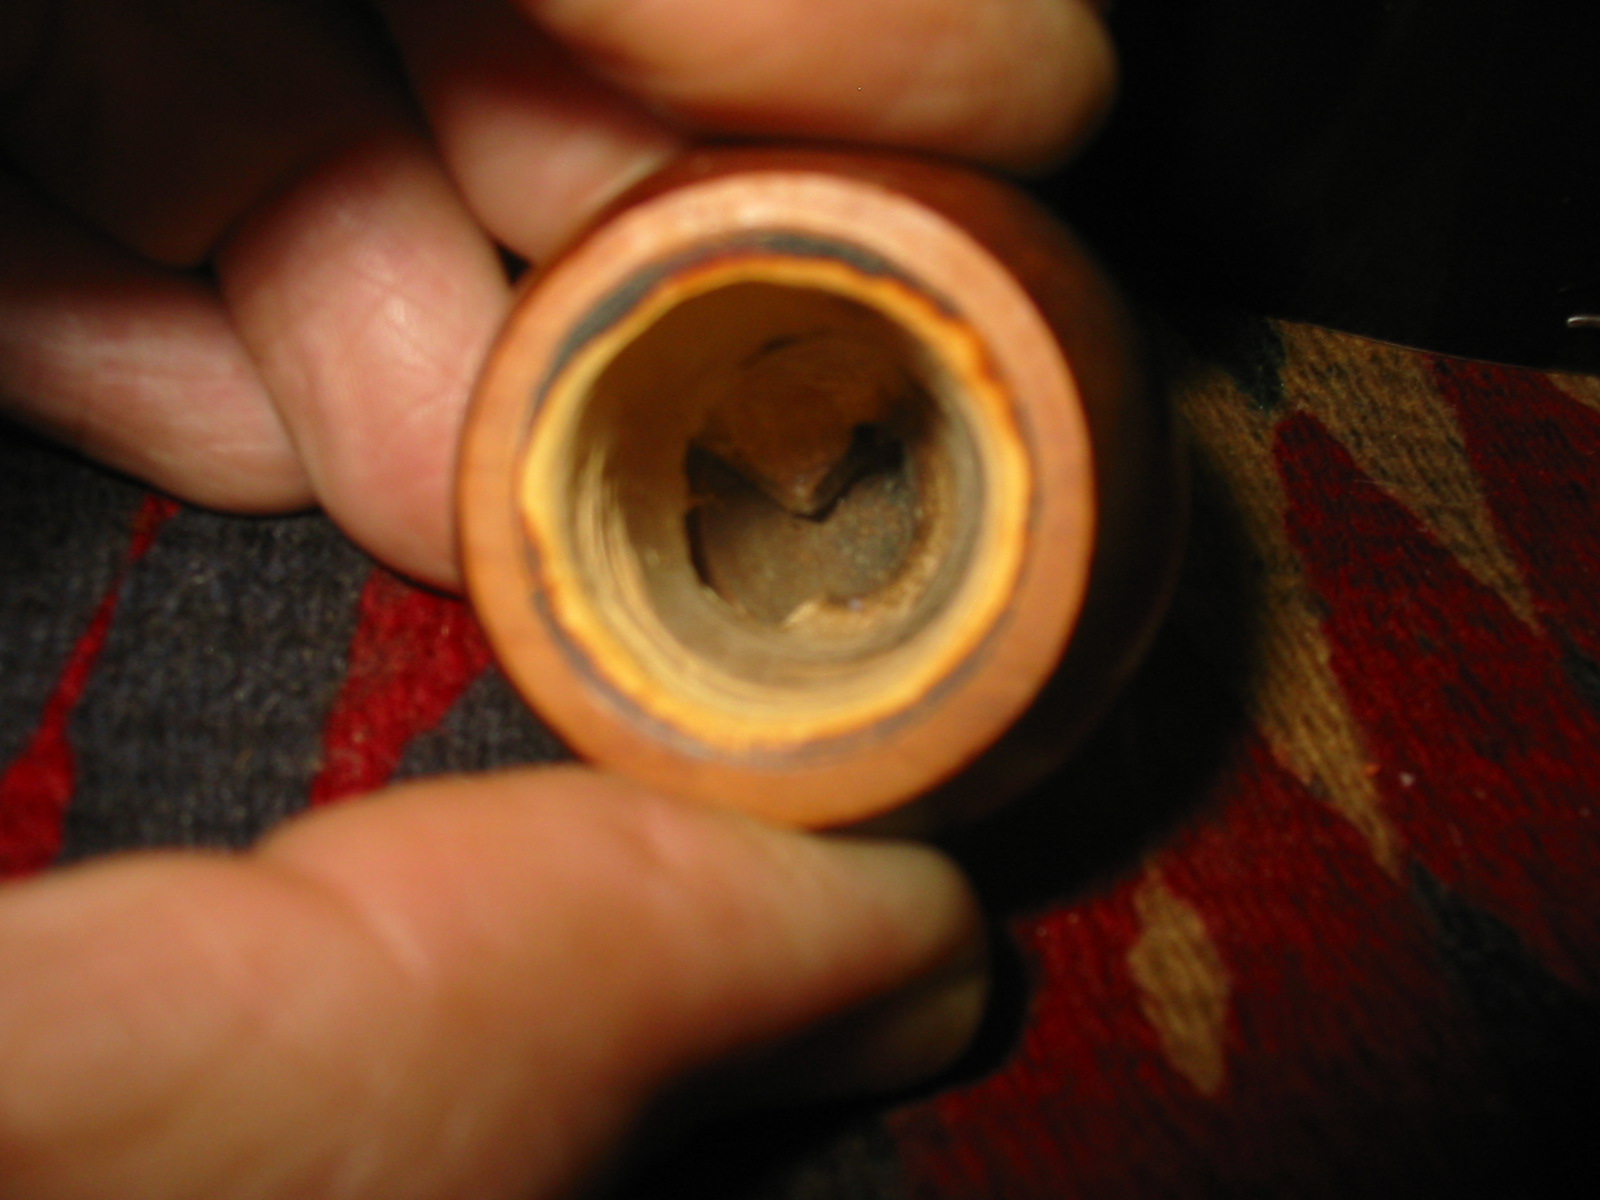
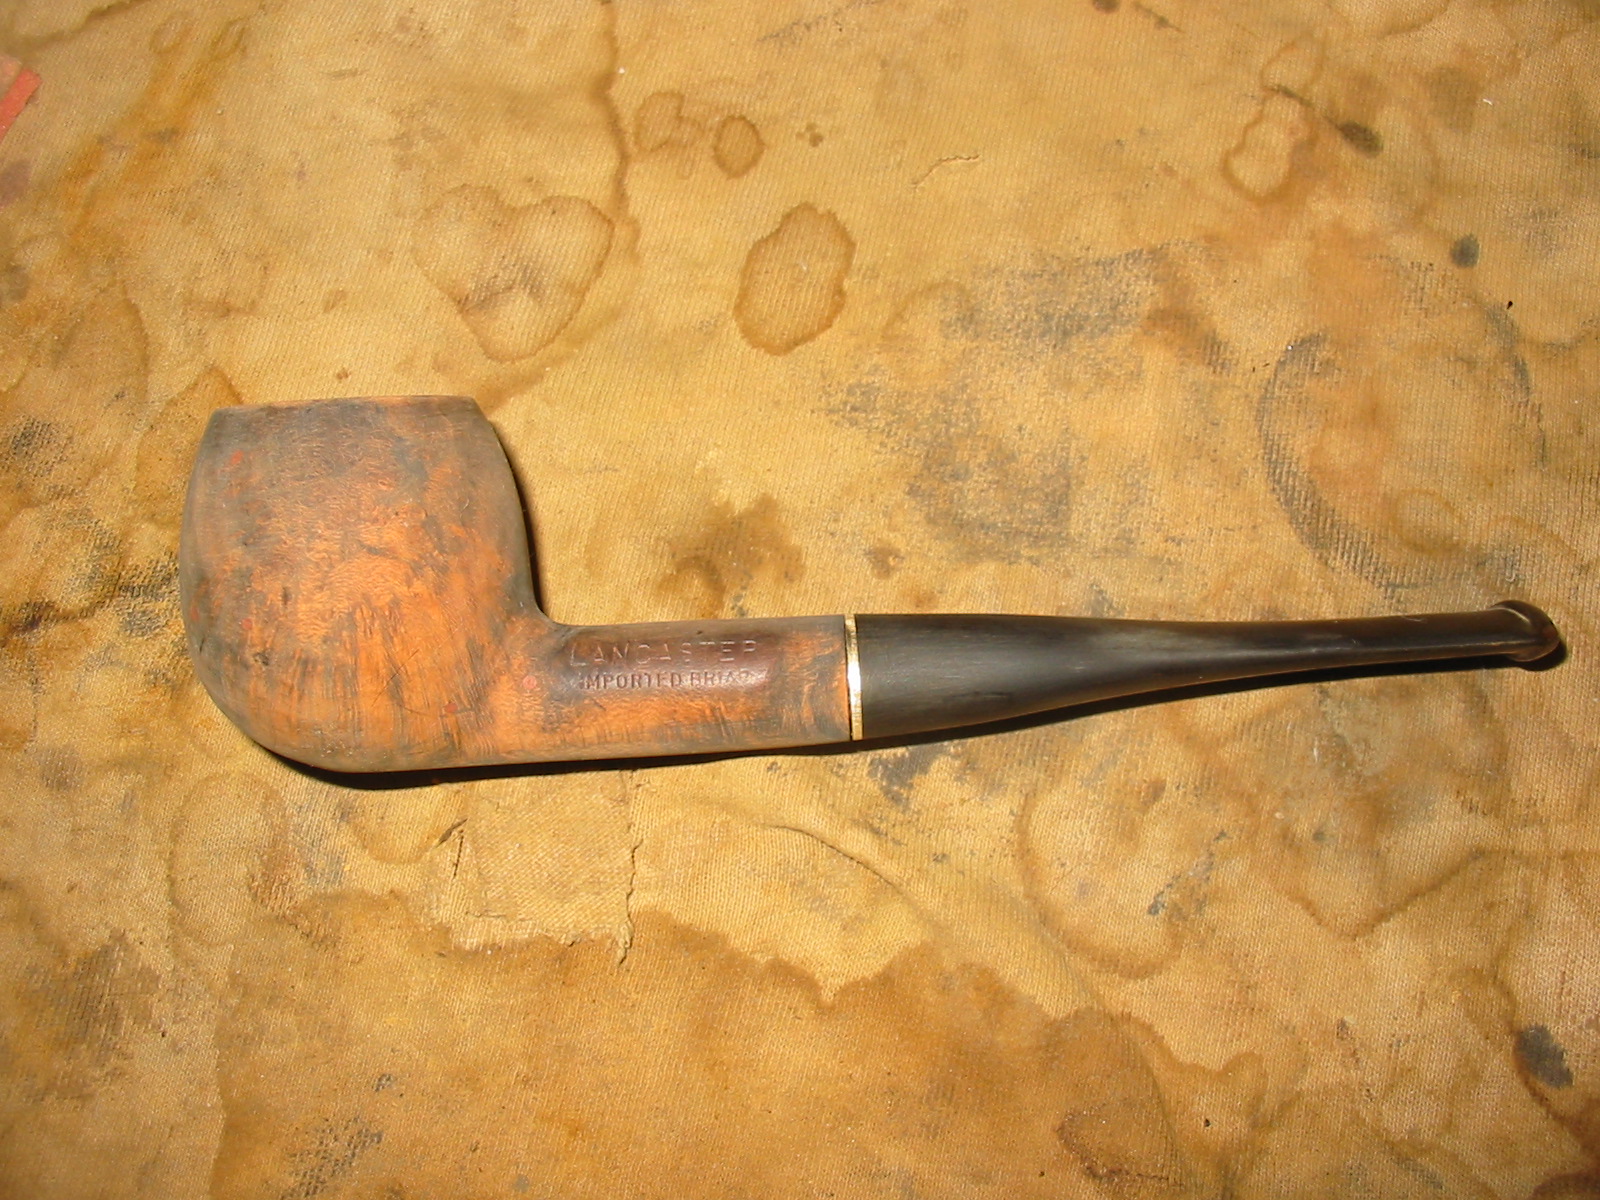
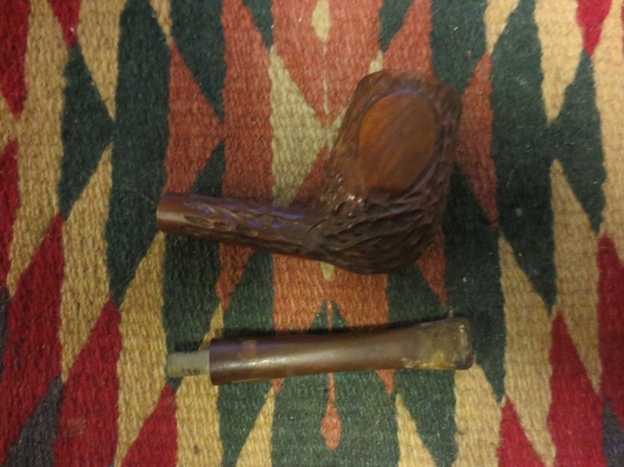
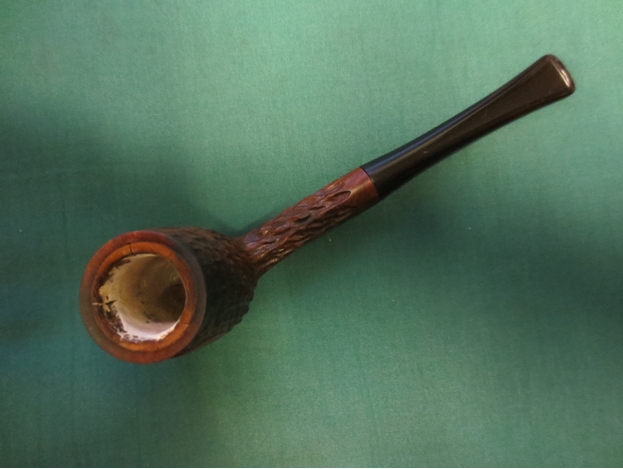
Another of the bowls I was gifted was a tall Meerschaum lined rusticated stack with a smooth spot on both sides of the bowl and the end of the shank. It is stamped on the underside of the shank, MEERSCHAUM-LINED over Dr. Grabow. The bowl exterior had some darkening on the back side of the bowl and the grooves of the bowl were caked. The rim had damage and the meerschaum lining was rough on the inside edge of the bowl. There were cracks in the meerschaum bowl insert on the rim. The bowl itself was cracked and missing from about mid bowl to the bottom of the bowl. The meerschaum pieces were lying in the bottom of the bowl and there was no stem for the pipe.
I did not know anything about the meerschaum lined Dr. Grabows and this one had a distinct look of an Italian made pipe. I went to my source on line for Grabow information the Dr. Grabow Forum (http://drgrabows.myfreeforum.org/sutra238.php). There I found a post on the meerlined pipes. It read in part as follows… “Meerschaum lined pipes were originally imported from M. Gasparini in Italy for Grabow. Sparta finally figured out how to do them and only imported the “plugs”. Early Grabow Meerschaum lined pipes were stamped Italy with no spade. After 1989 Dr. Grabow got rid of Italy and added the spade.” So, my sense of it being Italian was correct. It also dates this pipe as pre-1989. 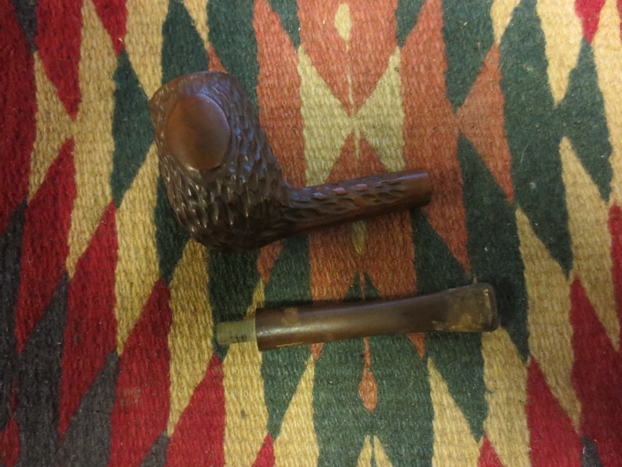

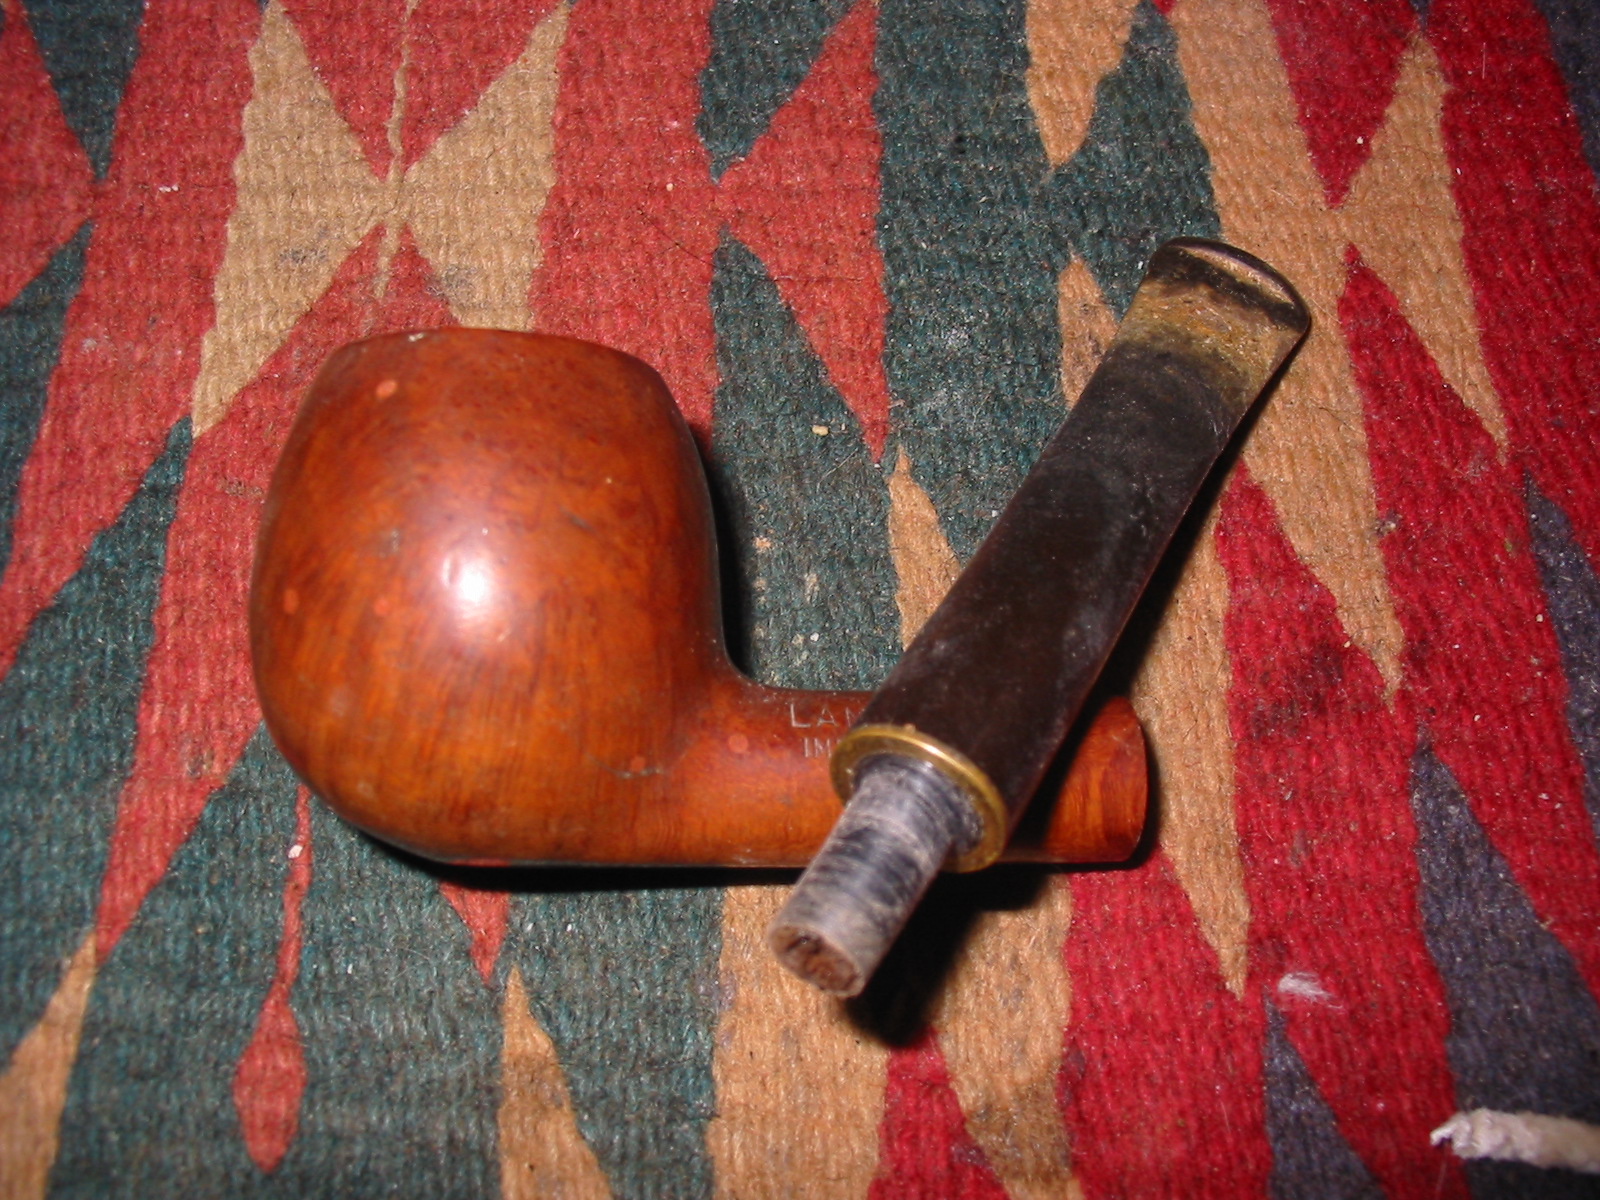
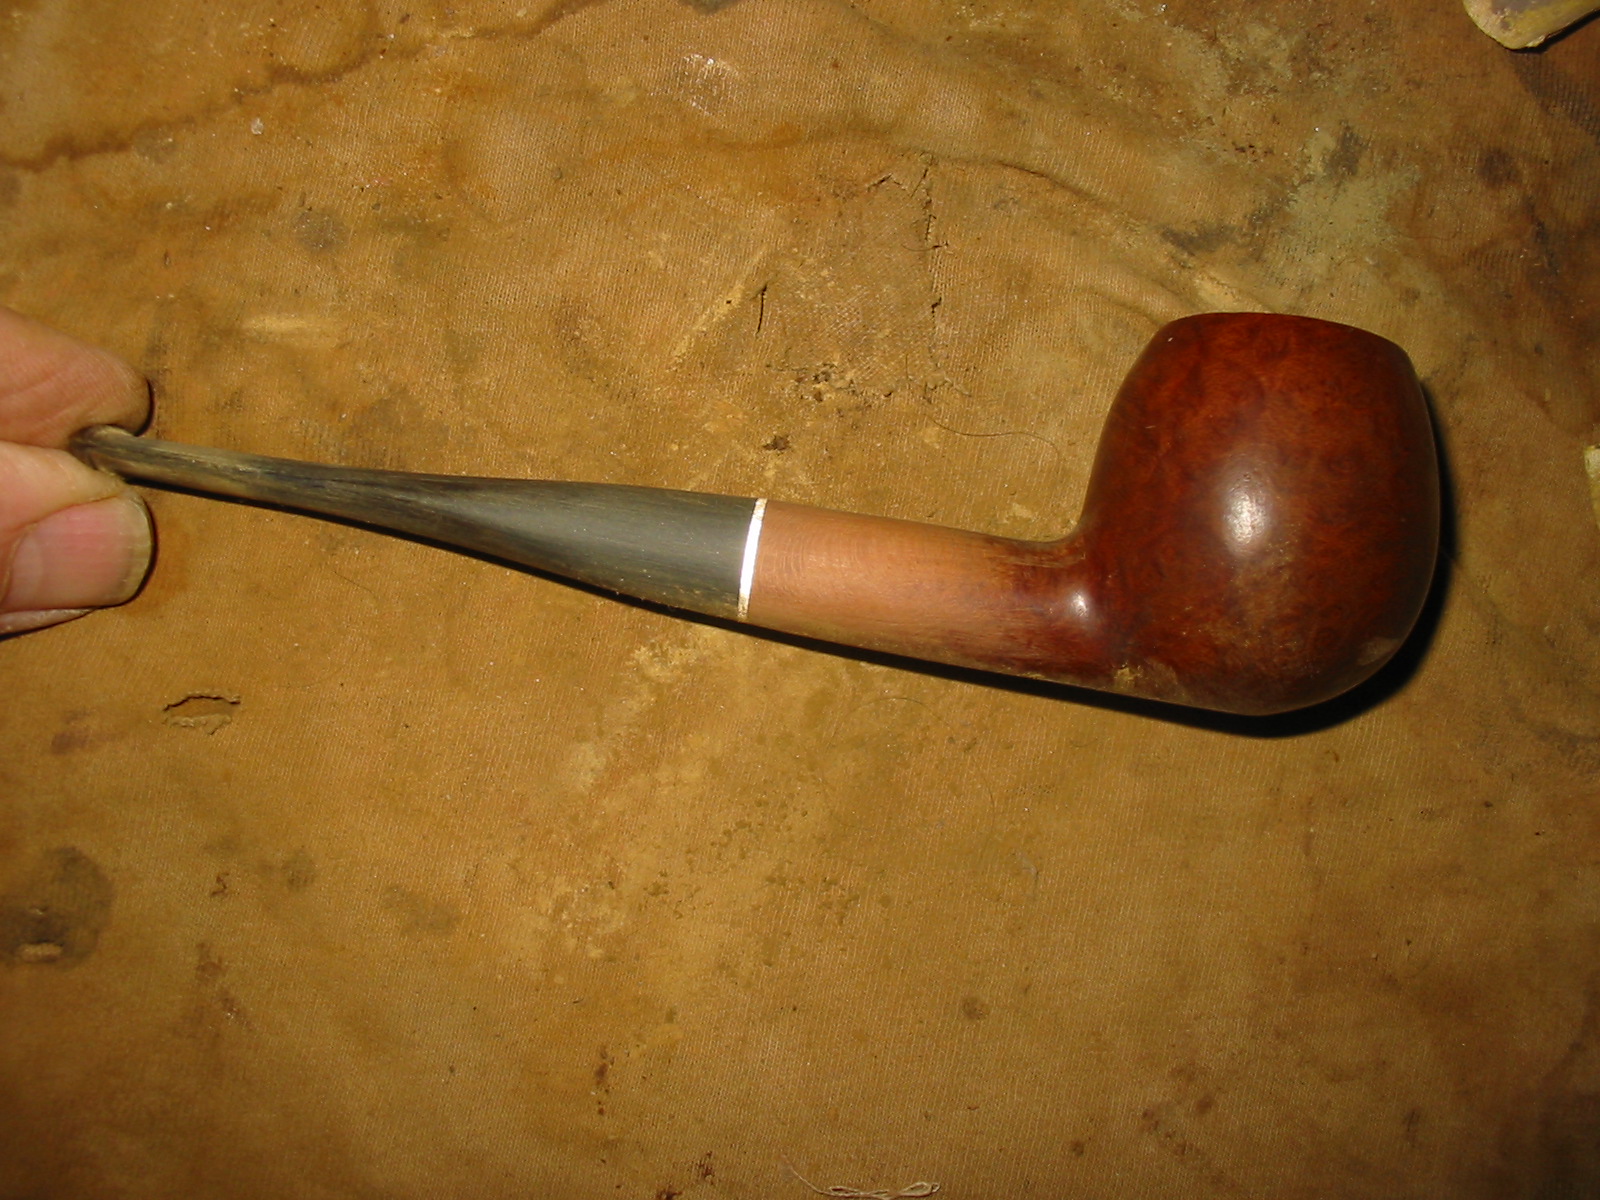
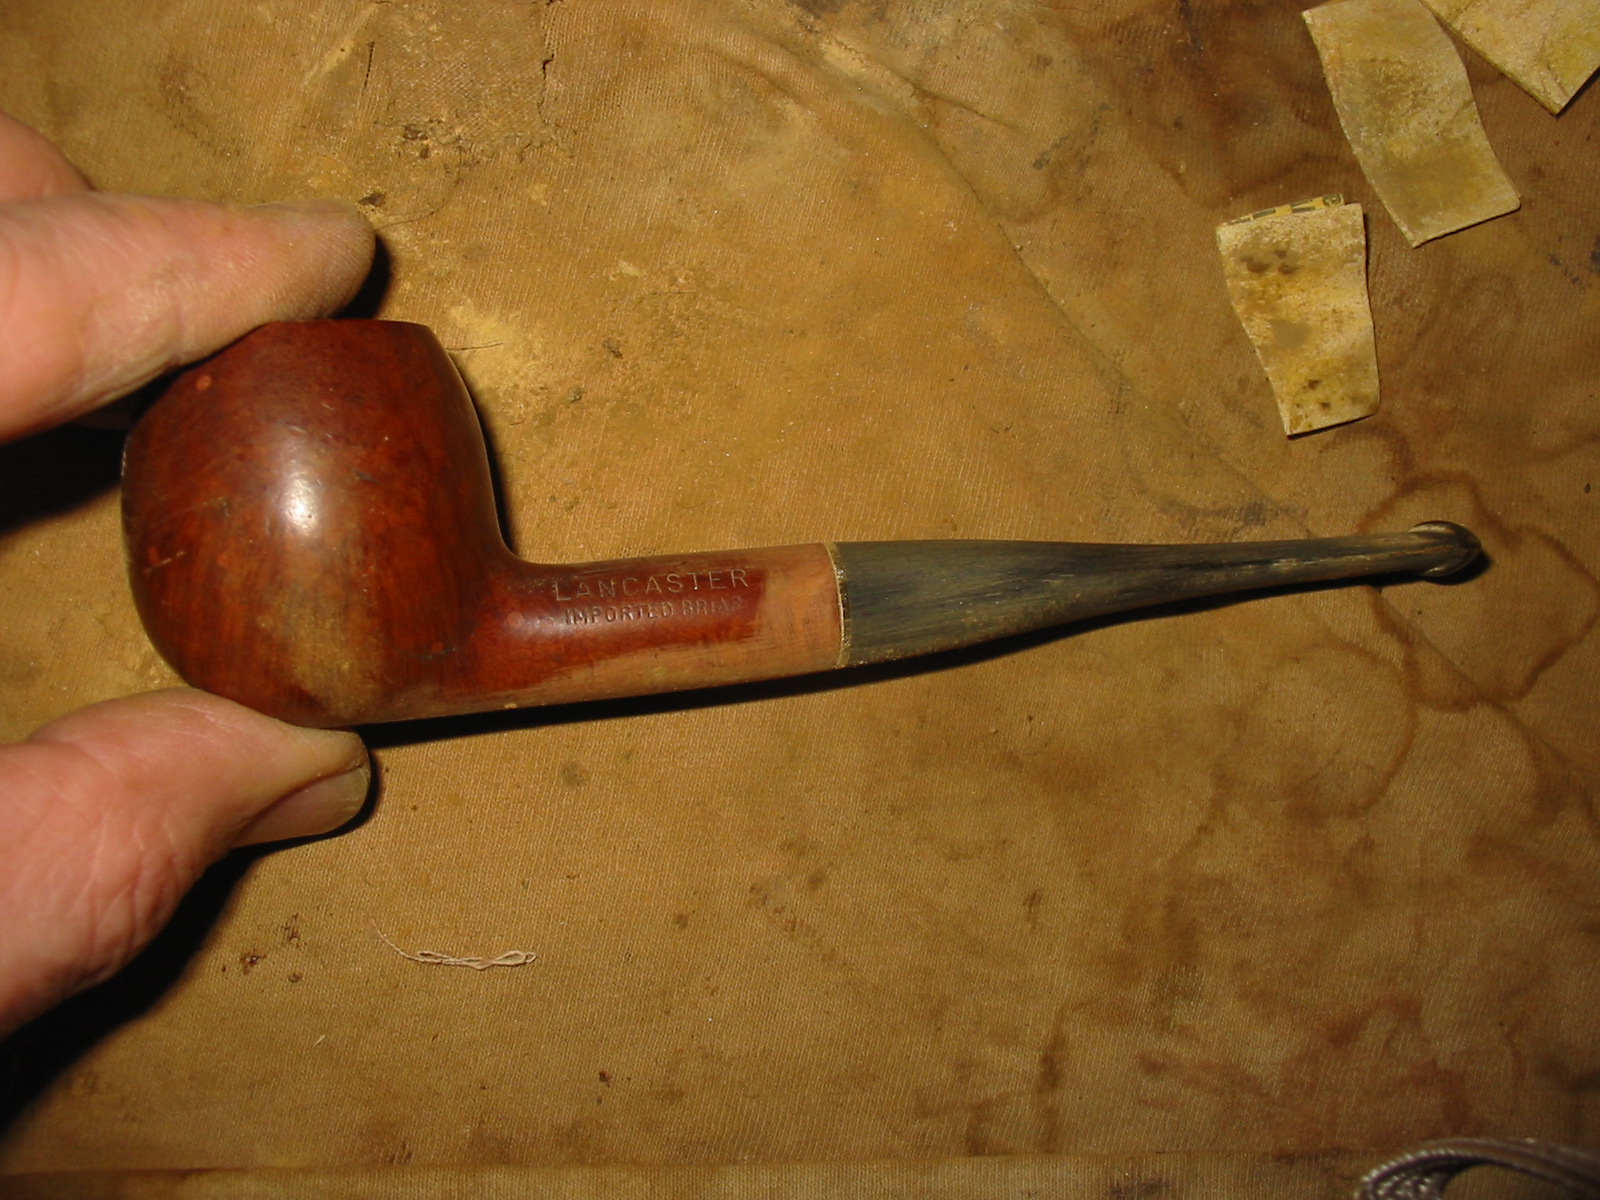
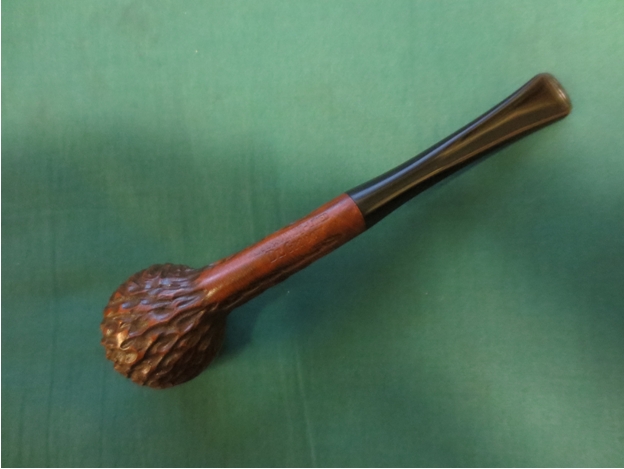
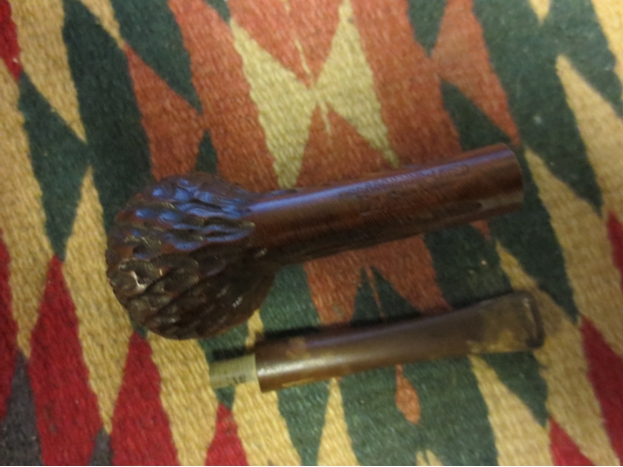 I had an old stem in my can of stems that would be a good fit for this pipe. I needed to sand the tenon slightly to get a snug fit against the shank. The diameter of the stem was slightly larger than the diameter of the shank and would need to be sanded down to make a matched fit.
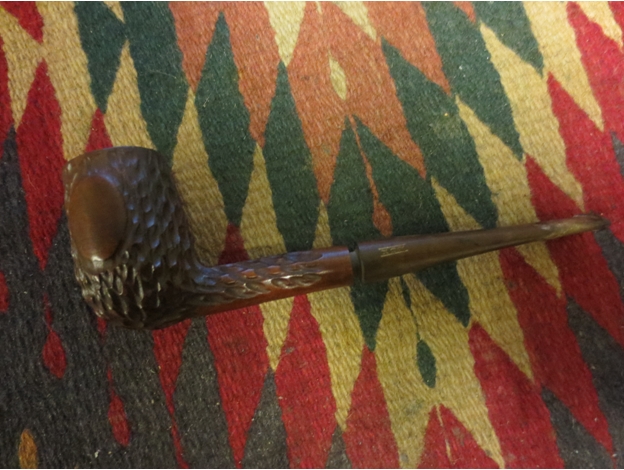
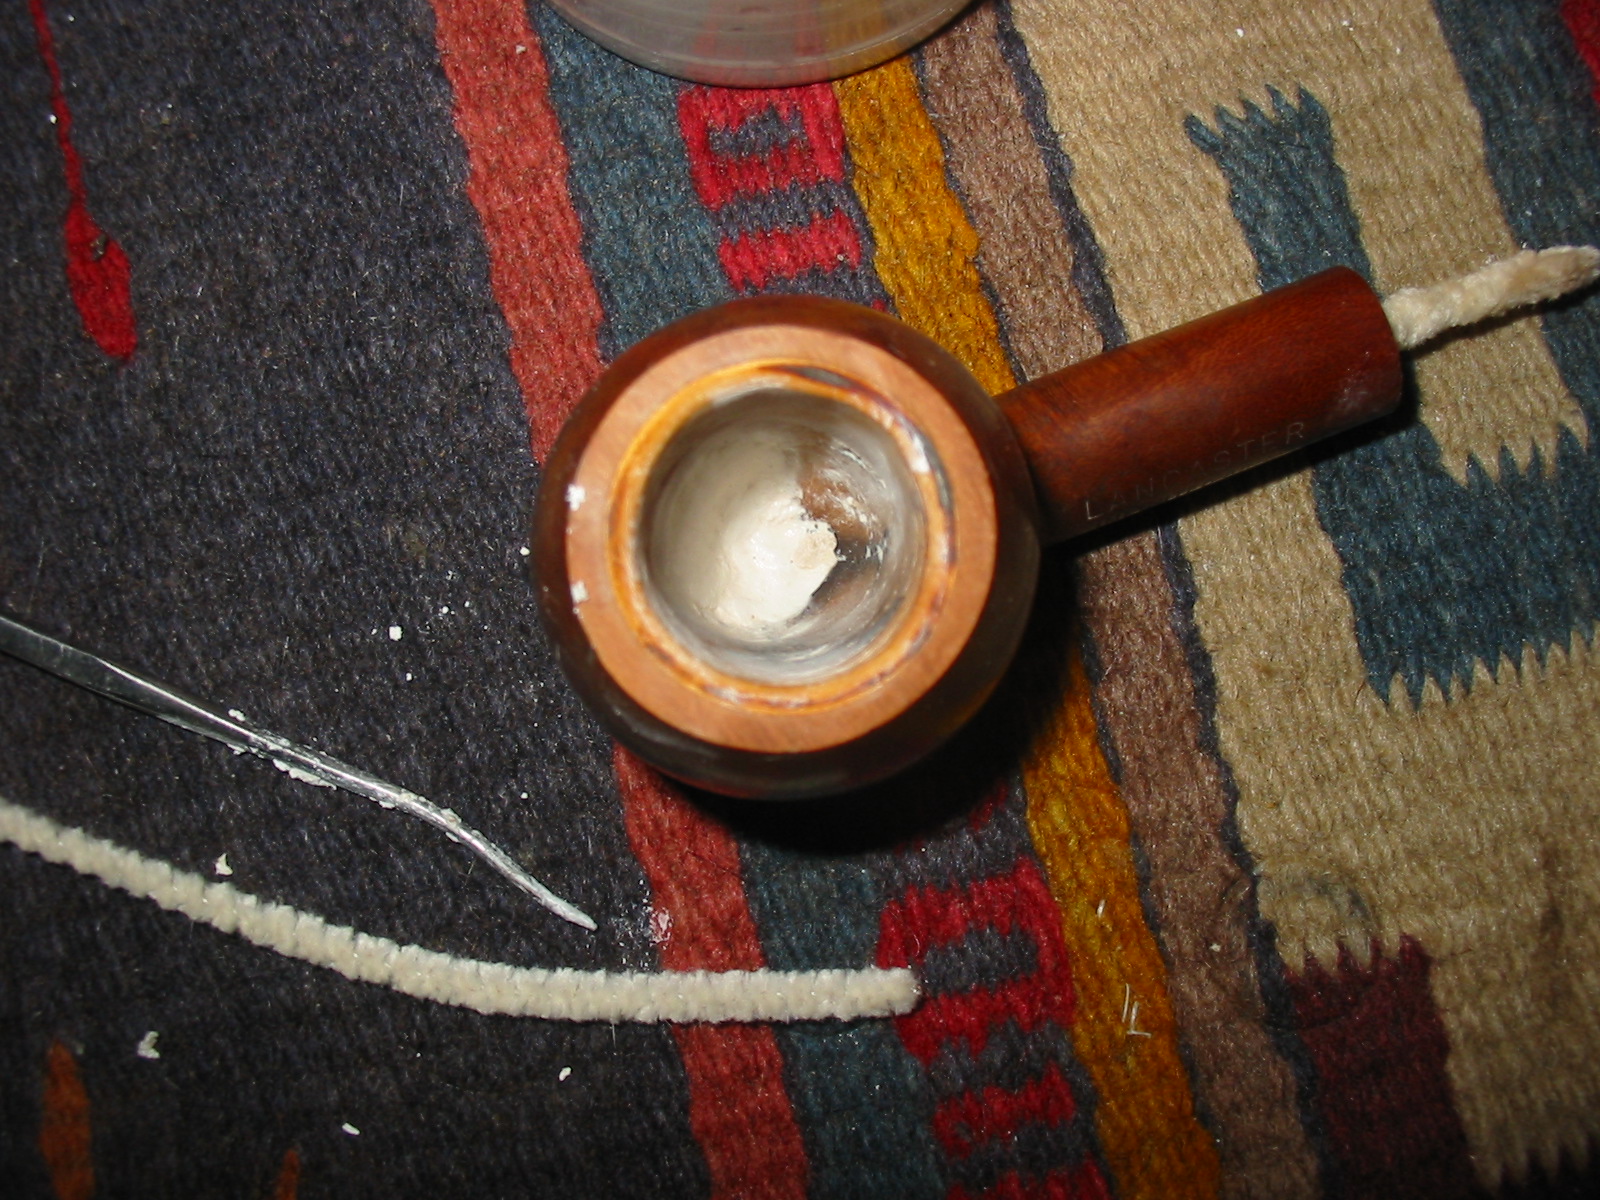
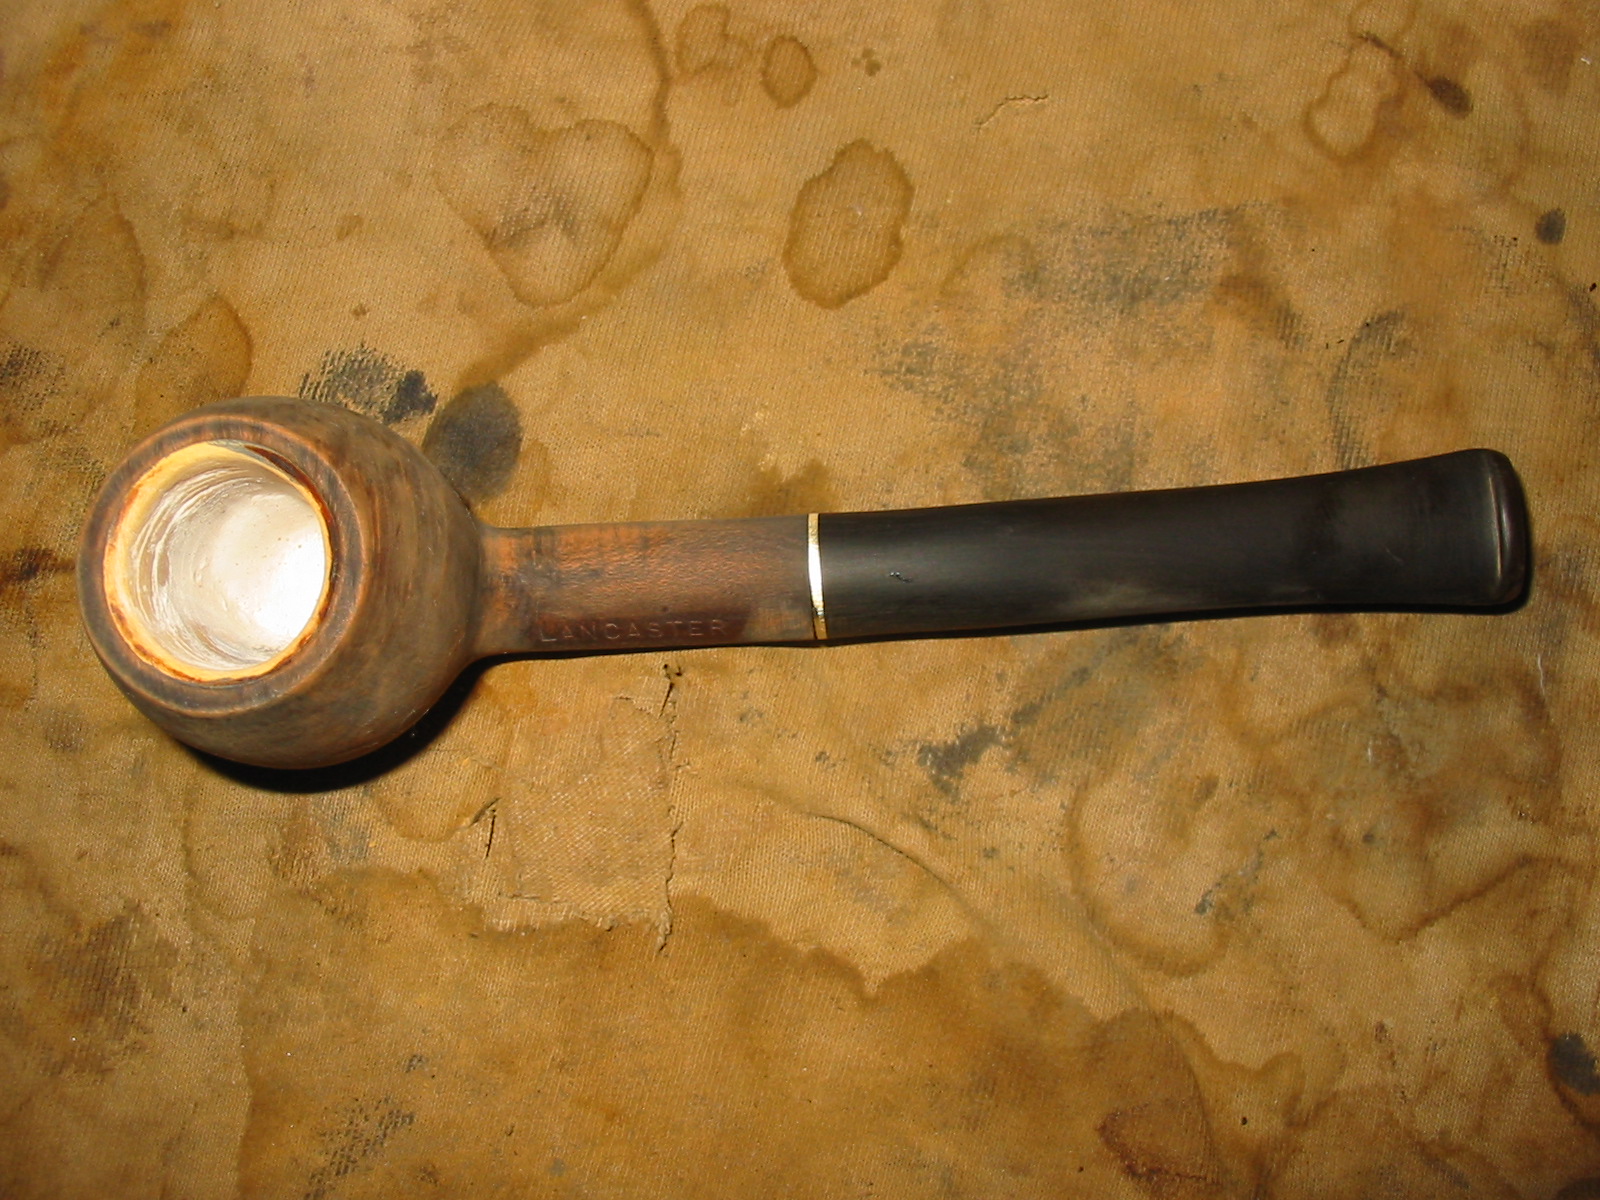
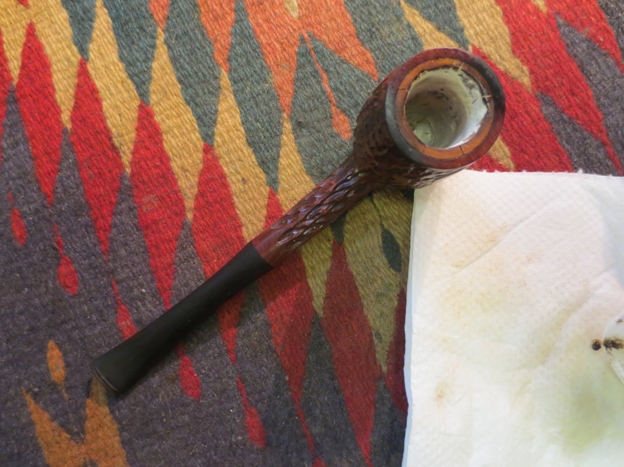
 I used a pen knife to clean up the inside of the bowl. There was carbon build up on the lower part of the bowl about mid bowl that was holding together the broken pieces of the meer lining. I scraped away the carbon and removed the broken pieces of meerschaum that remained on the lower edge of the bowl insert.
 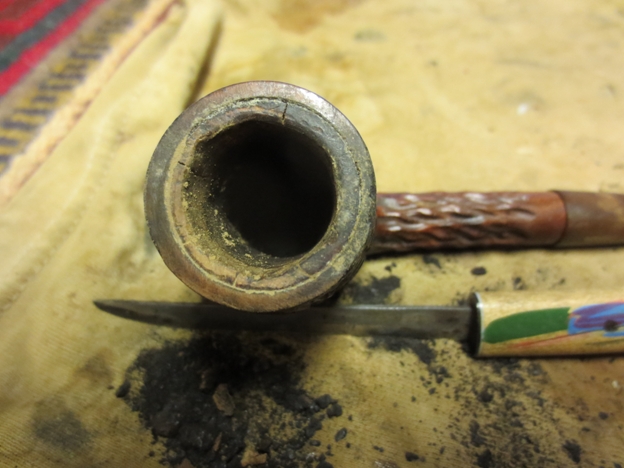 I topped the bowl with a topping board and 220 grit sandpaper to remove the damage to the rim and the lining top.
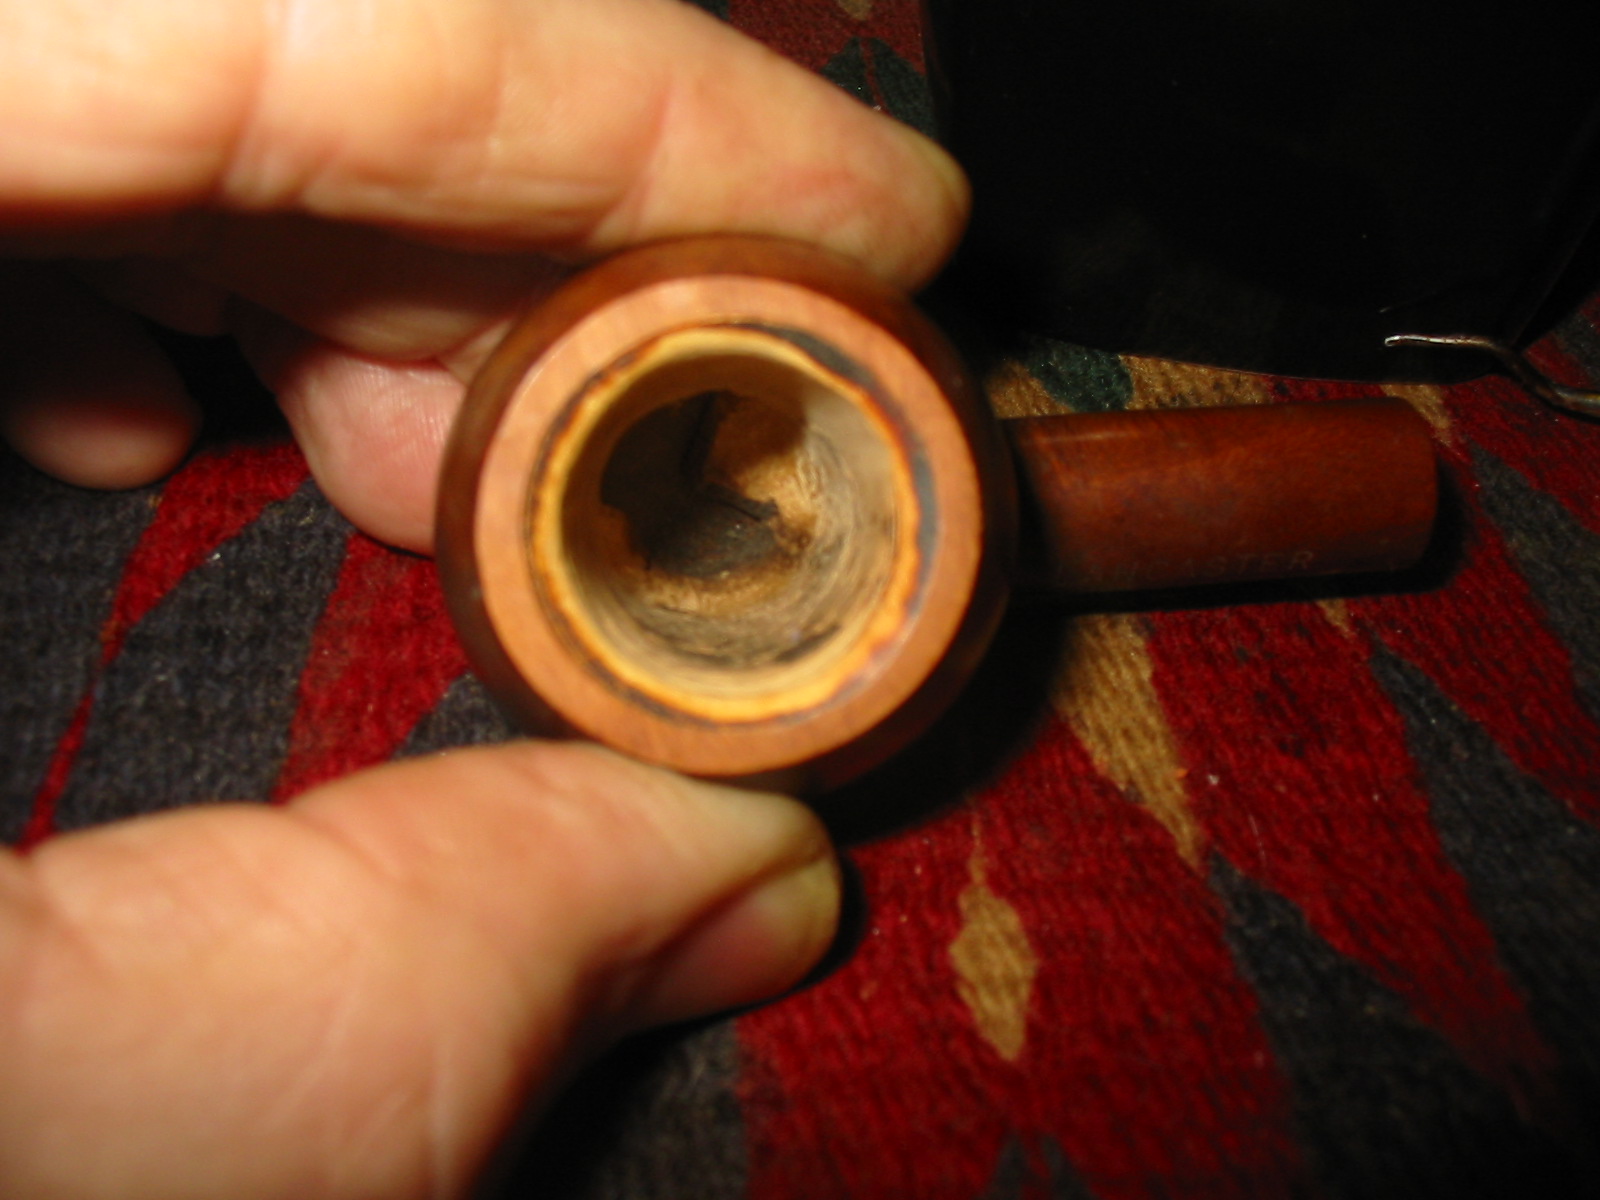
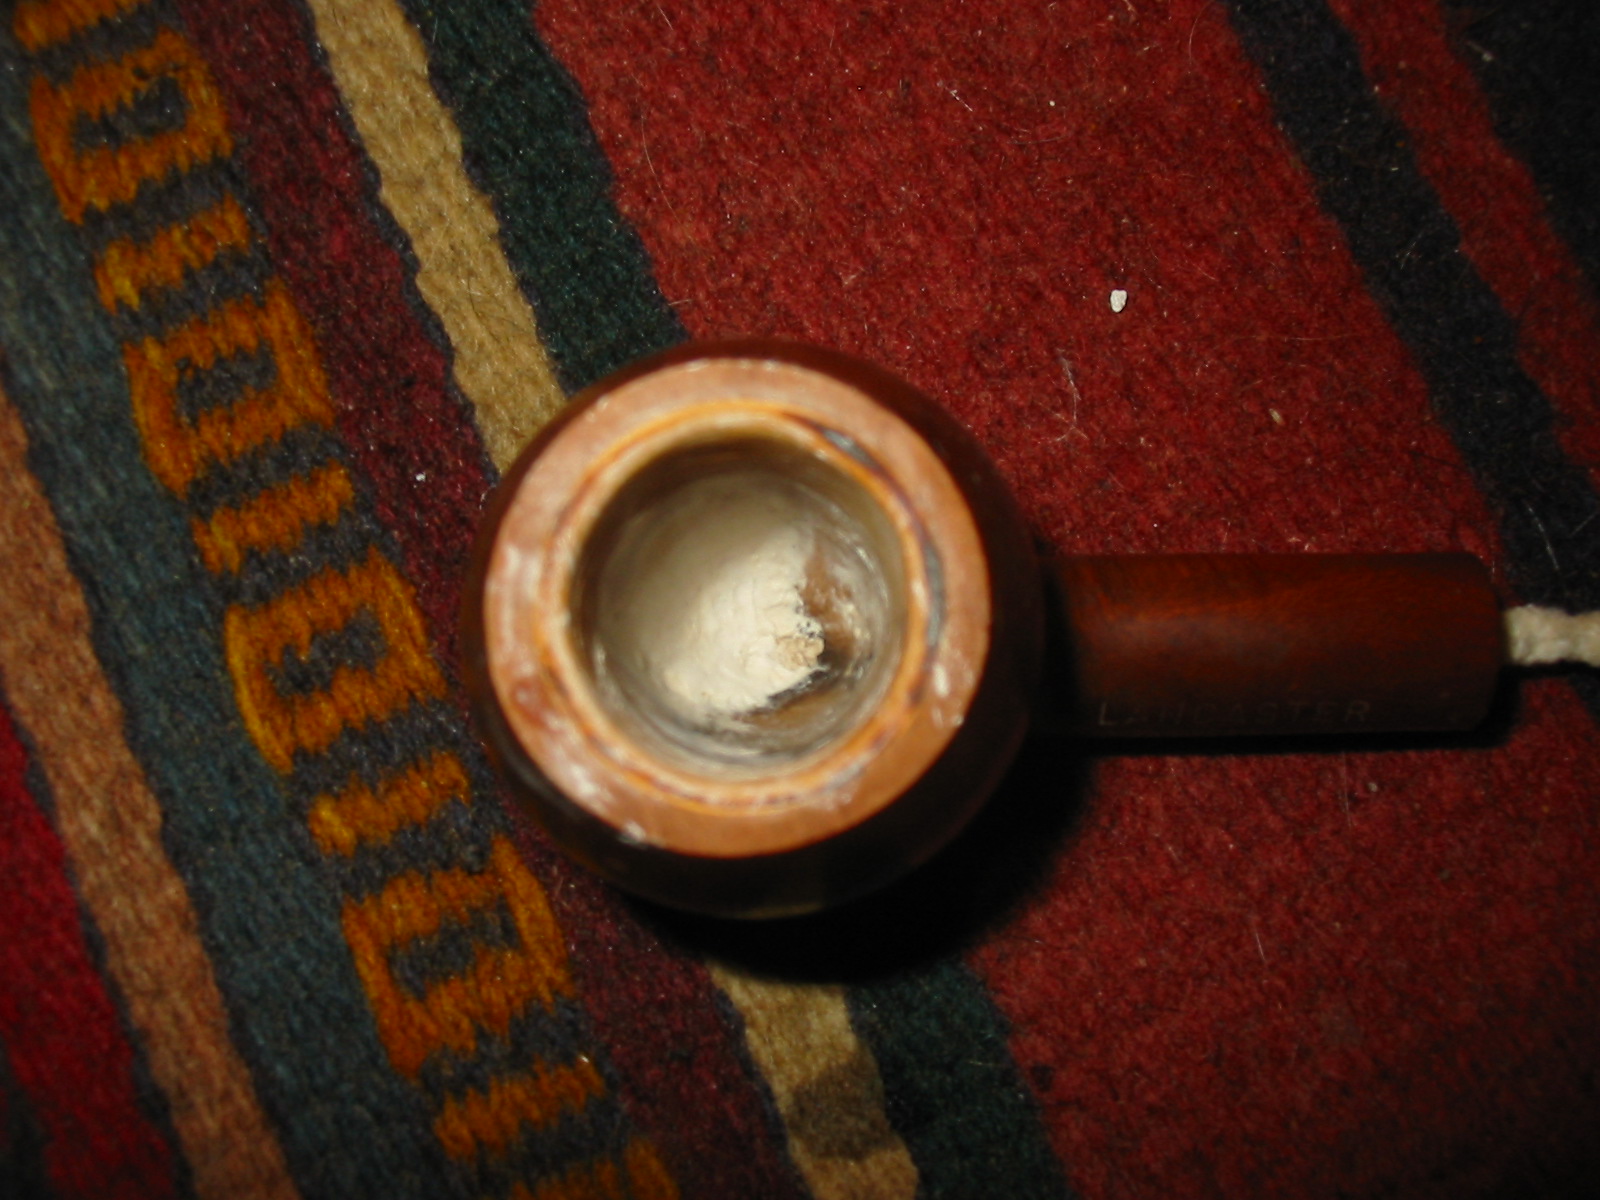
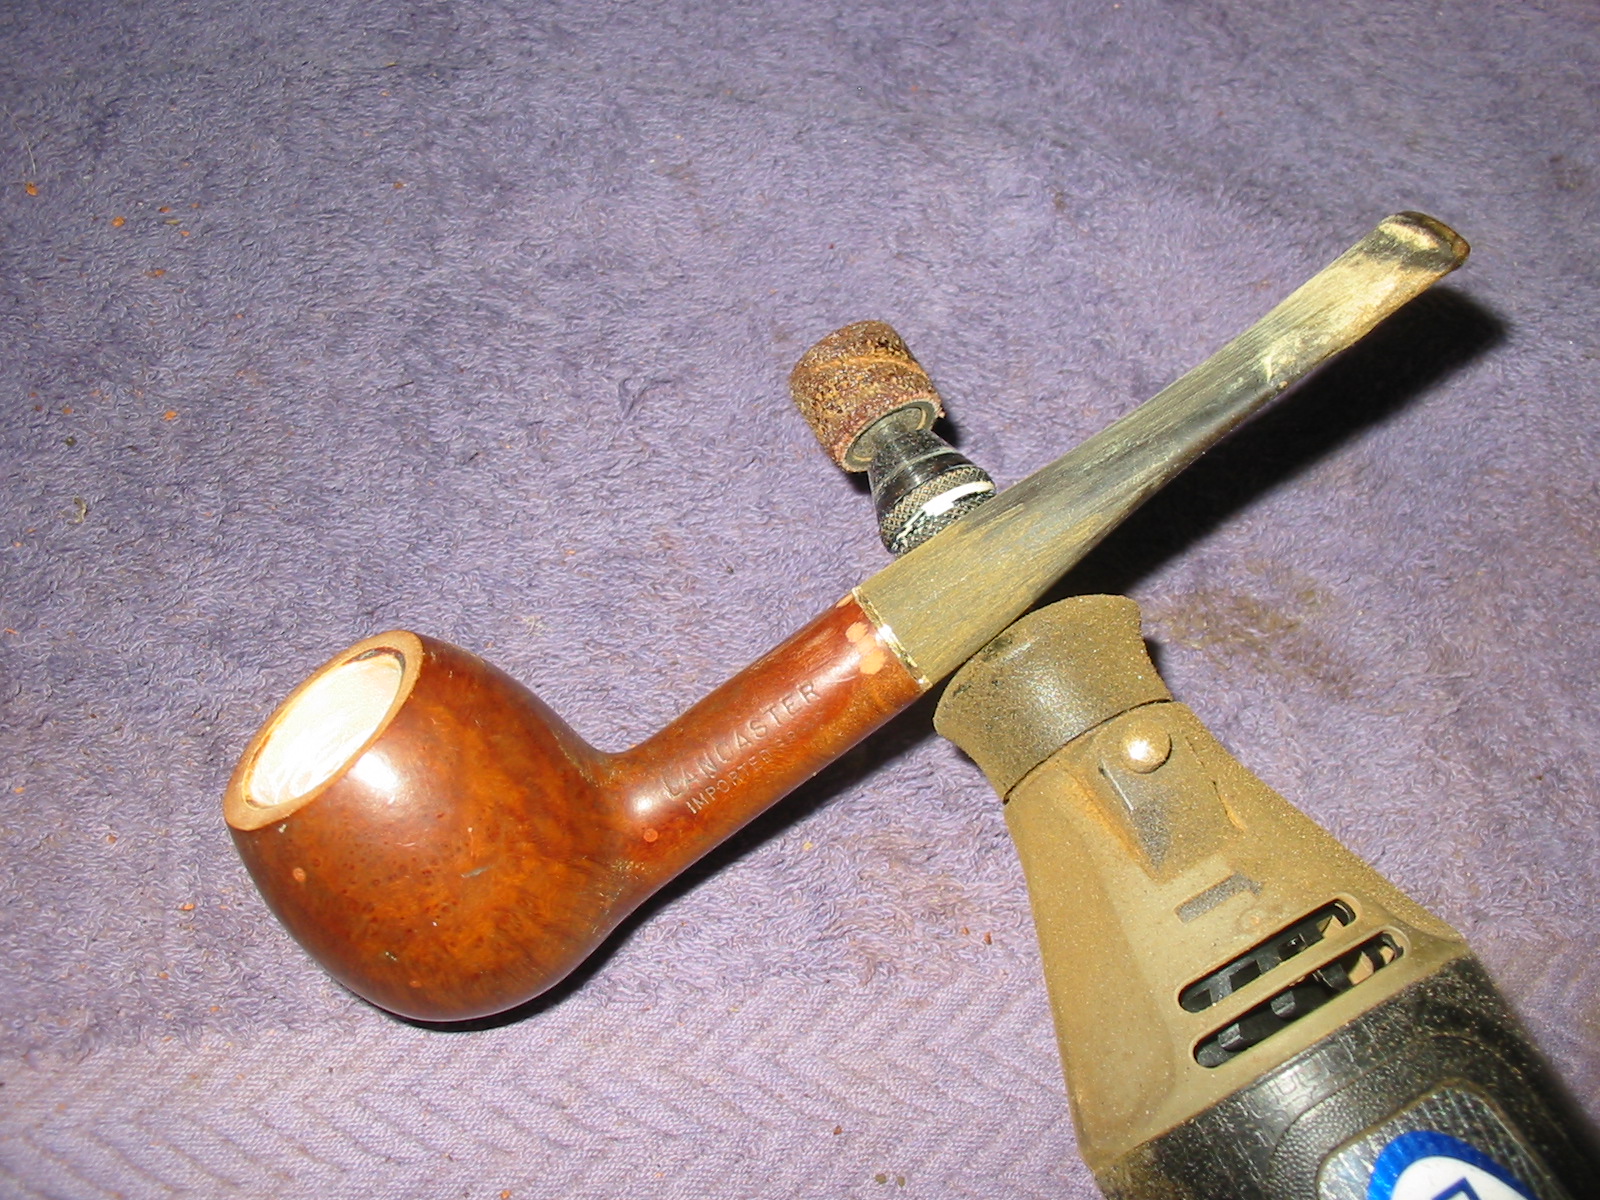
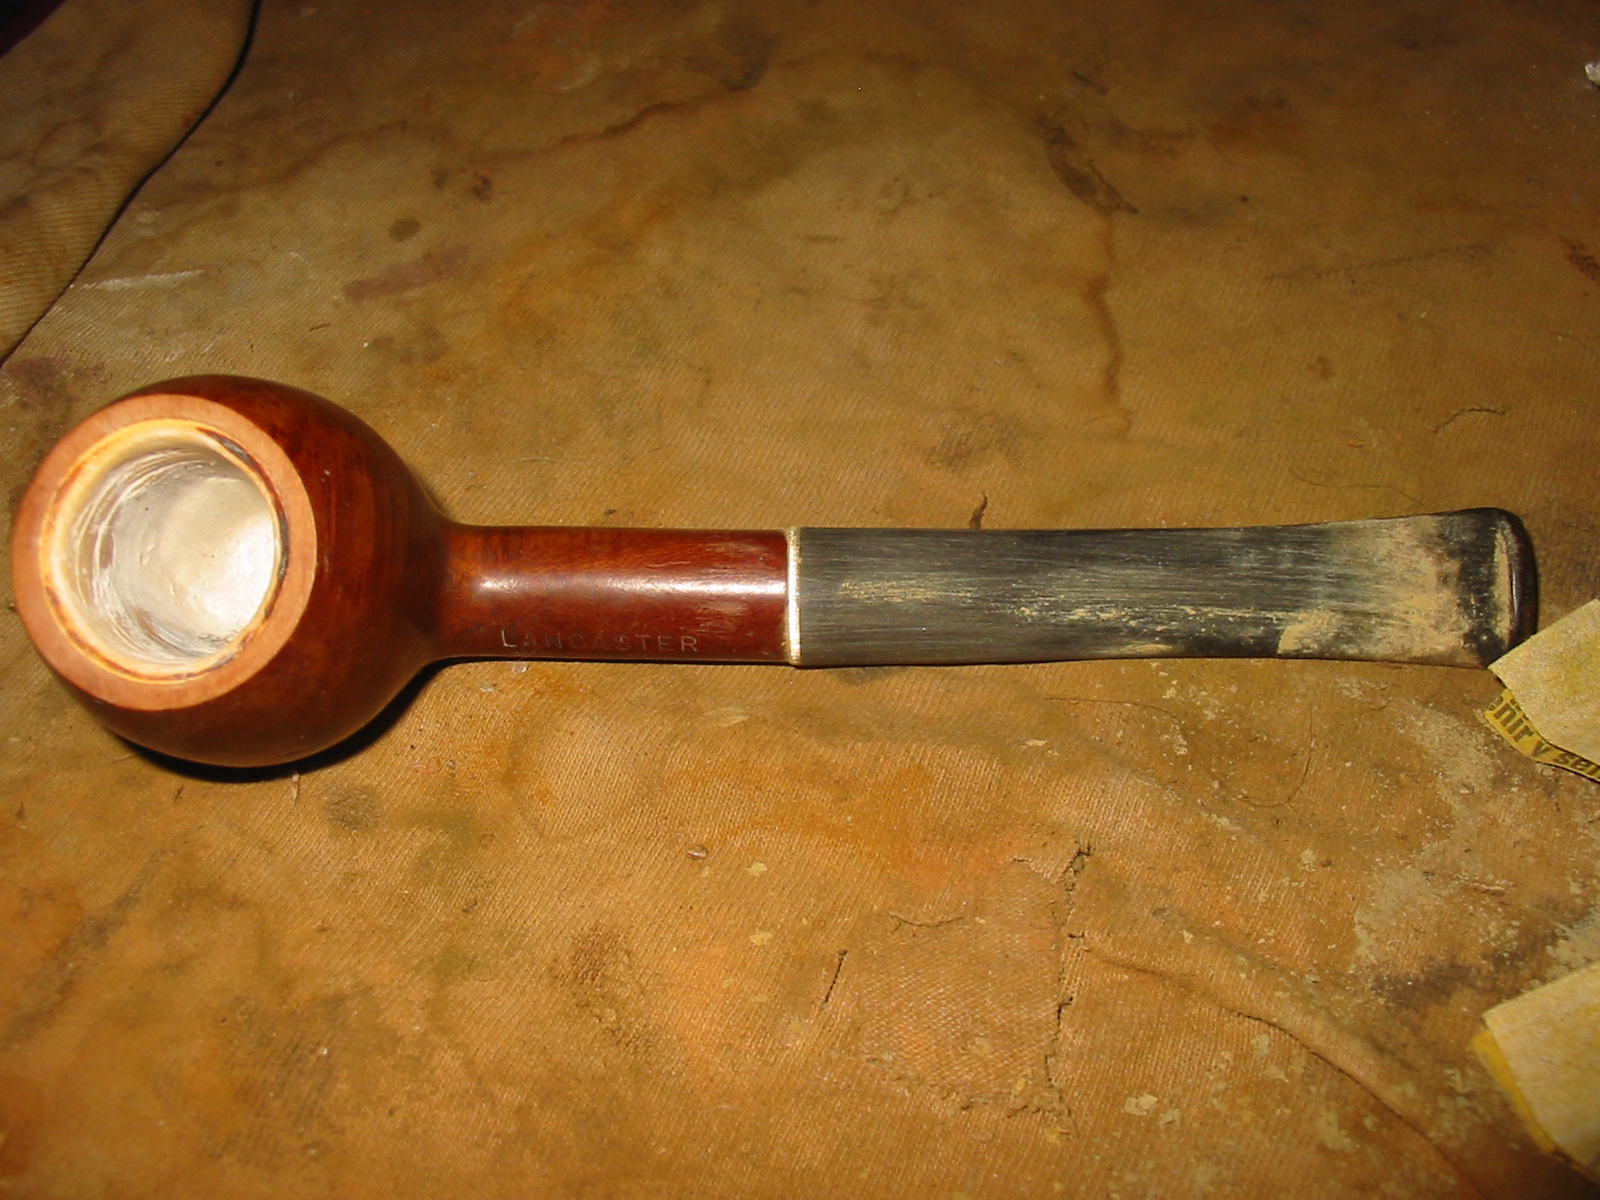
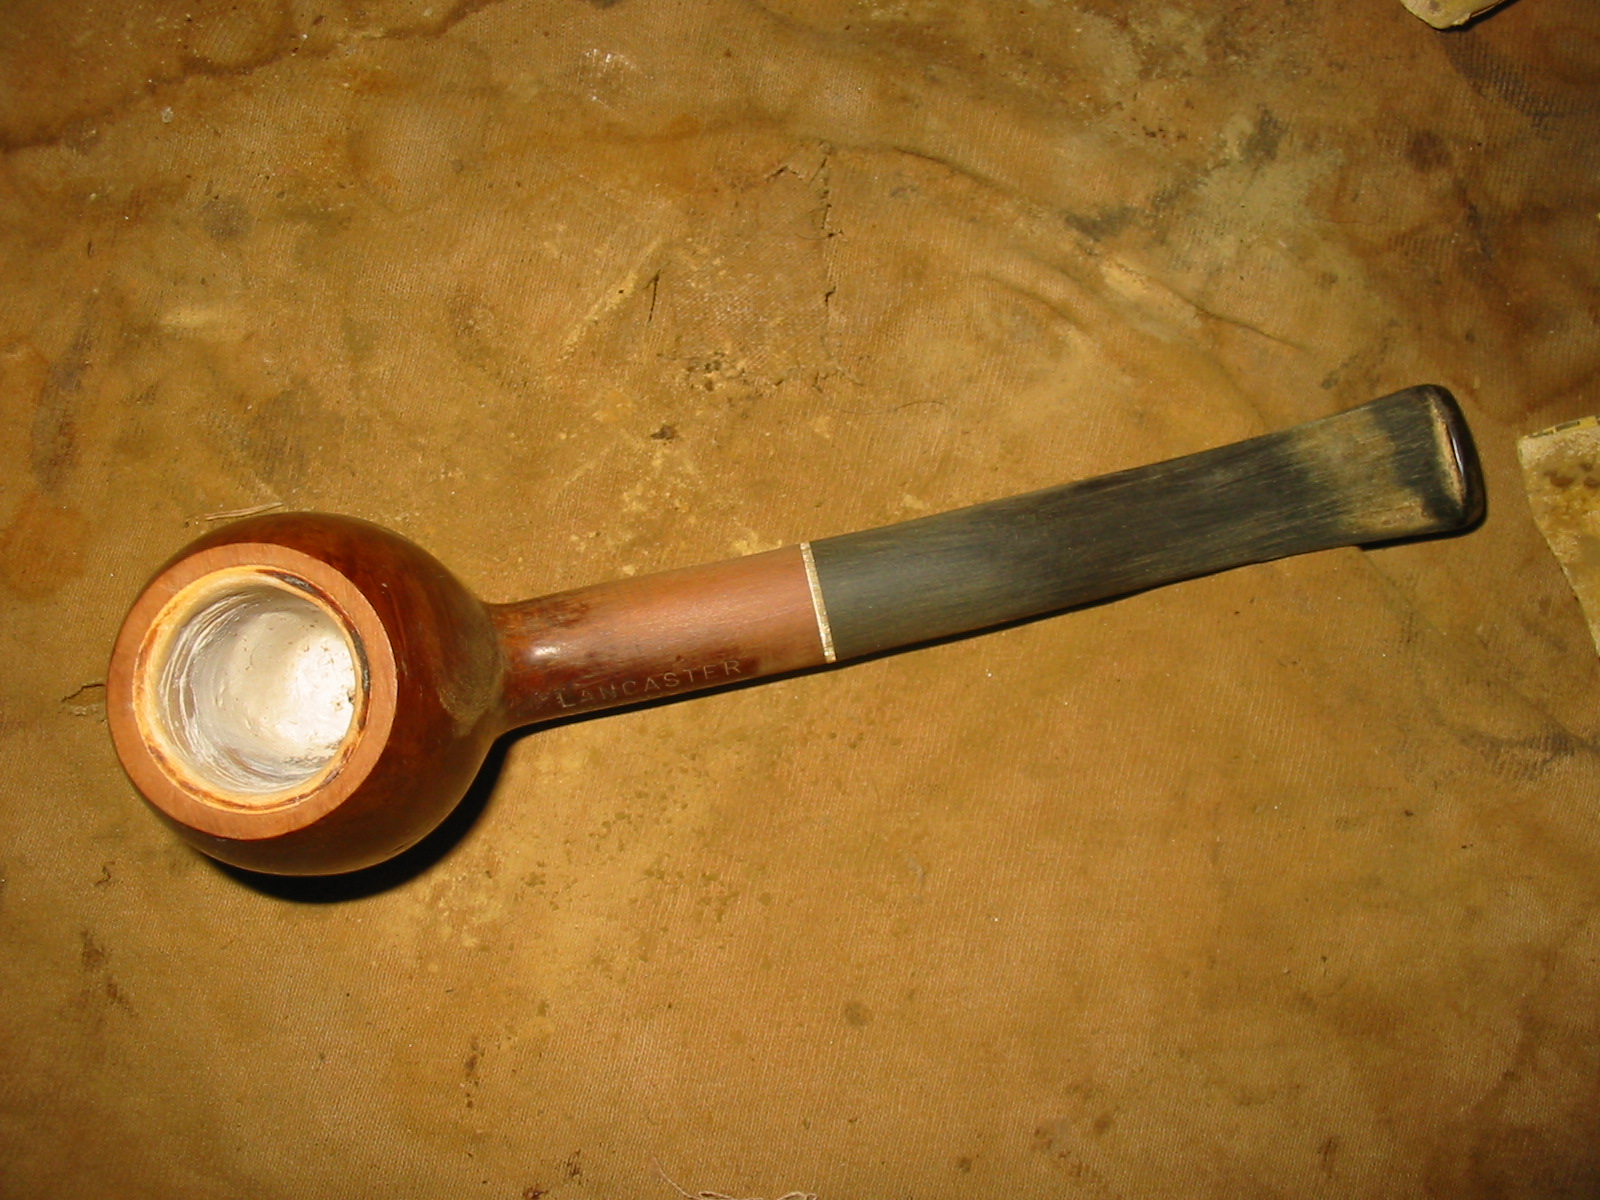
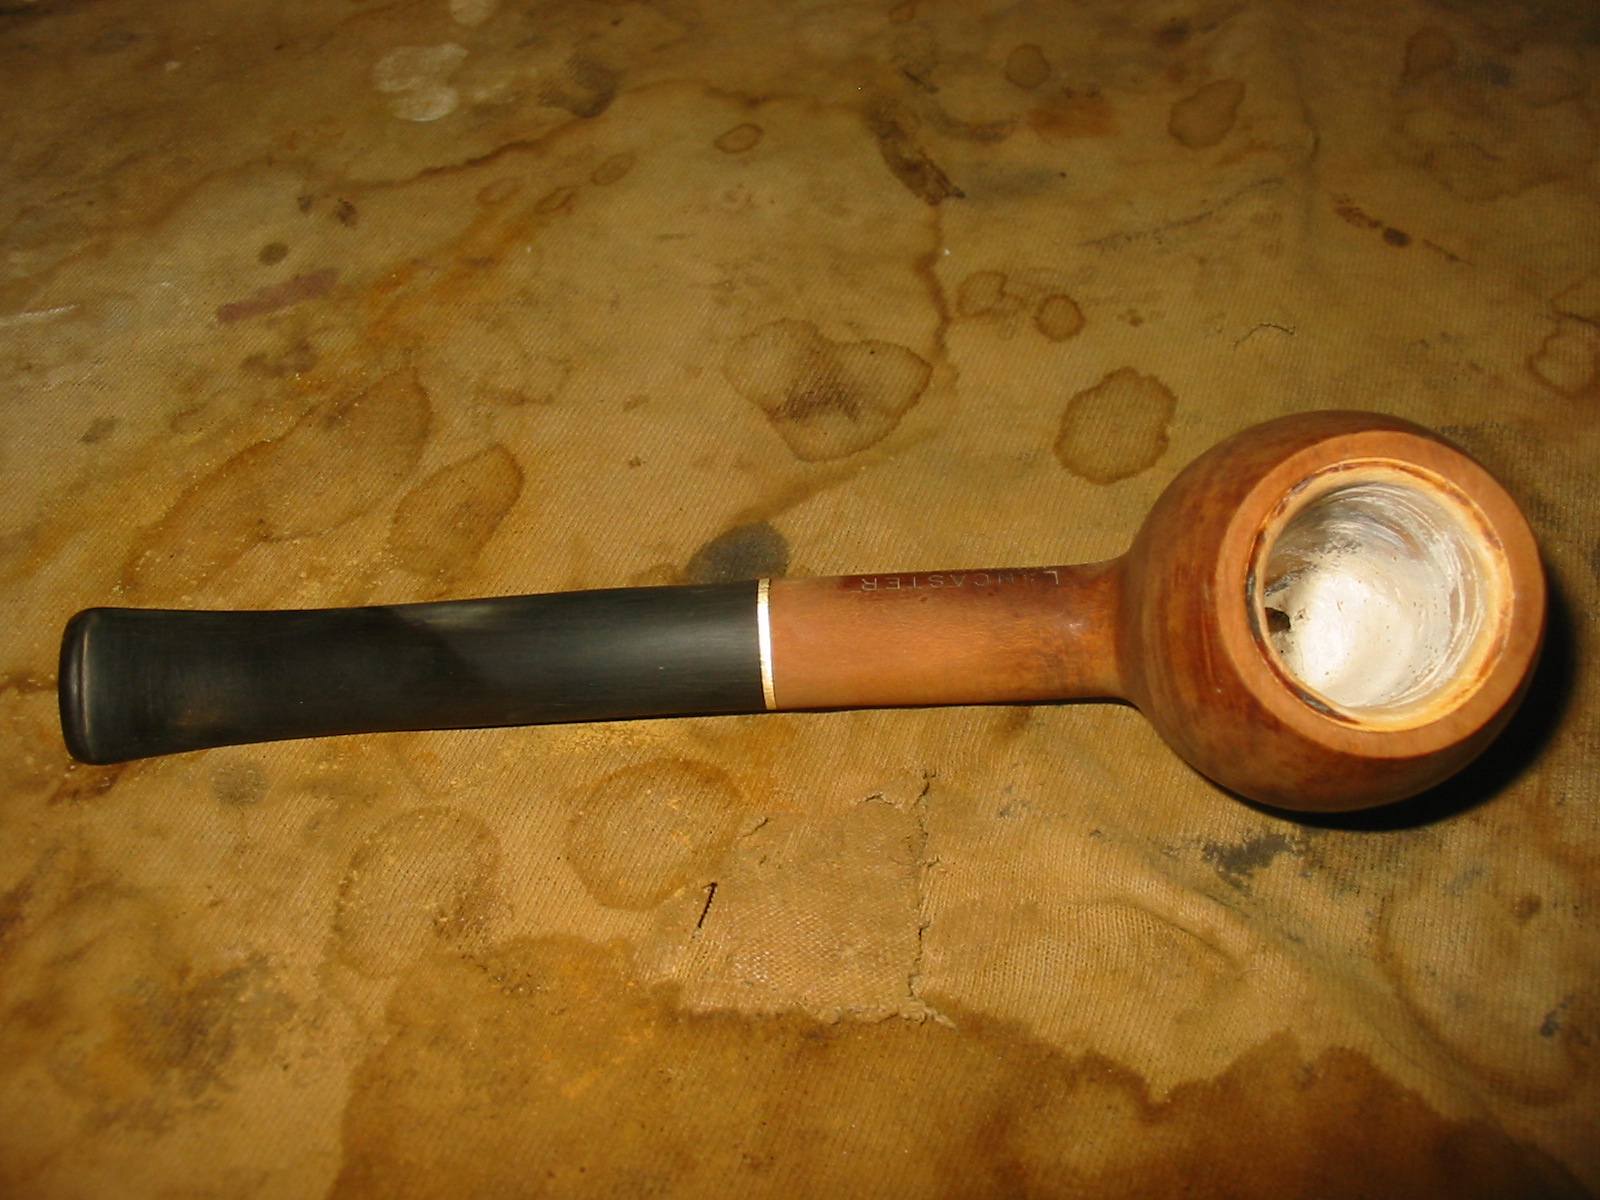
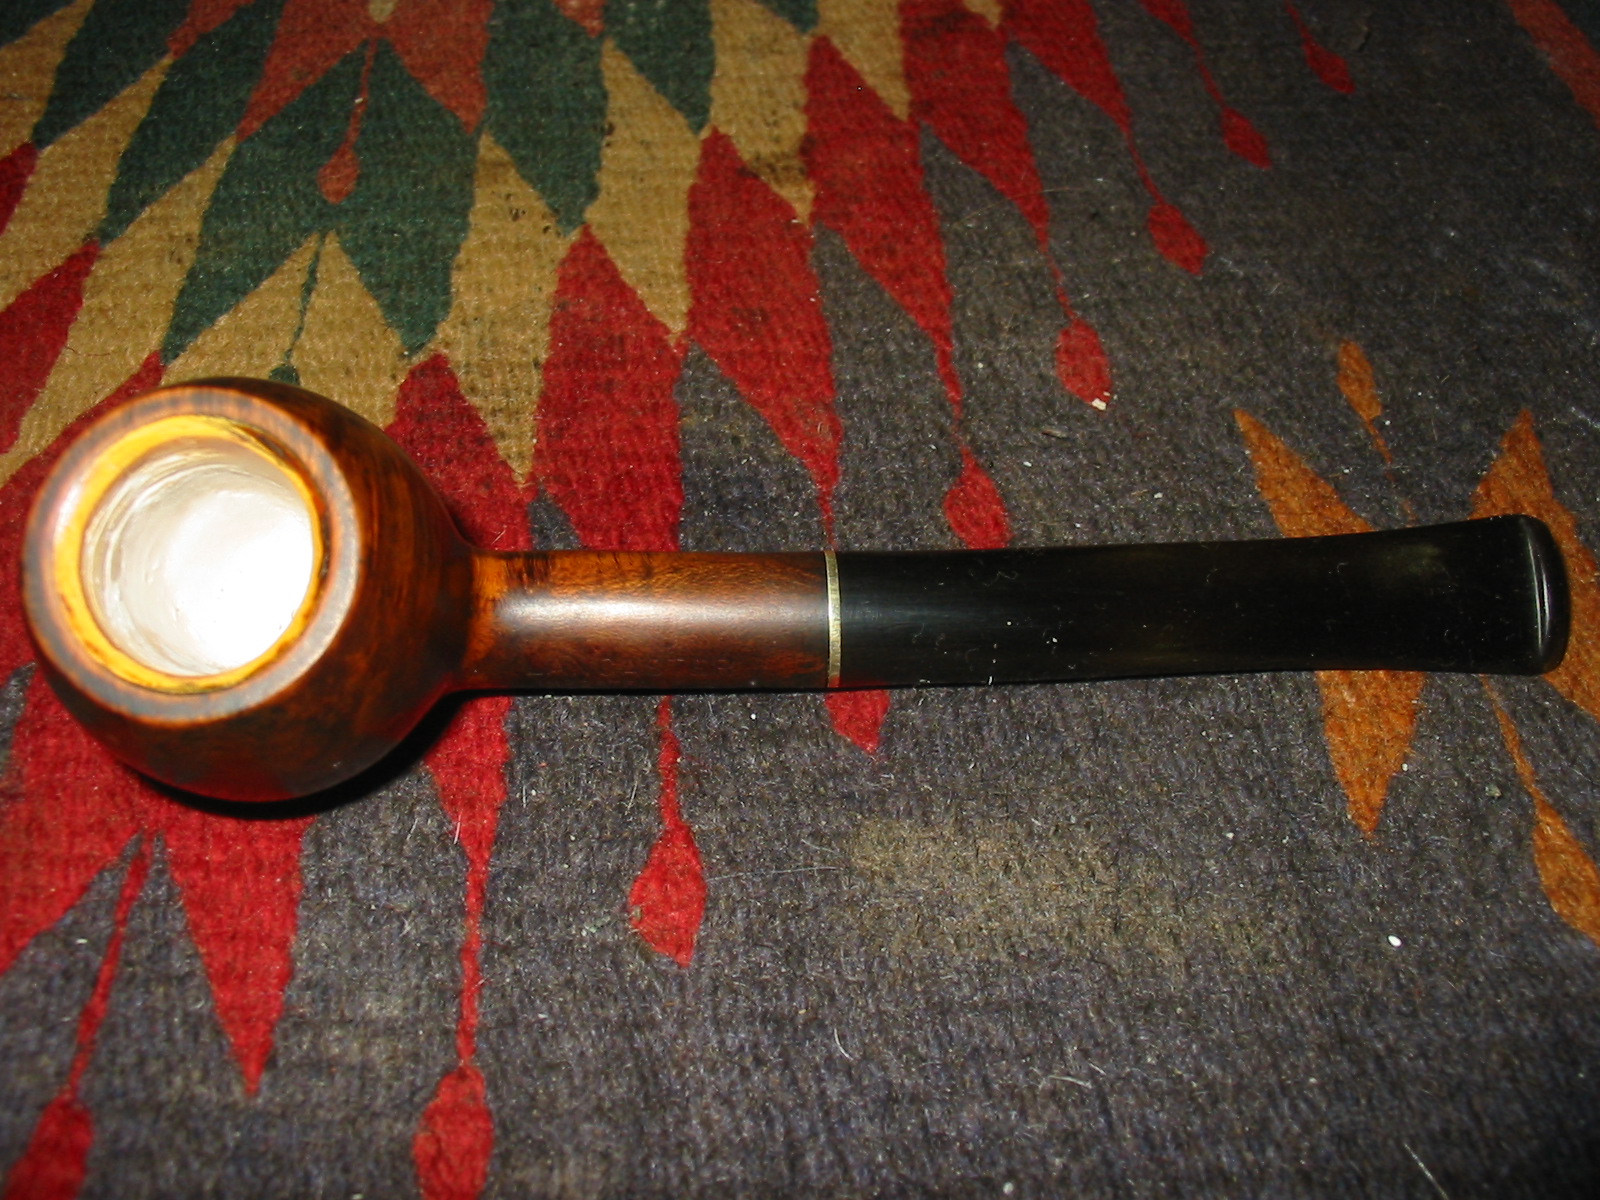
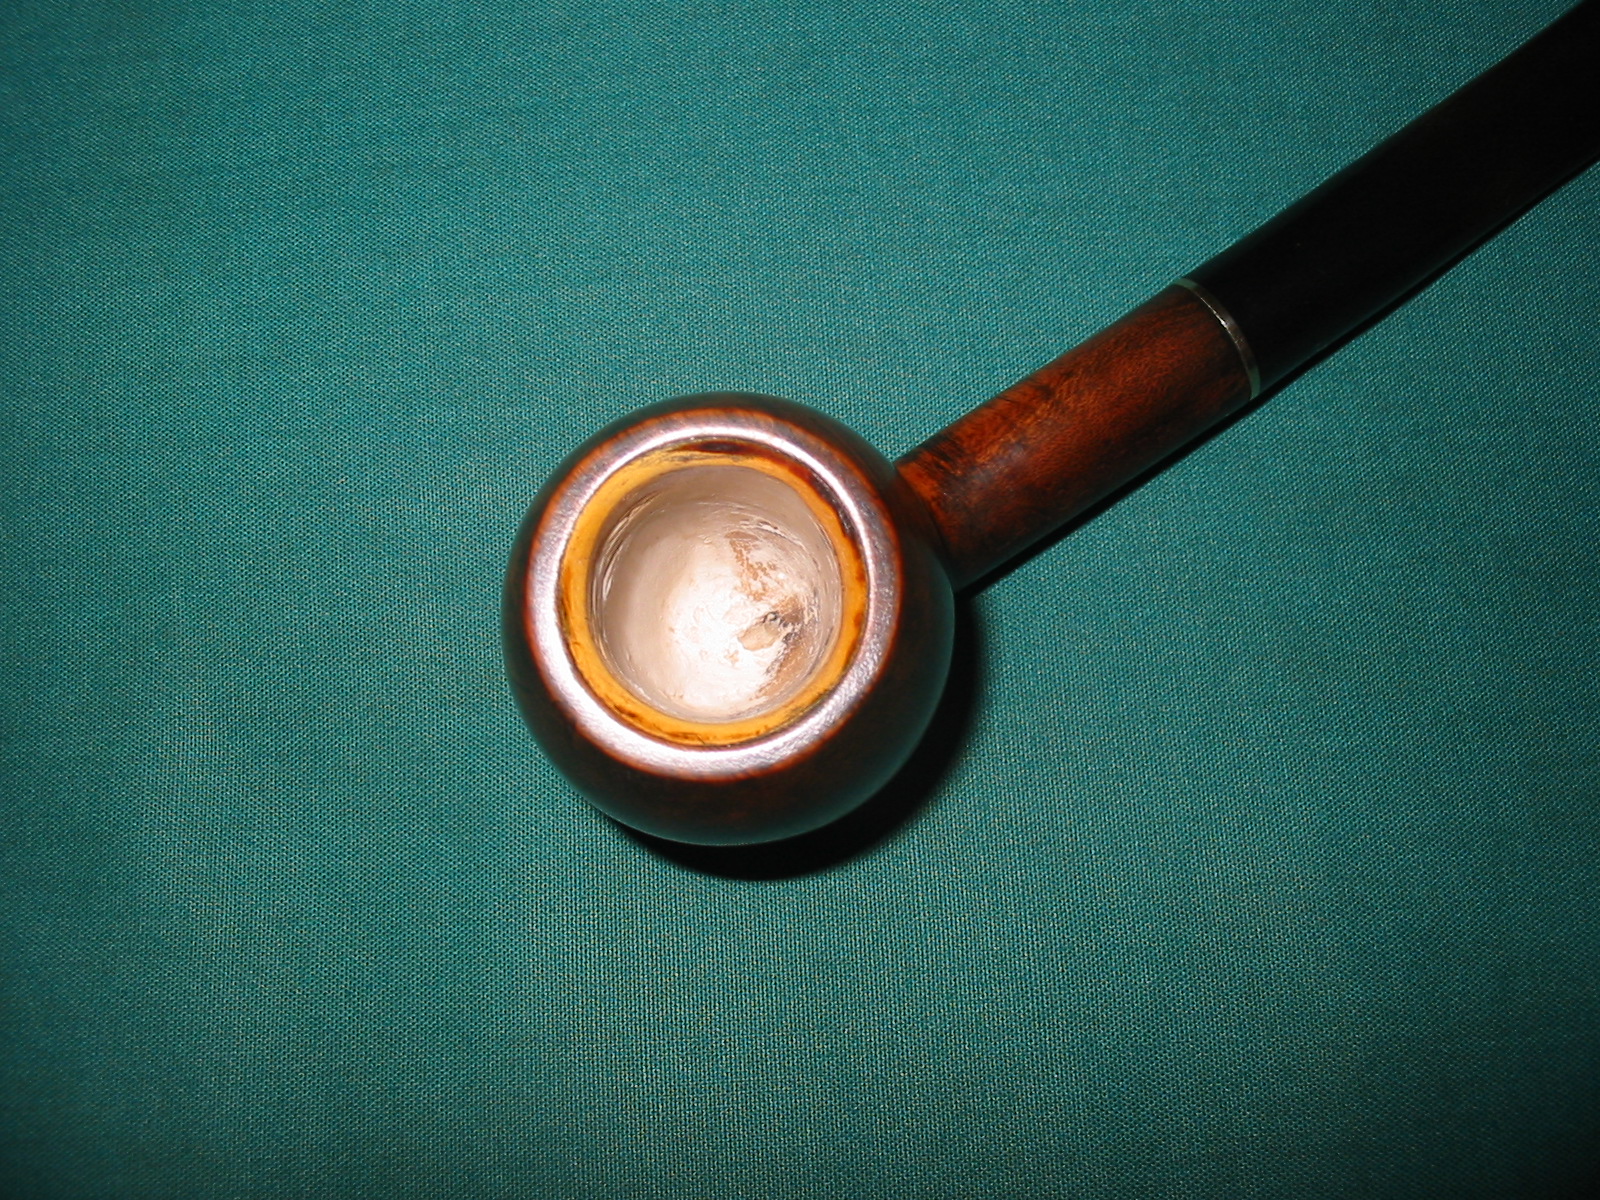
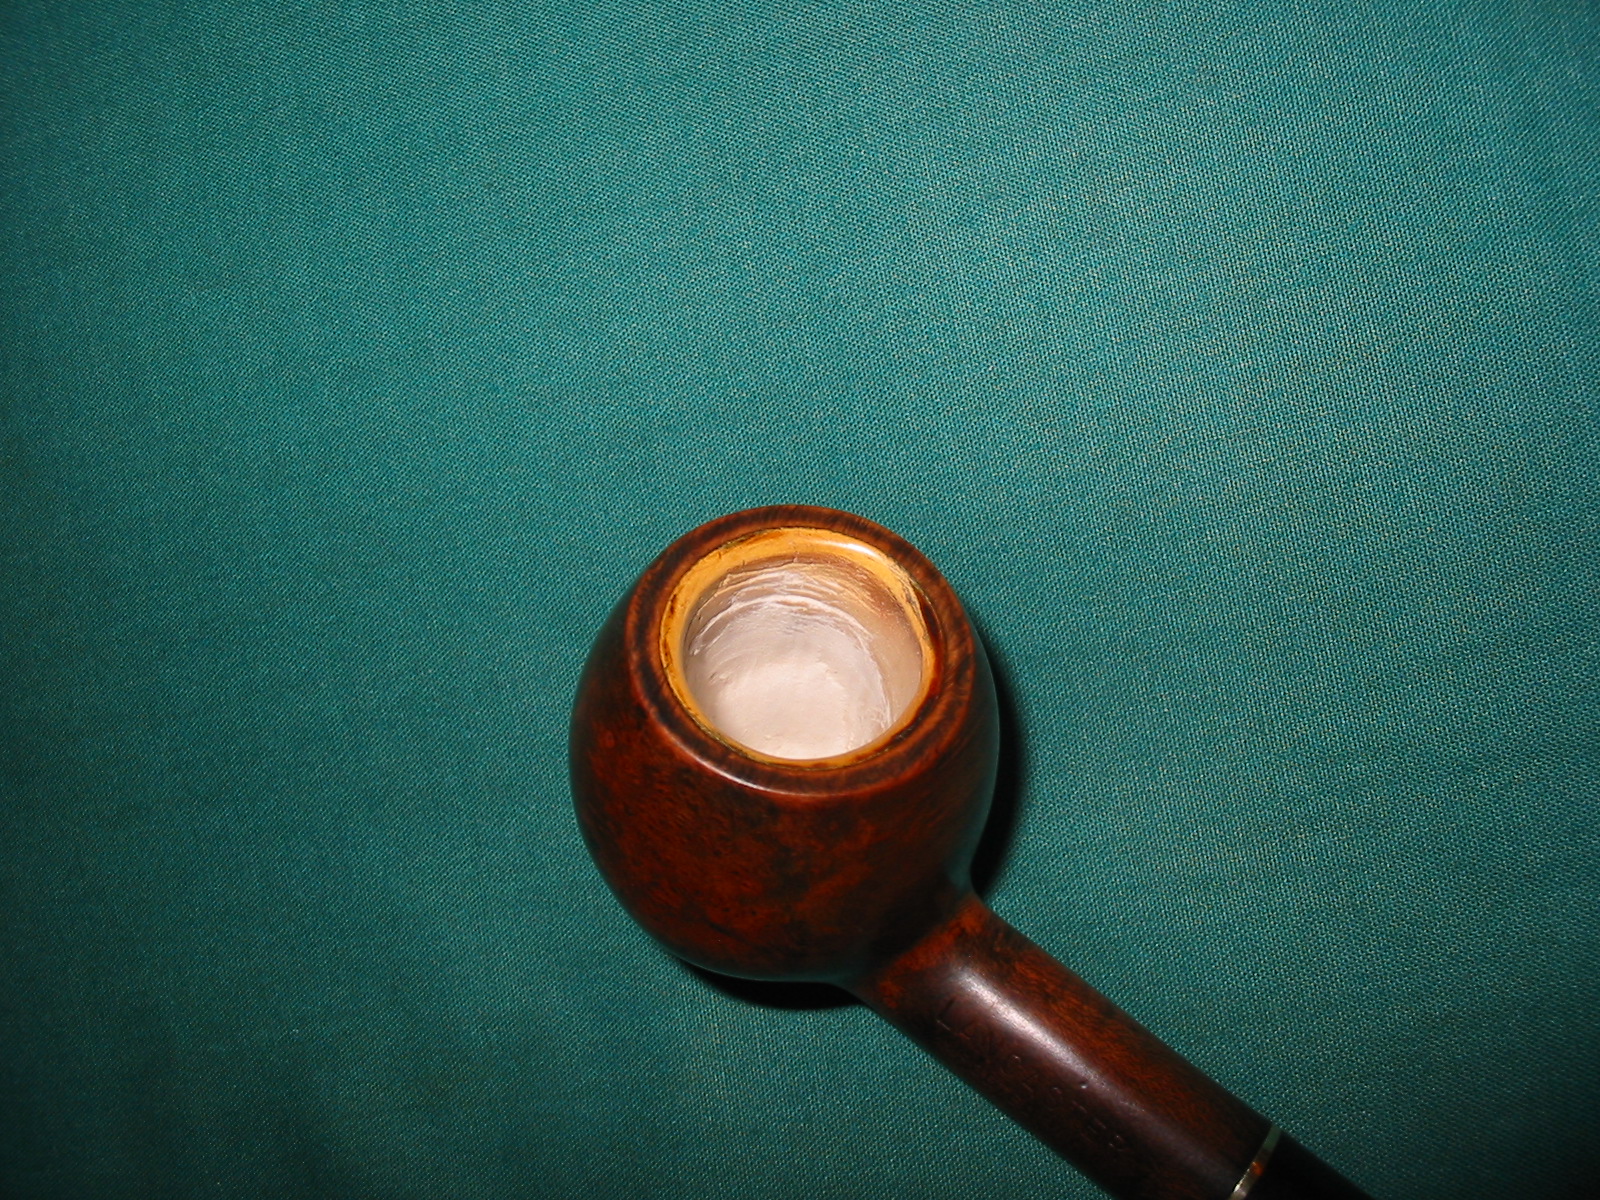
 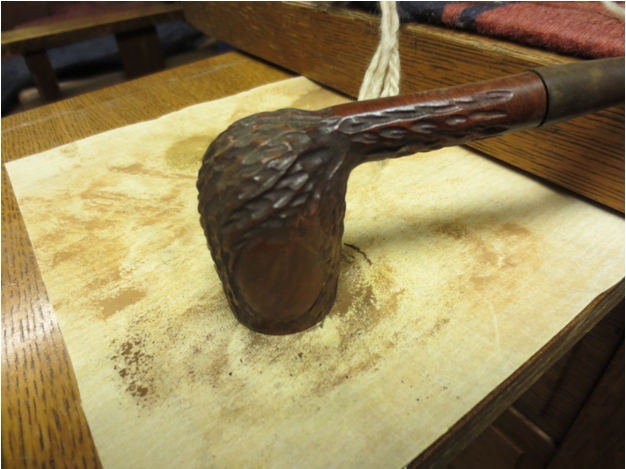 I did not remove much of the bowl top but took off enough to make the bowl top and the rim top flush and smooth. In the photo below the cracks in the bowl insert are visible around the top edge of the bowl.
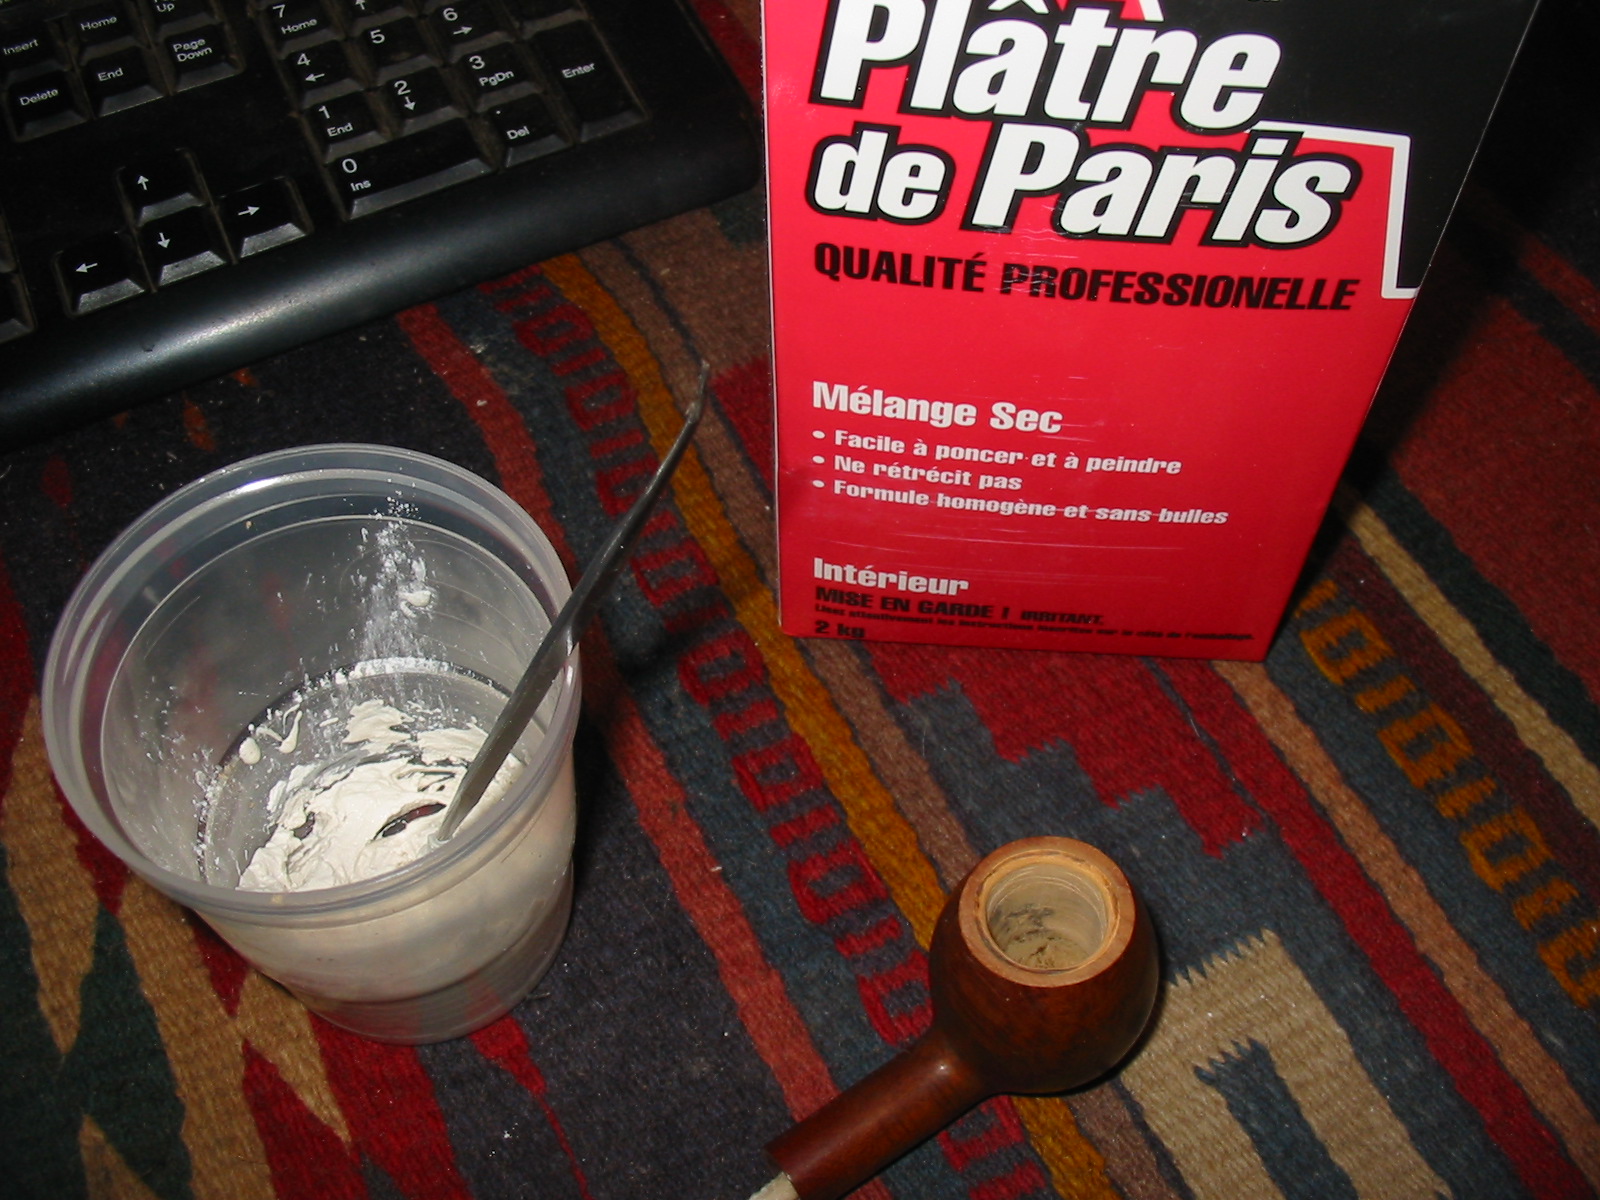
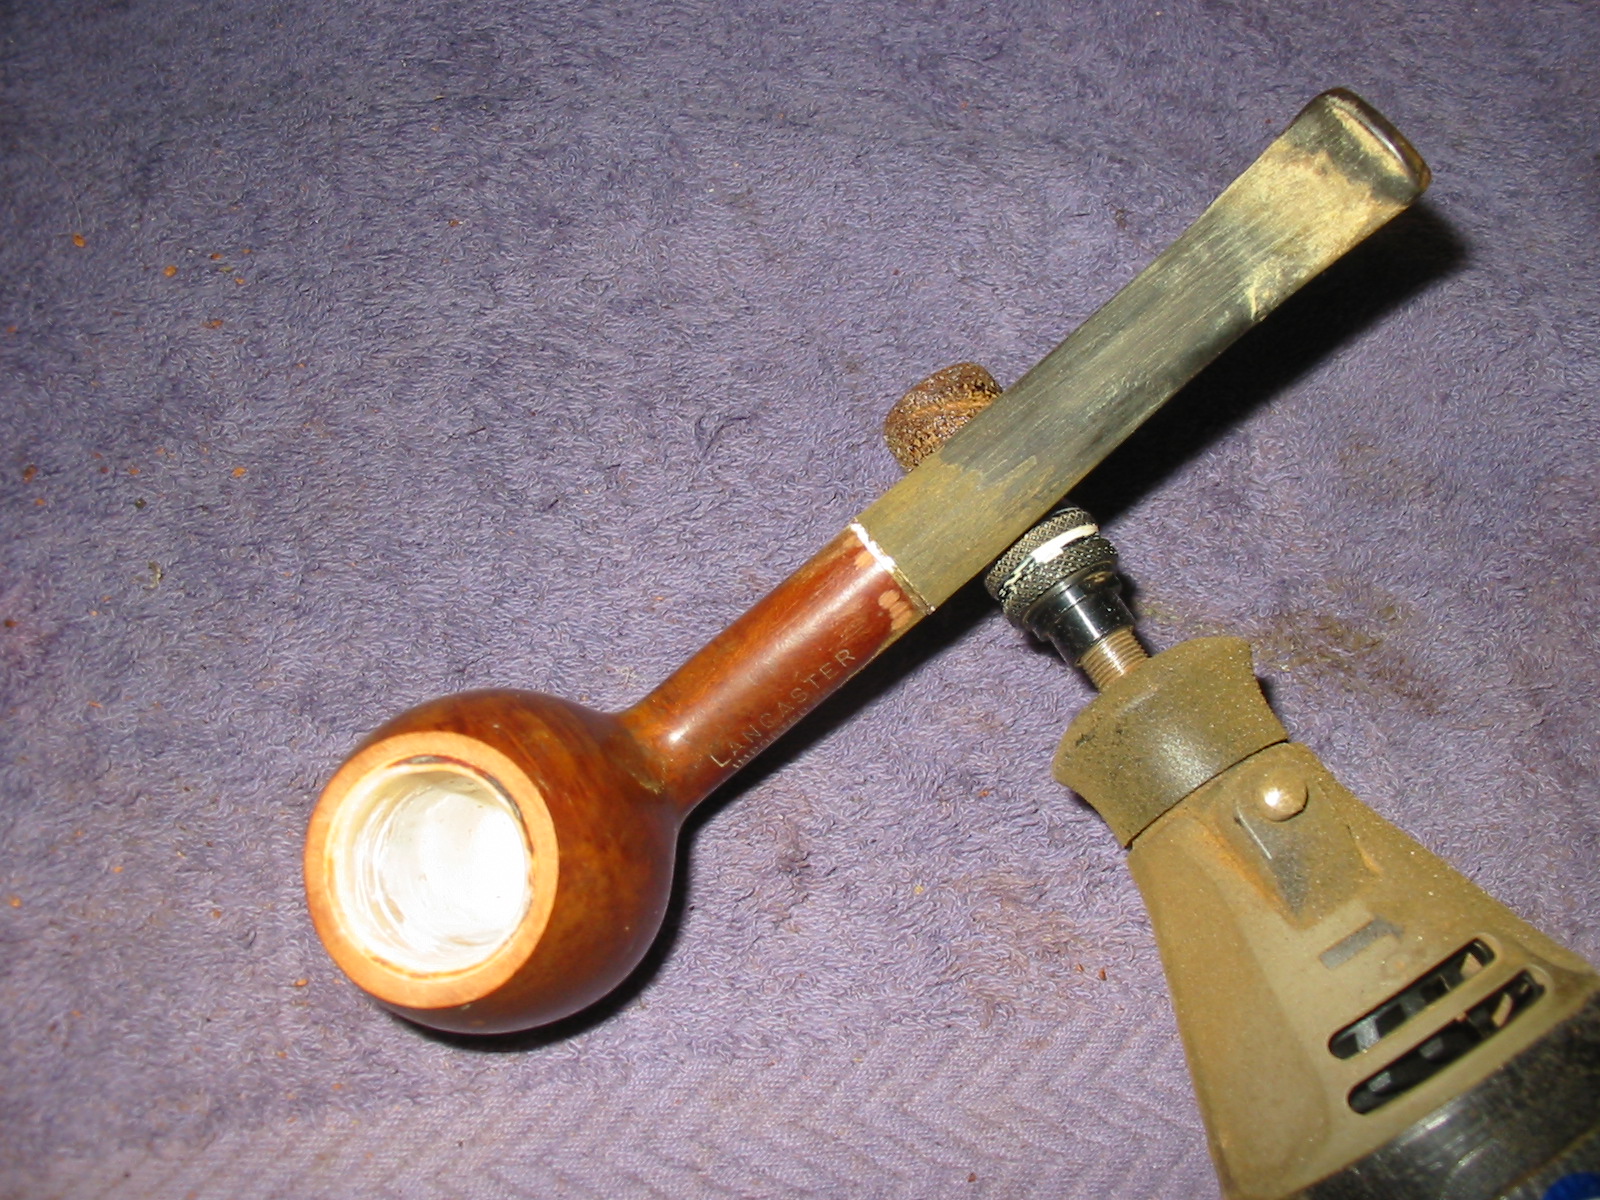
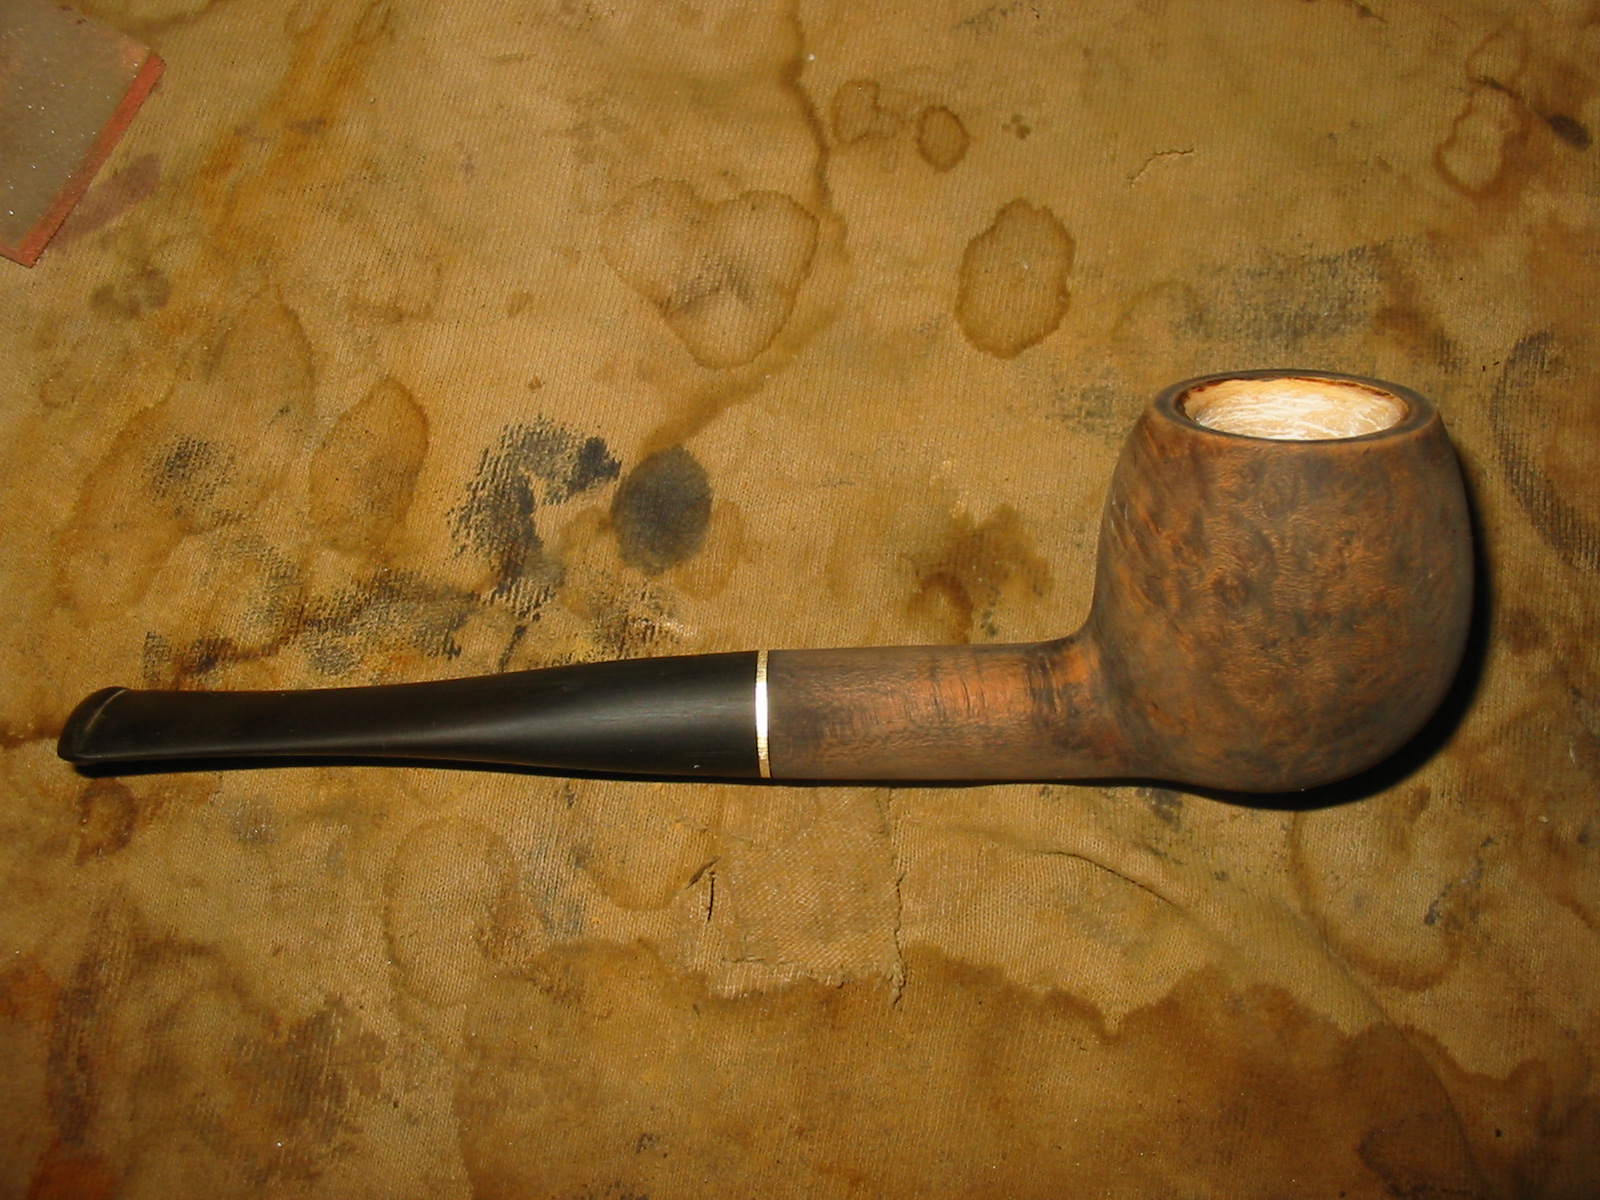
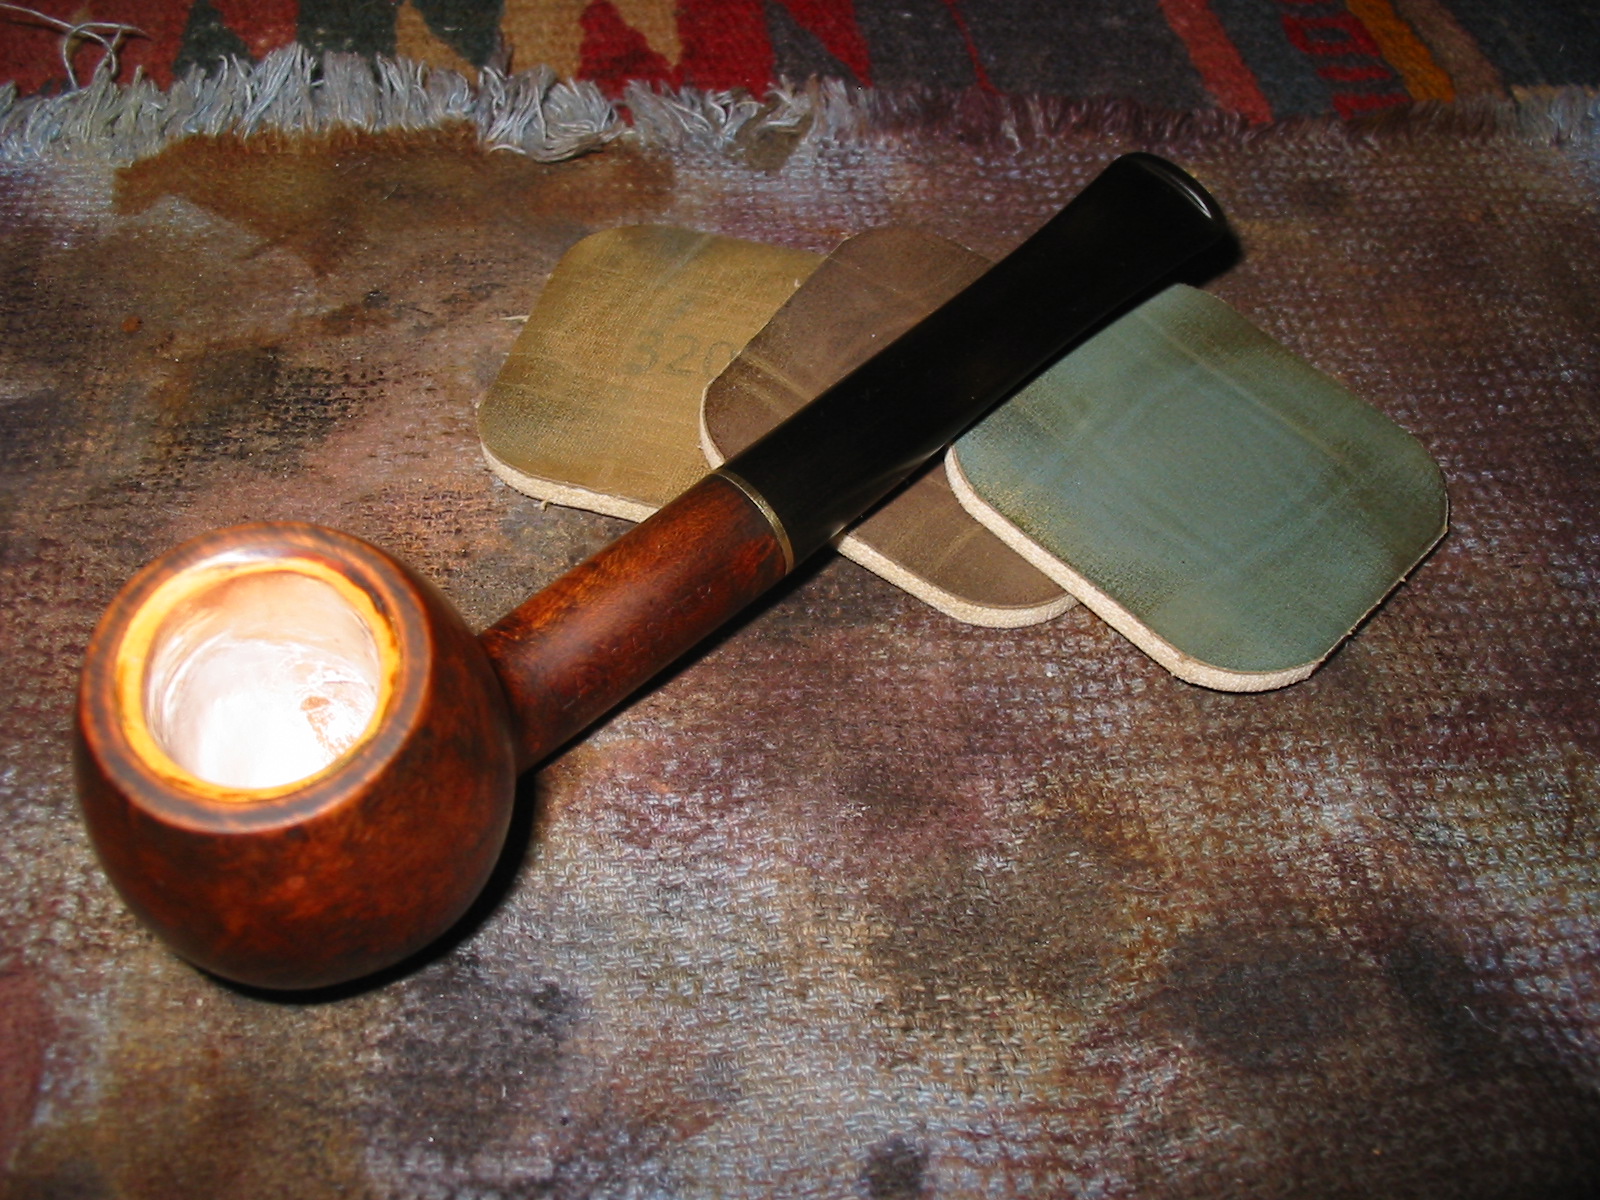
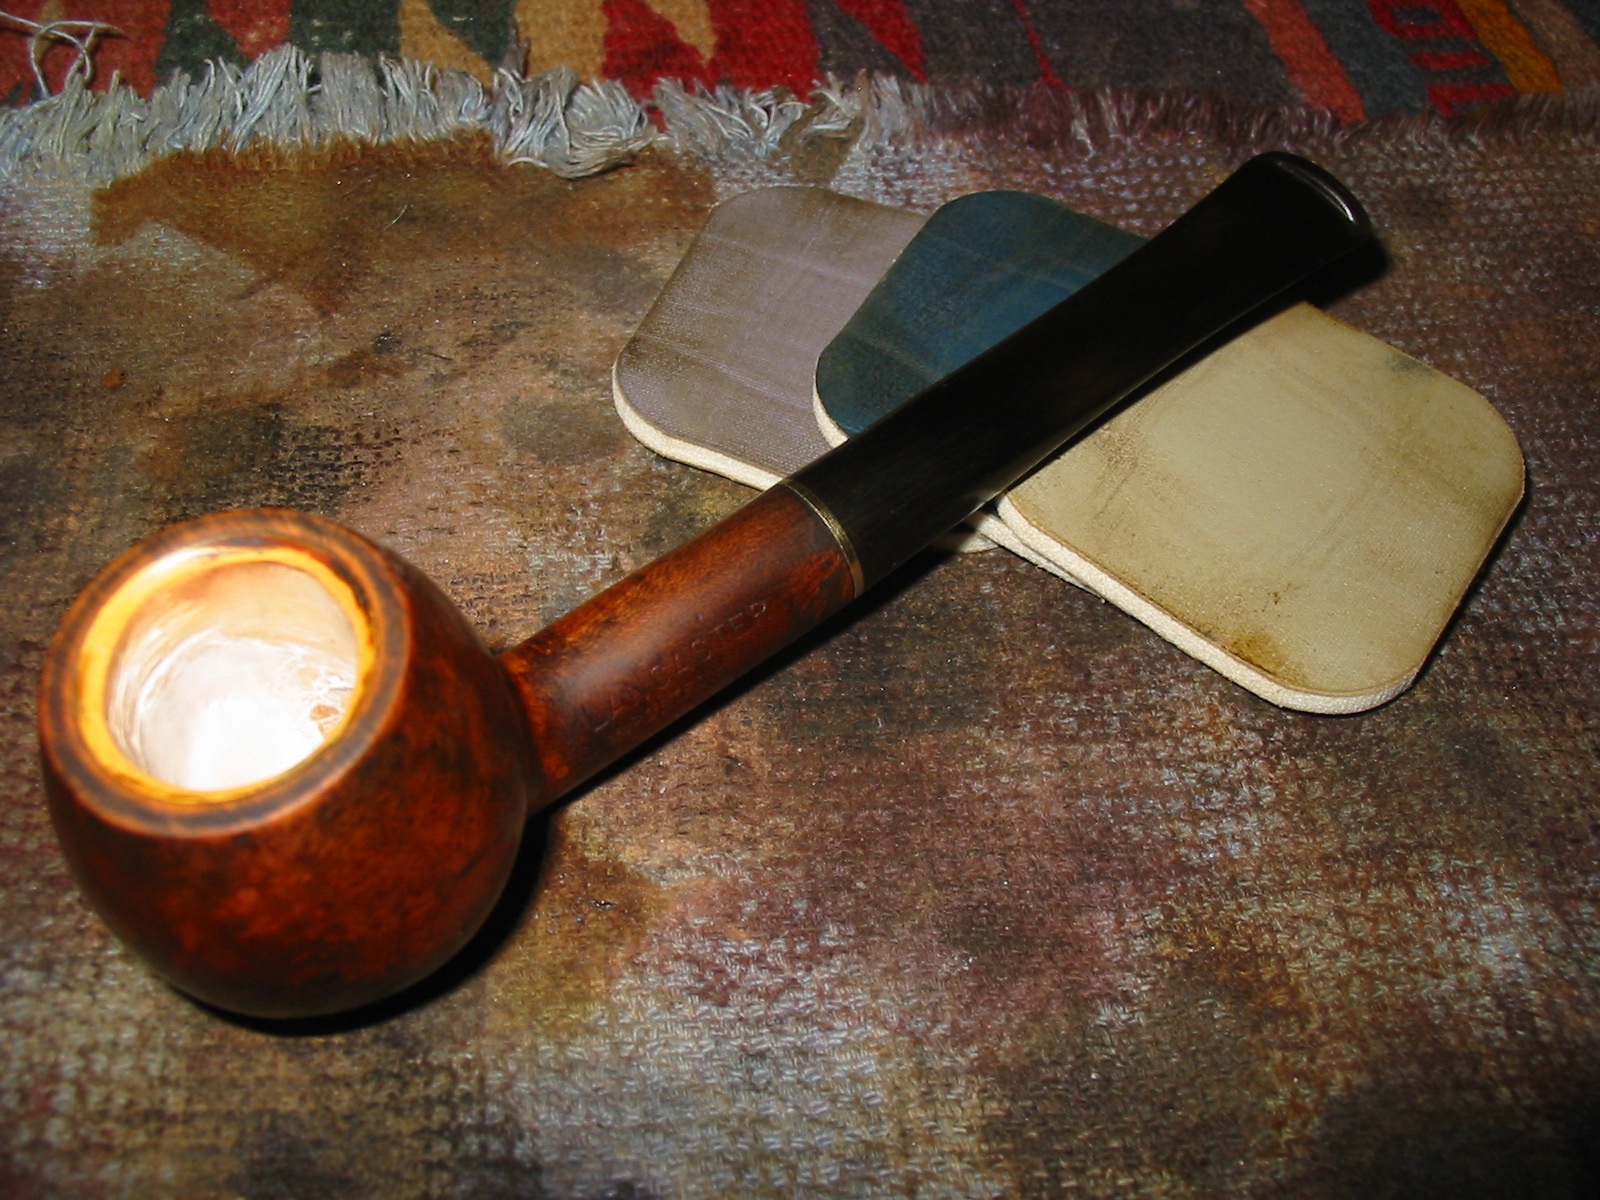
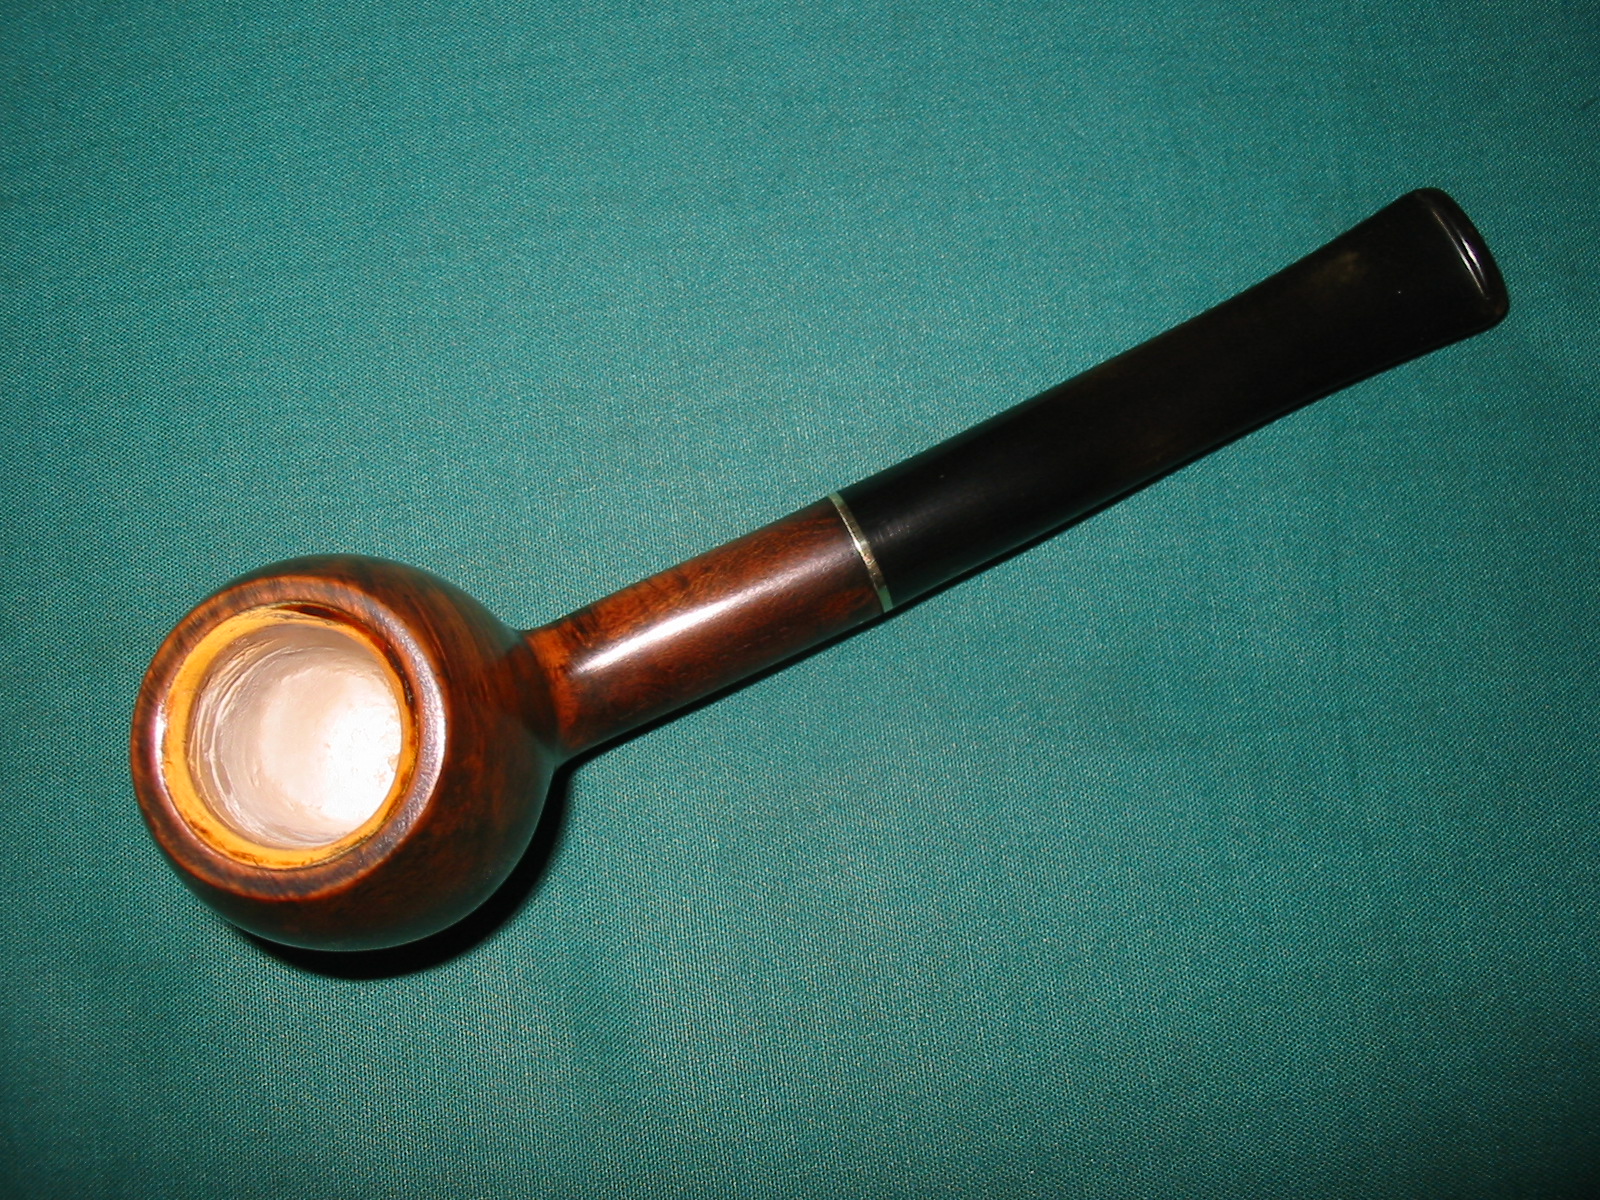
 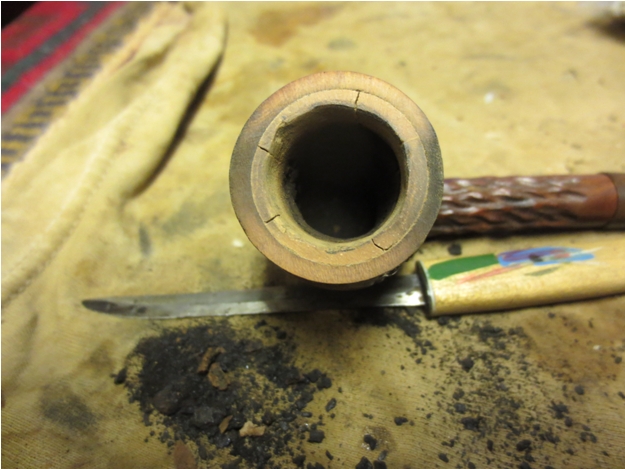 I used clear superglue to fill the cracks on the top edge of the insert and sanded them down. I mixed a batch of plaster of Paris and used the dental pick, the cuticle tool that I was gifts and a pipe nail to build up the interior of the bowl and replace the bottom half of the insert that was missing. I inserted a pipe cleaner in the shank and then packed in the plaster around the airway and tamped it in place on the bottom with the pipe nail and on the sides with the cuticle tool. I used one of the stain pens that I have to stain the rim to match the bowl.
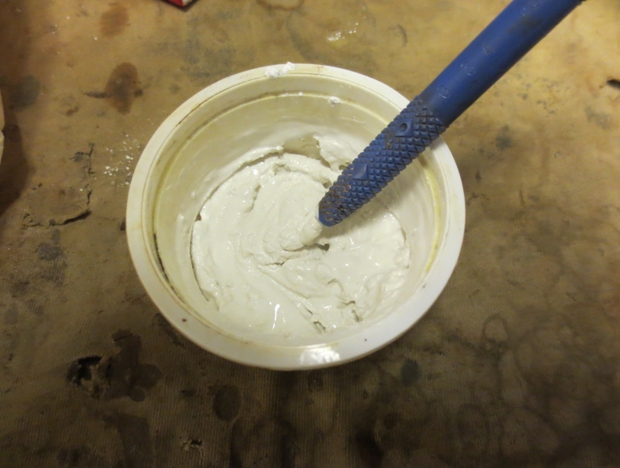
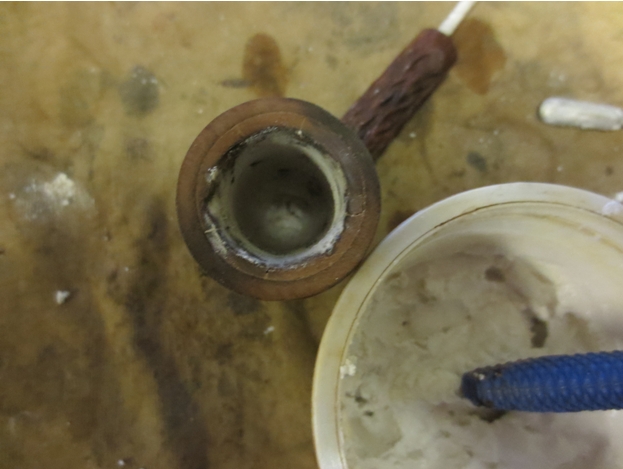
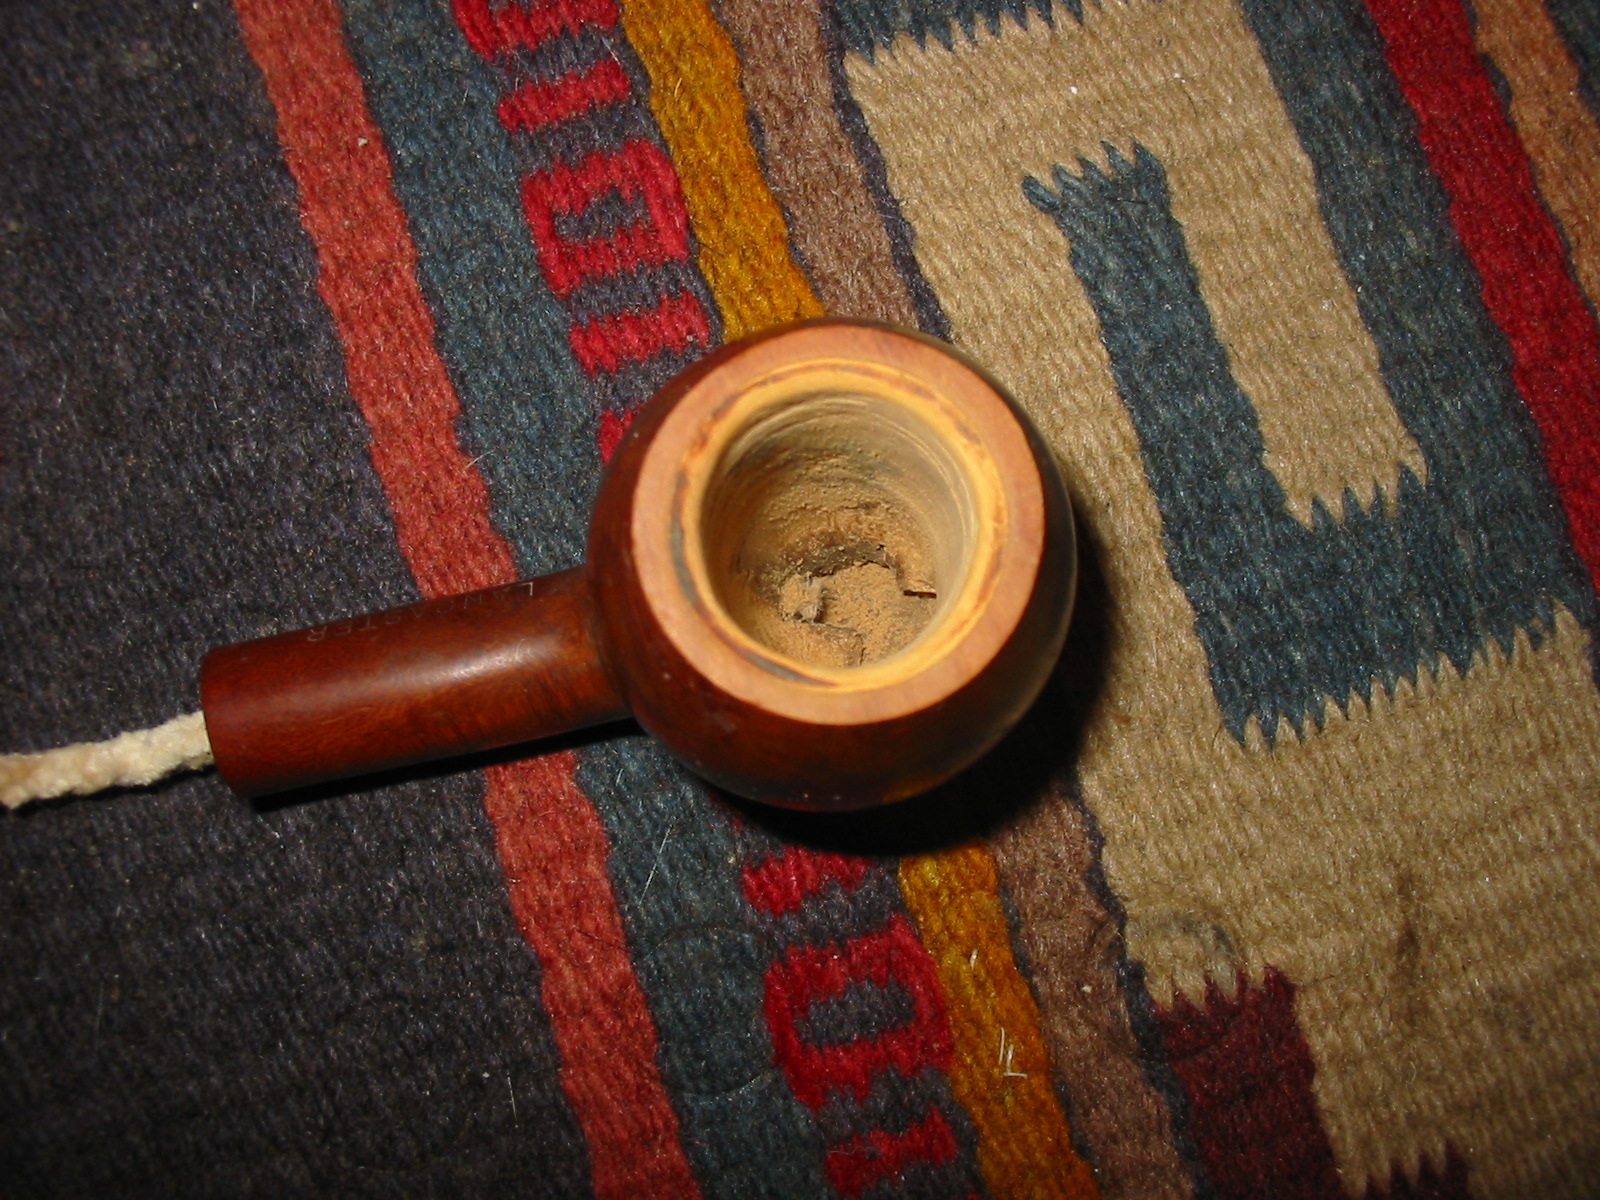
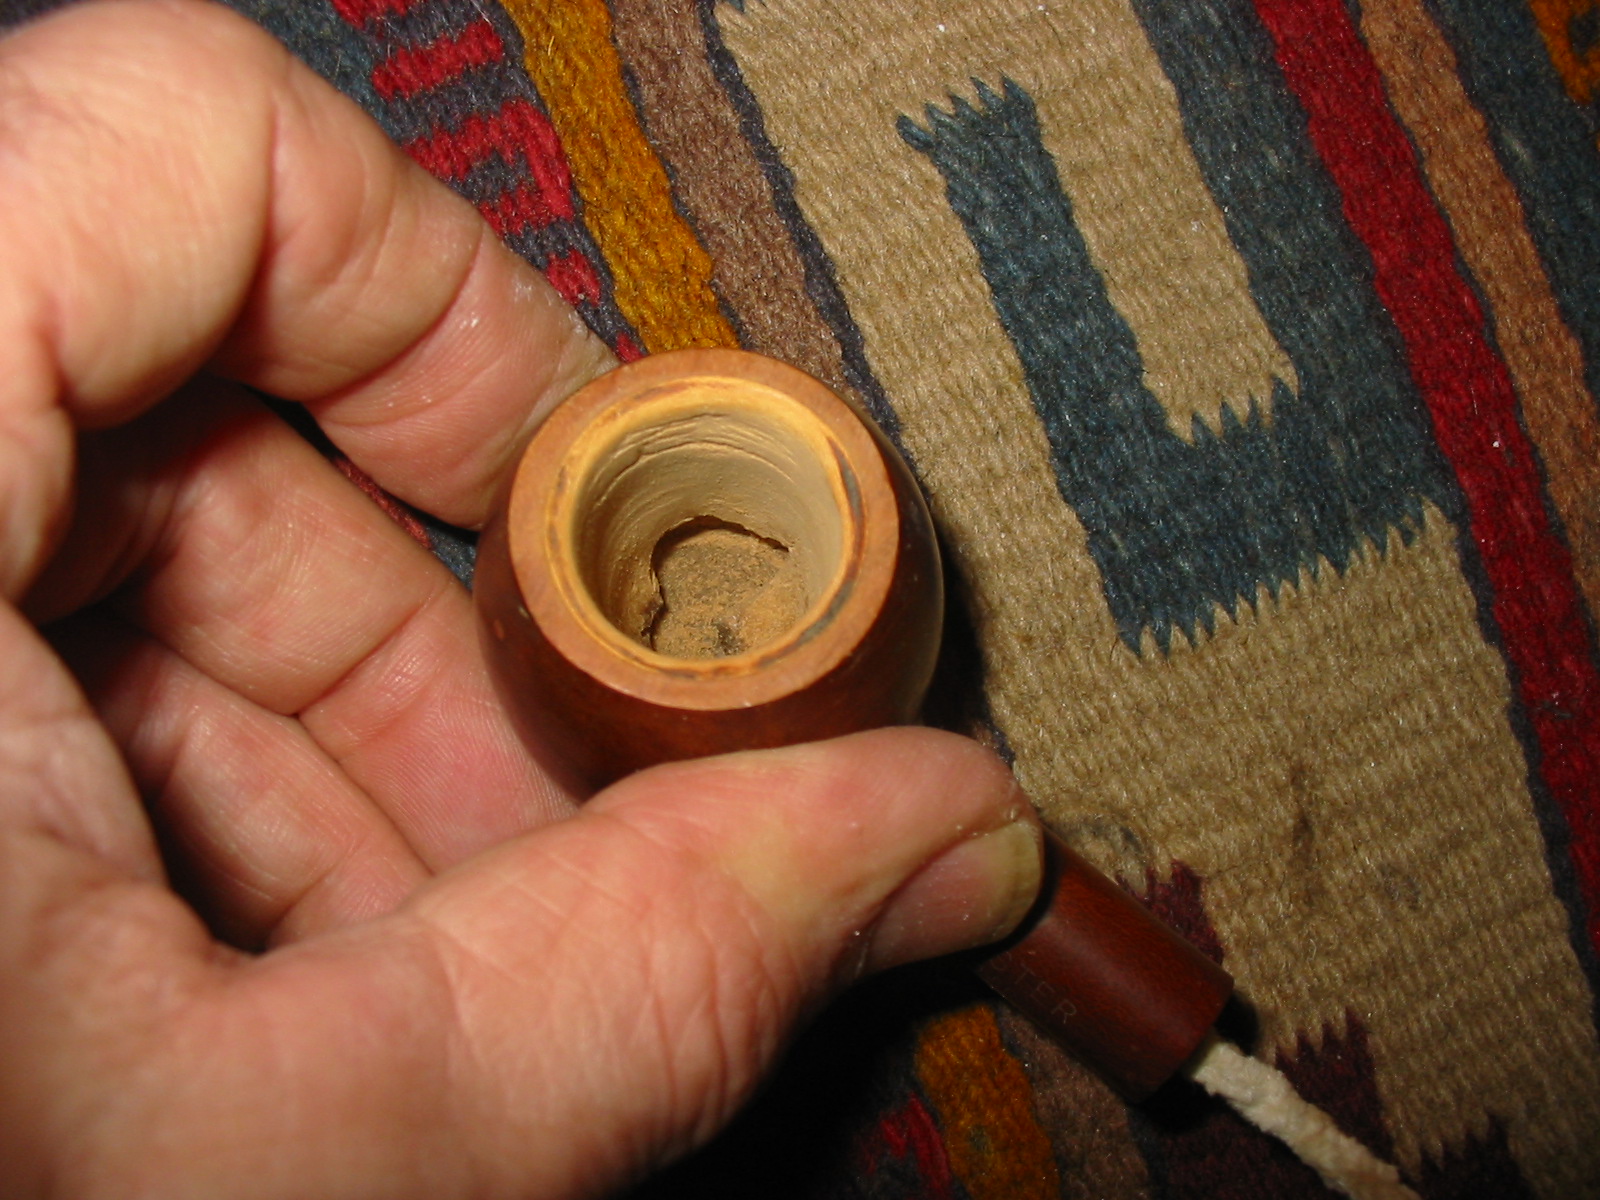
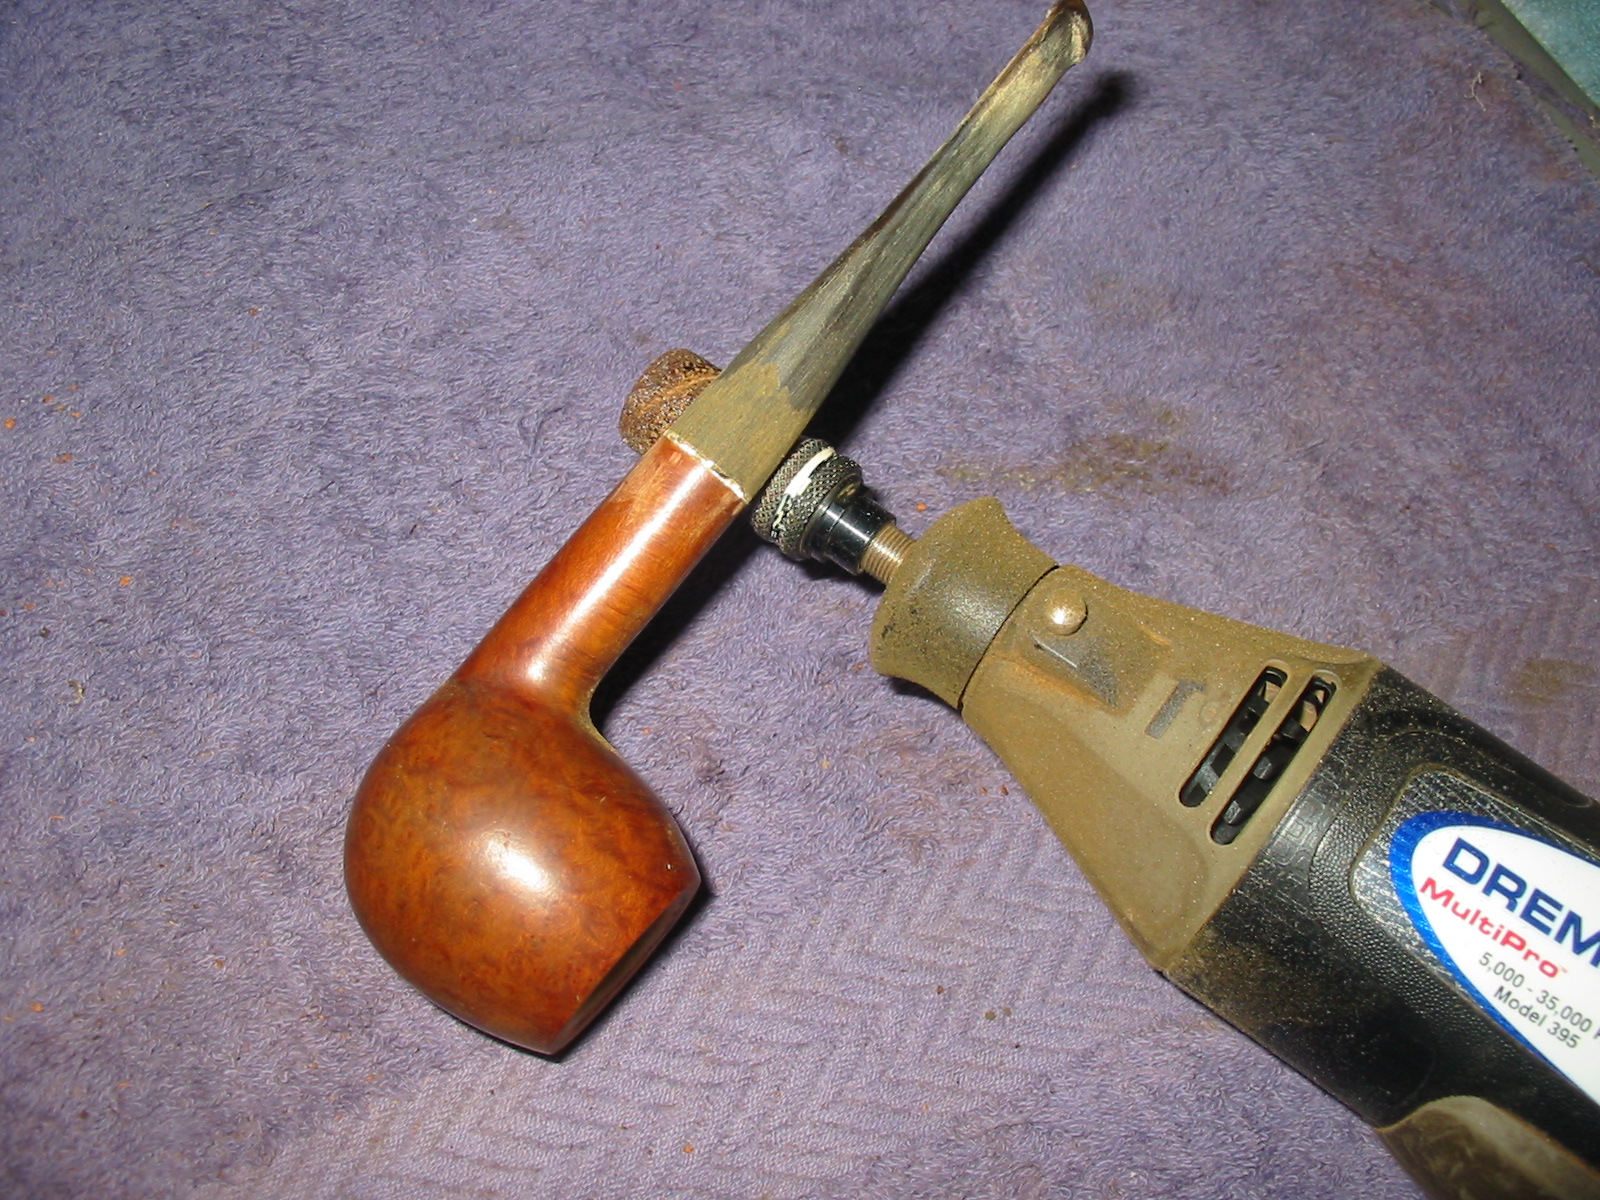
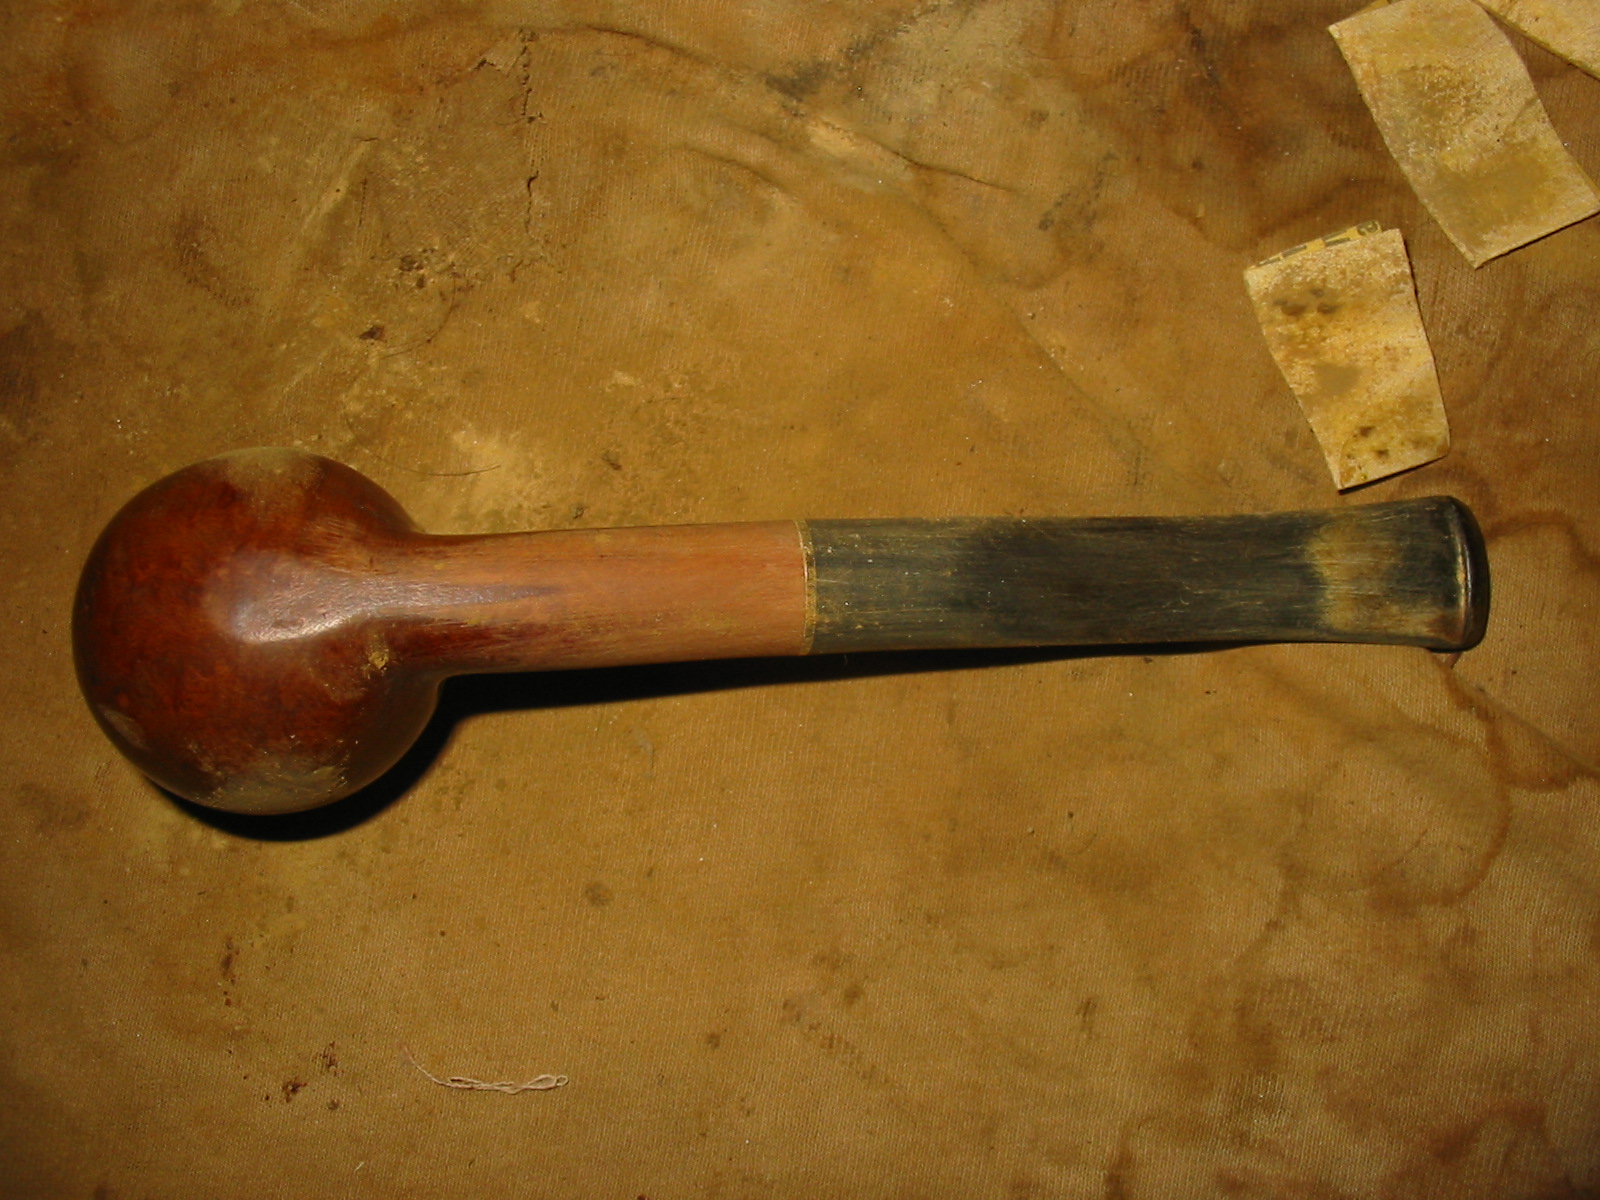
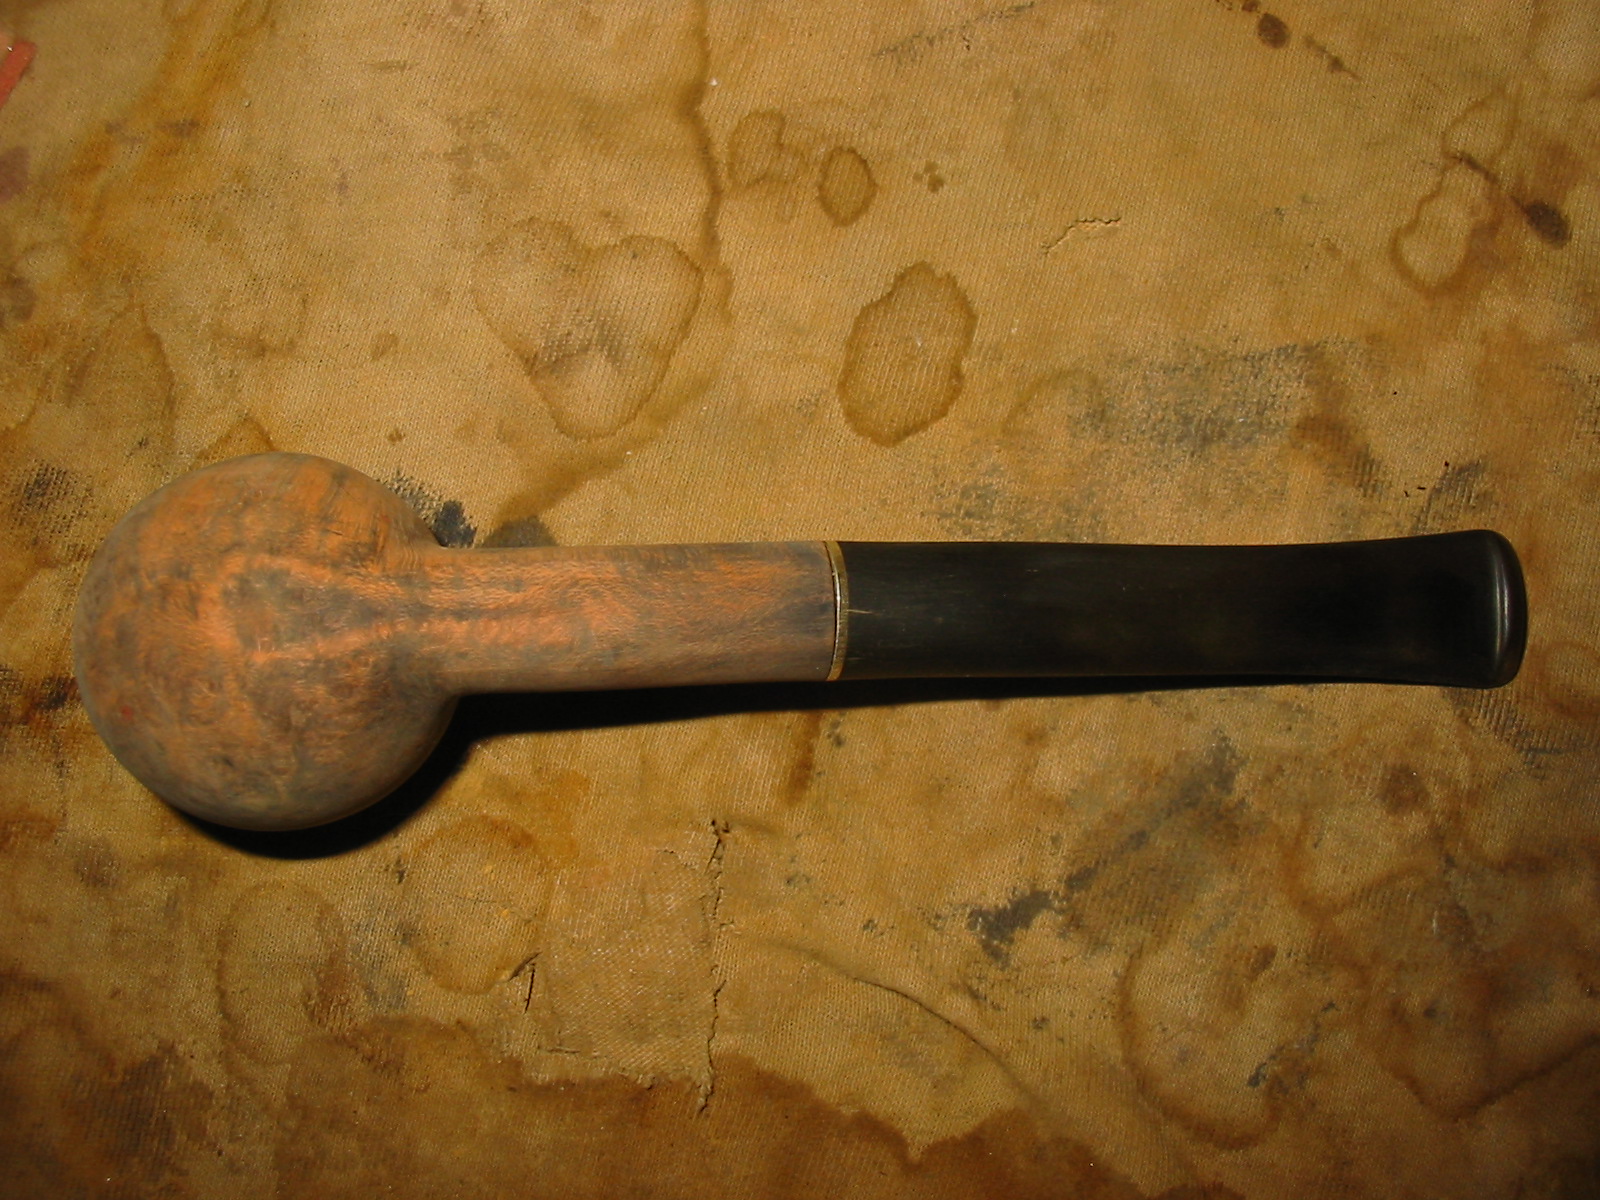
 I inserted my damp index finger into the bowl and rubbed down the sides of the bowl to smooth them out. I also pushed the plaster on the bottom of the bowl to more thoroughly pack it in place. I sanded the stem with 150 grit sandpaper to reduce the diameter of the stem and then 220 grit sandpaper to smooth out the stem.
 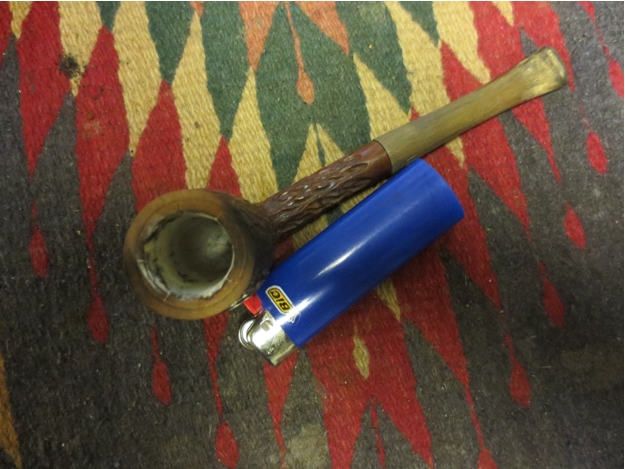 I scrubbed the bowl down with acetone on a cotton pad to remove the finish and clean up the exterior of the bowl. I then rubbed it down with olive oil and let it soak into the finish. I also rubbed down the stem with the oil as I find that it makes sanding the stem easier to do.
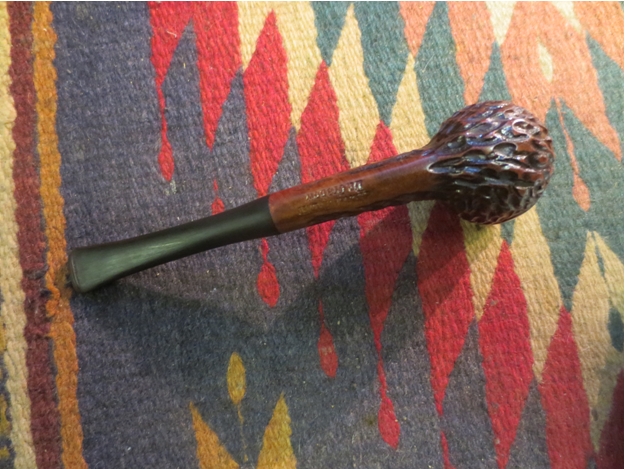
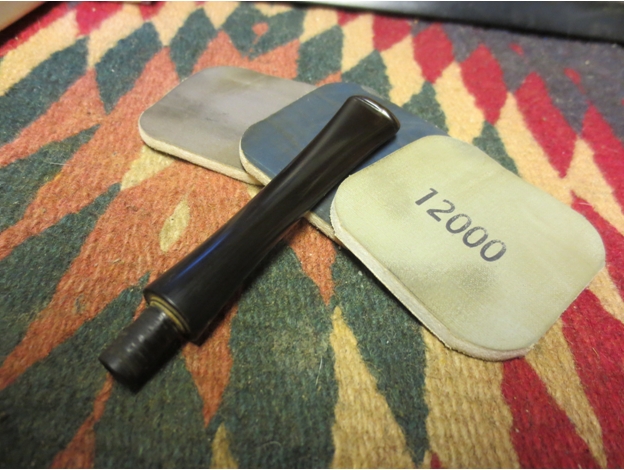
 I sanded the stem with micromesh sanding pads – wet sanding with 1500-3200 grit pads and dry sanding with 3600-12,000 grit pads. I wiped it down between each of the sets of three pads with Obsidian Oil. Once it was dry I buffed the stem with White Diamond and then with carnauba wax.
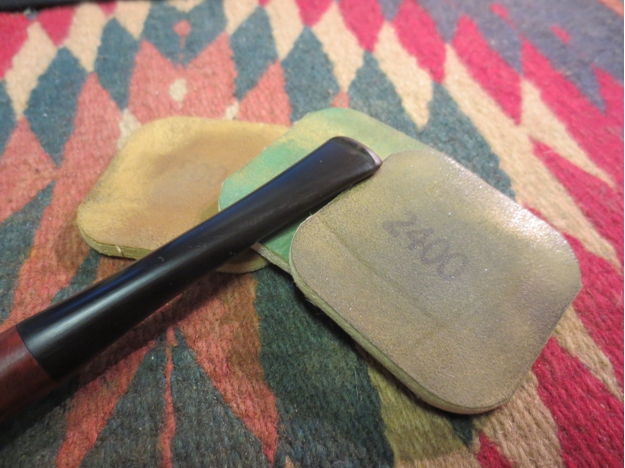

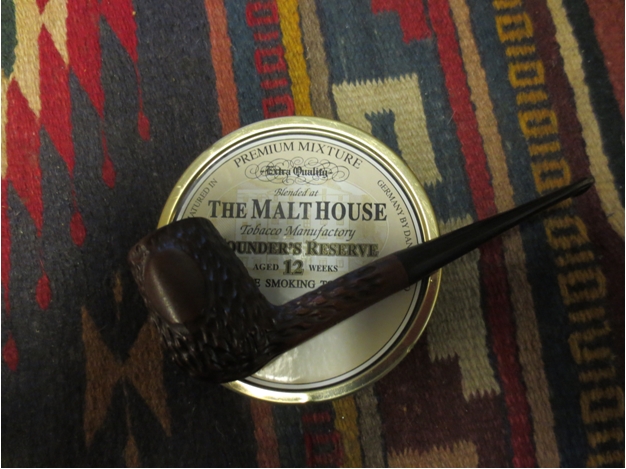
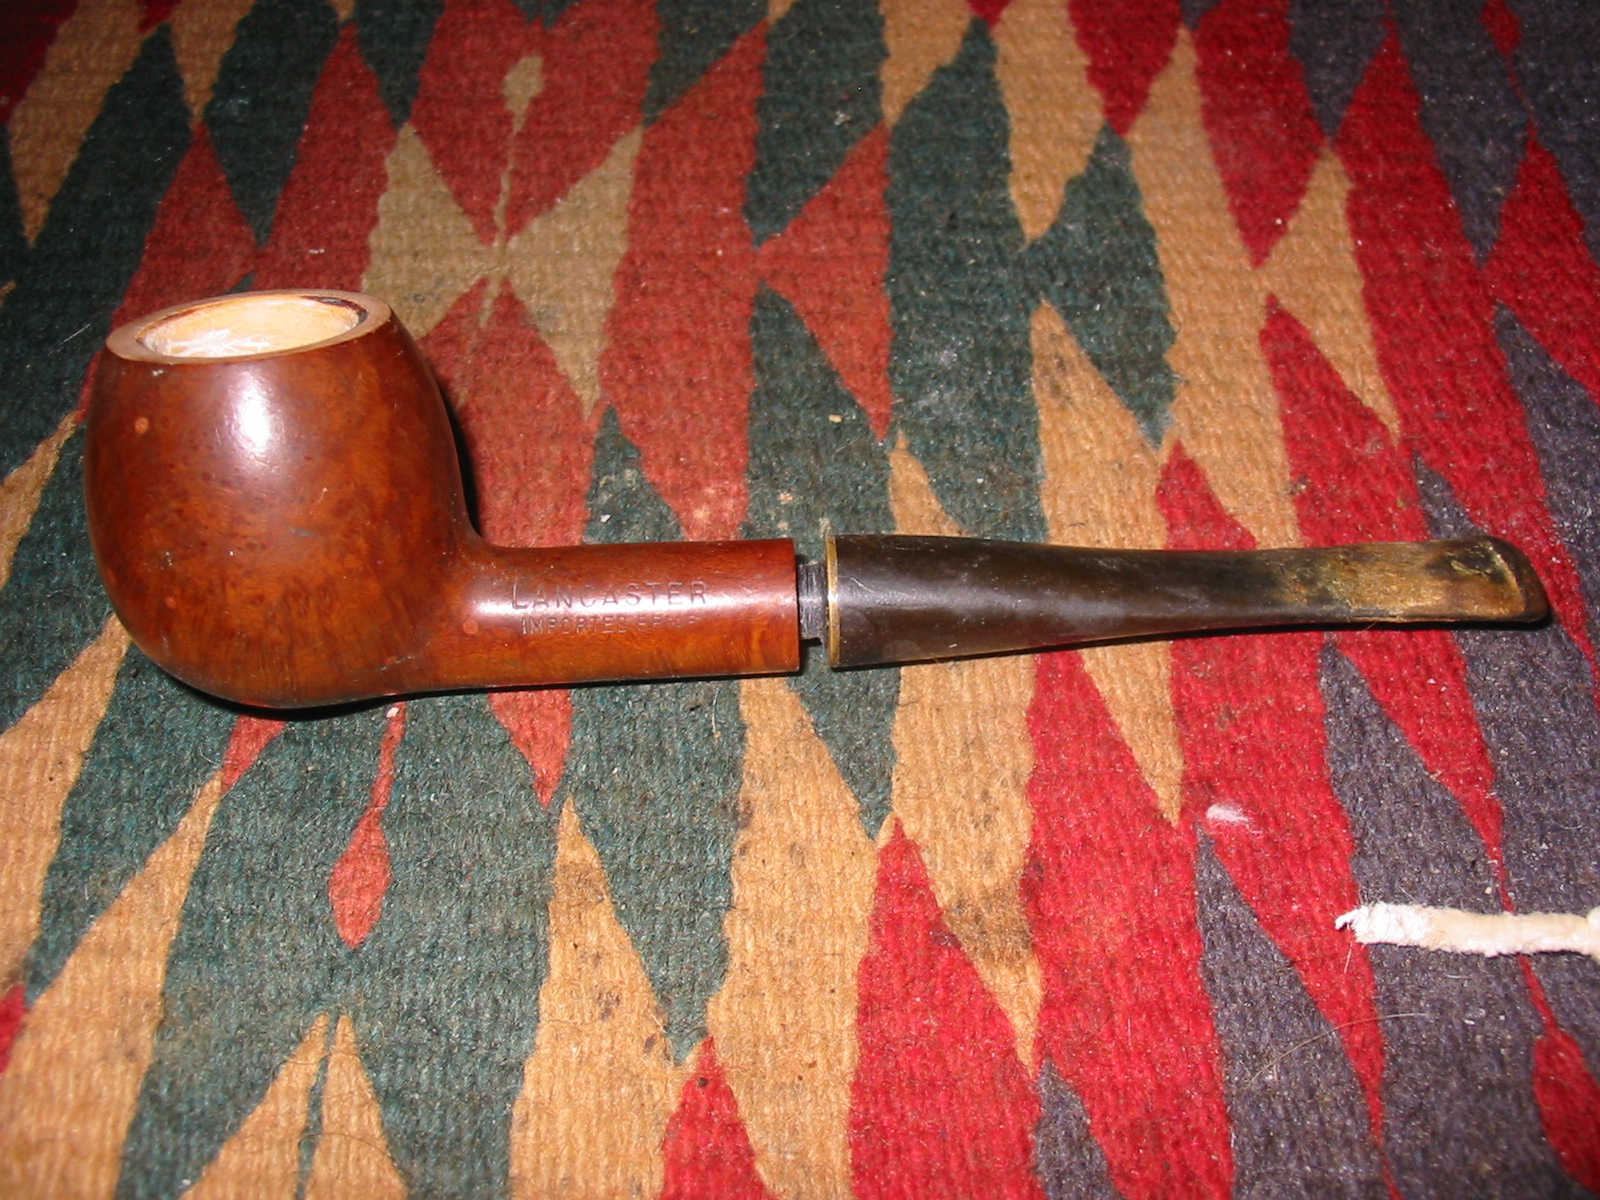
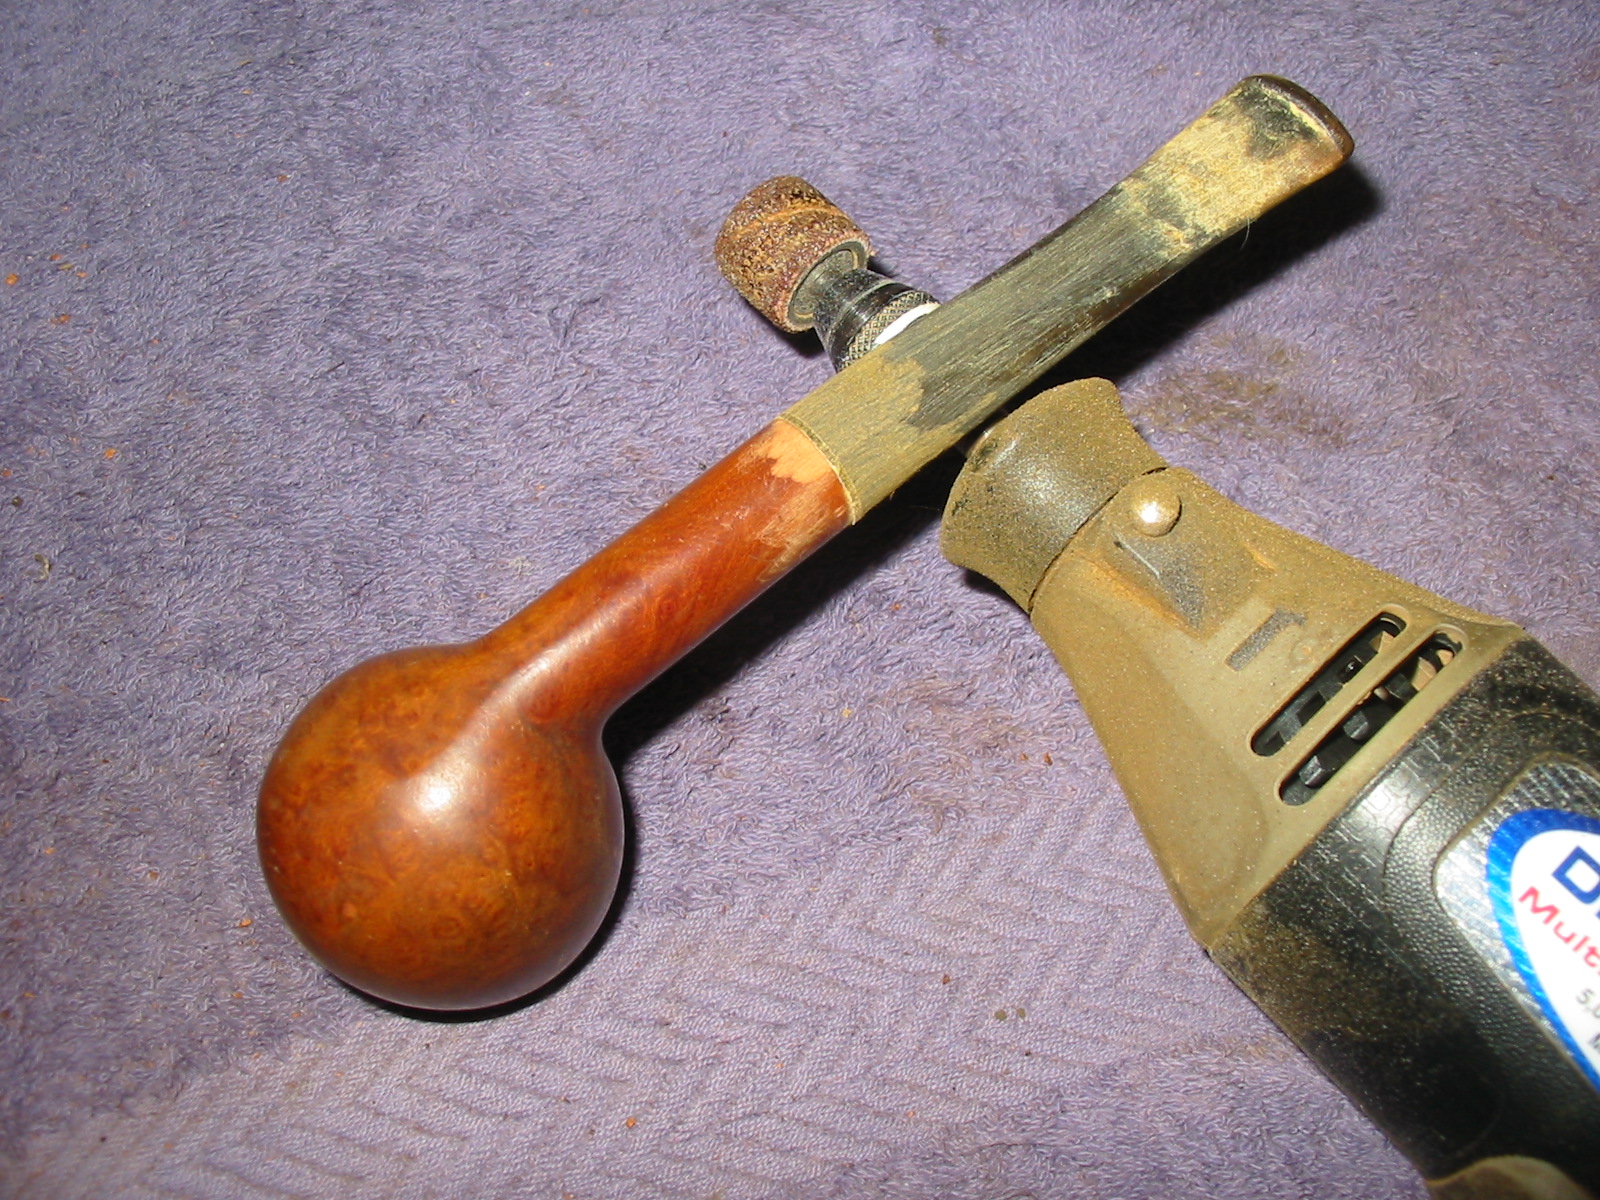
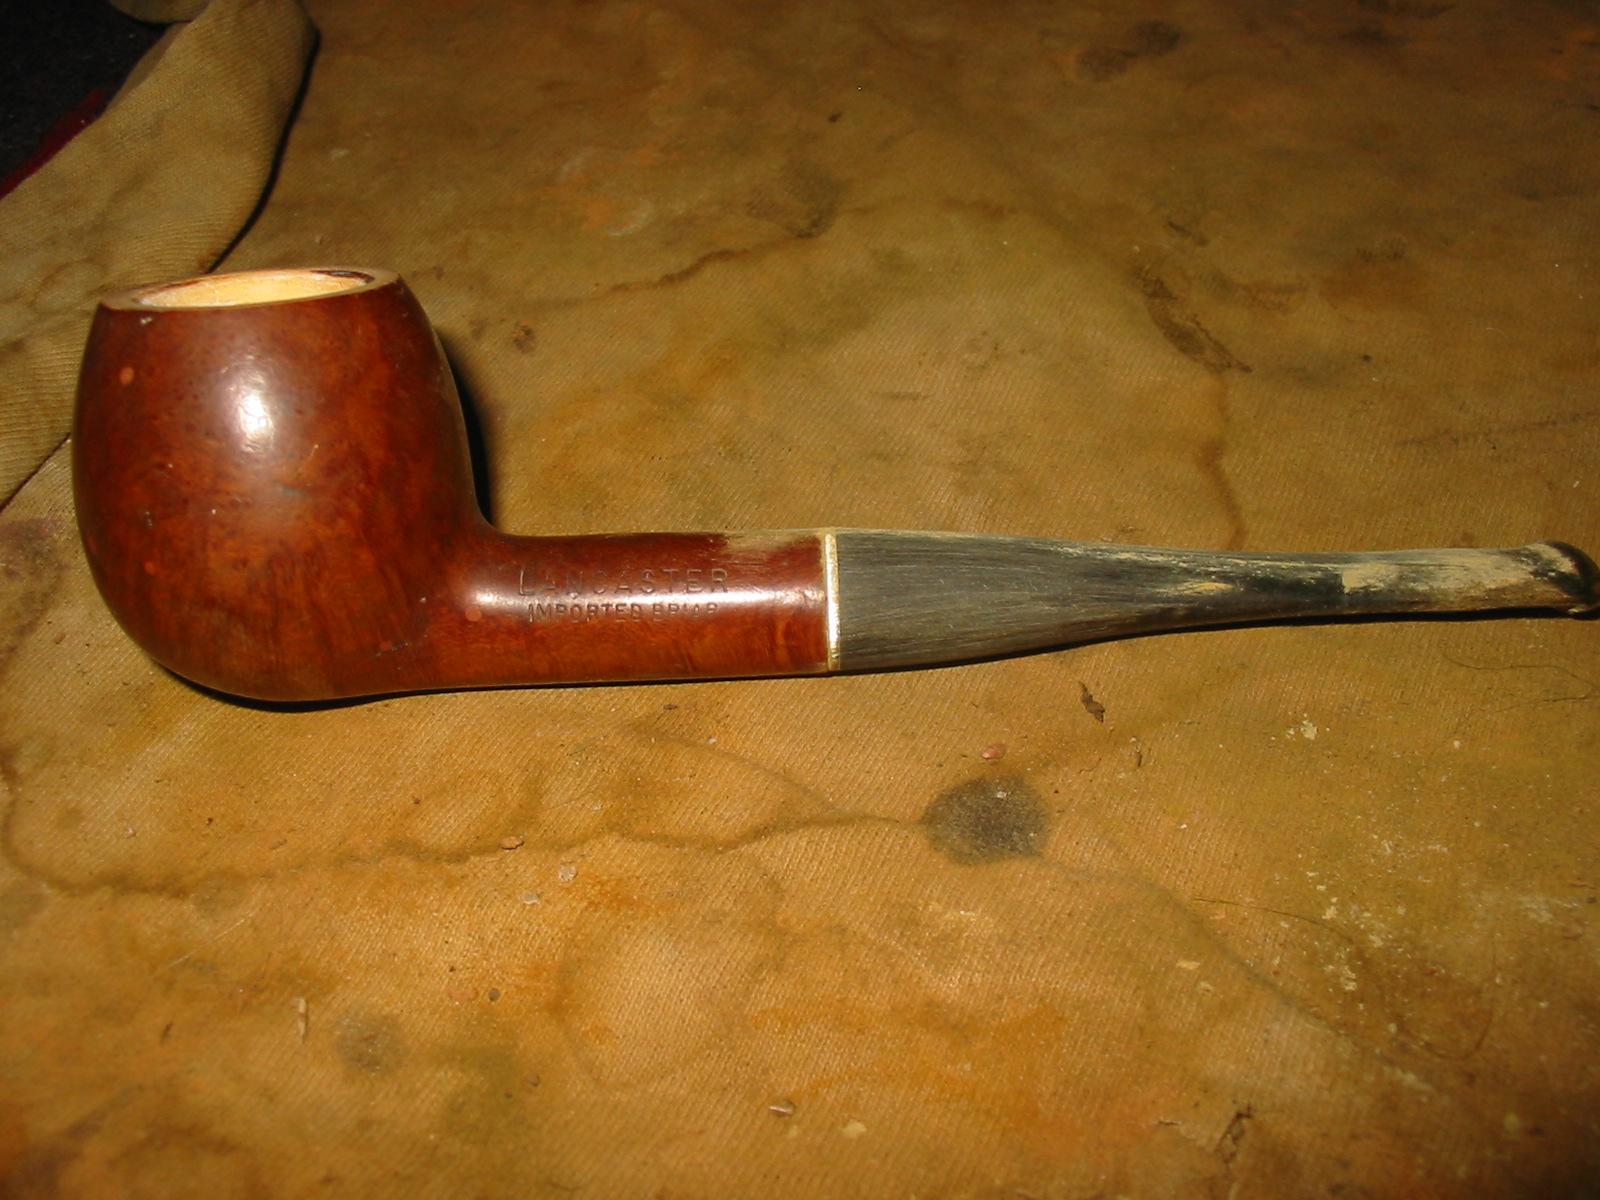
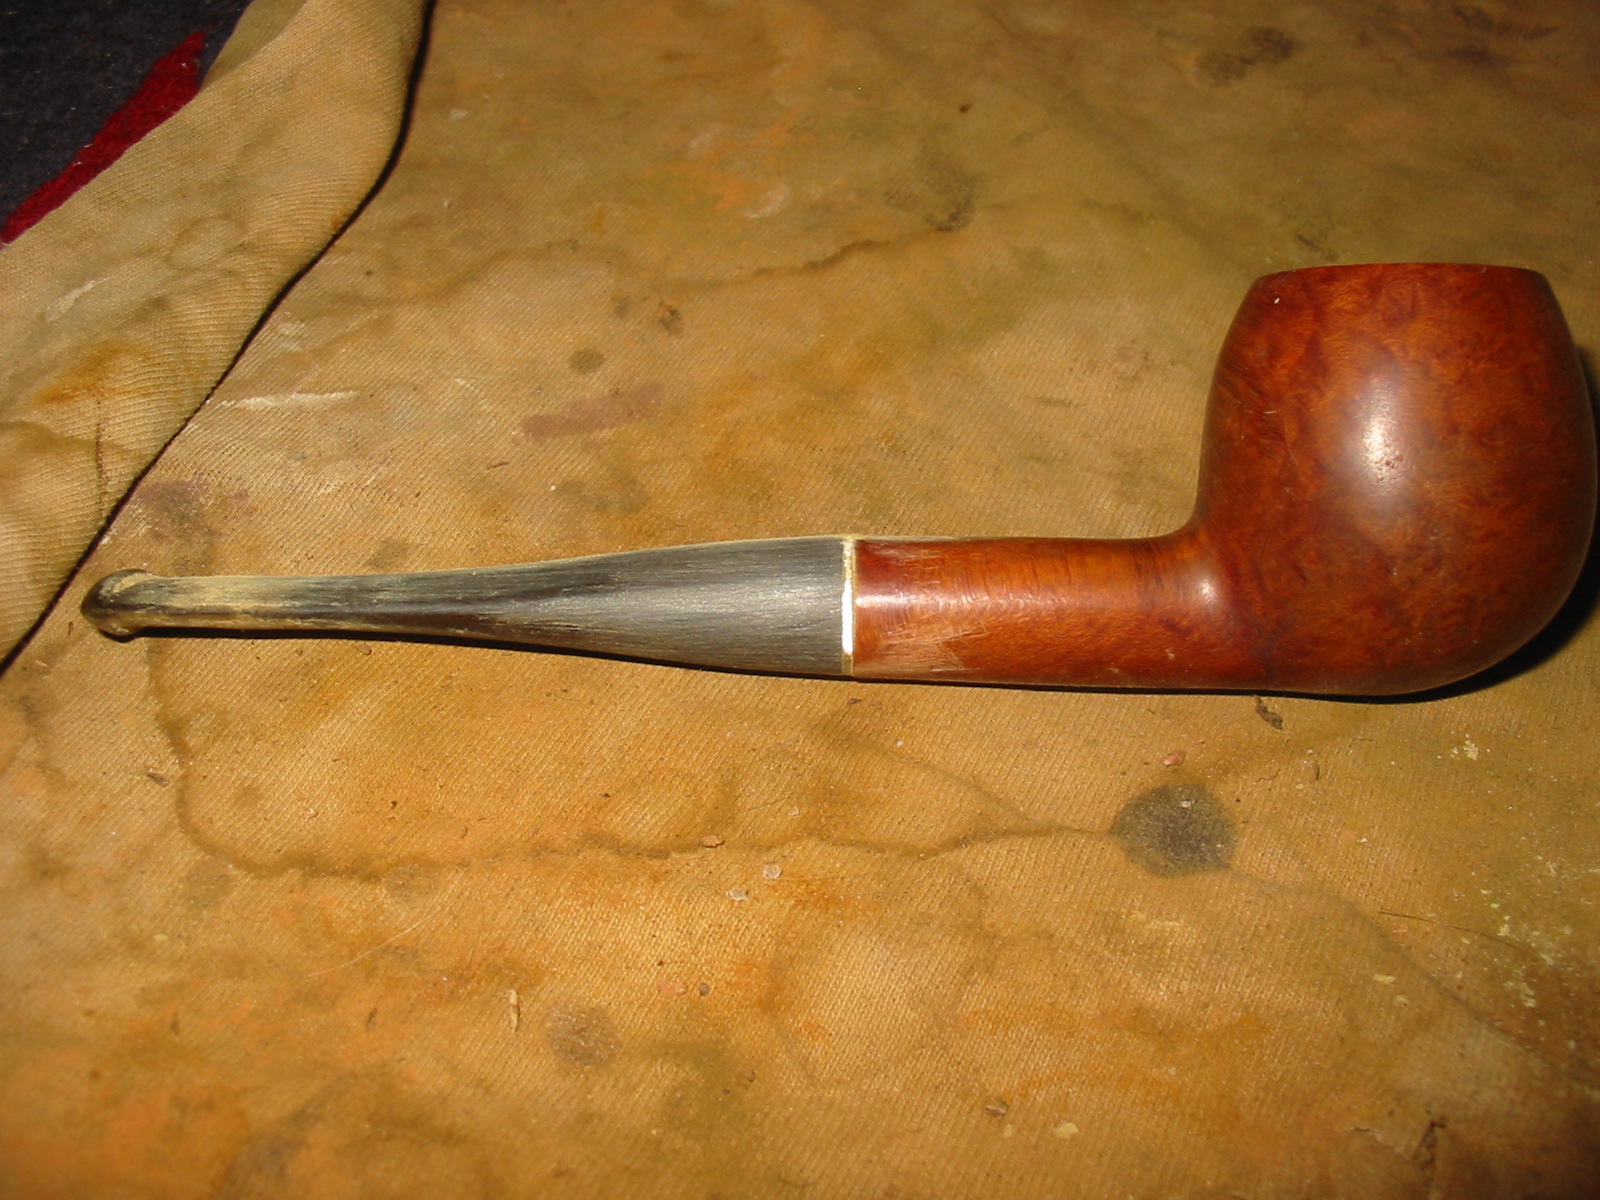
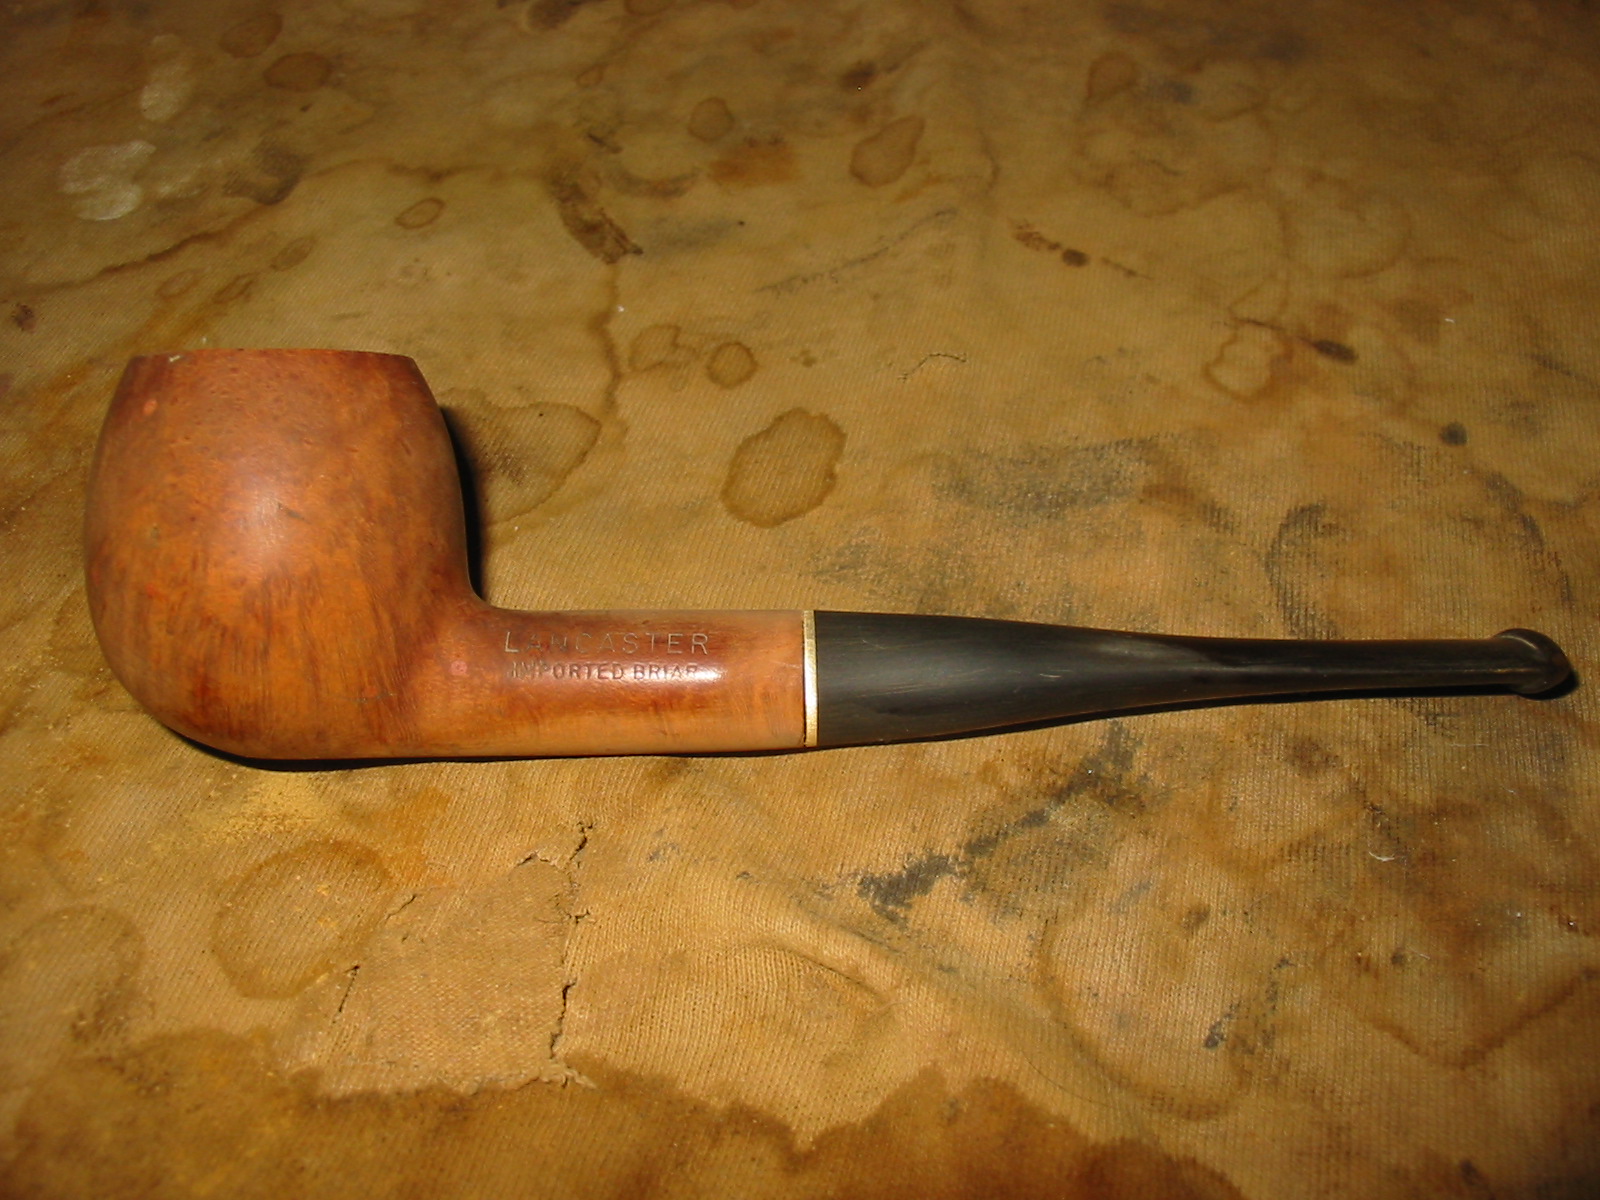
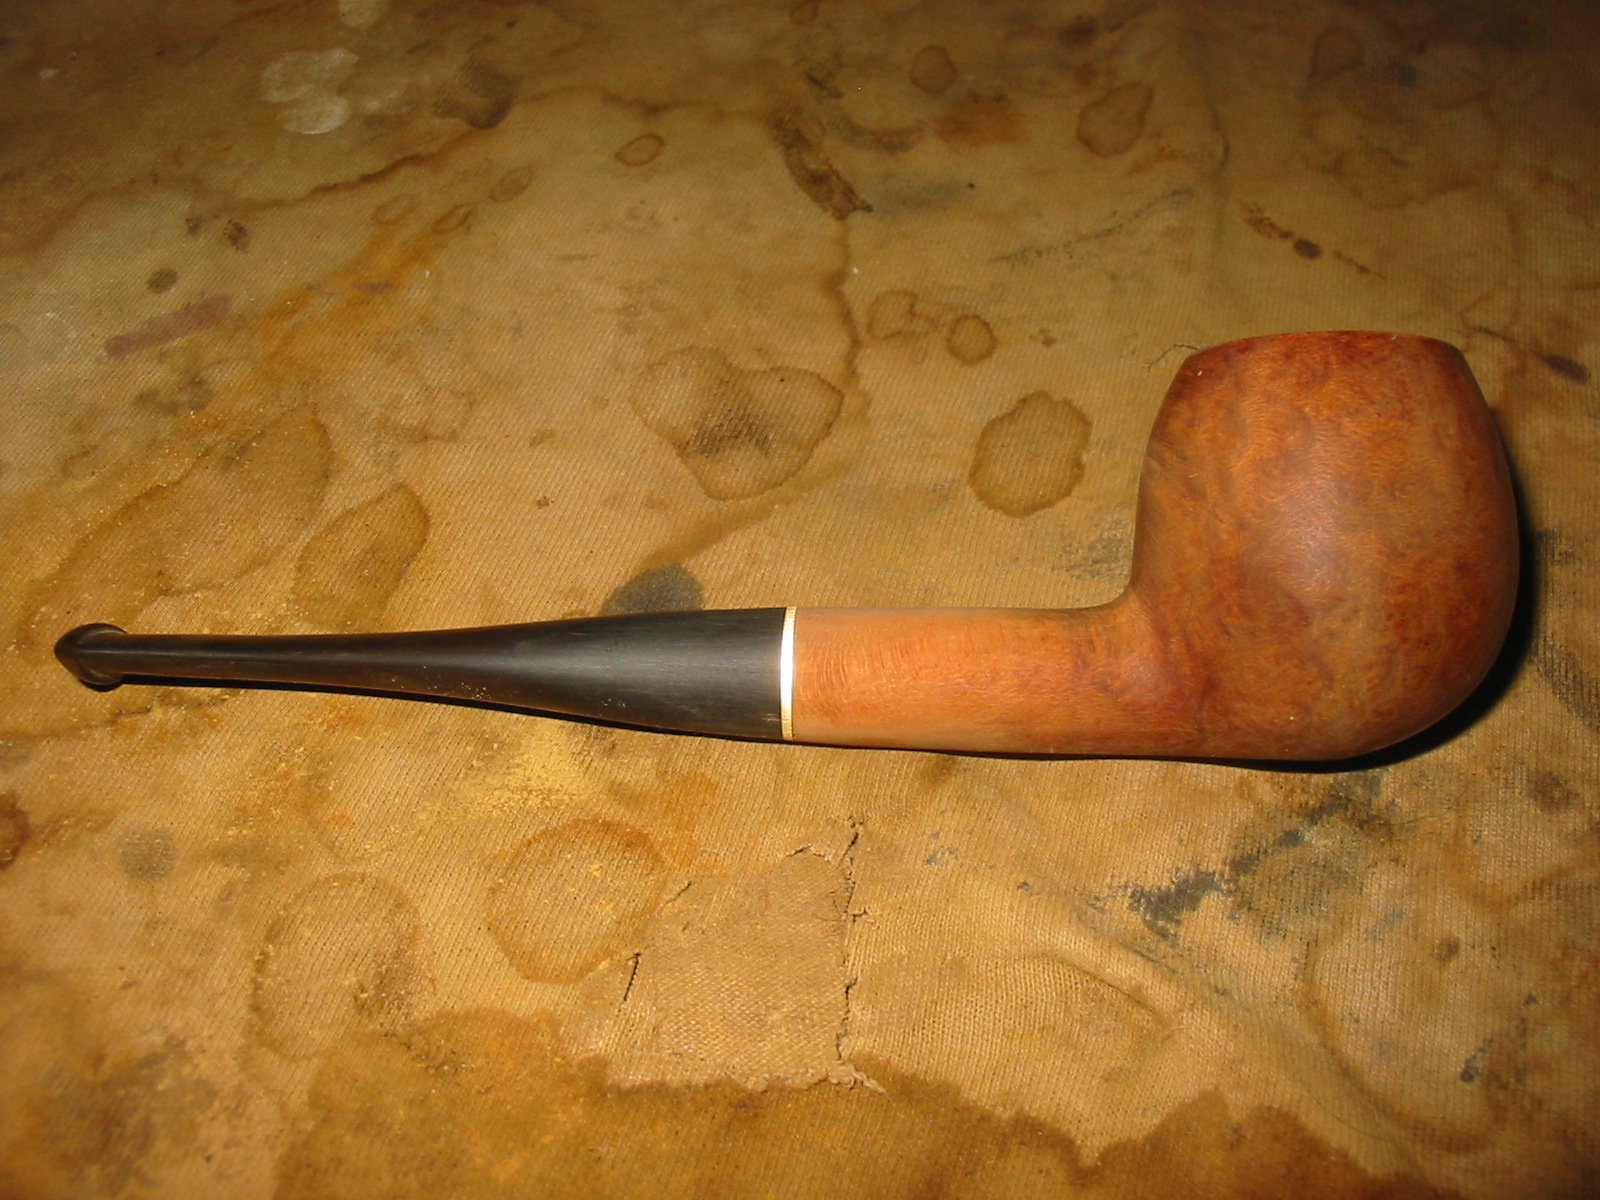
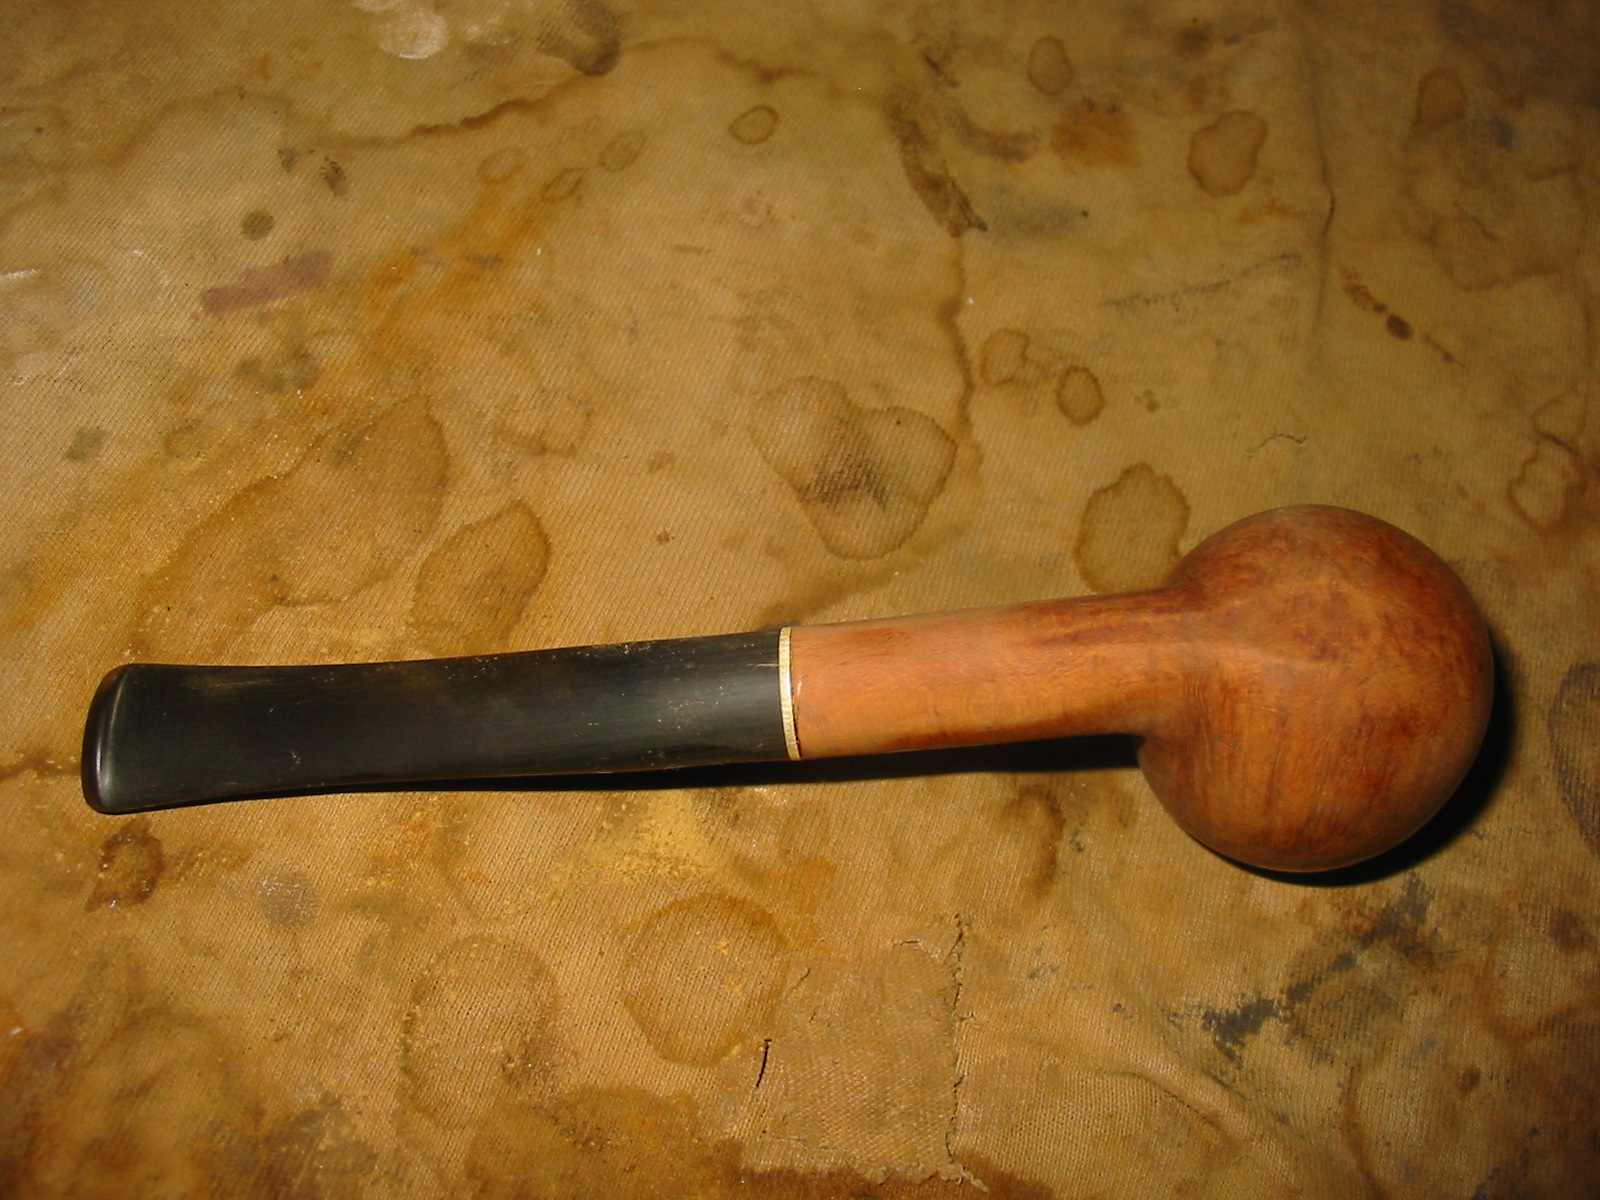
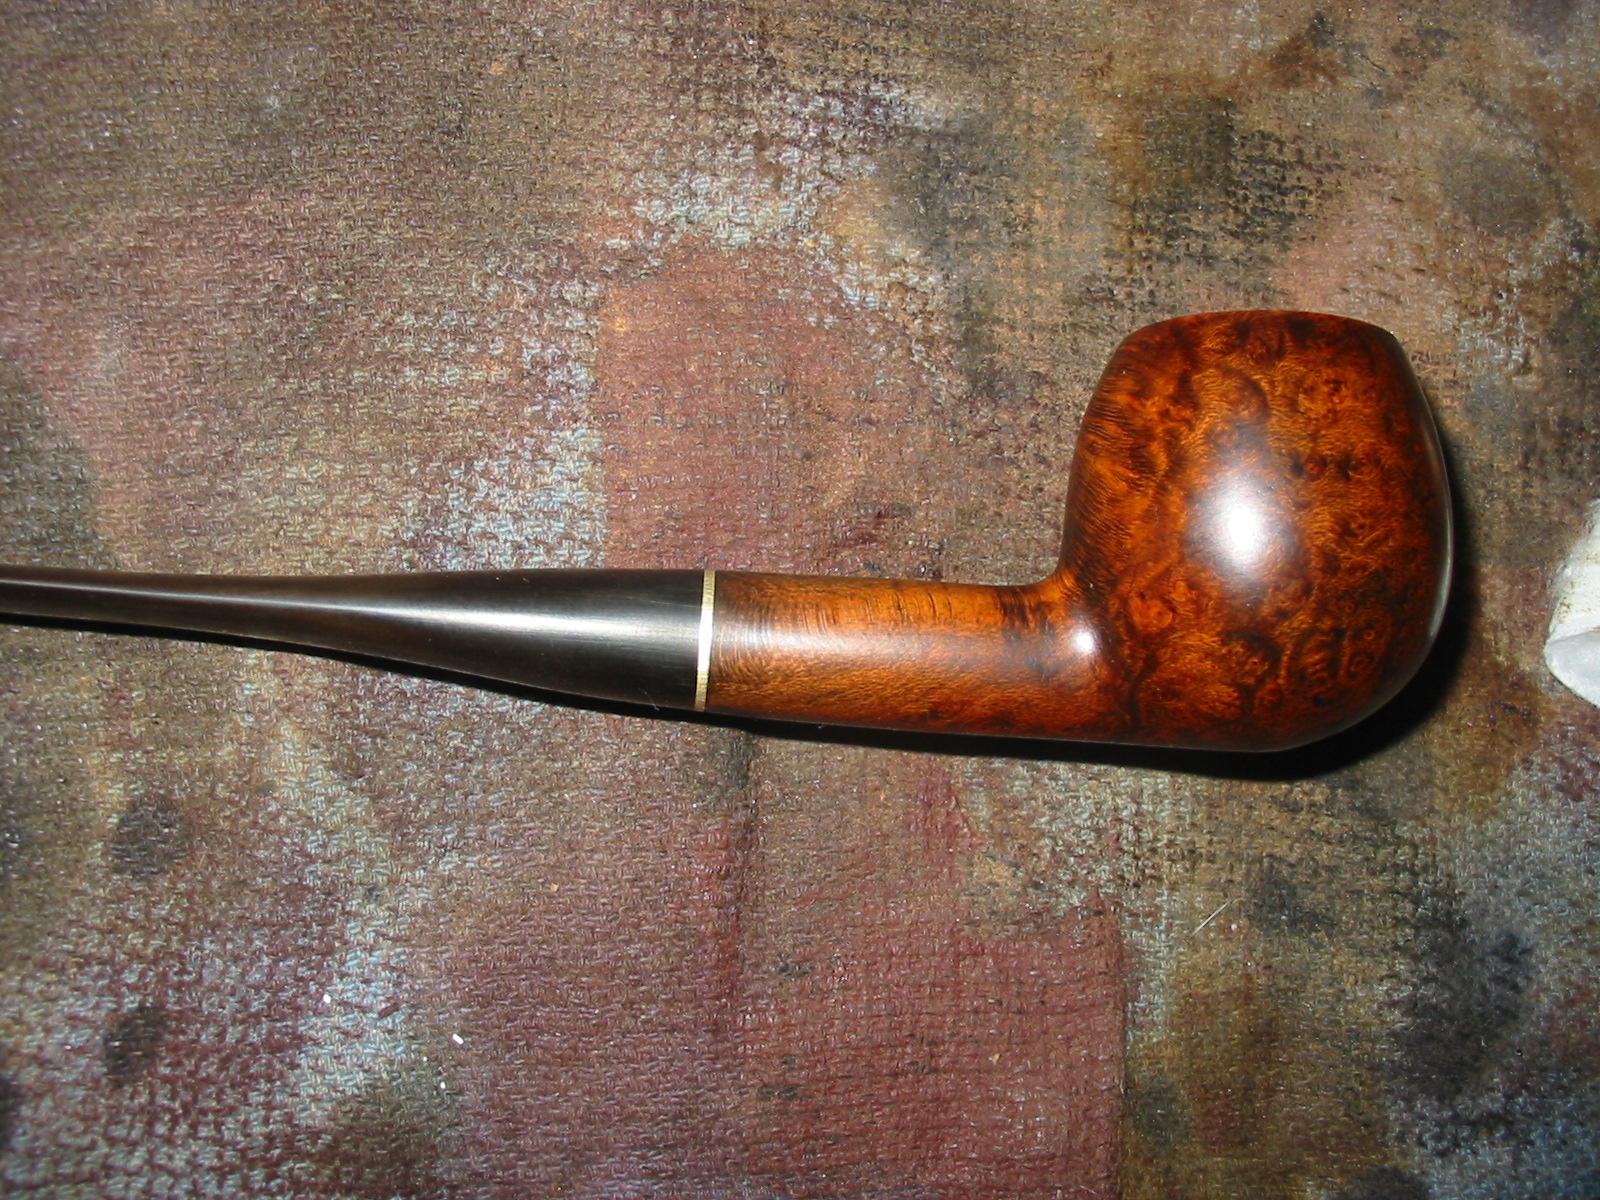
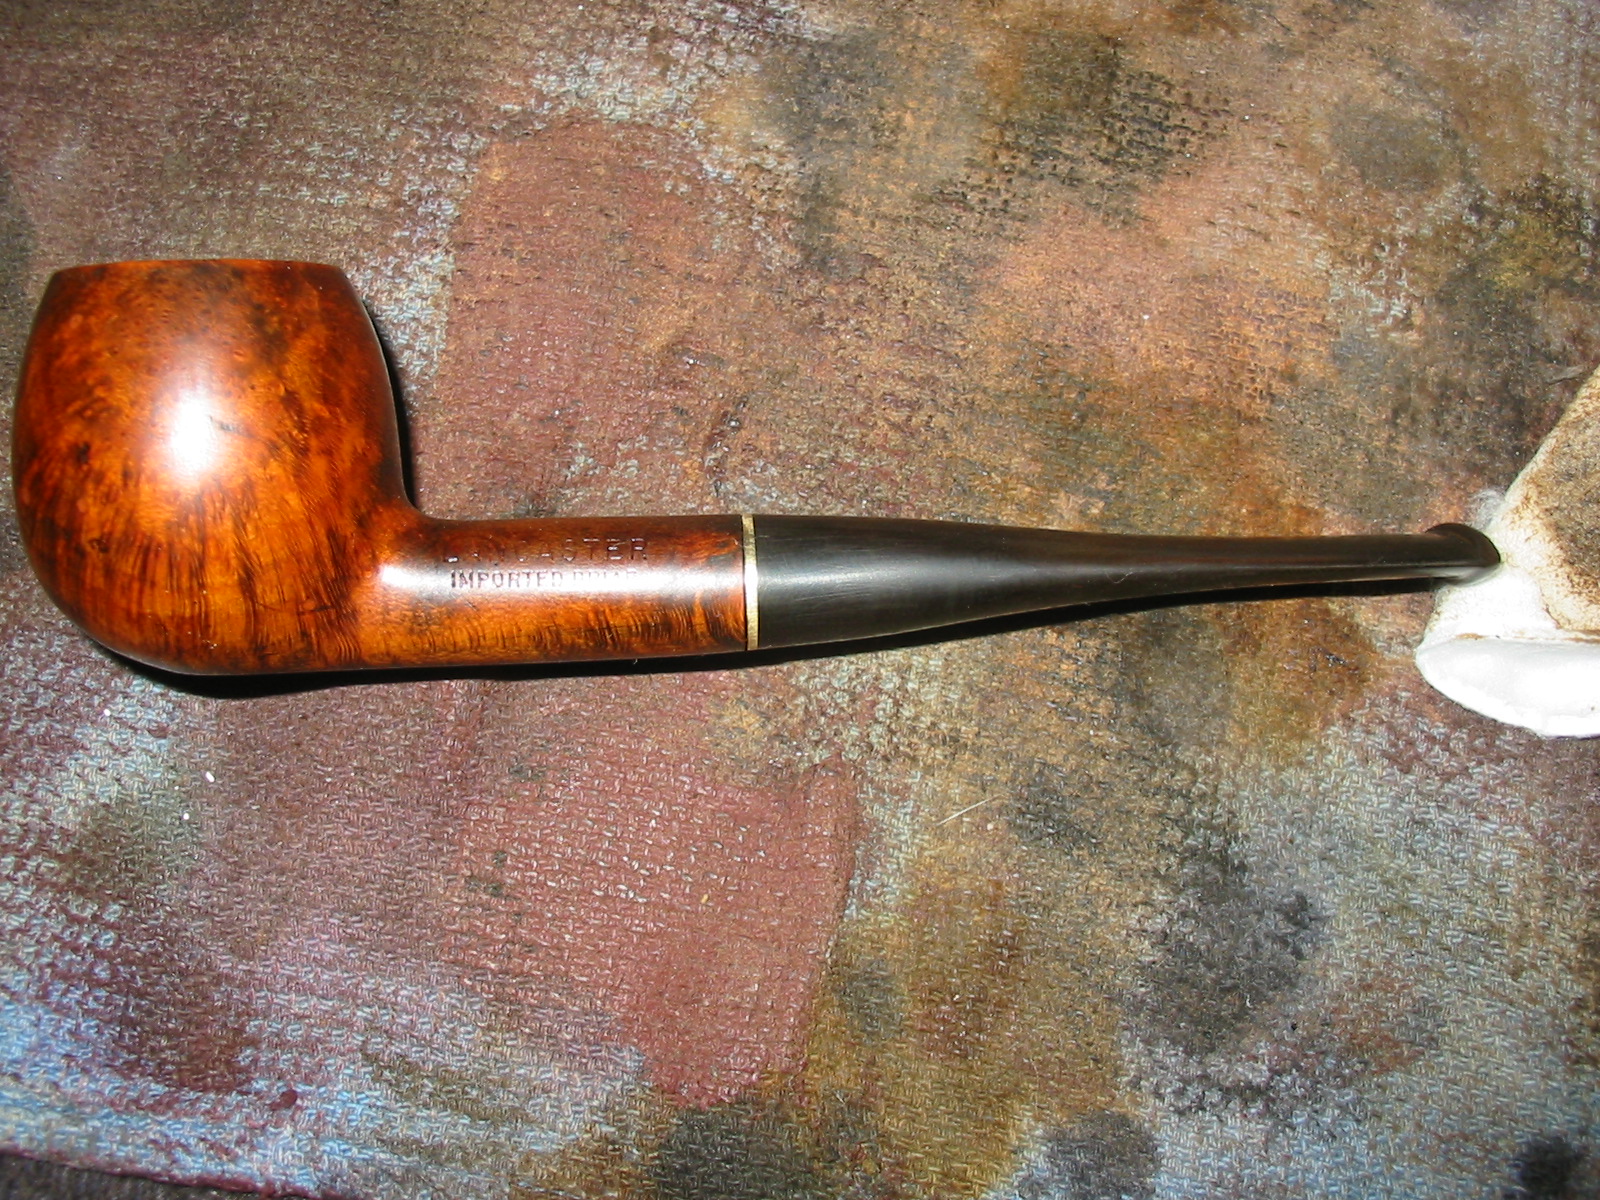
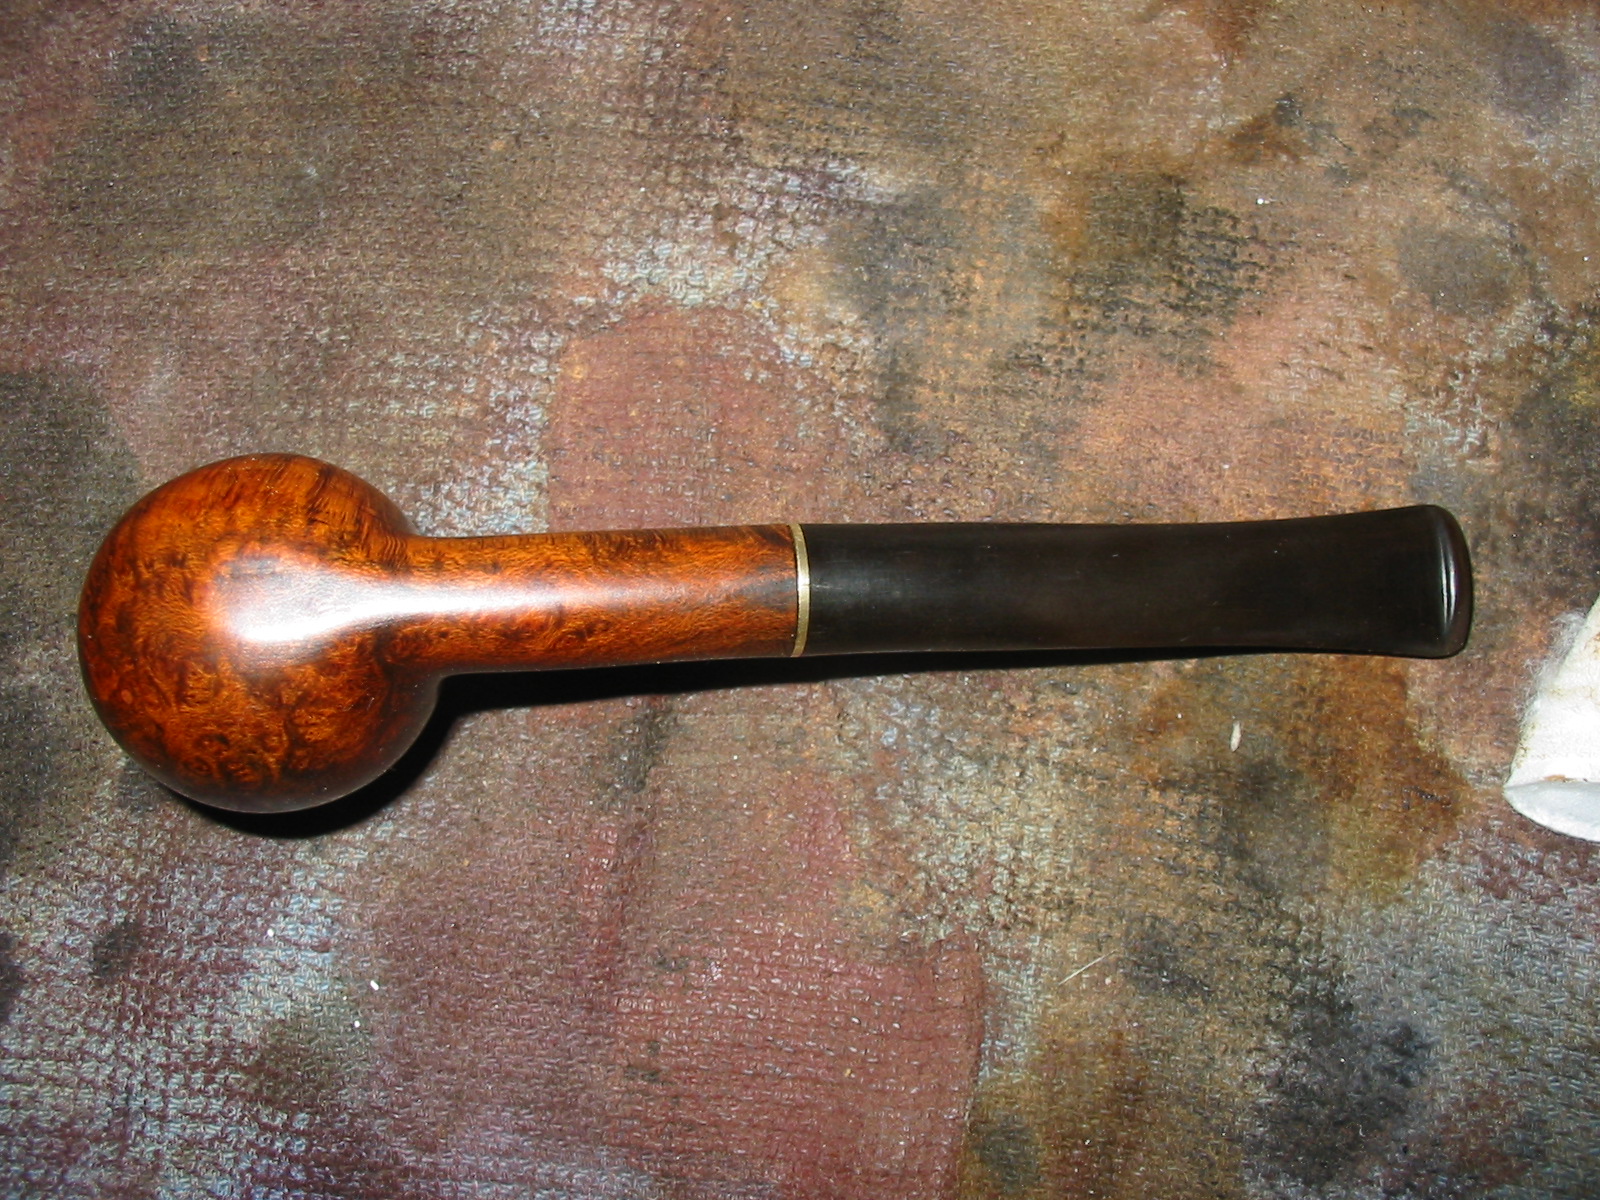
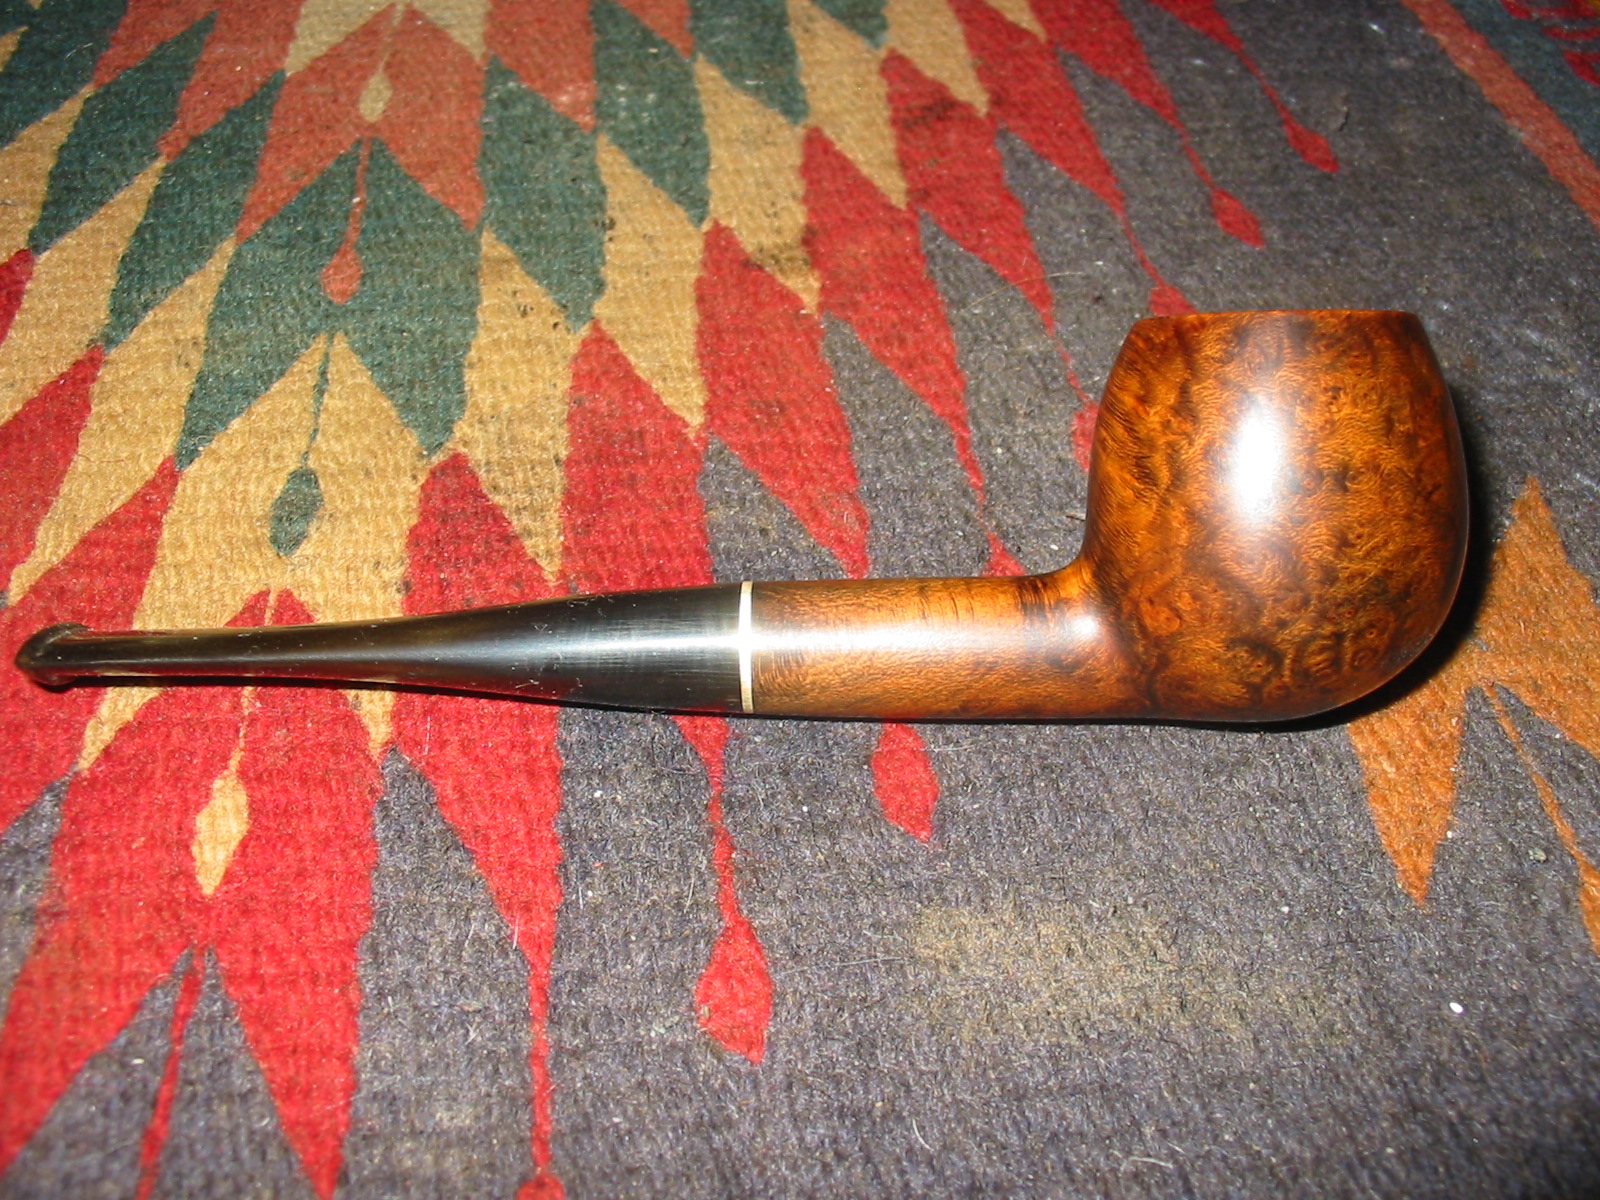
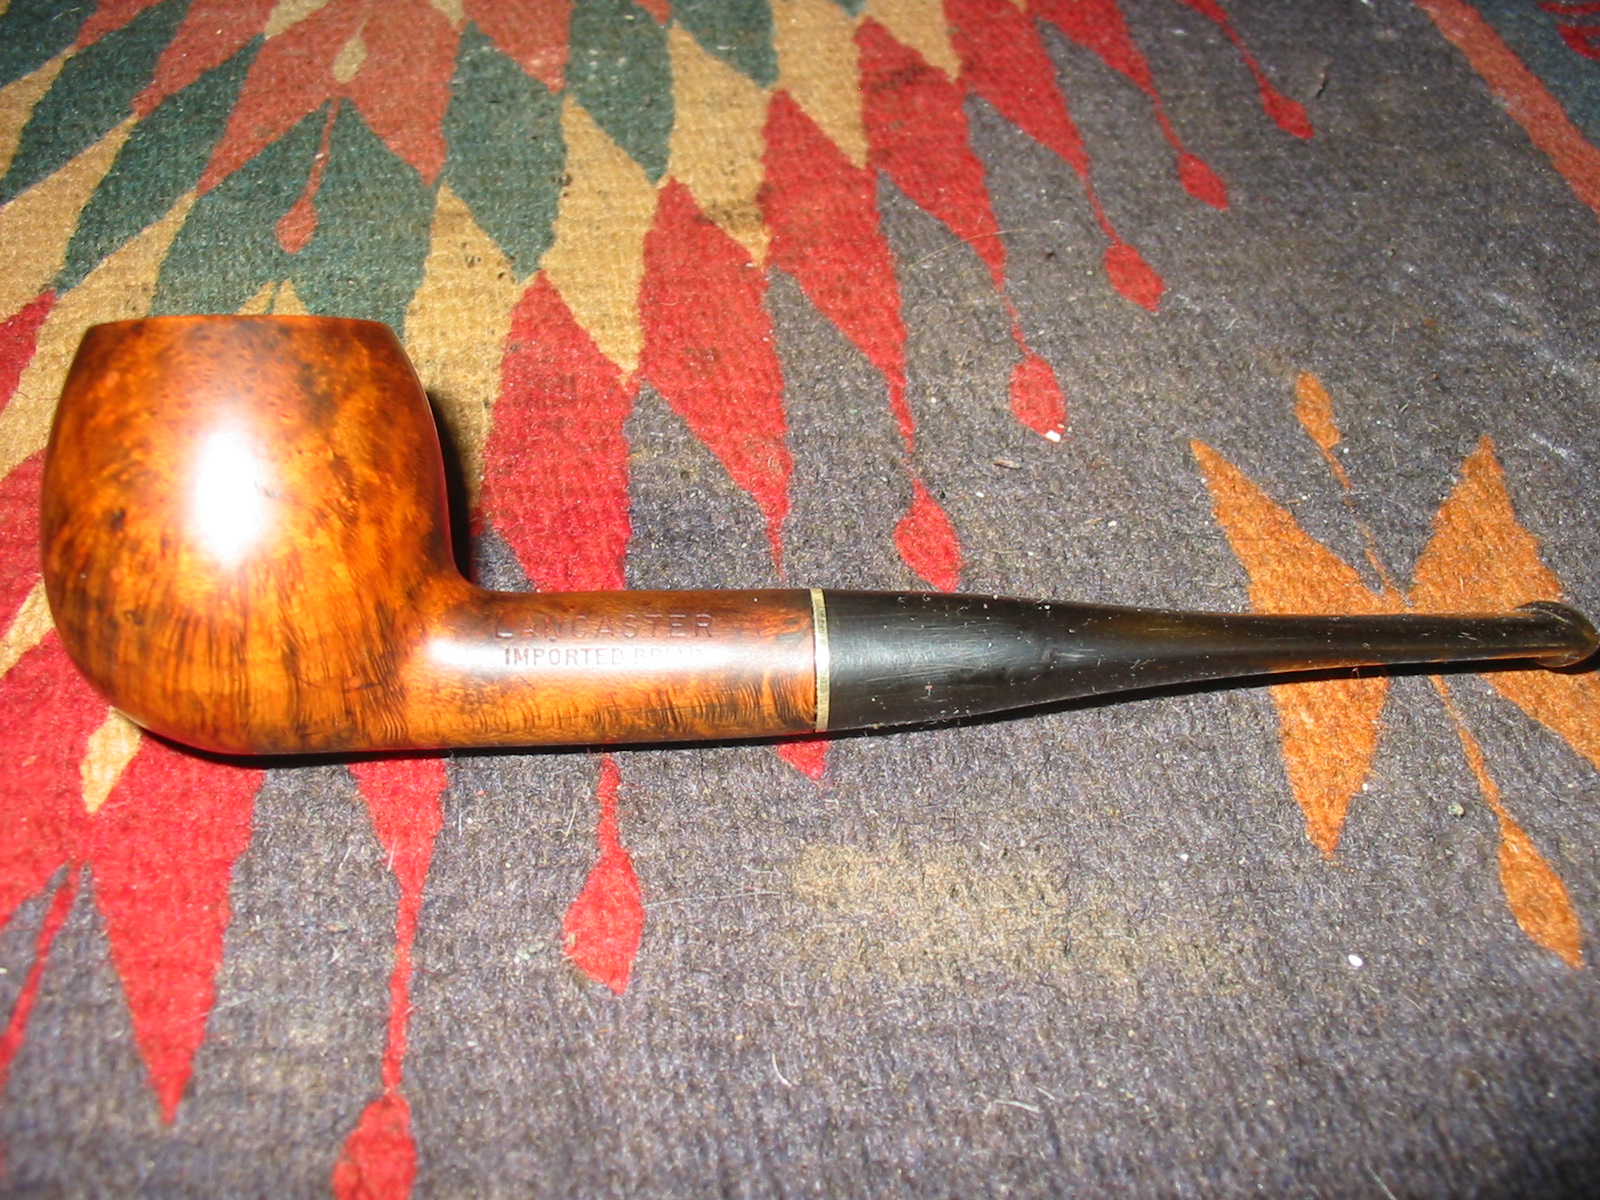
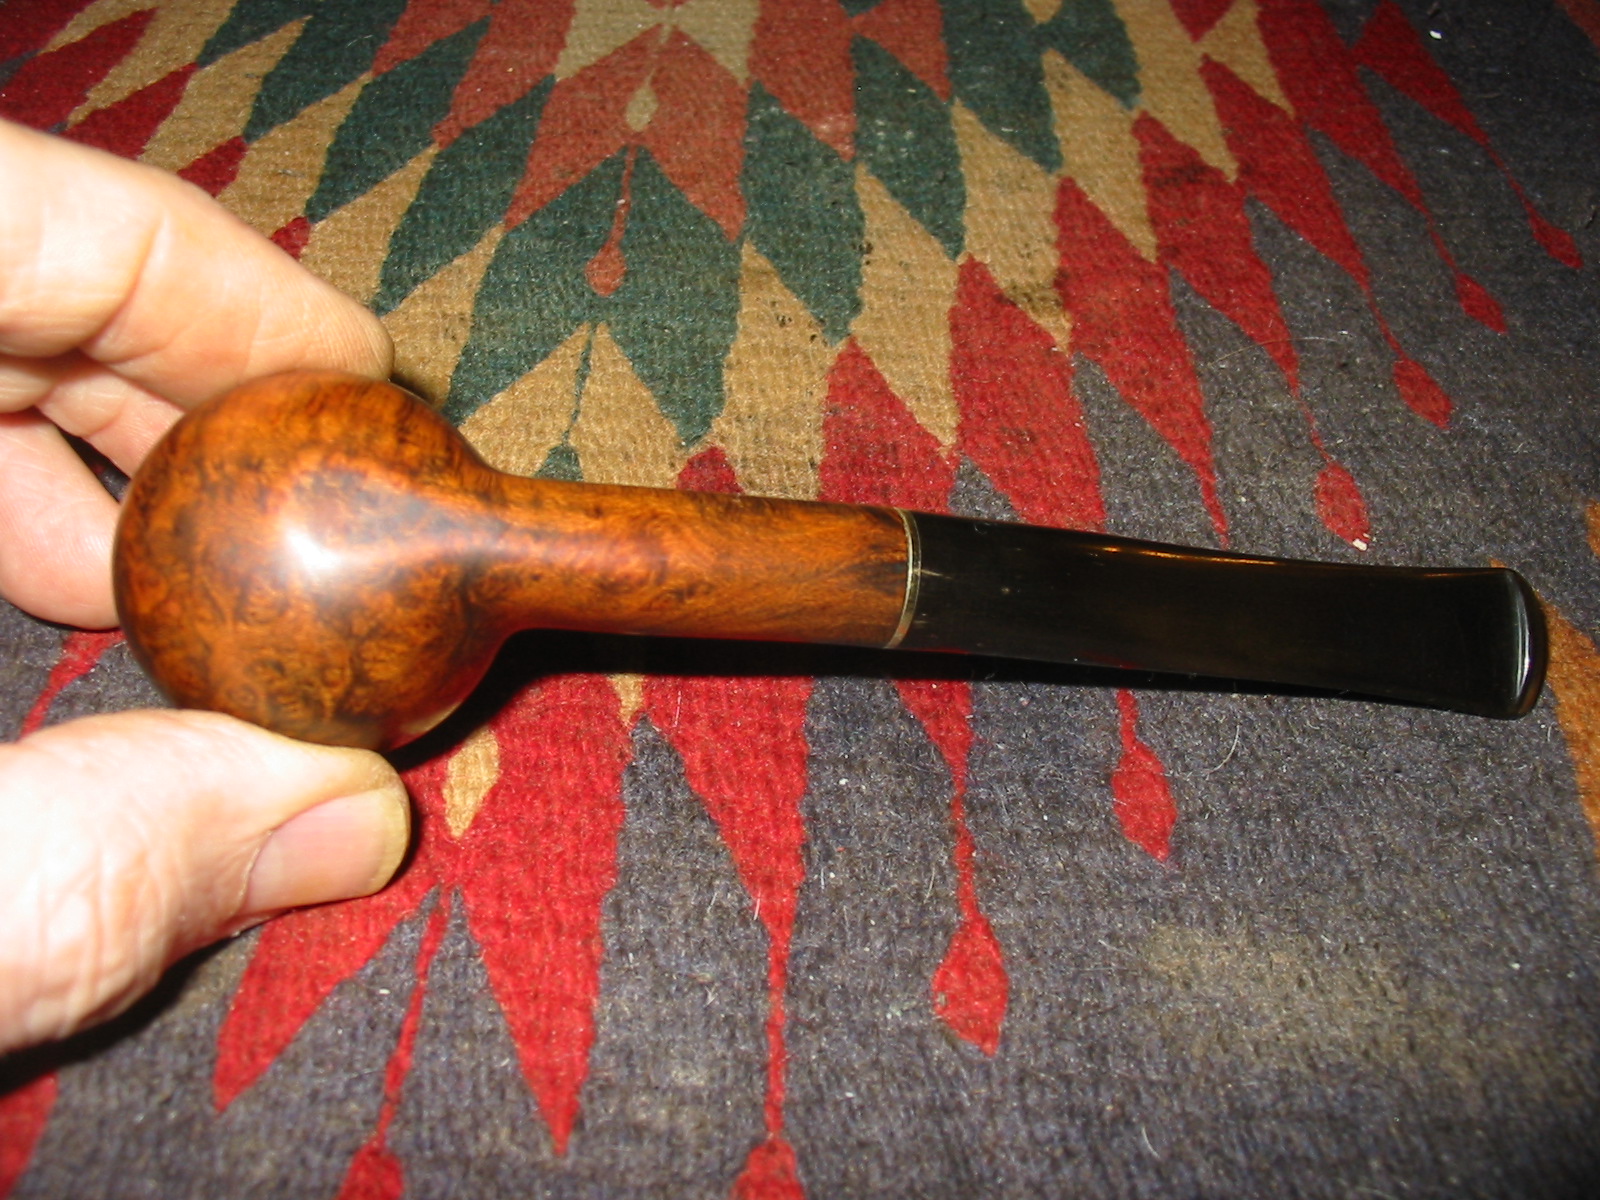
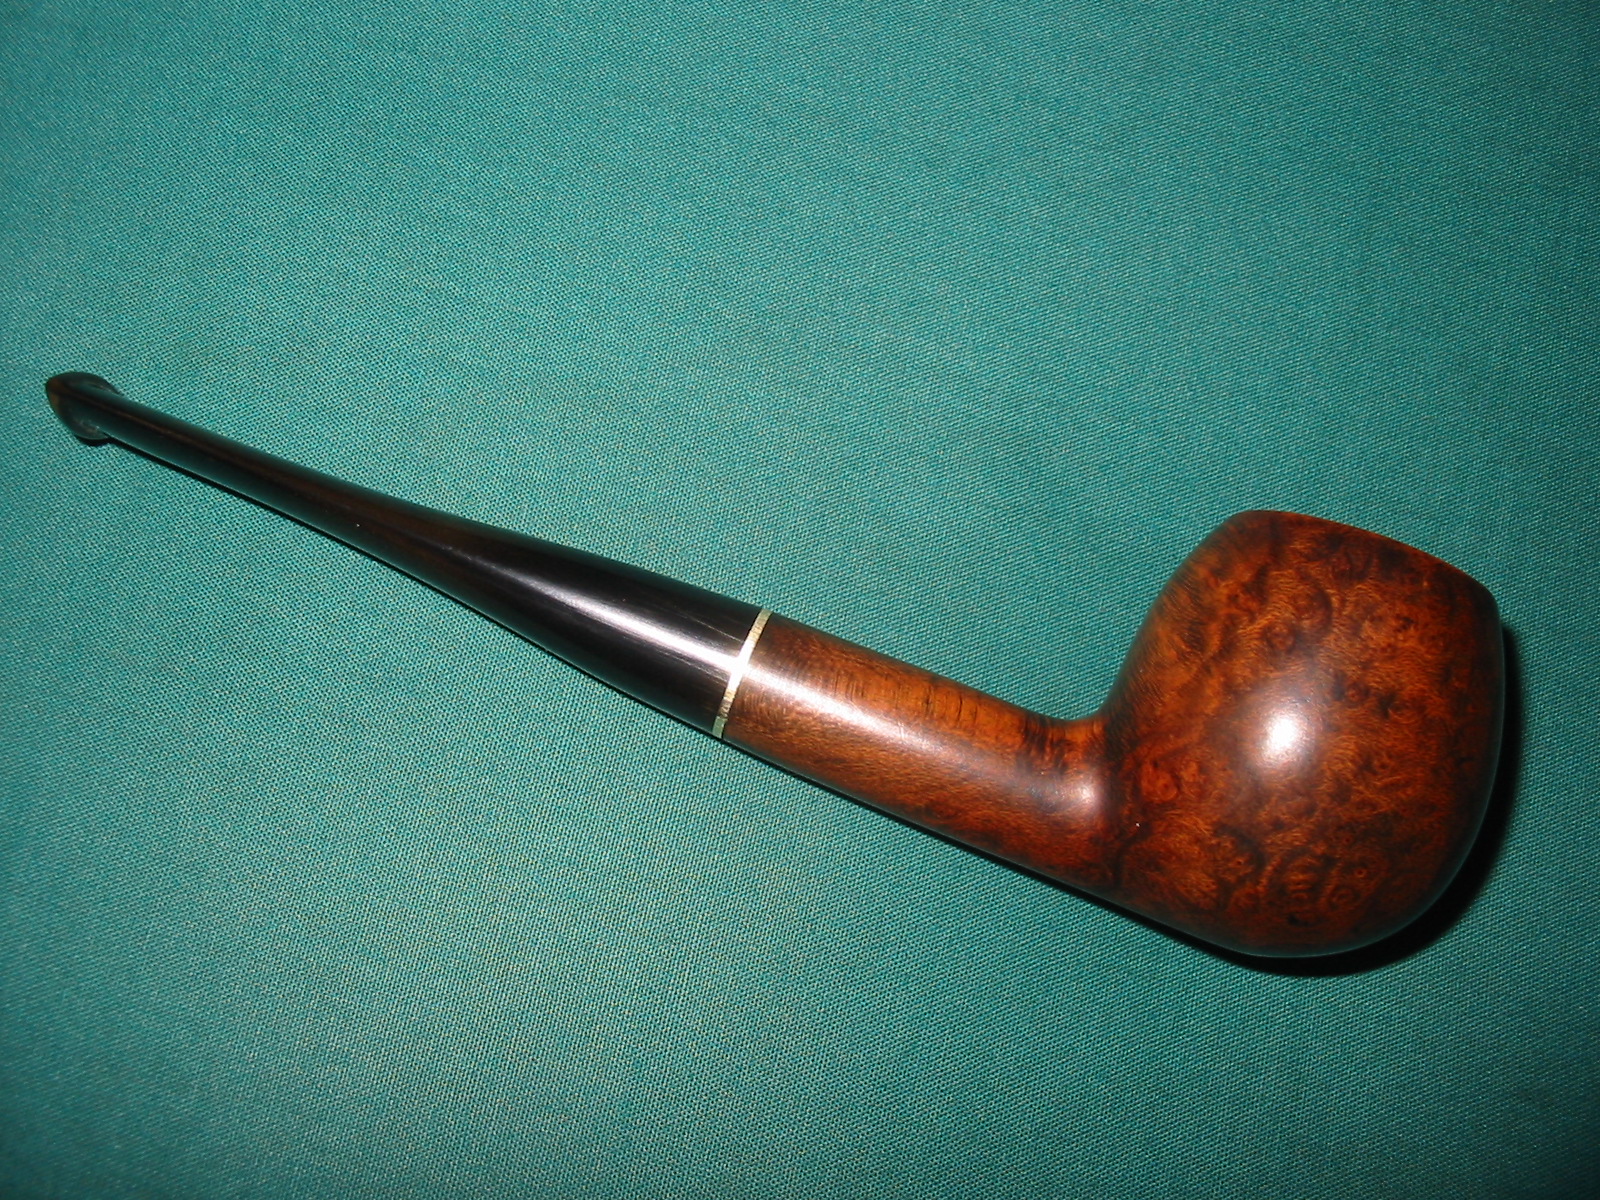
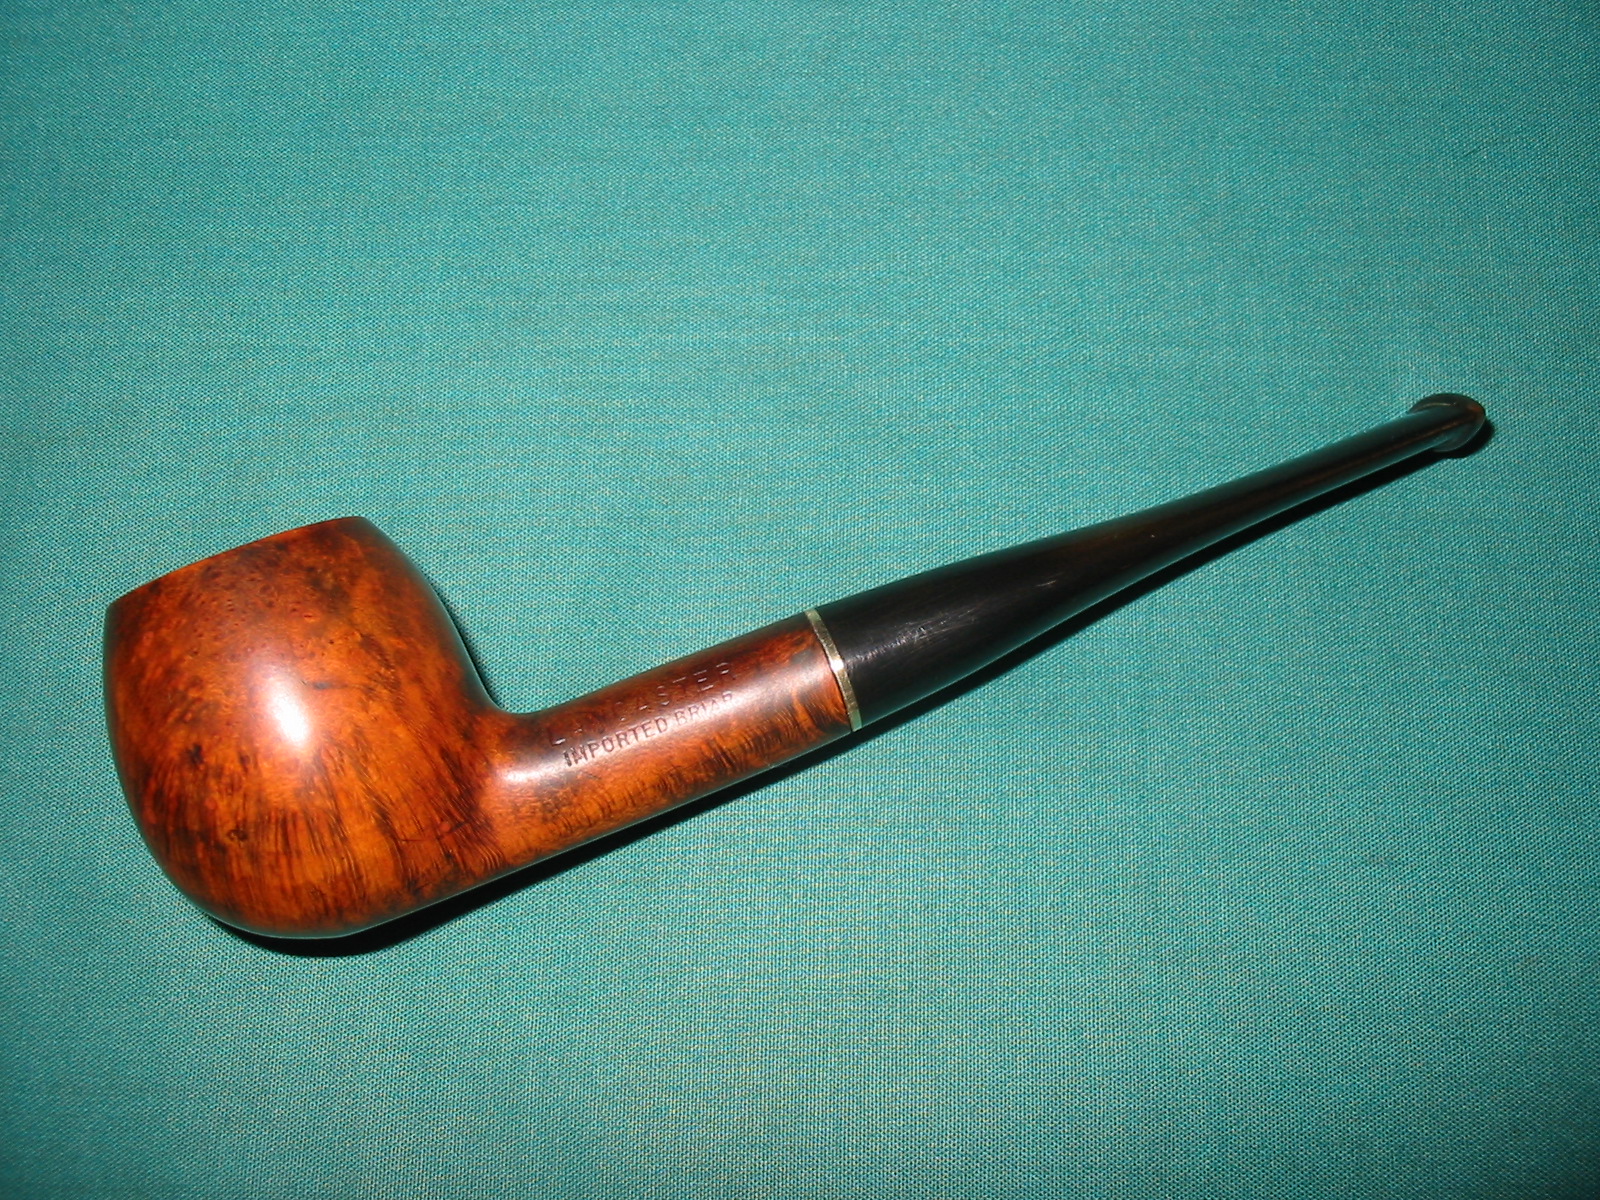
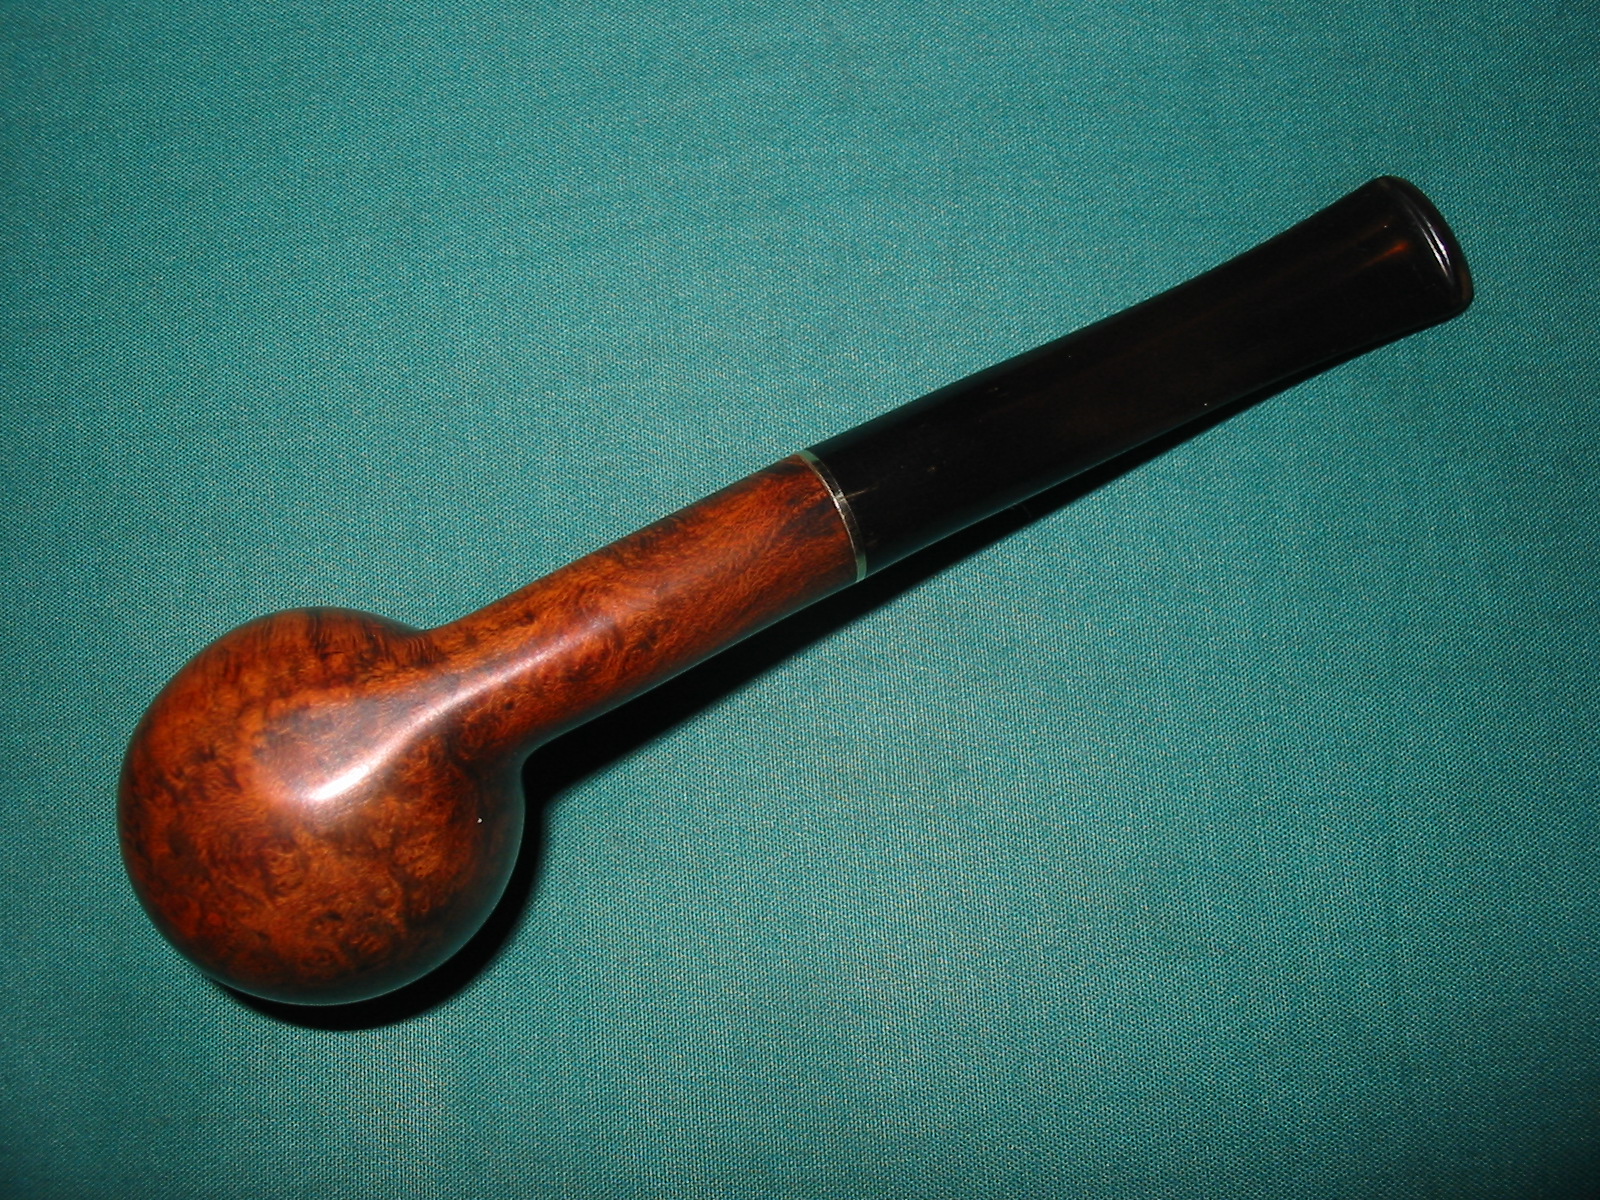
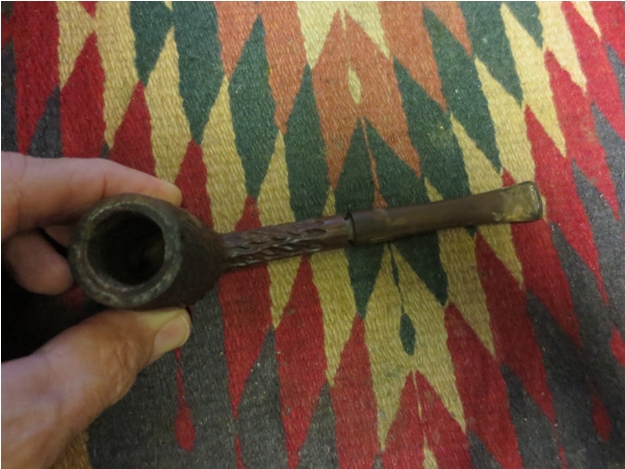
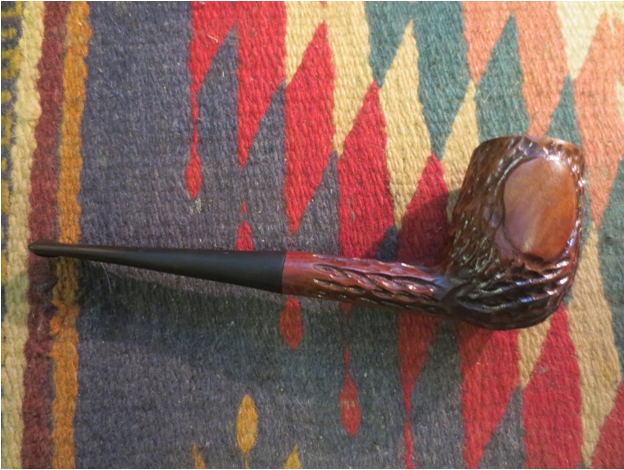
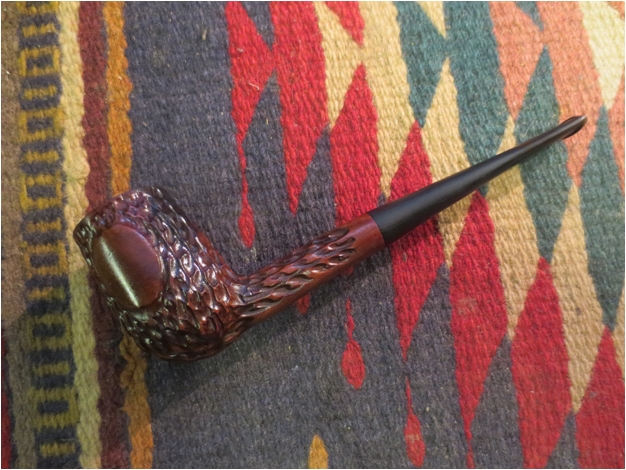
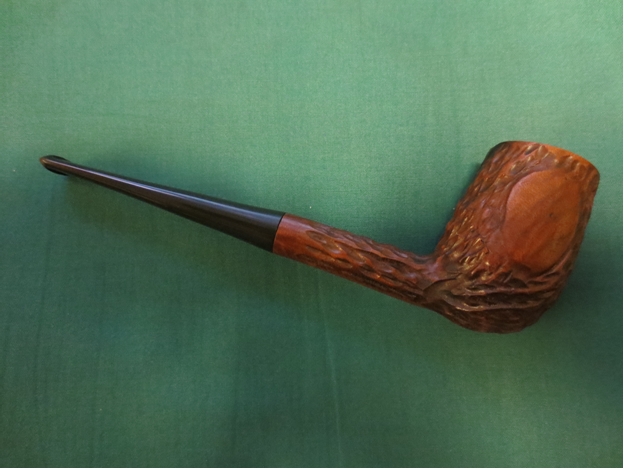
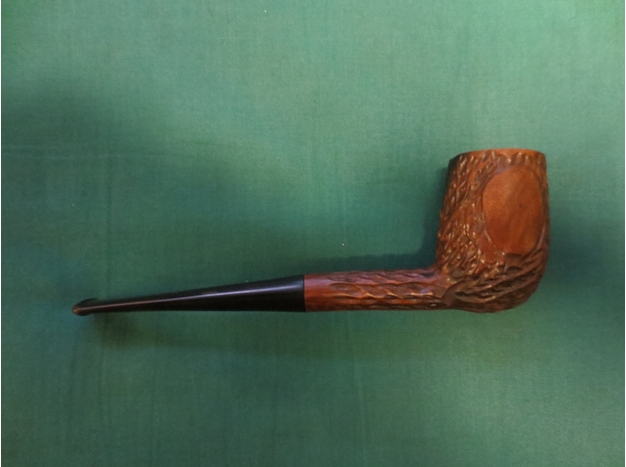
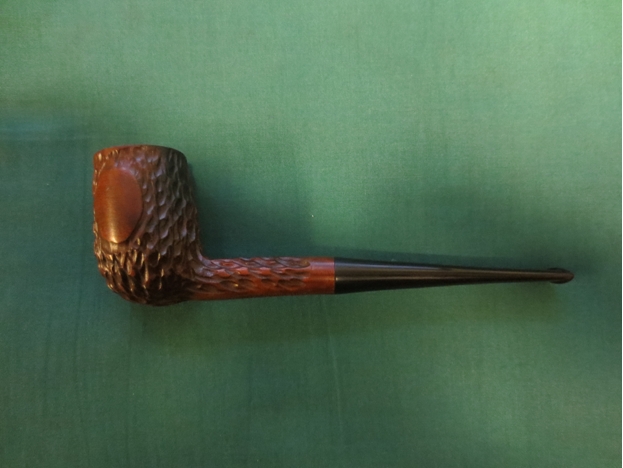
 I put the stem back on the pipe and buffed it with White Diamond. I lightly buffed the bowl with carnauba wax and the stem more heavily. I finished by buffing the pipe with a soft flannel buffing pad to raise the shine. The finished pipe is shown below. The thin shank and the thin diameter of the stem give the pipe a delicate look. It is very light weight and fits well in the hand. I am going to let the plaster of Paris repair dry and cure for several days before I load a bowl and give it an inaugural smoke.
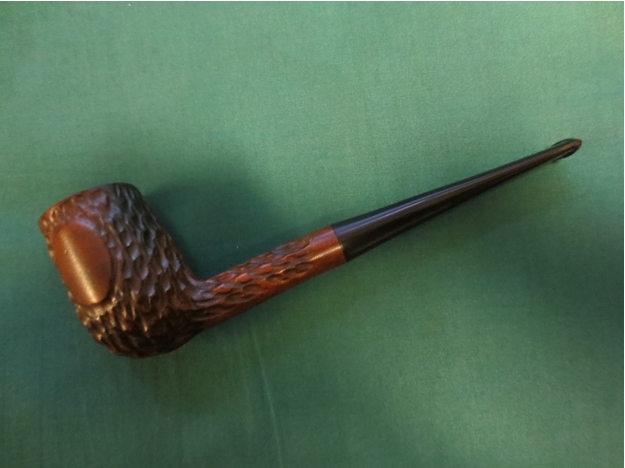
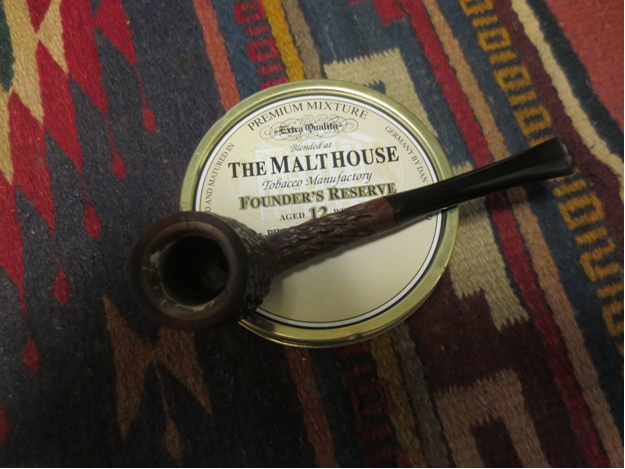
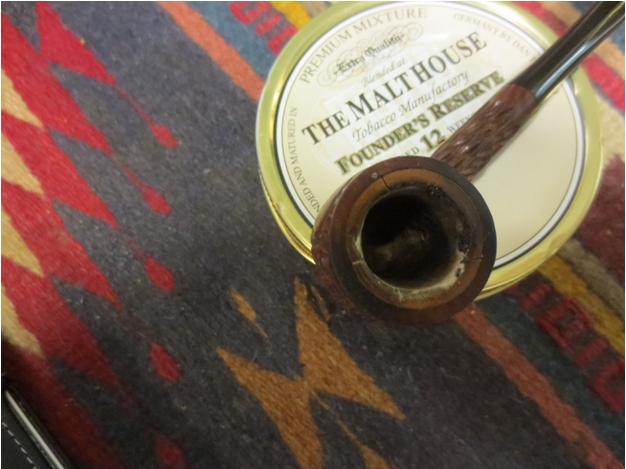
UPDATE: I just smoked this one after it had cured for two days. I loaded a bowl of The Malthouse Founder’s Reserve in the bowl and smoked it to the bottom of the bowl. It smoked cool and dry. The plaster of Paris is darkening nicely and will soon match the rest of the meer lining of the bowl.