by Steve Laug
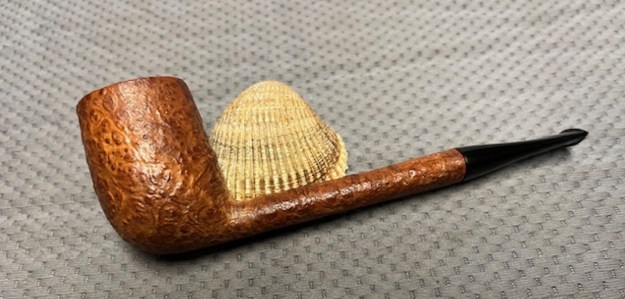
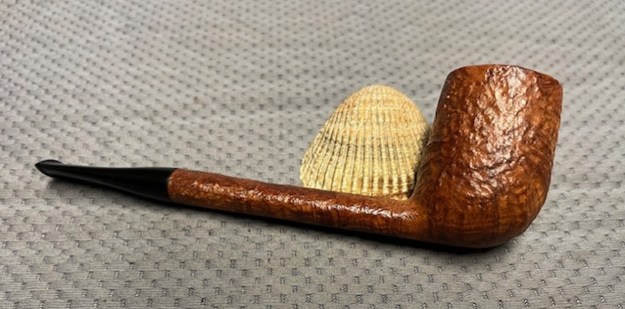
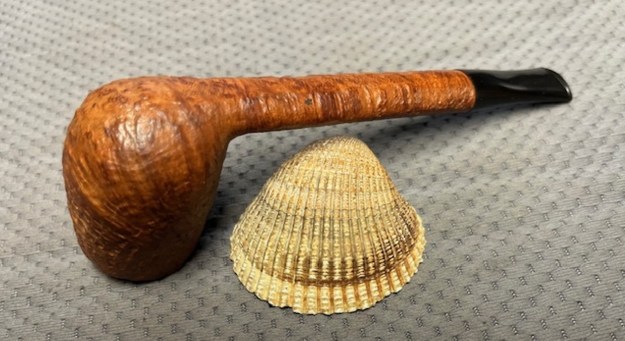
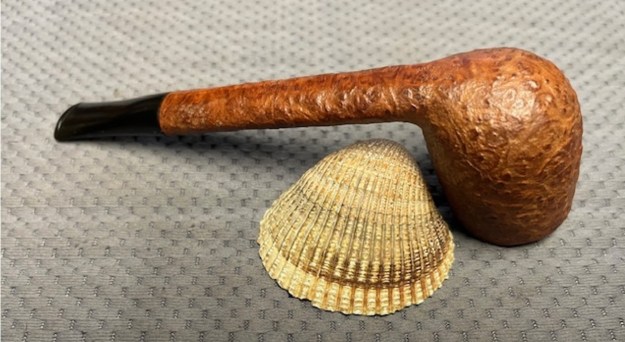
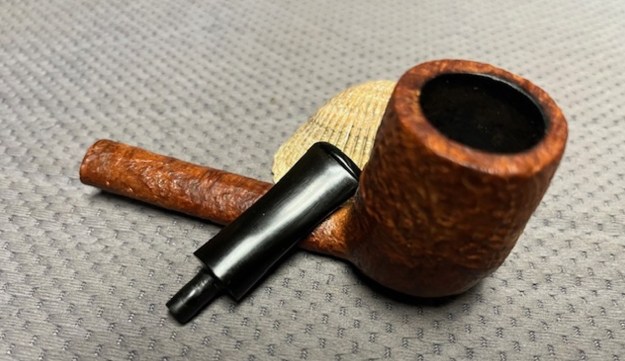
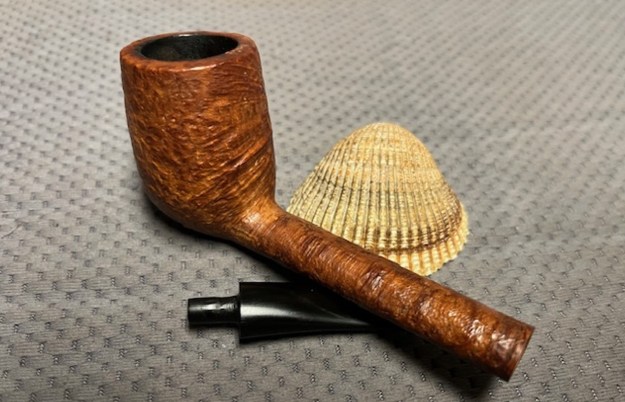
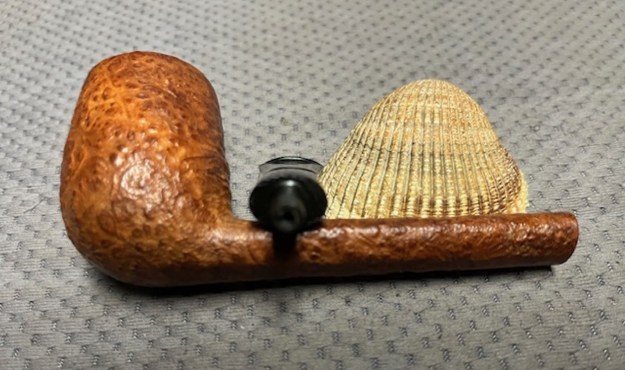
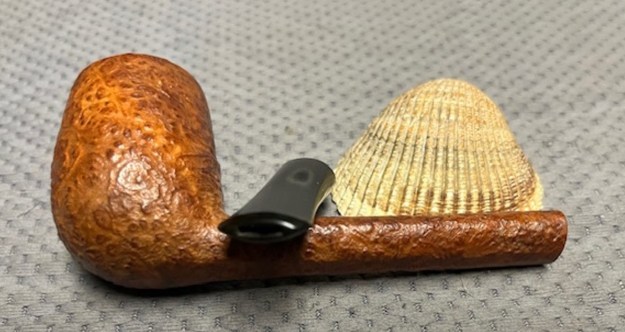
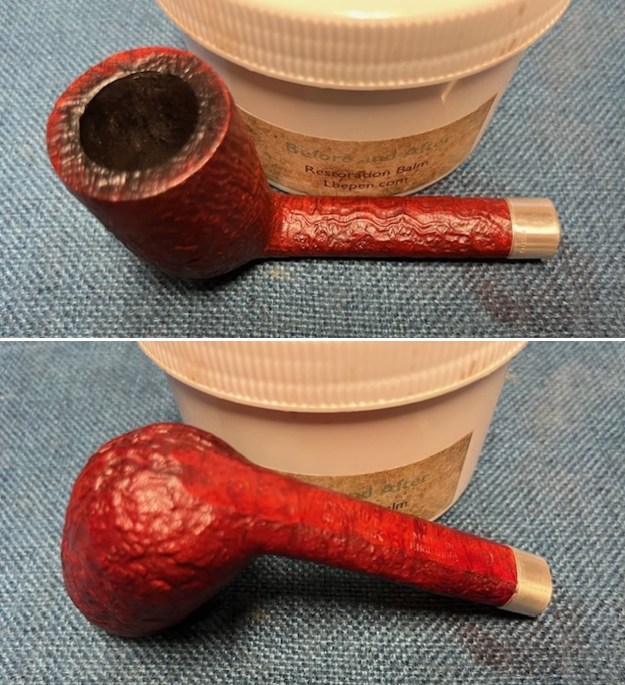
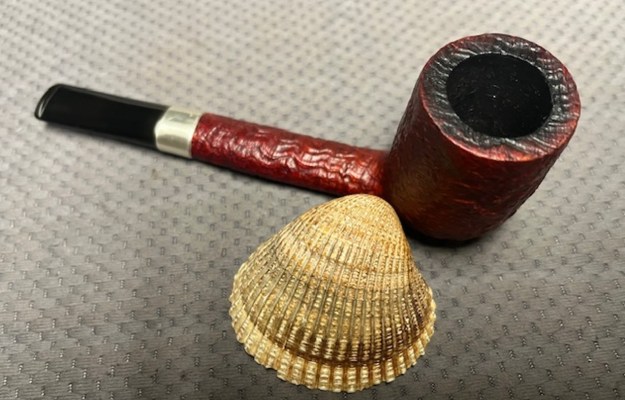
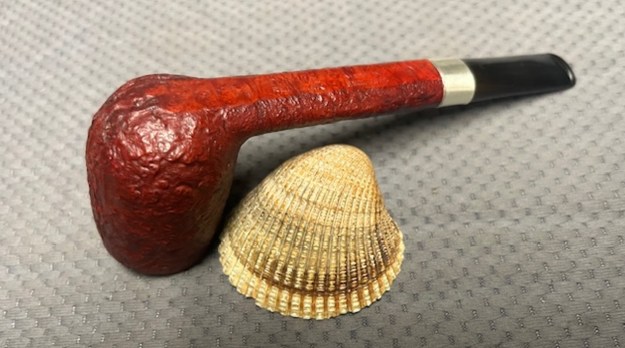
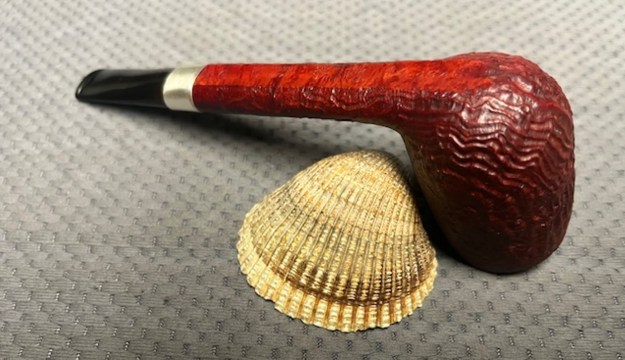
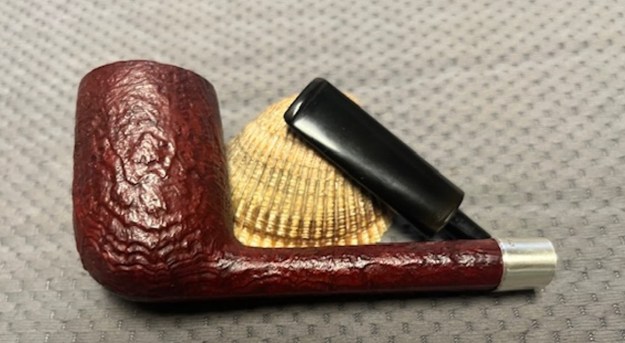
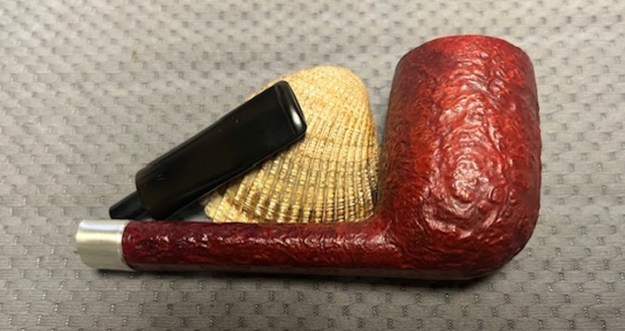
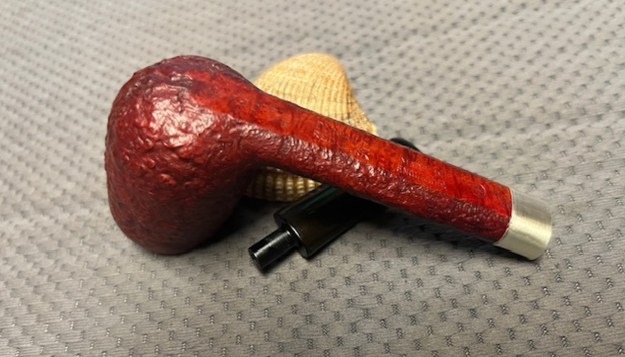
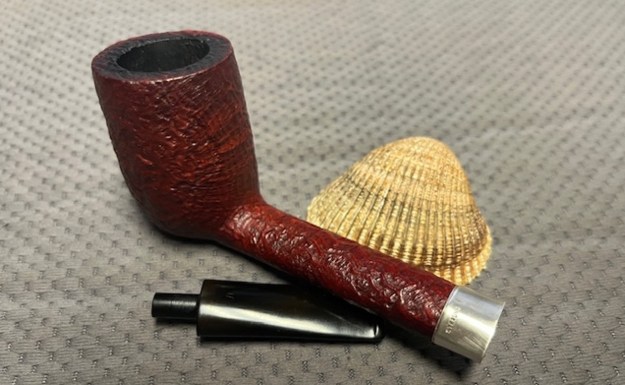
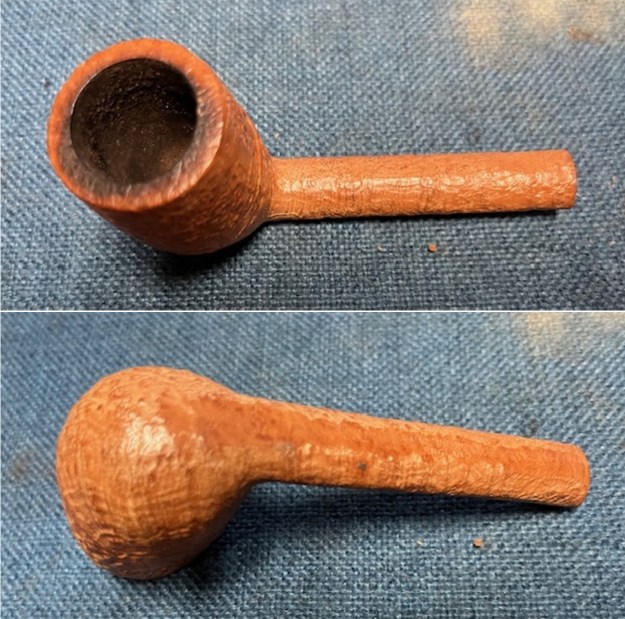
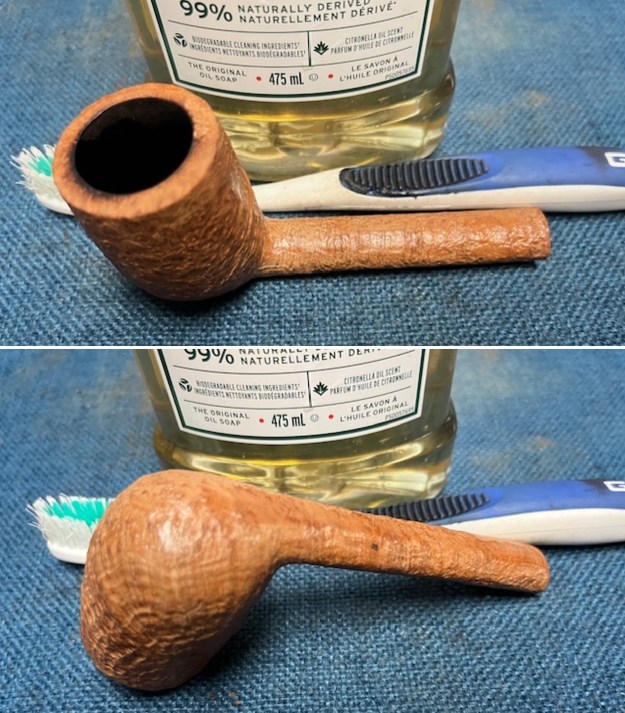
The next pipe on the table is another one that came to us from the seller in Caldwell, Idaho, USA on 07/12/2025. It is a Canadian bowl with a broken tenon in shank and no stem. It is in dirty but in good condition as can be seen in the photos below. It is stamped on the underside of the shank and reads Grant’s [over] Tanblast. That is followed by the shape number 831 and stamped after that Made in London [over] England. The stamping is clear and readable. It has rich natural sandblast Finish on a nicely grained sandblast finish that the shape follows well. The finish was dusty and dirty with grime ground into the finish. The bowl had a moderate cake and there was tobacco debris in the bowl. The rim top had a lava coat on the top and edges. The stem was missing but the broken tenon was stuck in the shank. I would need to pull it and restem it. I took photos of the pipe to show what it looked like before I started working on it. 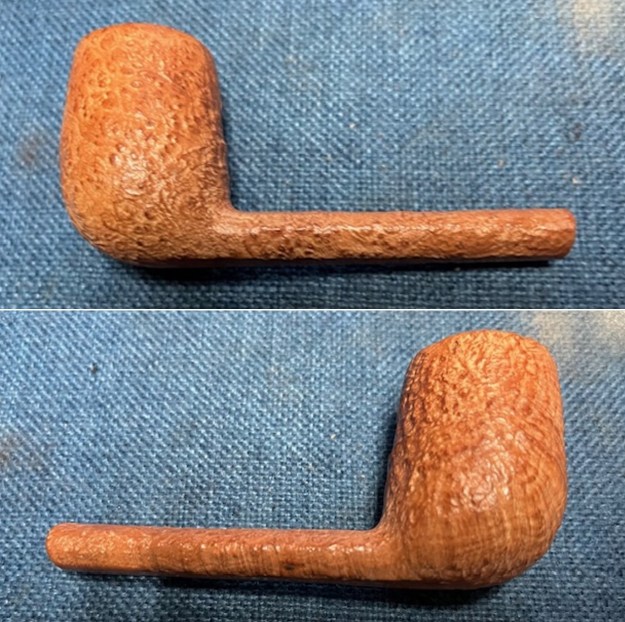
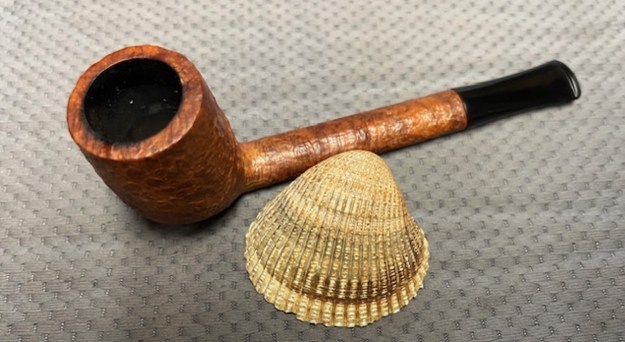
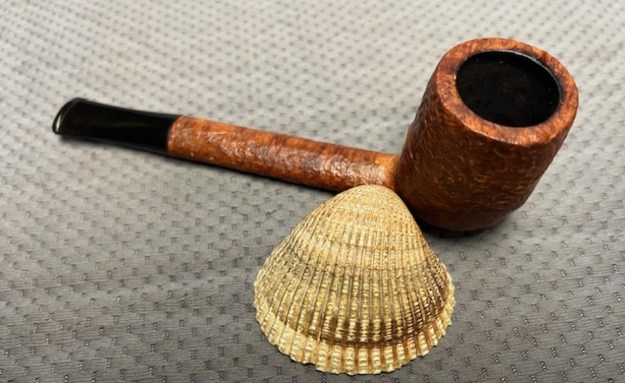
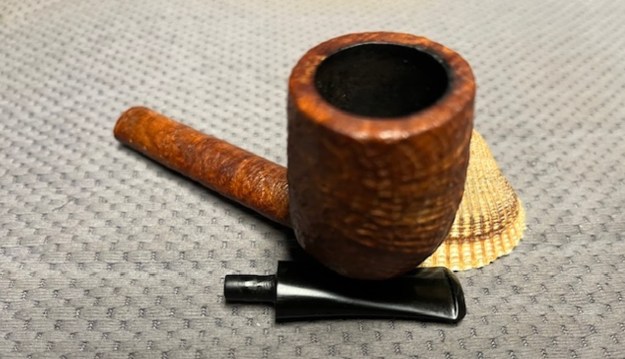
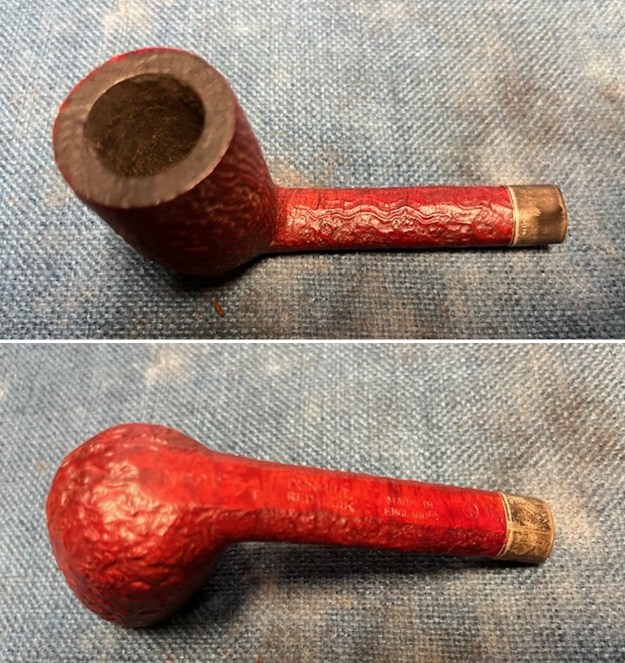
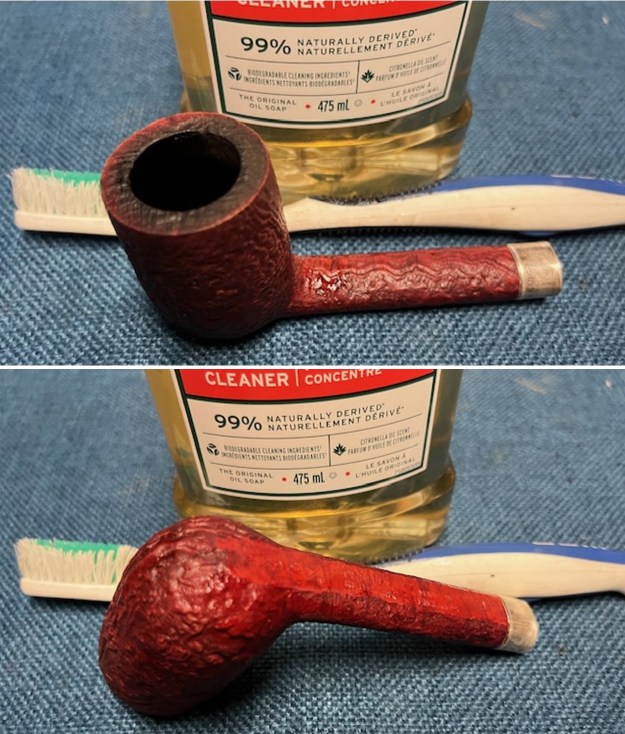
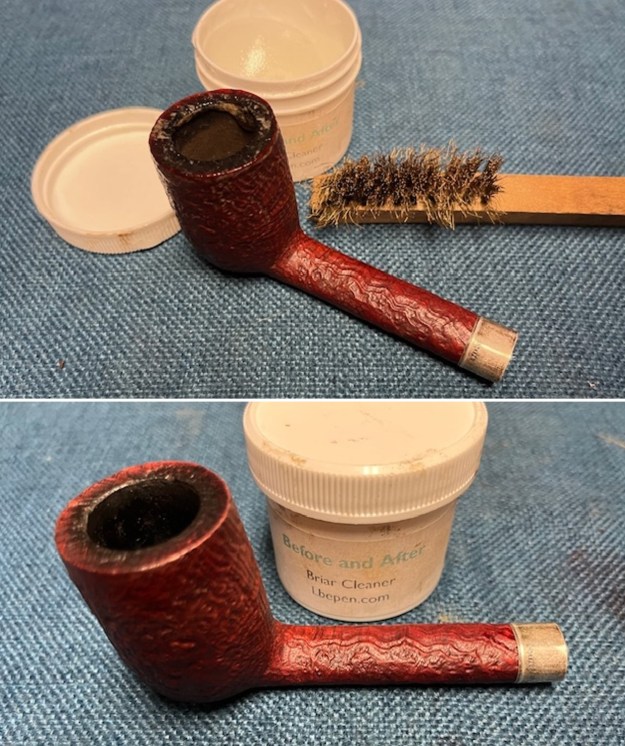
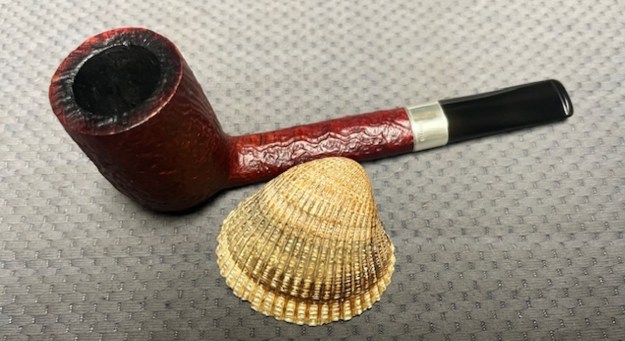
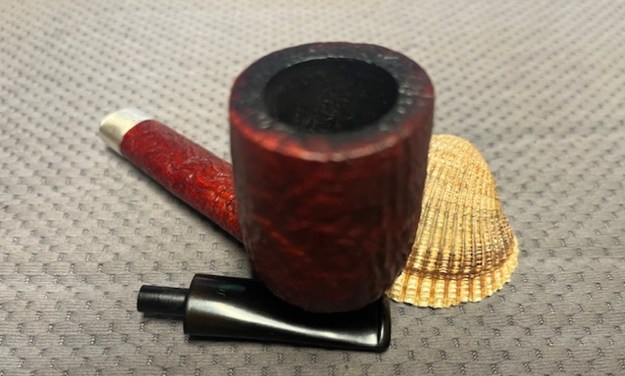
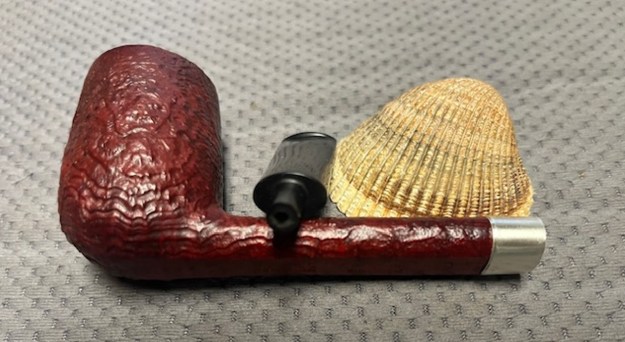
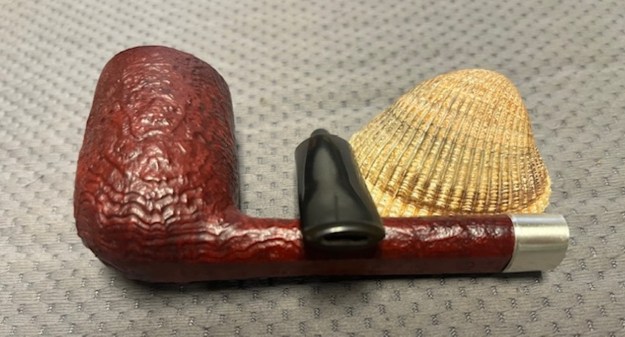
 I took a closer photo of the rim top and bowl to show the condition of the bowl and rim. You can see the light cake in the bowl and the darkening and lava on the top and inner edge. It was heavier on the left side but also covered the back and front of the rim and top.
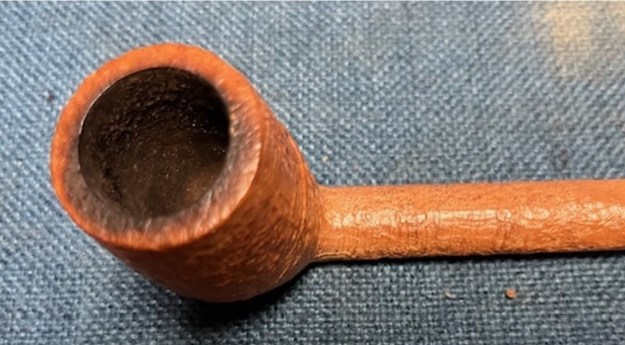 I took a photos of the stamping on the underside of the shank. It is clear and readable as noted above.
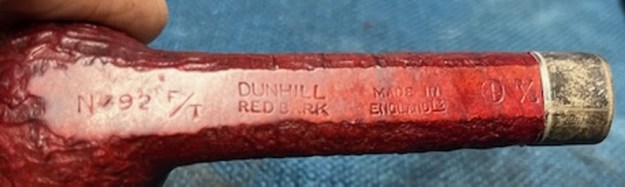
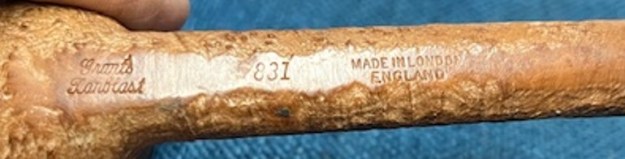 Before starting working on the pipe I did a Google search to see what I could learn about a Grant’s Tanblast 831 Canadian. The first thing that came up is a pretty clear and succinct AI Overview of the stamping. I am including that information below.
Based on the stamping “Made in London England” and “Grant’s,” this pipe is a house brand from Grant’s Pipe Shop in San Francisco, California. These pipes were produced in London for Ed Grant, who purchased the historic Sutliff pipe shop in 1953 and retired in 1988.
Key Information regarding Grant’s Pipe Shop Pipes:
- Manufacturer: Many Grant’s Pipe Shop pipes, including the “Corinthian” line, were manufactured in London by Comoy’s.
- Stamping: The pipes often feature “Grant’s Pipe Shop,” “San Francisco,” and “London Made” or “Made in England”.
- “Tanblast”: This likely refers to a specific finish or line offered by the shop, featuring a tan/brown sandblasted finish.
- Number 831: This indicates the specific shape number for the pipe in the Grant’s/Comoy’s catalog.
- Period: These are typically vintage pipes, largely dating between the mid-1950s and the late 1980s.
Grant’s Pipe Shop was a renowned Californian tobacconist that sold high-quality English-made estate pipes
This information gave me a clear connection to Grant’s Pipe Shop and the Tanblast stamping on the underside. It also linked the 831 shape number to both the Grant’s Pipe Shop and Comoy’s catalogue. Thus, I know that pipe is linked to Grant’s Pipe Shop and Comoy’s shape 831 Canadian.
Now that I have the link to Grant’s Pipe Shop in San Francisco, California I turned to Pipephil’s site to see if I could learn more (http://www.pipephil.eu/logos/en/logo-g5.html). I did a screen capture of the information on Grant’s and have included it and the side bar information below.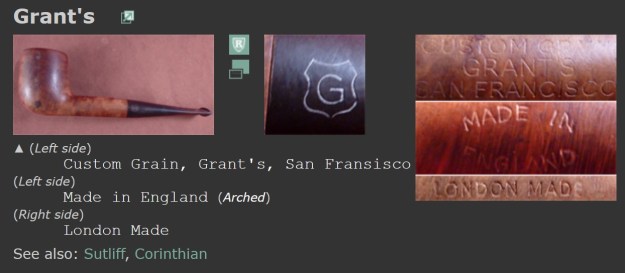 Tobacconist’s brand founded 1849 by Henry Sutliff. In 1925, Sutliff opened a shop in the 500 Block of Market St. In 1953, Ed Grant the manager, purchased the store renaming it Grant’s Pipe Shop. He retired in 1988 and passed away in 2003. Ted Ware and Joe Barron took over the oldest Californian tobacconist in 2004.
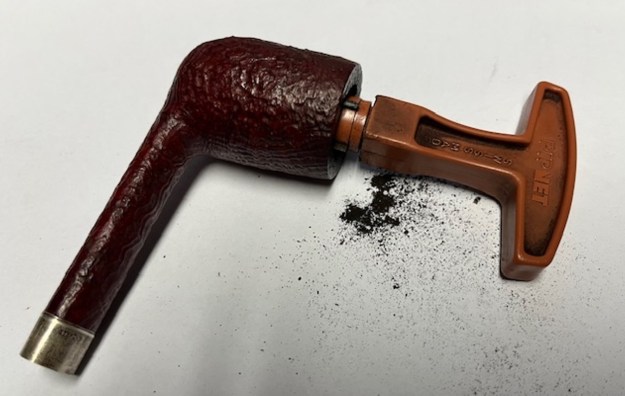
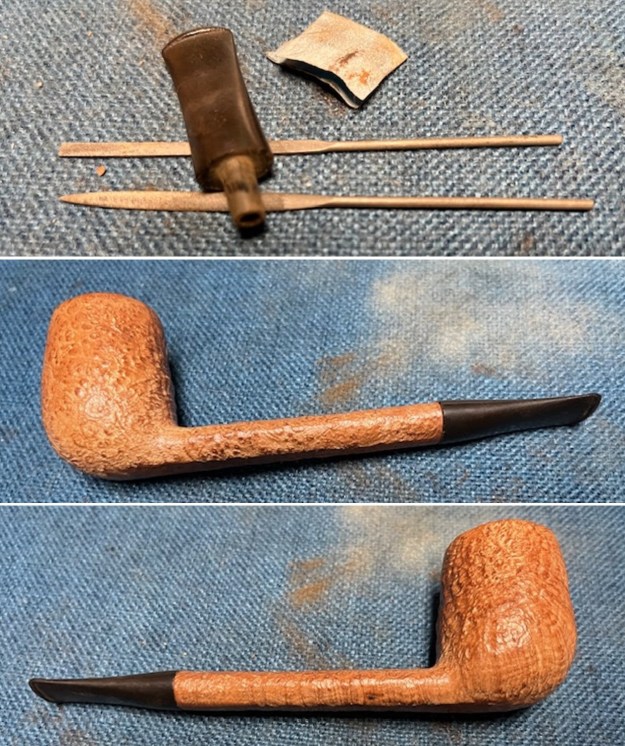
I turned to Pipedia and found an interesting article on the shop and its closure in 2012. There was also an advert card on the shop showing what the shop looked like inside and out from 1849-2012 (https://pipedia.org/wiki/Grants_Pipe_Shop). I have done a screen capture of the card and added it below. I enjoy working on Pipe Shop pipes and it is fun to be able to trace them back to the company that made the pipe – in this case Comoy’s of London. I turned to work on the pipe itself. Before addressing the bowl, I decided to pull the broken tenon from the shank. I used a drywall screw and turned it into the airway. I wiggled the tenon free from the shank. With it removed it was ready to be fit with a new stem once it was clean.
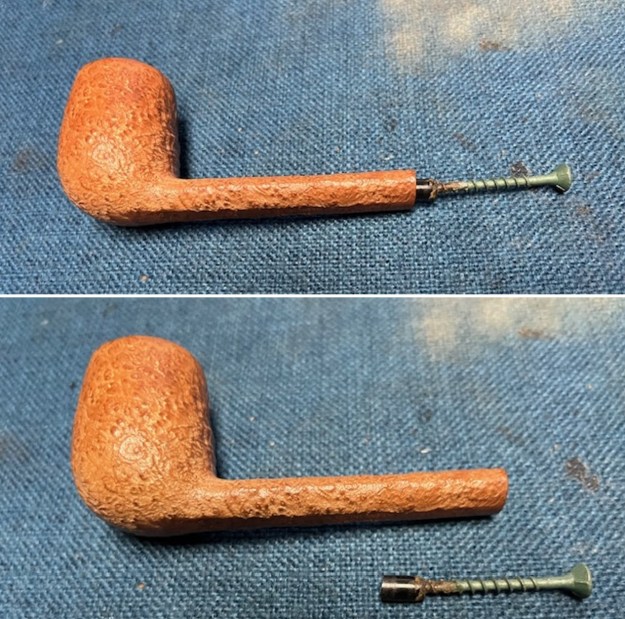 I turned to clean up the bowl in preparation for the restemming. I reamed the bowl with a PipNet pipe reamer using the cutting heads 2 and 3. I finished the reaming with a Savinelli Fitsall Pipe Knife. I sanded the walls of the bowl with 220 grit sandpaper wrapped around a piece of dowel.
 I worked on the darkening on the rim top with a brass bristle wire brush. I was able to remove the majority of the darkening with this method.
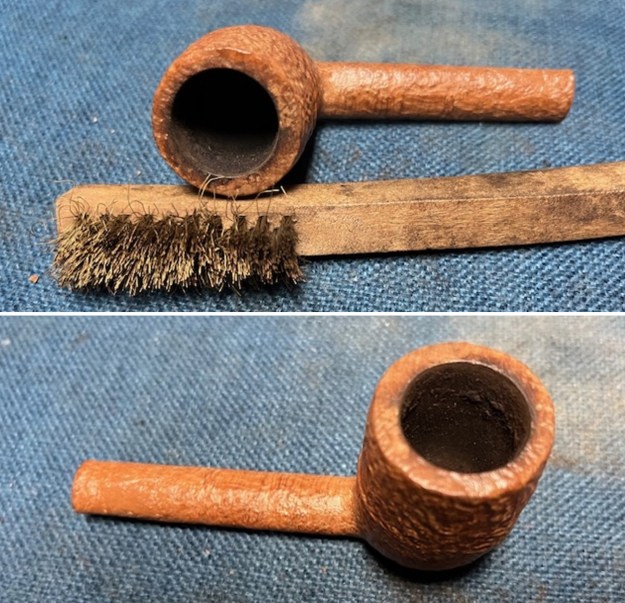 I cleaned out the inside of the shank and the airway in the stem with alcohol, cotton swabs and both bristle and regular pipe cleaners.
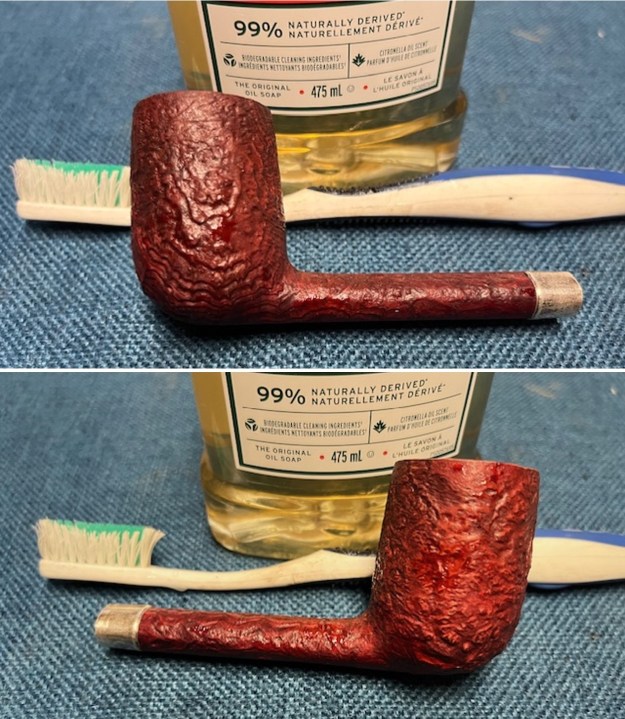
 I scrubbed the bowl and shank with a tooth brush and some undiluted Murphy’s Oil Soap. I rinsed it off with warm water to remove the dust and soap from the finish. I dried it off with a soft cloth and it looked much better.
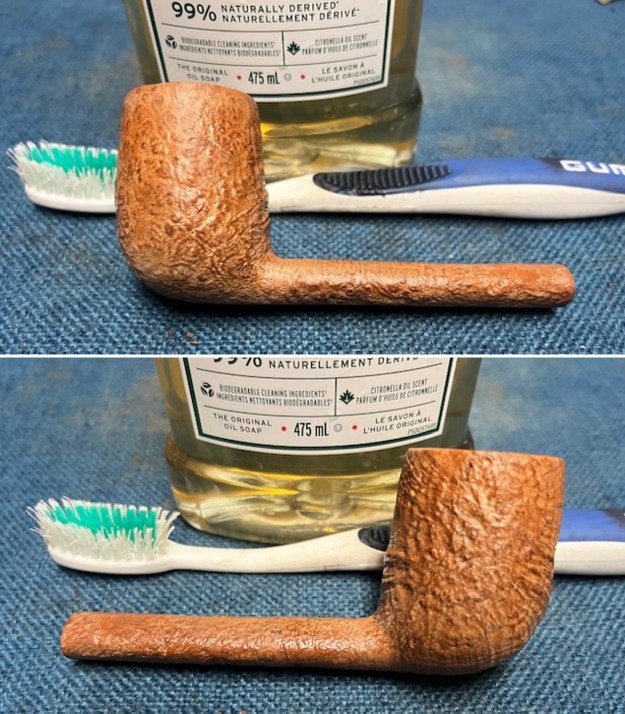
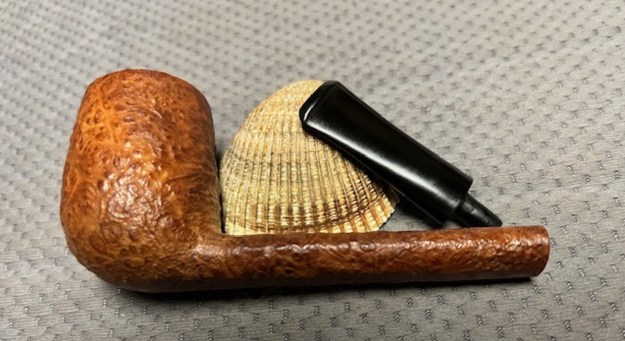
 I had a stem in my can of stems that would work on this pipe. I fitted the stem to the shank. It would take a bit of adjusting to get the fit in the shank correct. I used a folded piece of 220 grit sandpaper and some small flat files.
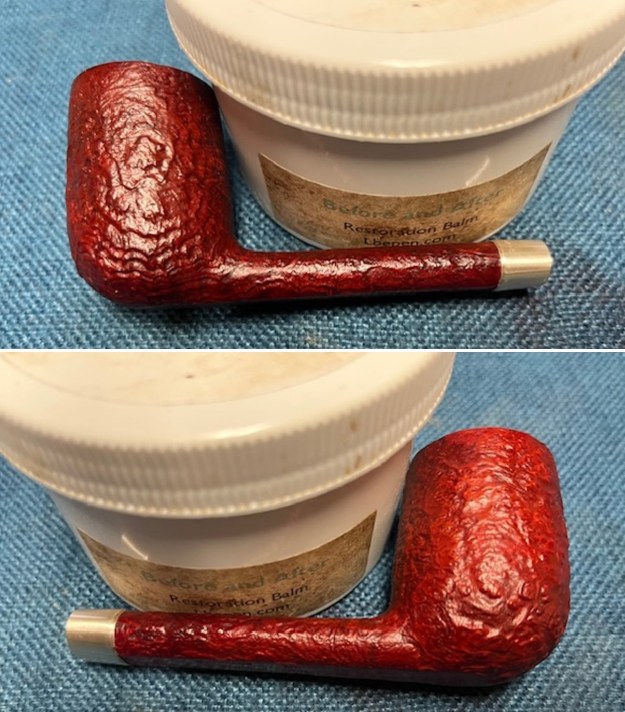
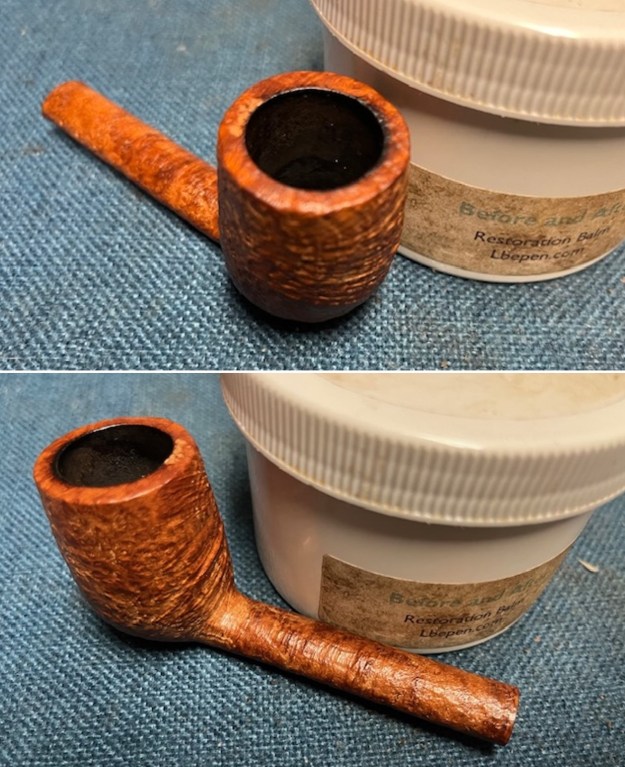
 I removed the stem and set it aside. I rubbed the briar down with Before & After Restoration Balm. I worked it into the briar with my fingertips to work it into the finish. The product works to clean, enliven and preserve the briar. I let it sit for 10 minutes then I buffed it with a cotton cloth to deepen the shine. The briar really comes alive with the balm.

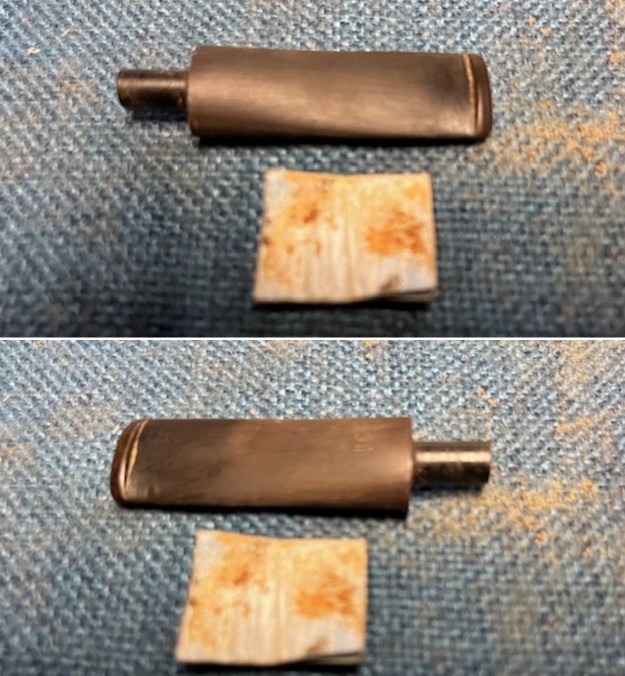
 I set the bowl aside to let the Before & After Restoration Balm do its magic and turned to work on the thickness of the stem at the side, top and underside. It was quite close but some fine tuning would clean it up and make the fit seamless. I sanded the surface of the stem with a folded piece of 220 grit sandpaper to shape the fit to the shank.
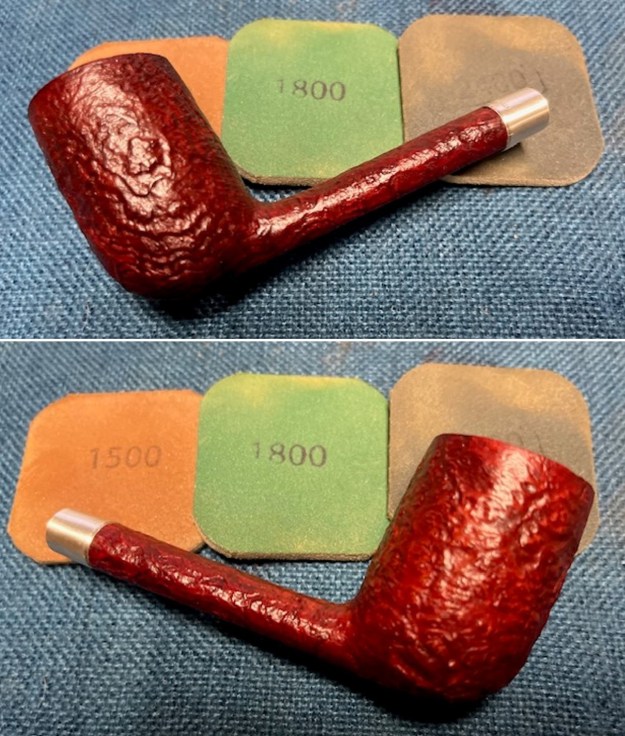
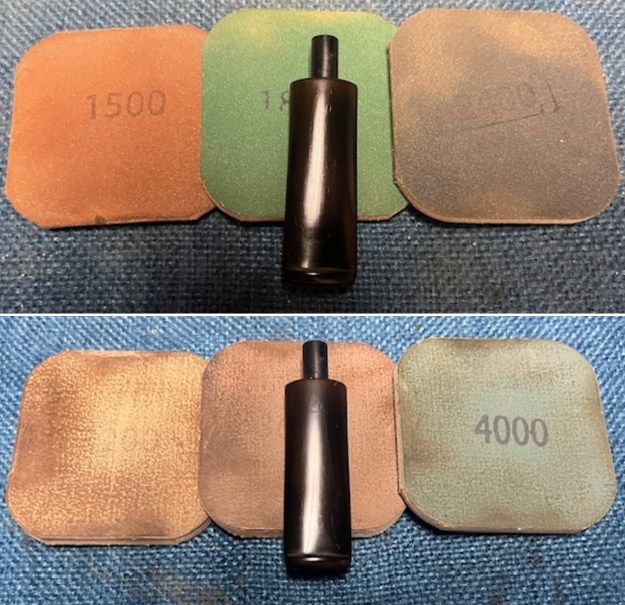
  I sanded the stem with 320-3500 grit 2×2 inch pads to further adjust the fit of the stem to the shank. I wiped the stem down with an Obsidian Oil cloth after each sanding pad.
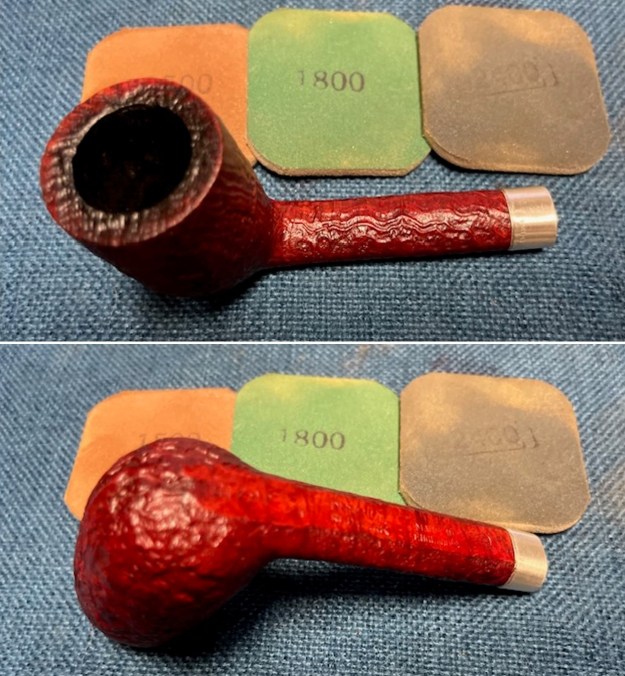
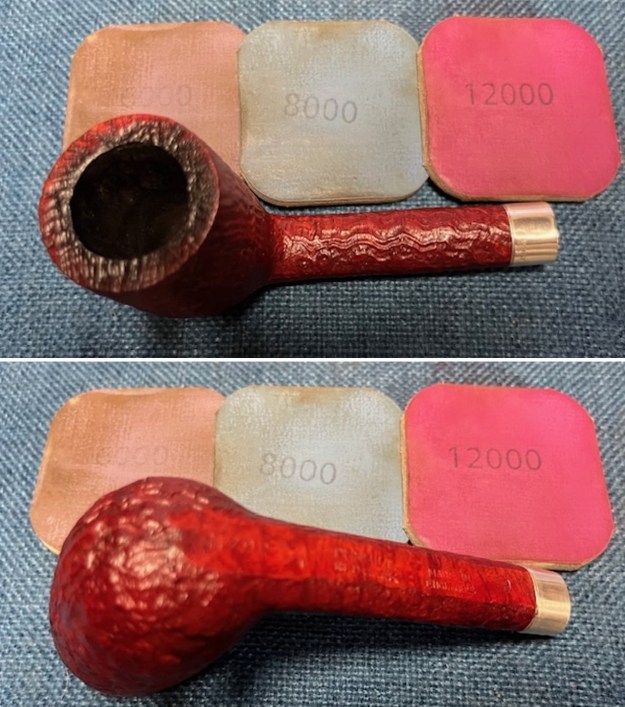
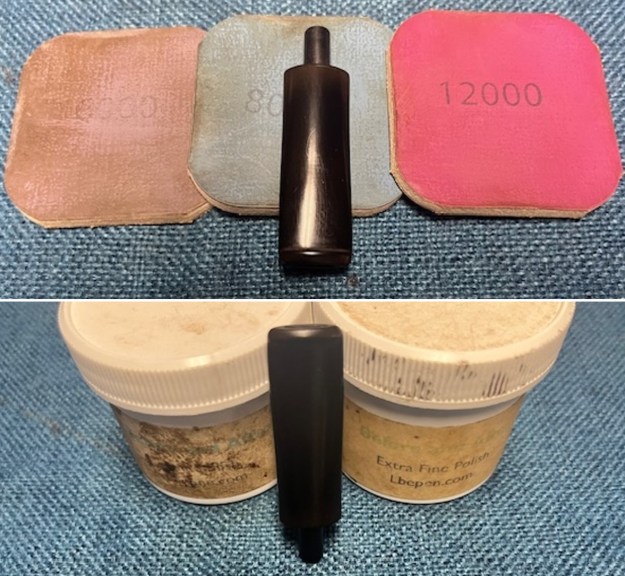
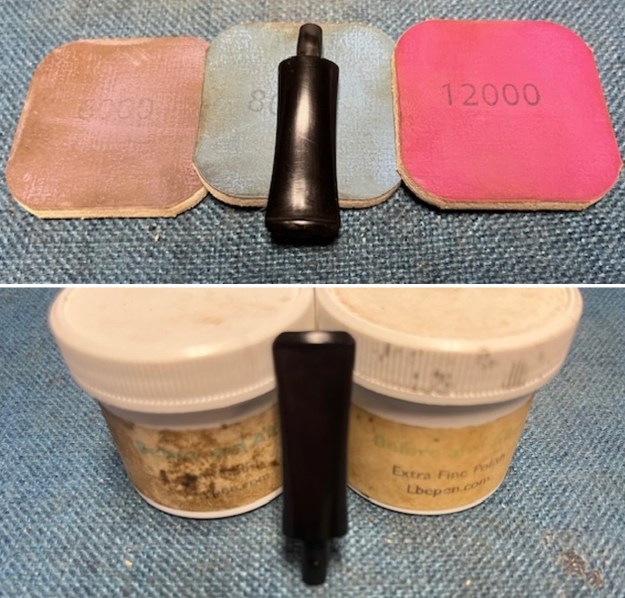
 I polished the vulcanite with micromesh sanding pads – 1500-12000 grit pads. I wiped it down with Obsidian Oil after each sanding pad. I used Before & After Pipe Polish – both Fine and Extra Fine to further polish the stem.
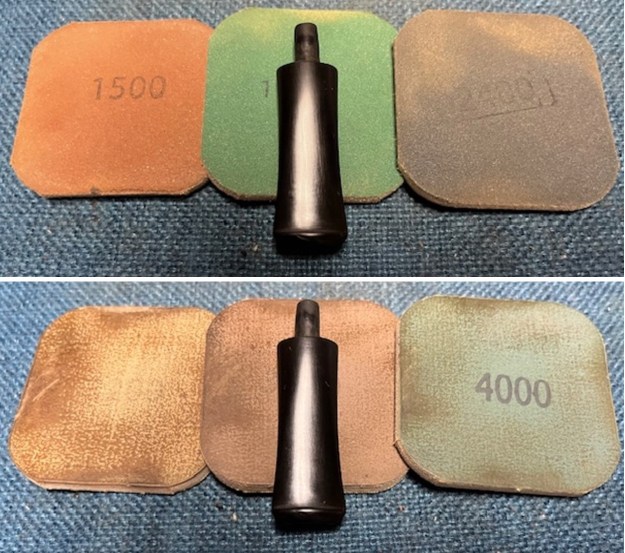
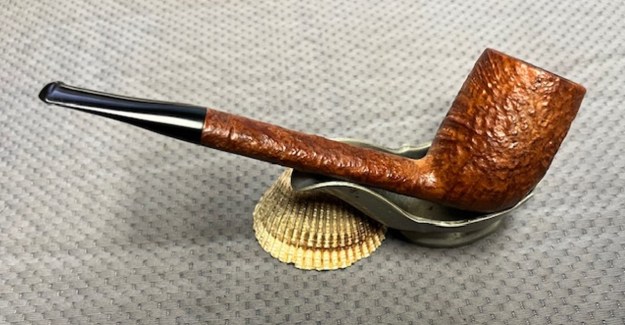
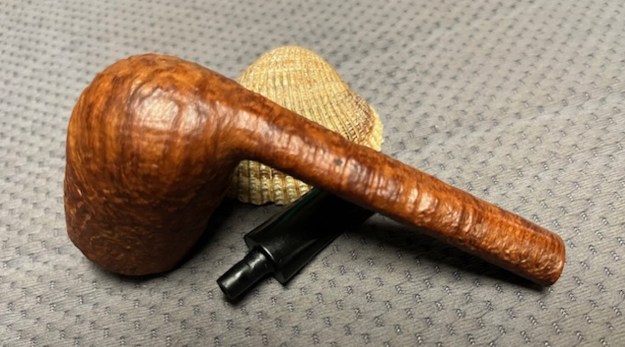
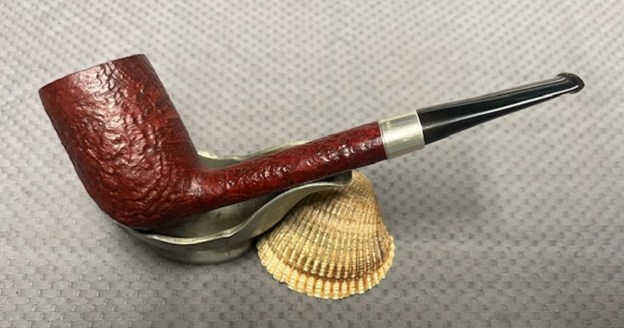
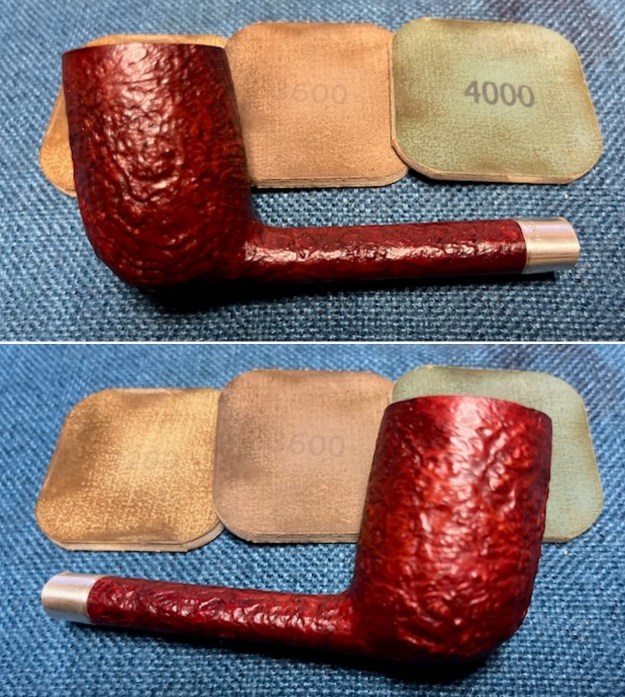
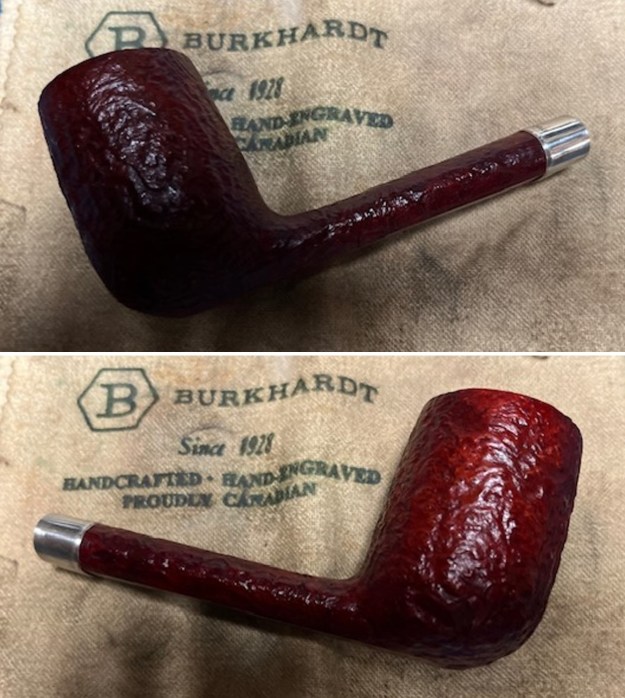
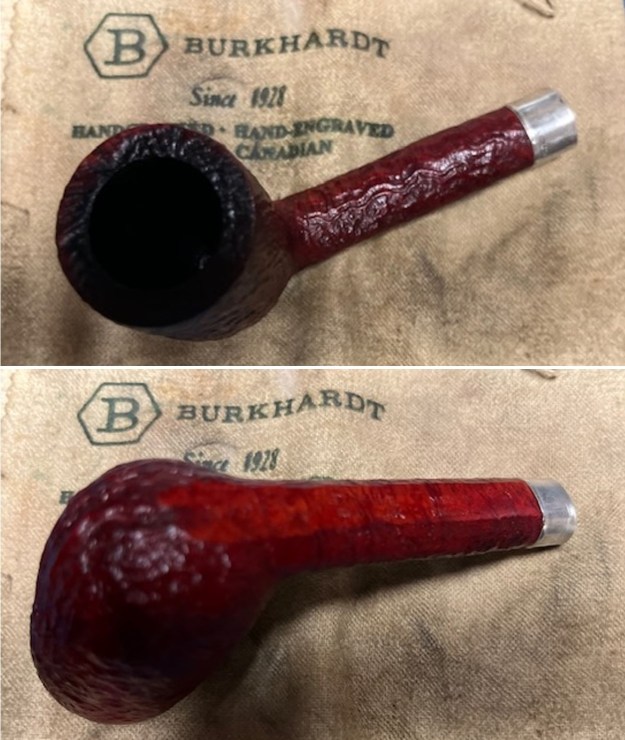
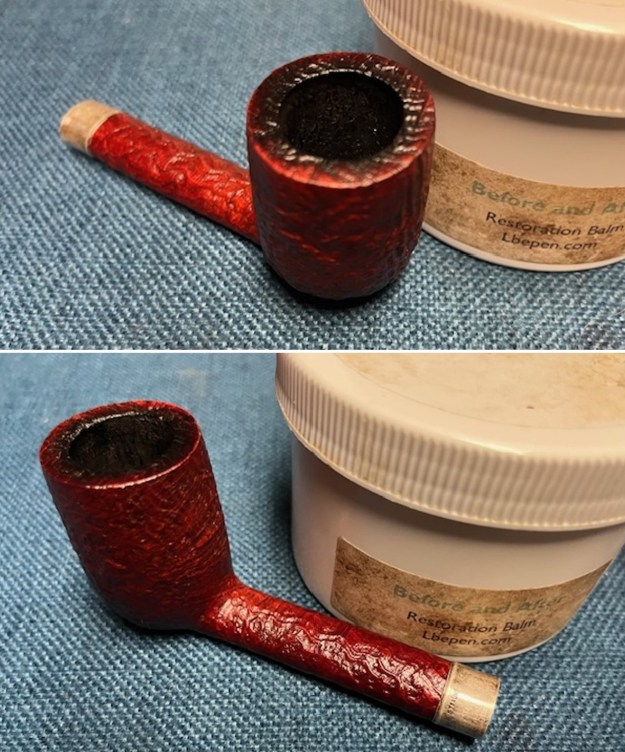
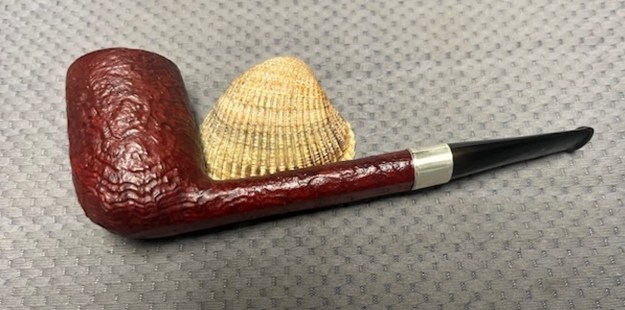
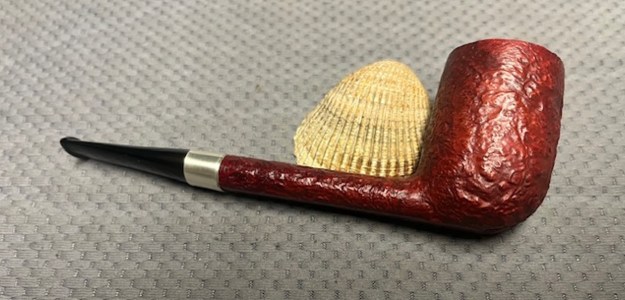
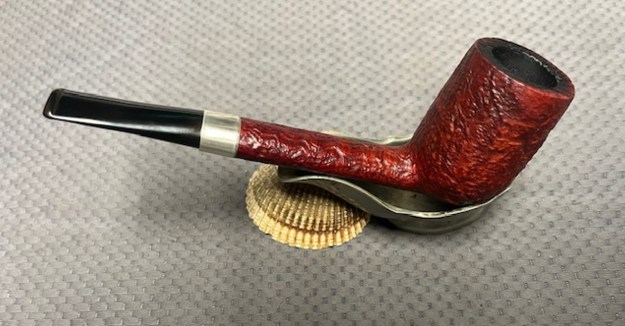
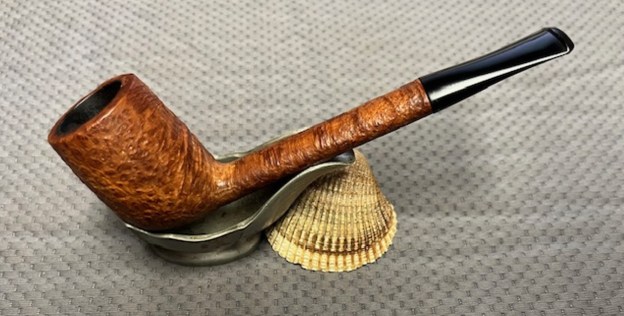
 I the polished newly fit vulcanite taper stem and the Grant’s Tanblast 831 Canadian bowl with Blue Diamond to polish out the remaining small scratches and raise the shine. I gave the bowl and the stem several coats of carnauba wax then buffed the pipe with a clean buffing pad to raise the shine. I hand buffed it with a microfiber cloth to deepen the shine. The pipe polished up pretty nicely. This turned out to be a beautiful Grant’s Tanblast 831 Canadian with a Taper Stem. The finished pipe is shown in the photos below. The dimensions are Length: 5 ½ inches, Height: 1 ¾ inches, Outside diameter of the bowl: 1 ¼ inches, Chamber diameter: ¾ of an inch. The weight of the pipe is 1.23 ounces/35 grams. Thanks for walking through the restoration and restemming with me as I worked this beautiful little Comoy’s Made Grant’s House Pipe. I will be adding it to the rebornpipes store in the British Pipe Makers Section if you would like to add it to your collection. Thanks for looking.