Blog by Steve Laug
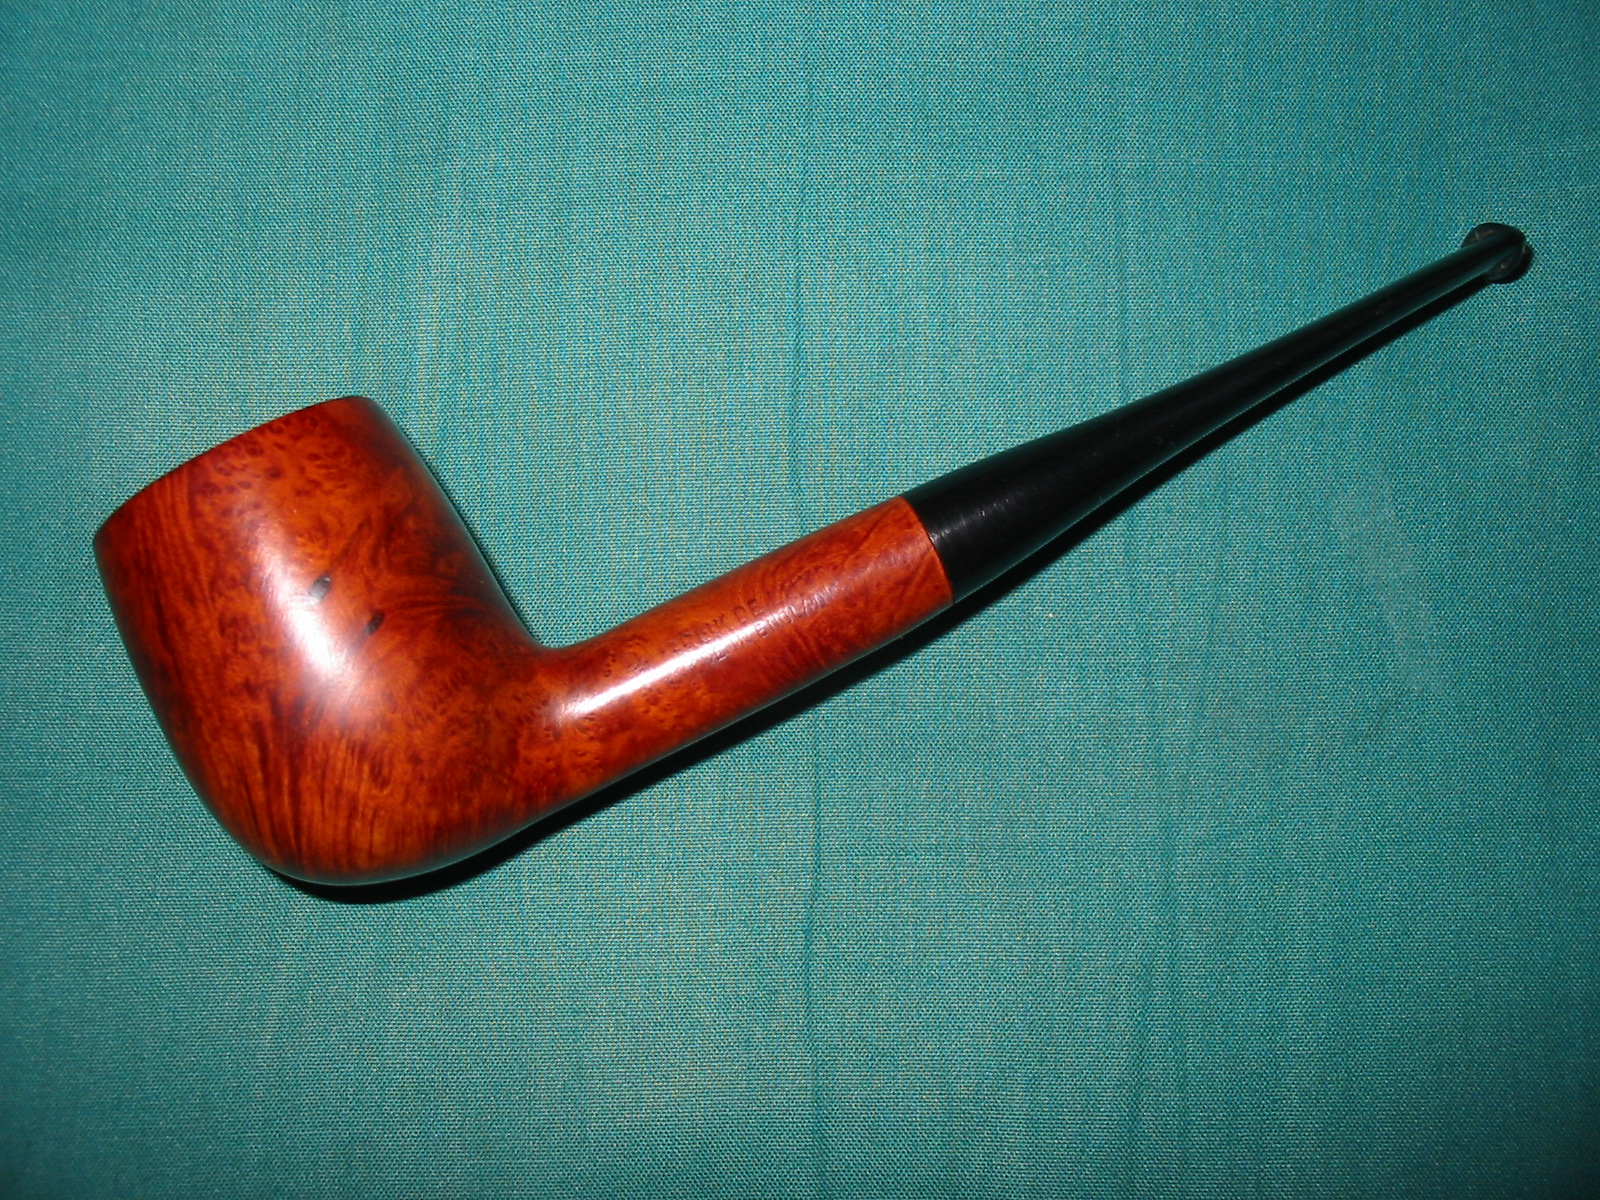
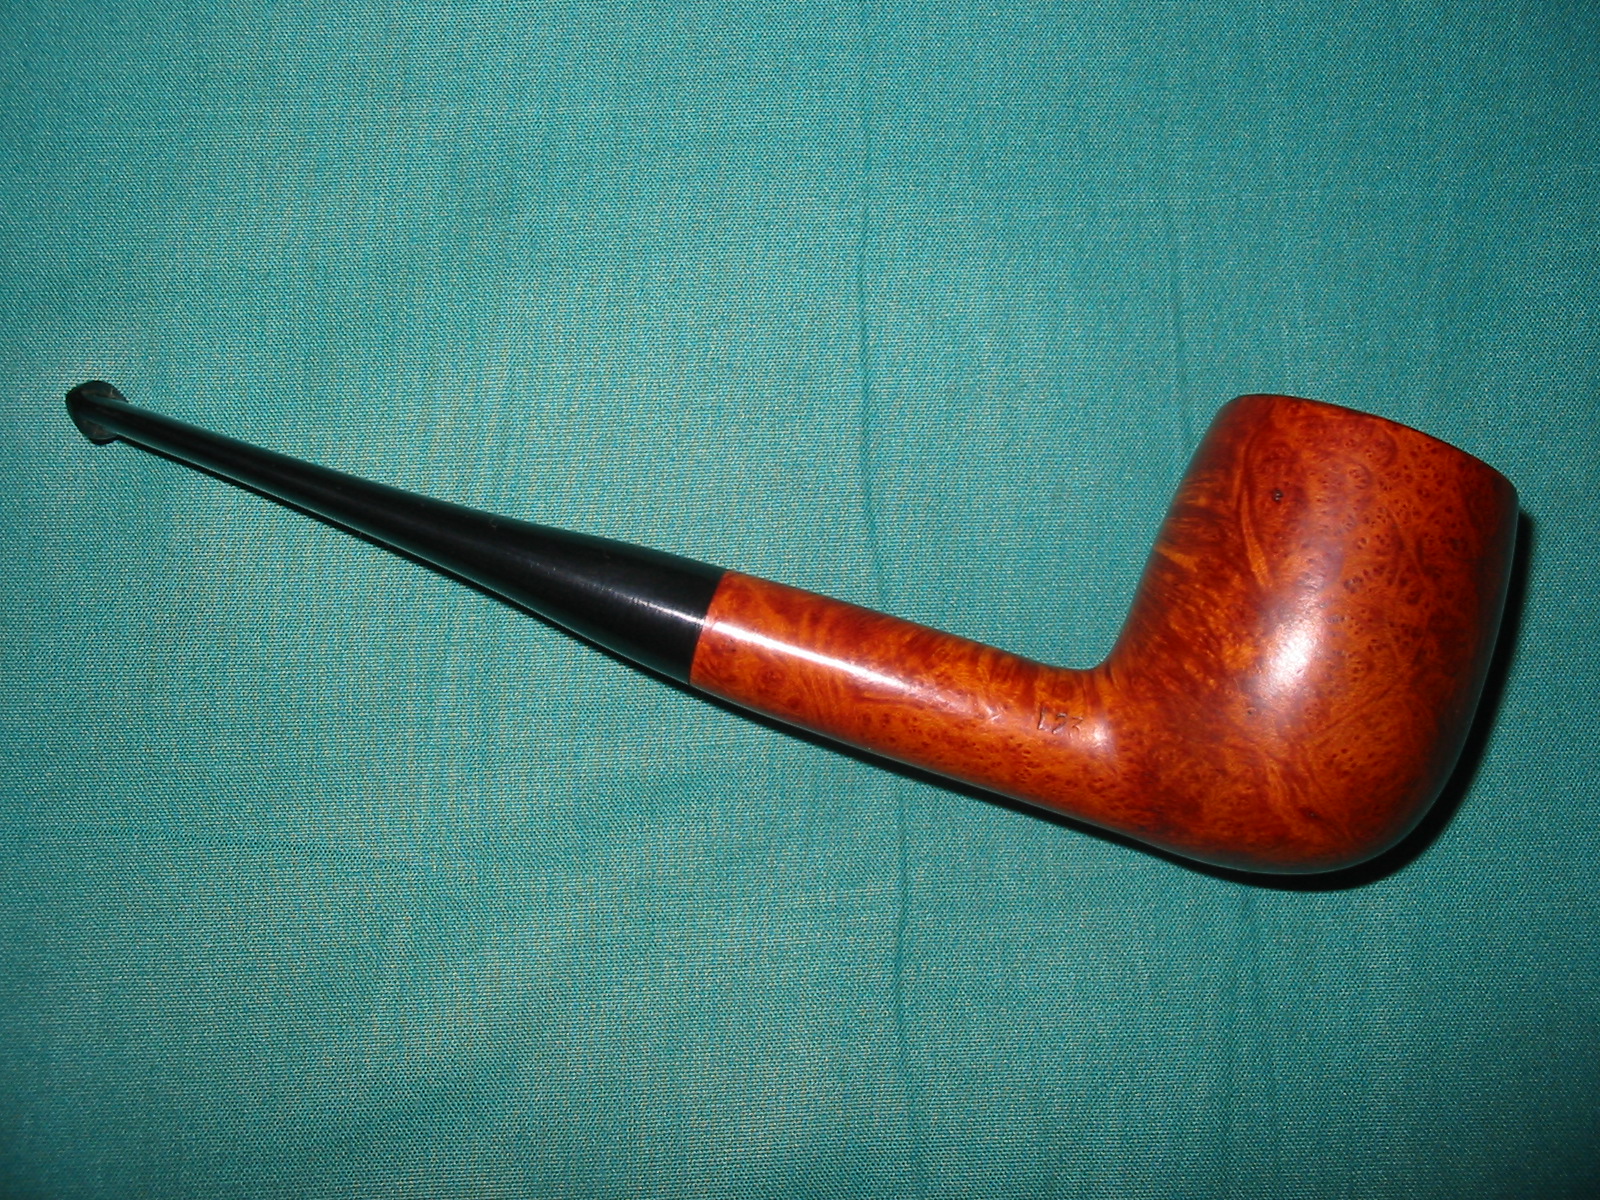
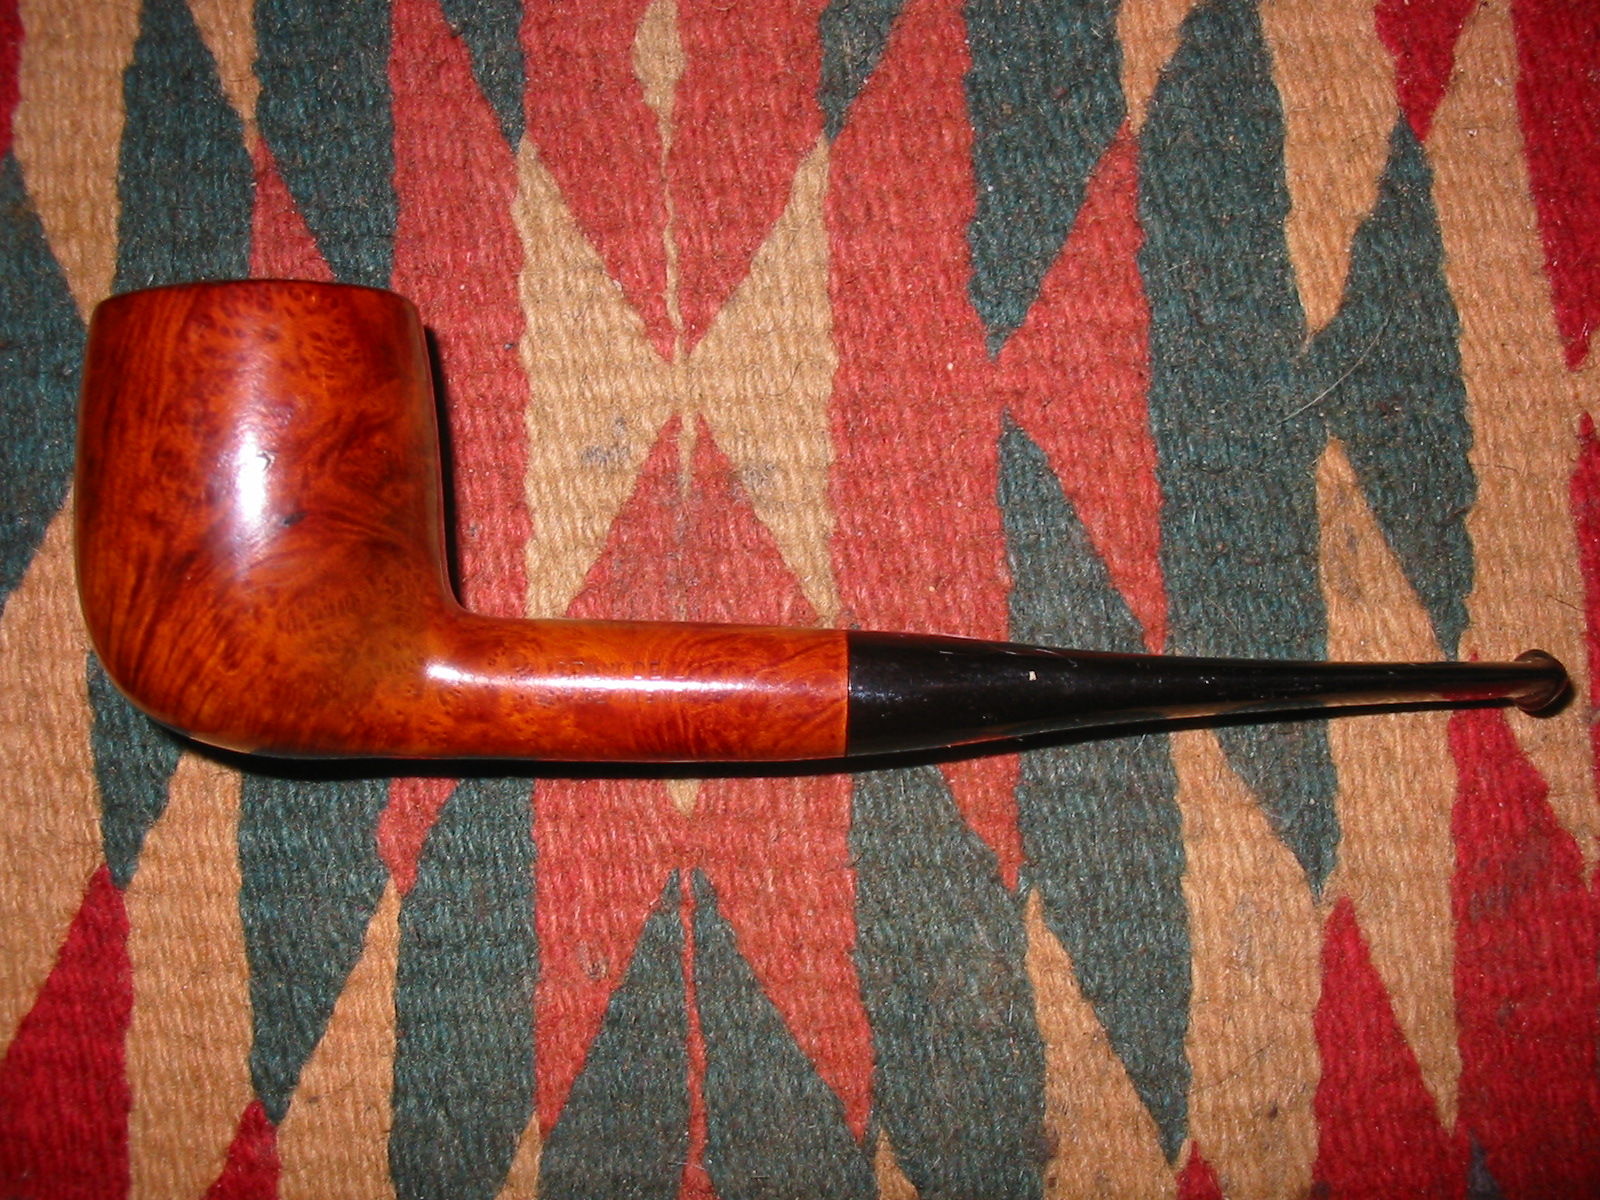
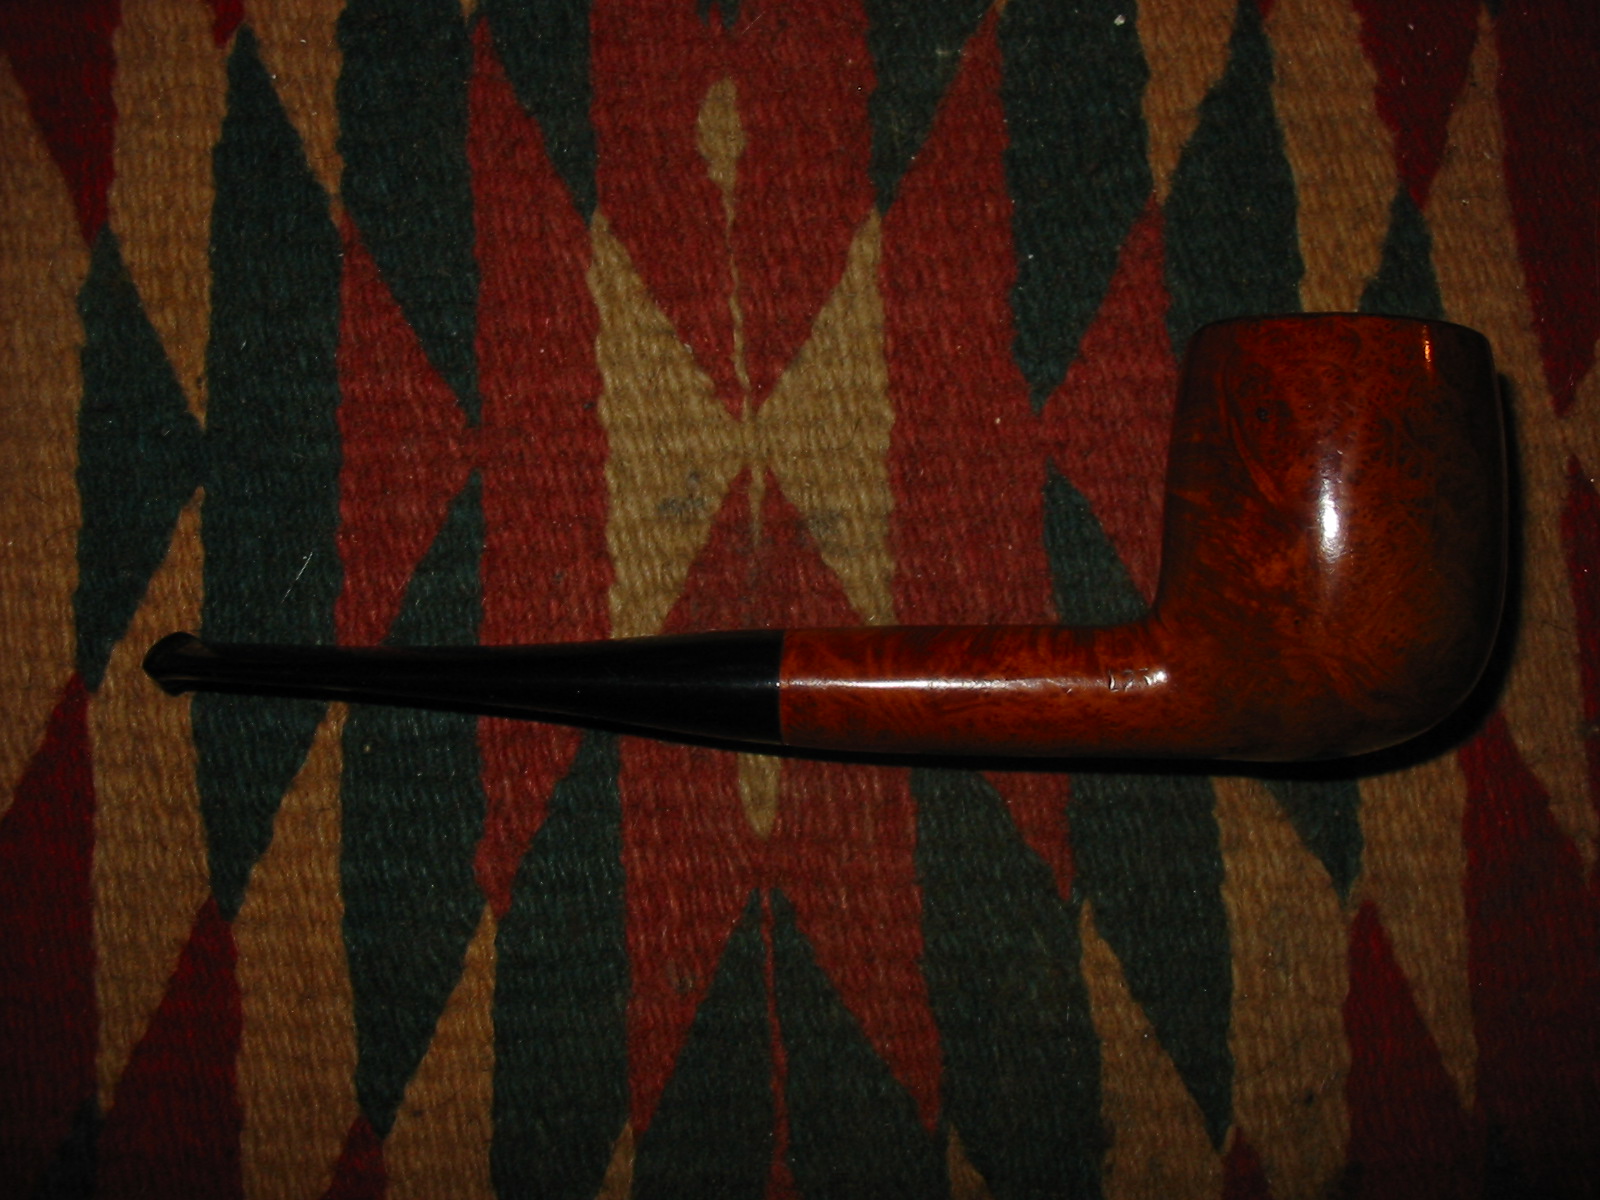
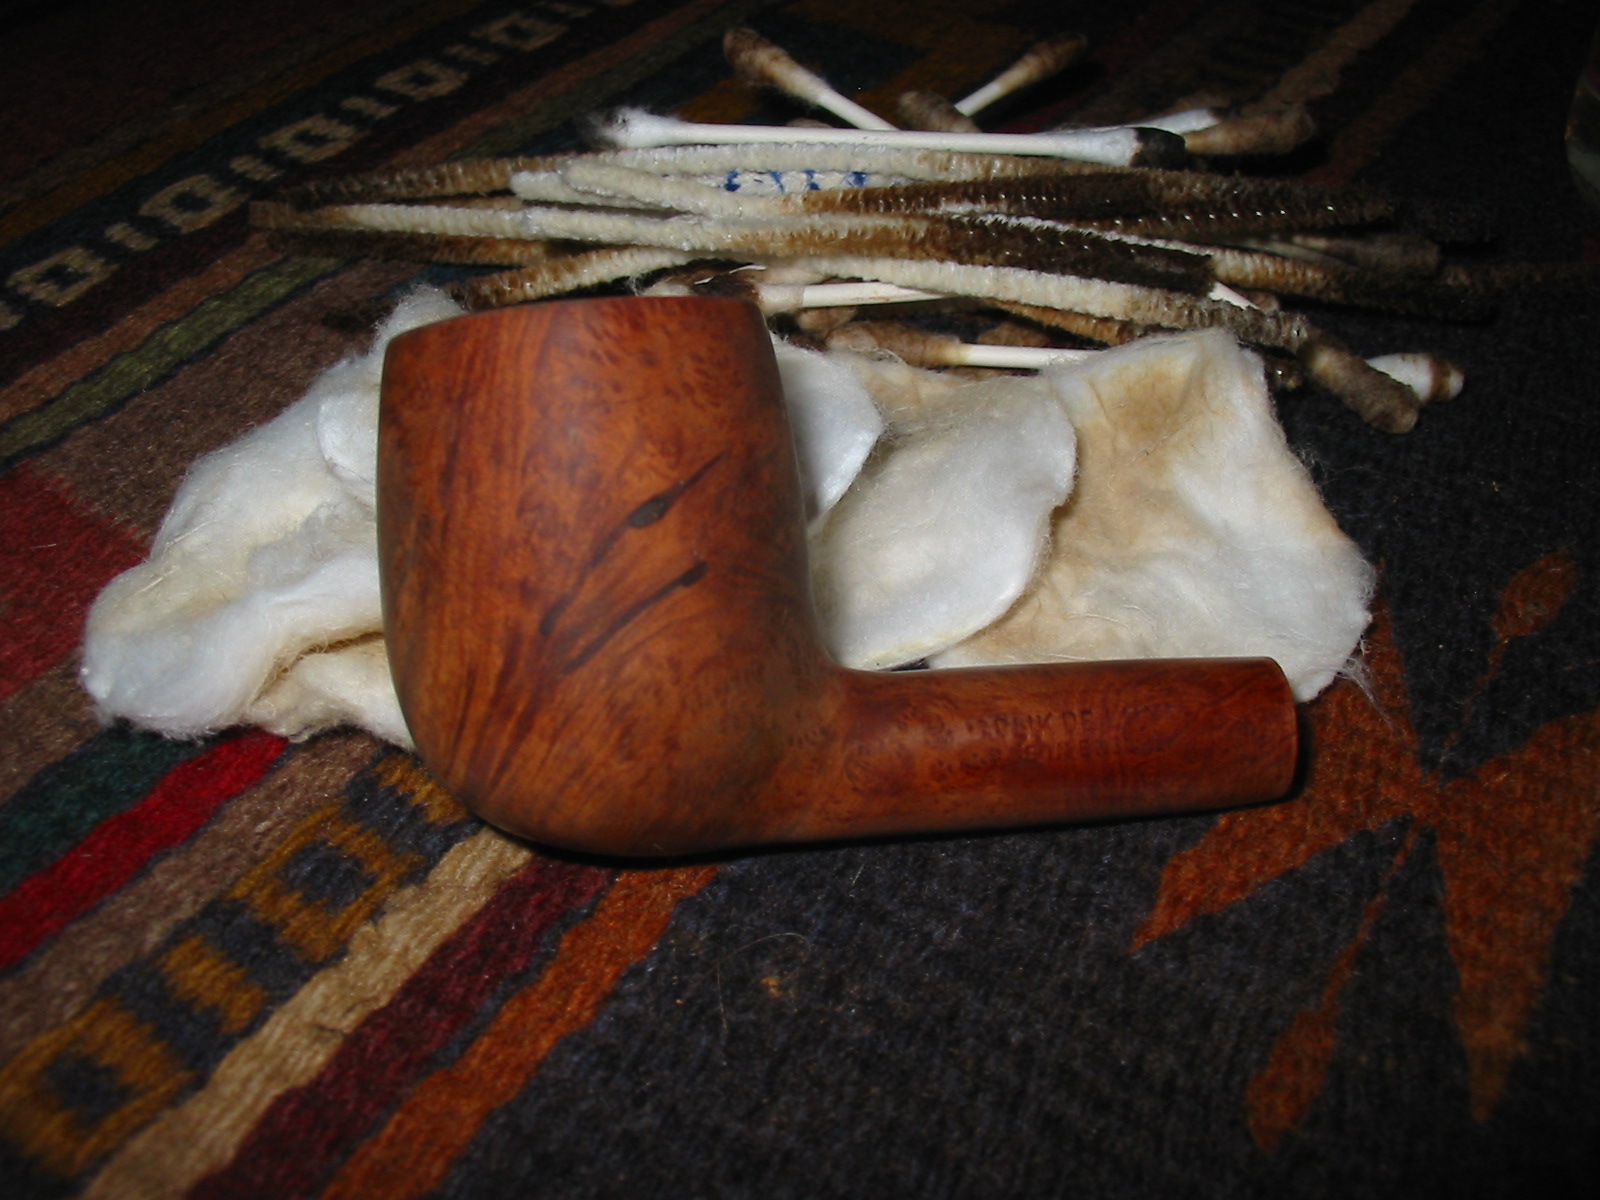
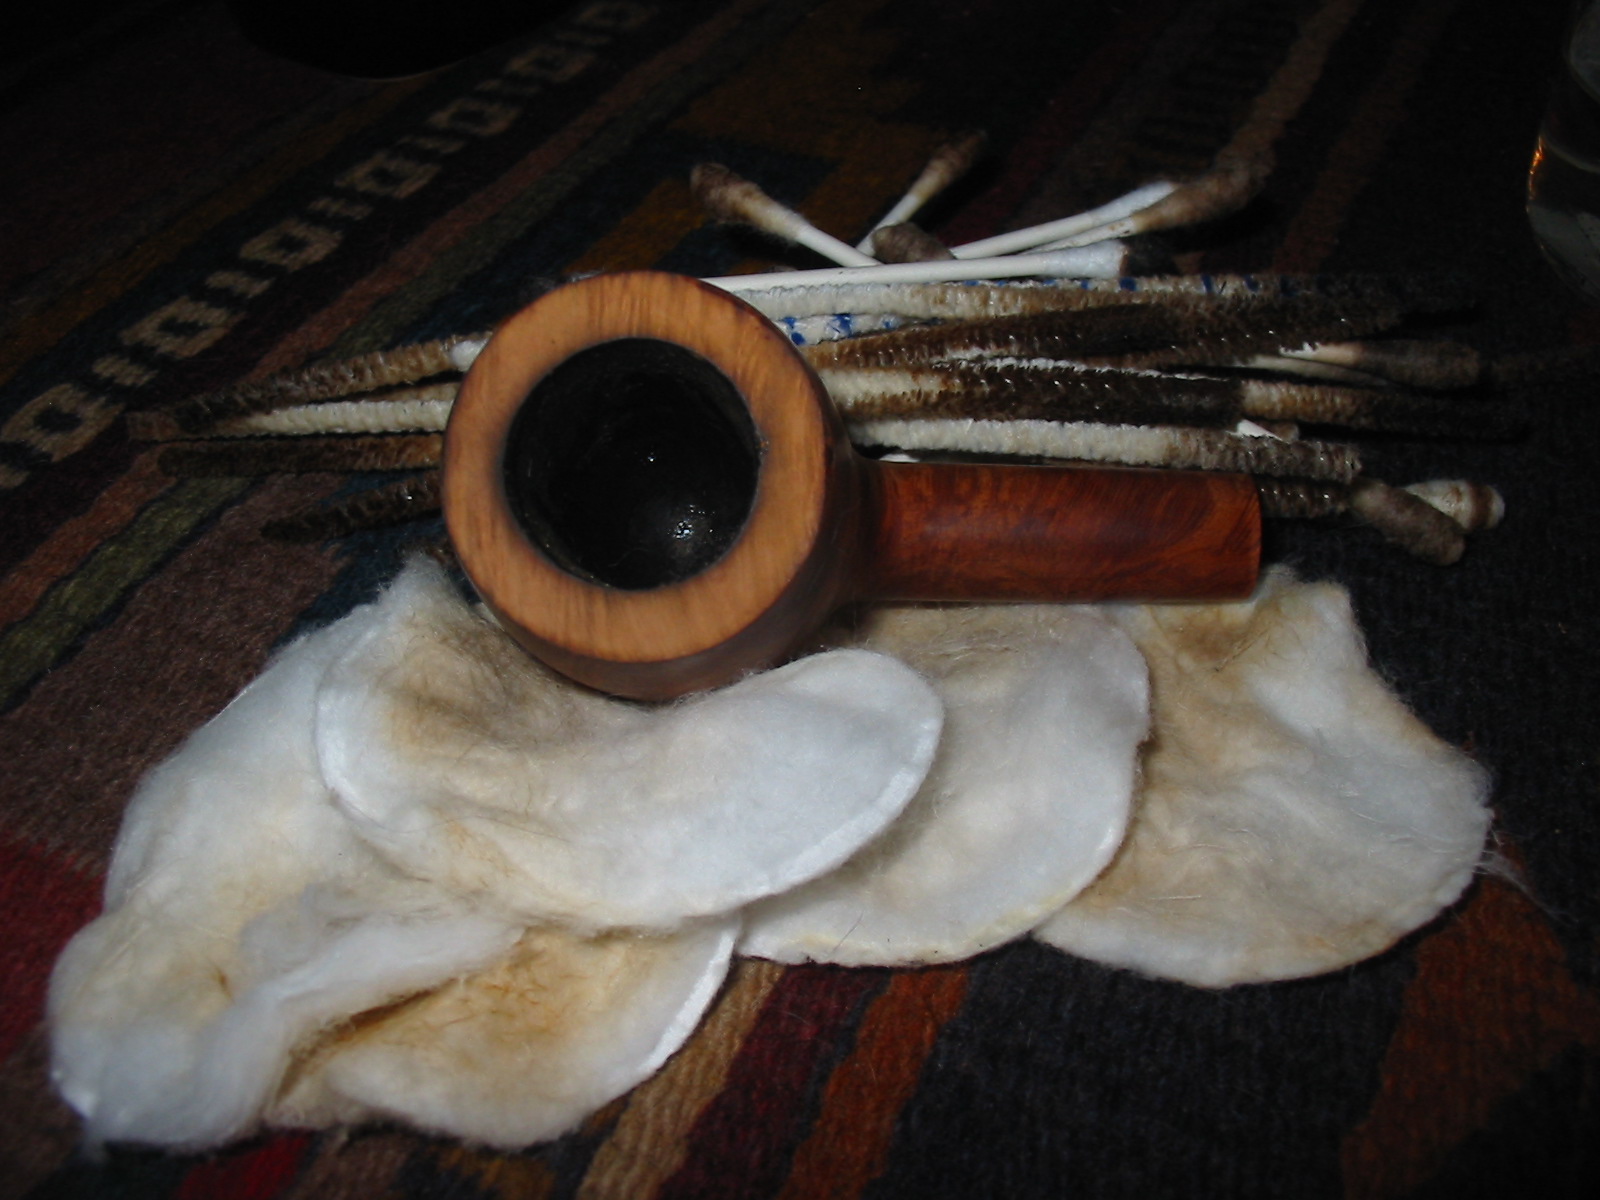
This is the second pipe from box of English pipes that my daughters found when cleaning out our storage room under the front porch (interior room). It is stamped Orlik De Luxe over Made in England on the left side of the shank and L23 on the right side of the shank. It looked as if it had been refurbished by the same gent who did the Orlik Canadian I reworked. This one also had a varnish coat on the bowl that made it shiny. Underneath the varnish the finish was spotty. The outer and inner edge of the rim was damaged and there were deep grooves on the surface of the rim. The tarry buildup had not been totally removed before the finish coat of varnish was put in place. The inside of the bowl had been painted with a bowl coating that was black. The stem appears to be a replacement but it was better craftsmanship than the previous one. The stem itself was clean but had scratches. The interior of the pipe and stem were filthy.
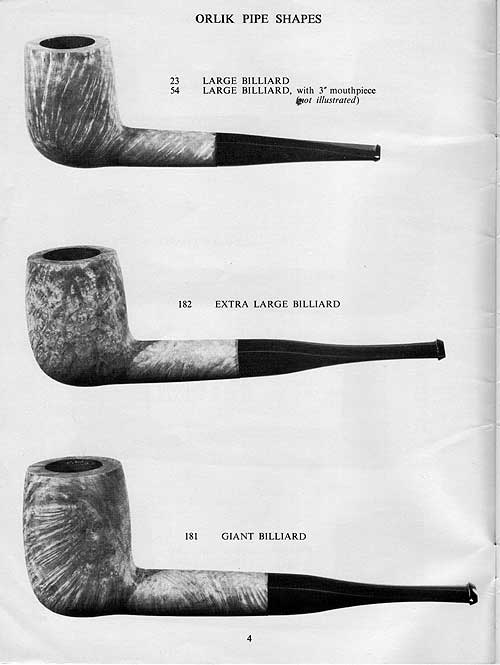
I have little experience with Orlik pipes so the numbering system was a mystery to me. I did a bit of research and found out that the shape numbers remain consistent throughout the various lines of Orlik pipes. The only difference is found in the letter that precedes the number. In the case of the two pipes that I have now worked on each had the letter “L” before the shape number. The letter signifies the line of pipes within the Orlik family that is in hand. The L stands for the Orlik De Luxe line. I have included the chart below that gives the various lines of Orlik pipes. I have also included the shape chart for Large Billiards that shows the L23. The one I have is similar to the one in the picture though I am certain that mine has a replacement stem as it has a different taper to the stem.

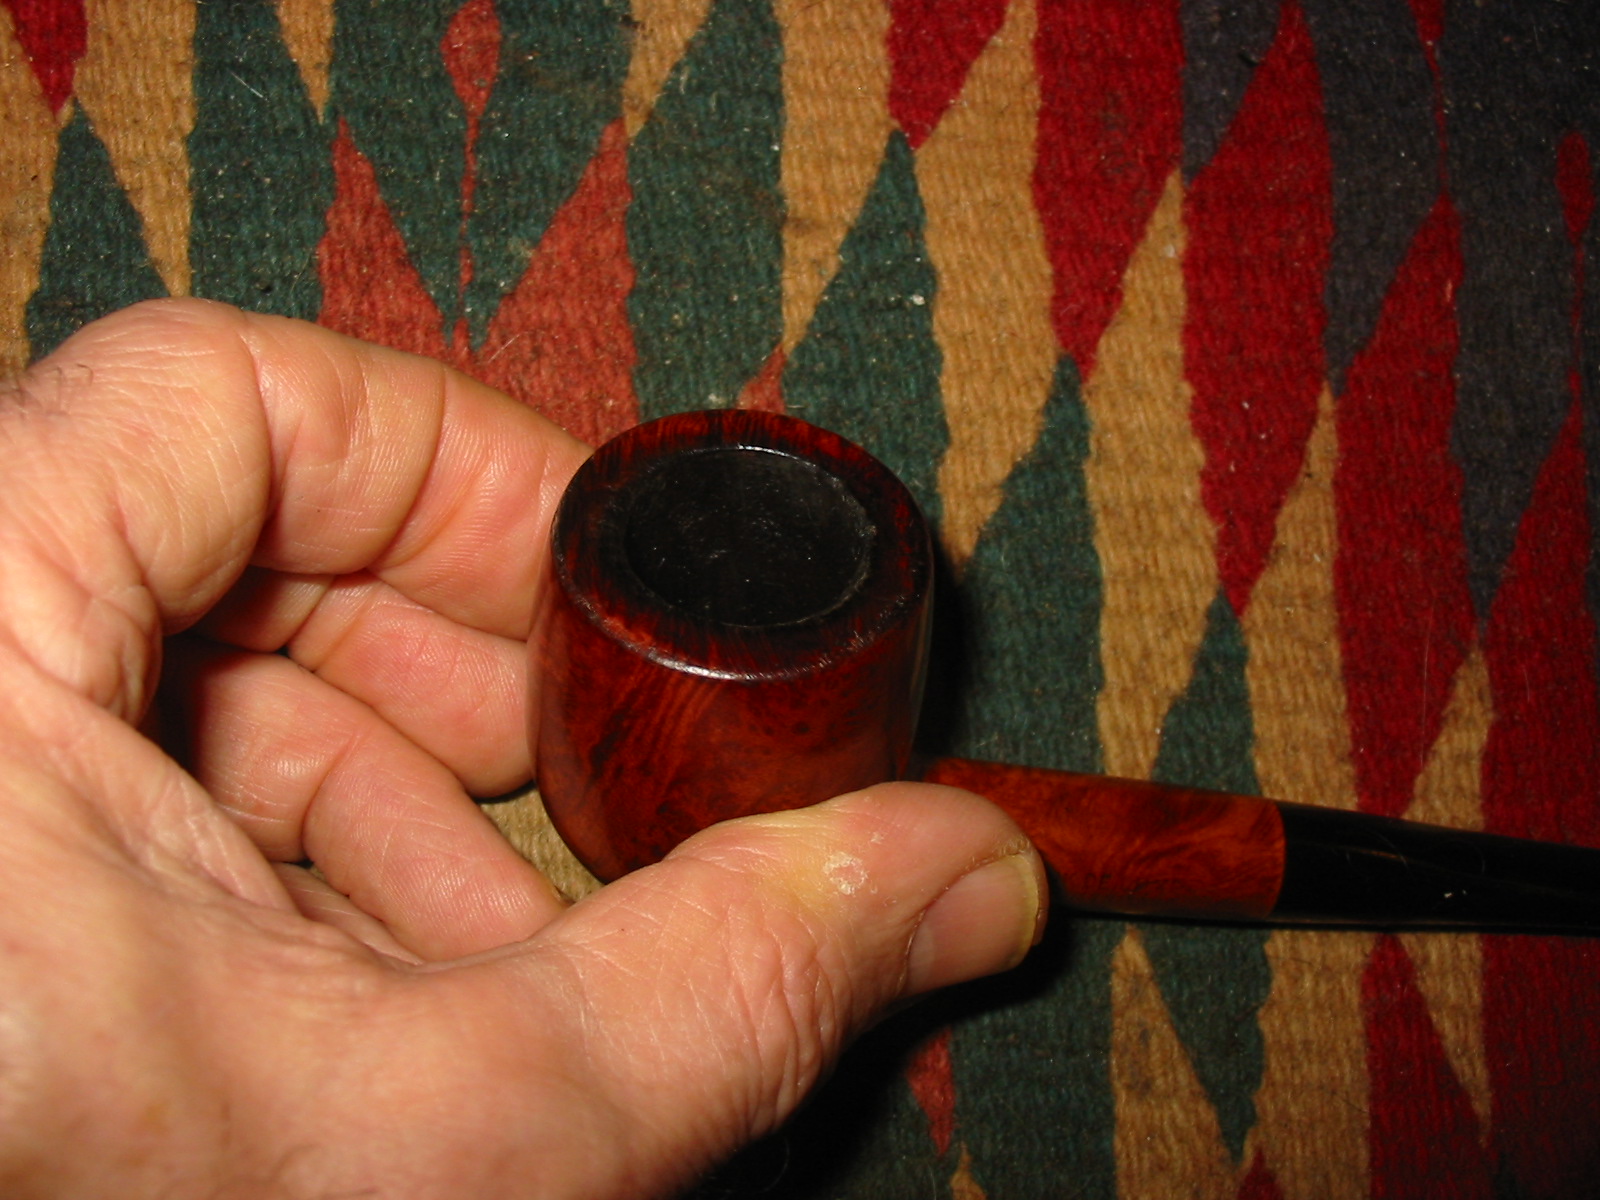
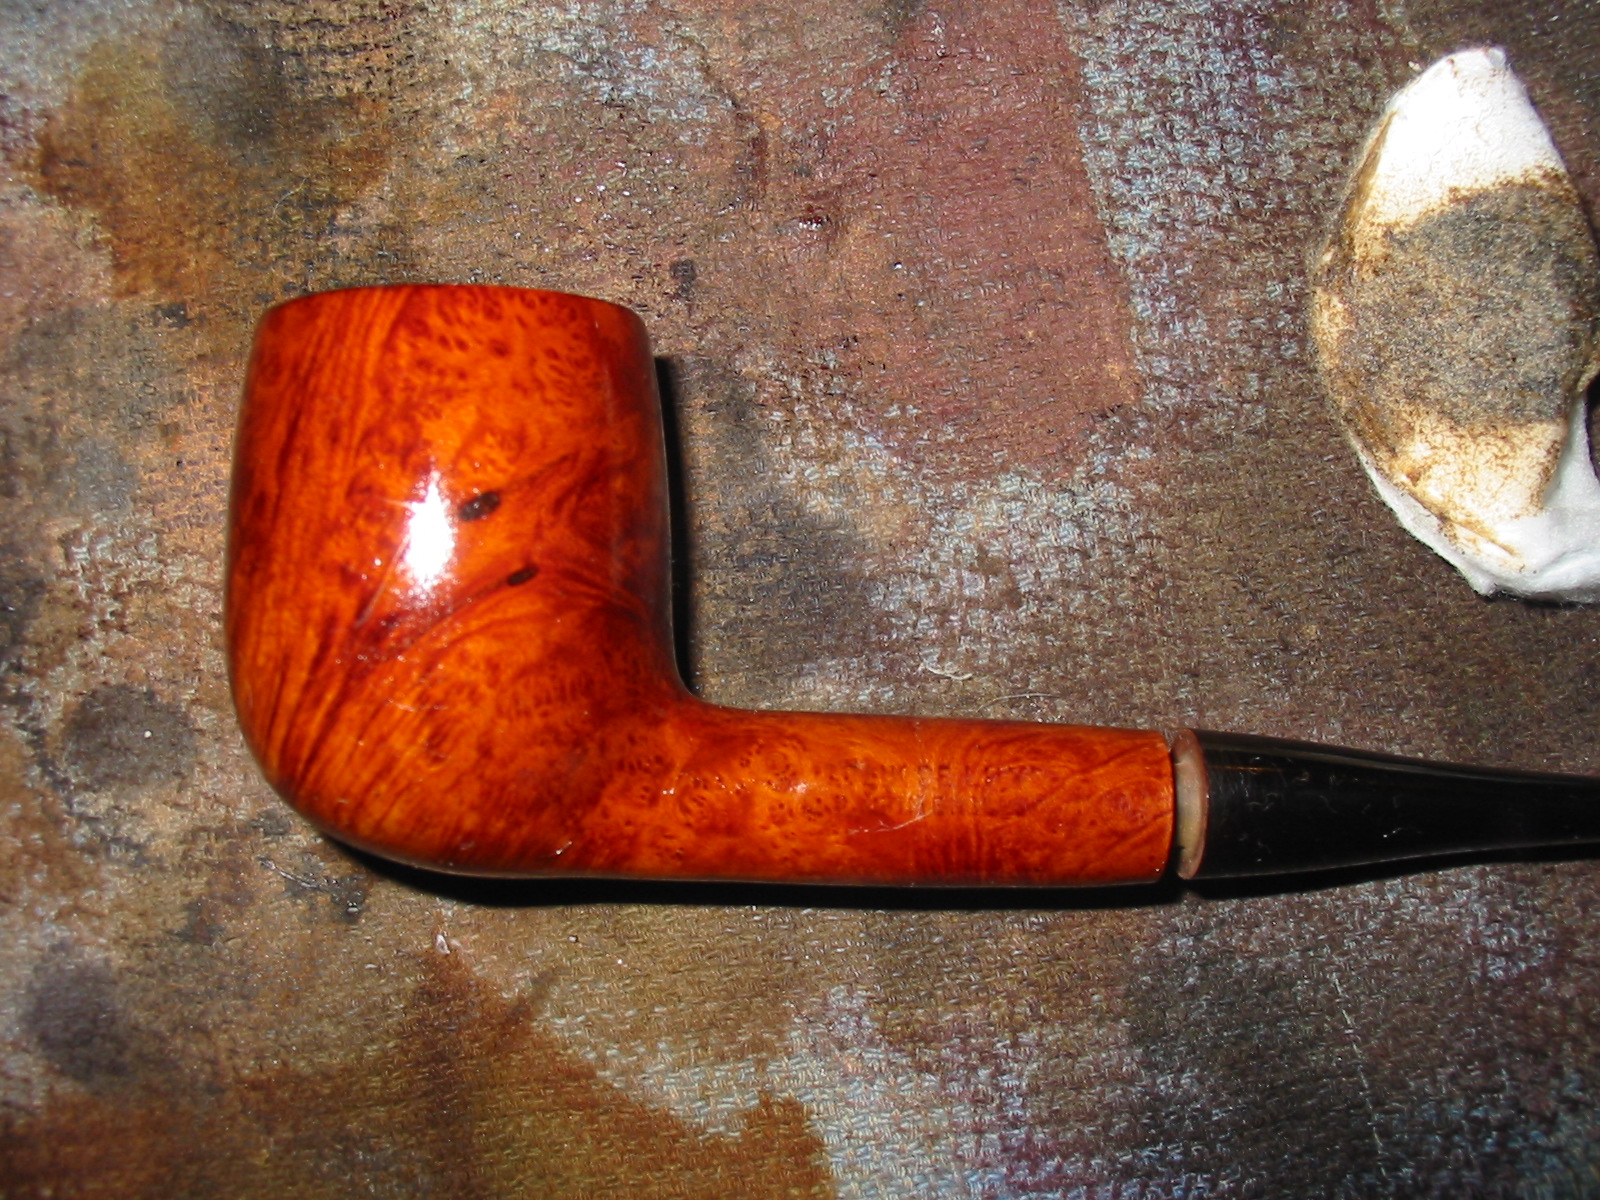
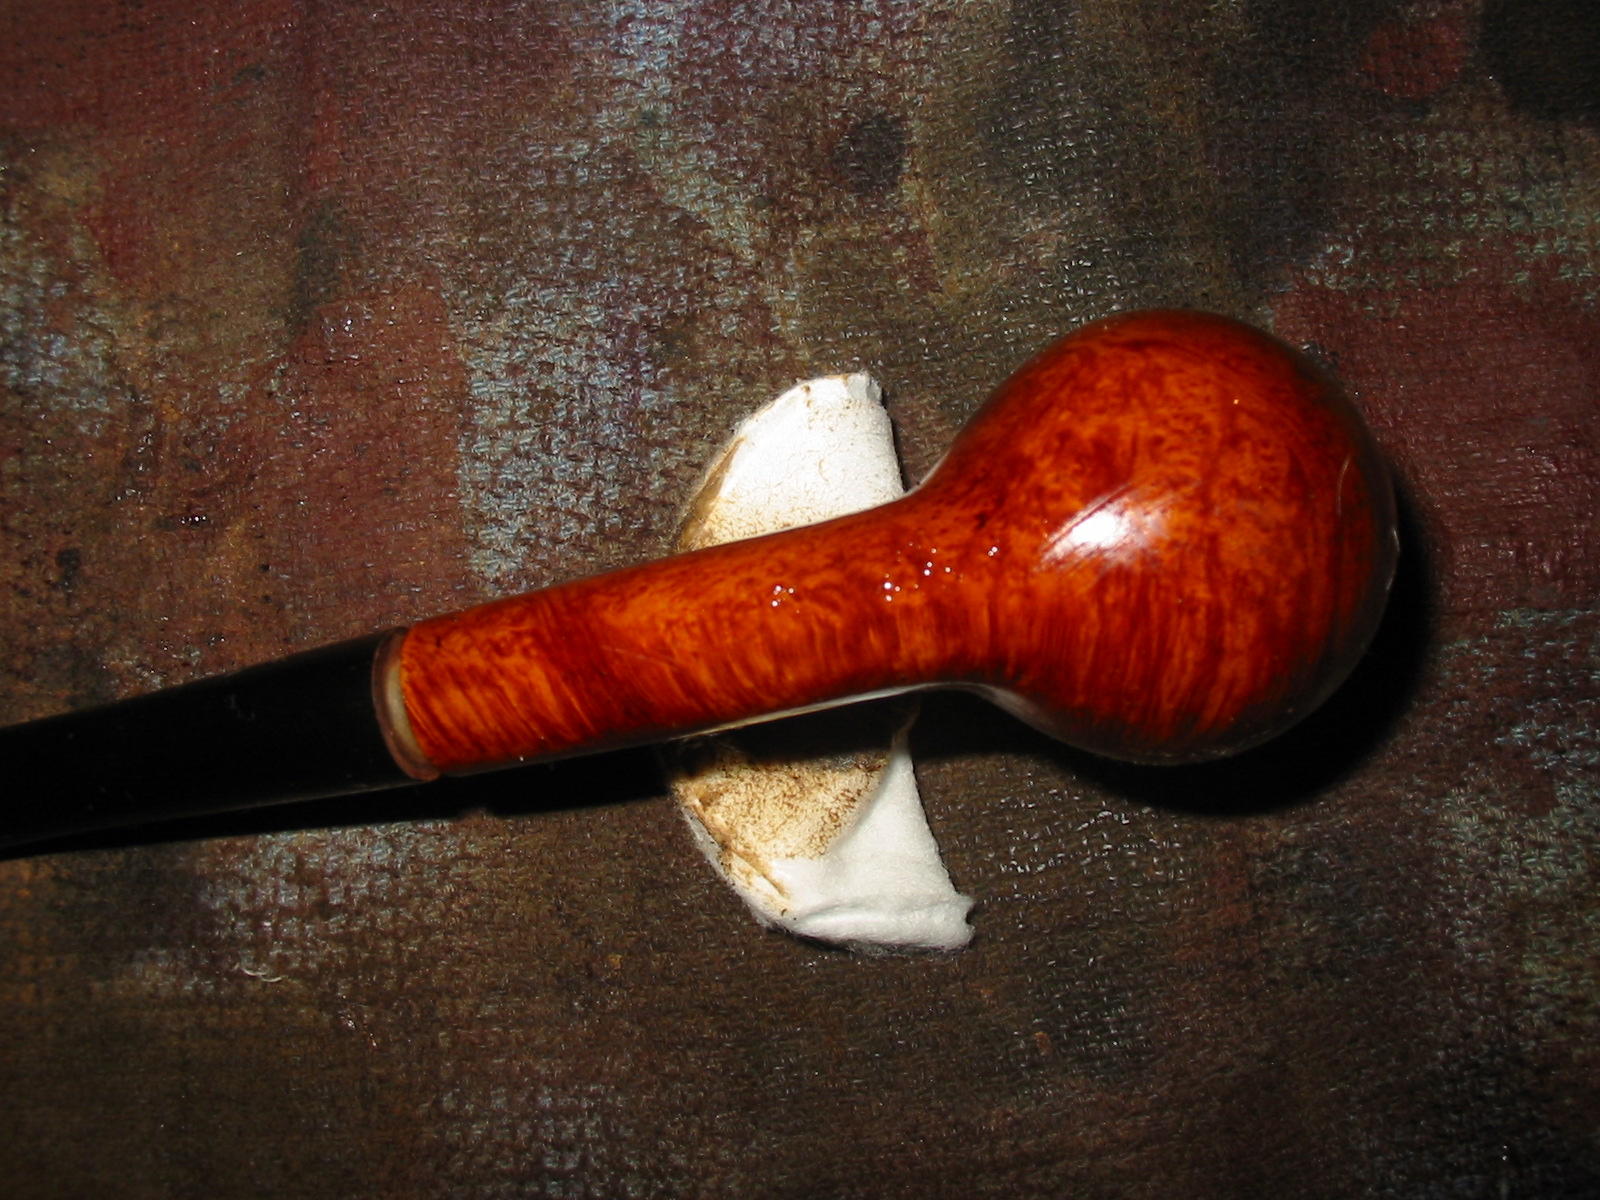
The first three photos below show what the pipe looked like when I brought it to the work table. The issues that I noted above are clearly visible from these photos. The stamping on the pipe is faint but readable on the left side. The number stamp on the right side is in better condition.

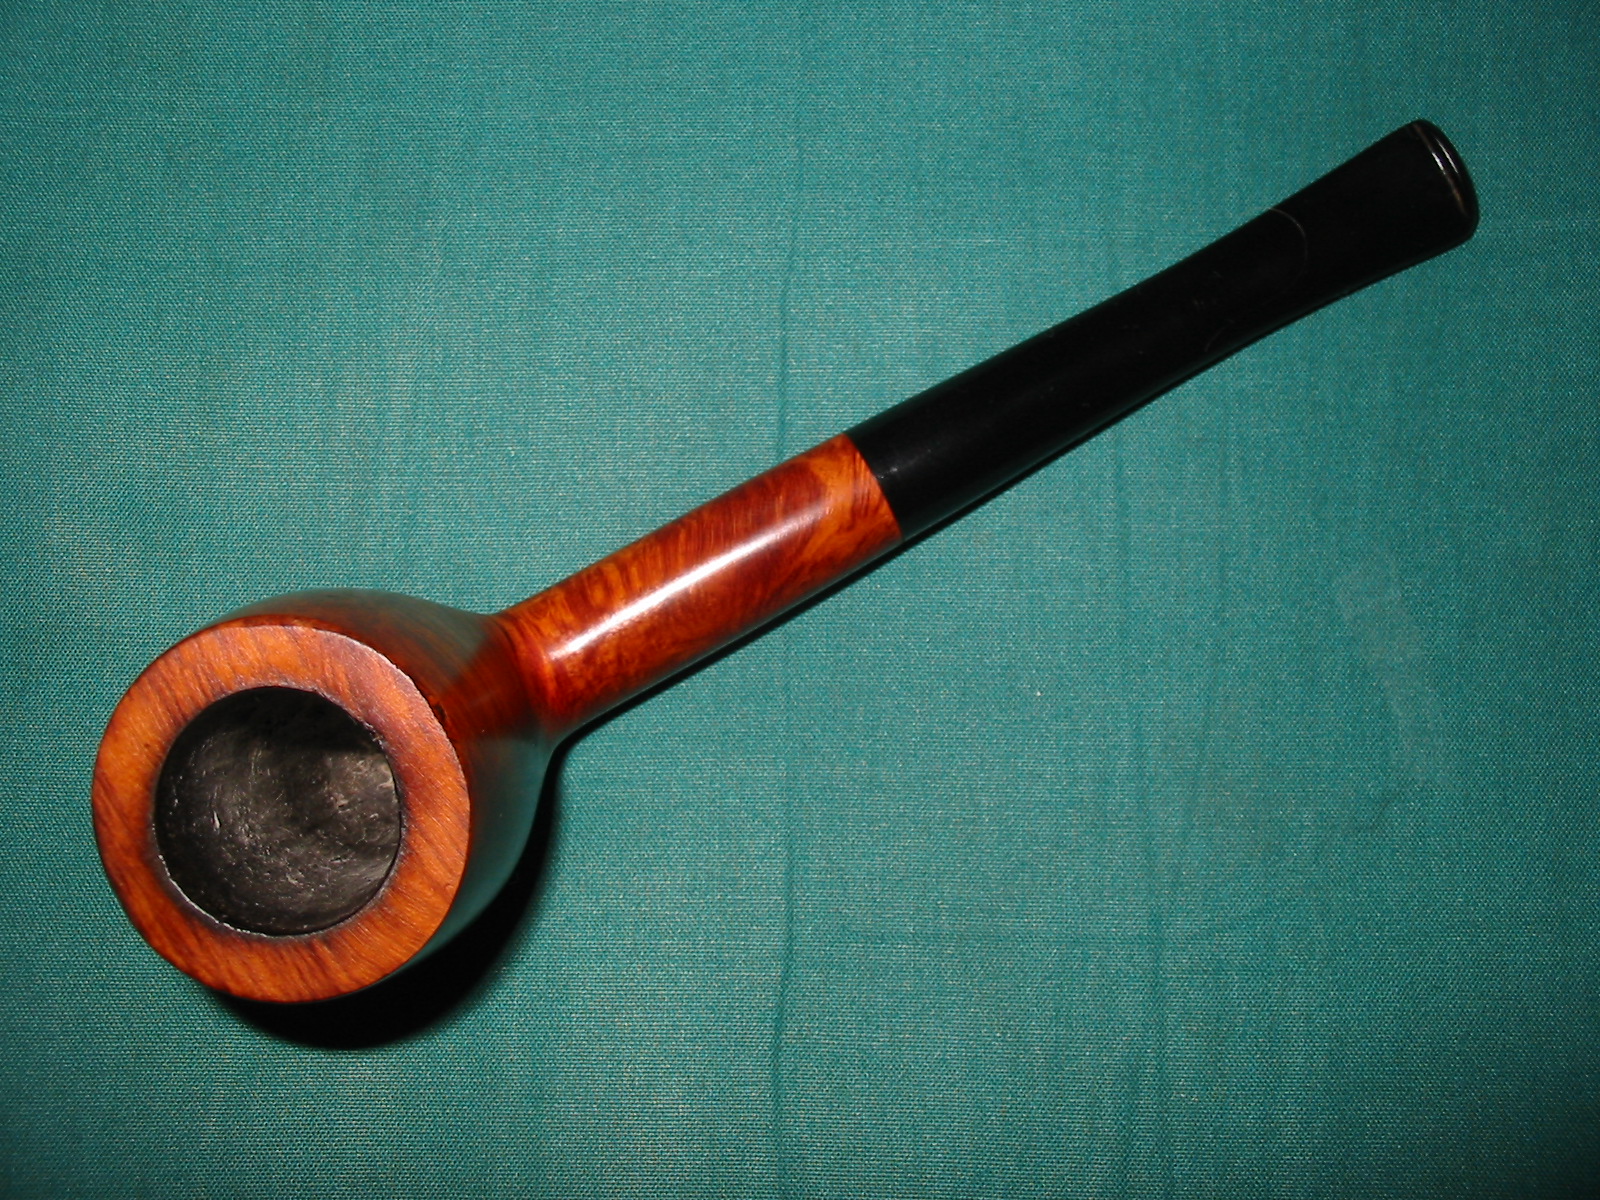
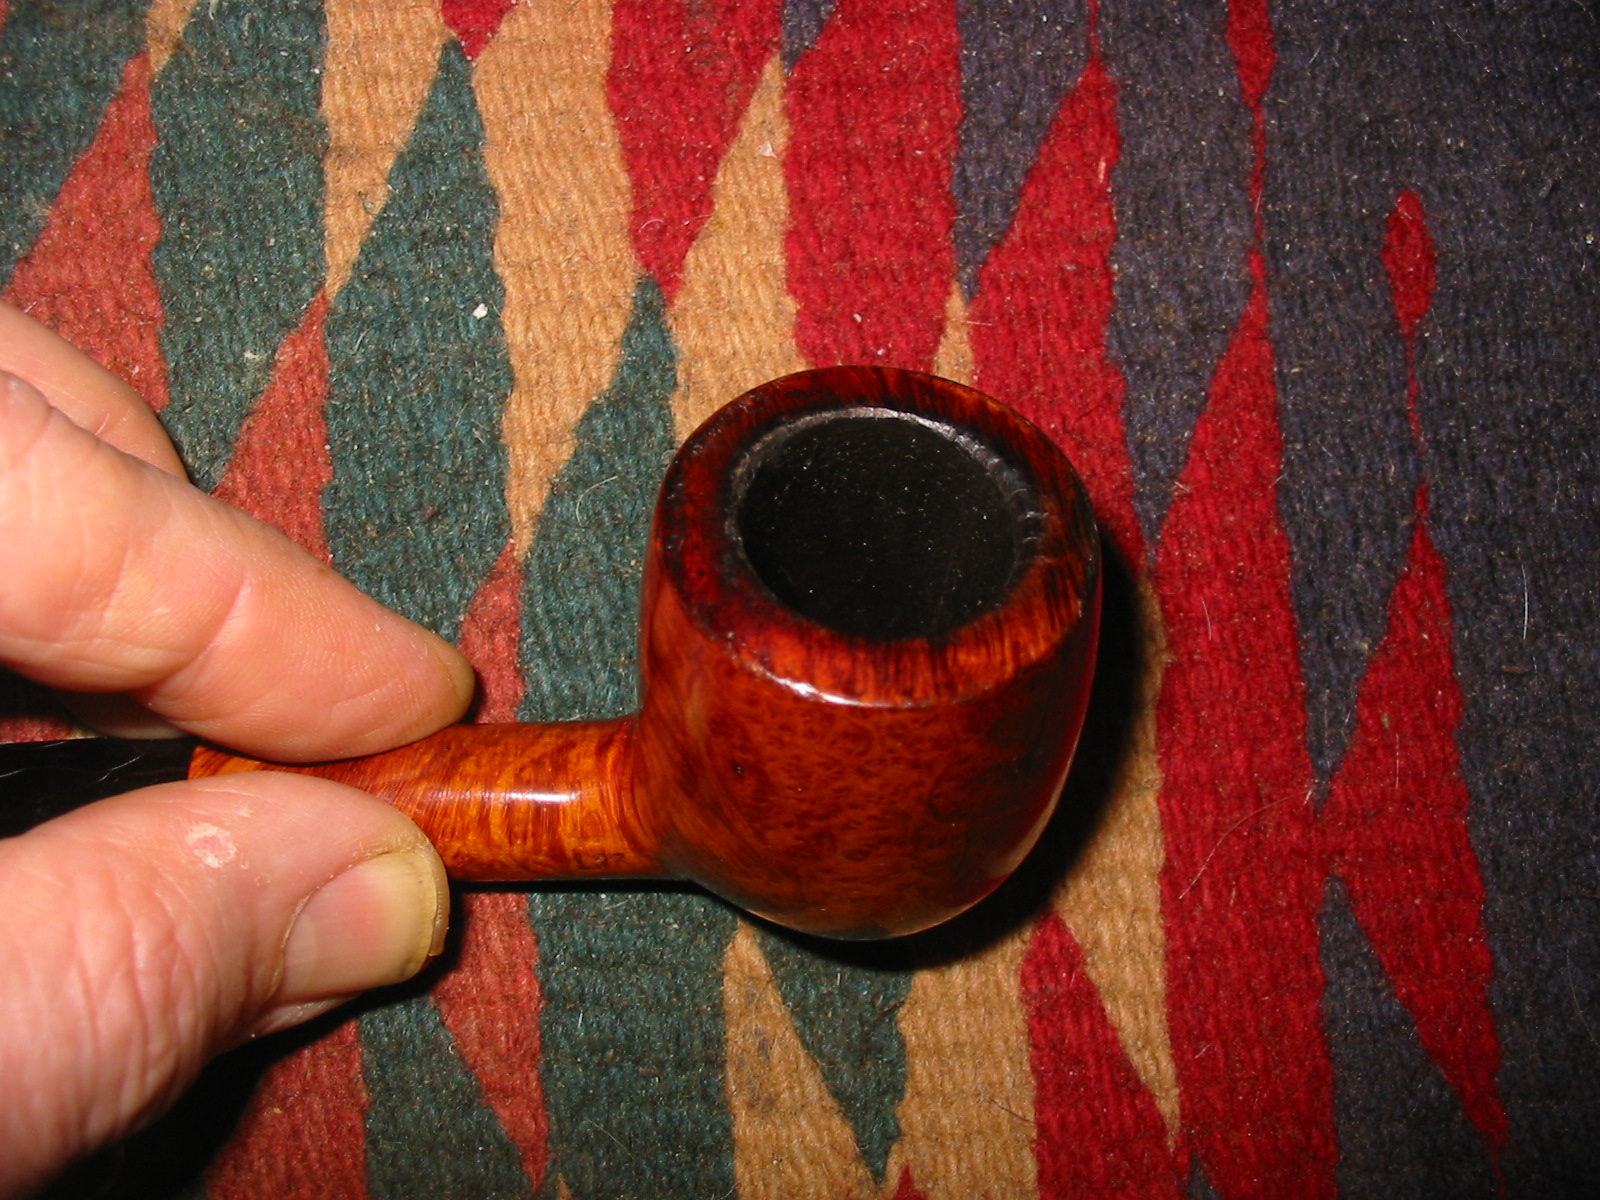
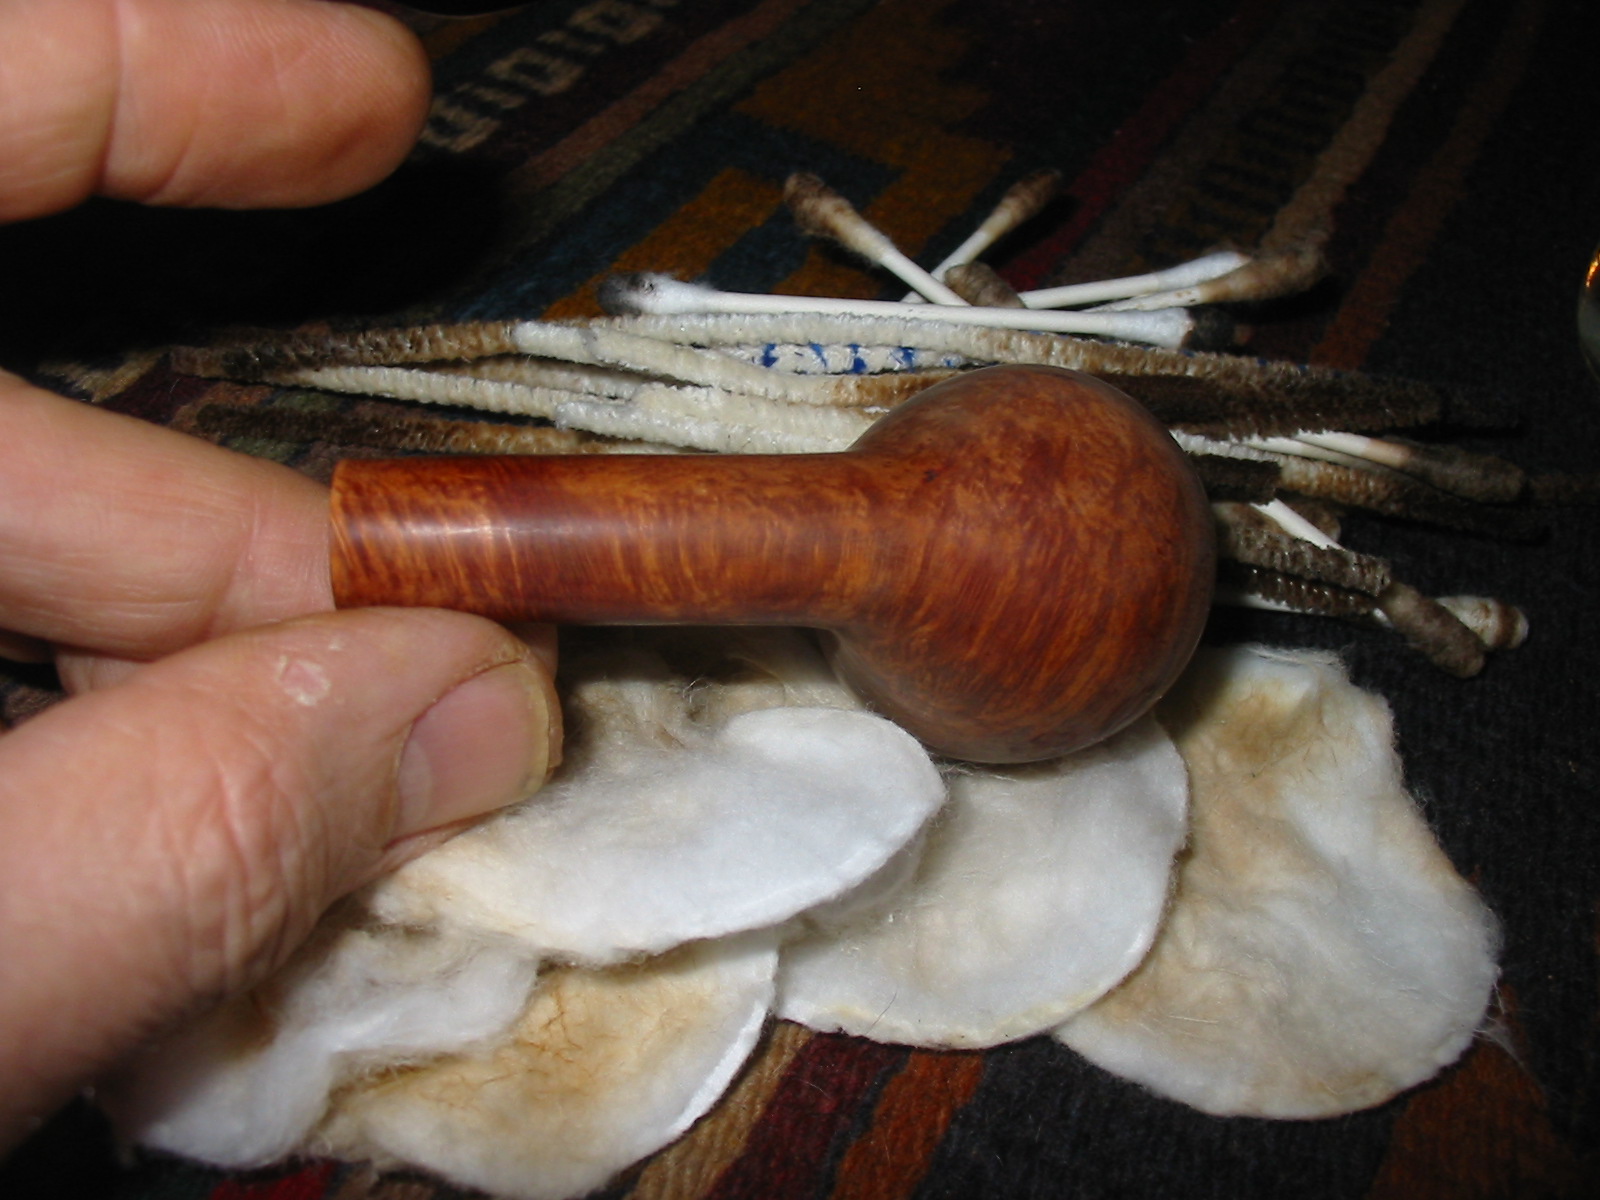
In the photo above the tars that were left on the rim before the varnish are visible by my thumb and also my forefinger. The bowl would need to be topped. I have included the next two close-up photos of the rim to show the condition it was in when I started the rework of this pipe and to explain why I was going to top the bowl. The inner edge of the rim had significant damage and showed signs of being hit against something to empty the bowl. The outer edge had similar damage and was badly pitted on the back and the front of the bowl.
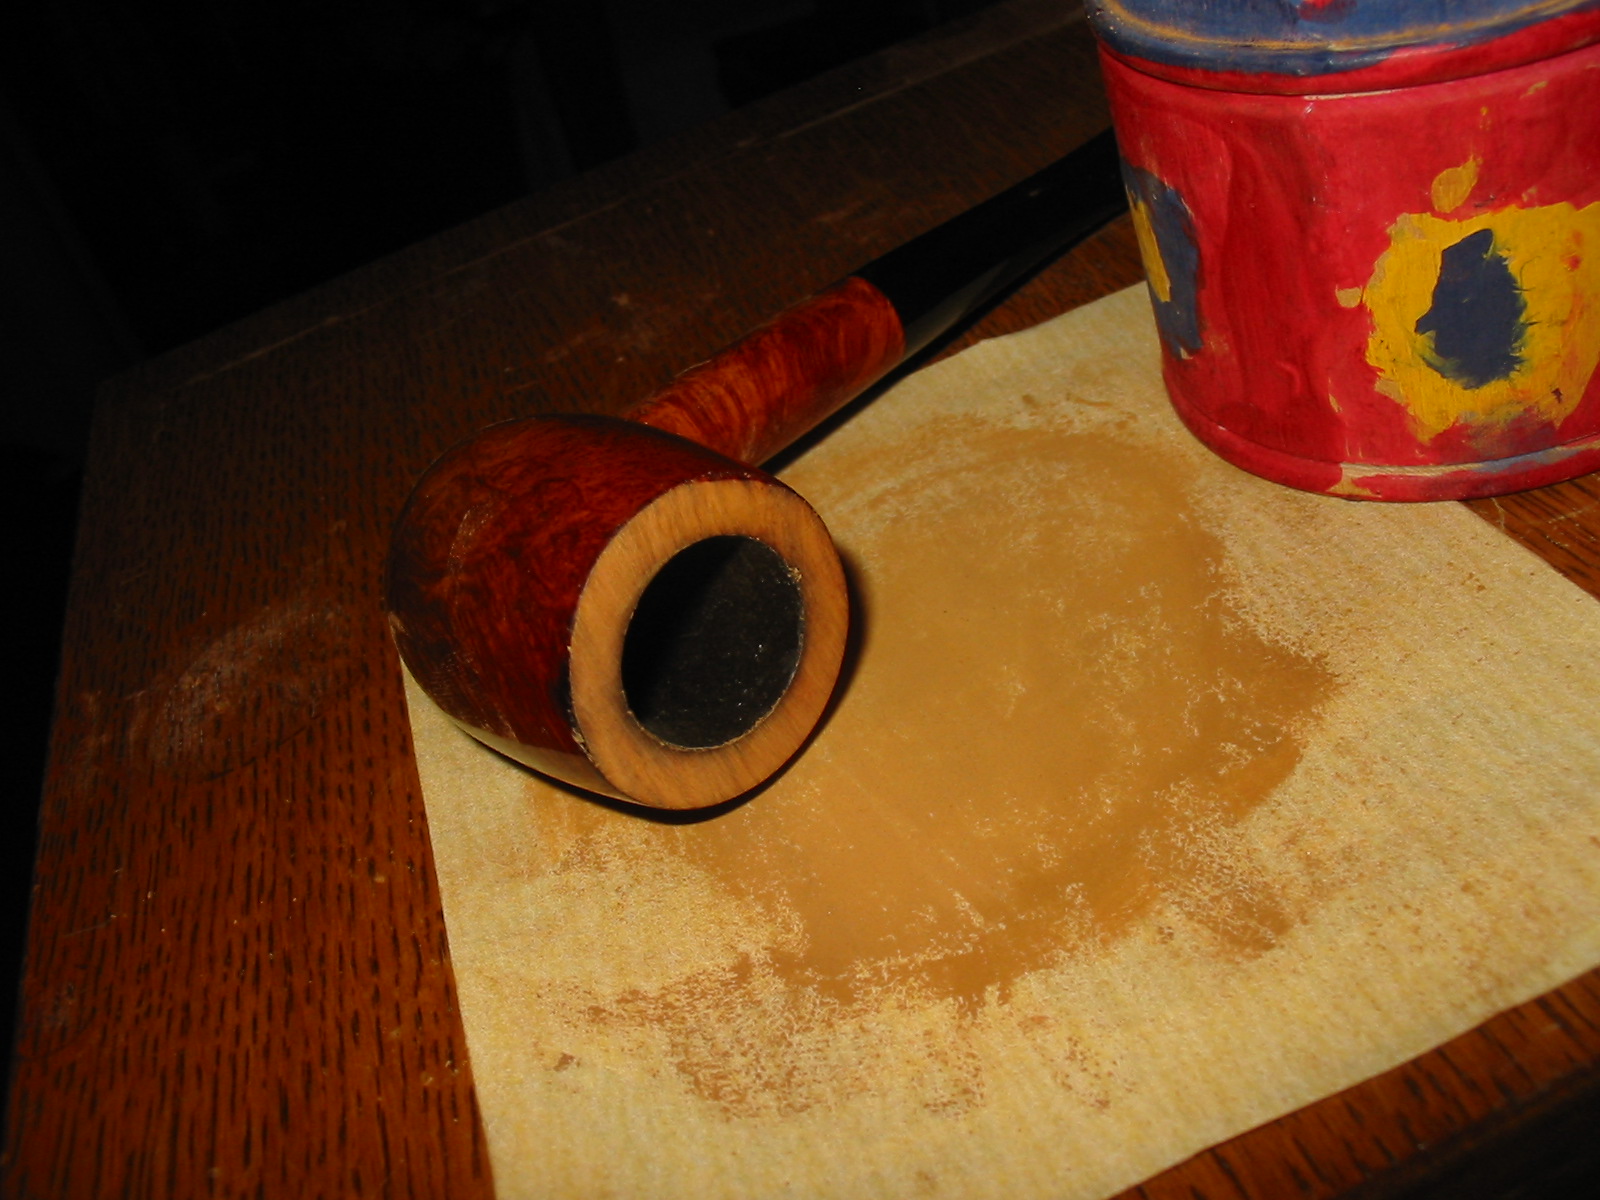
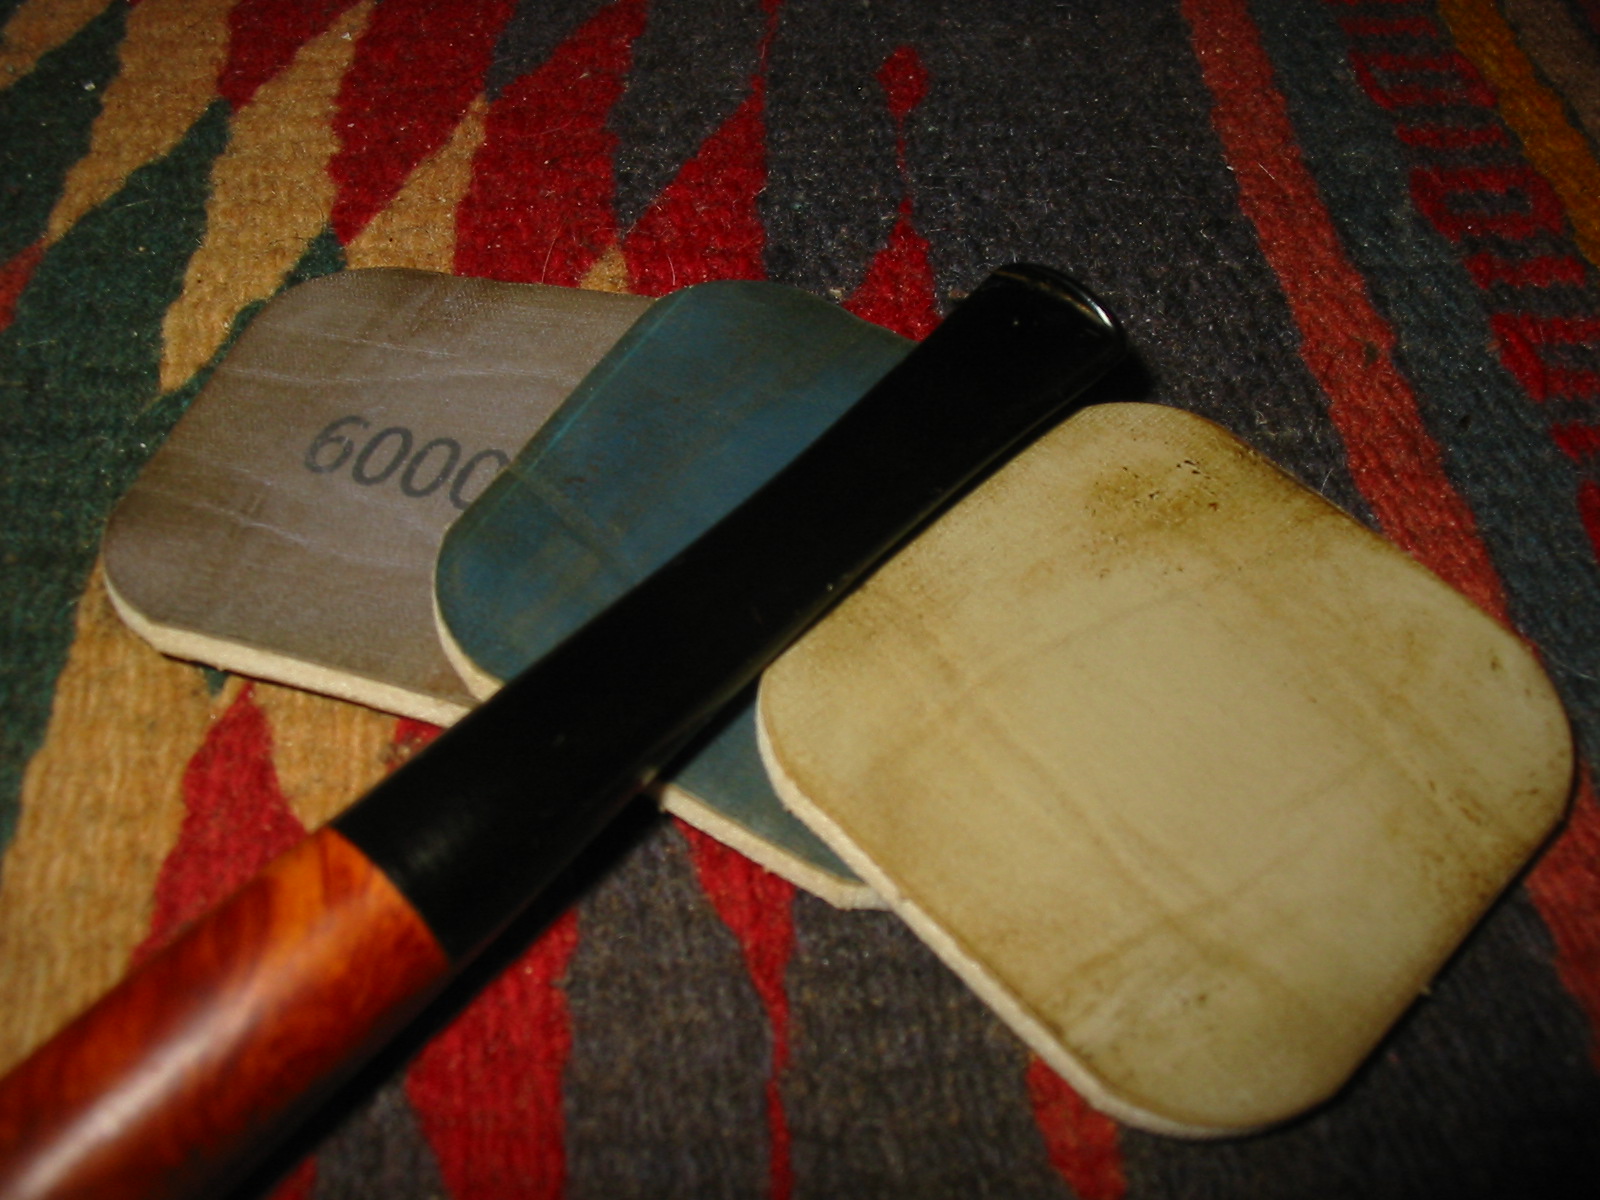
I set up the sandpaper on the flat board that I use for topping and topped the bowl until the rim and the edges were once again sharp and clean. I did not have to remove very much of the briar but what I removed took off the damaged outer edges of the rim and reduced the appearance of damage to the inner edge. I sanded around the inner edge with a folded piece of sandpaper to smooth out the inside. The newly topped bowl is visible in the second photo below.
I used a lot of pipe cleaners and cotton swabs to remove the black tars and oils that had not been cleaned out for quite a while. This is only the second pipe that I have cleaned up that came from this chap and I have to say I am not impressed at this point. These were sold in a shop as estates that had been refurbished and were ready to smoke. I wiped down the bowl with acetone on cotton pads to remove the varnish coat before I restained the bowl. I used a black permanent marker to carry the grain lines through the two fills on the left side of the bowl. The briar was actually quite nice under the varnish coat.
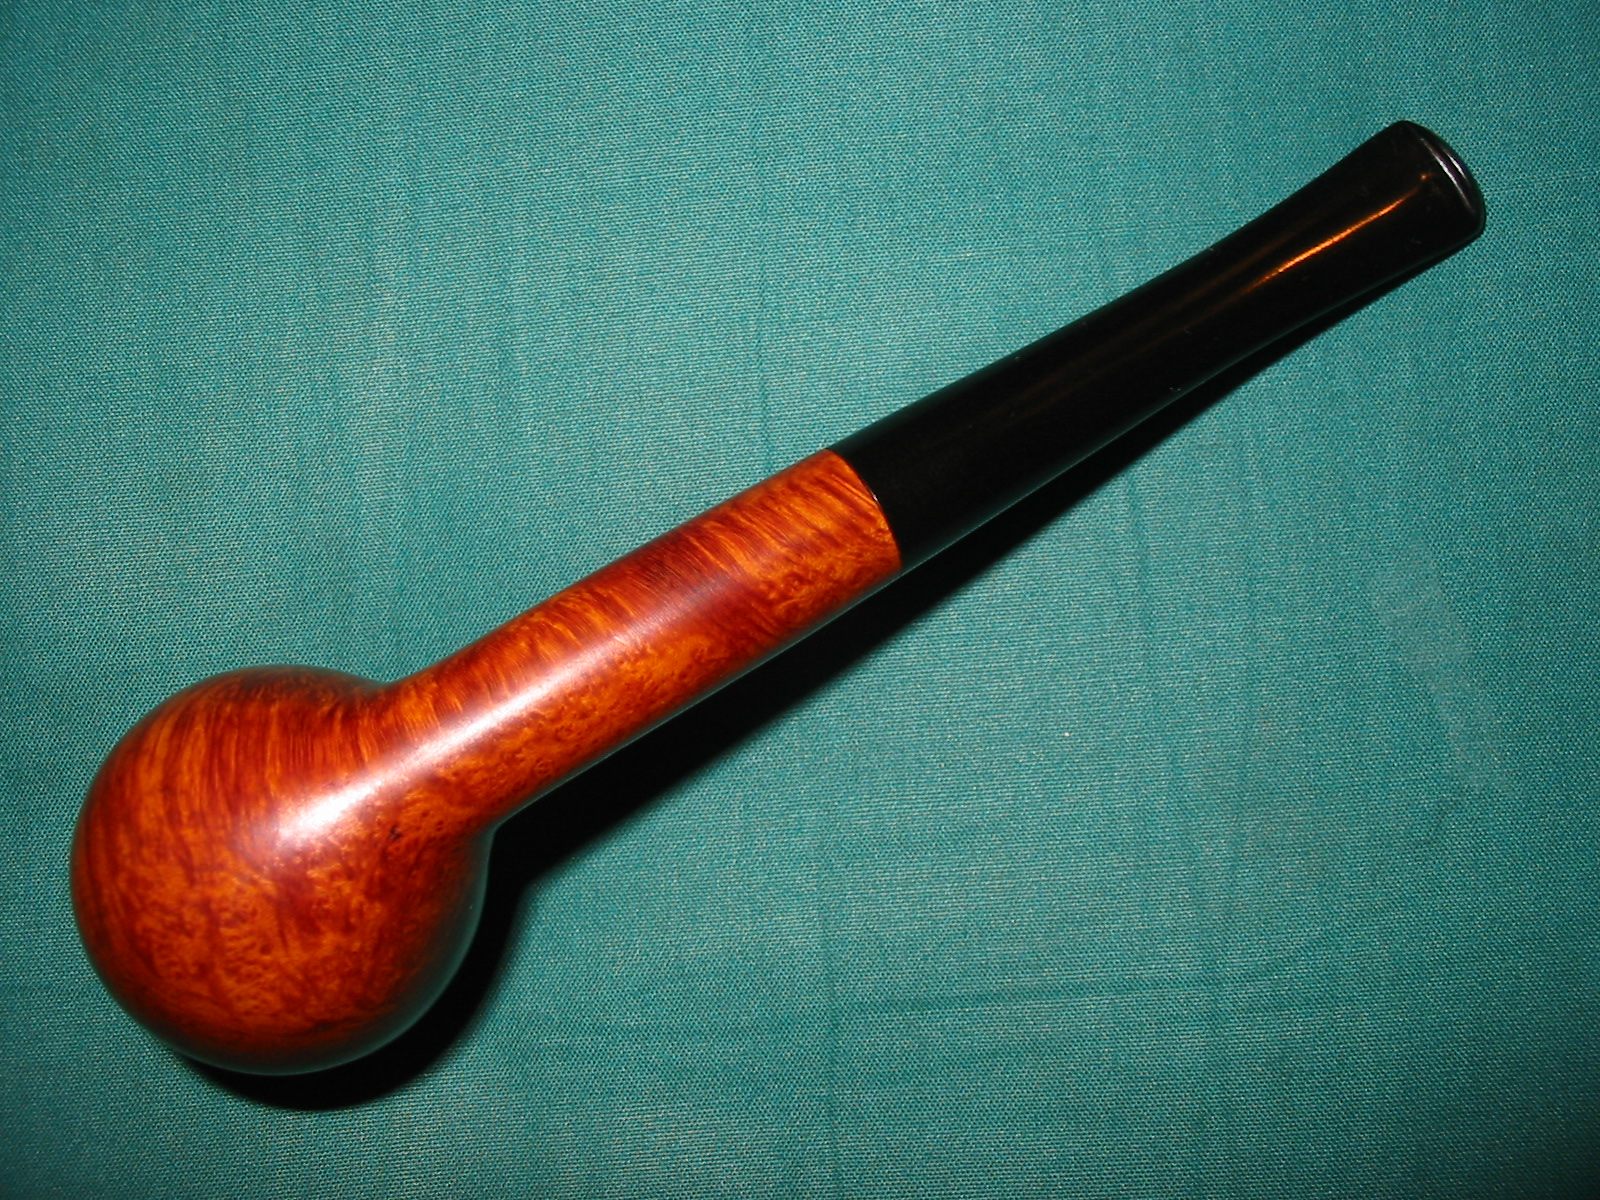
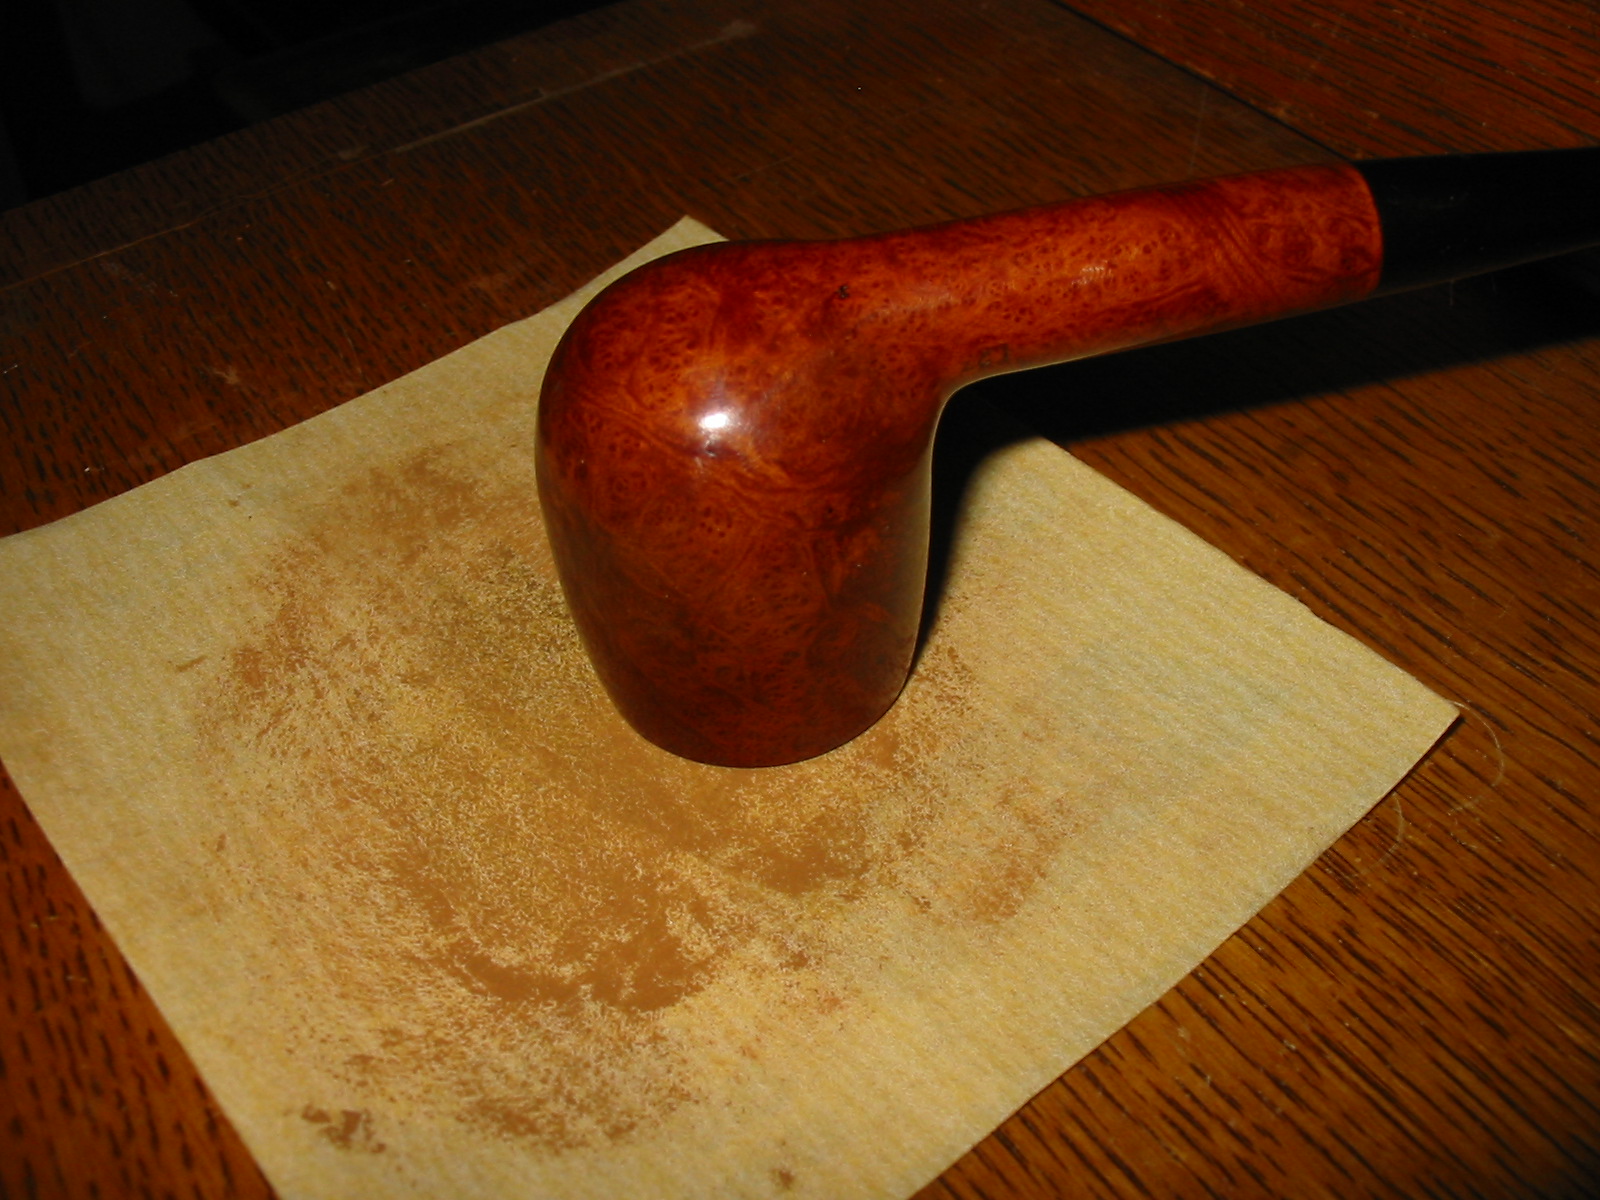
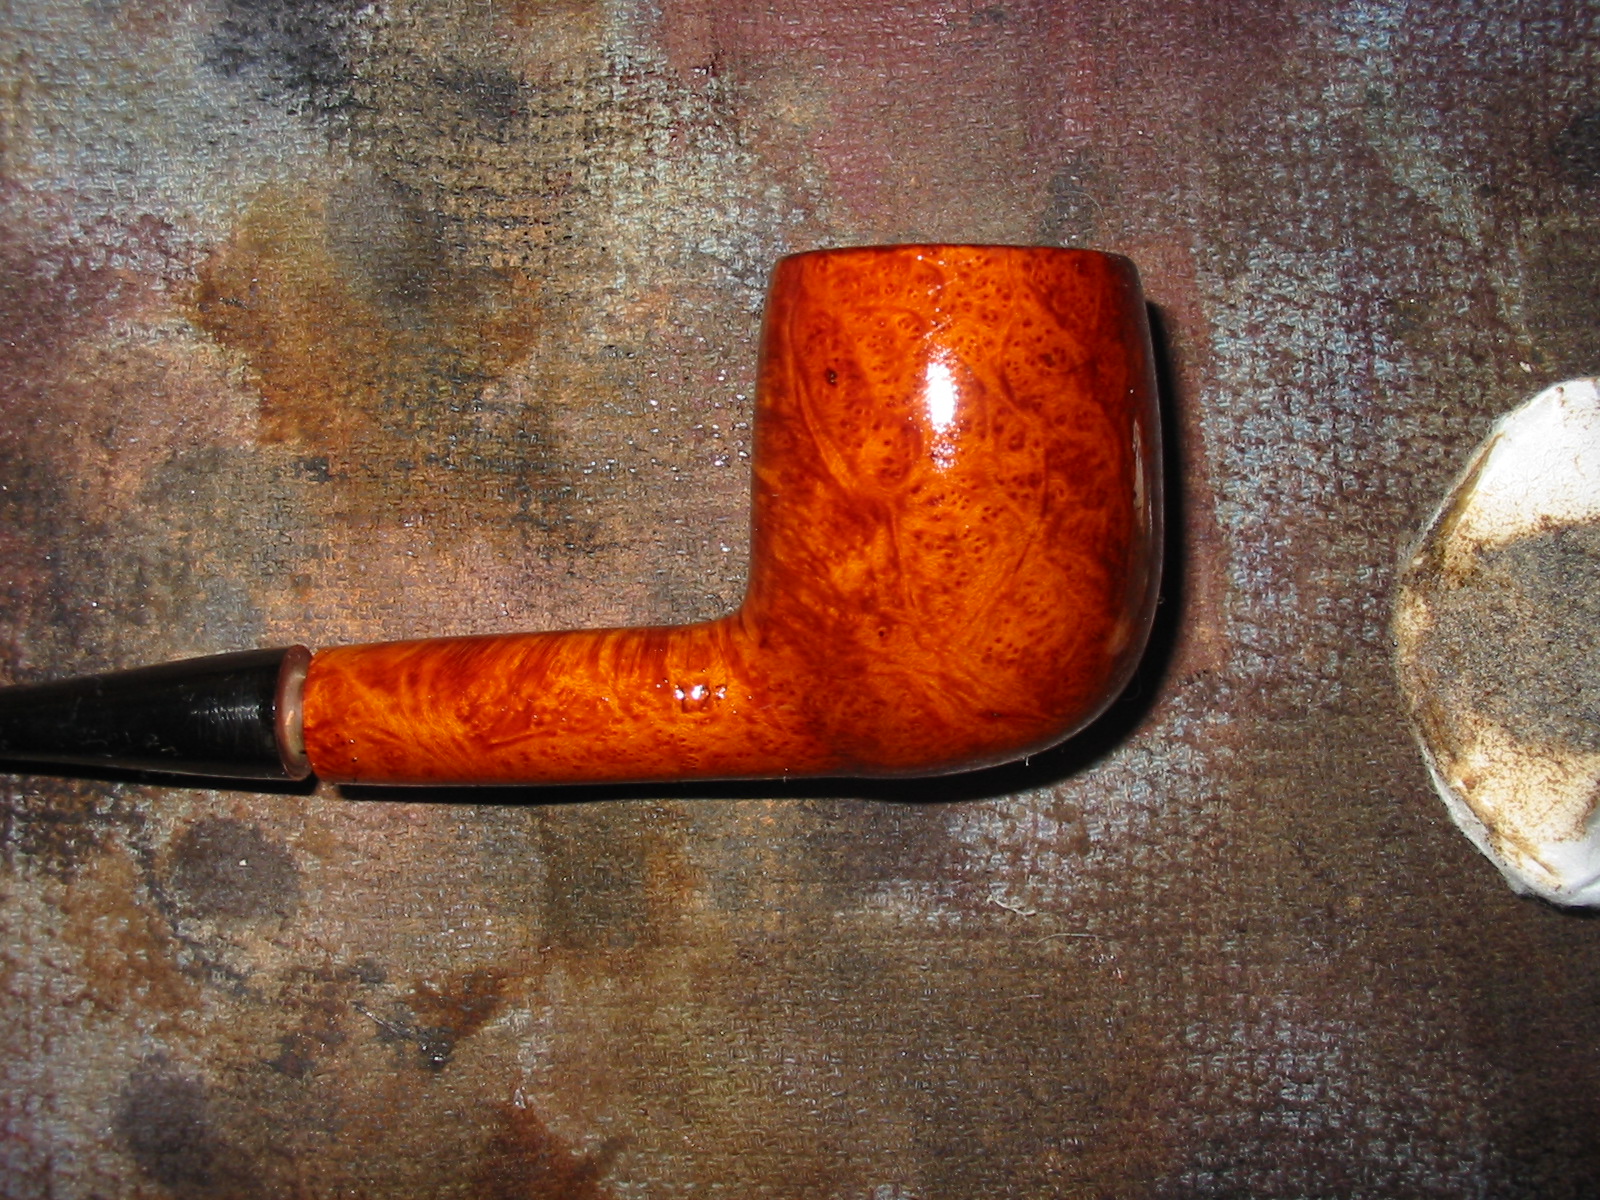
I wiped the bowl down a final time with acetone and then gave it a coat of MinWax Medium Walnut stain. I rubbed it into the bowl and then wiped it off with a soft cotton towel. It really brought the grain to life on this old pipe.

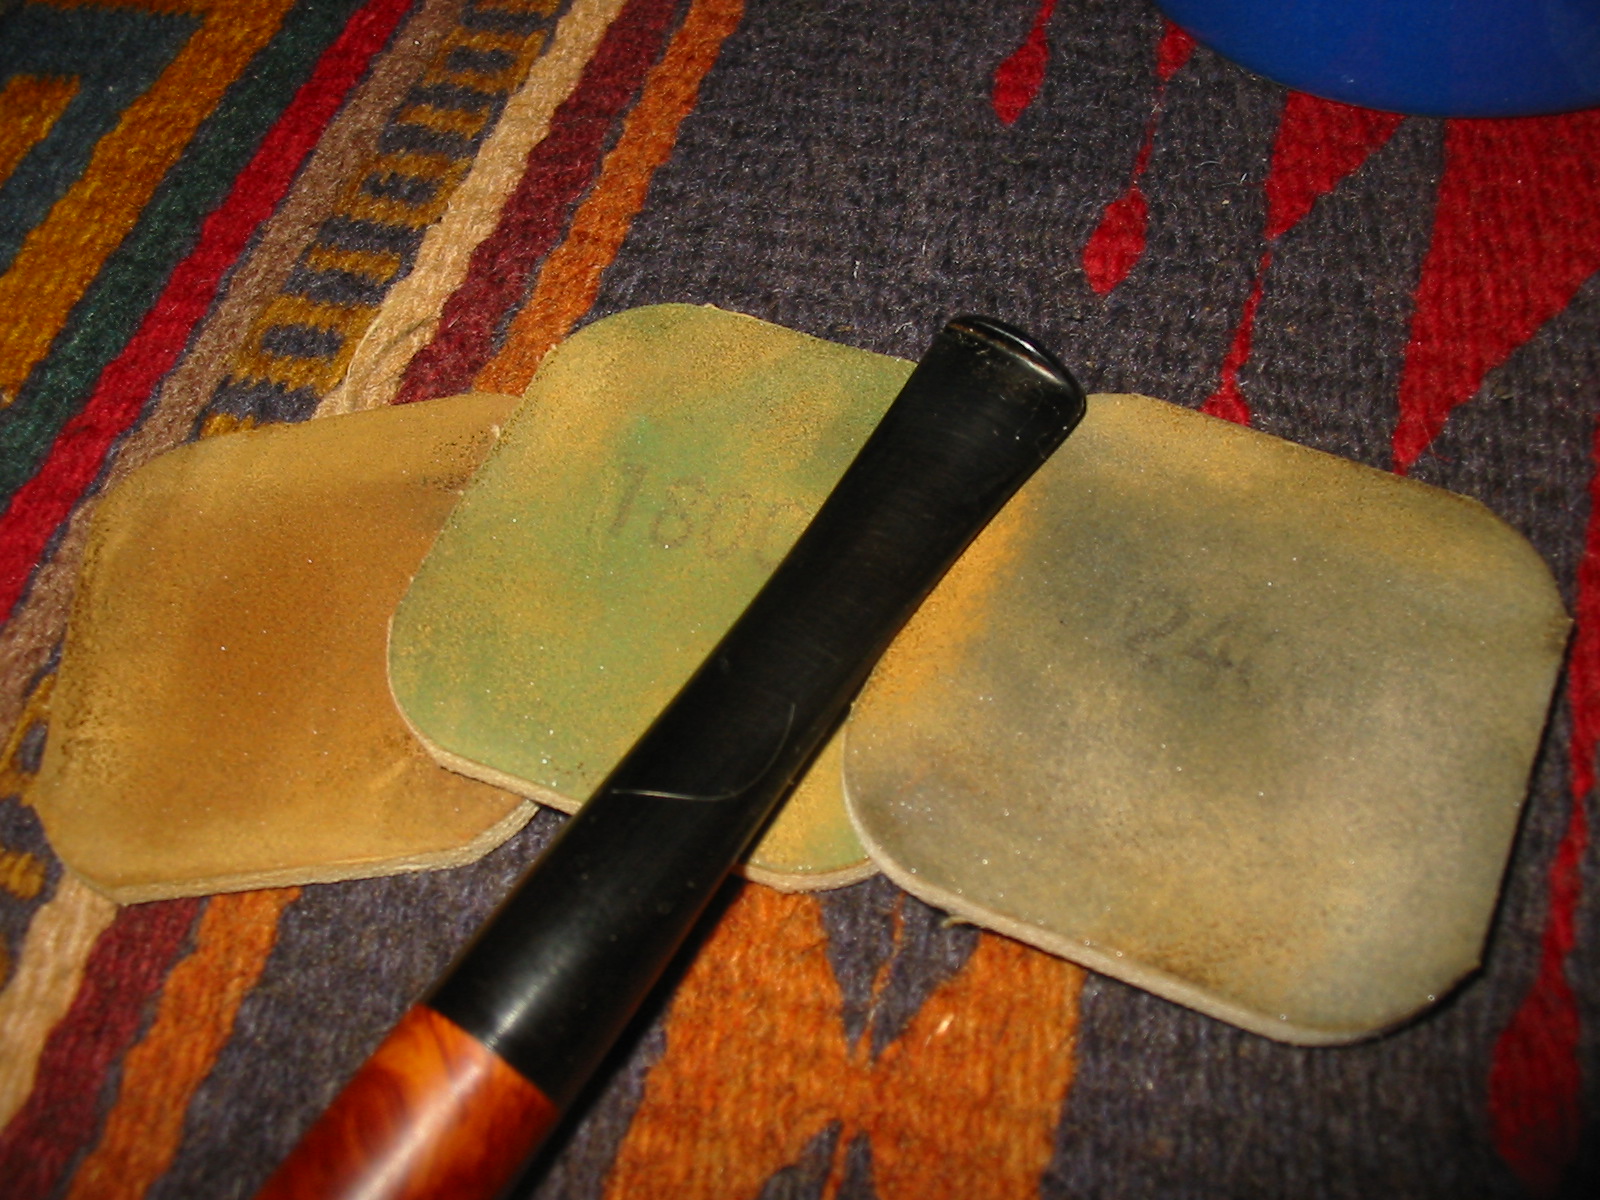
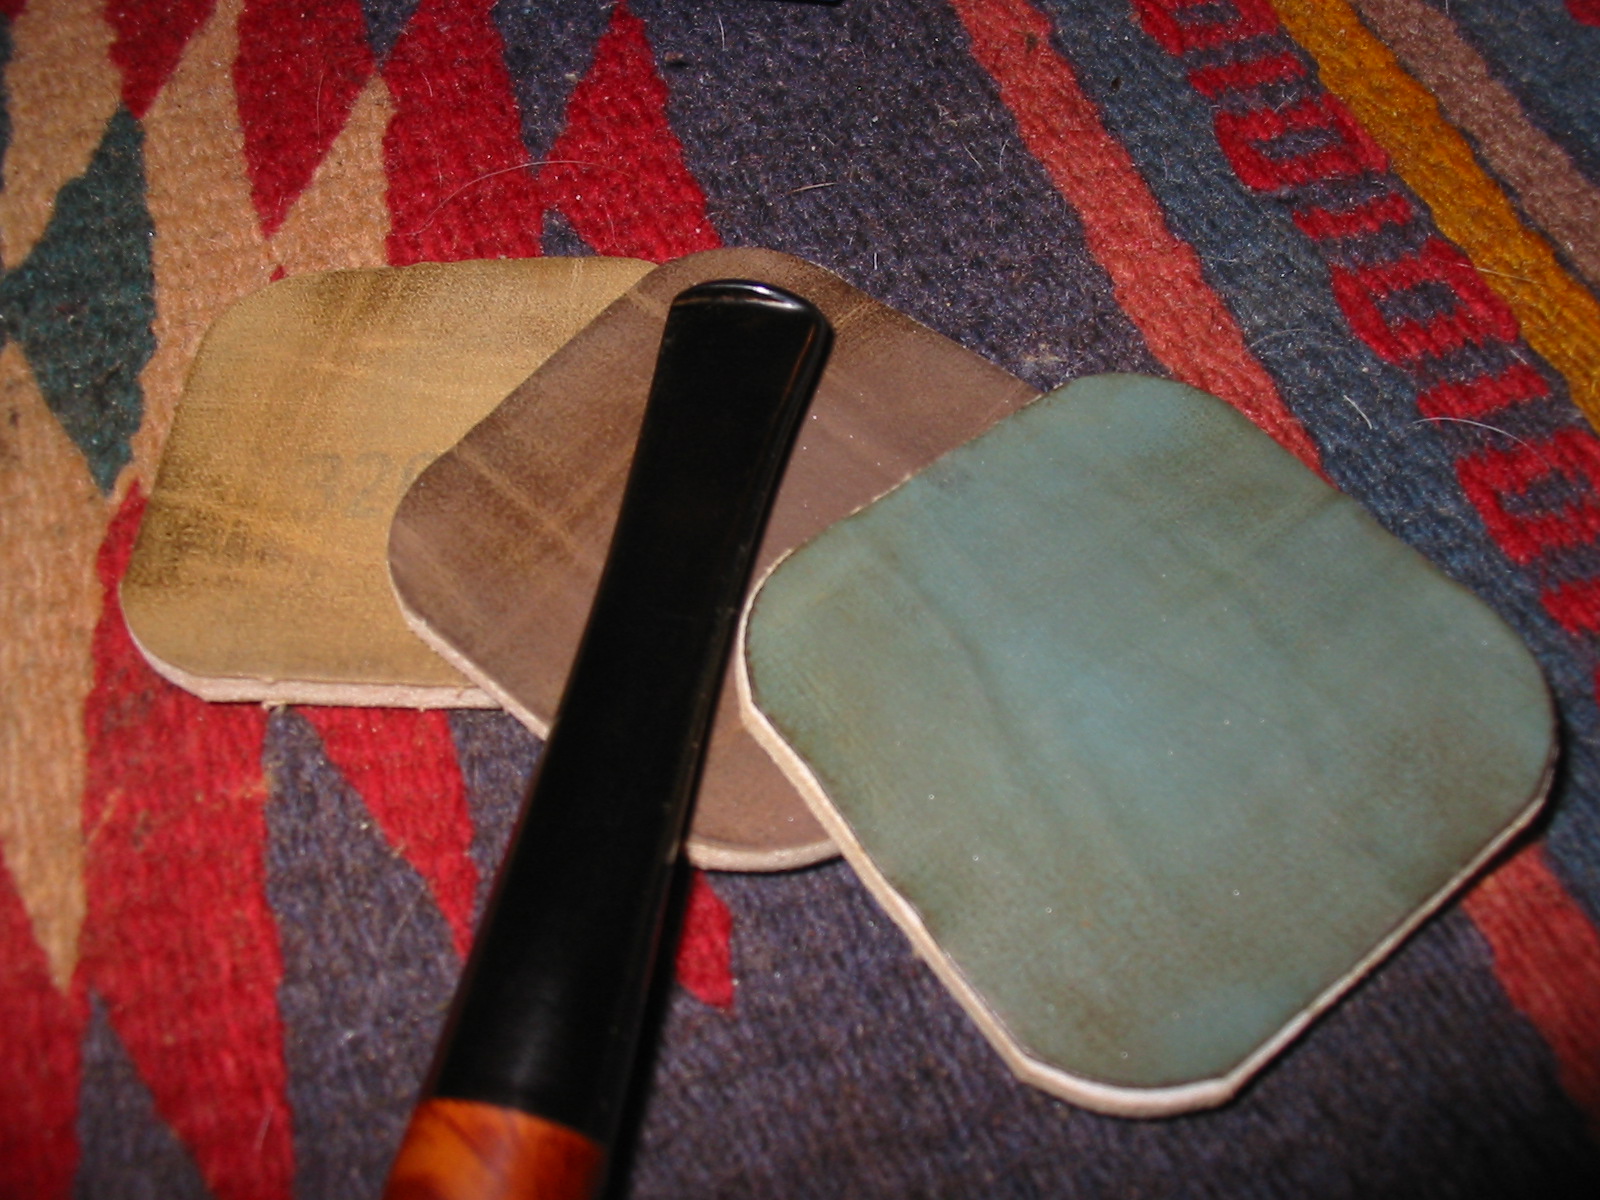
The stem had scratches from the sandpaper that had been used on it previously and a slight bit of tooth chatter near the button that had been buffed over. I sanded it with a medium grit sanding sponge and then with the usual array of micromesh sanding pads – wet sanding with the 1500-2400 grit pads and dry sanding with 3200-12,000 grit pads. I took the pipe and stem to the buffer and buffed the entirety with White Diamond, being careful around the faint stamping on the left side of the shank. I rubbed the stem down with Obsidian Oil and hand buffed it when it was dry.
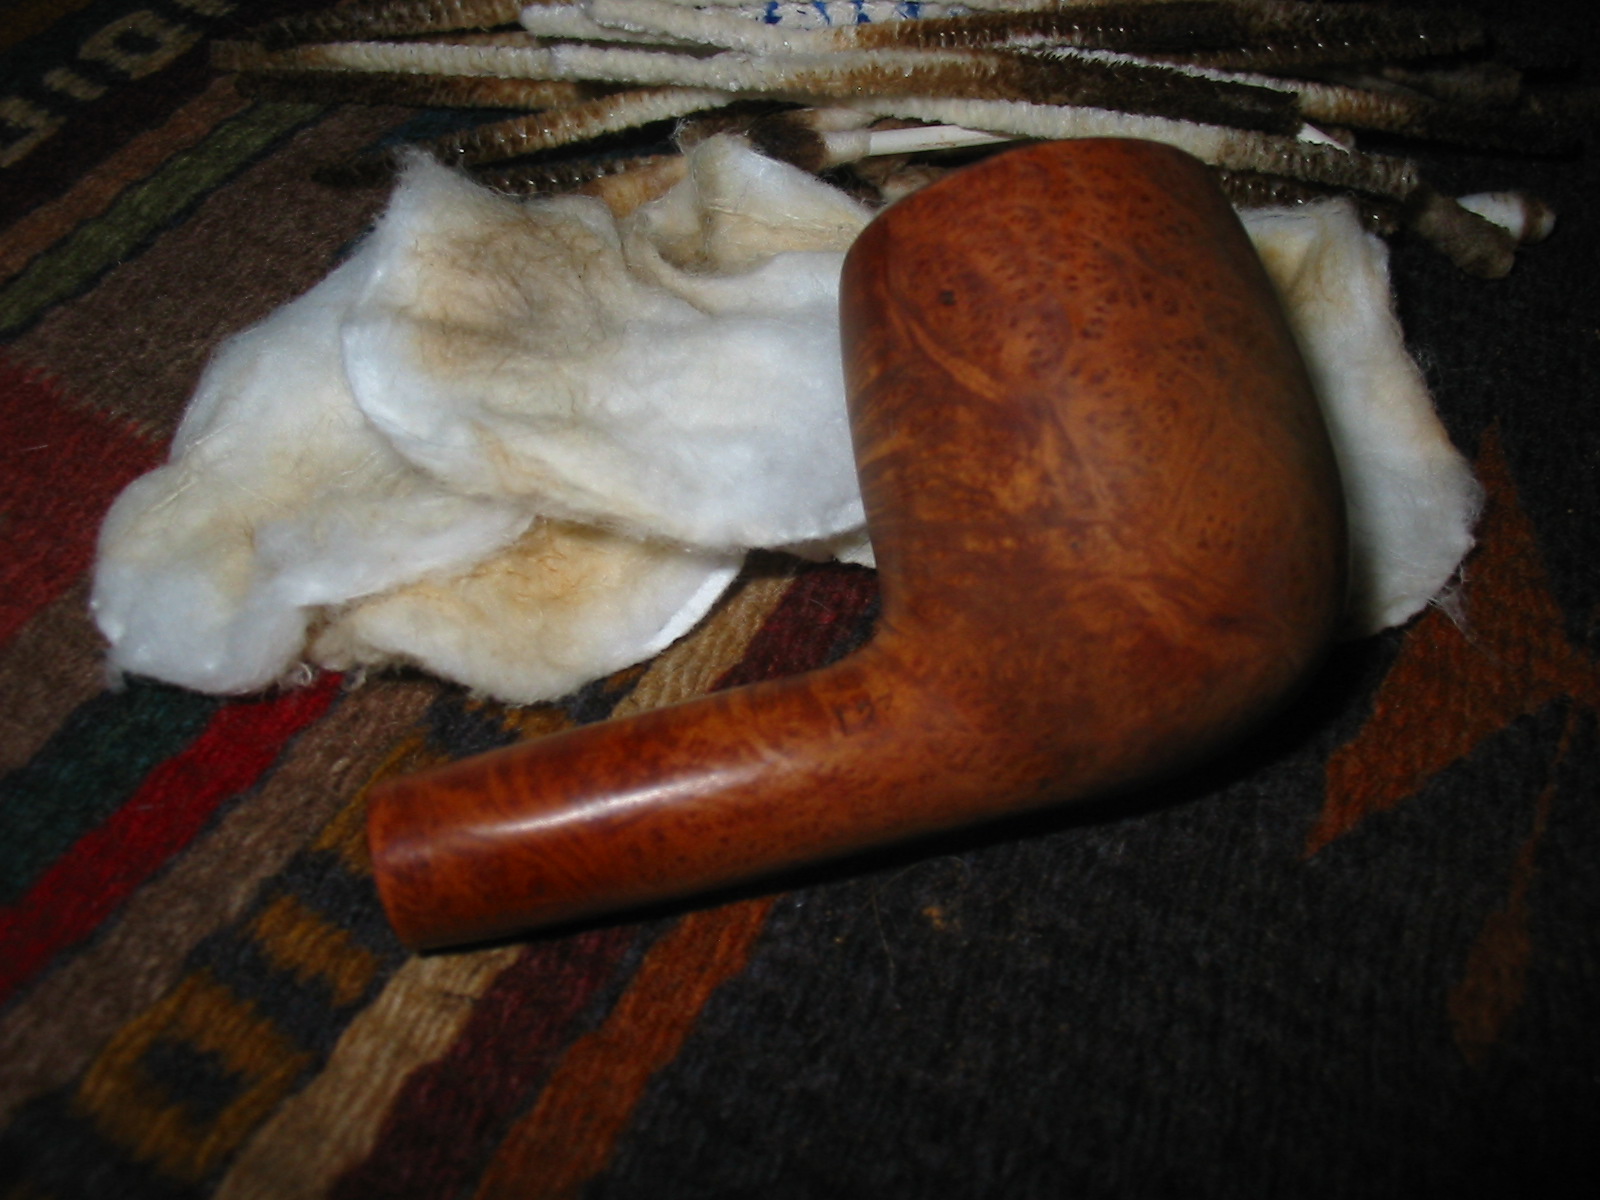
I buffed the finished pipe with White Diamond and then gave it multiple coats of carnauba wax. I finished buffing with a clean flannel buff to give the pipe a shine. The photos below show the reworked pipe, cleaned and ready for its inaugural bowl.