by Steve Laug
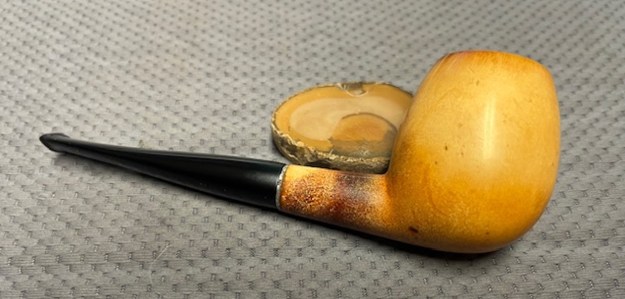
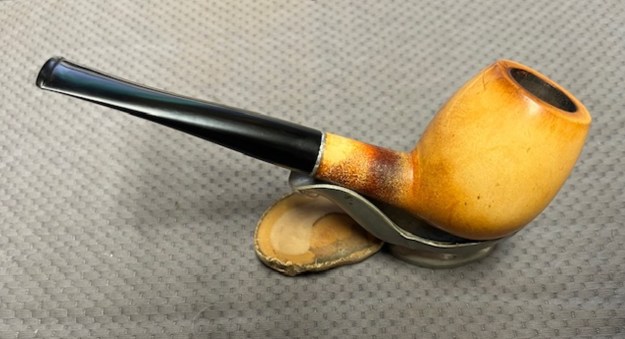
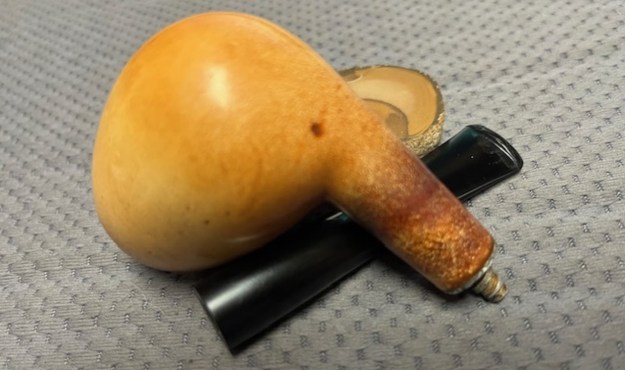
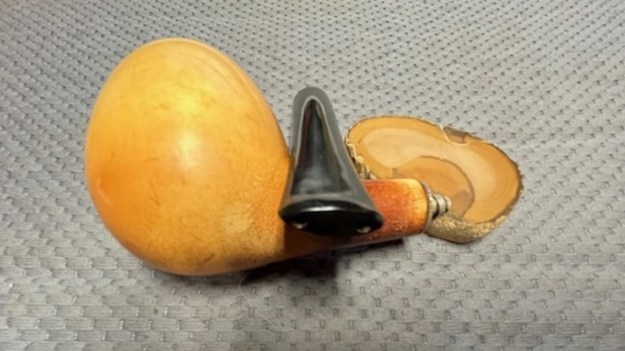
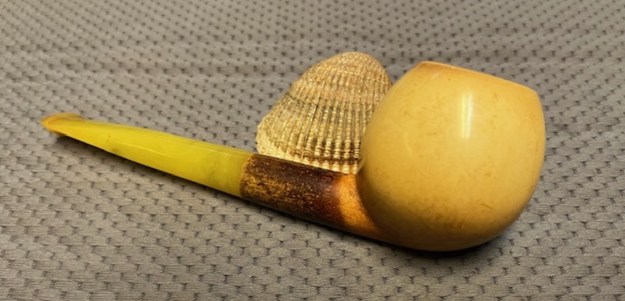
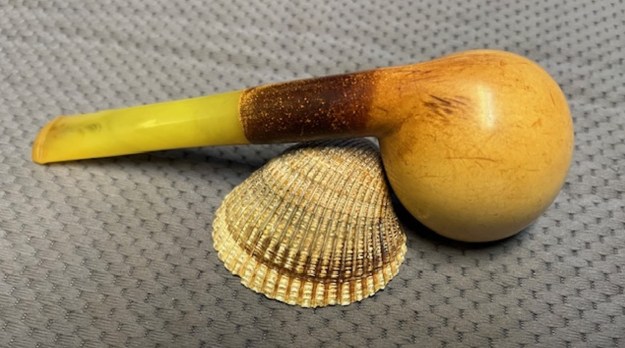
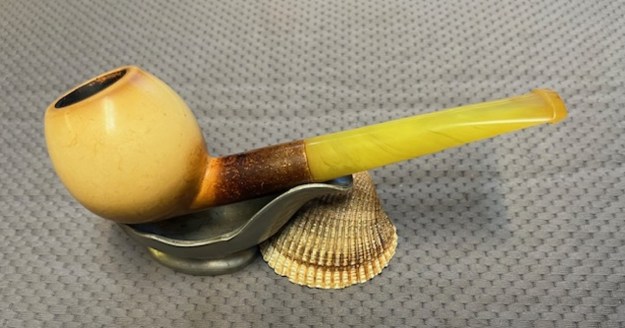
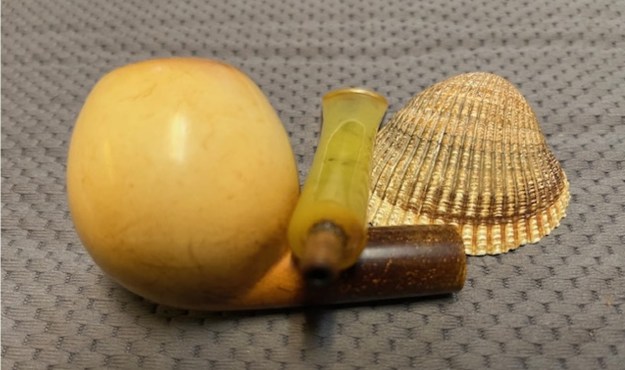
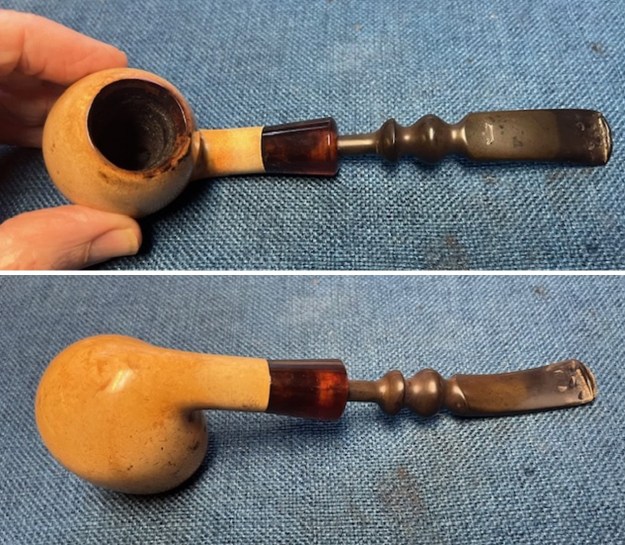
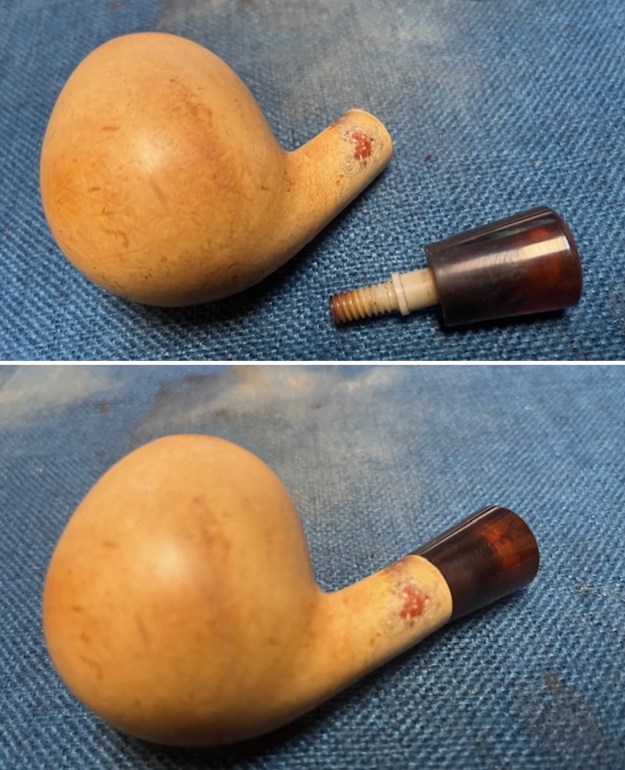
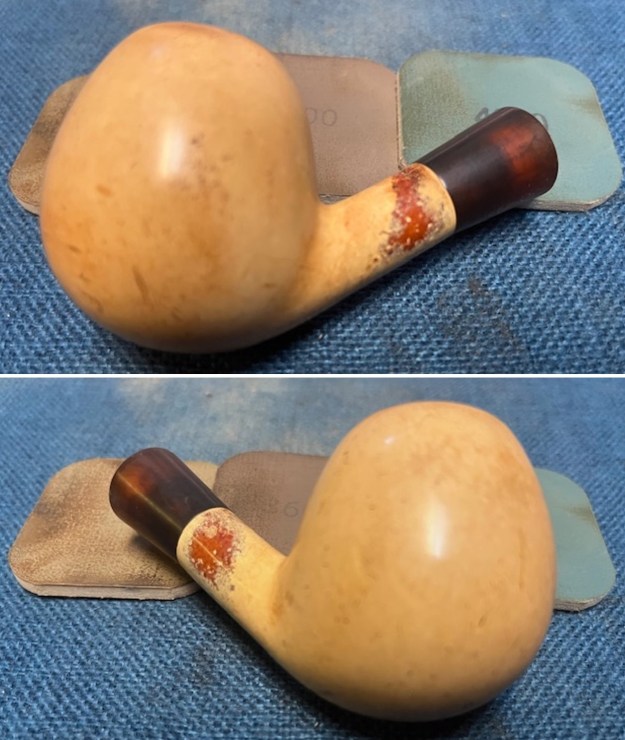
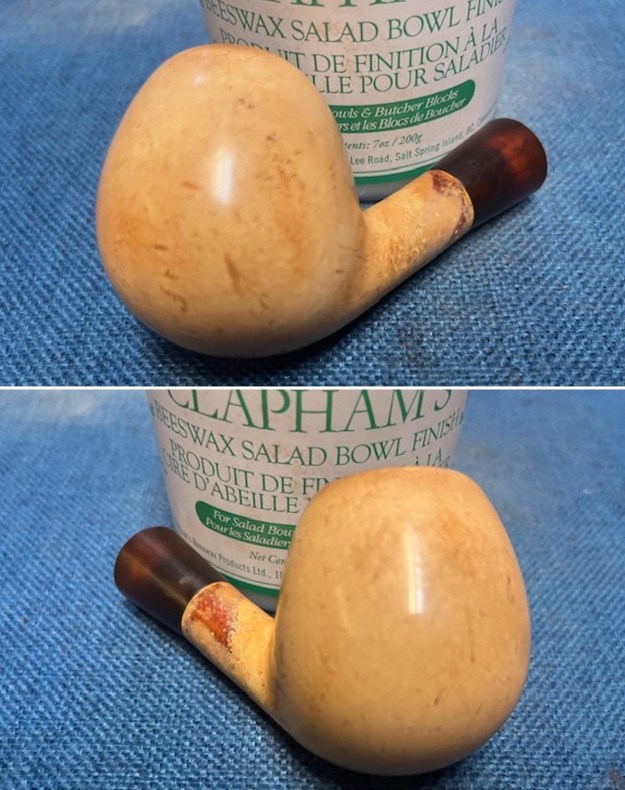
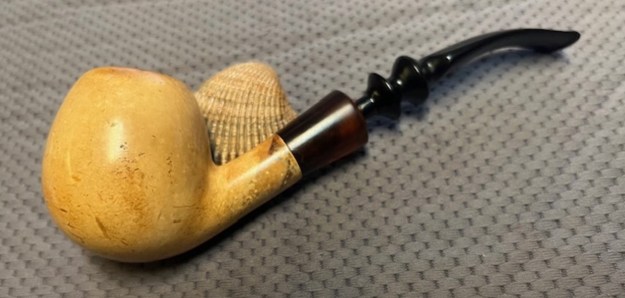
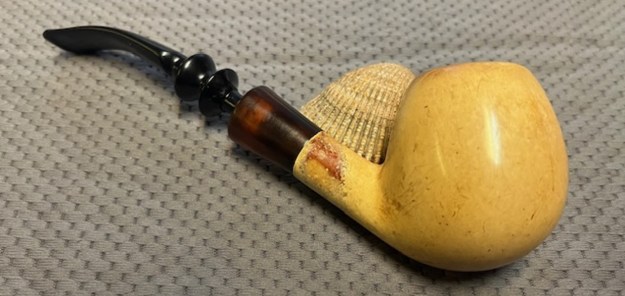
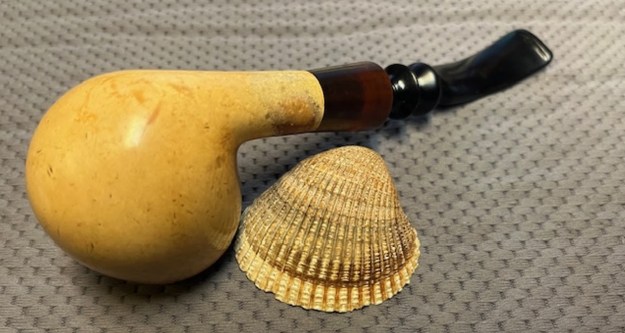
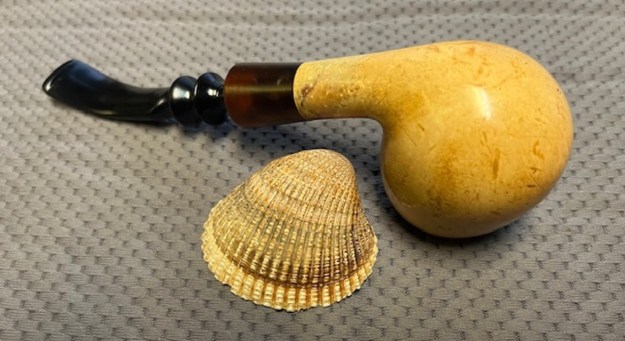
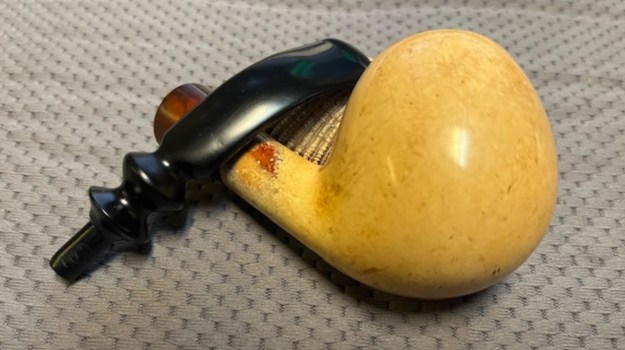
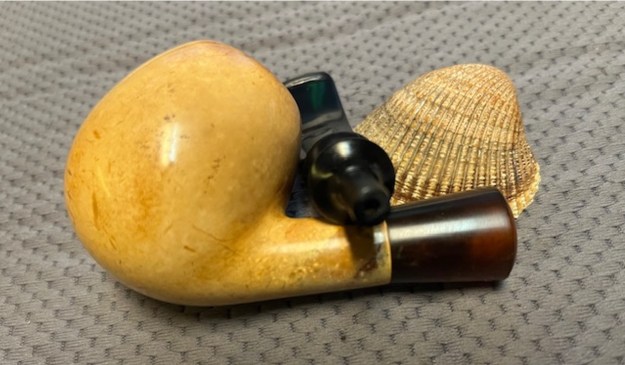
This afternoon I decided to work on another pipe that I no longer know where or when we purchased it. I have a large box of Meerschaum pipes that is sitting in my storage that I need to clean up and restore. I have honestly avoided them for years but now was the time to start my work on some of them. The one I chose was a ball or apple shaped smooth meerschaum with a Twin Bore vulcanite stem. It is a beautifully shaped meer with light scratches from its journey and some nice patina developing around the shank and sides. The meer is dirty from use with a thick cake in the bowl and an overflow of lava on the inner edge and rim top. The stem fit well against the shank end and had a threaded tenon in the shank that aligned with properly with the stem in place. The tenon was a Kaywoodie type threaded one without a stinger and was oxidized and pitted. There were no identifying logos on the bowl or shank. I took photos of the pipe before I started my clean up work on it. 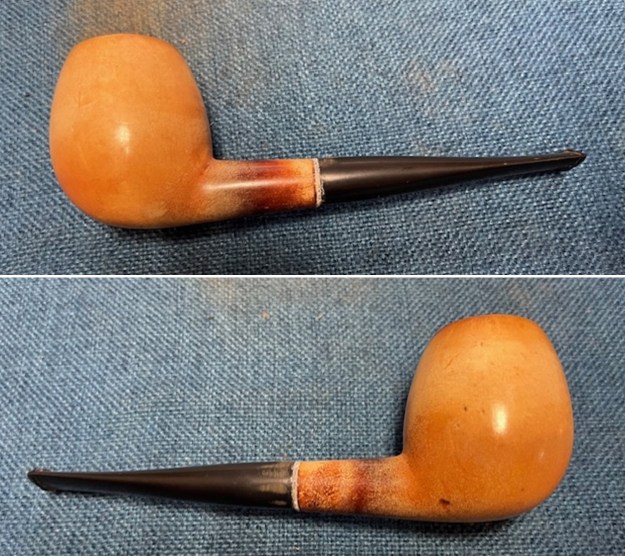
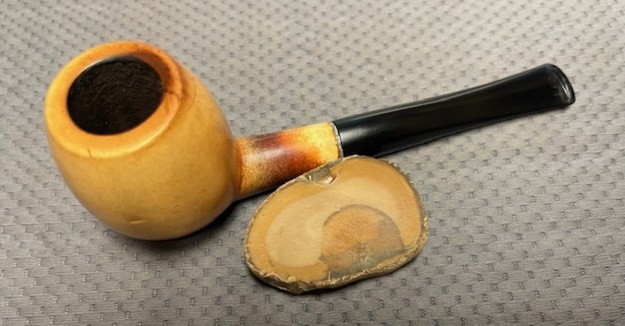
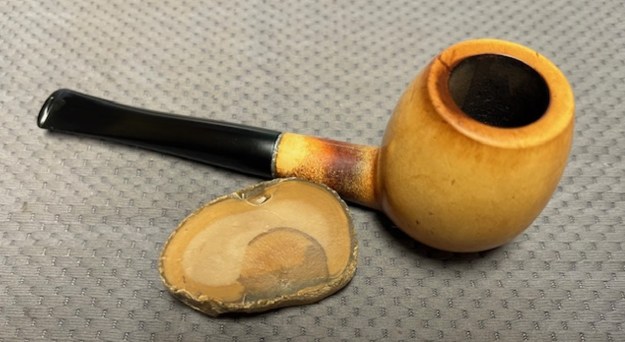
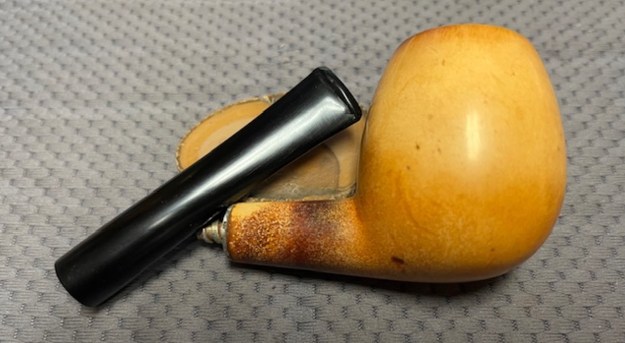
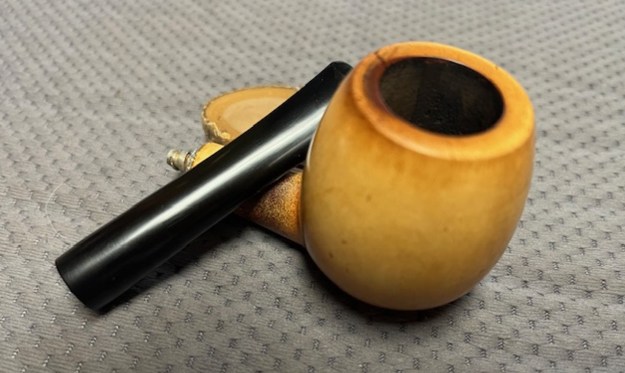
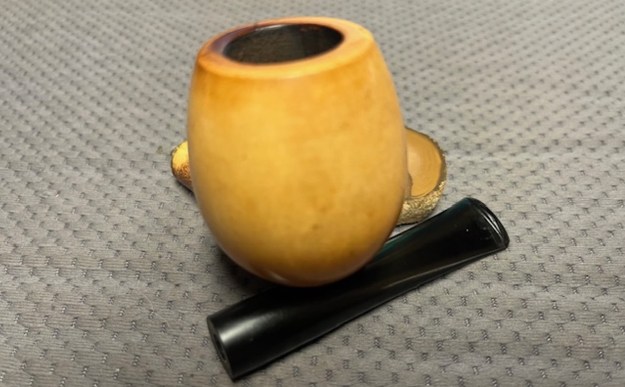
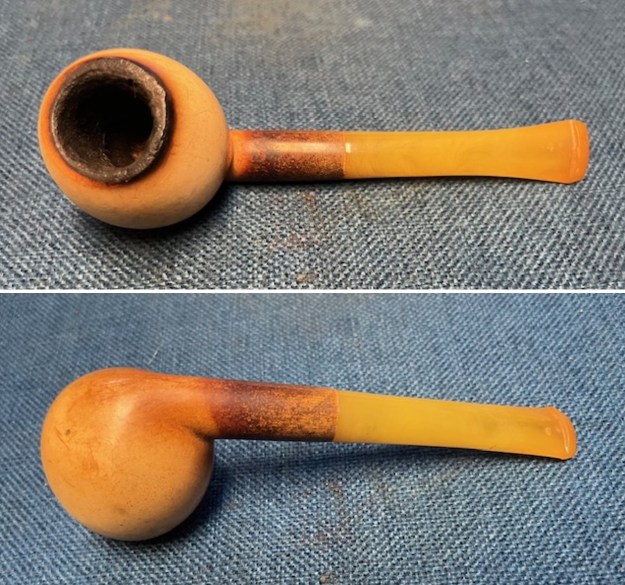
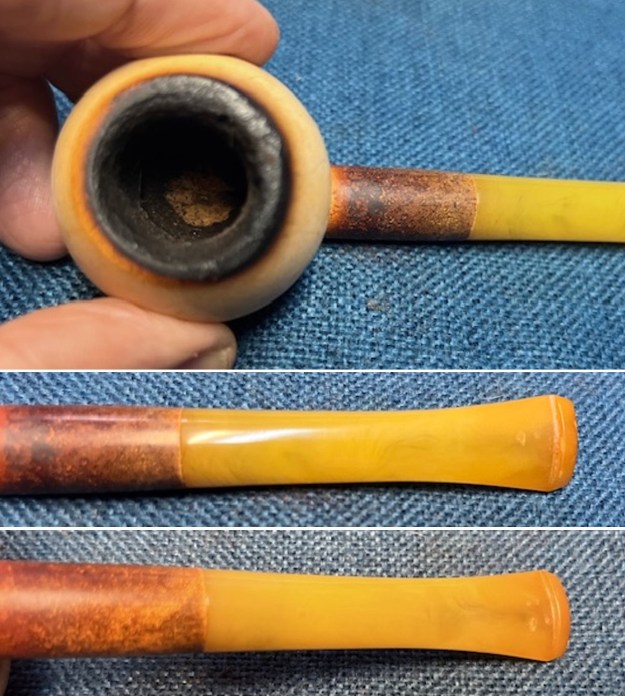
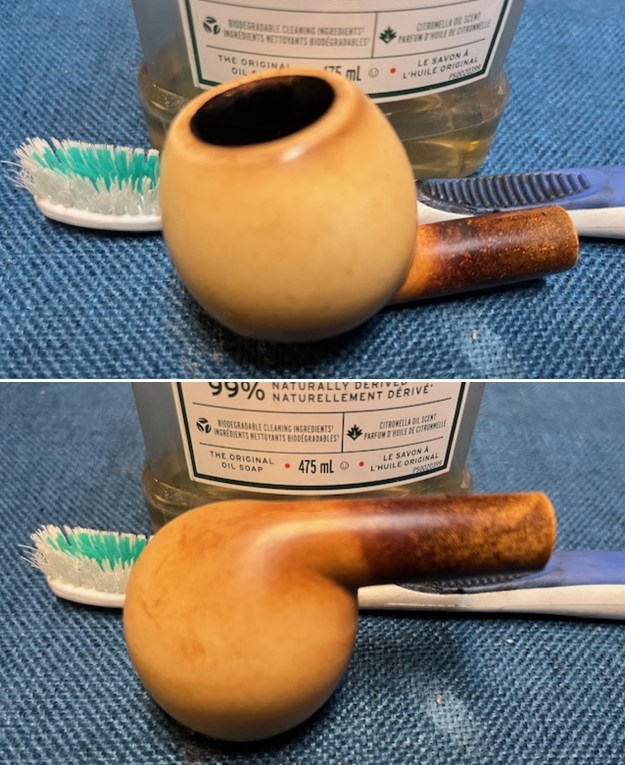
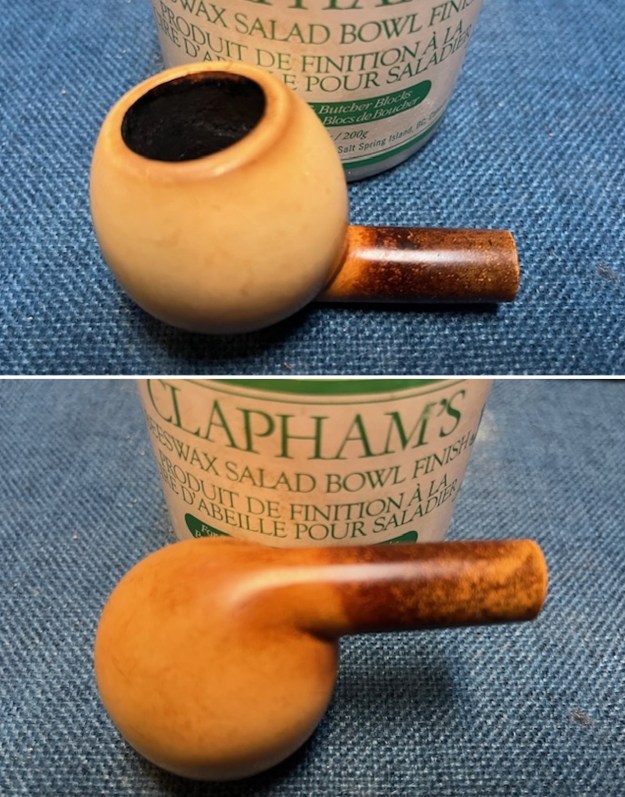
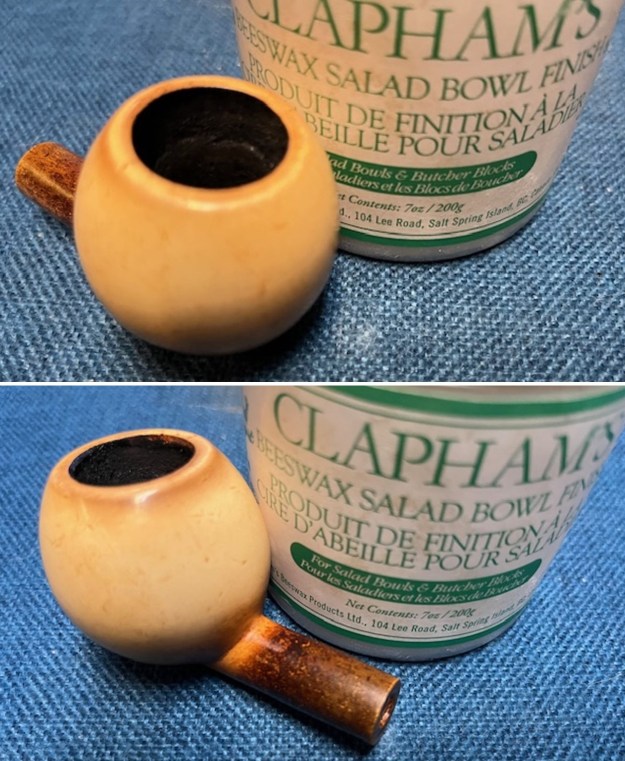
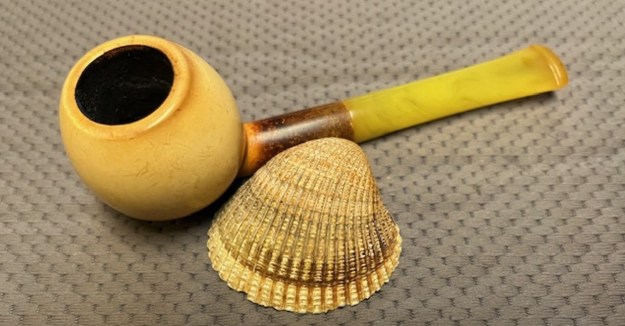
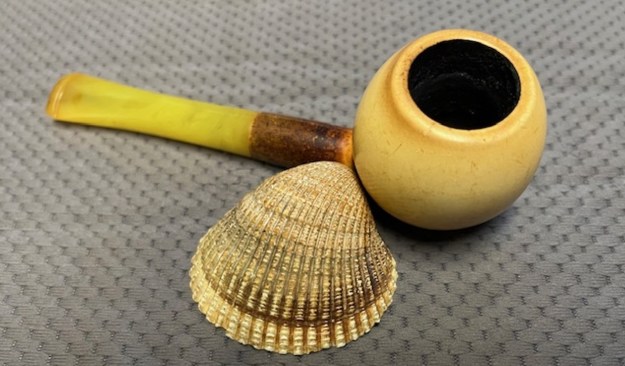
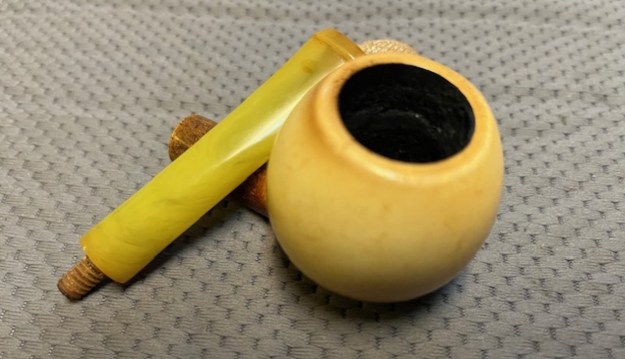
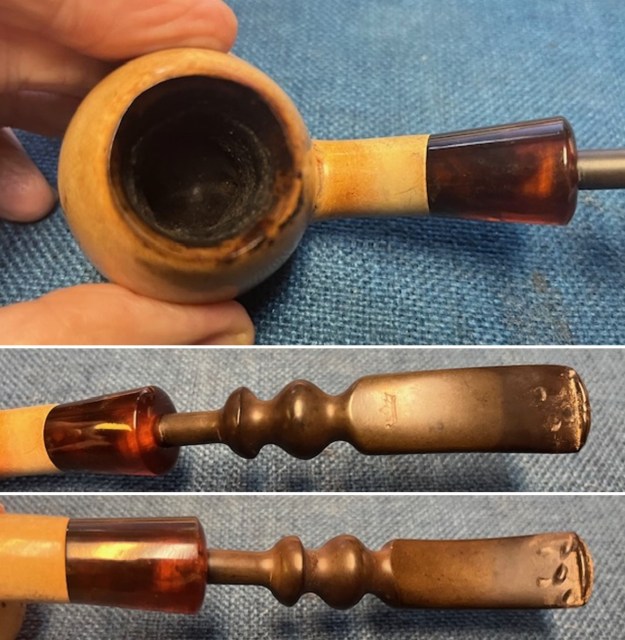
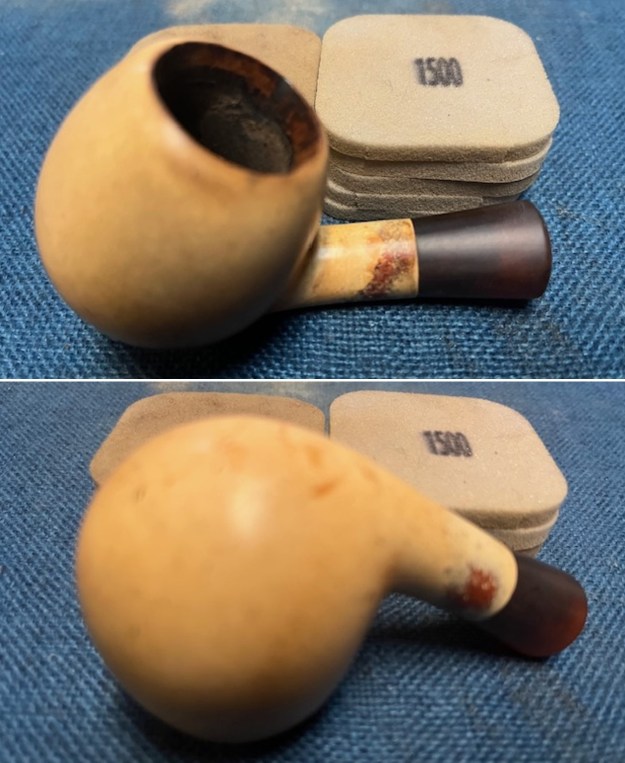
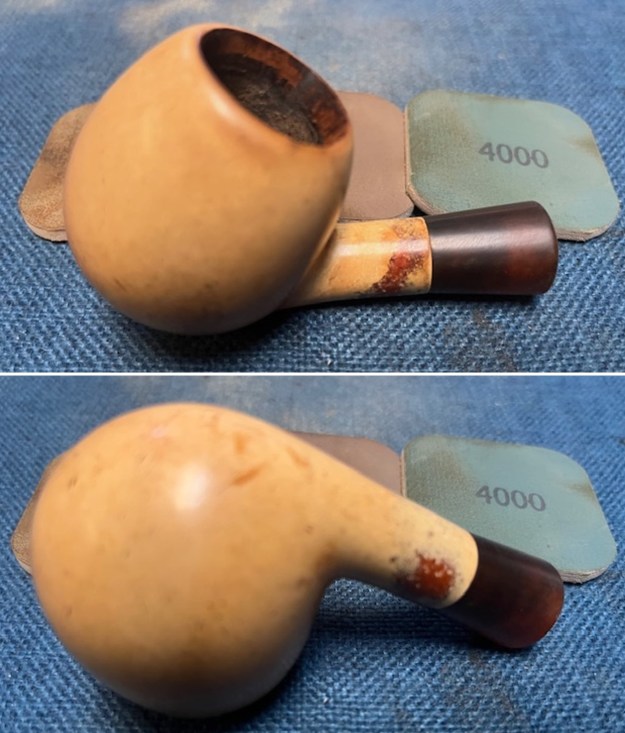
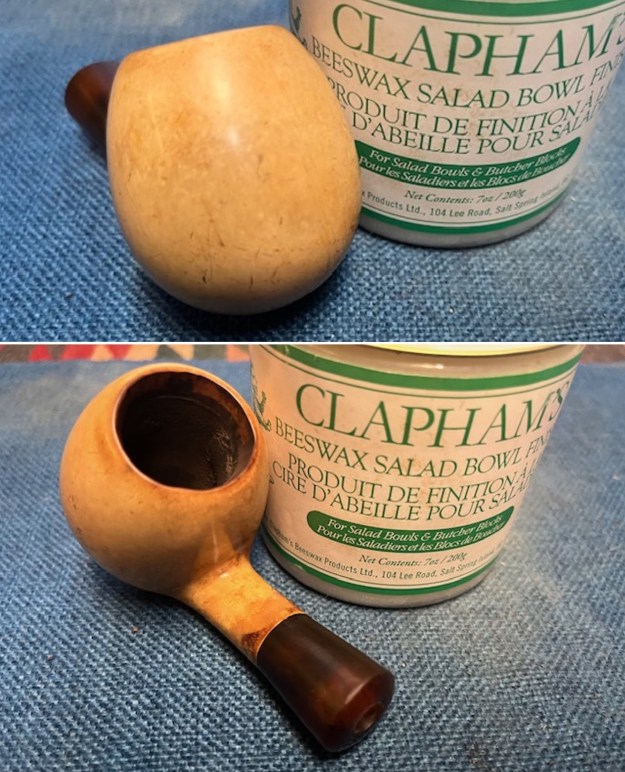
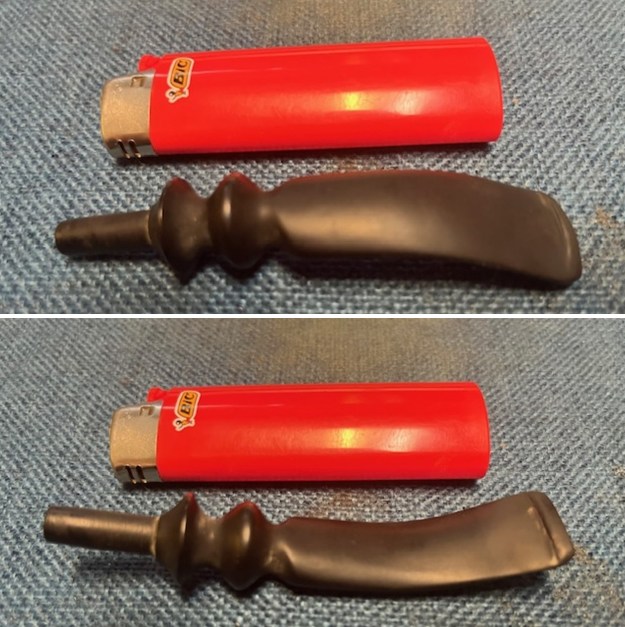
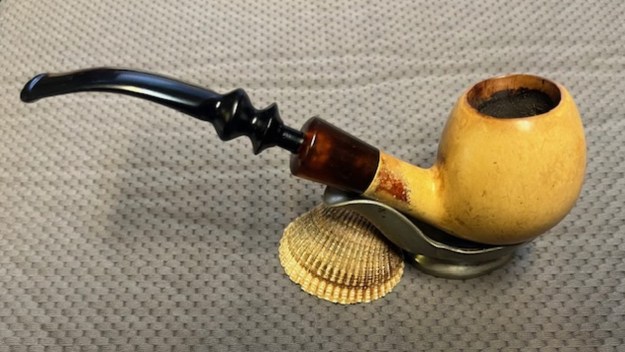
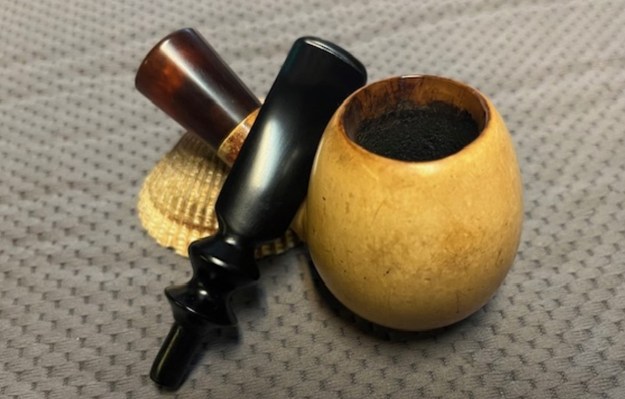
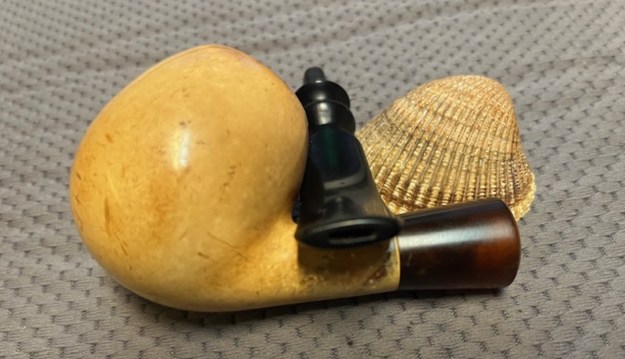
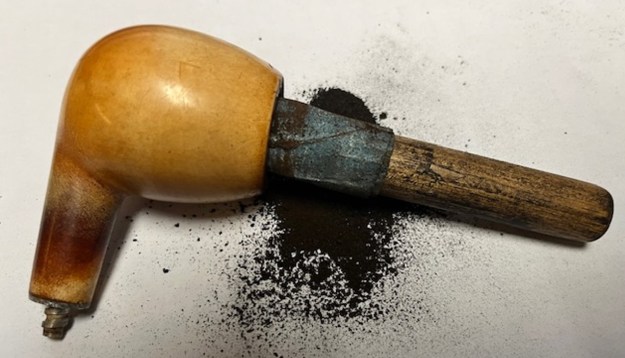
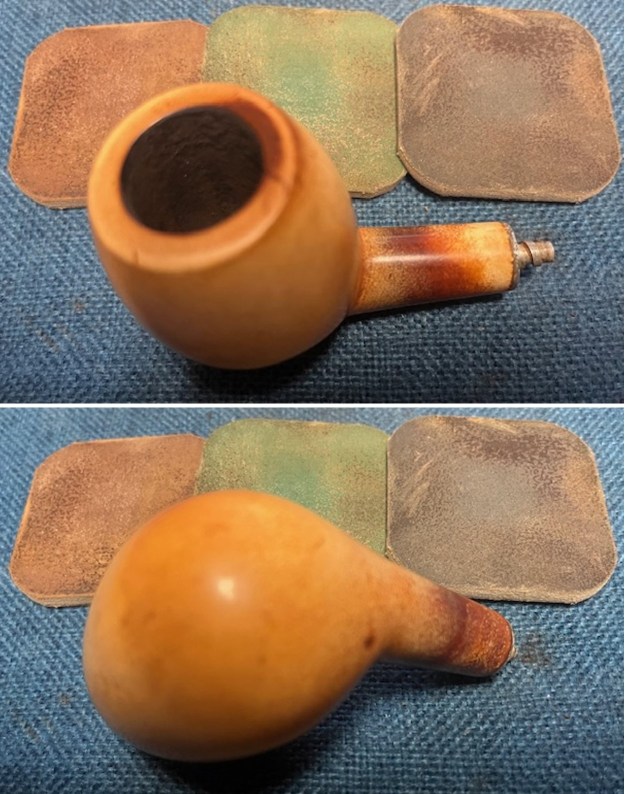
 I took photos of the rim top and the stem to show the condition of the pipe when I brought it to the worktable. You can see the cake in the bowl and the build up of lava and debris on the edge and top of the rim top. It is another dirty pipe but still a charmer. The TWIN BORE vulcanite taper stem has light chatter and deep tooth marks on both sides near the button.
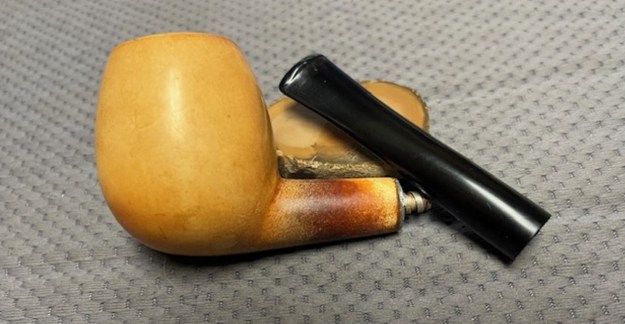
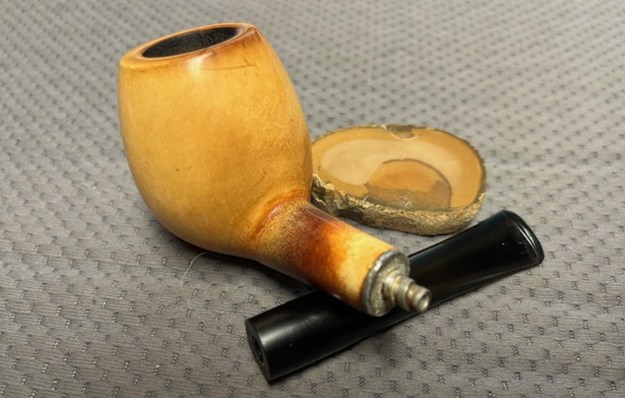
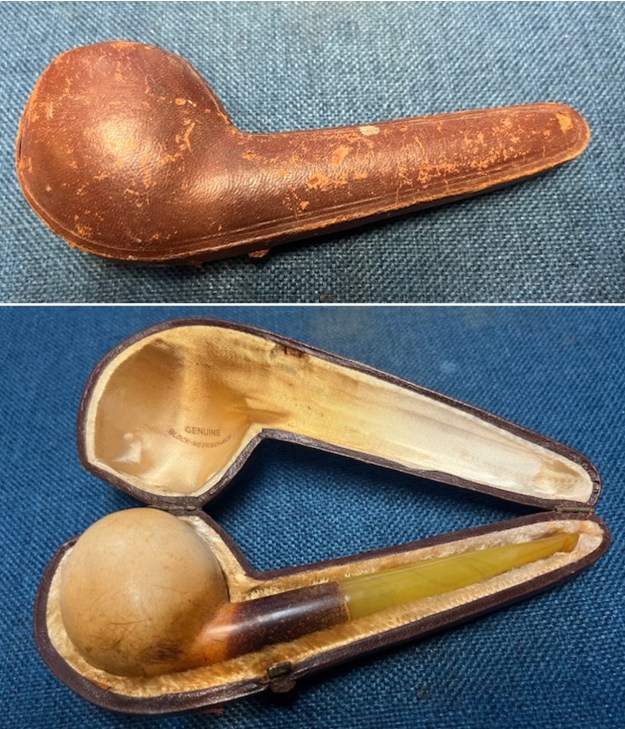
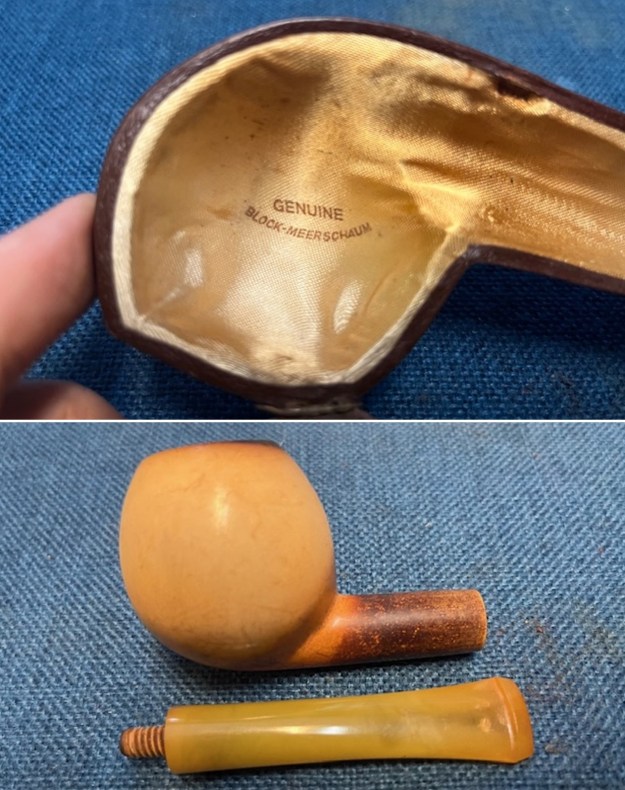
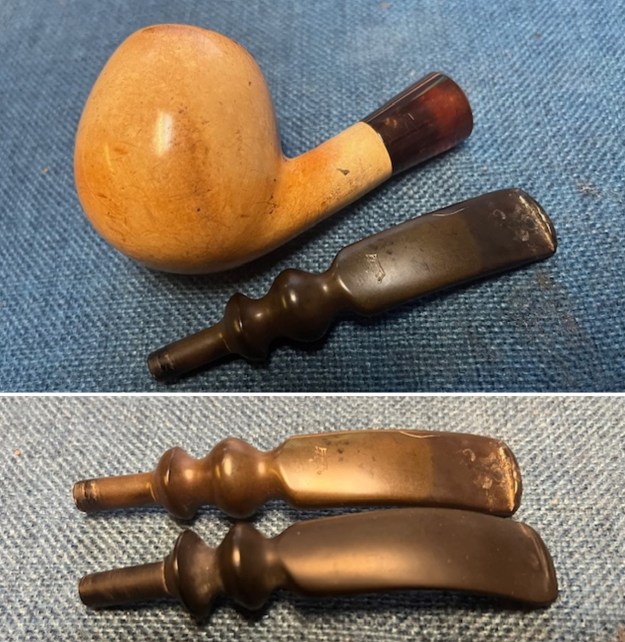
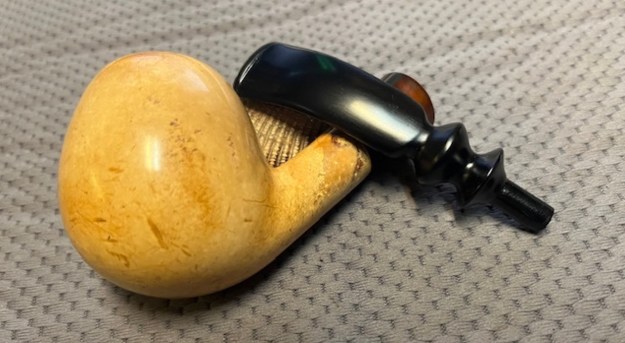
 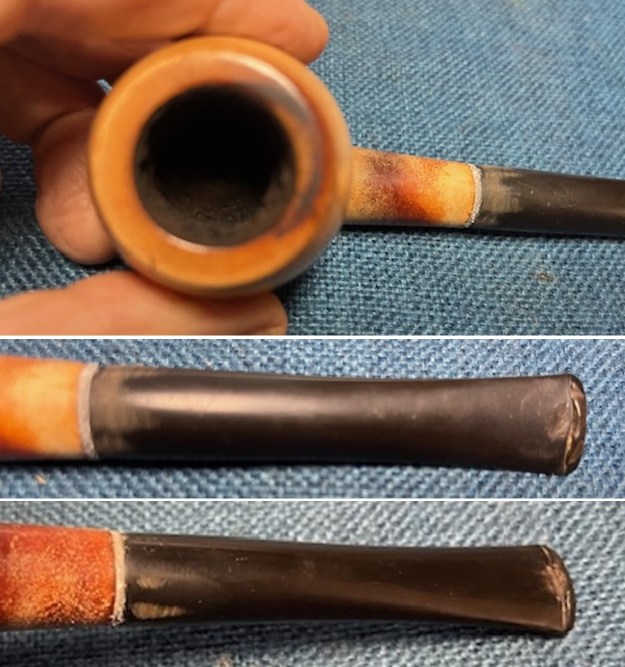 I took a photo of the stamping on the inside of the case. It is clear and readable as noted above. I removed the stem from the shank and took a photo of the parts. I removed the stem from the shank and took a photo of the parts.
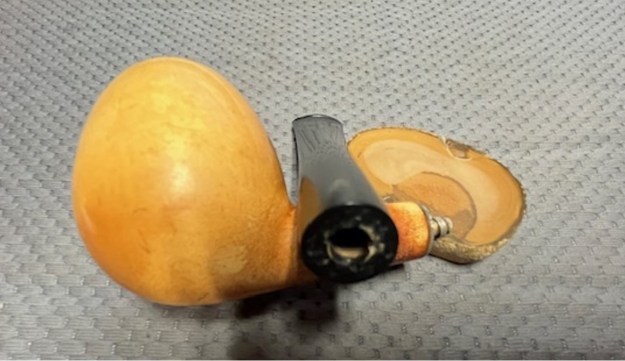
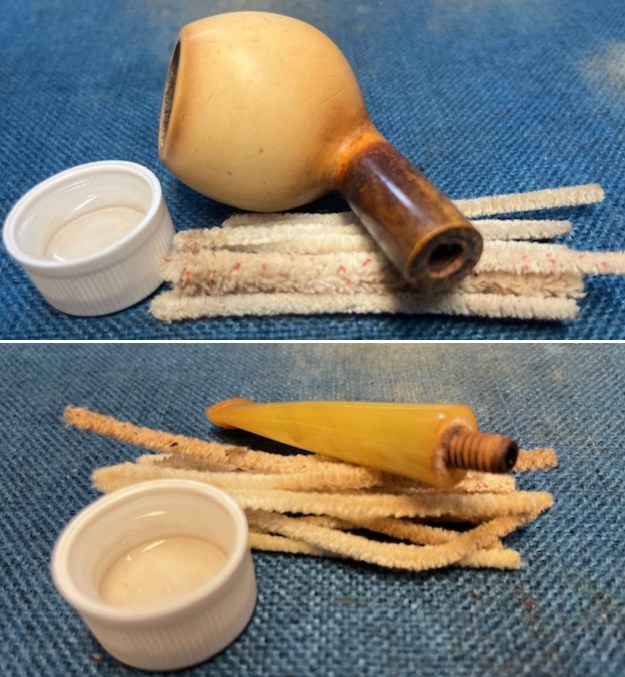
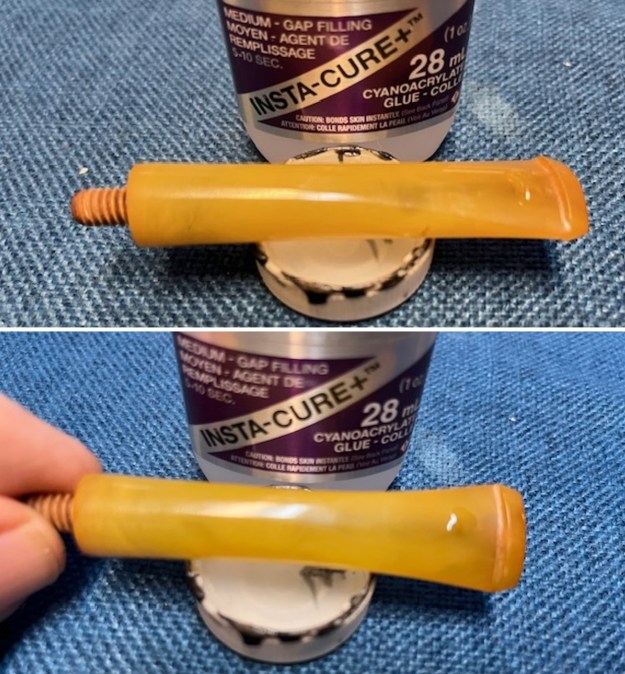
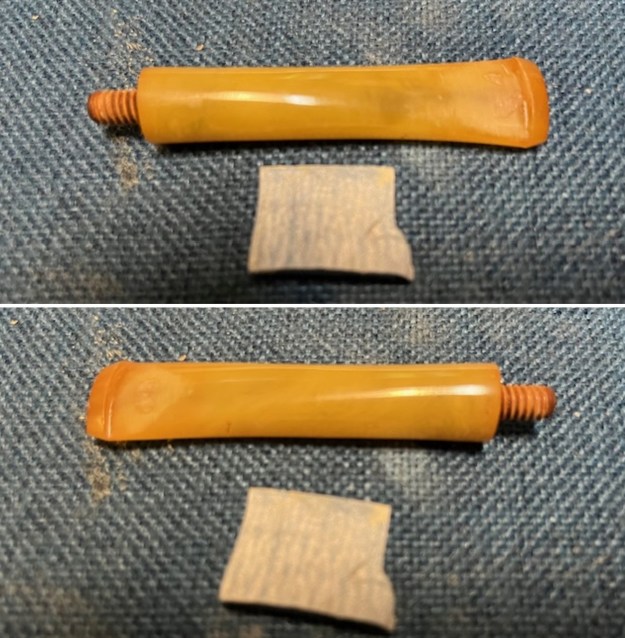
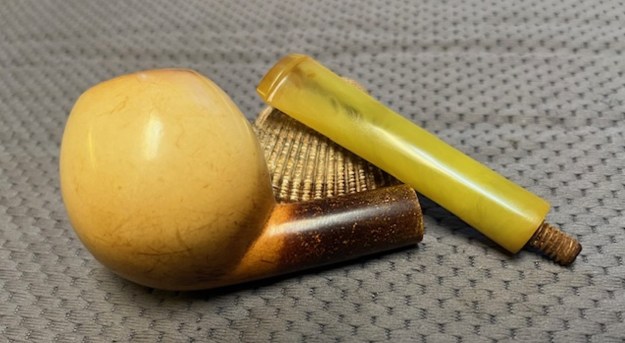
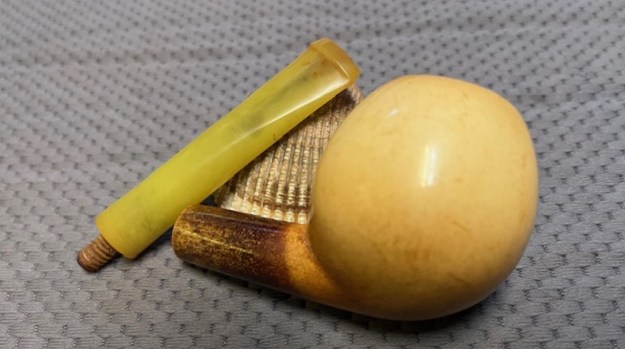
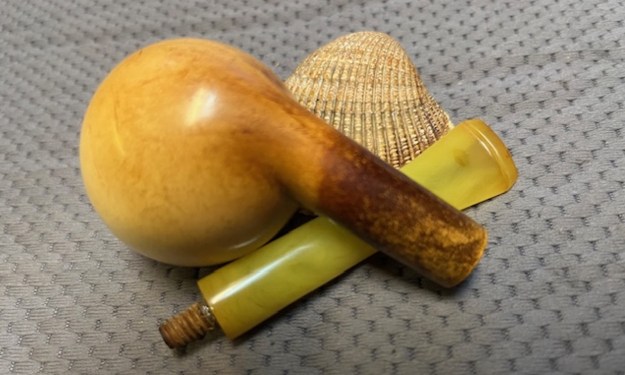
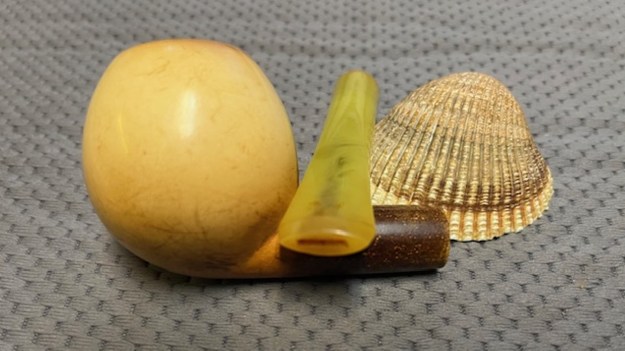
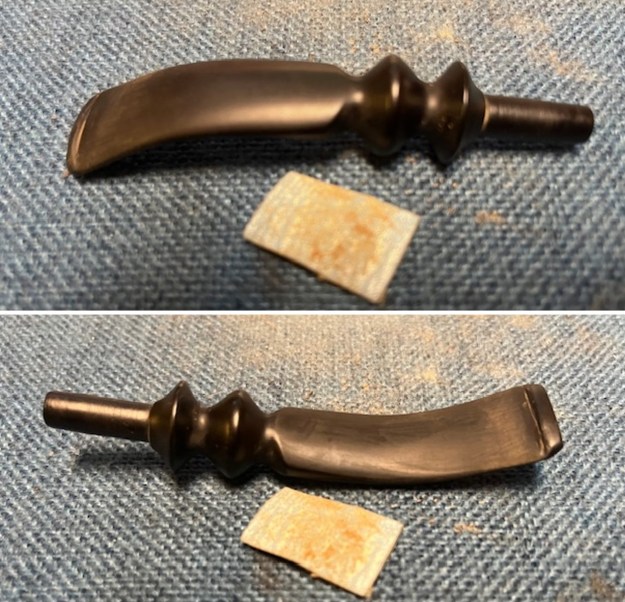
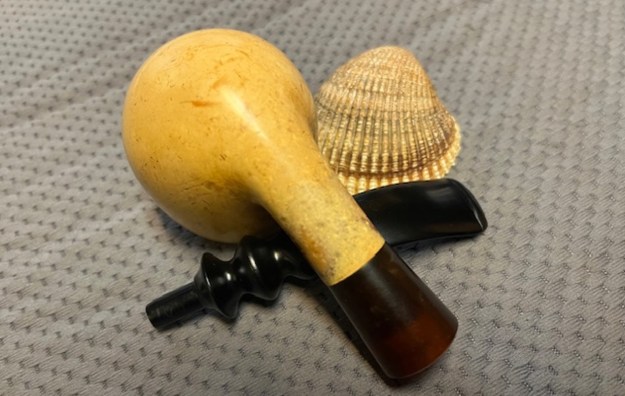
 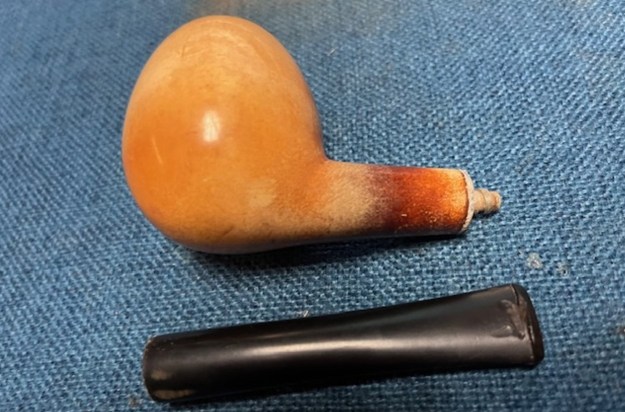 I took photos of the end of the stem to try to show the threads on the end that sat against the shank end and the twin bores in the button.
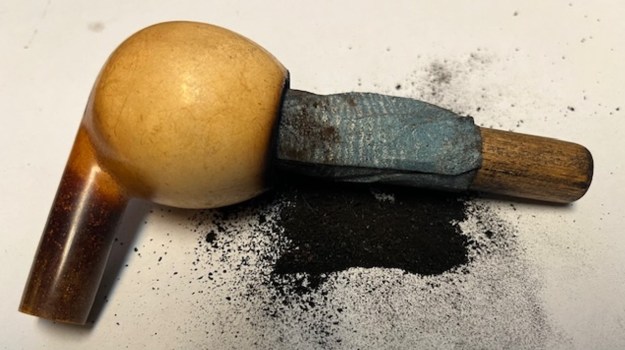
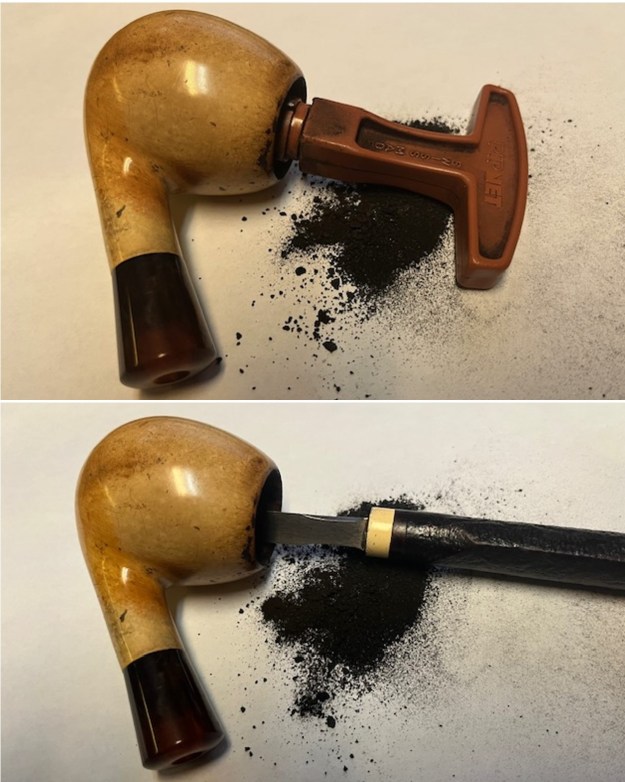
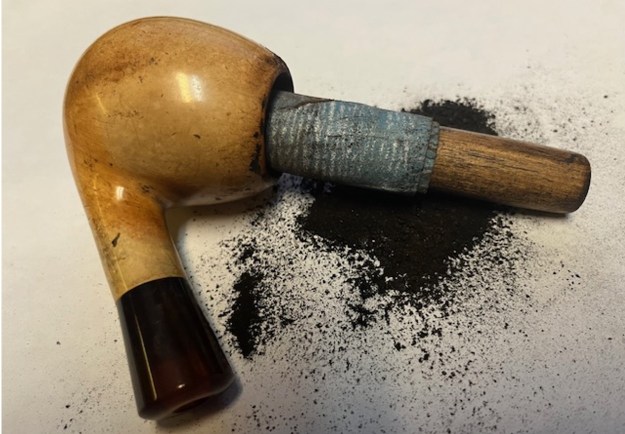
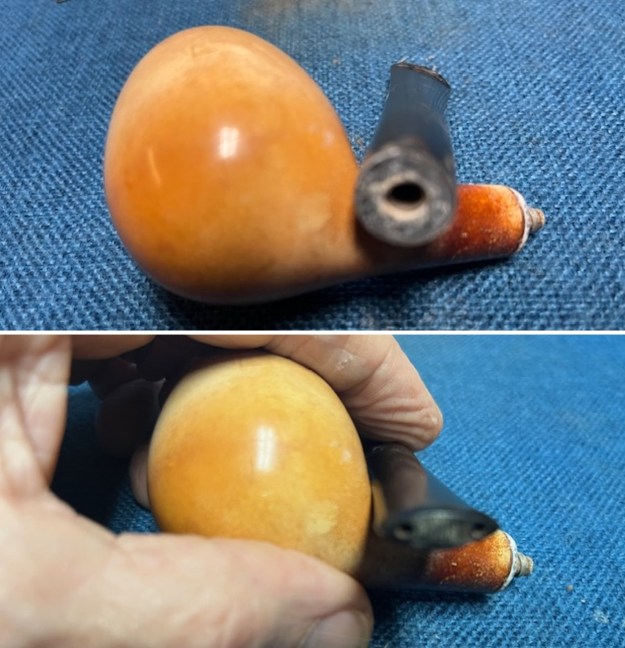 I started my work on the bowl by reaming the thick cake out of the bowl. I started with a PipNet reamer and the 2nd and 3rd cutting heads to take back the cake to the walls of the bowl. I cleaned up the reaming with a Savinelli Fitsall Pipe Knife. I sanded the bowl walls with a piece of dowel wrapped with 220 grit sandpaper. Once finished it looked very good.
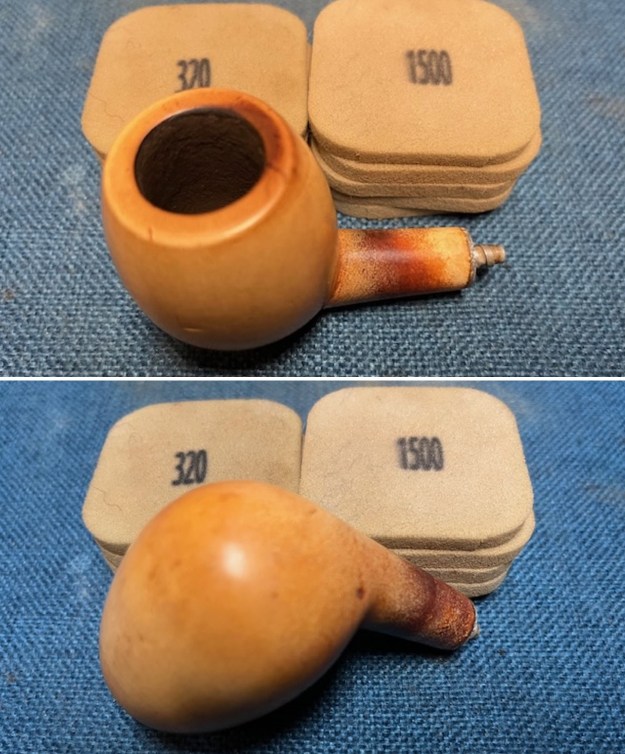
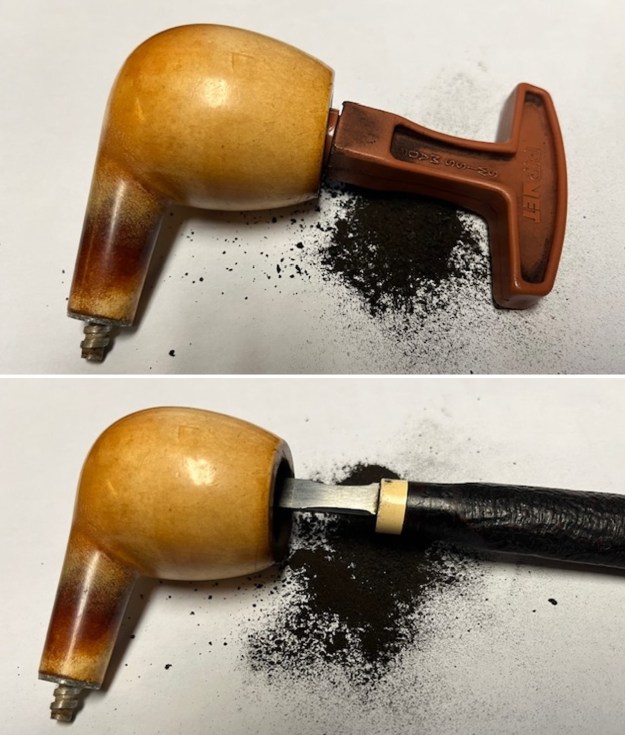
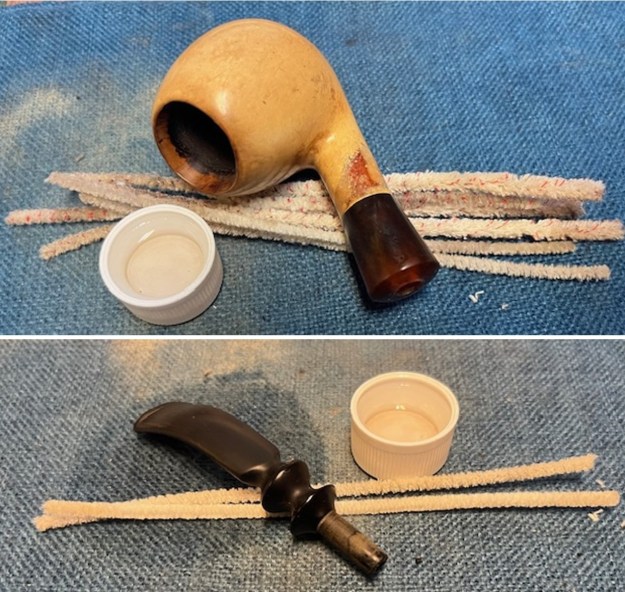
 I cleaned out the airway in the shank and mortise as well as in the stem with pipe cleaners (both bristle and regular). It was much better.
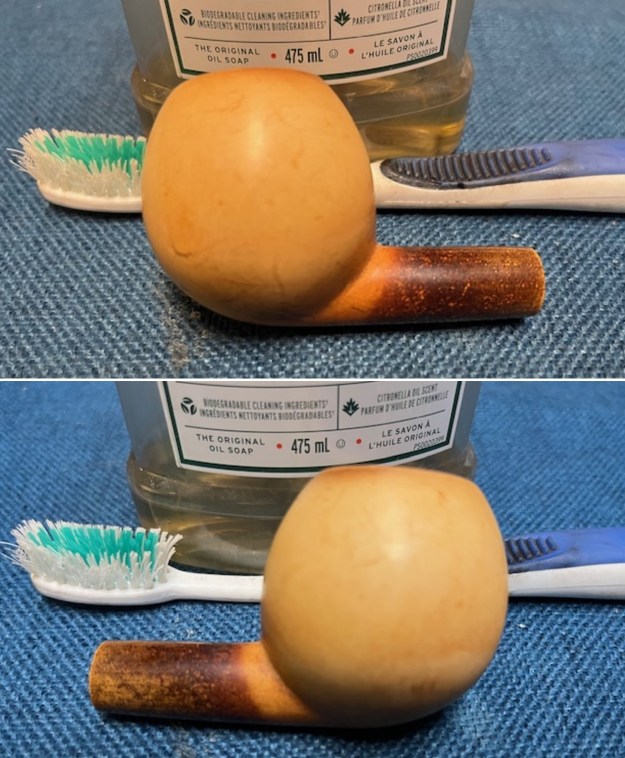
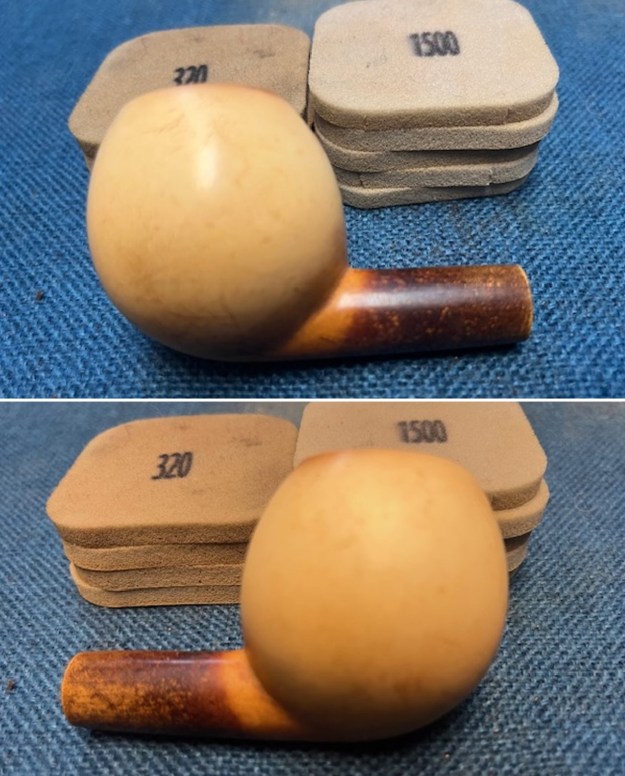
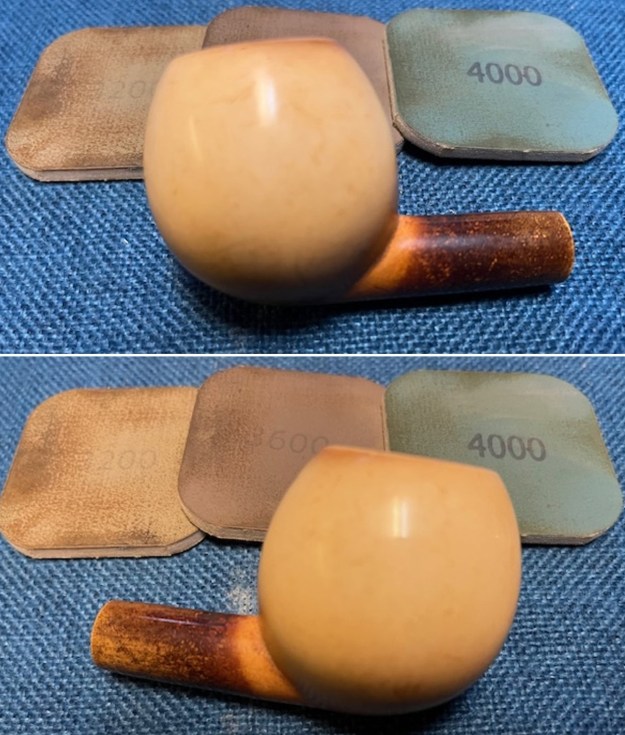
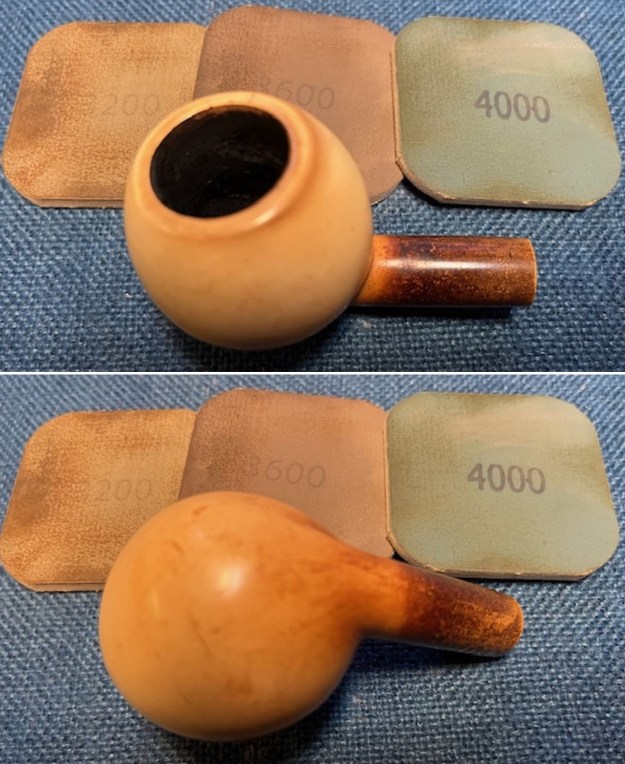
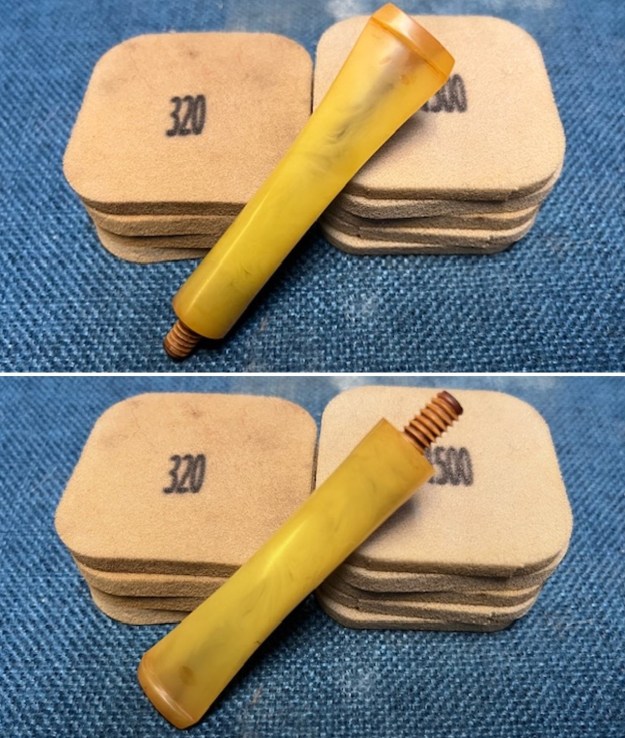
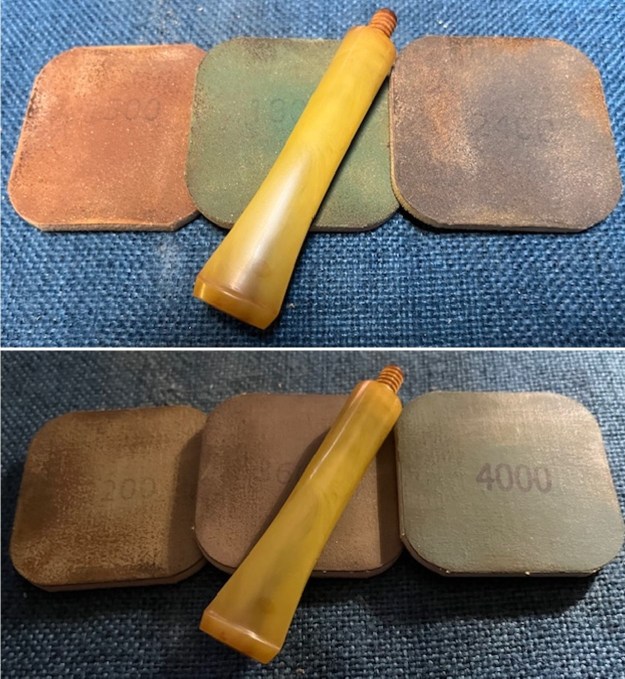
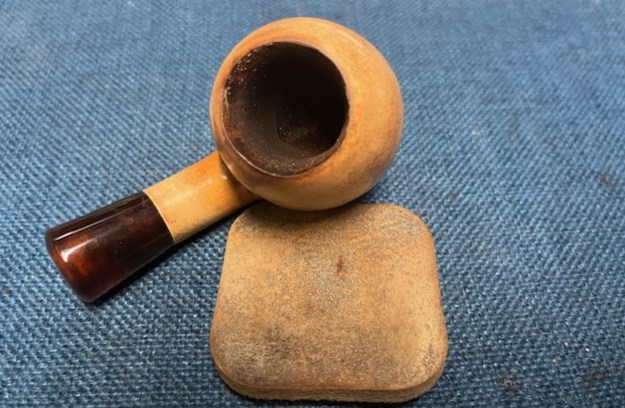
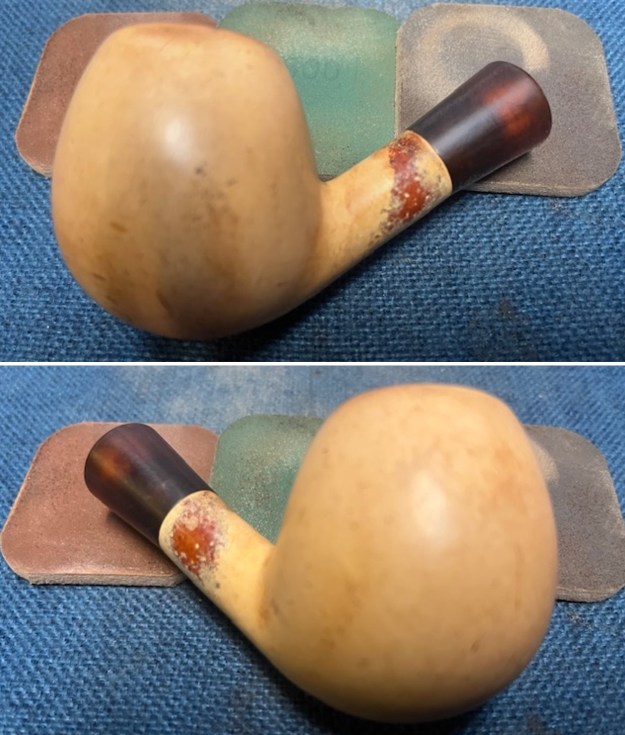
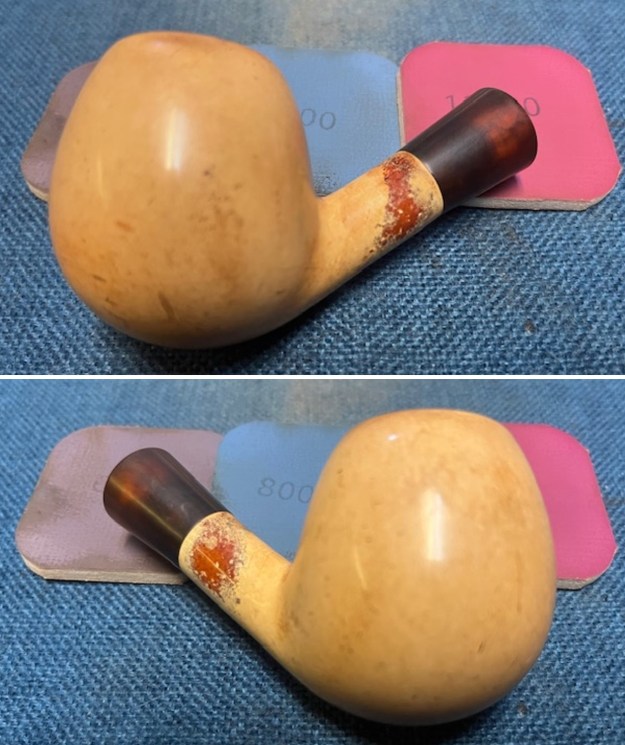
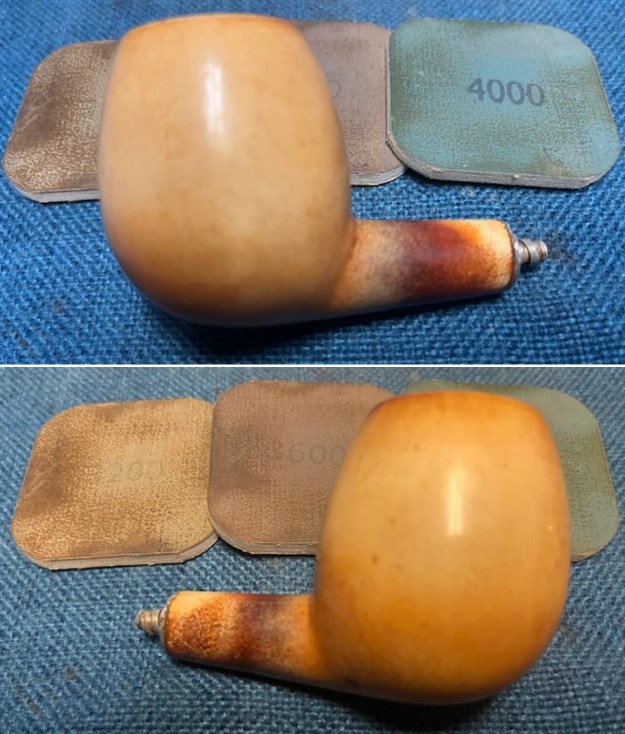
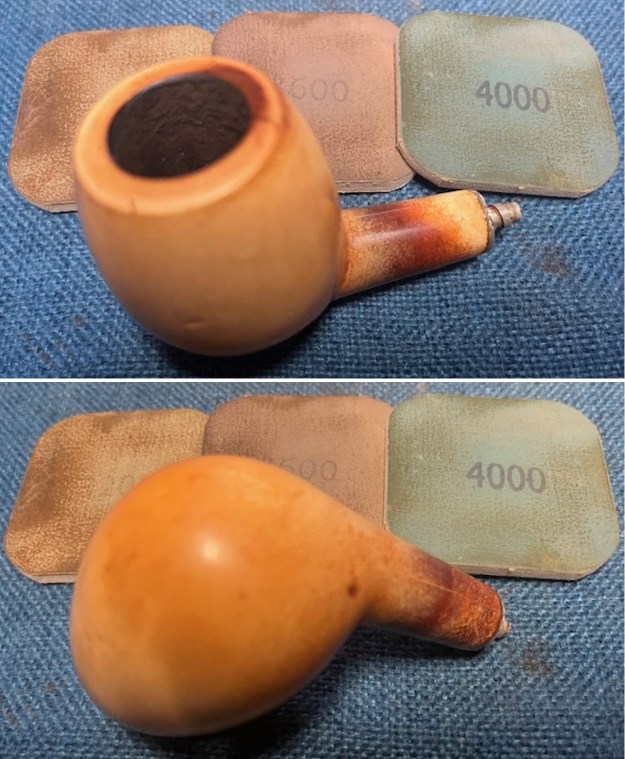
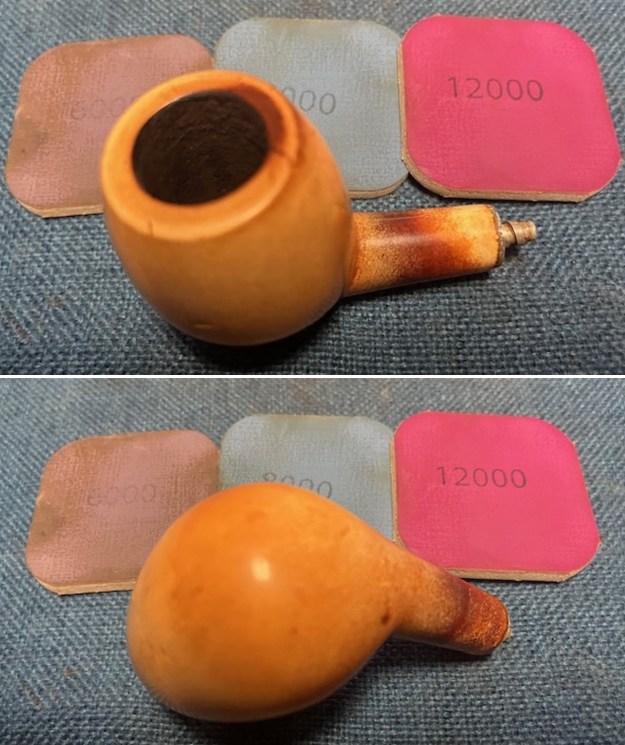
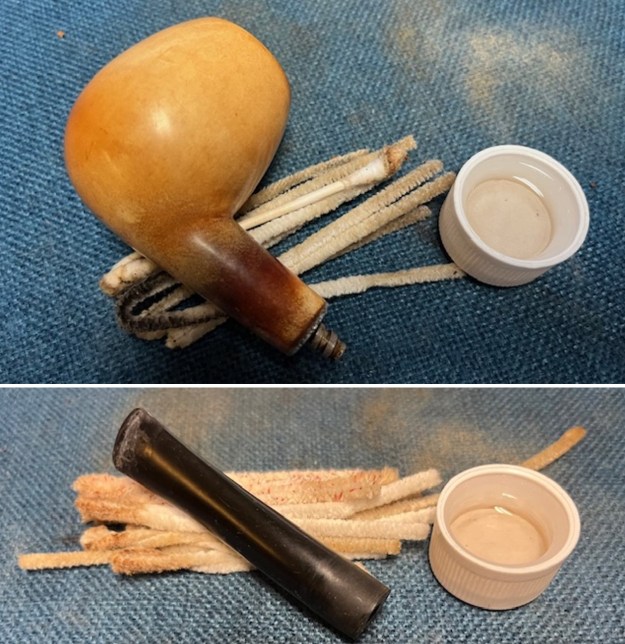 Now it was time to work on the scratches on the bowl and rim top. I started my work by sanding with 320-3500 grit 2×2 inch sanding pads. It smoothed out the scratches and revealed more and more of the patina around the bowl and shank. It is a beautiful looking pipe.
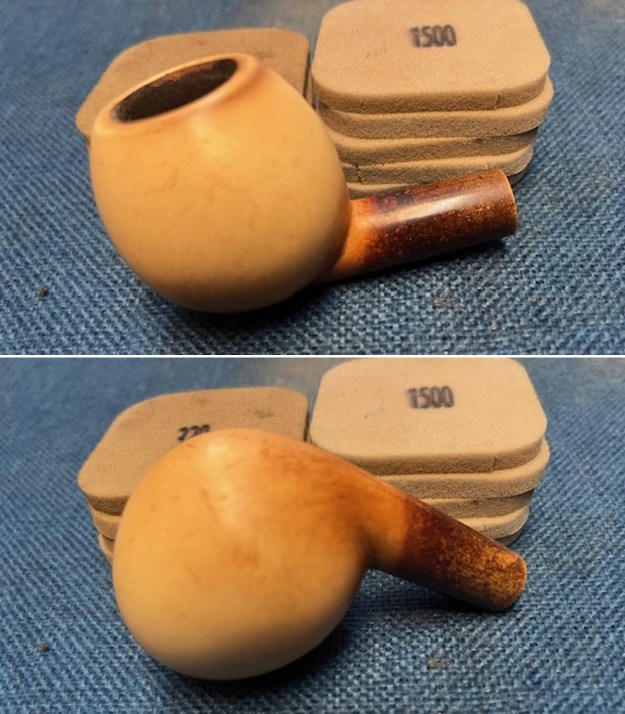
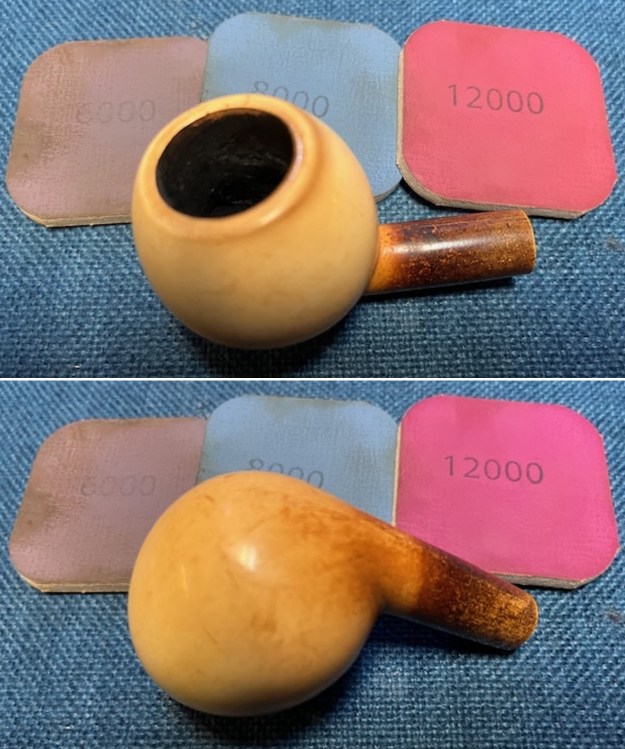
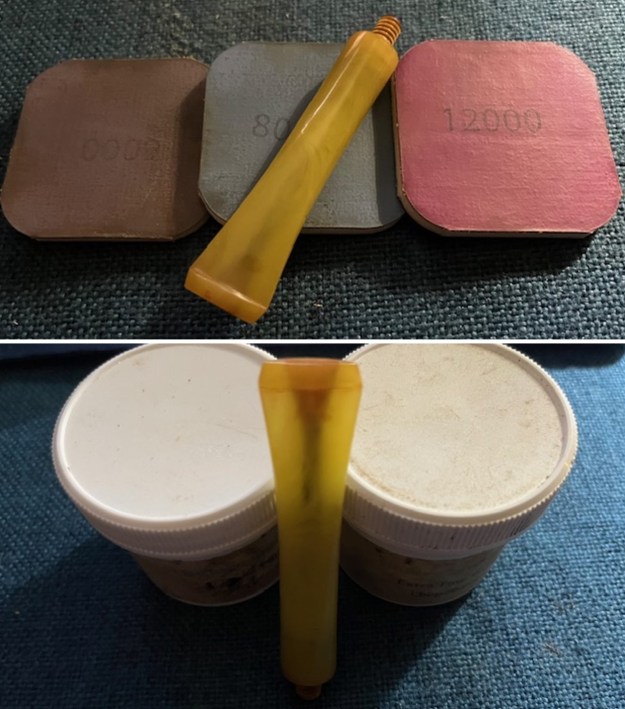
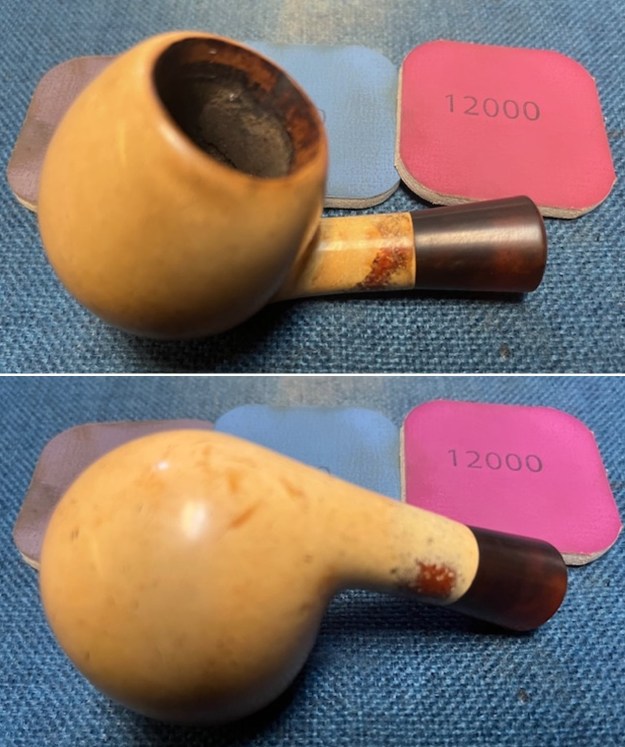
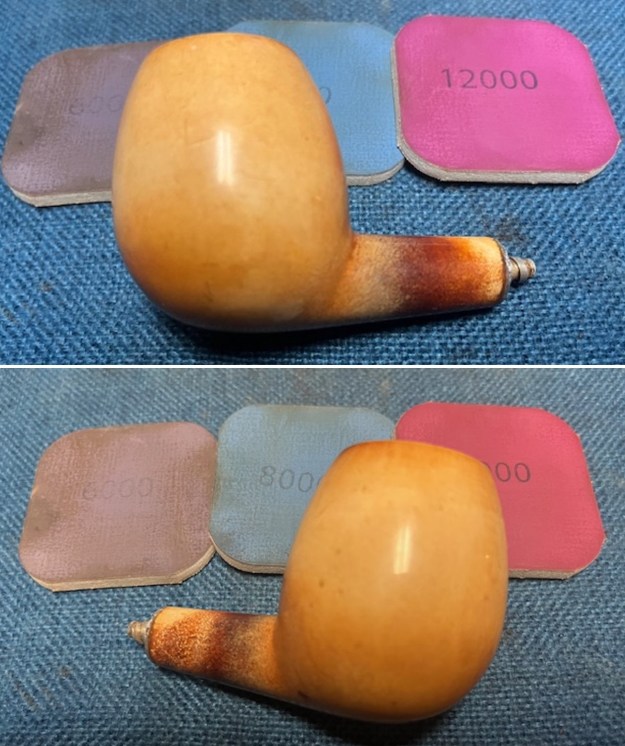
 I polished the meerschaum with micromesh sanding pads – dry sanding with 1500-12000 grit pads. I wiped the bowl down after each pad with a damp cotton cloth. The bowl took on a shine by the last pads.
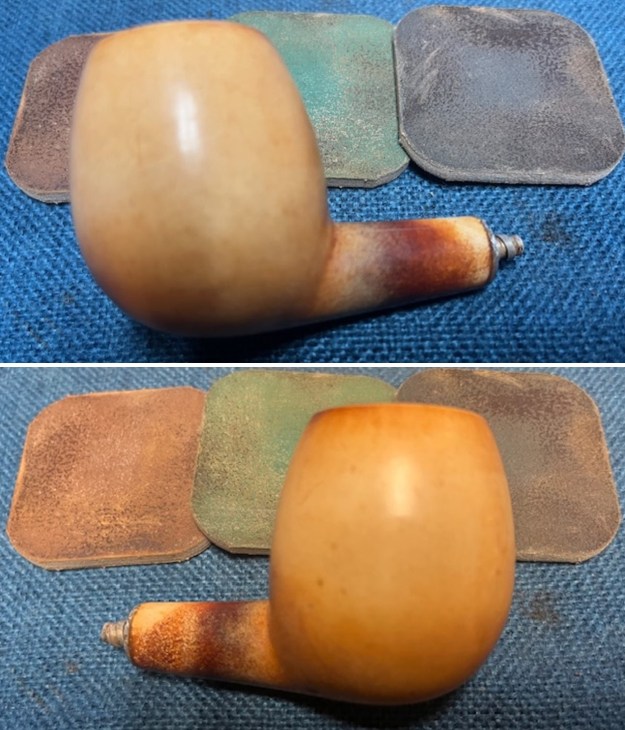
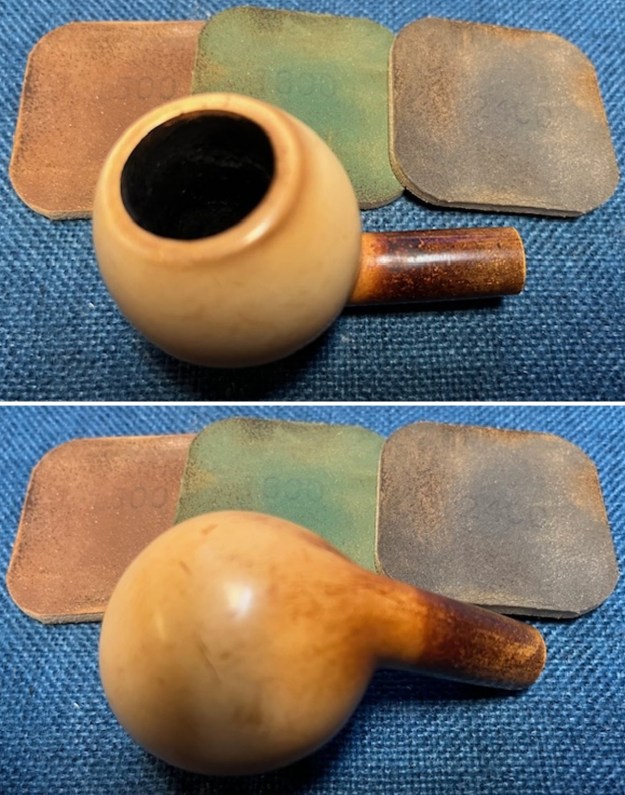
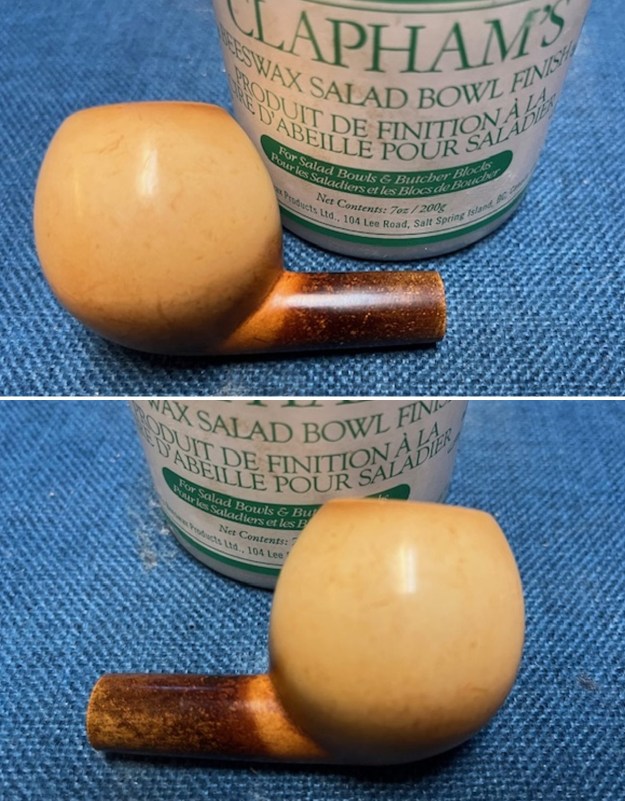
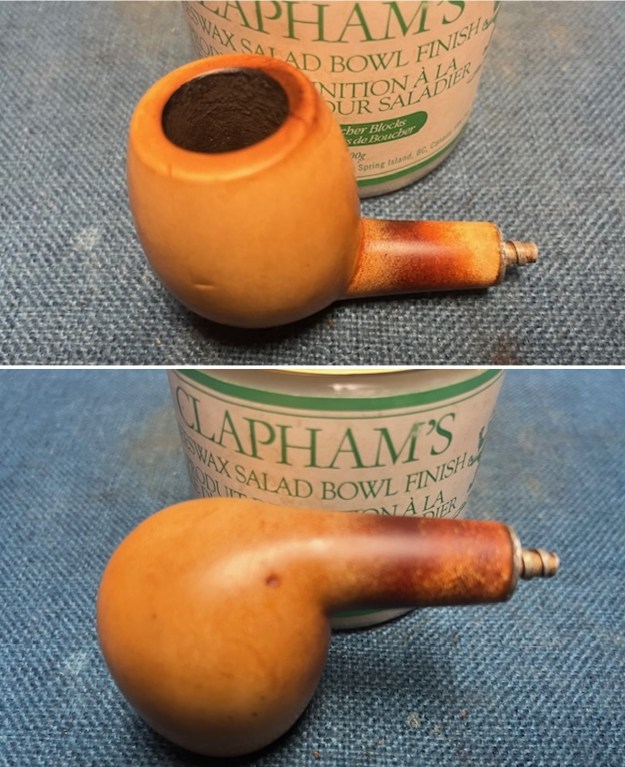
 I gave the bowl multiple coats of Clapham’s Wax that blends both carnauba and beeswax in a soft wax. I rubbed the wax on the bowl sides and the shank end with my fingers and set it aside to dry. Once the wax cured I buffed the bowl with a clean buffing pad and then with a soft microfibre cloth. The bowl has a rich glow.
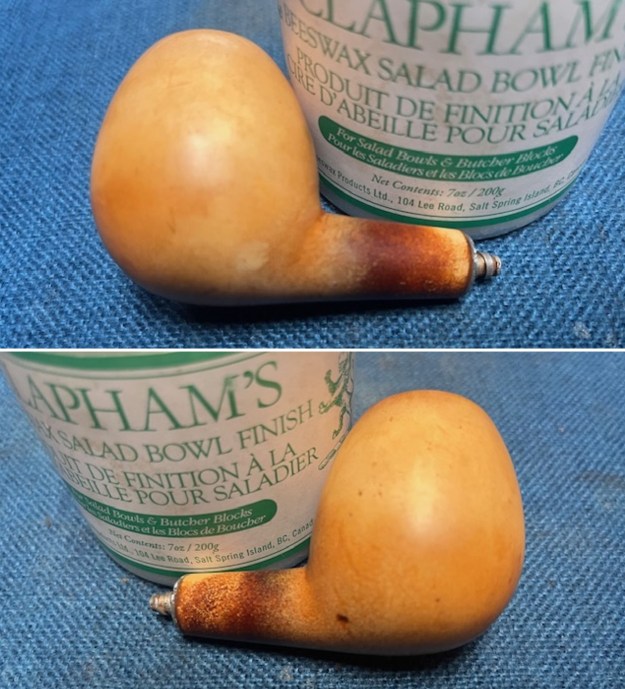
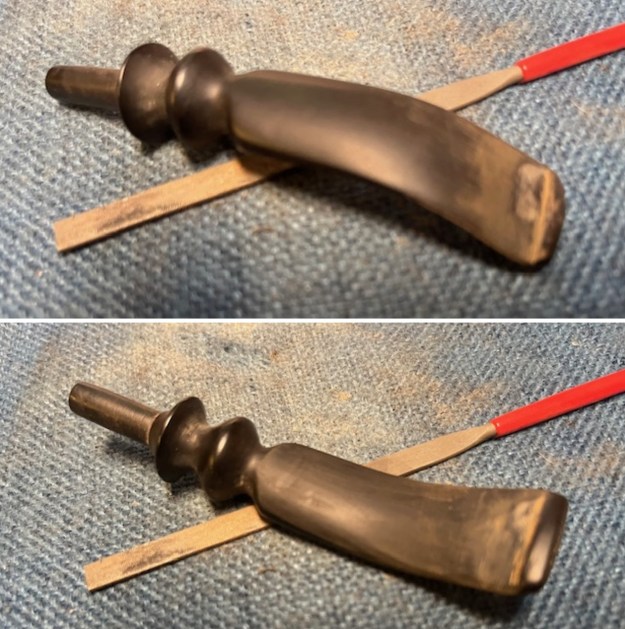
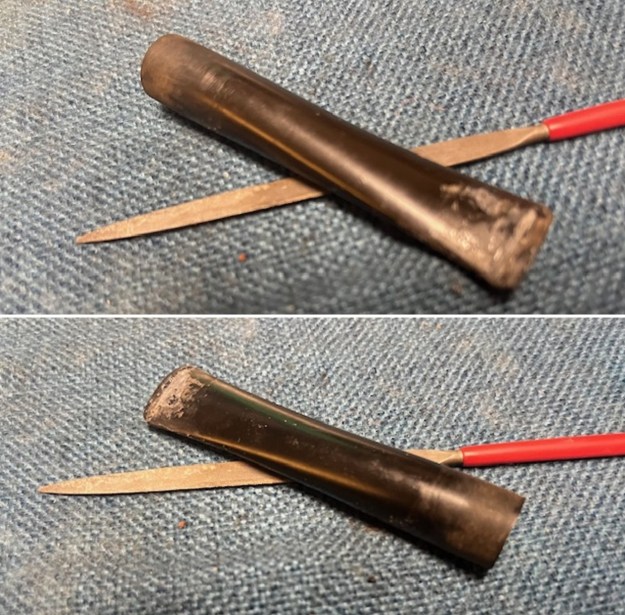
 I set the bowl aside and turned my attention to the stem. I filled in the tooth marks with some clear CA glue. When it cured I flattened the repairs with a small flat file to blend them into the surface of the stem. I then sanded it with 220 grit sandpaper to smooth it out.
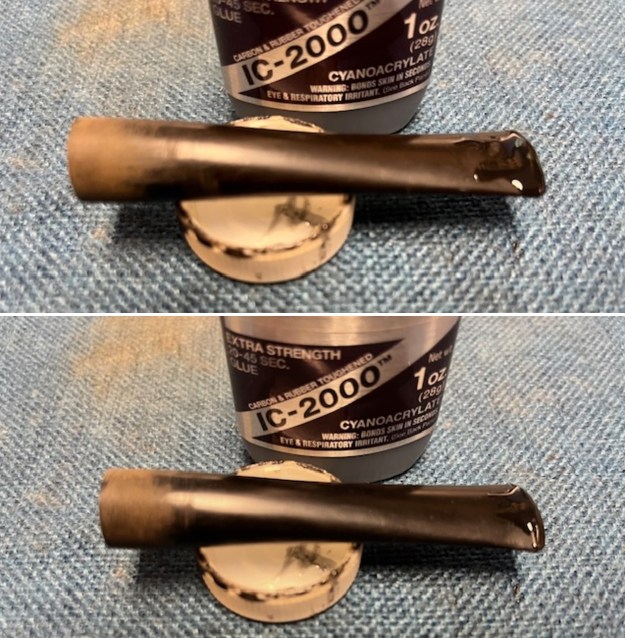
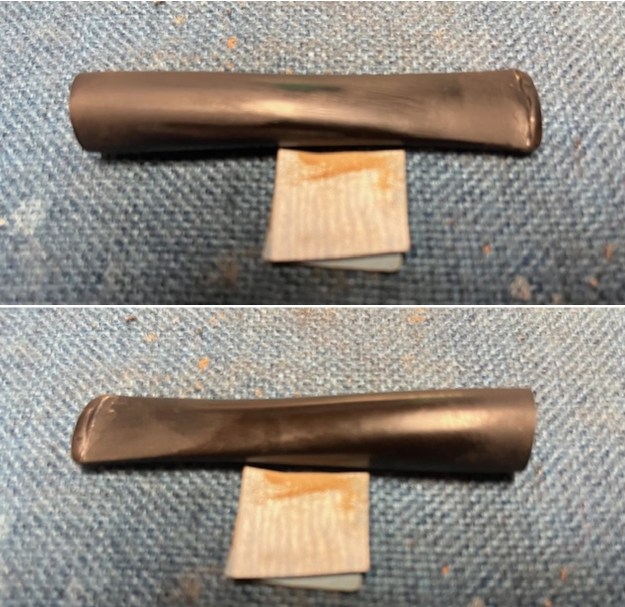 I continued sanding the stem surface with 320-3500 grit 2×2 inch sanding pads. I wiped the stem down after each pad with a damp pad to remove the debris. By the end it was quite shiny and ready for polishing.
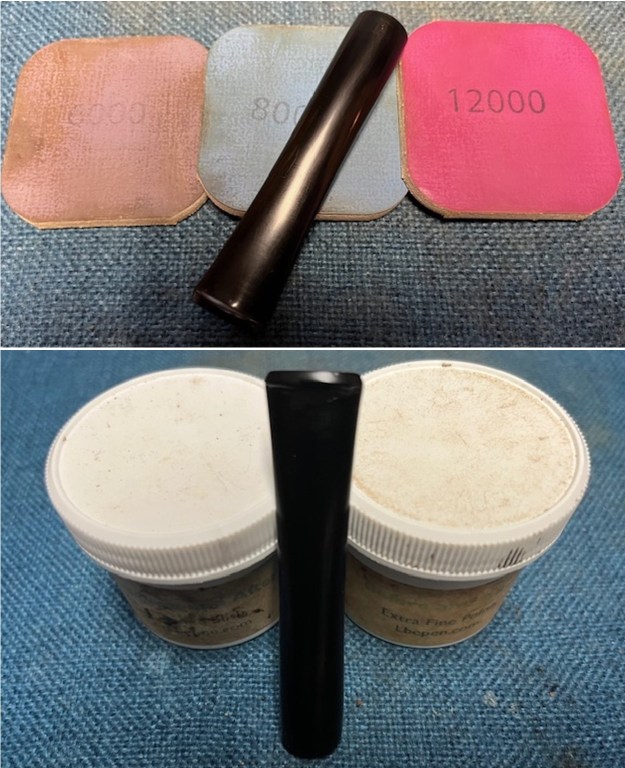
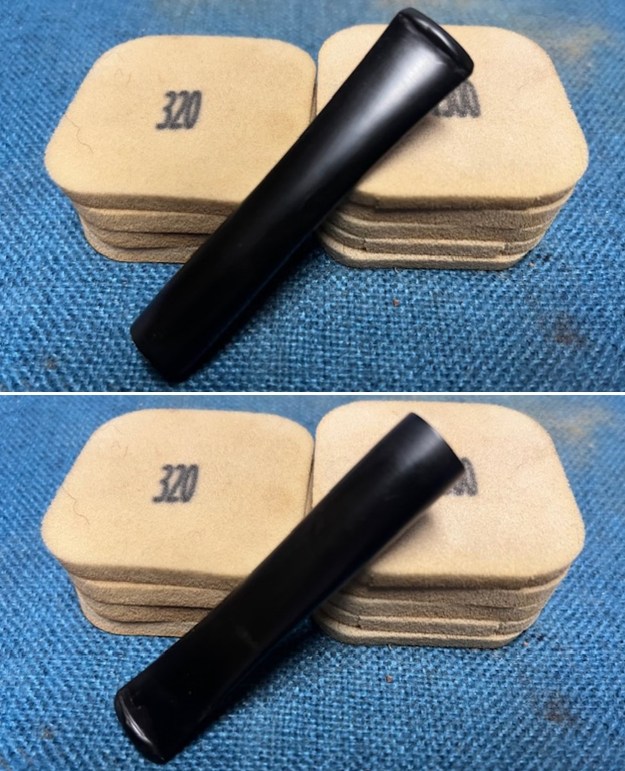 I polished the stem with micromesh sanding pads – wet sanding it 1500-12000 pads. I wiped it down with a damp cloth after each pad to protect it and preserve it. I polished it with Before After Pipe Polish – both Fine and Extra Fine.
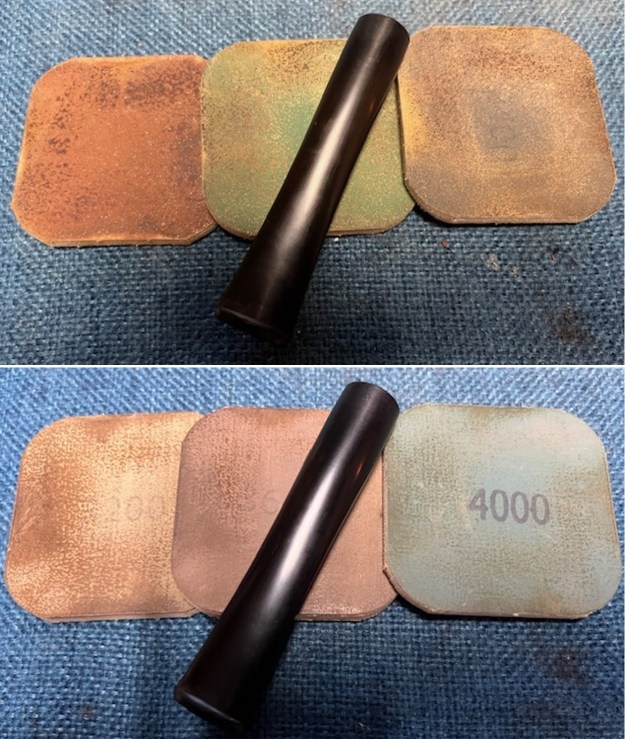
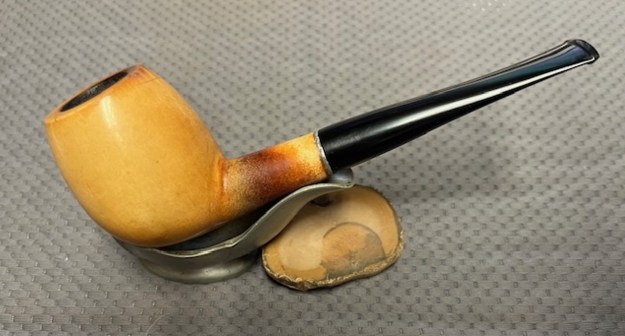
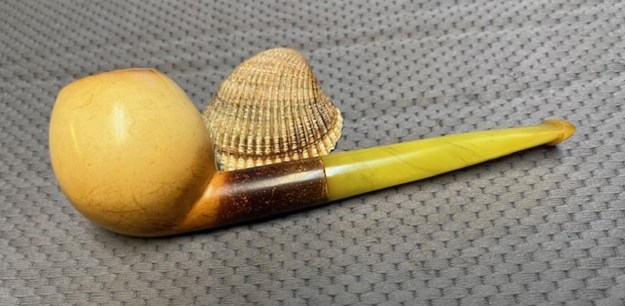
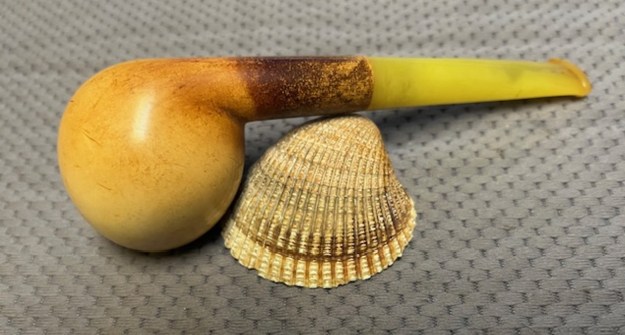
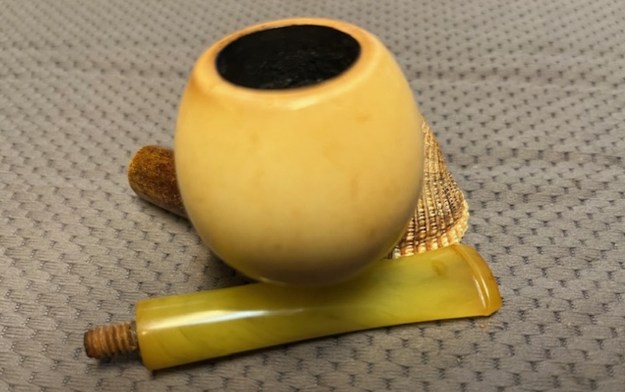
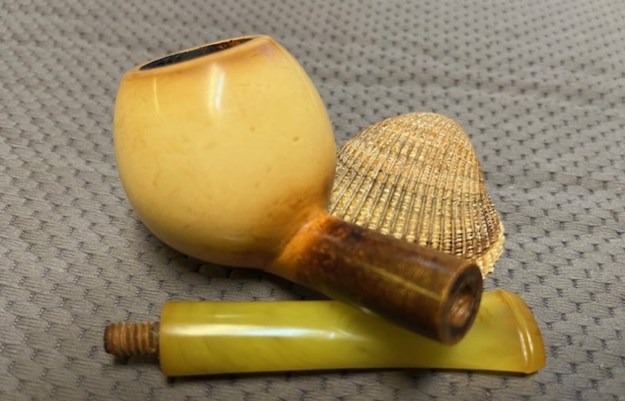
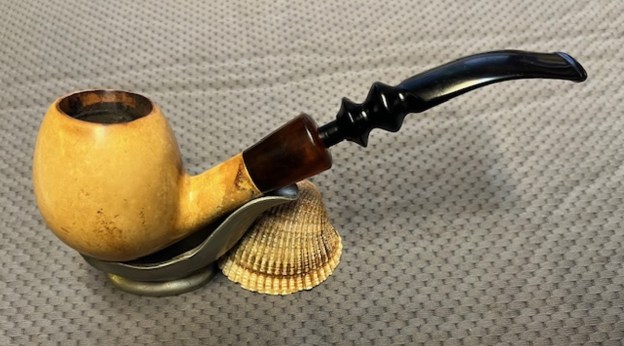
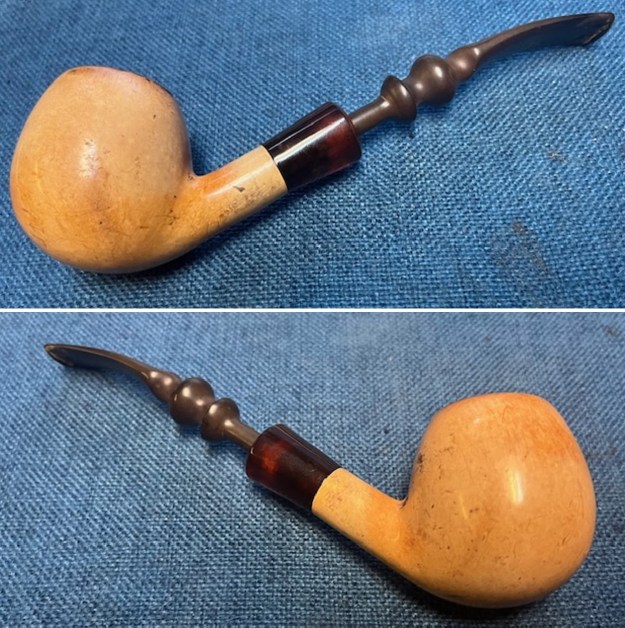
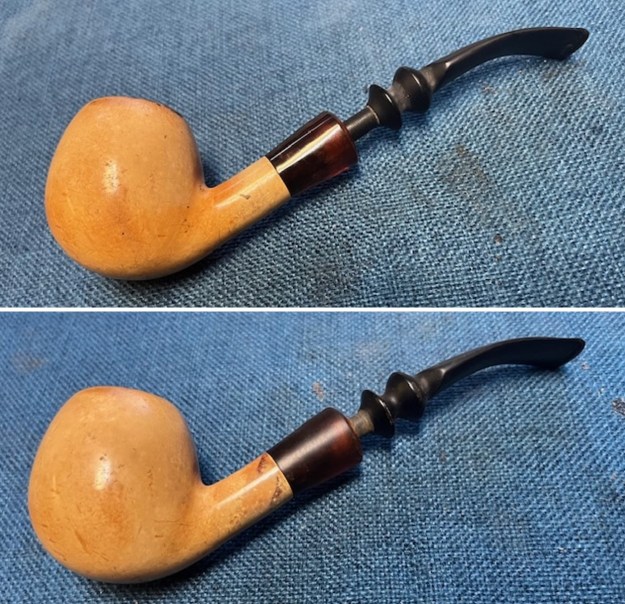
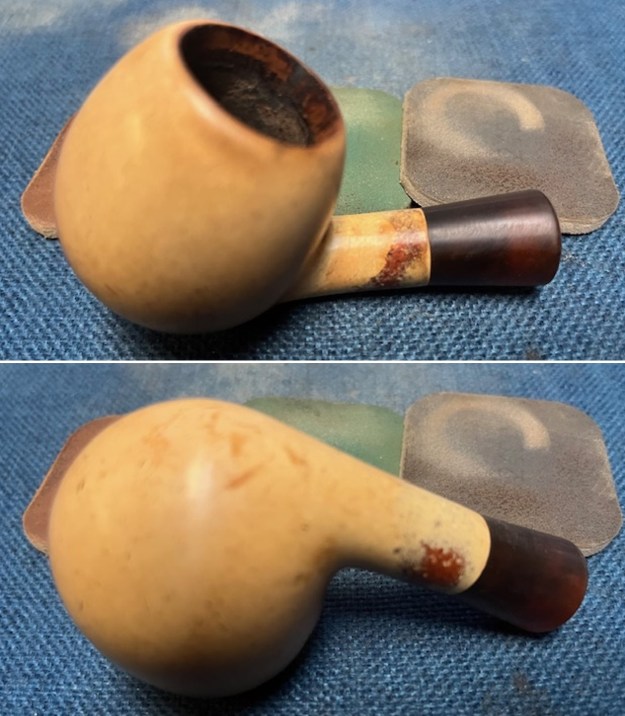
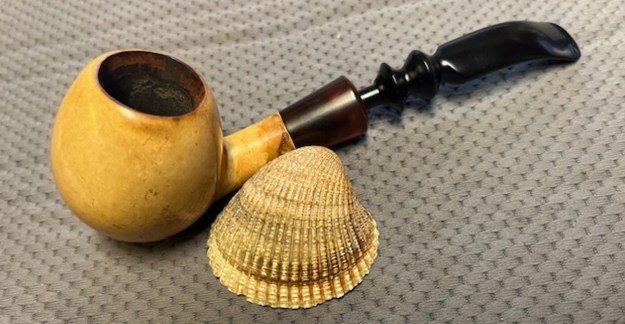
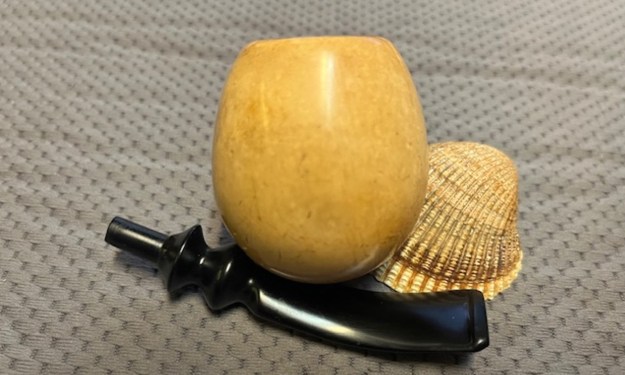
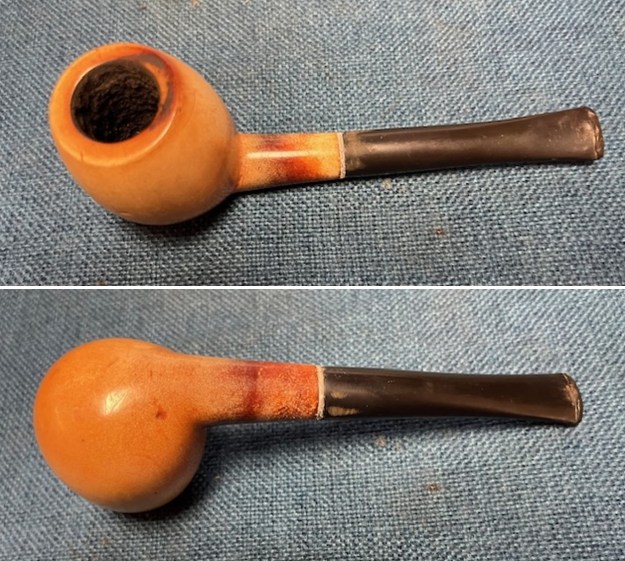
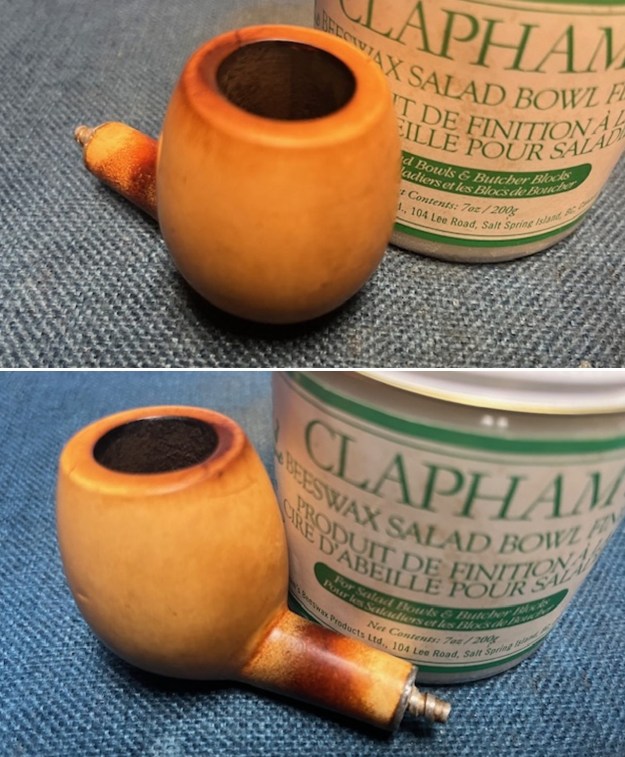
 I am really happy with the way that this Meerschaum Apple with a Twin Bore Stem turned out. It really is a beautiful looking pipe with a unique shape and smooth meerschaum bowl. The vulcanite taper stem is really nice. The rich patina on the meerschaum came alive with waxing and buffing. I put the stem back on the bowl and carefully buffed the pipe with Blue Diamond on the buffing wheel. I gave the bowl and the stem multiple coats of beeswax/carnauba wax and buffed the pipe with a clean buffing pad to raise the shine. I hand buffed the pipe with a microfiber cloth to deepen the shine. The finished Meerschaum Apple really is a beauty and feels great in the hand and looks very good. Give the finished pipe a look in the photos below. The dimensions of the pipe are Length: 5 ¾ inches, Height: 2 inches, Outside diameter of the bowl: 1 ¼ inches, Chamber diameter: ¾ of an inch. The weight of the pipe is 59 grams/2.08 ounces. The pipe will be going on the rebornpipes store soon. It will be in the Ceramic and Meerschaum Pipes Section if you would like to add it to your collection. Thanks for reading this blog and my reflections on the pipe while I worked on it. It was a fun one to work on!