Blog by Steve Laug
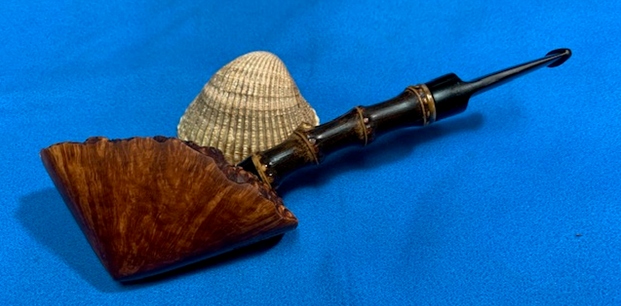
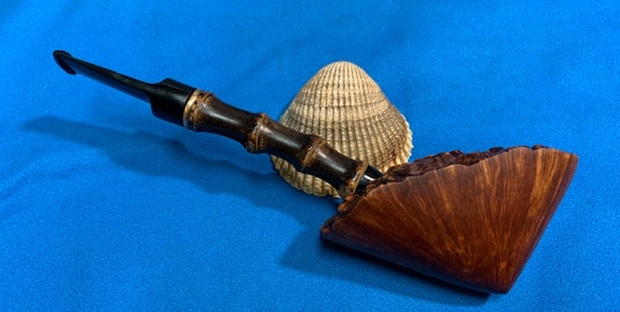
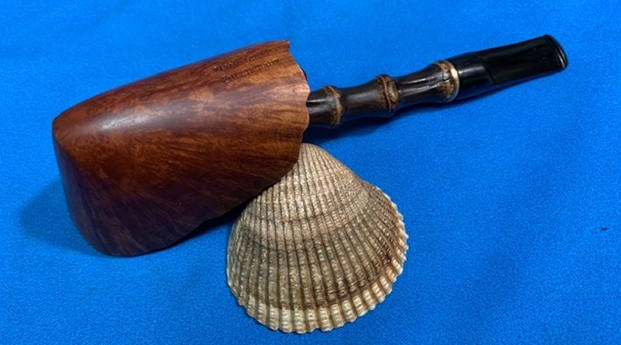
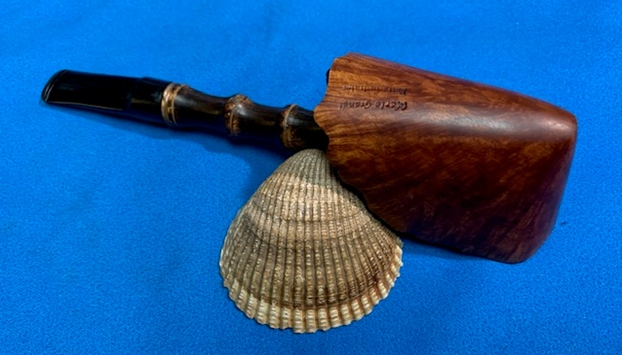
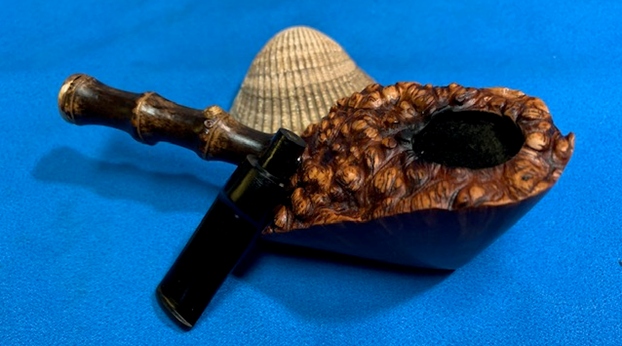
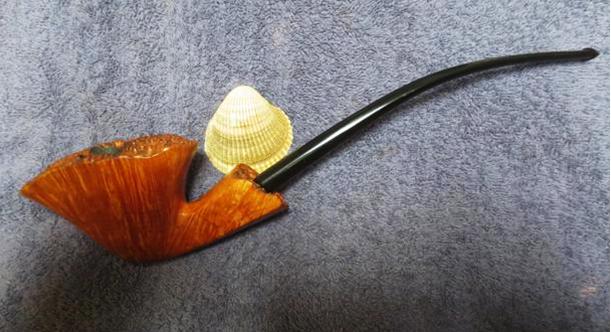
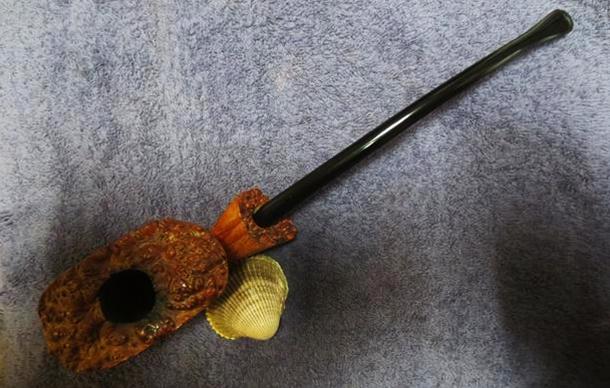
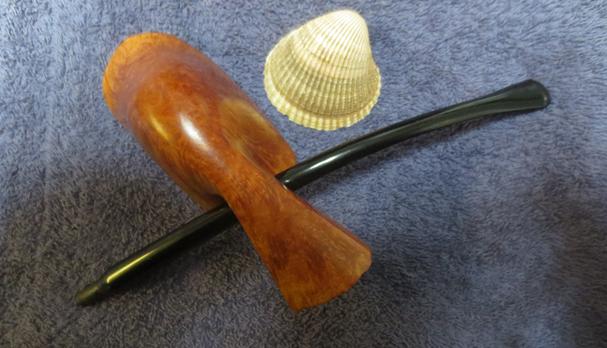
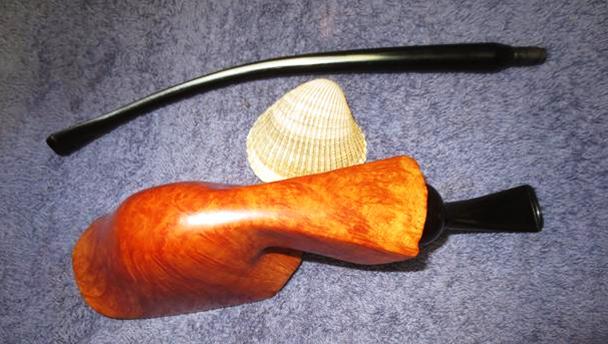
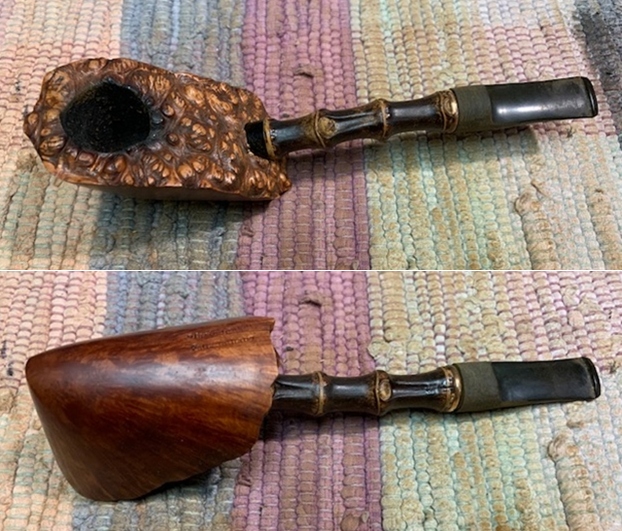
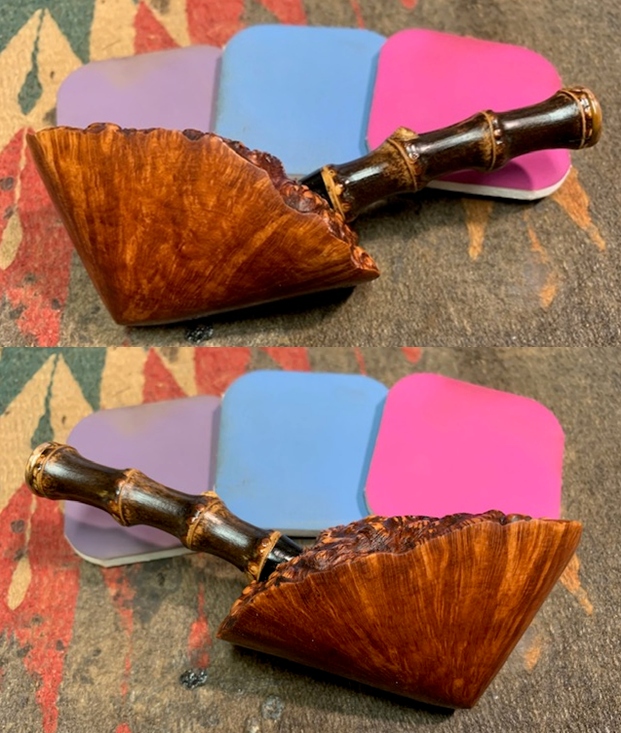
The pipe below is a bit of a mystery to me. It has been in a box of bowls that I have here for a very long time. It is kind of a wedge of nicely grained briar with a plateau rim top. When Jeff and I went through the box of bowls to sort and dispose of them we came across this bowl. I was ready to pitch it but Jeff saw something in it and said to see what we could do with it. So it is on the table today. It is stamped on the underside of the briar and reads Mario Grande Fatta in Italy. The bowl end of the bamboo shank was loose and had an acrylic end and a Delrin tenon that inserted into the briar. On the stem end the mortise is incredibly small and drilled at an angle. The dark bamboo shank had a split on the underside at the stem end. It was a bit of a mess. The bowl had been well smoked and there was some darkening on the back edge of the rim top and plateau. Somewhere along the way it had been reamed. The shank was clean but there was debris in the mortise end. I am guessing that the original stem probably had a stainless steel tenon and was held in place by friction. I am also guessing that the crack in the shank was from the pipe being dropped. In the photos below of the bowl you will notice a thin brass band on the shank end. I put that in place before I took photos of the pipe. It is thin enough to be almost invisible but one glued in place will bind the crack in the bamboo together permanently. 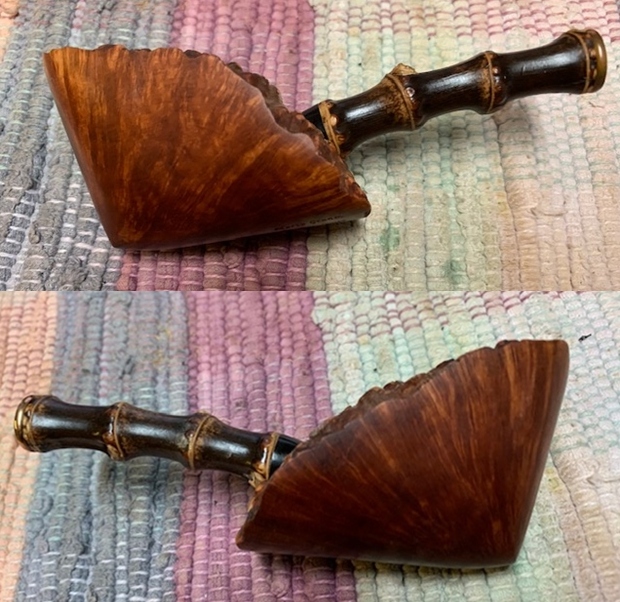
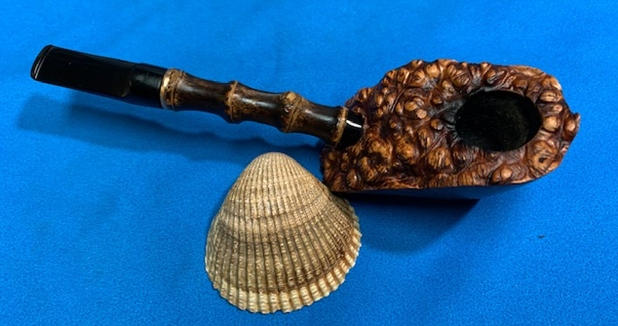
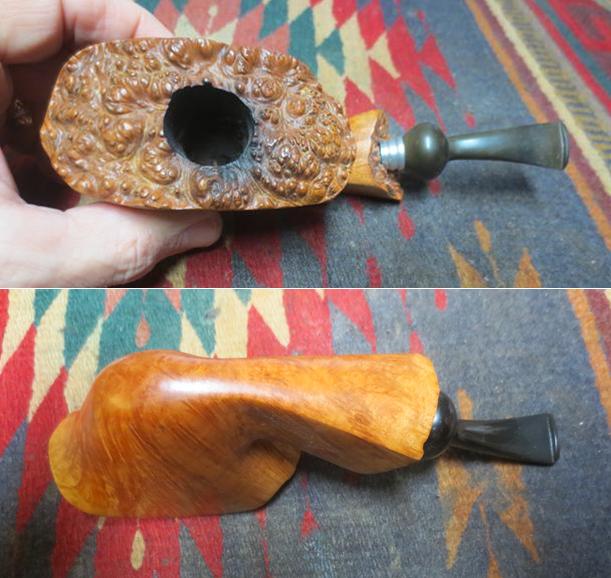
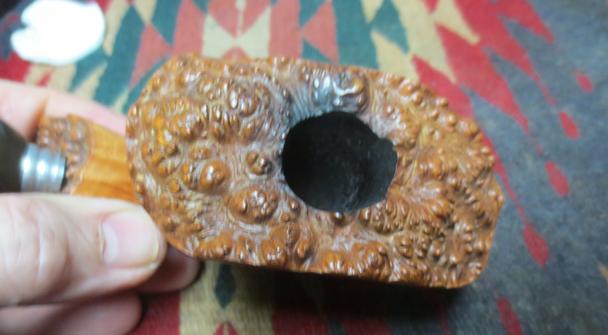
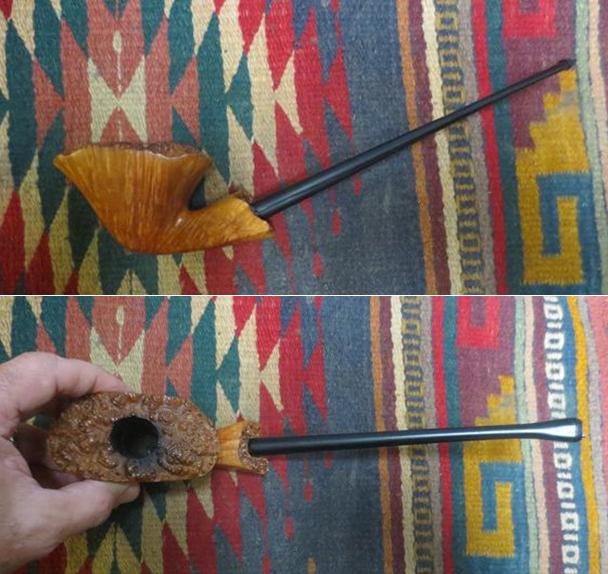
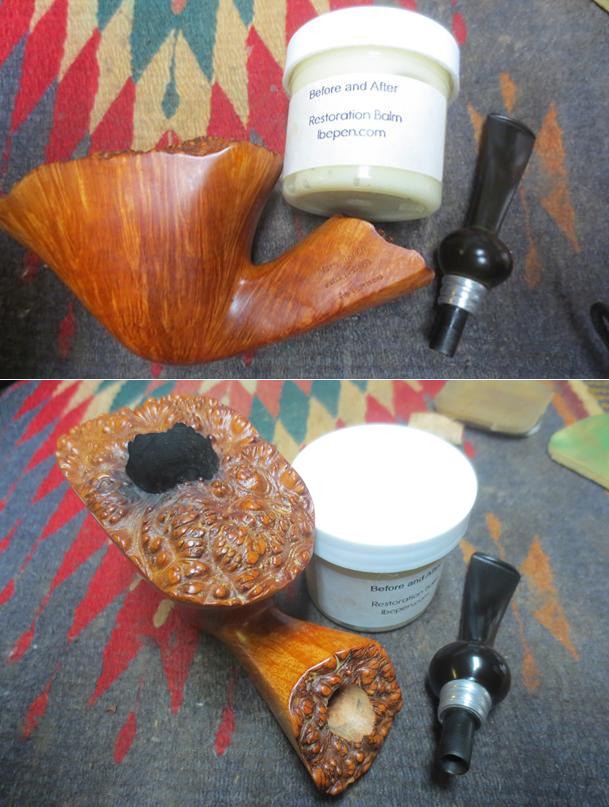
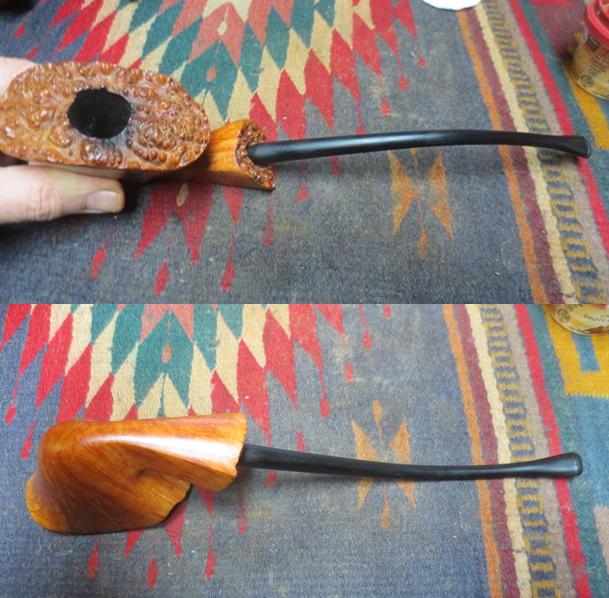
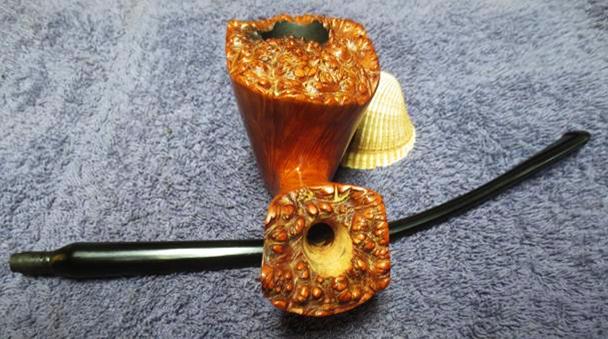
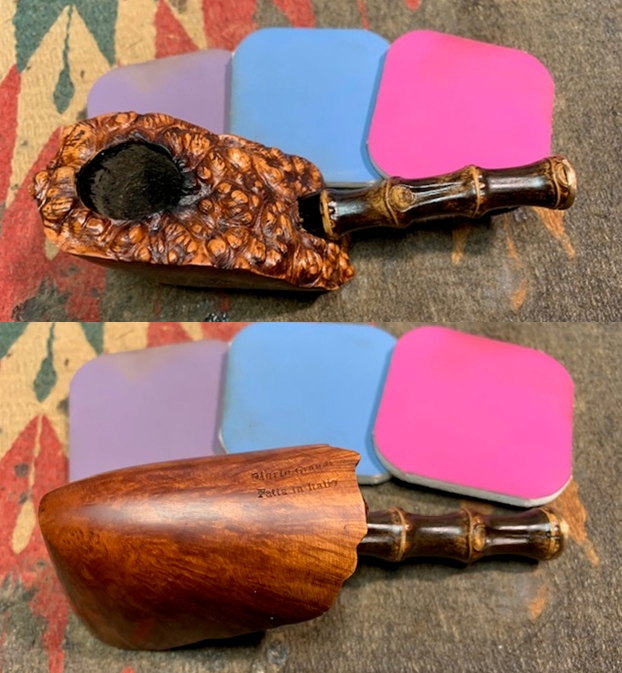
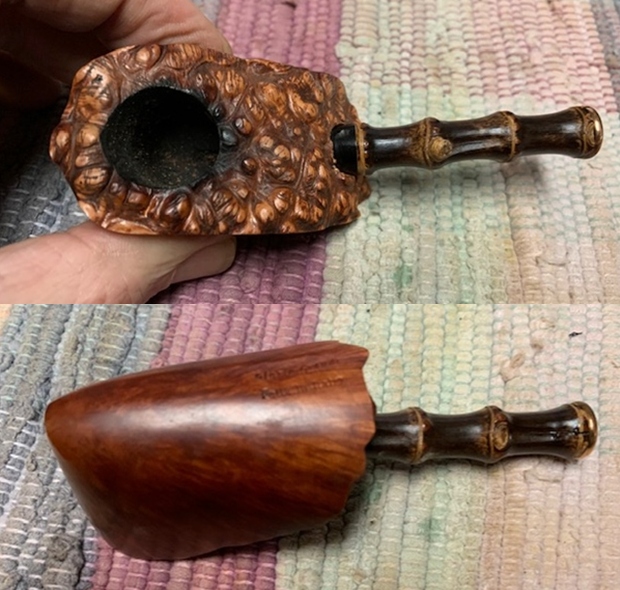 I took a closer photo of the rim top to show the condition of the bowl and plateau. You can see the darkening around back inner edge of the bowl. Otherwise the rim was very clean. I also took photos of the brass band that I had pressed onto the shank end. It is hard to see from my photos but the drilling in the mortise is off.
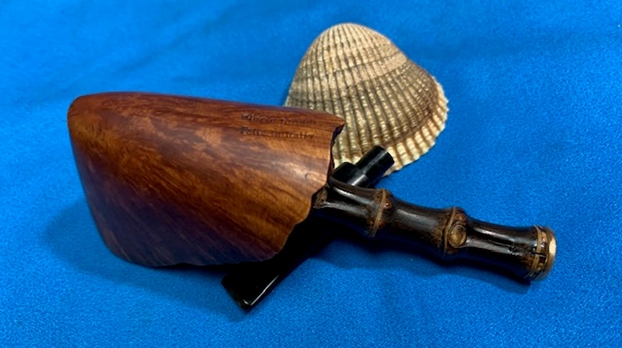
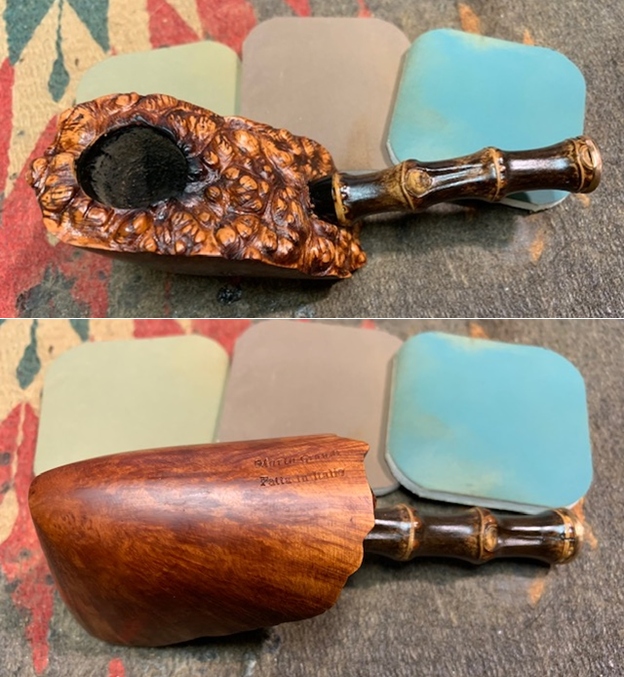
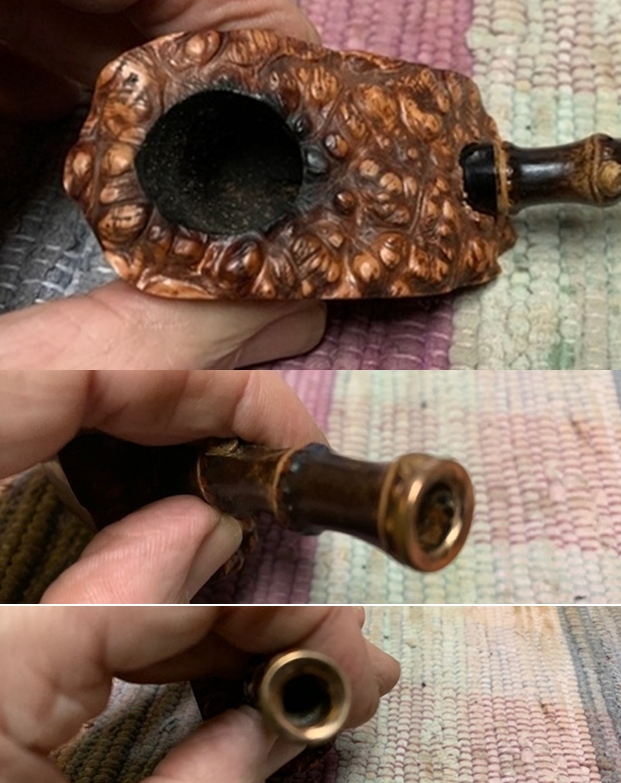 I took a photo of the stamping on the underside of the shank. It clearly reads as noted above.
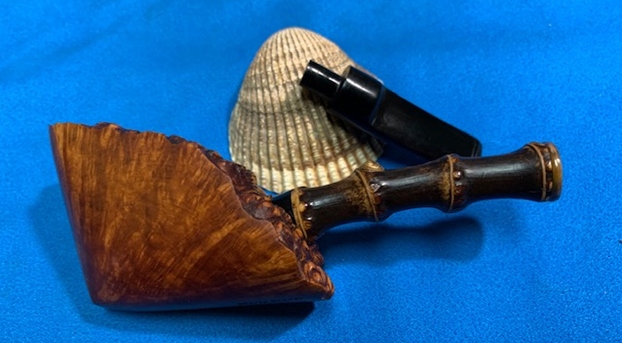
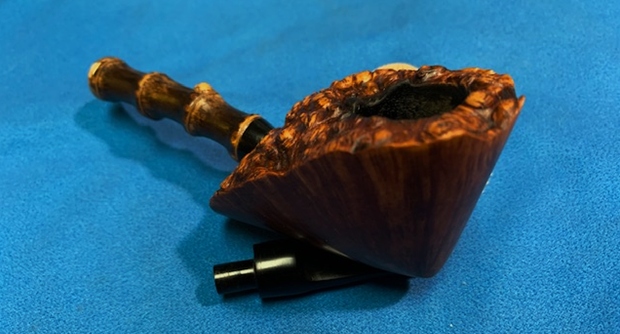
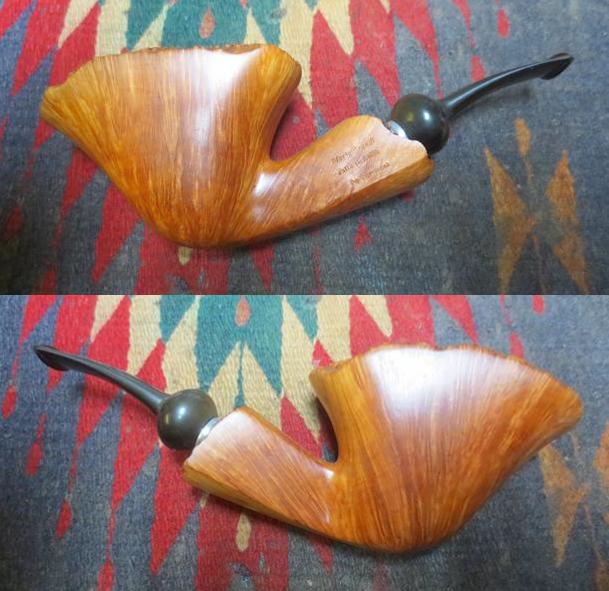
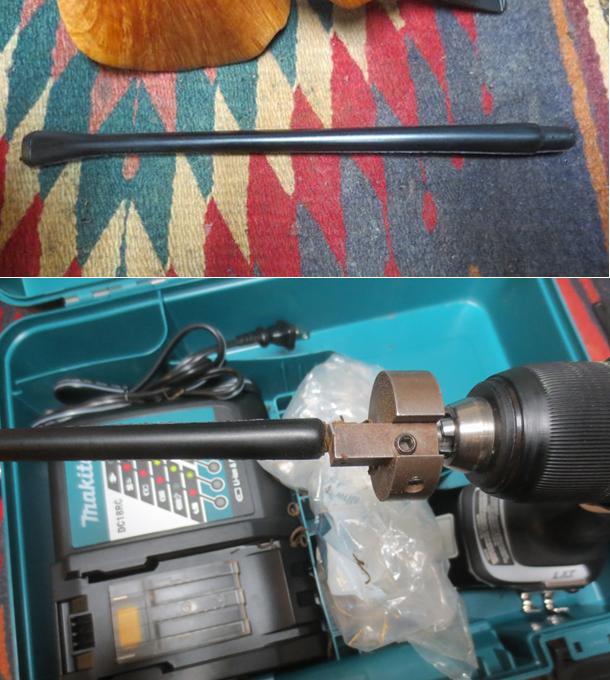
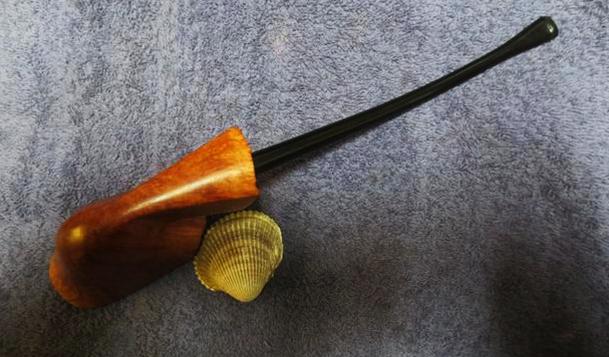
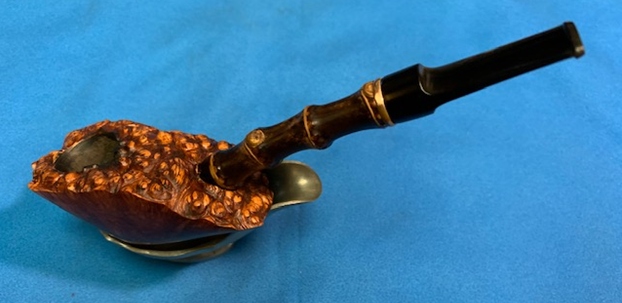
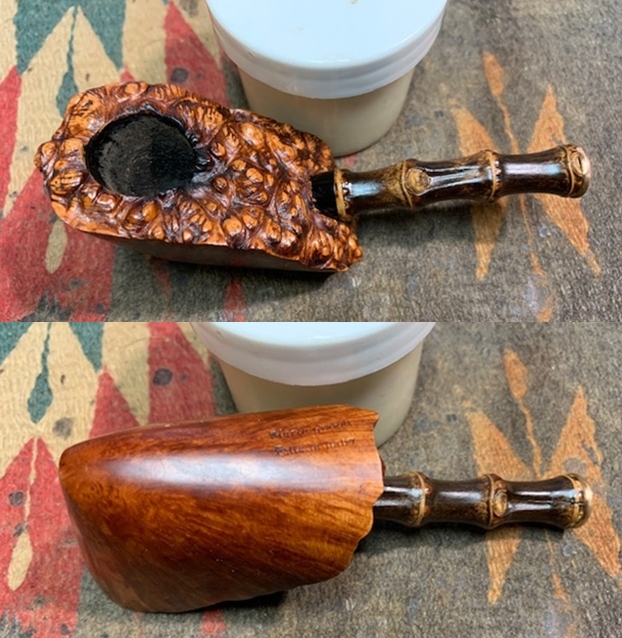
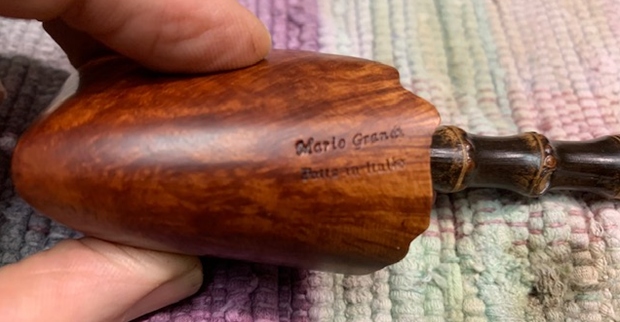 I glued the crack in the shank and glued the brass band in place on the shank end. Then I used my cordless drill with increasingly larger drill bits to carefully straighten out the mortise and prepare it for a saddle stem that I had set aside for the pipe. Unfortunately I did not take photos of the process so my words will have to suffice. Once the mortise was straight and the same size as the opening in the brass band I put the stem on the shank and took photos of the pipe at this point. I would need to reduce the diameter of the saddle portion of the stem as it was larger than the shank end but I liked the look.
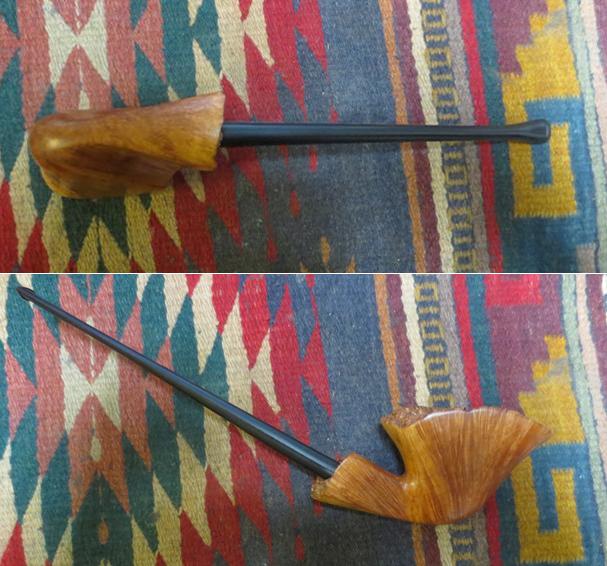
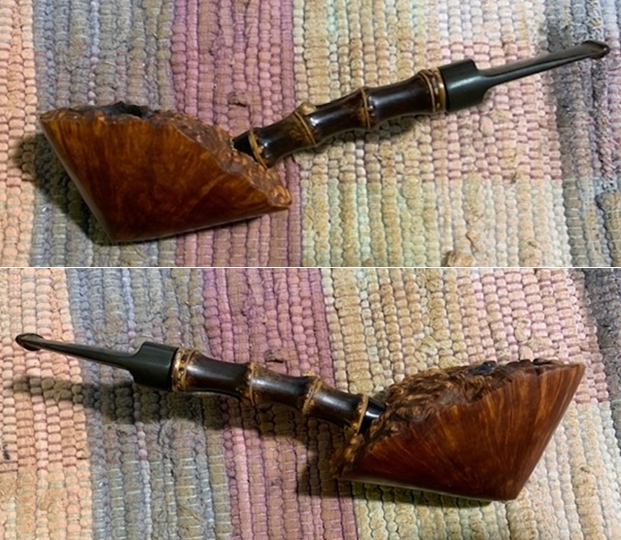
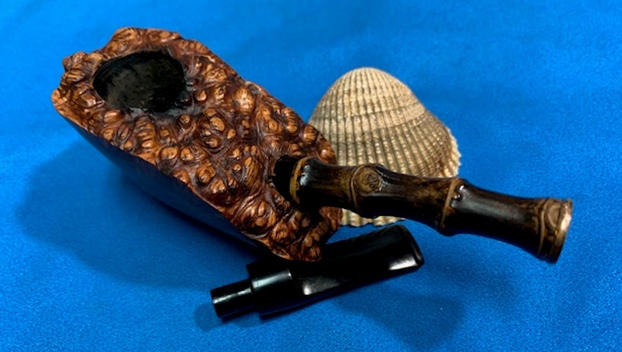
 I used the Dremel and sanding drum to reduce the diameter of the stem. I worked to match it to the shank end diameter. It took some fiddling but once it was finished I liked the look.
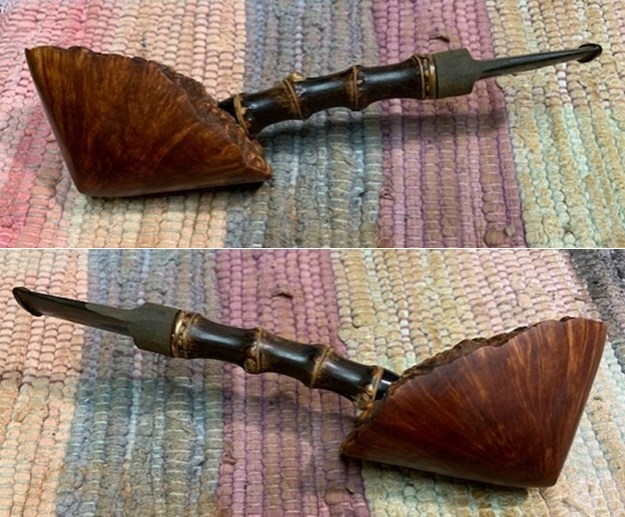
 I polished the smooth briar and the bamboo with micromesh sanding pads. I dry sanded with 1500-12000 grit sanding pads. I wiped the briar and bamboo down with a damp cloth after each sanding pad.
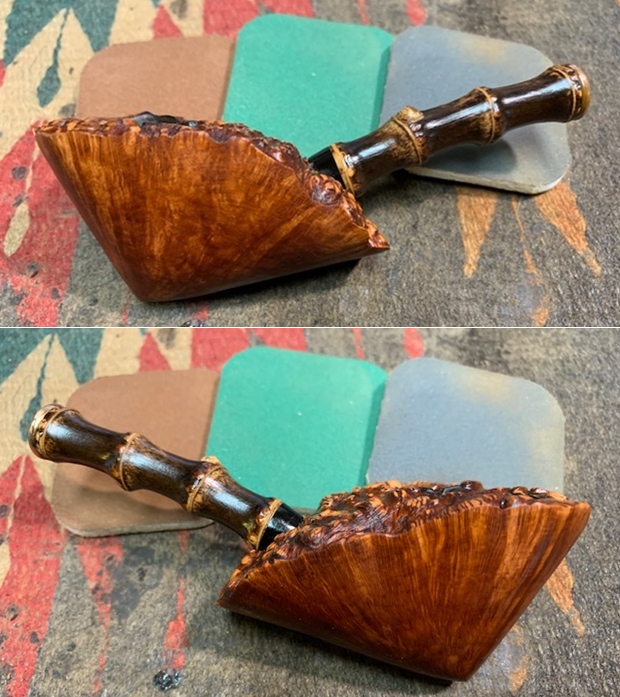

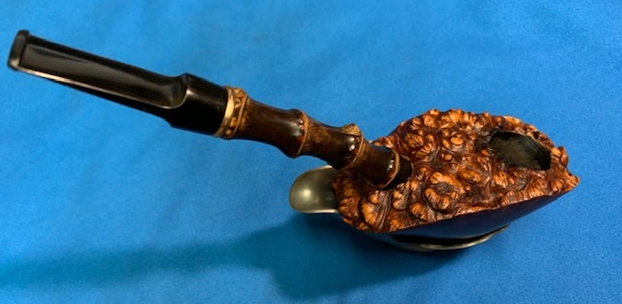
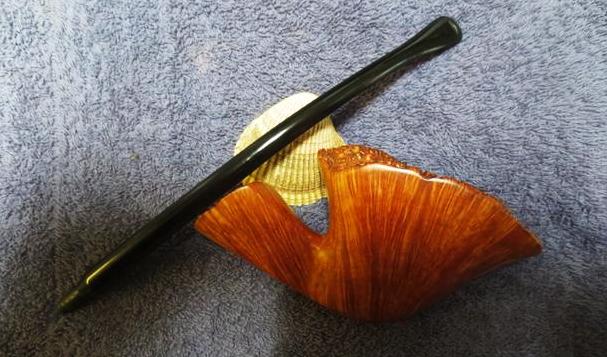
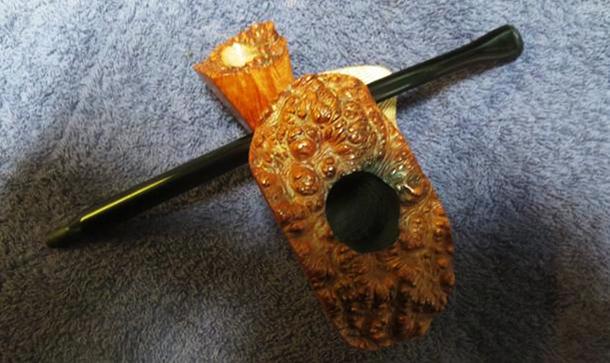
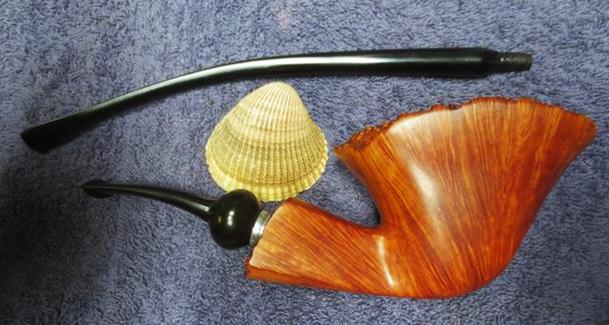
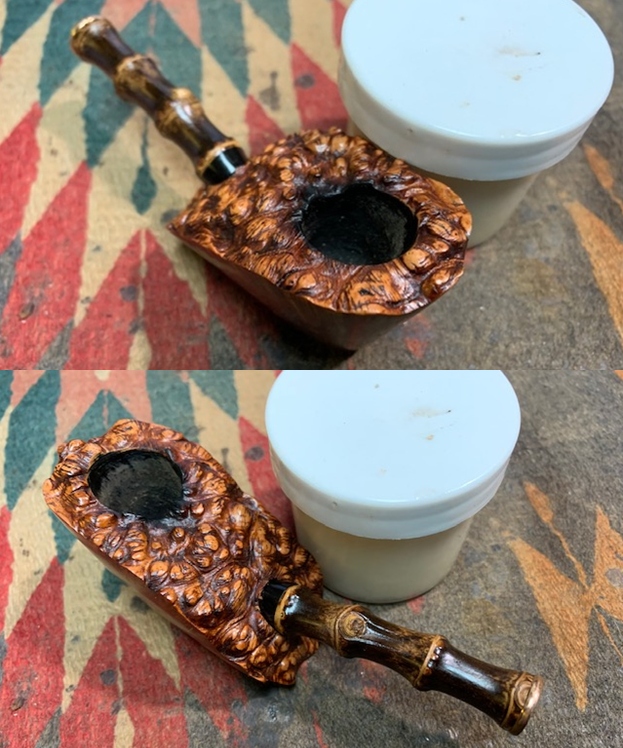
 I worked some Before & After Restoration Balm into the surface of the briar with my fingertips to clean, enliven and protect the briar. I worked the Balm into the plateau top with a horsehair shoe brush. I let the balm sit for a little while and then buffed with a cotton cloth to raise the shine. The photos show the bowl at this point in the restoration process.
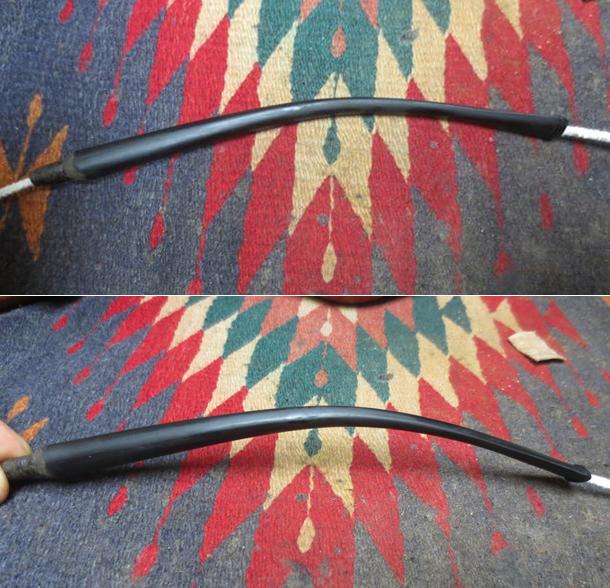
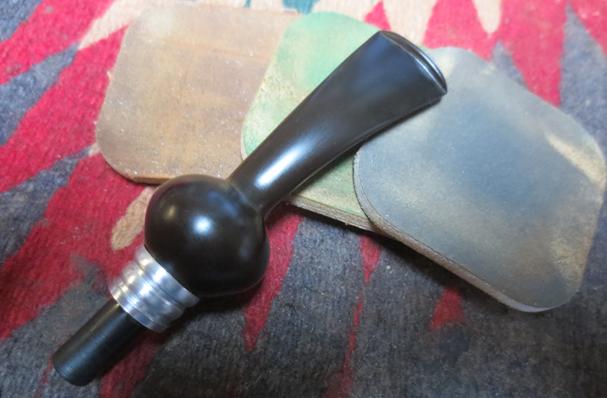
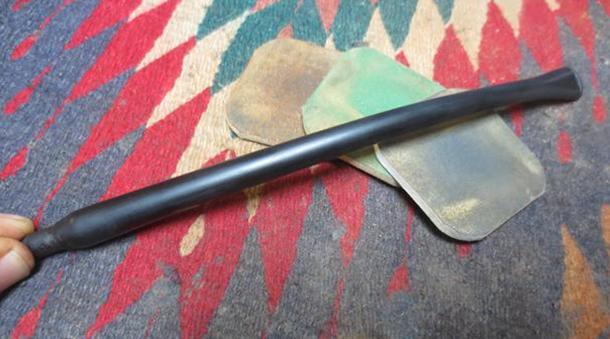
 I set the bowl aside and turned my attention to the stem. I sanded out scratching and light oxidation on the stem with 220 grit sand paper. I started to polish it with a folded piece of 400 wet dry sandpaper.
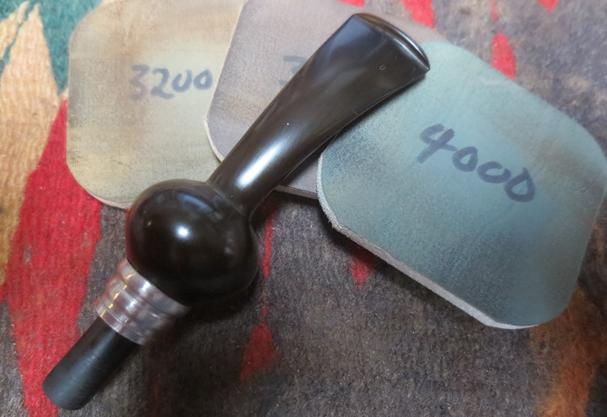
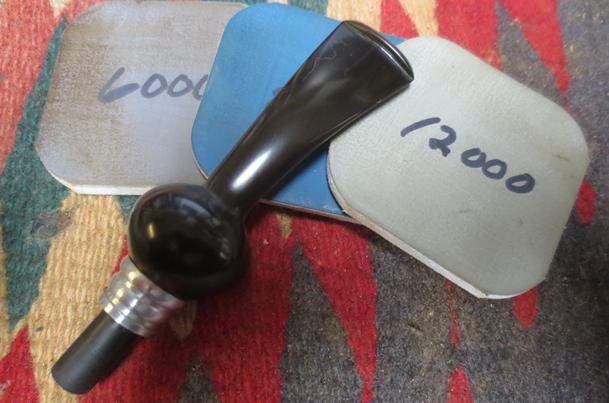
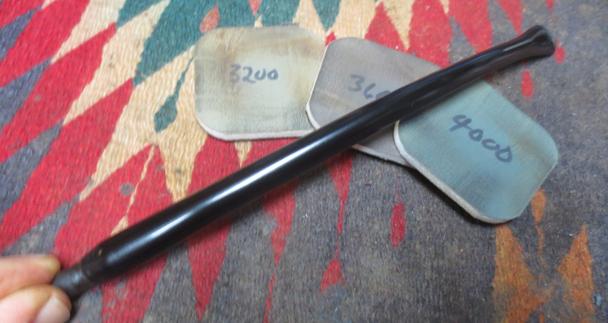
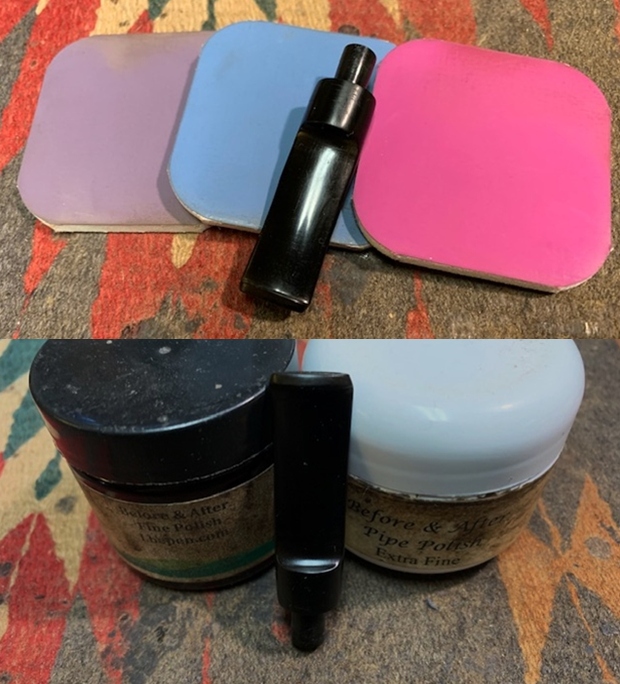
 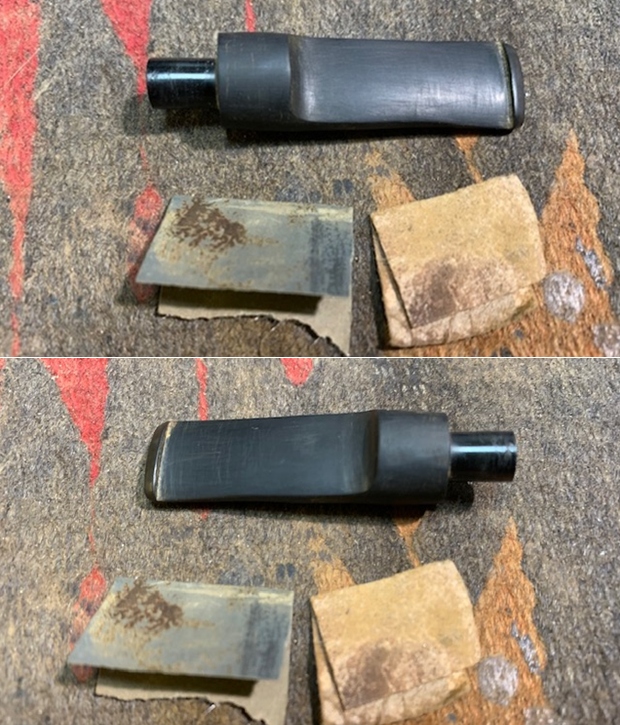 I polished the stem with micromesh sanding pads – wet sanding with 1500-12000 grit sanding pads. I wiped it down after each sanding pad with Obsidian Oil. I polished it with Before & After Pipe Stem Polish – both Fine and Extra Fine.
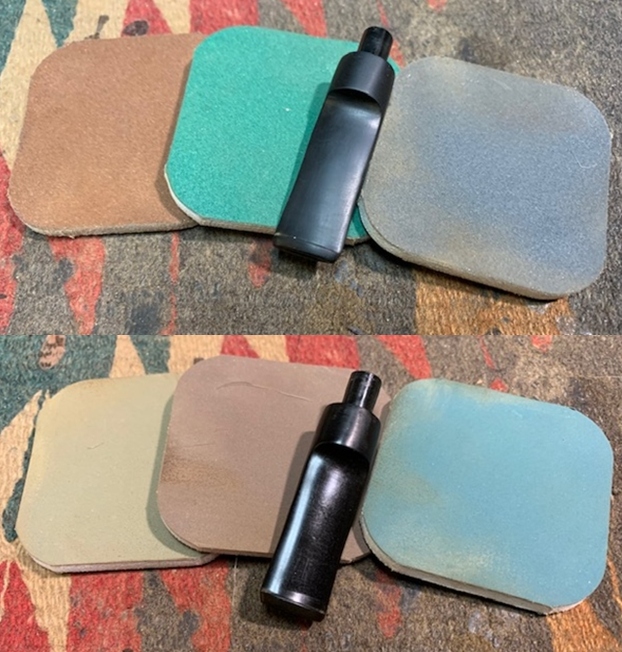
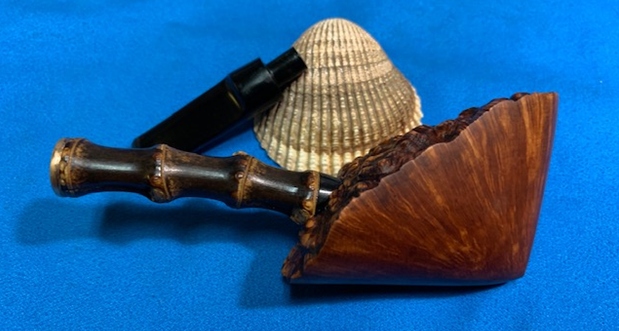
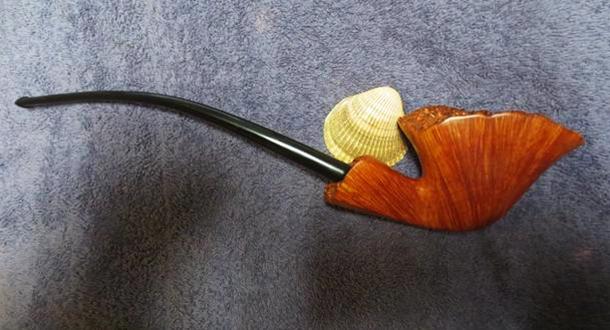
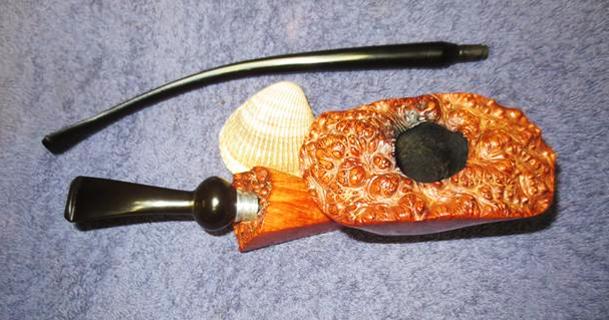
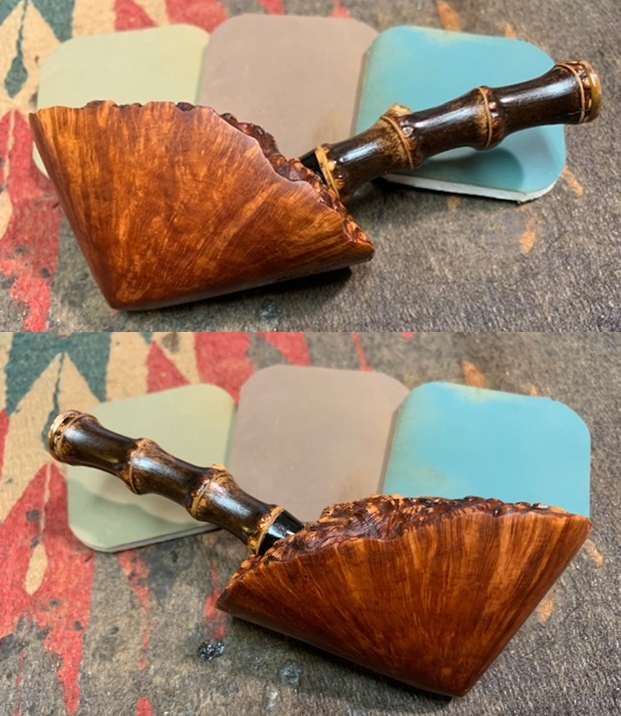
 I am glad to finish this Mario Grande Fatta in Italy Freehand. It was a bit more work than I expected when I took it out of the bin. I put the pipe back together and buffed it with Blue Diamond on the buffing wheel. I gave the bowl and the stem multiple coats of carnauba wax. I hand buffed the pipe with a clean buffing pad to raise the shine. It is fun to see what the polished bowl looks like with the grain popping through on the bowls sides and the plateau rim top. Added to the briar, the combination of the brass band on the black bamboo and the polished black vulcanite stem was beautiful. This petite Mario Grande (for his pipes it is petite!) is nice looking and feels great in my hand. It is light and well balanced. Have a look at it with the photos below. The dimensions are Length: 6 ½ inches, Height: 1 ¾ inches, Outside diameter of the bowl: 1 ½ inches, Chamber diameter: 5/8 of an inch. The weight of the pipe is 50grams/1.76oz. It is a beautiful pipe and one that will be on the rebornpipes store soon. If you are interested in adding it to your collection let me know. Thanks for walking through the restoration with me as I worked over this pipe. Thanks to each of you who are reading this blog. Remember we are not pipe owners; we are pipemen and women who hold our pipes in trust until they pass on into the trust of the next pipeman or woman.