By Steve Laug
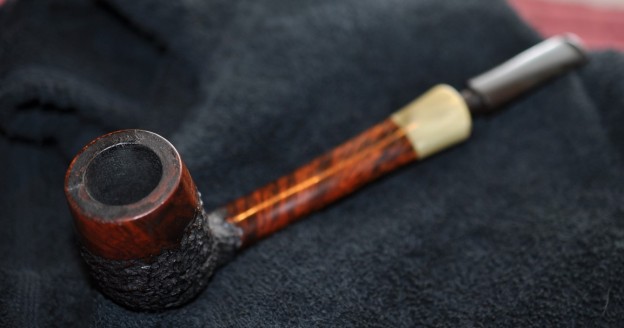
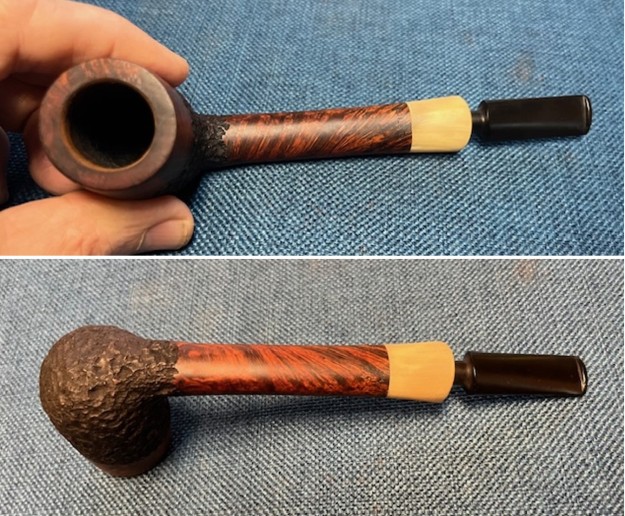
The next pipe on the worktable is a Danish made pipe from the workshop W.O. Larsen. It is a combination of rustication and smooth portions and a horn shank extension. The bowl is a classic Danish looking Canadian. The pipe came to us from eBay on 01/22/2024 from a seller in Jordan, Minnesota, USA. The pipe is very dirty with a thick cake in the bowl and lava on the rim top. The rim edge looks like it might be slightly out of round but it was hard to know what was under the lava coat on the top and edges. It is stamped on the underside of the bowl and shank on a smooth panel. It reads Larsen [over] Copenhagen [over] Handmade [over] Made in Denmark. On the top side it is stamped Rustica. The finish was dusty and there were oils and grime ground into the rusticated and the smooth finish around the sides of the bowl. The horn shank extension had a metal insert to protect it from cracked and a tube inside connecting the extension to the shank. The stem fit well and was oxidized and dirty with tooth marks and chatter on both sides ahead of the button. Jeff took some photos of the pipe before he started his cleanup work.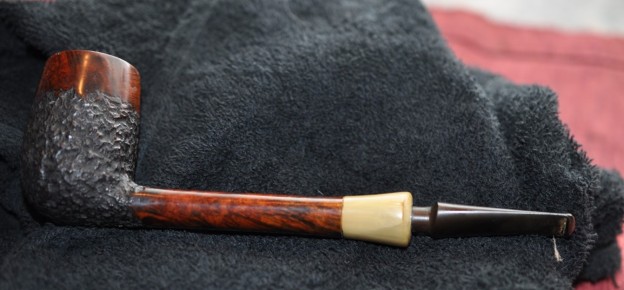
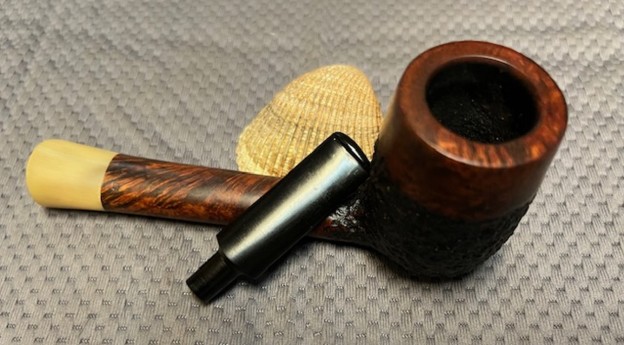
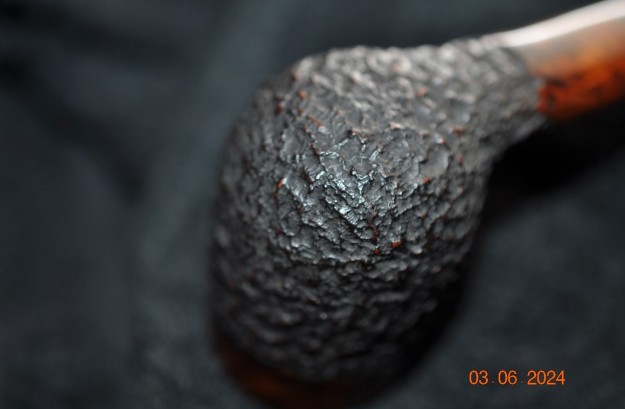
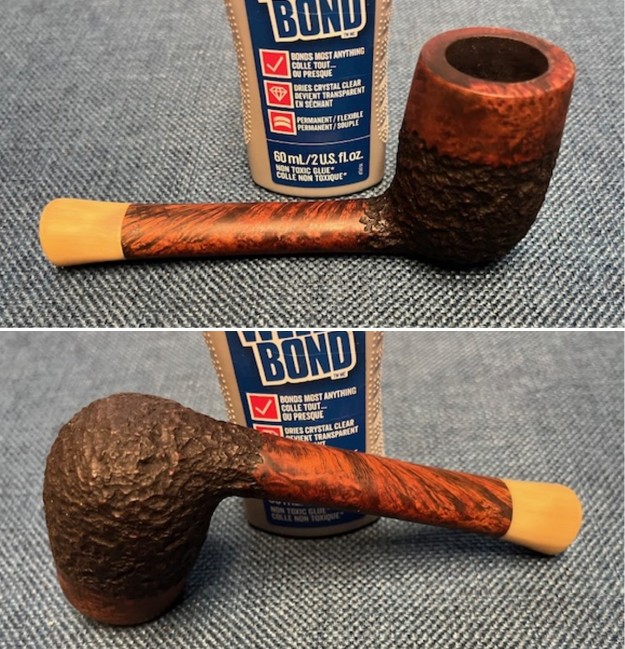
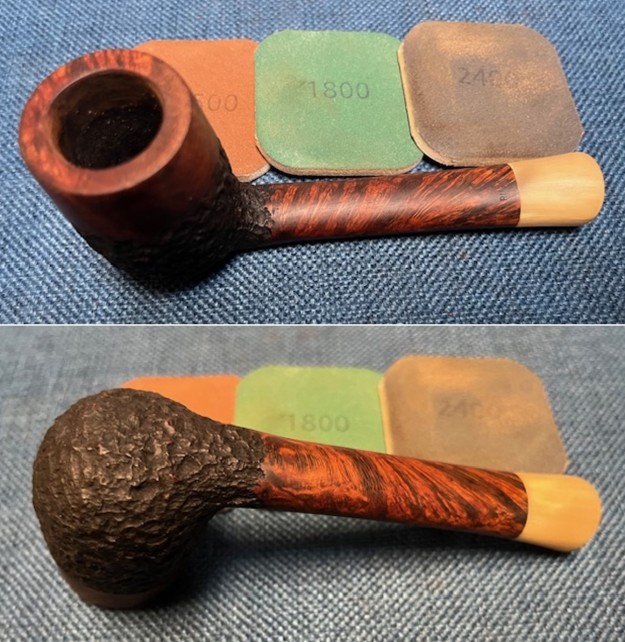
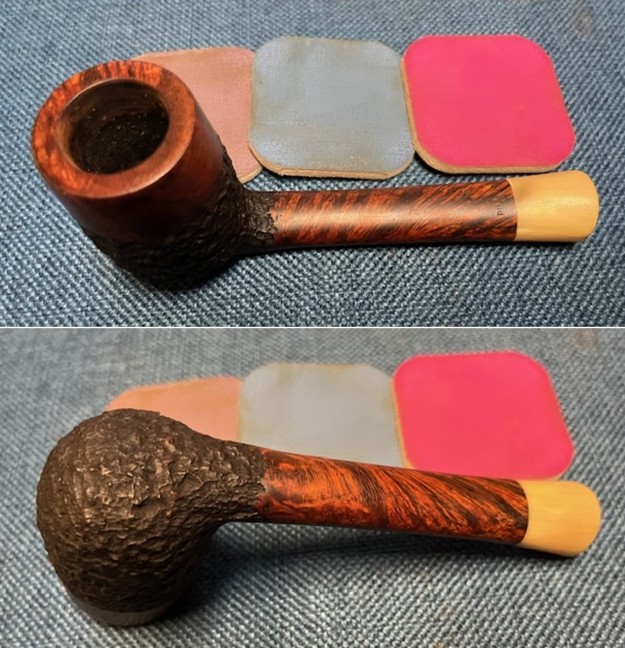
 Jeff took a photo of the rim top to show the thick build up of lava on the rim top. It is also built up on the inner edge of the bowl. The thick cake in the bowl is very visible. He captured the oxidation and tooth marks on both sides of the stem ahead of the button as well.
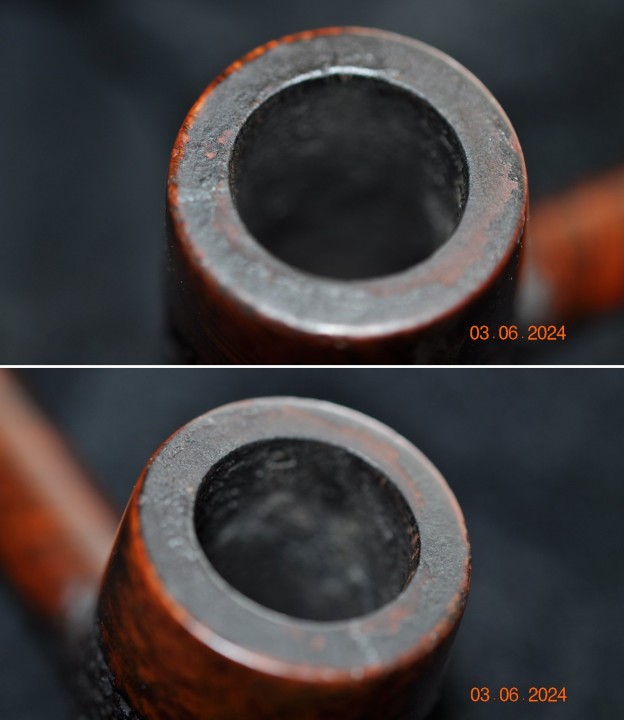
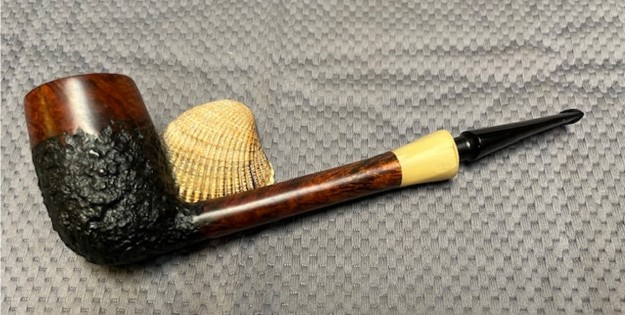
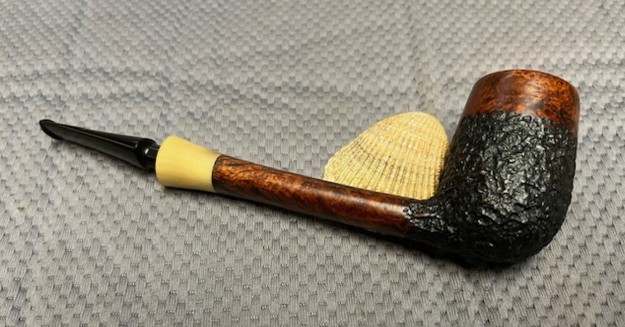
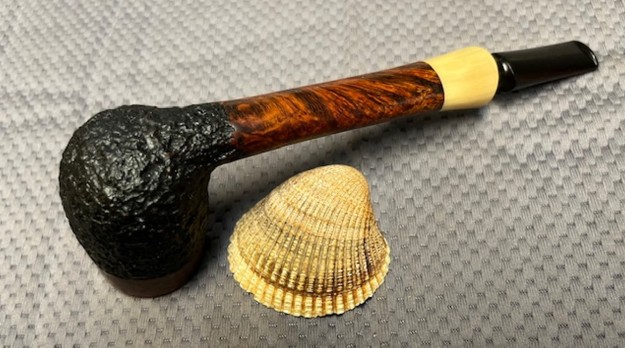
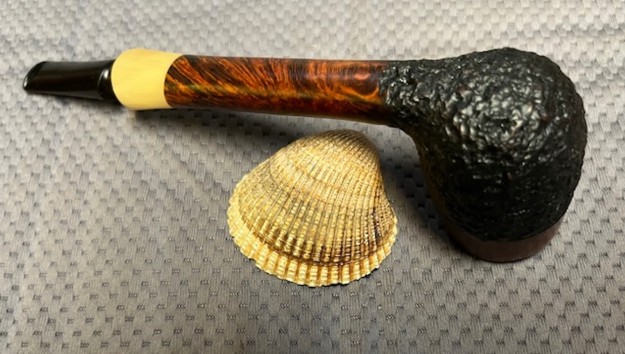
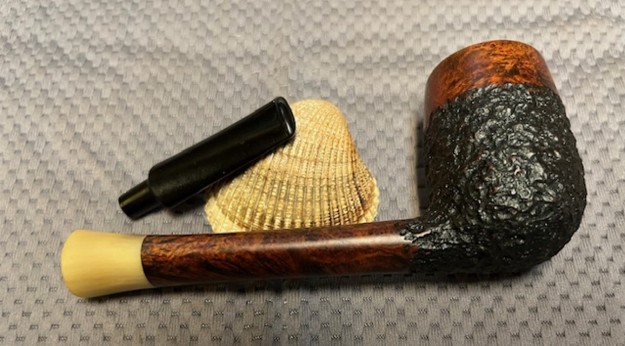
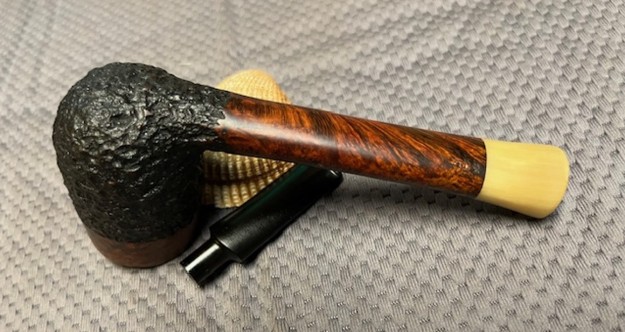
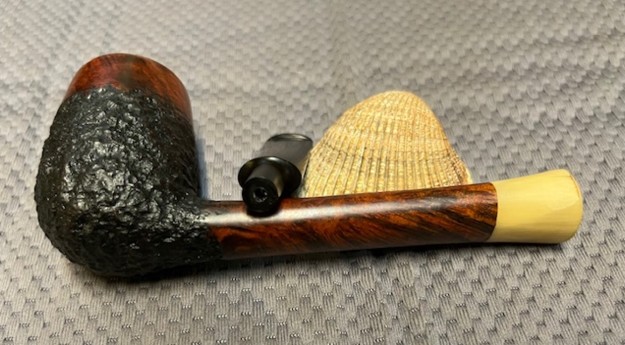
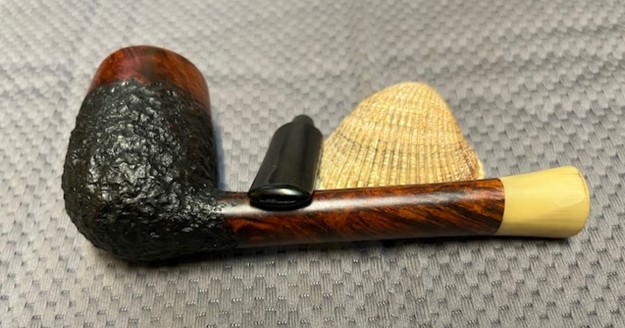
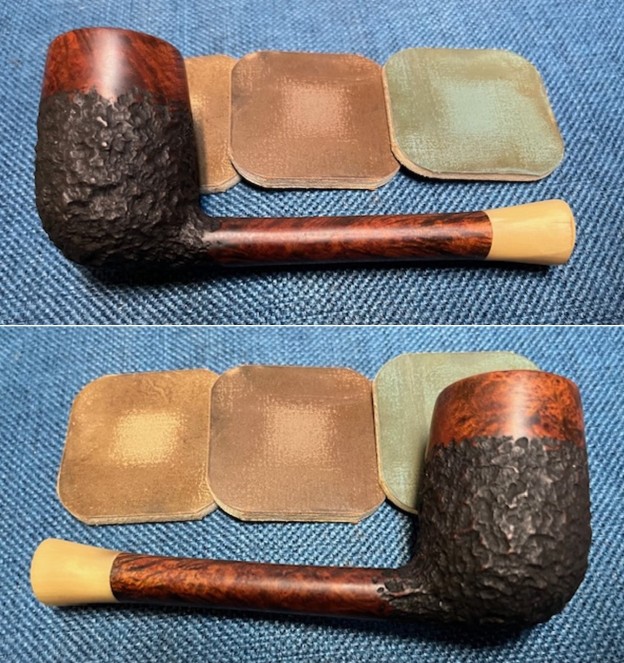
 He took photos of the sides and the heel of the bowl to show the combined smooth and rusticated finish on the pipe. It is a unique finish that really gives depth to the rustication and shows the grain in the smooth portions.
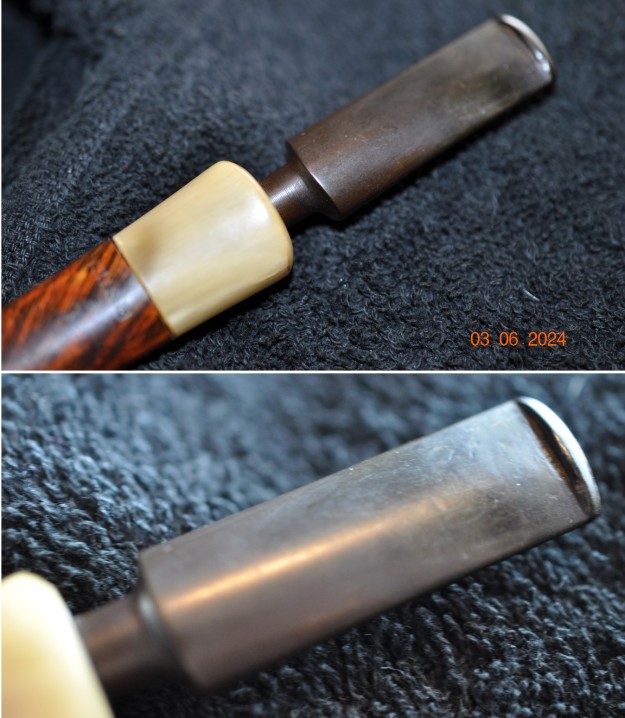
 He took two photos to capture the stamping top and underside of the shank just ahead of the horn extension. Each one moves down the shank to the horn shank extension. It is clear and readable as noted above. You can also see that the horn extension is loose from the shank end.
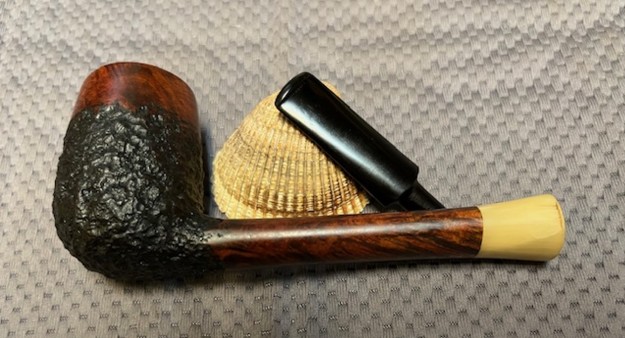
 Once the stem was removed the shank extension came off in his hand. He took a photo of the parts.
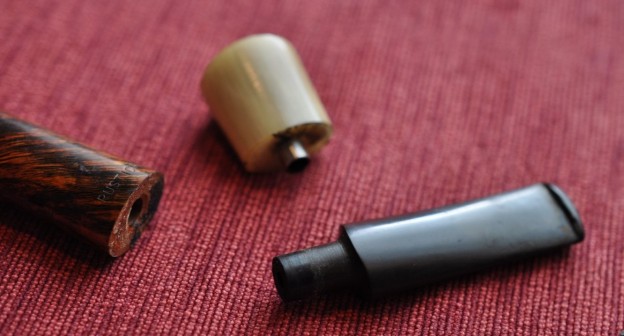 I turned to Pipephil (http://www.pipephil.eu/logos/en/logo-l2.html) to get a quick view of the brand once again. I did a screen capture of the site’s information and have included that below. The pipe I am working on is a Larsen as it is stamped similarly to the ones in the photos. It is interestingly stamped with a lot more detail than any of the ones shown in the screen capture below.
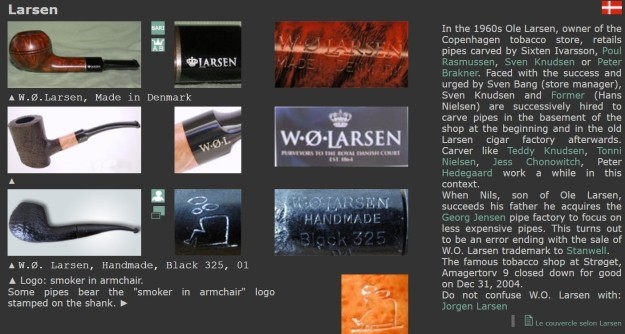 I turned to Pipedia (https://pipedia.org/wiki/W.%C3%98._Larsen) for a quick read. The site is worth reading the history of the shop and the brand and its influence on Danish pipe carving. There was no additional information on the unique stamping on this pipe.
What I learned from the research is that the pipe is a Larsen made pipe that could have been designed by W.O Larsen himself or at least one of the shop carvers. It is a beauty that uses a unique finish to give definition to the shape. It is very similar to a previous Larsen that I restemmed and repaired (https://rebornpipes.com/2024/06/09/argggh-sometimes-the-easiest-restoration-becomes-a-real-nightmare/).
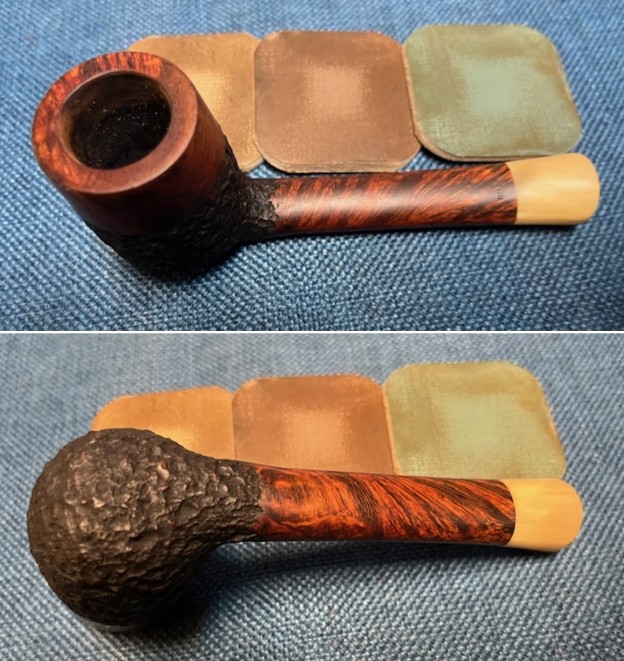
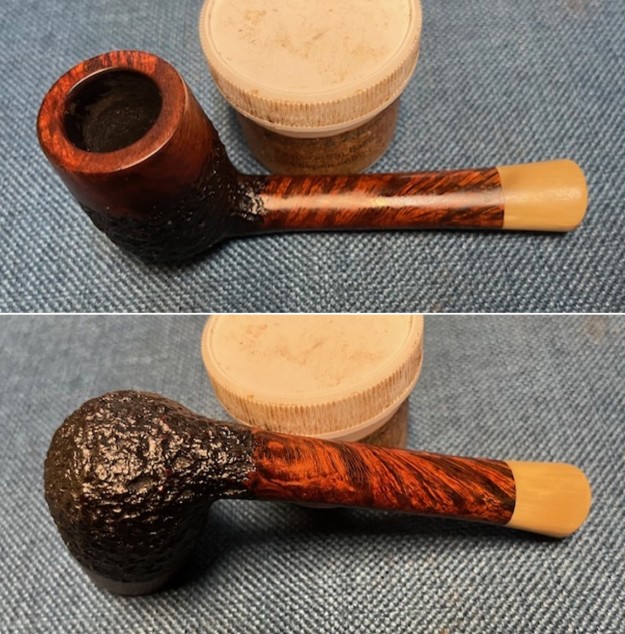
With that information I moved forward to work on the pipe itself and see what I had to do with it. Jeff had done an amazing job in removing all of the cake and the lava on the sand blast rim top. He had reamed the bowl with a PipNet Pipe Reamer and cleaned up the remnants with a Savinelli Fitsall Pipe Knife. He took the cake back to bare briar so we could check the walls for damage. He scrubbed the exterior of the bowl with Murphy’s Oil Soap and a tooth brush to remove the grime on the bowl and rim and was able to remove the lava and dirt. The finish on the bowl and rim top looked very good showing a unique and beautiful combination of smooth and rusticated finishes. He cleaned out the interior of the bowl and shank with pipe cleaners, cotton swabs and alcohol until they came out clean. He cleaned the stem with Soft Scrub on the outside and alcohol, pipe cleaners and cotton swabs on the inside. He soaked it in Briarville’s stem deoxidizer to remove the oxidation. It certainly looked better when it arrived. I took photos of the pipe before I started my part of the restoration. 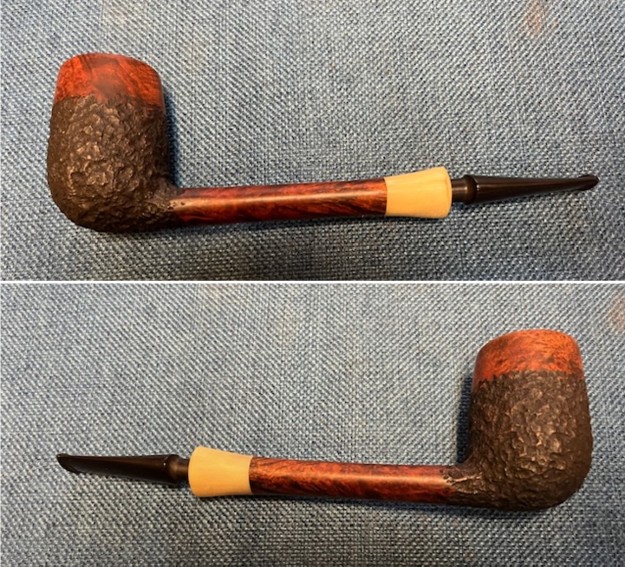
 I took some close up photos of the rim top showing the inner edge of the bowl – damages and nicks in the edge. I took photos of the stem to try and capture the tooth marks but they are hard to see in the photos.
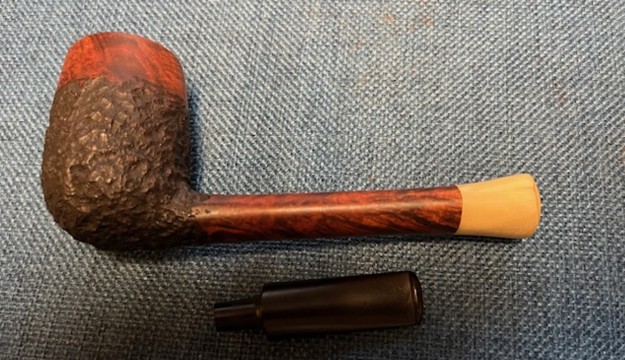
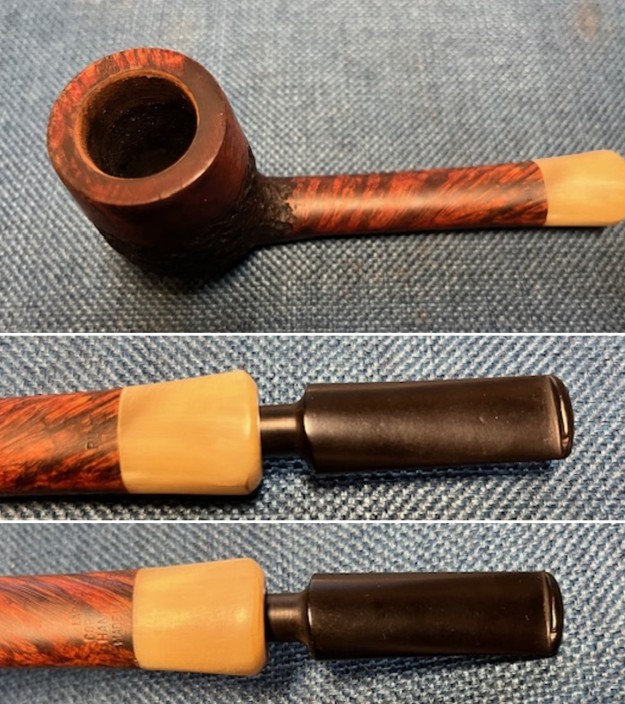 I took photos of the stamping on the top and underside of the shank to show the condition after the cleanup. This stamping is clearer than the photos show. I took a photo of the bowl with the stem next to it to show the overall look of the pipe.
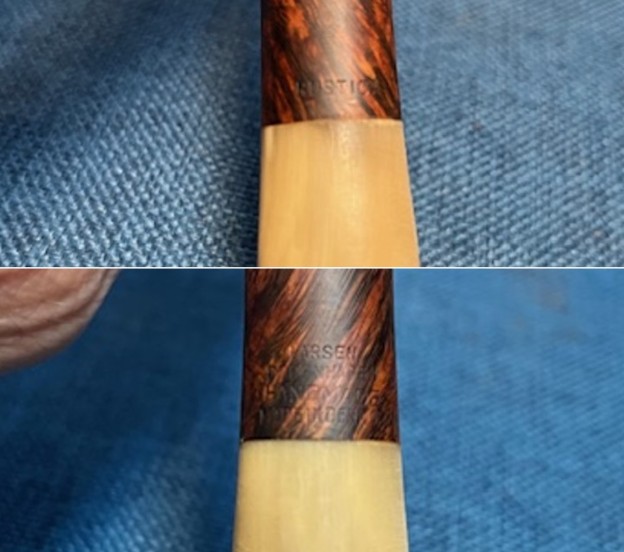
 I decided to start my work on this pipe by regluing the horn shank extension to the briar. I have used different types of glue in the past but I have gone back to using Weld Bond all purpose glue. It gives me lots of time to fine tune the fit to the shank. Once I have it in place I push the parts together to squeeze out the excess glue and let it start to cure. I wiped down the excess glue on the briar and horn and set it aside to cure over night.
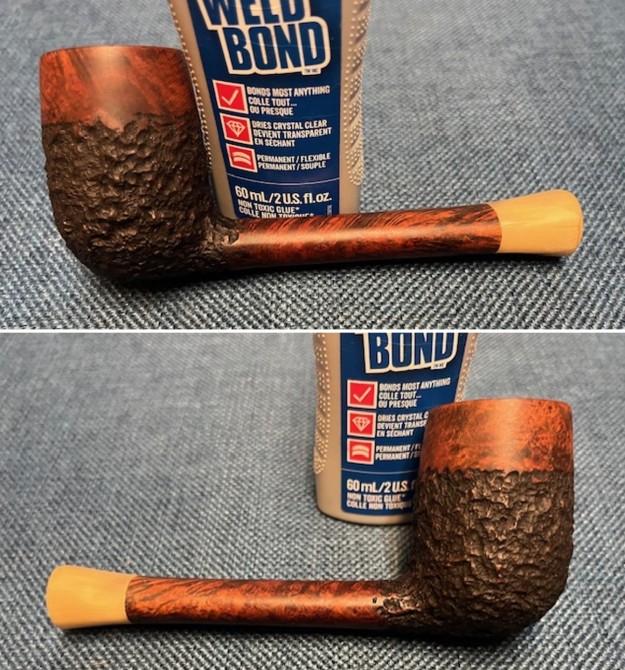
 Once the repair cured I went on to address the chipping and marks on the inner edge of the rim. I used a folded piece of 220 grit sandpaper to smooth out the damage. I gave the rim a very subtle bevel and the damage disappeared.
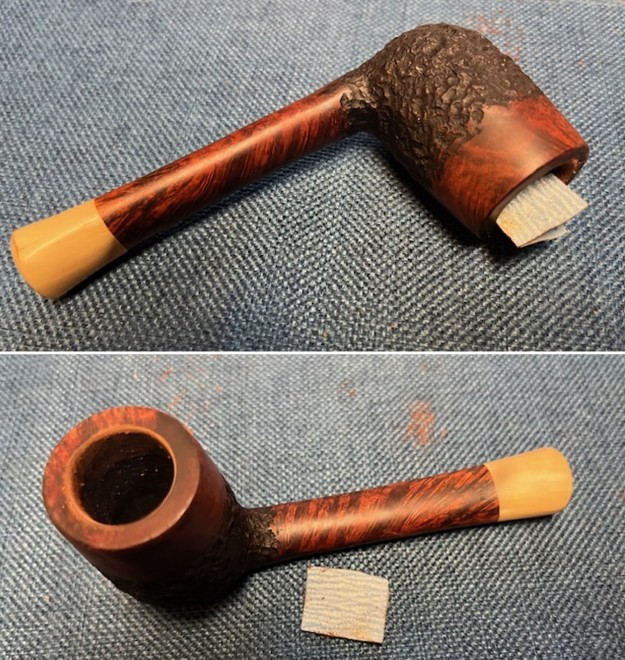 I polished the briar and the horn shank extension with micromesh sanding pads – dry sanding with 1500-12000 grit pads. I wiped the bowl down after each pad with a damp cloth to remove the sanding dust.
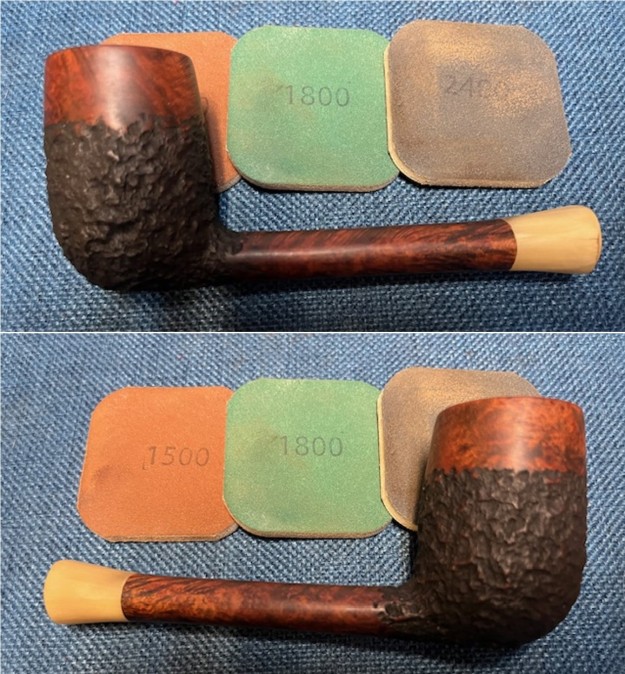
 I rubbed the bowl down with Before & After Restoration Balm. I worked it into the smooth and the rusticated finish of the bowl, rim top and shank with my fingertips and a shoe brush to clean, enliven and protect it. I find that the balm really makes the briar come alive again. The contrasts in the layers of stain and the contrasting finish really made the grain stand out. I let the balm sit for 15 minutes and then buffed with a cotton cloth and shoe brush to raise the shine.
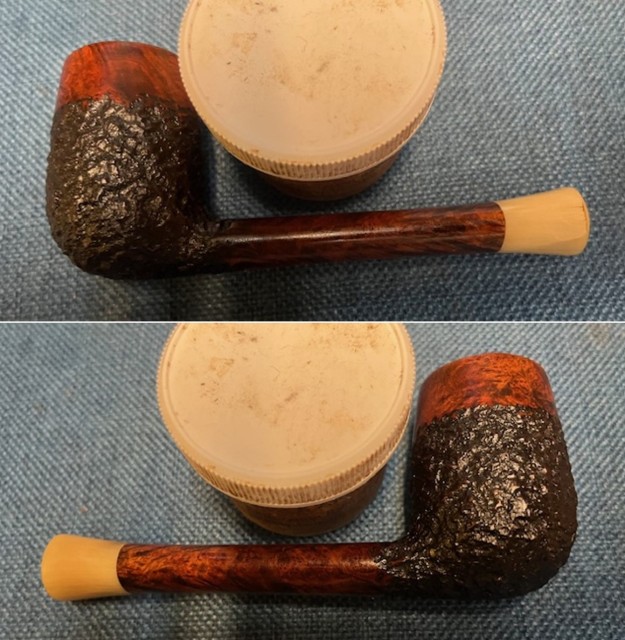
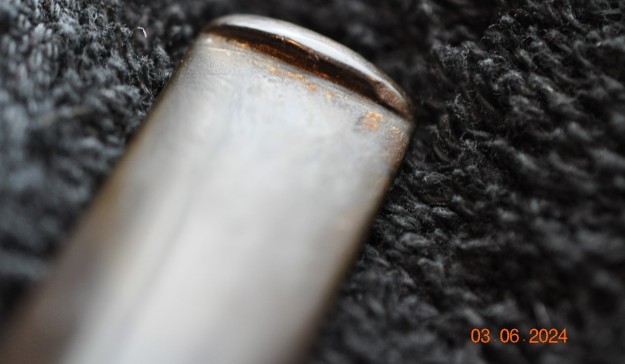
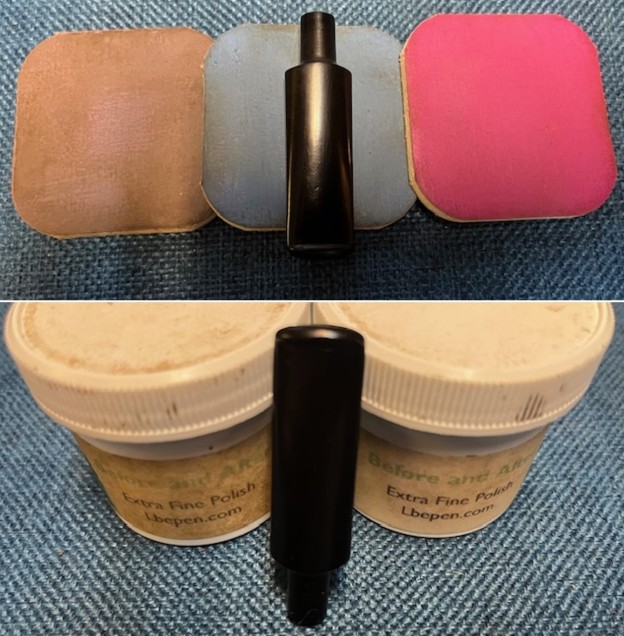
 I set the bowl aside and turned my attention to the stem. I polished it with micromesh sanding pads – dry sanding with 1500-12000 grit sanding pads. I wiped it down after each sanding pad with a cloth containing some Obsidian Oil. I finished polishing it with Before & After Pipe Stem Polish – both Fine and Extra Fine and buffed it off with a cotton cloth.
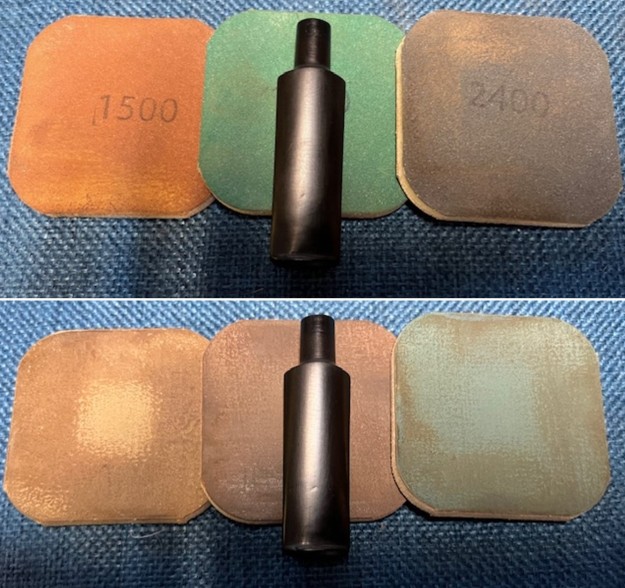
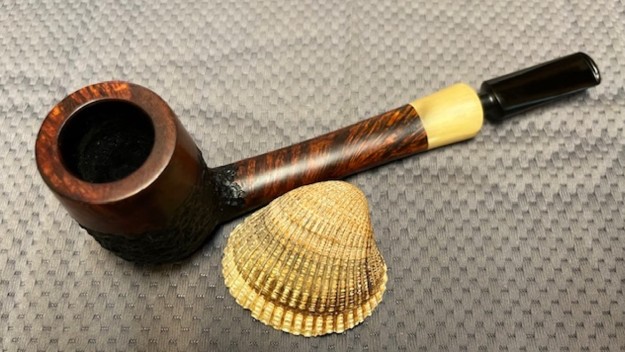
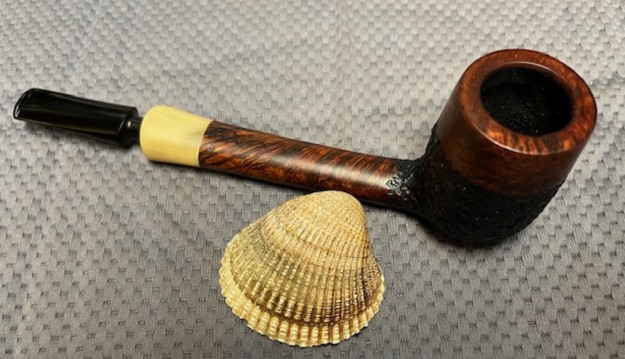
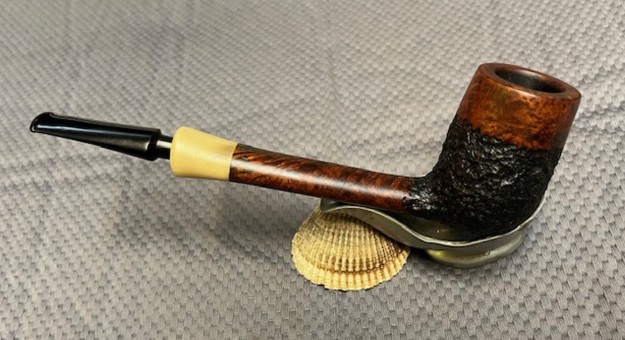
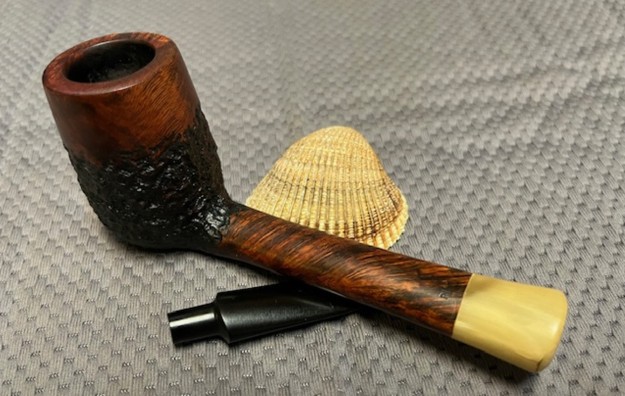
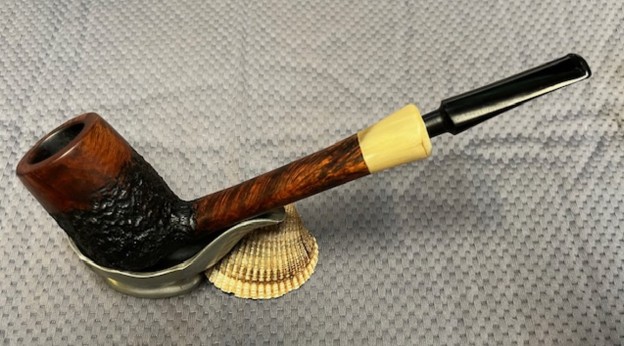
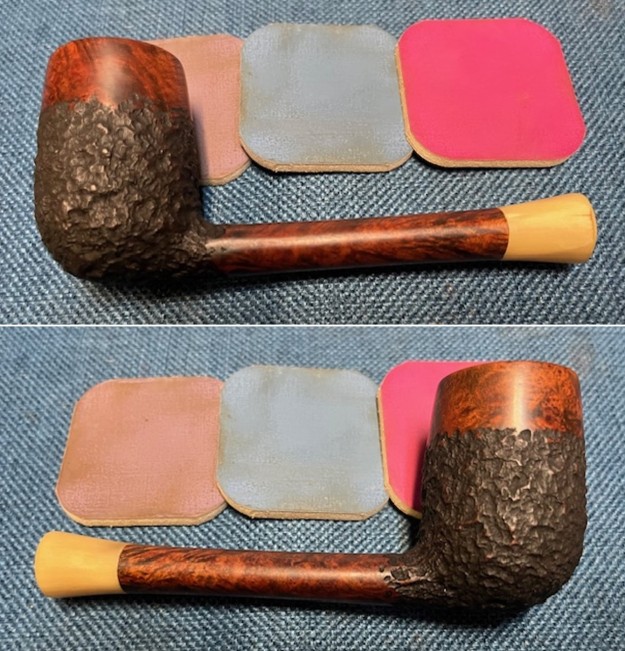
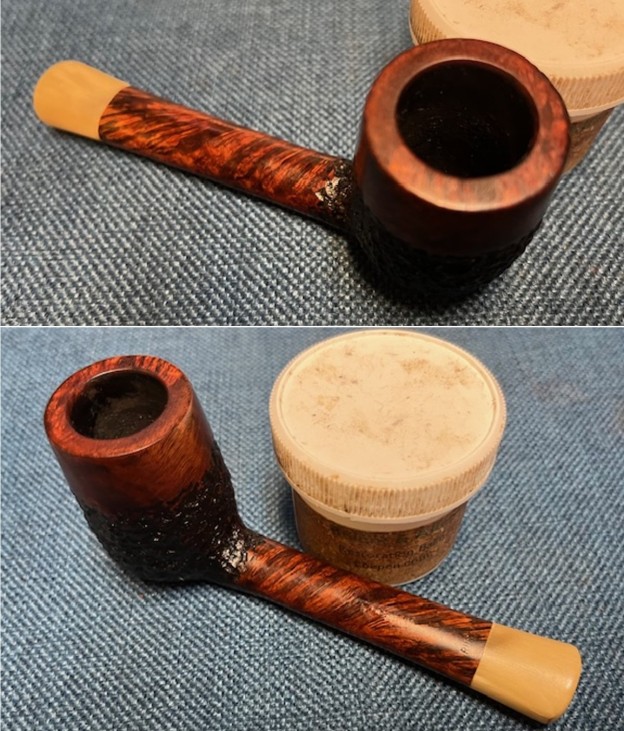
 This Larsen Copenhagen Handmade Rustica Canadian is a great looking pipe now that it has been restored. The shape is elegant and flowing with a thin, fitted taper vulcanite stem. I put the stem on the bowl and carefully buffed the pipe with Blue Diamond on the buffing wheel using a light touch on the briar. I gave the rusticated parts of the bowl multiple coats of Conservator’s Wax and the smooth portions and the stem multiple coats of carnauba wax on the buffing wheel and followed that by buffing the entire pipe with a clean buffing pad. I hand buffed the pipe with a microfiber cloth to deepen the shine. The finished Larsen Copenhagen Rustica Canadian fits nicely in the hand and feels great. Give the finished pipe a look in the photos below. The dimensions of the pipe are Length: 7 inches, Height: 2 inches, Outside diameter of the bowl: 1 ¼ inches, Chamber diameter: ¾ of an inch. The weight of the pipe is 1.98 ounces/56 grams. I will be putting it on the Danish Pipe Maker Section of the rebornpipes store shortly. If you are interested in adding this pipe to your collection send me a message or an email. Thanks for reading this blog and my reflections on the pipe while I worked on it. There are many more to come!