Blog by Steve Laug
I am doing periodic repairs for a local pipe/cigar shop. They called in February about a pipe that one of their customers had dropped off for repairs. He was hoping for another L’Anatra stem but he had either lost or thrown away the original after the tenon had snapped off in the shank. That was too bad as it would have been fairly straight forward to put a new tenon on the stem and fit it in the shank. We spoke a bit about it and as I do not have access to L’Anatra stems with the goose head on the top that are hand turned acrylic I figured the repair had been dropped. Fast forward to June! On Friday evening they called and said that one of them would drop a pipe by for restemming with a vulcanite stem as the customer just wanted to be able to smoke it and enjoy it again. We arranged for the drop off at my house on that evening after the shop closed. Friday evening there was no pipe. All day Saturday and into the evening there was no pipe so I figured they had changed their minds. Then this morning around 9am the doorbell rang and there was a fellow with a City Cigar Bag in hand with a large box. We chatted and he handed me the bag.
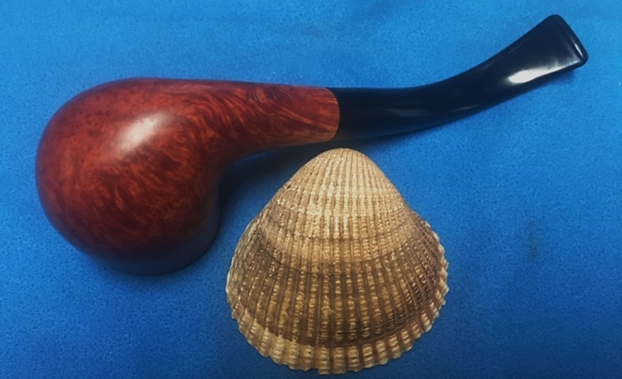
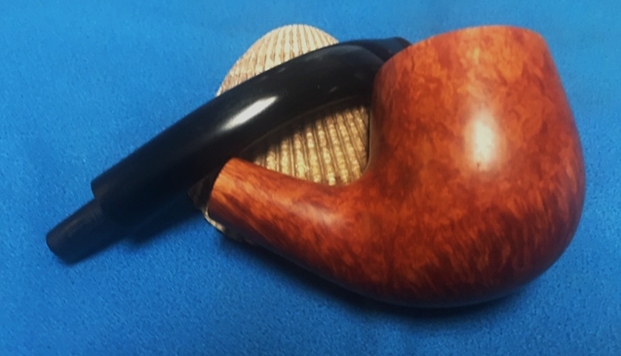
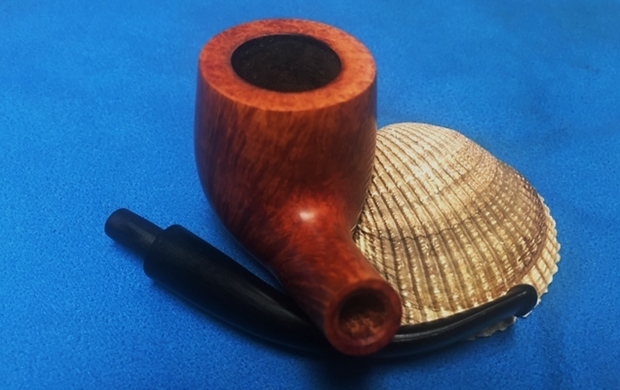
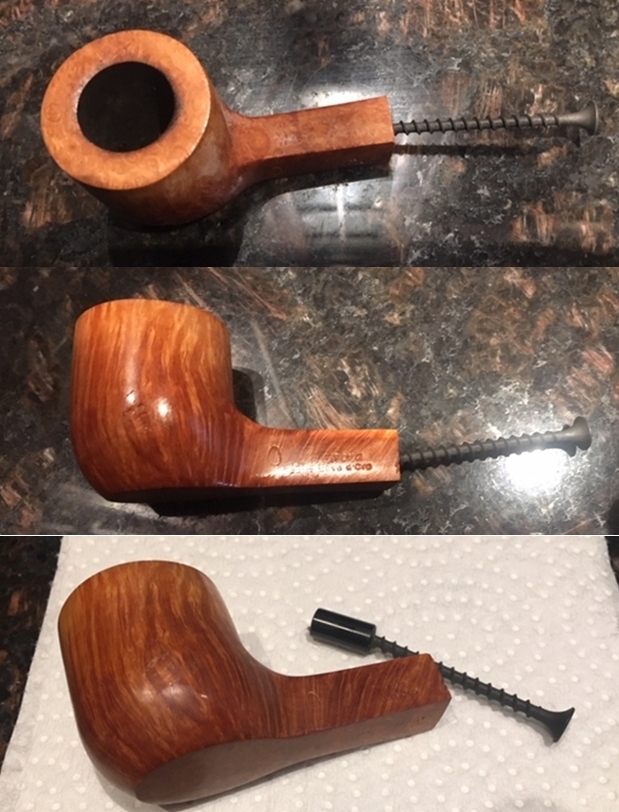
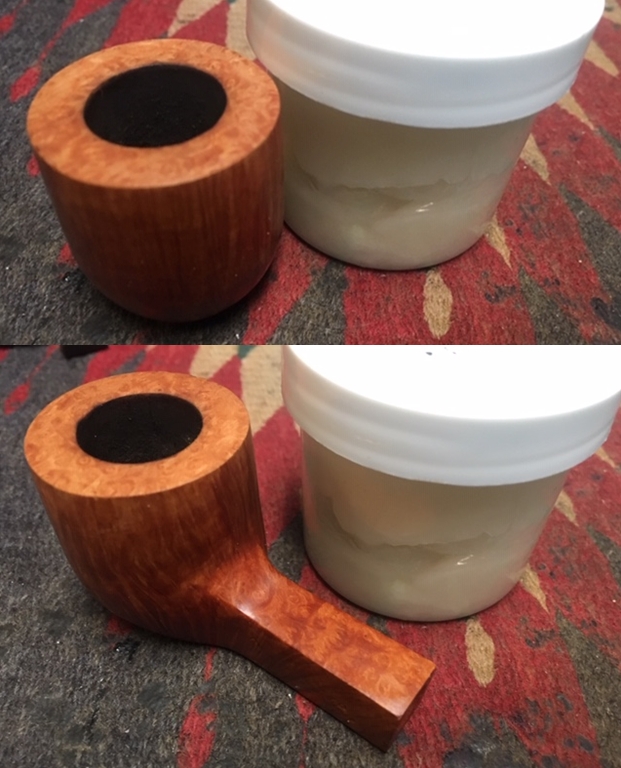
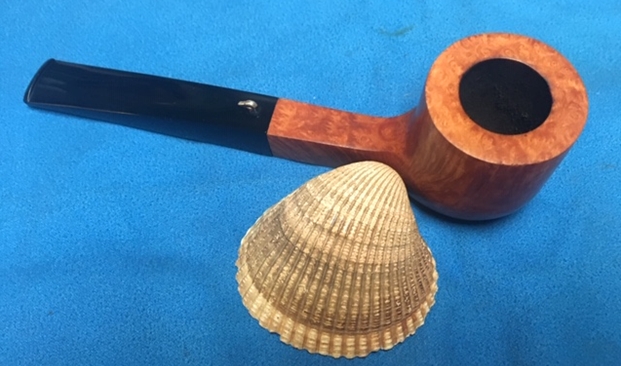
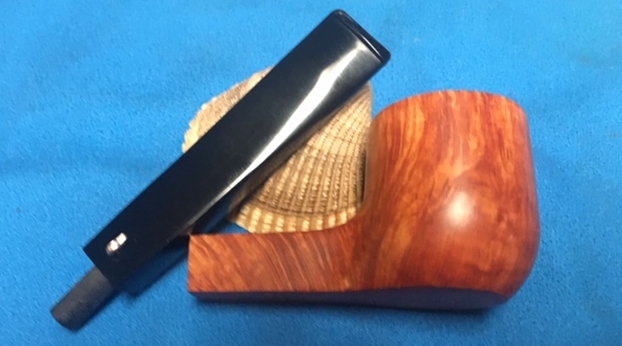
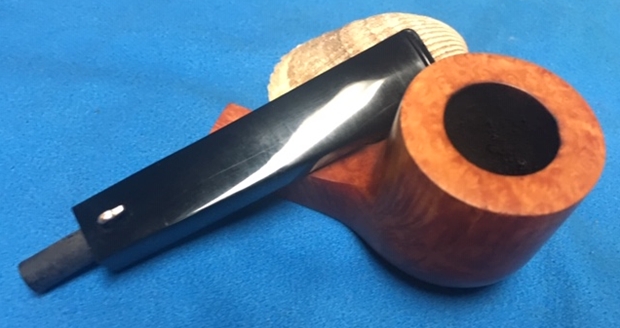
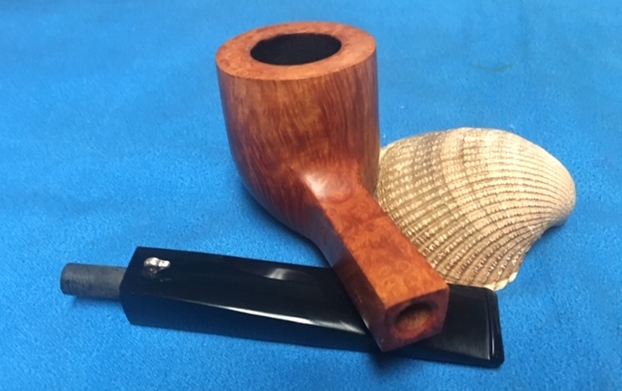
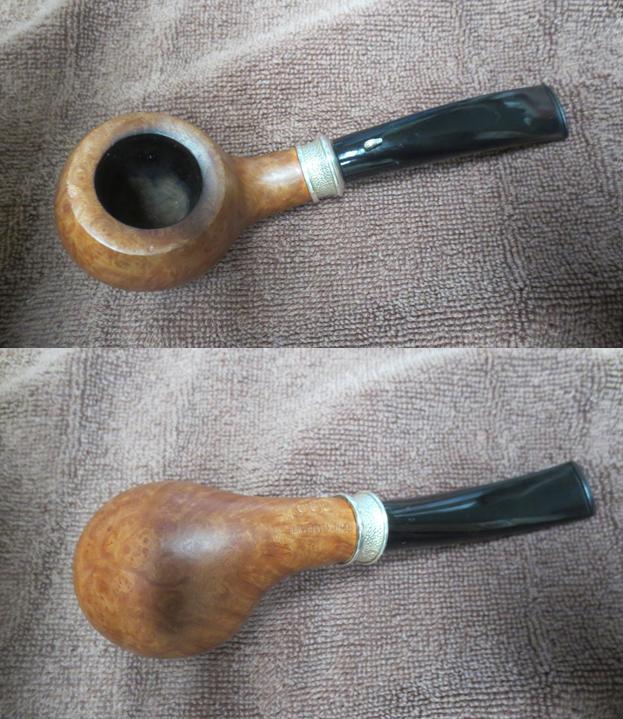
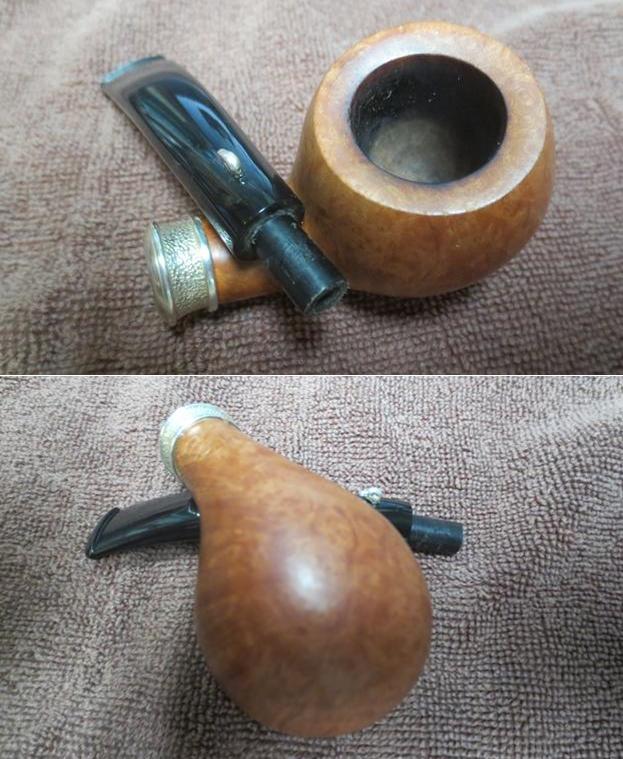
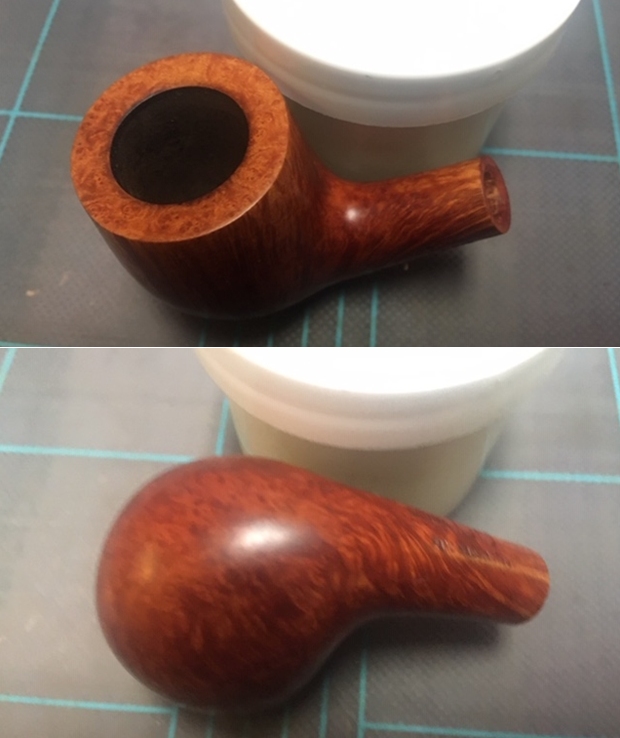
I don’t know what I was expecting but it certainly was not what I found inside the box. It is a large box like others I have seen with L’Anatra pipes. Inside were a note and a draw string pipe bag. With the box, the bag and all I was expecting a large Italian pipe sans stem. I had no idea what shape it would be and no idea what size pipe it was. You can imagine my surprise when I open the bag and removed the pipe pictured below. It was absolutely smooth and quite stunningly grained. The shape was very nice and the condition was better than I expected. I examined the bowl for dings and nicks from the fall that snapped the tenon and found none. It was stamped L’Anatra [over] dalle Uova d’Oro [over] Fiuma and 2 eggs for the grade of the pipe. Underneath that it was stamped Hand Made in Italy. So far you see what I saw. Now let me tell you the size of the pipe. The bowl is 2 ½ inches long, 1 ½ inches tall, the outer diameter of the bowl is 1 ¼ inches and the chamber diameter is ¾ of an inch. It is a lot smaller and petite than I expected from the box and bag. 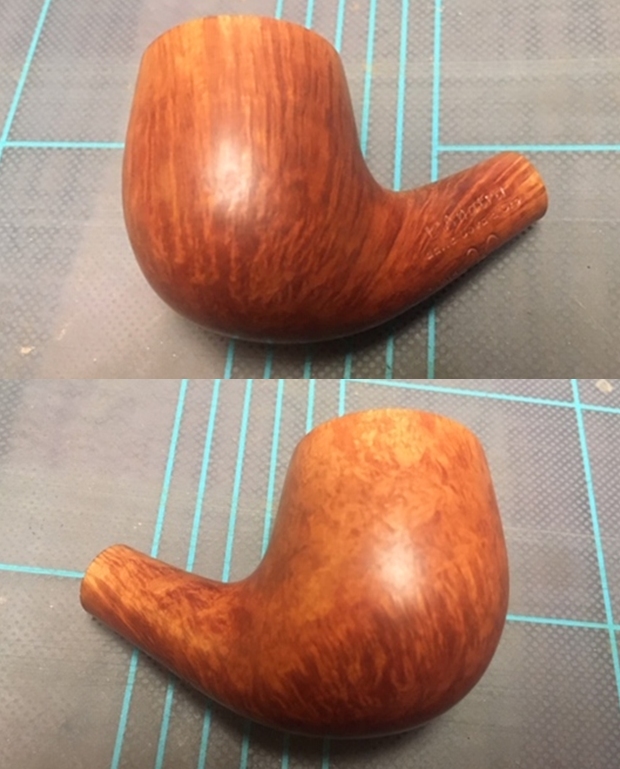
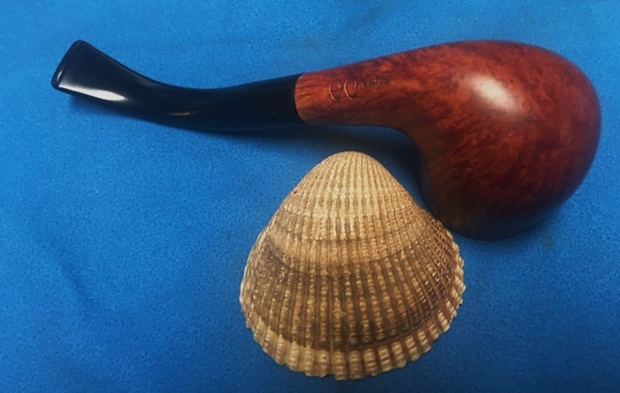
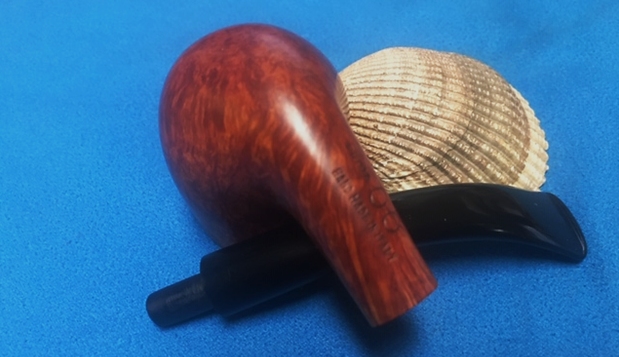
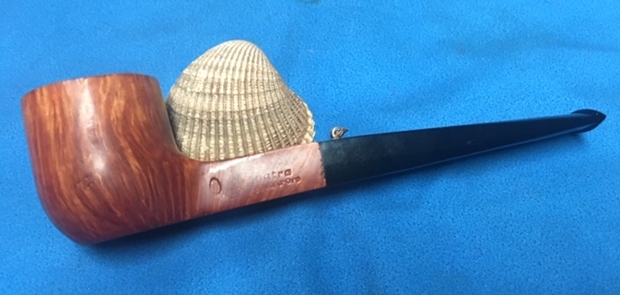
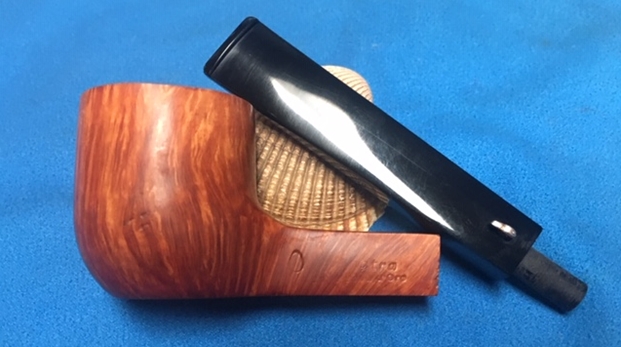
 I took a photo of the stamping on the left and underside of the shank. It was very clear and readable. It was stamped as noted above – L’Anatra [over] dalle Uova d’Oro [over] Fiuma and 2 eggs [over] Hand Made in Italy.
 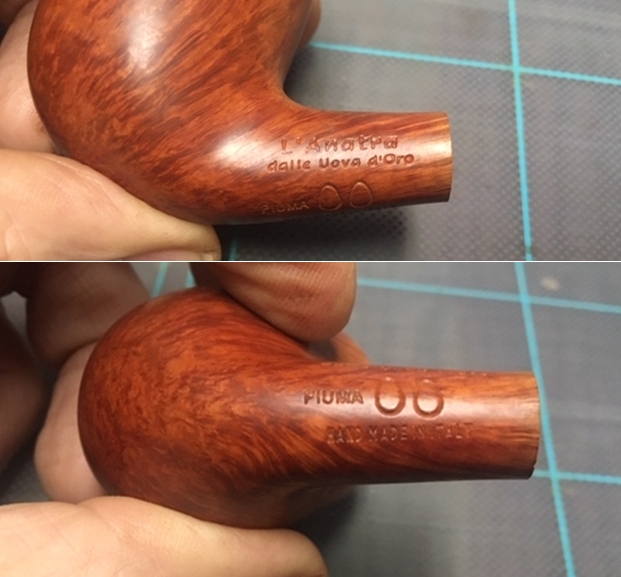 I looked up the L’Anatra brand on PipePhil’s site (http://www.pipephil.eu/logos/en/logo-l1.html). It gives a great brief history of the brand that is a quick overview of the Company. The pipes are carved by Massimo Palazzi and Andrea Pascucci and graded 1, 2, or 3 eggs. The brand also had a goose head standing on the top of the stem.
 I looked up the brand on Pipedia (https://pipedia.org/wiki/L%27anatra). The article there was very informative about the background and history of the brand. Give the article a read if you are interested in a great article. Now it was time to begin the process of the restoration on this pipe. I quote in part:
L’Anatra pipes feature a cast silver goose head on the stem! This is demonstrative not only of their playfulness, but also of their willingness and desire to be different from the norm. They do not strive to impress, they strive to make a truly delightful and pleasing pipe. Perhaps it is this attitude that makes L’Anatra pipes so superb that pipes should first be a joy to make, to smoke and to peruse and then, only once those most important attributes are satisfied, the true artistry of the maker will shine through.
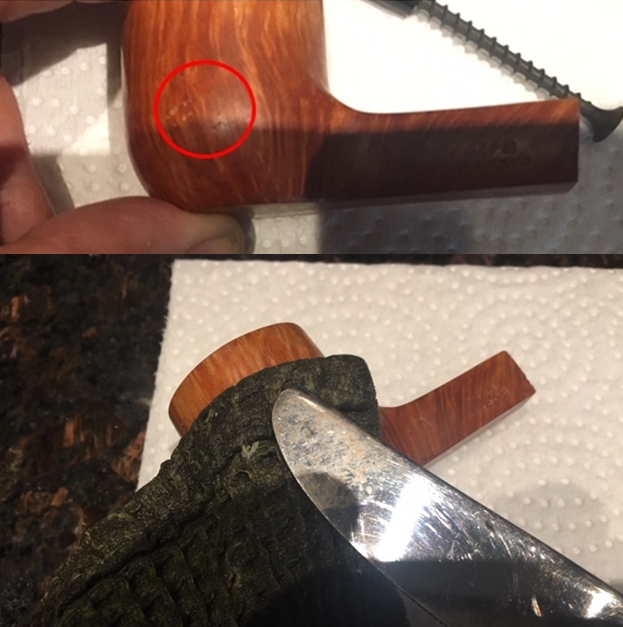
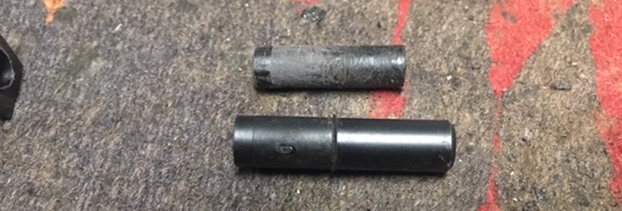
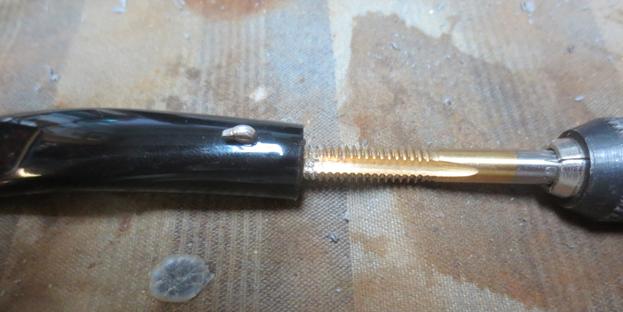
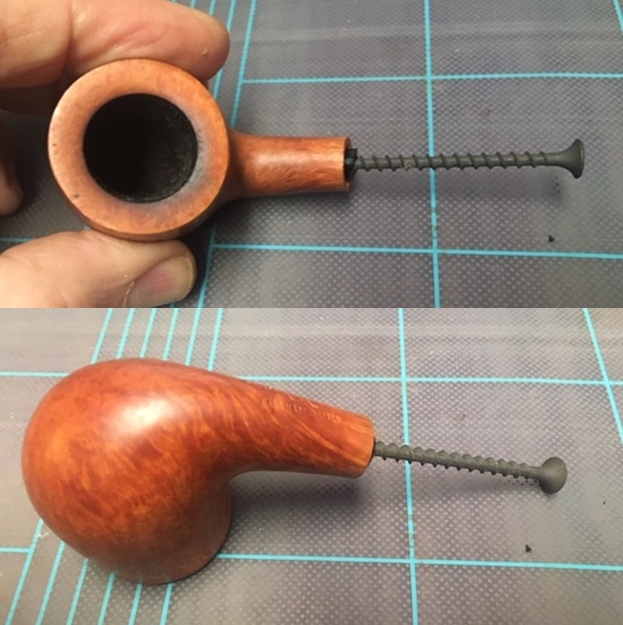
The issue that brought the pipe to me in the first place was the missing stem. Before I could fit a new stem I needed to pull the broken tenon. I tried with my usual method of turning a large screw into the airway and wiggling the tenon piece free. The tenon was stuck and did not move at all. I wrapped the bowl in a paper towel and put it in the freezer for 20 minutes. I took it out and turned the screw into the airway in the tenon. It took very little effort for the broken tenon to easily come out of the shank. 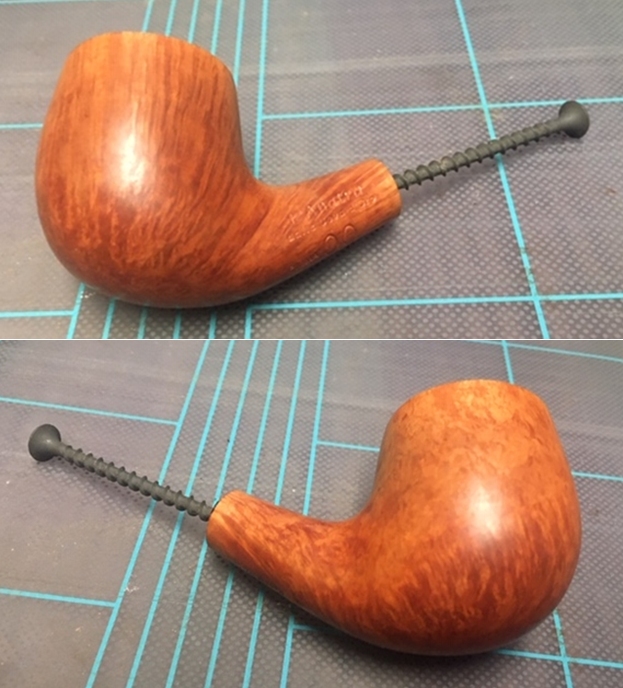
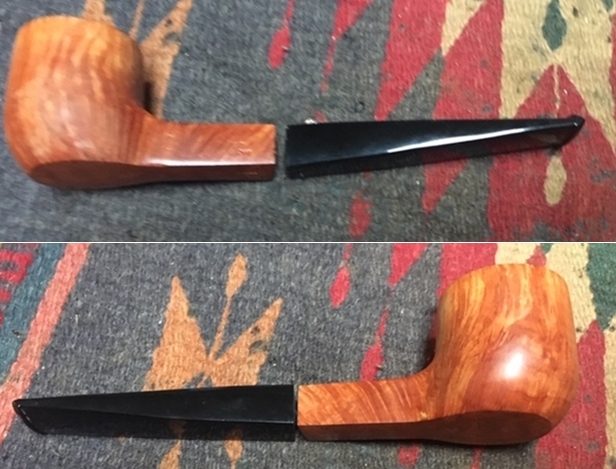
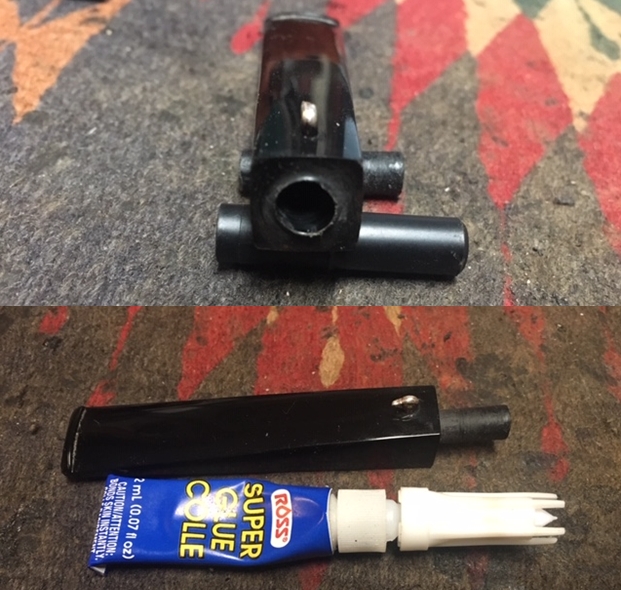
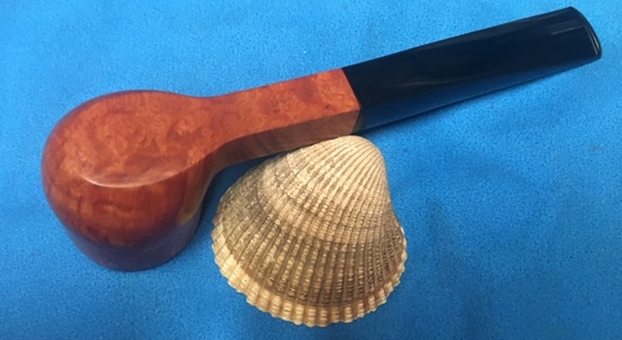
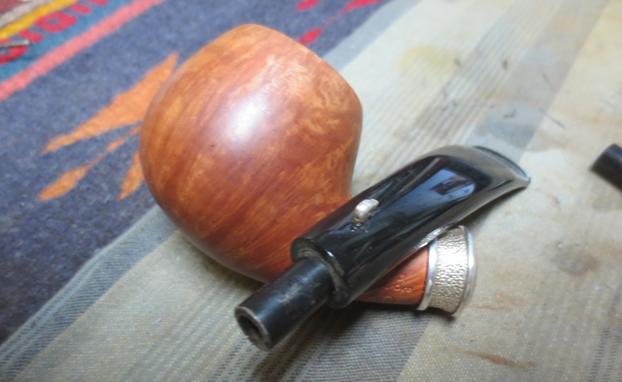
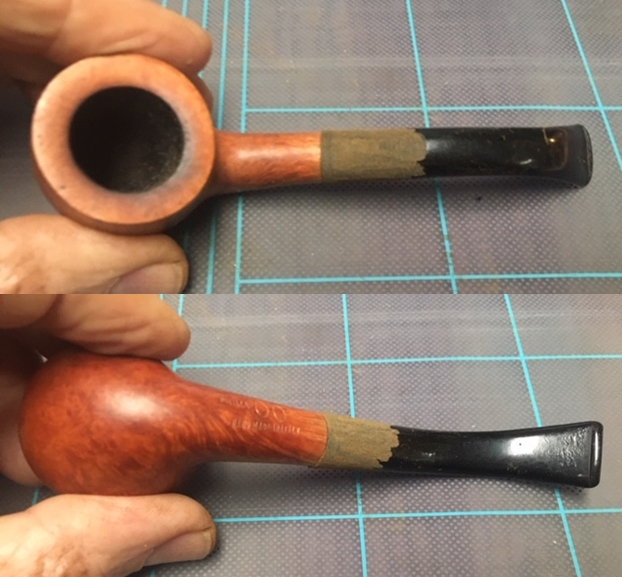
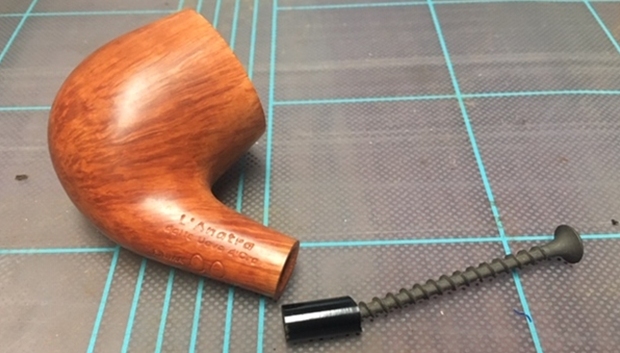 I decided to see what kind of stem I had to replace the missing stem. I had a vulcanite stem that was a close fit. The diameter of the stem was slightly larger than that of the shank. I forgot to take pictures of the stem before I worked on it. I used a Dremel and sanding drum and took the diameter down to as close to the shank diameter as I could. The rest of the work would be by hand. I took photos of the pipe with the initial fit of the stem to the shank. It is looking pretty good at this point.
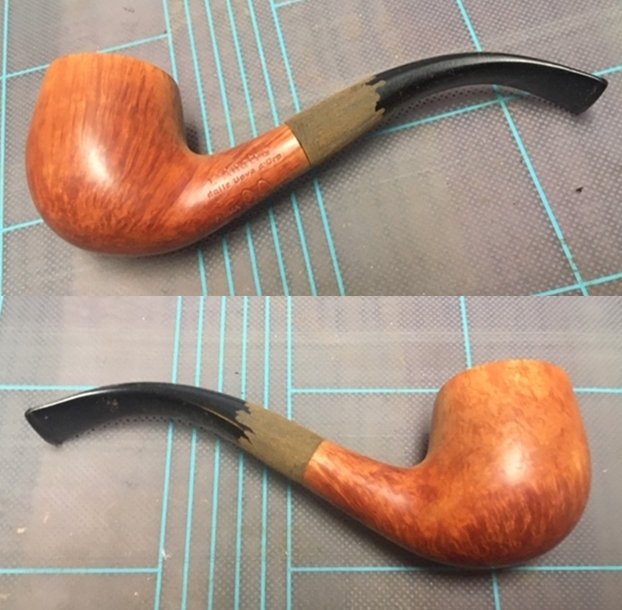
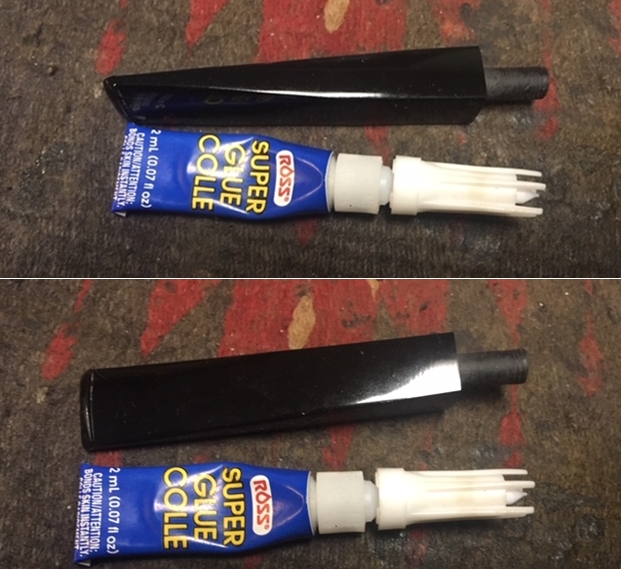
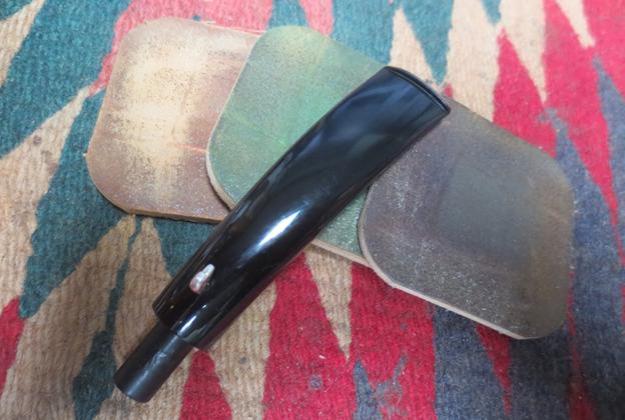
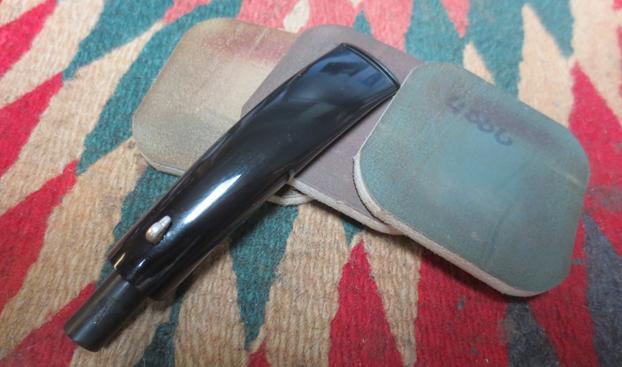
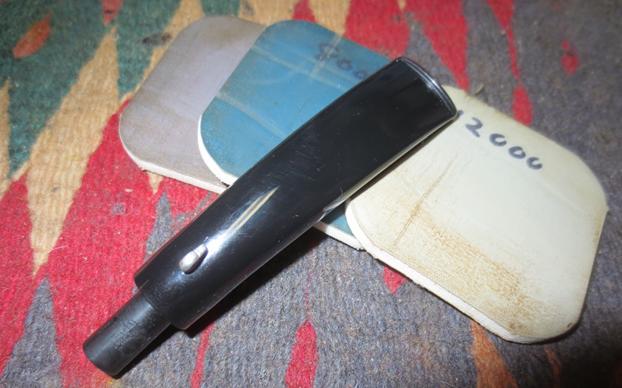
 I continued to reduce the diameter of the stem with 220 sandpaper to remove the excess. It took a lot of sanding to get it to have a proper fit. I followed that up sanding it with 400 grit sandpaper.
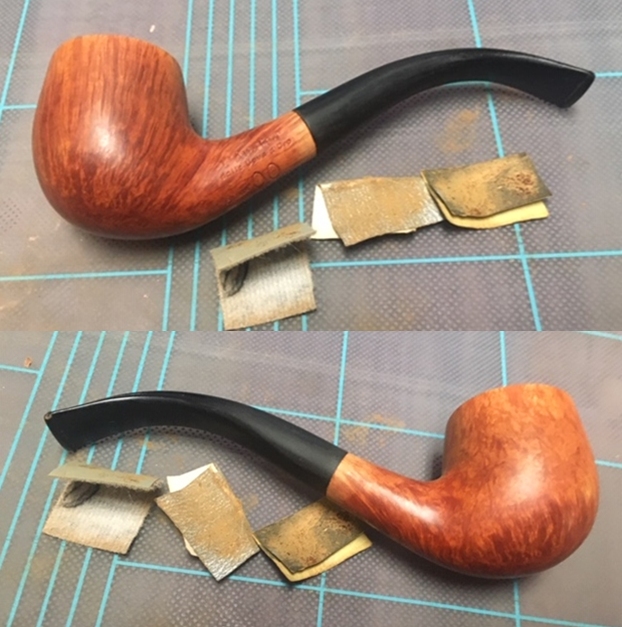
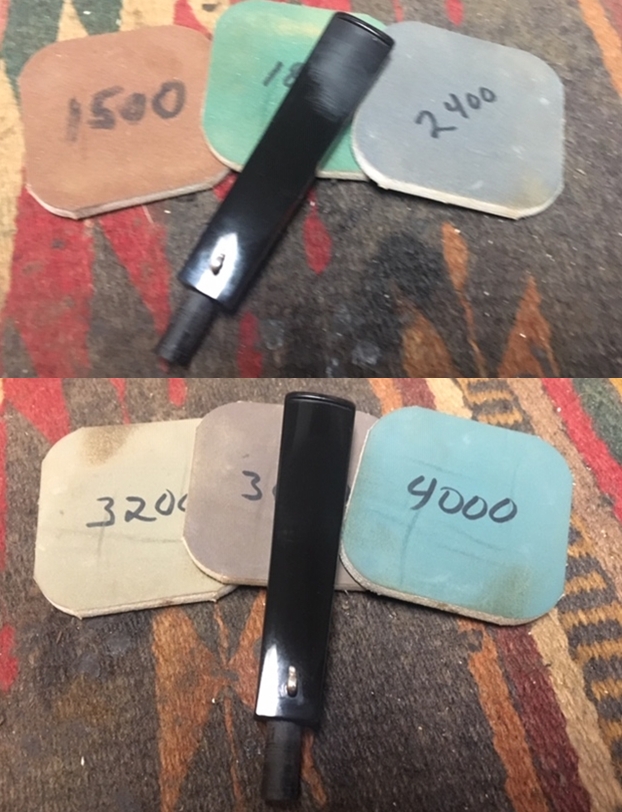
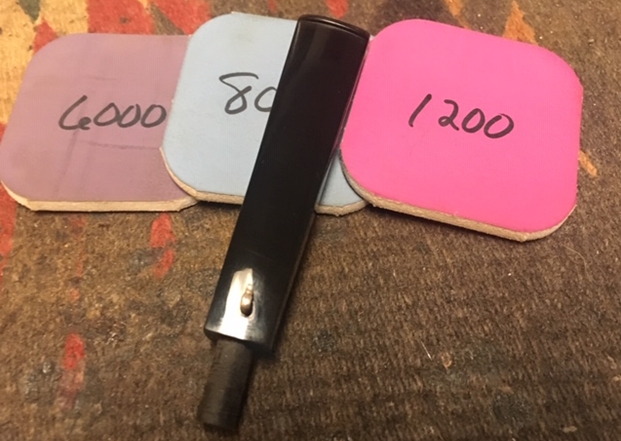
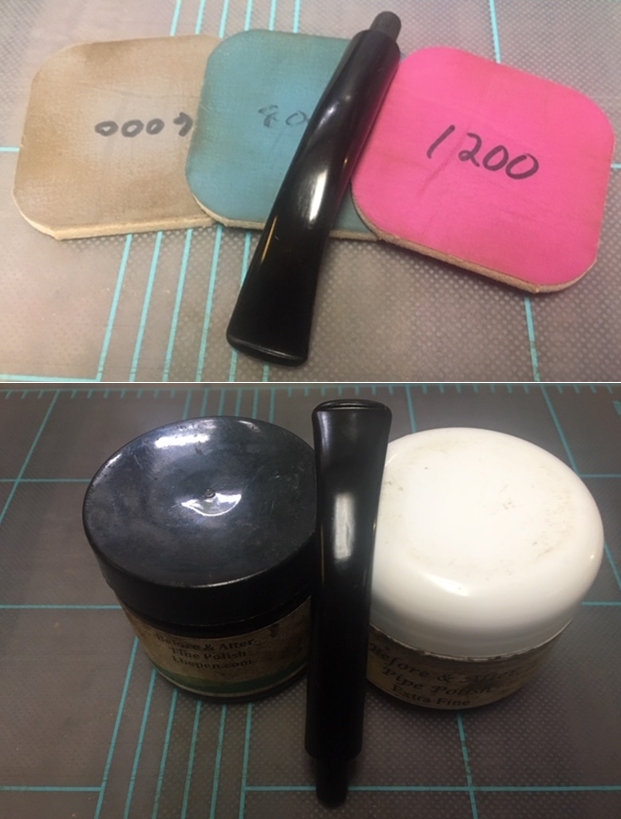
 The stem was looking much better. I polished it with micromesh sanding pads – wet sanding with 1500-12000 grit pads. I wiped the stem down after each sanding pad with Obsidian Oil. I polished it with Before & After Pipe Stem Polish – both Fine and Extra Fine.
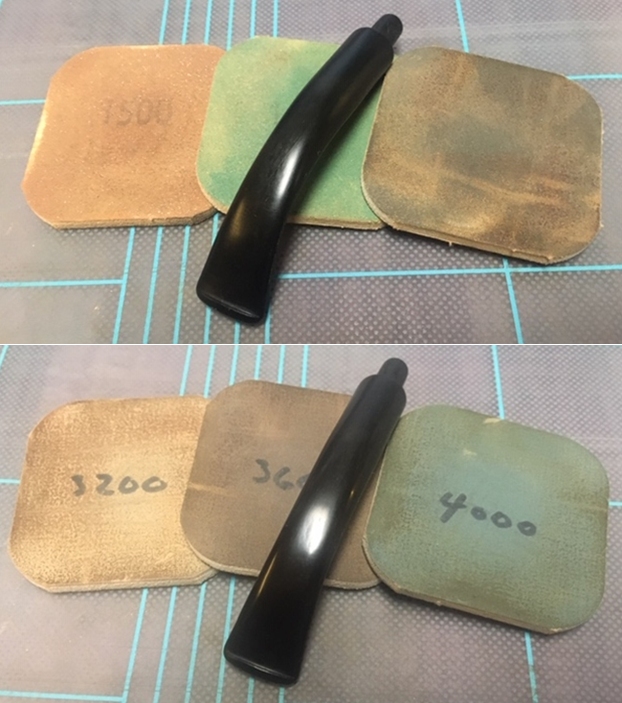
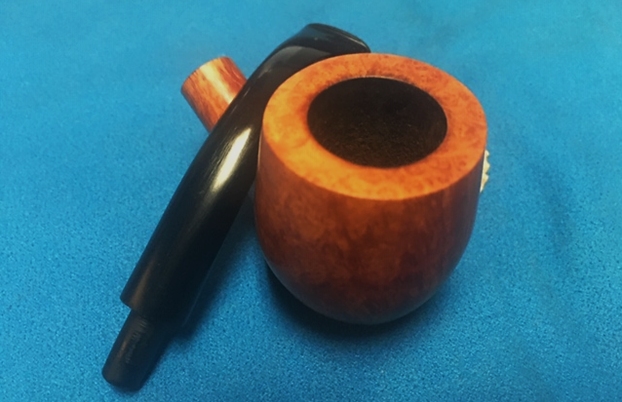
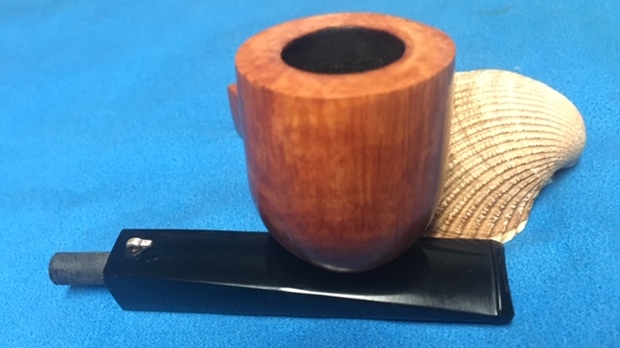
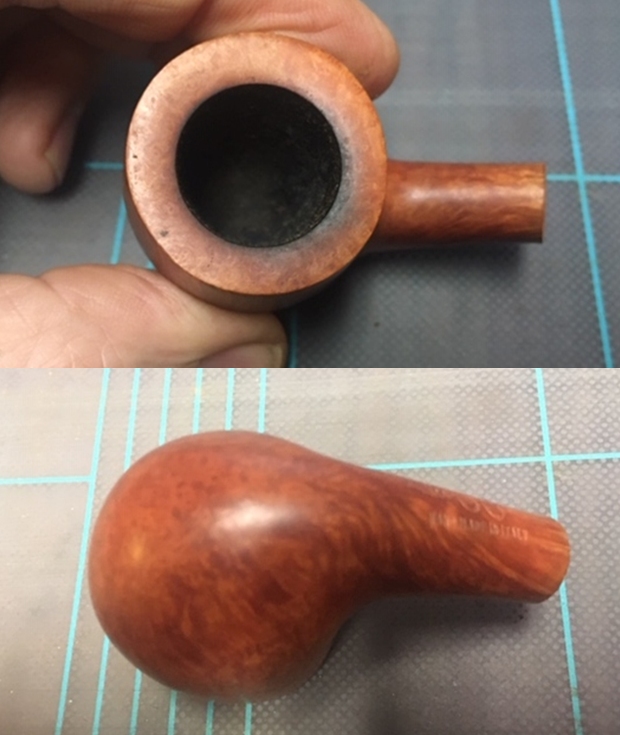
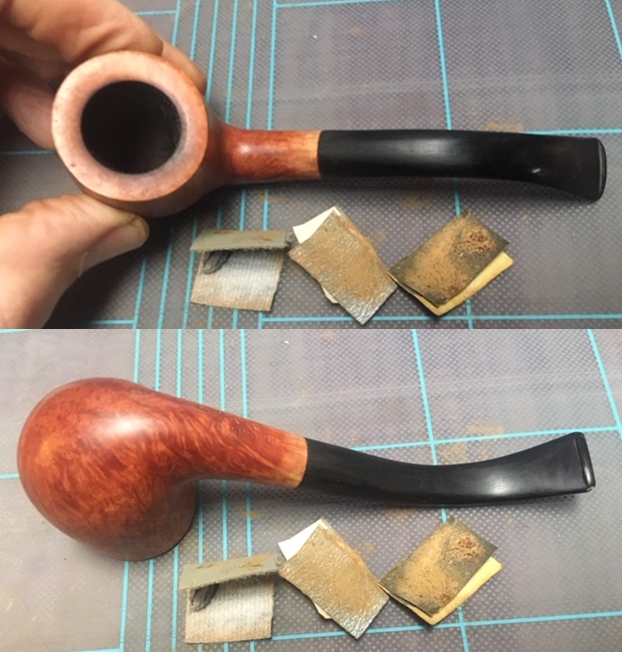
 I set the new stem aside and turned my attention to the bowl. I needed to clean out the bowl and shank before I fit the new stem on it. I reamed it with a Savinelli Fitsall Pipe Knife and wiped the bowl out with a piece of paper towel to remove the dust.
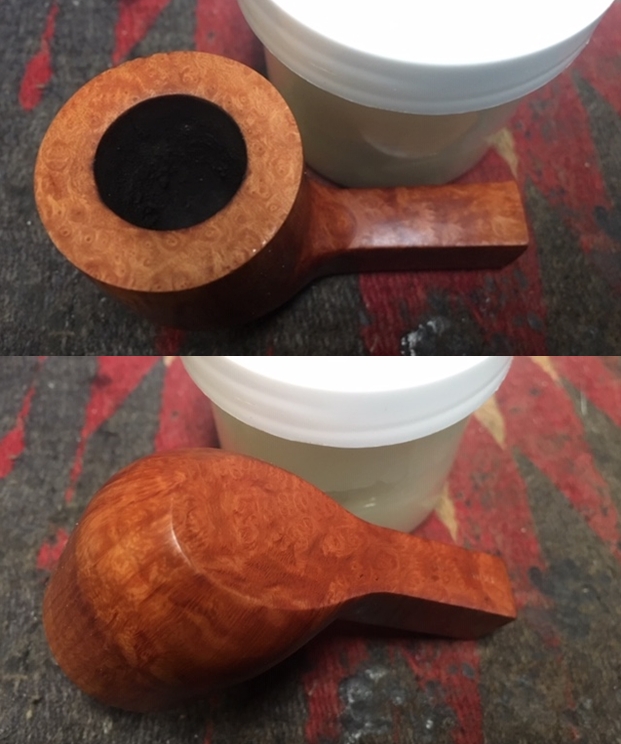
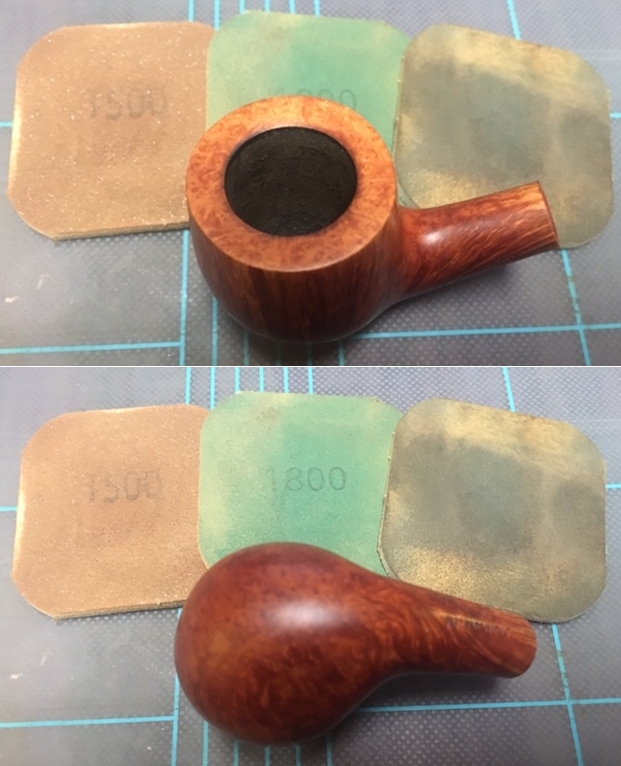
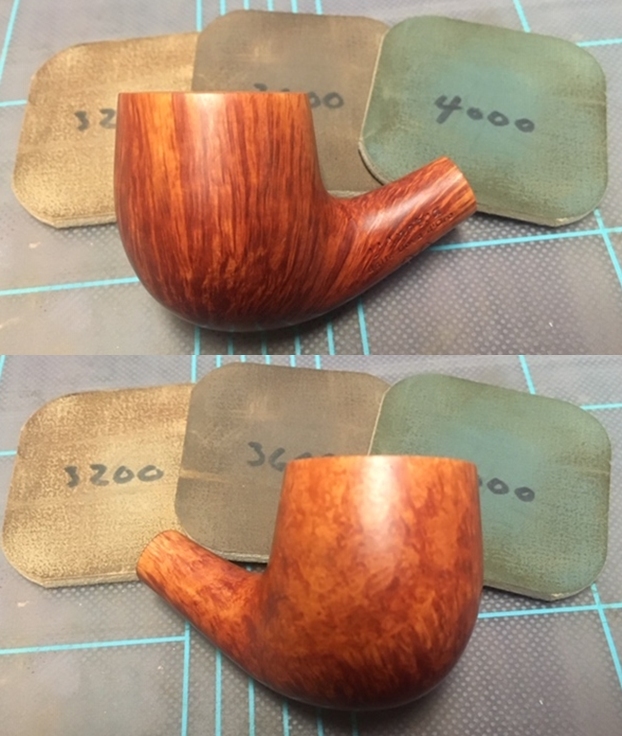
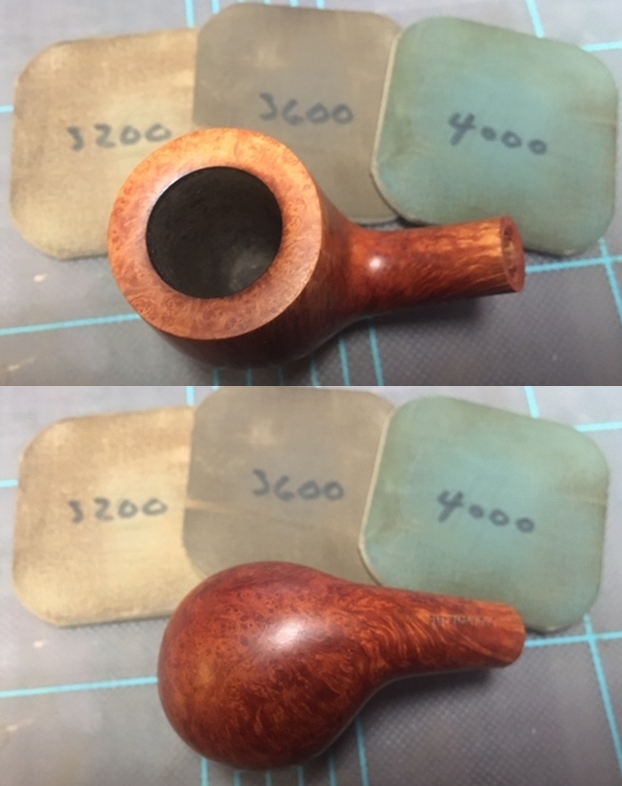
 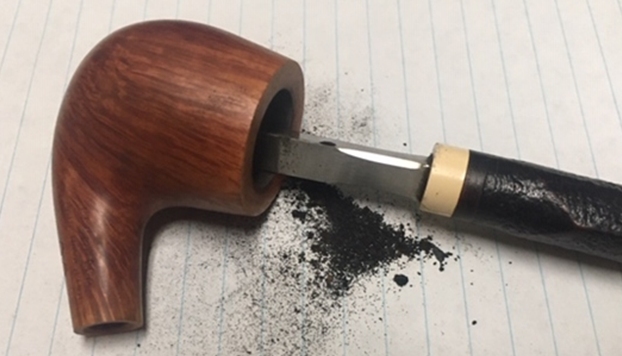 I polished the darkened area on the back of the rim top and the rest of the bowl with 1500-12000 grit micromesh sanding pads. I wiped the bowl down with a damp paper towel after each pad.
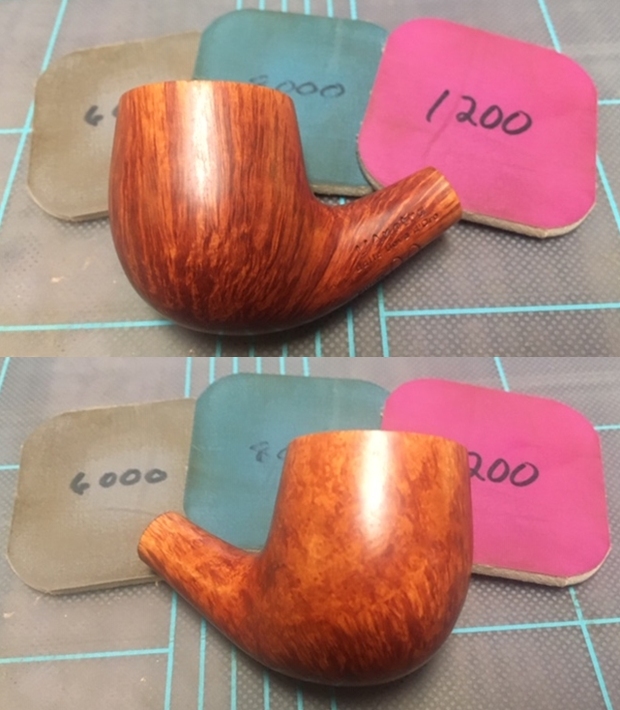
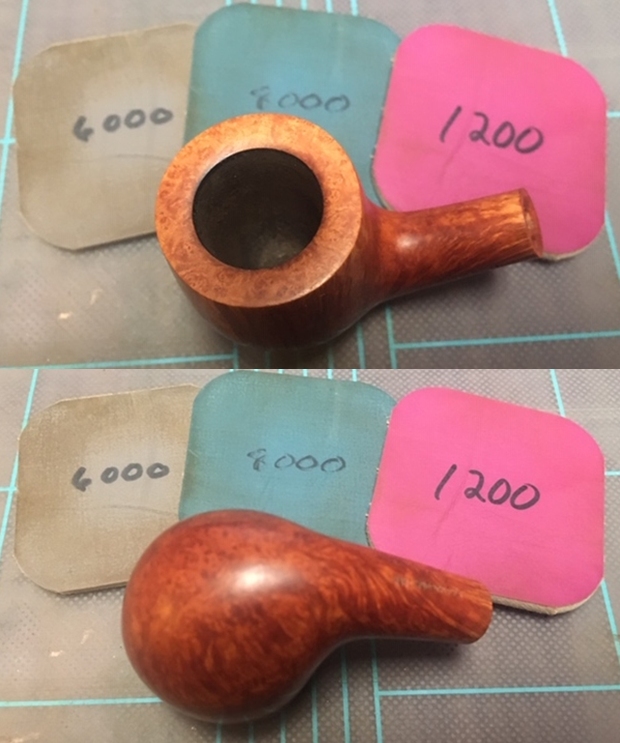 I rubbed the bowl and rim down with Before & After Restoration Balm. I worked it into the surface of the briar with my fingertips to clean, enliven and protect the briar. I let the balm sit for a little while and then buffed with a cotton cloth to raise the shine. I really like watching the Balm do its magic and bring the briar alive. The pipe looked good – the natural finish allowed me to blend in the sanded and polished areas.
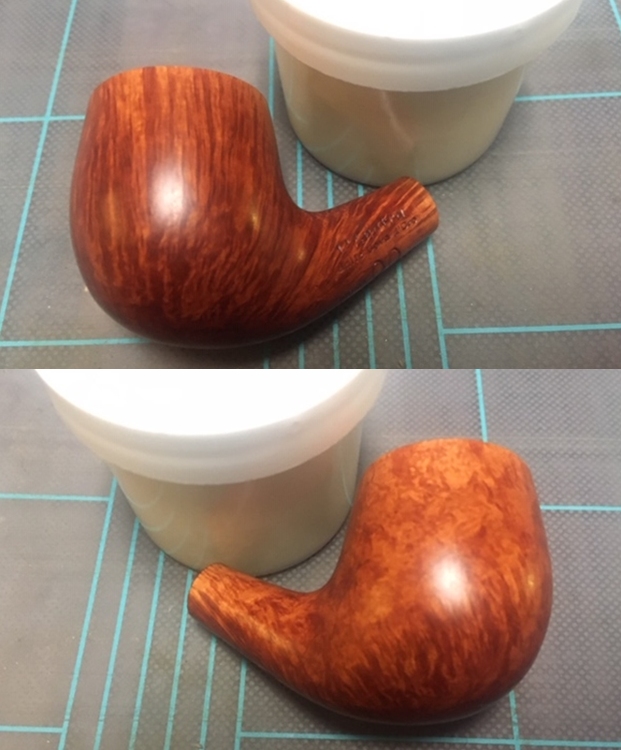
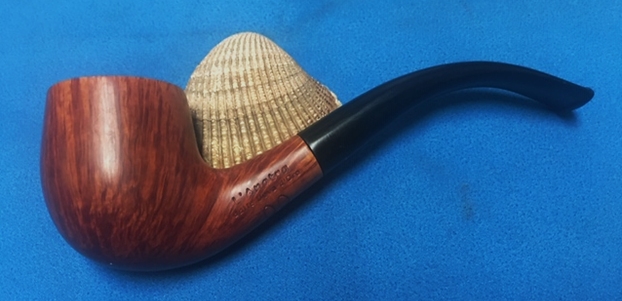
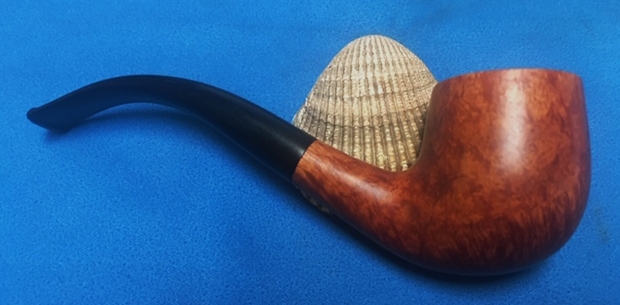
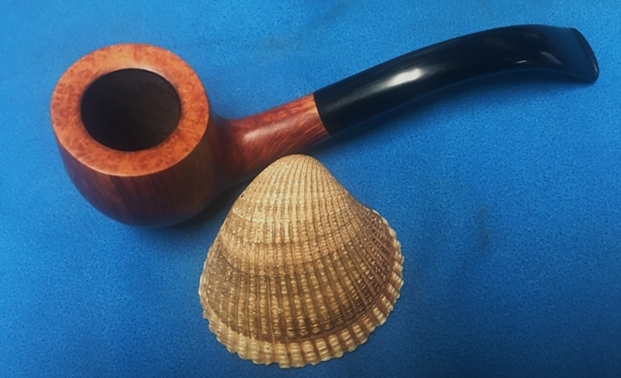
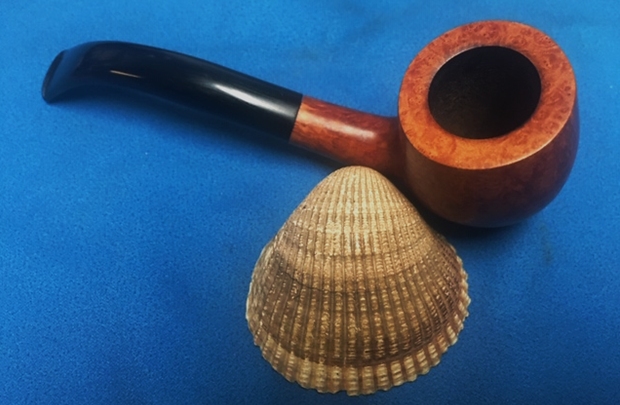
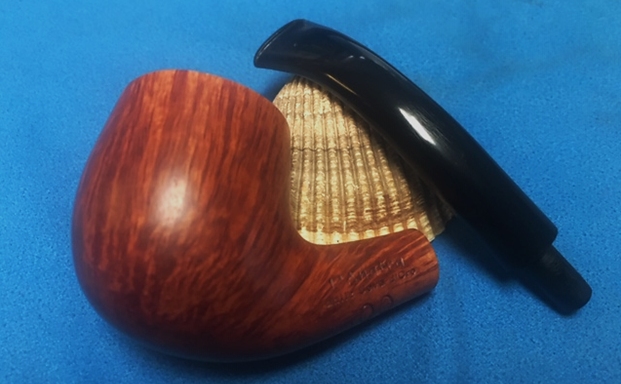
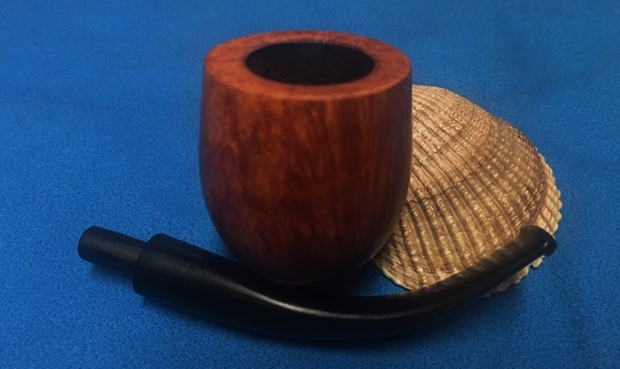
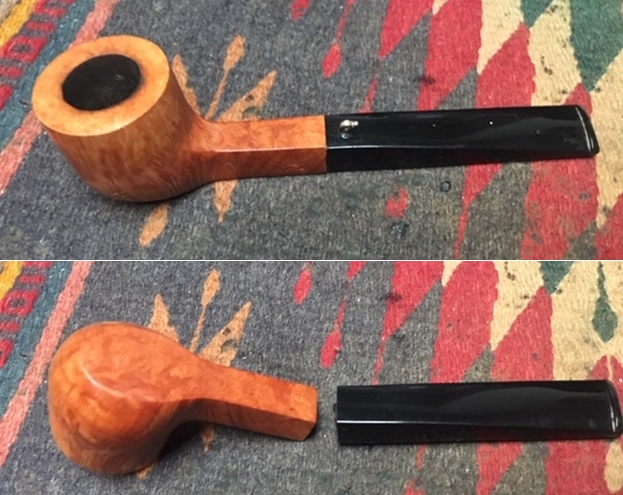
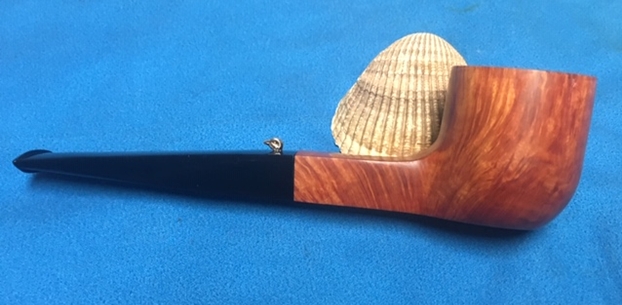
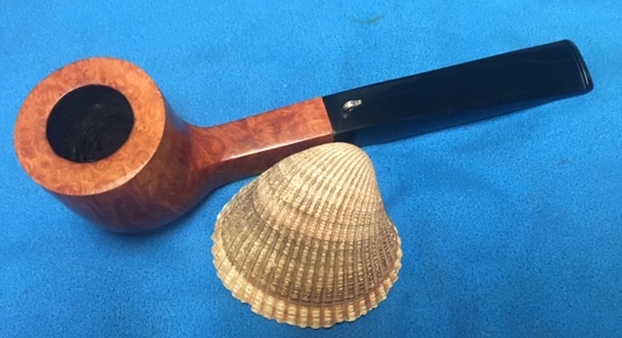
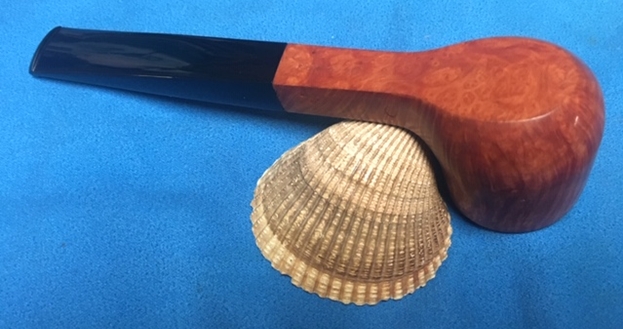
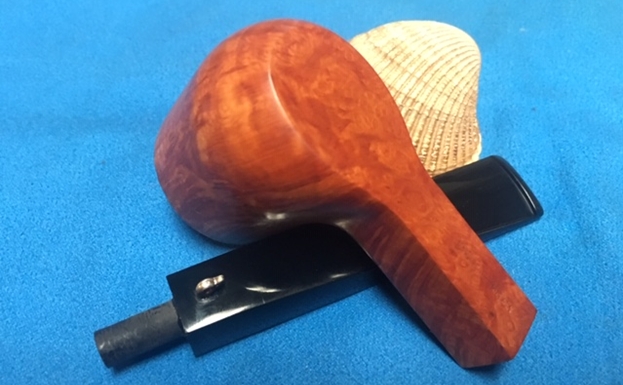
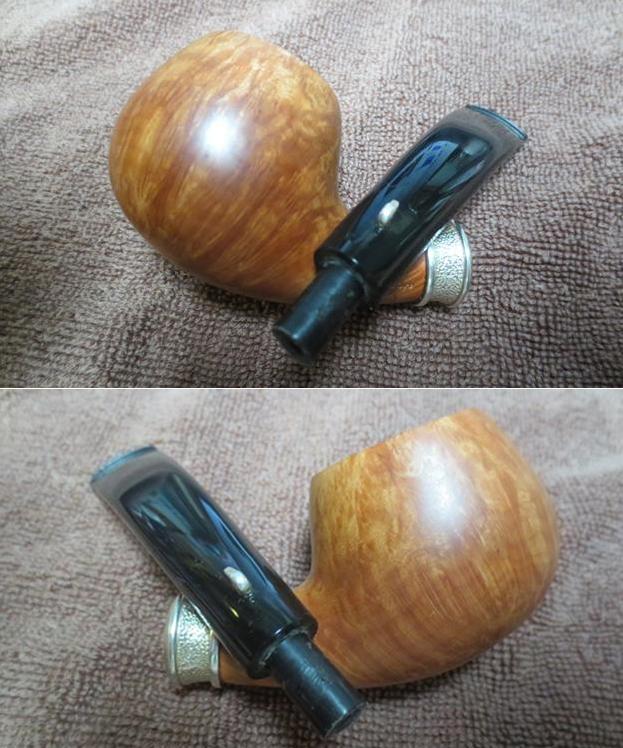
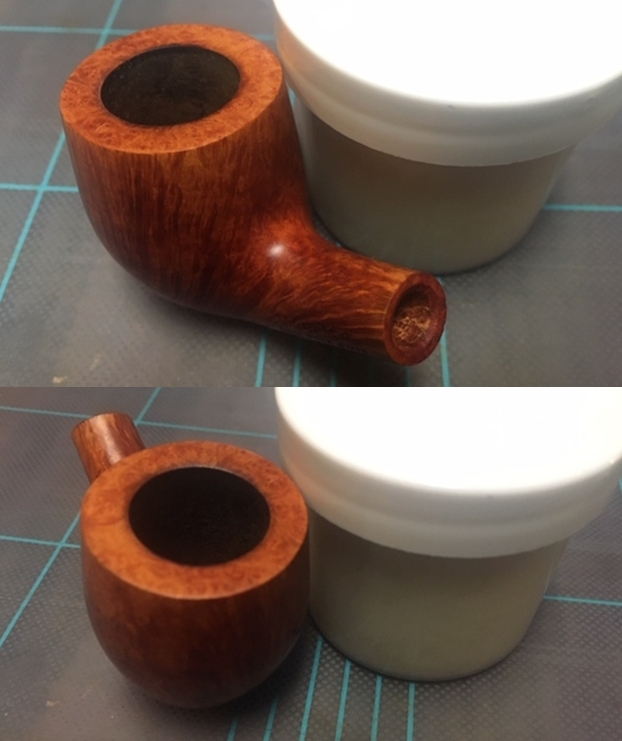 As usual at this point in the restoration process I am excited to be on the homestretch. I look forward to the final look when it is put back together, polished and waxed. I put the bowl and stem back together. I polished the bowl and stem with Blue Diamond to polish out the scratches in the briar and the vulcanite. I gave the bowl and the stem multiple coats of carnauba wax. I buffed the pipe with a clean buffing pad to raise the shine. I hand buffed it with a microfiber cloth to deepen the shine. The pipe polished up pretty nicely. The grain really pops with the wax and polish. The shiny black vulcanite stem is a beautiful contrast natural browns of the bowl and shank. This L’Anatra dalle Uova d’Oro Bent Billiard was another fun pipe to work on thanks the fact that I could in essence start over with it. The thin taper stem looks really good with the natural finish of the bowl and shank. The pipe is a quite stunning piece of briar with great grain around the bowl. The pipe is comfortable pipe to hold in the hand. The finished pipe is shown in the photos below. The dimensions of the pipe are Length: 5 ¼ inches, Height: 1 ½ inches, Outside diameter of the bowl: 1 ¼ inches, Chamber diameter: ¾ of an inch. This newly restemmed pipe will soon be going back to City Cigar to pass on to the customer who dropped it off. I hope that he soon can enjoy a few bowls in this newly stemmed pipe. Thanks for reading this blog and my reflections on the pipe while I worked on it. This is an pipe to bring back to life.