Blog by Steve Laug
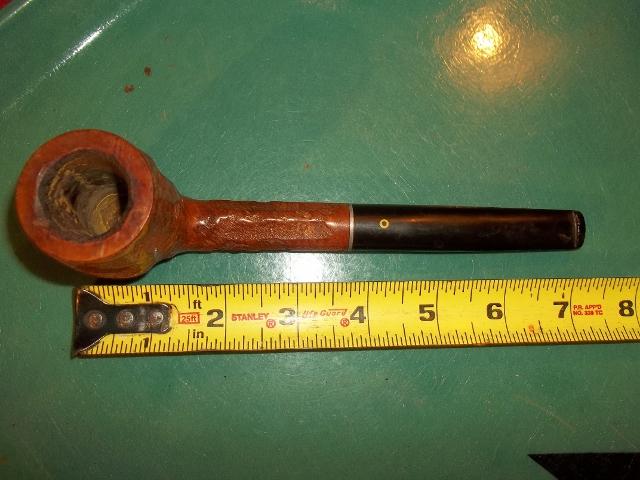
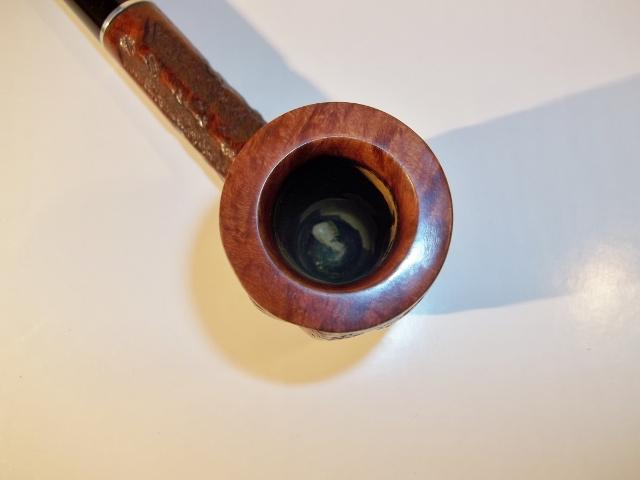
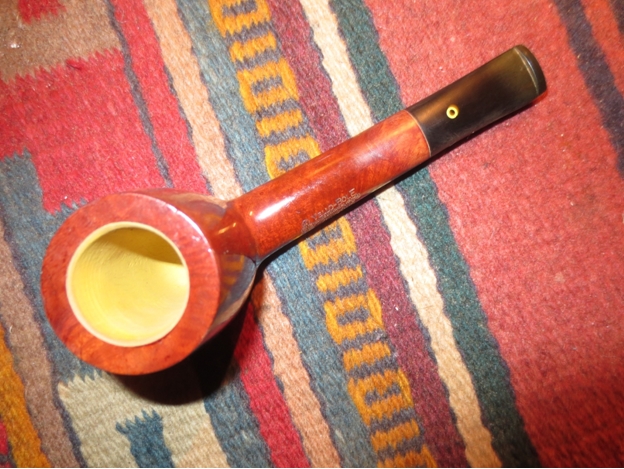
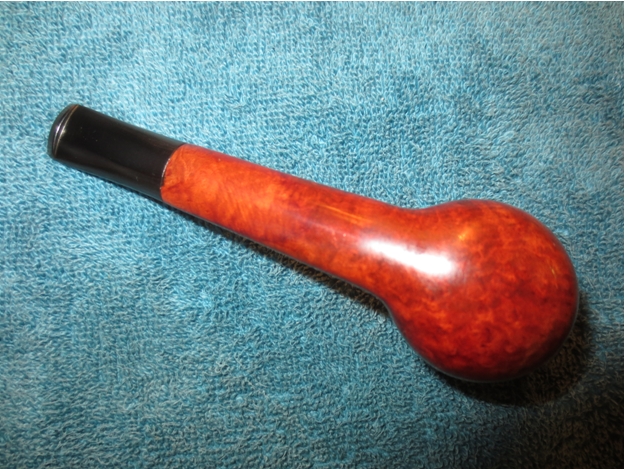
The second pipe that Troy Wilburn sent me to restem was a short Canadian with a large bowl. It was a bit of an odd pipe – no shape number and no catalogue shape that matched it. It was almost like a Canadian that had been cut off somewhere along the way. However it was sent out from the factory like this. It is stamped on the top rolling down the left side of the shank with the older KBB in a cloverleaf. Next to that it reads Yello Bole. Underneath it reads cured with real honey and an R in a circle. Underneath that is stamped Imperial in Script with small block letters reading IMPORTED BRIAR.
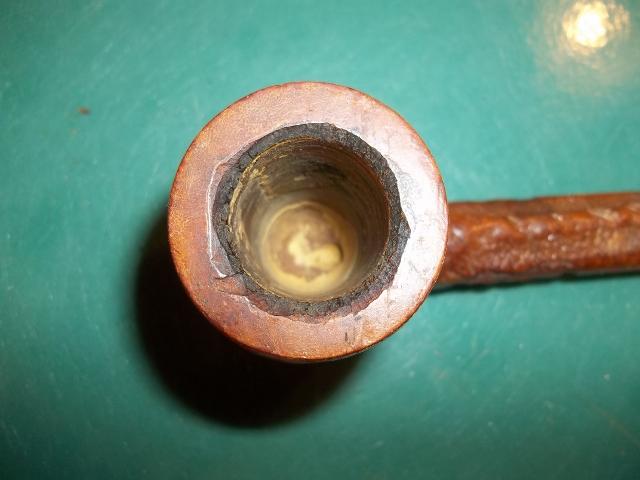
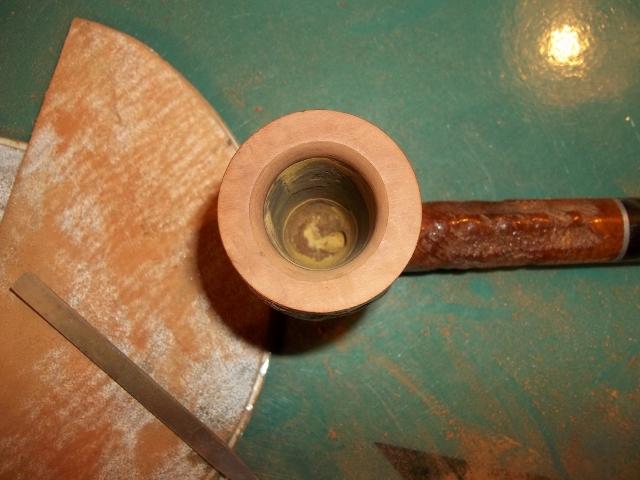
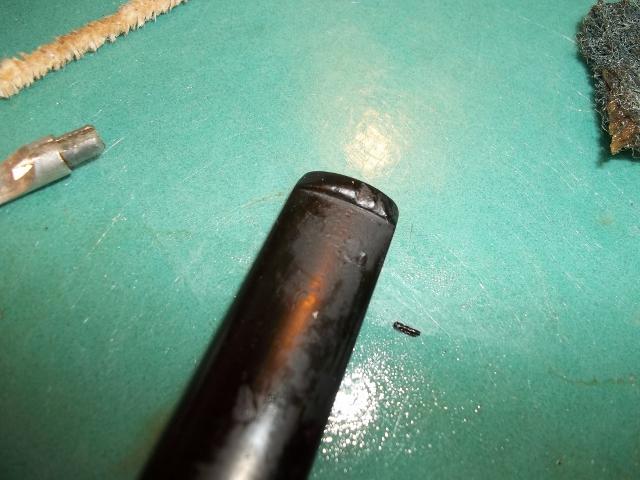
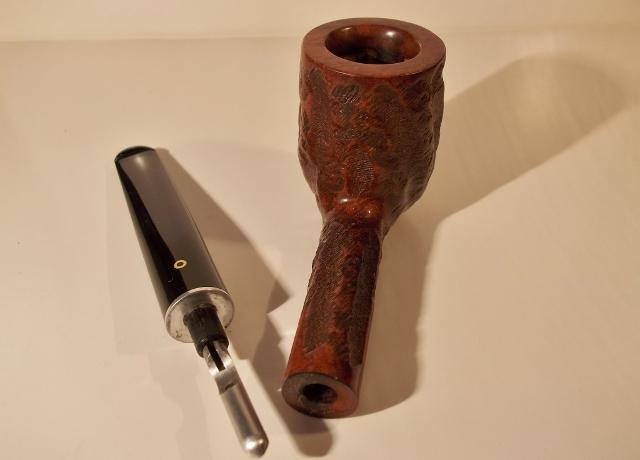
It came to Troy as New Old Stock or NOS – unsmoked pipe. It had a strange tenon repair that someone had made some time in its history. The tenon had broken off in the shank and rather than remove it, the decision had been made to leave it in the shank. In the first photo below you can see the broken tenon and at the end of it is the YB stinger apparatus still sitting in the shank. There was a notch taken out of the shank on the left underside near the end of the mortise and in the mortise end. The repair that had been made was to smooth out the end of the stem and insert a stainless steel rod in the stem. The rod was the same diameter as the inside of the tenon. Effectively it was like the repair I did on Troy’s other pipe. The problem with this one was the very constricted draw due to the narrow airway constricted by the tenon. With the notch in the end of the mortise the fit of the stem against the shank was also compromised. This pipe was going to be a bear to get all of the alignments straight. The airway drilled in the stem for the metal tenon was slightly off centre and a little angular. The notch in the shank would need to be corrected or removed. The fit in the shank would need to be adjusted. You can see that this NOS pipe would take a bit of creativity to reconstruct. I began the reconstruction of a new tenon by addressing the constricted airway and broken tenon in the shank of the pipe. I used a drill bit that fit well against the end of the tenon that was stuck in the shank and slowly drilled into the broken tenon. My hope was that the drill bit would catch on the material of the tenon and I would be able to back it out of the shank. It worked on the first try. The bit stuck in the bit and I reversed the direction of the drill and the broken tenon came out on the drill bit. Once it was free I was able to shake out the stinger from the airway and the shank was clear. This unsmoked pipe now had an unconstricted airway. The first part of the repair had gone off without a hitch.
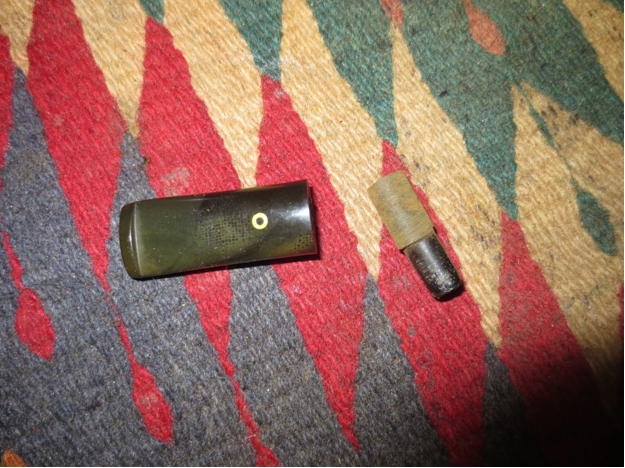
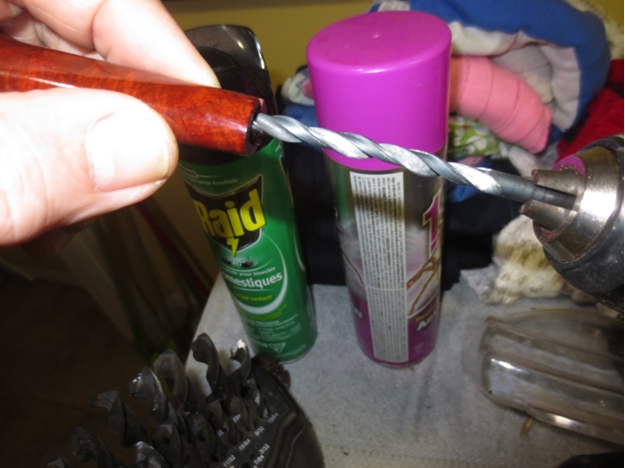 The next photo shows the parts that were in the shank. The broken tenon piece and the spoon shaped stinger are to the left of the end of the shank. You can also see the short metal tenon that had been inserted in the stem end.
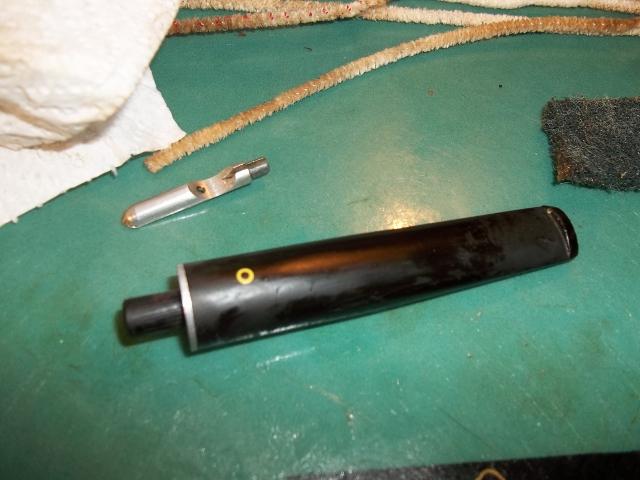
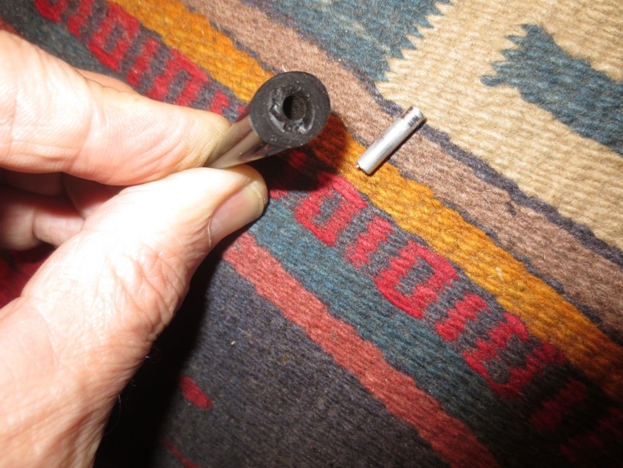
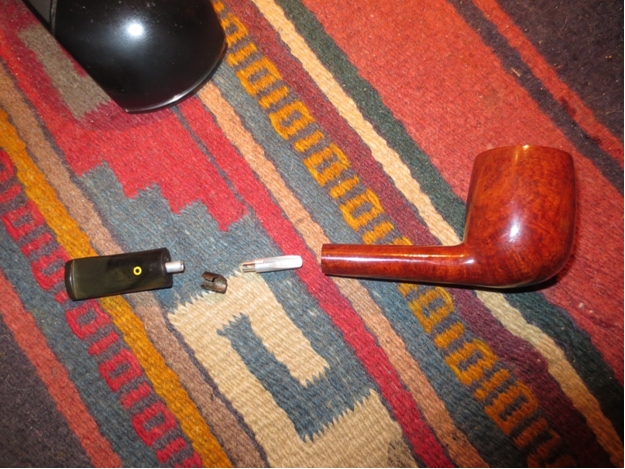 I gripped the end of the metal tenon with needle nosed pliers and wiggled it free of the stem. It had not been glued but rather heated and inserted deep in the airway of the stem. With very little effort I was able to remove the tube from the stem. The next two photos give two different views of the tenon and the end of the stem. You can see in the second photo that the airway had been drilled open to take the metal tube tenon. It would not take much to open it slightly larger to put a repair tenon in place.
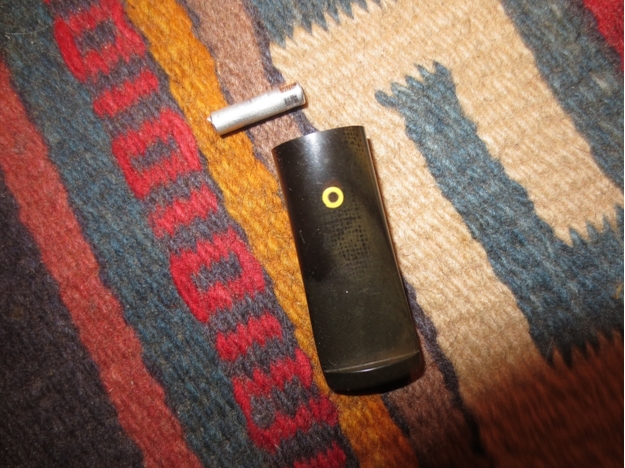
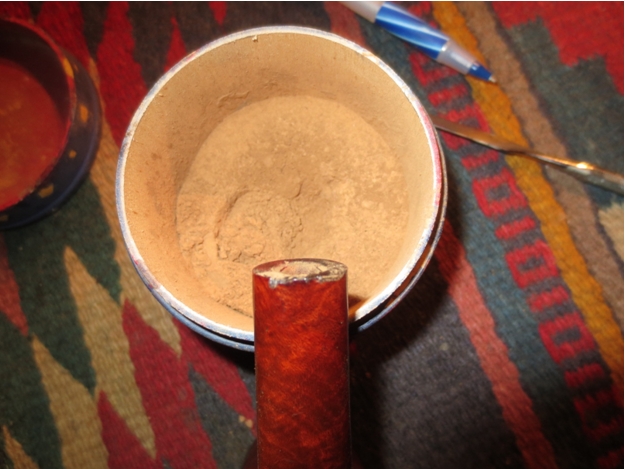
 With the airway opened I decided to address the notch out of the end of the shank. I did this by using super glue and briar dust to build up the shank end. The trick was to keep the glue isolated to the shank end and not let it run on the finish of the shank bottom.
 I carefully put a few drops of glue in the notch and then packed in briar dust with a dental pick. I repeated this process until I had built up the notch slightly higher than the flat end of the shank. I then used the topping board and carefully stood the pipe against the sandpaper and slowly worked the filled area smooth with the paper. I repeated the process until the area was evenly built up and the notch was gone. There remained a little darkening at the edge of the repair on the bottom edge of the shank end but the notch was gone. Once the stem is repaired and is in place the notch will be virtually invisible. I cleaned up any of the glue bits and briar dust in the shank with the dental pick and a sharp knife.
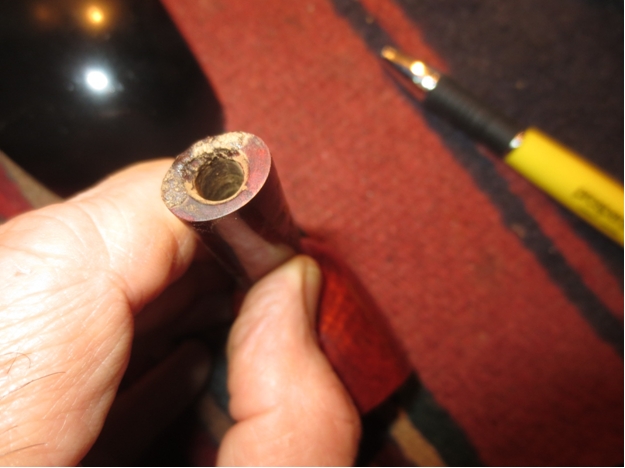
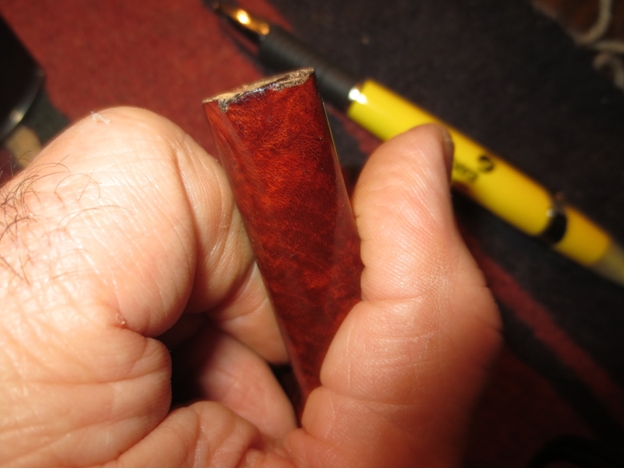
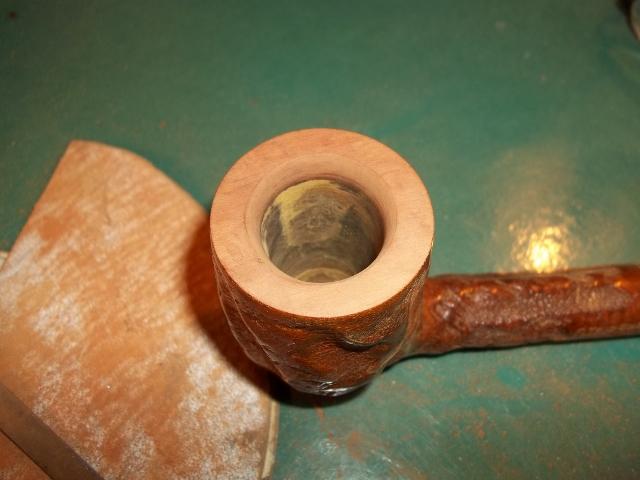
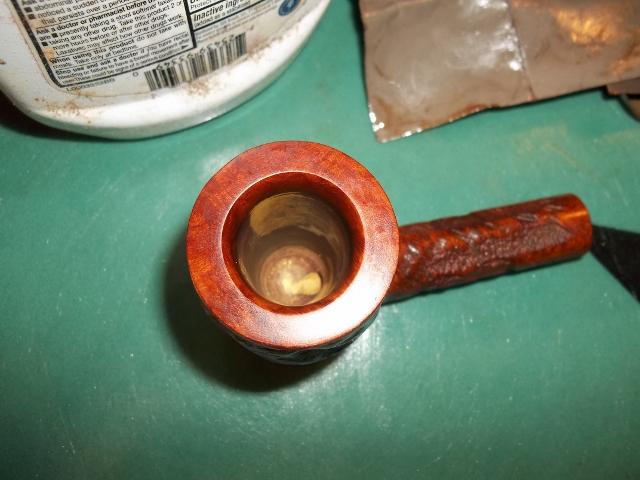
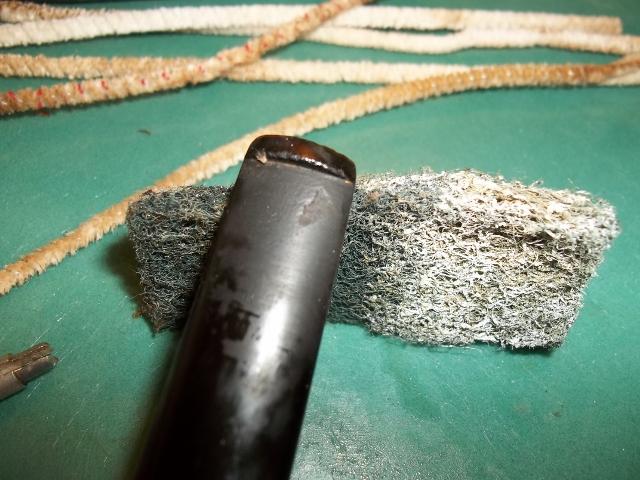
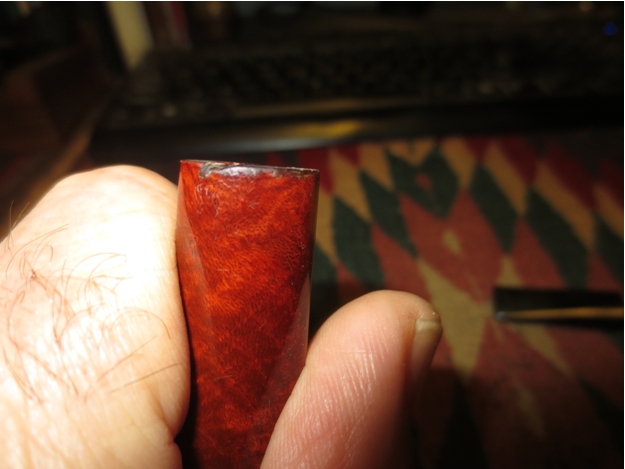
 The next three photos show the shank end from different angles to show the state of the repair at this point in the process. It still needs to be cleaned up and touched up once the stem is fit in the shank, however the notch itself is virtually gone and the stem (sans tenon) sits smoothly against the shank end.
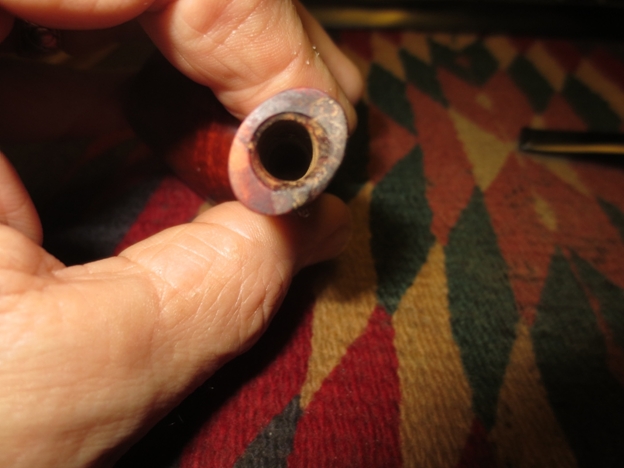

 I decided that rather than wait for a new tenon to arrive I would make my own. I had a very small stem that I knew would work well to fashion a tenon. I used a hacksaw to cut off a portion of the stem to use for the tenon. I purposely cut it long to give me material to work with.
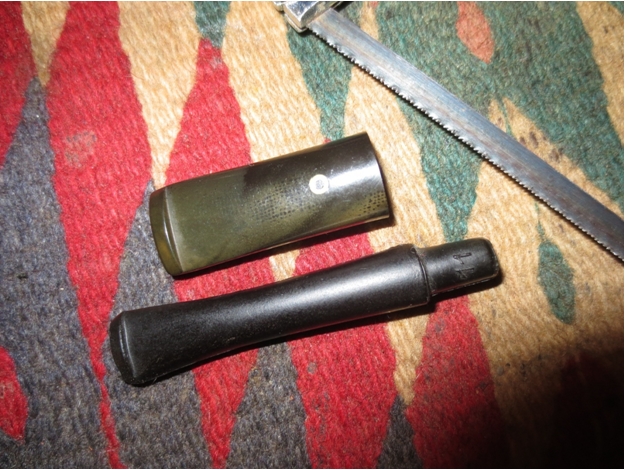
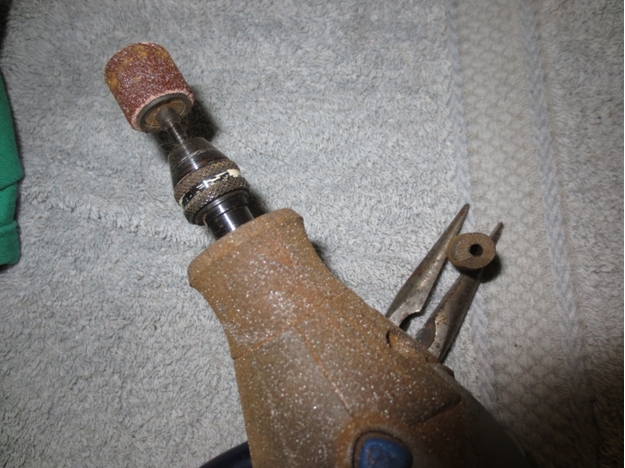
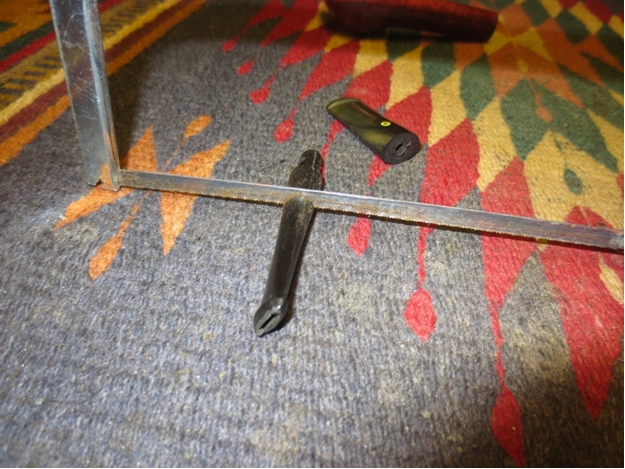 The cut off portion is shown in the photo below. I held the smaller portion in the tip of a pair of needle nose pliers and used the Dremel with a sanding drum to bring down the larger portion to match the smaller one. I would sand until I had a vulcanite tenon that I could insert into the stem.
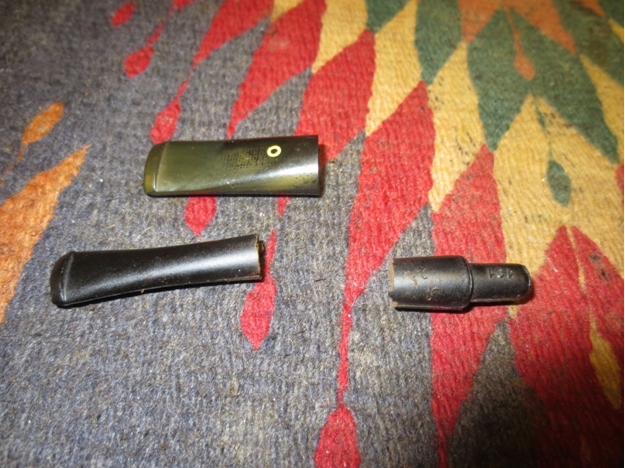
 Here is a photo of the shop “foreman” sitting in my chair while I worked on the tenon. Spencer loves to hang out with me while I work.
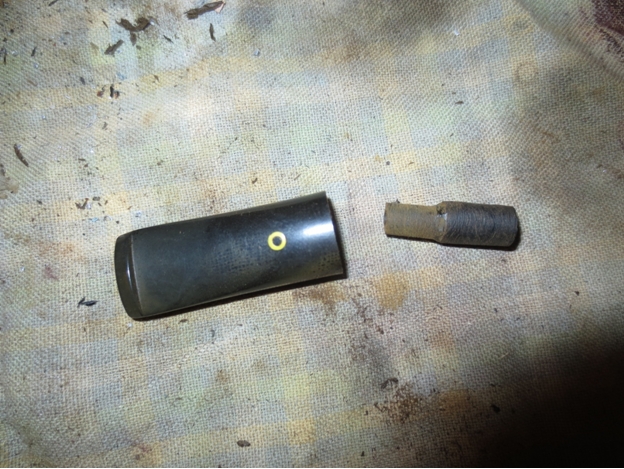
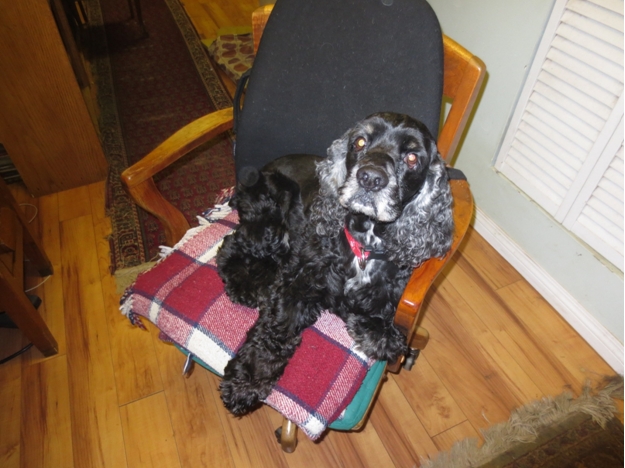 The thinner part of the tenon in the photo below will be the part I insert in the stem once it is drilled out. The larger part will need to be turned down to fit in the mortise.
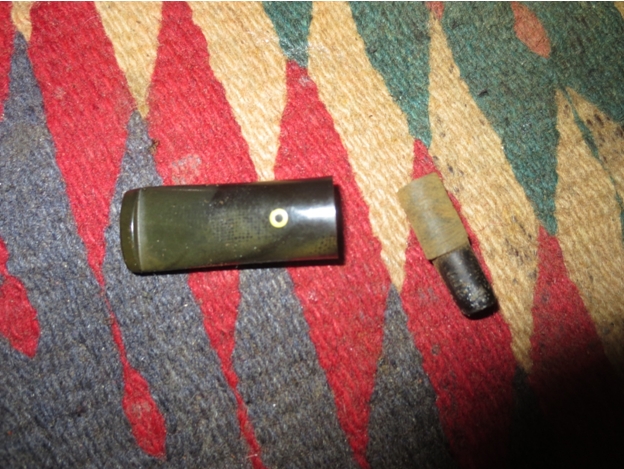
 I started by using a drill bit that was slightly larger than the airway that had been opened in the stem for the metal tenon. I worked my way up to a drill bit that would open the airway and deep enough to take the new tenon and provide stability.
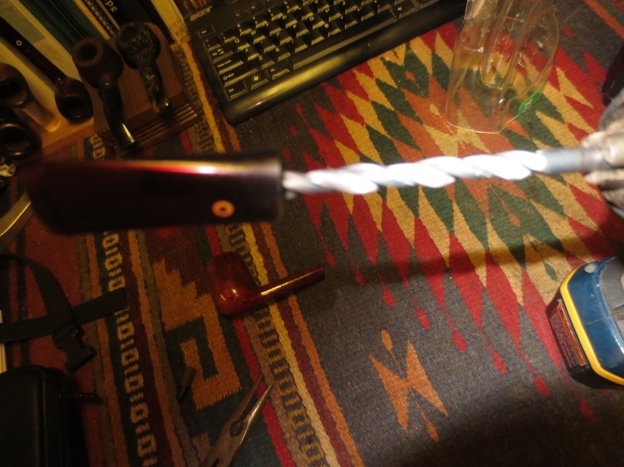 When I had drilled the opening in the stem as large as I could, given the taper of the stem I needed to take down the diameter of the replacement tenon I had made. I used a Dremel to take off the excess material to reduce it to the same size as the stem opening. Once I got close in diameter with the Dremel I hand sanded it to fit.
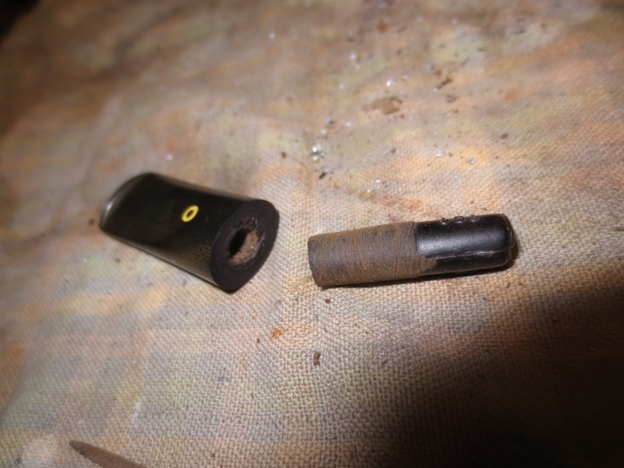
 When the tenon end fit snugly in the stem, I squared off the end of the tenon and then superglued it in place in the stem. I coated the tenon with the glue and pressed it into place. The tenon itself would also need to be turned to fit the shank of the pipe.
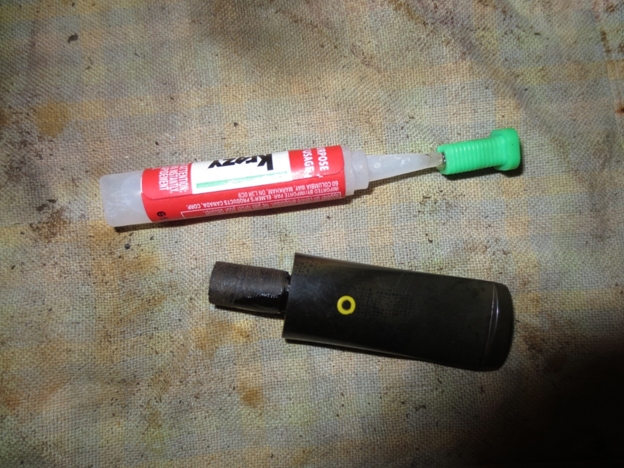 I used the Dremel and sanding drum to sand down the tenon and then used sand paper to get a snug fit.
 Once it fit well I polished it with fine grit sanding sponges and micromesh.
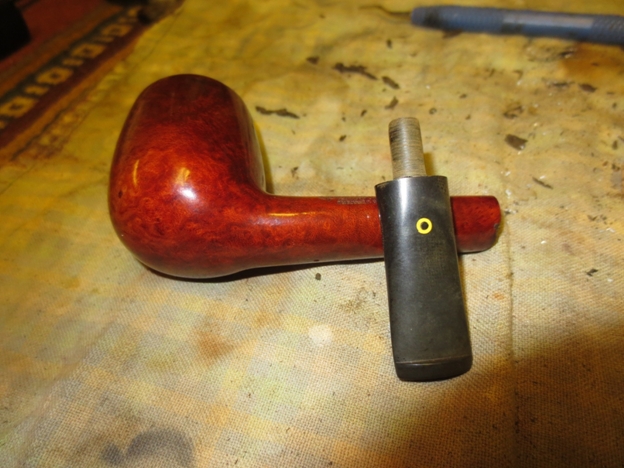 The fit in shank was good and snug. It was at this point that the alignment issues became clear. I would need to do some work on the shank to clean up the repair and also get a good transition from the shank to the stem. The fit on the topside was slightly high and the fit on the underside was a little low. I needed to sand the shank anyway to clean up the repaired notch on the underside so to sand it a bit more was not an issue.
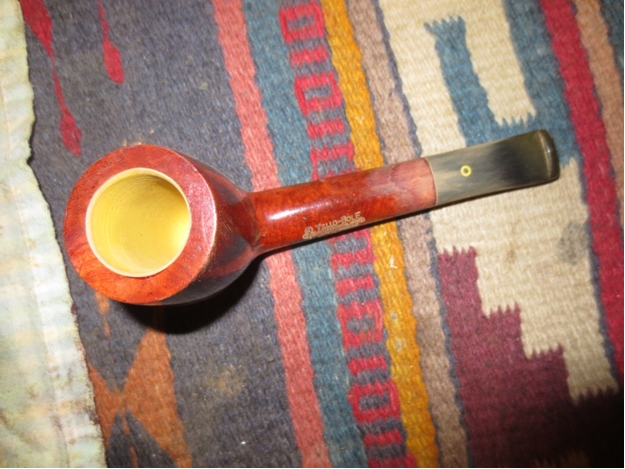 I sanded the shank and stem with 220 grit sandpaper to smooth out the transition between the two and to give a better flow to the taper on the stem.
 I sanded the stem and shank with a medium and a fine grit sanding block to make the transition smooth and remove the scratches left behind by the sandpaper.
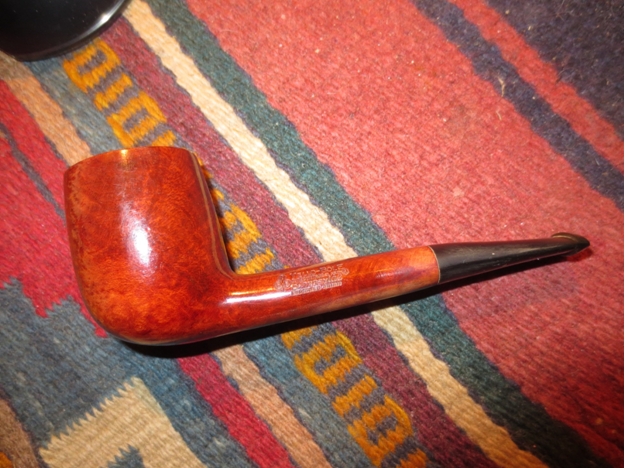
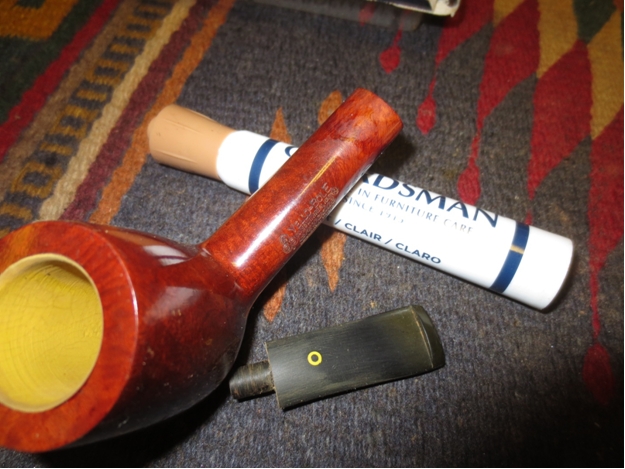
 Once the transition was smooth I sanded the briar with micromesh sanding pads from 2400-4000 grit and then used the Guardsman brand stain pens to stain the shank. I used the lightest stain pen first and finished with the medium stain pen. Once it dried I buffed the pipe with Blue Diamond to raise the shine on the shank and to even out the stain.
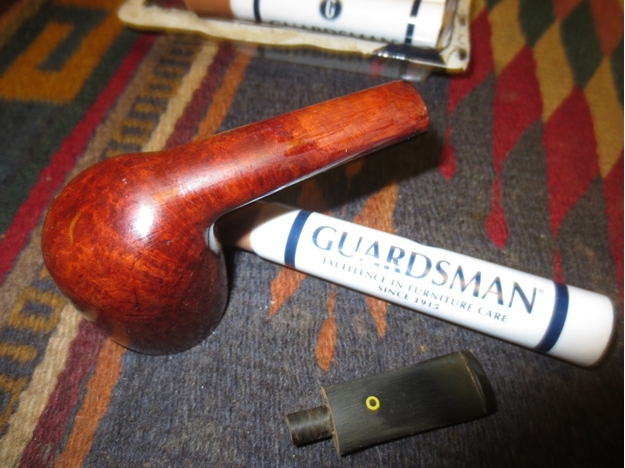
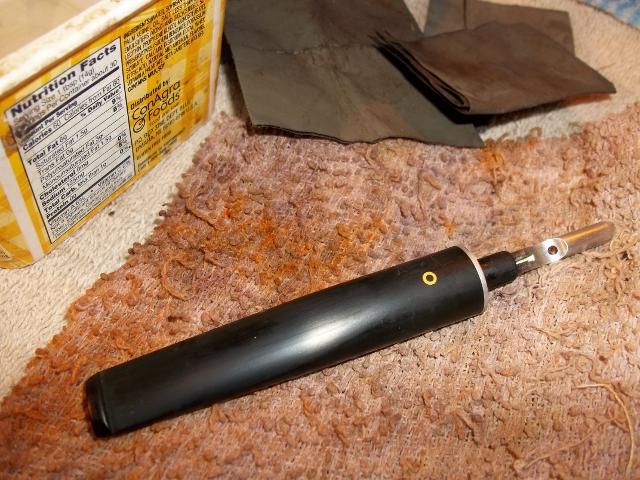
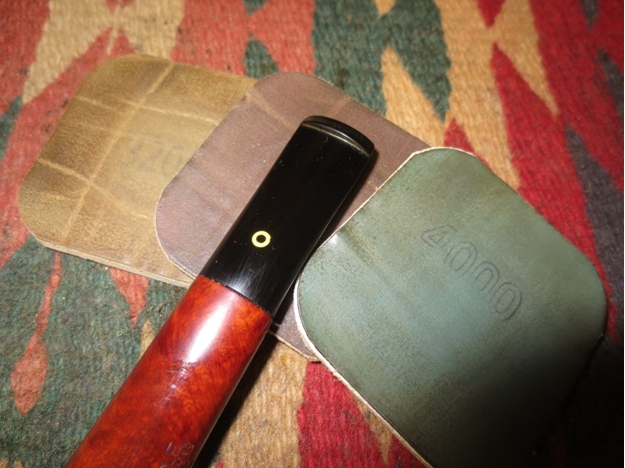
 I sanded the stem with micromesh sanding pads – wet sanding with 1500-2400 grit pads and dry sanding with 3200-12,000 grit pads. I buffed the stem with White Diamond and Blue Diamond and then buff the shank with the same once again.
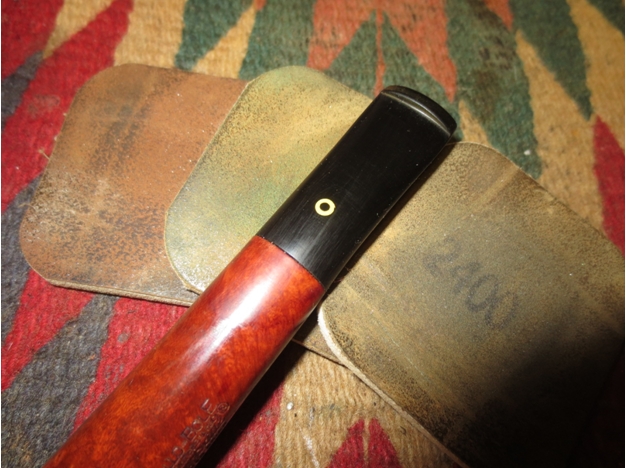
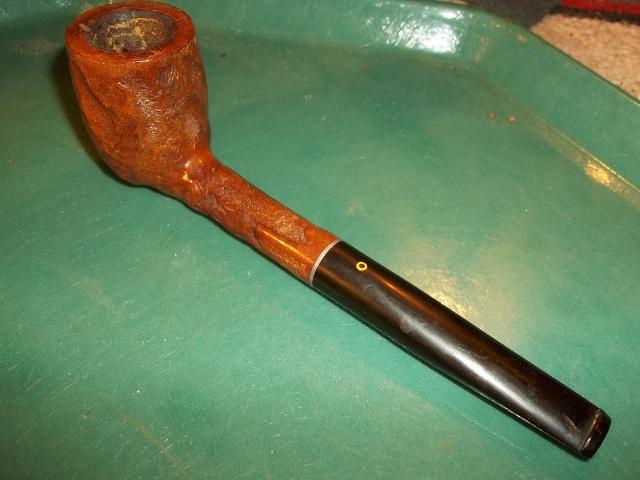
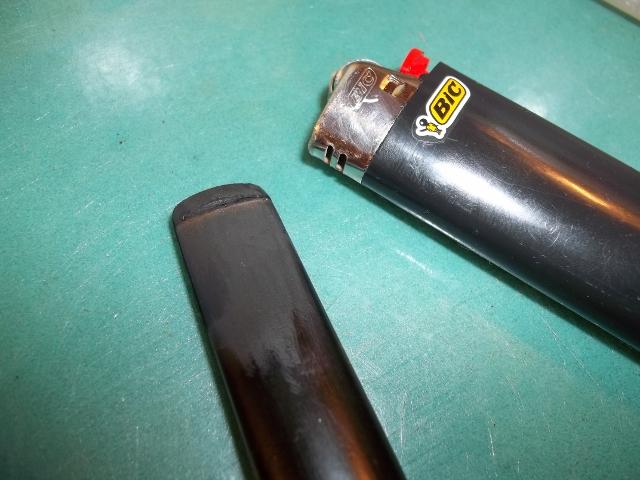
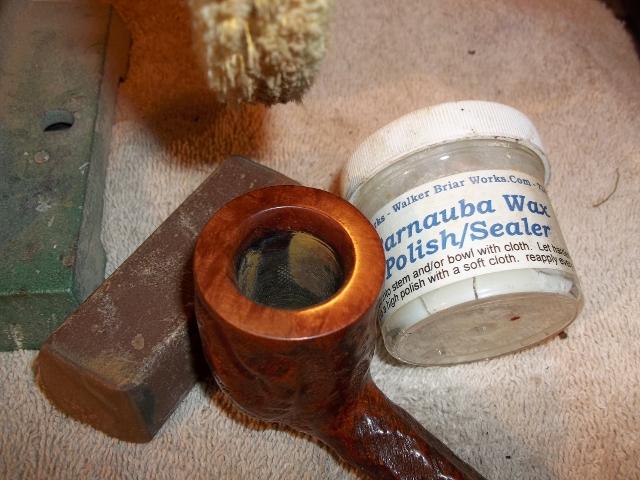
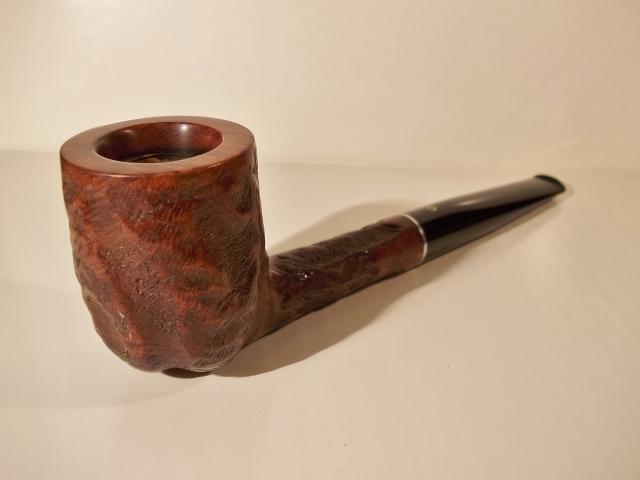
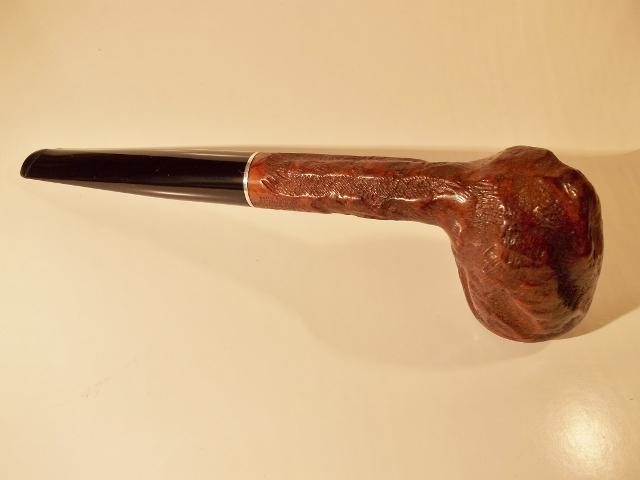
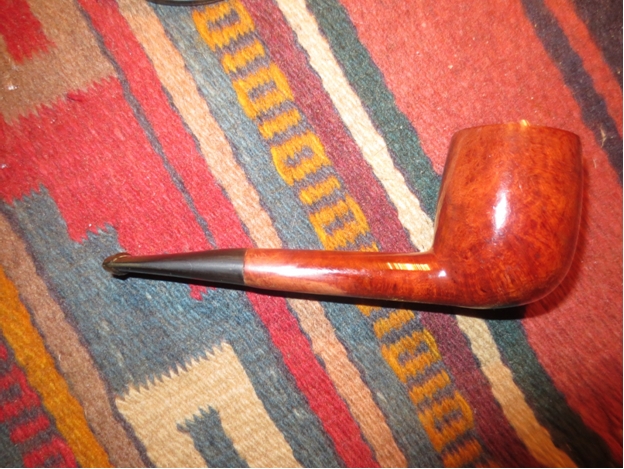
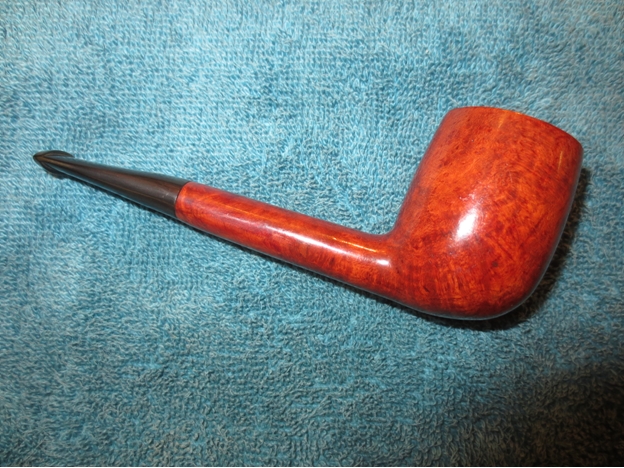
 I buffed the stem and the shank with Blue Diamond on the wheel and then gave the pipe several coats of carnauba wax. I finished by buffing it with a soft flannel buffing pad. The finished pipe is shown below.

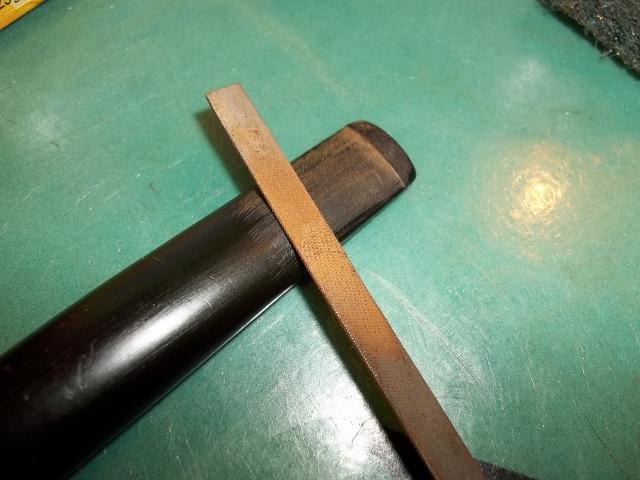
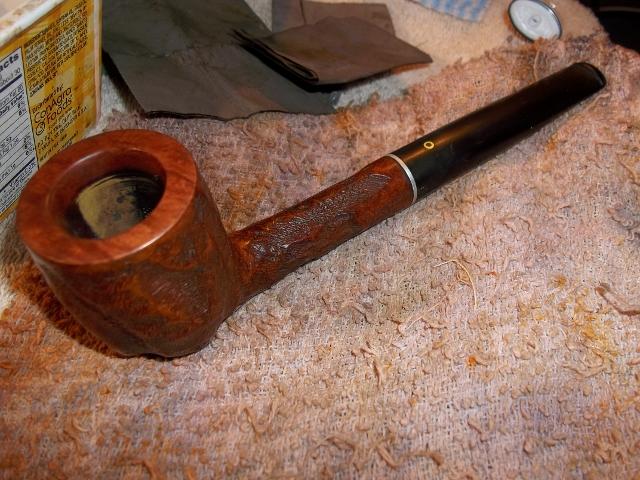
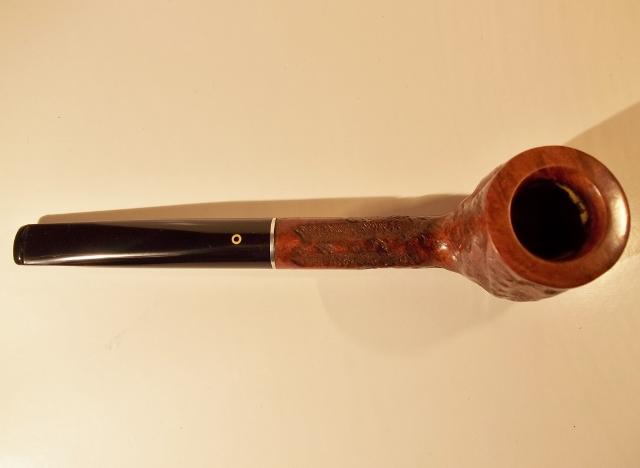
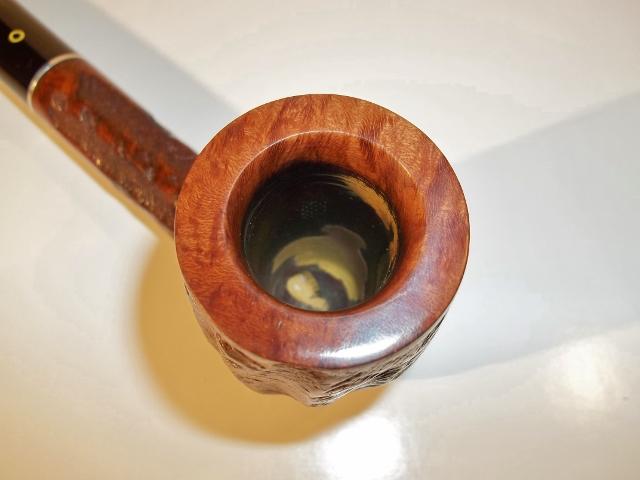
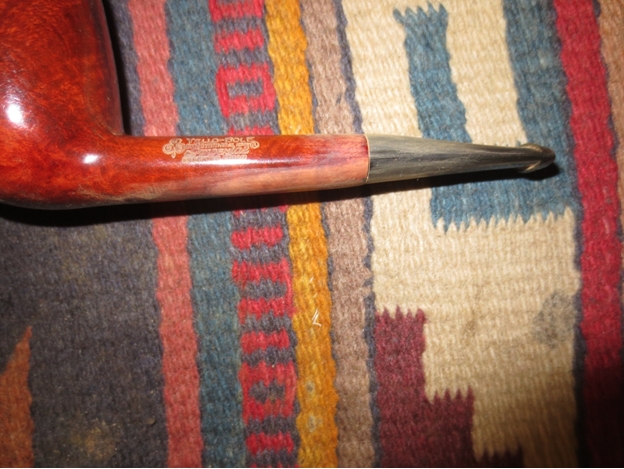
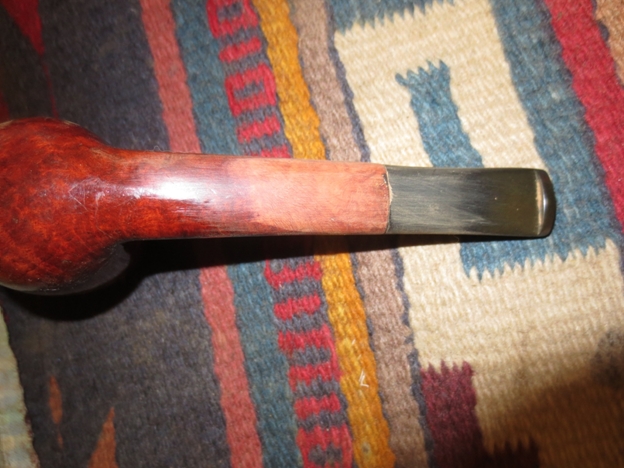
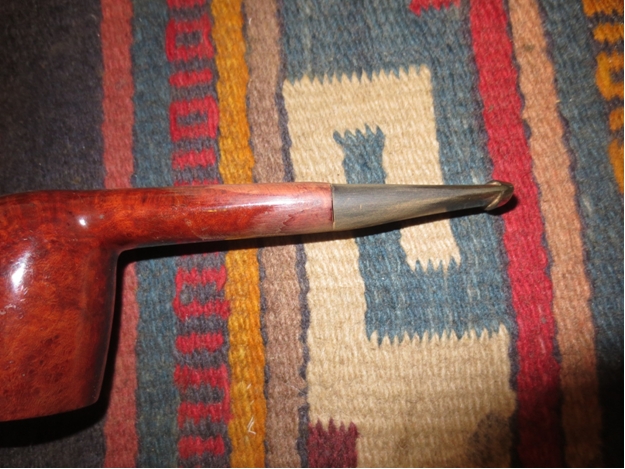
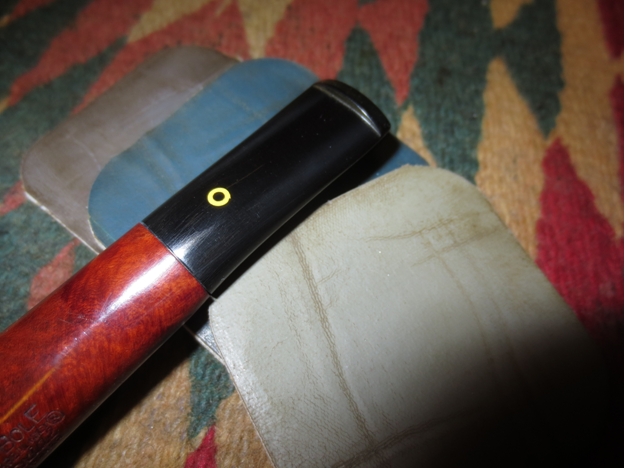
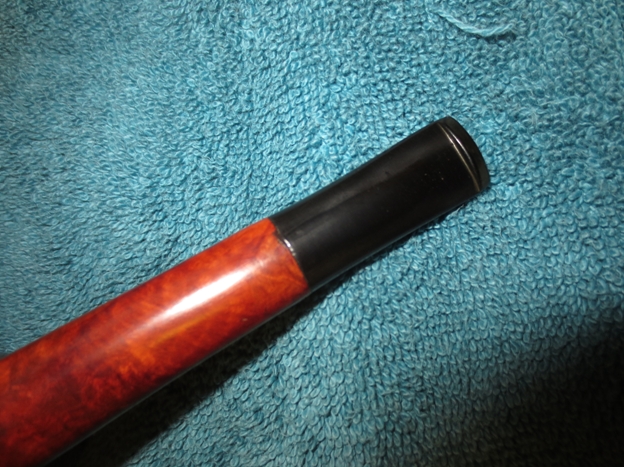
 The next two photos show a close up of the fit of the stem to the shank. I am pleased with the way it turned out.
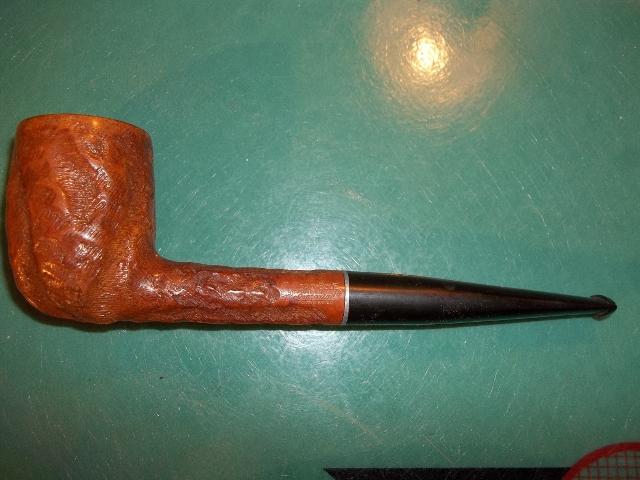
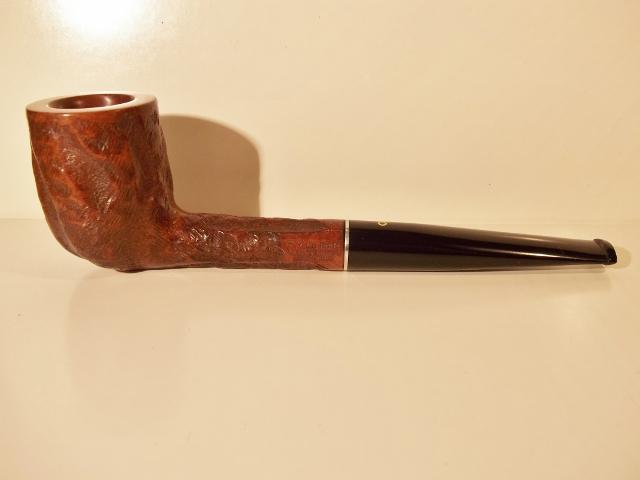
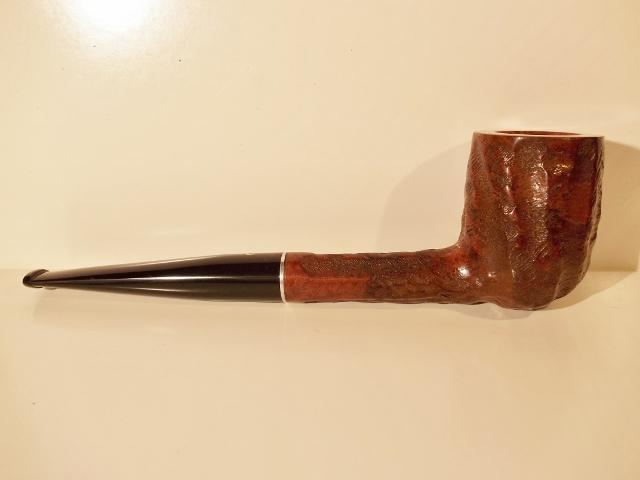
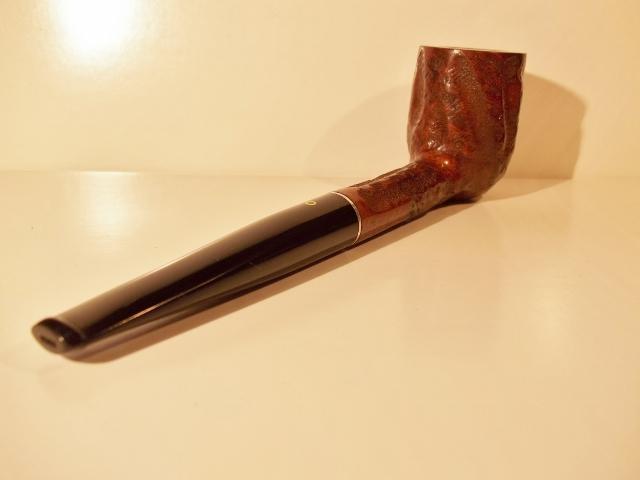
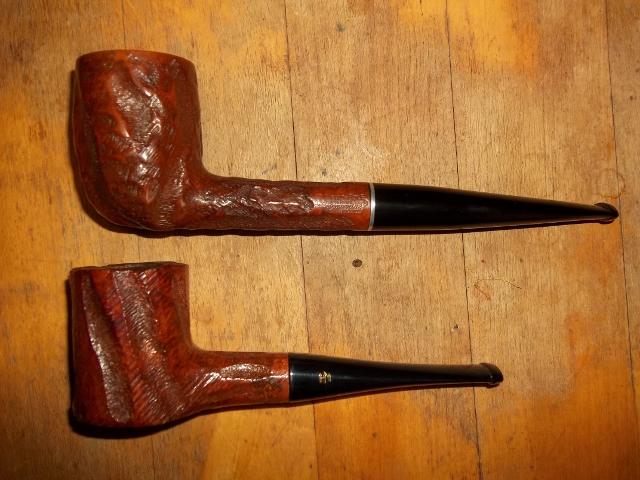
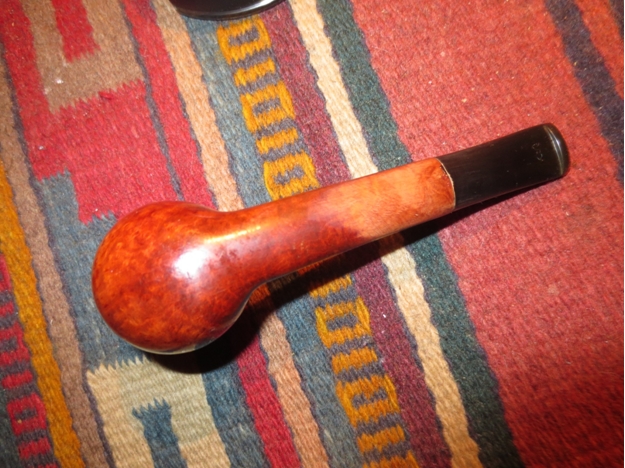
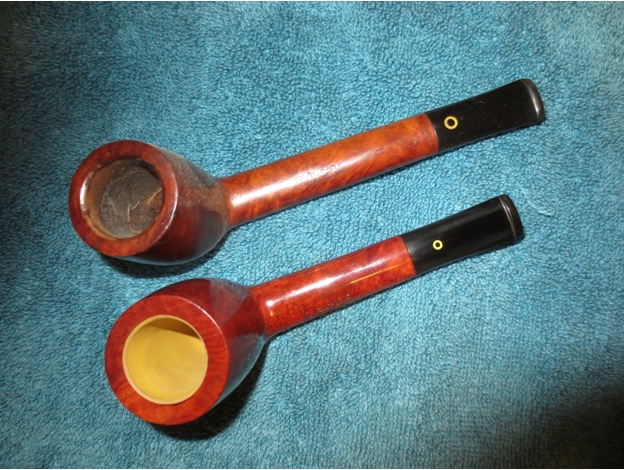
 The last two photos are of a regular sized Yello Bole Canadian (top pipe) and the little nose warmer (bottom pipe). I put these together to give a bit of perspective. The bowl on the nose warmer is larger and the shank is definitely shorter.
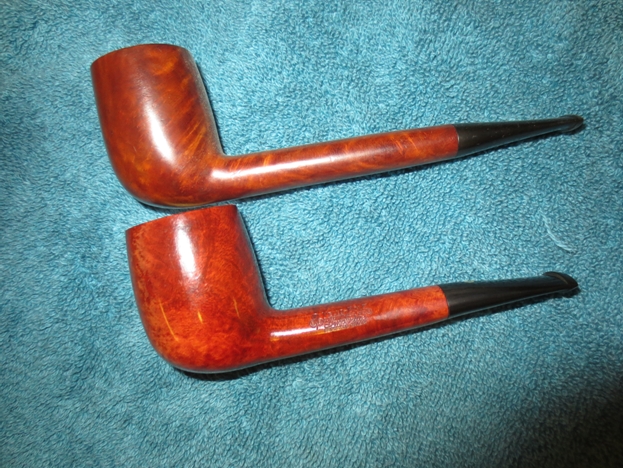
 Thanks Troy for the challenge on this little Canadian. It was a pleasure to work on it. Each time I work on putting a new tenon on a pipe I learn something new. This time around, between the new tenon on the billiard, the insert in the cracked shank and the new tenon on this little one I had a good week in pipe school. They will soon be on their way back to you Troy. I hope they smoke well and you enjoy them.